This should help:

4 Likes
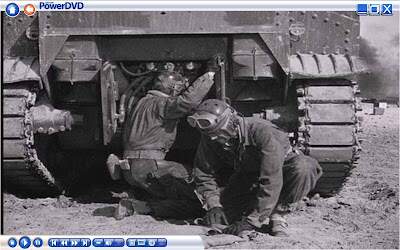
Thank you! I watched Sahara again and took screen shots at the first scene you linked. Making the little armor plates is easy enough. Making the box shaped exhaust cleaners will take some effort.
I just spent the last two hours mining my former office for model stuff. Anyone want a bunch of old Testors enamel paints? Today’s expedition yielded a tackle box (now empty), a new paint brush, 8 lovely turned aluminum US antenna bases, and some plastic rod stock. Tomorrow’s expedition will visit an ancient box of spare parts.
Edit: I am using the wrong terminology with regards the M3 Lee exhaust systems. There are only two configurations–Pepper Pot (the style in the Academy M3 Lee) and Fish Tail with external Air Cleaners.
Edit: I can steal Fish Tail exhausts and box Air Cleaners from a Tamiya M3 Grant. That kit already needs new road wheels, tracks, and probably other stuff.
4 Likes
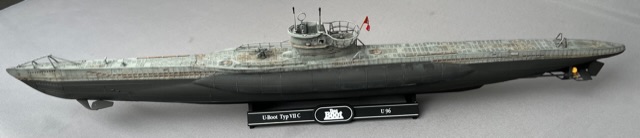
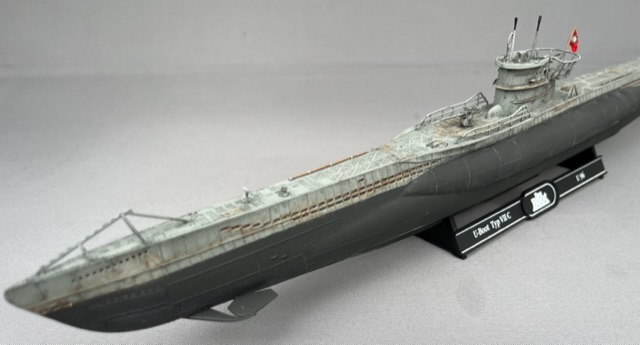
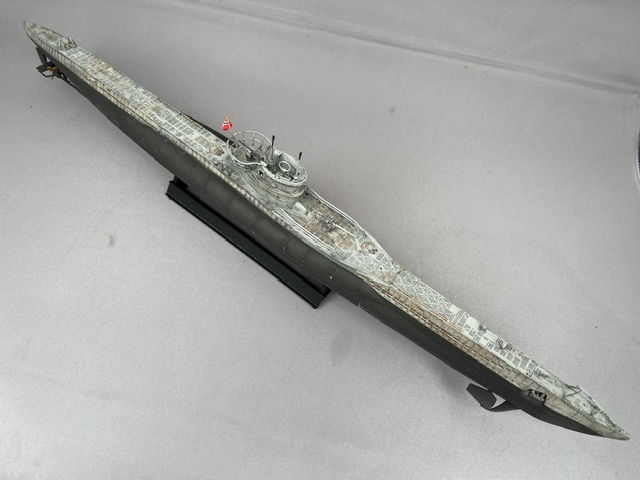
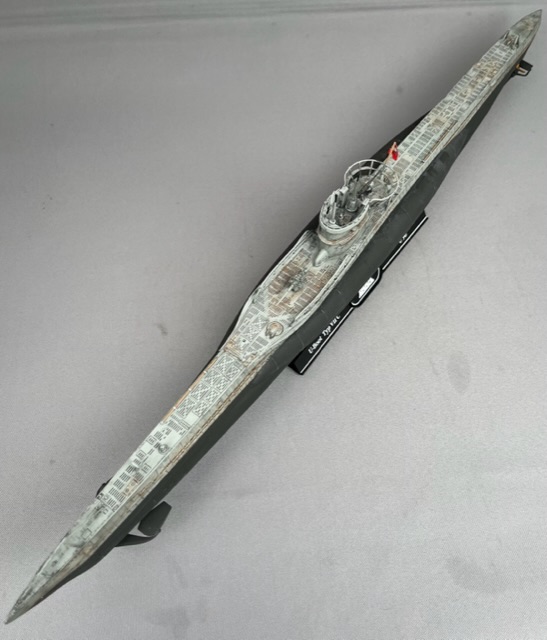
I am calling my U-boot from Das Boot done.
It is the first u-boot I have made and I am quite satisfied with the result. I was a bit concerned about weathering on such a very large monotone canvas.
I realize I have omitted the rigging. I will fix that at some point, but for now it is done.
I have another u-boot in 1/72 and cannot wait to get going on that. ![]()
Thanks for a super fun campaign. So many interesting entries and possibilities.
19 Likes
Wow Jesper spectacular finish on this model. The weathering is just amazing. You nailed it.
2 Likes
I agree. The finish on that U-boat is superlative. Congratulations on crossing the finish line!
3 Likes
Fantastic work Jesper.
Must confess that in my eagerness to try and finish a few other builds I’d almost forgotten this one. Must try and get that Gnat done!
3 Likes
Fantastic result ![]()
![]()
2 Likes
Awesome looking sub Jesper- if you hadn’t mentioned it I’d have thought you had done a great many U boats as it looks superbly realistic.
2 Likes
Thanks for all the comments, guys! ![]() Much appreciated
Much appreciated ![]()
2 Likes
Superb Jesper. That is an awesome build. It is great to see someone go outside their comfort zone and just excel at it. Congratulations.
2 Likes
Work continues very slowly on Lulubelle.
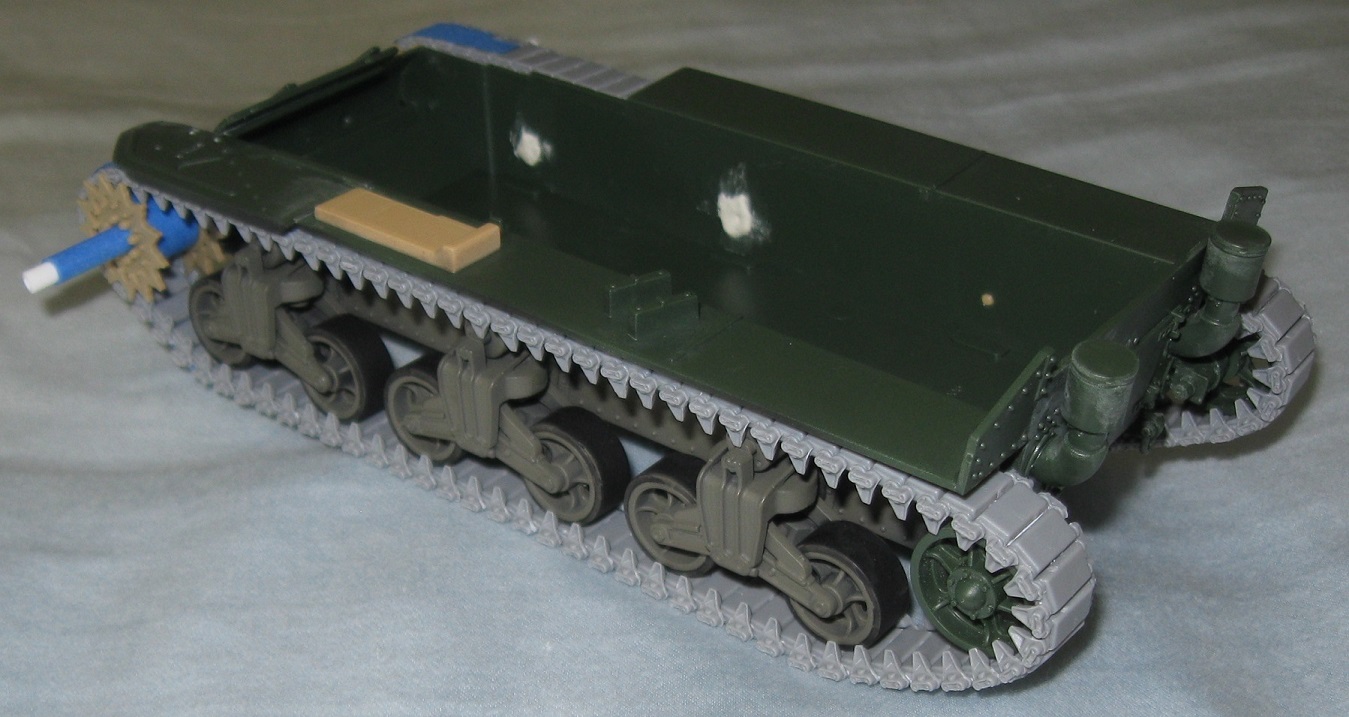
Miniart T41 tracks took about 17 hours to clean up, assemble, and mount on the model. In yet another unpleasant surprise, Miniart tracks are wider than Academy and Tamiya drive sprockets. Since I already glued the drive sprockets together, I will need to saw them in half and add spacers. As an interim measure, I used sprockets from a Tamiya M3 Grant to mount the tracks. Since the sprocket halves were not yet glued, it was a simple matter to secure them together with masking tape, adding the extra width in the process. The sprocket axles were also built up with masking tape.
The pepper pot exhausts are still wrong but I have not had time to scratch build replacements for them and the fishtail exhausts.
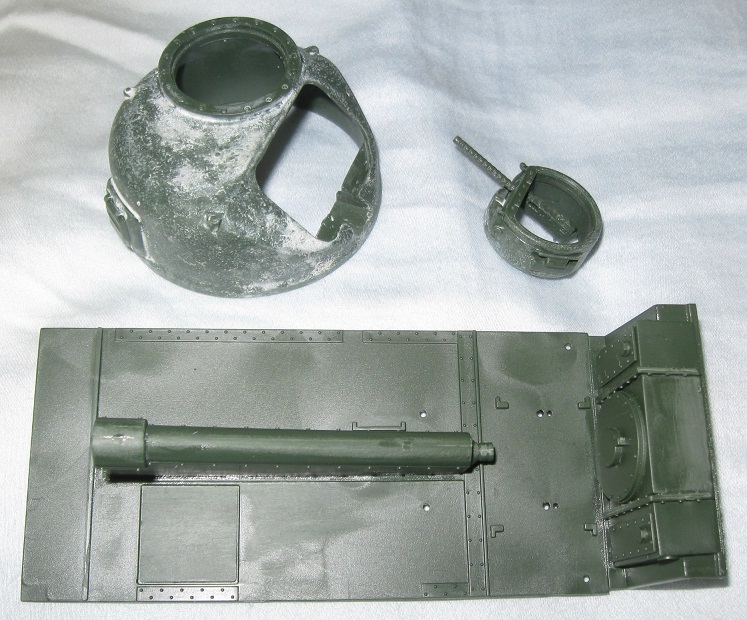
My previous attempt to create cast texture on the turret failed. After sanding off all the putty, new texture was added using liquid cement and a very rough brush. I am not fond of this method but time is short.
Some details were mistakenly removed from the machine gun copula. They must be added back. Escape hatch door details were sanded away but the rim still shows, so that part, amongst others, will require more filling.
At my current pace, I expect to begin painting interior parts sometime next week. A lot of parts require some degree of modification to fit. For example, I already know the propeller shaft does not fit correctly to the transmission and the back wall of the fighting compartment.
8 Likes
You’ll get it Doug. Once the major components start coming together, things will go fast. Have at it!
2 Likes
With timing running out, I decided sleep is optional so Lulubelle now has an interior.
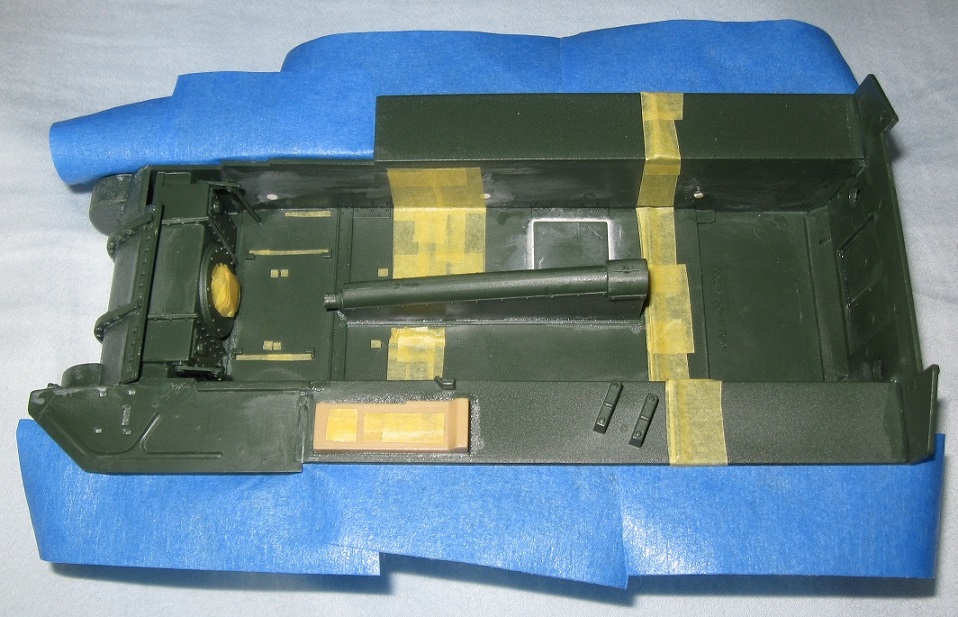
In order to get paint into narrow gaps and underneath parts like the transmission, I decided to paint almost every major component separately. This required a lot of masking because scraping away paint in such a confined space would suck.
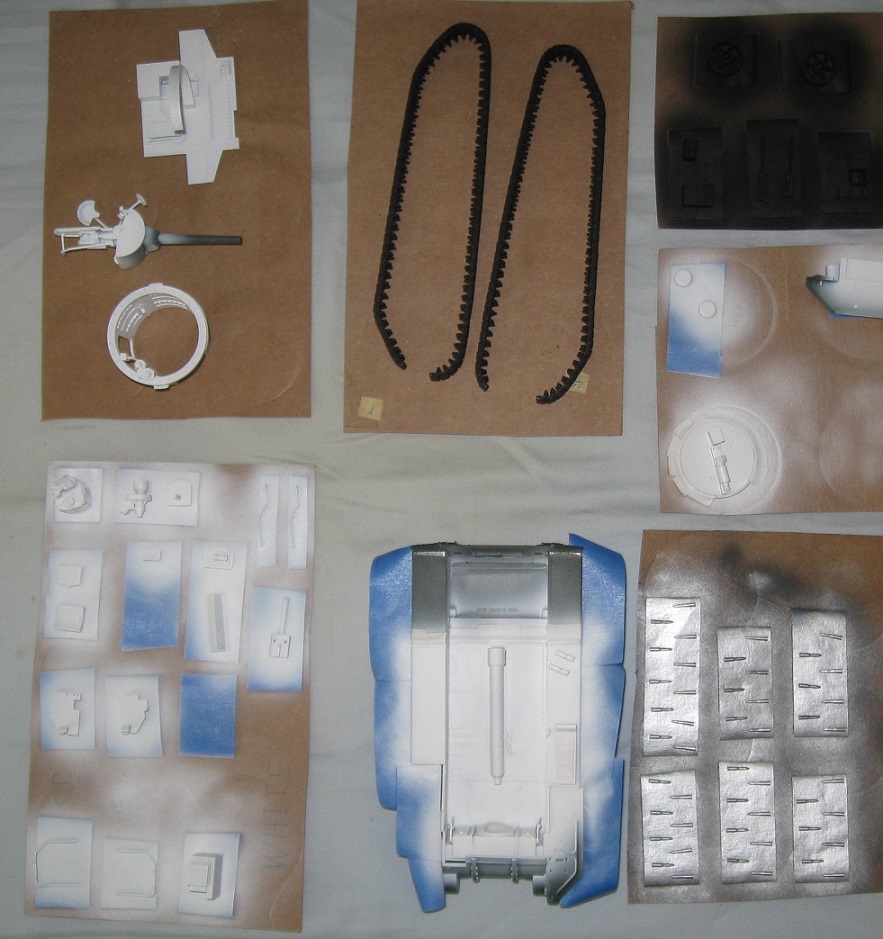
A couple weeks back, I discovered that Badger primer also comes in white and ordered a bottle. To save a step, I painted all of Lulubelle’s interior parts with this new primer and hoped for the best. Badger black primer usually covers in one or two coats. After 6 or 7 coats of Badger white primer, I gave up.
I ran into three new problems. First, I failed to properly fill and sand out a bunch of knockout pit marks. I will need to start over with those. Second, the white primer kept drying on the airbrush tip and throwing paint bullets. Those now need sanding out. Third, the white primer did not cover, so I must spray again with a different white.
All parts painted with black primer came out quite well, as usual. Curiously, even though I slathered the tracks with liquid cement, they remain somewhat flexible. The tracks are pigeon toed because of the sprocket size mismatch. It looks bad but there is no way to fix it.
I will sand out the many problem spots tomorrow morning and then see how things look under some more primer.
6 Likes
Tamiya do a white primer in a rattle can that is good, but my go to is their grey. White never covers well on it’s own, so I usually primer grey and that gives the white paint something to bite into, and the grey can be a kind of pre shade too.
Don’t get too beat up on small flaws on the interior - you probably won’t see them anyway.
3 Likes
After sanding out every flaw I could find, Lulubelle went back to the airbrush station.
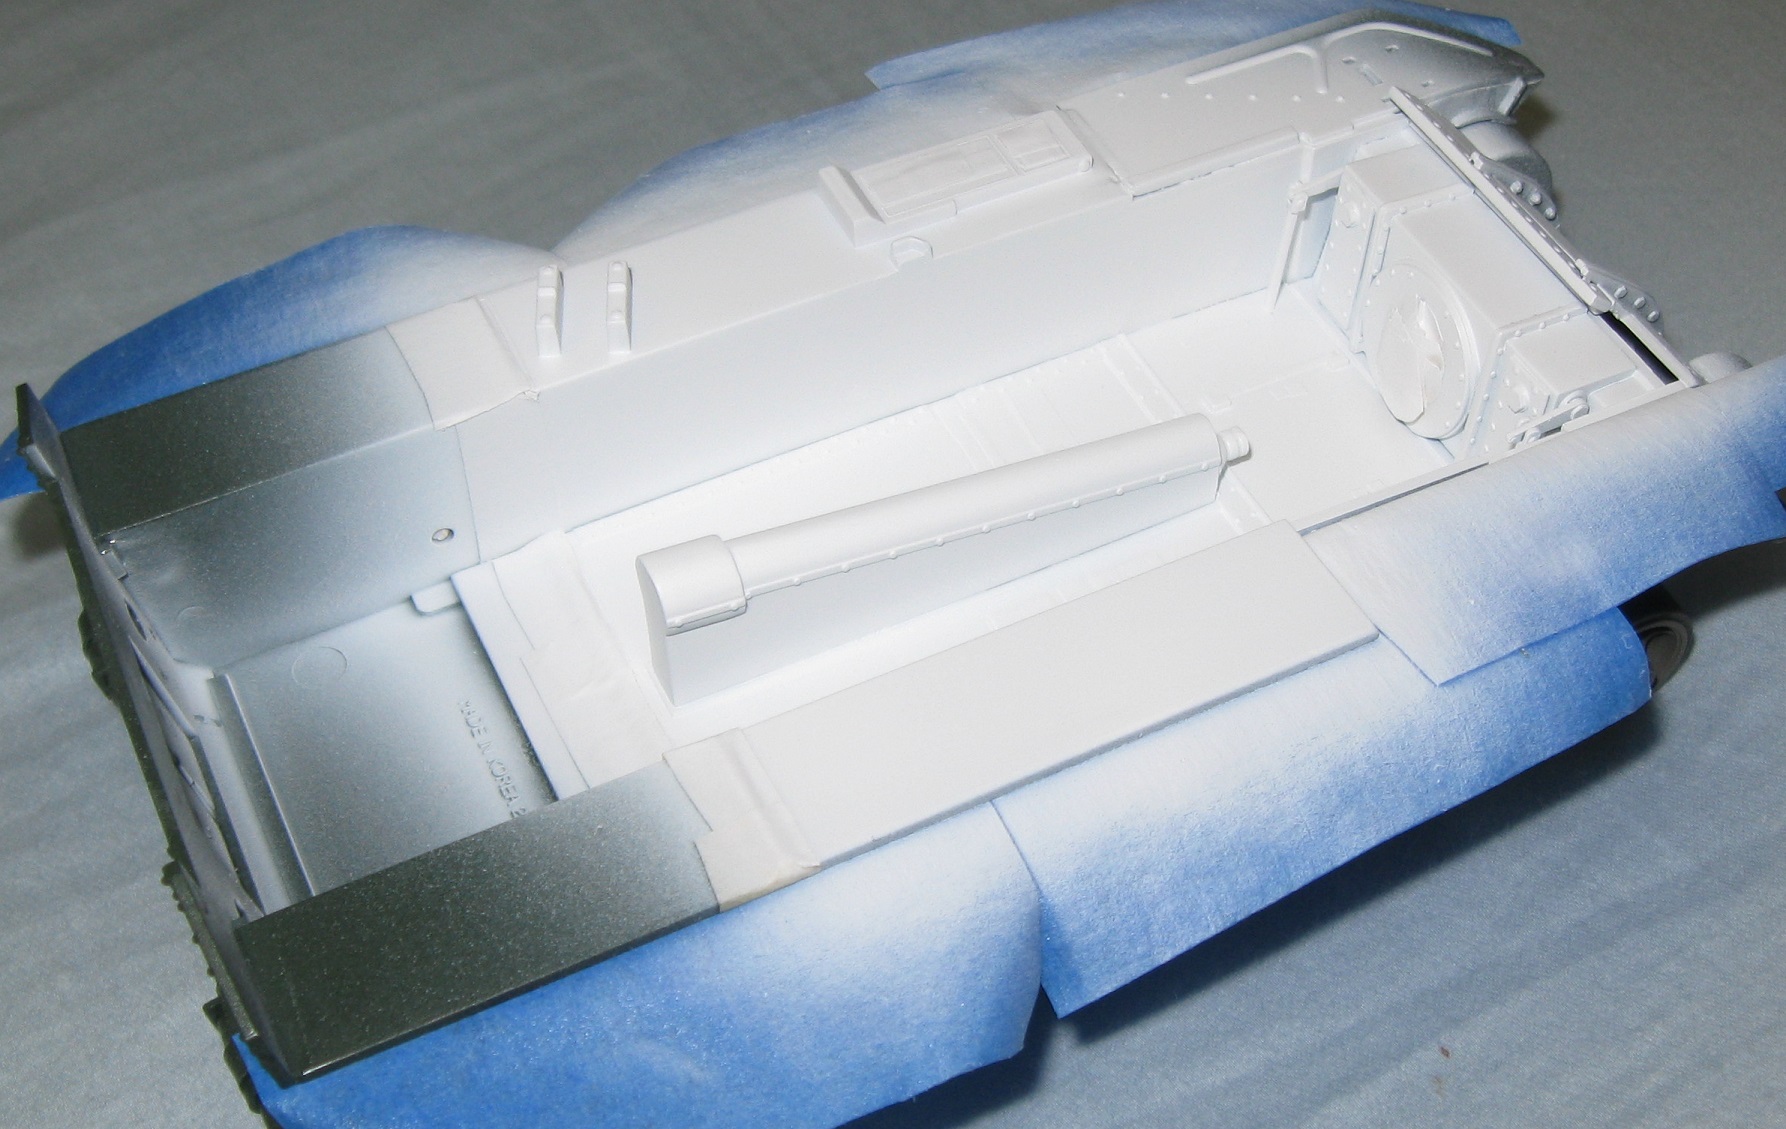
This time, on exposed plastic, I sprayed two coats of Badger white primer followed by two coats of Vallejo Model Air white. On previously primed plastic, I sprayed two coats of Vallejo Model Air white.
All white parts now look decent with two exceptions. The connection between the left fender and lower hull still looks awful and needs work. The turret basket contains 8 difficult to fix ejector pin marks that also require much more work. They are probably the worst ejector pin marks on the entire model. While the turret basket is the most visible part of the interior, it is not integral to the hull. Therefore, extra work to improve the turret basket will not hold up the entire project. In a worse case scenario, I can call the model done and make more repairs to the basket in September.
If I can successfully paint the white interior for this model and achieve a decent result, that know how will carry forward to the next model. The winter campaign is not so far away.
5 Likes
Just a reminder guys, 1 week to go to finish. I hope you are all good for a sprint!
I’ll be away for a few days, but back Monday .
1 Like
Thanks for the heads up. As soon as my Blues Hornet is done in the next couple of days I can get this one wrapped up next.
2 Likes
resumed work on my Beachmaster over the past couple of days
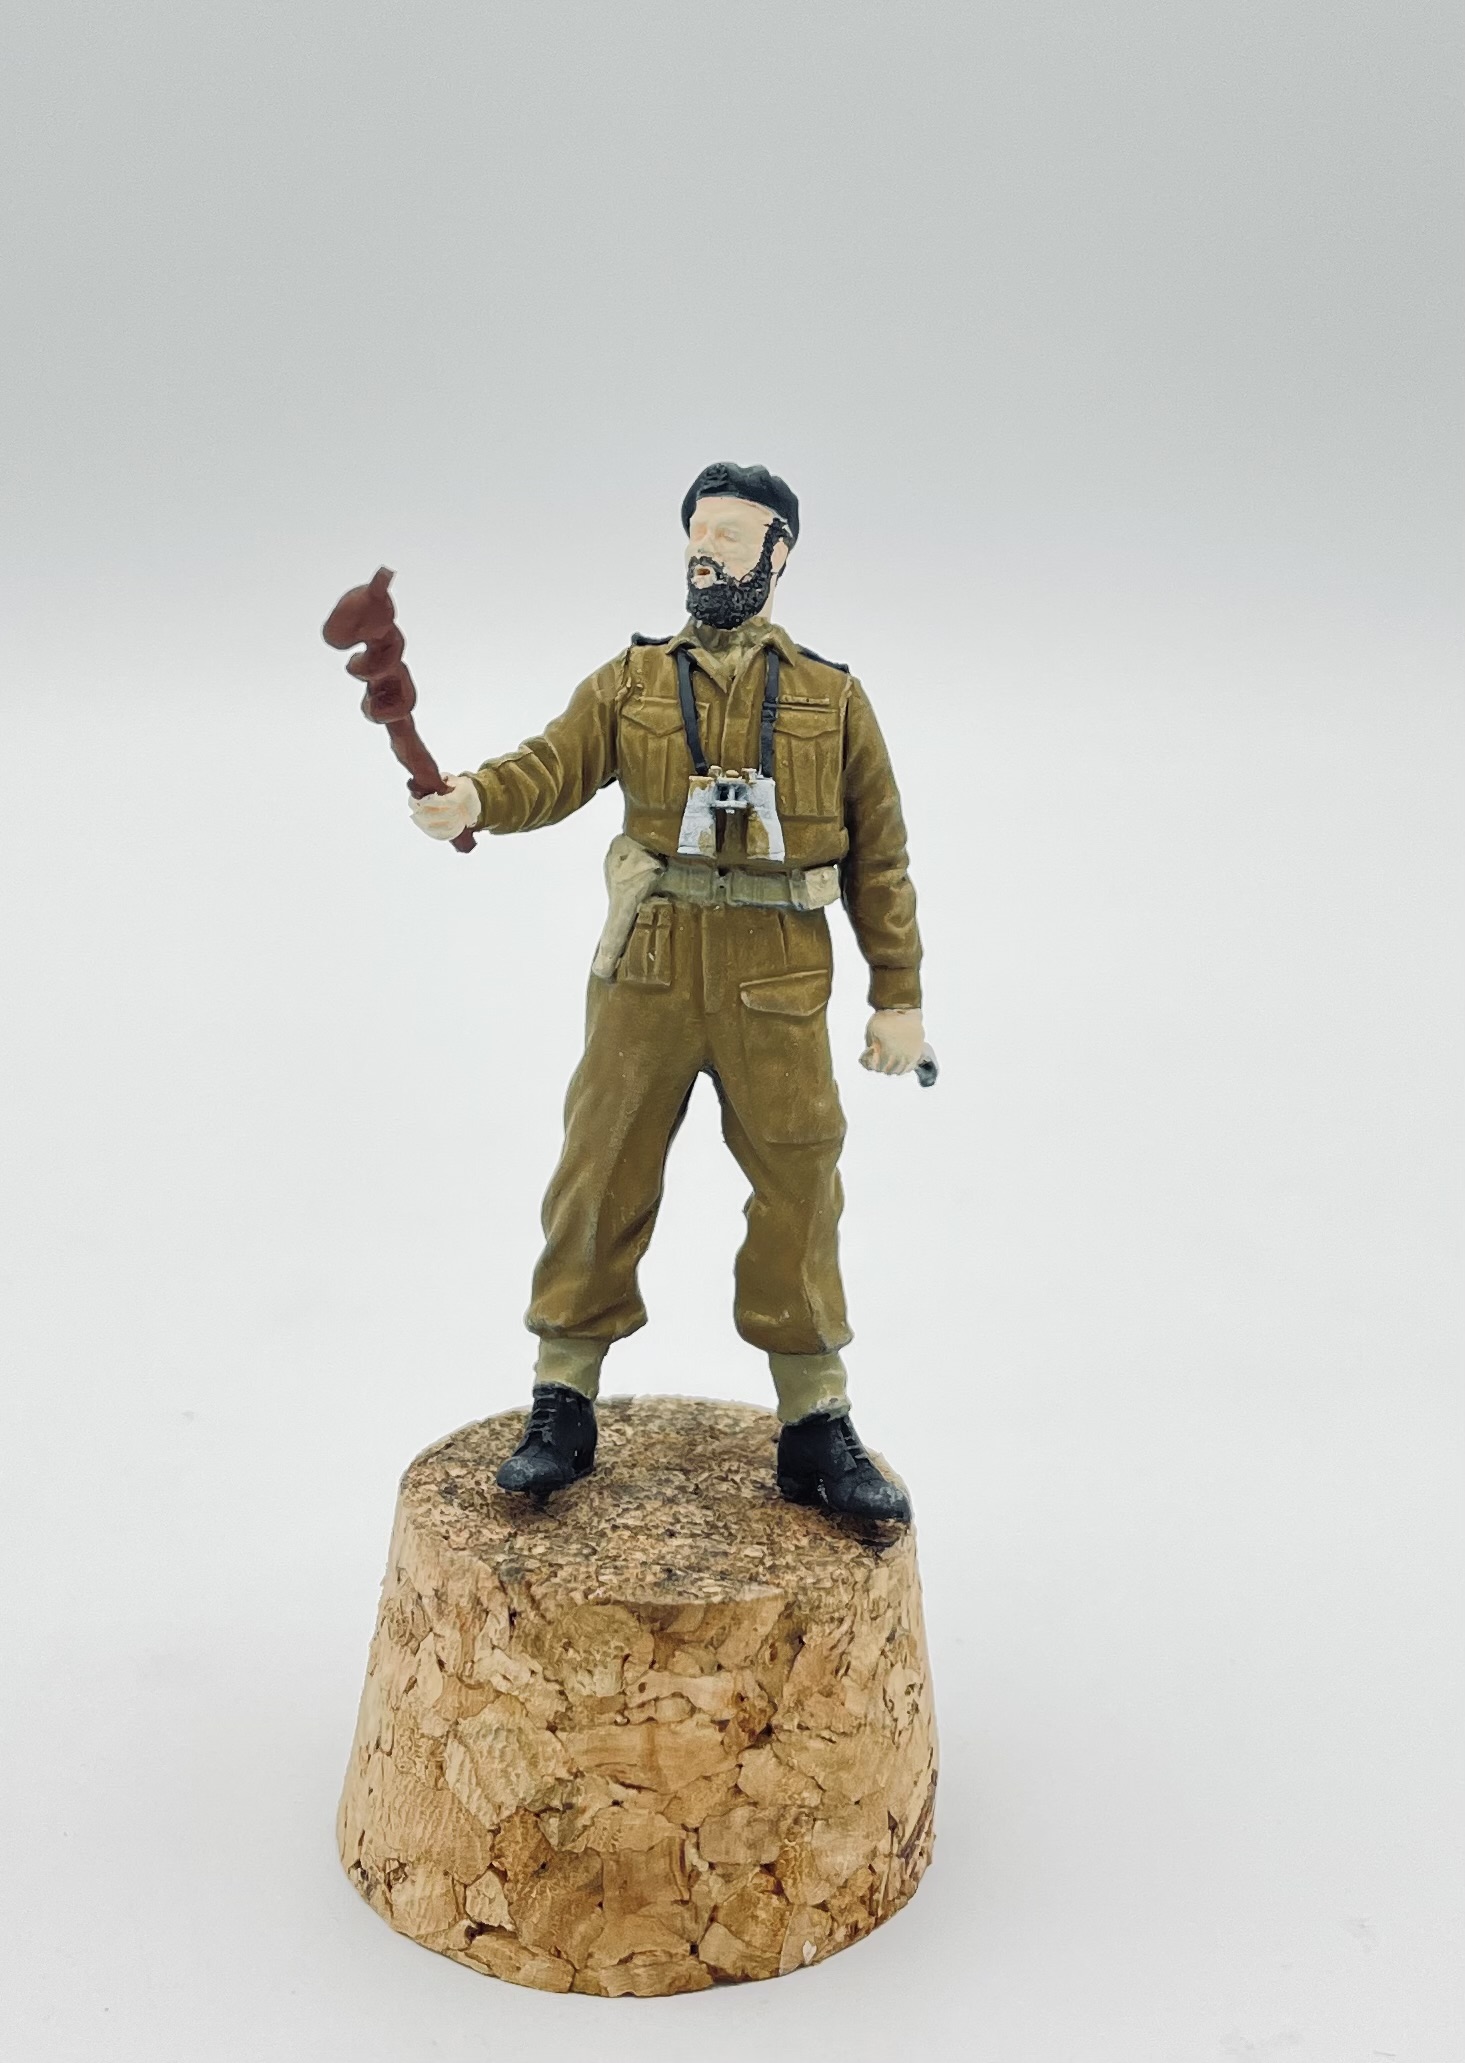
I gotta do all the shadow shading and flesh work now… plus Winston and some detail items such as the binos.
The method that I’m trying from Nightshade or Nightshift on him is anything but quick as stated on the Youtube video… waiting for layers to dry… I could do this quicker with my usual methods. Acrylic base colors, oil washes, enamel detailing…
9 Likes
I have most of the basic colors completed now… just gotta work on his face, hands, and detail stuff like rank…

Come Winston!
6 Likes
Coming along nicely now Carlos.
Official end date for this build is today, but I’ll let things run along a bit for the guys that are still actively working on their entries.
1 Like