Can anyone provide dimensions and/or shop drawings for these parts? Thanks!
1 Like
What’s your goal here? I ask because it makes a lot of difference if you want those dimensions to make them in 1:72 scale vs. wanting to check if a kit is accurate vs. needing to fabricate them for a full-size vehicle restoration, for example.
FWIW, I could provide dimensions taken from the Dragon 1:35 scale kit, or measure them in the 1:48 scale drawings in Hunnicutt’s Half-Track, but nothing more accurate than that.
1 Like
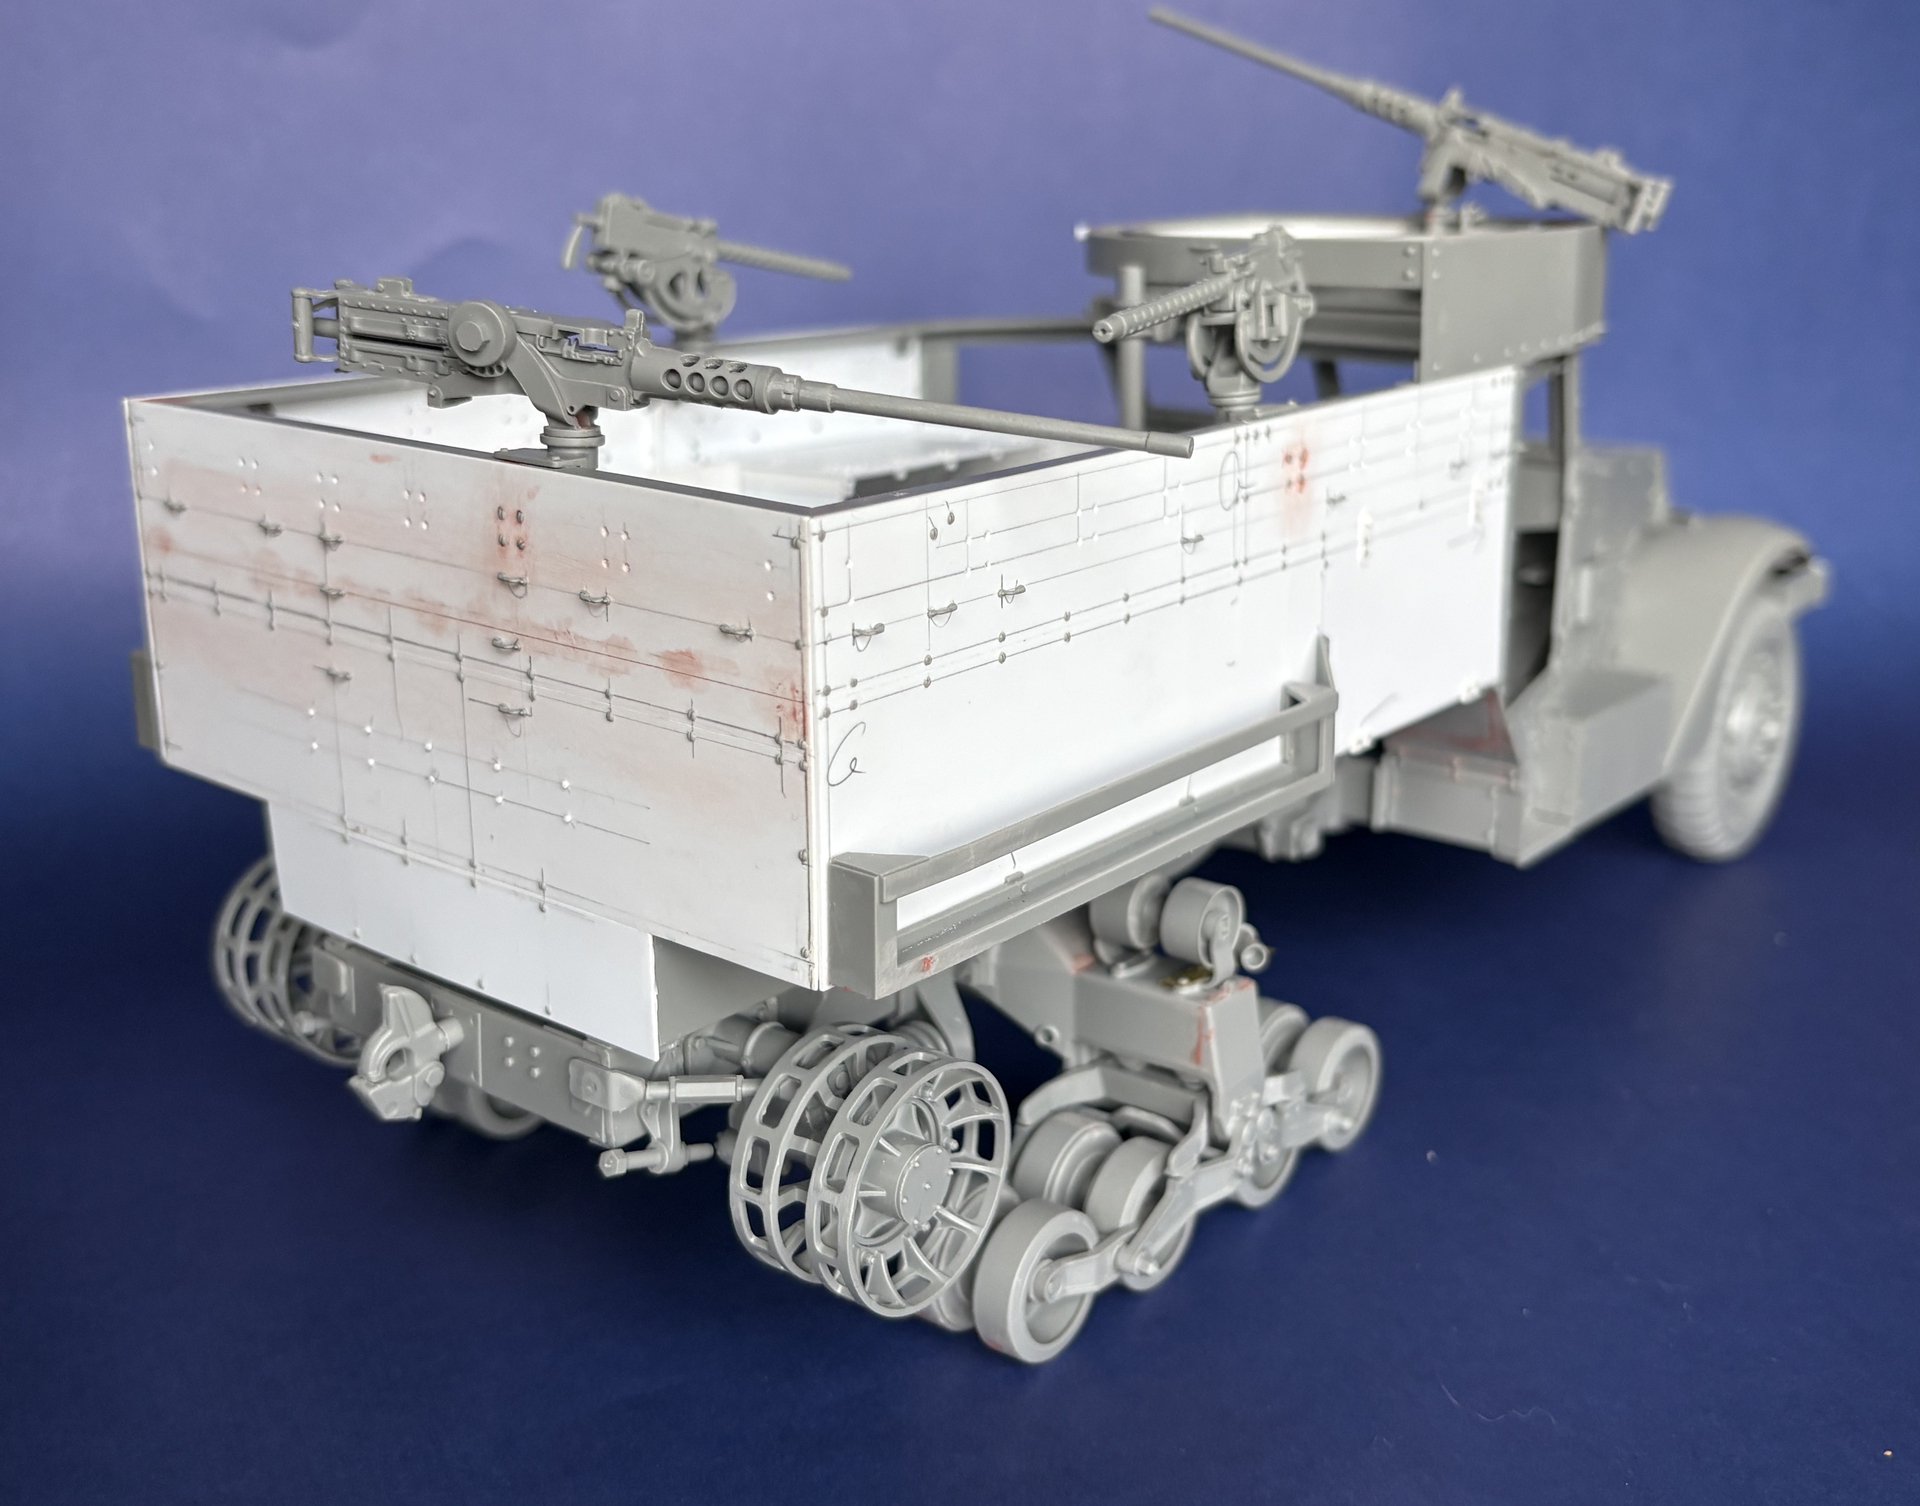
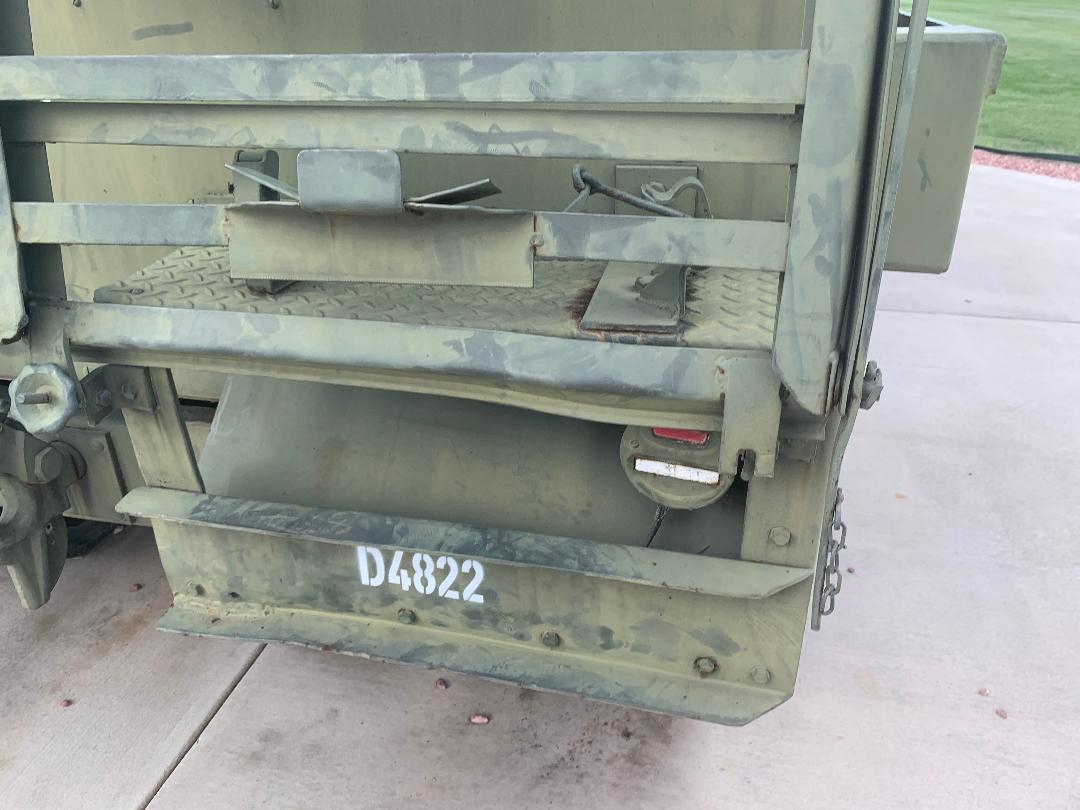
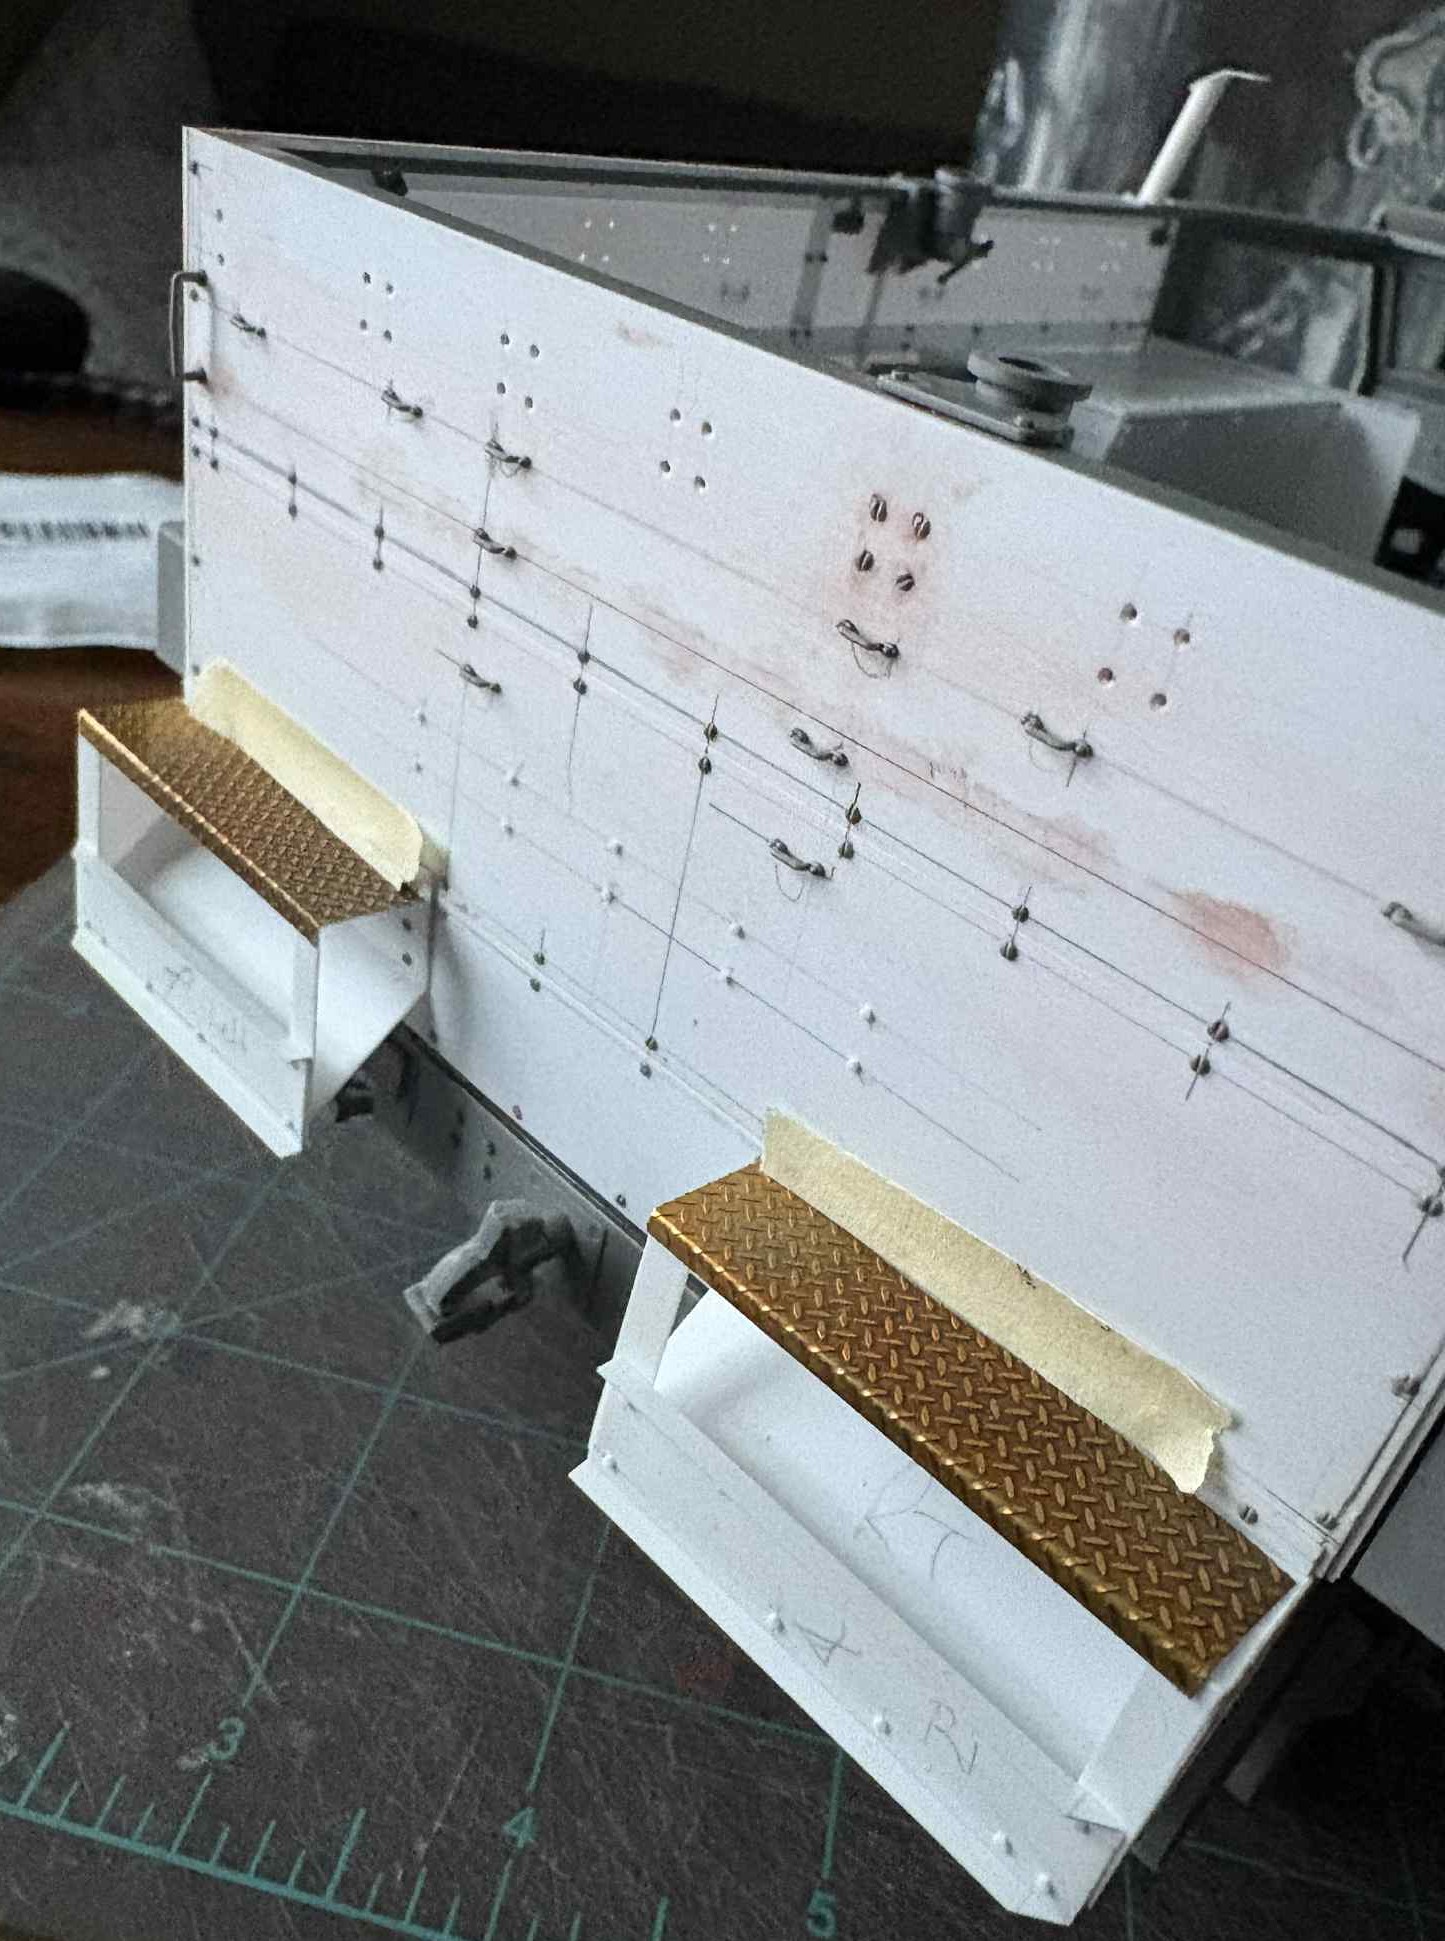
Hello Jakko: I have DML kits and Hunnicutt. I’m in the middle of converting the 1/16 AHHQ M3 into an M2A1 thus I need precise measurements as small errors are significant in this scale. I was led to some good ones on the halftrackinfo.com website, measurements from and for restorers of 1:1 vehicles. Thanks for your offer however! I’ve attached a photo of some of my progress.
7 Likes
That looks good.
And therein lies a significant problem: If you get those precise measurements from a 1:1 vehicle and make your parts accordingly, you are counting on the fact that the kit is dead balls on accurate as well - and we know as modelers, especially with armor, that is rarely the case.
What I usually do is tailor parts to the kit, using major “landmarks” on the real thing, e.g. weld seams, rows of bolts, and compare them to similar locations on the kit, and adjust accordingly. In another recent thread I mentioned how I make the part from paper first, getting all the angles and measurements I need, and then transferring that information to the actual part I’m fabricating.
Unfortunately, I do not always take measurements when I do walkarounds…
4 Likes
WUT da F U say?
Are they NOT 100% accurate?
The end of the world is near …
![]()
![]()
6 Likes
Yeah, I agree completely. Get some card stock paper and cut and fit to your kit. Use items nearby in the photo to help gauge the size. It may take several tries, but it is only paper.
3 Likes
I suggest combining the two for the best result: find out how big the real things were, see if this will fit the kit OK, and if not, adjust the real dimensions to fit. This is far better than eyeballing things based on photos.
If you do only have photos, measure in those so you can convert to known dimensions from the kit, rather than just looking at them and making estimates of how large something is.
2 Likes
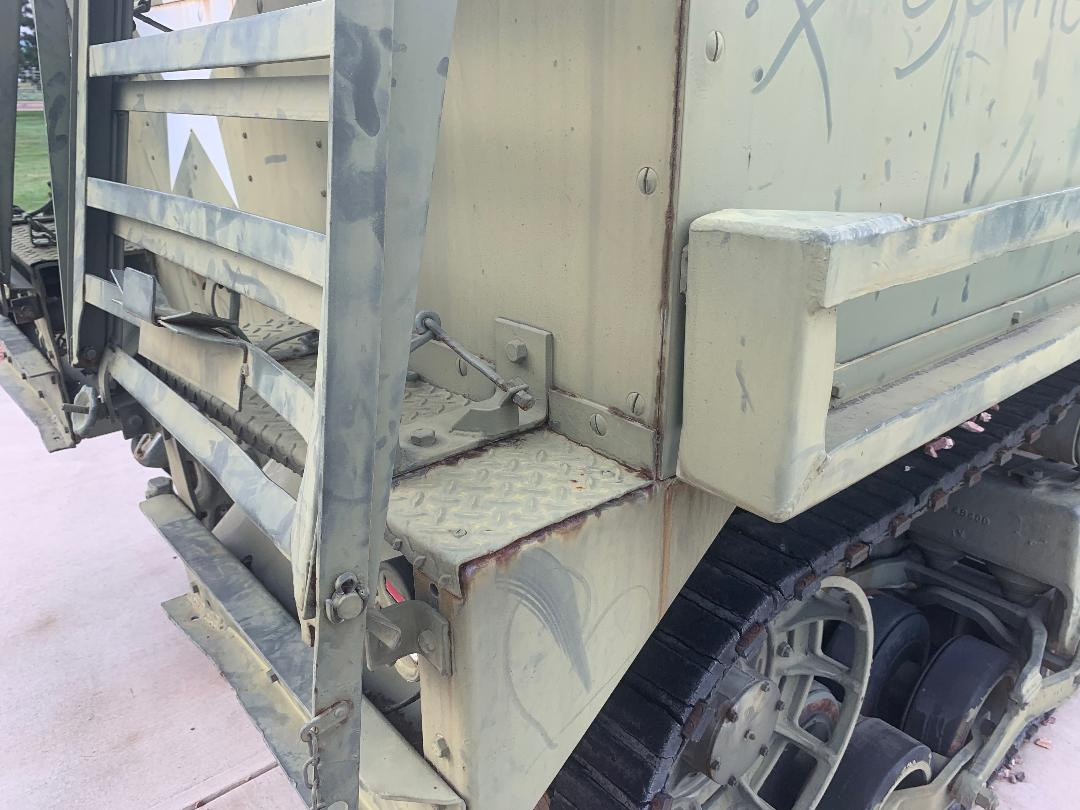
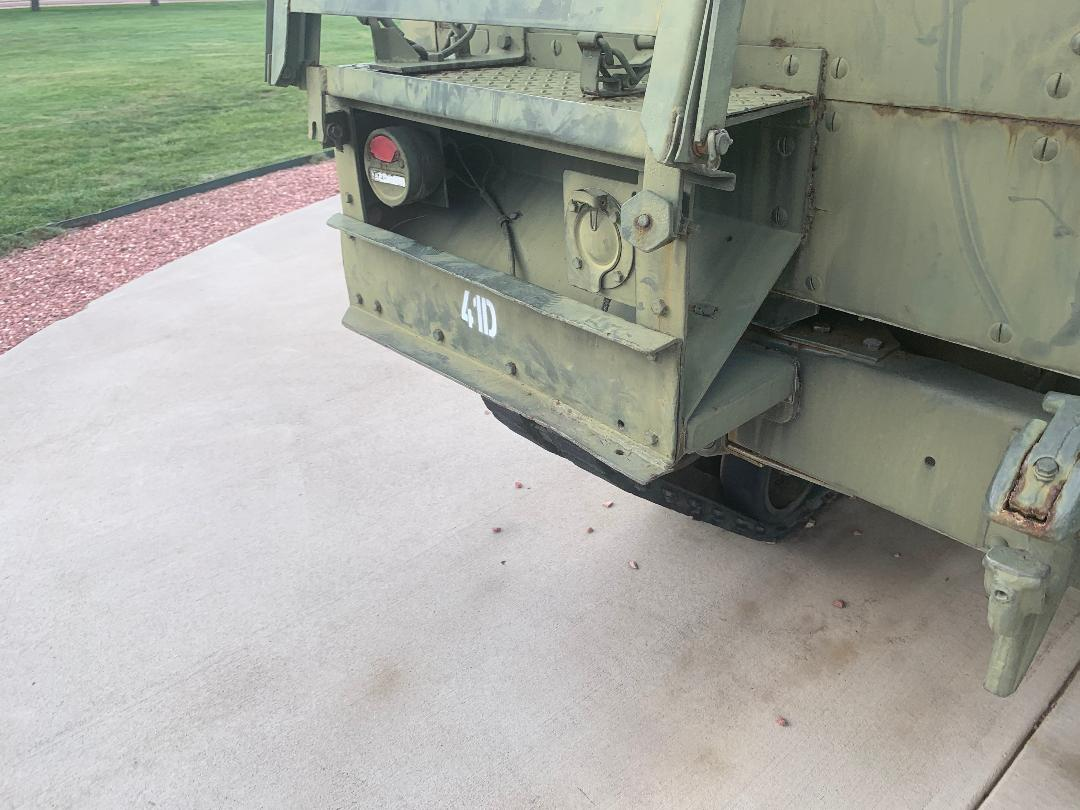
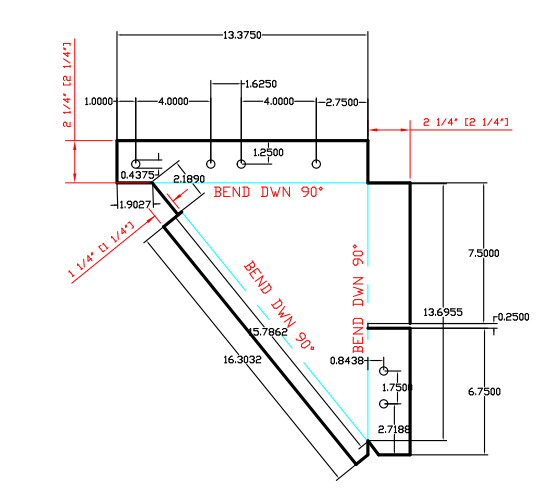
I understand there’s an inherent level of “slop” but I had nothing to go by except photos and inexact drawings. At least with the drawings from restorers, I had a good basis to work with – that was especially important with the triangular bumper end cap which isn’t isosceles.
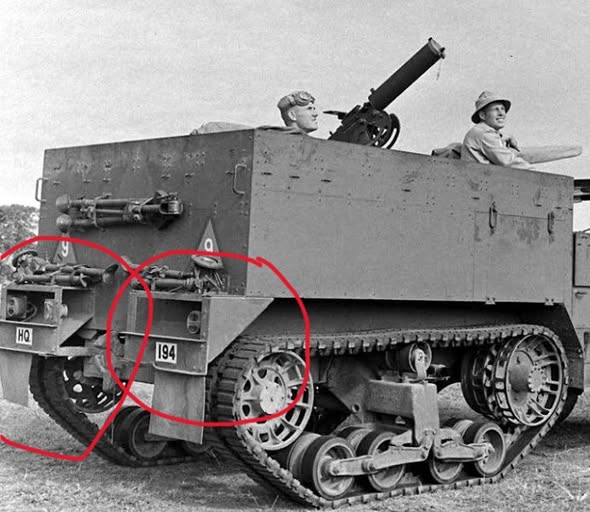
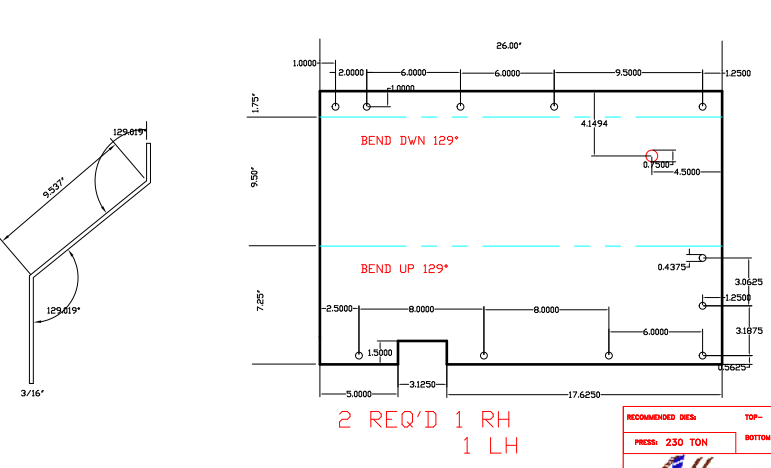
For instance, from the halftrackinfo.com chat pages, I was able to get these – and they have been very helpful
4 Likes
Since they bent steel, it would be brilliant if you could construct your pieces exactly the same way - with brass sheet tock bent just as in your diagram.
3 Likes
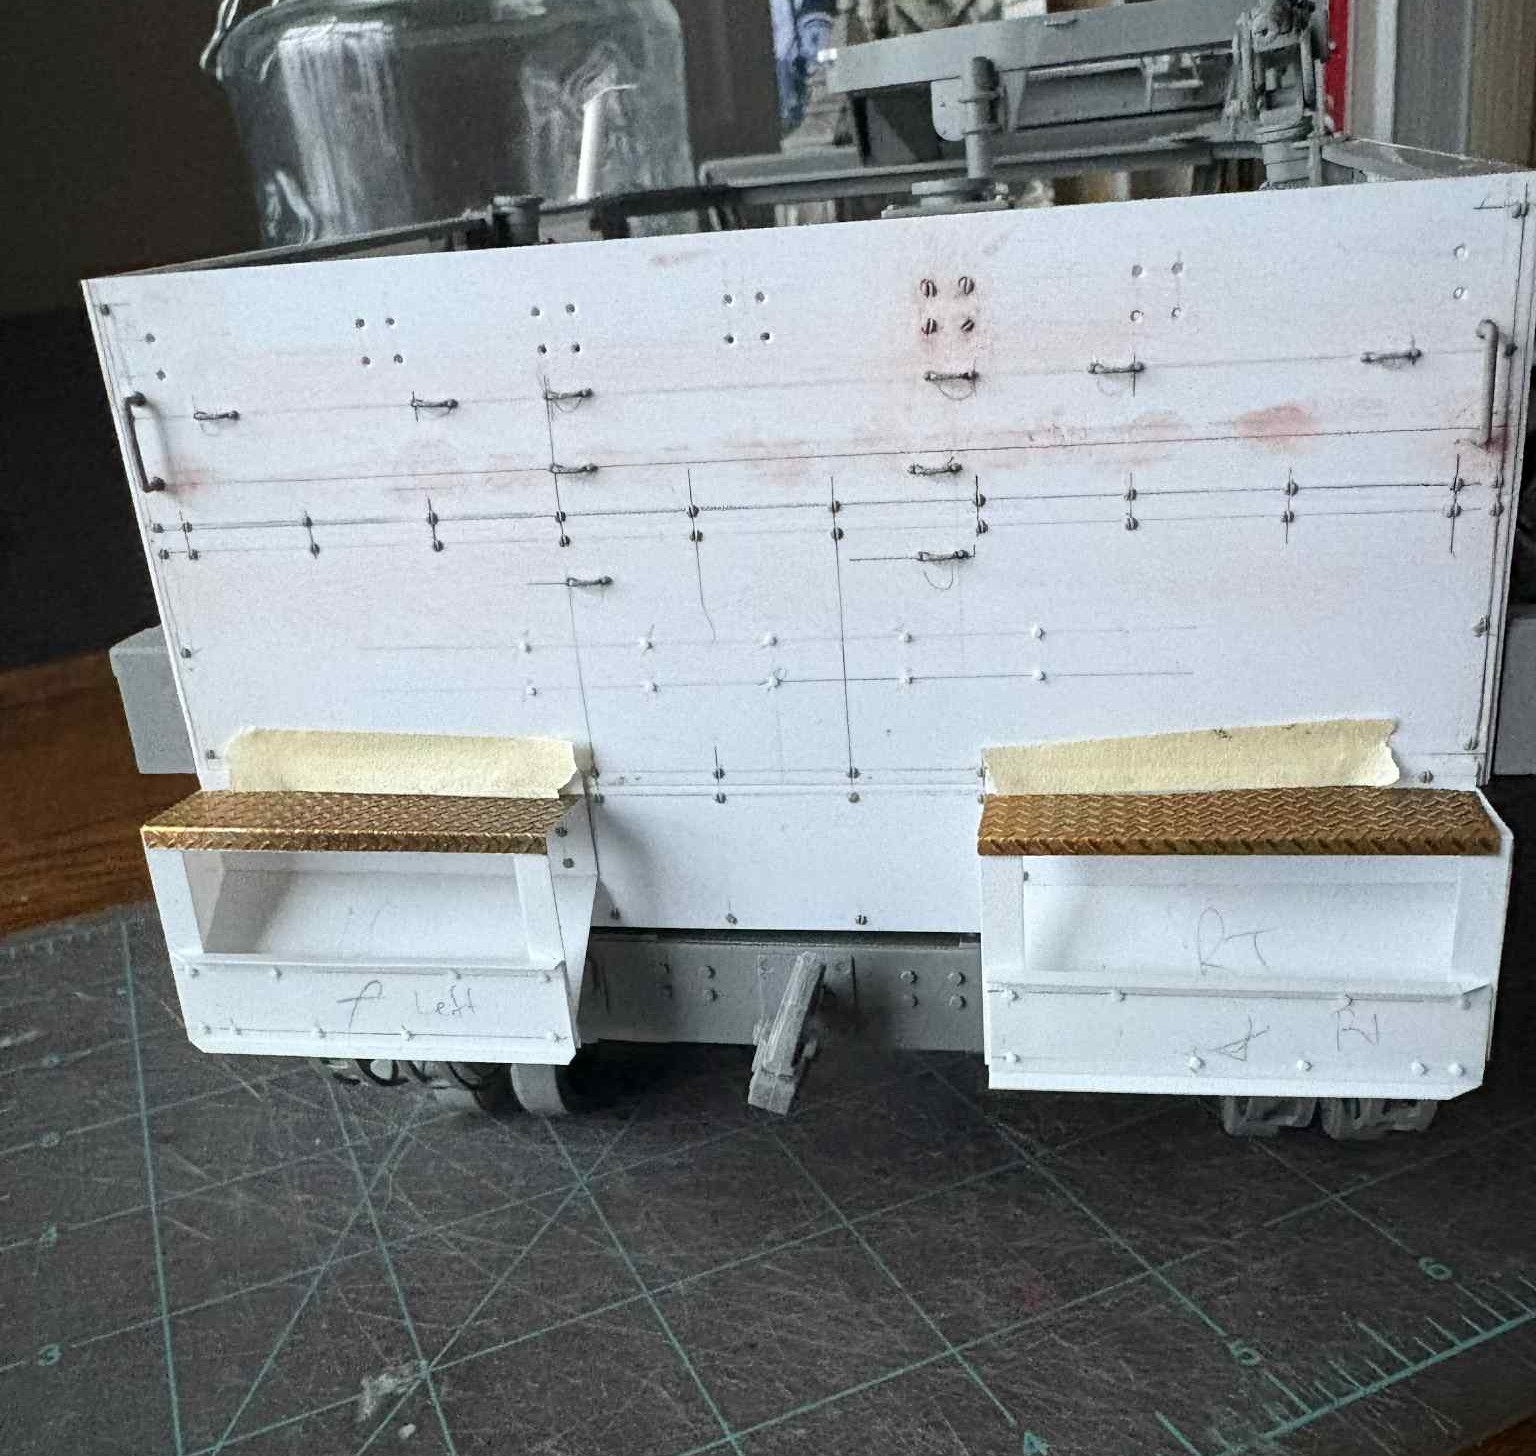


I’ve managed to assemble these. They are affixed onto the rear of the HT for the pics only. I still need to add the tail lights and electrical outlet.
Comments, questions, advice are welcome!
7 Likes
Wow Roy you sure made quick work of those. They look excellent. Outstanding scratchbuilding on the whole model.
2 Likes
We are so glade that you scratch built these, now a set of them is bound to be released. ![]()
4 Likes