Haha! You noticed. Not sure how that happened, but… guilty. Different genre, same snail pace. … I still have trucks, tracks, soft skins, and unfinished dioramas in my stash that I’m trying to get around to.

 …
…
—mike 
Haha! You noticed. Not sure how that happened, but… guilty. Different genre, same snail pace. … I still have trucks, tracks, soft skins, and unfinished dioramas in my stash that I’m trying to get around to. …
—mike
OK thanks Nick, so to summarise – dark grey, dabbed rust cocktail, dabbed water, dilute dust with multiple washes. Actually I should have been clearer,  I also wanted to know at what stage you applied the yellow and how you abraded its edges – presumably between the dark grey & rust stages, and all while still damp…? If so, that sounds like it needs to be a fast operation…?
Hi Tim,
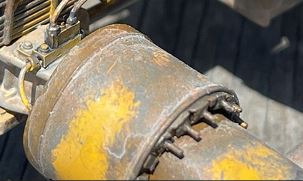
To clarify, I only apply the base color once, as shown below:

And then, depending on intent, various degrees of scrapes (suggesting showing factory primer and not necessarily rust) and or rust, or whatever colors/conditions are applied over:
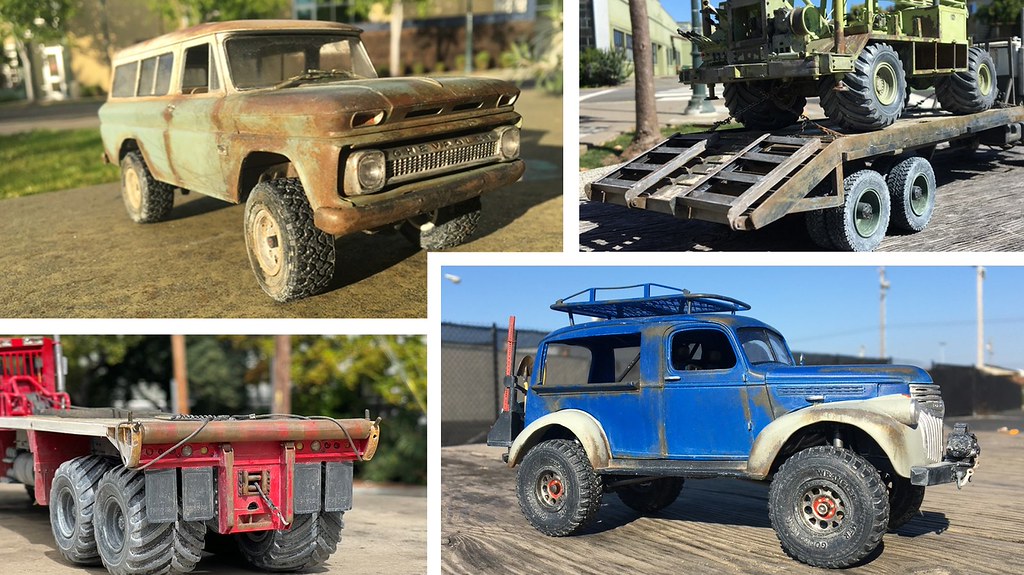
In the upper left I was going for old rust, likely caused by age, whereas, in the upper right, built up as a result of lots of use. In the lower left, on the bed roller, I wanted the truck to look fairly new, with rust just beginning to show through. On the lower right, the goal was intended to look like a bit of age and some scuffing that might come through via use.
In each of these, the first color over the base was anthracite grey, followed by other washes to get the effect I was looking for. To your comment above, yes, and no. I tend to pick a spot of the project I want to work on first, add the grey, let it set for a few minutes and then work fairly quickly with the washes. You shouldn’t get sloppy with the washes though, as you might unintentionally create either a mess or, decrepitude covering much more than you want to actually cover.
And, the final wash of the Lifecolor dust wash makes a big difference, as if you don’t the vehicle etc will look like it has the rust measles - and that is not a good look! You can also see, the truck in the upper left has a generous wash of dust, to imply faded paint, while the truck in the lower right (and the bumper, below the roller on the bed truck), only has a light wash, as I wanted the basic body colors to look good, and somewhat crisp.
Hope this is useful!
Cheers
Nick 
I finaly realised this topic wasn’t a way to trick us all into thinking these pictures of real trucks are pictures of your modelling science… 

Thanks again Nick – right, I was misunderstanding your term “base” to mean primer (but I wasn’t sure), you did mean the main colour. Anyhoo all part of my cunning plan to steal your methods
@bwilt, thank you very much. I’ve come to really enjoy taking the final photos, and spend a fair amount of time during the build thinking about how the project will look in the sun. Outdoor pics seem to cut both ways, in that, the sun does not lie! If you did a good job, it shows, similarly, if you blow it - well, the sun lets you know that too!
Cheers, and thanks again -
Nick
@Dioramartin, hi Tim, yes, sorry about that. I guess as I started model building (post being a kid that is) I learned that in armor you paint everything once in a solid base color, then go back and hit the other colors with a brush. It seems many auto builders don’t do this. I’ve found it works well for me, short of really obvious color changes, like separate chassis/engine and then cab or body. In the latter, I take the same approach, paint the base color(s) and add the decrepitude -
Cheers
Nick
Awesome stuff Nick, hit it right out of the park as usual mate!
Like the others, I take so much inspiration and learning from your projects, thanks so much for sharing everything in great detail.
Cheers, D