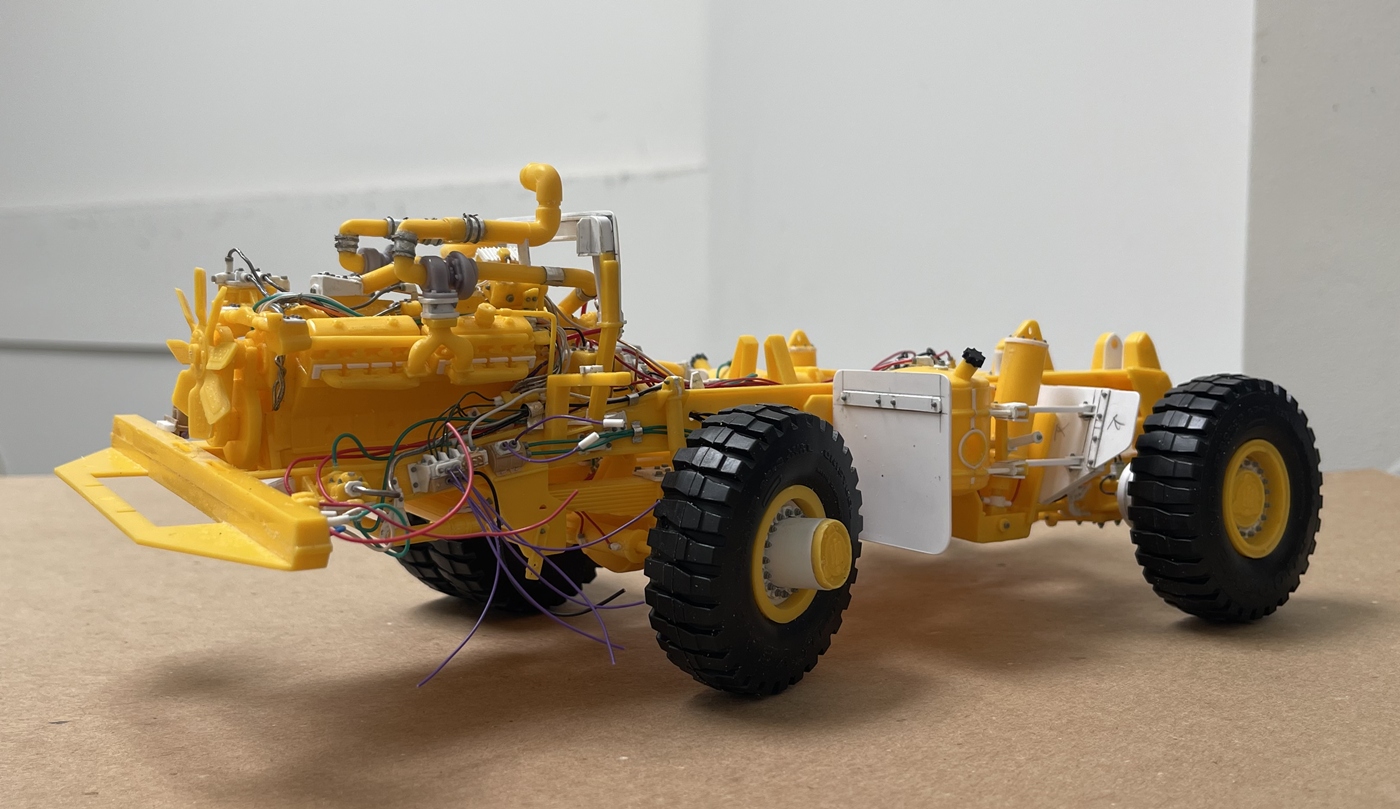
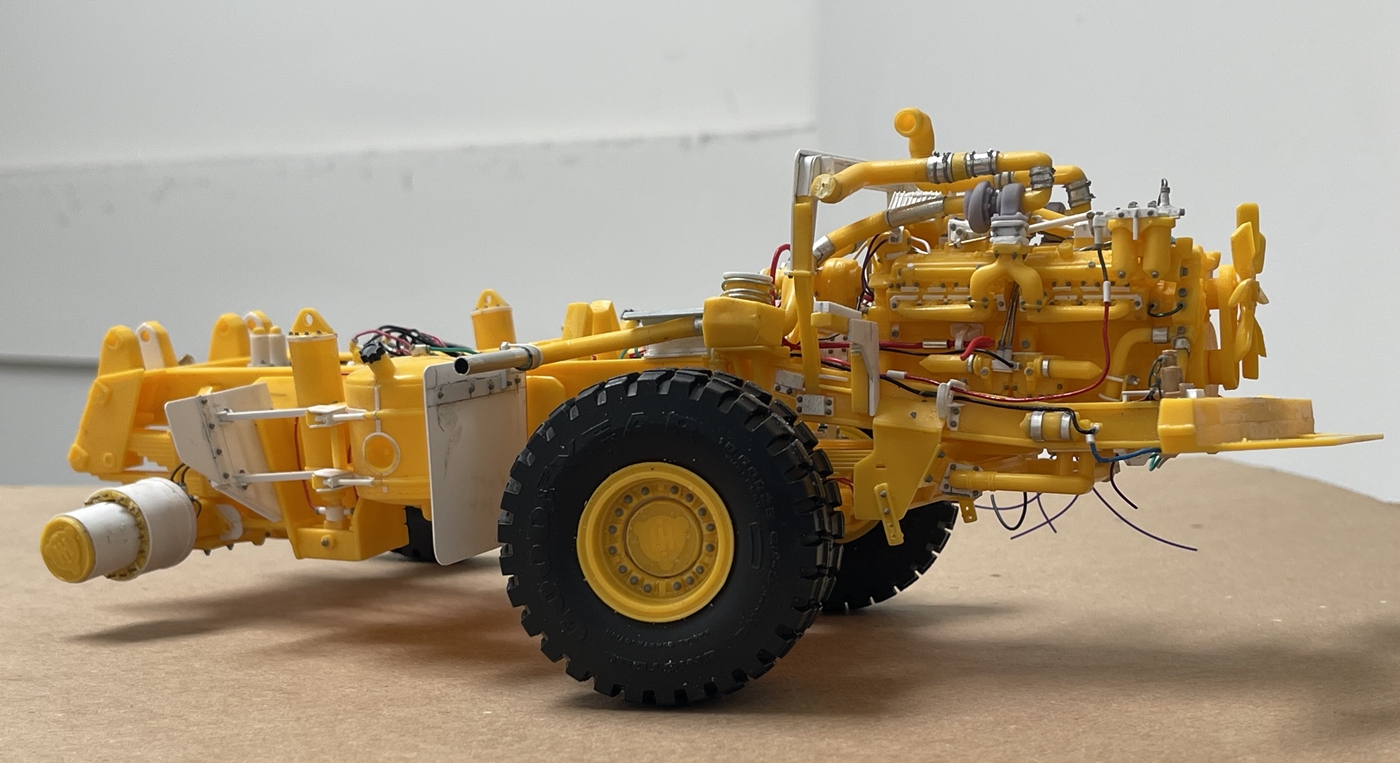
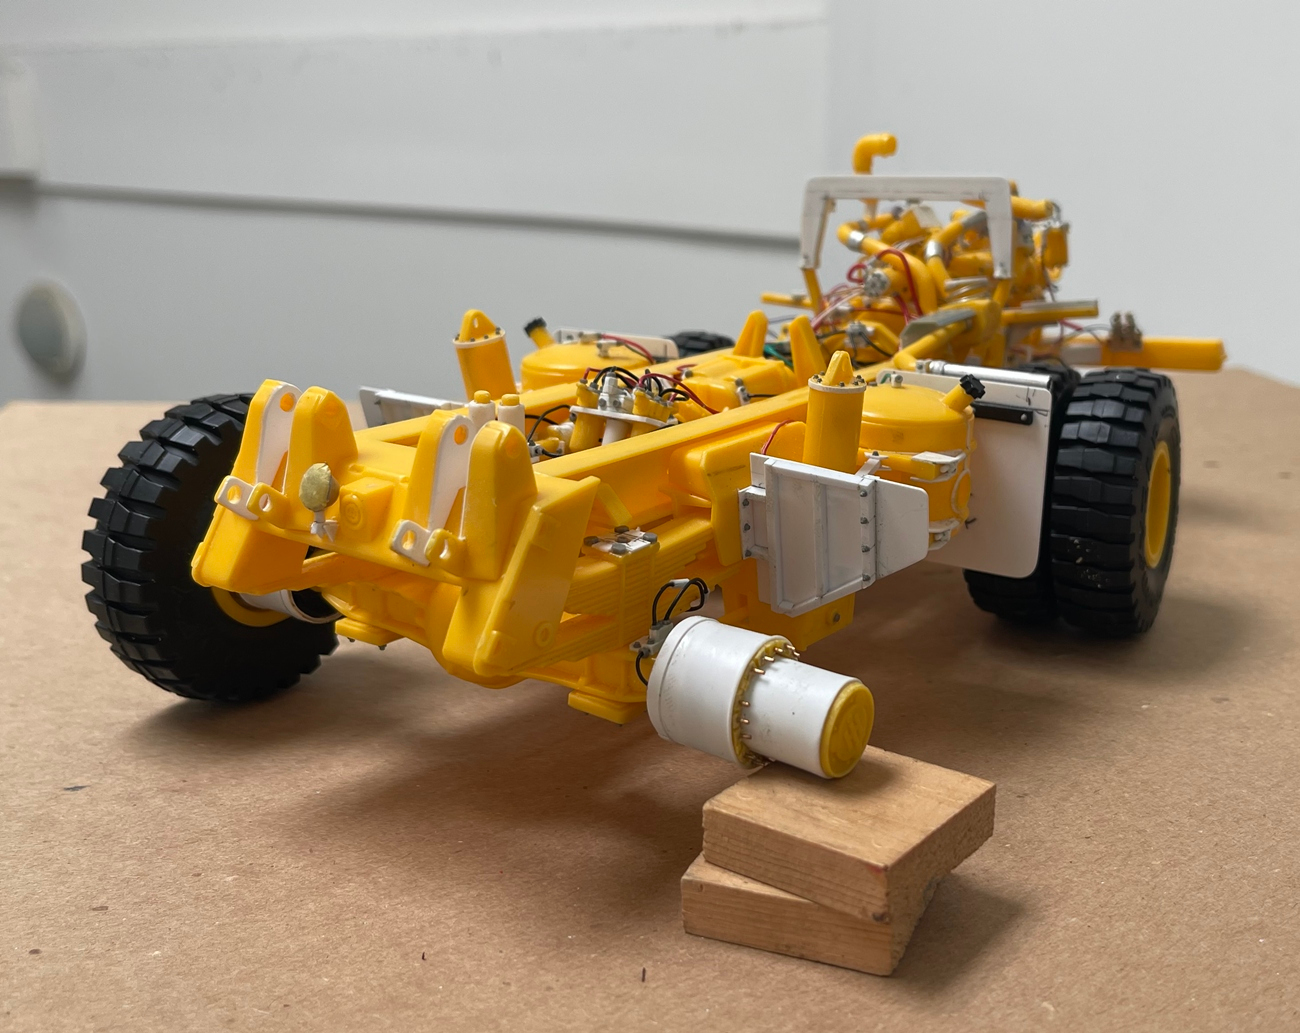
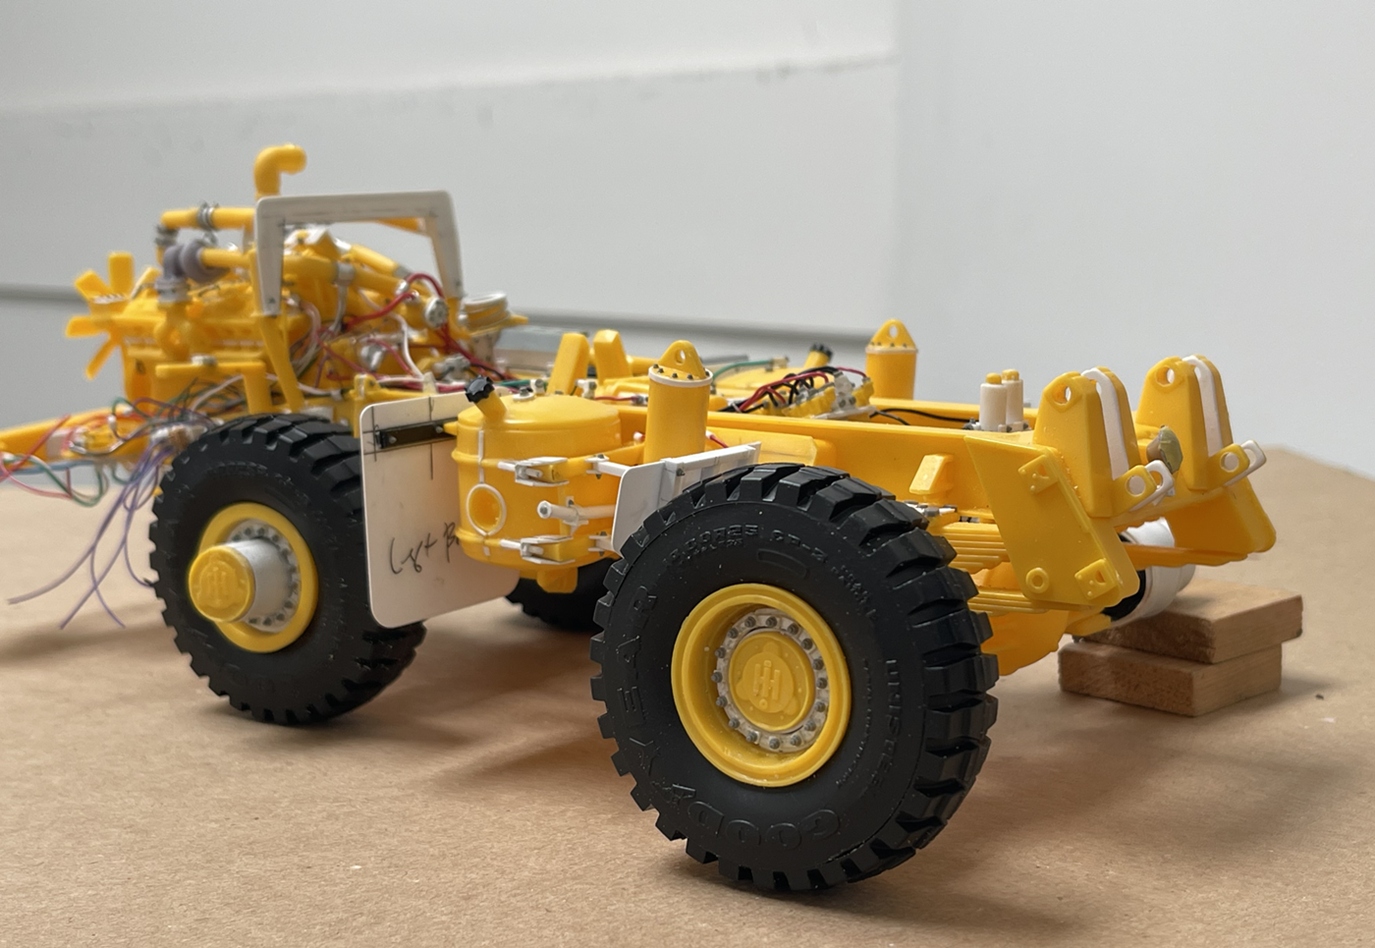
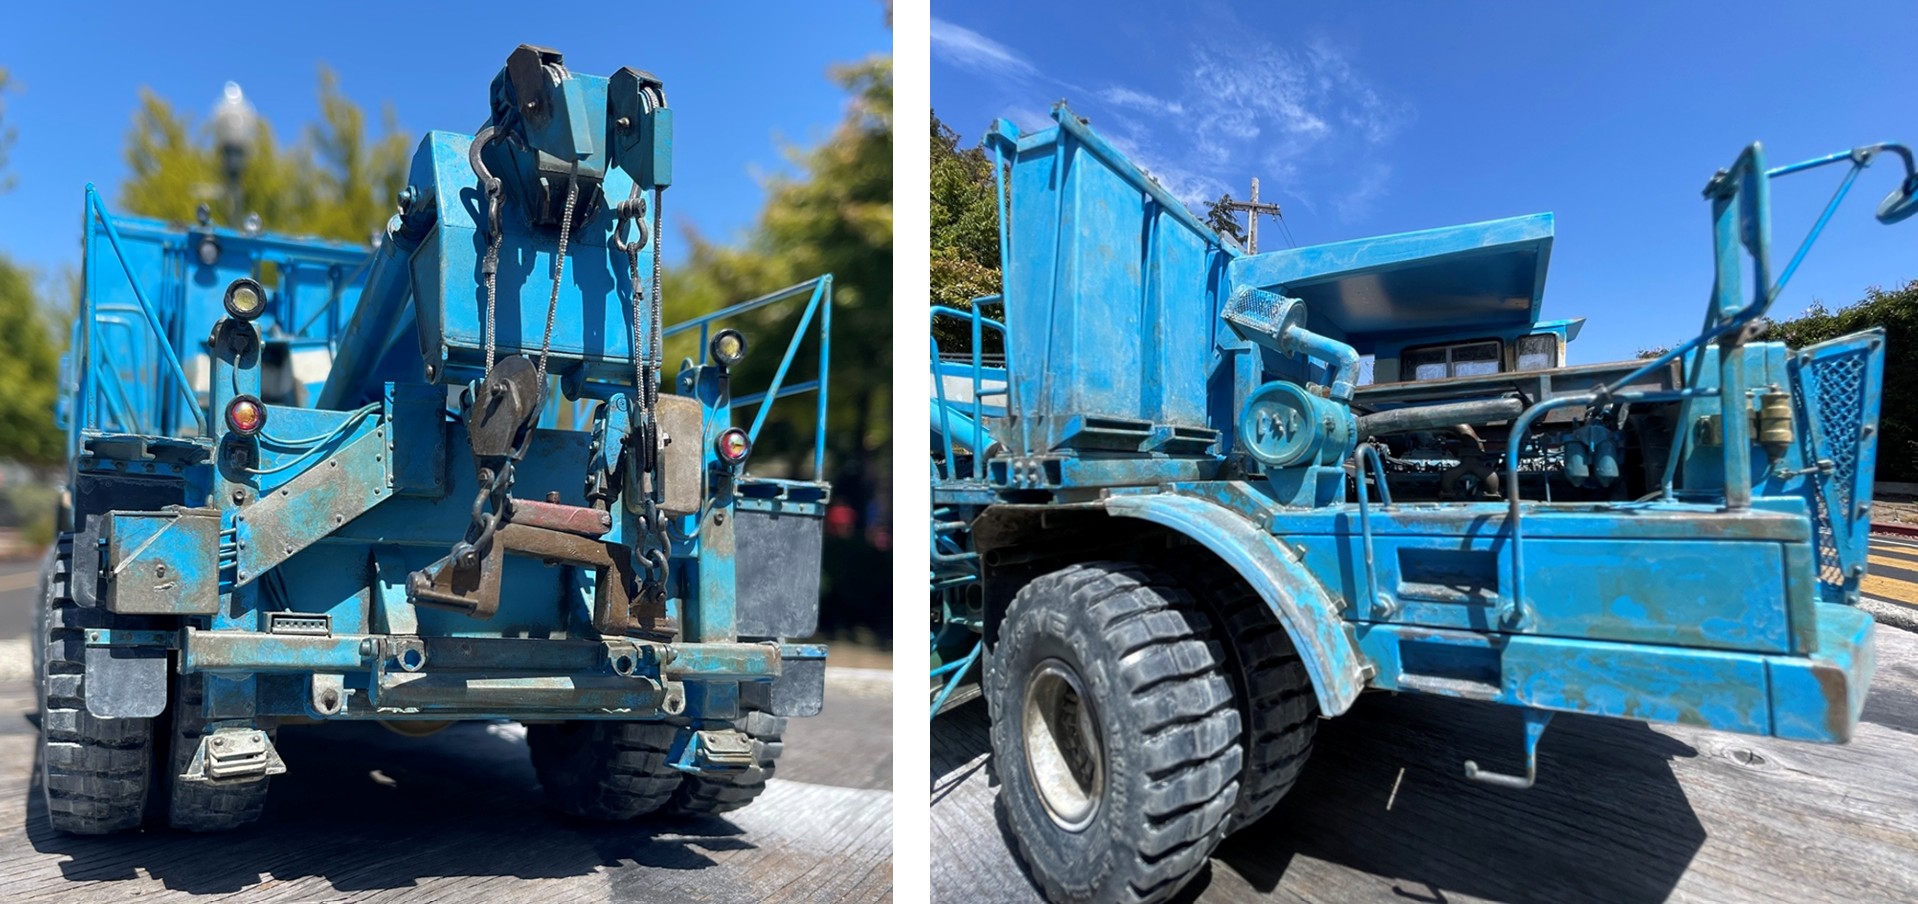
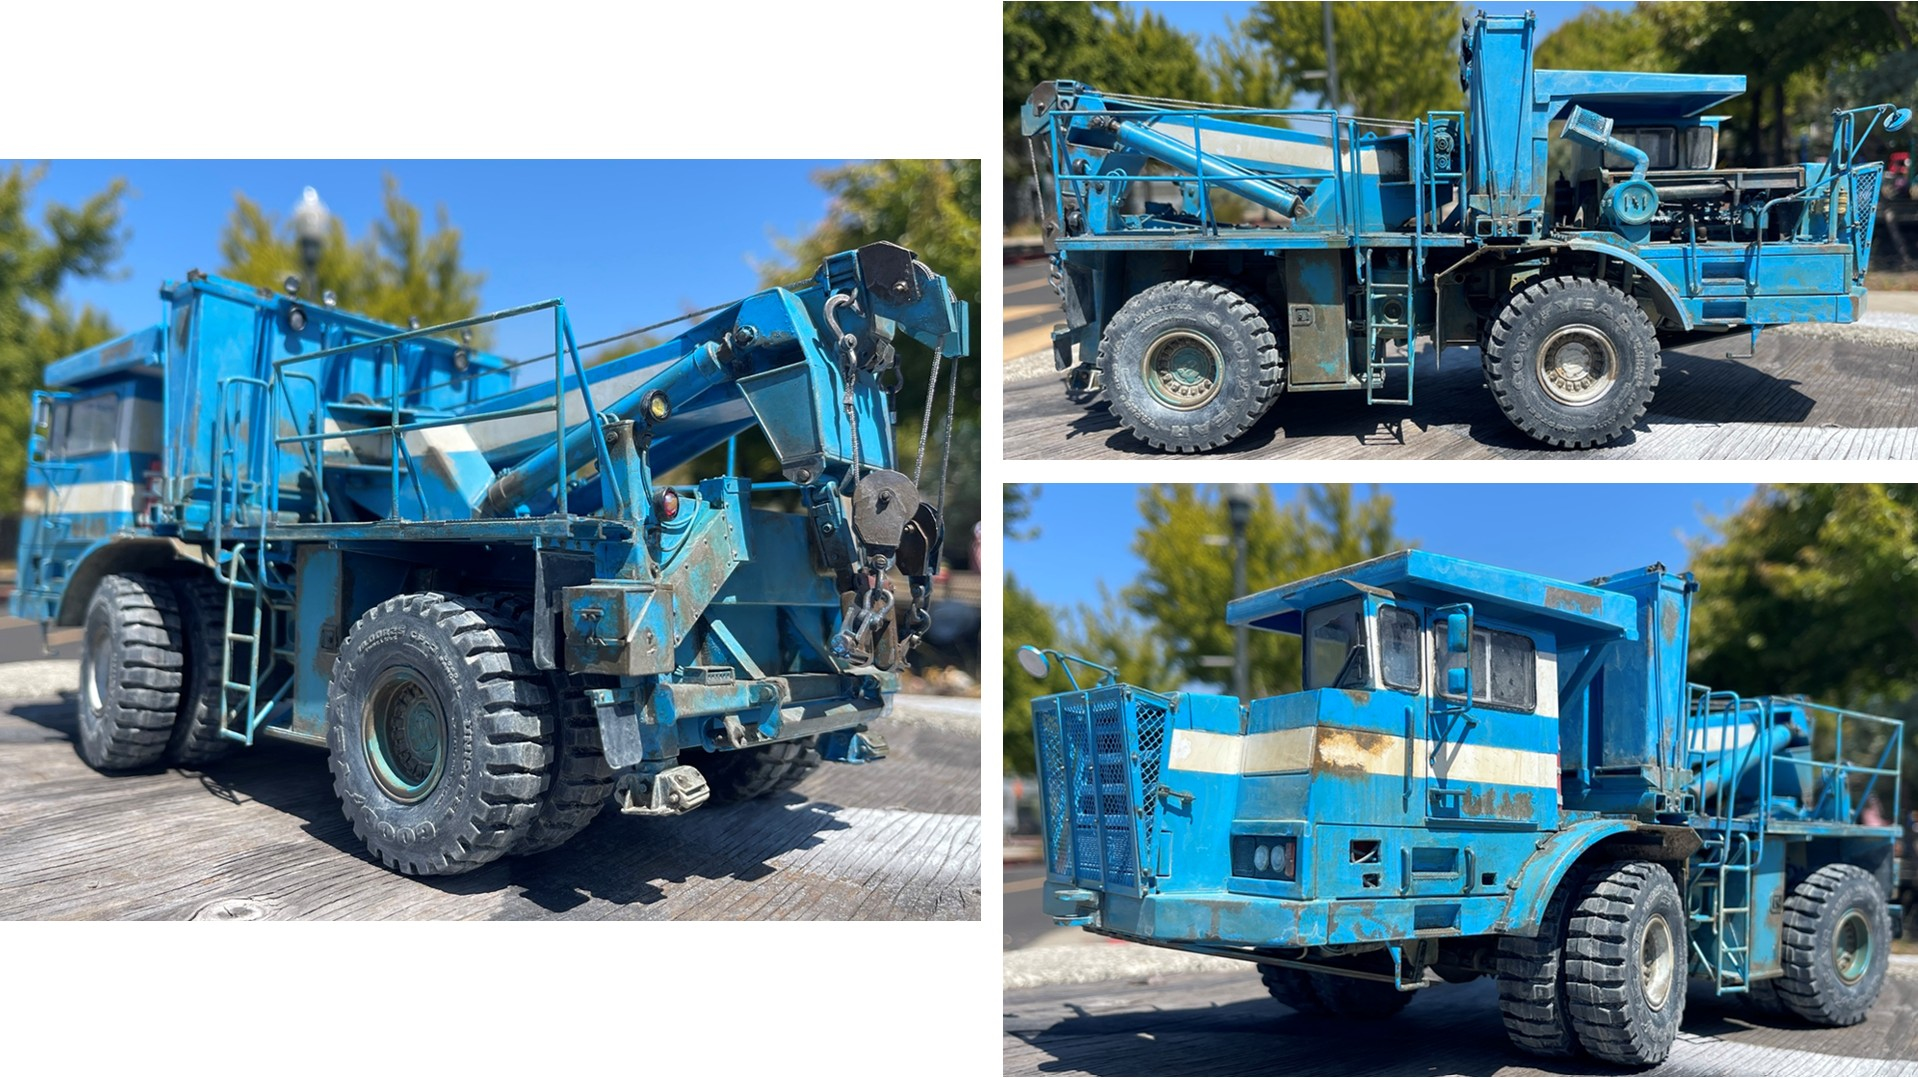
International Payhauler 350 wrecker revive and drive 1/25

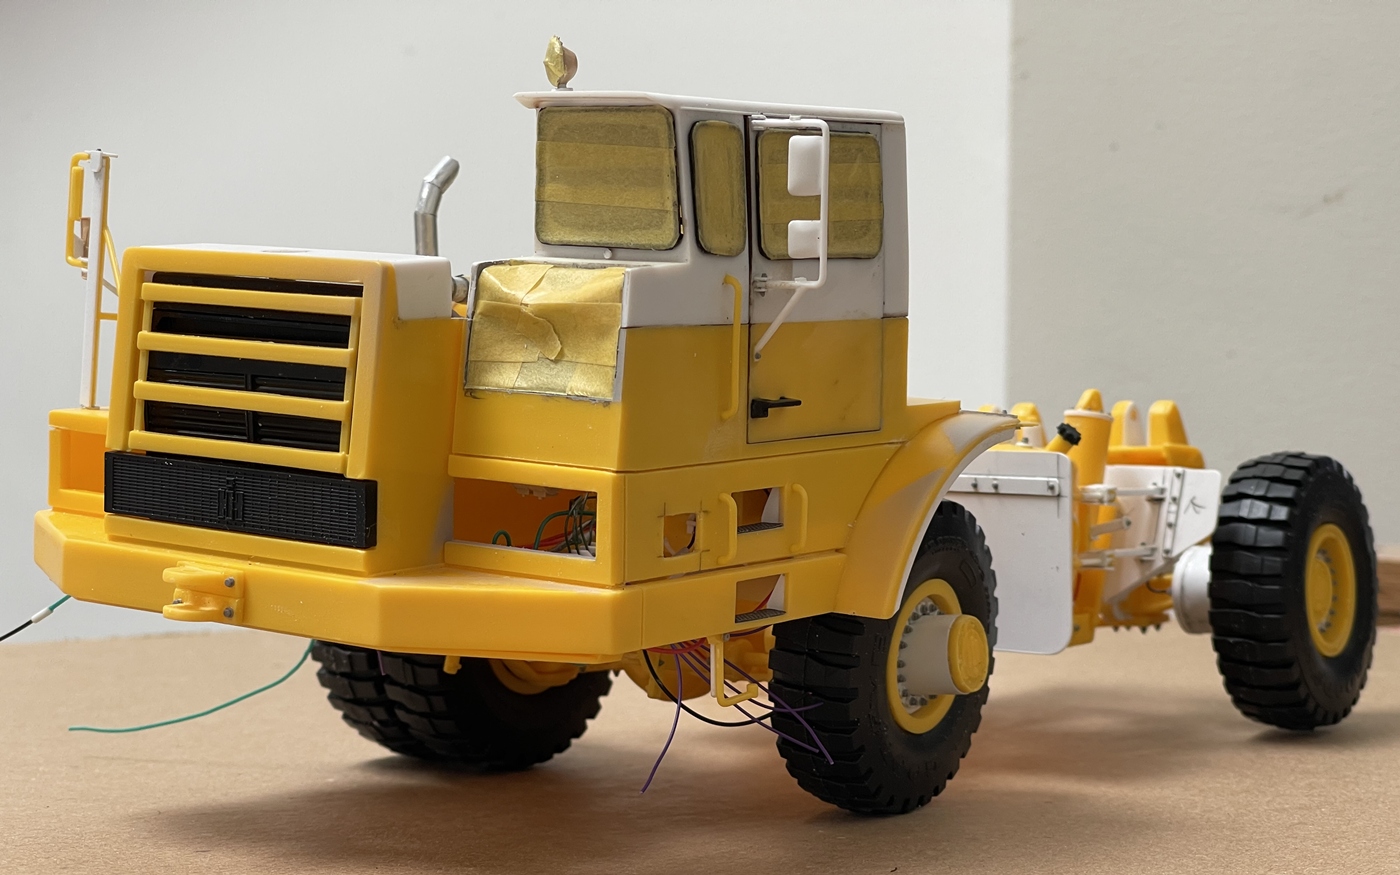
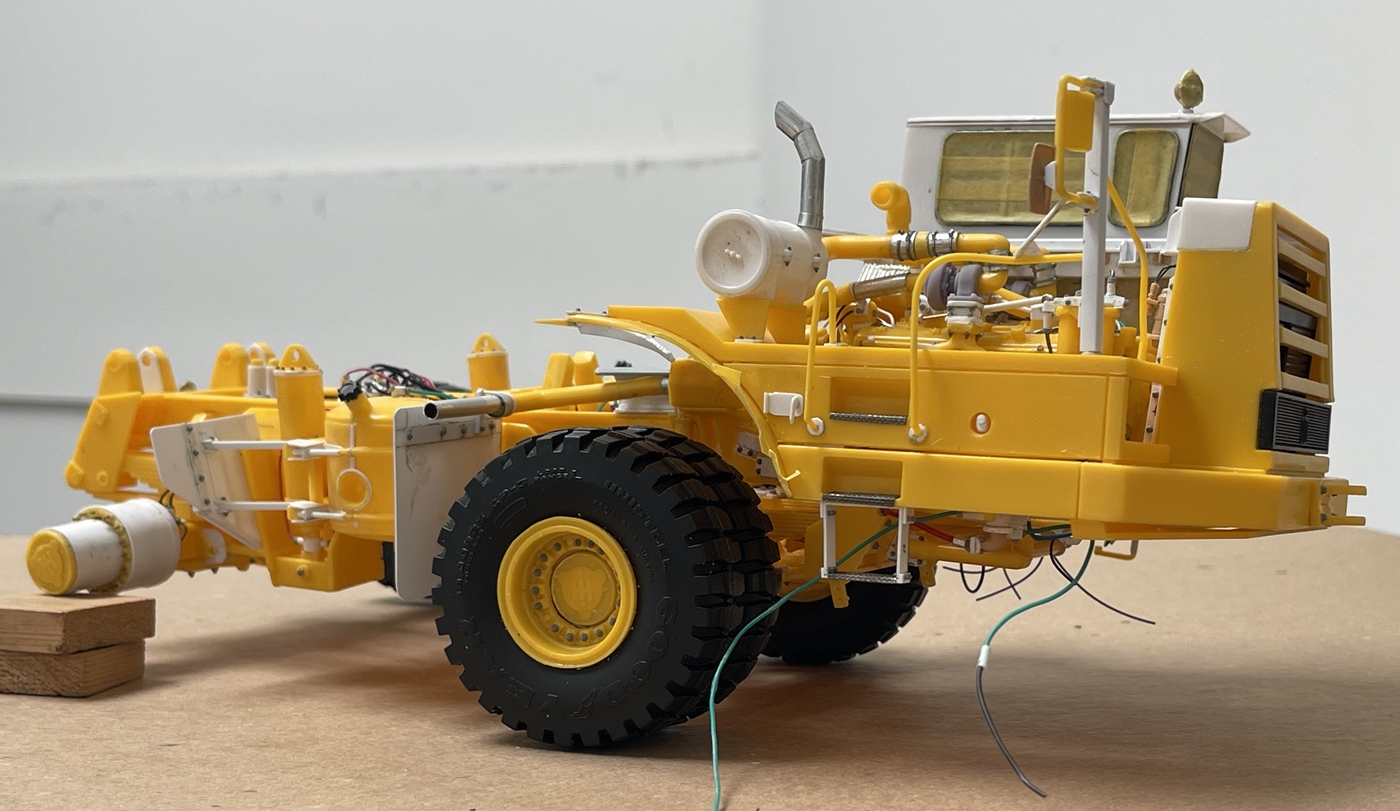
Well guys, here we are - the truck now has the front axle installed, and more evergreen:

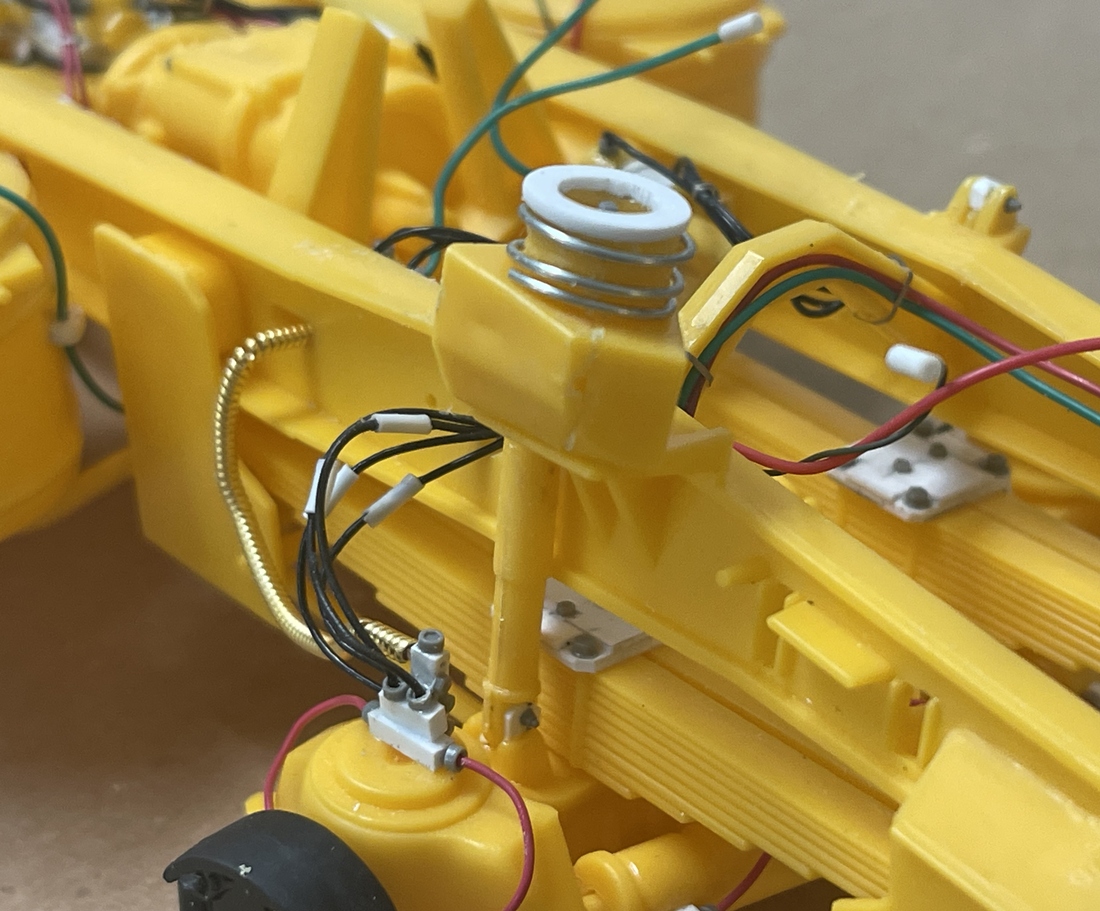
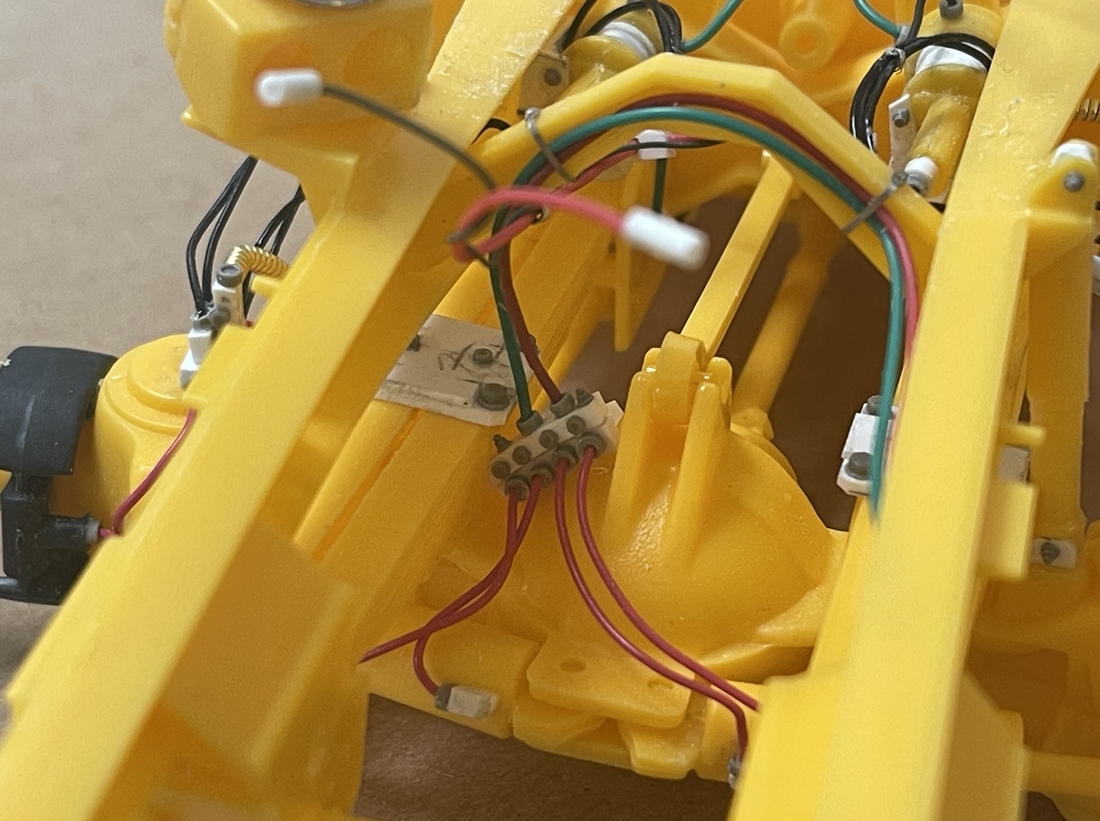
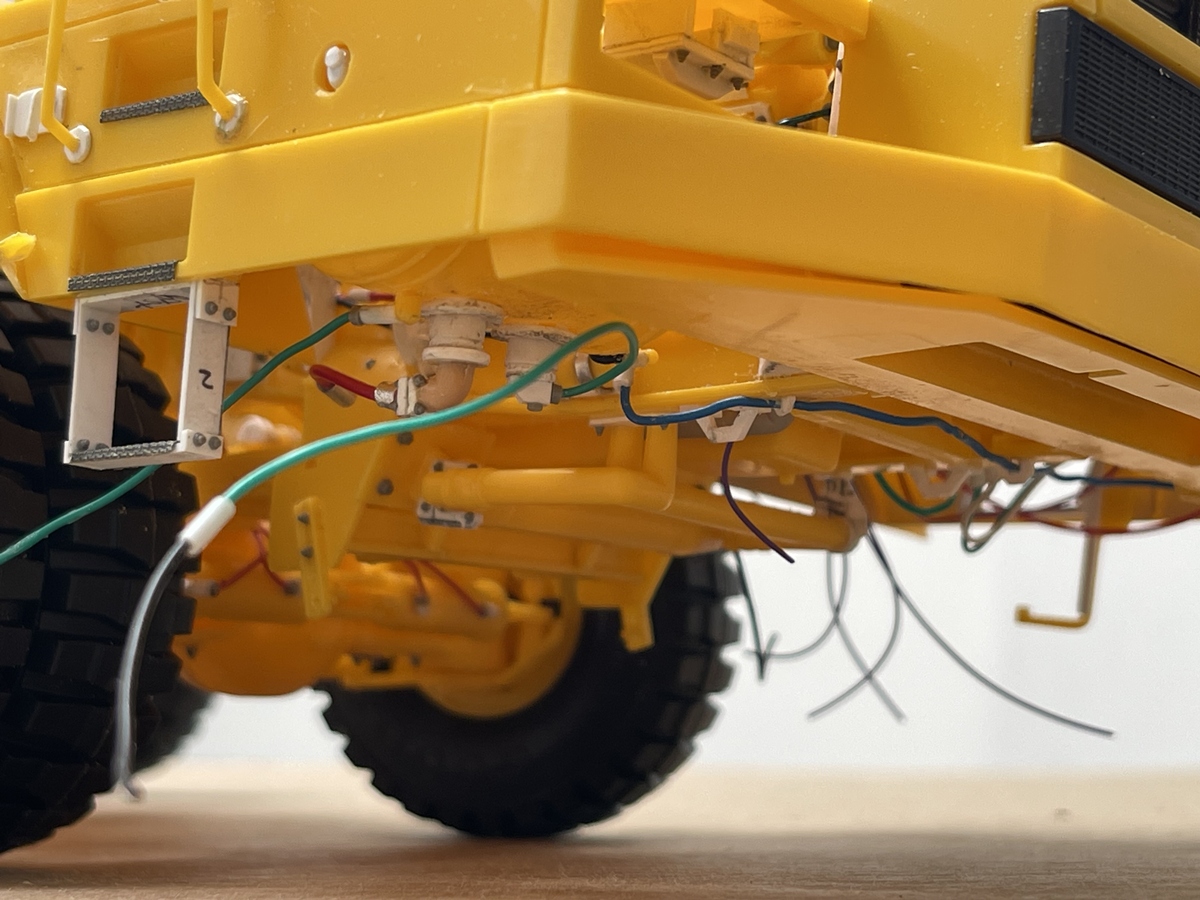
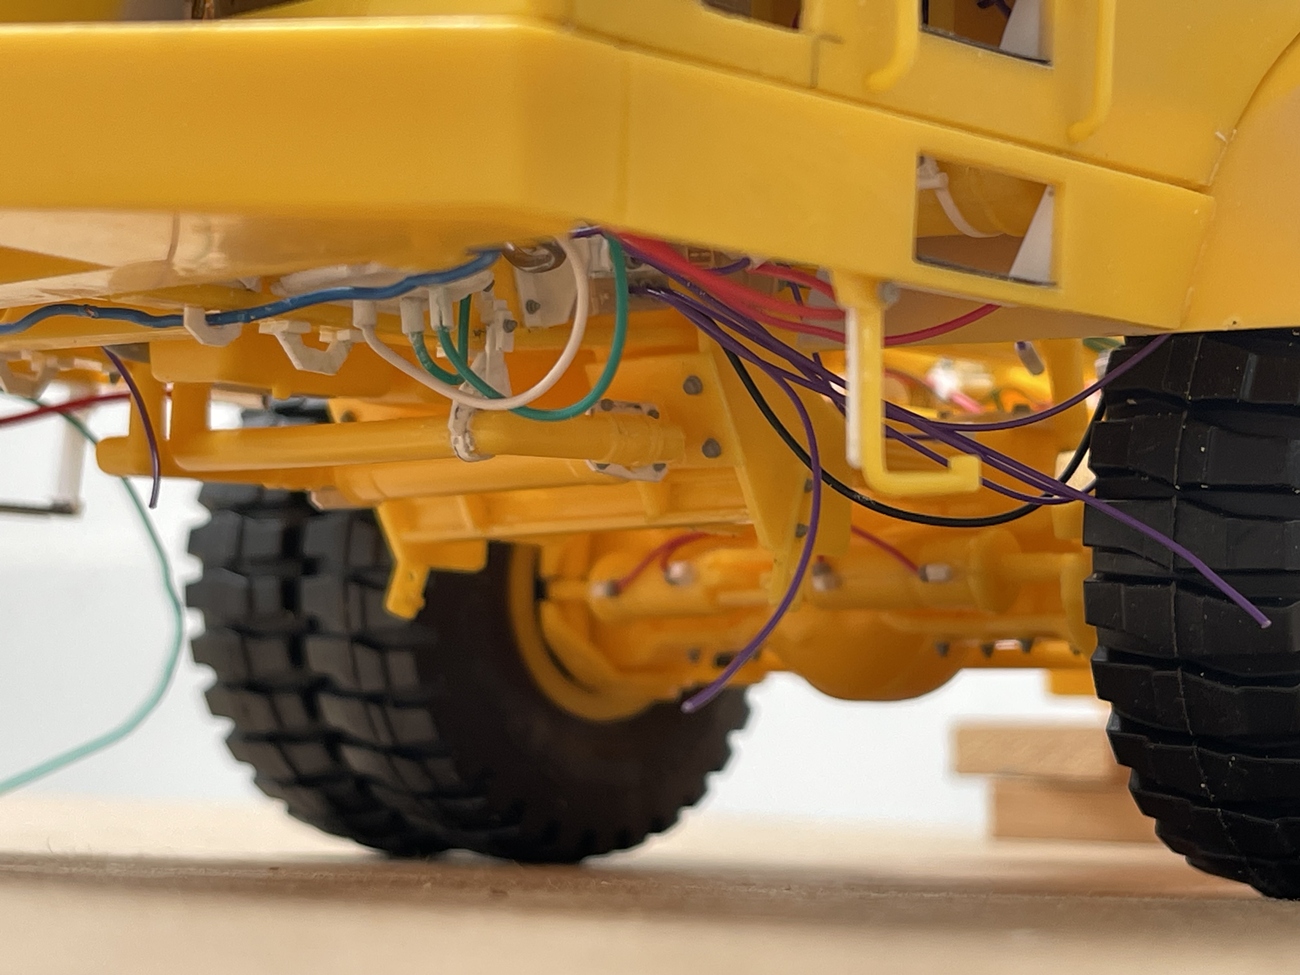
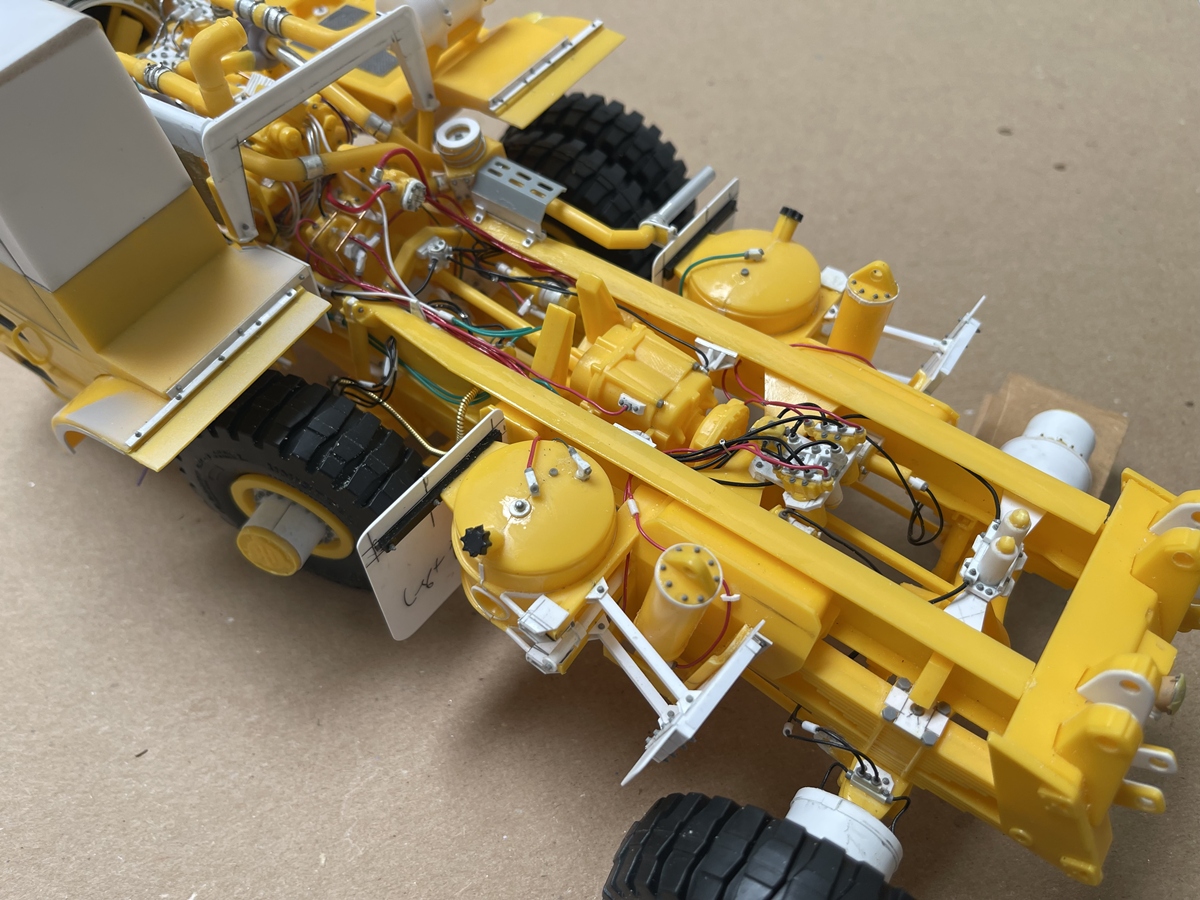
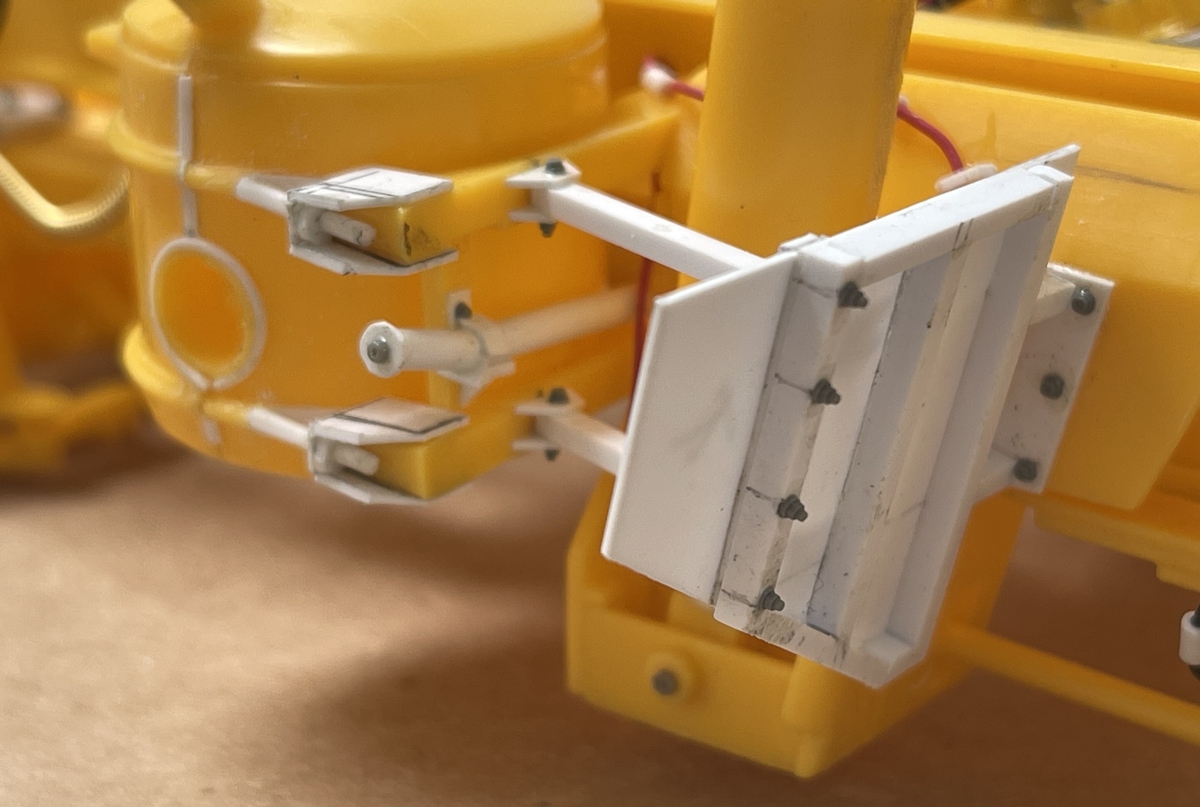
Like the rear, the front now has modified brake parts, some lines, hydraulics added to the steering rams, and some mods to what I am guessing is the spark arrestor. And some other things too:

Like on the wrecker, I fixed up the fuel tanks, so they look a bit closer to the real truck. And, added the filler tube you see above. While I can’t be sure, it seems this might lead to the transfer case? - whatever the case, we now have one too!

Like the rear, there is enough going on with the front end that it became multi step process - obviously, modifying and installing the leaf packs, then building the axle per instruction, then adding brake and hydraulic parts in such a way that it could actually be installed on the model and eventually connected to other plumbing.

On a separate note, as a heads up if some of you are considering this kit. The parts for the wrecker were basically square and true, and while some of the connecting points not great, it generally went together fine. I am not having the same experience with this kit, as some key parts are noticeably warped, most prominently being the frame rails that are both twisted and bent. This is ok for what I am doing, but could be a headache if someone wanted to make it an out of box build. Not as bad as a Panda MATV (in totality), but not a Tamiya assembly either. My bet is that if you get a warped version of the kit, it will test your patience and creativity! :grinning_face_with_smiling_eyes:

Thanks for having a look

Cheers

Nick :man_biking:
9 Likes

Very nice work so far! Dealing w warped frames and flash seems to be common on most of the truck kits, really deadens the excitement of building a real show truck

Where did you source your cable ties seen around the chassis

Hello model builders, and here we are, an update illustrating the struggle.

@heliman, thanks, as for the zipties, I’ll look for the packaging and try and get you the name. They are PE, and while a pain to install, once in place, seem to both look good, and actually hold things together and/or in place.

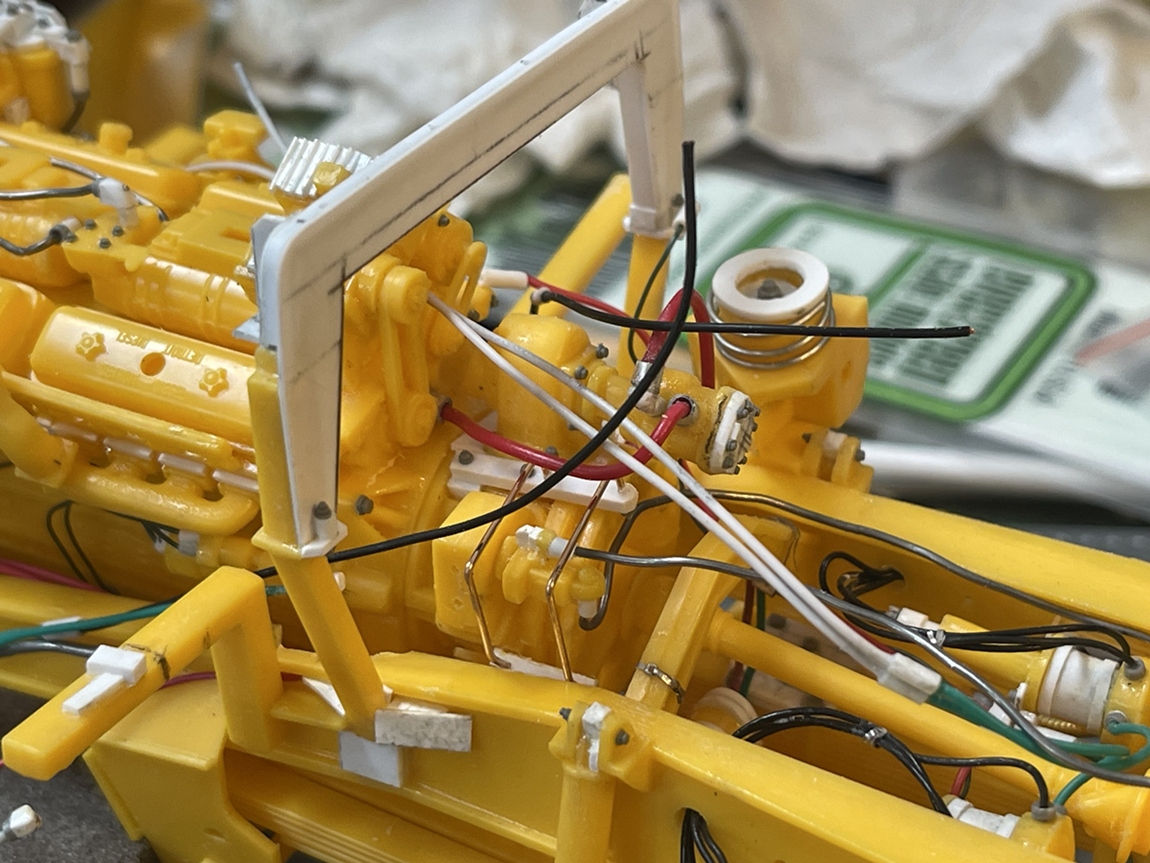
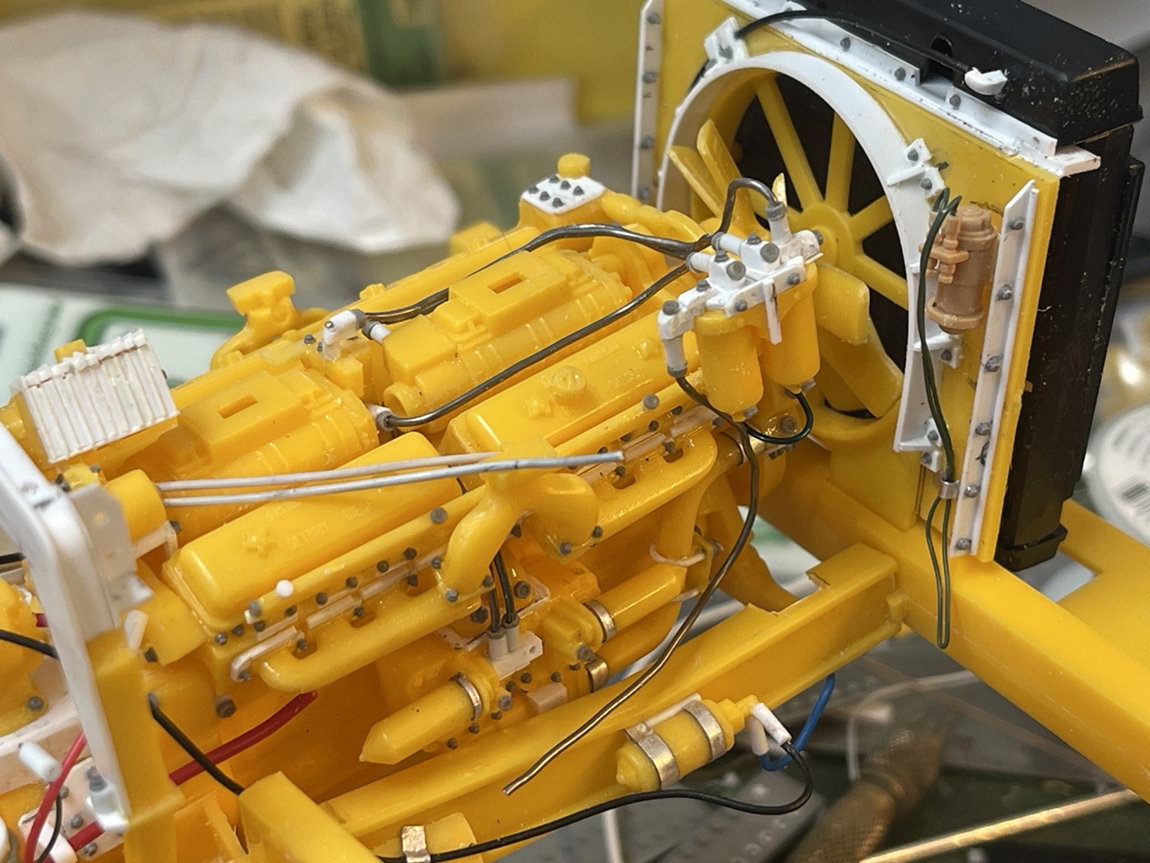
For today, a collection of mediocre photos but they illustrate the status, which is not that close to being out of the woods yet:

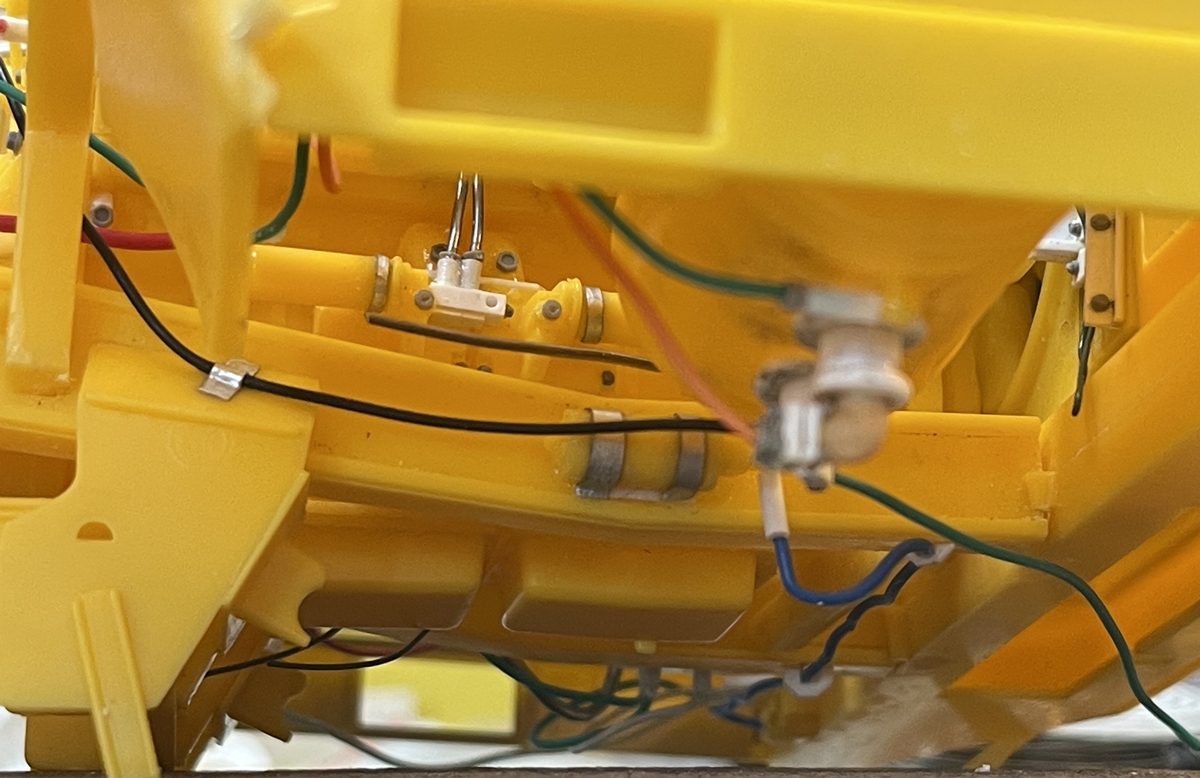
Ahh - more styrene, wire and bolts. The work above, to the left of the white disc, is the hydraulic PTO. This turned into quite a project. In fairness, it was more work than on the blue truck because I decided to try and elevate the level of detail. As seems to often be the case, yes, there is more refined detail than last time through, but it also has a variety of interpretive attributes - in English: seeing pictures which clearly show some attributes, but not all. So, while maybe more refined than before, but still, plenty of guess work!

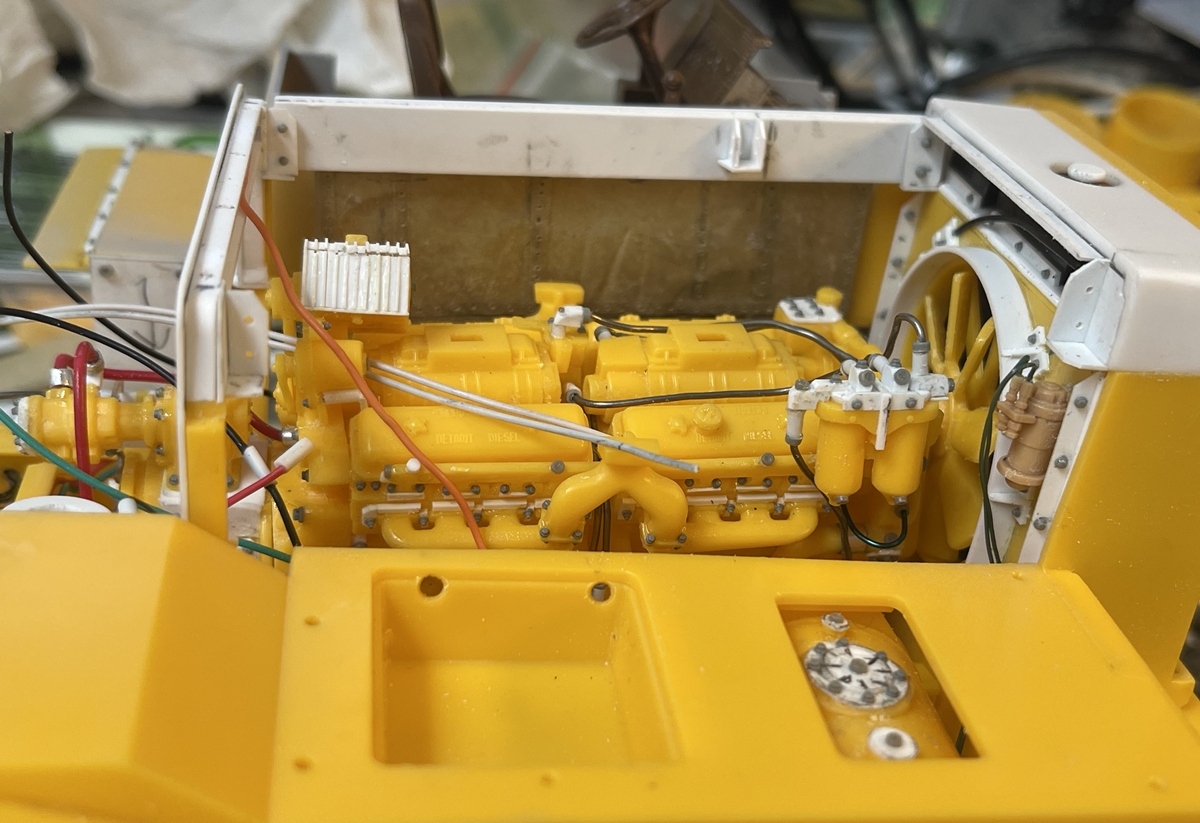
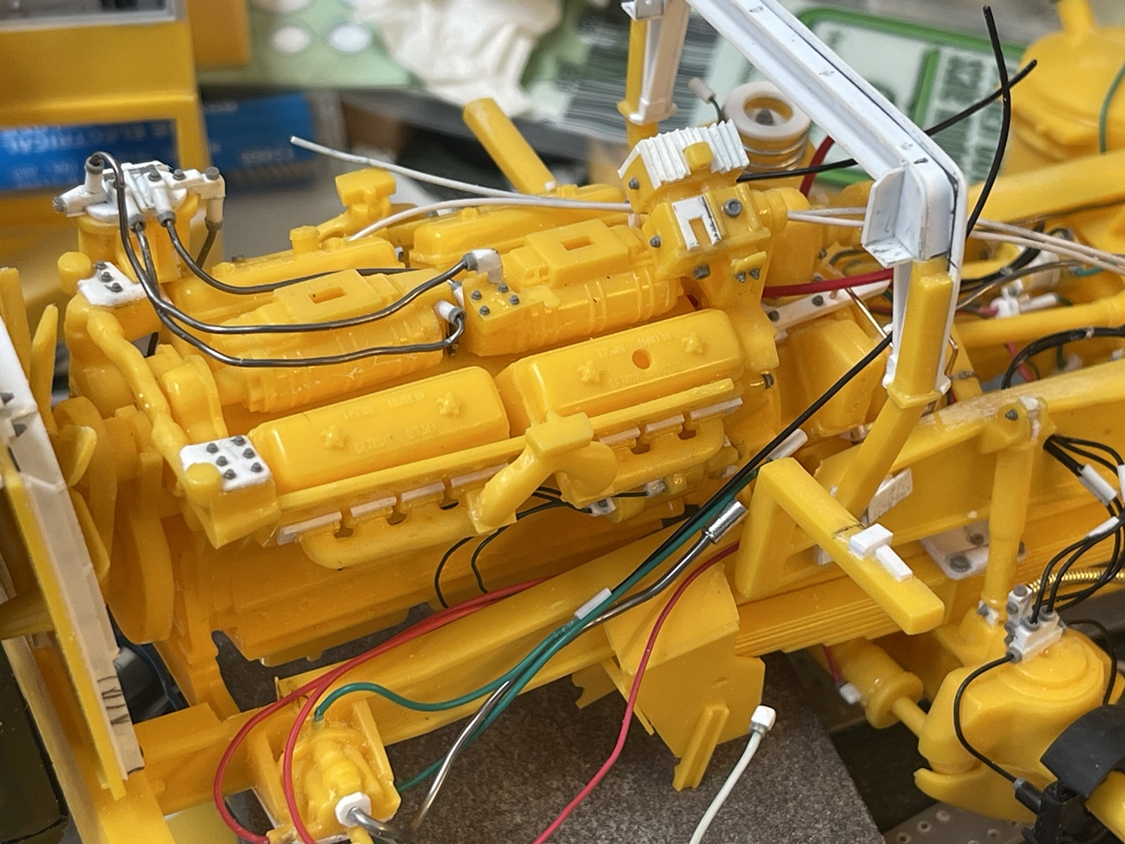
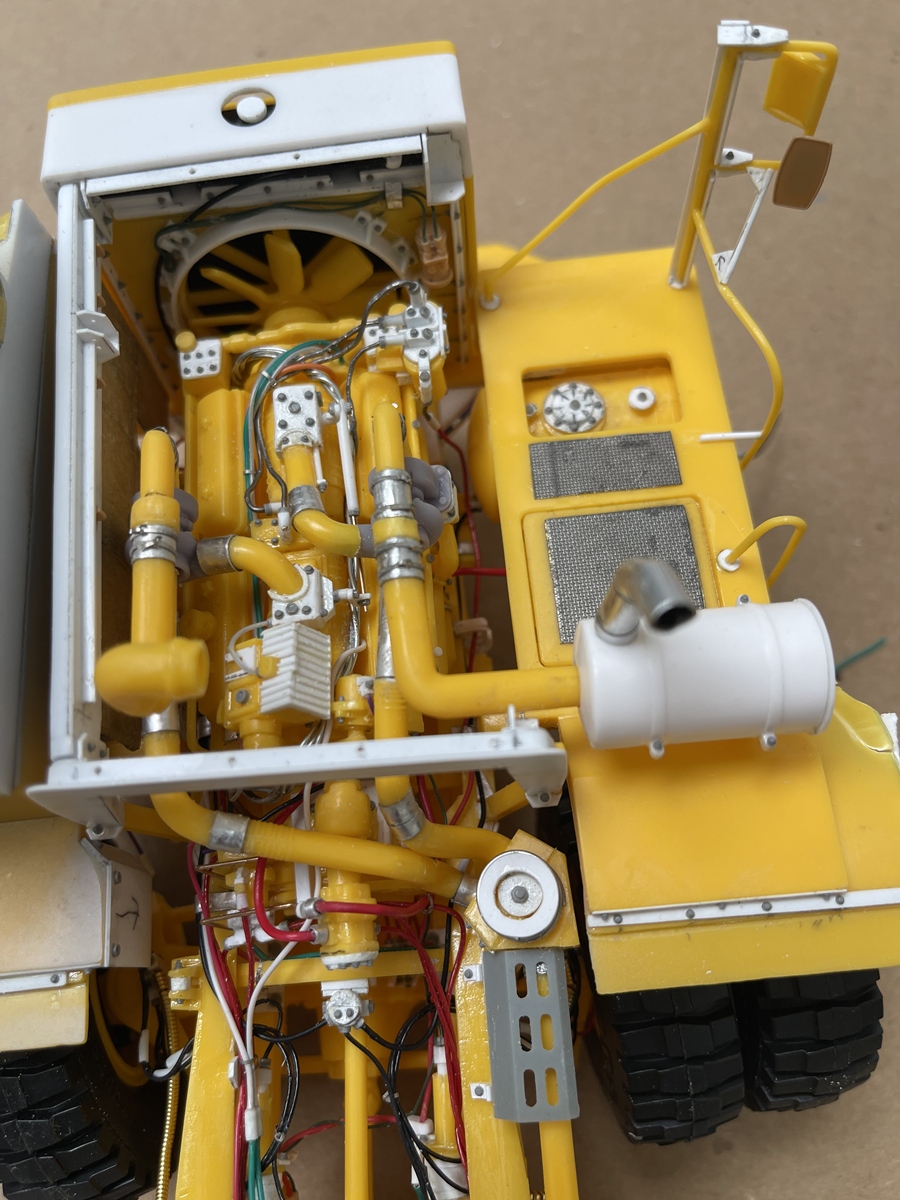
And the engine, engine bay and radiator. Like the other truck, I added to these areas. The radiator is about done, but the engine has a long way to go. I am going to add turbo chargers as this was an option on the prototype. I found some turbo charges on line, at $5 for a pair, which seems fine. But, they are simple described as ‘large’ so hard to say how it might work out, but something interesting to try.

The focus focused on the frame rail, so you can’t clearly see what’s going on under the hydraulic tank. Take my word for it, there is more plastic and so on…

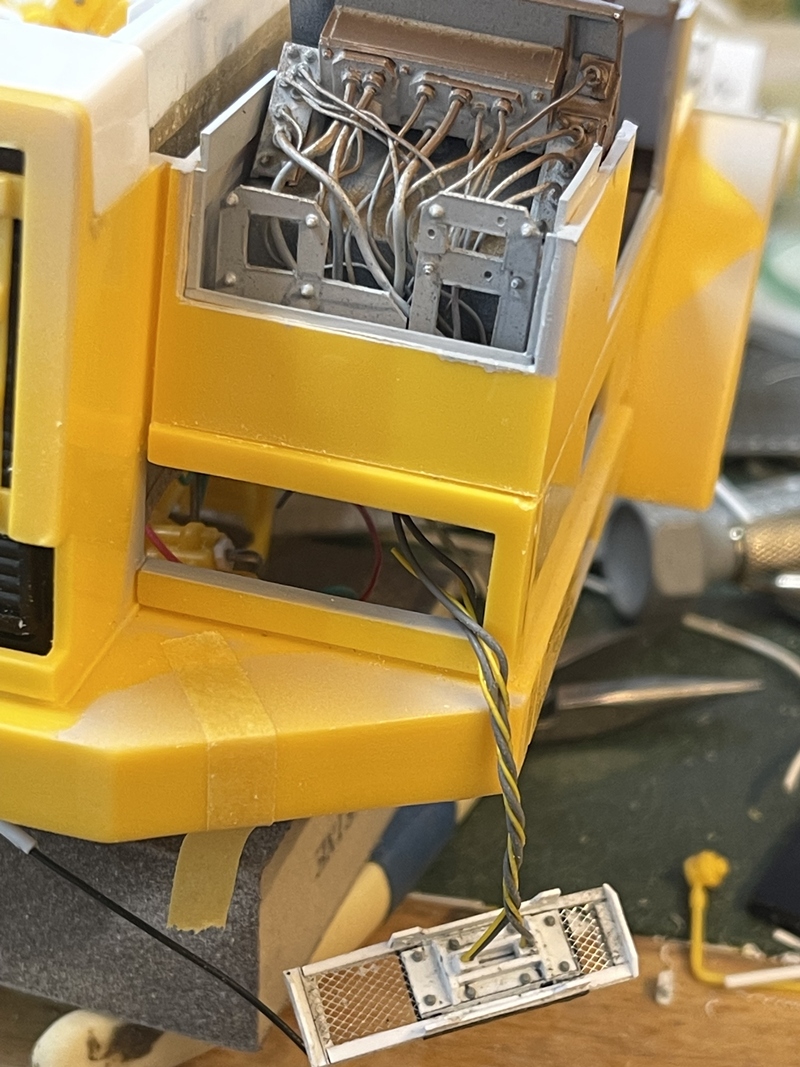
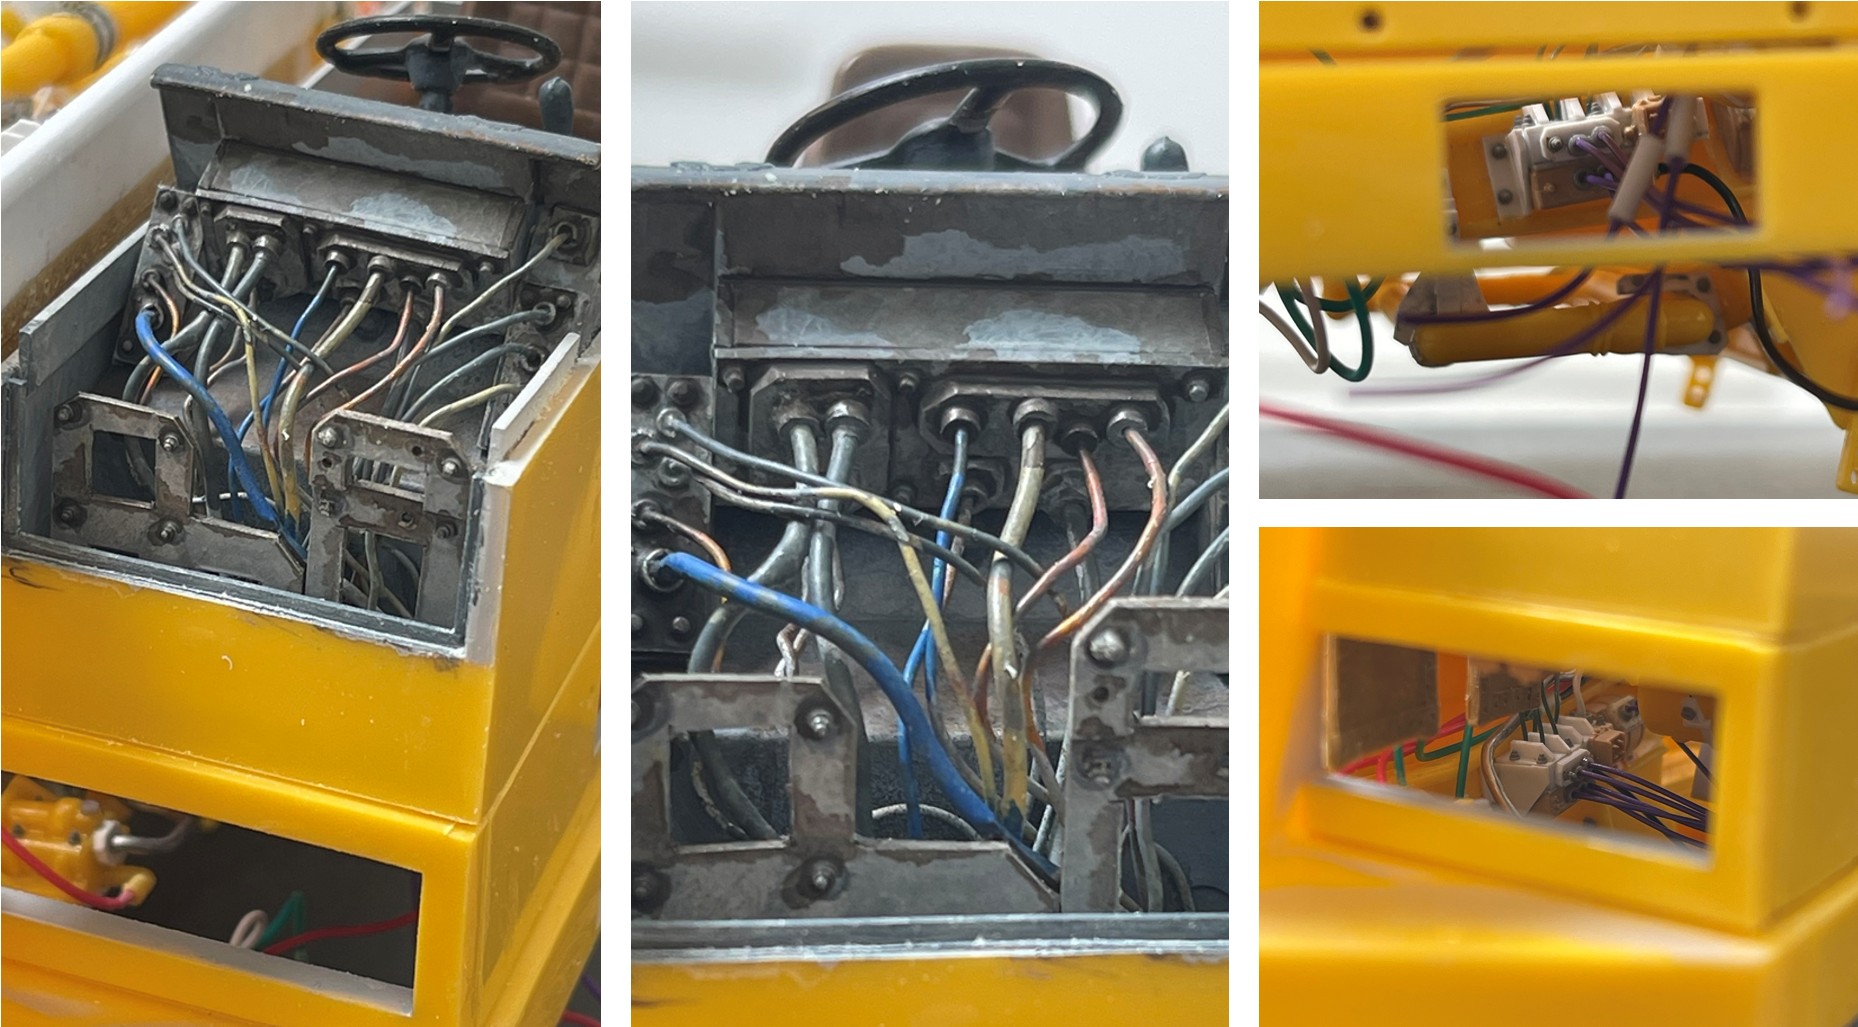
While on this ridiculous journey, I concluded it would be a good idea to cut open the body hatch over the dash board and add in some, well - what you see above - back of the dash. As I was at it, I decided it would be a good idea to remove one of the headlight assemblies - so, scratch built this, which will be shown like this, dangling out of the truck. This is a two part plan, one being to the assembly might look good when painted weathered up, and there is the possibility that with the fixture removed, you might be able to see some of the plumbing etc in there.

Right, plenty going on, but, more to come. In addition to the turbos, this needs a lot more styrene :grinning_face_with_smiling_eyes:

Thanks for having a look

Cheers

Nick :man_biking:

9 Likes

Hey model builders,

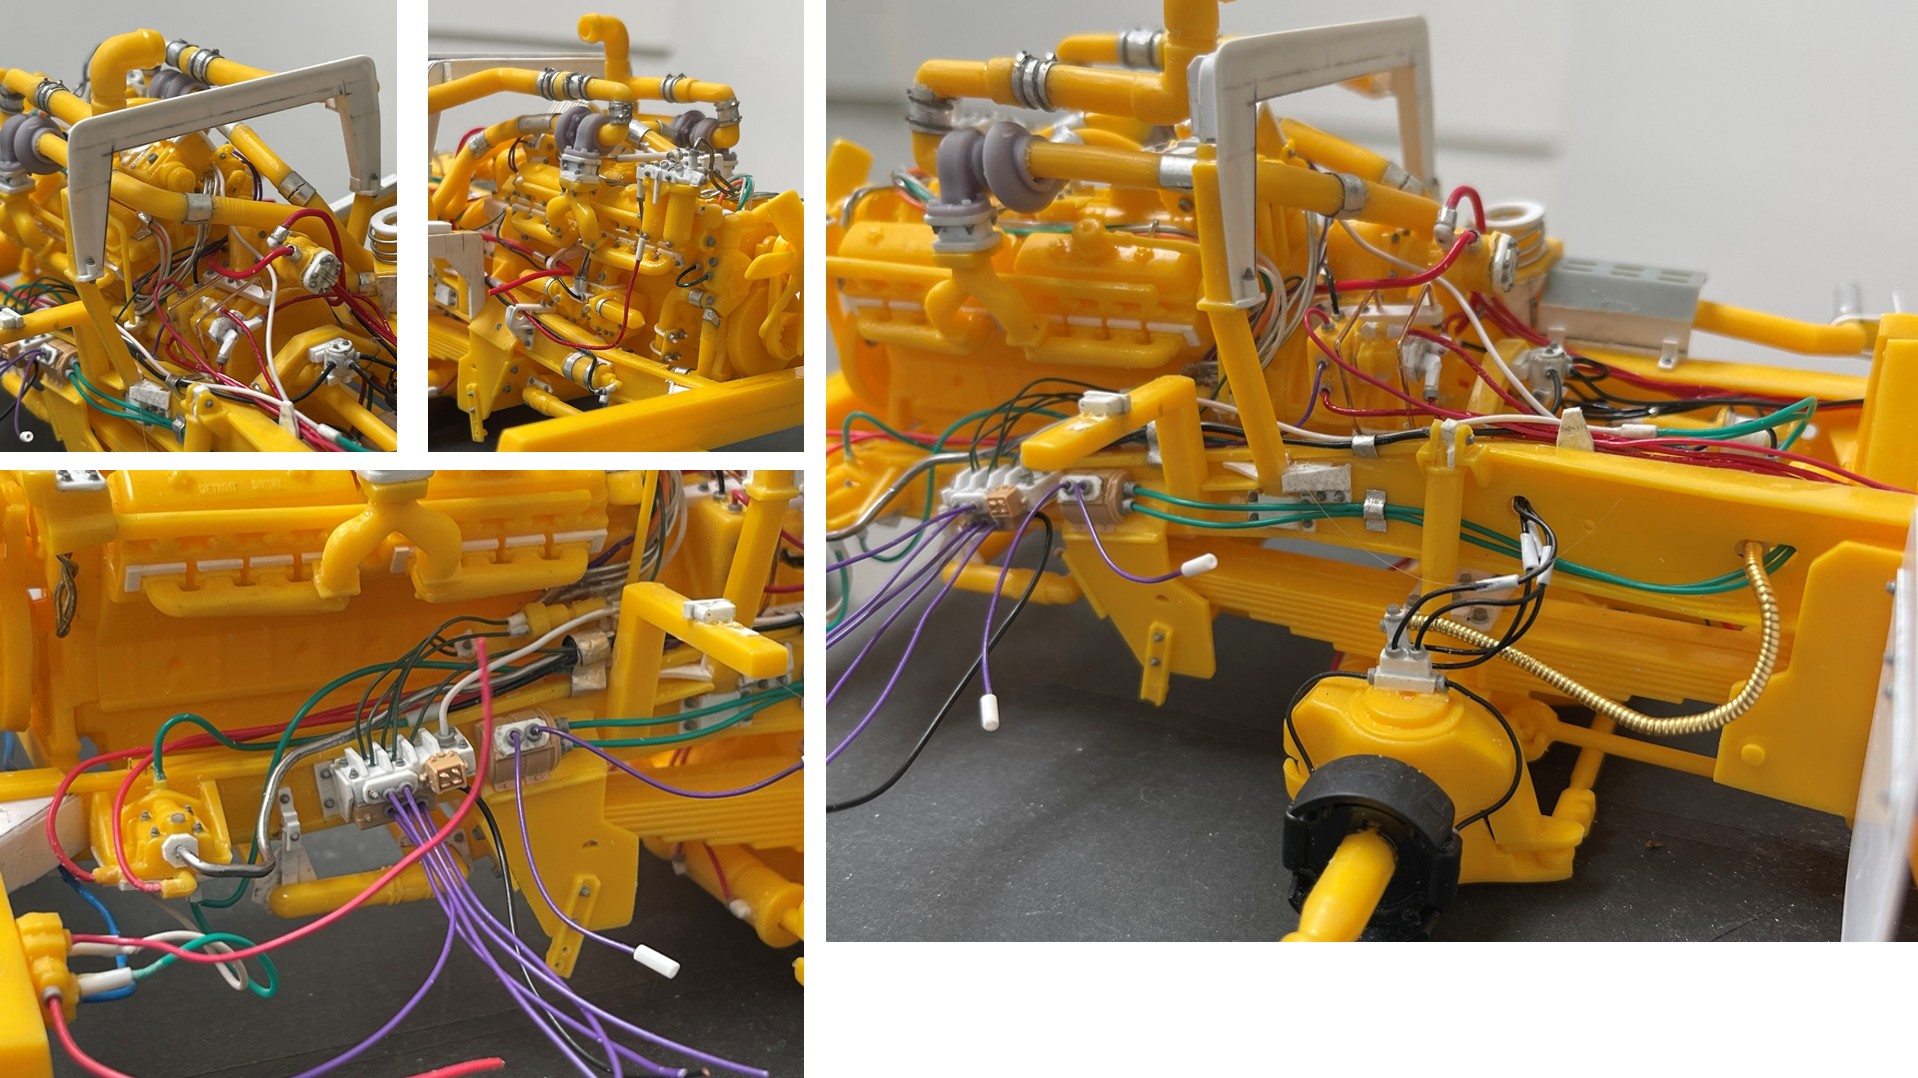
More wire, styrene, and odds and ends have been added to the Payhauler - enough to drive me a bit crazy, but, it’s now here!

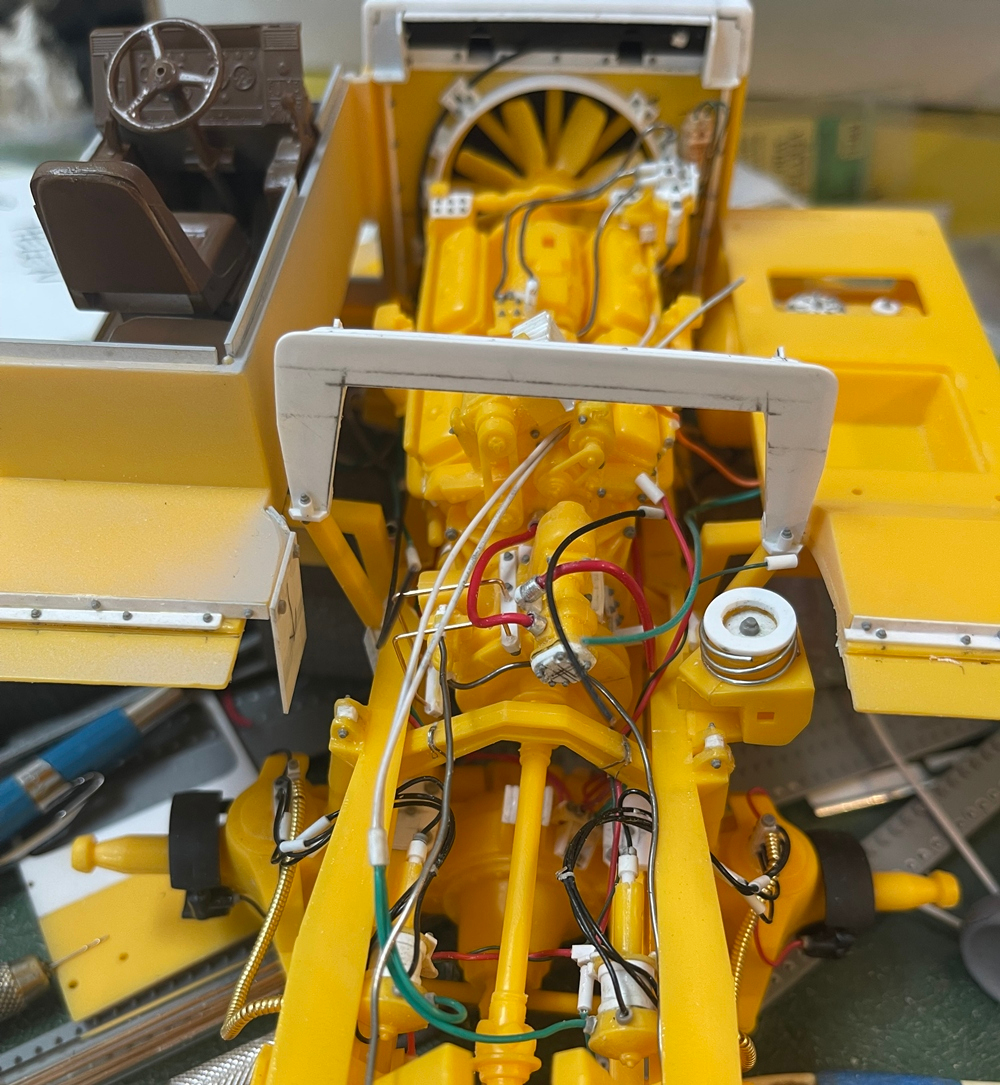
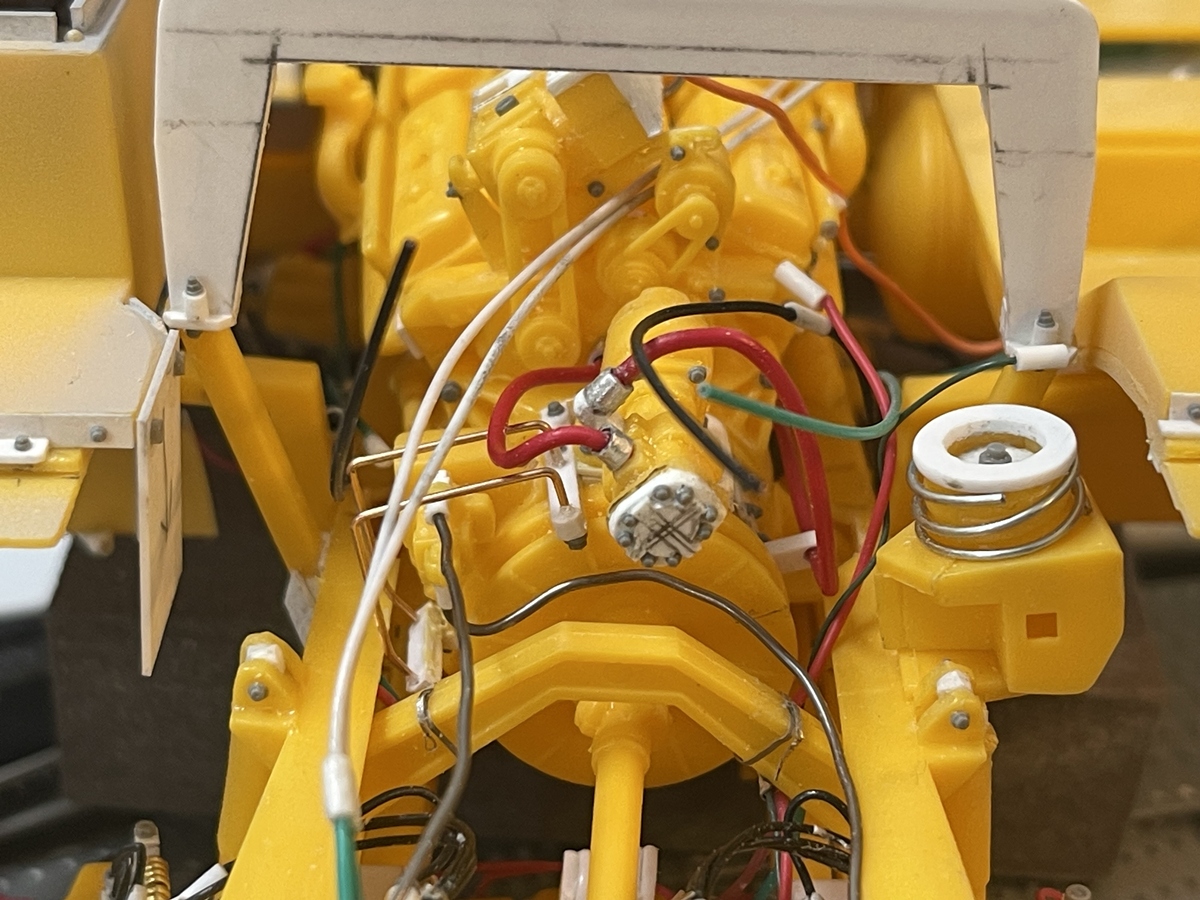
Well, we now have something that looks a bit like the back side of a dash board. The wiring will be visible, as I’ve cut off the small hood that would otherwise cover it up. Also, you might recall, I removed the headlight buckets too, and added wiring and so on to the back side, which will be shown hanging out of the openings, with the hopes that you’ll be able to see what’s going on inside - hydraulics and wiring. My hope is that with better lighting, some of this will be visible.

And, believe it or not, more wiring and plumbing to the PTO and all sorts of other stuff:

Rather than ramble on and on, well - here you have it. More, and more, and more…:grinning_face_with_smiling_eyes:

On we go - thanks for having a look -

Cheers

Nick :man_biking:

8 Likes

Stunning detailing, did you ever consider a career in brain surgery? It looks beyond awesome. Although, it also looks like every modelmaker’s ultimate nightmare – Paint This! I’m trying to think why you didn’t paint the block/chassis etc before plumbing/wiring - gluing issues?

3 Likes

You’re certifiable Nick , certifiable … miniaturist my arse … them’s skills .

2 Likes

Hi Nick. I’m VERY late to the party here but as always completely blown away by your vision, planning and execution on this type of build/project mate!!

Another huge thanks for sharing so much of your work, your methods and results are inspirational to us mere mortals.

Cheers, D

2 Likes

WOW, Nick! :star_struck:
Think I added like three extra hoses to an engine once or twice… :zany_face::lab_coat:

—mike :hammer_and_wrench: ???

1 Like

Well guys, here we are with some more updates.

@Dioramartin you know, Tim, I did some fretting about whether to paint the motor and frame separately, but as you’ll see below, I concluded that it might be worth the hassle of some tedious painting, over tedious plumbing. Heck, it works in a T55 so why not here too?

@Cheyenne, Glenn…really??? you know I ain’t no stinking miniaturist!! there’s nothing cute about this crucial work! :laughing: but yes, certifiable, maybe so…

@AussieReg, Hi D, glad to hear from you, and hope all is fine there! And thank you, and others for allowing me to indulge in this unnecessarily complicated, and likely largely inaccurate work! :grinning_face_with_smiling_eyes: and now, if I could just lay down paint like you! Maybe some day :roll_eyes:

@justsendit, thanks, Mike - this is the same - three plus a few others! While this is a bit ridiculous, it does provide a unique challenge, and so far, I find it fun, and as long as I do, I’ll keep trying -

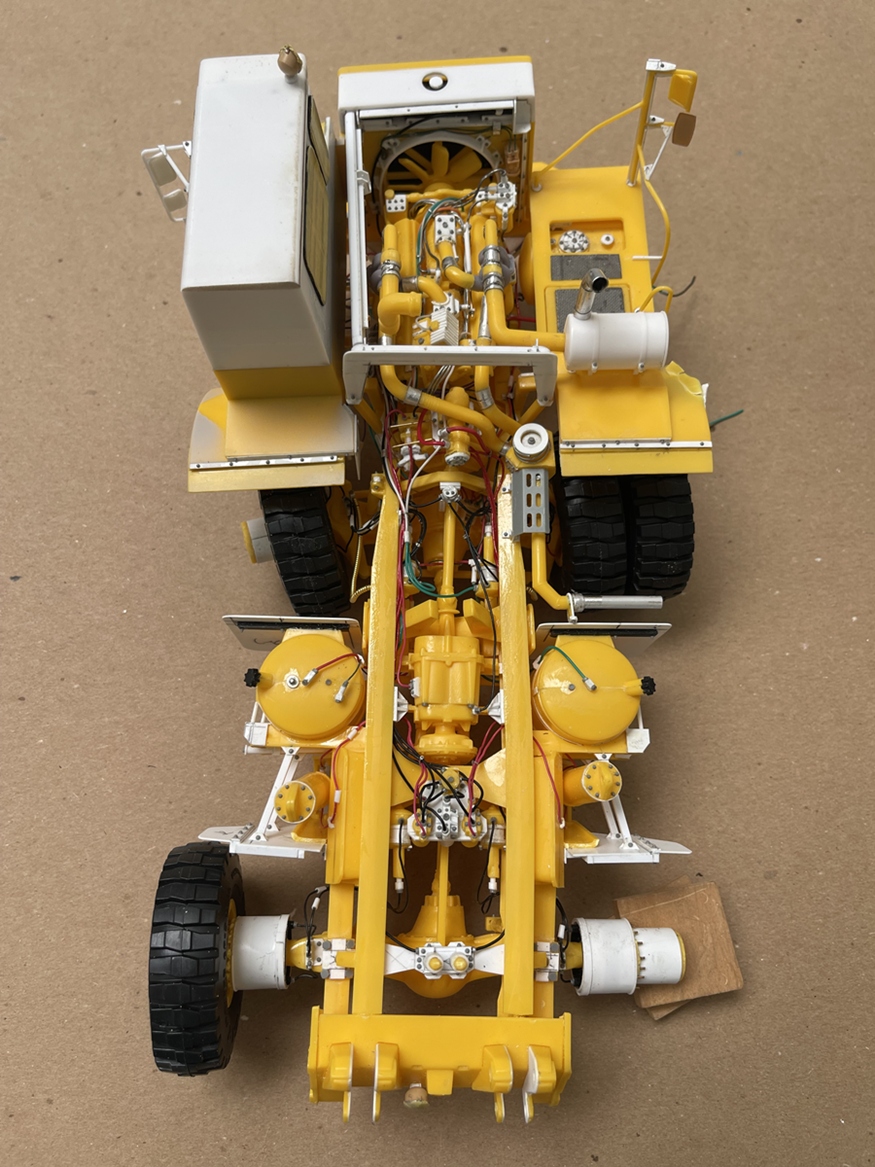
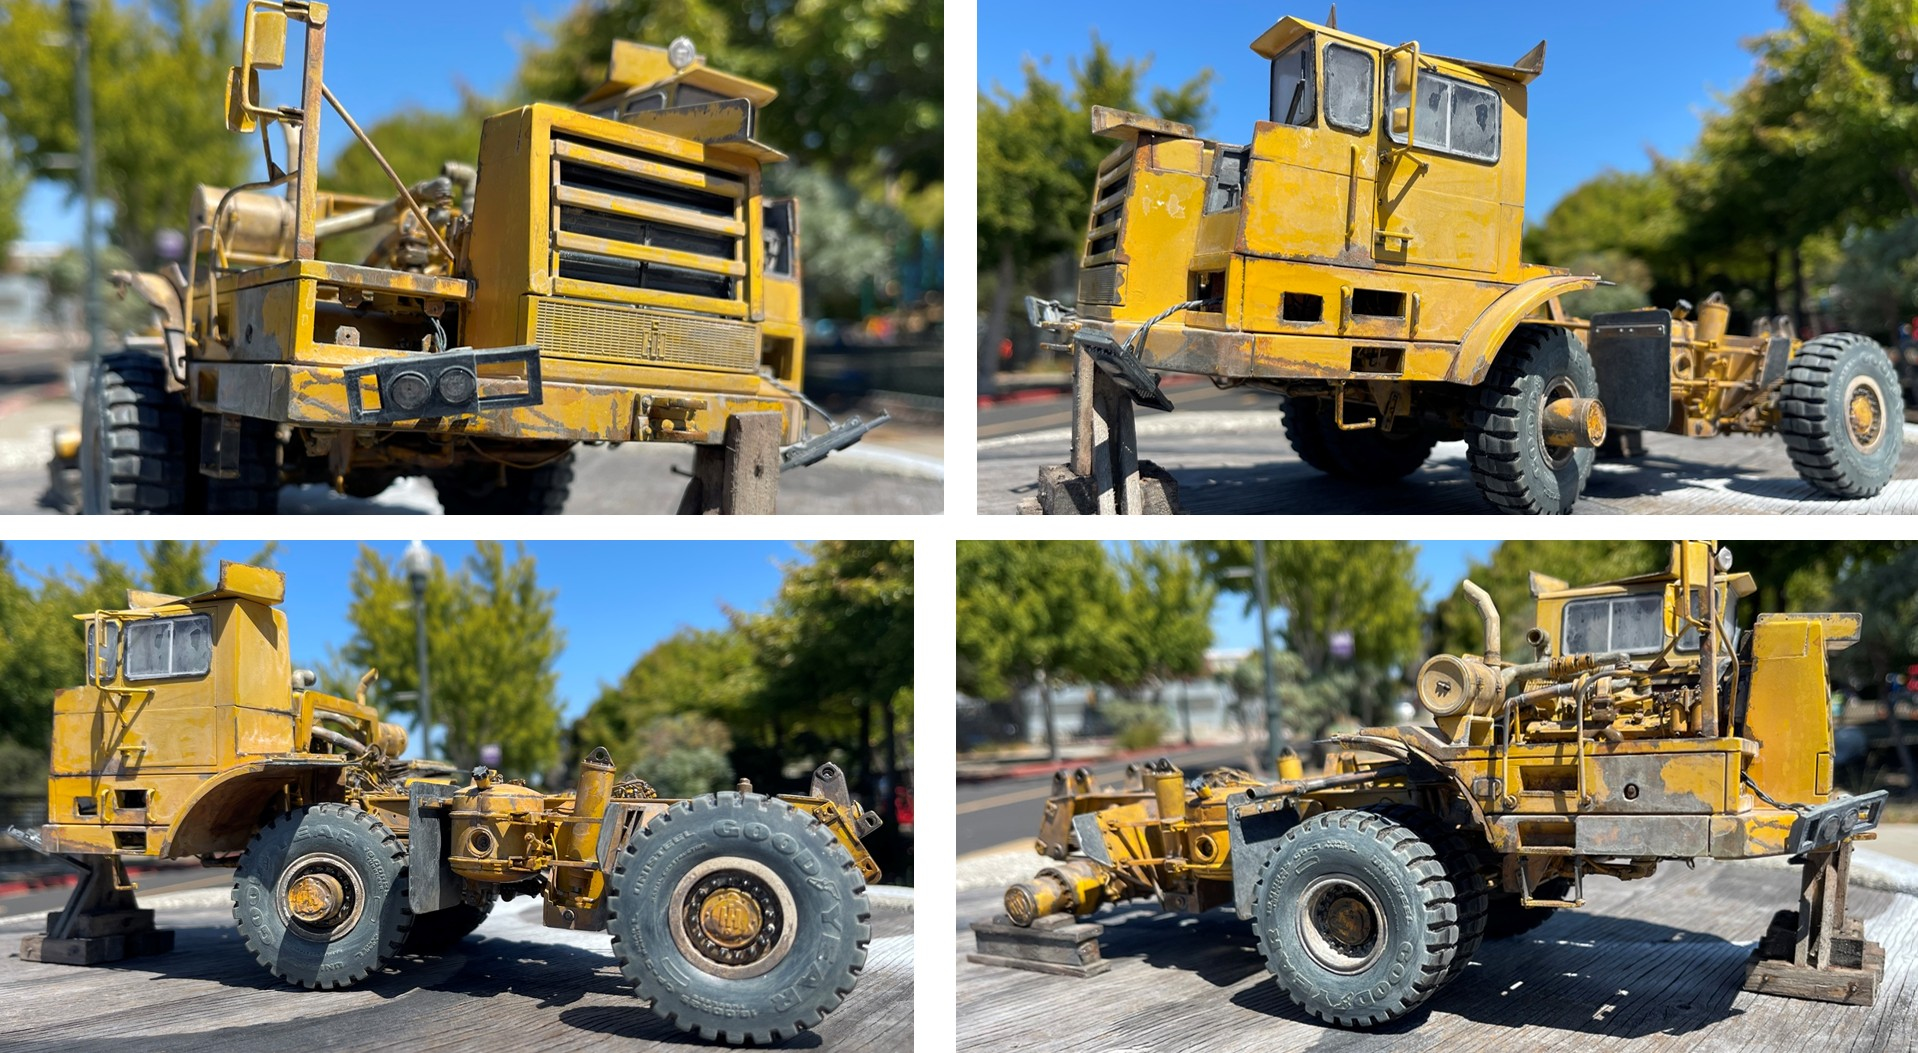
Speaking of trying, I think this is about done and ready for paint. Yes, there are a few odds and ends to add, but it’s close, so please have a look:

What in the fox creek is this monster??? As I plan to eventually use it in a dio, showing this partially scrapped out, well here we have it - singles on the left side and one pair of doubles on the right, along with the interpolated wires, hoses, and odds and ends.

This is the foundation for decrepitude - and with some body work:

Oh what a treat! I think the singles, missing headlamps, missing bed, and oddly oriented roof top spot light make for an adequately unattractive piece of industrial design.

And for the right rear, no wheels, and the pair on the rt front The various dangling wires will get plugged in once the parts are painted up and glued together.

Hopefully, some of this underside will be evident when painted up. I’m going to leave the front skid plate off.

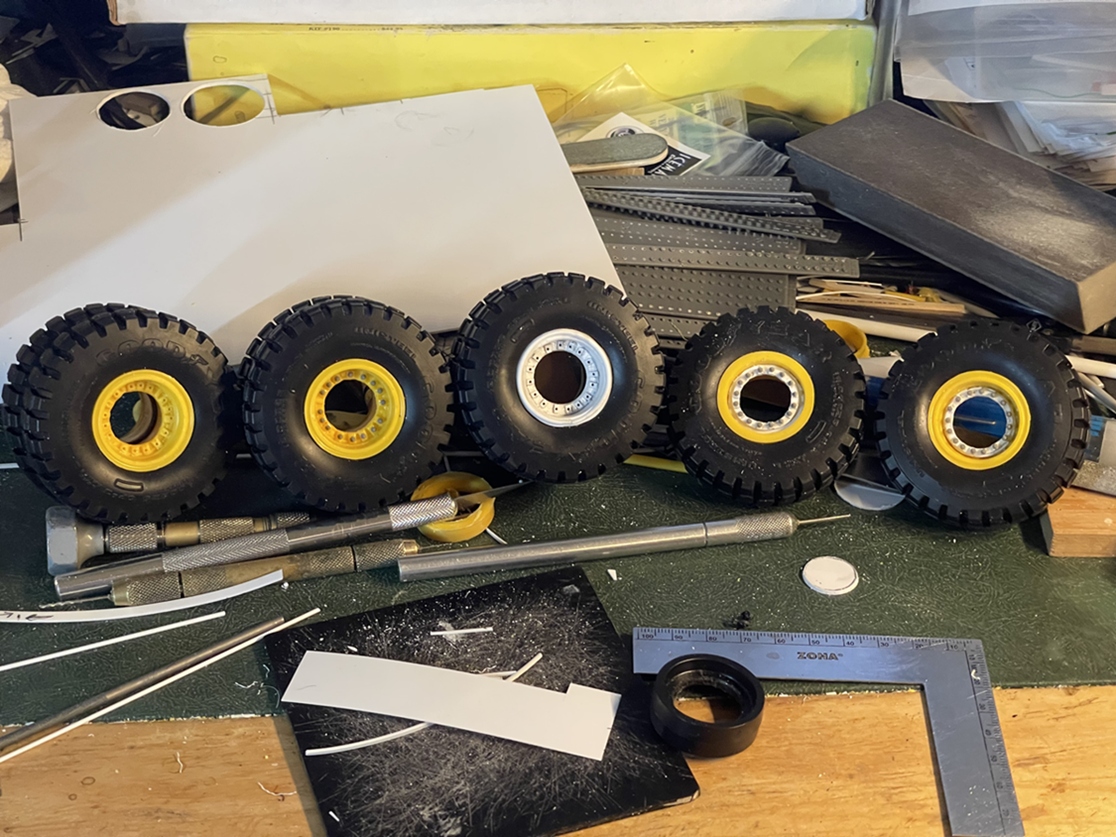
And Tim, as of now, the body and wheels are dry fit, but the engine is glued to the frame, and many of the tubes, wires and whatnot are too. My guess is that someone could do the two separately but, not this miniaturist! I think it would drive me nuts trying to pair all of this later. I did keep the engine separate from the chassis on the blue version, but as this has more going on, decided to try it this way. And a final image, the wheels:

So because of my bright idea, to make planetary housings on the axles, well, the centers were cut out of each wheel and added to the axles, then, I cut out two sets of hubs, to use on the rear wheels. This resulted in having to rebuild the wheels to make this clever plan work. I won’t describe all of the changes and scratch work going on here, but take my word for it, yes, a PITA that took longer than you might think to rebuild the wheels, and, now they are ready for paint.

Thanks for having a look

Cheers

Nick :man_biking:

8 Likes

The single most important part of any hobby project …

1 Like

I hope you leave some dangling wires and pipes, considering the state of disrepair of the truck itself …

Hi Robin - you know, that’s good point - maybe a few will still dangle?

As for now, take a look:

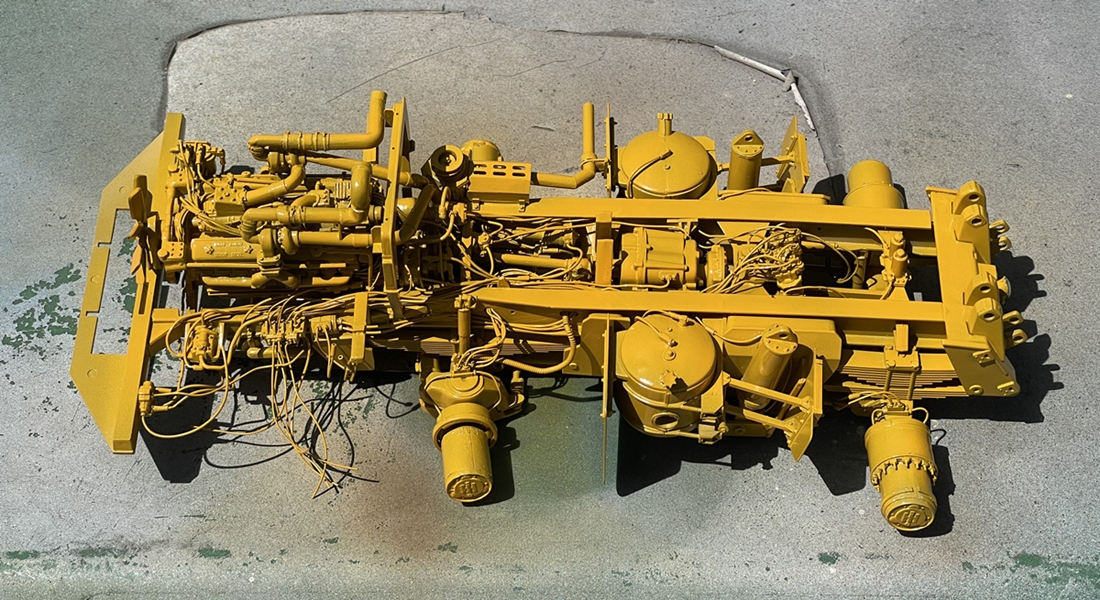
before, and after:

I decided like an armor project, paint it all. This was done with Tamiya fine grey primer, then a coat of gold yellow, and a final of Camel yellow. As is, it looks a lot like modern CAT yellow - fyi, but, that will be short lived. Weathering to follow.

Cheers

Nick :man_biking:

4 Likes

This is one of the few models where you can still see the intricate detailing even after it’s been painted

Rabbits

1 Like

HI @Rabbits, thanks. Yeah, that’s a real challenge. I used to make mostly armor kits, and remembering exactly where all the PE I added went after paint! It seems the combined thickness of primer and base coat could obscure details, making me use weather,washes etc to hepl punch out the detail, even when it was right on top of the build.

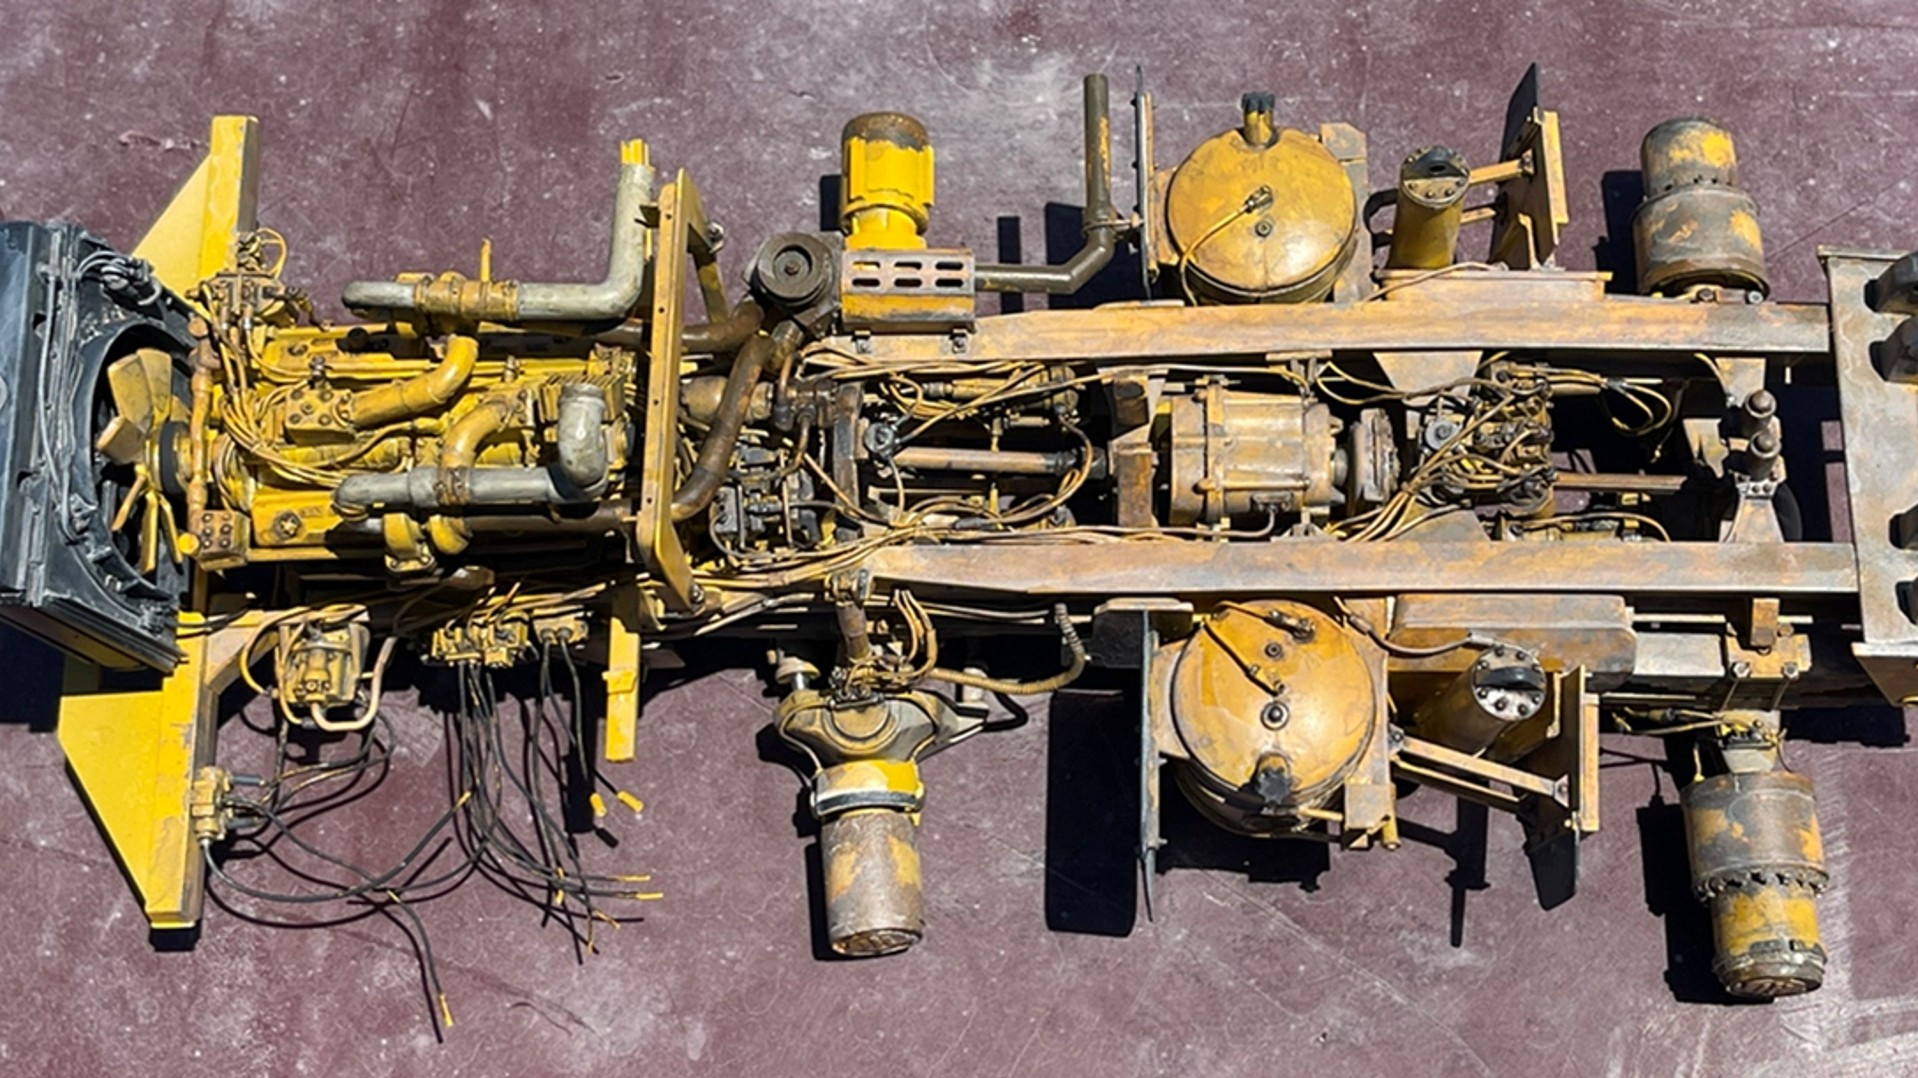
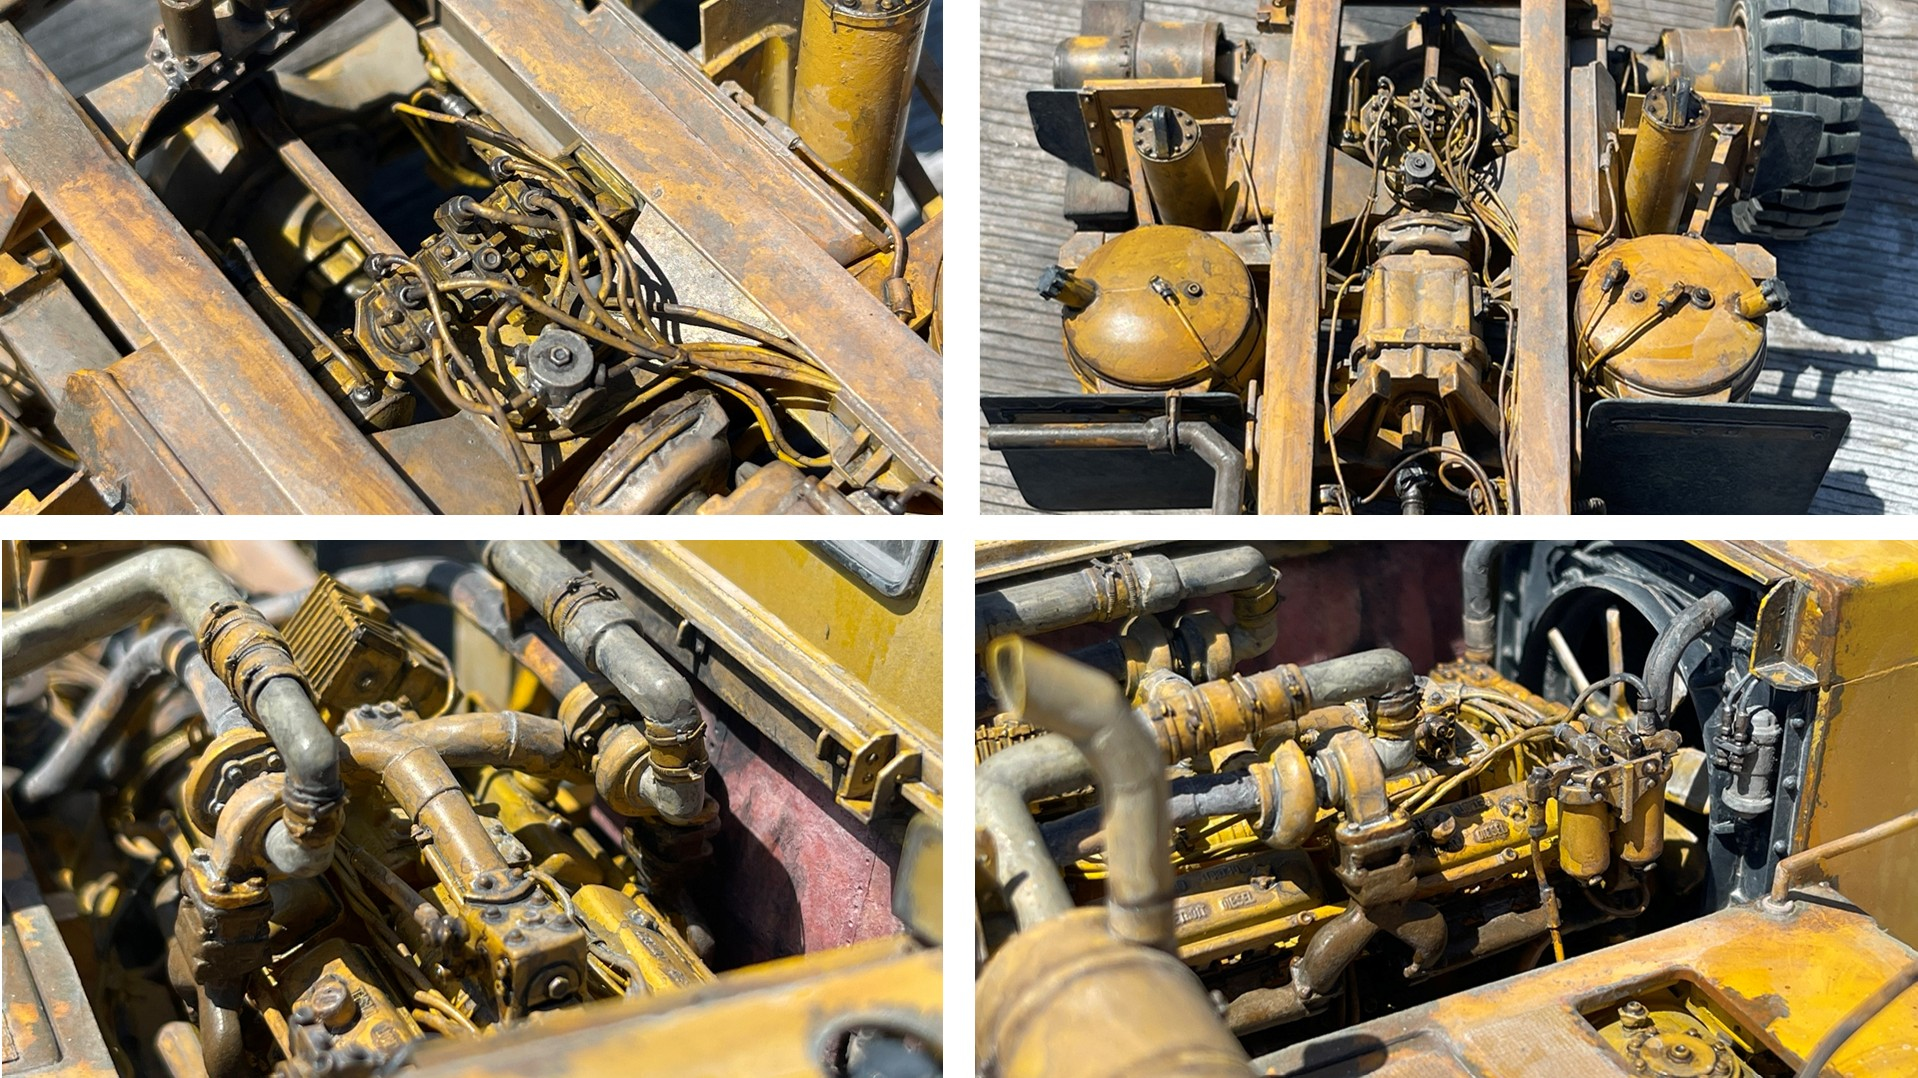
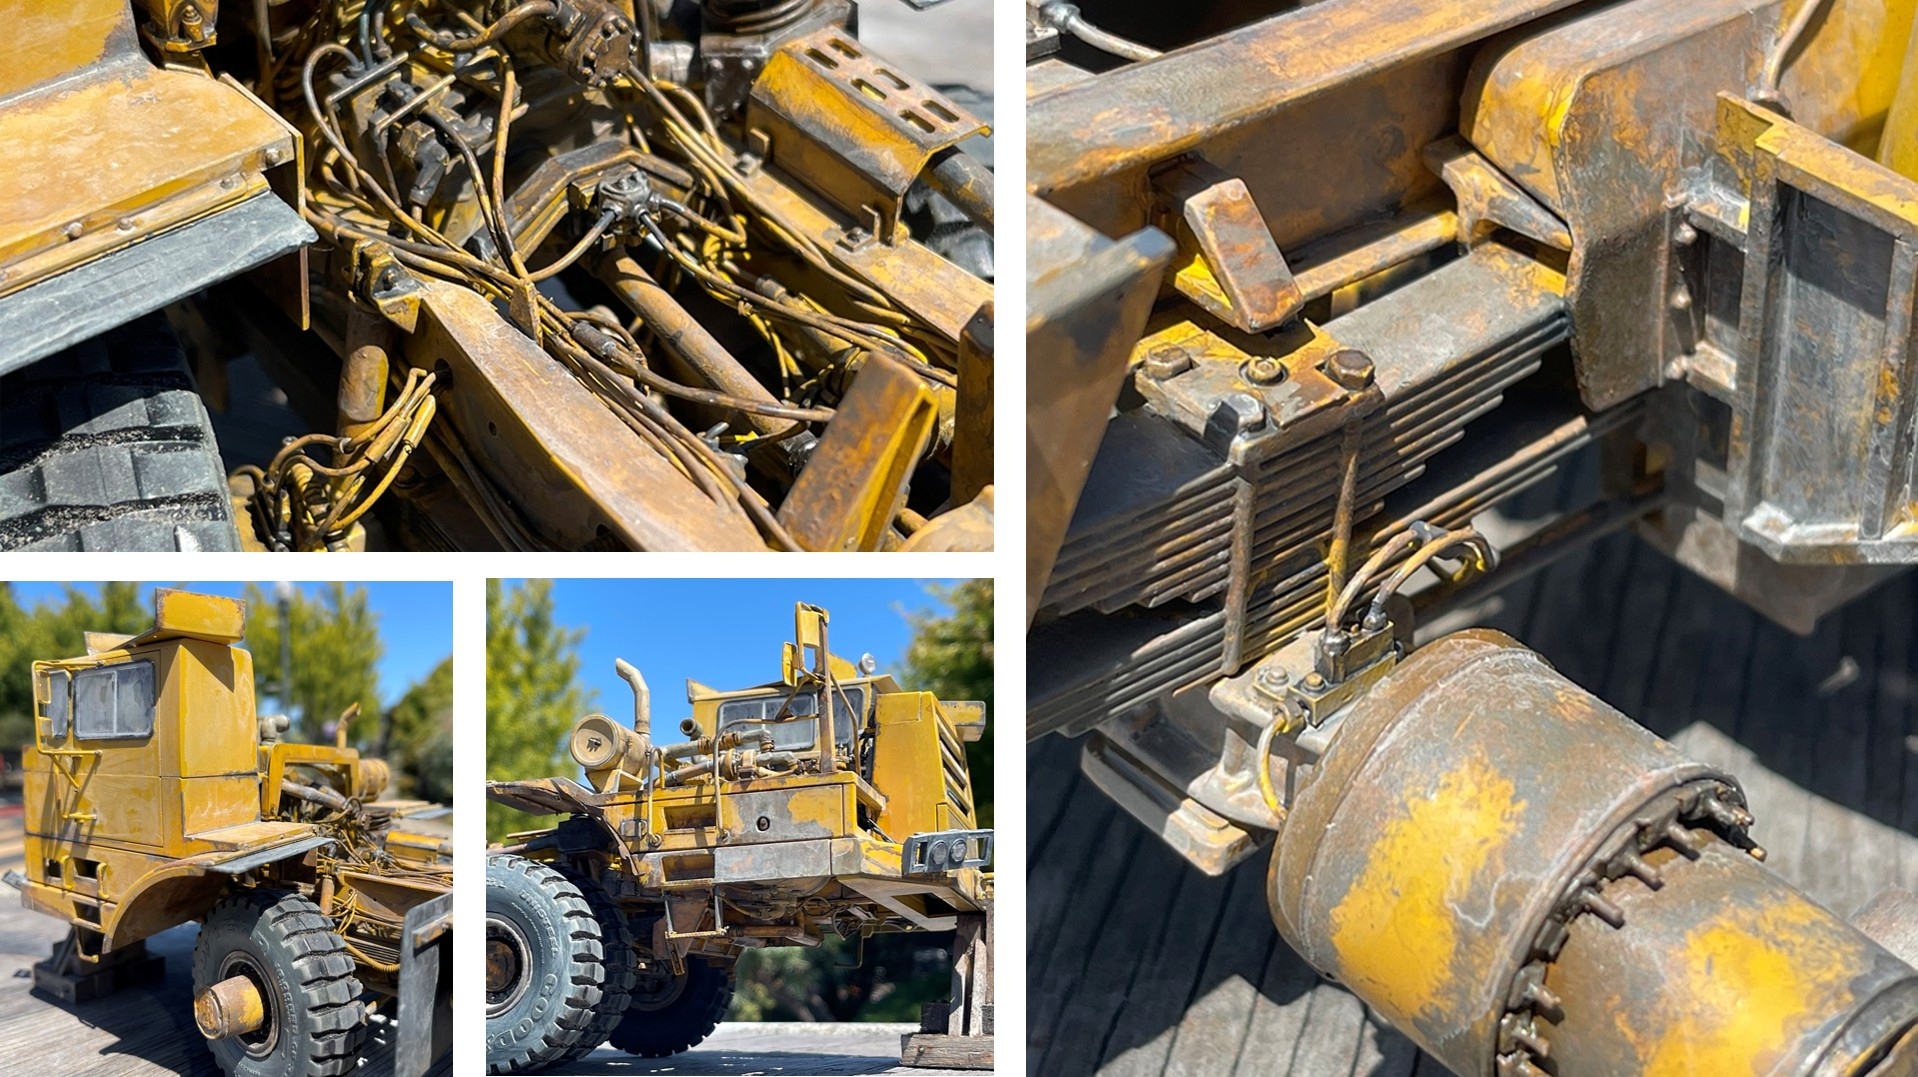
But, as this is in 1/25, and there is no PE the details show up. So, I’m well into weathering the chassis. It looks like it’s about 70% done, but you can clearly see the engine needs some grime, and other parts need a dust coat to take away some shininess. Removing the shininess will be a bit tricky, as some areas want to look greasy/oily, while other places just dirty. So, please take a look:

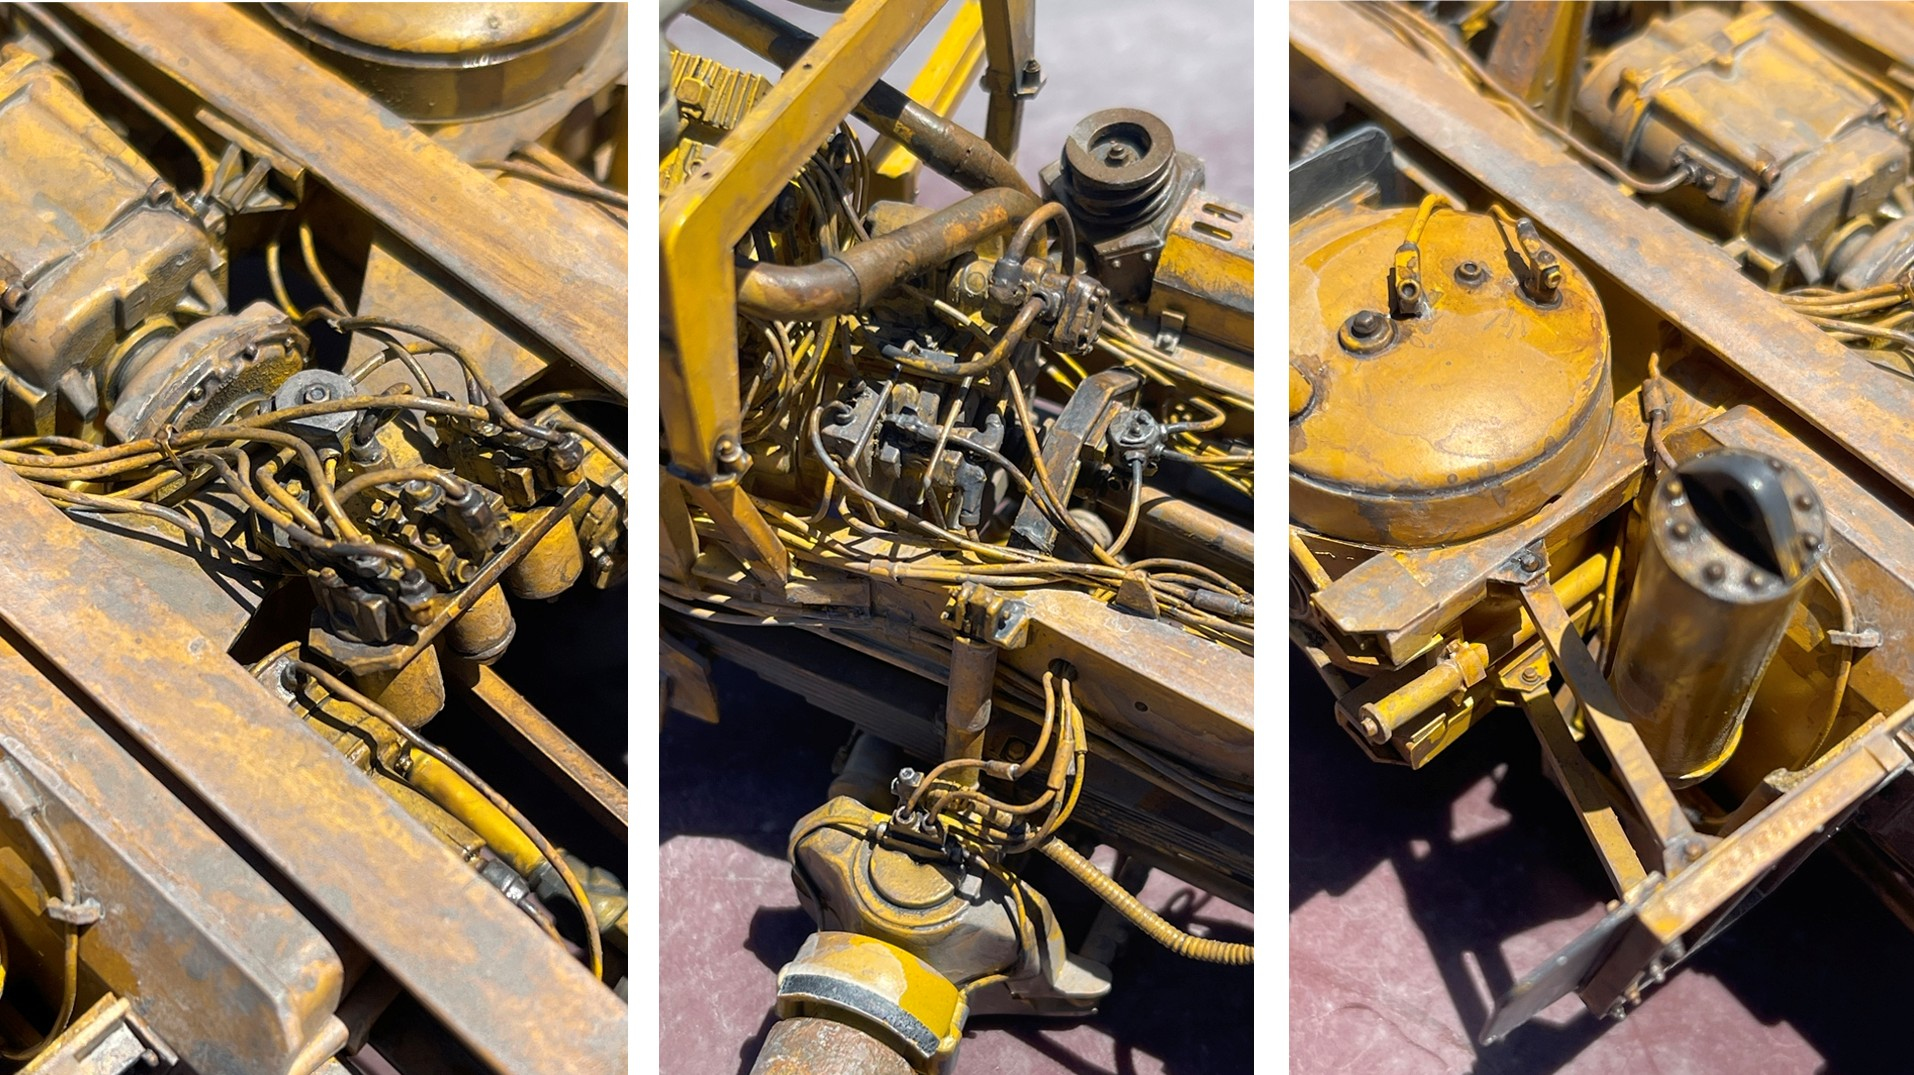
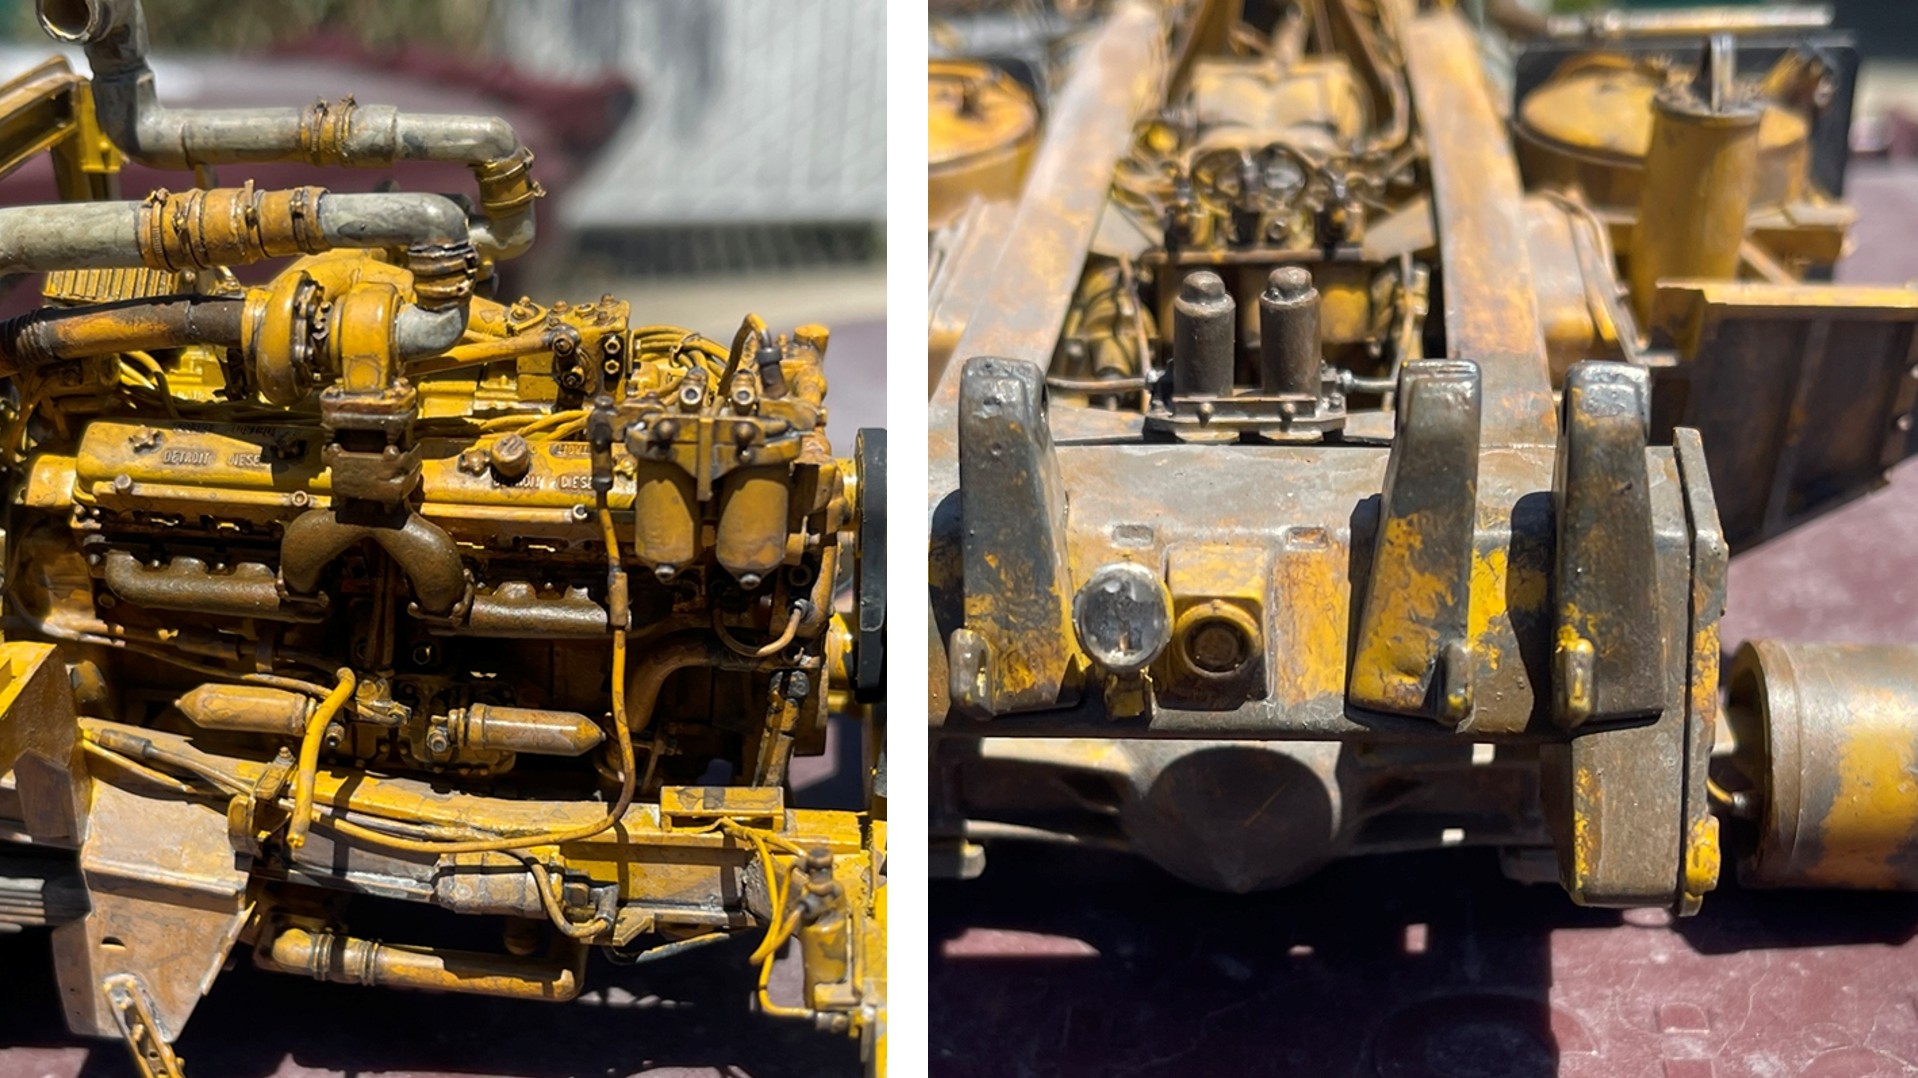
As you can see, the rear 2/3s of the build looks close to done, but the front, specifically the engine needs to be knocked back. Below are a few close ups:

So far so good. And, on we go with the grime -

Thanks for having as look

Cheers

Nick :man_biking:

8 Likes