Hello gents - thanks very much - glad it is passing the collective “eye test”! 
@Dioramartin, hi Tim, yes, there are indeed as many hassles/challenges as opportunities when taking outdoor pictures in an urban area!
Happily I have developed a better understanding of my software, so I’ve been able to overcome some of the problems that drove me nuts before - attack of the 50’ woman??? Yes! real scale people, dogs, bike riders, signs you name it and it has cluttered my background  more on solving problem that in a few minutes.
First, yes, time of the day is important for crisp colors, and “useful” shades and shadows. This has taken me a several attempts to now understand. The ideal time for me to take pictures is generally between 10:30 and noon, as the sun isn’t in either extreme, rising or setting. If I want a more moody or unique shot I’ll use the times outside of my preferred ranges.
As for steps, here you go. The only overarching rules have to do with practice, patience and discipline.
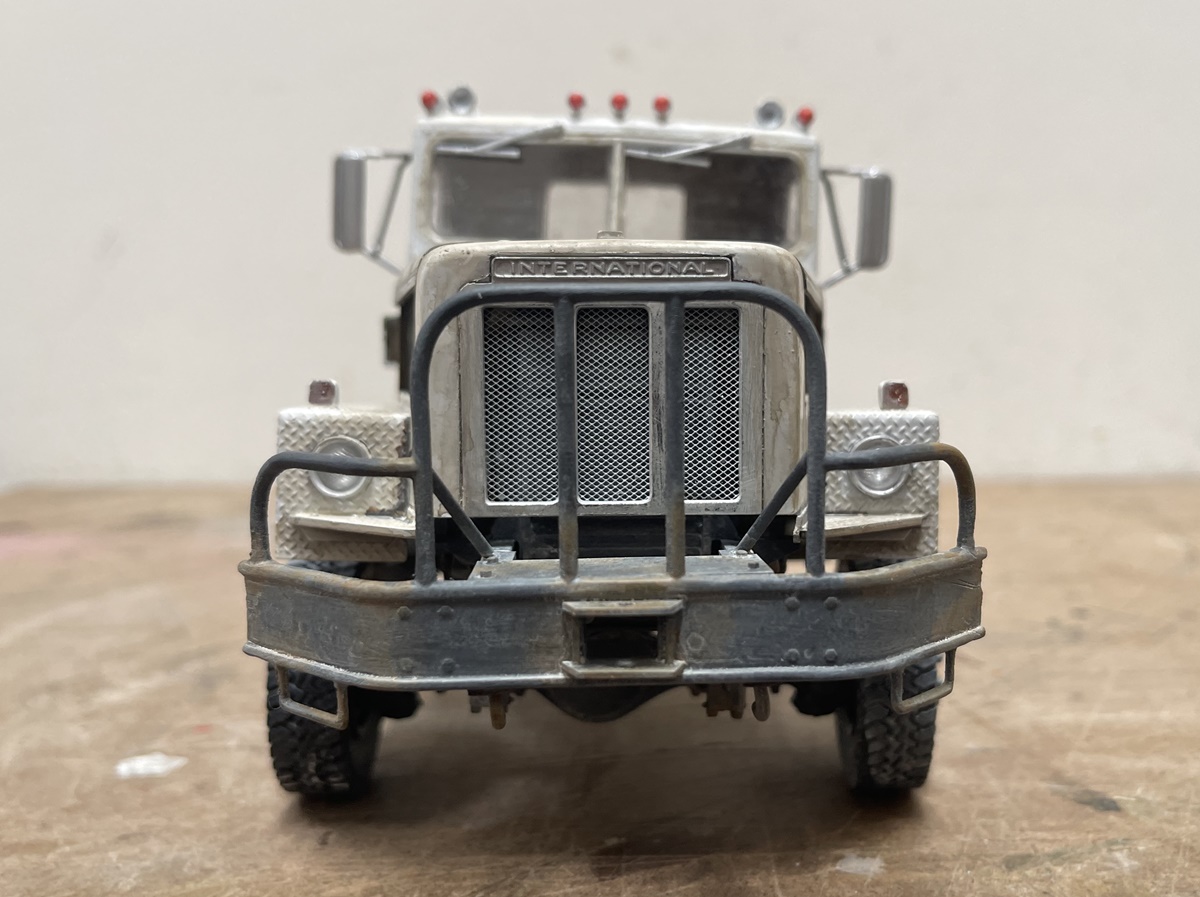
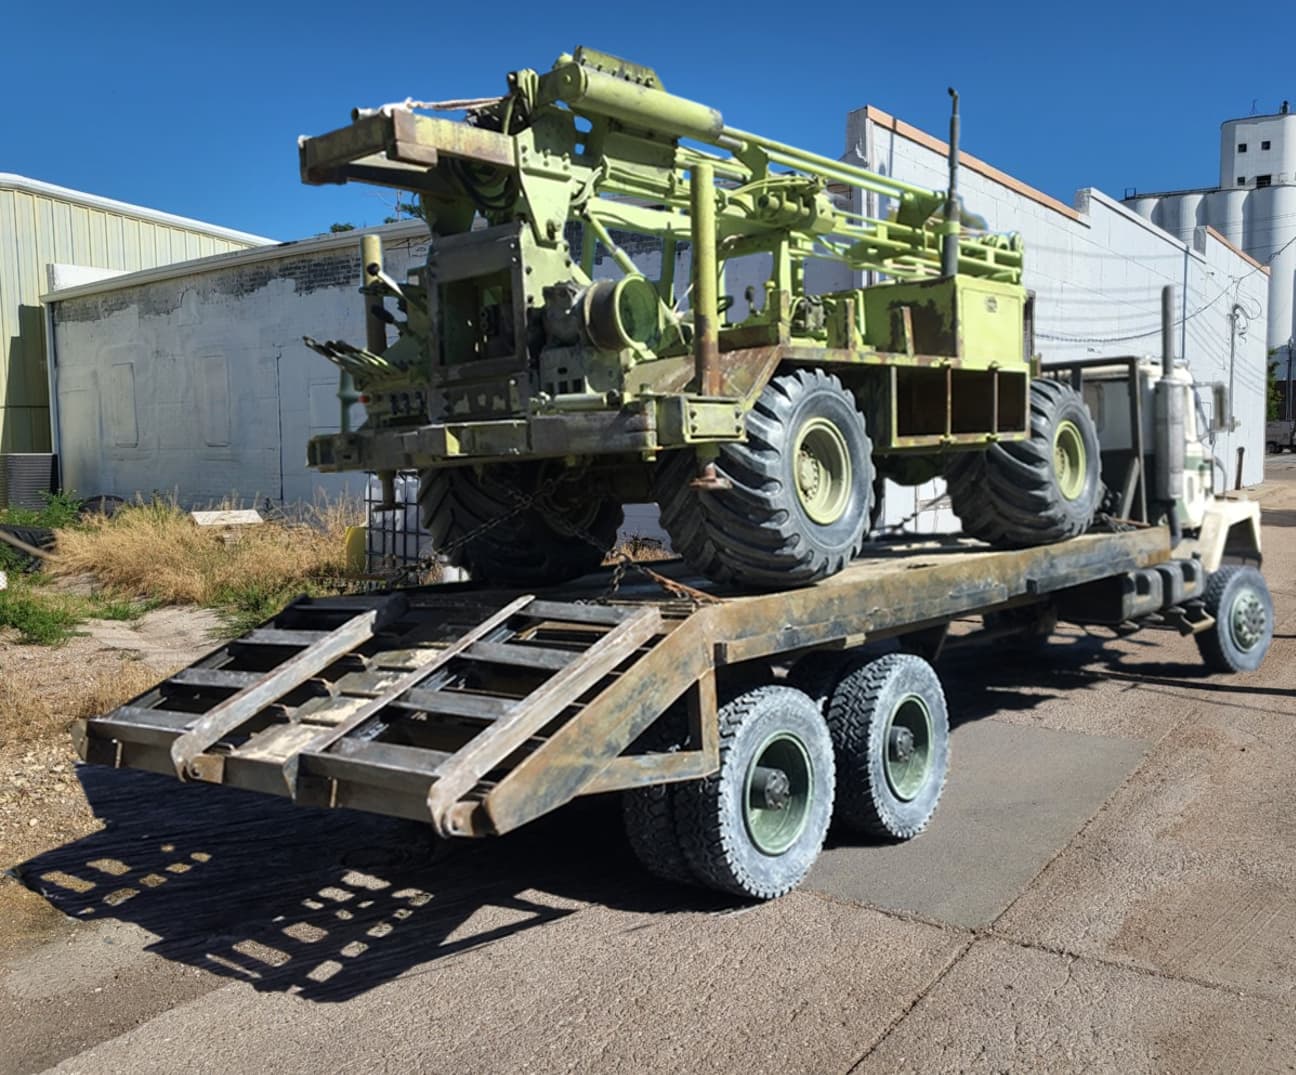
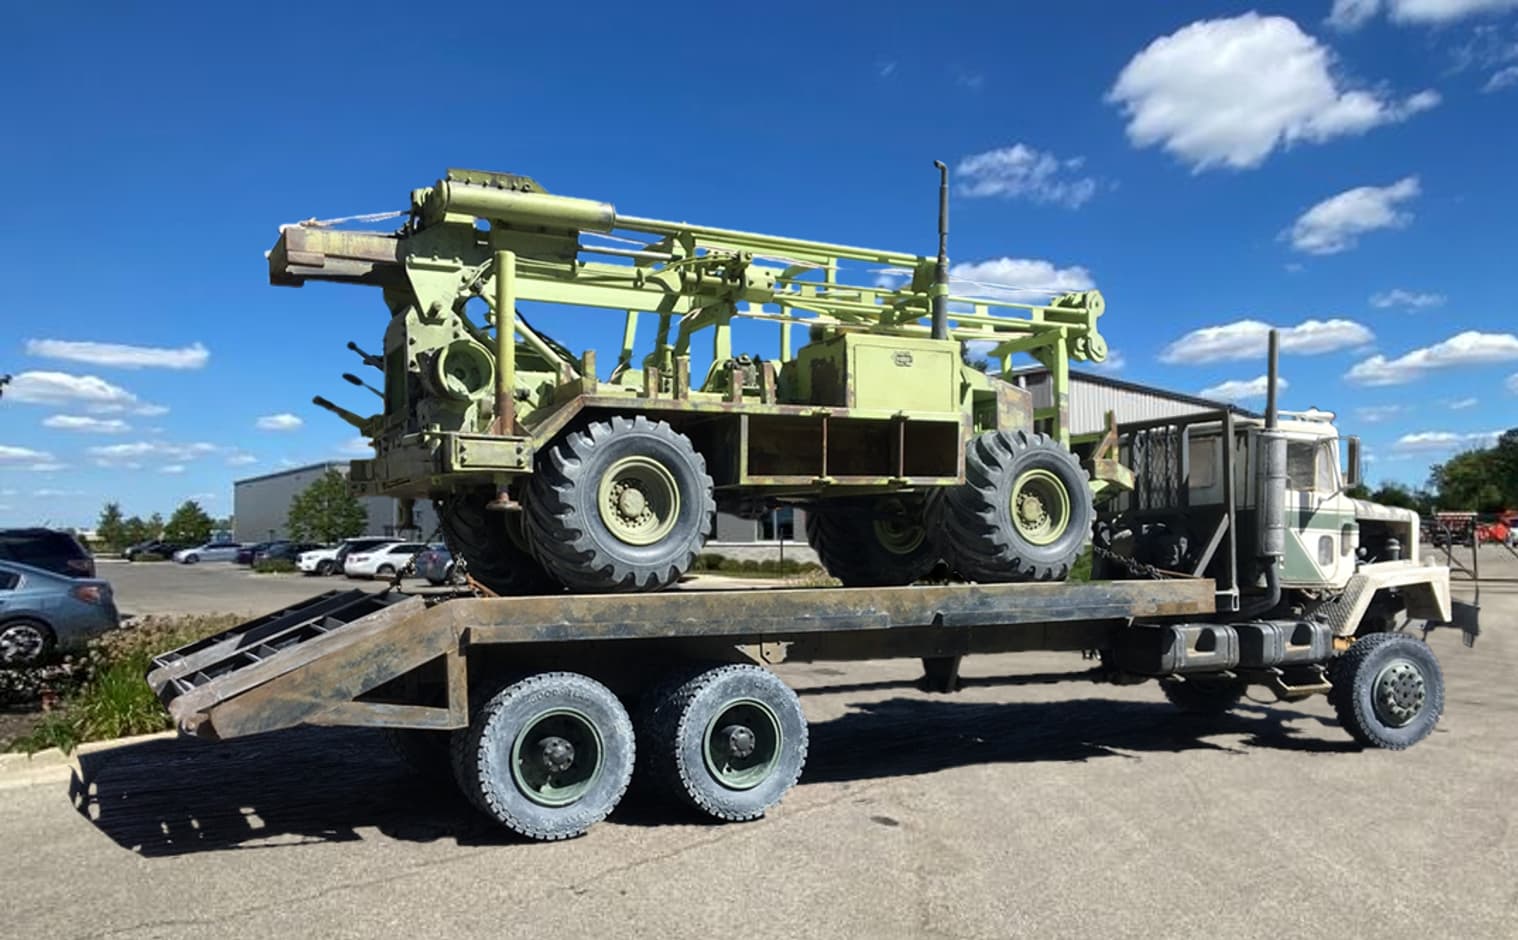
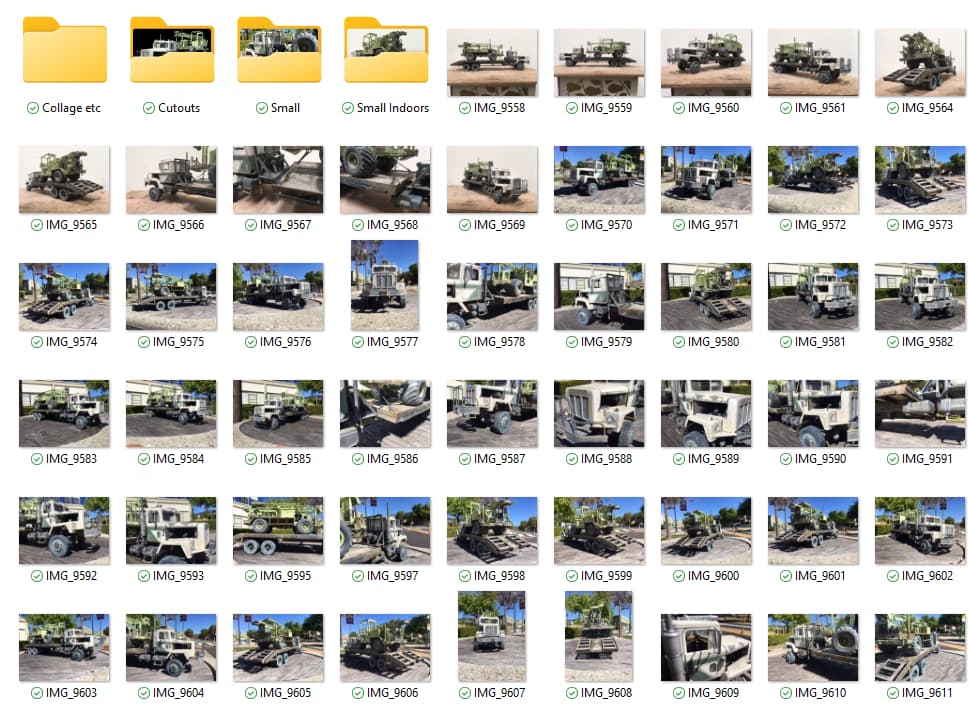
First up, I take a lot of pictures, with the best being from my old Iphone 6s. I also have model 12, but it tends to focus very sharply on the foreground, and the middle- and background usually gets out of focus. I take a lot of pictures:
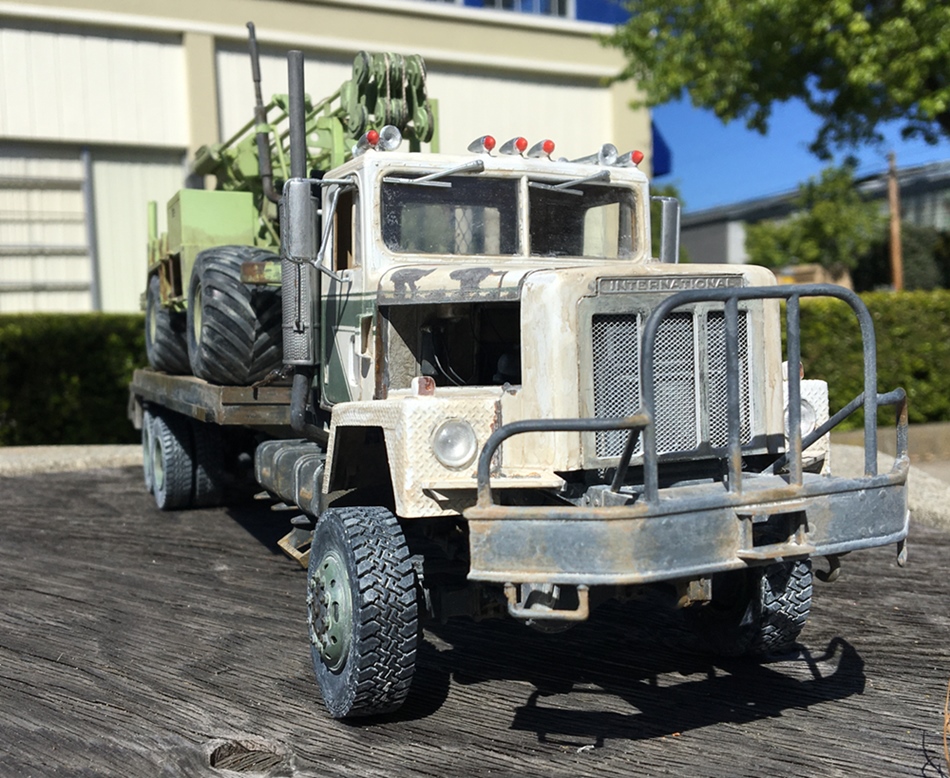
From these I pick and resize a few, like this:
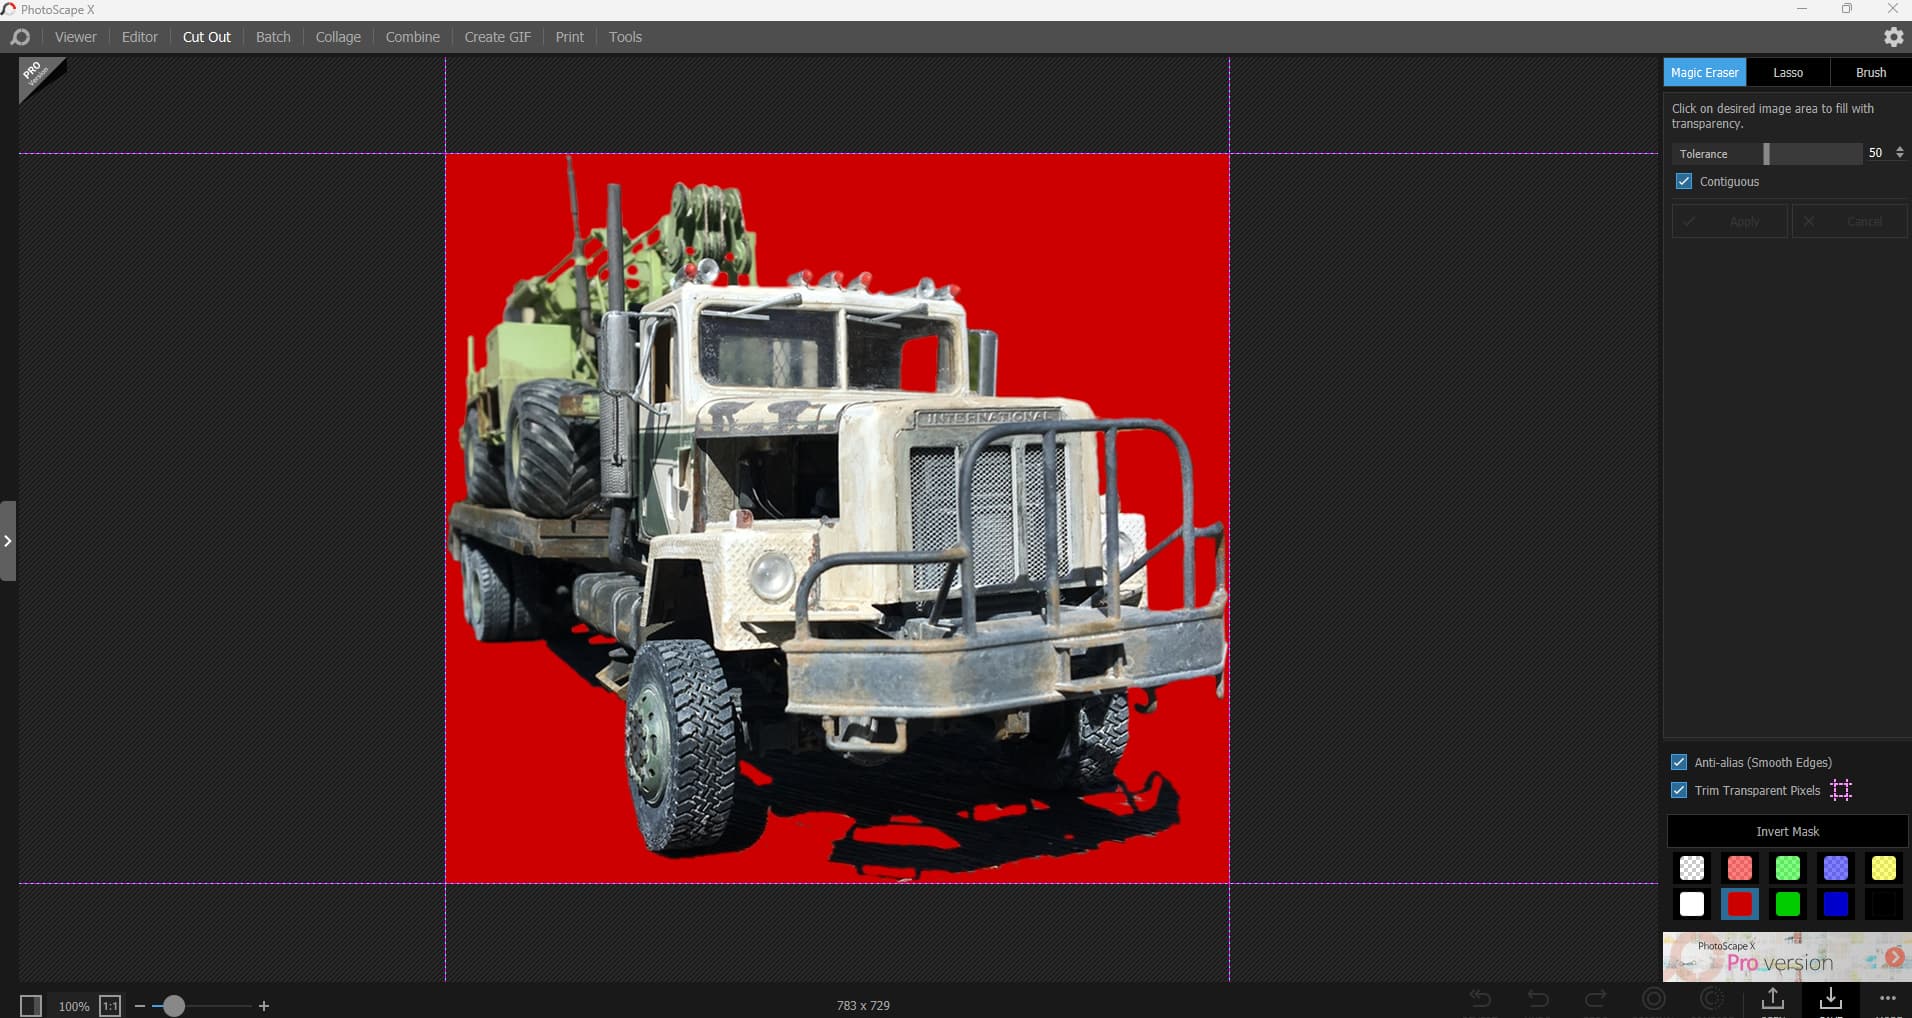
As you can see, it’s a nice enough image, (and I apparently don’t know my left from right!  ) but, as I enjoy doing this, I keep going, and use some free software called PhotoScape Pro X, to make a cutout:
This process is not automatic, and instead can be very slow going. You are given three options for removing backgrounds (the blue box in upper right of image): Magic Erase, Lasso, and Brush. It took me a long time to learn how to use each option most effectively.
Magic erase is great for removing things that have uniform colors (the sky, colored walls, streets etc), but you need to be careful when you use this, so you don’t accidentally remove part of your image you want to keep. Happily, there is an “undo” feature. With practice, I’ve been able to estimate where this might happen on a photo and avoid the problem.
The Lasso feature lets you push a little cursor around things you want to remove. It’s interesting because when you drag it in one direction, the cursor is free-form, but in the other it will cut a straight line, which is very useful.
I don’t use the paint brush as much anymore. It is actually an eraser with variable size heads, which was ideal when I started doing this. But, with this tool it is hard to make uniform lines.
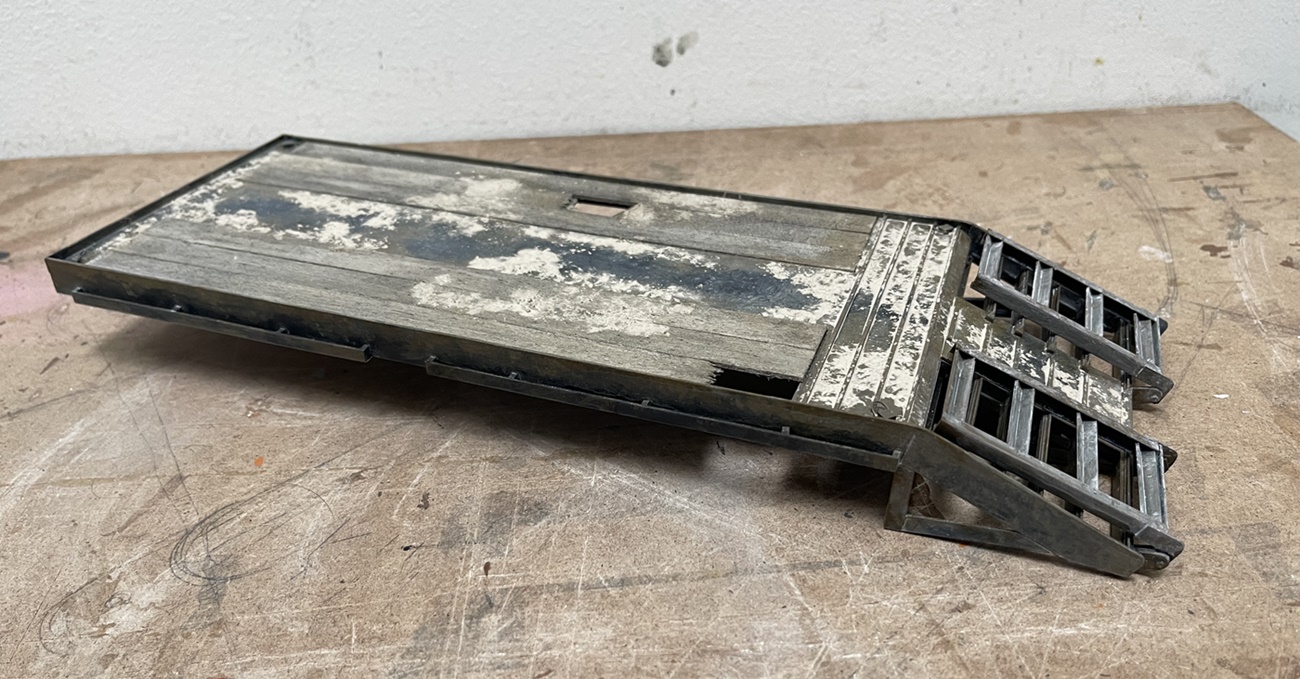
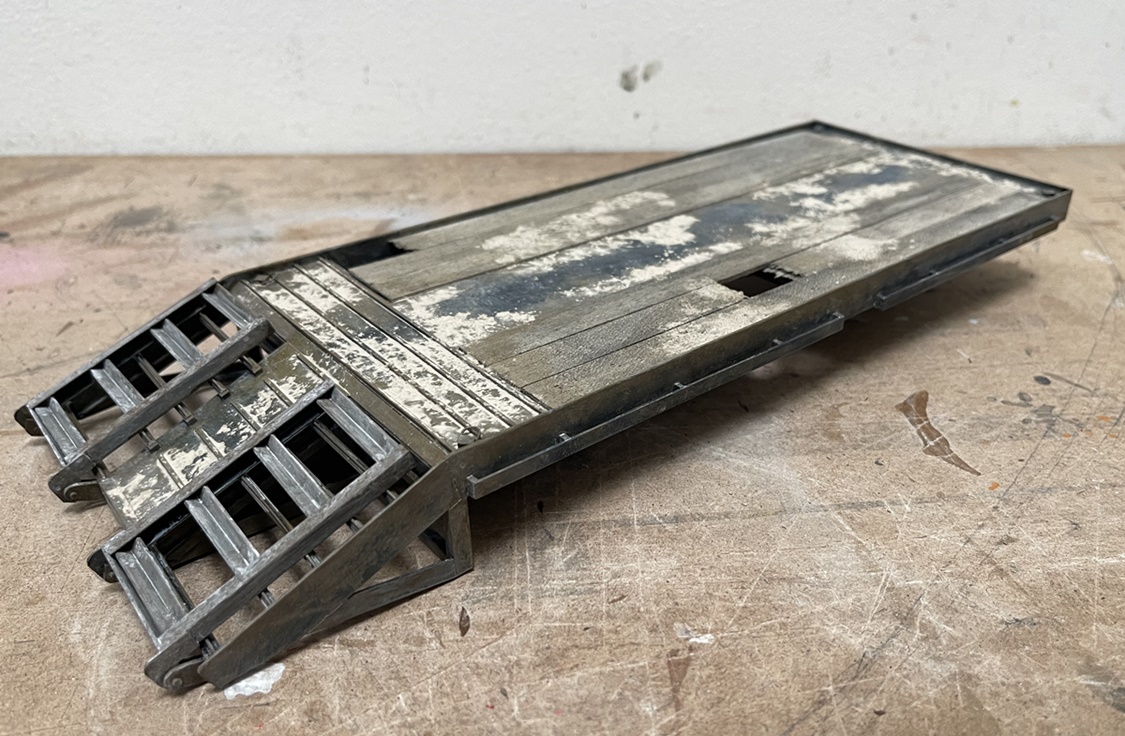
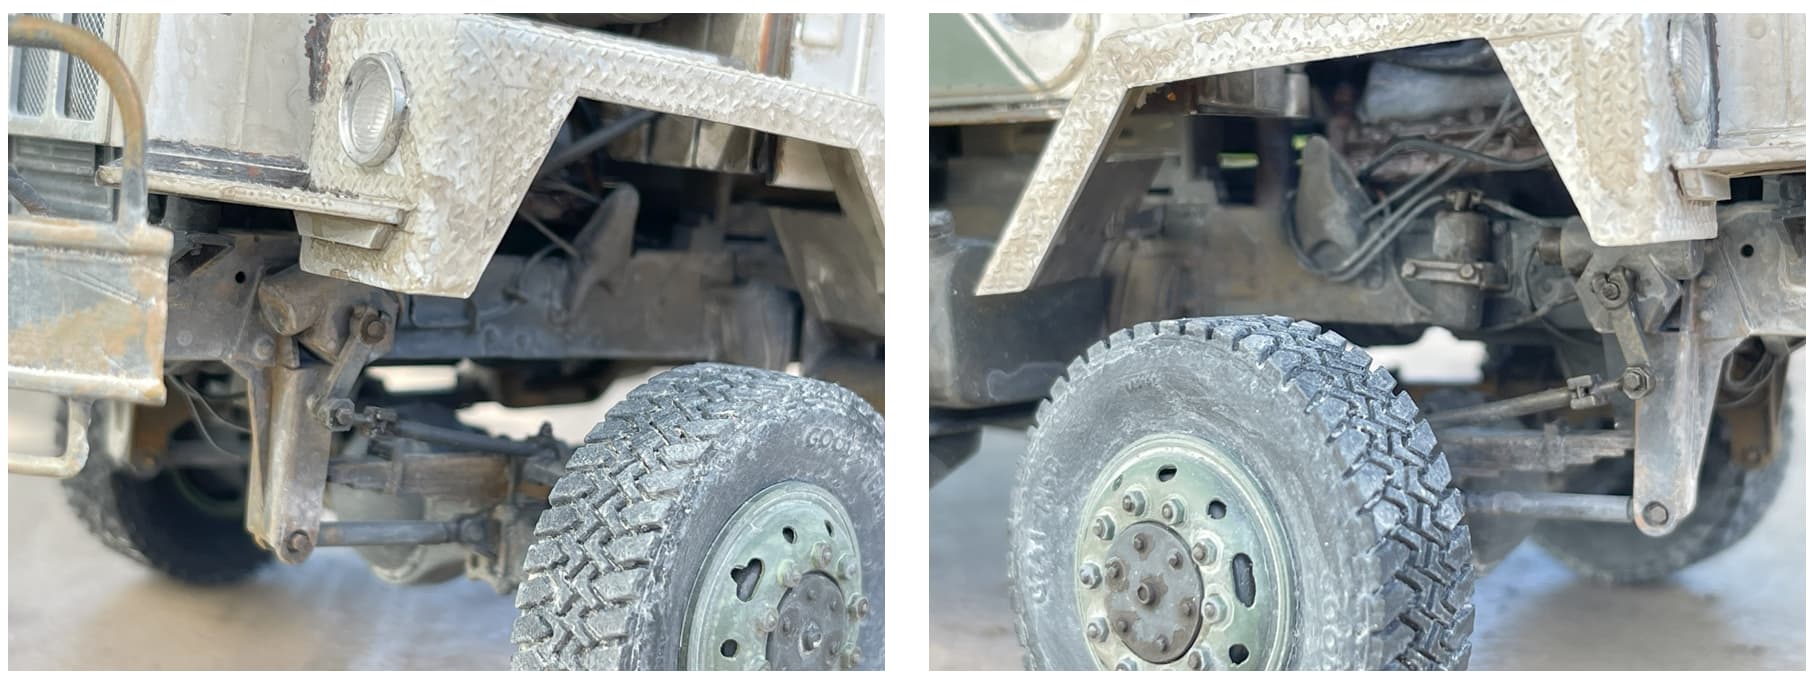
Happily, the software lets you zoom in on your photo, and you can select a colored background for areas you have removed which is very helpful, especially on complicated objects, like models. It’s hard to believe how many small cracks of light from behind can creep through. The example I picked is actually pretty straight forward, but the side views of the the drill rig were complicated.
When this is done you have this:
I don’t ever manipulate the photo of the object - that is no light adjustments, screens, filters etc - this is simply a photo cutout of the original object.
Next, I pick a background I think might work. I have come to keep lots of these, urban rural, natural, etc - and I copy images I see when I think they might eventually be useful:
Now the process gets really tricky
Drag the picture and background into…Powerpoint. Yep, just Powerpoint:
And using Powerpoint, you layout as you see fit. I know lots of people gripe about PPT, but I use it all the time for everything from this to site plans -
I learned of the versatility of PPT because I worked for a giant company for a long time - and as I became a studio leader, it was concluded (by others) that I didn’t need advanced graphic software…perfect eh? So my designers all had the tools and skills to do work that blows my mediocre efforts out of the water - which was great for our clients, but not so great for me, and as such, well, a guy learned how to really use PPT, and I still do!
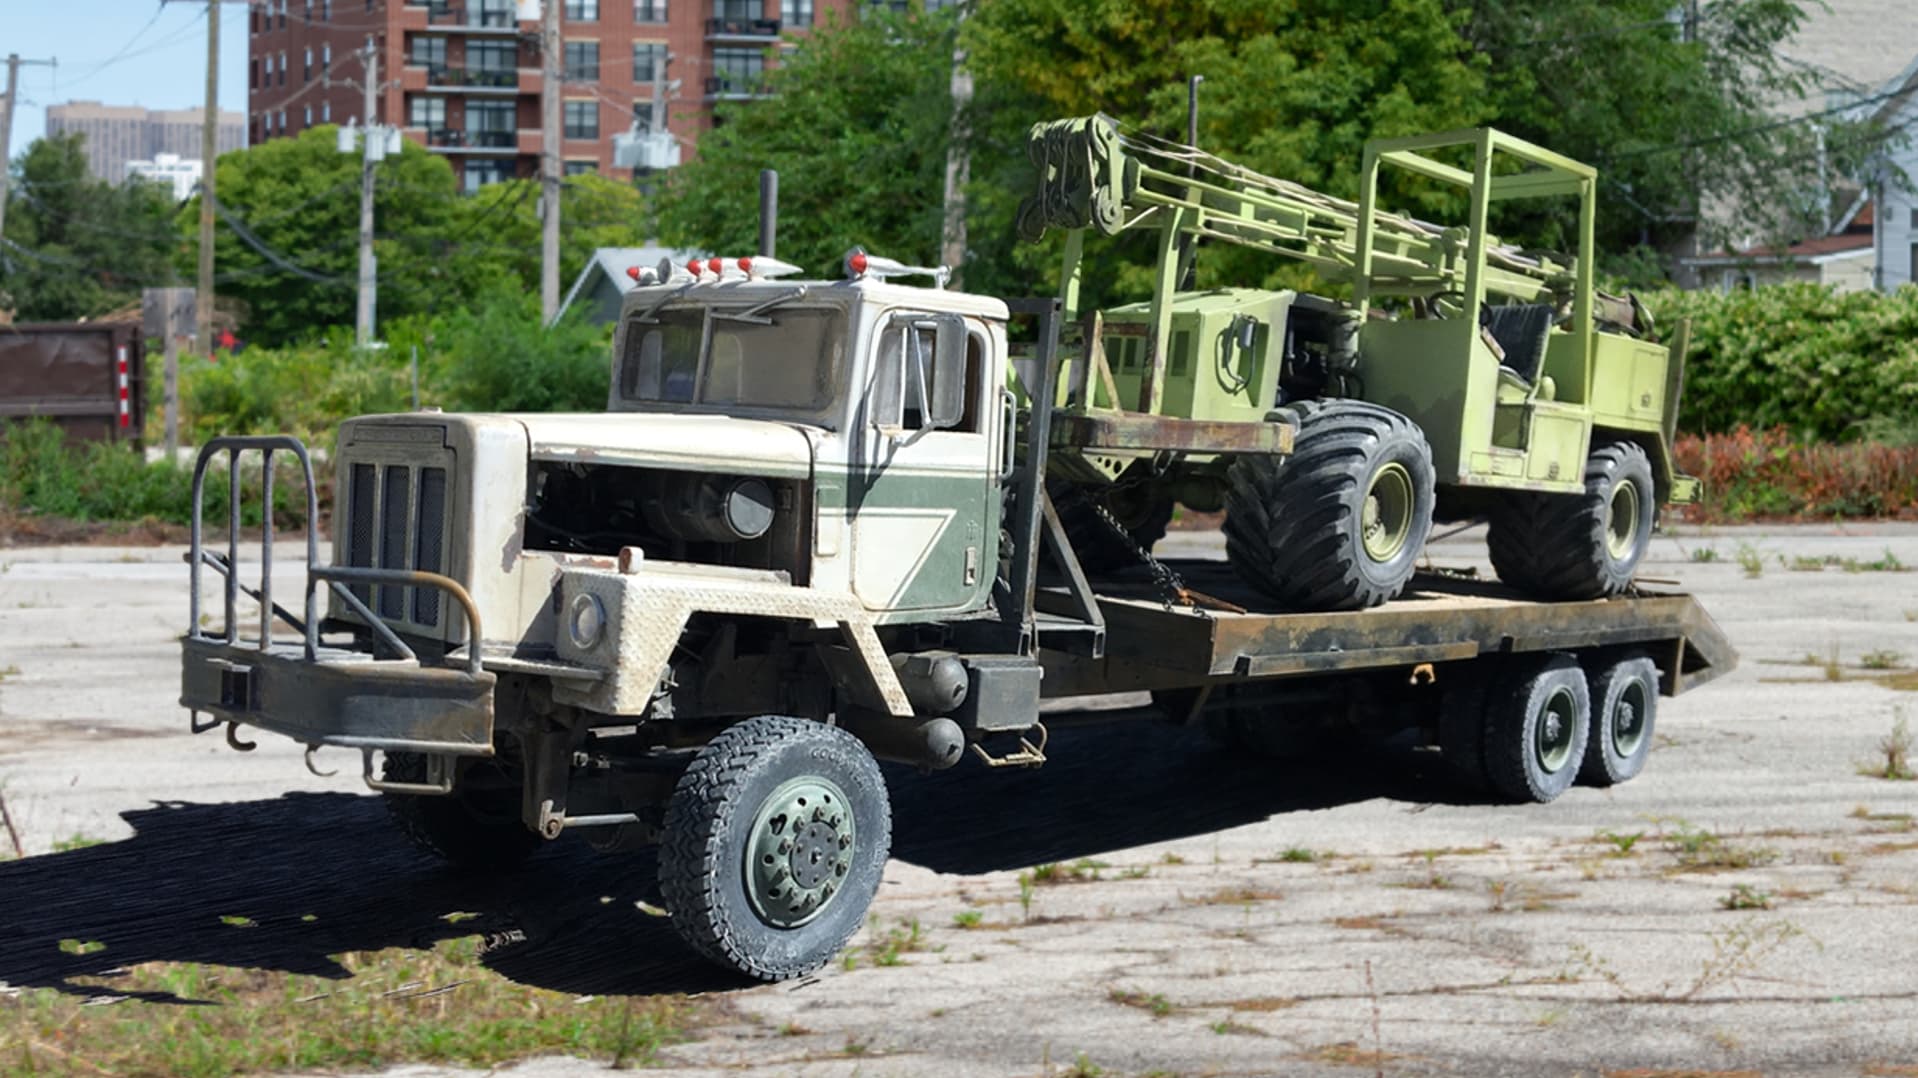
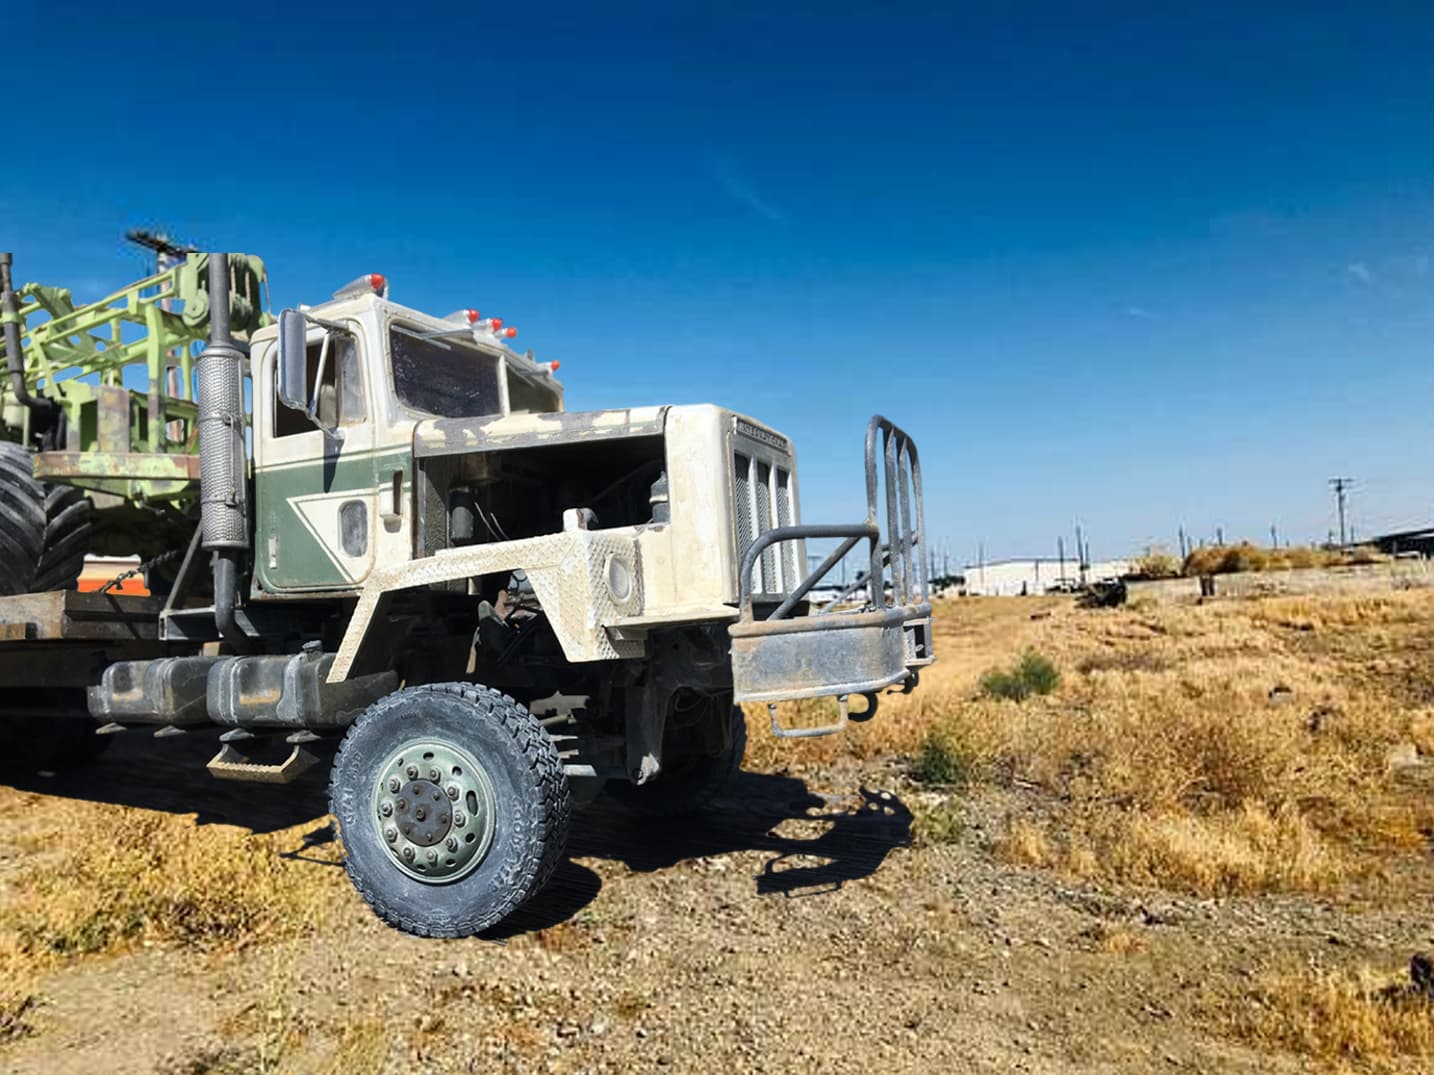
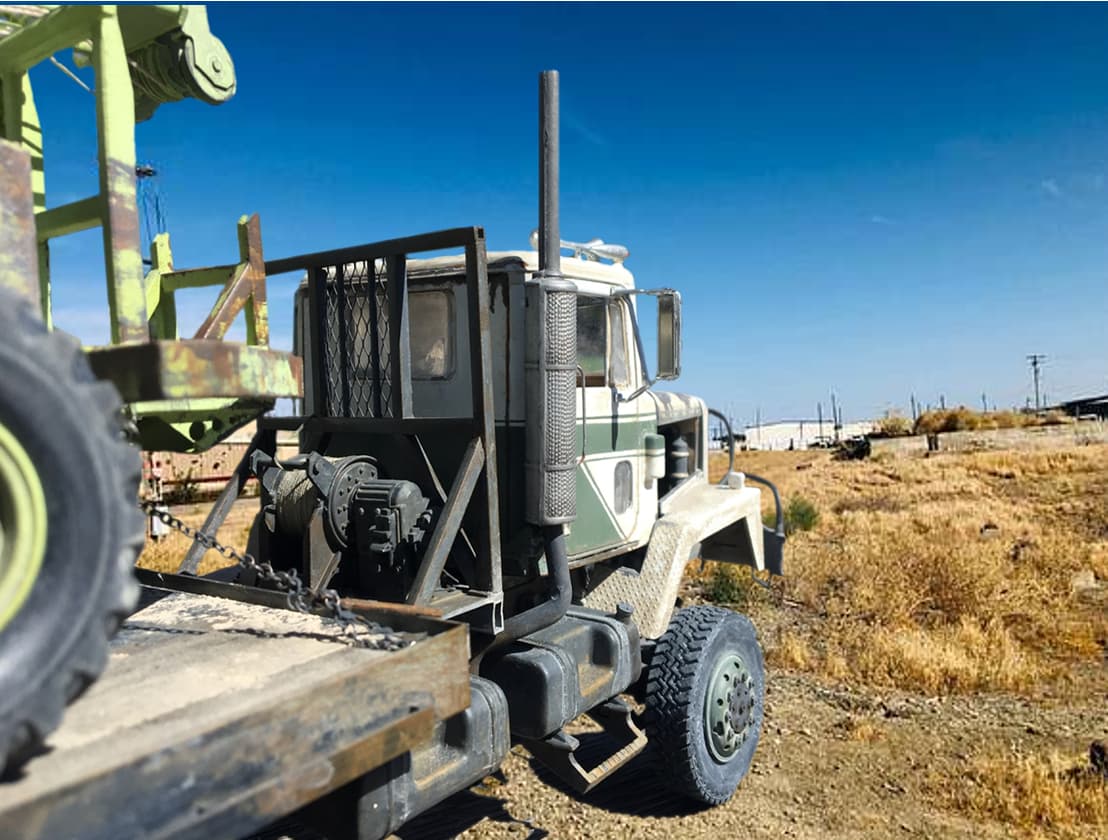
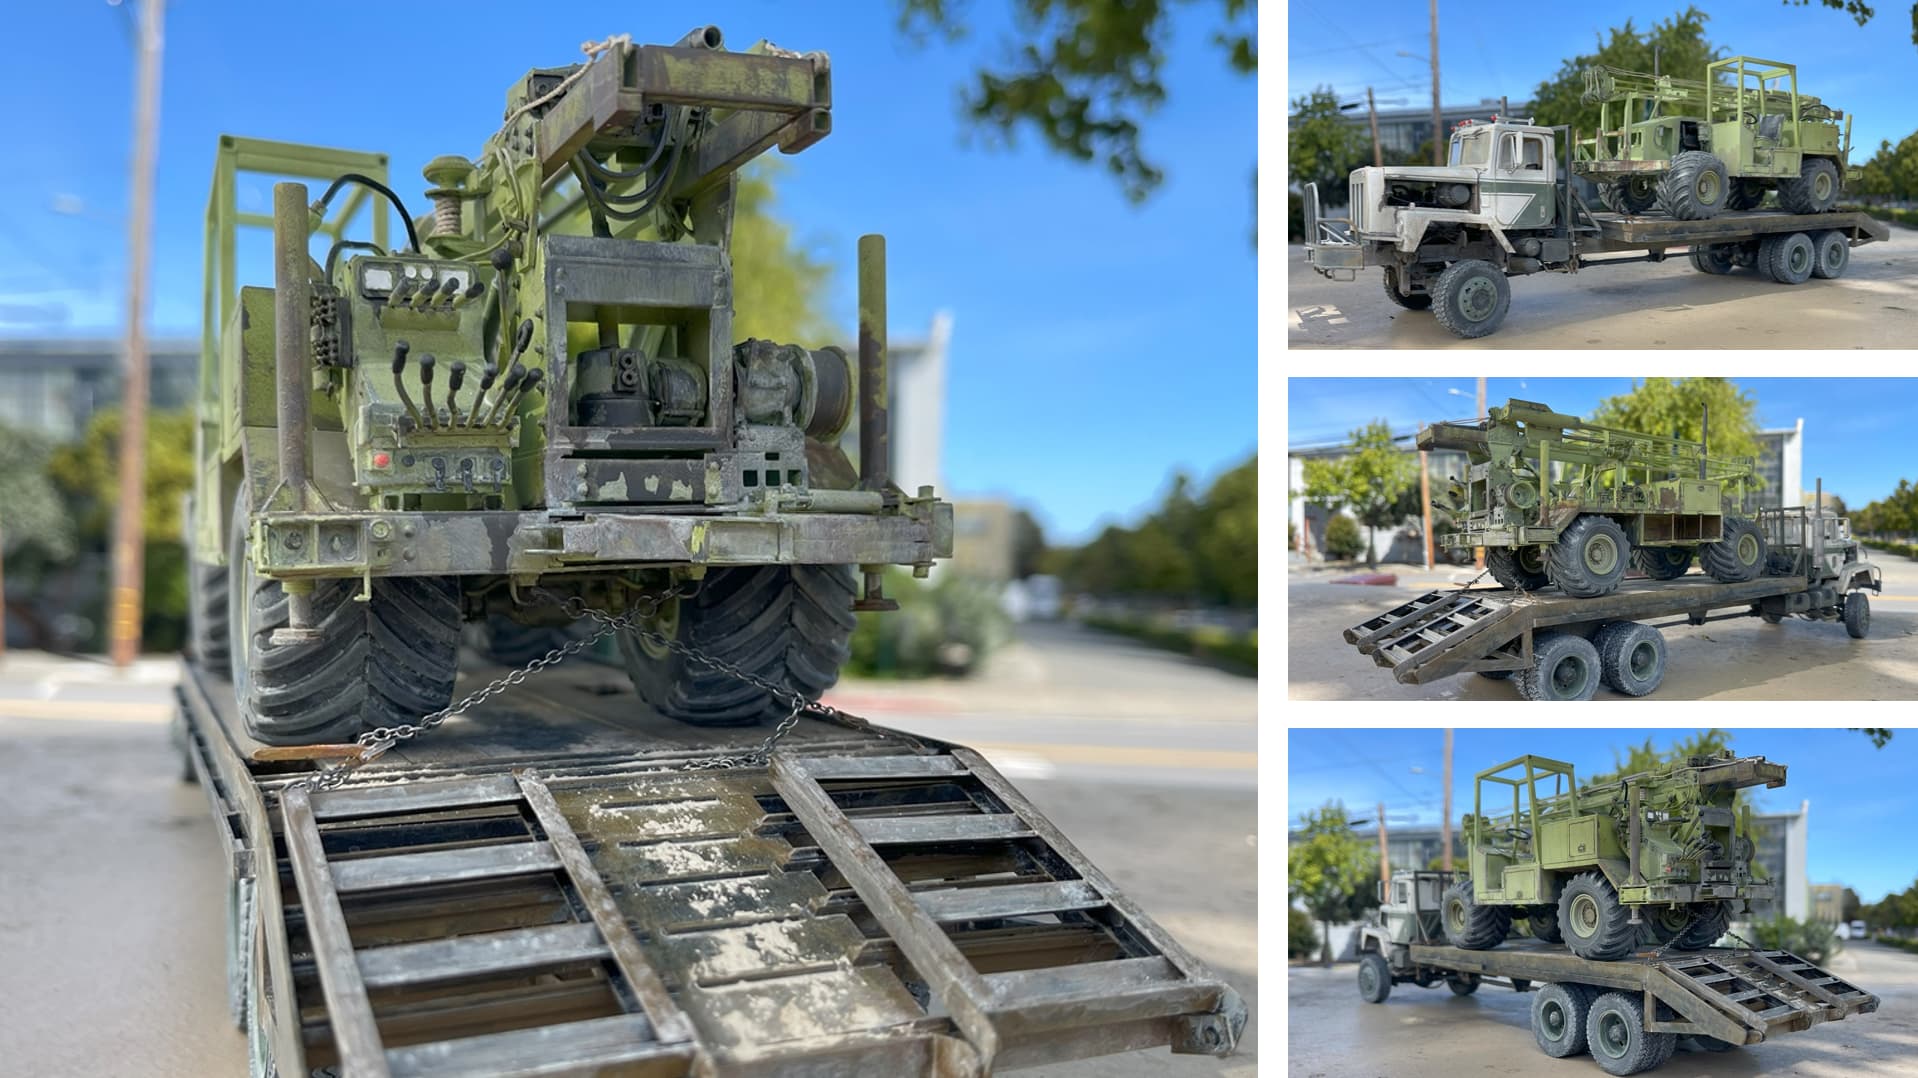
The result of this PPT effort:
As you can see in the post above, this is not the best final image, but it is good for illustrating the process. I have come to really enjoy taking the final pics, and locating them in the environment I think looks right!
Scale, light/shadow directions, quality of the background photo, vantage and vanishing point of the background means that while it’s easy to drag the pictures together, but less easy to get the two to work together in a convincing way.
So, maybe a bit windy, but that is how I make these images -
Hope it’s helpful
Cheers
Nick