@Bravo36 Ralph, welcome aboard! I enjoy your diorama’s.
Out of the 1/35 Panther kits you’ve built, which would be your favorite?
@Bravo36 Ralph, welcome aboard! I enjoy your diorama’s.
Out of the 1/35 Panther kits you’ve built, which would be your favorite?
For whats its worth, I loved the DML Panther G late production kit, 6268 … I will be getting another as it just fell together …
My local shop came upon a horde of vintage kits, lots of Dragon 1980s and 90s Russian armor and figures, along with plenty of vintage Tamiya kits, even a couple Esci M60 kits to boot. I’ll check is i can find a Panther in the stash.
First and only Panther i’ve built is the vintage Tamiya Panther Ausf. A (35065).
Painted in Red Oxide primer before it got painted. Mainly using it as practice for weathering, painting and whatnot.
@SableLiger Reynier welcome to the Panther-fest! Sounds like a lot of rusty gold in that hobby shop treasure chest find.
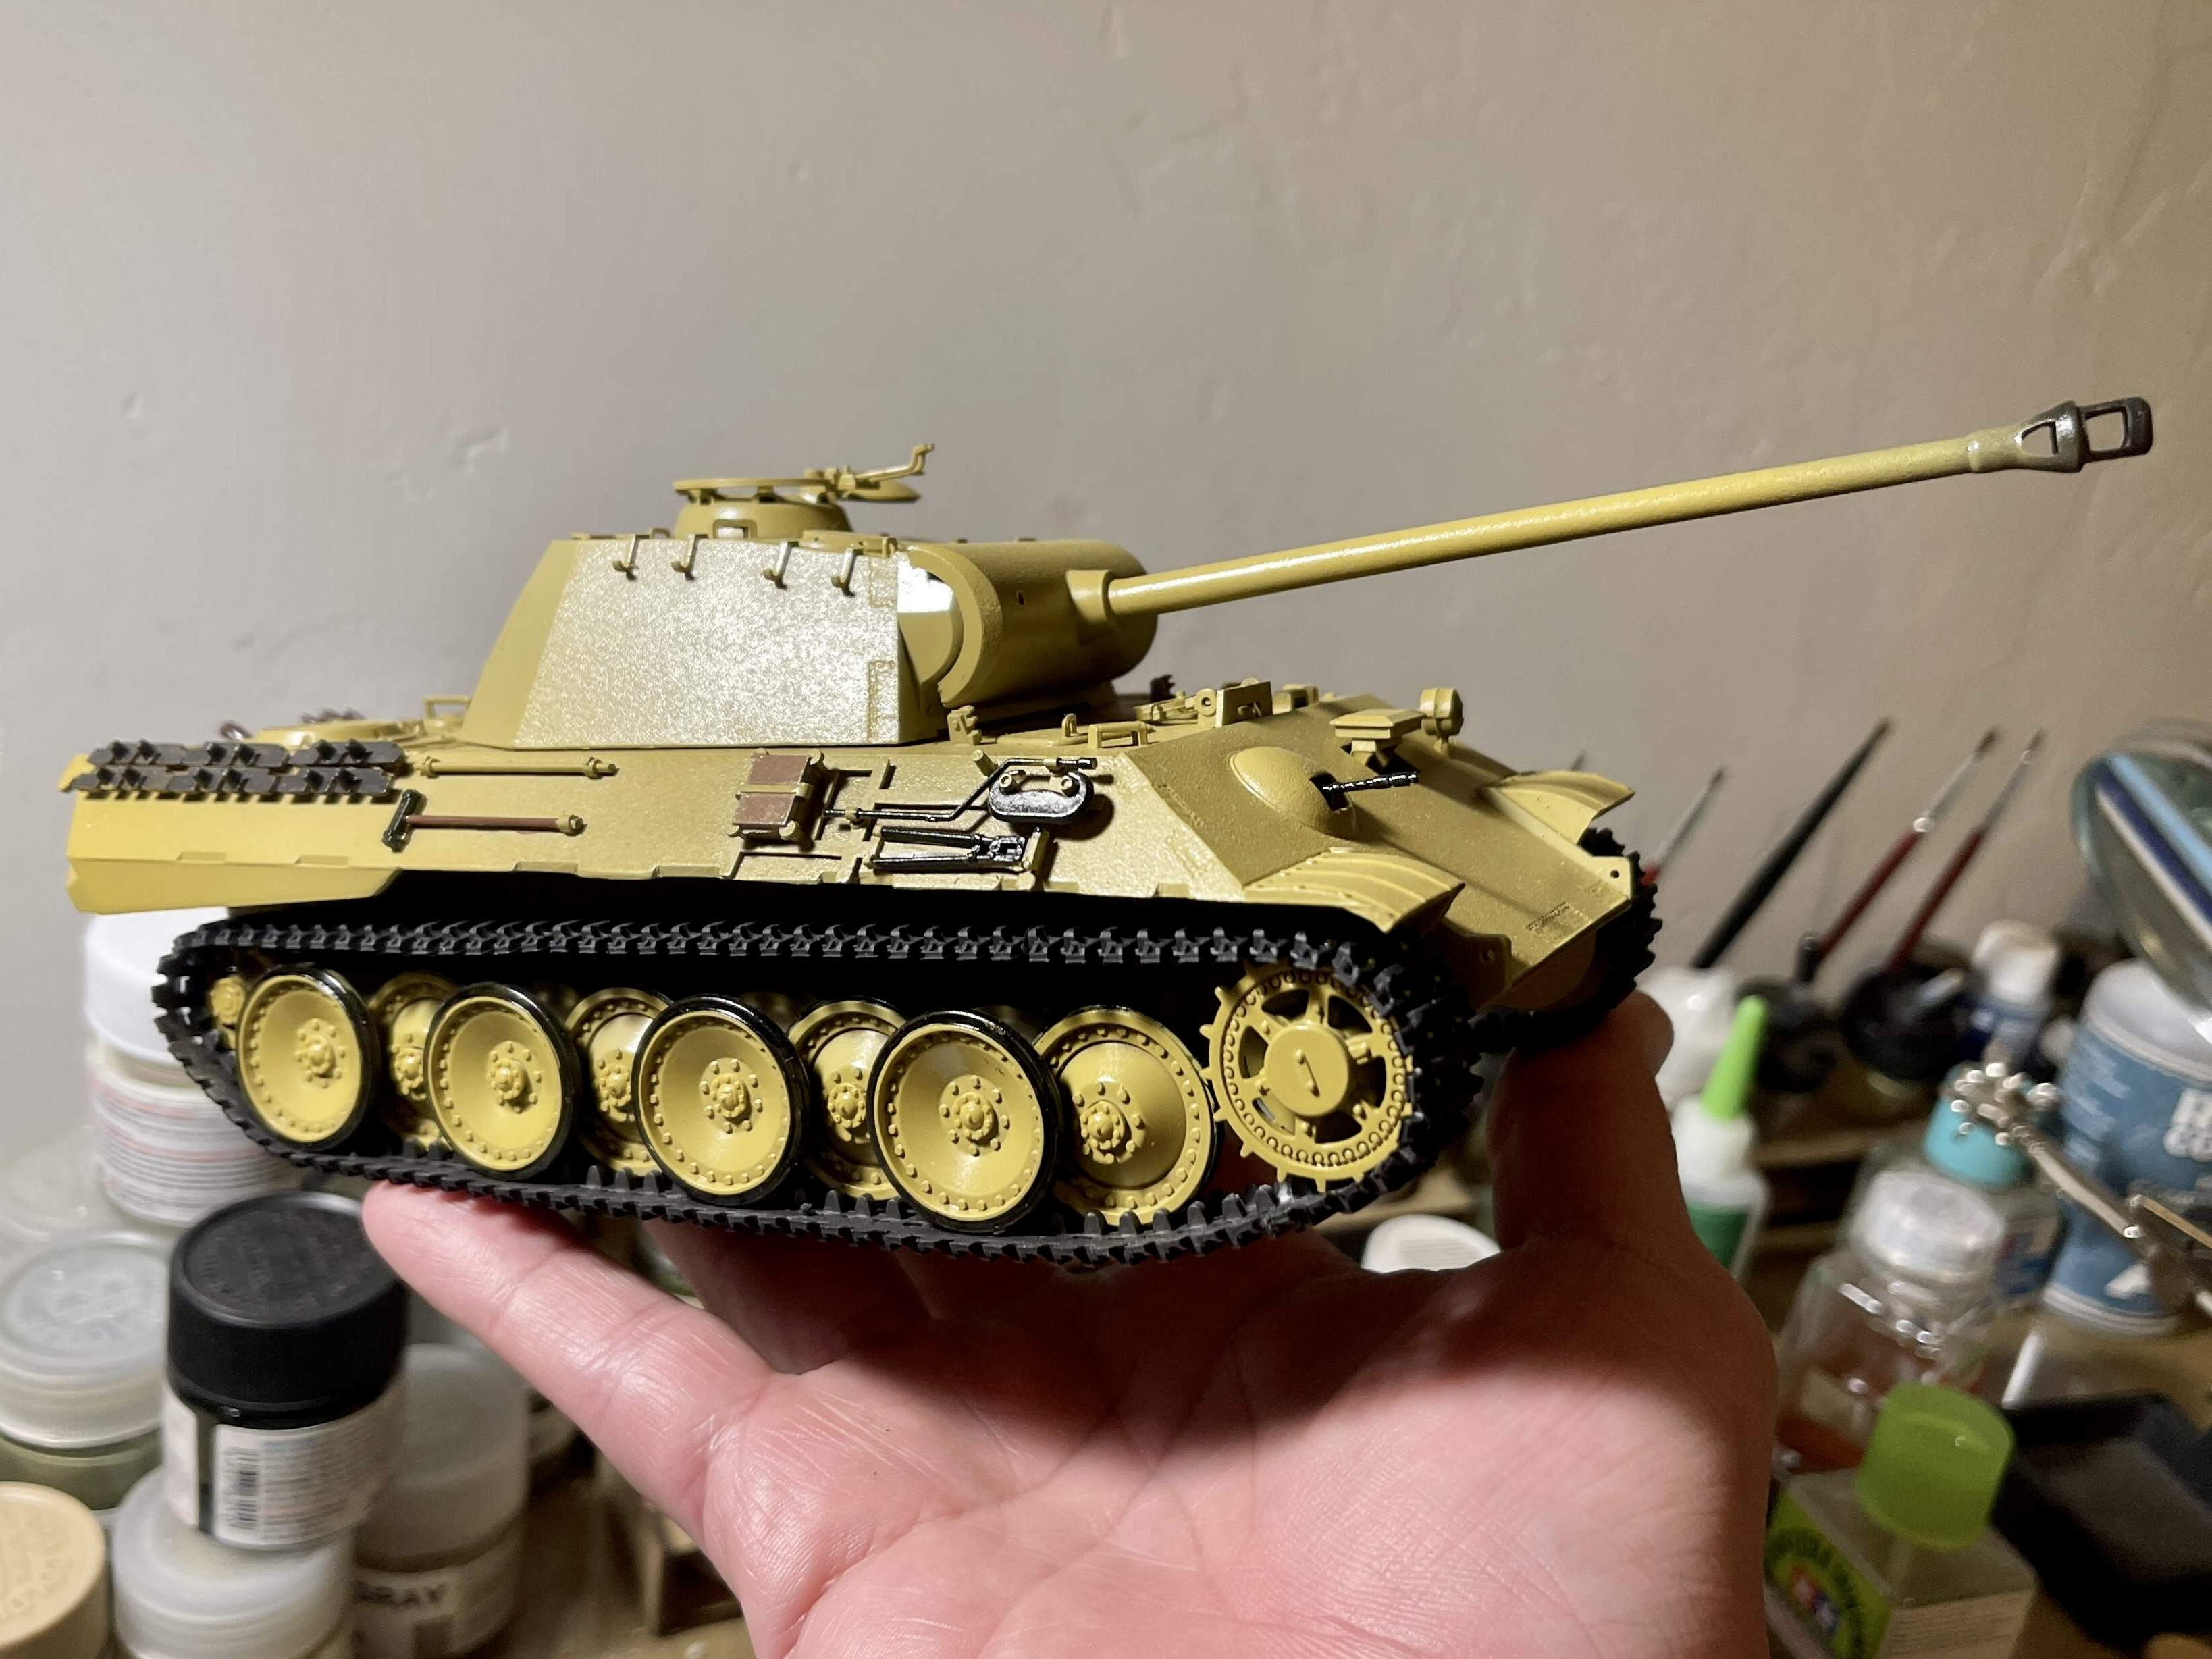
My Tamiya Panther A, from the late 1980’s. Older kits can be a lot of fun too.
Slow going in the hobby room today because I got lost in reference books. ![]()
![]()
![]()
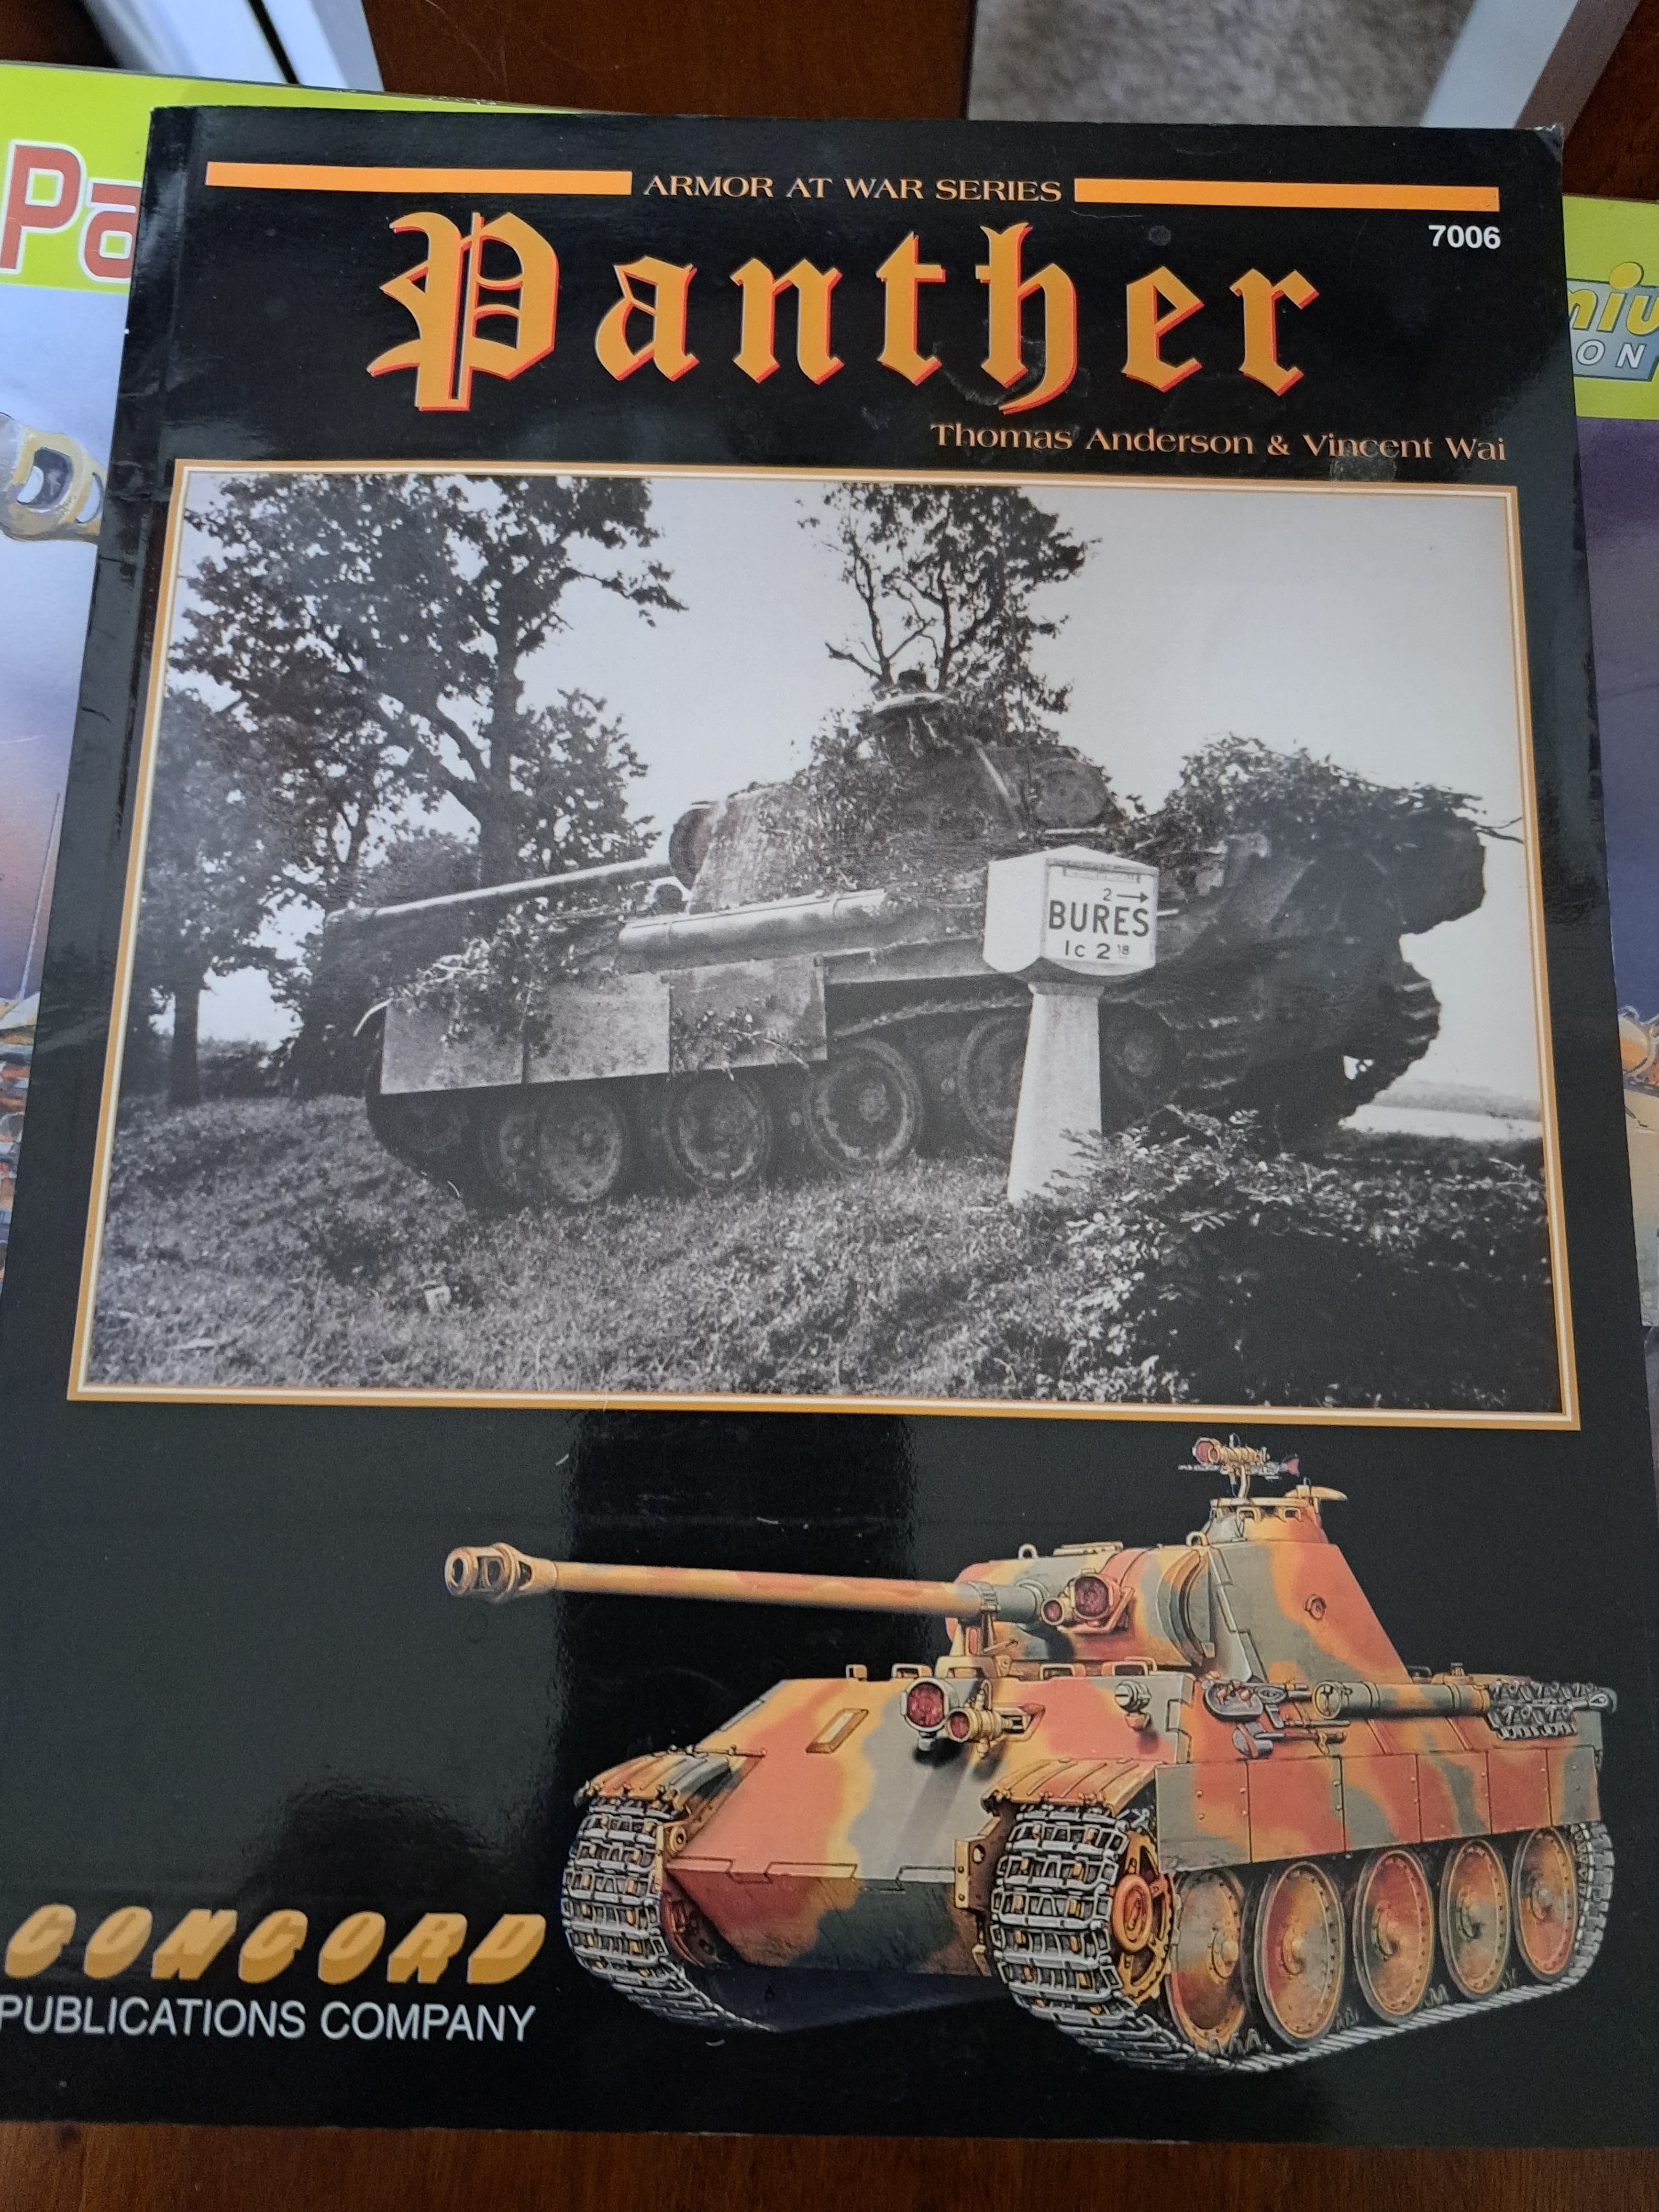
Anyway, want to pass this on for thread discussion purposes, there’s an old Concord Panther book with lots of excellent pictures. It’s worth grabbing etc. Take the written info with a grain of salt ![]()
Here’s an example of the fantastic pictures. This is a very early Kursk spec Panther D from Pz.Abt. 51. Note it has differences from #6164. Discussion only (W. Kriegell pictures.
Two head lights, right side tool box & probably plain dark yellow.
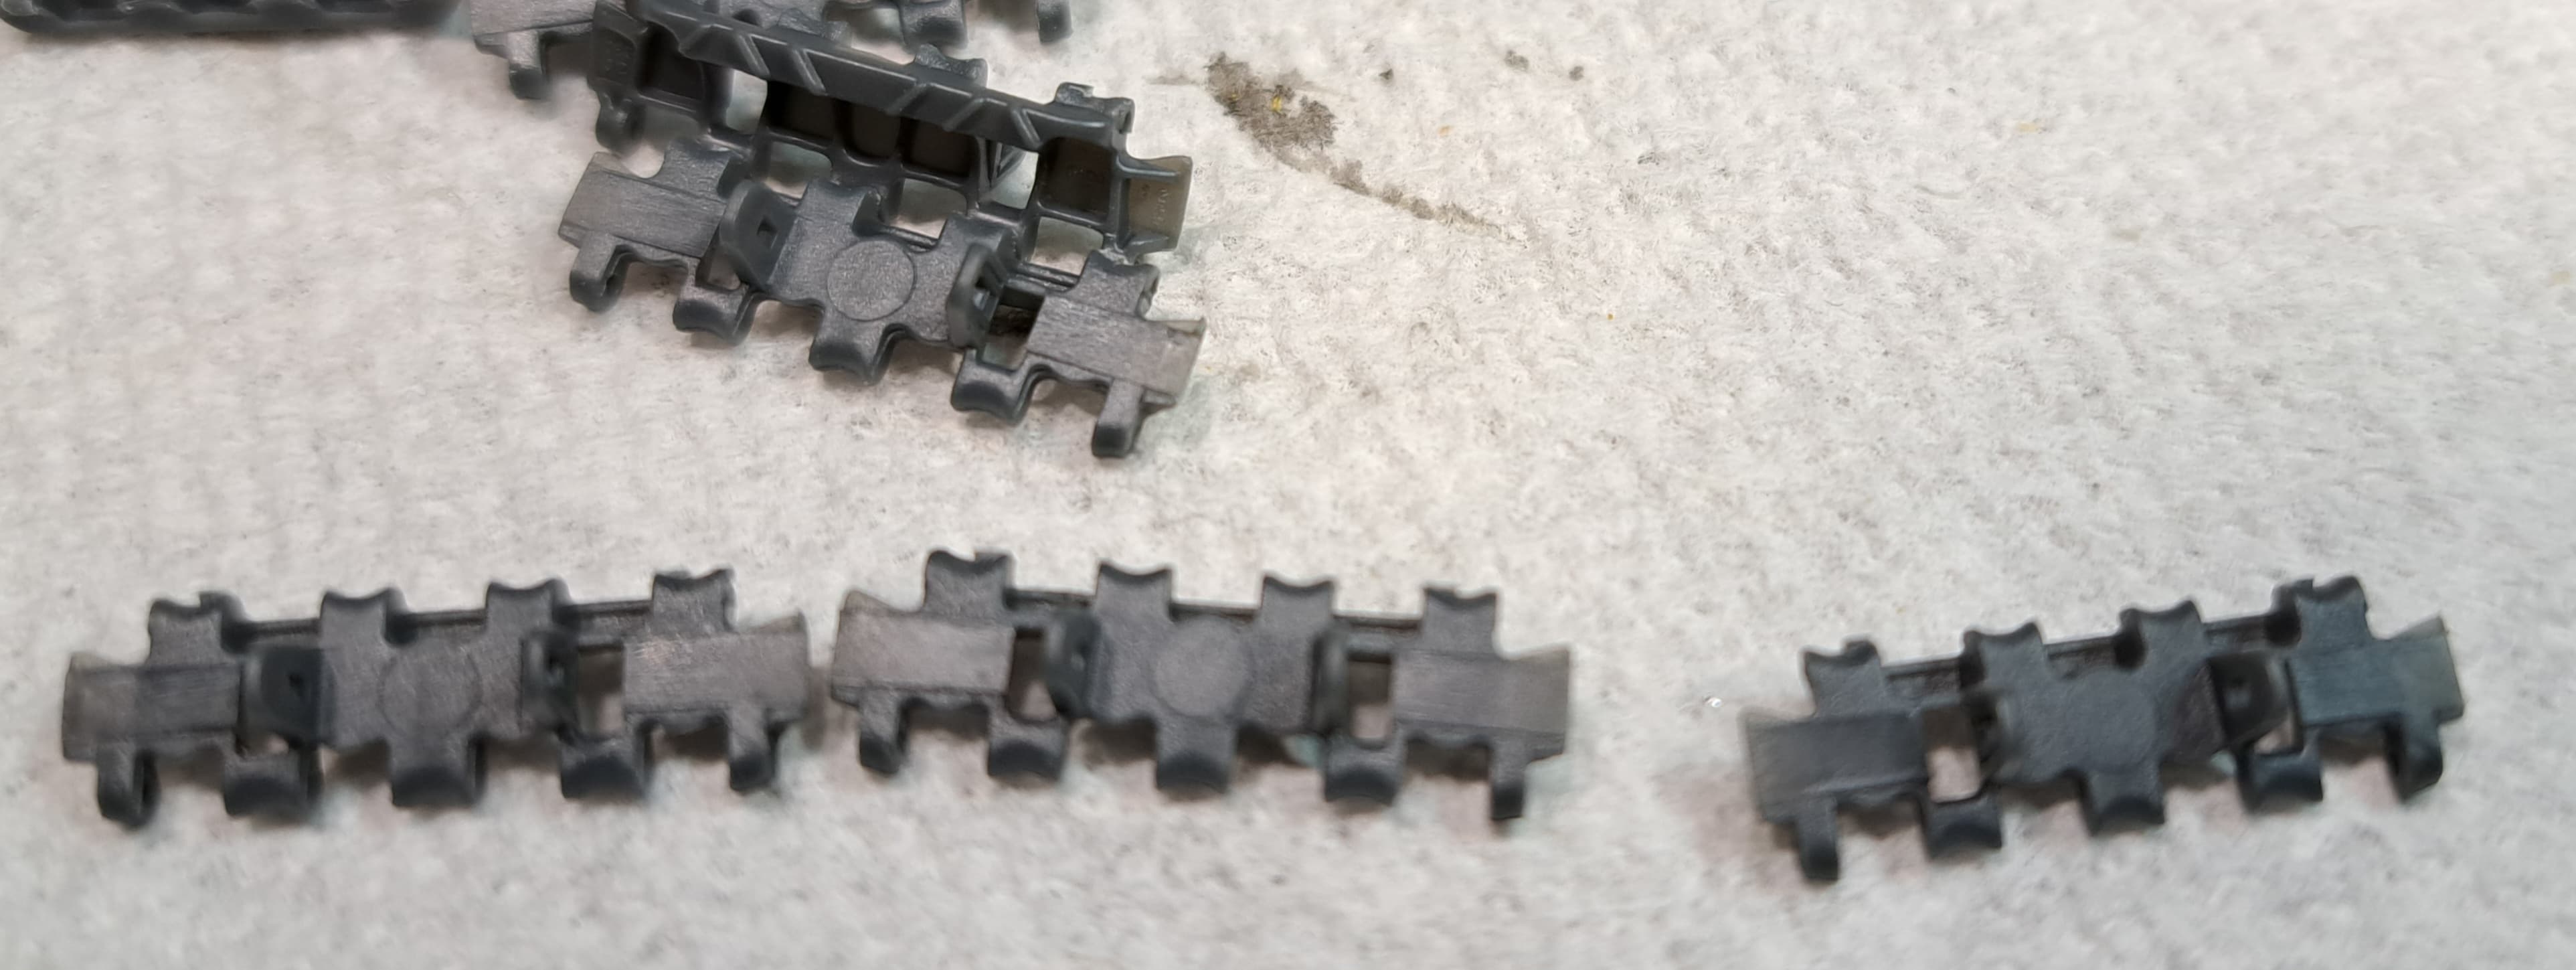
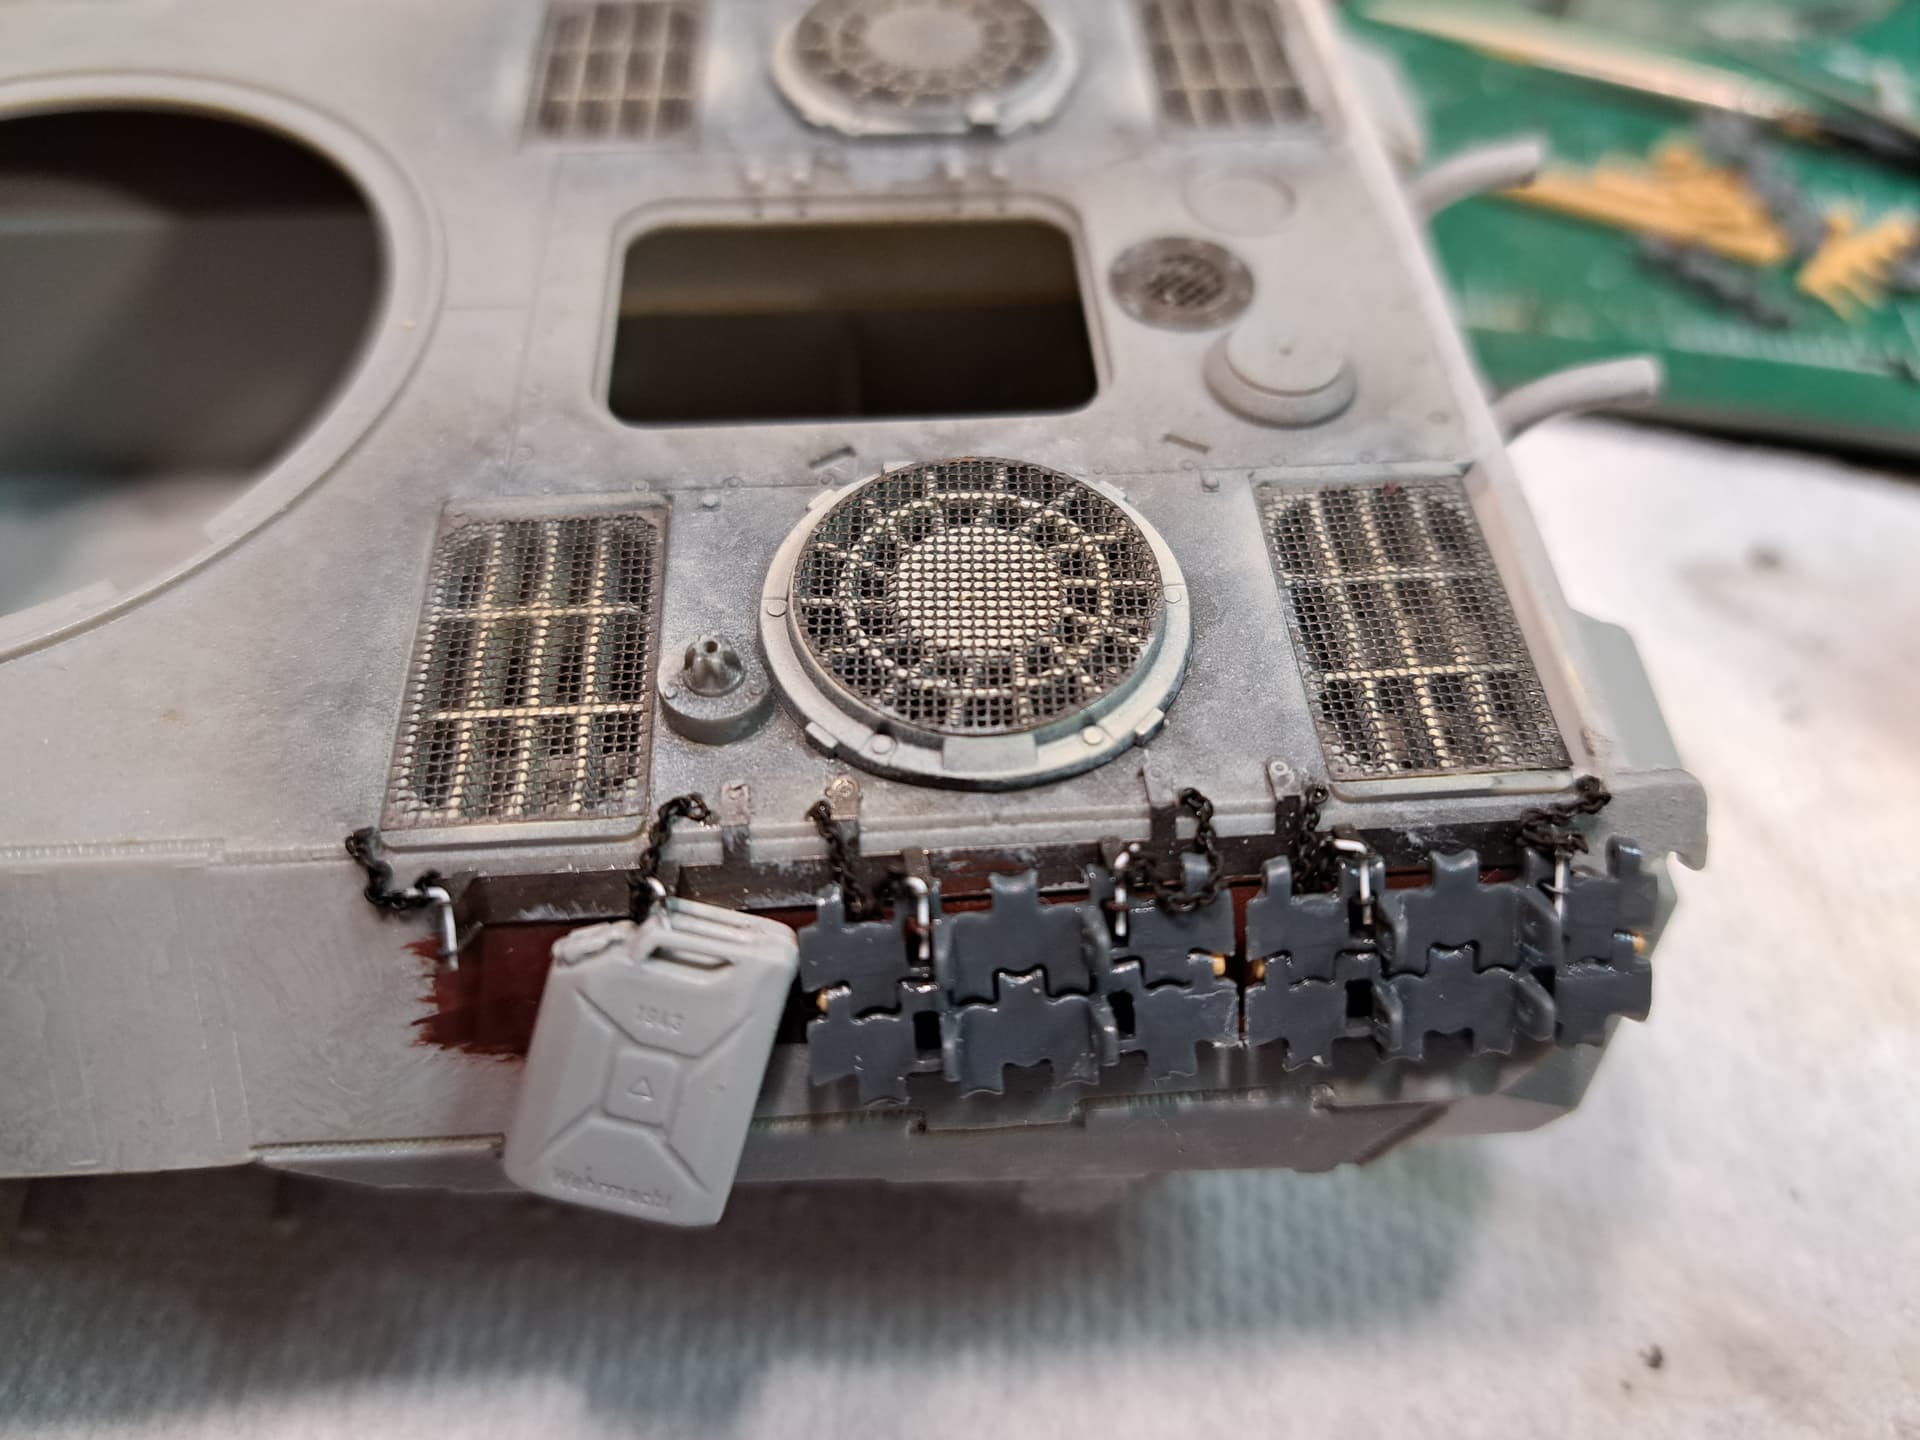
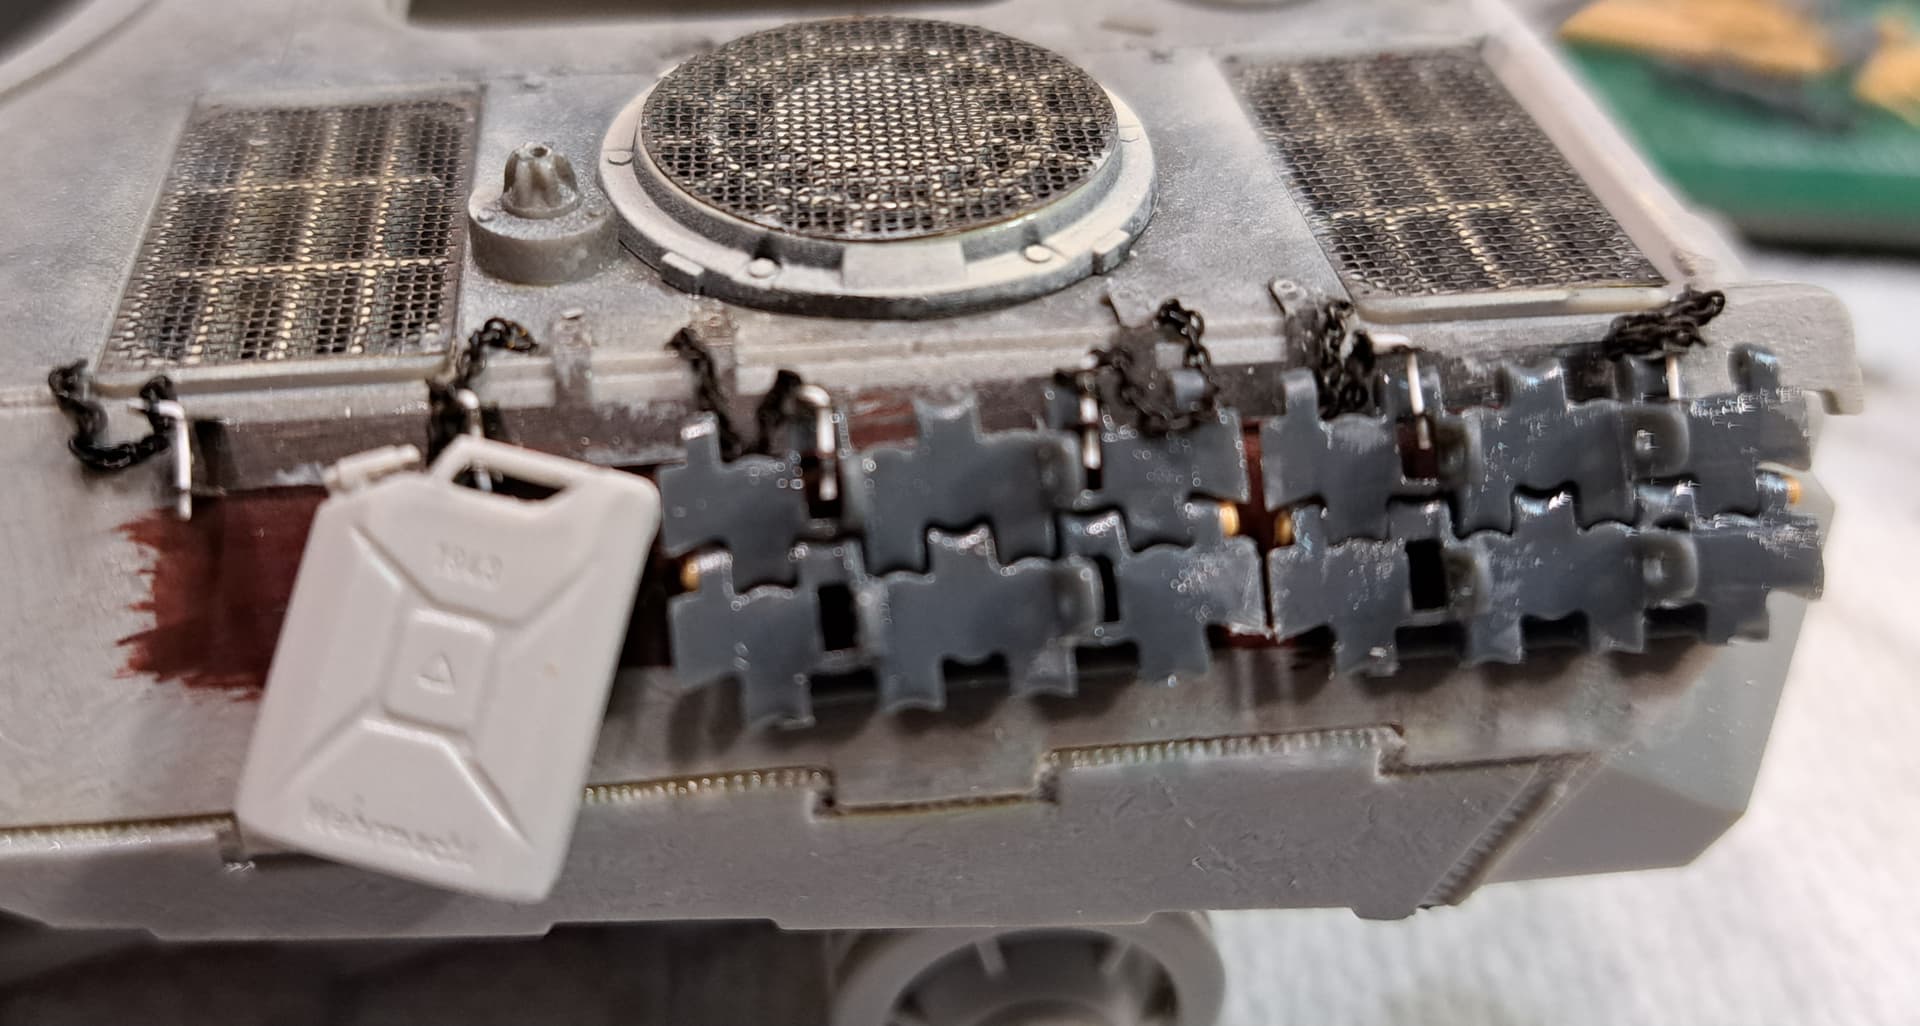
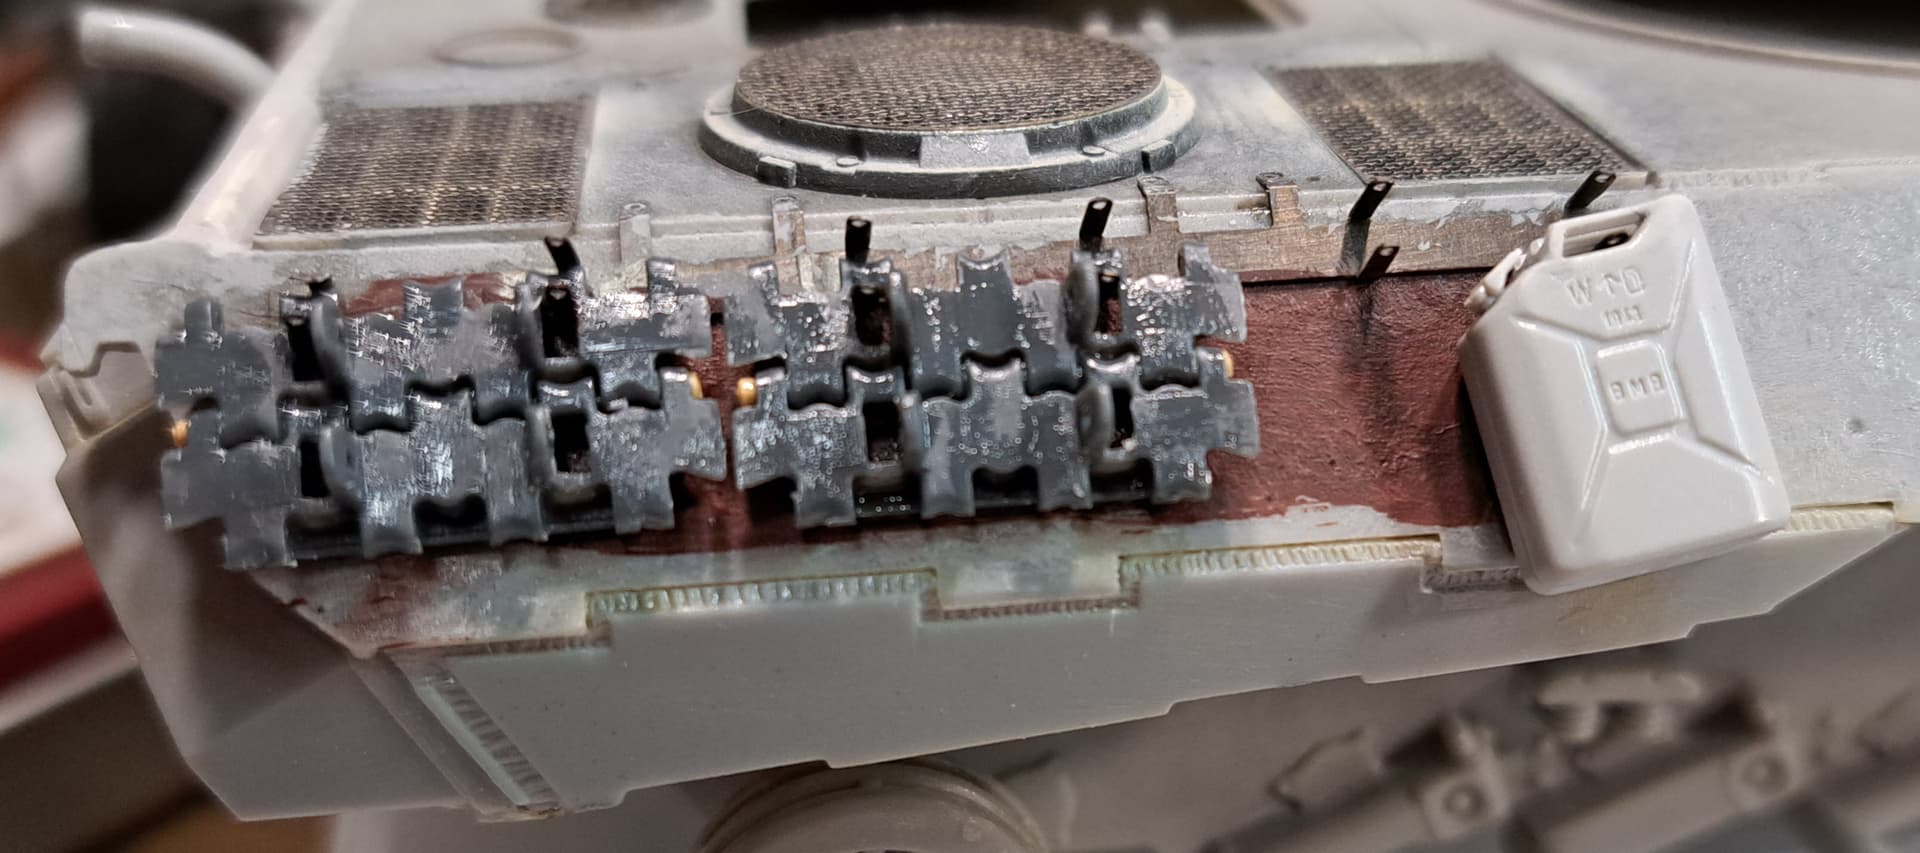
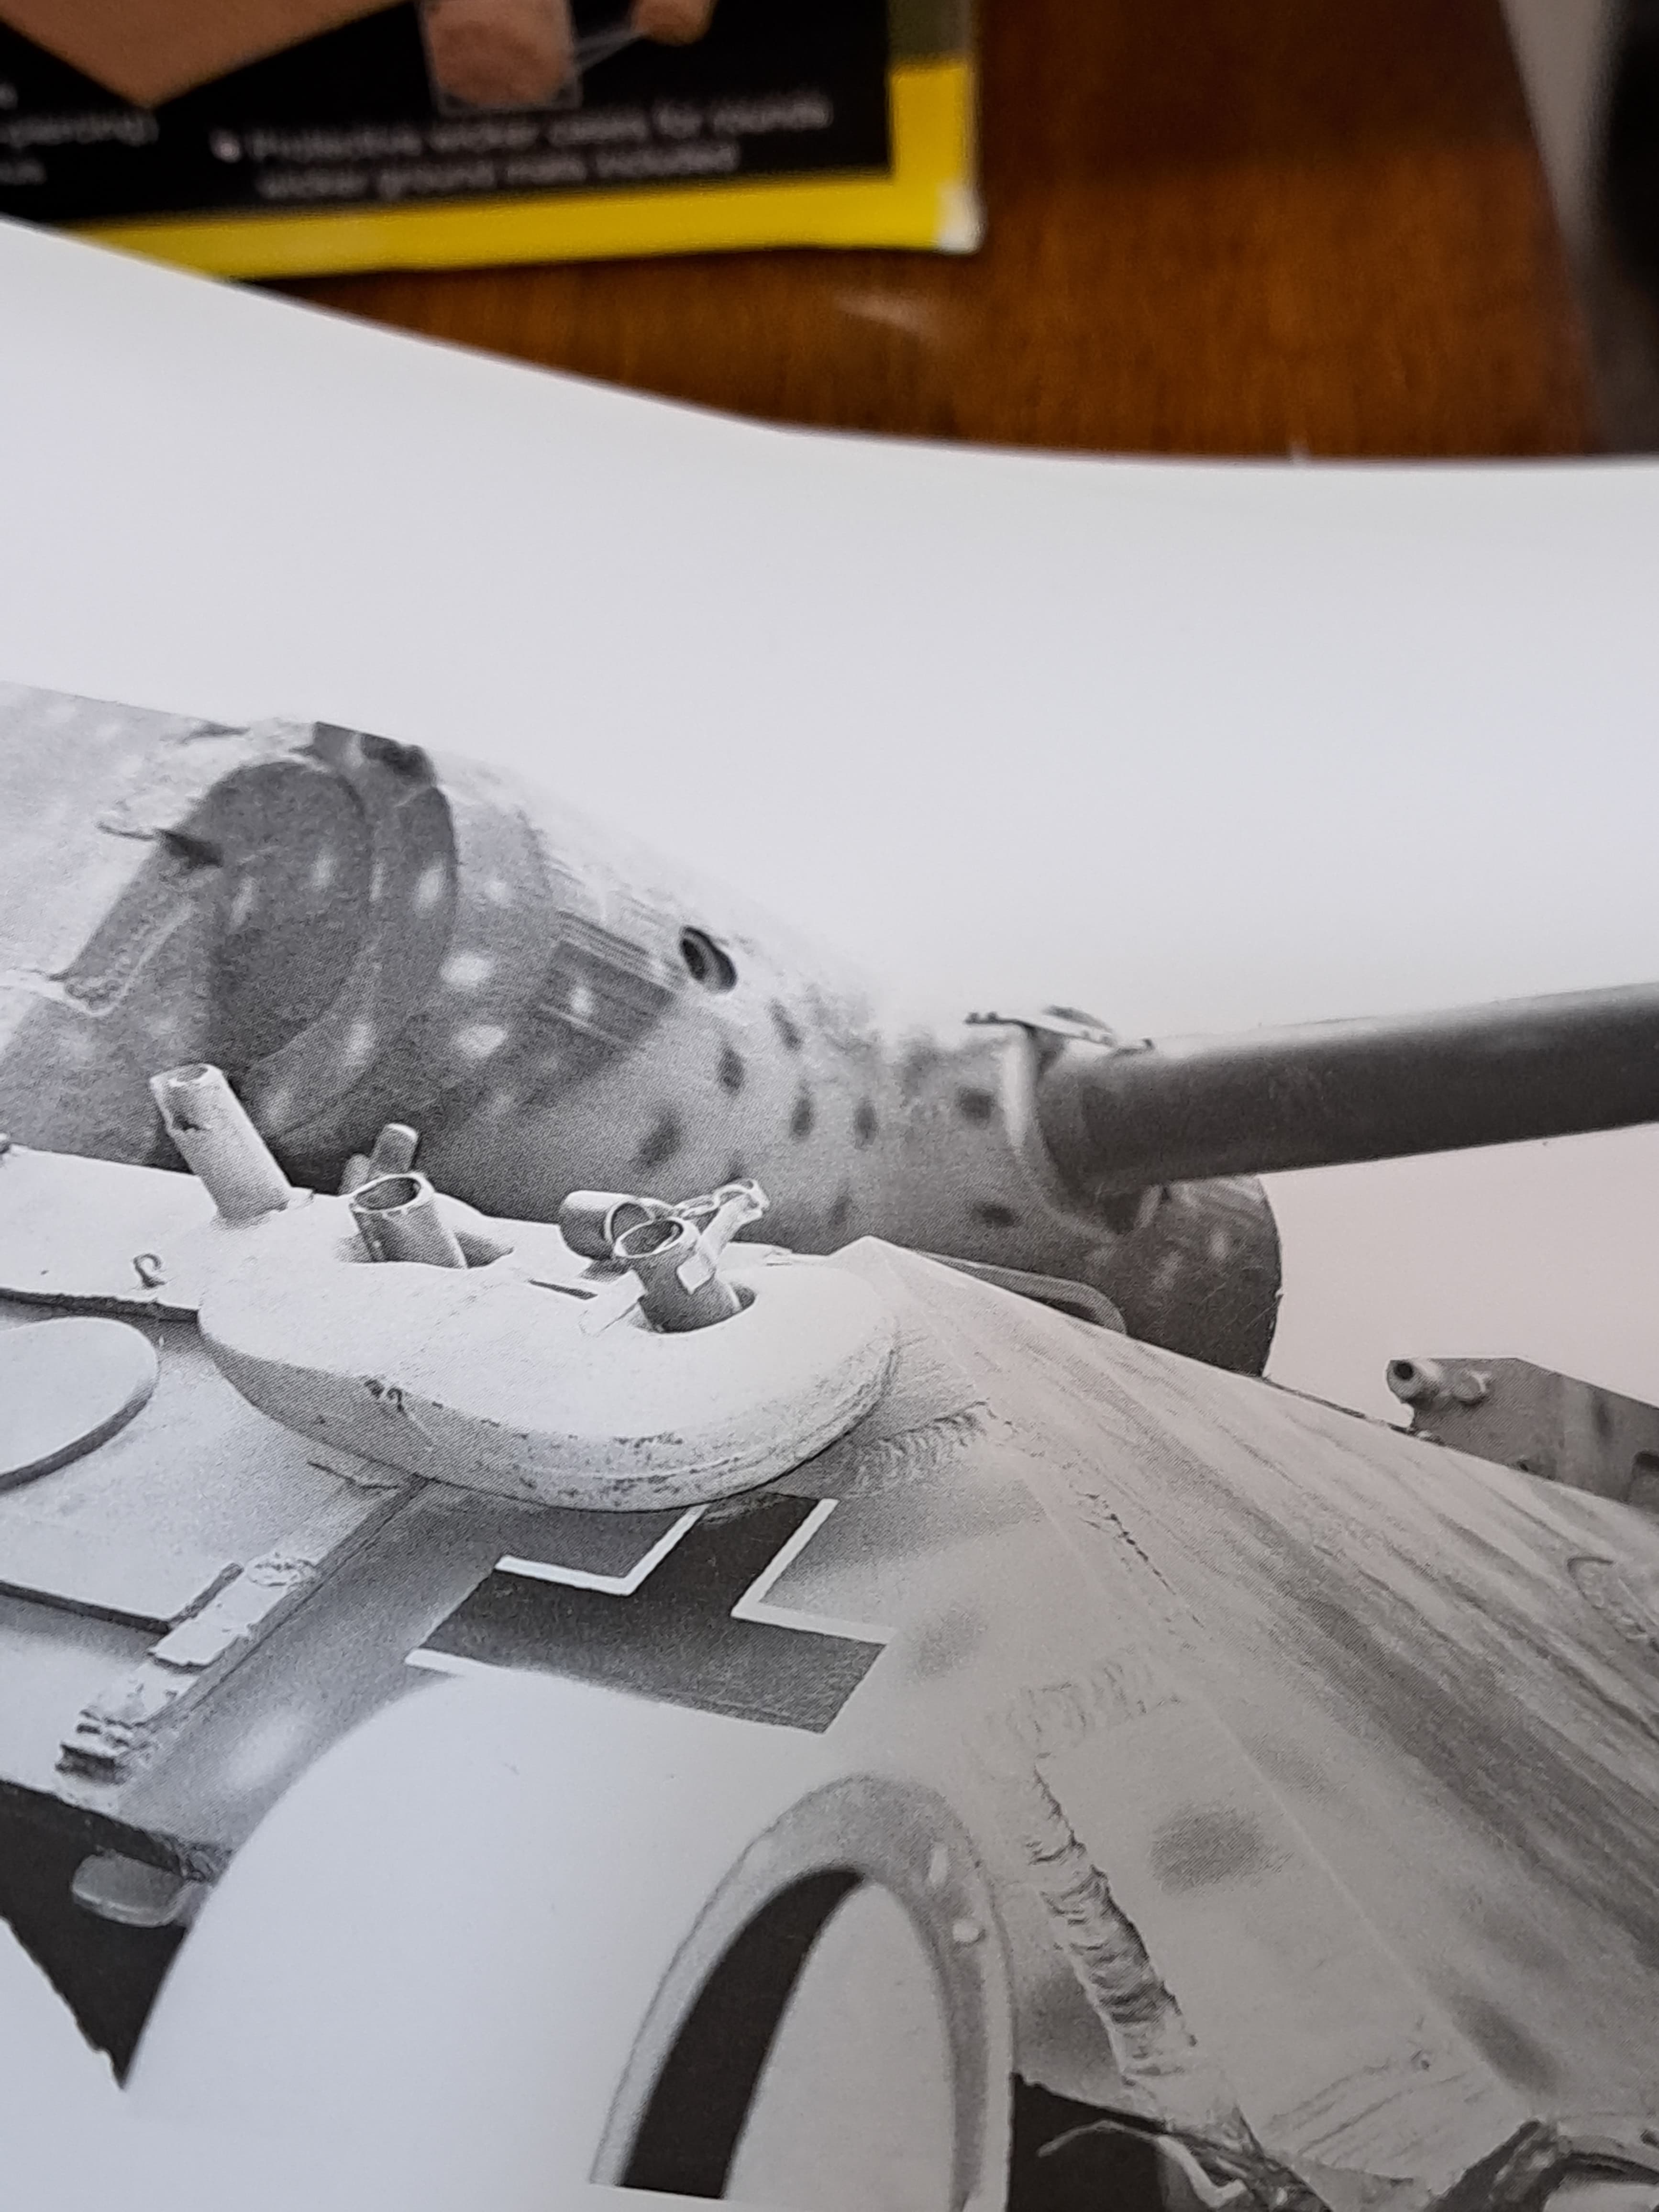
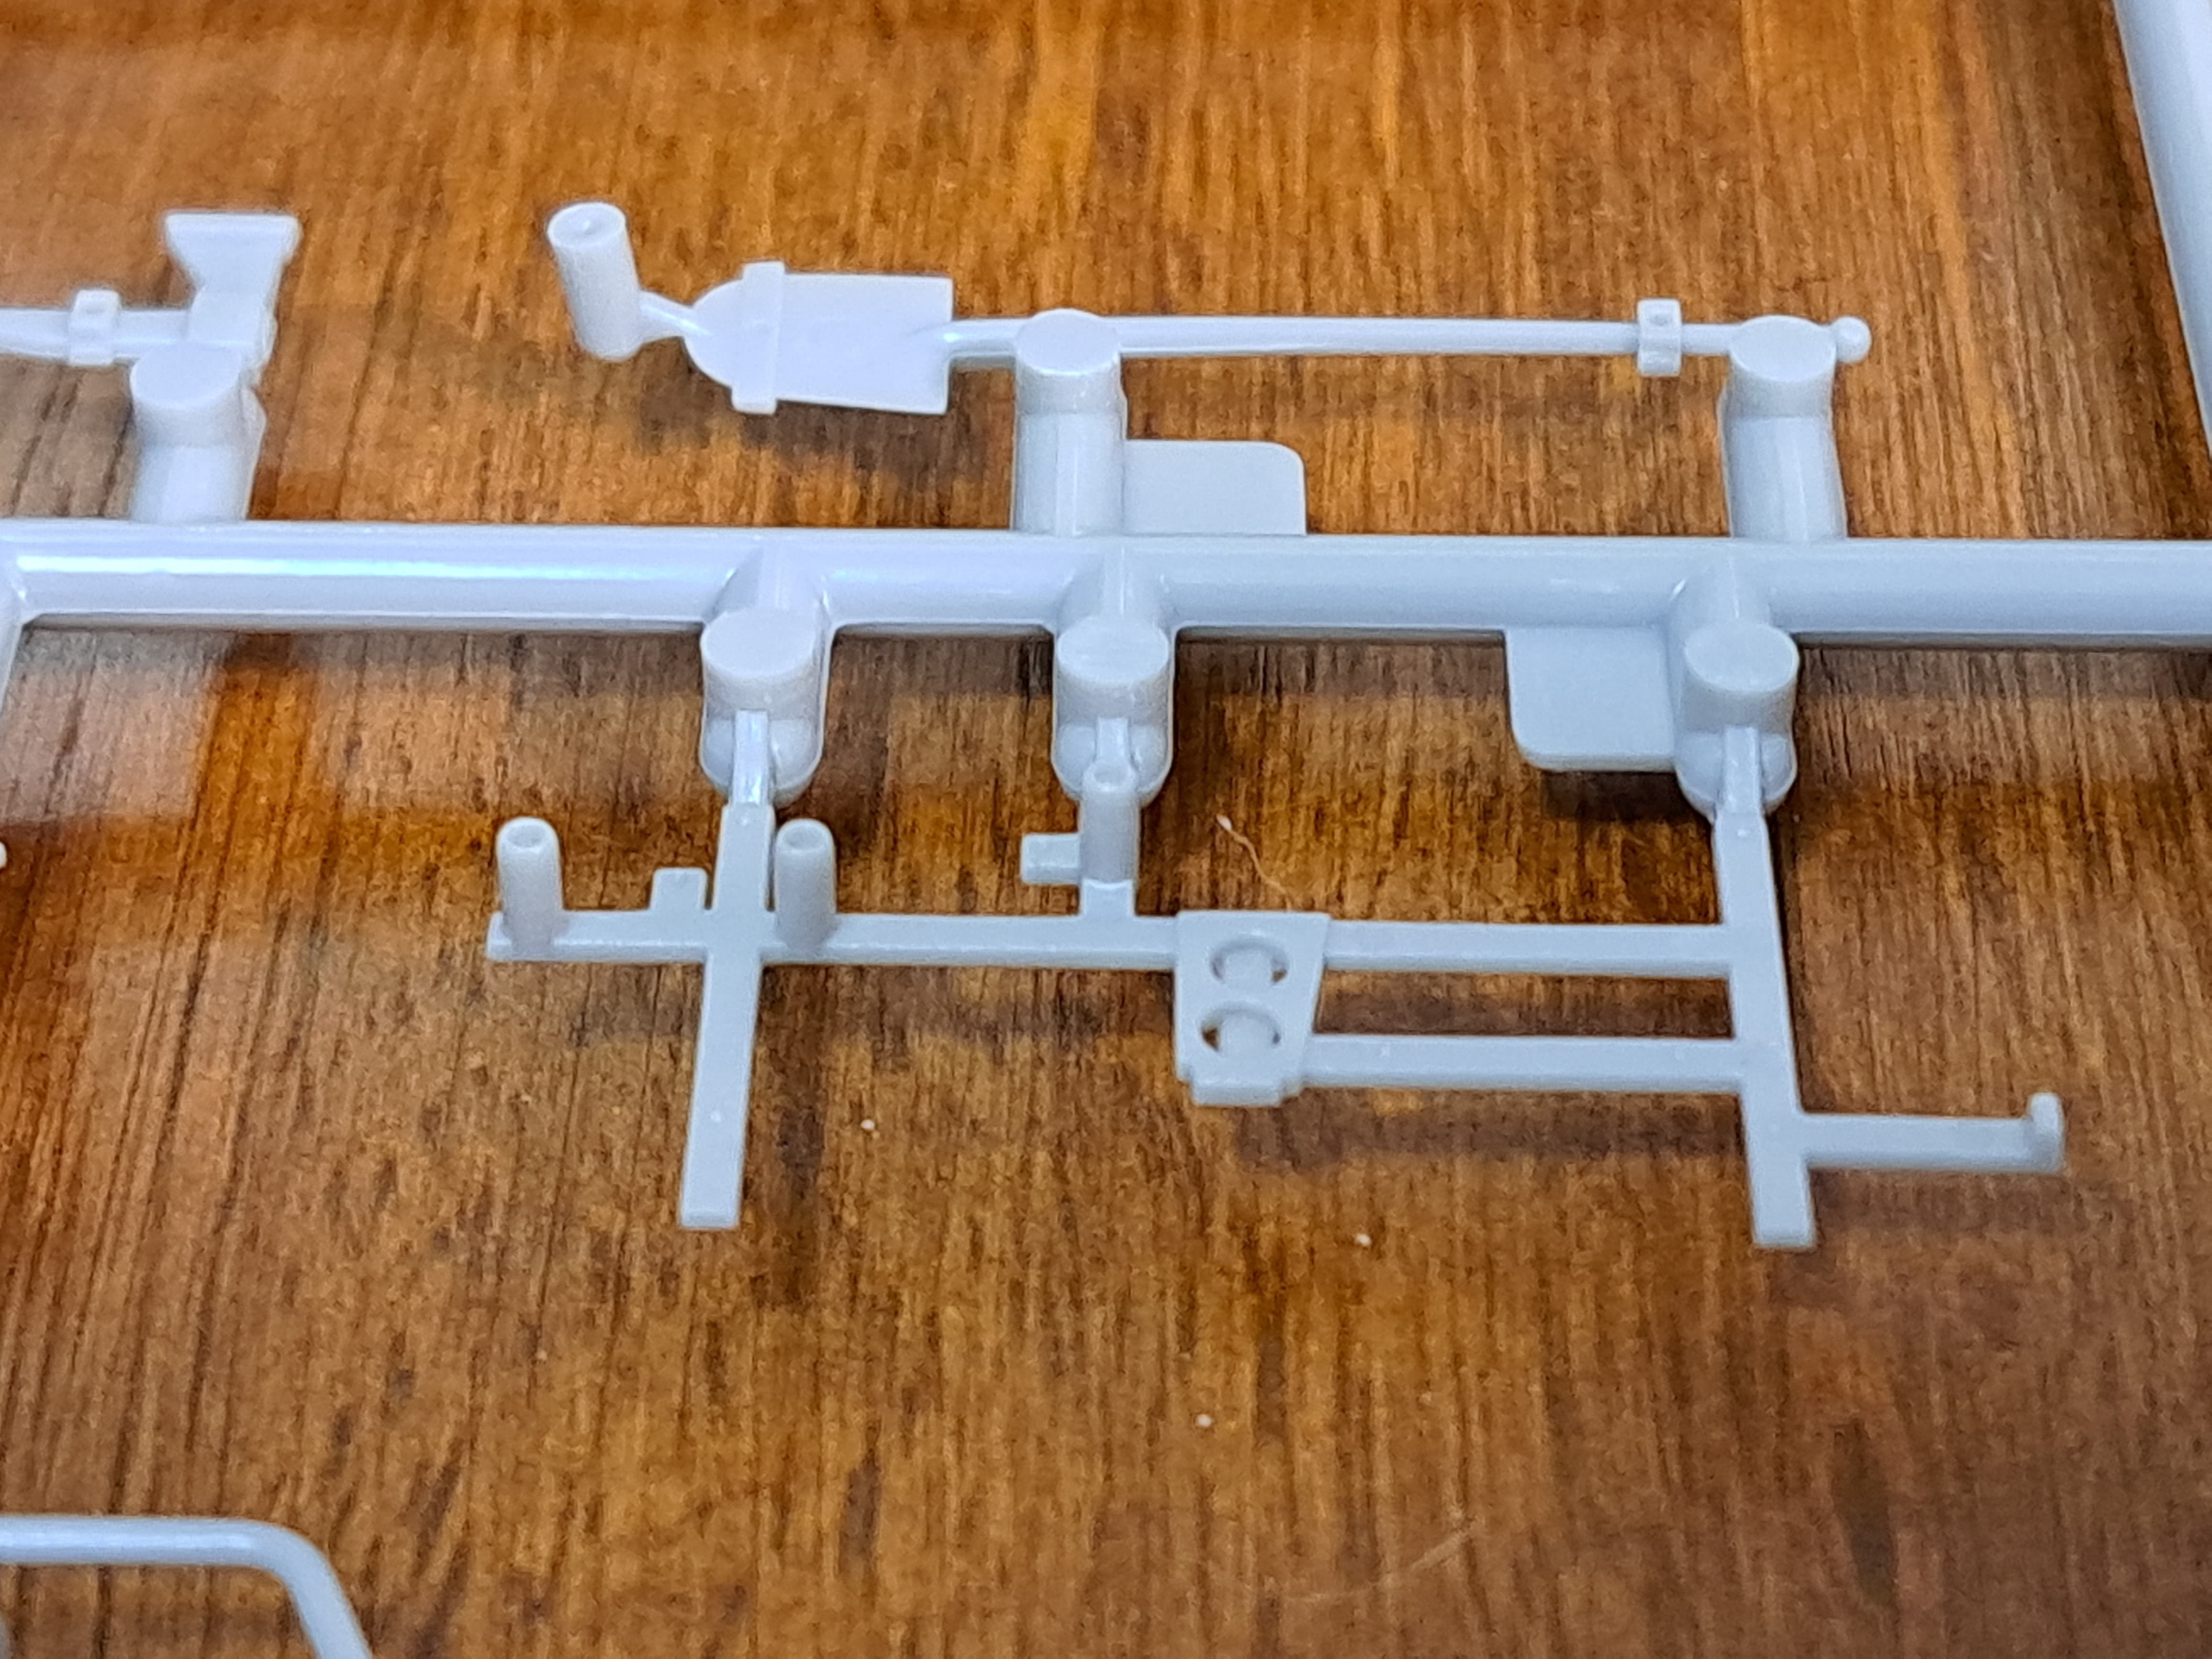
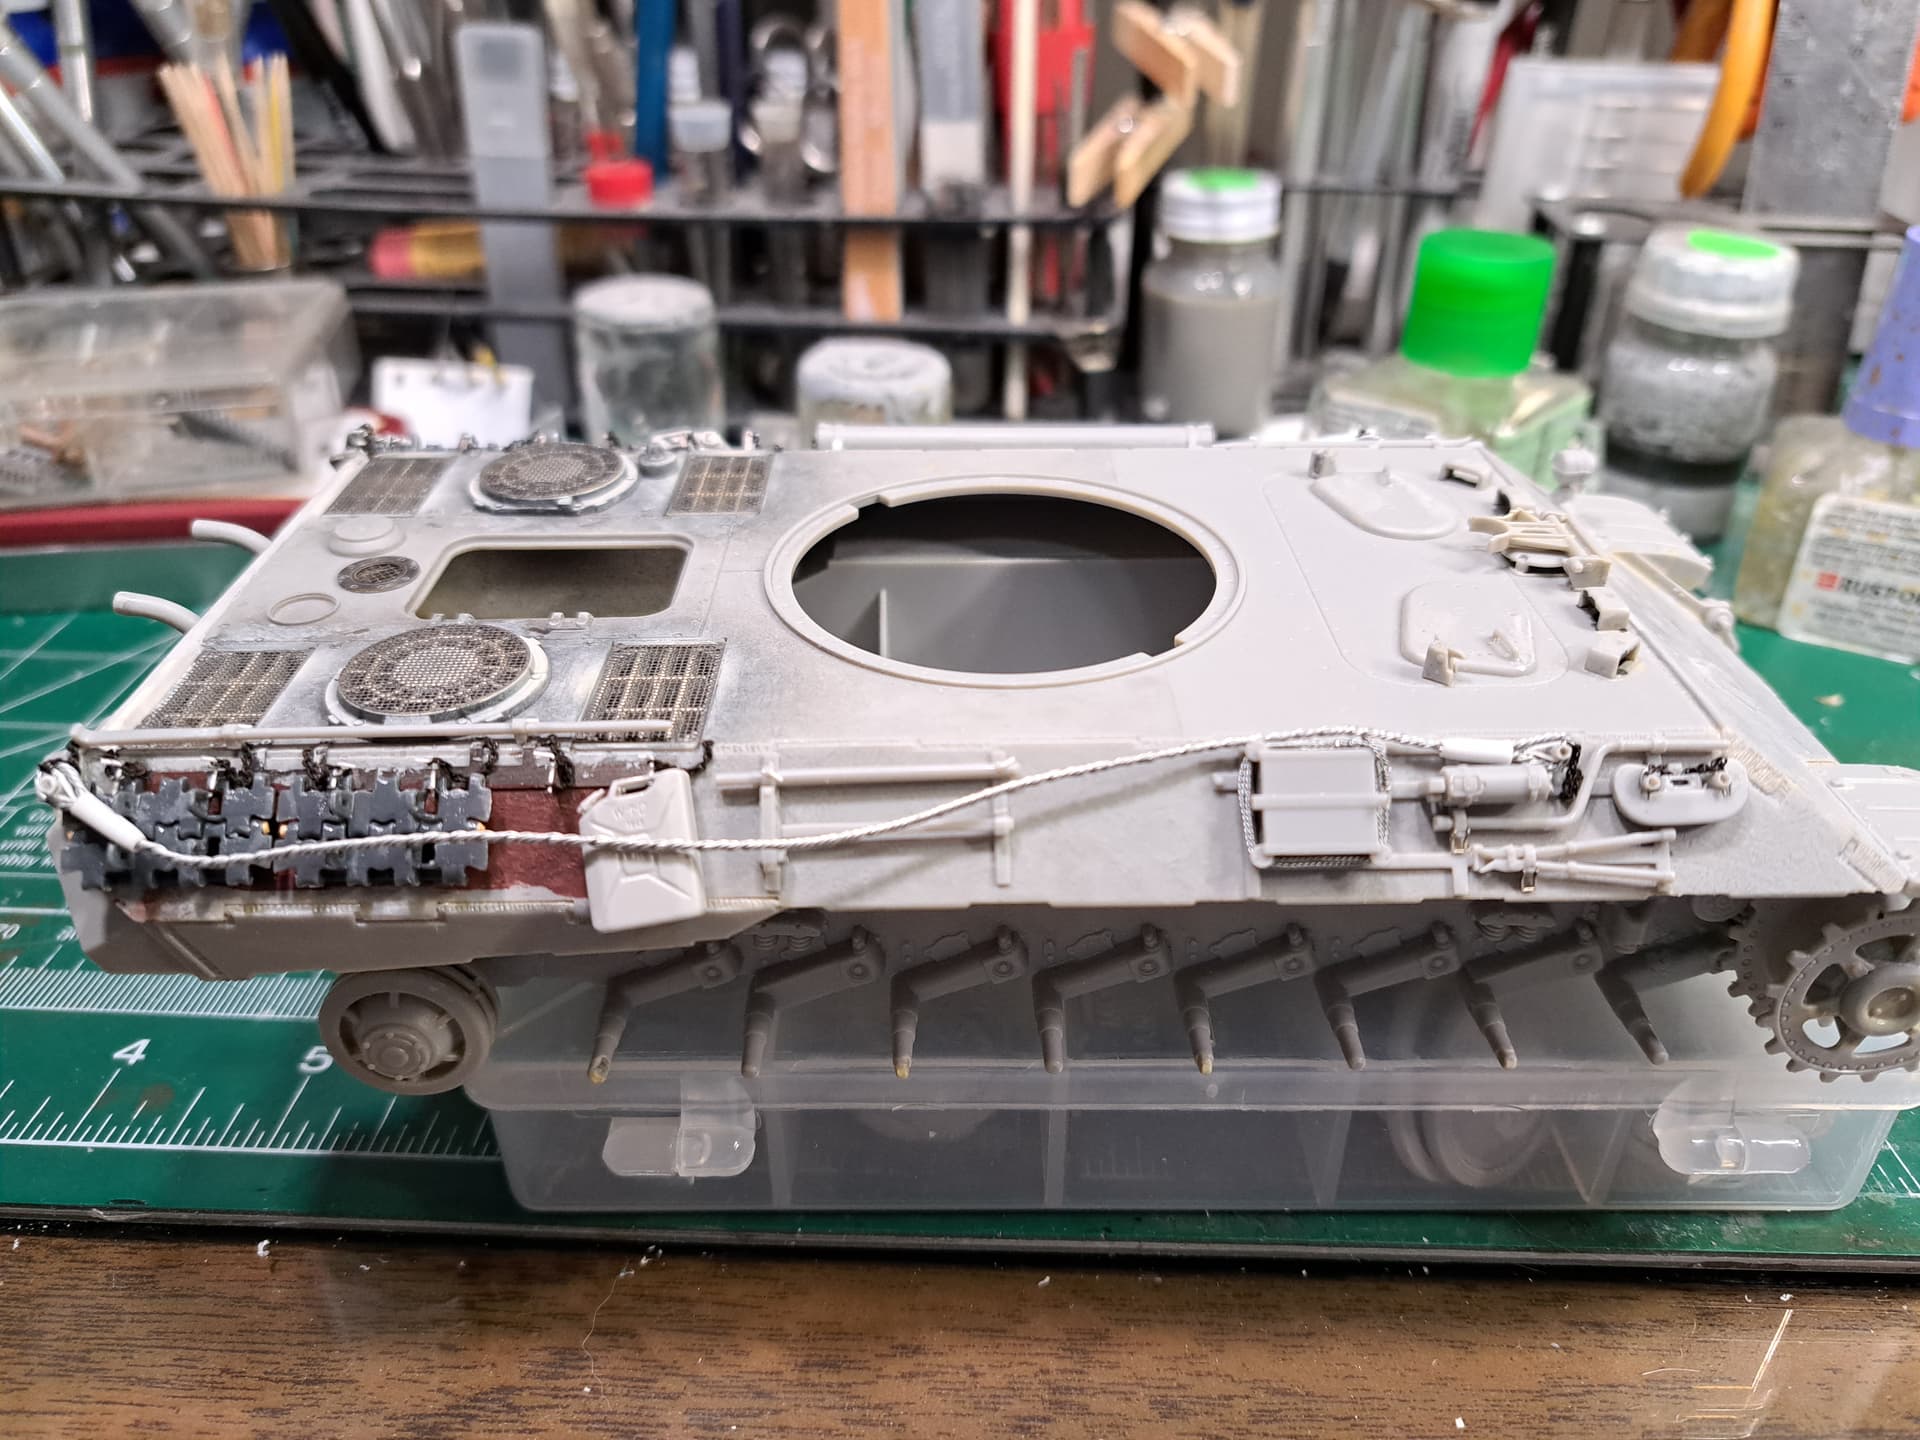
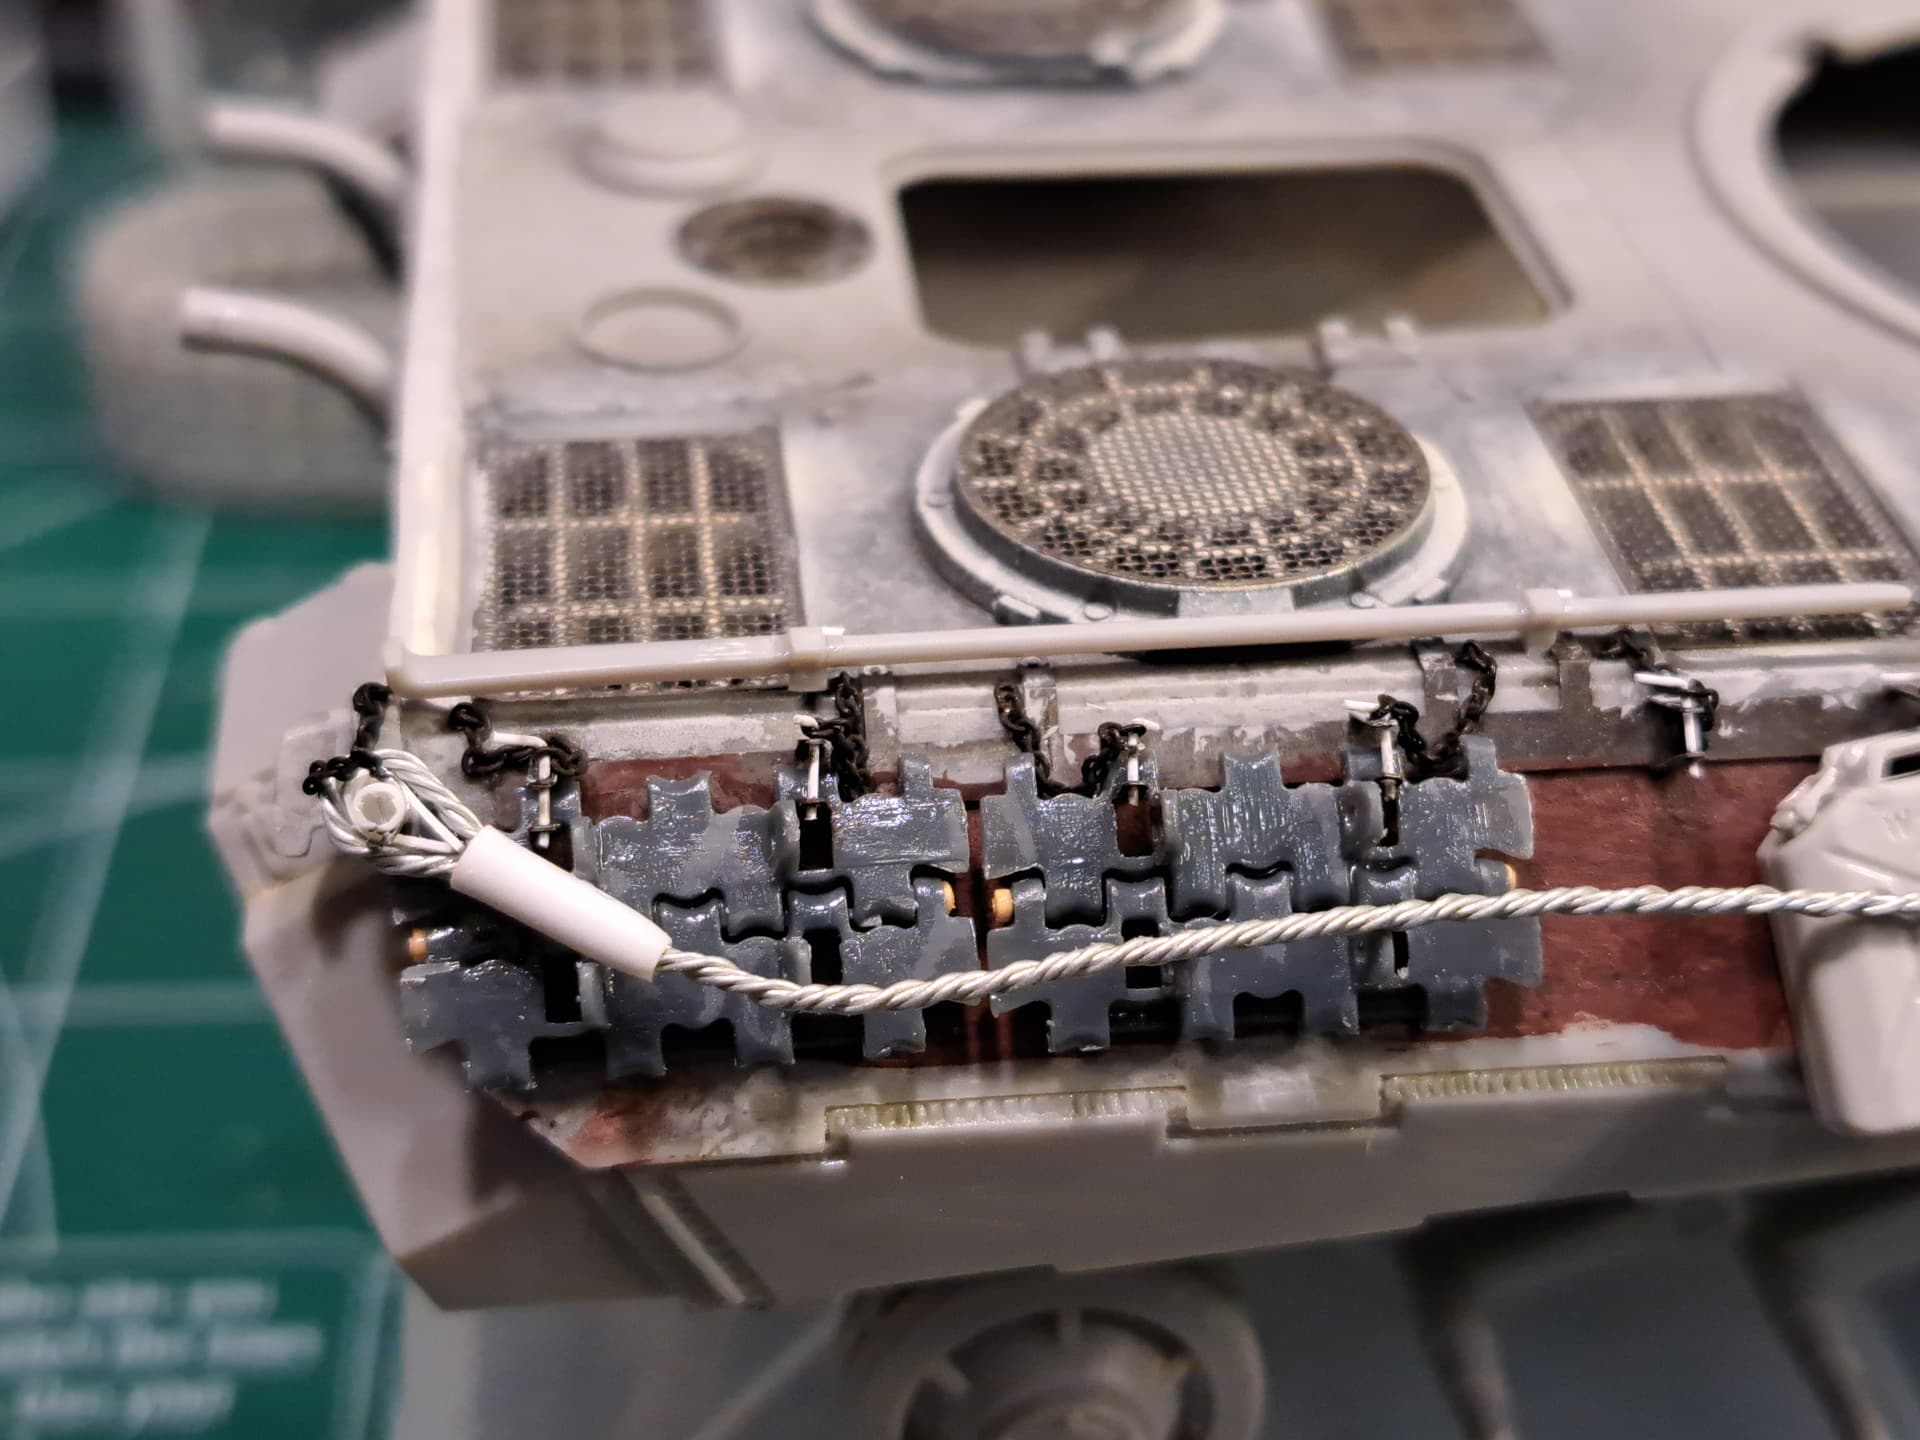
Anyway, using RFM Panther A/G track links for the spare track links, special thanks to @Arch-Stanton. Sanded off ice tread of course. They are much nicer than the kit track links. Best of all the guide teeth are already hollow. There is a single center light punch mark to scrap away plus mold mark on each side.
These link are fantastic compared to what was available in plastic in 2002!
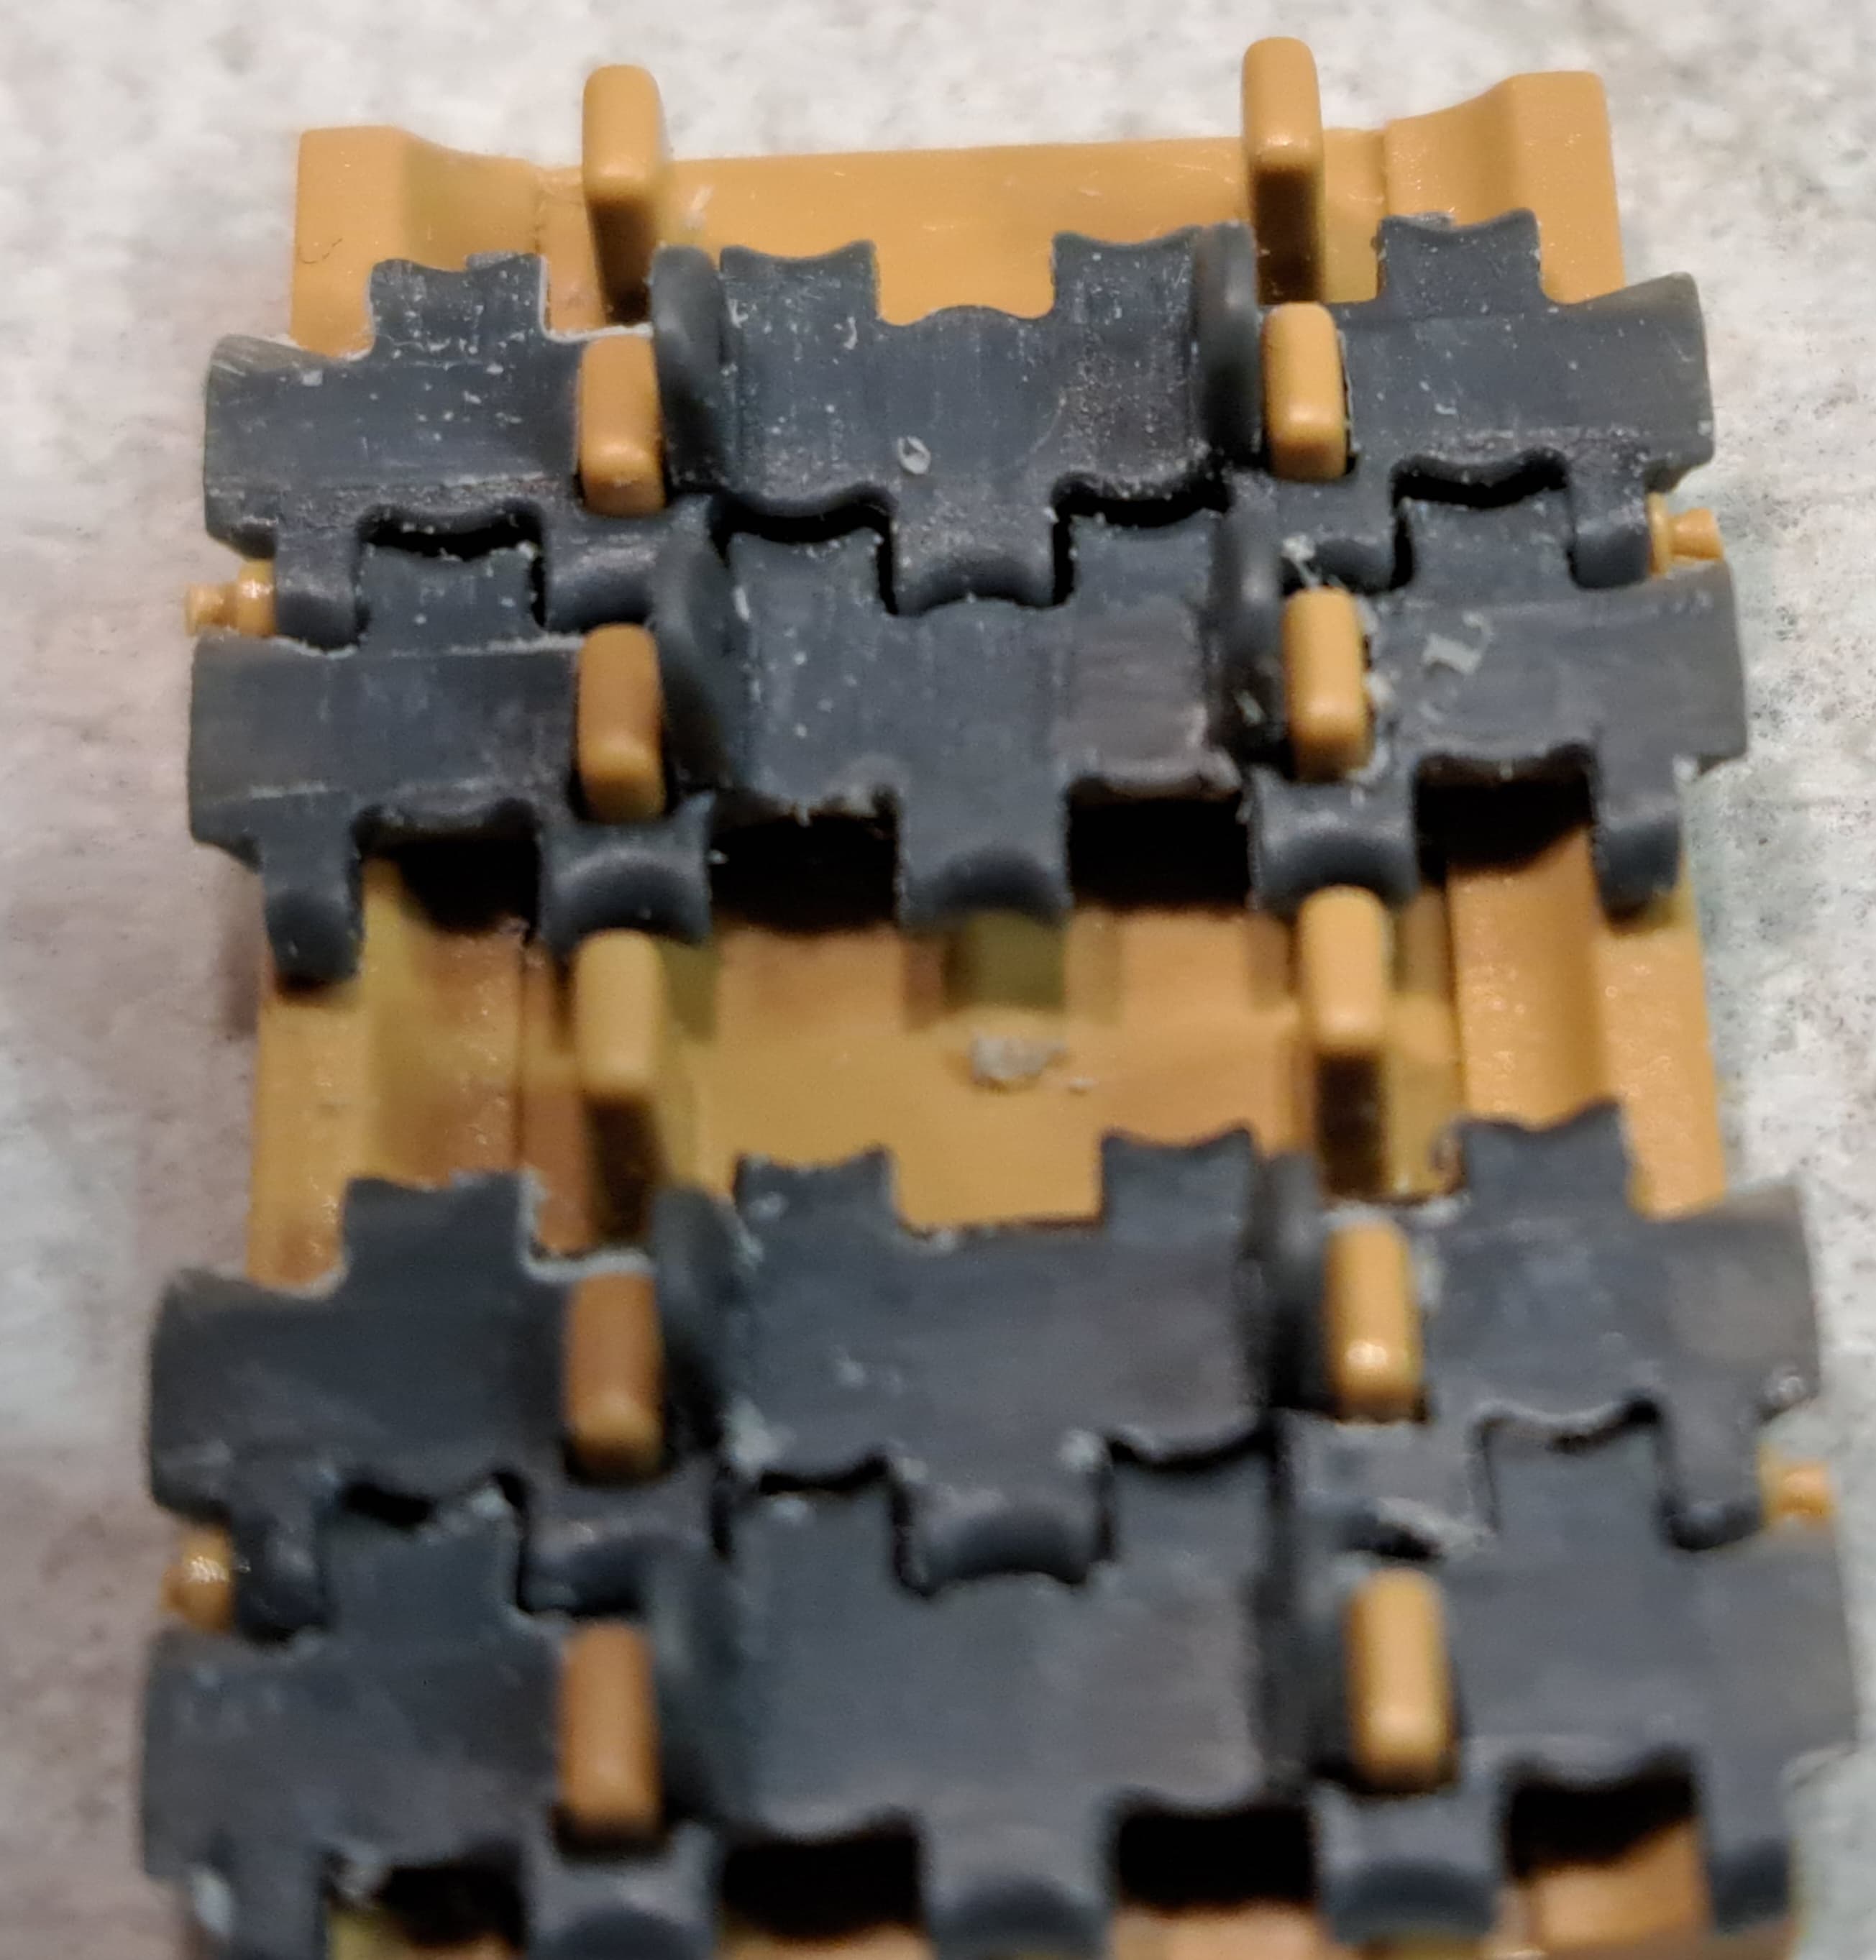
To mount the links we’ll need chain. The FLAT Eduard photo etch chain vs small link real chain…
…the real chain with real working links has more links per inch than Eduard’s PE chain!
@SableLiger Reynier, I like your Tamiya Panther A, looks like the model came a long way from the red primer days! Very nice!
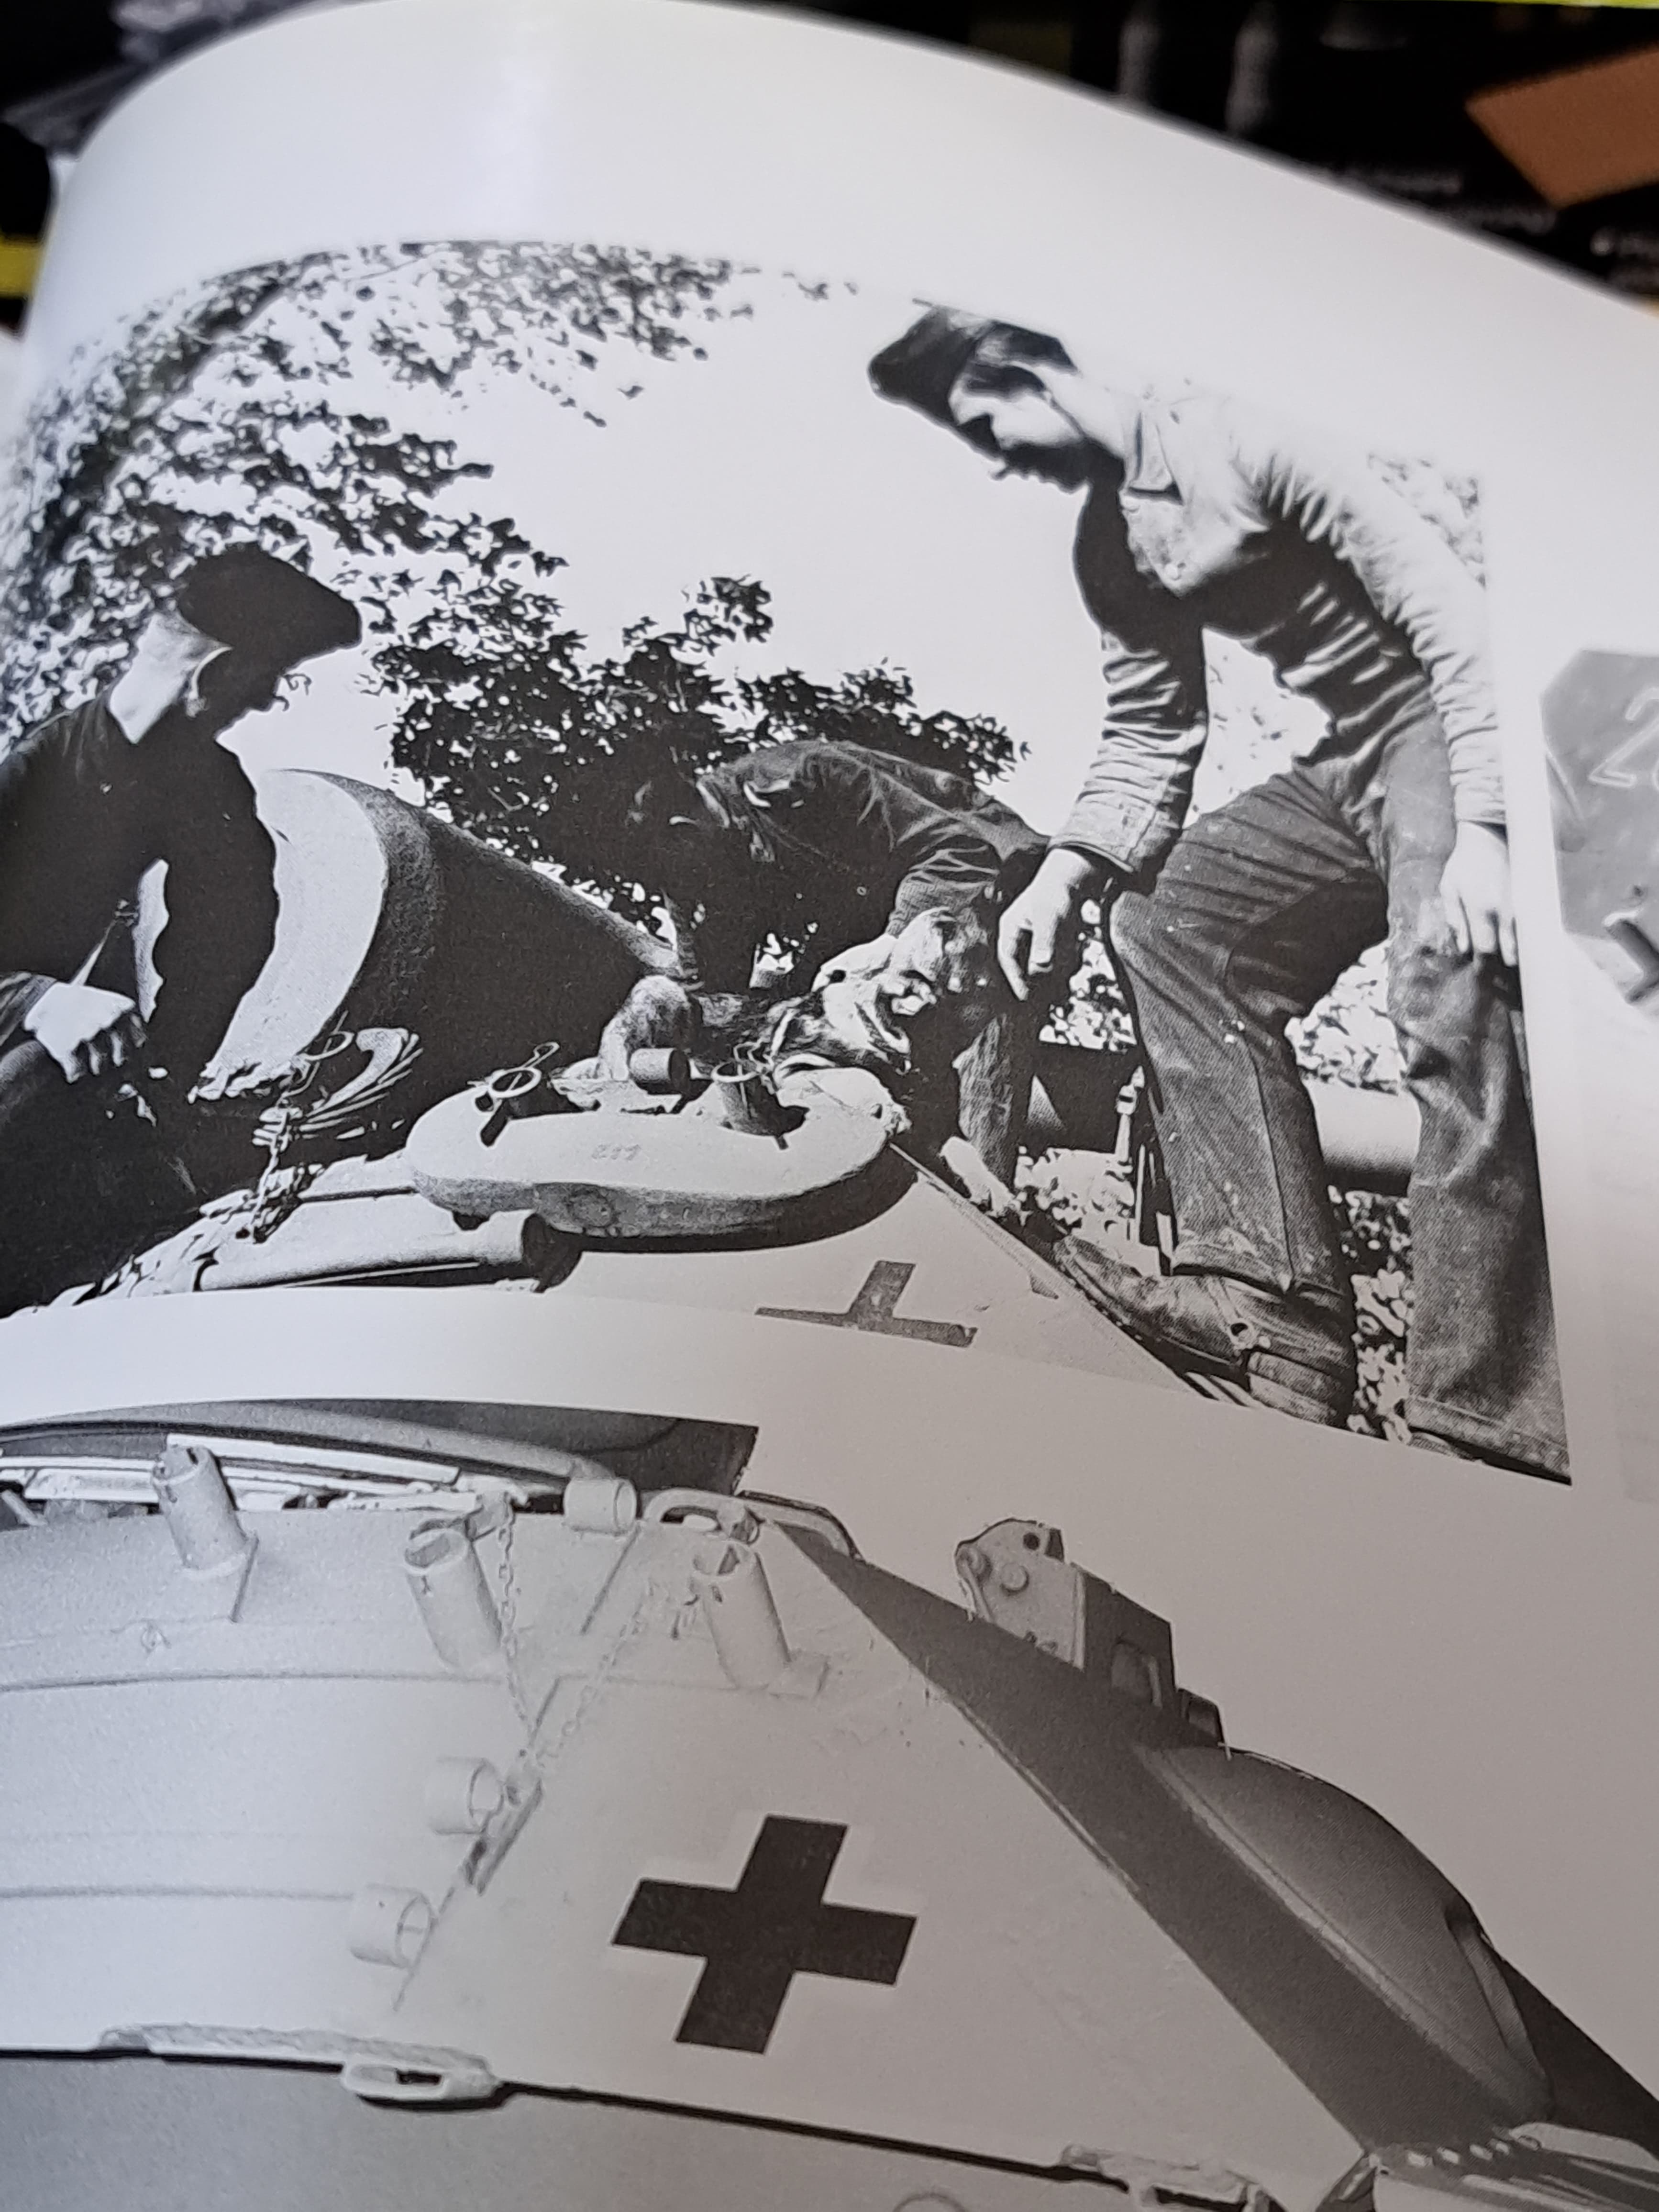
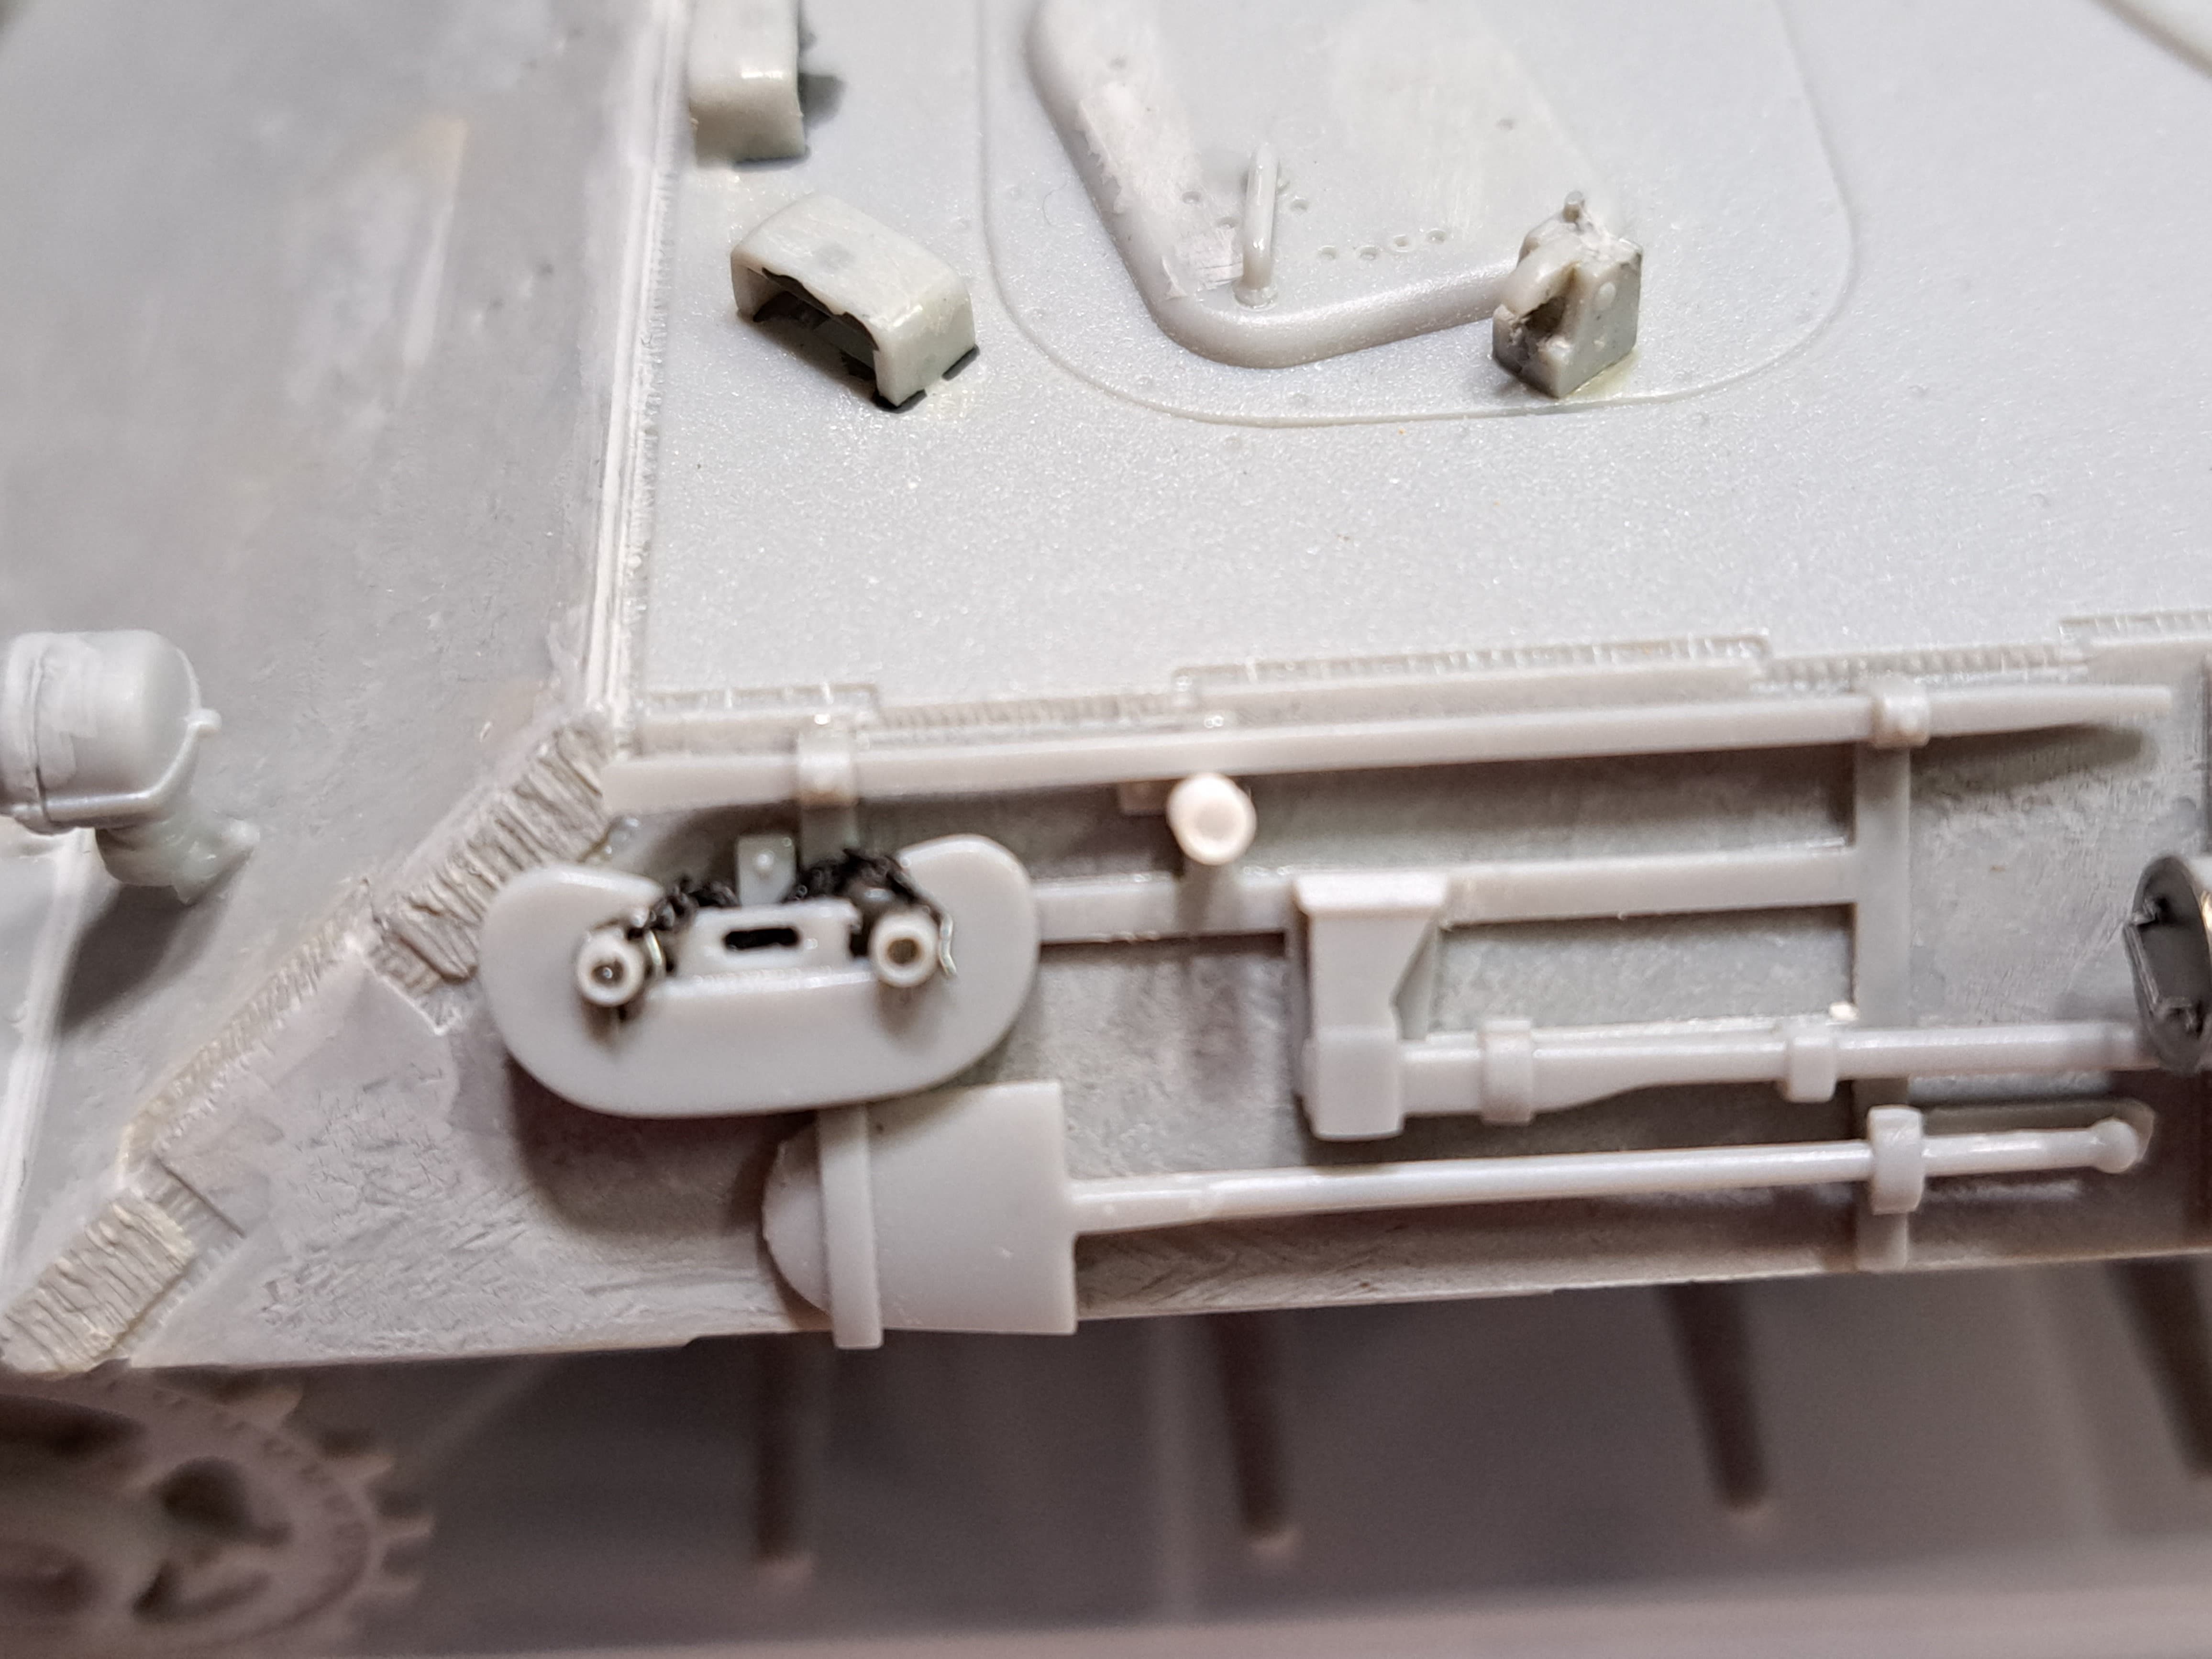
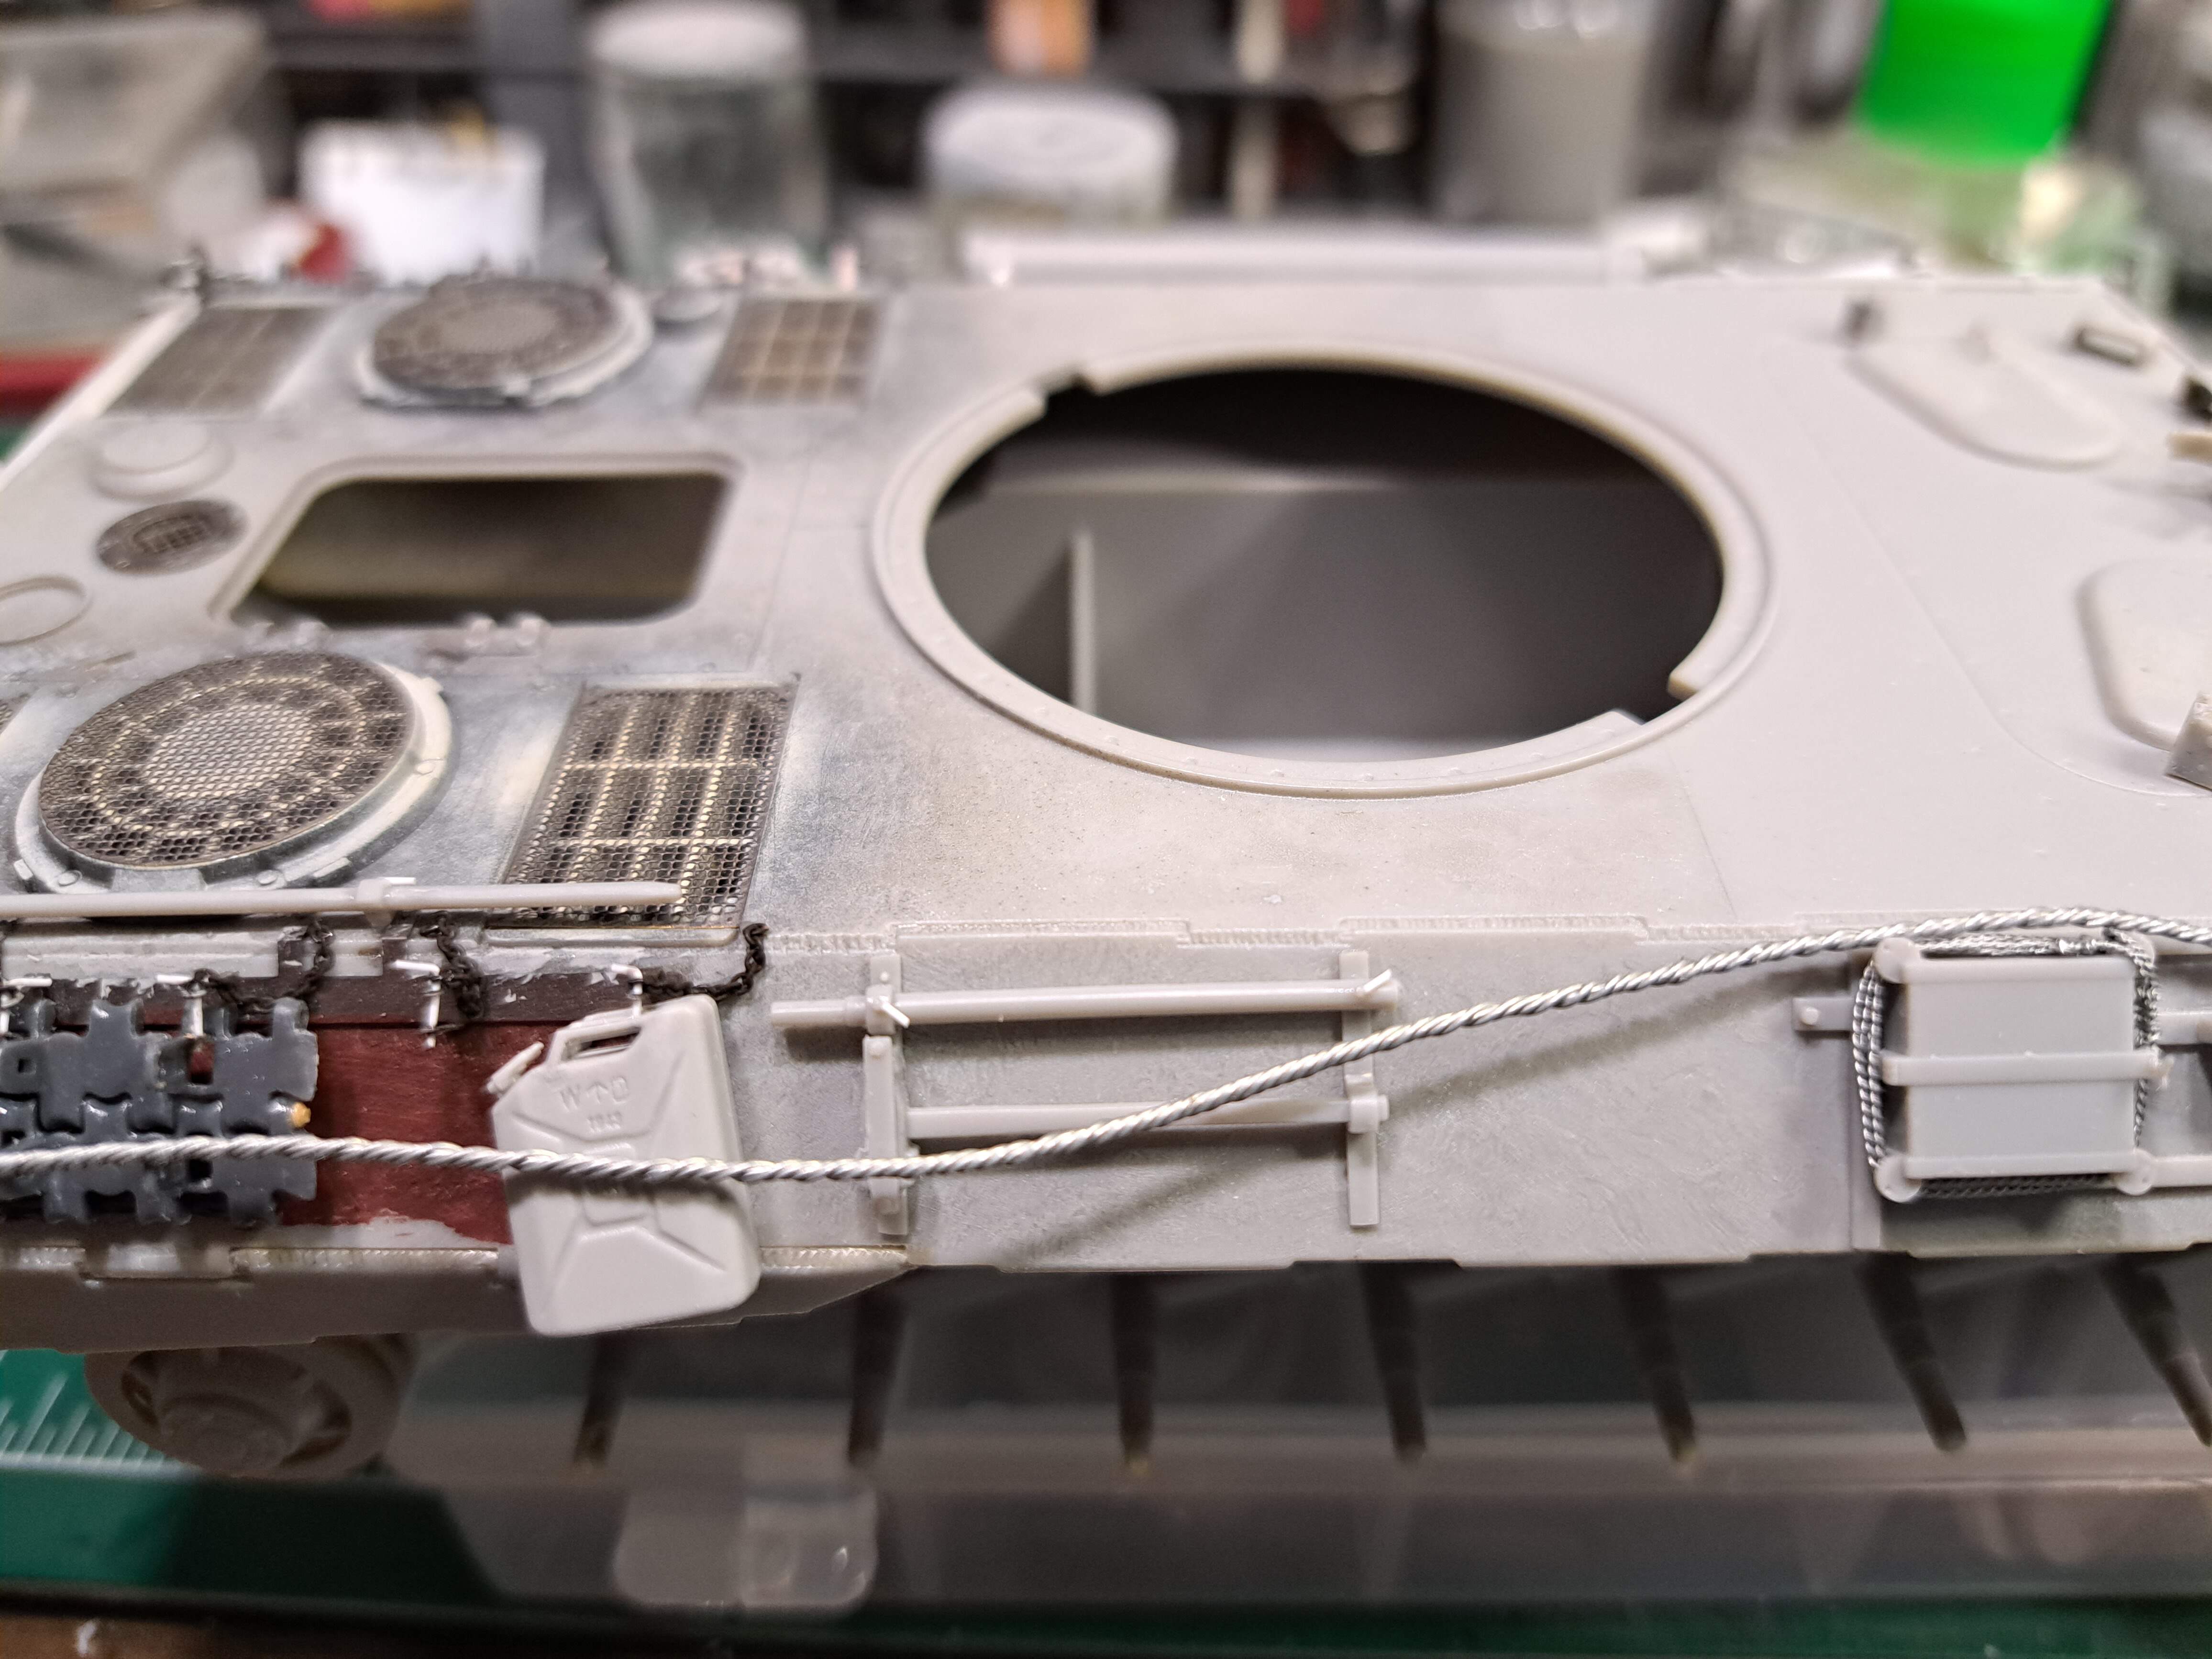
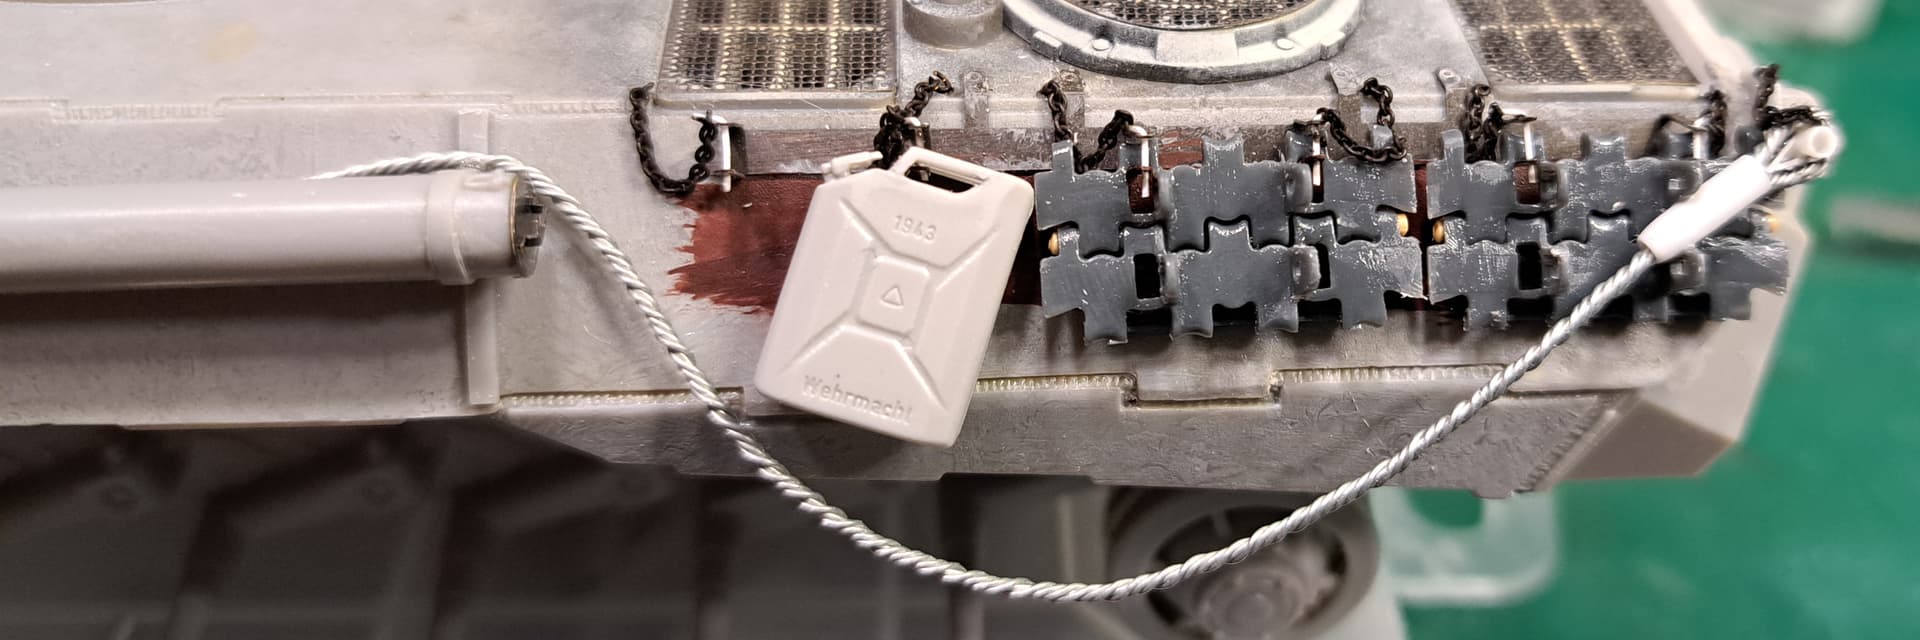
Steps 13 & 14 Tools & Stowage
It had been so long since a Panther had been on the work bench, needed review stowage practices etc with the R books ![]() . Anyway, for better or worse, I decided to go rogue and not use the Eduard PE chains & pins for the track links and scratch it with the fine chain & plastic rod.
. Anyway, for better or worse, I decided to go rogue and not use the Eduard PE chains & pins for the track links and scratch it with the fine chain & plastic rod.
Other will get chains & pins tomorrow.
Long Live the 1970’s Vintage Italeri Jerry Can!
…wink
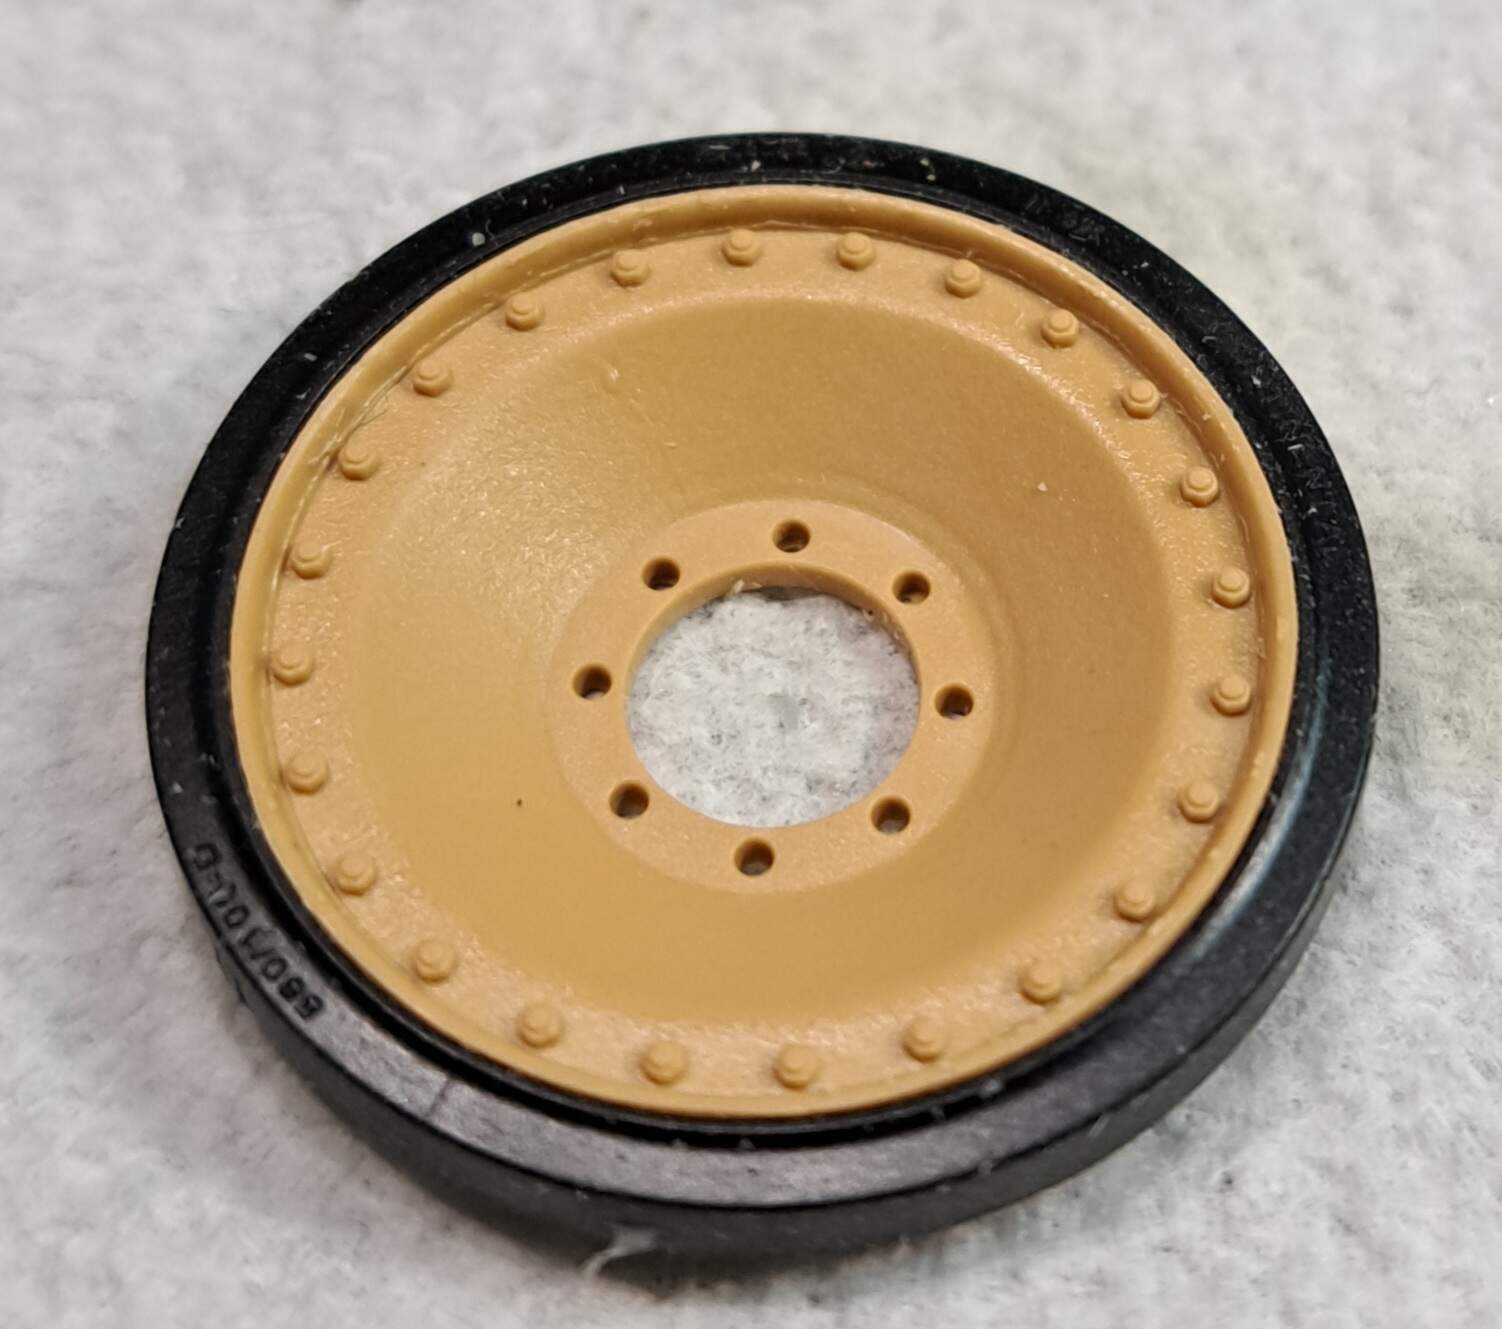
Kicked around the idea of putting a spare road wheel on the right side but the (typo’d Meng edited) RFM wheel isn’t a good match to the Dragon Panther wheels to my eye.
Remember, Meng gives you 2 choices for road wheels/bogies. Only thing is which one to use for the subject you want to build. Meng went vague on that. With 2 options you still might have hope for a spare.
Cheers
![]()
![]()
![]()
Sorry, I typo’d with a brain fart, it’s an RFM Reyfield wheel from their track set.
I’ll edit to reflect.
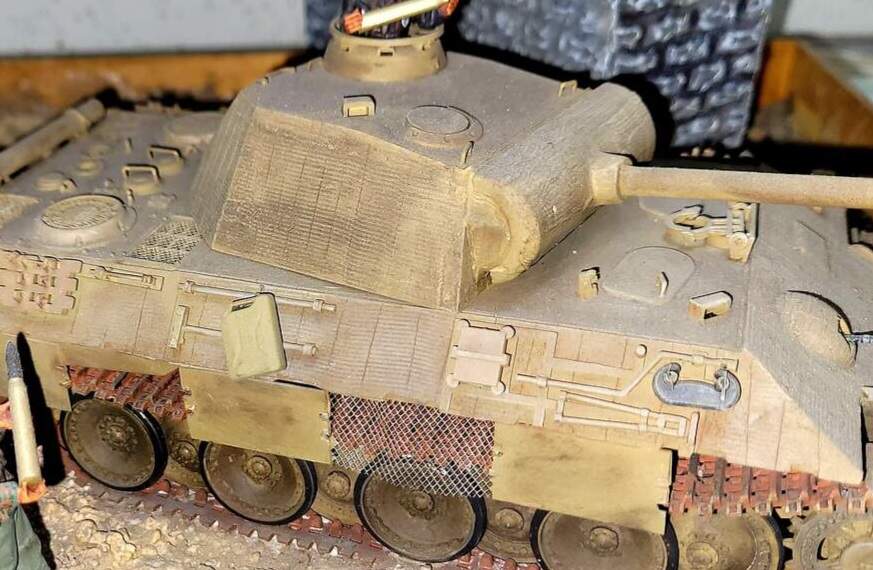
Much like the famous villian in Star Trek Wrath of Khan, the 20+ year old #6164 Dragon Kursk Panther D “tasks me!”
Being former Panzer Police ![]()
![]() , I don’t like the look of a lot of Eduard’s photo etch. A good zimmerit cop always follows the OCD/AMS instincts retired or not. More reference books end up in the hobby room and an investigation is opened. Ryton’s most worthy reference Panther provides the material evidence shown below.
, I don’t like the look of a lot of Eduard’s photo etch. A good zimmerit cop always follows the OCD/AMS instincts retired or not. More reference books end up in the hobby room and an investigation is opened. Ryton’s most worthy reference Panther provides the material evidence shown below.
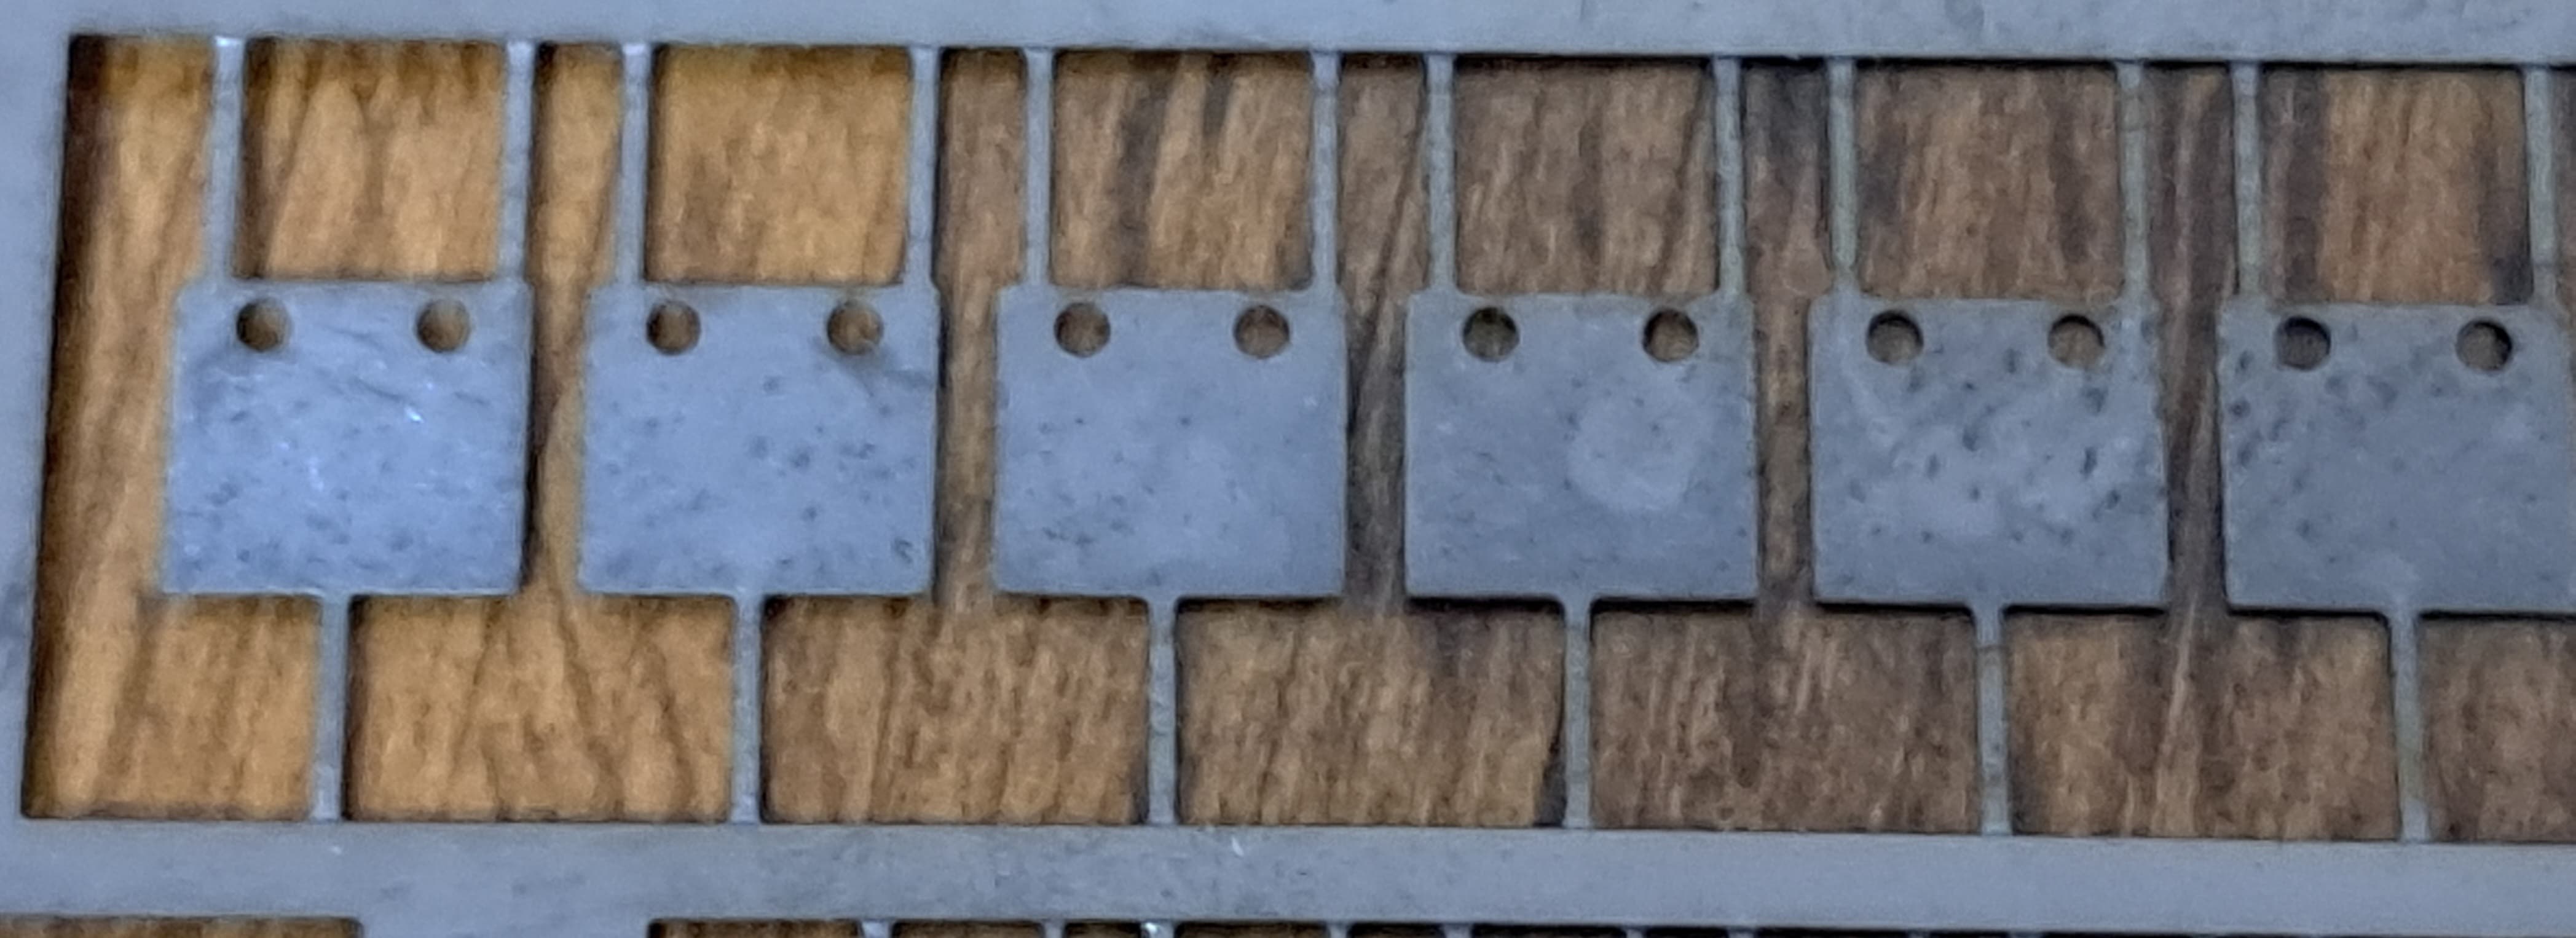
Example of Eduard’s PE for tools.
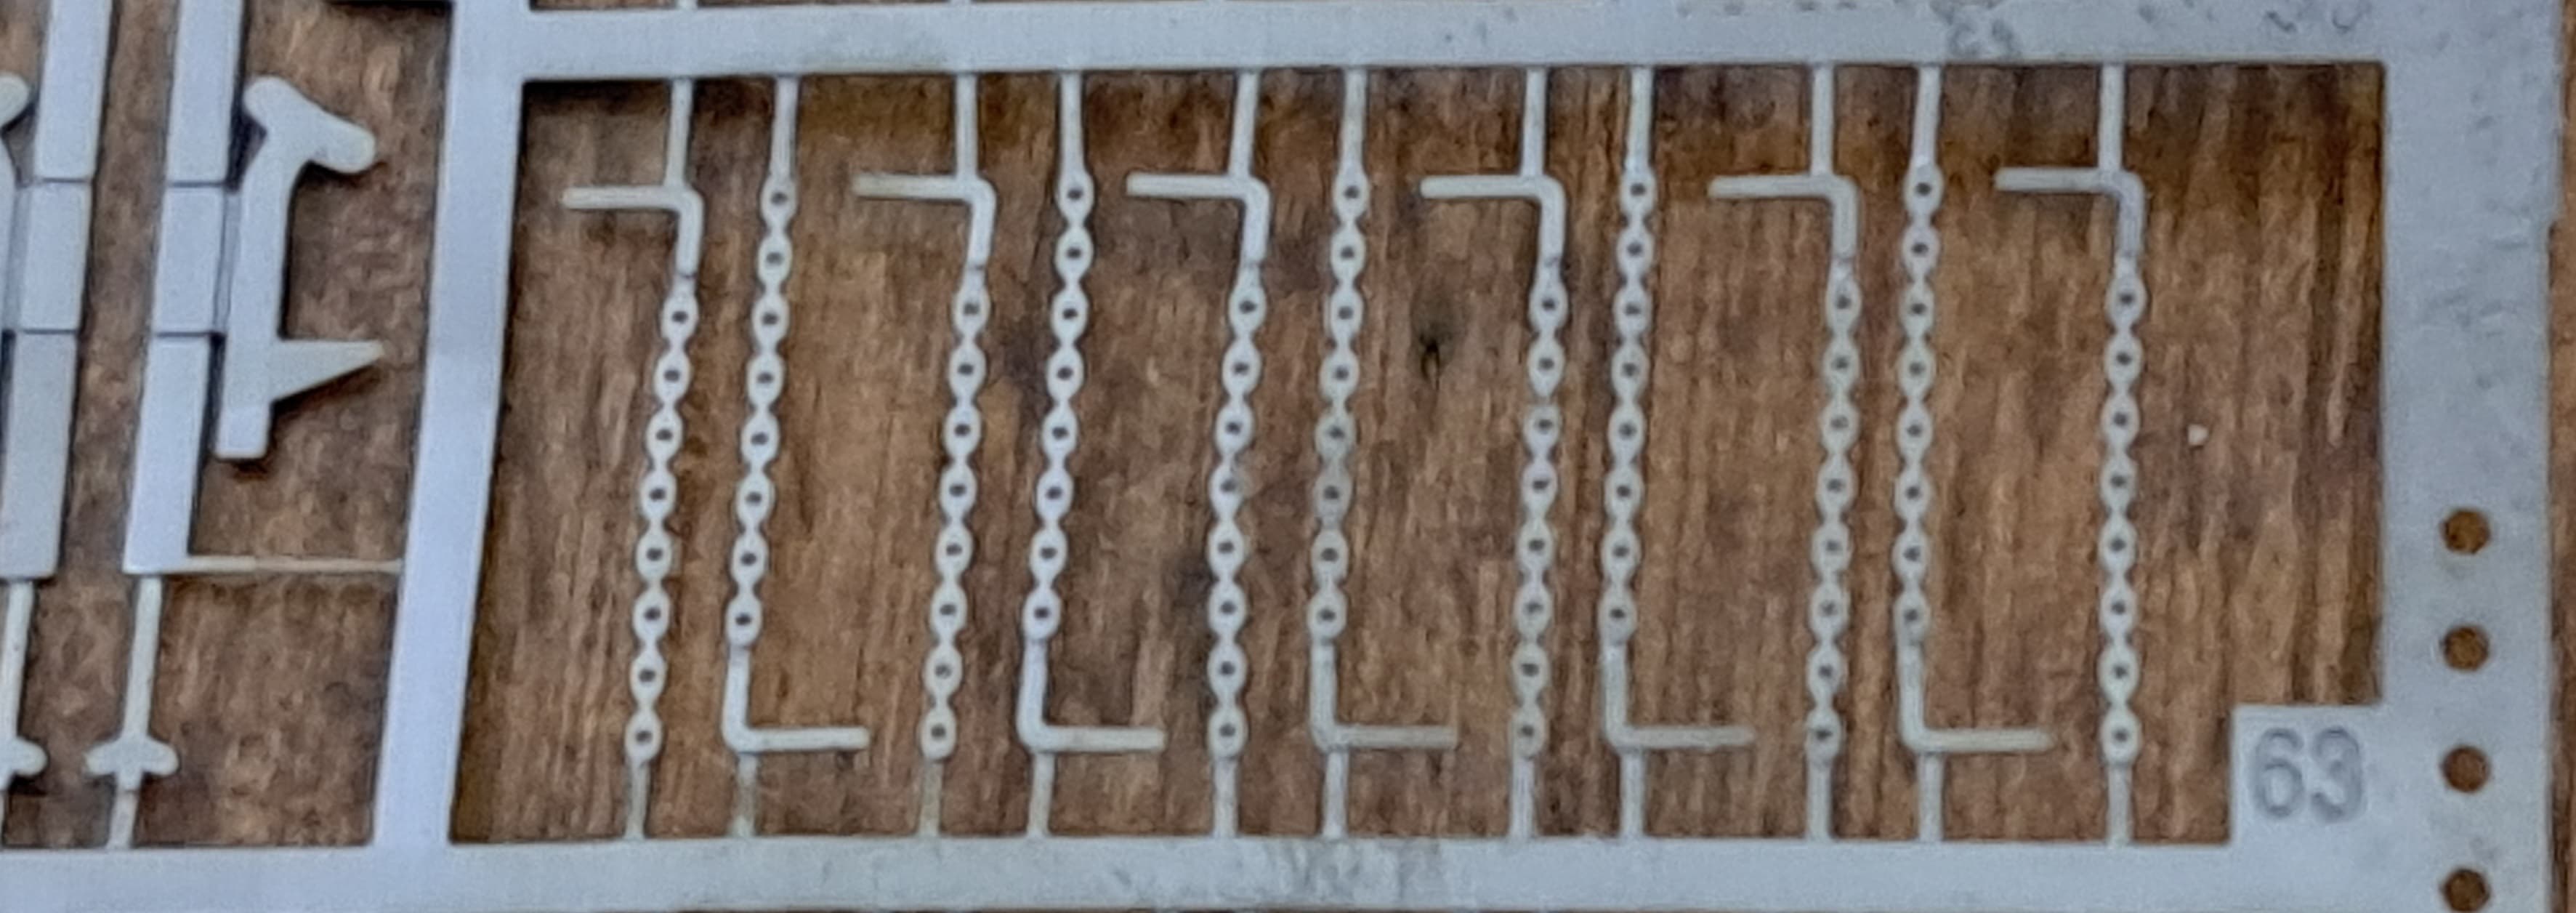
The chain & pins #63 look janky & very two dimensional. That’s OK but with moon crater holes from #56 not really appealing in my opinion.
The thin tool racks are pretty sweet. They are also much more labor intensive than the kit rack.
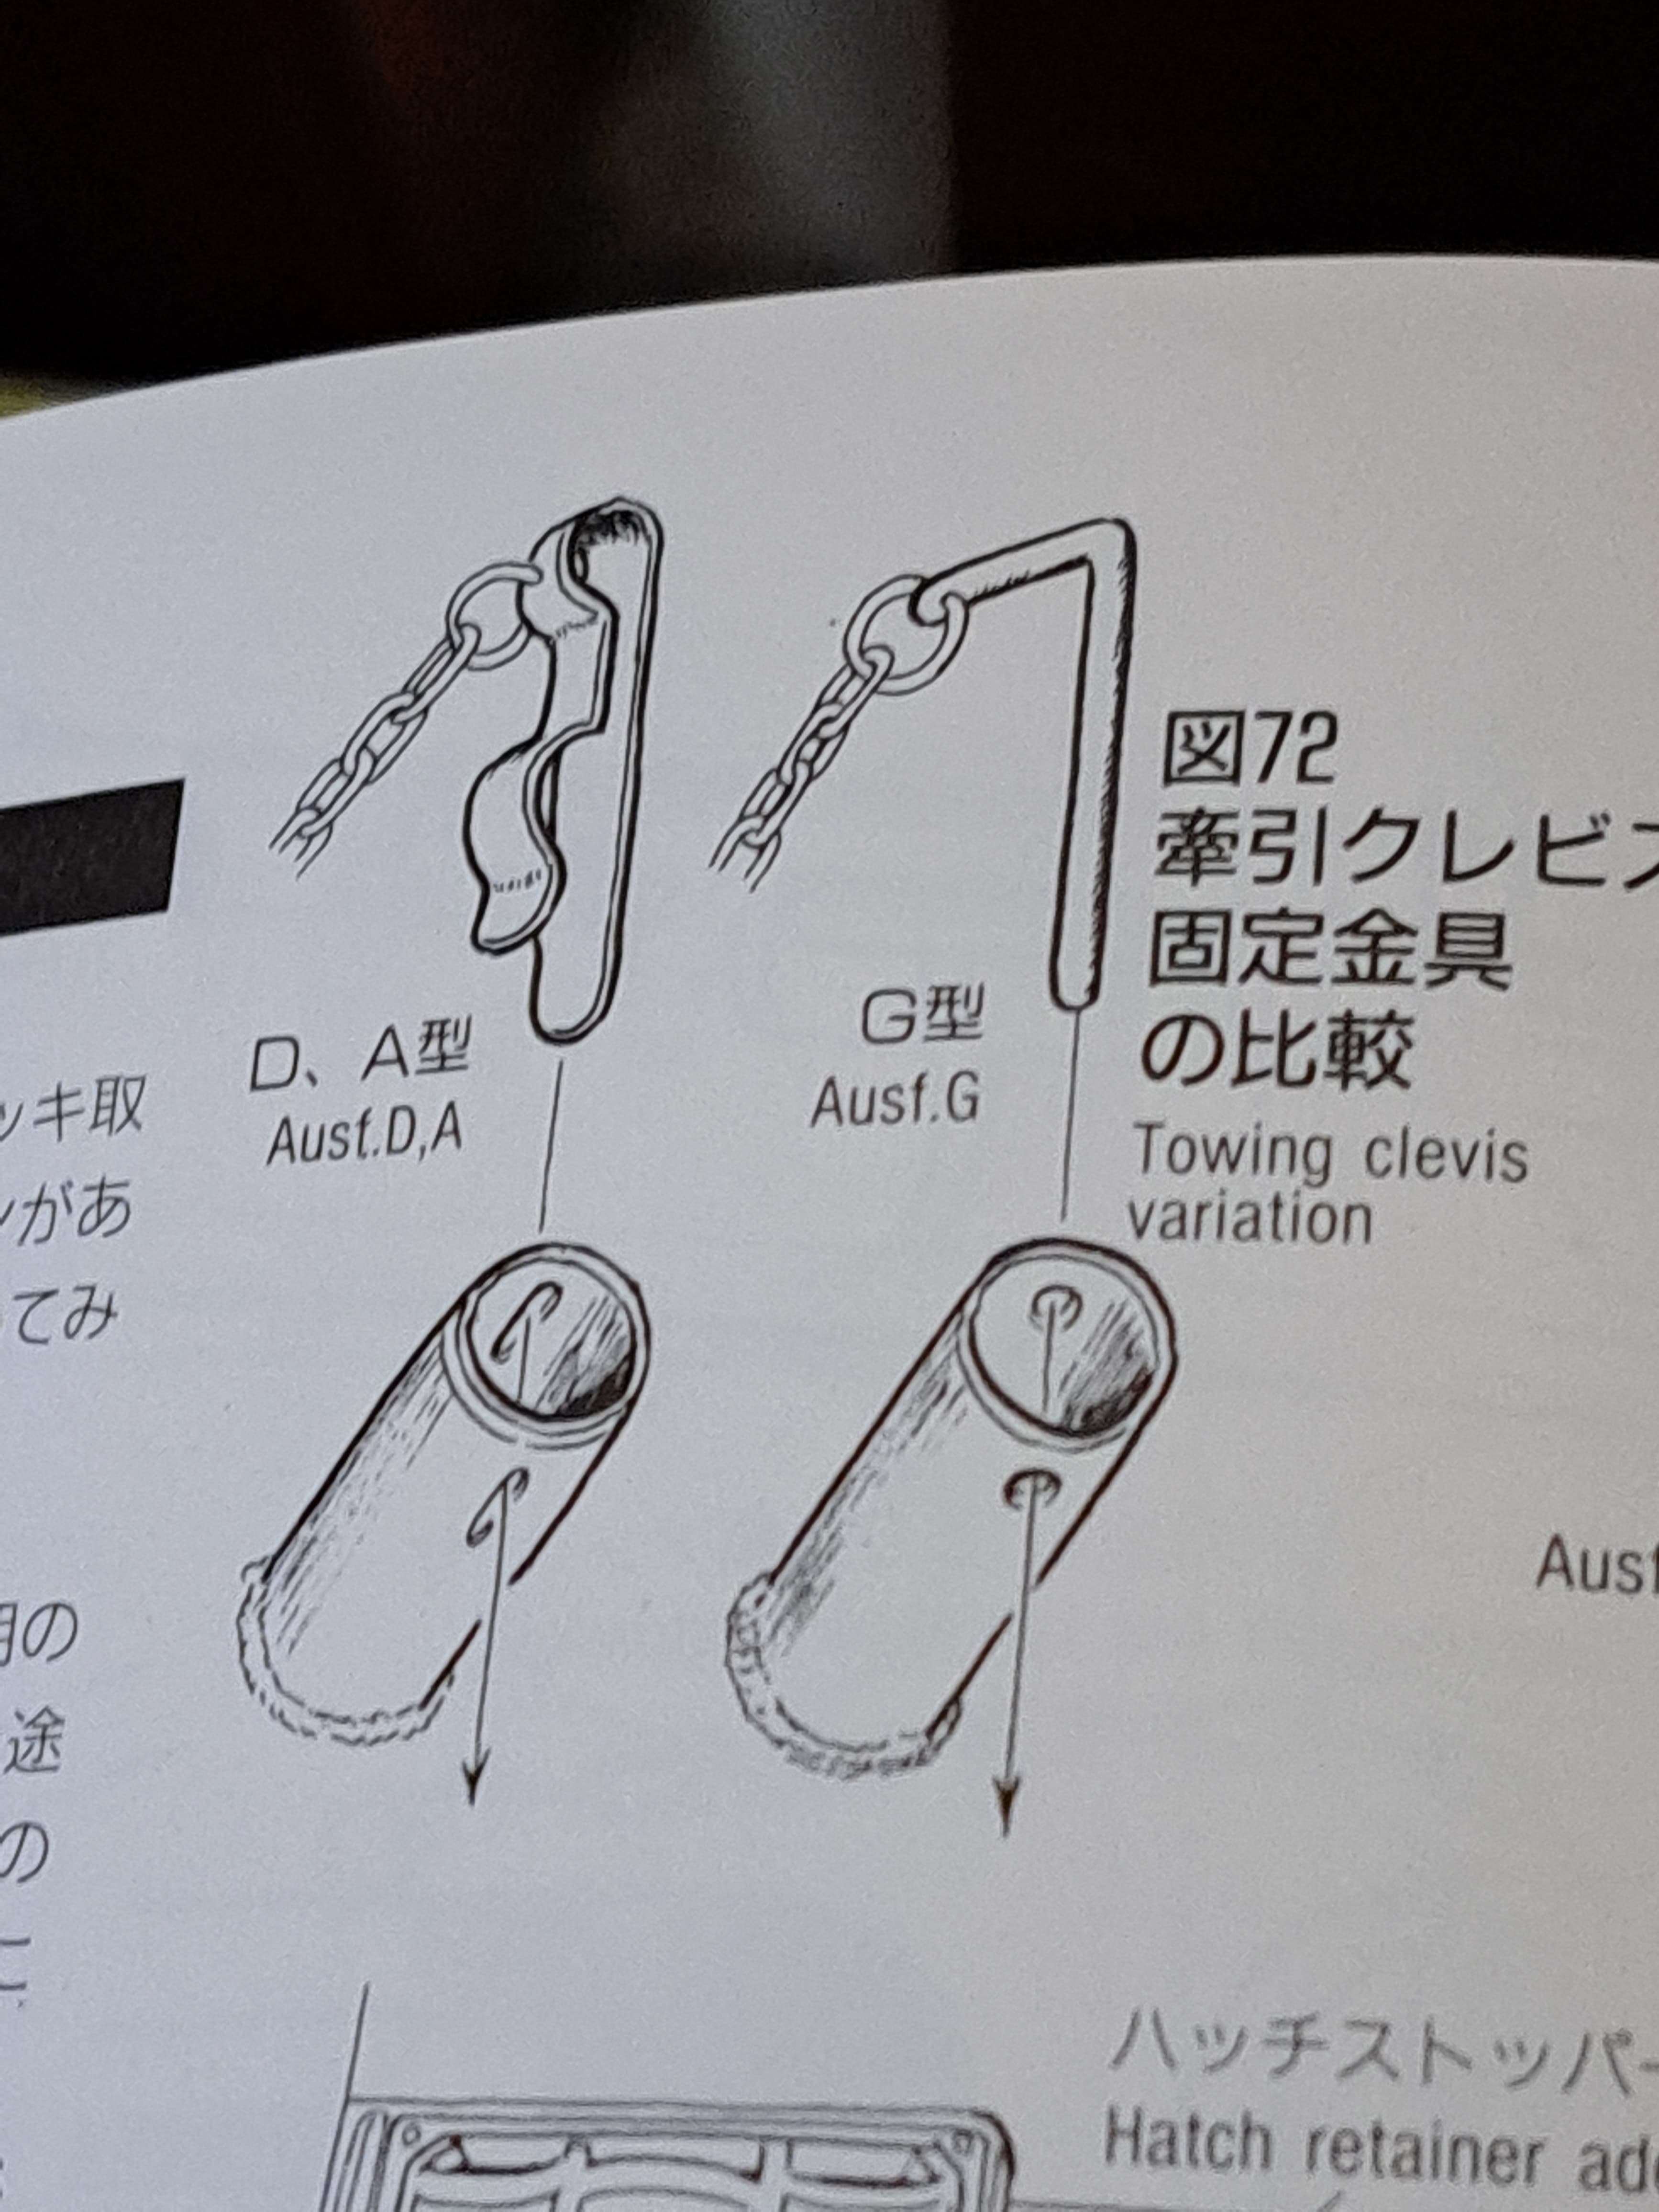
So what’s this stuff actually look like? The following pictures are from the Ryton Panther book. Definitely a buy for Panther fans.
That’s definitely not just a round pin holding the two C hook.
The holes are ~30% of the PE surface area?
I’m sure none of this would likely “bother” 99.99% of folks. Eduard’s PE is acceptable etc.
Achtung Panzer Panther helps shed some light on what we’re seeing. There two types of pins! Given this thing is a D model, I rather favor a D,A style pin set up.
Kali goes spelunking for parts…so we can look at an untweaked kit tool rack.
I think the kits parts once sanded down on the back side to thin will work nearly as well as the PE racks.
Kali says she has NO IDEA how my old Panther could ever have gotten its hull warped…
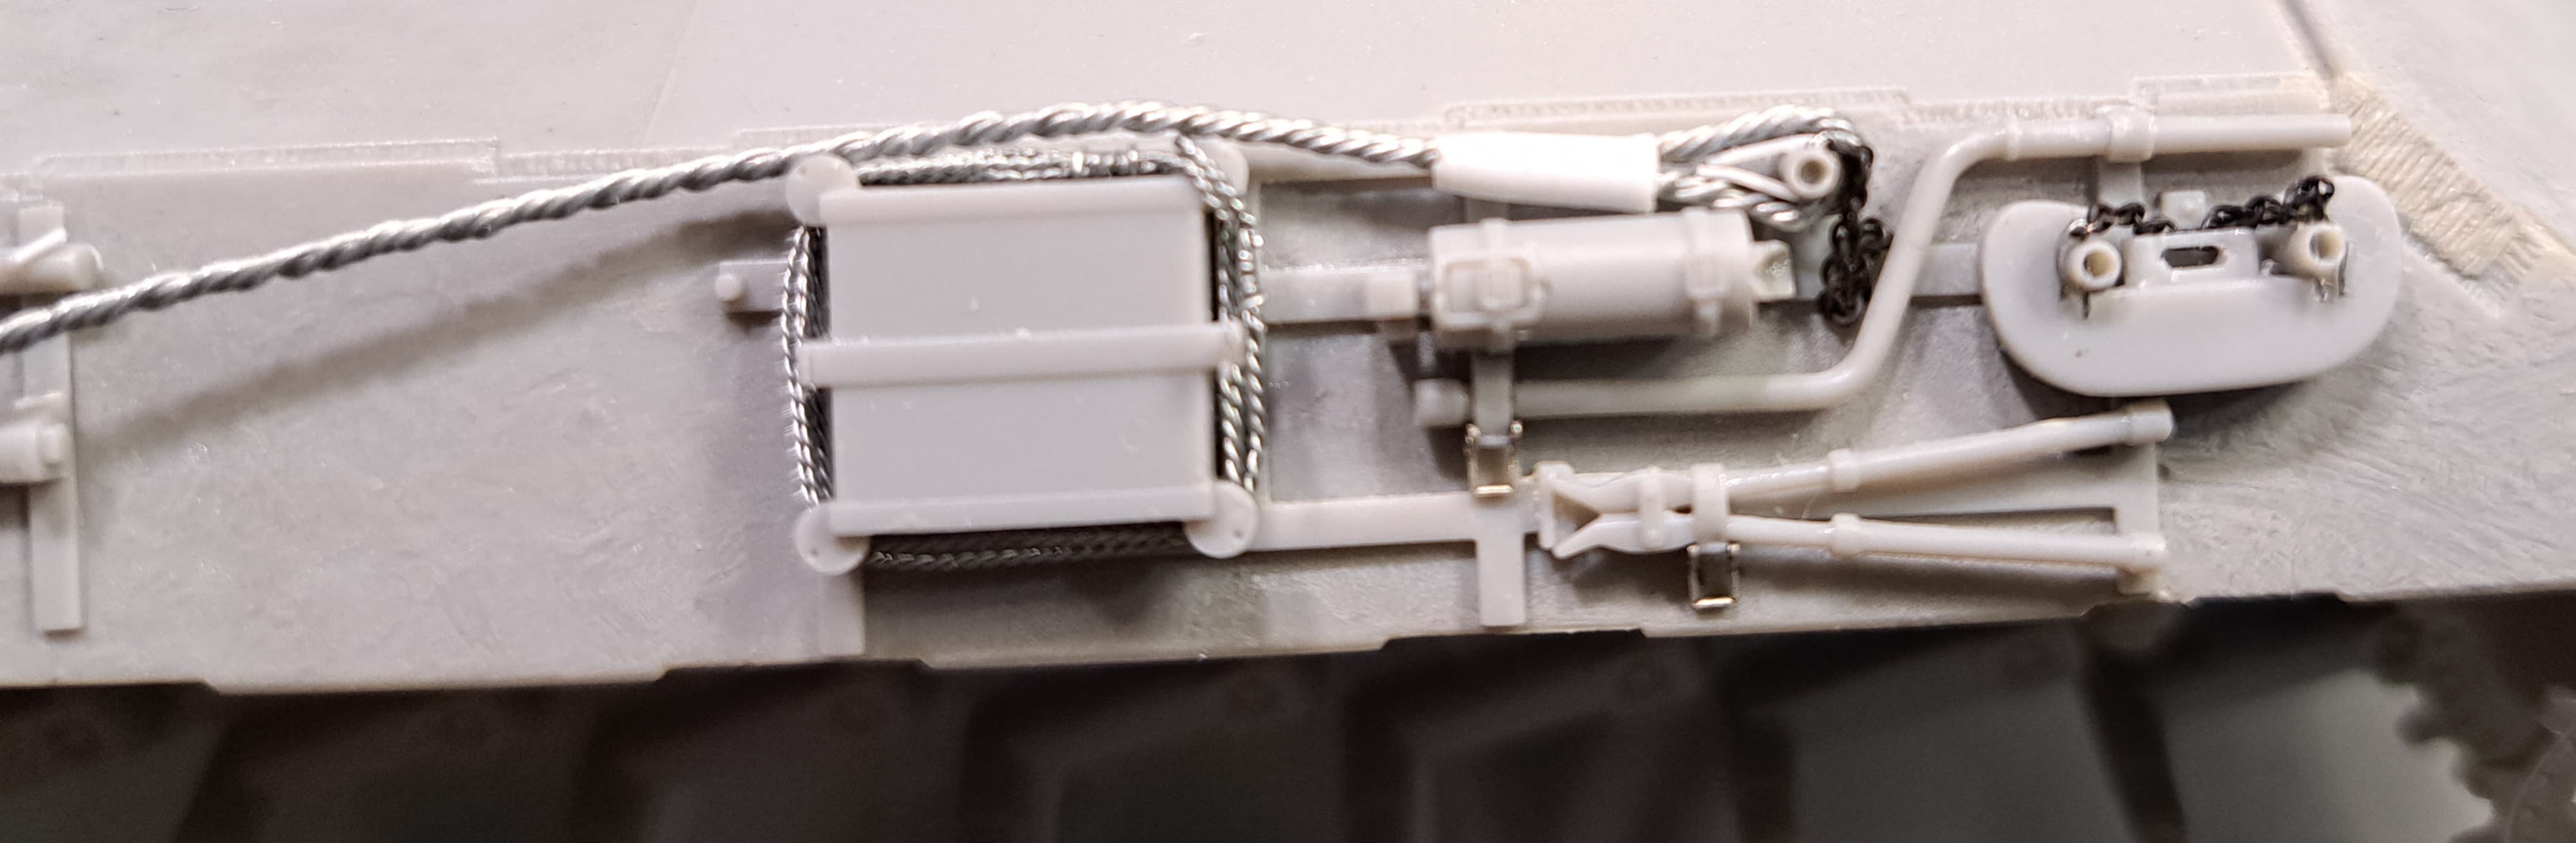
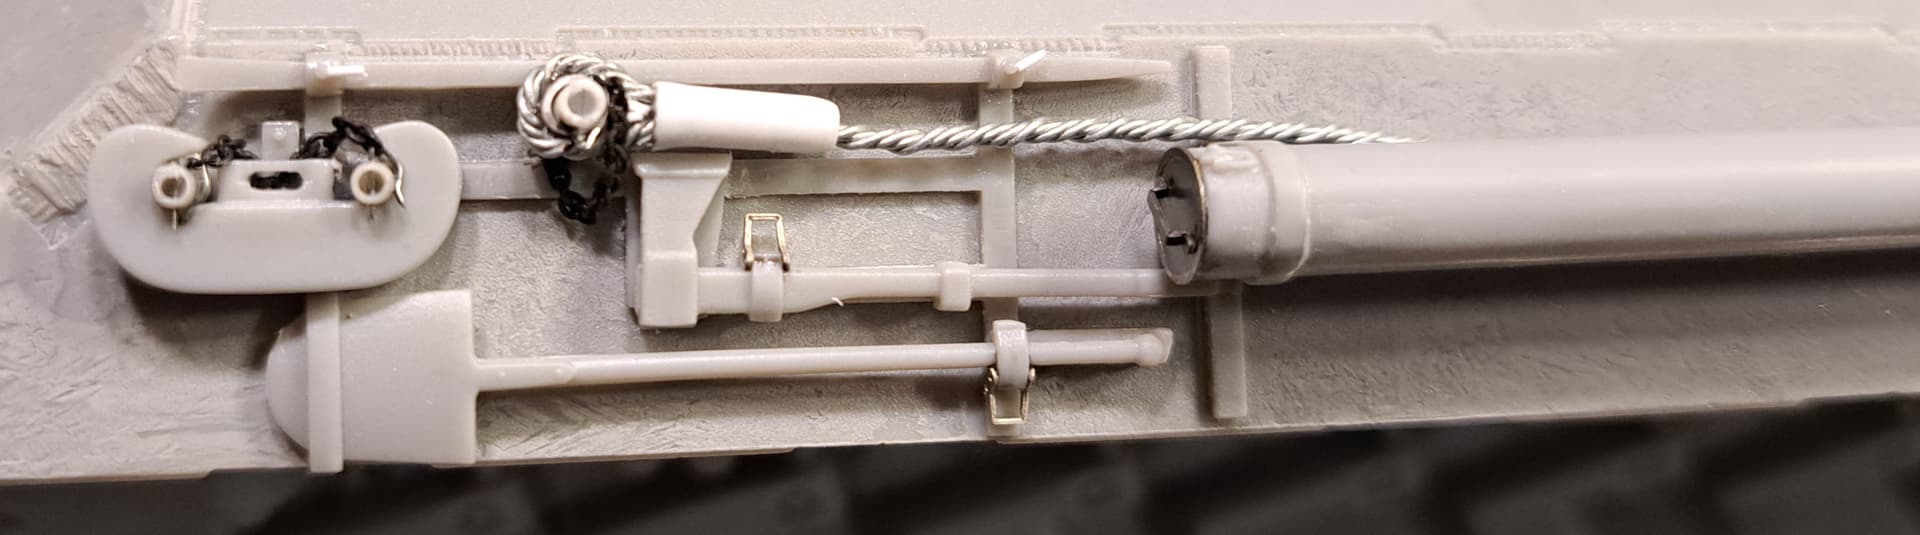
Next up, my humble attempt at applying this information to steps 14 & 15…
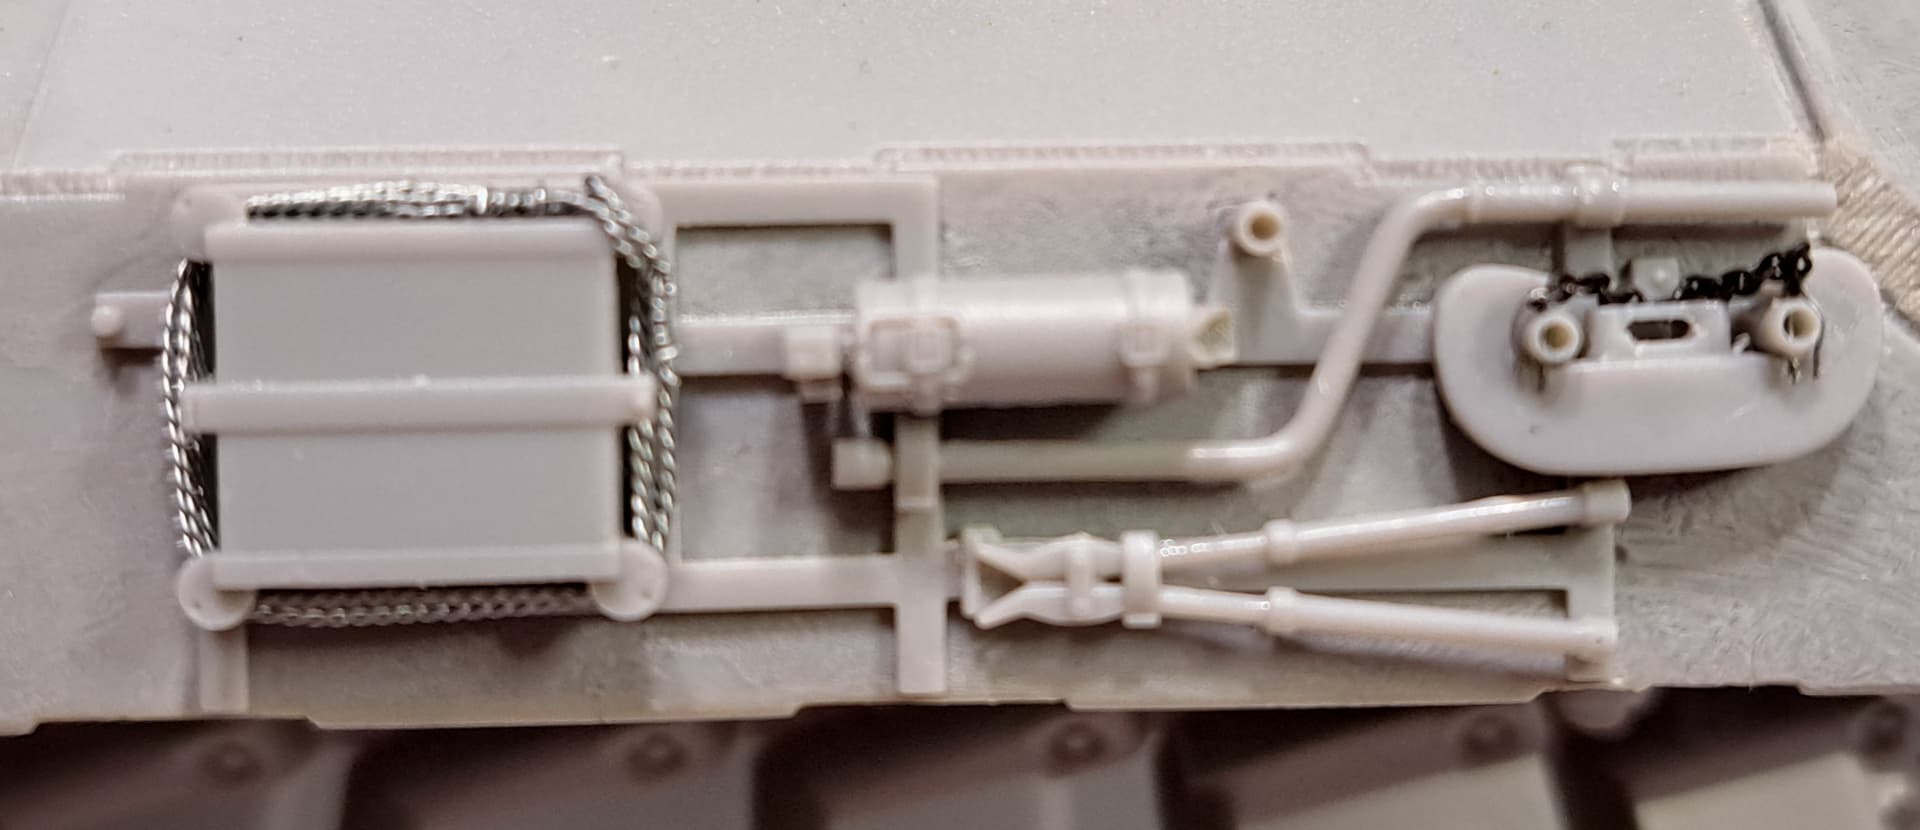
Started out thinning the backs of the tool racks. That of course was a major mistake as the rods for the C hooks and tow cables should have been drilled out and tapped for pins first! That resulted in breaking one tow rod and having to rebuild it from white styrene rod.
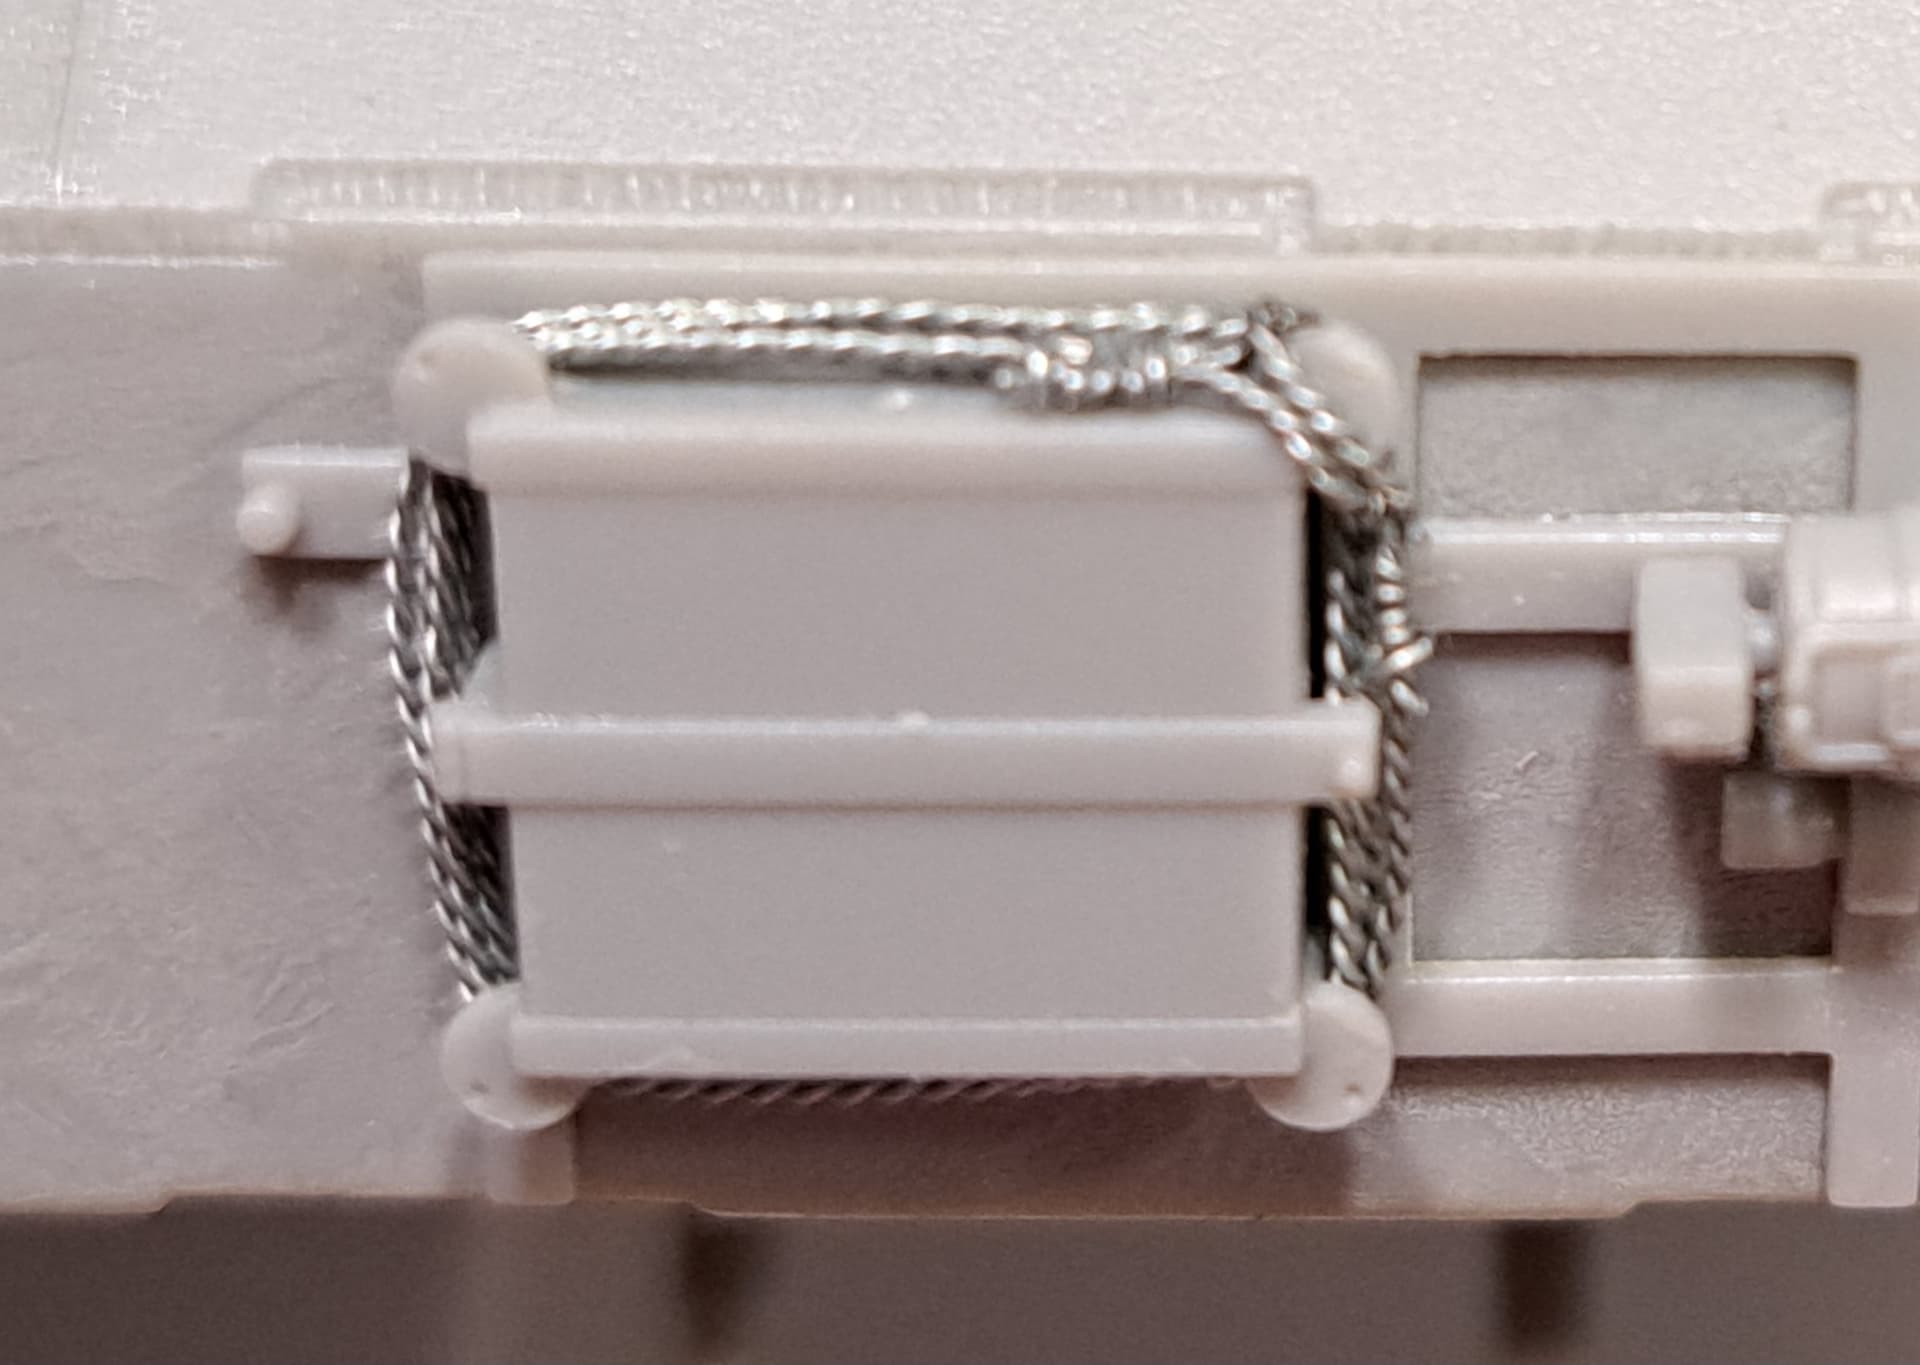
After “machining” the tool racks 10mm of fine chain ![]() was cut and #32 gauge beading wire was pressed flat in flat nose pliers to make flat pins.
was cut and #32 gauge beading wire was pressed flat in flat nose pliers to make flat pins.
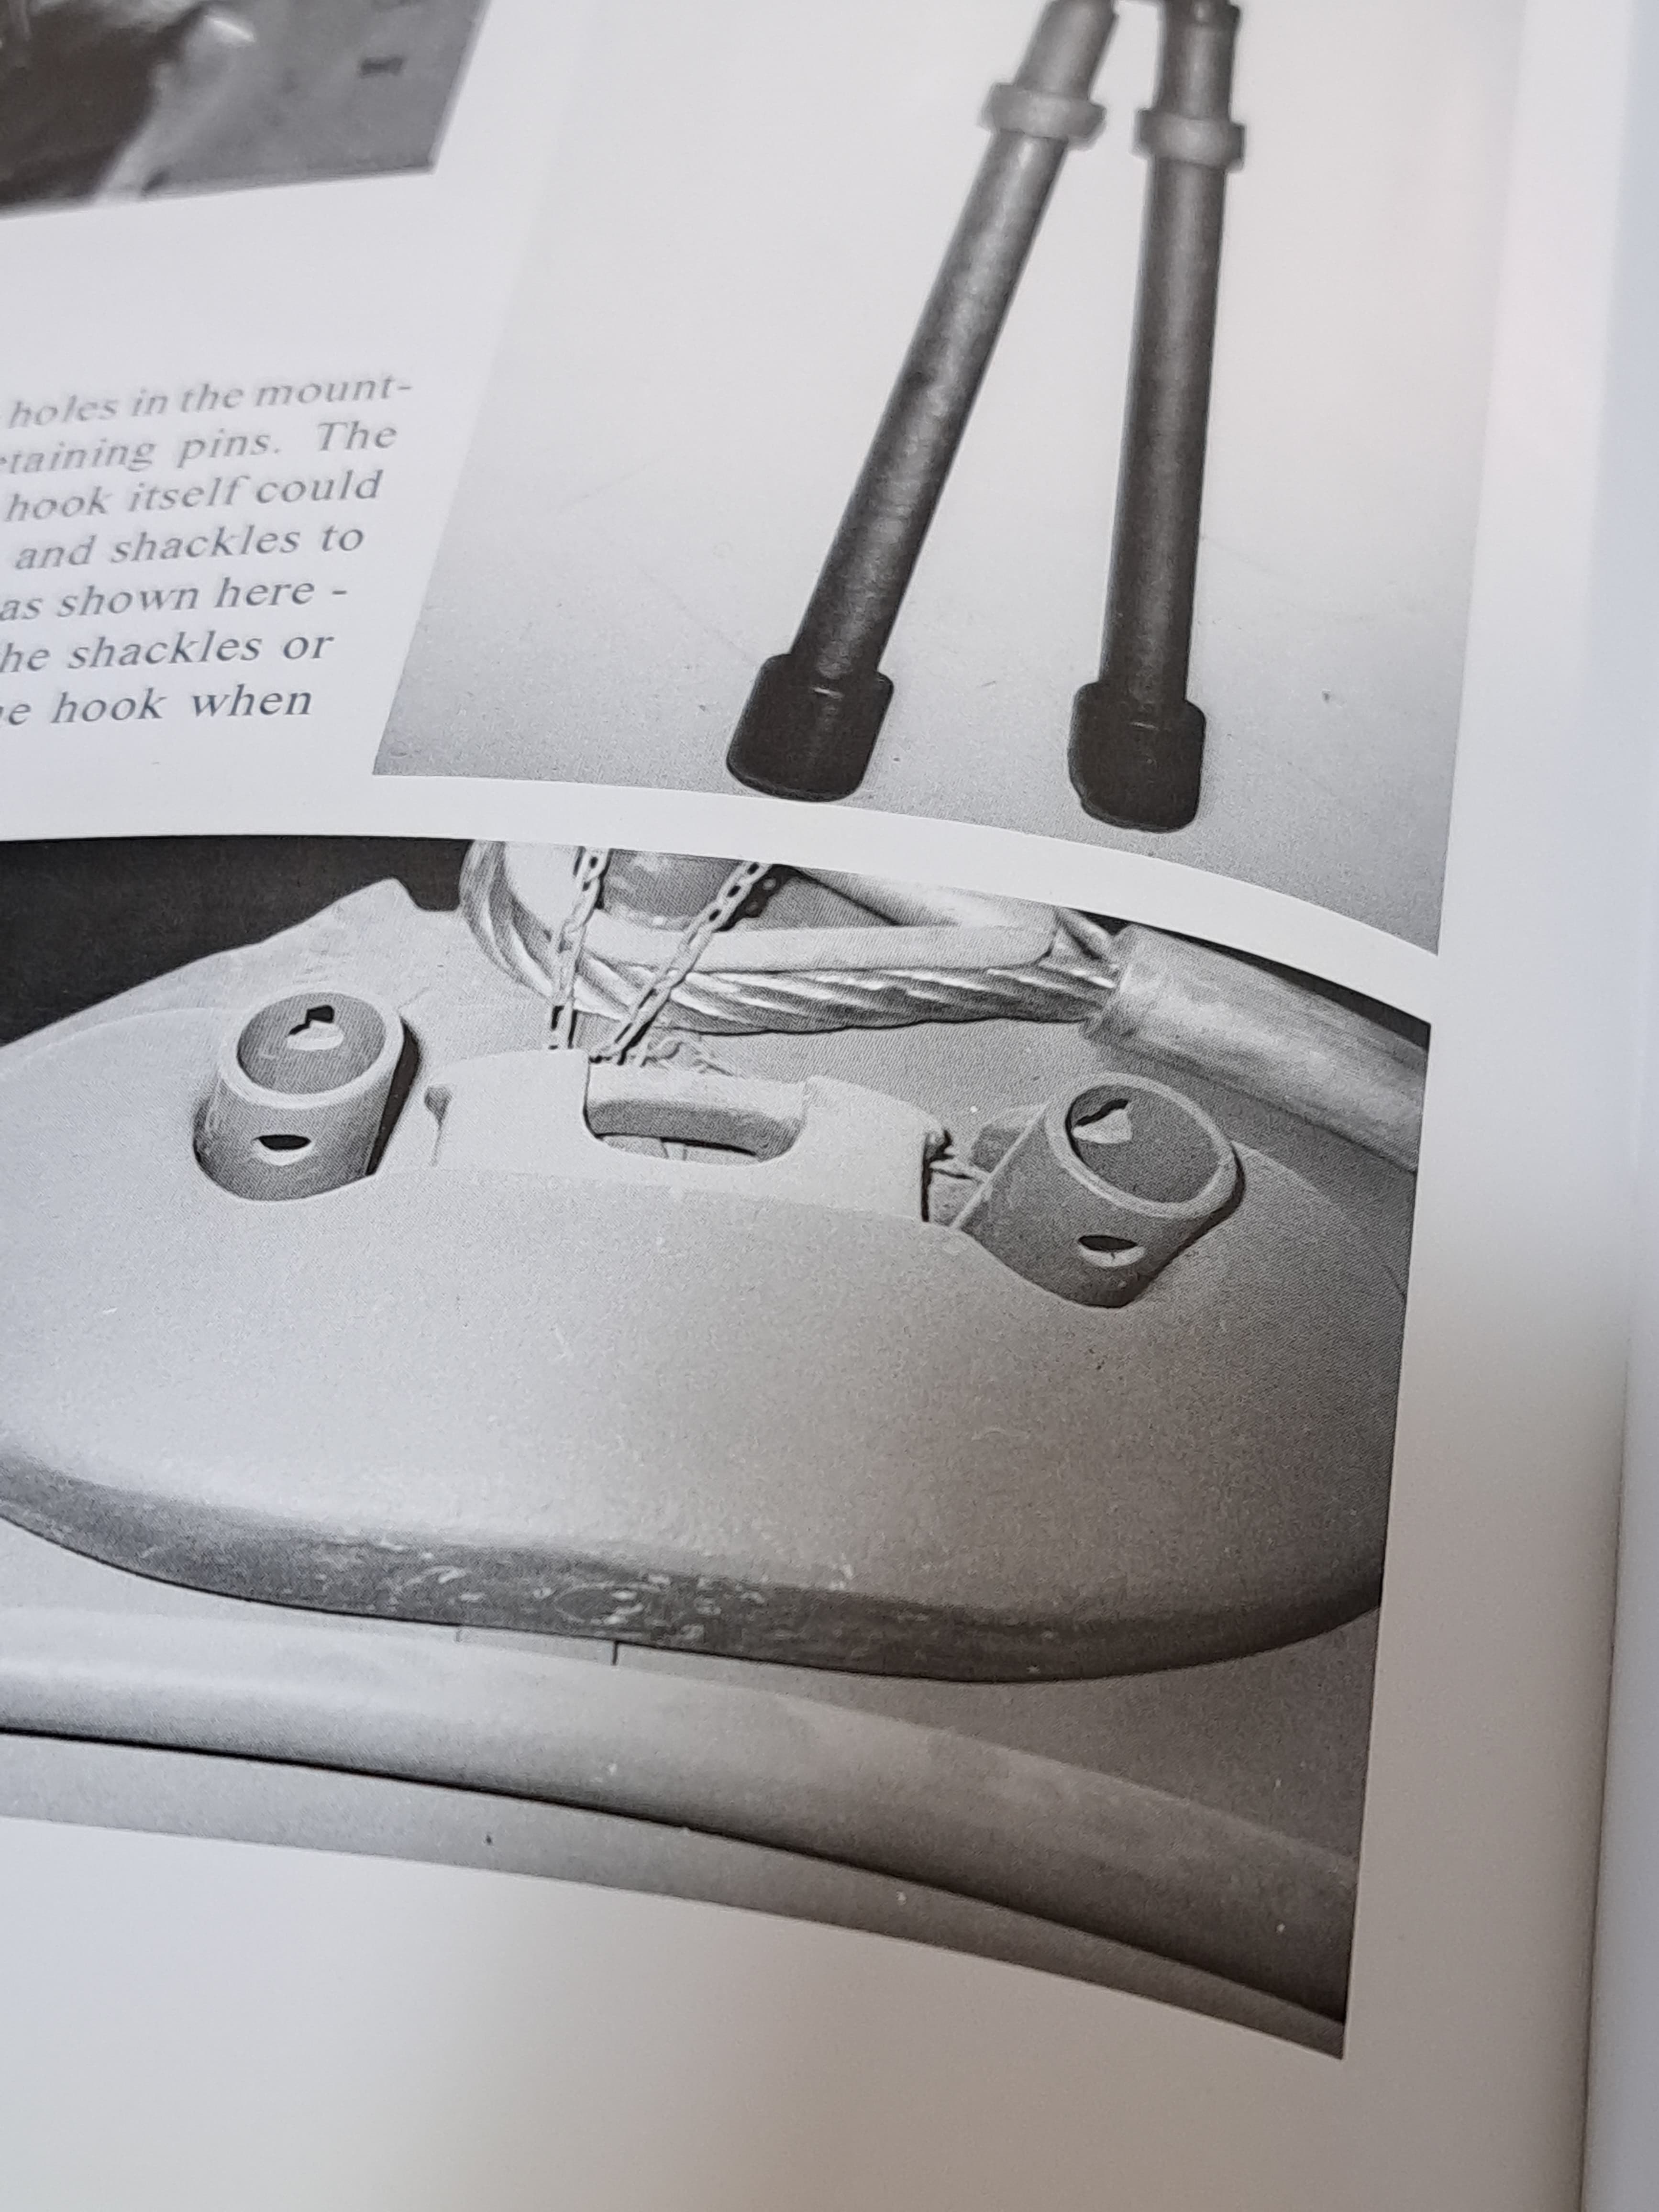
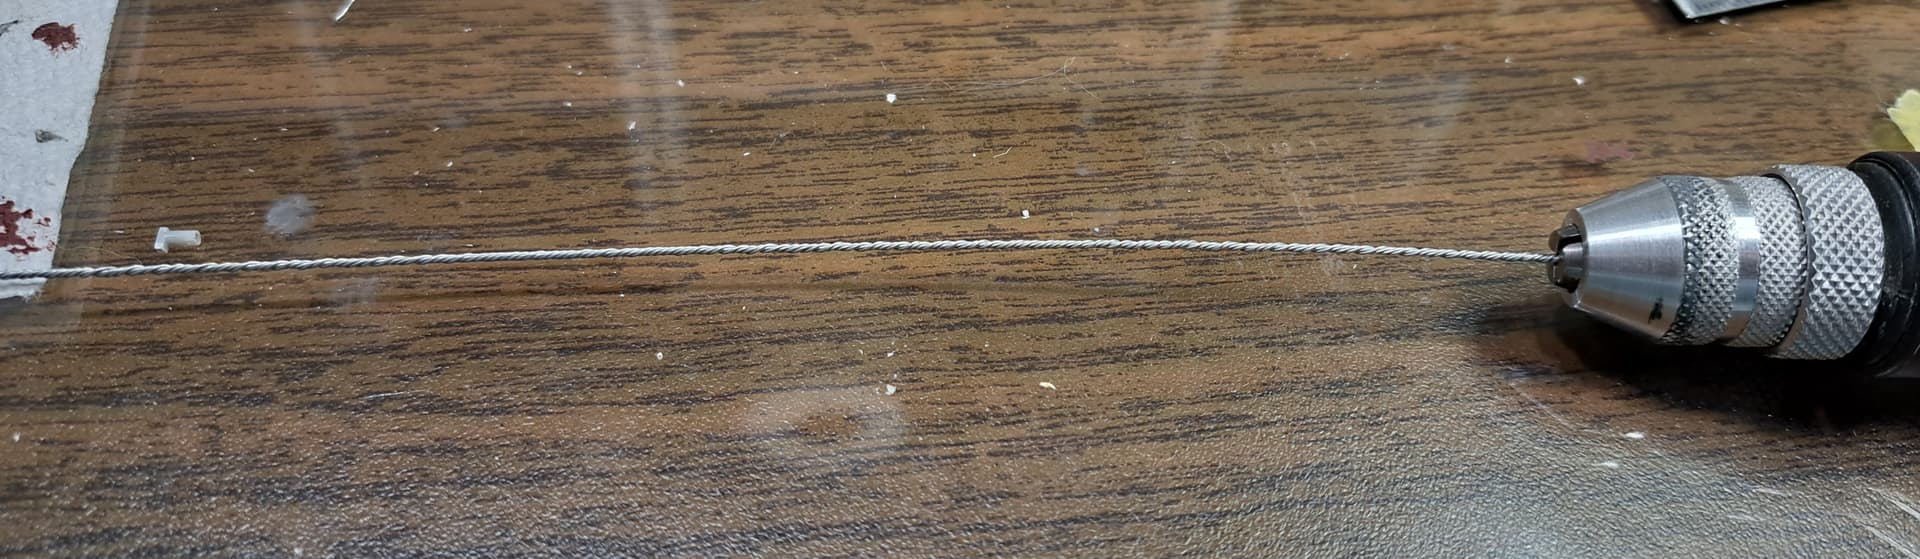
Next spun up two strands of tank length #32 beading wire in a drill to make the small track cable. Ends were looped and secured by wrapping a single strand of beading wire. For once my measurements were spot on and the loops slipped right into place to secure as shown on the jacking block.
Still have to add PE clasps & wing nut details etc
The other side with the scratch tow cable mount from white styrene rod.
shout out to all the C3 thru C7’s. makes for a fun motorcycle ride.
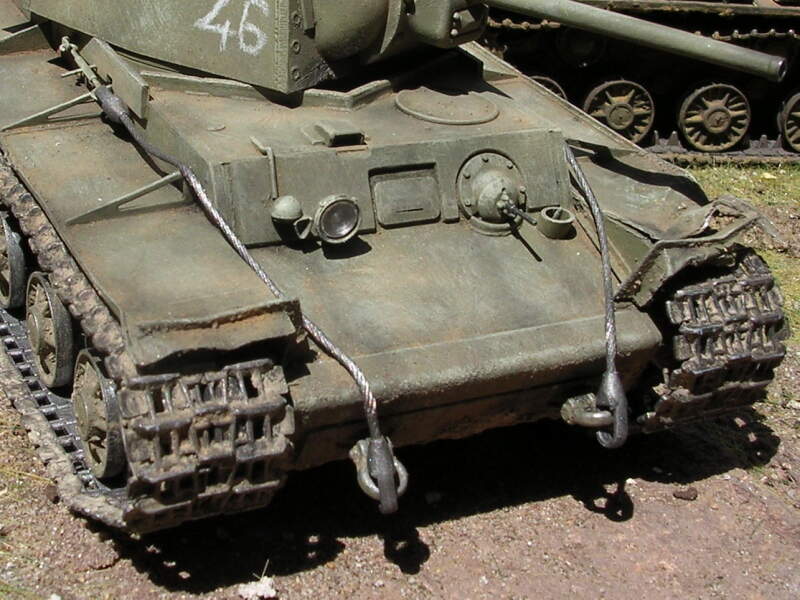
Armor_Buff: “Which are your favorite Panther kits?”
I’ve been thinking about your question. I’ve built Panthers from Tamiya, Dragon, Das Werk, Meng and Takom. Frankly, I lose track of which is which. I’ve found the more recently developed kits, from the last three manufacturers (above), to be the best – more detail and better fit.
Although they tend to include the tracks with separate guide horns, and those I despise. It forces me to spend on after-market sets, which just adds to the overall cost (no matter what approach I use, or what glue, those horns always randomly break off and disappear.)
As I am not a ‘rivet counter’, I focus on the overall look. I often don’t even use a lot of PE. And I spend as much time on the diorama base and the figures as I do on the tank.
But that’s just me…
@Bravo36 Ralph, I’m way behind the Panther curve on new kit builts. Hopefully, over time as more kits get built I can give an informed opinion on that quest vs just an opinion.
I’ve built The following Panther kits:
Tamiya Panther A (vintage)
Italeri Panther A (1990’s)
Dragon Panther G (early 1990’s)
Tamiya Panther G Early (mid 1990’s)
Dragon Panther II (mid 1990’s)
Dragon Panther F (mid 1990’s)
Dragon Panther D (2002- now)
Out of that collection of out dated old kits, the Tamiya Panther G Early (mid 1990’s) would be my choice as best I’ve built to date. I greatly dislike the disappointment of a Panther A/D that Italeri produced.
Regarding the newer kits, out of the ones, I have:
Meng’s Panther D & A looks great overall👍 except maybe the wheels. Definitely will be replacing the tracks…lol
Takom’s Panther G’s look good in the box.
RFM’s Panther F looks good in the box.
I’m most excited about the Meng Panther D & Meng Panther A (early)
As for the Counting of Rivets, I’m a member of the Reformation of the Twice Reformed & retired Panzer Police with AMS/OCD endorsement.
In other words, I strive not to but sometimes it gets the best of me…wink
Stalled doing R&D today, trying to scratch out a pair of tow cables for this cat. Sadly Dragon neglected to include any sort of tow cables. Given this “project’s” history aftermarket doesn’t feel appropriate for this turkey.
Beta test, five stands of #28 beading wire spun and stainless steel tubing. Missing rear taper and hole at back way too big.
Next try spining same wire using thinned out tapered Evergreen plastic tubing.
Initial results seem promising enough…
…but the real trick is making a second one that’s passable and looks like the first…
I use twisted 015" silver solder for tow cables and wiring. It’s softer and more flexible than that beading wire. You might also like the lead wire assortment, sold for fly-fishermen, at Cabella’s/Bass Pro (here in the USA) it includes a .010 diameter wire. Very handy…
Ralph
Thank you, I appreciate the suggestion.
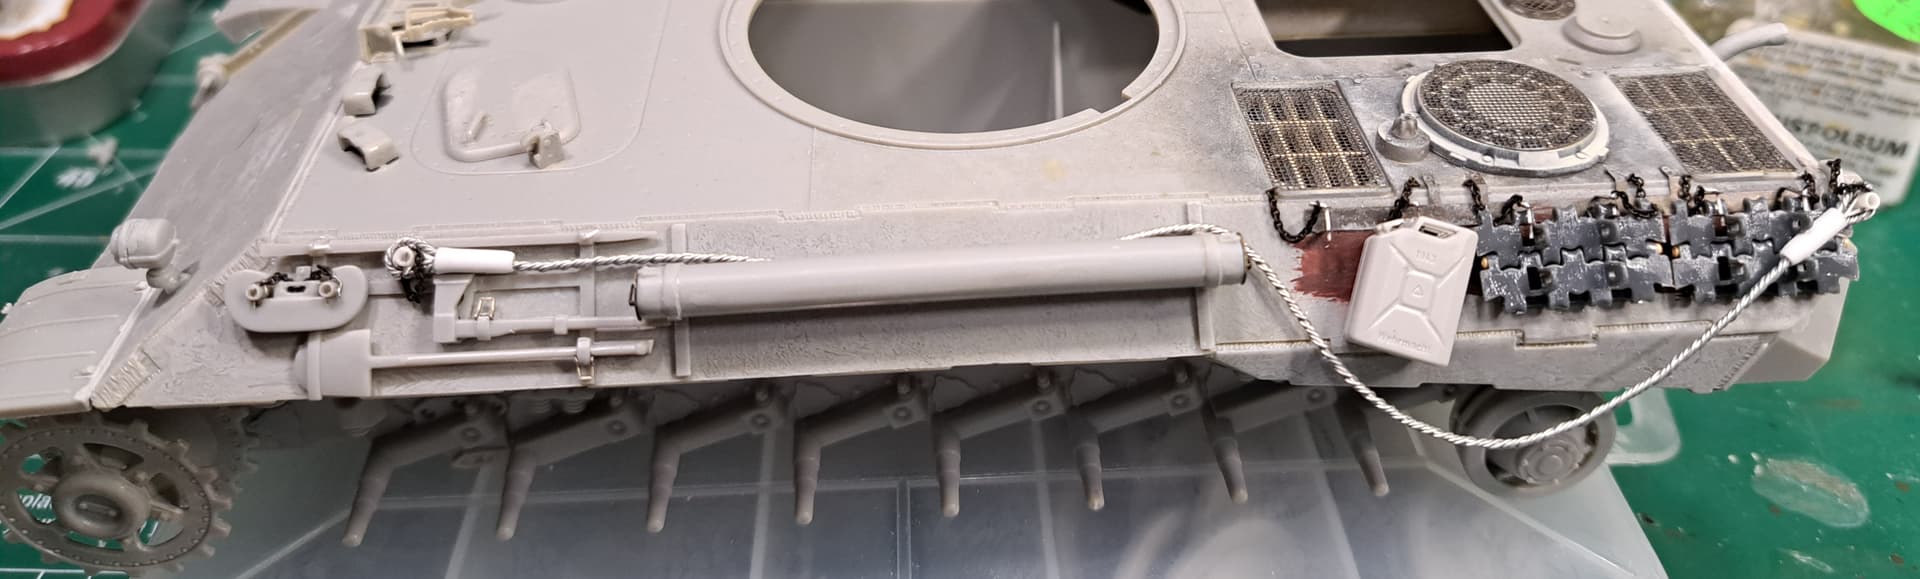
Calling steps 13 & 14 wrapped.
Added tow cables, PE tool clasp handles, chain, L pins, etc. The steps are straightforward just tools & track links etc. Tools are pretty good not quite up to current standards.
Right side
Left side
Two steps left for the hull…