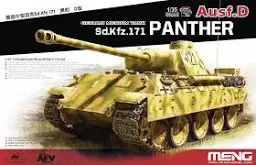
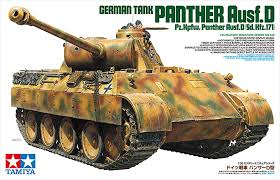
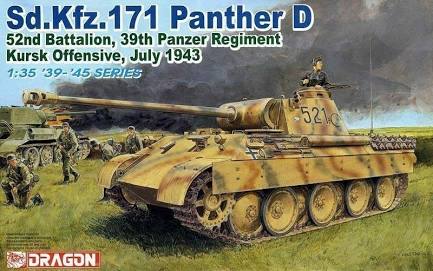
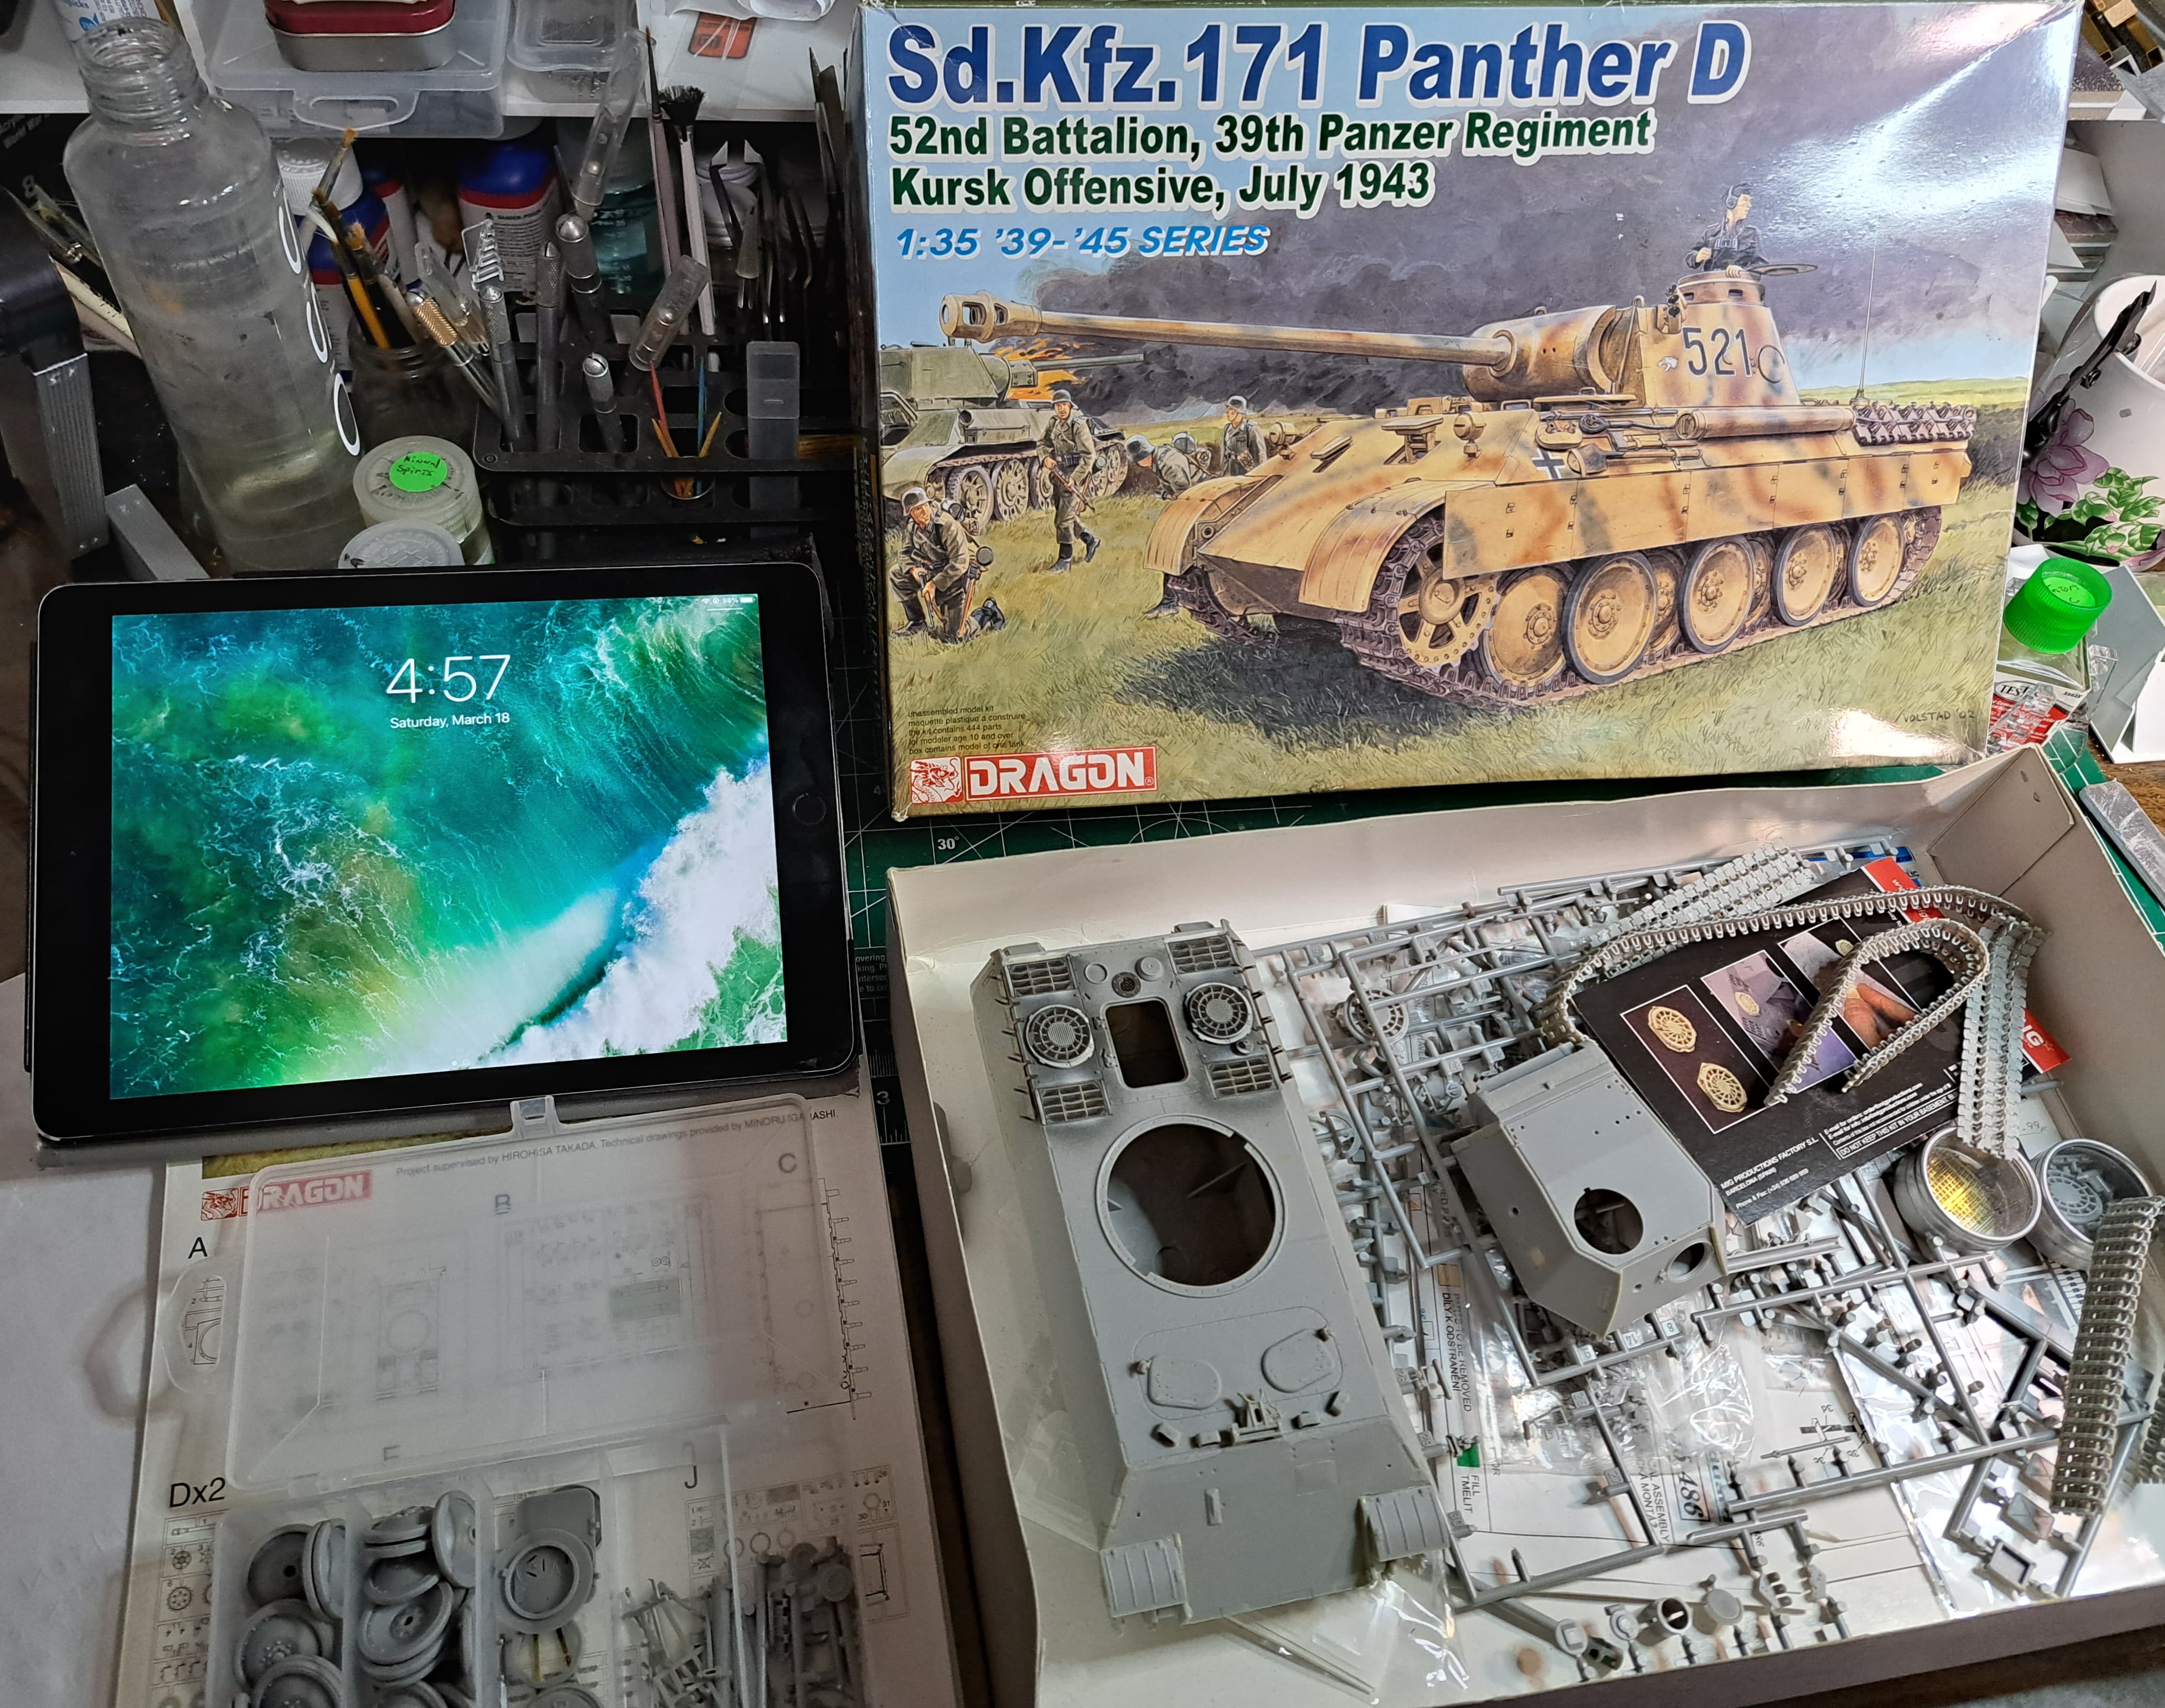
The first build will be wrapping a twenty year old legacy shelf queen, Dragon #6164 Kursk Panther D. Unfinished Business 2023 inspired getting this model finished! There’s also a Meng Panther D, Tamiya Panther D & Dragon Premium Panther D in the stash to help round out the show down with this old basic Dragon Panther D.
Ironically, out of the box the old #6164 kit isn’t really suitable as a Kursk Panther since it has several later D features. Overall, the kit is based on the slightly older 2002 era, Dragon Panther A. My intention is to build a later Panther D since the kit ‘D’ round engine fan covers are correct for that.
Spent an hour getting familiar with content and reading old instruction sheet notes. I’d skipped all over the instructions working on this kit previously on couple of occasions so starting at Step 1 seemed best. The collection of aftermarket junk in the box, even included a set of Armor Research Panther A engine deck screens from the 1980’s!
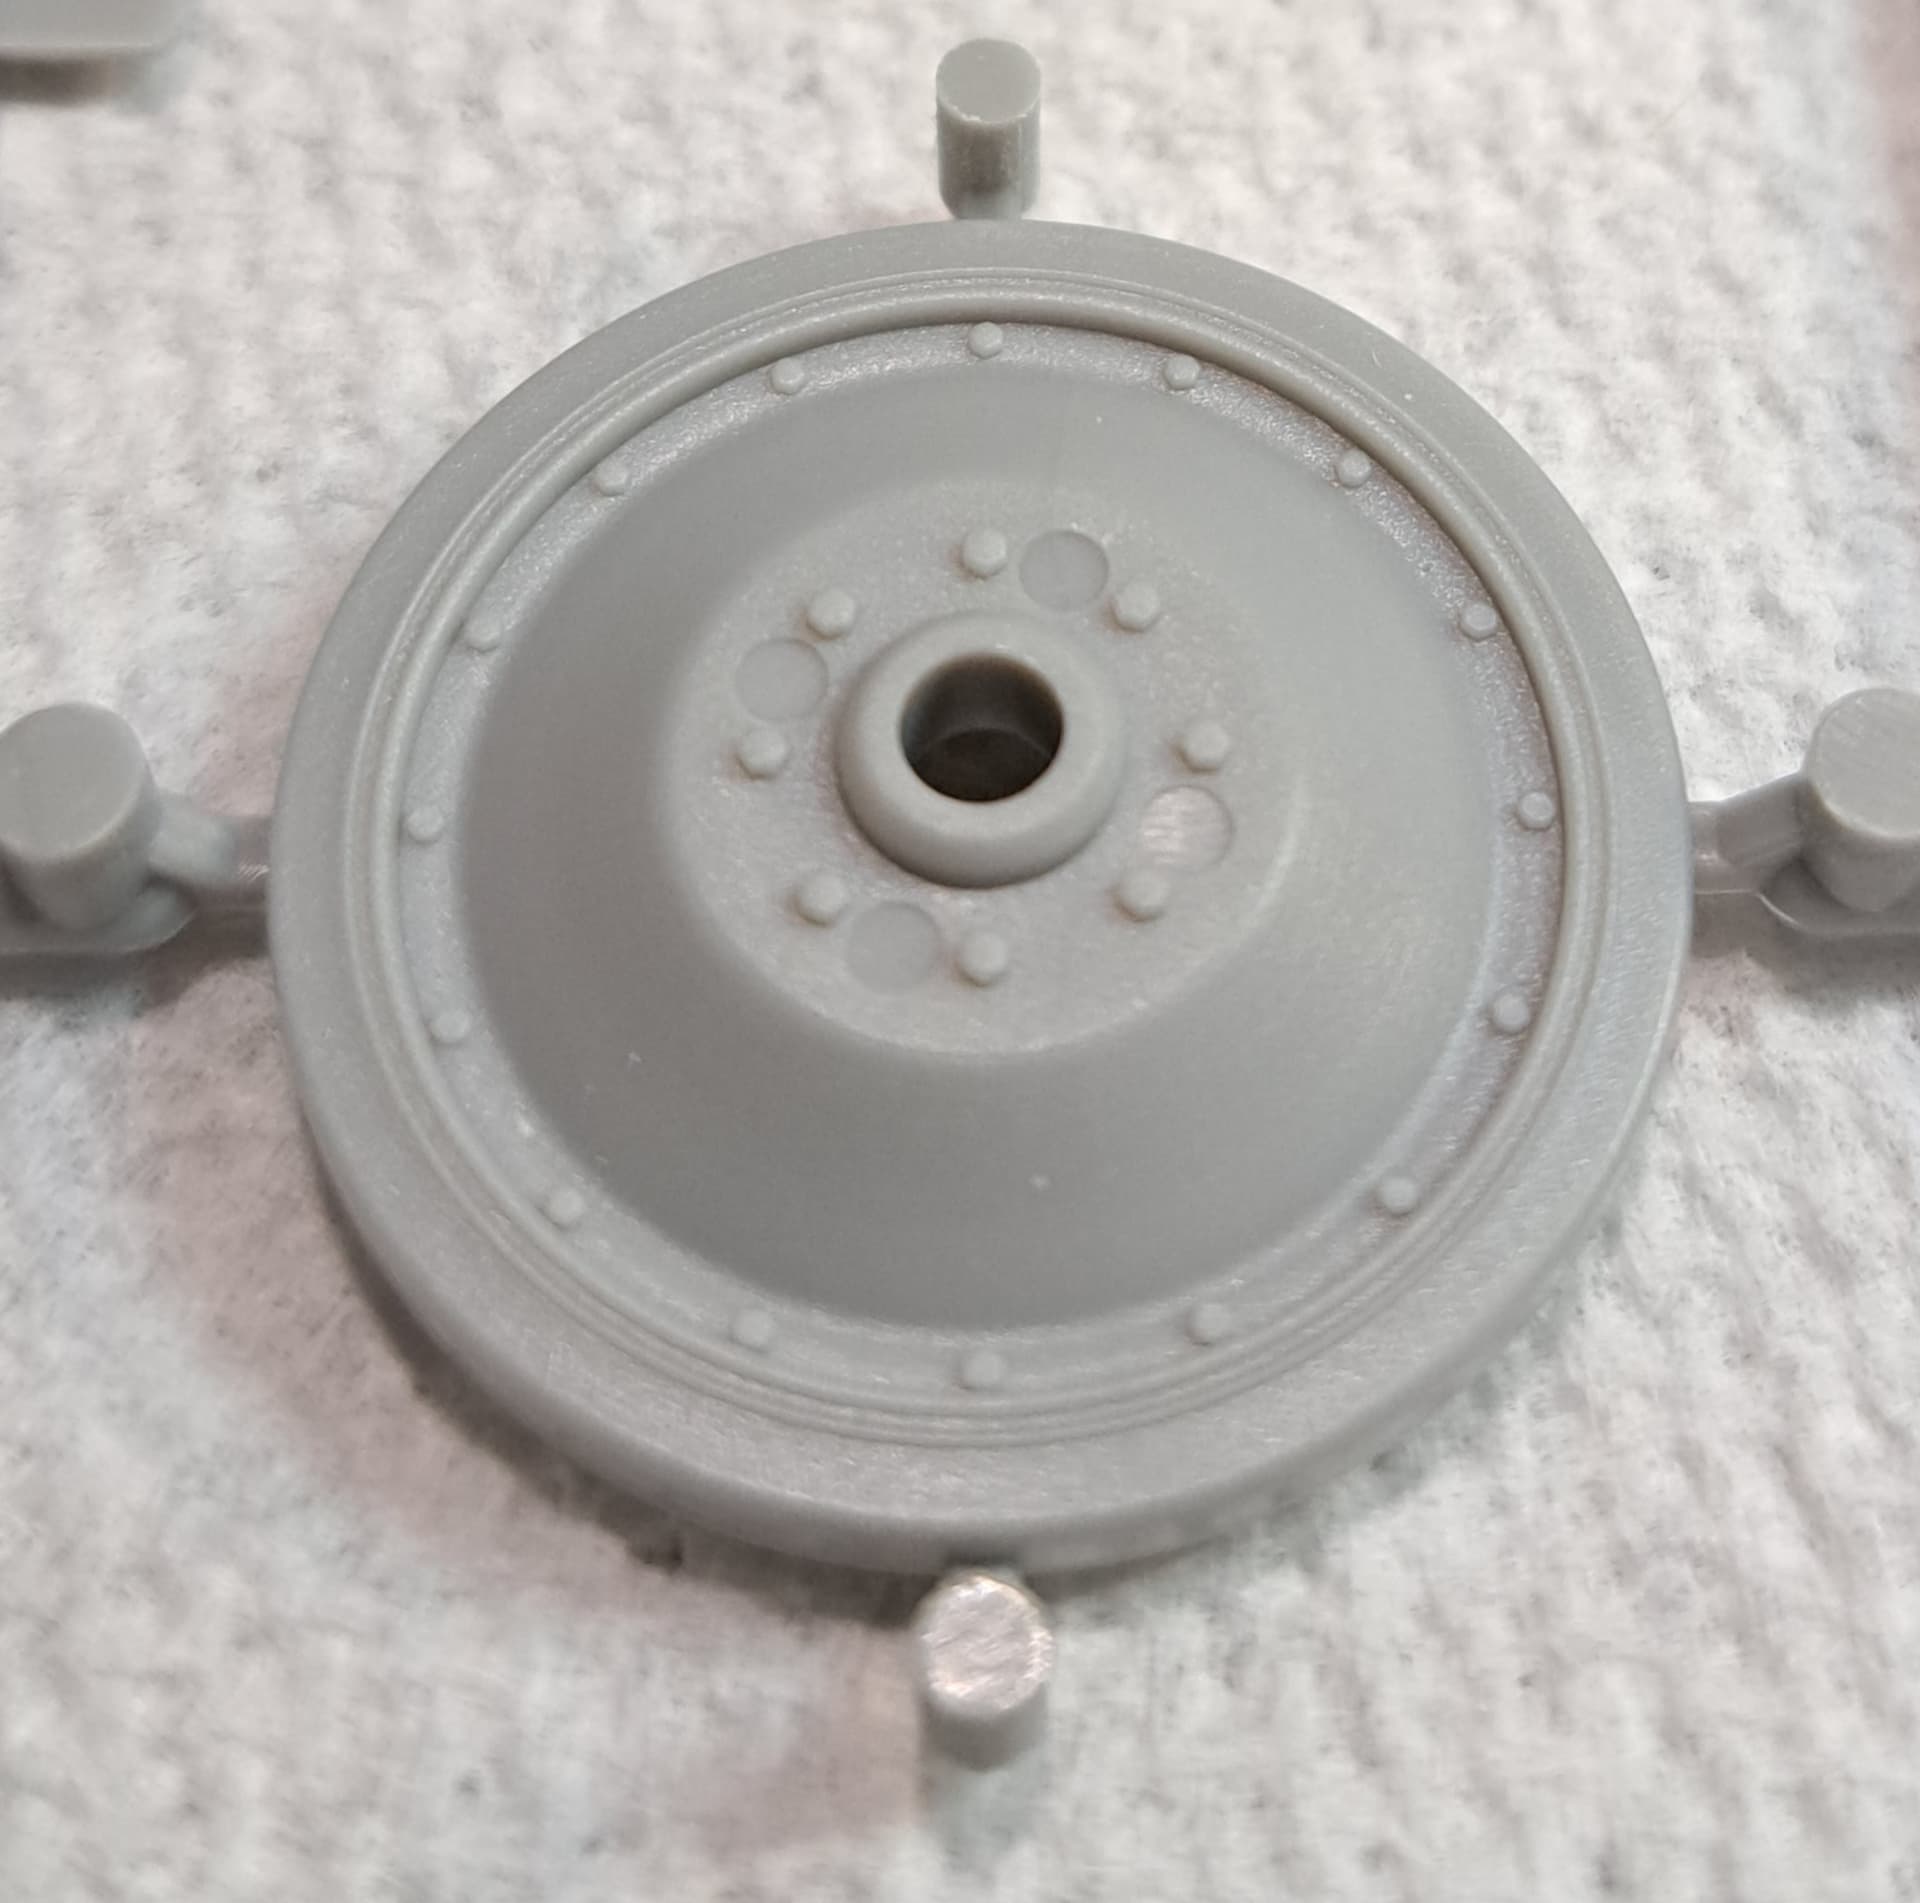
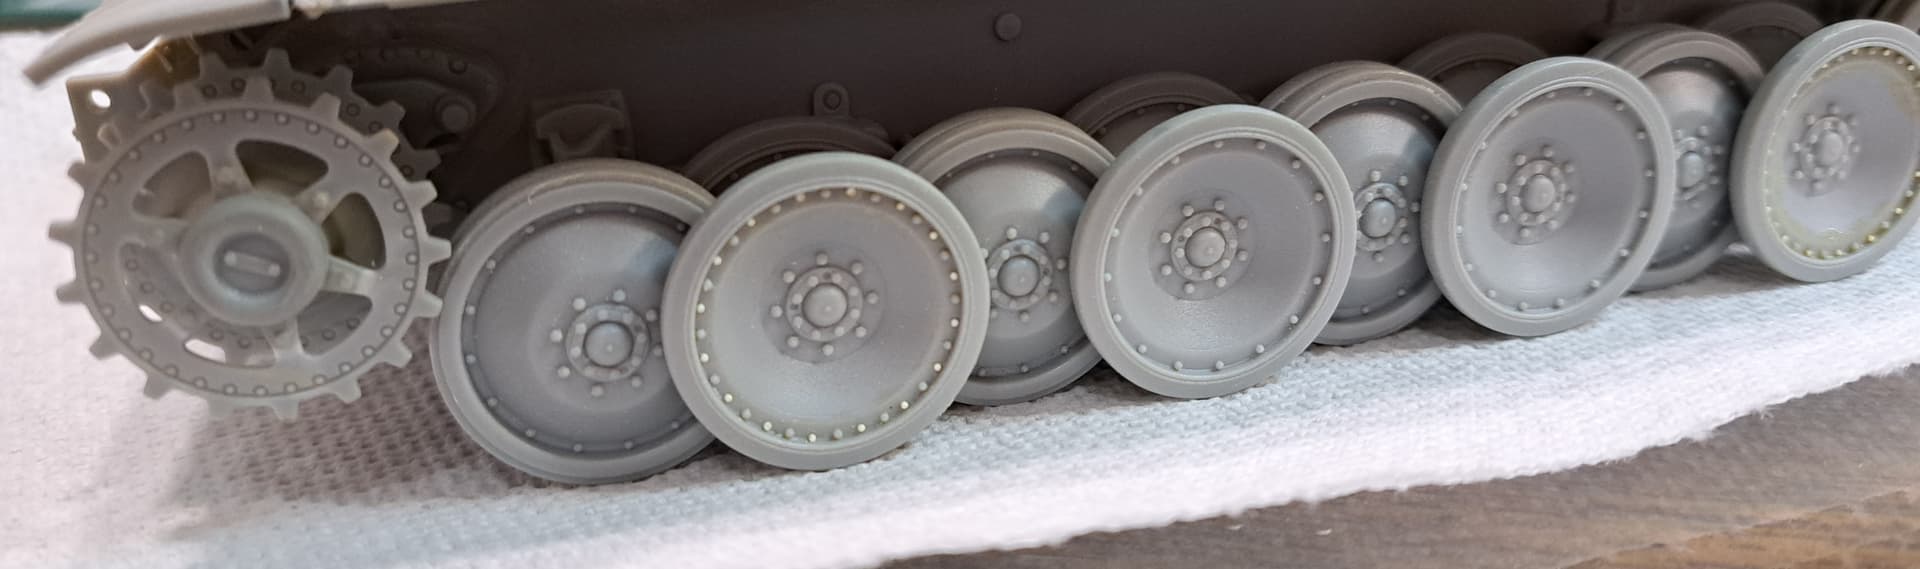
Quickly discovered 32 nasty punch marks on the outside faces of road wheel L4. Here’s a picture from another #6164 kit.
The punch marks are visible if one looks carefully with wheels and tracks in place. I felt they were very annoying to deal with due to the raised details near the PM’s. Used the old Waldon punch and die set to make disc’s and filled accordingly. Trimmed to height plus thin coat of Molak Stucco Putty solved the PM issue to my satisfaction.
One feature, I really like on this old warhorse of a kit is that the suspension arms are molded as part of the hull. This practically ensures the model will sit level with minimum fuss. The revised #6299 Premium Panther D kit with all the PE goodies has separate suspension arms if one wants to articulate the running gear.
I made a slight crimp on the end of the arms to help secure wheels for test fitting. This proved secure enough to build the old school non magic track links later.
Matt, ouch! That’s rough.
I hope you have the minimal issues possible.
My friend RP has an L4 issue too.
John, thank you! Appreciated very much.
RonW, the kits were too bad cost wise, the Dragon’s were bought long long ago at a hobby shop far far away. The rest were at fire sale prices on the net. However, the reference books accumulated are another story!
I know that, my disc at L5-7 are blown along w C4-6 from a car accident. Branch medial block currently for the C’s and quarterly ablations for the L’s. Basically every 6-8 weeks if feel like Dr Healy’s voodoo doll with a battery of needles and injections. Toss in the early arthritis in my back and hips…Getting old sucks.
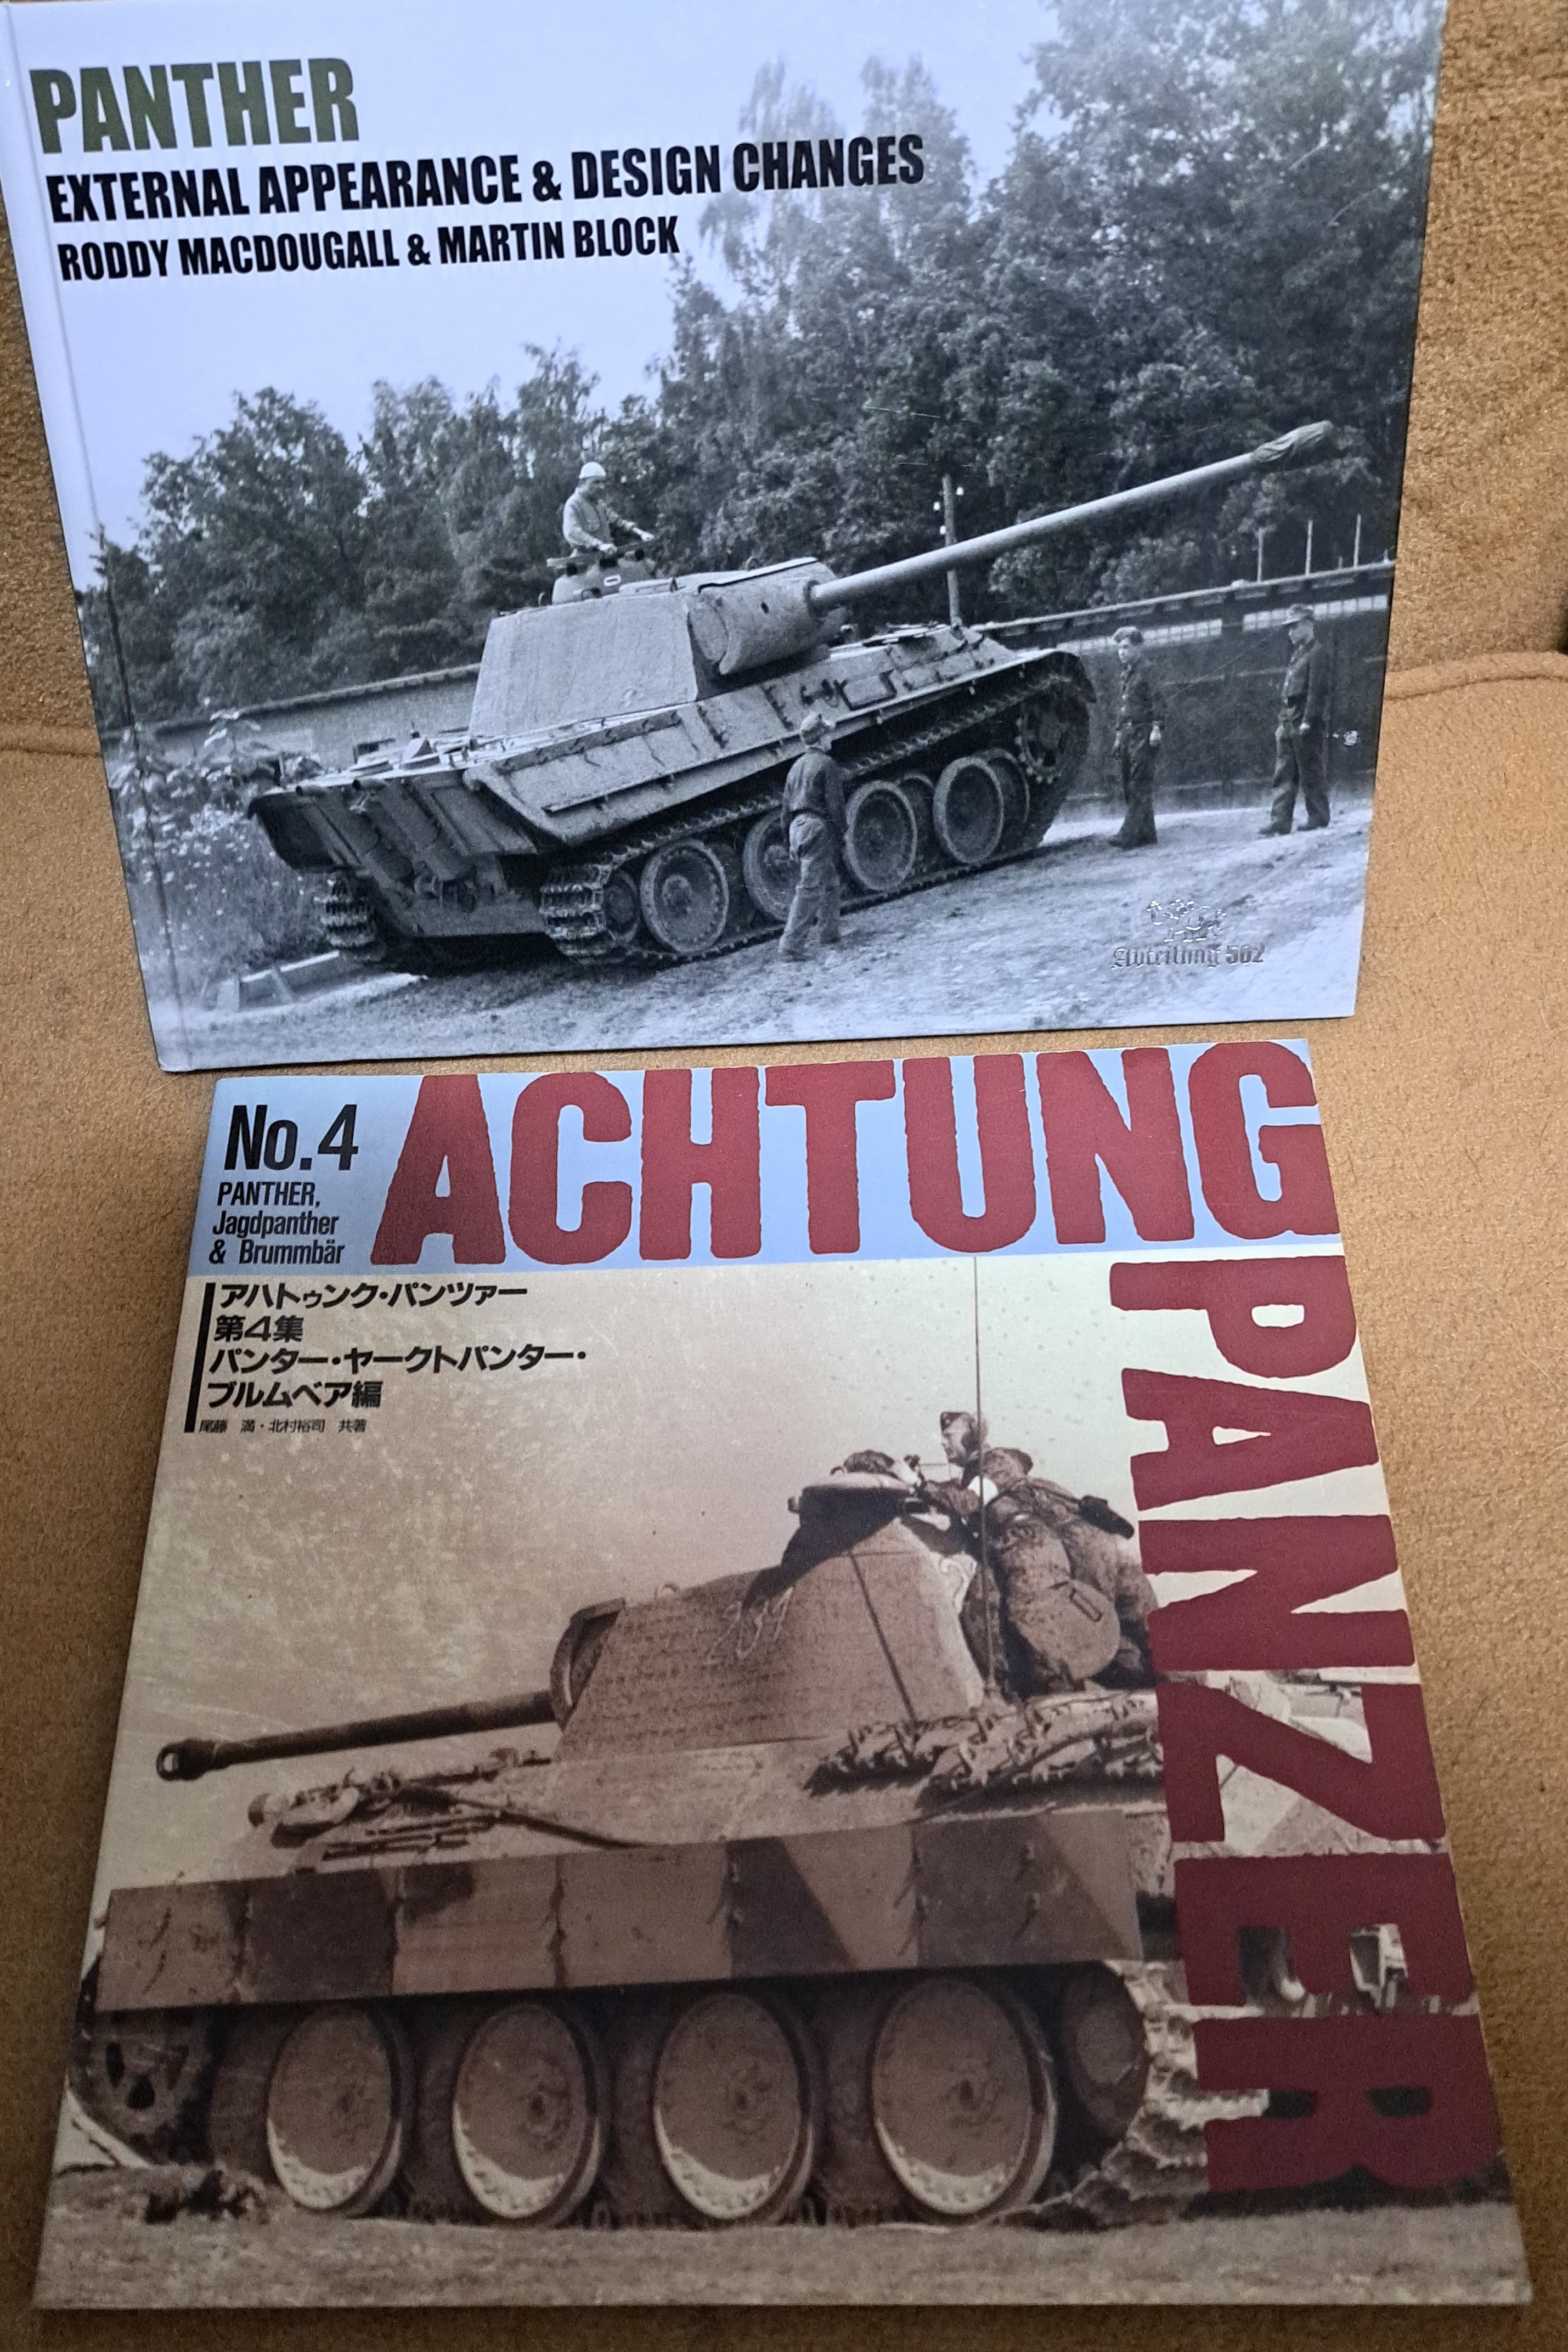
Need to mention, I’m generally not checking dimensions on any of these kits as they all had good reviews in that area. There’s a big pile of Panther books in my reference library like Jentz, Spielberg etc however digging in books for research puts me to sleep fast. However, I do have two references, I look at on occasion for Panther builds that stay at the werk bench. Both are outstanding and very highly recommended. Both are exquisite and worth the price. Roddy MacDougall’s book absolutely kills it with research and detail. For example, there were a few (eight or ten) confirmed panzer gray early Panther D’s and Roddy’s book has a picture of one.
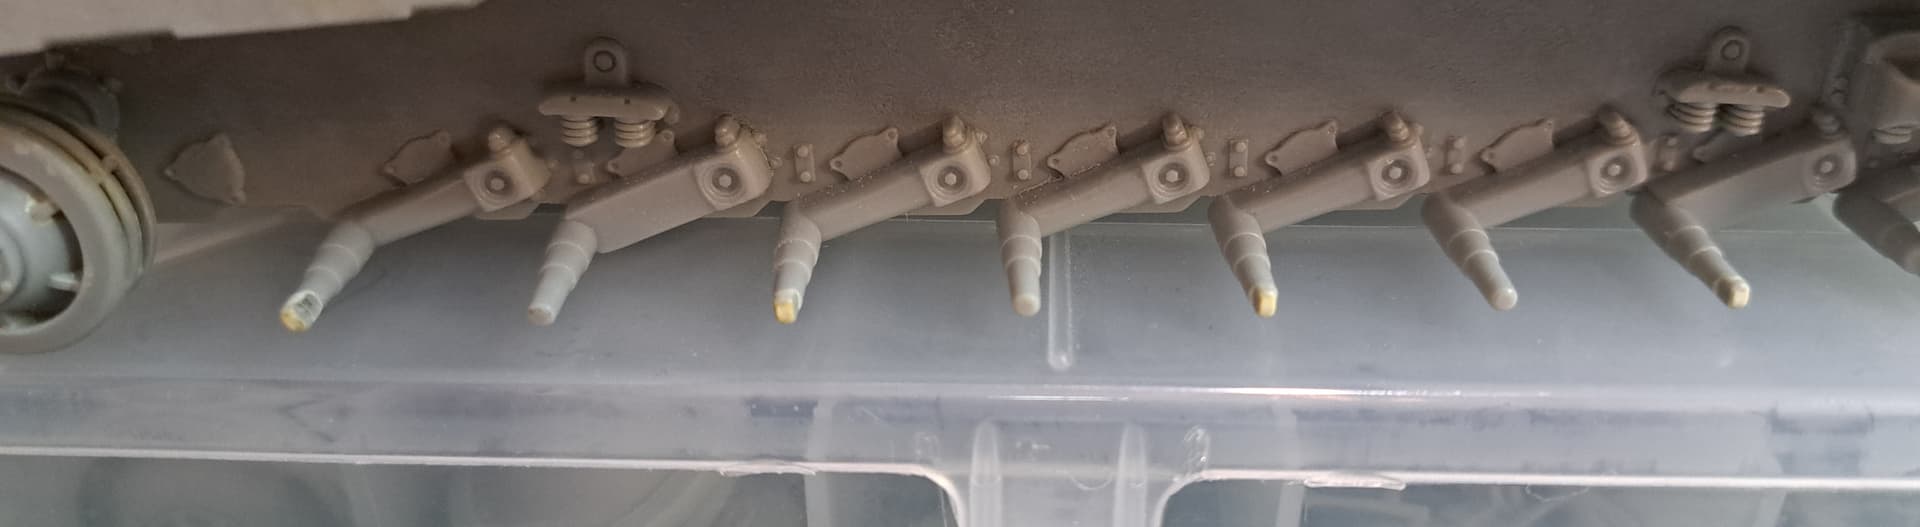
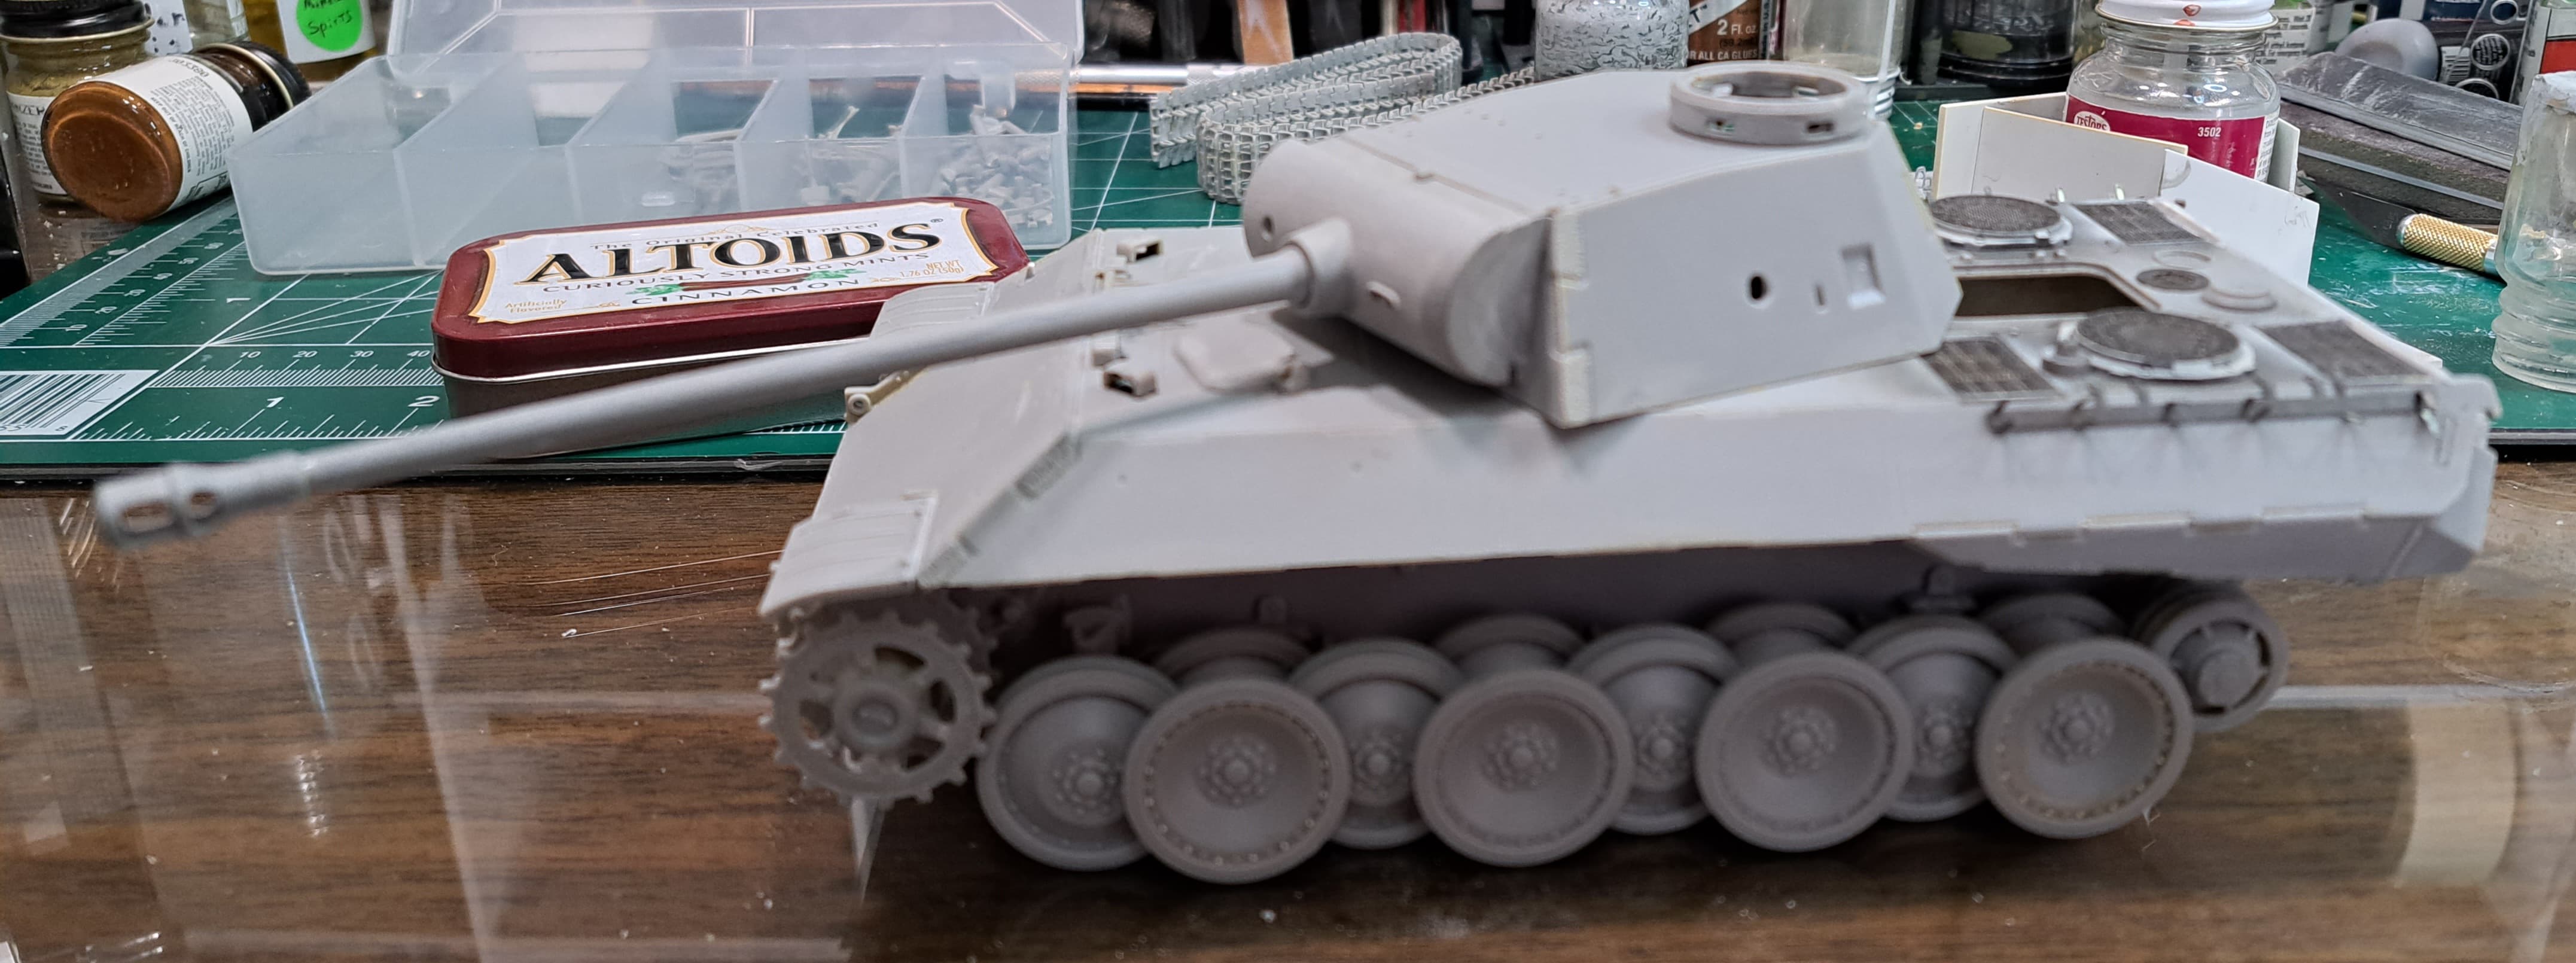
Comments on Steps 2 to 4 will be grouped together. Basically smooth sailing with suspension clean up and assembly. The sprockets have the expected mold seams in the teeth that need clean up. The sprocket caps provided include both the earlier and later style. I went with the earlier one. There a weld seam missing on the front lower hull on the left and right sides. I’m sure that’s due to the bath tub style lower hull. With thin sheet styrene or sprue its easy to add. While not the best method, I short cut this with Liquid Cement & texture with a #11 blade given the detail isn’t all that obvious.
While German rolled plate is pretty smooth, I want a little texture on the armor not smooth plastic like a Corvette show car. Lower hull faces textured with 90% Testor’s LC & 10% Molak Stucco Putty.
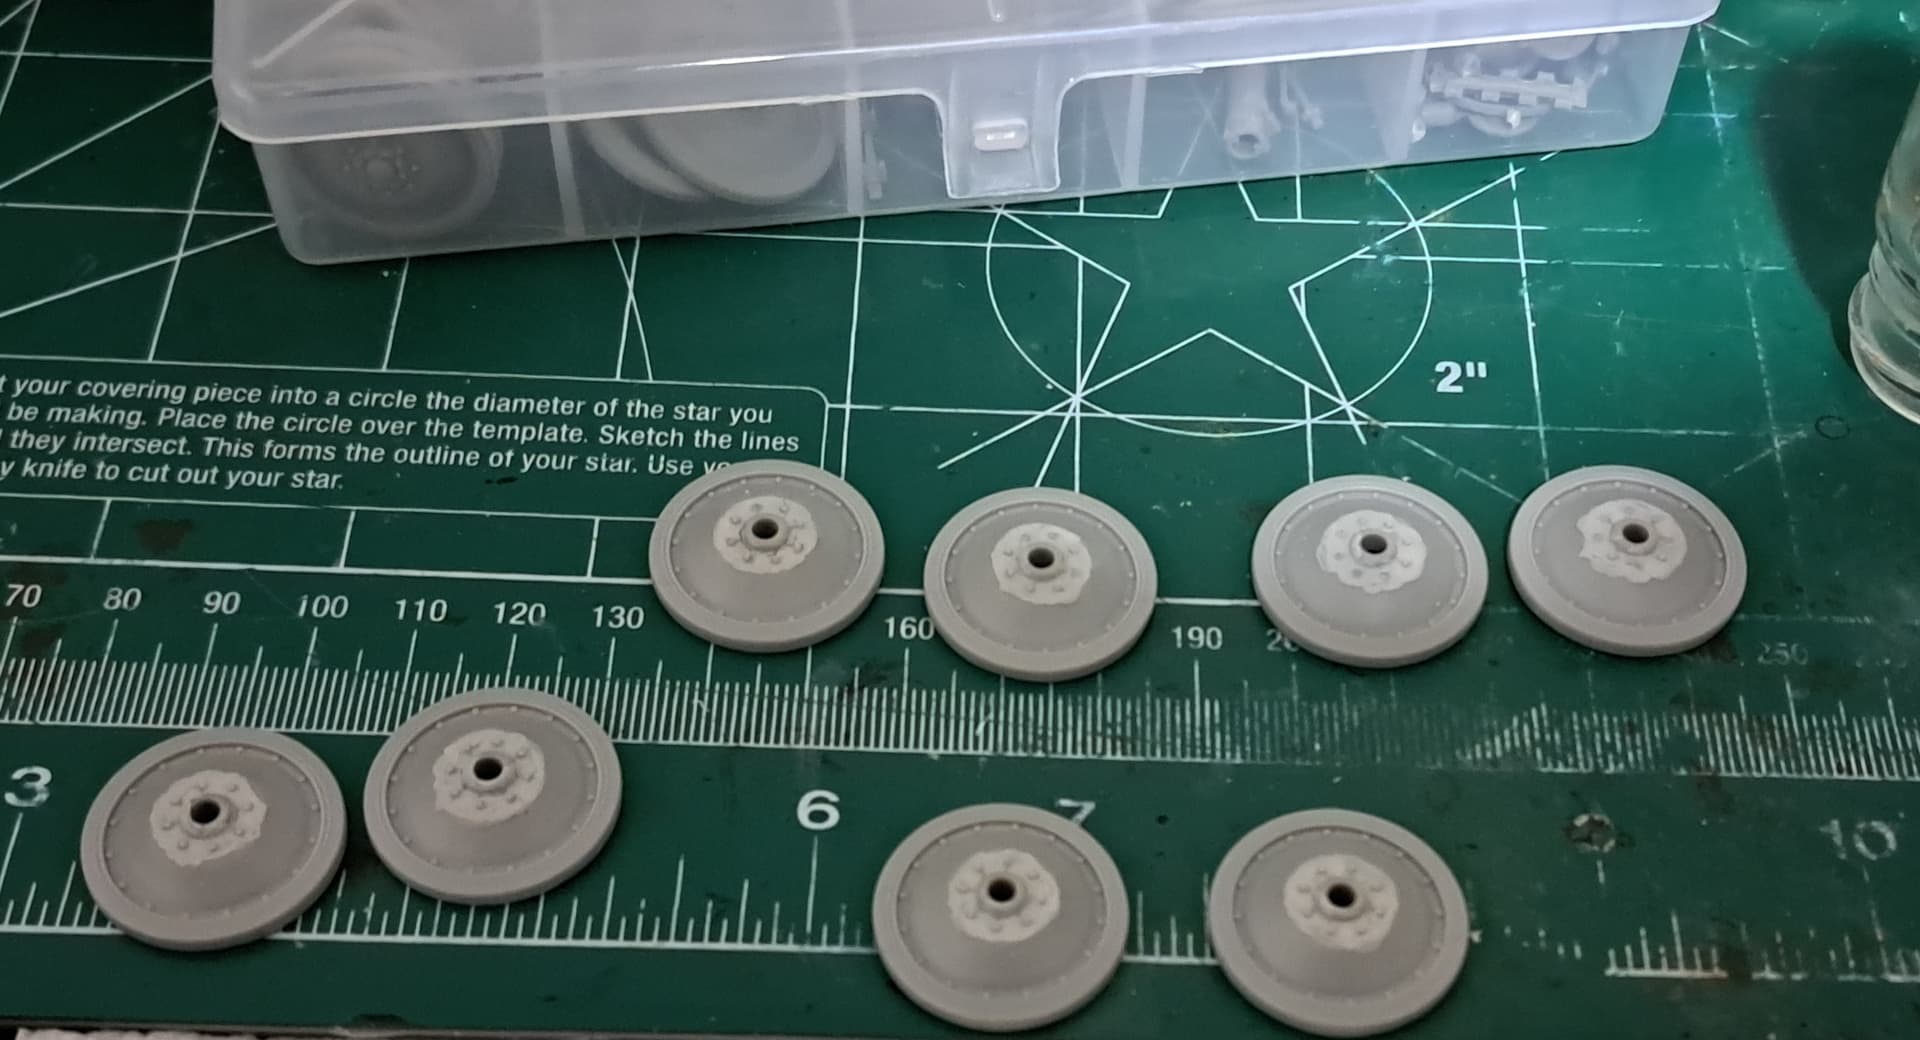
Being an after Kursk Panther D, decided this one needed four of the rivet reinforced road wheels two on each side the out most fronts and outer most rears as they would probably be see the most stress.
(Edit - I should point out the wheels ought to have 24 bolts but i was lazy and added an extra between each of the original 16 for 32 total. I didn’t want to shave & redo whole wheel. So yes, I cut corners and the added detail is technically wrong.)
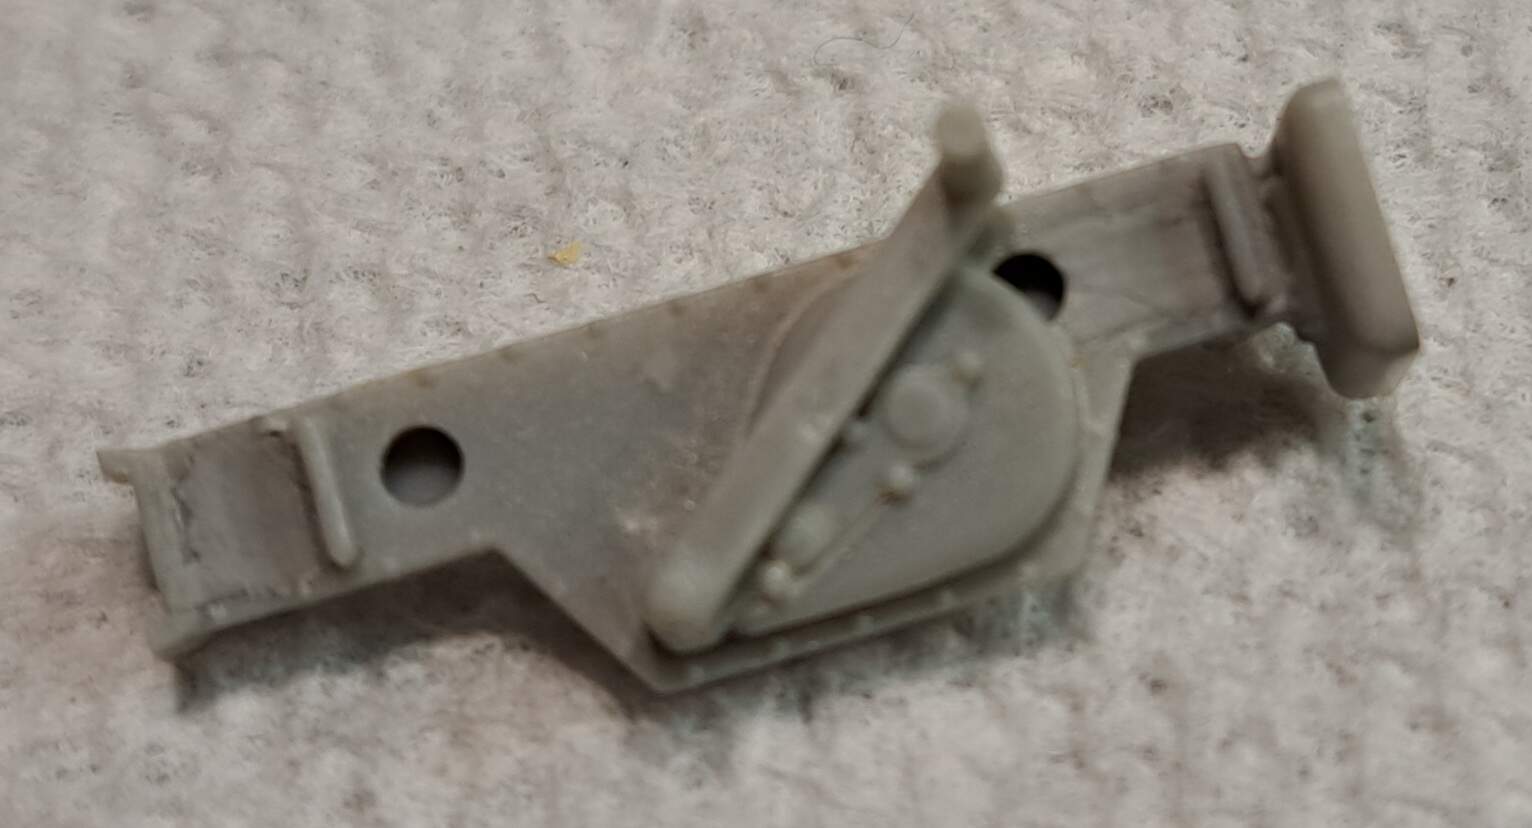
This little stinker sent me running to the spares and aftermarket locker…only found a Mig Ammo 20 ton short jack for a Panther…pretty sure that wasn’t the original jack…lol
On the left is the early/initial Panther D round cover. This one was by Mig Productions. It has a smaller center and sharp angles. The middle one with sharp angles and a big center is the early Panther D round cover. The one on the right is more of a Panther A round cover but likely ended up on Panther D’s as well. It wouldn’t have been on early D’s obviously.
This kit #6164 benefits greatly from minor easy to do tweaks. The exhaust needs drilled out for better appearance in my opinion. Drilling out adds depth but it will also help the center of the exhaust look darker in tone as less light gets reflected. This can help with weathering & paint. Added a trace of thinned Molak Stucco Putty hint of texture. Drilled on left.
Dan, kind of you to ask about the Pz III’s. It’s been in the 20’s to 40’s so still not open window weather. Next week is forecast mid 50’s, if accurate time for me to start painting.
Working on good old shelf queen #6164 allows building without starting yet another new project. Have 10 kits in process, need to complete a few.
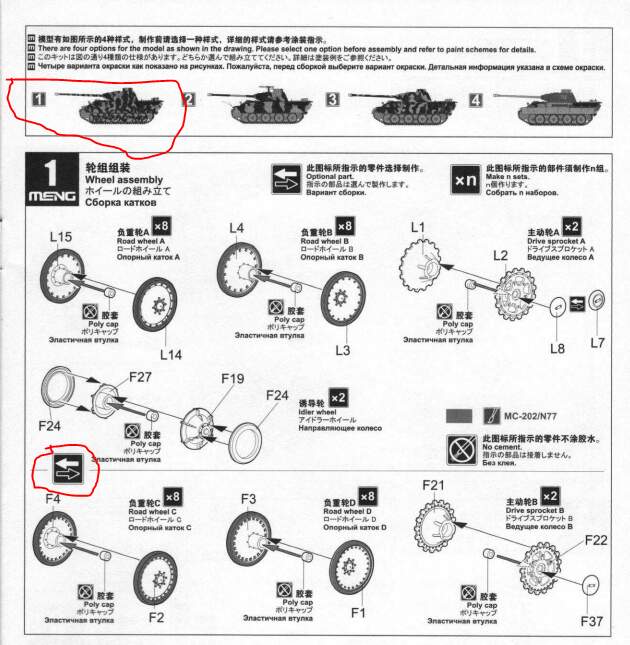
I will be lurking around and will be waiting when you take on the Meng kit. I have that kit in my stash and I sort of tucked it back deeper in the stash due to (for me) the confusing options.
@robbd01 Robbie, sweet! I’m looking forward to the Meng Panther D. It can be next after this one.
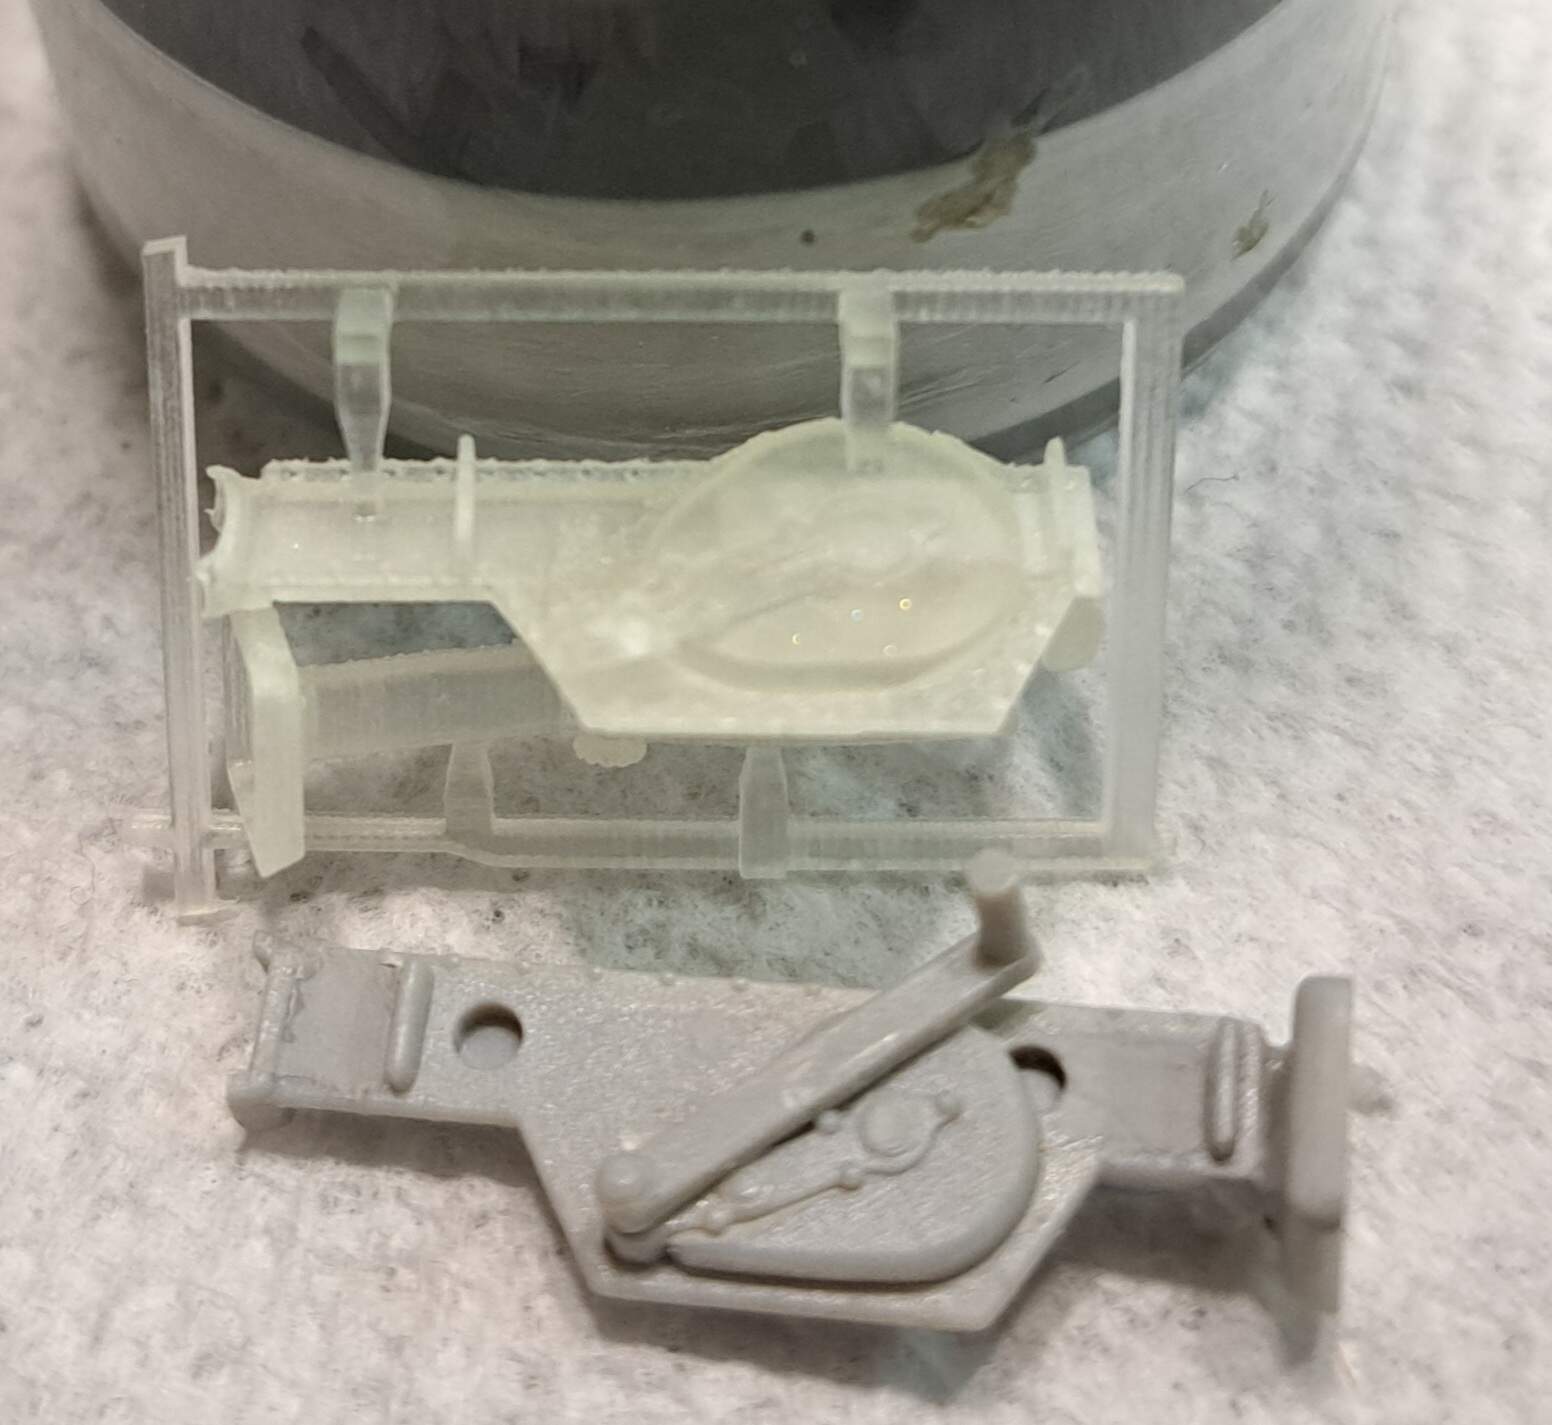
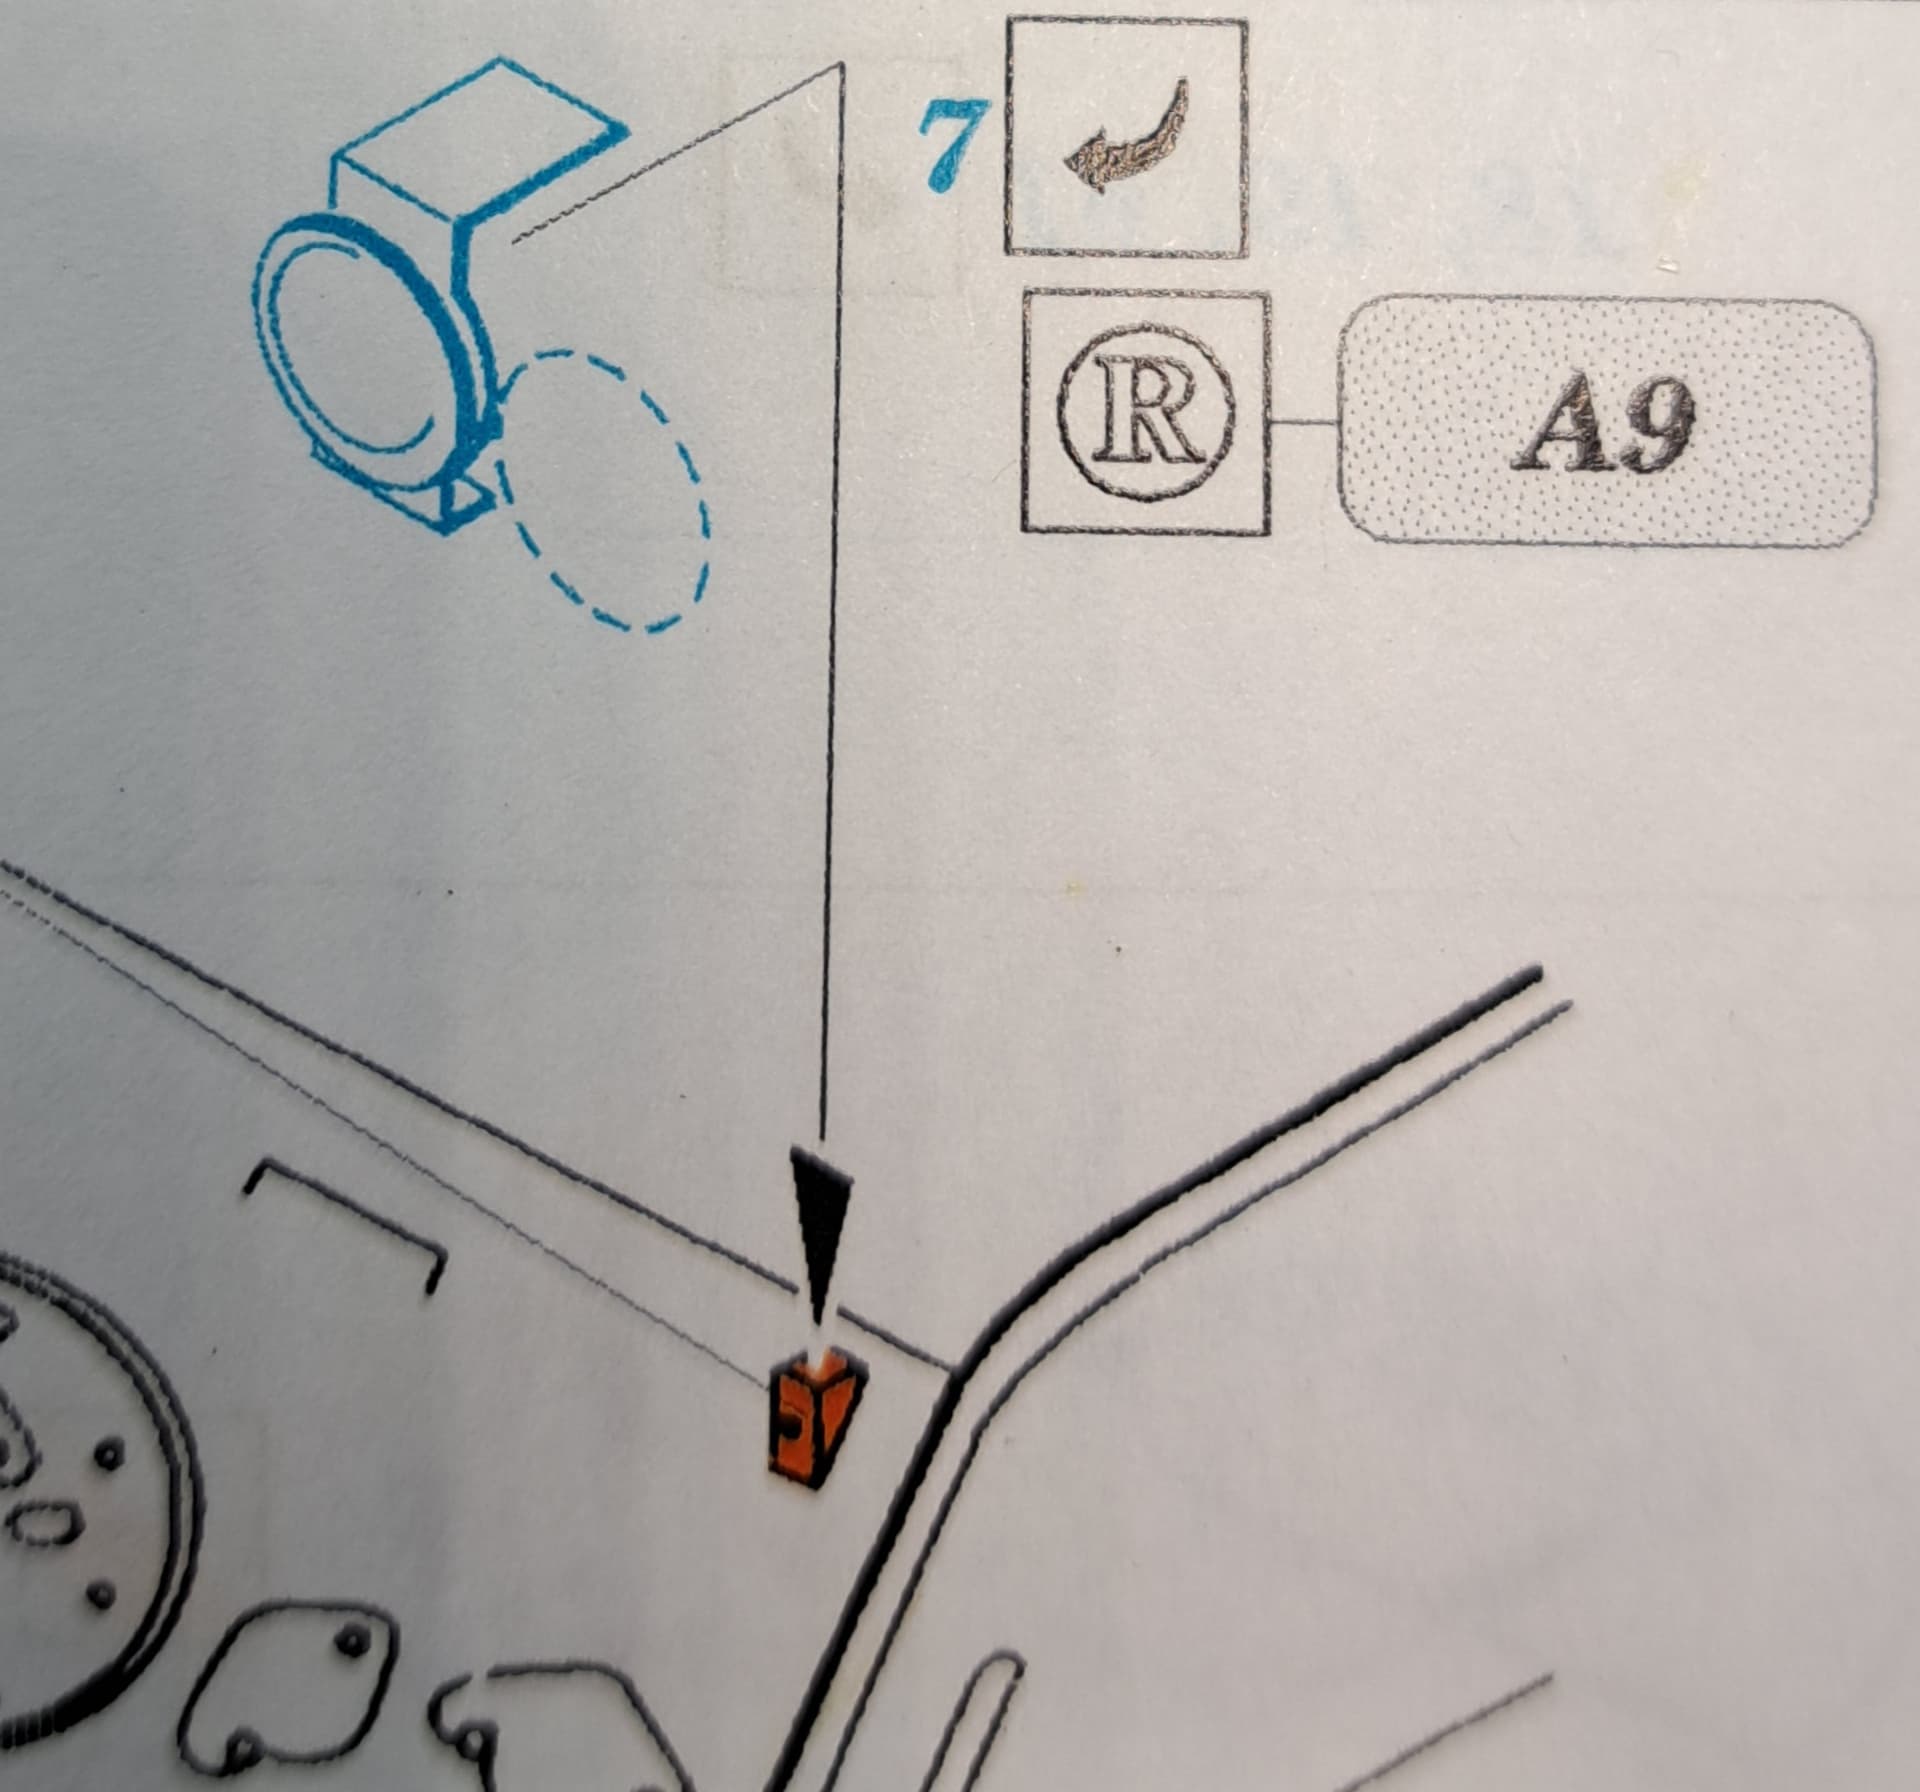
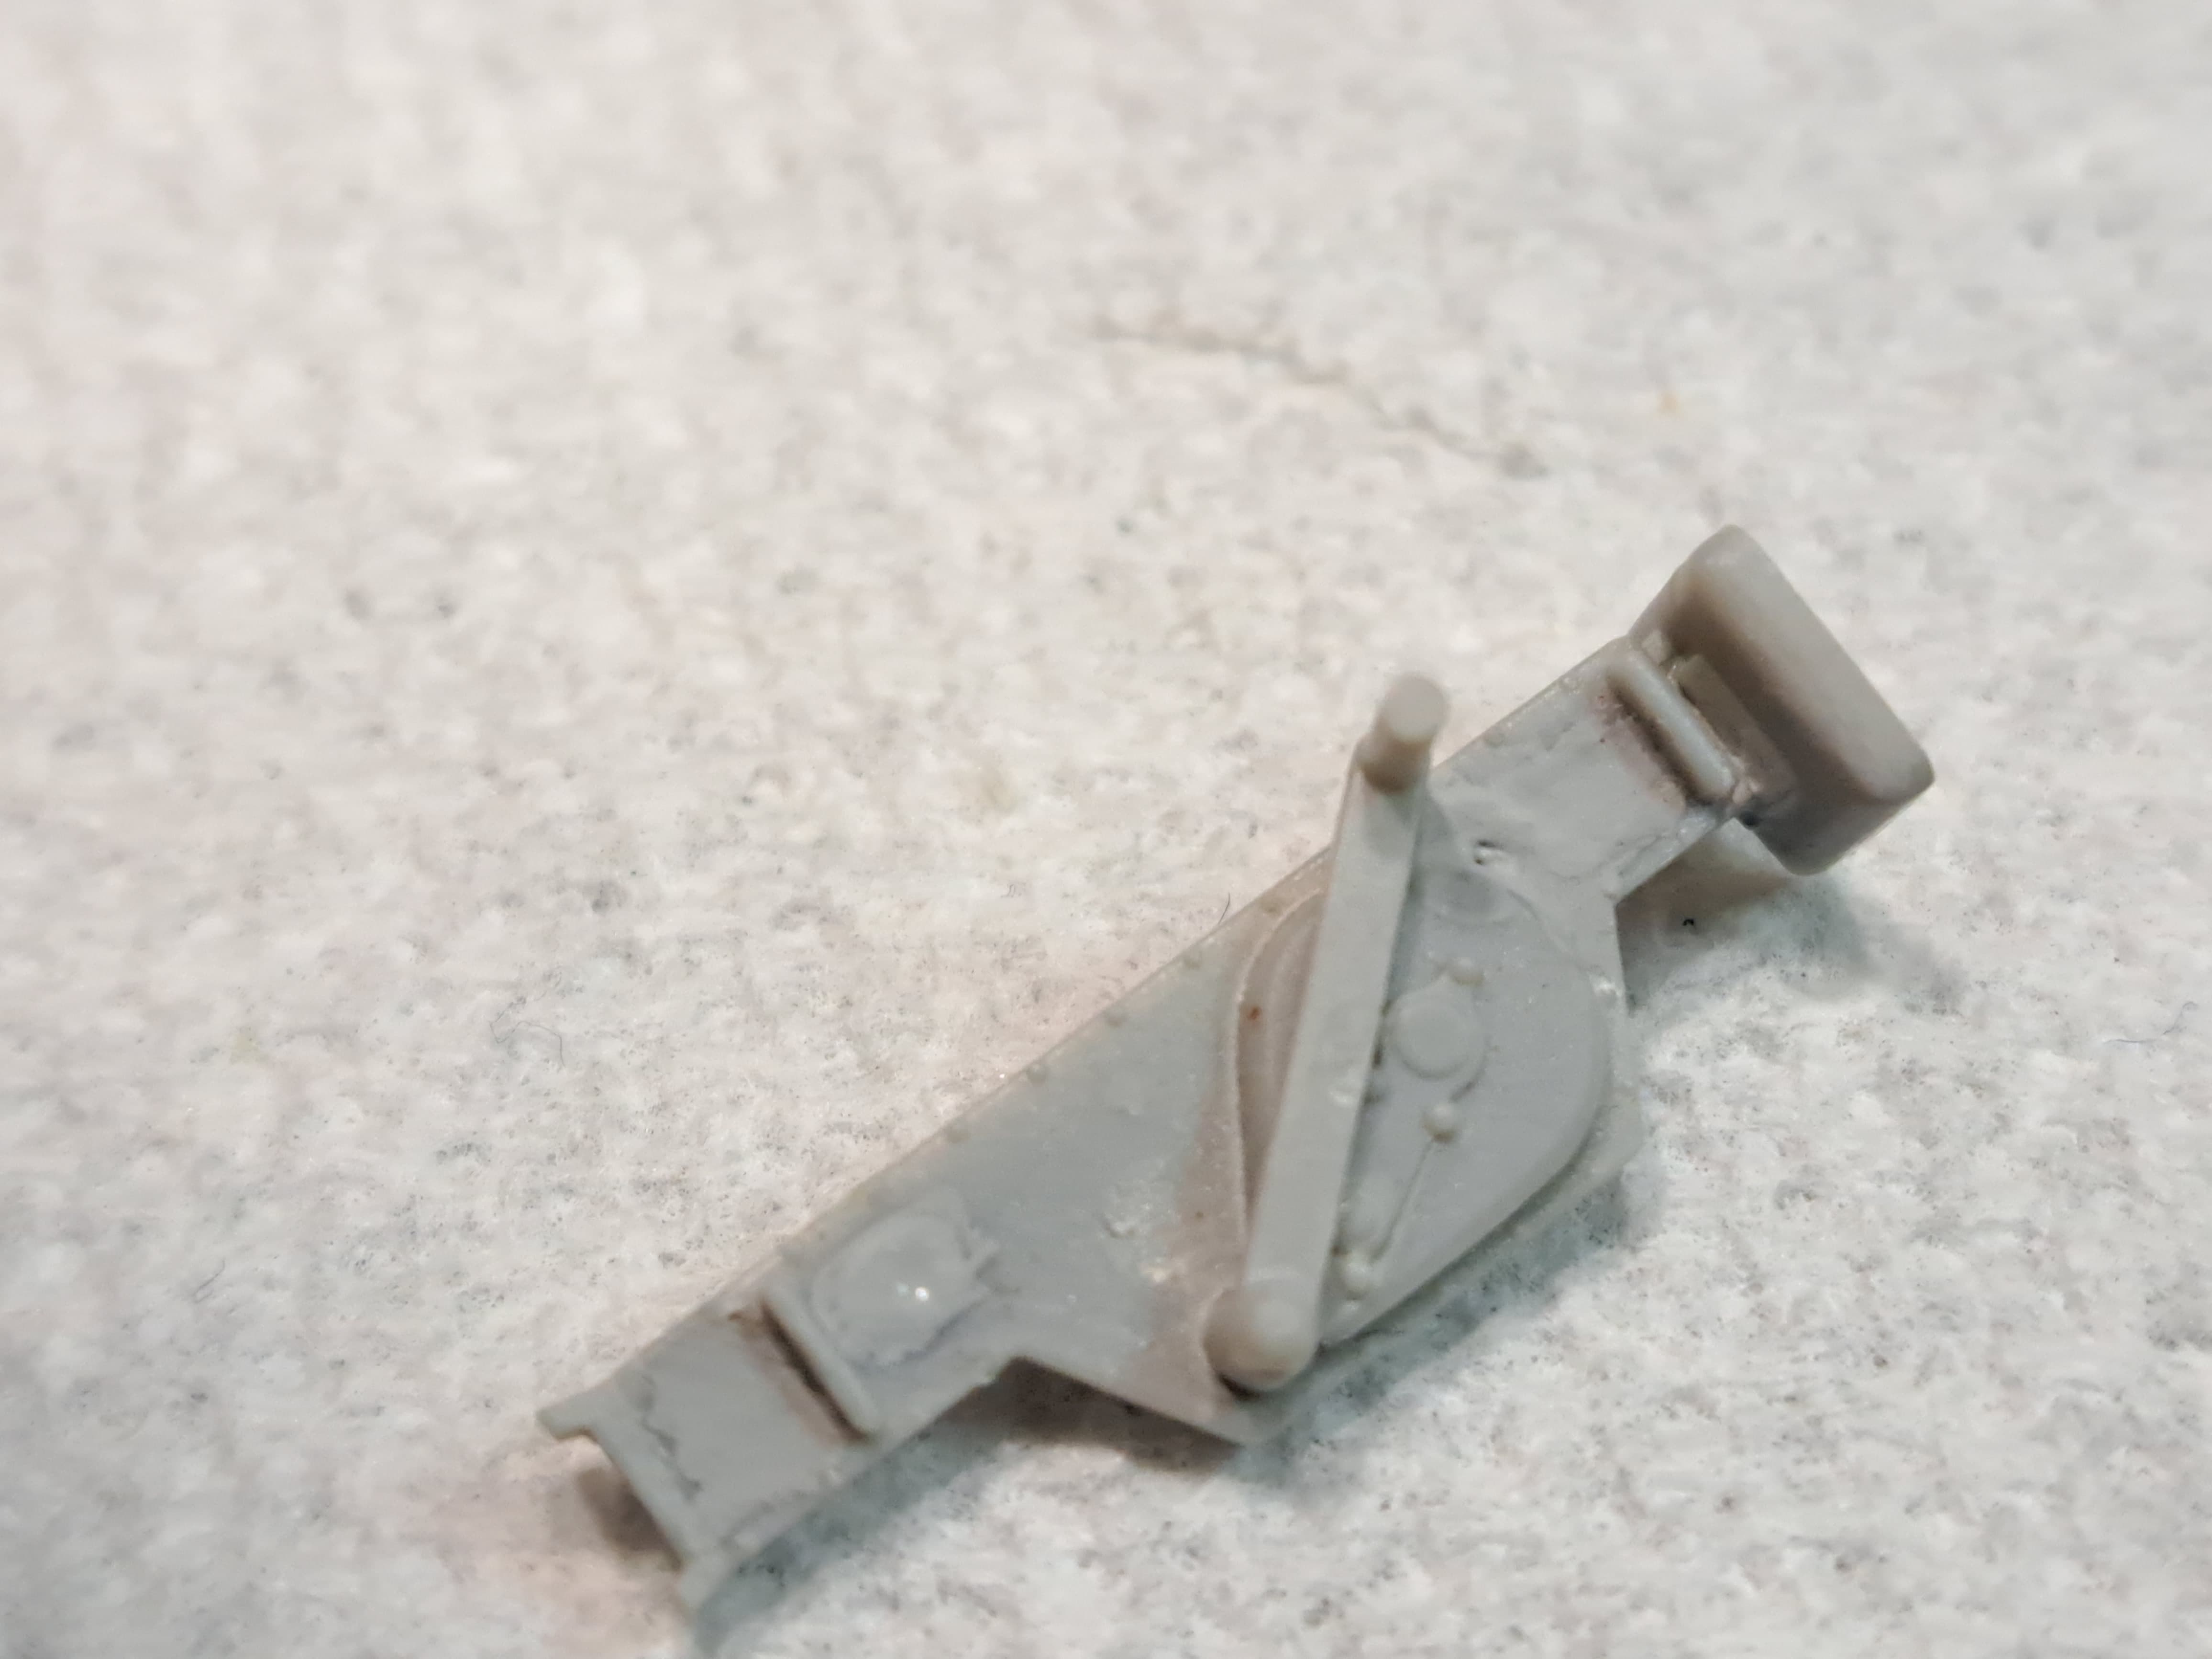
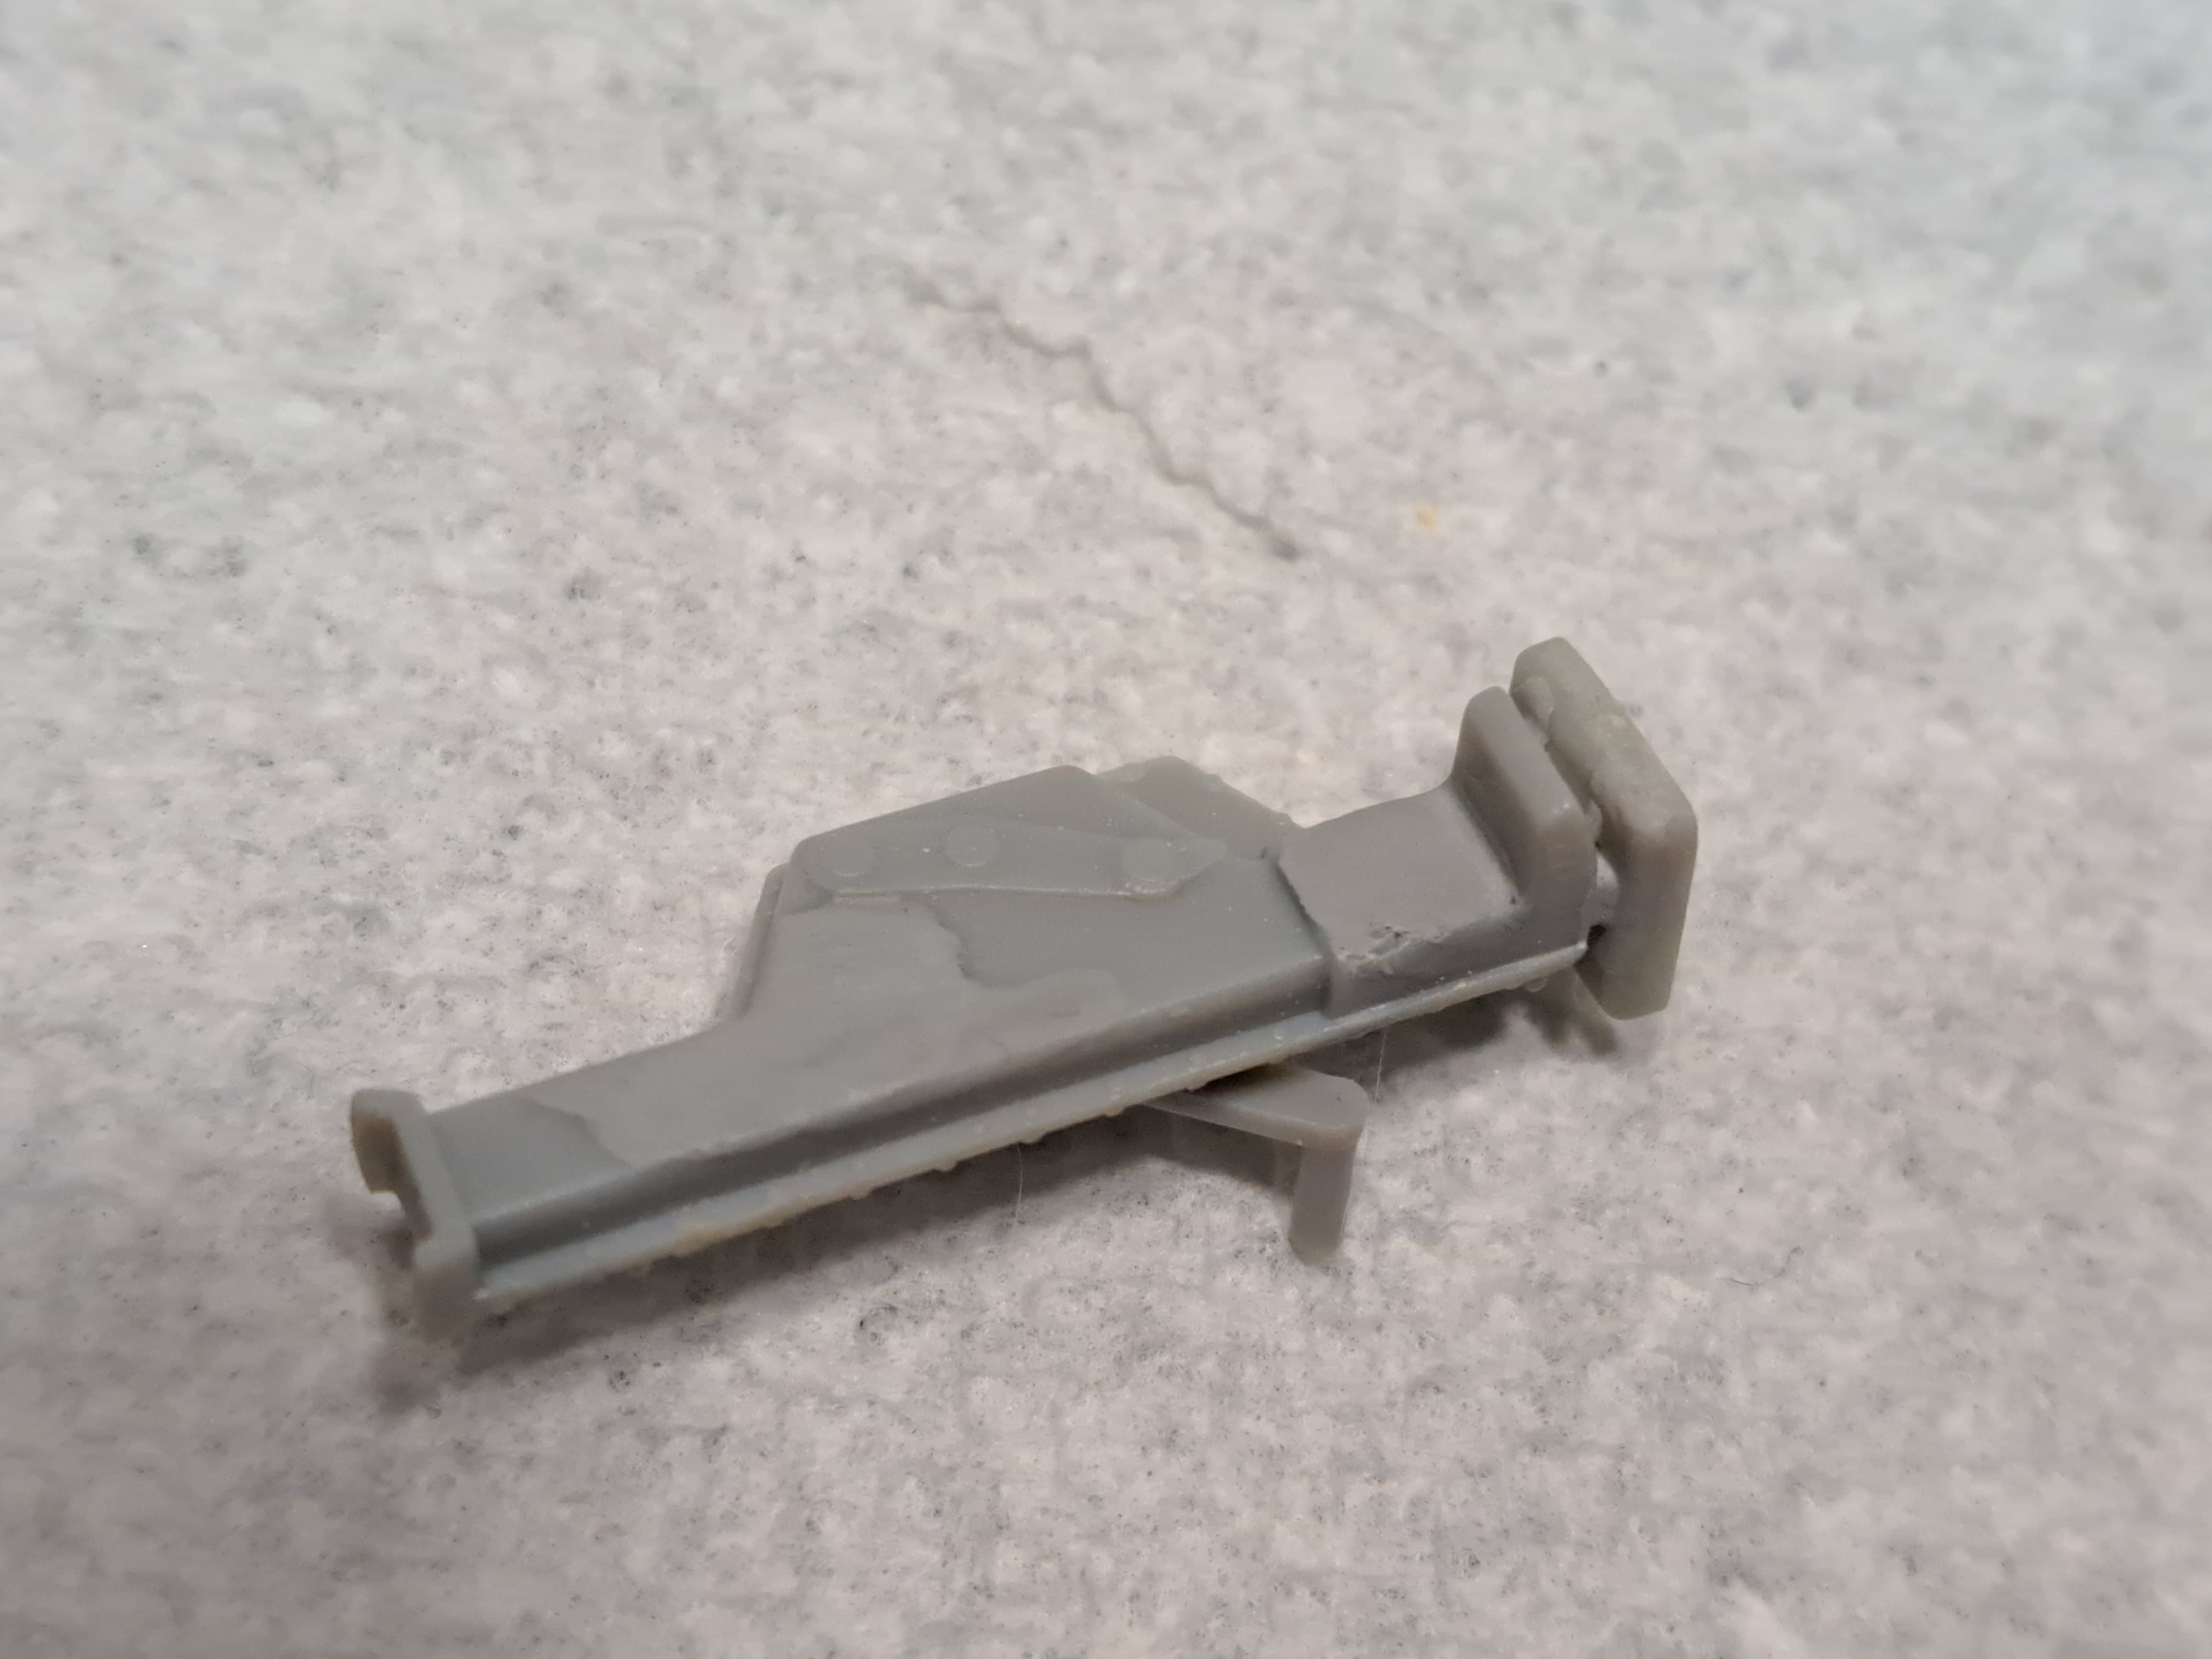
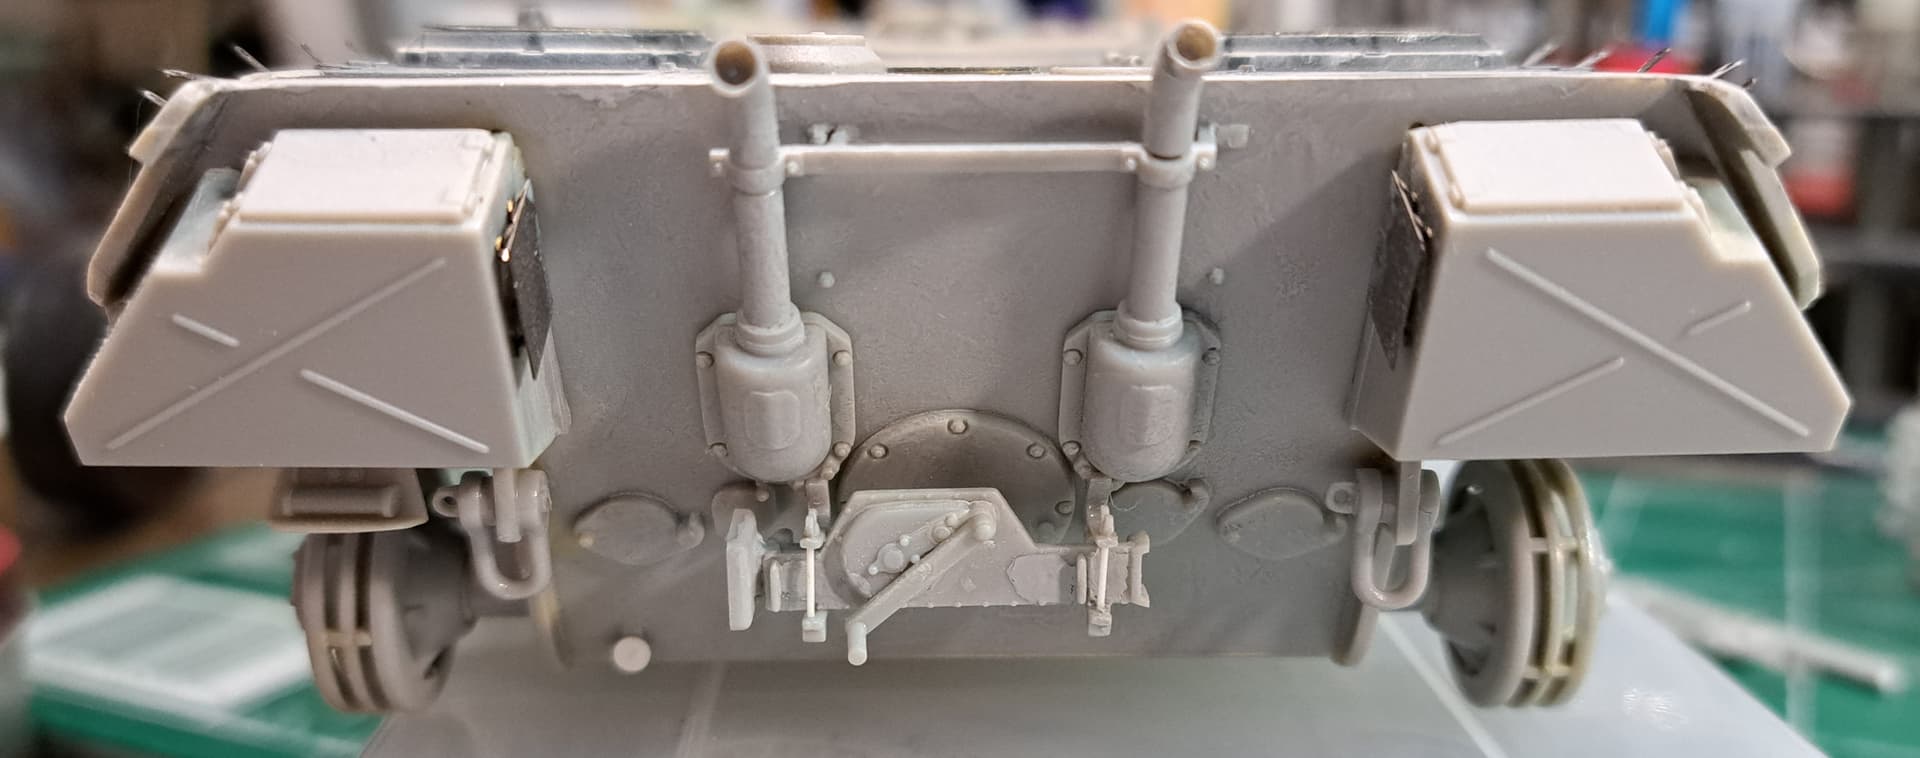
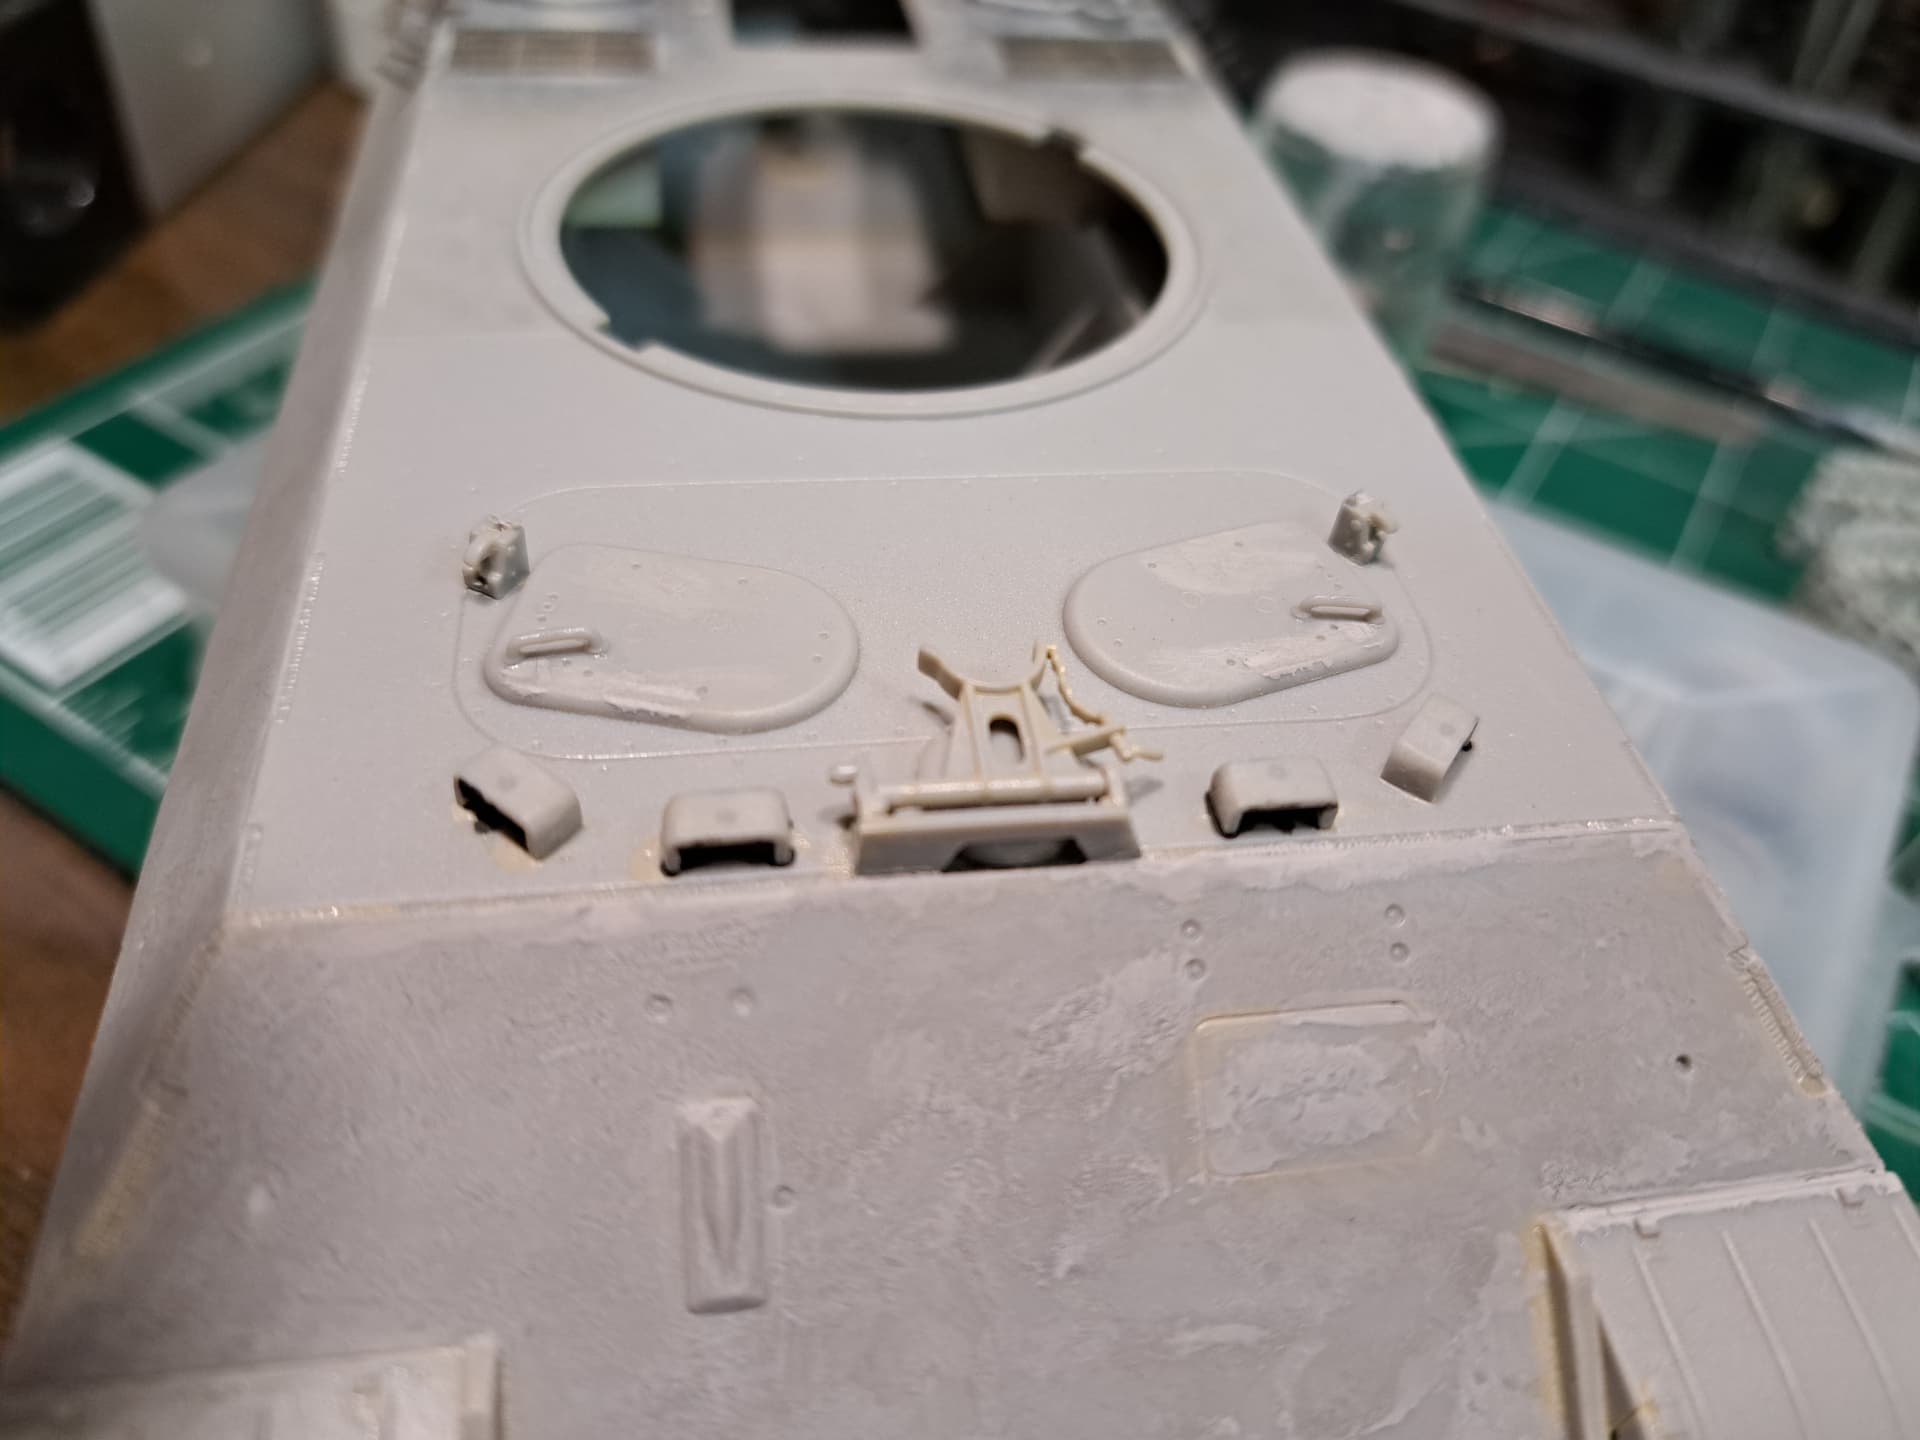
Step 5 goes well enough from what I recall. Getting A14 the tail plates attachment points clean and flush is very important for later assembly. A9 the reflector had been tossed long ago as I planned to replace it with Eduard PE #7 as shown below. Cleaned up the PE folded it and when going to super glue it tweezer launched into oblivion. Screw it, Waldon punch & die to the rescue, made a replacement reflector.
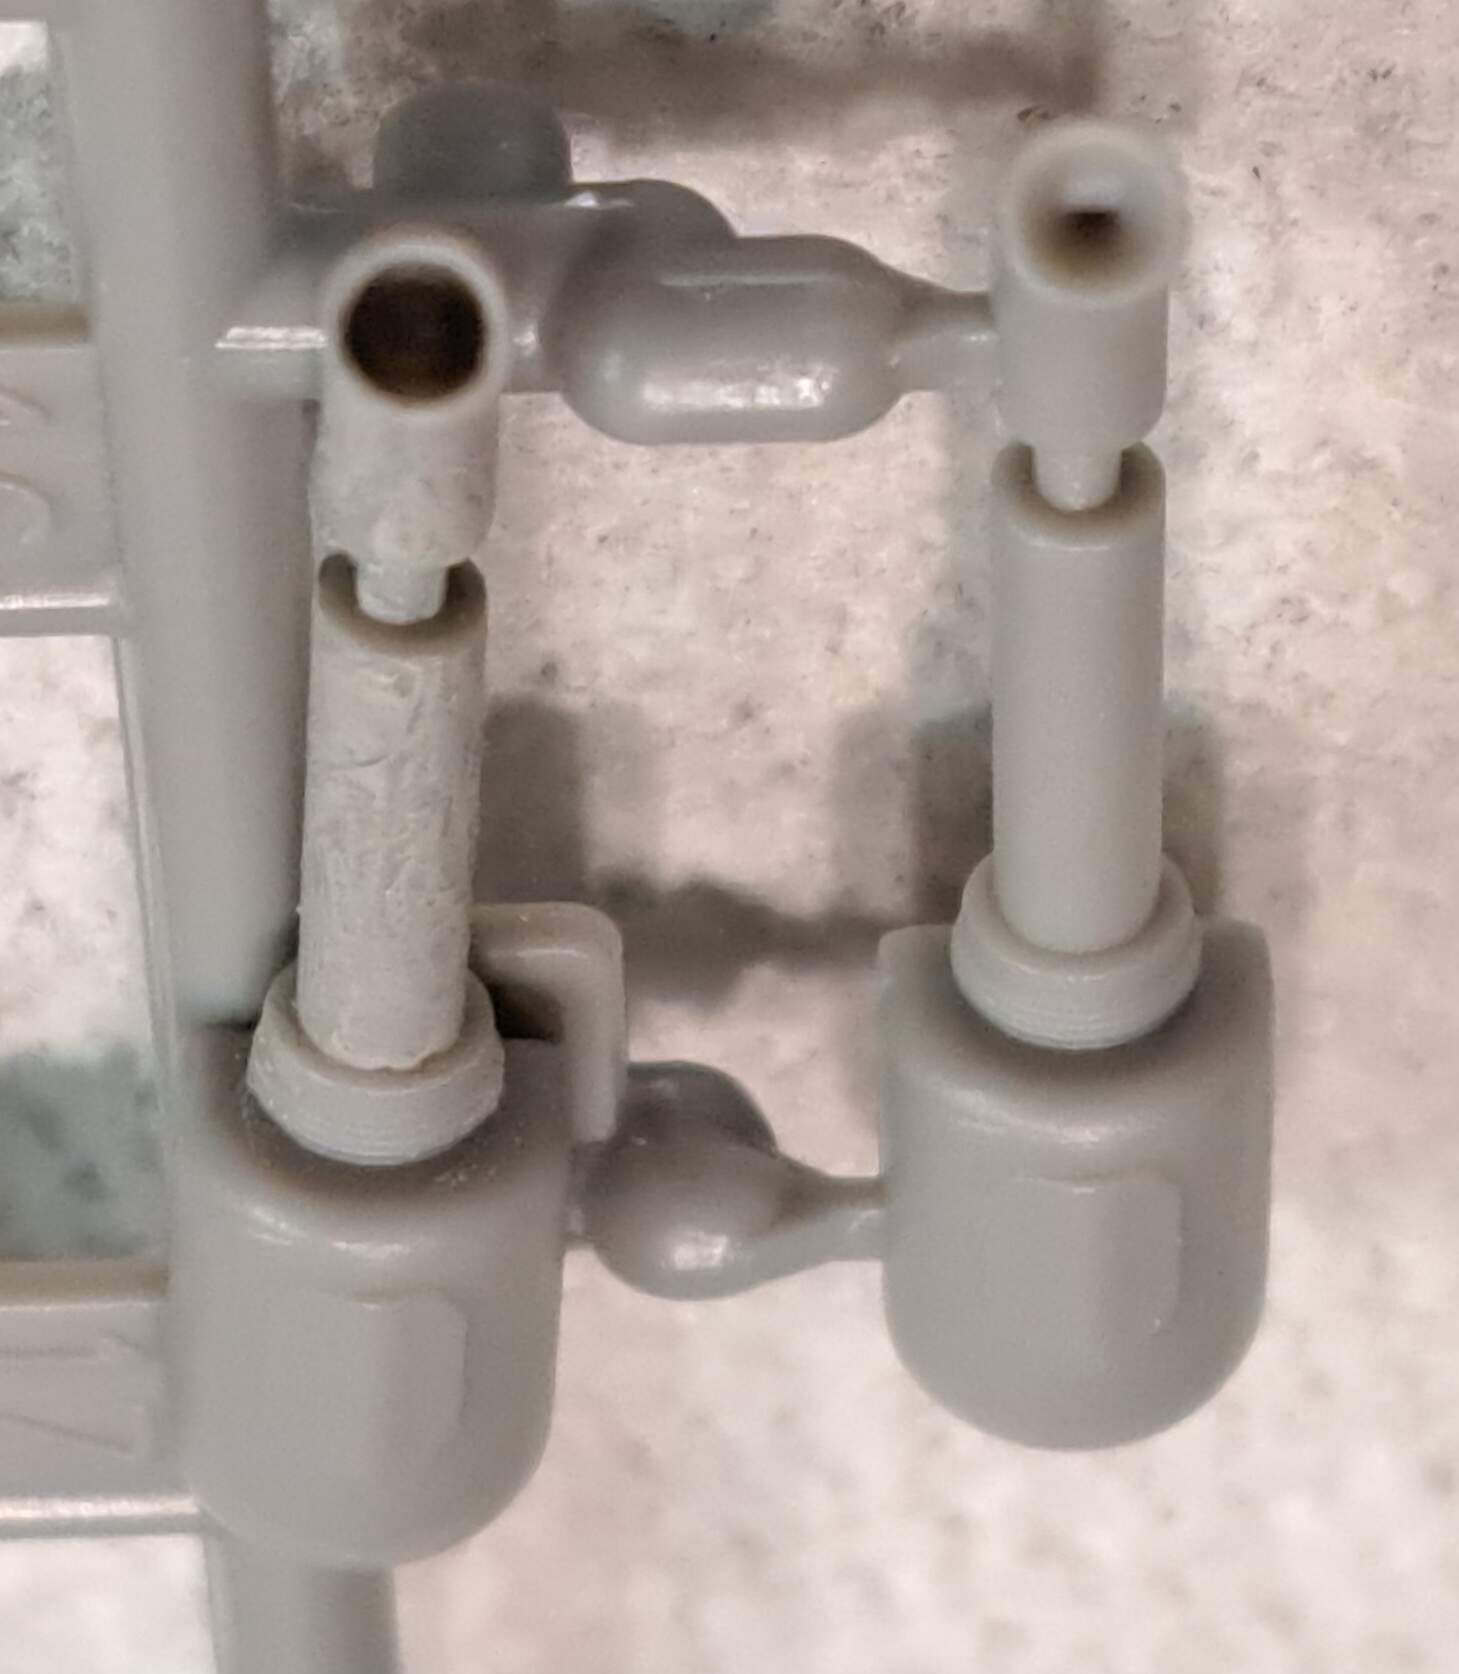
Step 6 Jack & Stowage Boxes
This also goes well enough other than the annoying jack that needs more filler than all the rest of the kit parts combined.
Then though I will address them later are steps 5 and 6 and something that I think I need to scrap/cut in step 10. That is only for starters but hey I never passed myself off as anywhere near a Panther guru
@robbd01 Robbie, that’s pretty sweet of Meng to outline the four options at the start as they do. I’m far from a Panther guru myself. I’ll have to dig my Meng D out and take a look.
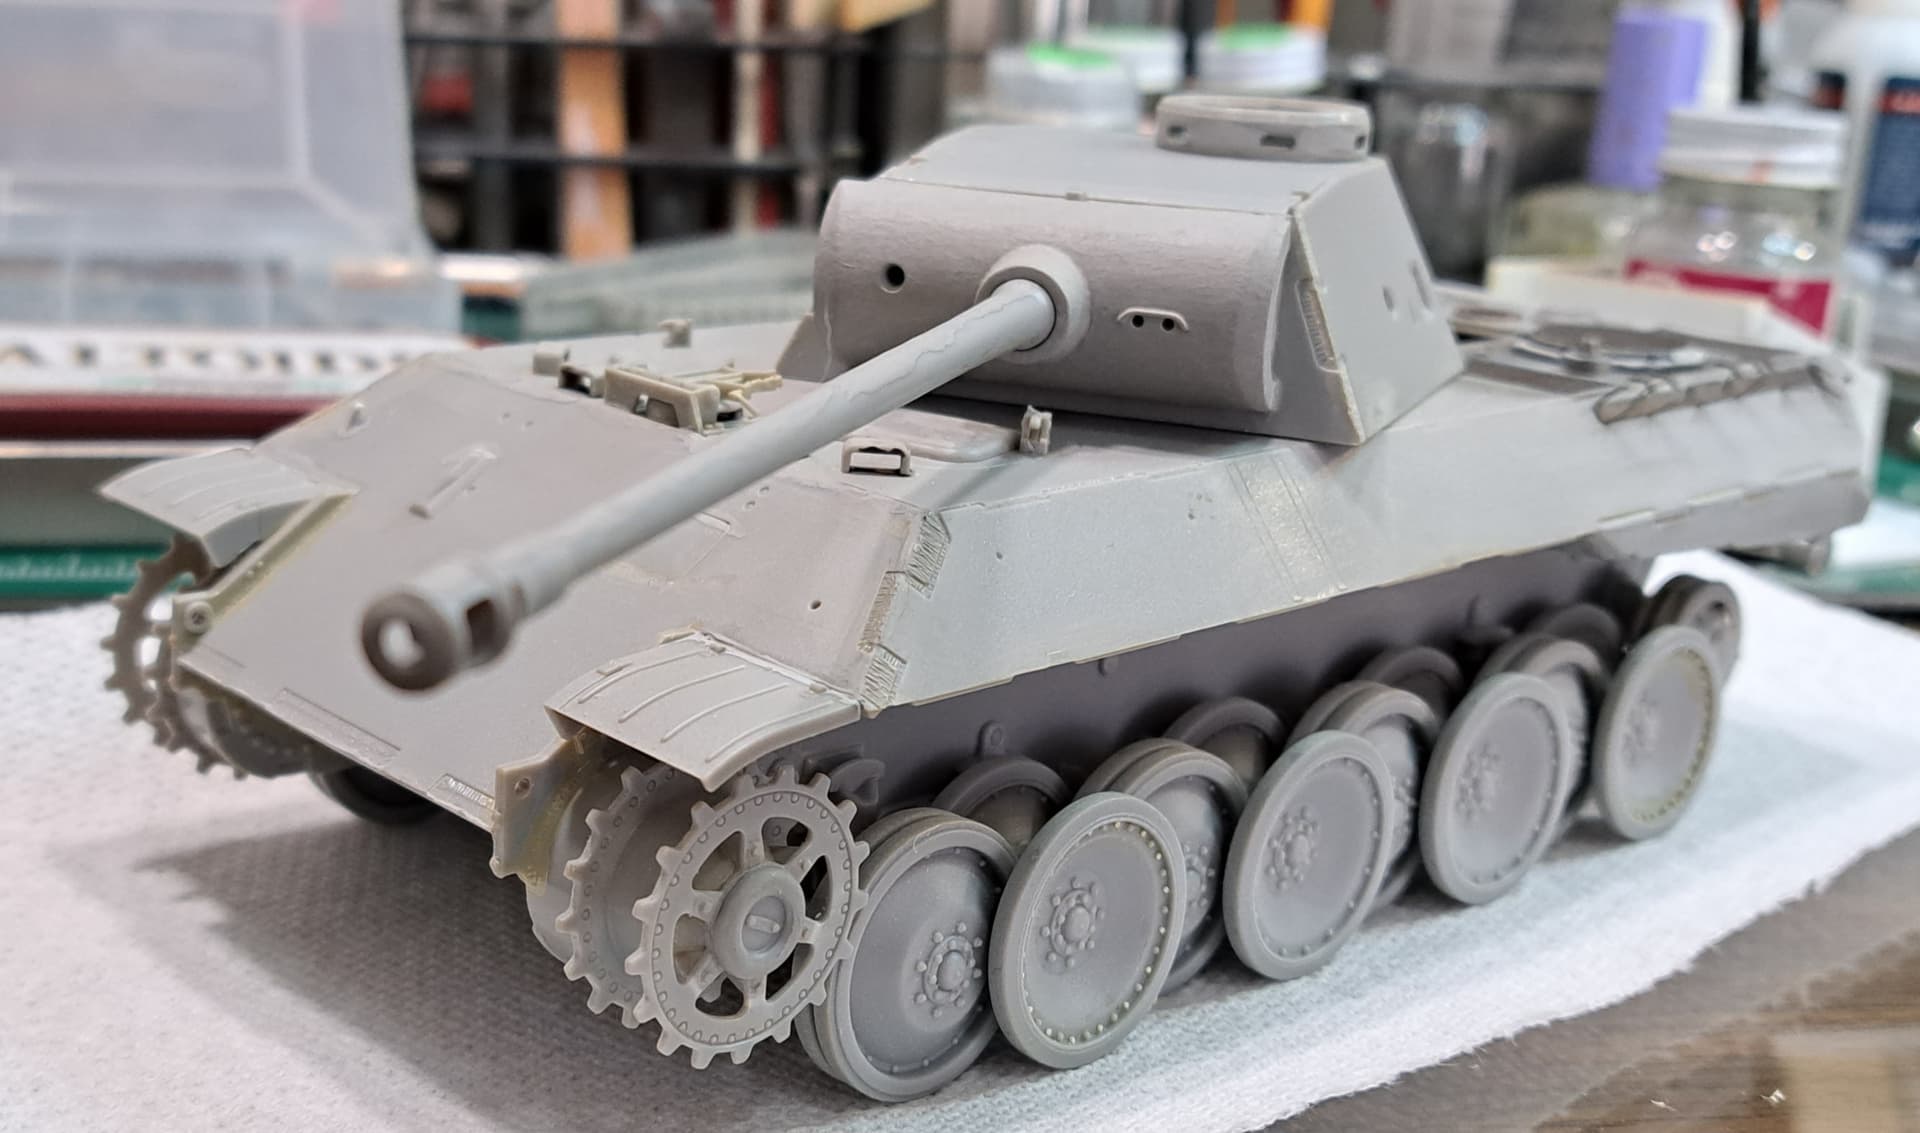
Step 8 Glacis Plate
Dragon designed the kit for two different Glacis plates one with letter box MG cover and one wirh the ball mount MG. This is a simple step again with getting all the parts deburred and mold seam free being critical for joining upper and lower hull. I glued the MG flap and driver’s visor in place.
Skipped Step 9 as I’ll add periscopes last after painting model.
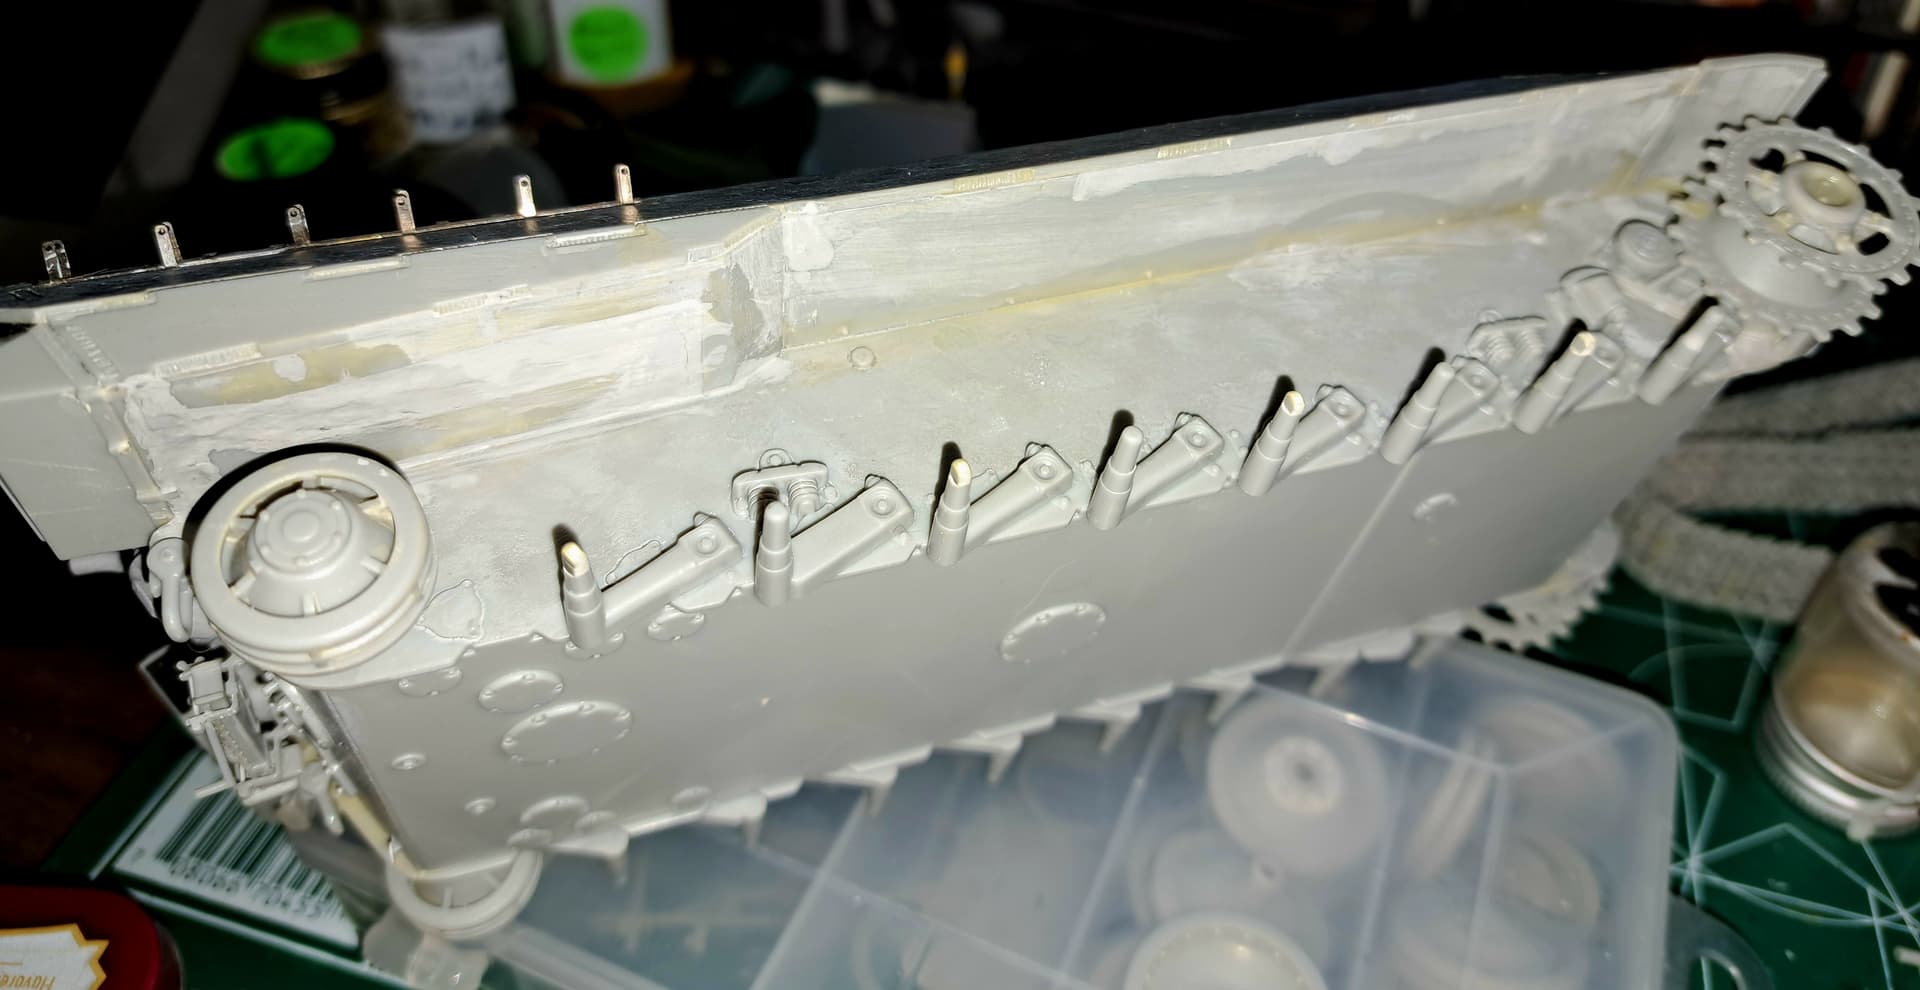
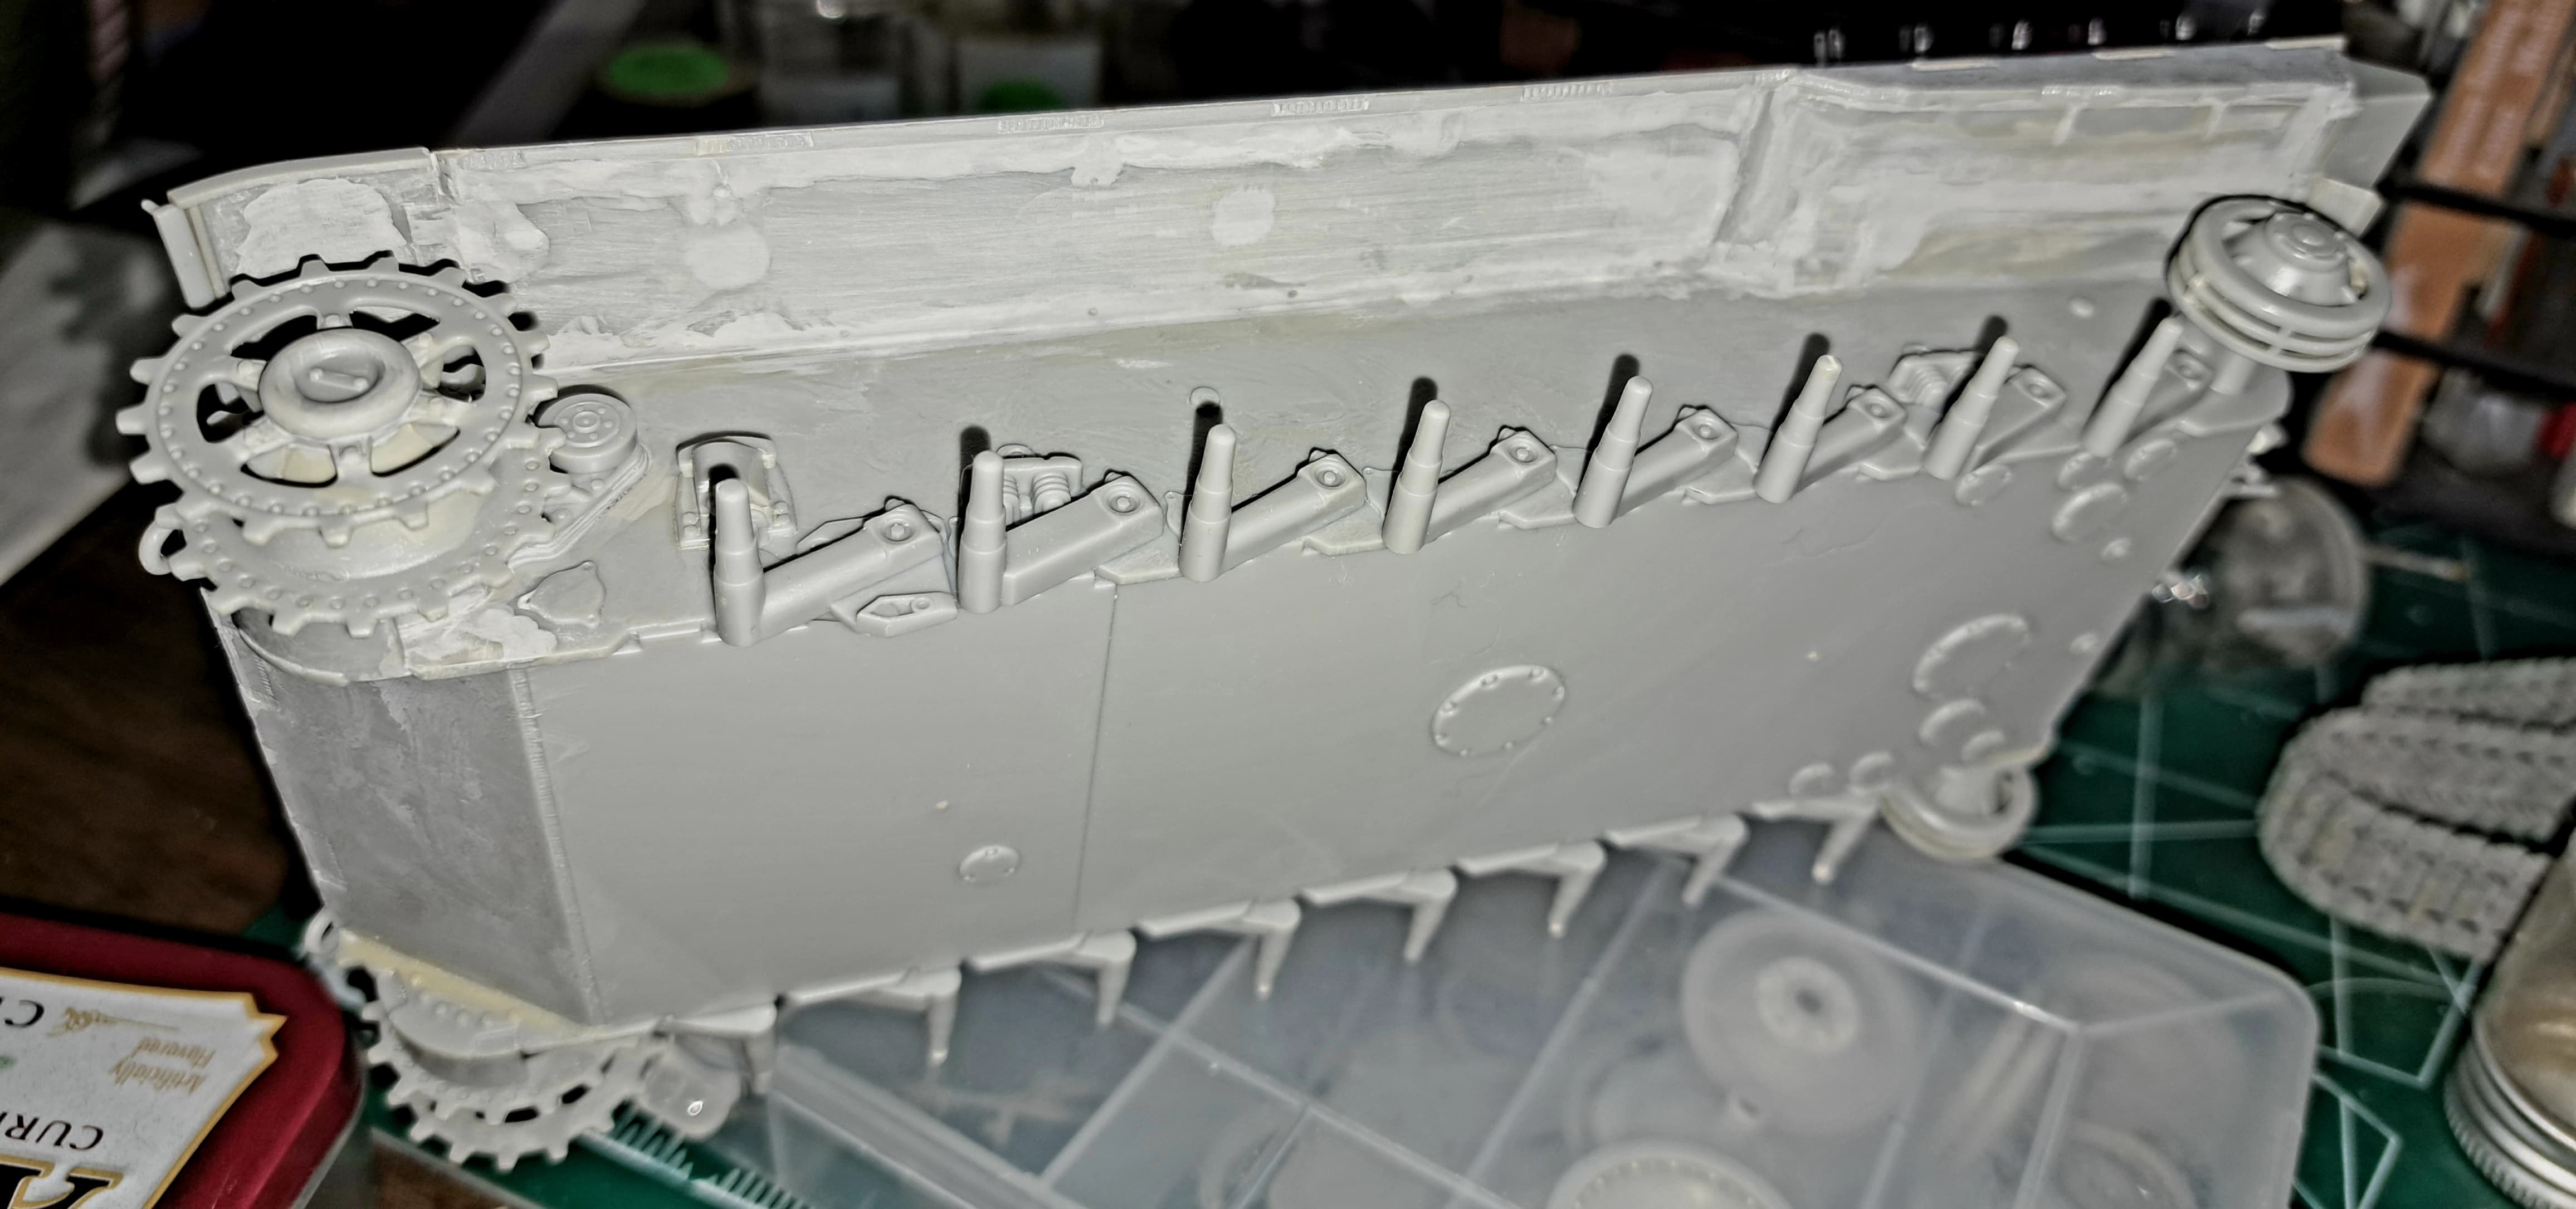
Step 9.5 plus Step 12 - Twenty years ago I decided based on my very poor test fit results of the kits upper and lower hull, the hull needed to be joined before Step 26. Friends didn’t have the same magnitude of issues I ran into with the upper & lower. Maybe my parts clean up wasn’t perfect etc but in any case the back of the upper hull in my kit ended up badly warped. Packaging looked good etc like this.
Sure enough joining the upper & lower proved demanding and required C clamps. Fit was still nasty after clamping. Check out the filler work. Likewise the interlocking hull sides at the back fit poorly. Again all the fit issues were where they joined the upper hull.
Got a fair alignment at the back top but that also had a lot of work. After black base coat it may need more. The Molak Stucco Putty mostly hides the shims.
While I enthusiastically bash Dragon regularly for a lot of their goof ball engineering and poor design, I’m giving Dragon the benefit of the doubt on the hull fit issue. My belief is the upper hull got warpped and was maybe popped out of the mold before it had cooled enough.
Anyway, whatever the cause this one developed sweat equity during the build process.