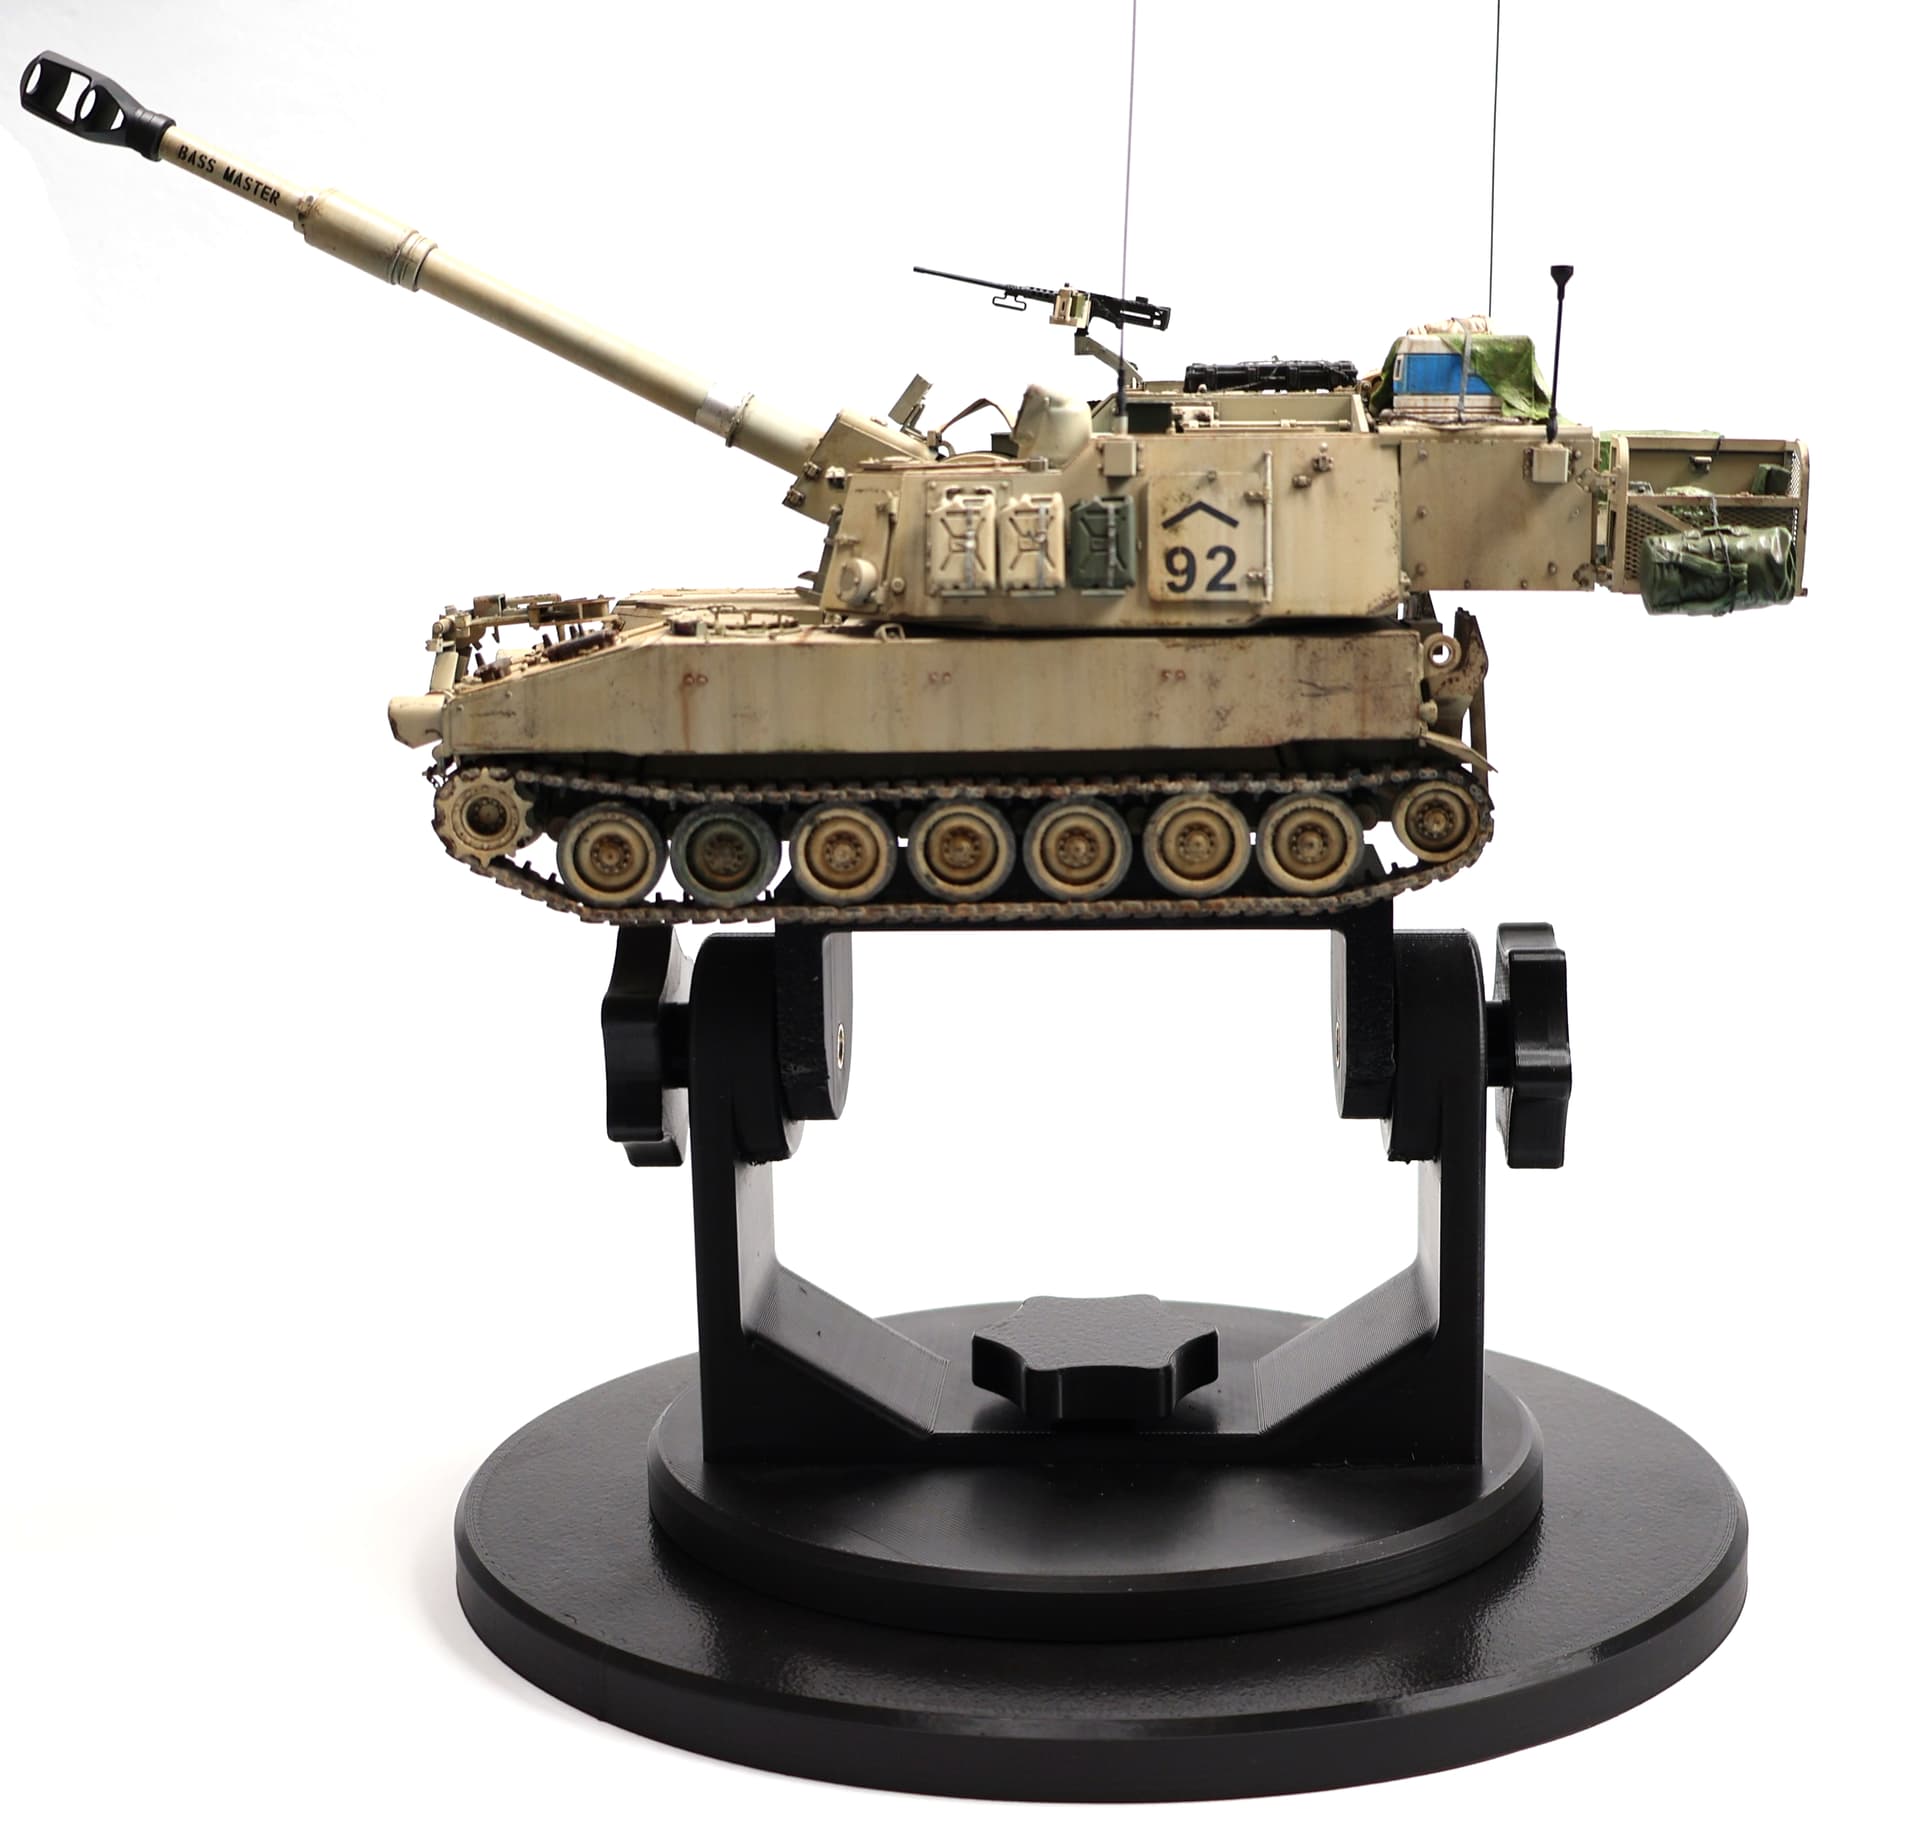
I was pretty unsatisfied with the price and quality of available AFV model holders.
so i designed my own…
V1 wasnt ready to be published, but think i worked out most kinks in the version i just published.
its mostly 3d printed and just needs some common components found easily on aliexpress, amazon or a hardware store near you.
Its free to download and print.
If you have any recommendations to improve the model please give me your feedback.
If you dont have a 3D printer and live in the EU we can also work something out.
If you like the model you can also give it a free boost!
Thank you, Julius, for sharing the design!
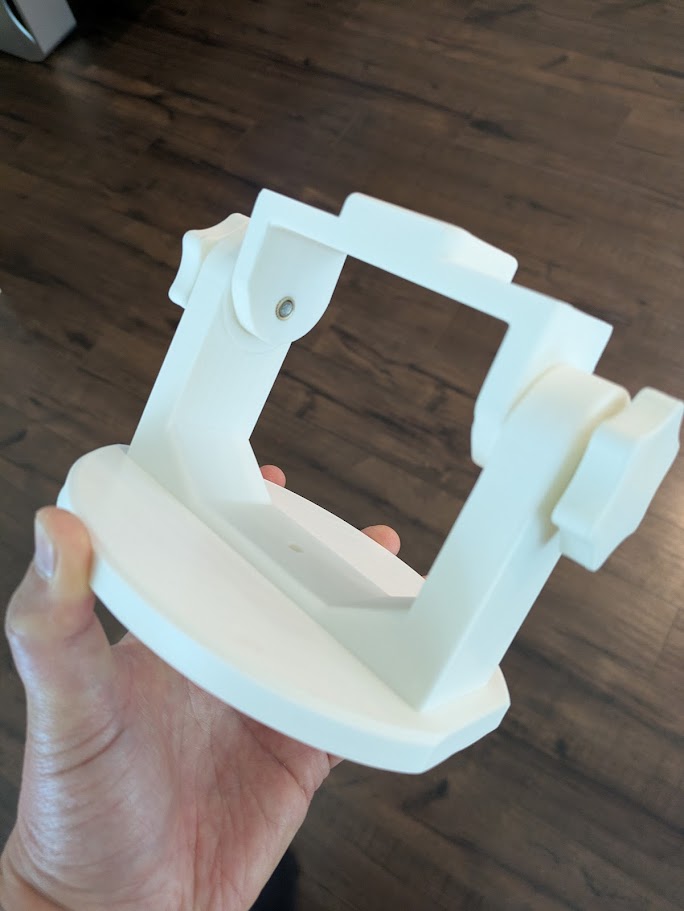
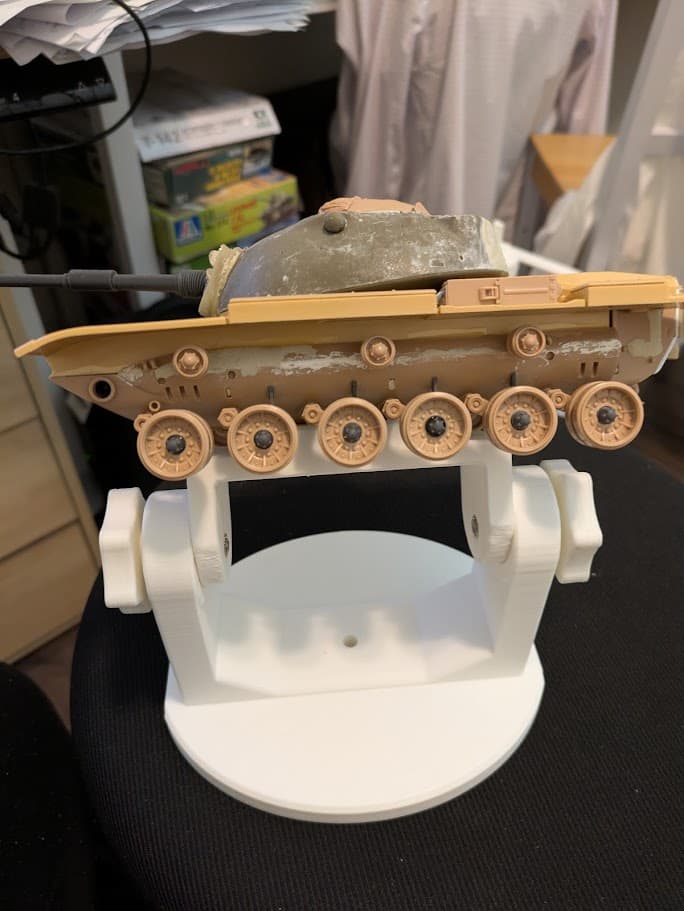
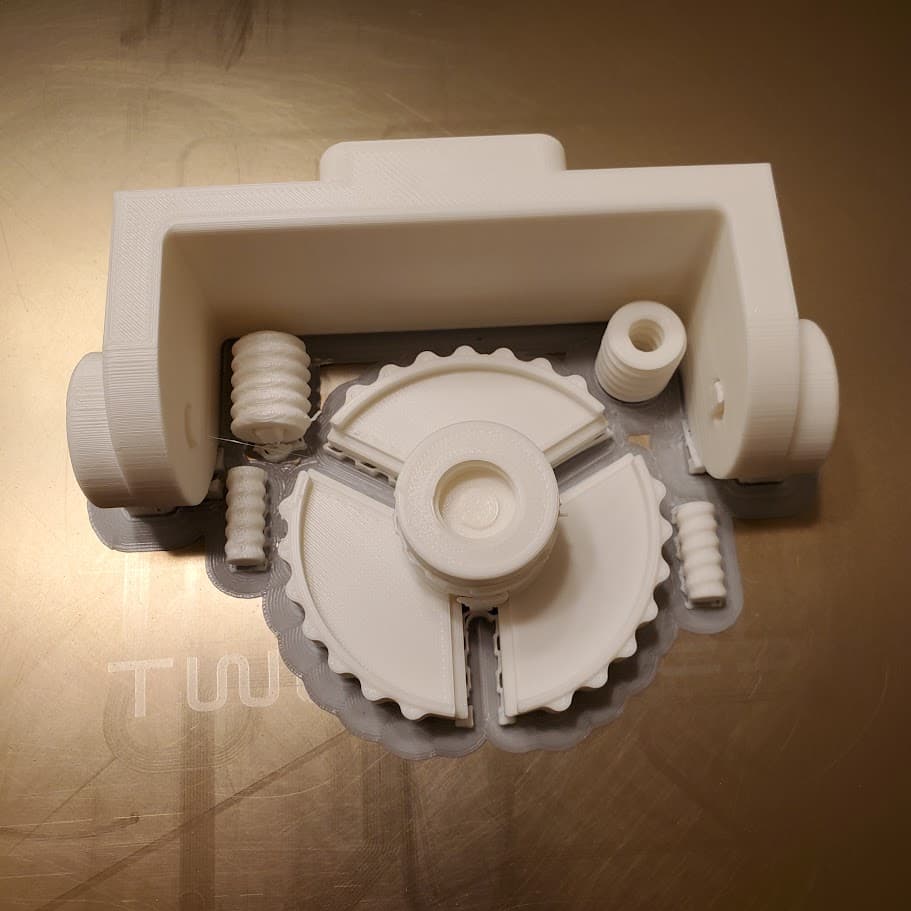
I am currently 3D printing the parts in Elegoo Neptune 3 Pro. Only finished the jig sides parts and had to cut some parts off due to the size limitation of my printer. Should be done with the rest in a couple of hours. I don’t think I need the base because the sides part looks stable and big enough.
Putting these two parts together was a bit tricky because by forcing in the top part, I had to use some force and did not want to break either parts. Some careful sanding, dunking in the hot water then slowly prying opened using both hands and the top top worked…
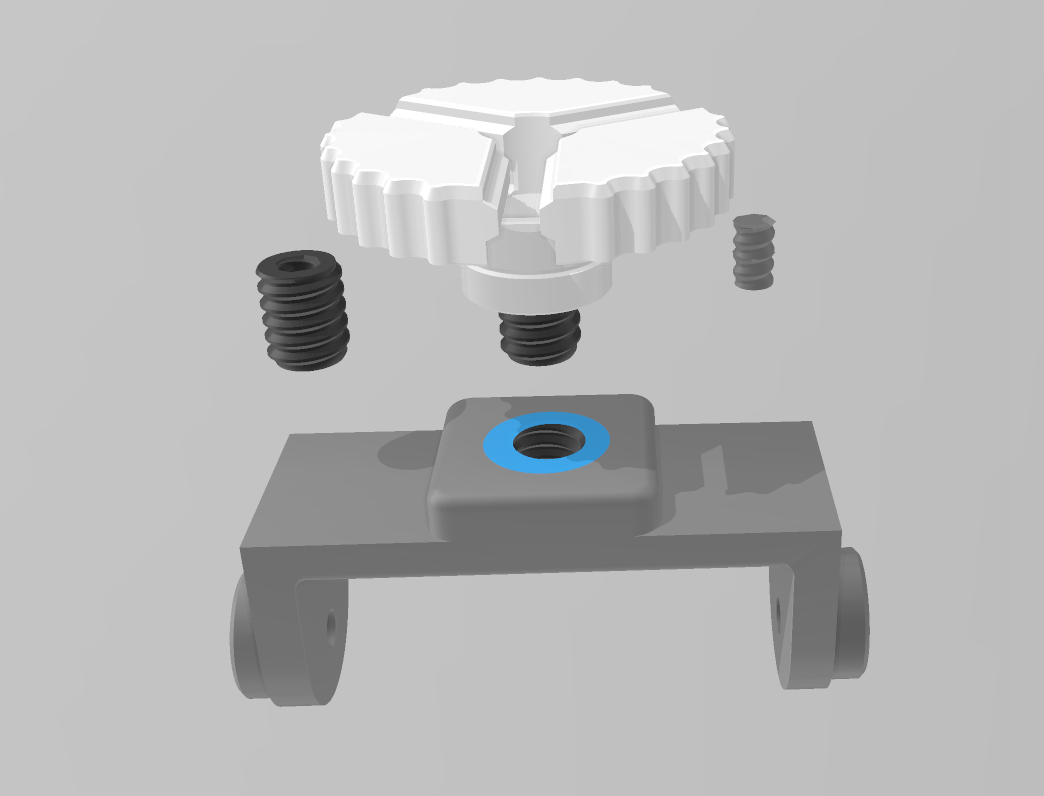
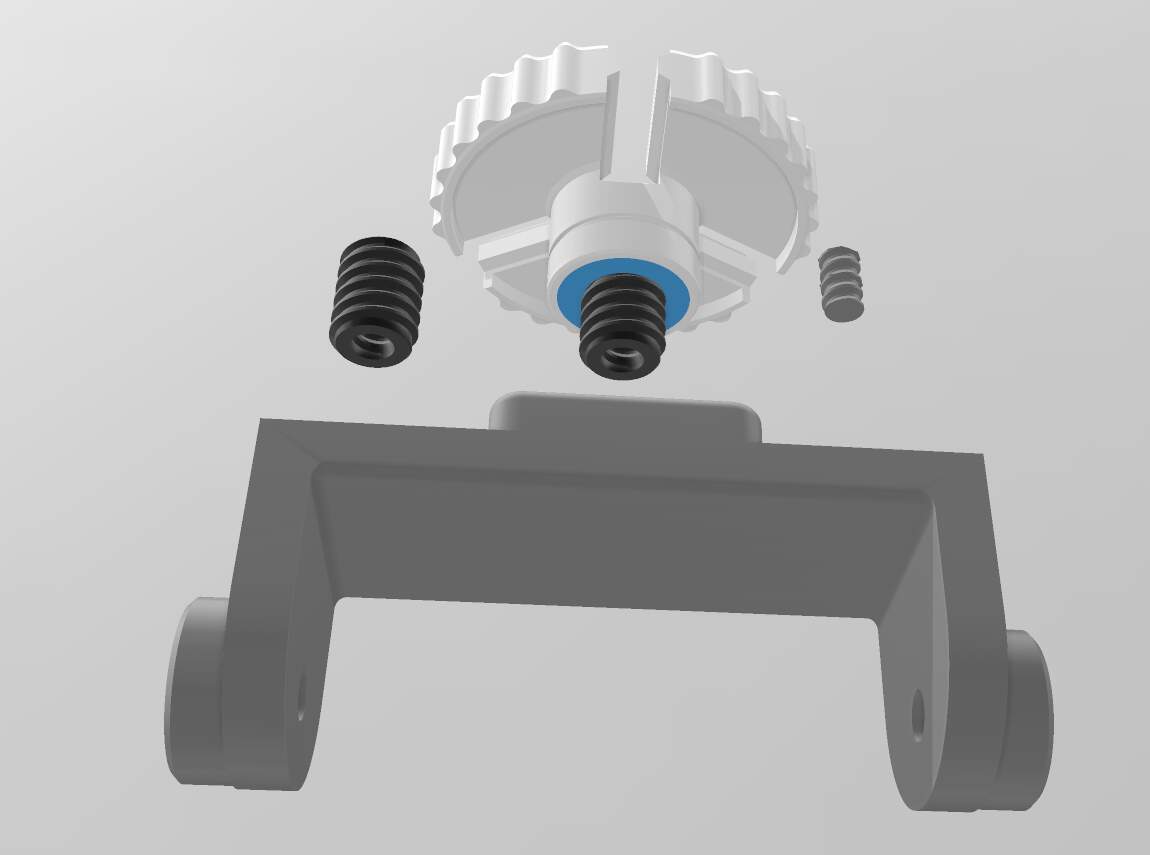
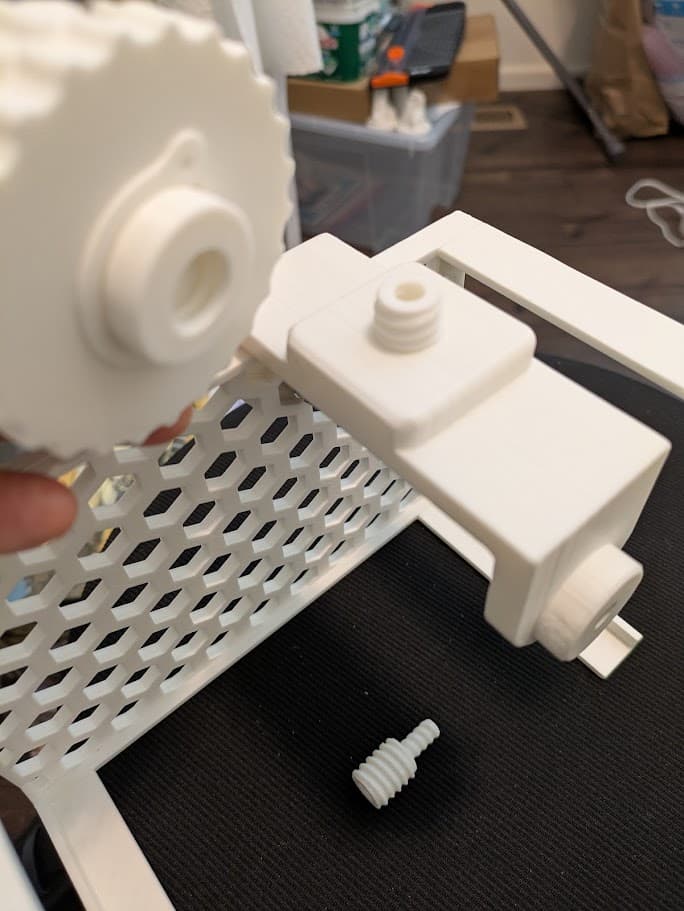
The Clip is to secure the Housing to the Scroll Plate.
You can also secure it even more by putting some string inbetween the holes and tightening.
For the next revision im planning to put a Thread on the outside so you can mount a “counternut”
Thanks for mentioning that the Parts fit together Forcefully.
I printed on BambuLab P1S with eSun PLA Basic.
What material did you use?
Did you adjust the infill? that could also make it harder
Also i didnt have to put any brim around any of my parts, do you have adhesion problems on your printer?
It went together stifly but securely for me not too much force required
I can see that downloading doesnt work when i open the page in a private browser window aswell.
Can i upload the files here somehow?
Hi Julius,
I have another question for you for the assembly.
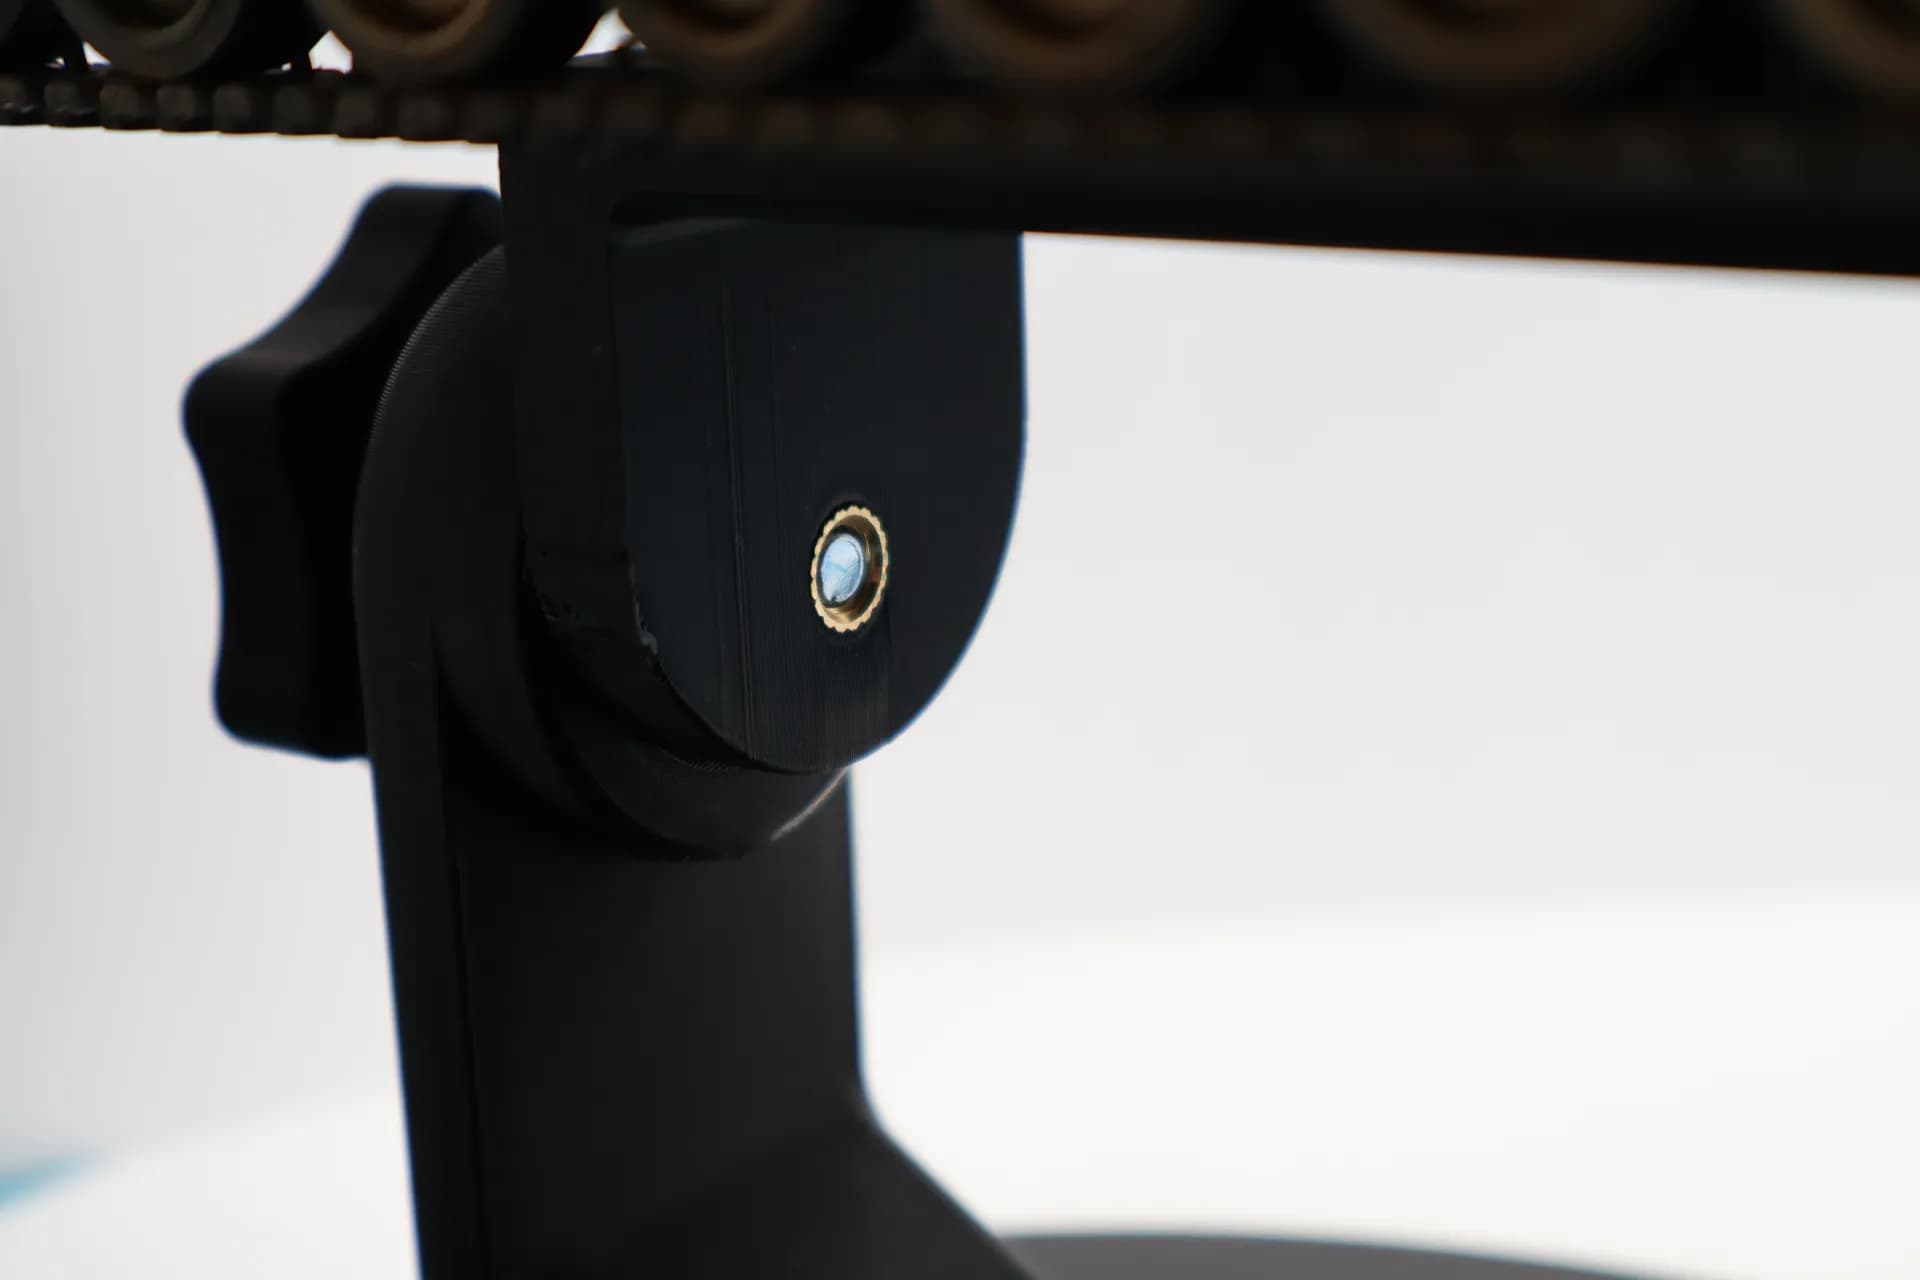
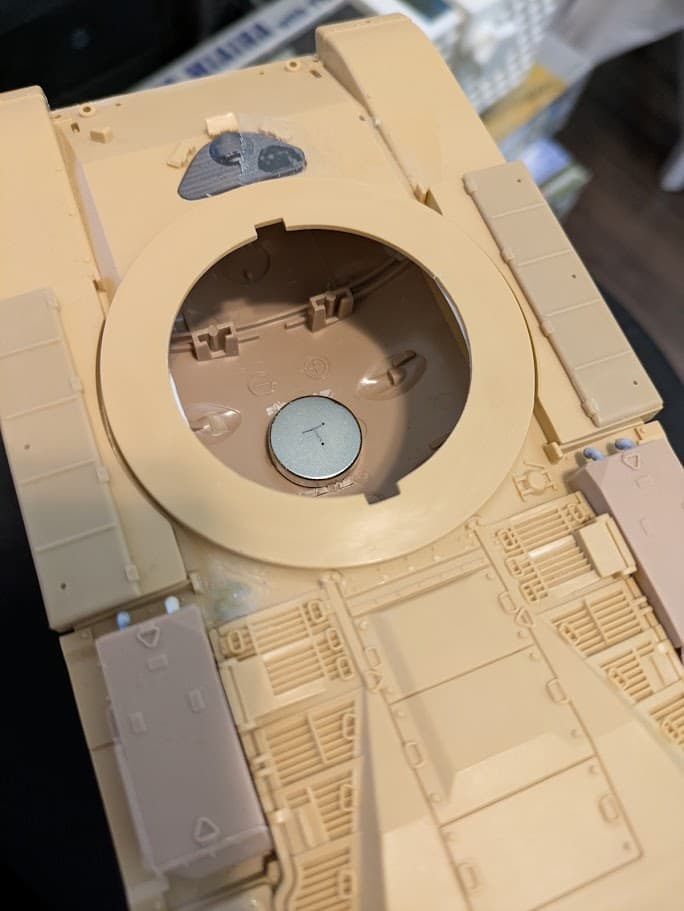
Do you have any tips on how to install the threaded brass insert into the arm part?
Your photo shows:
The insert is supposed to be bigger. Its a heat set insert.
You can use a bolt from the outside and pull it through.
It needs a bit of force but the hold is stronger than if the hole was bigger
It will cut its own thread by being pulled
OK, got it, Julius. I realized that I should have installed the threaded inserts first before putting the arm part in. So that’s an FYI for those who are planning to 3D print this jig.
I was looking for a way to install the inserts without having to pull and take off the arm holder part (didn’t want to risk breaking the thing again) but it was going to be too difficult w/out doing so.
Once I took it apart, used a rotary tool/drill and a metal file to sand down the holes to make bigger, which made the initial thrust much easier:
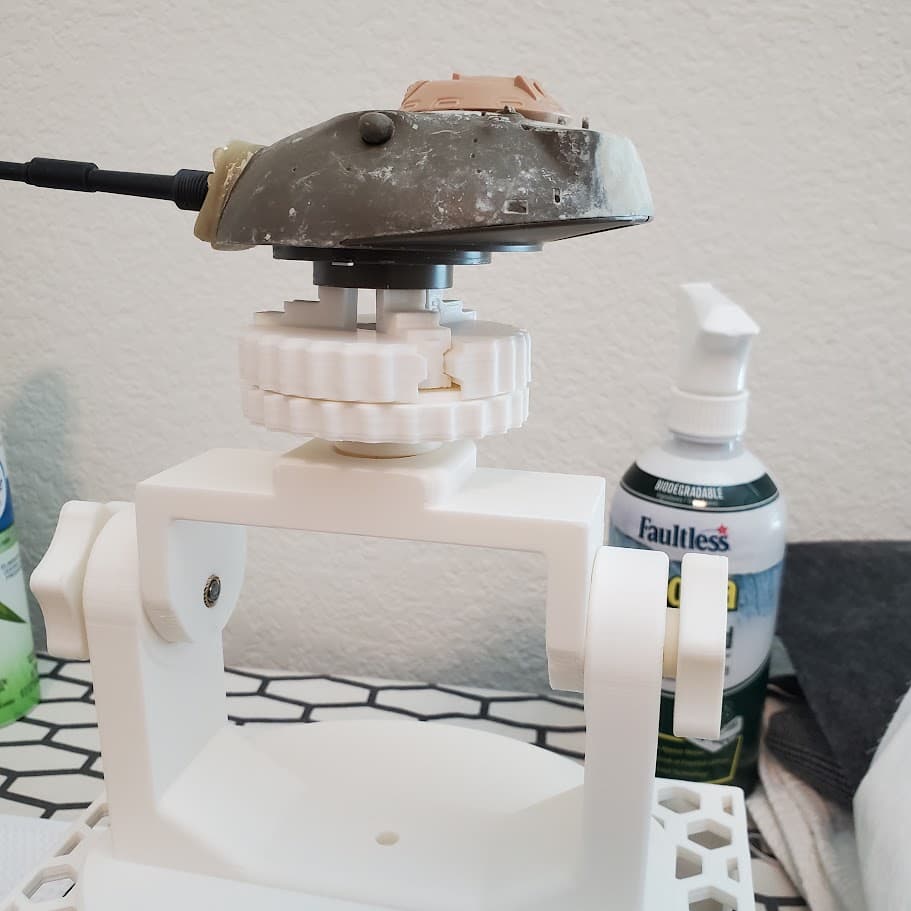
Installing a thread on the inside to mount a “counternut” sounds like a much better idea so the top parts will be more secure and you don’t have to rely on the magnets to hold the kit parts.
I may modify these parts as the top part being a “male” and the bottom arm part being “female” so you simply screw them instead of putting magnets.
This experiment gave me an idea for a “modular” assembly jig, which I may design separately.
If I were to CAD one, I’d include all the needed parts as 3D prints instead of having to buy the metal ones. At the same time, yes, there is an advantage of having solid metal components.