It’s been years since I did any scale modelling, but a few weeks ago I decided to give it a try again.
My latest project I was working on at the time, was te C-47 from Italeri’s Honeybun III.
It was posted on the old Armorama website, but due to inactivity, I never continued that one.
I decided to continue and use it for a diorama in the future.
Now it’s going to be my first time at airbrushing too.
I haven’t any build pictures up until this point, so I’m sorry for that.
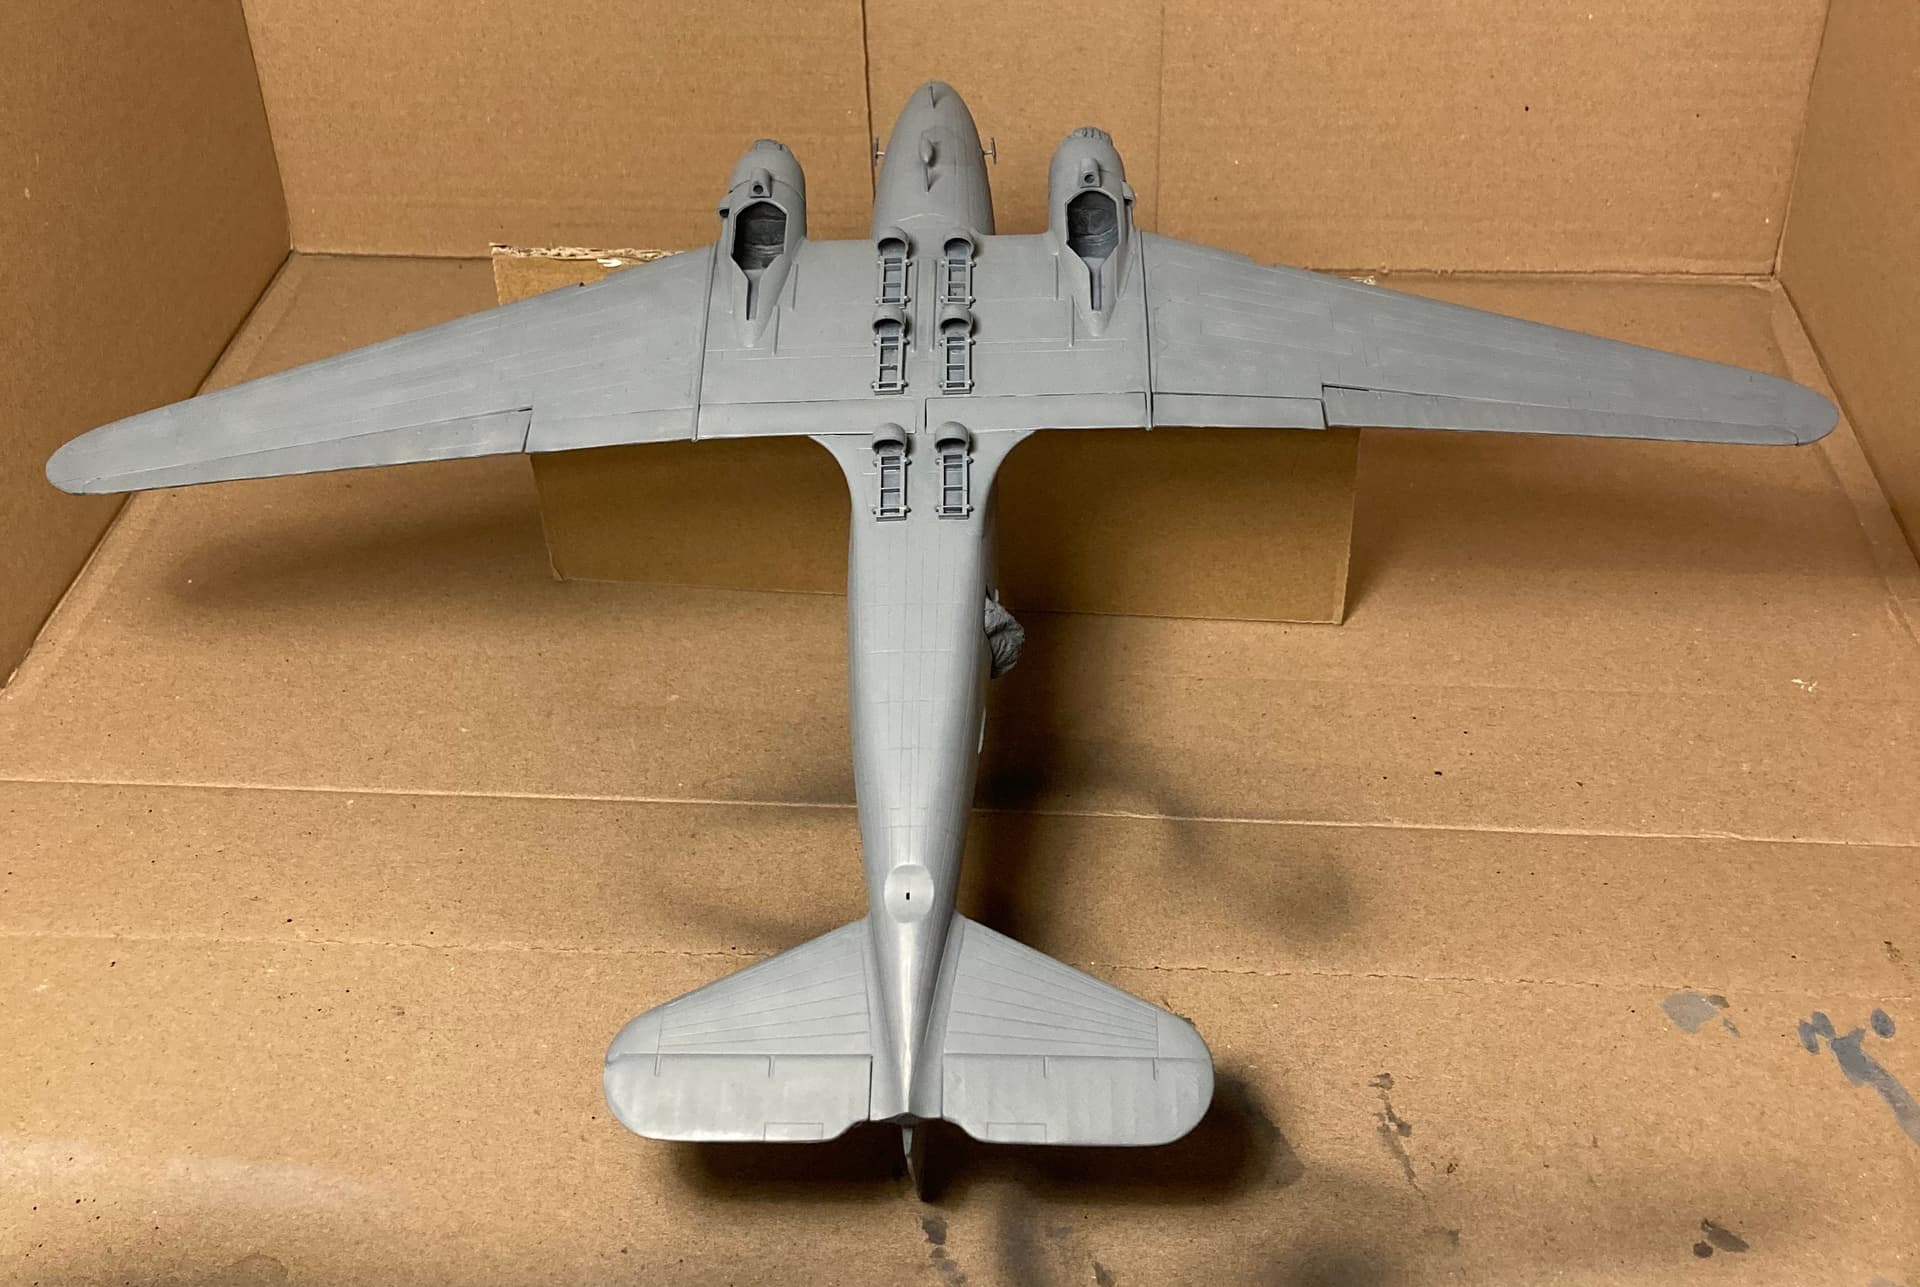
The past 2 weeks, I finished building the model and primed it.
I decided to use black, because I think it might give the model a more natural look in the end with the other paints over it.
I’d like to hear your feedback as I progress, in order to learn and become a better scale modeller.
4 Likes
Now some more information on what I want to achieve with this plane.
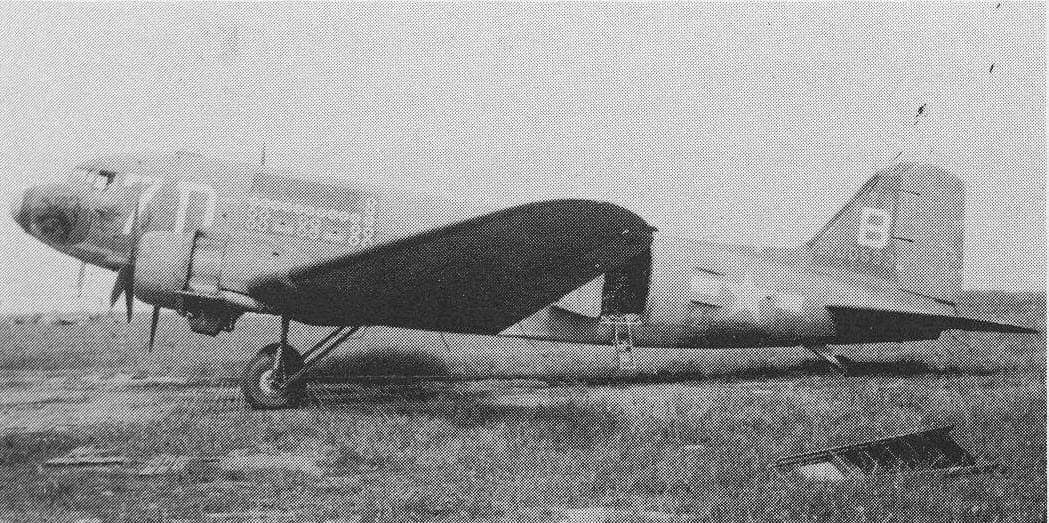
I decided to make it what I think it looked like on June 5th 1944.
That means first of all, freshly painted invasion stripes all over, because the troop carrier squadrons got the order to paint them on June 3th.
Furthermore, all the historical pictures I’ve found show a mission history on the side of the plane.
I won’t apply that, as D-Day would be its first mission.
I will apply the Honeybun III decals though.
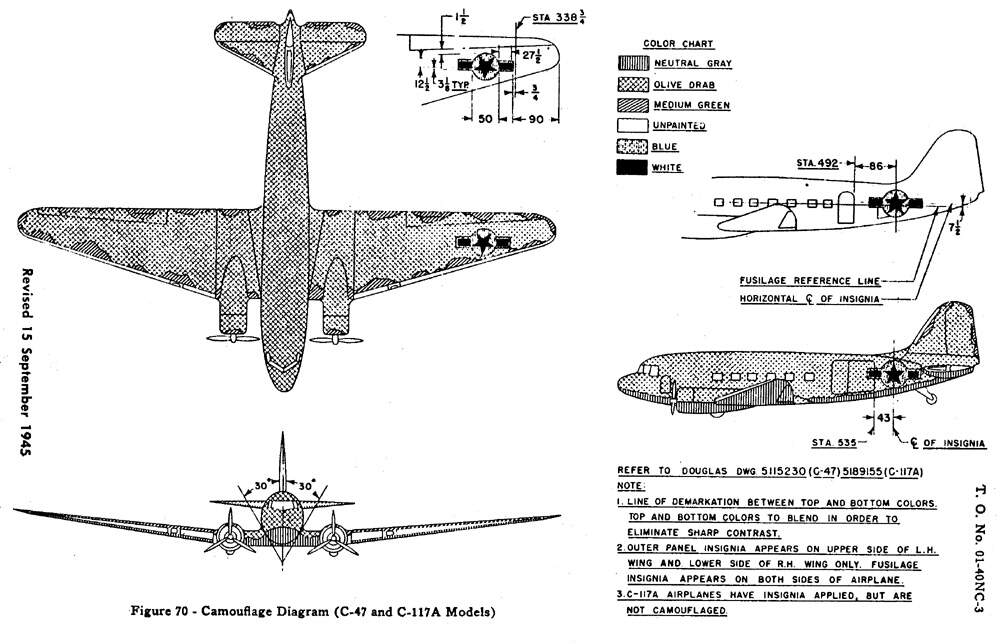
Furthermore, I’m going for the paint scheme that all the C-47’s were painted in before being used in the ETO, which started after D-Day for Honeybun III.
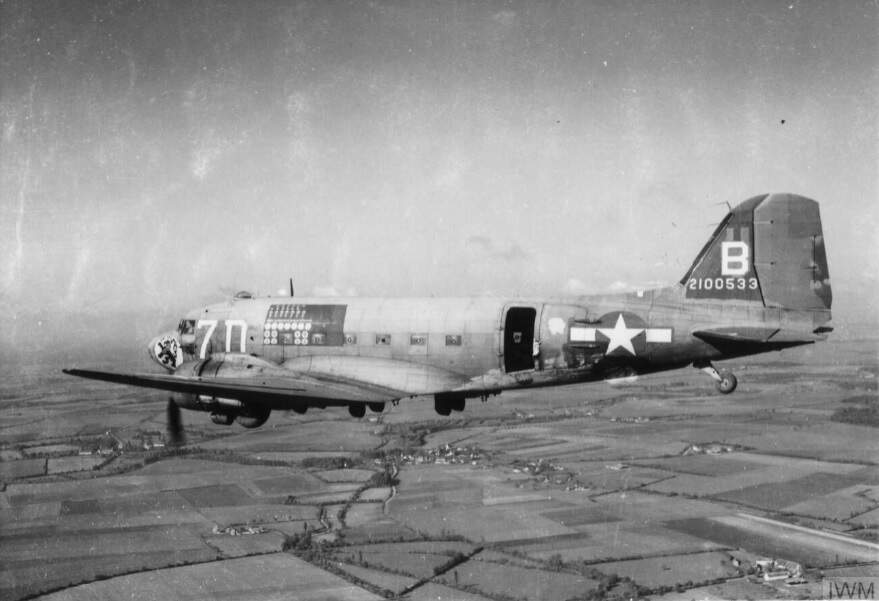
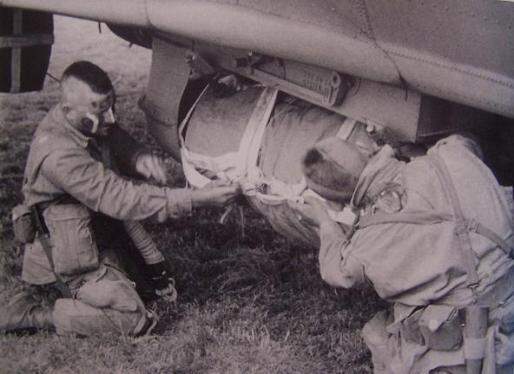
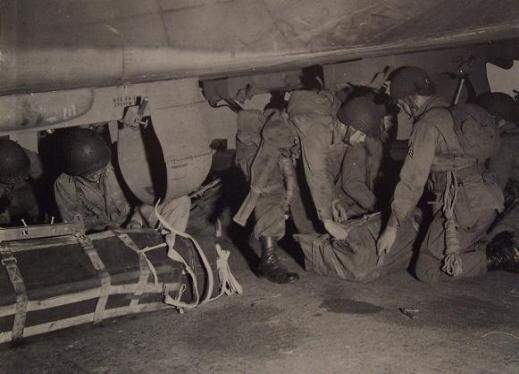
Below are some reference pictures.
IWM FRE 11750
3 Likes
Welcome @Normandy1944 … Looks like a good clean build so far. The black should give it some depth and hopefully shadow areas when the other painting is done.
Is this 1/72 ?
What sort of Dio are you aiming for ?
I did some digging and found this info on that aircraft in D-Day. She flew from Membury as part of Mission Albany, Serial 10, carrying Chalk 52 of the 101st Airborne to Drop Zone A
Mission Albany, Serial 10
2 Likes
Welcome. Looking forward to seeing more.
Thank you for the comments.
I apologise for the late reply, but I was a little busy.
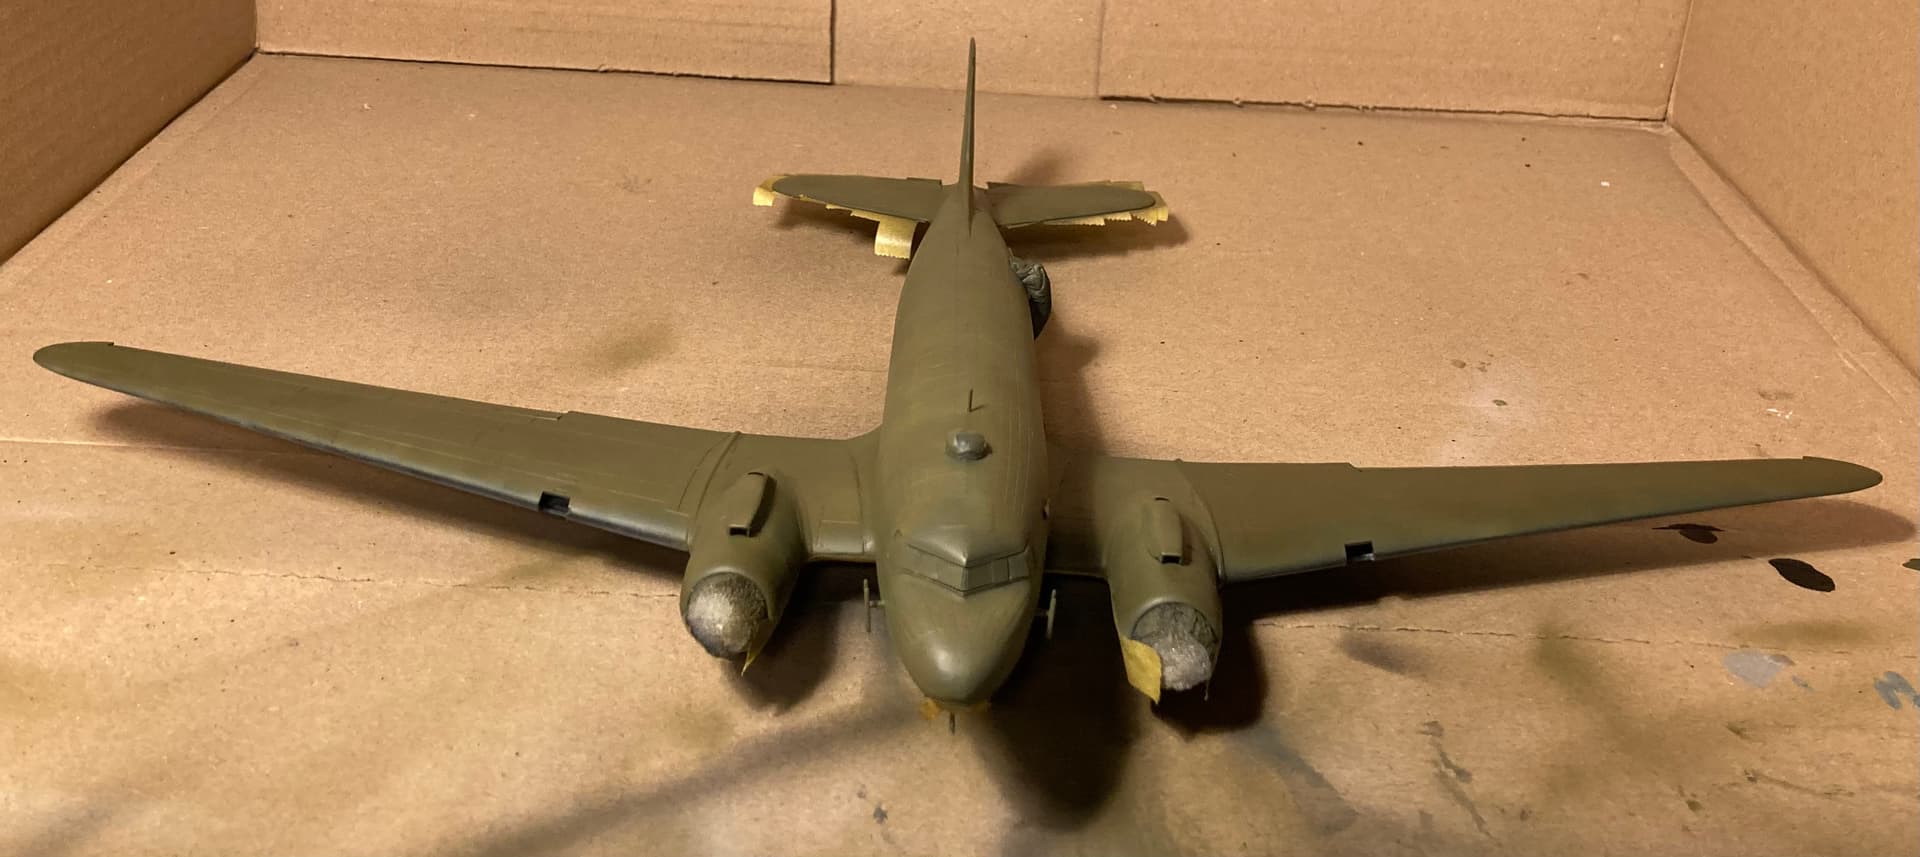
Here are some pictures of the progress so far.
As you can see, the base colors are done.
Since it’s my first time airbrushing, it’s a learning curve with trial and errors.
Therefore, I’m glad with the result so far and my next steps will be painting on the invasion stripes, covering it in a gloss varnish, apply decals, seal with a matt varnish and then add weathering.
2 Likes
The invasion stripes have been painted.
I did the white stripes first by brushing them and airbrushing over it, to give it a feel of being brushed on.
The black was only done by hand and it gives it an irregular feeling, like it did in WWII.
I’m looking for a new set of decals, as some of the ones I have are torn/ damaged.
If anyone has a set left, please let me know.
2 Likes
So I was finally able to apply the decals.
During the process, some big ones broke, so I had to order new ones from Italeri.
They luckily had those as replacement pets, so the model is almost ready for weathering.
I also added some extra decals from Foxbot, to add more realism.
It turned out very nice and the next step is applying a coat of Matt varnish, after which I’ll start weathering.
3 Likes
It’s looking very good my friend . Like the way you did the stripes it does give it a more depth and after the weathering it will look even better !
You don’t see many C-47 builds , but their role in the war was crucial from troop transport to supply drops .
Looking good. Like the Invasion stripes. The hand brushed way represents the real ones a lot better as I believe the vast majority were painted like that a few days before it all happened.
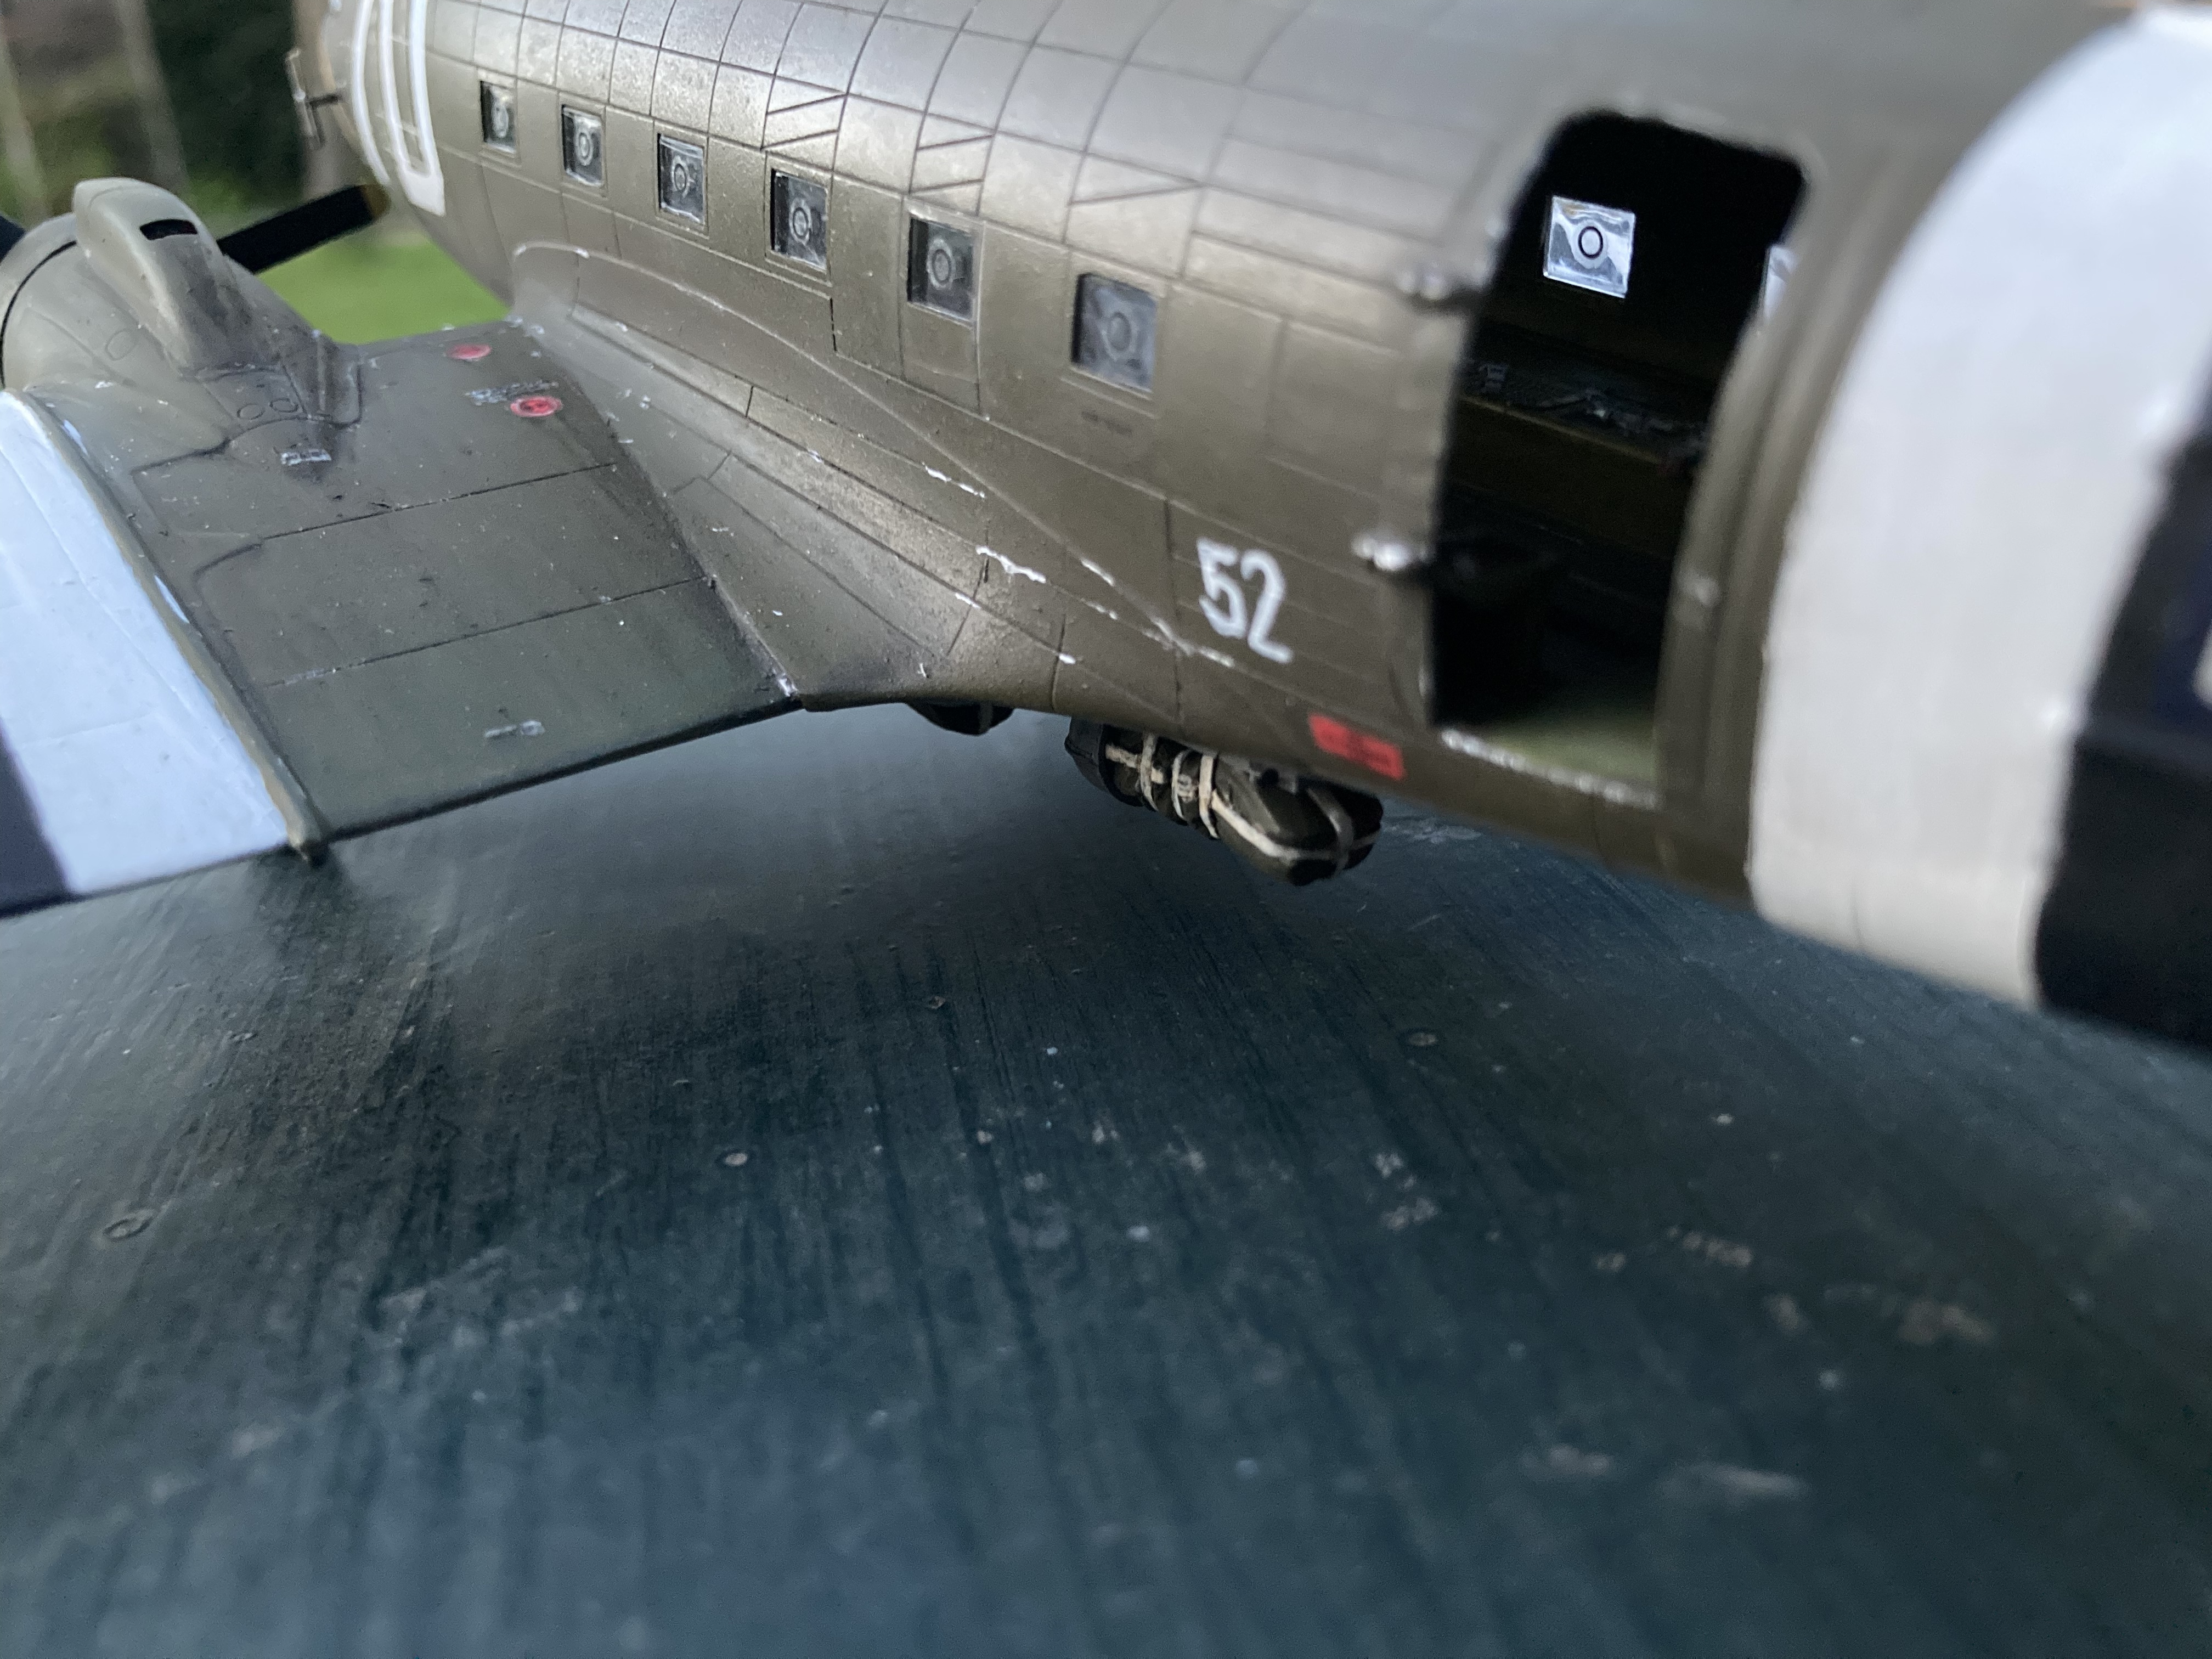
What are the 6 frame hard points running down the middle on the underside of the fuselage ?
Parapacks.
Of course, Shep Paine put them on his 1/48 build way back in the day. Those diorama inserts were reason enough to purchase those old Monogram kits.
Very nice build so far.
1 Like
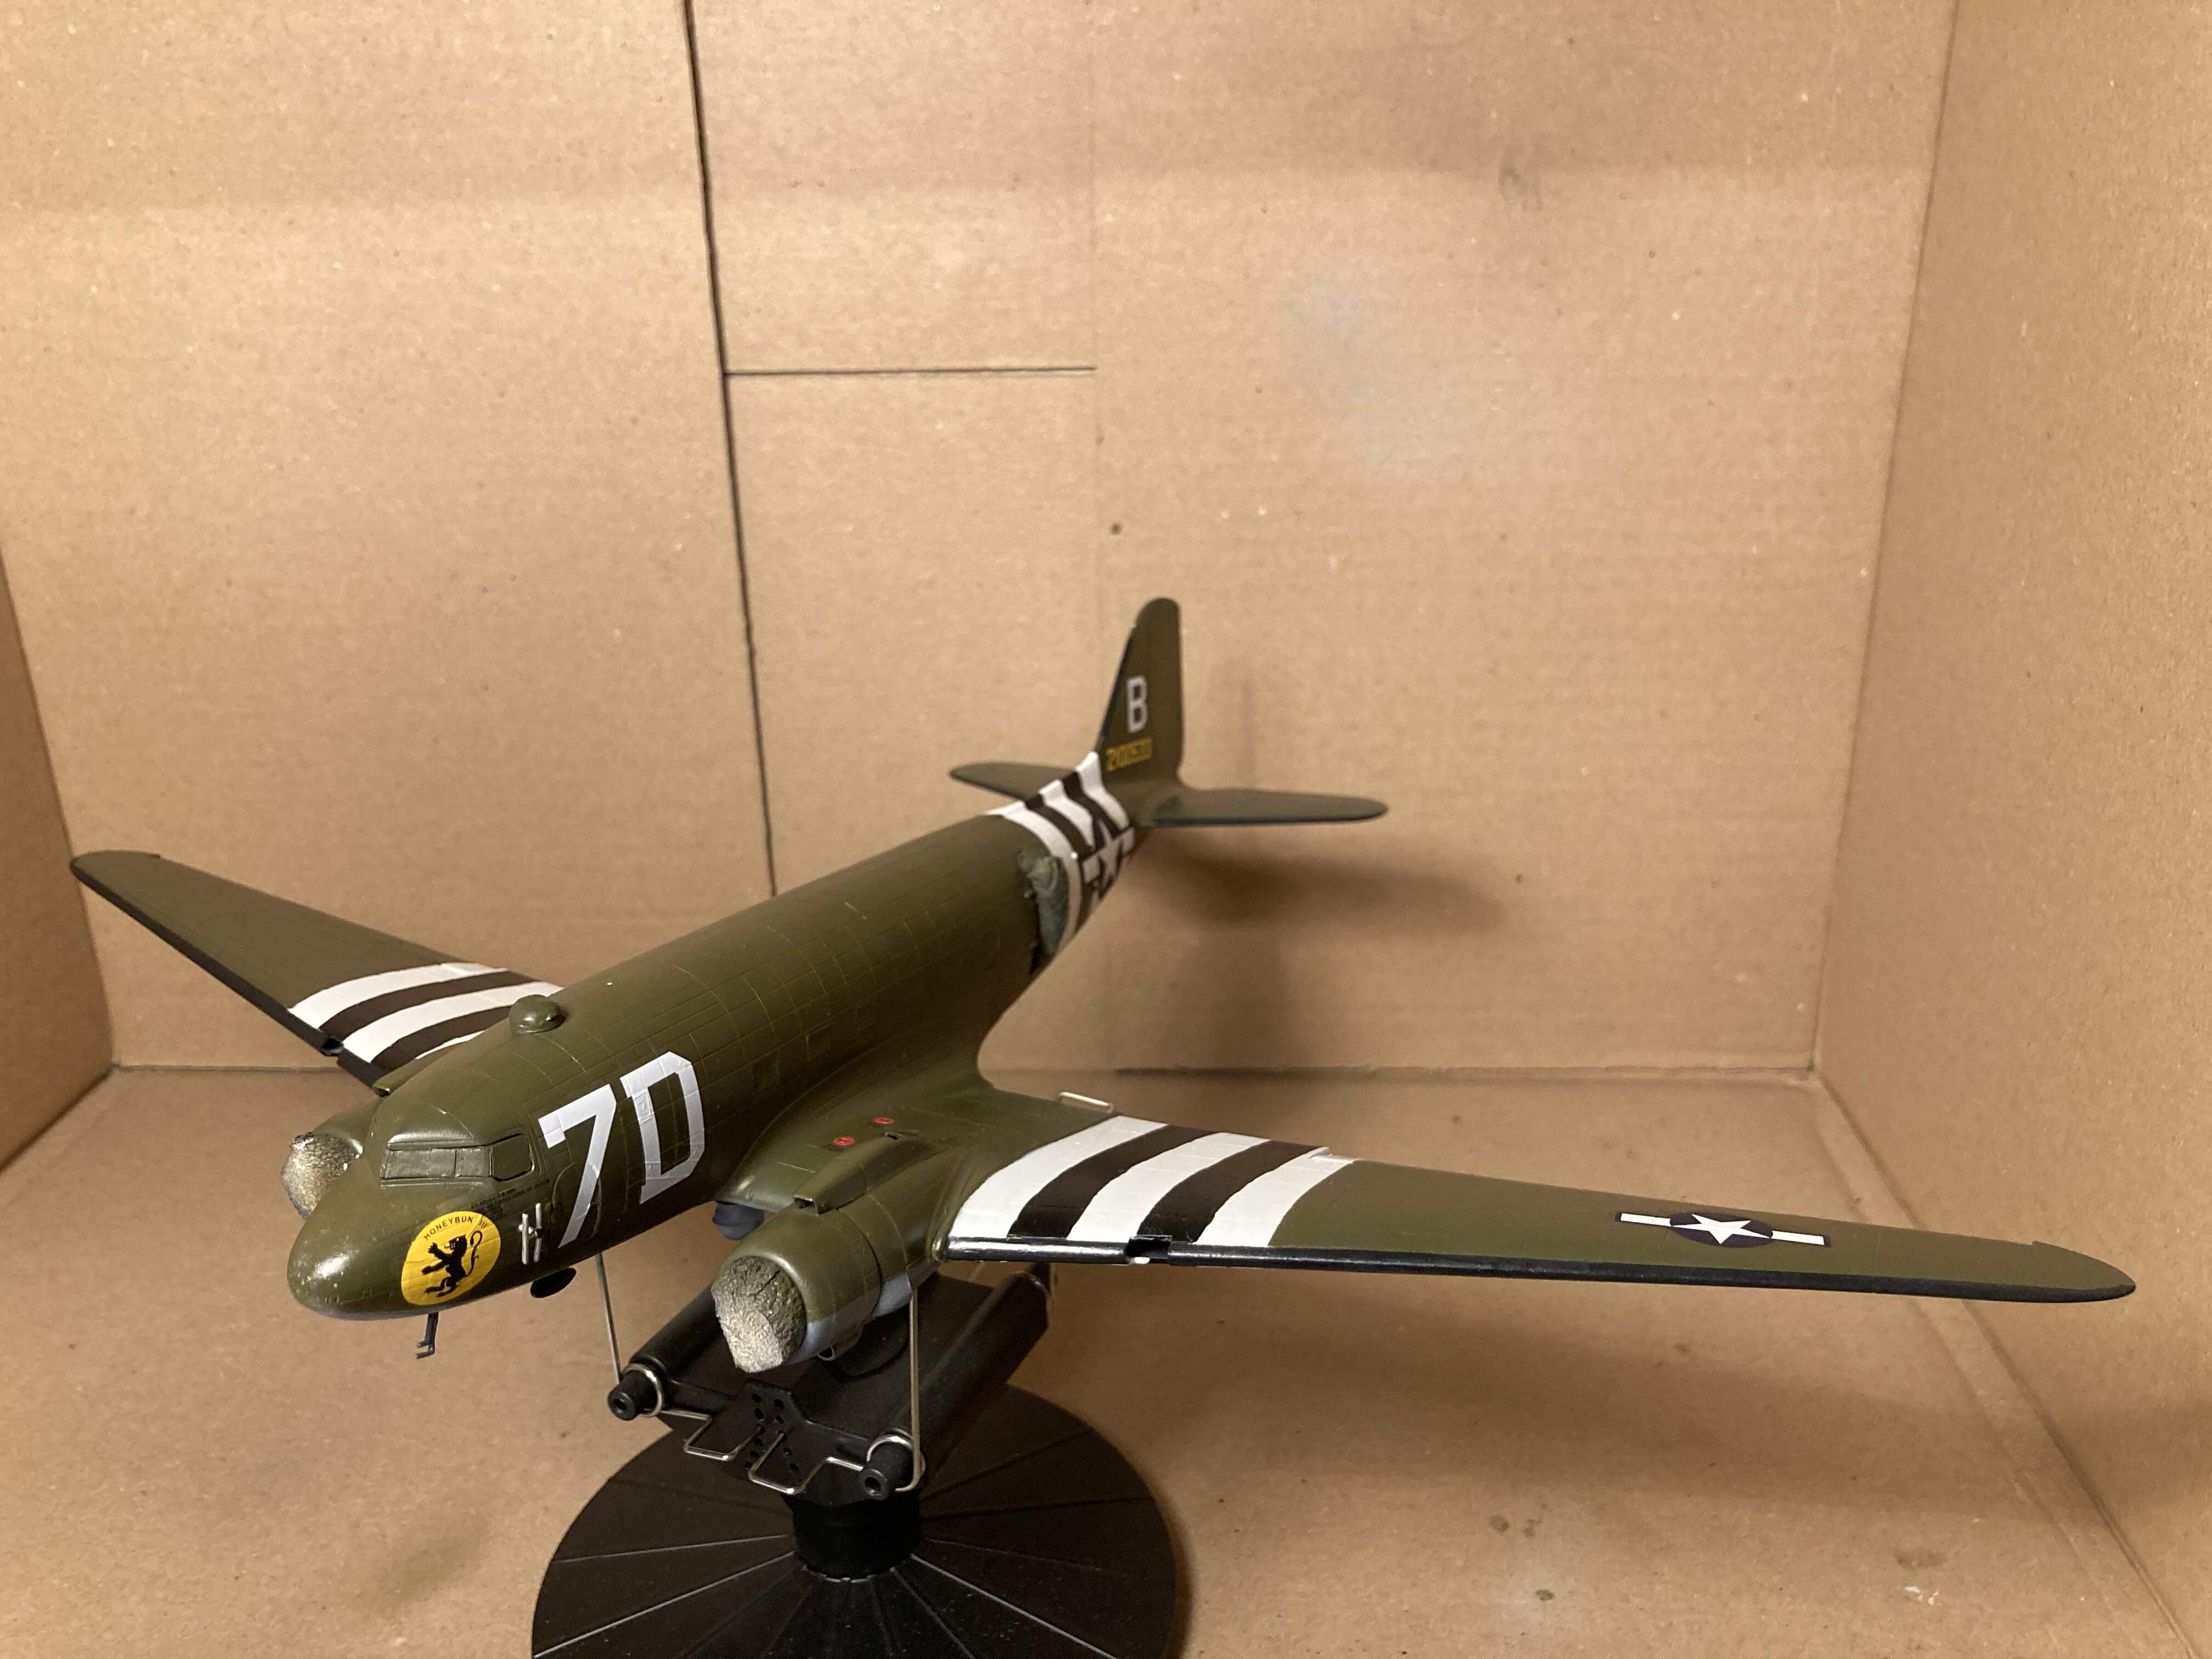
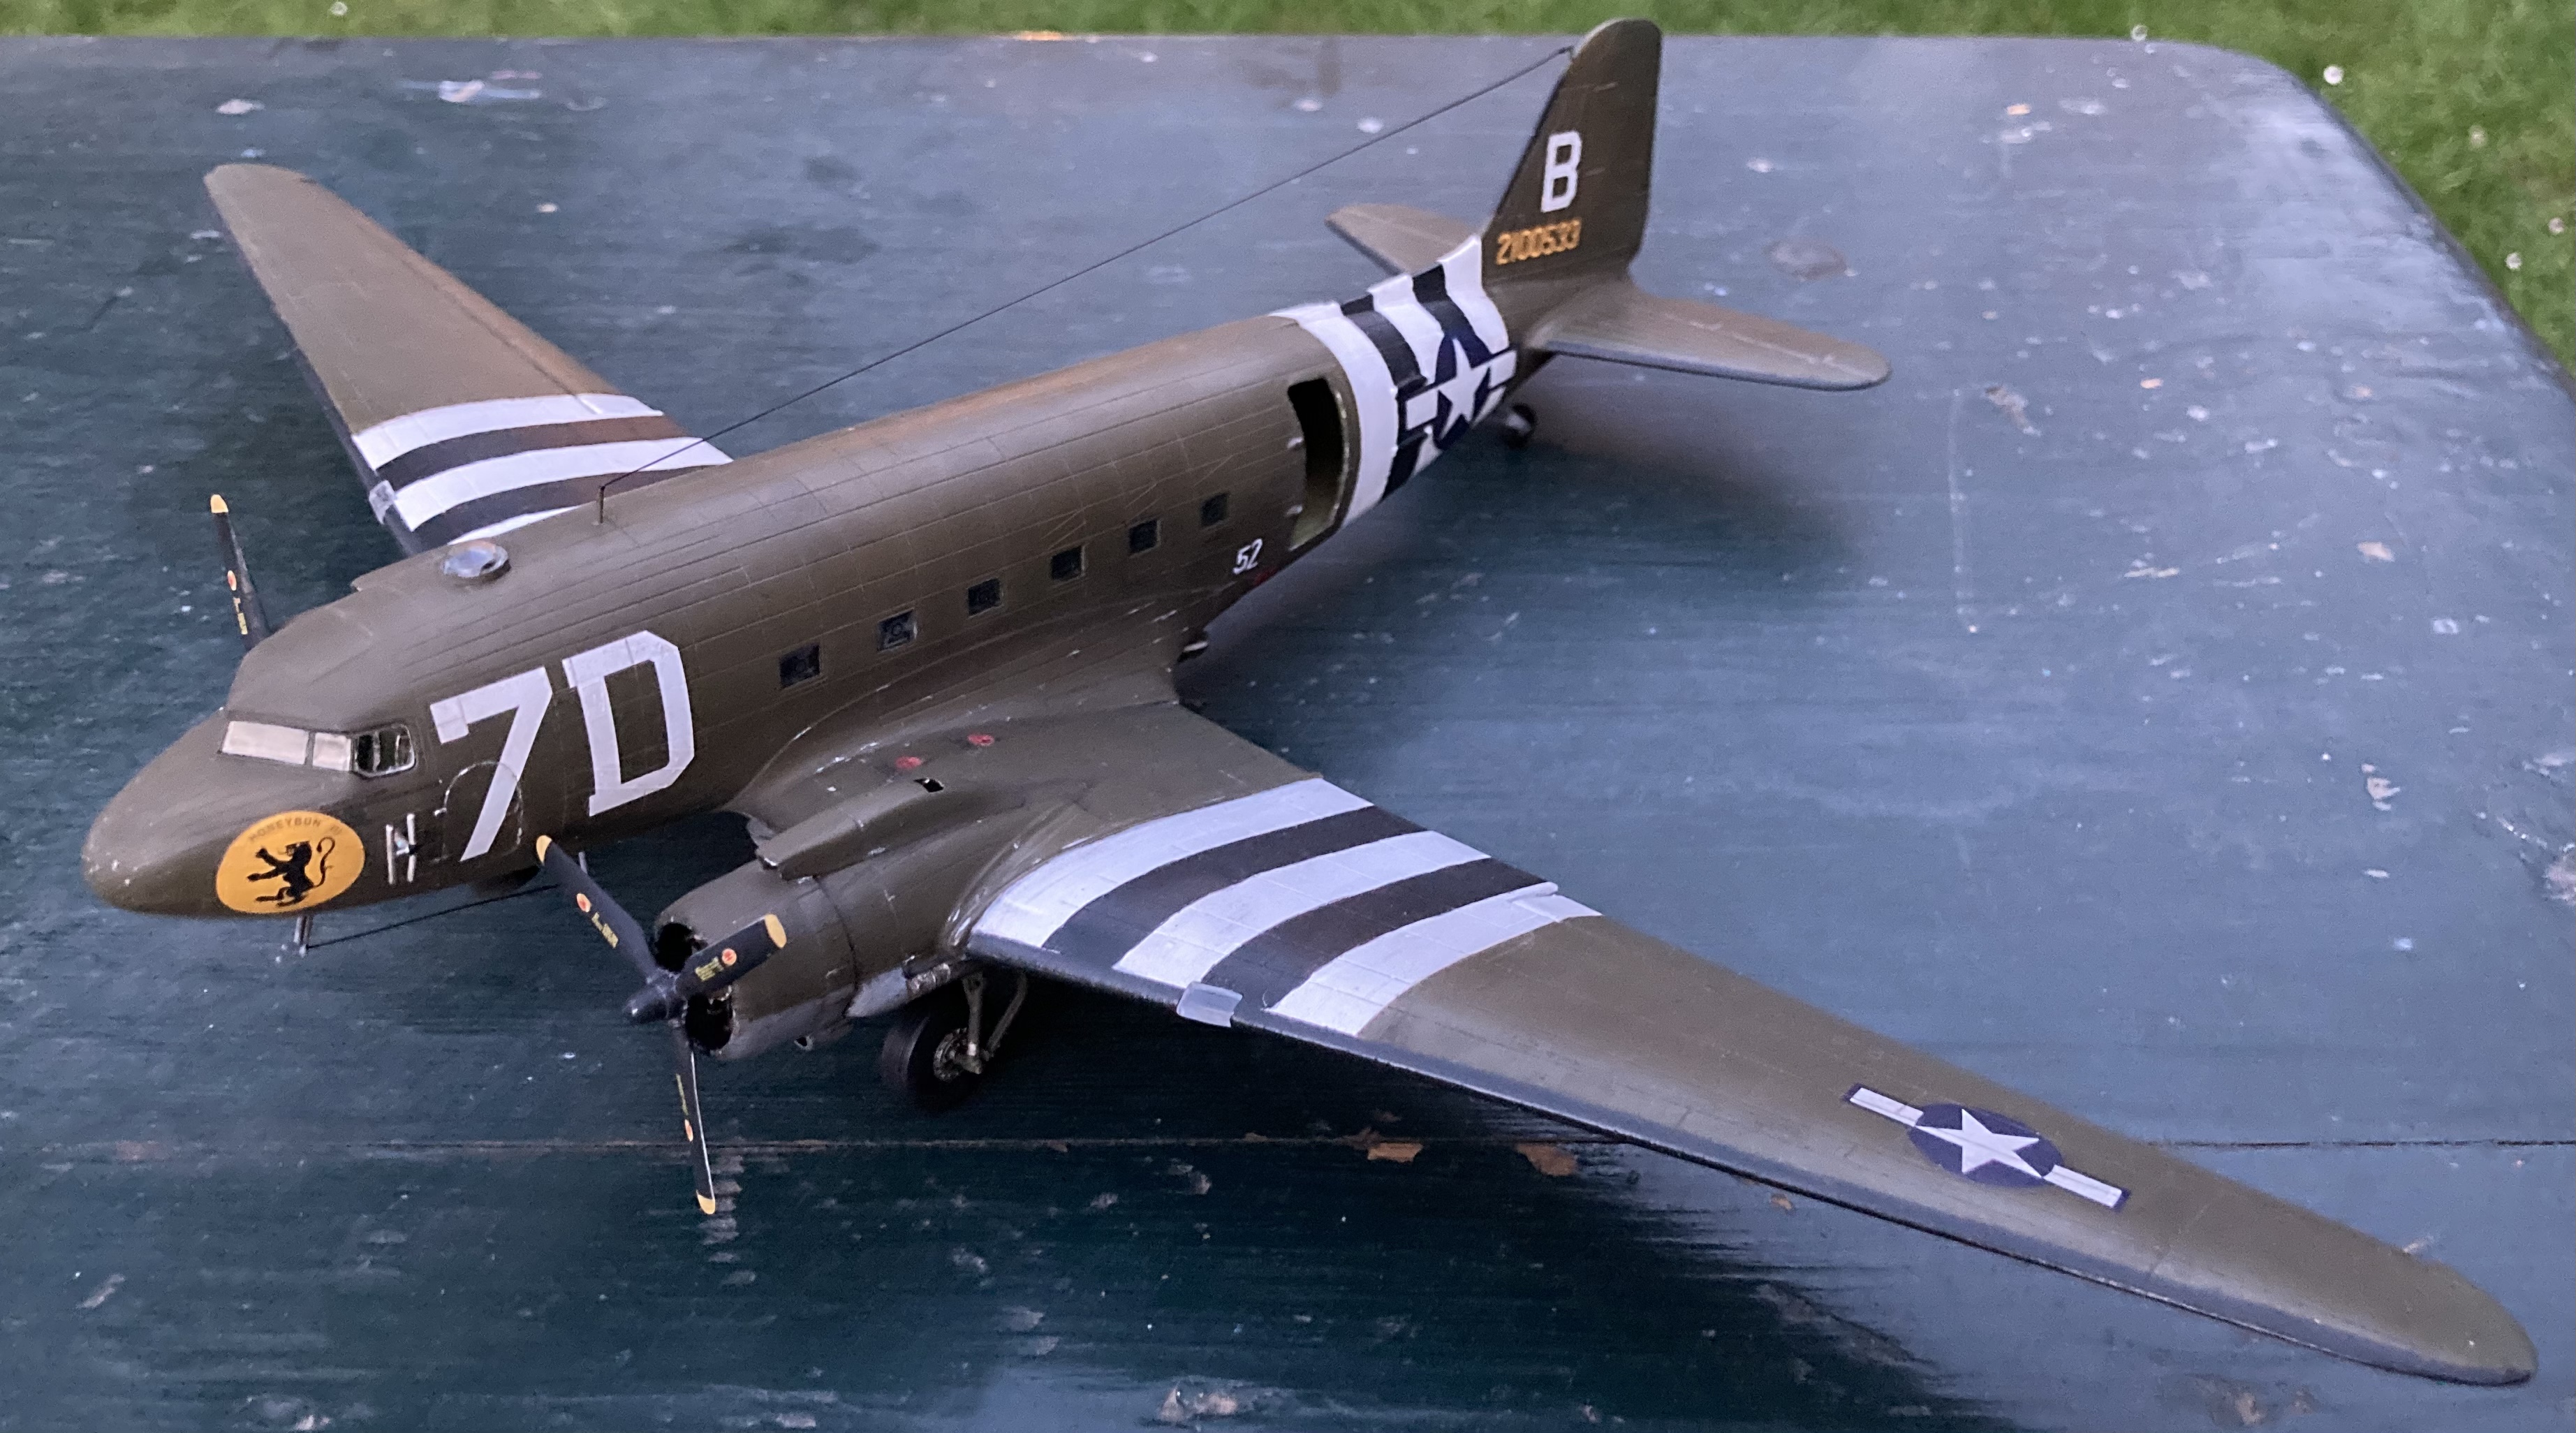
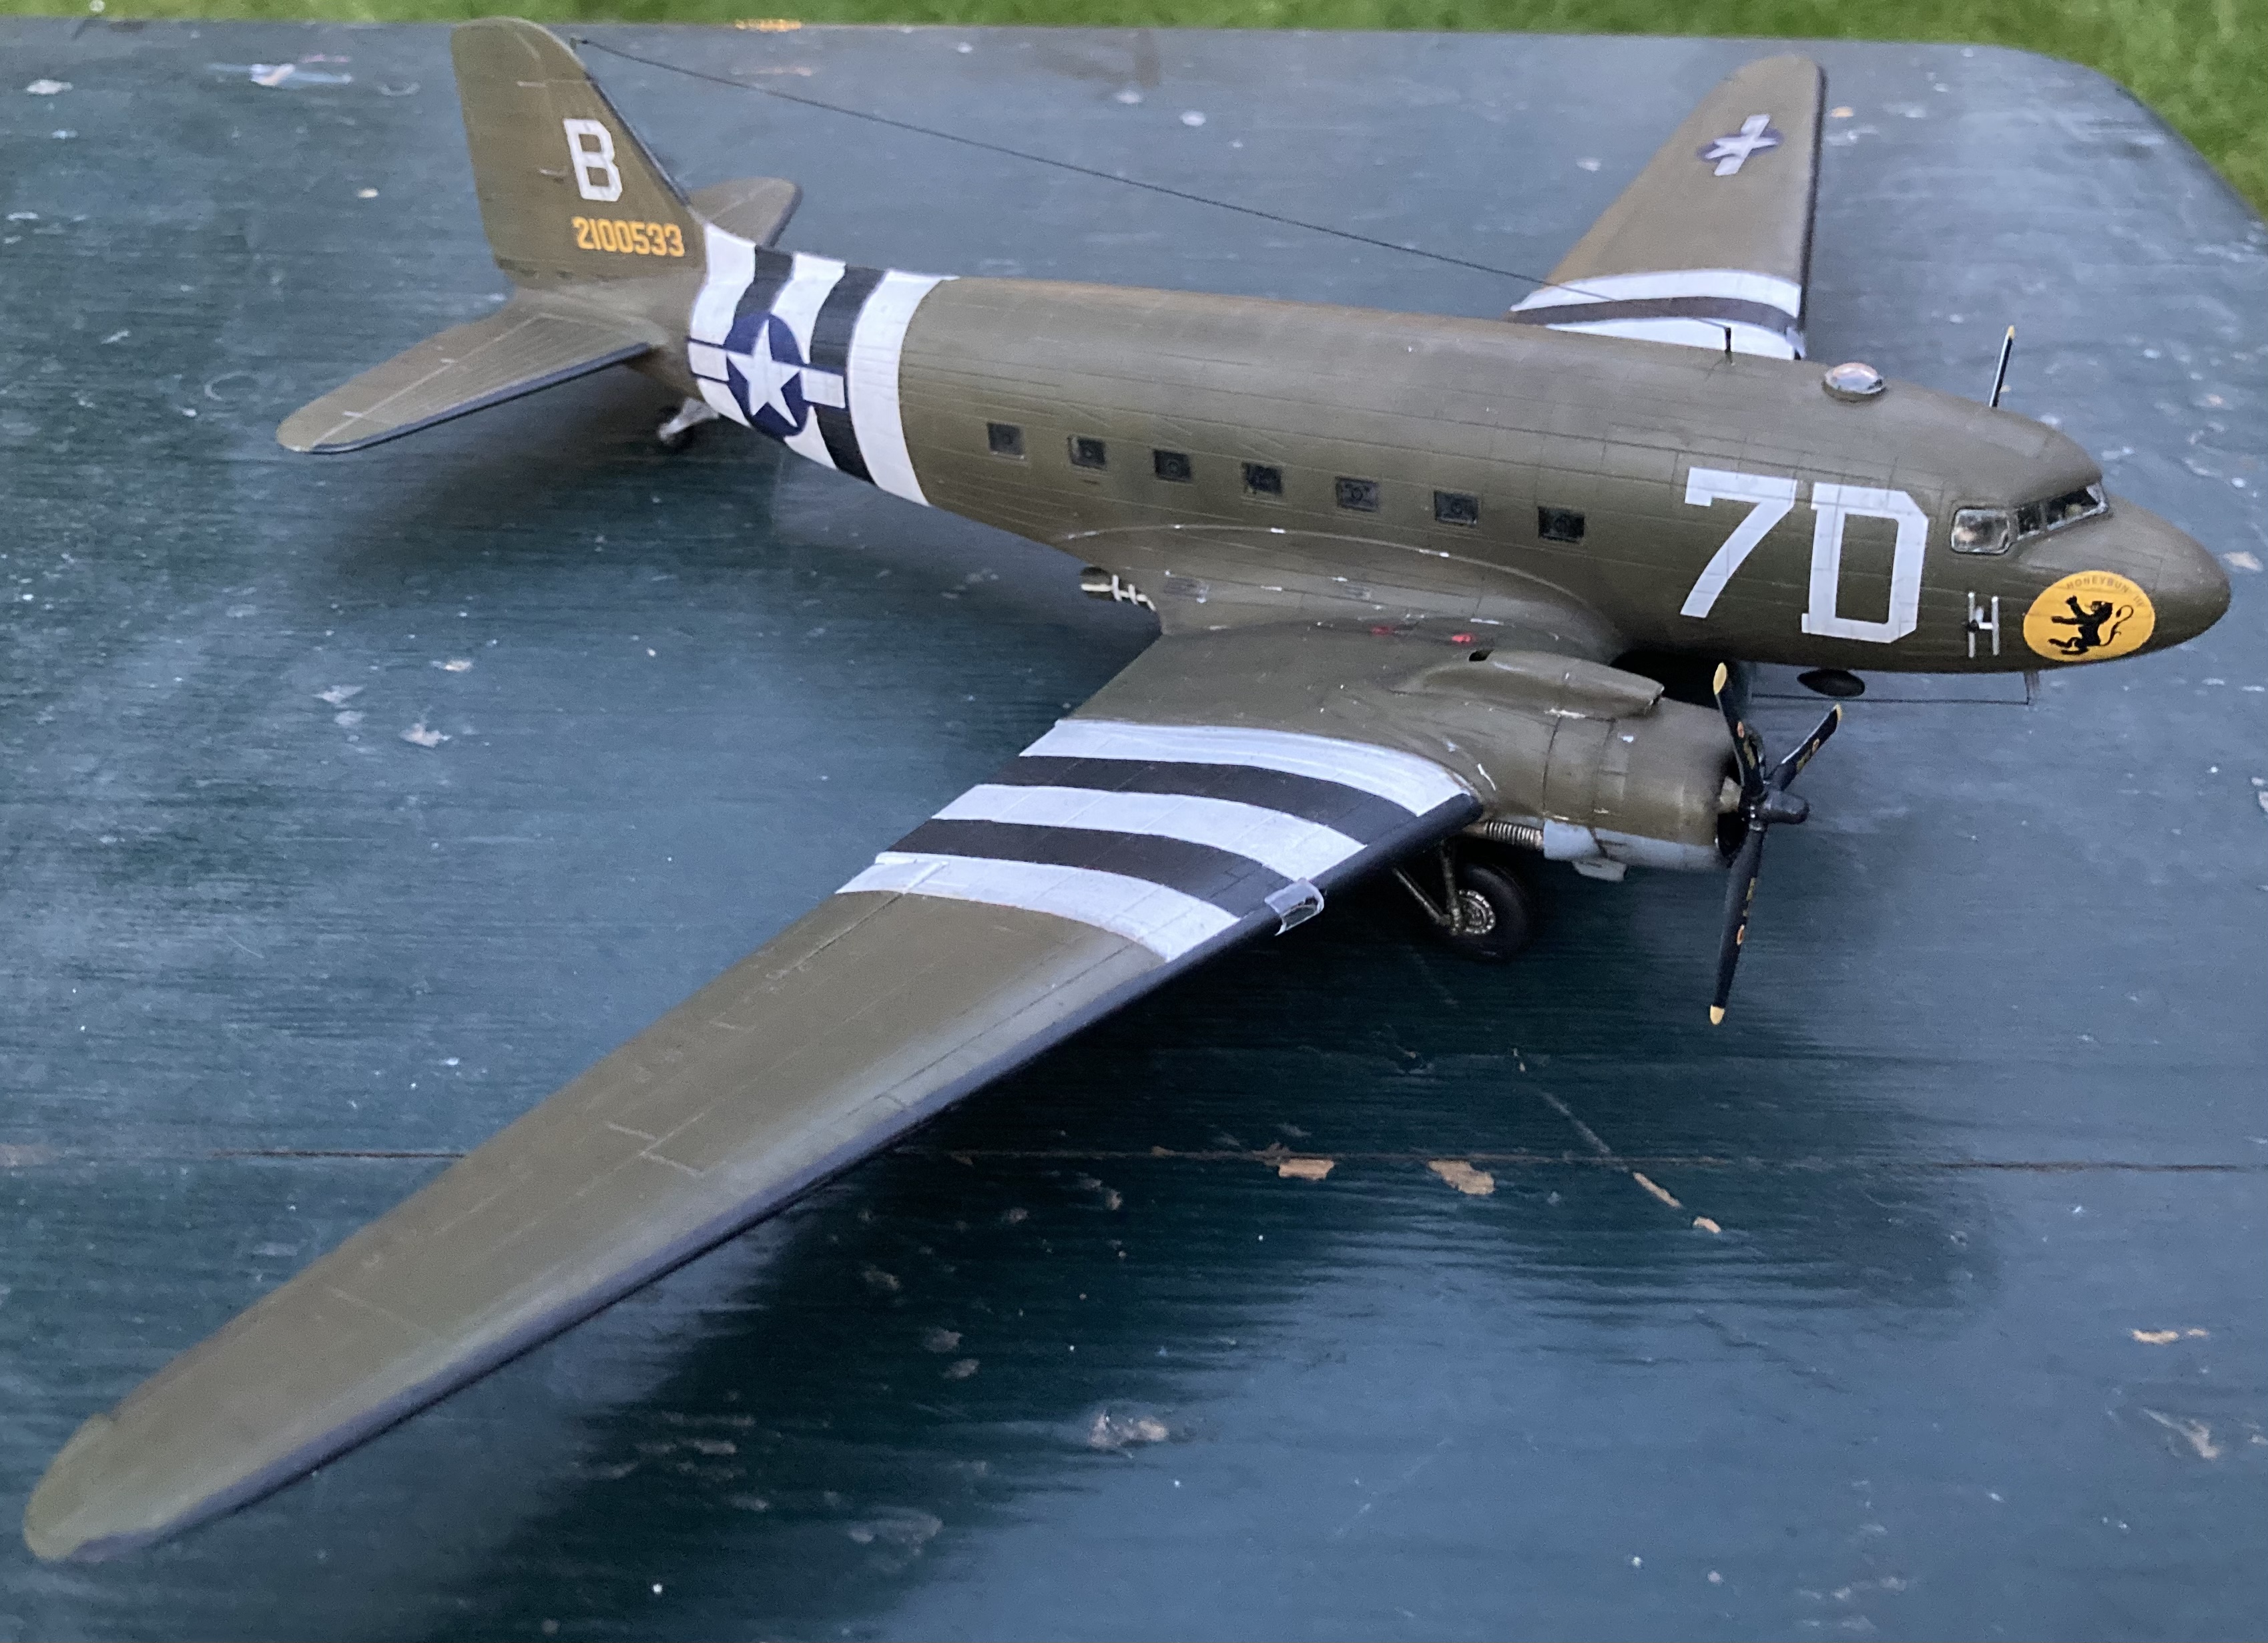
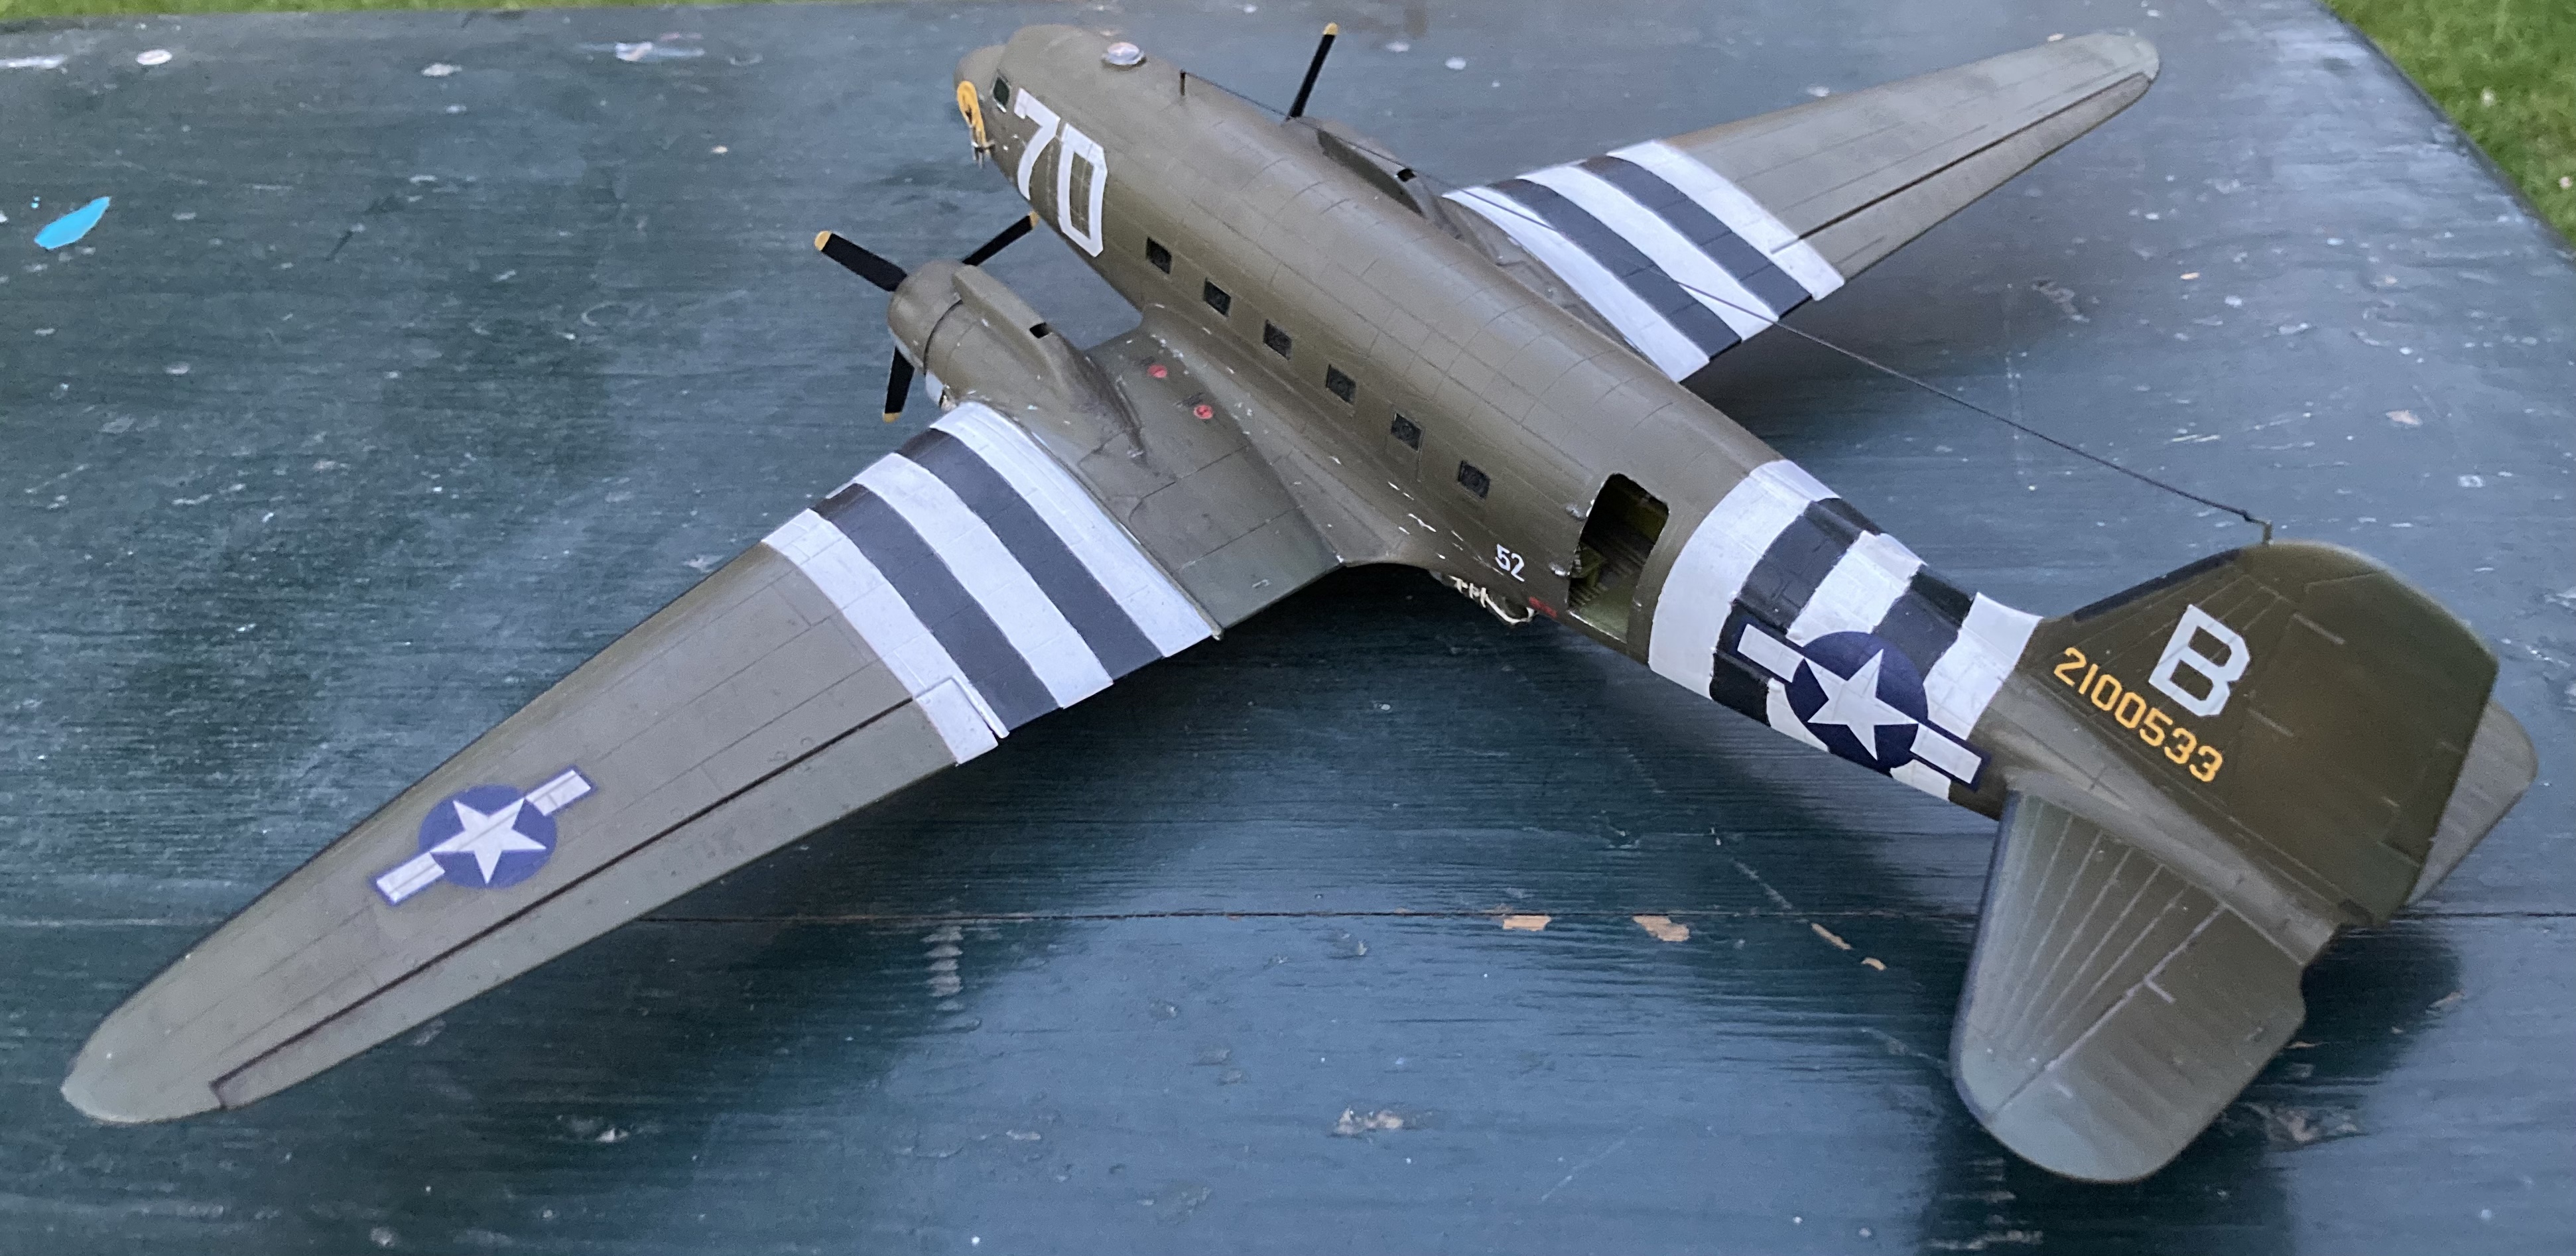
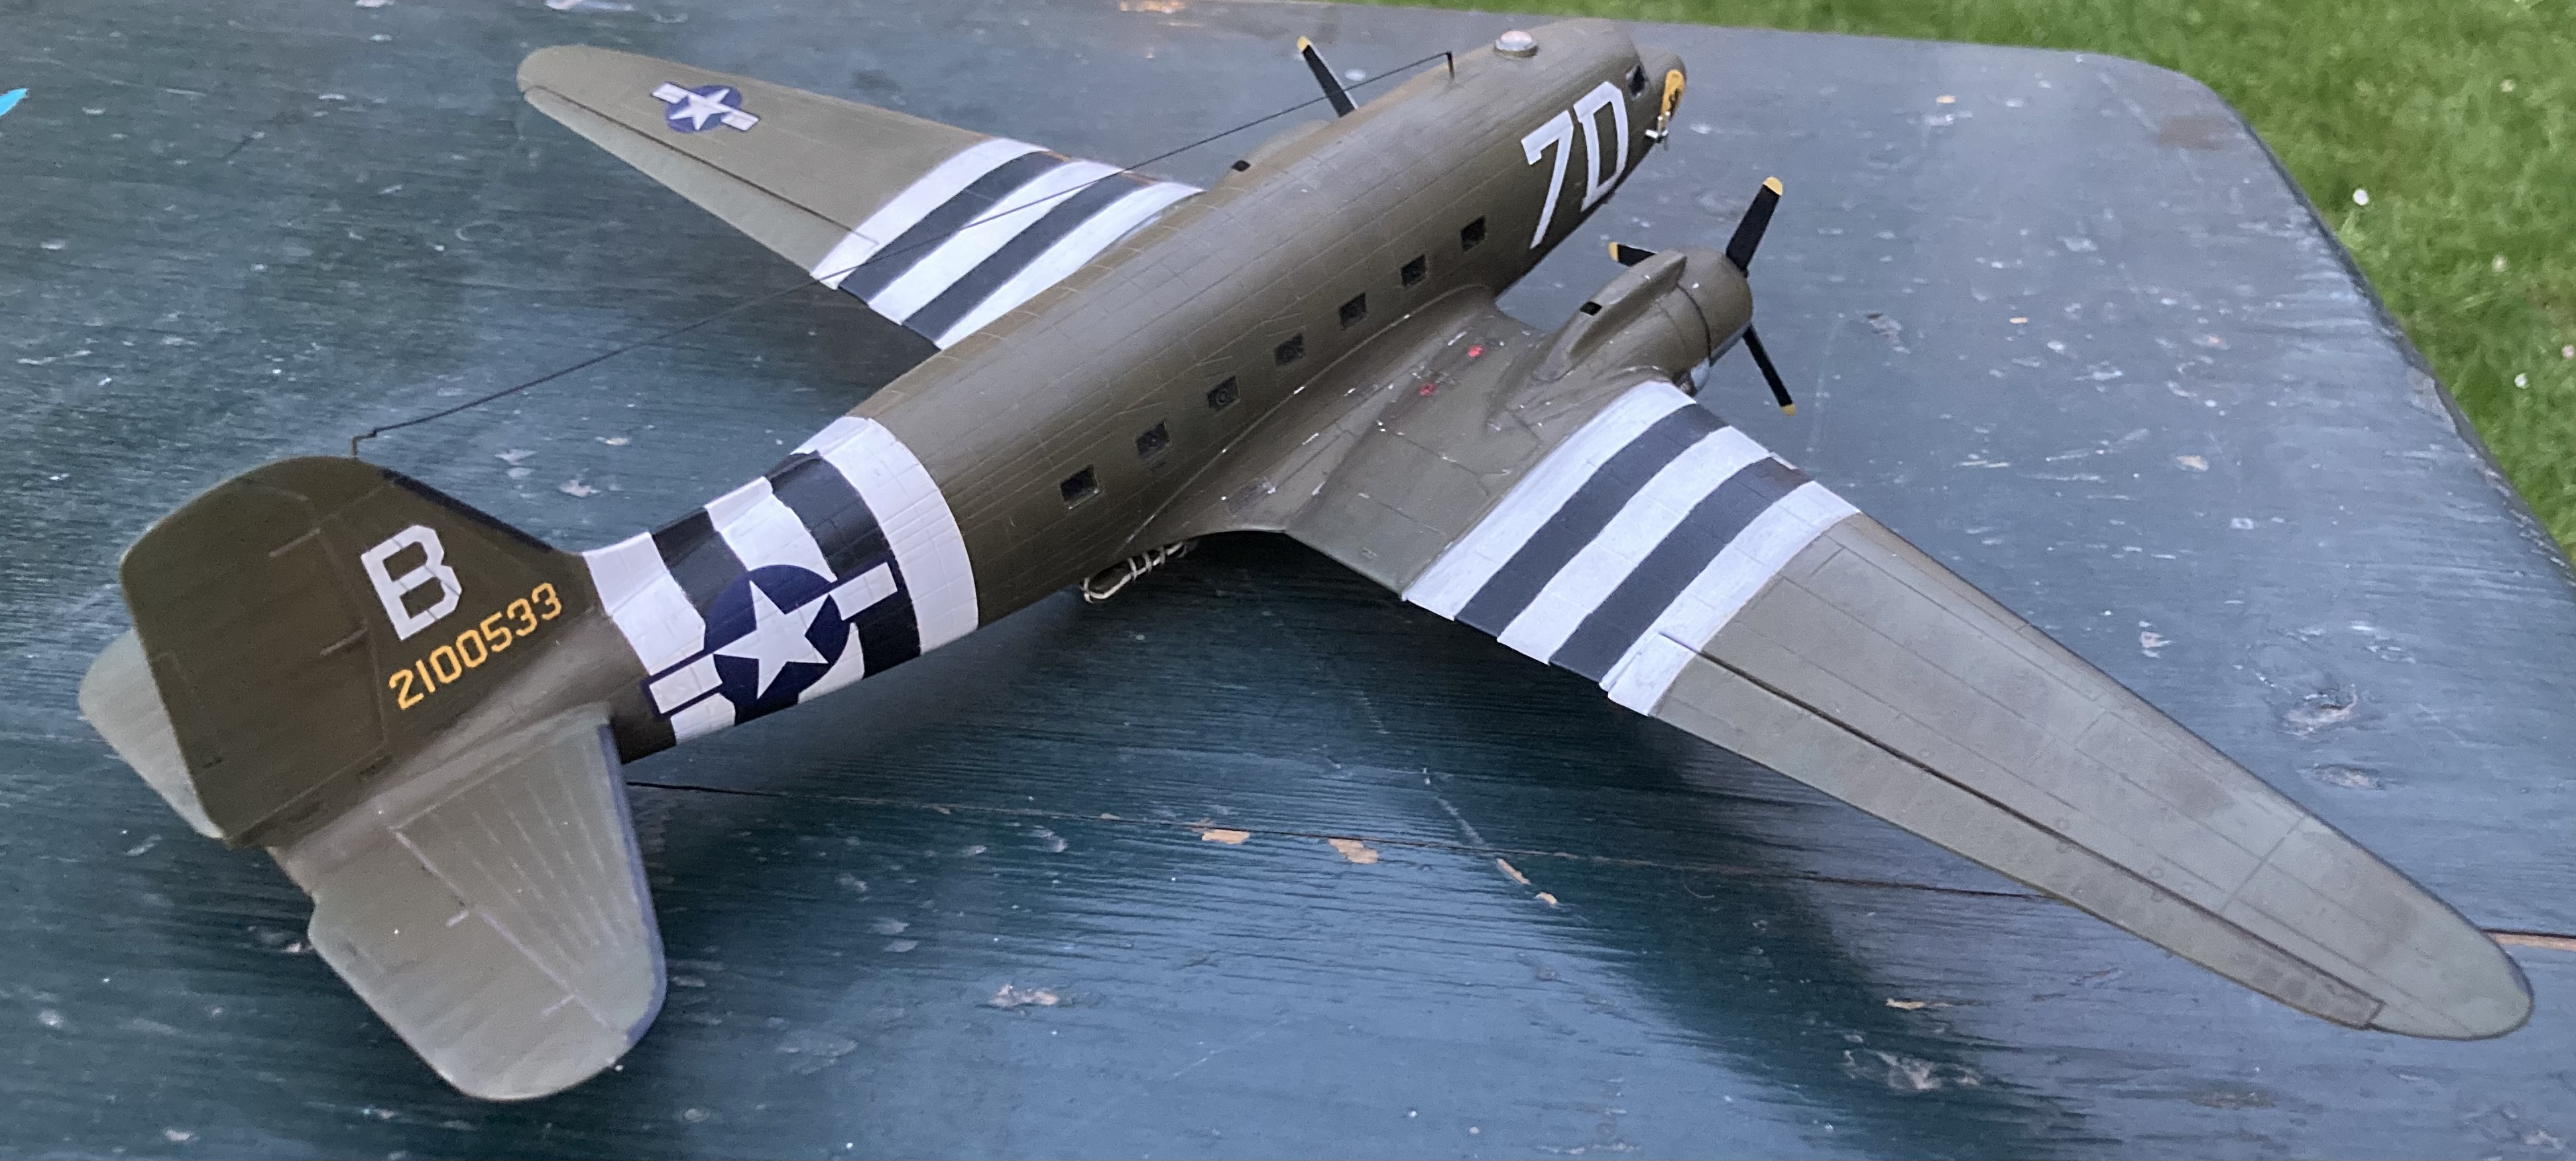
After some time, I was done with the weathering and called it good after attaching the antennas as well.
I really like how it turned out and I’m satisfied with the result.
It was great to come up with finishing this built after forgetting this hobby for years.
I took the pictures outside in daylight, for a better lighting.
If you’ve got feedback, I’d like to hear it.
3 Likes
Looks really nice with a great overall finish… Well done