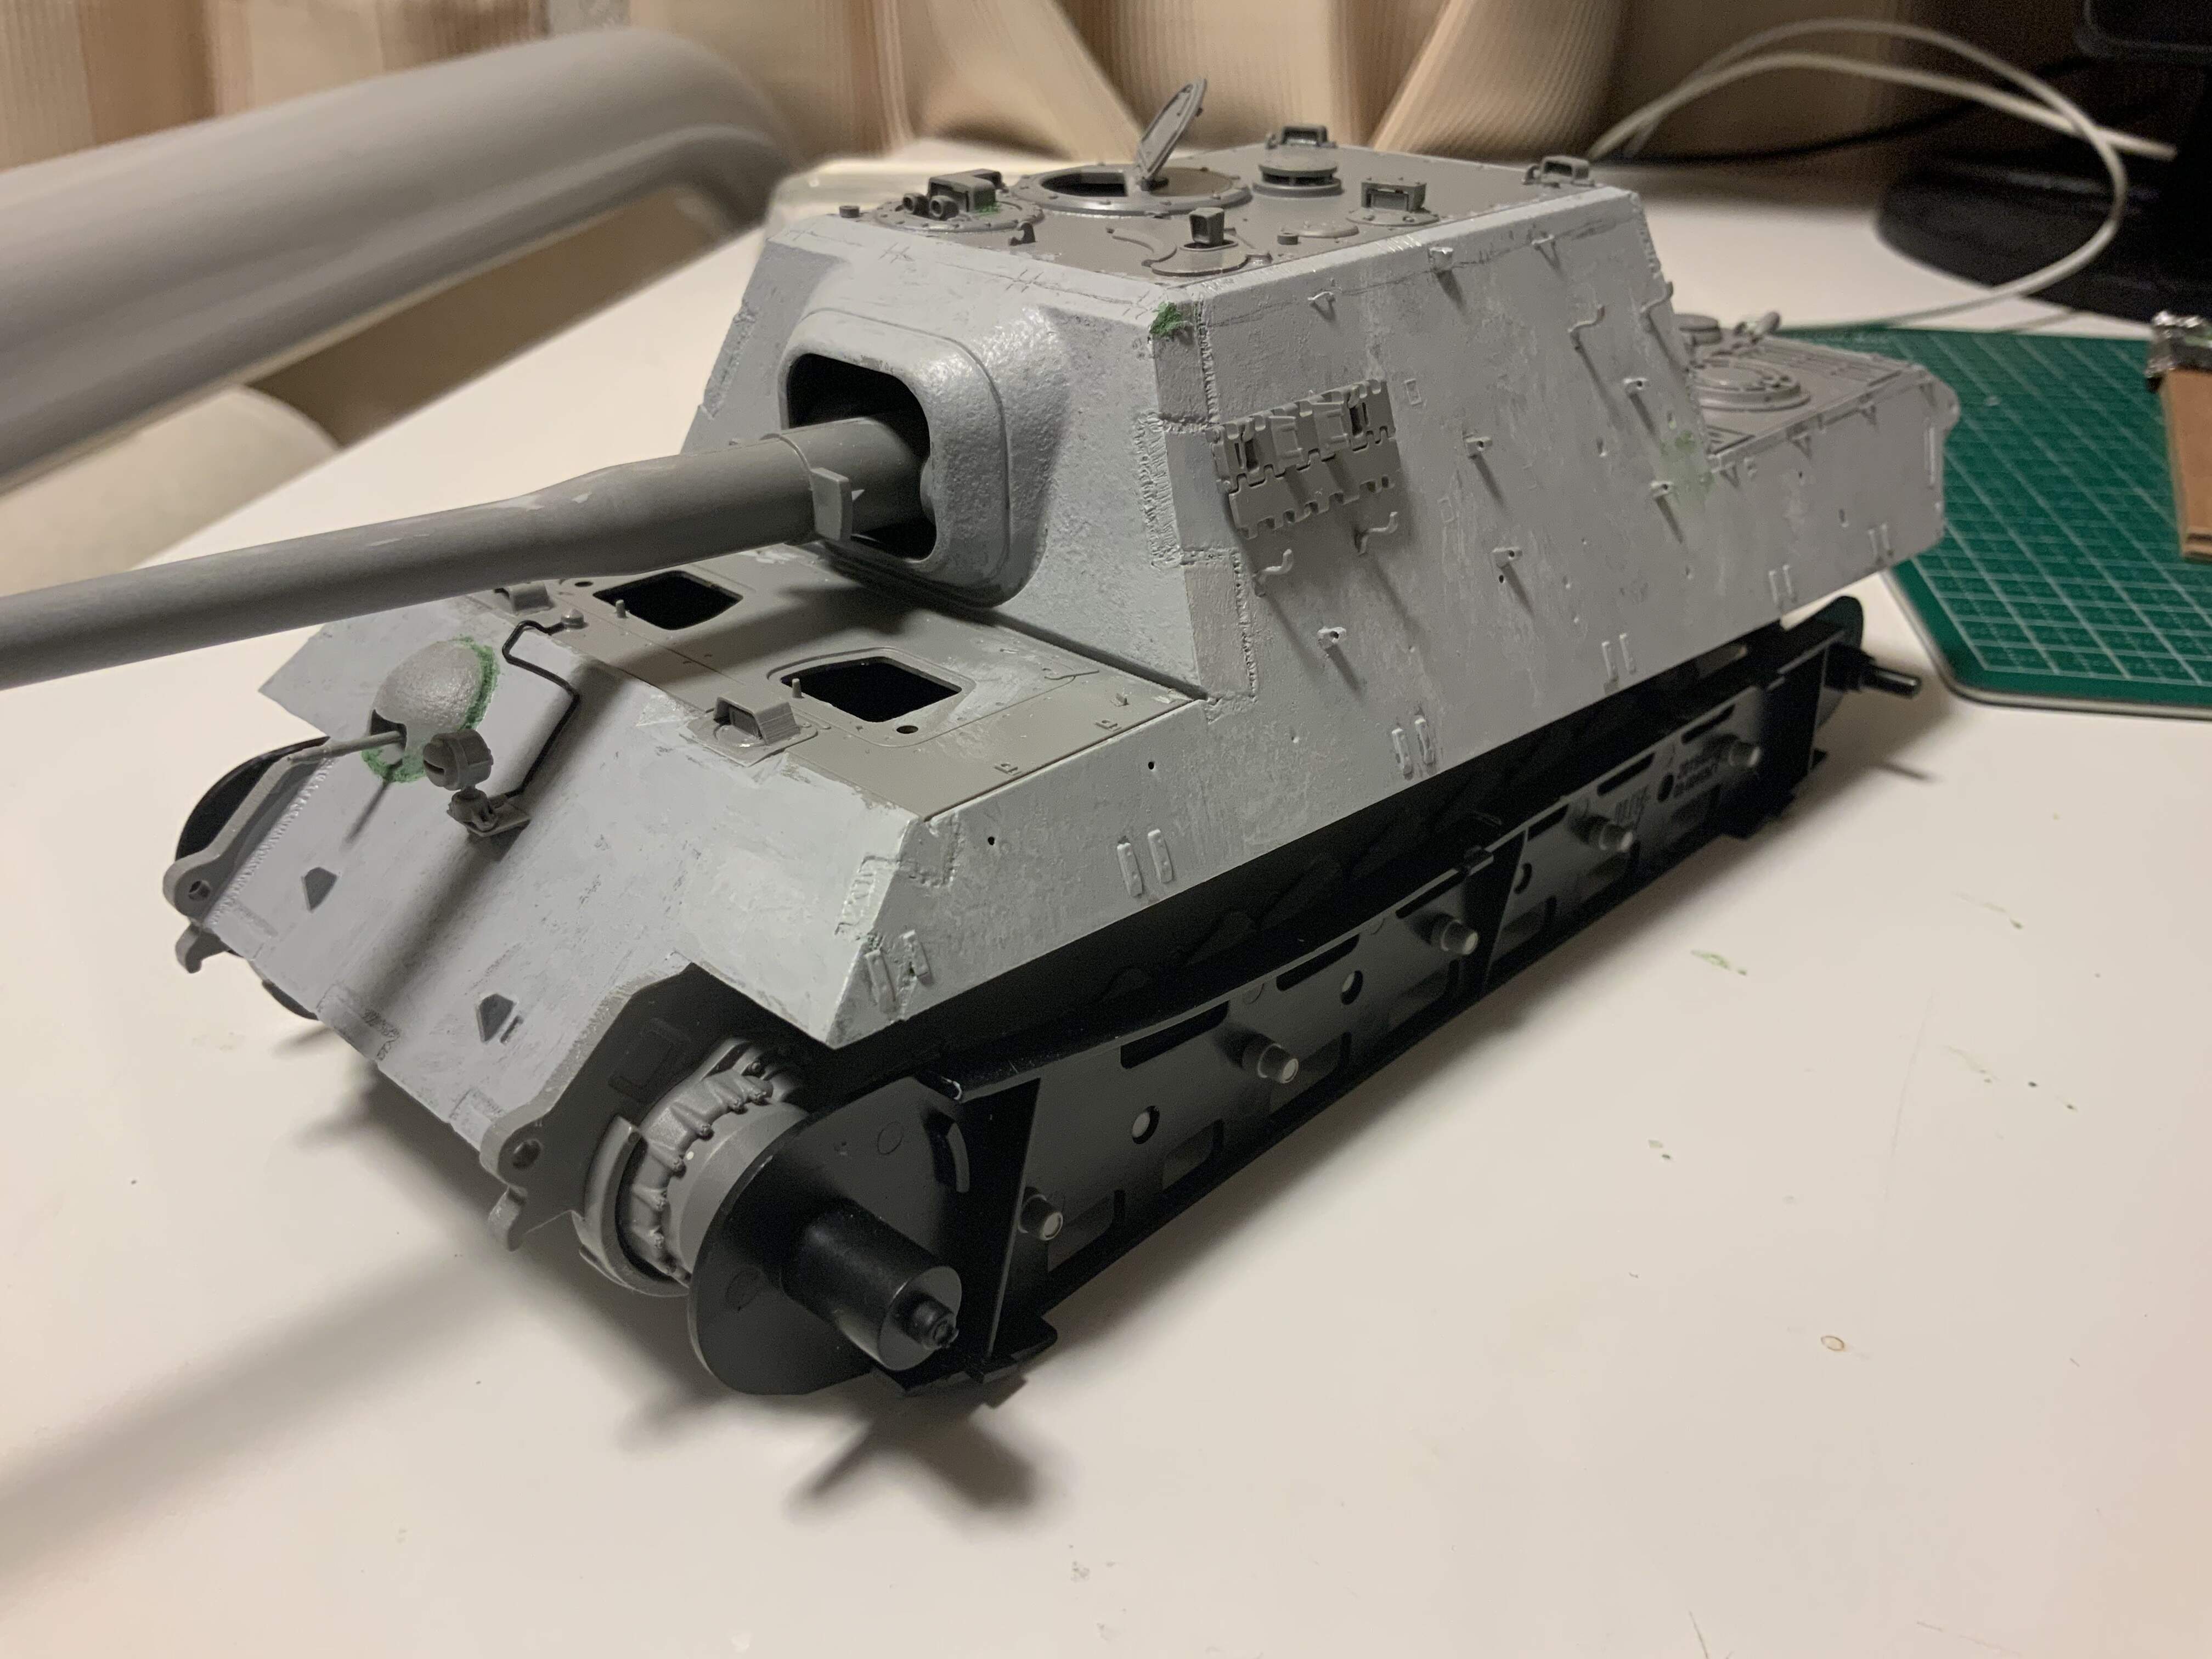
Here, I would show a new build, Jagdtiger !
This is the first opportunity of building Tiger II class.
Takom’s kit is both high quality and easy to assemble.This time around, I’m having fun with the goal that reconstructing Rolled Homogeneous Armour (RHA).
Already I am fascinated by the heavy armor and hard exteriors, which gives me the fact of how much strain it put on mobility of this.
I want to choose 512th Heavy Panzerjäger Battalion scheme for this painting and marking.
To Varnish by Tamiya`s extra thin cement and slap on with brush, created a swell on the surface.
Made finer undulations with Tamiya’s liquid surface primer and slap with brush again. And, check the overall texture.
Flatten the surface with sanding paper of # 1000-800.
These process made the face with swell and homogeneity .
This way is inspired from Makoto Takaishi’s method, he is famous, skillful AFV modeler and publish skill book.
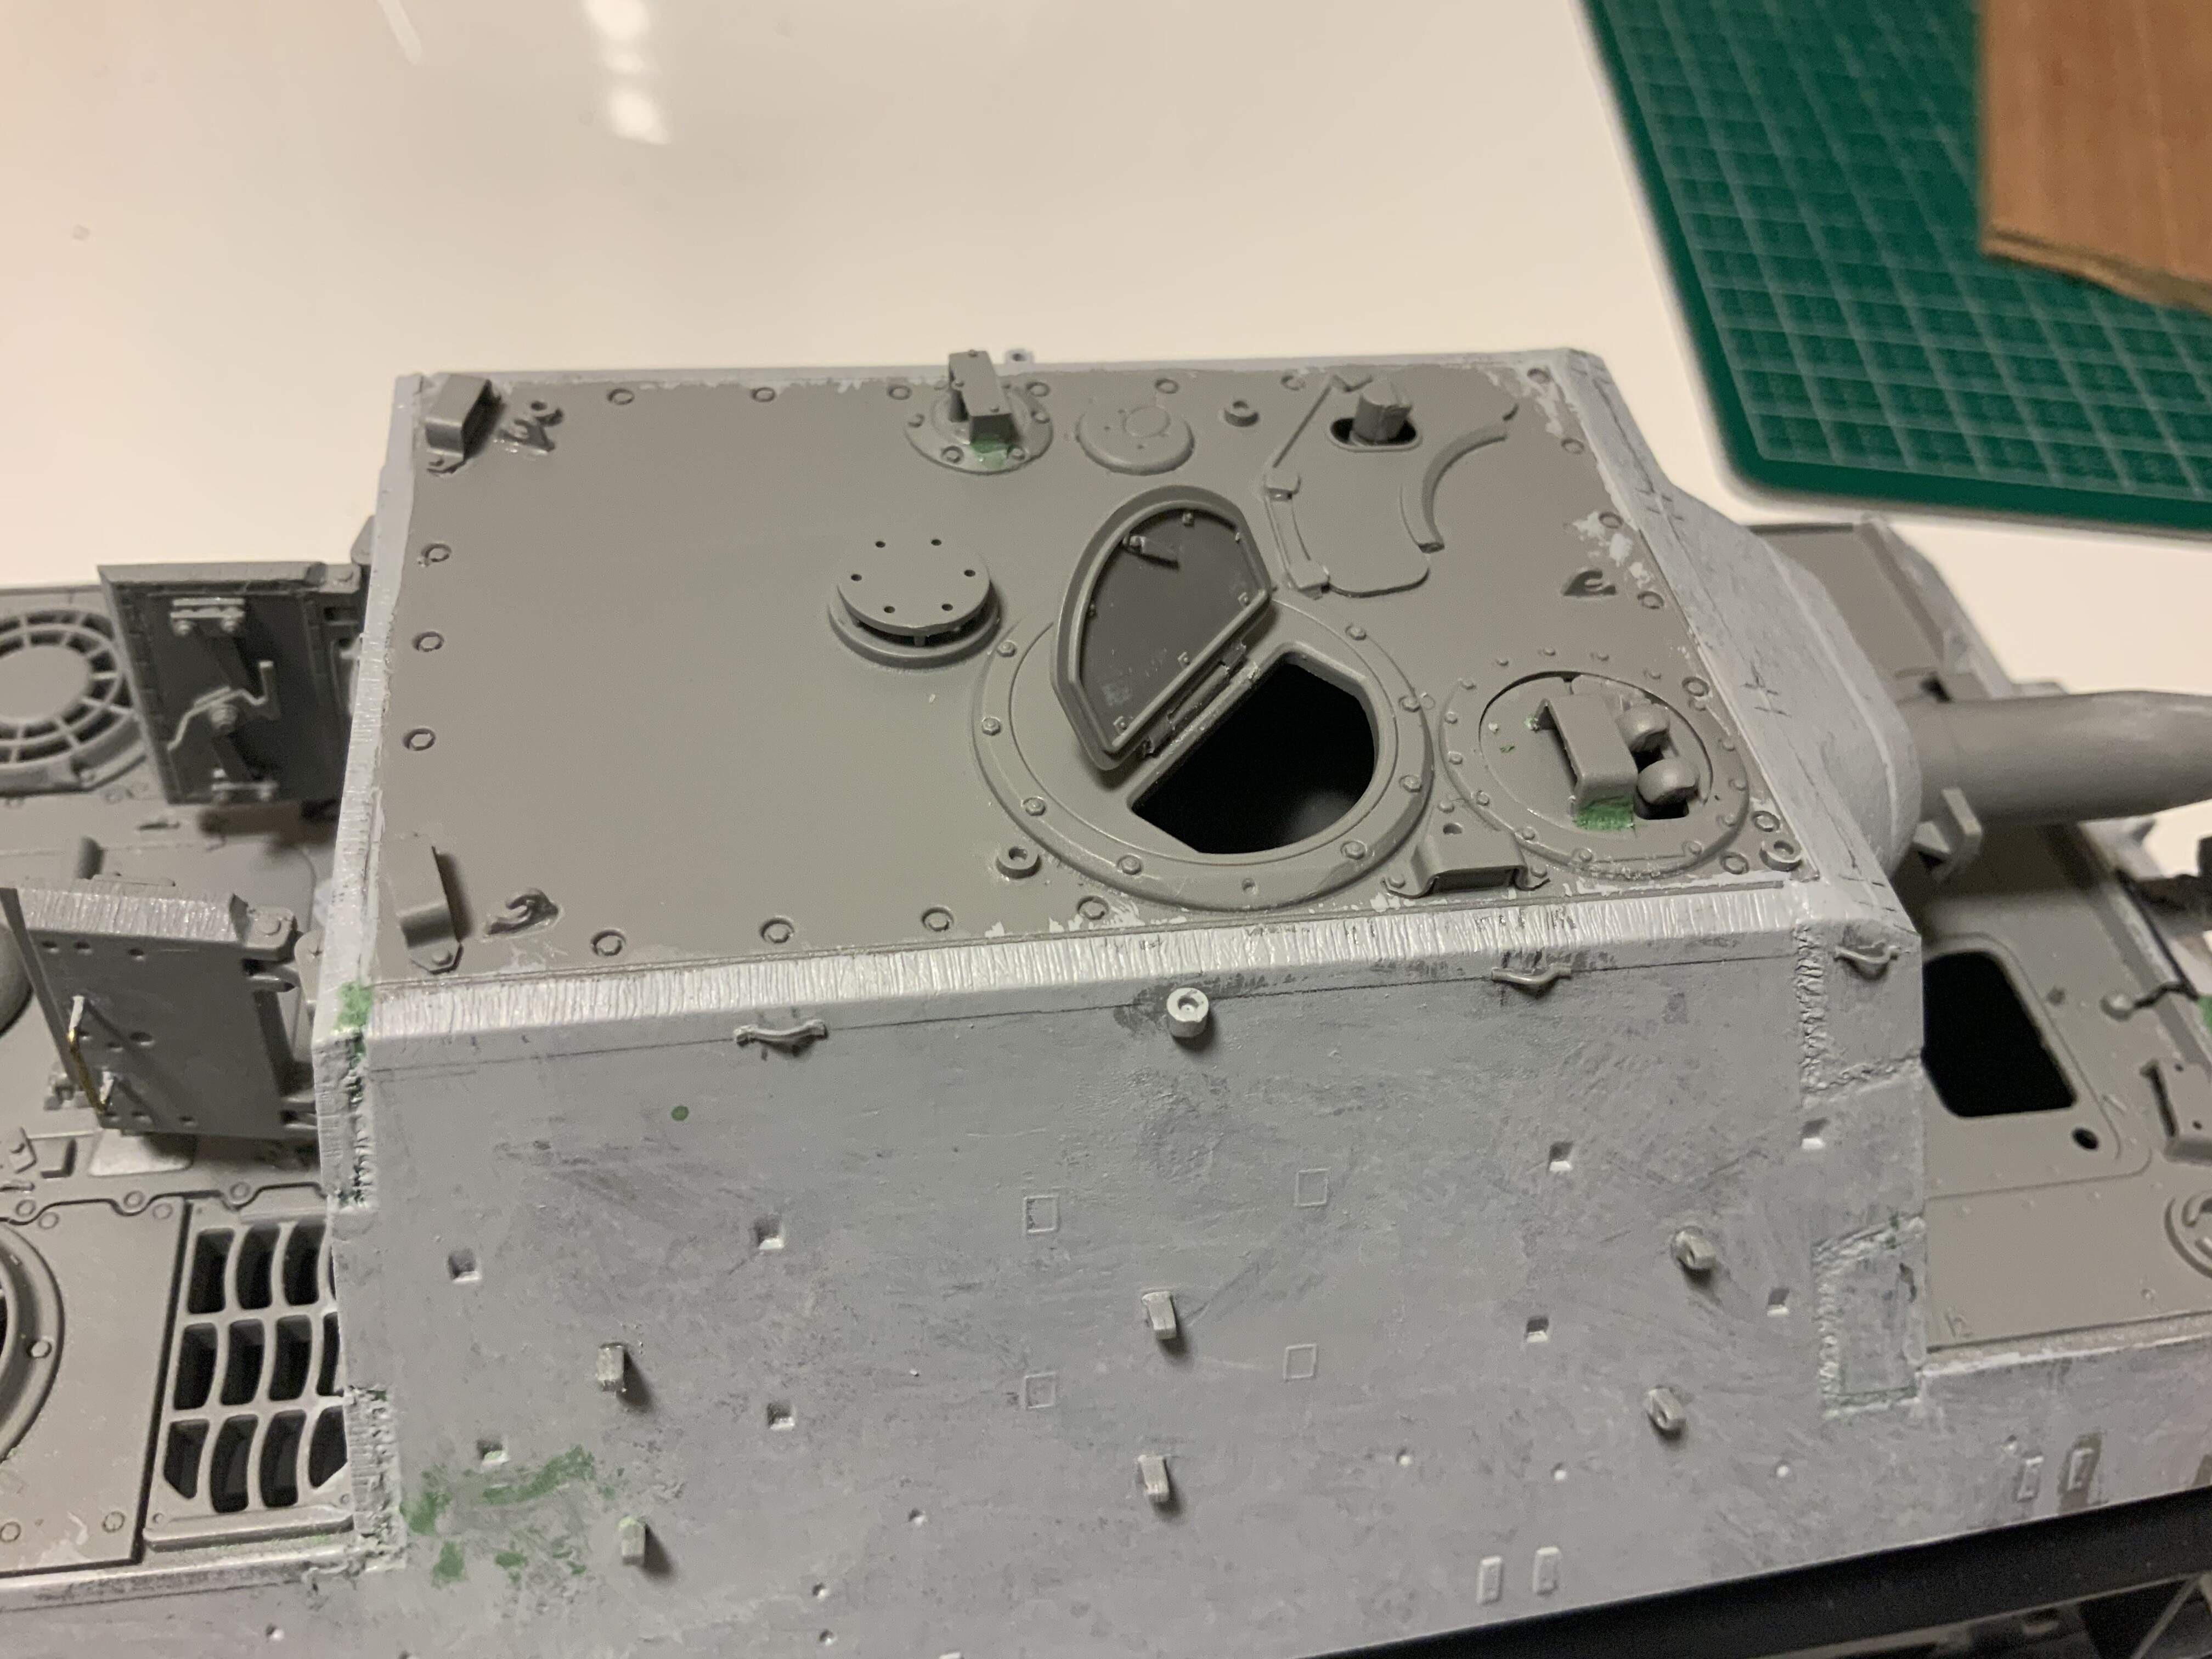
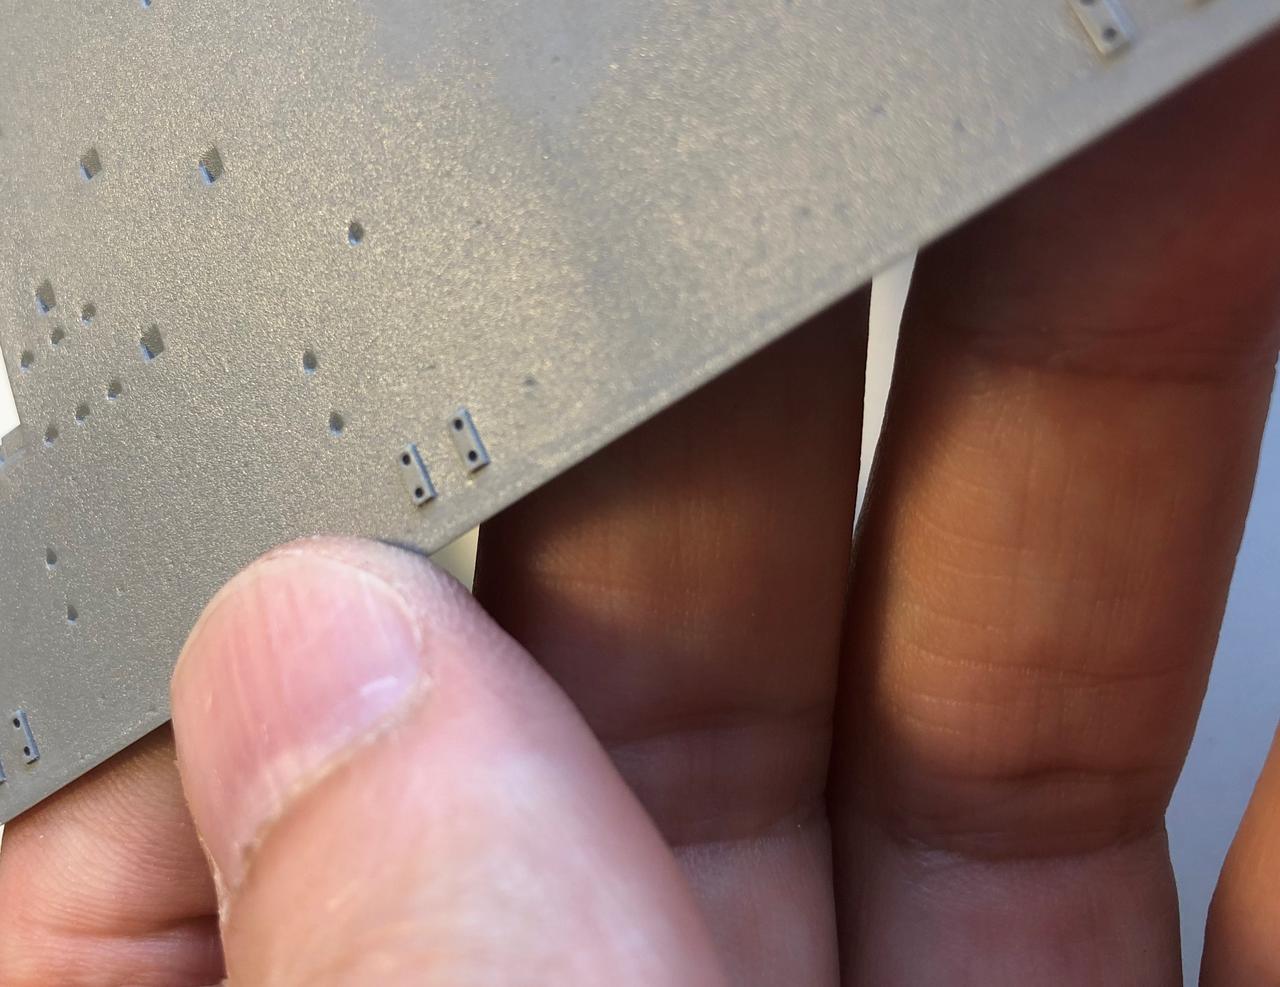
Looks good so far. Don’t forget to cut away the wedges on the bottom of the Schuerzen attachment blocks, which are an artefact of the moulding process. The actual lower face is perpendicular to the hull side.
Thank your kindness mention.
I’ve been wondering about this strange shape (new discovery?) too.
But, just a simple problem.
I may moulding or scrap & add a new one .
This is what Robert means, it’s an easy fix to just modify the part without cutting off and replacing. Trim the wedge from the bottom of the mounting block, and drill out the bolt holes. However if you plan on fitting the schurzen / side skirts it doesn’t matter as they will get covered up!
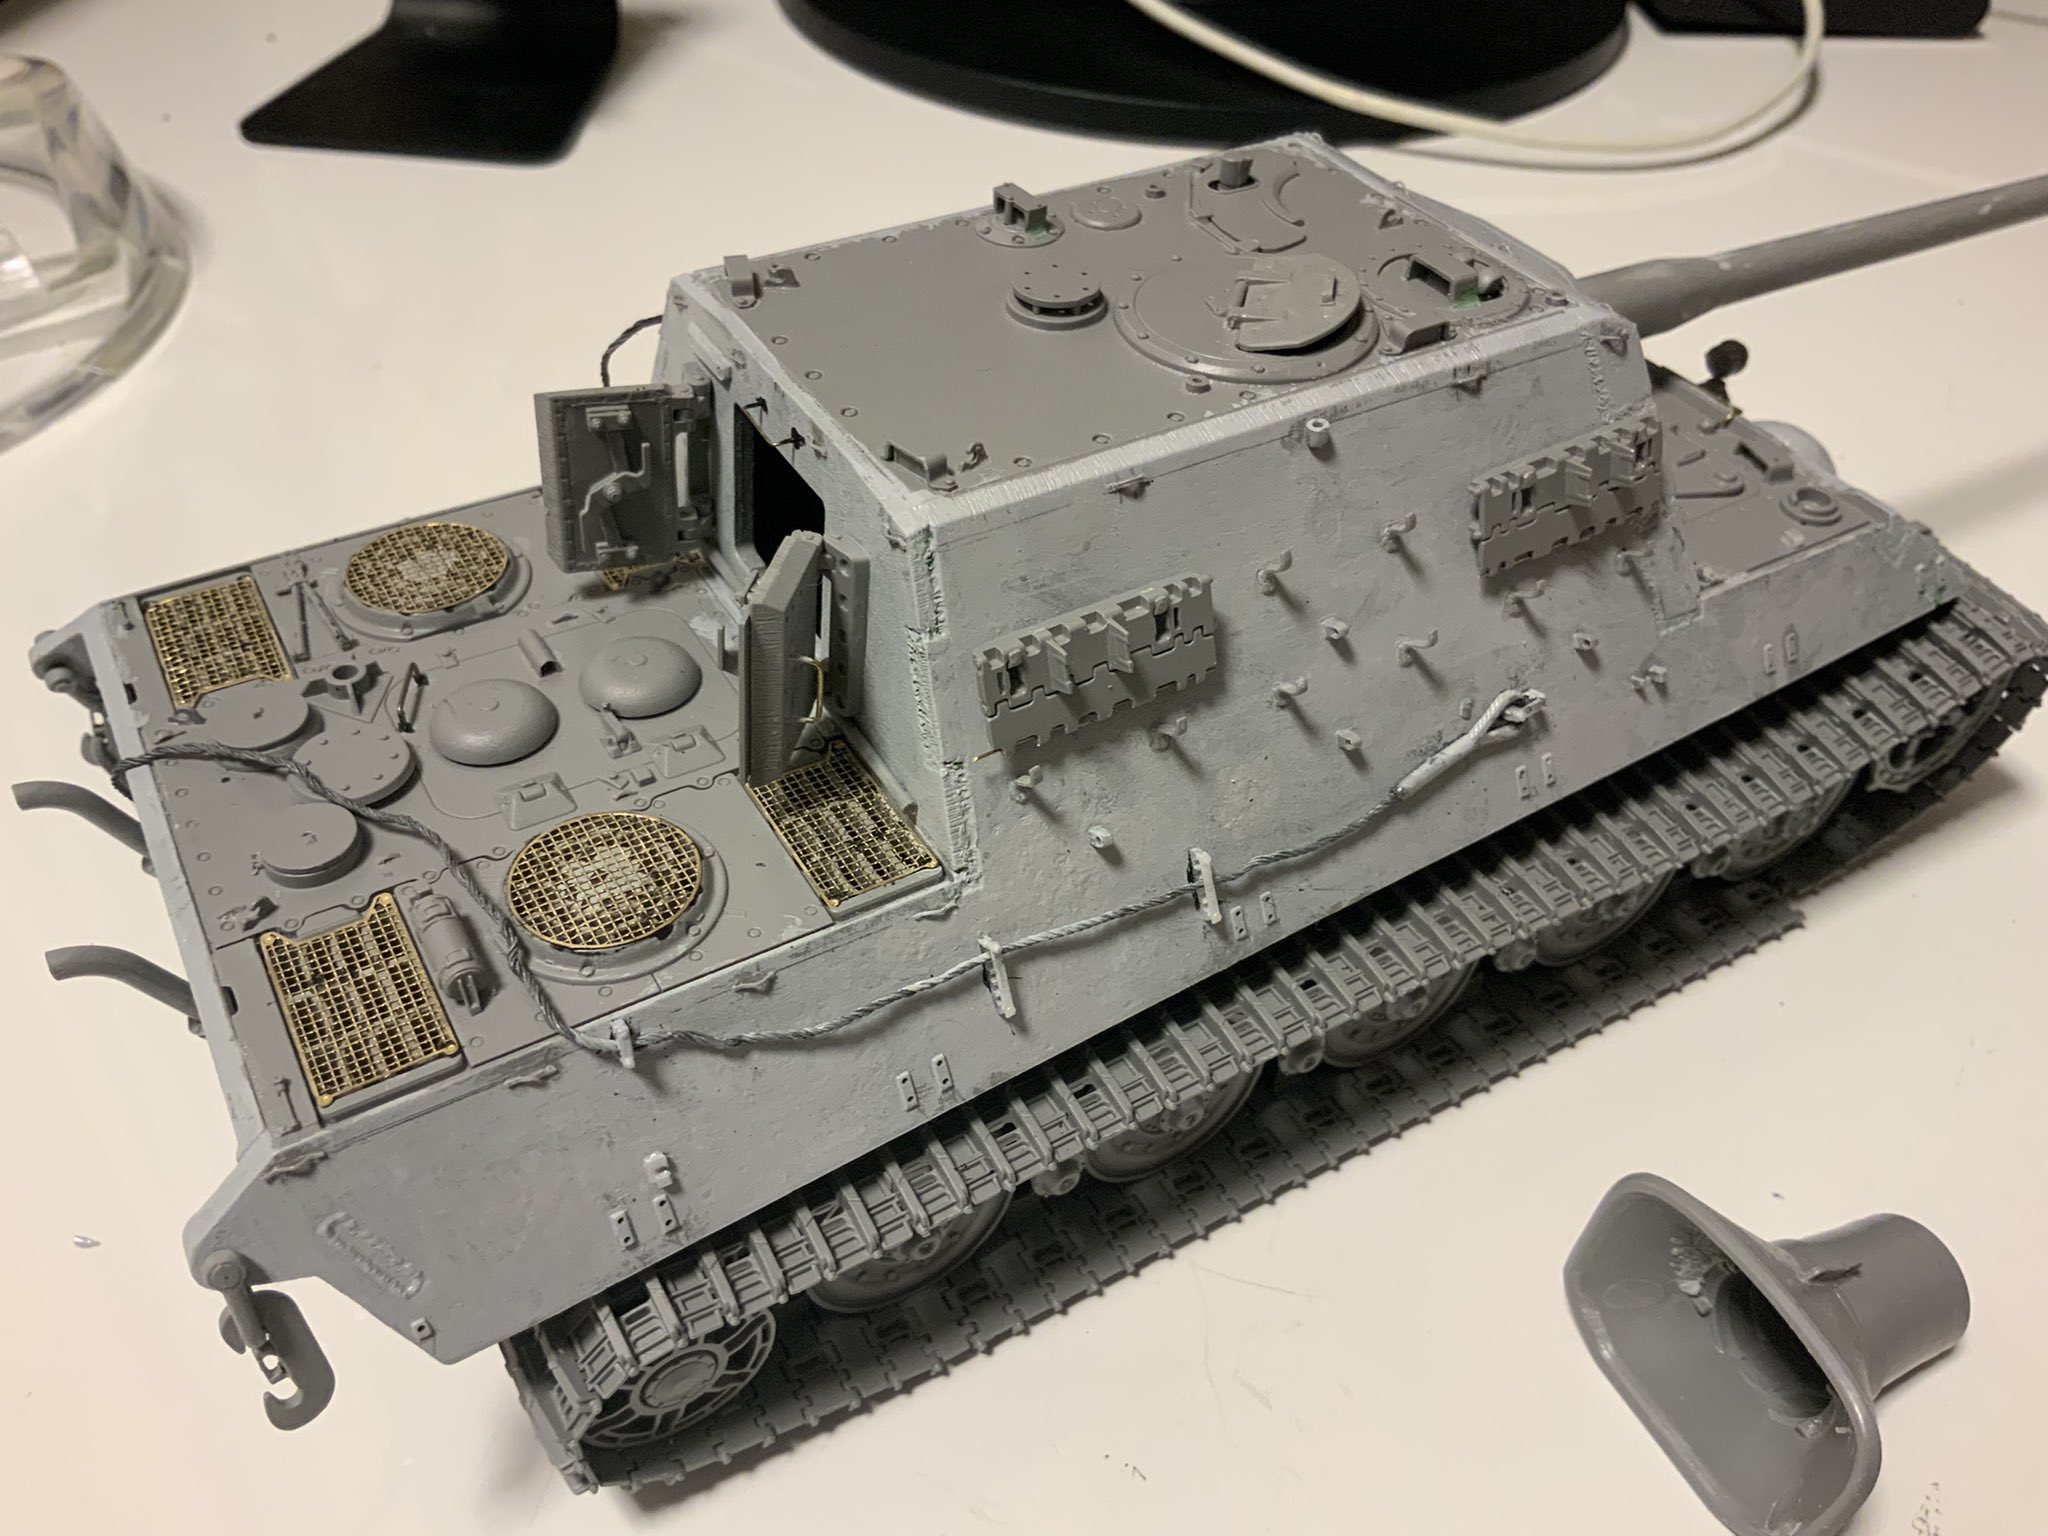
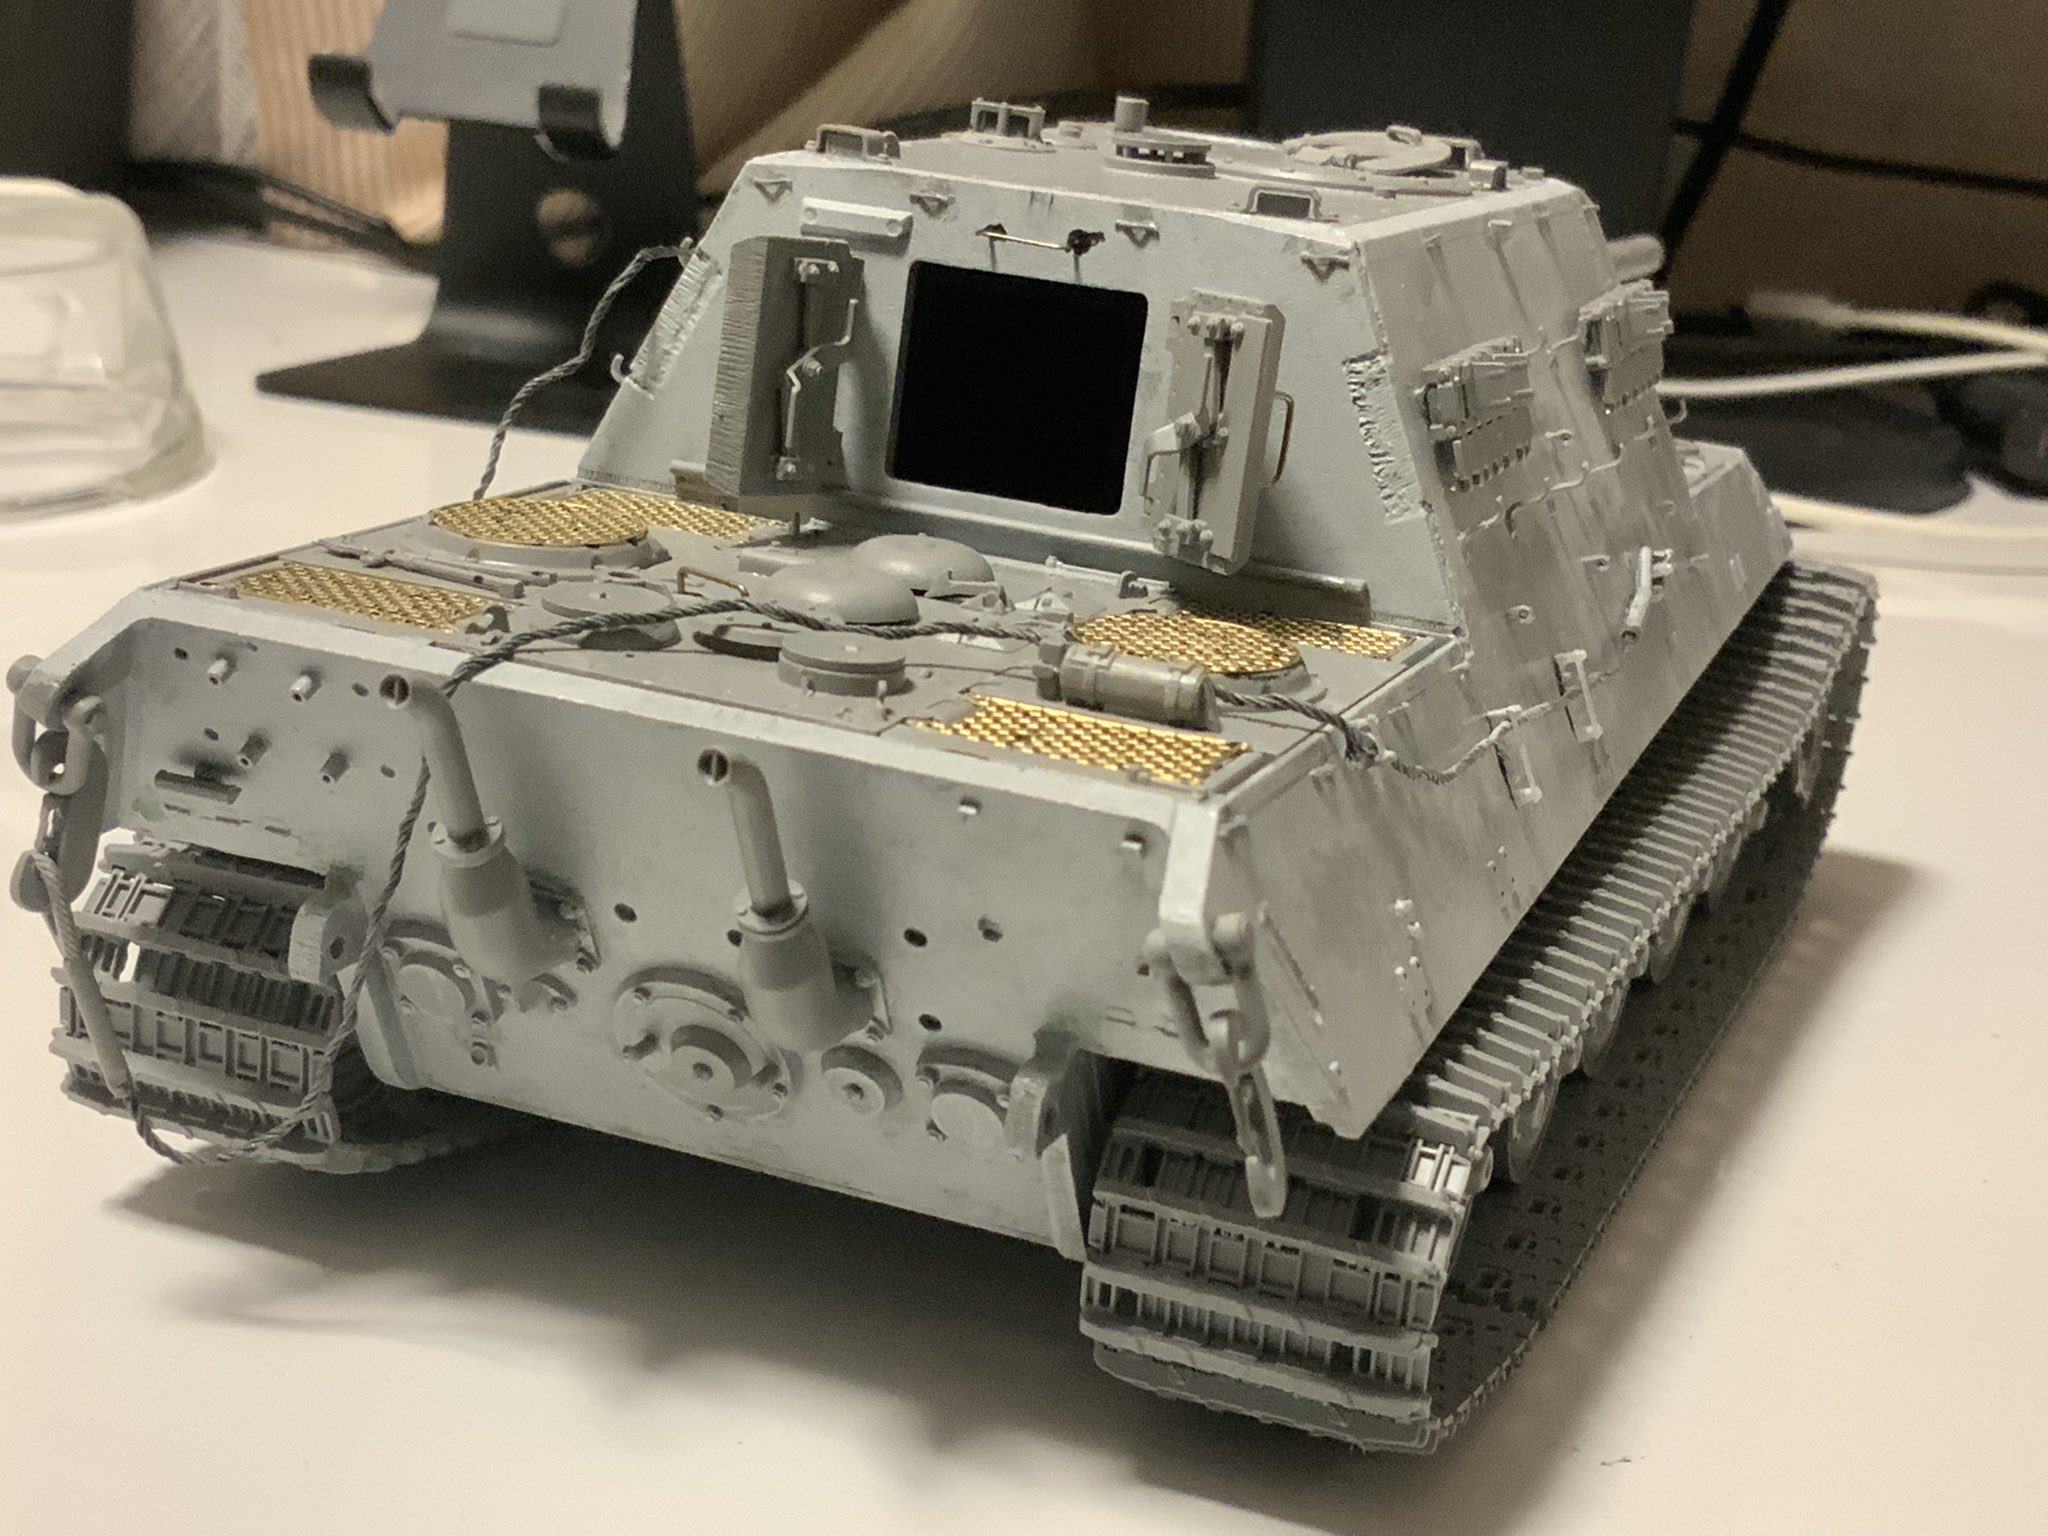
The pre-painting work is almost finished.
It used the trucks from the kit.
At first, I thought metal tracks but kit product were so great and easy-assembly.
The clamps were replaced 3D printer products (production).And towing cable was made twisting with metal cables by myself.
For me, the threads are too thick and too few, the twist is irregular and the bents unrealistic, remember that this is a steel cable as thick as your finger or more…
I think your vehicle would look much better without the cables.
Carlos,
Thanks for your kindness reply.
I realised that the reproduction by myself was too hardly.
I’d like to learn if anyone knows a better way to make it work, but I think ready-made prduct is a easy.
The problem with making your own wire tow ropes is that you end up with twisted wire. Actual wire tow ropes are wound. This can be done in modelling scales but you need to build a jig first and in my opinion, it is much less hassle to buy in machine-built ones from aftermarket providers as suggested. You can use picture-hanging brass wire but that is also twisted and mine will probably never be used now that I have a stash of Karaya ropes.
The other thing to bear in mind with wire tow ropes is that they are regularly inspected and if they start to fray, they are replaced. Otherwise they are more likely to fail in use, possibly in an emergency when under fire. Kinks are uncommon (try kinking a 25mm steel rope - it’s not easy) and they are lubricated to inhibit corrosion.
Robert,
Thank for your good reply.
I realized that towing cable is a uniformity industrial product, from your and other good suggestions. It’s very clear.
My own research showed that the thickness of Jagdtiger’s towing cable are about 1.35 mm on a 1/35 scale. This is much thicker than these of Tiger I !
Now, I understand that cables kink is barely, except for a very strong force.