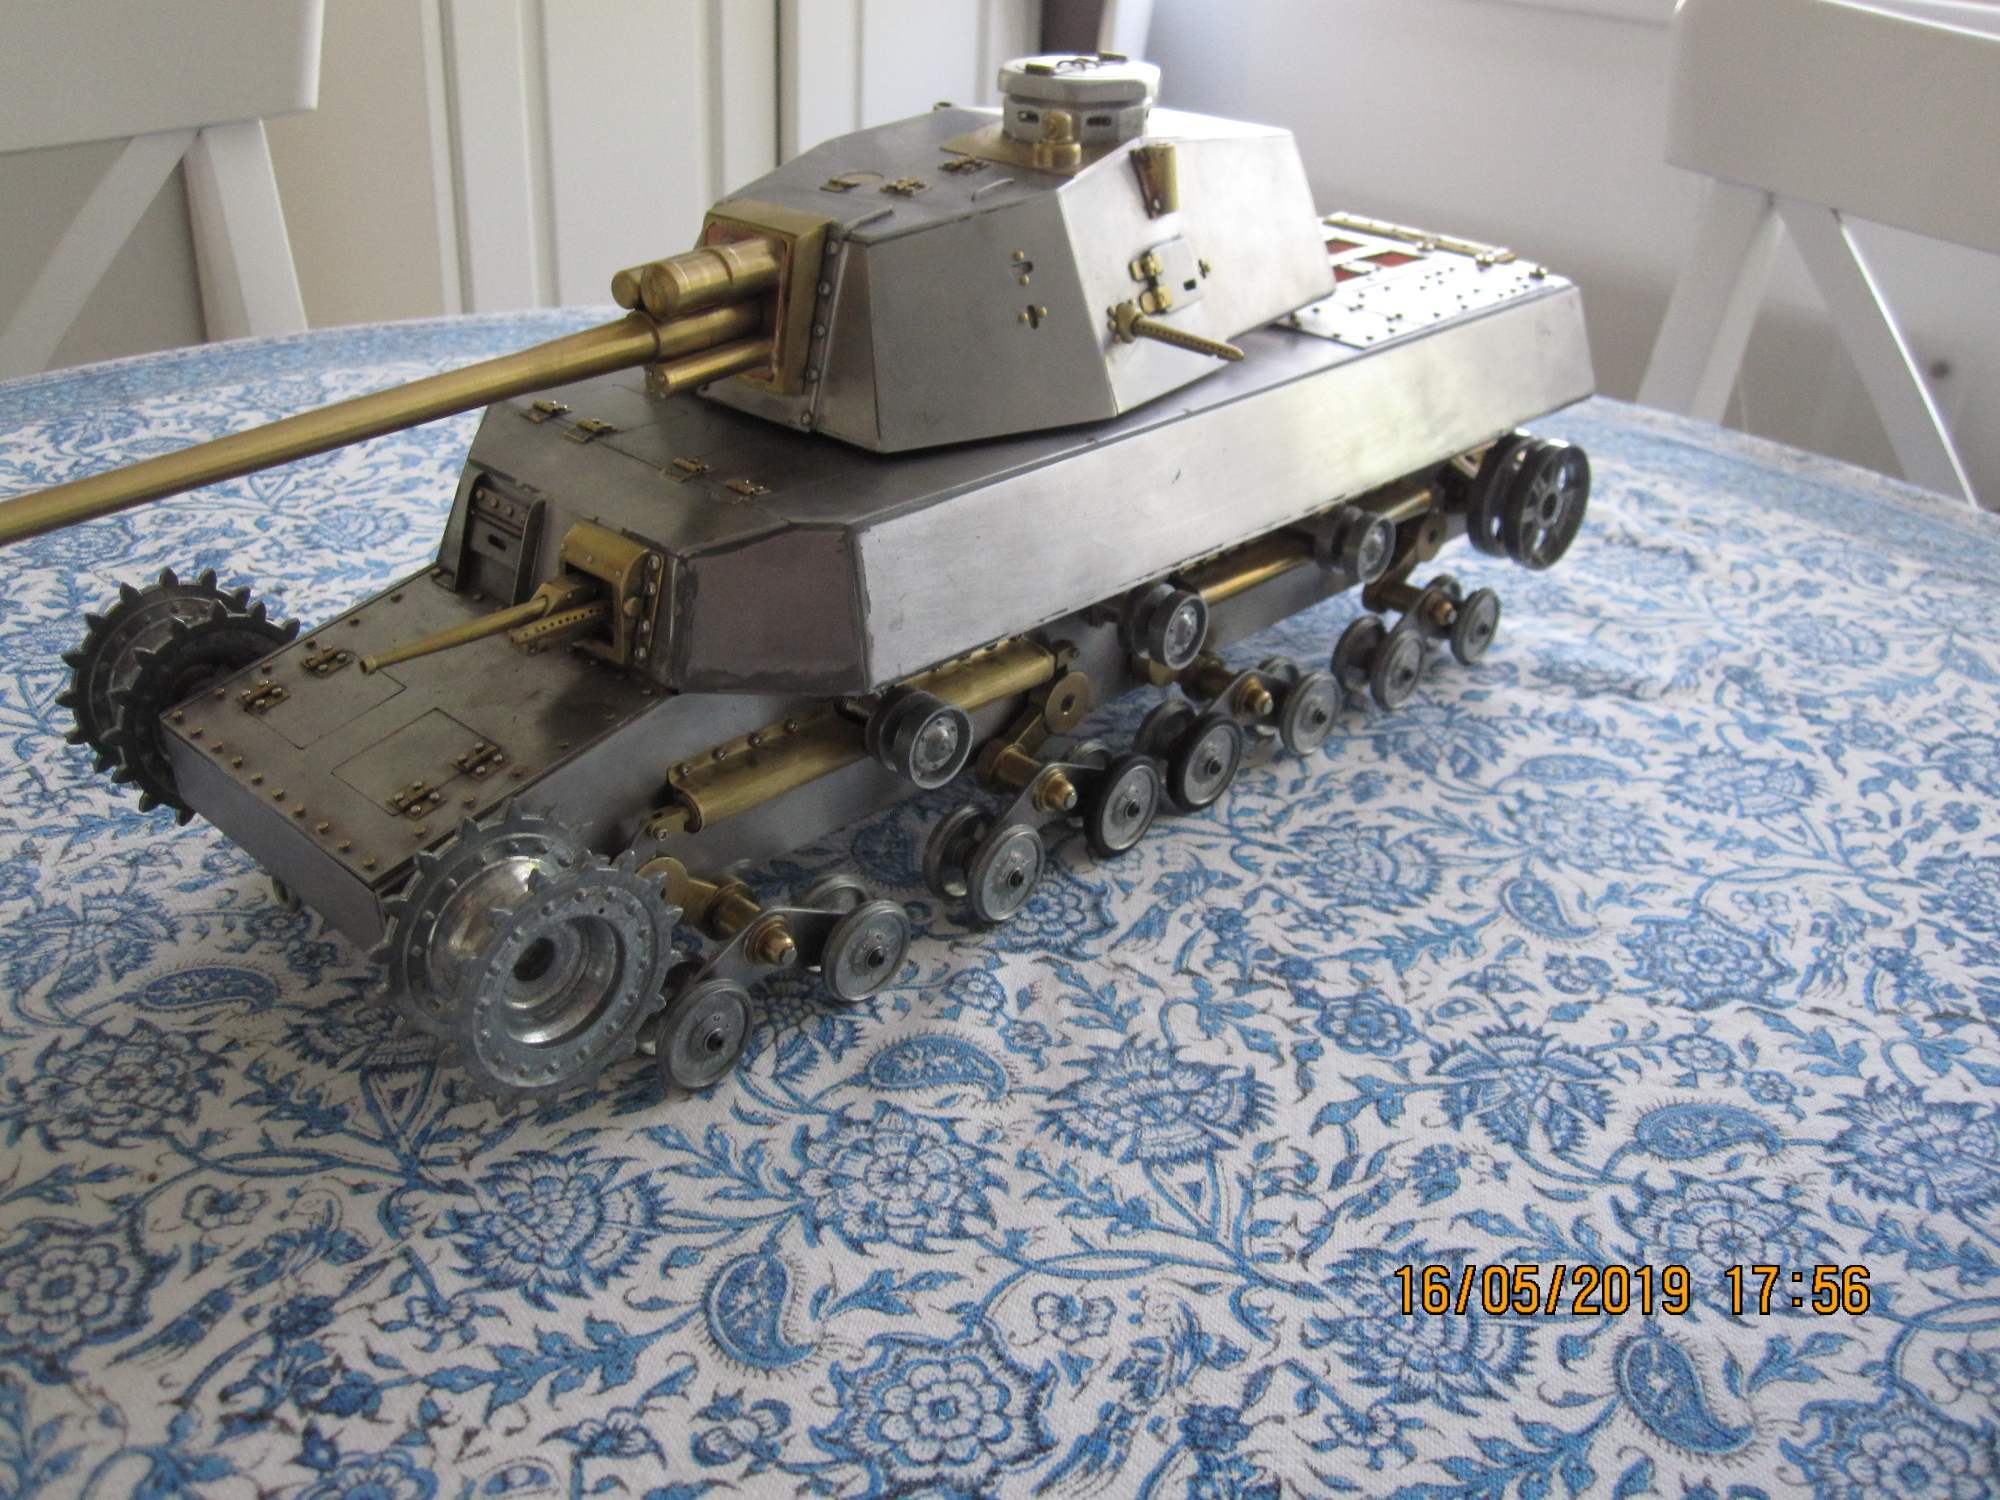
This is the Japanese Type 5 Chi-ri which was supposed to be their Sherman killing medium tank if the Allies had ever invaded. I see it described as the Japanese Tiger or Panther here and there so thats why I used that title (at the risk of being annoying). There are some pictures of the hulls and turret as found by the Allies. I think there is some evidence of the hull still being in existence as late as 1952 but after that it was scrapped.
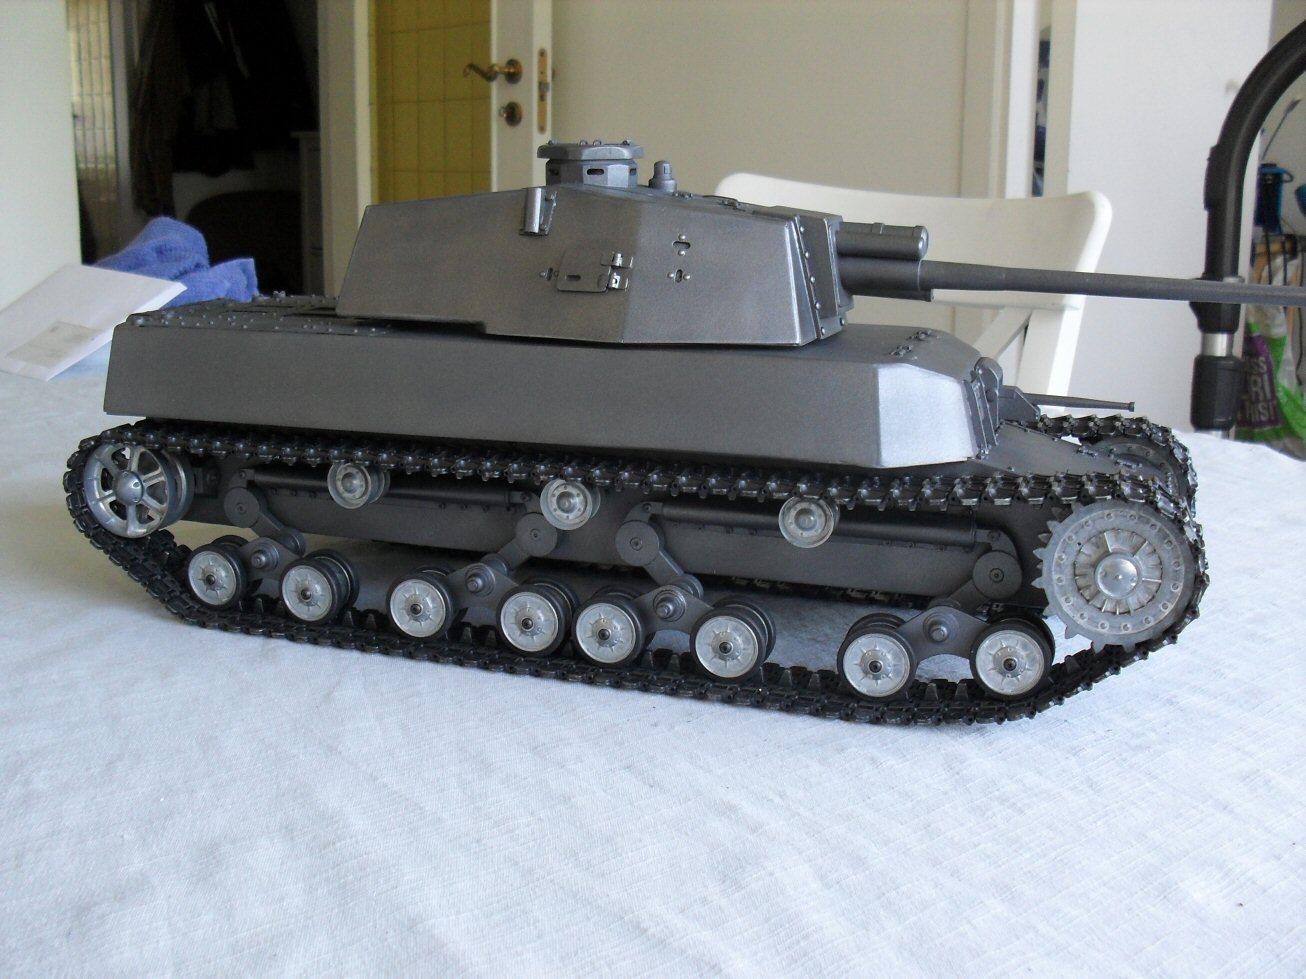
Staring point was 2mm sheet mild steel. As I cannot make tracks and have no idea what they were supposed to look like on the Chi-ri, I will use metal 1:16 tracks from a KV and the sprocket. They are about the correct width.
I started this a couple of years ago and for one reason or another it ended up in a box twice and I only finished it recently.
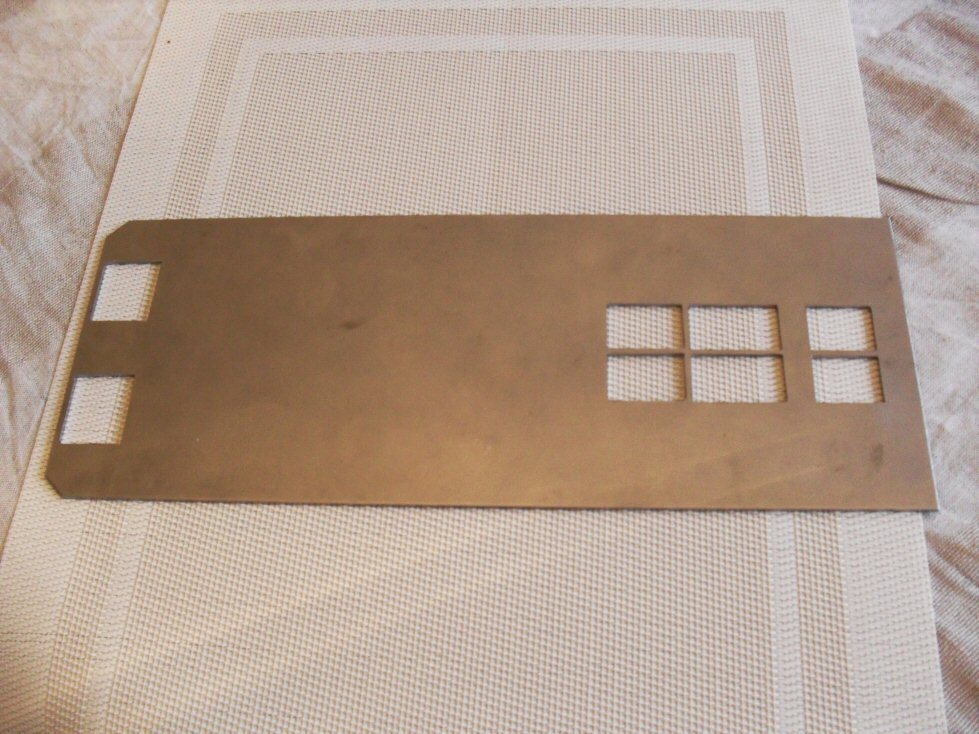
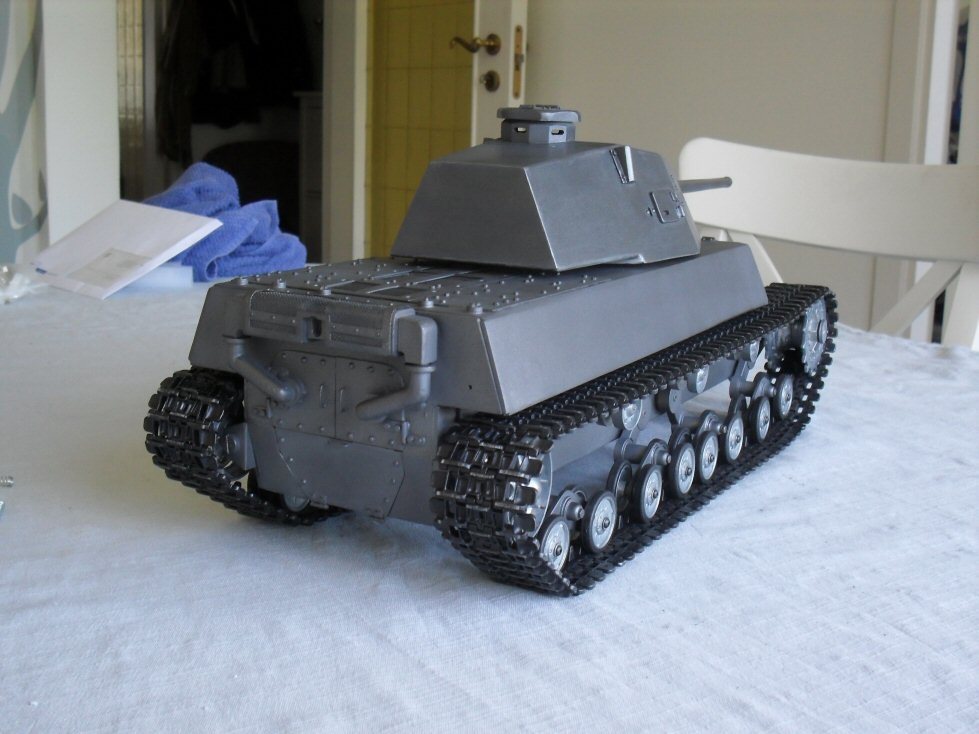
This is the upper hull plate with the engine vent holes cut out and some hatches.
Here is the lower hull tub and side walls.
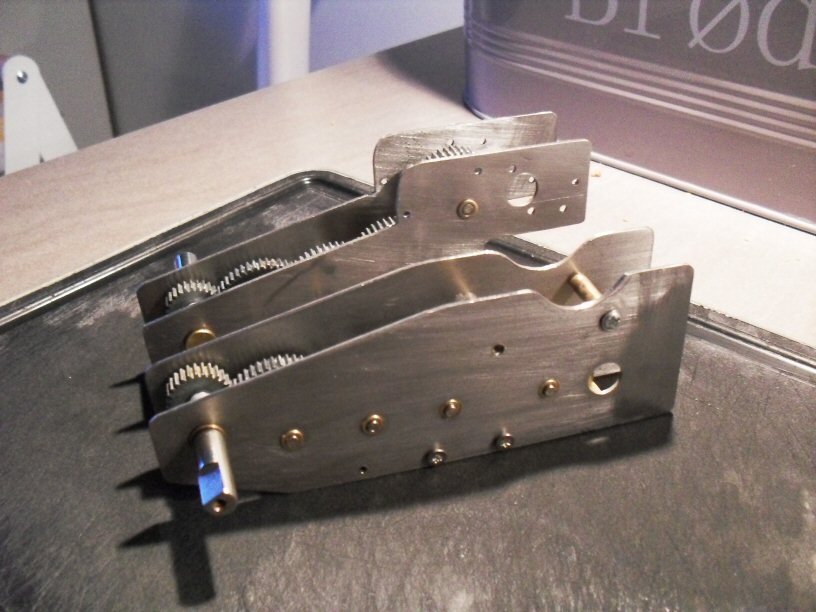
The front of the tank is super narrow so I fashioned two gearboxes from the gears from other gearbixes but mounted in a way that they fit in the hull.
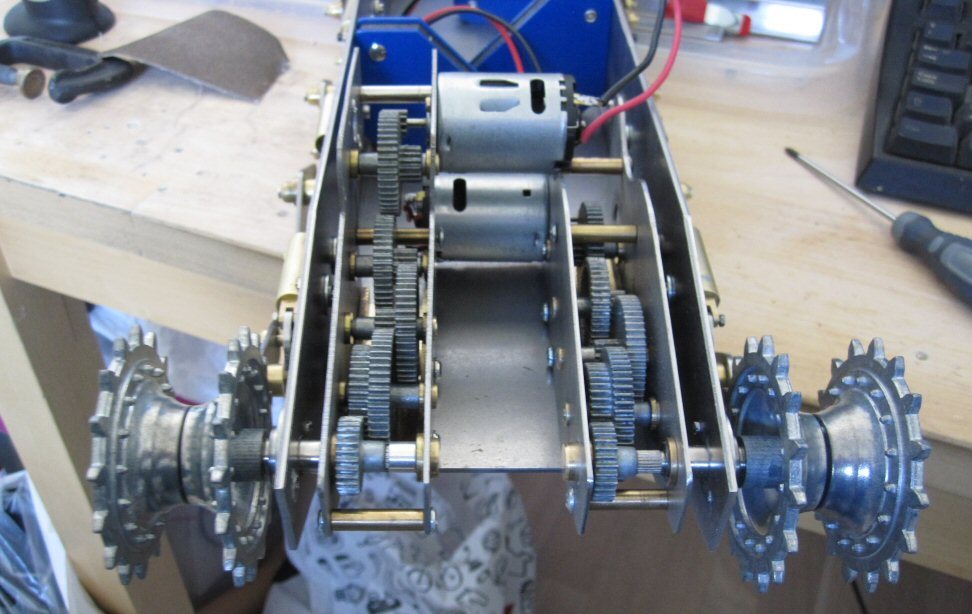
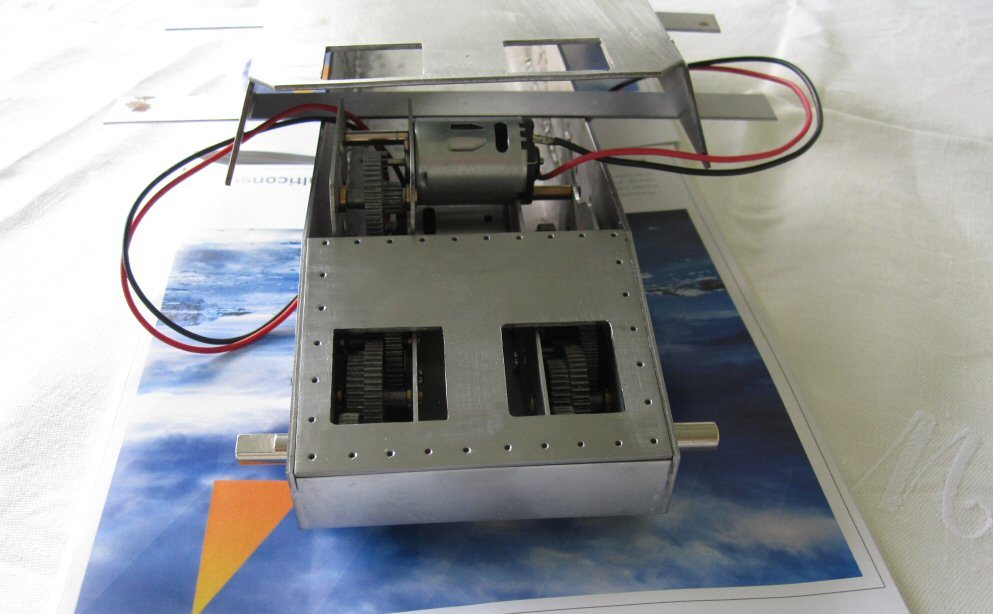
Here they are in teh tank and with the front glacis plate on just to check that they fit. These gearboxes are a sad story as I spent a lot of time and energy on them and when I drove this tank for the first time a week ago, the tank was so heavy it chewed right through them as they are made of cheap mystery metal. So I am going to swap over to a chain drive system as soon as I get some sprockets.
P
2 Likes
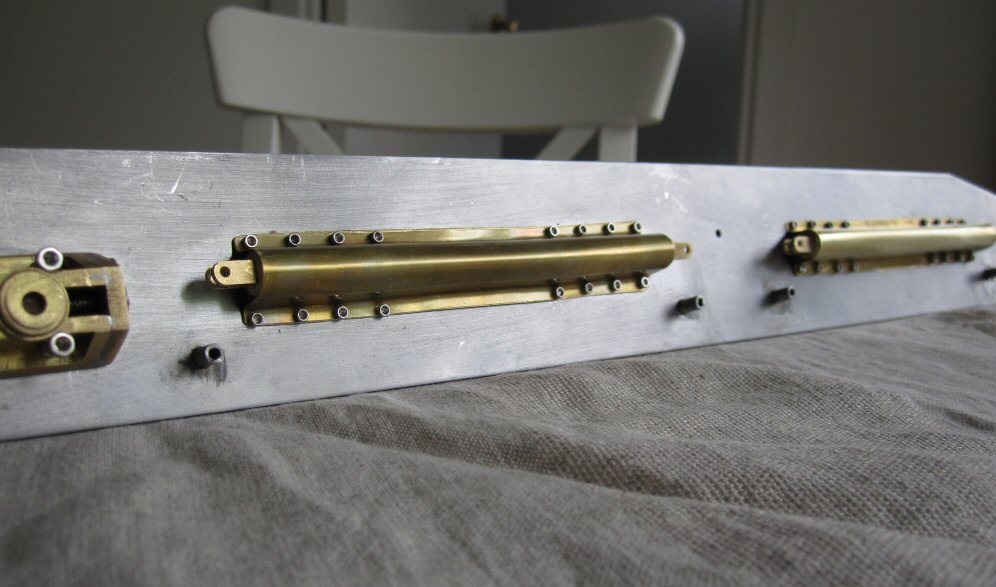
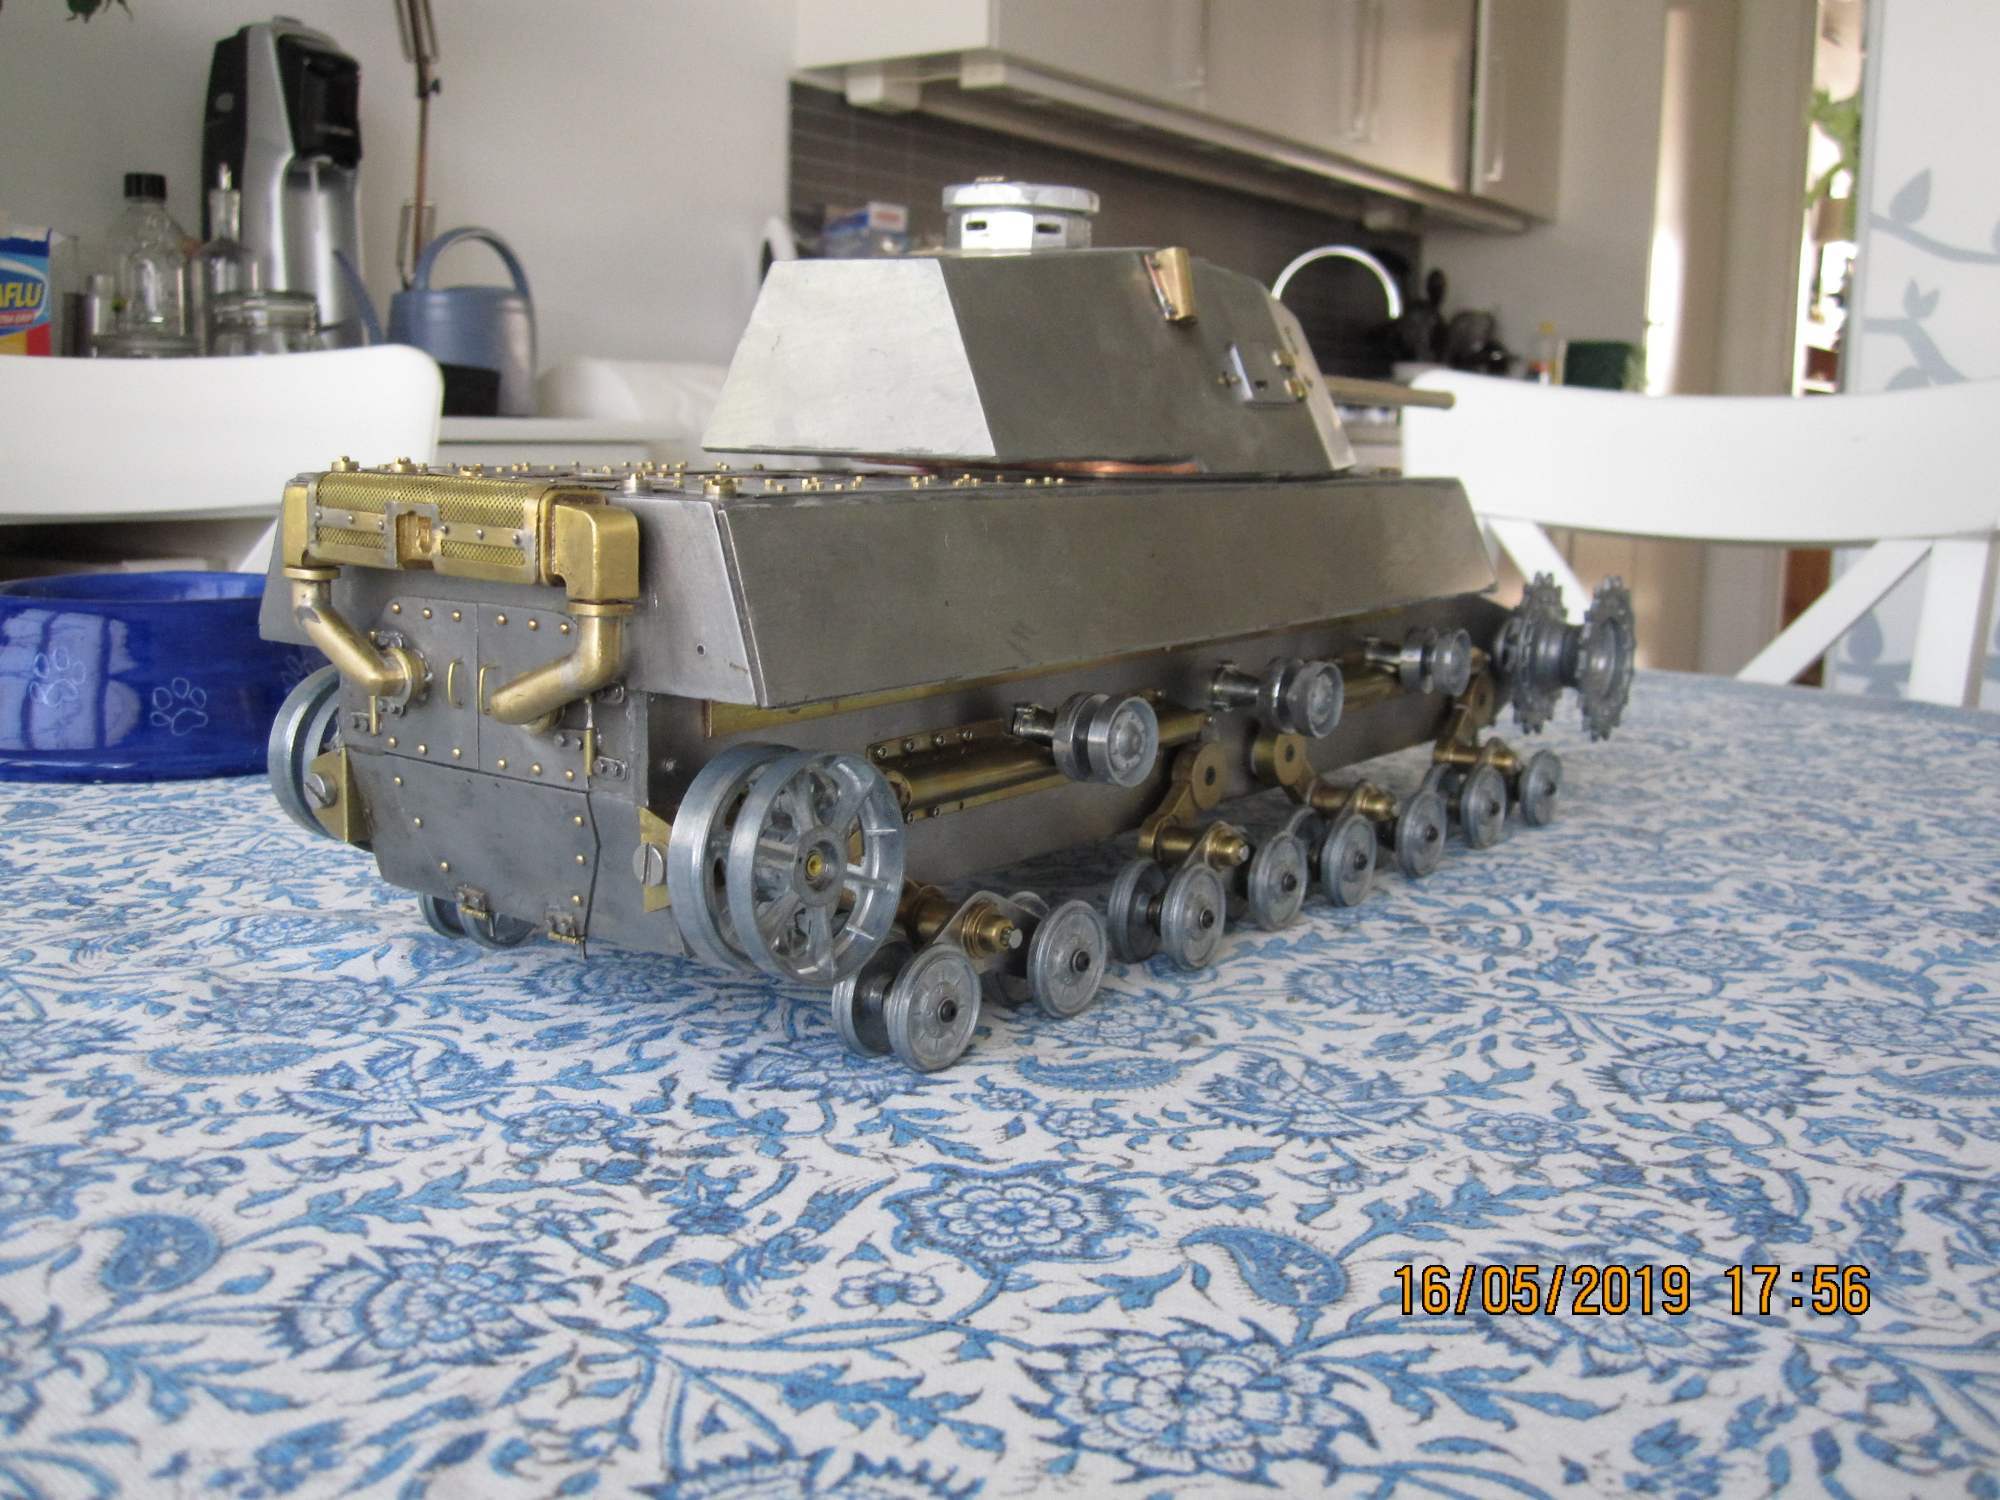
The suspension is some kind of variant of the Christie suspension I think, called the Hara system or something. Its a bell crank system pulling on horizontally mounted springs along the side of the hull.
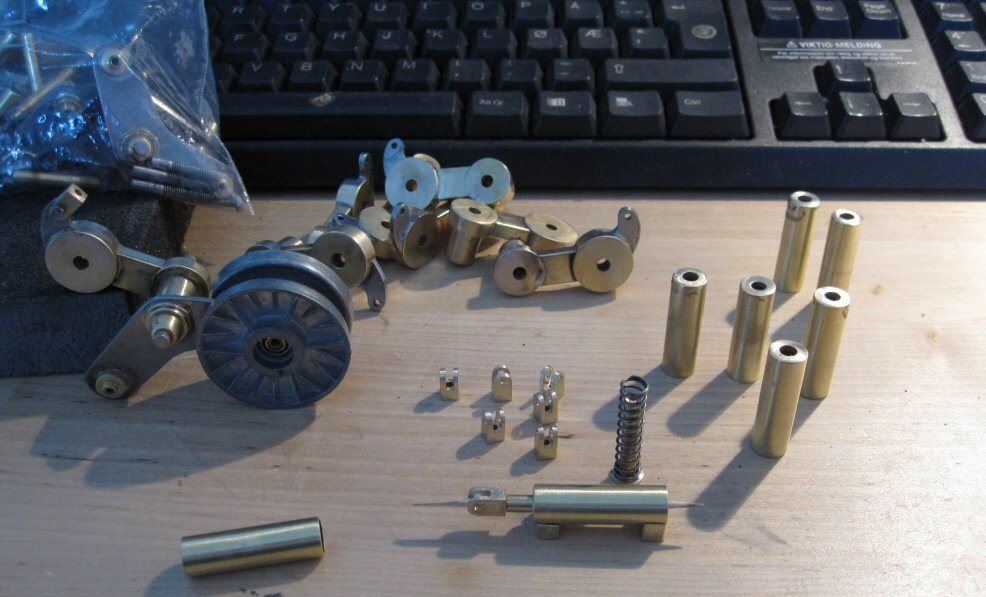
Its only a bunch of tubes and rods so its amenable to cobbling together.
Here are the bits and pieces. The spring tubes are just brass tube and rod and you can see how the springs go in. The linkage on the rod is then connected to a bell crank which is located on top of the swing arms. These were a bit fiddly to make as its hard to hand craft multiple bits that are all identical. After much trial and error and scrapping of bits, I ended up with enough similar looking bell cranks.
You will notice a KV road wheel. I will get back to that.
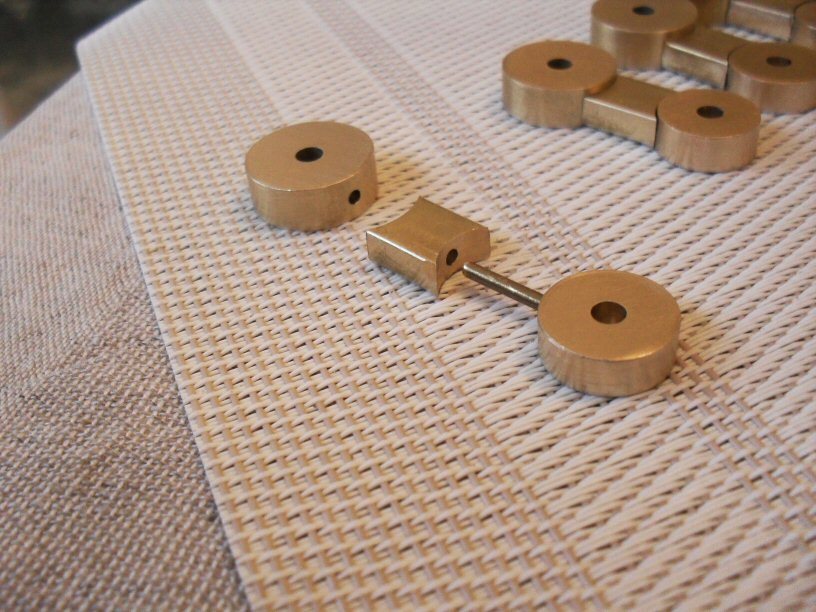
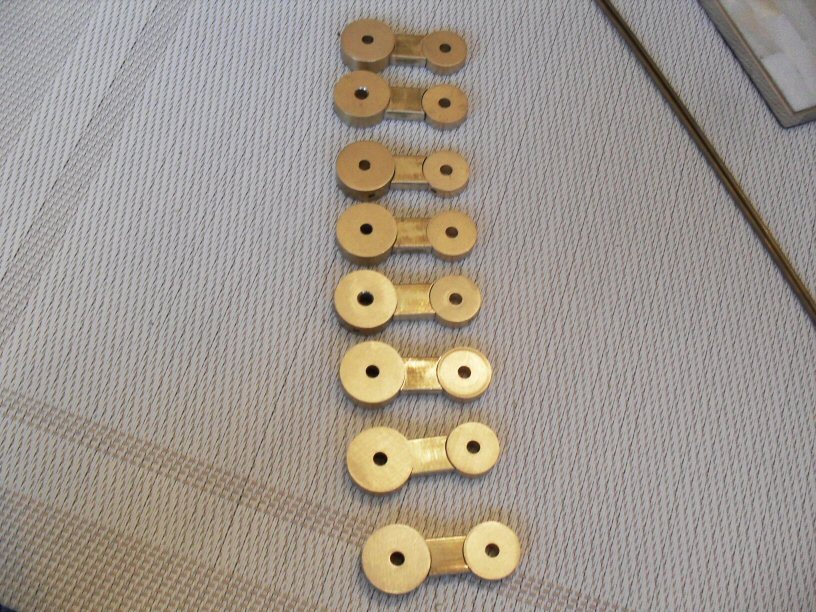
The swing arms were simply brass centre drilled discs connect together using a bit of silber steel for strength.
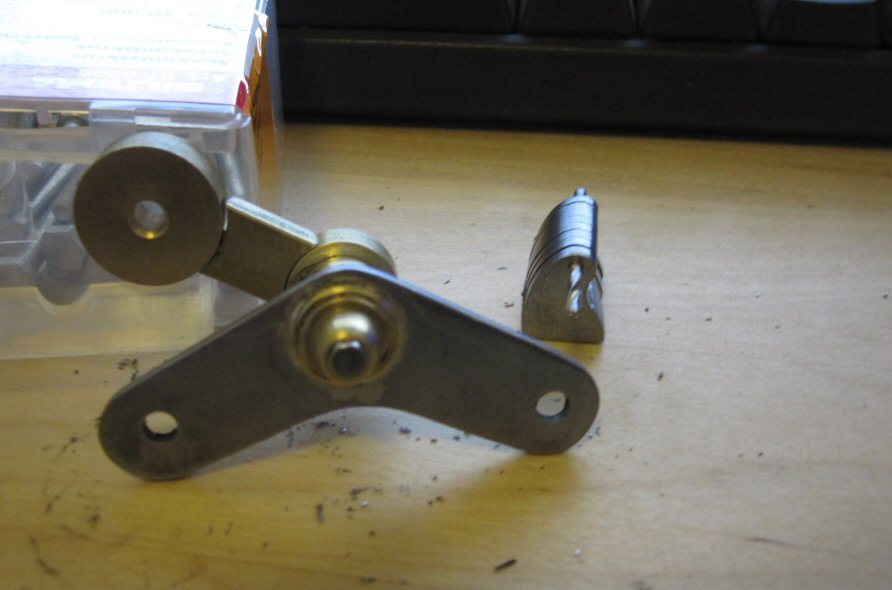
The bogies or whatever they are called were just steel filed to shap and then mounted on a hub made from brass and then attached to the lower end of the swing arm.
And this is what they looked like mounted. The suspension actually works quite well although at some point the springs will have to be fine tuned to get it to where I want it to be.
A simple shroud was then made out of brass sheet to cover the springtubes.
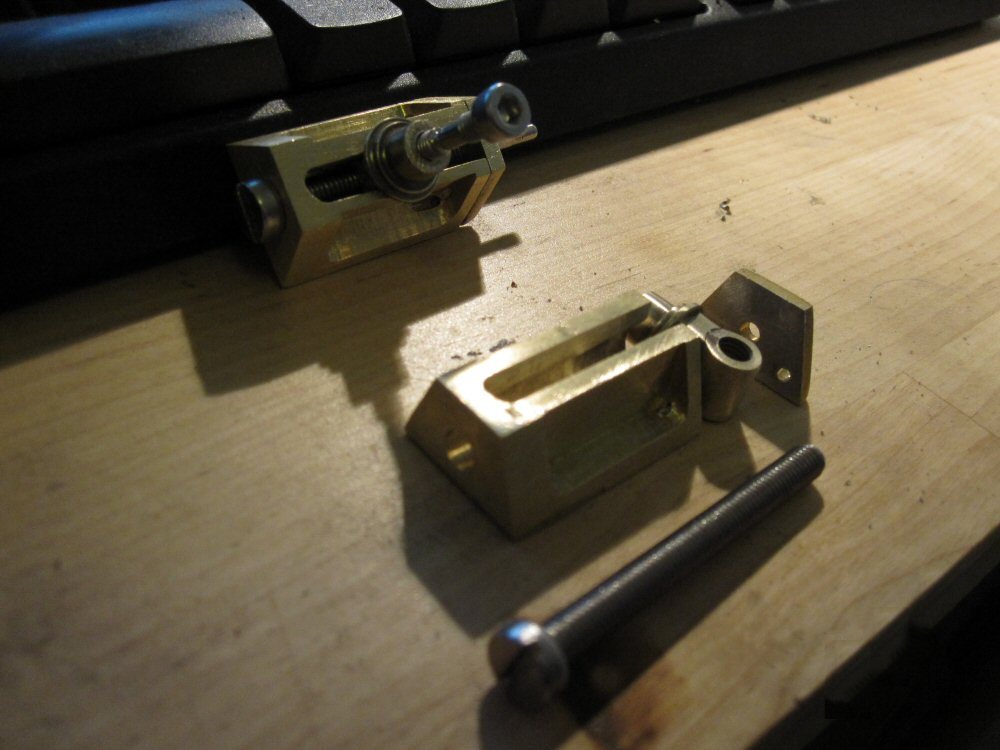
I neede the ability to adjust the tracks and make getting them on and off easier so I made a track tensioner. I have no idea what the system on the real tank was but I neede one and it wont be visible behind the idler. It was simply a crude but effective blind bolt in a housing with the idler axle riding along it.
P
2 Likes
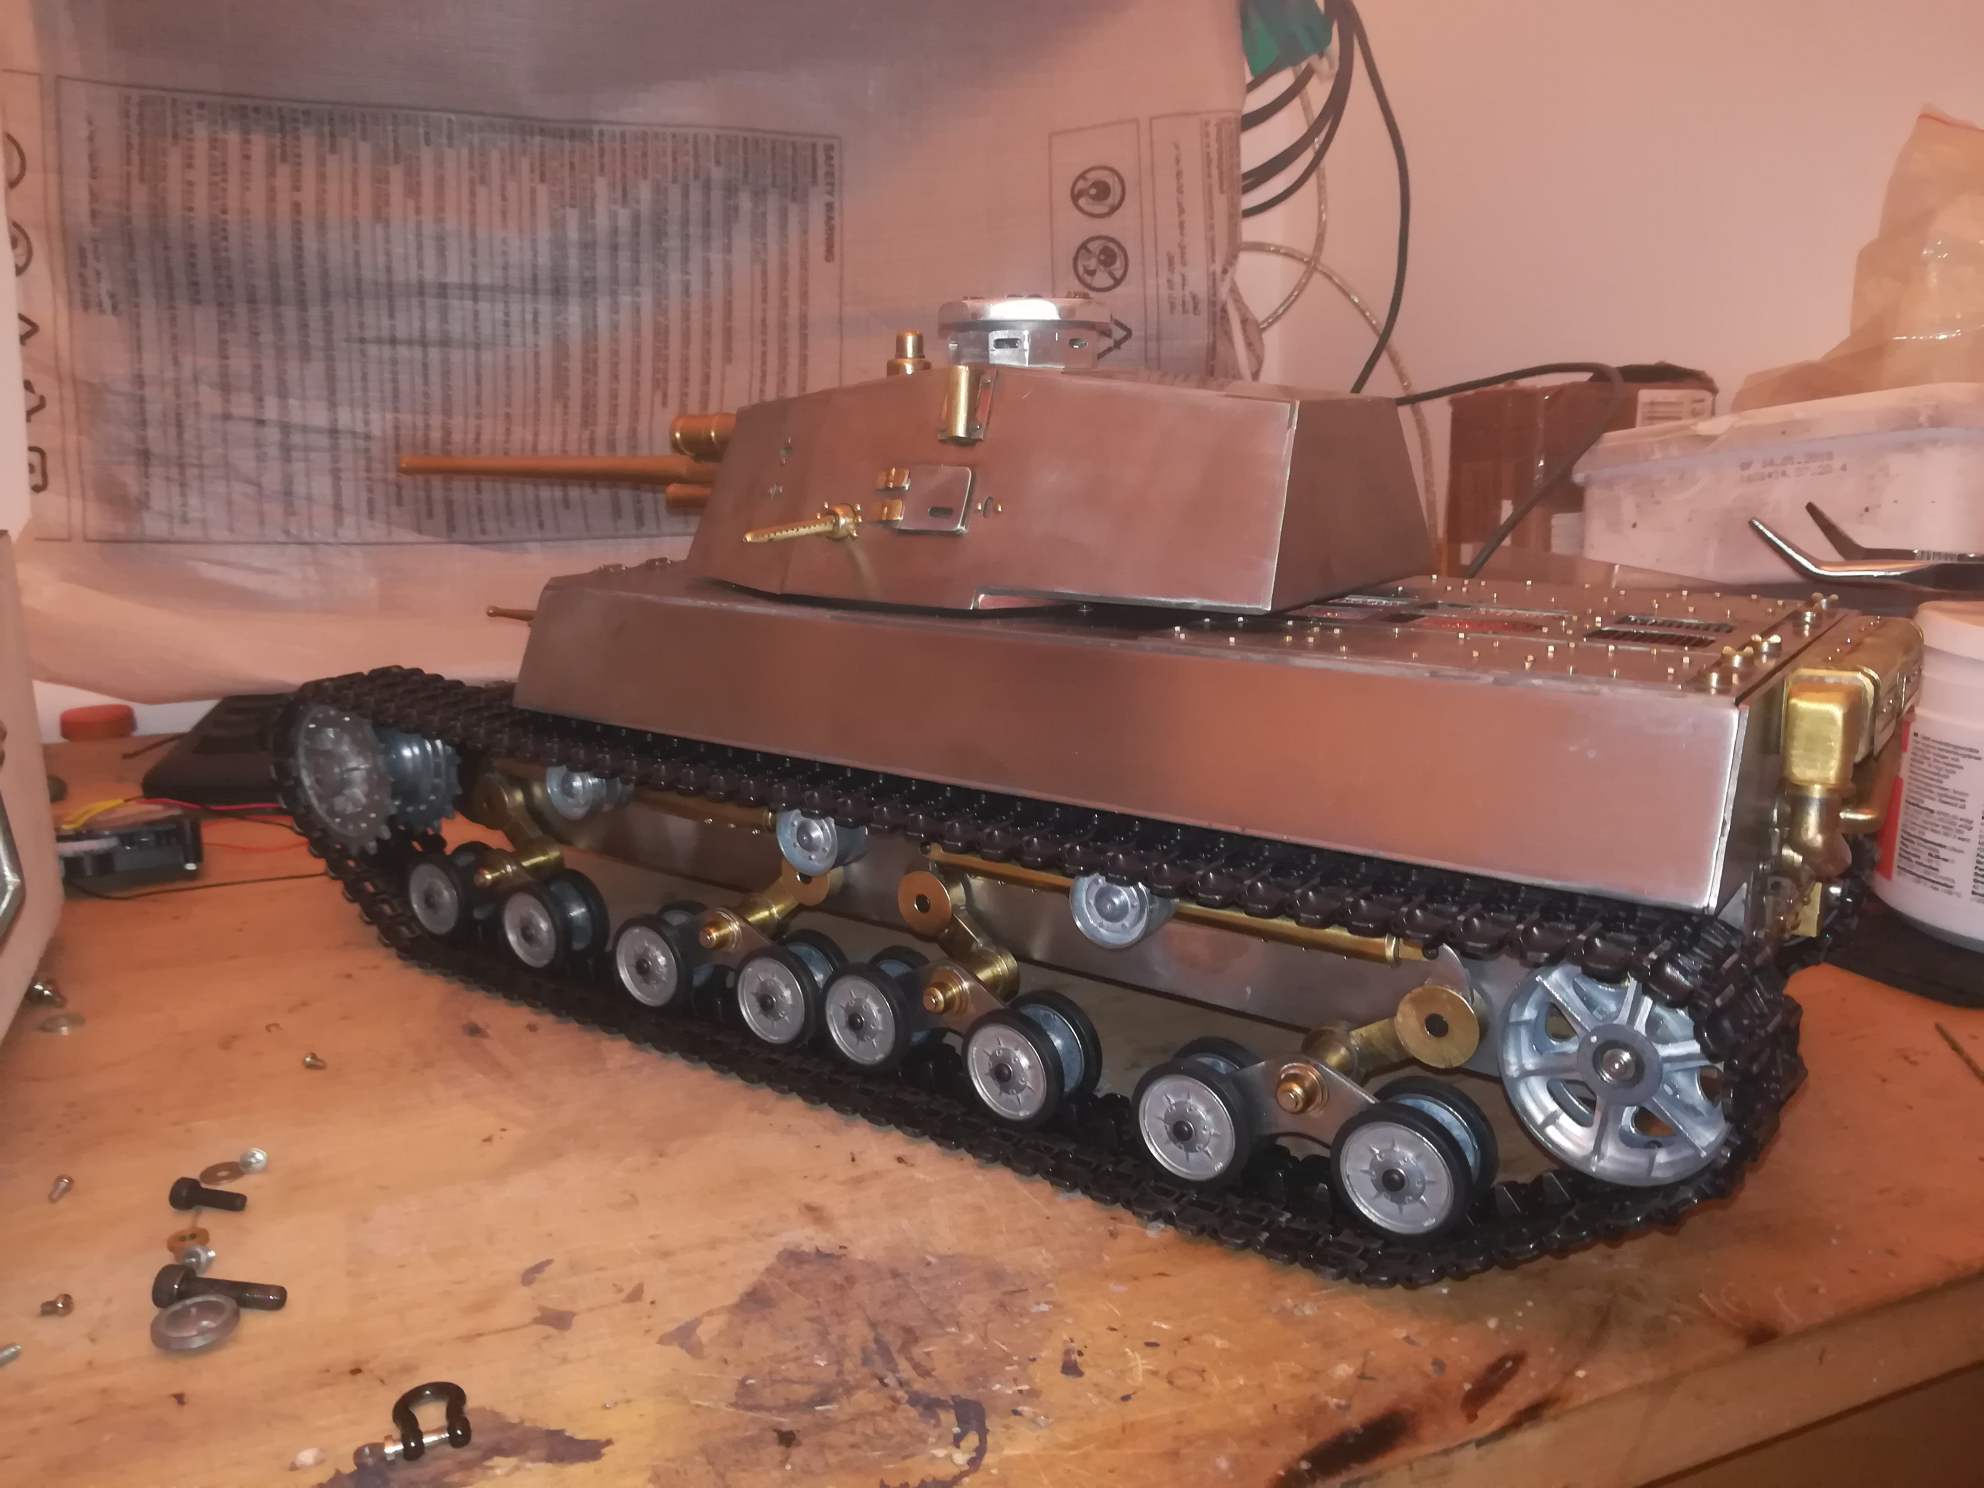
Then I neede some wheels. My original plan was to use some KV wheels but these turned out to be way to big. So they were swapped out for a set of Pz IV wheels which are actually of an more suitable diameter and were easily available.
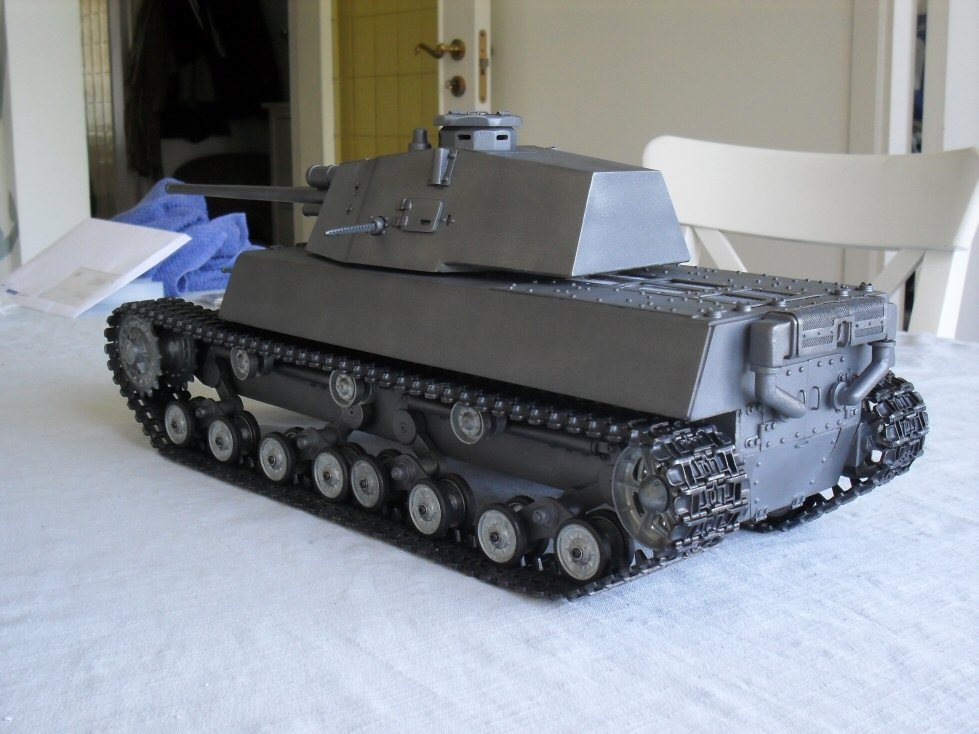
The louvres over the engine decka were an absolute pain. I tried all sorts of solutions - some more elegant than others - but they just did not work. In the end I got hold of a copper heatsink from a PC, cut off most of the fins, bent the rest to the correct angle and attached it from udnerneath the hull. I was happy with that.
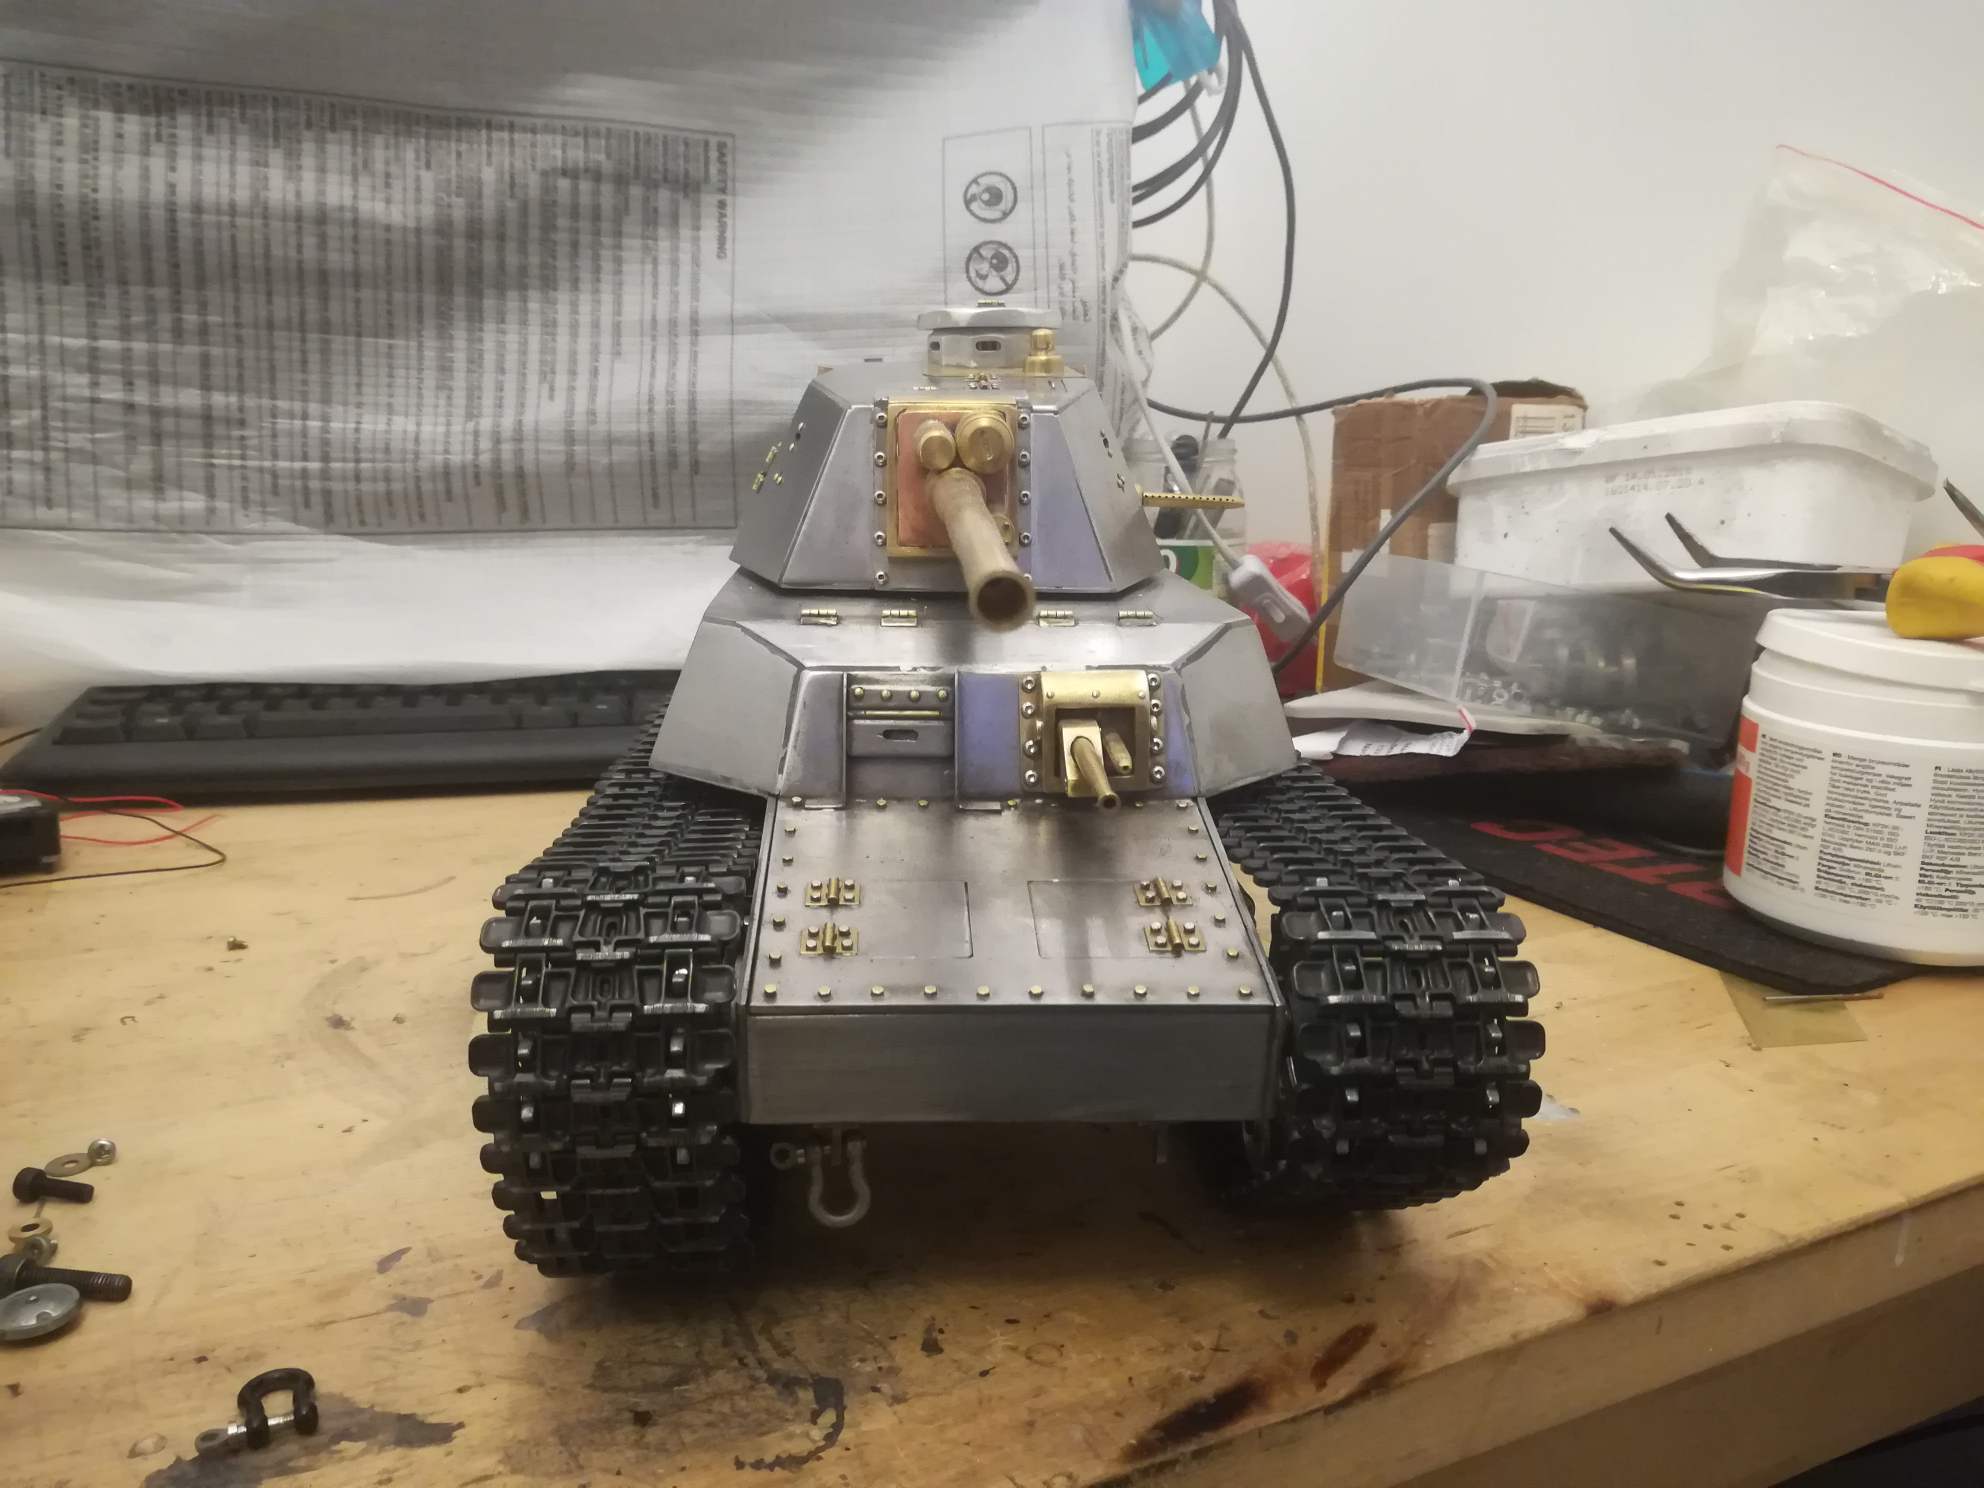
The turret was simple… its just lots of straight bits joined at angles and was no real issue at all. The gun is just brass tube and rod all joined and sanded to shape.
The auxilliary gun on the front was fashioned in a similar manner.
The rear is just a lot of brass rod and bits and bobs.
The tank ended upi n storage at two points - the first when I realised the KV wheels would not work and then I was very dissappointed with the overall finish. There was a lot of body filler and the steel was terribly tarnished from various processes.
I then put it back in its box for a year.
P
1 Like
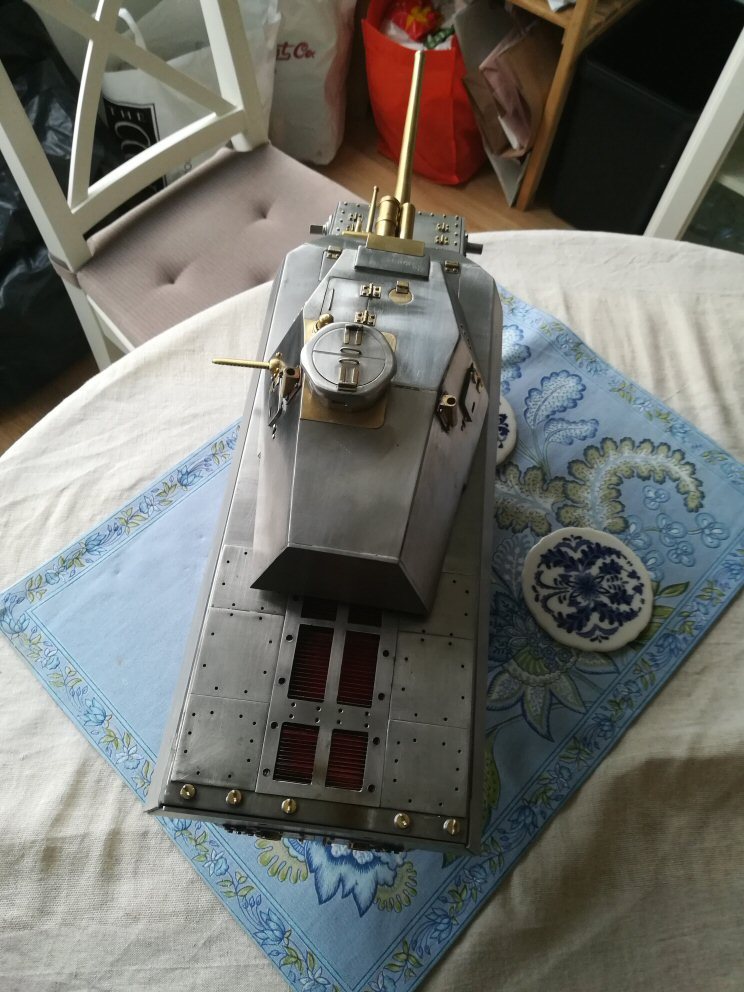
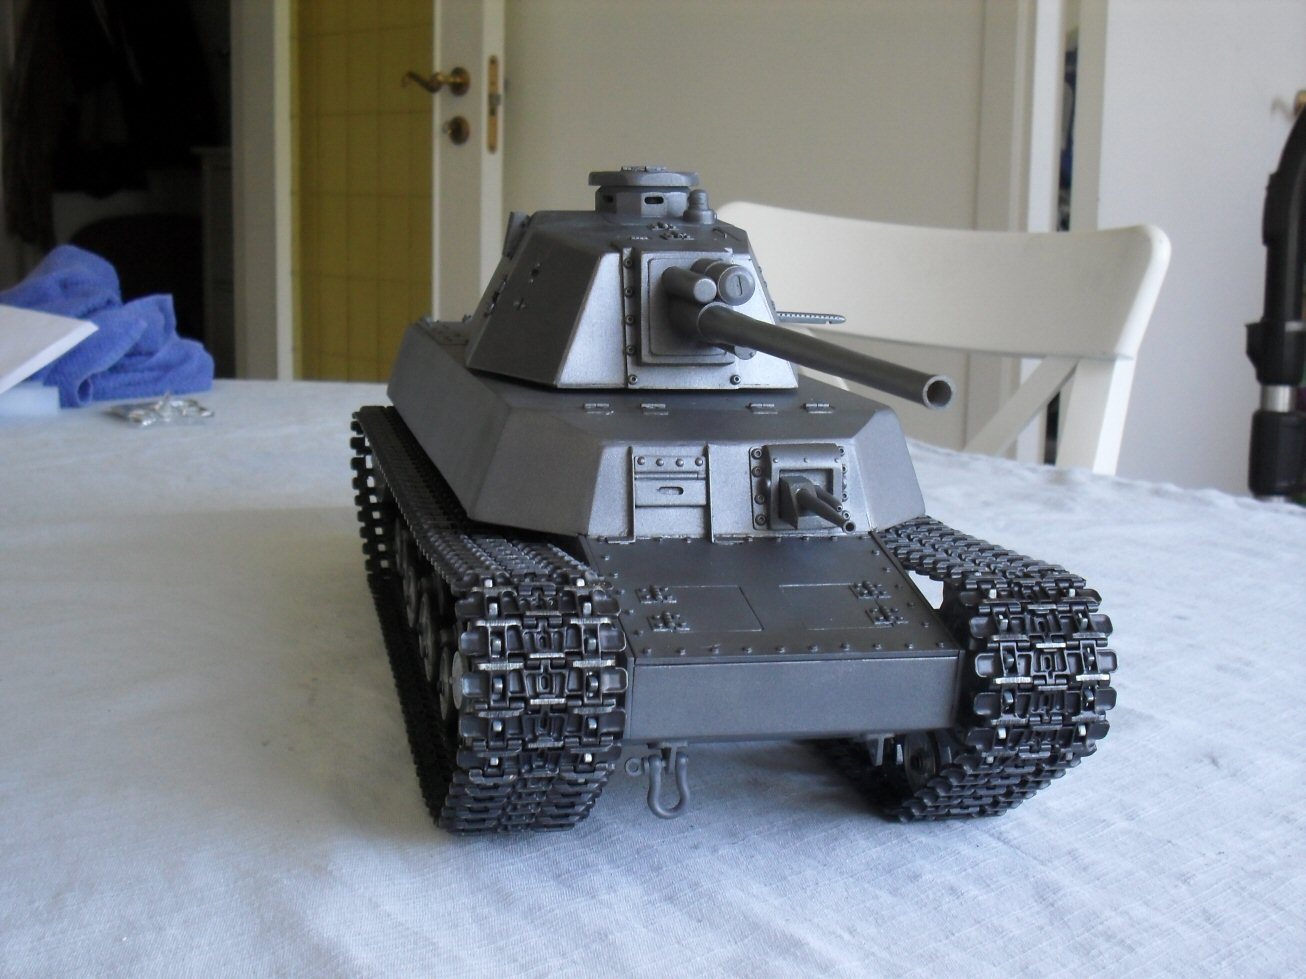
However, I dug it out and decided I would paint it a bit to see if it would look any better at all.
Here it is in its scabby unpainted state.
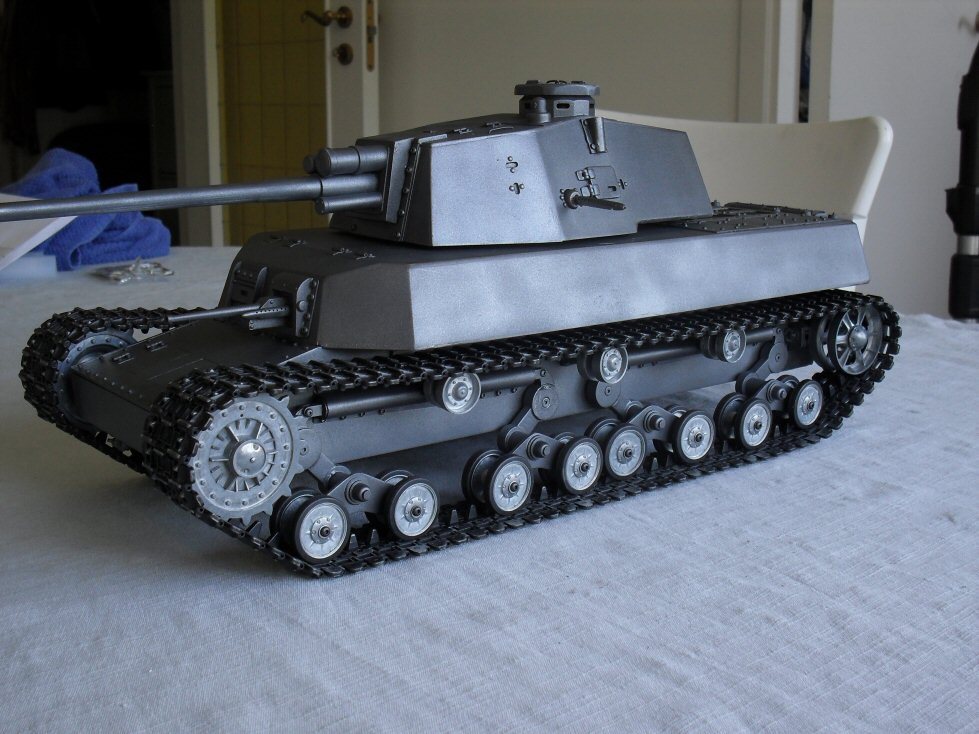
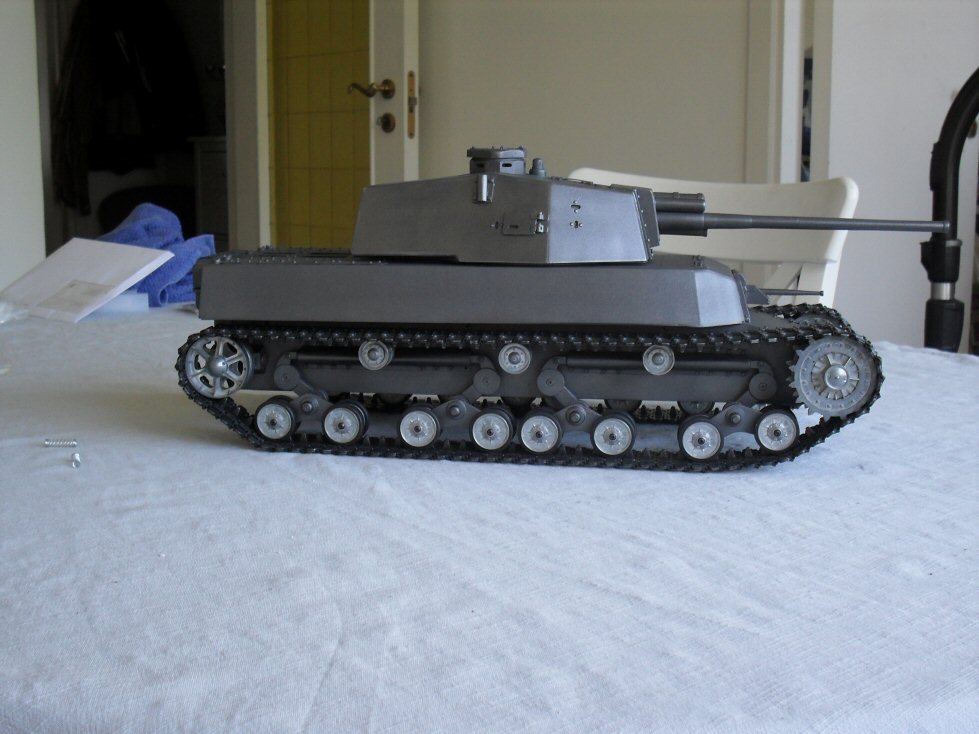
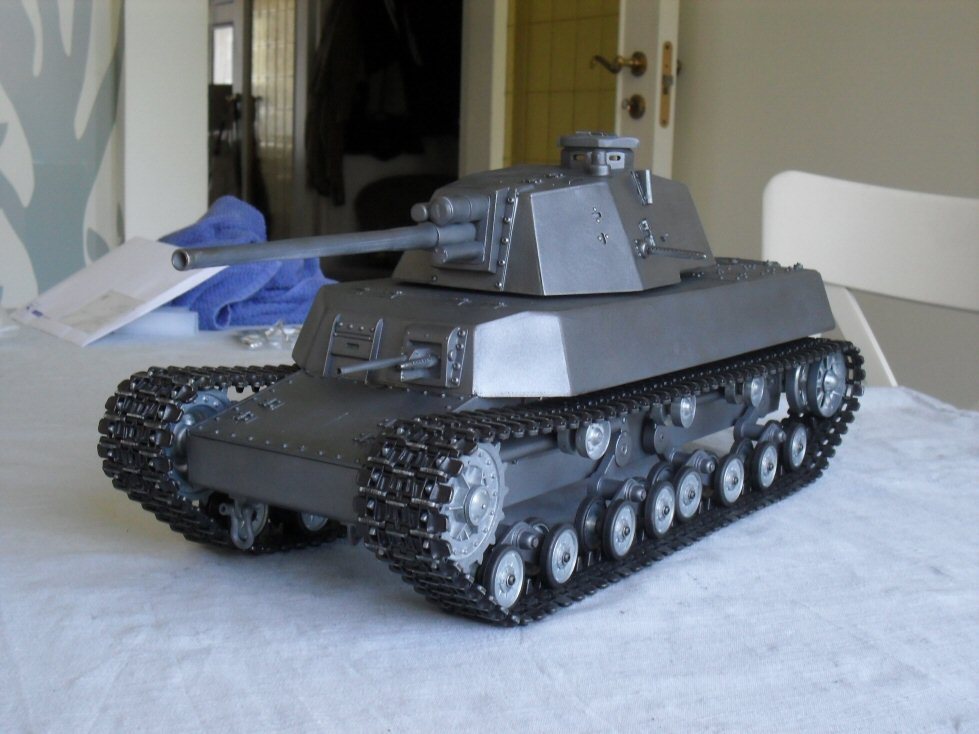
So I painted it by simply spraying it with Tamiya gun metal.
I was happy enough with it after painting. Current work is focussed on getting it moving.
P
6 Likes
Your metalwork is extraordinary, sir!!! I am very impressed!!! NICE job!
Wow! I am - for once - speechless.