Hi all
this is my newest model on the workbench. I got it as a Valentine’s day gift so I had to start it pretty quickly.
The model has been released in 2012 but to be honest it looks like a 80s Tamiya kit. The detail is a bit soft, the fit is correct if you clean the parts correctly. The kit includes 4 sprues, 1 clear parts sprue, 1 sheet of decals, 1 bit of string and 1 instructions booklet (in Japanese for the informative part and the historical background). An optional PE set is separately available.
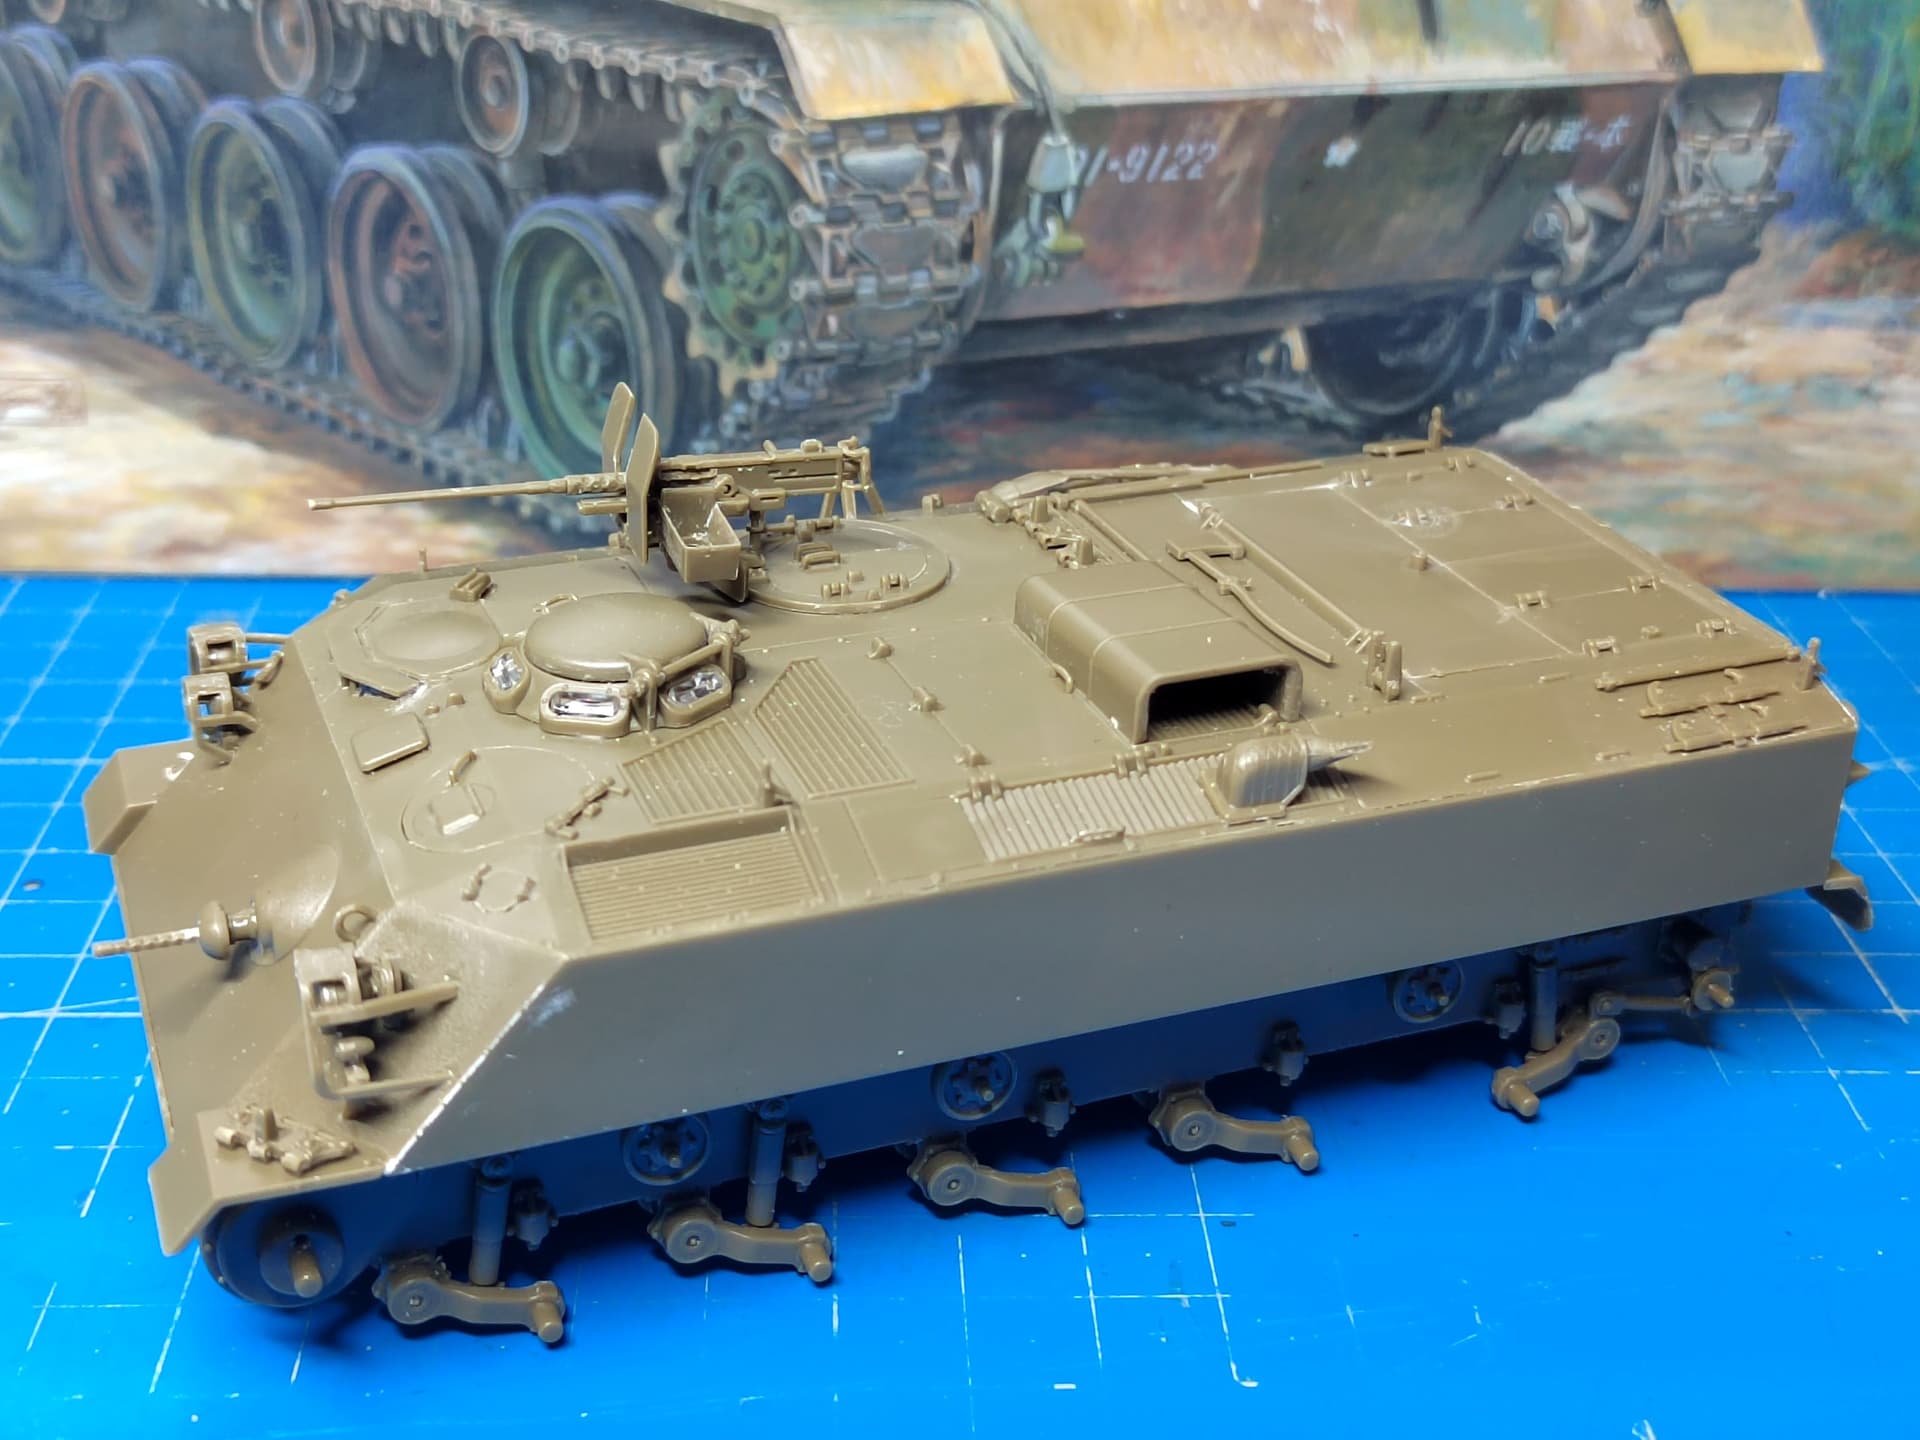
I have just assembled the 7-part hull in the good old way. You can see some gaps here and there. At first I wanted to fill them but they are slots to attach parts in later steps.
Does your model include an interior? Mine is totally empty and with the exception of the engine compartment walls there is nothing looking like a positioning mark for interior parts.
Type 60 just means when the vehicle went in service. The APC and 106 Recoilless are two different vehicles. The 106 RCL has a partial interior with the crew compartment as the “turret” rises to aim and fire.
The suspension is done. The both tracks are assembled and glued to the sprockets and idlers. They are removable so they can be painted separately. The sagging is a bit exaggerated to my taste but this is how the lengths are molded.
The hull is nearly complete. The headlights guards were a pain to assemble as they came in 2 parts with the junction just above the lights.
There are still a couple of parts to glue and the gunner cupola to assemble and it will be ready for the painting stage.
The painting session is close.
The MG mount and the commander cupola are not glued yet to facilitate the painting. The jerrycans on the rear door will be painted separately as well as the antennas and added later on.
The rear mudflaps required to be thoroughly thinned as well as the ammo can holder.
Now it’s time to spray some paint on it.
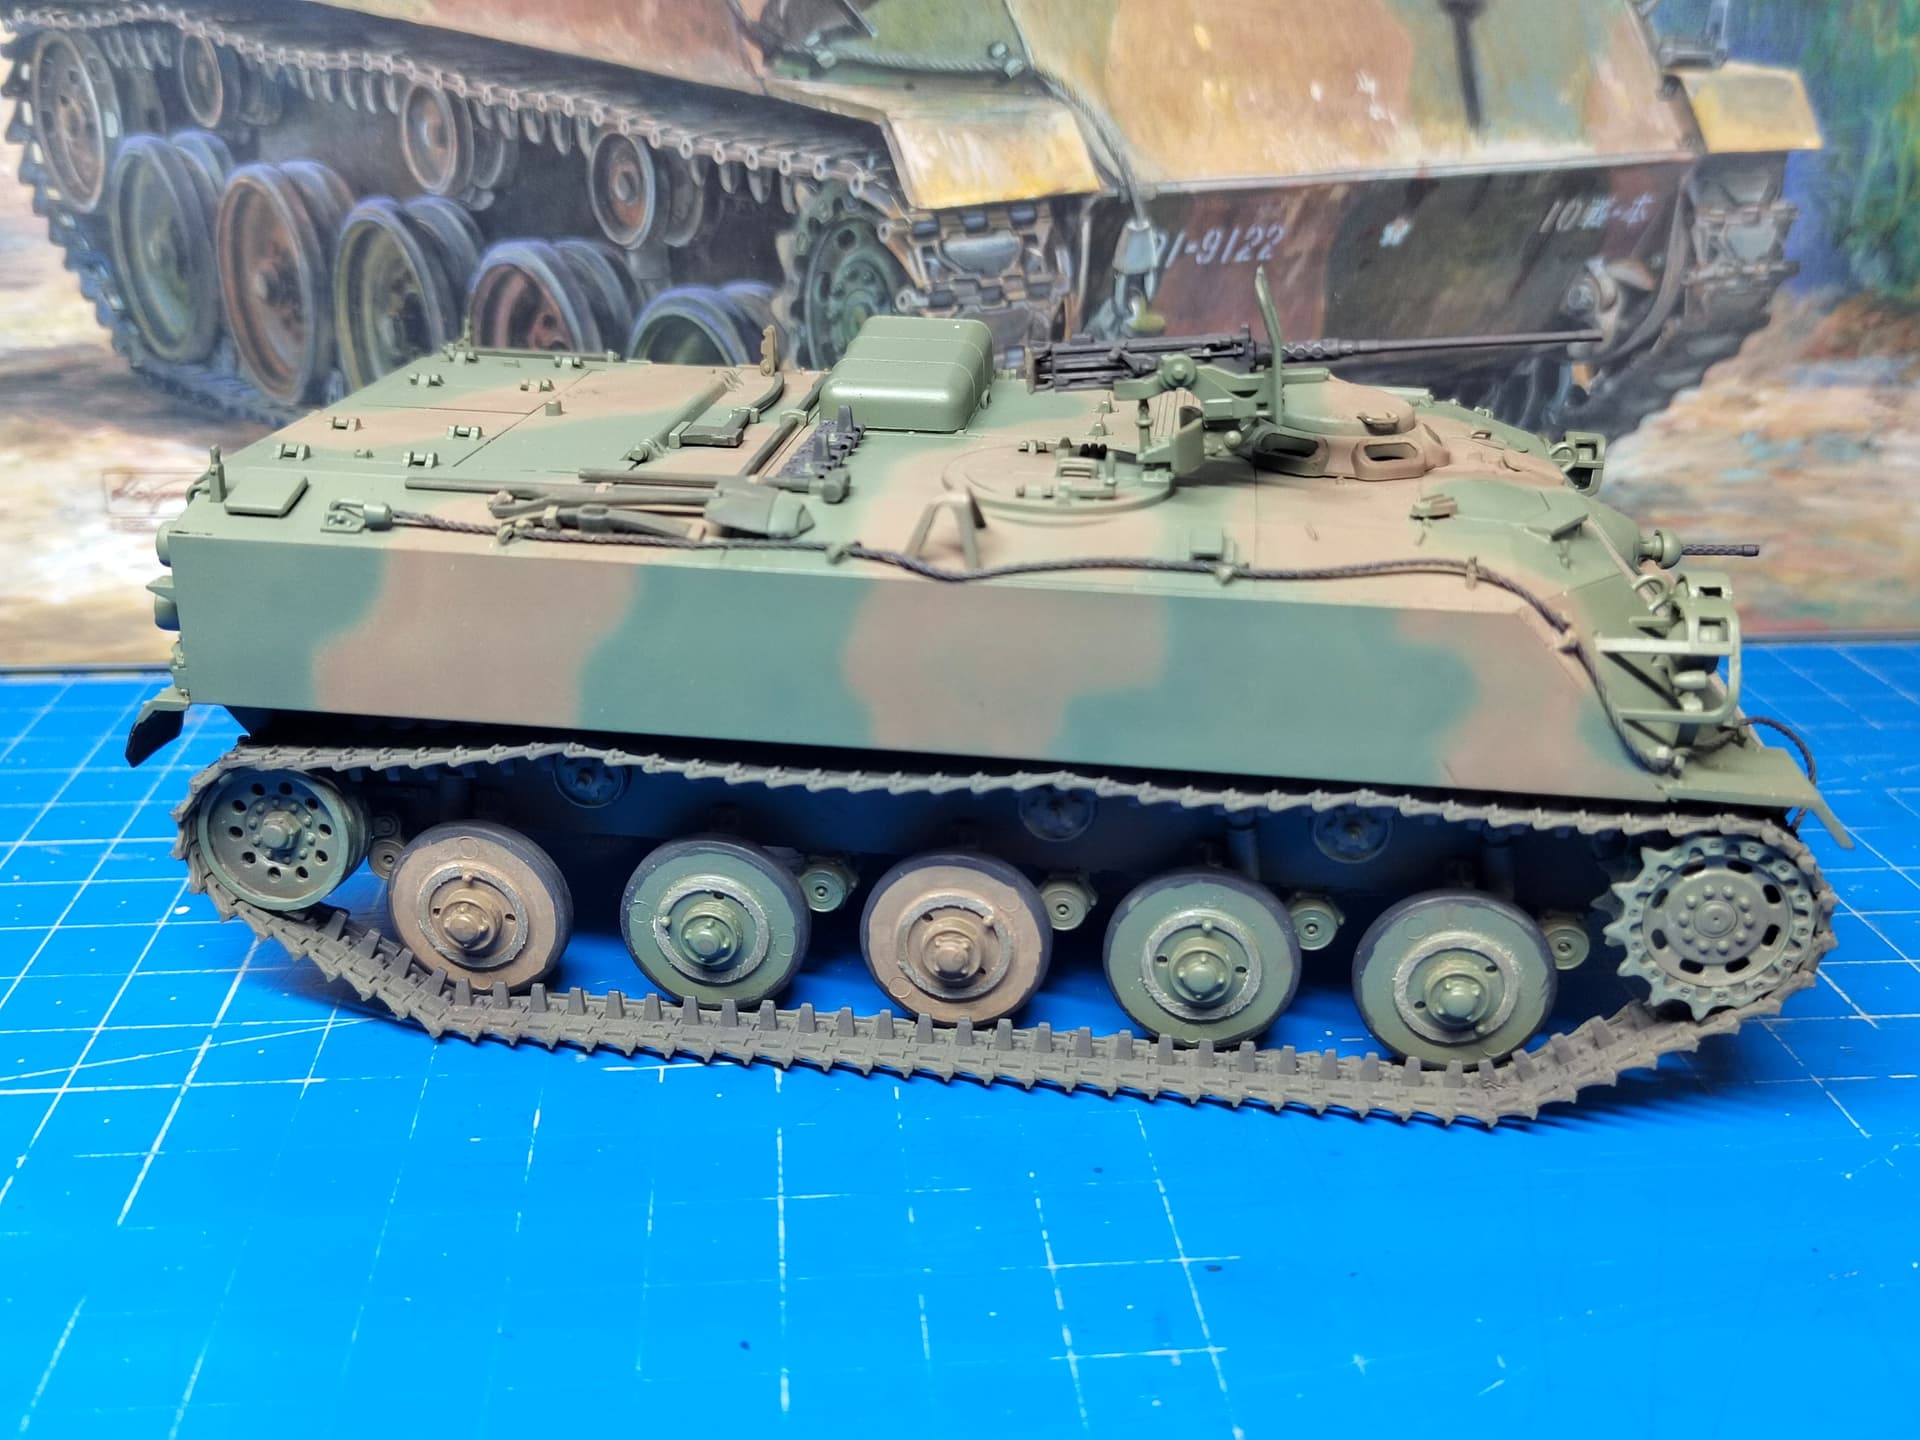
I sprayed the basic colors on the vehicle and started the detail painting. The colors are from the Tamiya JGSDF set. Neither the tracks nor the .50 cal MG are glued so far.
Thank you guys. I wish I did a better job but I had some issues with my newest airbrush with a 0.3mm nozzle so I used my old Tamiya airbrush with a 0.5mm nozzle.
I have disassembled and reassembled the new airbrush. I need to make some tests before using it again.
Thanks for the appreciations.
I have weathered the running gear a bit so I could put the tracks in place. I used dry pigments for the muddy areas and liquid pigments to create the dust effects. I need to redo the effects on the front and rear panels though as they are not convincing at all.
I still need to add the clear parts, the antennas and the MG and of course to apply the decals before I can complete the weathering for the upper part.