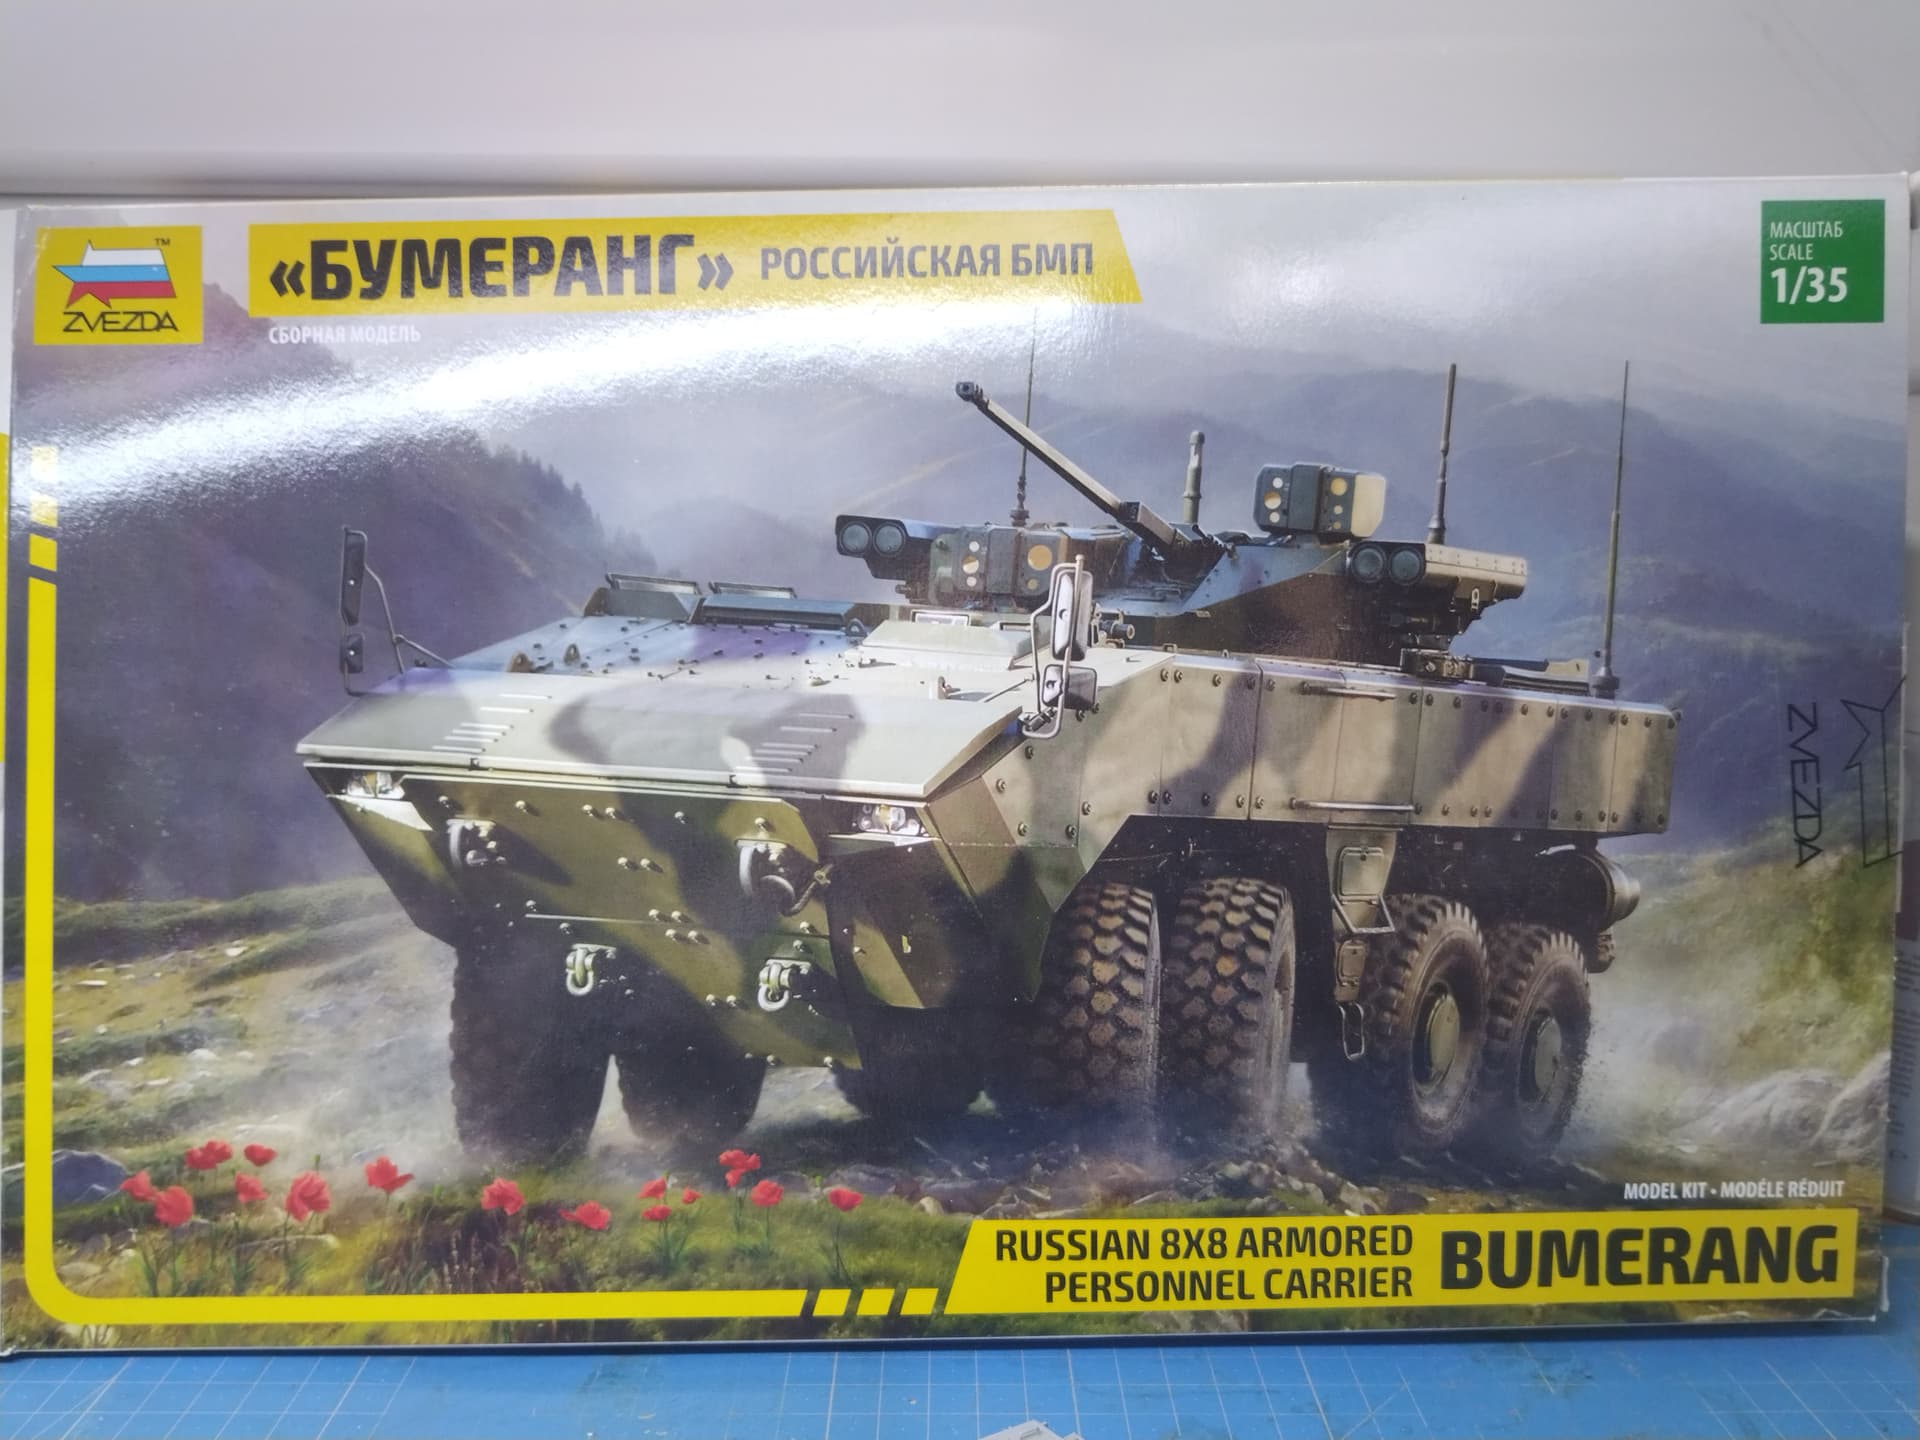
Hi all
I’ve just started this new Russian BTR/BMP released by Zvezda a couple of years ago. As usual the detail is crisp and the cast is nice.
The part count is “normal” even with the multiple parts hull and turret. Zvezda do not seem to master slide-molding.
There is no photoetched parts. The tires are solid vinyl parts with a mold line in the middle of the tread. The side features the brand name and some technical data. The clear parts are in a soft plastic which is easy to work with. The rear view mirrors come with poor stickers to depict the reflective side.
Two decorations are proposed : a three tone one used during the forum Army 2017 and a parade plain green with the Saint-Georges ribbon. As usual Zvezda only give one side view and a front view which have you guess the other side for the three-tone camo.
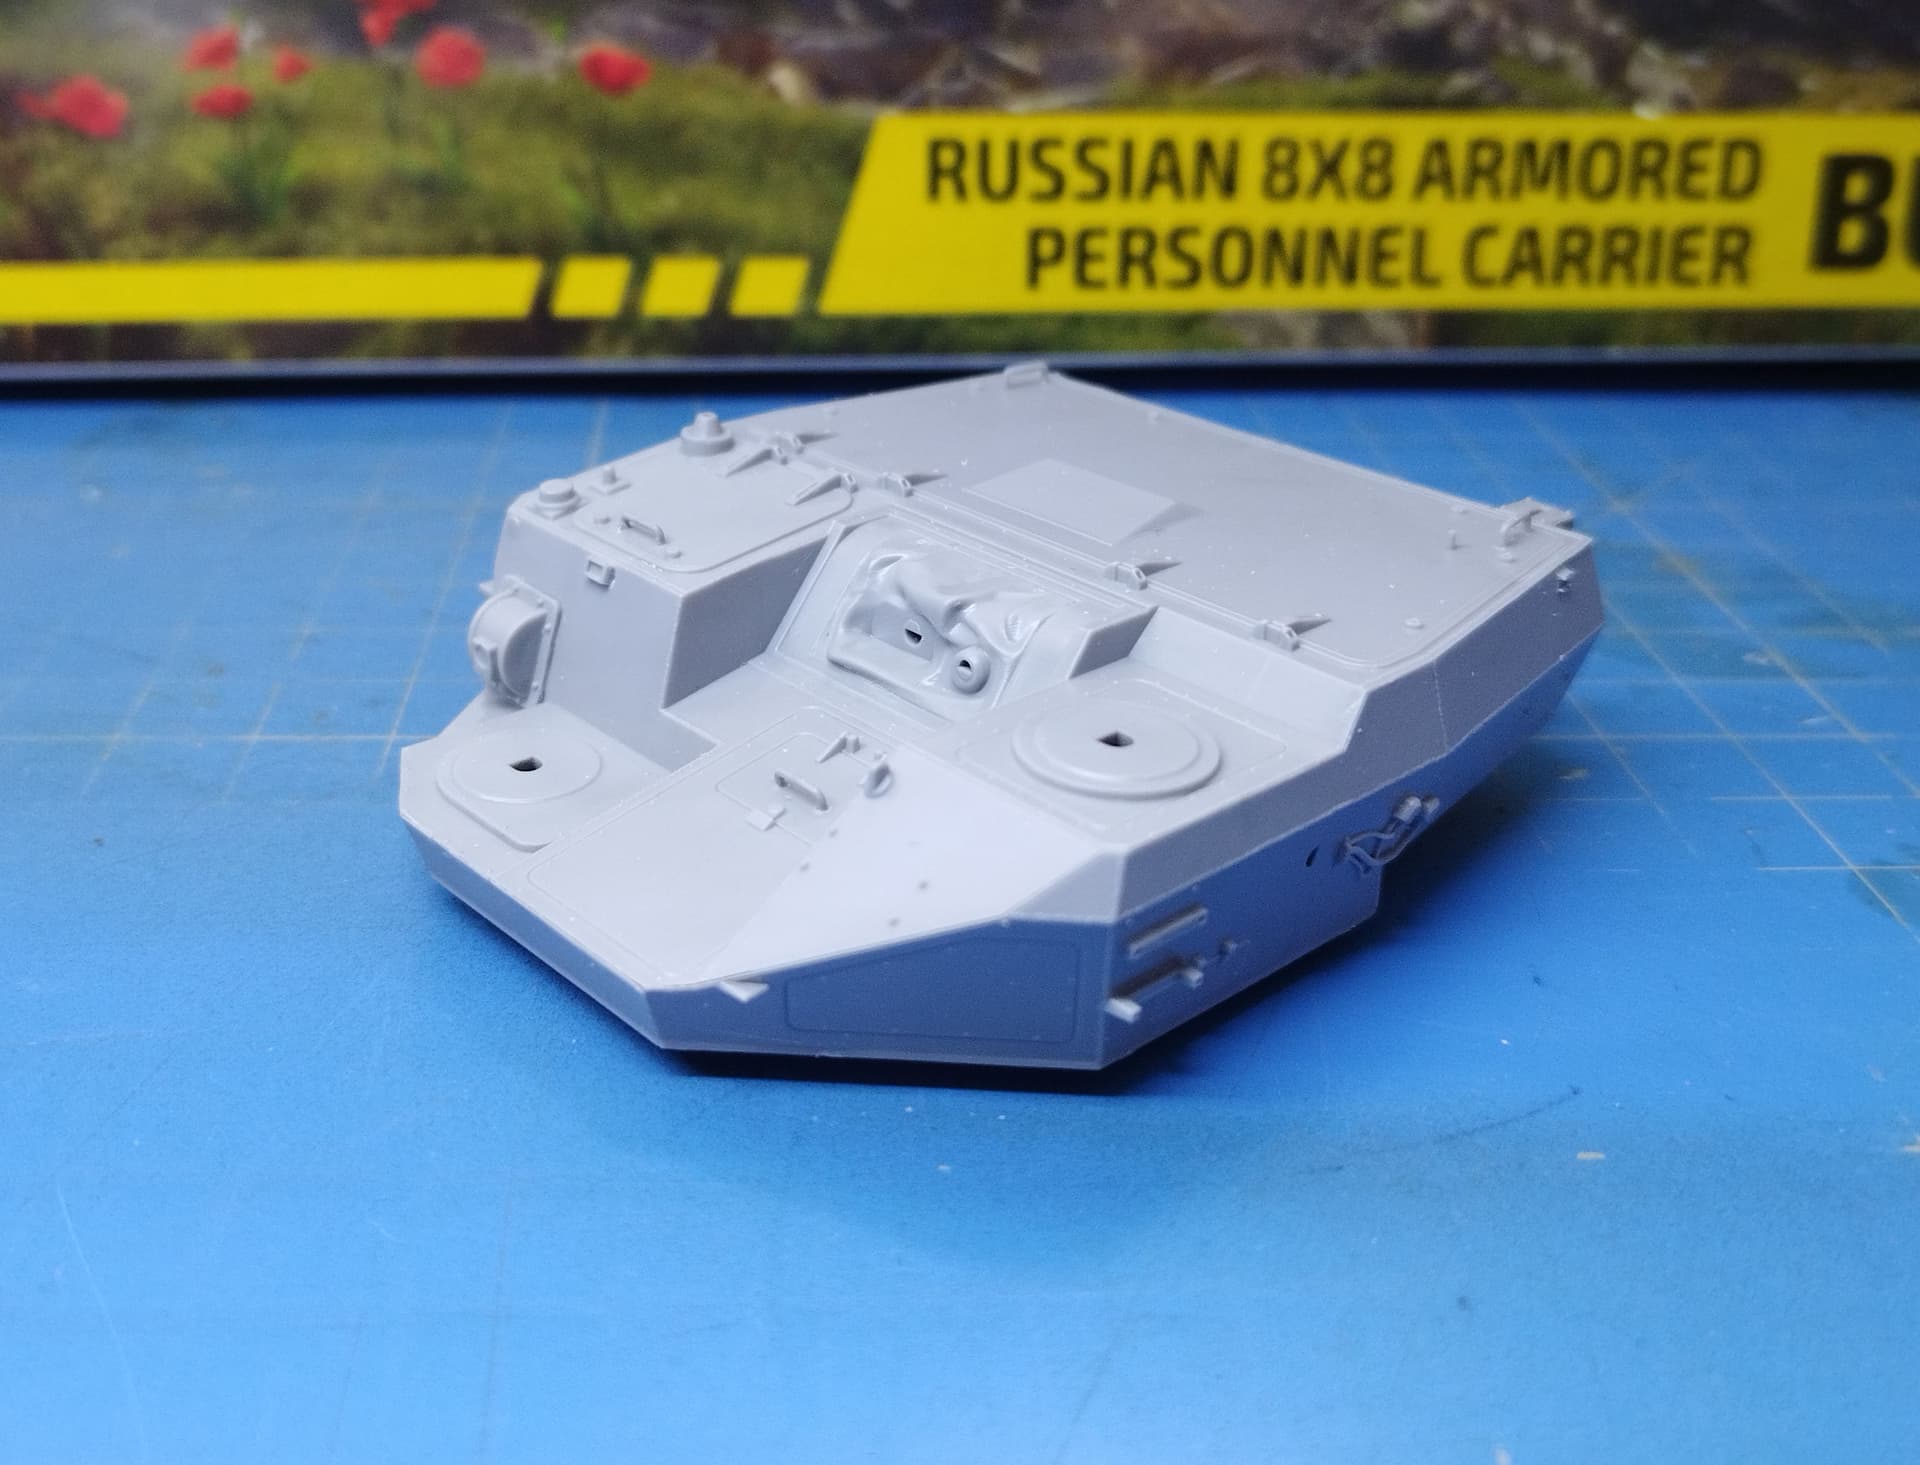
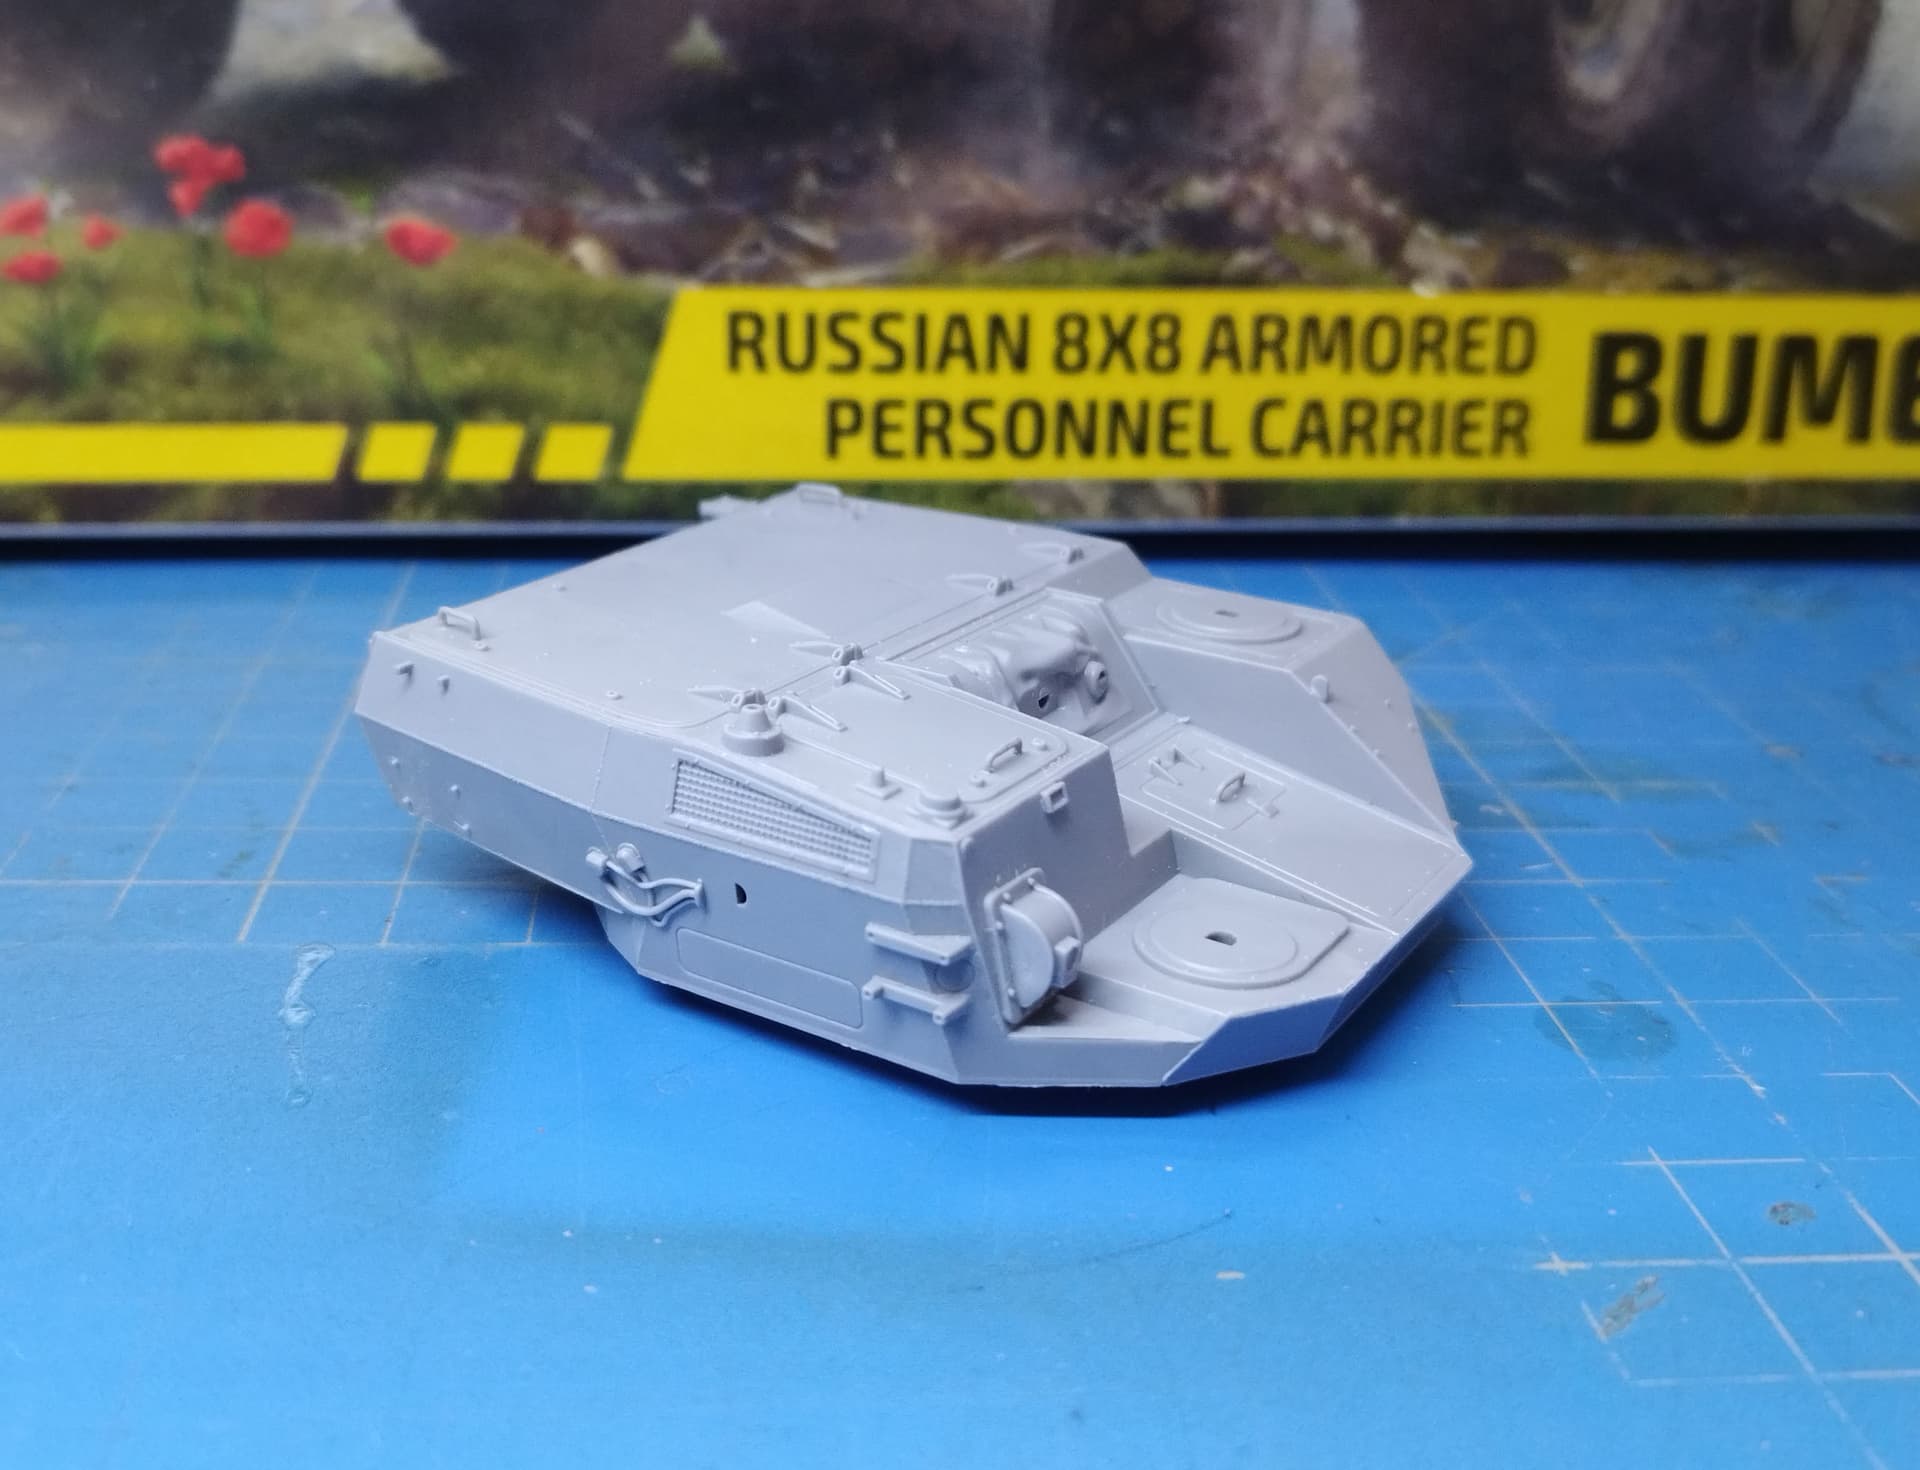
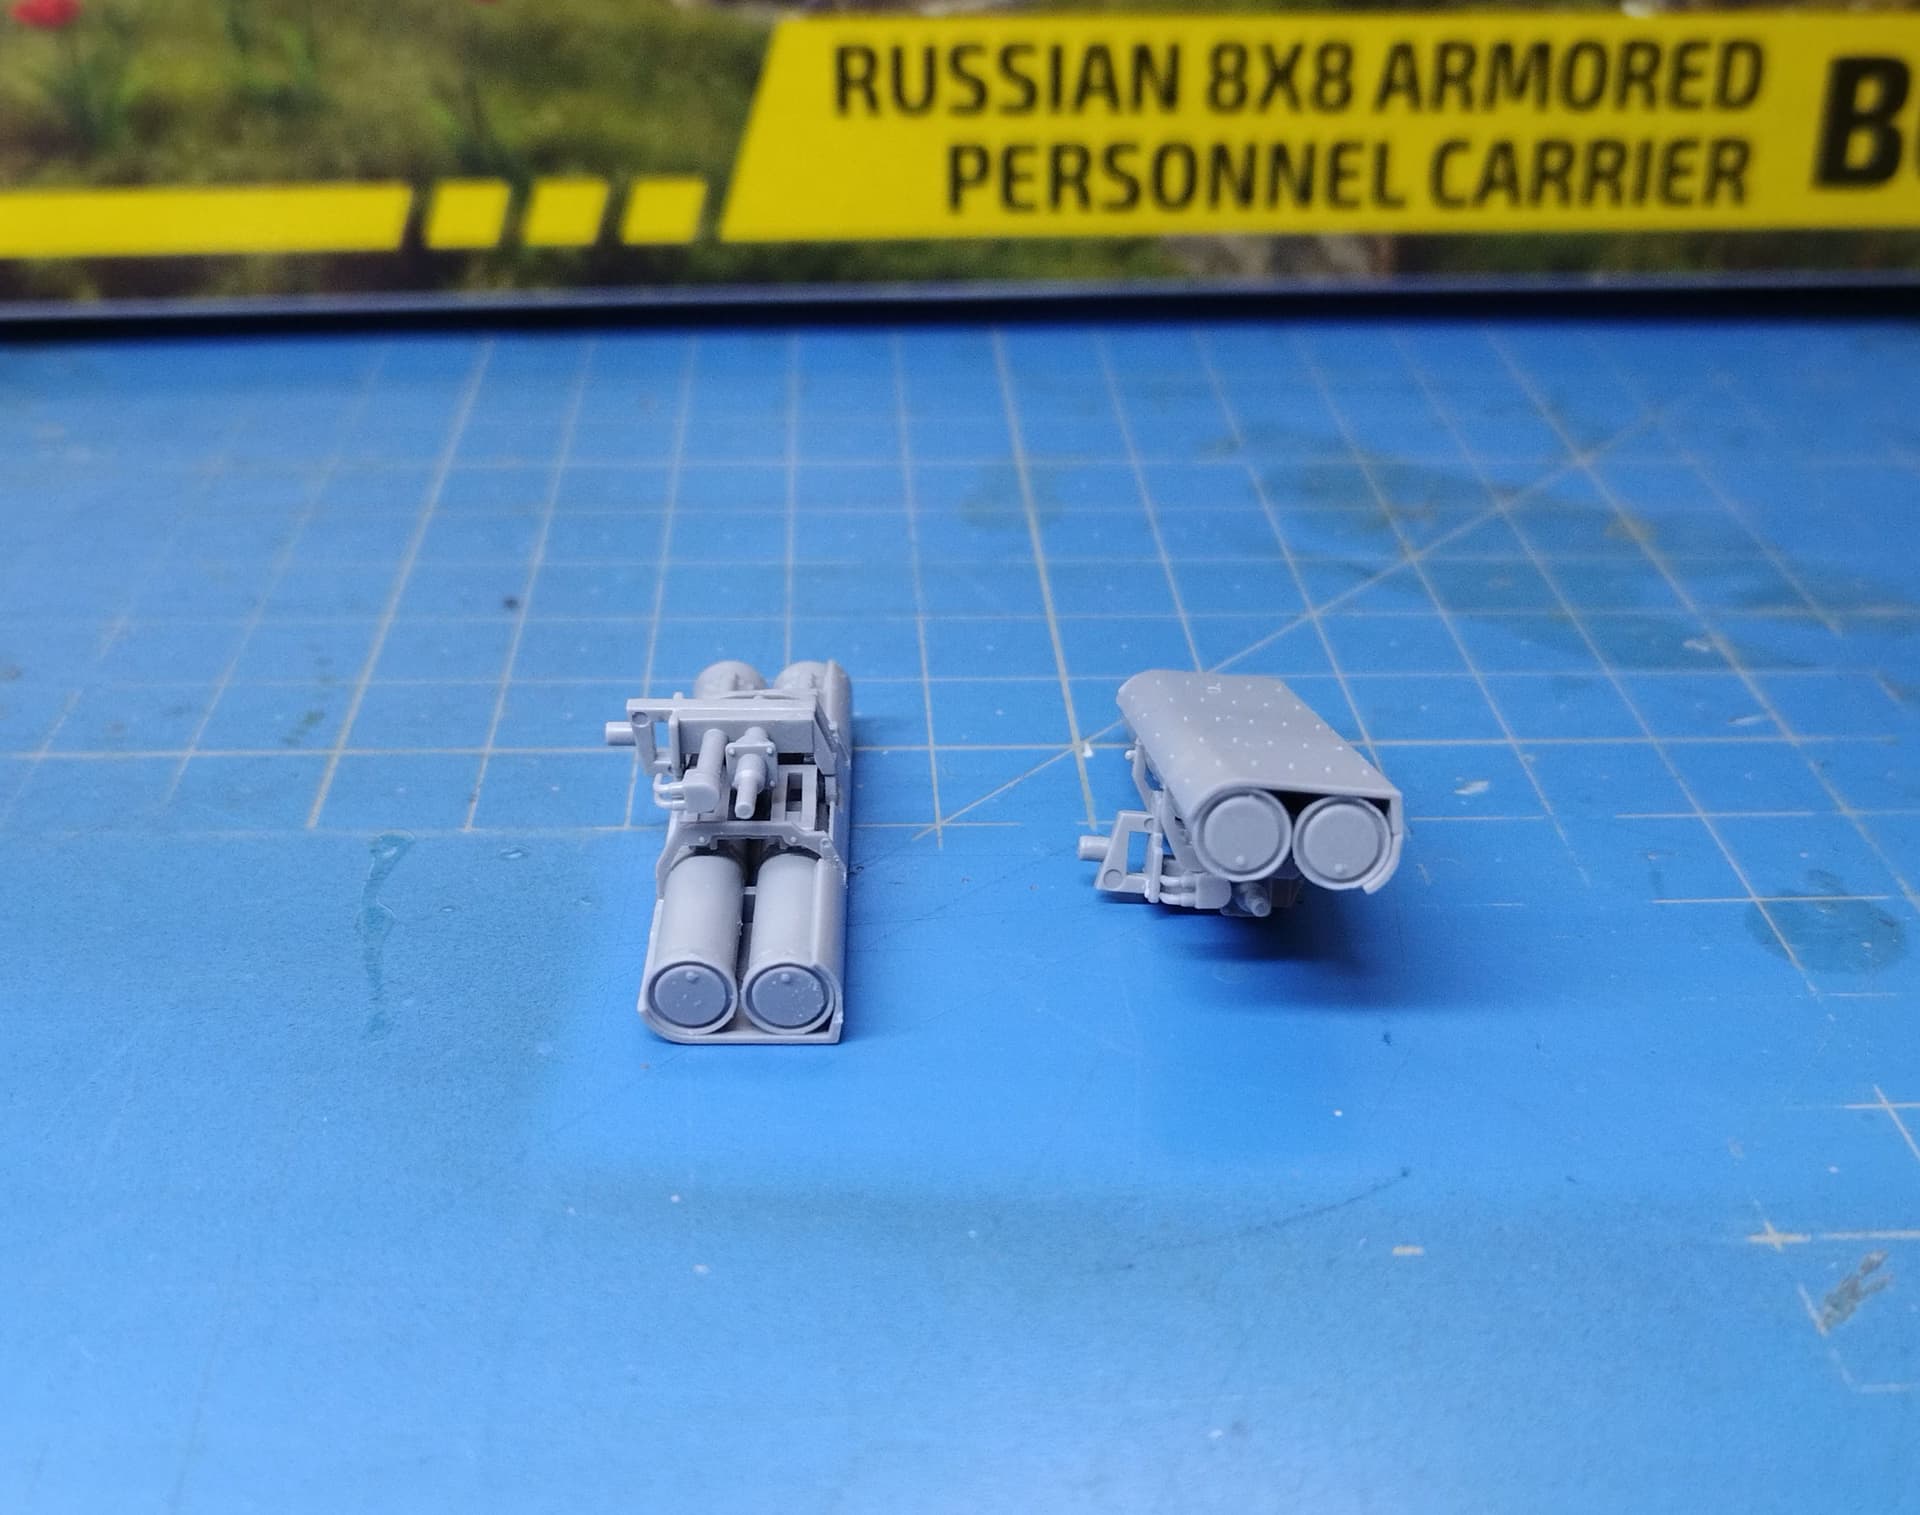
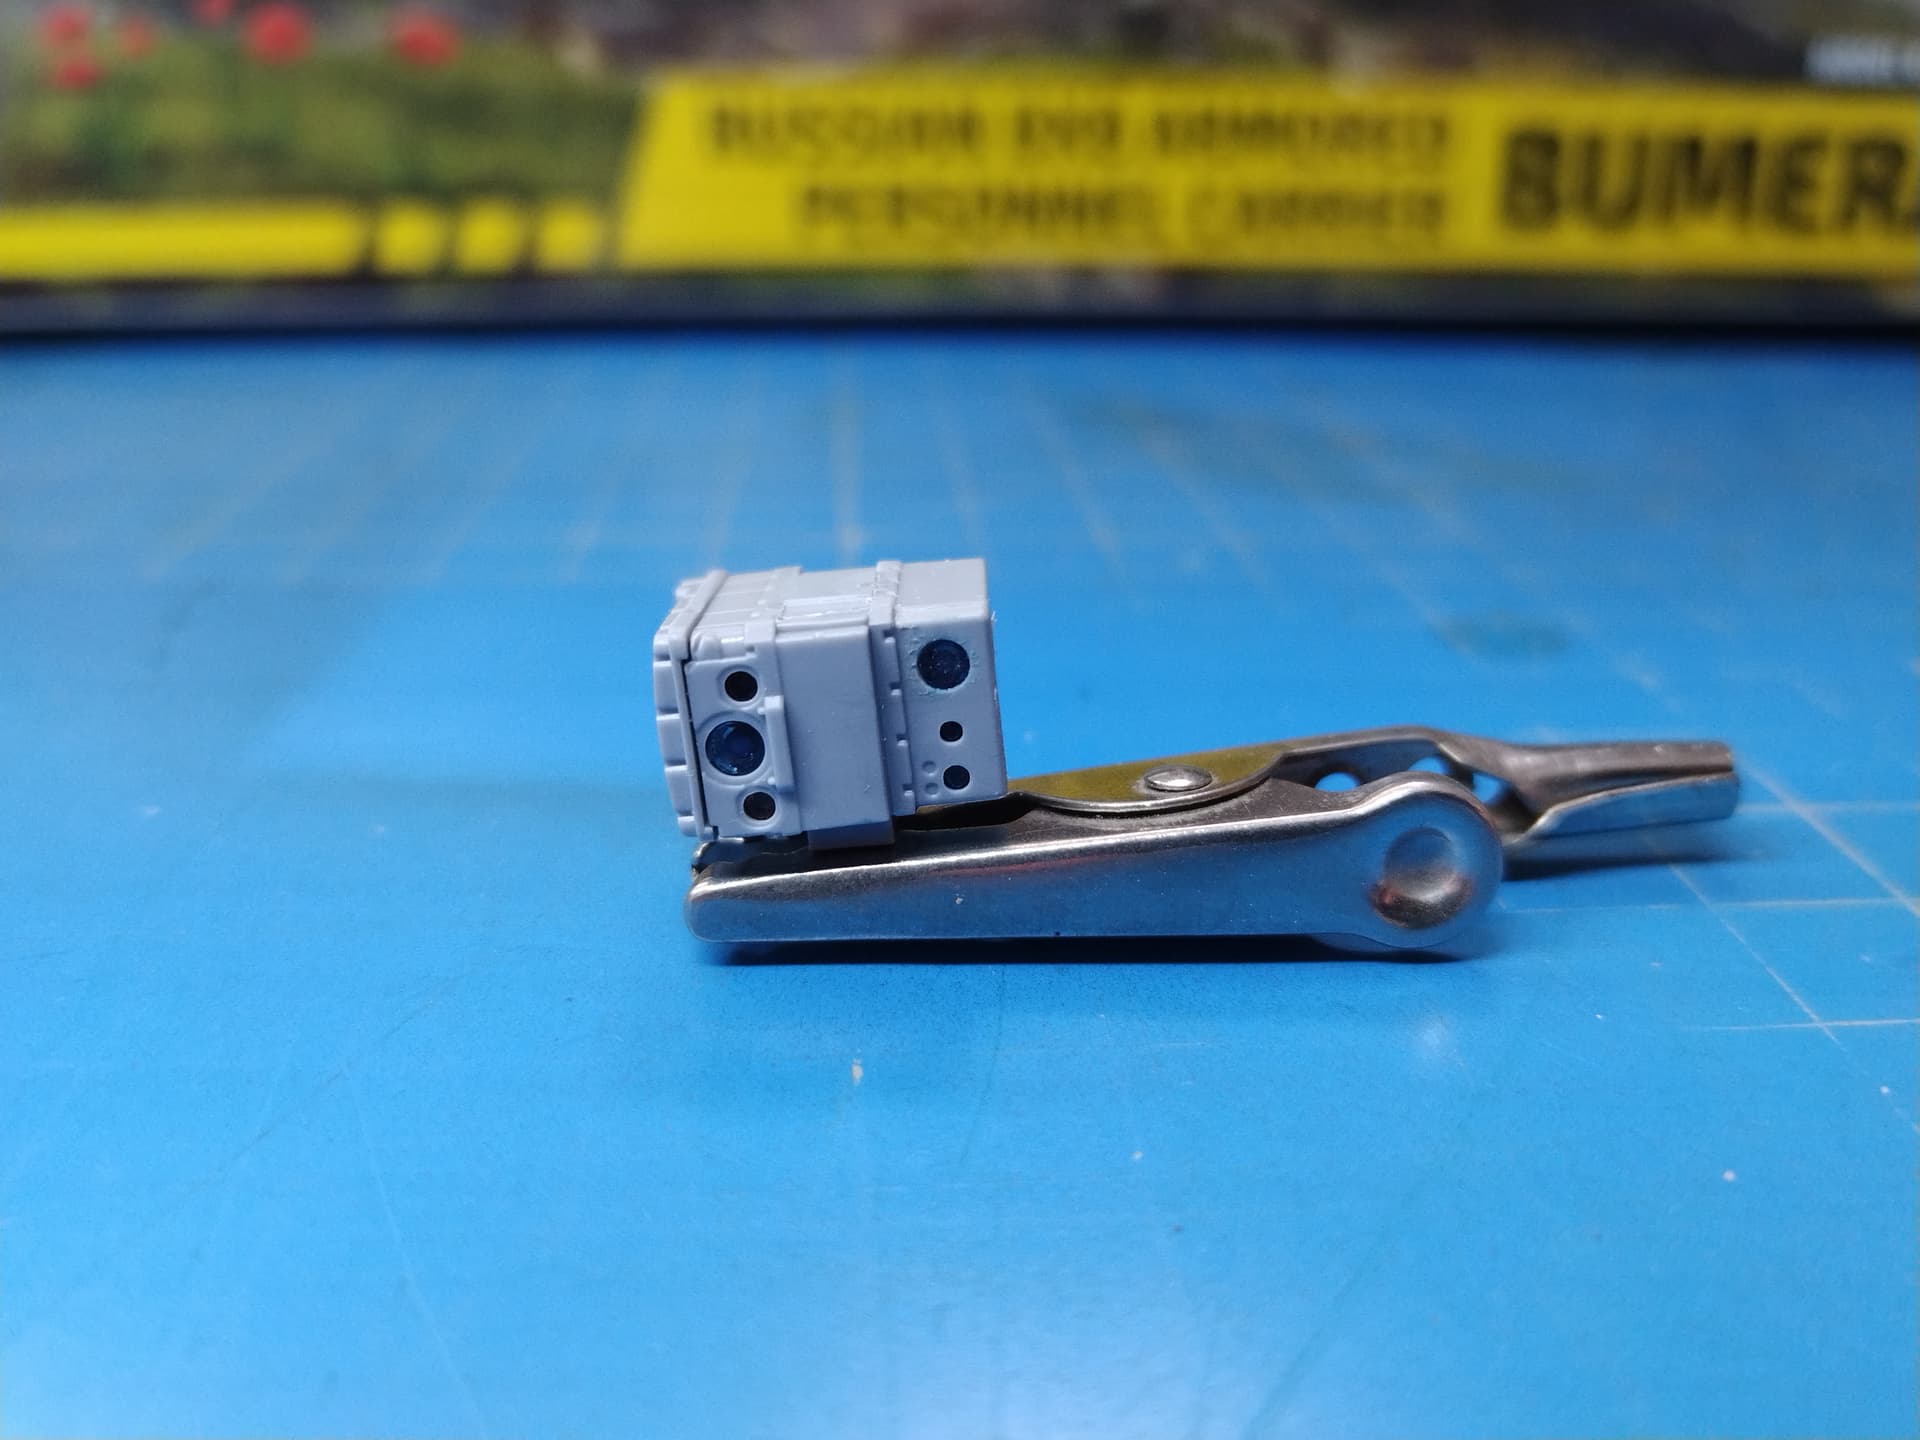
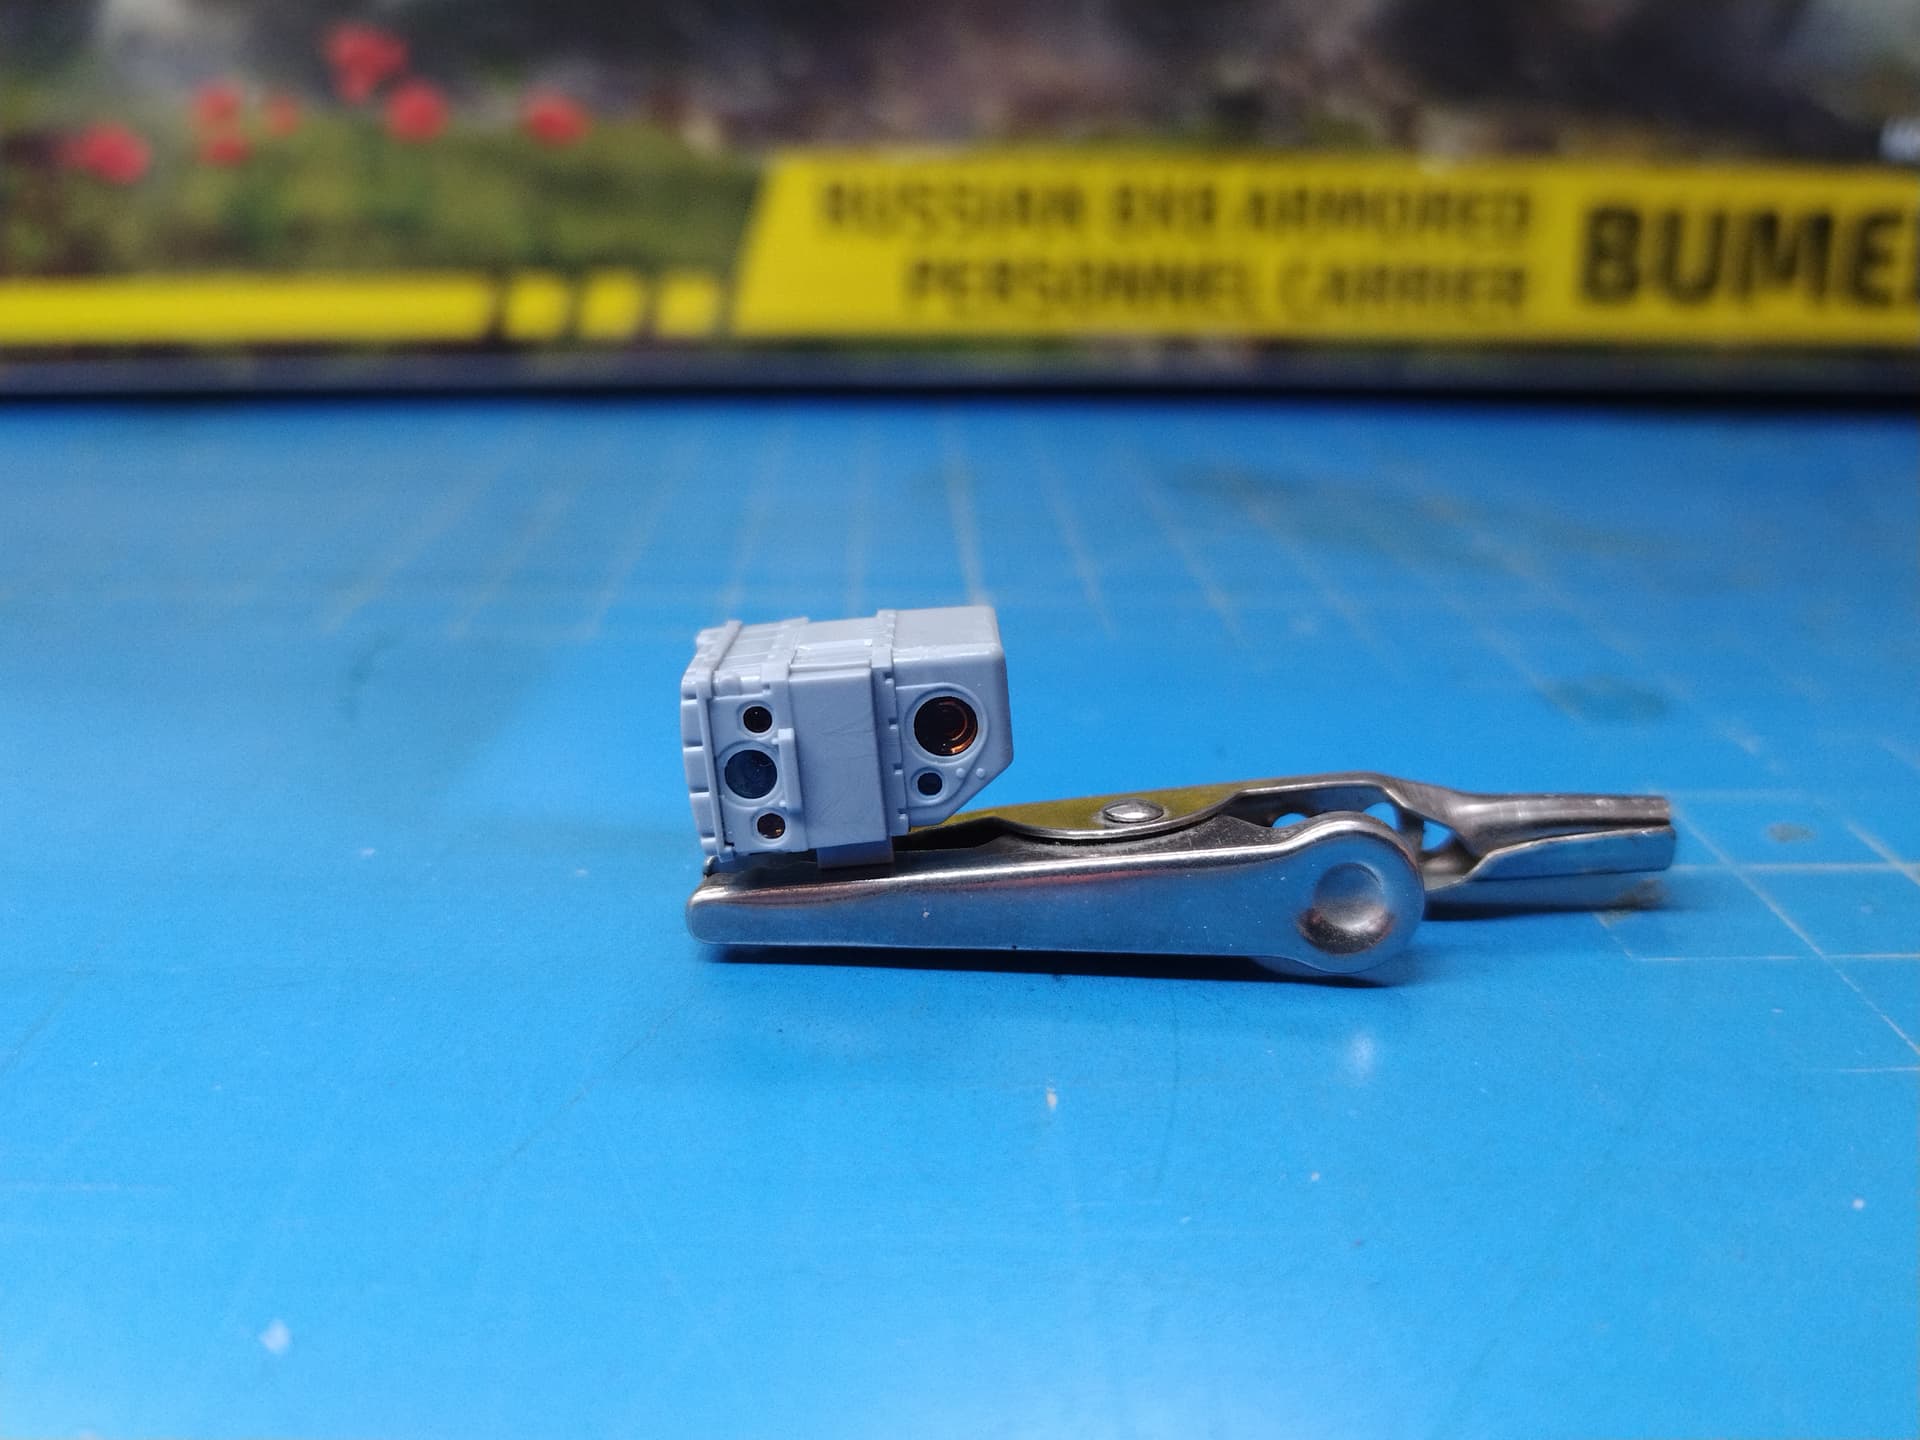
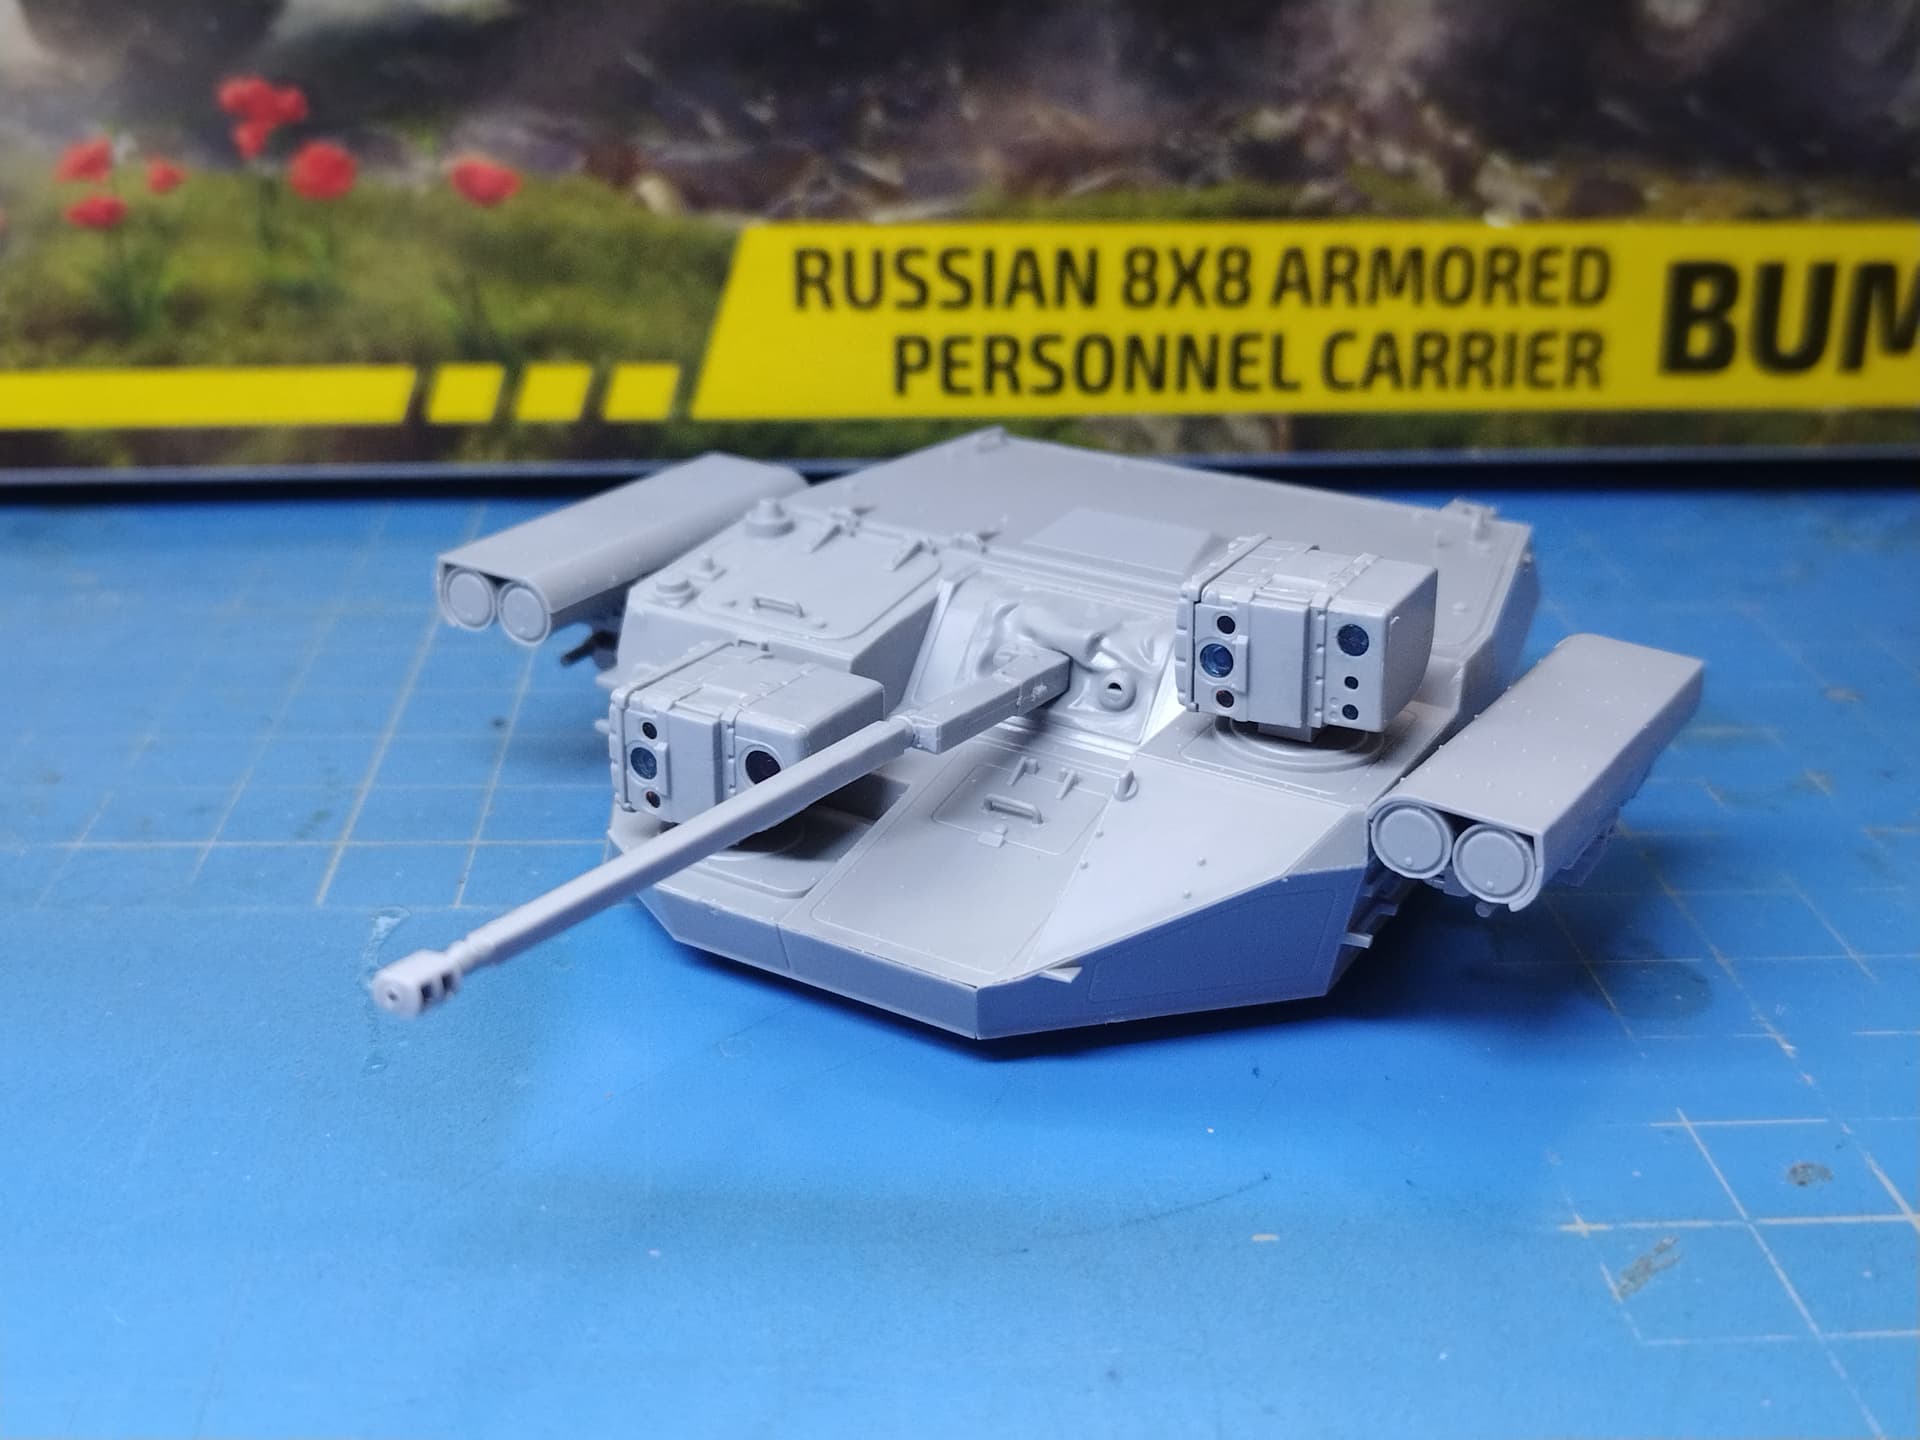
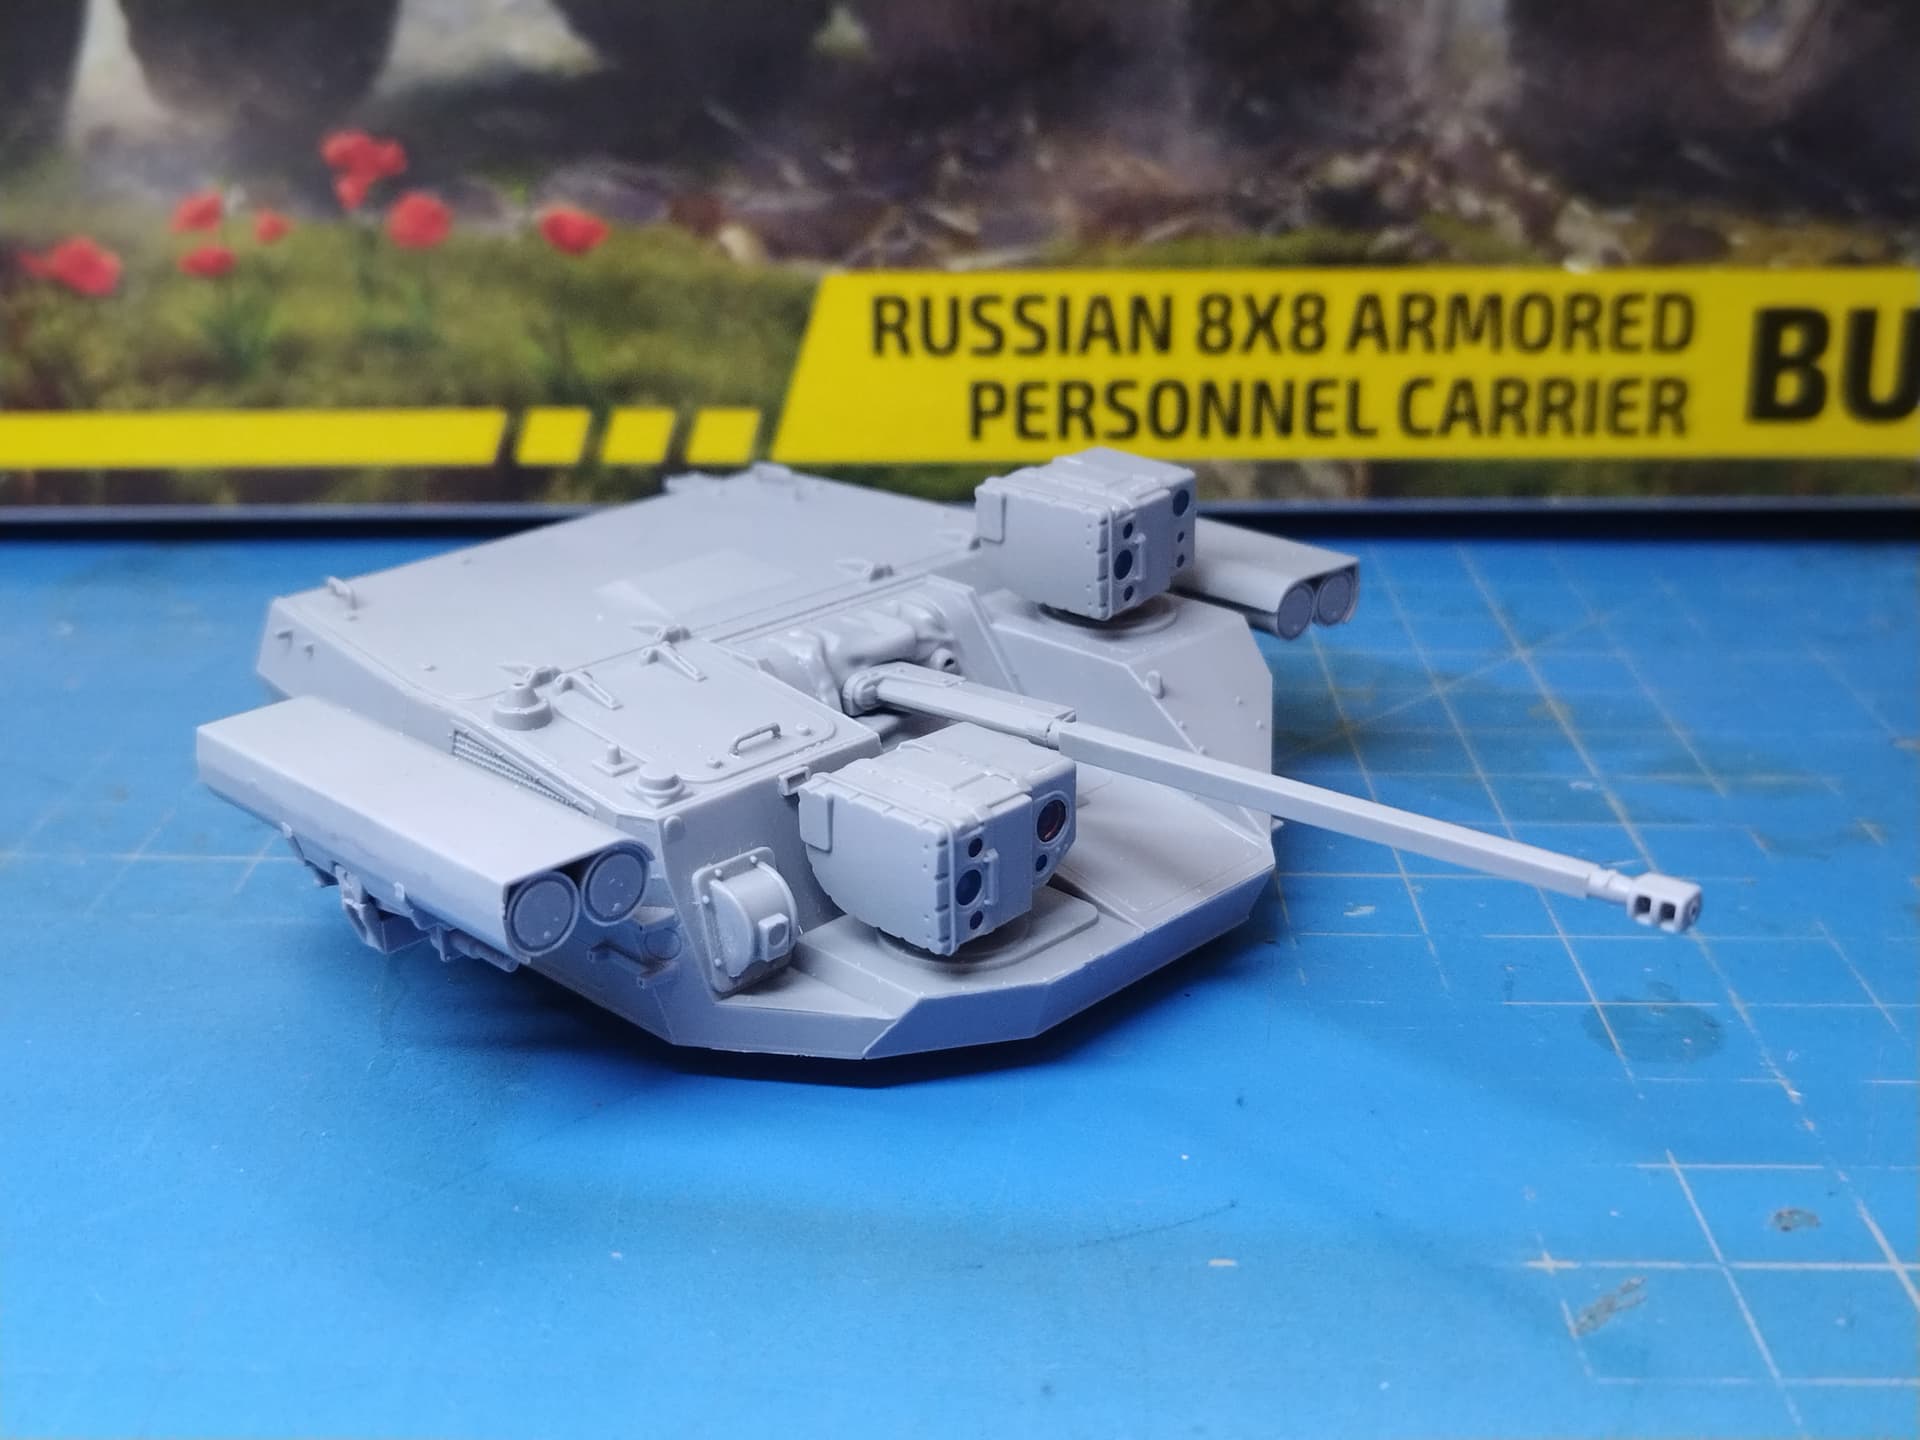
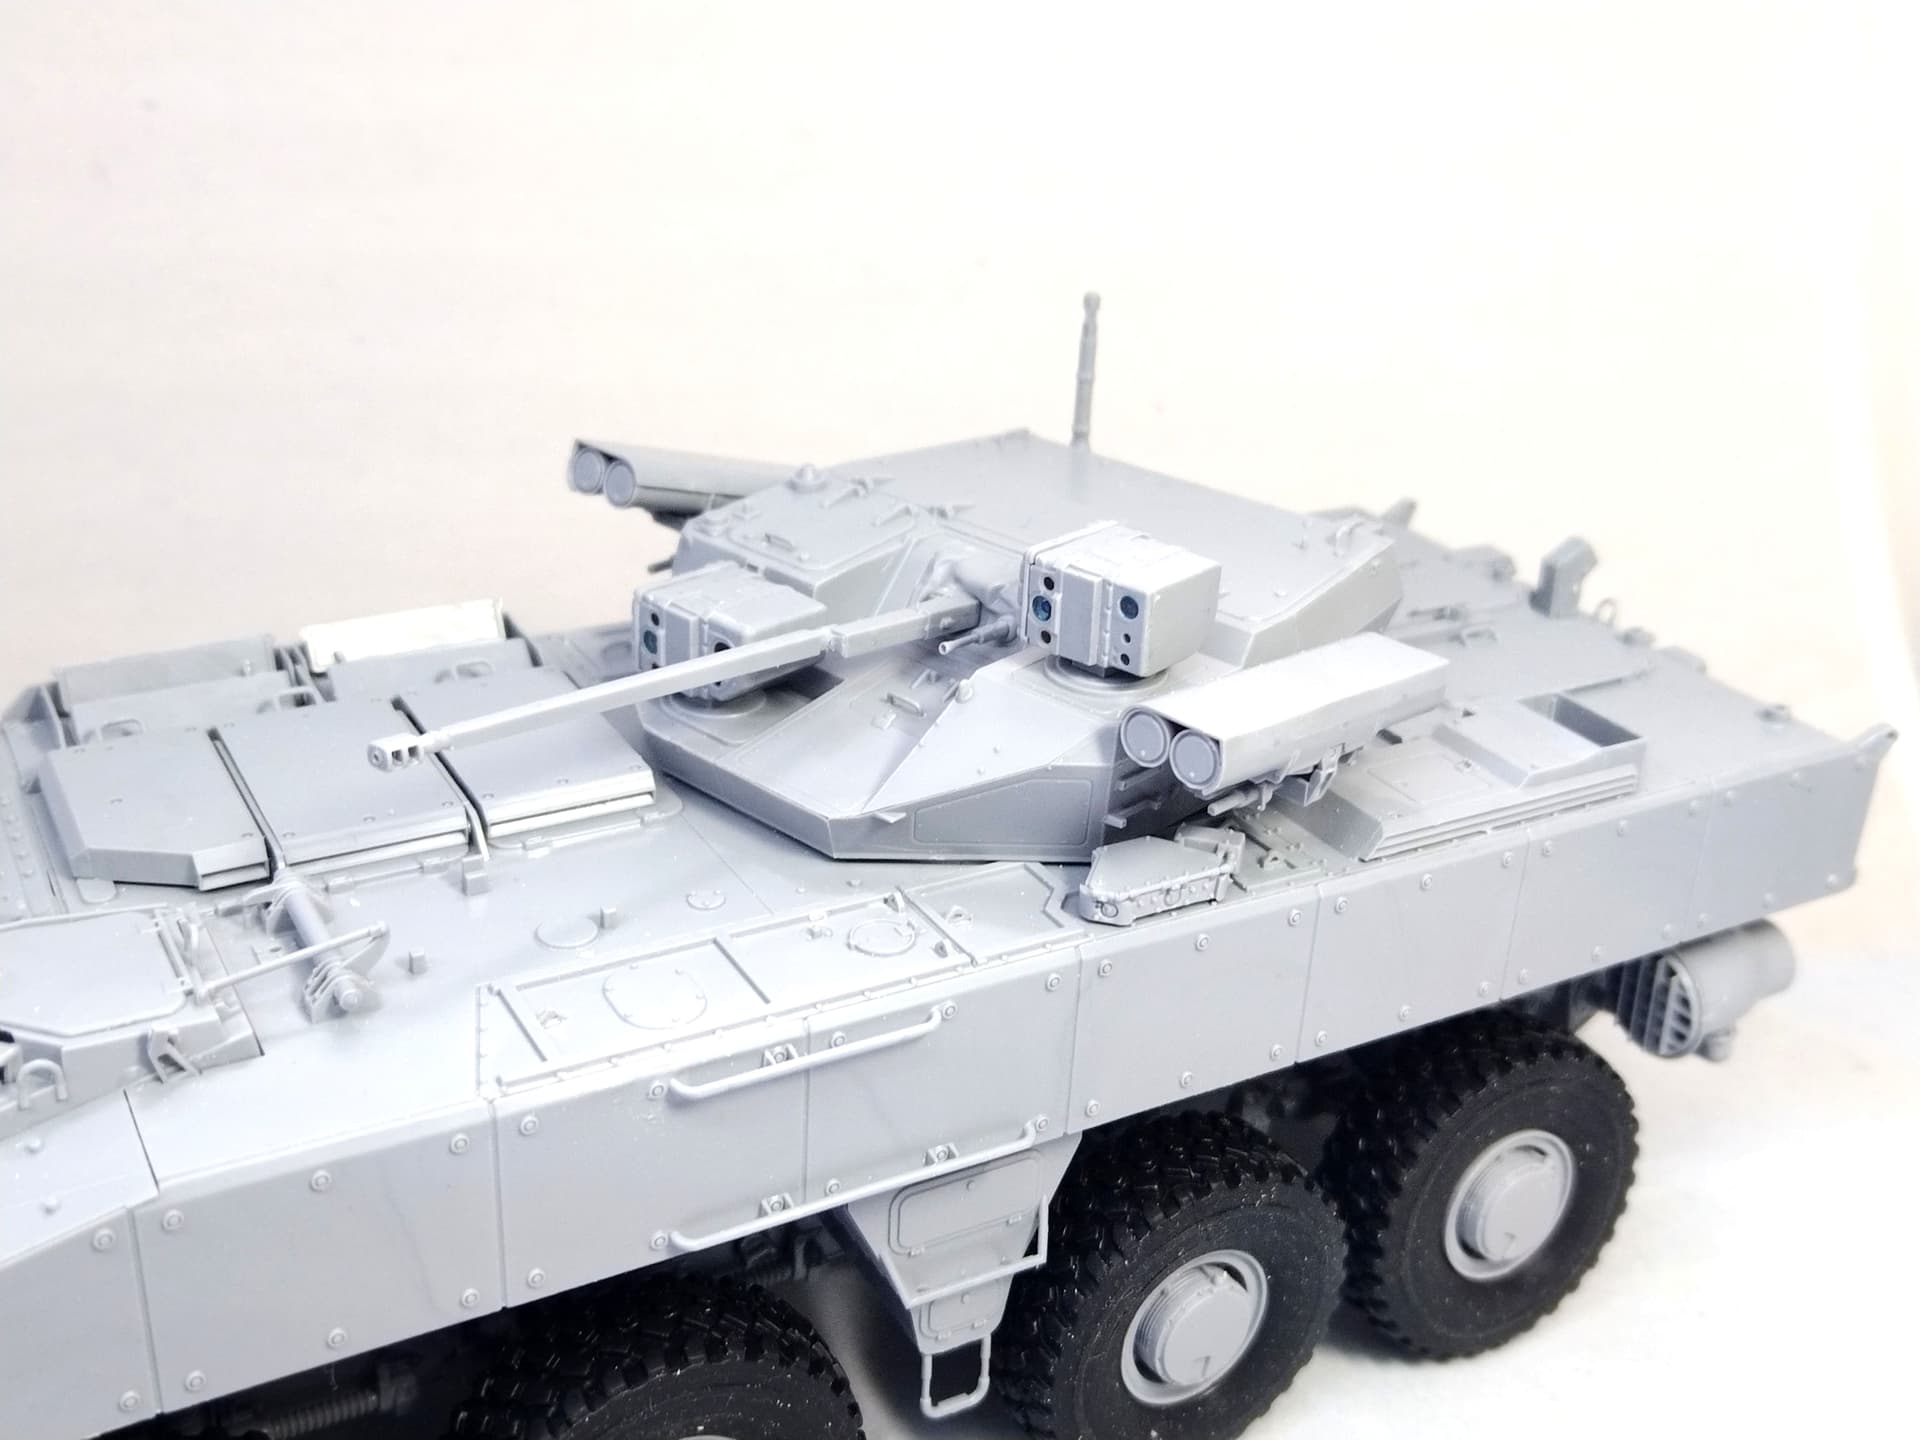
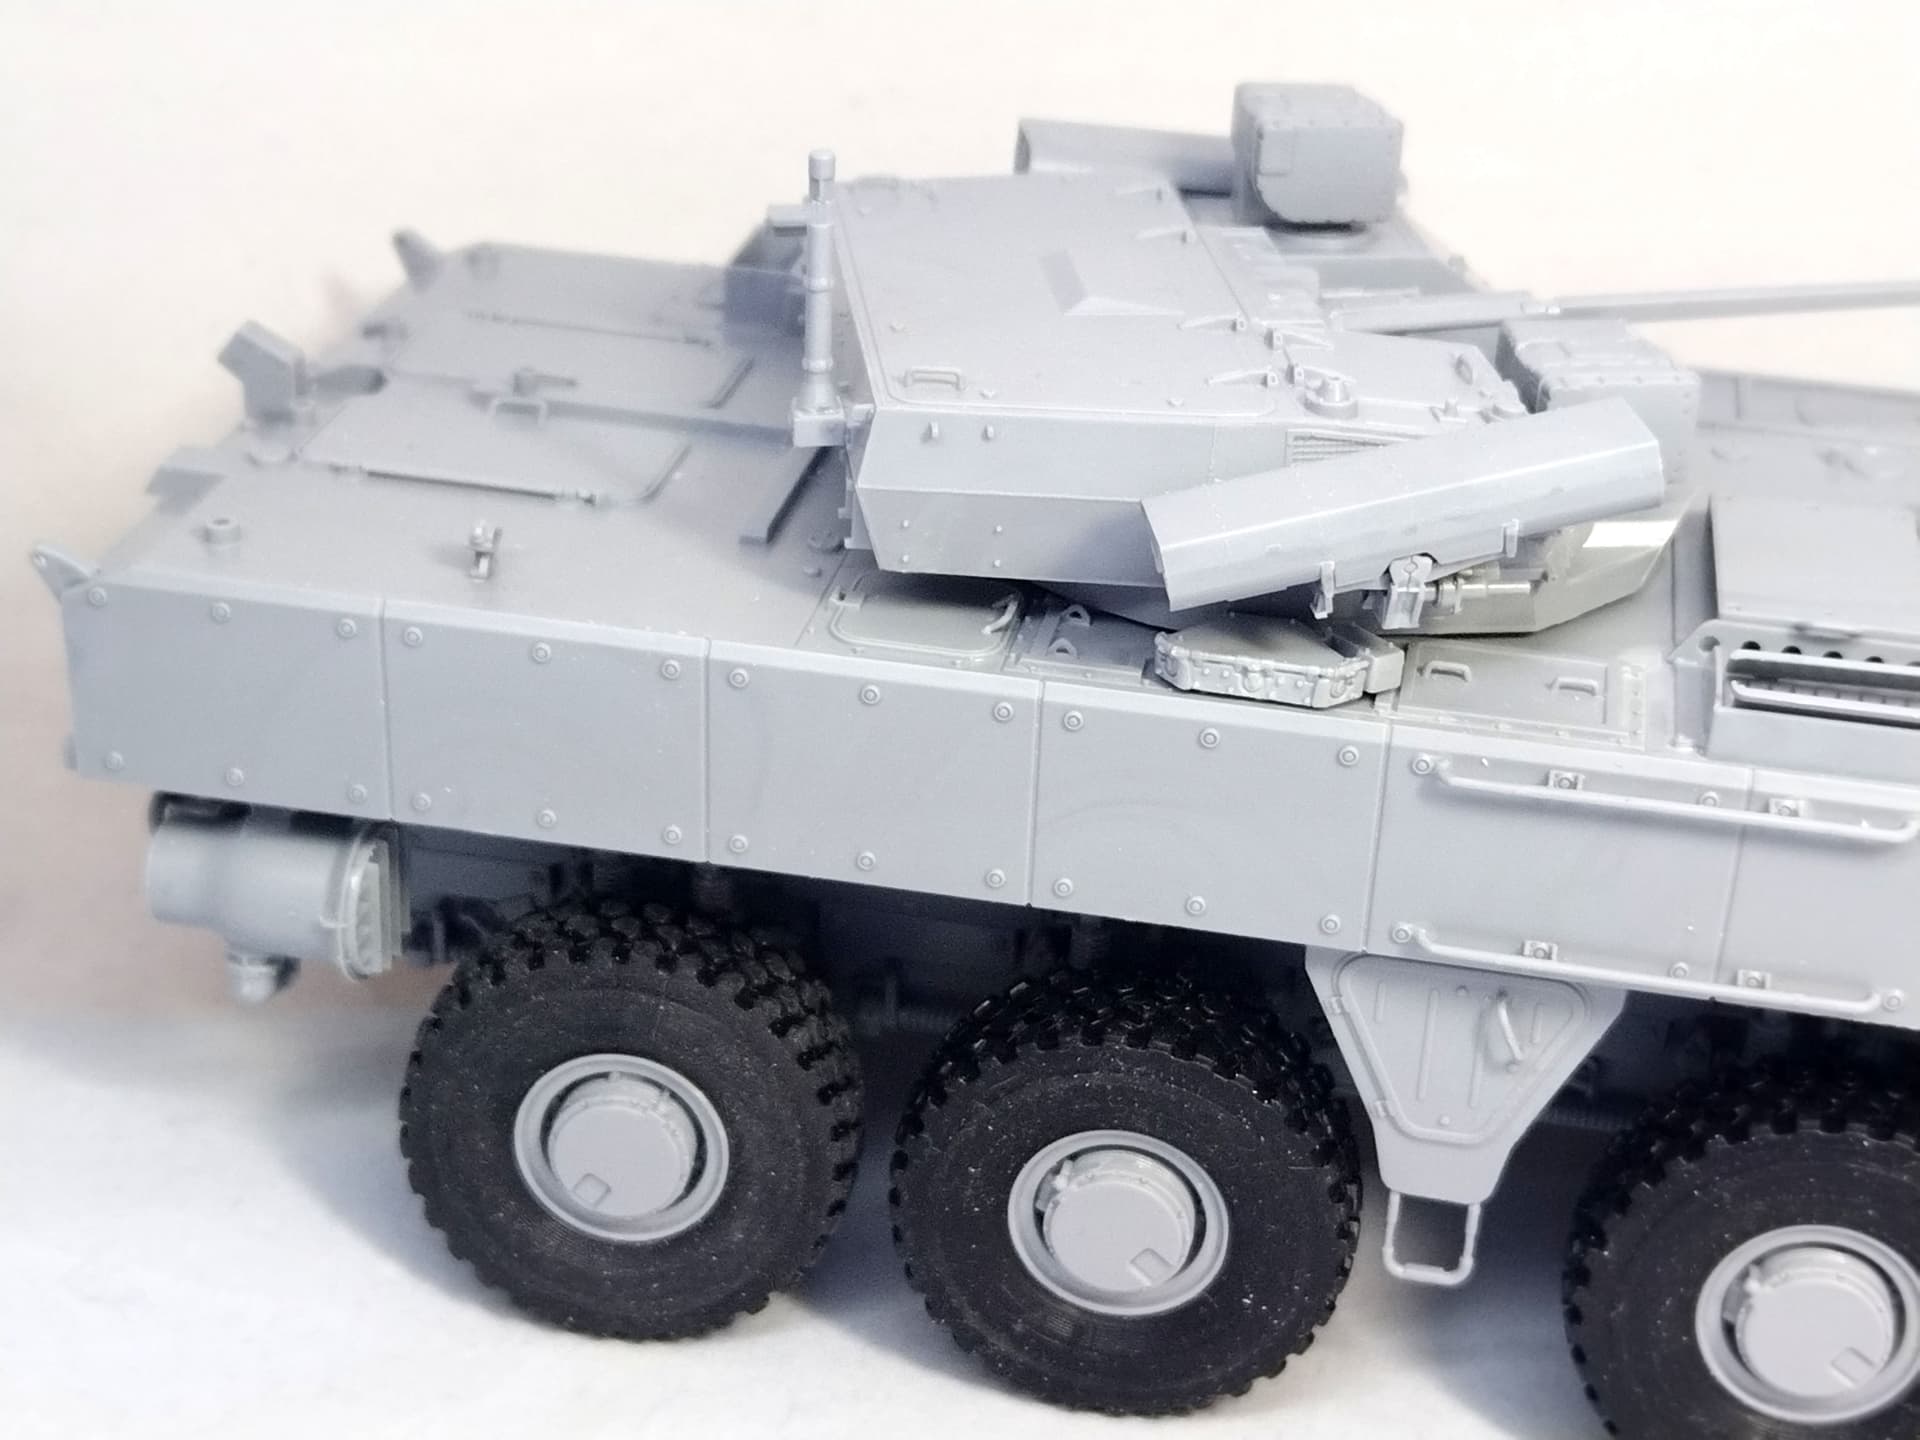
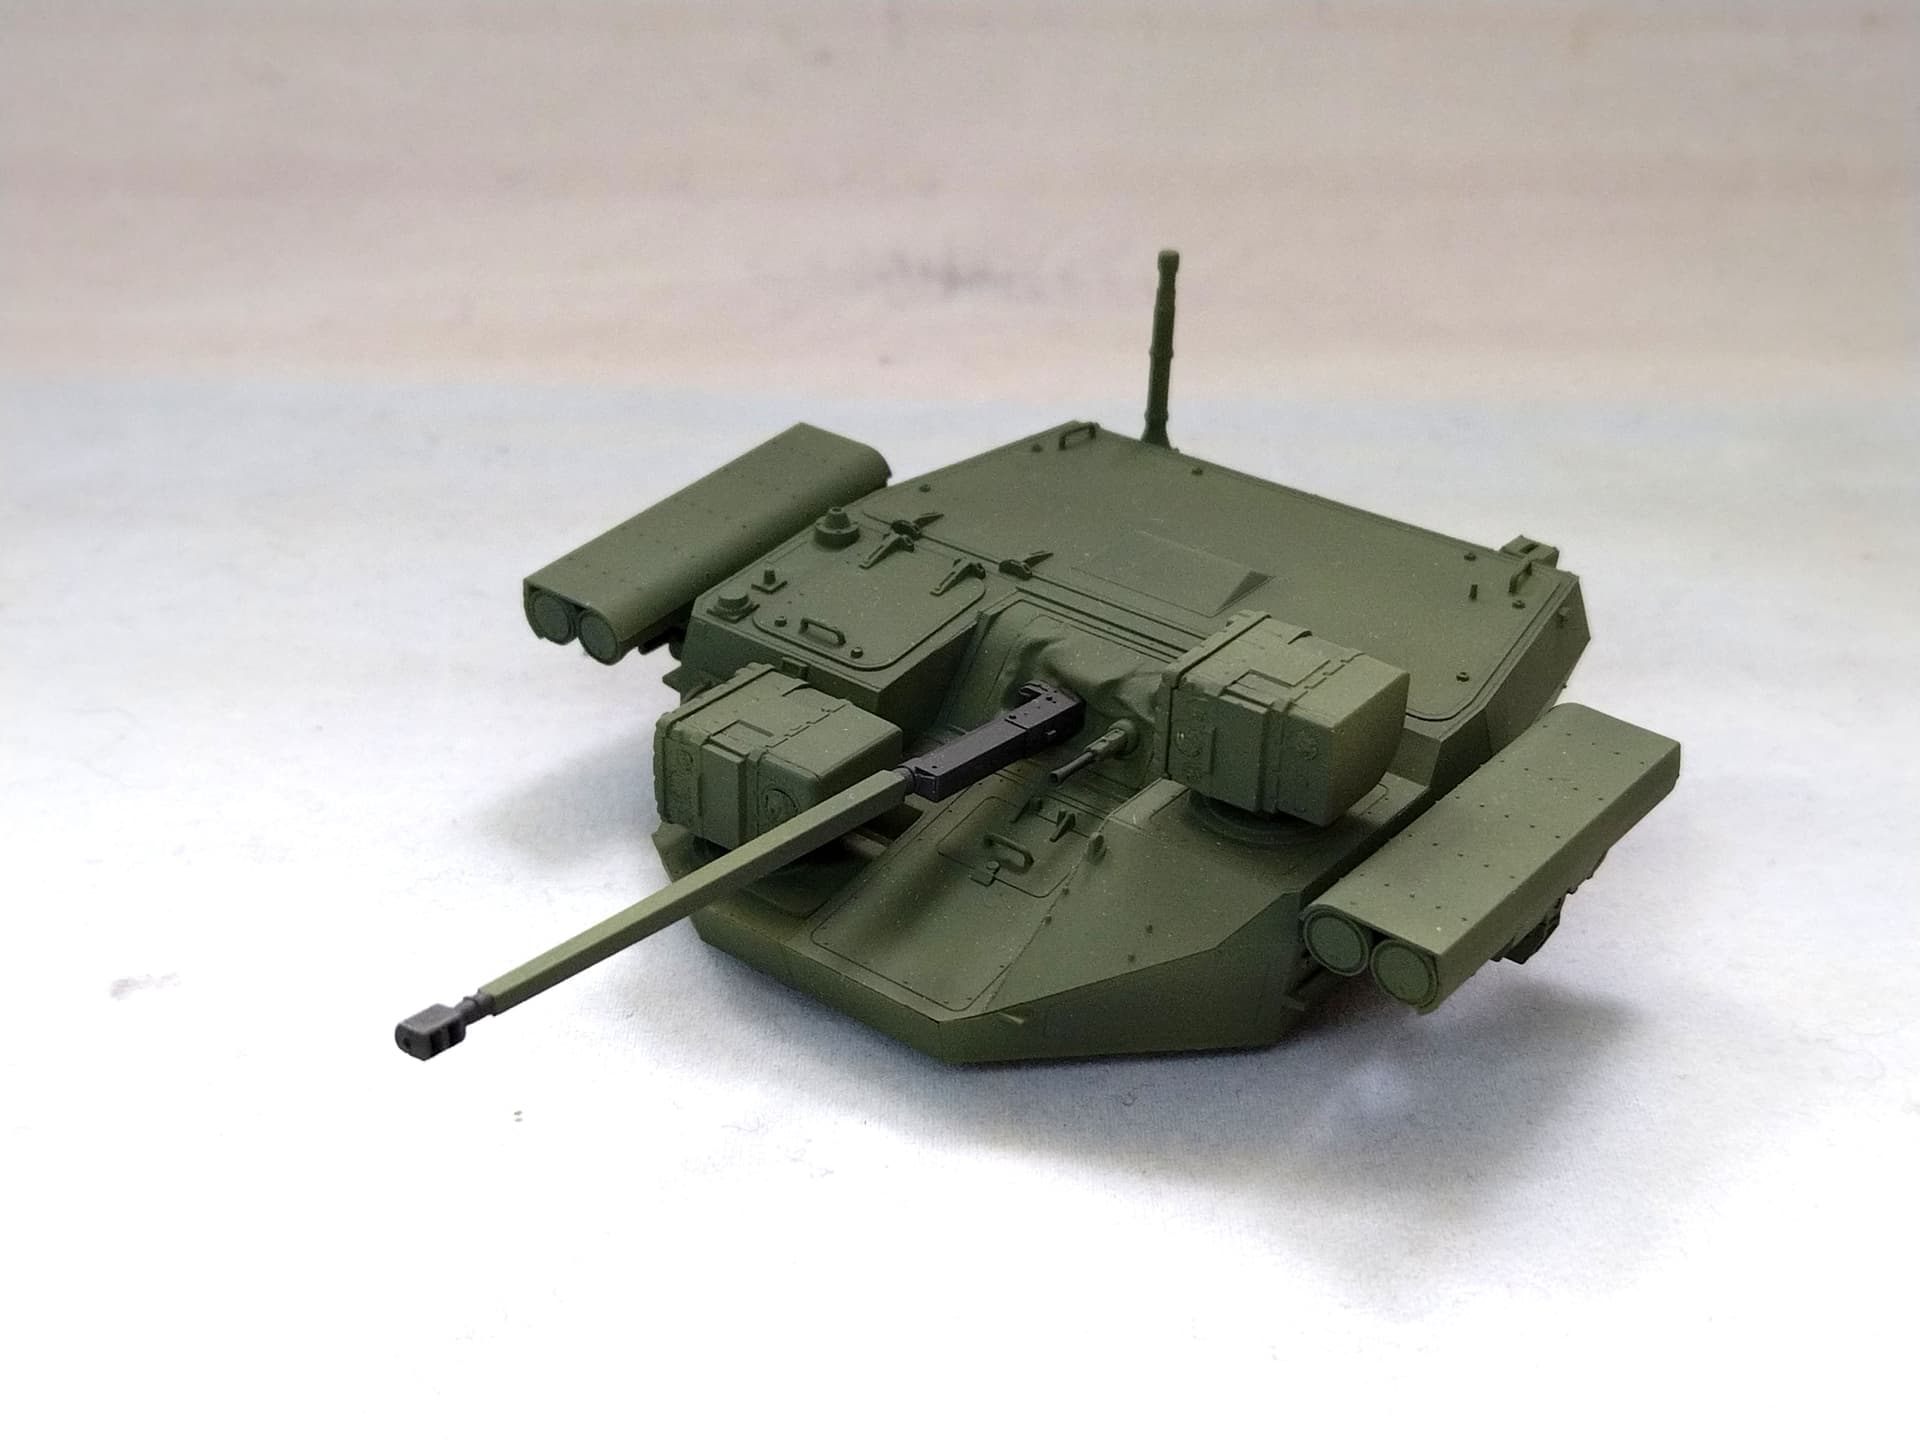
So far I have just assembled the turret. The missiles launchers, gun and sights are not glued for the photo. The antennas will not be glued till the end of the build to avoid being broken. The cannon and coax MG muzzles need to be drilled out.
Olivier
16 Likes
Looks to be a nicely detailed kit, Olivier.
1 Like
I built this when it came out, for Armorama. It is a great kit, no flaws to it. Enjoy the build.
3 Likes
Yes it is. Zvezda really raised their cast standard those late years.
Olivier
3 Likes
Another interresting build, i have the Panda kit (excellent looking in the box). Def has a great set of wheels.
1 Like
I always enjoy your builds. Looking forward to more.
2 Likes
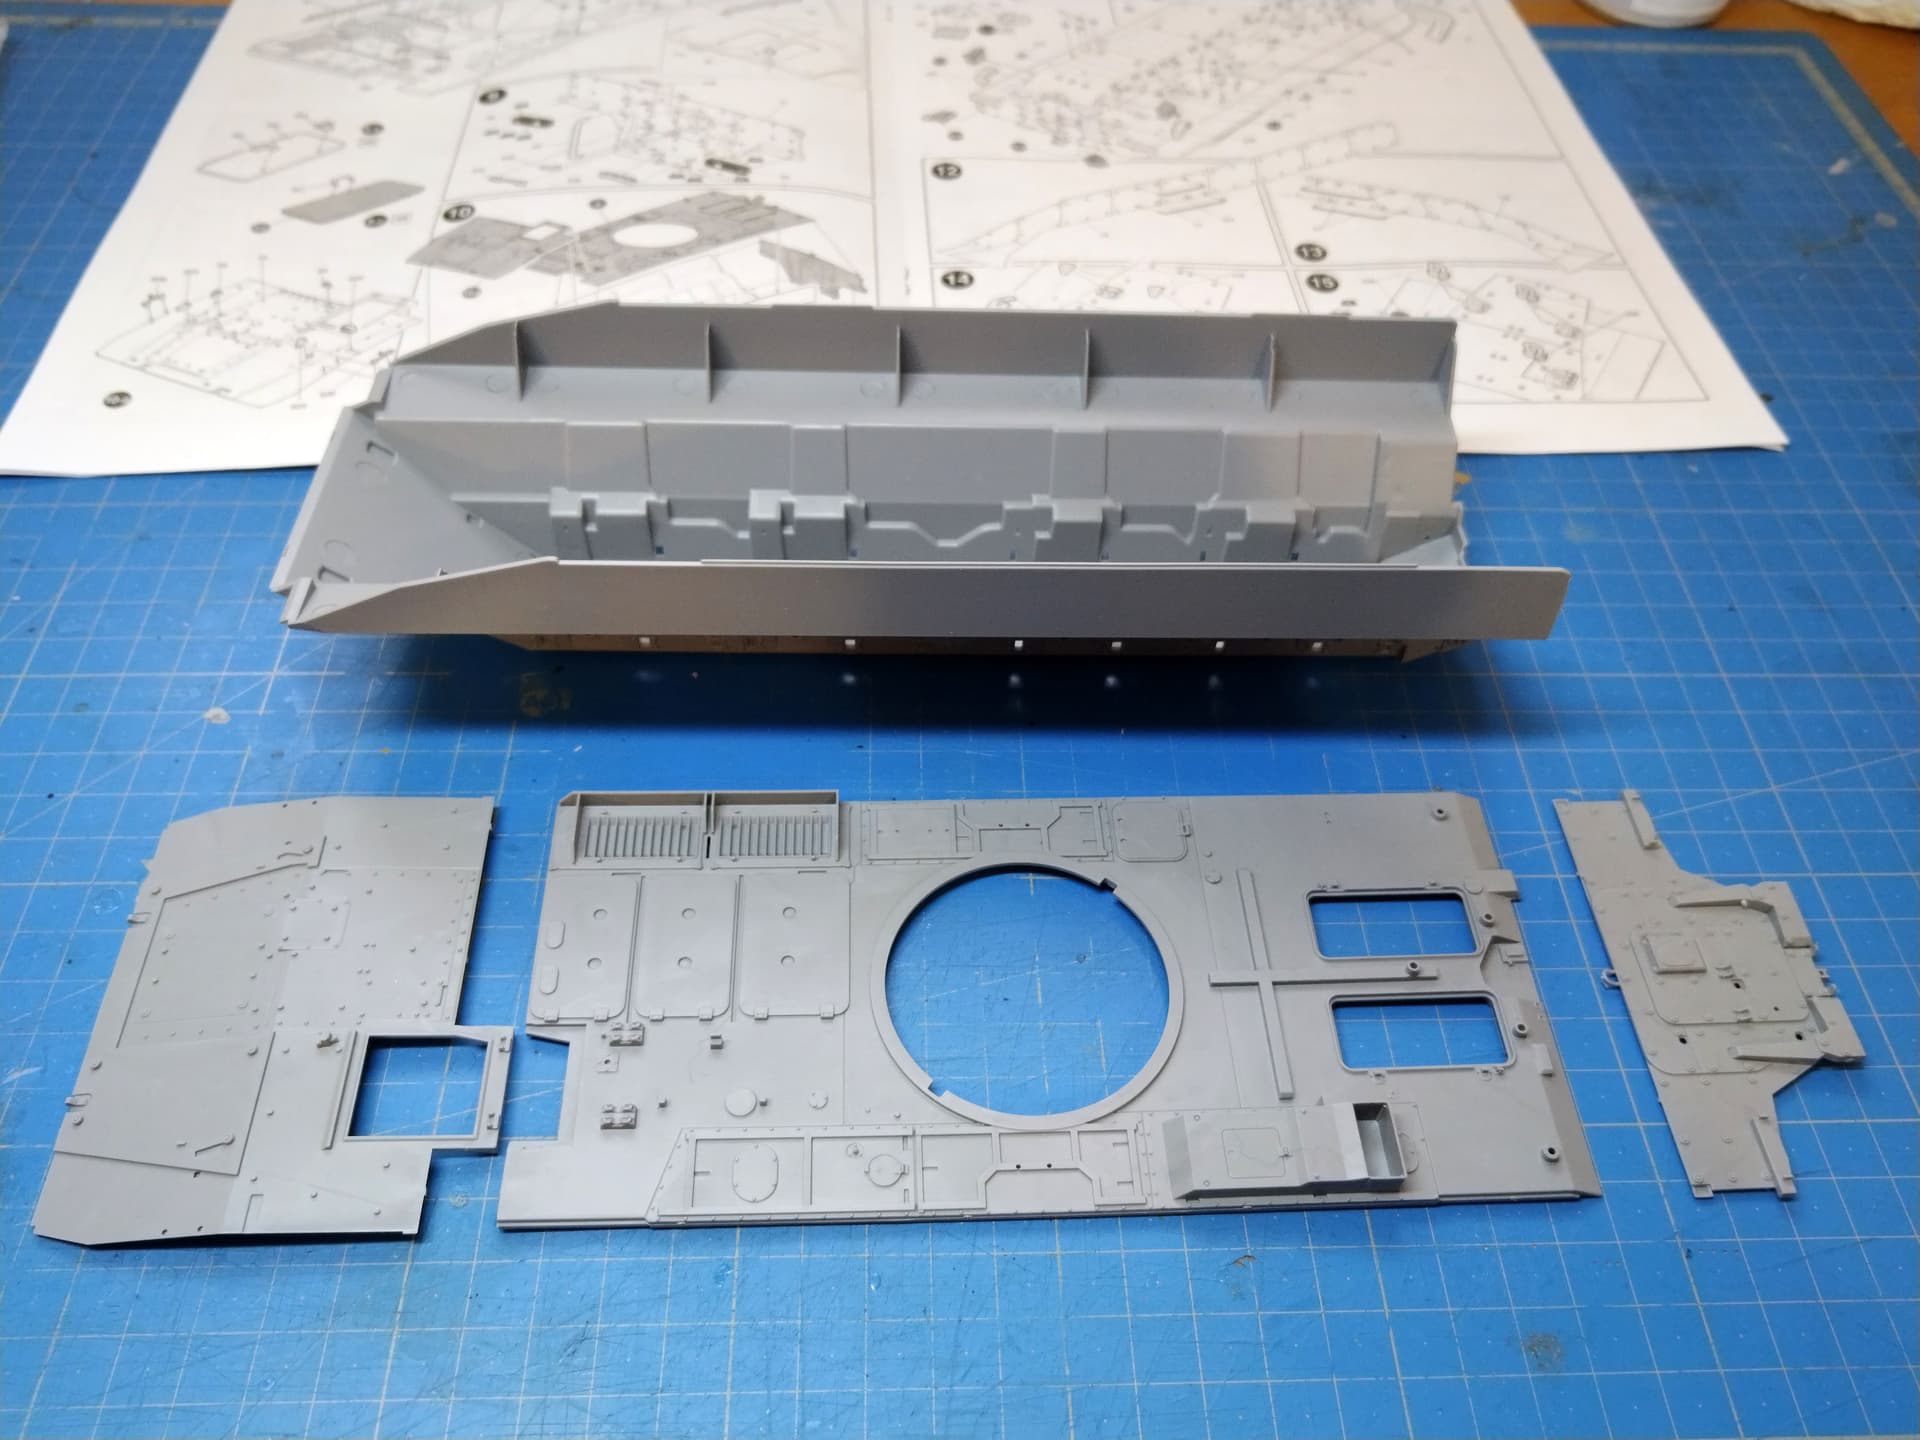
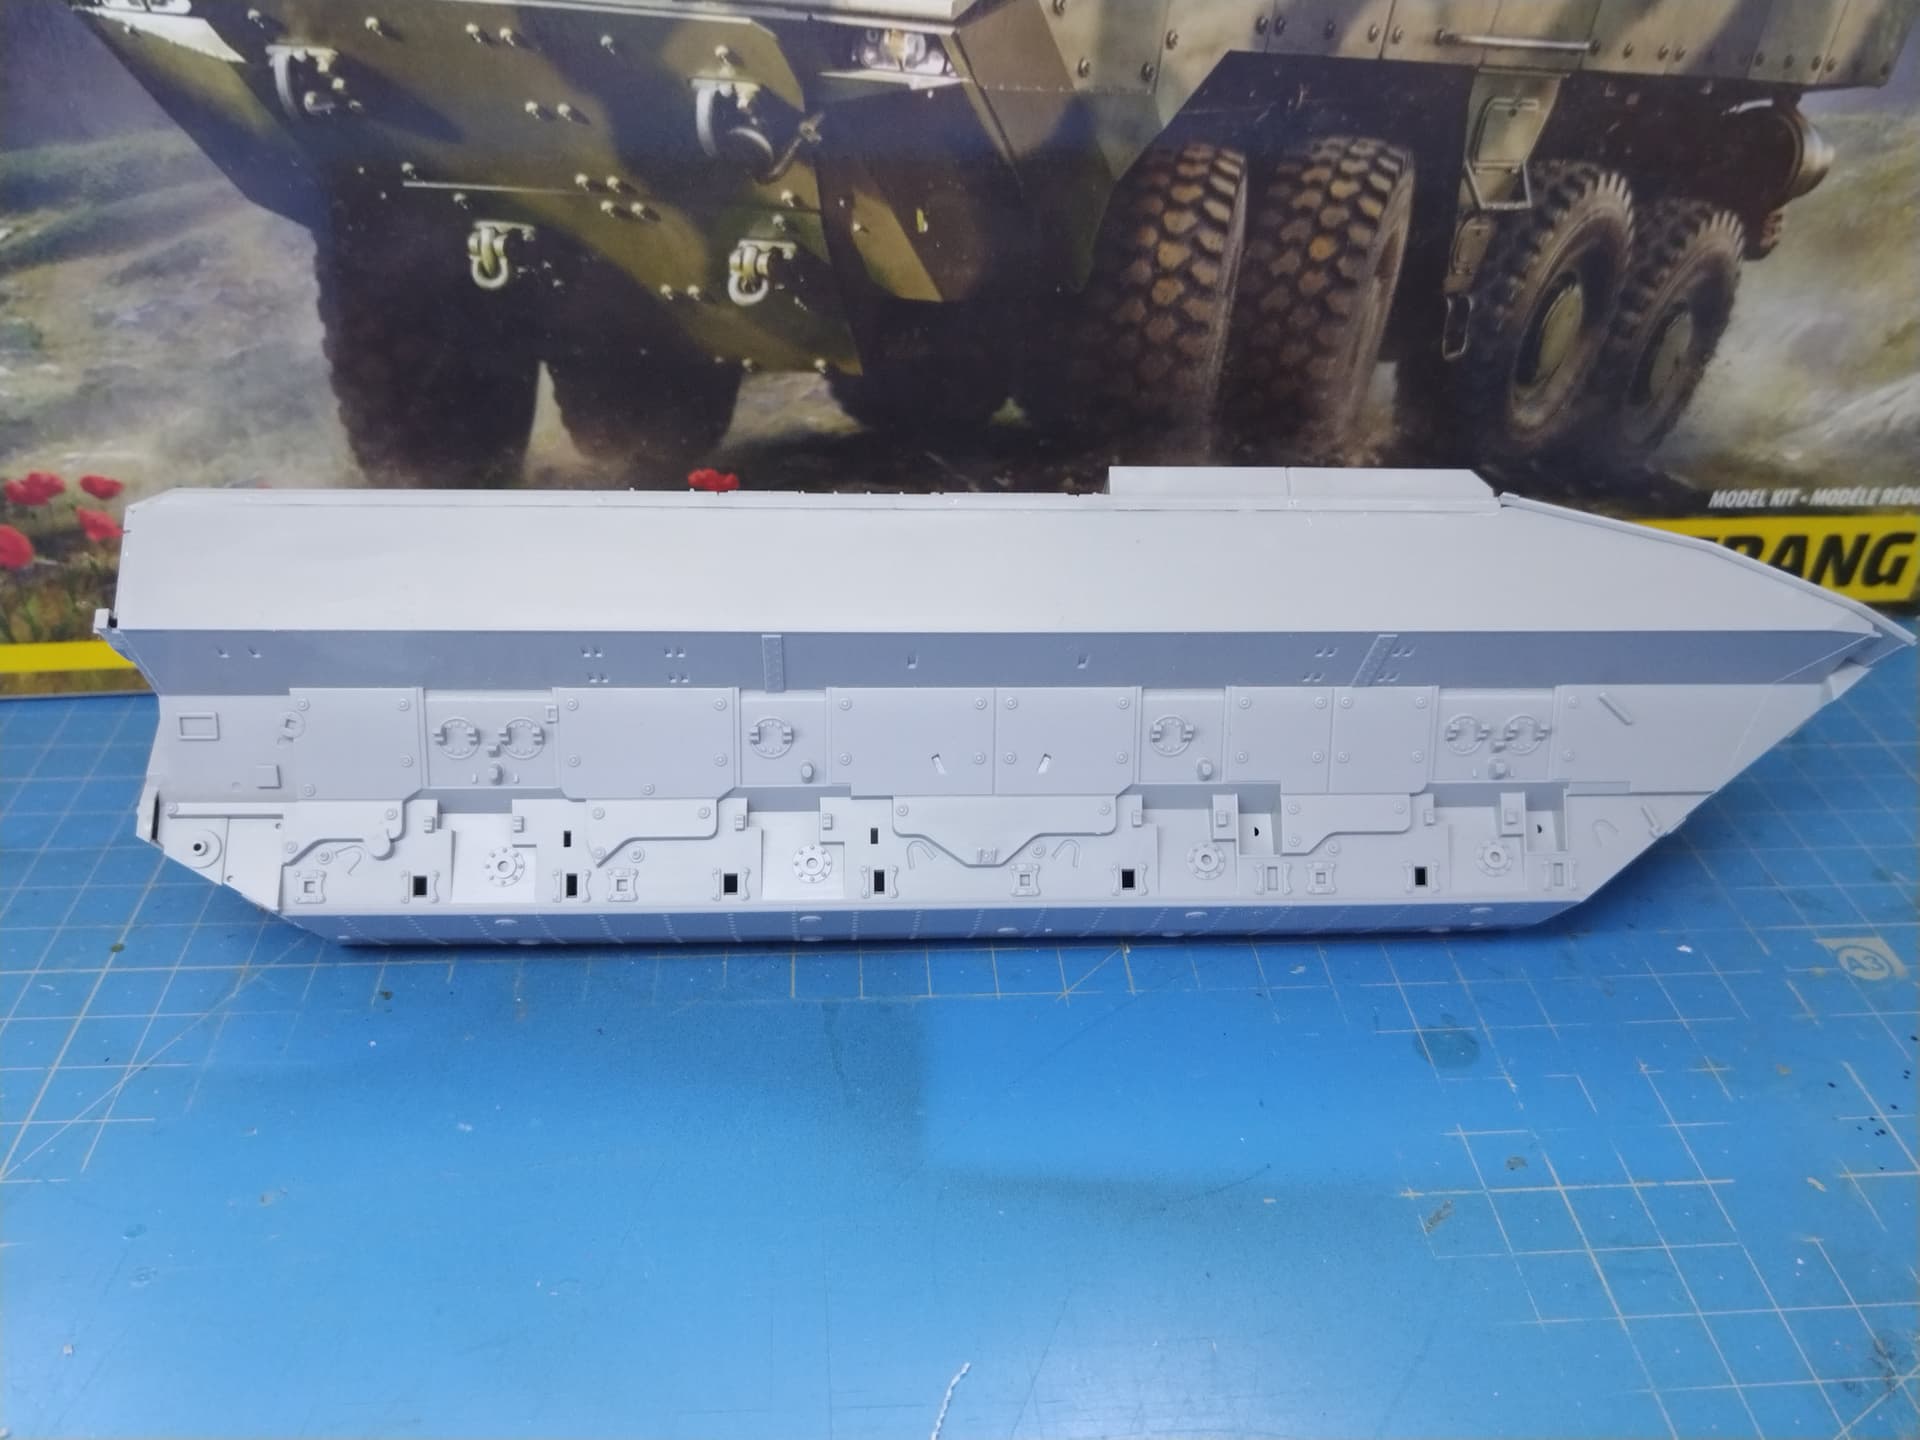
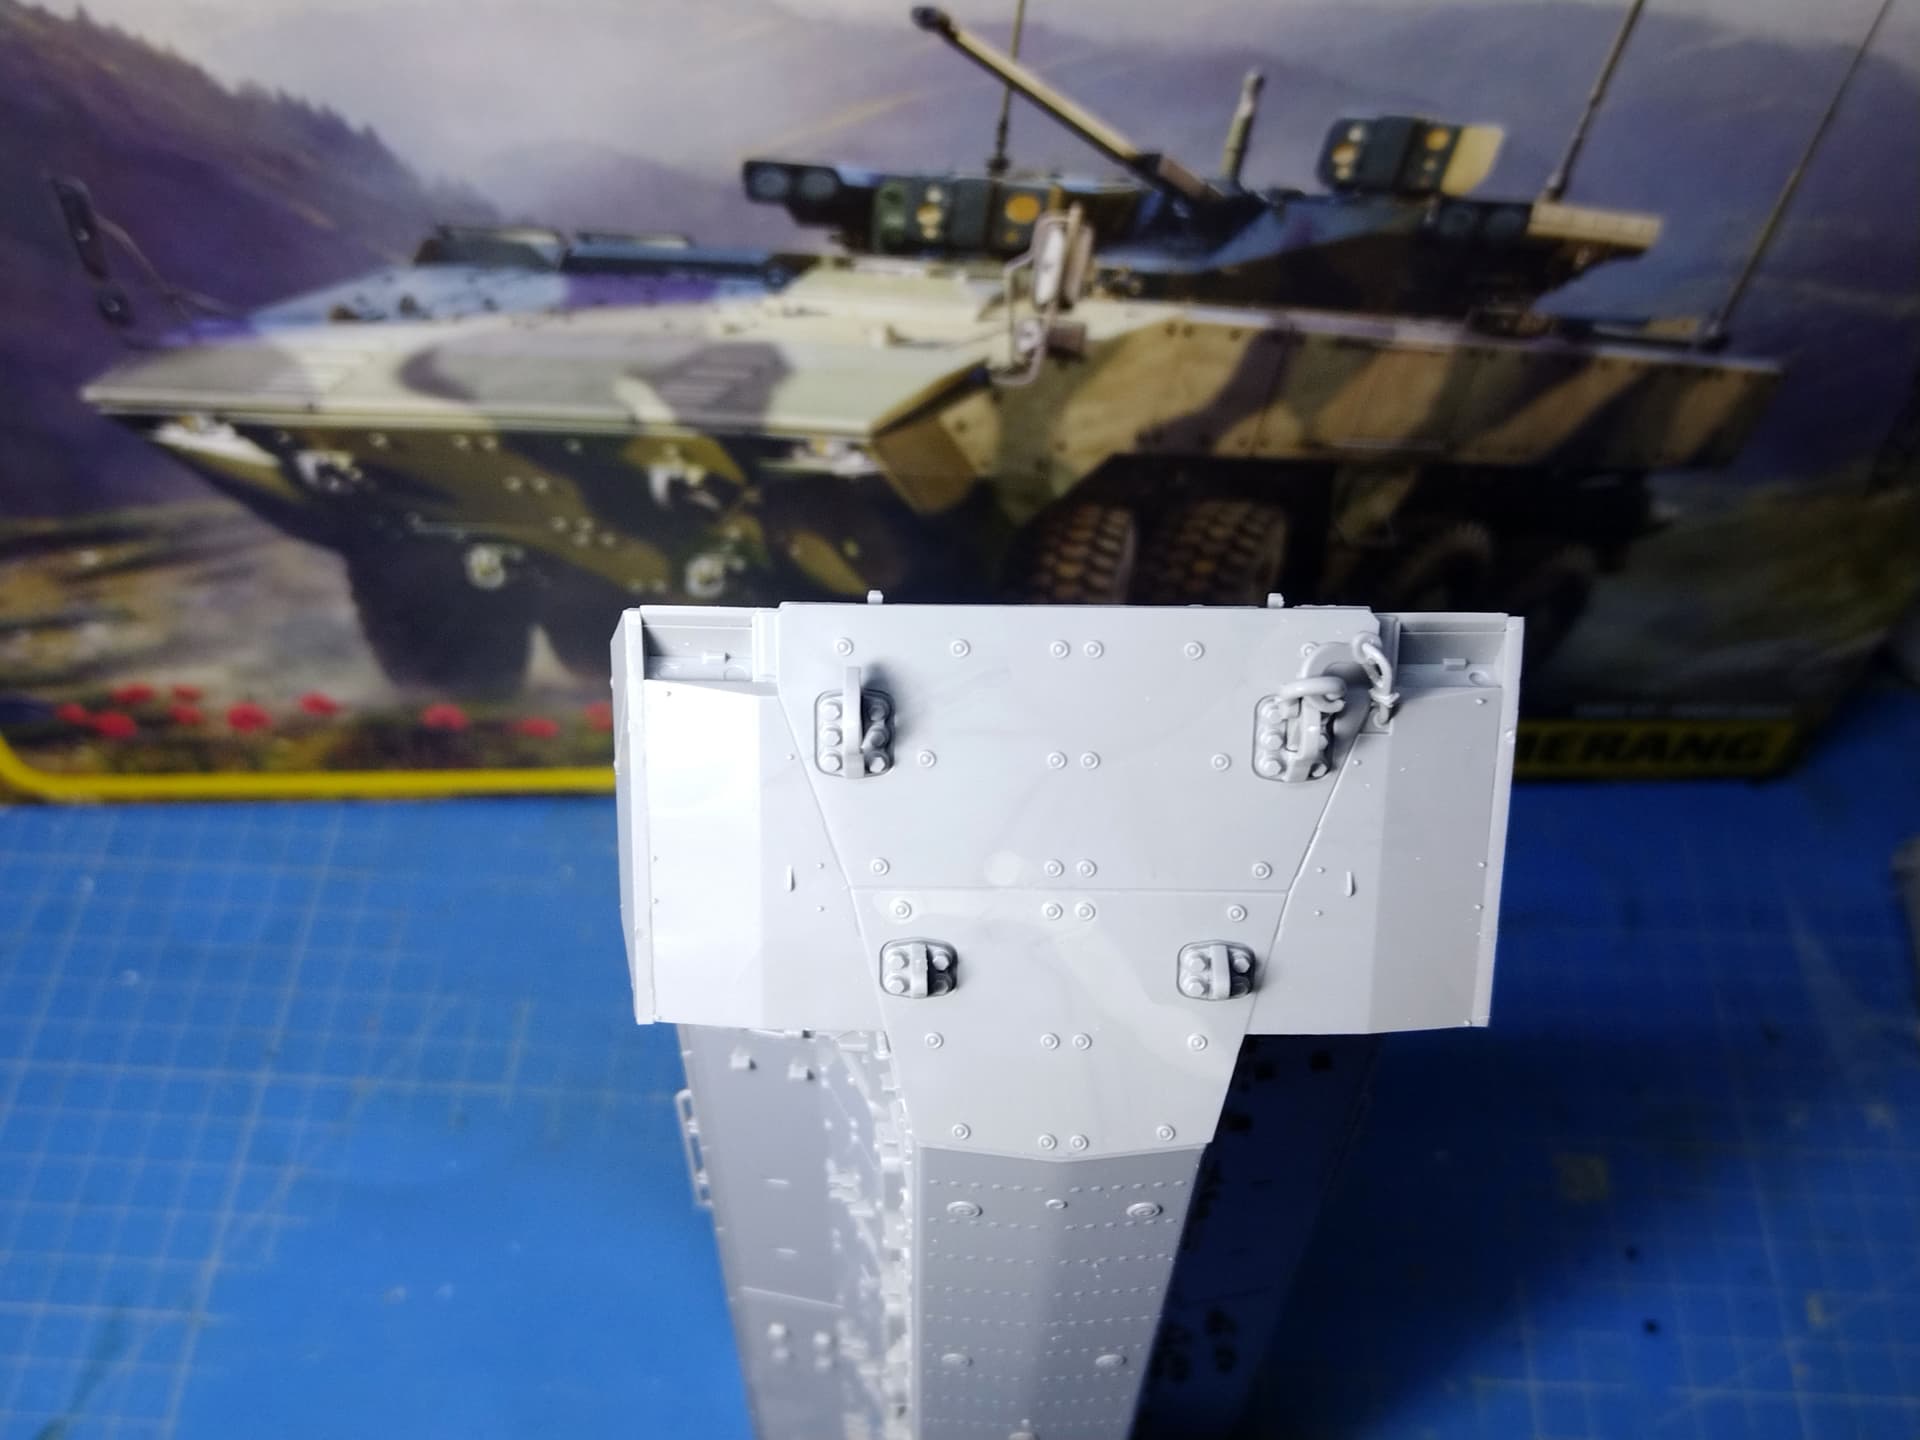
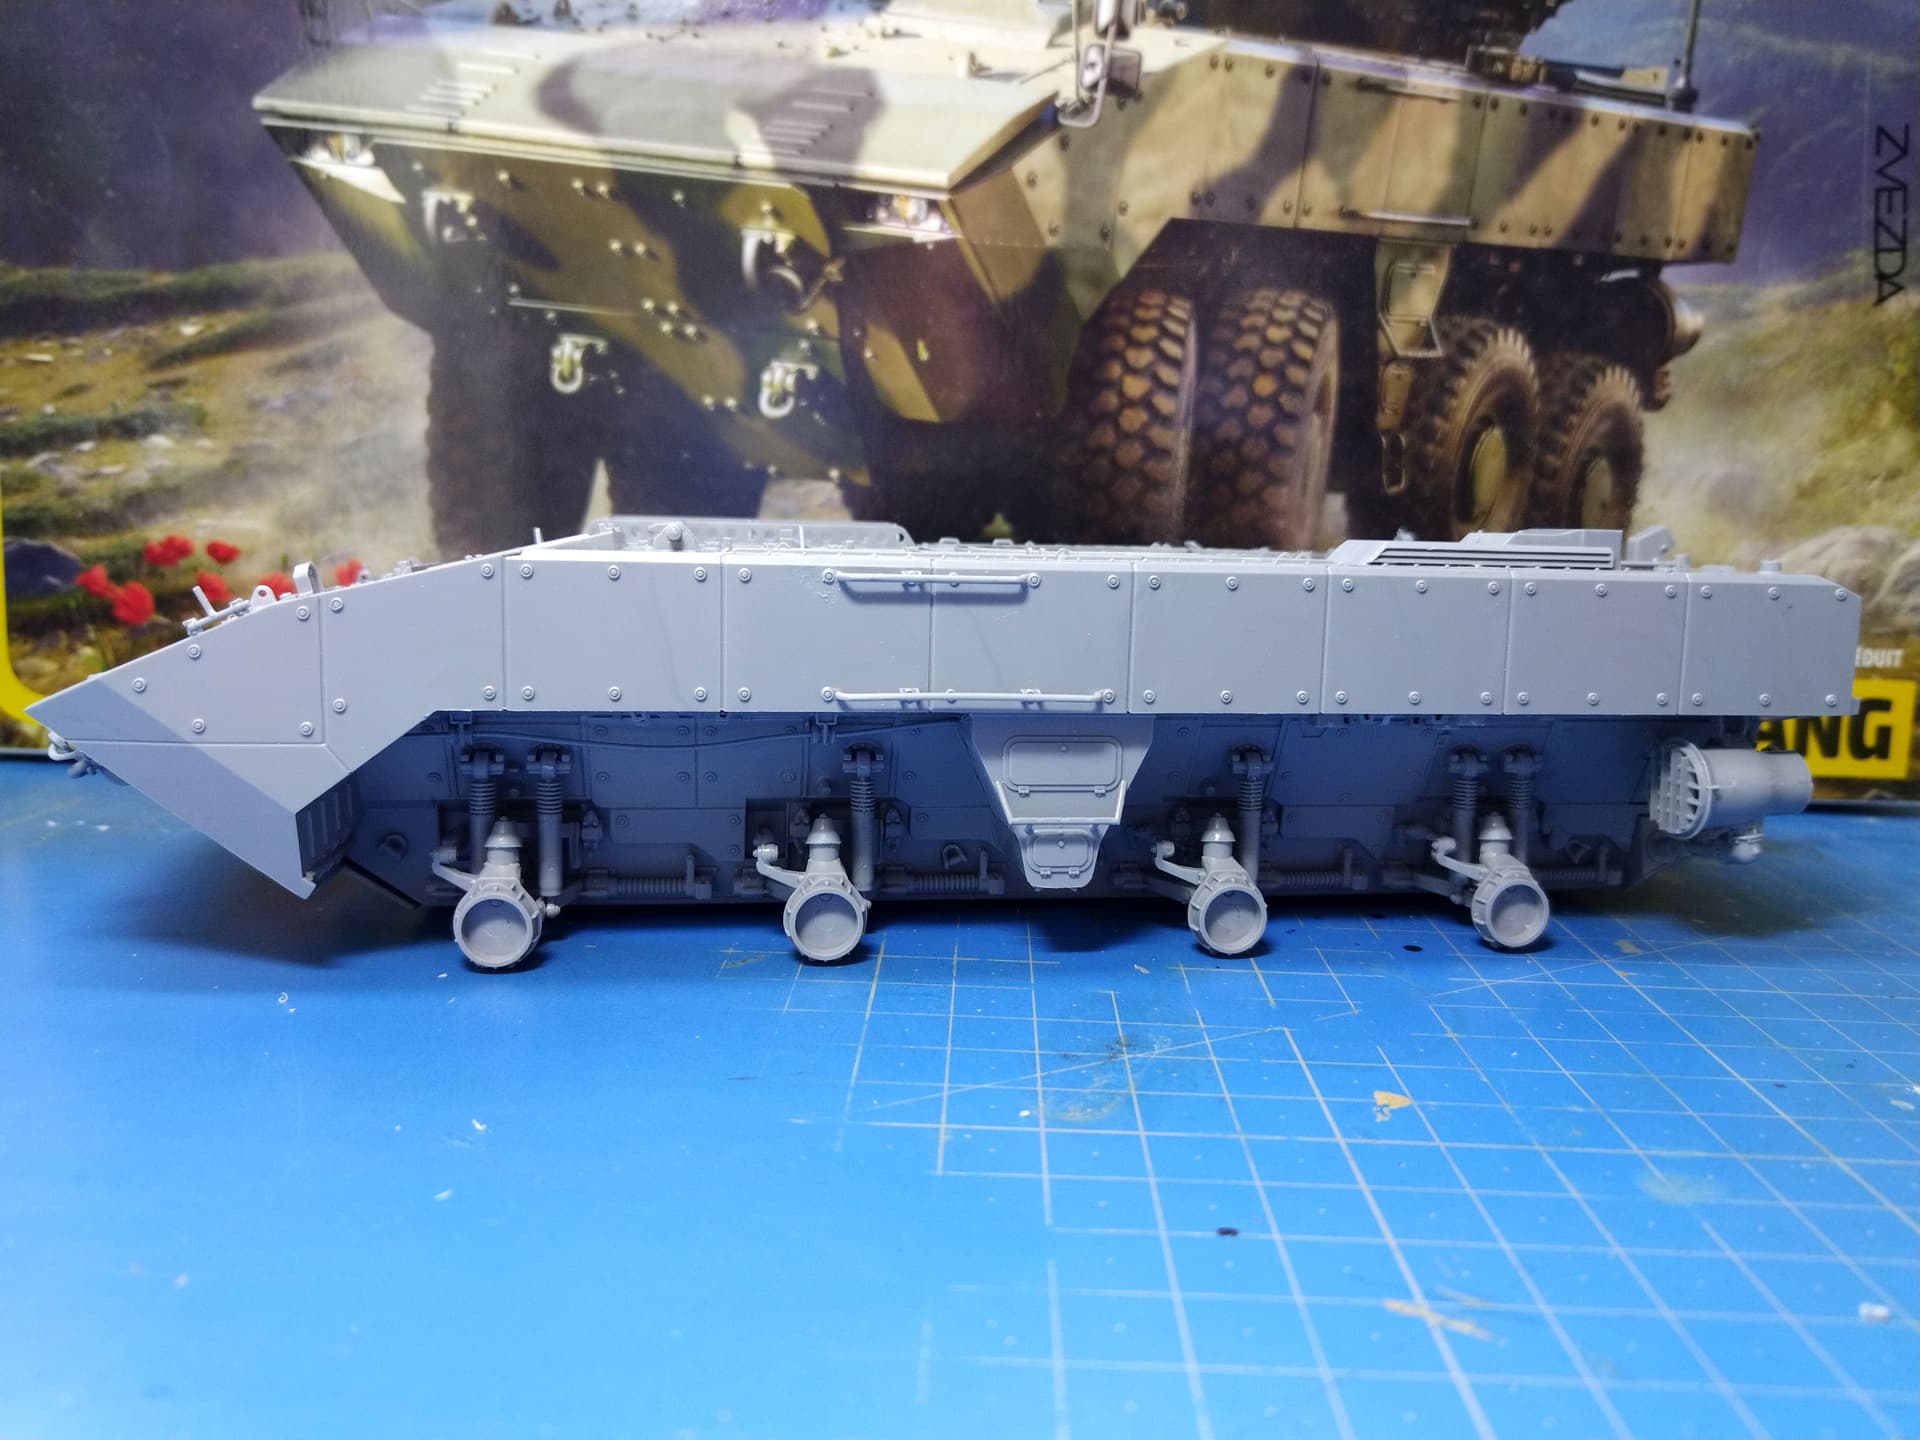
I started the assembly of the hull this week.
The hull is multipart with a large tub, a rear wall and two upper parts.
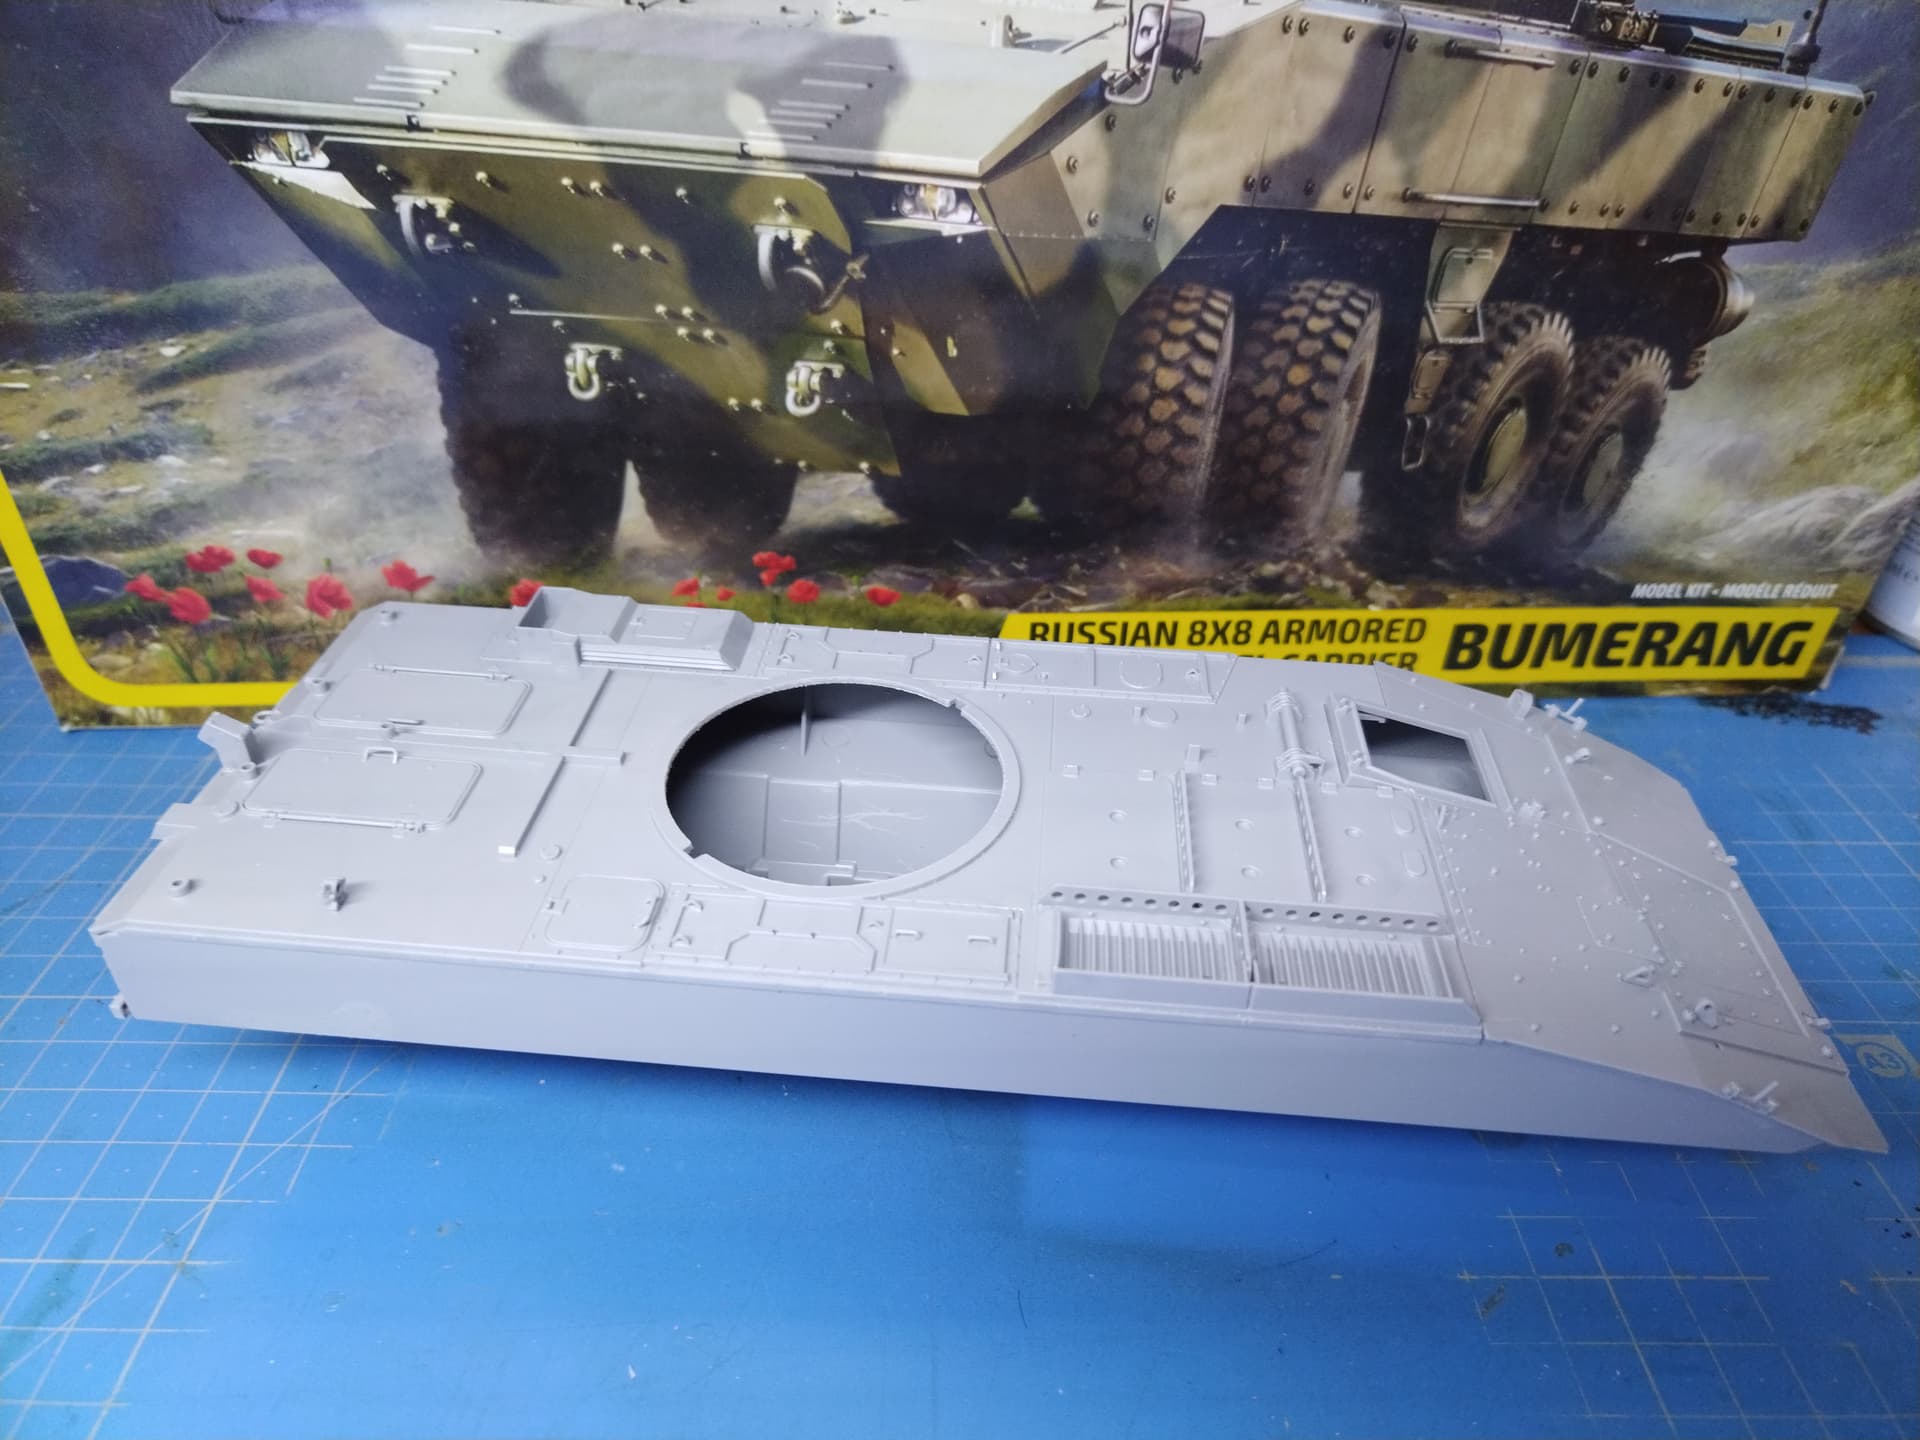
Before gluing the parts it is advised to enlarge the turret ring otherwise you won’t be able to fit the turret inside and have it turn.
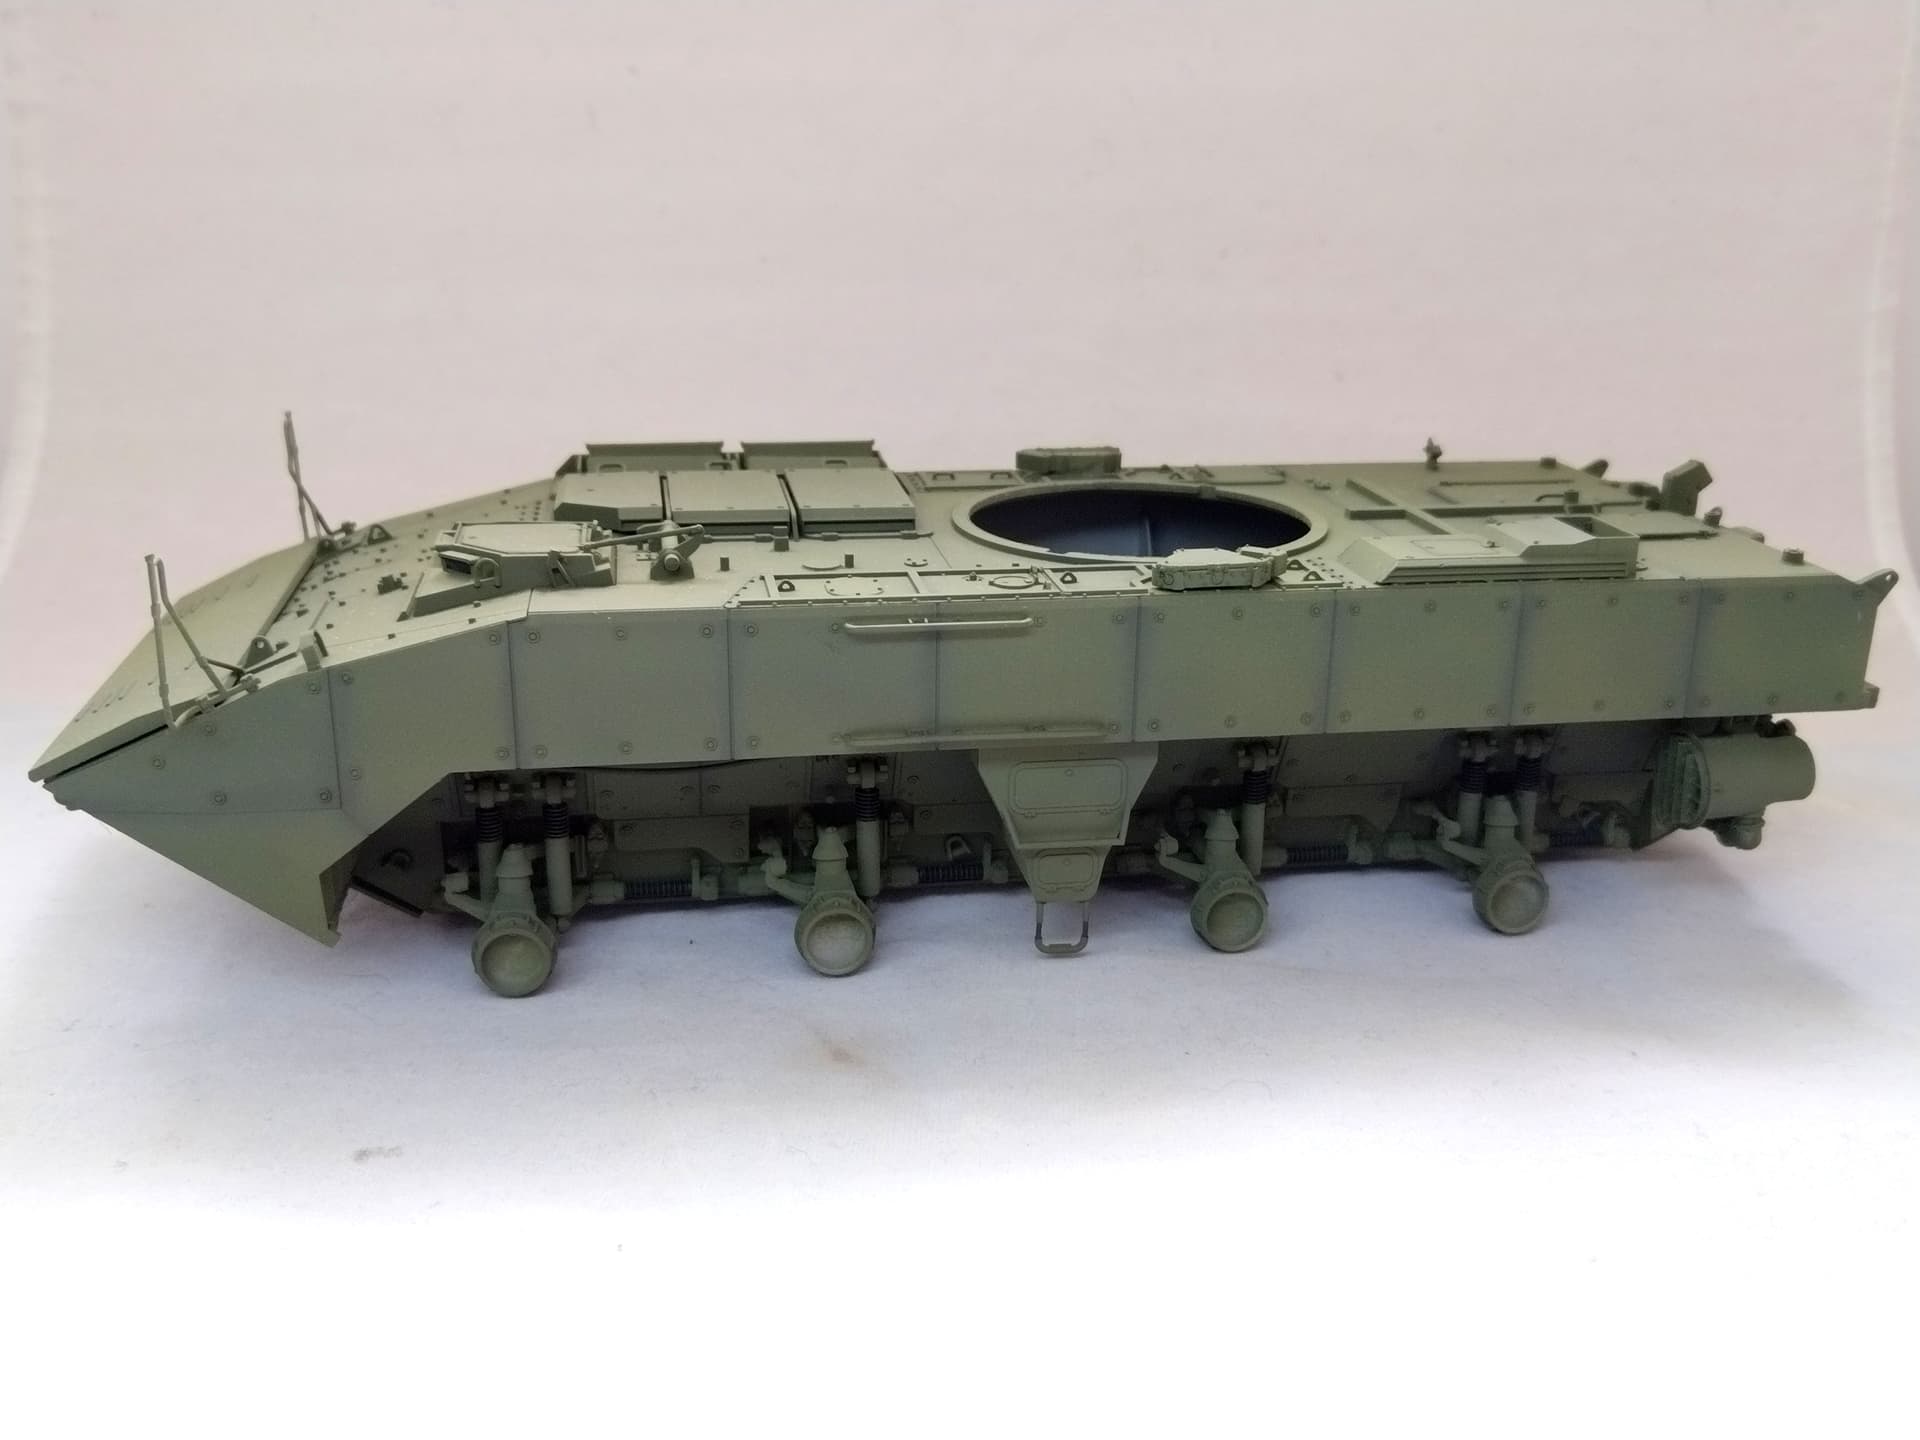
I’ve assembled the whole hull prior to adding any details unlike what the instructions call for.
Then gluing the details is a piece of cake. You just need to remove some ejection pin marks on the ribs with holes around the engine d eck.
Olivier
8 Likes
Looks good Olivier. I am very impressed with the detail level Zvezda have stepped up to on the few kits I have done of theirs compared to the old kits.
2 Likes
You’re right Johnny. Zvezda really improved their standard.
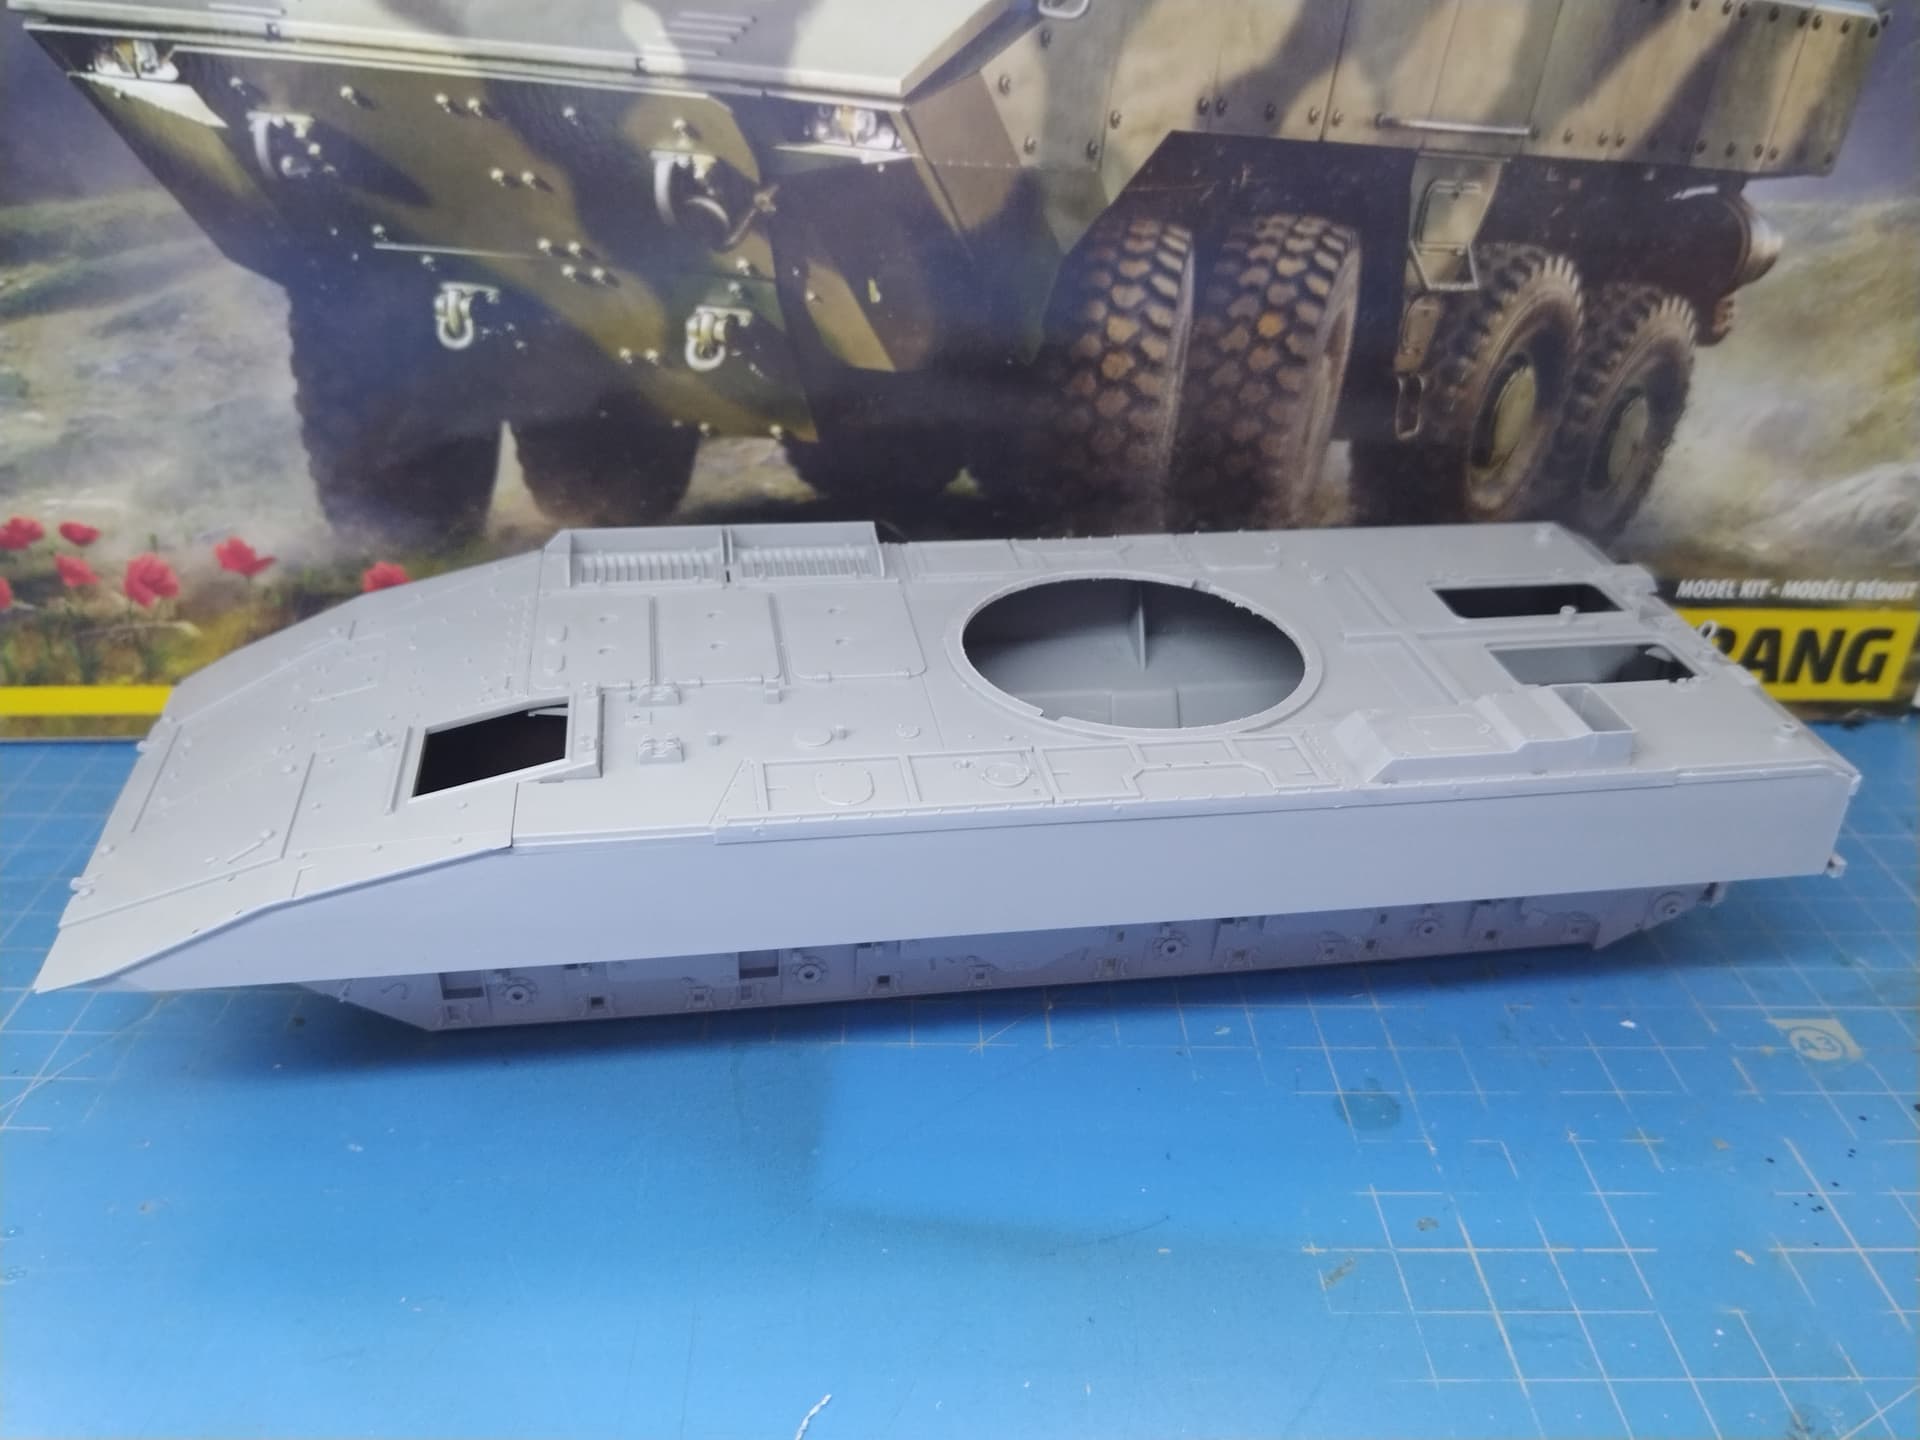
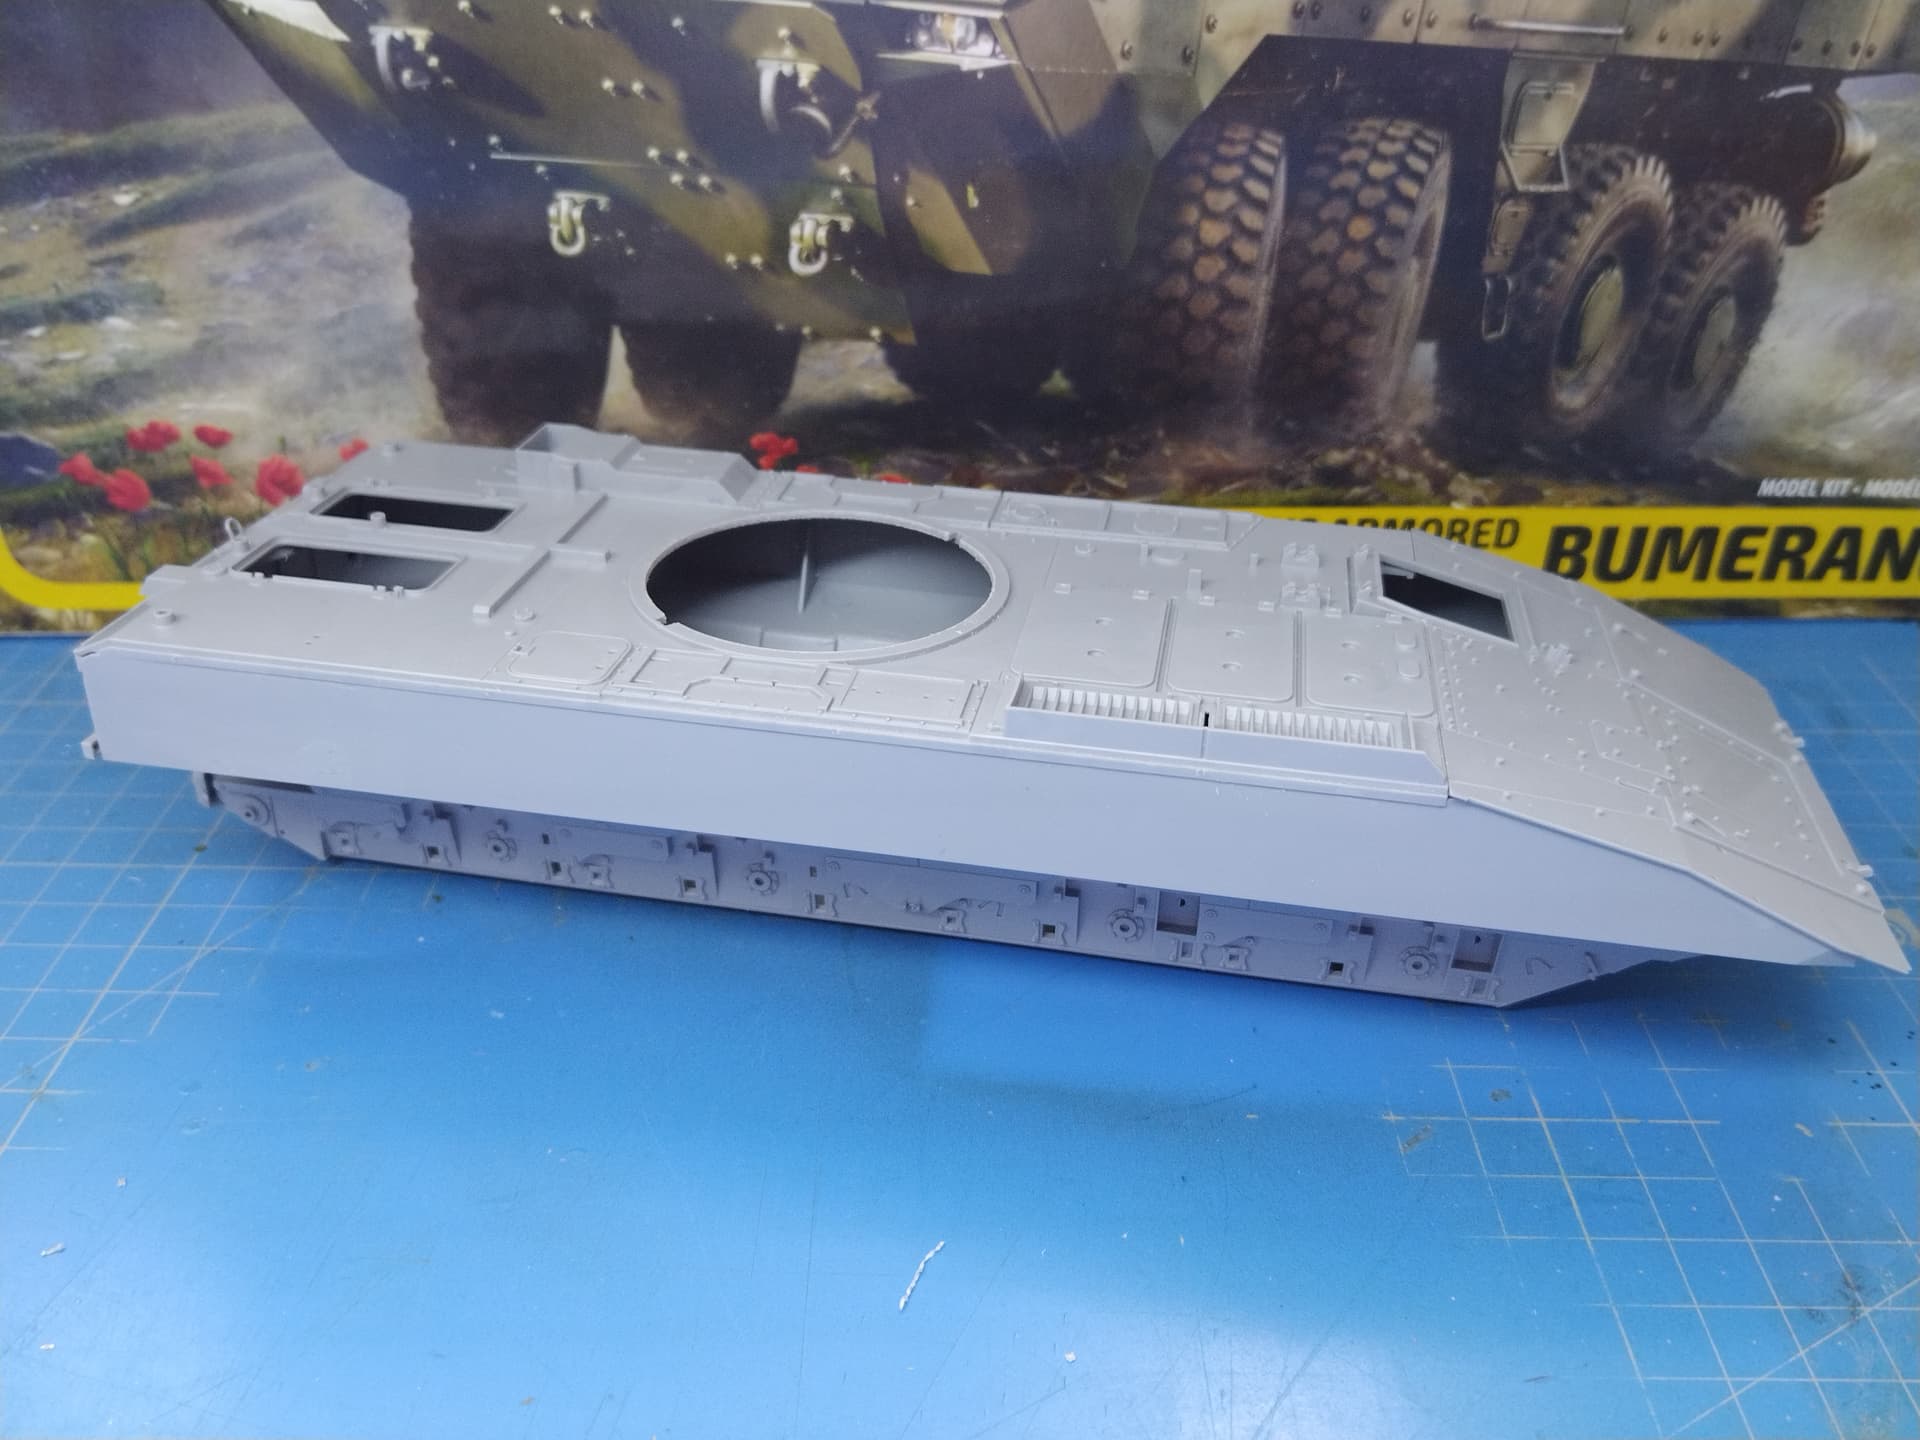
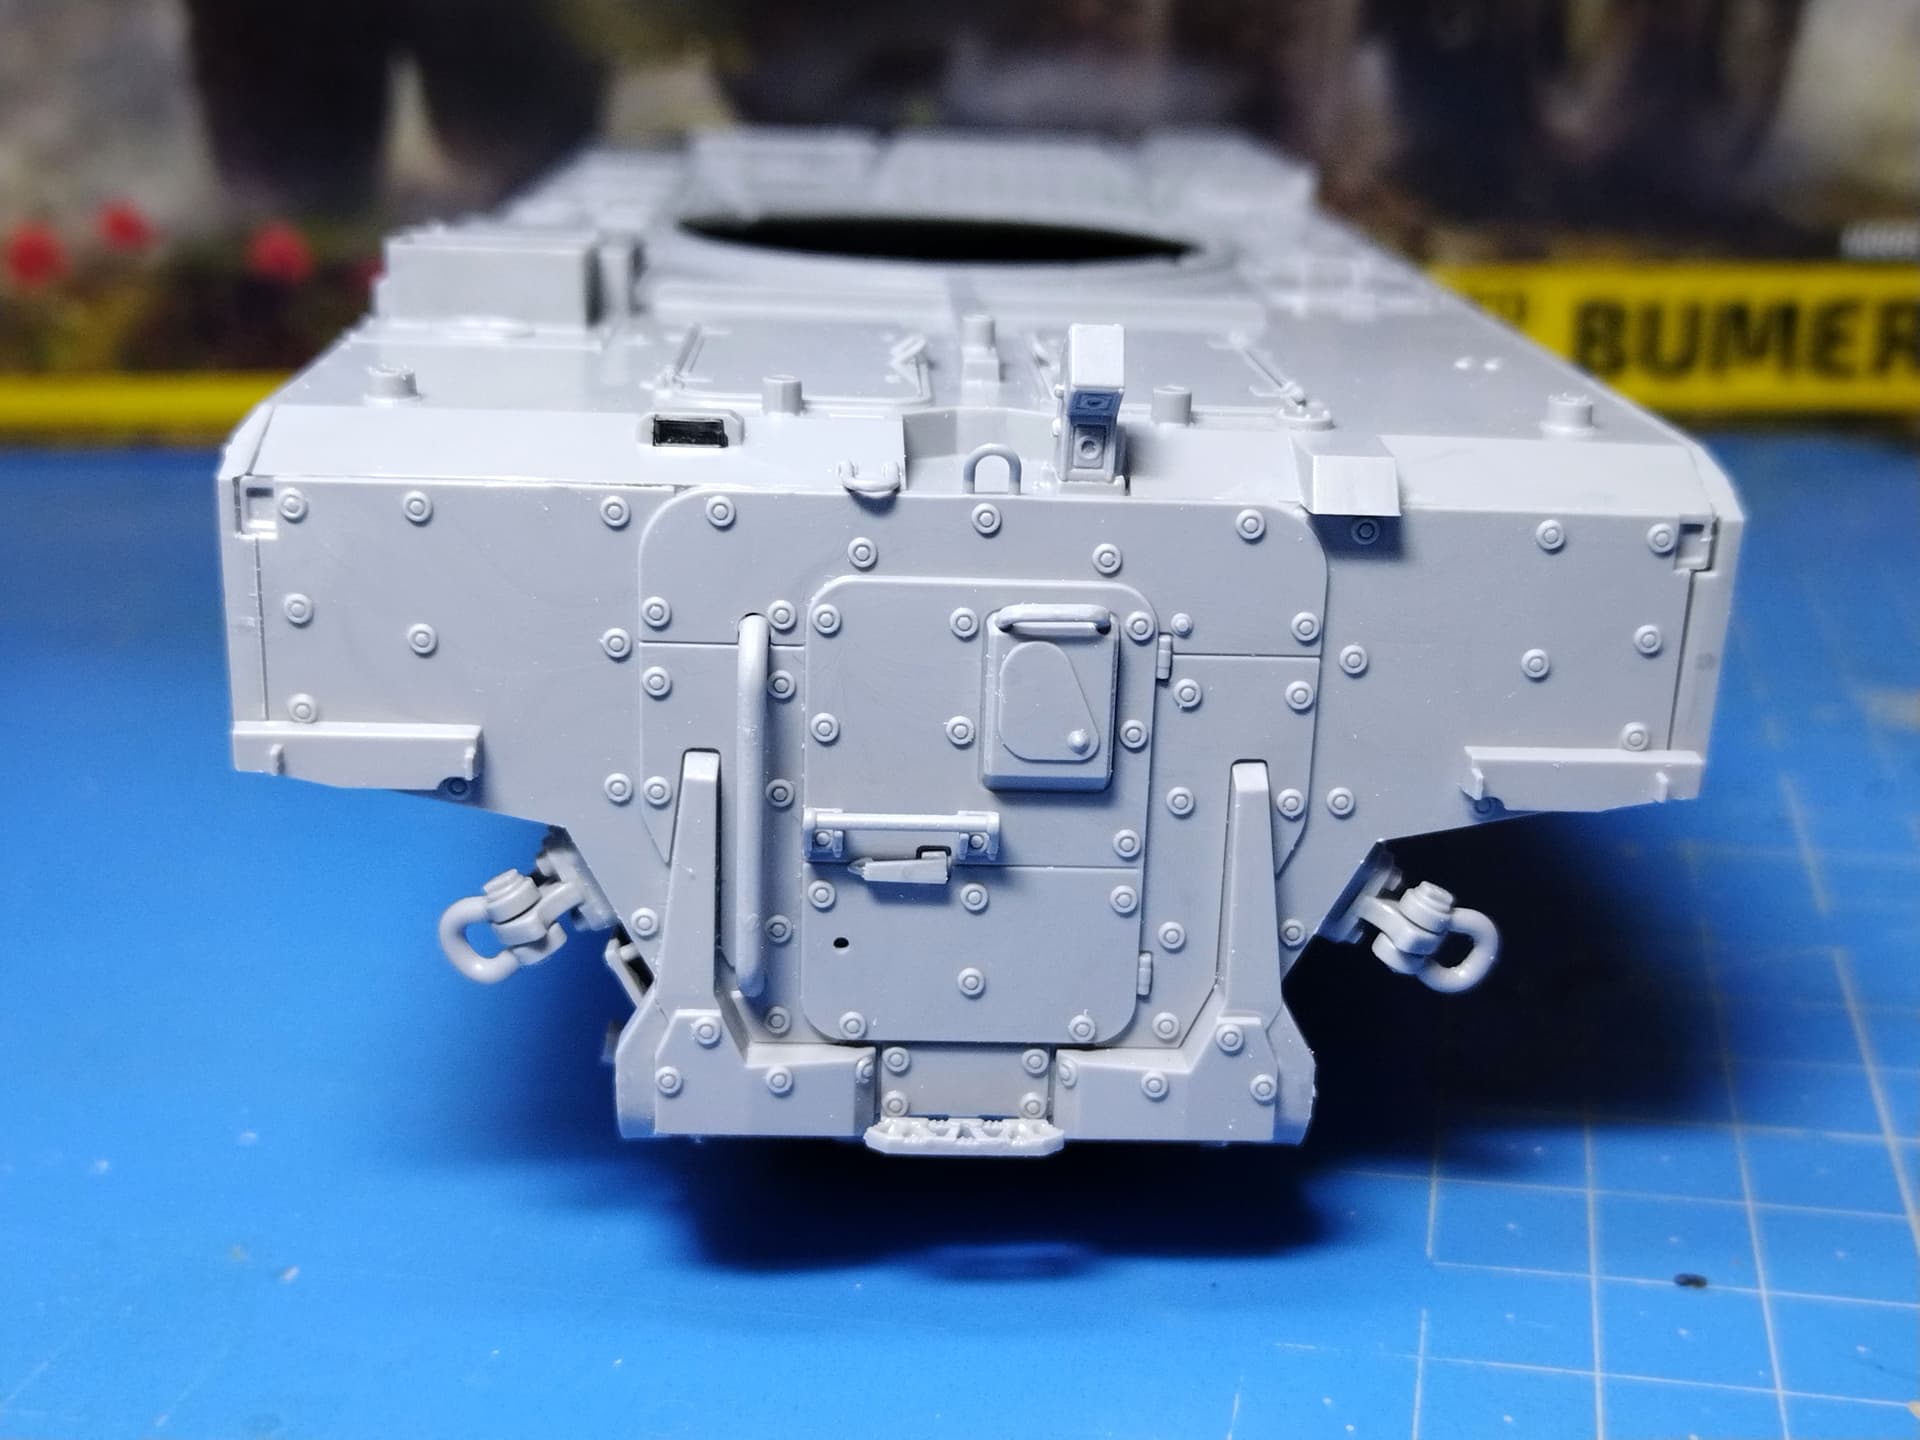
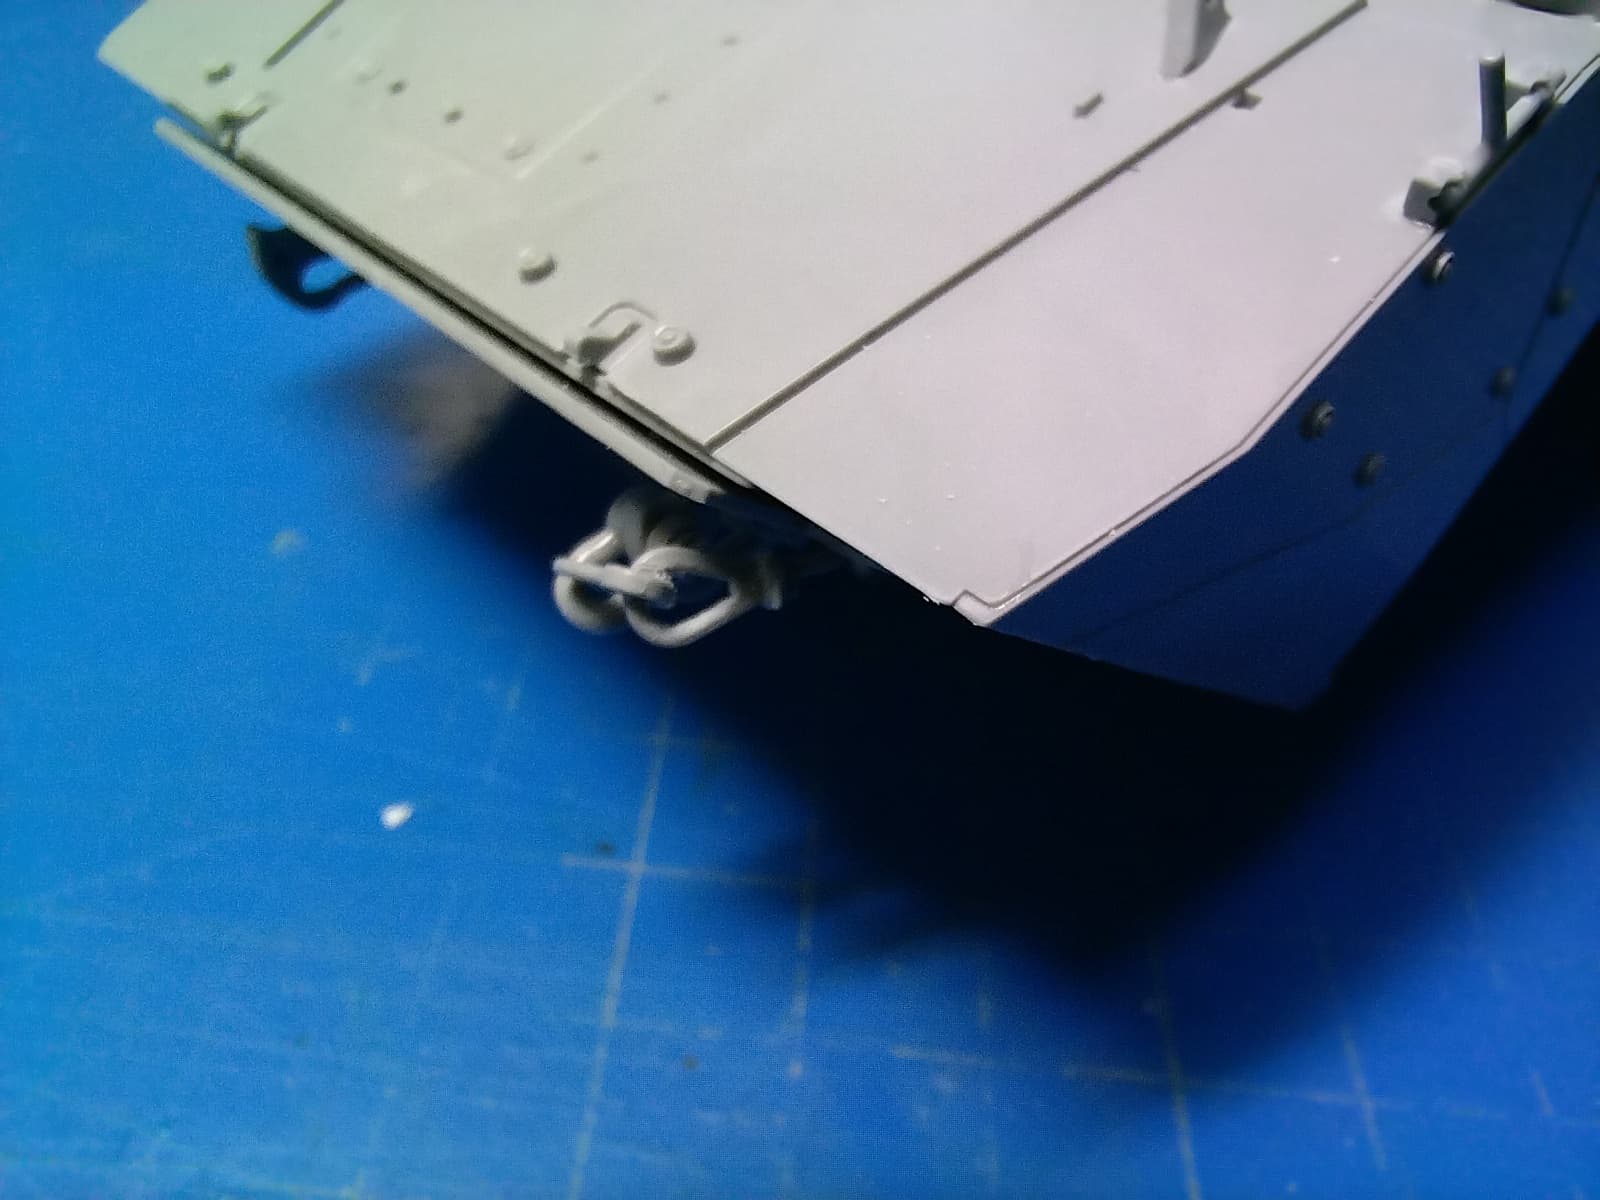
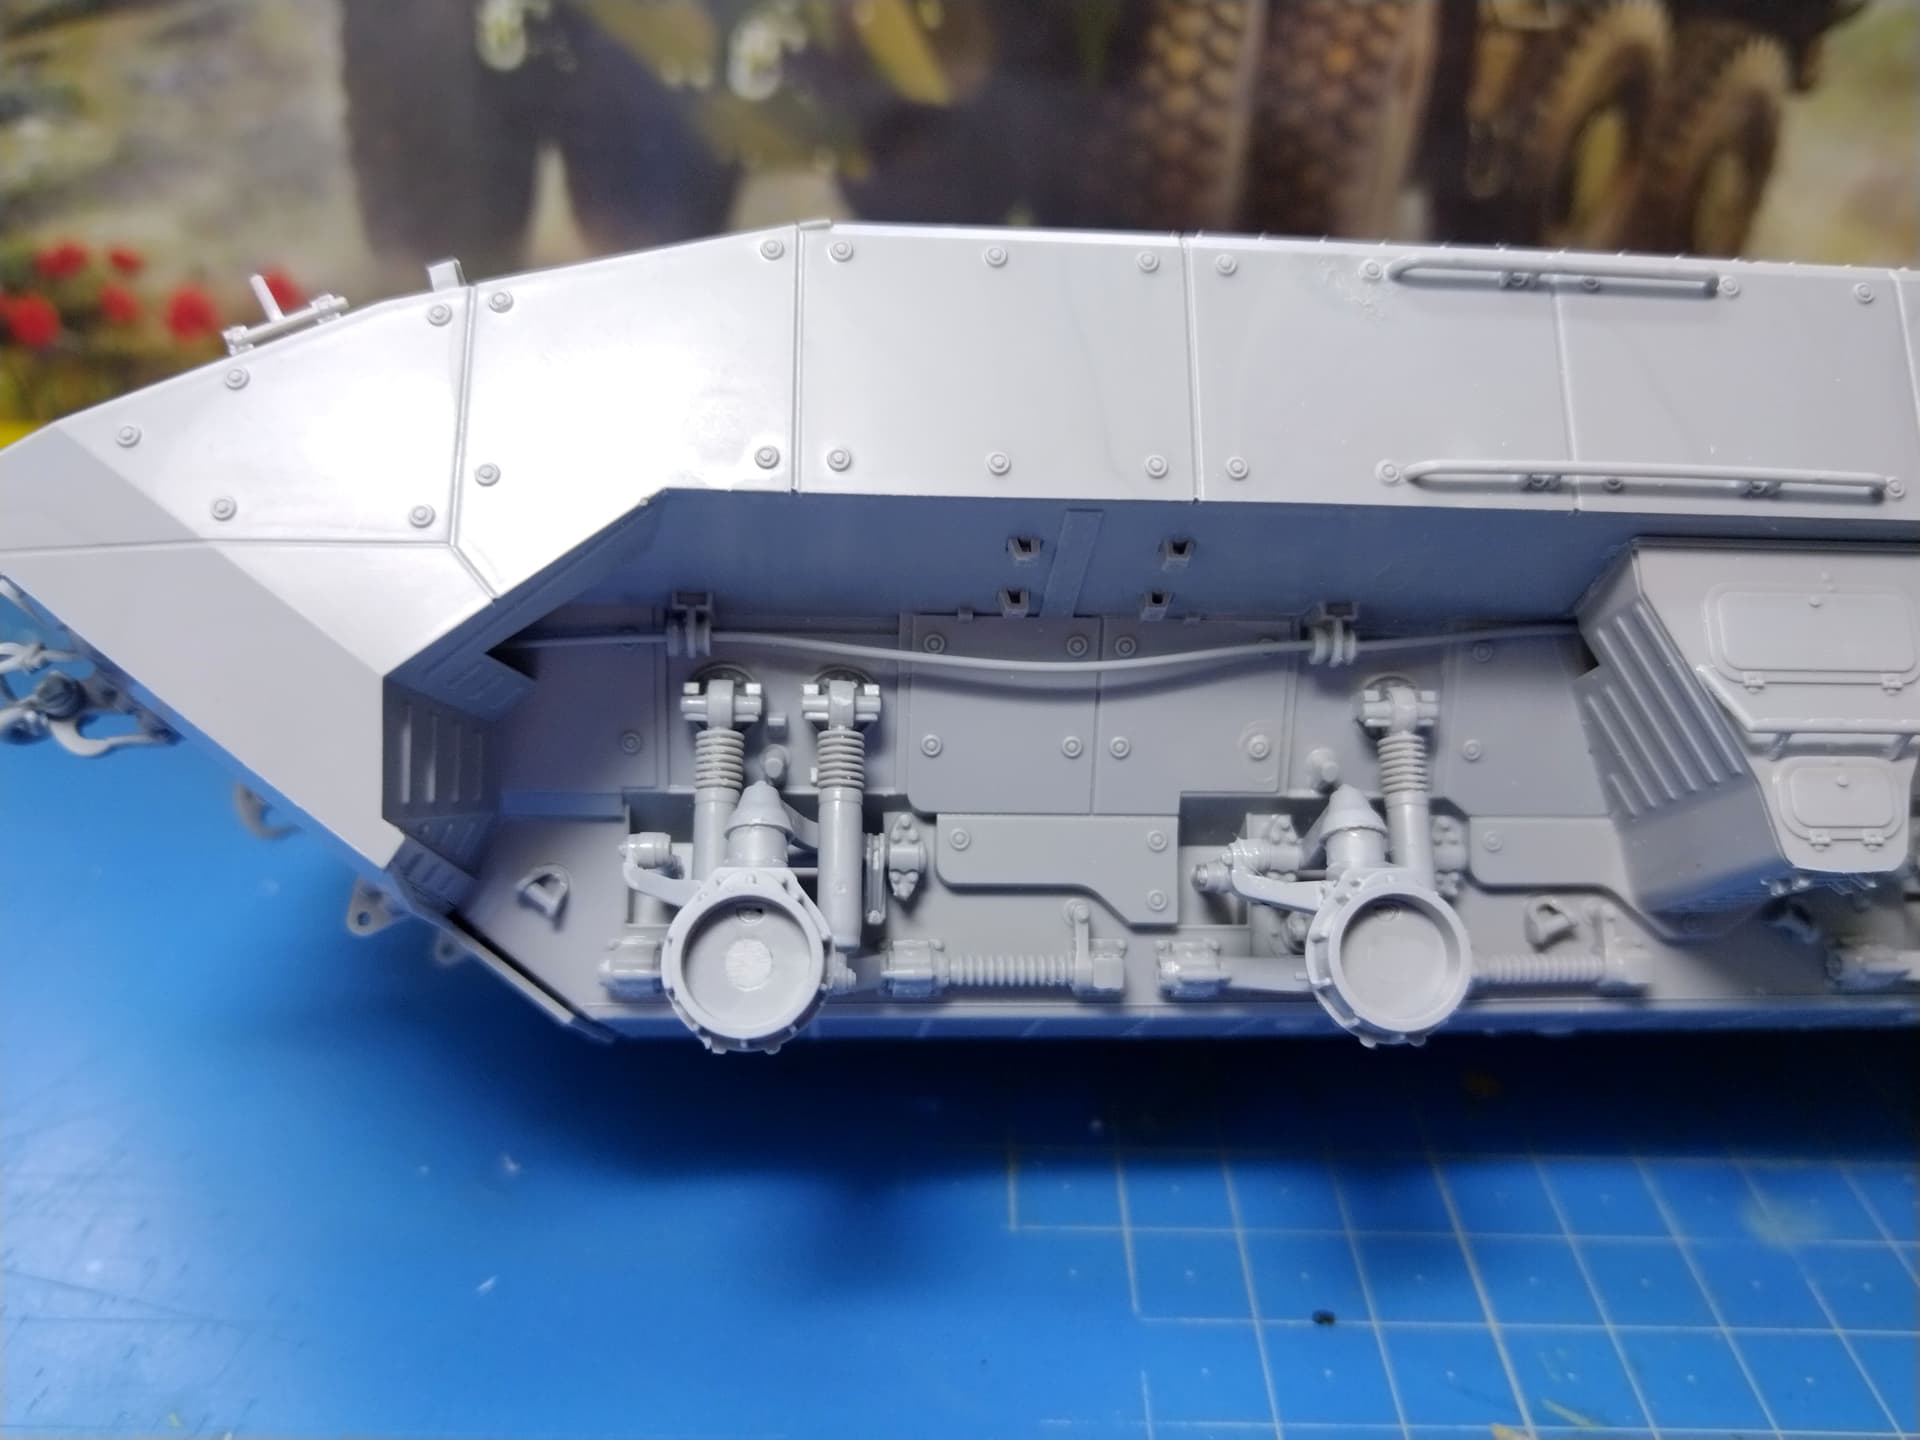
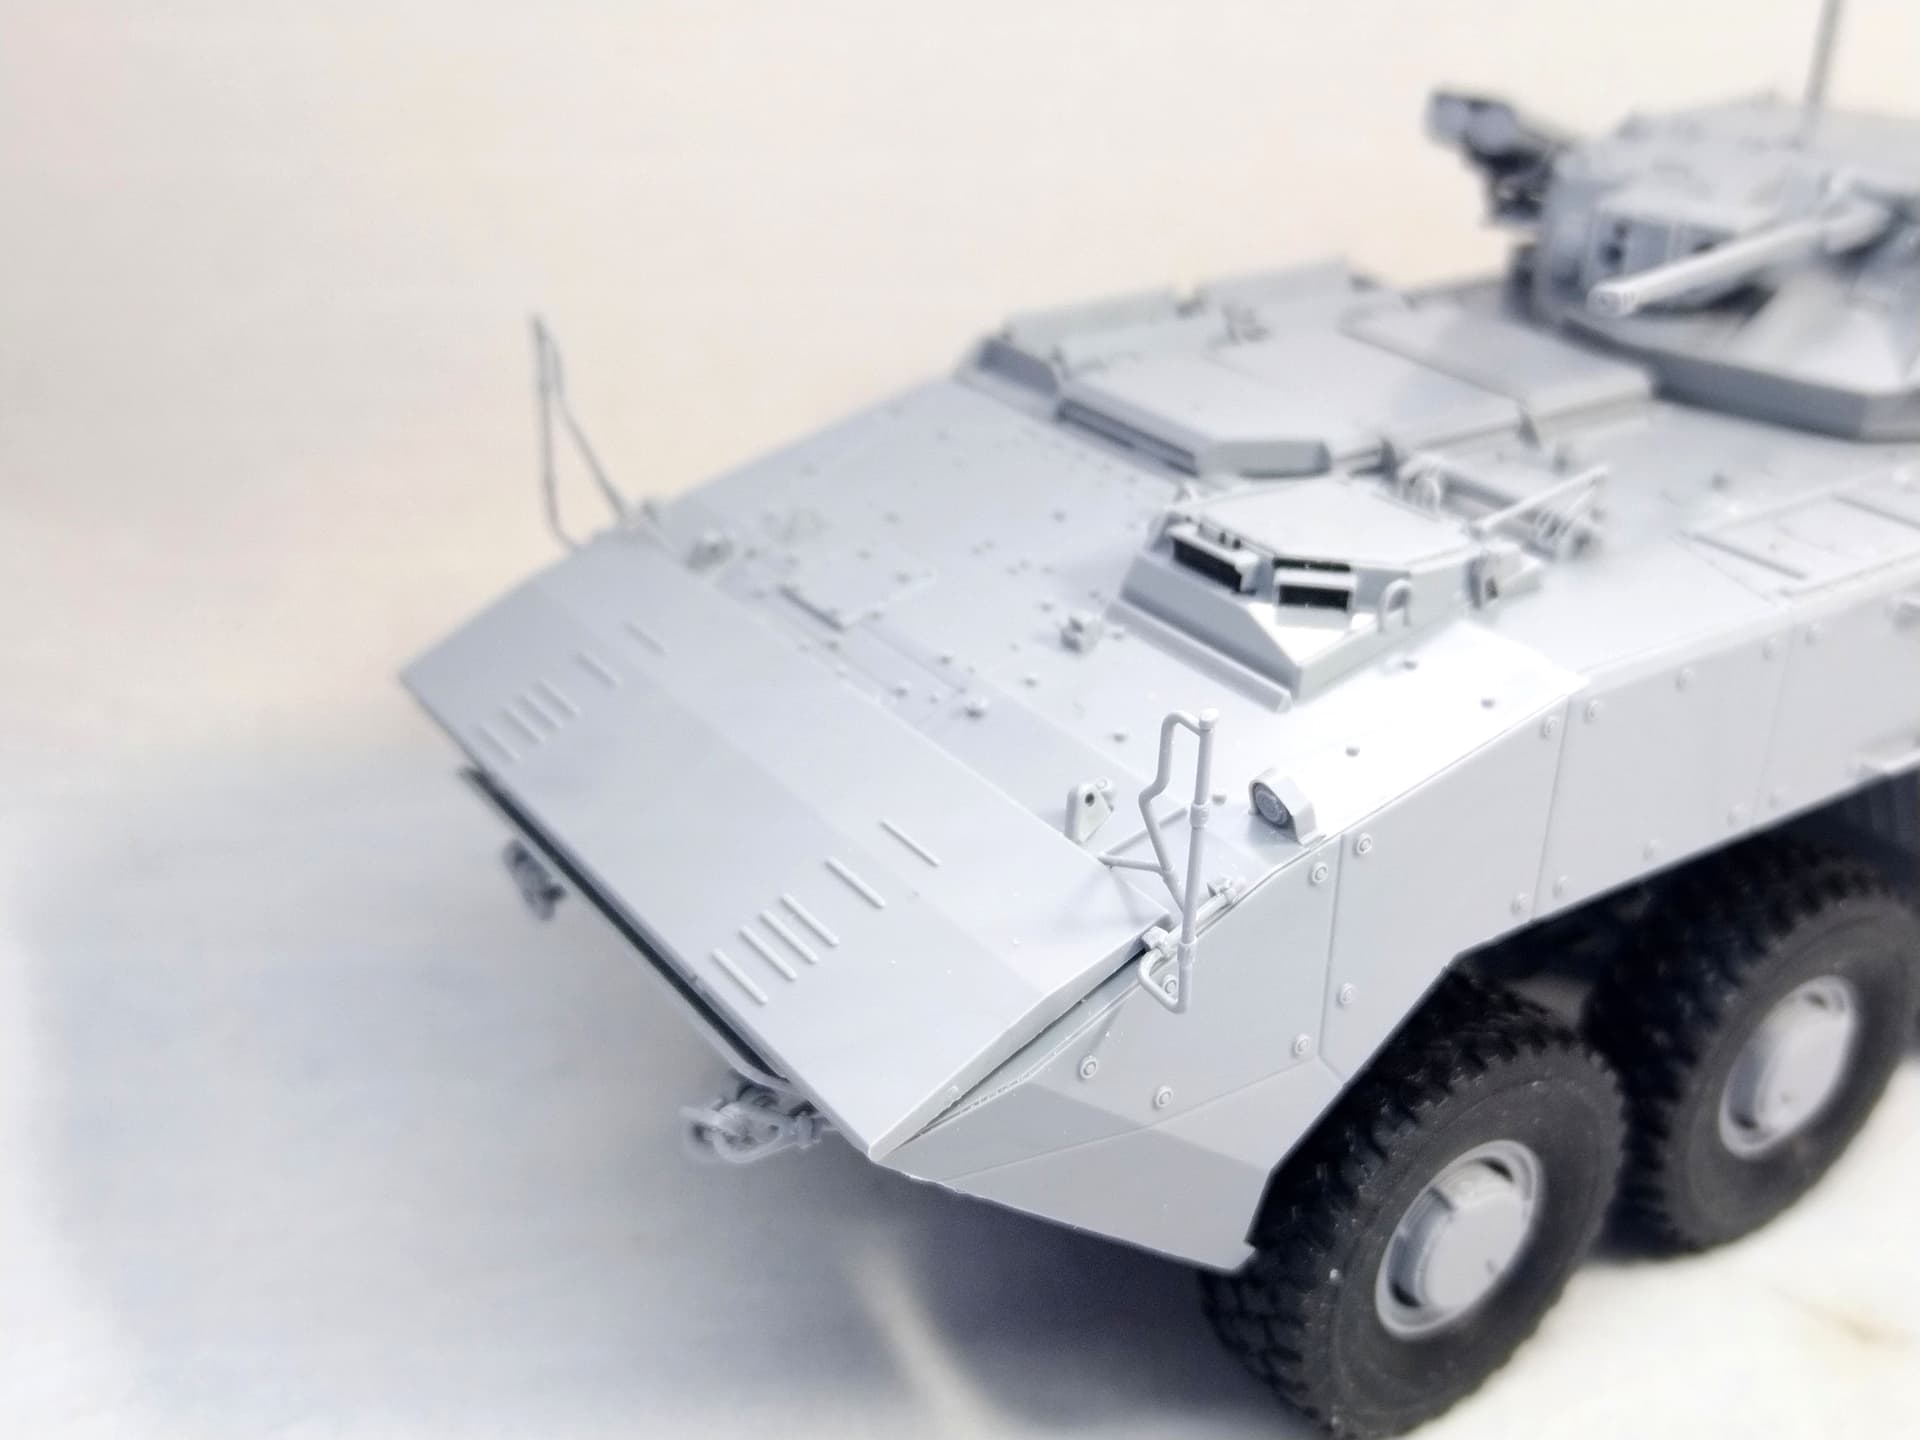
I had some tiny bits added to the lower hull. Not clearly noticeable though.
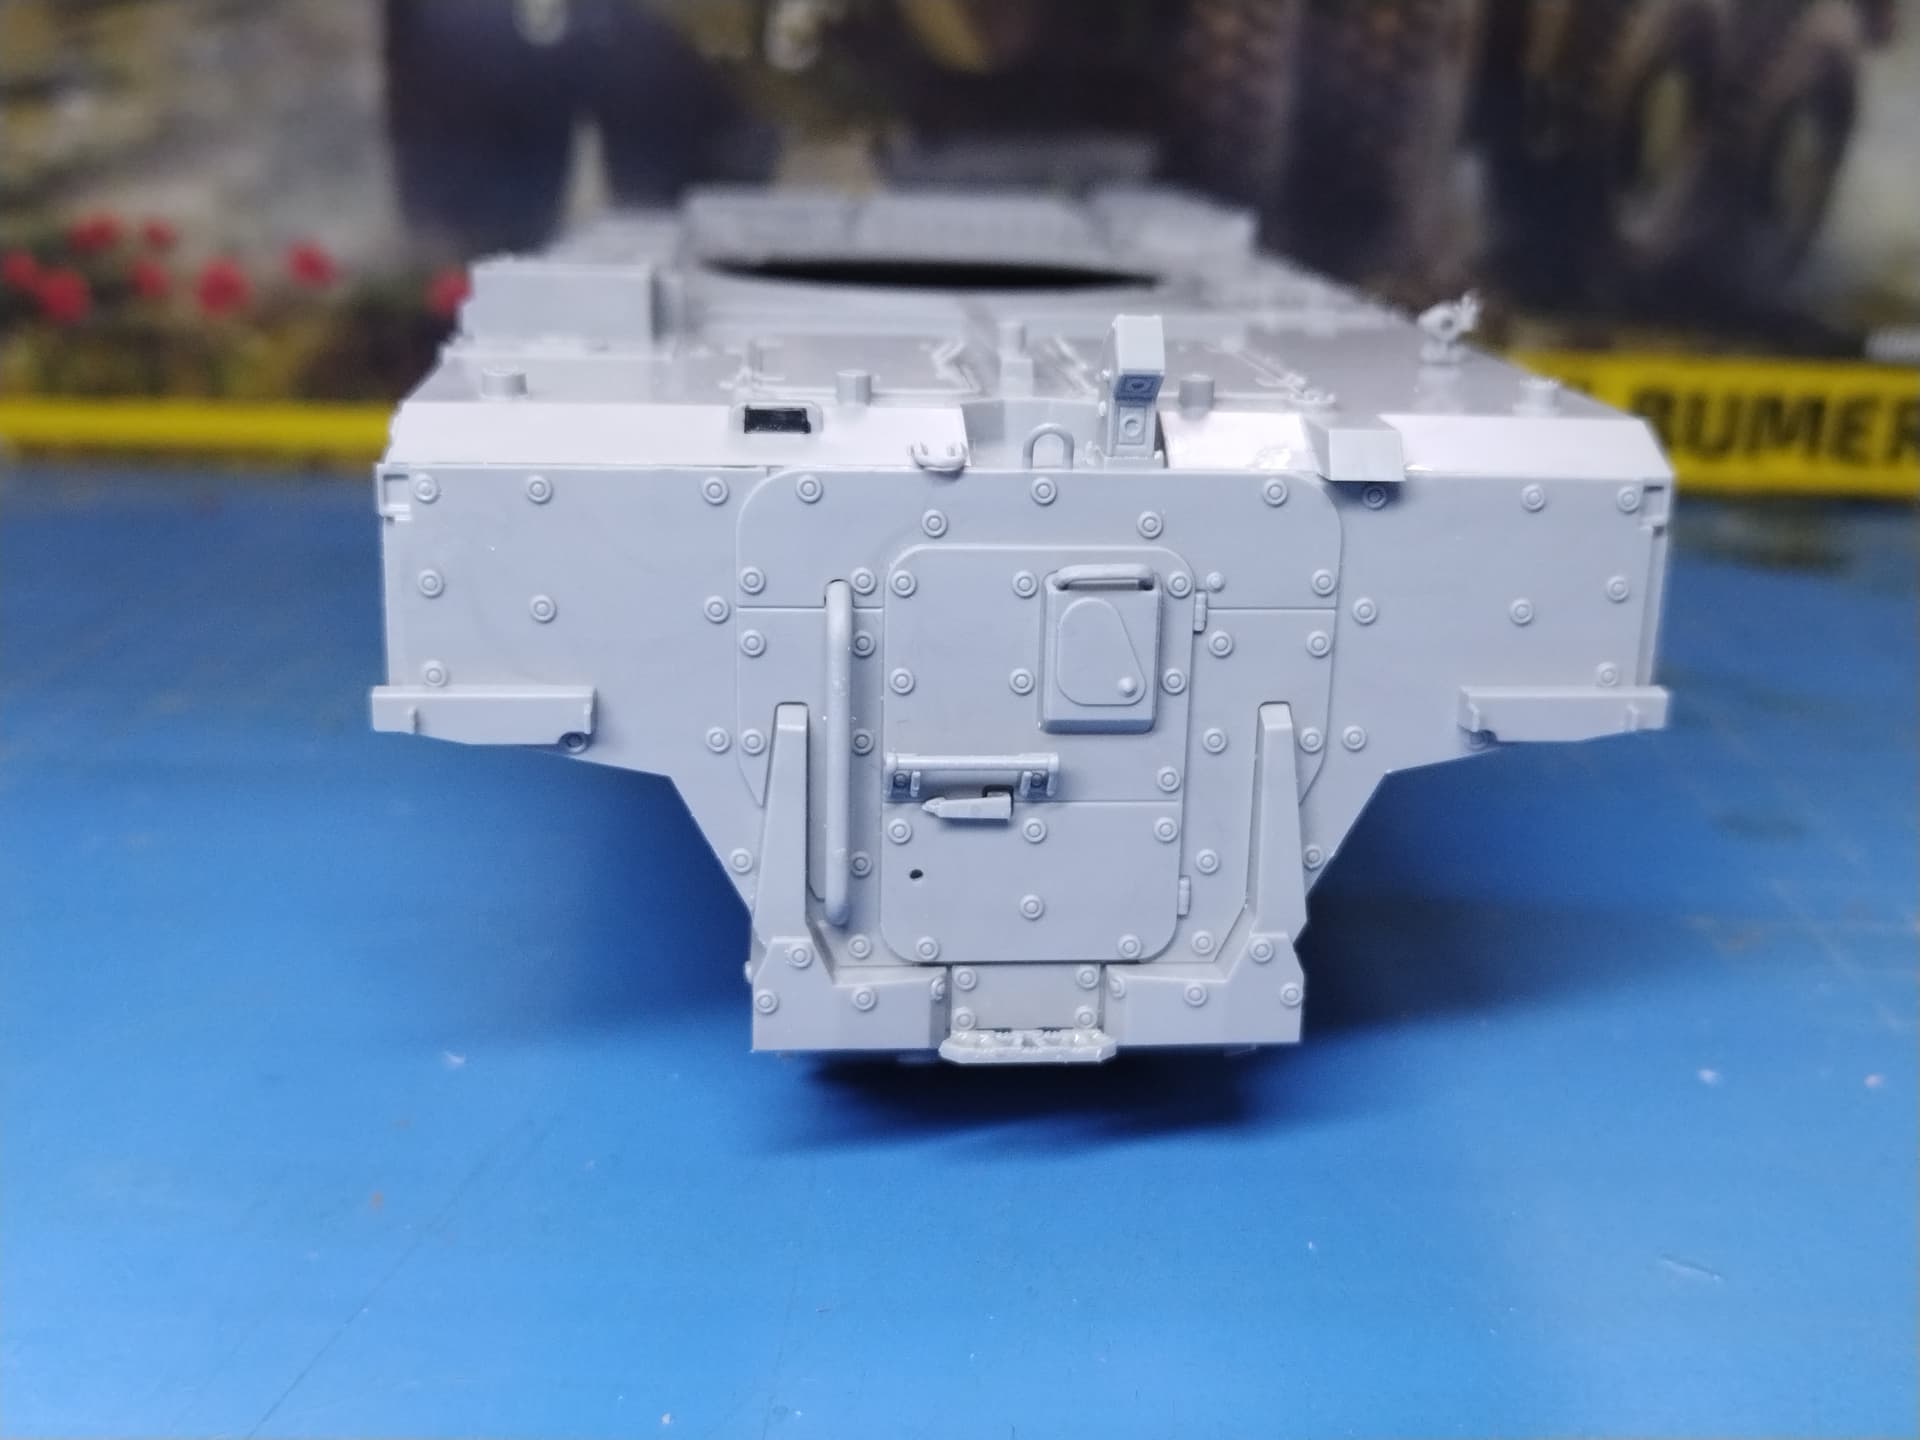
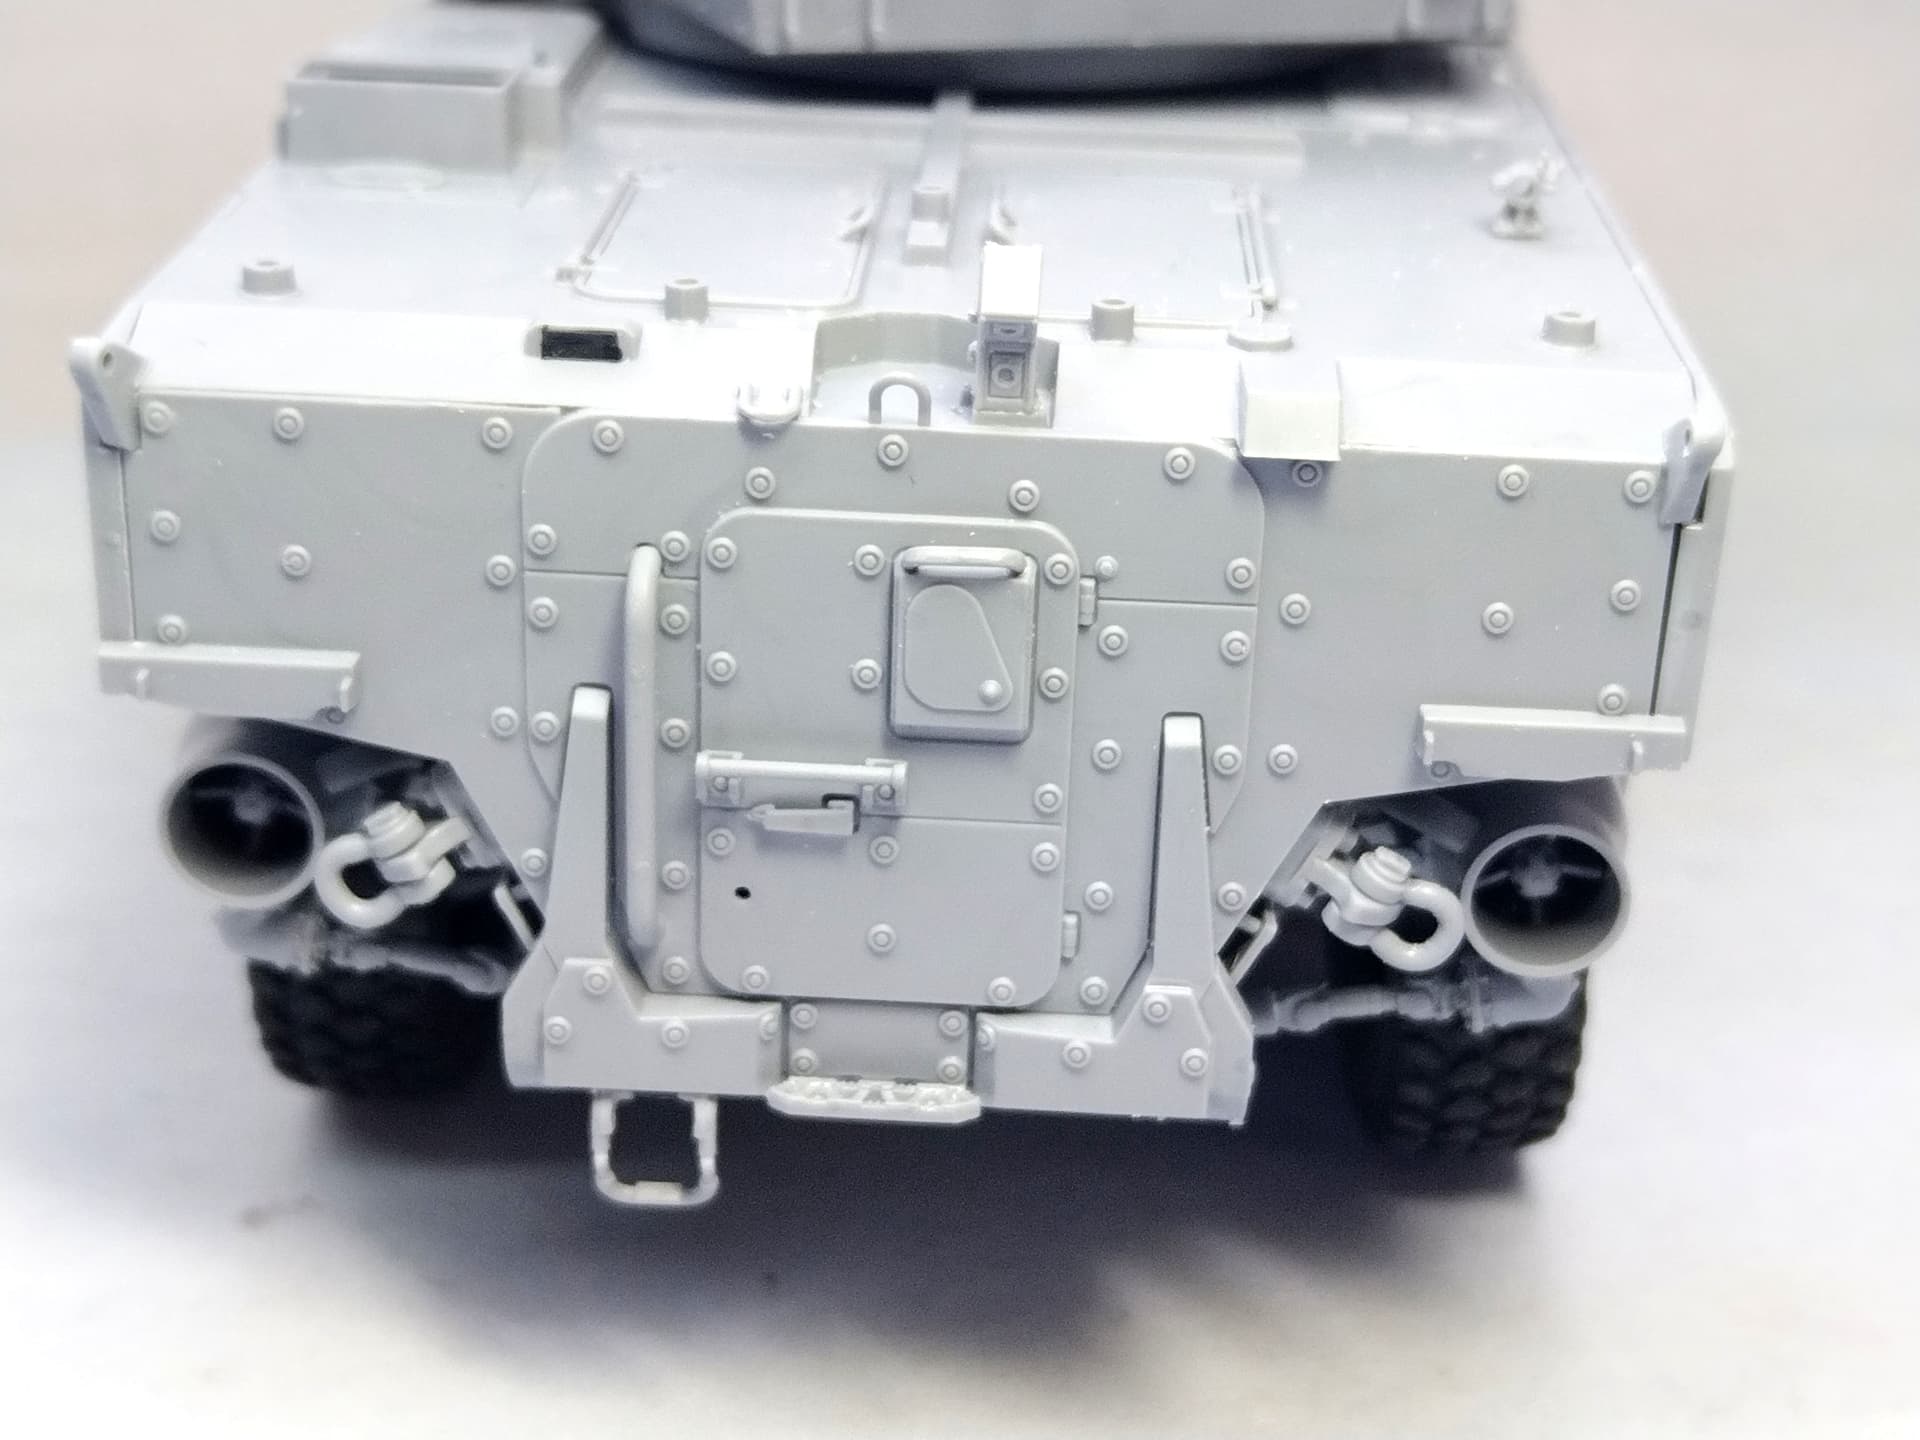
The rear hull top angles do not perfectly fit. Some putty will be needed to fill the gaps.
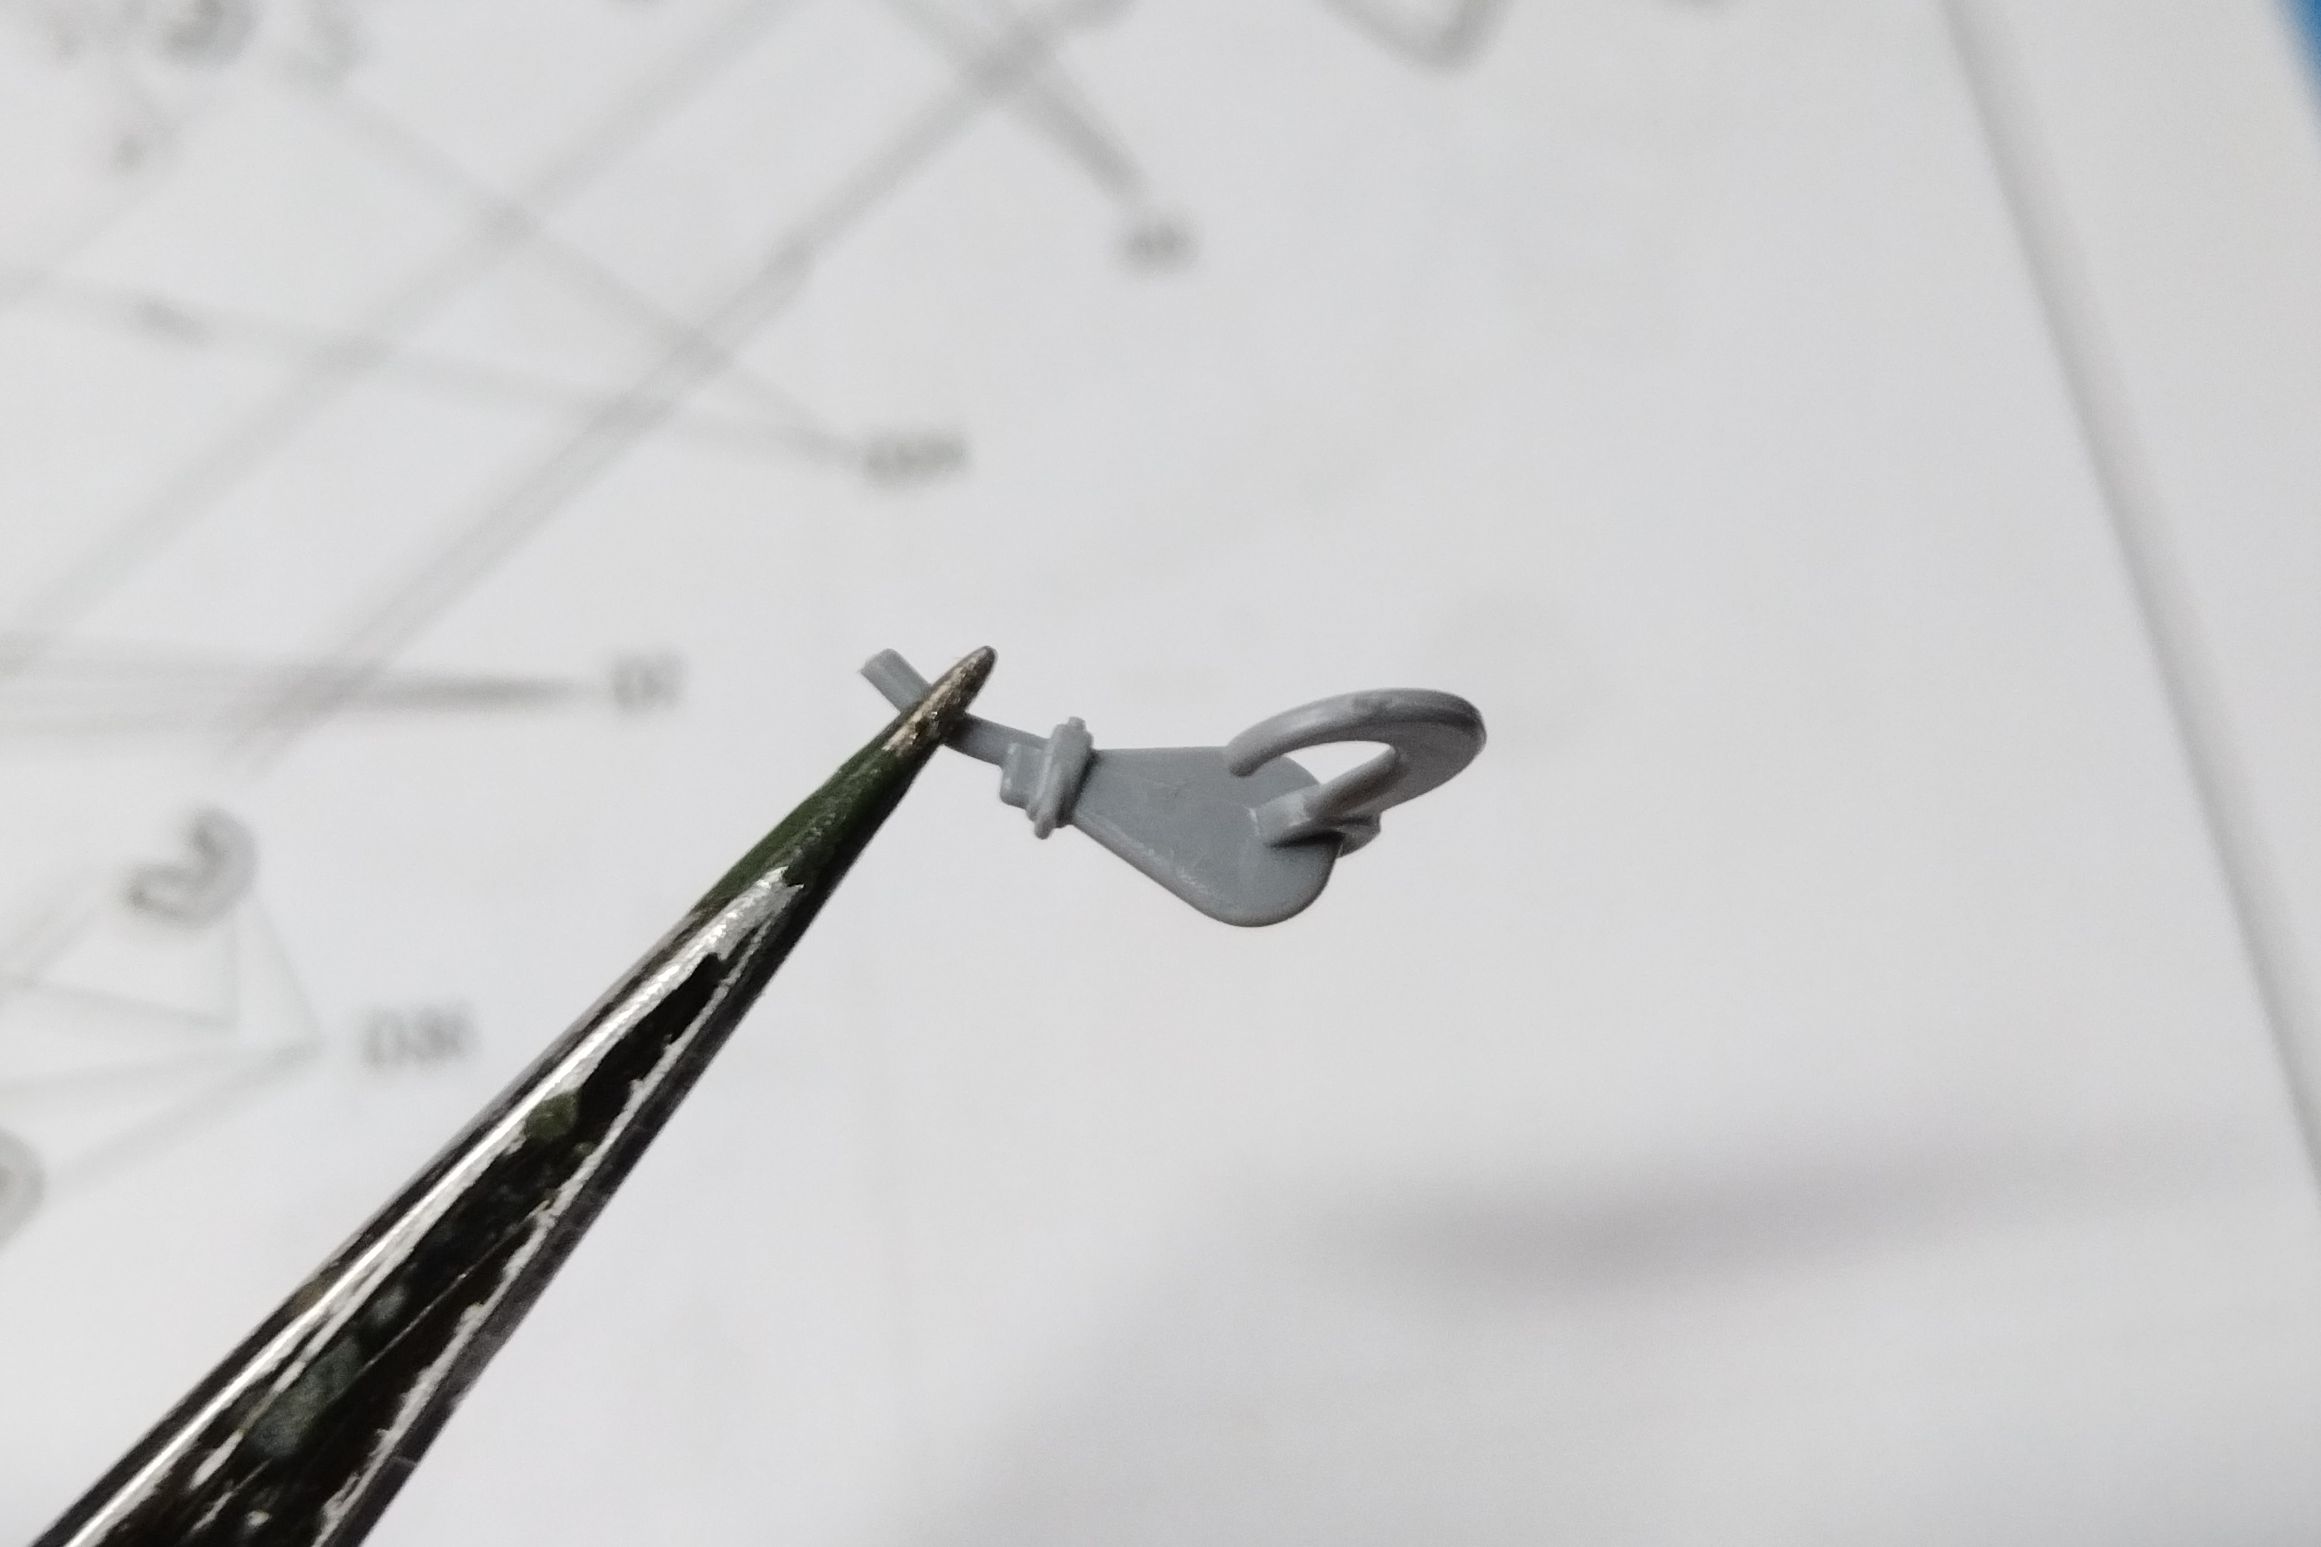
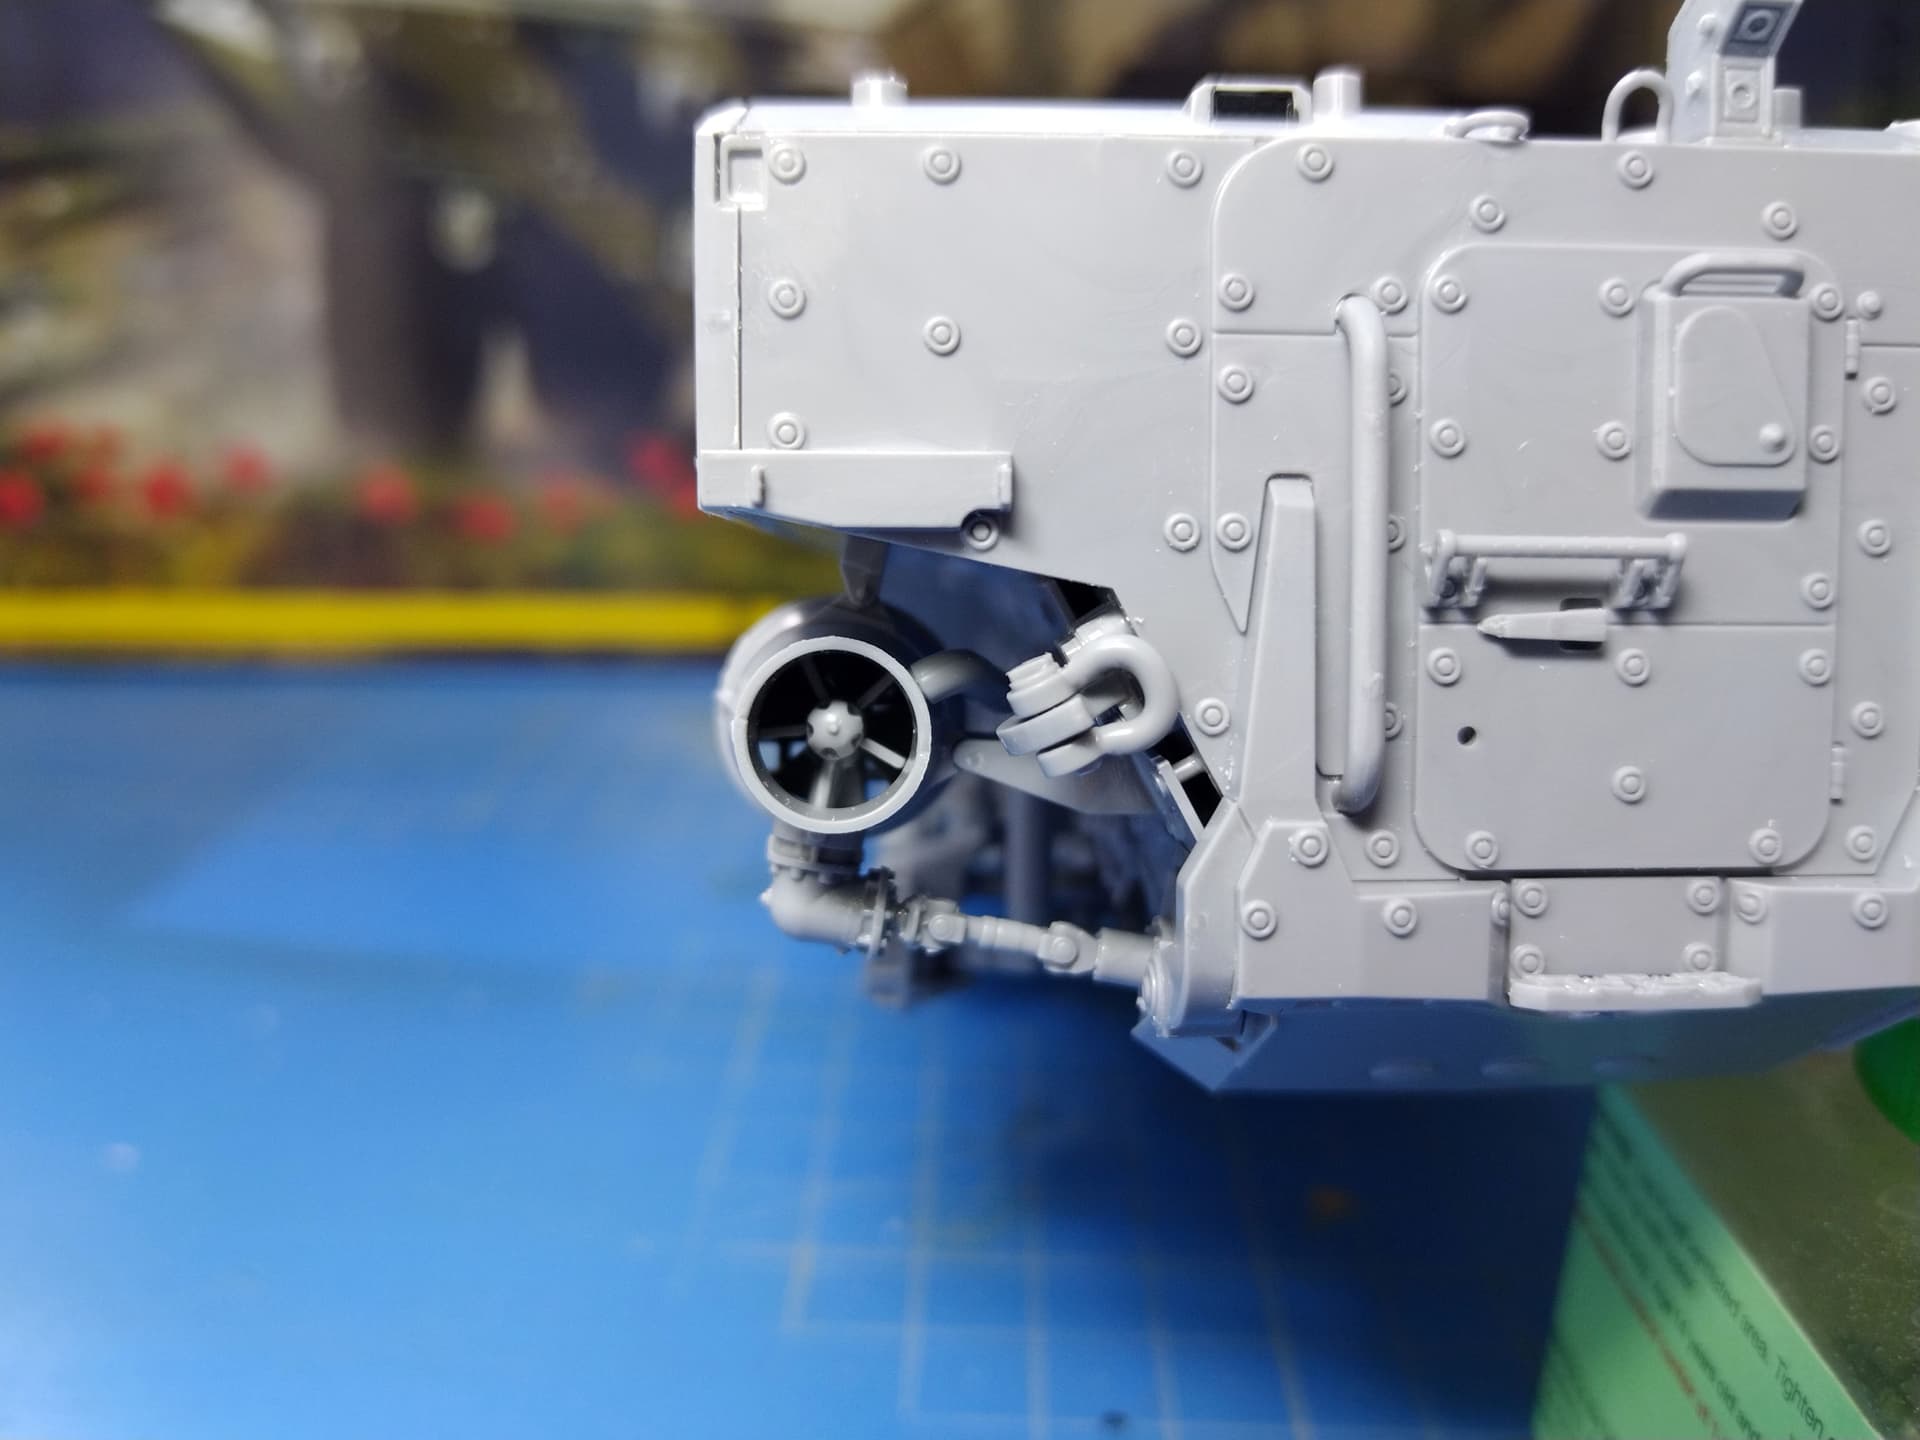
A weird choice by Zvezda is to mold the winch cable eye solid. It certainly is because there is a hook attached to it. So I decided to hollow the eye.
Olivier
9 Likes
This looks to be a great kit with excellent molding. It is true, in 2018 Zvezda stepped up their game and went completely CAD/CAM with their designs and molds. Any kit beginning with a kit number of 35 or 36 will be of modern standards with almost Tamiya quality. Gone are the Zvezda days of “Eastern European Kit” standards of poor molding and bad fit. Nothing to scratchbuild on these kits! Zvezda has jumped into the 21st century and can compete with any other big model manufacturer in regards to quality, and always come in at a great price. Just don’t buy any of their old stuff.
7 Likes
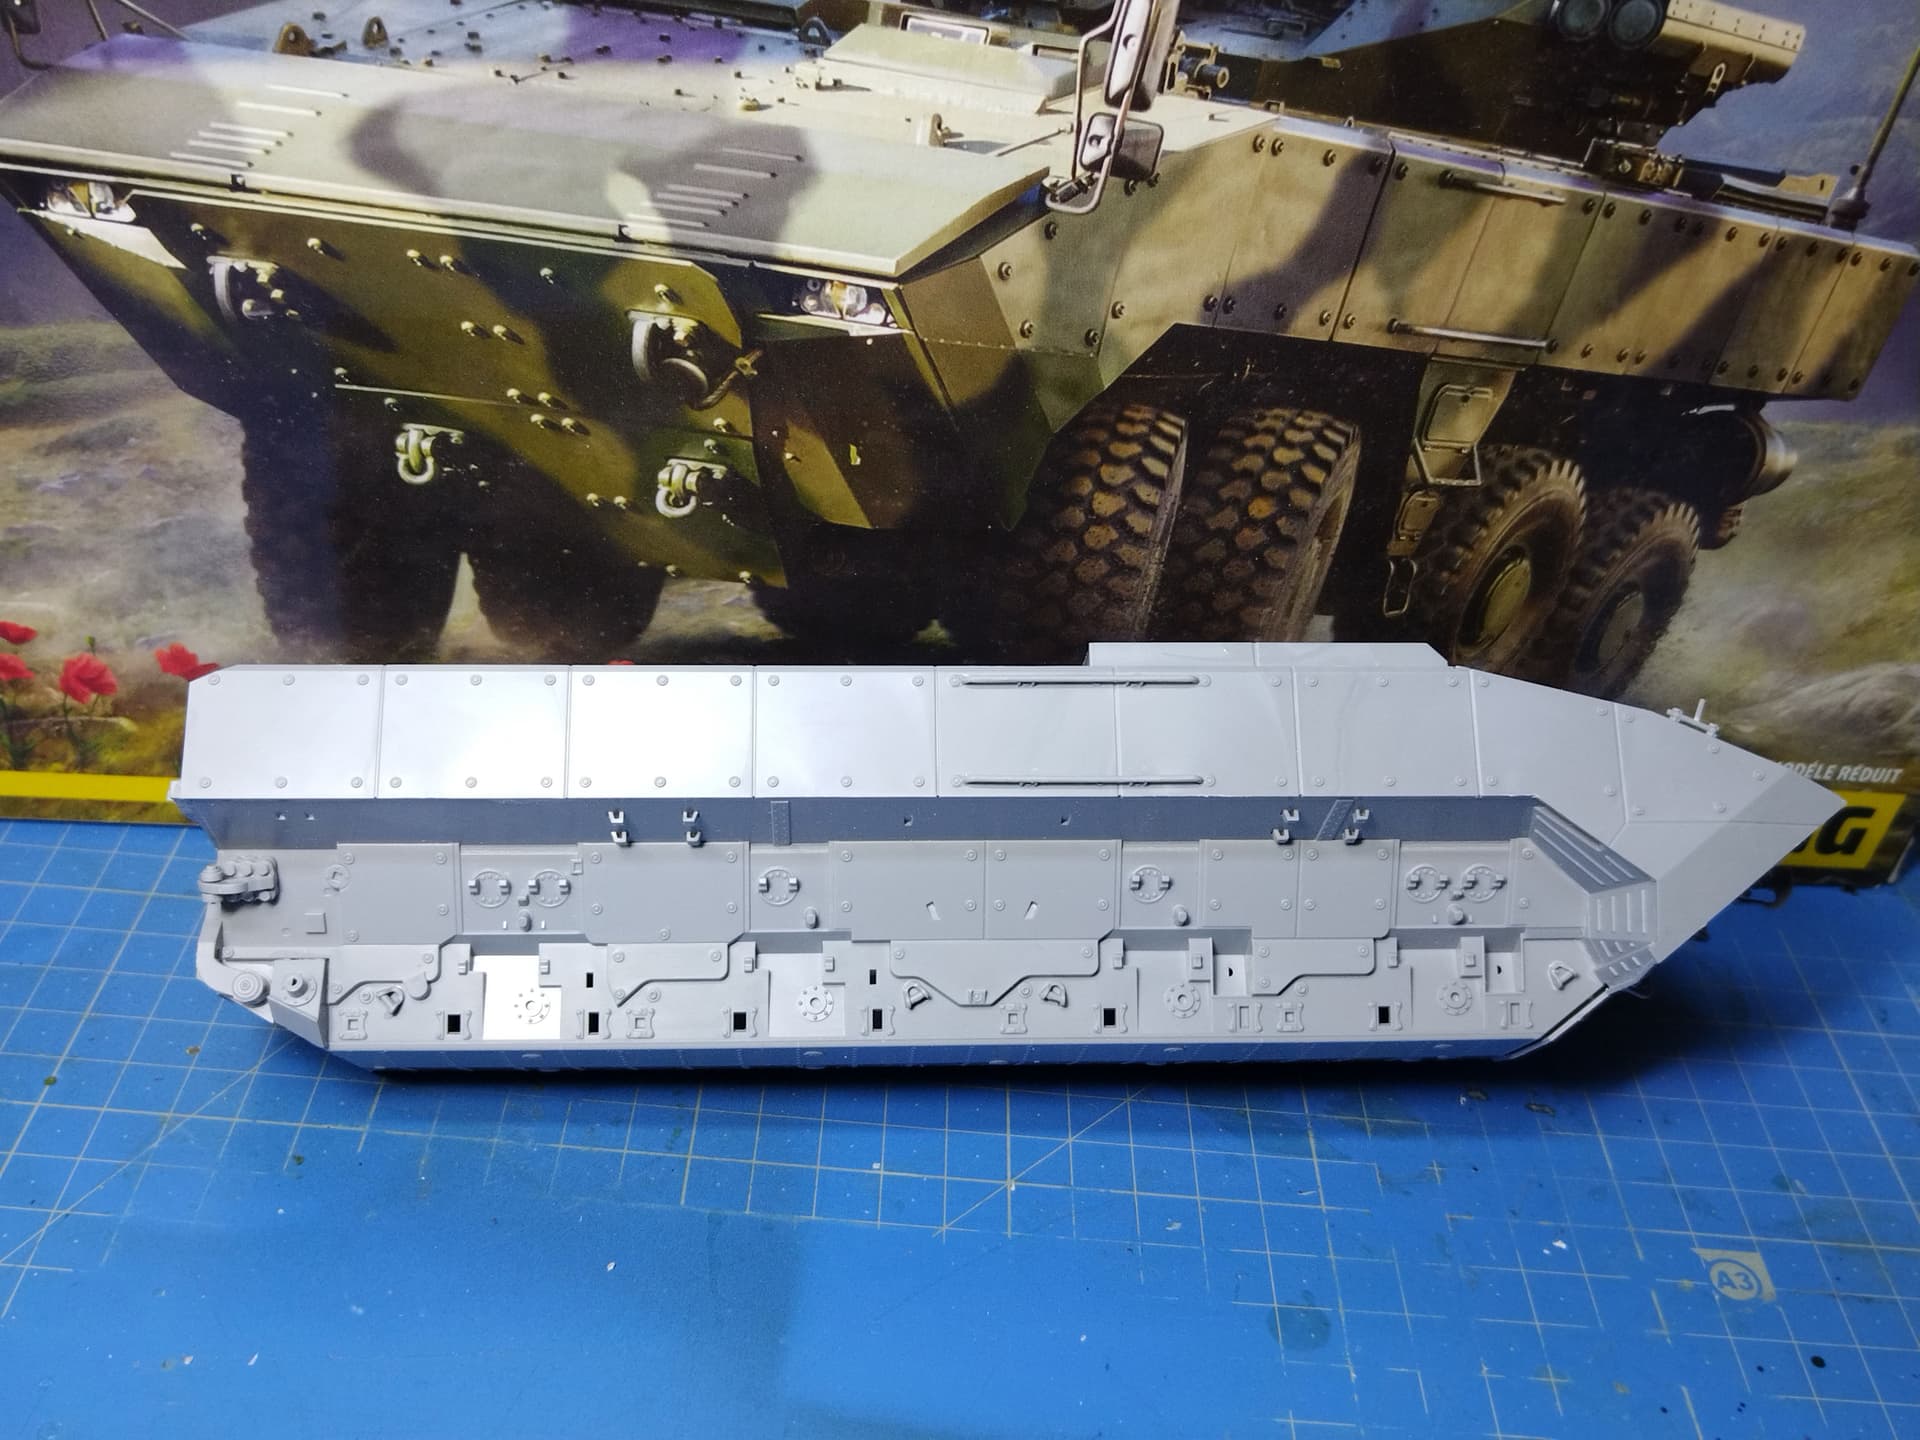
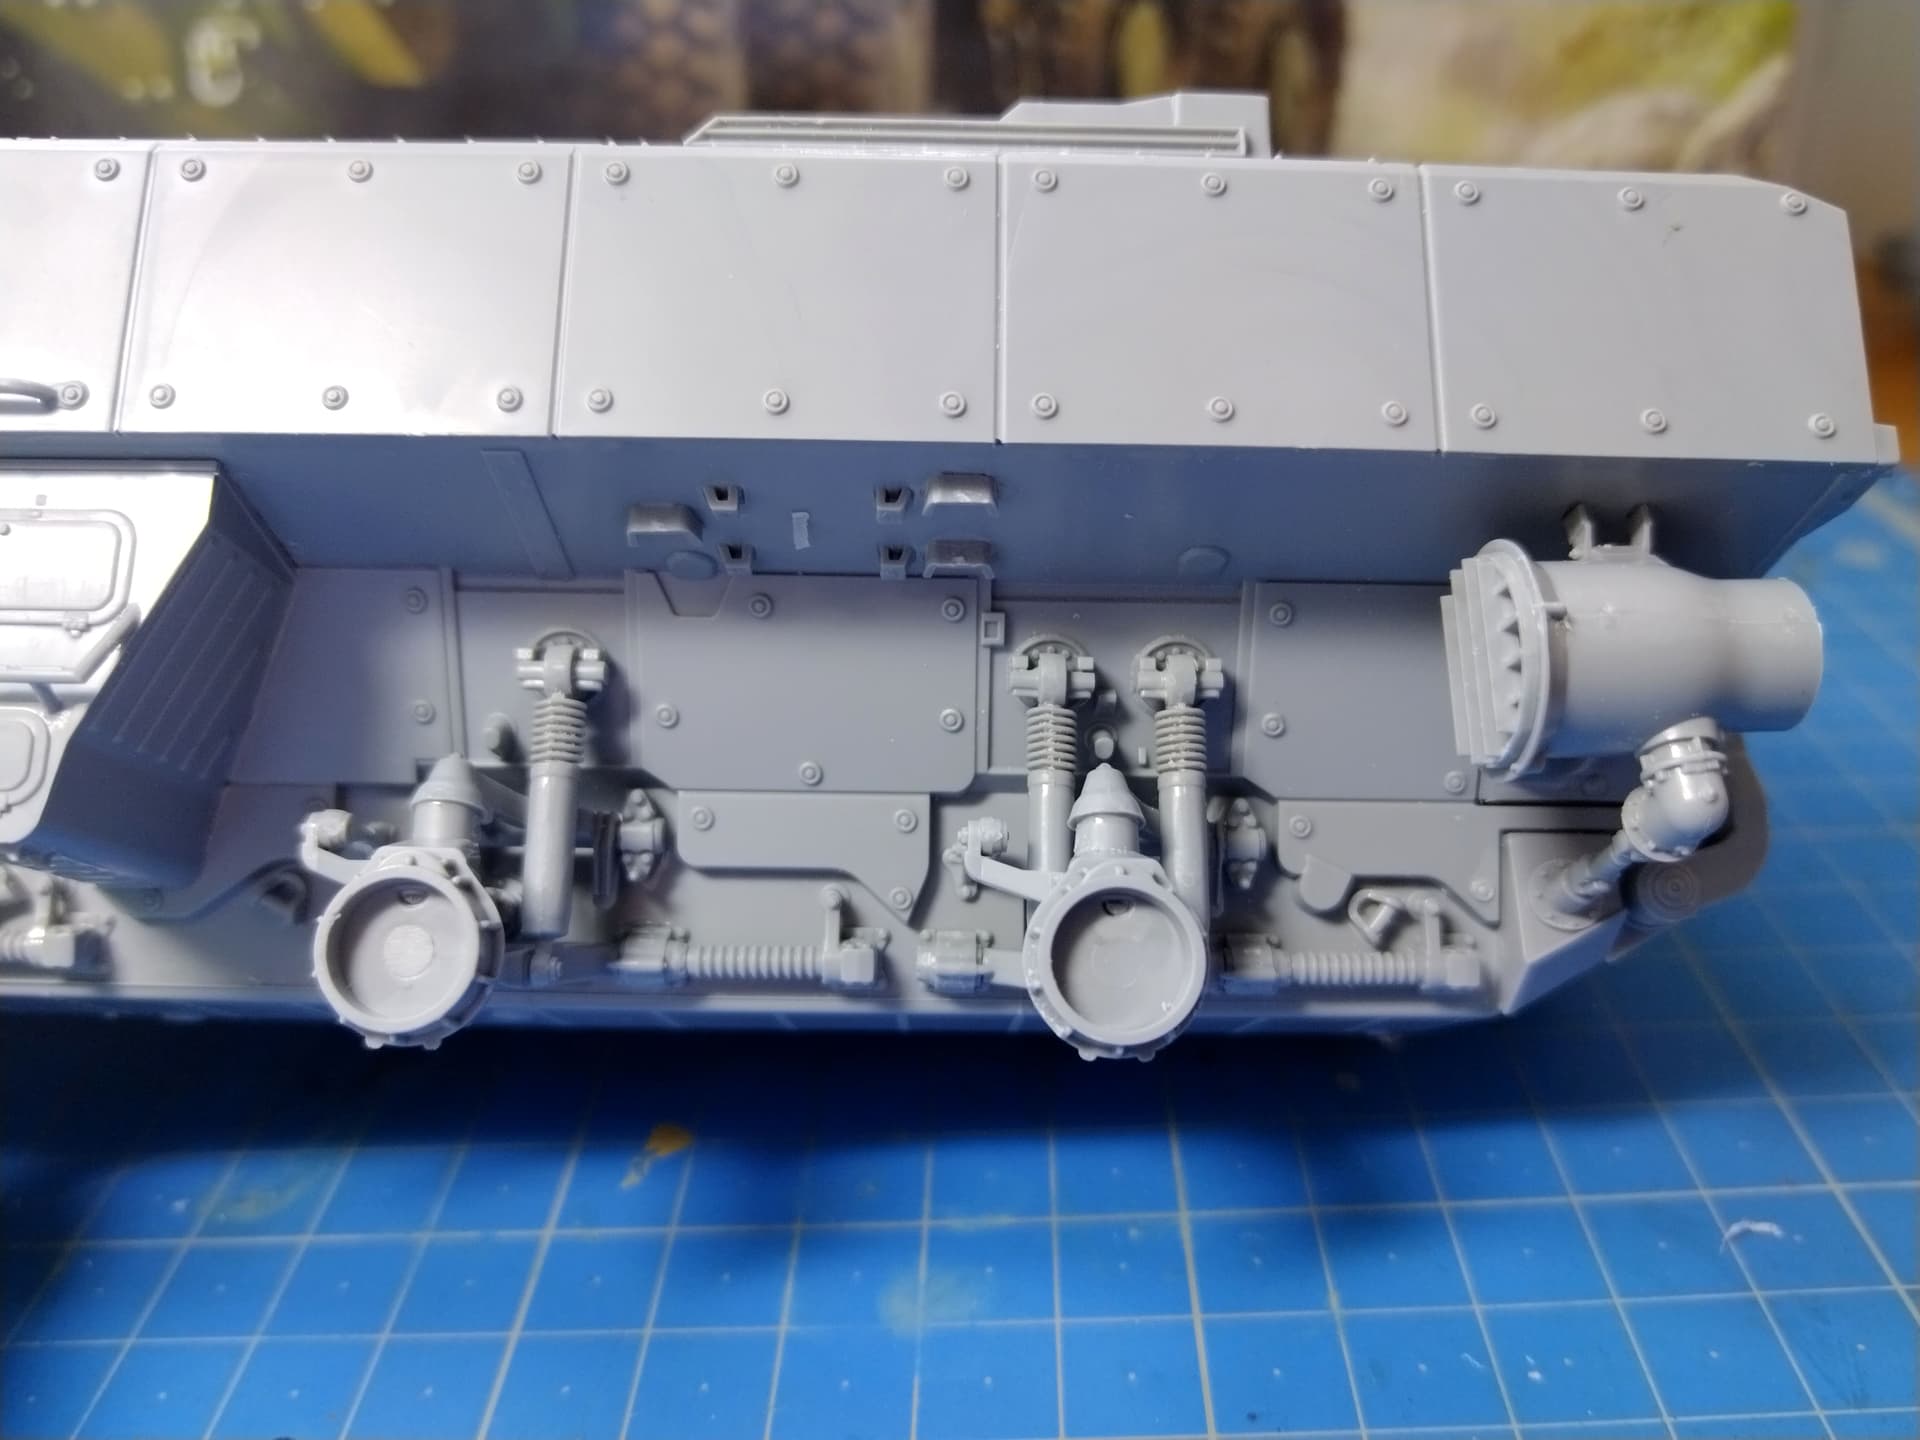
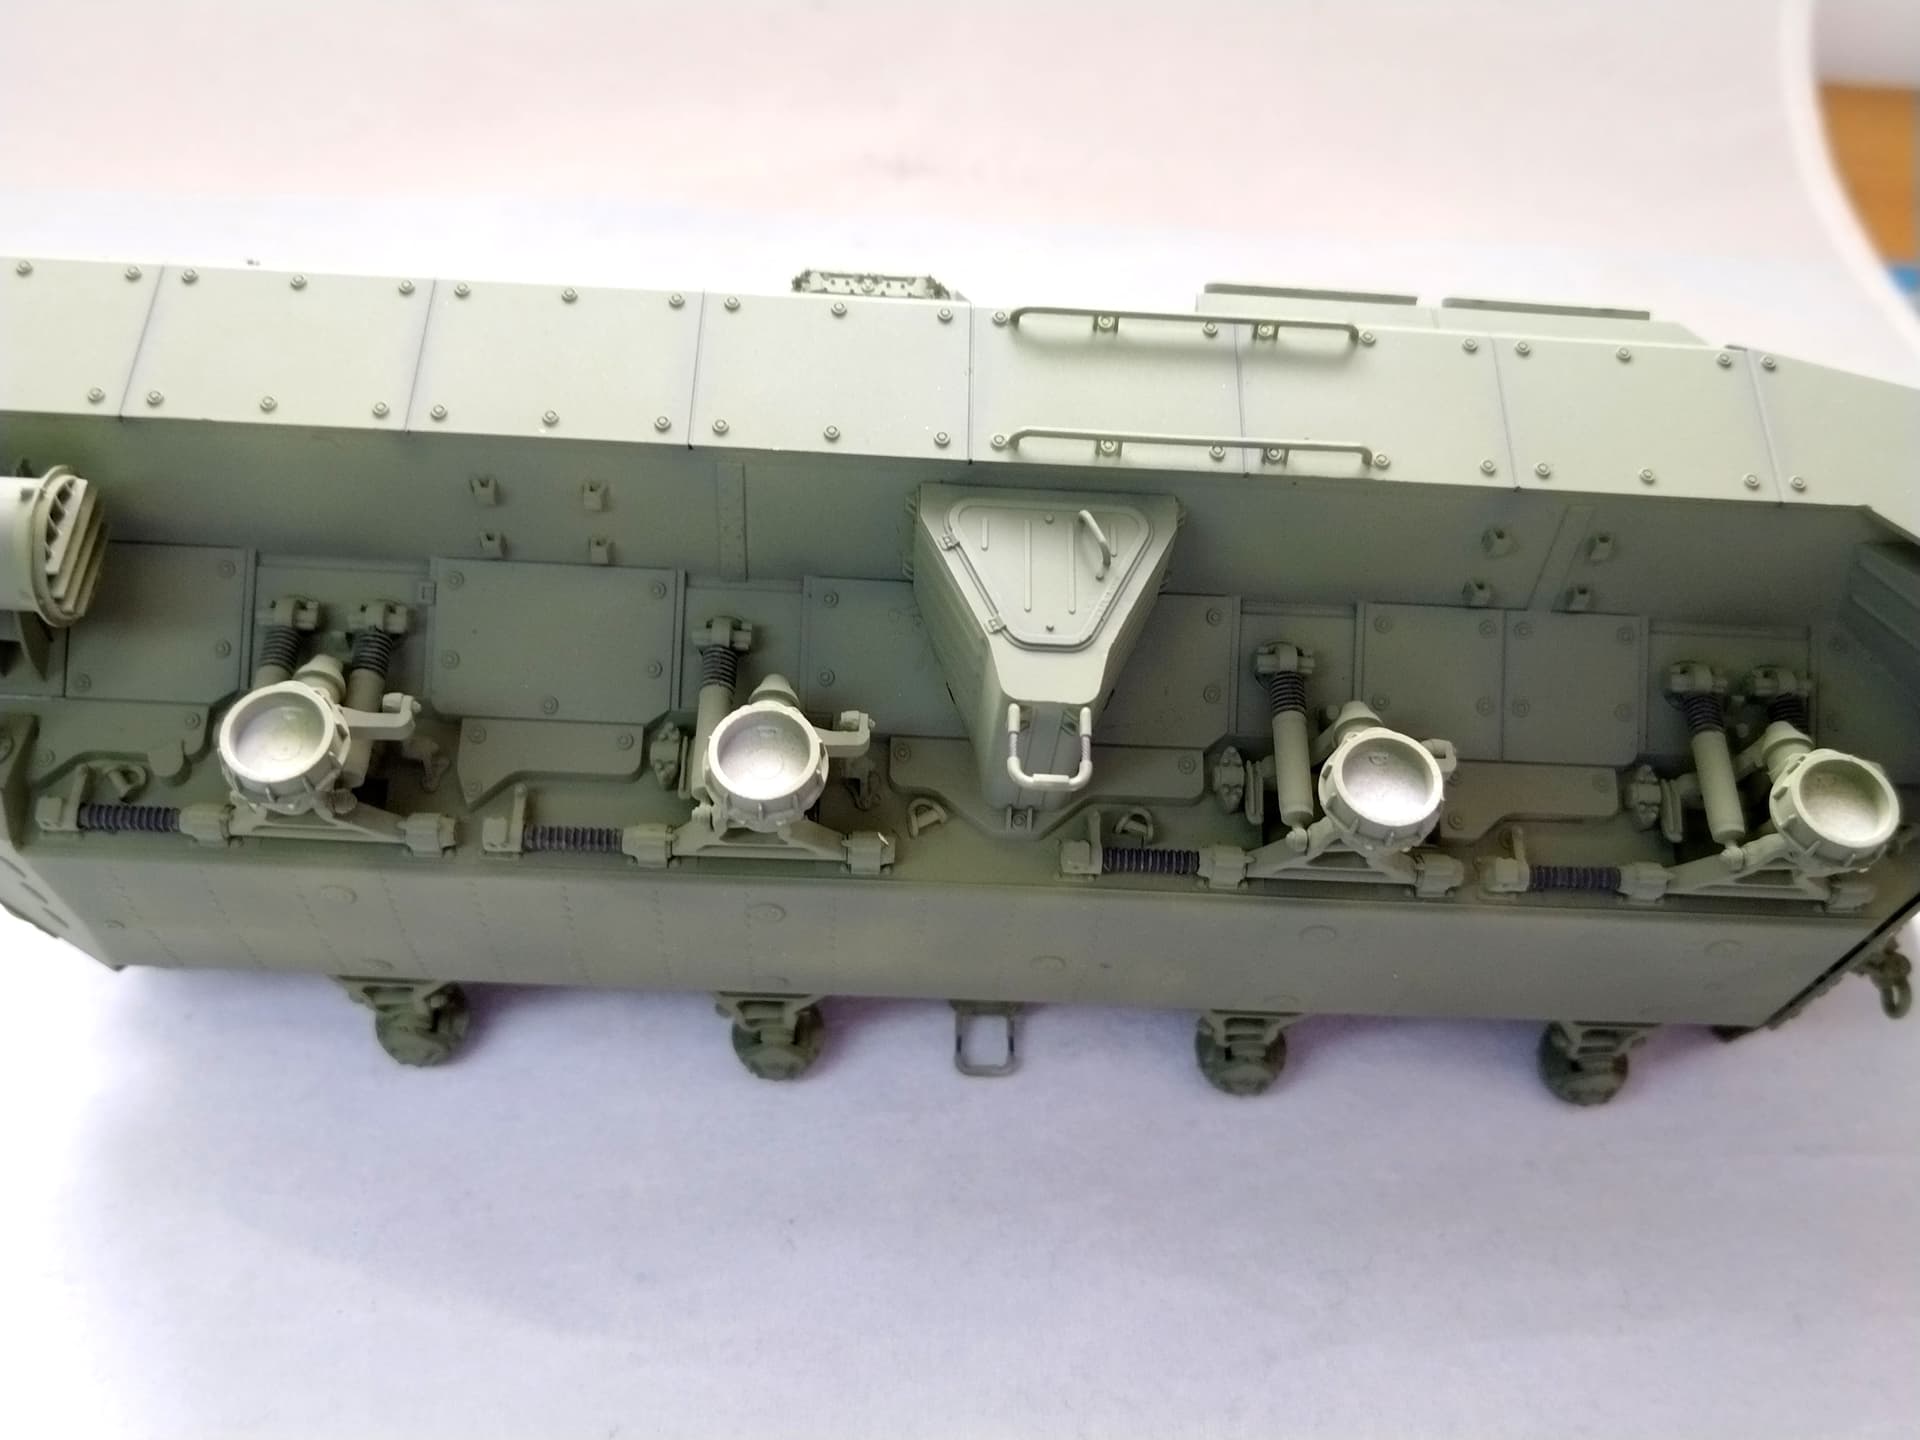
I managed to assemble a complete suspension set. It is time consuming because of the number of parts but all fit very well. The waterjet is a bit tricky to fix to the hull side as you have to snap the body to the support welded to the hull and align the transmission shaft and another S shaped part. With a bit of patience it can be done.
Olivier
11 Likes
Nice. That suspension looks very well detailed as do the water jets. Should be pretty impressive.
2 Likes
Yes Johnny the suspension is quite busy. The waterjet reminds me of the one fitted to the VAB minus the deflector at the back. I guess the Russians opted for a kind of reverse for the propeller.
Olivier
2 Likes
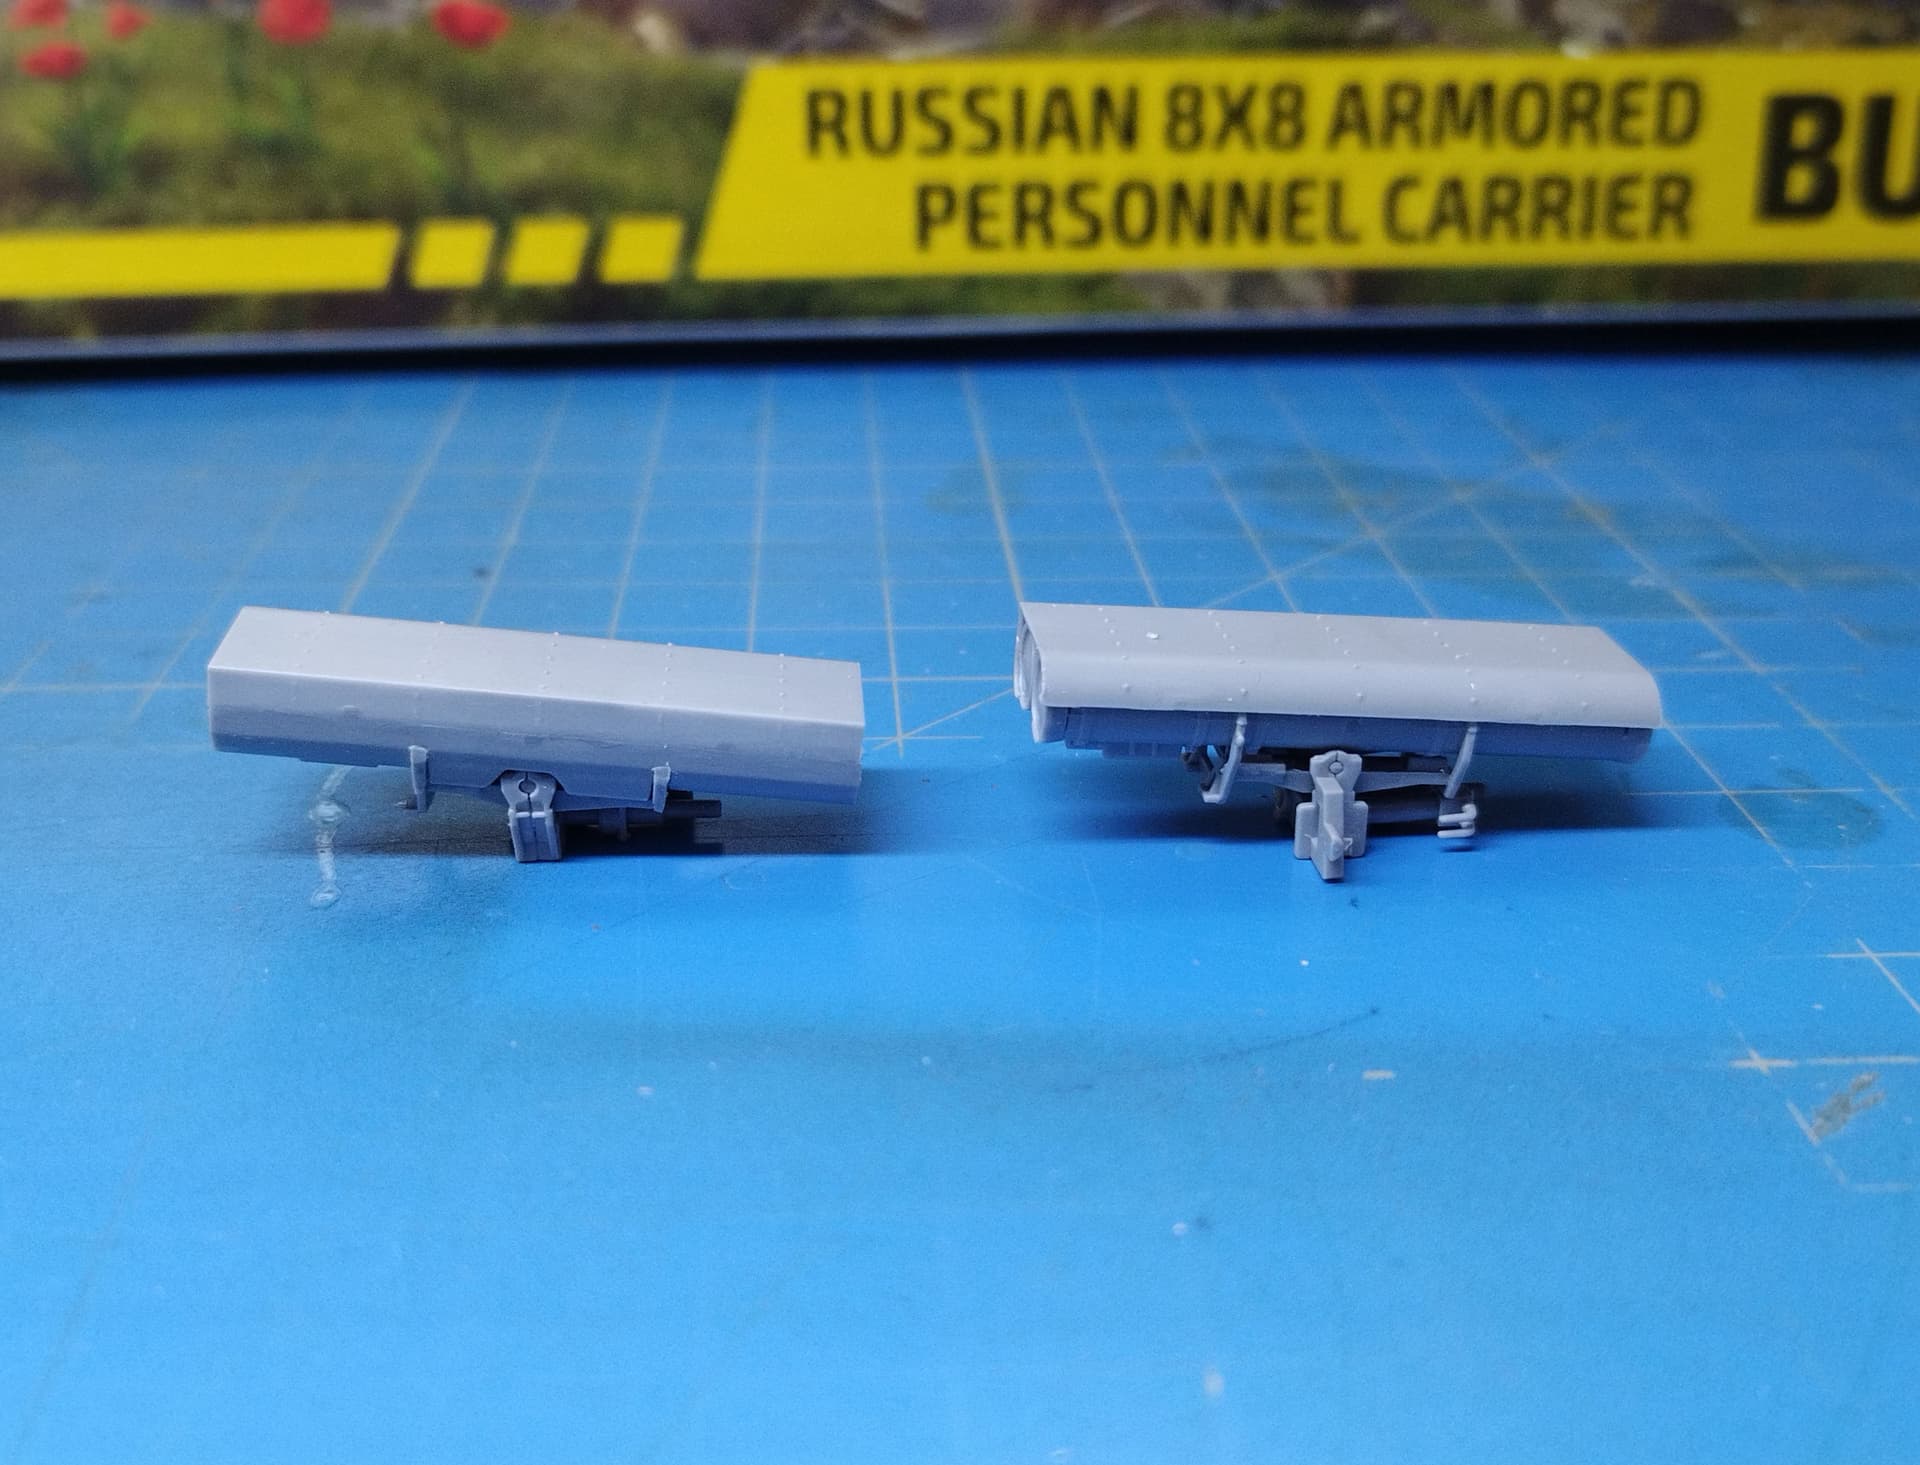
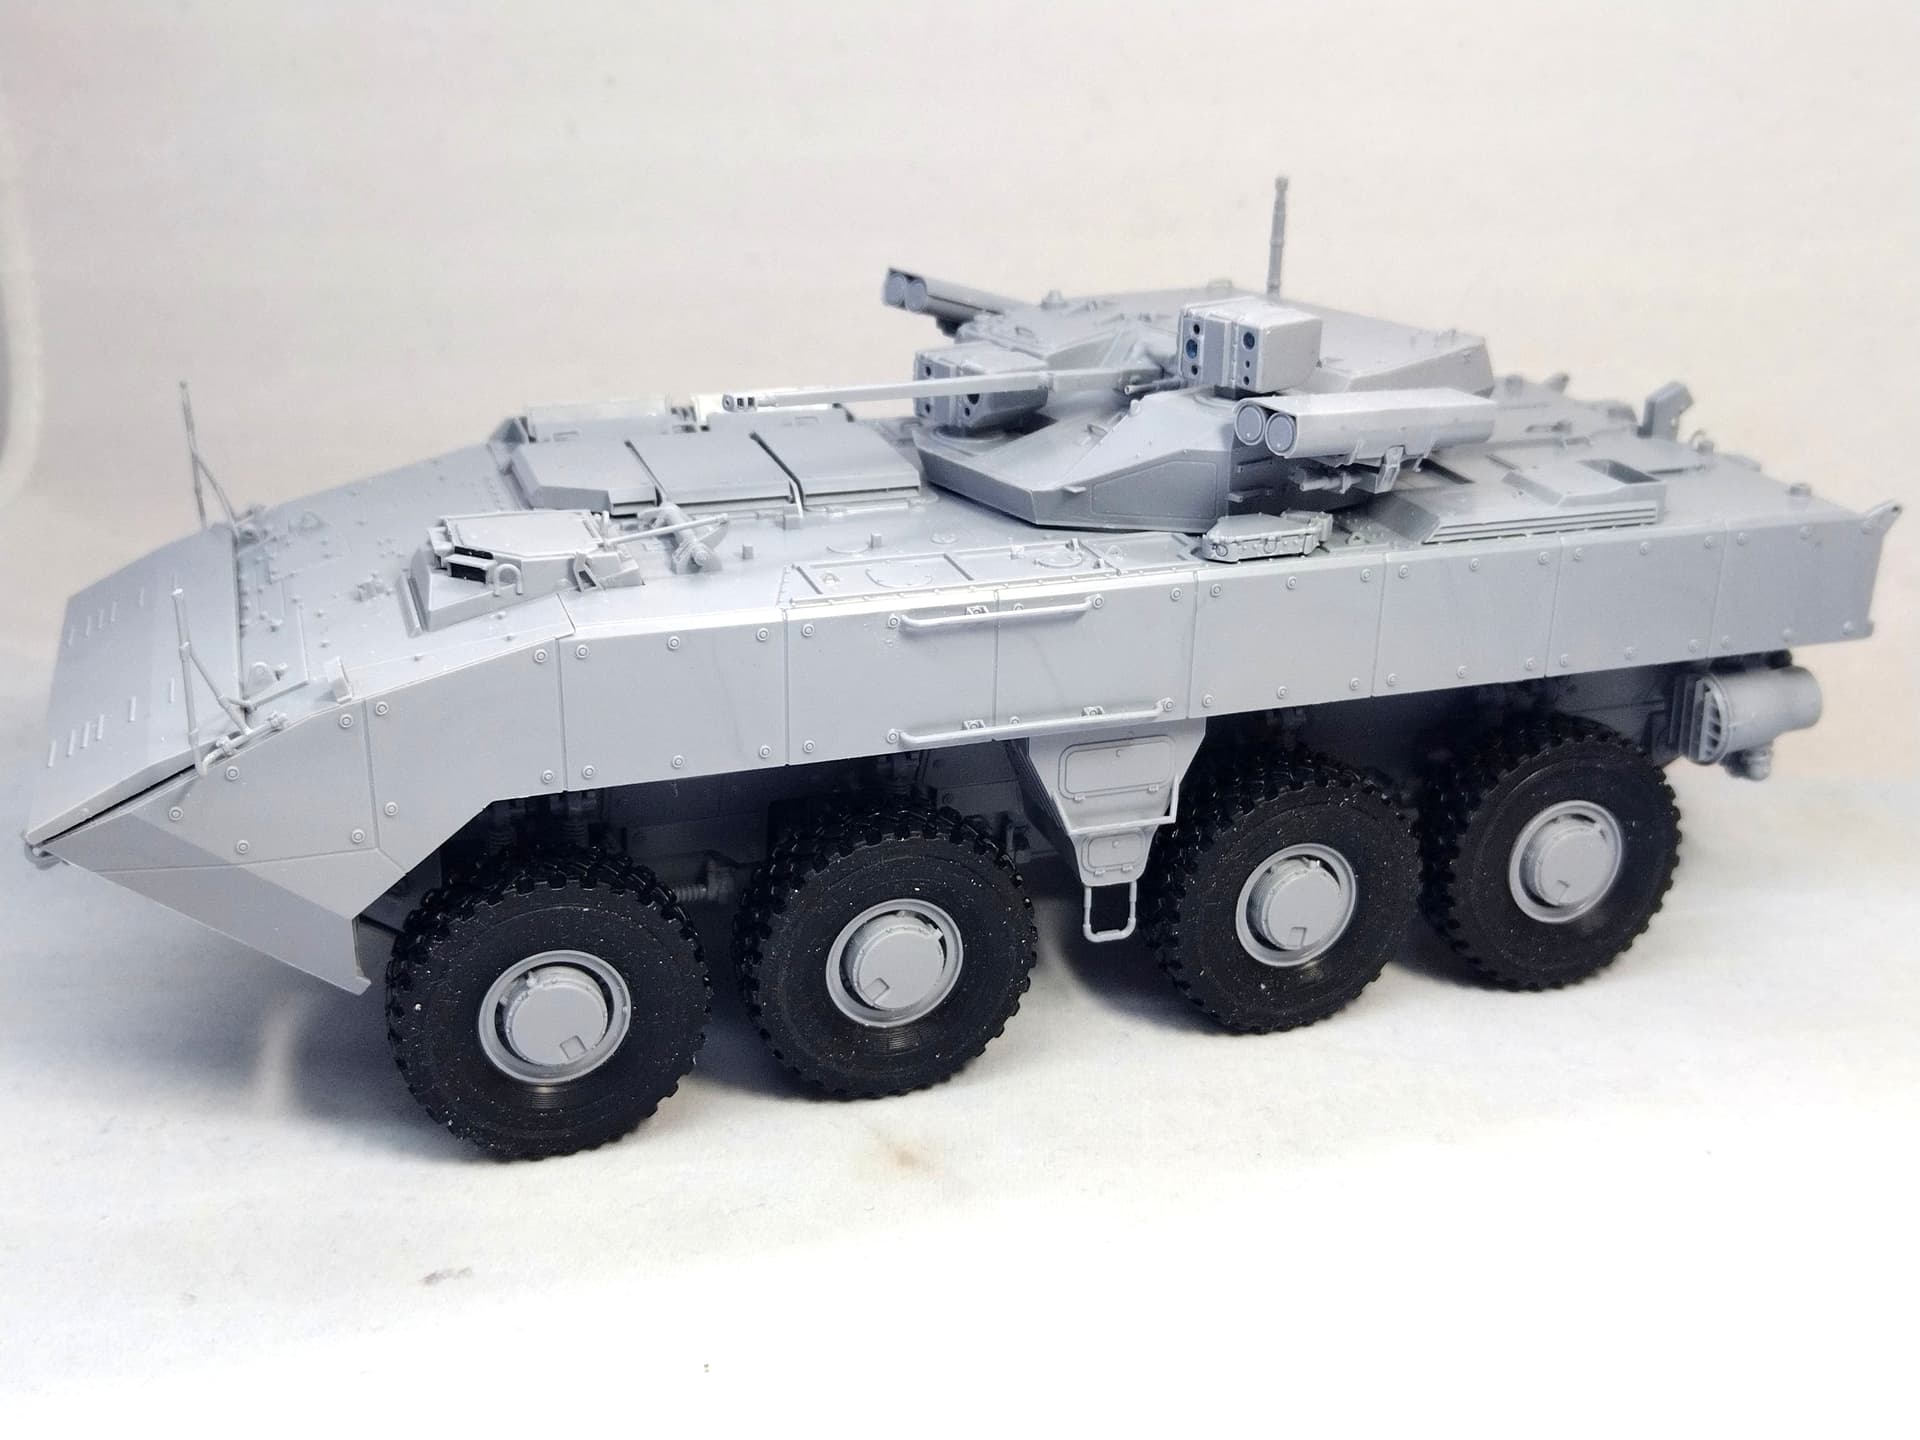
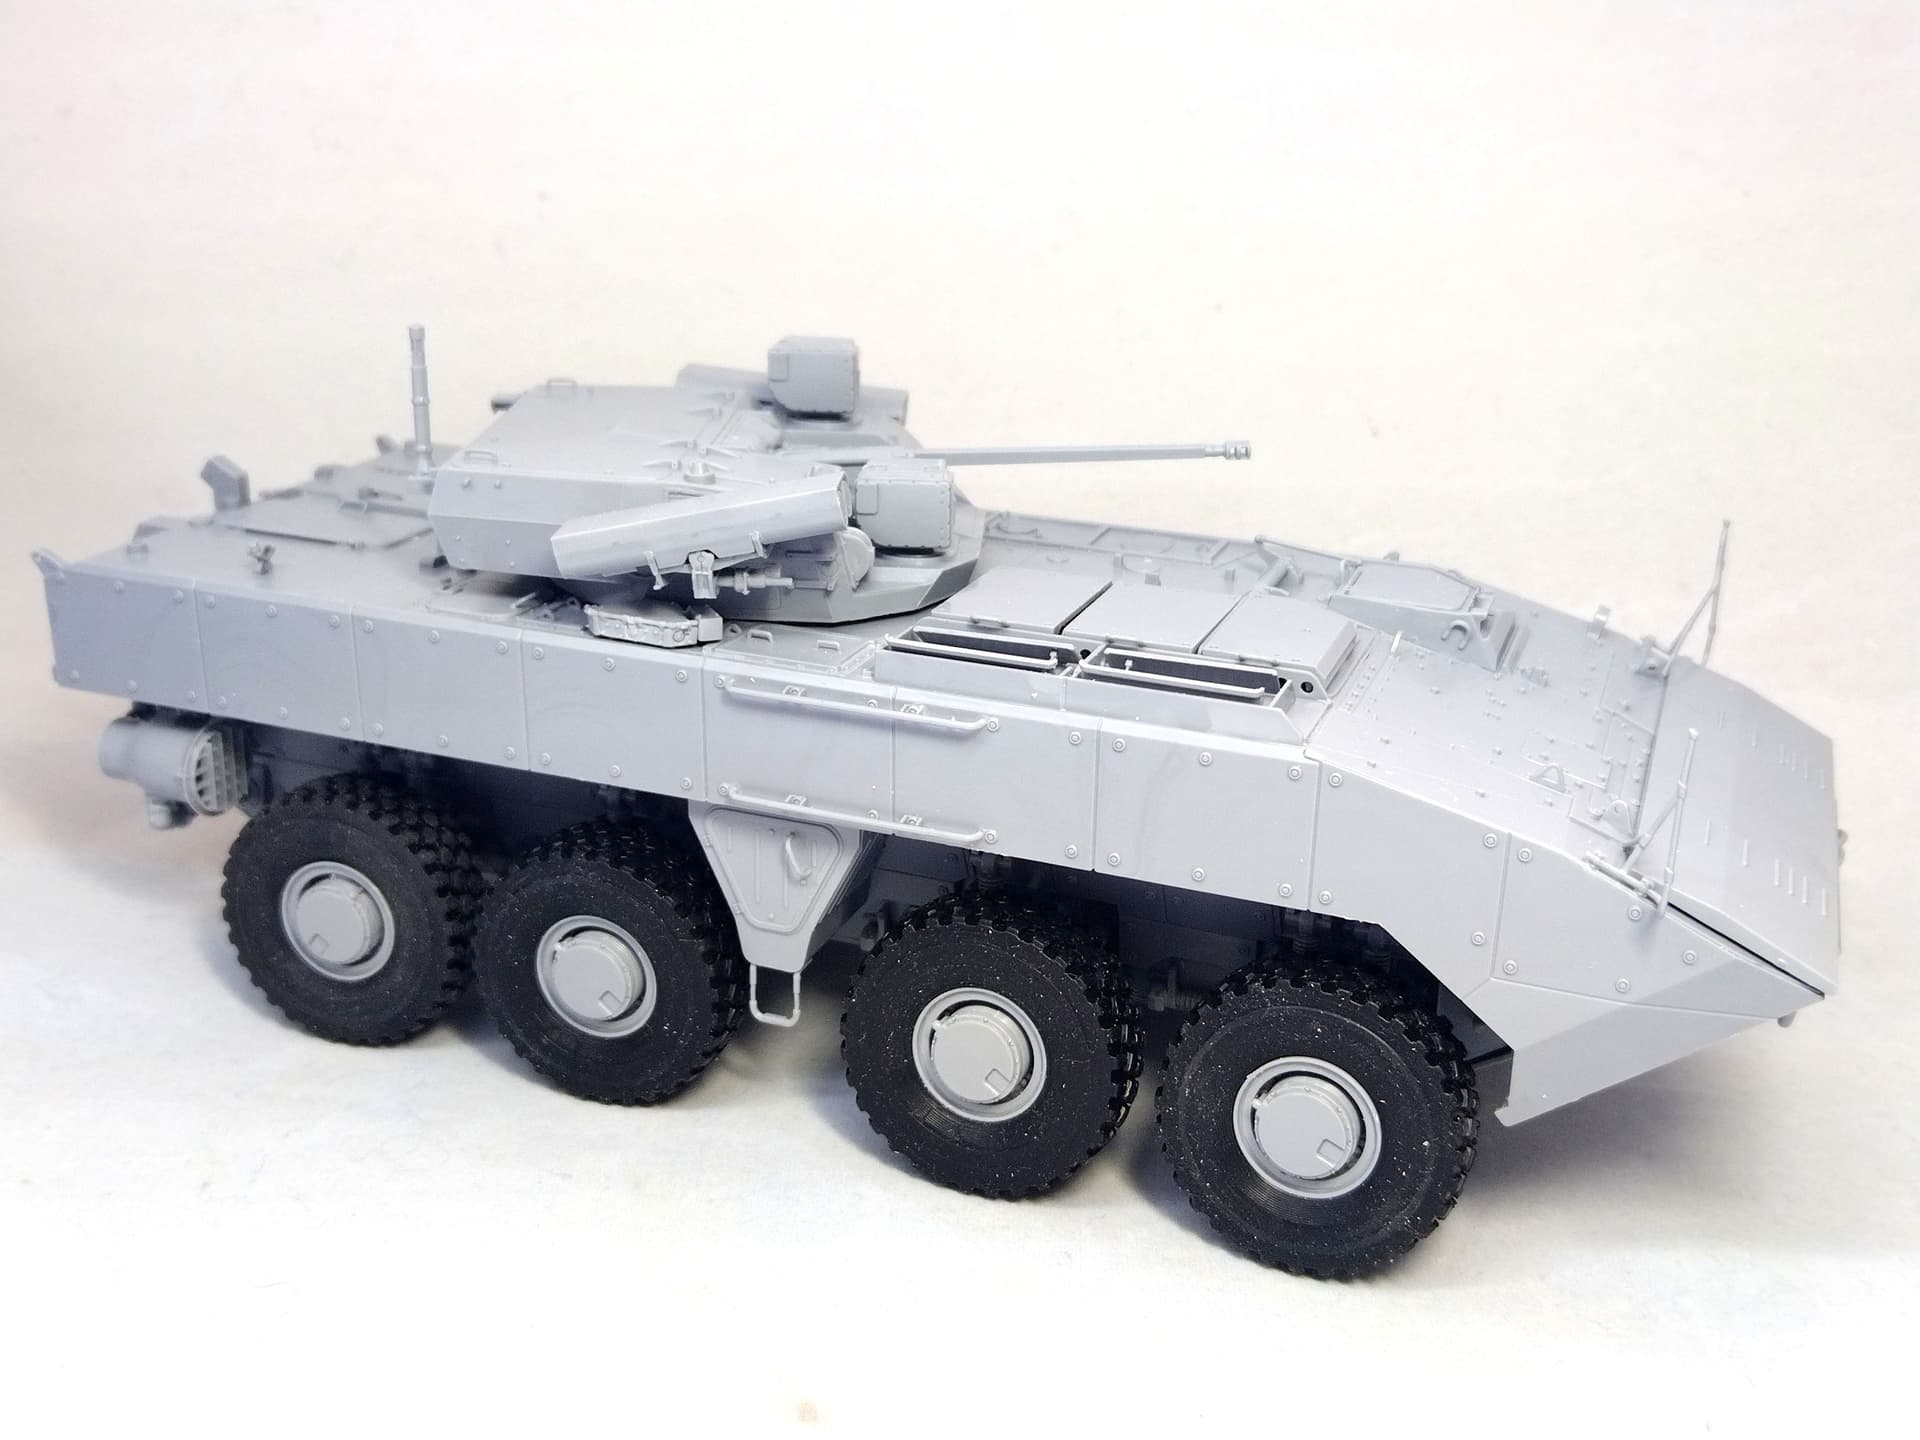
Here is the last series of pictures before the painting session. The wheels are not glued yet. The lights which have already been painted, the antennas and the rearview mirrors will be glued later on.
Olivier
8 Likes
That looks fantastic. Nice tight build.
1 Like
Thats looking sharp Olivier. Be interesting to see it next to a Stryker for a size comparison
2 Likes
Hi all
I finally sprayed the base color to the Bumerang. I usually paint the modern Russian vehicles XF-65 Field Grey. So I started with the wheels rims to finish the current jar.
When I open a brand new jar I found the color inside was much lighter. I stirred it well and applied it to the hull only to confirm the color was NOT a field grey but much more a grass green. Having two new jars no need to say I was a bit upset. Not only the shade is lighter but it has not the usual grey tint in it.
So I deciced to add a good deal of XF-63 German Grey directly in the XF-65 jar till the shade was more suitable.
Here is the result. Not a perfect match but way better than the original color from the jar.
Hopefully the coming dark wash will help get a more appropriate shade.
Olivier
10 Likes
Good recovery with the paint issue Olivier… it looks pretty good with how it sits on the wagon…
2 Likes