Fun job, as always … One of those wax-pen-type things proved ideal for picking up the rubber blocks. Put one in place on a link, apply a little glue to either side of it, next. After the glue had dried I started putting the track together: first click a guide tooth to each link, then click four links together by those guide teeth, add four end connectors to both sides and cut off the sprue from those. However, you can’t put the end connectors on both sides before removing the sprue, because that puts a little tension in the track which spreads the pins on the opposite side apart too far to put the connectors on.
Tomorrow (or thereabouts) I’ll make the second one
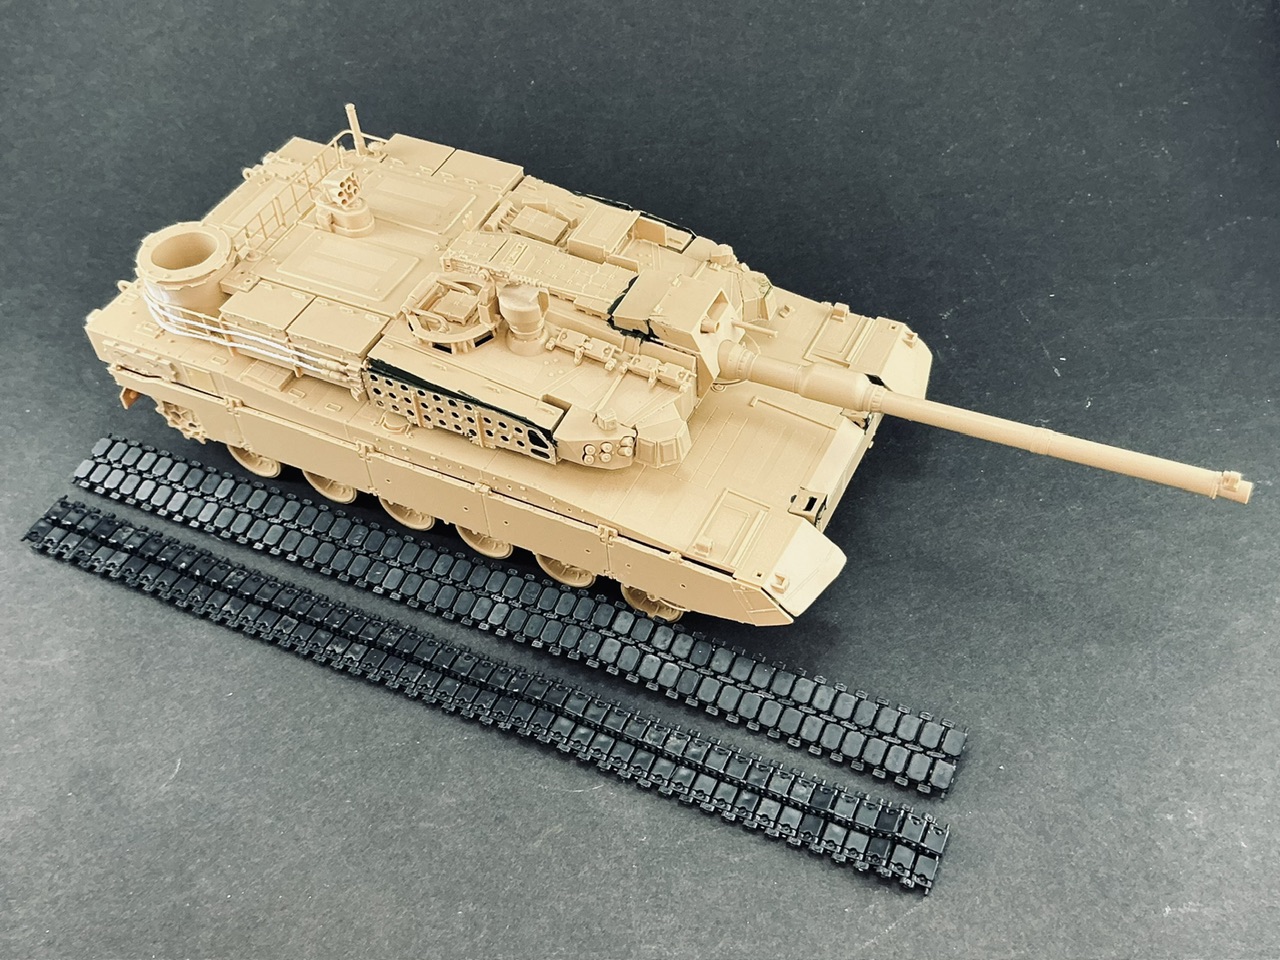
The side skirts, wheels, machine gun, driver’s hatch, spare track links and deep-wading shaft are still loose, and some parts that will be added after painting aren’t in the photo.
Since the paint I need for this model arrived about an hour ago, I’ll soon put some primer on the metal bits so I can start putting the colours on sometime soon(ish?).
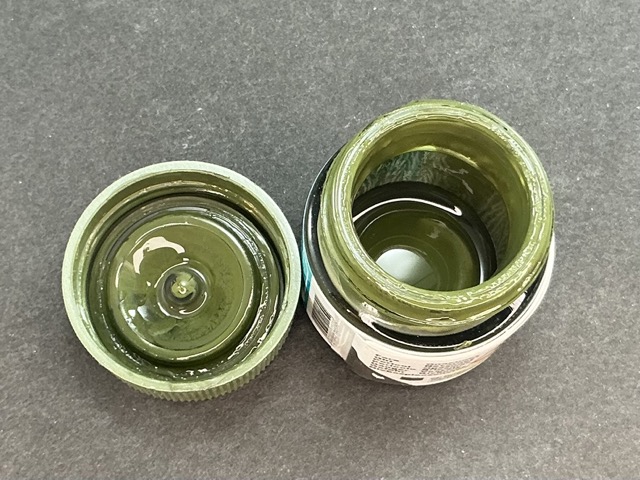
The last drops that wanted to come out were just enough to paint the tank, and then I noticed that some of the reactive armour panels, that I’ve left off so far, also need to be painted in this colour … I think I’ll get enough out with a brush to paint them that way, and if not, I’ll have to mix some paint to approximate this.
The kit tells you to paint the ones on the side skirts a different colour than the others. But I was referring to the ones on the turret sides, that I left off for now because they will go “over” the camouflage scheme: you’re told to paint those the same colour as the green on the rest of the tank.
Oh, I didn’t know that — interesting. Not sure I’ll paint them that way now, but it does mean I’ll need even more paint that’s just about run out …
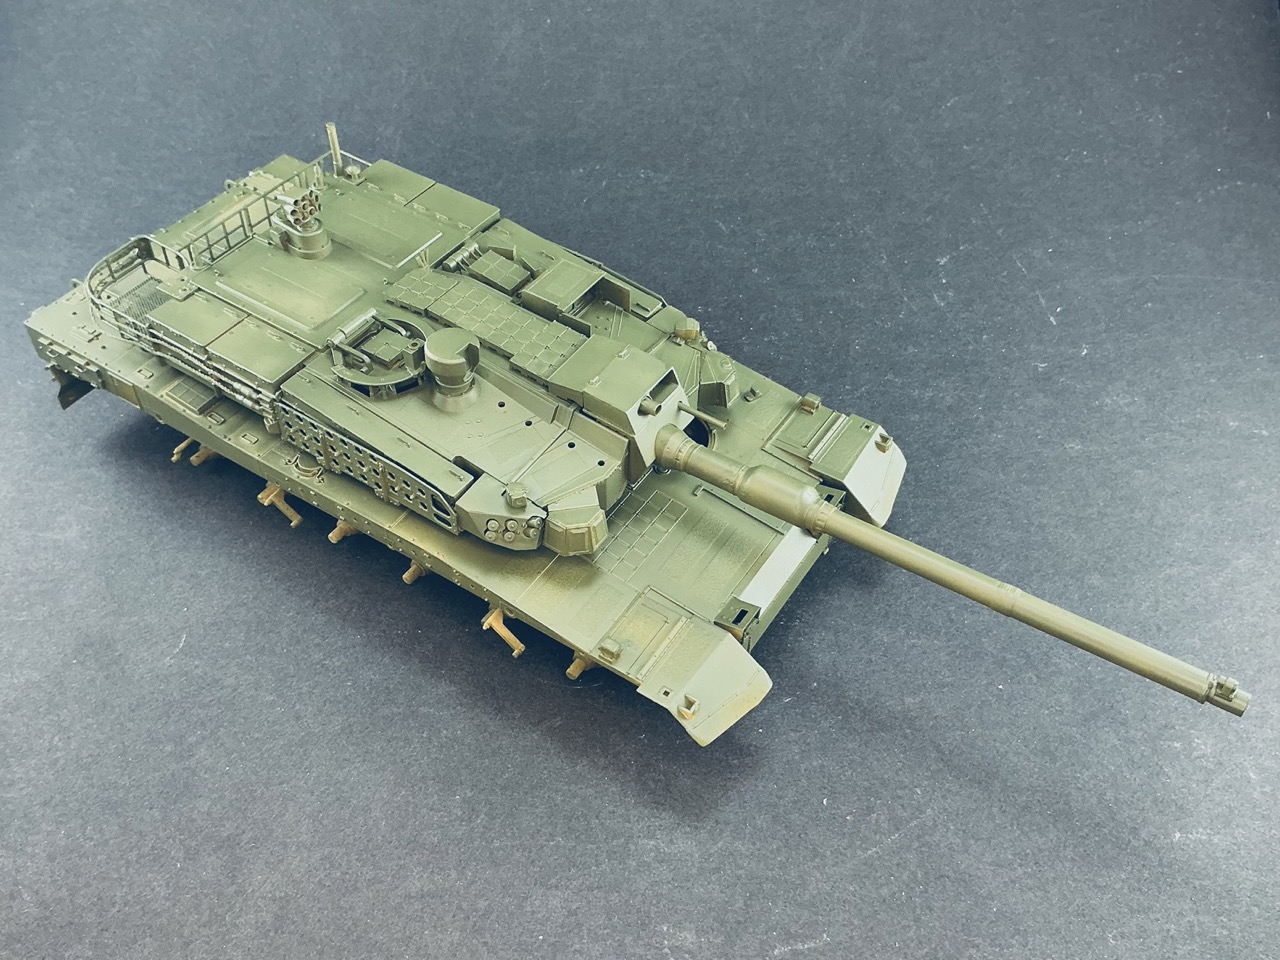
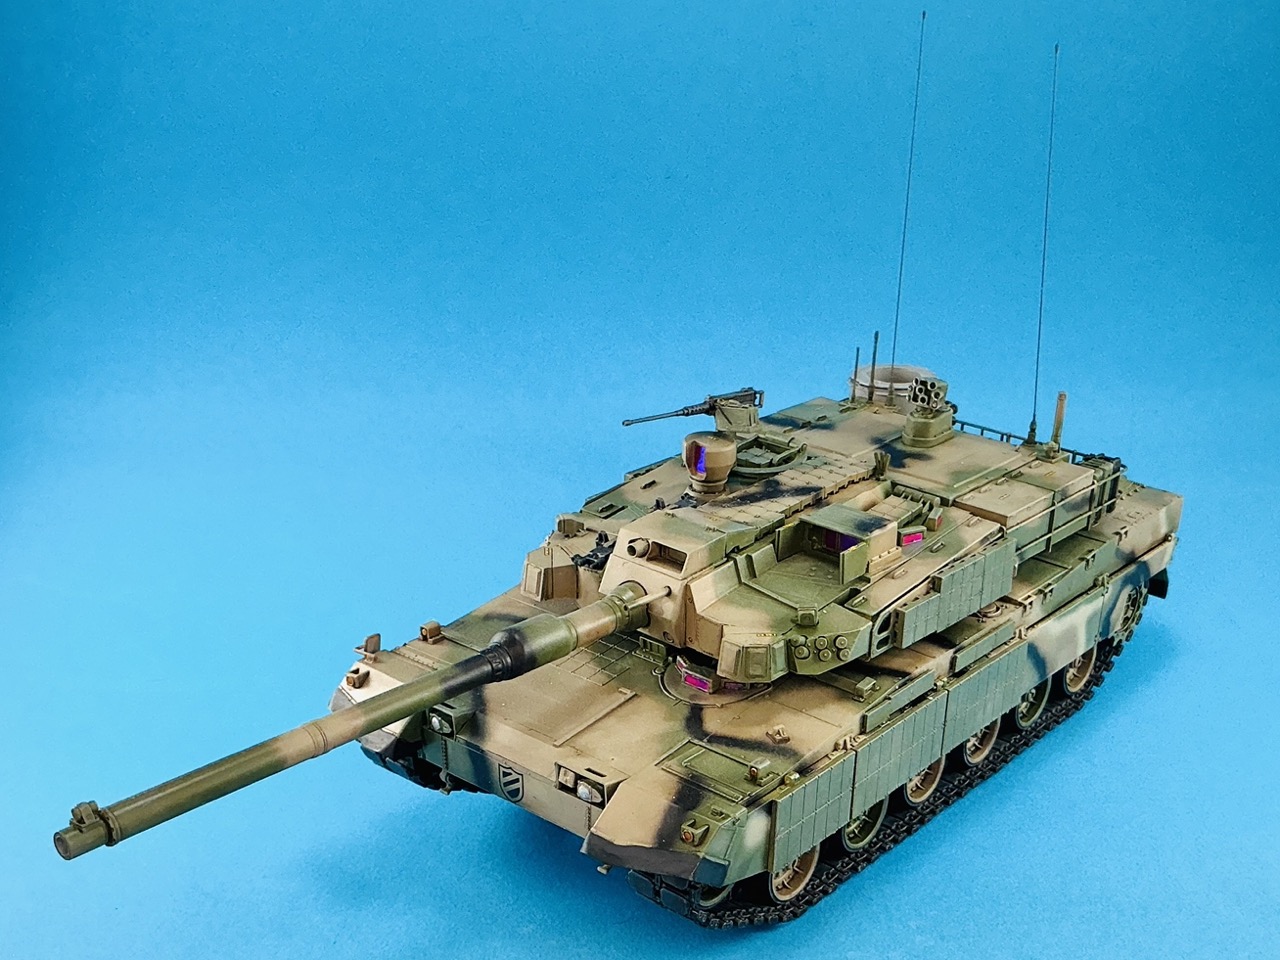
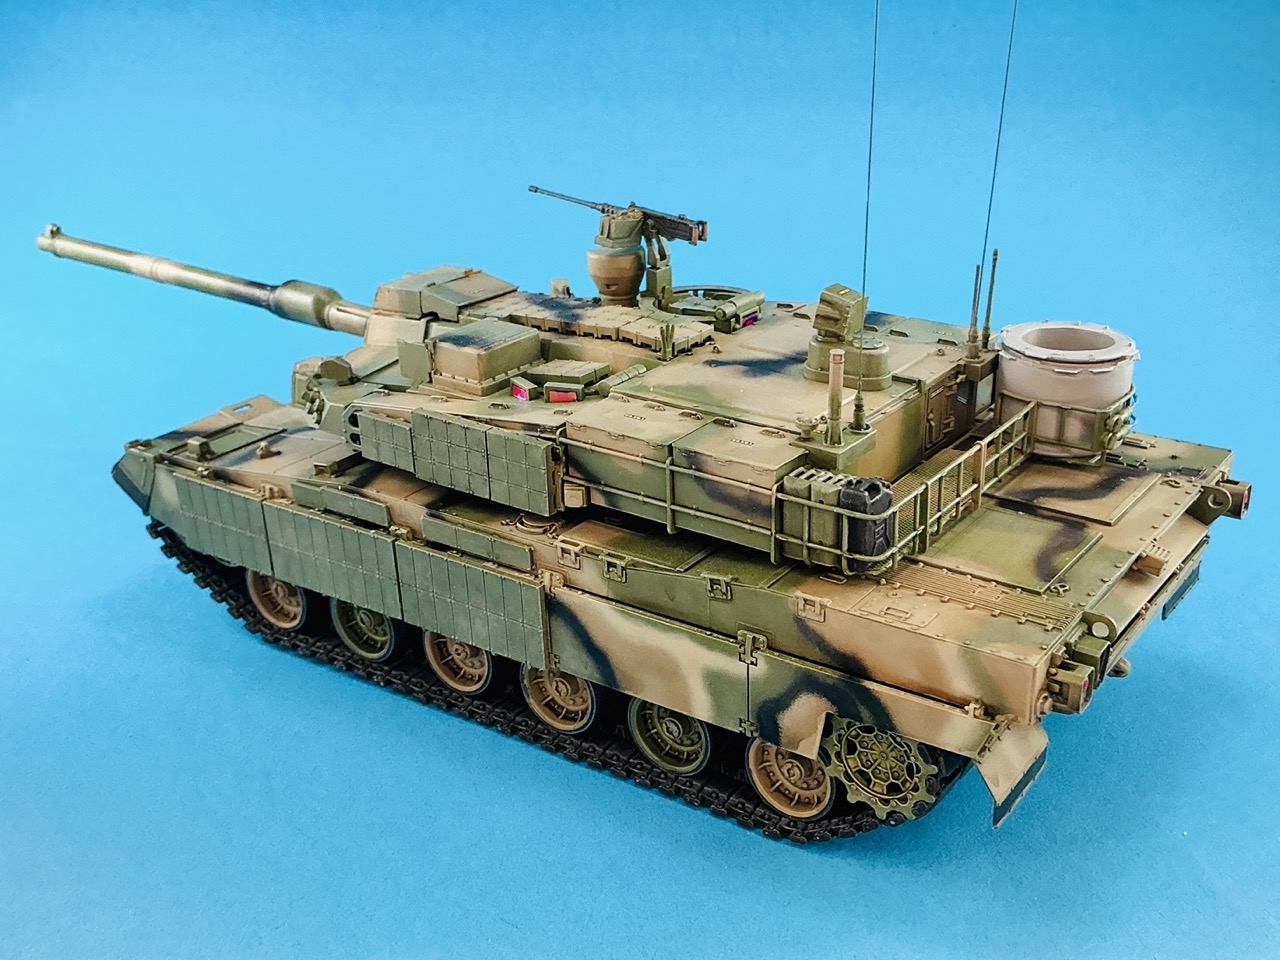
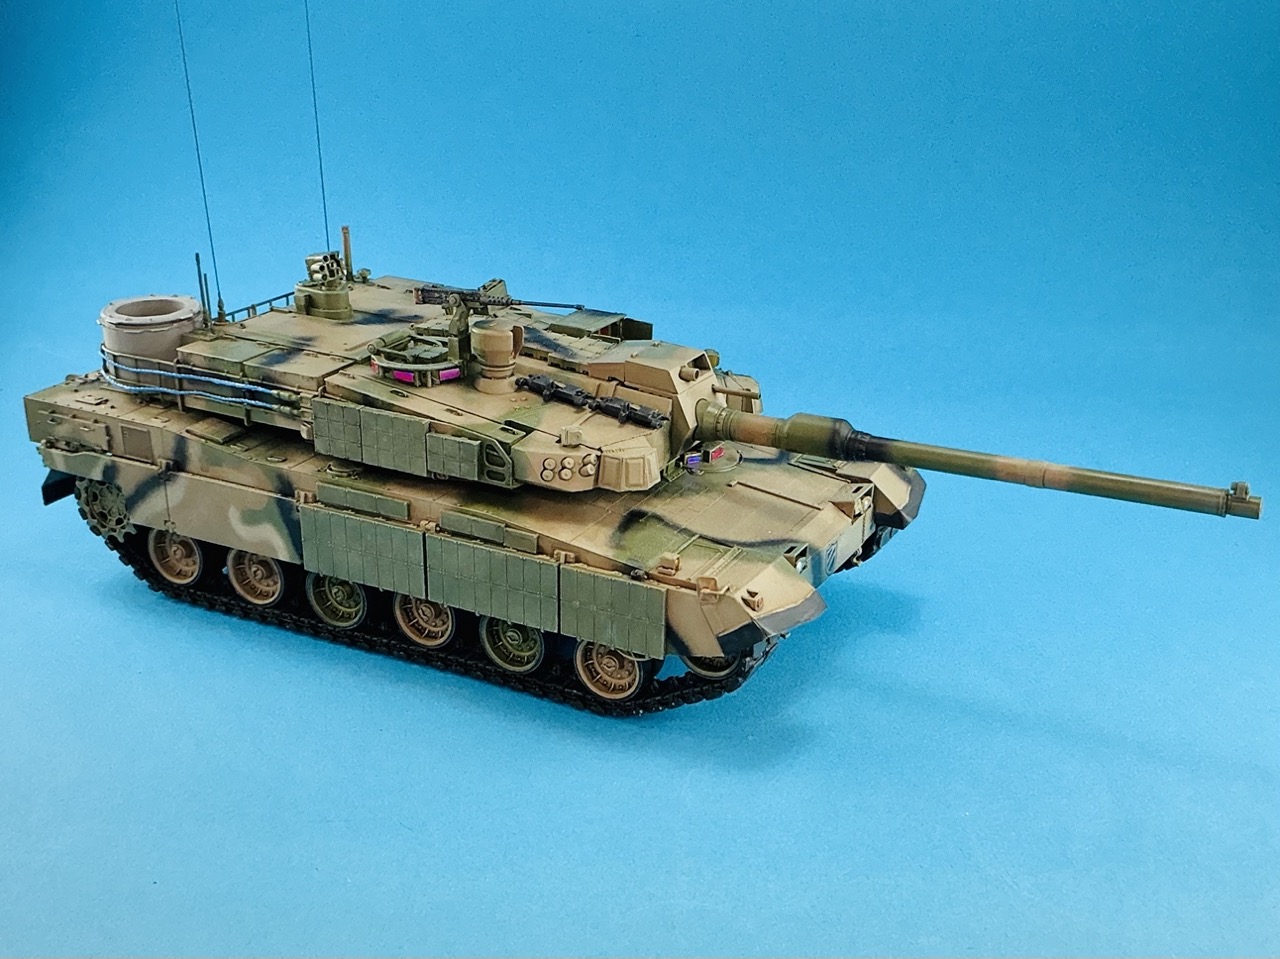
The camouflage is on now, as are highlights in that. The larger brown areas are Mr. Aqueous, but by using a different airbrush (a borrowed H&S Evolution) I only needed a few millilitres instead of a whole bottle. With hindsight, I should probably have drawn the camouflage on the model before spraying the green, so I could have painted only those areas with it, which would have saved about half the paint. The reason I didn’t is because I generally spray a camouflaged model all in one colour first to give a good foundation for the other paints to go over, but because I was using alcohol-based acrylics for both colours here that was actually kind of pointless.
A few days later, I sprayed the sand-coloured and black lines with the same airbrush, using Hataka and Vallejo airbrush-ready paint, partly to see how well the H&S handled those. The lighter spots I sprayed with my own Iwata HP-A, using Ammo/MIG and Vallejo paints.
Not much posted but I did do a fair amount of work on this model. First, I put a darker wash over everything to create shadows, made by thinning Army Painter Strong Tone, then I drybrushed everything with a lighter shade of the base colour and in the meantime, I also painted the wheels and tracks.
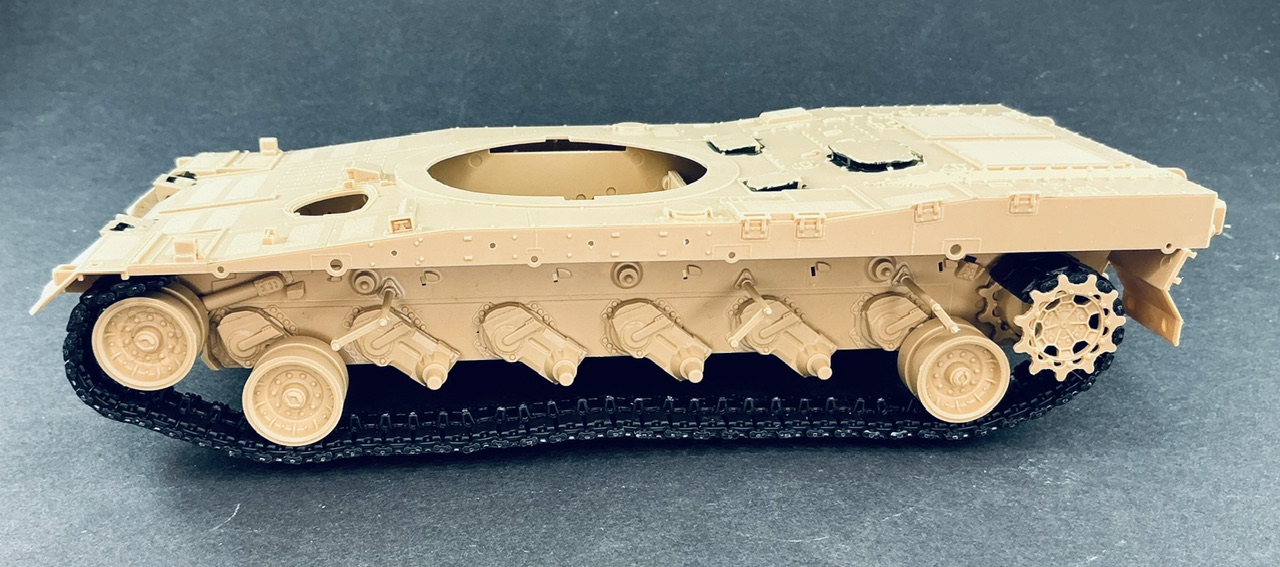
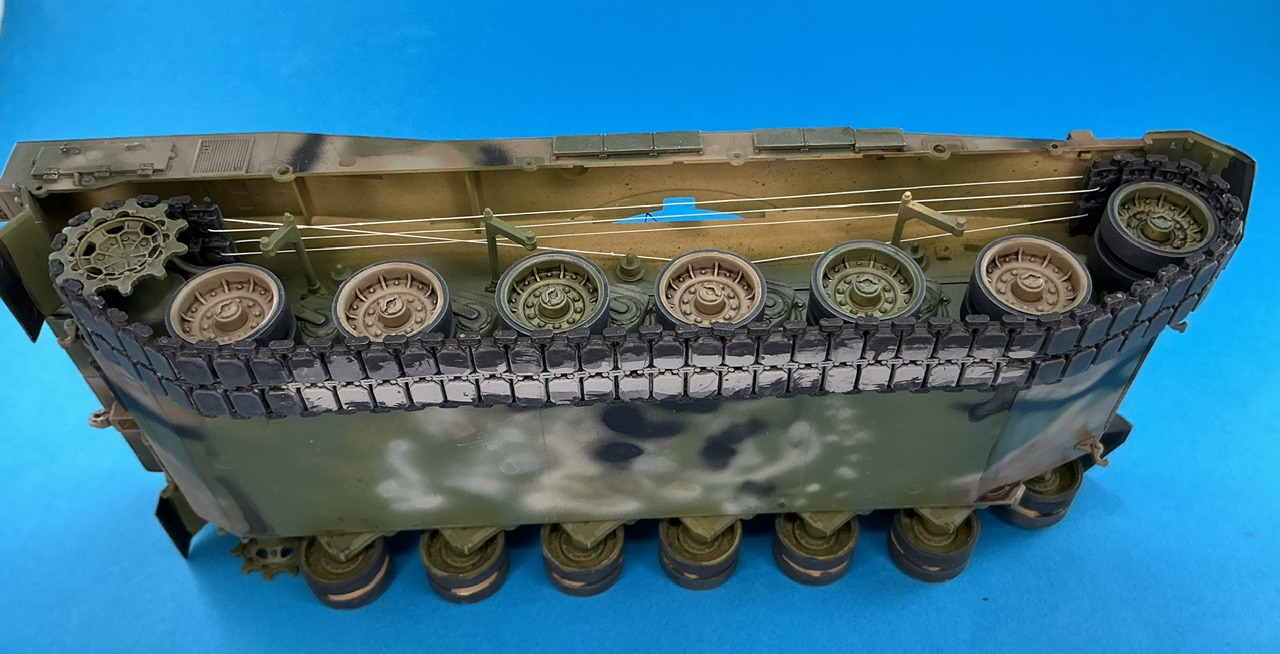
After that I could install those tracks as well. Because they’re workable it’s not very difficult, and after drilling holes in the links at the ends, I could tie them together with some sewing thread:
I do always have problems tying knots in those, because it’s not something I’m exactly great at and the limited space available only makes that worse. But then I suddenly had a bright idea when my eye was caught by one of the holes for parts I didn’t fit:
Unfortunately, the mirror on the left side went AWOL When I removed the support from the sprue, it broke in two but I could glue the halves back together. When I was painting the mirrors, the joint broke again, and in the attempt to stick them back together a second time, the side with the mirror on it flew out of my tweezers. Despite a long search for it I haven’t been able to find it, so the tank will have to do without … Should I ever come across it, though, I can stick it on then
Same here, or I replace the supports by brass rod for strength, but with the K2 kit, the only option is to have them folded down for travelling so I thought I would fit them as instructed.
Thanks
The problem is, essentially, that my fingers don’t work as well anymore as I would like
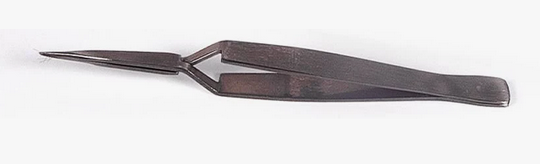
Suggestion: Start using the type of tweezers that open when the handles are pressed.
This gives a lot better control sine the mind and hand can focus on the positioning
while the tweezer does the holding/clamping. The holding/clamping force is also
controlled by the tweezer which reduces the risk of any twitching muscles launching
a small part into the twilight dimensions.
General principle (this one happens to be sold by AK Interactive)
There are many variants, straight, curved, strong spring, weaker spring, large, small, smooth grip surfaces, serrated grip surfaces, isolated handles for electronics/anti-statics, isolated for heat when soldering.
I’ve got a bunch of those, including pointed ones much like in your picture. I mainly use them to hold parts for painting and to keep tension on things rather than when attaching parts, because I don’t find them to work well for that. Letting them go without disturbing the part once it’s in position is trickier than holding the part with normal tweezers