About a year ago, I bought Academy’s K2 Black Panther, their kit of the current South-Korean MBT. I don’t really know why, but it just has something about it that makes me find it much more interesting than yet another Leopard 2A61784V or M1A2-modern-acronym Abrams I started building it in May last year at a club meeting, intending to finish it fairly quickly afterward, but it hasn’t been out of its box since I got home from that … Until tonight
I built much of the lower hull at the time but nothing more. Now, the intention is to build a model quickly (by my standards, anyway) for a change. Just straight from the box to turn it into a nice model. Also helped by the fact that someone loaned me an H&S airbrush last October to try out, that I have to give back in mid-February, but I haven’t used it at all yet. This tank’s camouflage will be a good test It will be a South-Korean one, by the way, and not Polish, in case you’re wondering.
Good luck Jakko… I also started one that I had in the stash about three nights ago. Same for me… I wanted to get away from the Leopards with a quick build of something different.
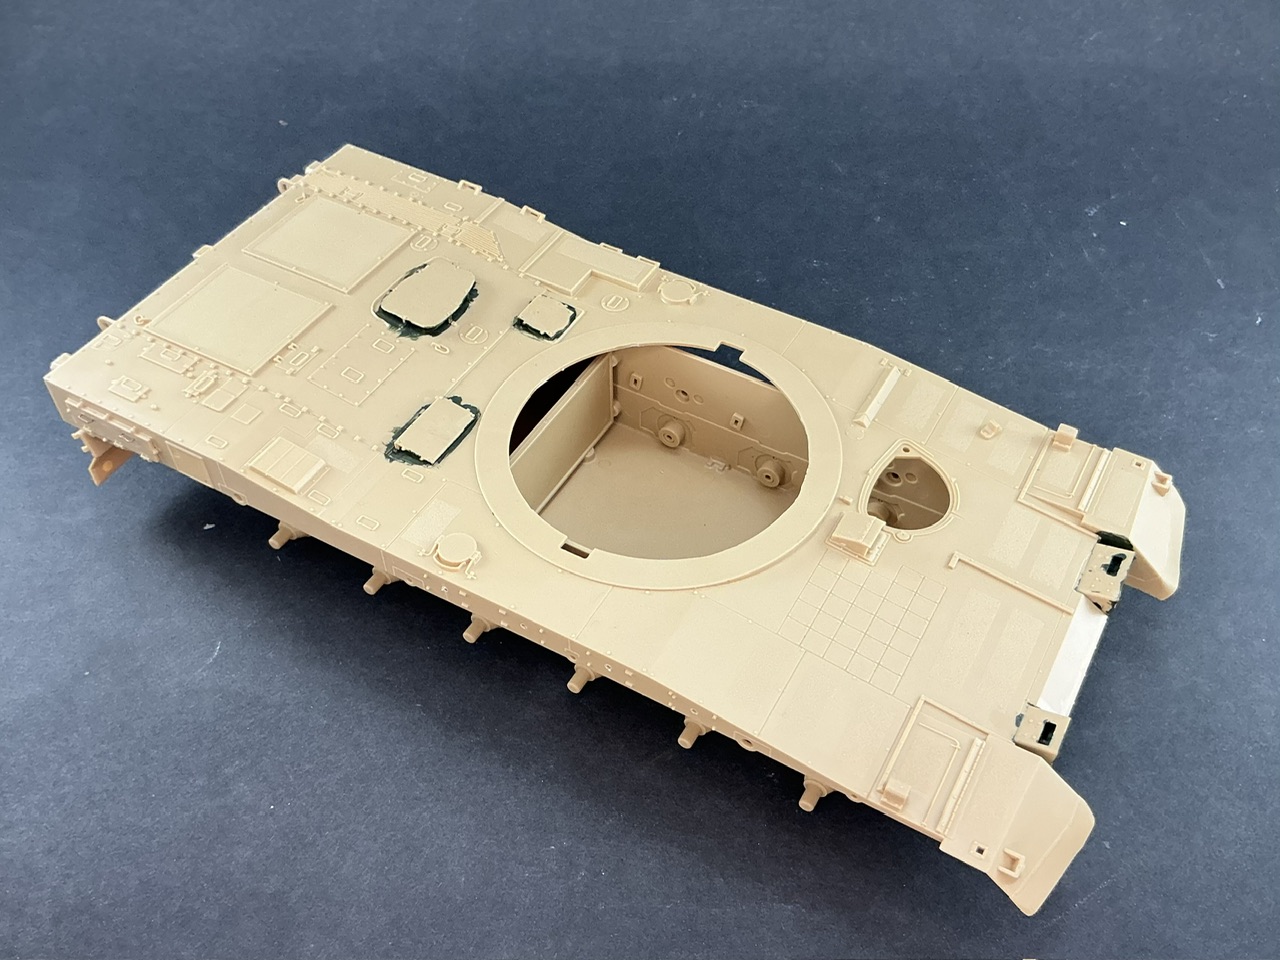
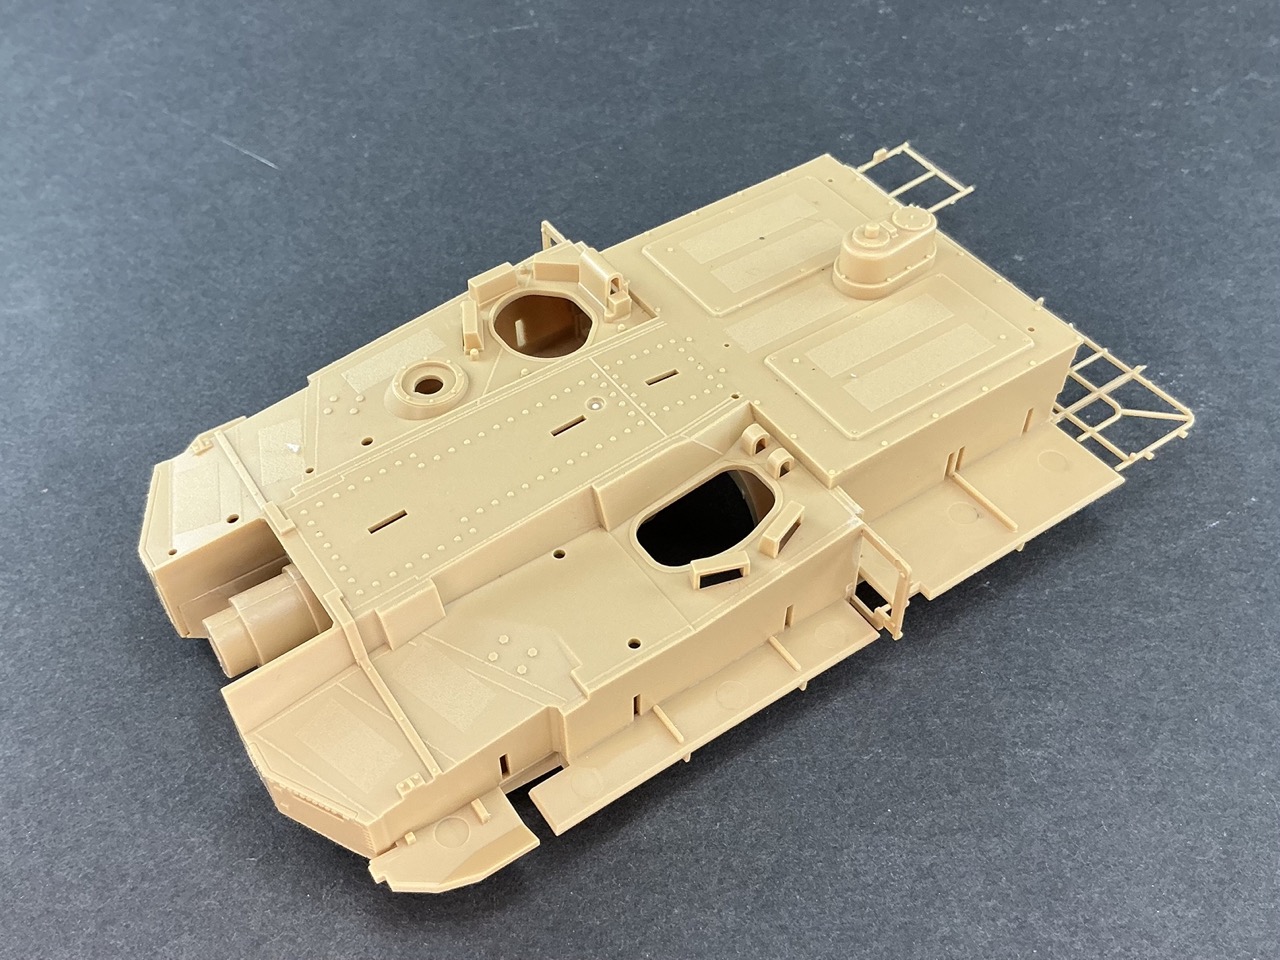
Everything fits perfectly and has been well-moulded. I very much have the impression that Academy did its best on this kit.
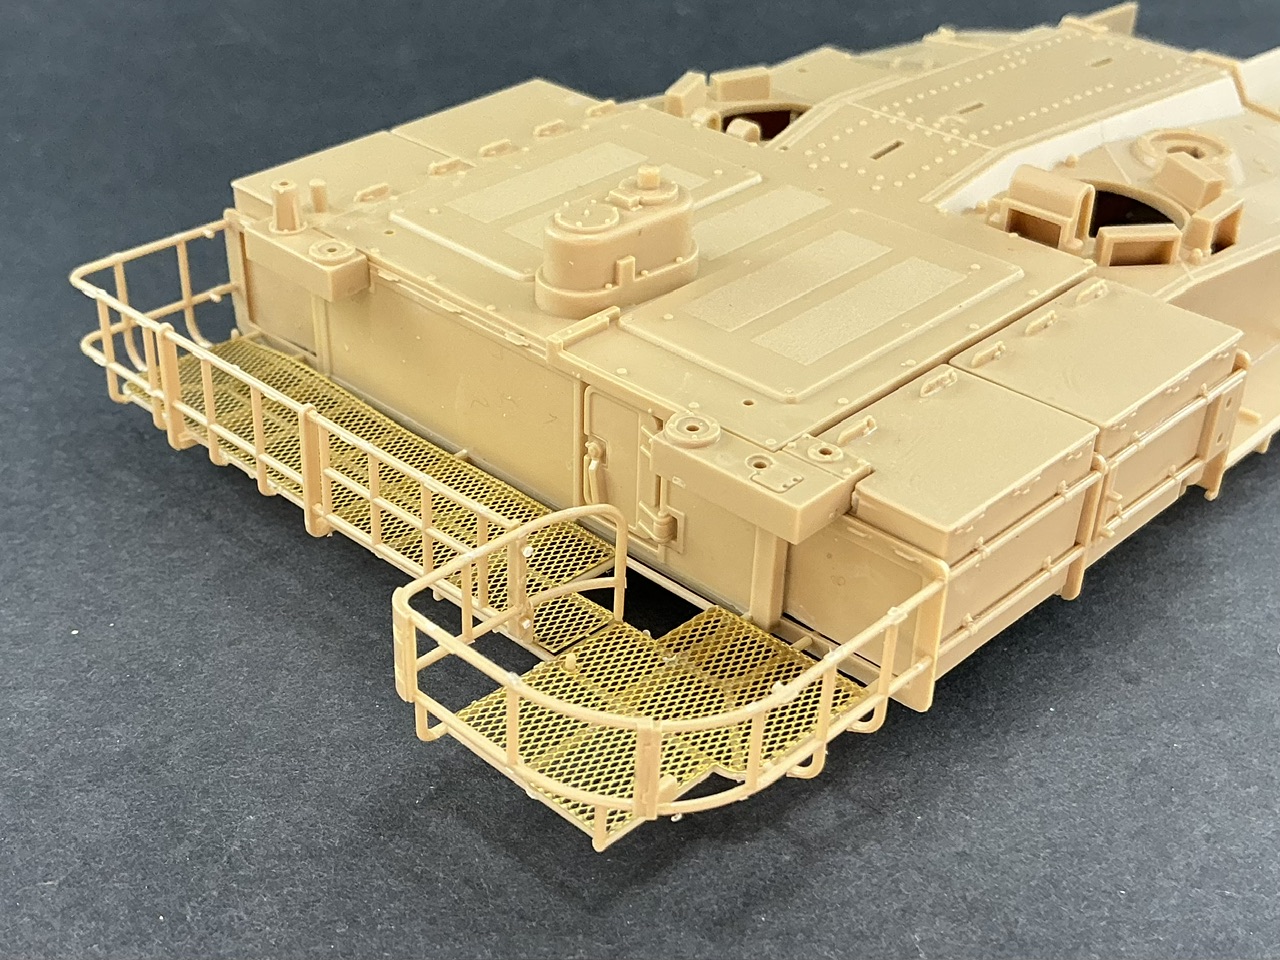
I did shave off the handles on the little hatch at the right rear of the hull side to replace them with copper wire. The paint you can see in some areas is because they will be hard to get paint under later on, so better to just brush some on before glueing the parts together.
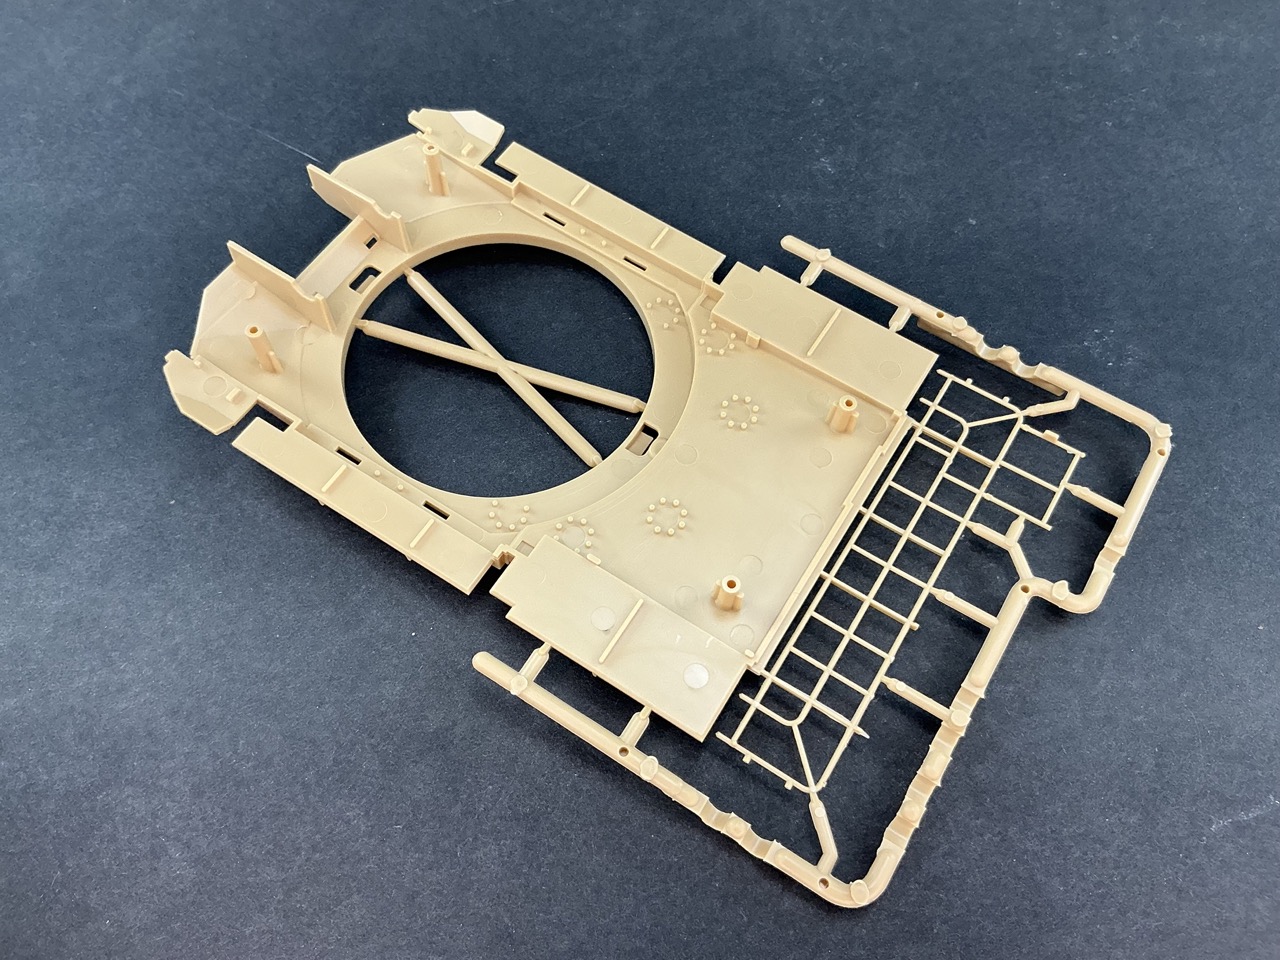
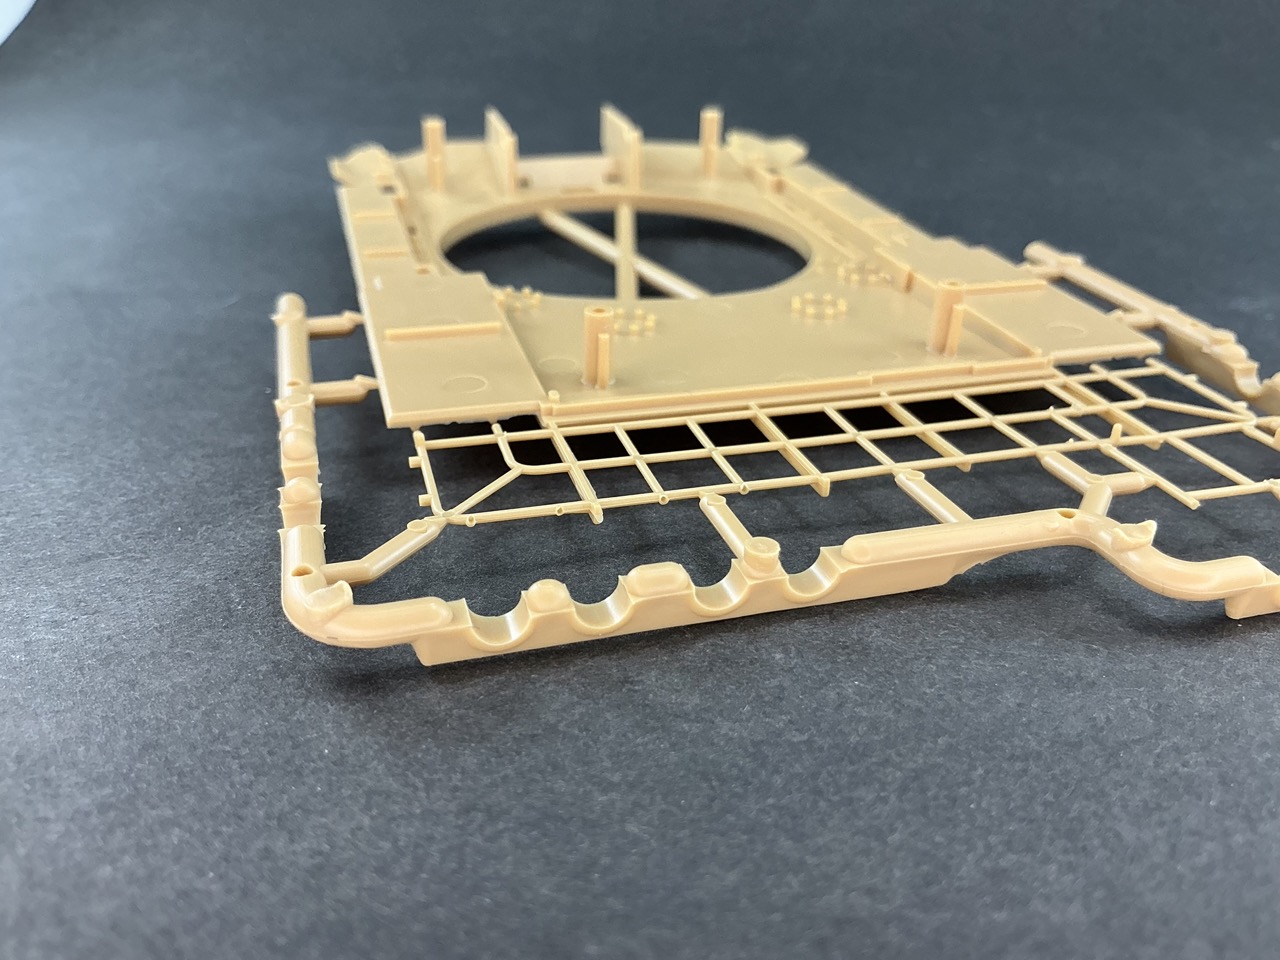
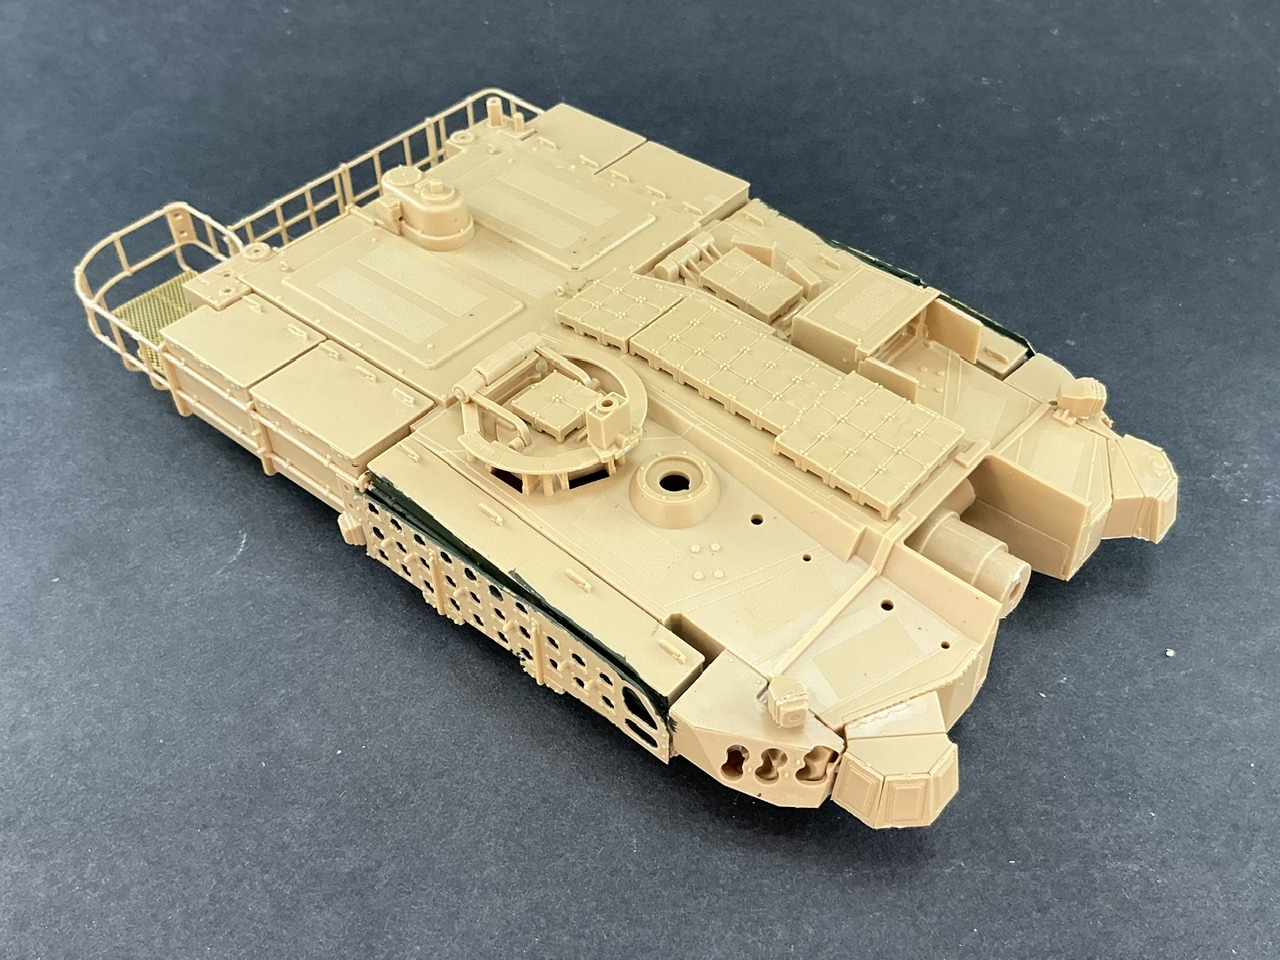
The suspension arms, BTW, can also be built to conform to terrain in a diorama. They’re attached by an axle and a locating pin, so if you cut off that pin the arm can go in any position. The kit also includes a bunch of parts for the lower hull sides, but because they’ll disappear behind the side skirts, they’ll disappear into my spares box instead Additionally, the model has a Tamiya-ism in that there are no floors for the sponsons, but because of those same side skirts I didn’t bother putting one in myself.
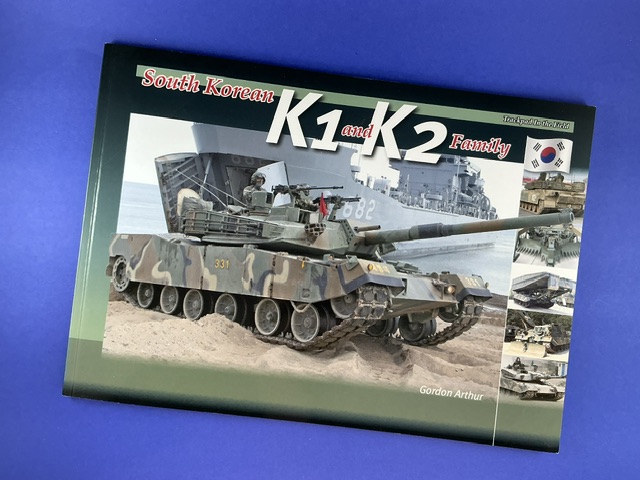
For those wanting to build this kit too, this is a good book to get:
The odd thing is that, aside from one part that I overlooked, the hull is complete here — at least in as far as I intend to build it before painting, anyway. I also built the wheels, but not the track yet (I should really start on that) but I’ll only add those, and parts like the side skirts, once they’re all painted.
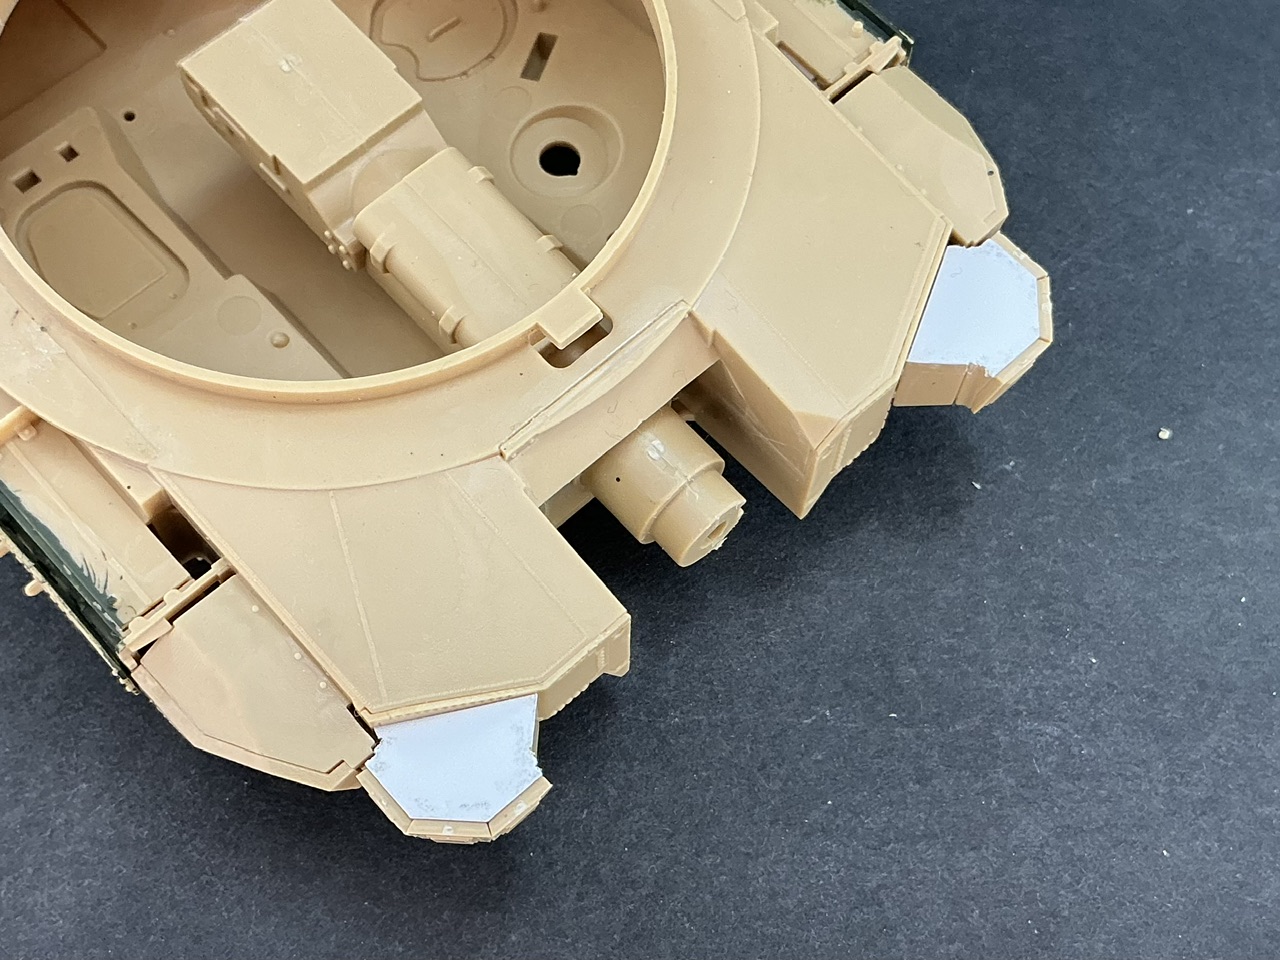
On to the turret, then — which is where Academy actually wants you to start building this kit. The lower part of it really shows what I mentioned earlier about Academy appearing to take pride in this kit:
There are two things to pay attention to here. First, and most importantly, is that you cannot dry-fit these two parts! Well, you can, but if you push them together all the way, you’re never going to get them apart again without breaking something. In the photo of the lower part, you can see four tubes, into which the locating pins on the upper part fall. They’re as tight on a snap-together kit.
The second thing is that it’s not difficult to accidentally let glue run down the seam between the turret parts to the gun trunnions. This happened to me, and because of thing number one, I couldn’t get the halves apart anymore to let the glue dry “safely”. So I just set the gun in a roughly horizontal position and glued it on both sides.
Academy does direct you to fit the (stowed) deep-wading shaft at the rear right at this stage, with three pieces of rack around it. But that shaft will be painted grey when the rest of the tank won’t be, so I cut the locating pins away to let me fit it after painting.
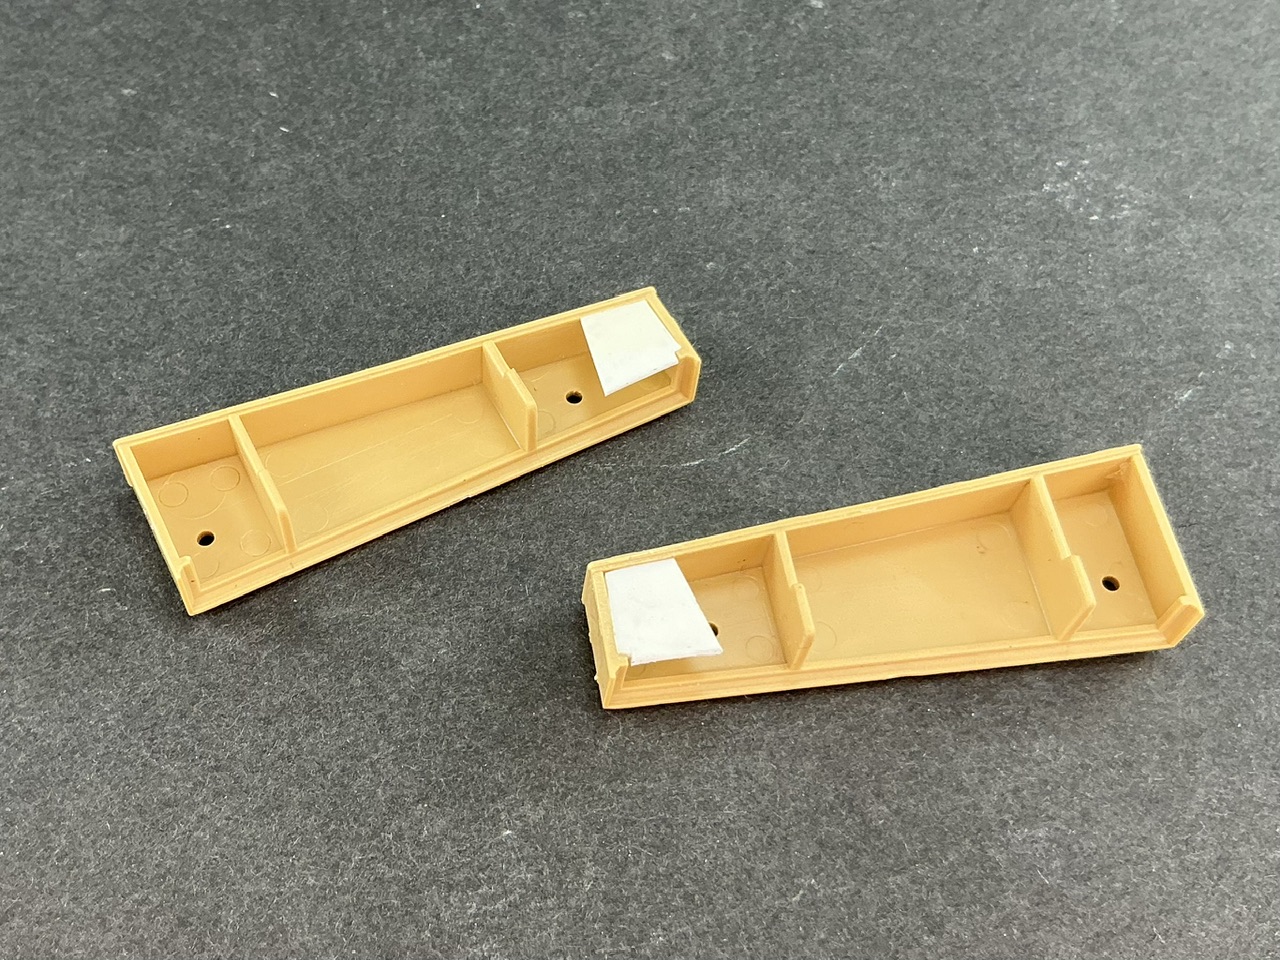
The stowage bins at the front have a section where you can see the hollow back, which is easy enough to solve with some bits of plastic card:
I did, because they’ll be easy enough to add after painting. There is plenty of access from underneath to do that, so I can paint them out of the tank and have no chance of getting paint where I don’t want it
Not sure about the stickers yet. I have the impression that somebody designed this kit to have clear parts, with stickers to go on them, and then it was decided to mould all the clear parts on the regular sprues instead. I mean, why else supply all of the “glass” parts (down to the head- and taillight lenses) as separate parts?
As far as I’m concerned, now that I’m about 80–90% done building it (not counting the tracks), it is a very good kit. My only real gripe about it is that they could have moulded all of the handles separate, like for the stowage bins, the hatch locking handles and the little door in the rear wall of the turret. As I want this to be a quick and easy build, I didn’t go looking for replacements for those, though, let alone scratchbuild them
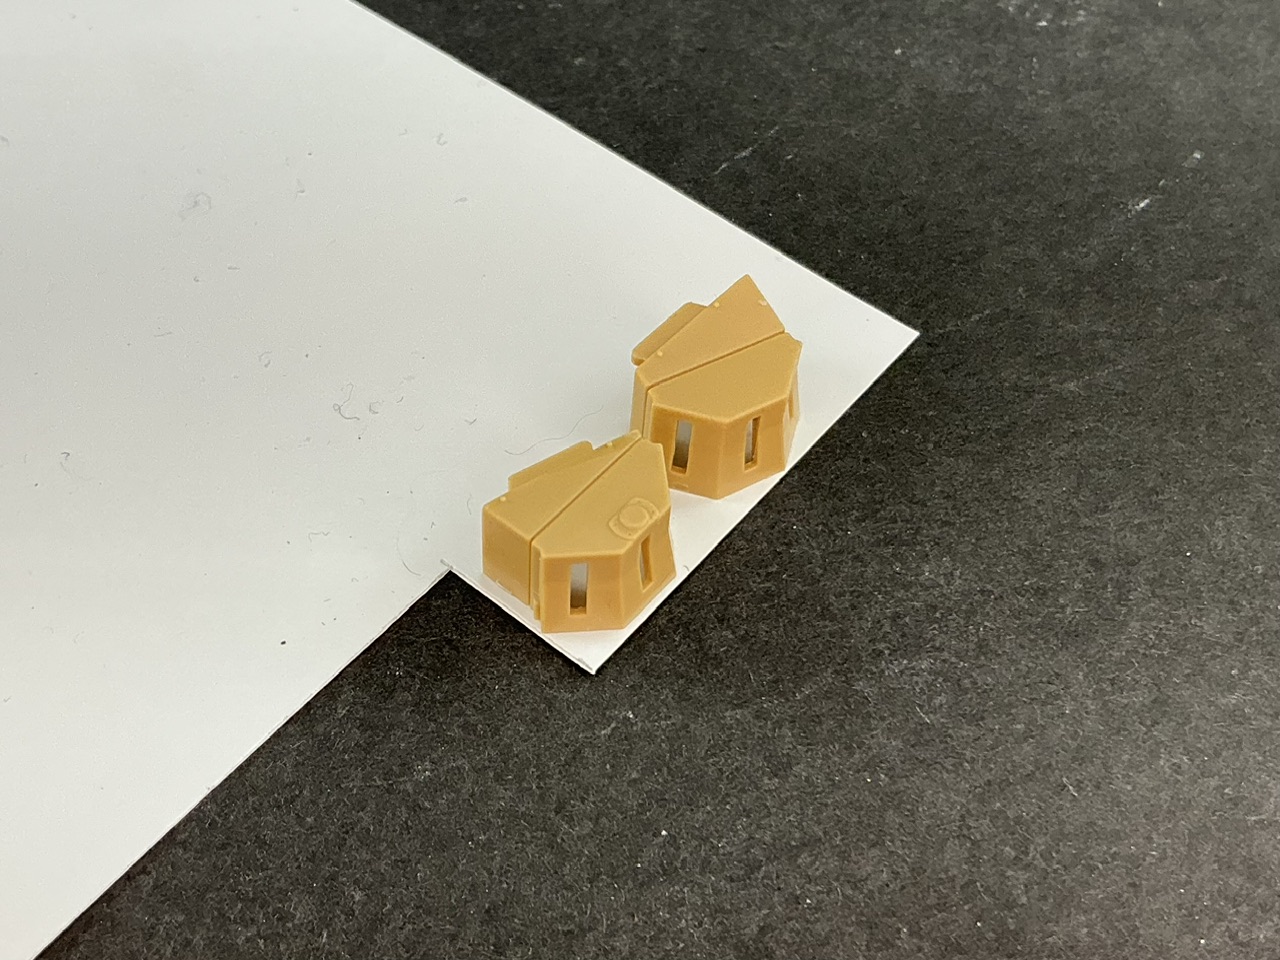
The front of the turret has sensors (or whatever these things are), but they’ve been moulded open on the underside. It’s hard to make out in pictures, but when I look closely at those in the book I mentioned earlier, it seems they’re actually closed so I glued them to 0.13 mm plastic card:
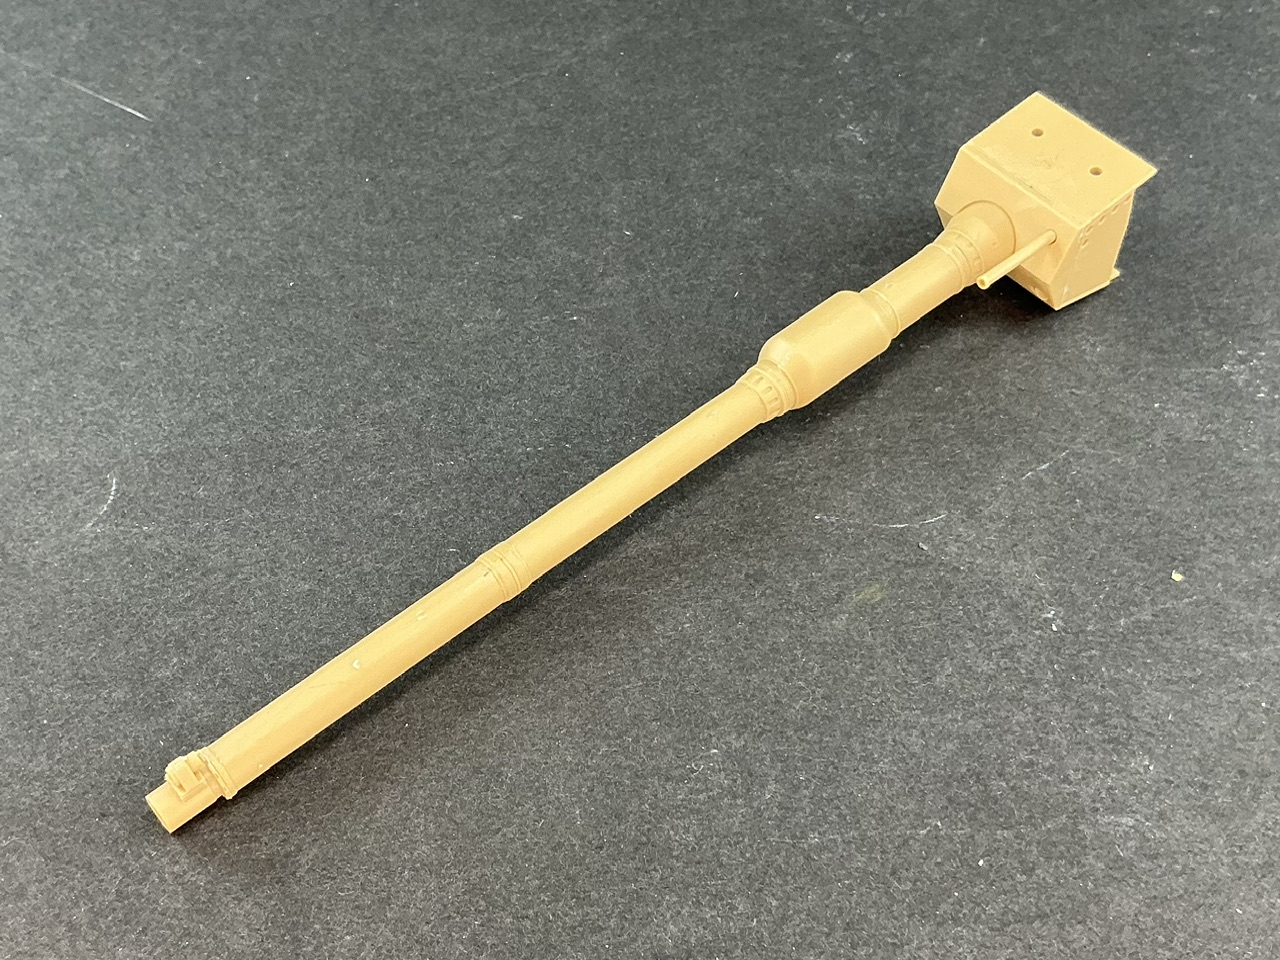
Not just the length (because 120 mm L/55) but it’s made up of just three parts: a short bit with the fume extractor, a longer piece for the rest of the barrel and the muzzle. All three have been moulded with a hole in the front so they fit together, but that fit is a little loose so you need to take care to line them up properly so the gun is actually straight.
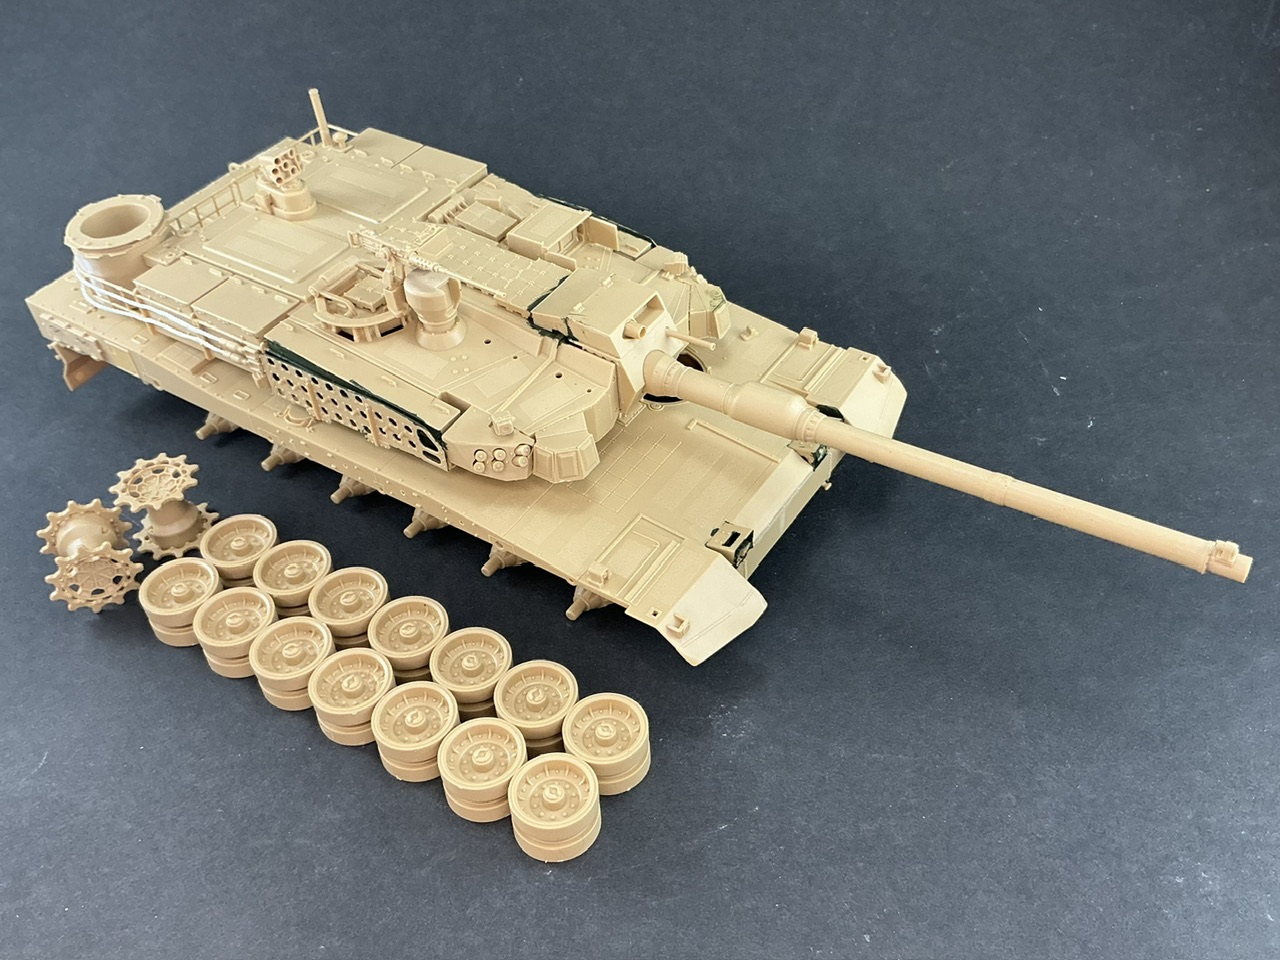
Add some more details to the turret, and the model is pretty much ready to paint:
… except that I ordered paint for that and got a notification that it’ll take a week or so to arrive.
A bunch of parts are still missing, that’s true, but I’ll add those after painting. Things like the antennas, which I’d only end up breaking off if I put them on already. The deep-wading shaft and the machine gun are still loose. I drilled out the smoke launcher on the rear roof, because else it would only have had shallow dimples in it. If I were to build another K2, BTW, I would add the launcher tubes at the front before glueing the surrounds for them to the turret, as that should make it much easier to install them than it was now.
These are the cleaned-up parts for 96 track links. The kit gives you eleven sprues of sixteen links each, one of which is visible at the bottom of the photo, and Academy says you need 78 links per side. That makes 156 in all, but you get 176. That should be plenty, but I don’t see the point of making the top run of the track if that’s completely hidden behind the side skirts, so I counted the links in the top run in one of the illustrations in the instructions. That’s about thirty per side between the drive sprocket and the idler wheel, so that cleaning up six sprues should be sufficient. As long as the ends are out of sight, it’s fine by me
The links are moulded with separate rubber blocks for the outside. That looks like extra work at first sight, but the tracks have been cleverly designed so that the ejector pin marks will be invisible once the parts are together. There are also two types of guide teeth, one for the M1 Abrams and the other for the K2. Though I must add that the rubber blocks all ended up statically charged for some reason, sticking to my fingers much of the time. I even saw one jump out of the plastic container when I put some in, purely by the force caused by the others.
More natural look, how? If anything, on a kit with a fixed idler wheel position, it’s harder to get the track to look naturally tight if you include the top run, in my experience.
Mate, this is not my built, you do what you feel is right for you, I really and I don’t give a sh*t what you do, but for me, doing the complete run appears more natural.
Why are you getting annoyed when all I do is ask what you mean with “more natural”? Which I did because one my reasons for not fitting a full length of track is so that I can make it appear taut (which I assume you mean with “natural”) regardless of whether the full track properly fits the model or not. The other reason is that it saves almost have the work