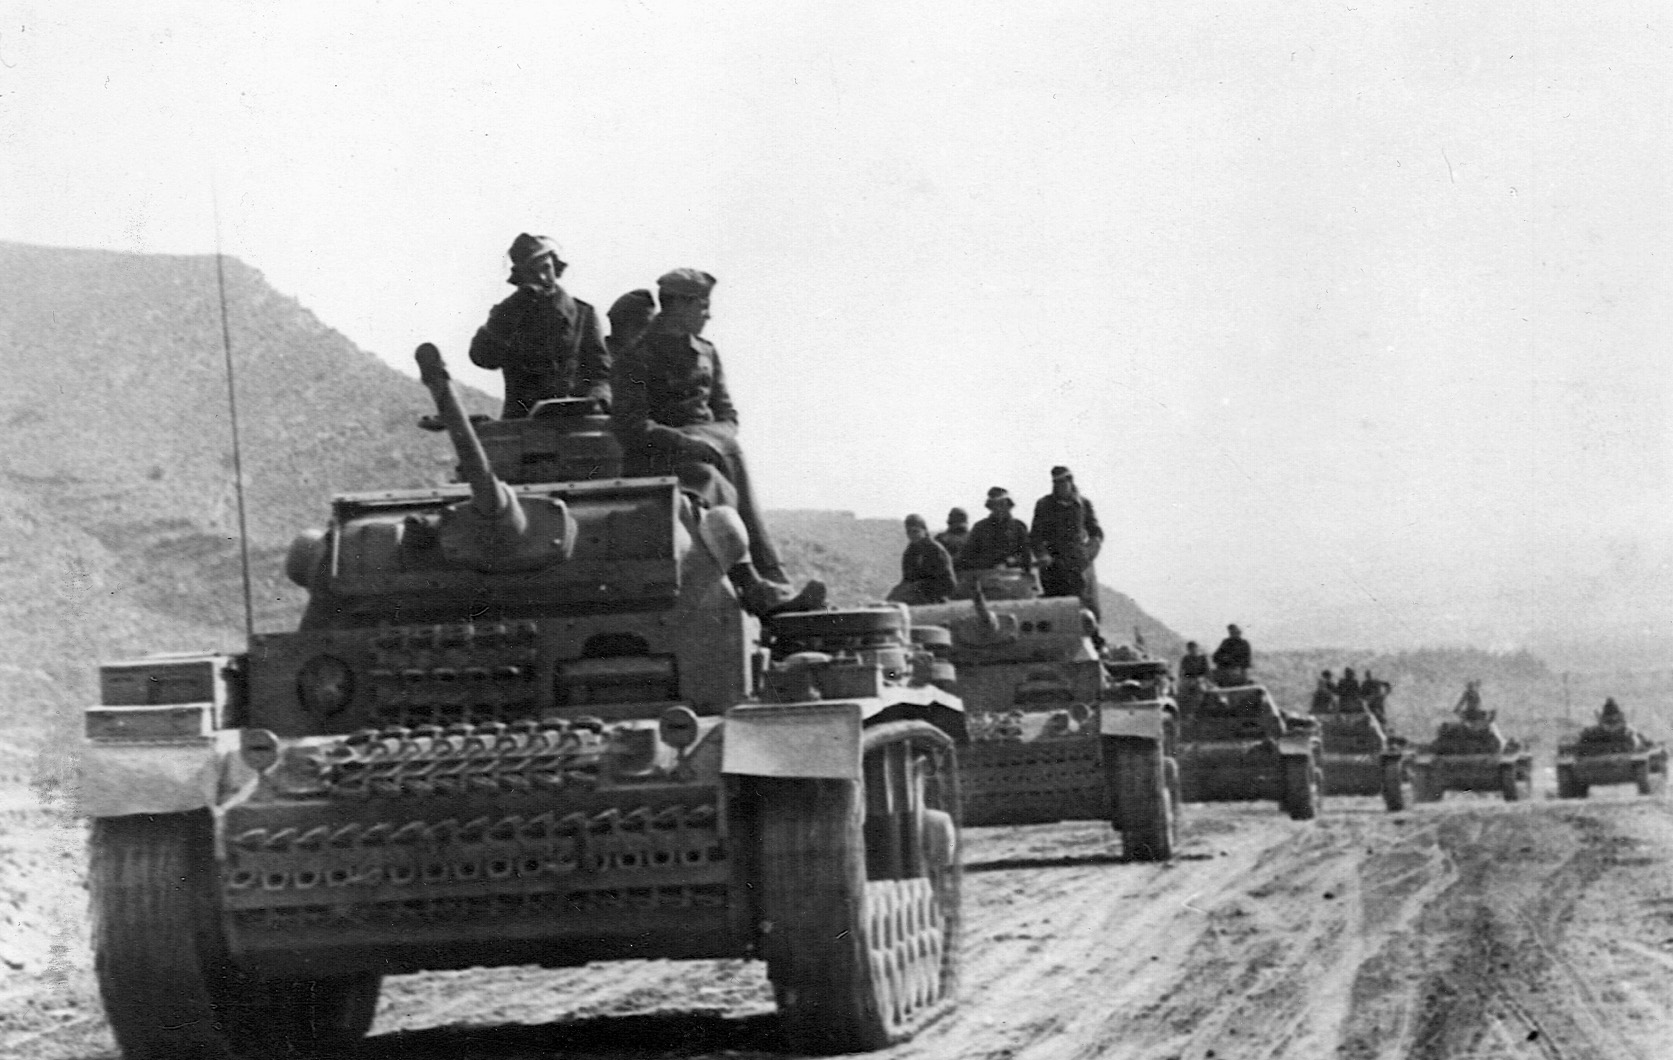
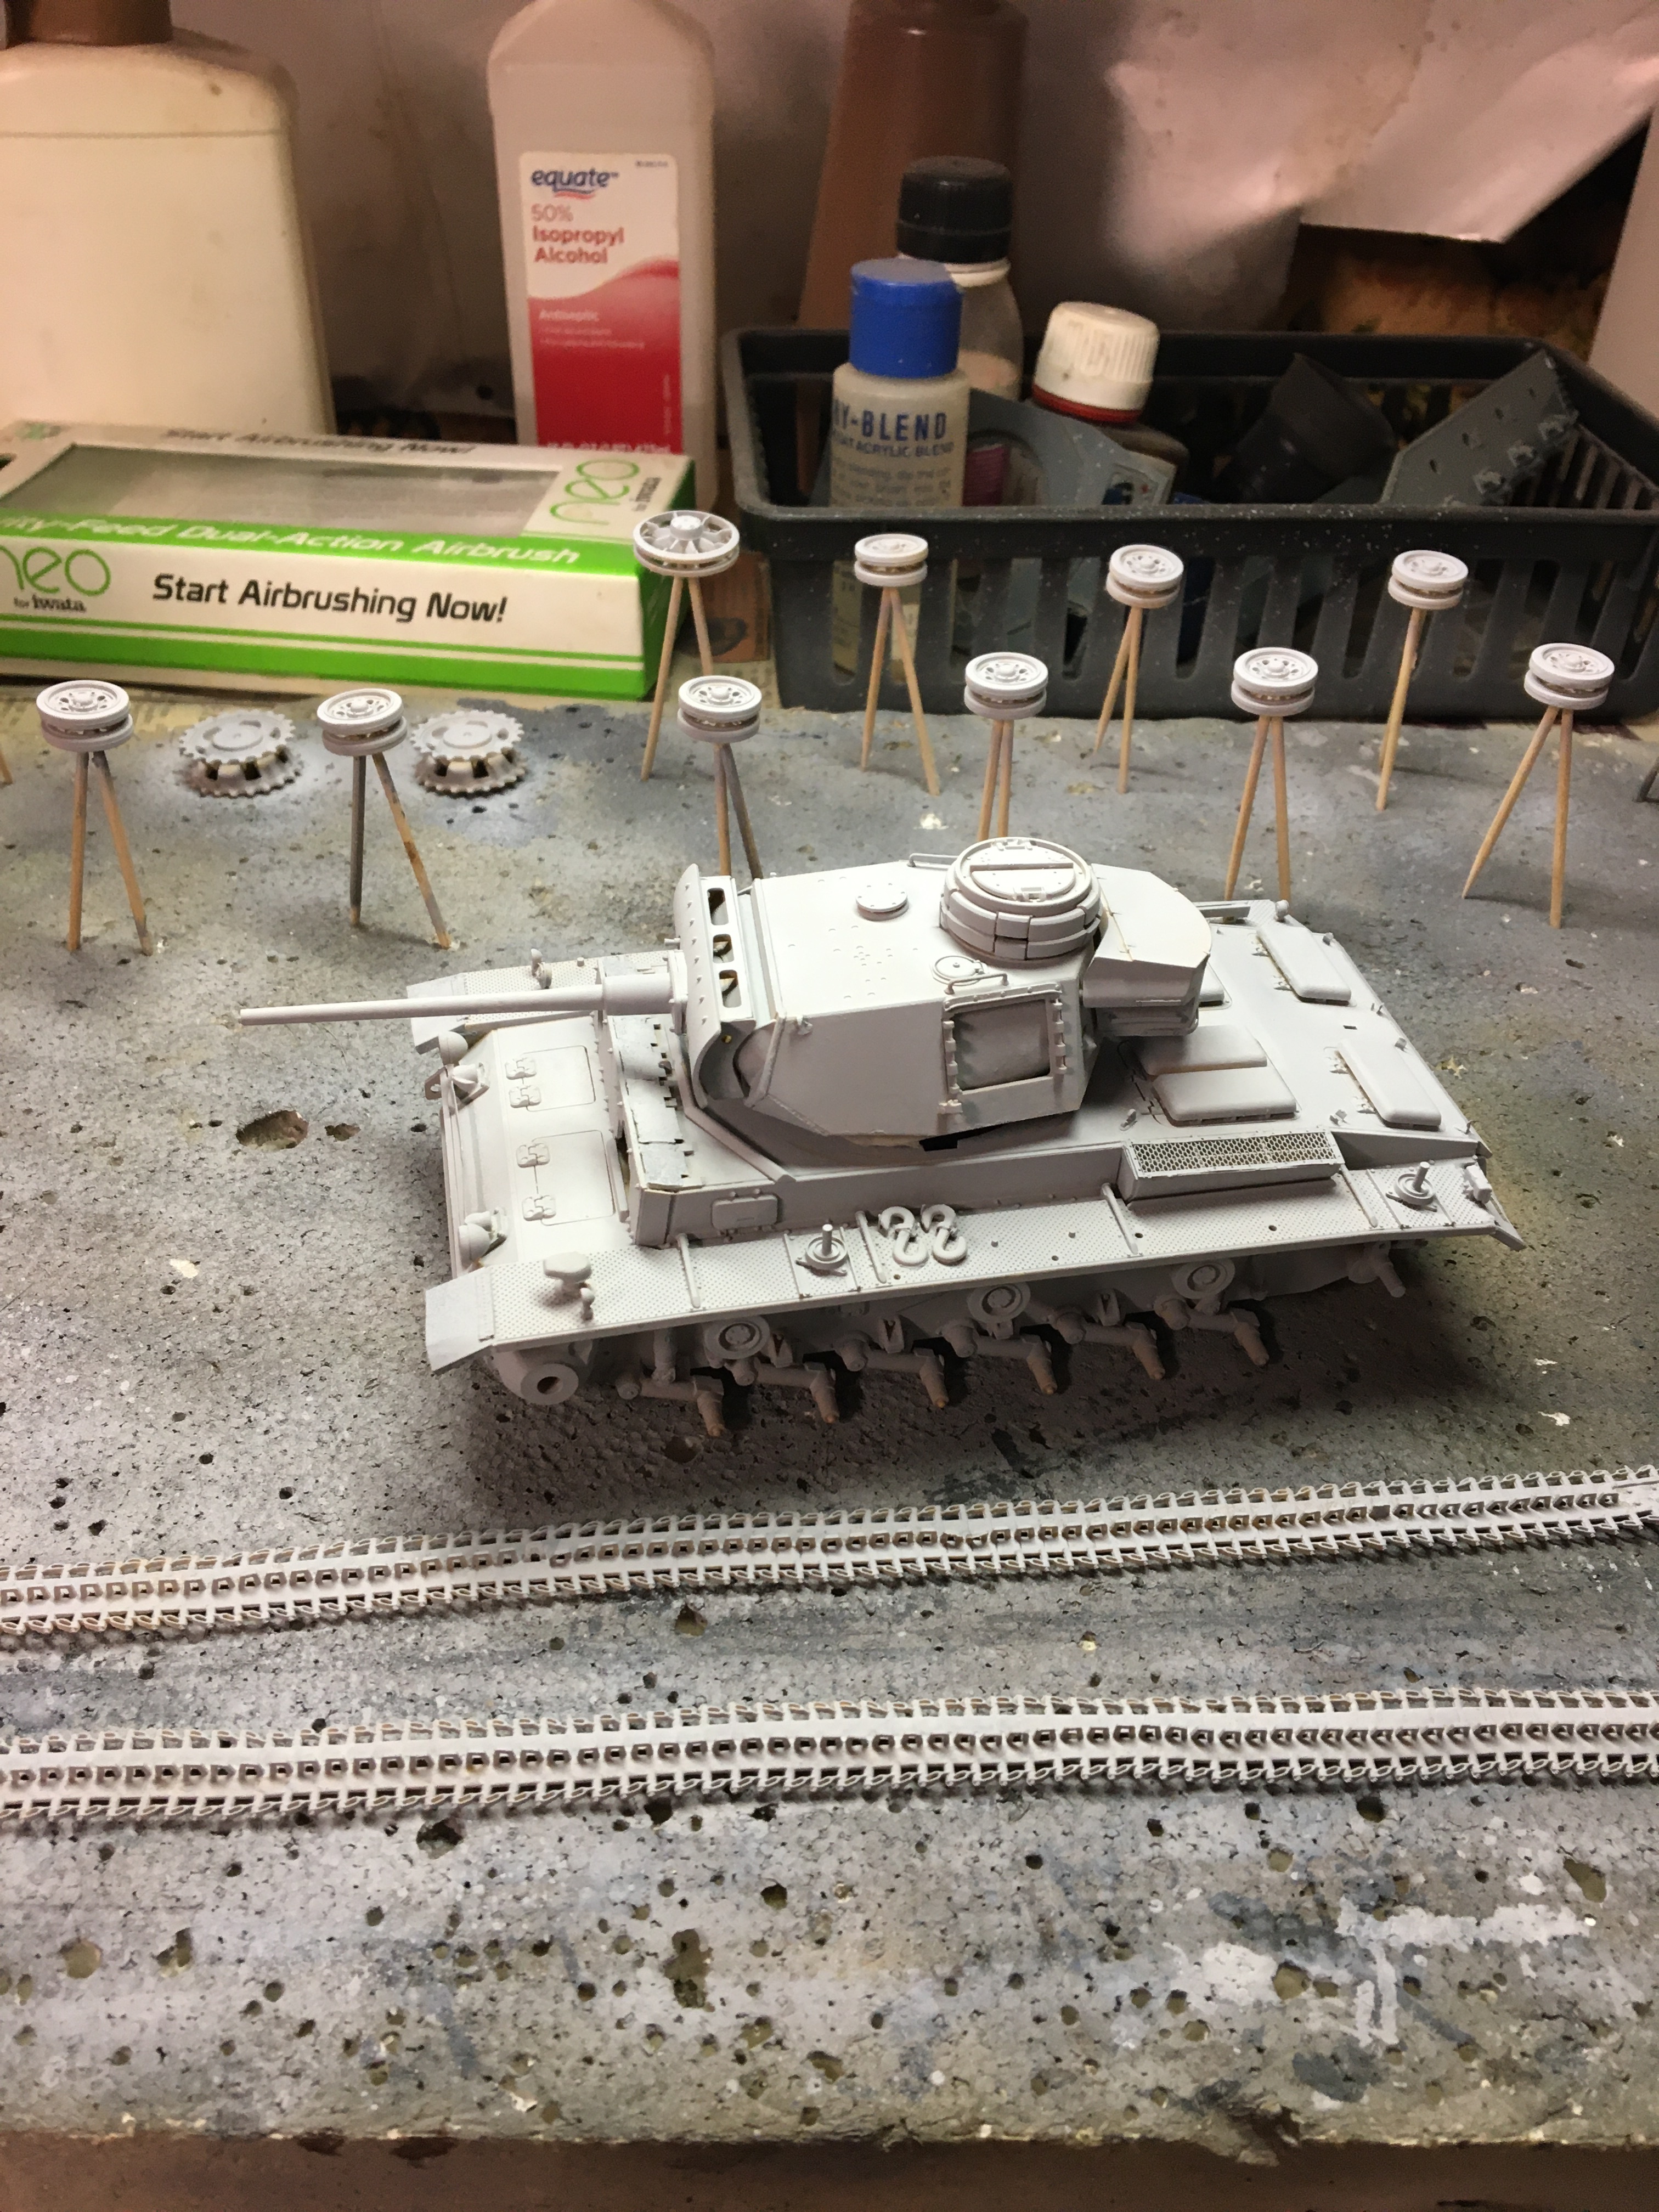
If your into Mark 3’s like me and you have beaten your head up against the wall with the various dragon/cyber hobby kits, you should give the Tamiya kit a try. Sure, the dragon Mk 3’s have more detail but with a couple of aftermarket add ons and parts from spare box, you can create a nice version.
The build is easy compared to the other kits. I have added a metal barrel but I don’t recall the manufacturer. It’s the one that fits with the Tamiya gun breech. A Eduard photo etched kit had the turret interior parts, mud guards, screens etc, etc, etc.
9 Likes
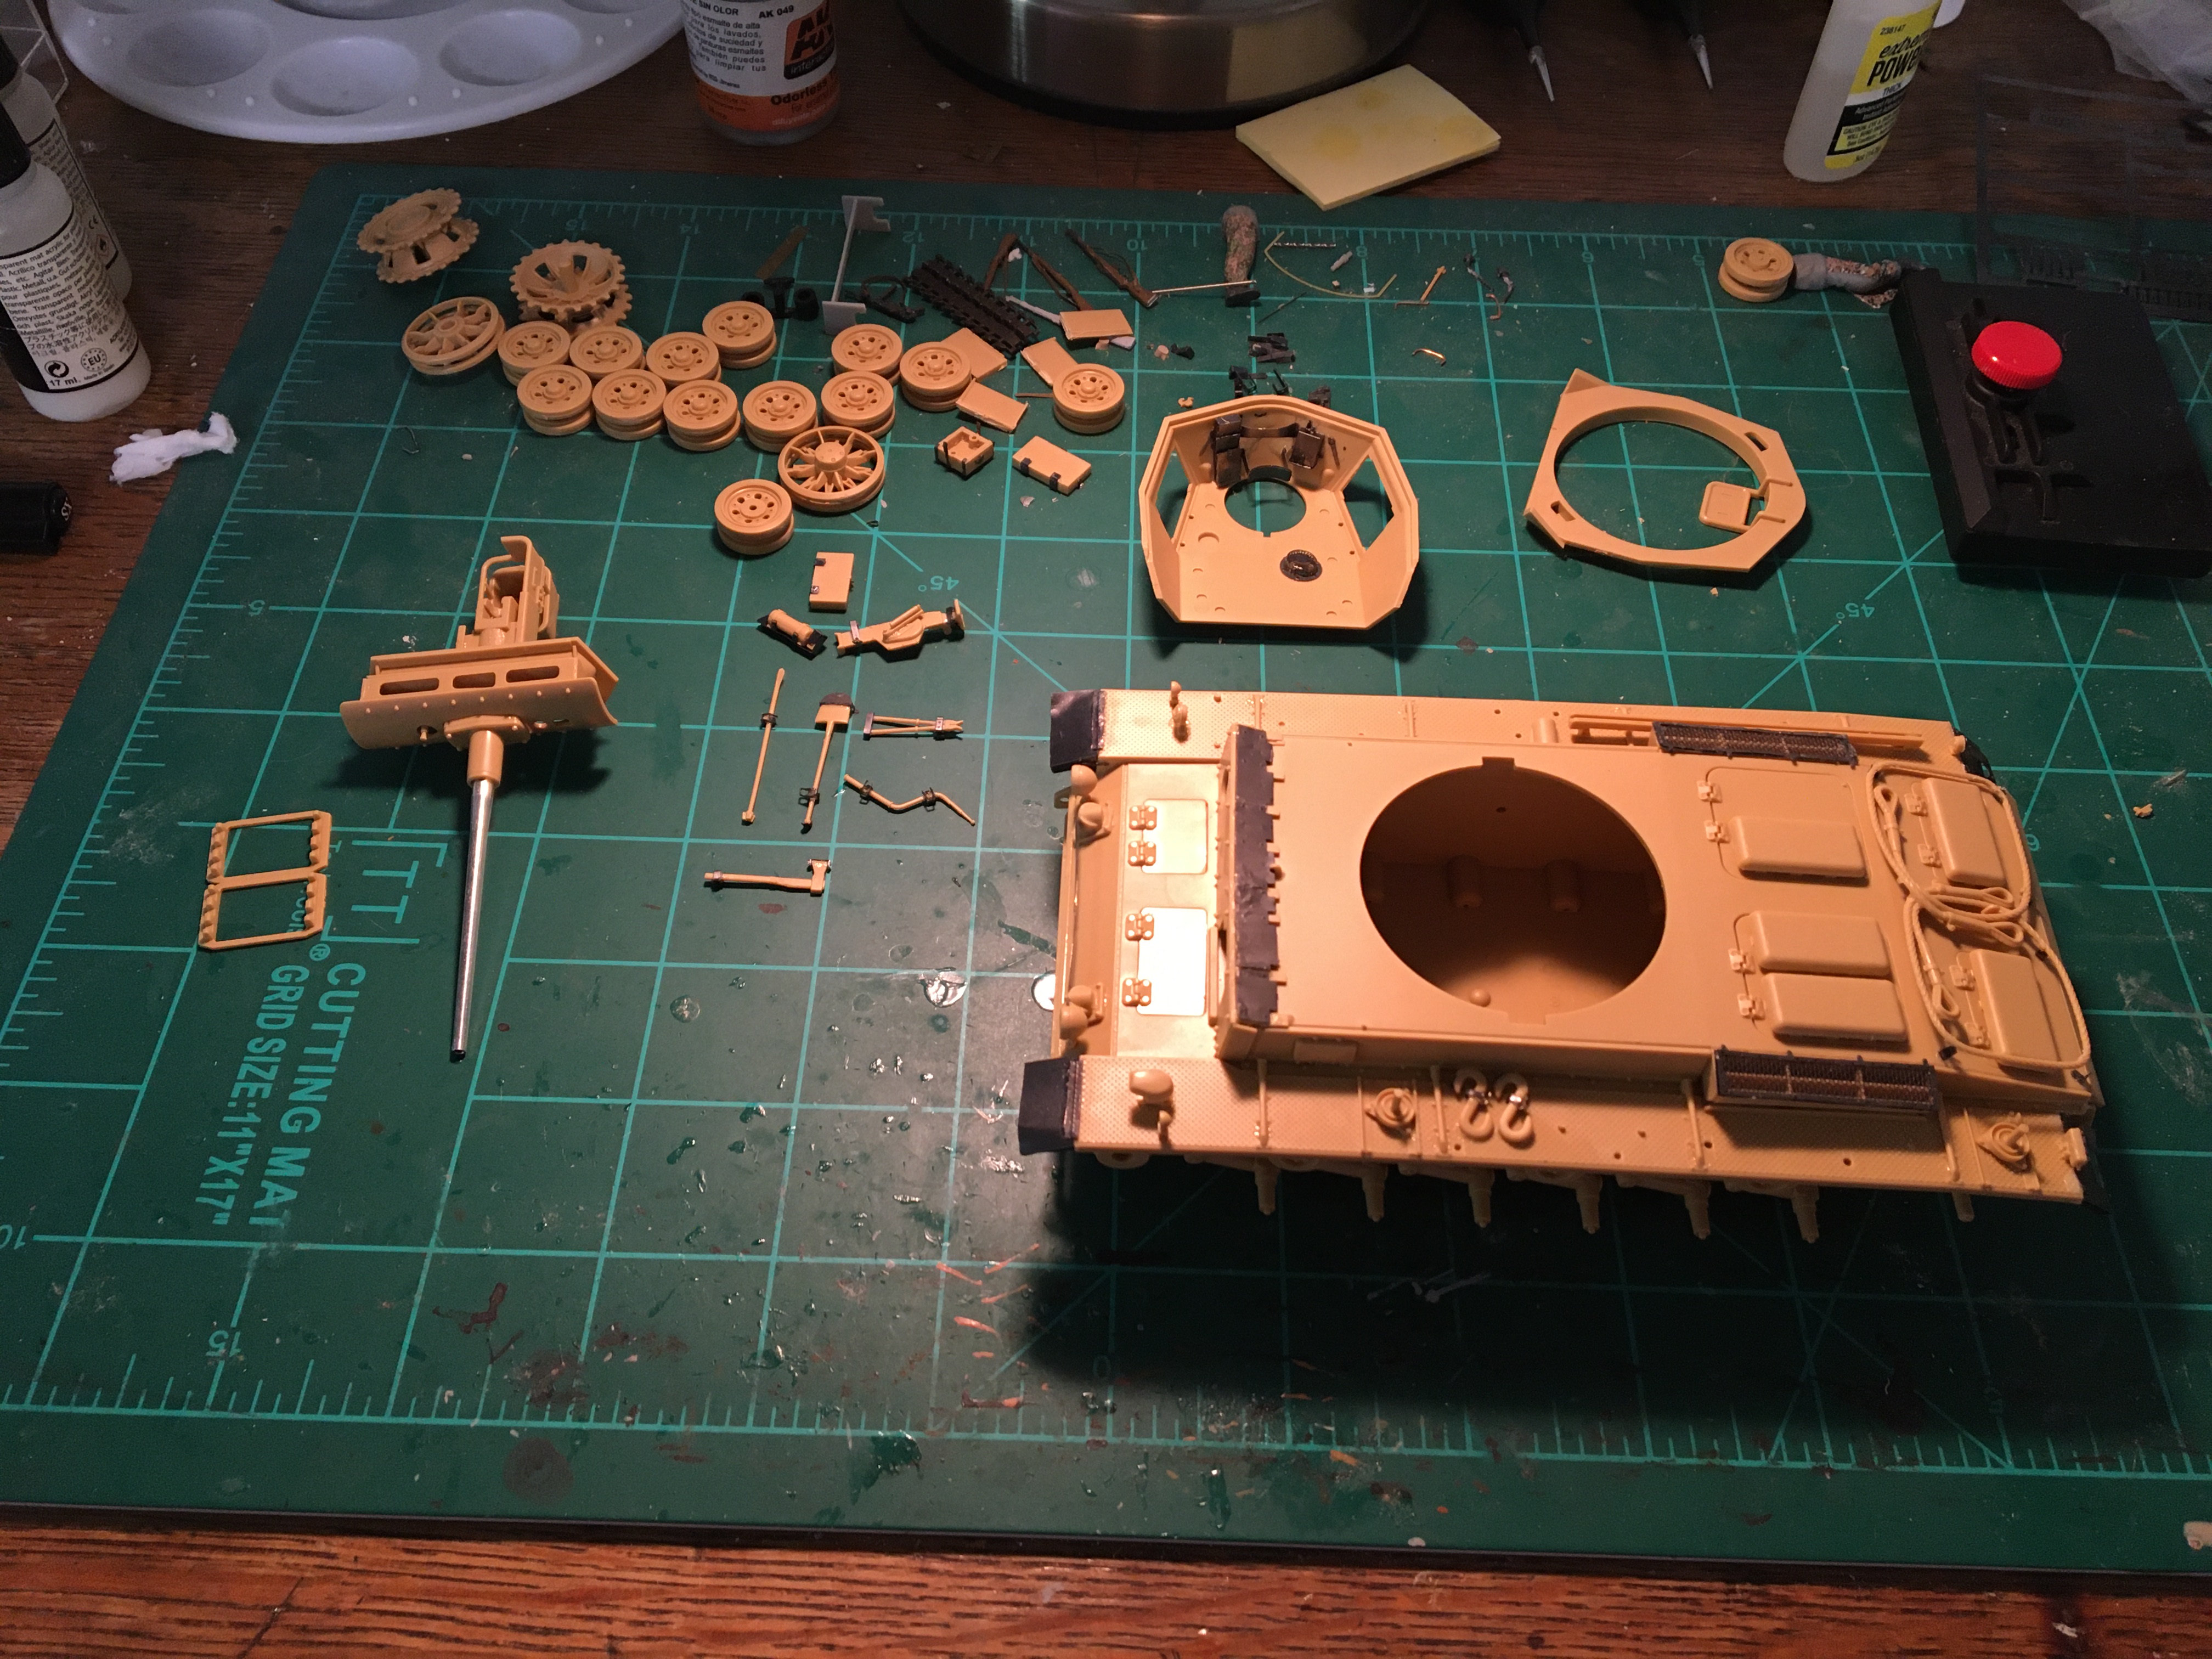
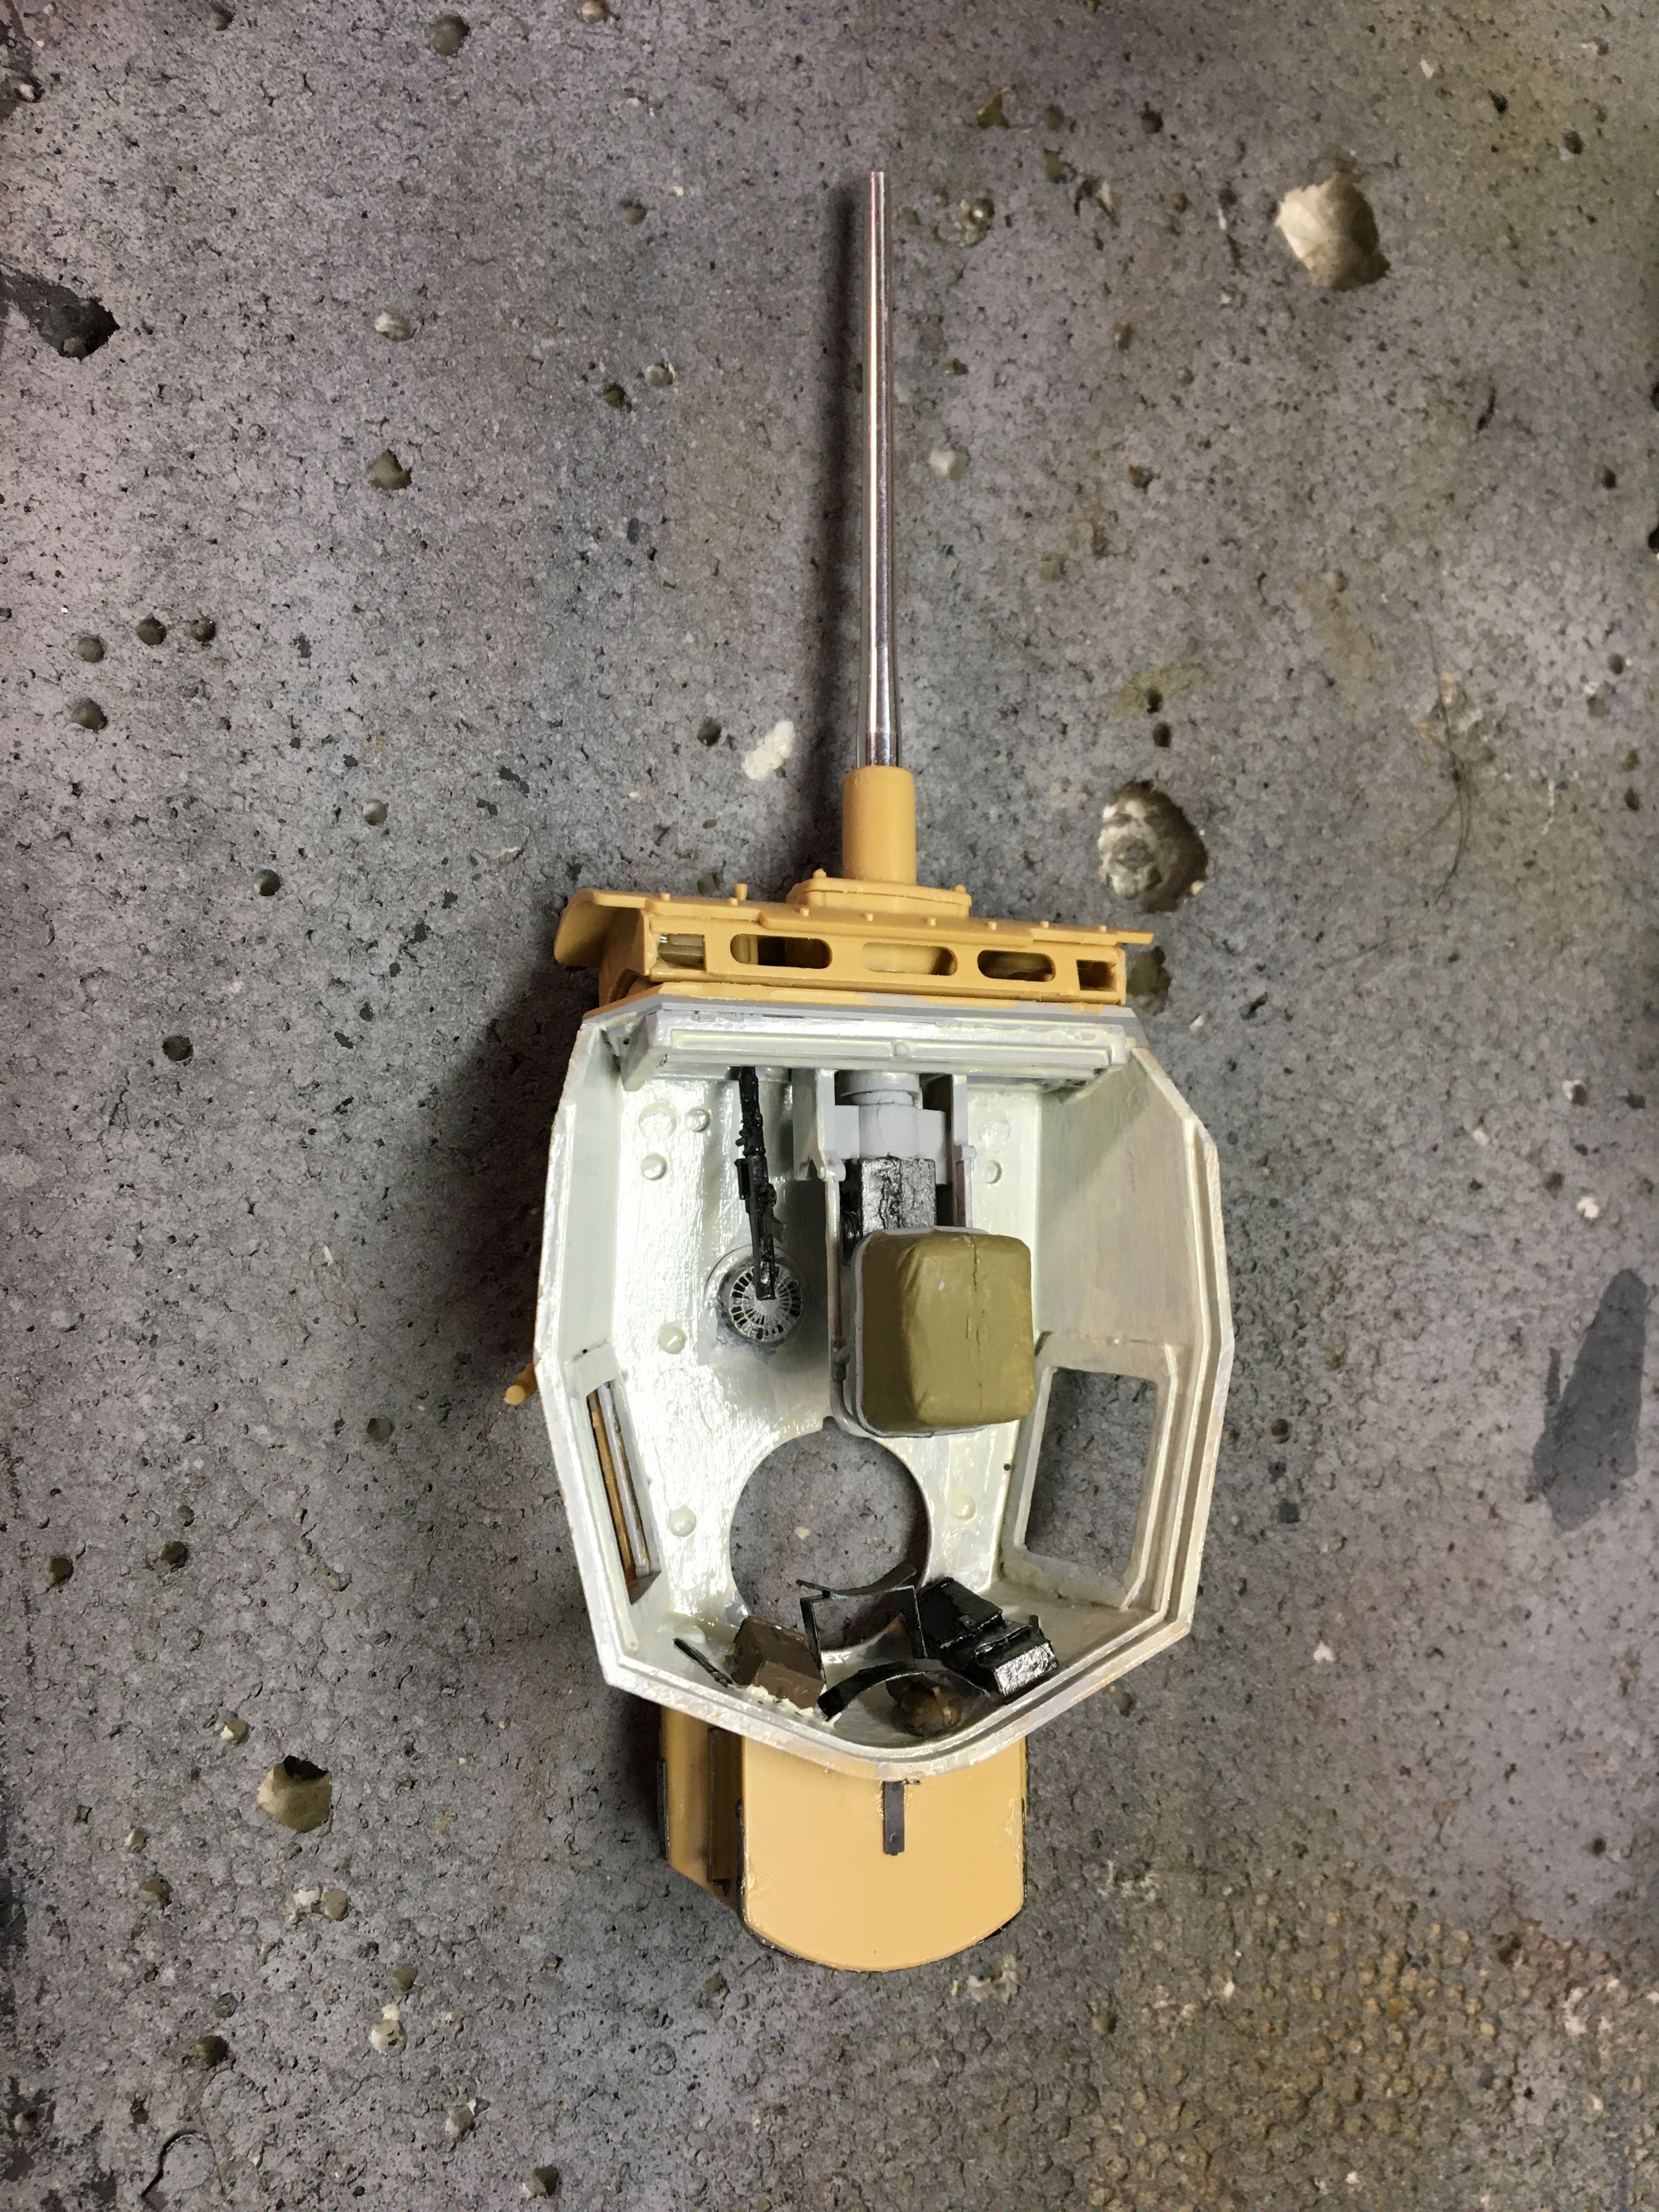
Seen a photo of the interior of one so I added this.
9 Likes
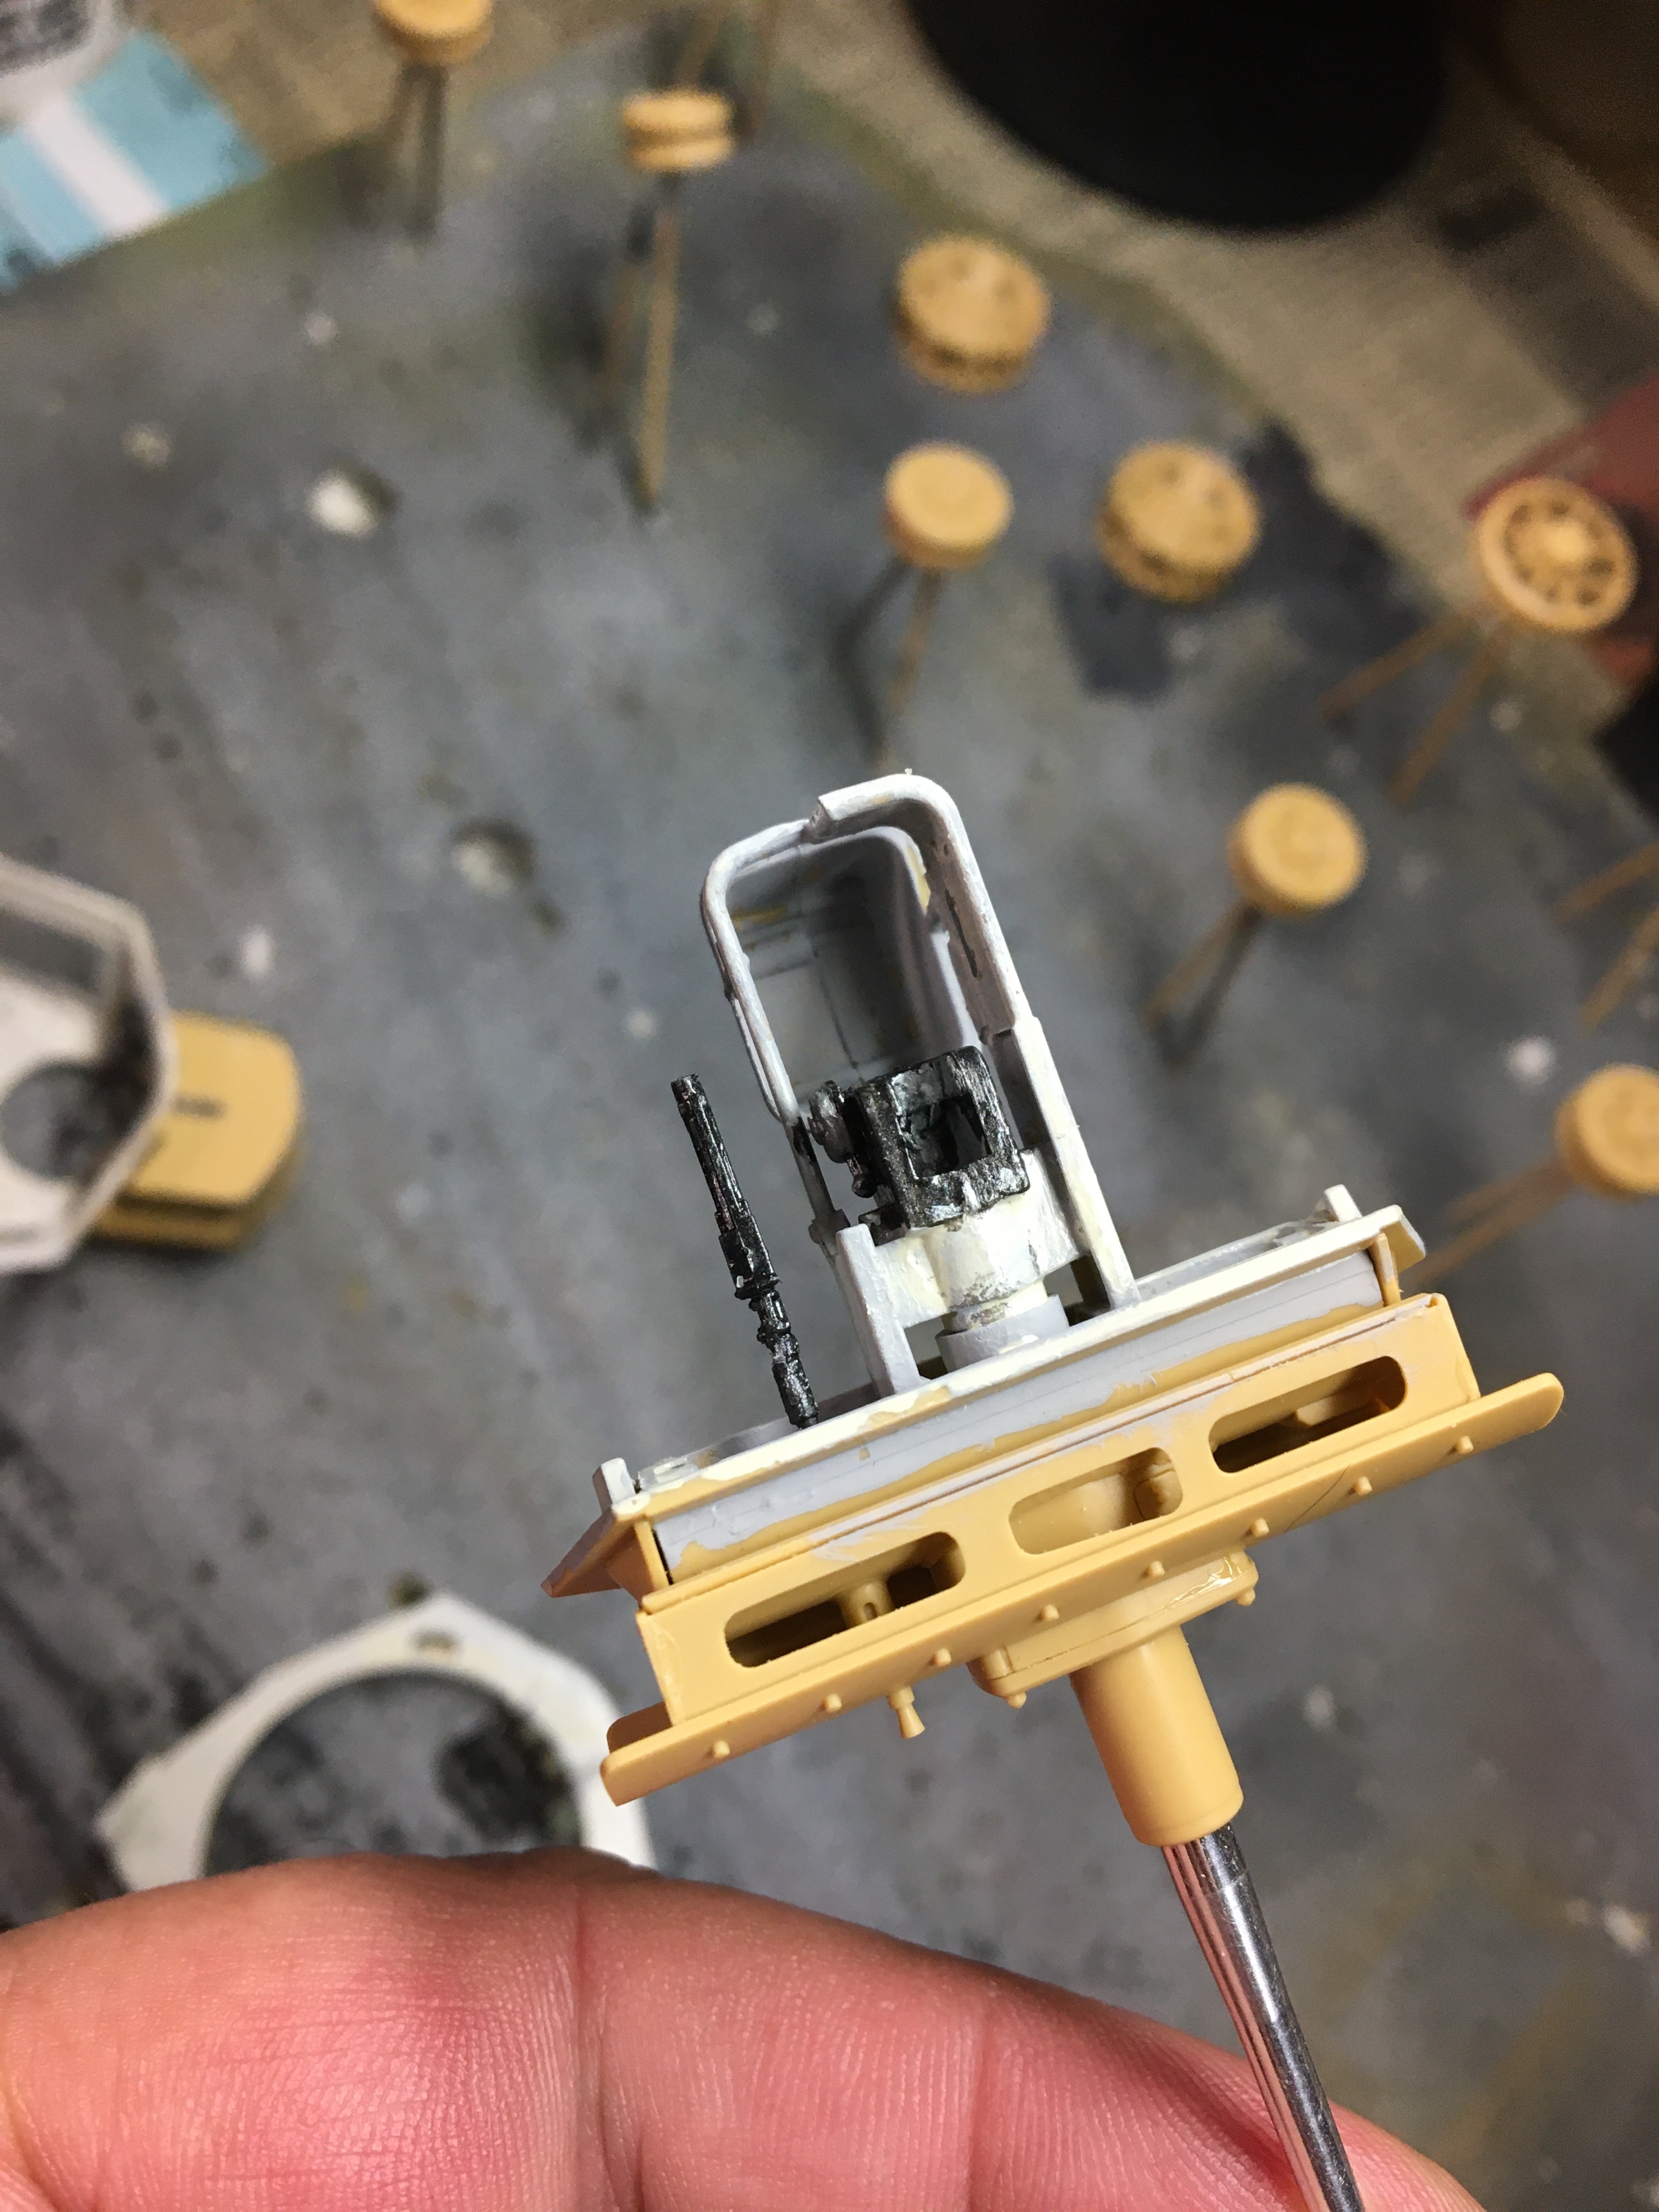
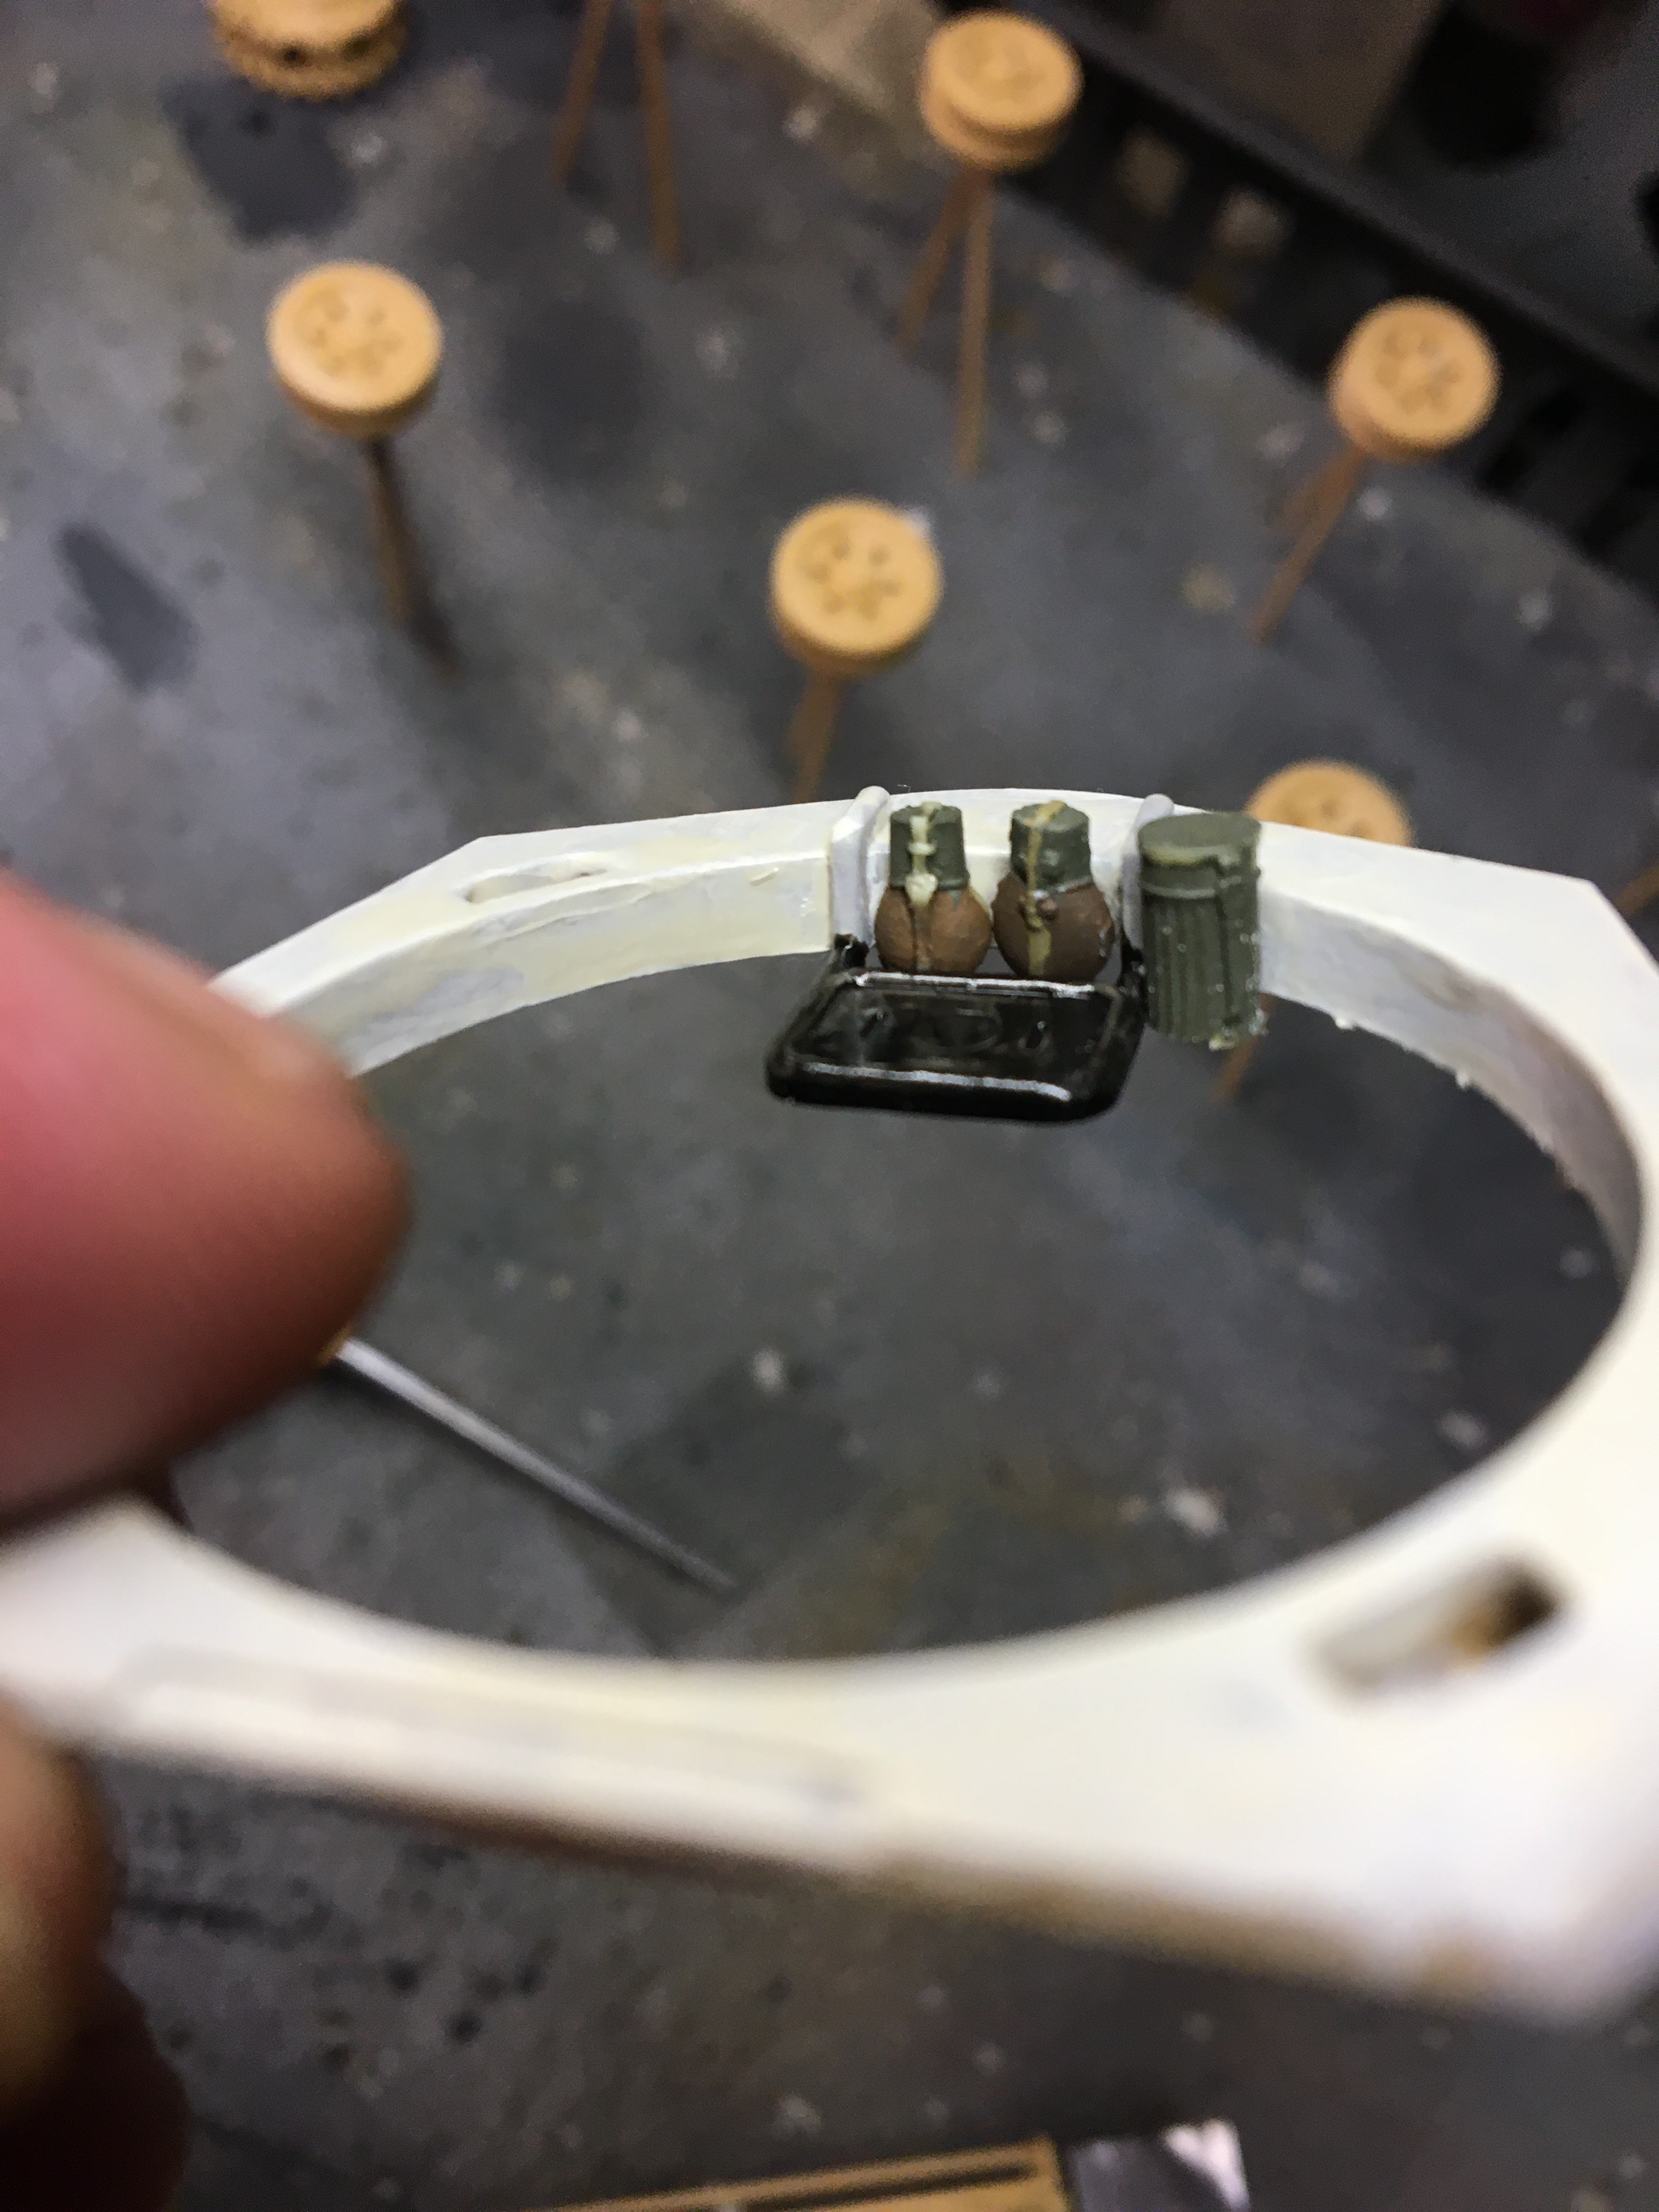
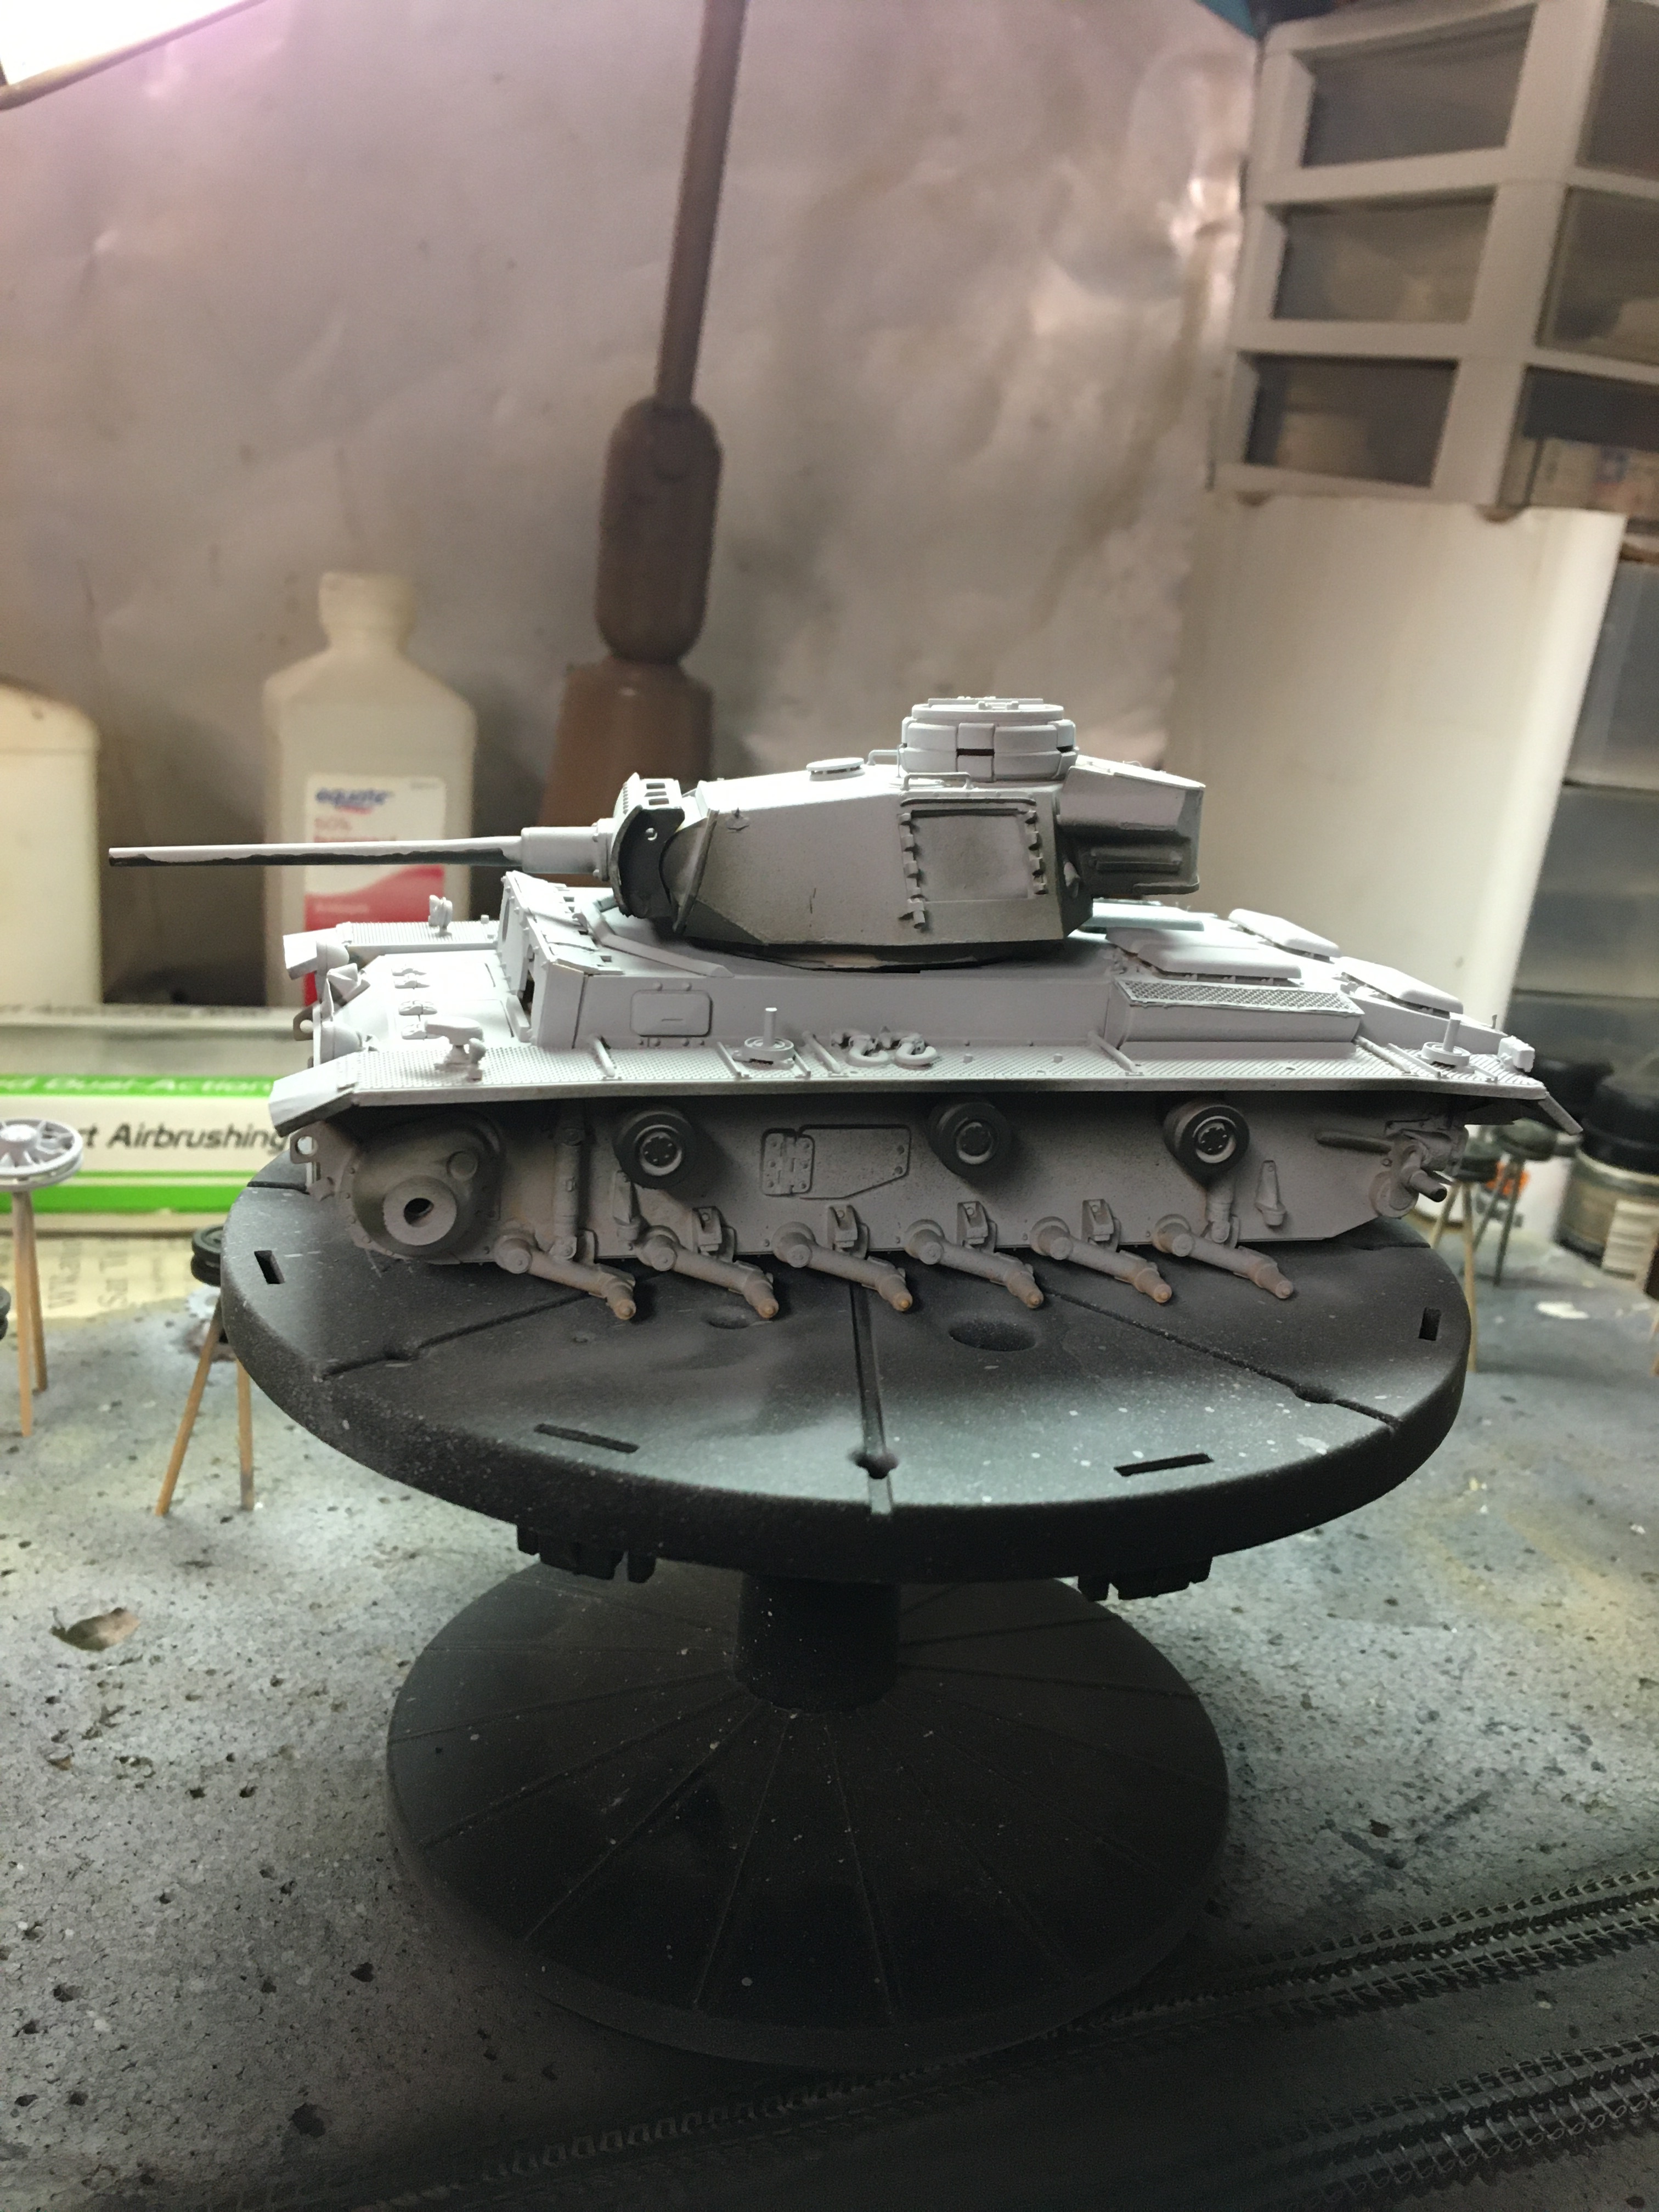
Sorry I forgot the other side.
11 Likes
I very much enjoyed building Tamiya’s Pz III.
3 Likes
Very nice looking Pz III L you have there in process KGvon.
Agreed, the Tamiya Pz III is far more fun to huild than a Dragon Pz III. The new Academy Pz III’s are overall pretty amazing and well worth checking out if you like the Tamiya kit. Three-amigos-takom-tamiya-dragon-neo-panzer-iiin-build-log might be of interest in comparing various Pz III kits and how they build.
4 Likes
Thanks Armor Buff, I will check out those kits.
2 Likes
Time for the primer coat and assembly and painting of the dragon magic tracks. Some folks have trouble with magic tracks but I can do them in my sleep now I have done so many. The trick is to sand and get them ready then keep them straight and glue all of them together. Paint them and keep them flexible and don’t let the glue dry out completely. Get your tank painted and feed them across the rollers on top. I do this process in one sitting and do not stop for the wife, kids or dogs. Dragon still finds a way to get in on the action. Tools and etc will be dragon also.
6 Likes
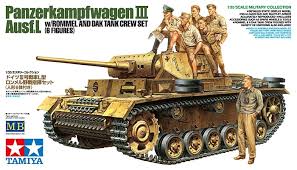
Really nice build so far. I had the Tamiya kit already, so I bought the Master Box Rommell and crew figures seperate. It was alot cheaper. I like the Tamiya kit the best also.
2 Likes
Thank you Elefant, yes I have future plans for the figures. Especially the “Fox.” I’m thinking of a scene called, “The Fox comes for dinner.”
3 Likes
Finally the right side of this tank!
4 Likes
Since you’re still building the kit, you may wish to know how it misplaced a vision port.
David
3 Likes
Thanks David, that is great information. I learn something new everyday about WW2 German tanks. The problem now is that tank is pretty much finished and I’m not modifying it. I did notice a dragon Mk 3 H I have is set back a little. If I build another I will certainly correct it.
2 Likes
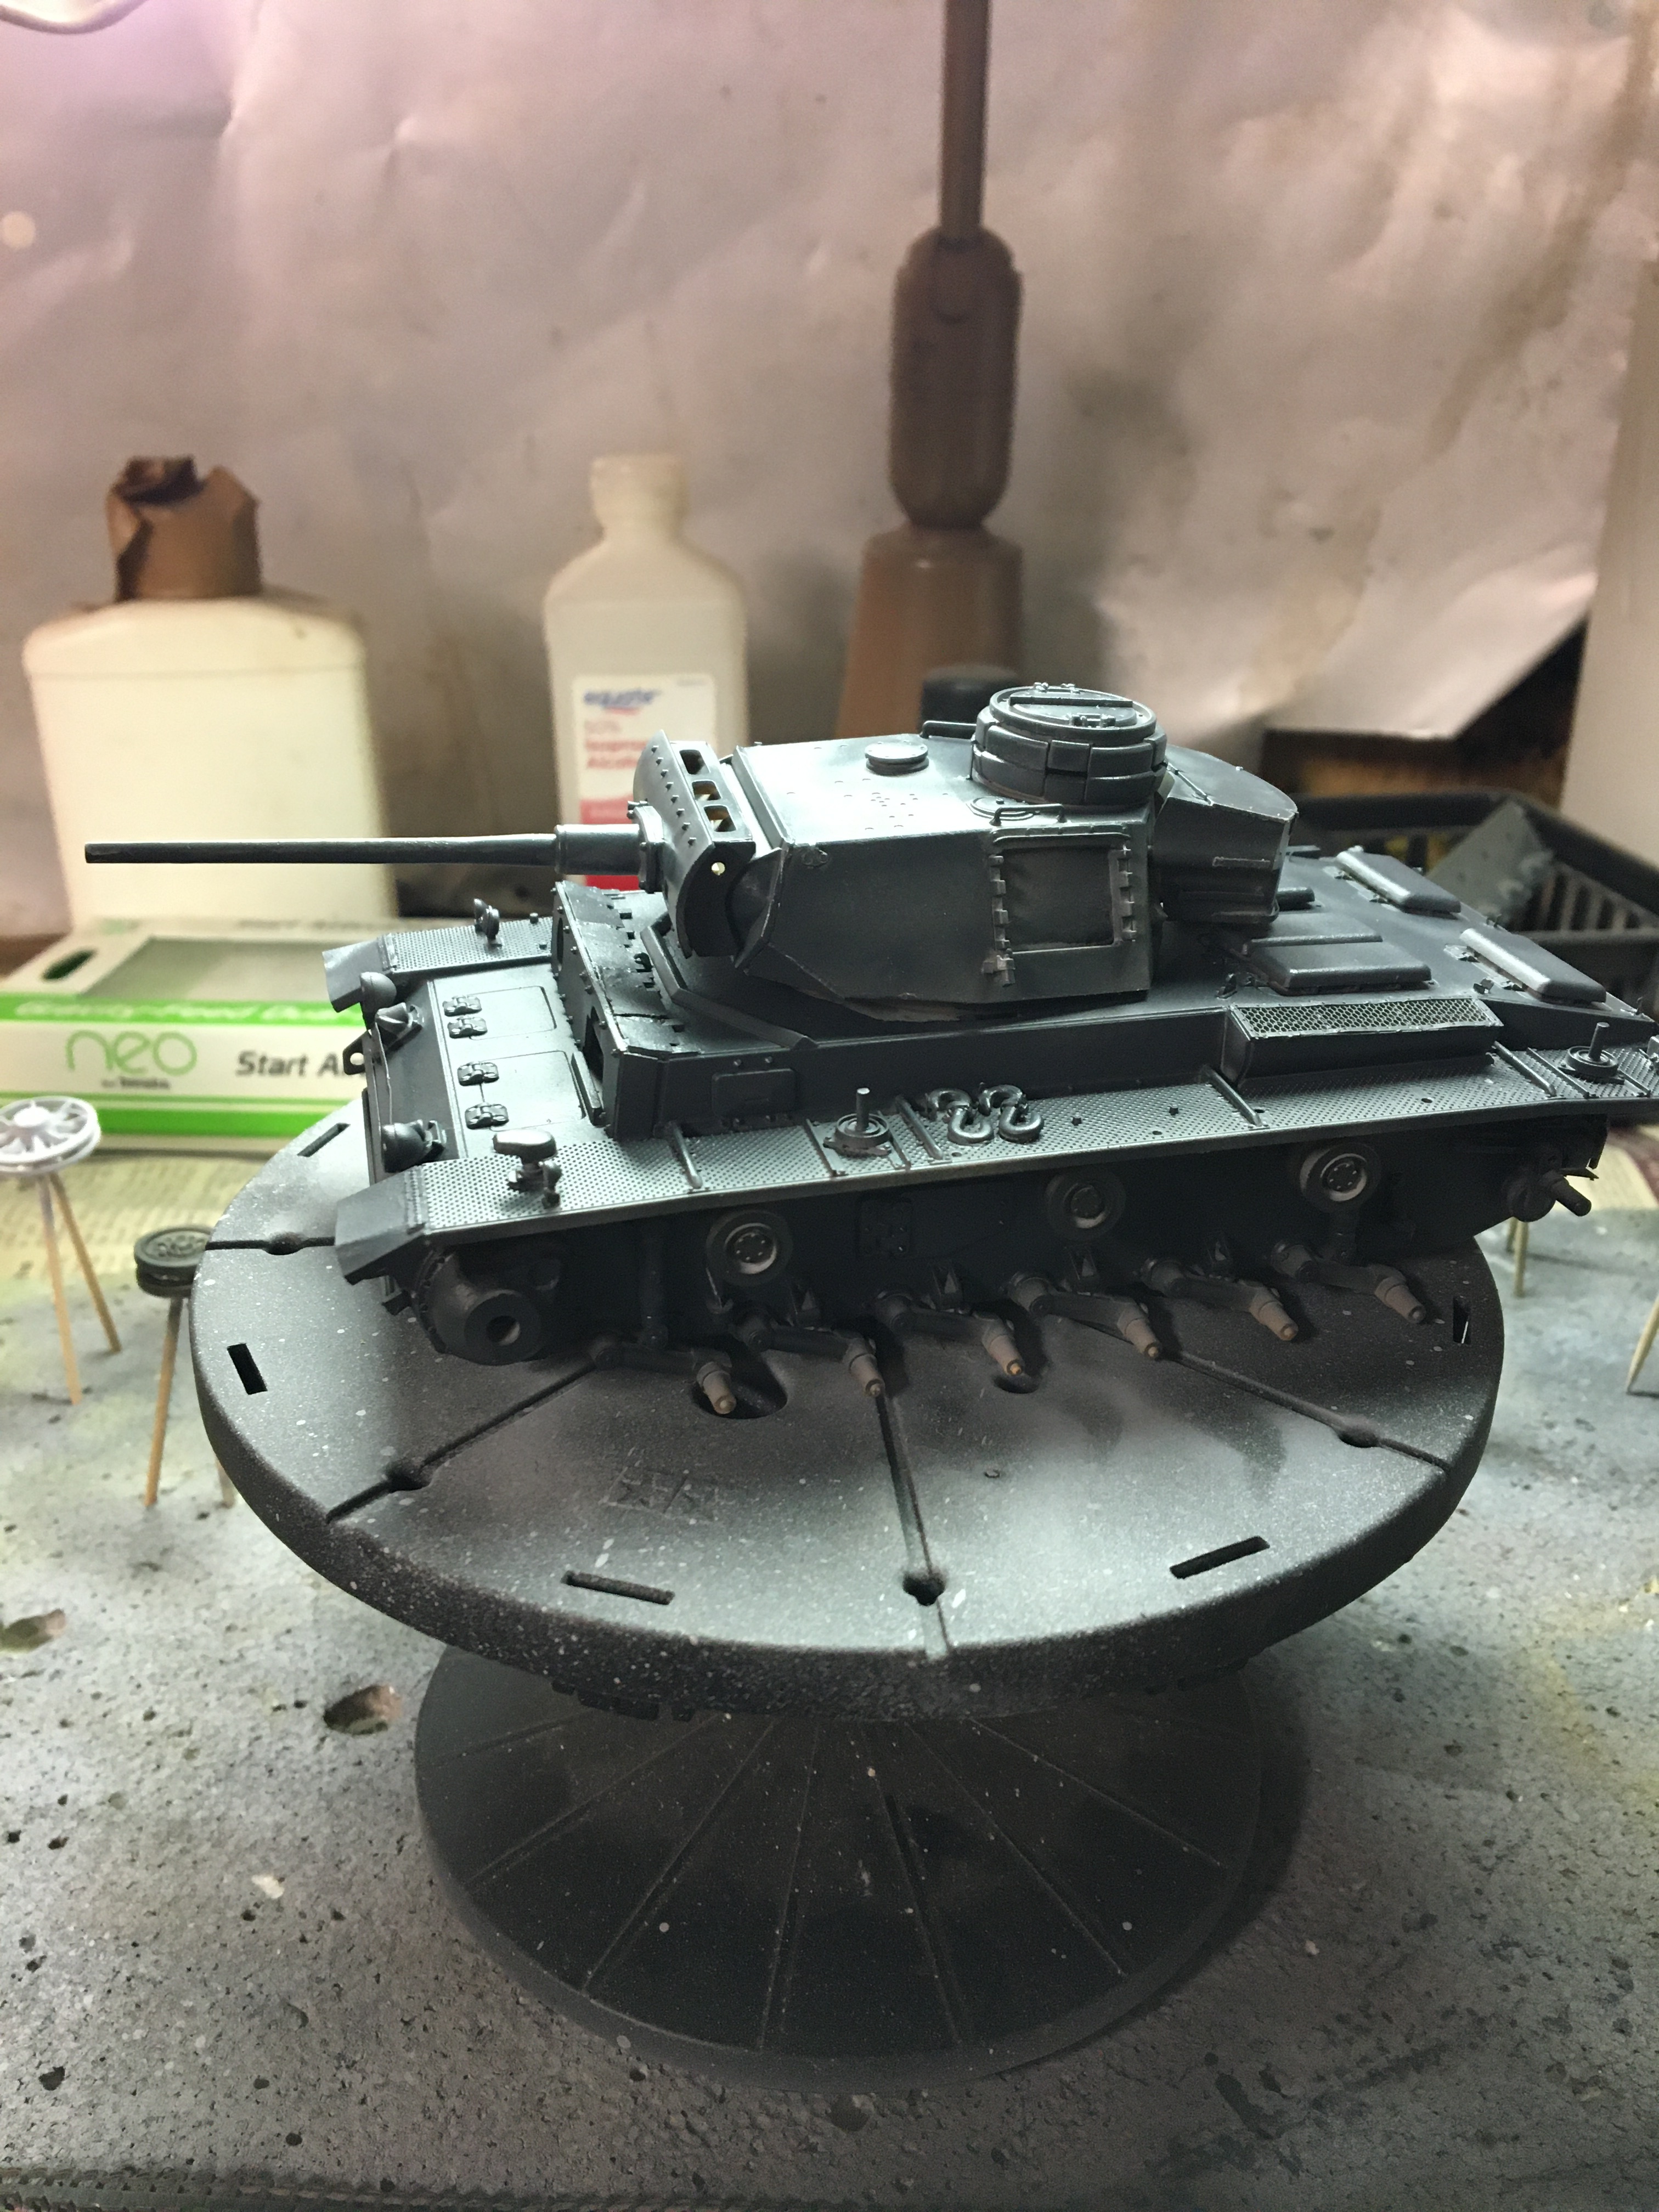
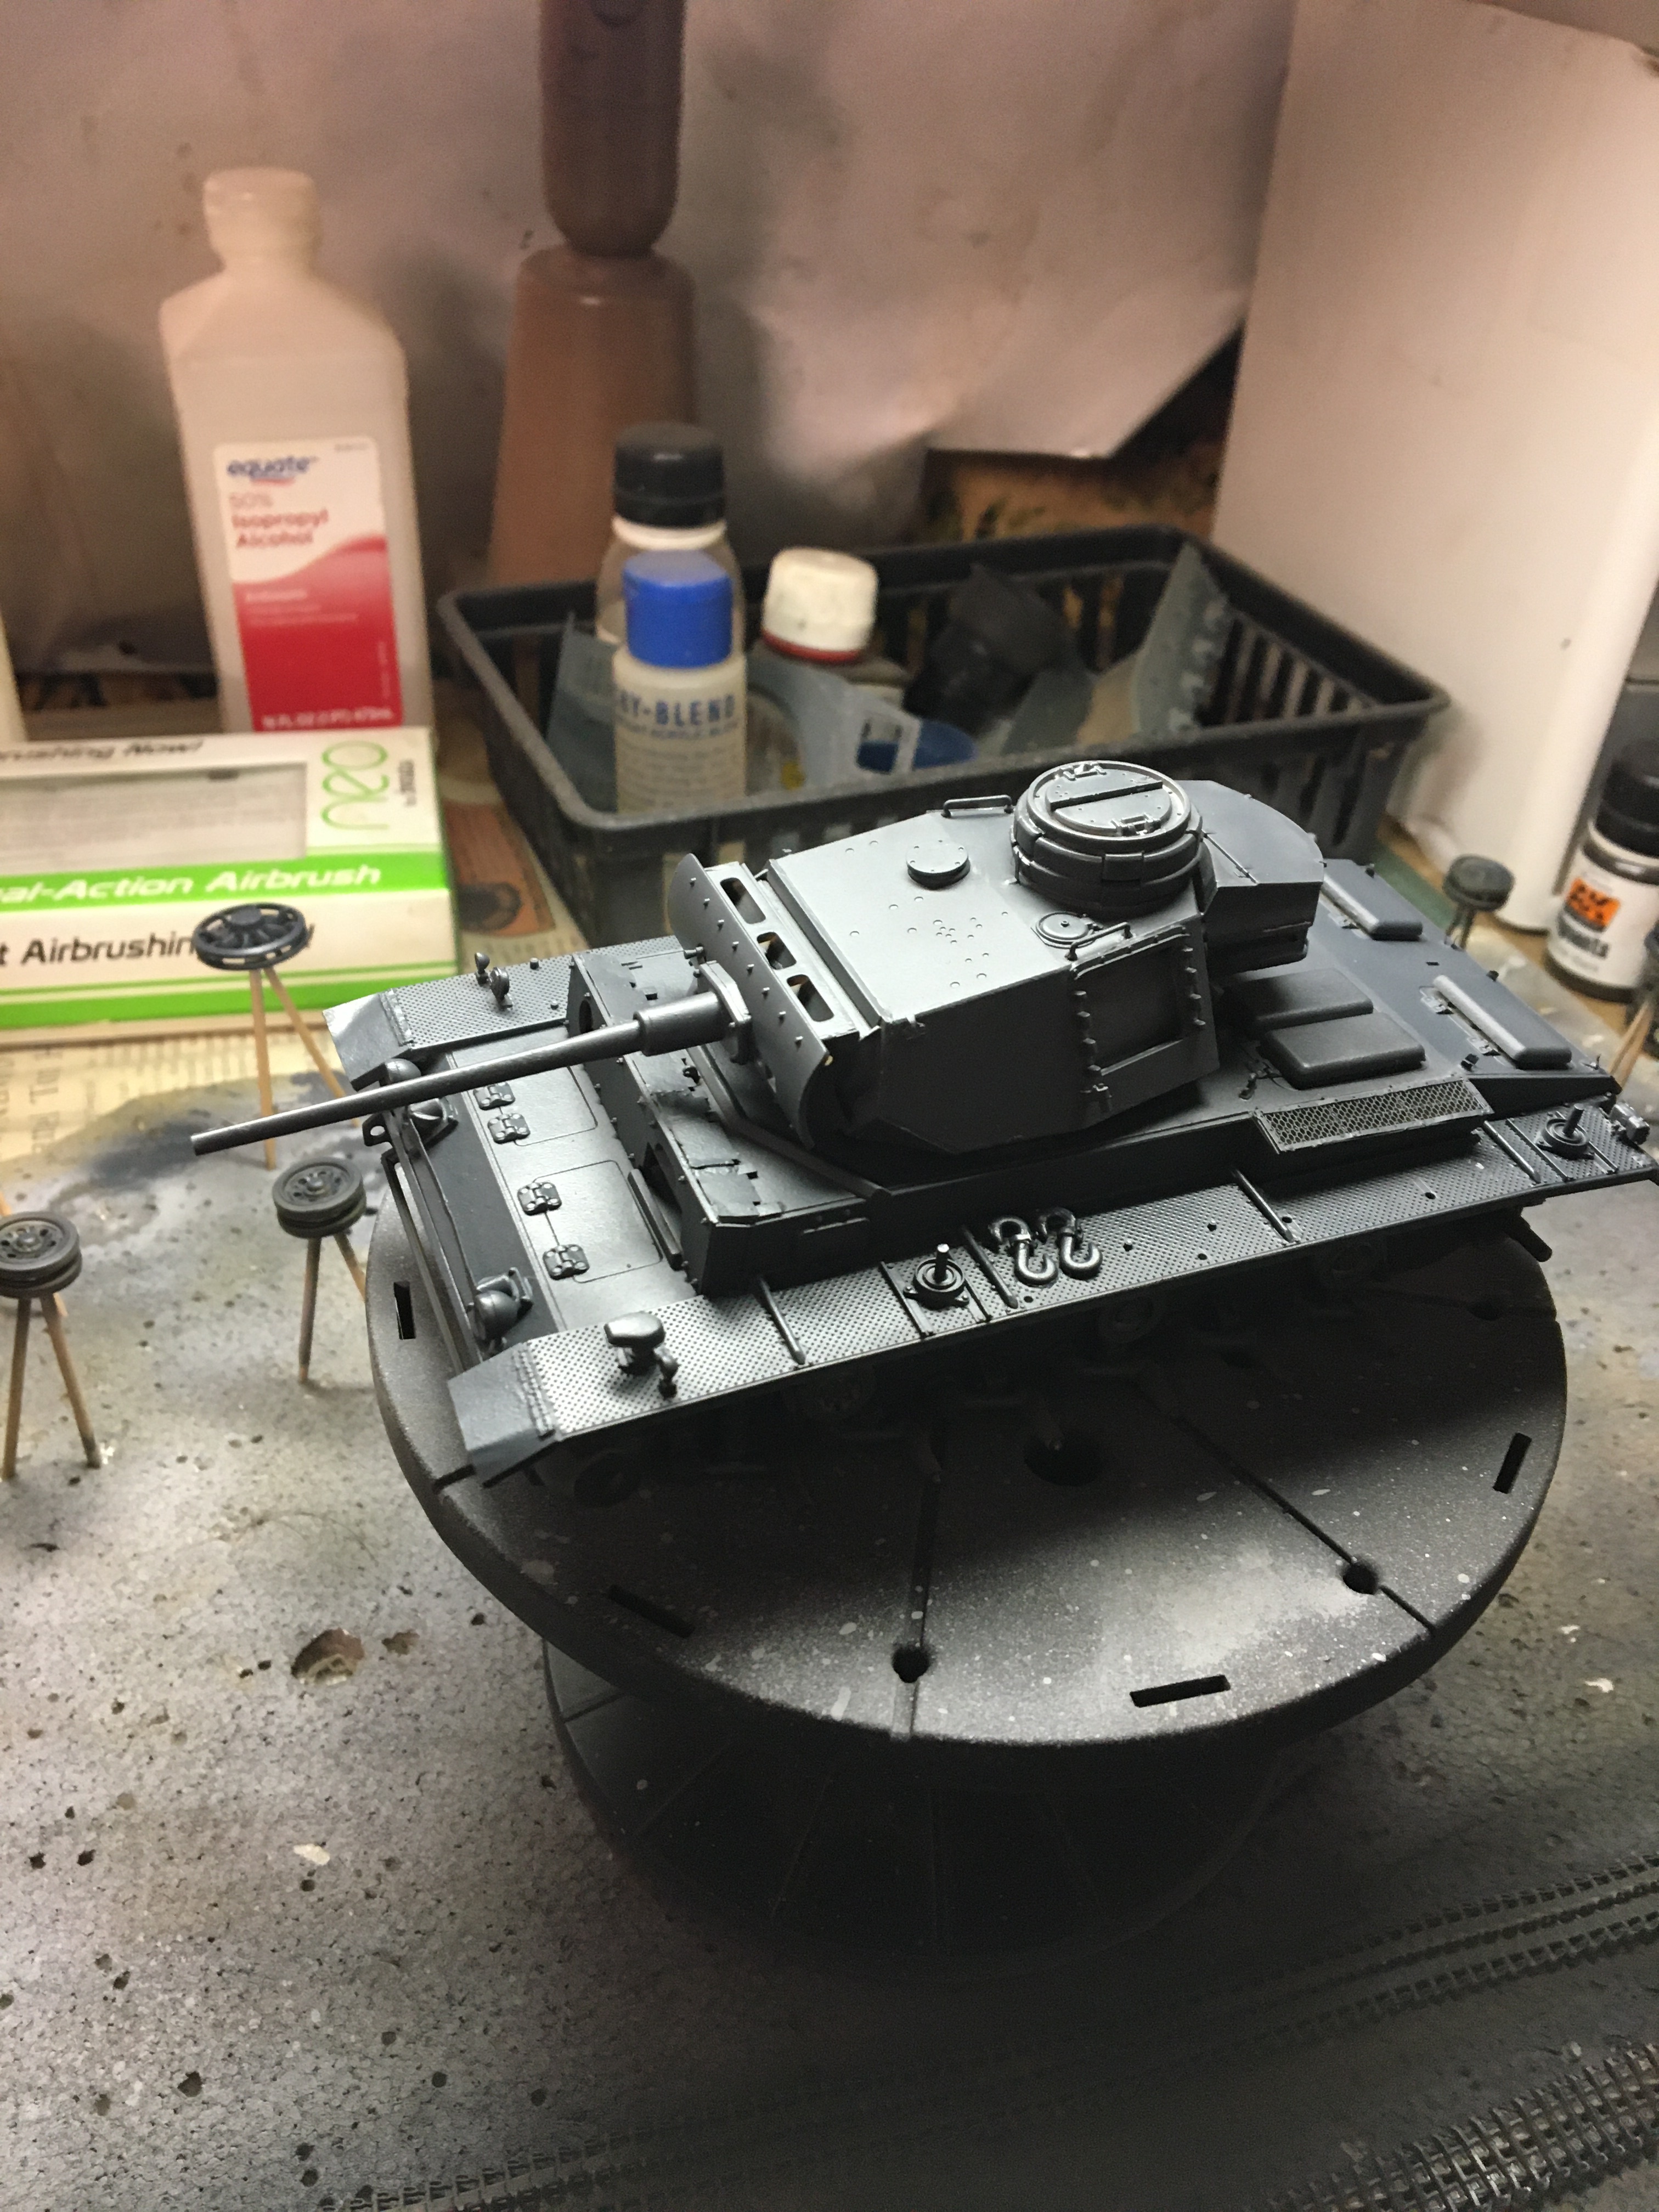
Color modulation with panzer grey
3 Likes
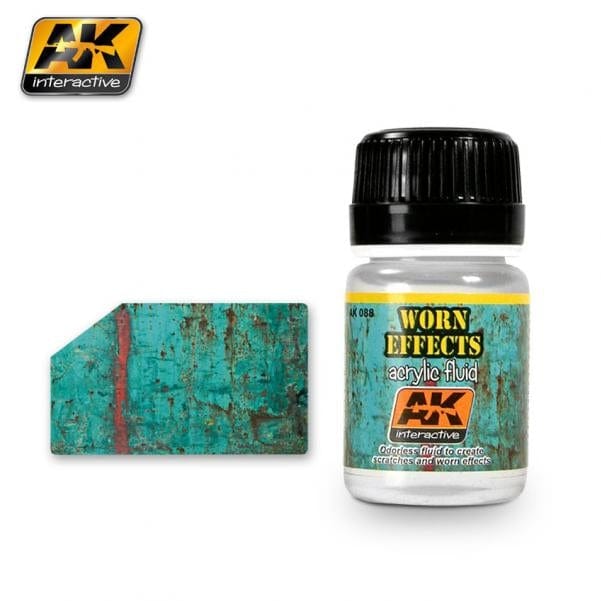
This fine product from AK Interactive will be brushed on over the grey in places where the desert yellow will chip and paint will come off due to the brutal heat of the North African Desert.
2 Likes
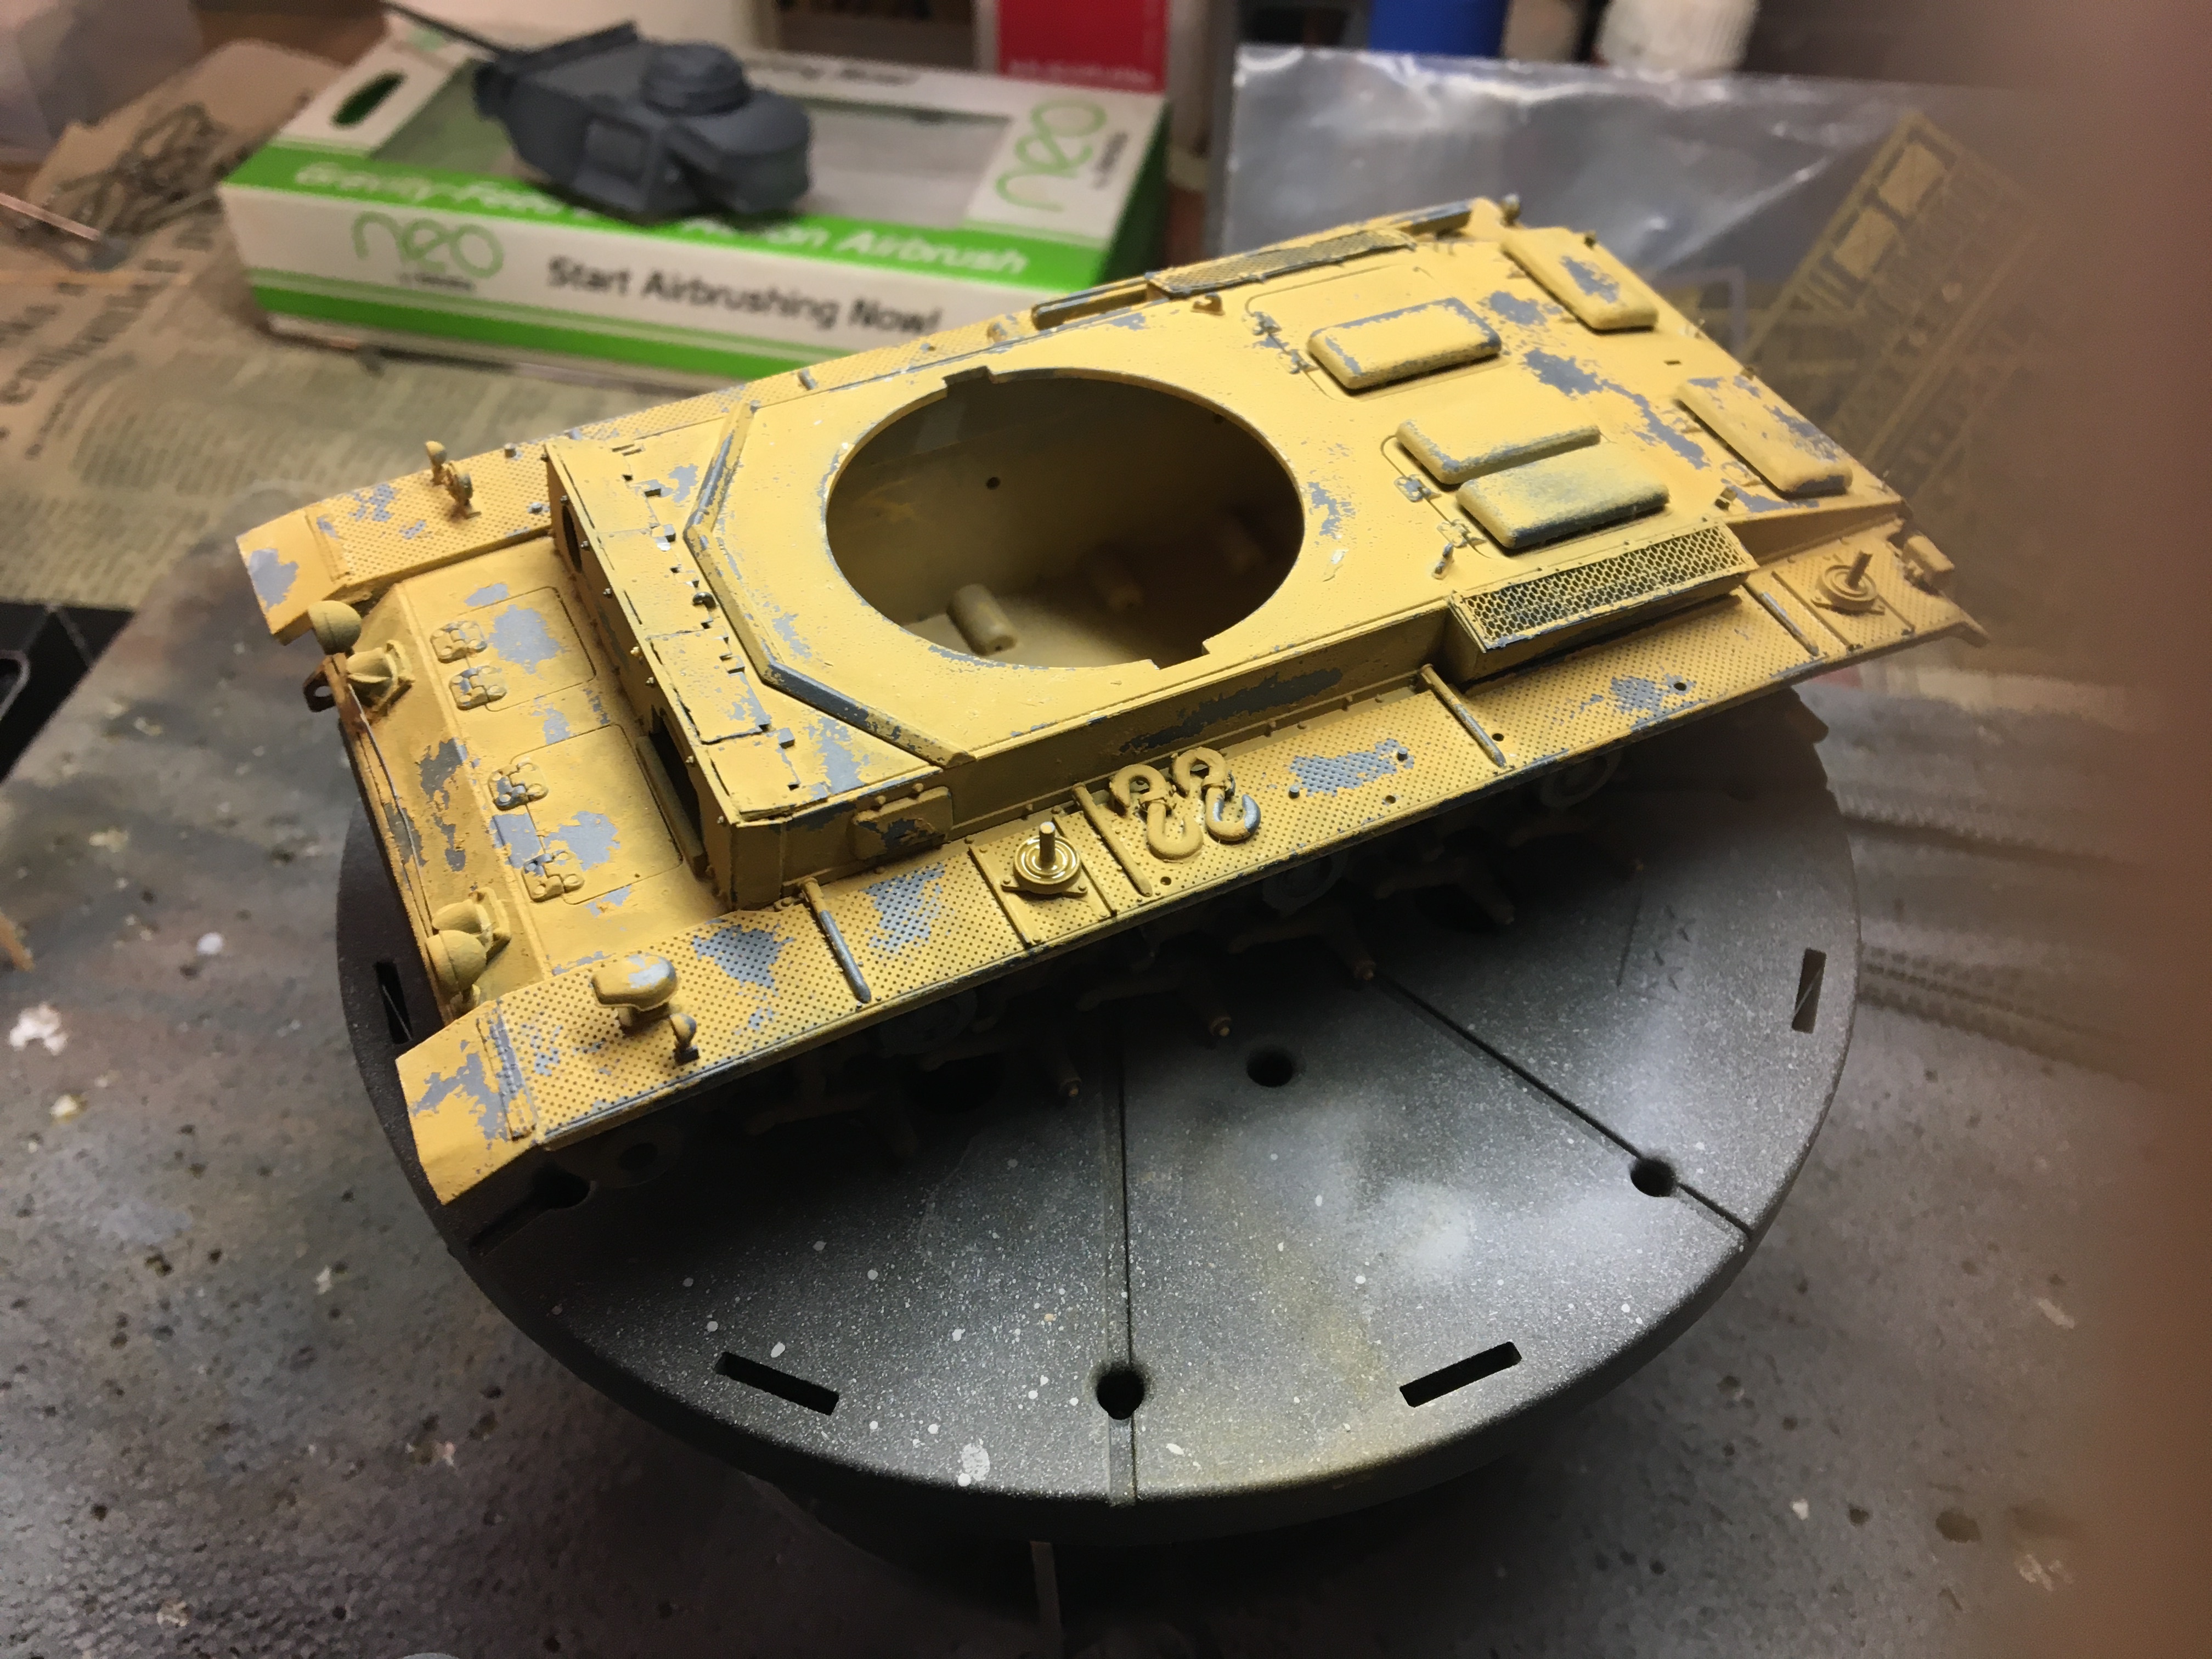
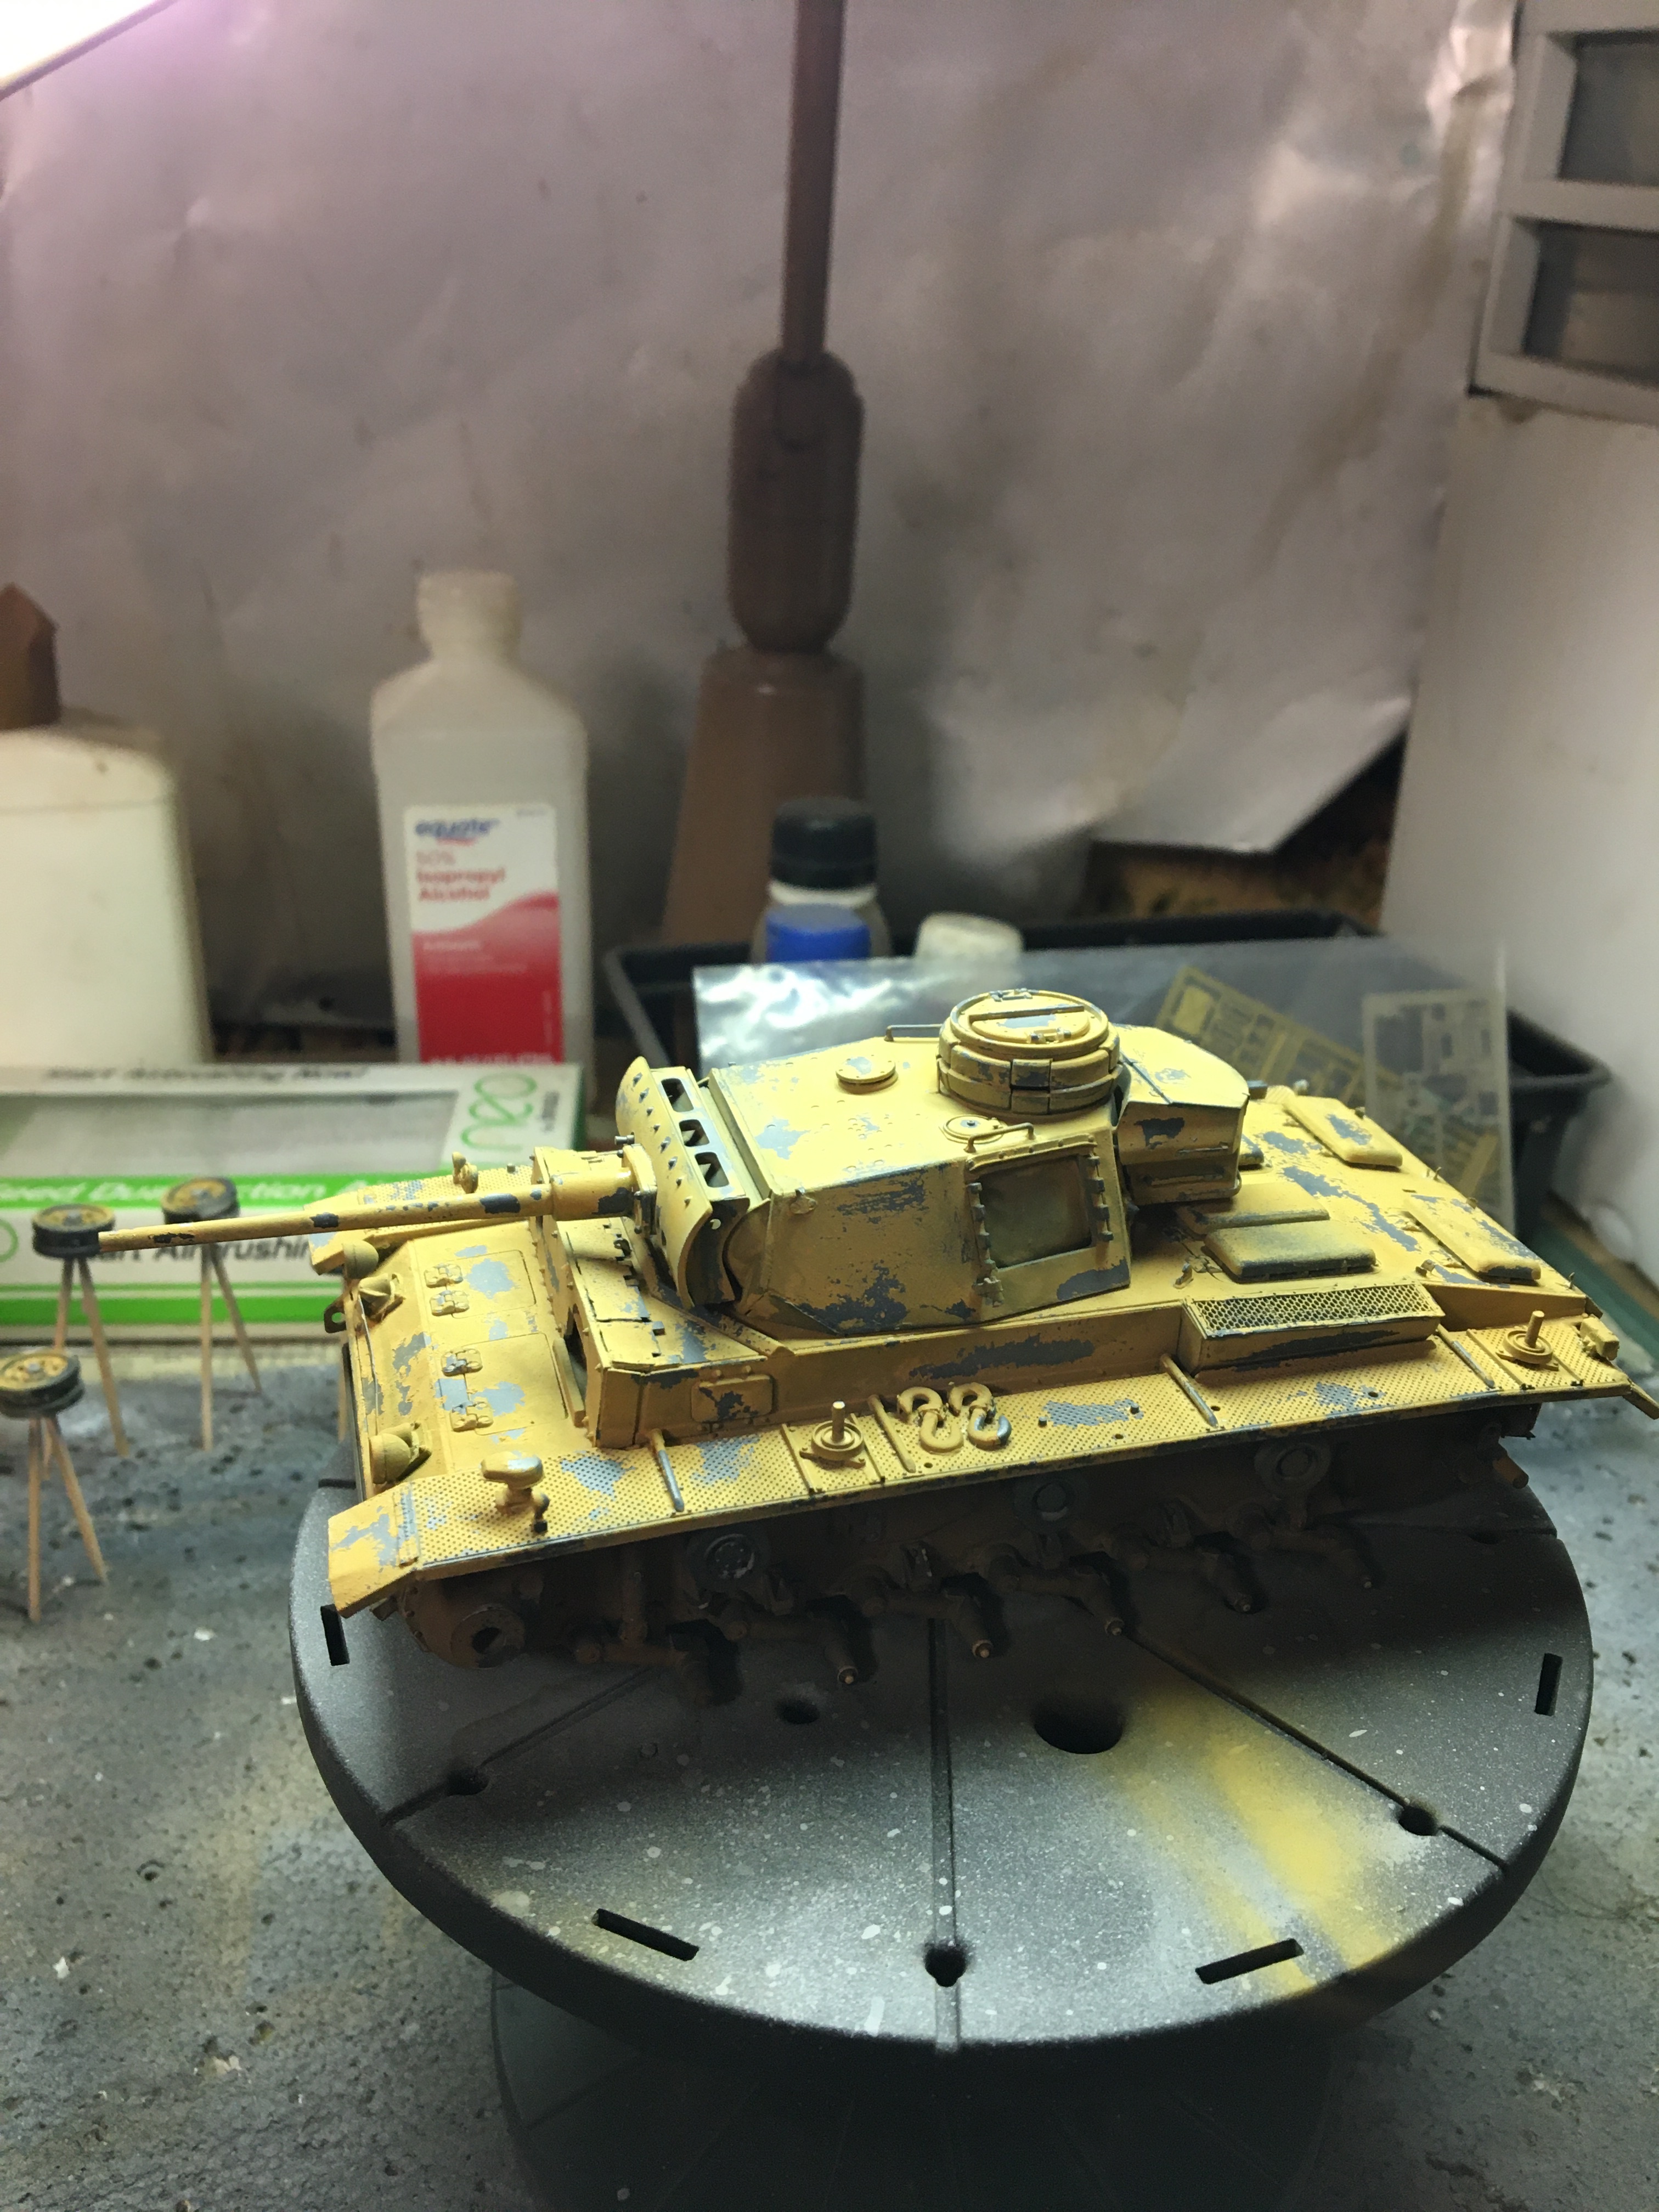
The worn effects is allowed to dry for an hour or so and then a desert yellow top coat is sprayed on. After it drys for about an hour or so, water is applied in areas that tend to get scratched or where paint might peel off. Then with a toothbrush or toothpick, the areas are lightly scraped away revealing the panzer grey.
2 Likes
German tank crews did not mind the paint coming off because it broke up the shape and provided a type of camouflage. In areas that were not scrapped away the paint shows a nice “worn effect.”
1 Like