@18bravo , hi Rob, well you know, you are at least partially responsible for this unnecessary consumption of styrene, metal, alu, and glue…how you ask? It’s funny, more than ten years ago now, I bought my first walk around collection from you! I discovered that with enough patience, you can build an awful lot using only pictures. So on we go!
@AussieReg, HI D, thanks very much! I appreciate it, and am glad to see you back at it. Hope all is well with you and yours -
OK, for today, I decided to get after the rear end. I realized I might have added all sorts of un-needed detail to the front end because: 1) I wasn’t exactly sure how the rear end works; and, 2) I was a bit scared to get into it! Nonetheless, that is what I did.
First, I spent too much time trying to learn about what is actually going on back there, and eventually discovered it’s likely that this is a Chalmers 800 walking beam. It also turns out this rear end is a lot more complicated than I had guessed. I also found that they offer a low, high and extra high versions to accommodate various tire sizes, all good, except, I was unable to discern the difference between them. So, rather than waiting for some sort of mystic intervention providing clarity, I just started work.
First up working on the axles and getting spacing right:

No, I didn’t draw it up in CAD and print it ![]() instead, relied on my decidedly low tech approach. The axles donors are from an Italeri M1120, widened and modified to suit my needs, then on to the walking beams:
instead, relied on my decidedly low tech approach. The axles donors are from an Italeri M1120, widened and modified to suit my needs, then on to the walking beams:

I forgot to take pics of the process! good job me….anyway, making the walking beams took a long time. I wanted them to match and fit snugly, which as it turns out is easier said than done.
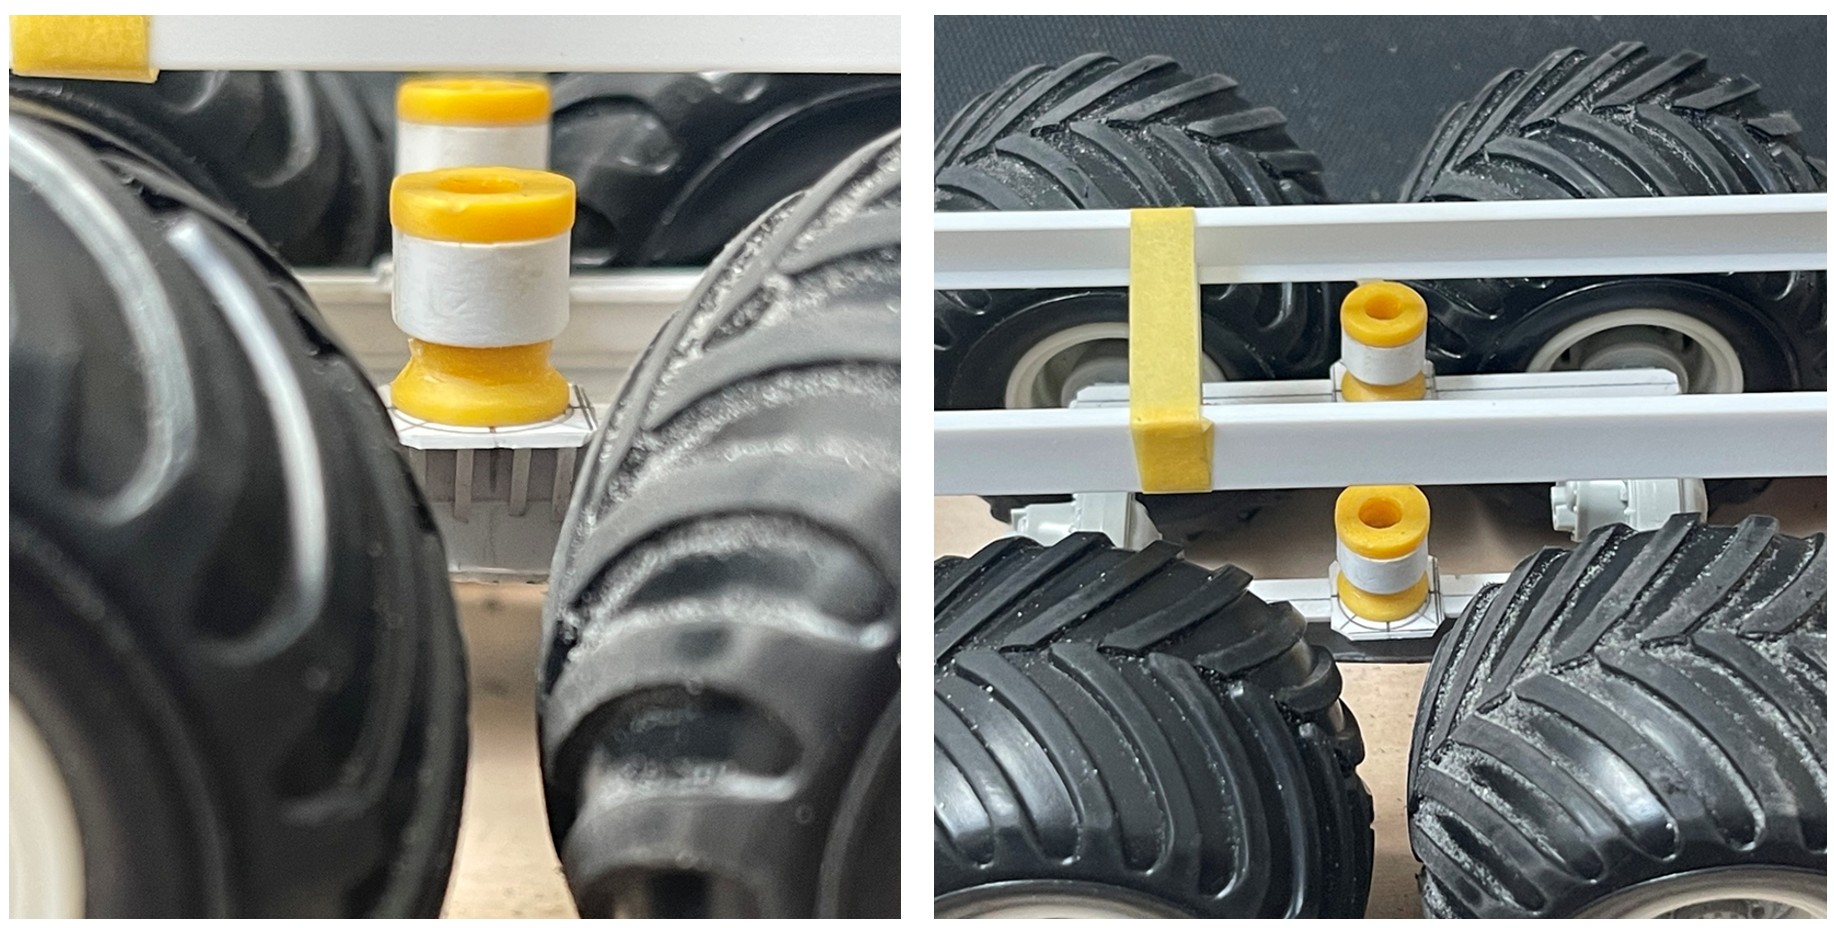
With the beams worked out, I began building upward toward my temporary frame rails. At this point I was glad to have this jig - as things stayed where I wanted them as I filled in the space between the two, The yellow towers are representing large rubber blocks and their housing.
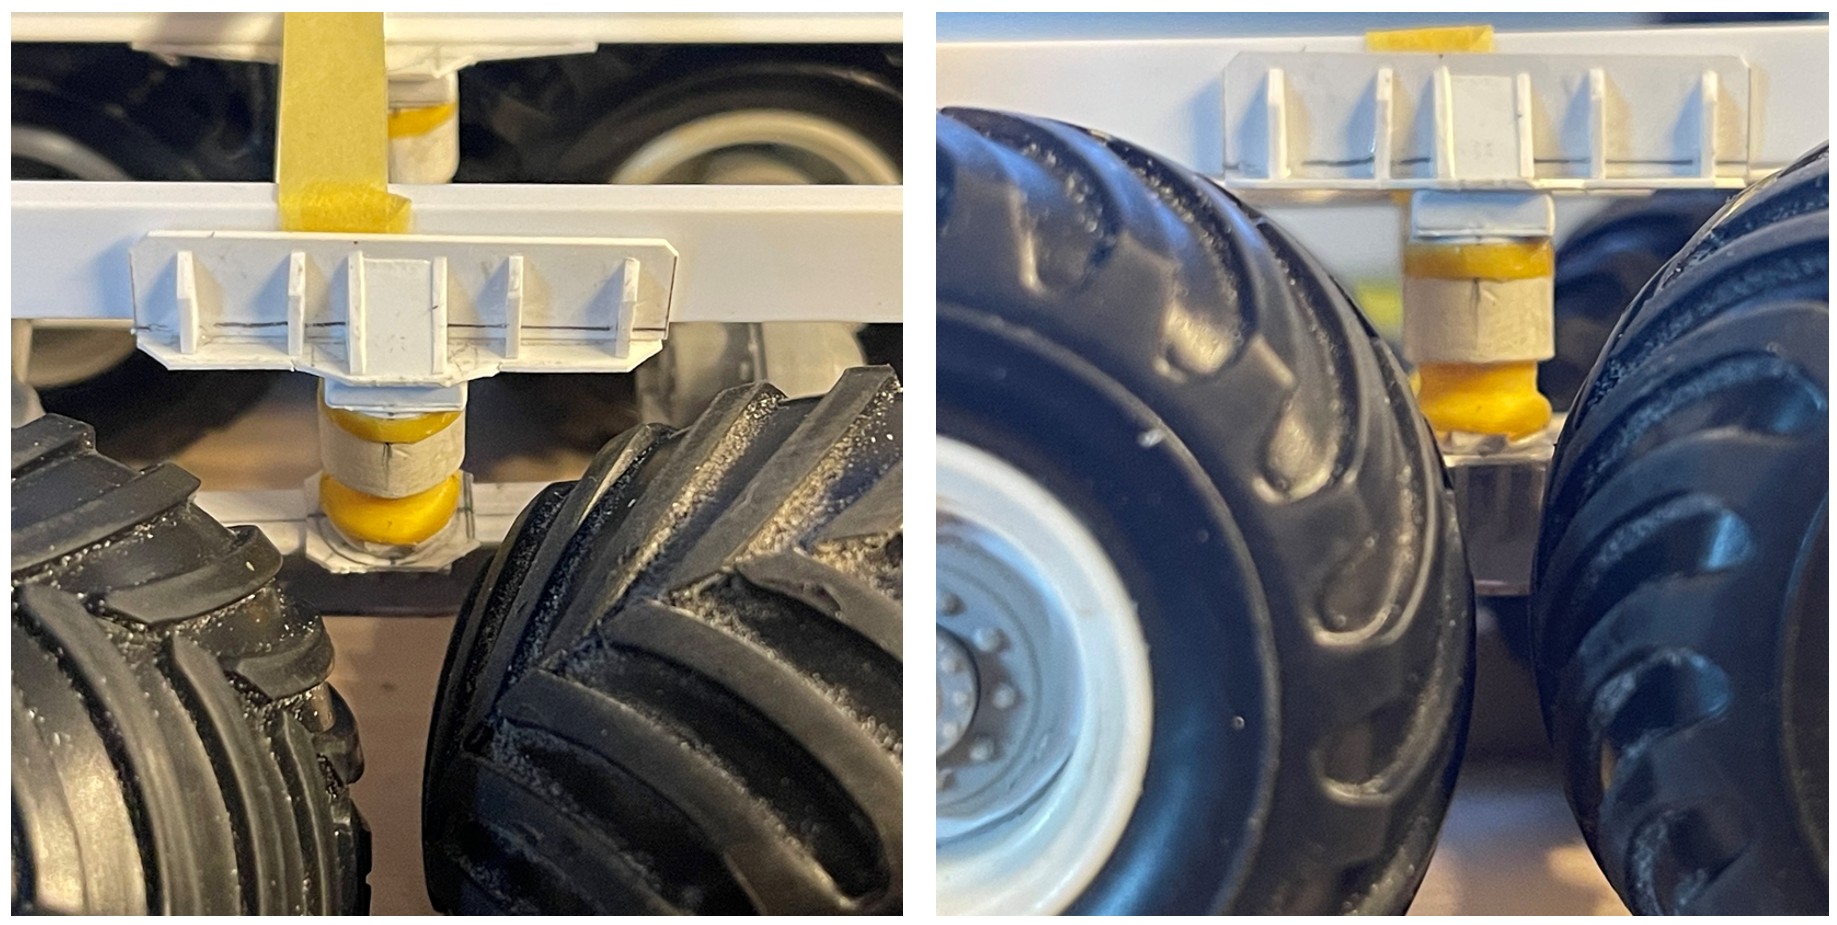
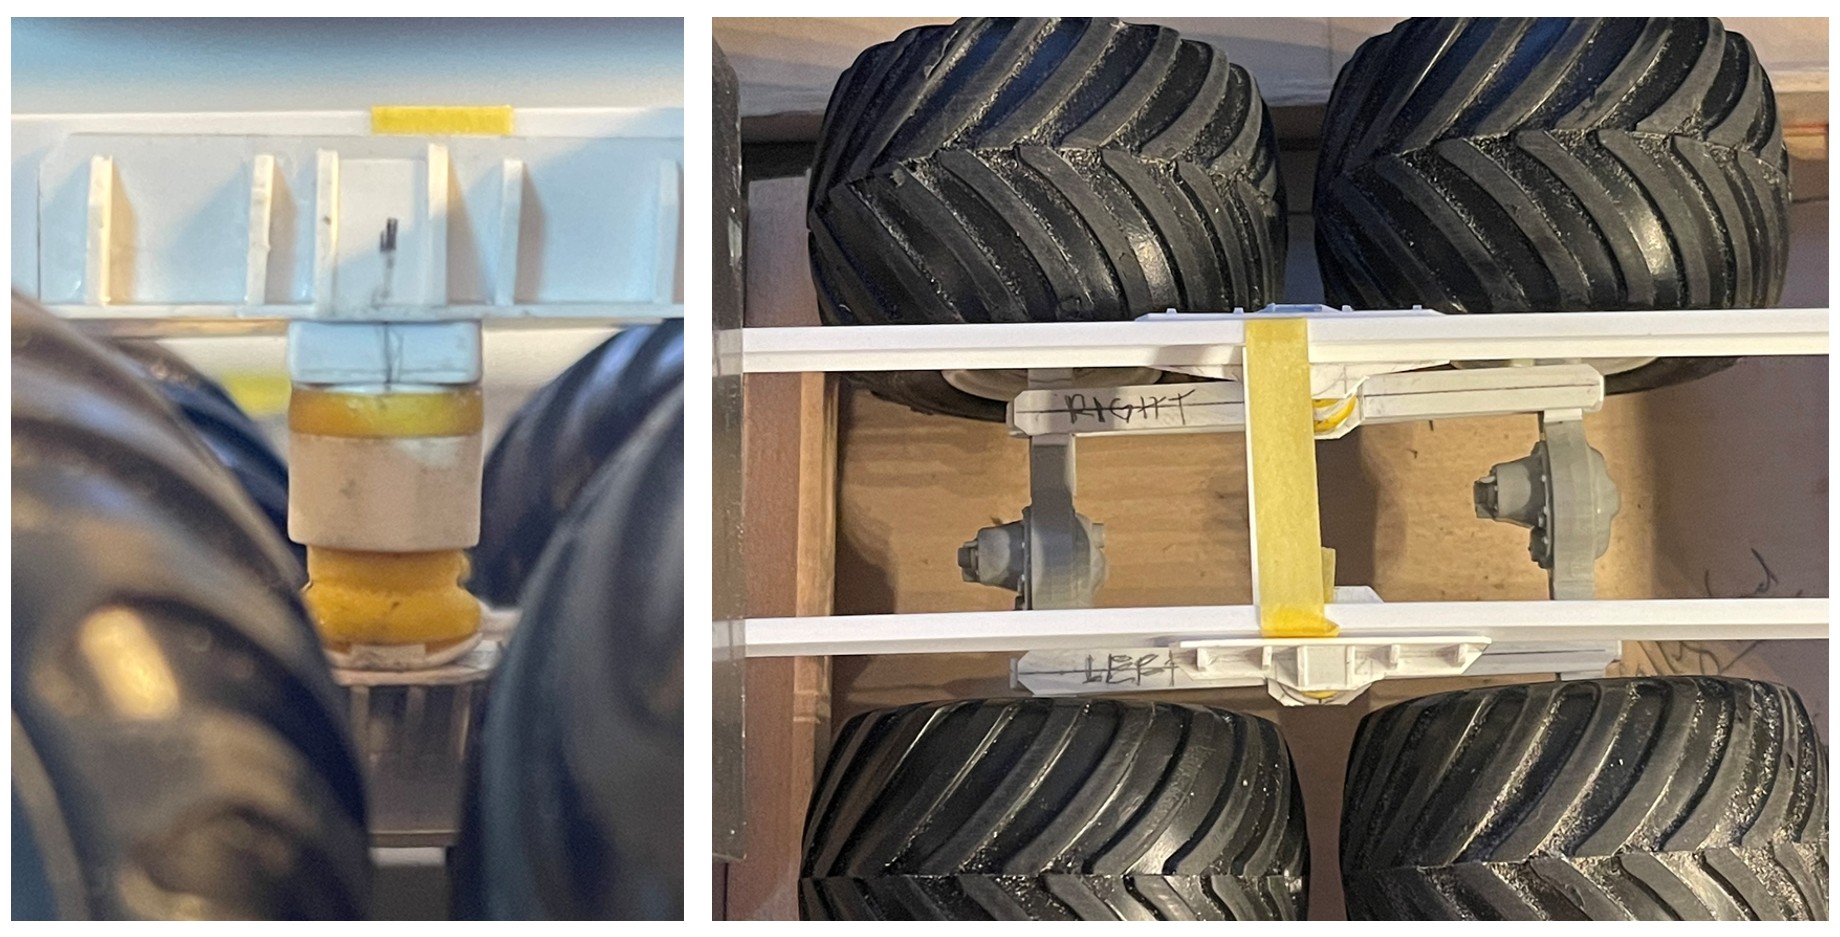
With the towers where I wanted them, I made up the brackets to attach them to the frame rails.
And after all of this, what do we get?
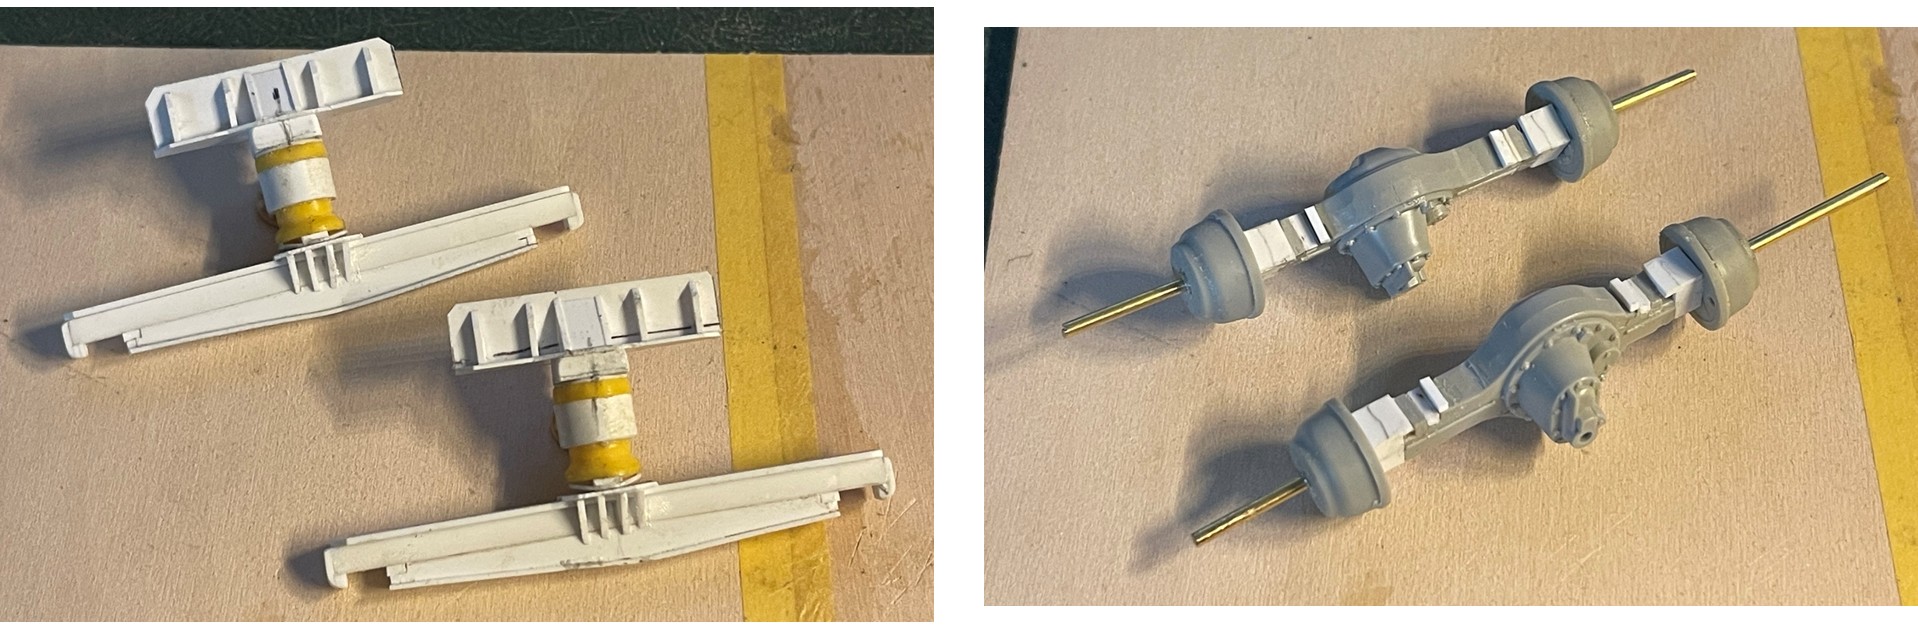
Four parts. None of which are close to being done.
The walking beams will next get internal frames and brackets for torque arms.
The axles will get brake pots, and brackets on the ends, and atop the differential for…more torque arms.
Then, once the frame is built…yes, more brackets for, you guessed it! more torque arms! ![]()
So, on we go
thanks for having a look, and cheers
Nick ![]()