Nice detailing in the cab Matt… I’m starting to think a few more trucks could be on the agenda as I rather like the Opel Maultier I am doing.
Which companies?
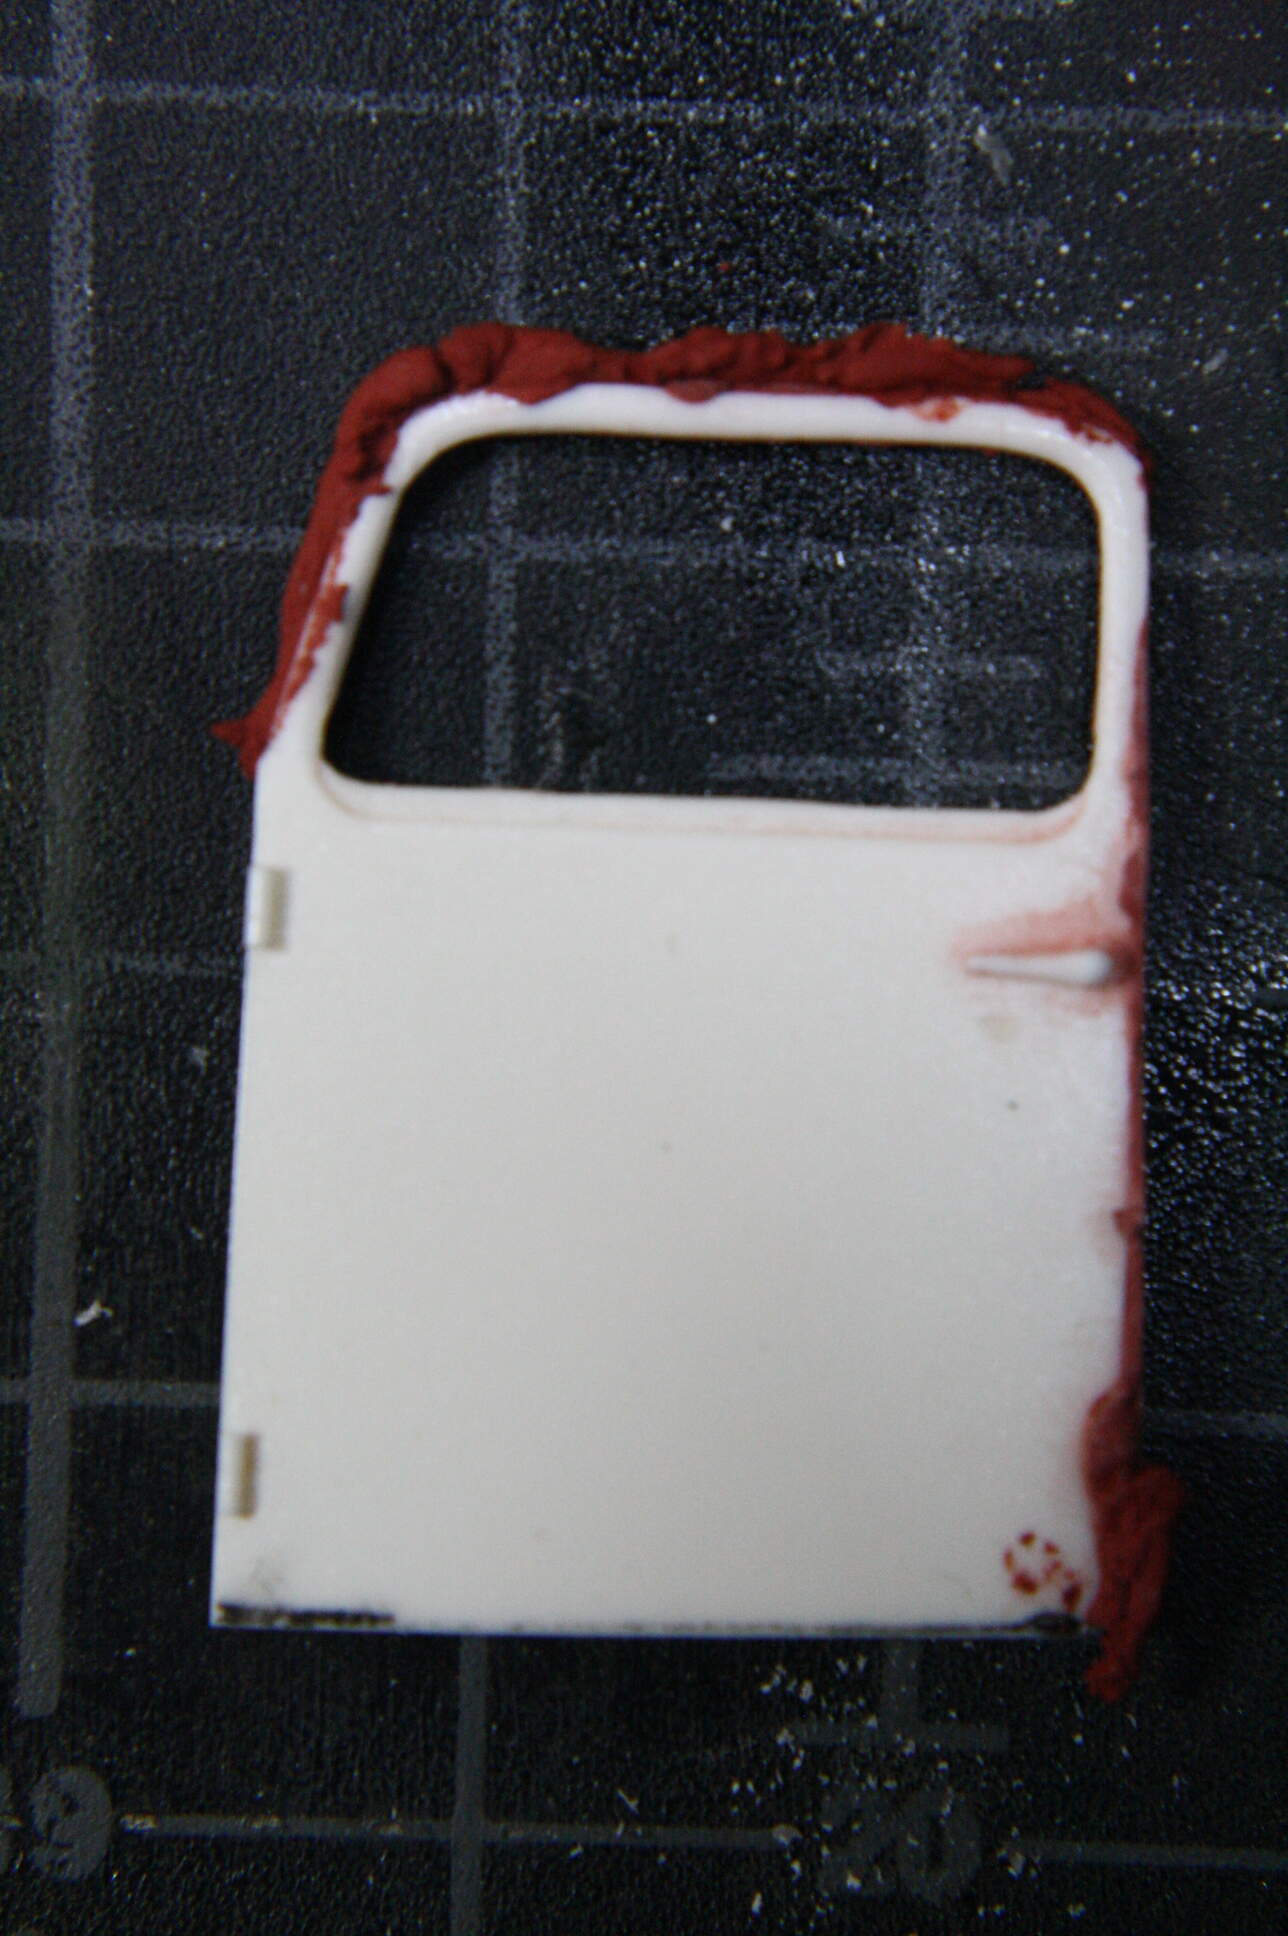
Question on the bondo putty Matt. It has enough strength to hold up on the edge of the door like that? My go to technique for a similar situation would be a styrene shim.
Sean
Thanks John, I like doing photo etch, it really gets the zen flowing. Time just flies though, those 9 pieces took me 2 hours!
What, of AM wheels? Hussar, or Miniarm…
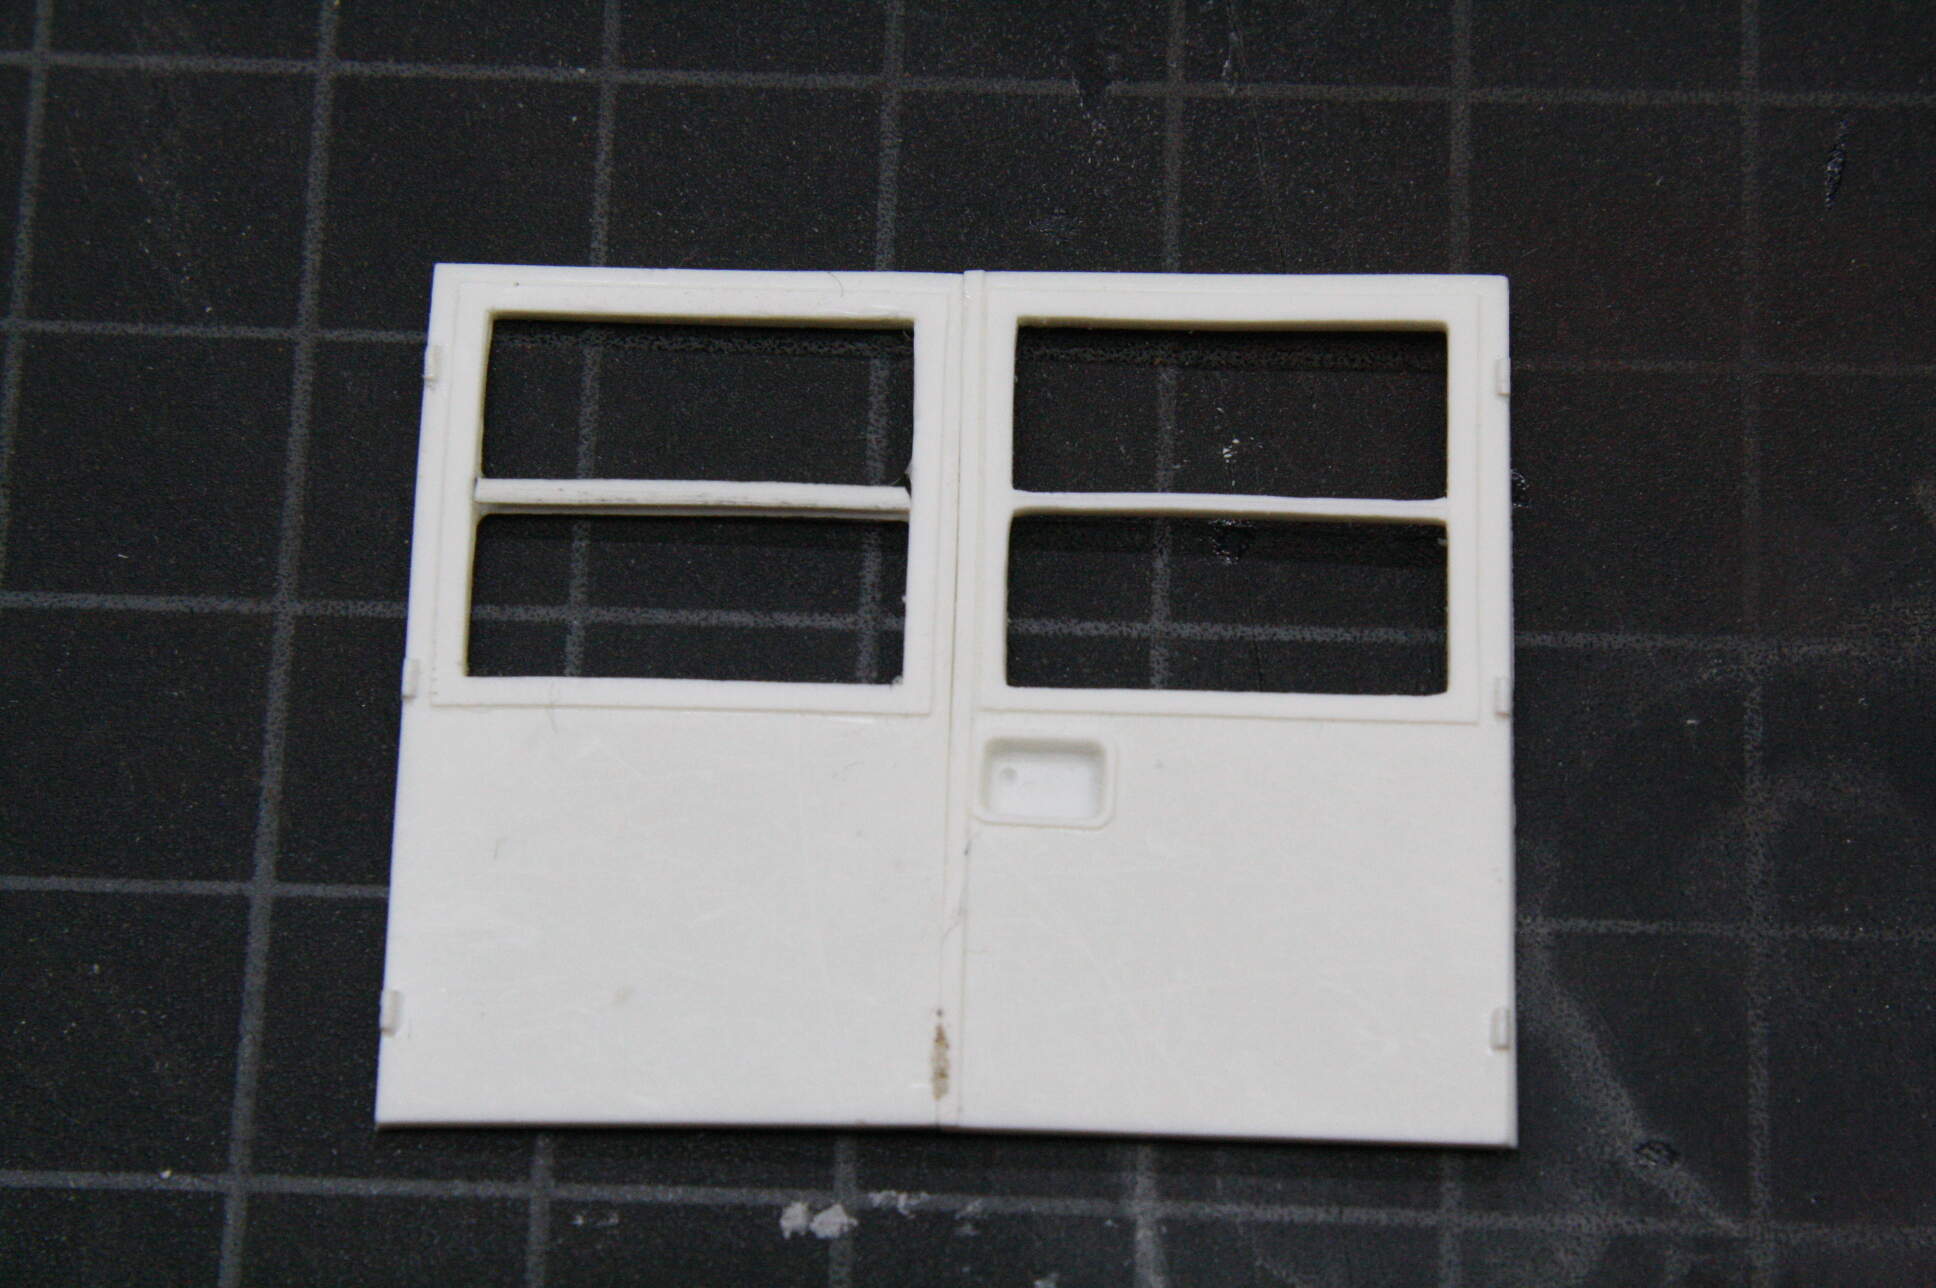
Yes it does have that much strength and adherence Sean. It will chip off if hit too hard, but it’s pretty tough. Remember it’s made for auto body work. You have to go nice and gentle sanding it down on an edge like that, but it works. Here’s one of my doors in progress, partially fit into the cab.
1 Like
OK, good to have another trick up the sleeve for a situation like that. Thanks !
Wow! Great work so far, you are a brave and patient man to take on a major conversion like this.
Thanks Colin! I raised 4 daughters, so I was already a brave and patient man…
2 Likes
Johnnycb01’s opel.
Ah sorry Dan … It’s the old Italeri kit. Not adding any PE, it’s straight OOB, buy it’s going to be the base for something I’m doing on the mini art campaign.
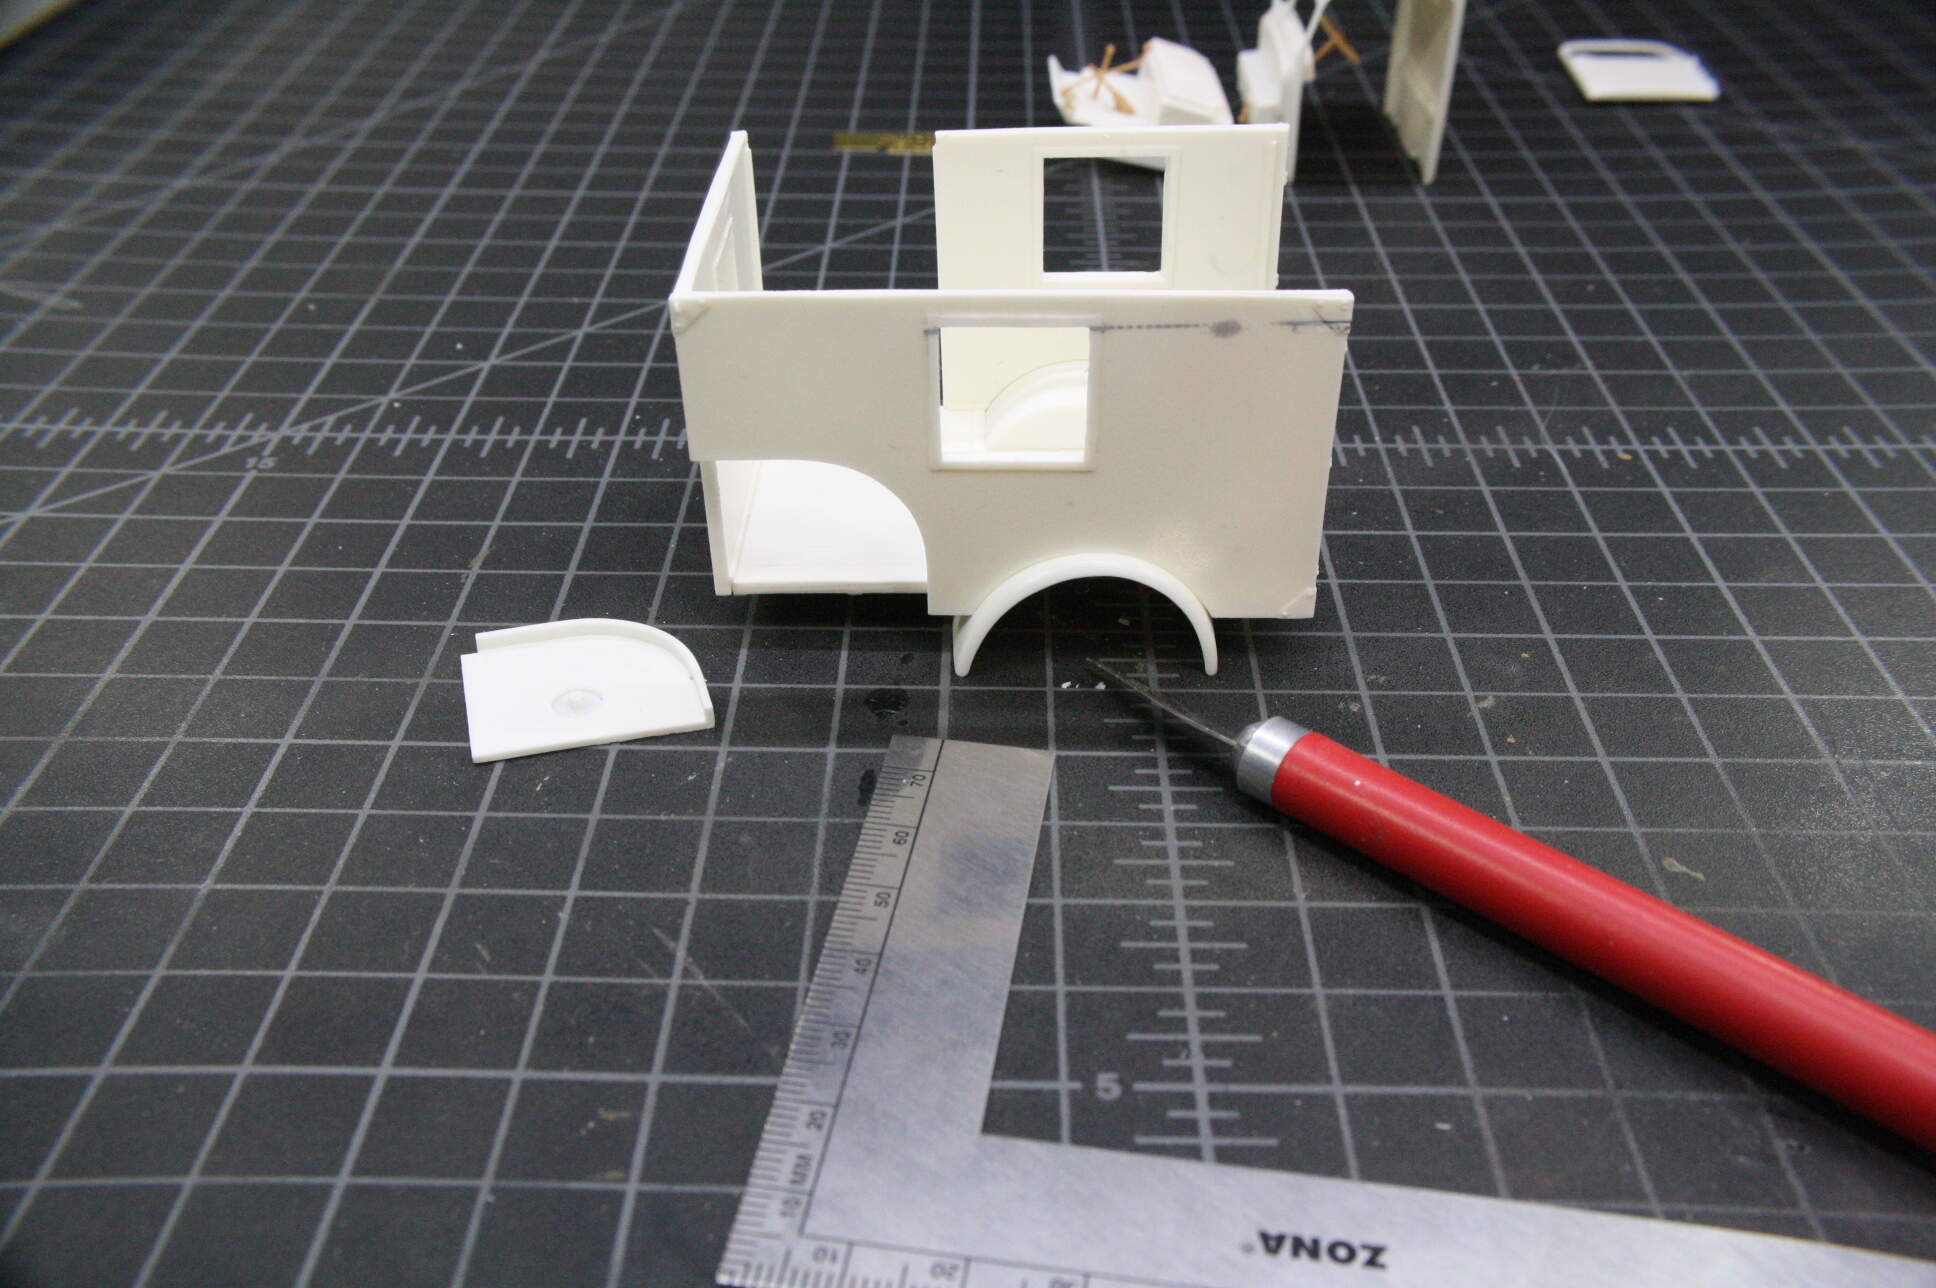
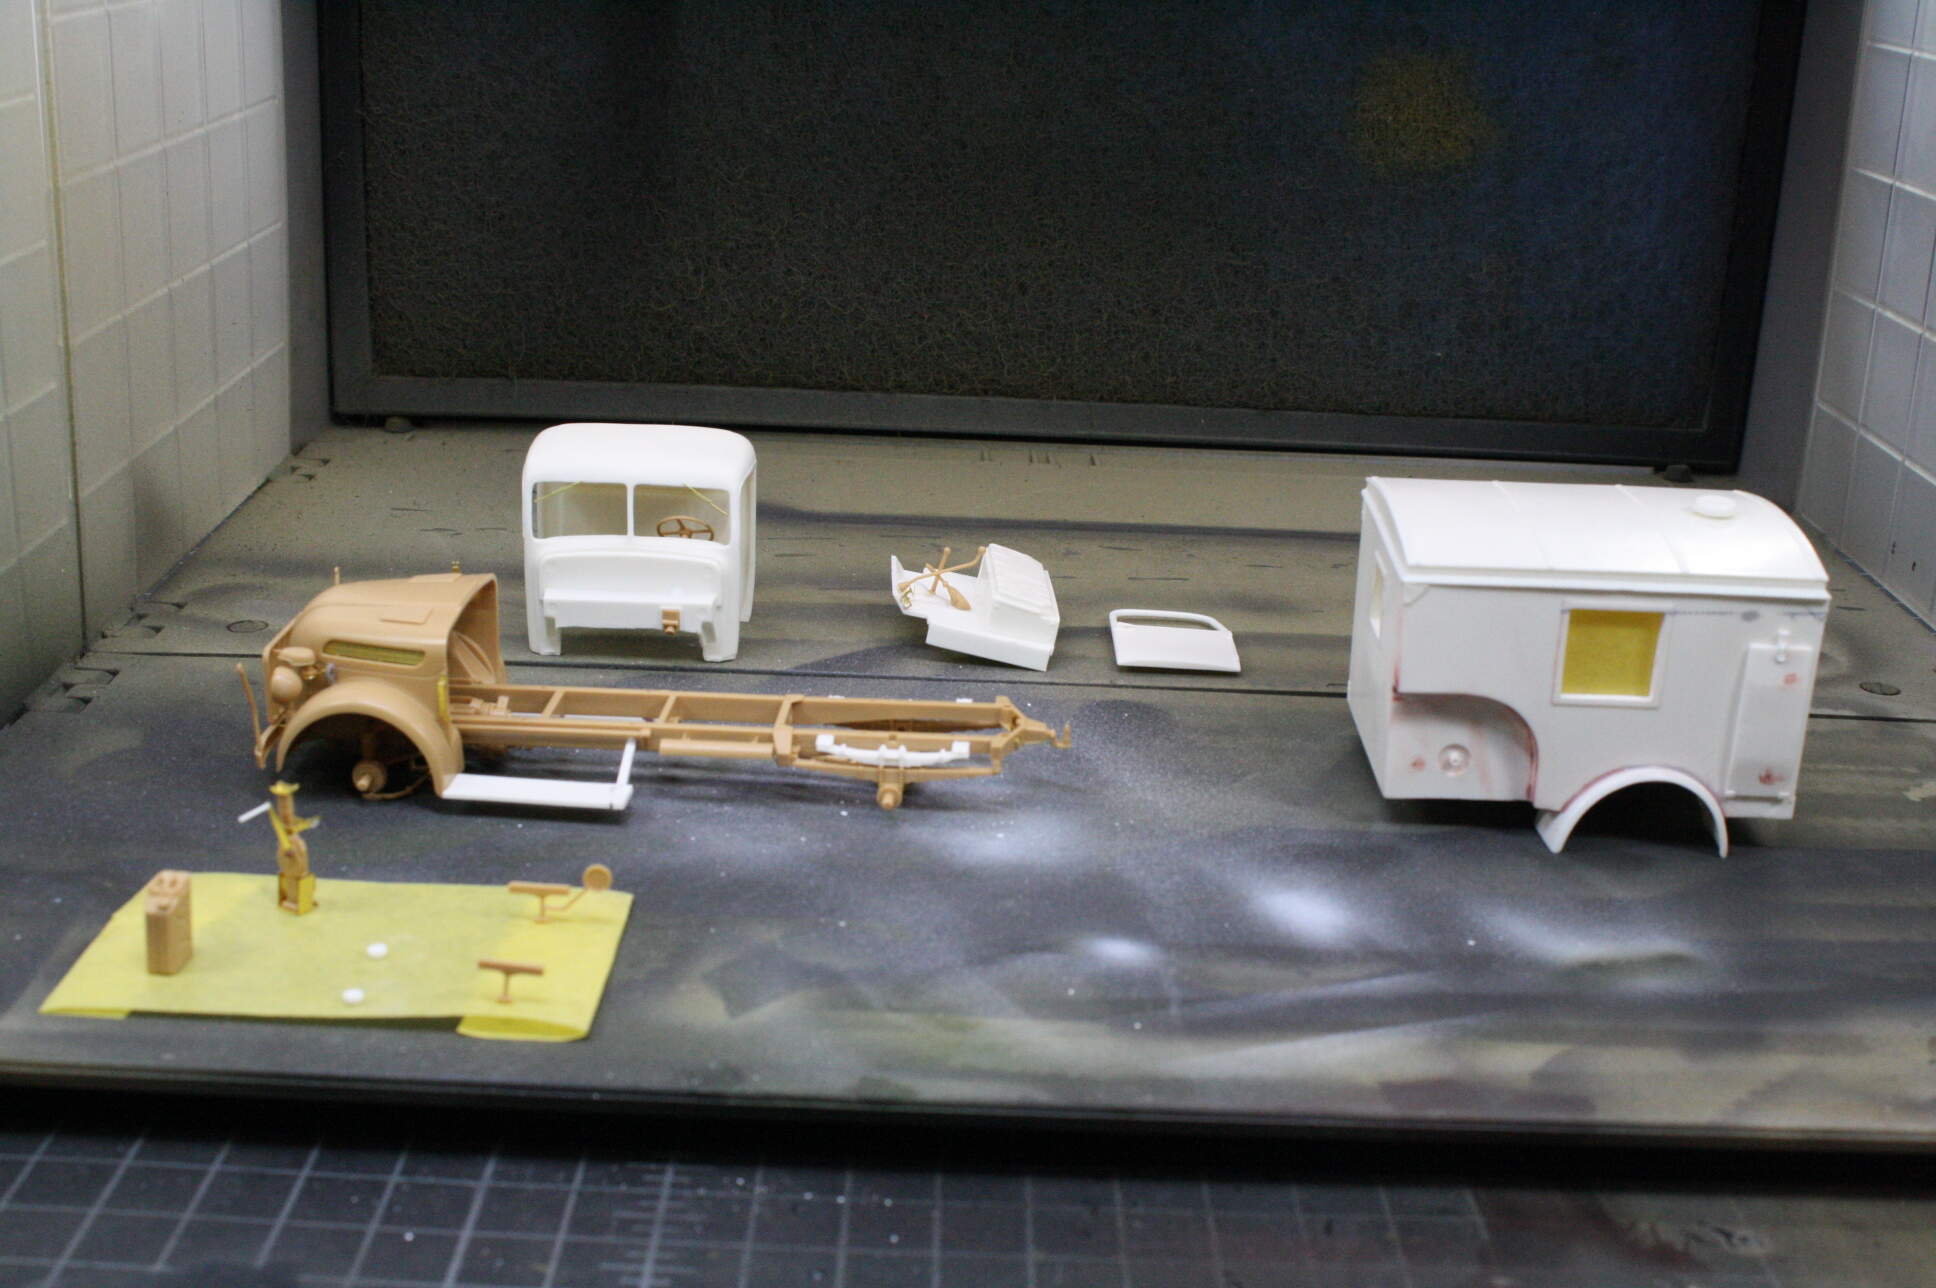
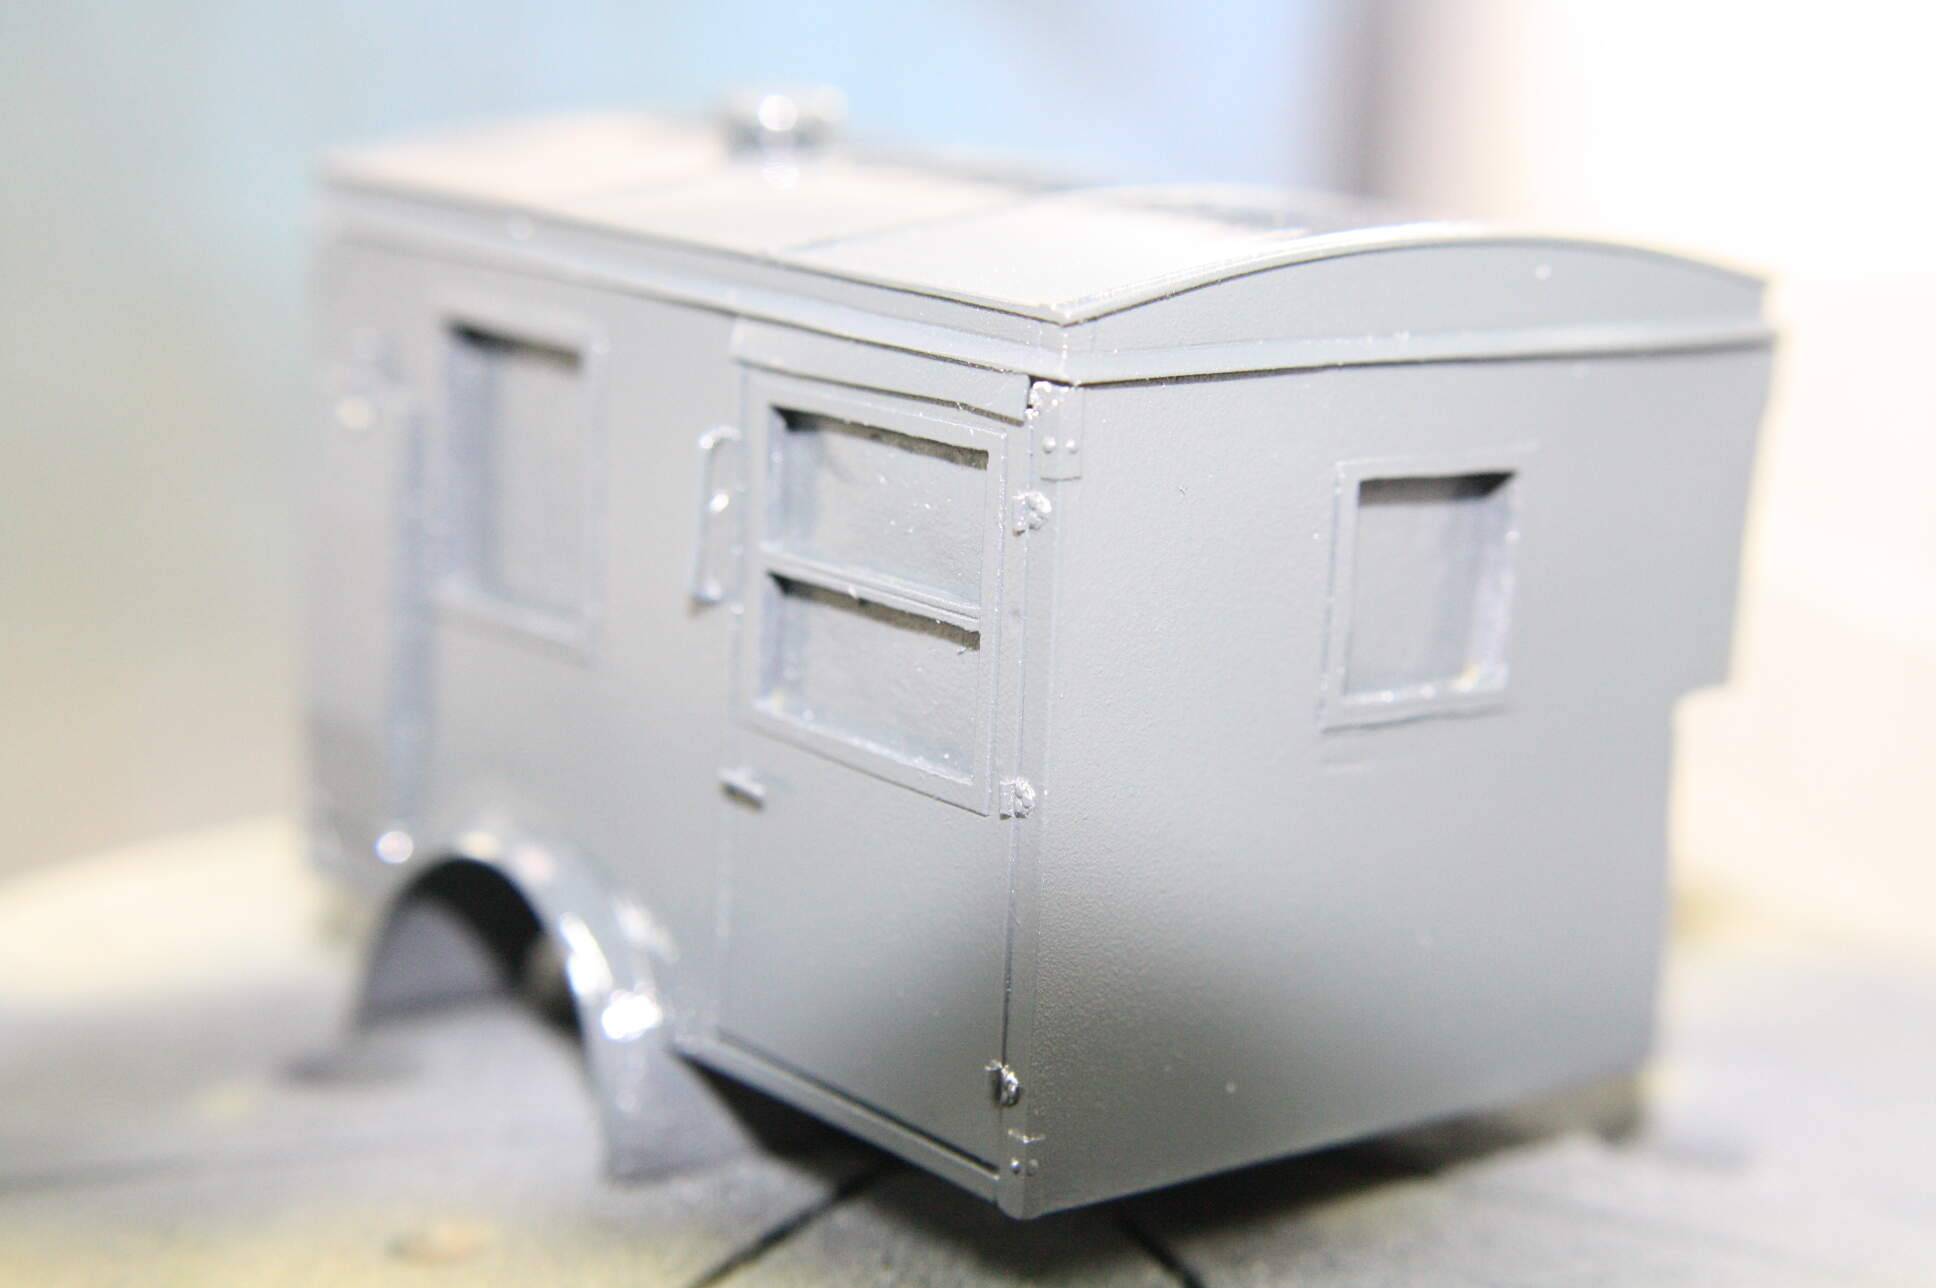
The doors were being a RPITA so I put them aside, maybe until the end of the build (kind of like indy tracks!) and moved on to make some progress on the rest of the kit. If the whole kit was going to fit like these doors, it was time to bin it! I started on the box body with the floor, a wall, Bob Smith Industries Insta-Cure+ CA and a square. And a little prayer. A little shaving here and there, some precise gluing, patient holding, and an hour later I had a decent gap free box! How proud of myself I was that I made an F-ing box! I didn’t glue in the well for the spare, which turned out to be a mistake…
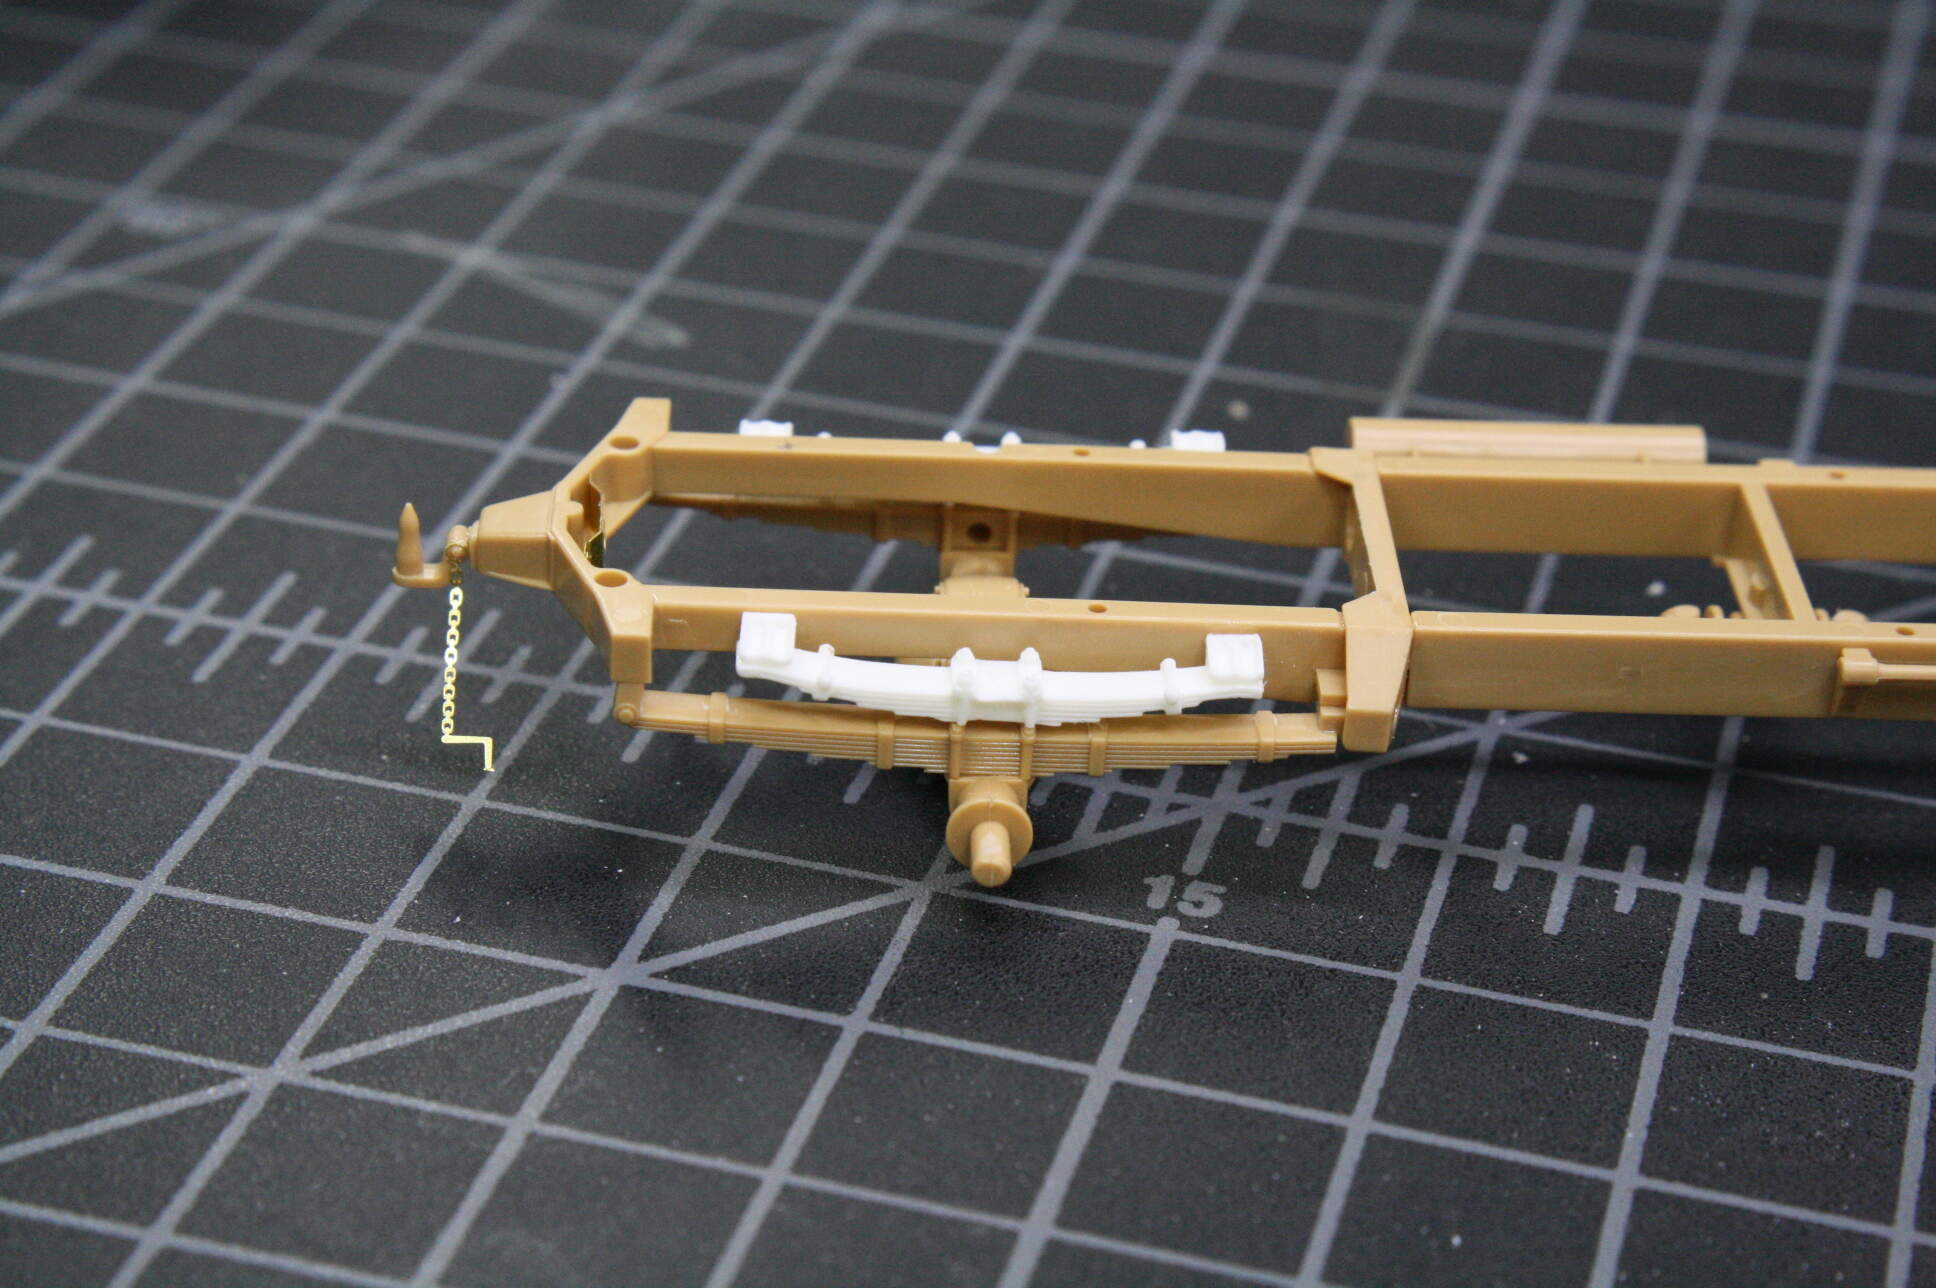
While that was drying, I cleaned up and added the supplemental leaf springs to the back axle.
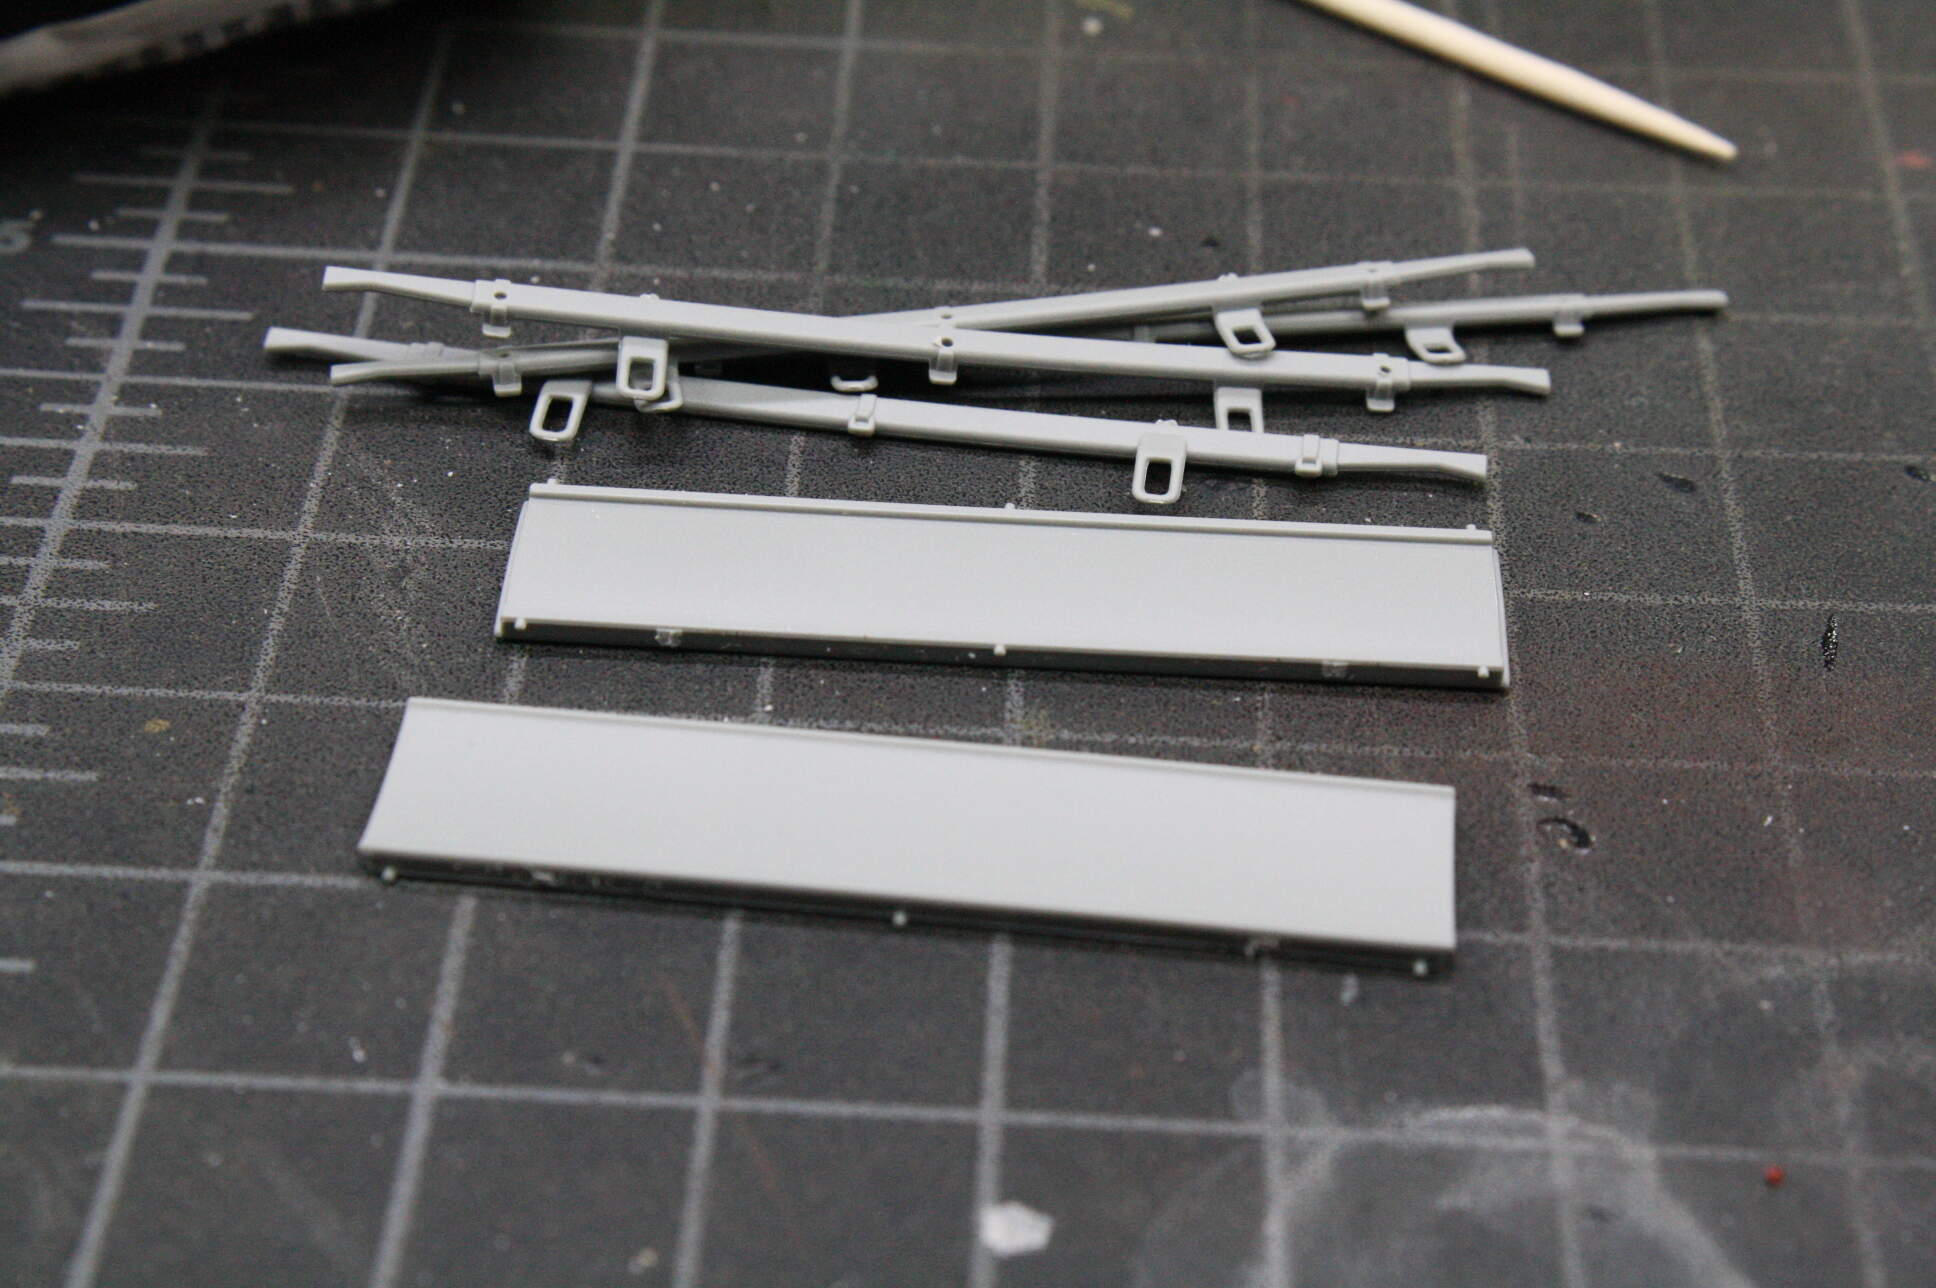
The box body interior comes completely devoid of any detail at all, so I started scrounging. I went downstairs to the stash -
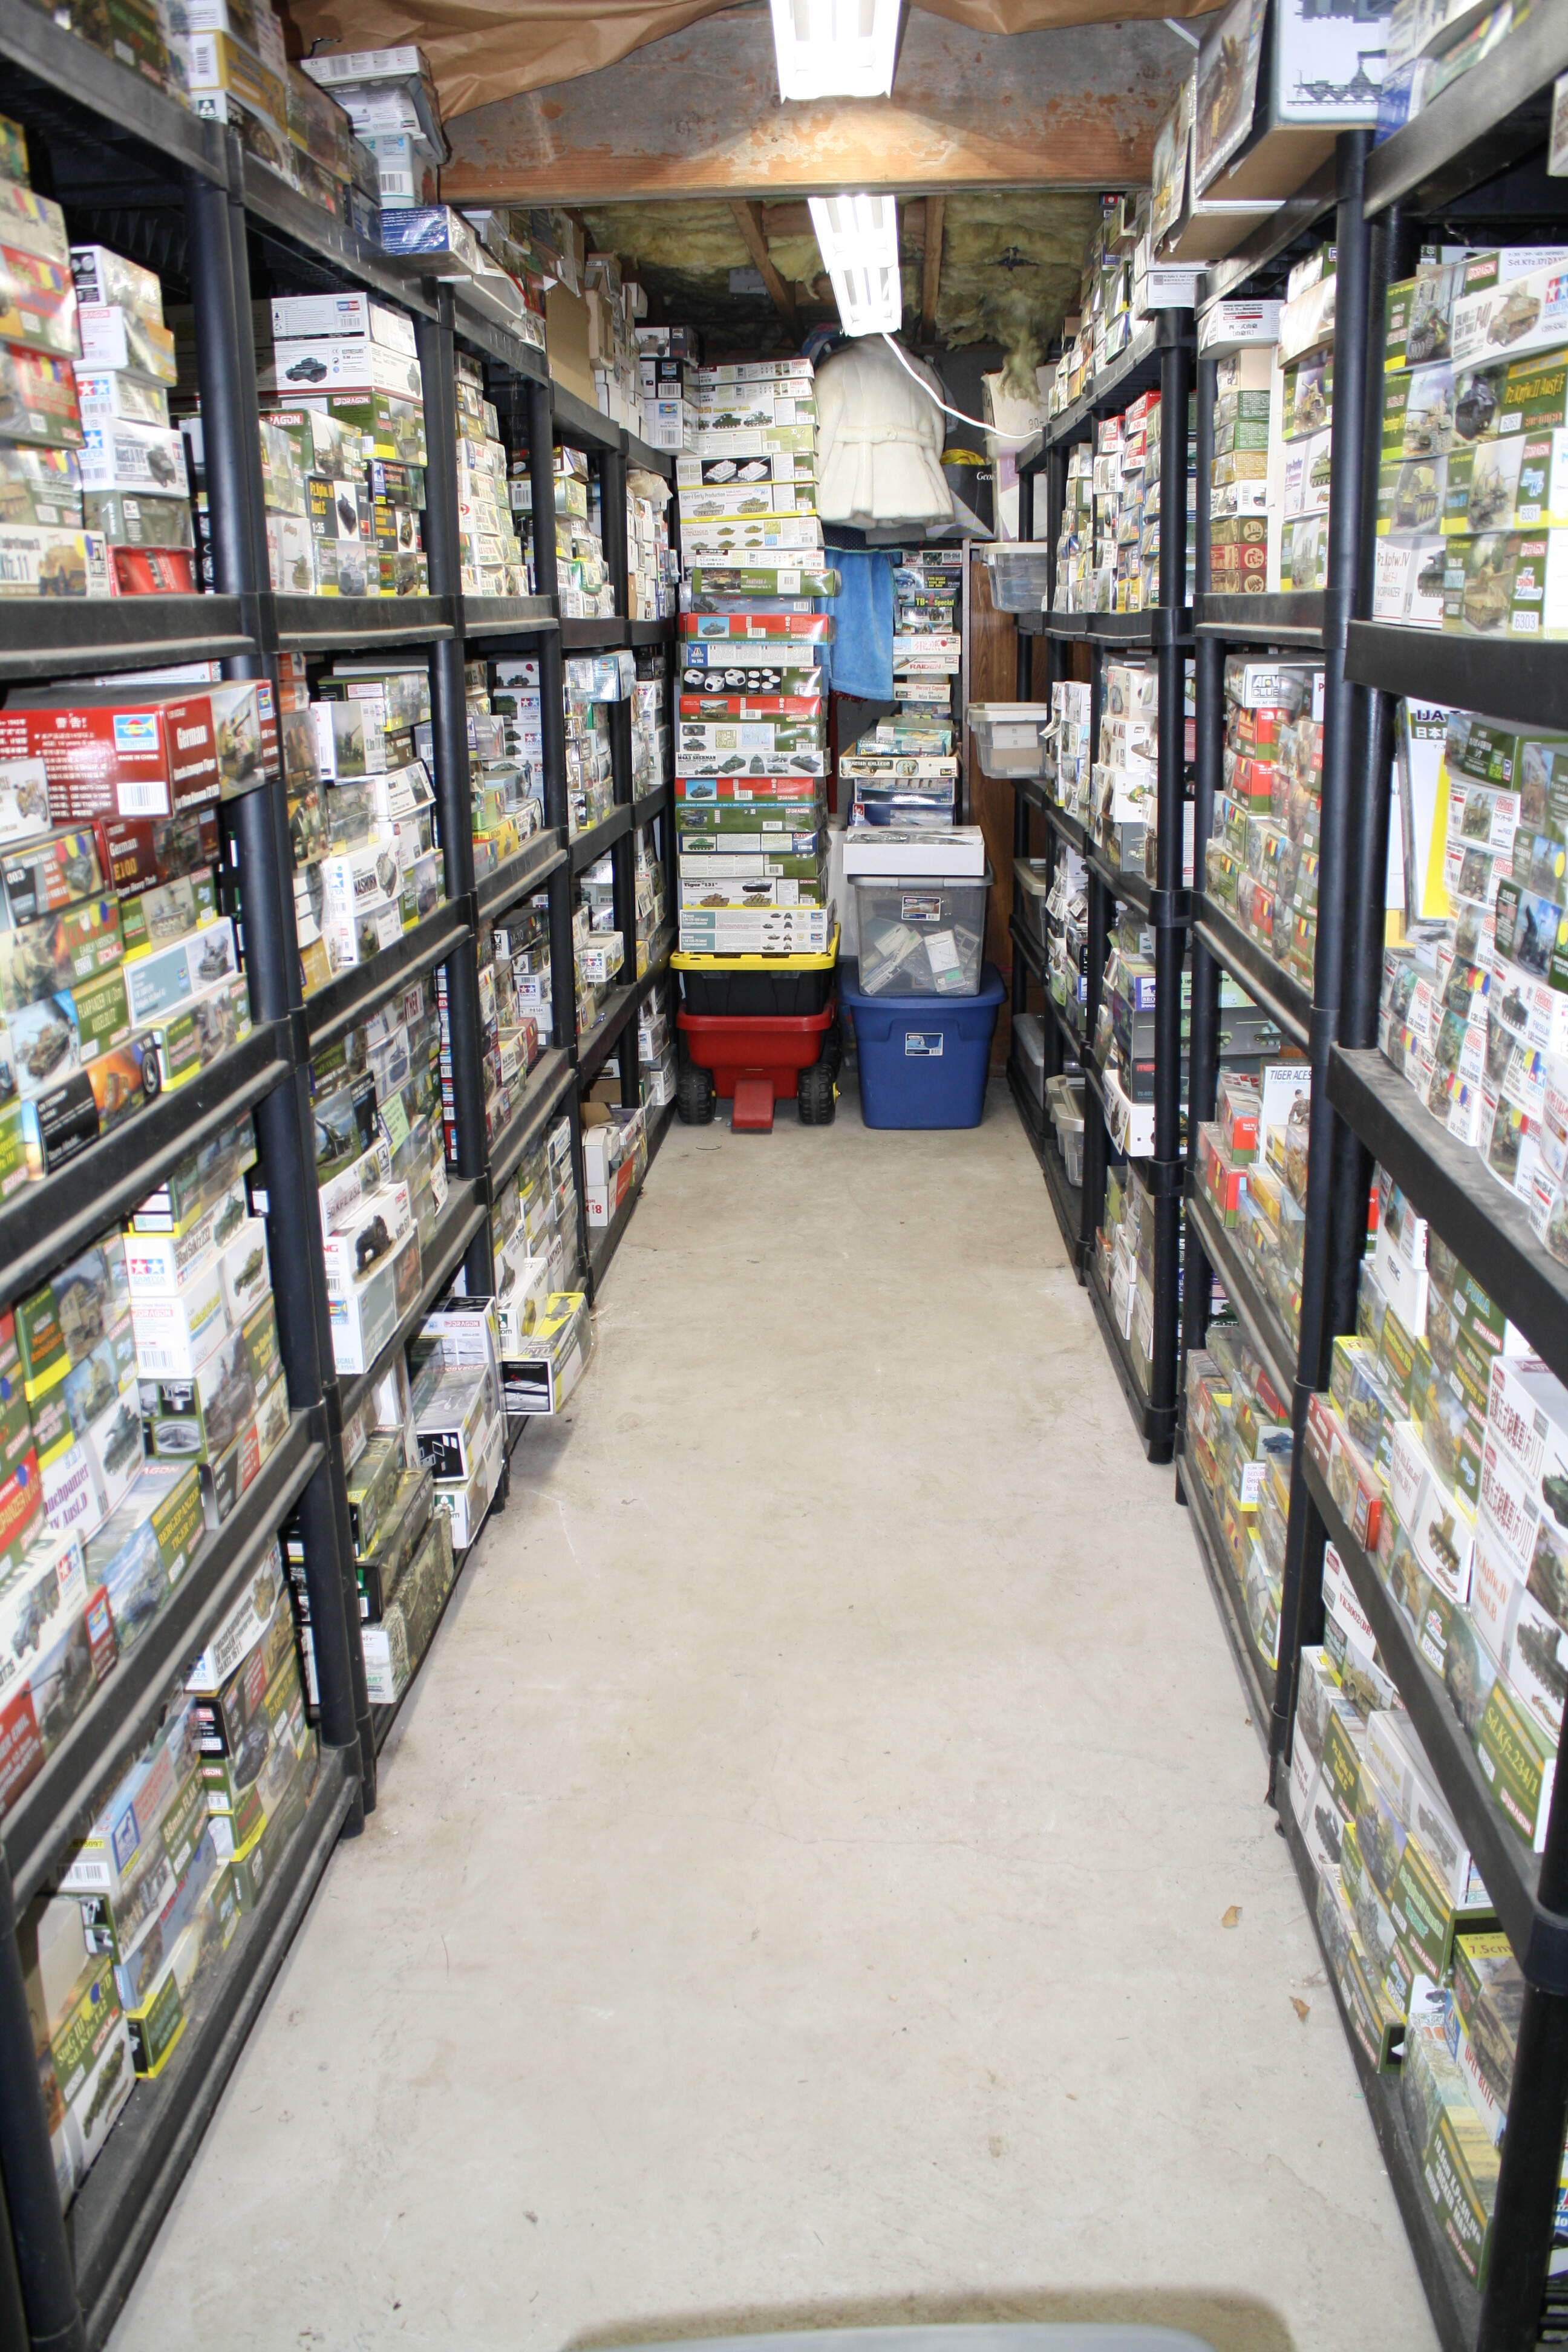
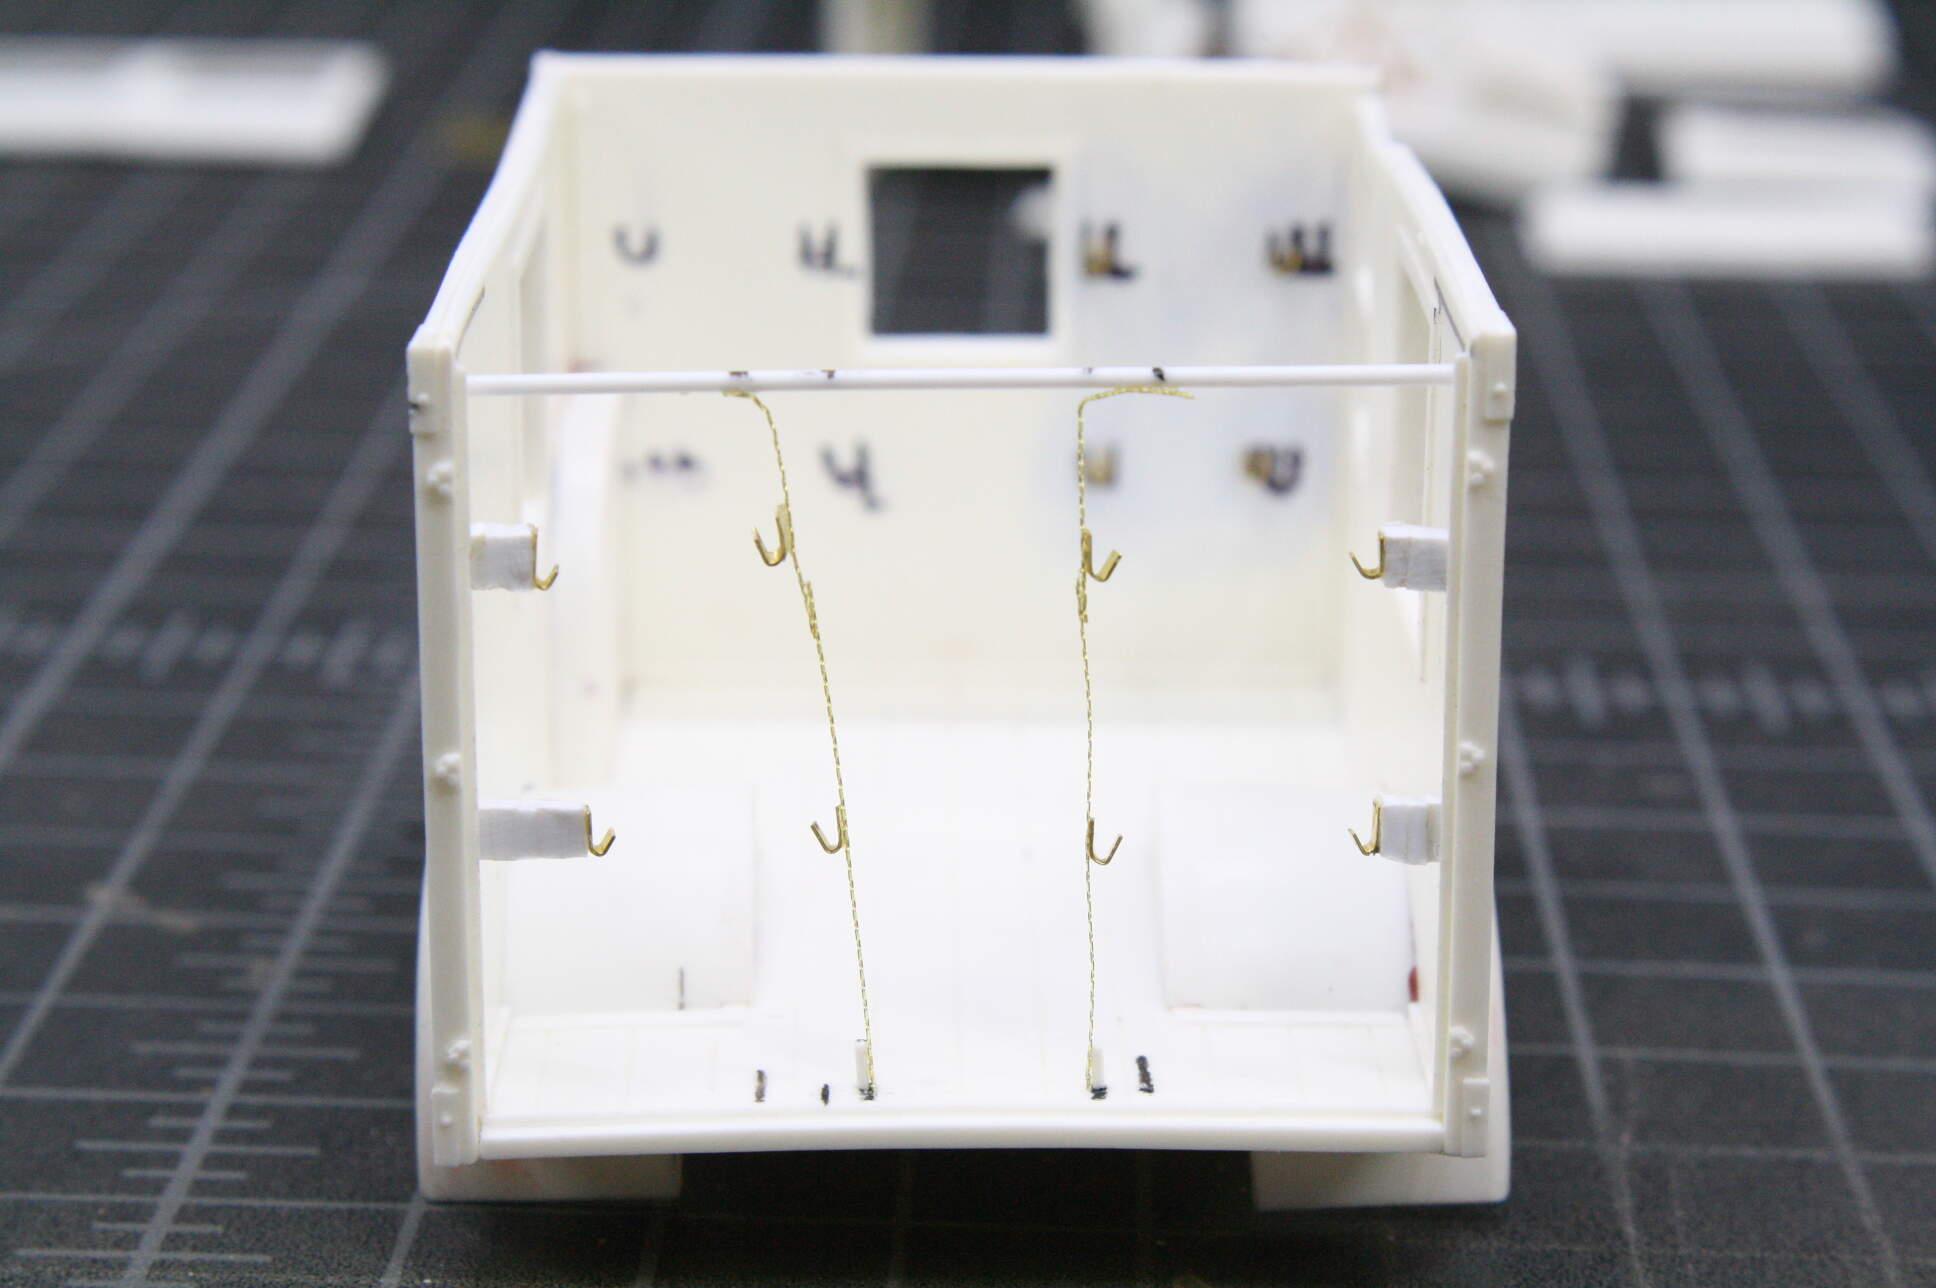
and swiped two stretchers from a Dragon Opel Blitz ambulance kit (they give you 9!) and grabbed some Aber chain from the PE bin. Most military WWII ambulances are pretty generic inside so I got the idea to scratchbuild hooks and chains to support 4 stretchers, paint everything white, and add some medical boxes I have spare.

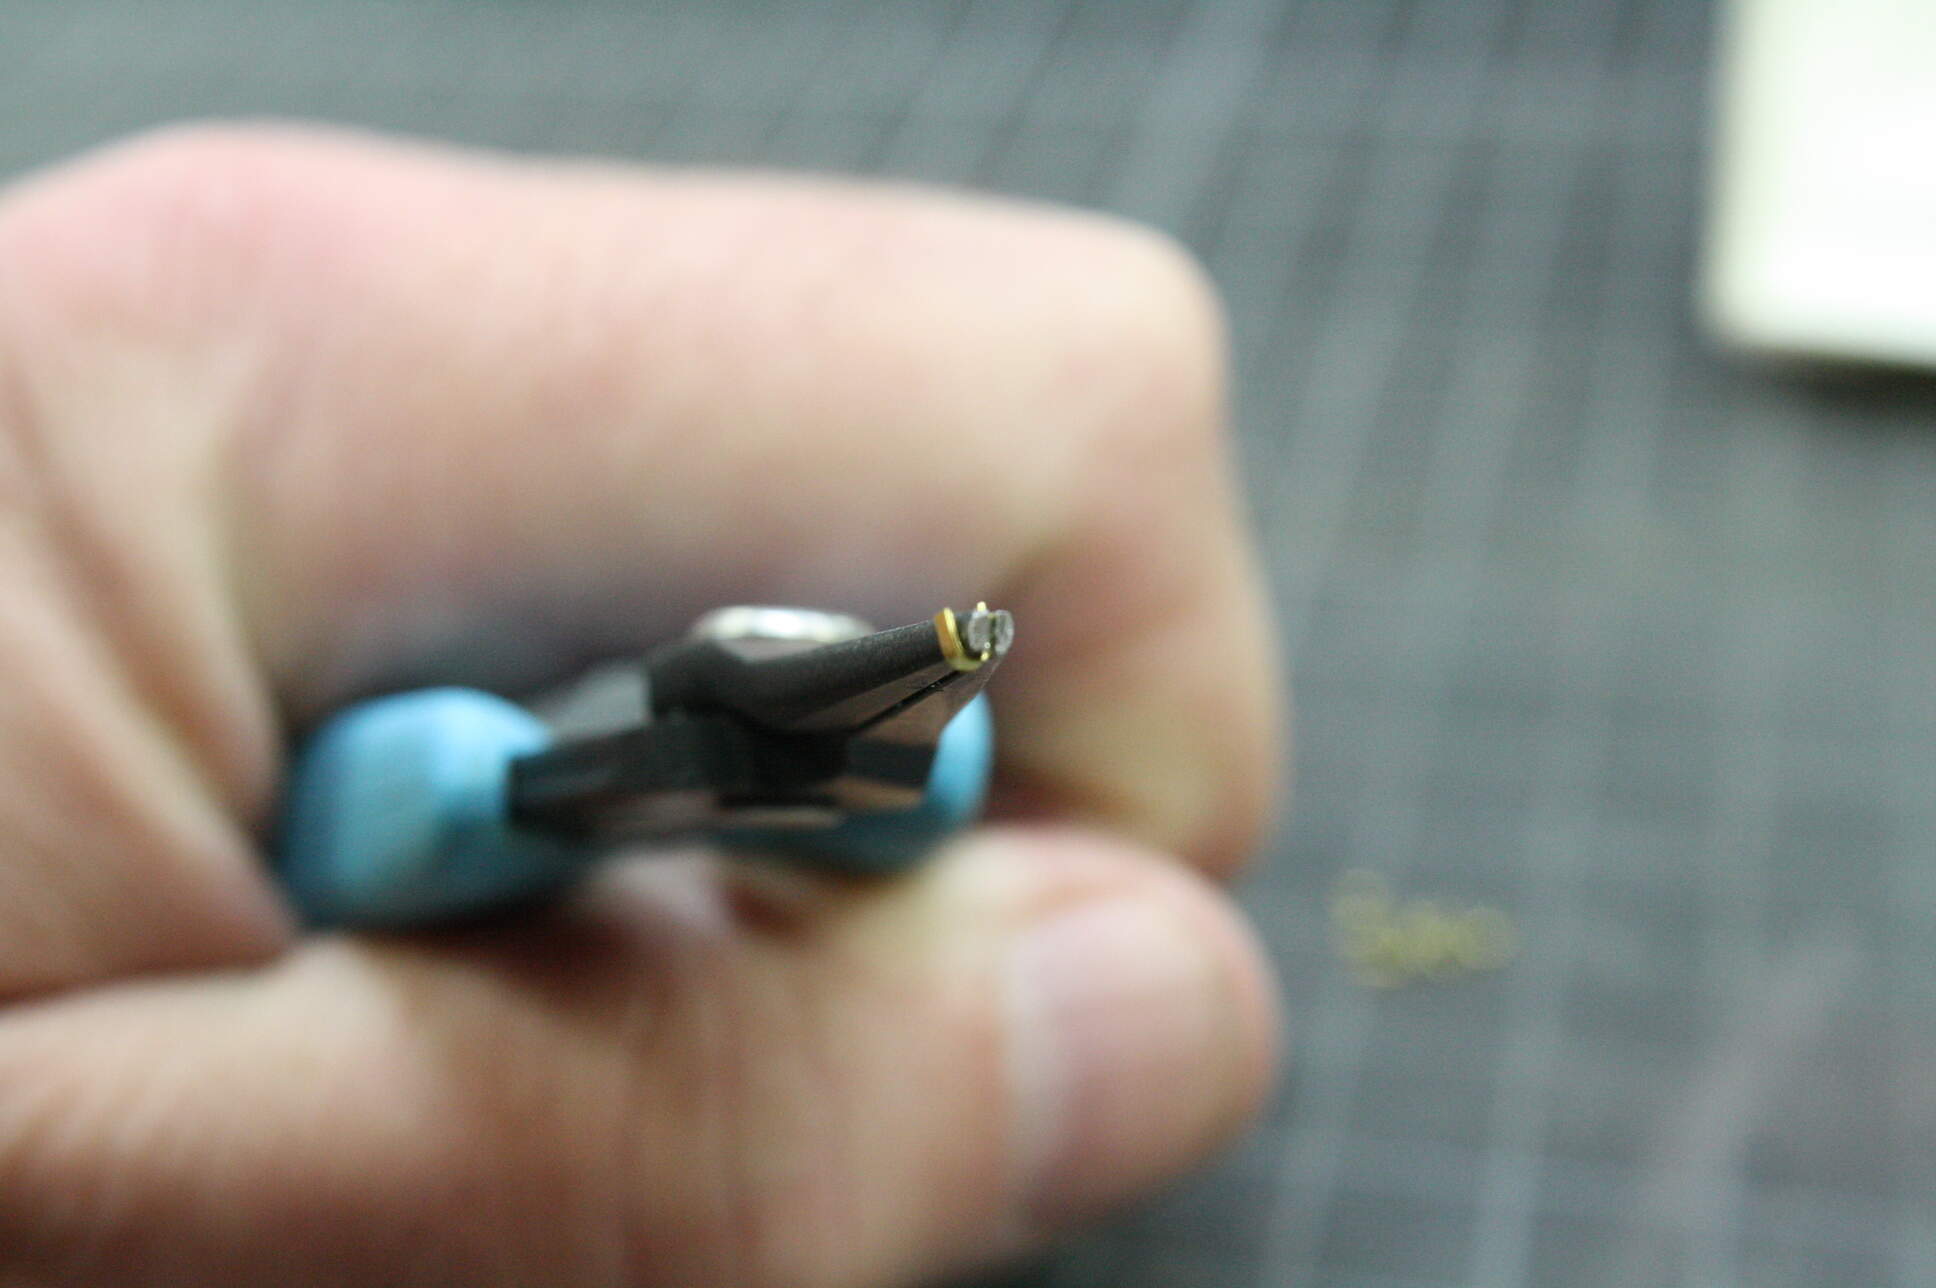
My favorite photo etch bending tool is my pair of Xuron 450 tweezer nose smooth jaw pliers. I use it for about 90% of all my photo etch bending, quick and easy. The other 10% I do with a Small Shop Bug. I have other, larger fancy benders, including a true bending brake, but I never use them.
I DID have some small part seams on the outside of the box body and some gaps around the whole of each fender, so I filled these with a toothpick and Bondo, and Mr Surfacer 500, and left overnight to dry. The spare tire well took a bunch of spot putty to smooth in.

5 Likes
Looks great this far in Matt. Nice touch with the stretchers and their mounts inside the box body 
1 Like
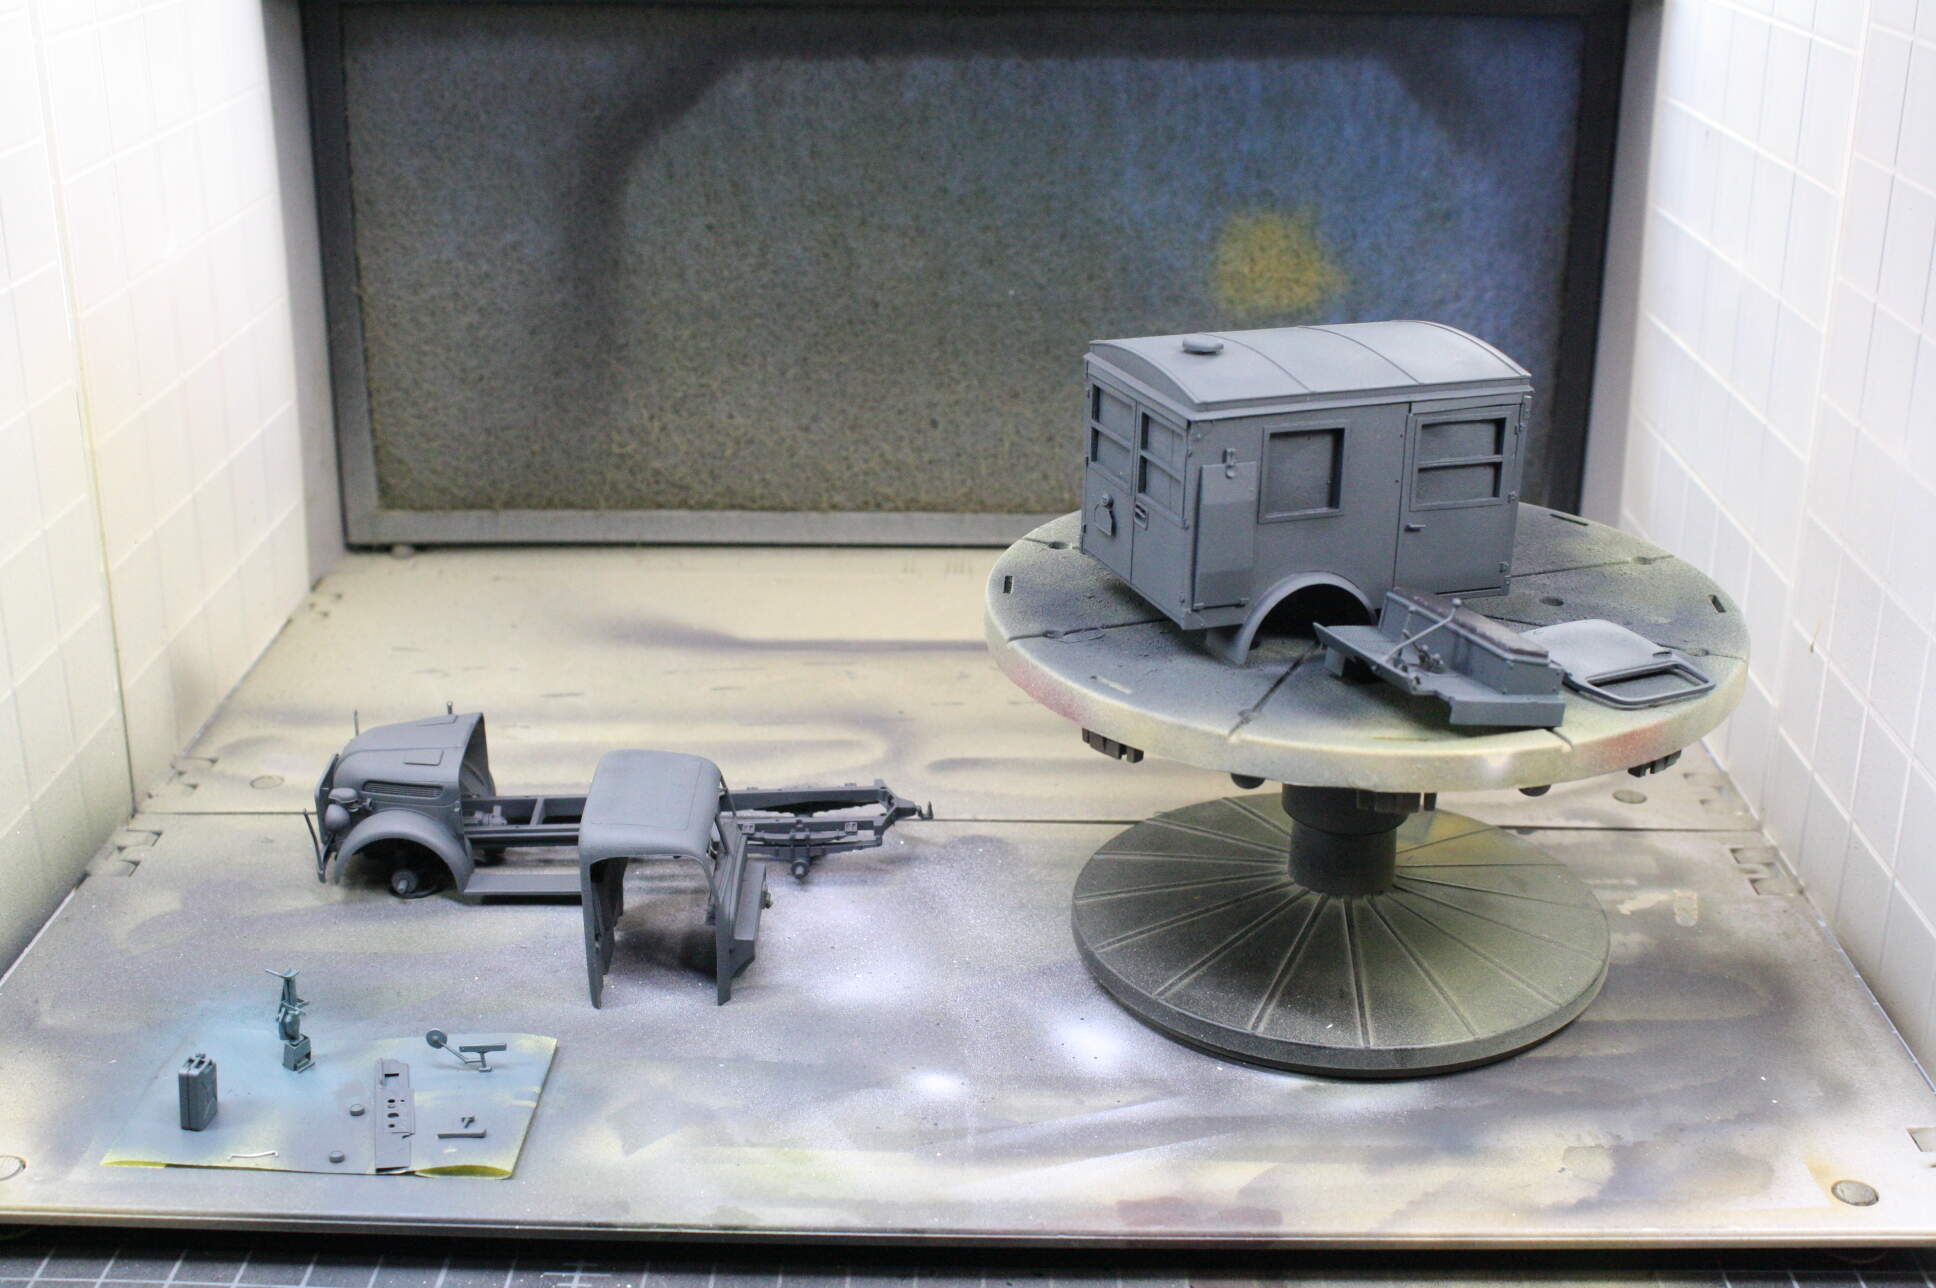
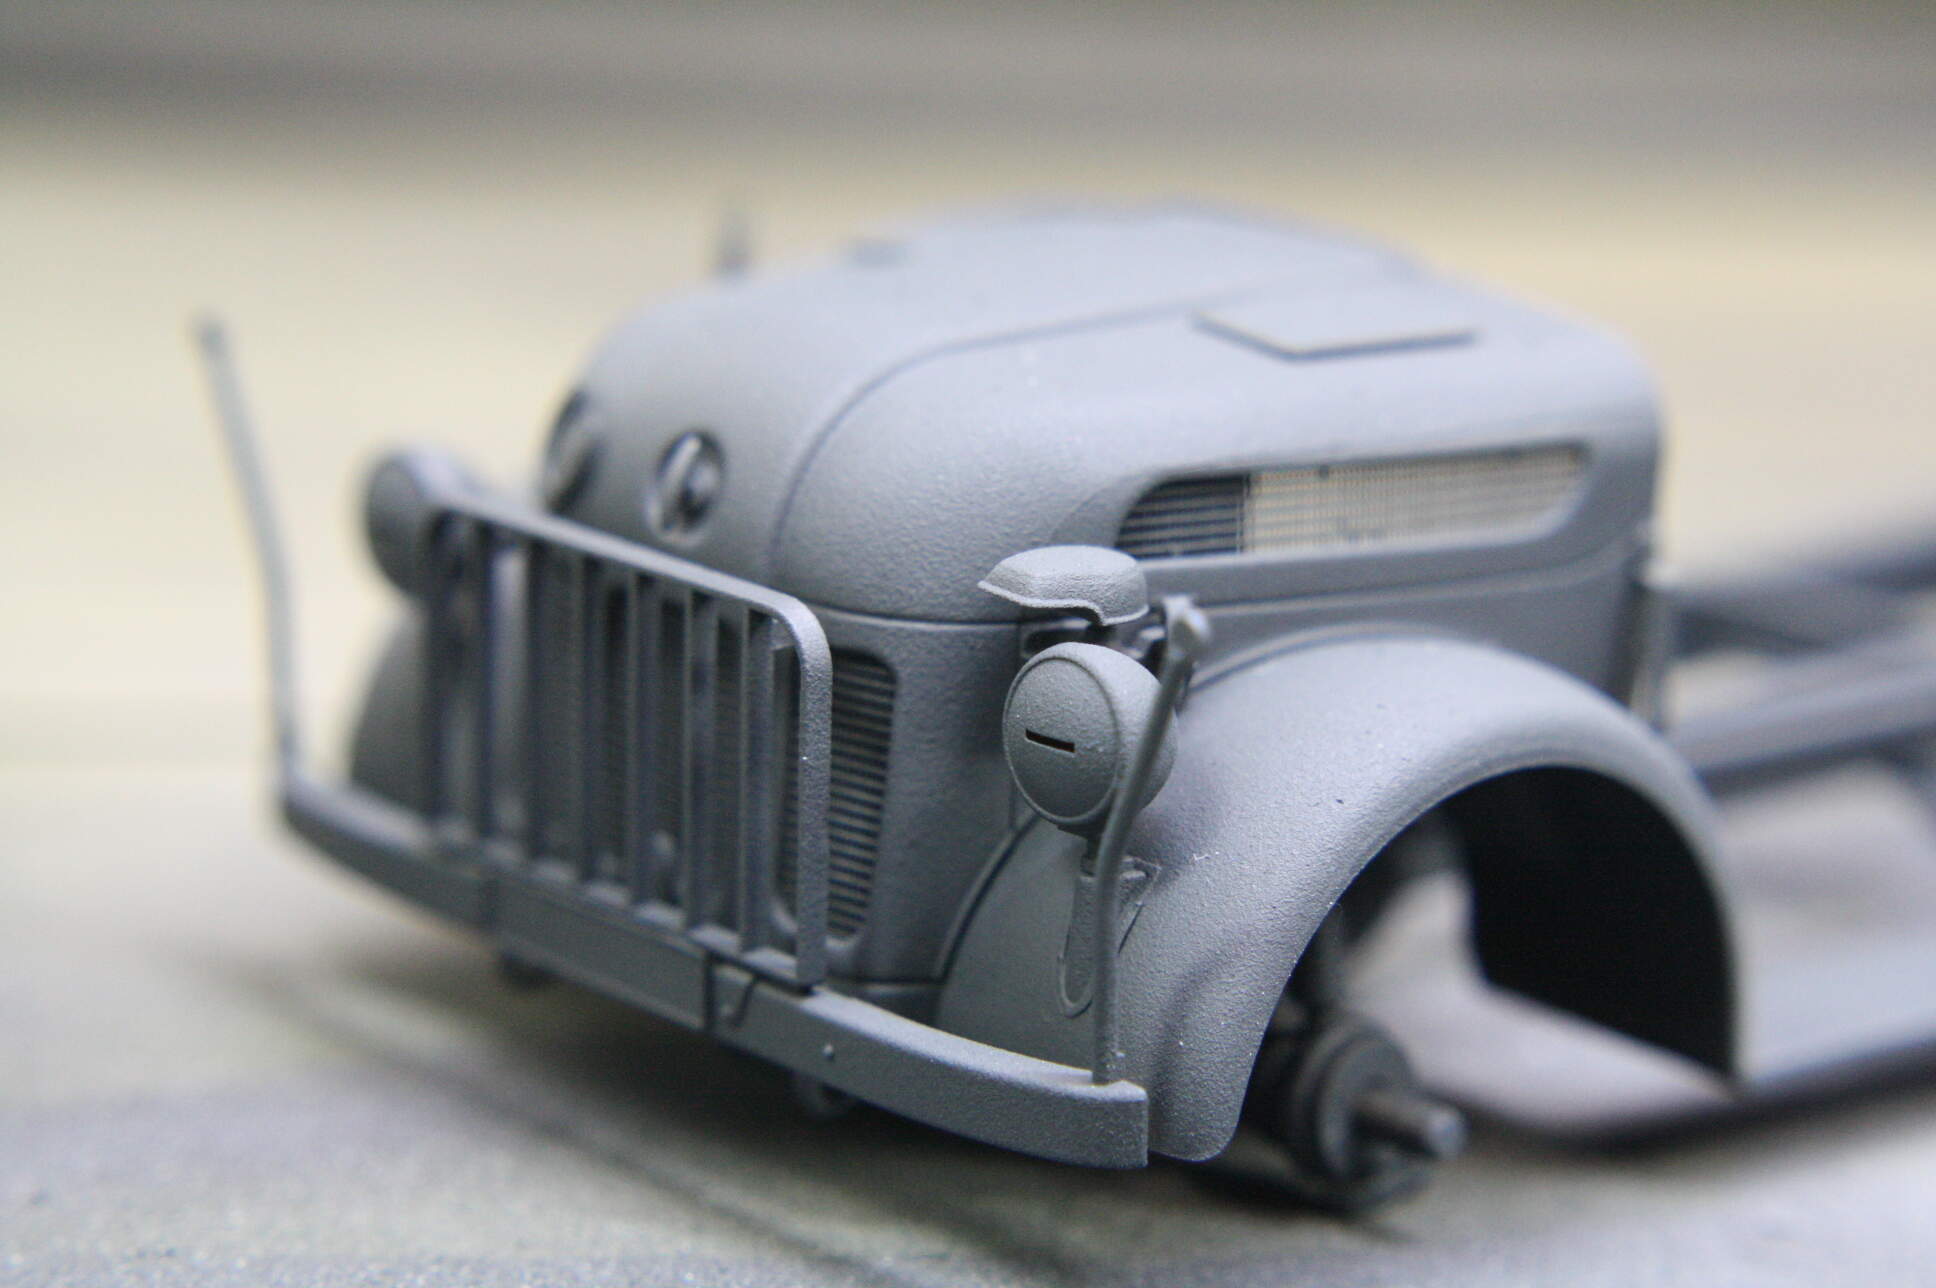
I glued the rear doors together so it would be simpler to align them to the box as one unit. I left the stretchers out and roof loose until all the painting was done. Since I had dash gauges to add post-paint, I had to paint the cab interior prior to assembly, so I decided to just paint everything I had so far. I set up my portable spray booth on the bench (a little miracle I’m so happy I purchased) and mixed up the Lifecolor Dunkelgrau.
I like the dark gray and it takes extra work to do it really well. But i think we don’t see enough dark grey vehicle models because everybody is so excited to paint 3 color camo and how dazzling it can look. I don’t blame anybody for wanting to have their model look cool, but I think dark grey can look cool too.
Since this was an overall base color, I got out my trusty old Iwata Revolution CR and spent an hour or so pushing paint. The planets aligned and I had no halts or glitches, so it was airbrushing zen all the way. I love it when that happens.

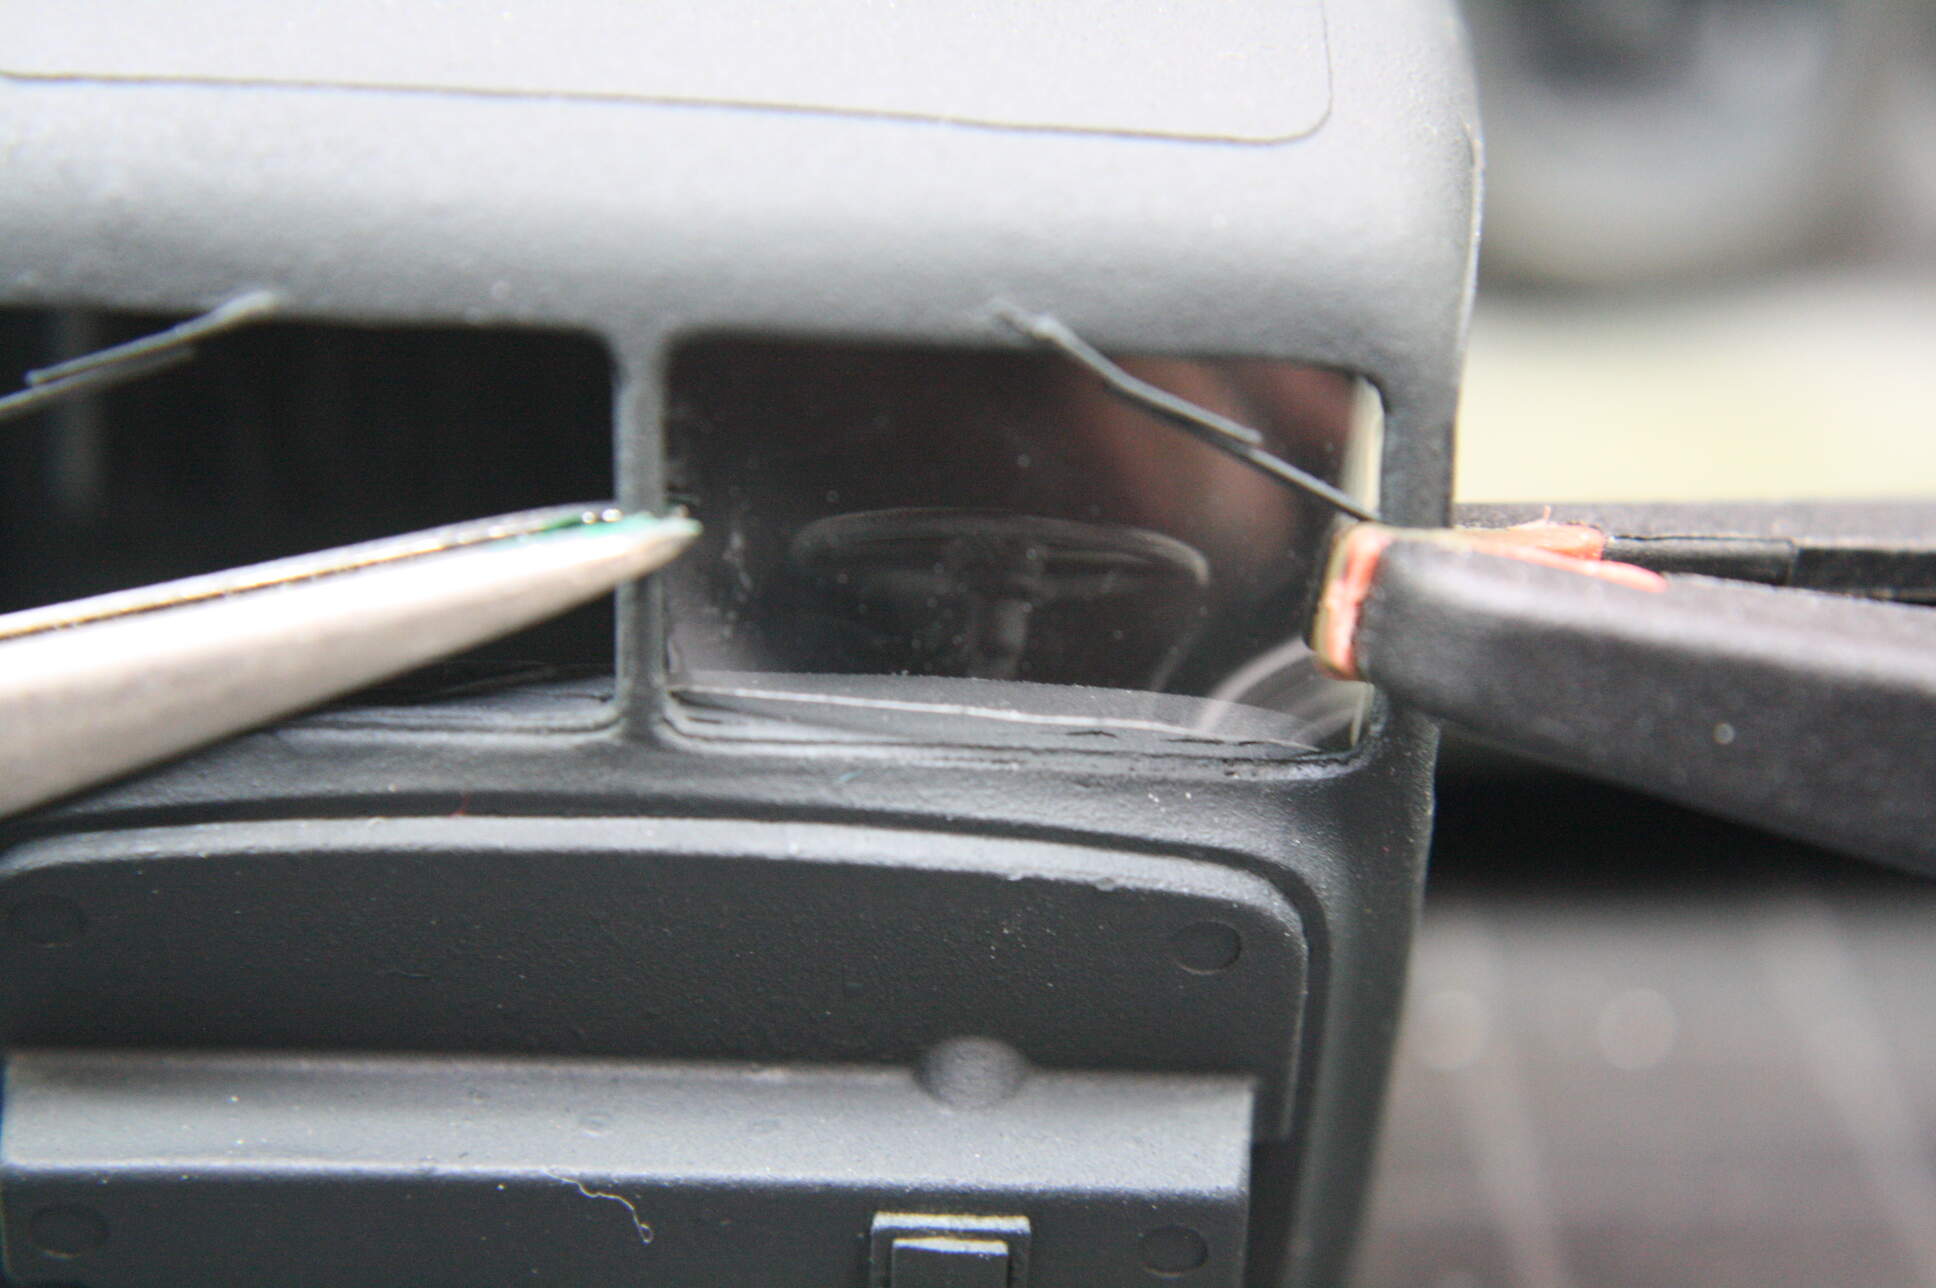
Now the terror began. I decided to tackle the windshield. I made paper templates, fine, but the shape of paper that fit so precisely didn’t translate to the .005 clear styrene. I’d cut one. But it would be too big in the corner, so I’d gently sand it down. Then it would have a gap on the side. Throw it away and make another. This went on all day. Finally, I got one to fit all the way around without scratching it or stressing it and it looked pretty. This is windshield #12. I glued it in with PVA glue, left it to dry overnight, and prayed.
6 Likes
Model praying…
Good luck
Looking good. I like the grey vehicles also. There is a lot of room for subtle weathering on a vehicle that is monotone. A lot of weathering on tri-tone camo’ed vehicles tends to get overdone just so it can be seen. I feel for you on the windshield, nothing more frustrating than going around 12+ times. but it looks good and much more to scale than the kit provides.
Cheers,
C.
I just bought a set of those clamps. Haven’t used them yet, but looking forward to it. Thanks for the tips on cutting them off the sheet.
@Dan thanks for the prayers, I’ll need them…
@creading This is a resin conversion and the kit provides no plastic windows, no glassine inserts, no templates, not even clear sheet. You’re totally on your own.
@Bravo36 Get a photo etch saw for taking these off the block. I just got mine in and it took all of 5 seconds to saw 2 clamps off the block with no breakage and no loss. This is a must have item.
1 Like
Ah, good idea, I’ve got a set of those saw blades, somewhere. Thanks again
Ah, I thought maybe you were expected to use the Tamiya kit provided clear parts. Regardless, your ‘windows’ looks real good.
Cheers,
C.