Thanks Charles. I had a bottle of Kristal Kleer but when I went to use it I found it had dried up over the years. I hate when that happens.
Great progress on the kit. I indeed also use Revell Clear for windows… As for grey vehicles, does this count?


4 Likes
Very nice work Erwin! Not enough guys do Dunkelgrau.
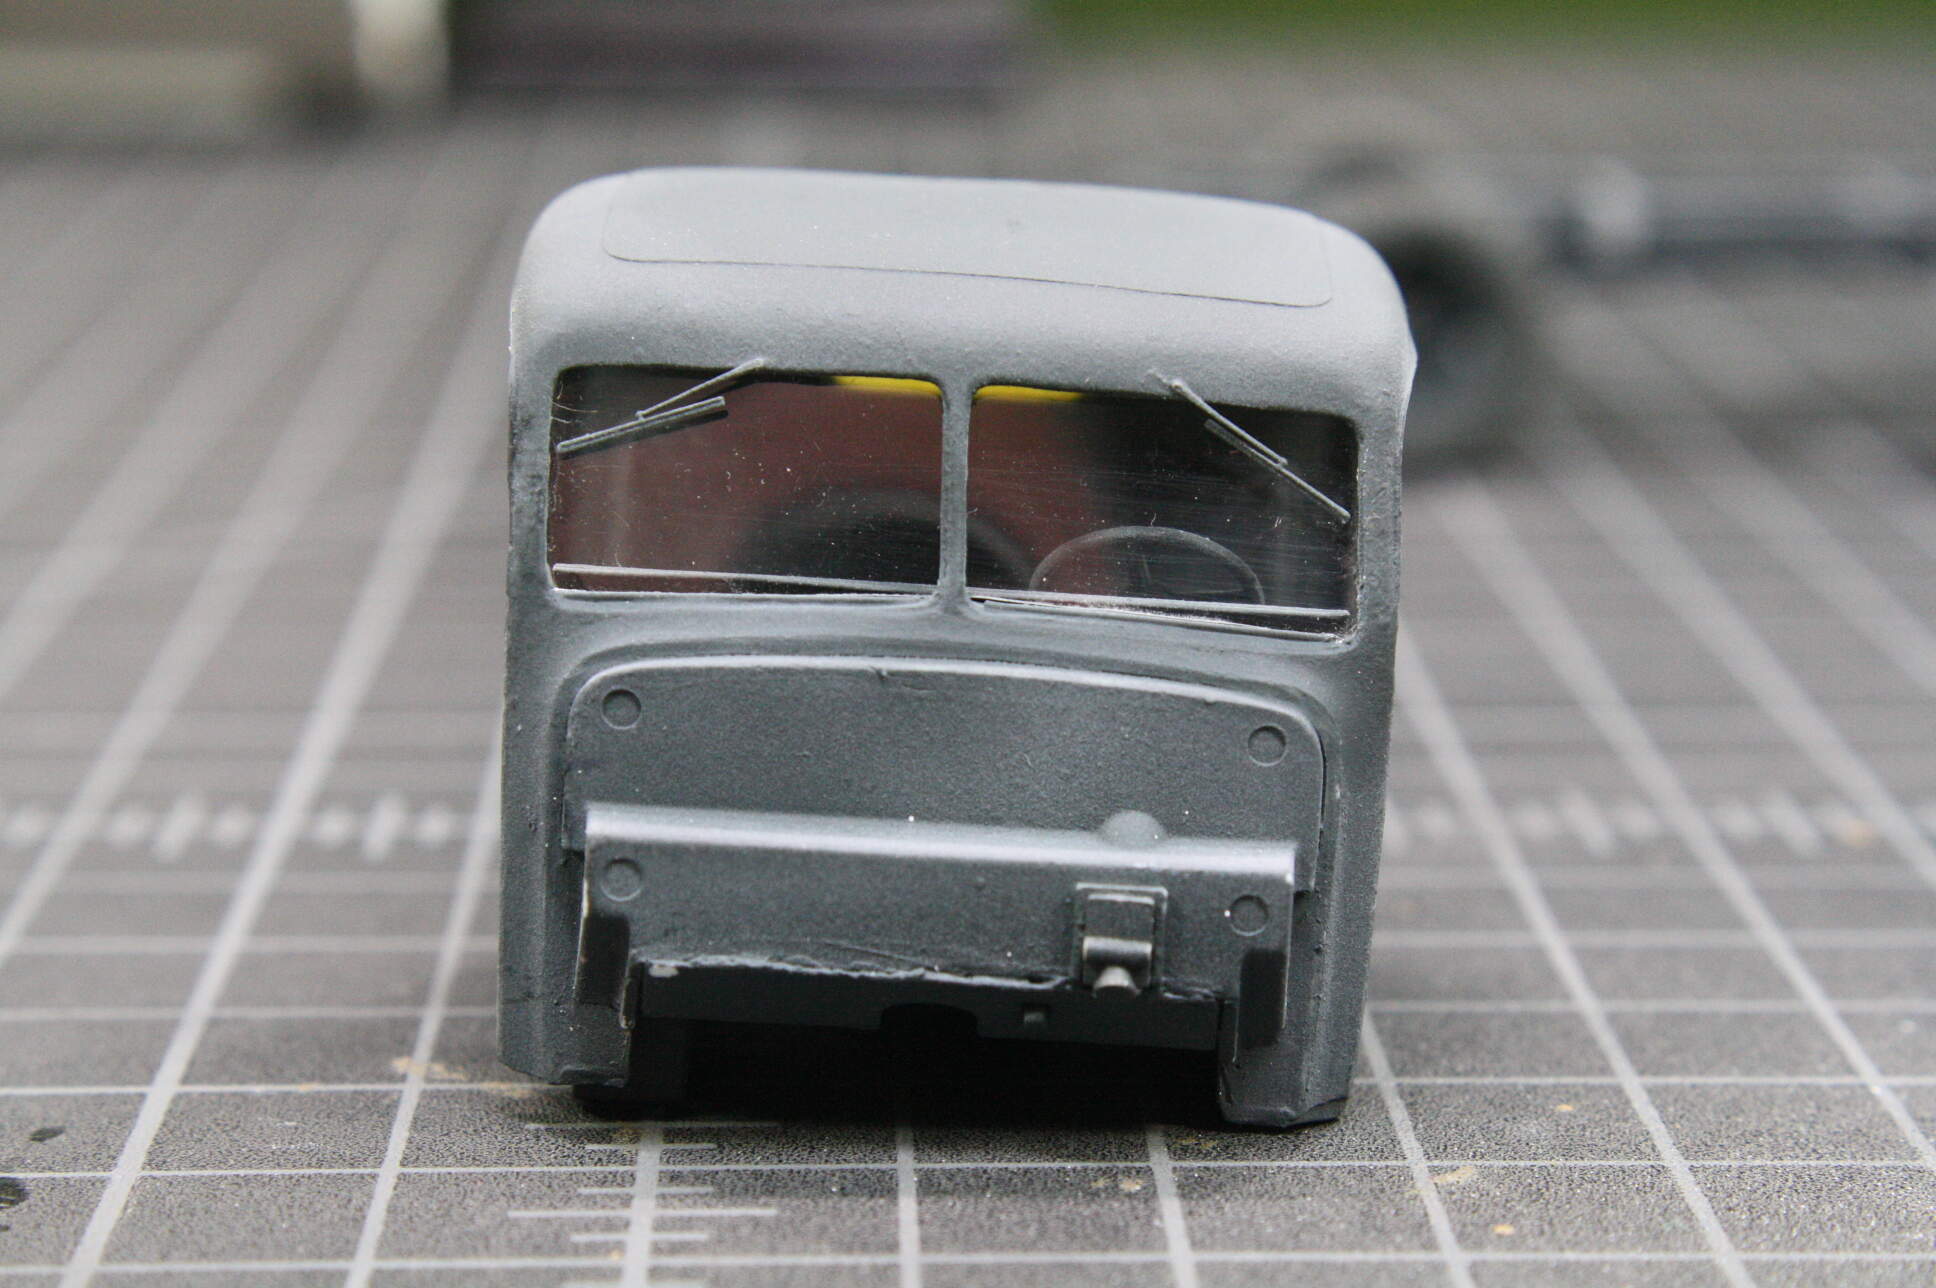
Windshield #28. I am done F-ing with this.
The problem was the arc across the bottom of the windshield - I had to cut it freehand, and the slightest macrometric wiggle of the blade would throw the arc off and create a hair’s width gap somewhere on the bottom edge of the glass. Something you can’t fill with Mr. Surfacer, just cut a new one and try to be steadier…
Now, on to building the rest of this conversion!
3 Likes
![]() congrats on vexing that demon.
congrats on vexing that demon.
1 Like
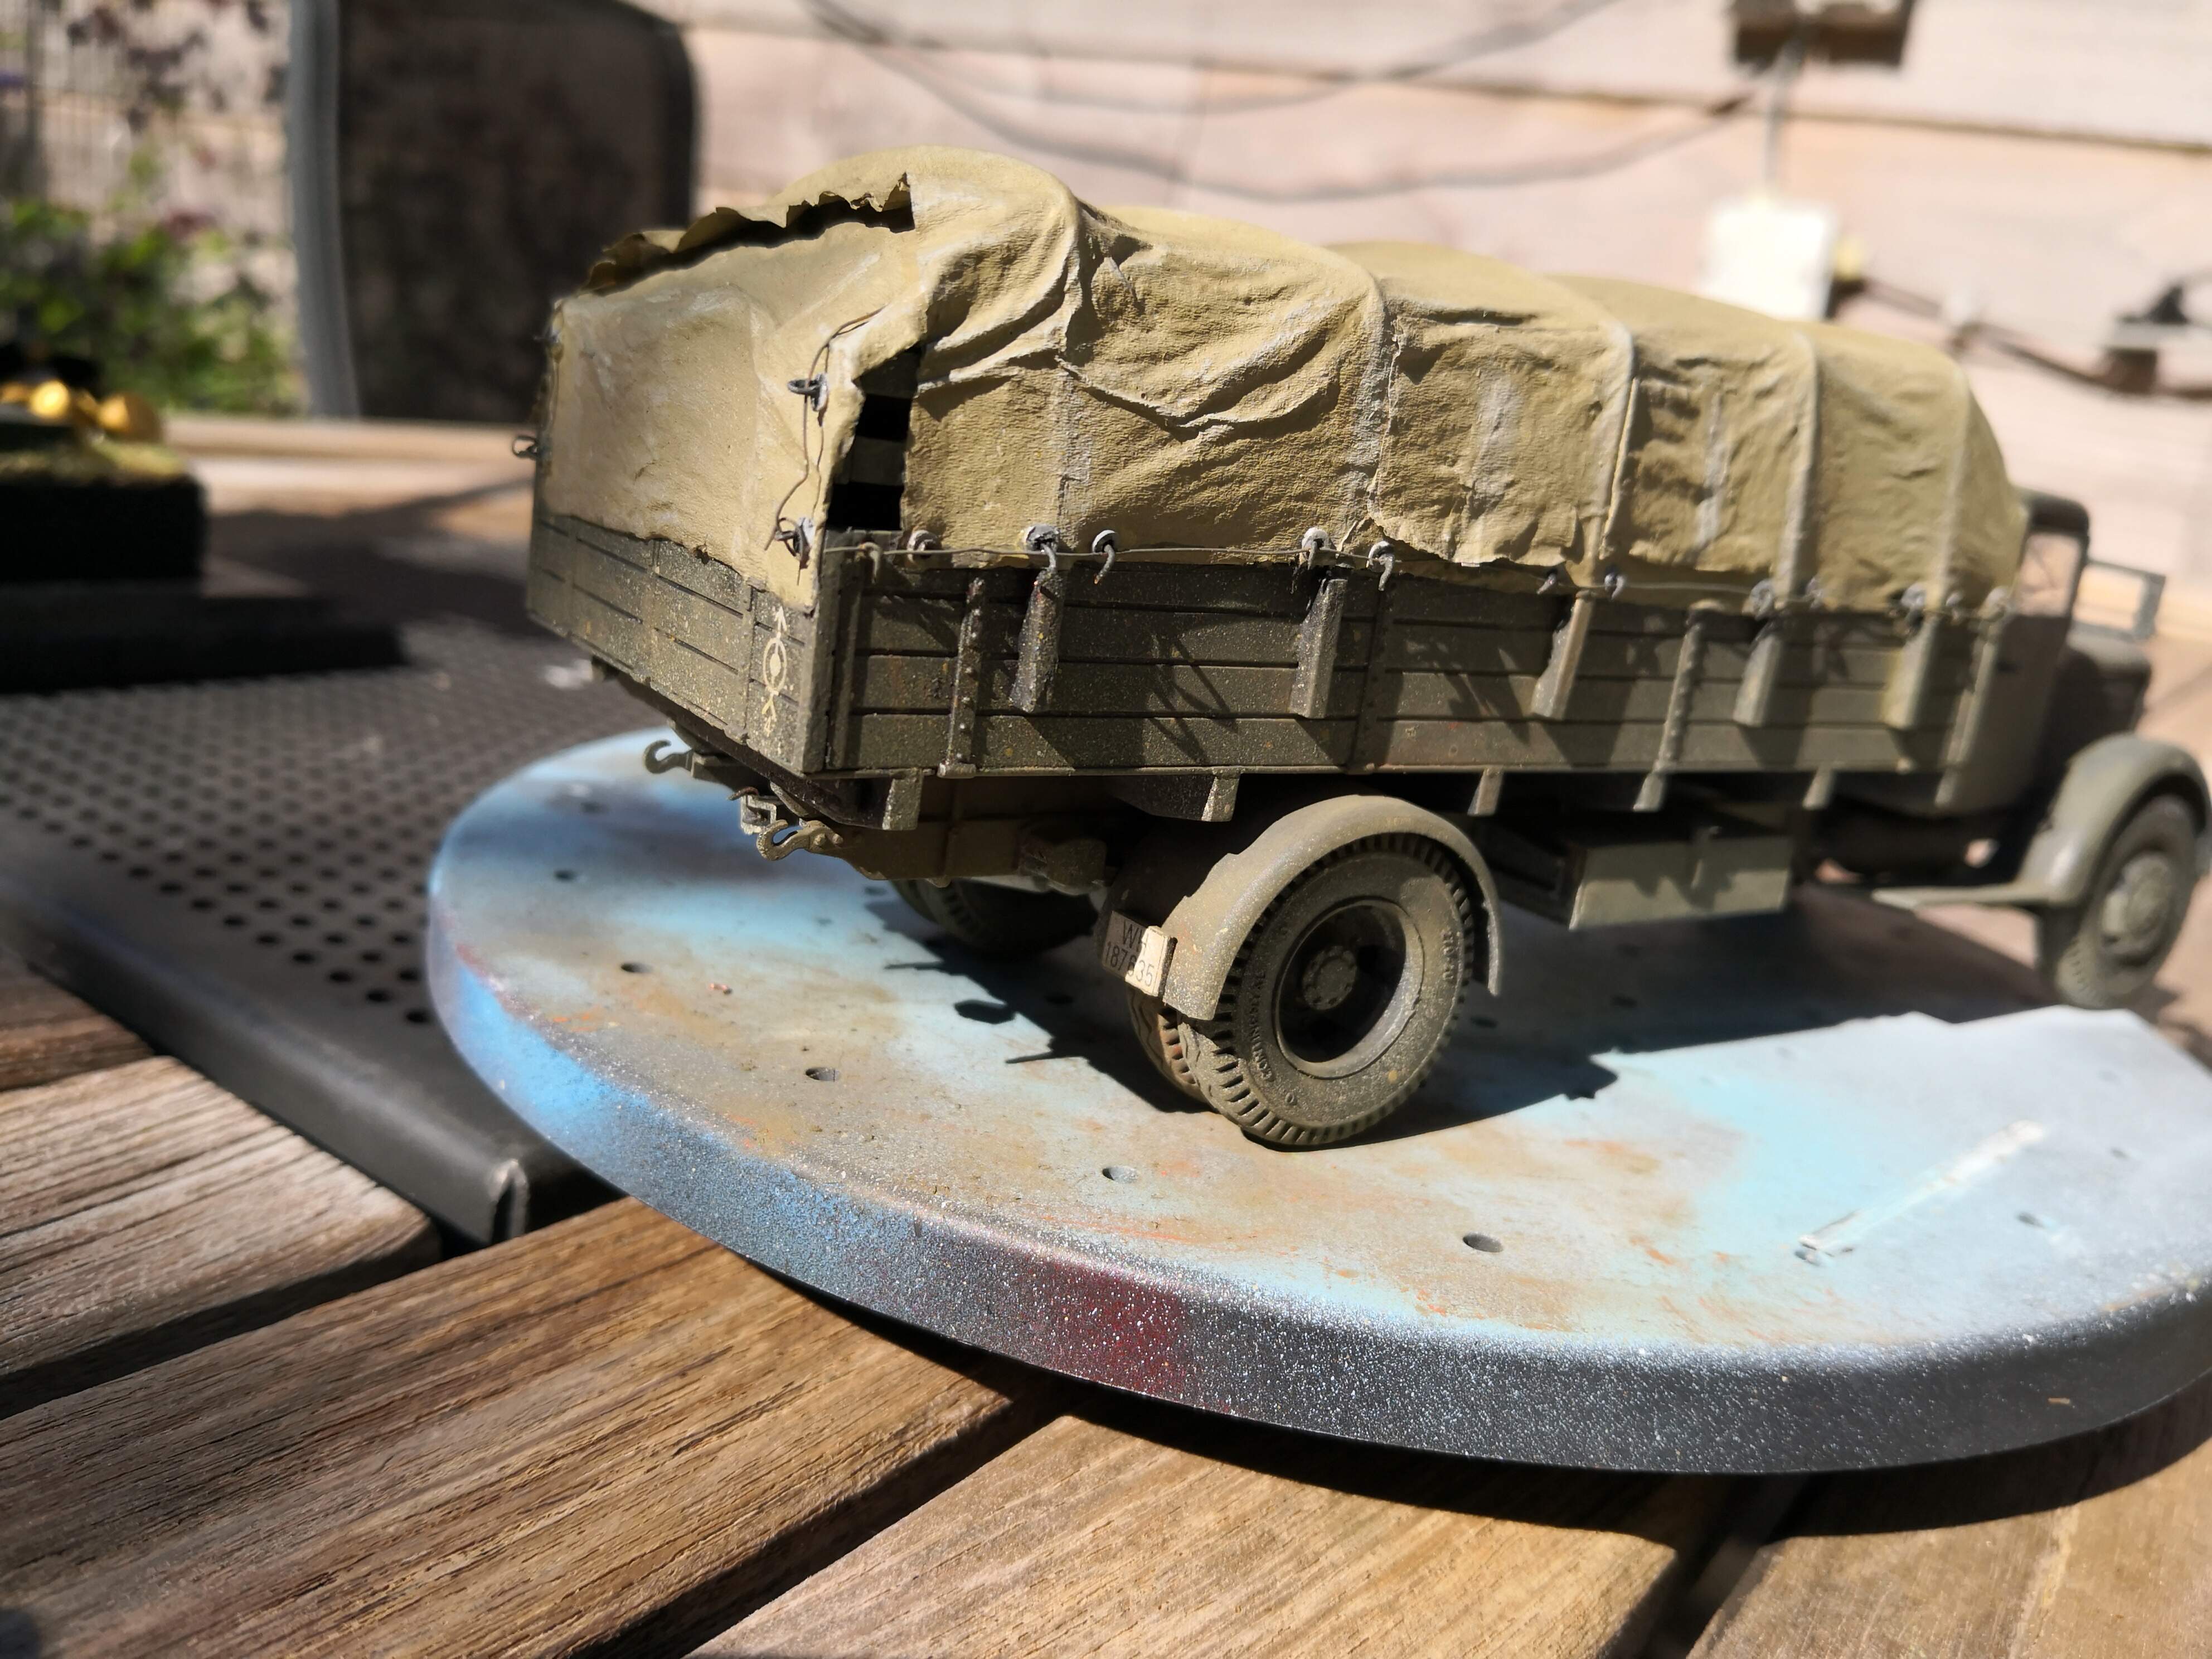
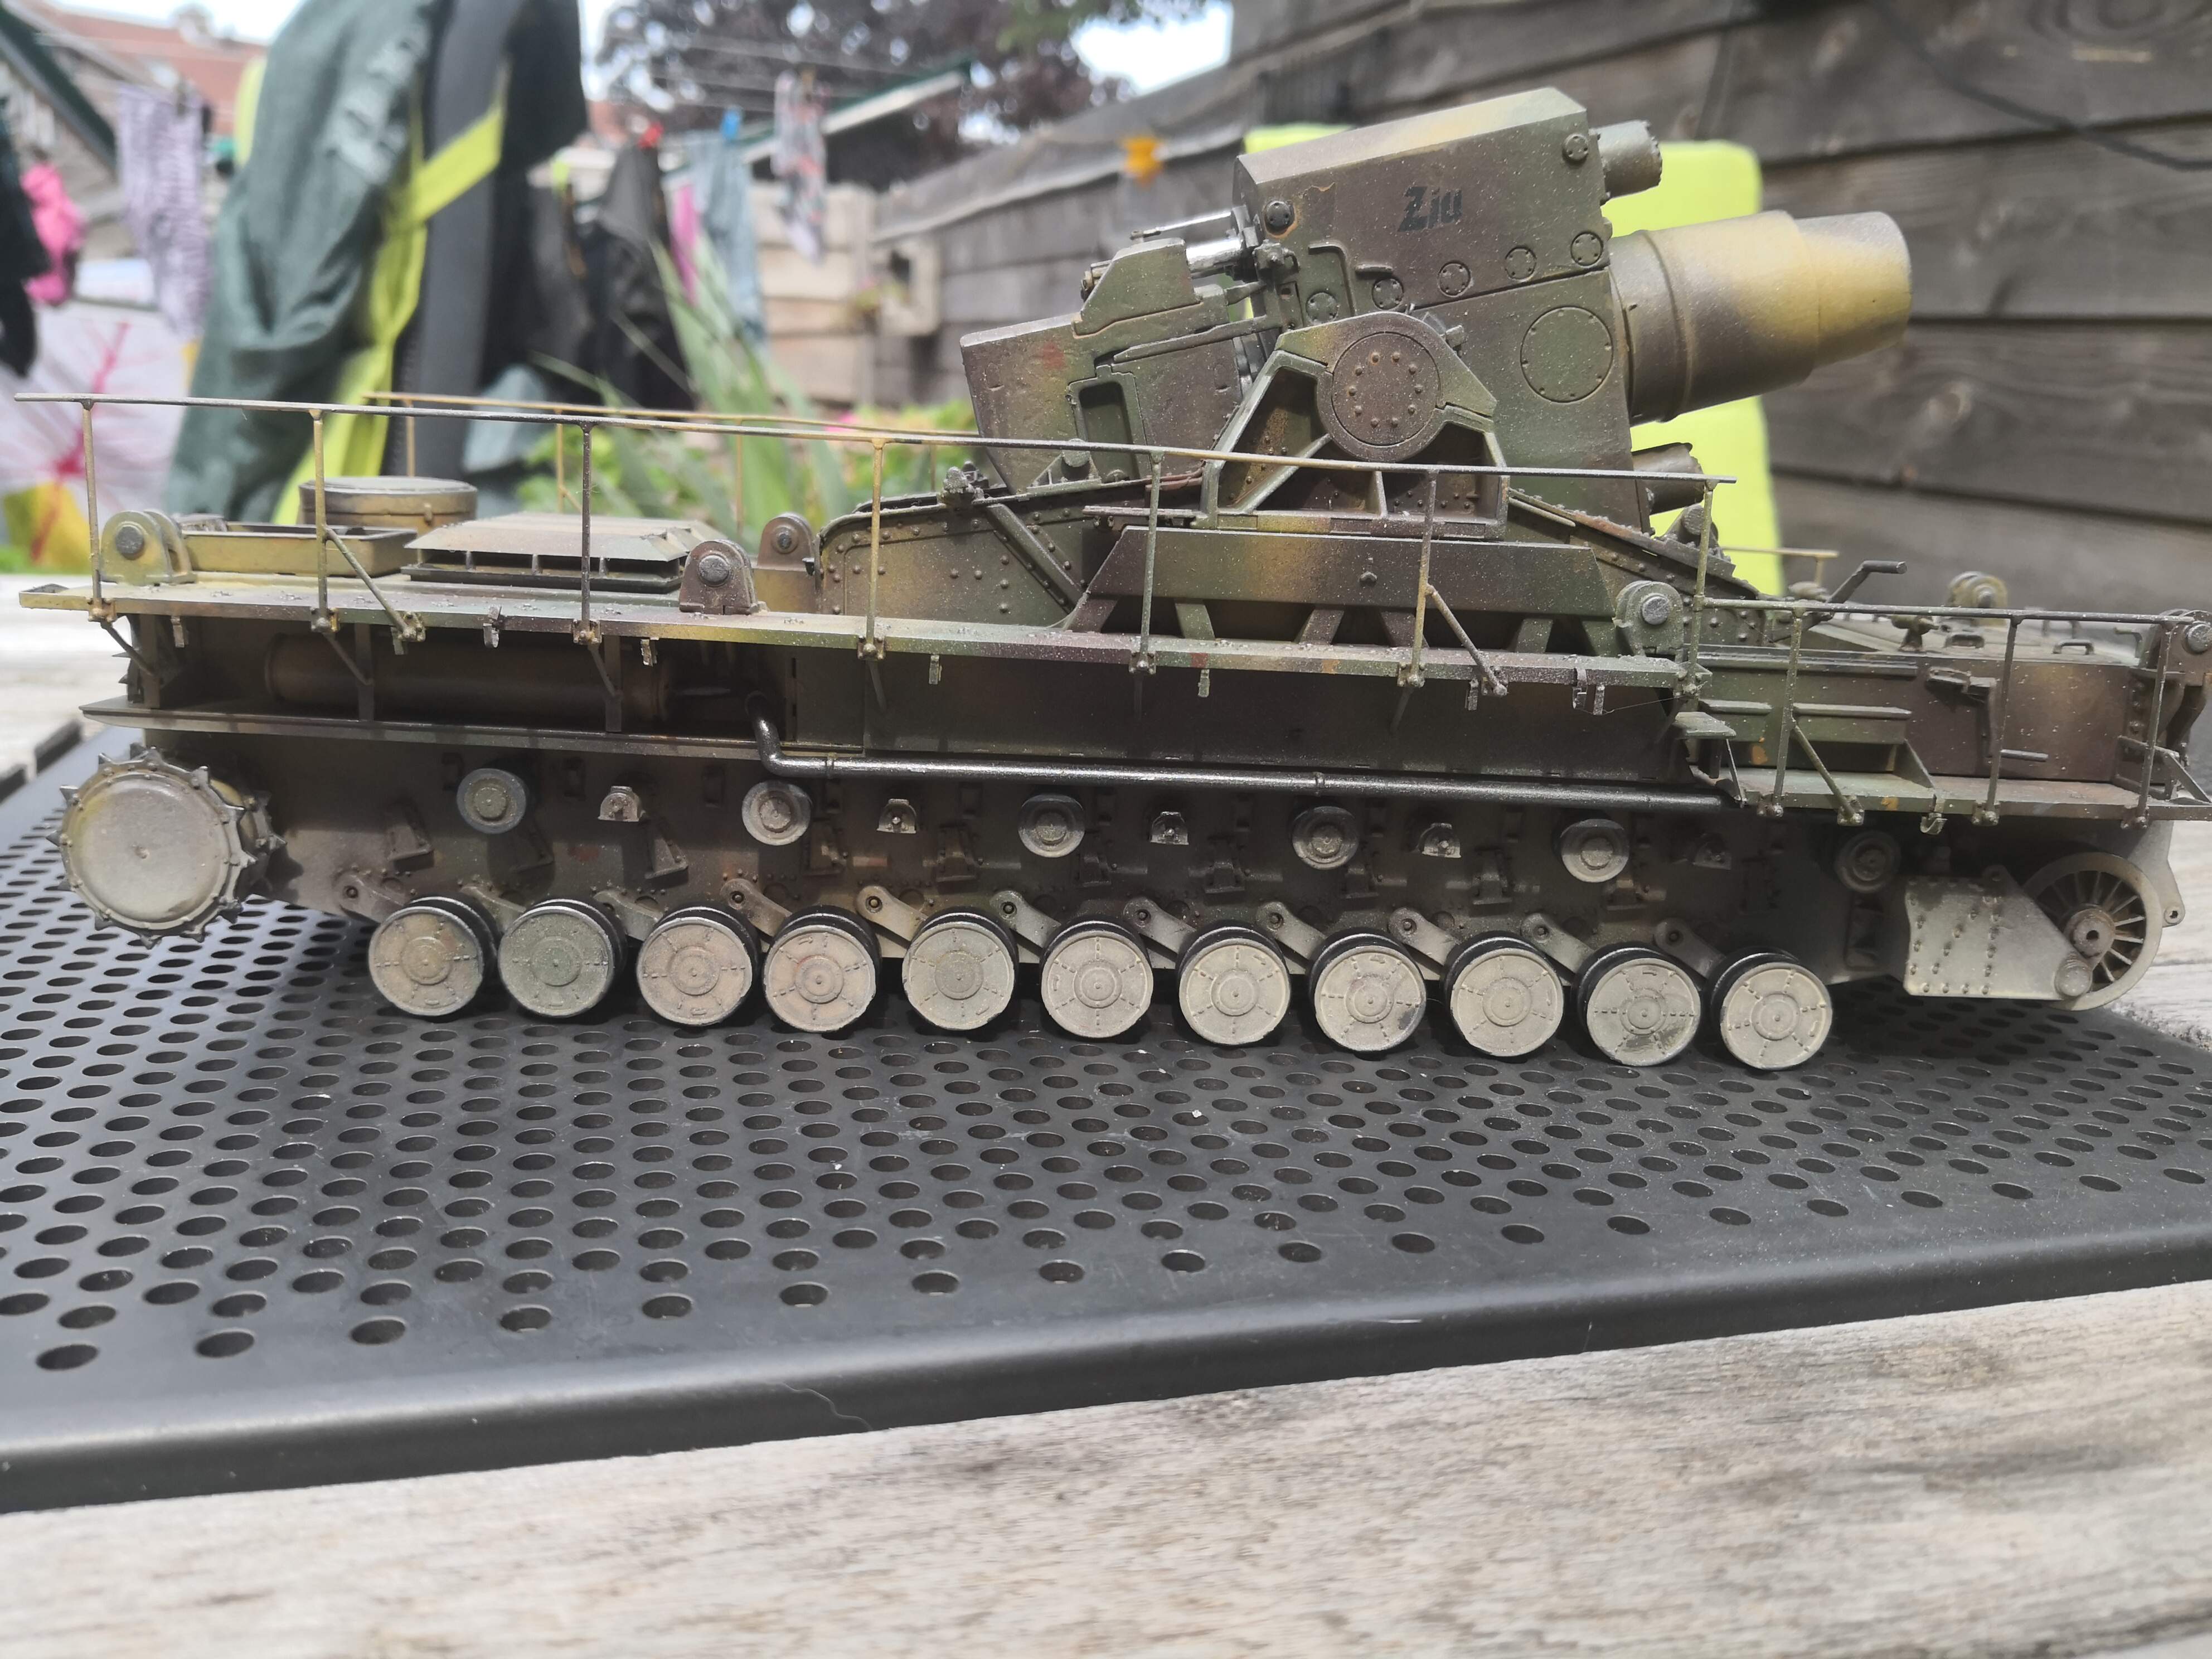
Thanks Matthew. My current project should be all Dark Yellow, but I could not let go without some dark gray. It focuses around the German Mörser Karl in Warsaw, 1944, but since I have not found any decisive information about the railway carriers, I decided to paint these Dunkel Grau, opposed to the gun…

1 Like
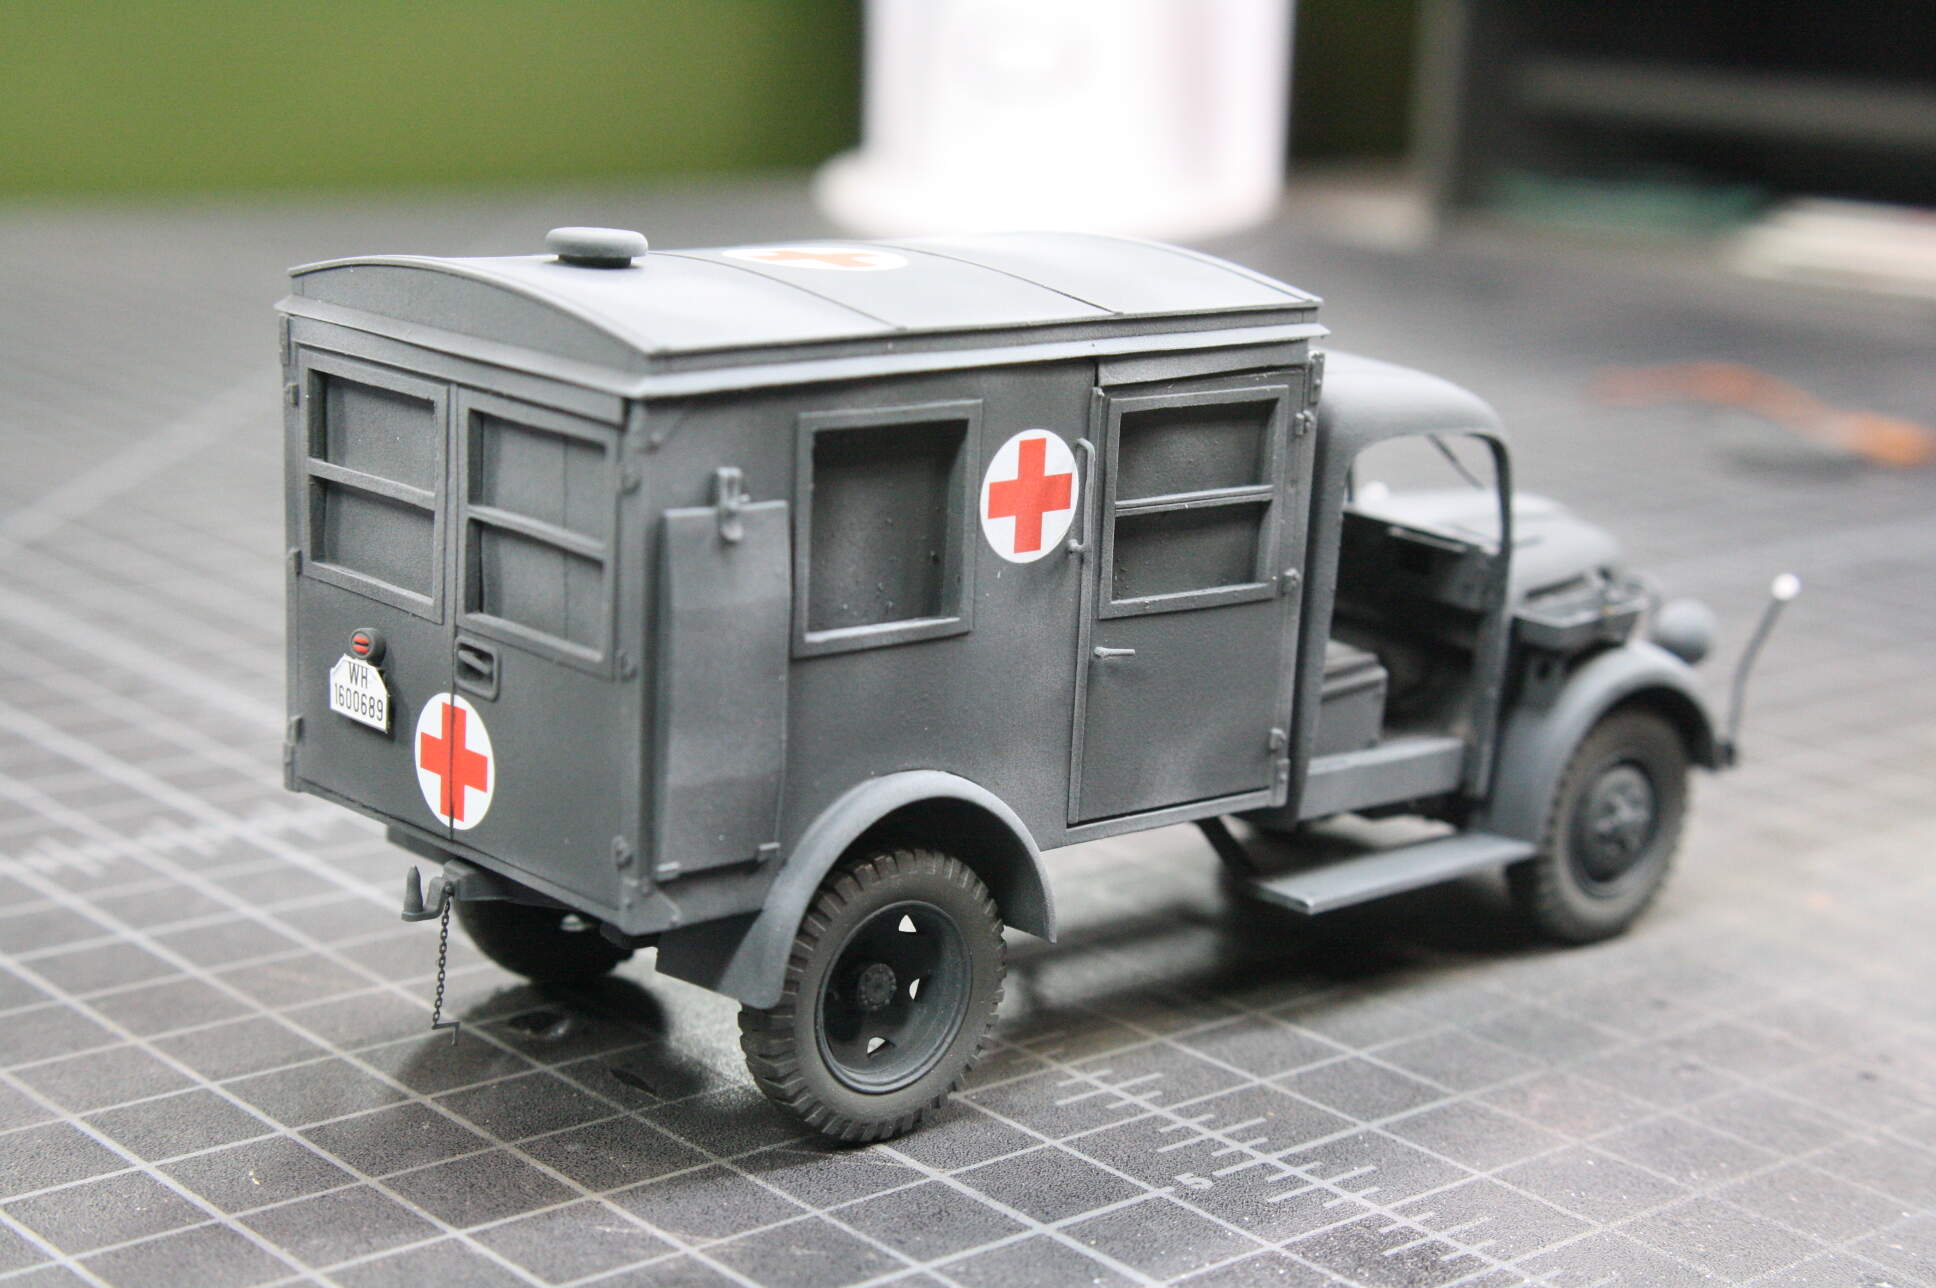
So, on we go - I dry fit everything together just to see how everything would look and how well it fit.
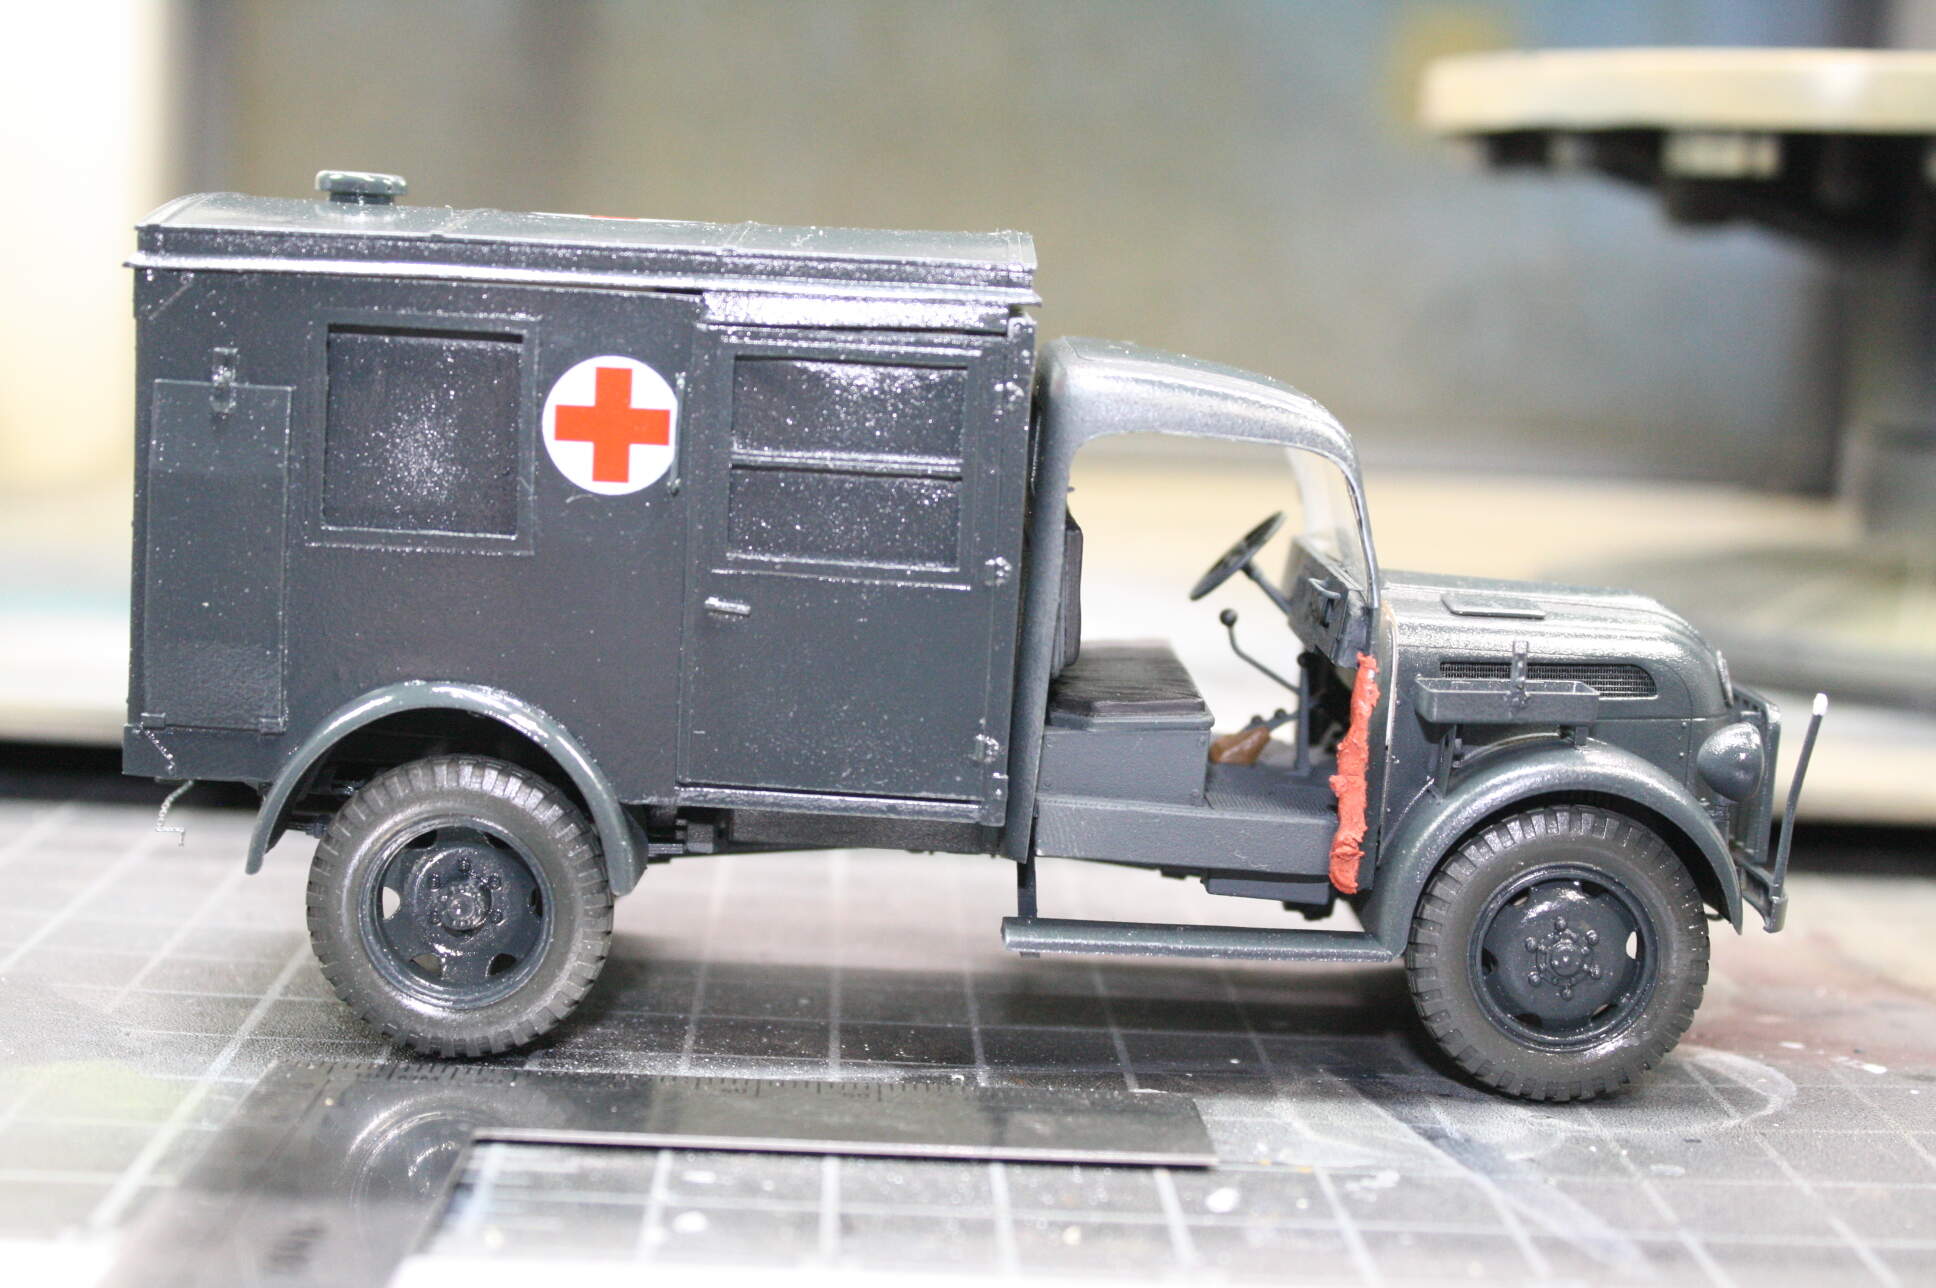
Notice any serious fit issues? The back wheel is not centered on the wheel well. It fits, but it’s not correct. Everything is up as tight as it will go, but the chassis is 2mm too short for the body!

I immediately realize I’m in for some major surgery. I need to cut the chassis in half and add 3mm to it. 2mm for the length, .5mm for the cut, and .5mm for the space between cab and body. This would have thrown me before, but after the windshield incident I feel like it’s just another bump in the road. And I haven’t even gotten to re-sculpting the doors yet. I feel like I’m on the Titanic and they got my stateroom and dinner wrong and I thought that was the really bad news…

So I get out the new photo etch blade saw and go to work. This saw will make the thinnest cuts. First we saw off the muffler, since the cut will be in the middle of where it is located.

Then, since the chassis won’t fit in my mitre box, I saw the chassis in half at the nearest cross member so that I’m ensured a straight cut.

Then I measure the kit and make extensions from stacked .020 Evergreen sheet and 1.6mm rod. I cleaned them up and evened them out before gluing them in.
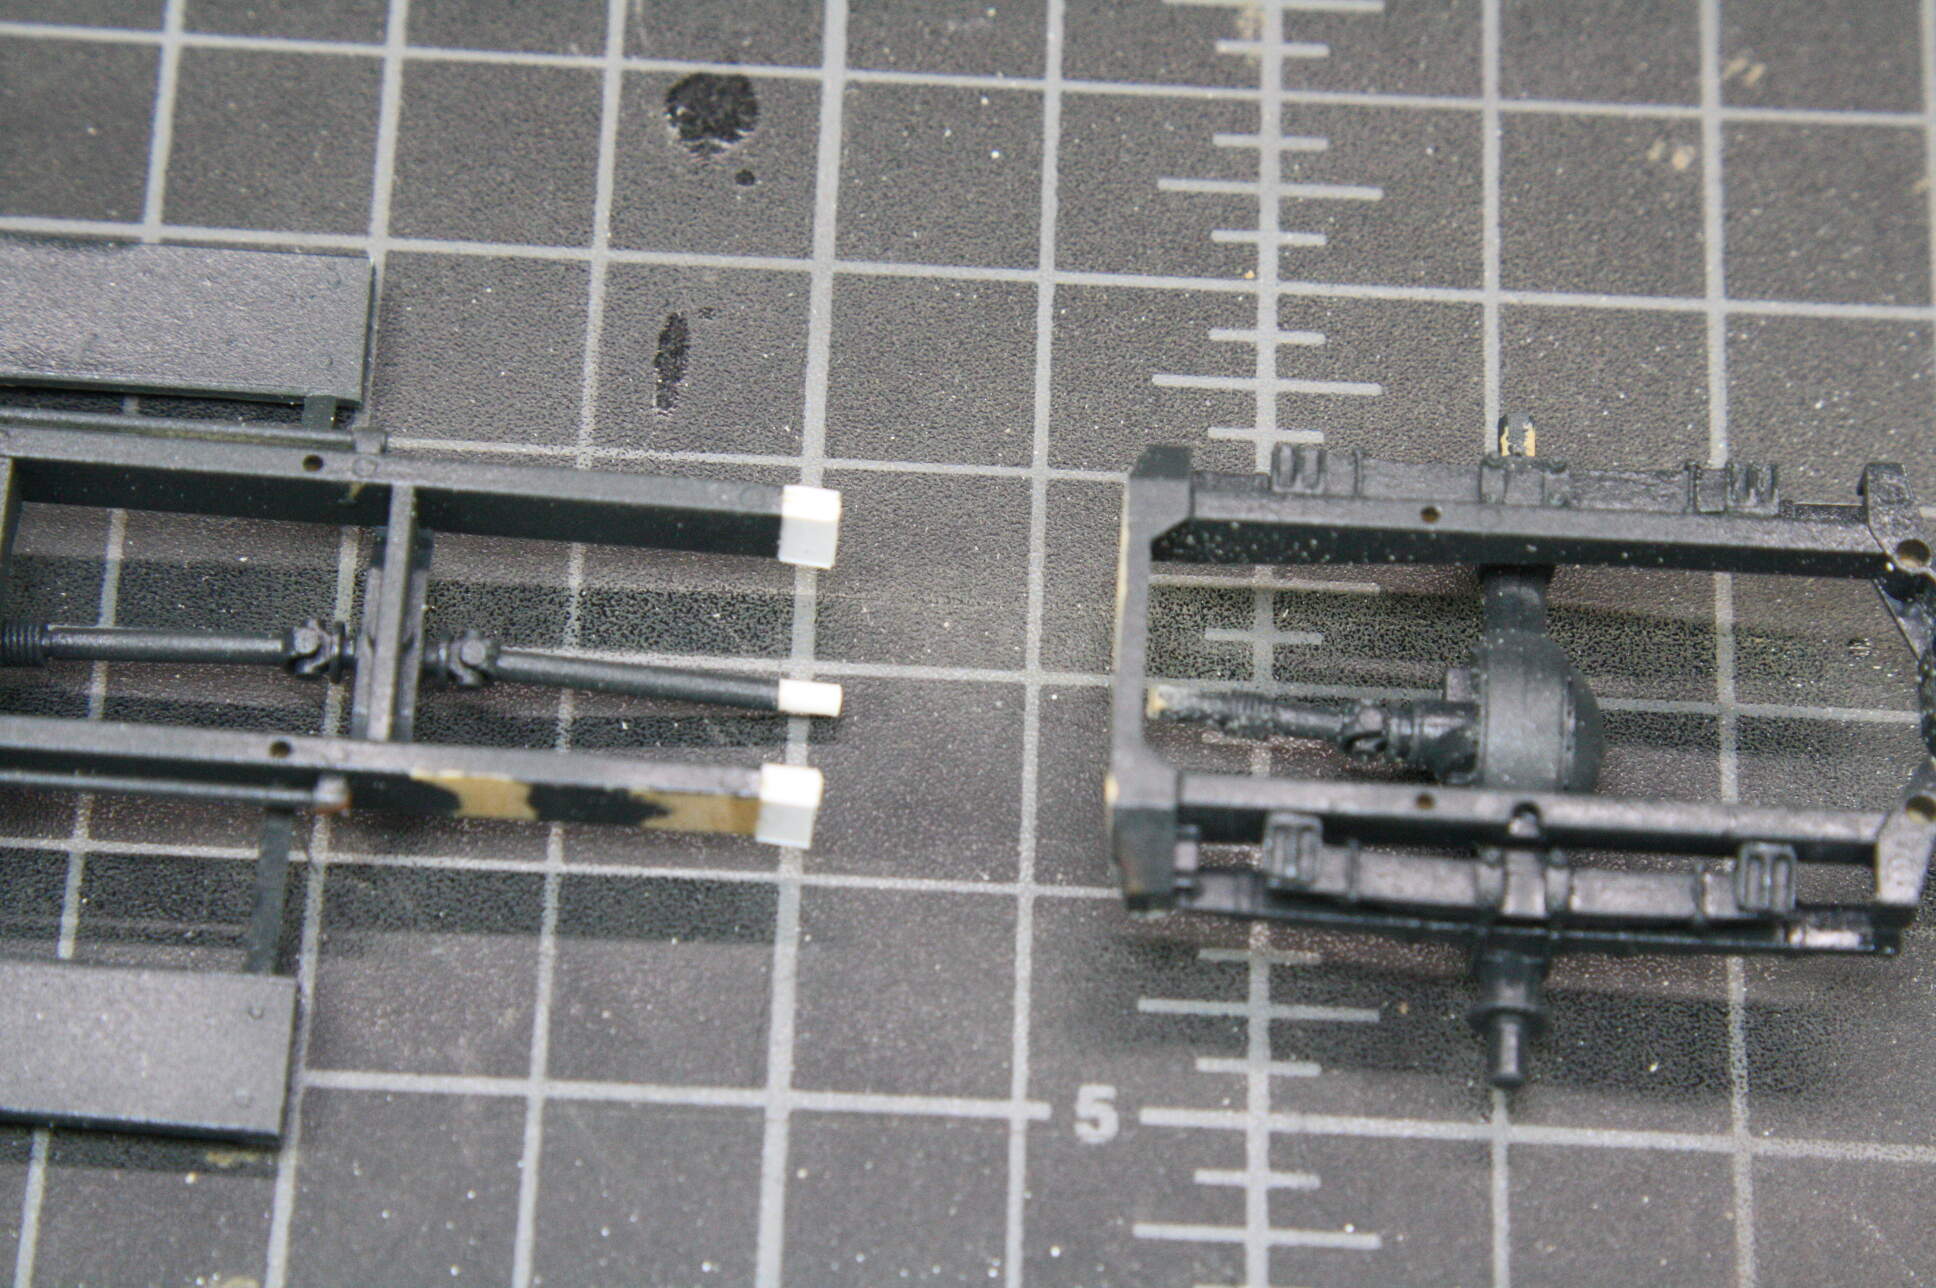
I glued them to one side using Tamiya Extra Thin Quick Setting glue.
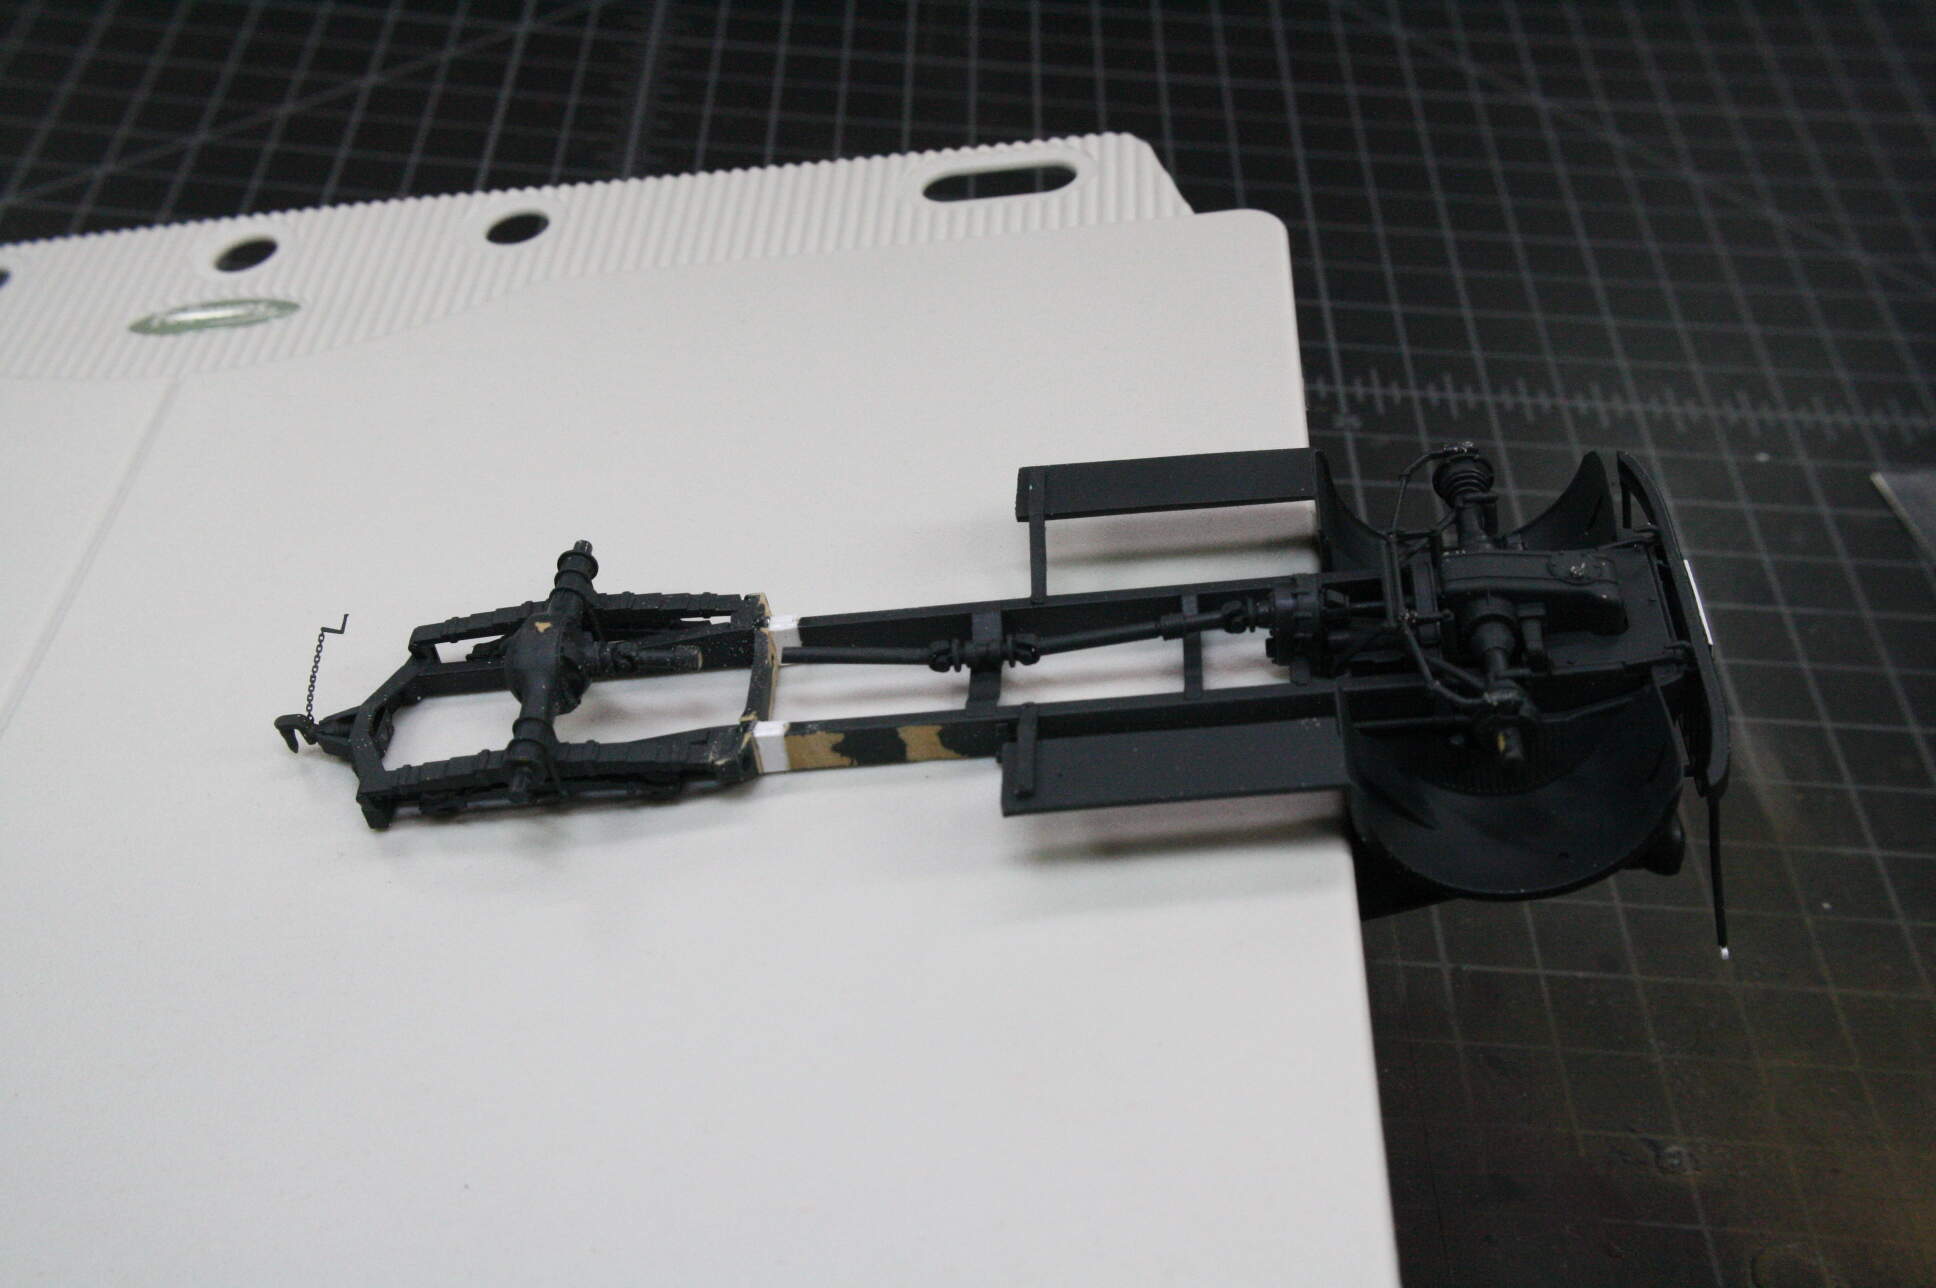
And then put the whole thing together with Tamiya glue on the top and filled it in with CA from the bottom. Remembering at the last moment that it had to be straight in all 3 axis, I desperately sought a flat surface with an overhang that wasn’t the edge of my work bench and left the chassis to dry.
3 Likes
![]() only thing different I could have suggested was to cut the axle at the end of the shaft and not in the middle and to that end, just remove the axle itself and replace with a rod at the correct length. Less work to hide.
only thing different I could have suggested was to cut the axle at the end of the shaft and not in the middle and to that end, just remove the axle itself and replace with a rod at the correct length. Less work to hide.
As for the flat surface, I been using this jig and getting extra magnets to help me. Tamiya cement does not stick to it. Haven’t tired CA but it probably will.
1 Like
Yeah Ryan you’re right, it makes a lot more sense to replace the whole shaft with one piece of rod! Doh! Doing that now!
1 Like
FYI, I added info about a jig for future projects.
1 Like
@SSGToms you’re a better man than I Matt! I’d have probably just chickened out and cut the rear end off of the leaf springs and jury rigged them back on in another spot at this point. Those windshields would’ve killed me!
1 Like
Ken I’m too deep into it to wimp out now! 
2 Likes
Well done Matt, that’s a mega save from the windshield to the chassis… Some great work and determination to get it right… It will be worth it in the end…
1 Like
Thanks John. I do my best.
One hurdle after another, keep at it, you’re in too deep to quit now!
You’re a man on a mission. Nice Franken-mend! 


—mike
Great progress on the kit.
Looks like this will be a nice project. Can’t wait to see additional progress.
Cheers!
c
Thank you gentlemen.
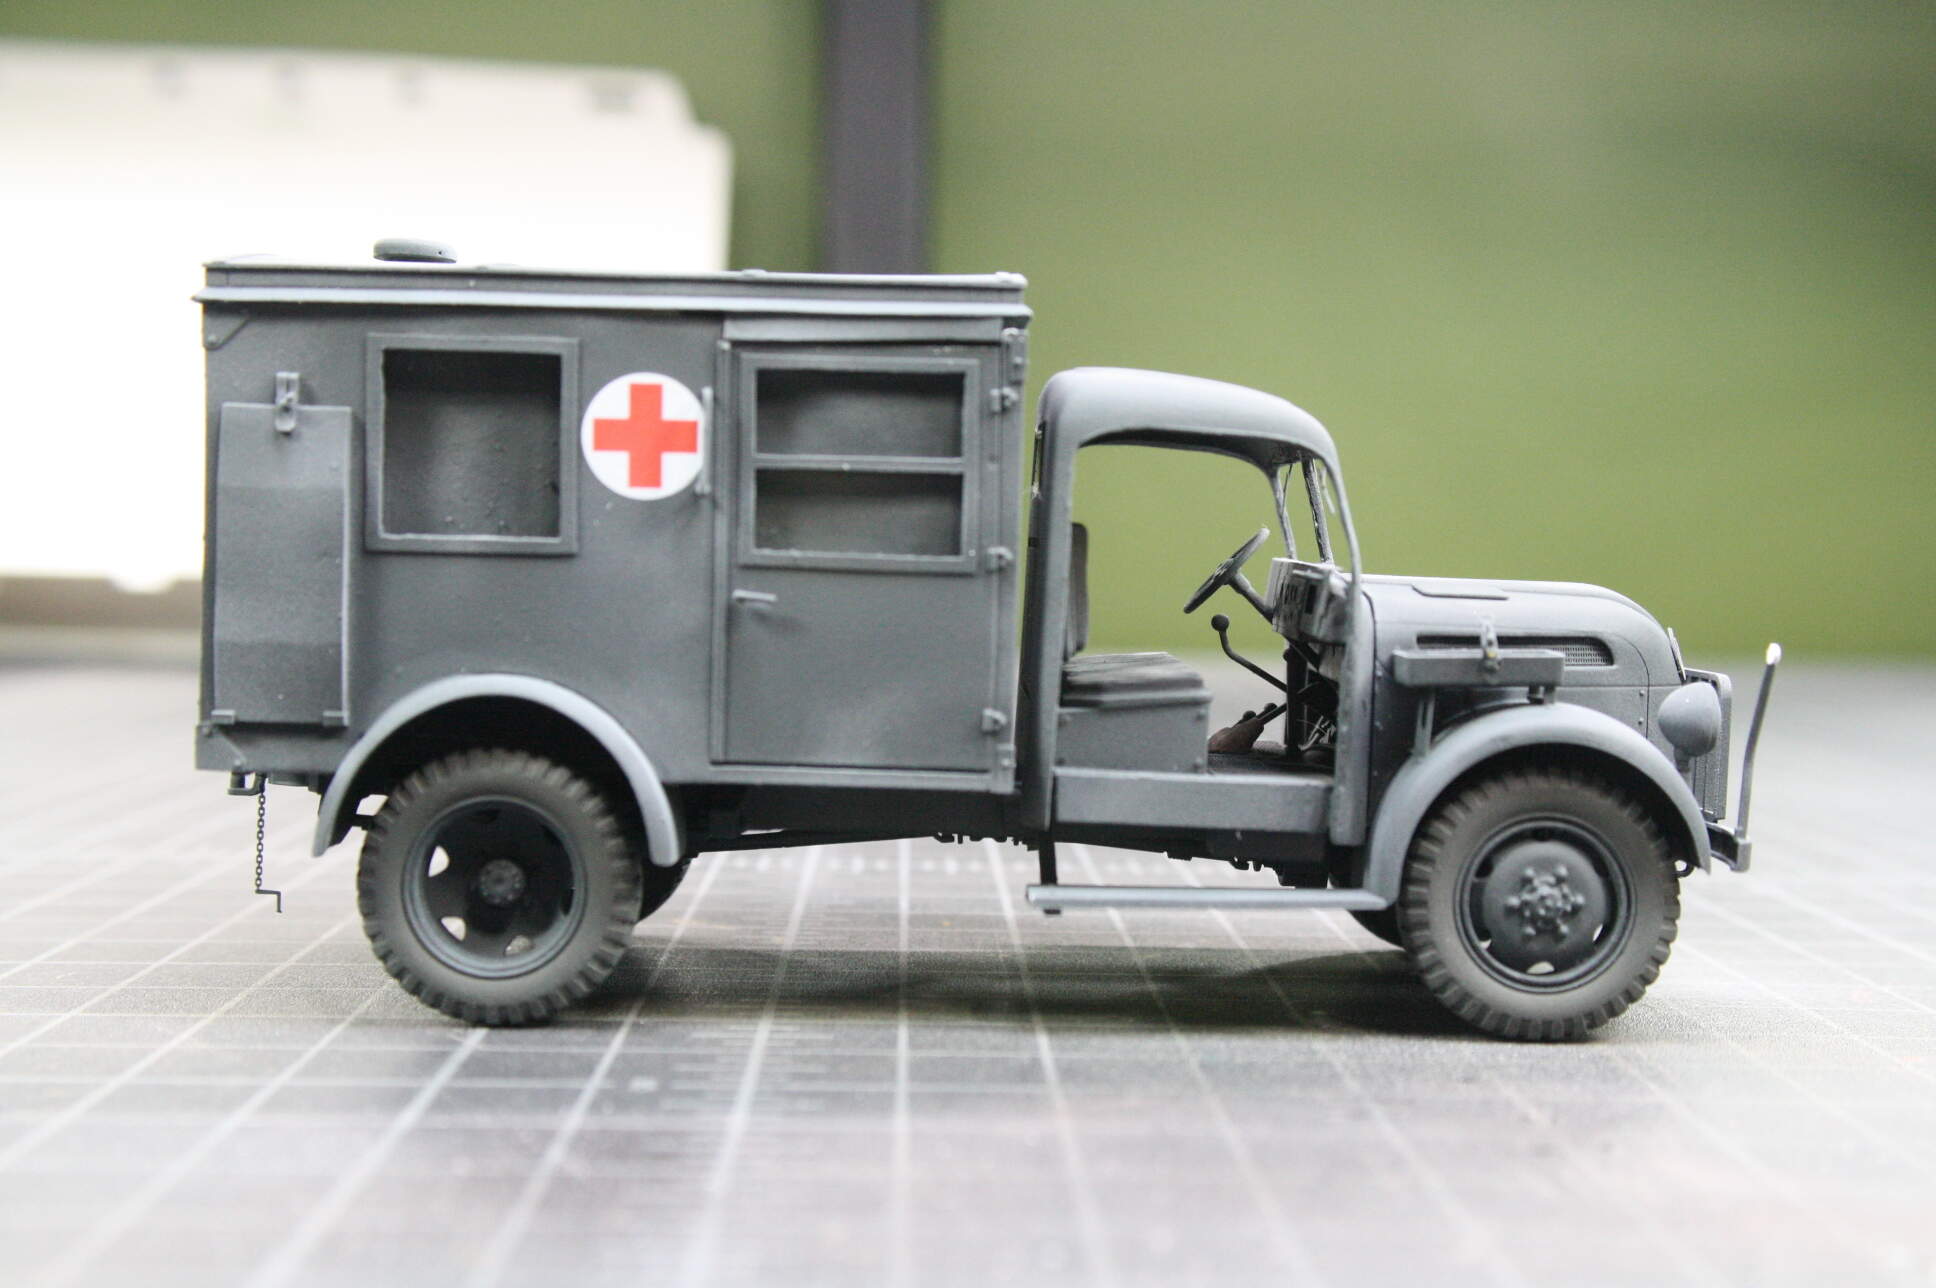
After the chassis had set up overnight, I checked all alignments and everything was straight and true. Thank you God. I cleaned all the seams up with a sanding stick and painted everything to match. Hopefully you can’t see the scars too bad and we can continue with the build without too much more hassle.


I tried the dry fit again and this time everything fits where it’s supposed to be! Hoo-aaa!

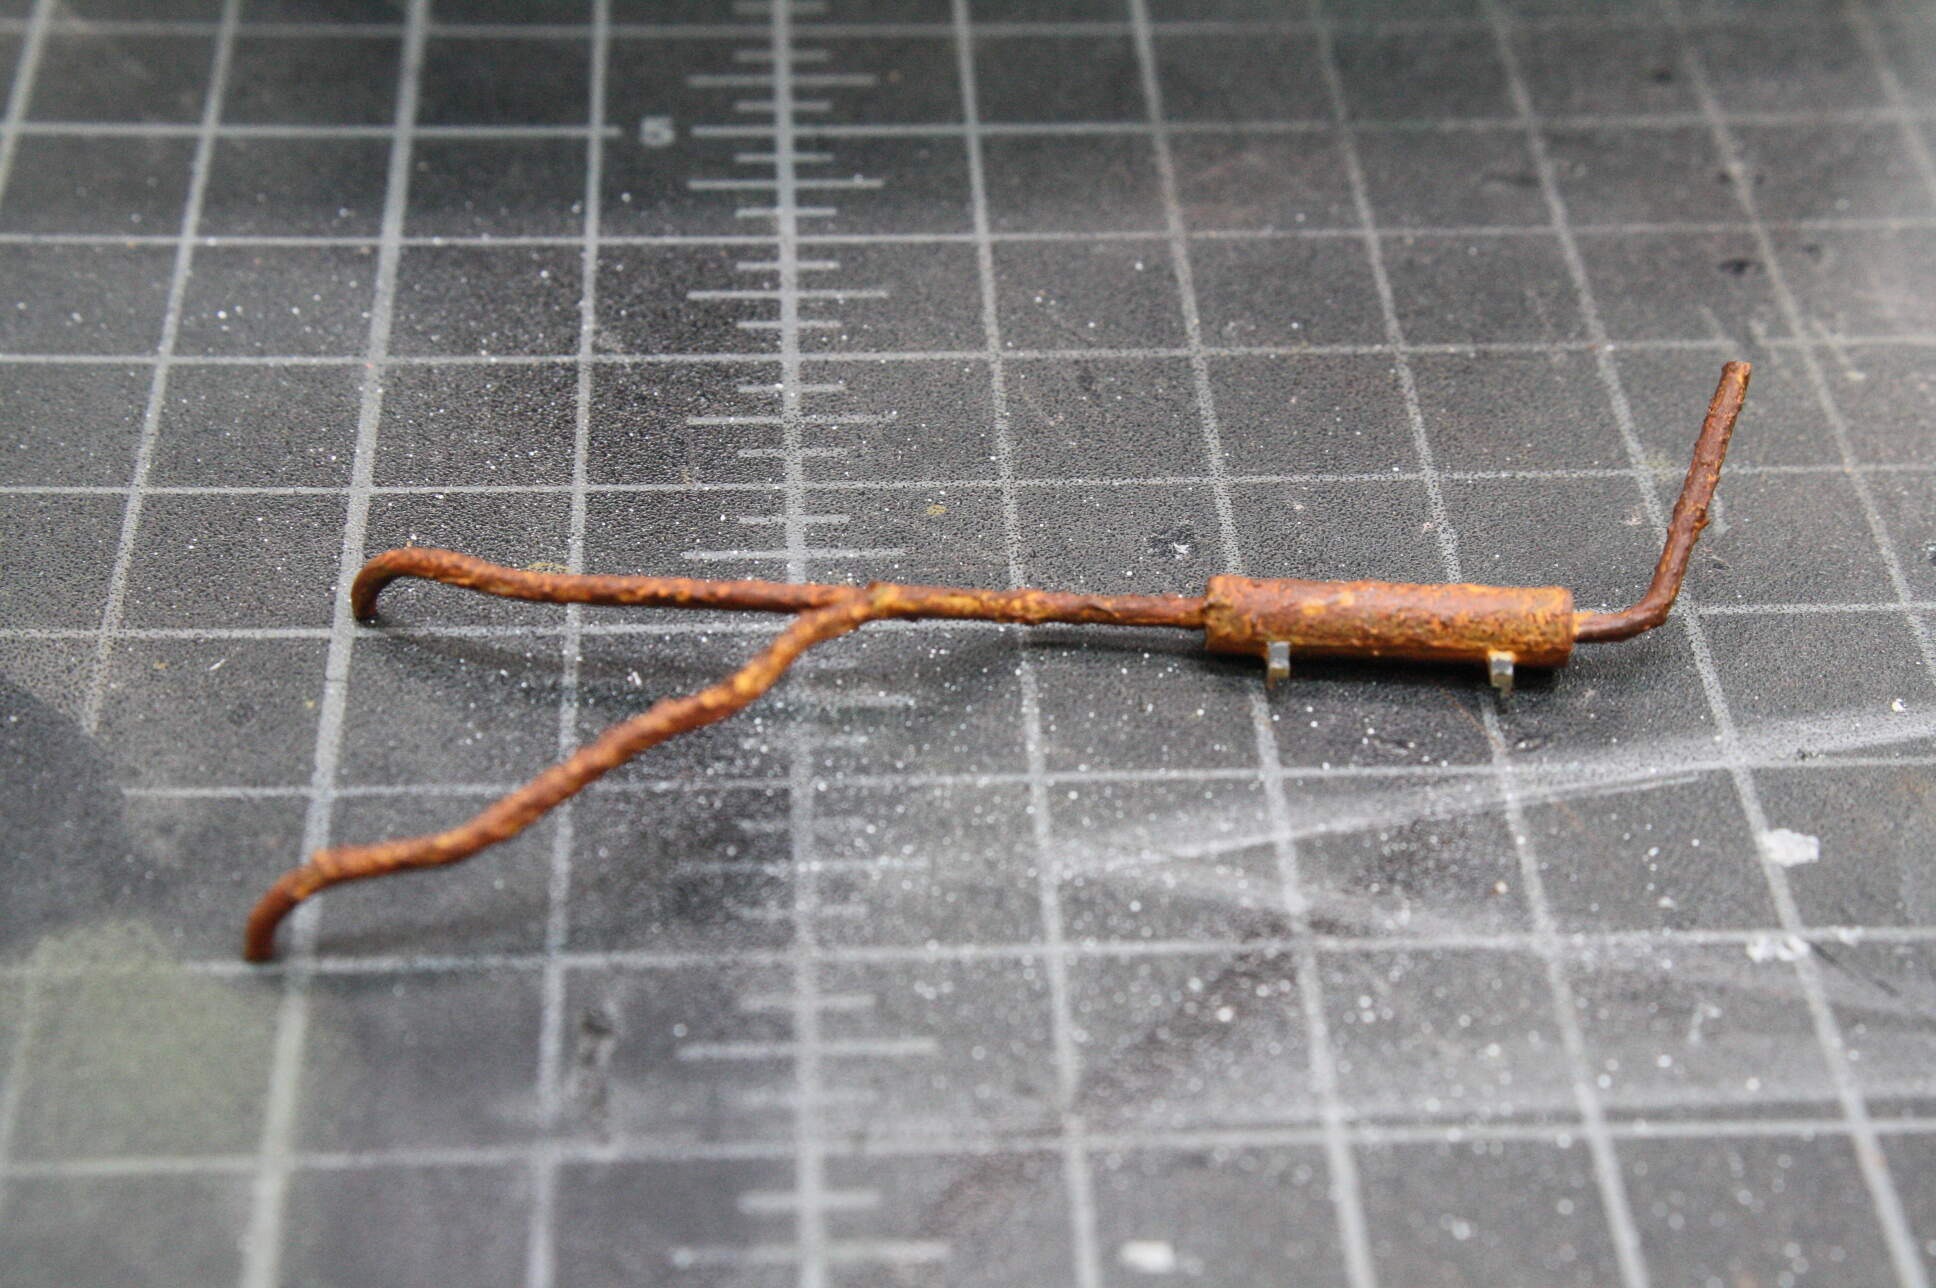
While waiting for the frame to dry I also painted up the exhaust system. I stipple Mr. Surfacer 500 on it with a cut off brush and then use Lifecolor’s Rust and Dust set stippled and drybrushed to get this effect.
Now, the last nightmare of this kit. Reshaping the cab doors. This involves adding Bondo spot putty to the door edges, then gently sanding it down to shape until the door fits the frame. Then adding a little more putty and sanding again.
I finally got a decent fit on the right side door. I will take care of the small gaps left with Mr. Surfacer.
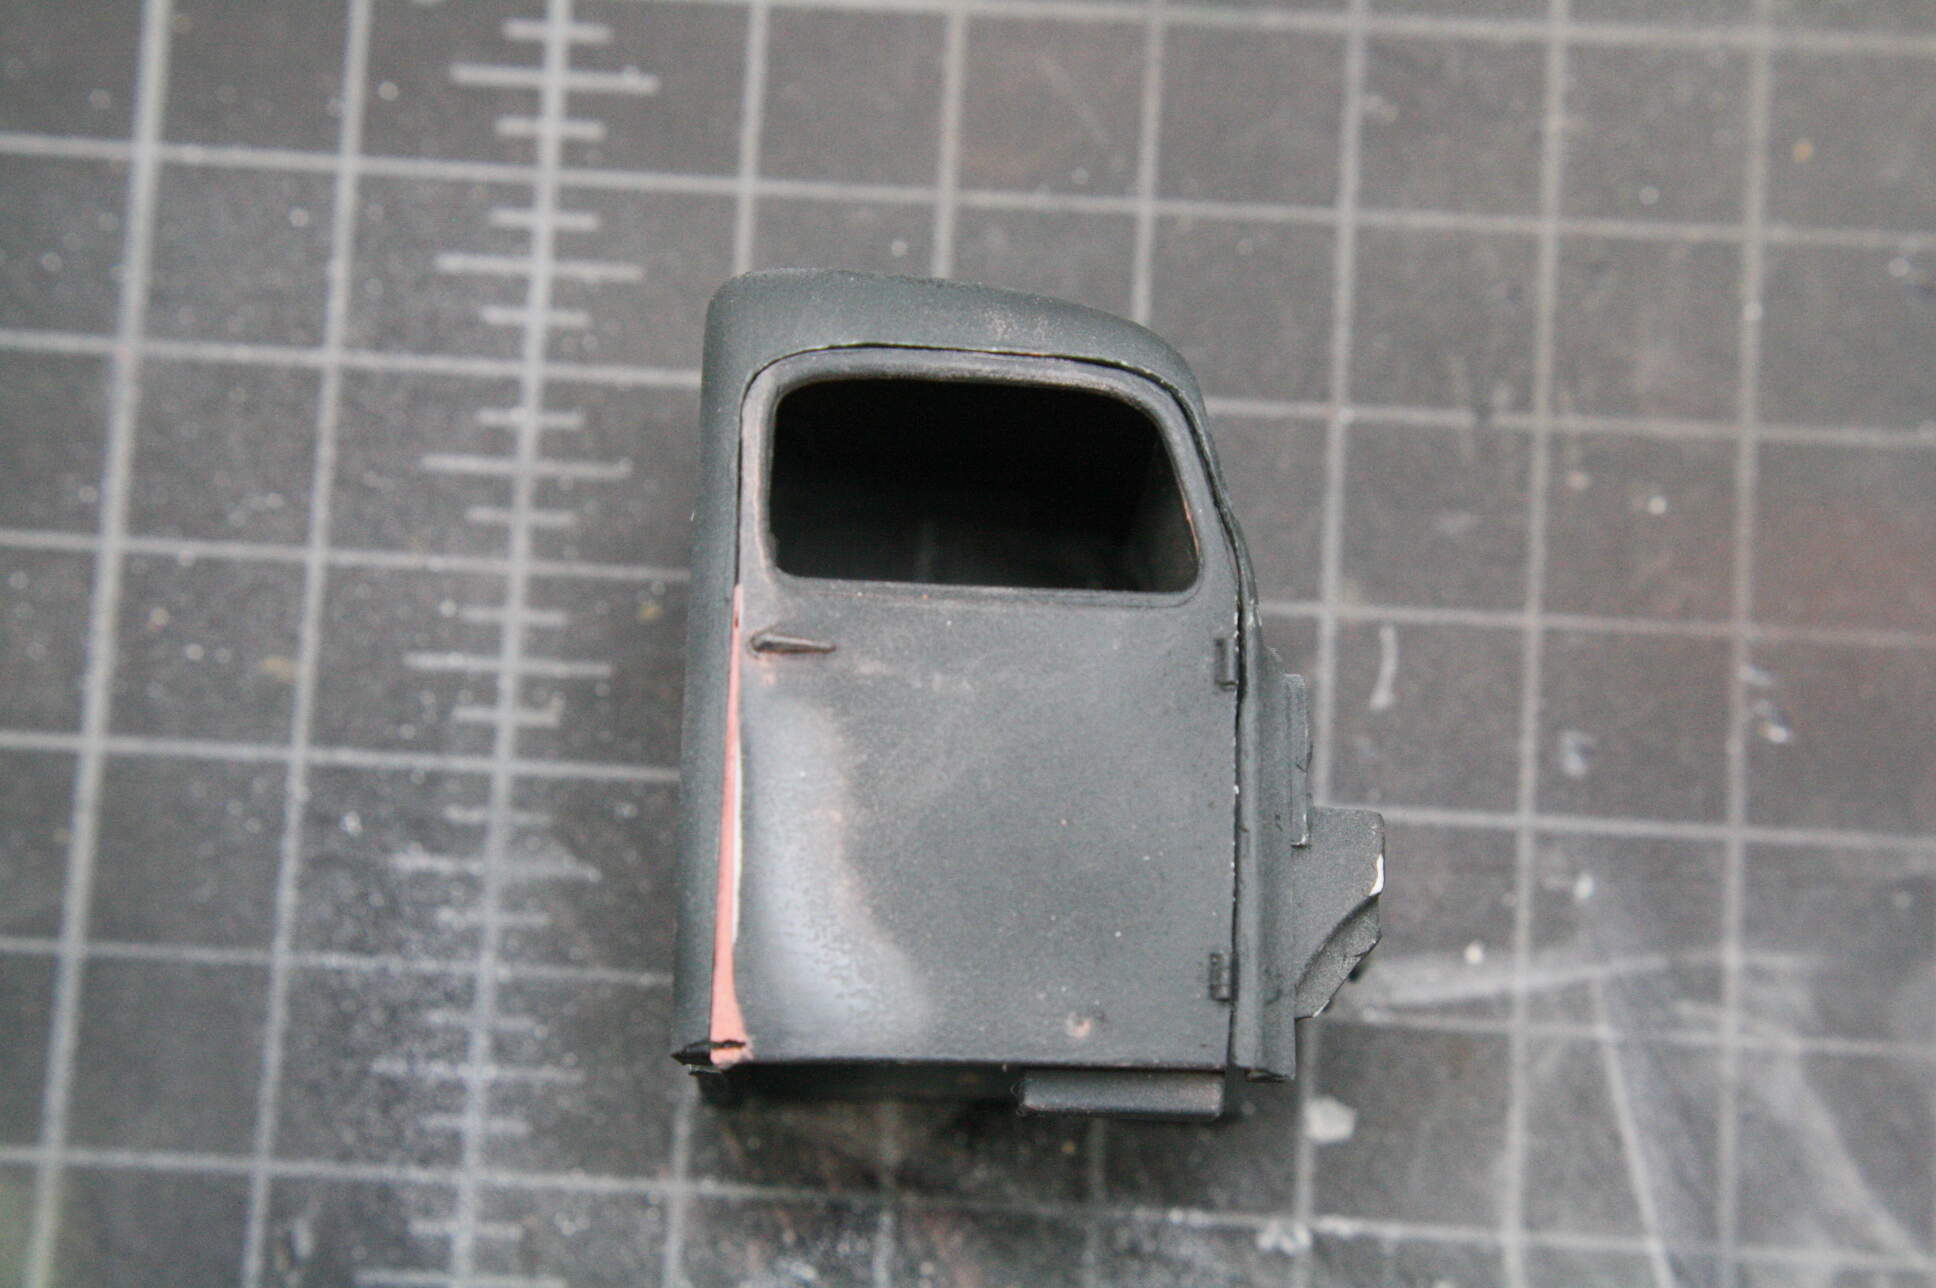
The left side door is almost there. You can see the one spot on the upper right where I need another layer of putty and shaping to get it perfect.

Then it’s glue the doors in, glue the body to the chassis, and construction of this bad boy will finally be done! A little final airbrushing and I’ll be on to finishing and weathering. See, that wasn’t so bad! (Shoot me now!)
3 Likes