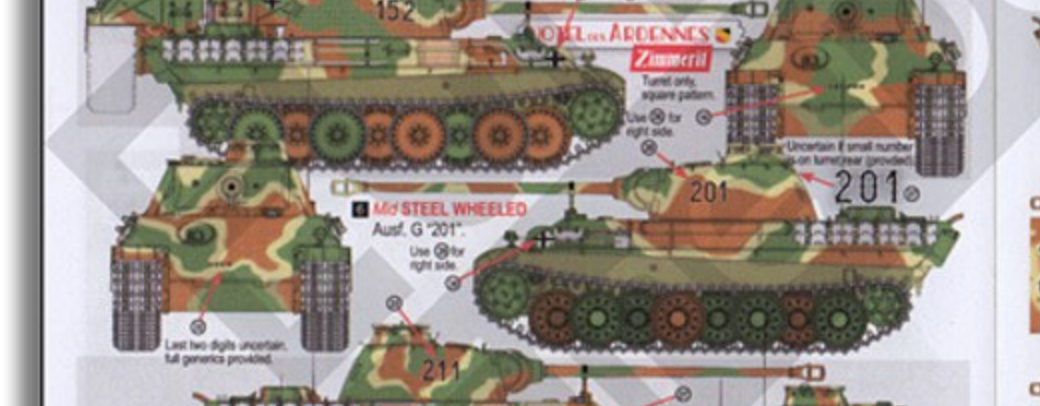
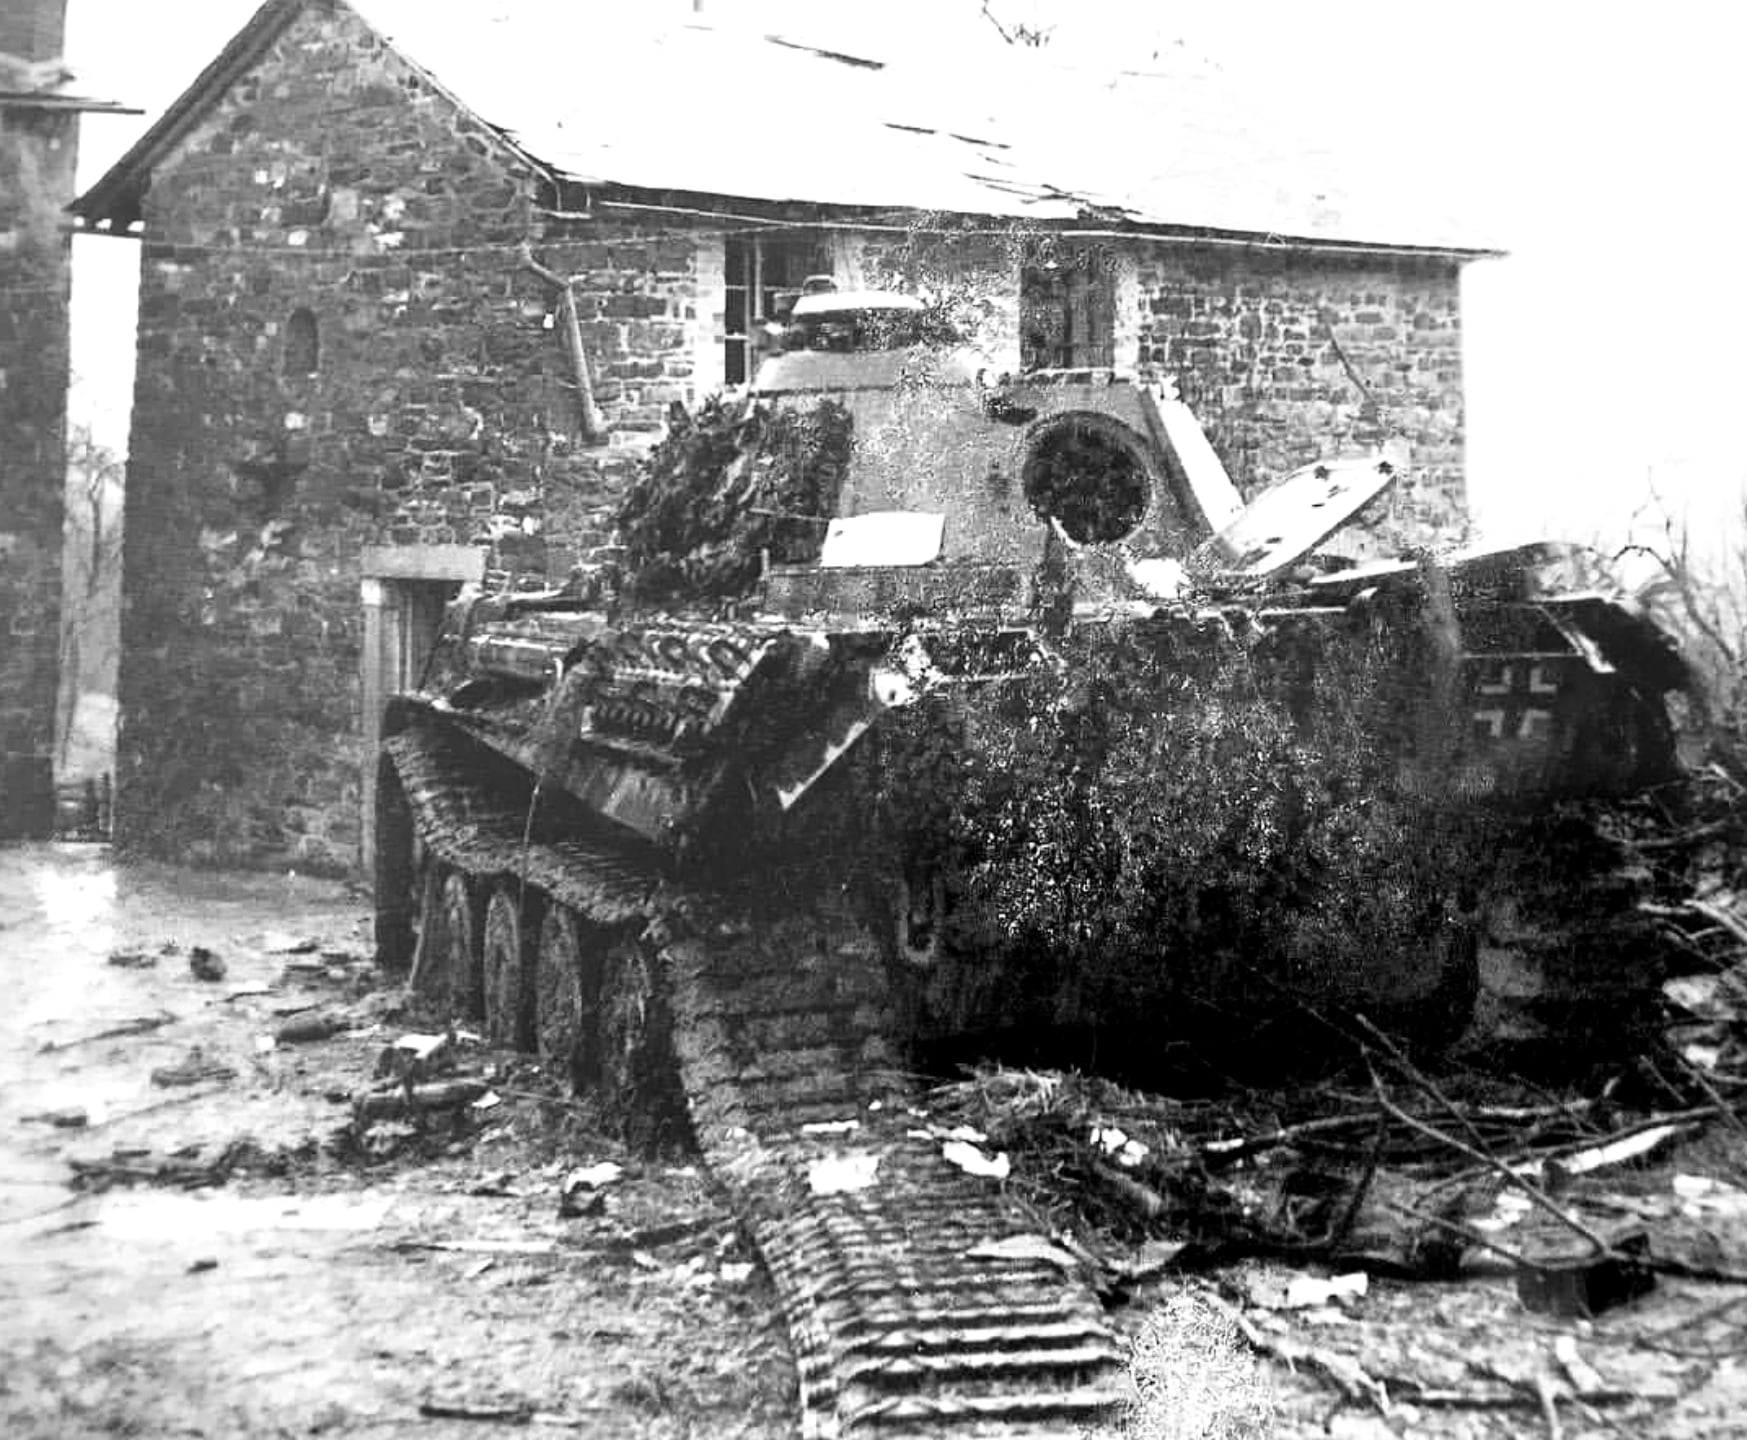
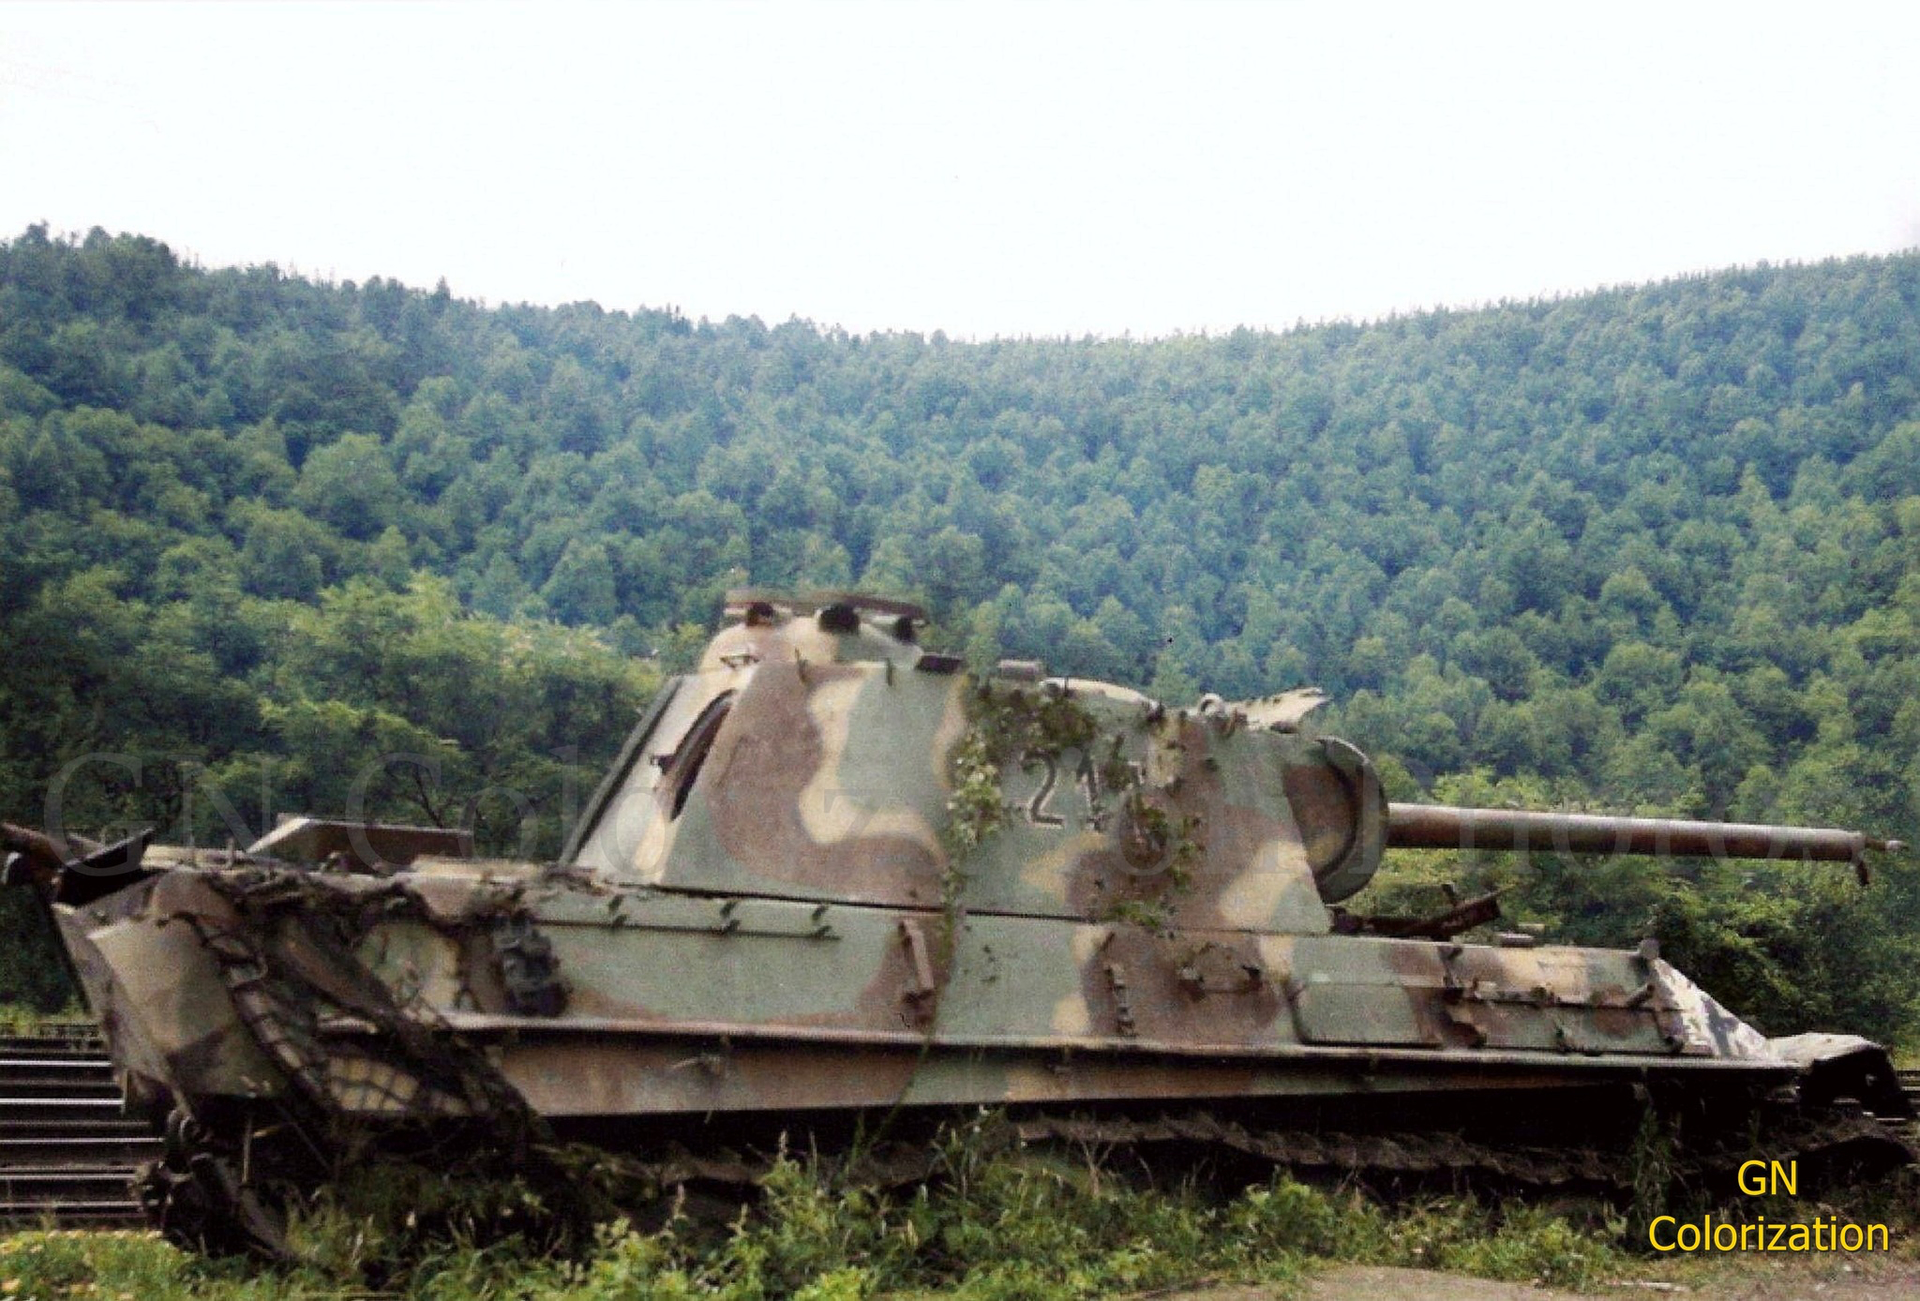
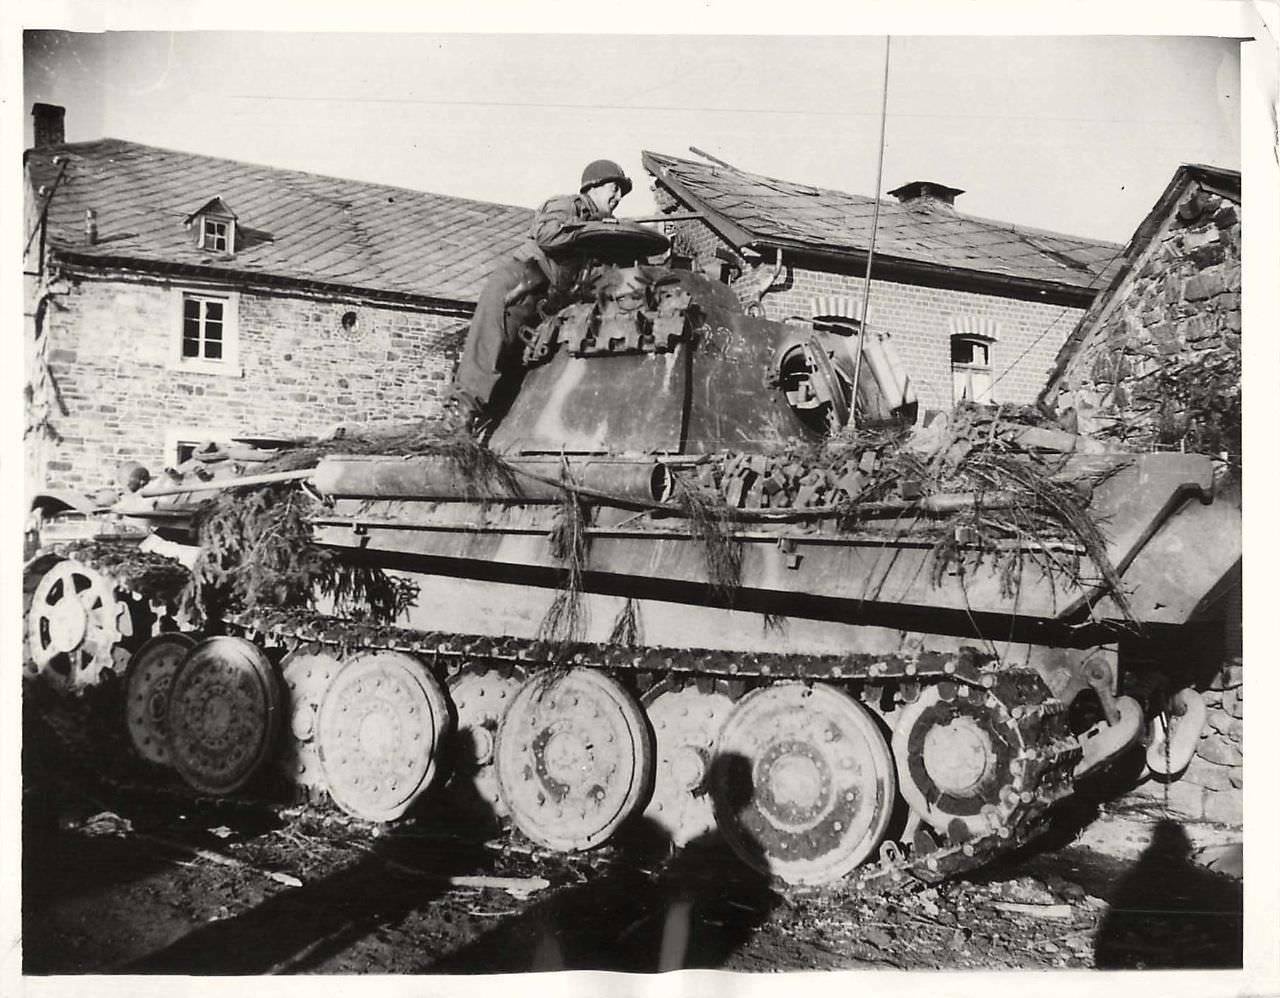
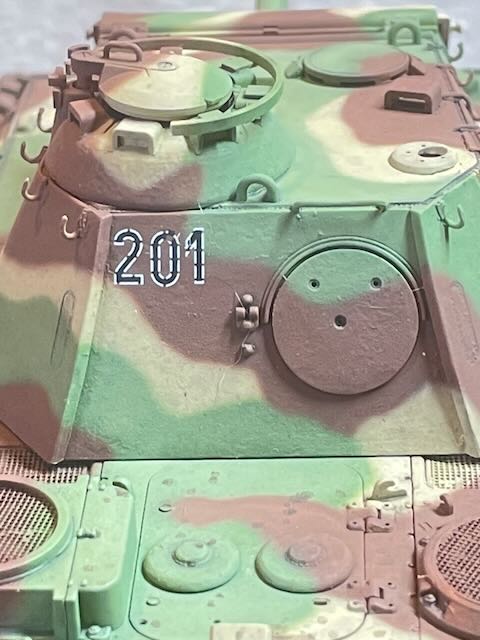
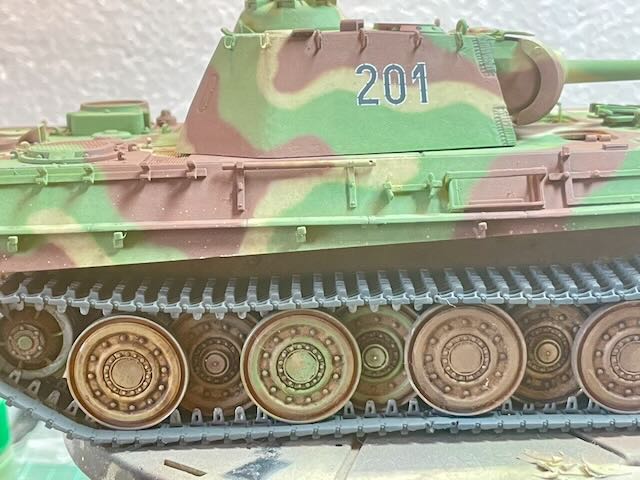
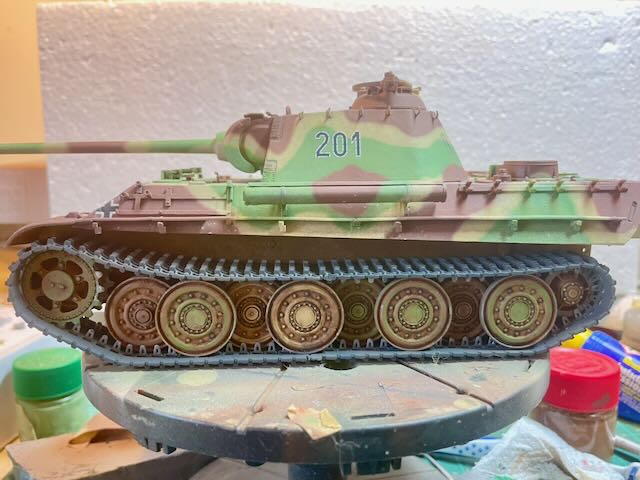
Wanting to do another Steel Wheel’er and having the RFM kit on hand I started this Project. The already much published and built Steel Wheel Panthers #211 & 221 did not really catch my creative attention yet. Not wanting do anything “fictional” #201 became a tempting candidate.
Here is a brief summary of #201 history I found on the net:
“Panther Ausf .G №201 was commanded by SS-Obersturmführer Friedrich Christ of 2. Kompanie, SS.Panzer-Regiment.1, Kampfgruppe Peiper. The rest of the crew consisted of gunner SS-Unterscharführer Hans Pletz, loader Heinz Hepp, driver SS-Unterscharführer Otto Lesau and radio operator SS-Unterscharführer Helmuth Dietz. It was abandoned on 23 December 1944 in front of “Aux Écuries de la Reine” (Rediger Hotel) in La Gleize.”
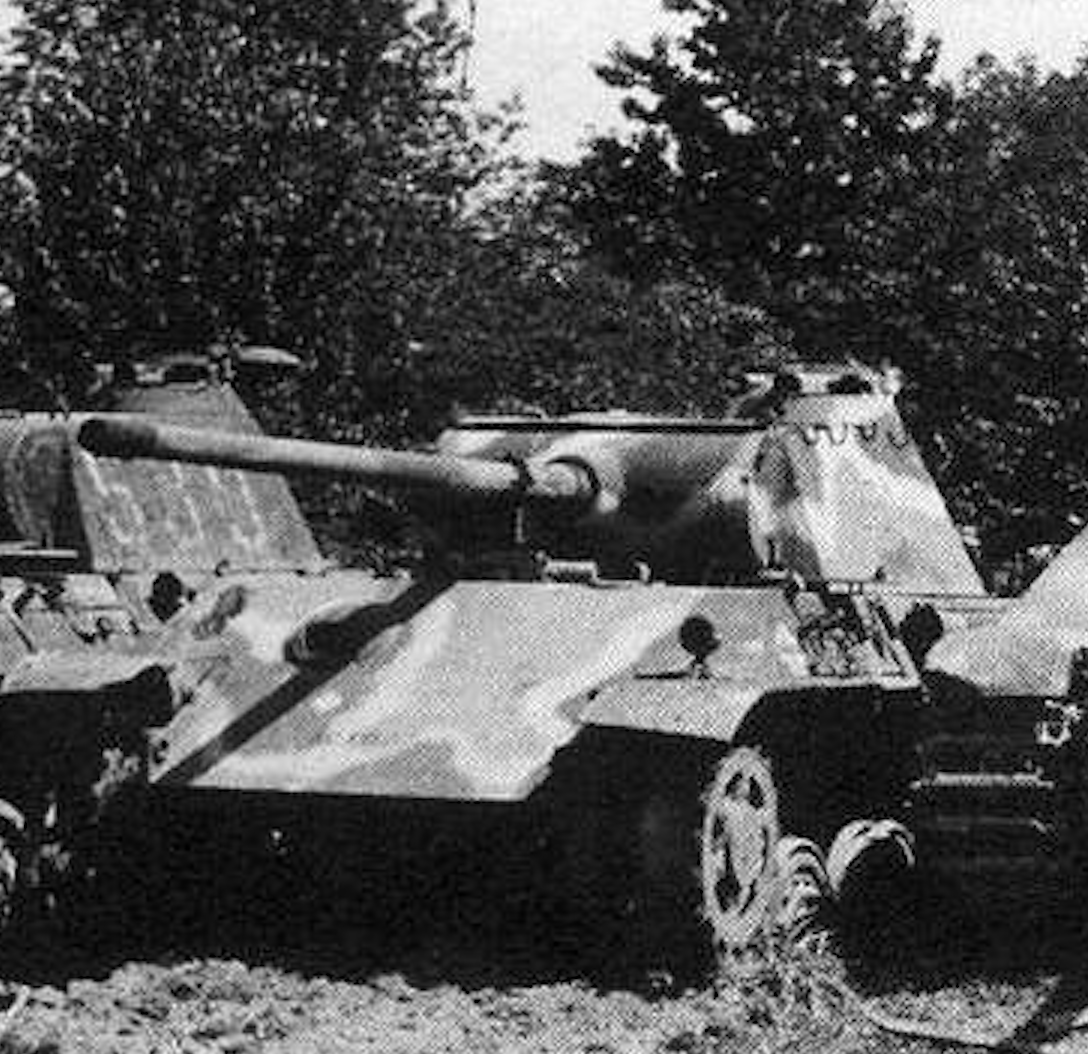
To date I only found two pictures of this Panther …. any additional info would be much appreciated.
2 Likes
The Echelon “Interpretation” is useful but unfortunately they interchanged the colours as the original photo proves.
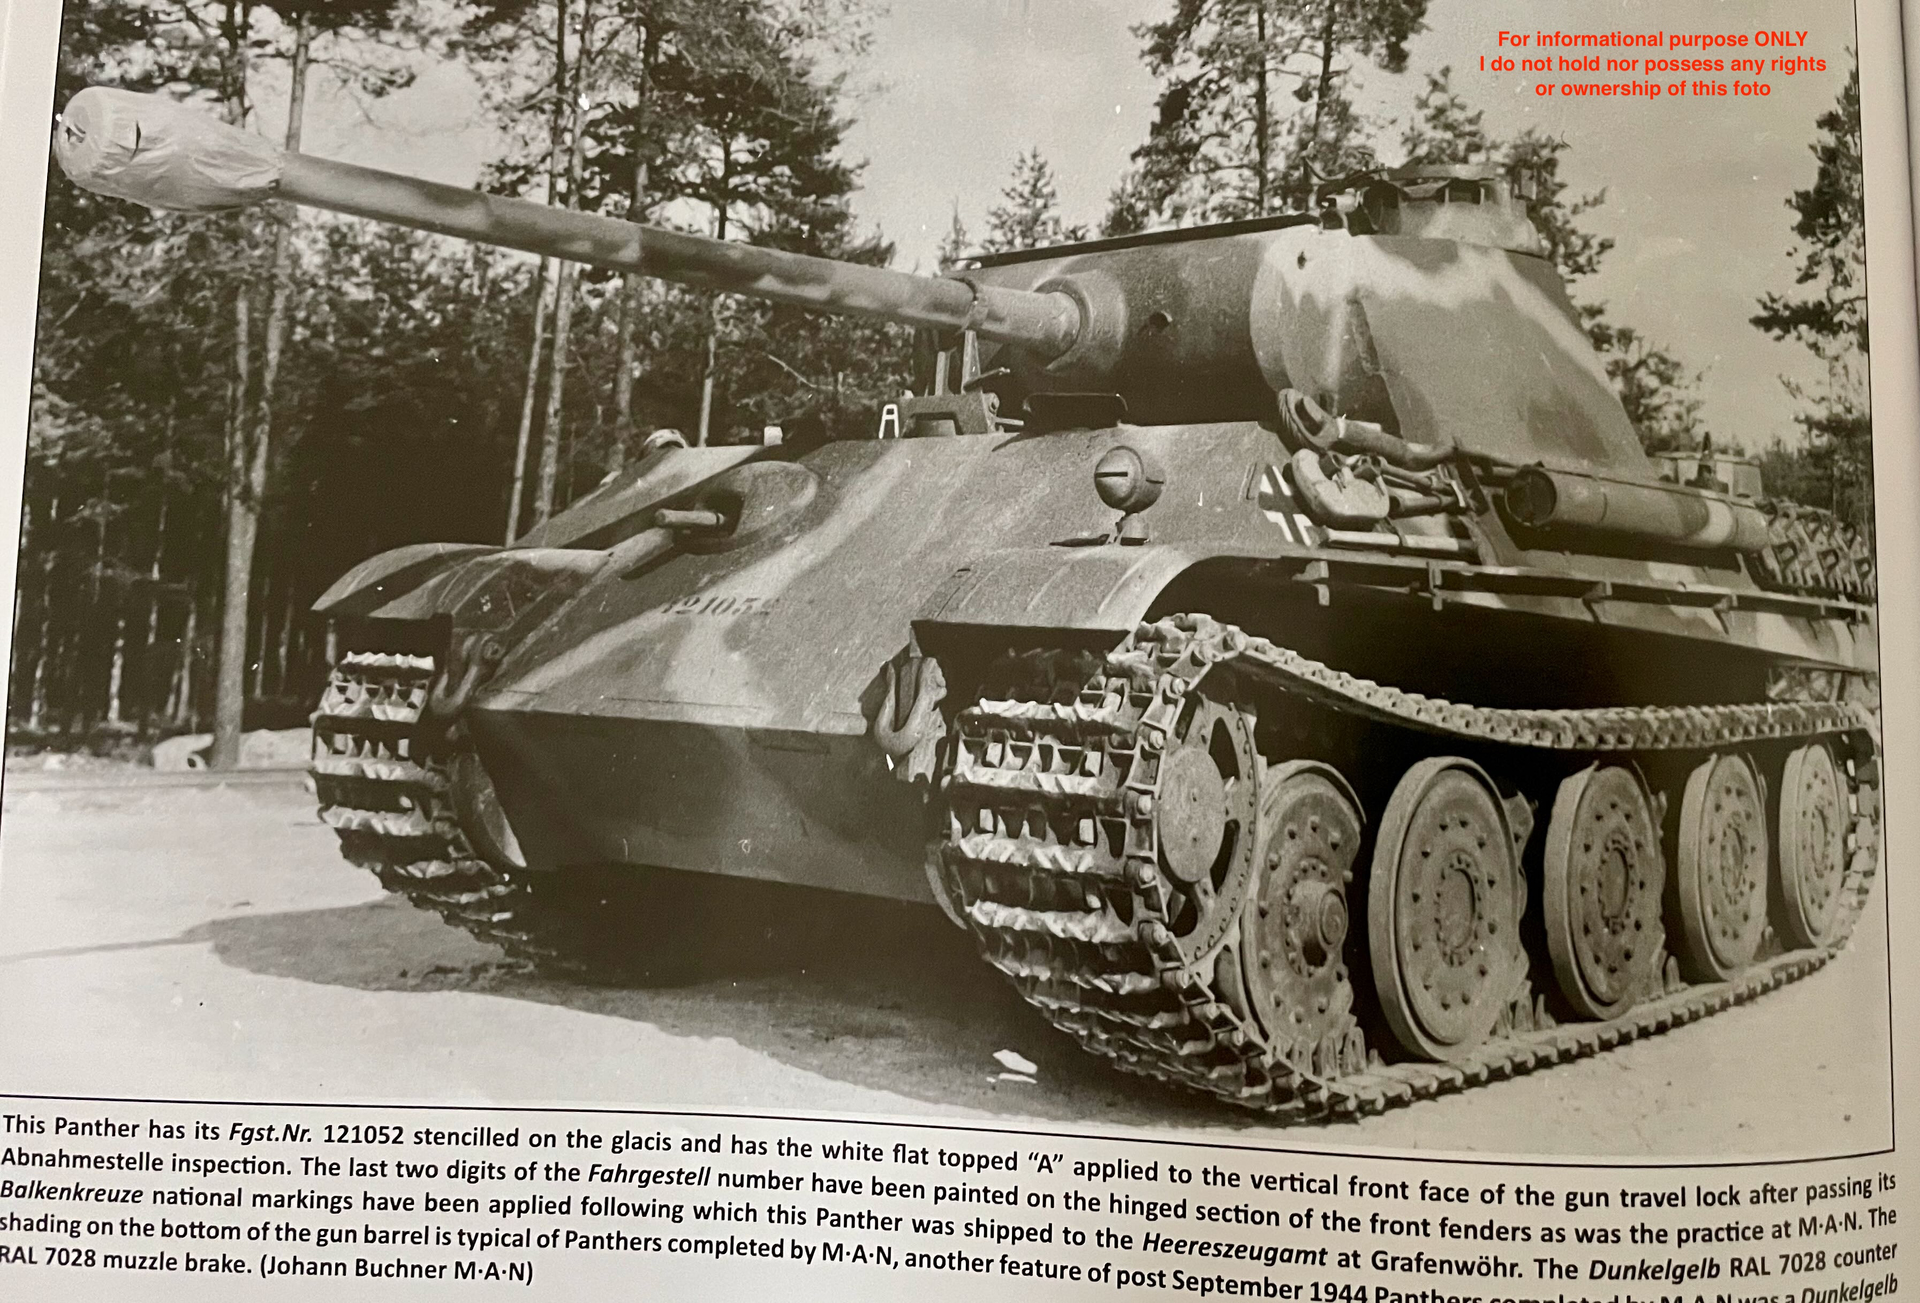
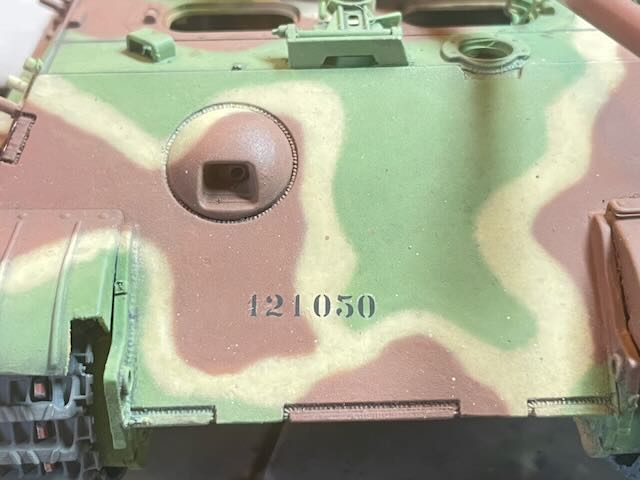
Next thing is the Fahrgestell-Nummer stencilled on the front hull plate.
Having previously built Panther #231 the number 125052 is confirmed on this photo. The last 2 digits on #201 I haven’t been able to identify yet. My theory is that, looking at the camo scheme, #201 was finished shortly before #231. My original reasoning lay with the reduction of the RAL 7028 % when comparing both tanks, but then again Panther #211 / Fahrgestell-Nummer 121047 was produced prior with hardly any RAL 7028 portions in comparison to # 231 & 201.
Panther #221 is believed to have had Fahrgestell-Nummer “121055”, although not having the raised heating unit installed as the other two, which could otherwise indicate one of the earlier produced tanks. But #221 has also significantly reduced portion of RAL 7028 in its appearance.
5 Likes
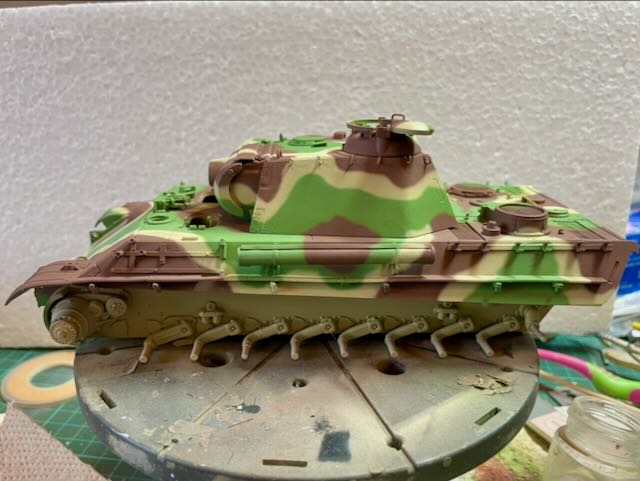
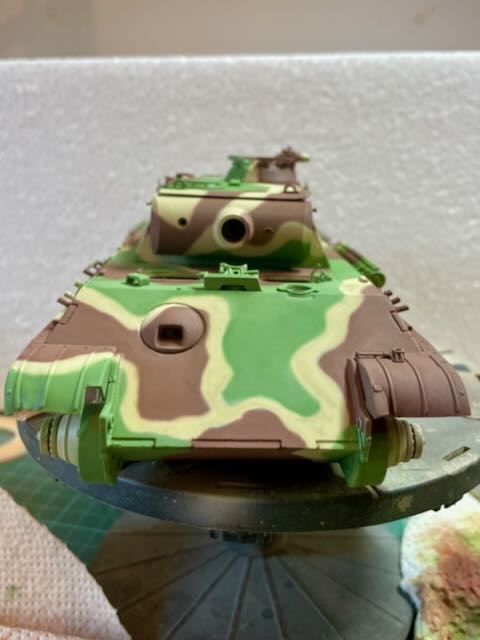
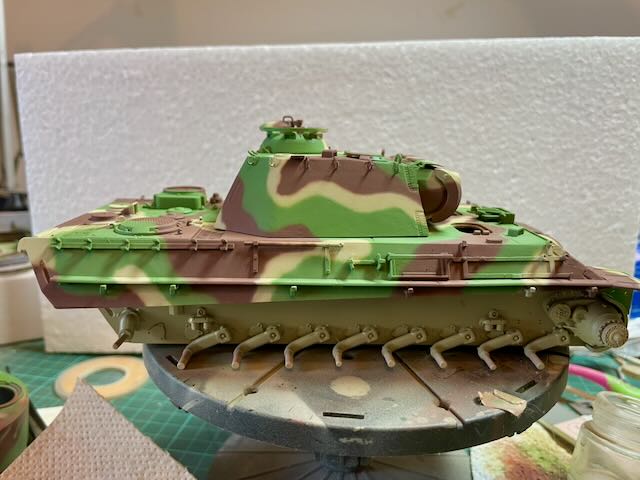
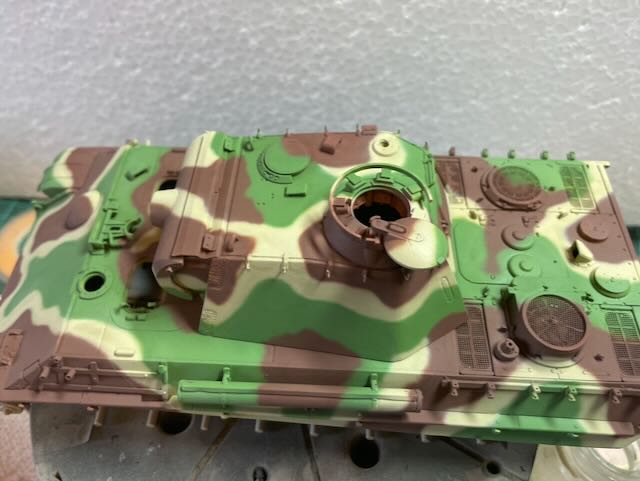
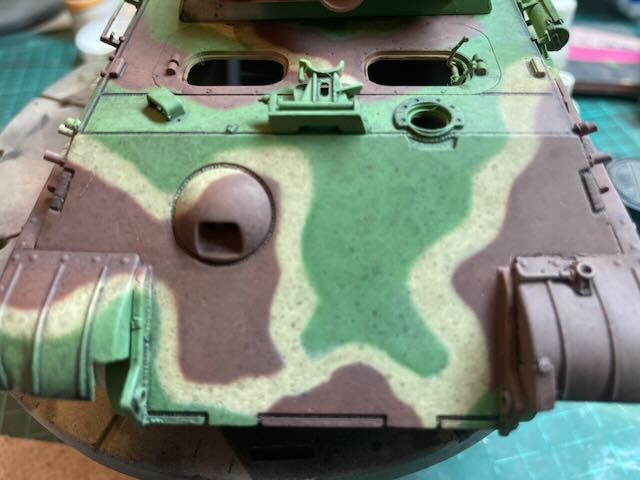
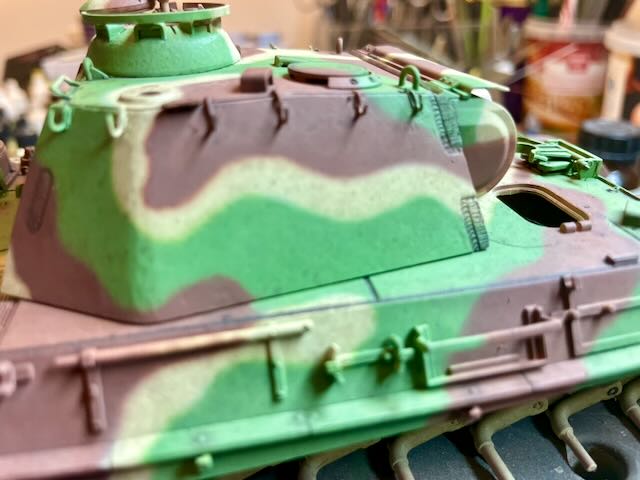
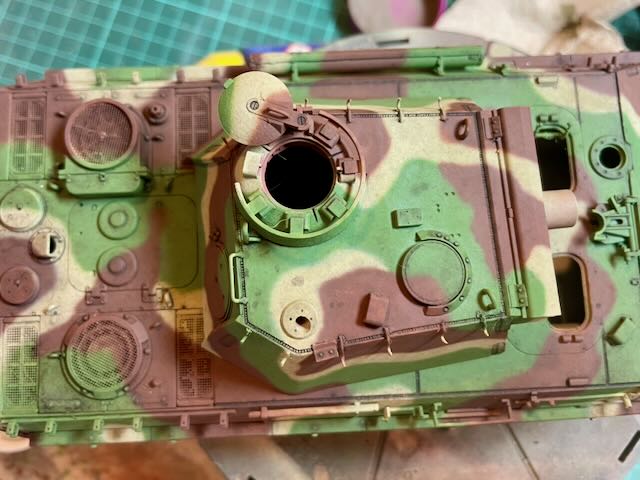
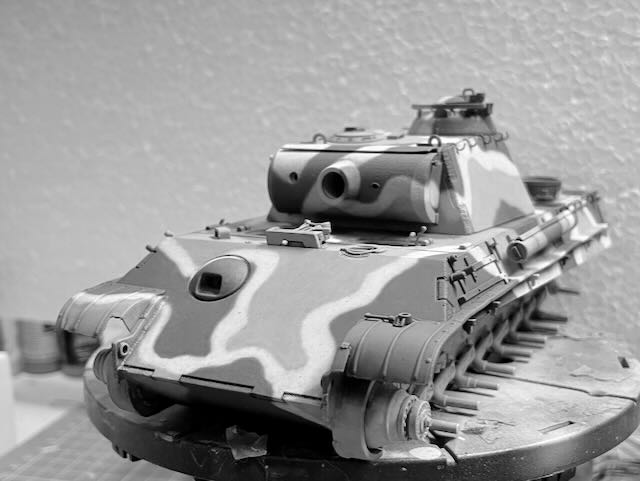
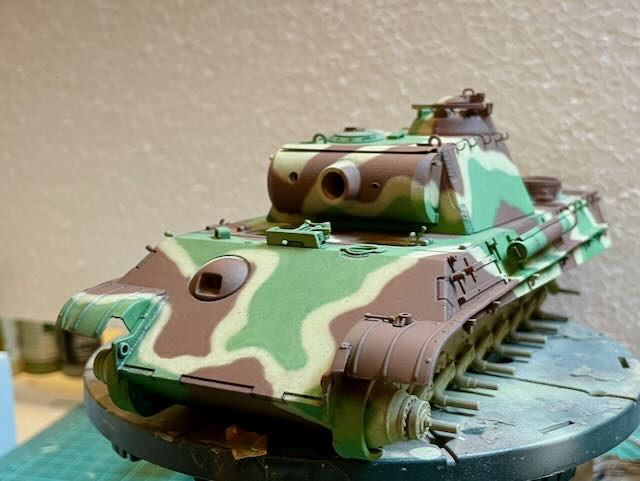
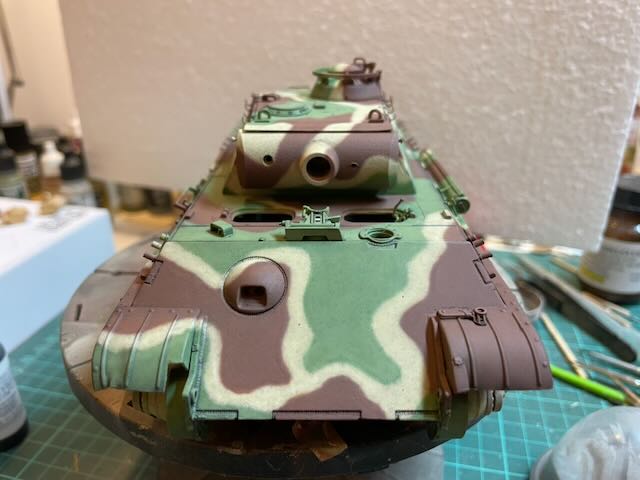
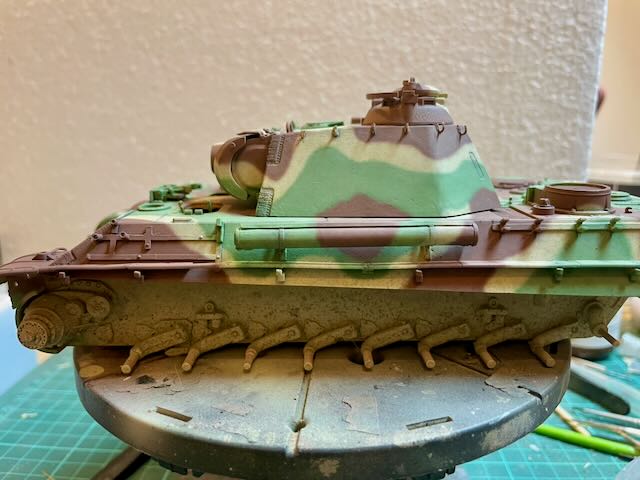
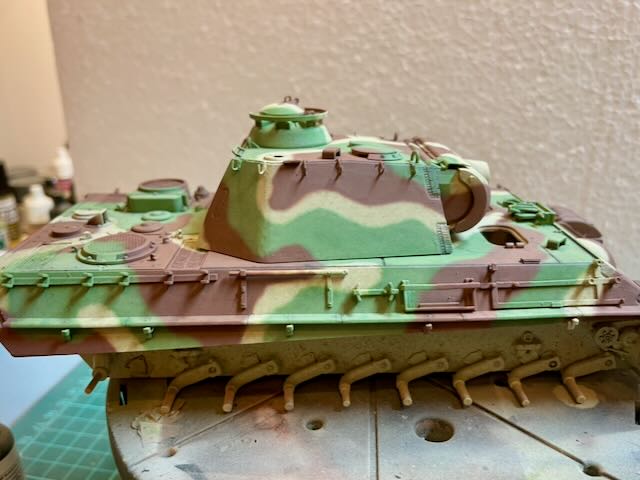
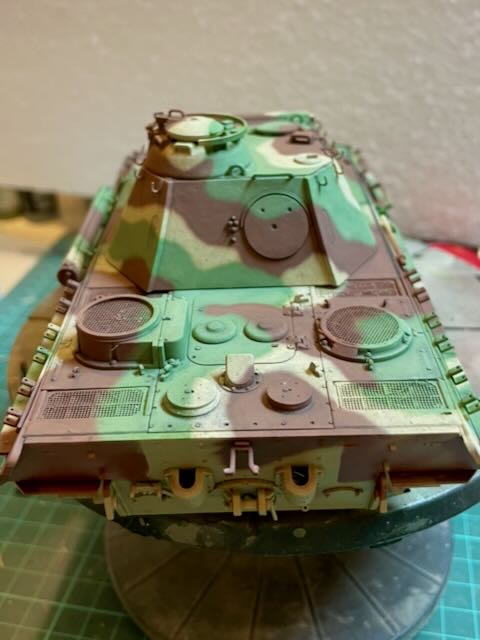
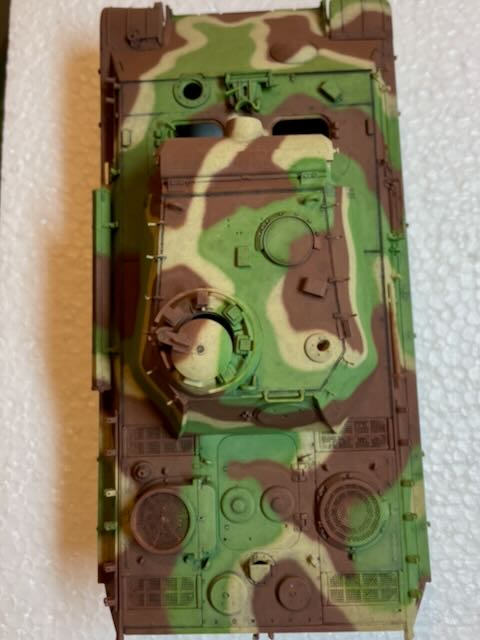
So here is my interpretation of how #201 could have looked like so far ….
I will confess that the camo scheme on the front hull plate does not really cause true enthusiasm on my behalf, as I can’t embrace the “wavy” RAL 7028 arrangement. ….. a matter of personal “Ethetics” if that makes much sense.
Cheers
Christopher
PS: This is not the final scheme yet … minor alterations to be expected … as always. 
15 Likes
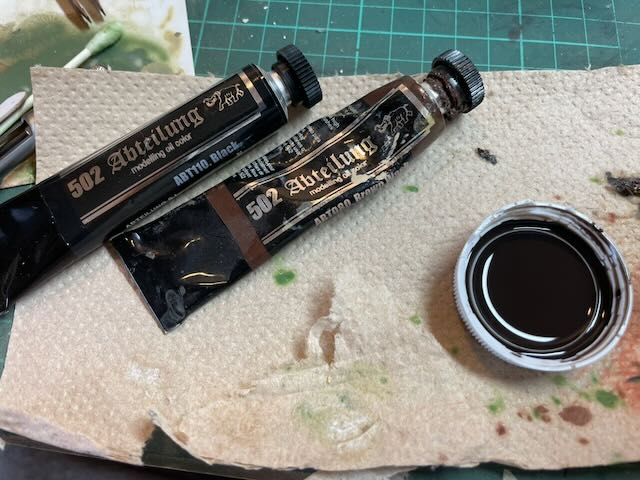
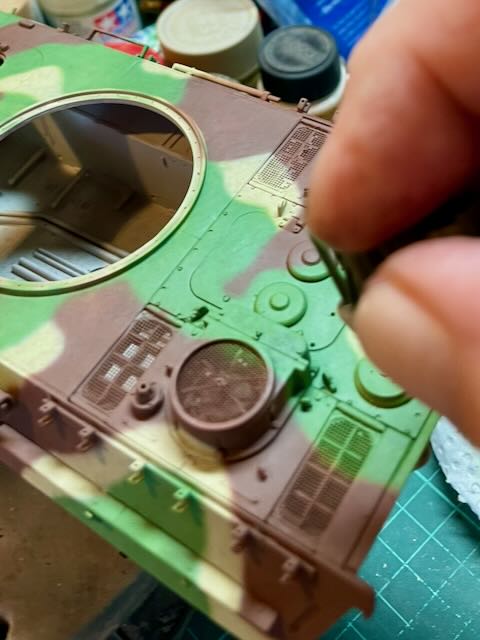
So with the basic camo layout finished I then “sprinkle” the whole vehicle with a heavily diluted mix of Black & Dark Brown using a soft toothbrush. No science behind it …. just randomly cover everything. On the top decks I wait a while for the mixture to “thicken” after vaporating a bit and then apply more opaque splatters mostly around the engine deck.
When that has dried a bit I then use a more prominent mixture to shadow weld seams, nuts & bolts, recessed areas and individual larger spots a basis for later applied “spills”. After everything is dry I seal the whole kit while VMS Flat Varnish.
Cheers
Christopher
3 Likes
Once everything has dried I then go over each individual colour again with a diluted mixture of the same. This way I tone down the “Sprinkels” to a lesser prominent appearance but enough to create a subtle weathered base coat. In this instance I used the final /different Green tone which is of a little lighter shade than the more brighter colour I applied previously. This final Green mixture was running low in my stock being the reason I chose a similar Green in the previous steps as a base coat.
Comparing the overall chosen colours in comparison to the original BW photo seem relatively authentic in my eyes.
Cheers
Christopher
6 Likes
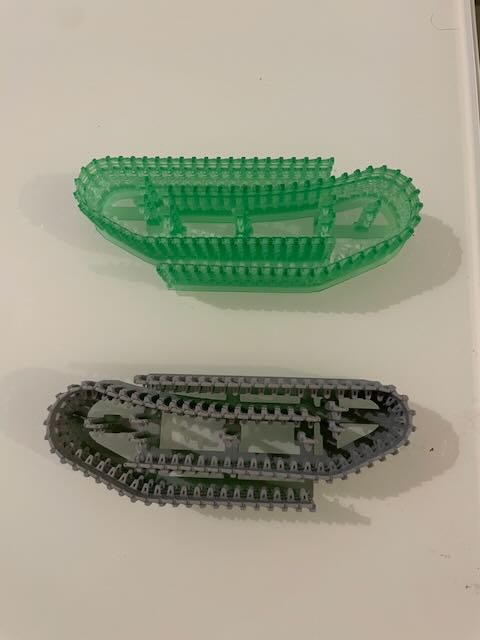
Here’s a little progress getting the 3D printed tracks on and the basic weathering of the road wheels. Applied the decals …. my assumption Panther #231 with the documented Fahrgestellnummer 121052 was completed shortly after #201 … I chose to number it 121050 with no proof of authenticity. Also not confirmed is if #201 had the turret numbers replicated on the top rear left corner. The other Steel Wheeler’s apparently didn’t so I thought … why not … this project stays 60% fictional anyway. I intend to finish the rear hull camo this weekend and other minor tasks to complete the kit ready for the actual weathering process.
Cheers
Christopher
8 Likes