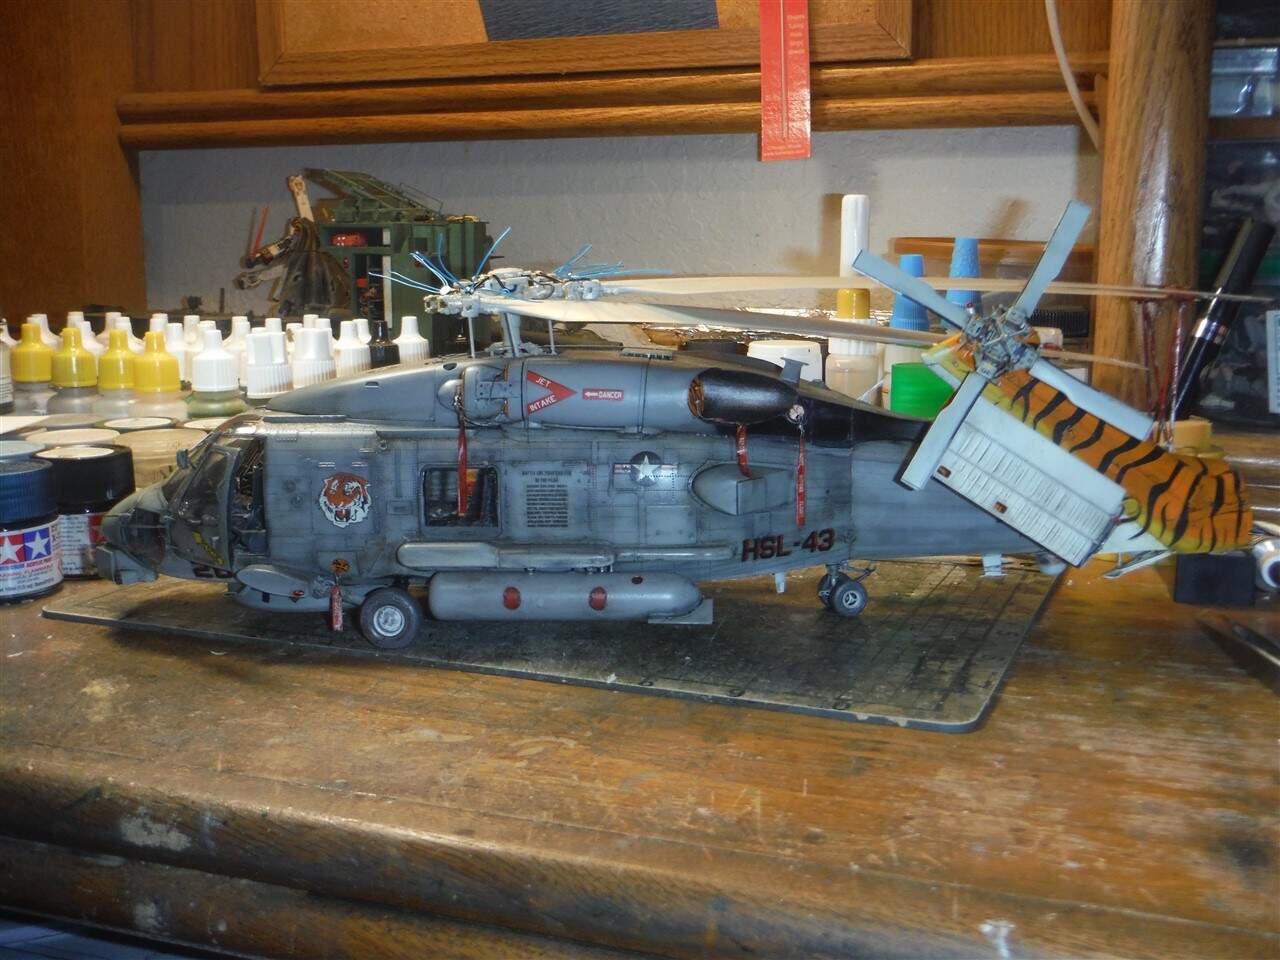
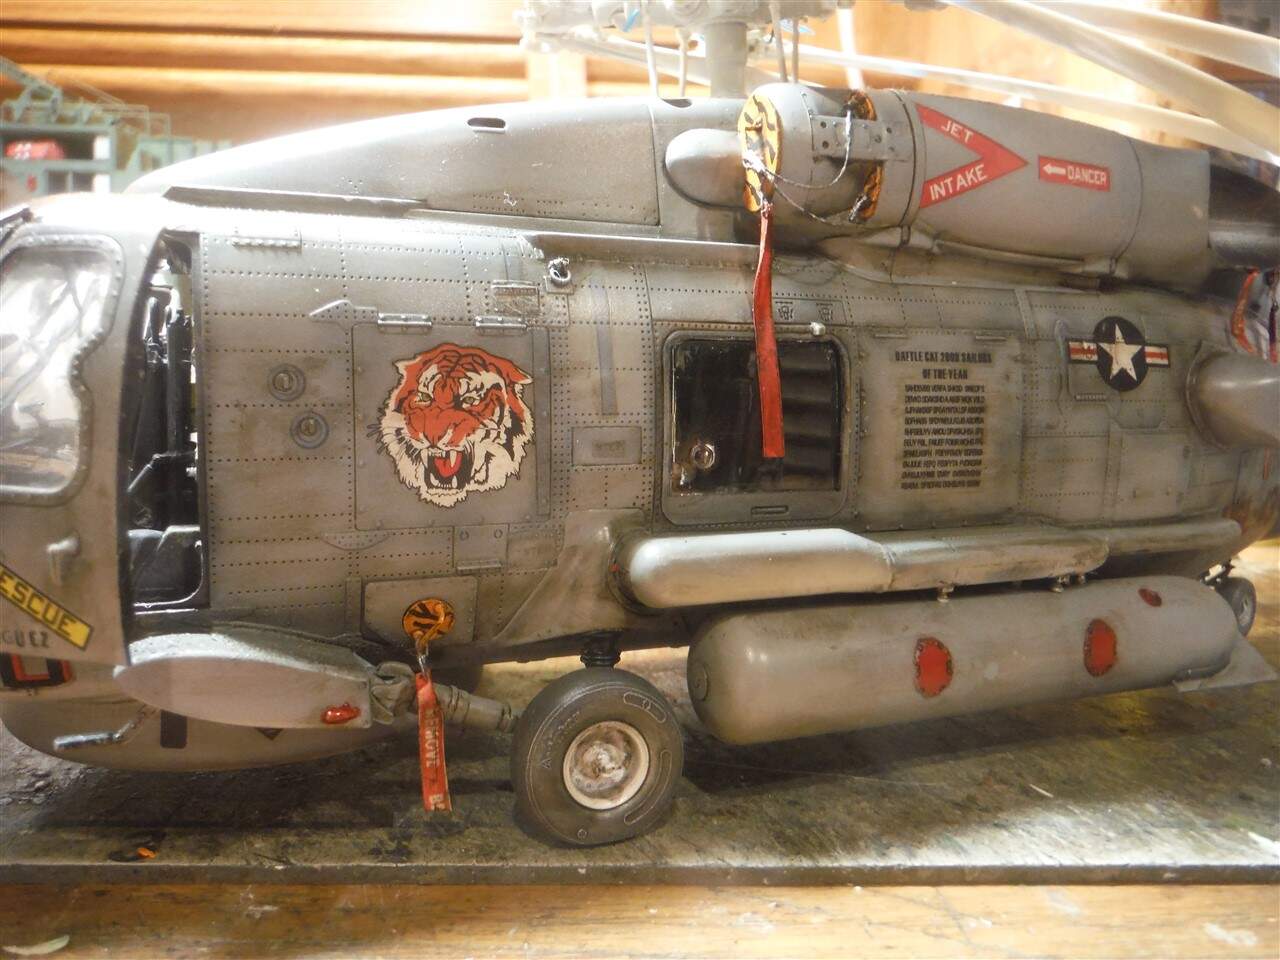
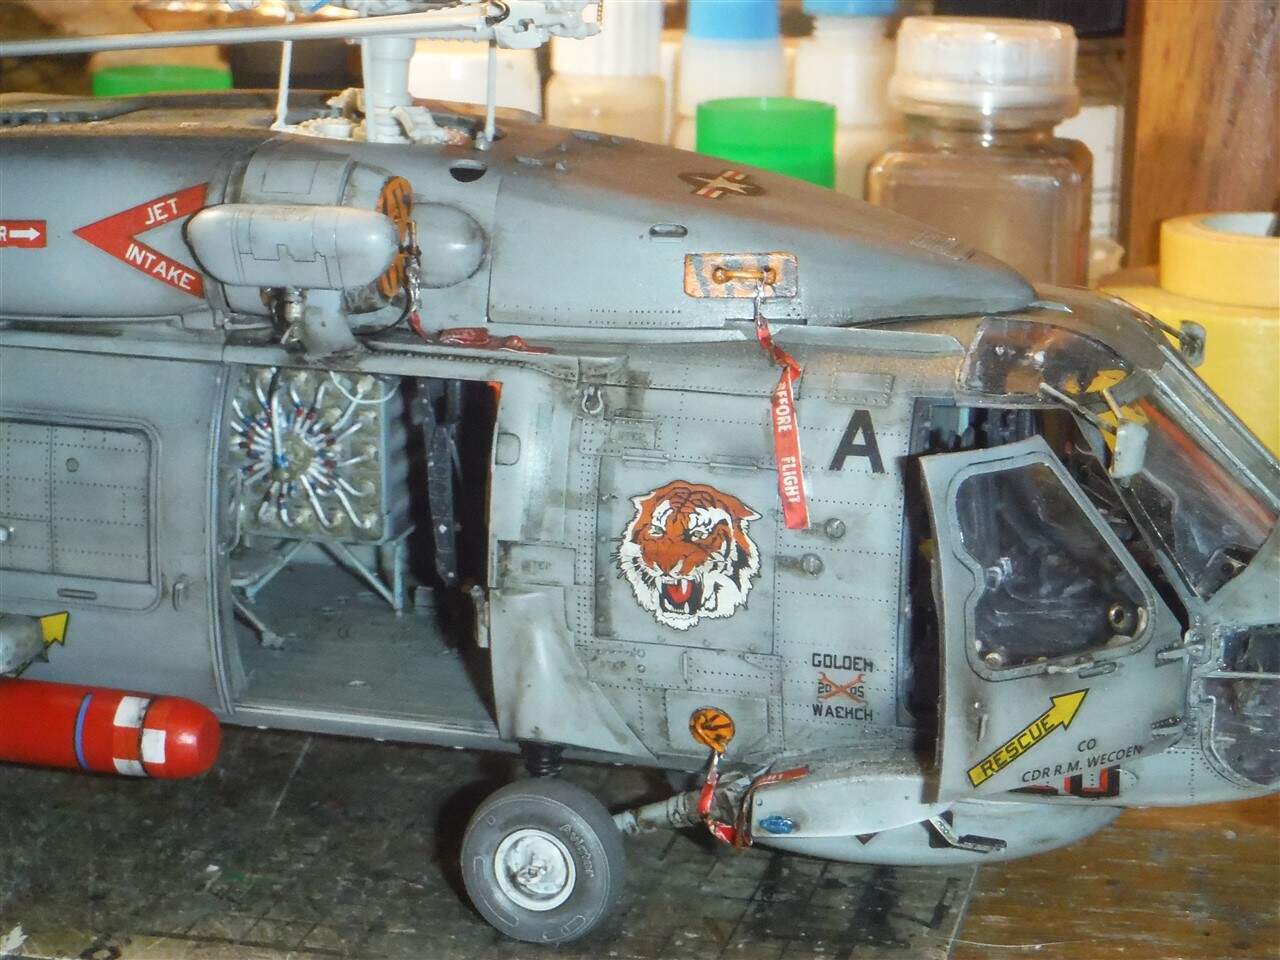
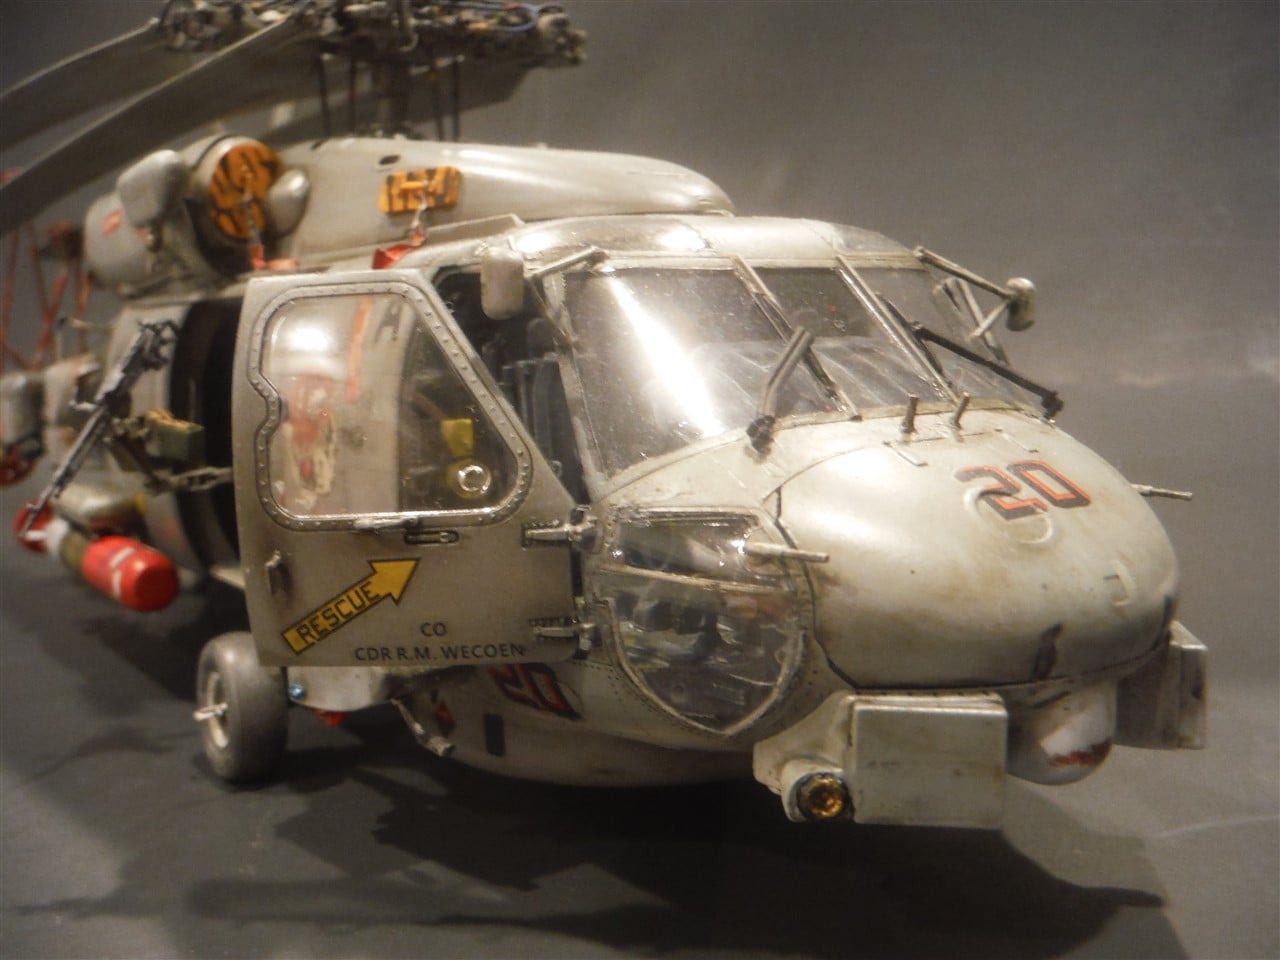
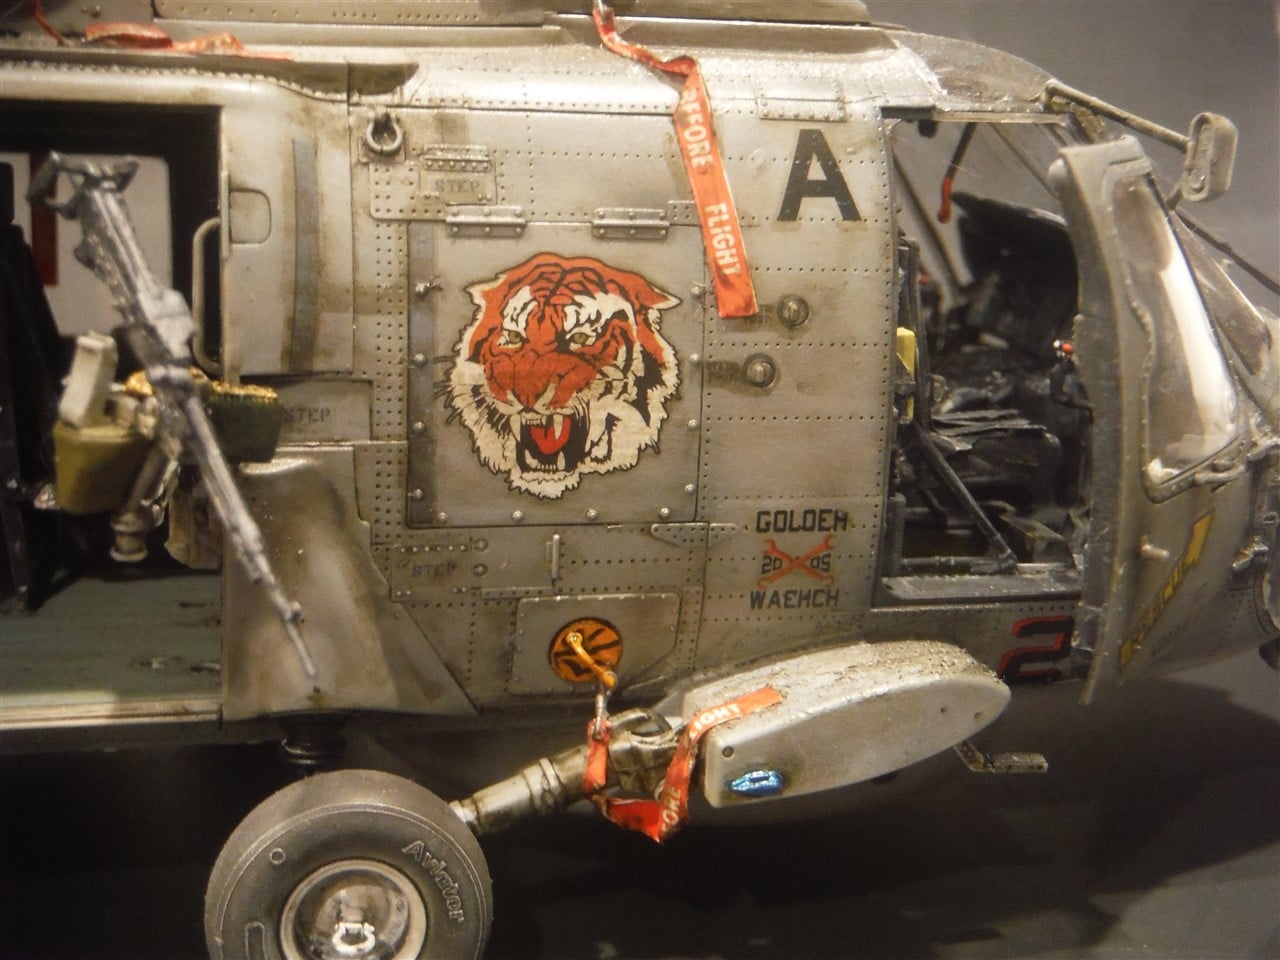
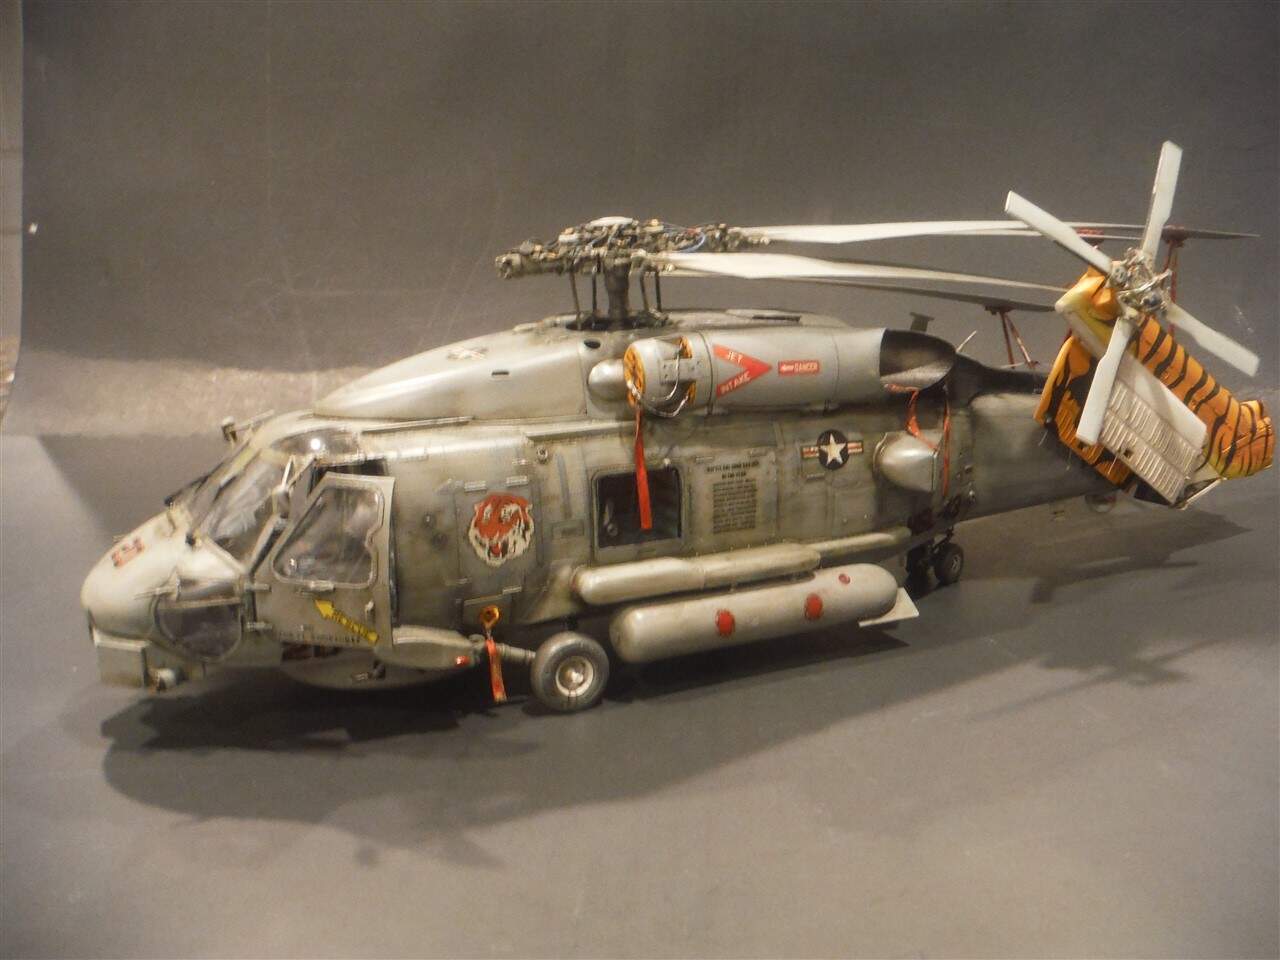
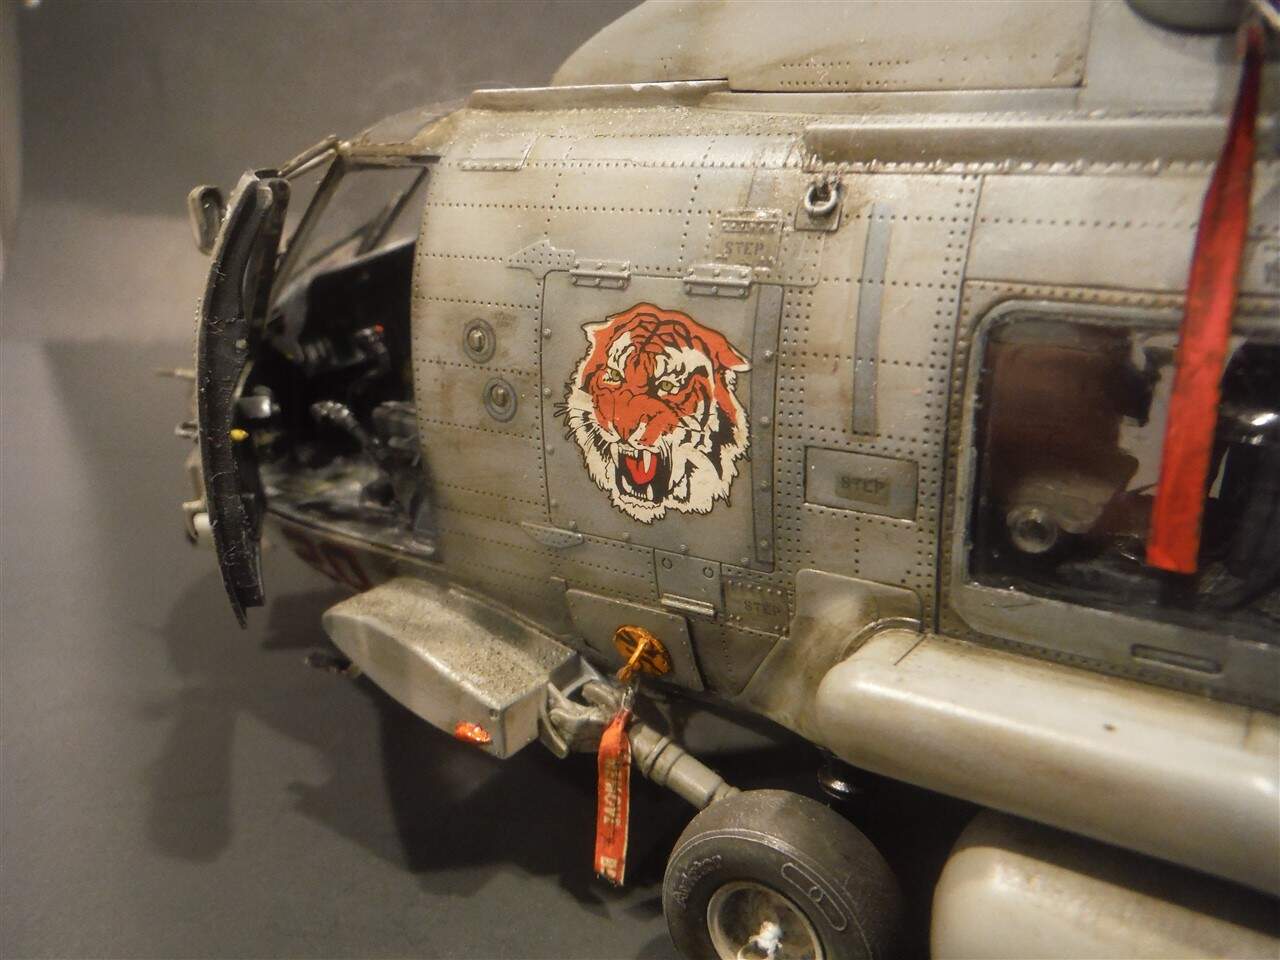
Here is where I am at with my Kitty Hawk 1/35 SH-60B build. It is a wonderful kit. It does has some minor flaws, but nothing that will take away from building it. I built the HSL-43 Tiger Cats bird. There are some discrepancies between the model kit and the real bird, but nothing to cry to mom about. here is what I found so far:
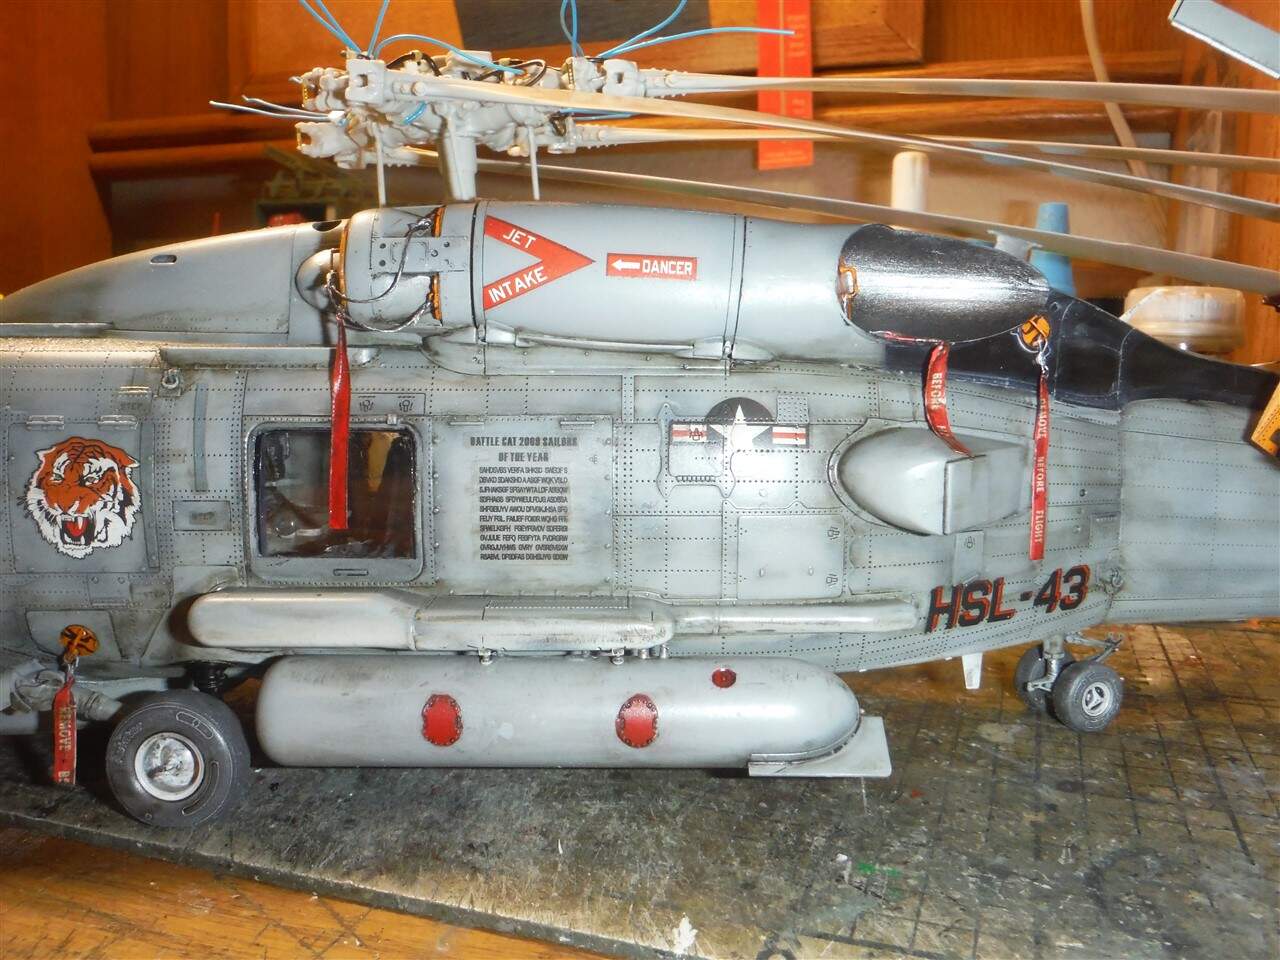
According to pictures I found on the net, there was two CAG’s. The kit decals provides one of their names for both doors. First, the last name is spelled wrong, but i seen that with kit decals coming from Chine, i.e. Trumpeter. Second, the CAG’s name should only be on the left door. The right door has the XO’s name and i only found pictures of one of the names.
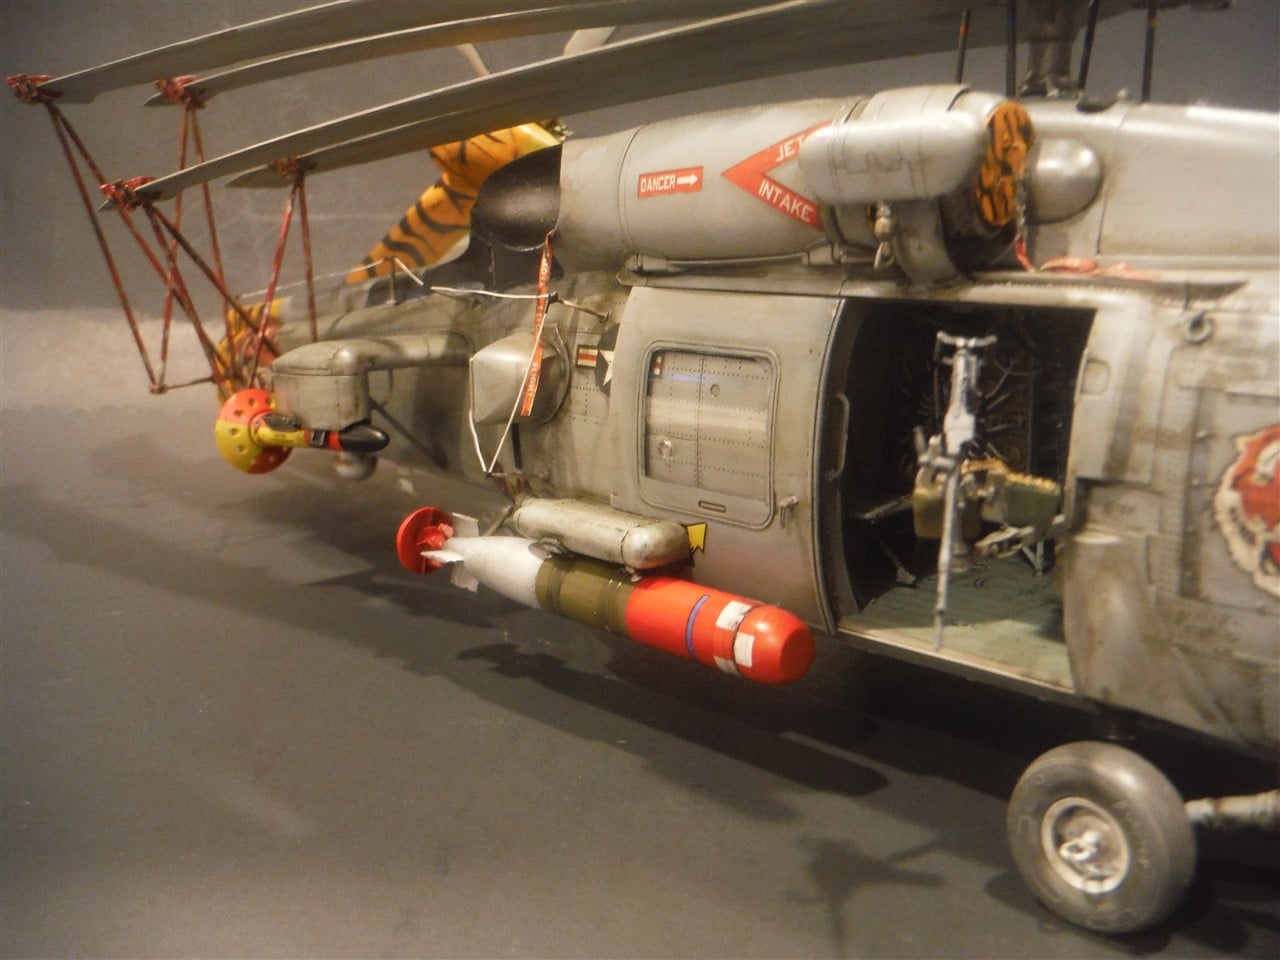
The left wing pylon should be a short one and the kit doesn’t provide the correct one.
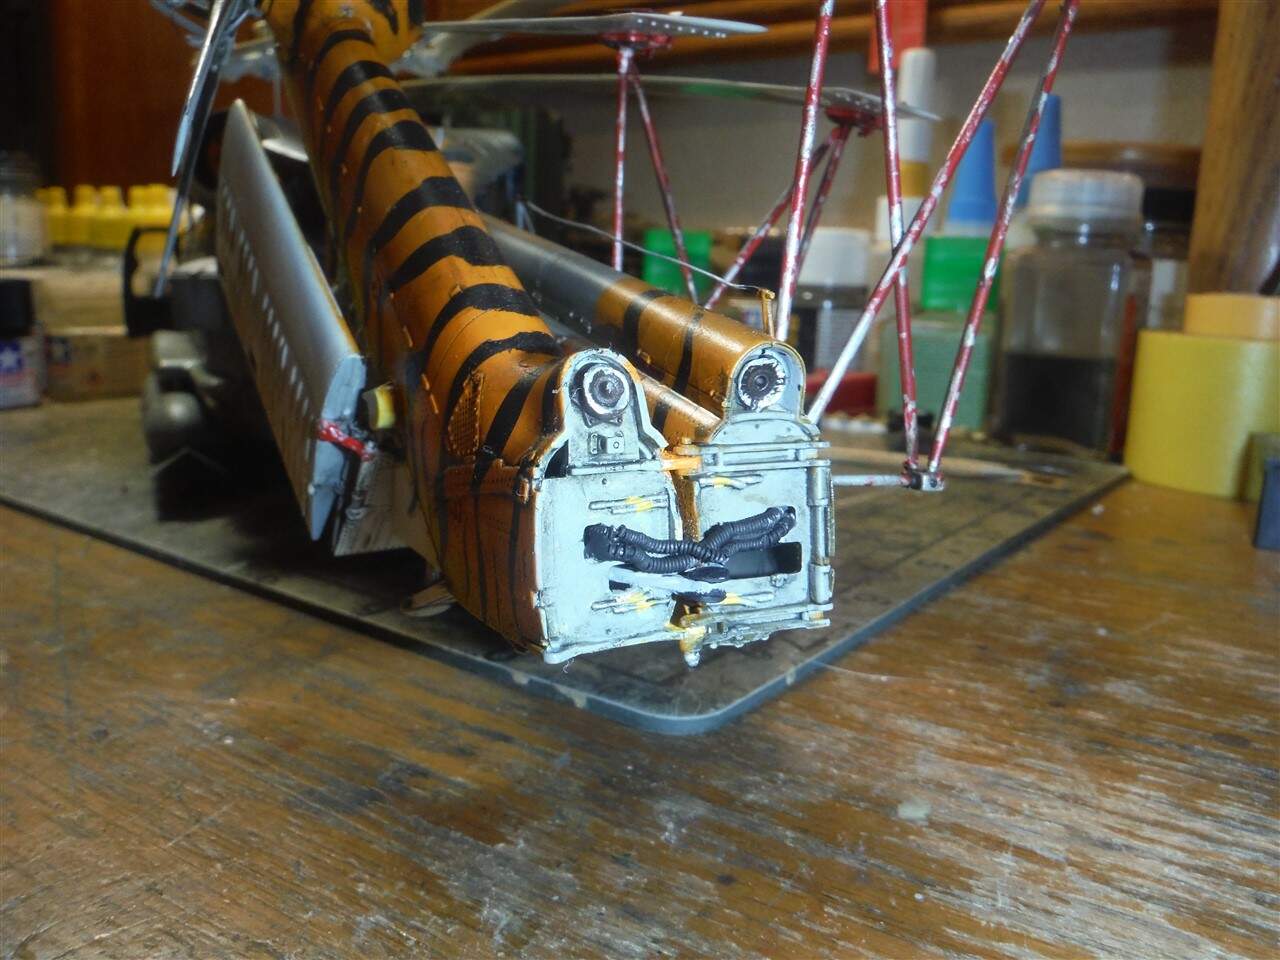
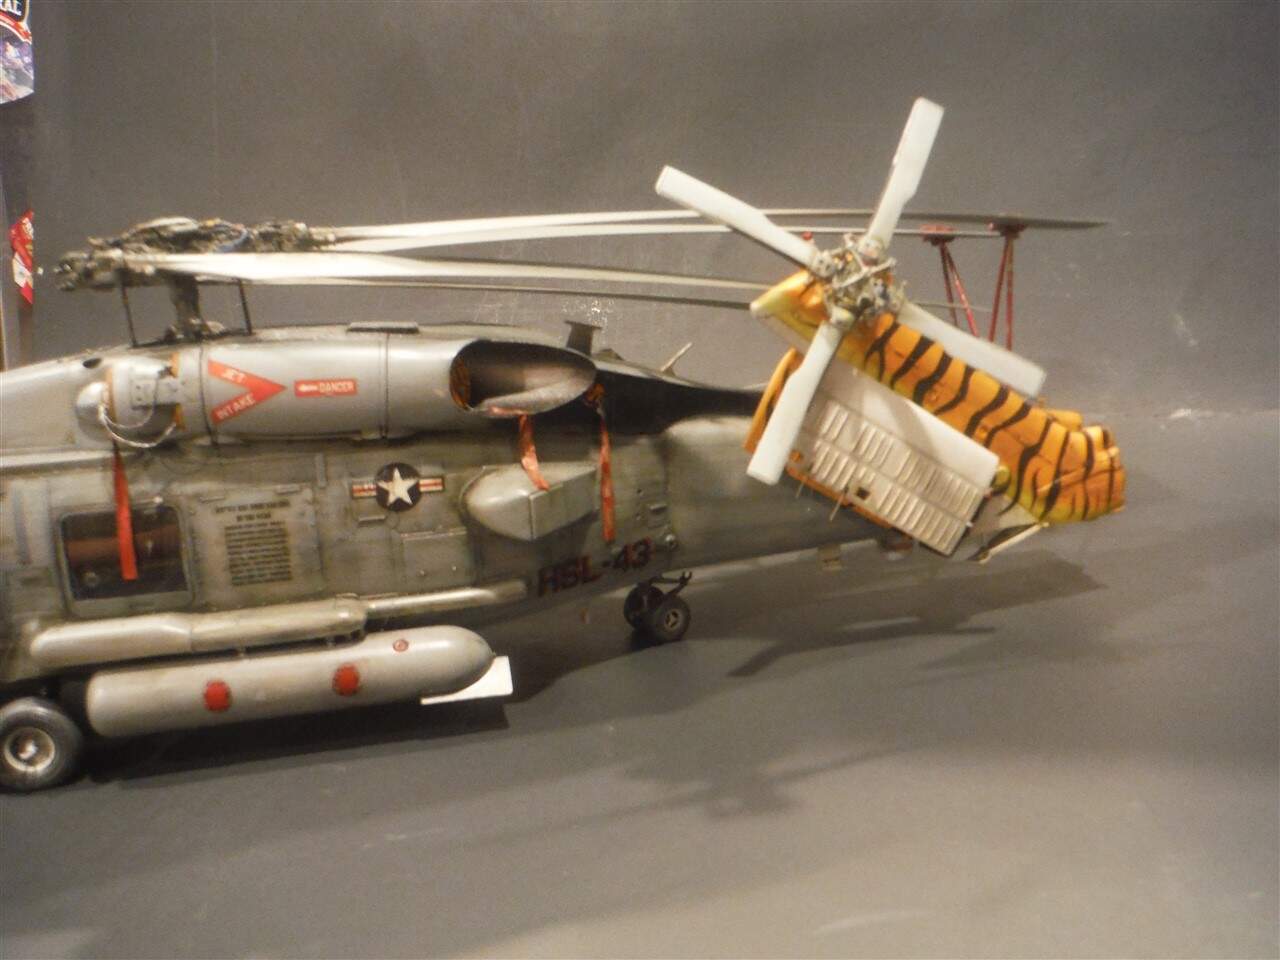
The kit tail is incorrect. The instructions show the correct tail parts HA6 and HA5, but its the wrong one on the parts tree.
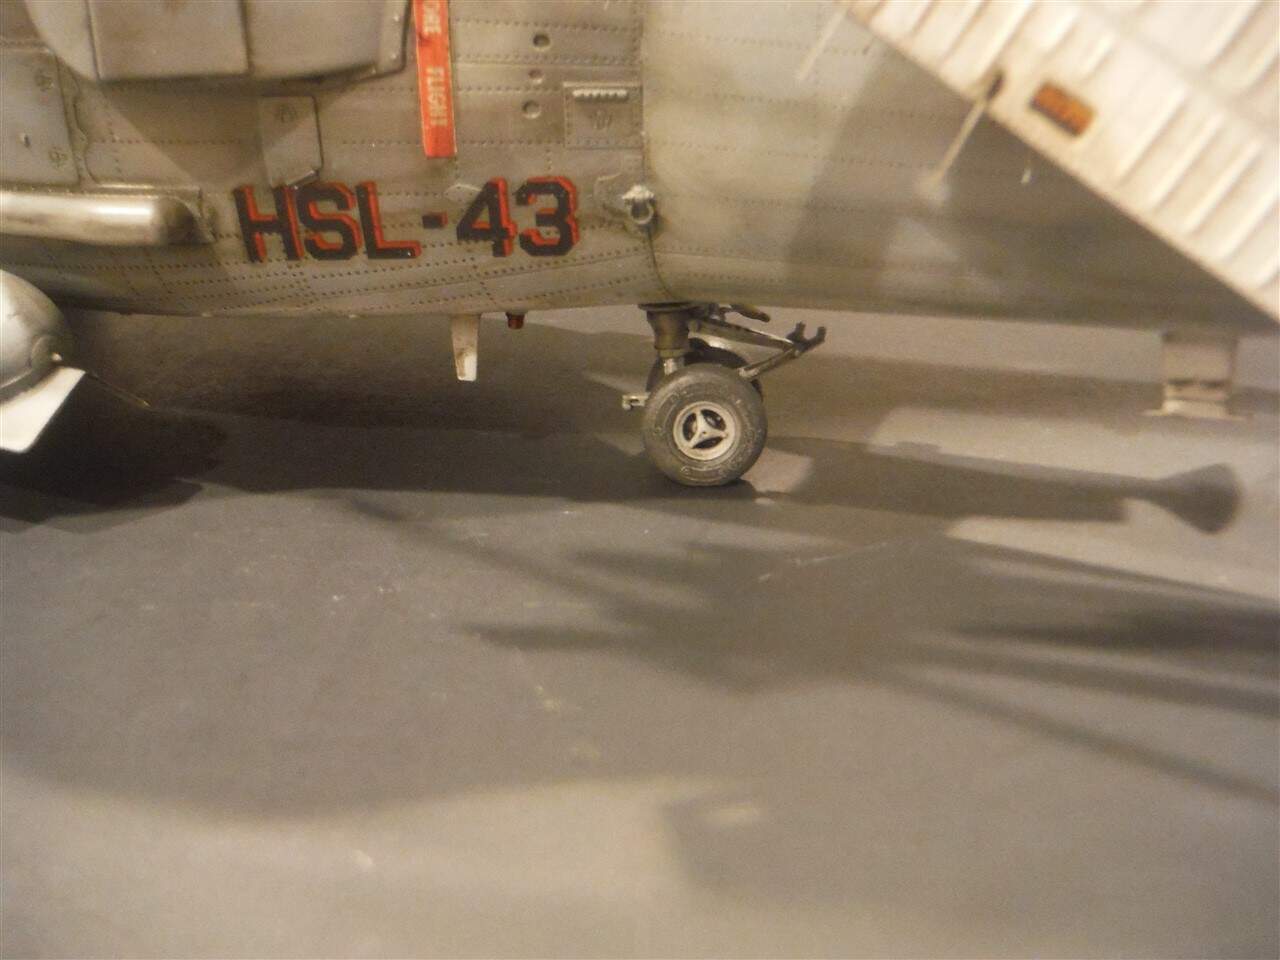
Under the bird, to the rear of the tail wheel, there should be a part there, but there isn’t a part provided. The instructions have you drill the hole for the part, but no part.
In step 18, according to picture, use antenna part HD47 instead of photo etch part PE10.
In step 20, use both photo etch parts PE10 on tail, one on each side.
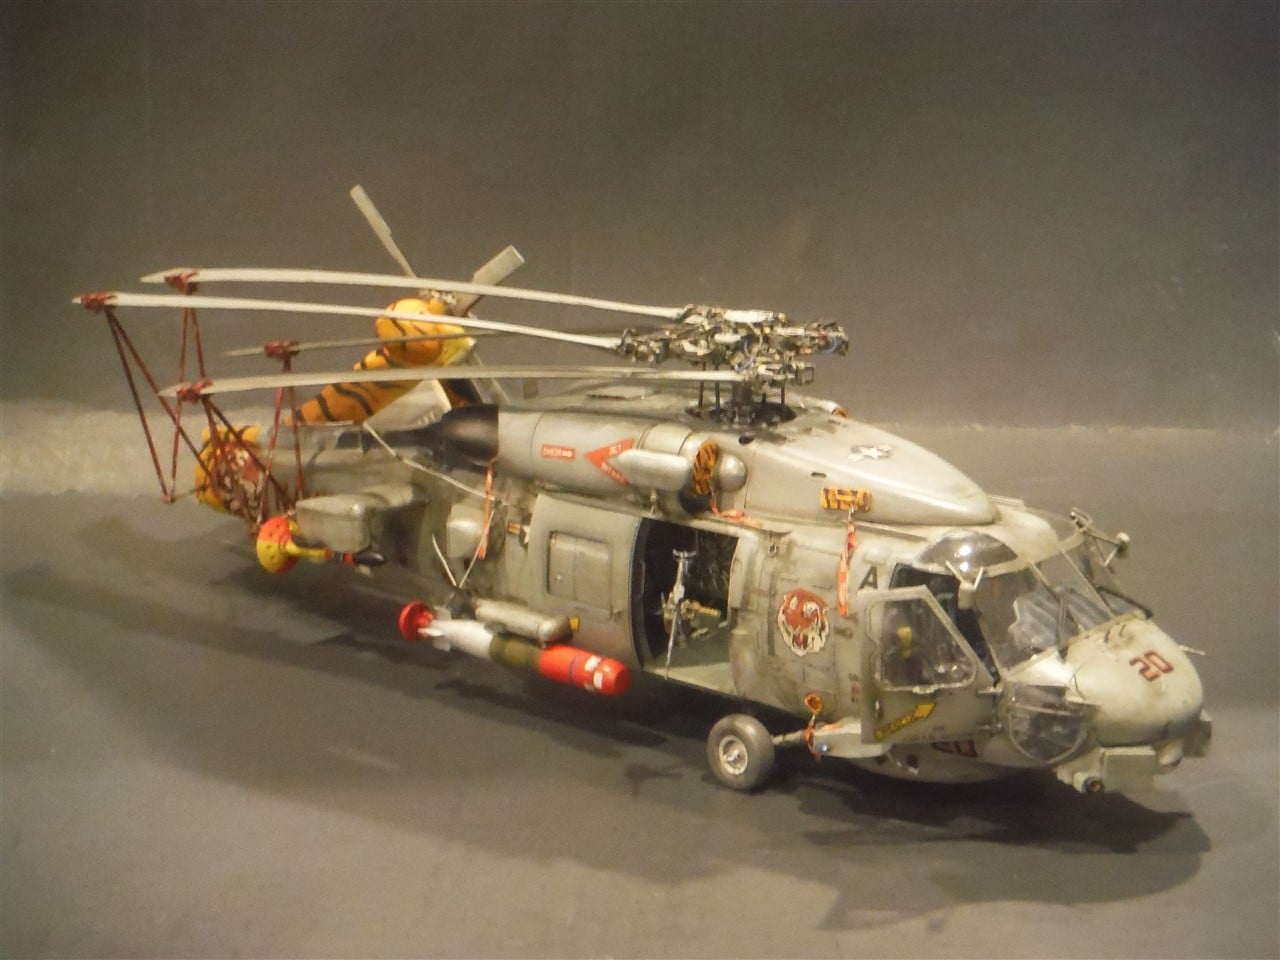
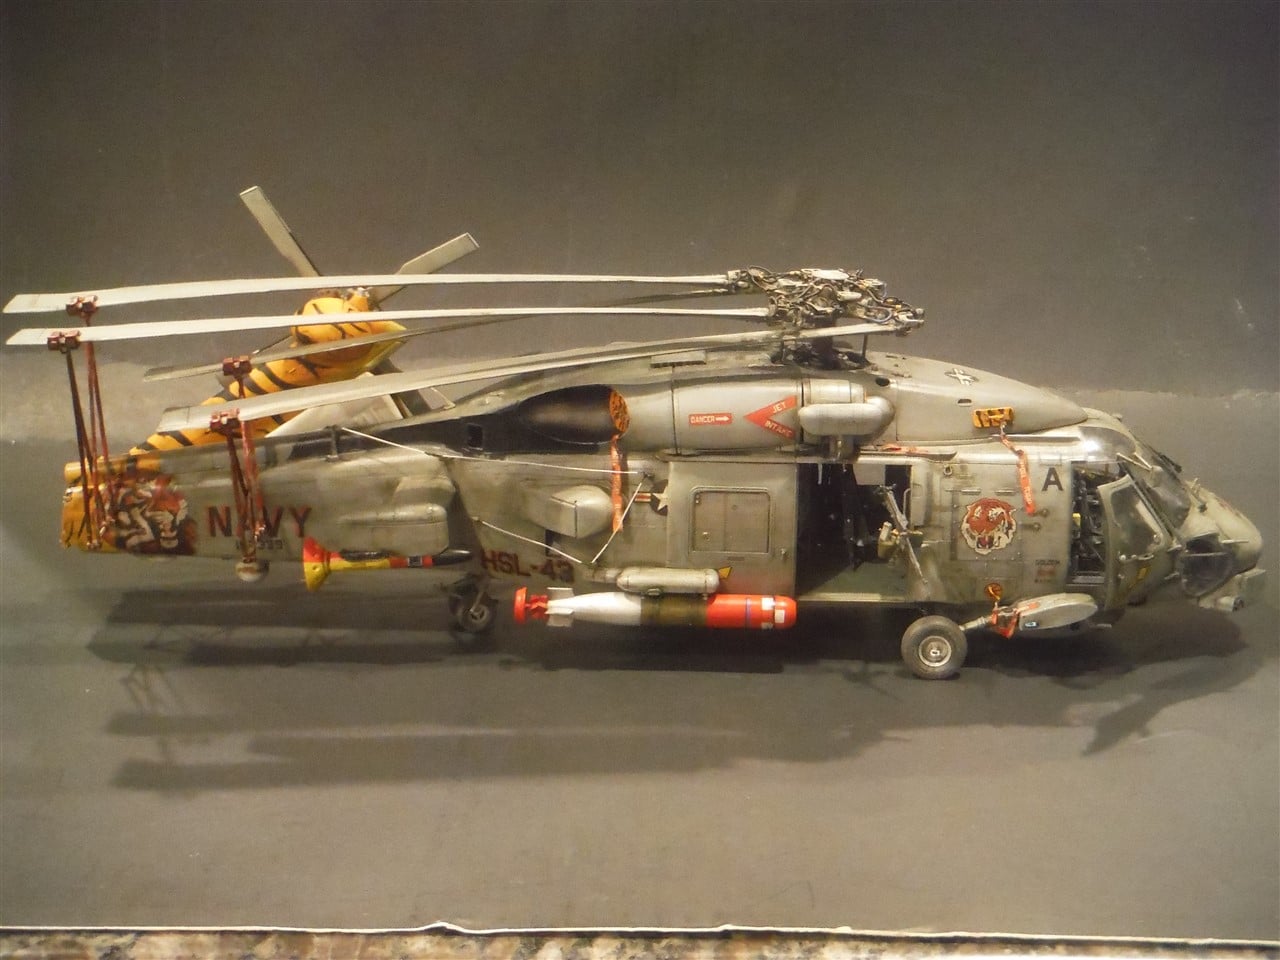
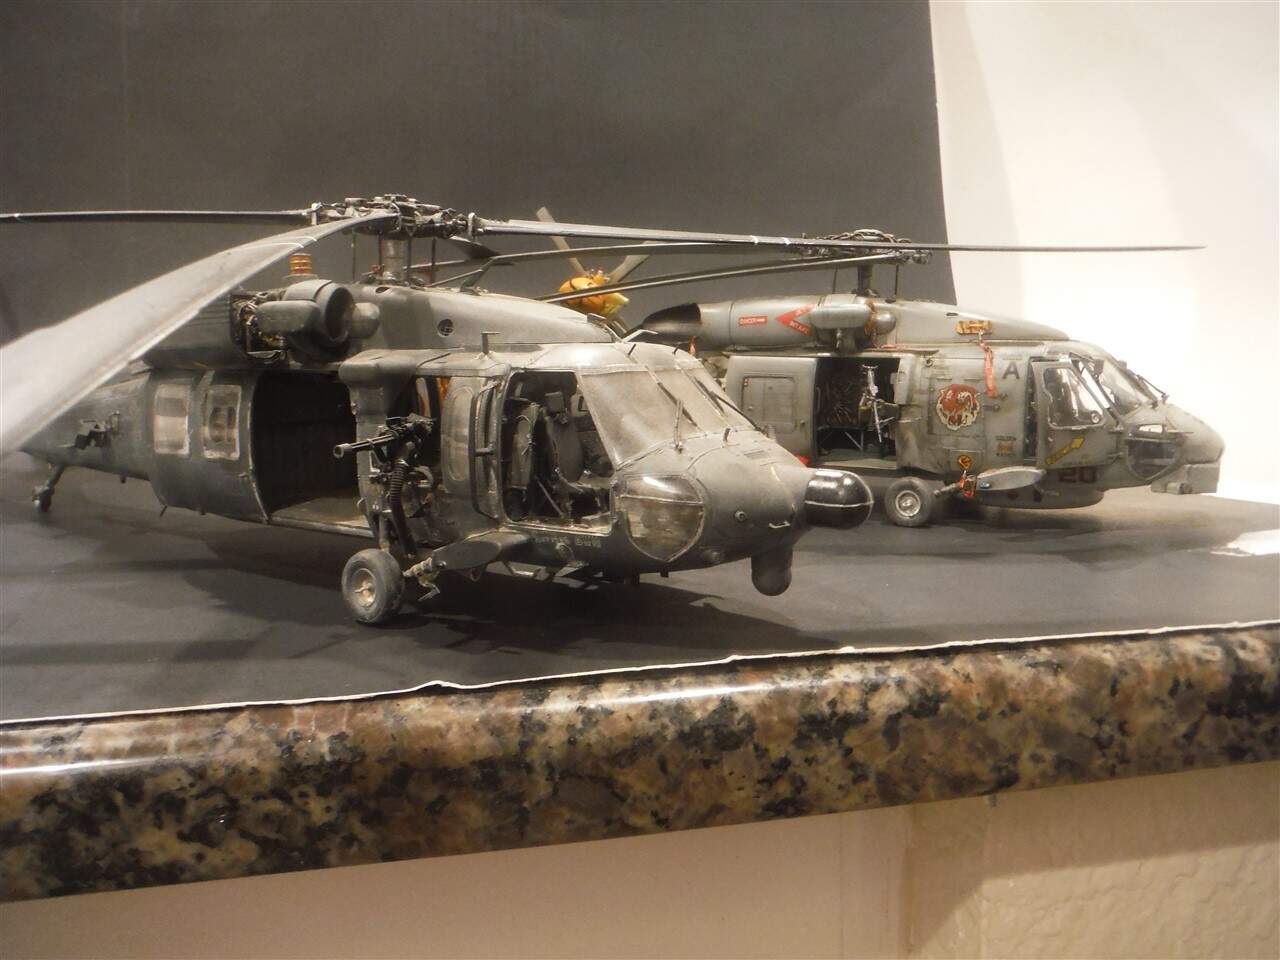
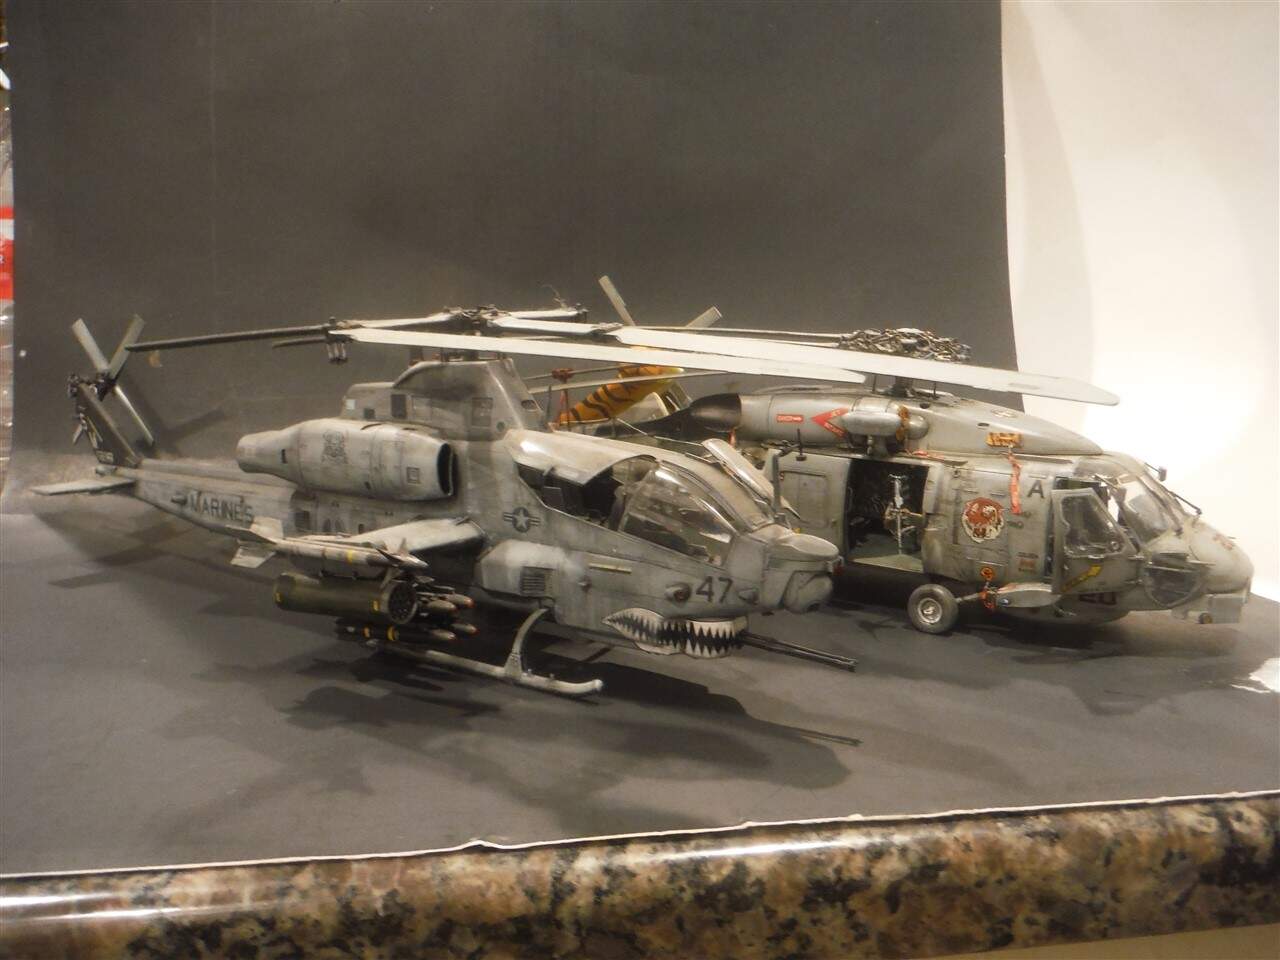
Pete has finished it and posted these pics at Facebook. It looks awesome. Great job on it, Pete.
This is what he has to say about the kit:
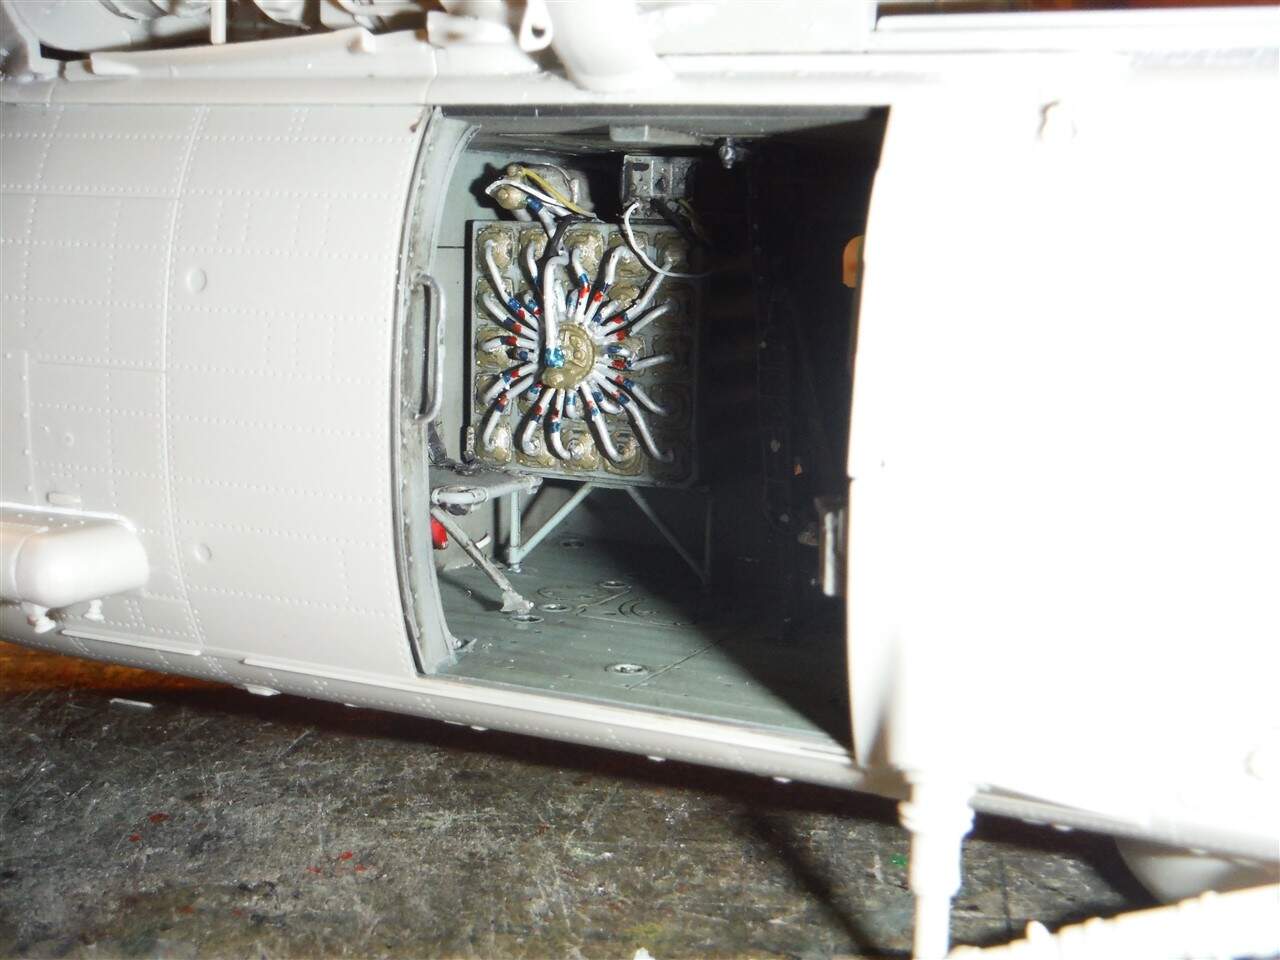
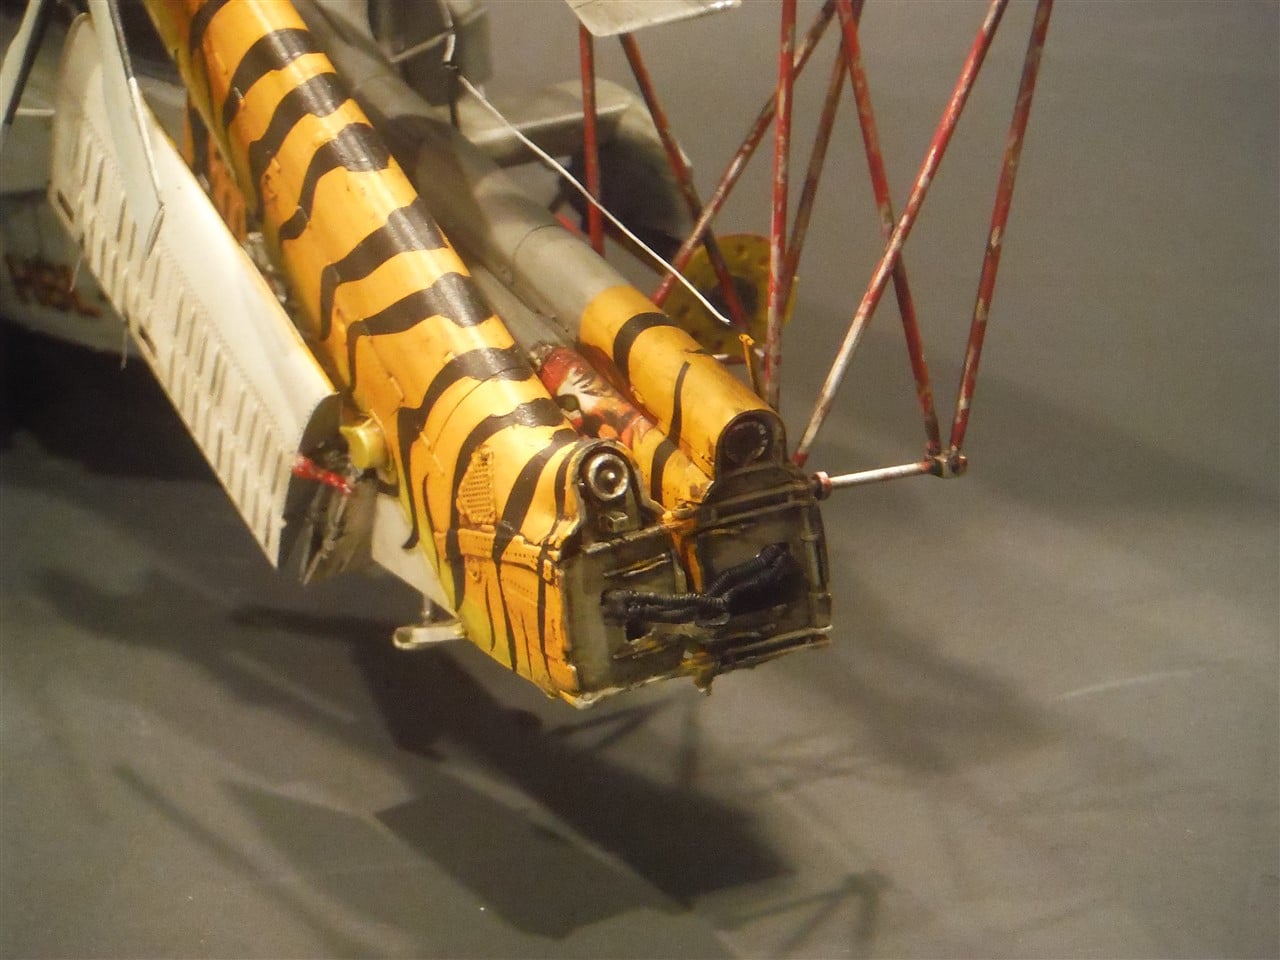
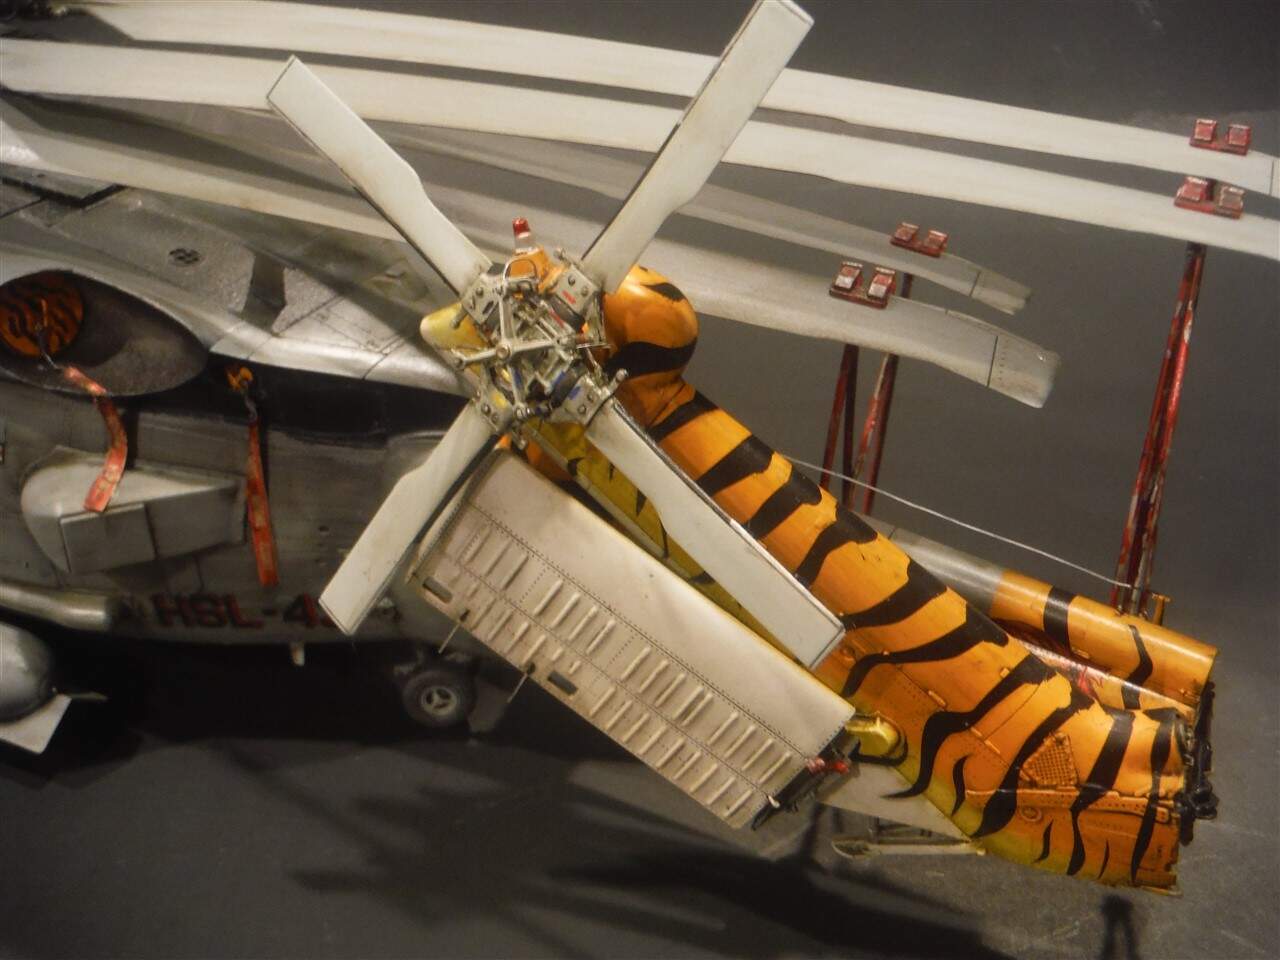
There were really not that many fit issues. However, there are fragile parts like the pins that connect the two tail parts to the center tail part. I found a great picture of underneath the aircraft and the seam of the two fuselage halves seems natural, so if your careful when you glue the two halves together, you won’t need to sand that much. If you plan to do the tail folded, leave it off until final build for ease of painting and it can be broken off easily. Not only did I place glue at the tails connecting points, I also put a small dab of glue between the tail and rear fuselage.
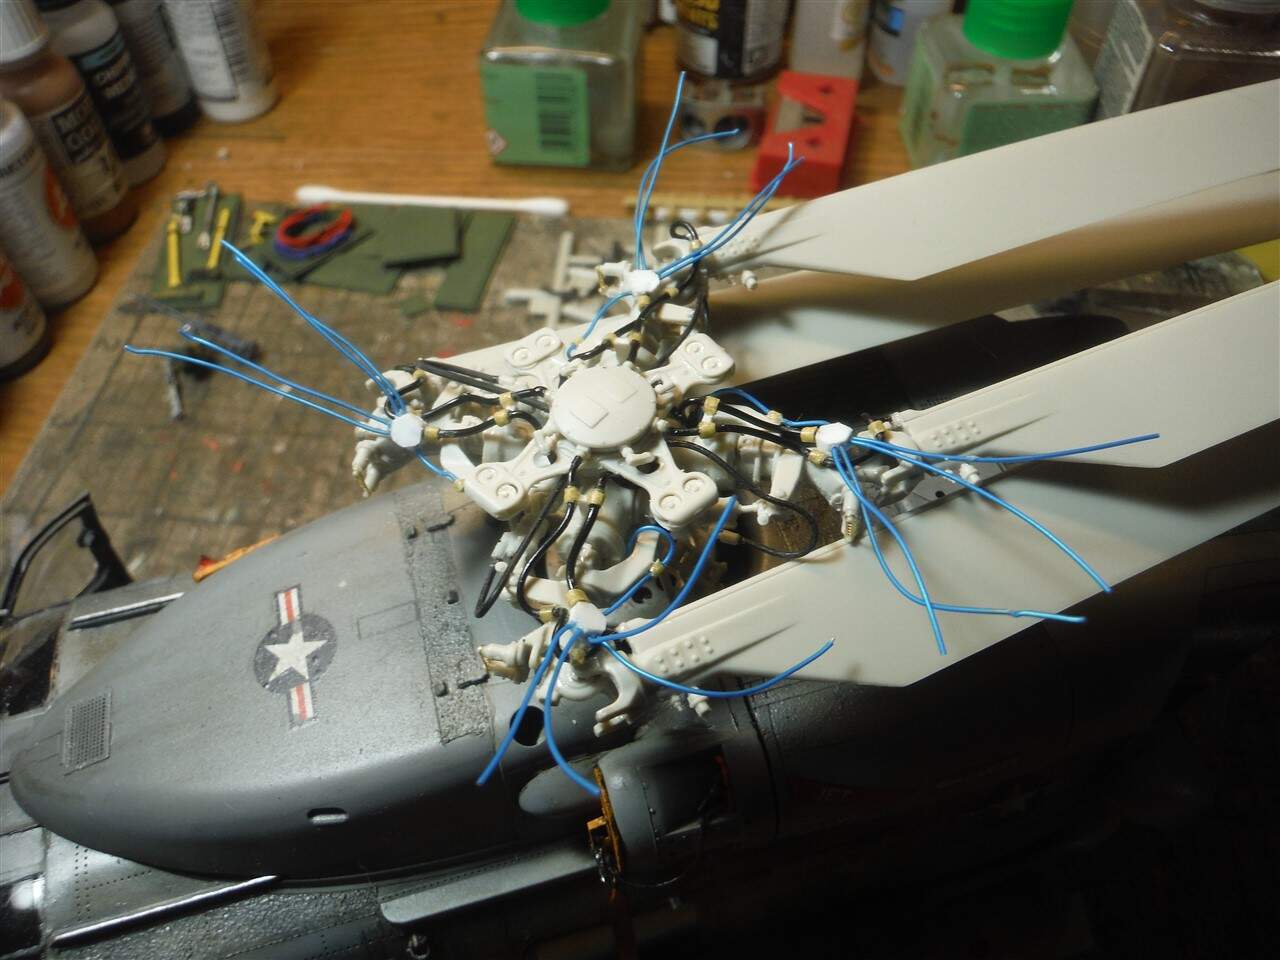
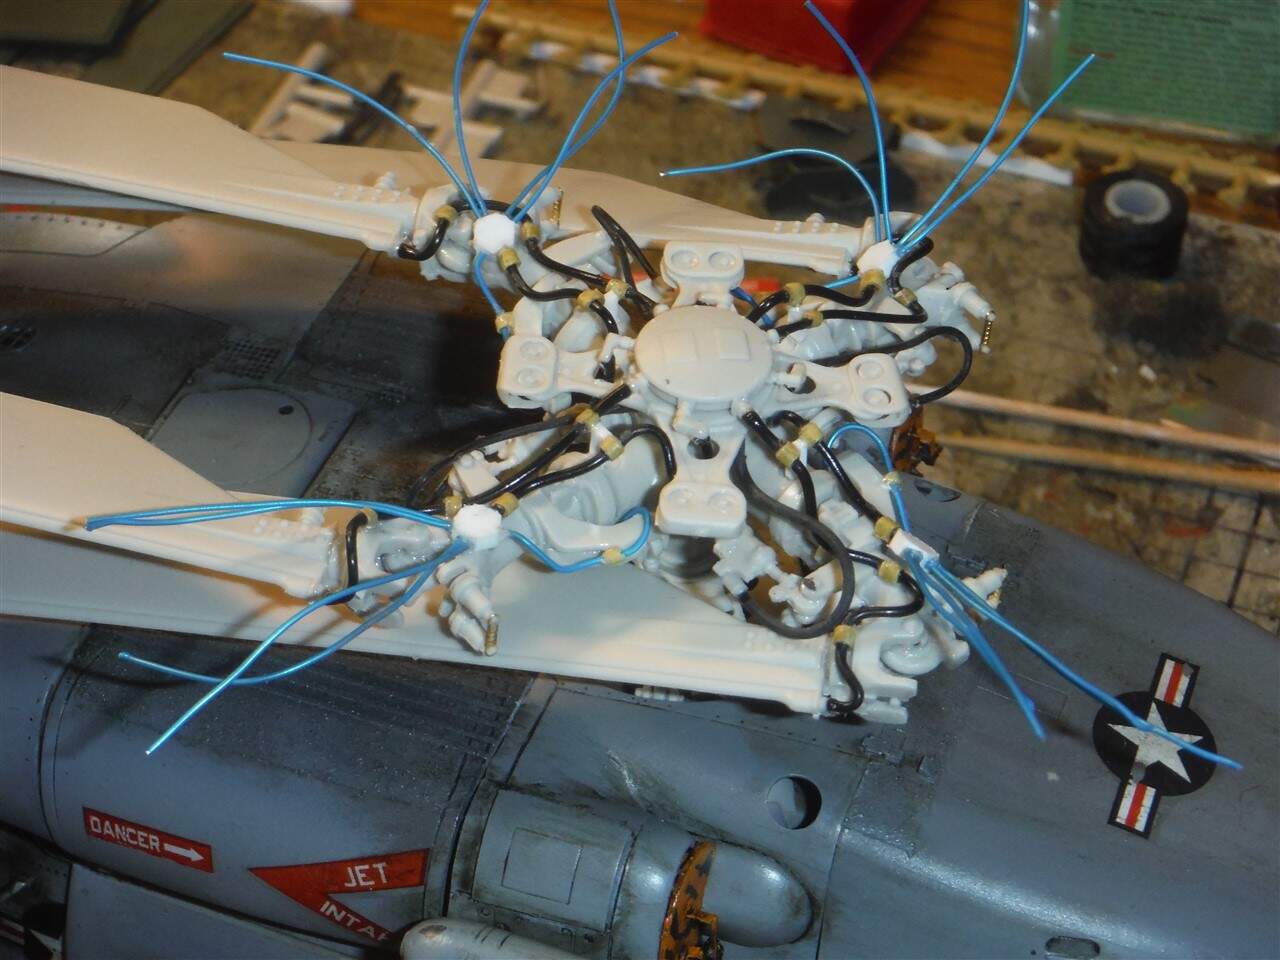
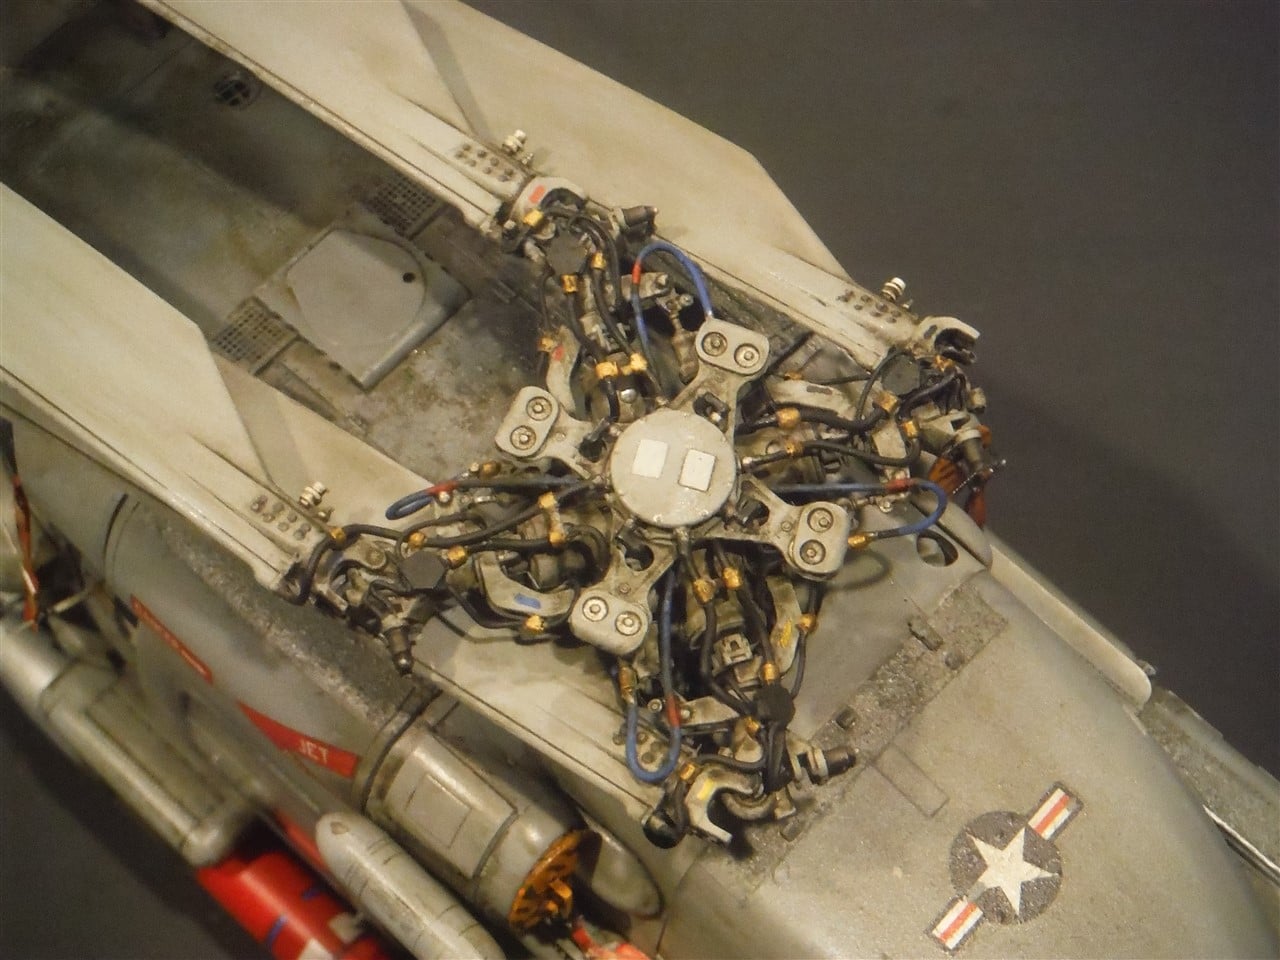
Good greif, the main rotor assembly looks like a model itself! Damn nice looking whirlybird, you could use this as collateral next trip to the bank for a loan. There are several sharp looking helo graphics for the Navy HSC squadrons at Norfolk ( I’m sure you’re aware), I admire your effort on this one.
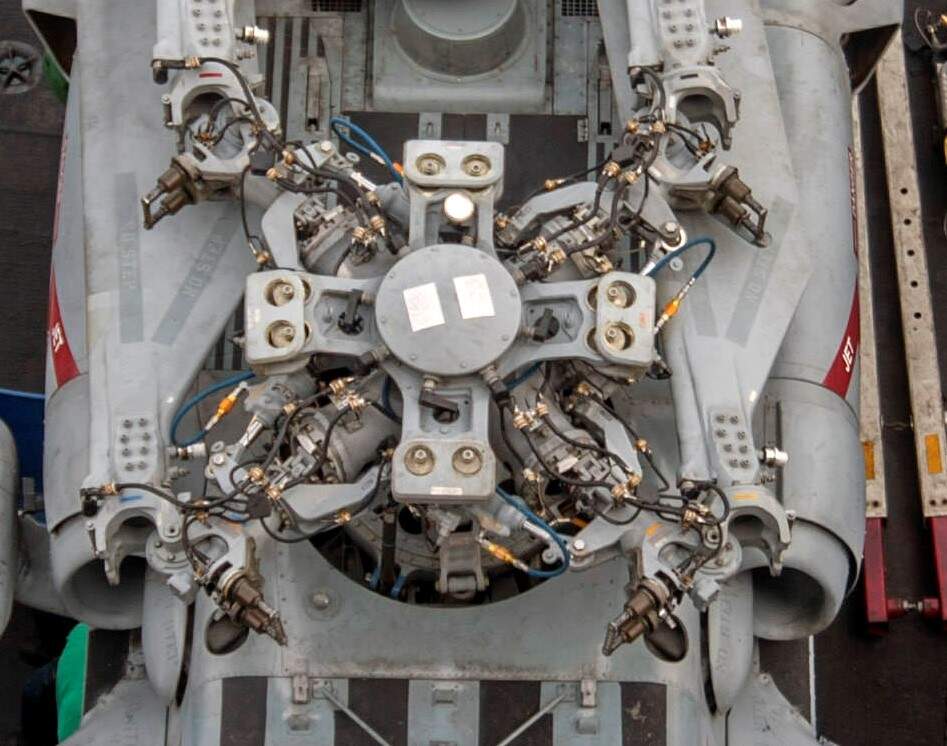
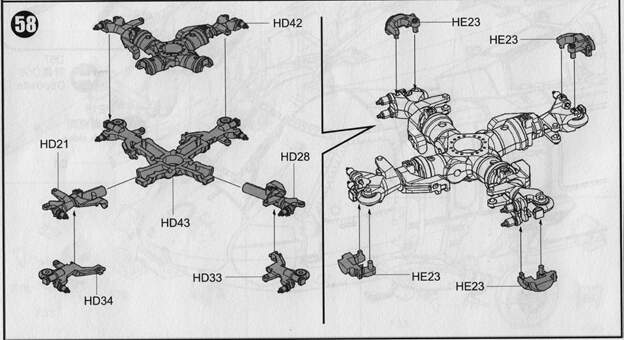
Man, did Kitty Hawk just ‘hand wave’ the folded rotor in the instructions, or what? Like, here’s how to assemble the deployed rotor, and here’s a shot of the rotor supports but there isn’t a single shot of the actual folded rotor head anywhere I can find.
Yes, they skipped them. Here is the step from their MH-60S.
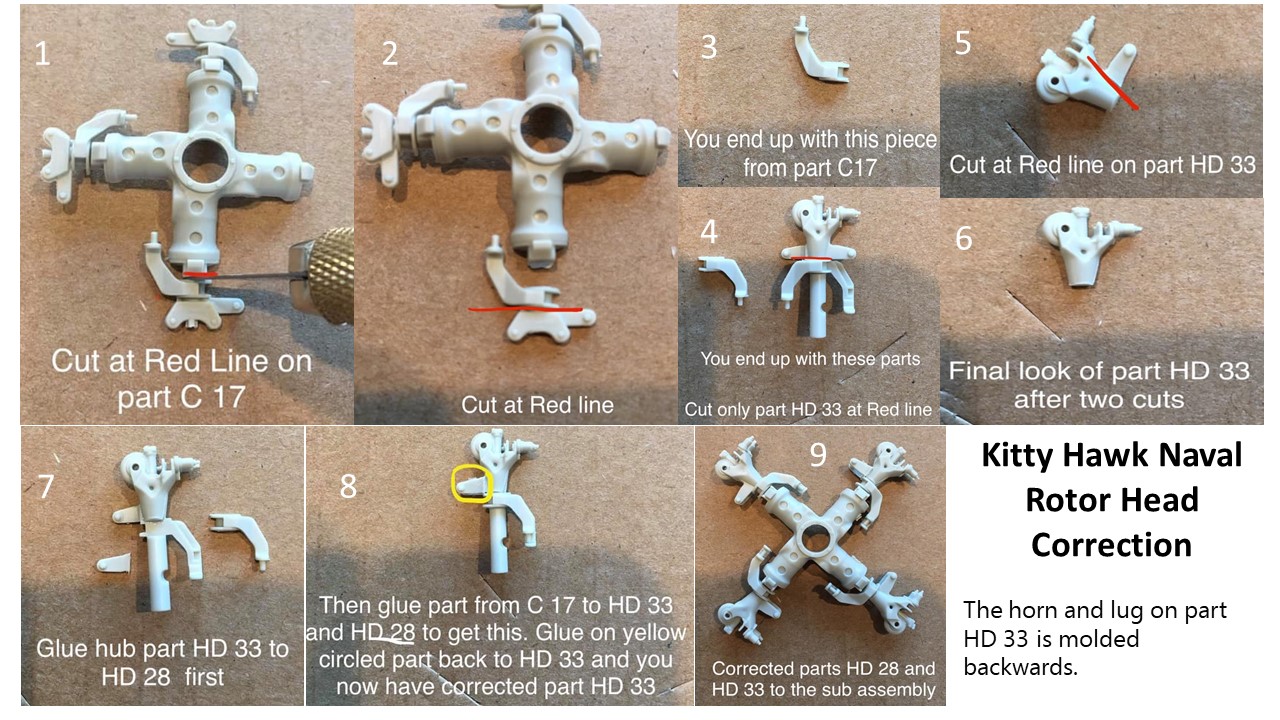
SH-60B step 9, prepare two HD34, then a miracle occurs and the rotor head is ready. First, there is only one HD34 in the kit, the other is HD33 and they are opposites. The SH-60B instructions don’t clearly show this, but the HD34 pairs with HD21 while HD33 pairs with HD28.
Now that you have the blade holders HD33 and HD34 paired correctly, the actual blade holders on the ends of these parts are molded backwards. You’ll have to carefully remove the blade holder ends and swap them between HD33 and HD34 to get them to completely align with HD28 and HD21 respectively.