Hey,
Currently working on a diorama set in Ukraine.
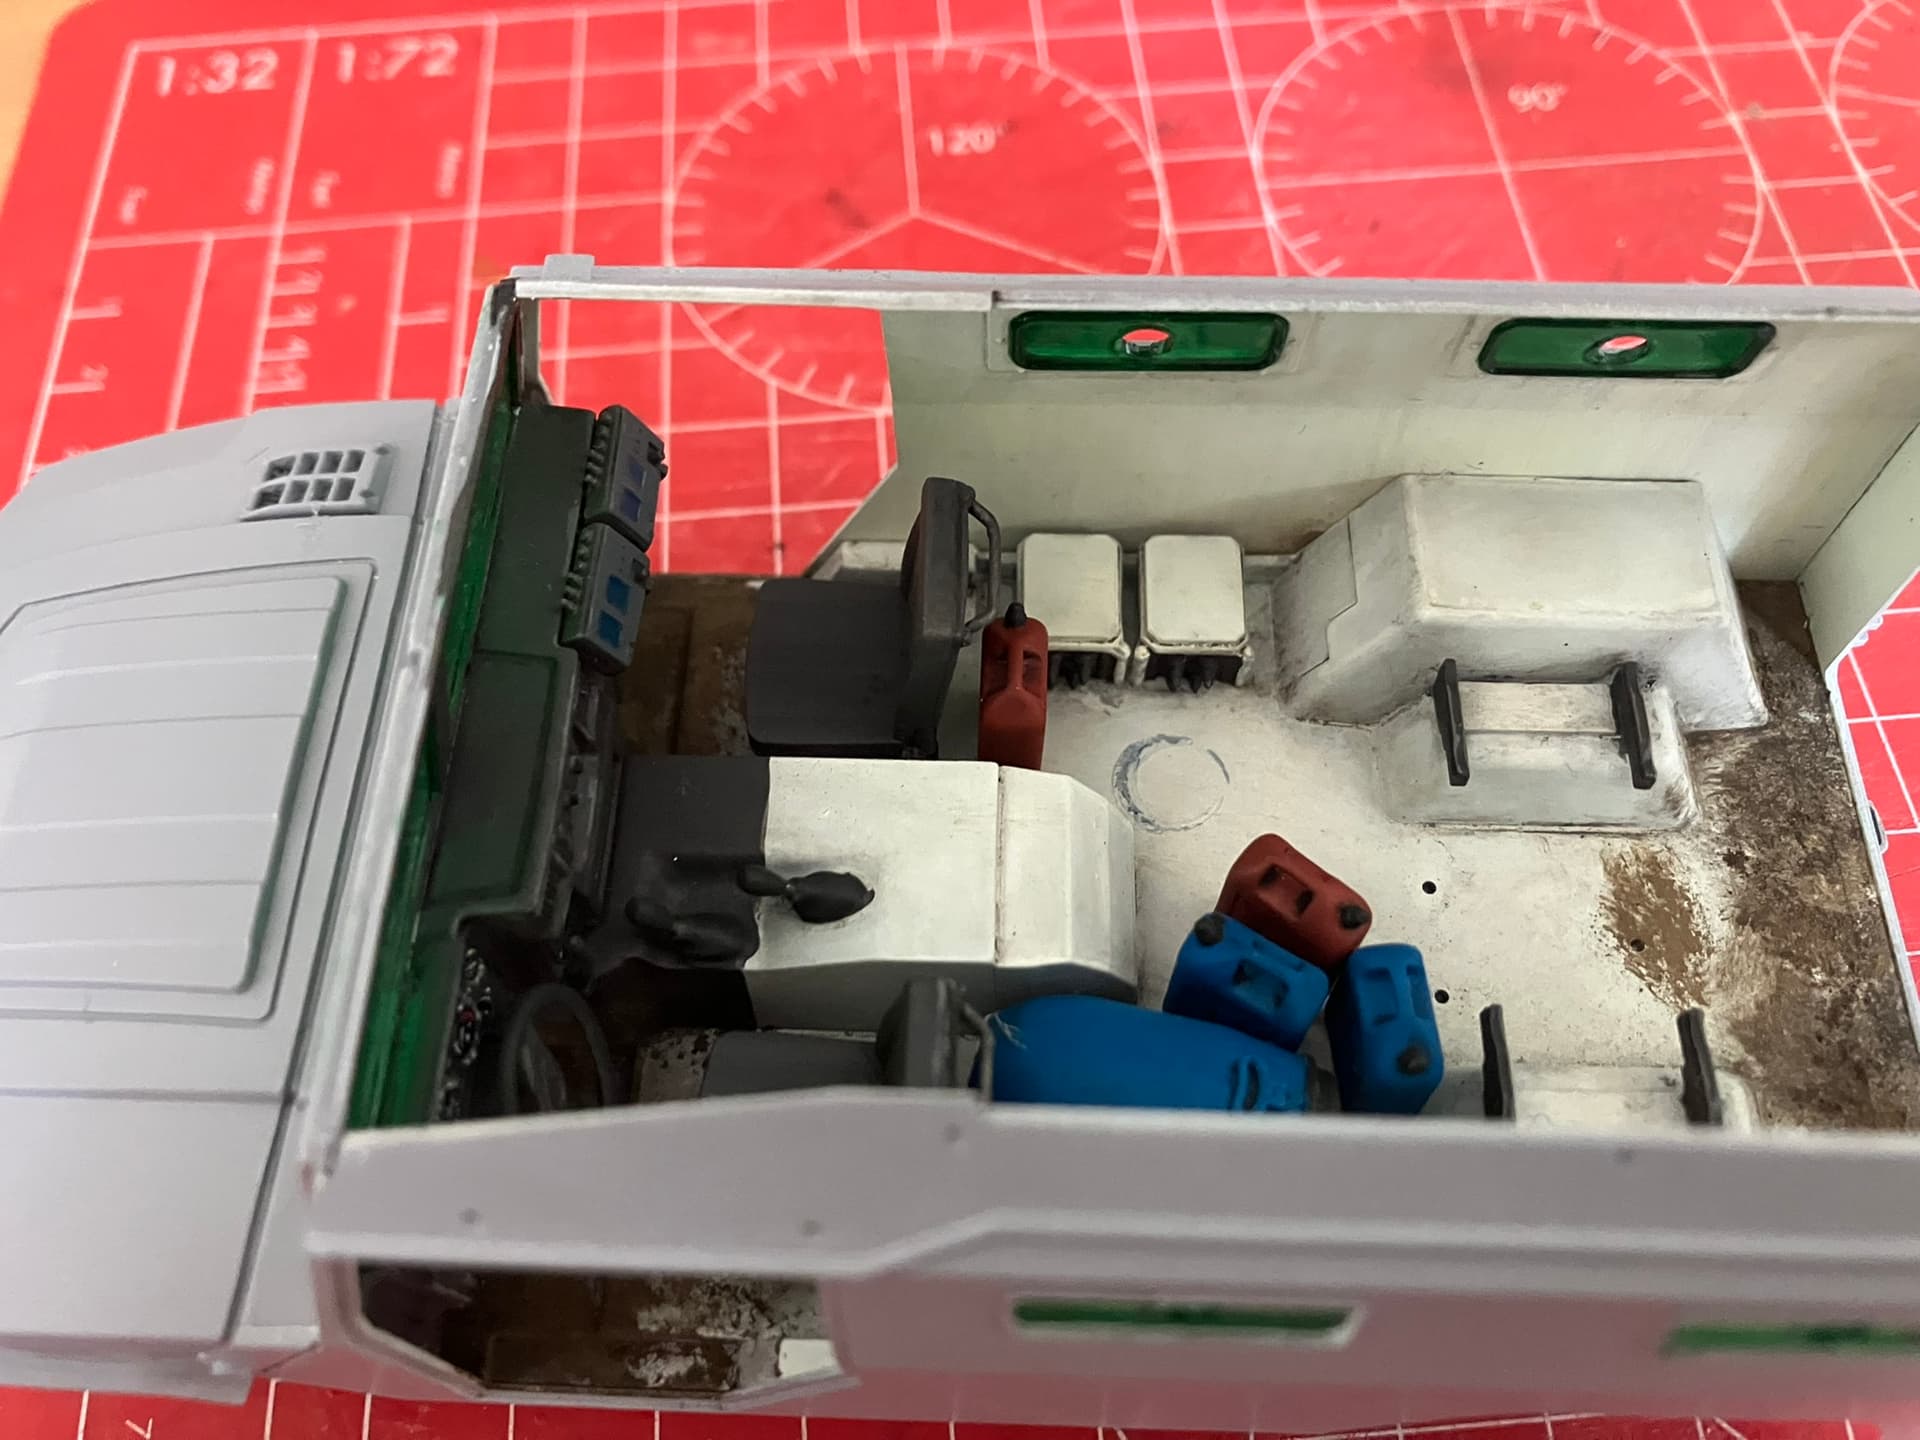
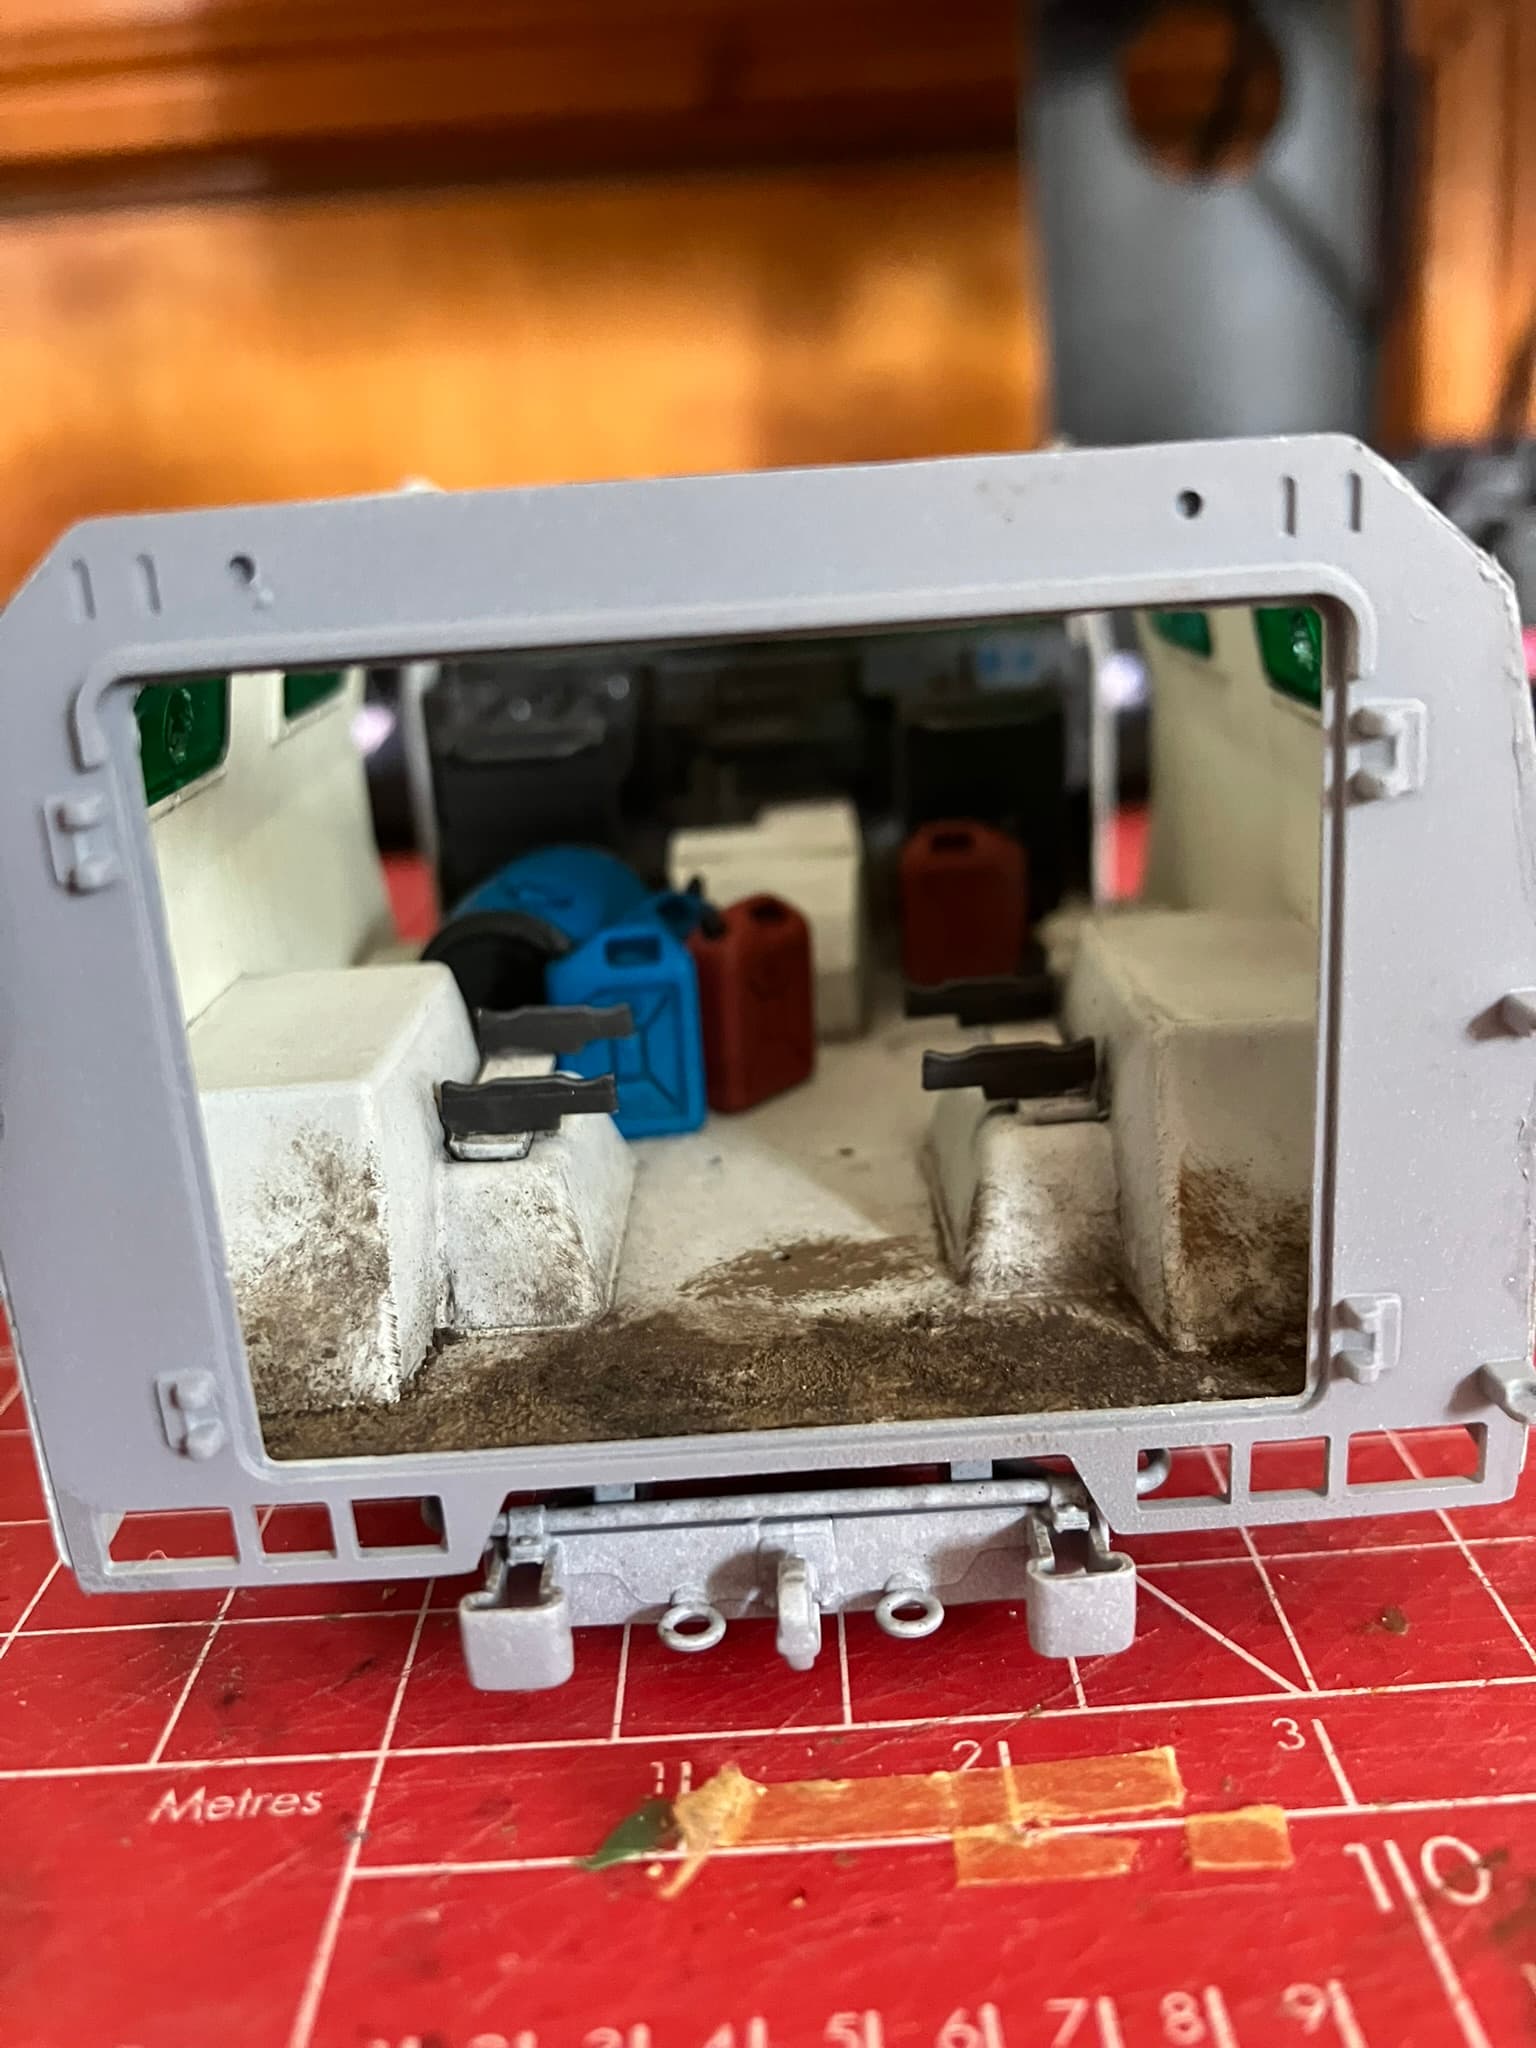
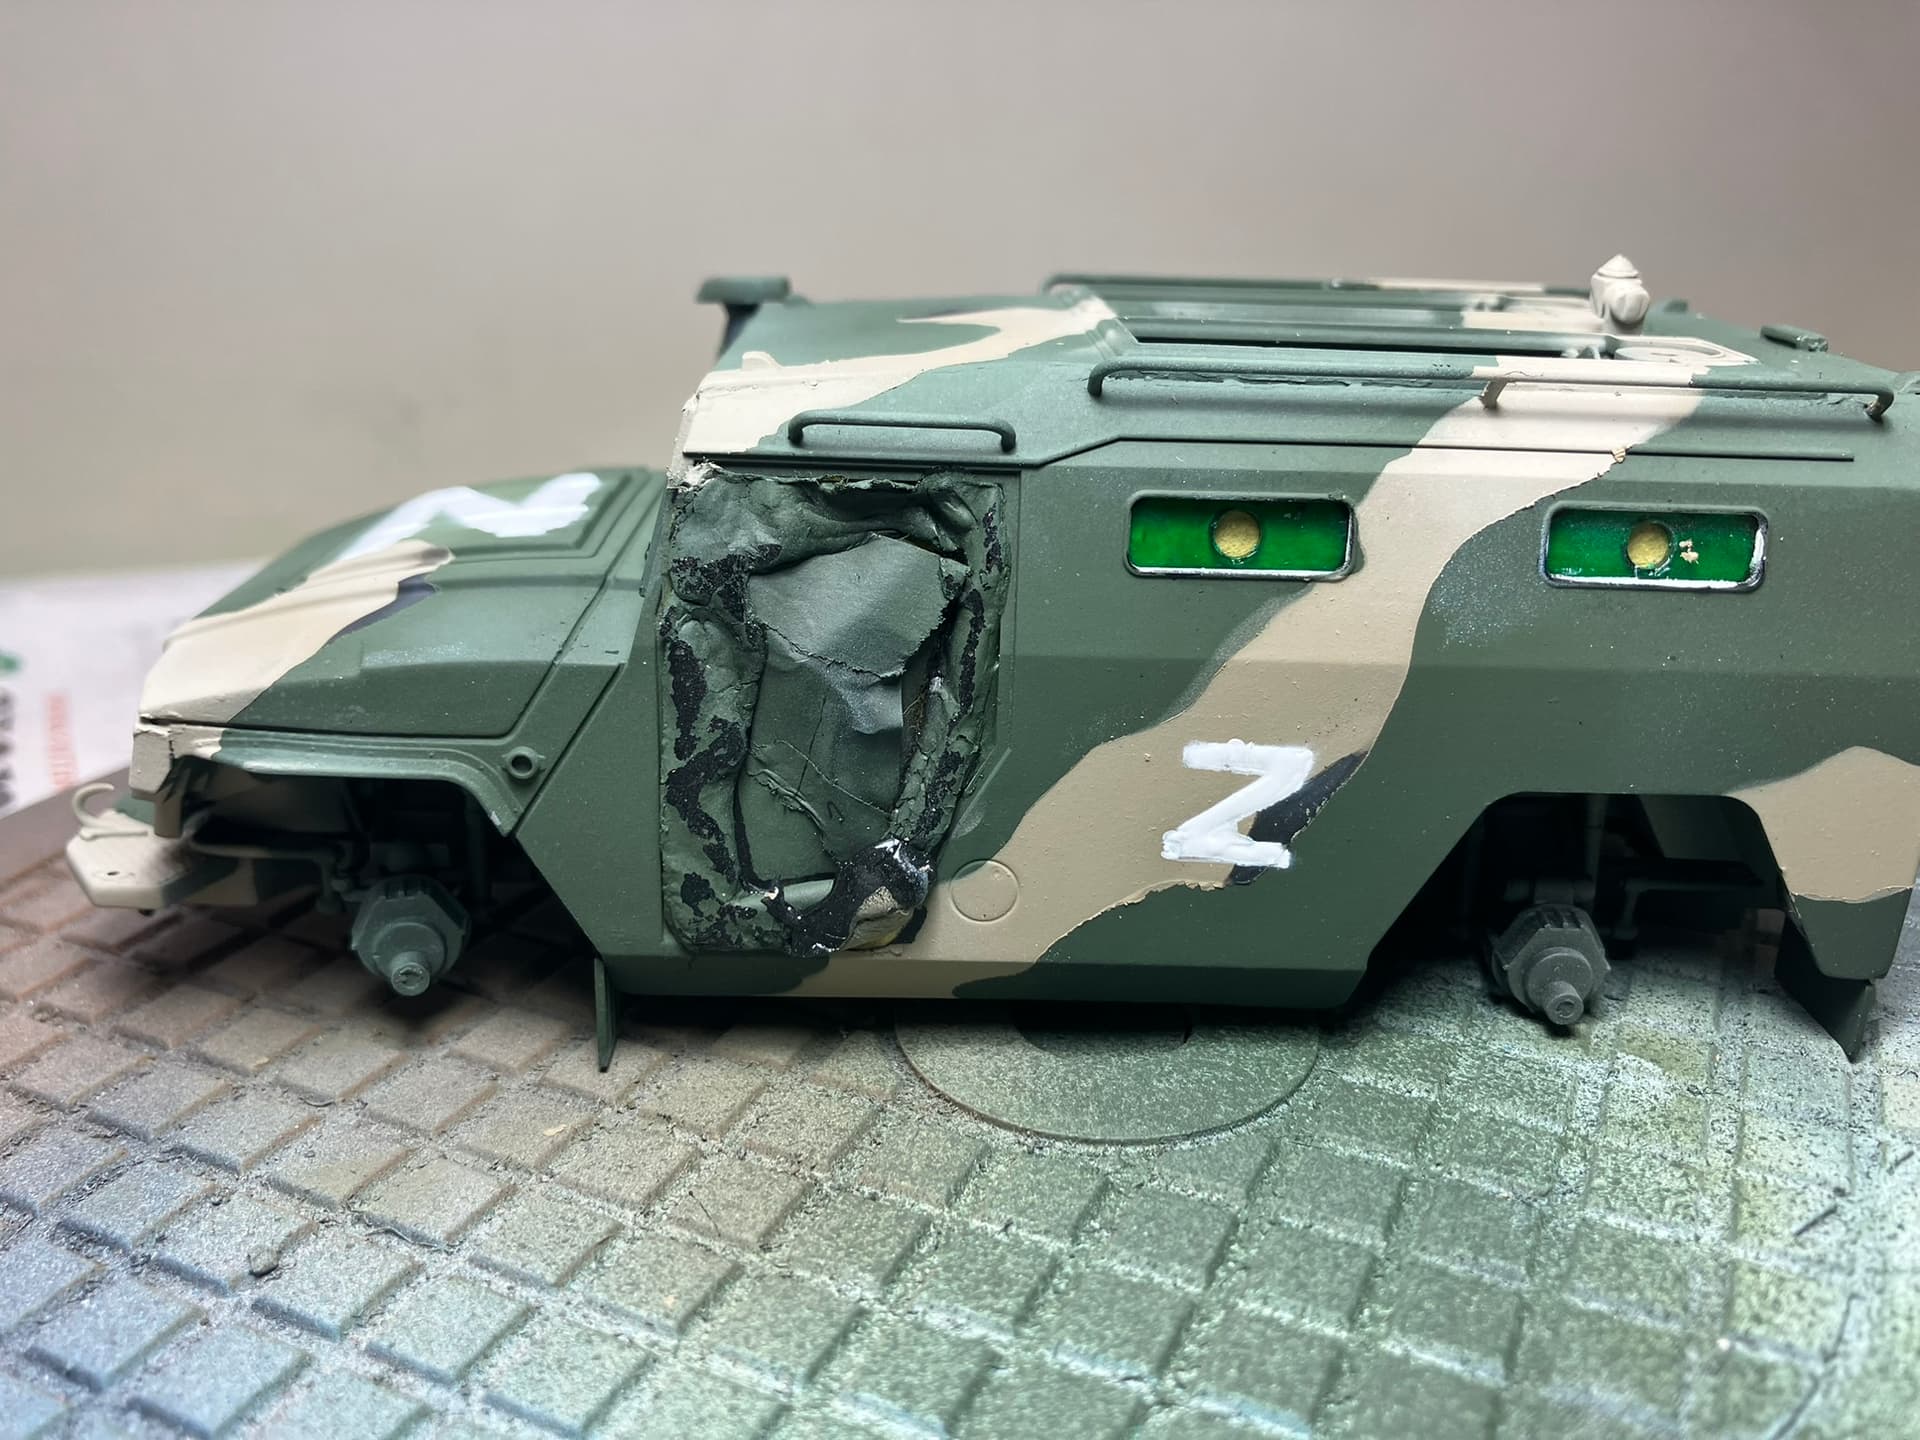
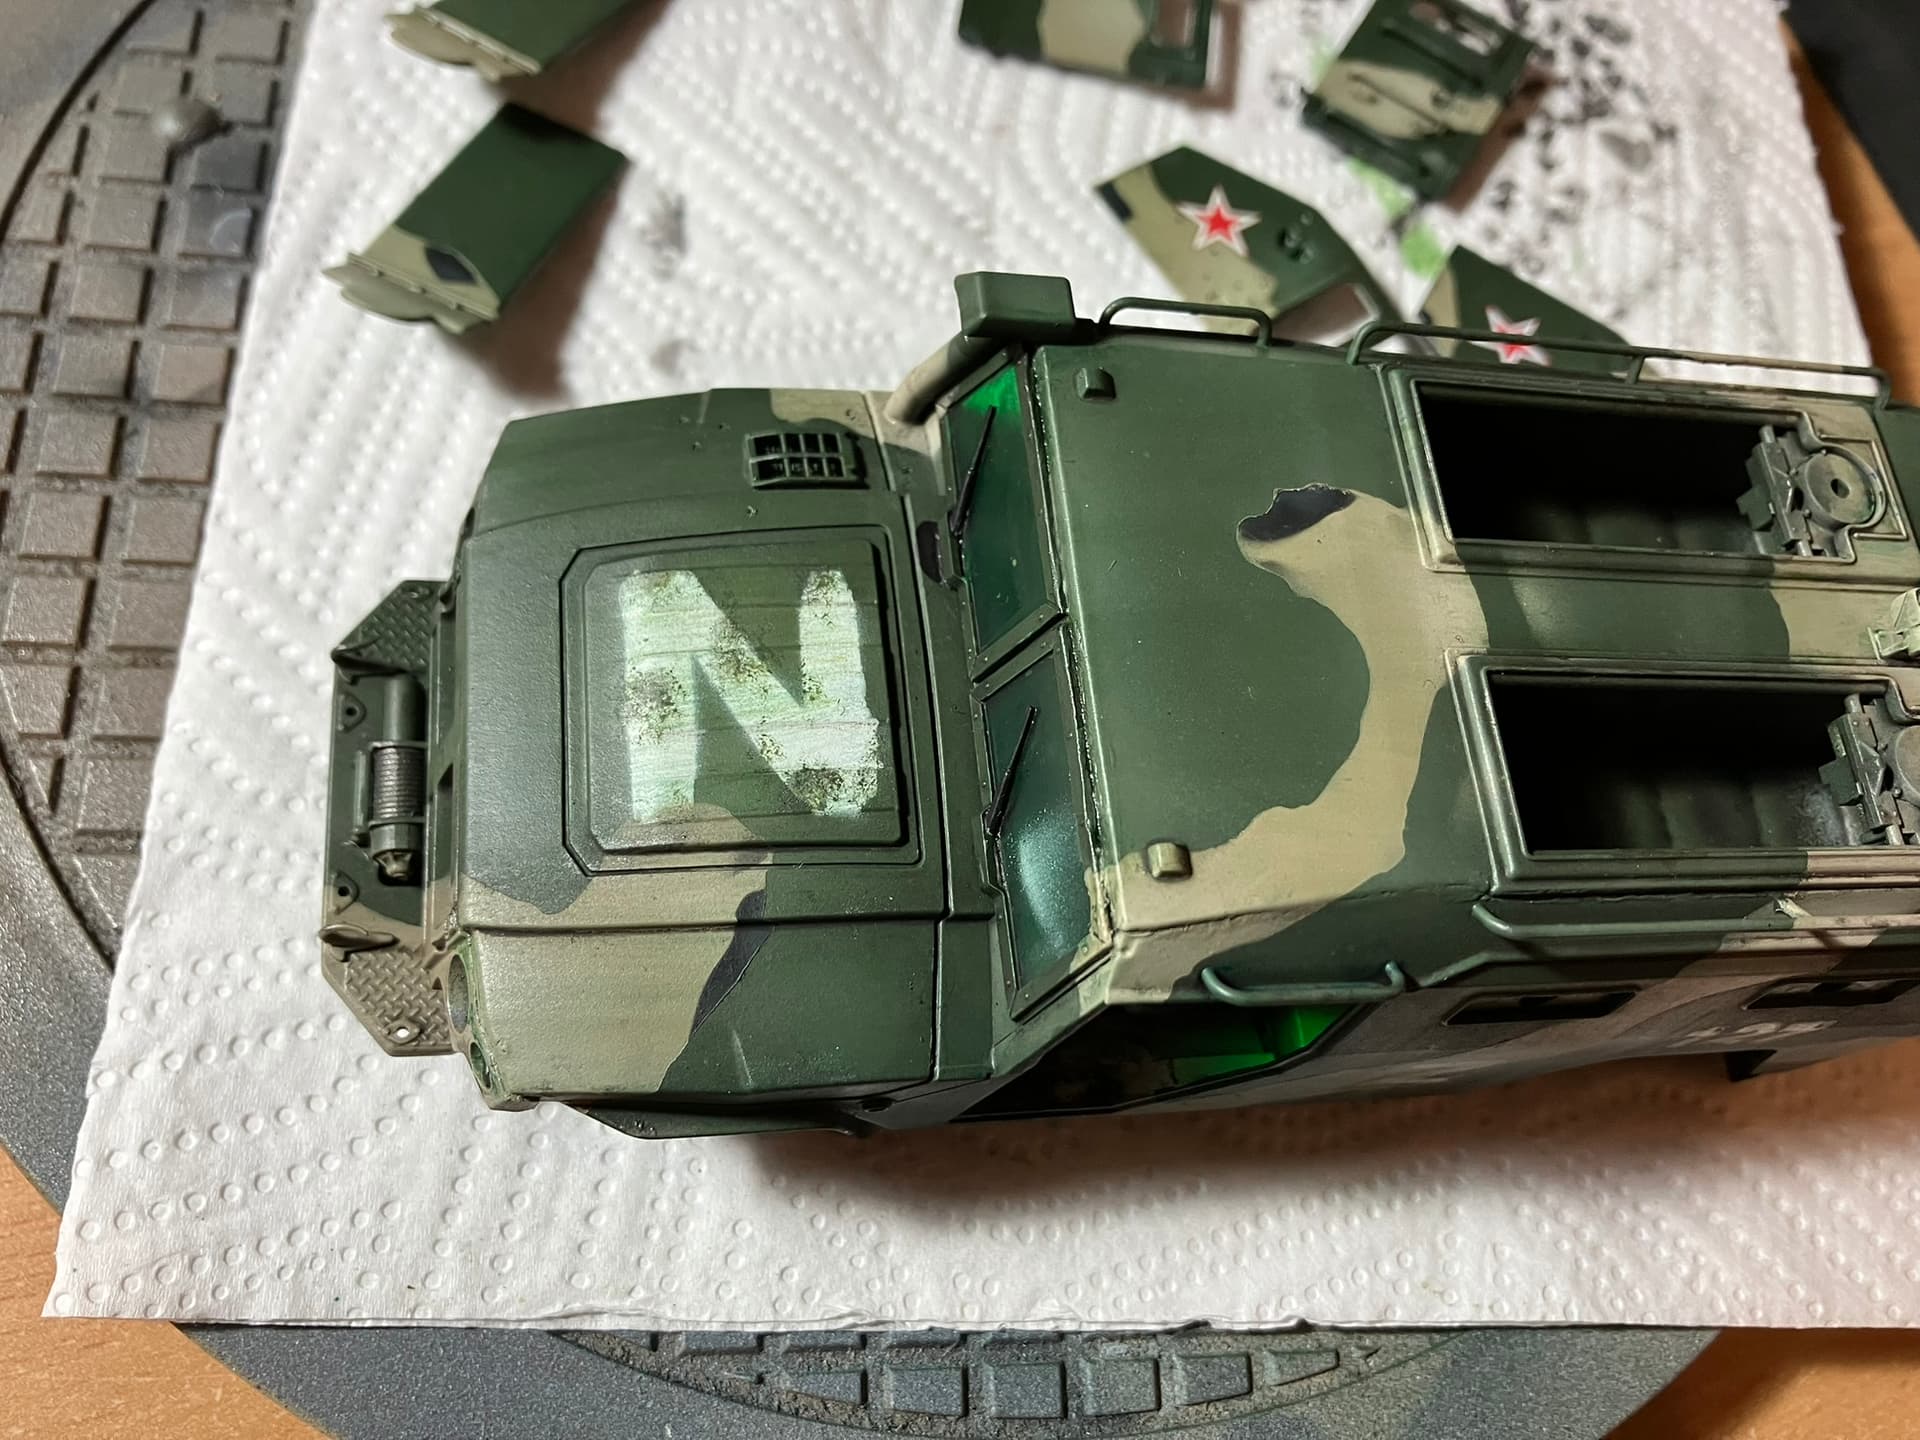
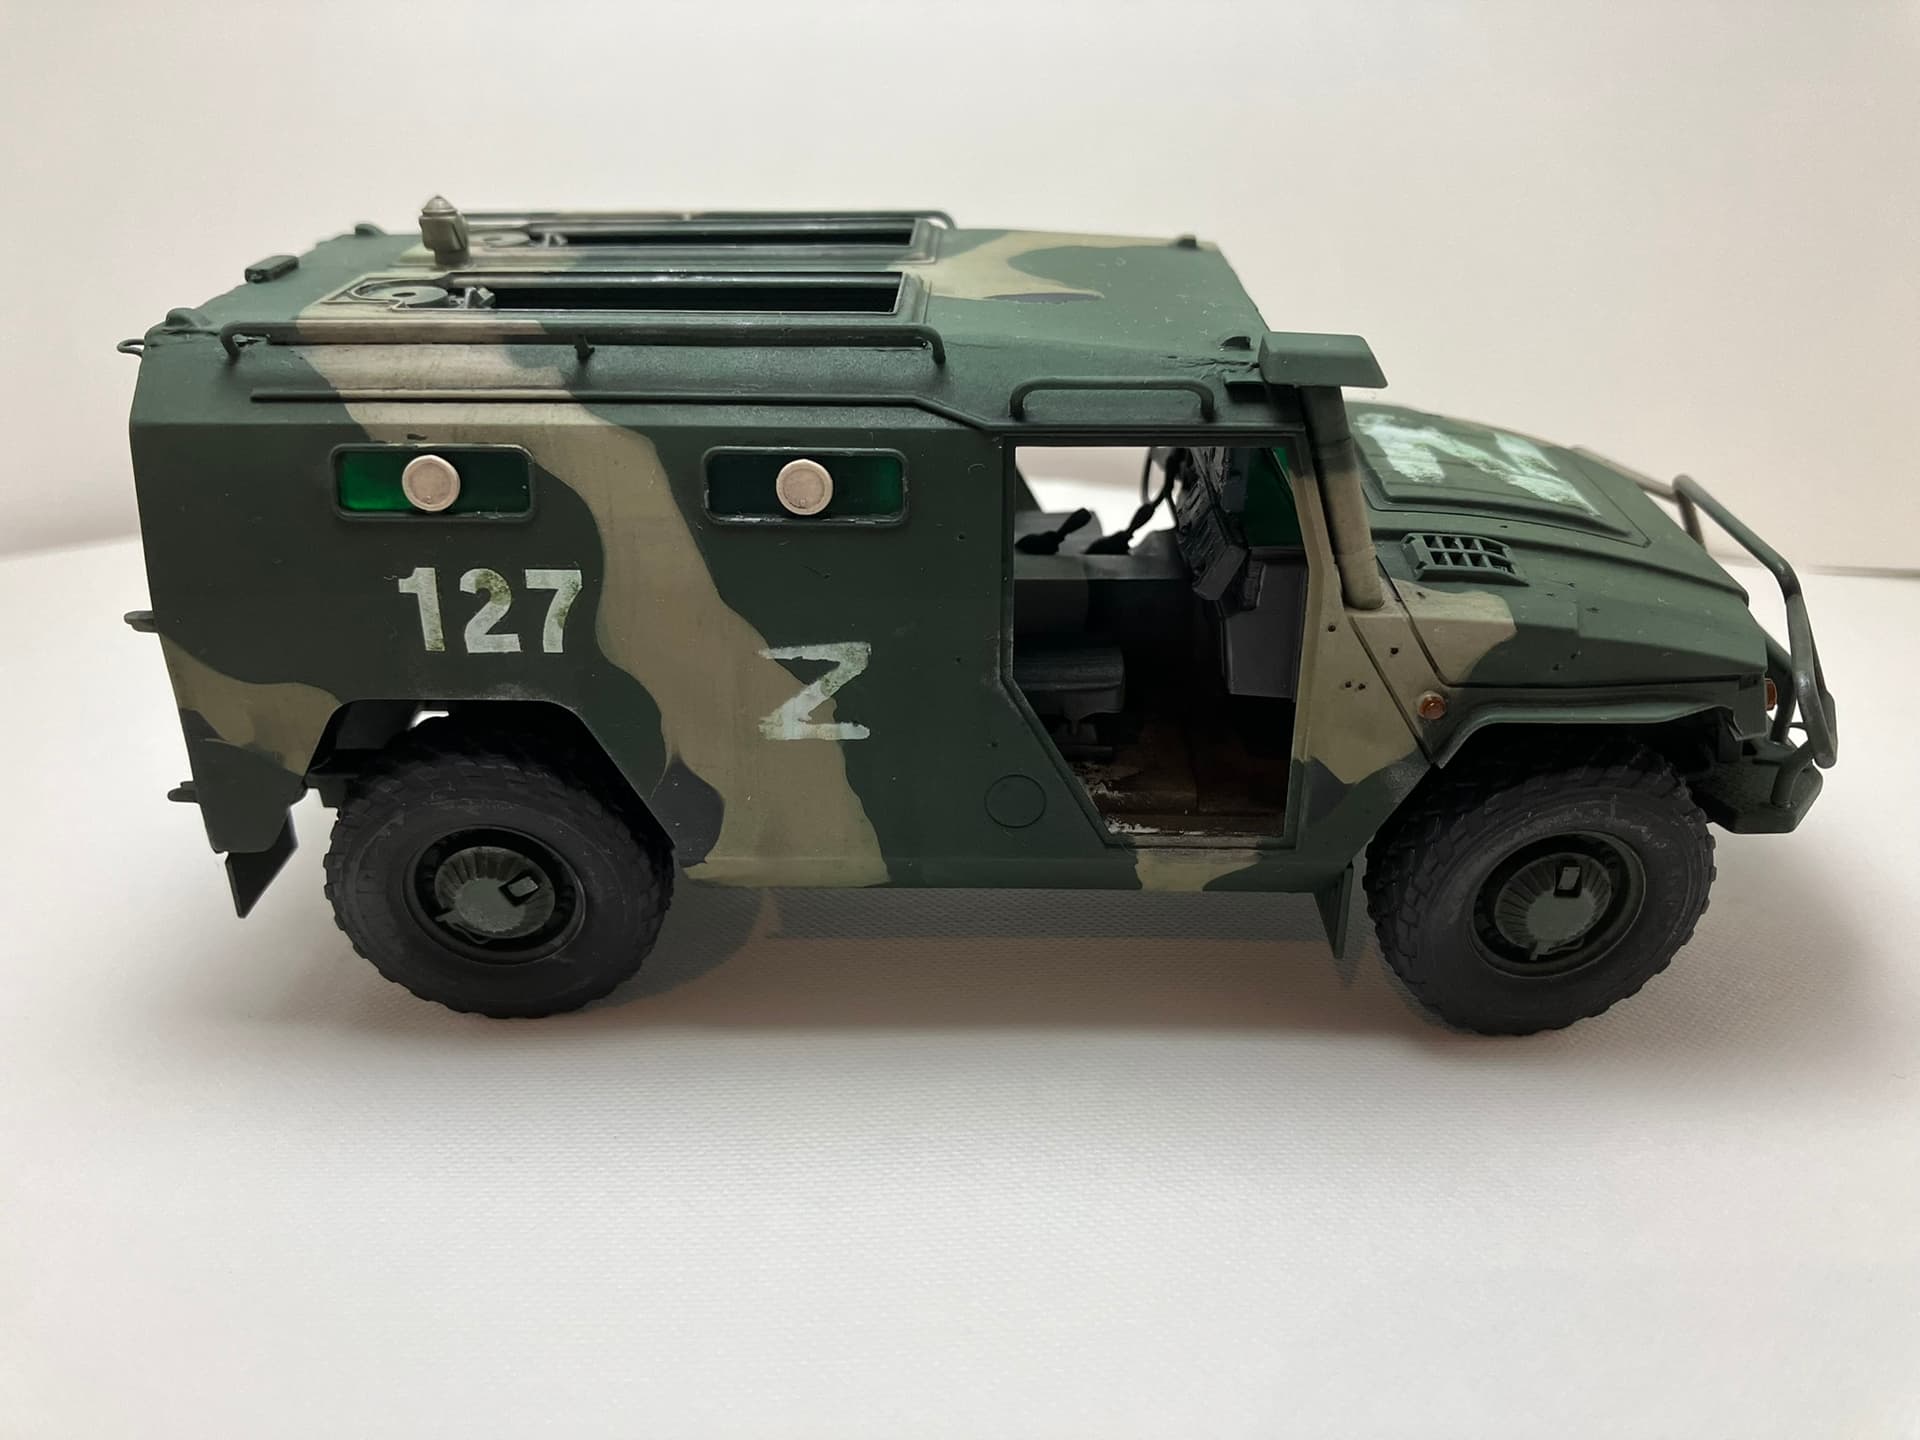
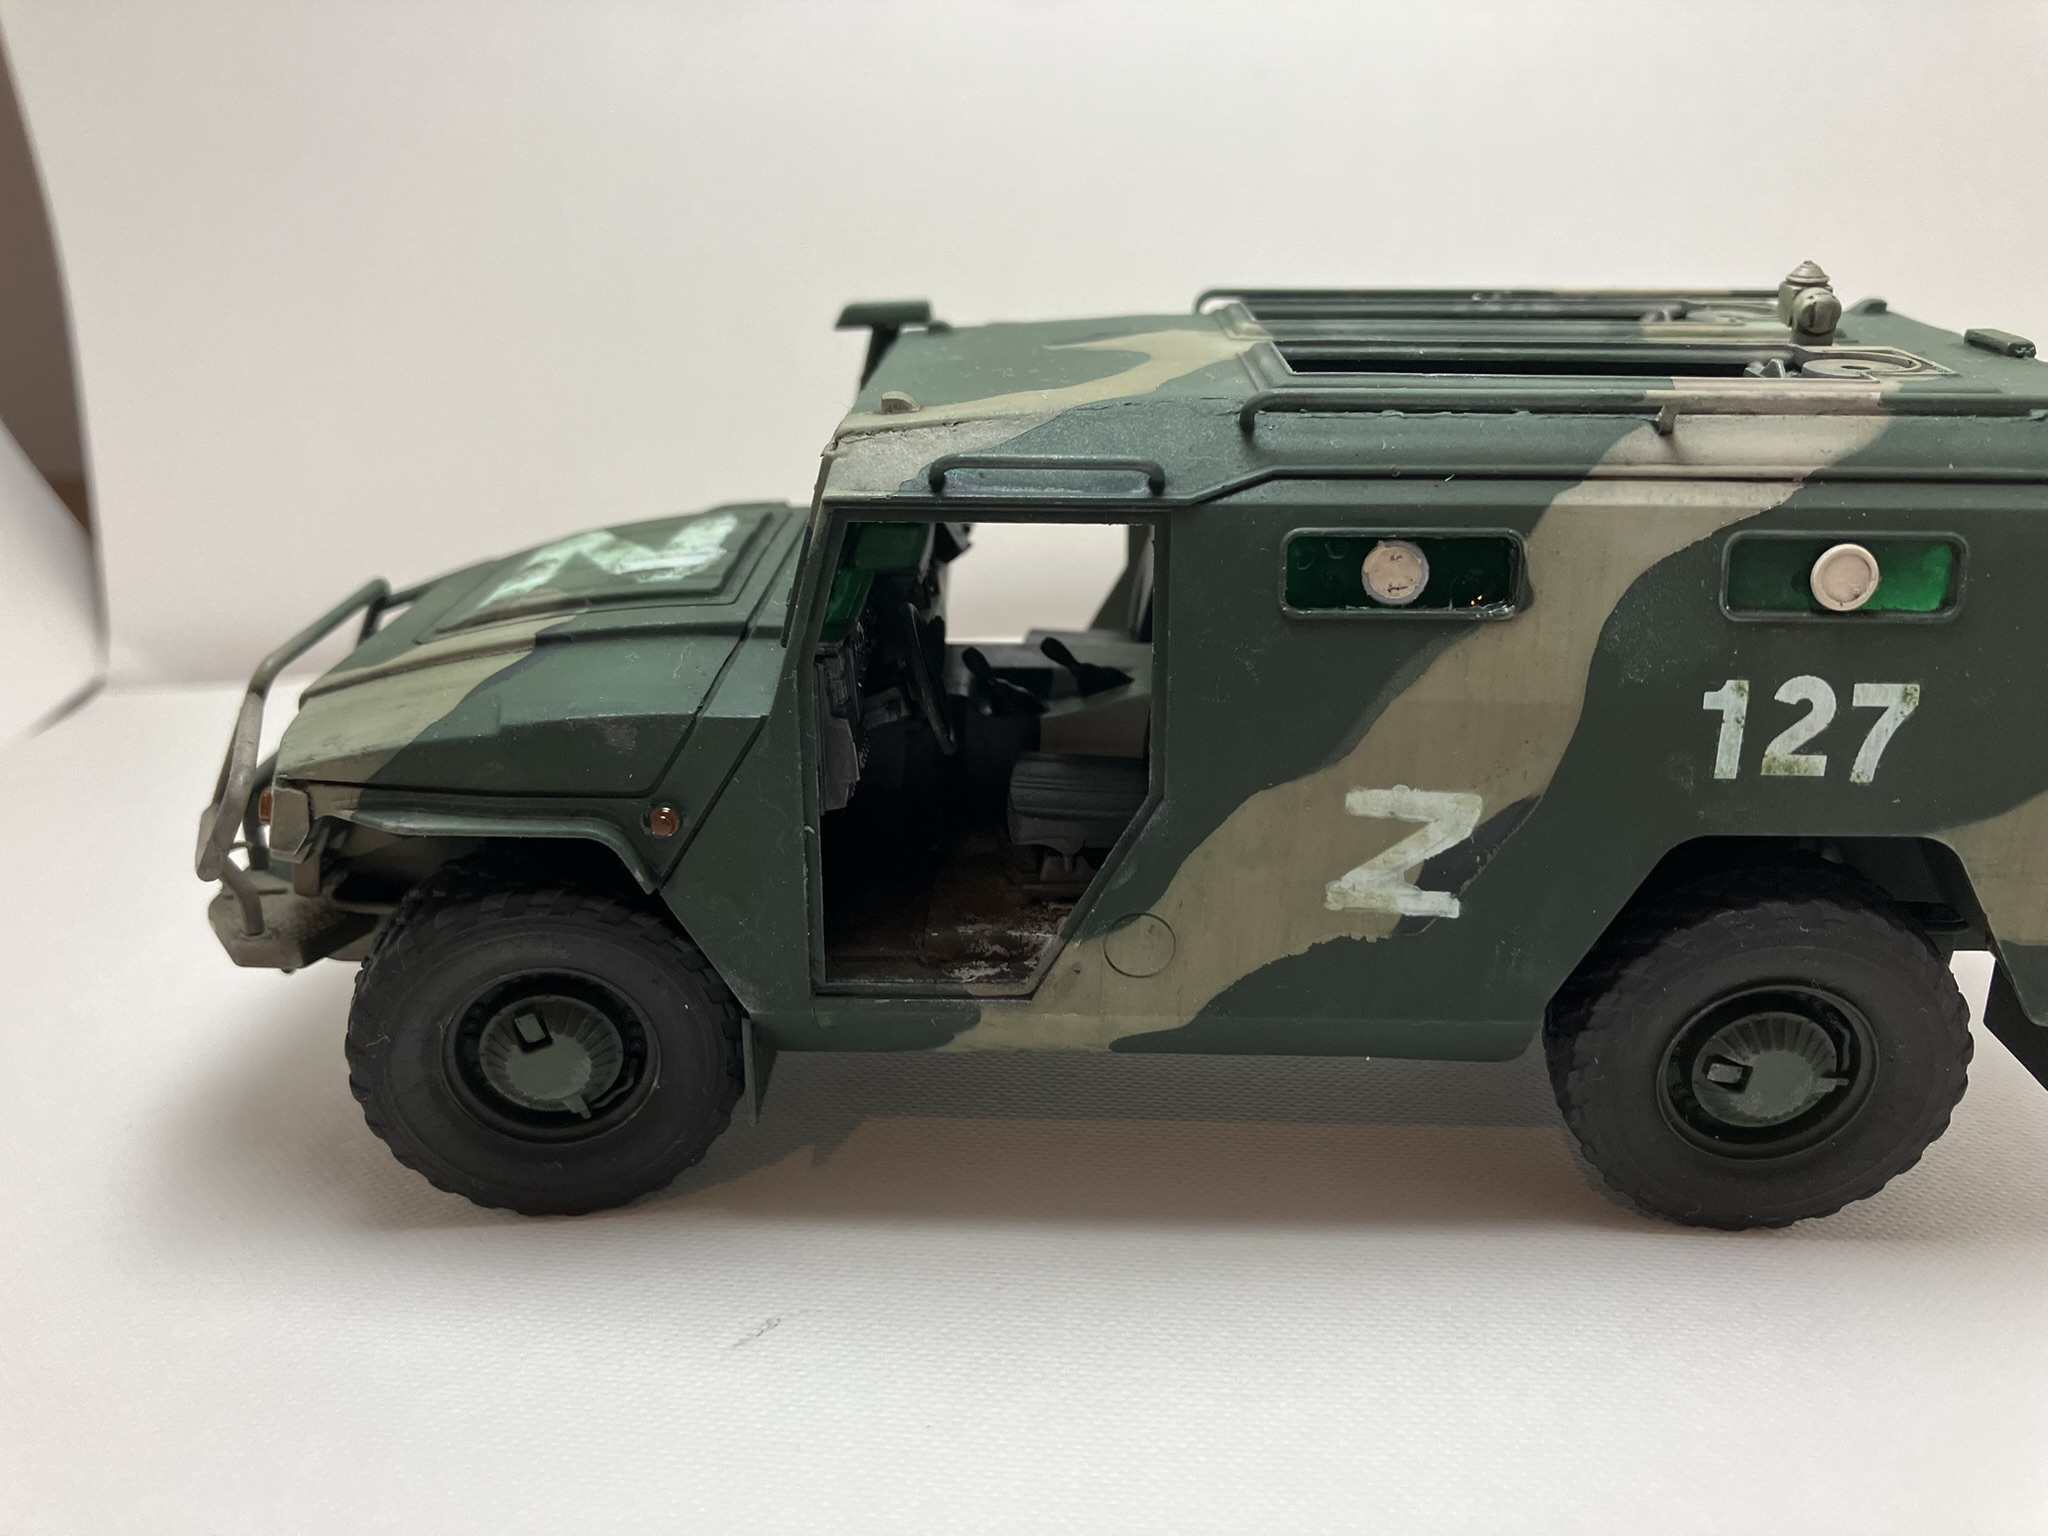
Have had the Zvezda Kornet-D model for over 5 years now and finally got around to doing something with it, a diorama.
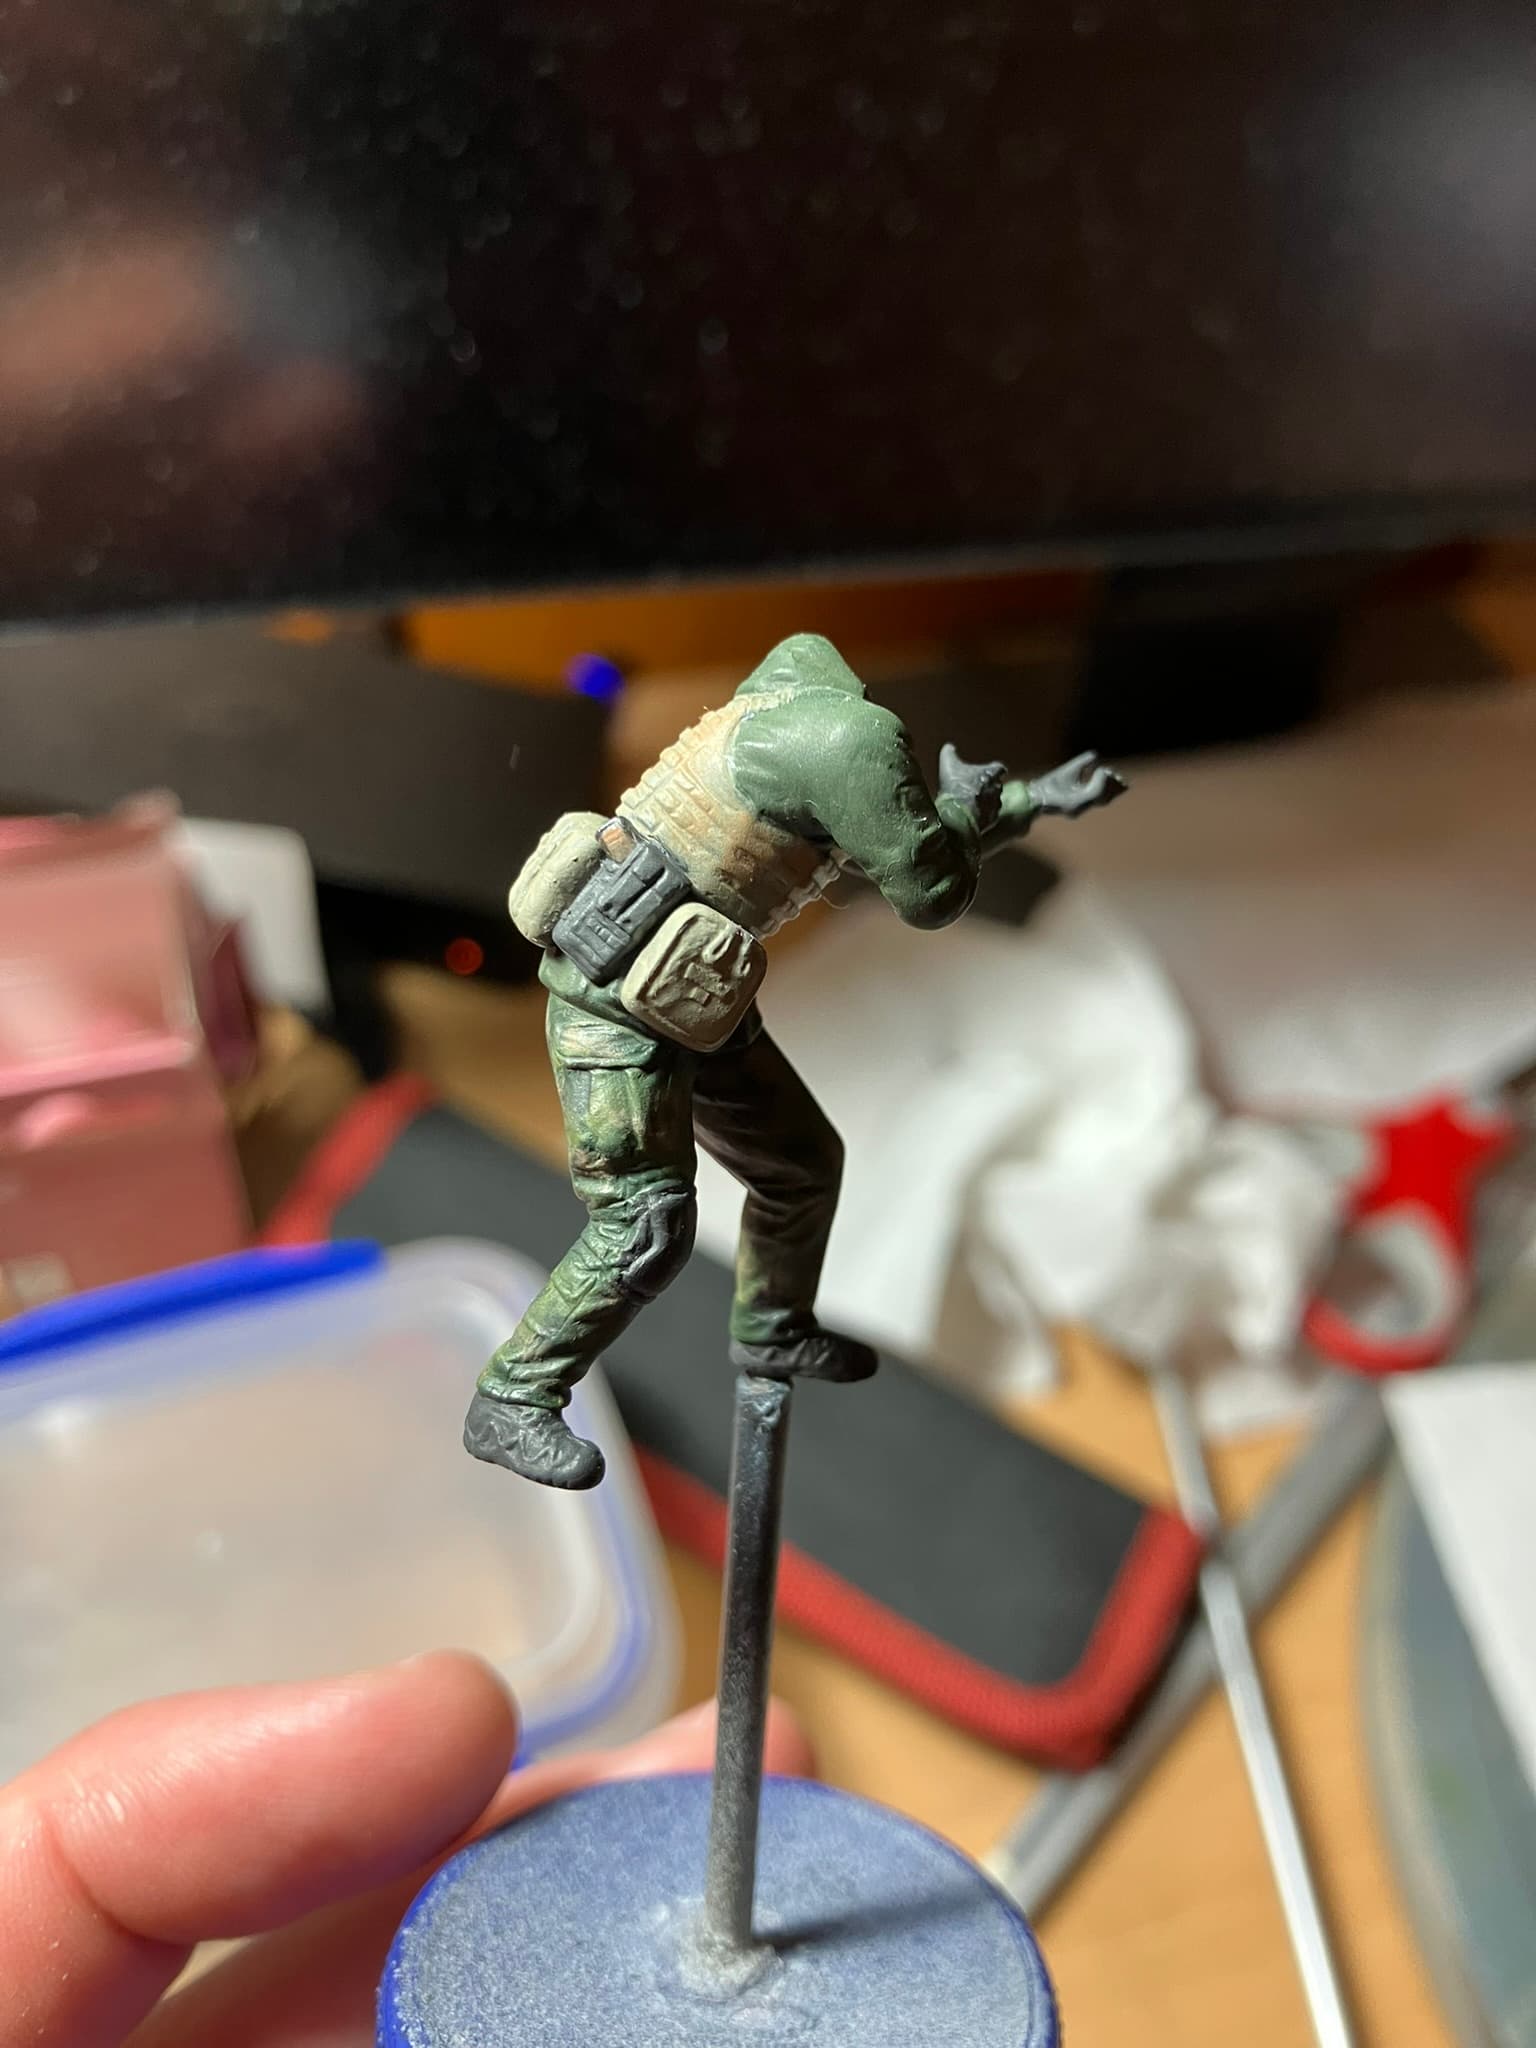
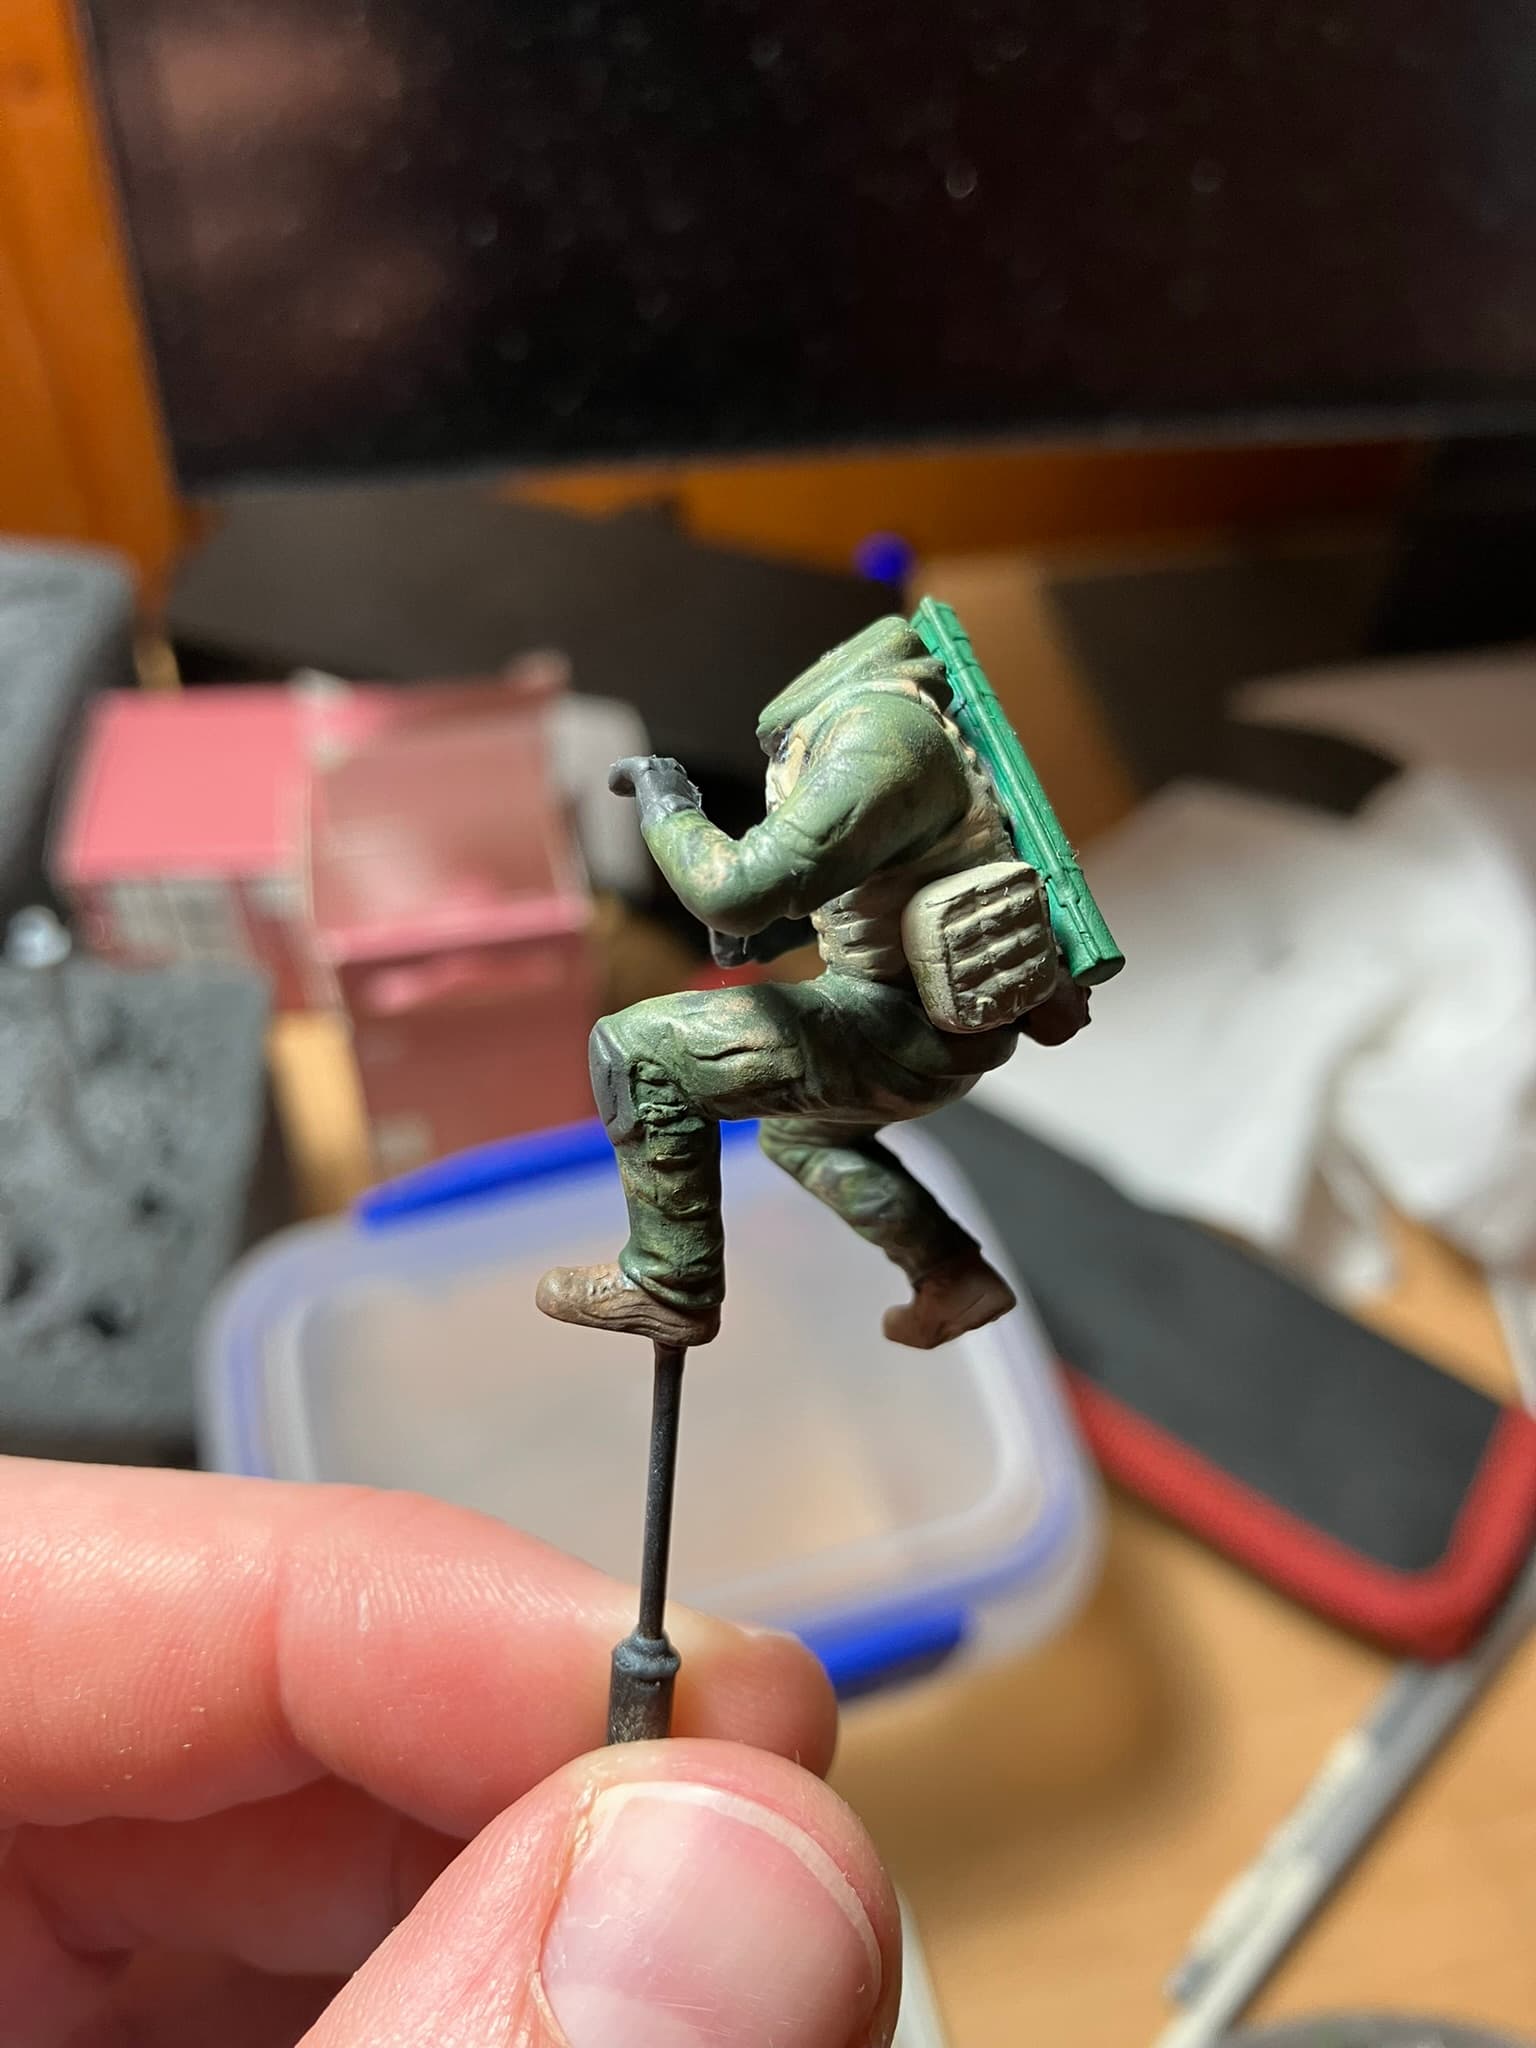
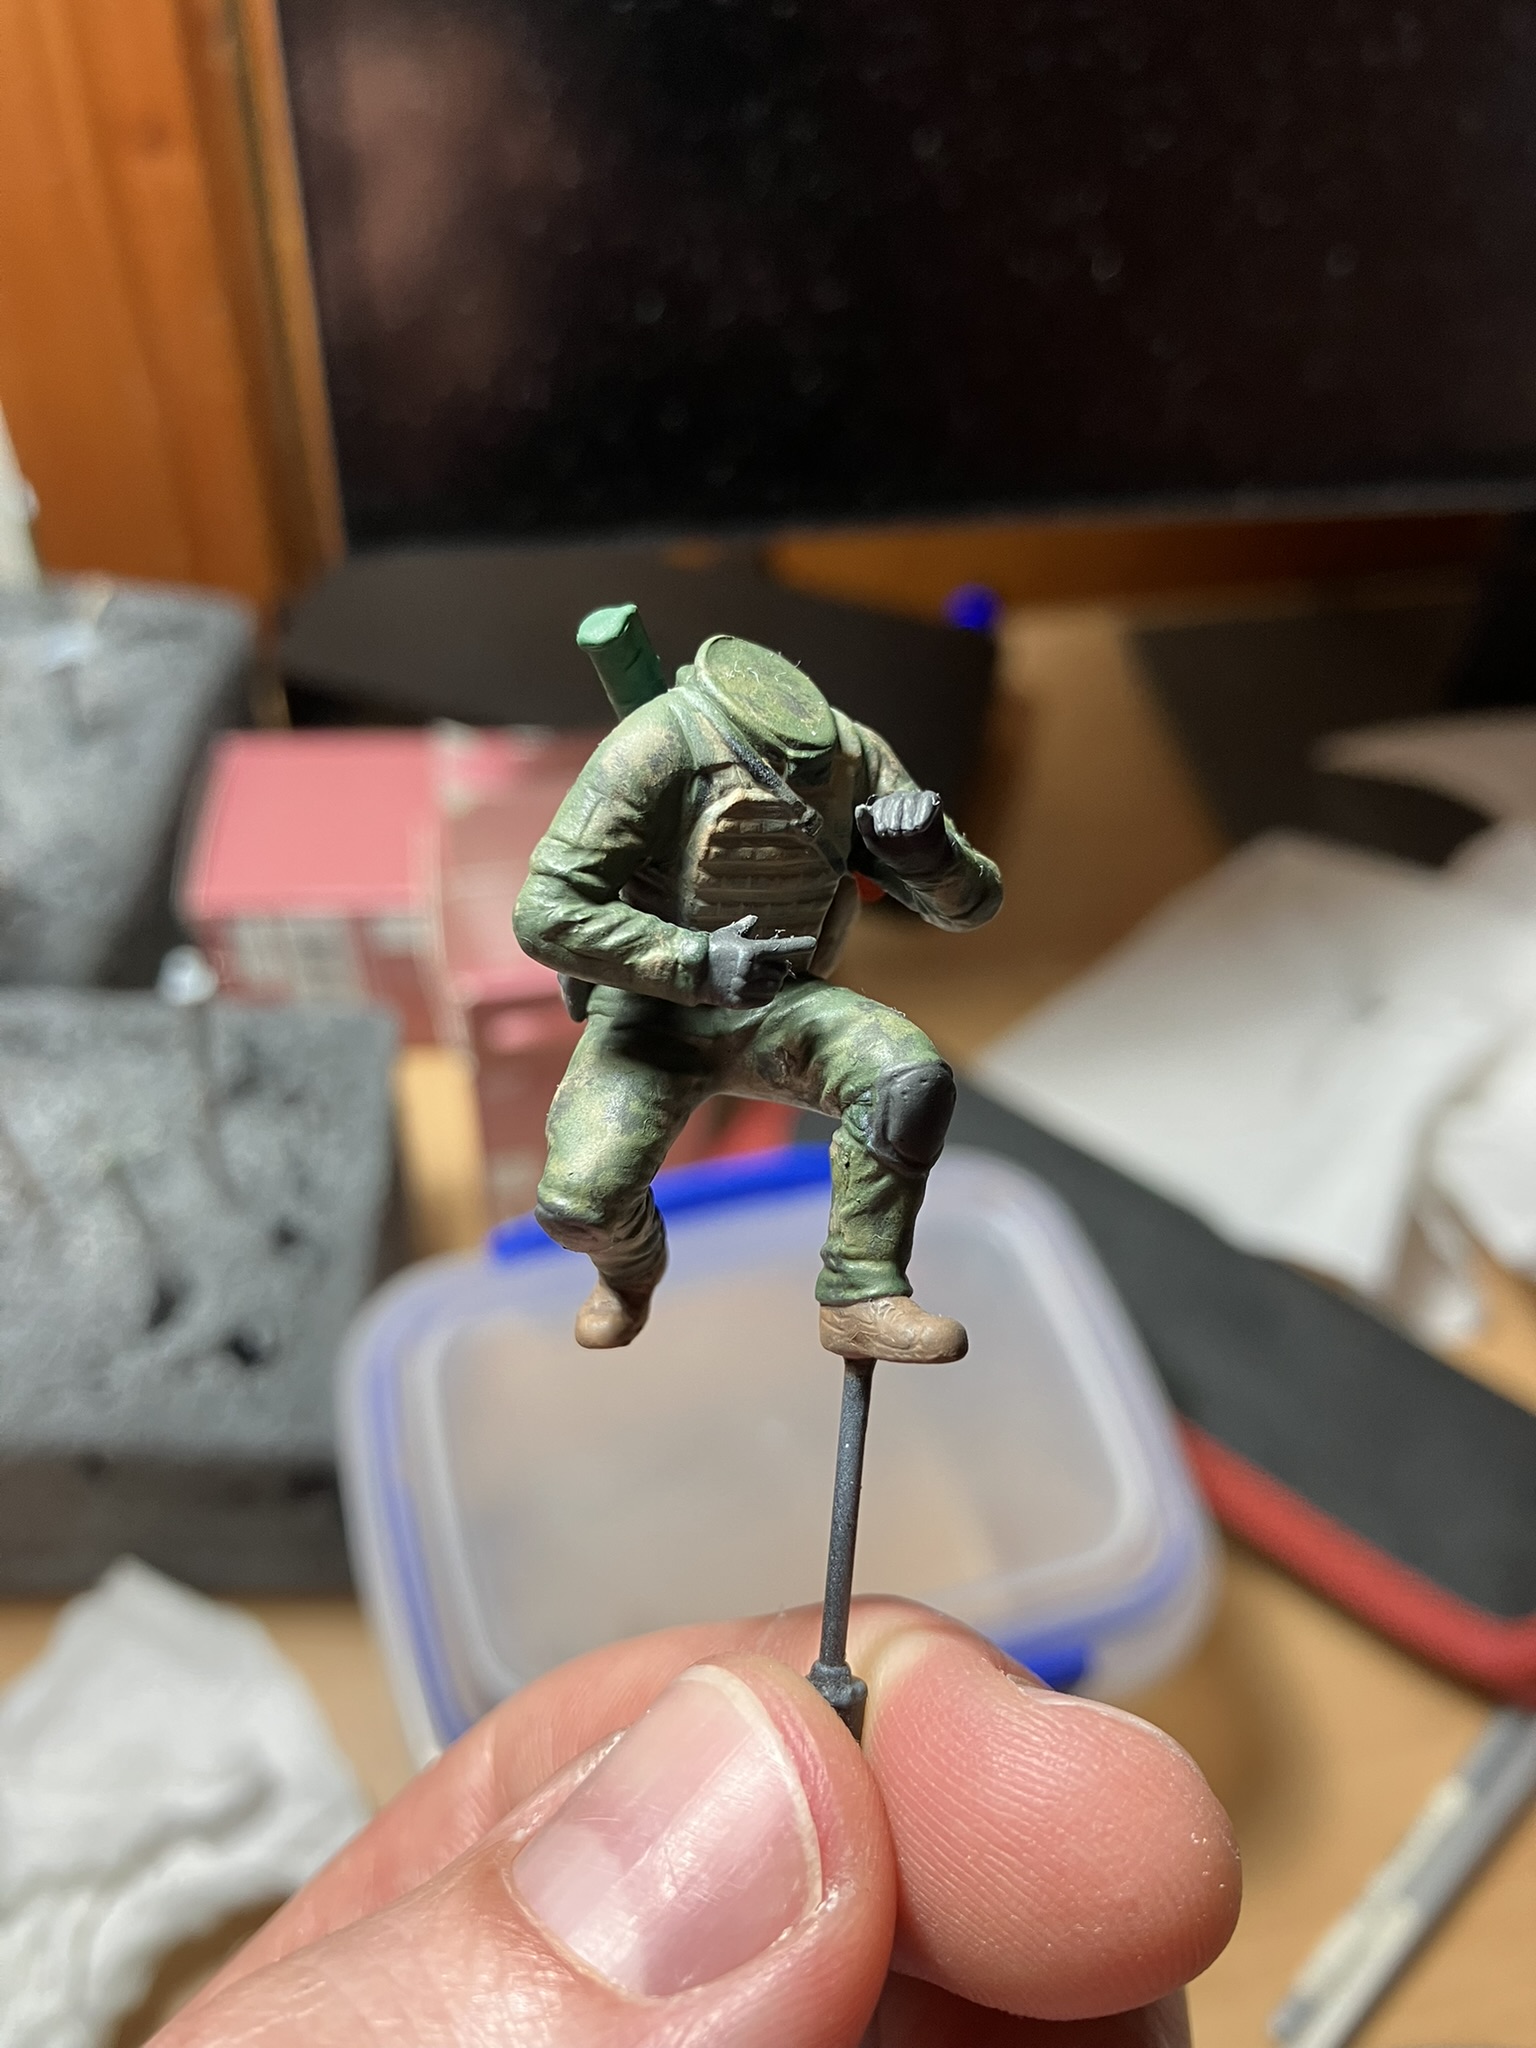
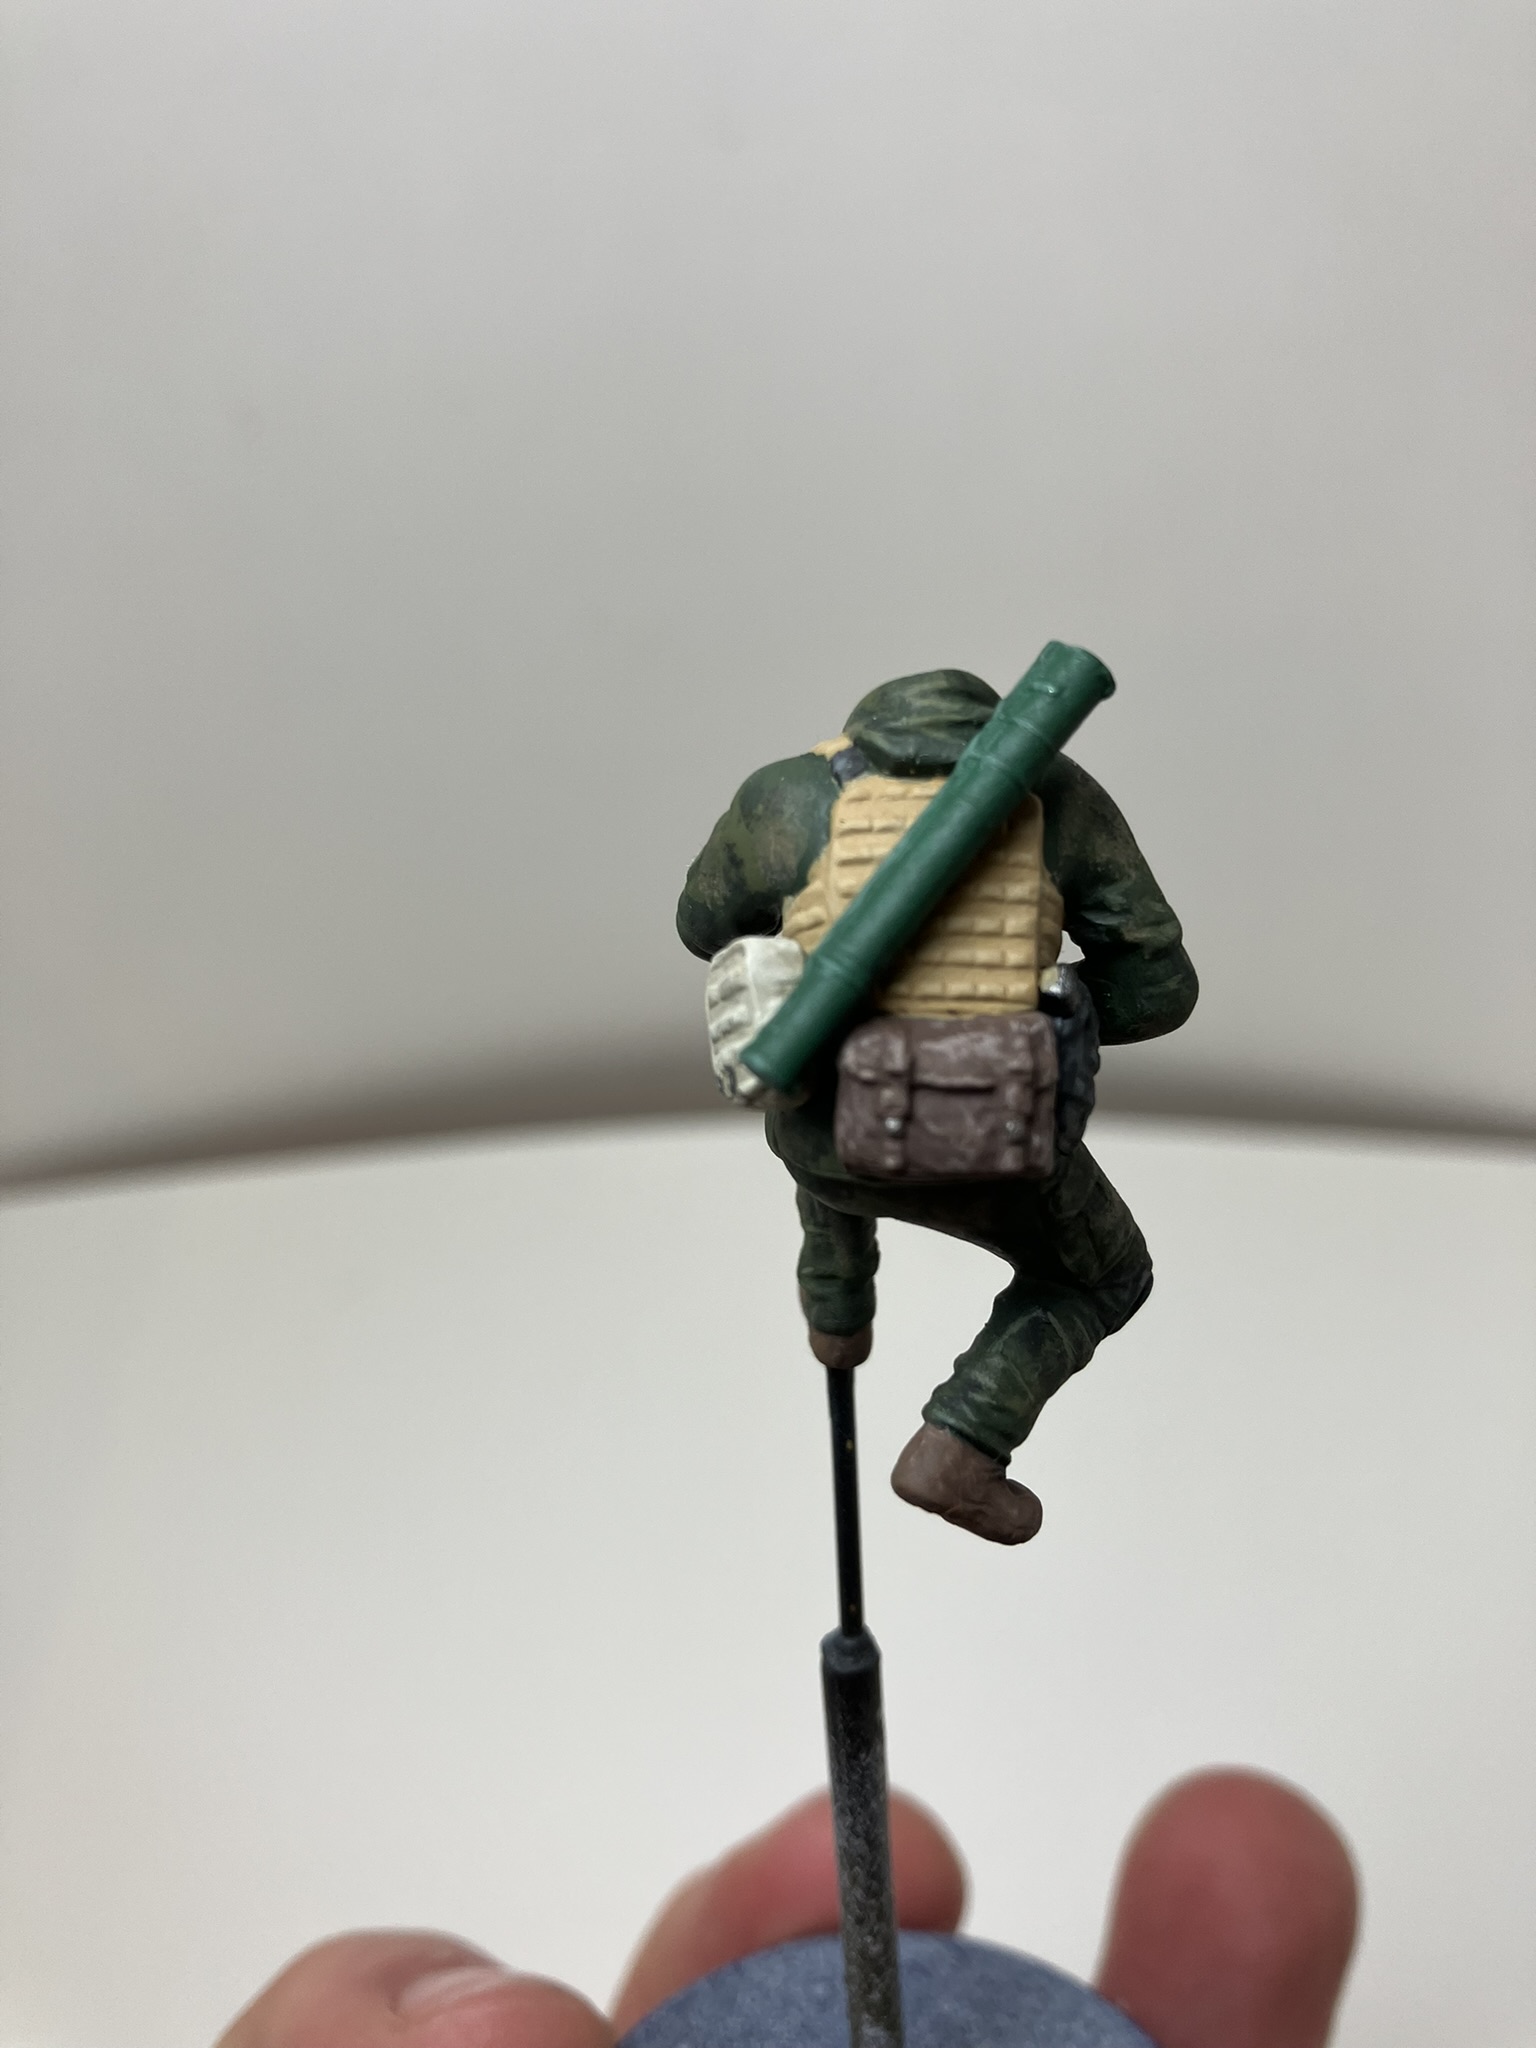
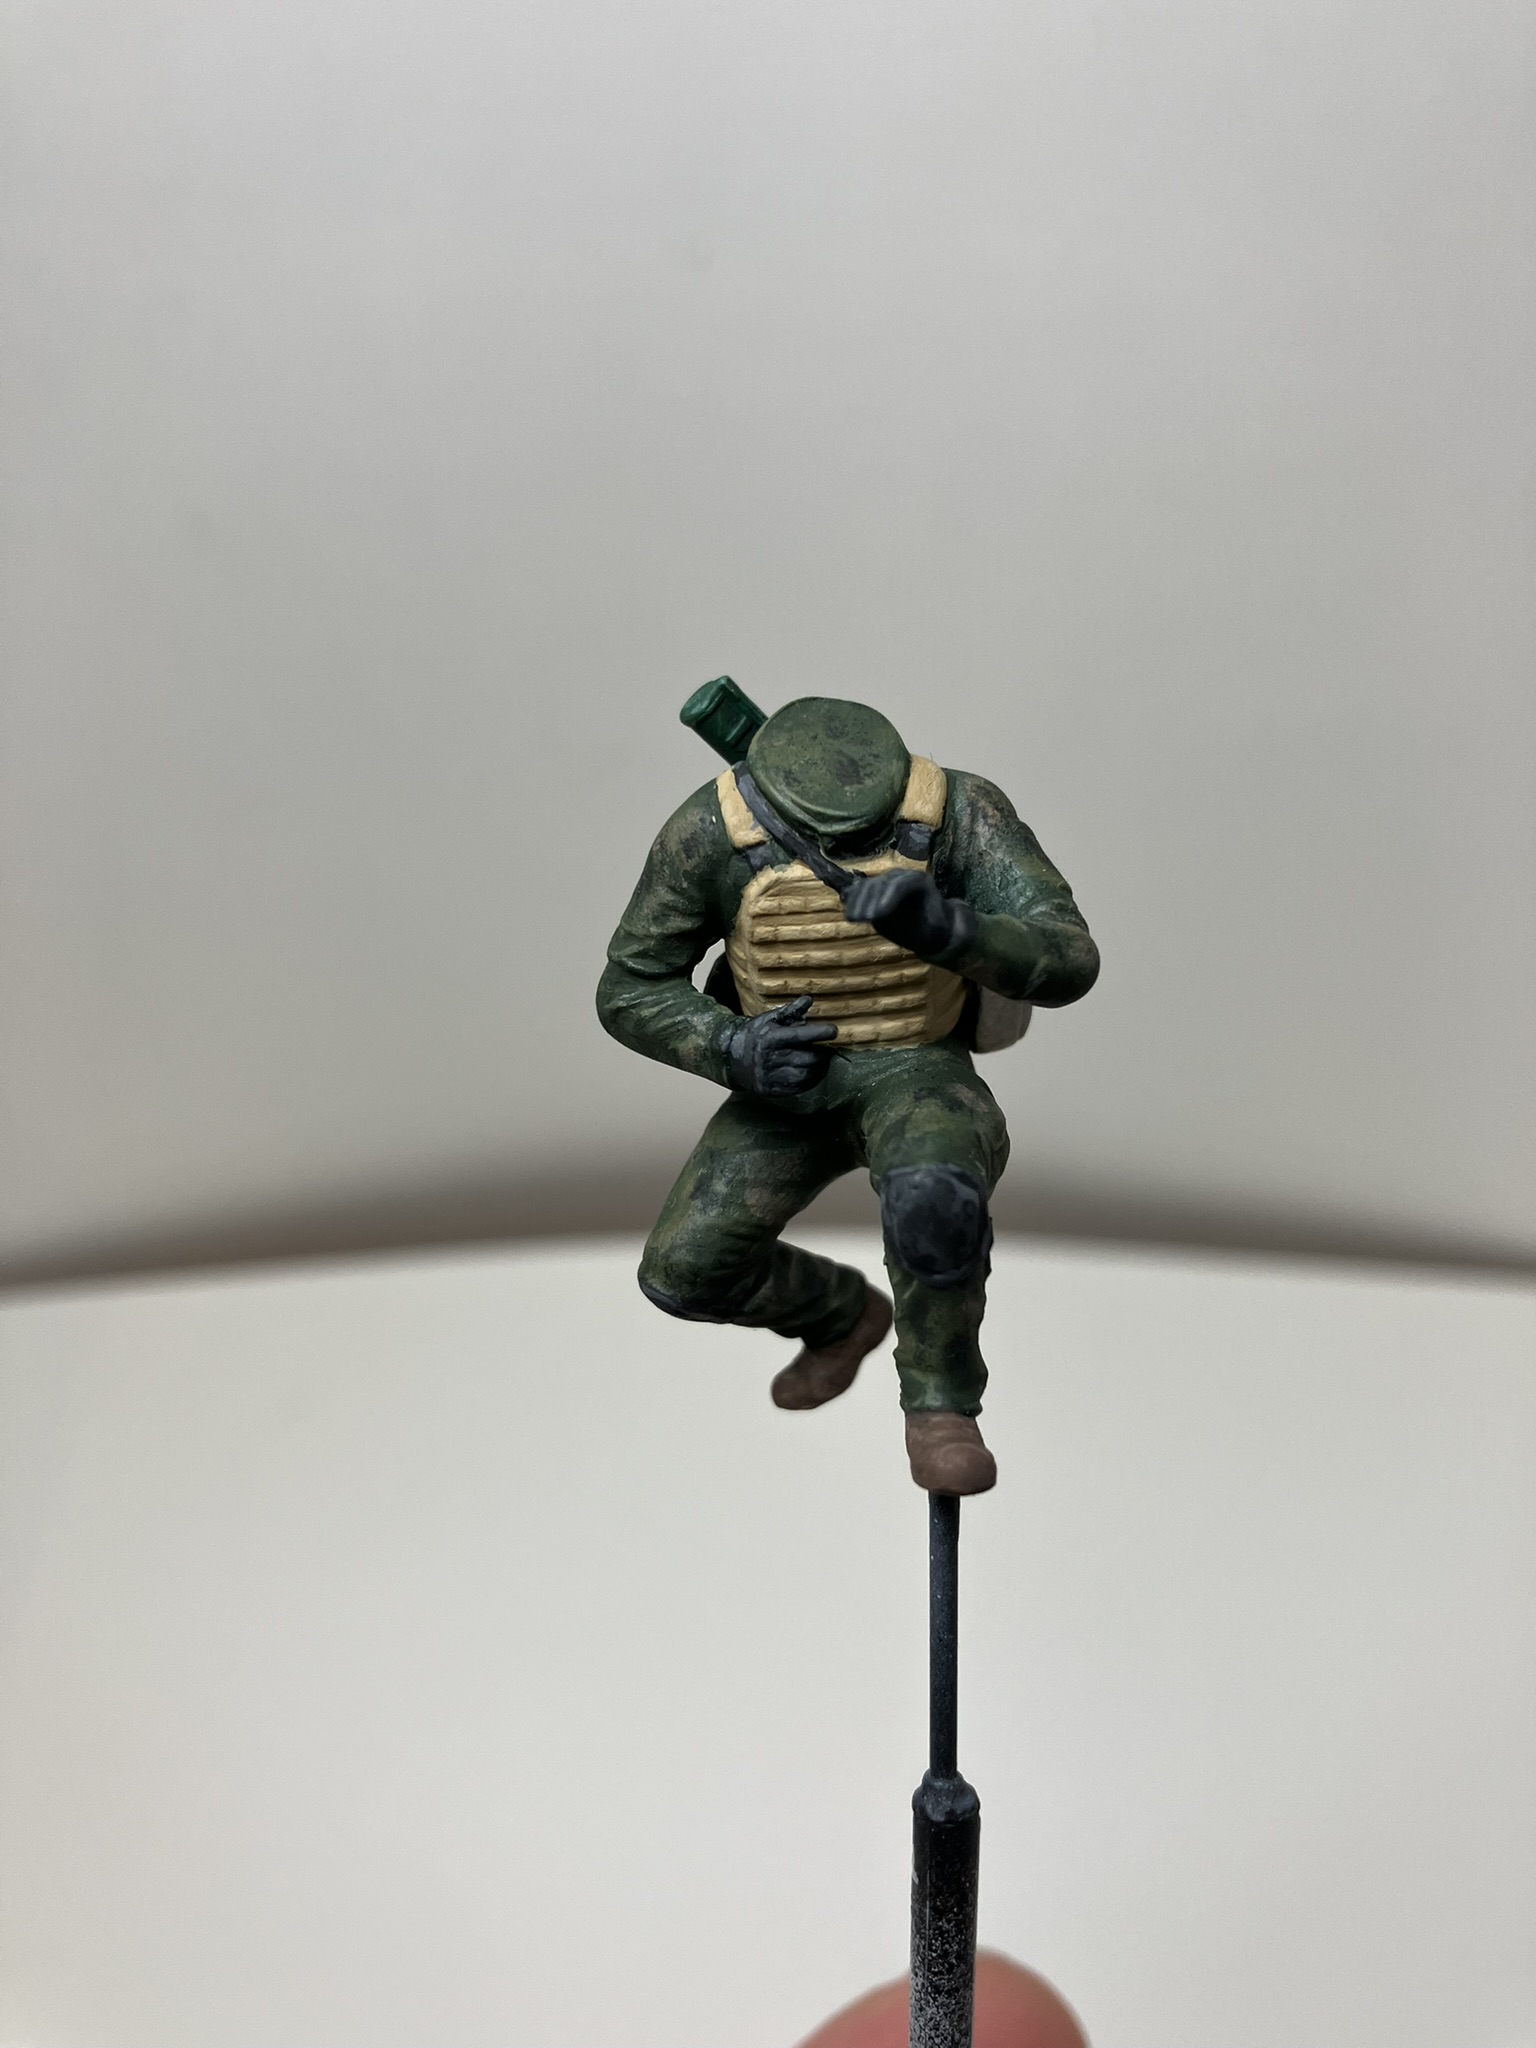
So will be twinning it with some Ukrainian figures and a base made from cork / some PLA.
Hopefully can advance my skills with the combination of figures, battle damage and basing.
Not aiming for accuracy, just something that looks good (hopefully) at the end and enjoying the journey.
Back after some time away on holidays, but trying to keep myself honest with uploads.
Bench is also a bit cluttered so the photos are not great.
Work Complete:
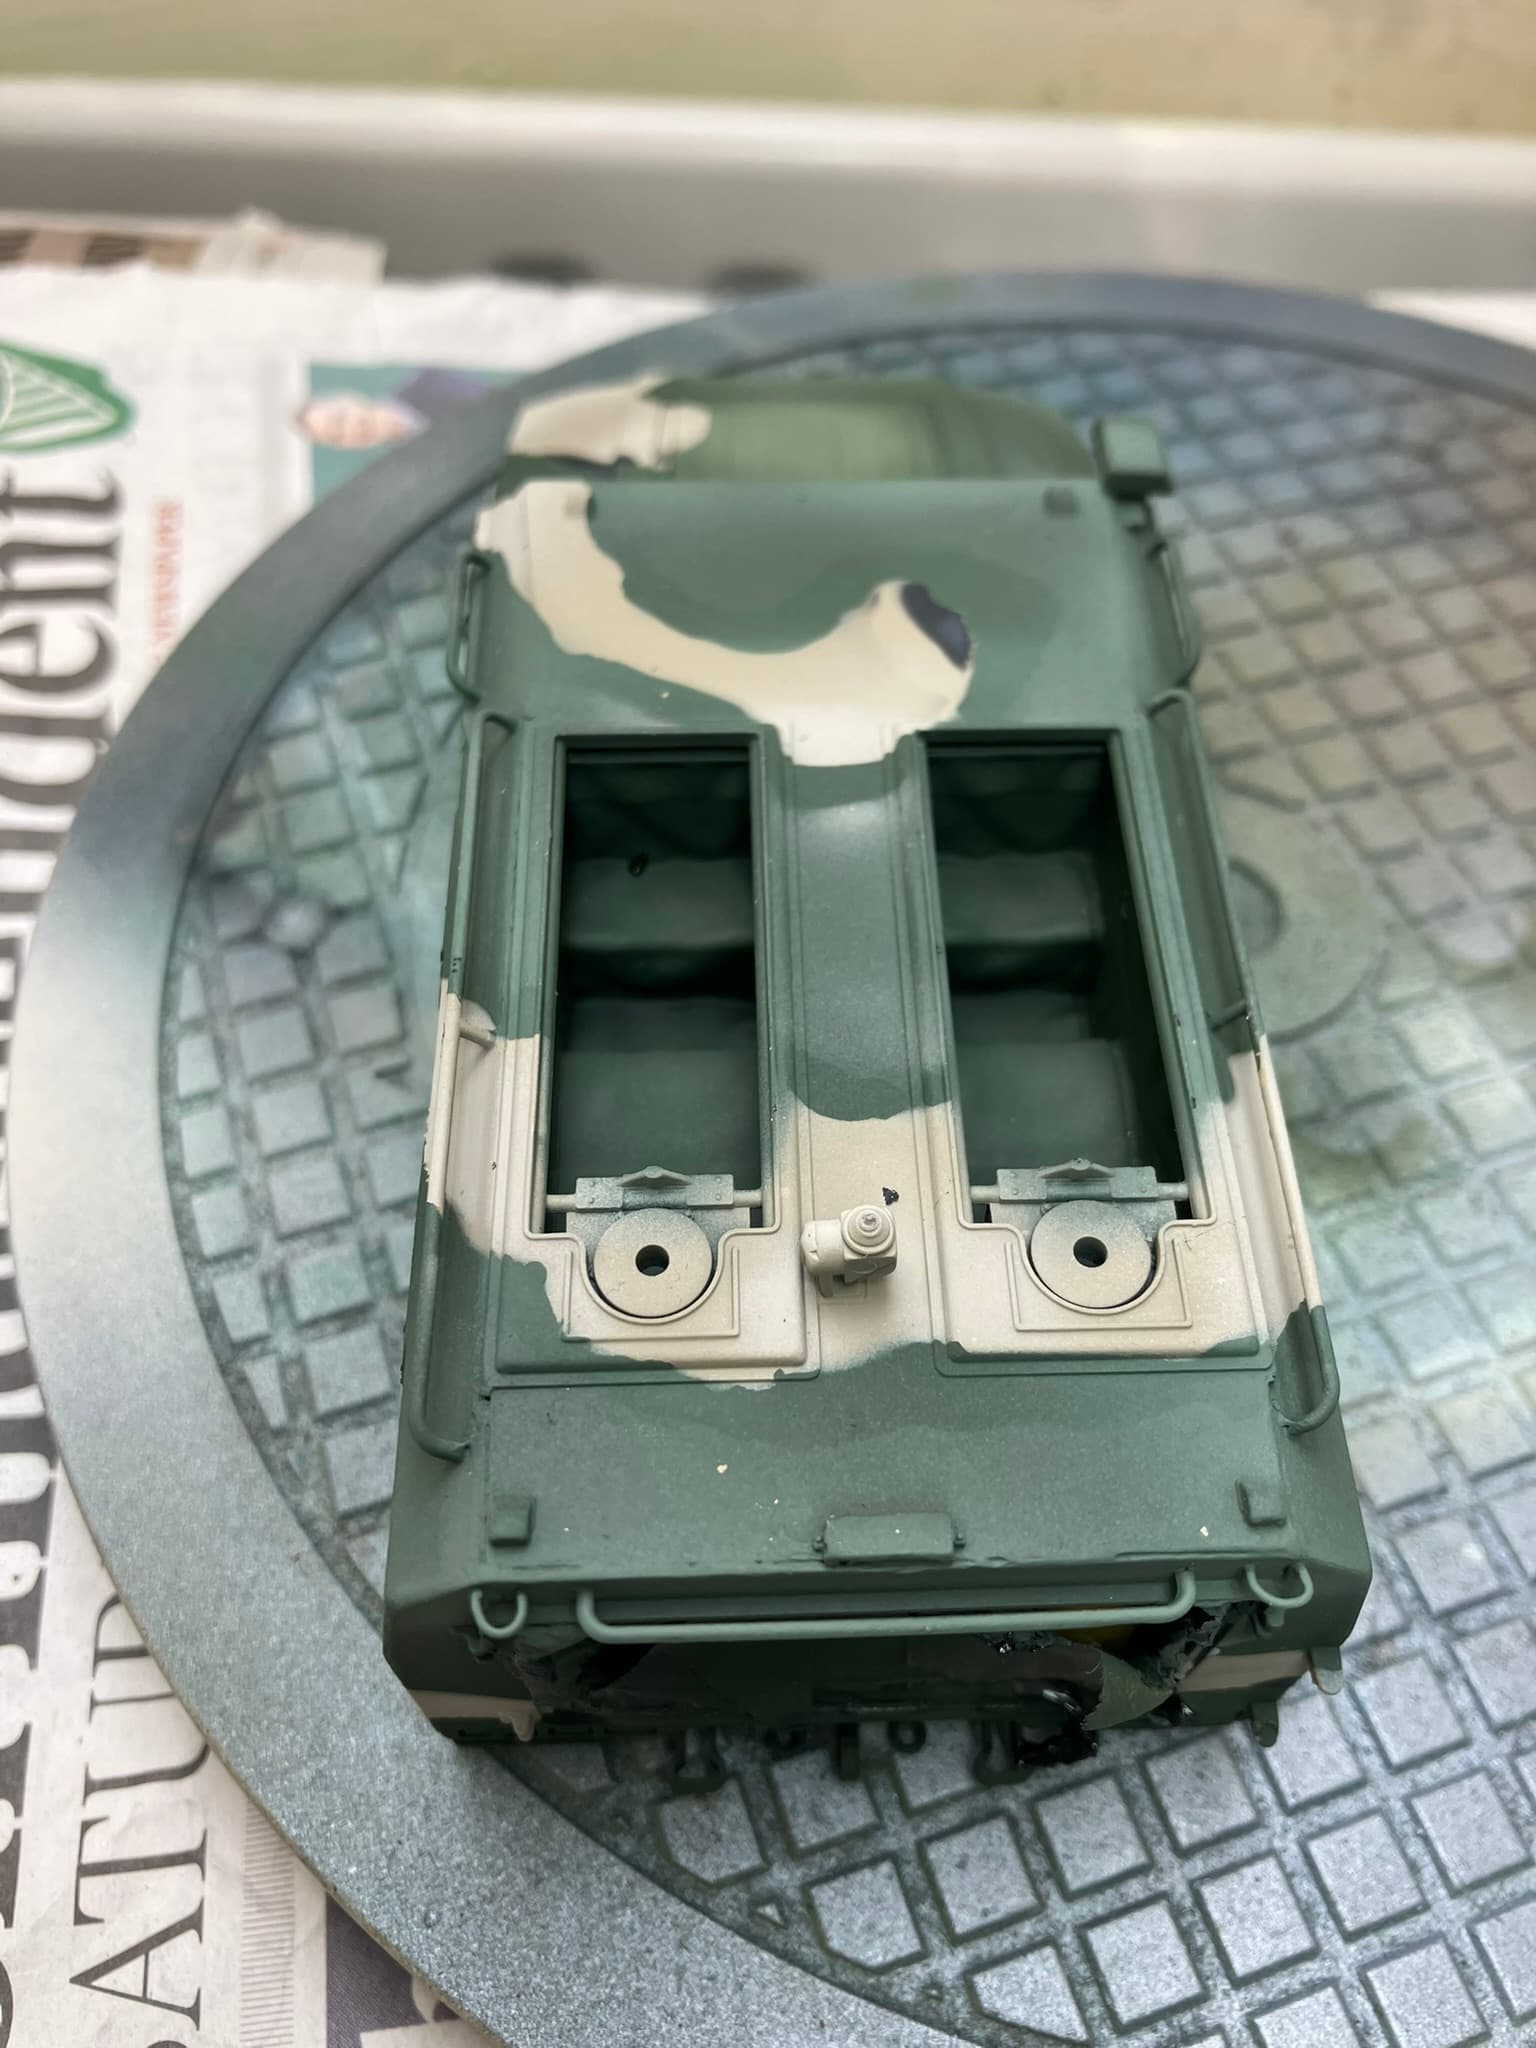
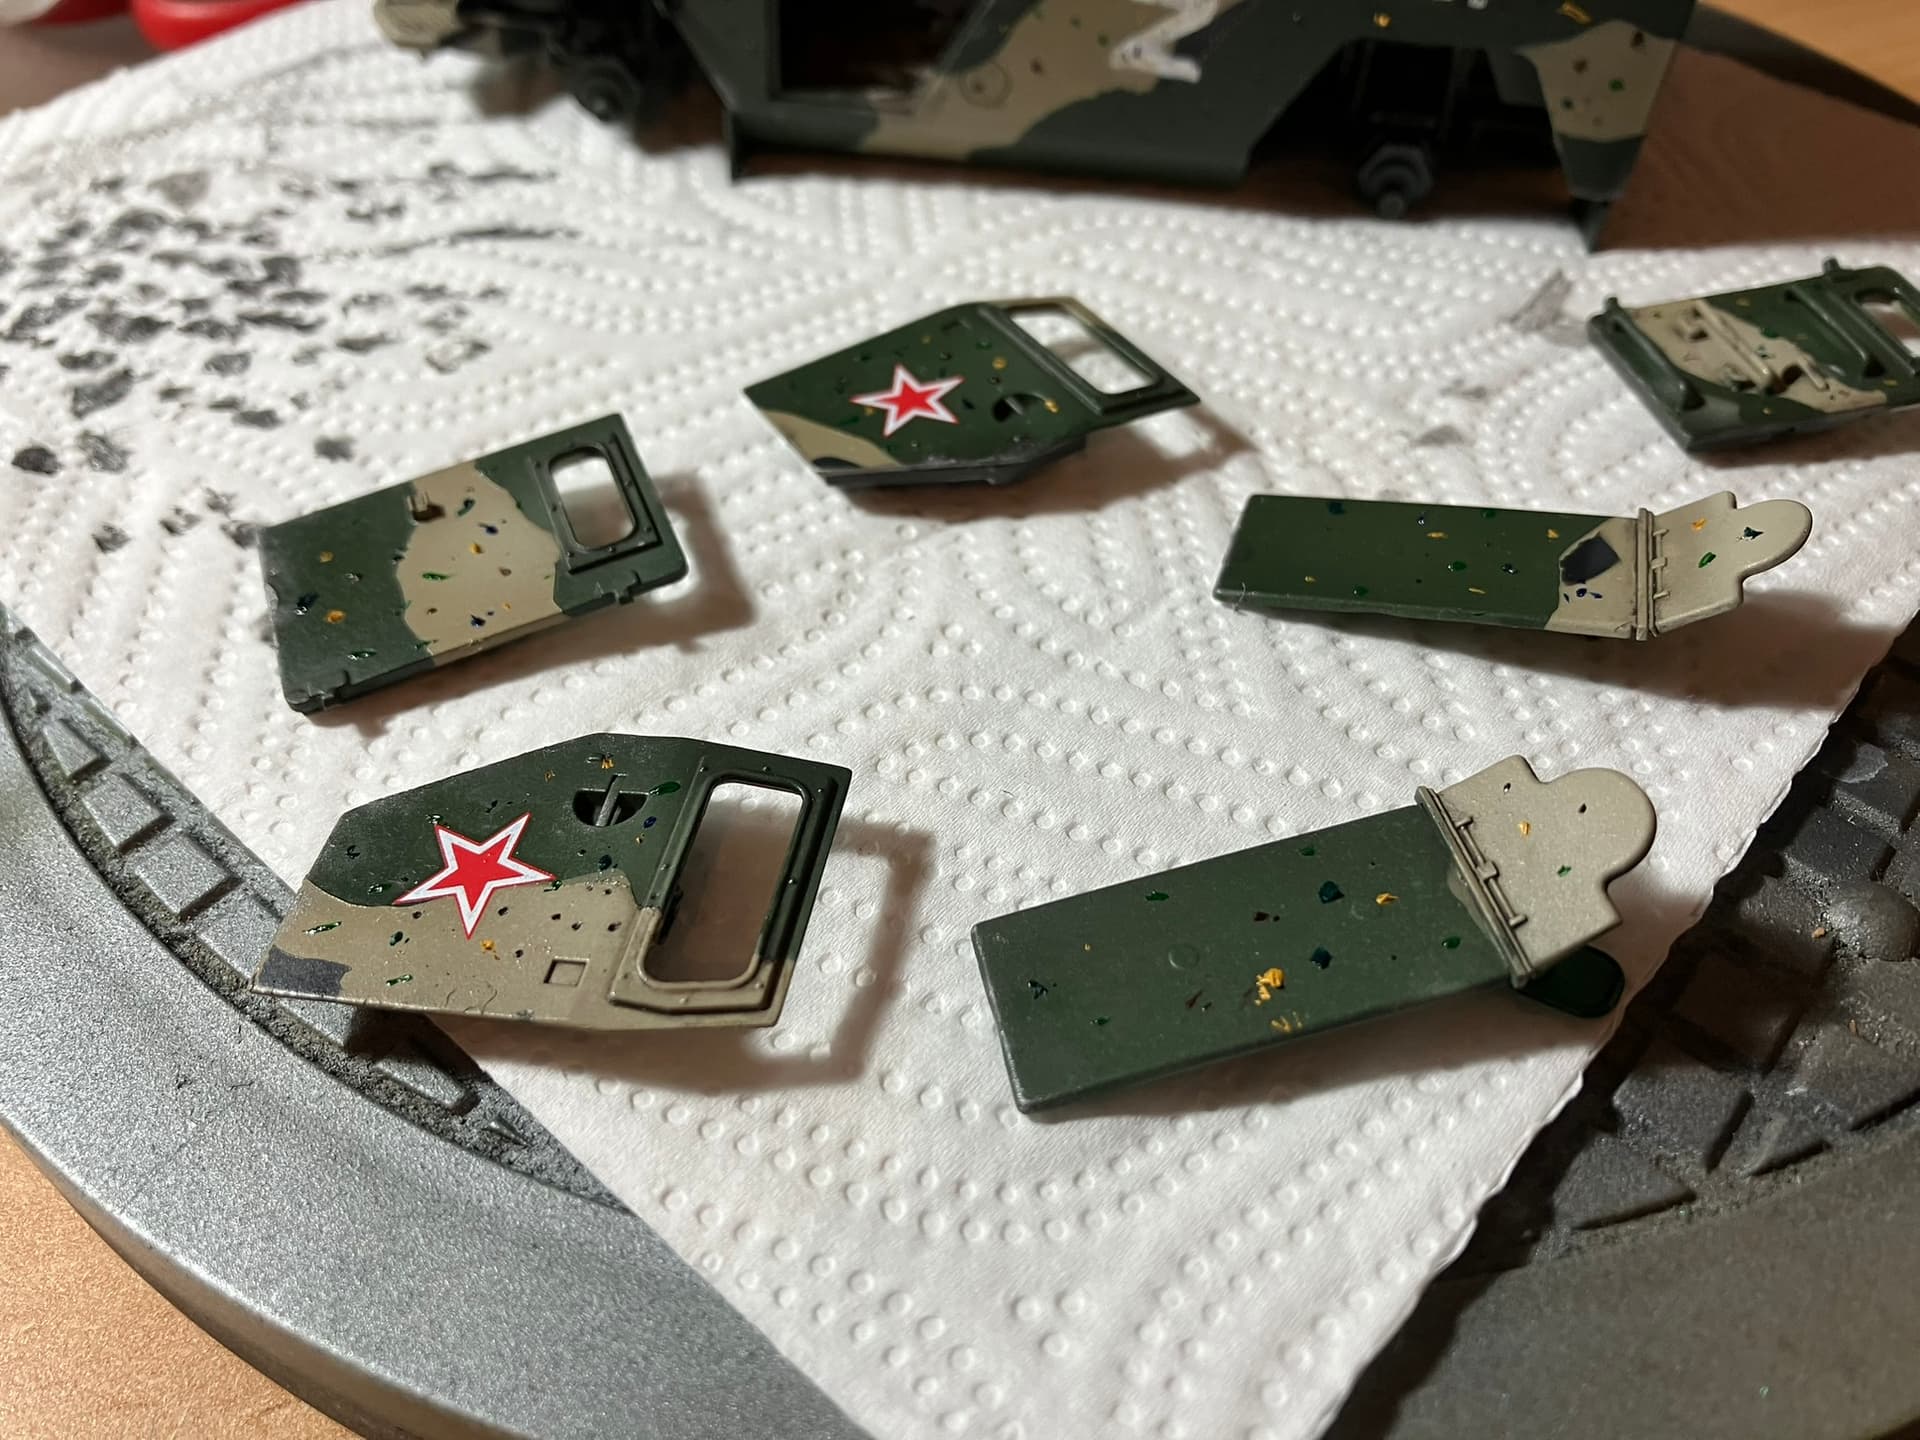
Did some very light sponge wear with LeadBelcher from Citadel and a sponge.
Then Oil Dots
One of the techniques I really like trying to get better at every time.
I tried Blue this time in the mix which went a lot further than expected (or really wanted).
Still relatively happy with the outcome.
Will look better in the light and after matte varnish and some weathering.
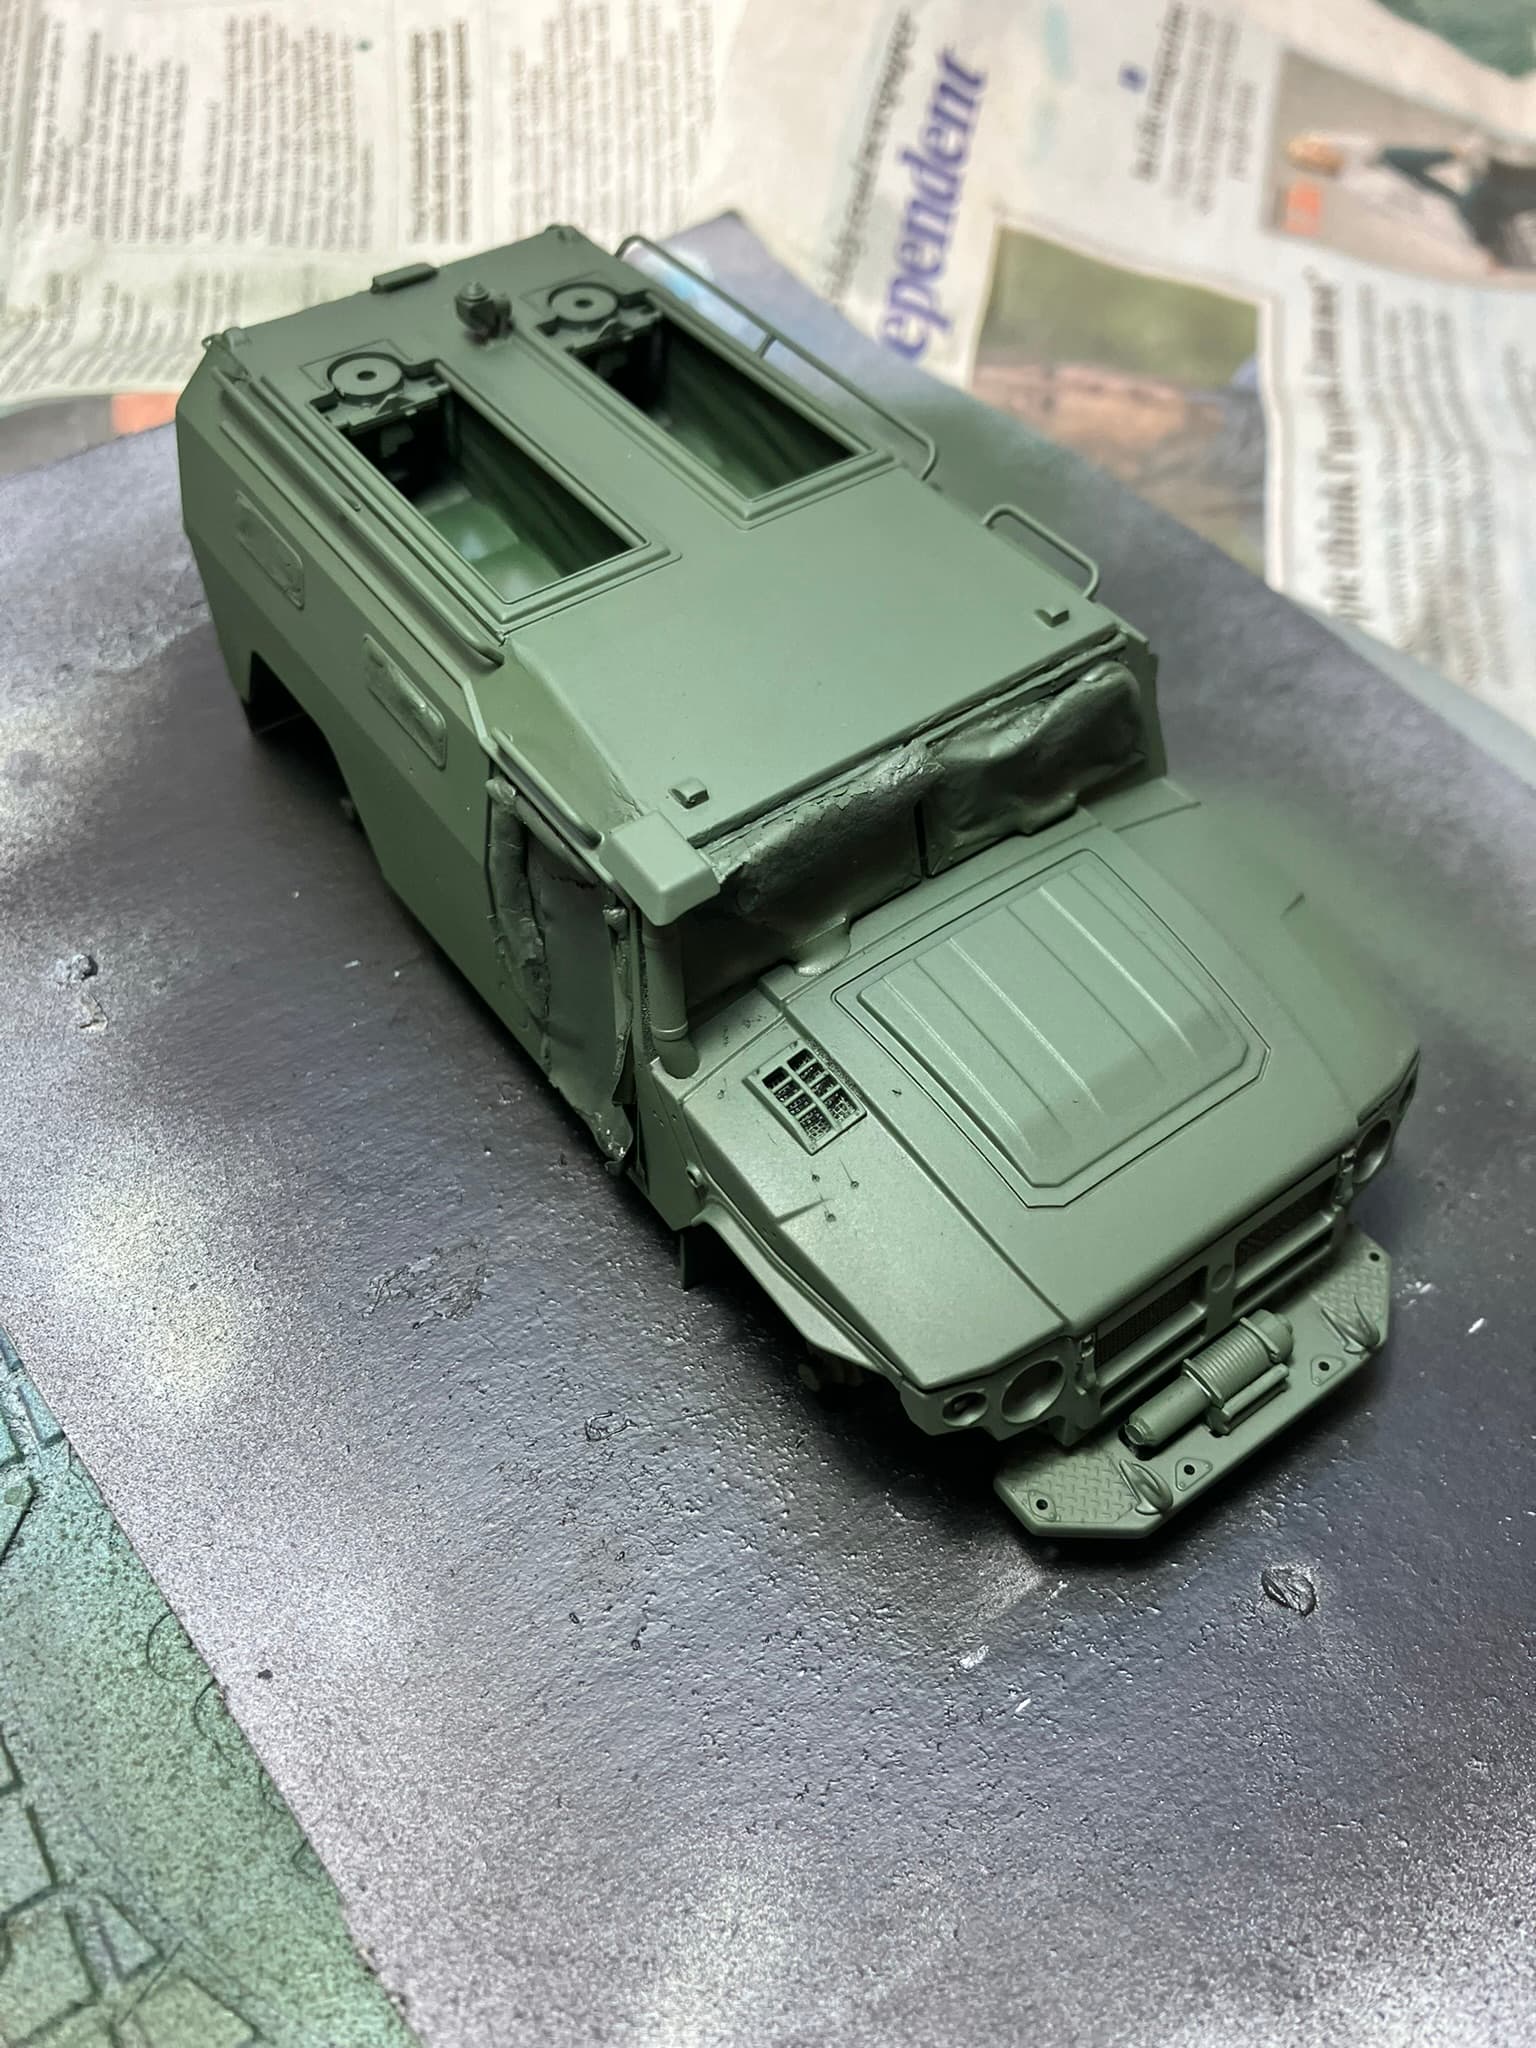
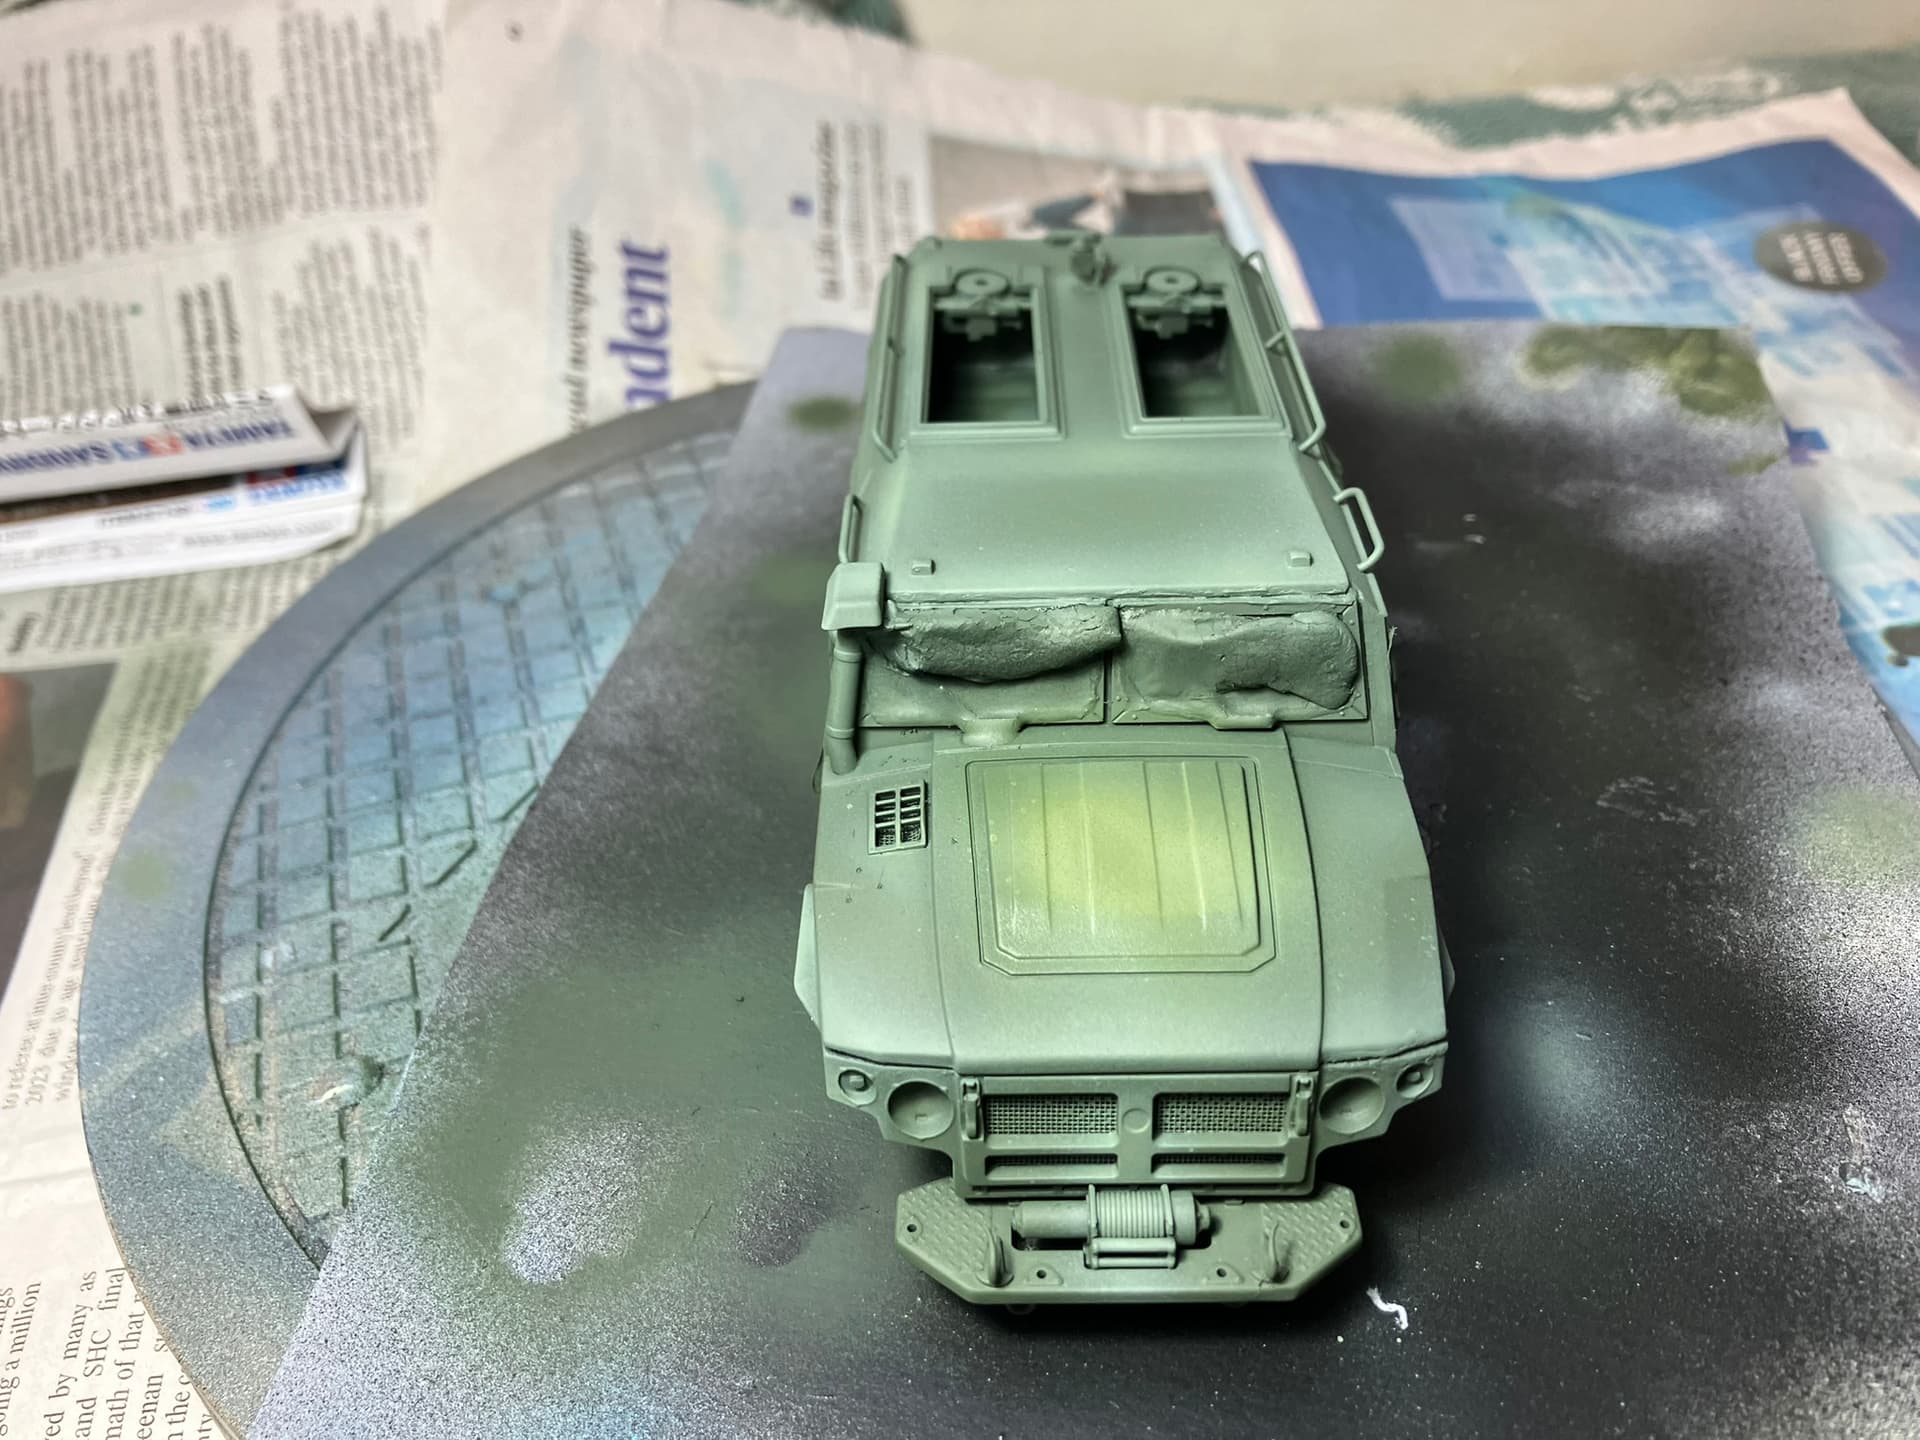
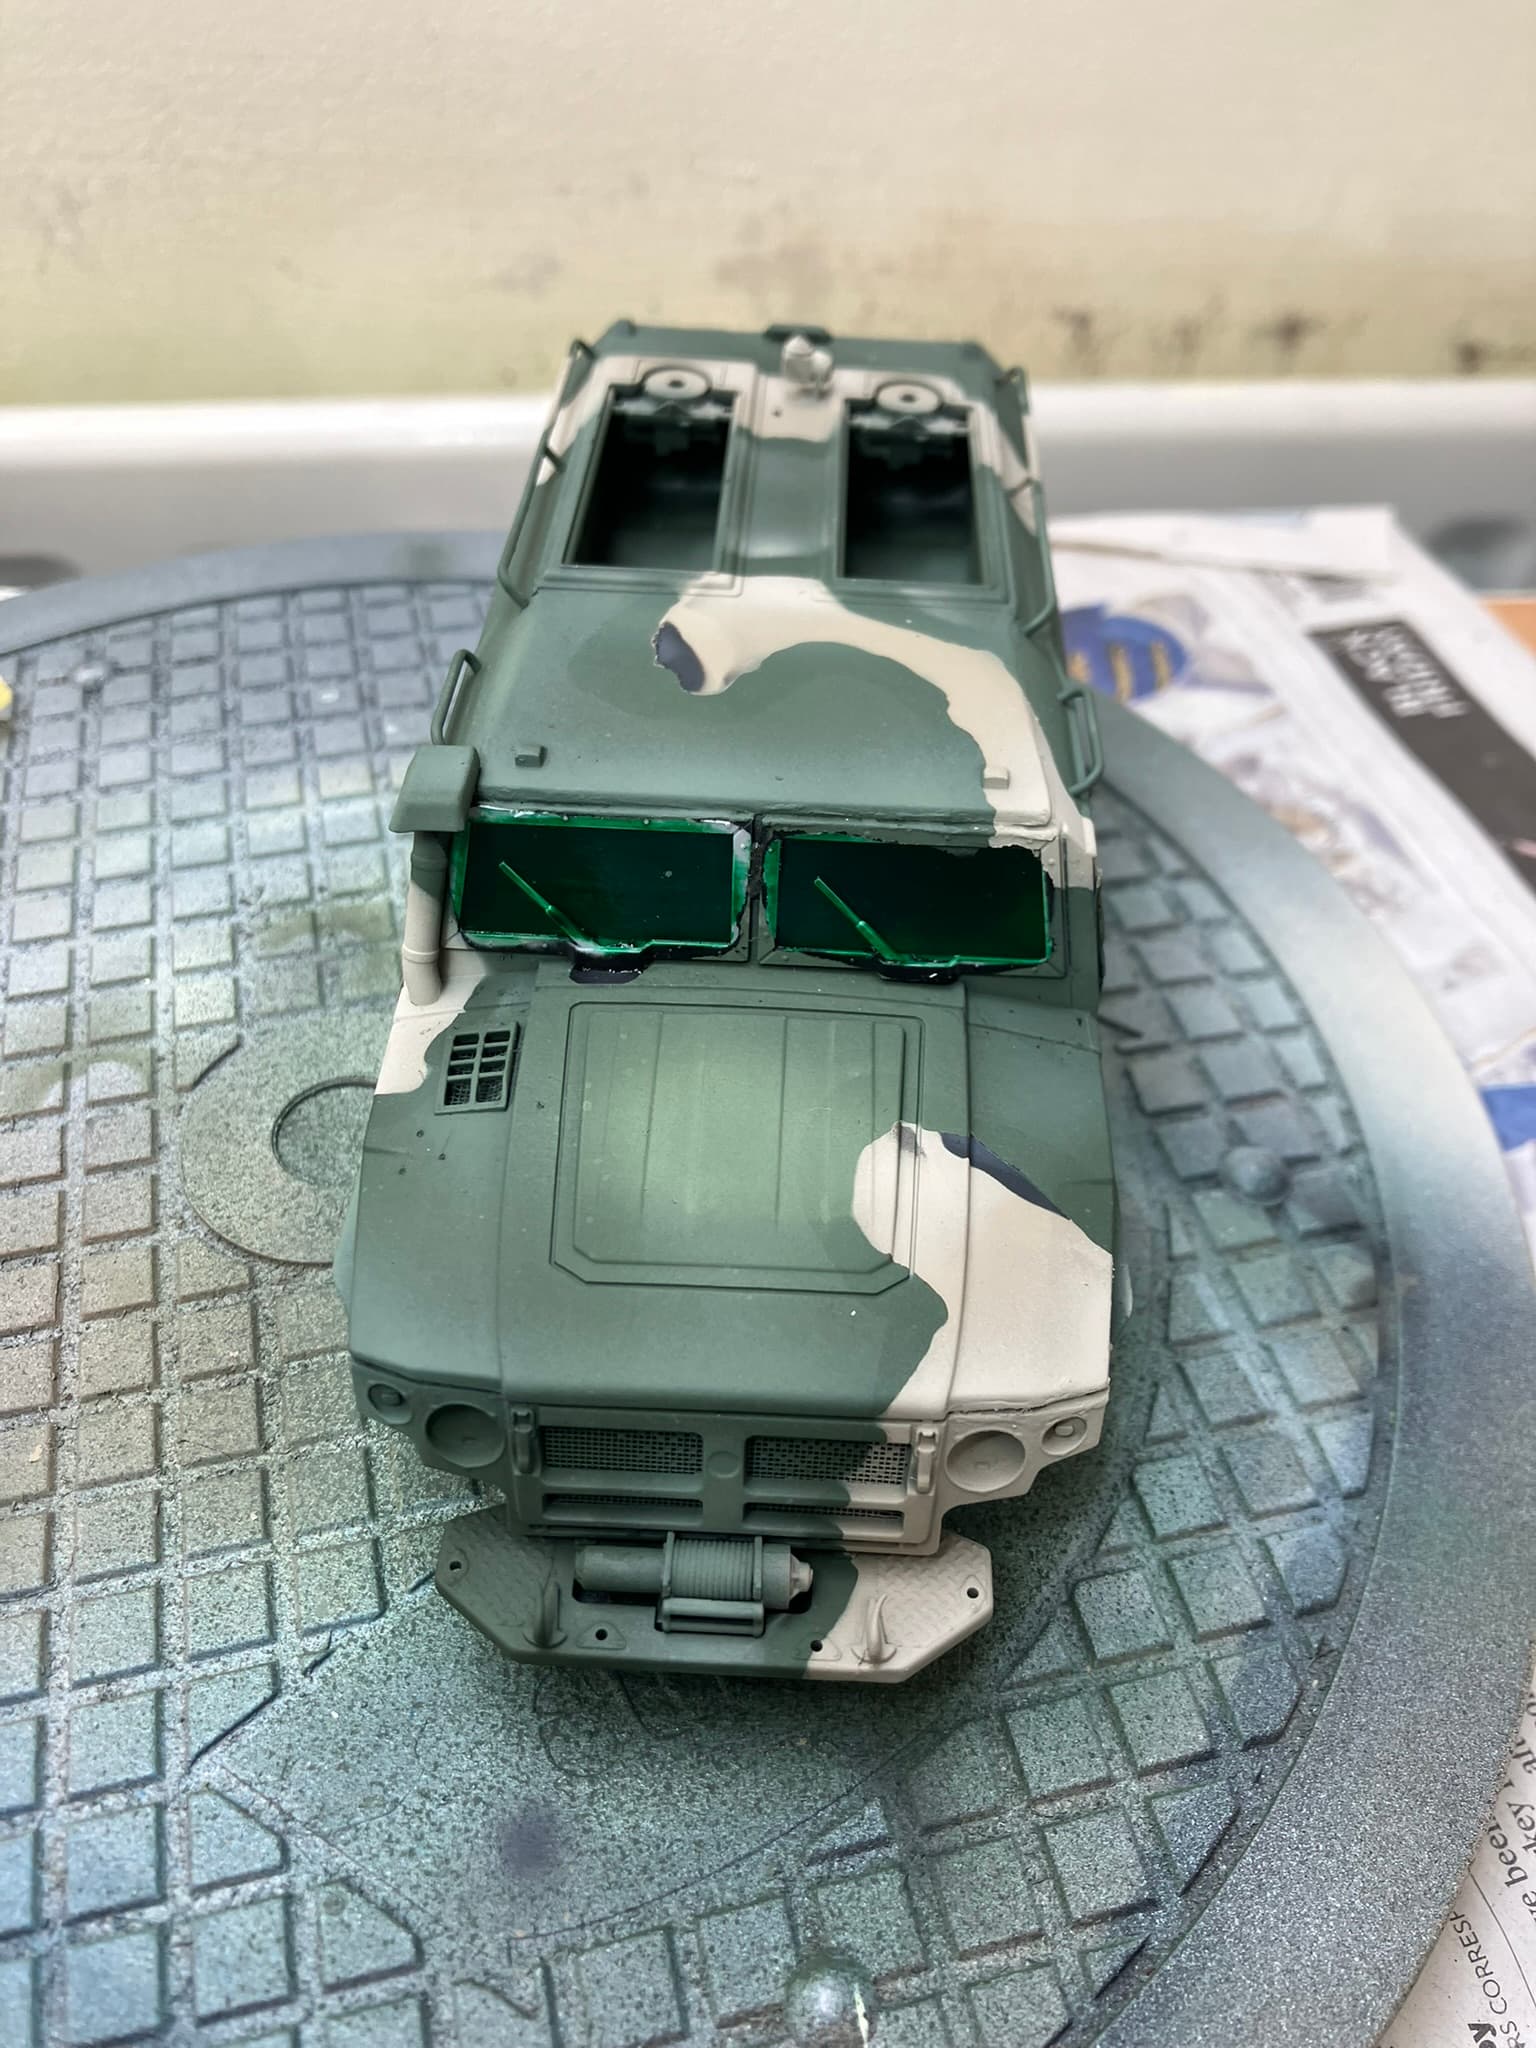
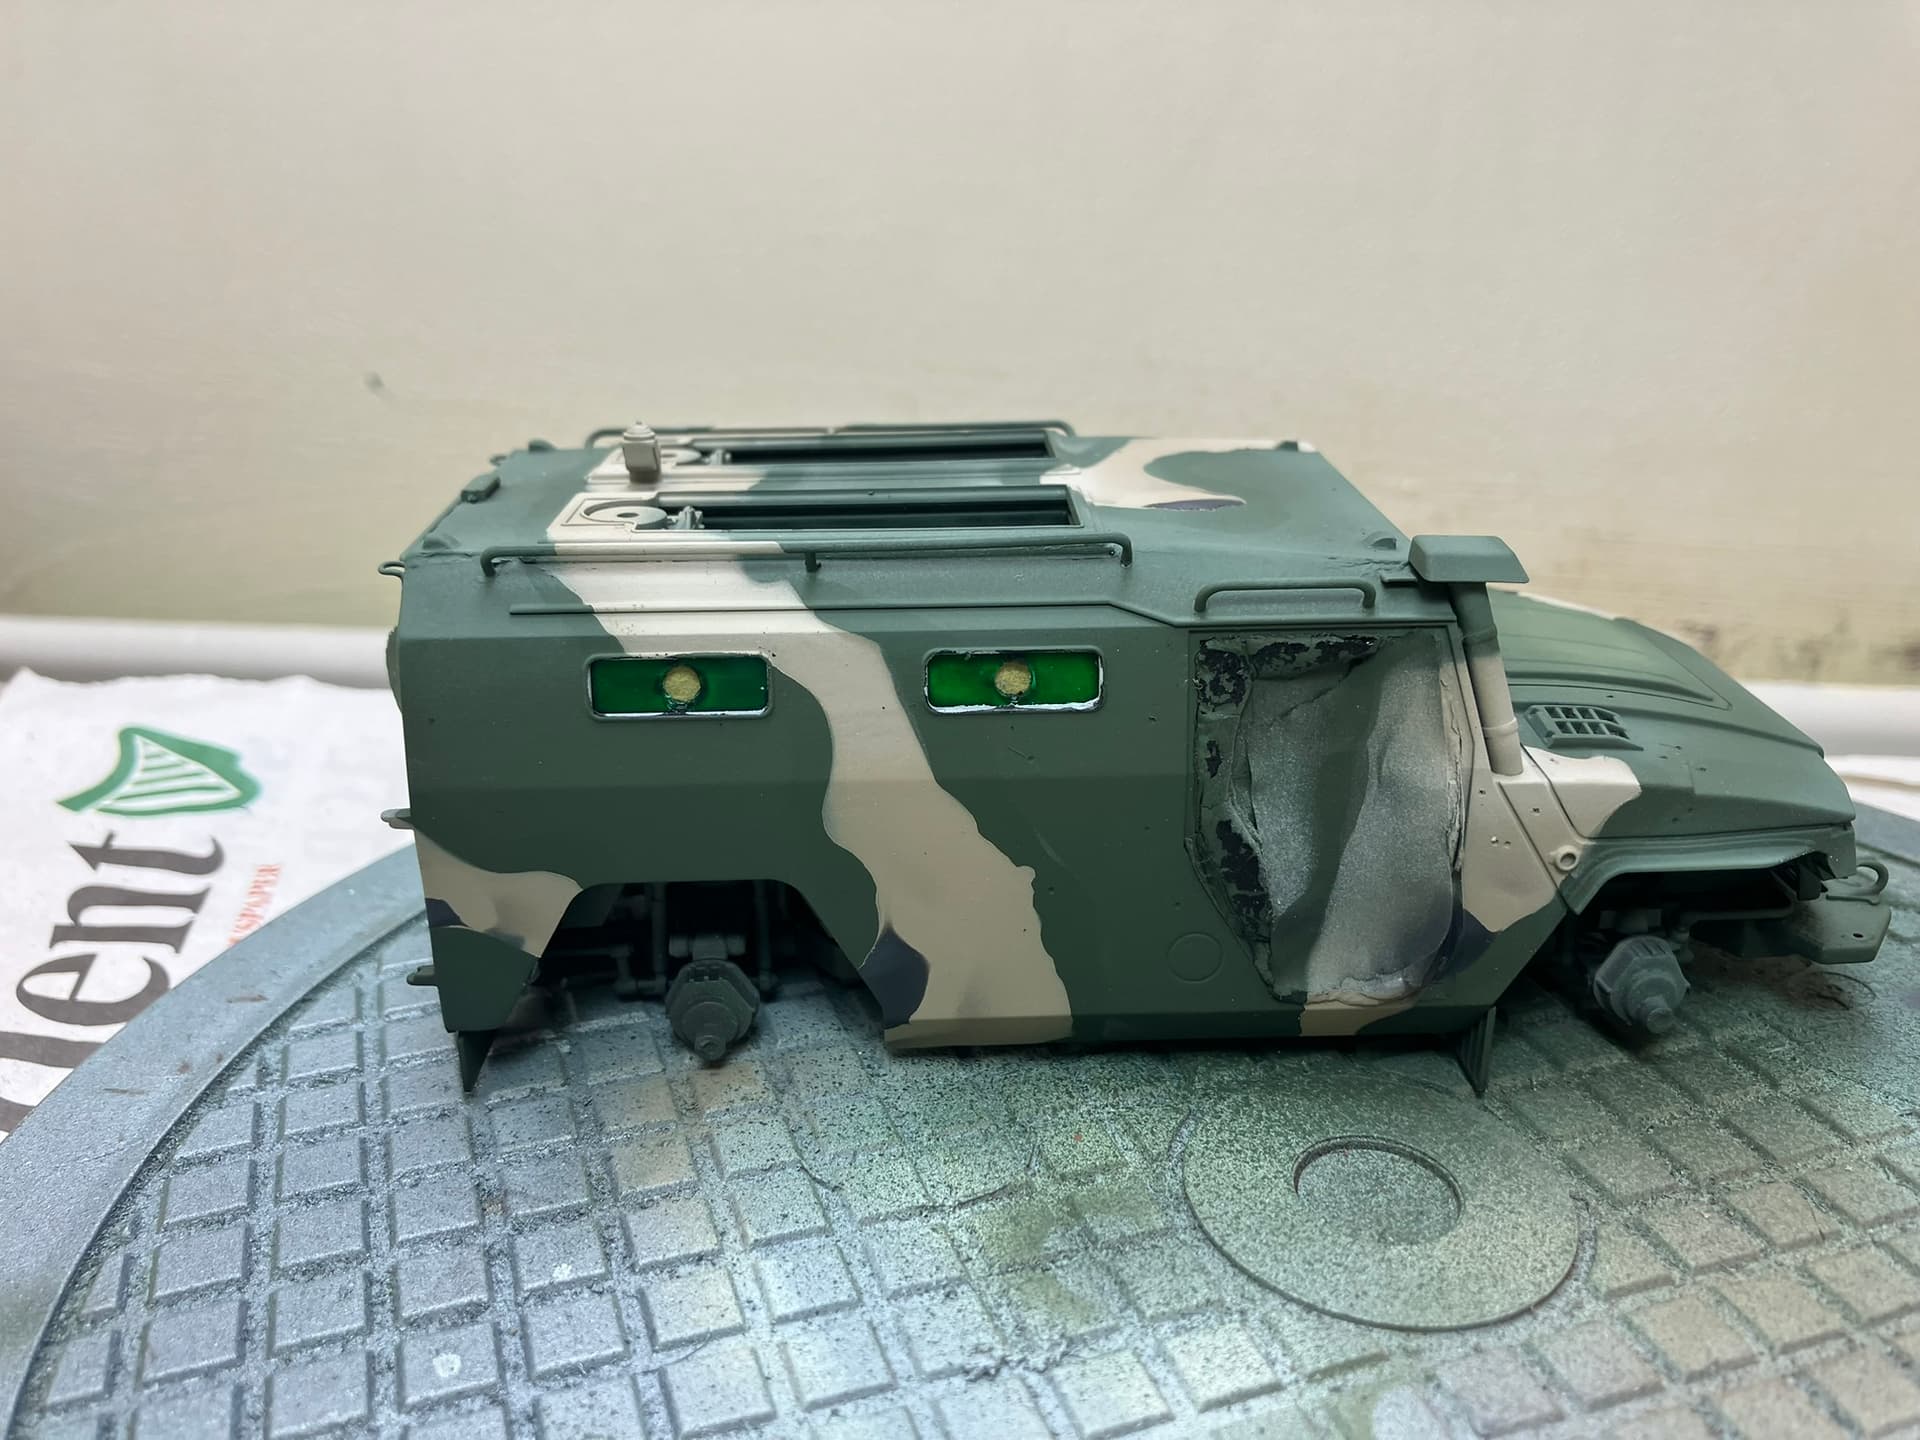
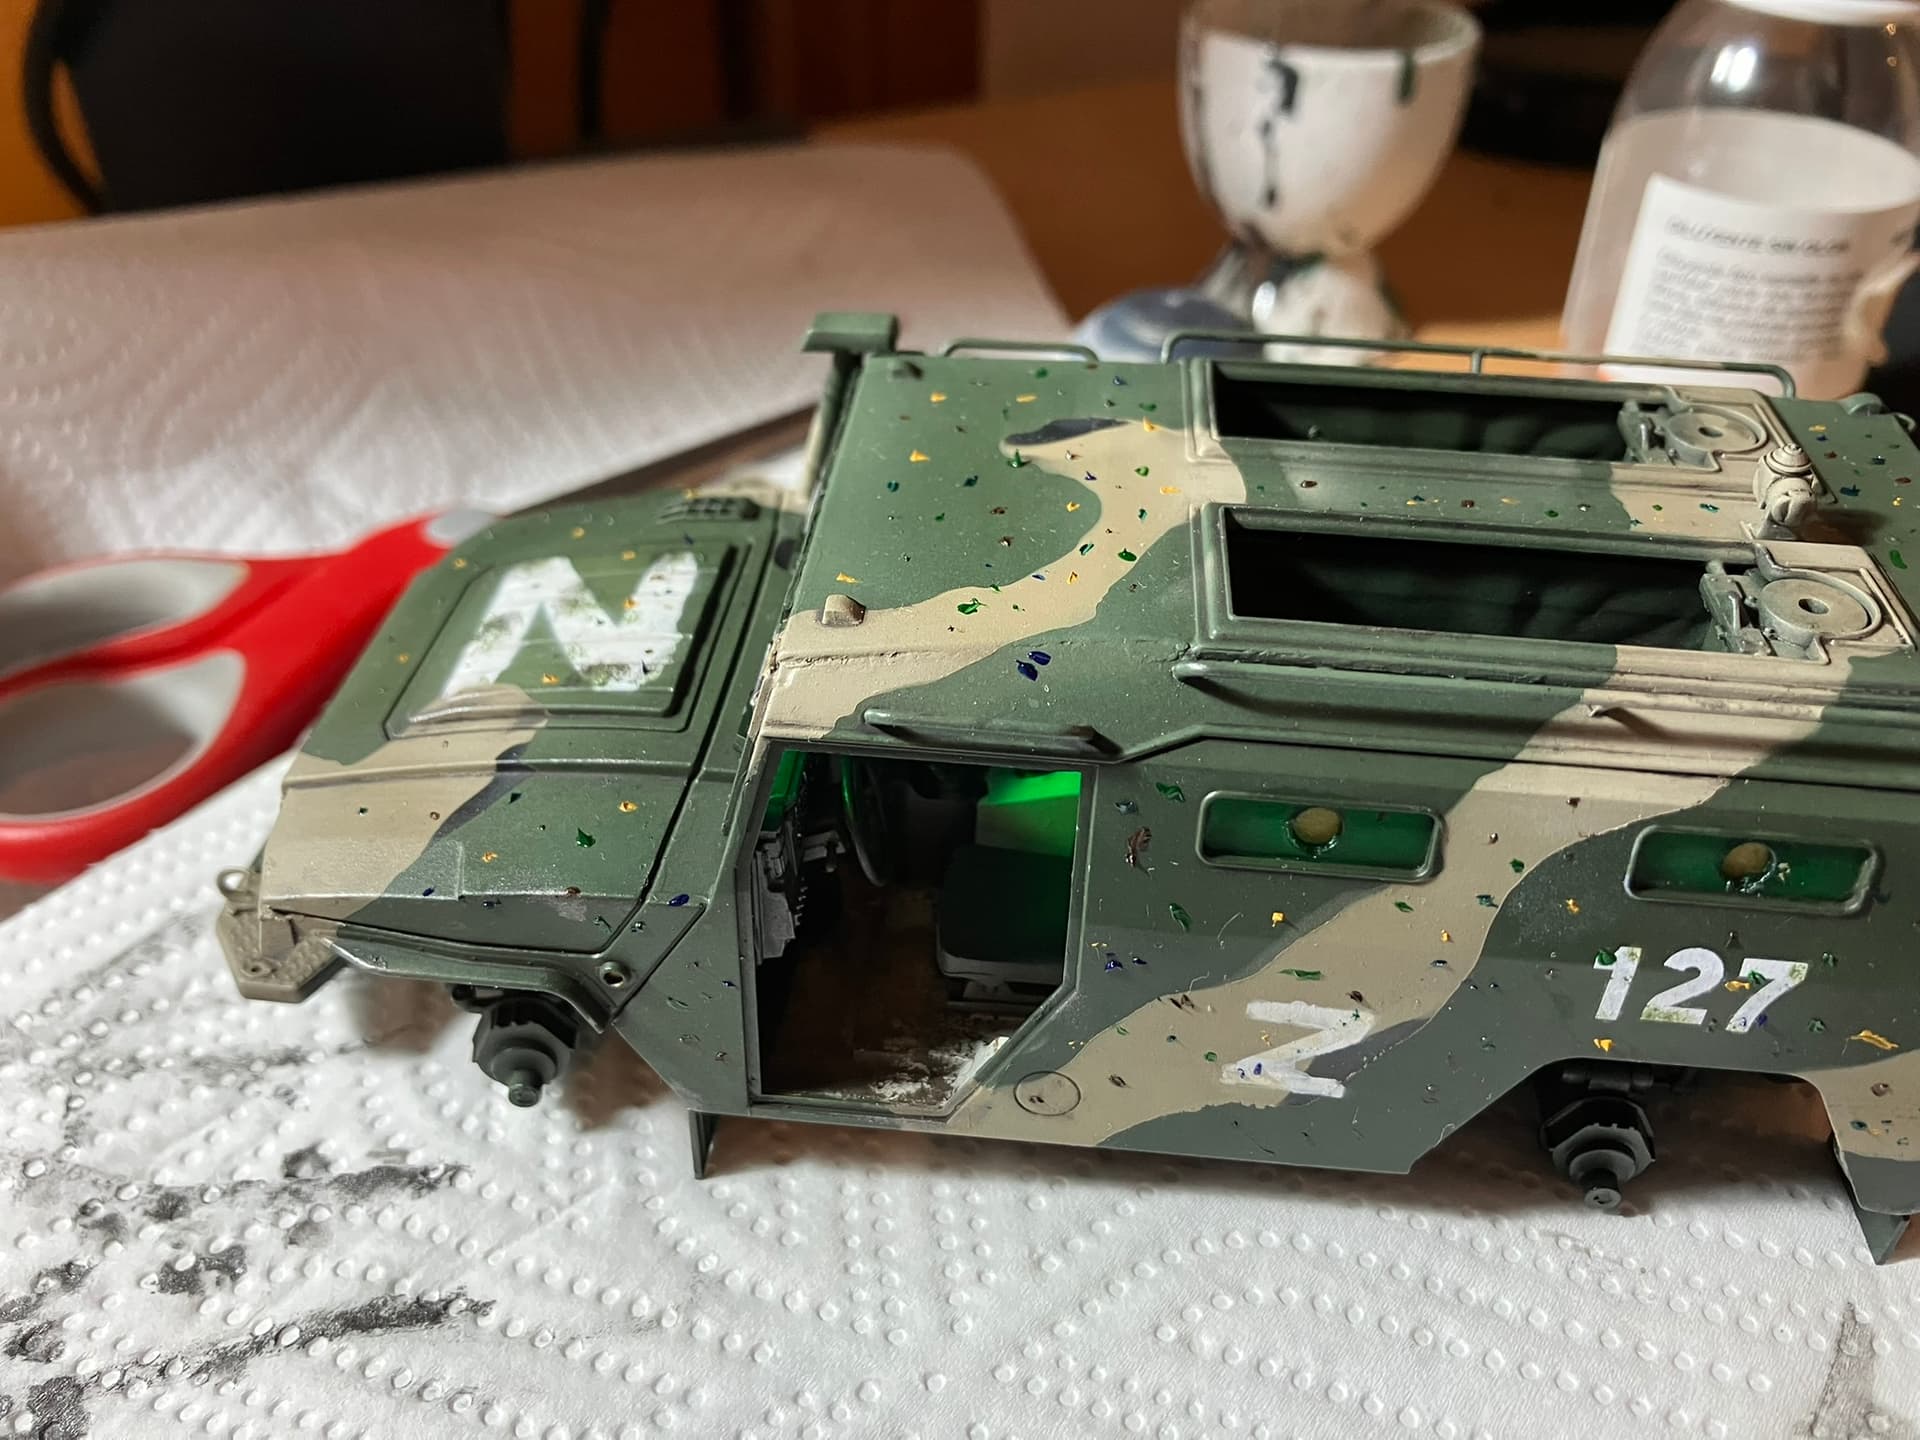
Attempted to do some kine of MultiCam / Digital scheme.
But my choice of colours / base coat was too off the cuff.
And… more importantly my sponge technique is not good at all.
Really a skill in itself that I need to work on but it looks passable in real life.
Still have some highlighting and dark washing to do so it should turn out alright in the end.
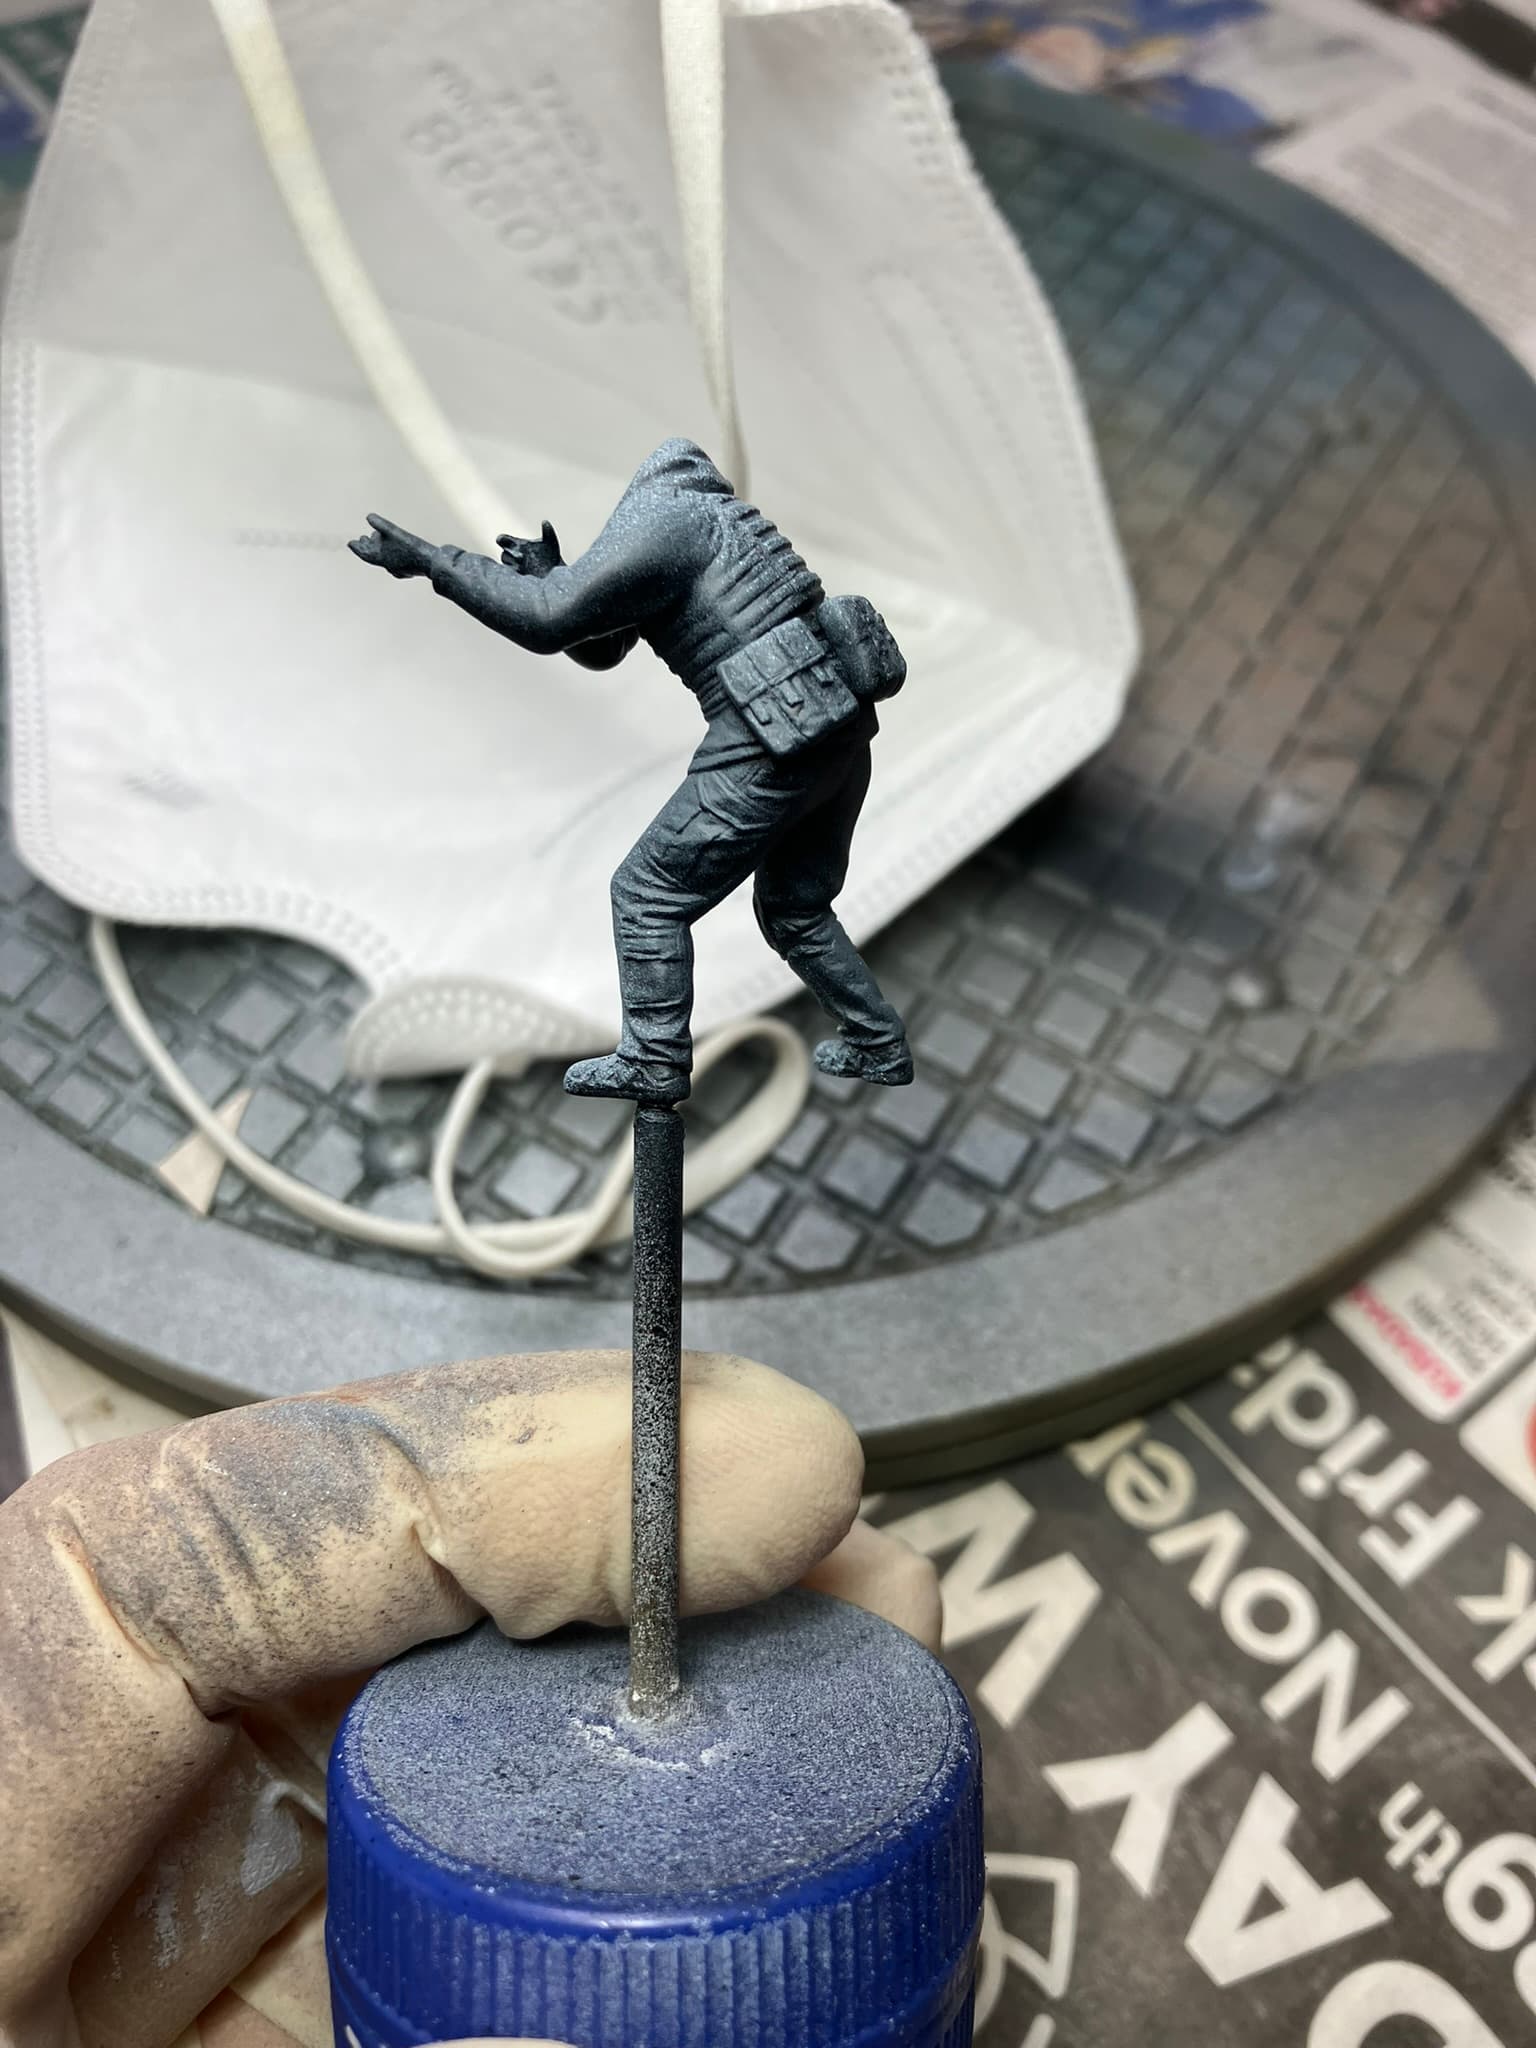
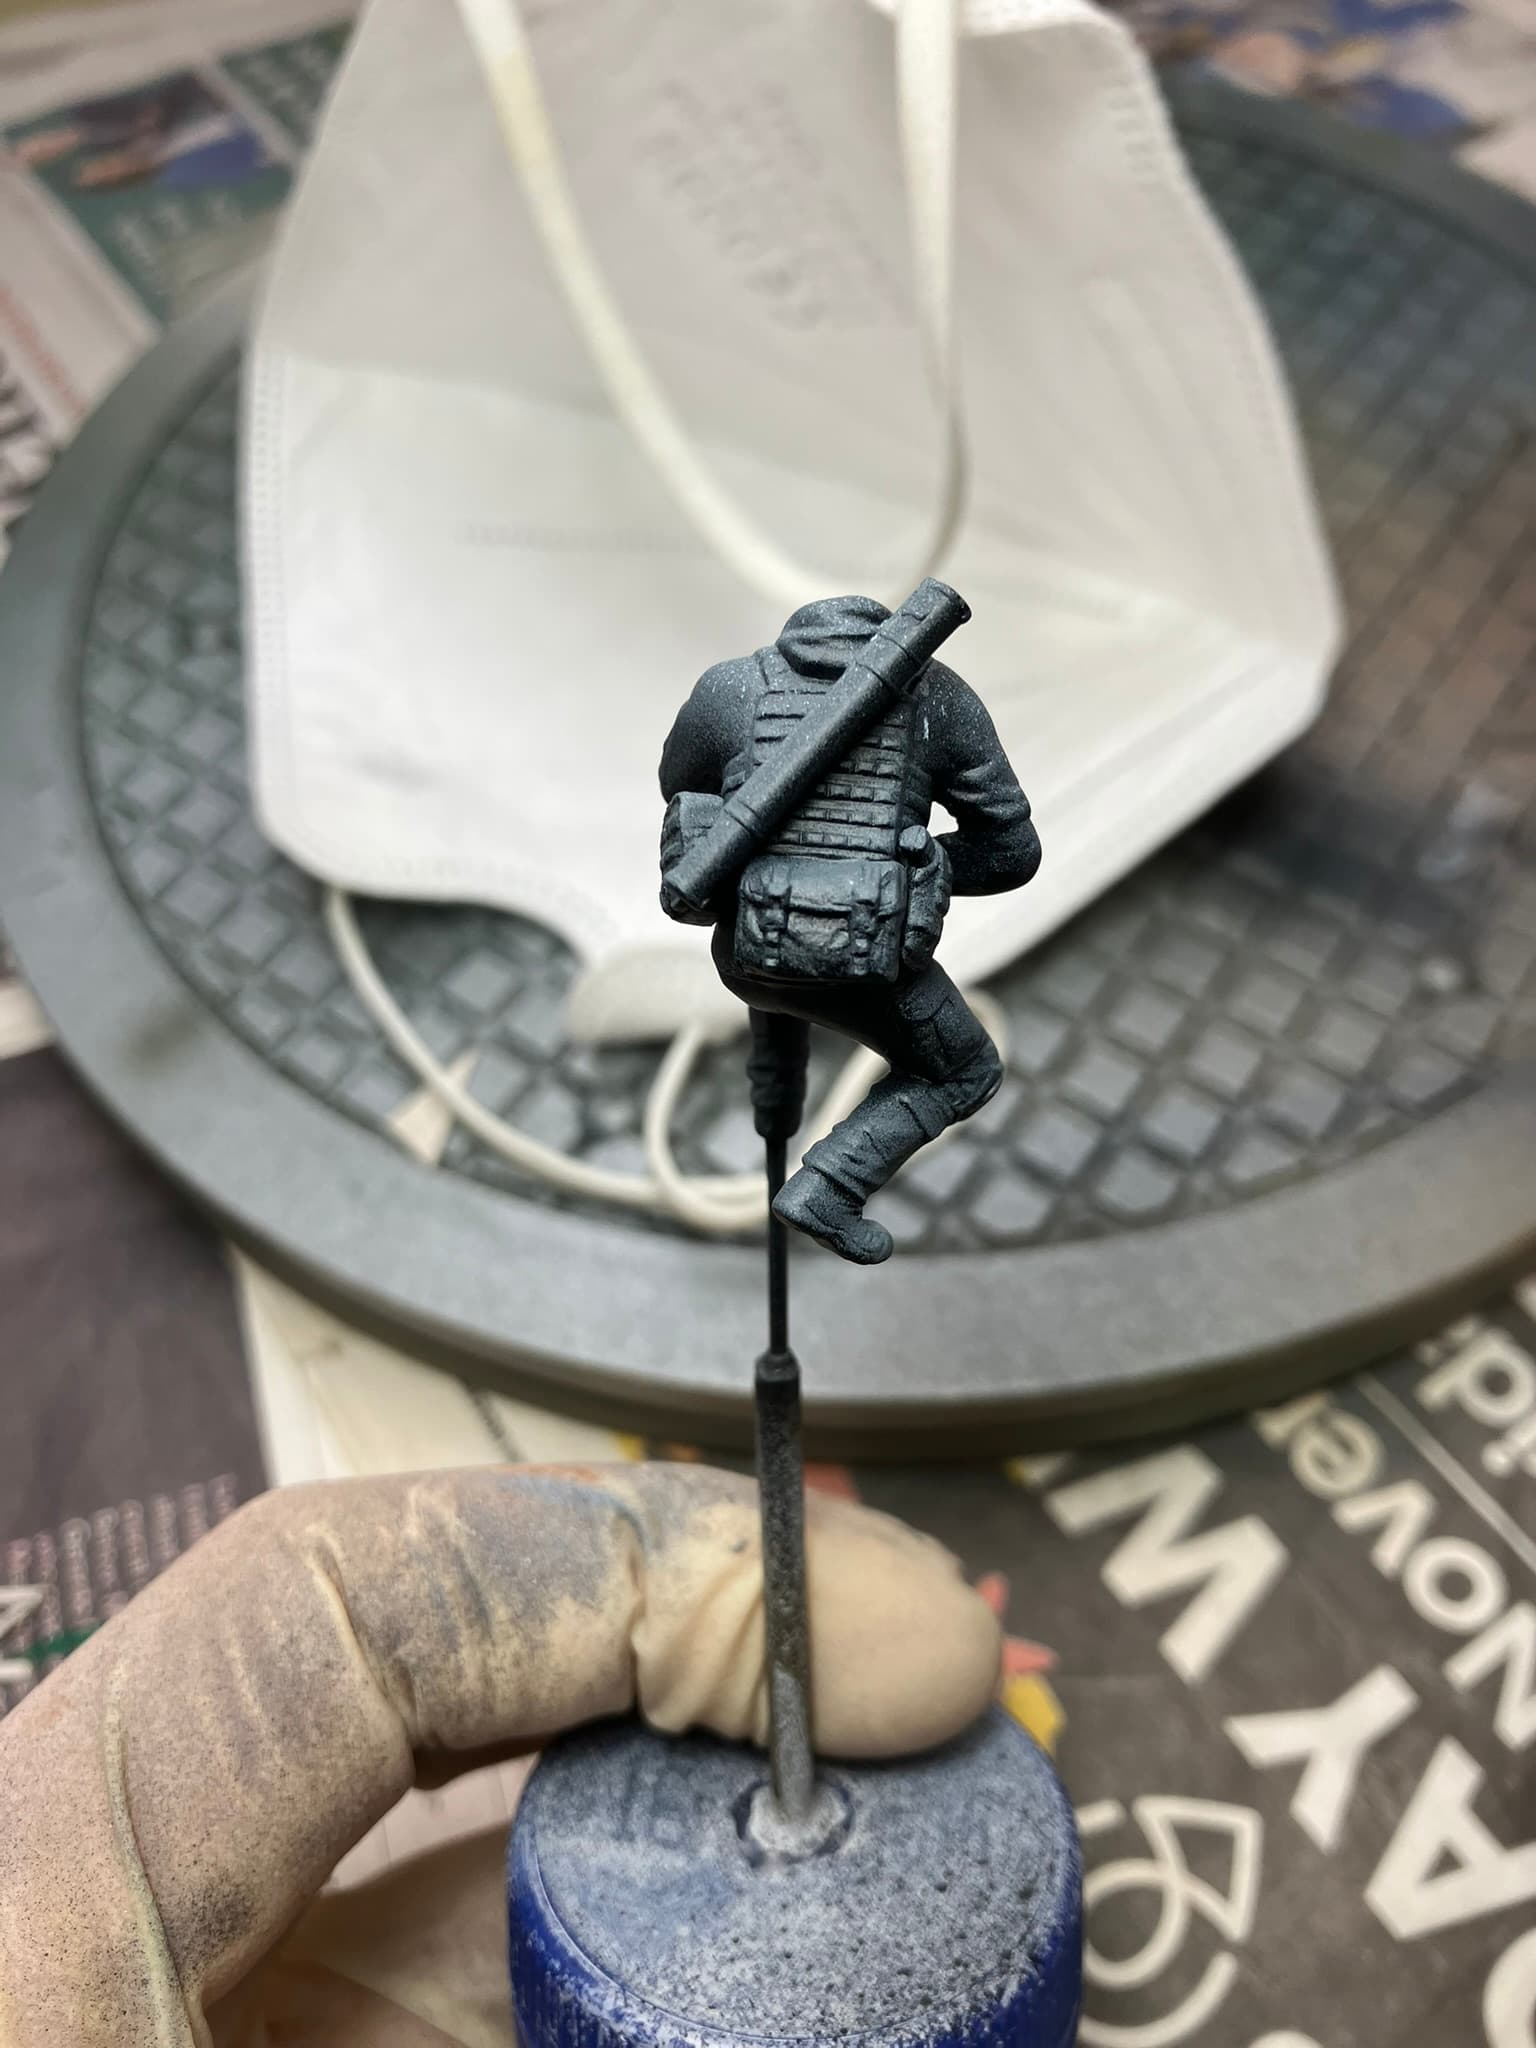
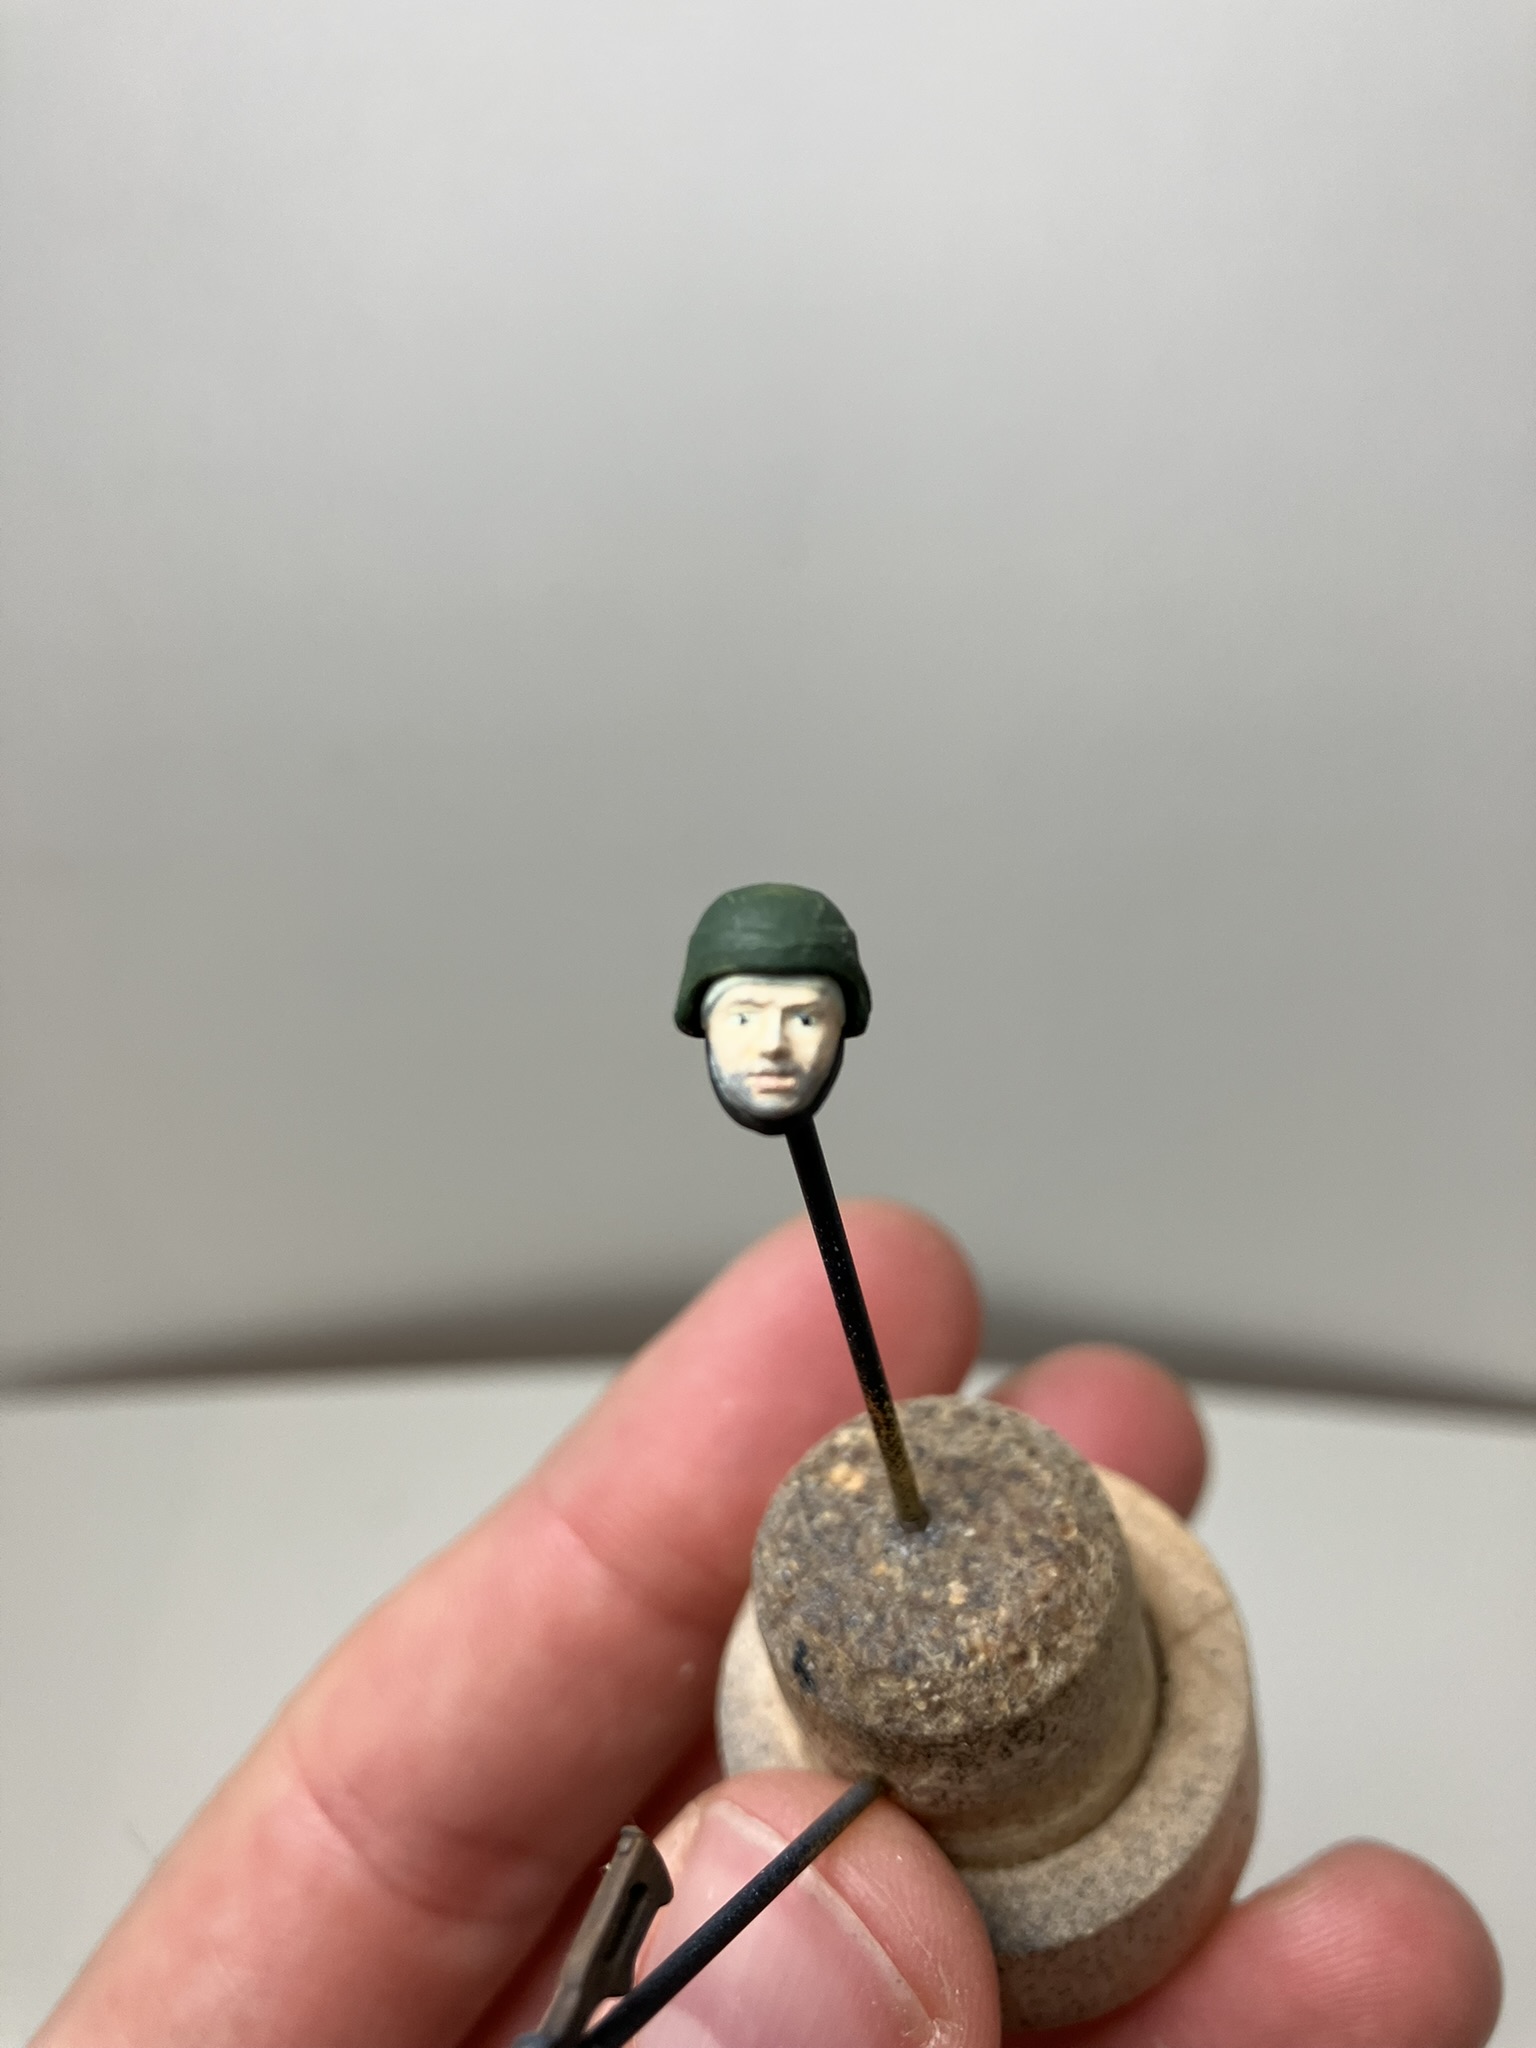
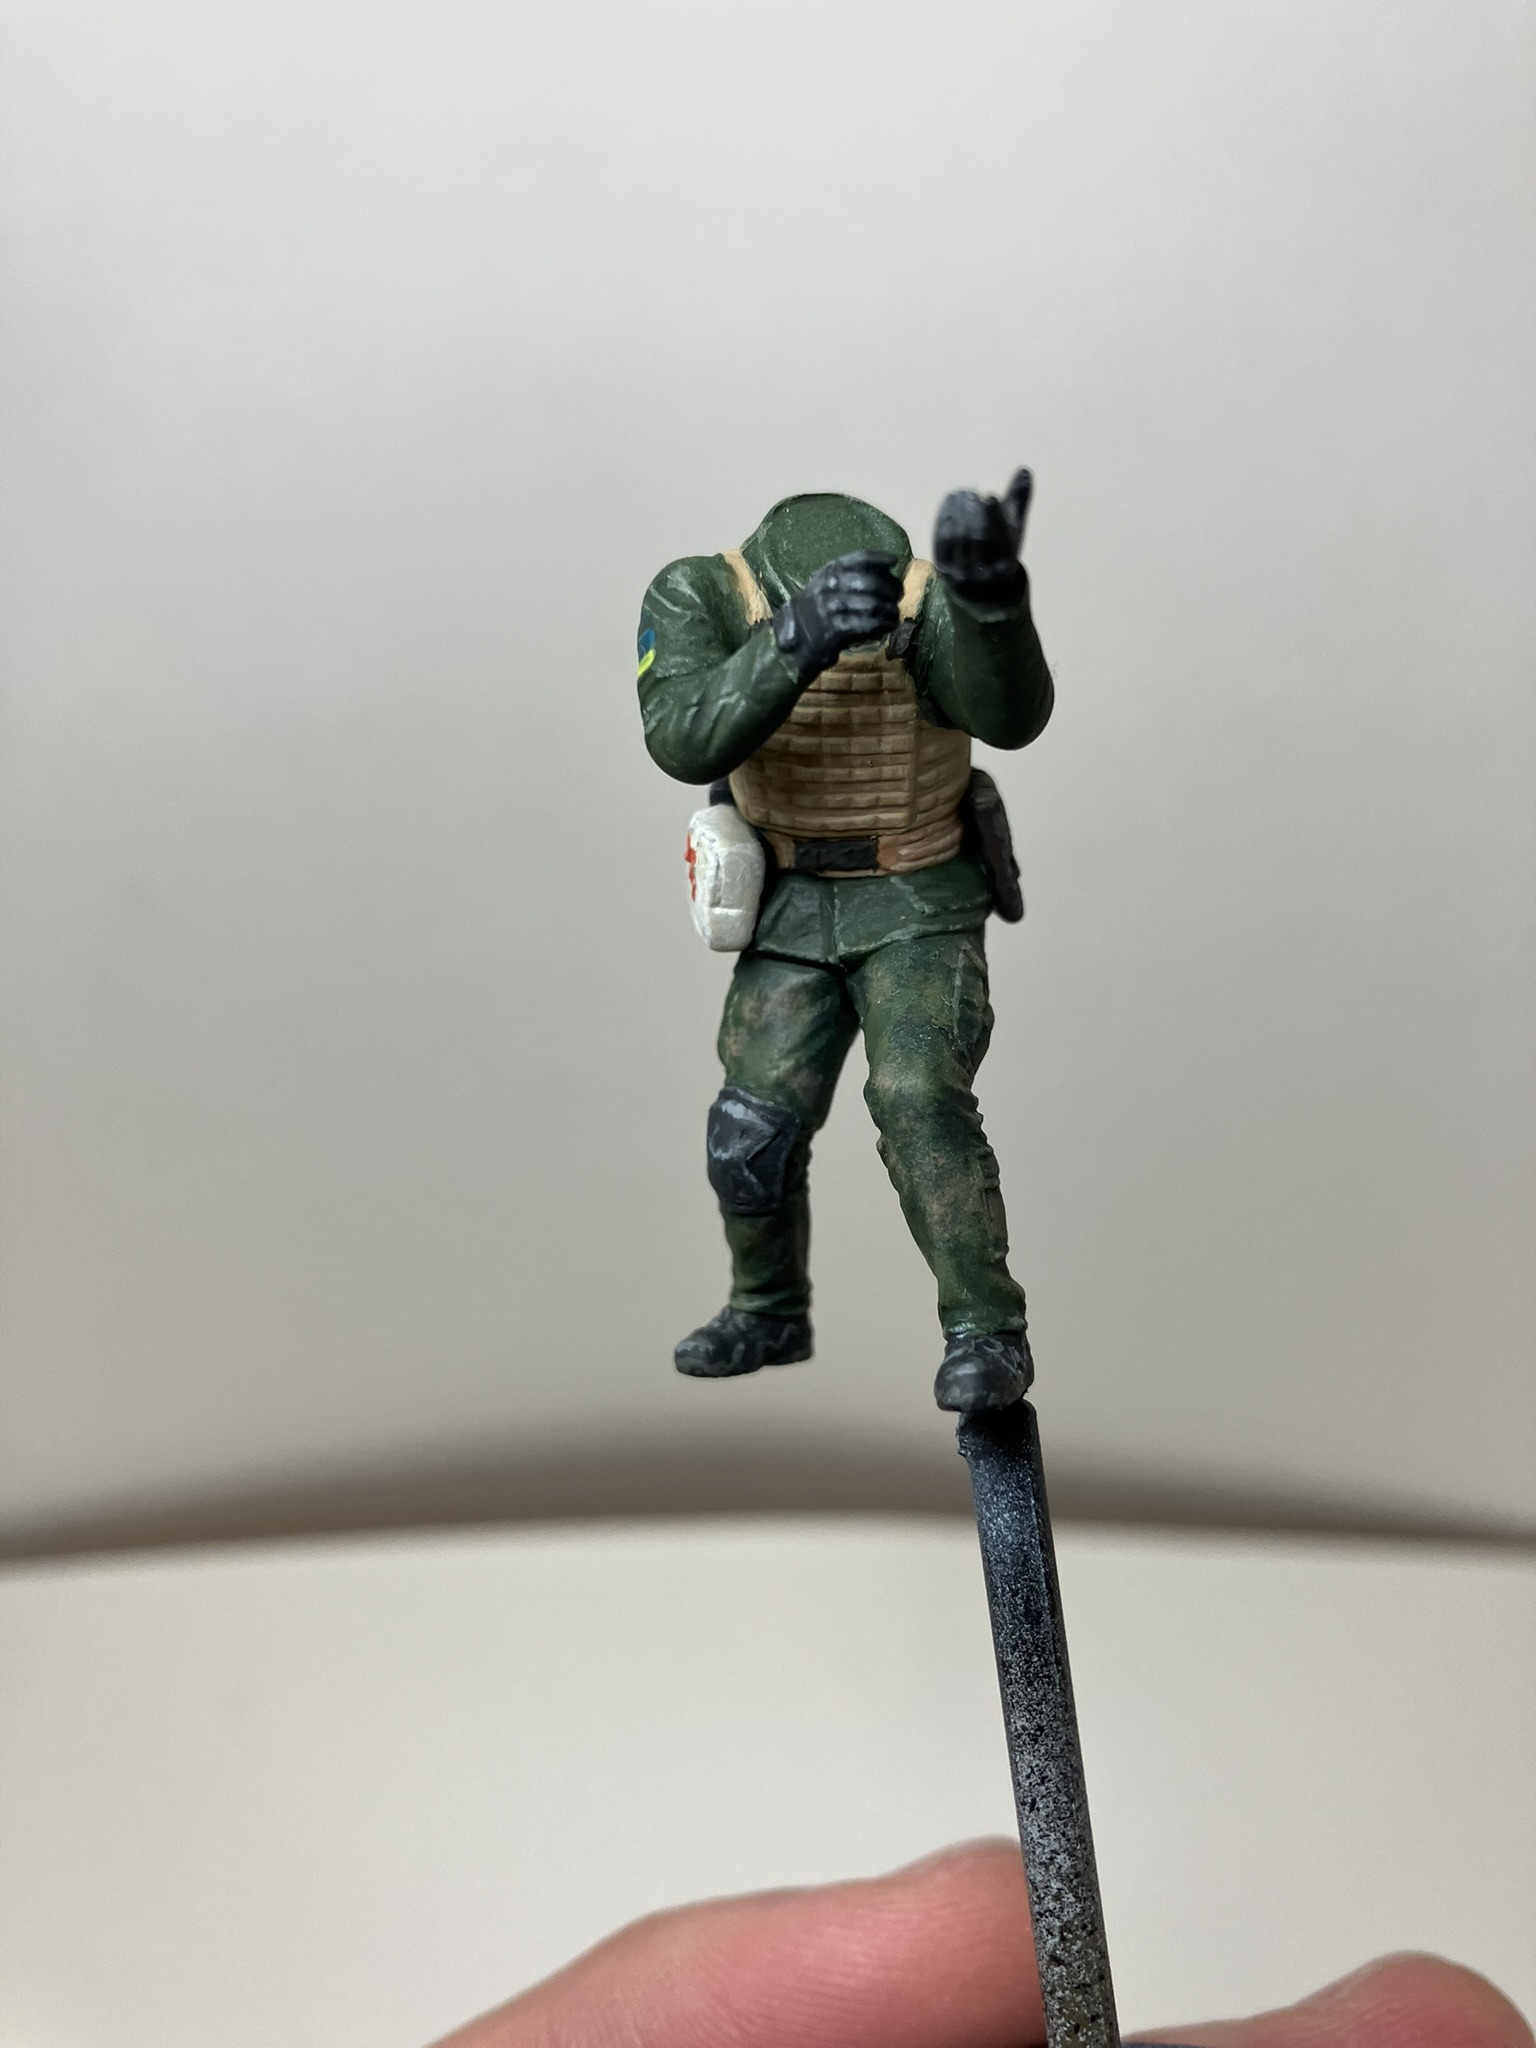
Get out the wet palette and start doing fine brush work / highlighting.
Take on the hardest step of doing the faces to a decent standard.
Overall
Happy to be back at it.
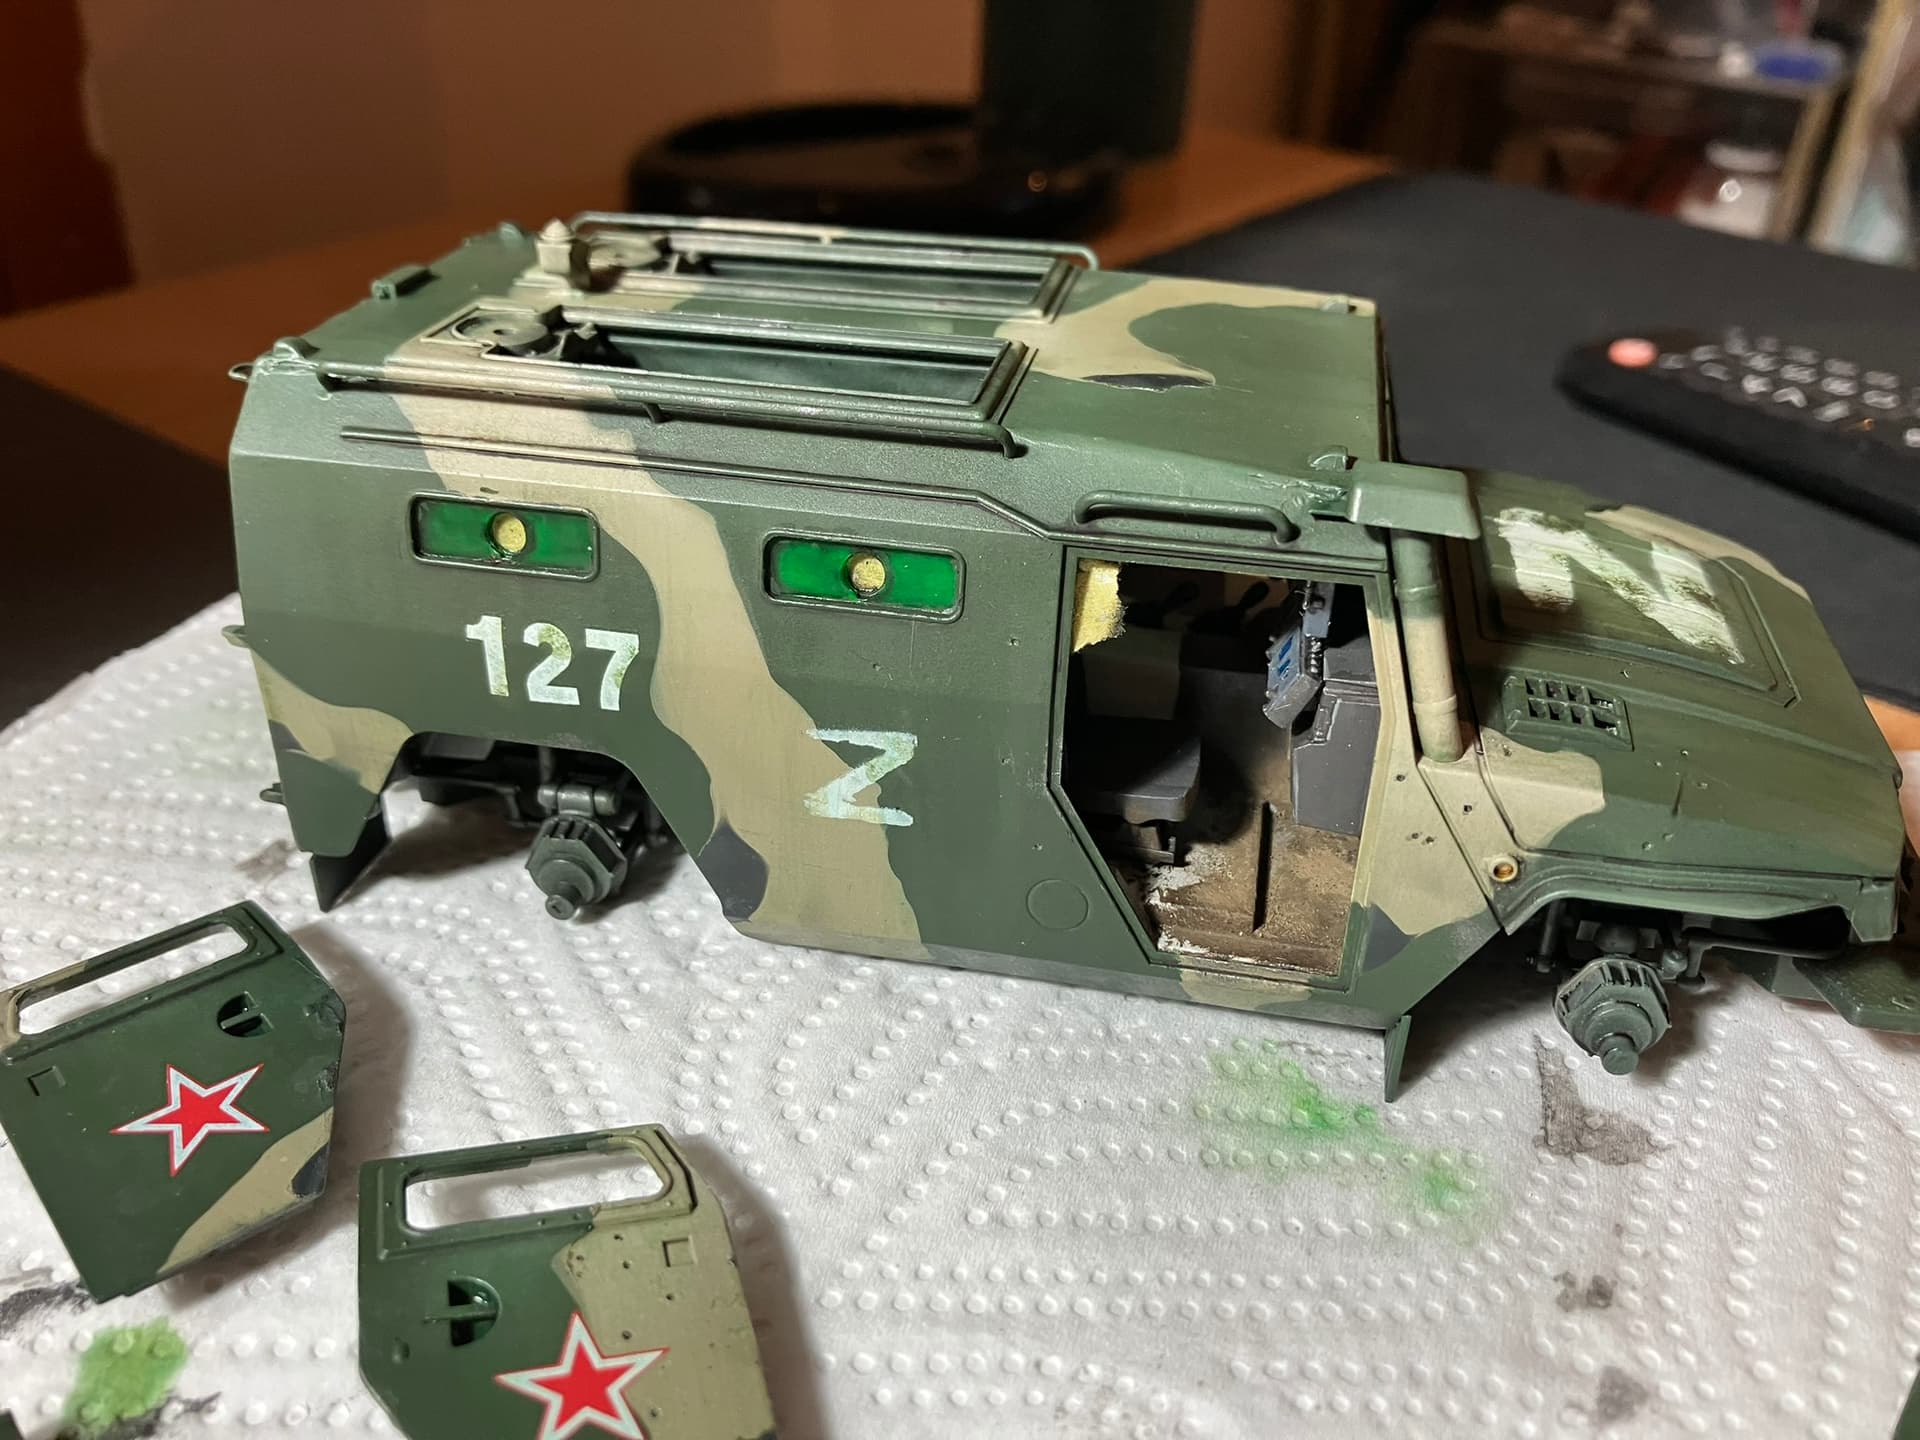
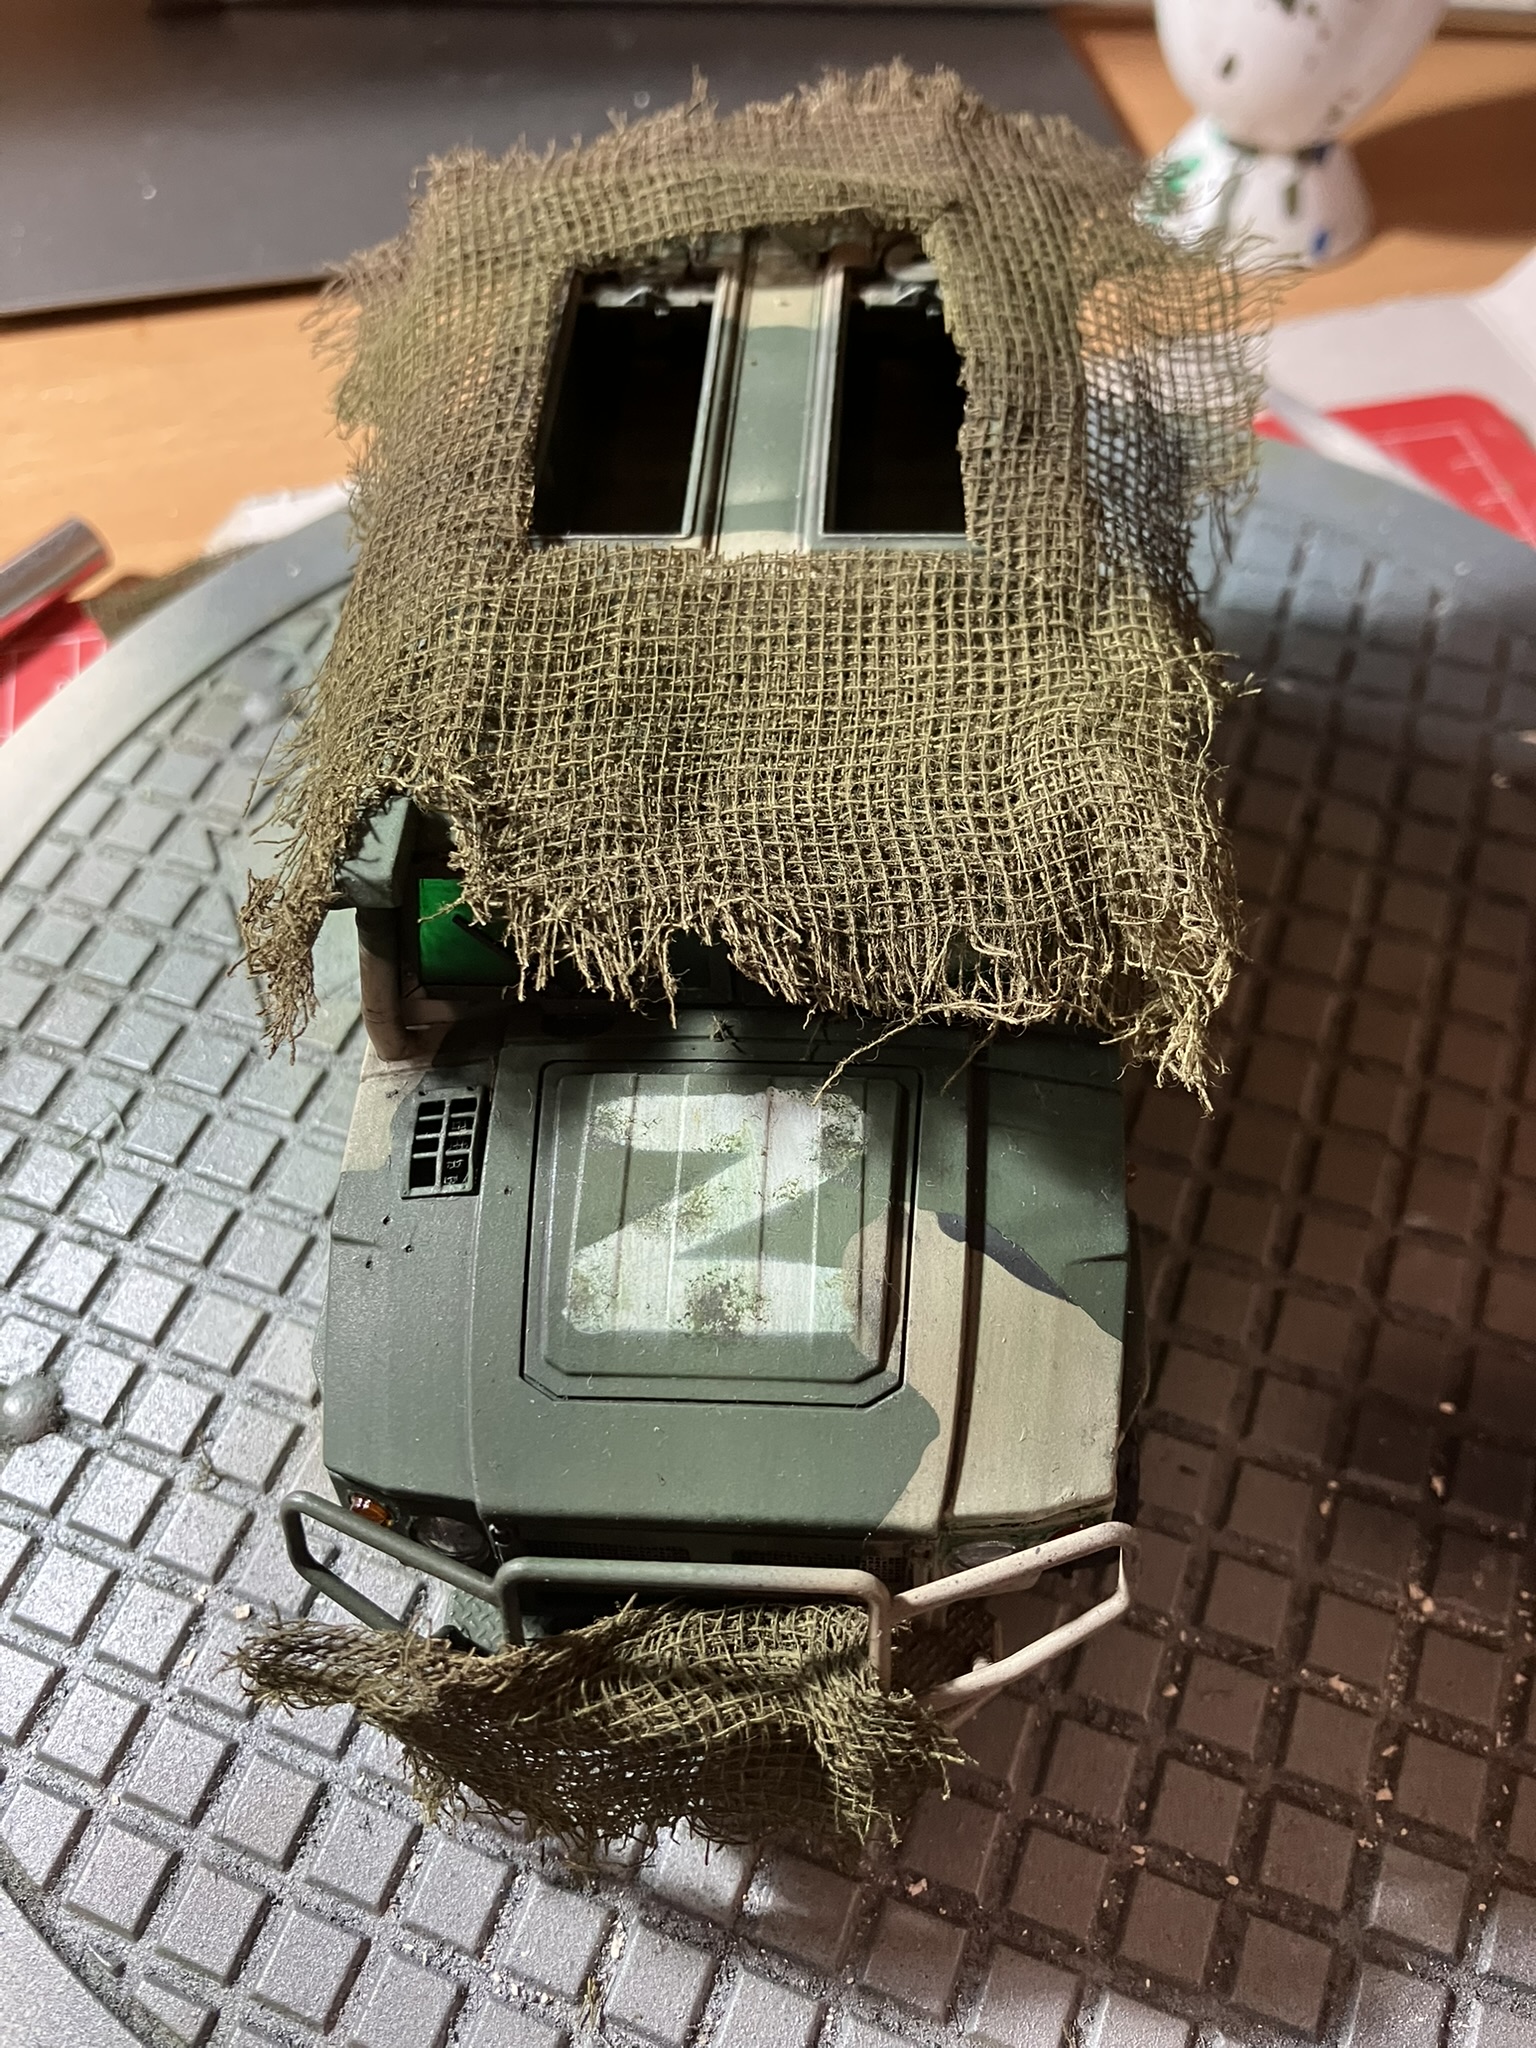
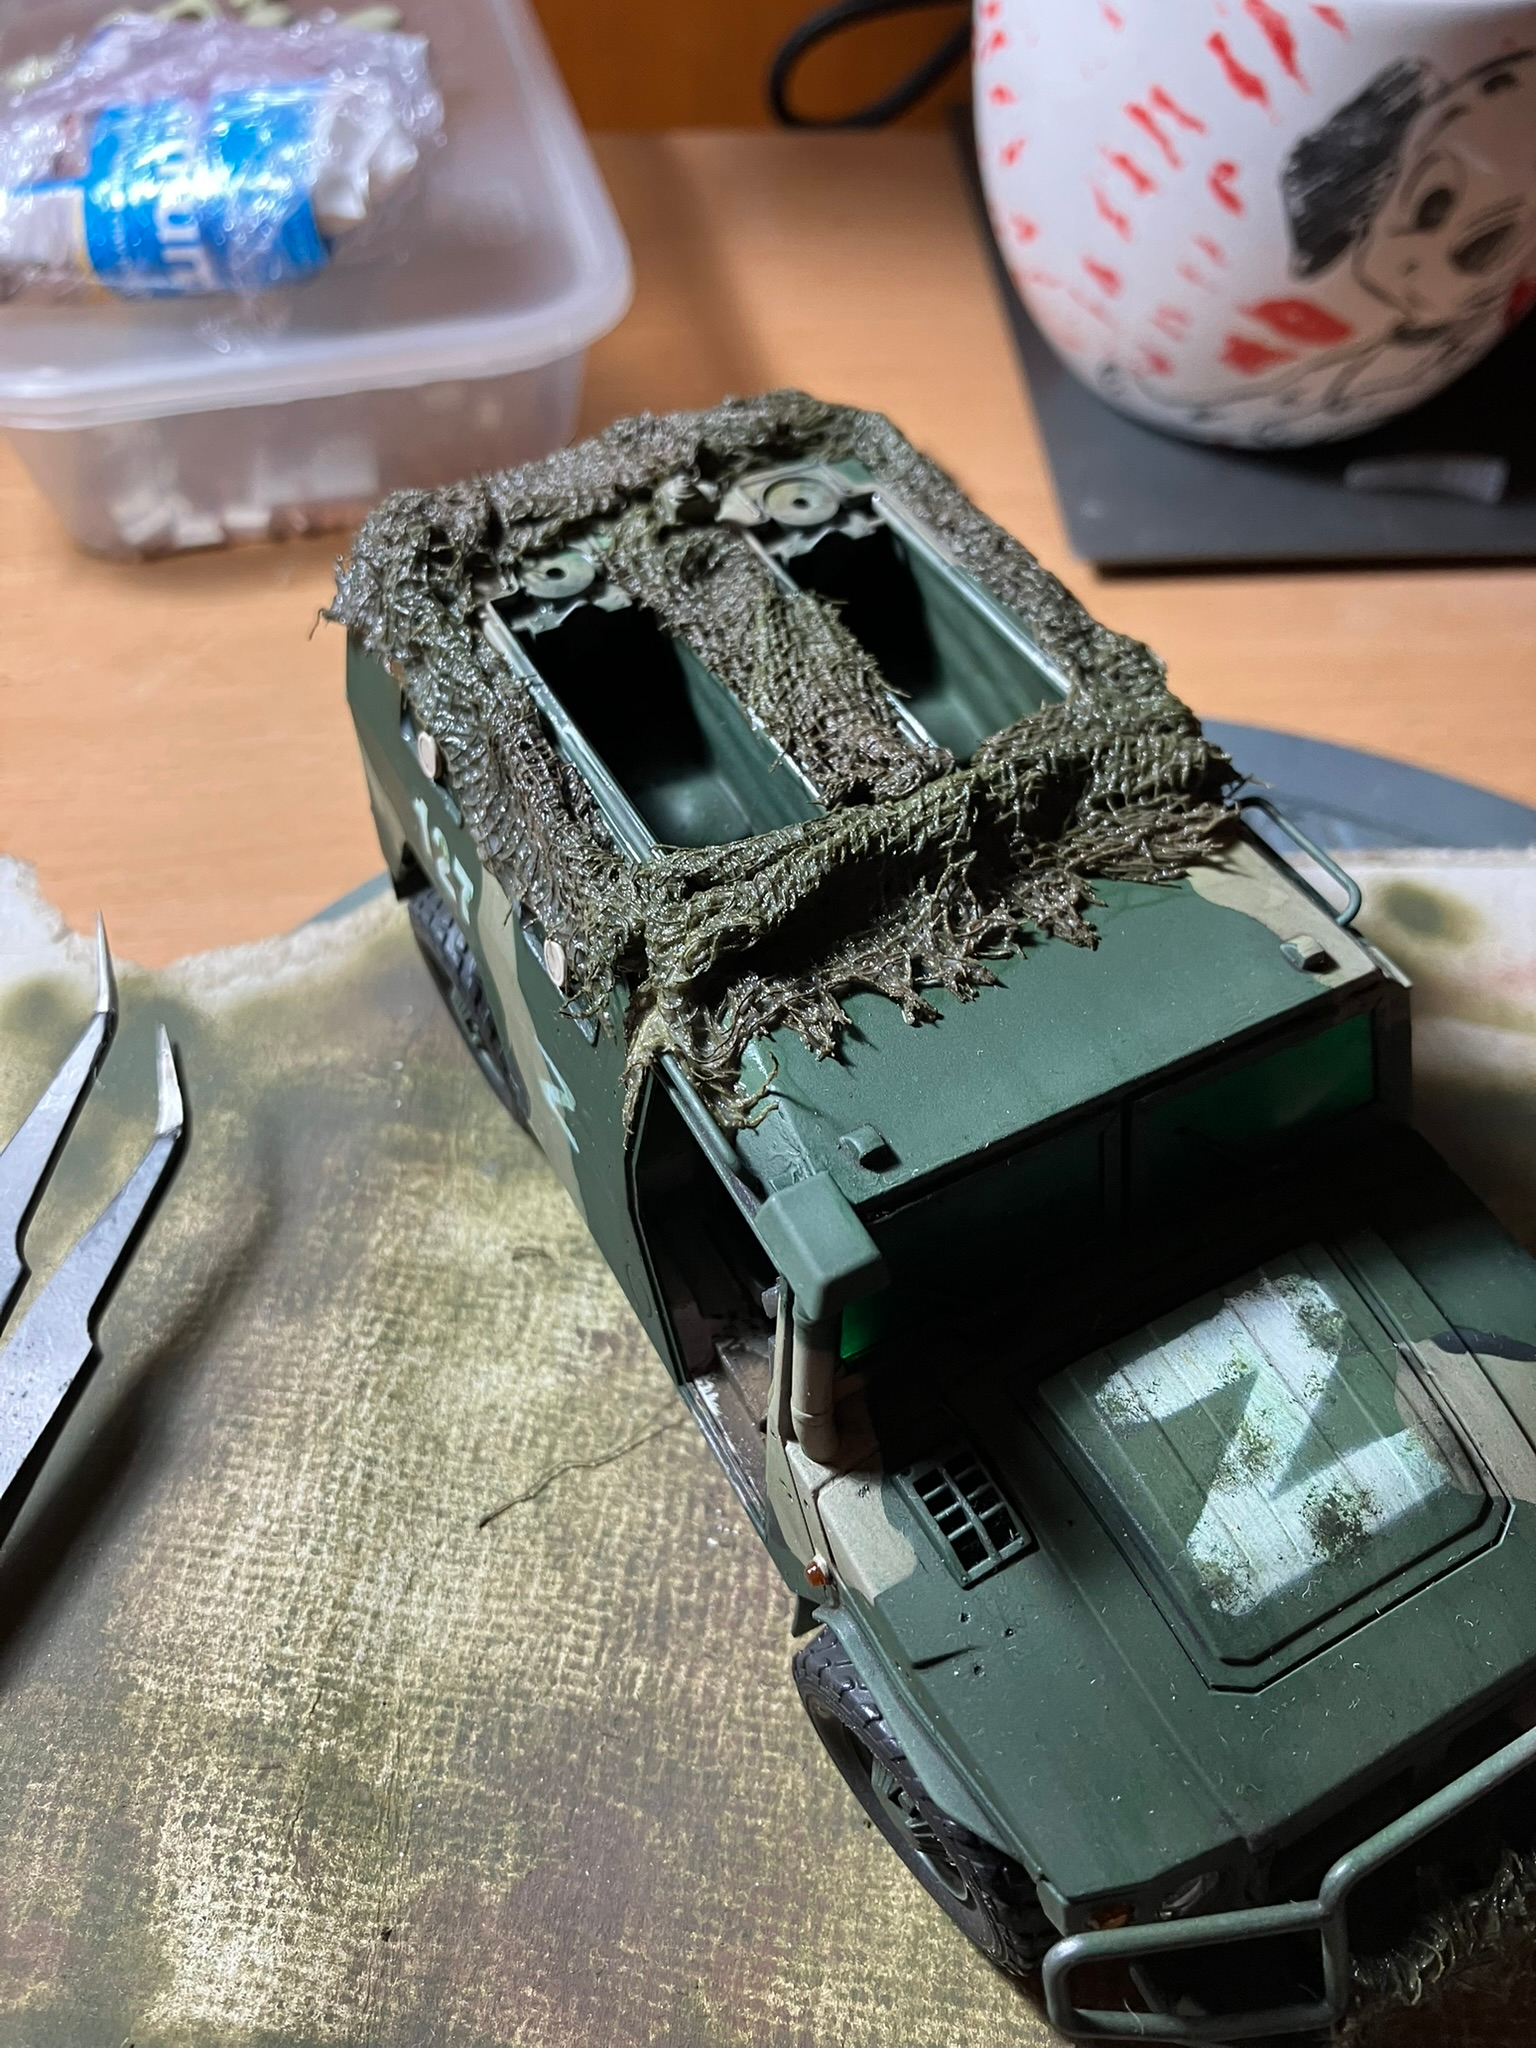
Going to full assemble and “finish” the Gaz, I’m at the point where I need to feel like some parts of it are getting completed. Even if its not the best option overall.
Back again and thank you all for checking out the thread and leaving kind words.
Have been making progress on the base (just not on making posts )
Base Work - Road Surface
After the mess that was the Air Dry clay I had to patch up the base with Miliput (forgot to get a picture of this). Was able to get a fairly uniform surface and fill the gaps between the clay I couldn’t remove.
Then it was time for the AK asphalt terrain product. I have used their mud terrain before and had high hopes for the asphalt.
It took about 3 / 4 coats and a good bit of leveling but I think a lot of that was due to the islands of modelling clay that I couldn’t remove. Also it has the modelling wonder of going on as this weird goo and then slowly drying into a cool road like texture.
I think if I just started with a flat cork base again it would have gone easier.
Once I prime and get painting on it and road markings I think it will look as realistic as I am going to get. Was really nice to have a success with it after the Air Dry clay went so badly.
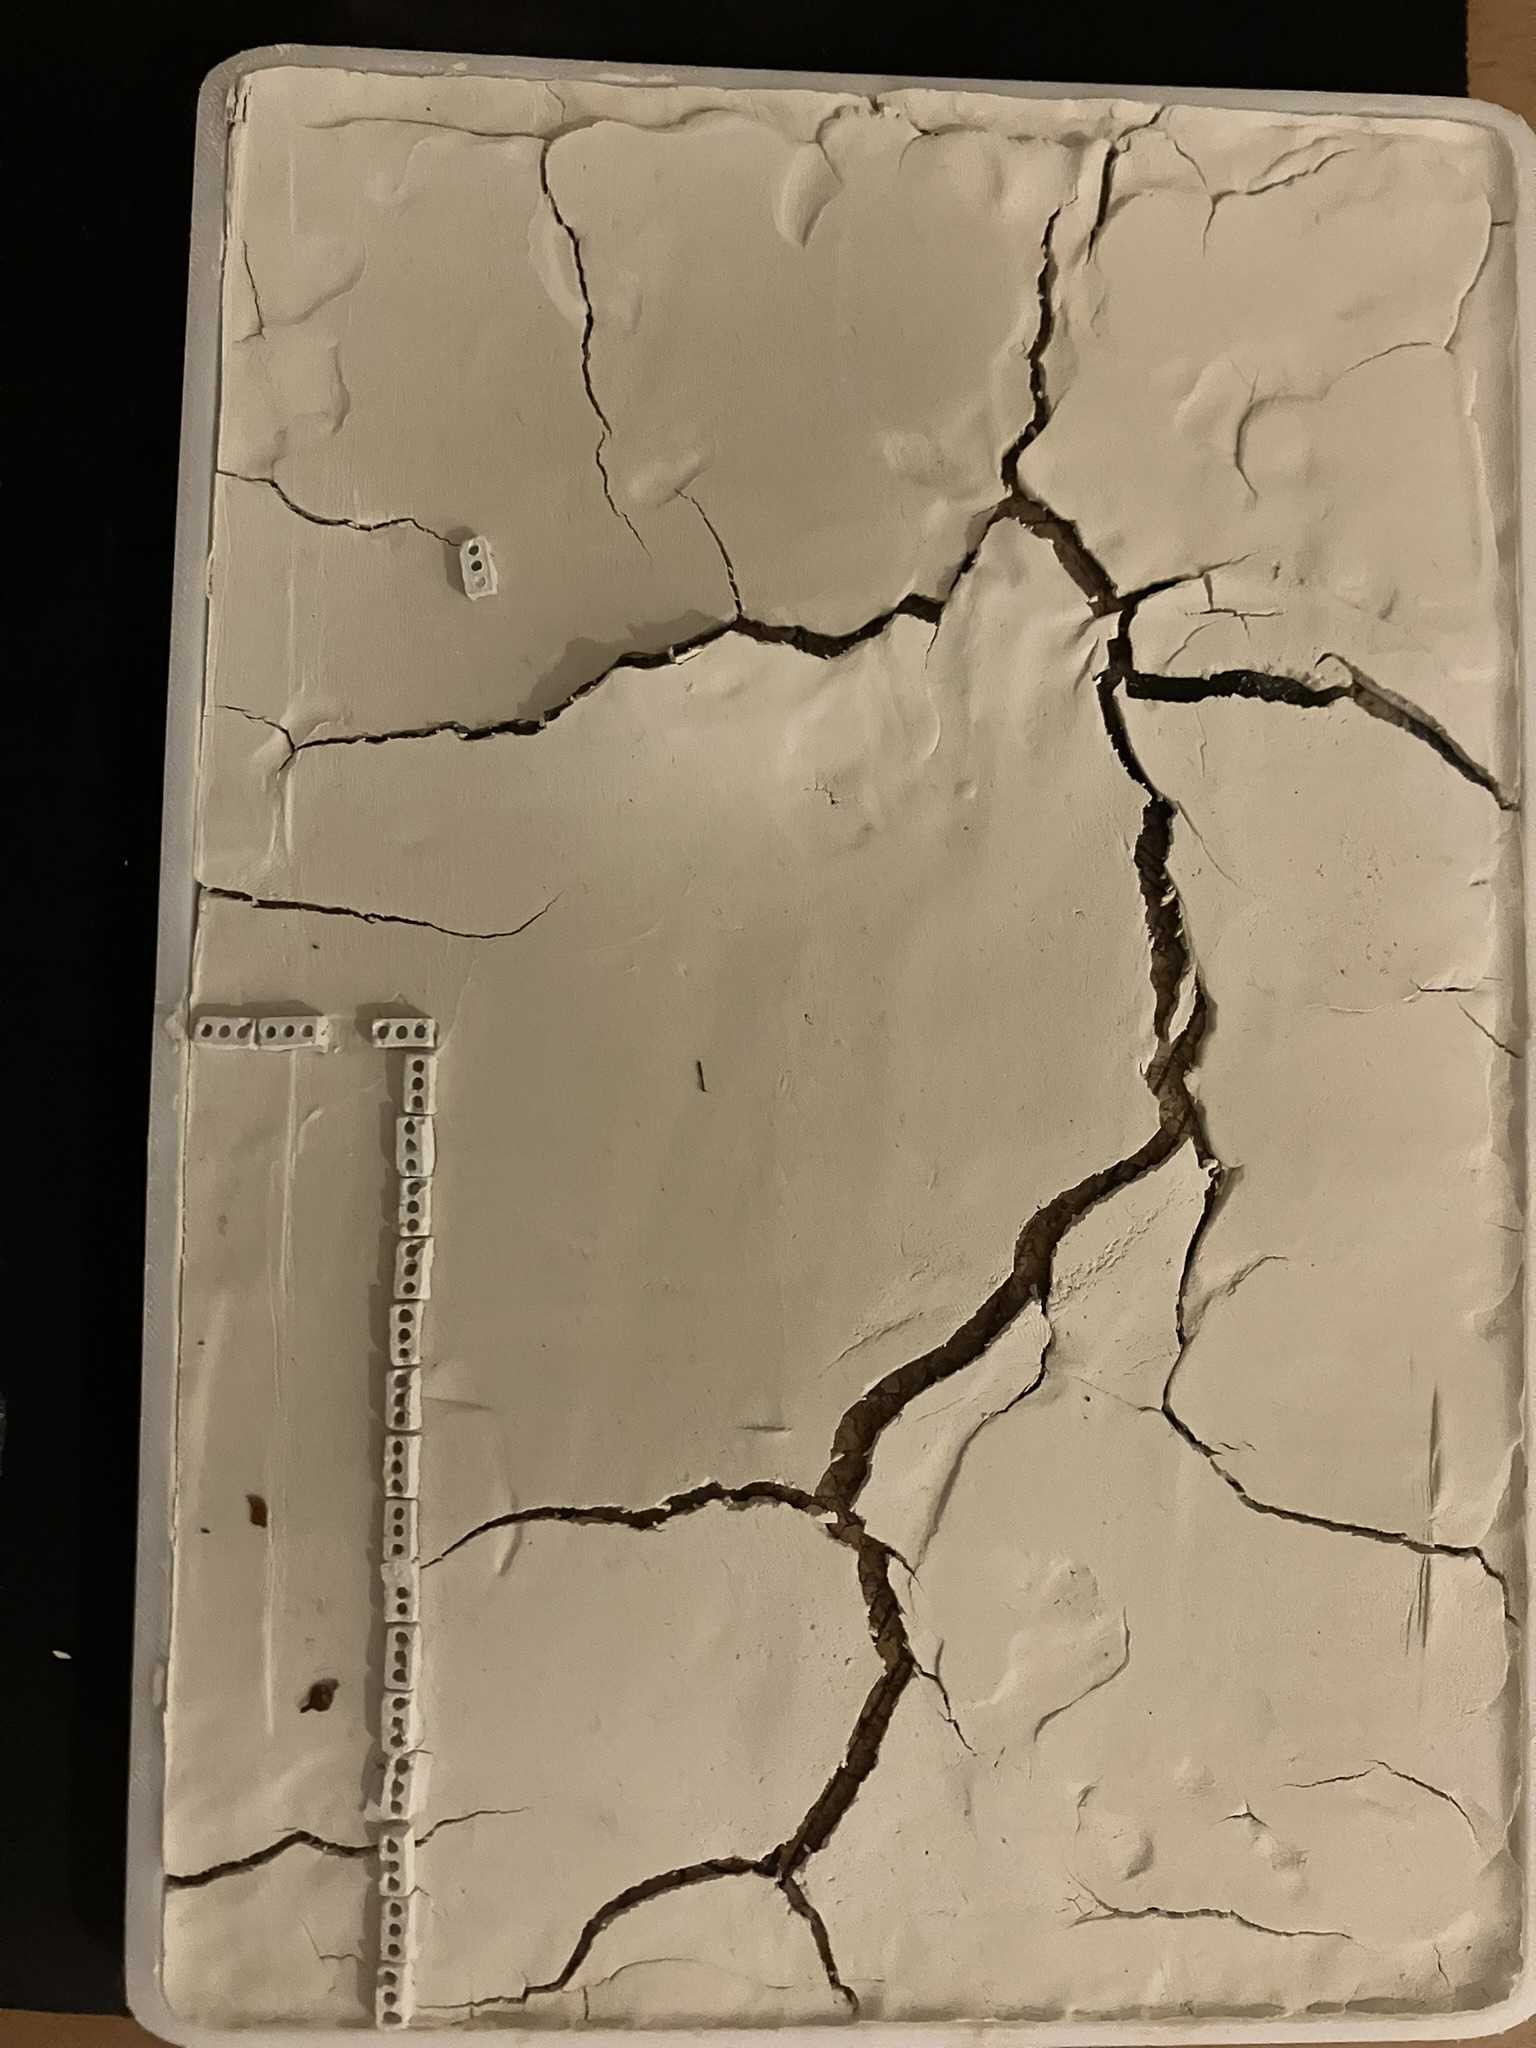
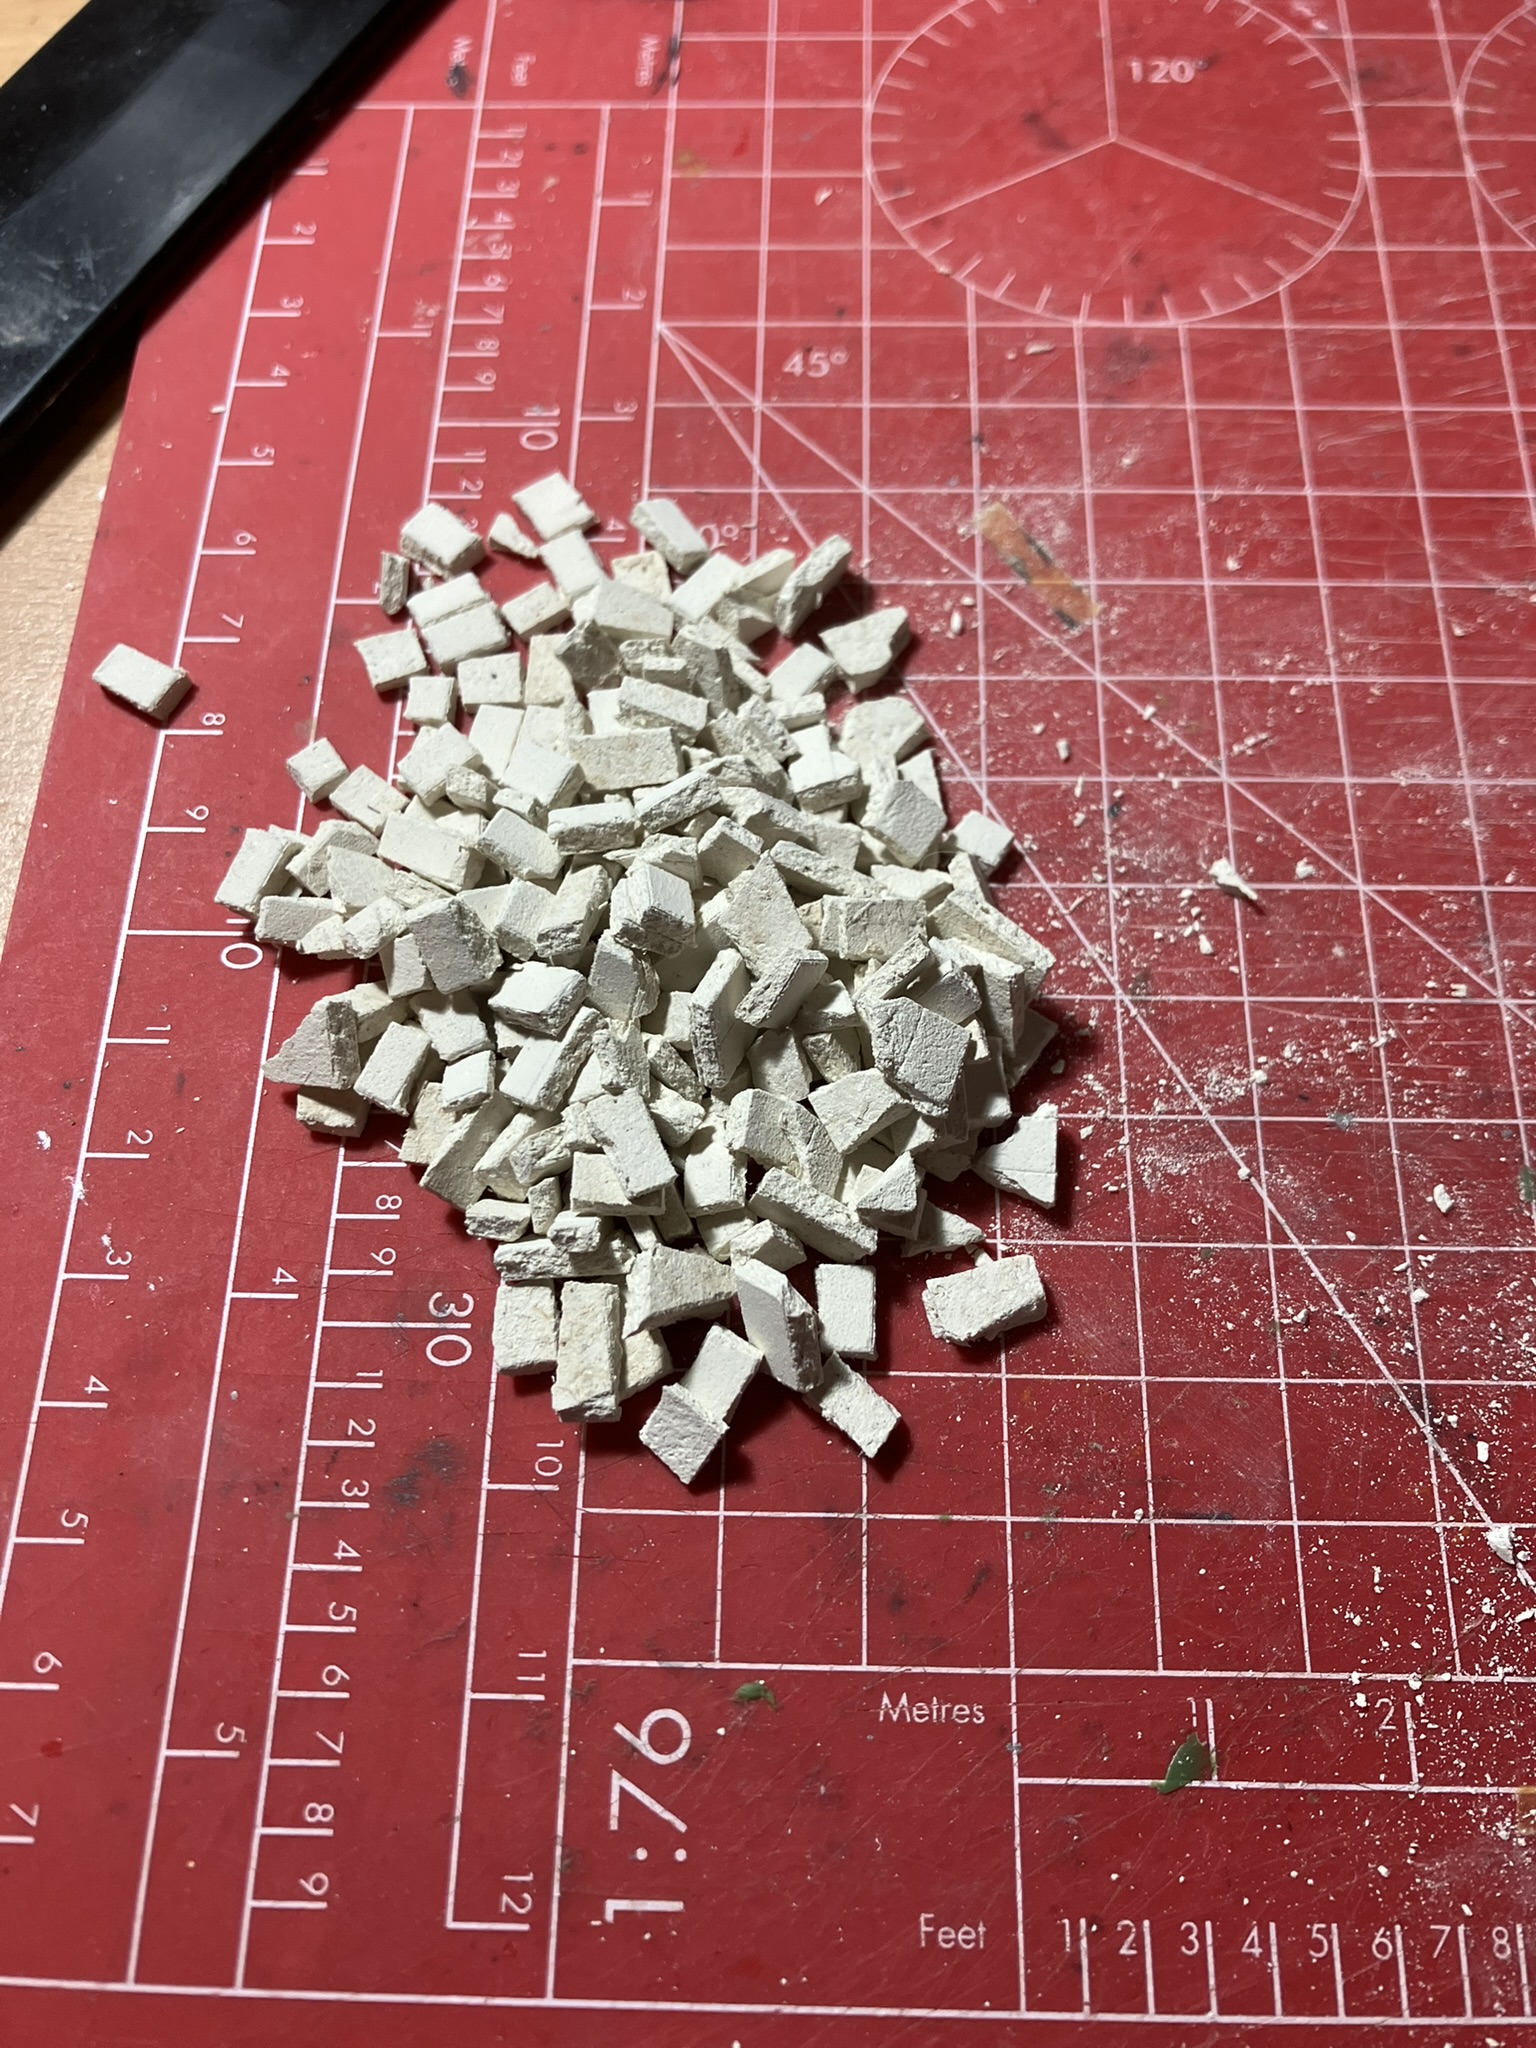
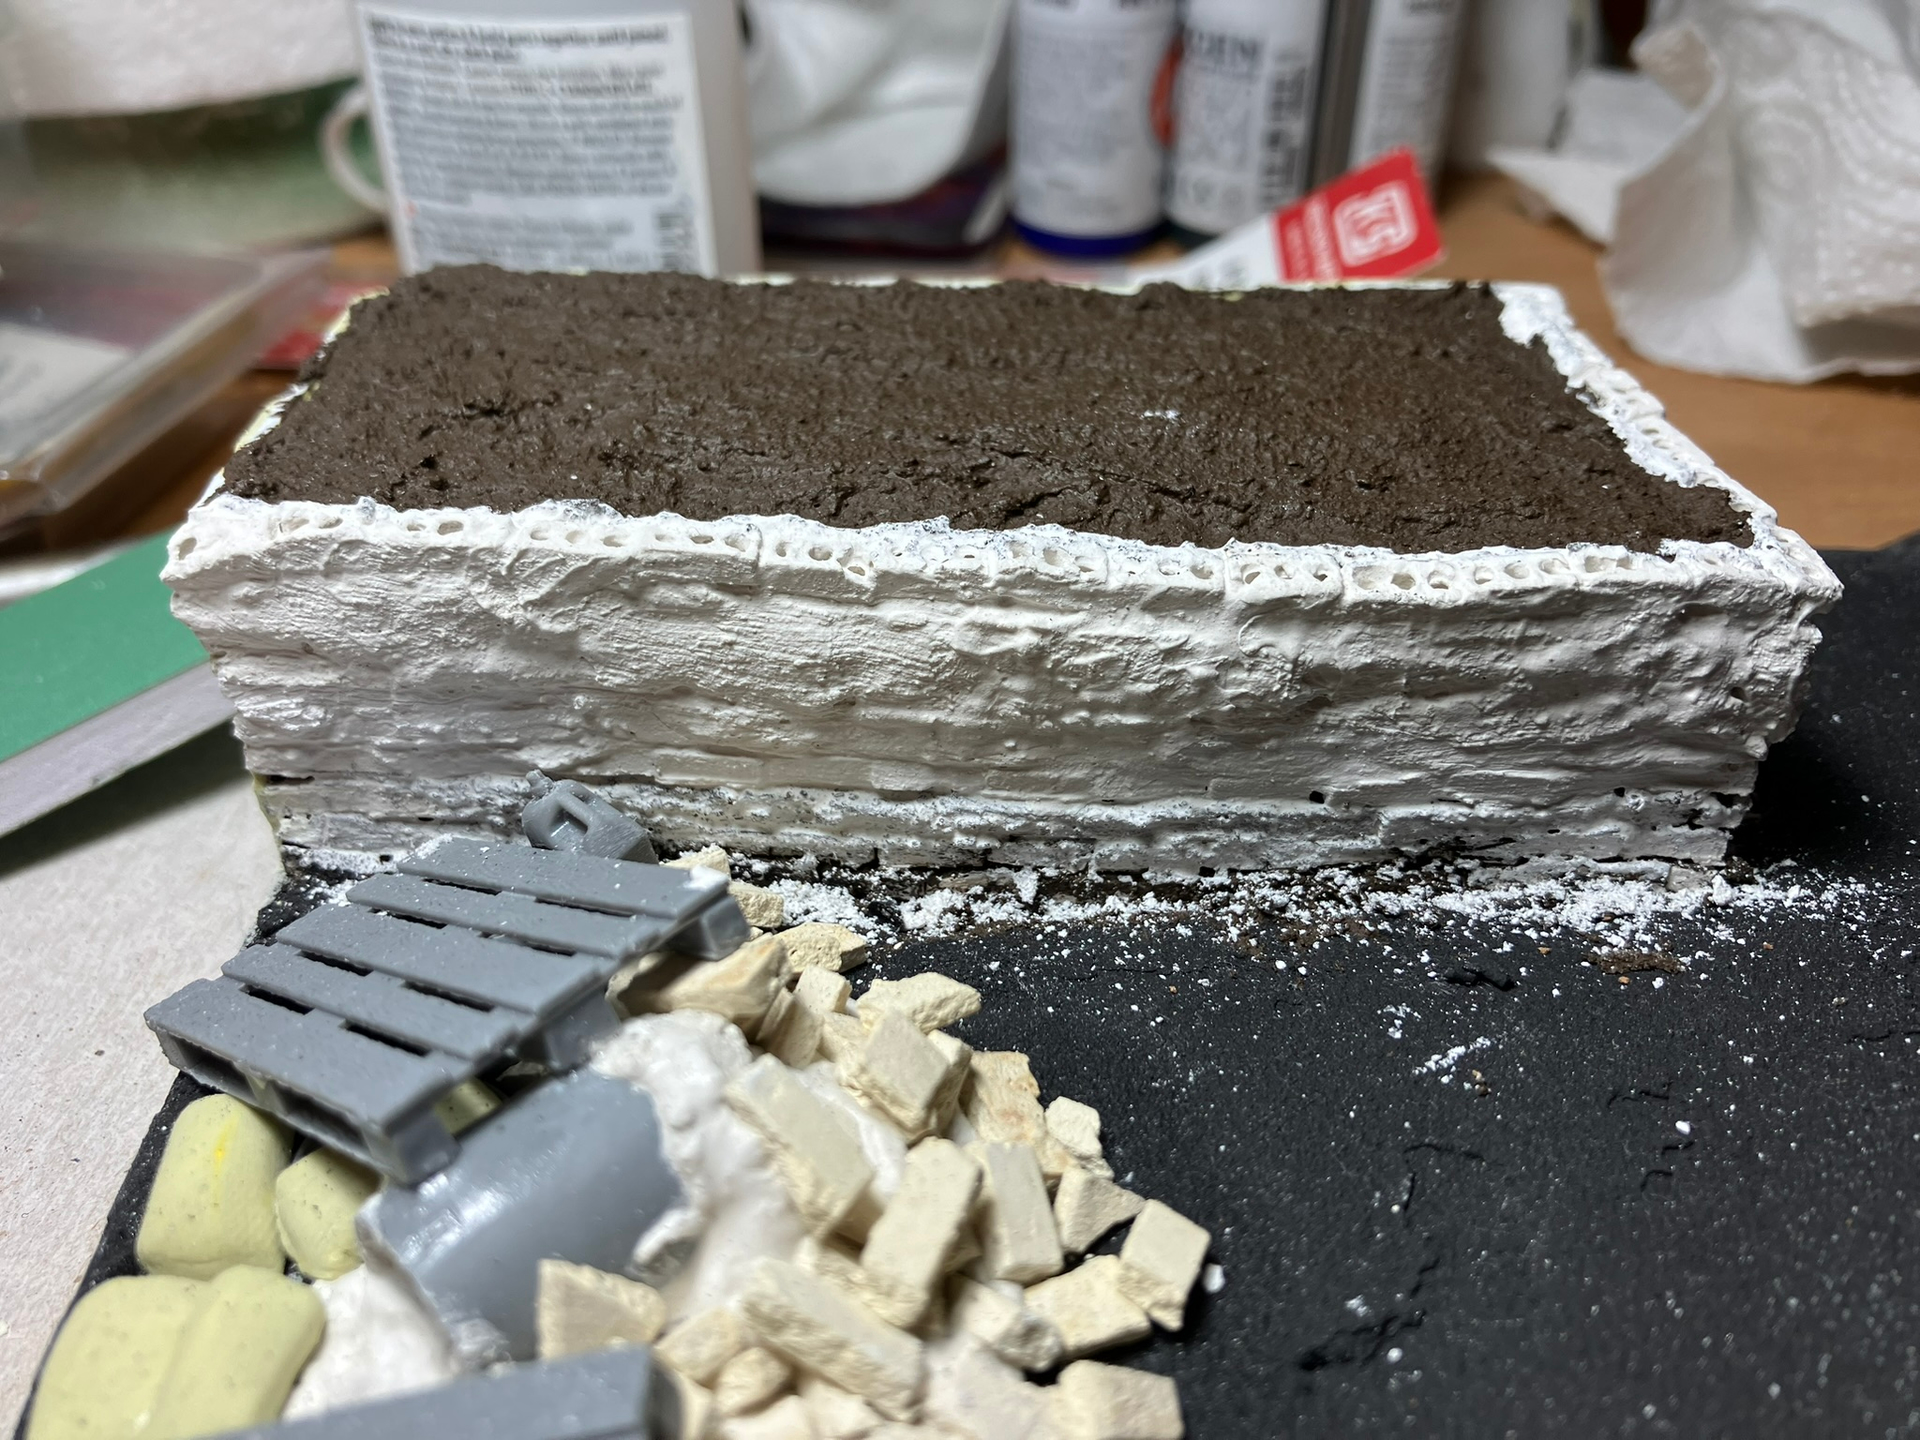
I also began to build up the features on the end of the base with the intention of using my little plaster bricks to build a wall.
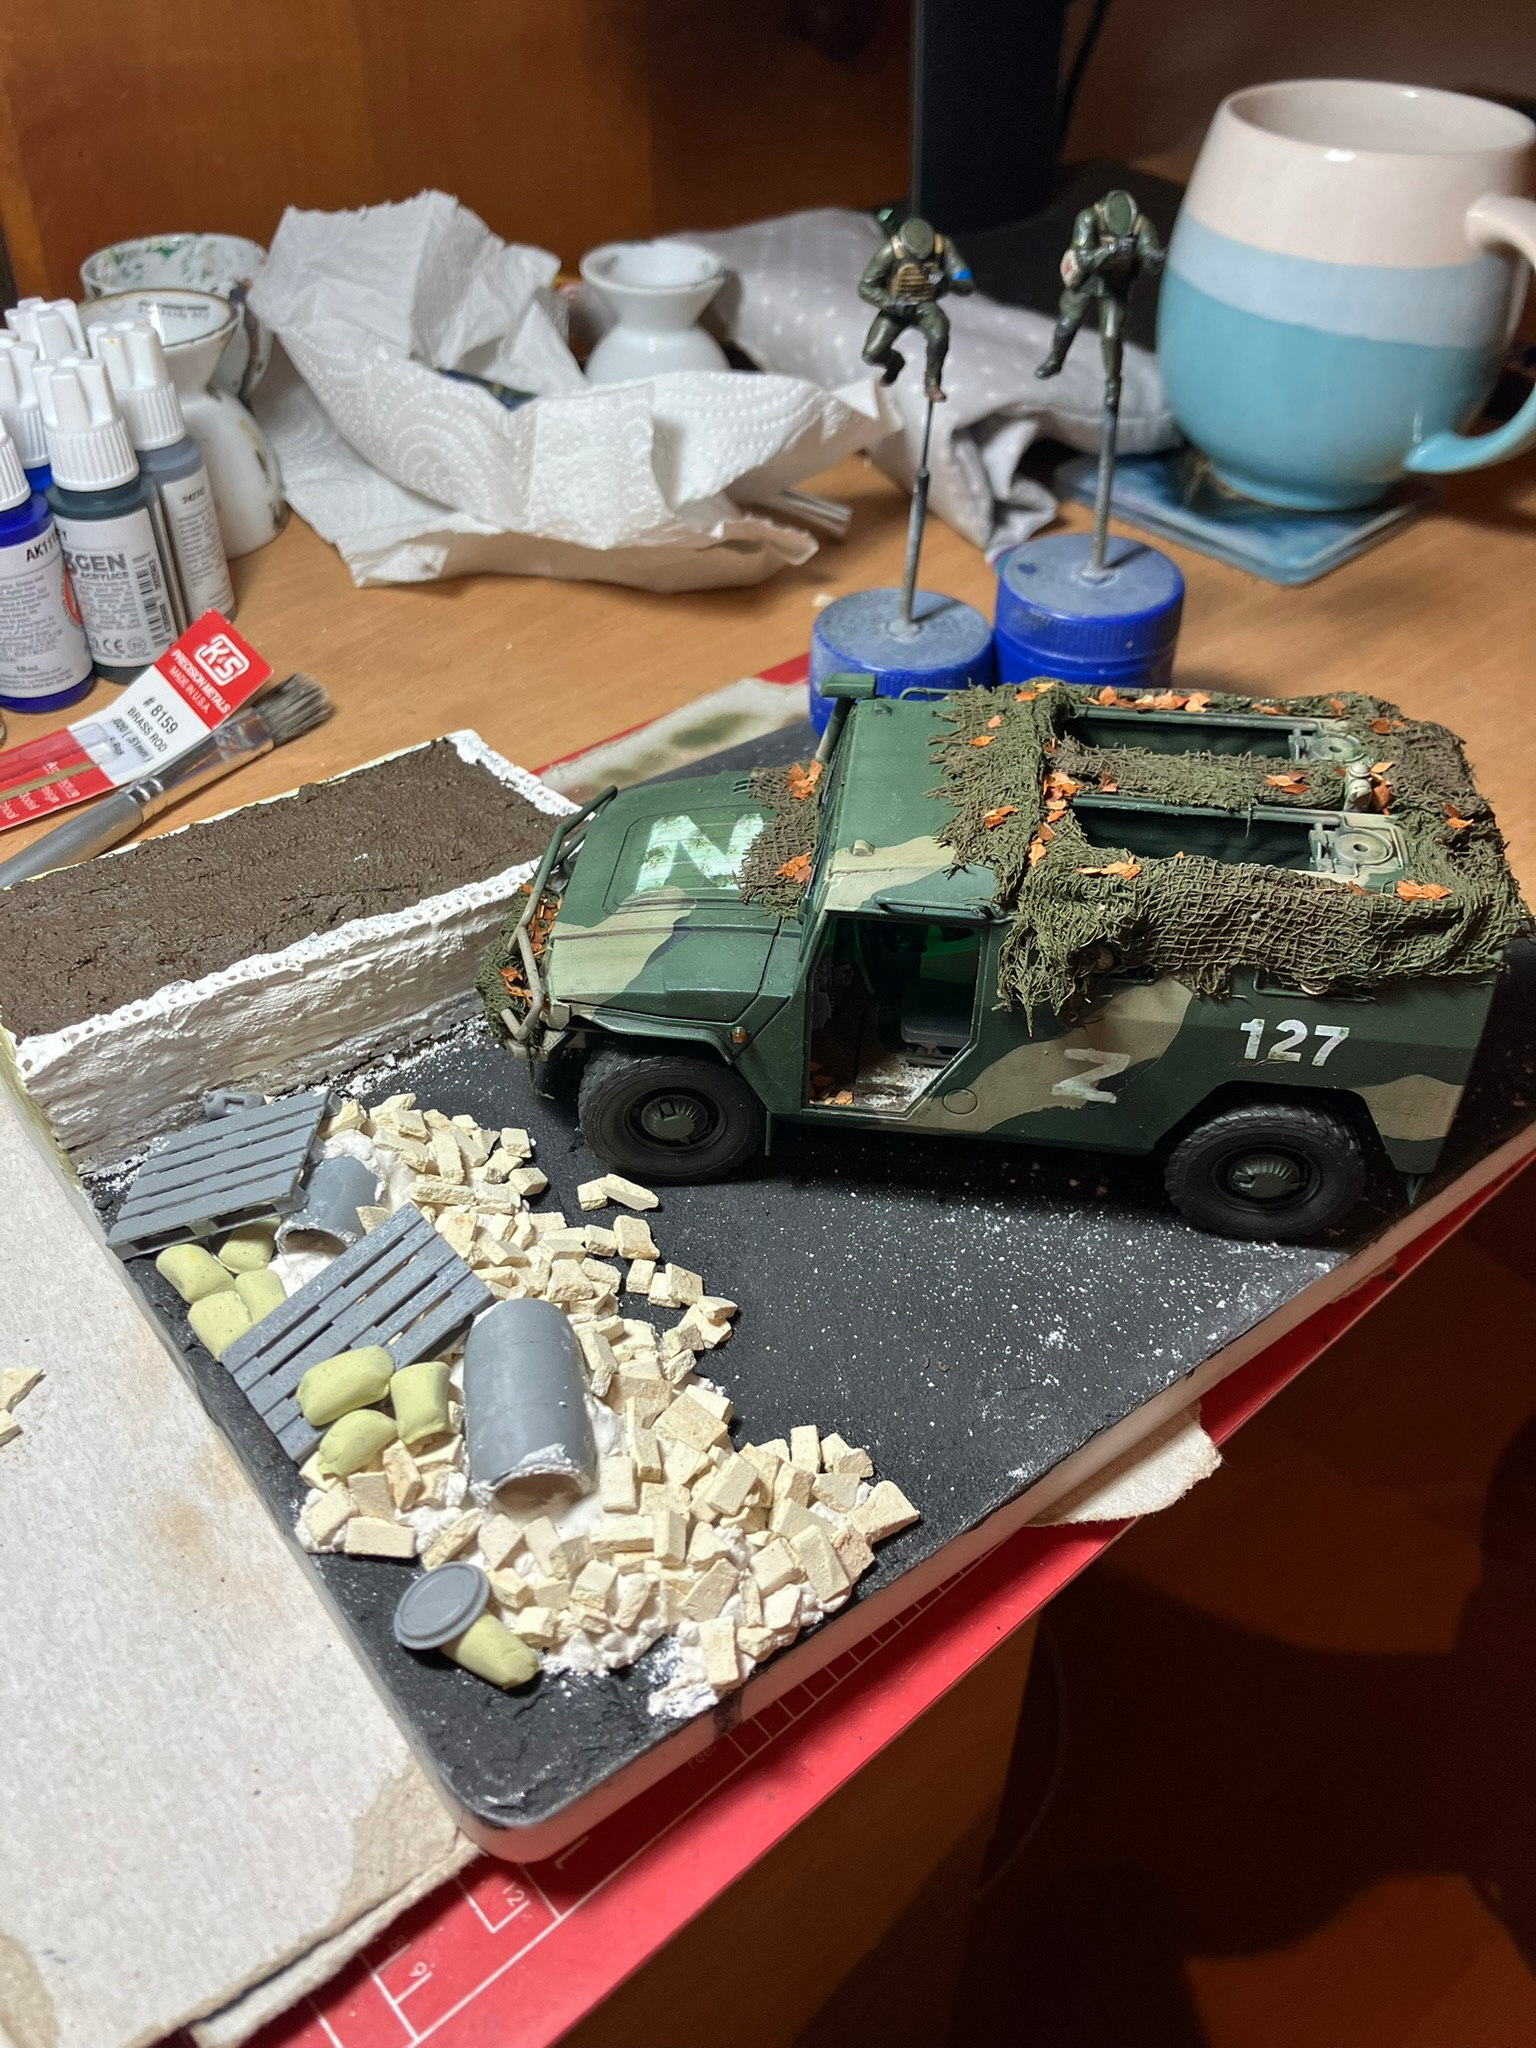
Next up was to build up the flower bed with some bricks. The general idea is the Gaz has taken fire, panic turned and ended up stranded on the bricks. (It won’t look dynamic but thats the story I have in my head).
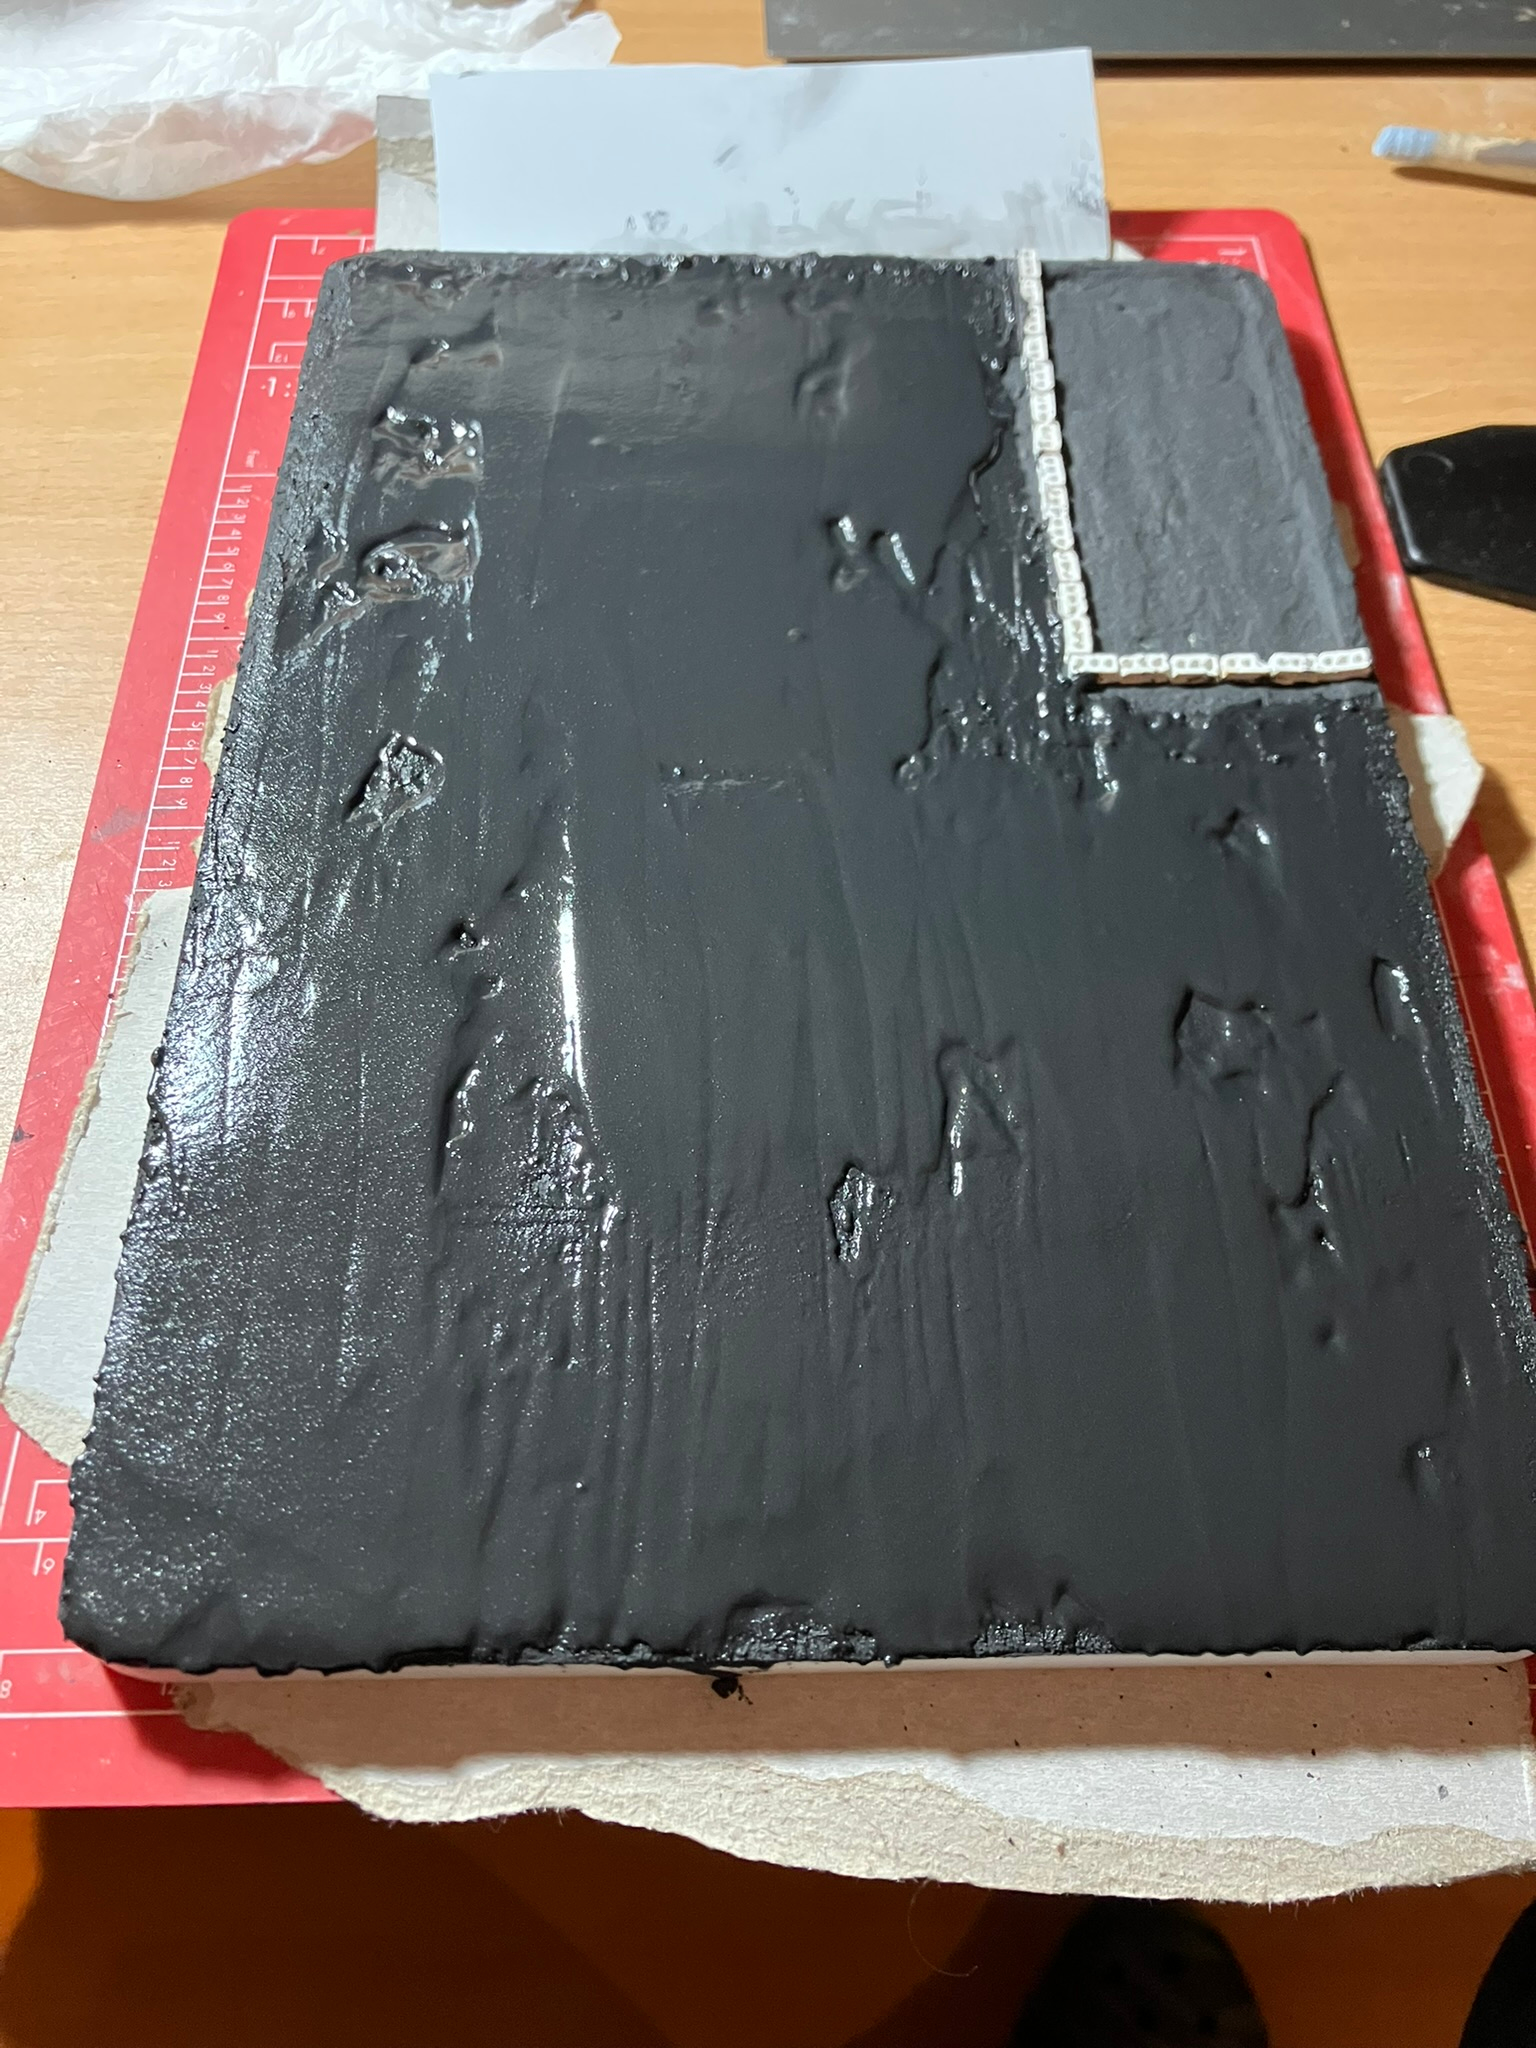
I went with using plaster to try and grout in the bricks but in retrospect this was not the best idea. The plaster dried too fast and as you can see the brick work is really really wonky. For the top set I used superglue and then washed very dilute plaster into the gaps, which is what I should have done from the start. But hey its all learning and I am going to get out the scribe and try and add back some definition to it.
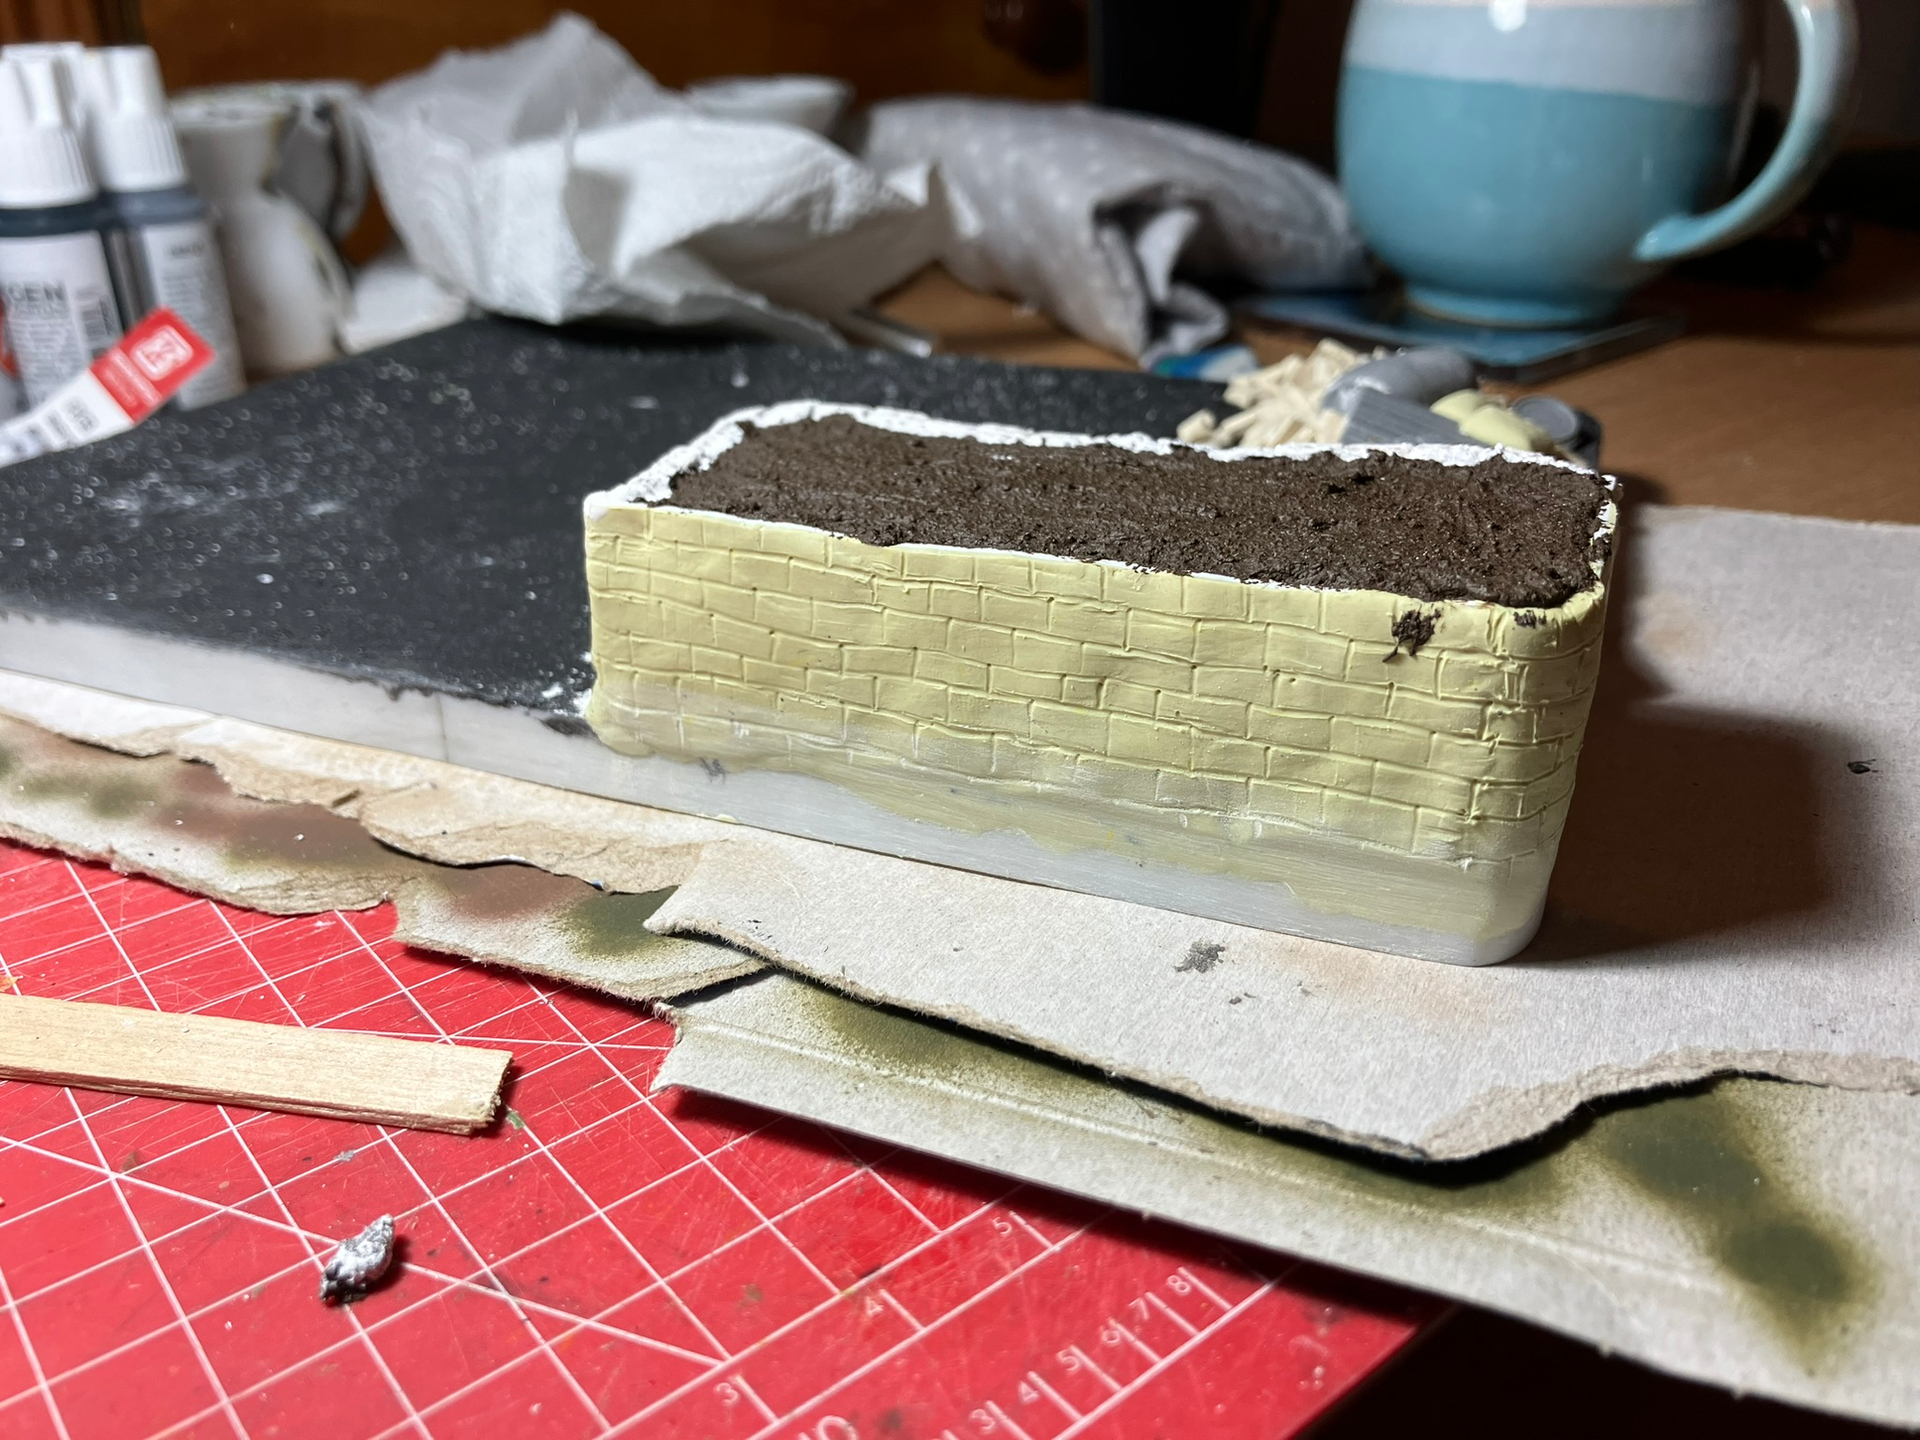
For the backside I blanked this off with plasticard and then covered in a layer of Miliput. And then while watching it dry I decided to have a go at scribing in some bricks. I’m not sure if its better or worse than the other option but it was fun and will be left black like the surround so won’t impact the display.
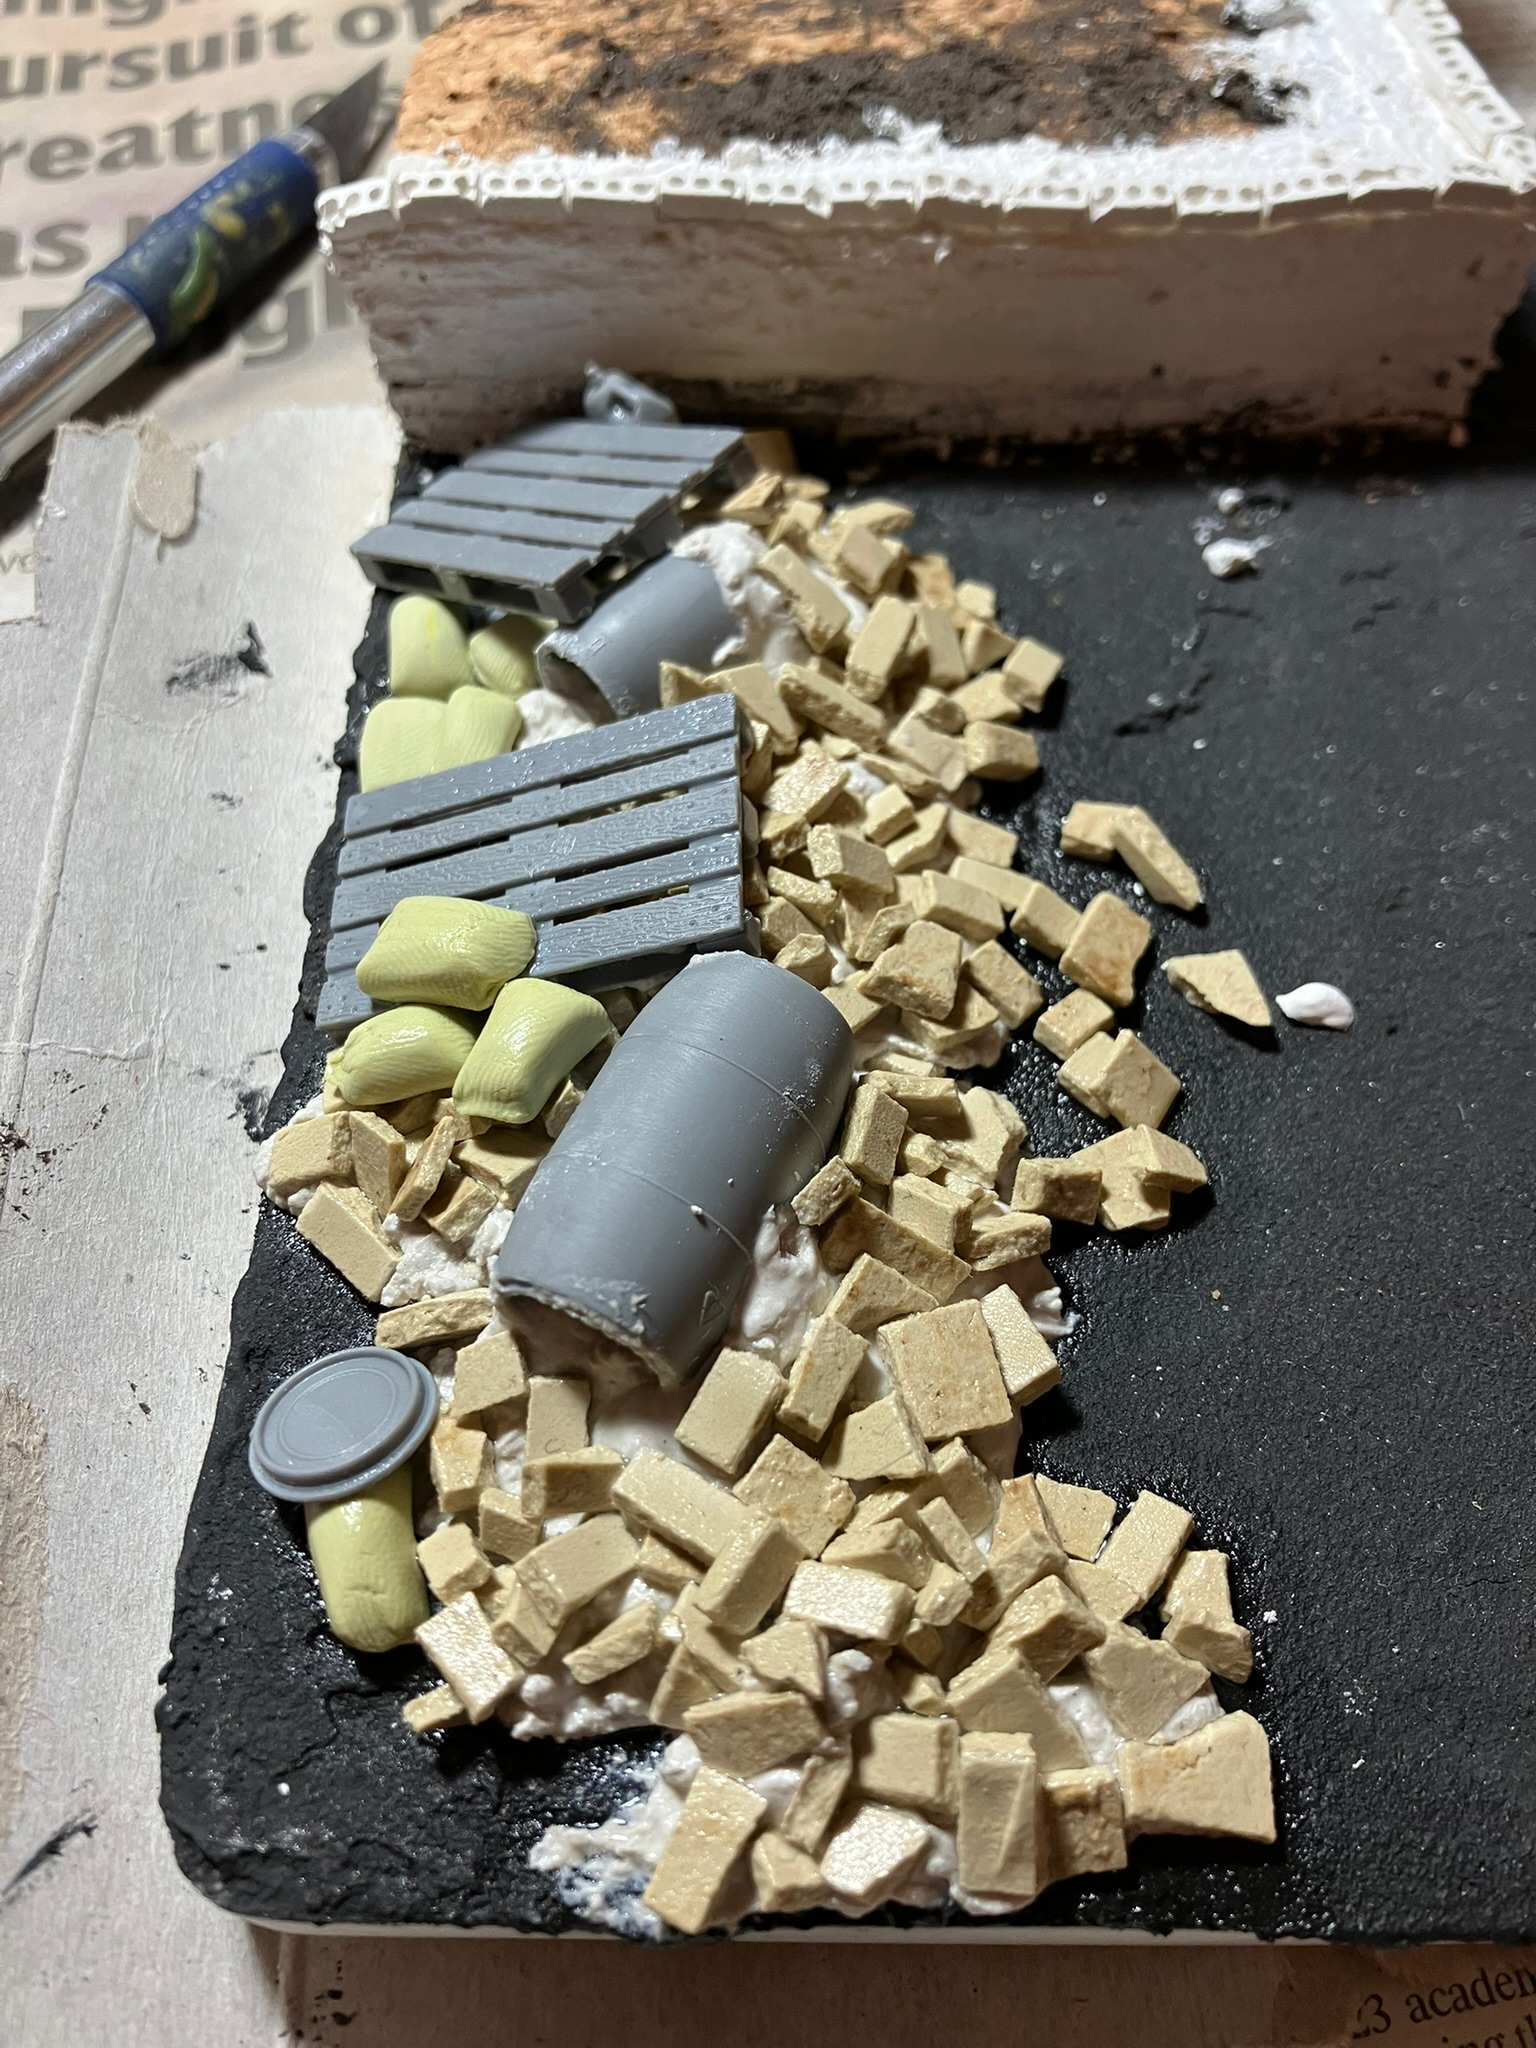
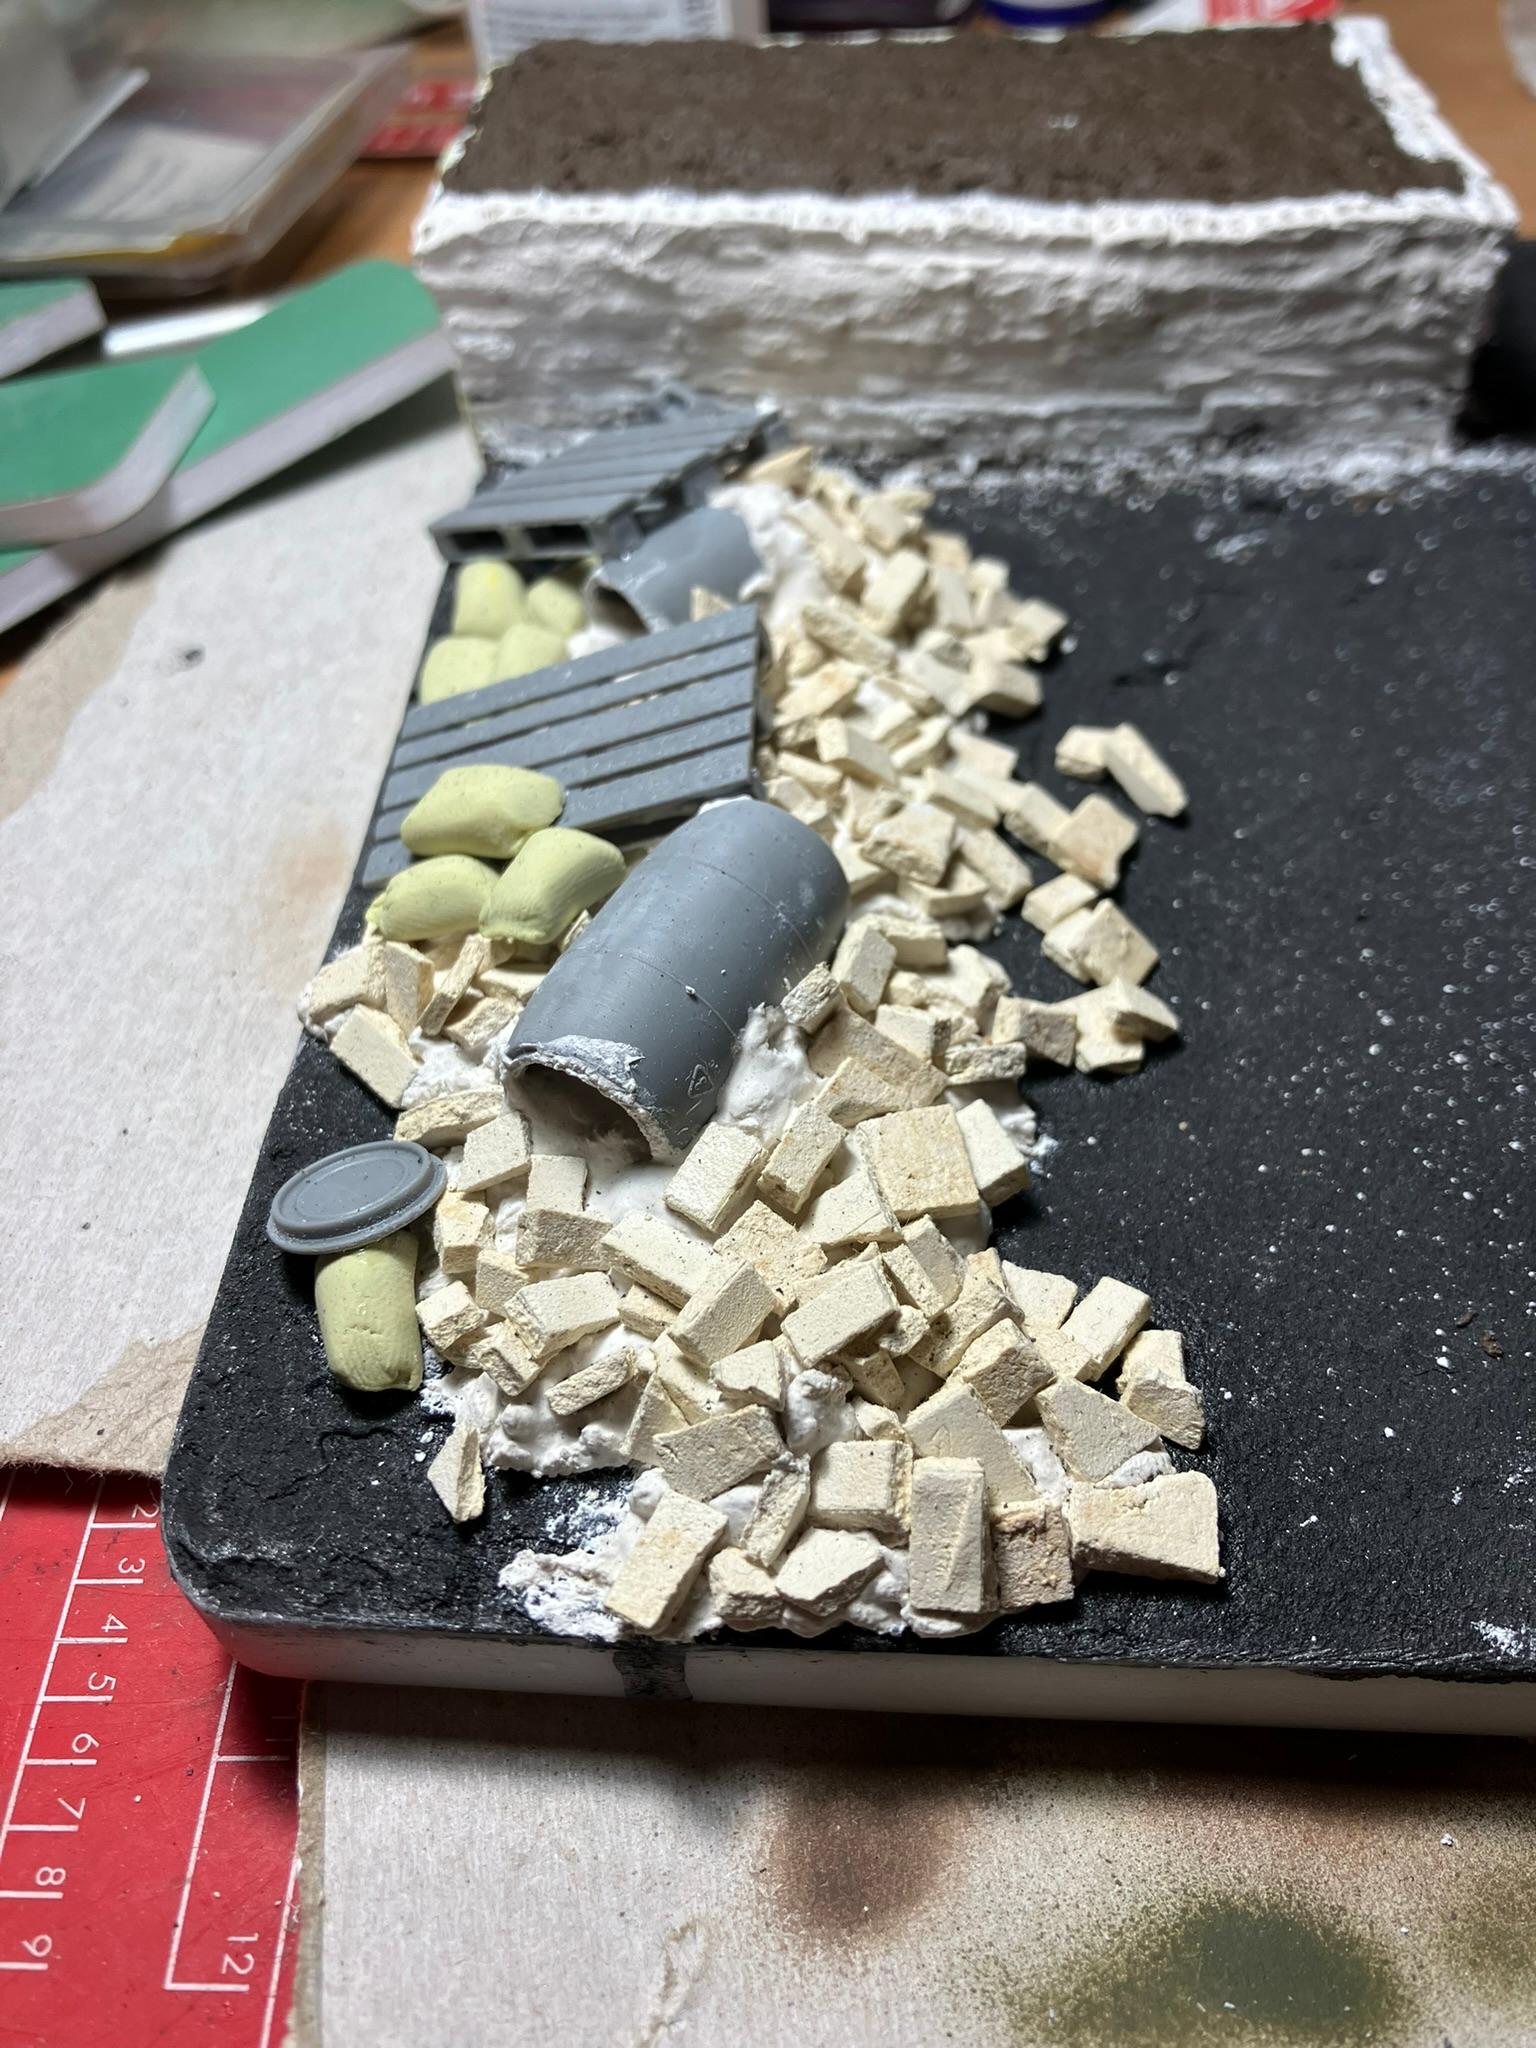
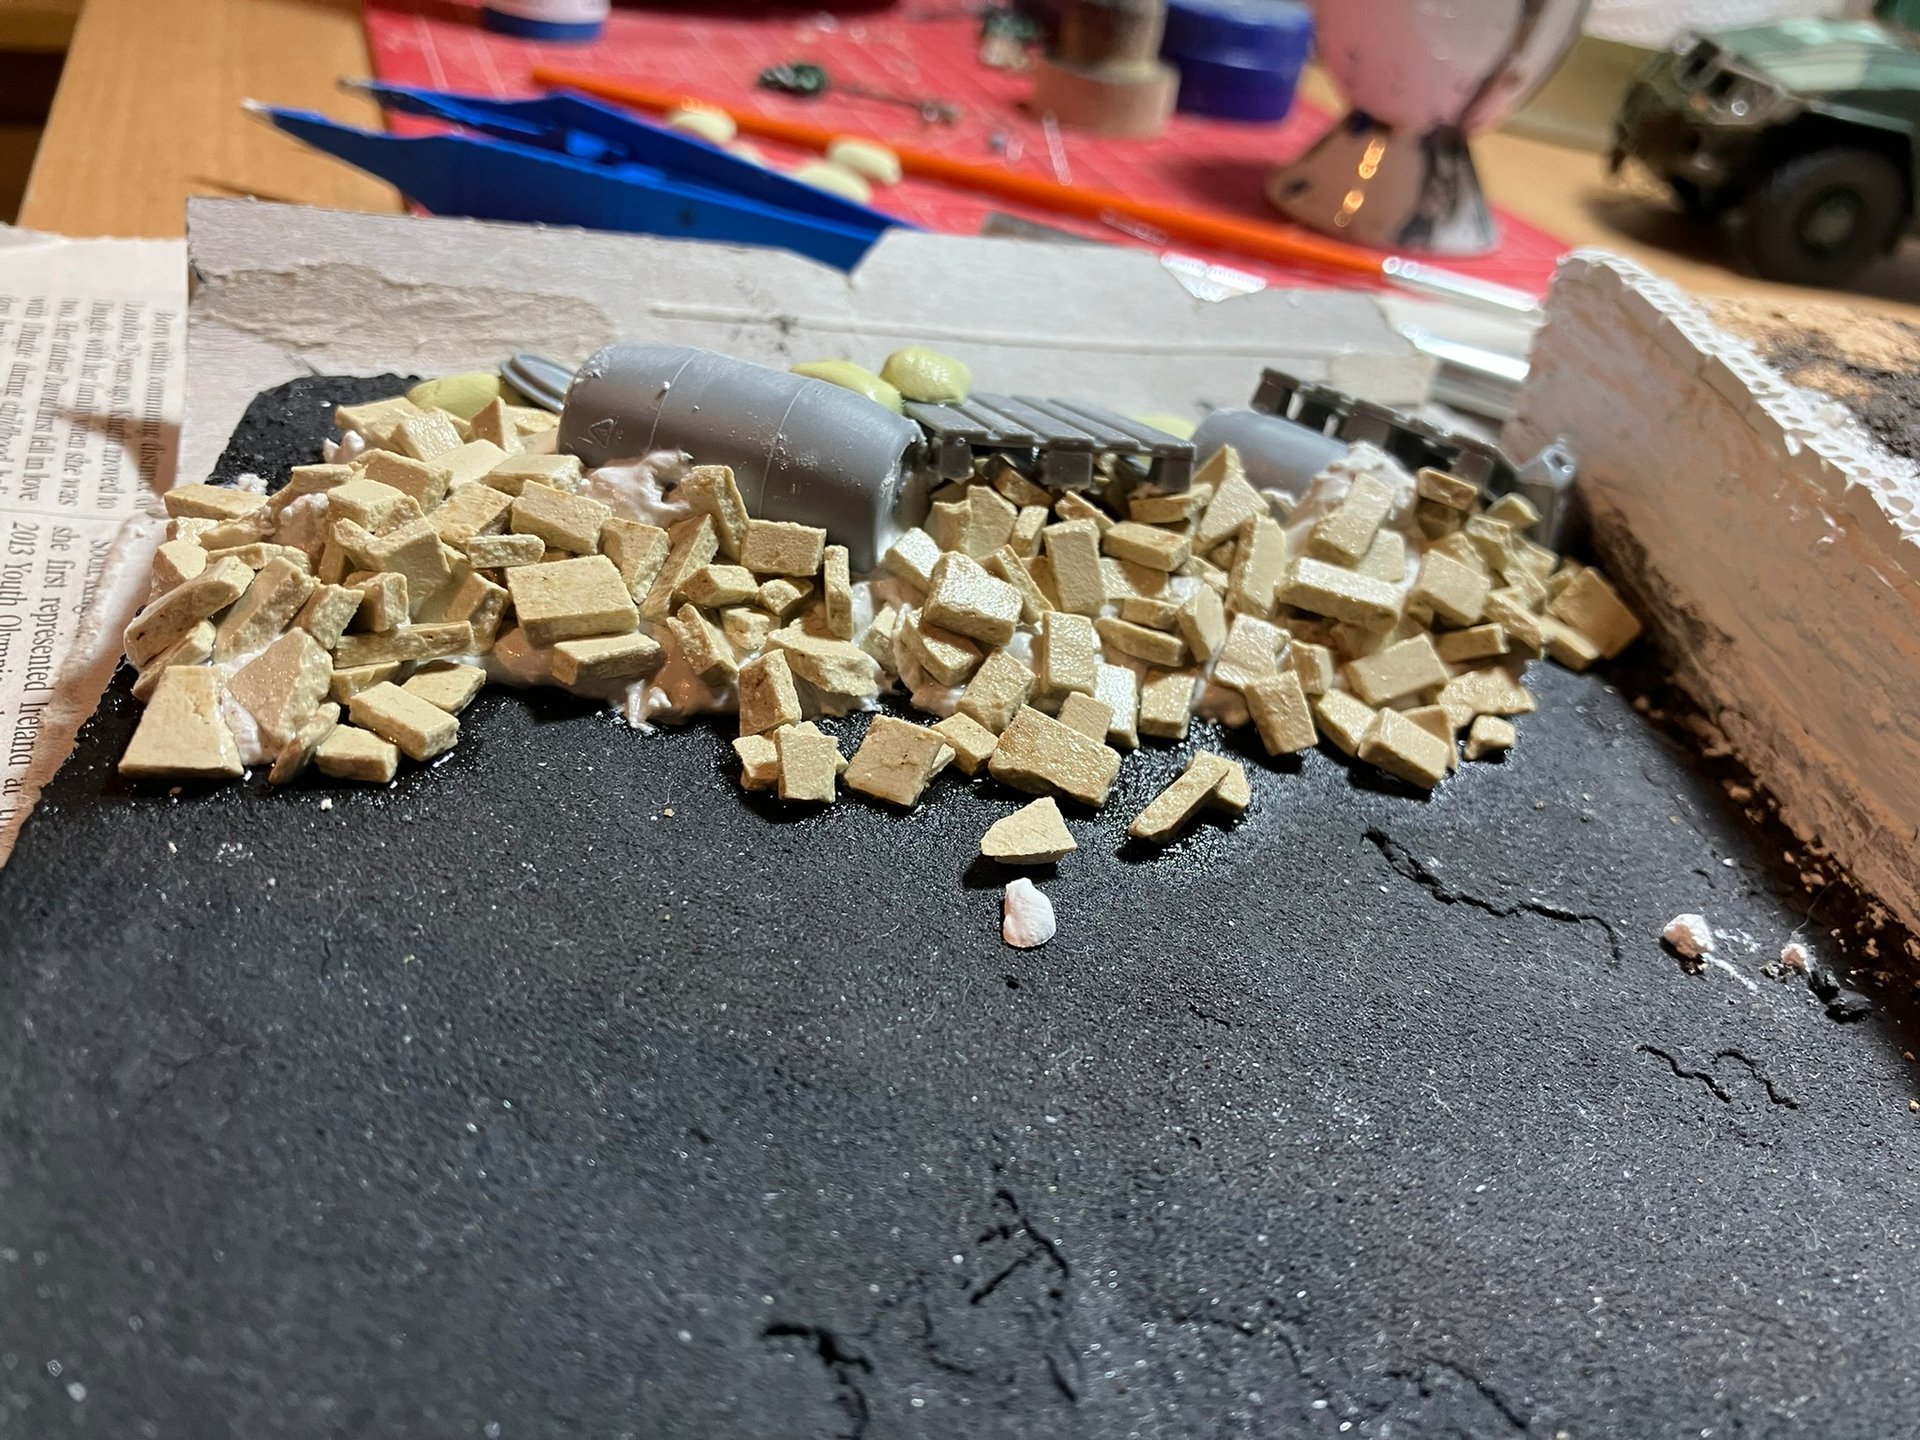
The part I was really happy with was the rubble / barricade. I had all of the air clay paving stones I made and I twinned these with some really nice AK pallets and barrels that I have. I tipped them over and filled them with some plaster to make it look like they were the base of a hasty set up. The had some Miliput sand bags and pallets. After dropping all of the paving stones on top I used a good layer of pigment fixer to (so far) keep it all in place. I was really chuffed to be able to reuse the failed air dry clay and I think the rubble looks good (for my skill level).
So still a lot of work to do but I feel like I am making progress and things are starting to roll in together. For a long while it has been a loose collection of models, which I guess is the danger of dreaming too big in the diorama (and this is a simple enough one). IT can just feel like its going no where for ages.
But for this one its gotten to a stage where I can roughly see where its going and how it will look together.
Next push is to get the base primed and painted.
Then get the figures matte varnish and put together fully.
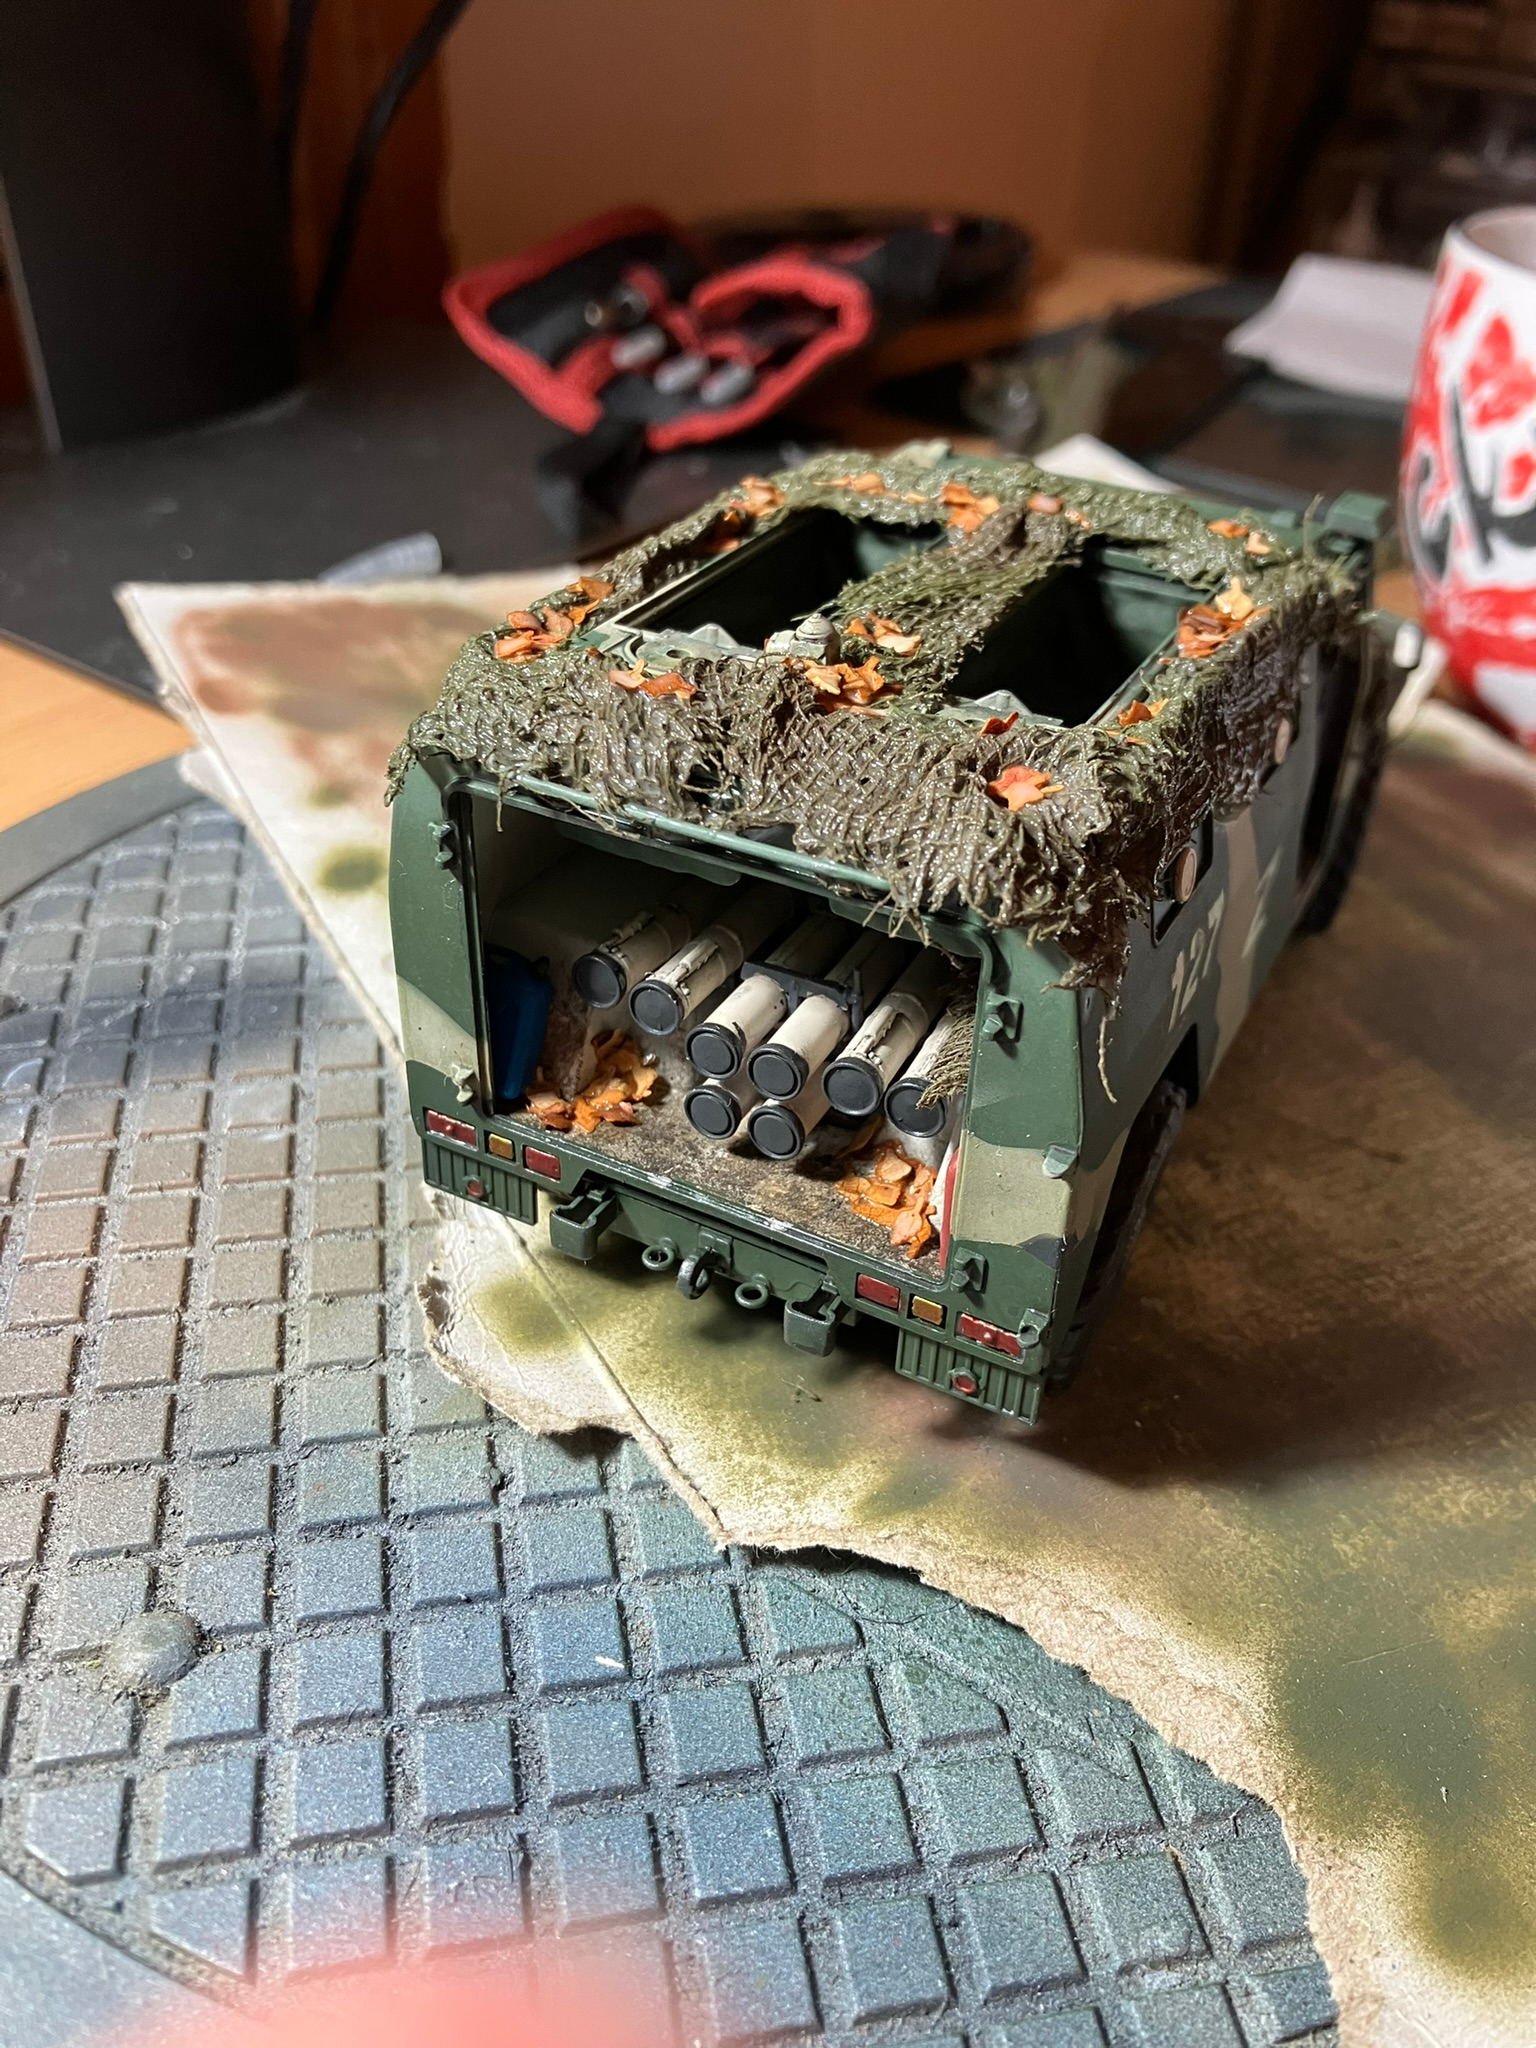
And then weather / damage the Gaz and finish the base.
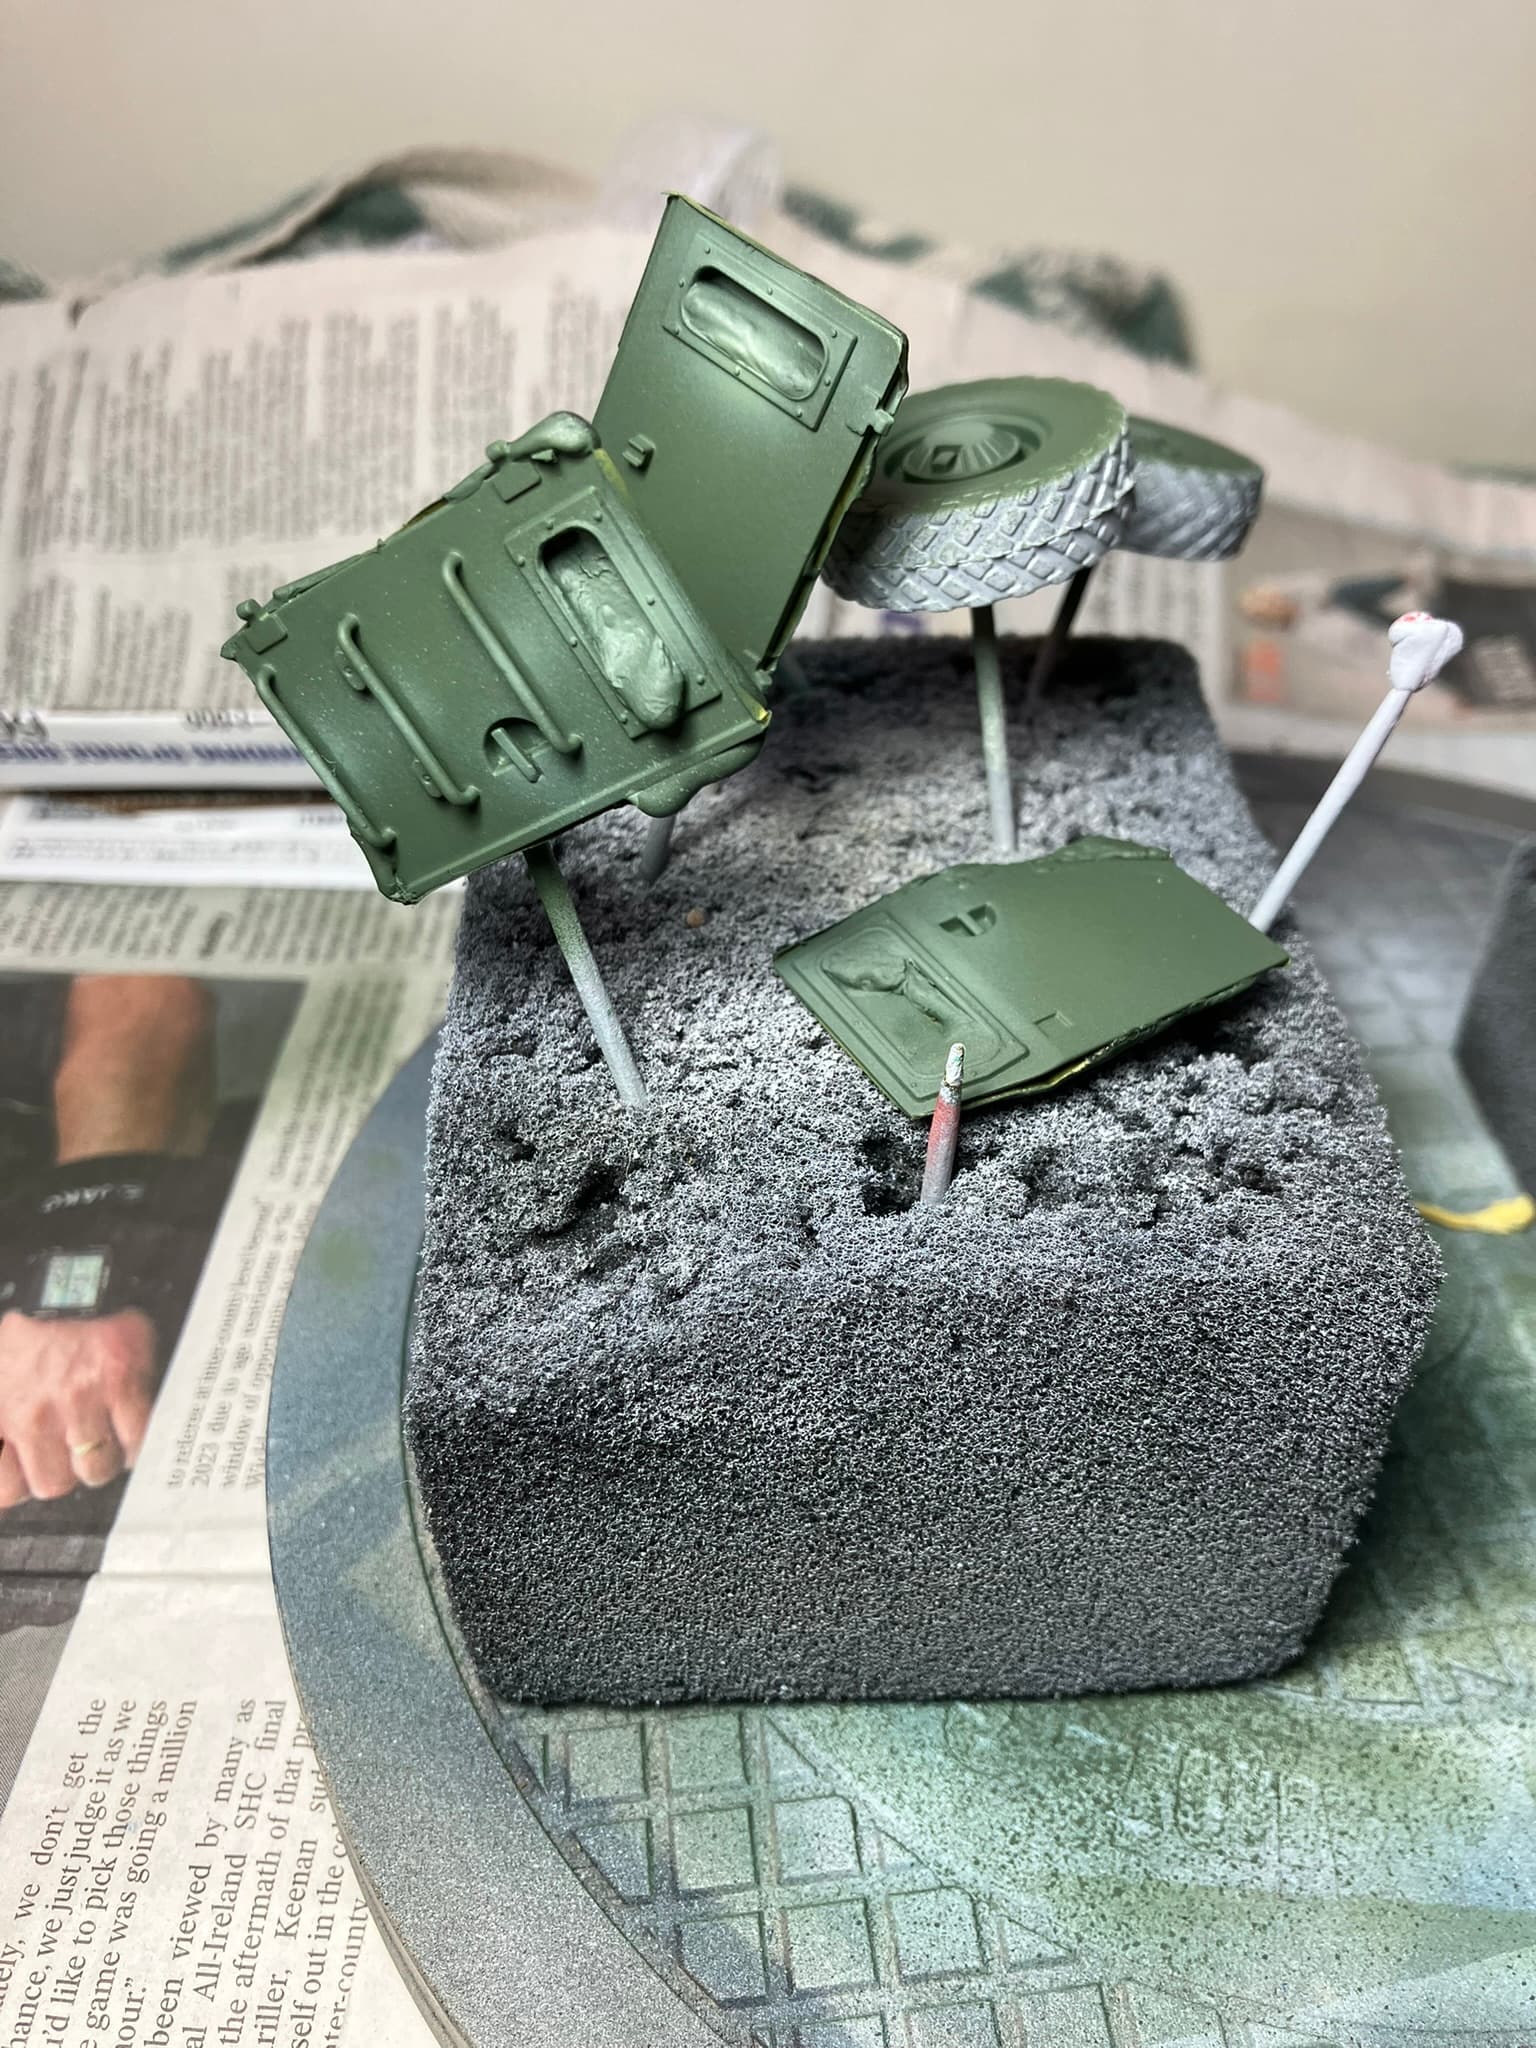
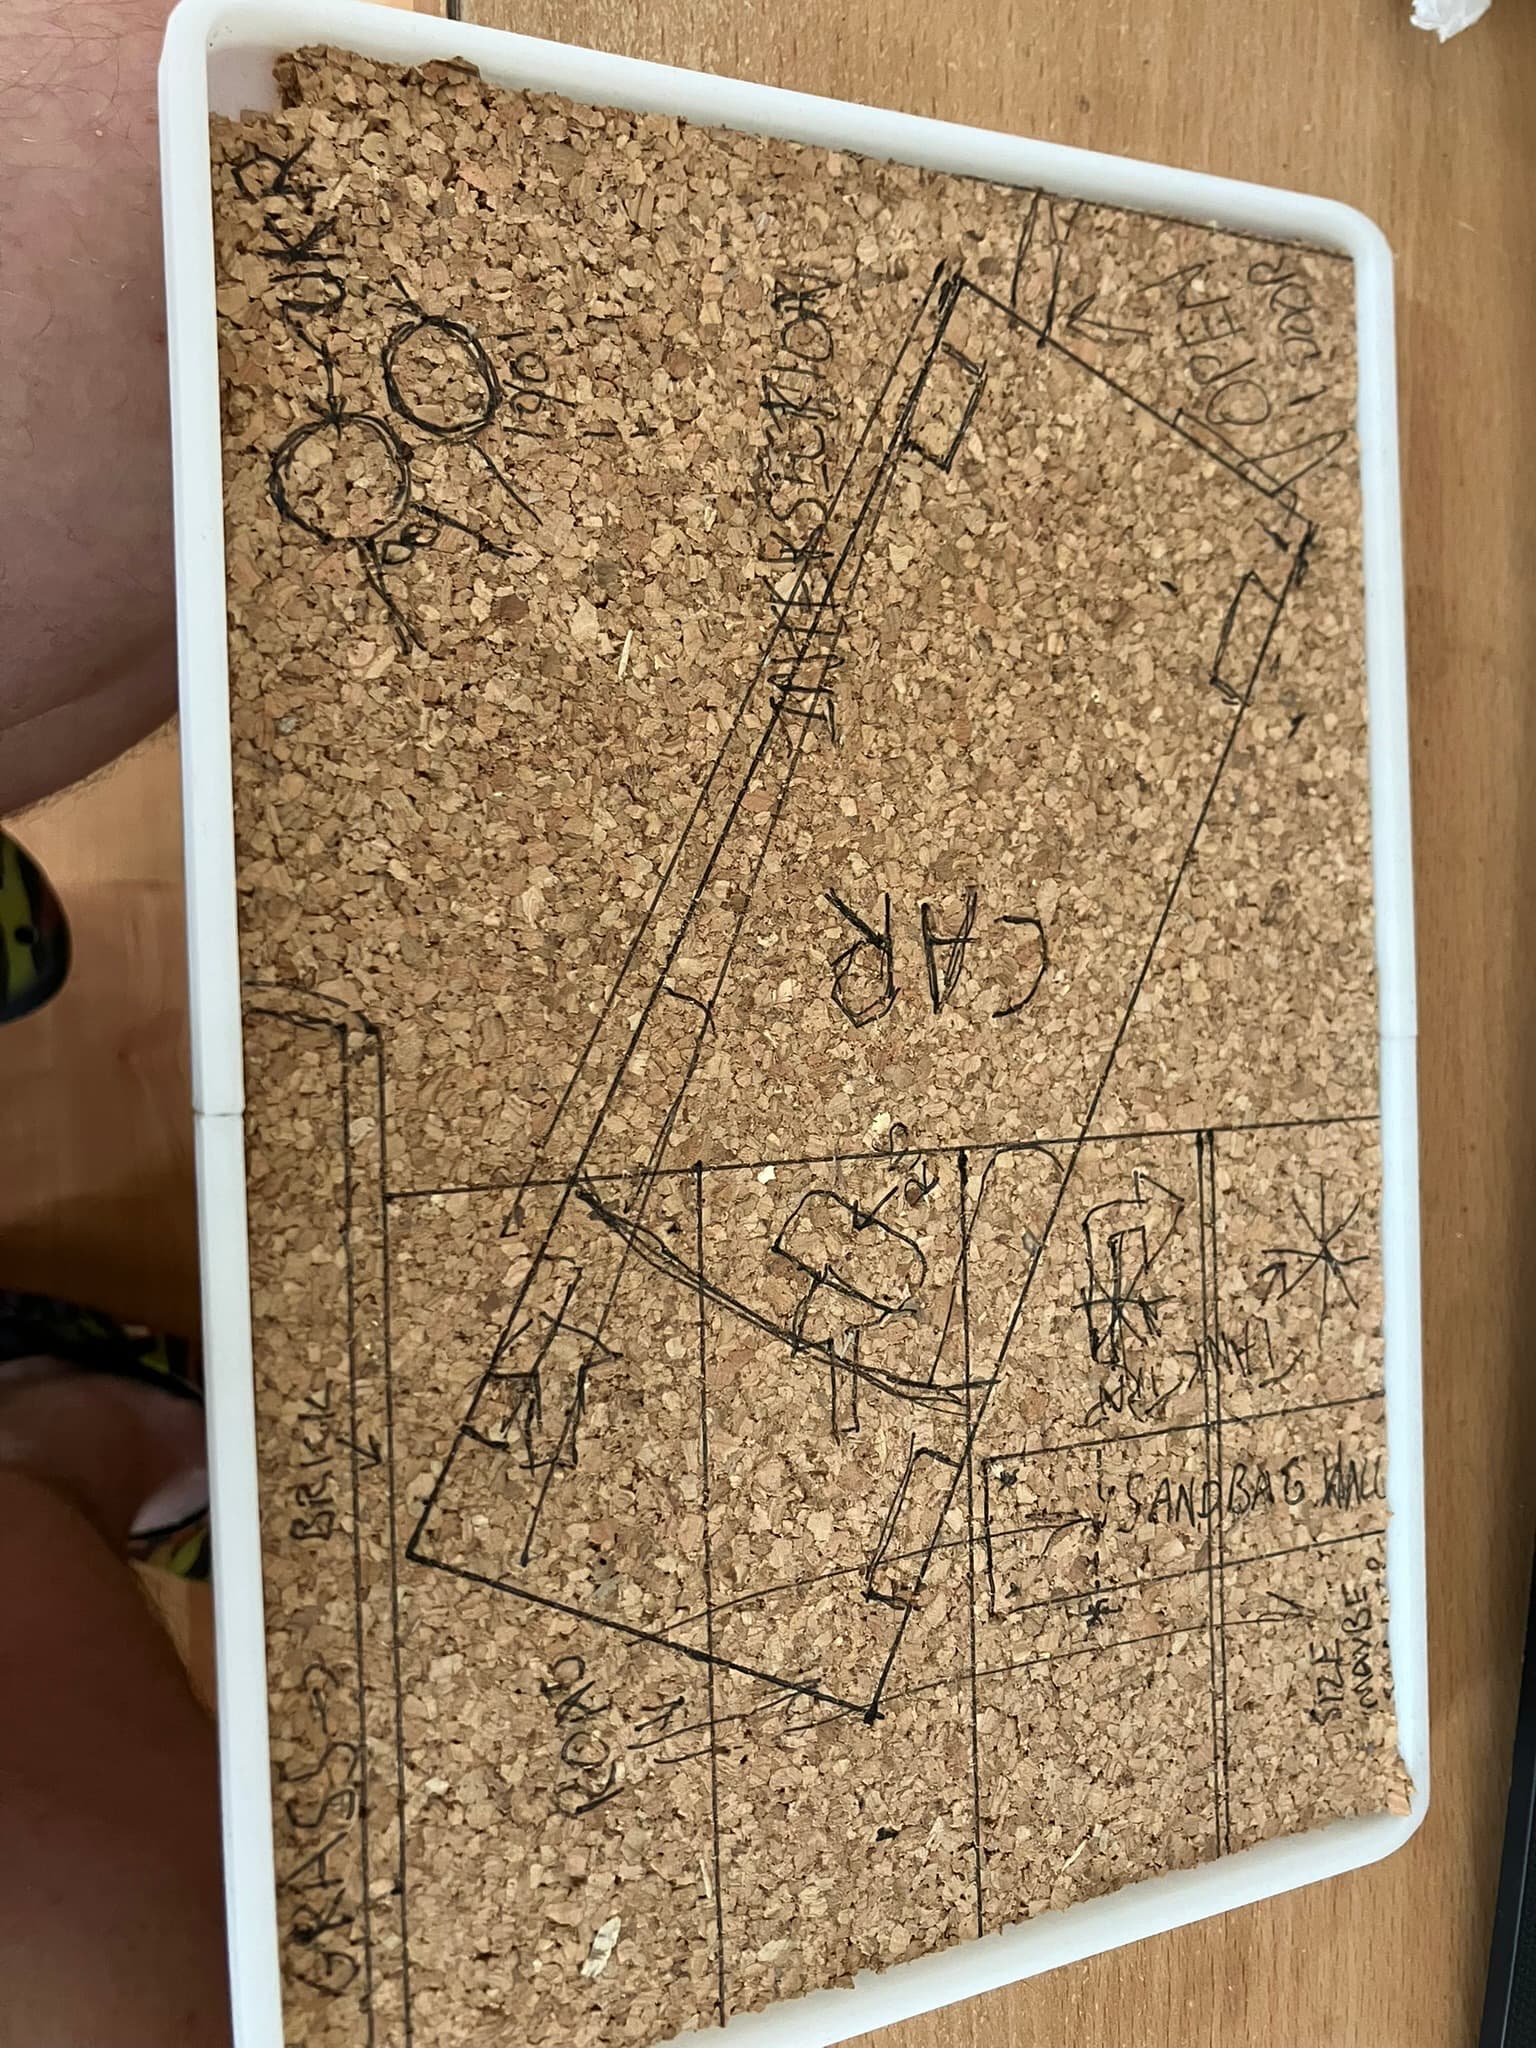
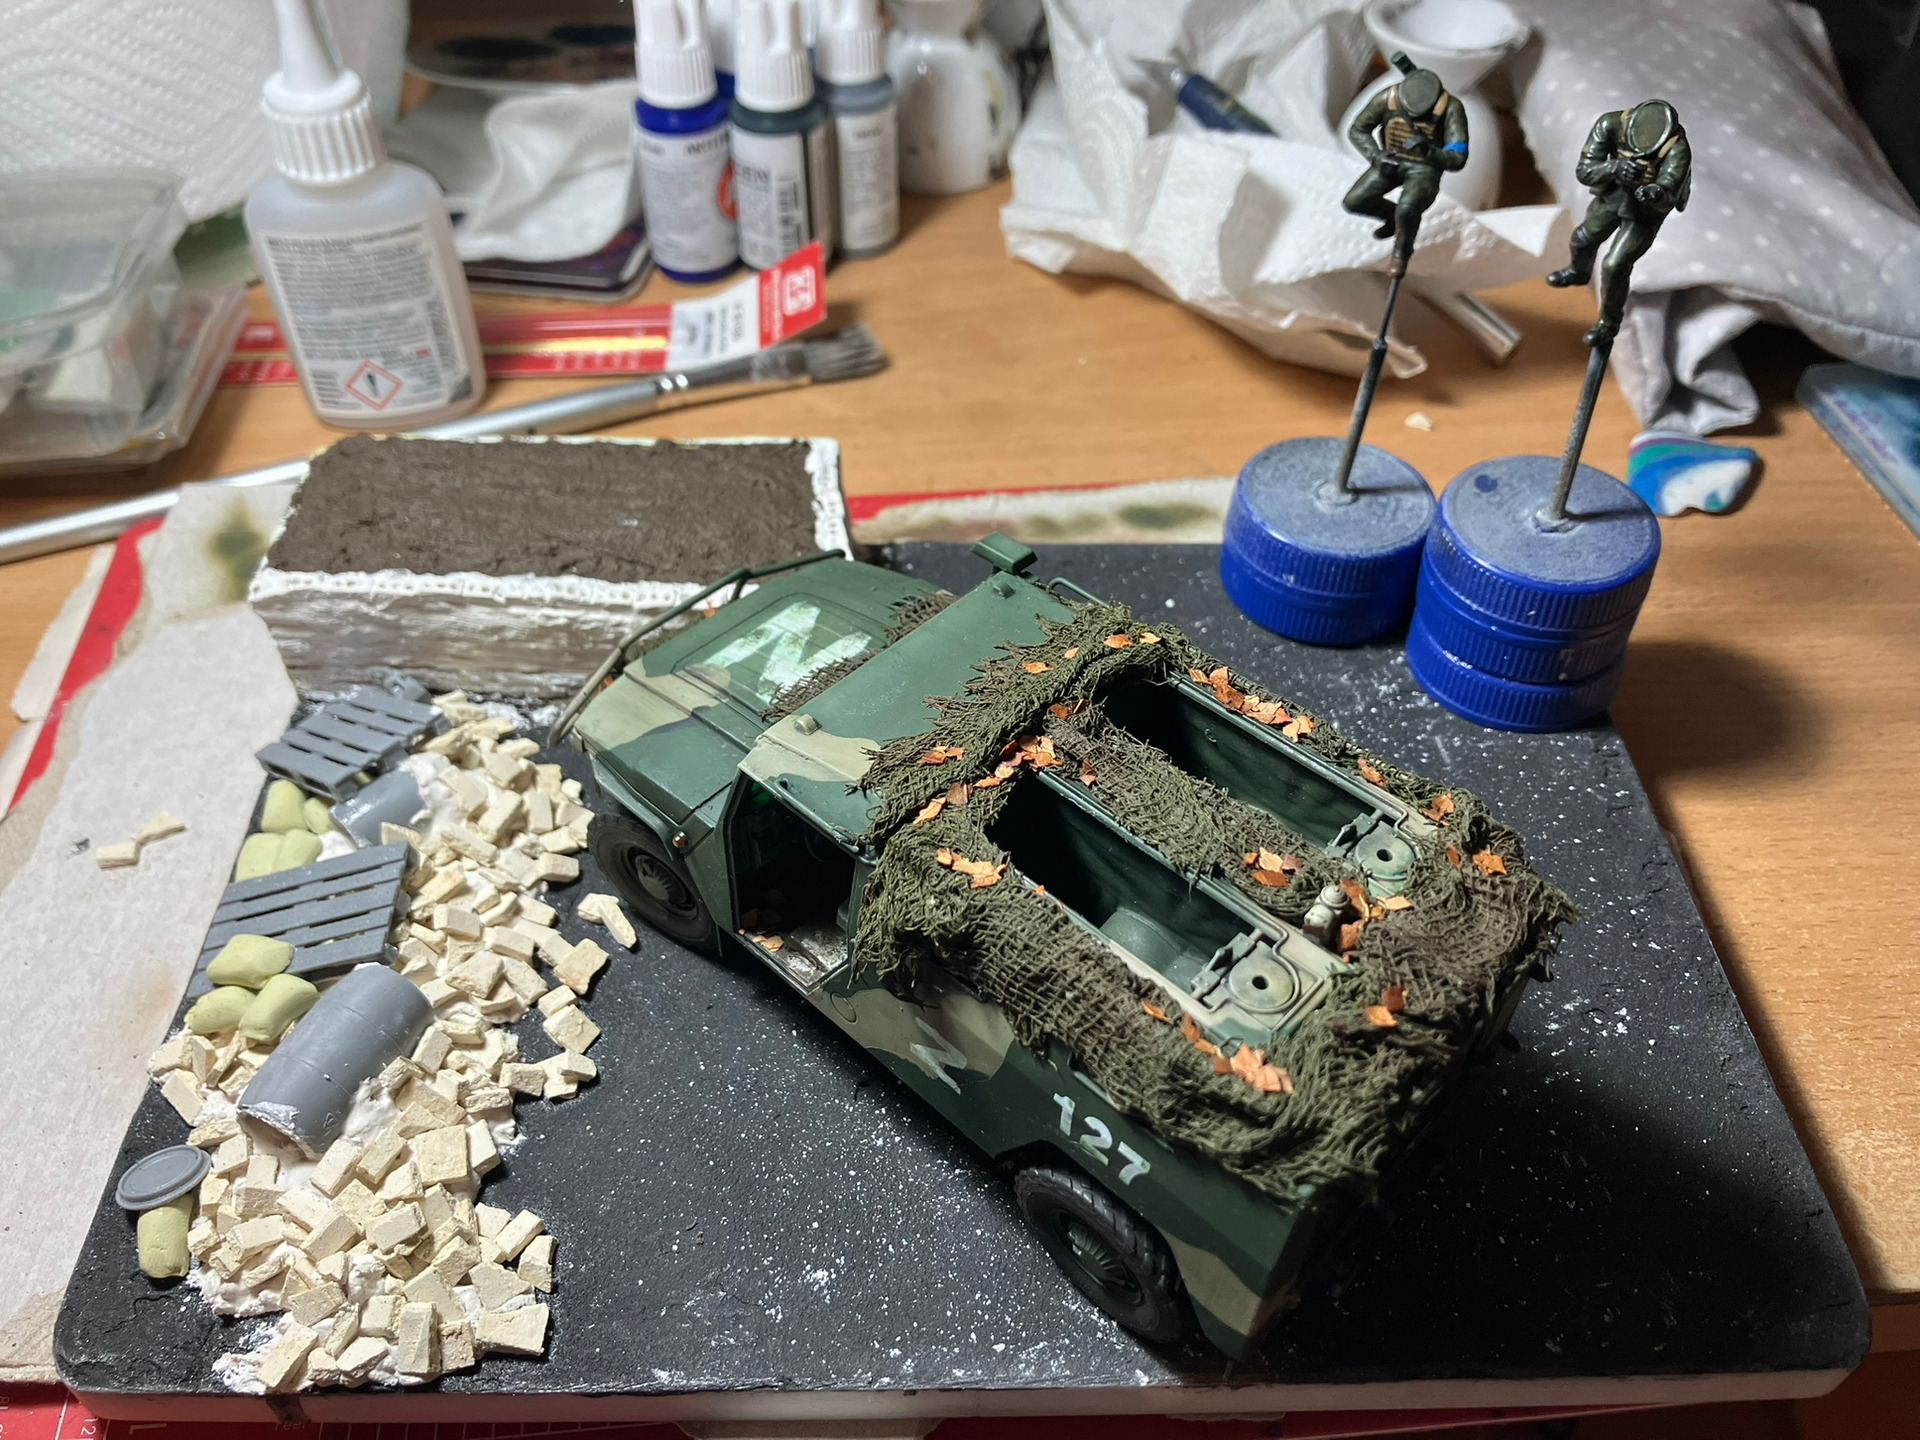
Below is a rough idea of the staging which I think should look alright in the end.
I definitely don’t under stand sight lines and balance, I think the final dio will be overly dense and crowded. But I have done a lot more in terms of techniques and effort so I’m going to be happy regardless.