This is my most recently completed car kit as I’ve been working on armor since, but I figured I might as well post the other half of my hobby as I’m new to the forums.
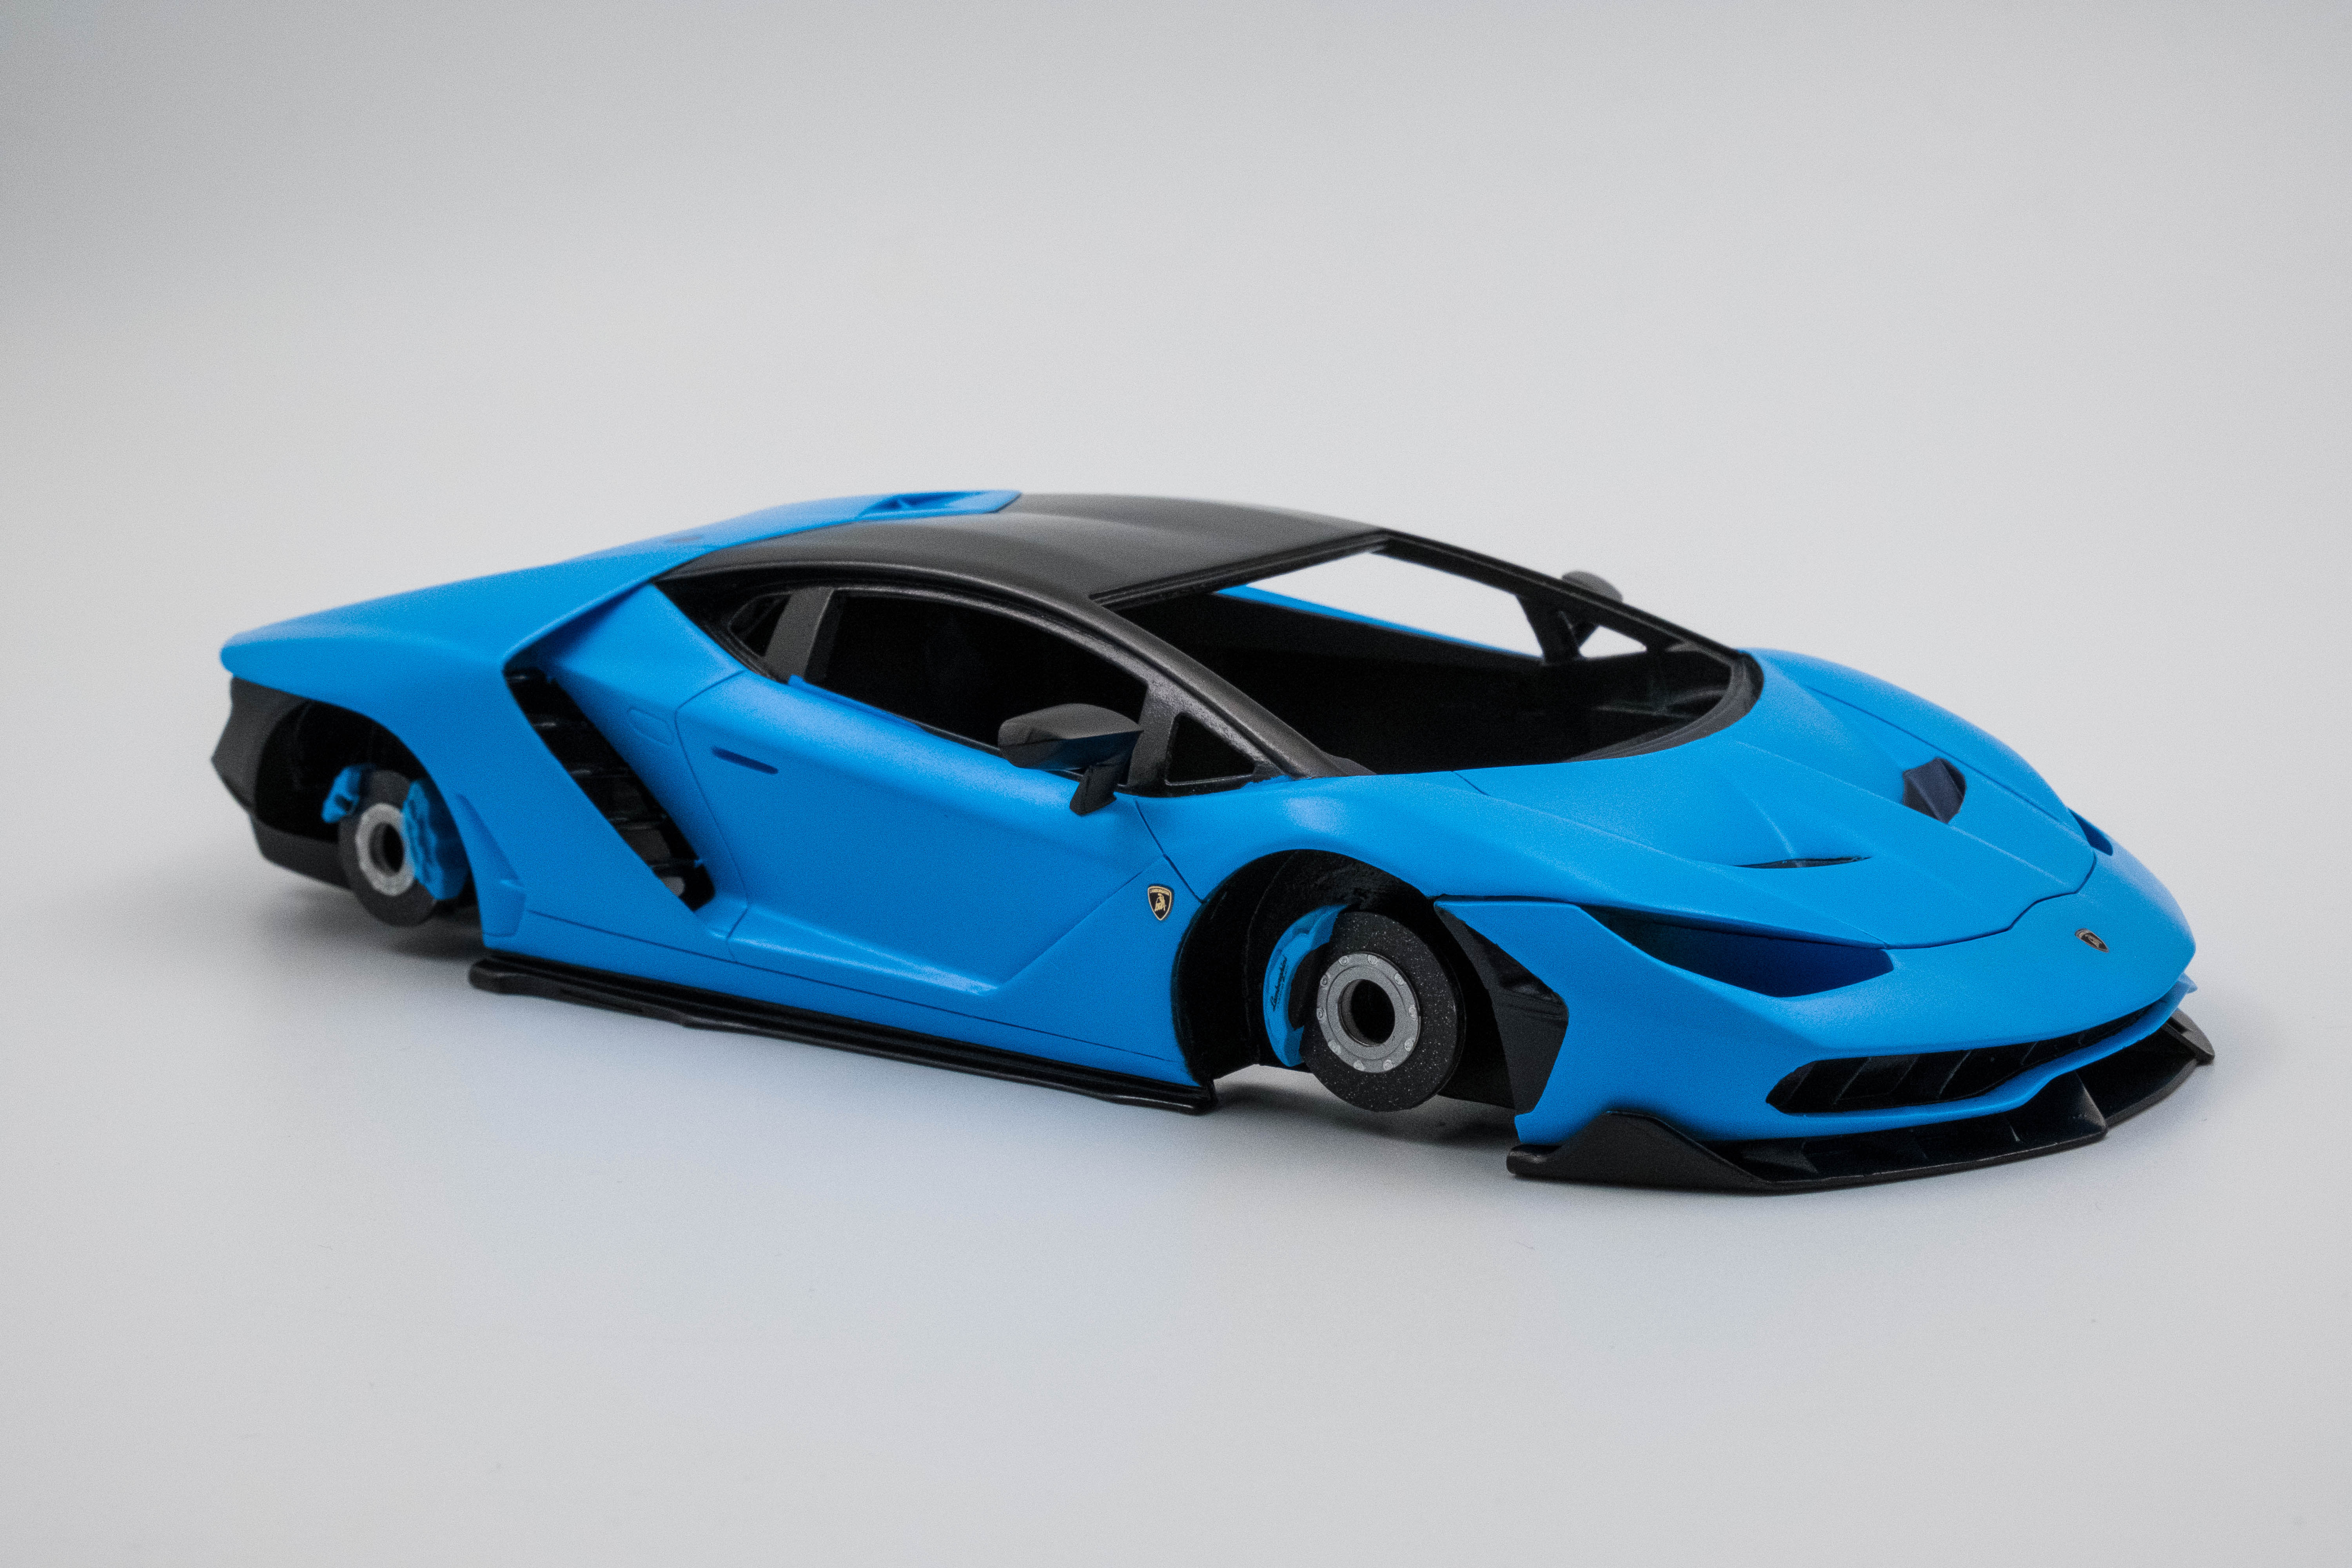
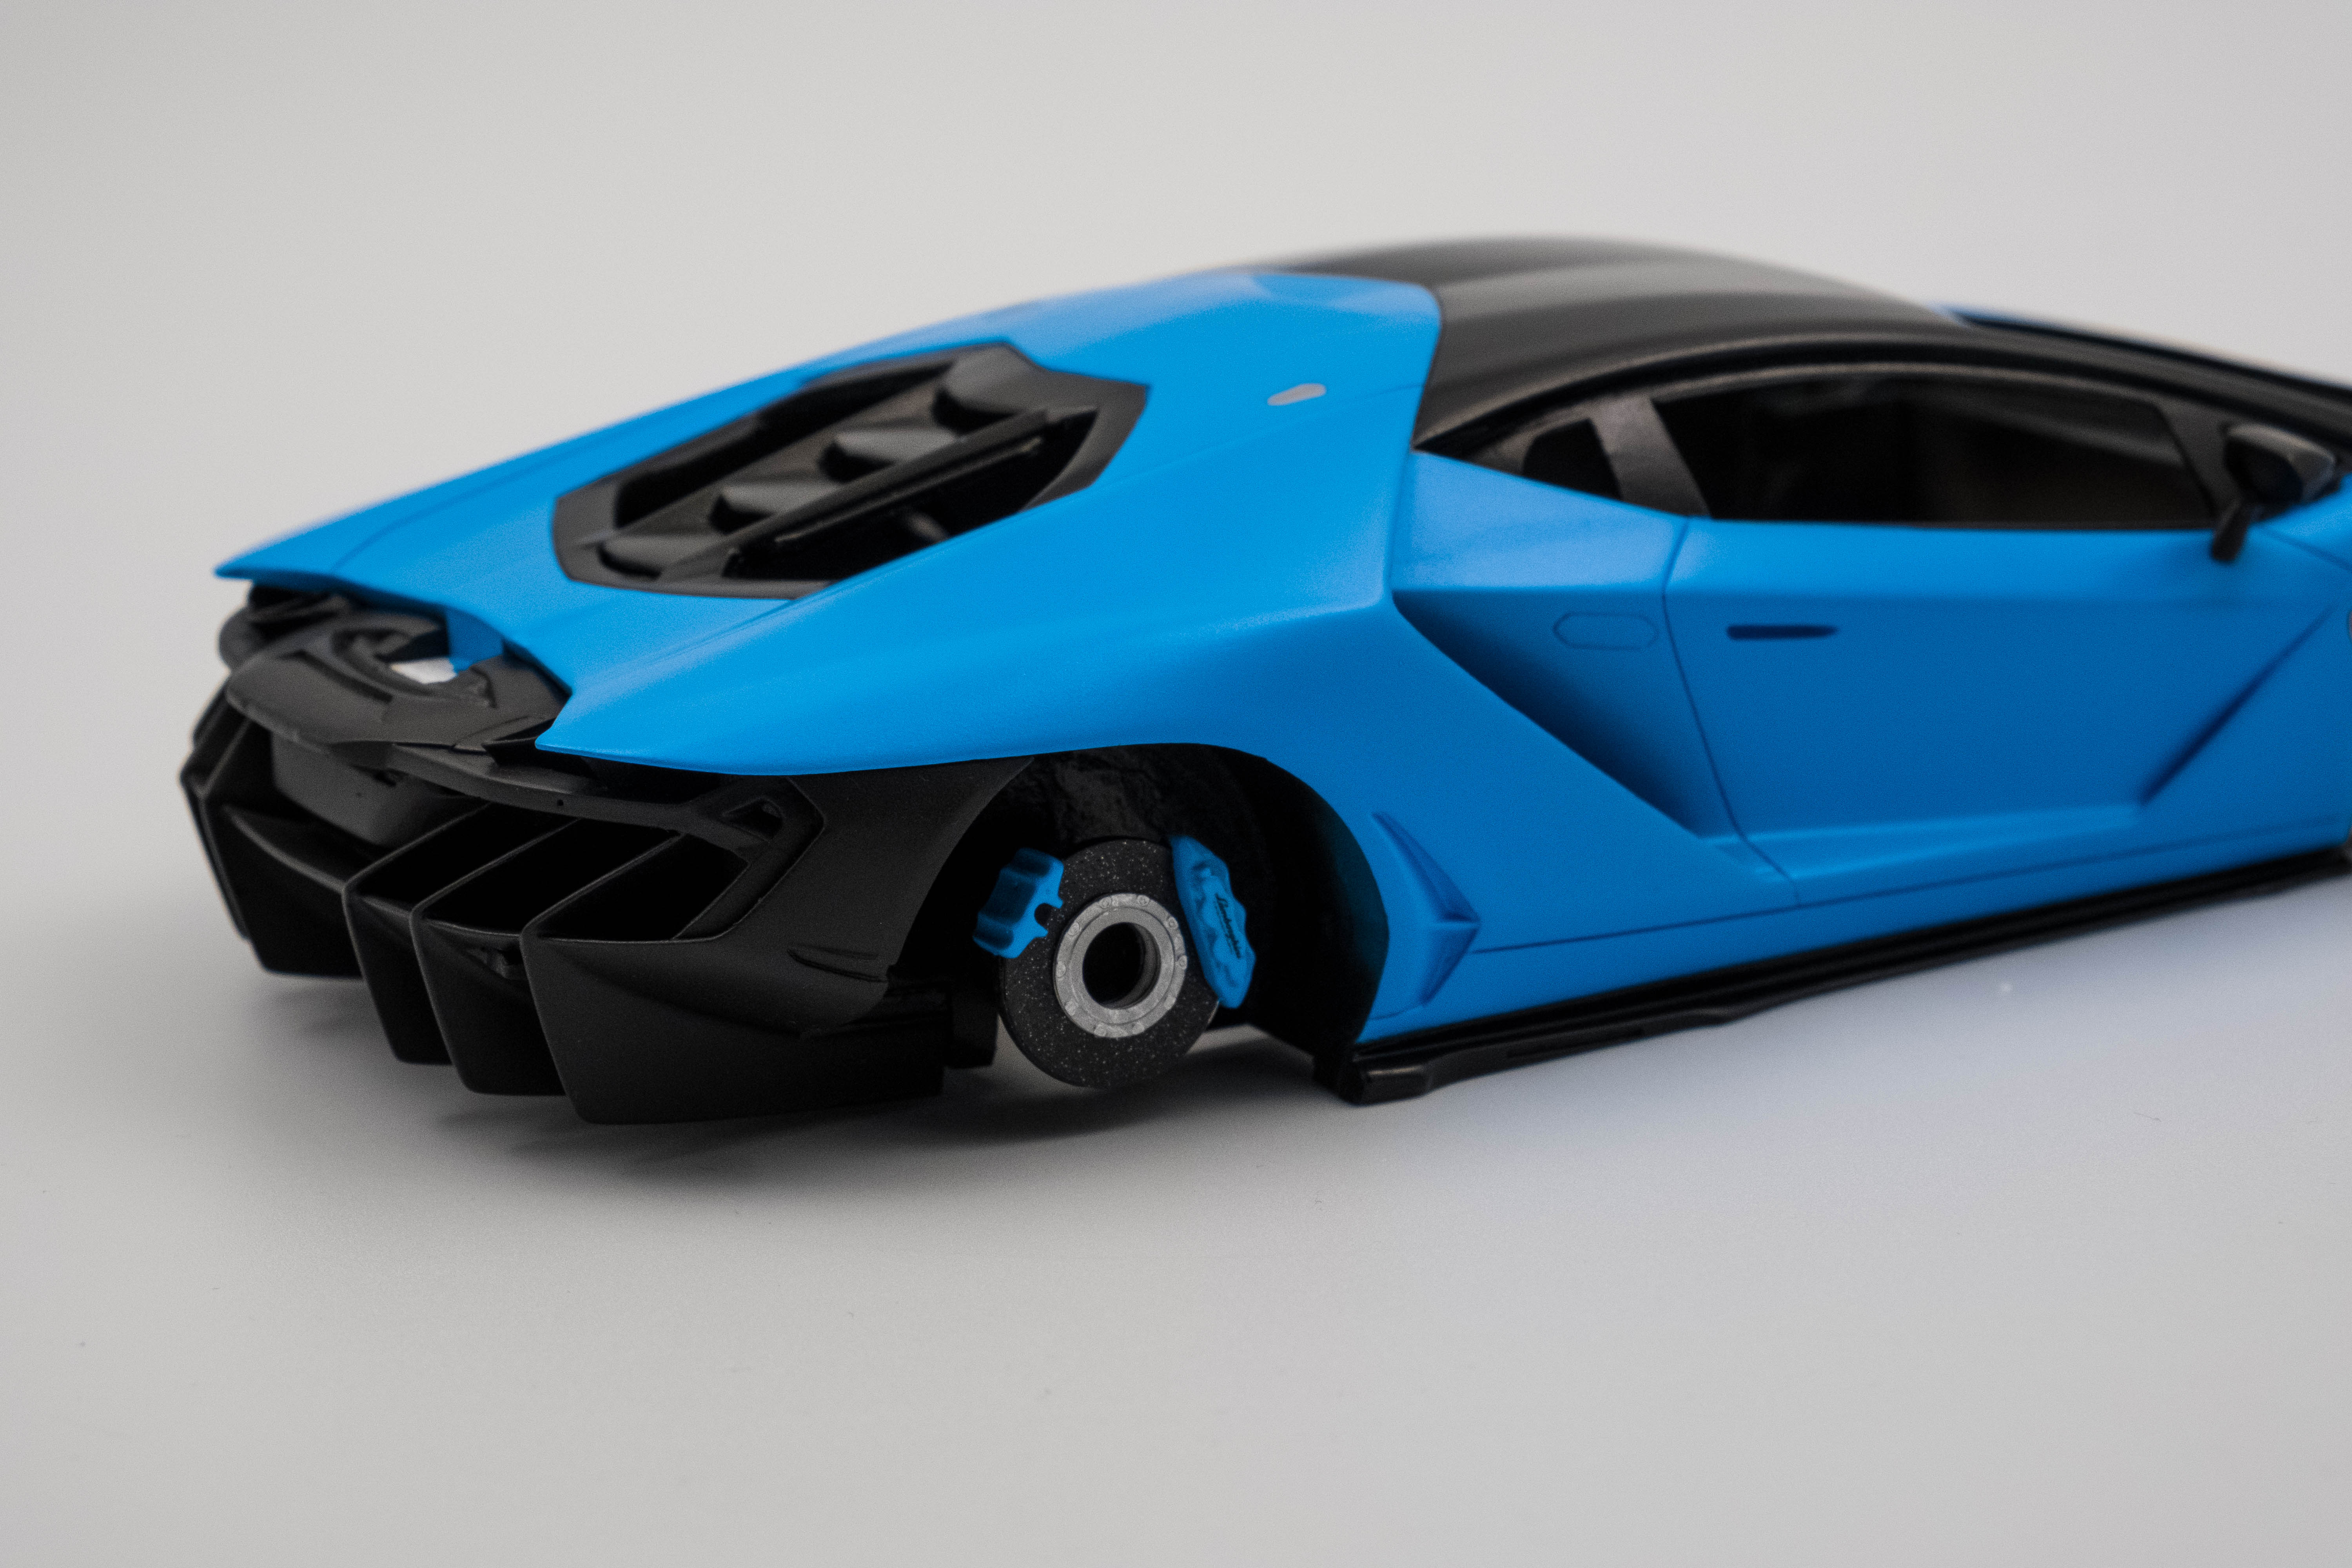
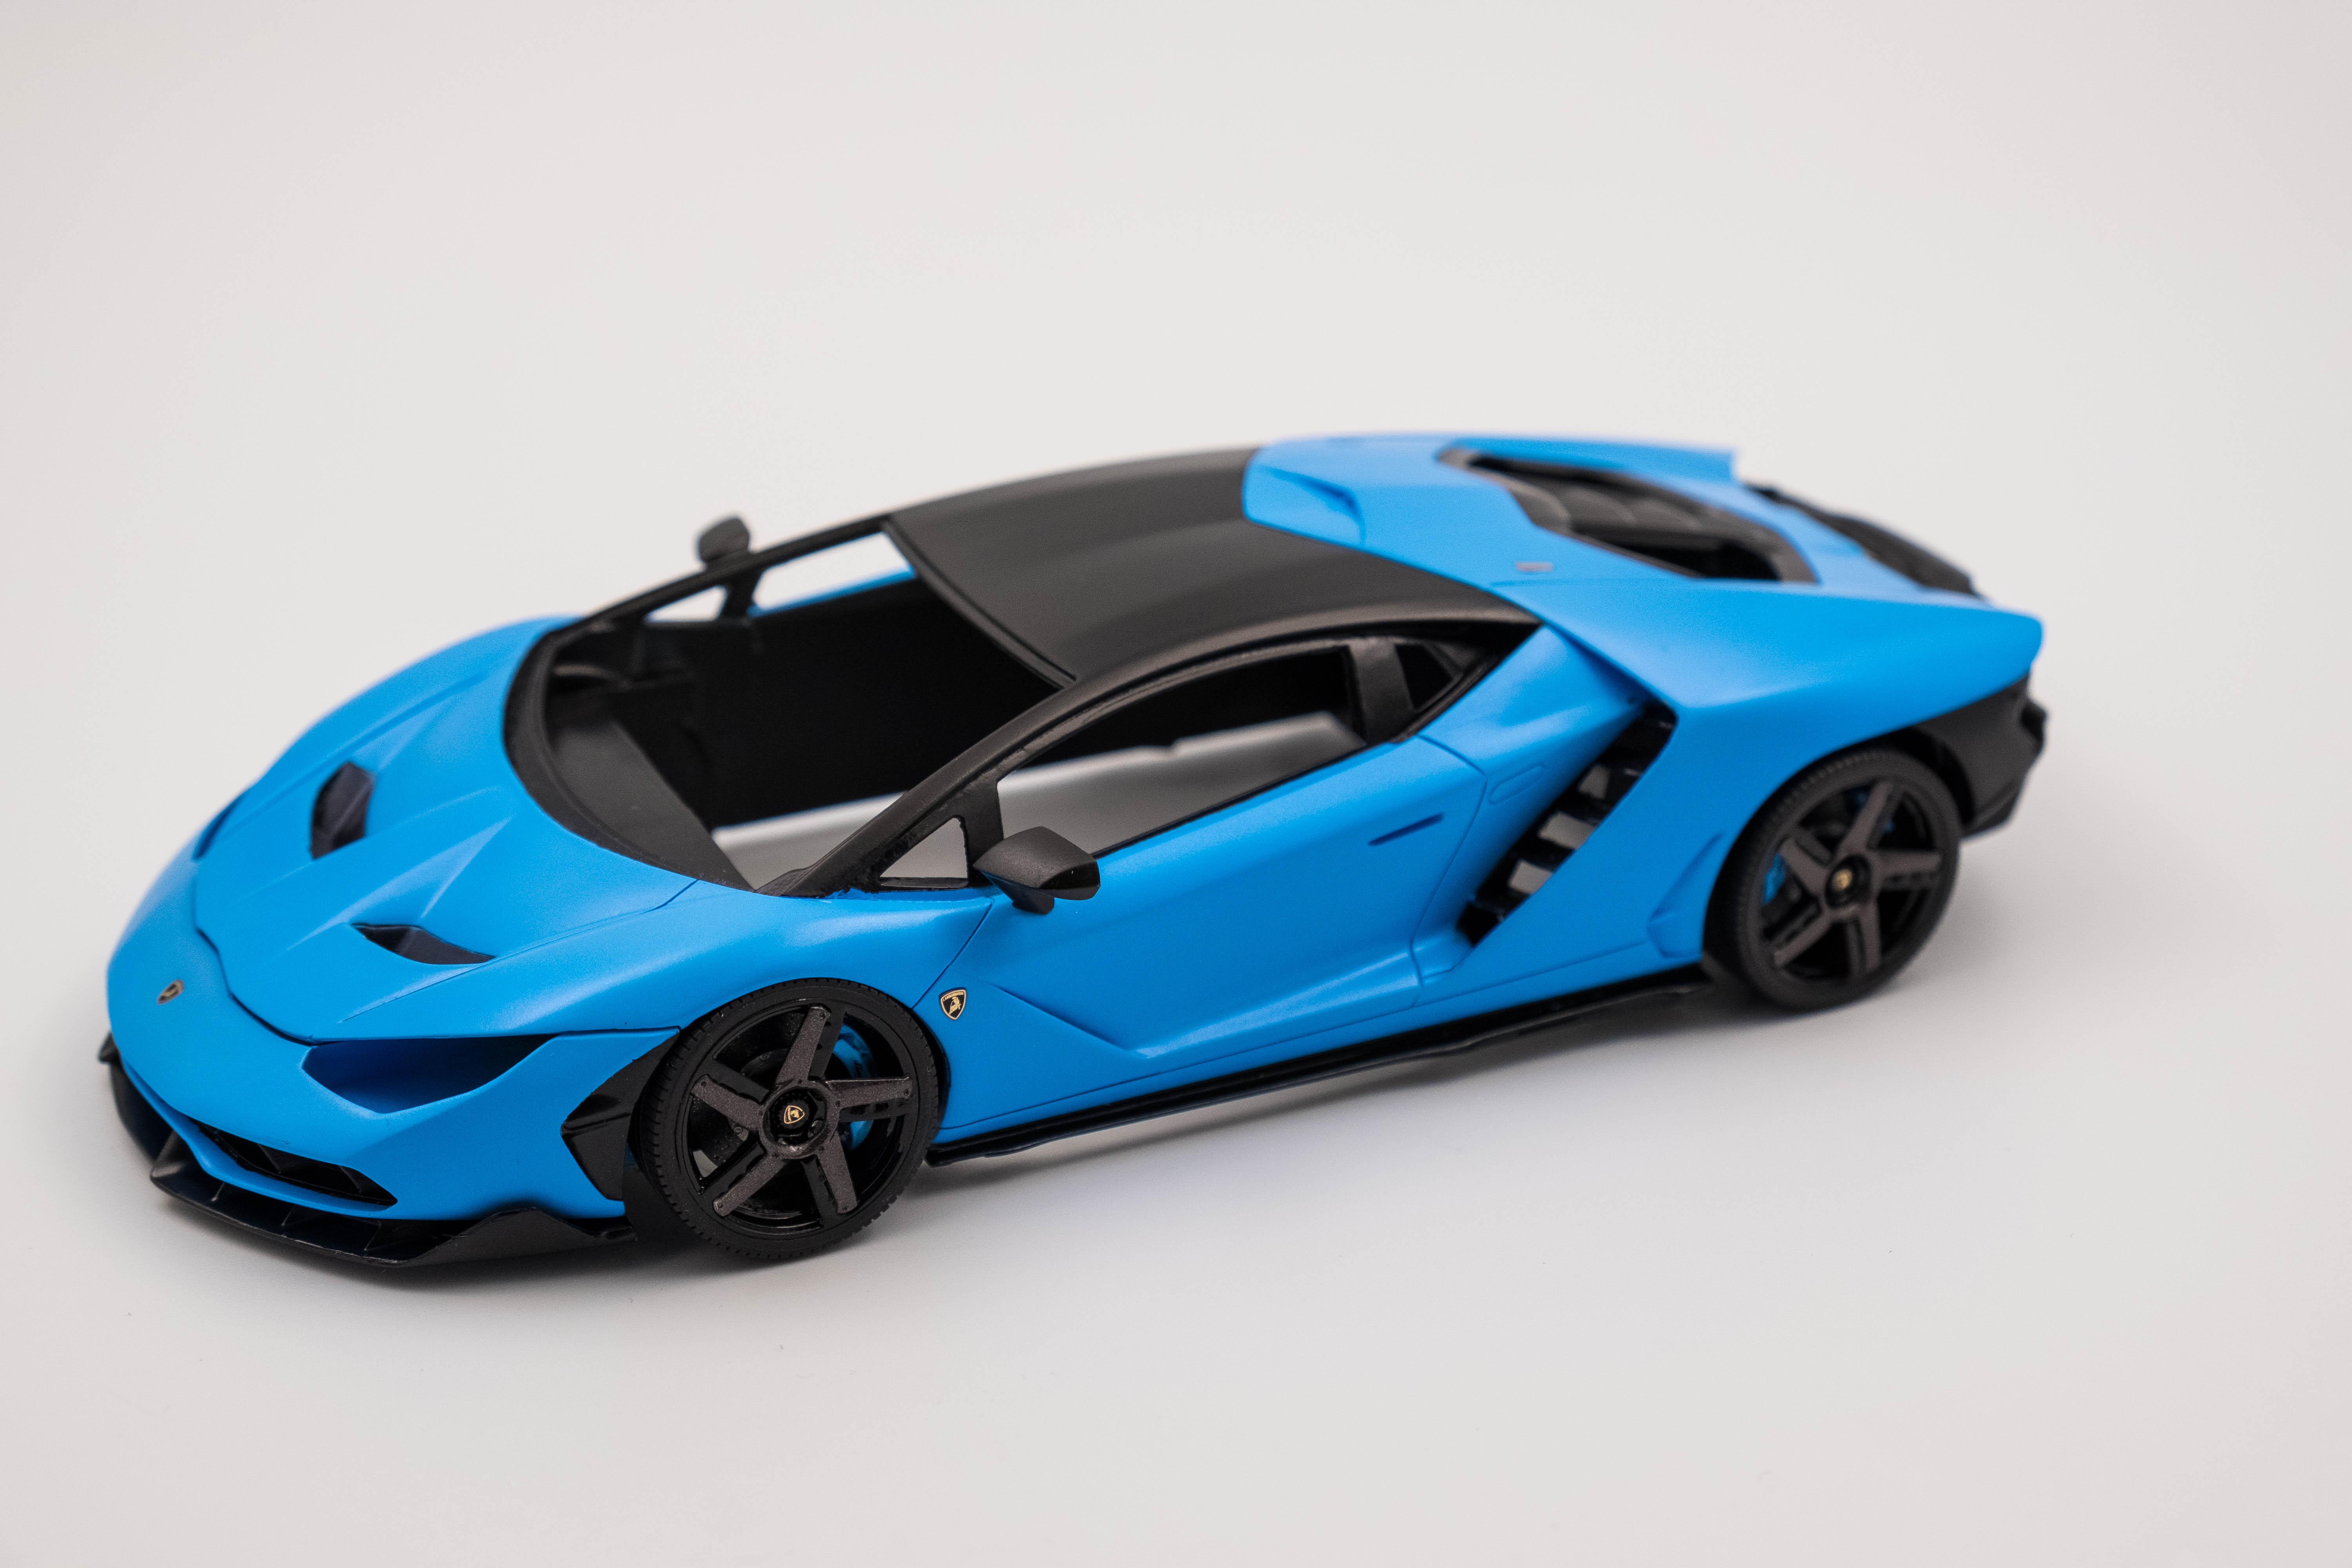
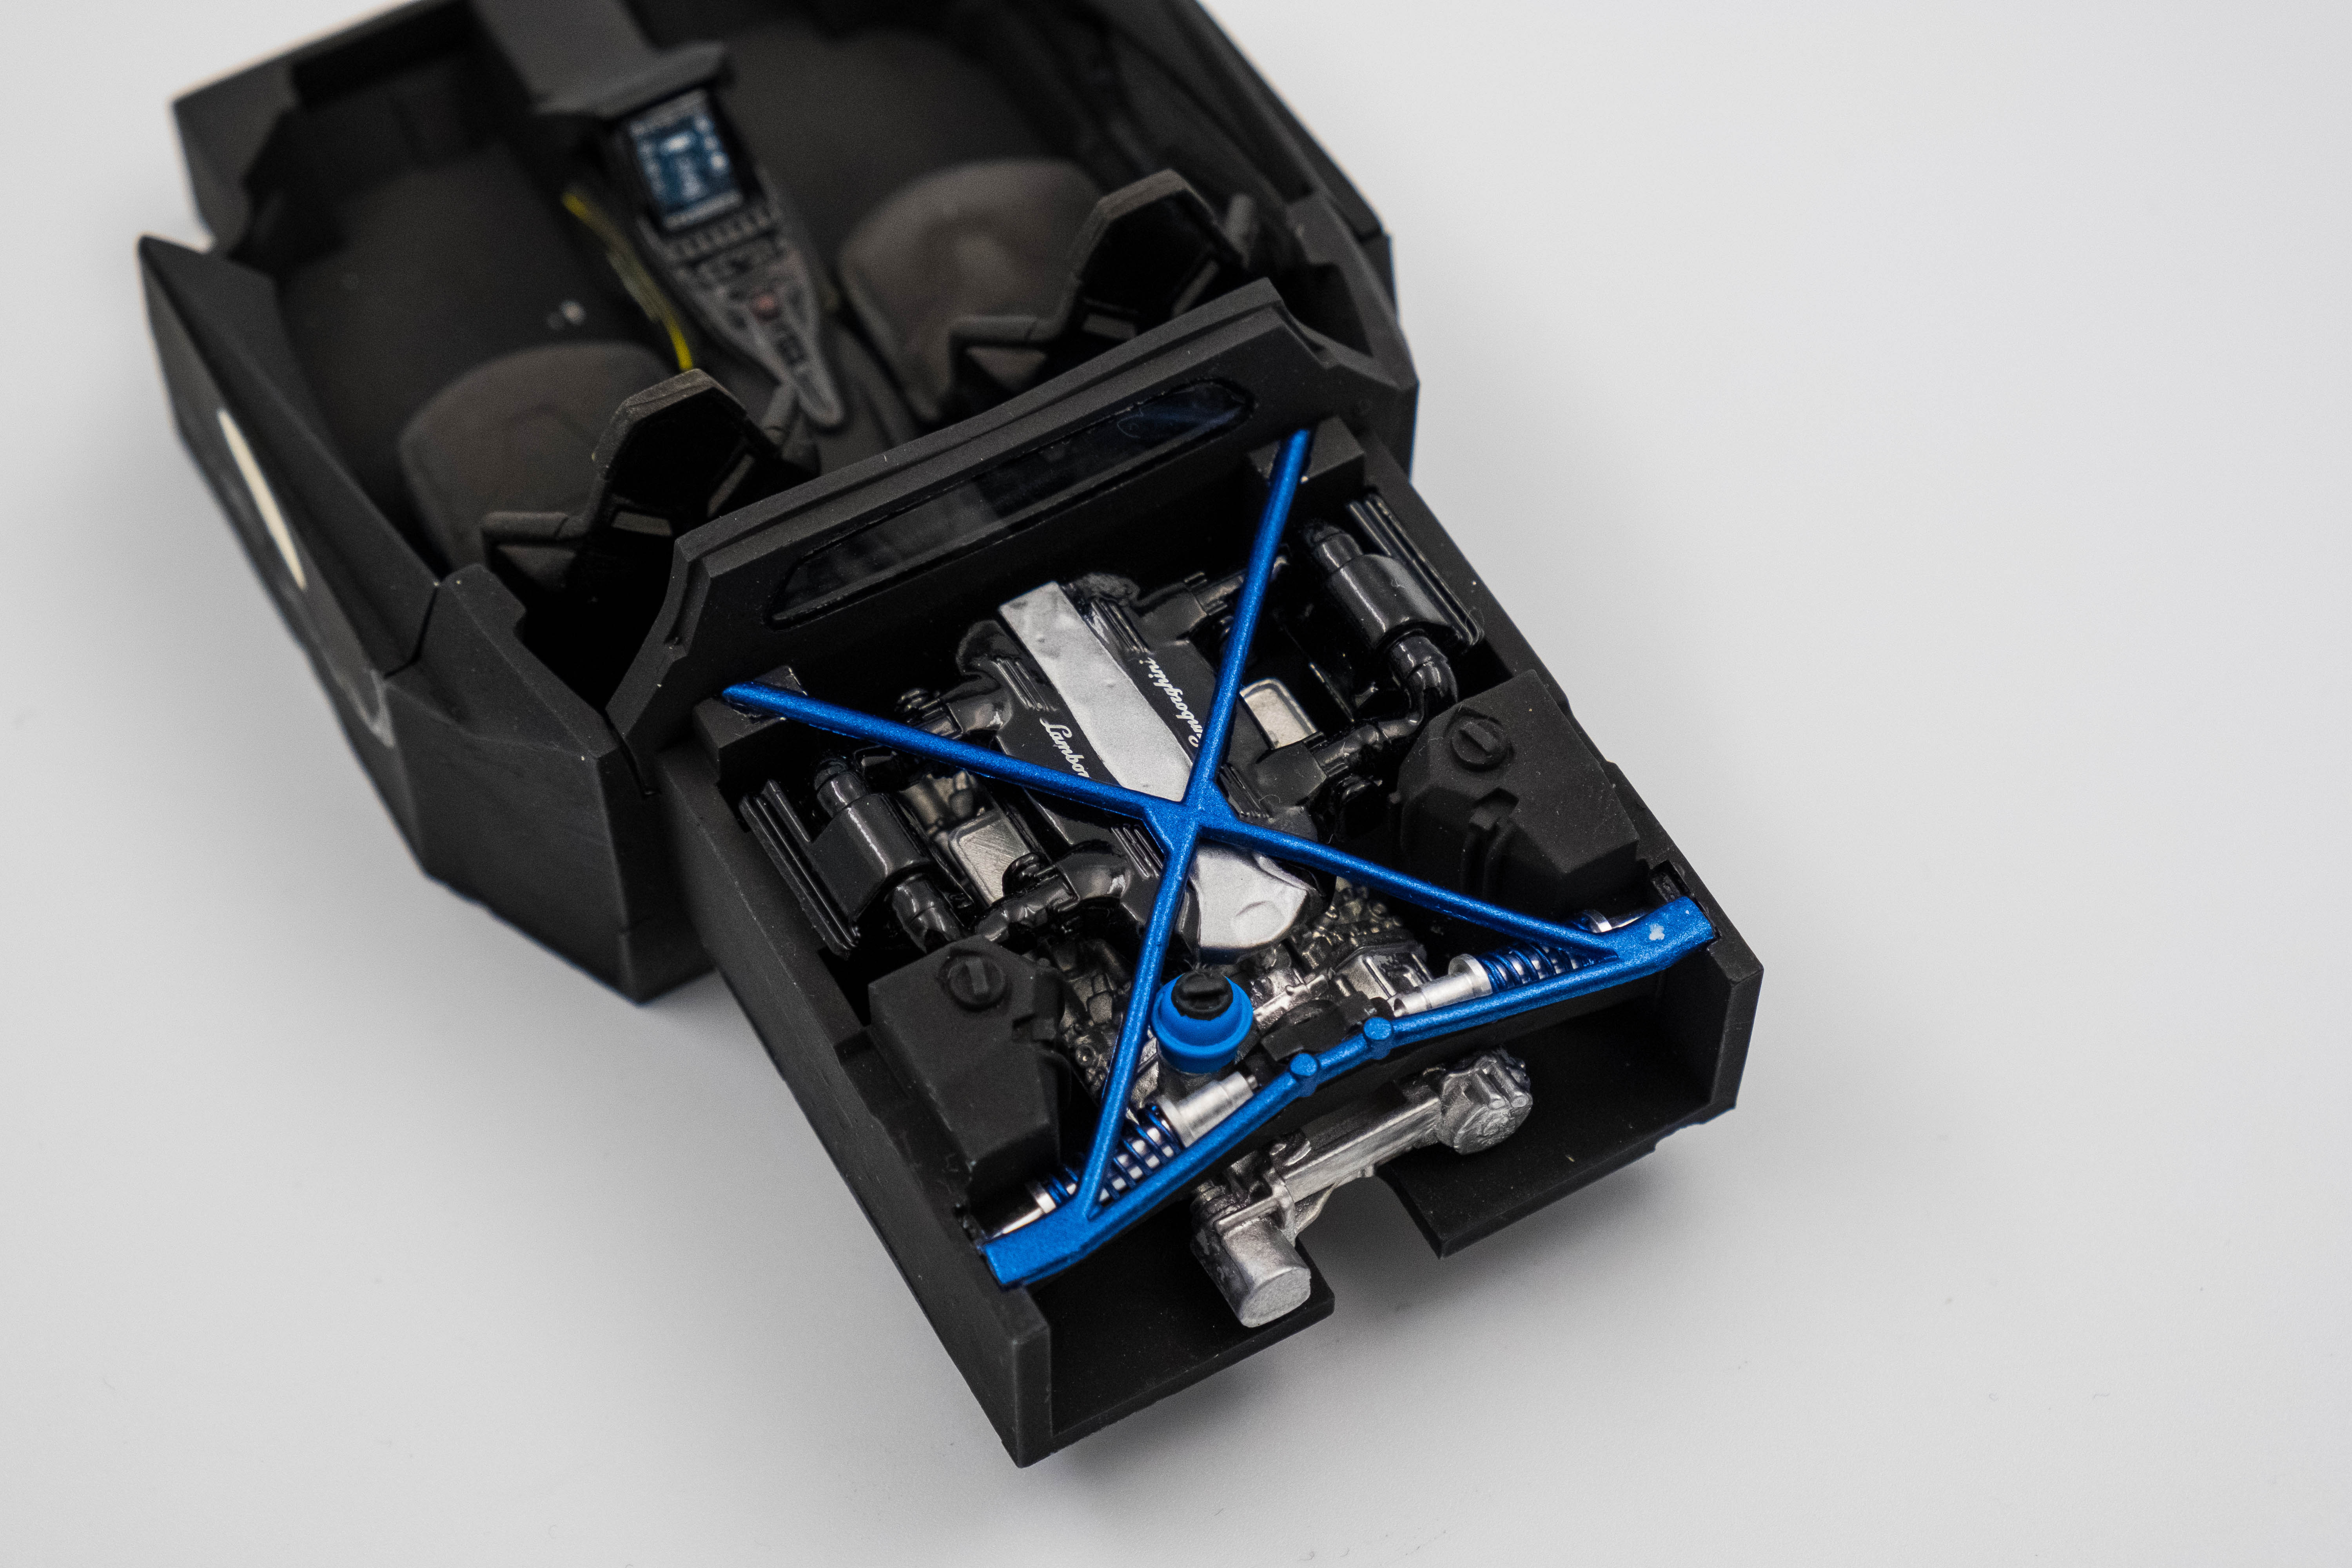
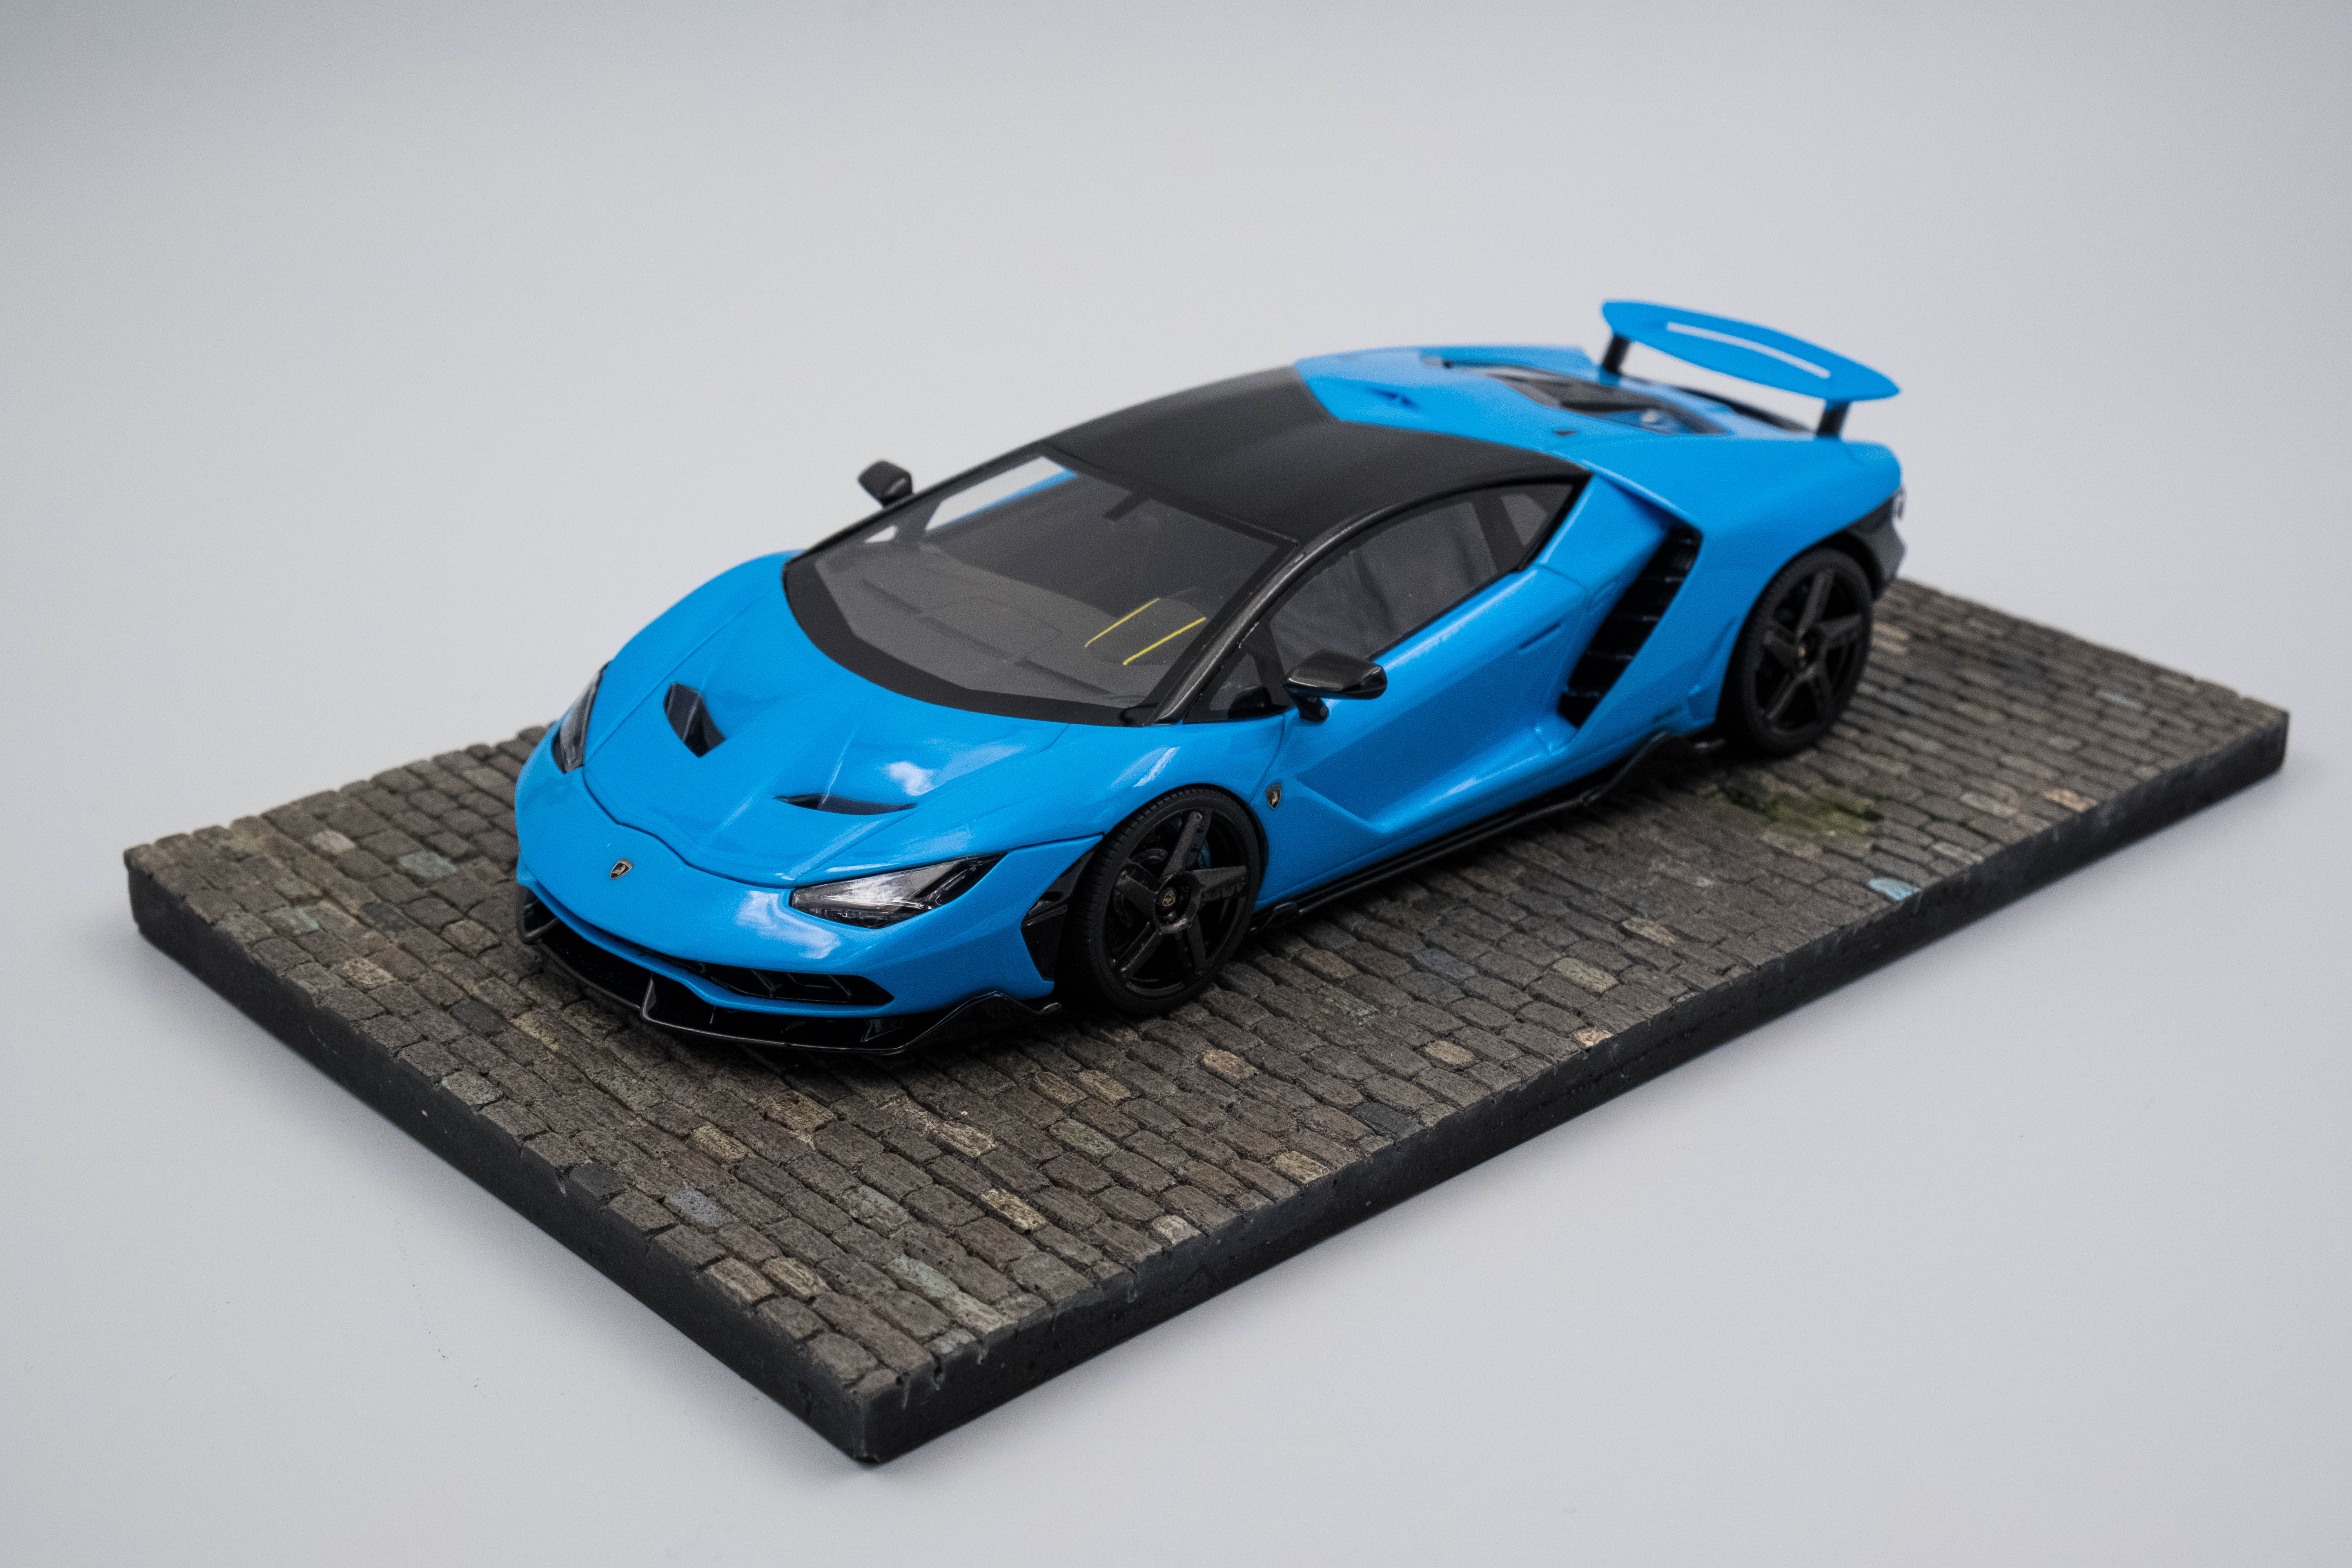
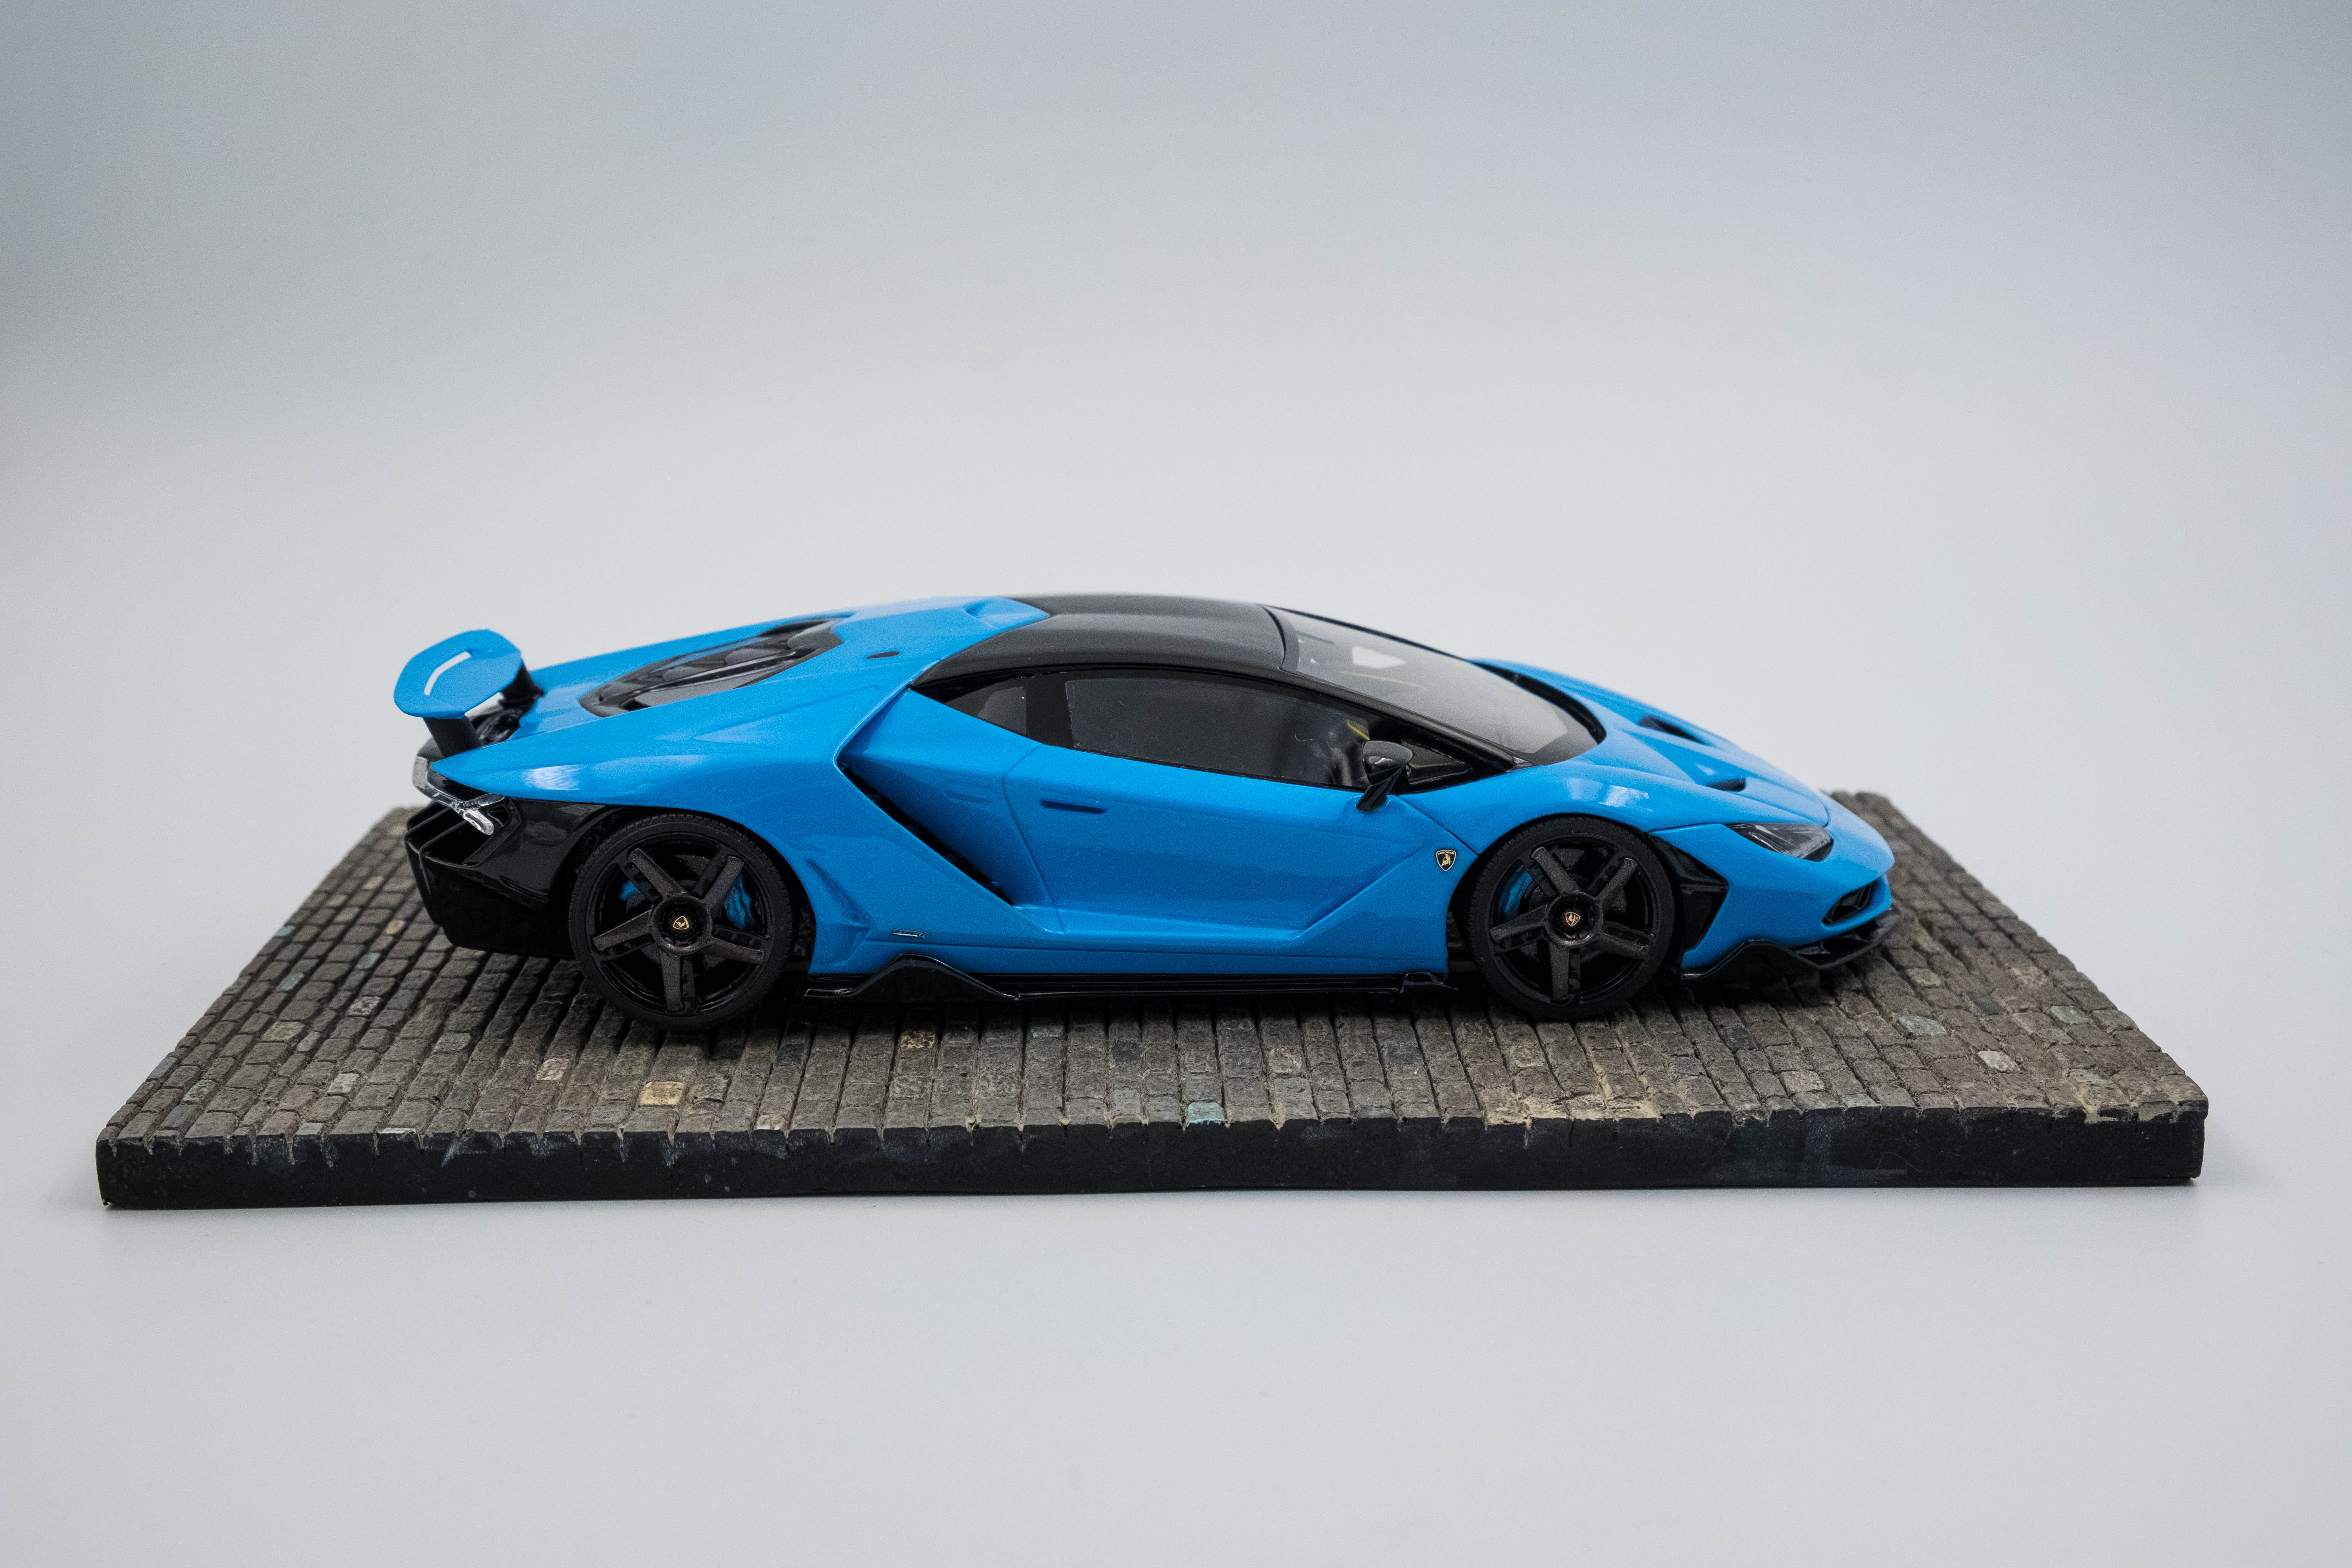
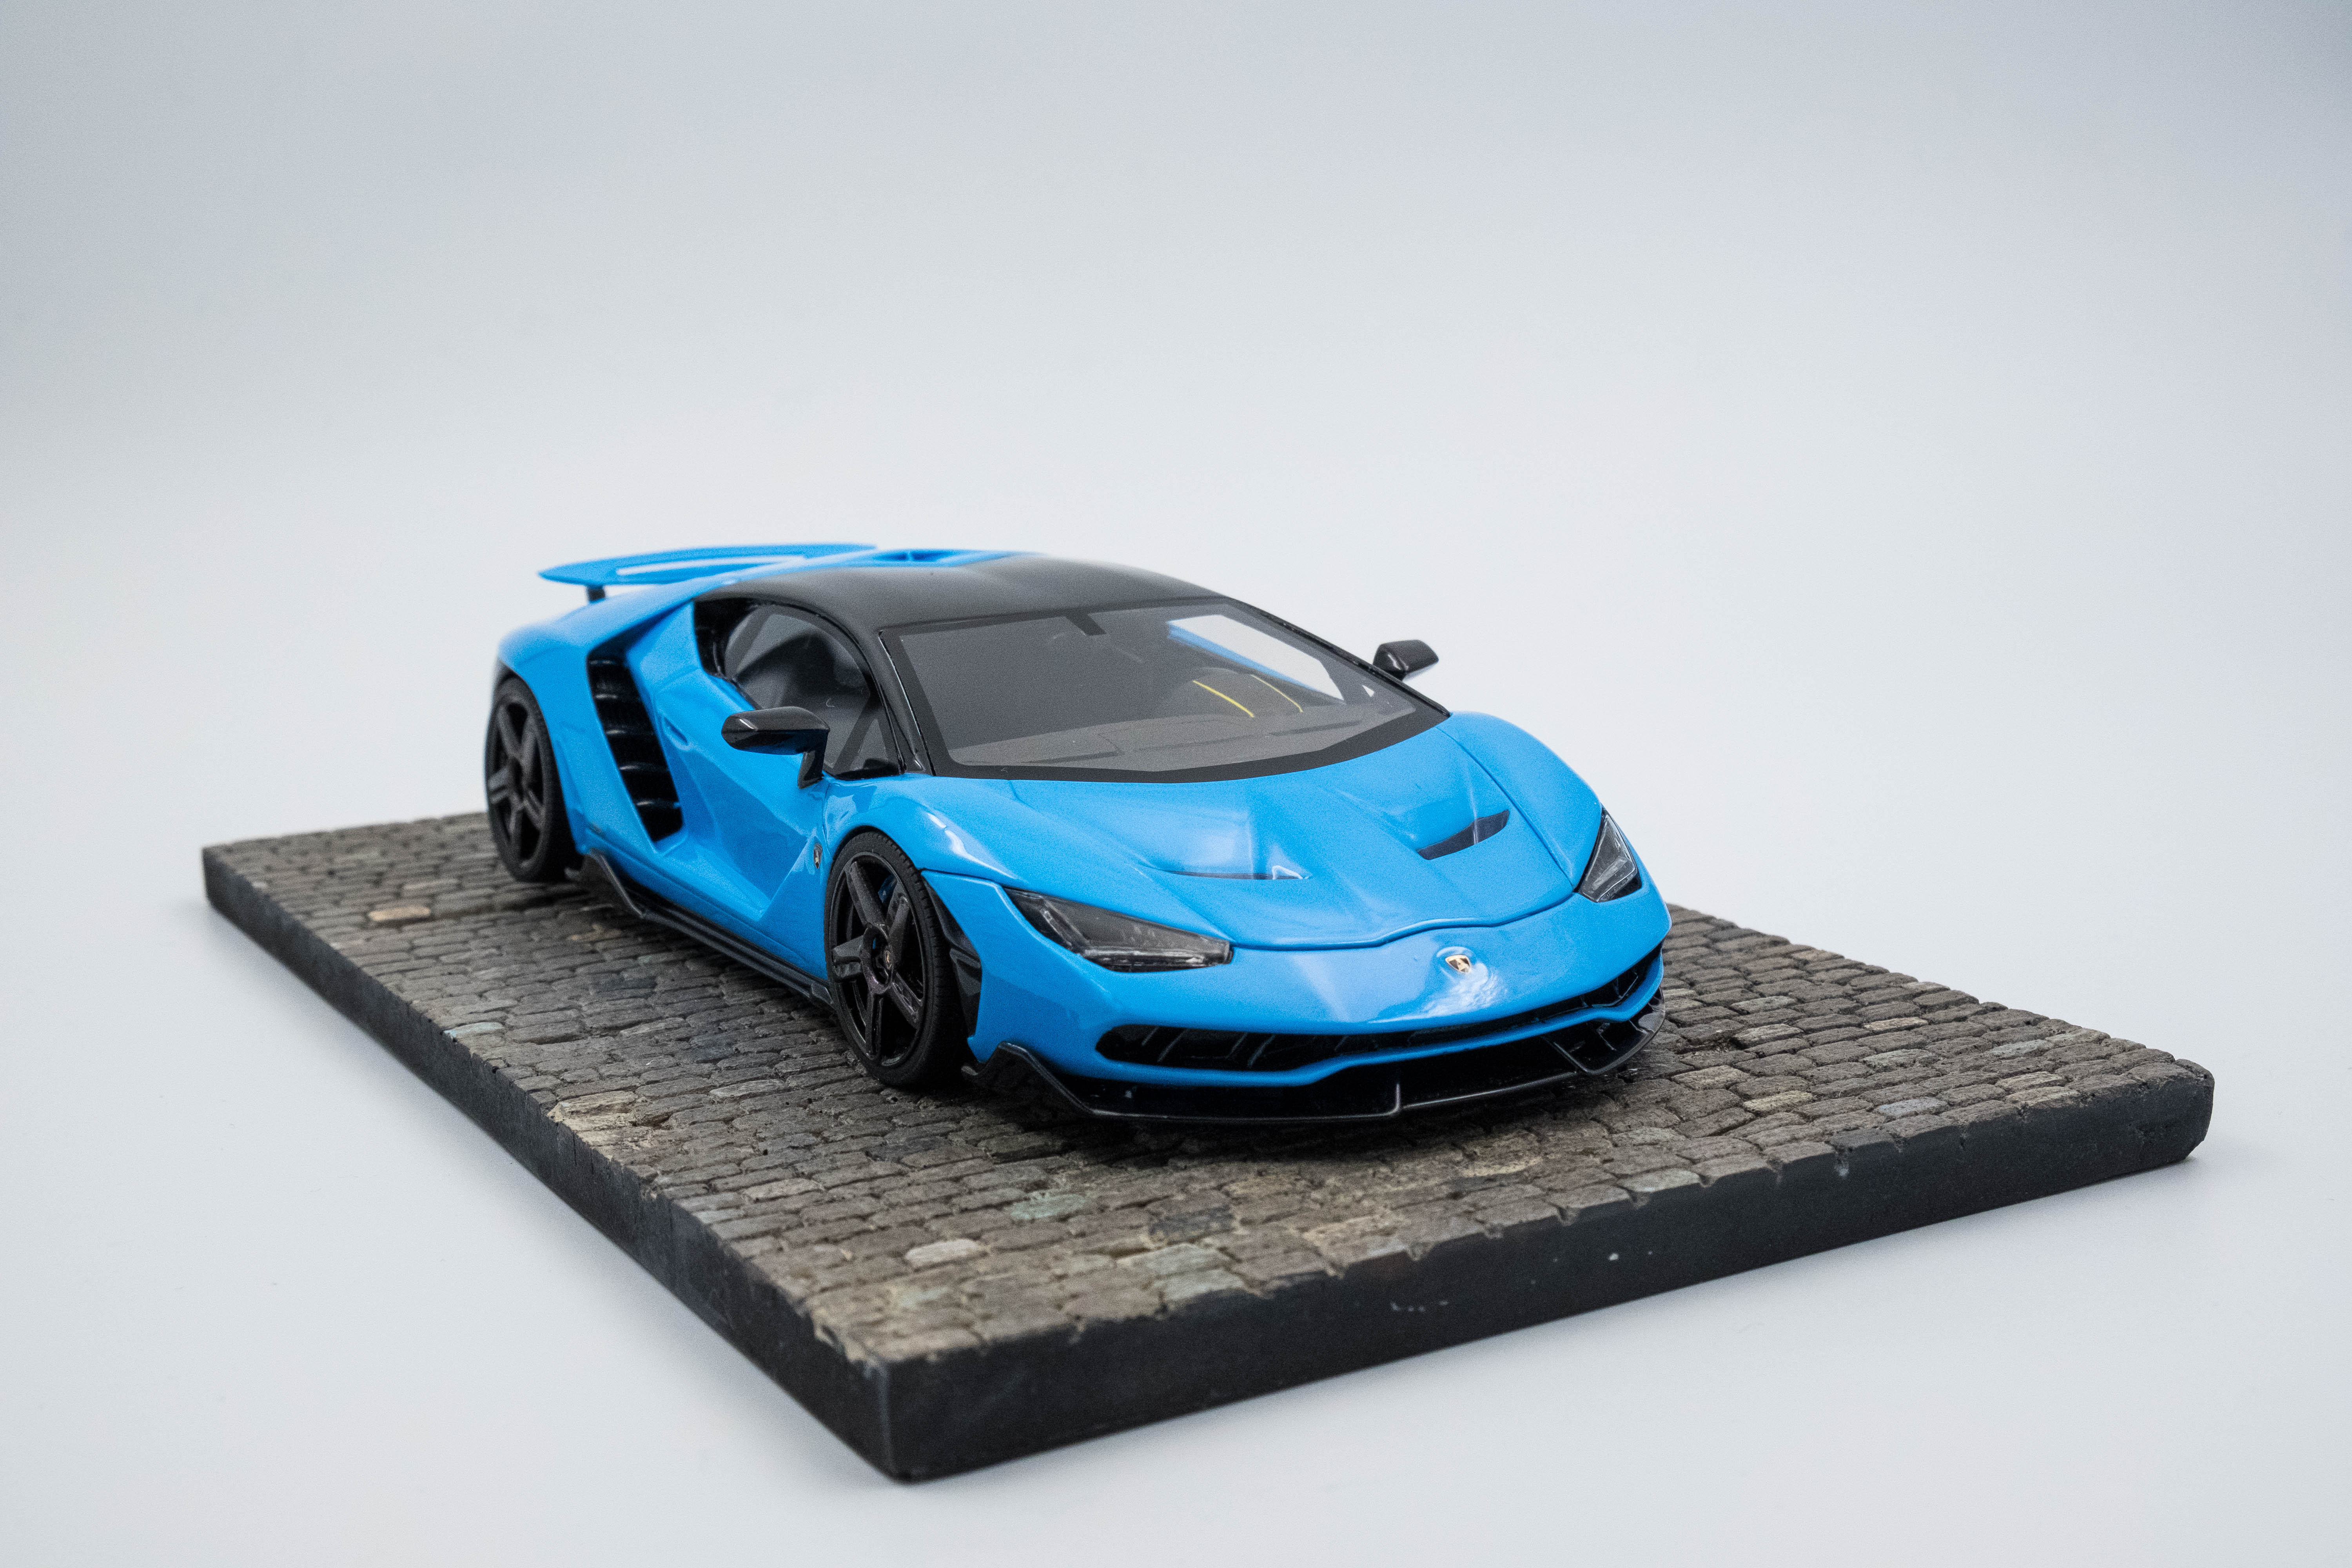
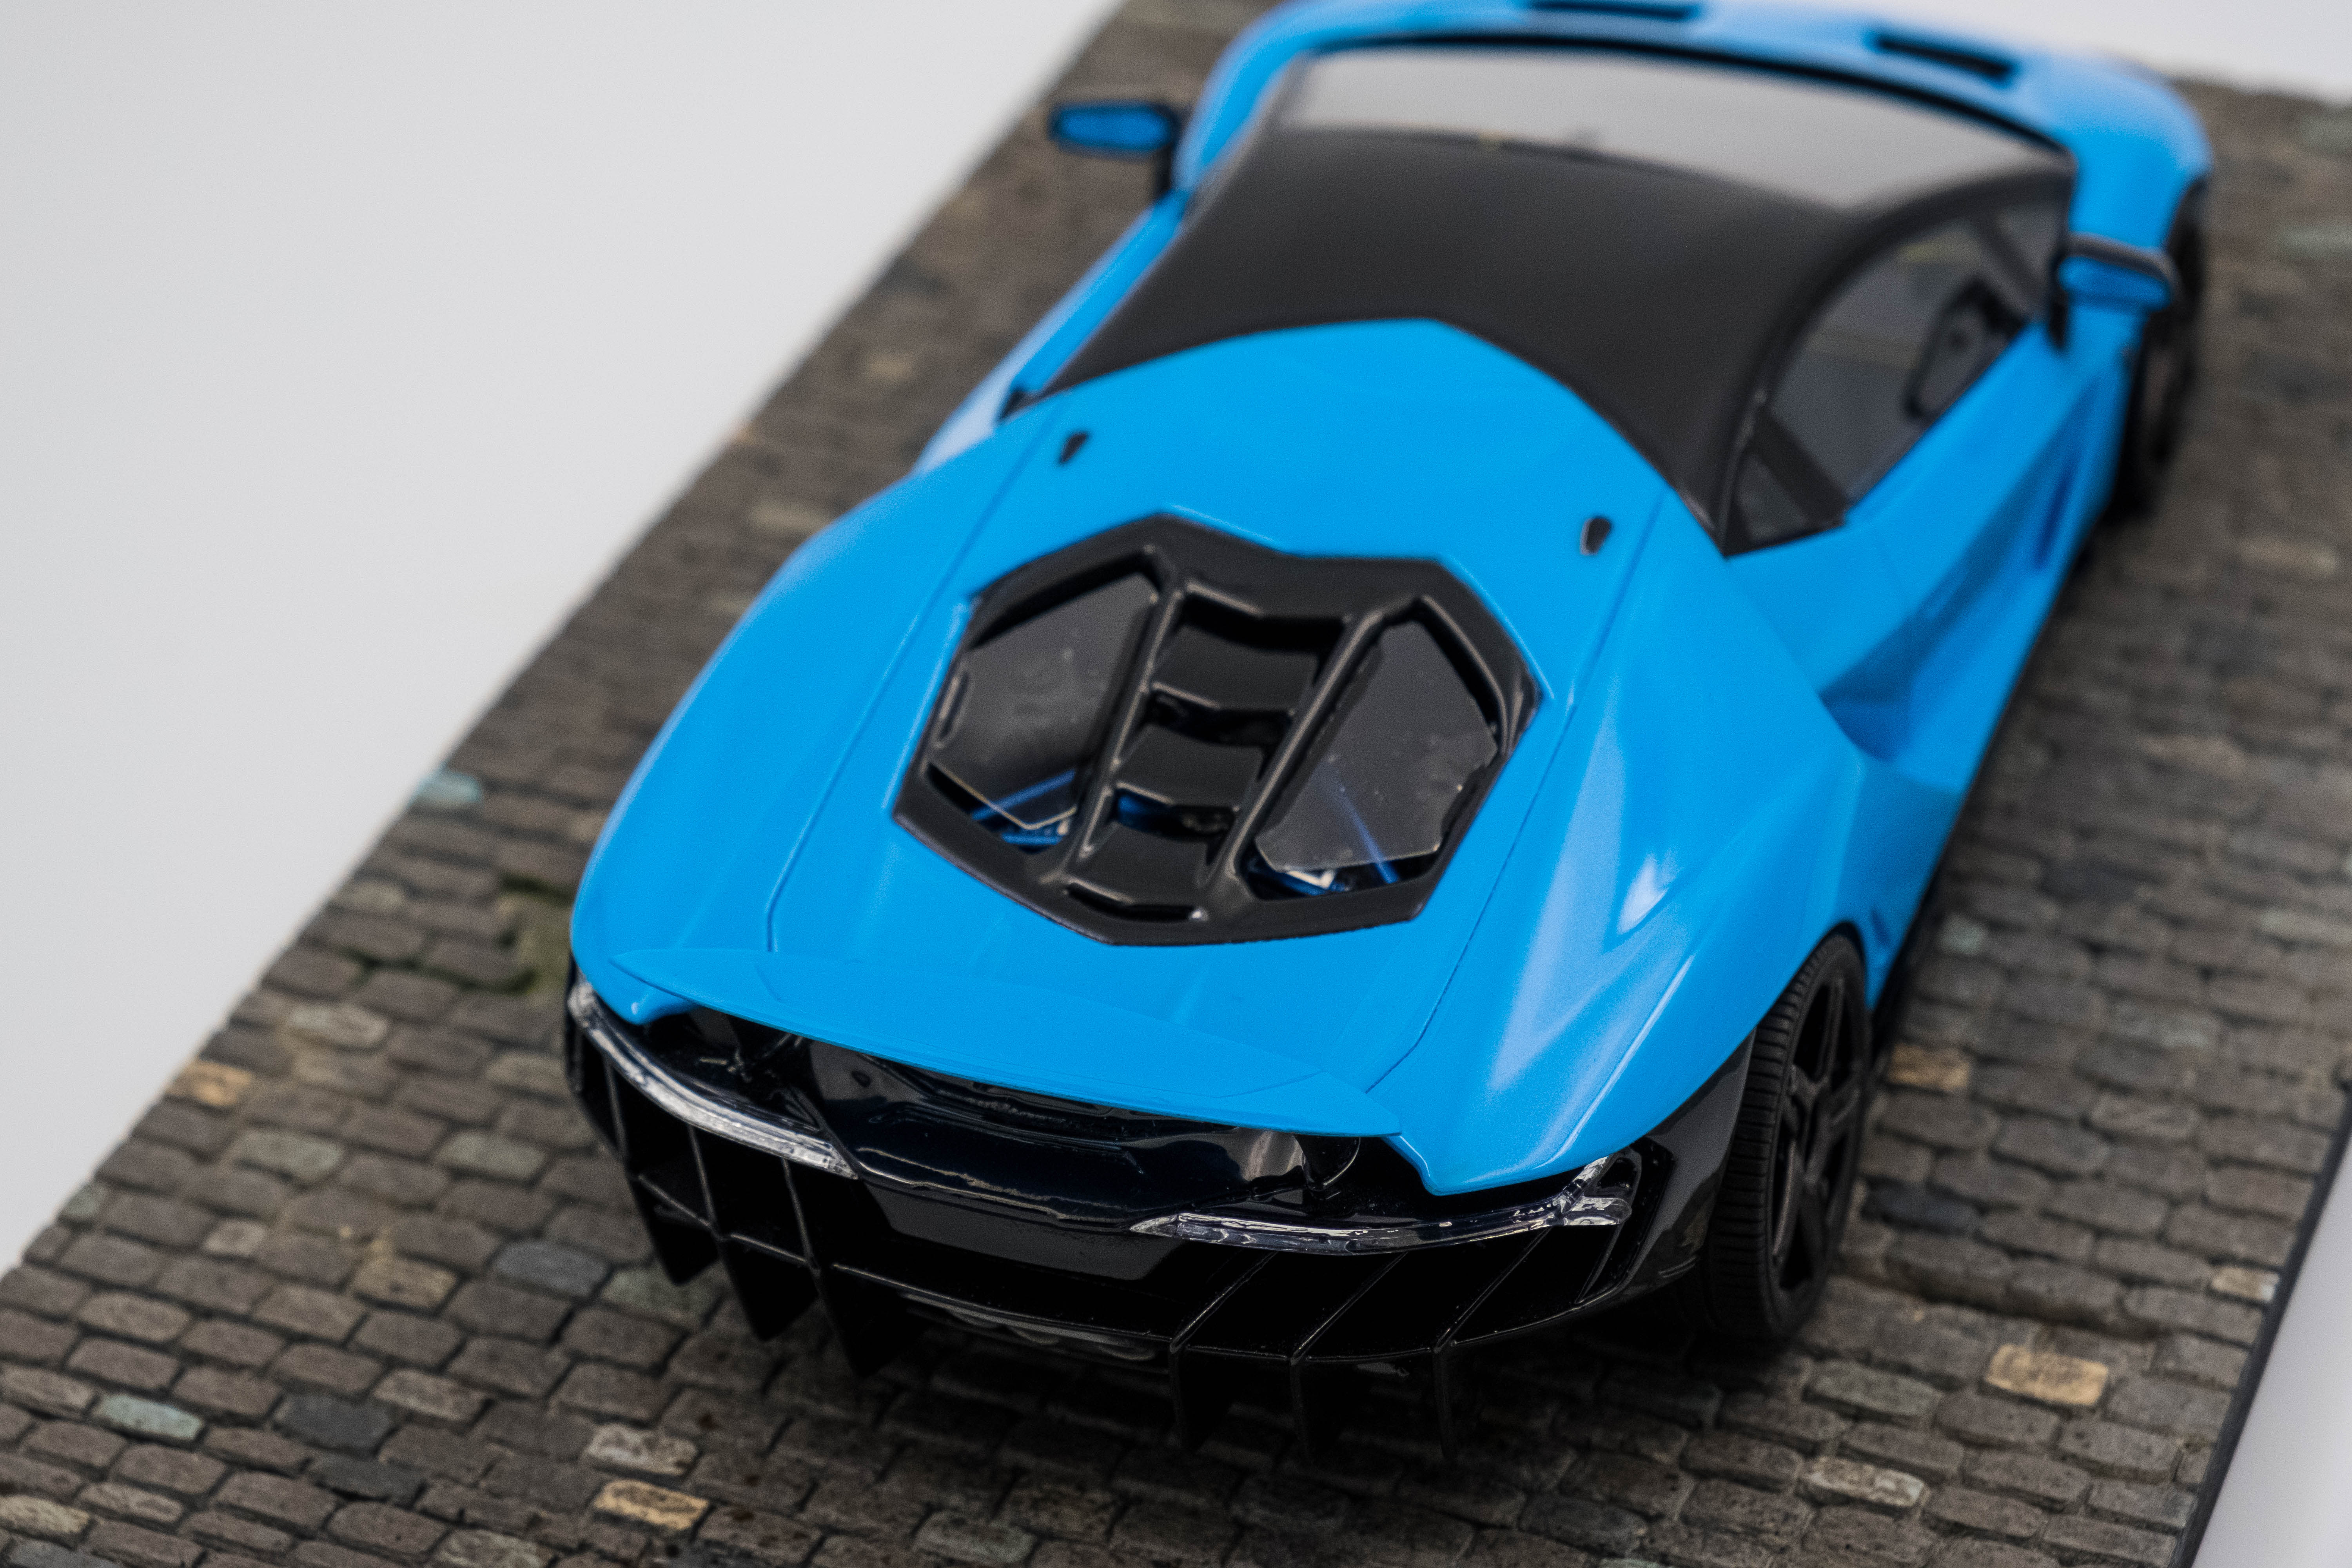
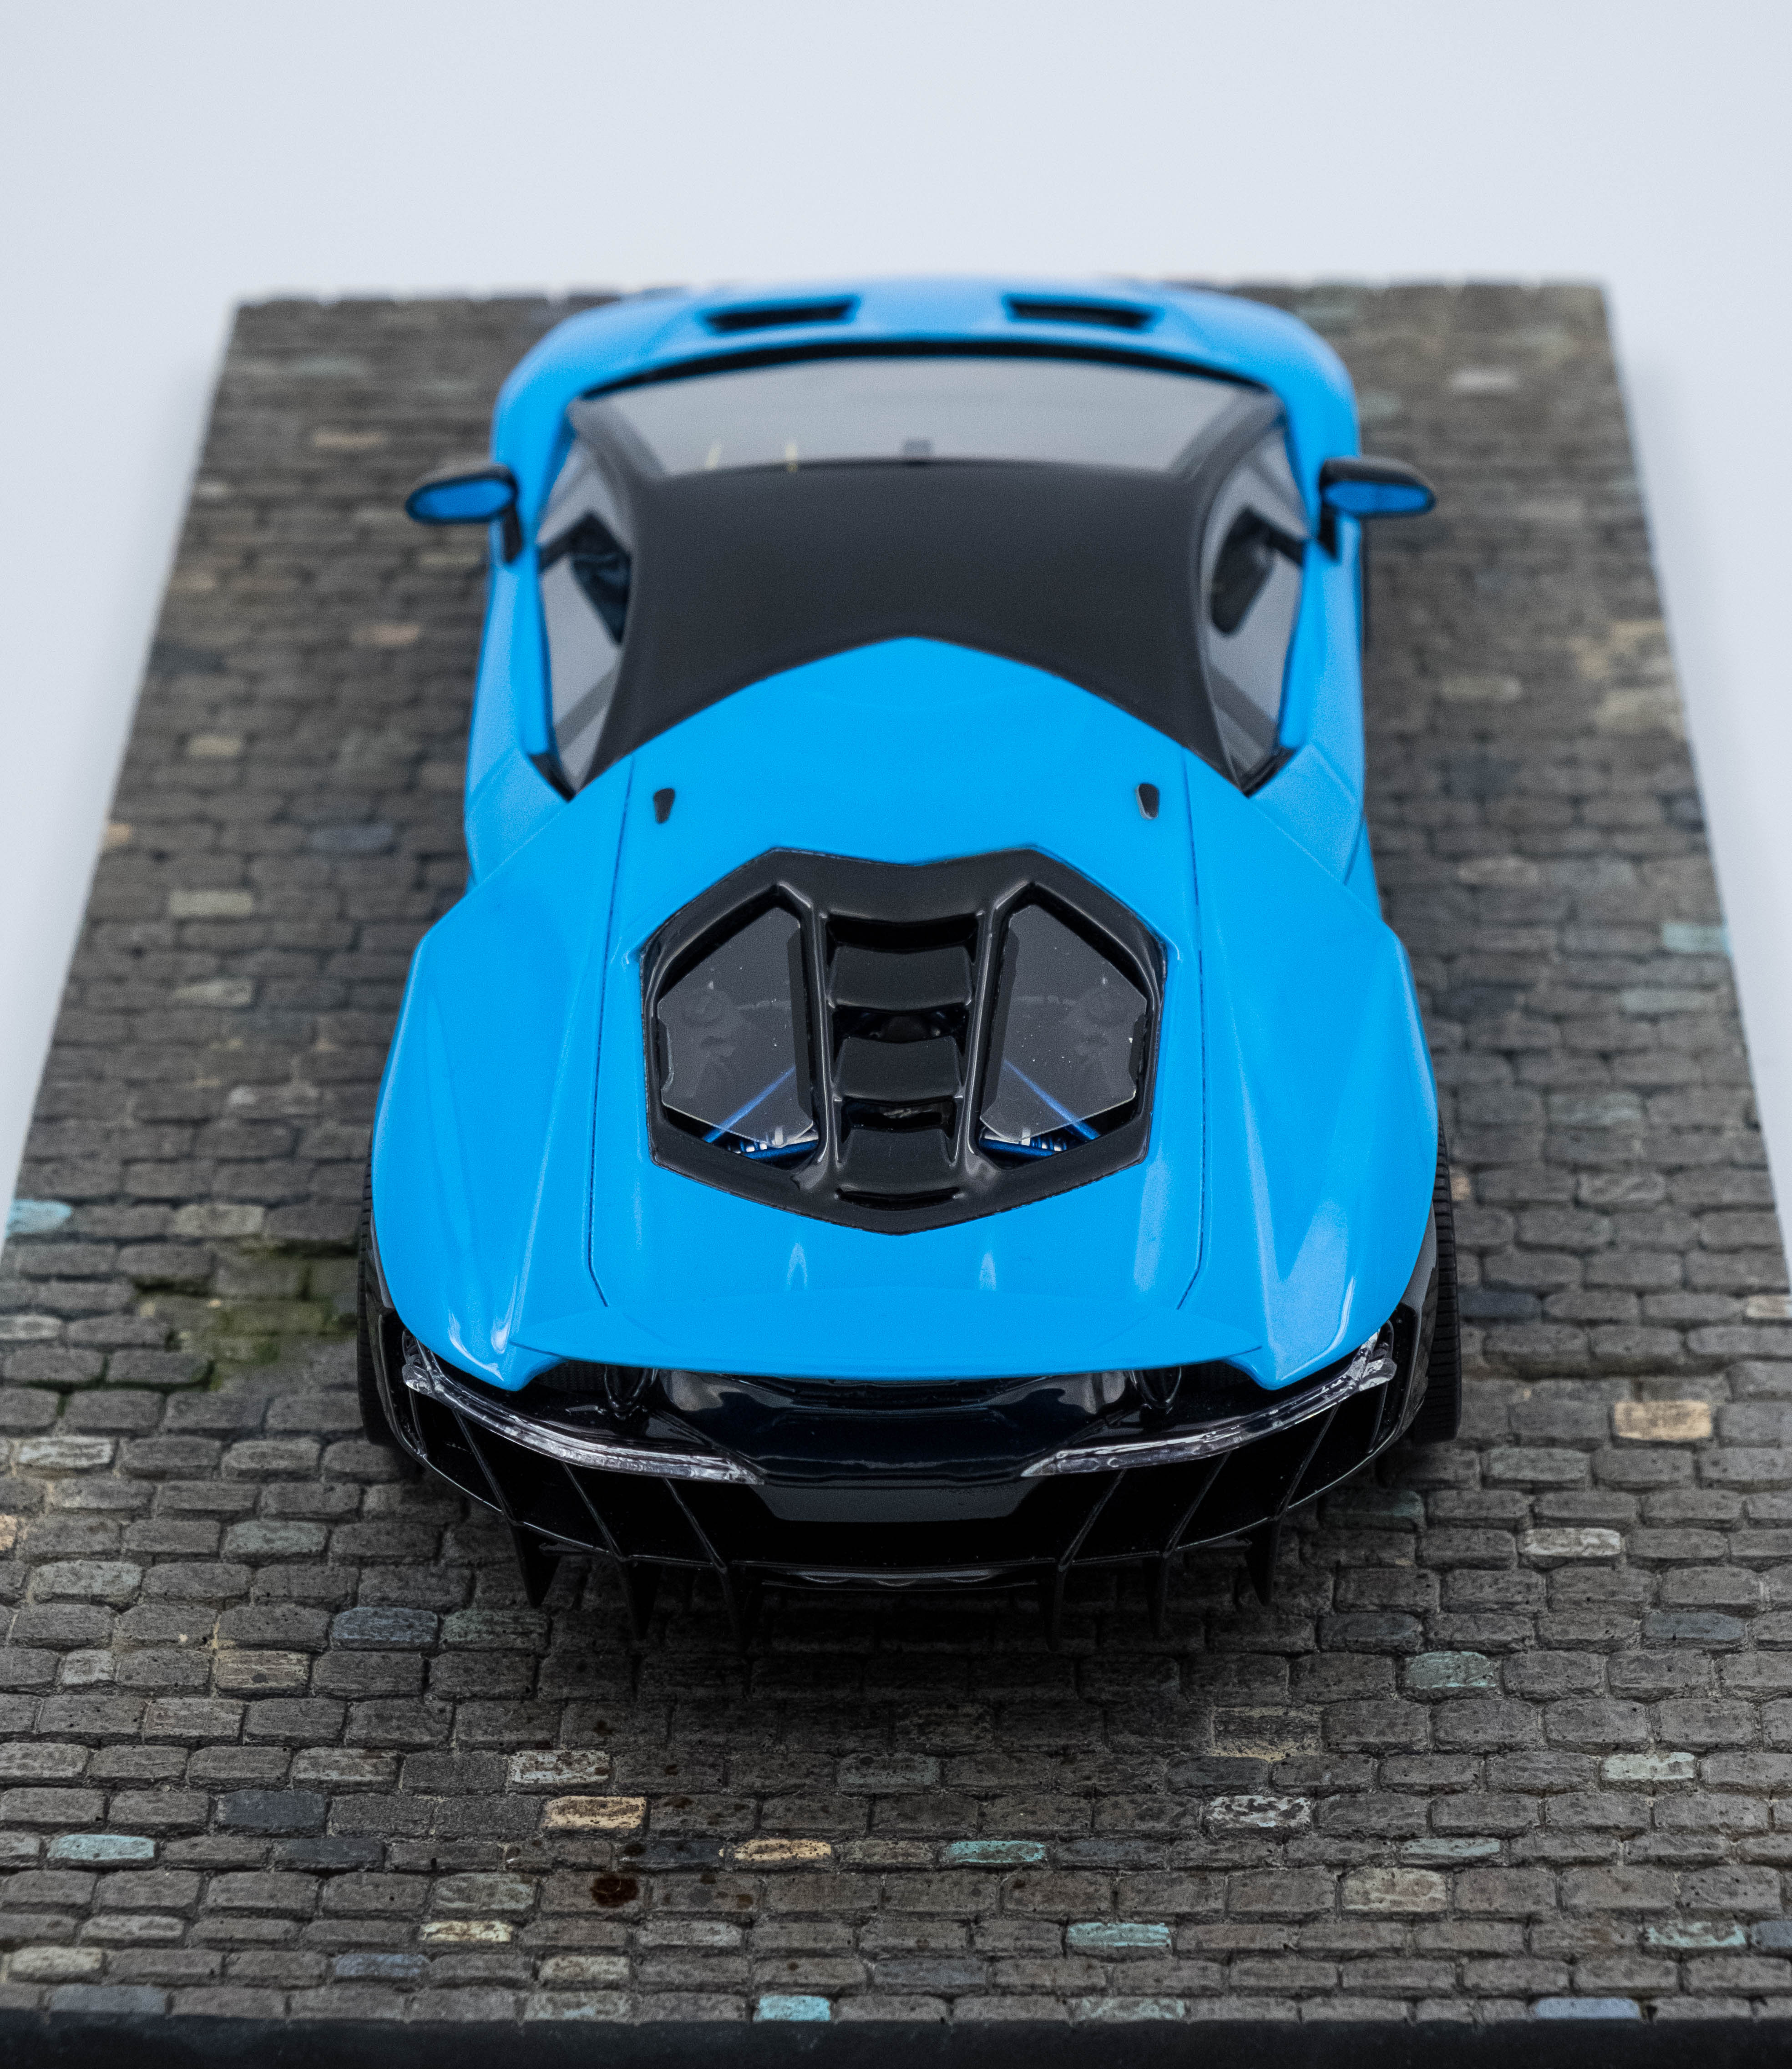
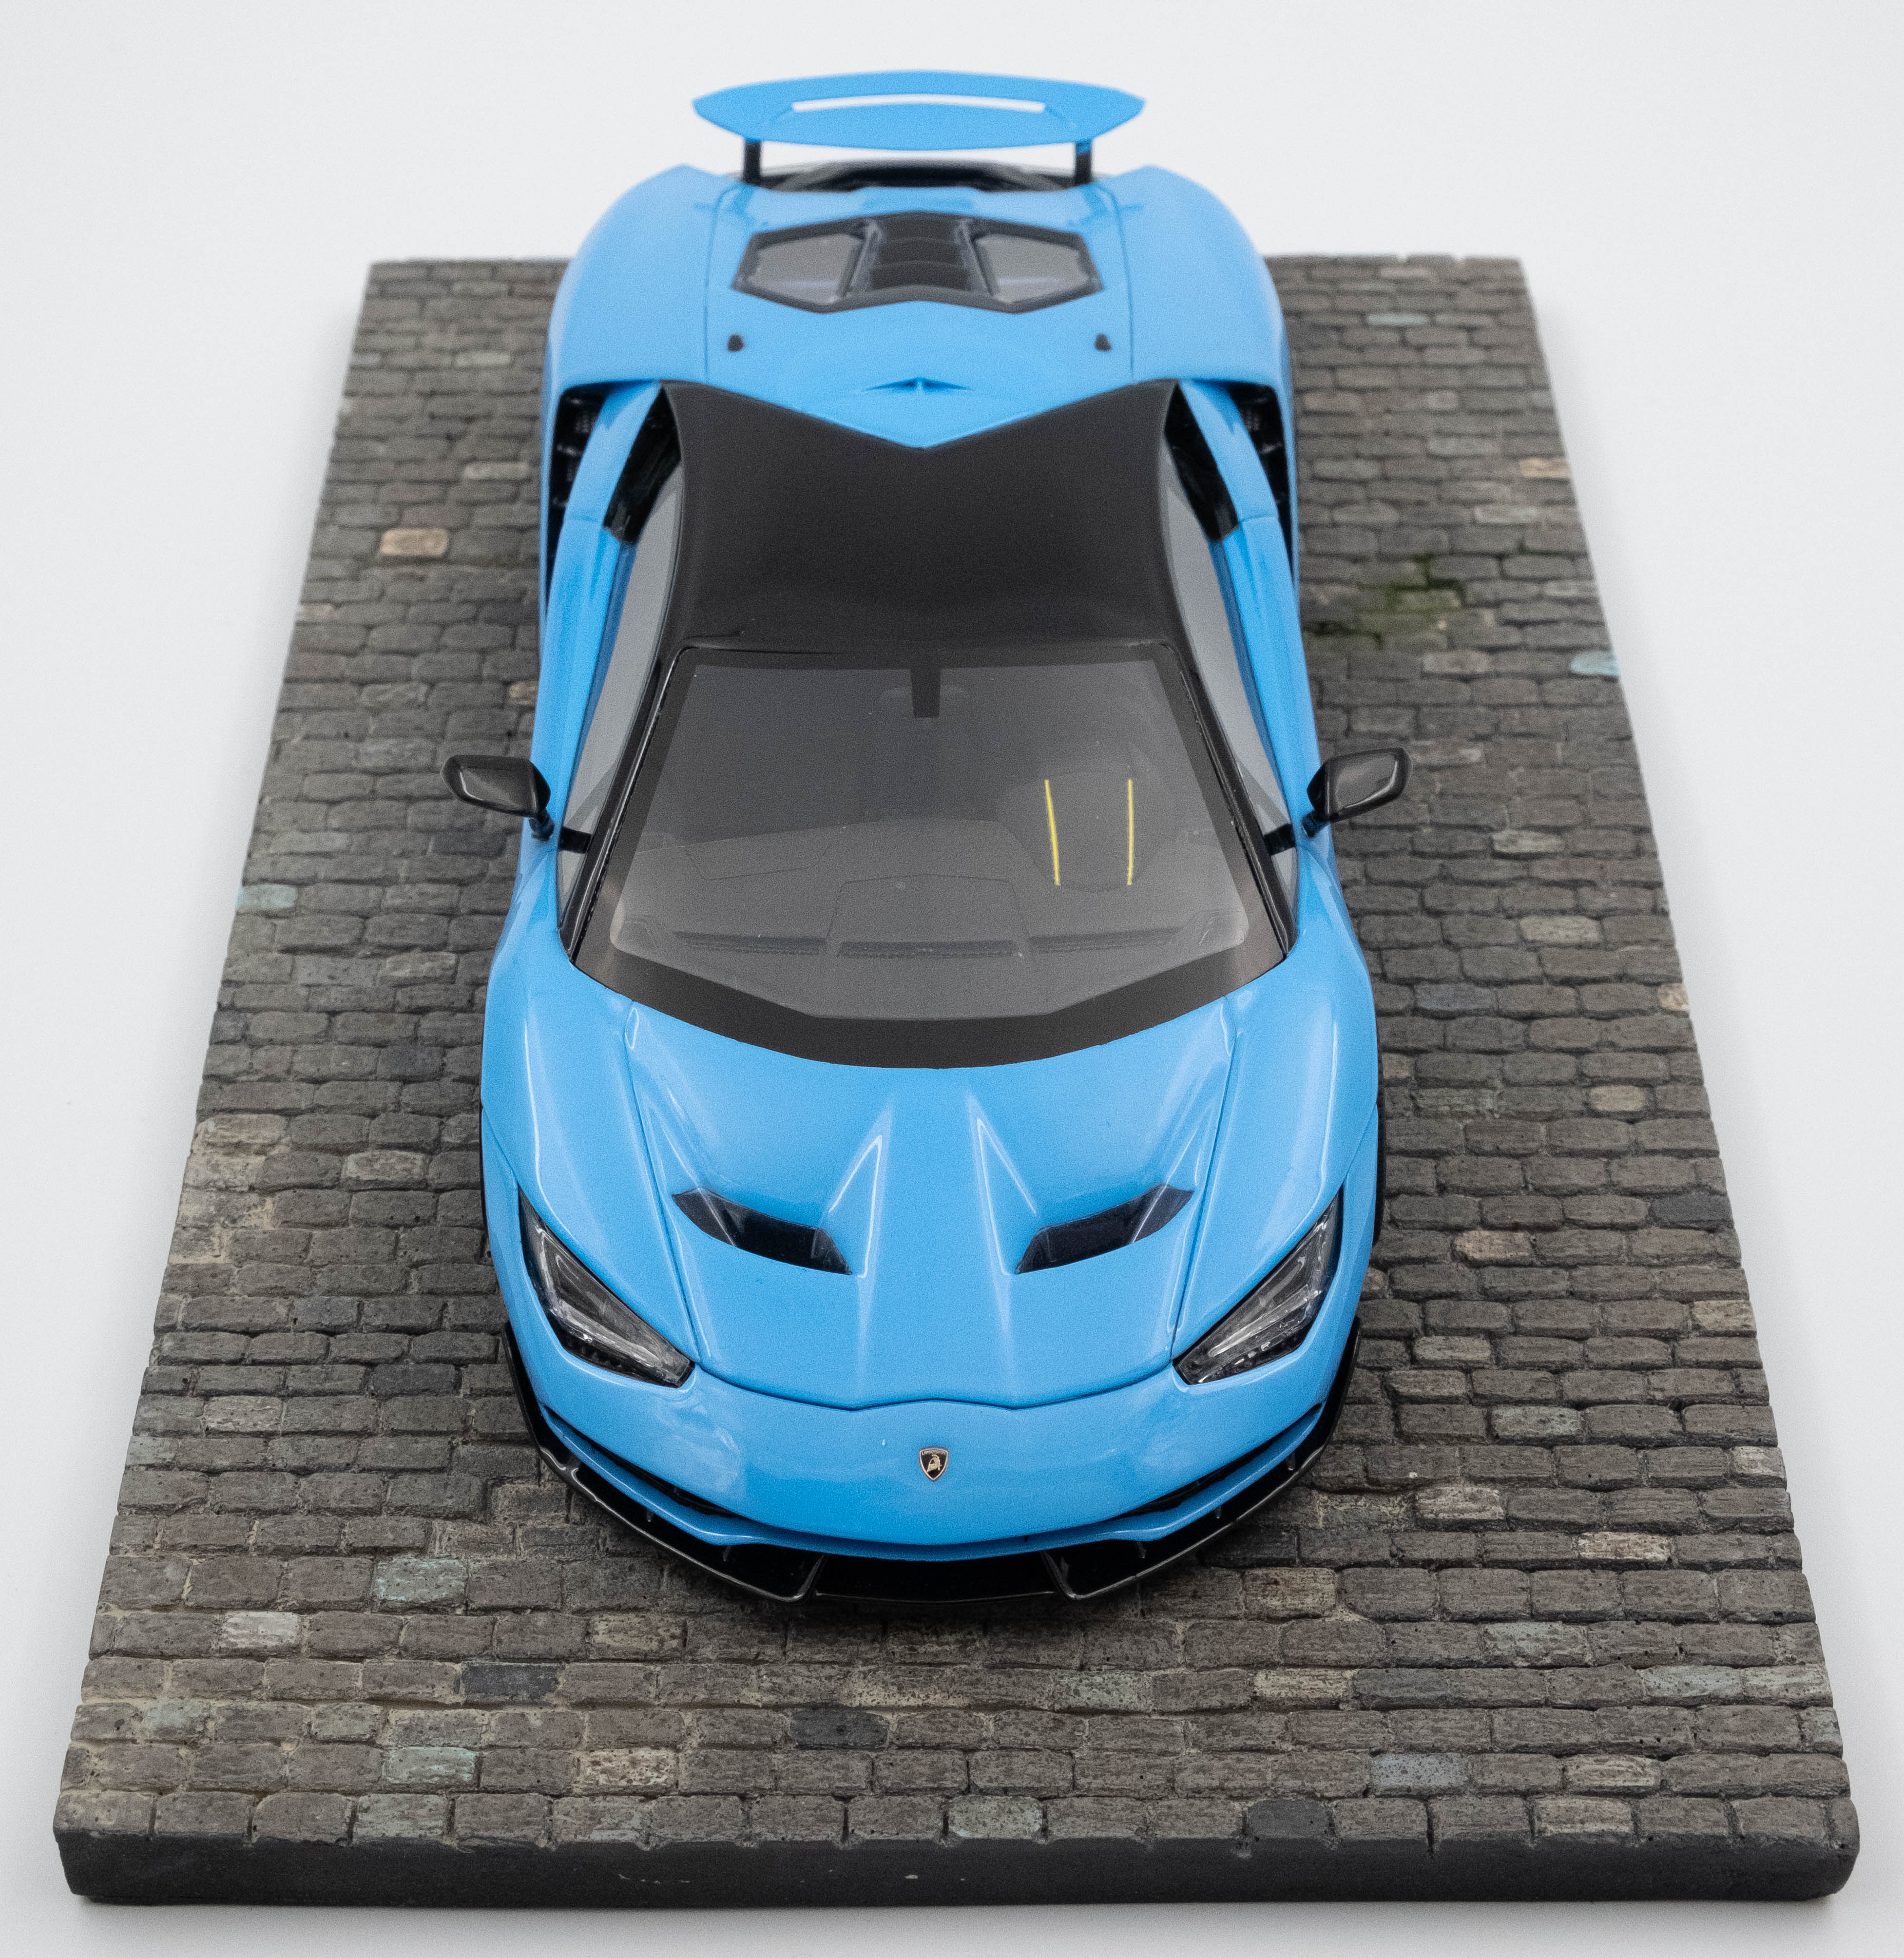
This was my first all-resin kit. It’s Alpha Model’s Centenario, I was quite pleased with some of the assembly choices that were made in the kit as well as the overall fit and finish as I’ve seen some vary laborious resin kits out there.
Let’s get into building the car
Before I had gotten my hands on the kit, I knew I wanted to do “Blu Cepheus” and I think it fits the car perfectly.
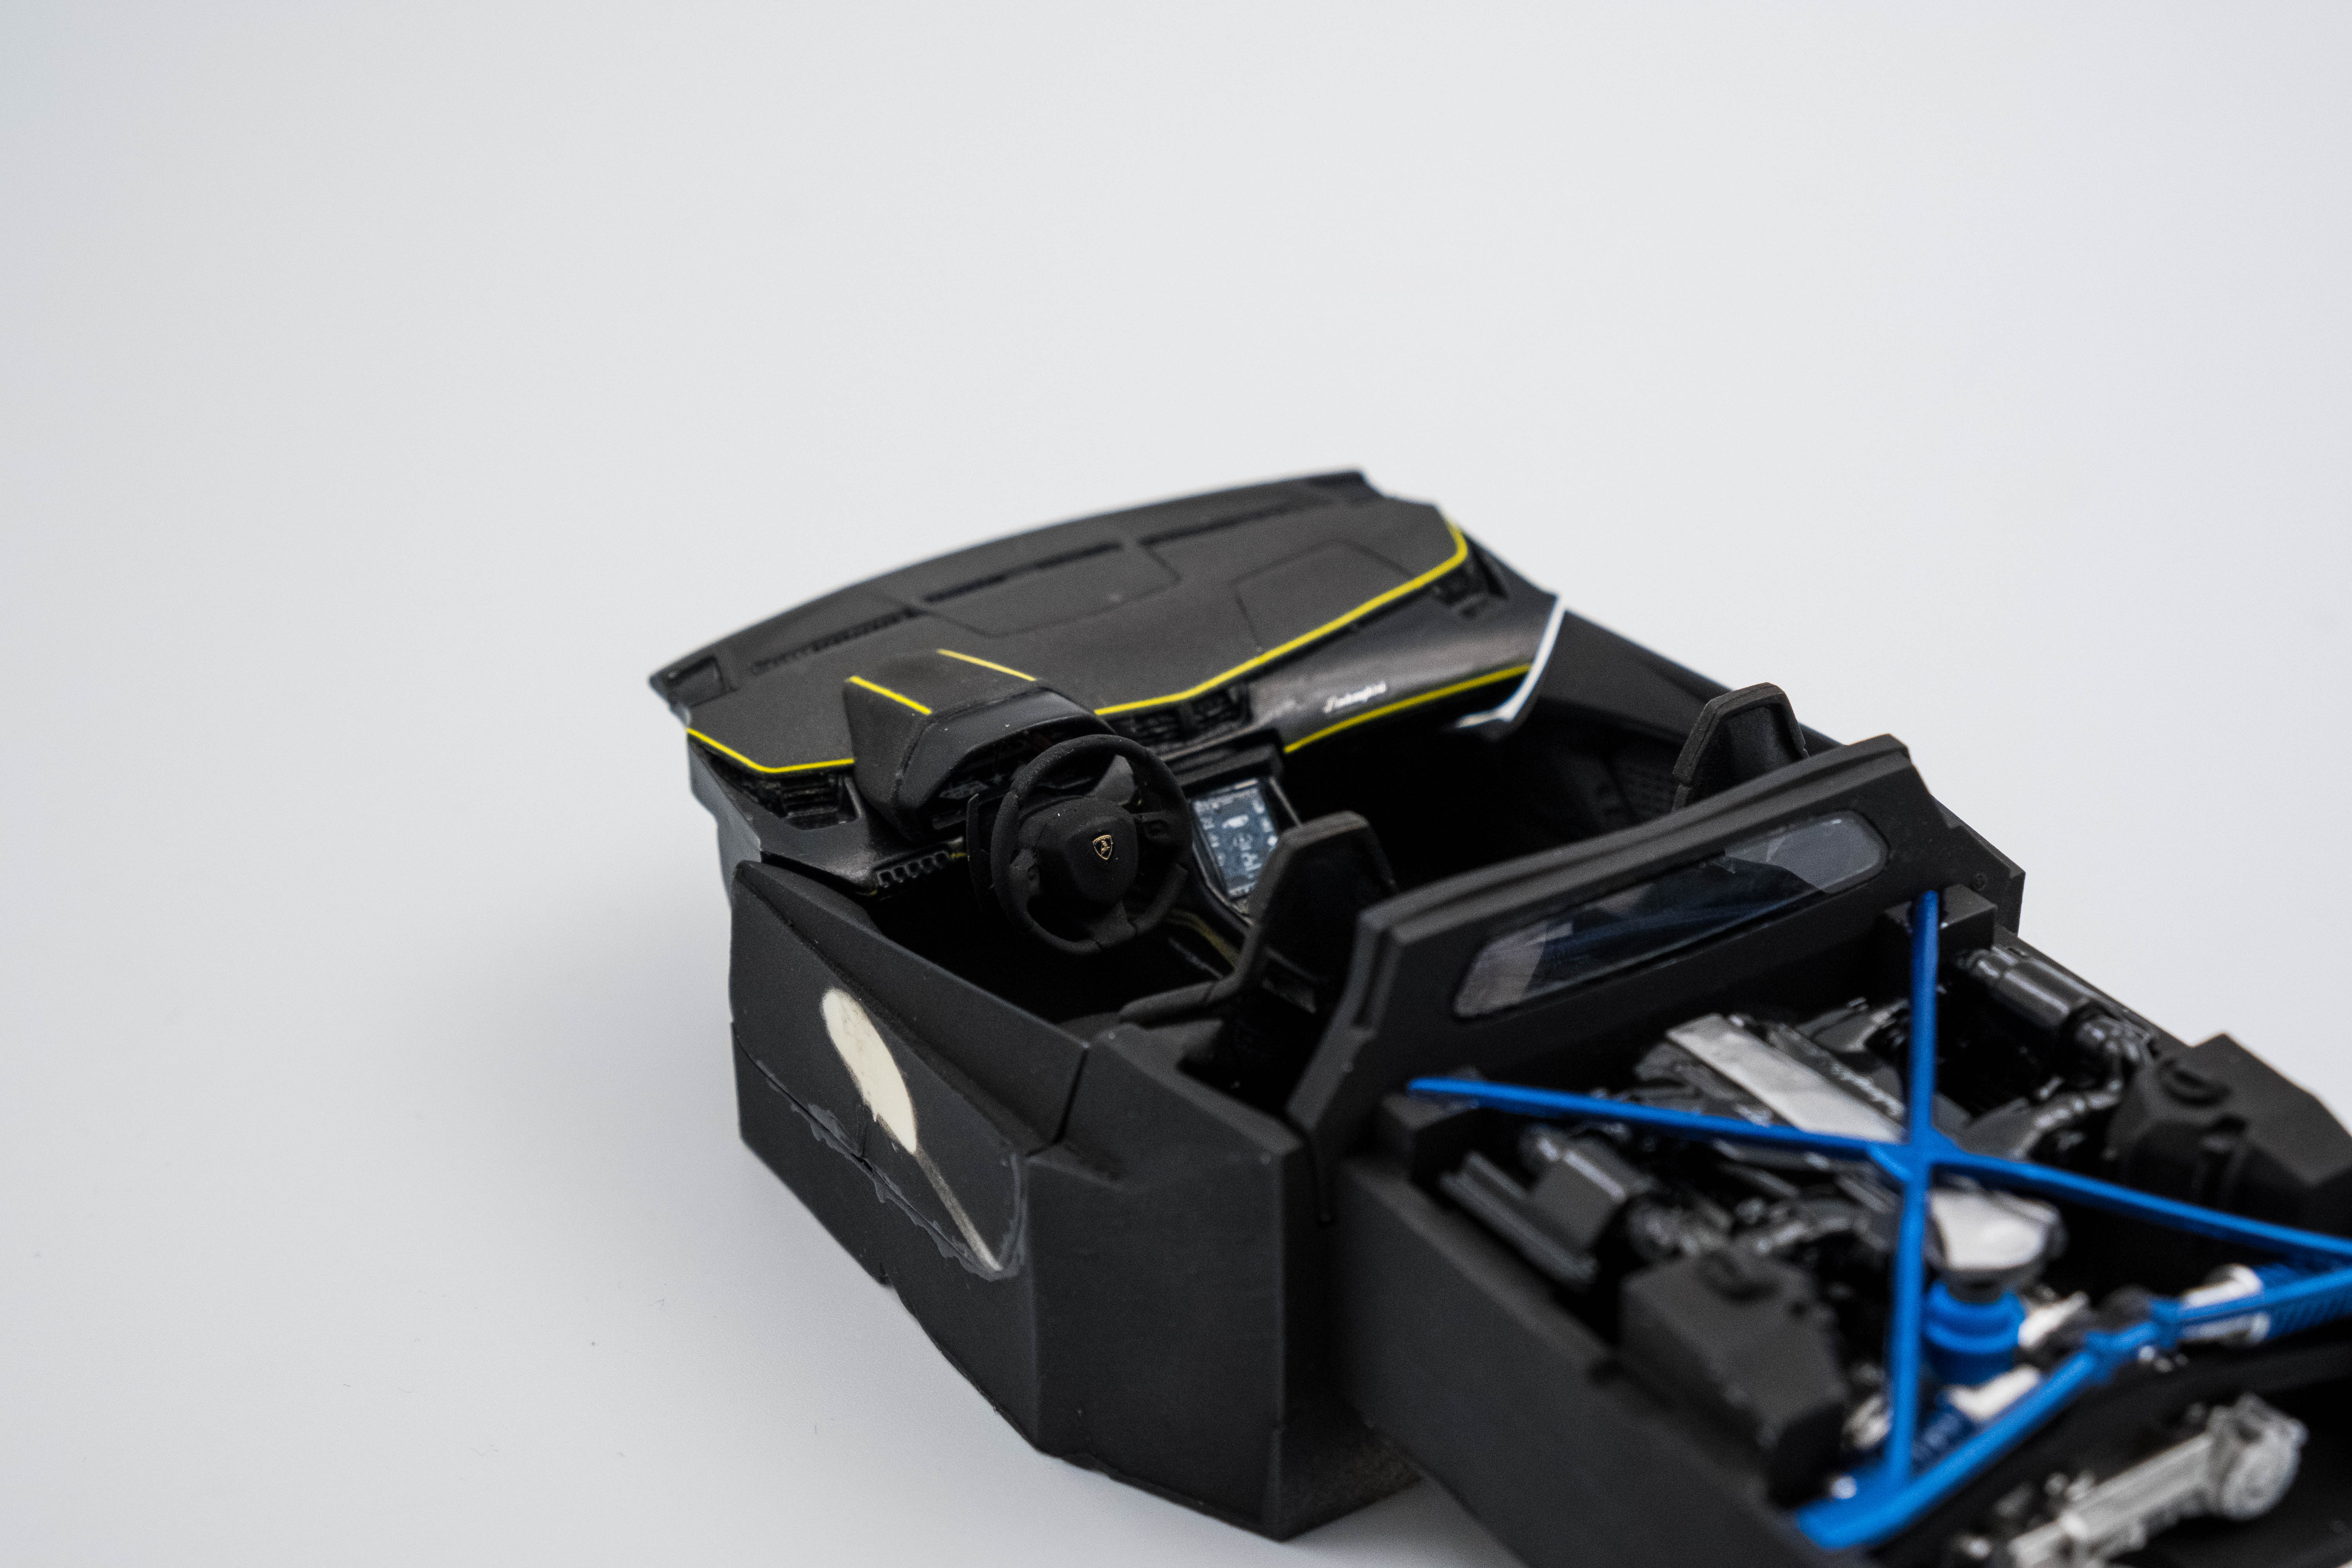
The kit provides the yellow accent decals that are on the yellow or black Centenarios, but gives no option for other colors so keep this in mind. I’m not crazy about the accents, but I decided to fire up Illustrator to try and create them in blue for this car. I thought my white background decal paper would work, but alas, it turns out you really need a printer that can print white to have the full vibrancy of color, especially when placing the decals over black.
At this point I decided to forgo the accents altogether on the exterior as the car looks cleaner without them.
Stay tuned for round 2 where I’ll put the car on a base.
1 Like
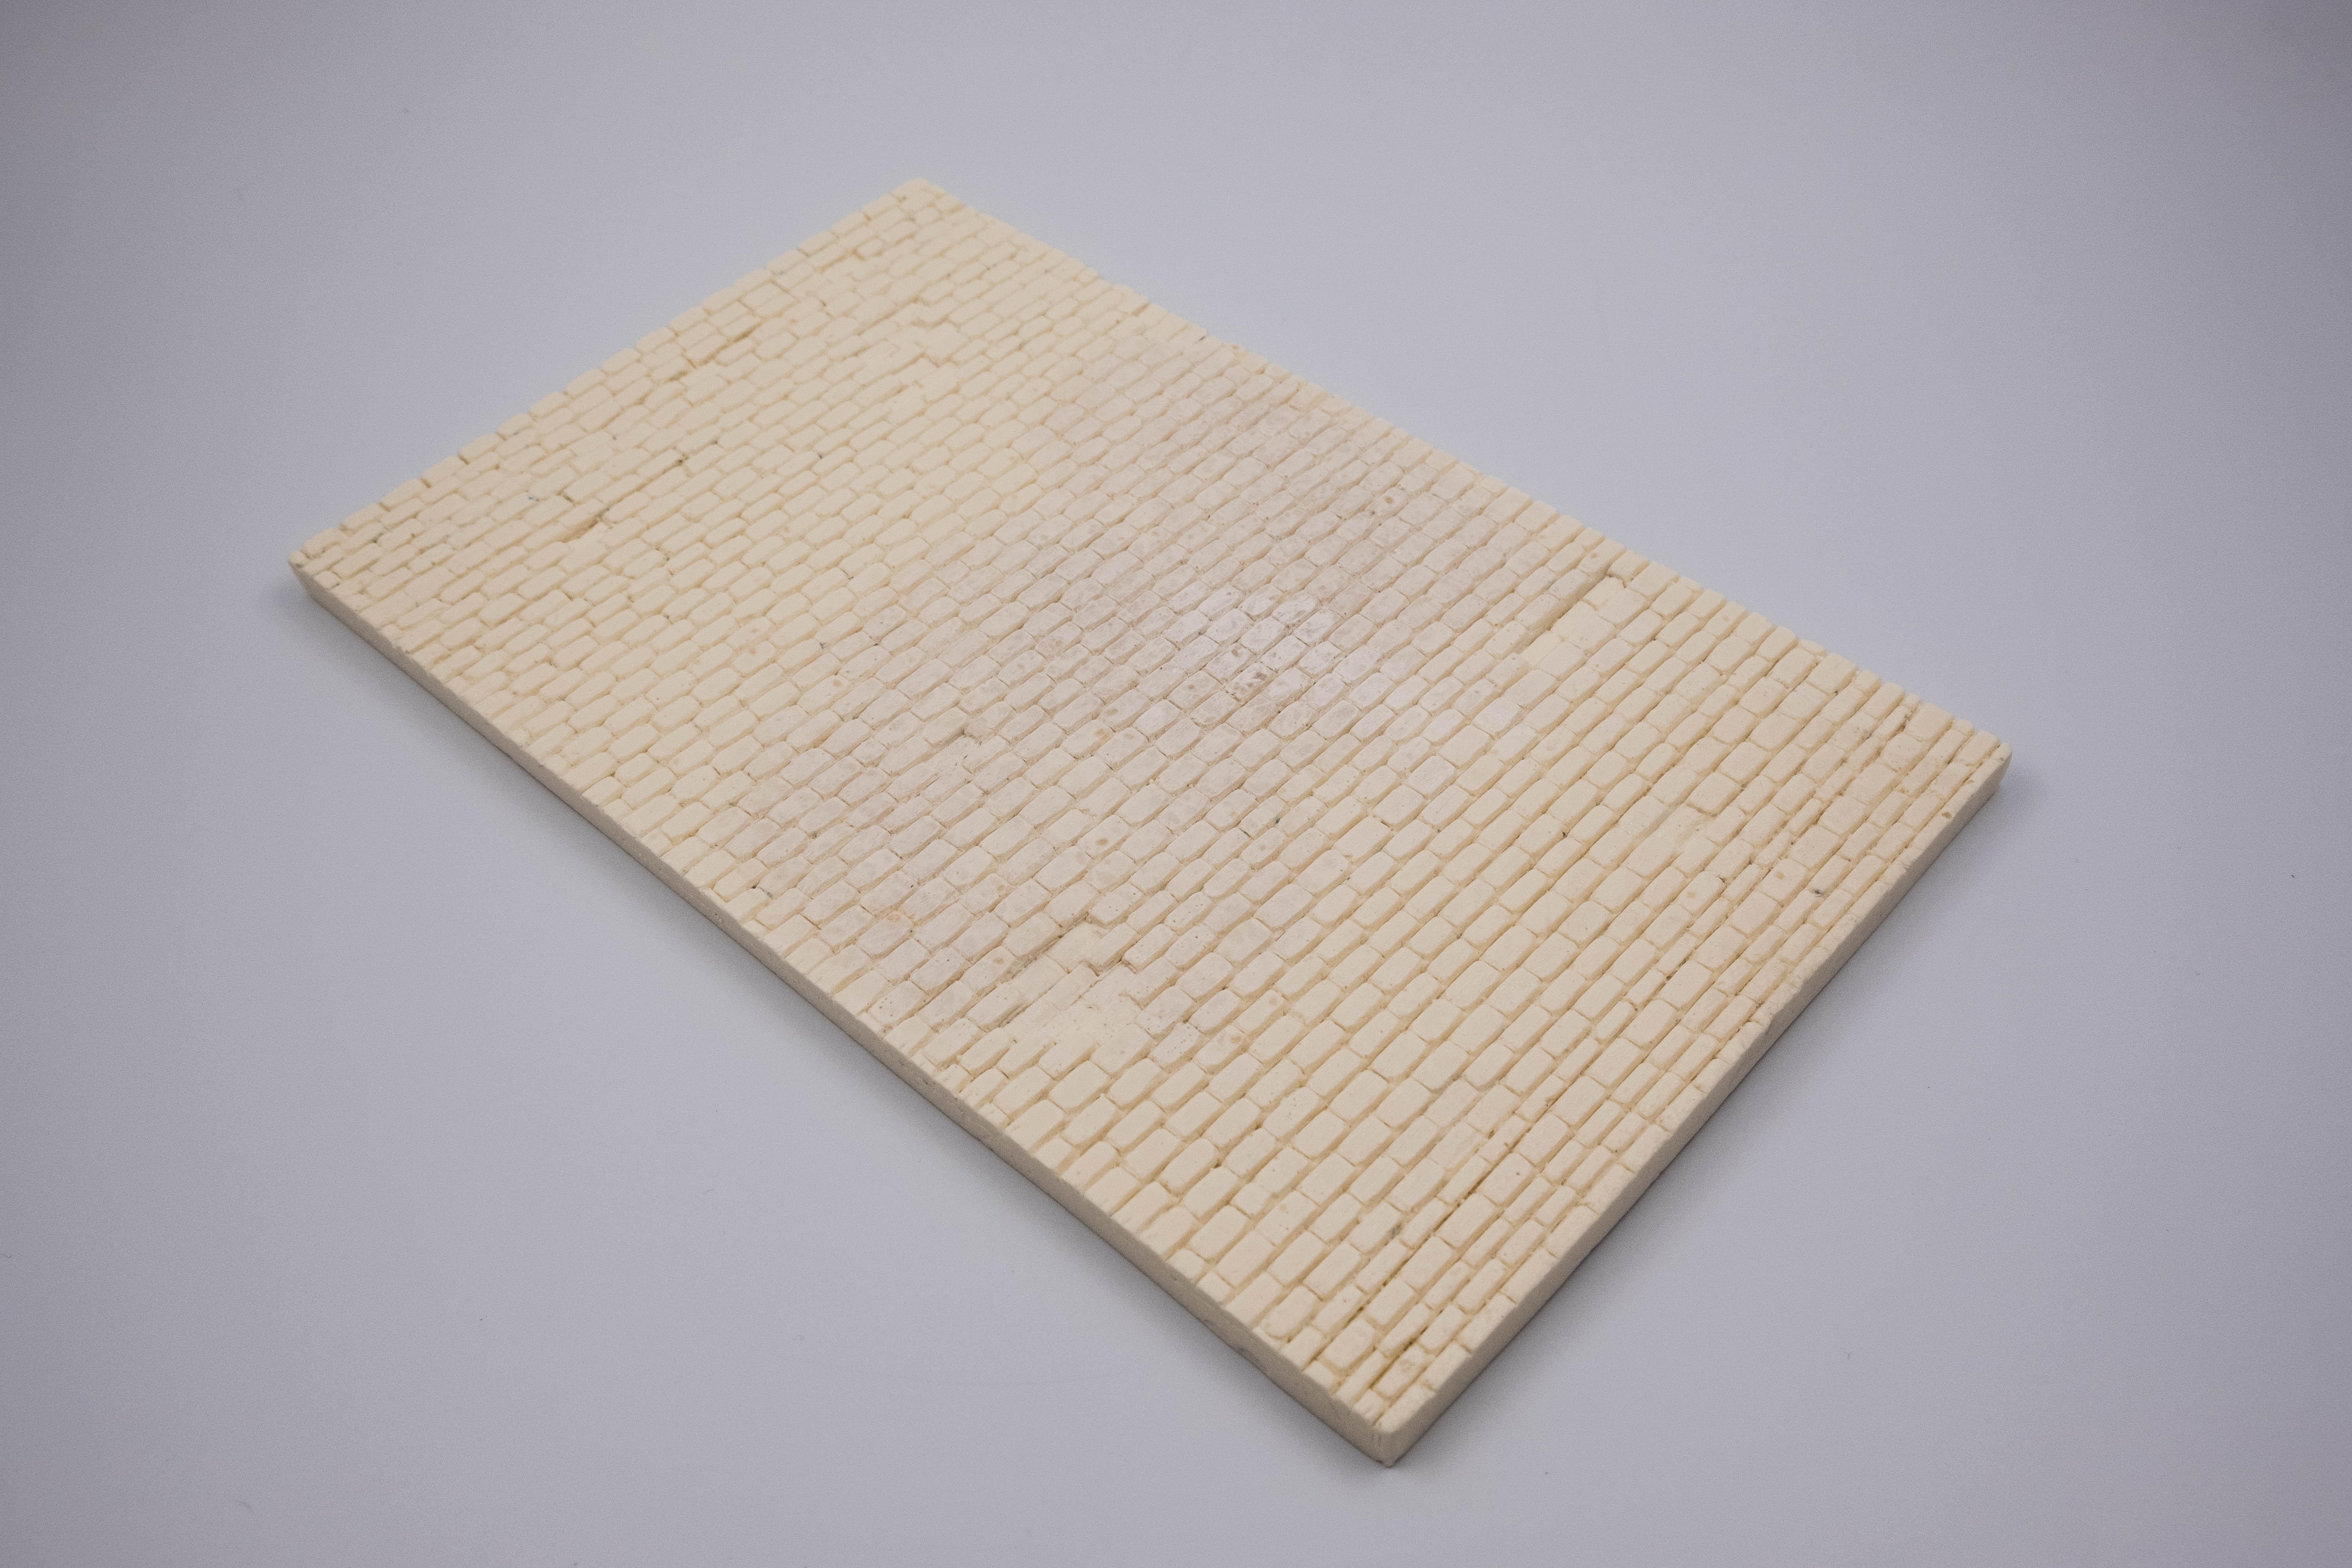
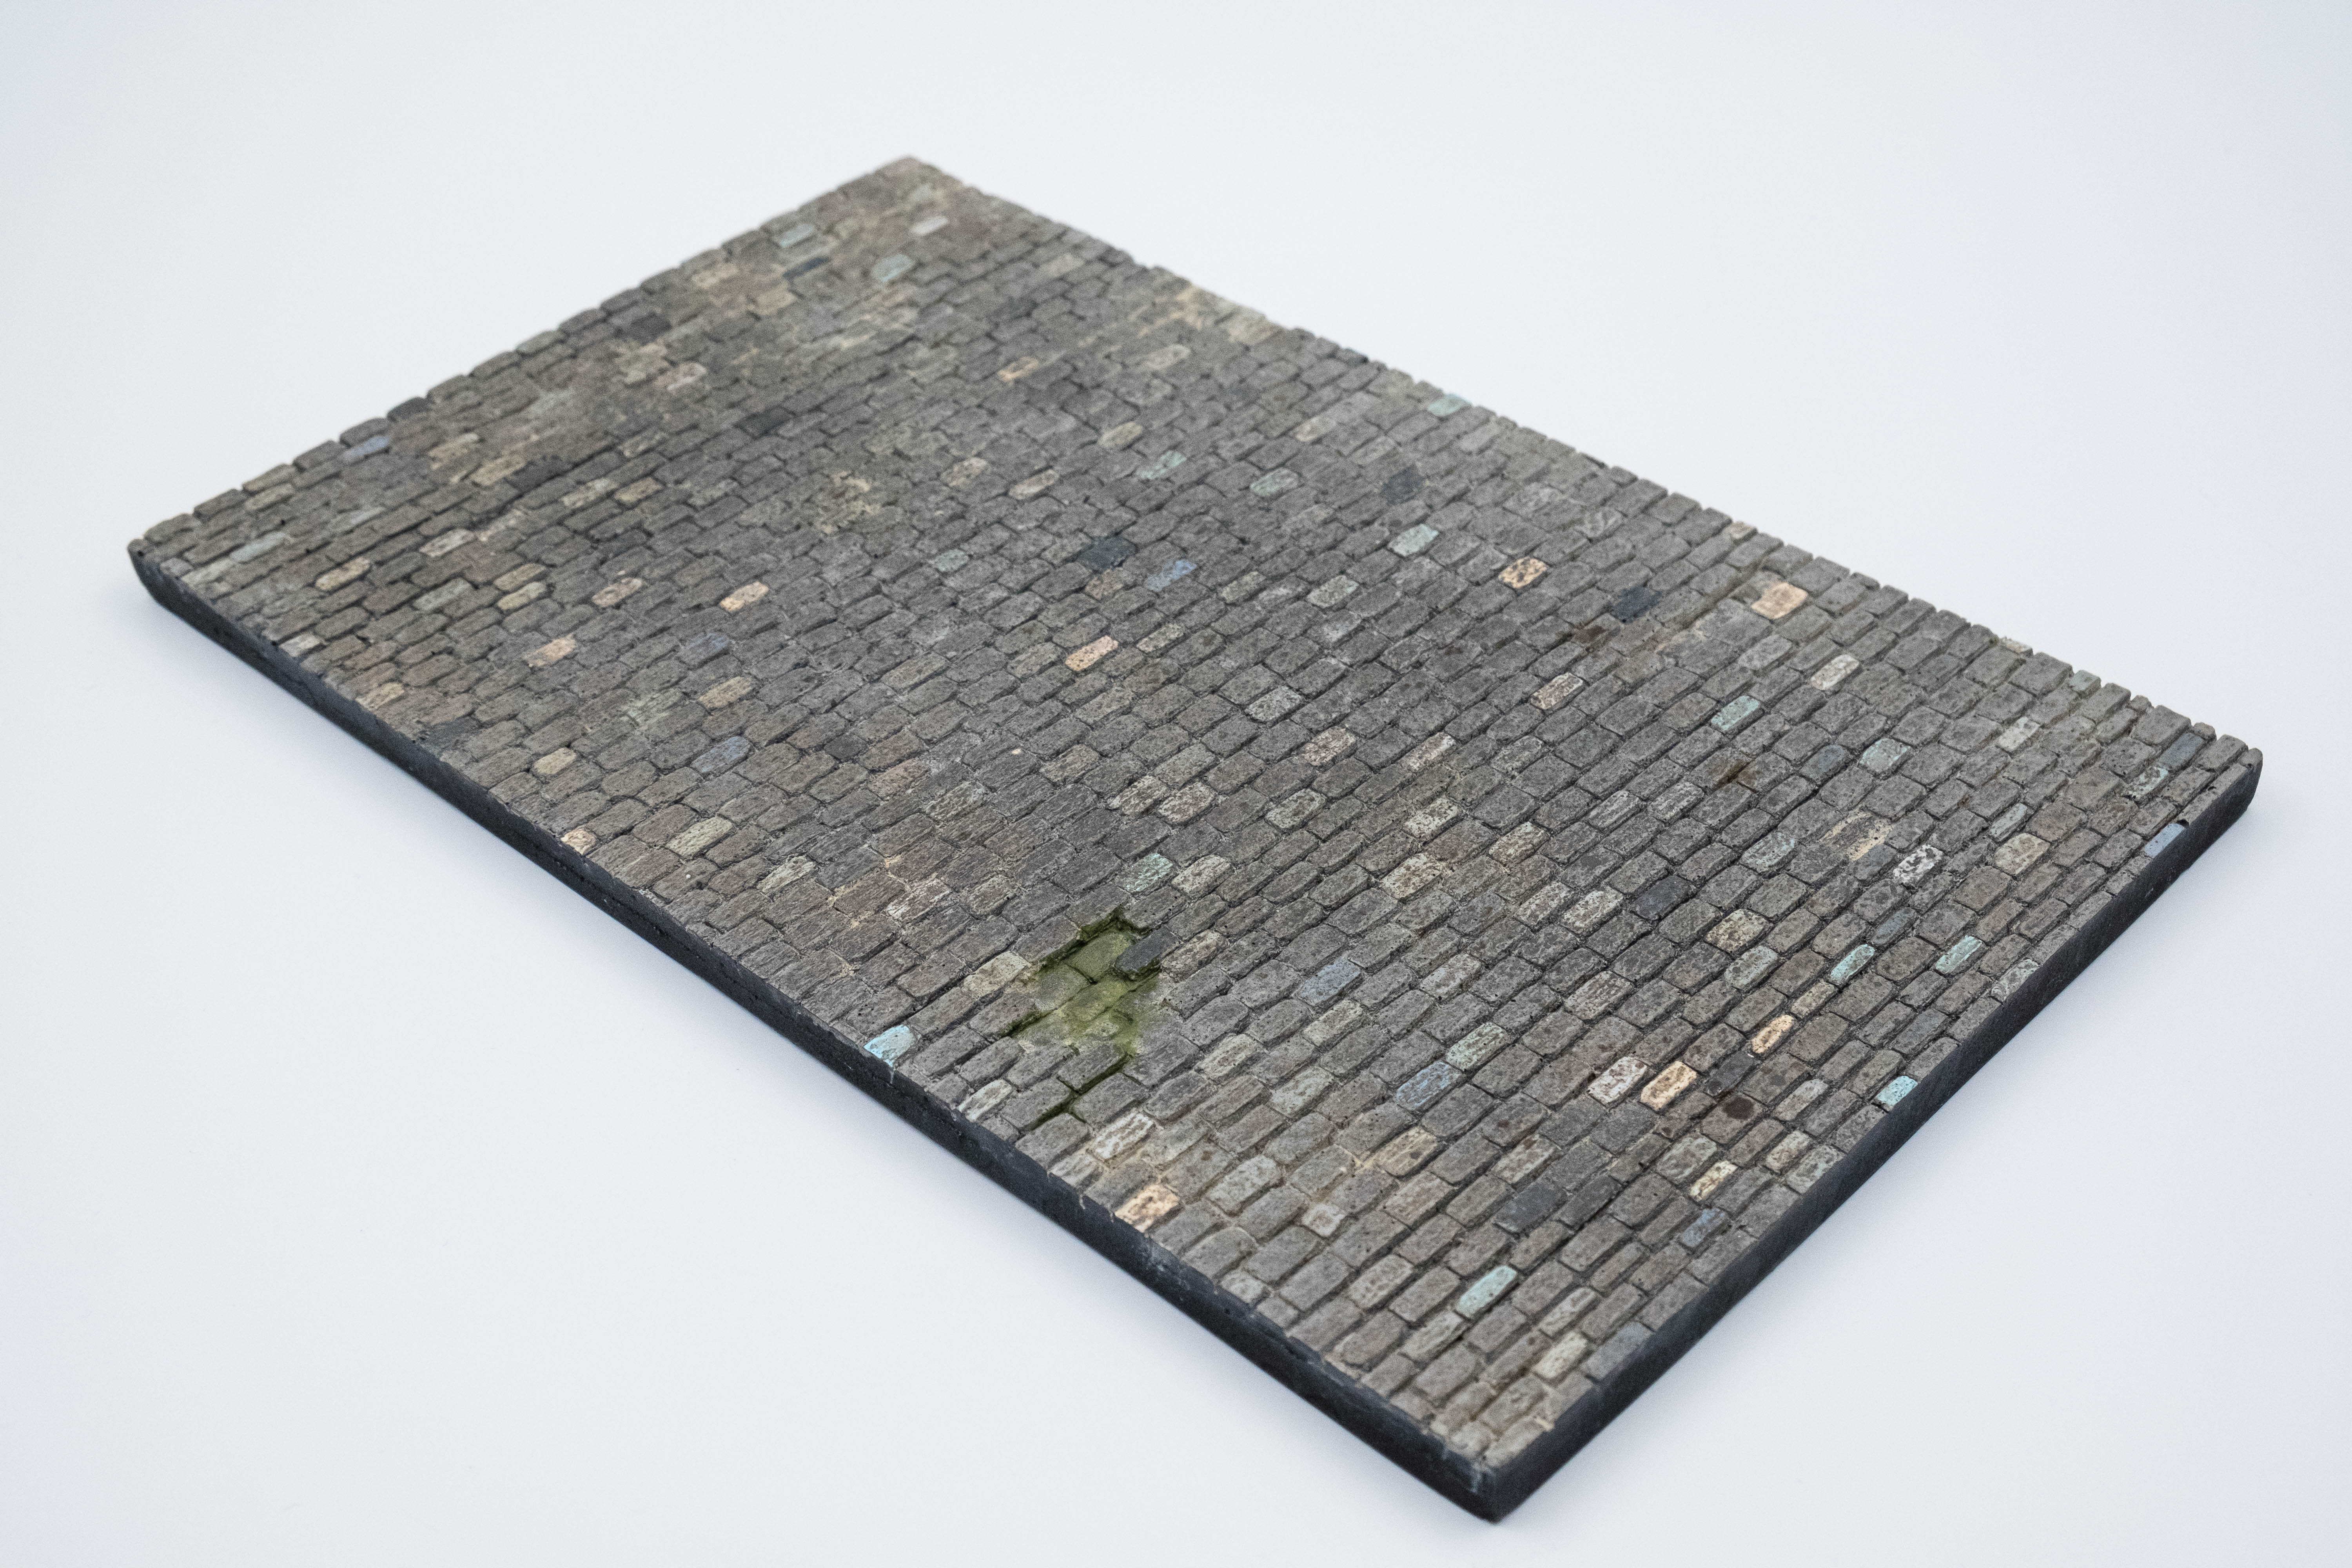
Now that the car is all assembled, it’s time for a base. I wanted to do something that would combine the modern styling of the car with a classic old European cobblestone road.
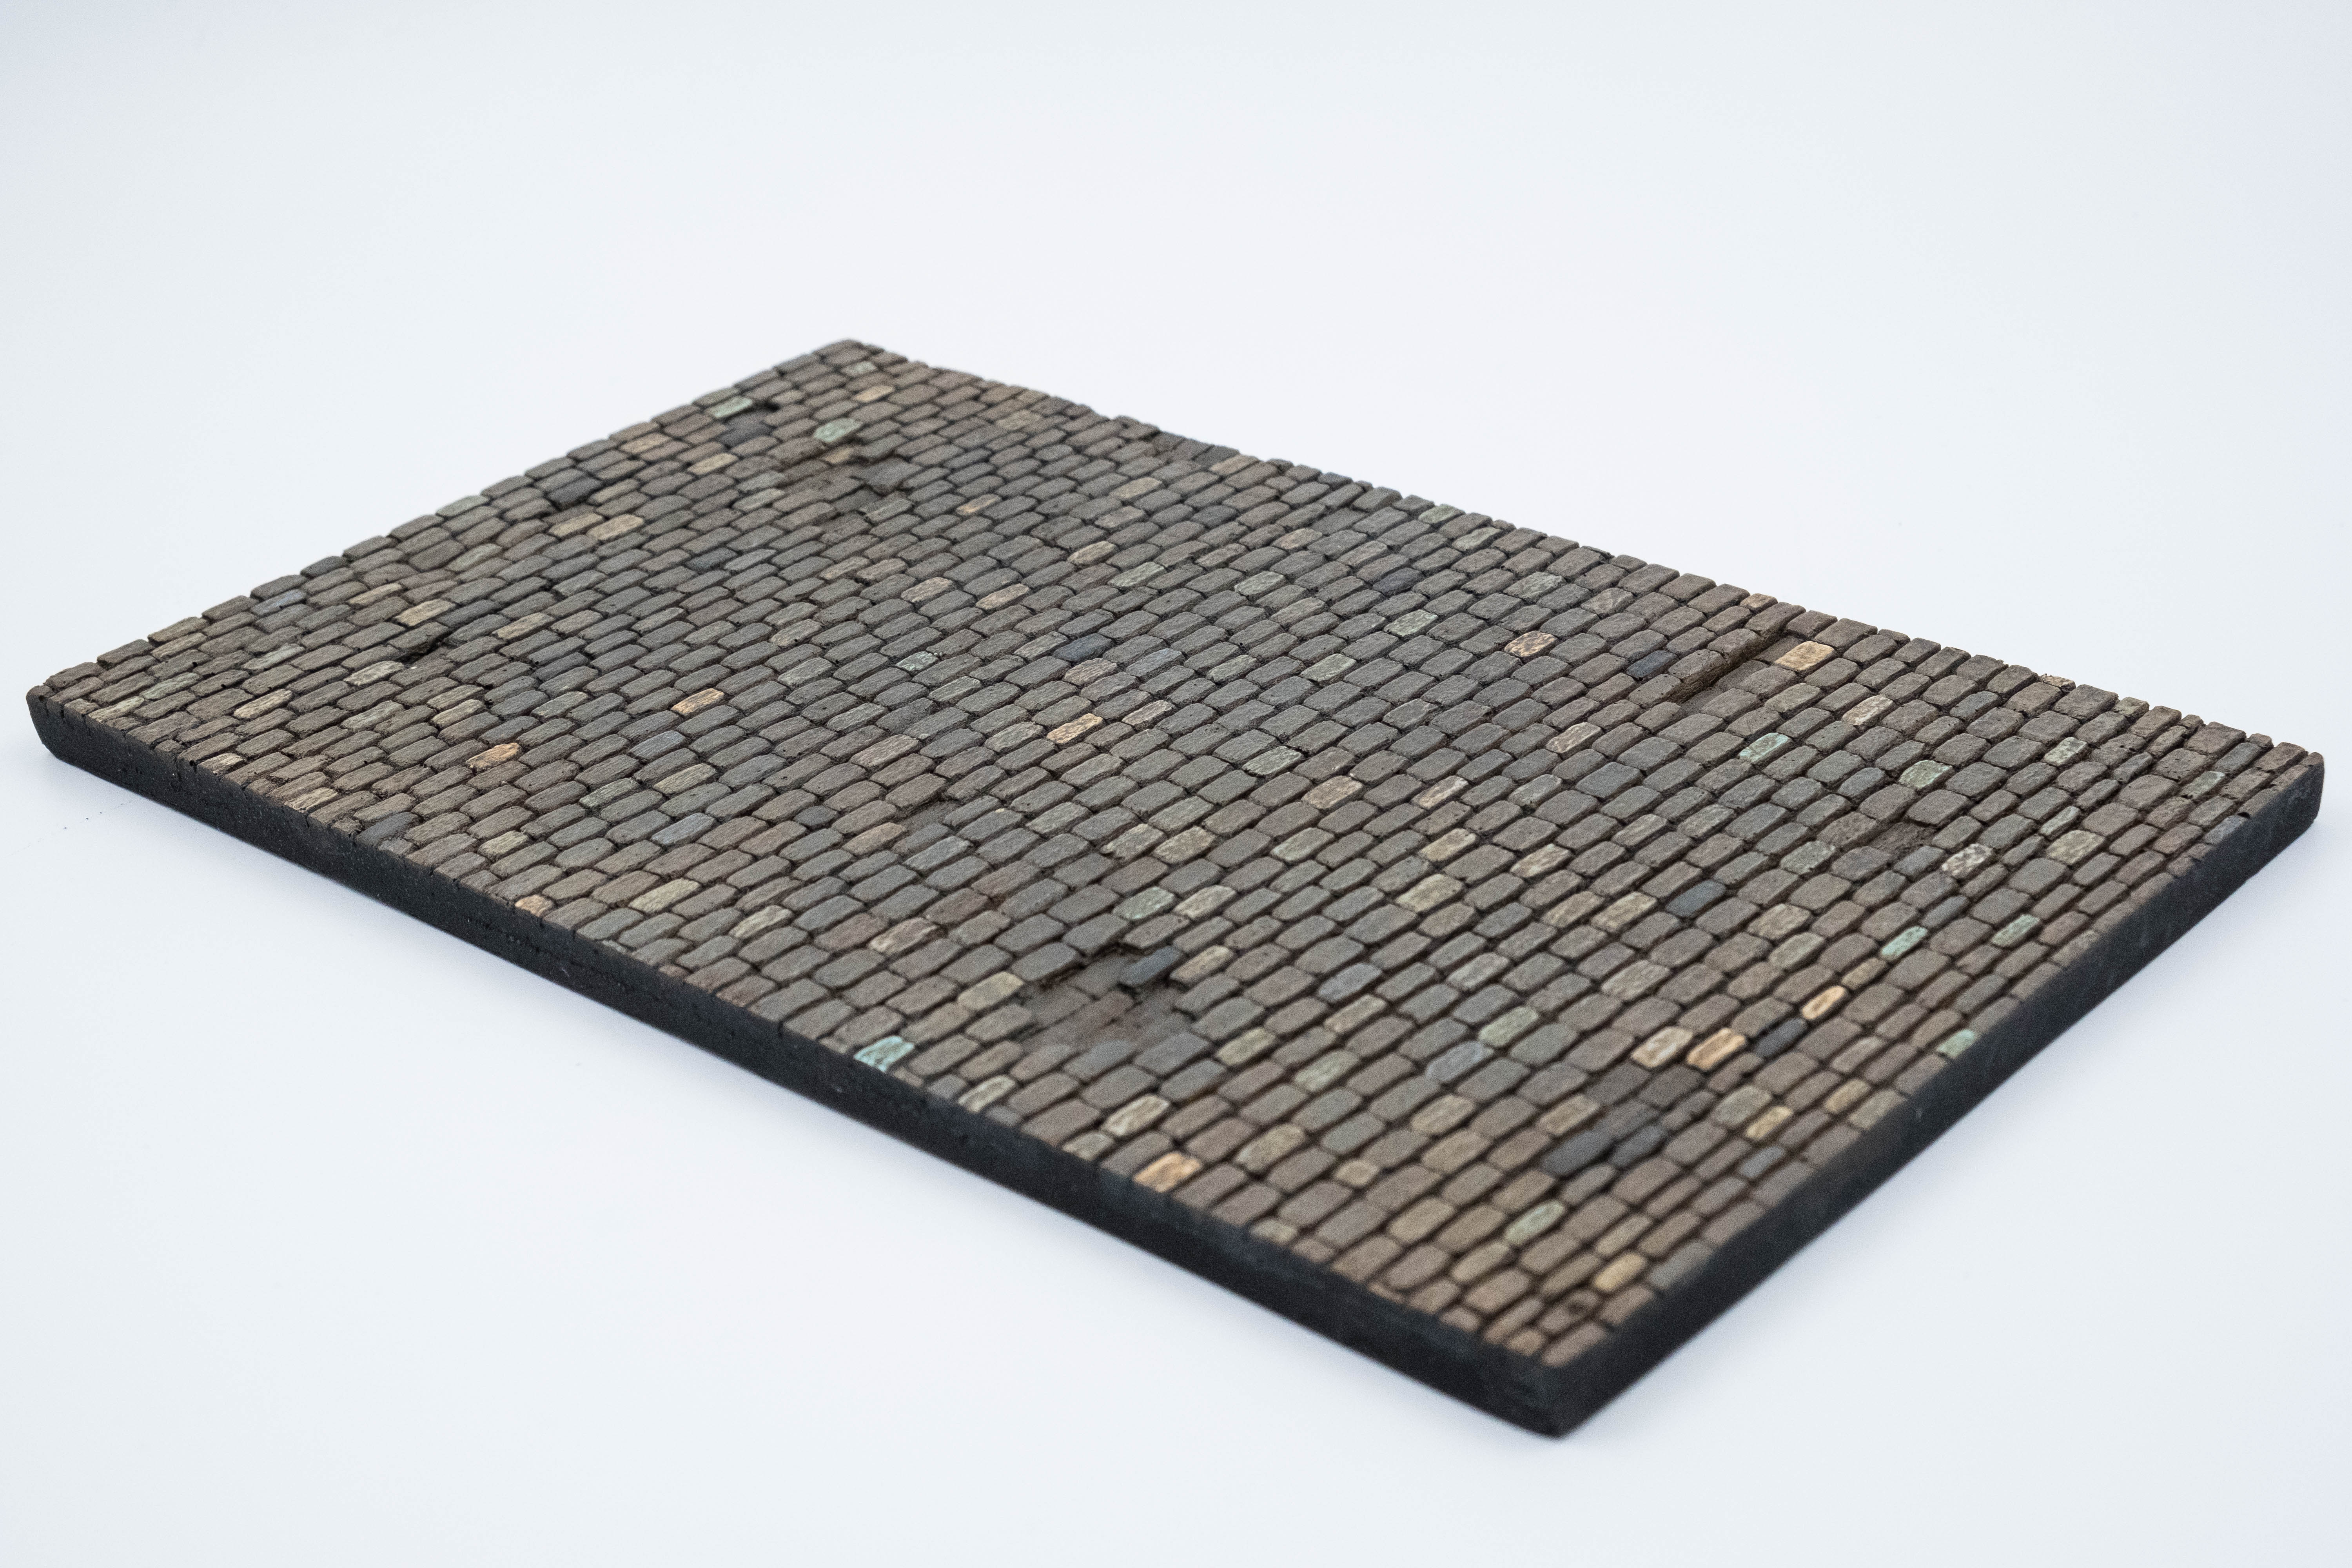
Here’s the base in resin prior to any paint.
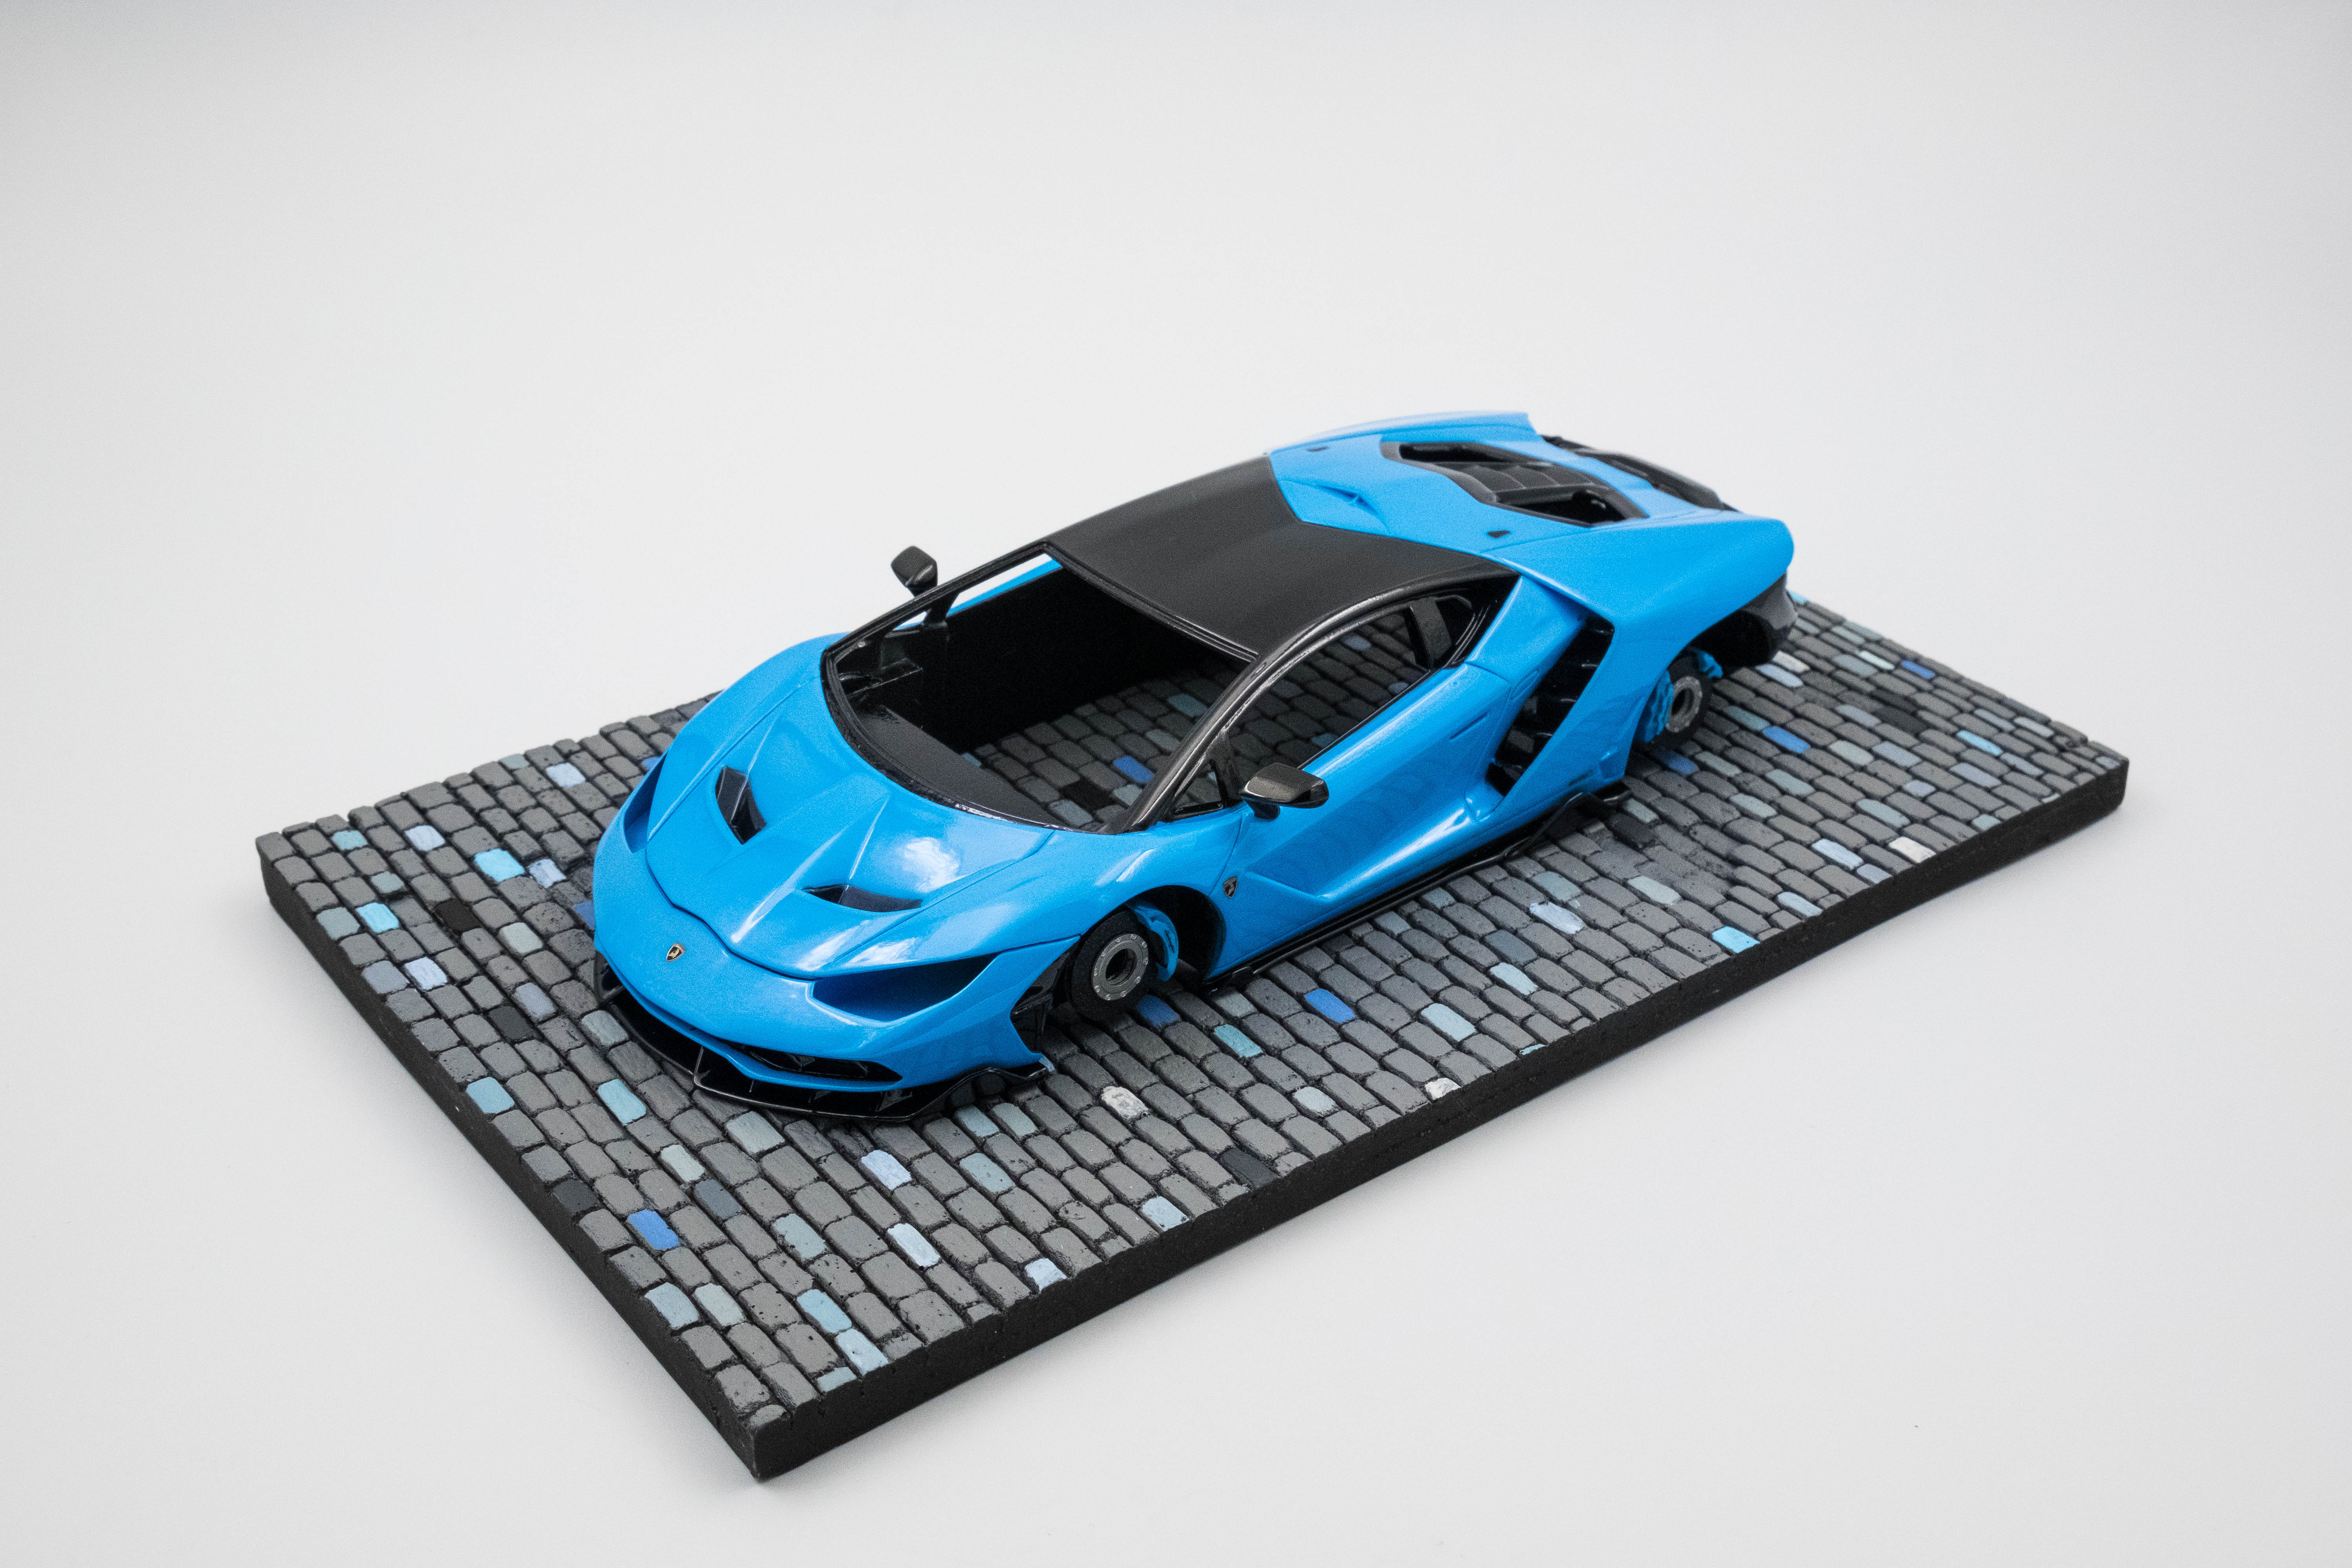
Painting some of the bricks individually to get some variance in the cobblestones themselves.
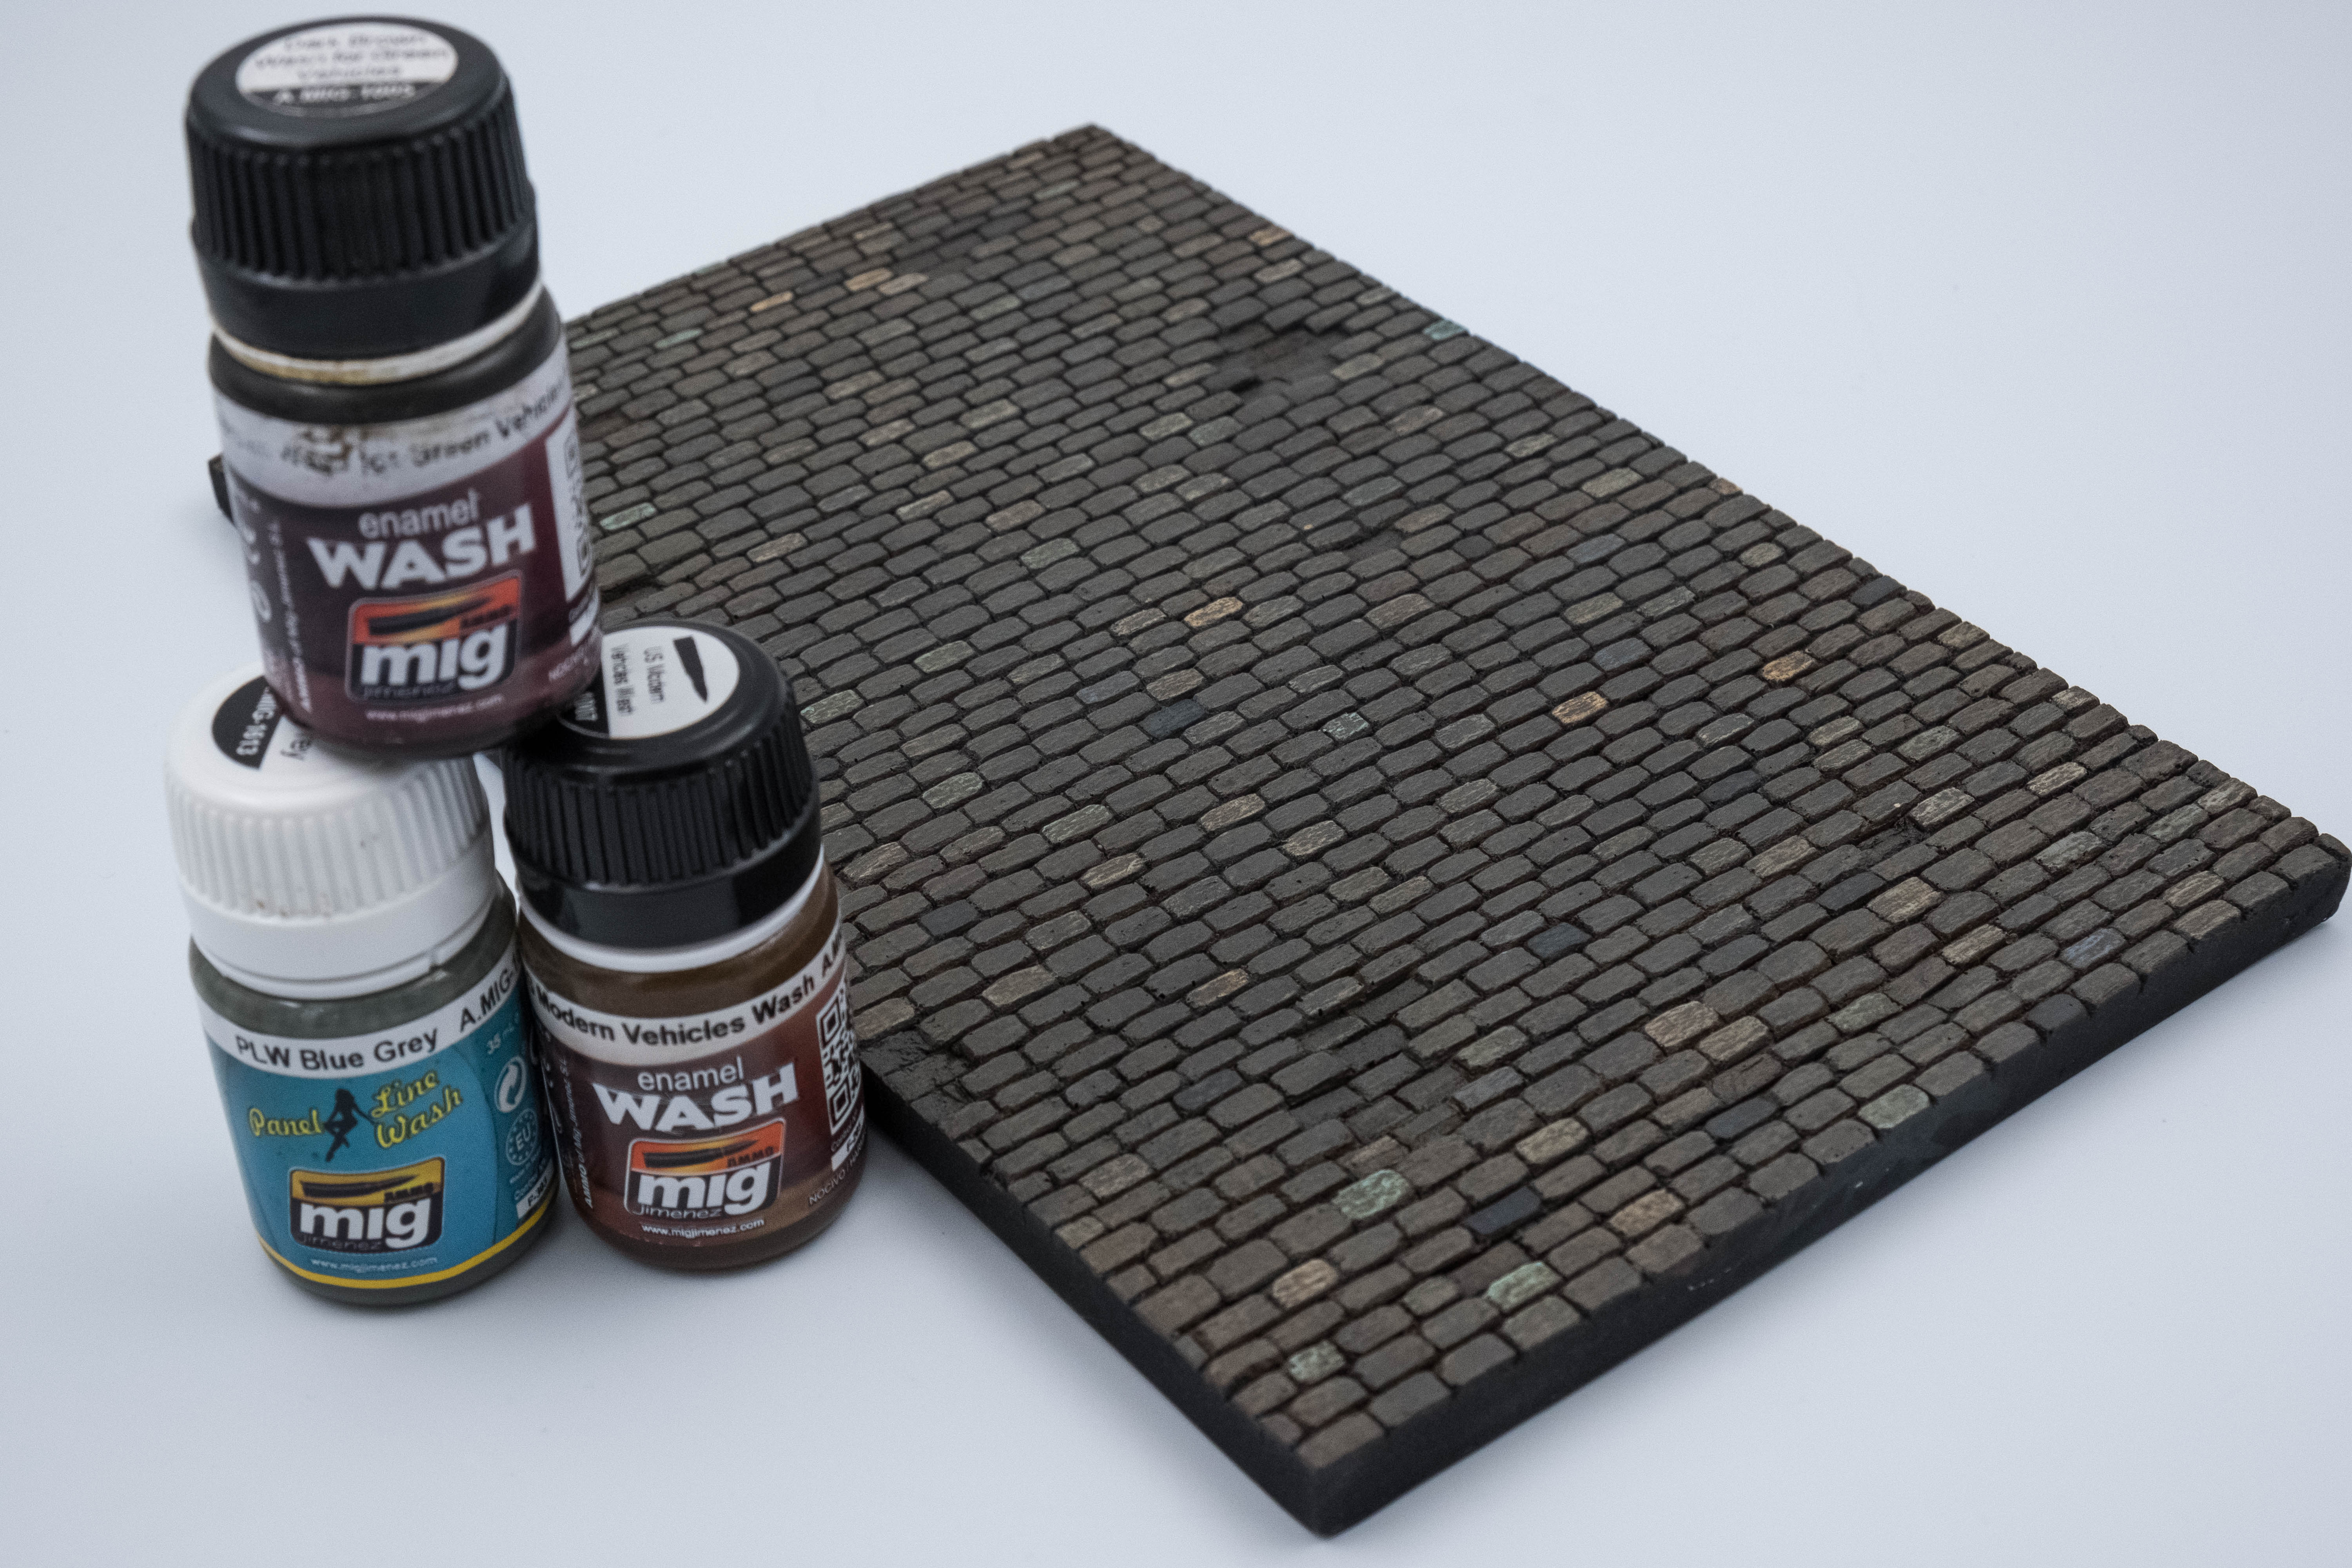
Adding washes to tone it down and somewhat blend the colors together.
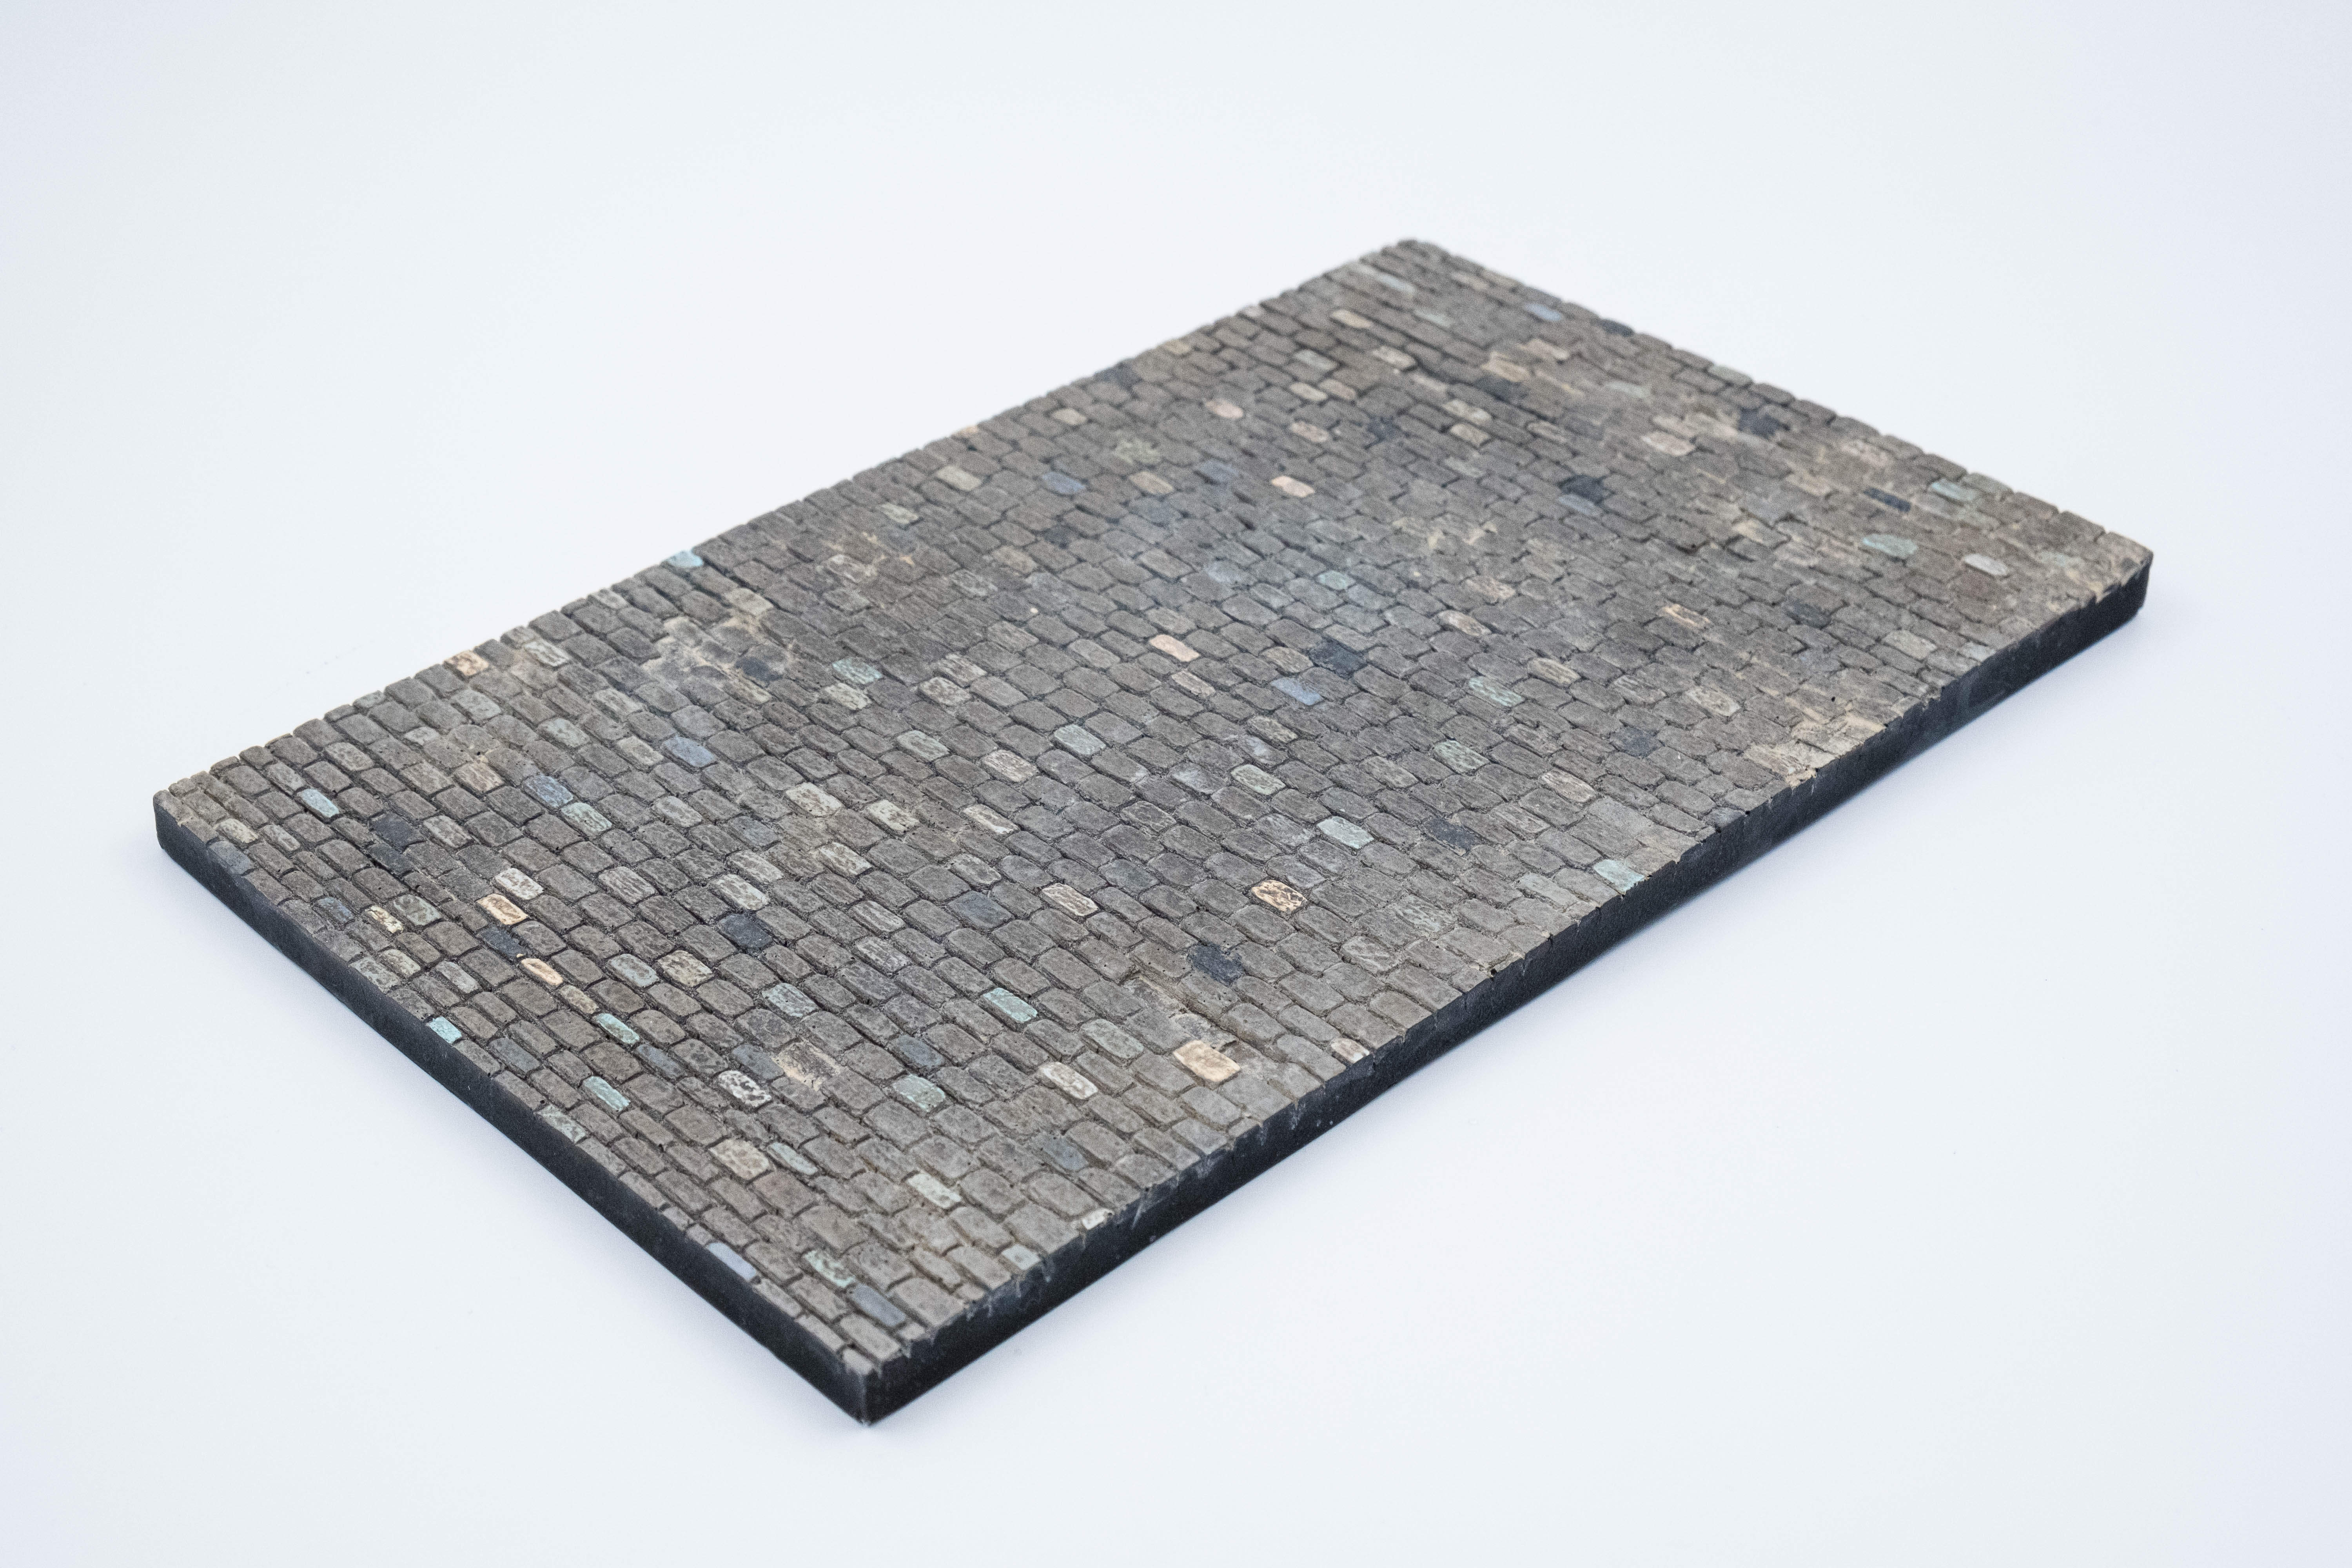
Giving it that old dusty mid-summer appearance.
Adding some moss and oil stains from cars traveling through.
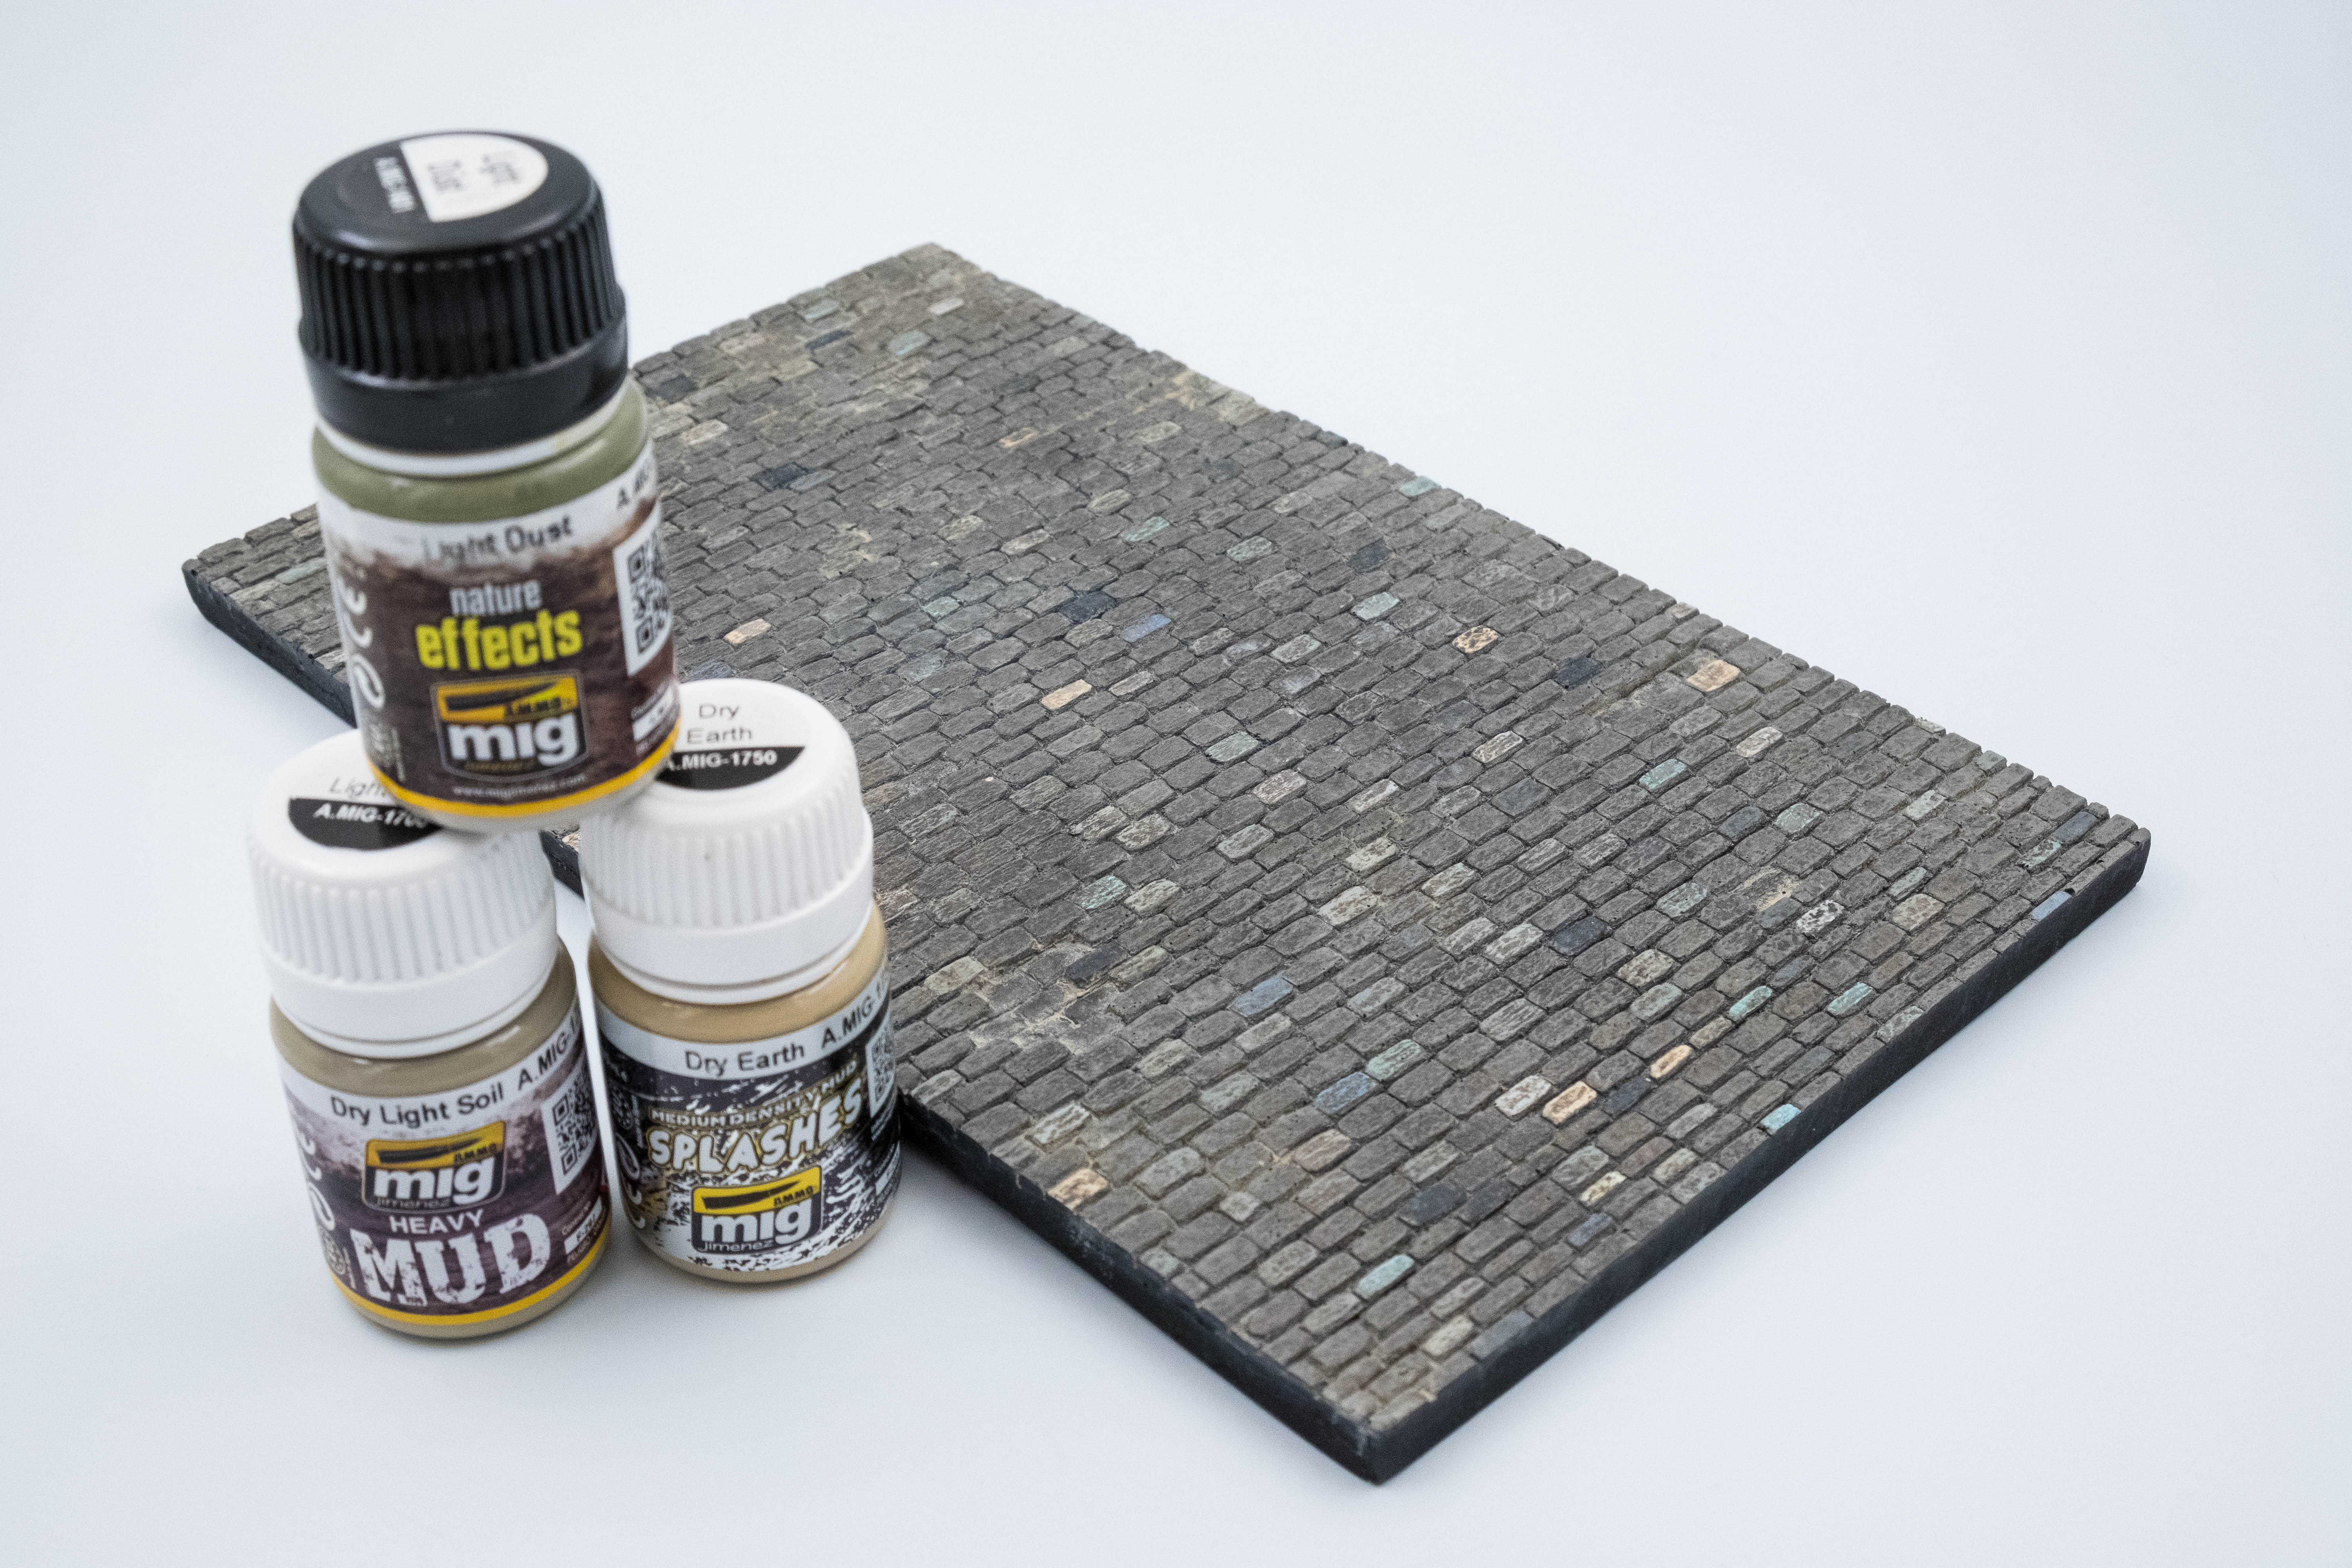
Here’s the final piece.
I included the products I used at each step to help provide a reference as I personally had never done a cobblestone base before and figured it would be helpful to any of you who wanted to give it a go.
Thanks for stopping by and taking a peek at some of my work!
Next up - either an R34 GTR going through the streets or a McLaren Senna and 720s parked outside of an estate. We’ll see 
2 Likes
Excellent work, the base really sets the Lamborghini off.
Its worth uploading as a feature on the Automodeler content site.
AutoModeler
Andy :
Beautiful build Nick, lovely finish! As Andy said, the old cobblestone base really highlights the modern Lamborghini look.
The base itself is very nicely done as well, thanks for sharing your step-by-step and products. Where did you source the base from?
Looking forward to your next build here.
Cheers, D
Nick,
Now that’s one very impressive build. Resin and multi-media kits aren’t easy, but your Lambo really turned out truly outstanding. And that base really is a perfect display base to show it off on.
BTW, welcome to our little corner of Kit Maker, you’re going to really like it here. Looking forward to your next build presentation.
Joel
Thank you all for the kind words!
AussieReg, I carved the base myself before making a mold and casting it in resin, but if you’d like to pick up your own, check out mamodelworks.com 
Hopefully it shouldn’t be too much longer before the paint arrives for my next few projects, I look forward to sharing them with you all.
Cheers,
Nick
1 Like
A very informative and in depth feature on building the Lamborghini and the base can be found here -
Lamborghini Centenario with European Style Cobblestone Base | AutoModeler.
Andy
1 Like