Greetings to all forum members.
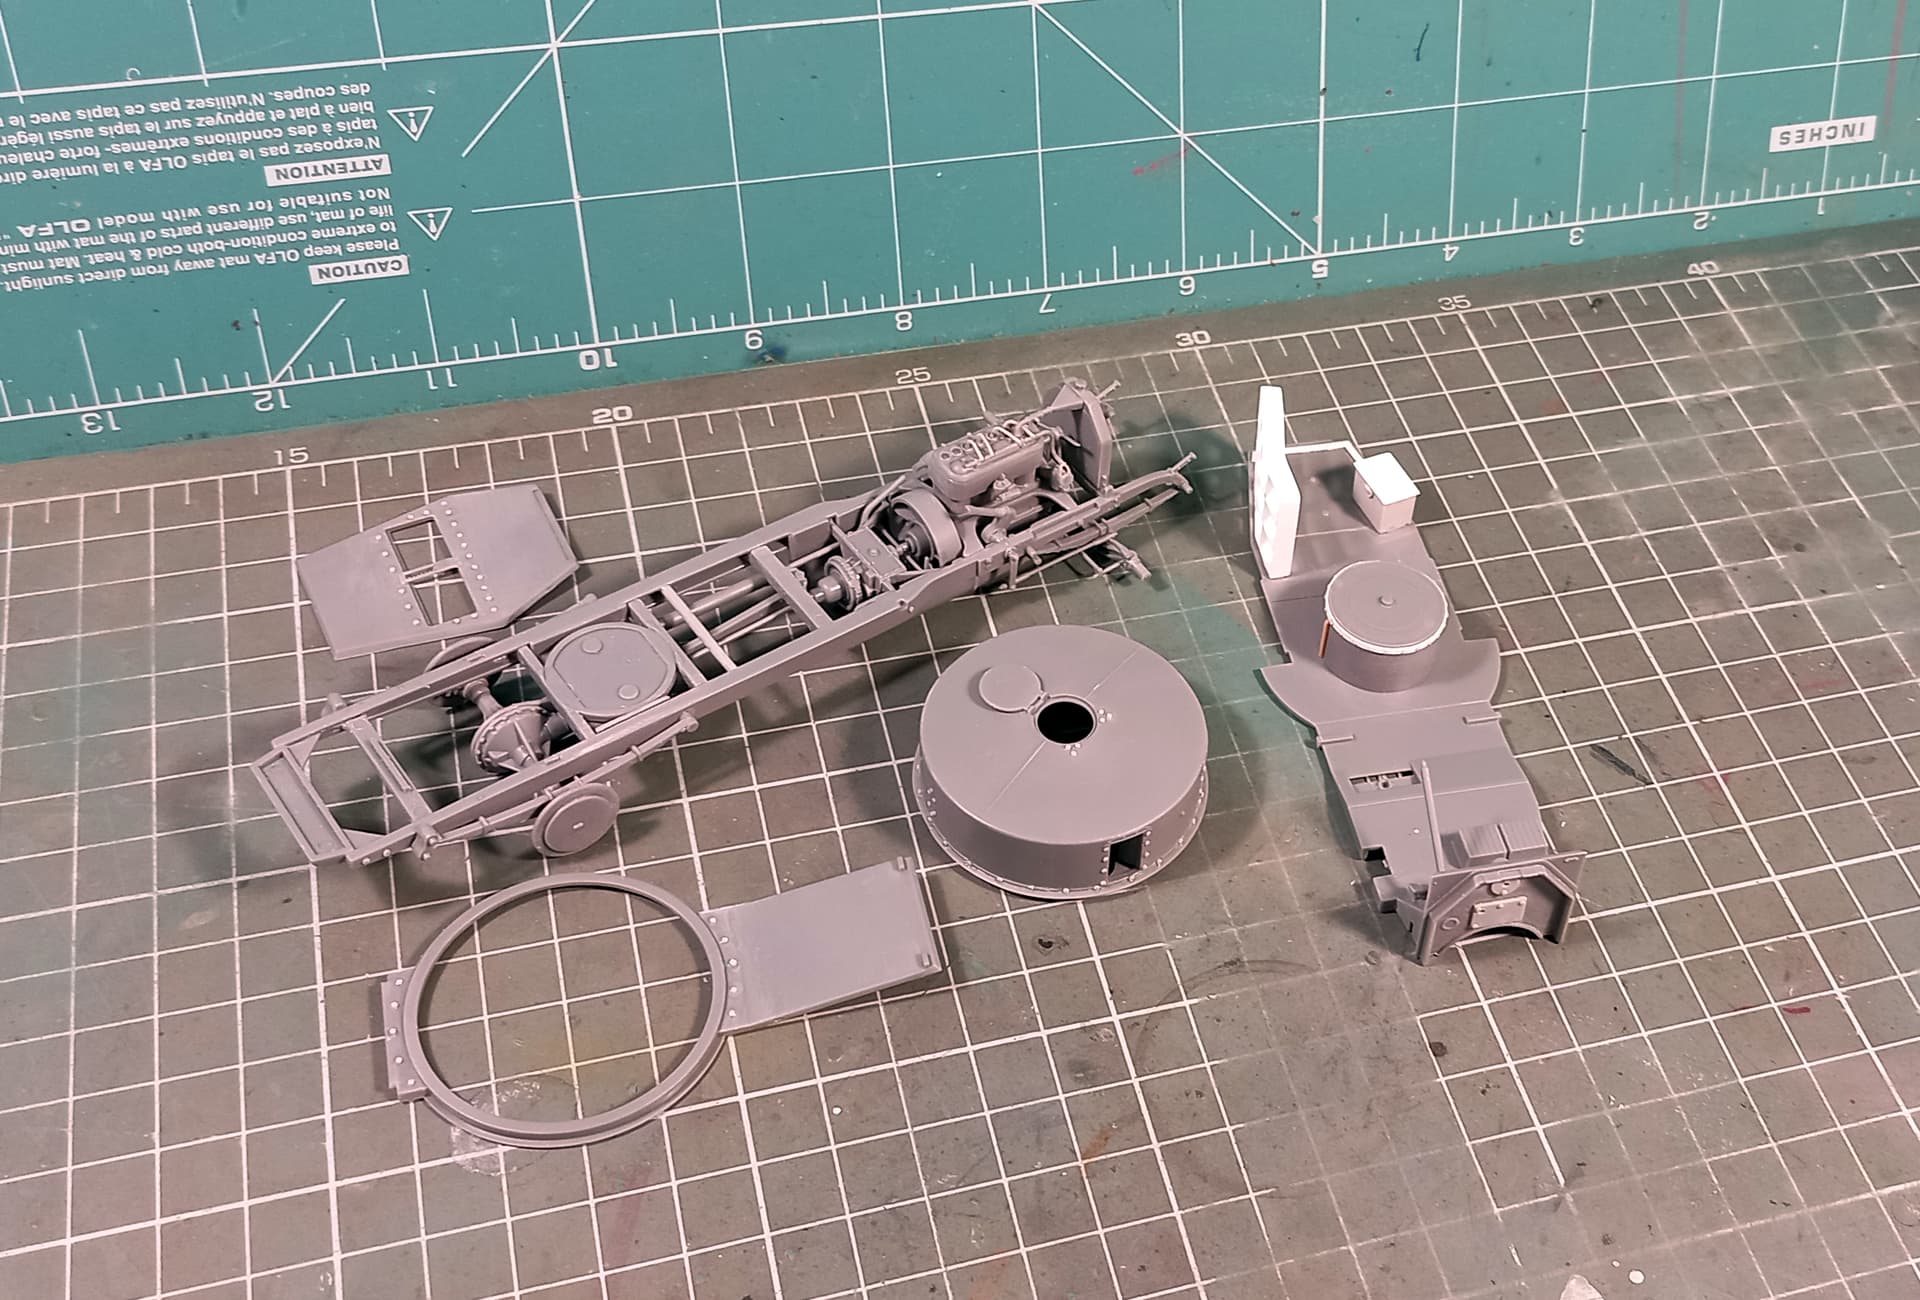
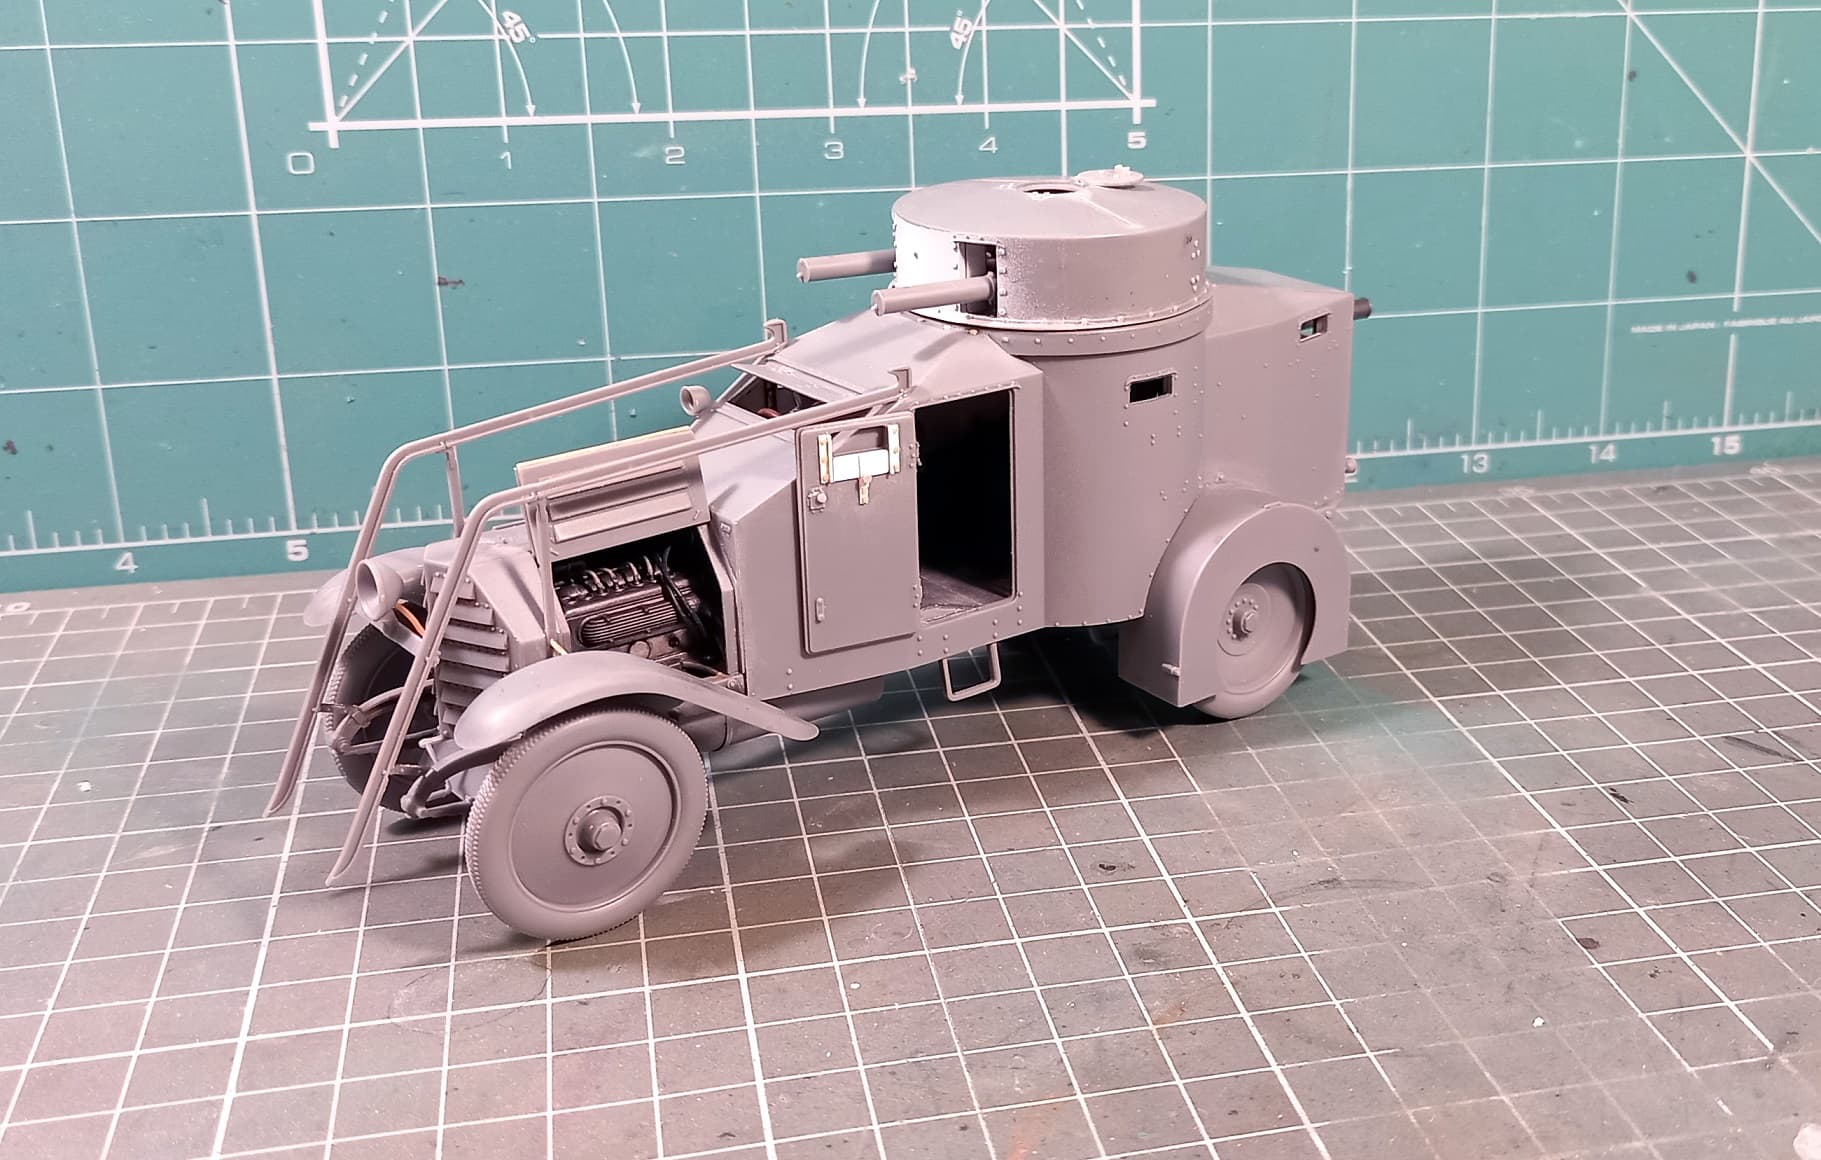
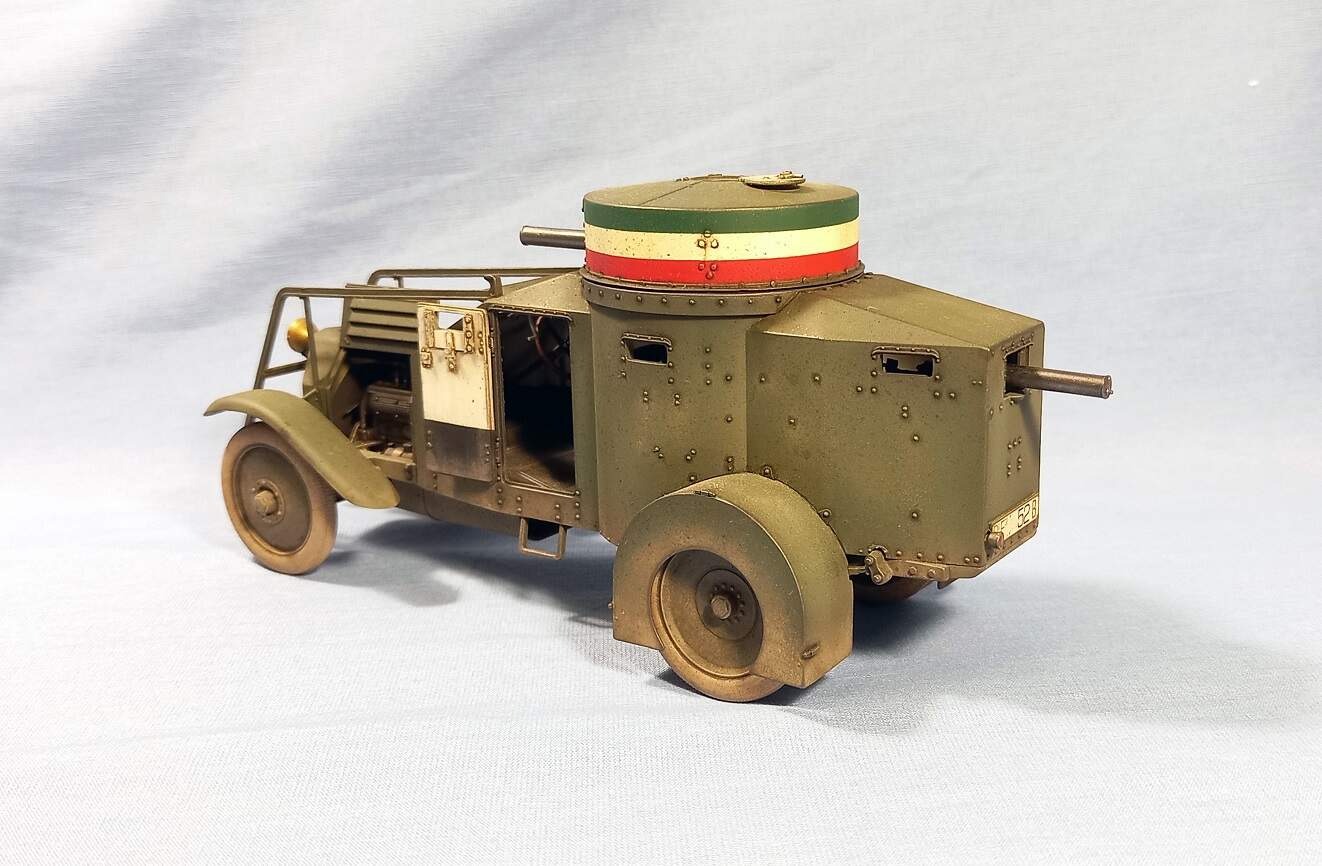
I recently received this kit from Copper State Models (CSM), and quickly set about putting it together. I had always hoped that some manufacturer would release this vehicle in 1/35 scale.
A couple of years ago CSM released kit #35005, representing various vehicles within the Italian Army from 1918 to the mid-1930s. The following year the kit n° 35008 was released. This kit brings the necessary parts to build Italian vehicles from the mid 1930s to mid WW2, and vehicles used by Germany from 1943 to the end of the war, in the role of police against partisans.
The kit n°35008 is nothing more than kit n°35005 with the addition of new wheels, with their corresponding mudguards, extra external headlights and new model of machine gun. Therefore I decided to buy kit n°35008, because with this kit I could represent any vehicle from 1918 to 1945.
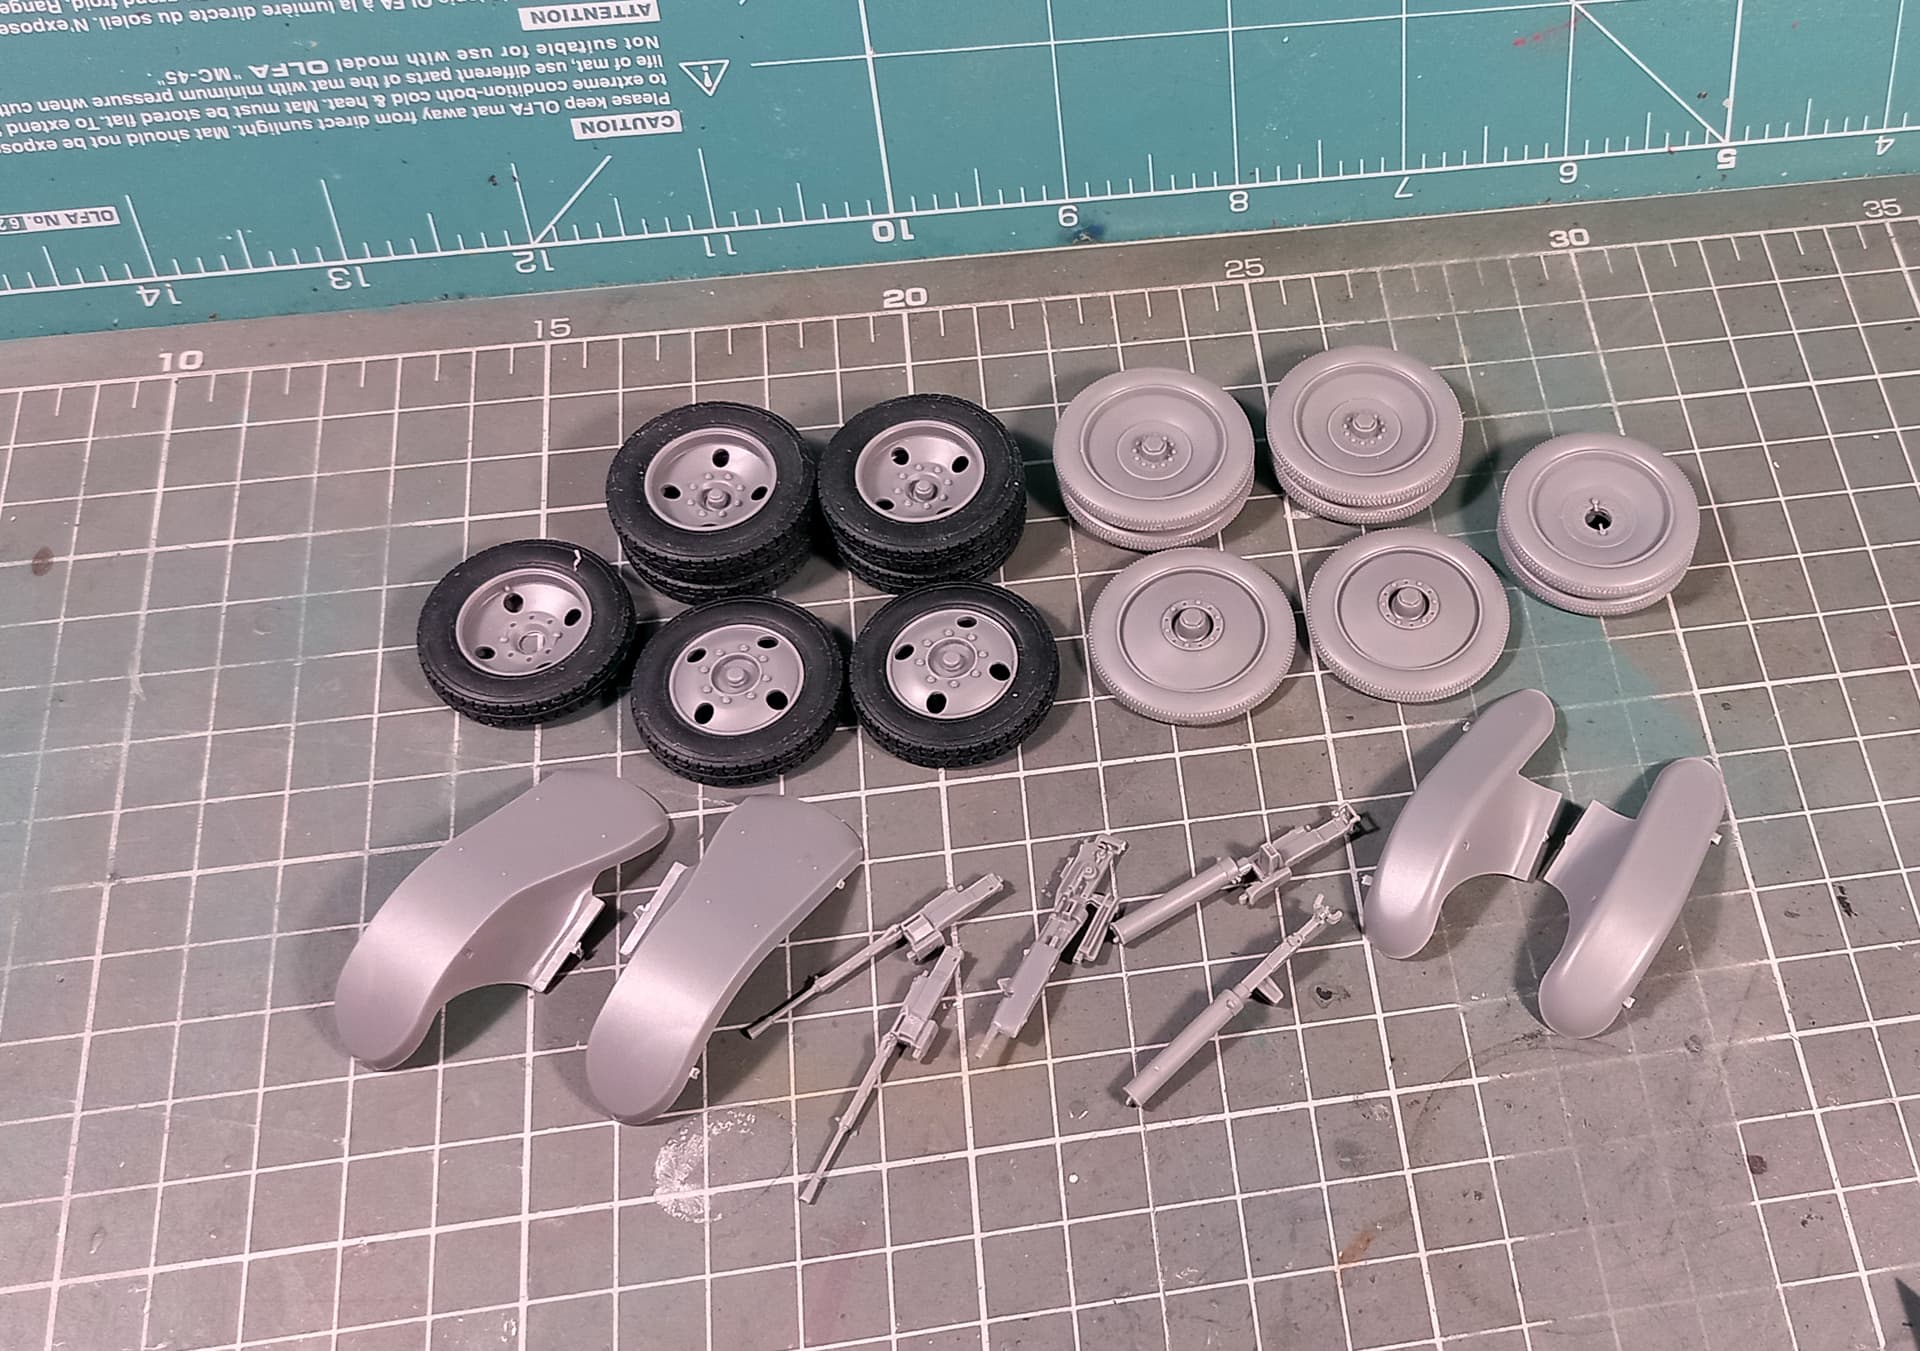
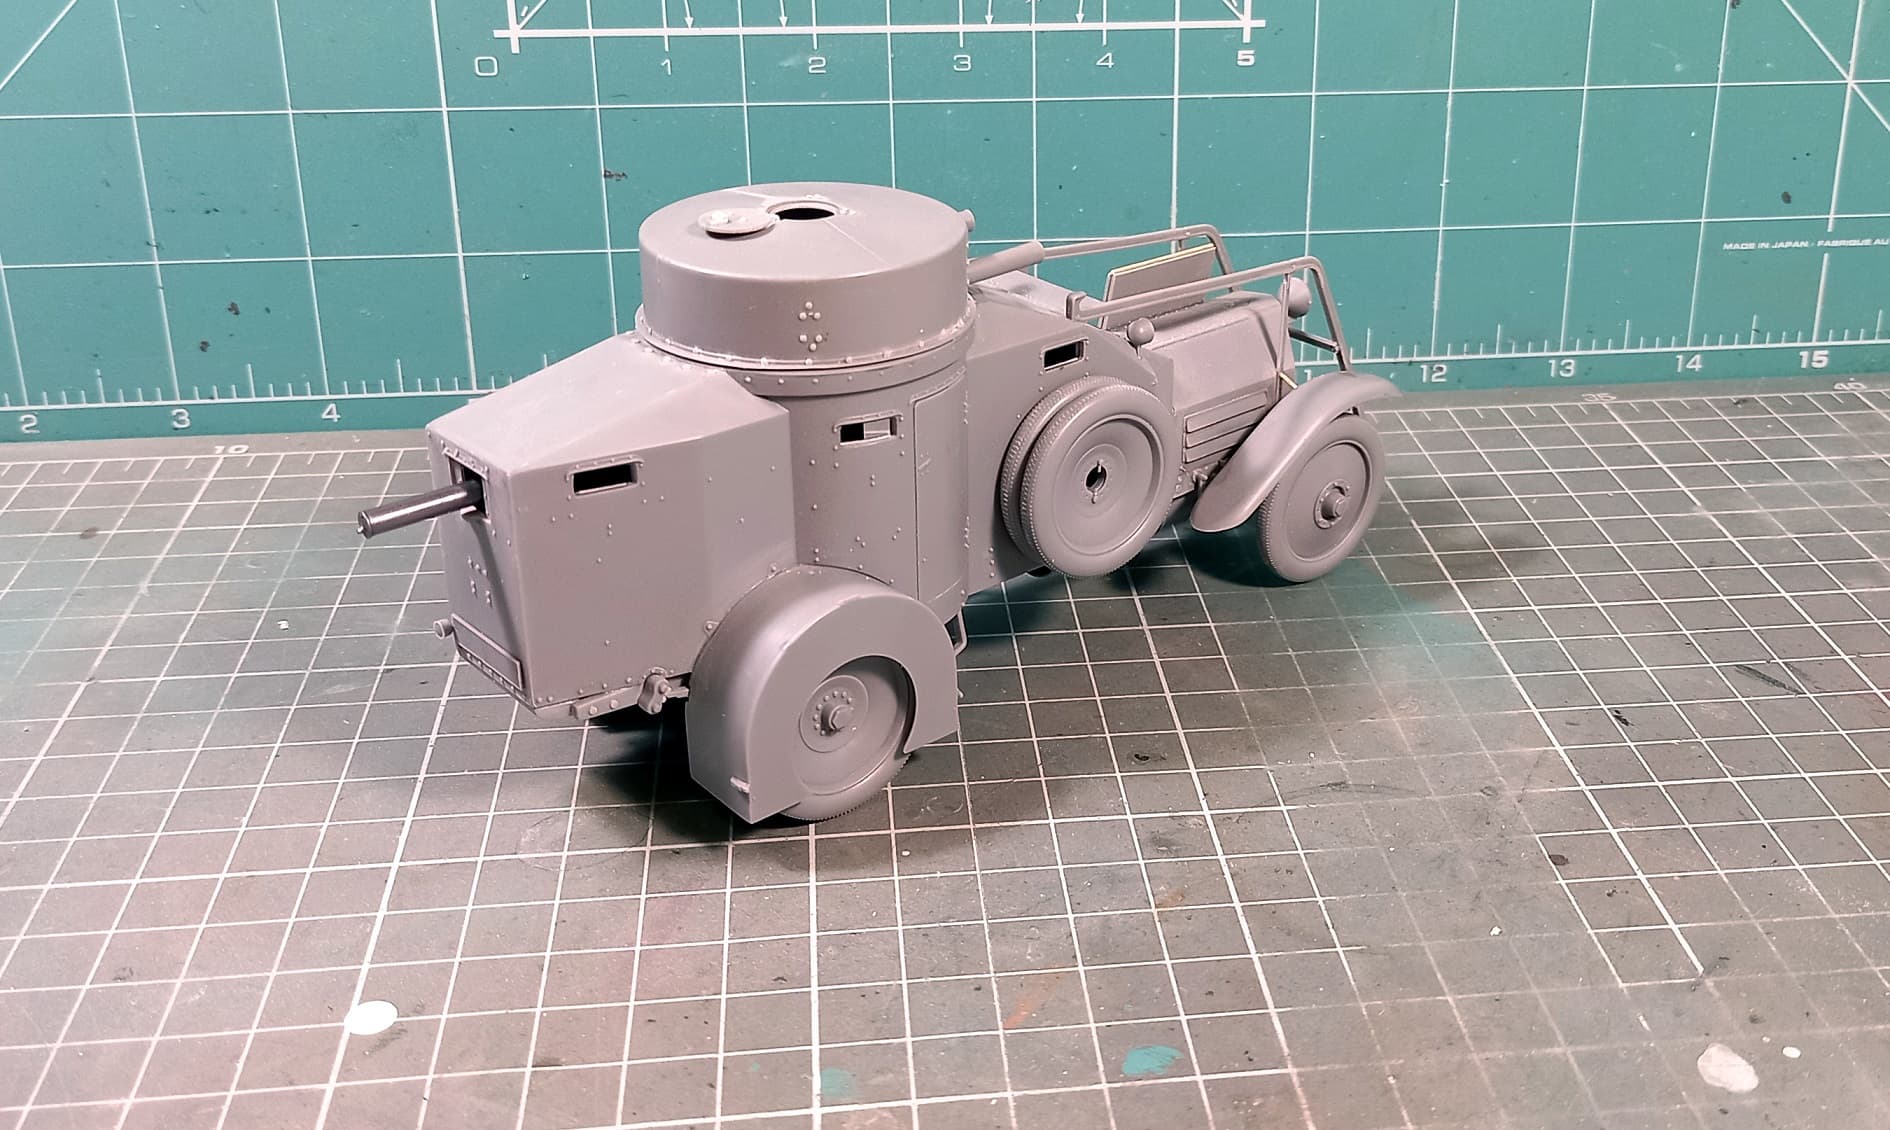
The kit comes with 2 models of wheels. The first one are the classic narrow wheels, with light gray rubber. The second model corresponds to wider wheels, used from 1935-36. The second model of wheels is very well represented, without injection marks on the rubber. In the previous model, the wheels have the injection marks right on the tread, so they have to be carefully cleaned and the tread recreated in some places.
For these two models of wheels, the kit comes with two models of front fenders, with different width.
Regarding the machine guns, the kit comes with three models: the Saint-Etienne initials, and the 1914 and 1935 models of the Fiat-Revelli. The kit also comes with several types of external headlights for the different versions.
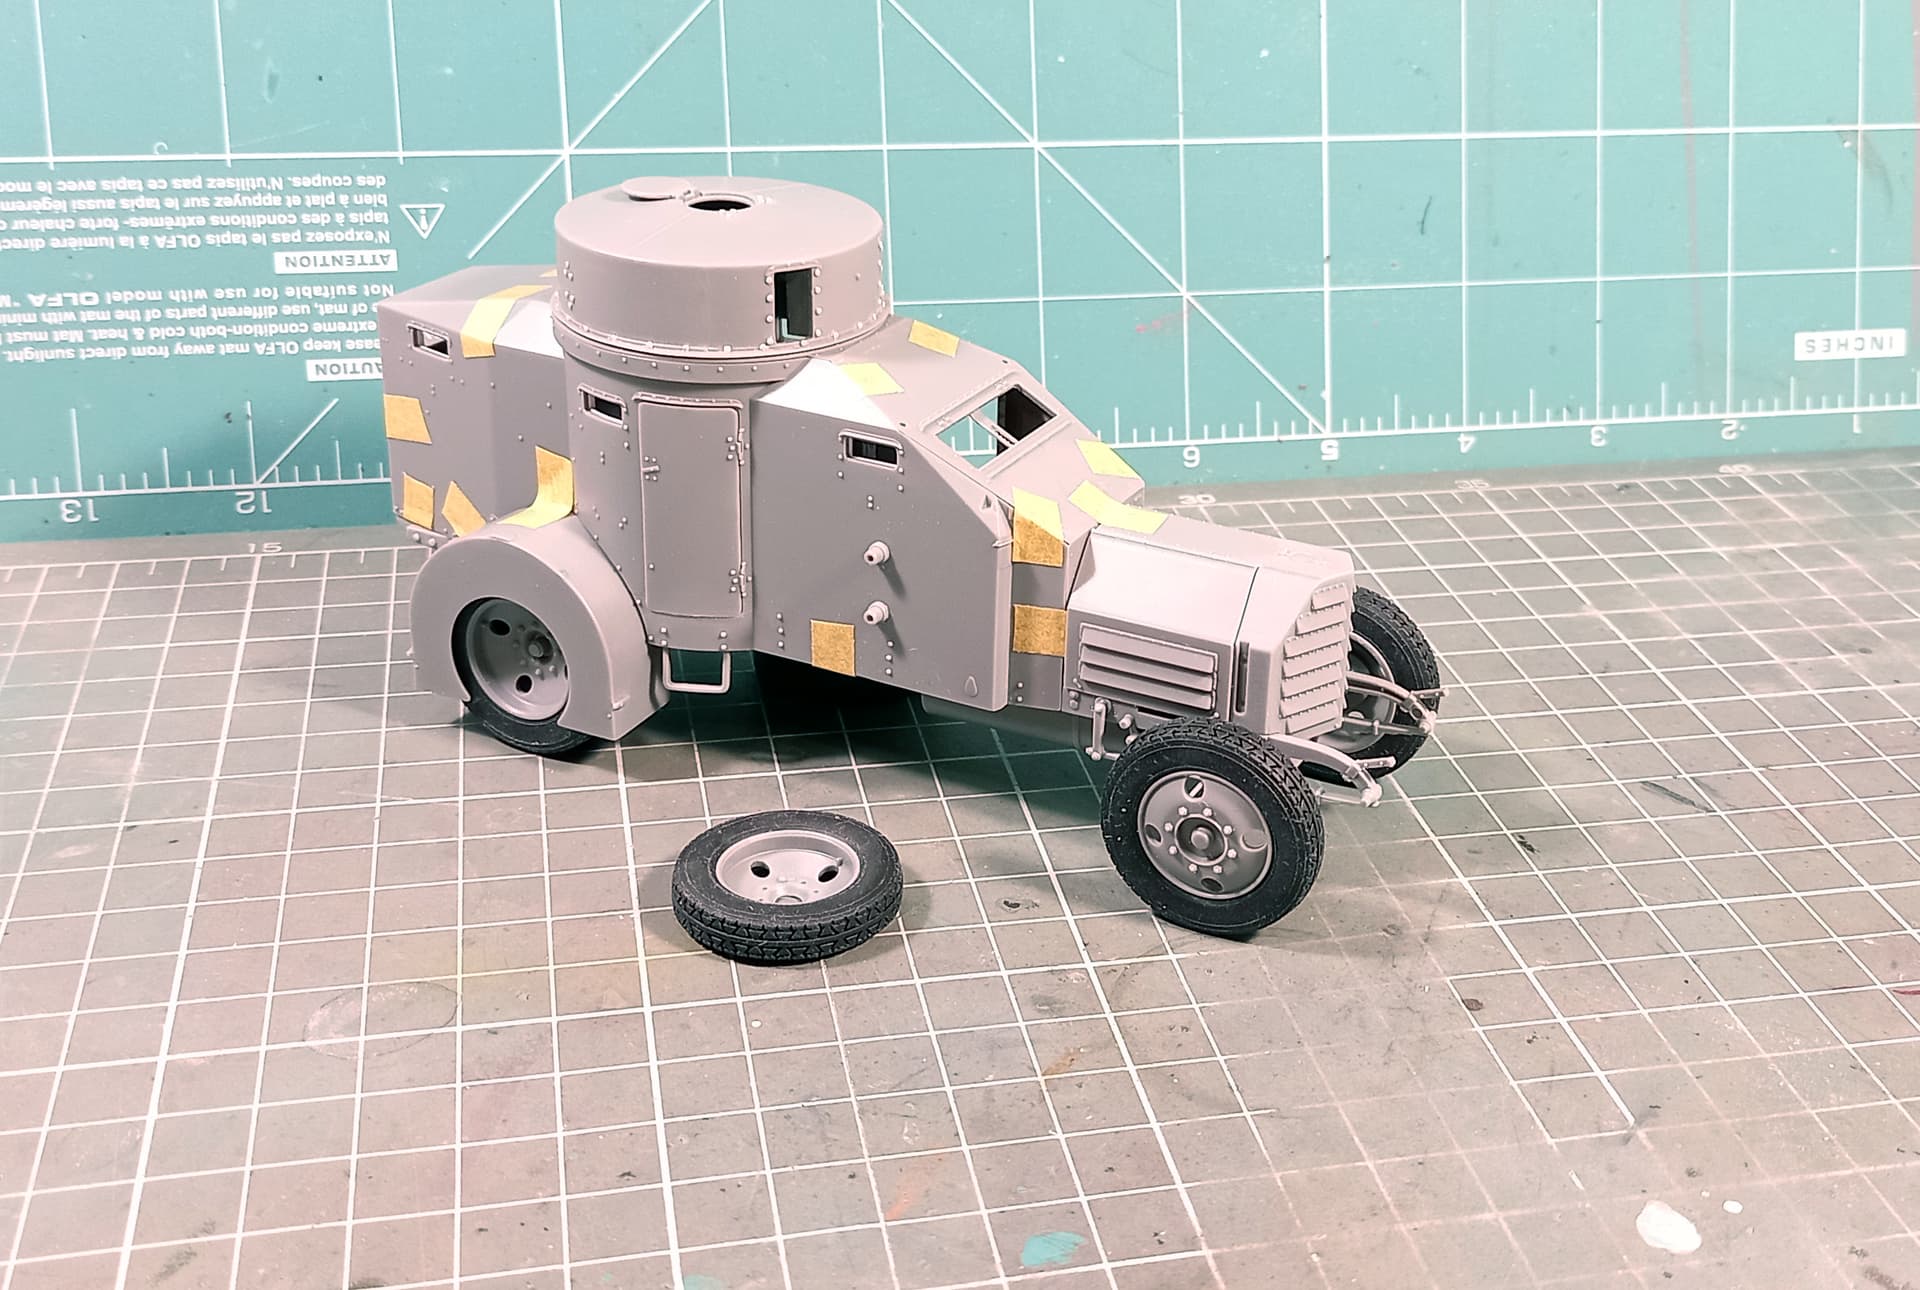
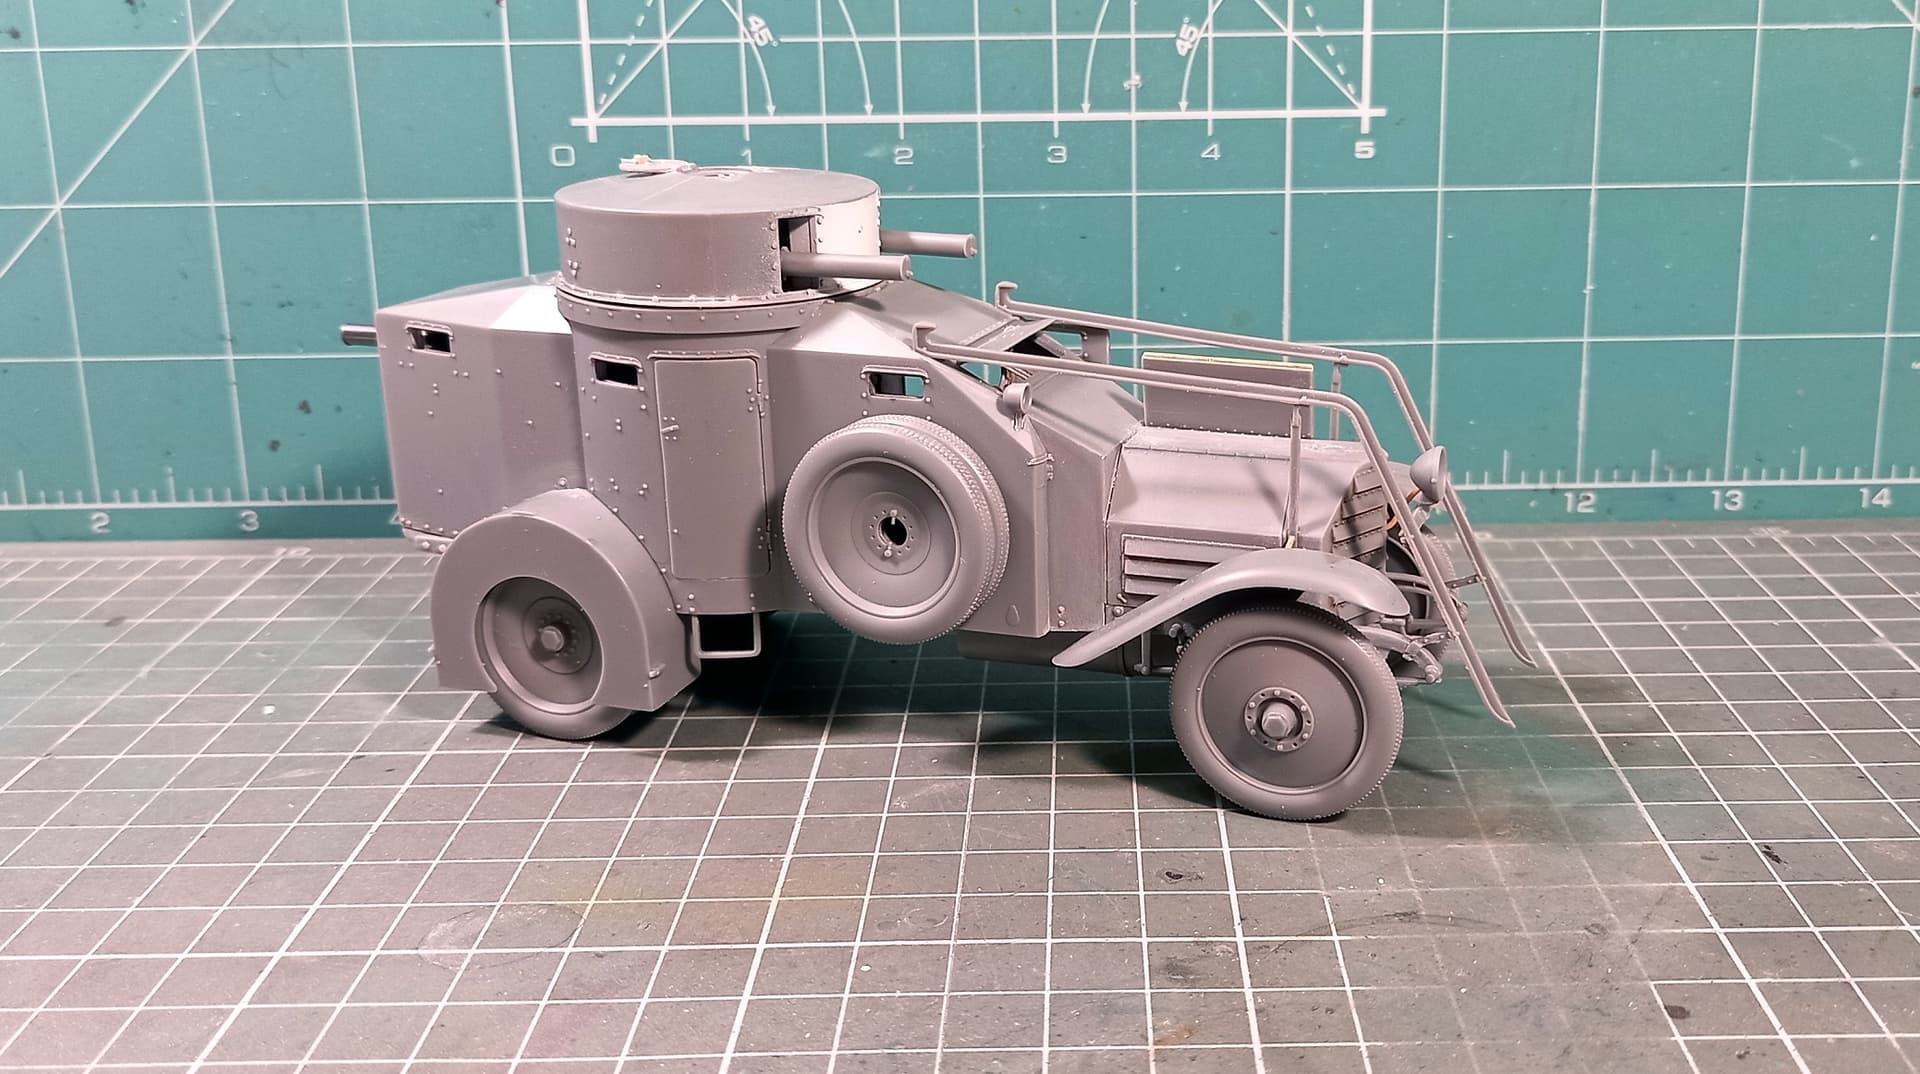
I decided to make some Italian vehicle, in the years after WW1. For this we have to use the first wheel model, with its corresponding front fender, the Fiat-Revelli 14 and eliminate the extra headlight brackets used in WW2 models.
The CSM kit is well detailed, with a very good fit between parts. It does not use PE. The interior is the only “deficient” part of the kit, as it is not fully detailed. The instructions come in a “book”, with very good printing quality, with very clear and colored drawings. It also comes with several profiles, also in color, and a brief historical review with photos.
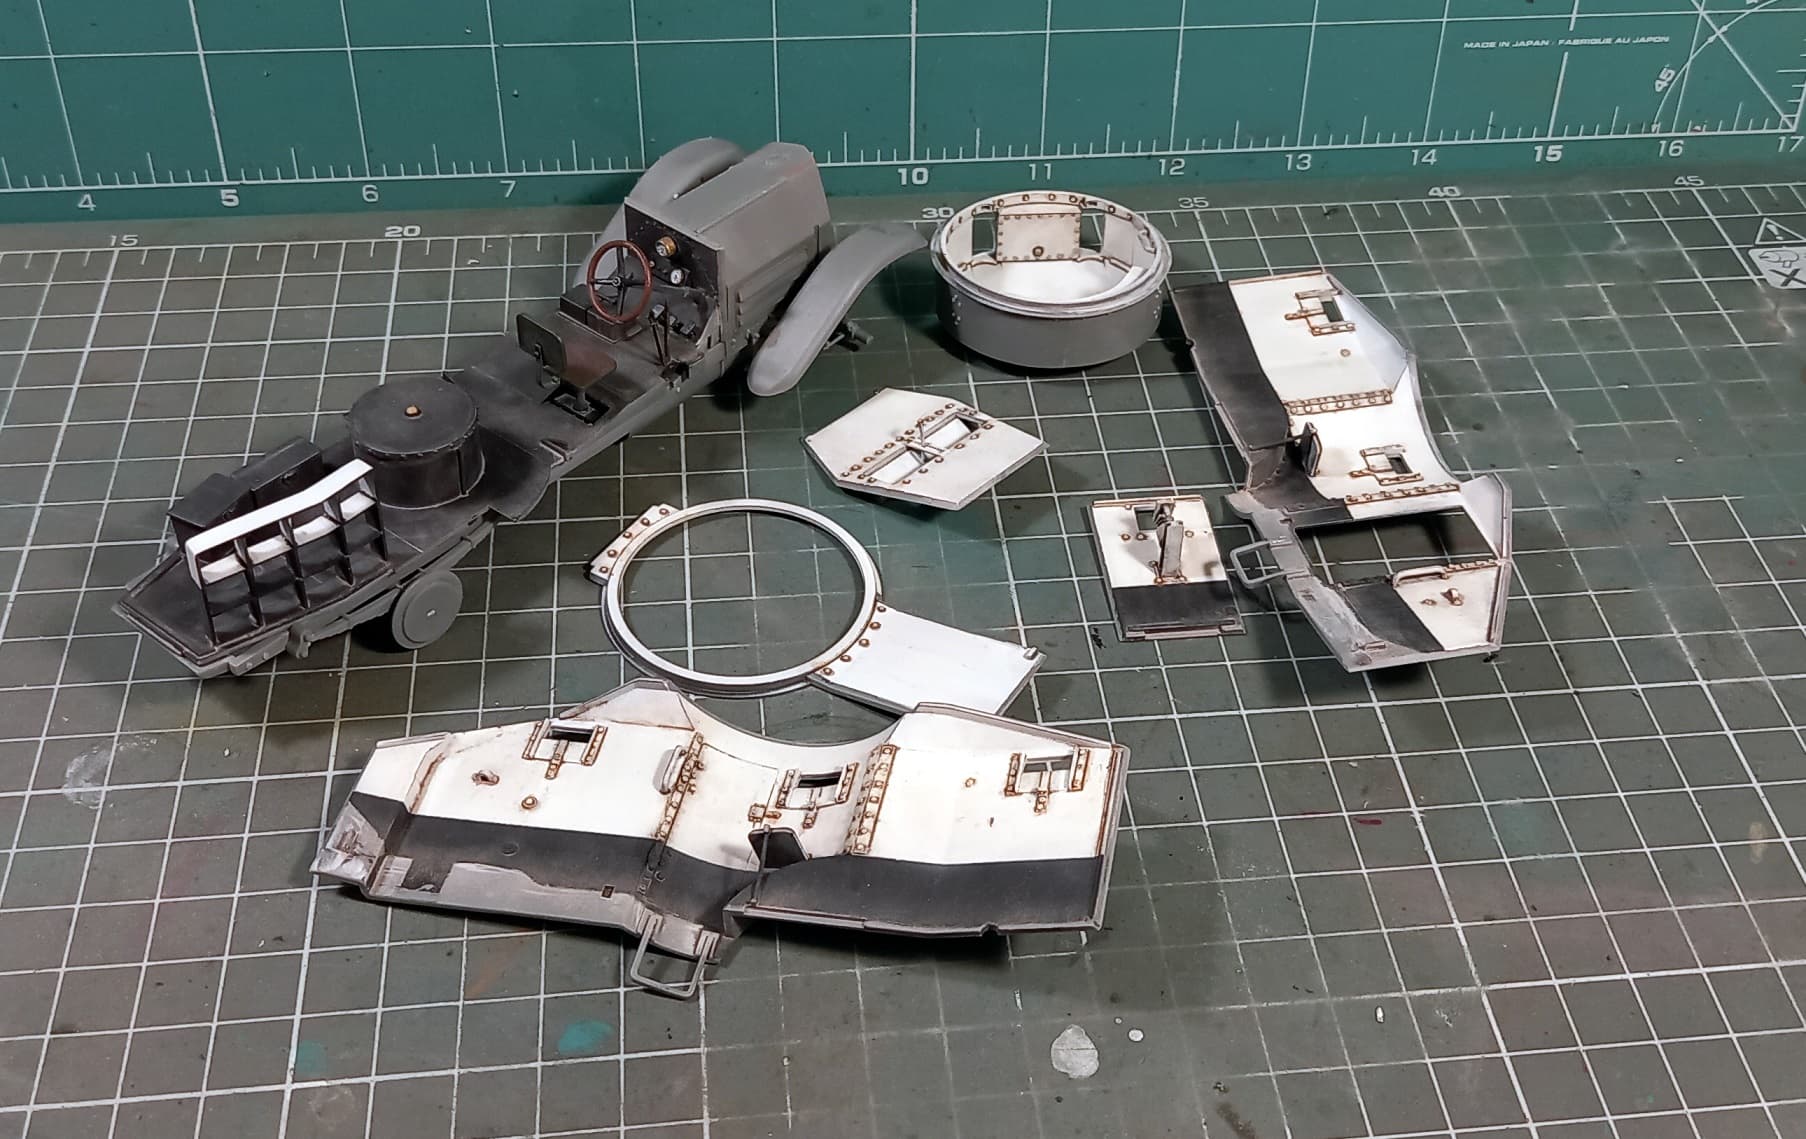
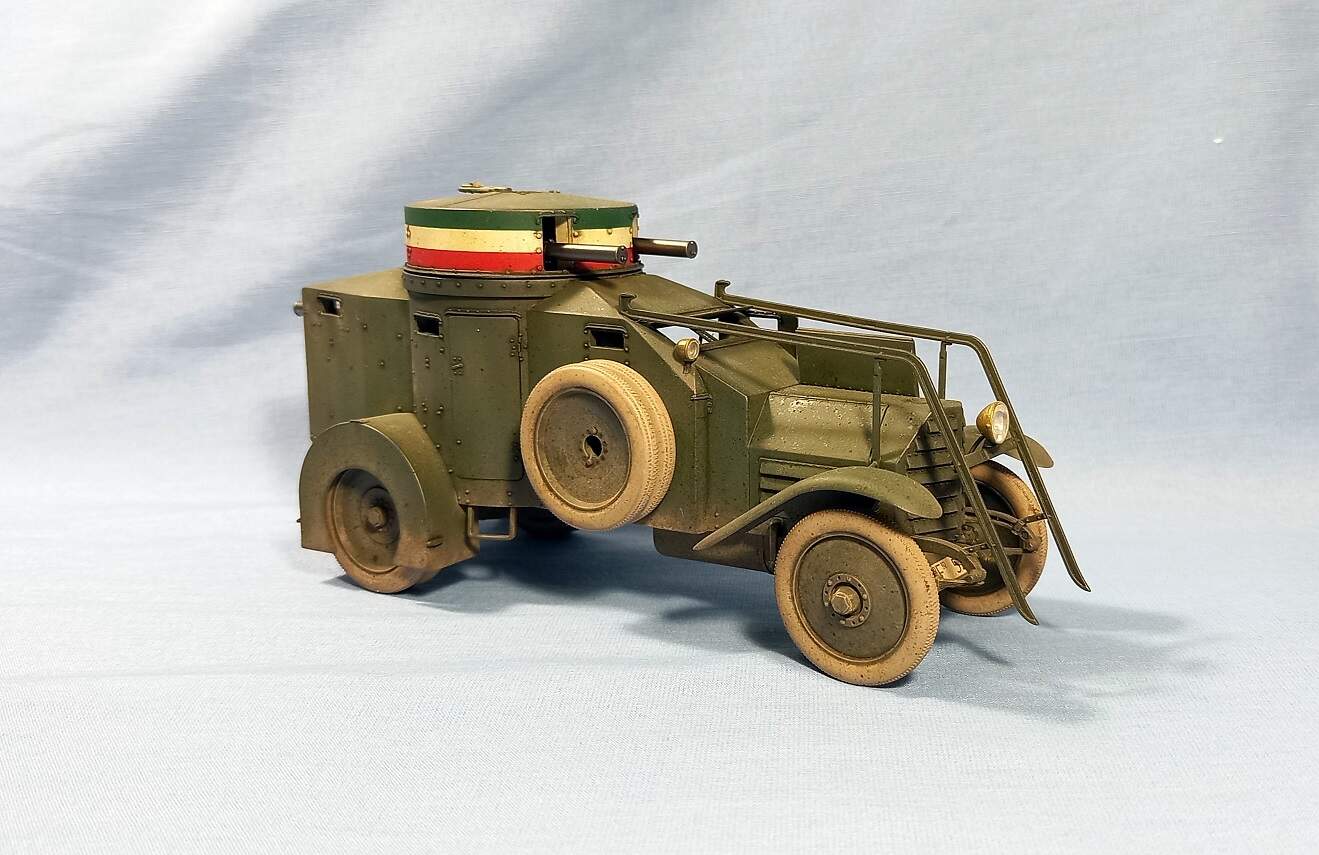
For the paint I used Vallejo acrylics, and for the wethering I used washes and pigments from Vallejo, AK and Casttle Art.
I hope you like it, and any criticism is welcome.
Greetings to all forum members.