DOES IT EVER BOTHER ANYONE ELSE that most model passenger car lighting involves just one or two bulbs, usually in the middle of the car with both ends of the car being unrealistically darker?
Uneven lighting distribution.
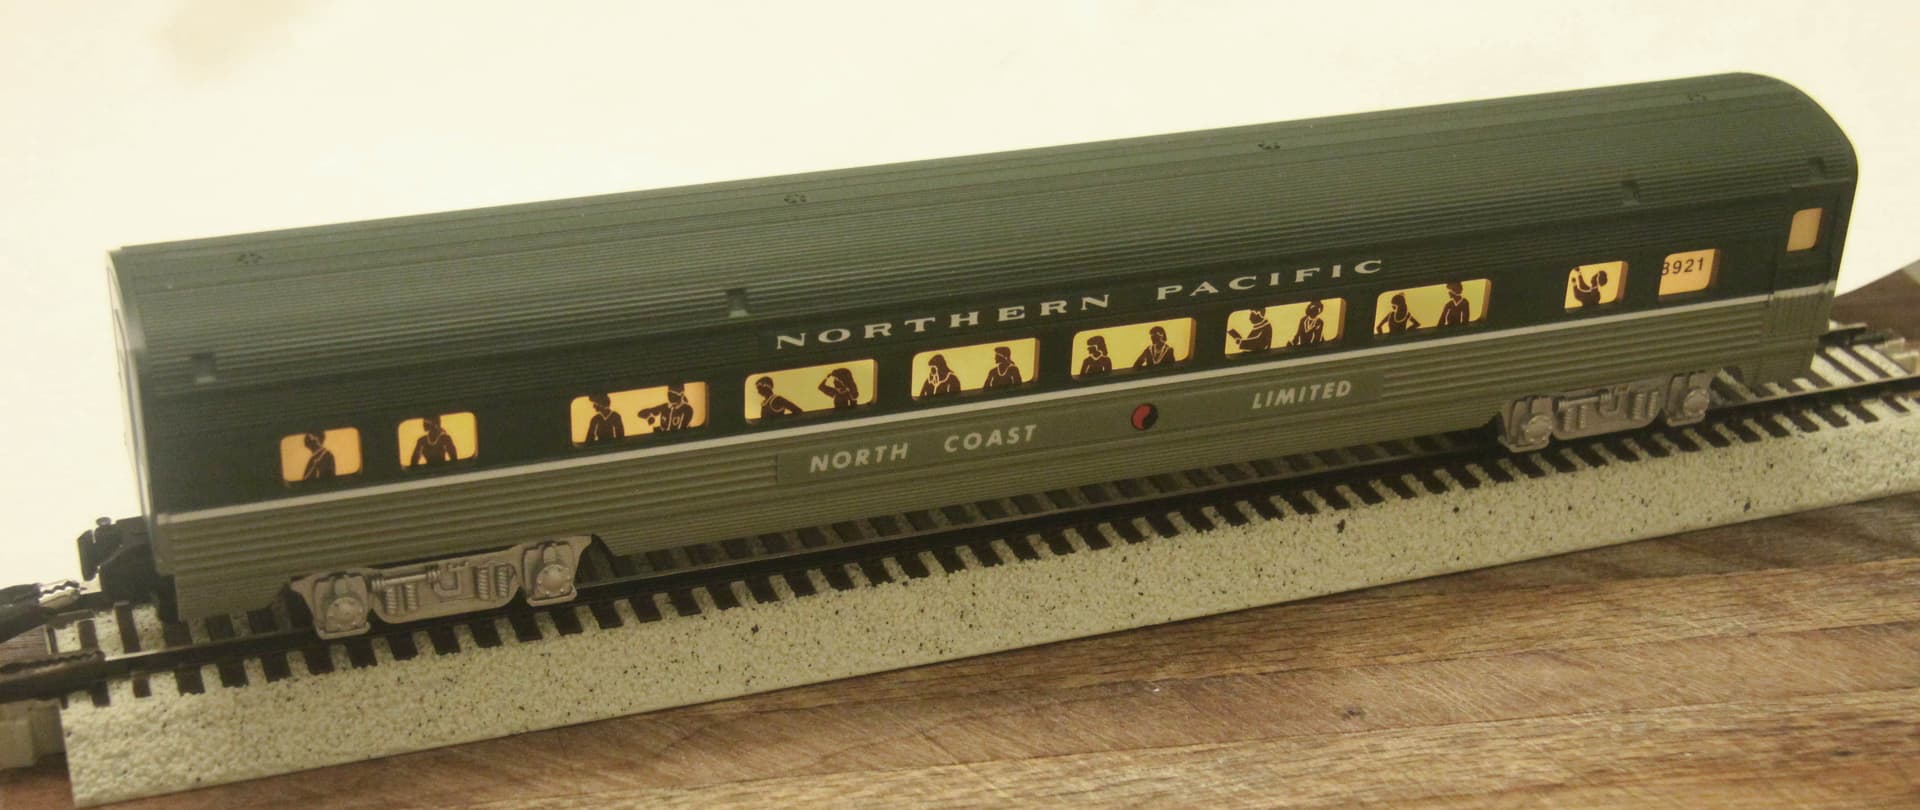
Stock S Scale American Flyer Northern Pacific Round End Observation Car ~ nice but still something is missing ~ shown here with just the OEM original, single bulb lighting.
Note: I did line this observation car with aluminum foil to better spread the light from the single bulb but still the lighting is uneven.
How About something a little more uniform?
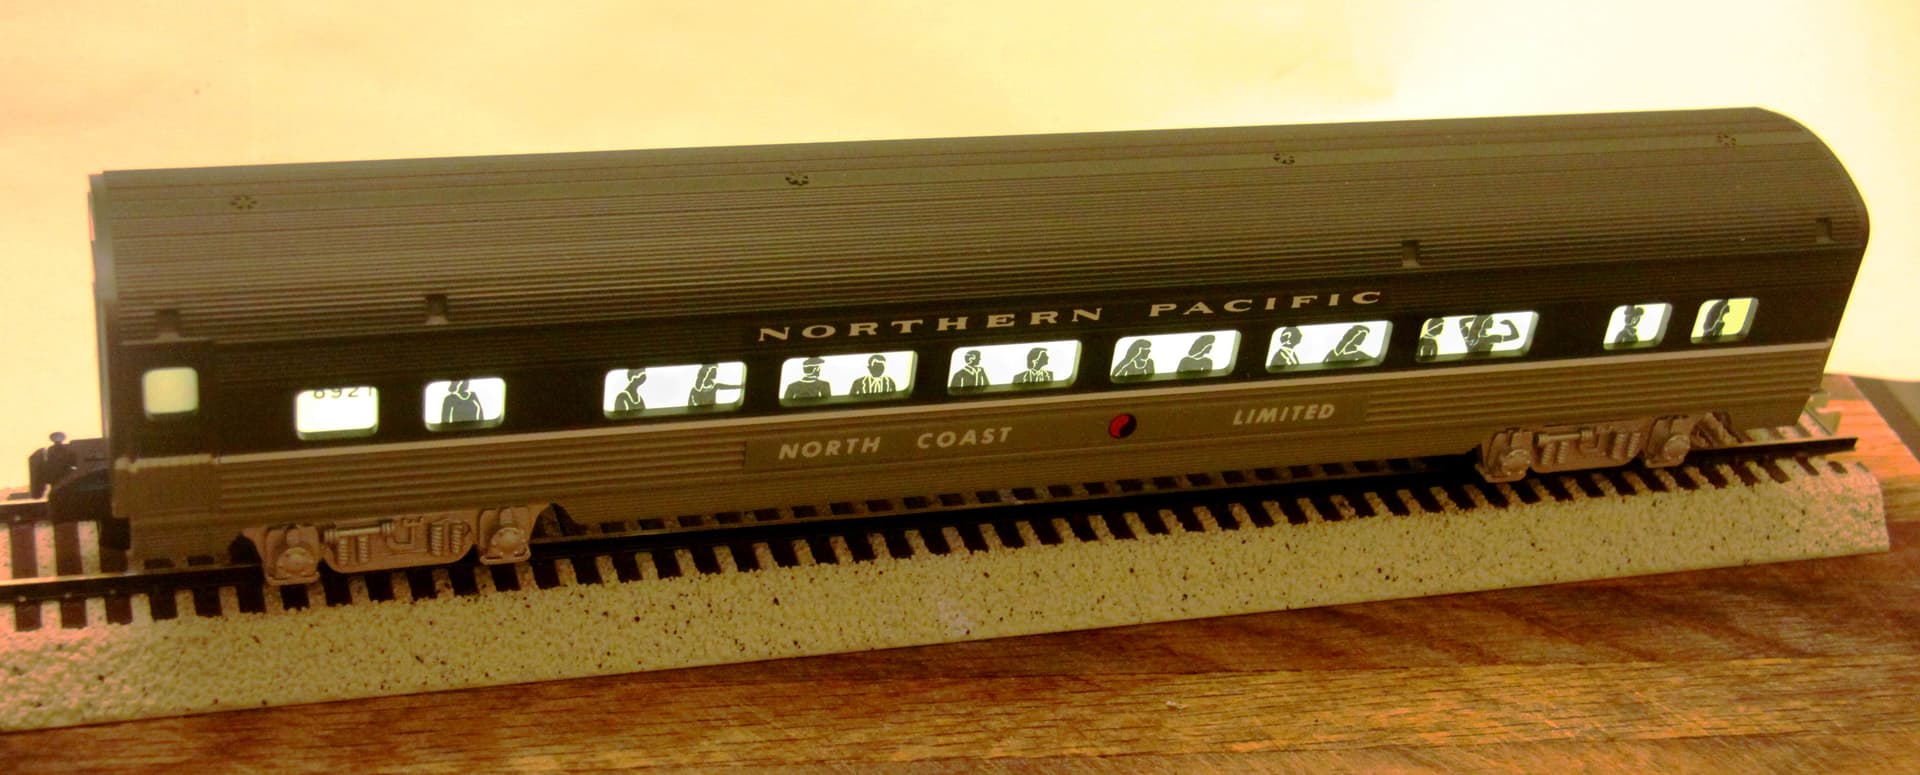
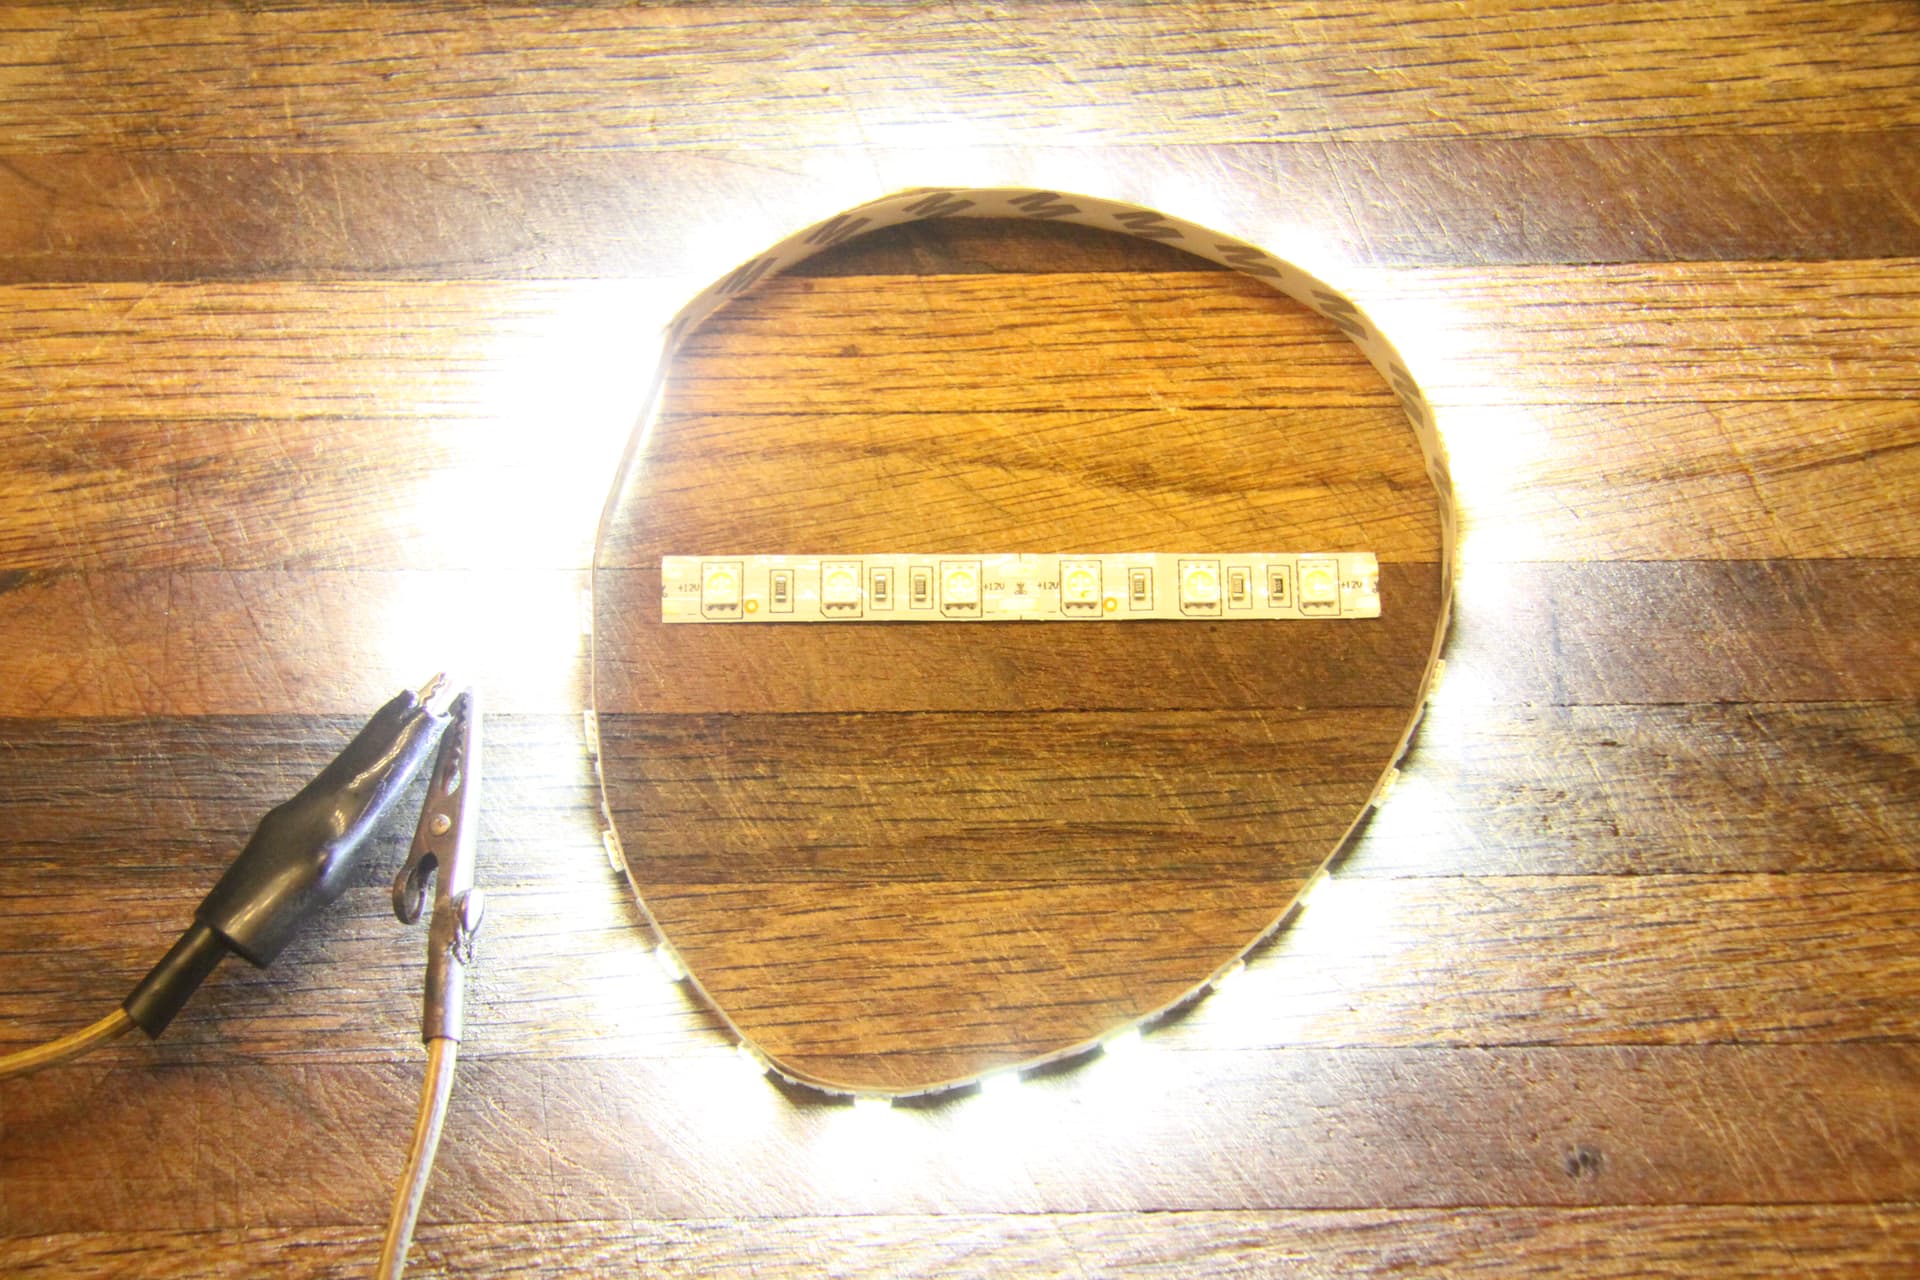
Or even some ultra white/bright uniform lighting?
Rewired/relighted AF Northern Pacific Coach.
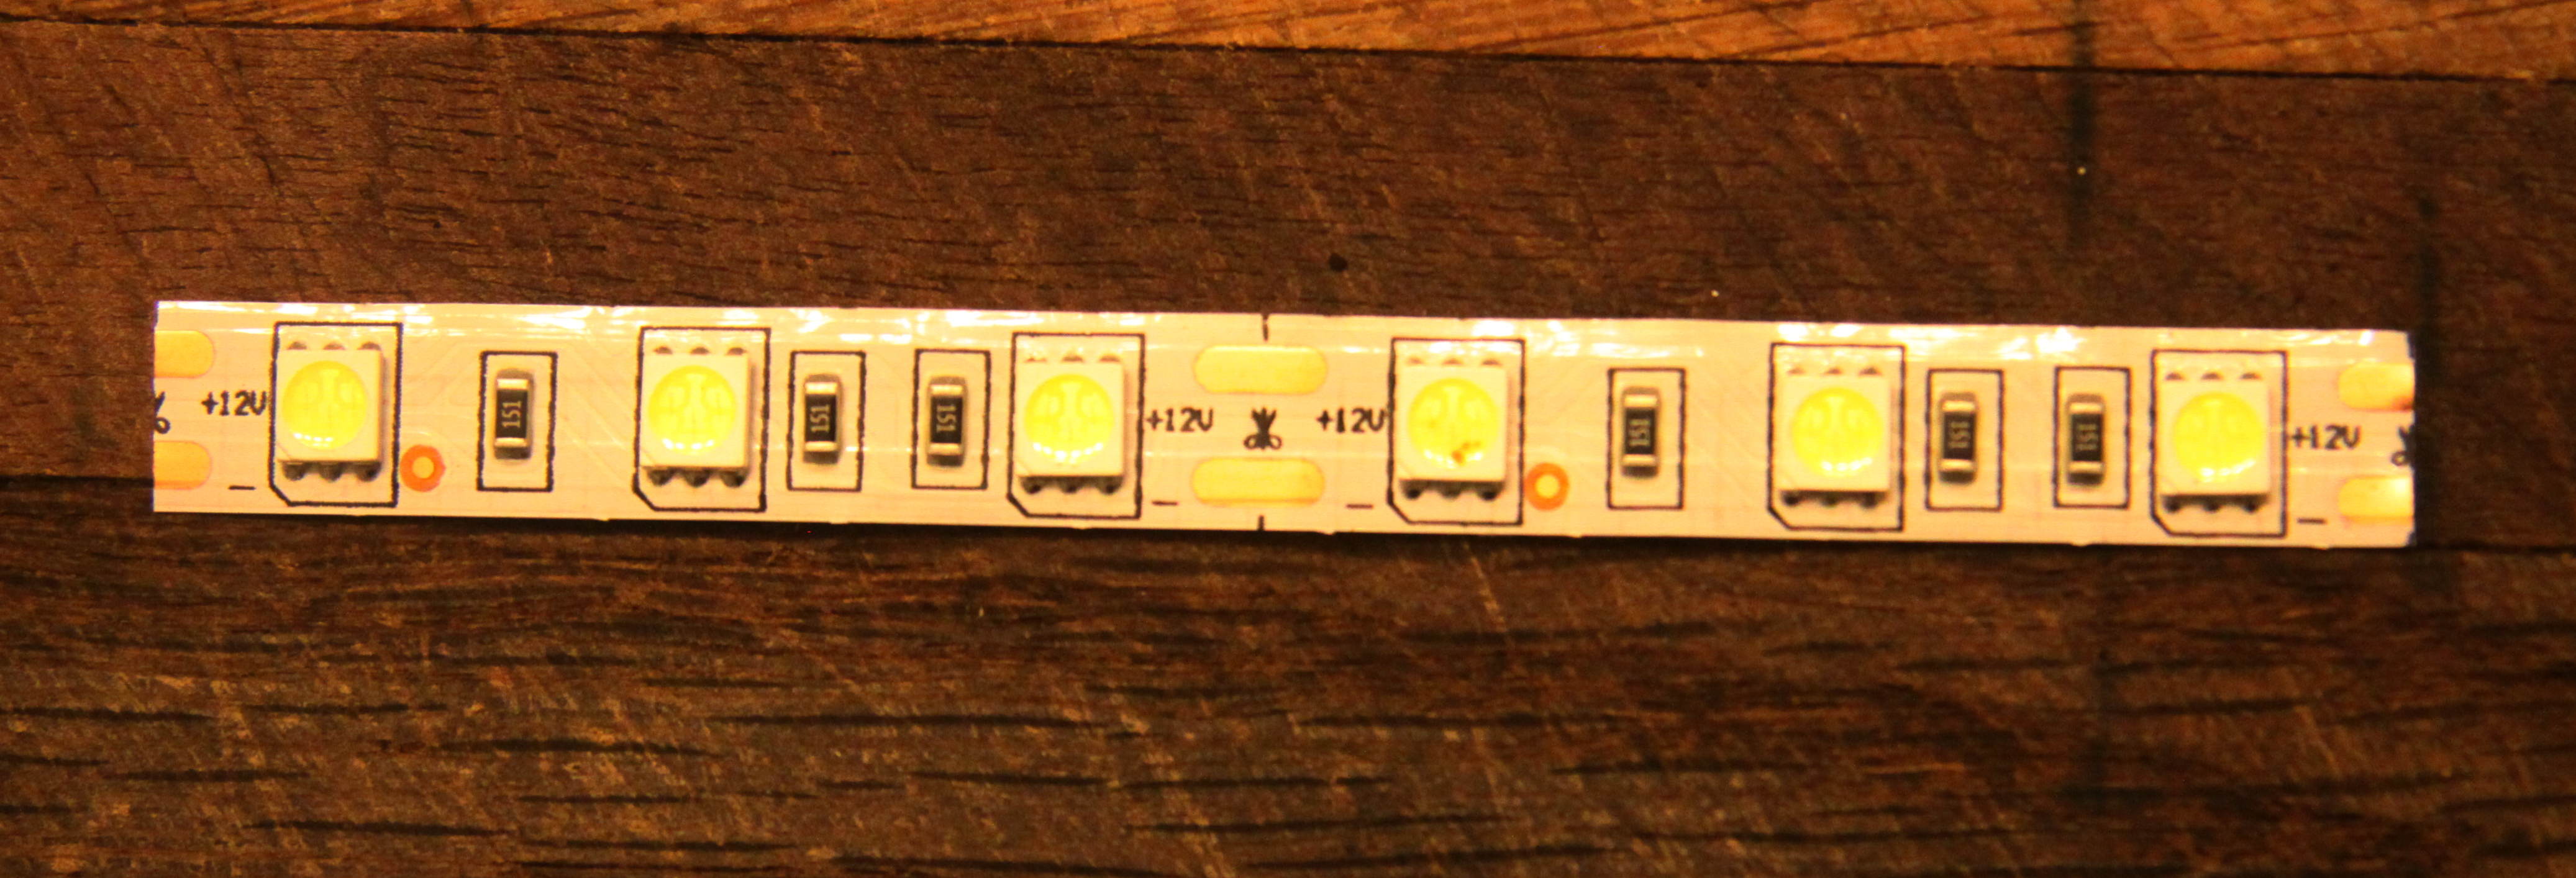
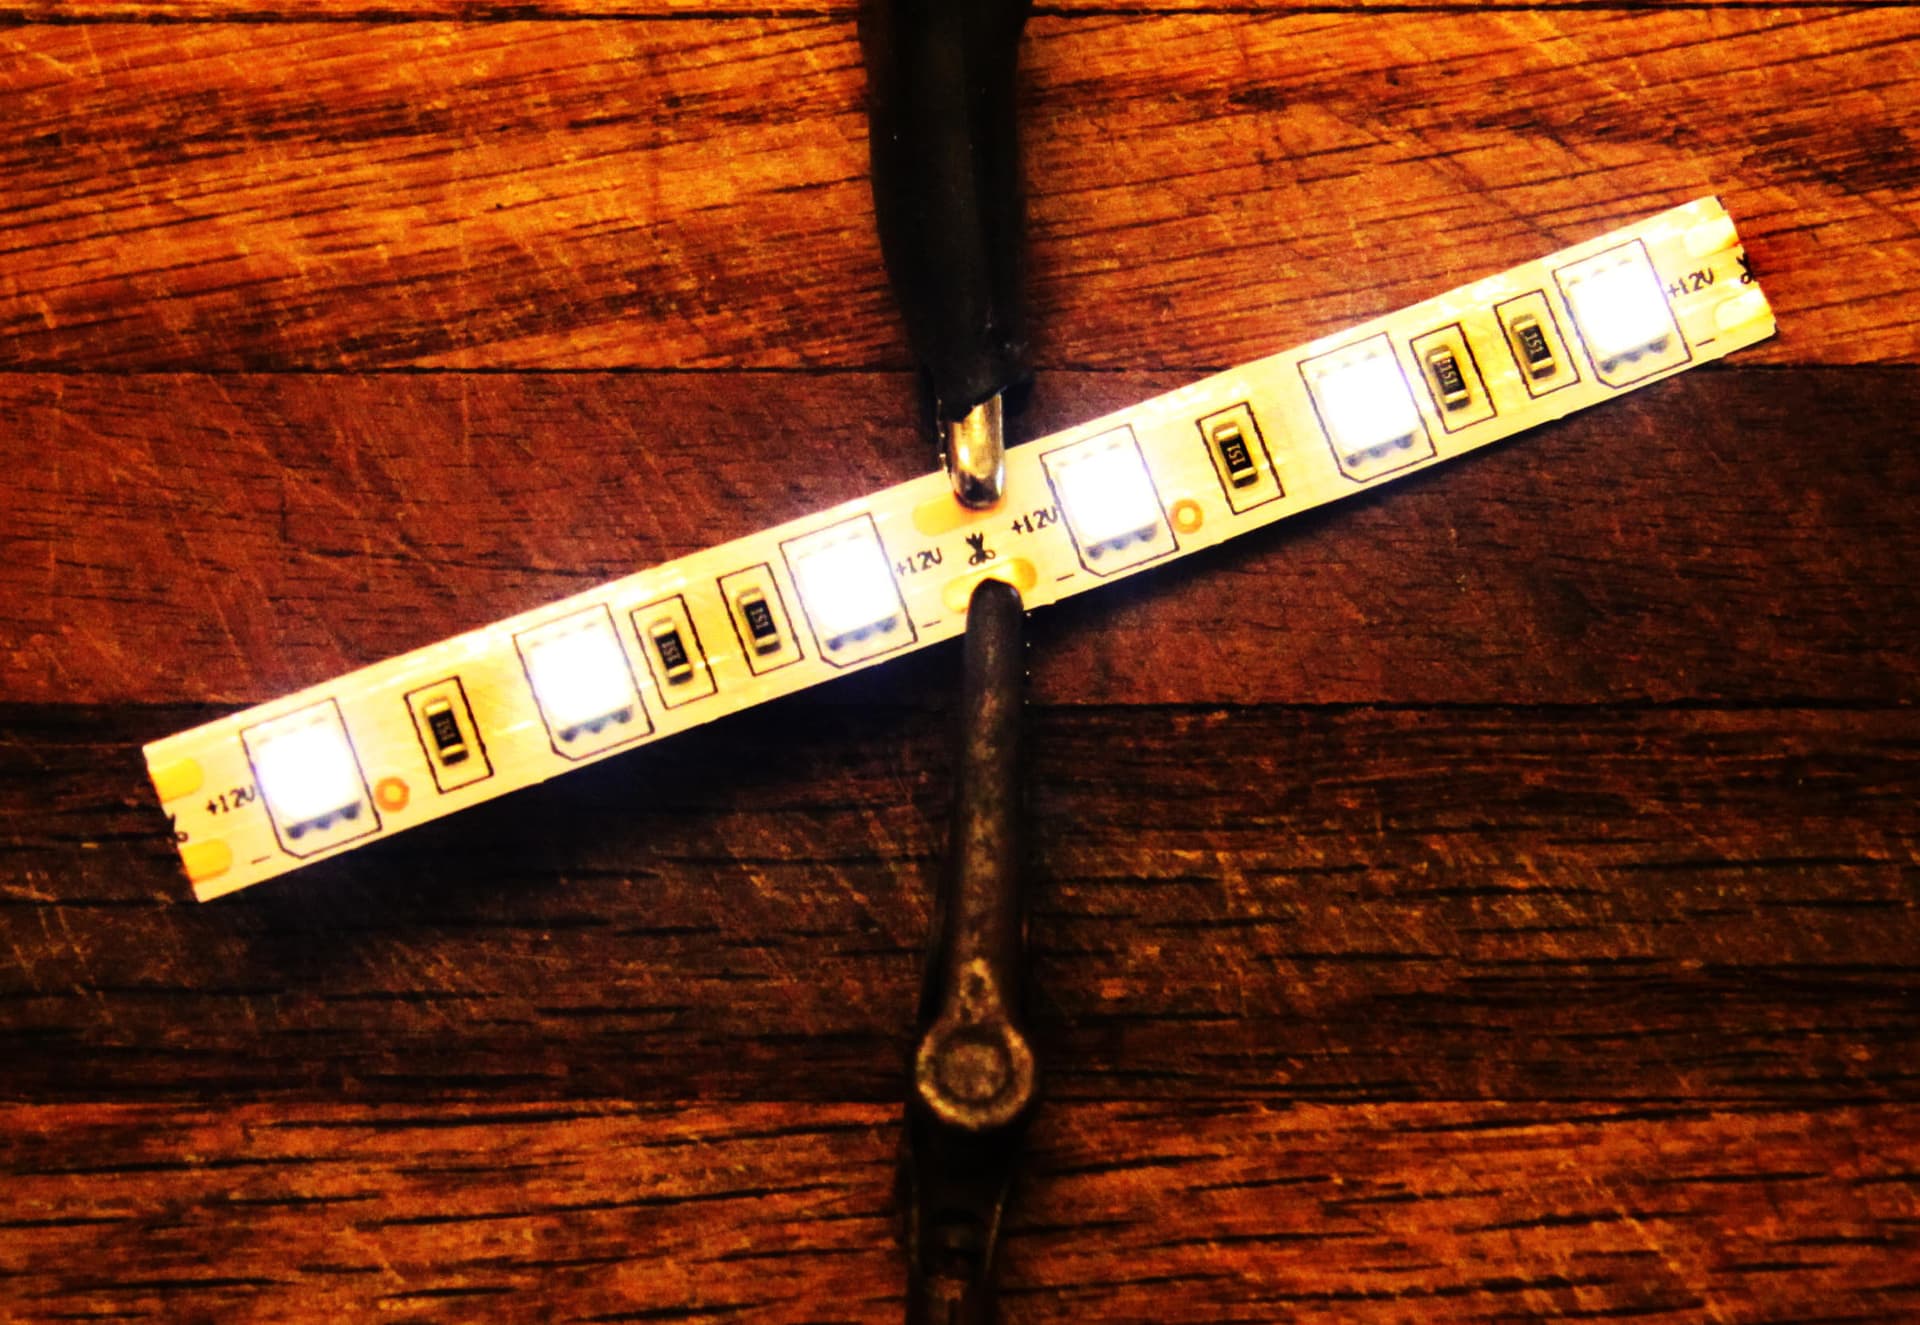
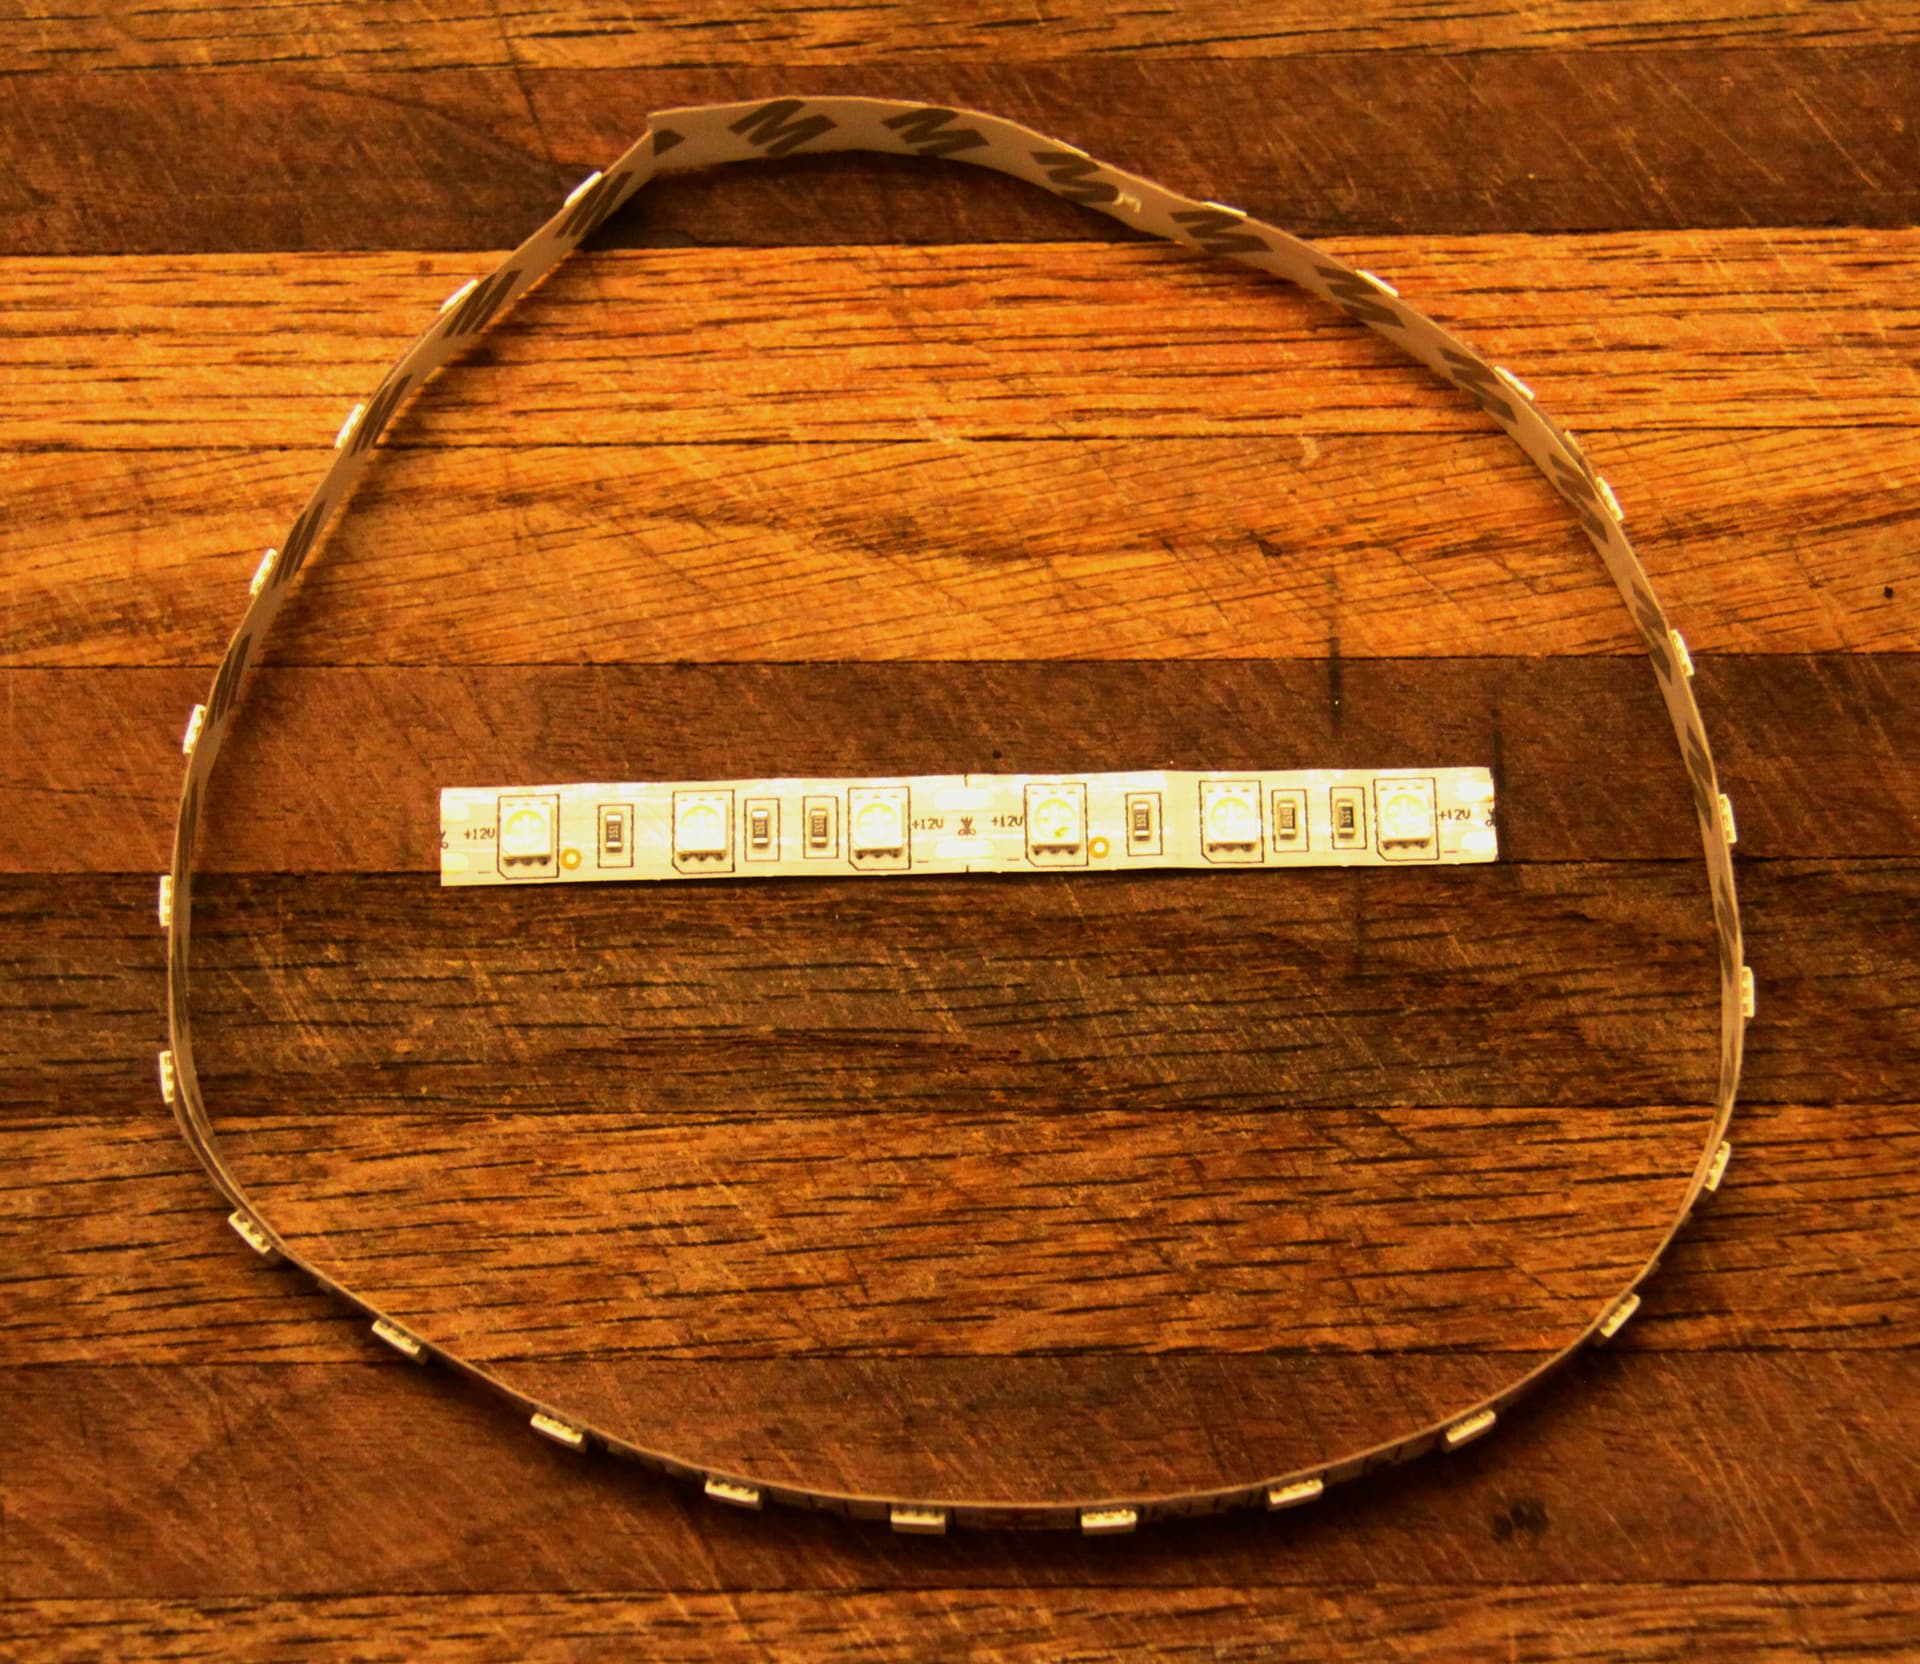
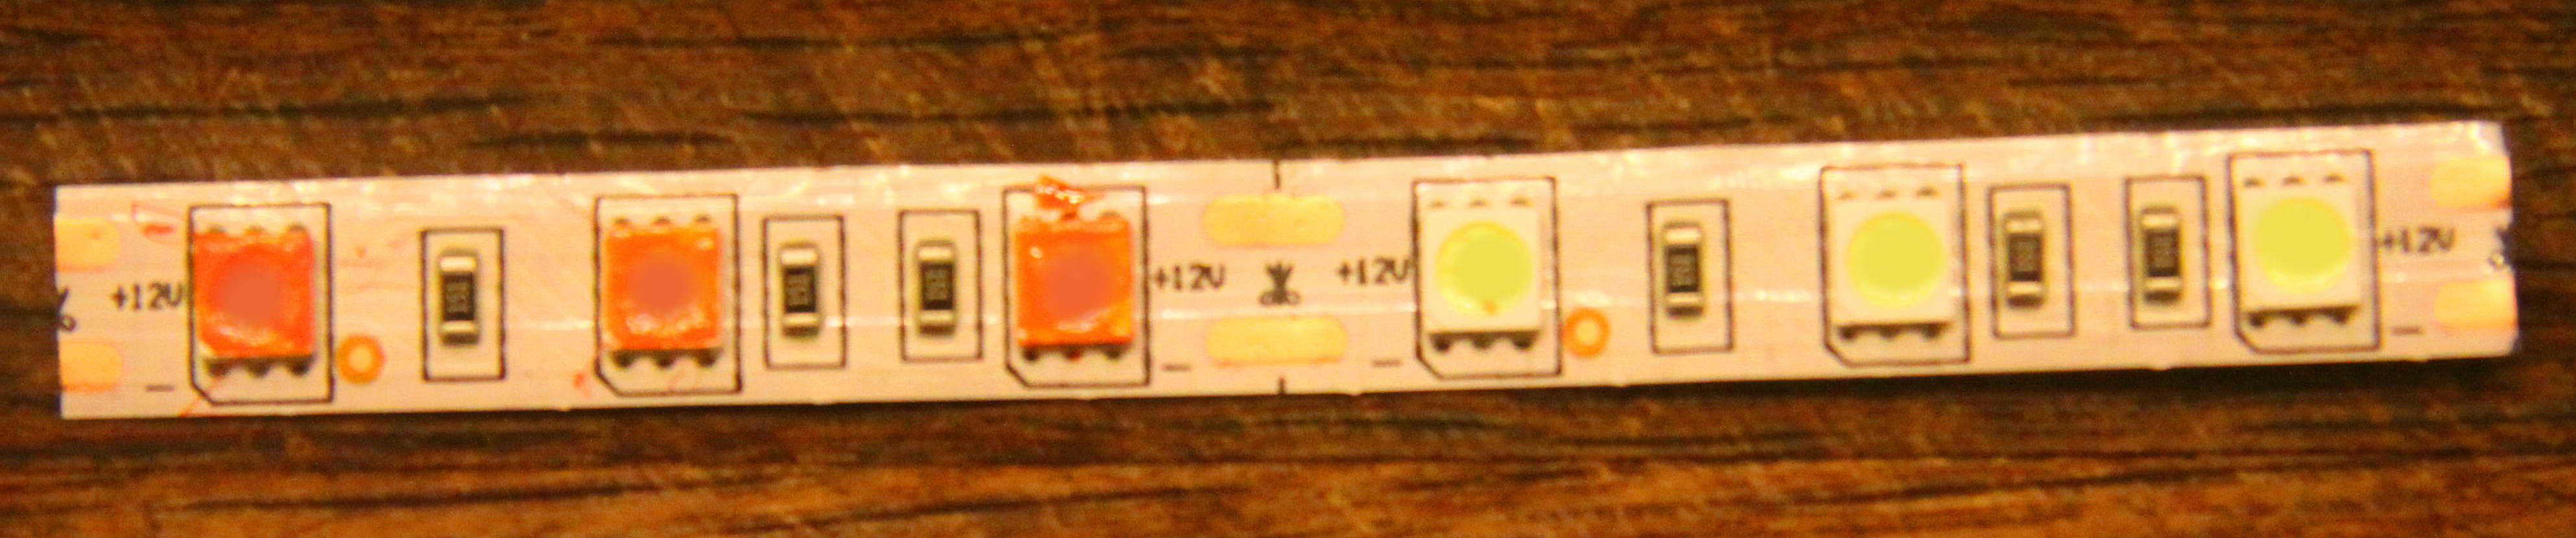
The Not So Secret Secret: Is readily available LED low voltage; “lights by the foot.”
The necessary resisters are already pre-wired into the strip with power connection contacts availably spaced between every few Lights.
Now someone is going to point out that these strips are rated for 12 Volts and many “toy” train transformers put out Max. 18 Volts. I will admit I have not tested these light strips over the long term but even if you do like to run your trains flat out at 18 Volts please remember that you will likely have your locomotives drawing part of that power AND most likely there will be other lighted passenger cars drawing on that power as well as perhaps also some stock incandescent lights in your locomotives.
FYI ~ I never run my “collector” engines flat out (or rarely) so there is that as well.
My local hobby shop sells these for so much a foot and rather inexpensively.
2 Likes
Some Other Added Wrinkles (Features):
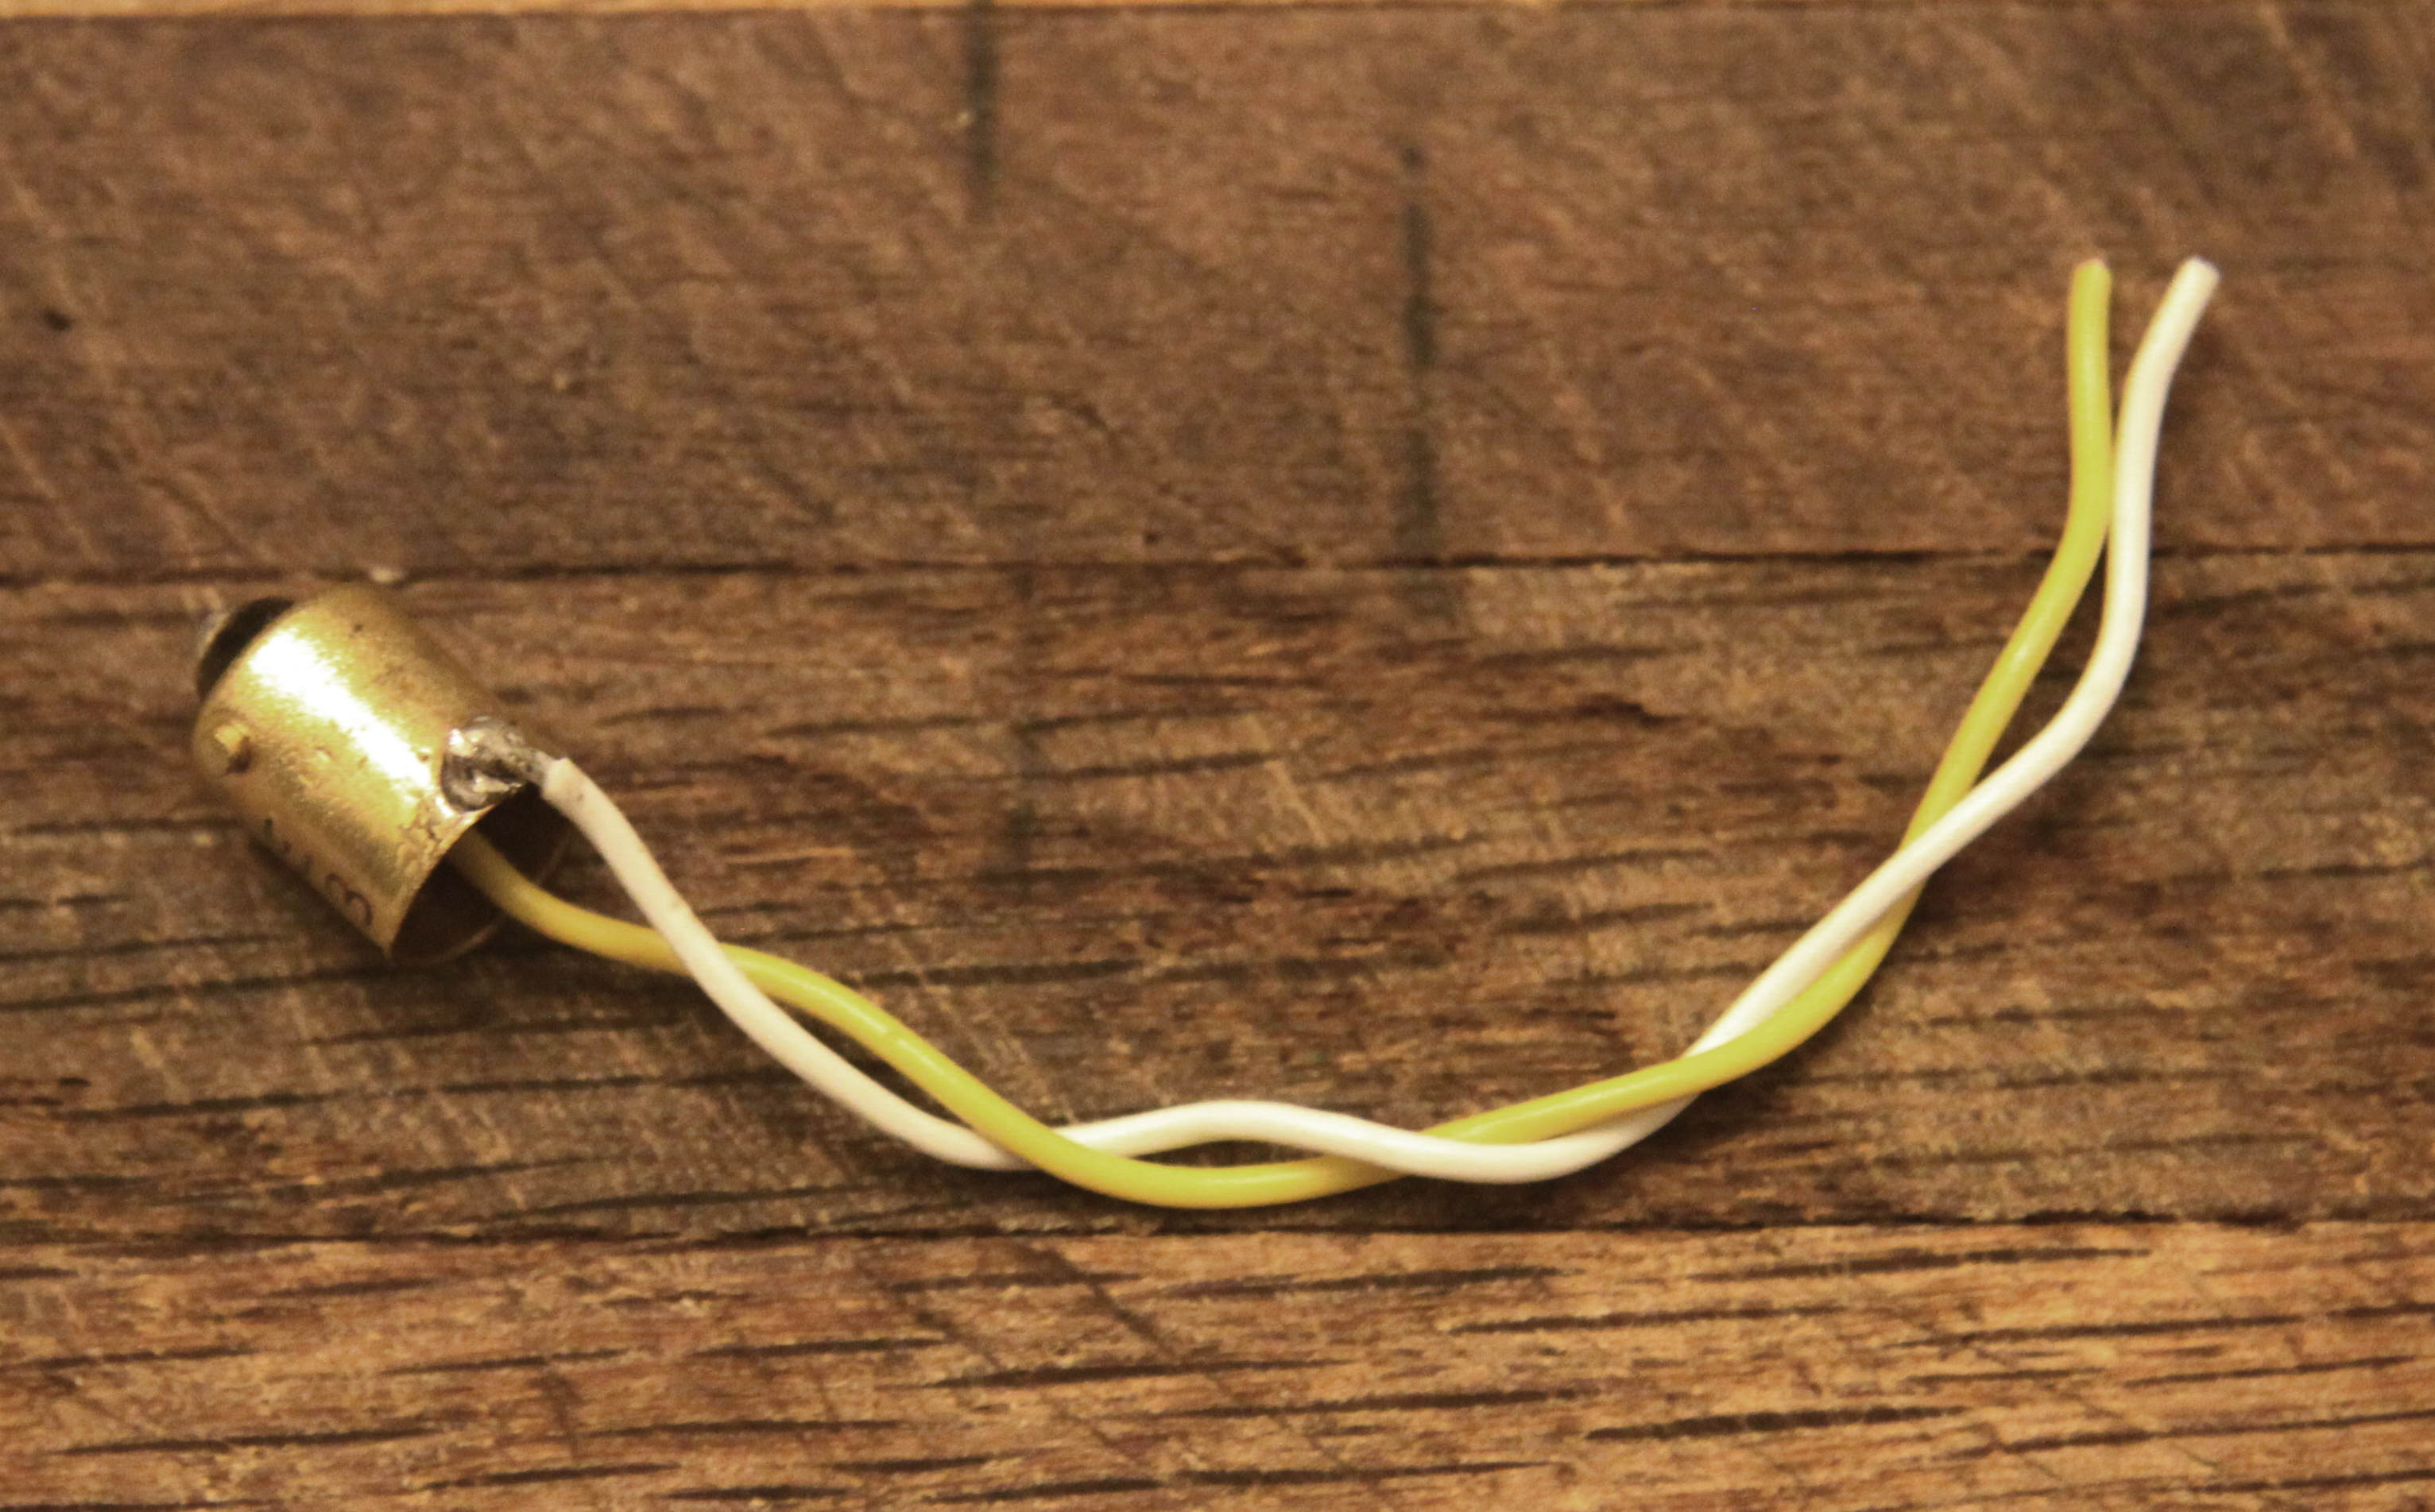
I accidentally broke a regular model light bulb and then the light dawned on me! Why not solder my new light leads to a standard bulb base and use that as a quick, plug in disconnect so the light strip can be assembled on the workbench and THEN easily installed in the car?
Standard “broken” bulb base with new lead wires soldered on:
New “quick disconnect” installed in car using the stock light bulb socket:
I don’t think excess heat will be an issue with these lights but still I coated the insides of the cars with regular kitchen foil. One to spread and dissipate heat but also to act as a reflector to more evenly distribute the light.
As you can see I bend the light strip in an arch and support it on its’ own power wires so that neither the LEDs nor the resistors touch any part of the car interior. (If anything gets hot it will be the resistors and NOT the LEDs themselves.)
Wrinkle (Feature) Number Two:
Would you prefer bright white light in your cars or something a little more “of a shade”?
Straight white LEDs shown here:
Or would you prefer something in a more “soft white” range?
There are a number of transparent paint colors available to the automotive modeler: stop light red, transparent amber, transparent yellow, green, etc.
In my case I wanted to tone down the bright white color of the LEDs so I added a dot of transparent amber to each LED lens.
That is the only difference between the bright white lighting and the more subdued second photo. Myself I prefer the second choice.
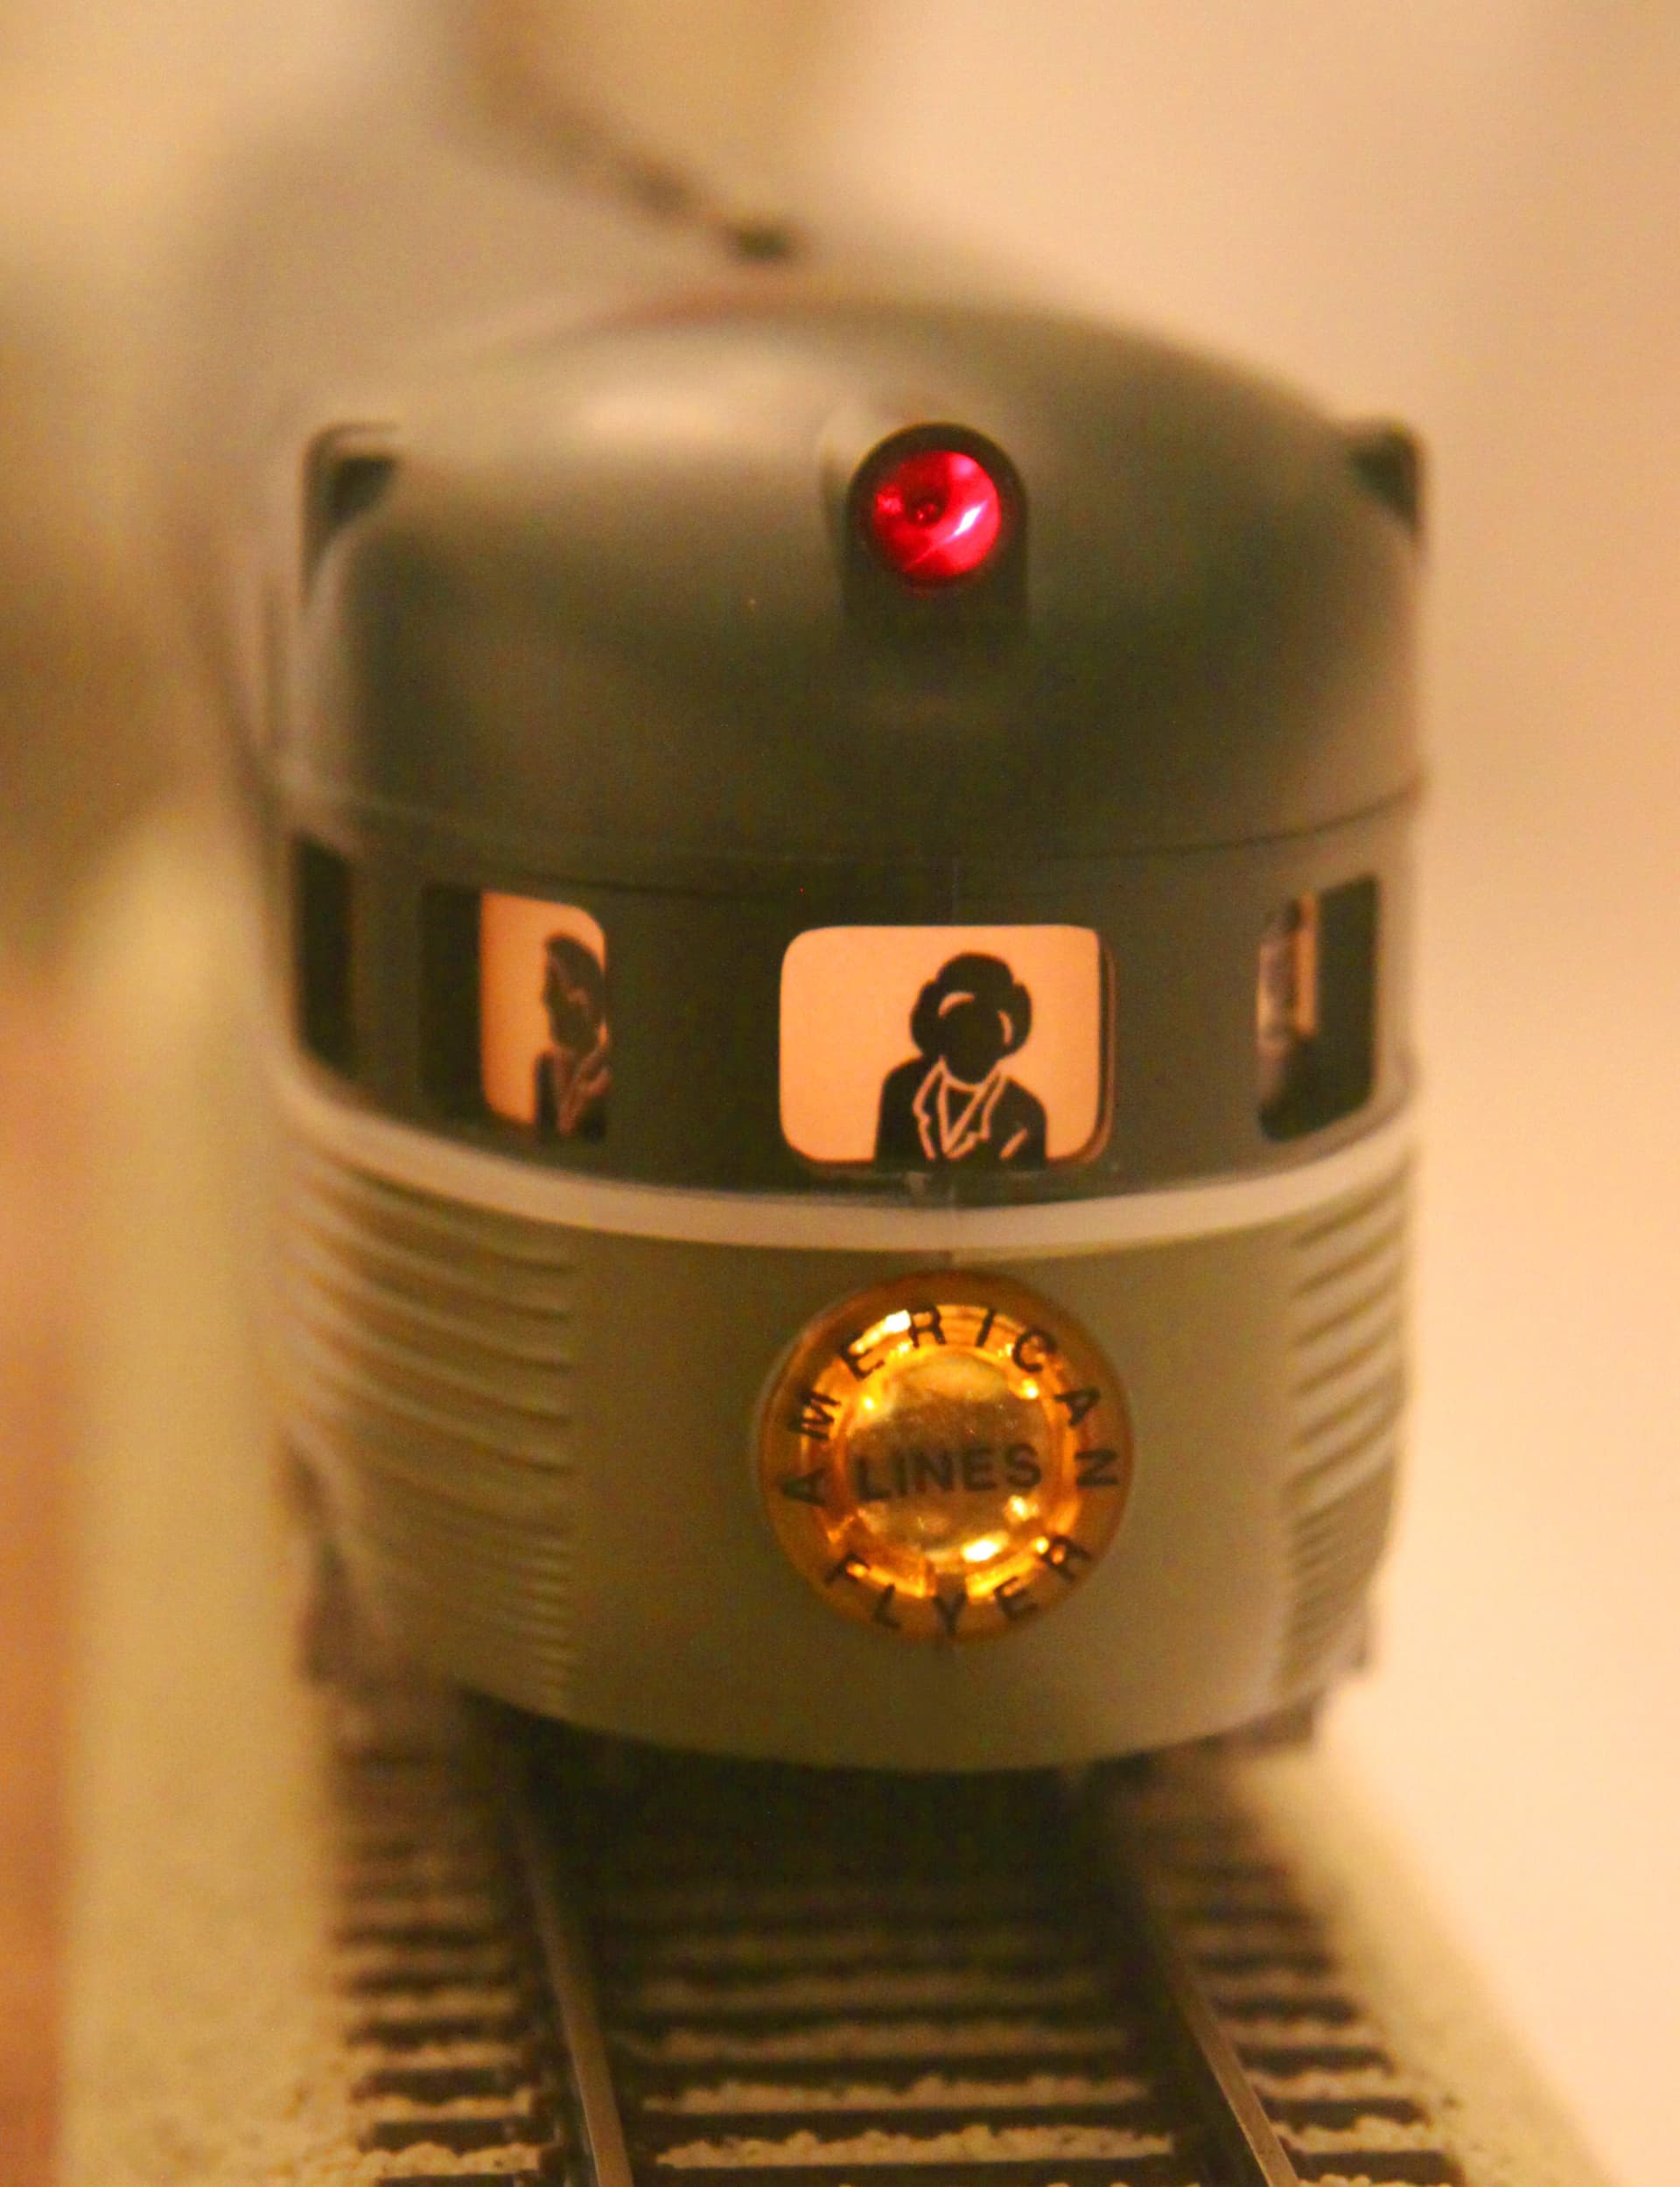
Here is my currently finished round end observation car. I added a separate red LED to the tailend light for additional brightness and I have plans to upgrade the car further with fibre optic red L & R marker lights plus an accurate tailend lighted “drumhead”.
. .
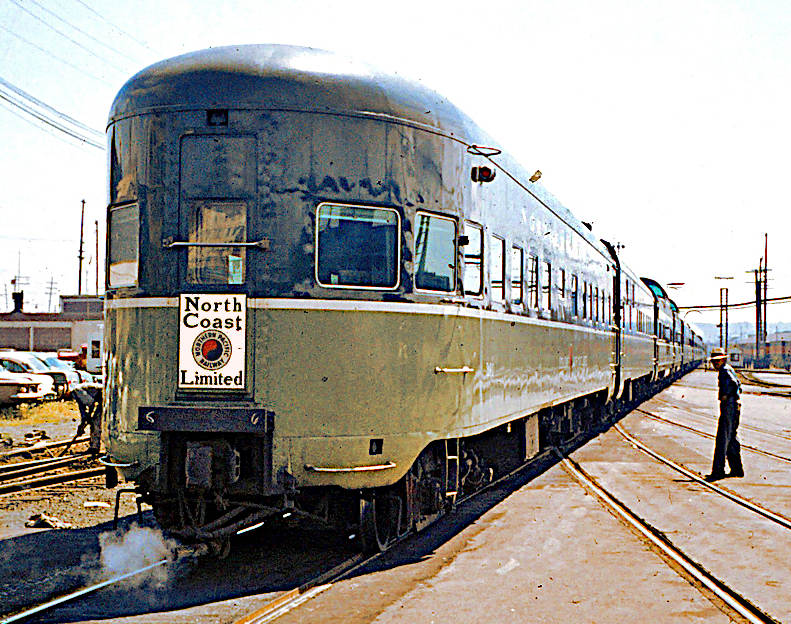
 Photo ~ RailPictures.Net ~ Copyright Doug Wingfield
Used here for discussion purposes ONLY
1 Like
Very informative. Thanks for creating this thread.
I’ve been collecting LEDs and wire from old electronic equipment before ‘e-wasting’ them. I heard that Voltage is very important. And that the powered bulb, LED, or motor will only use the AMPs that it needs. Learning the equations for resistors is where I’m at now.
Well that is what I like about these “LED’s by the foot” the necessary resisters are already wired in so no wiring, no soldering, no math, just hook it up and go!