The kind in the Tamiya Deuce and a Half or the Fuel Truck would be ideal. In fact I almost paid $20 this past weekend at a show for the whole kit just to get these two pieces. Then i remembered this site. ![]()
Anything of similar size and shape will do.
Thank you,.
You might ask model car builders. AM instrument bezels are available in various sizes. You might find a size/scale that works for you,
![]()
![]()
Maybe bezel wasn’t the correct word. (In motorcycling it would be)
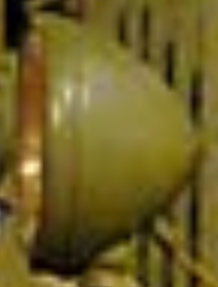
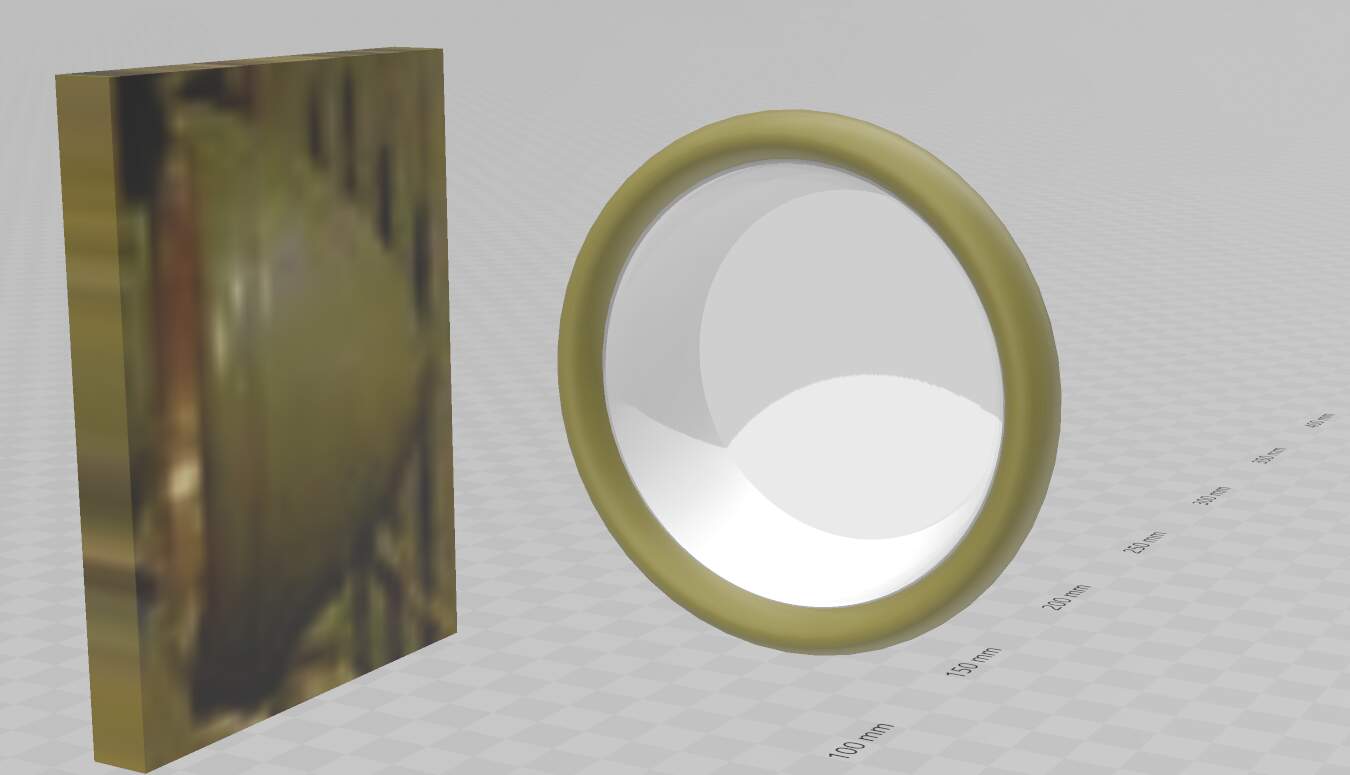
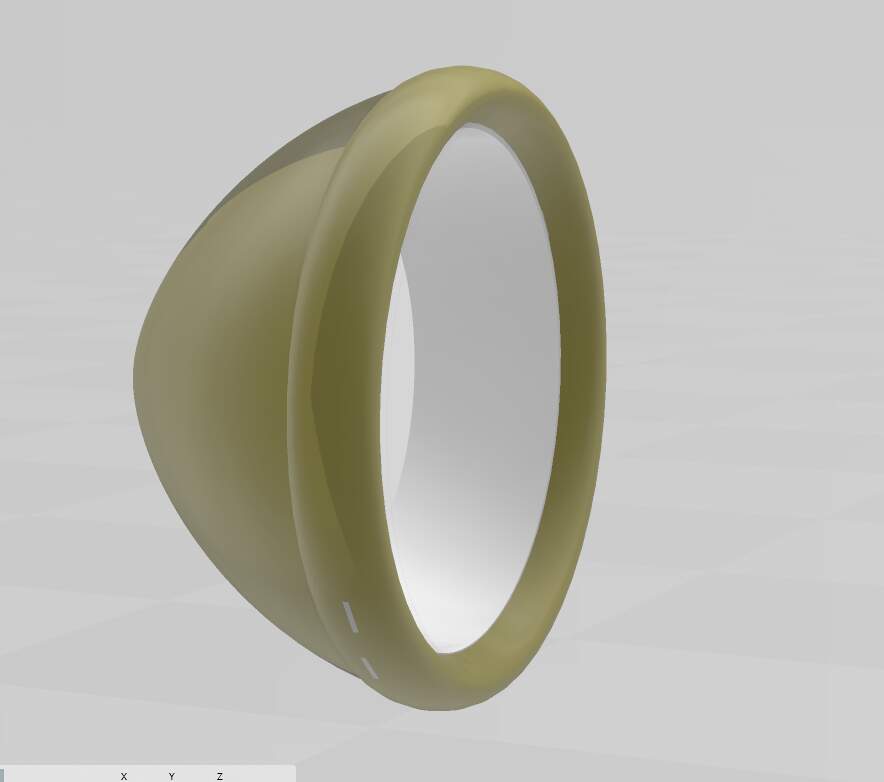
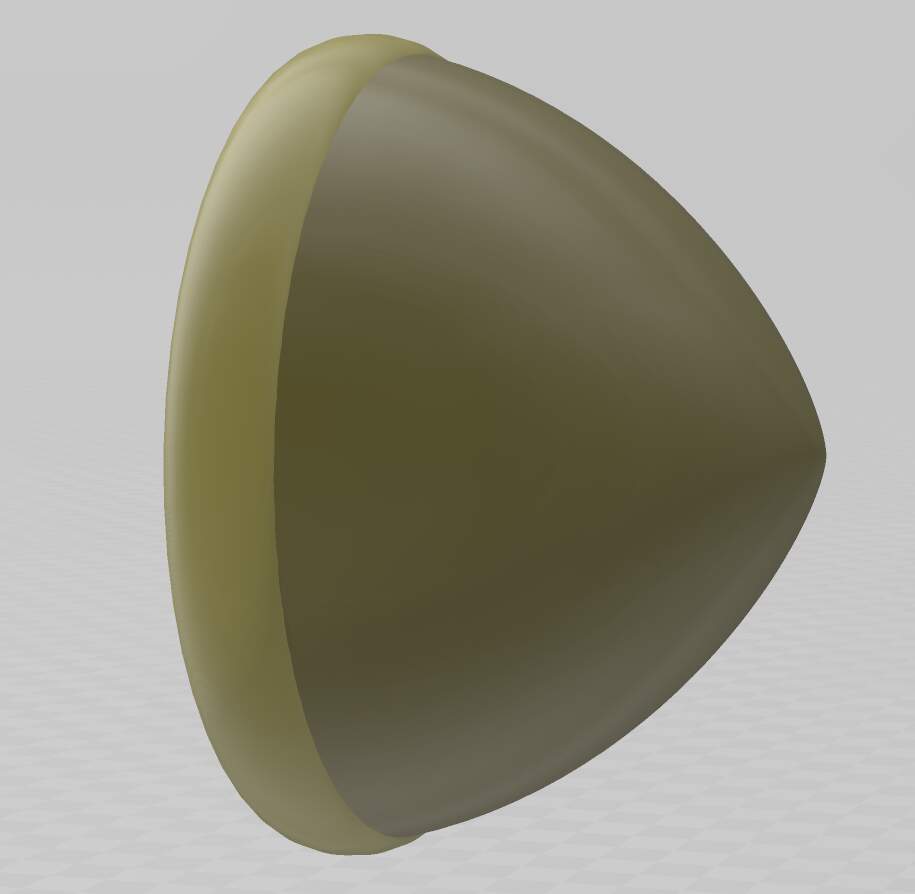
I’m talking about the housing, like a reversed prop spinner, that the headlights sit inside.
Something not too deep would be ideal.
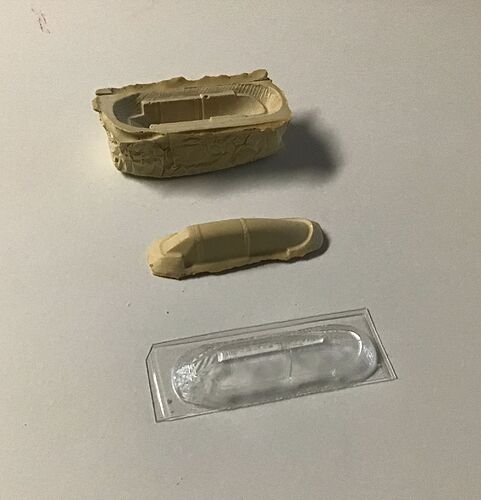
Here’s a really late suggestion: make a lot (or as many as you need) single-use molds by pressing the light housings that you have into plasticene (or similar) to make open top molds for resin castings. Clean up and CAREFULLY dremel out the interior (only a couple of mm’s depth is necessary). Paint the interior silver, or chrome, and put a drop of clear epoxy resin in the cavity.
![]()
![]()
Thanks. I’ve thought of exactly that because I hate mixing up a batch of RTV for such a small job. Still was hoping someone would come through though…
I may just get another Tamiya Deuce. Lots of other useful parts as well…
Rob, Rob, @18bravo
I can easily CAD and 3D print something like that. Should have asked me first so I can include it with your current orders. ![]()
Kind regards,
James
I don’t want you to get behind on your other commitments. I’ll send photos when I get home! (I’ll need six)
1 Like
Another great inexpensive mold making material is Durham’s - I have never had plastic stick to it so I don’t use any release agent.
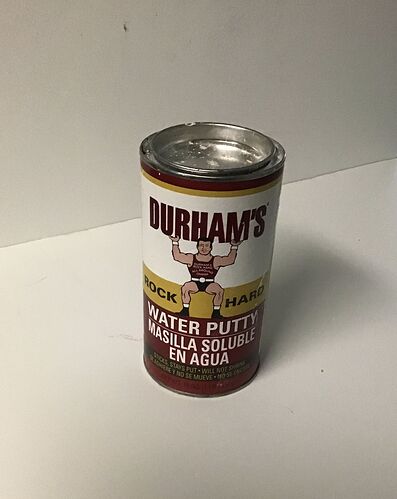
1 Like
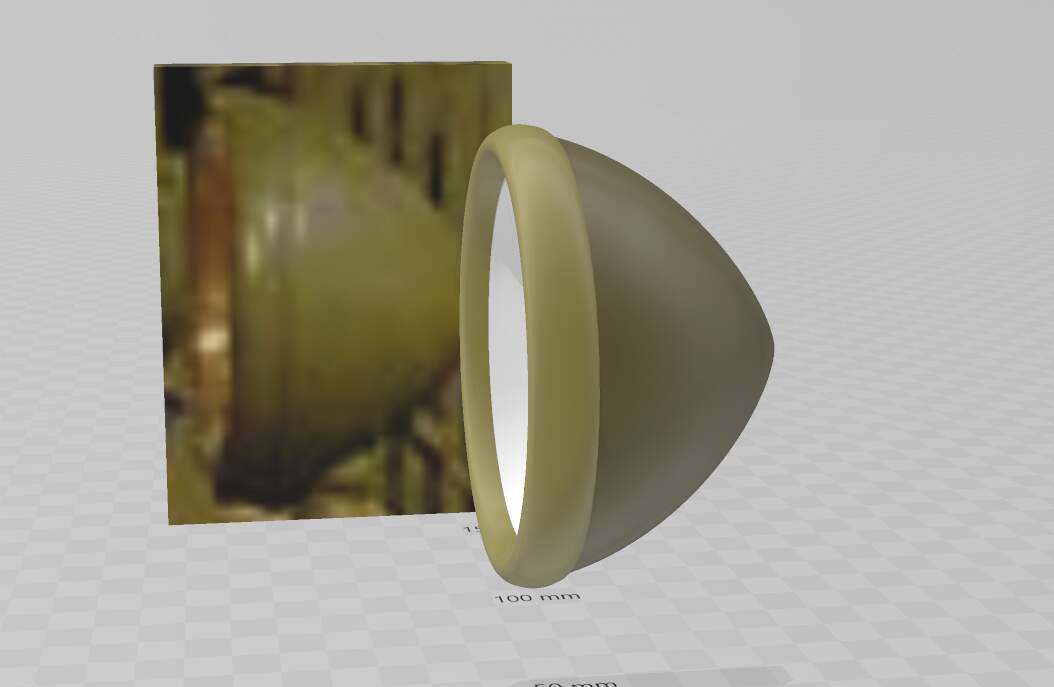
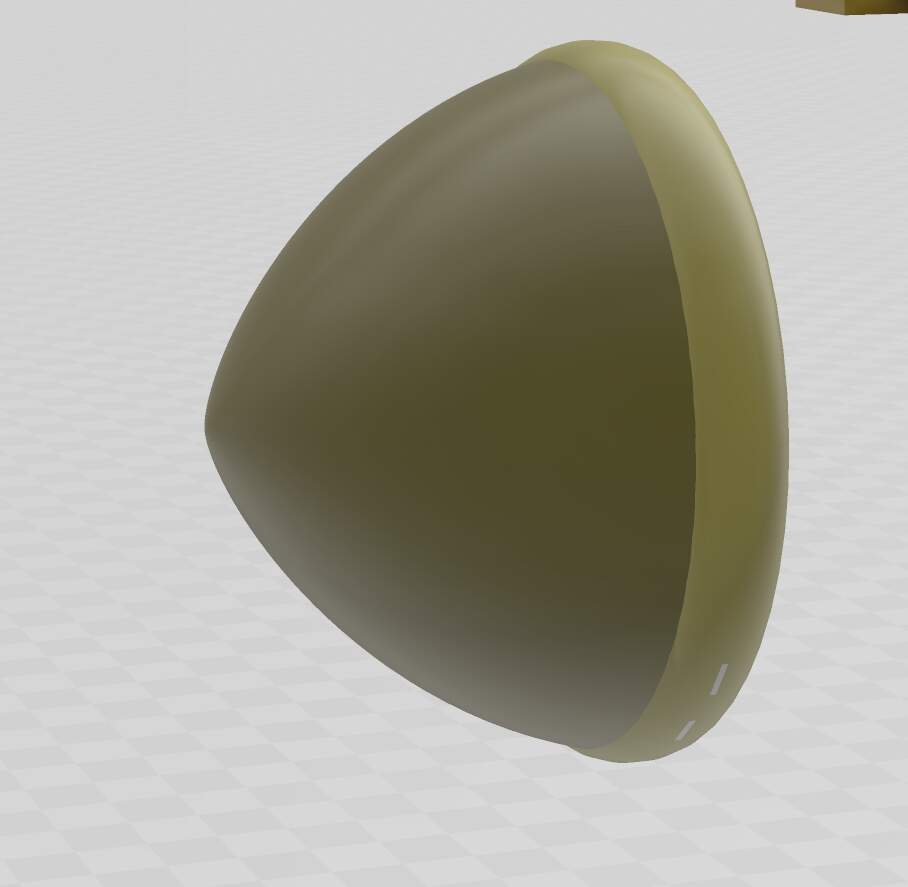
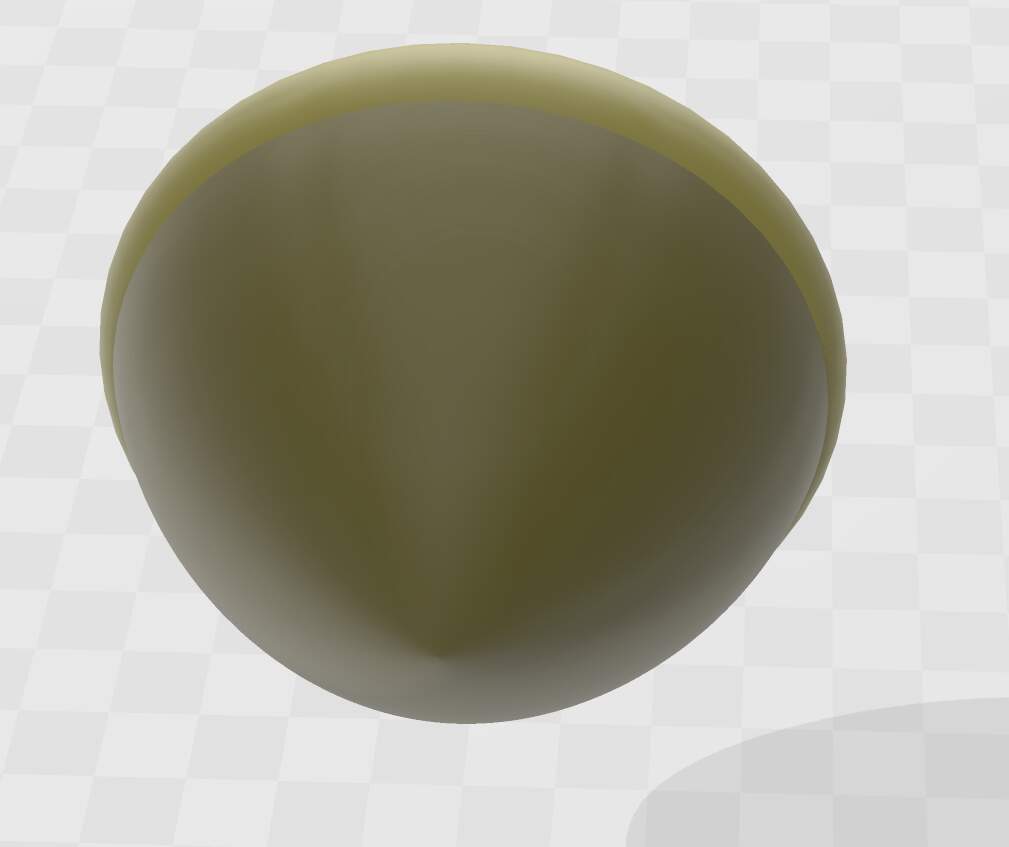
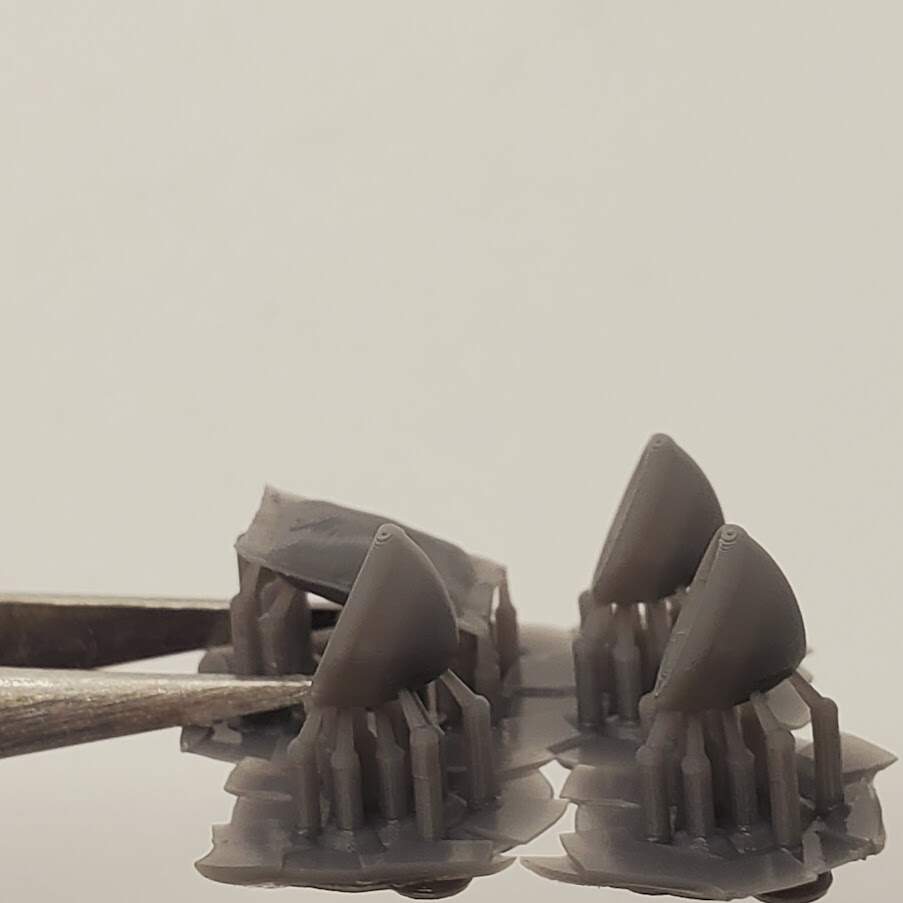
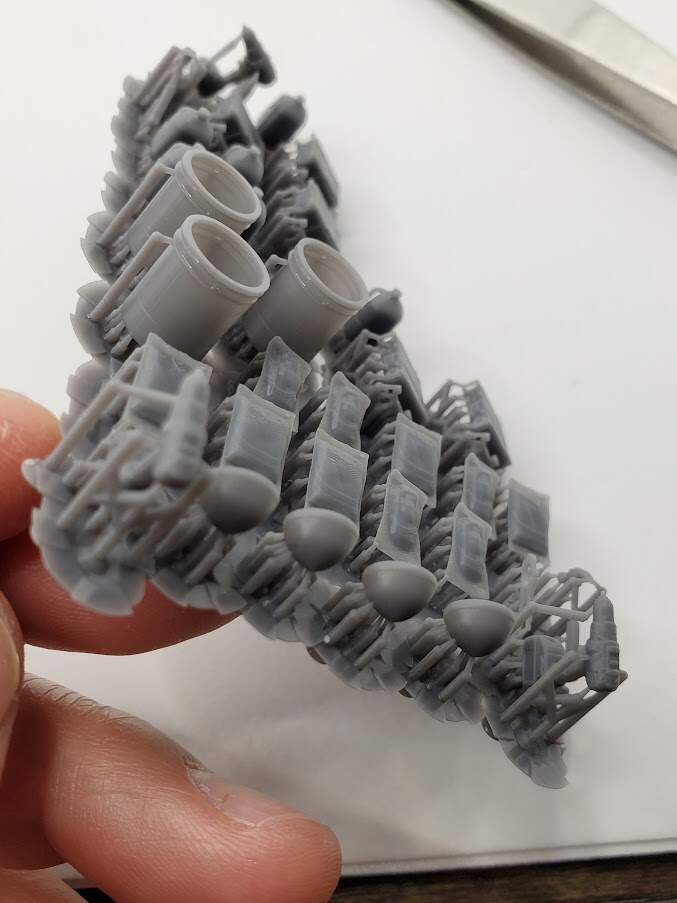
Holy Cow, man! You’re keeping me busy! As near as I can tell, OD for the front is 6mm.
Regards,
Rob
LOL! OK, Rob, I’ll rescale it to 6mm diameter. 50 cents for each housing. Total $3.
That looks good James,the way my old school taught me was to carve out the housing then set the model straight up and do a drop with a tooth pick,of Elmer’s white glue over silver.once dry to me they look a lil weathered and to scale without being distracting

Thanks. I’ll pay your remainder tomorrow. I just got back from a long drive tonight.
Rob
1 Like