Amazing to see a diorama in this scale, this might mean one can reproduce a part of a battle in a diorama with decent looking distances.
Painting this will be a real precision job, especially if you add figures etc.
1 Like
I think painting will be a bit of a challenge Bert, you’re right! I chose this scale because I needed to portray the distances although even in this scale, the dispersion of the staff cells isn’t quite as far apart as I would truly like, but then I’m locked into my own methodology in the size of base I use. Although these vehicles are mainly bespoke ones (as described above), I also chose this scale so that I can select from the wargaming manufacturers as necessary. Certainly when I get around to say, a Divison or a Brigade HQ, they seem to be the only producers of the types I will require (principally FV 432 variants).
2 Likes
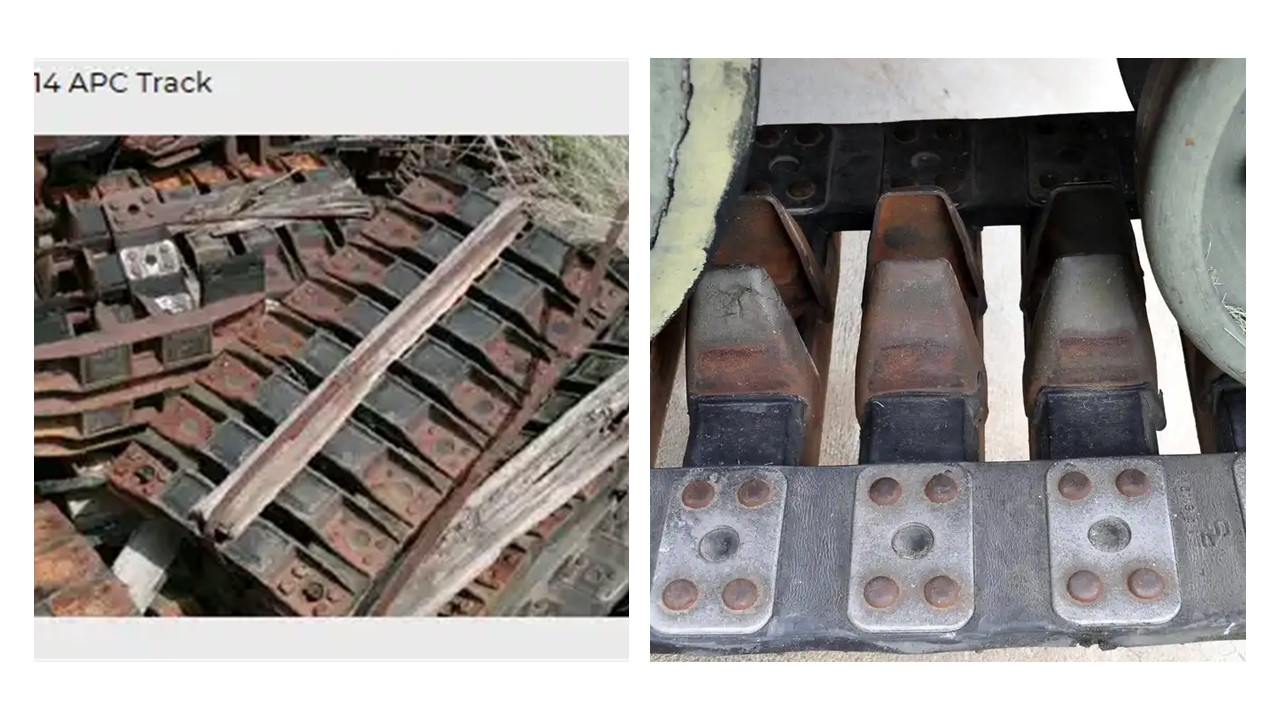
Am I correct to assume that the vehicle has rubber band tracks with steel reinforcements?
1 Like
“Tanks” GIno. More progress tomorrow. So far an easy kit to build.
2 Likes
I never get tired of seeing that build Gino.
1 Like
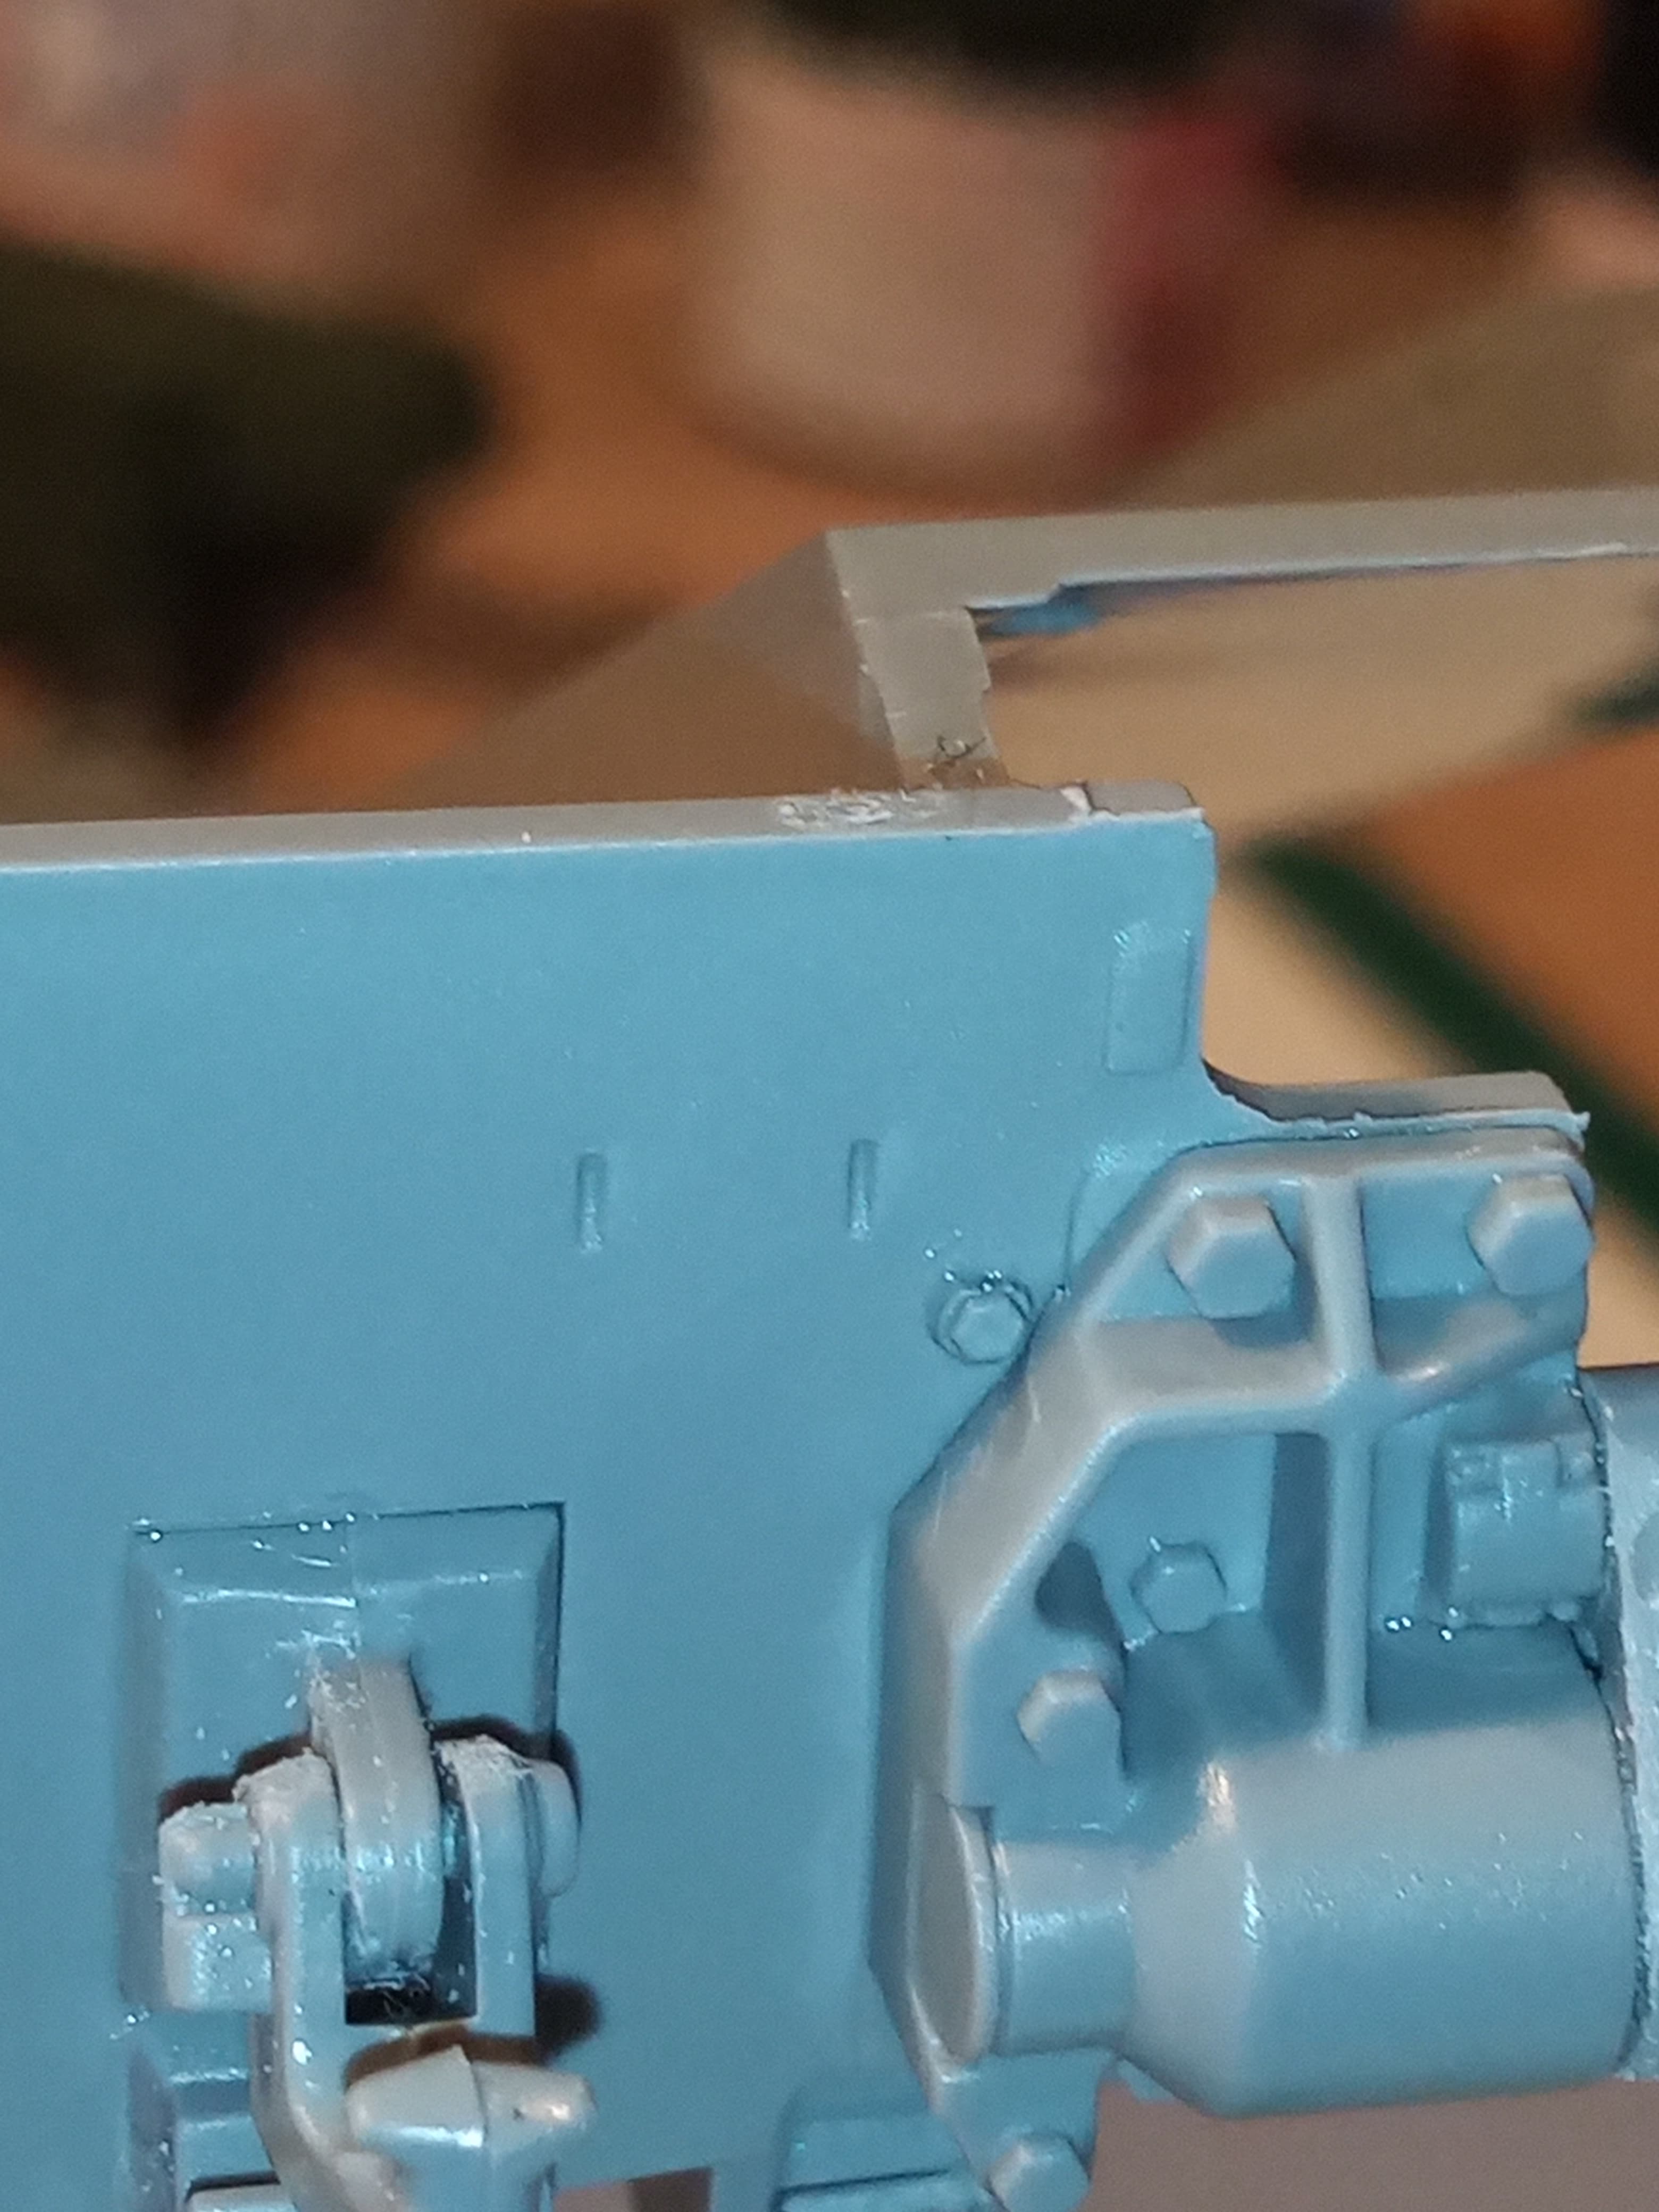
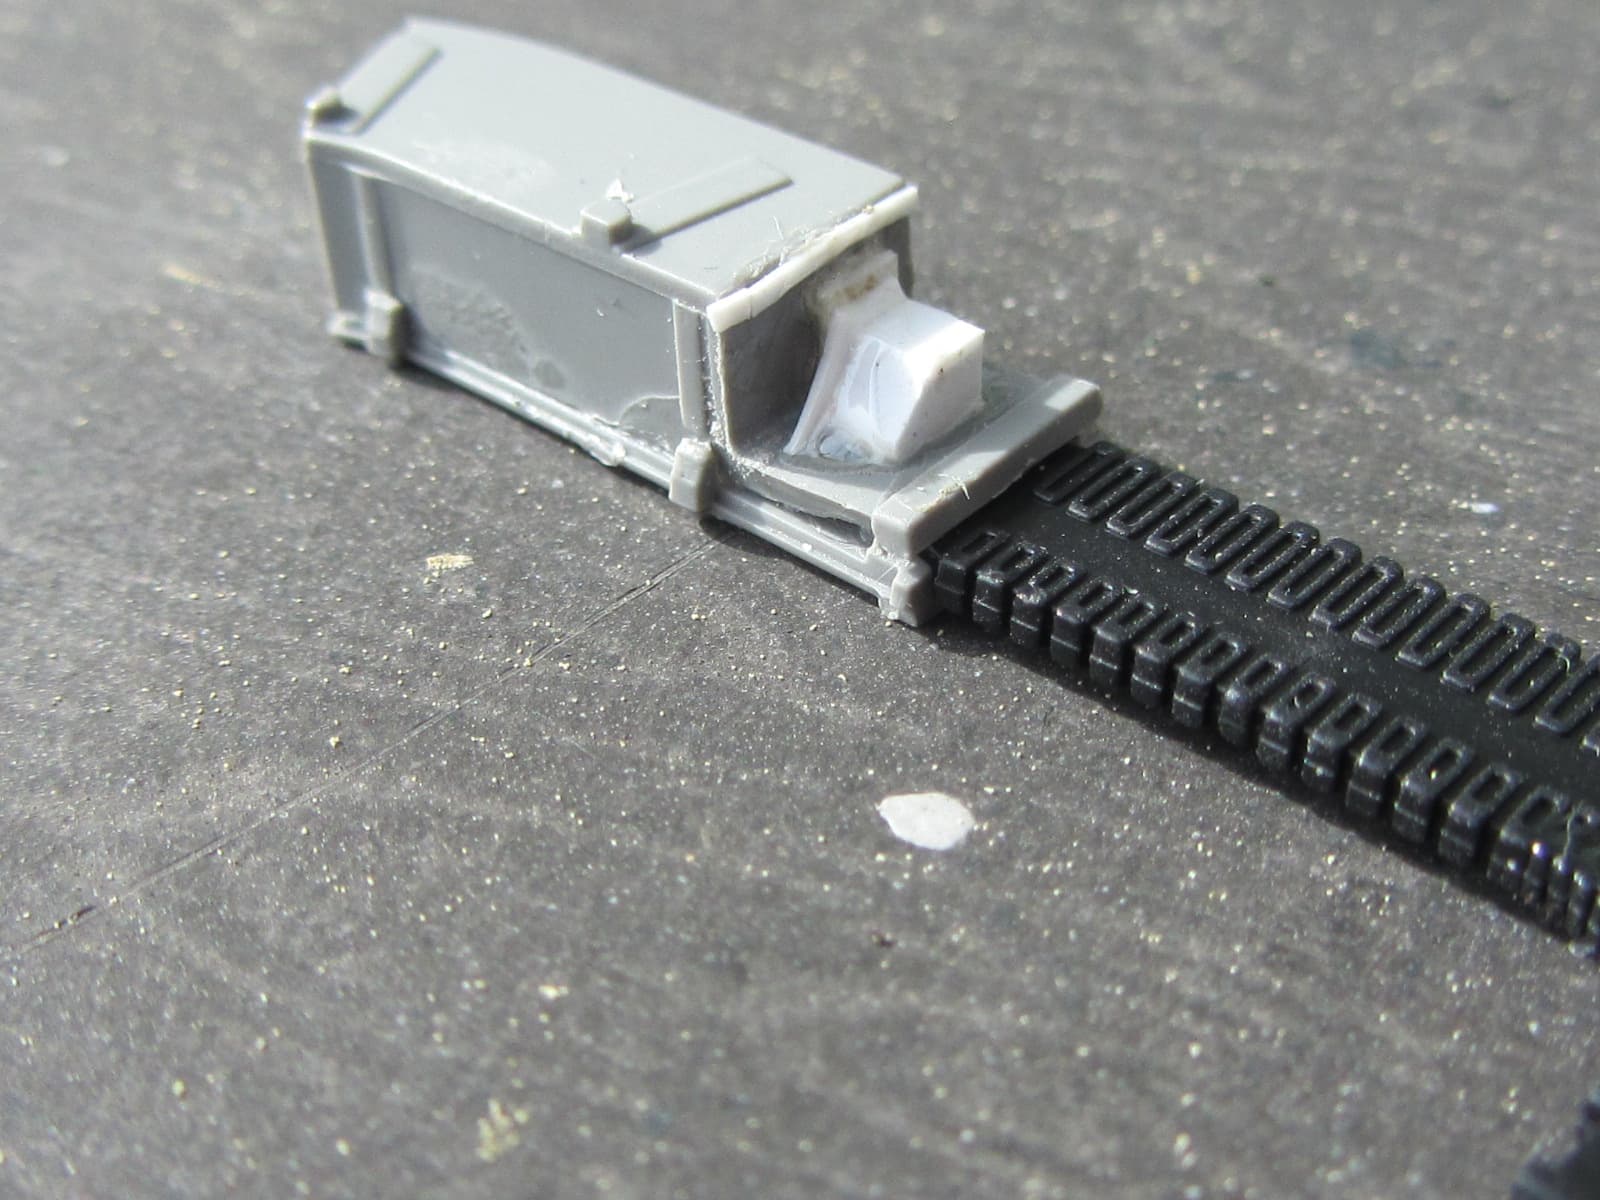
Did the last 2 ratchet handles and did the small additions to the front of the hull and starting putting together the rear hull pieces…
But the highlight of my night by far, was beating the carpet monster…
I was being so careful… Until ping… Of it flew… The smallest bit of plastic in the build…
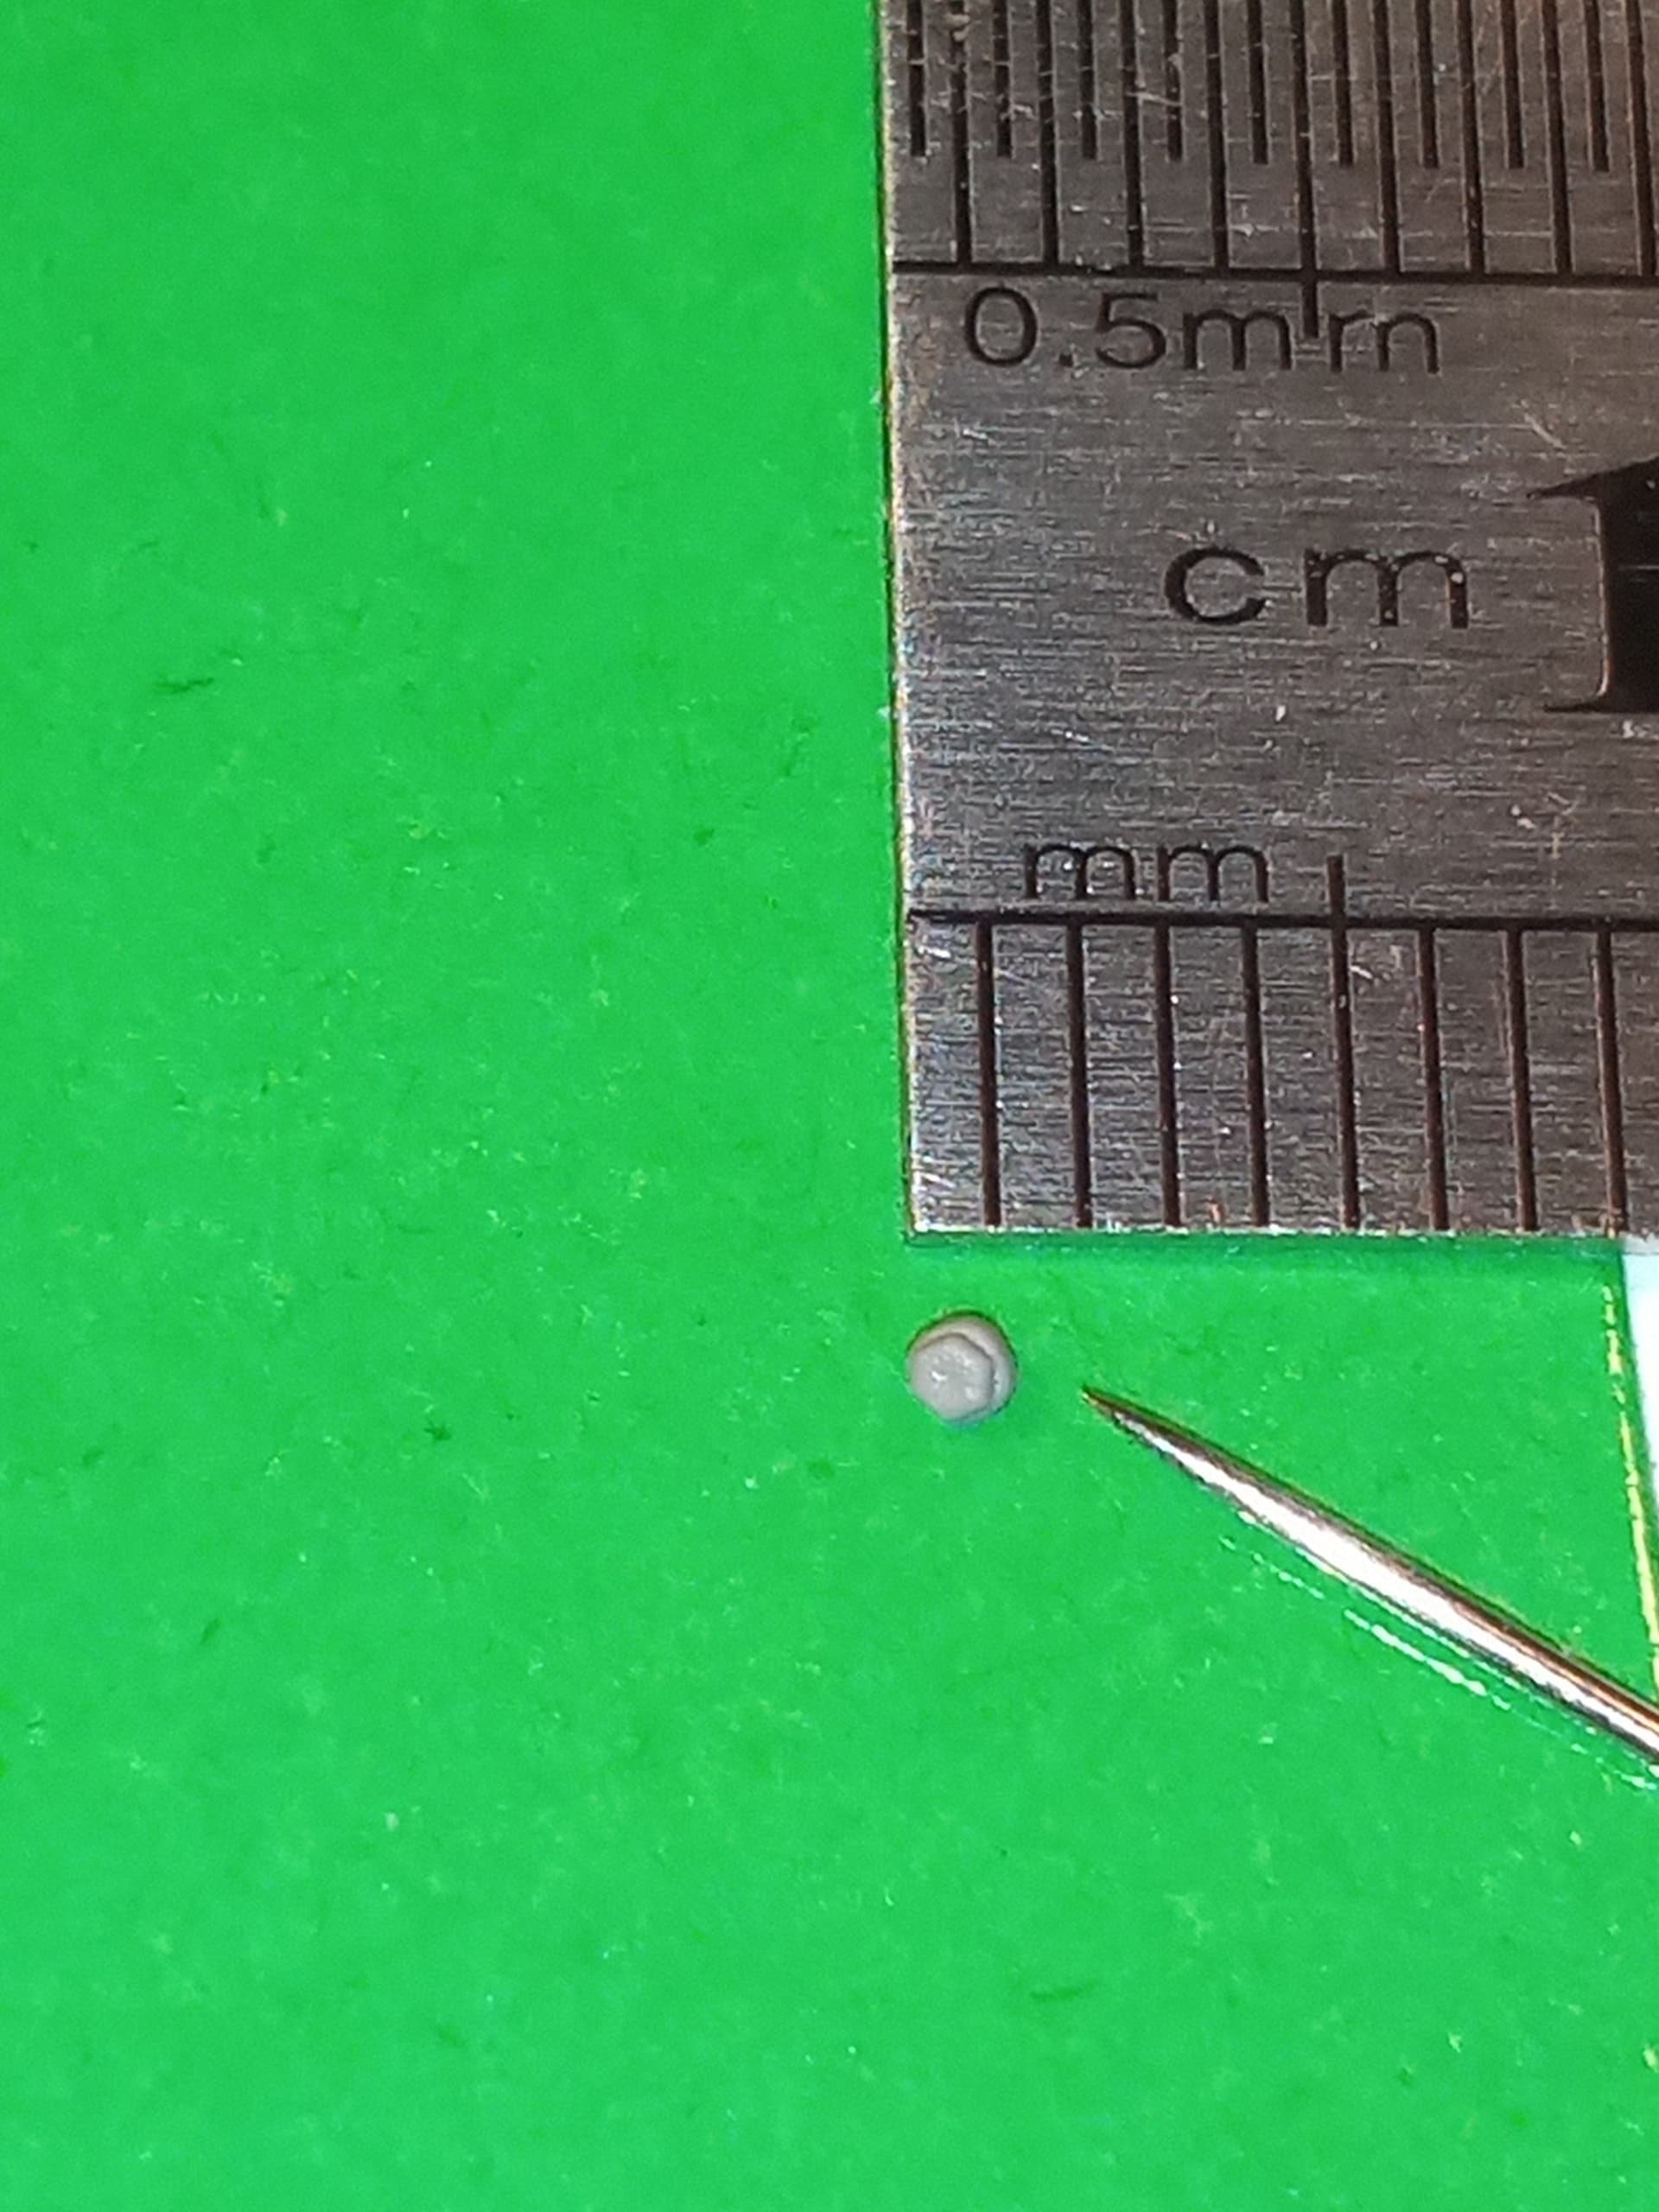
It took about 25 mins to find it…but ahhhh the satisfaction … And fitted …
7 Likes
Oh and I am the rivet counter. ![]()
![]()
![]()
4 Likes
Ha… I just couldn’t let it beat me…
2 Likes
I get that. Always nice to beat the carpet monster during a project. Enjoy the sweet victory, the next one might not be as lucky.
2 Likes
Thanks.
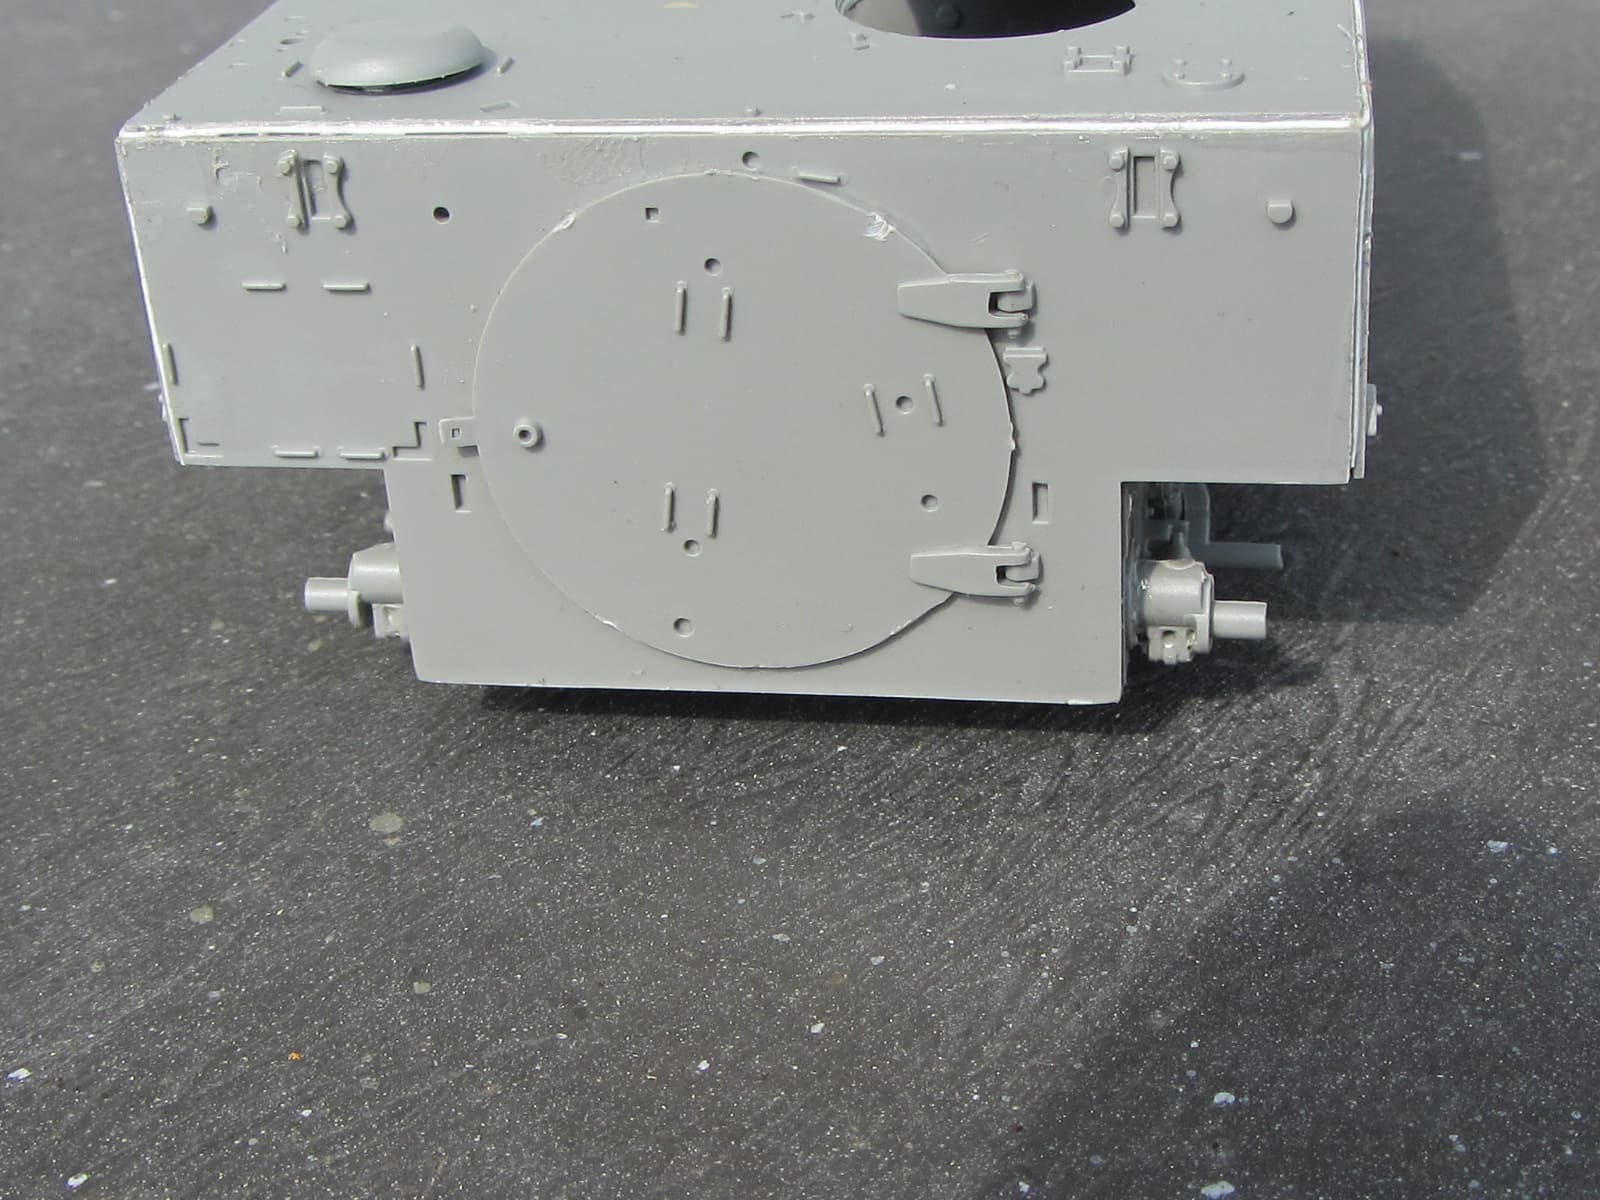

Love that big round door - kinda like an old-time bank vault!
1 Like
I feel your pain John, however my Chally ended up with one nut missing, the carpet monster wasn’t for giving up its victim for me! As for those photo etch grab handles/tie downs on the hull front…
2 Likes
Will be leaving them until priming…made that mistake to many times of putting then straight on…
2 Likes
I’m in either with military figures or a Sci-Fi Command vehicle.
Start photos will be posted once I receive my figure kit.
2 Likes
I’d like to bust my cherry on this. I’ll postwhat in doing in the next couple days.
4 Likes
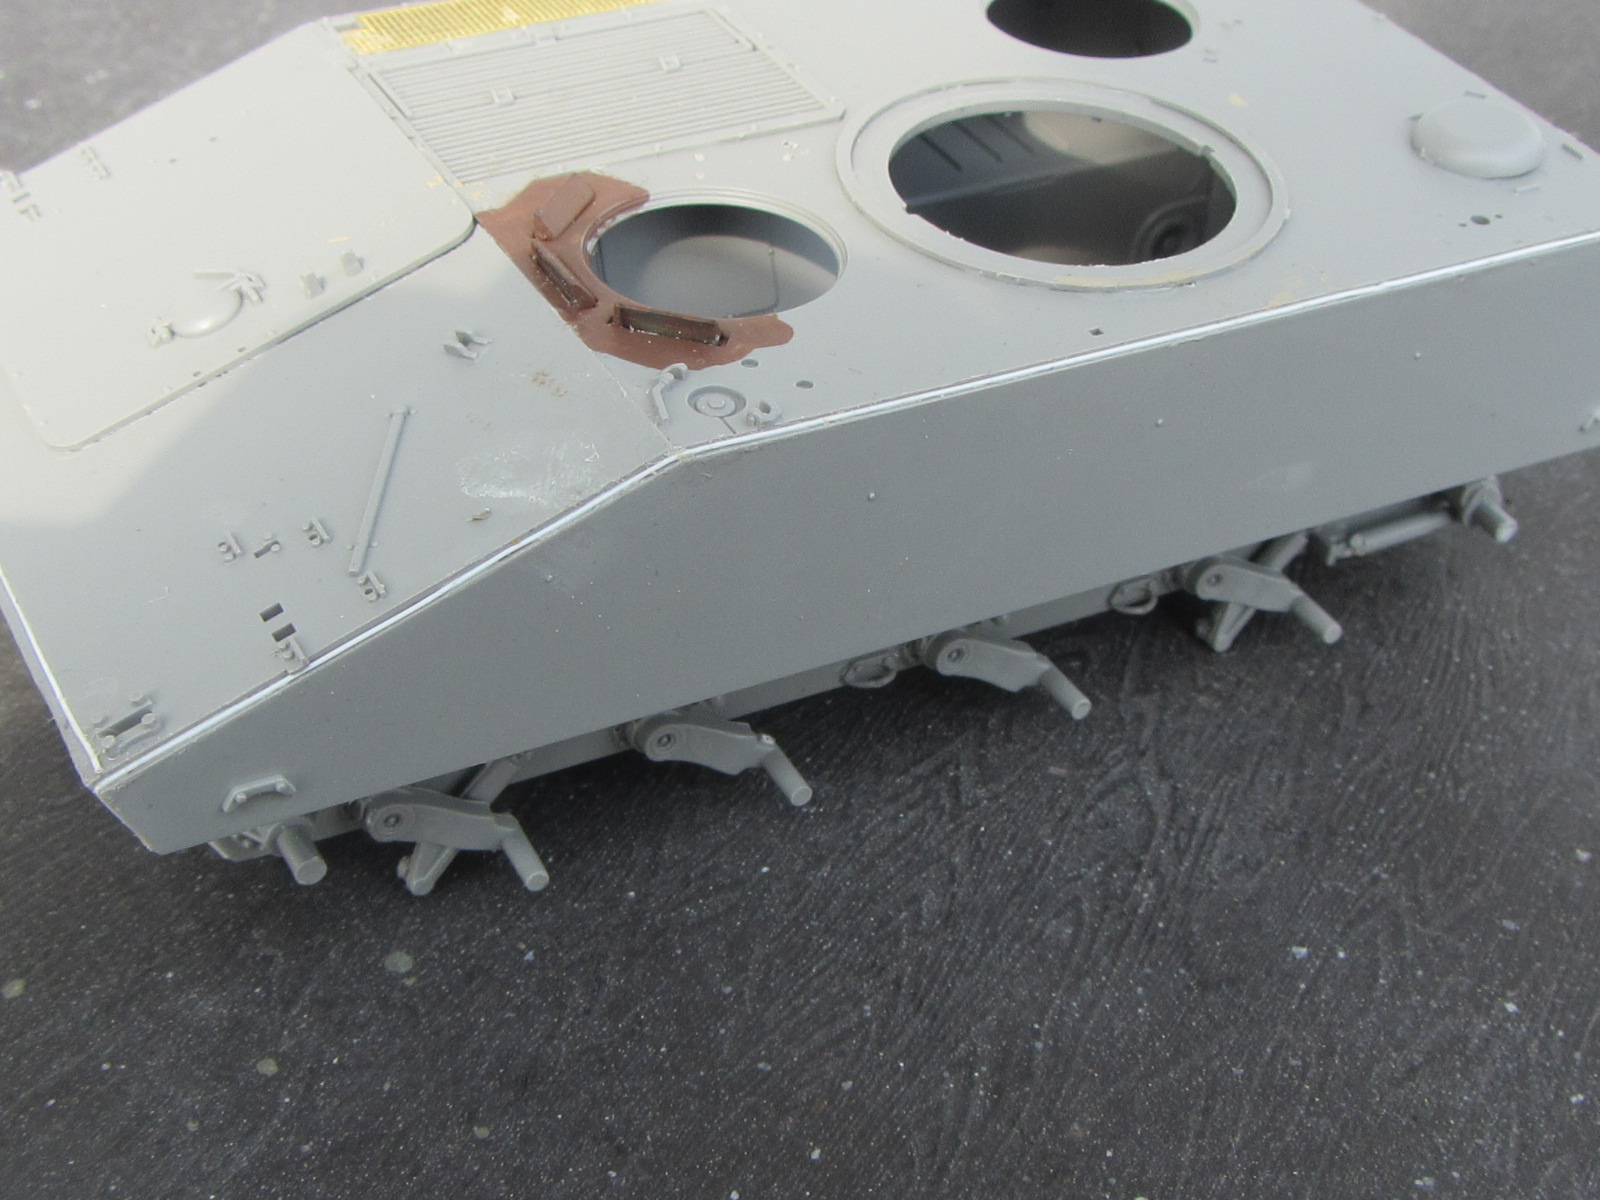
Todays Progress:
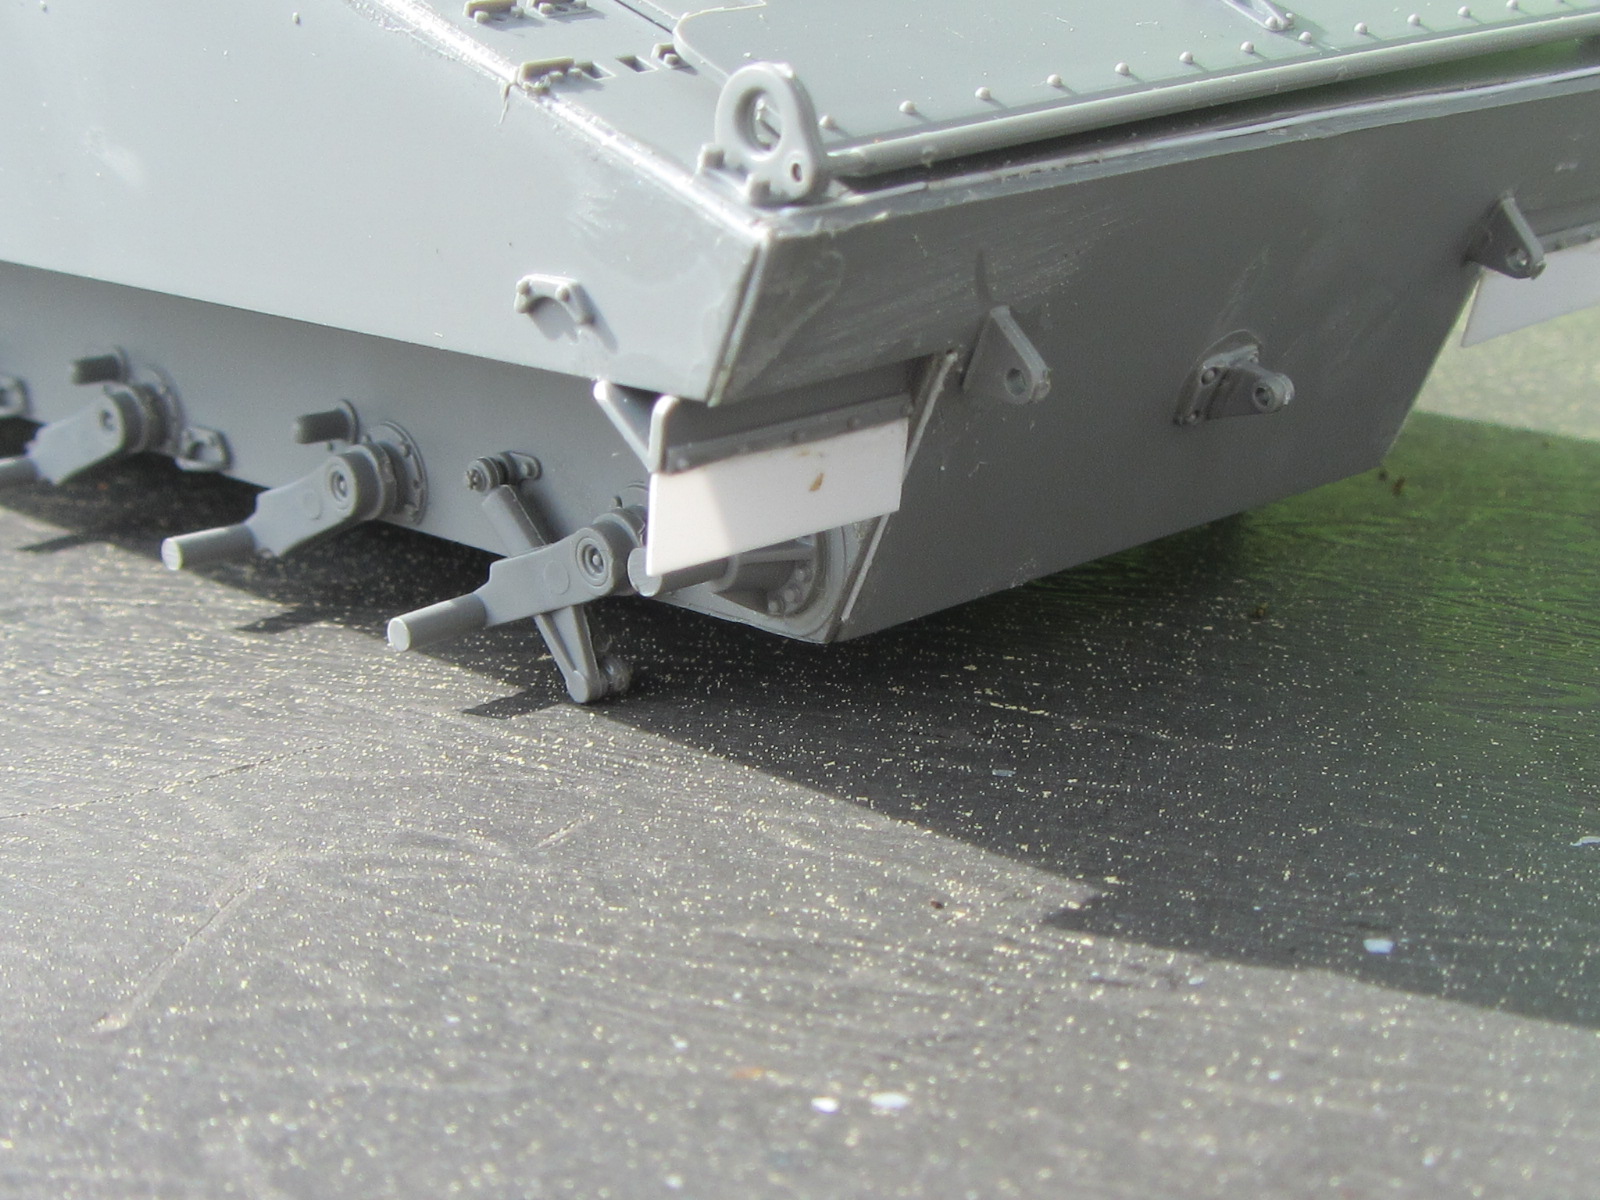
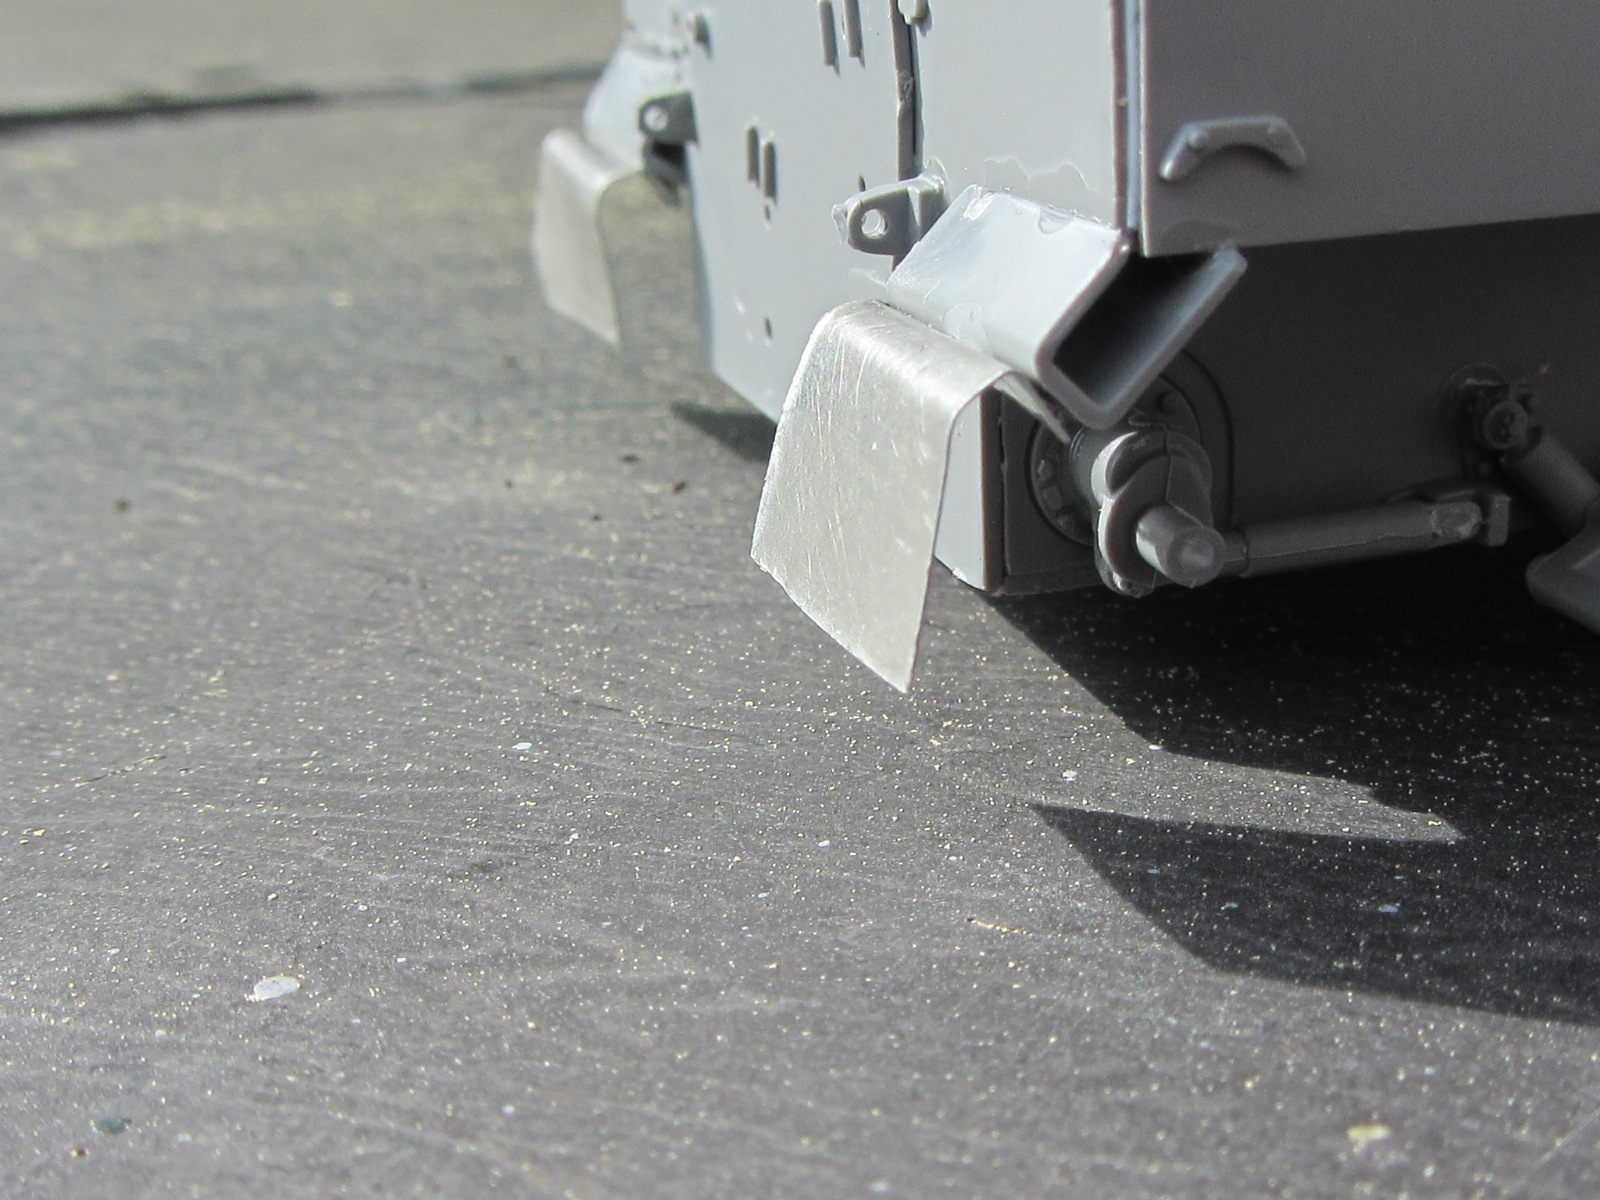
Replaced mudflaps with plastic sheet and lead foil
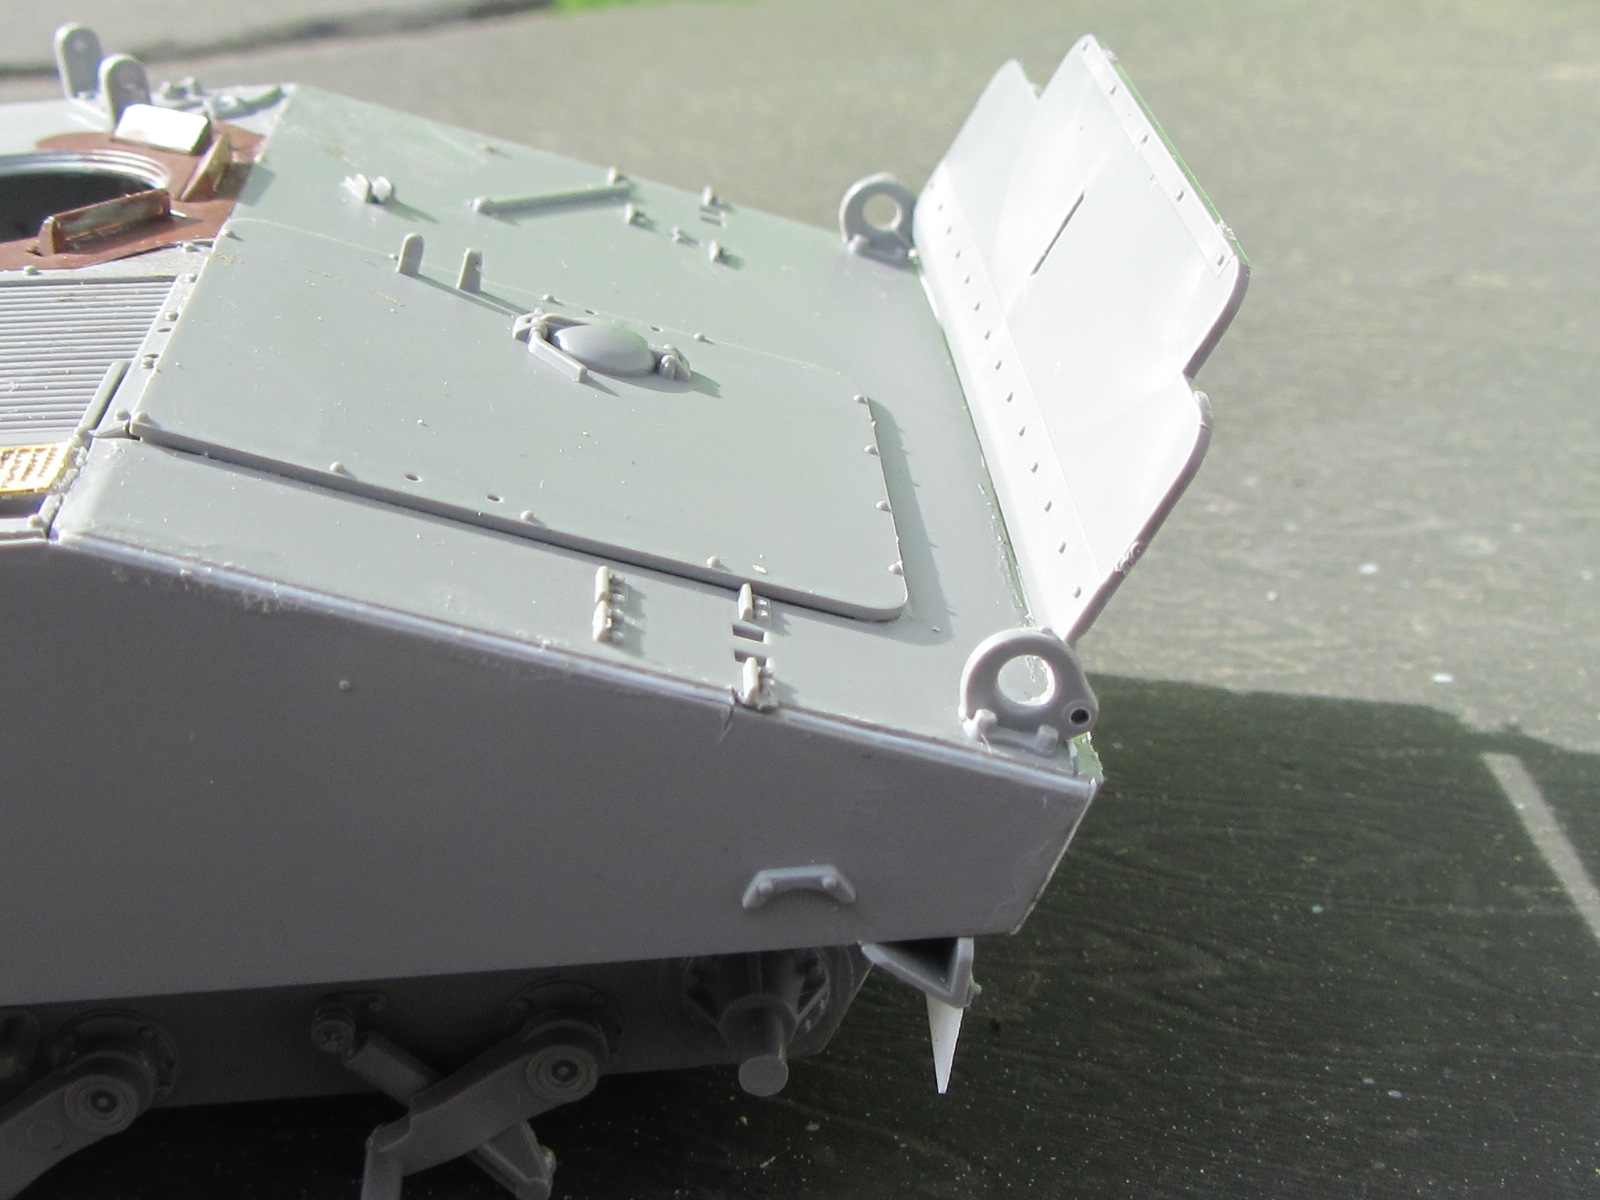
Trim vane can be build open, but no opening struts
Found a missing detail under the 20 mm ammo box
6 Likes
Been busy at work so not got any great updates…just some tinkering and putting a few things together.
Got most of the rear done, going to leave off the clear part till the end and also the protective bars for the light clusters.
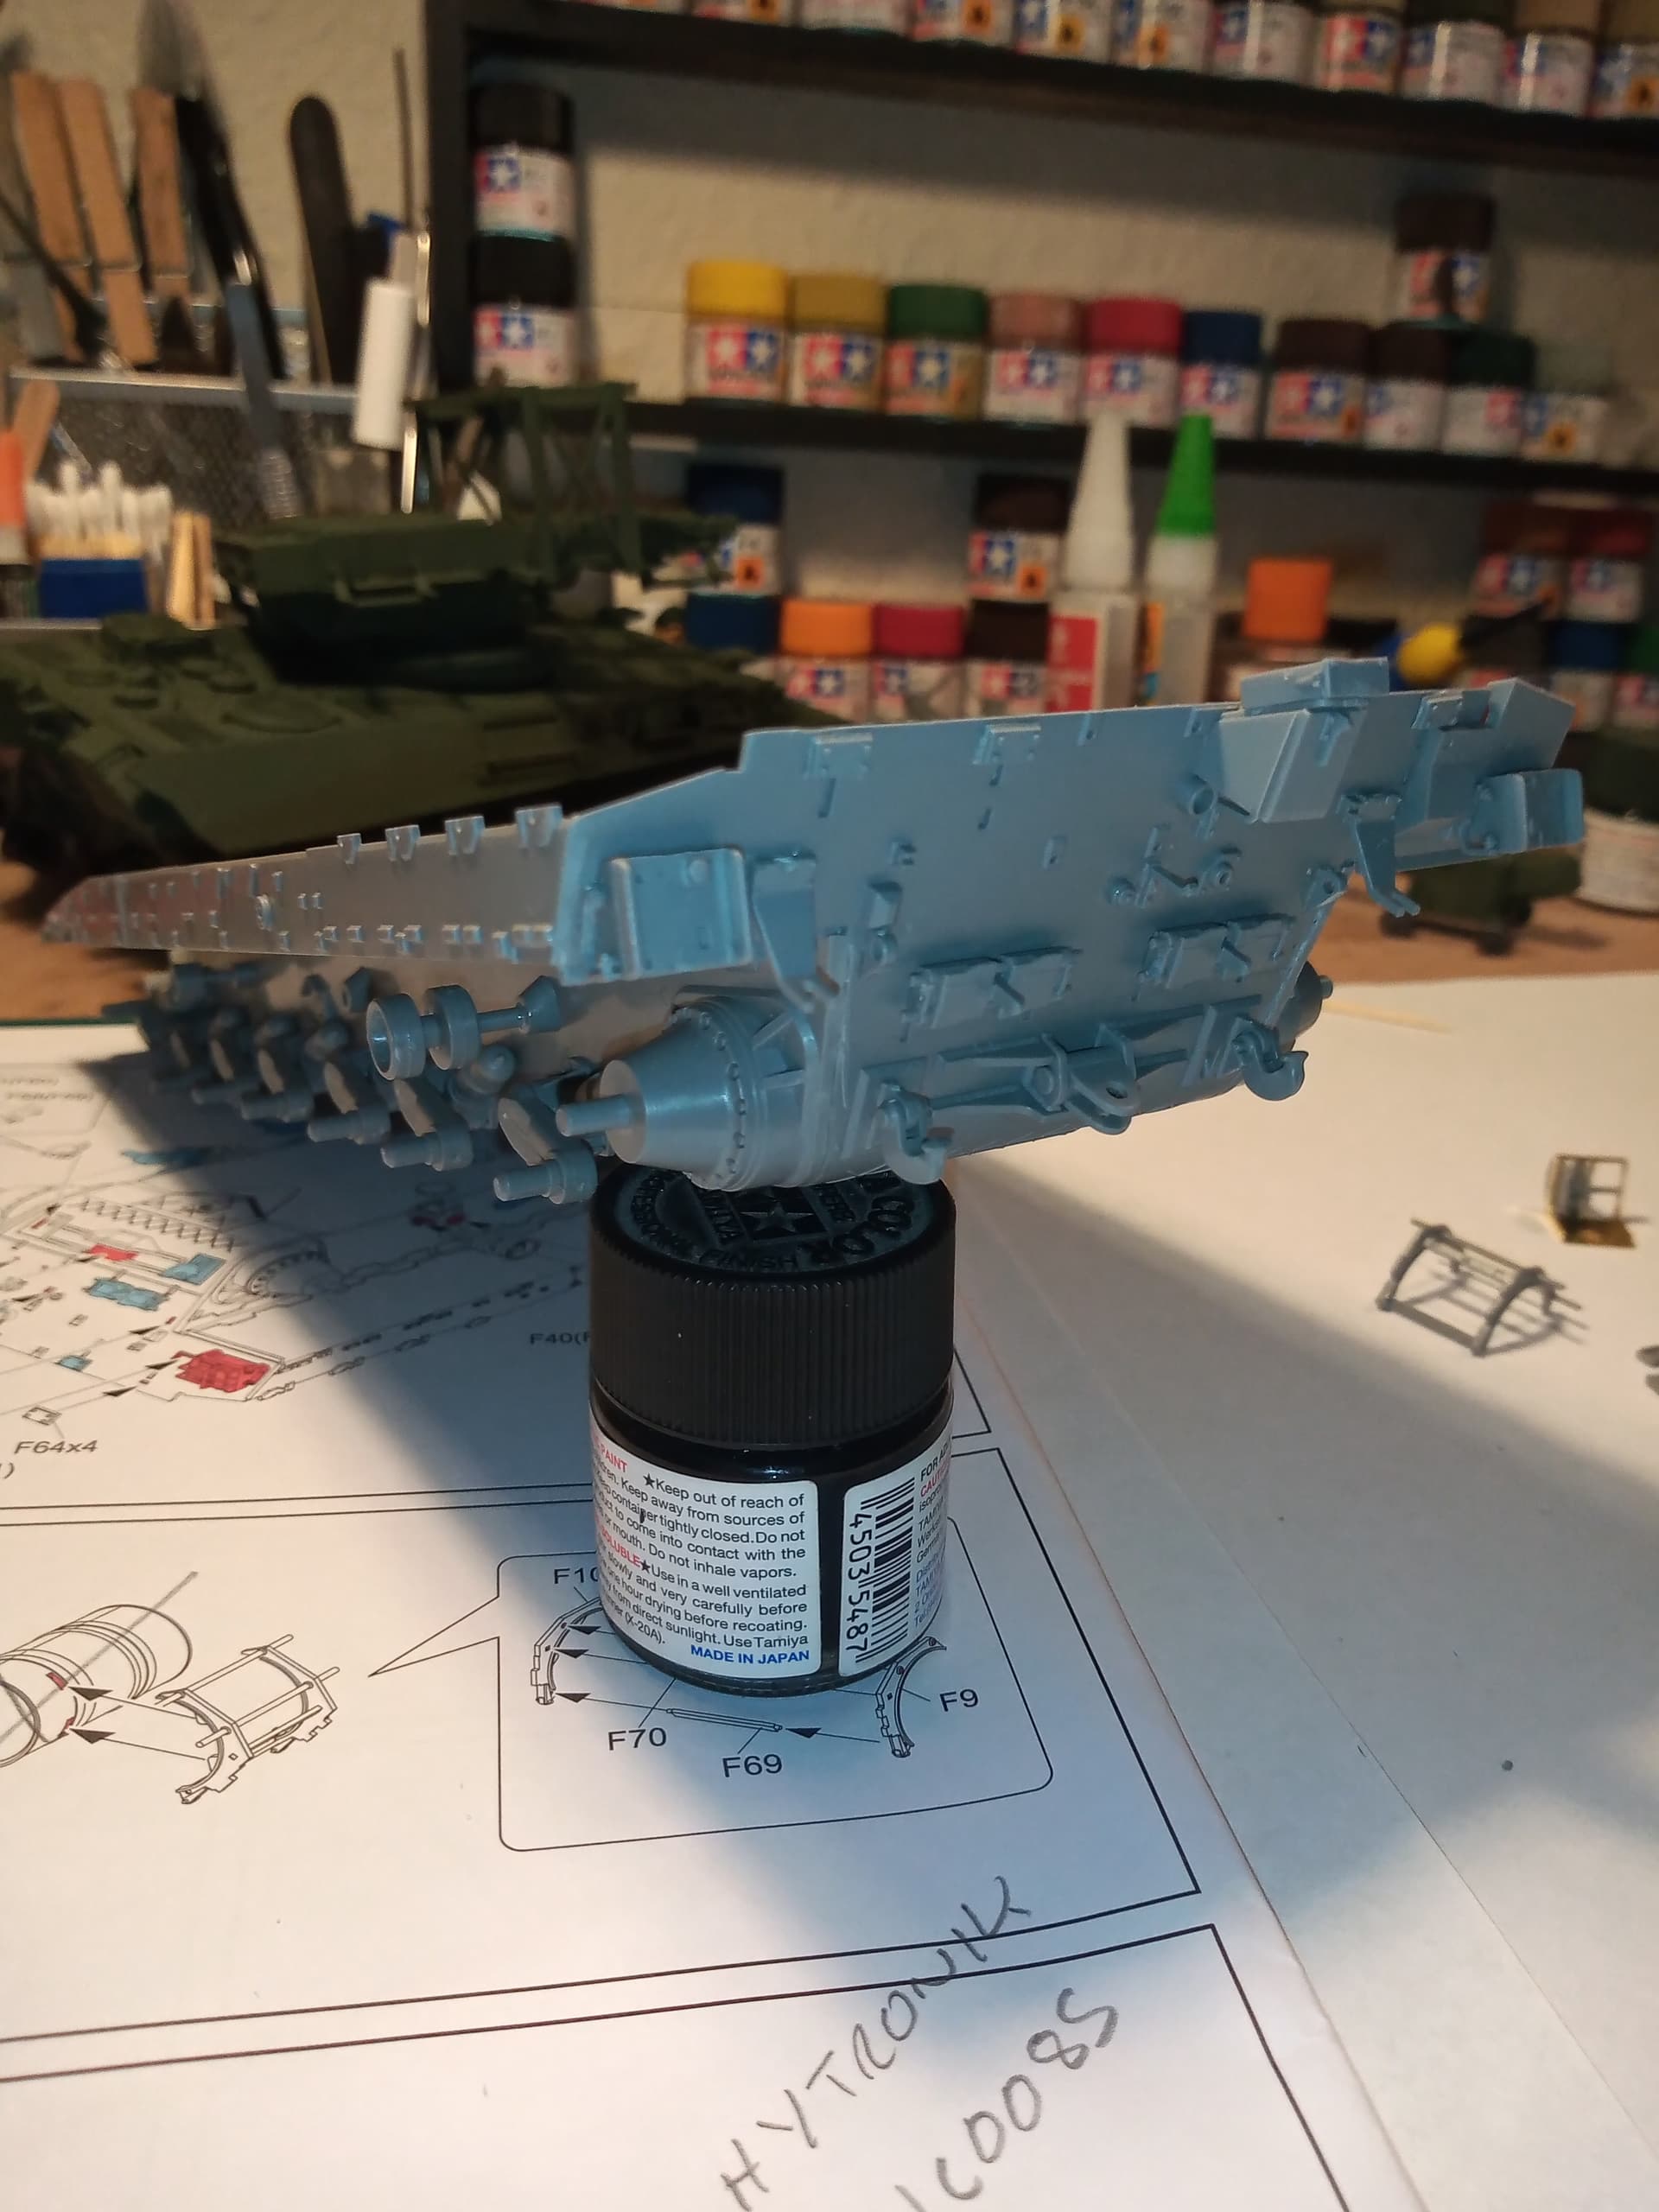
Also got the drop arms in and the hydrogas units put on.
Will fit the A frame straight bar (maybe) but will leave off the butterfly.
Put the other fiddly rear assembly parts together as well
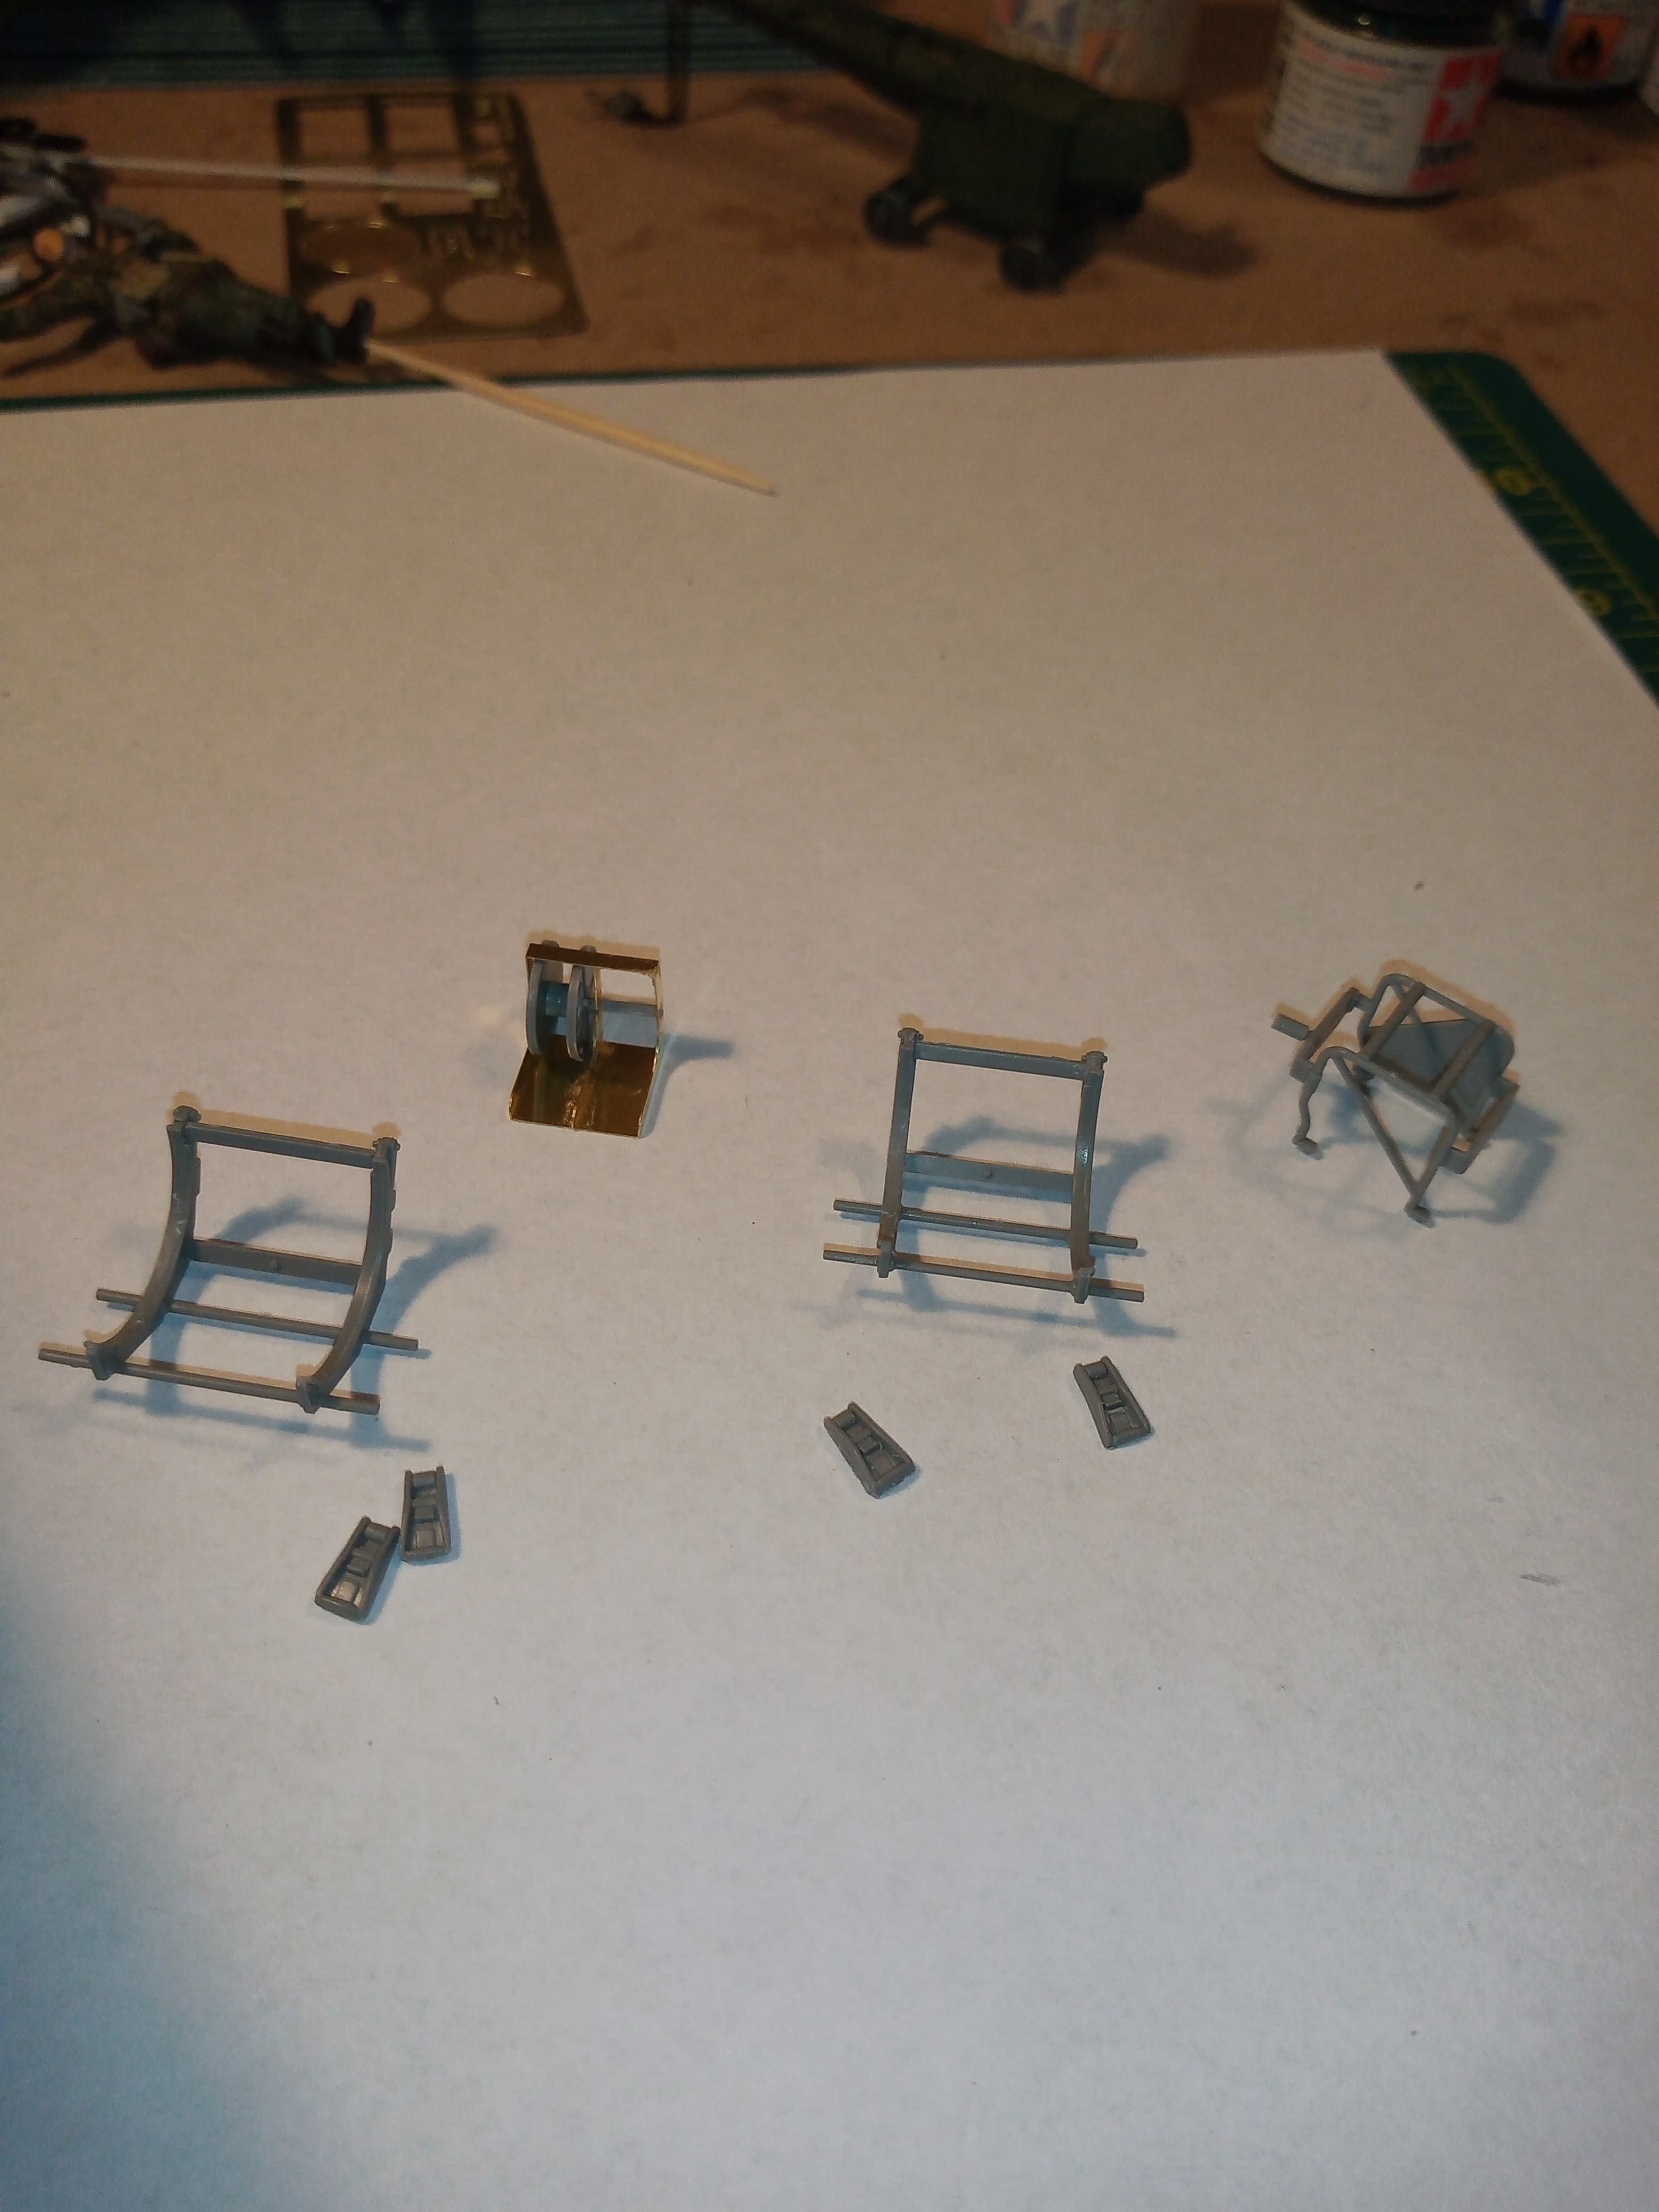
Both external fuel drum frames, the Jerry can holder and the D10 reel mount.
5 Likes
Had the needed Humvee arrive and have the radios in the works. Now to work out the shack.
3 Likes