Linebacker Bradley in Iraq

FINALLY back from my trip. All three of my Magic Factory Bradley kits have arrived. I have a day and half of build time before heading out for vacation with the ex girlfriend.

I had mentioned twelve shortcomings, not fatal flaws, in the Magic Factory 3 in 1 kit. I’ll address those as they come up.

I’ll be building a an M7A4 BFIST out of Ft. Cervezas, an M2A3 in Korea, and a Linebacker in Iraq, all using my own references I’ve collected over the years.

First up (although I’ll probably build concurrently when time allows) is the Linebacker, based on one in Iraq in 2005, I have a somewhat tenuous relationship with this particular one - more on that later as time’s a tickin’. It should be a fairly straightforward build.

Even in the early stages those shortcomings start to rear their ugly heads - right off the bat you can see the wheels are incorrect with their raised rims. This has been the bane of every Bradley kit since time immemorial. But an easy fix. I’ll have those fixed in a jif.

Next is the side armor plates. Of course the first thing you notice is that the lower armor plates should be doubled. . It doesn’t seem to matter to most of the Bradley modeling community, but it bothers me, so I’ll start that now since it’ll take some time,
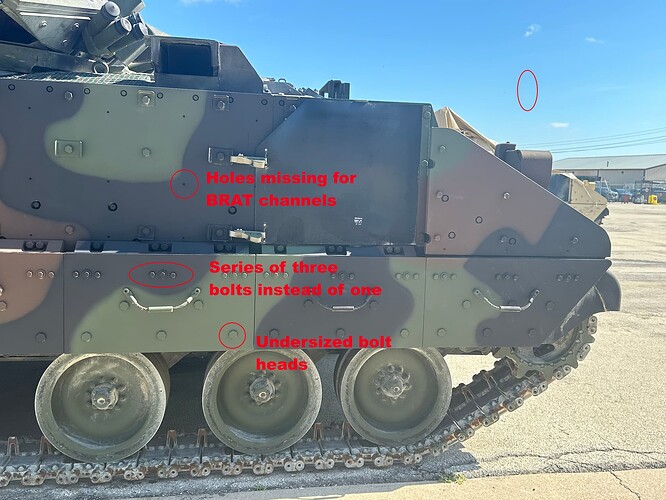
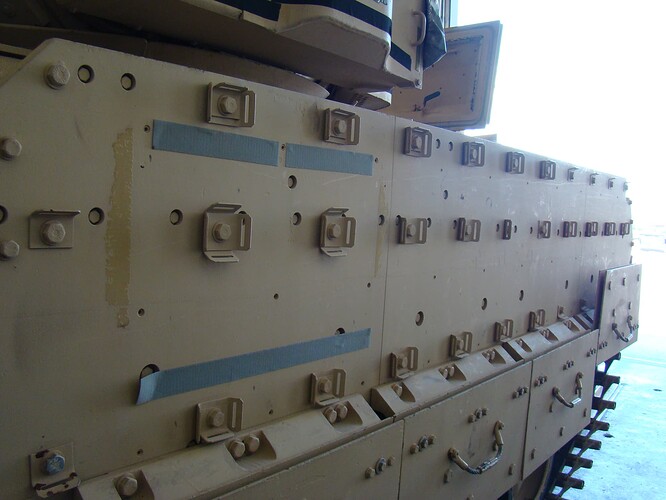
Moving on - the large bolts on the armor are ridiculously undersized. They’ll have to be replaced. Let’s see, that was issue number three. Issue number four - on all of the new A4 models coming out of TACOM, the lower plates are held on with a series of three bolts along the top of every single plate. Yes, I have an example of a plate that has been switched out for the older style, but that is very rare. It’s up to the modeler to decide if the juice is worth the squeeze here. To me it is. And while we’re at it, the plates are missing the bolt holes that mount the channel for the BRAT. A small thing admittedly, but they should be there. How hard would it have been to add them?

While we’re still on the side plates - issue six: they are devoid of detail on their inner surfaces - there are bolt heads, joints between armor plates, aven a footman loop - all missing. Just because they’re on the inner surface doesn’t mean no one will notice. Apparently not many did, so I stand corrected.

And finally, since I’ll be working on correcting the plates today, I’ll address the rear armor panels, (over the idler) which for the vehicle I’m modeling have been flipped upside side in a manner that’s very unusual for Bradleys.

And as I said a while back, I welcome any and all critique. I’m wearing my big boy pants today. :grinning:

14 Likes

Looking forward to seeing them. I haven’t had time to work on my M6A3 Concept Linebacker at all. Life keeps getting in the way. The kids and grandkids were here for last couple of weeks. I leave for a two-week work trip Sunday too, so nothing more on it for a while.

3 Likes

Sounds like a recipe for disaster. There’s usually a reason people become an ‘ex’.

4 Likes

I figured he meant his wife.

7 Likes

I always introduce my wife as “my current wife”, just to keep her on her toes.

(I don’t really, she’d kill me!)

10 Likes

That makes more sense.

1 Like

Small update. Between buying ammo and getting ready for the trip, I’ve had to do some upkeep around the house before we take off.

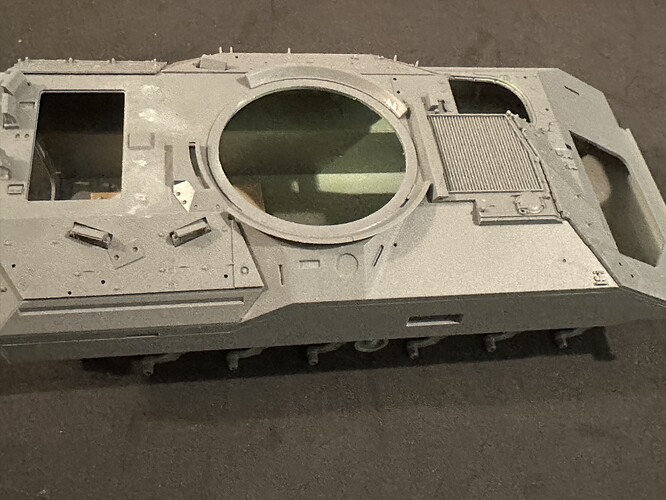
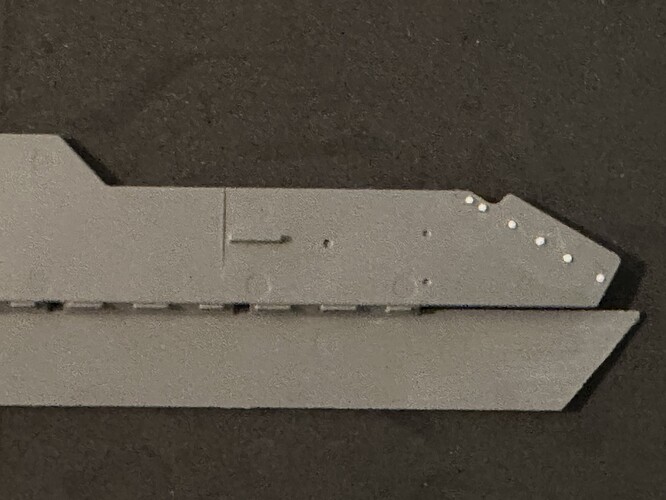
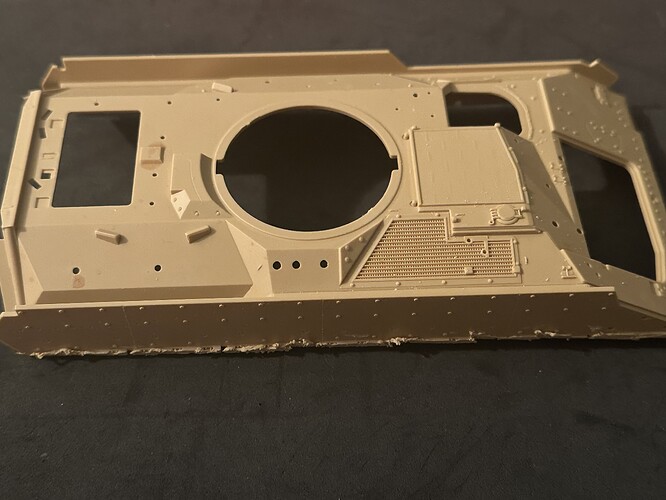
Basic hull done:

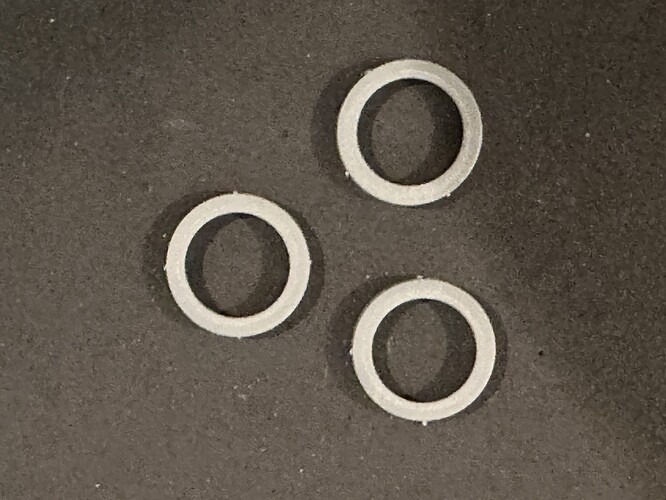
Wheel rims removed. All of them:

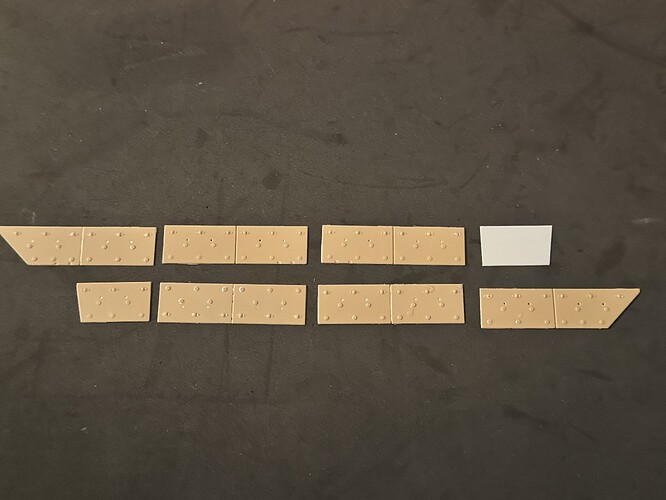
Sanded off all detail from lower armor plates and thinned them to scale size:

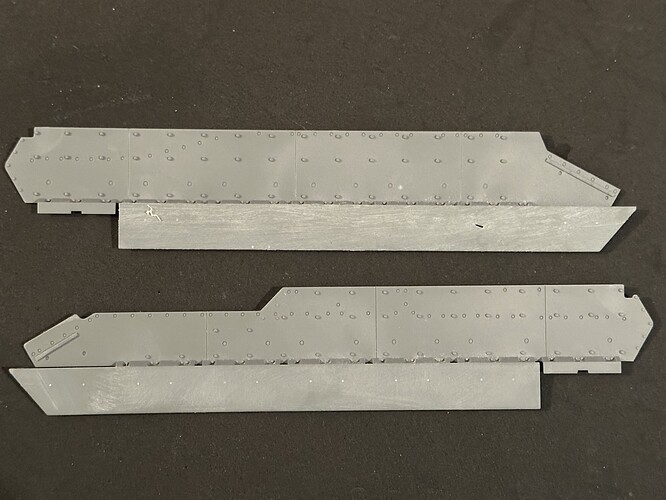
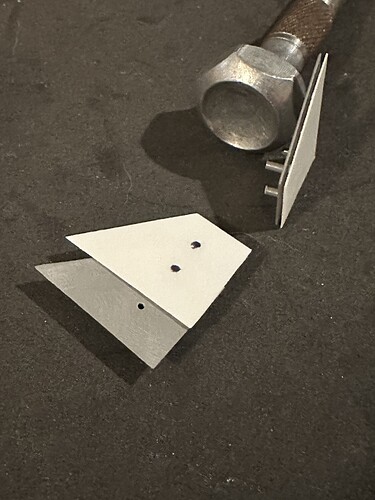
Scribed panel lines on inboard side of armor, and started adding missing bolt heads using Plastruct .8 mm hex rod:

12 Likes

Get some

2 Likes

Looking good. :+1:

2 Likes

Nice job so far Robert

1 Like

Damn Rob you’re really going to town on this one! Carry on!

2 Likes

That’s out of necessity more than anything else. I don’t think I’ll have any more bench time before I leave.
So here’s where I left off last night:

I removed the side armor plates from a spare Academy kit:

Then I separated the lower armor pieces and sanded them down as close to scale thickness as a could get:

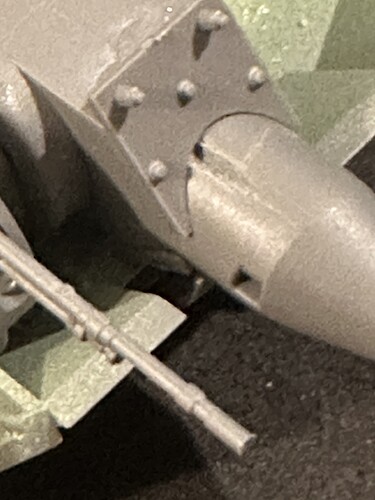
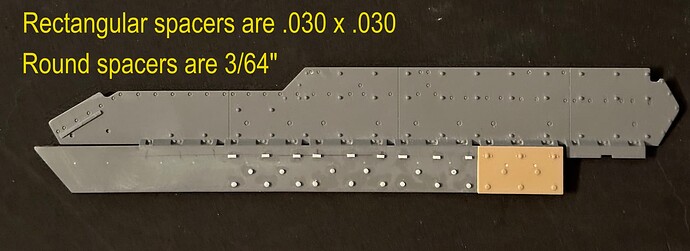
I began work on the leftover flotation channel on the rear of the hull. The older kits have it solid, but by the time these M2A2 ODS based vehicles made it to Iraq, the hinged cover had been removed, leaving eighteen bolts holes which are proving quite difficult to space out correctly. You can see how it originally looked in the hull photo above.

Which brings us to shortcomings seven and eight of the kit - the spaced armor at the rear of the hull. It should be two layers of armor, not one, just like the side armor. But I’m going to count it as a separate shortcoming.
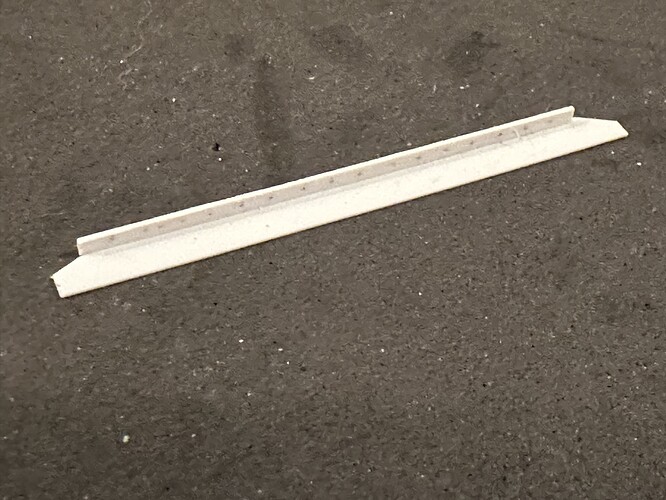
And then, one of the more baffling aspects of this kit - the armor is parallel to the rear hull plate. The outboard edge should angle in toward the hull. It’s quite noticeable. Thankfully it’s an easy fix - just file down the outboard mounting pegs until you have the angle you want. Of course I also thinned the piece and added the extra armor plate:

The last thing I was able to finish was adding the shell ejection port to the barrel. (Number nine)

How does.a “fourth generation” Bradley kit miss this? How did they miss the other things for that matter? Perhaps a fifth generation kit will give us the “perfect kit,” but I doubt it.

So with all of these deficiencies, did Magic Factory get anything right?

Why yes, and thanks for asking.

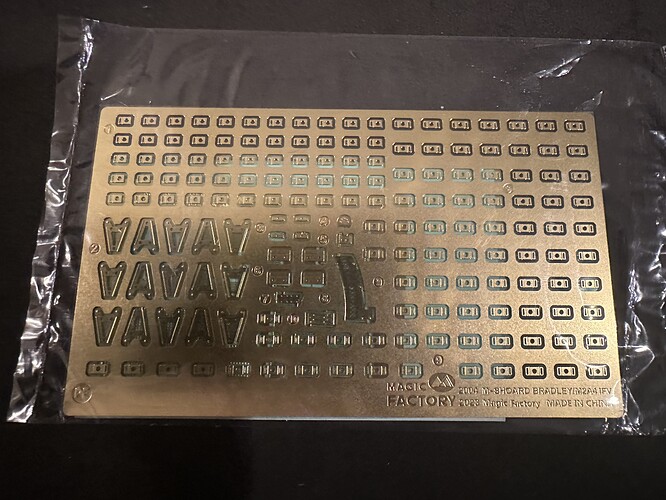
The photo etched tie down brackets are very well done. There are no gates to cut, hence no edges to file smooth. MIG tried to claim this new innovation several years ago, but model railroad PE has done this since the eighties. I wish all PE were done like this.

If you look closely at the brackets, you’ll see there are only two styles, “one eared” and “two eared.” This is indeed correct. Other companies over the years (Eduard comes to mind) offered them in three and four eared versions, which is not correct.

If time permits today I’ll start adding them, but that’s probably going to have to wait until after next week.

7 Likes

I’m assuming to get a four eared version they were stacked one on top of the other ?

1 Like

Precisely.

9 Likes

No updates, however, my world has been turned upside down.
I have long bashed the Panda M109A7 for having quite a few inaccuracies. Not shortcomings as on this kit, but outright missing details, wrong details, poor molding… But in looking at some leftover track links from one of those builds, it turns out they did a better job on the track than Magic Factory did. Not a big deal, but I’ll call it a shortcoming.

2 Likes

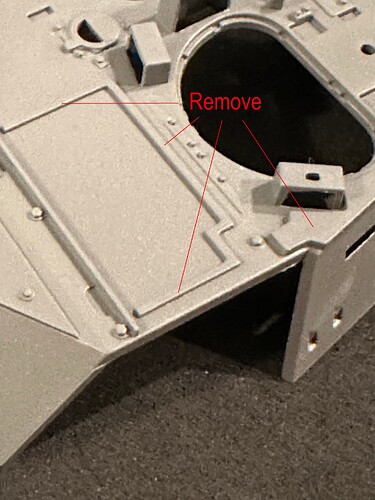
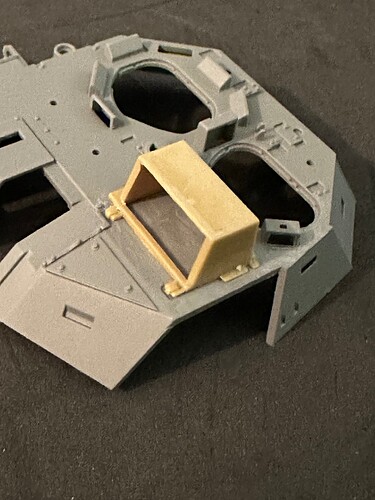
More detail to remove. Since I’m backdating this one it needs an older style doghouse and no roof armor.

Going according to plan so far:

12 Likes

Looks very good. I plan on doing a M2A6A2 someday as well, using the Tamiya M2A2 base kit I think. Maybe. :laughing:

1 Like

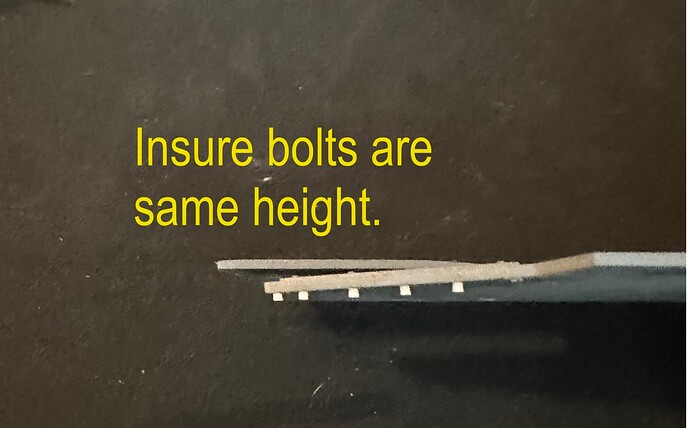
At last a little time to build. I see that I’ll have to go back and redo all of the nuts on the interior of the armor plate. They’re much taller than I thought. Should have used my references right off.

I will stick with .8 mm however. That works out to 1.1 inches. Just about perfect.

5 Likes

Now to start adding the armor plates:

6 Likes

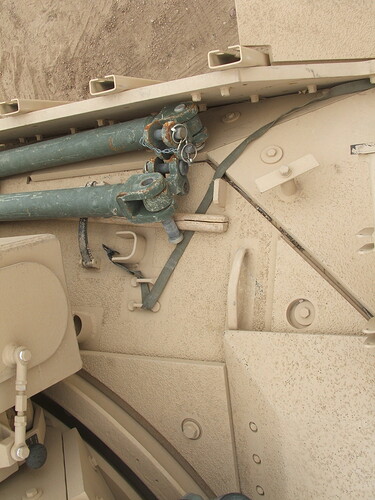
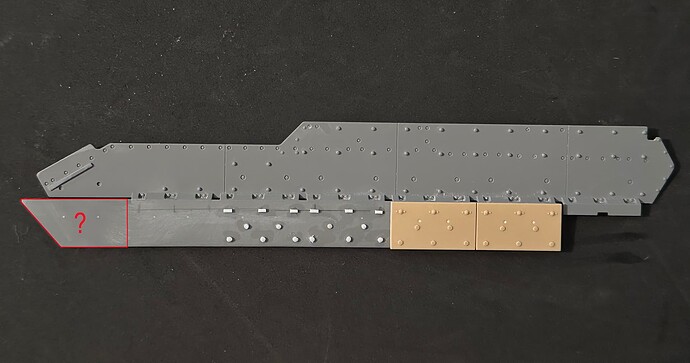
As I get closer to getting the armor plates mounted it’s time to start wondering how this “floating” plate is attached. There’s no mounting block for it on the hull. Another minor shortcoming in the kit - not one I’m willing to list as part of the twelve I identified, but they still could have done better here:

6 Likes