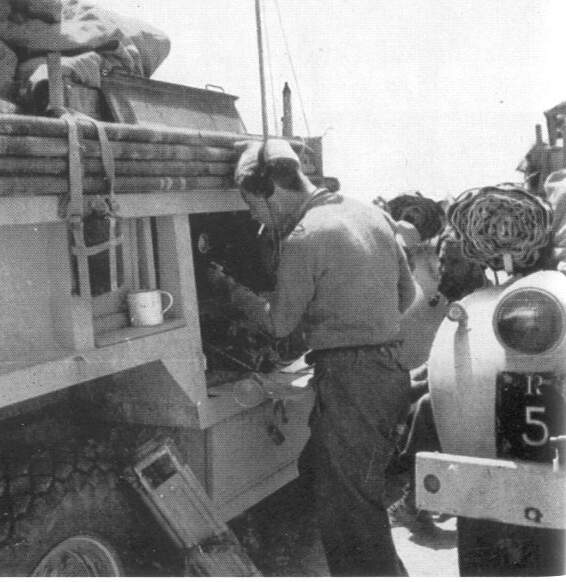
Another pic you may be interested in:
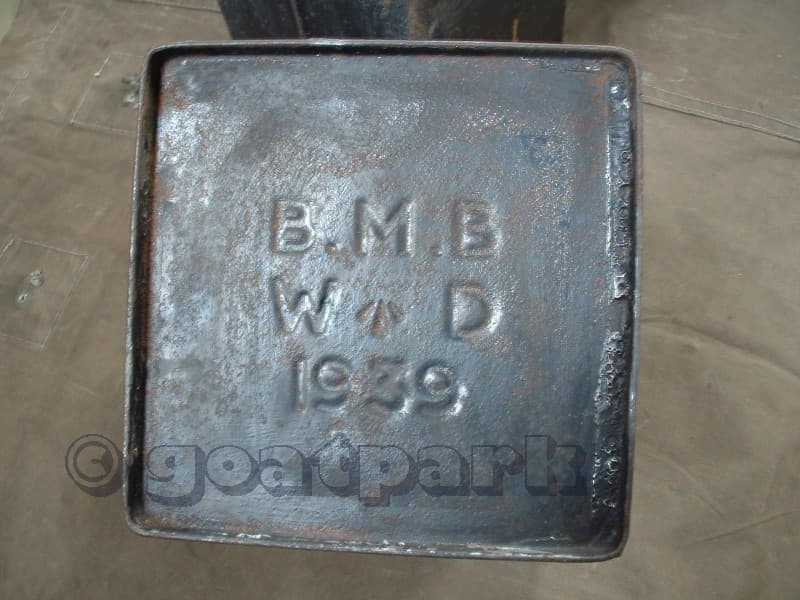
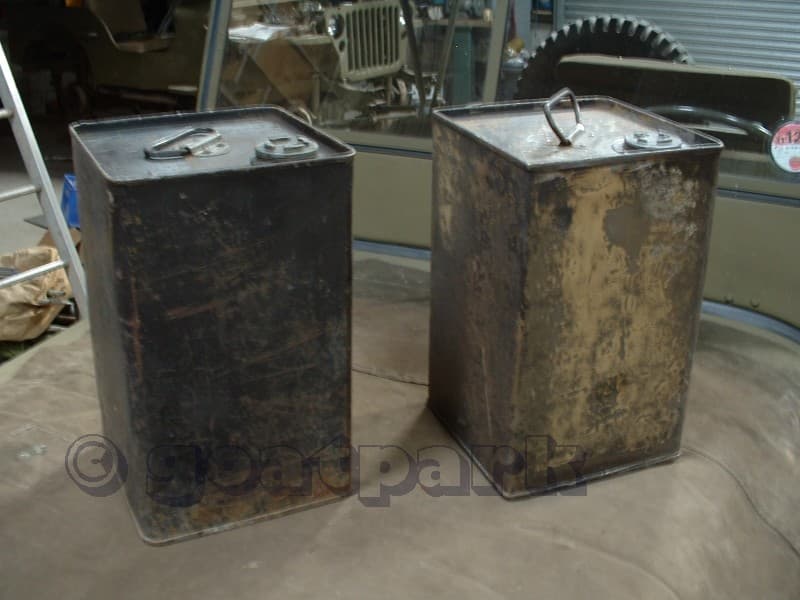
War Department issue fuel cans:
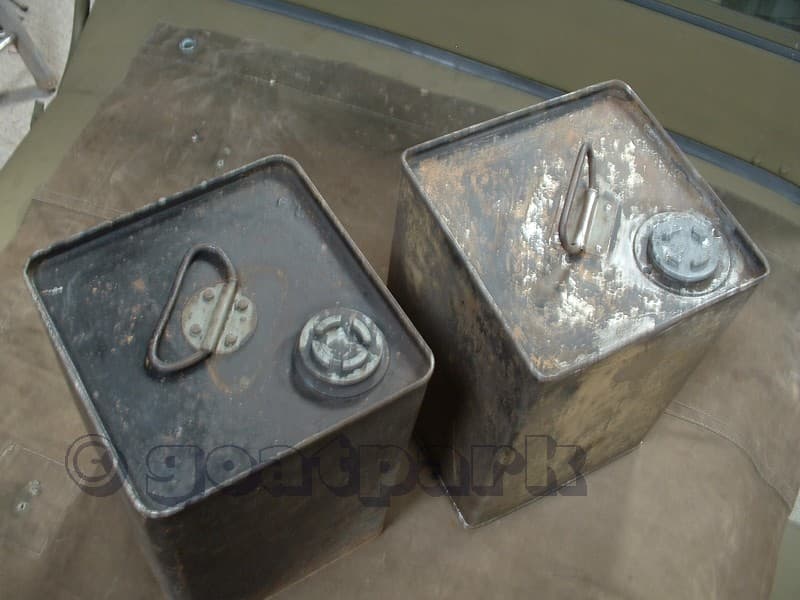
Notice the weld on the split here:
Another pic you may be interested in:
War Department issue fuel cans:
Notice the weld on the split here:
Great reference images, thanks for posting those, really helpful thanks.
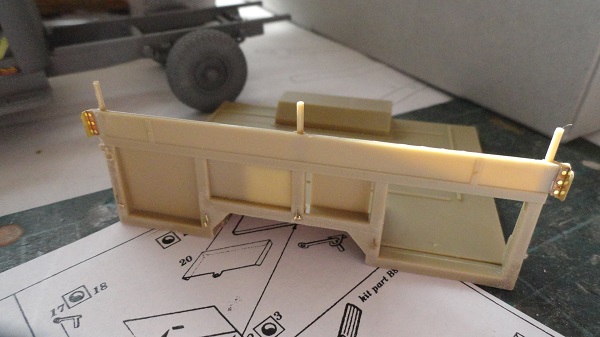
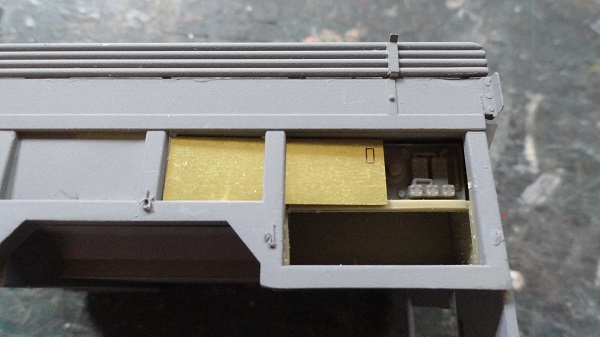
the rifle retaining catches either side of the cab doors
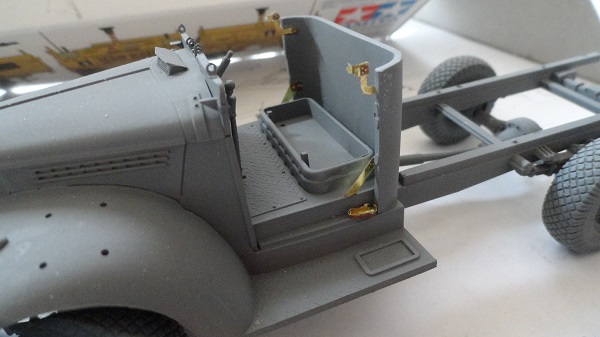
the body catches and hooks
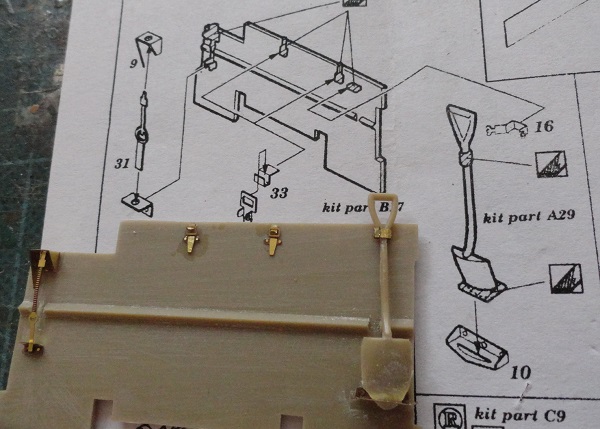
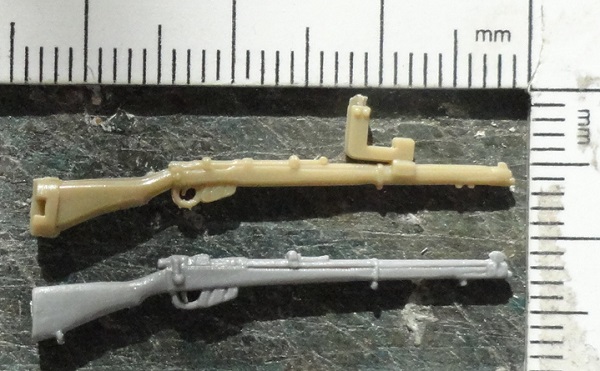
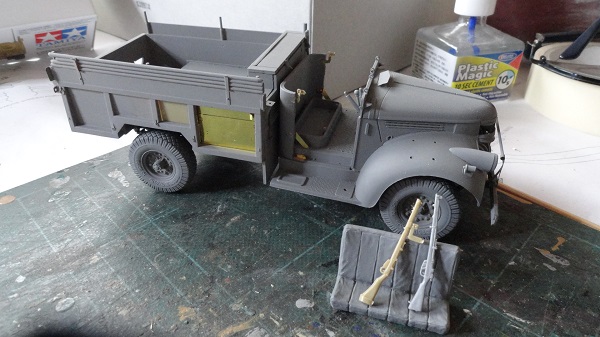
Comparison with the two .303 rifles types issued in the kit, Tamiya in yellow, MB grey. The tamiya one’s date from the 70’s and MB are recent creations. First the stock above the trigger on the MB’s are too deep, but the trigger guard on the Tamiya’s are too thick, but profile wise, the older moldings have the better profile, I may file down the trigger guards, cut off the retaining clamps, file them down to stock profile and use the Tamiya Enfields in the pe retaining clamps in the cab.
more ejector pin marks to fill in. It must happen when the plastic is still warm in the mold.
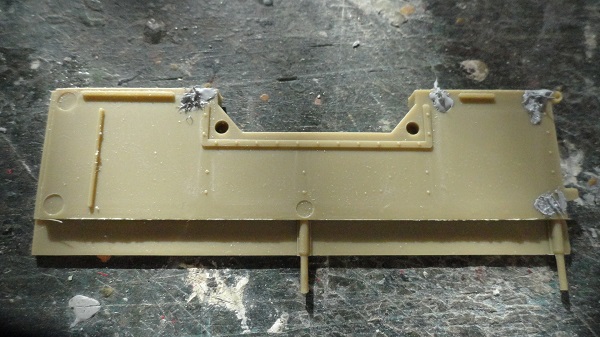
mr surfacer 500, ideal for shallow fills.
the first side is up.
the other side, filled, sanded and ready to fit.
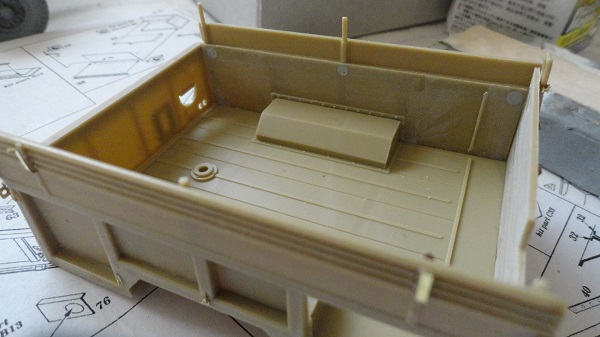
with the box squared, time to fit the hooks on the right way up this time.
Purging the stash? I wonder …
Lol Yes getting rid of old kits and kits I’m not interested in etc., it’s torture trying to decide what to get rid of. I have too much and won’t build many of them
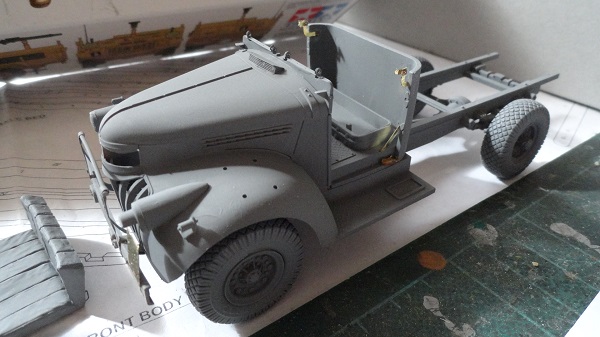
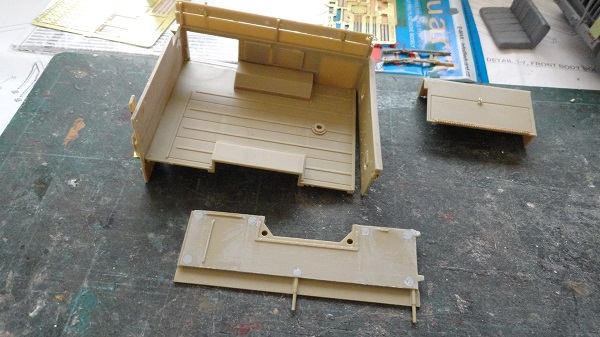
test fit of the rear body to the chassis, saves a lot of bother later on down the line.
Looking great so far. Do you recommend getting resin replacement tires as well as the eduard PE set and the resicast radio set ?
Excellent project. I’m looking for this kit next.
Depends on your budget, if it’s within scope, I’d say go for any AM kit to go with your build, the radio, only if it’s in use, unlike mine, as it’s closed up and protected from the dust.
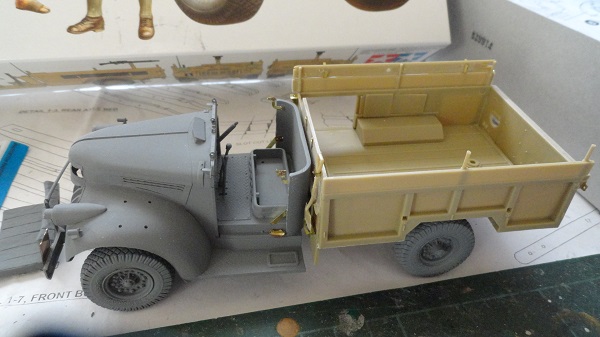
nearly time to fit the rear body on permanently.
Roger that - thank you !
the body to chassis fit, needs a clothes peg to grip the cab tightly to the chassis as the glue dries. Wood pegs are perfect as they have an inner curve so the ends press where pressure is needed.

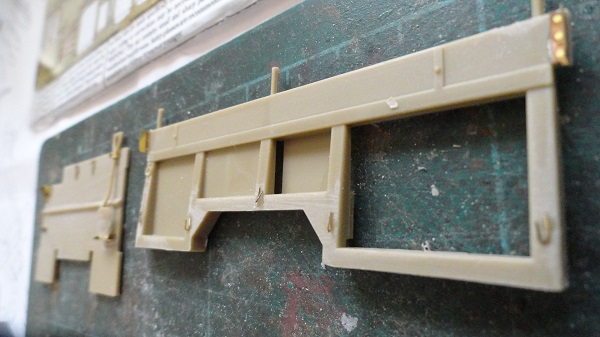
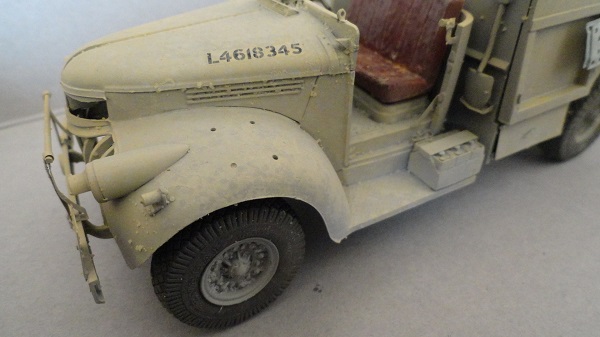
pe mud guards and lower storage boxs fitted

So as you all know by now I’m a great user of the salt technique and it’s variations. here we go with the first layer over the base coat. and how it looks brushed away.


by the time the second sand tone was applied over the second layer of salt, the effect was starting to show through.
It’s a long winded method, takes time and patience,and a belief in the process that comes with experience of it.
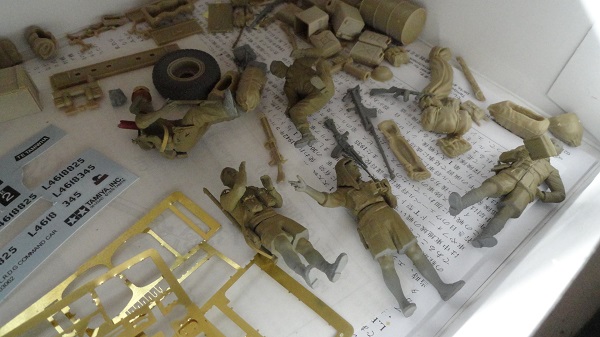
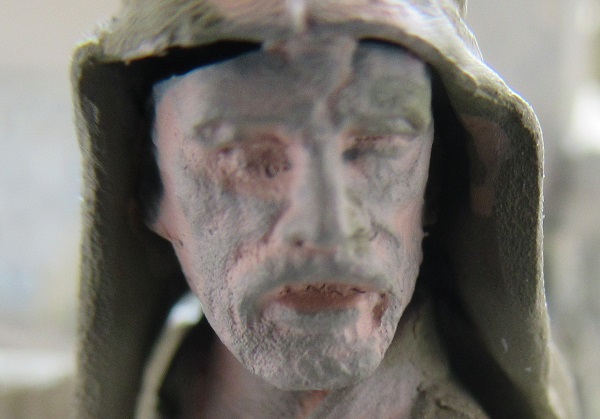
figures in base coats ready to be painted.
“These are not the Droids you’re looking for”
It’s about time I bought myself a decent digital camera, it’s a Canon SX620 HS, I’m blown away with the quality, I had better up my figures painting skills. Here’s the first MB LRDG officer in base flash.
This is great, I’ll be watching. I never had any interest in this model until I read the Osprey book about LRDG vehicles. Then I starting looking the the model. I still want one.
Sgt Nesbitt the driver of R2, with second stage face painting, the uniforms details painting will come after I’m happy with face painting.
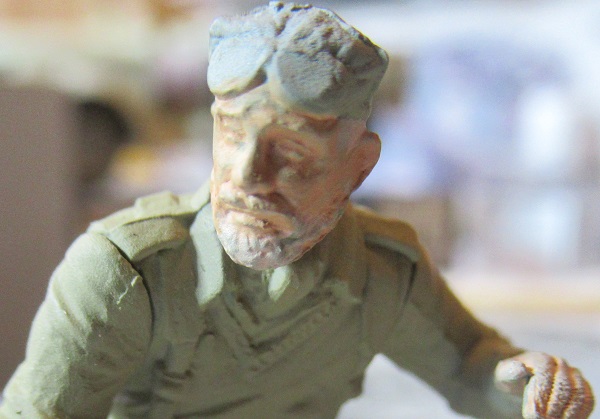
I see what you’ve done there! But in “Sea of Sand” isn’t Nesbitt a Kiwi with a “lemonsqueezer”?
spot on there. It’s just an ode to he who died in the movie, and was a good bloke.