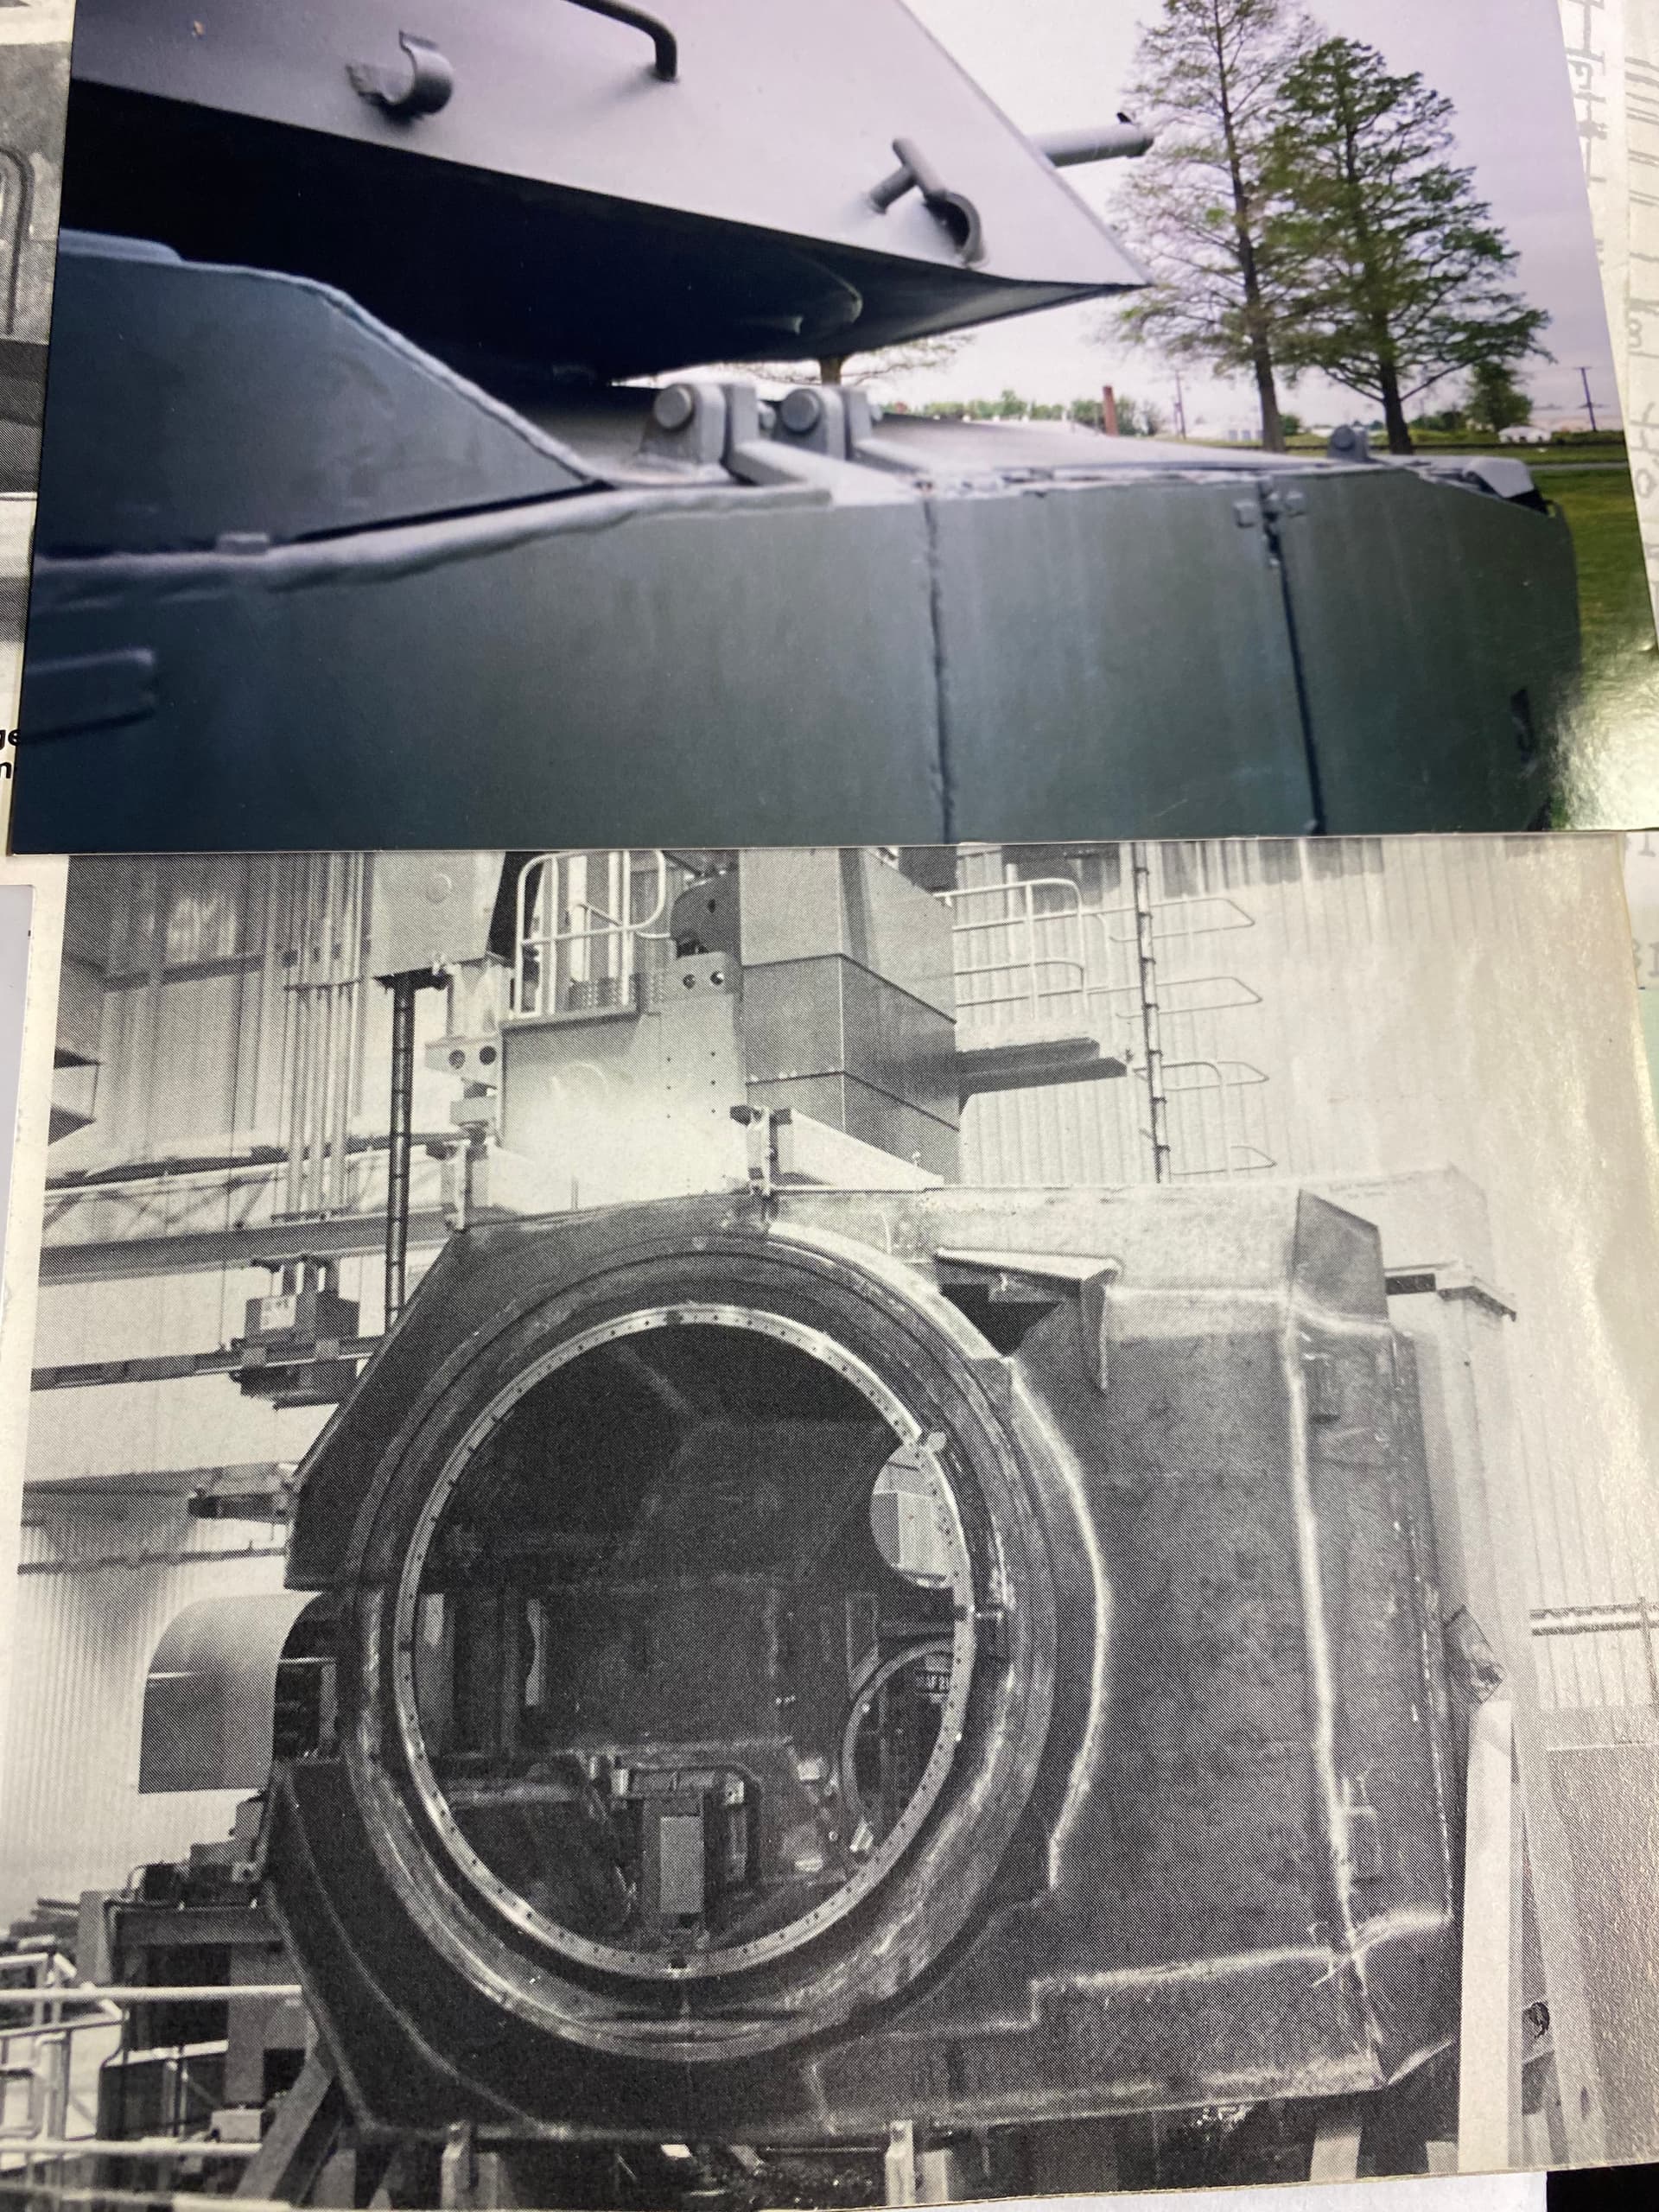
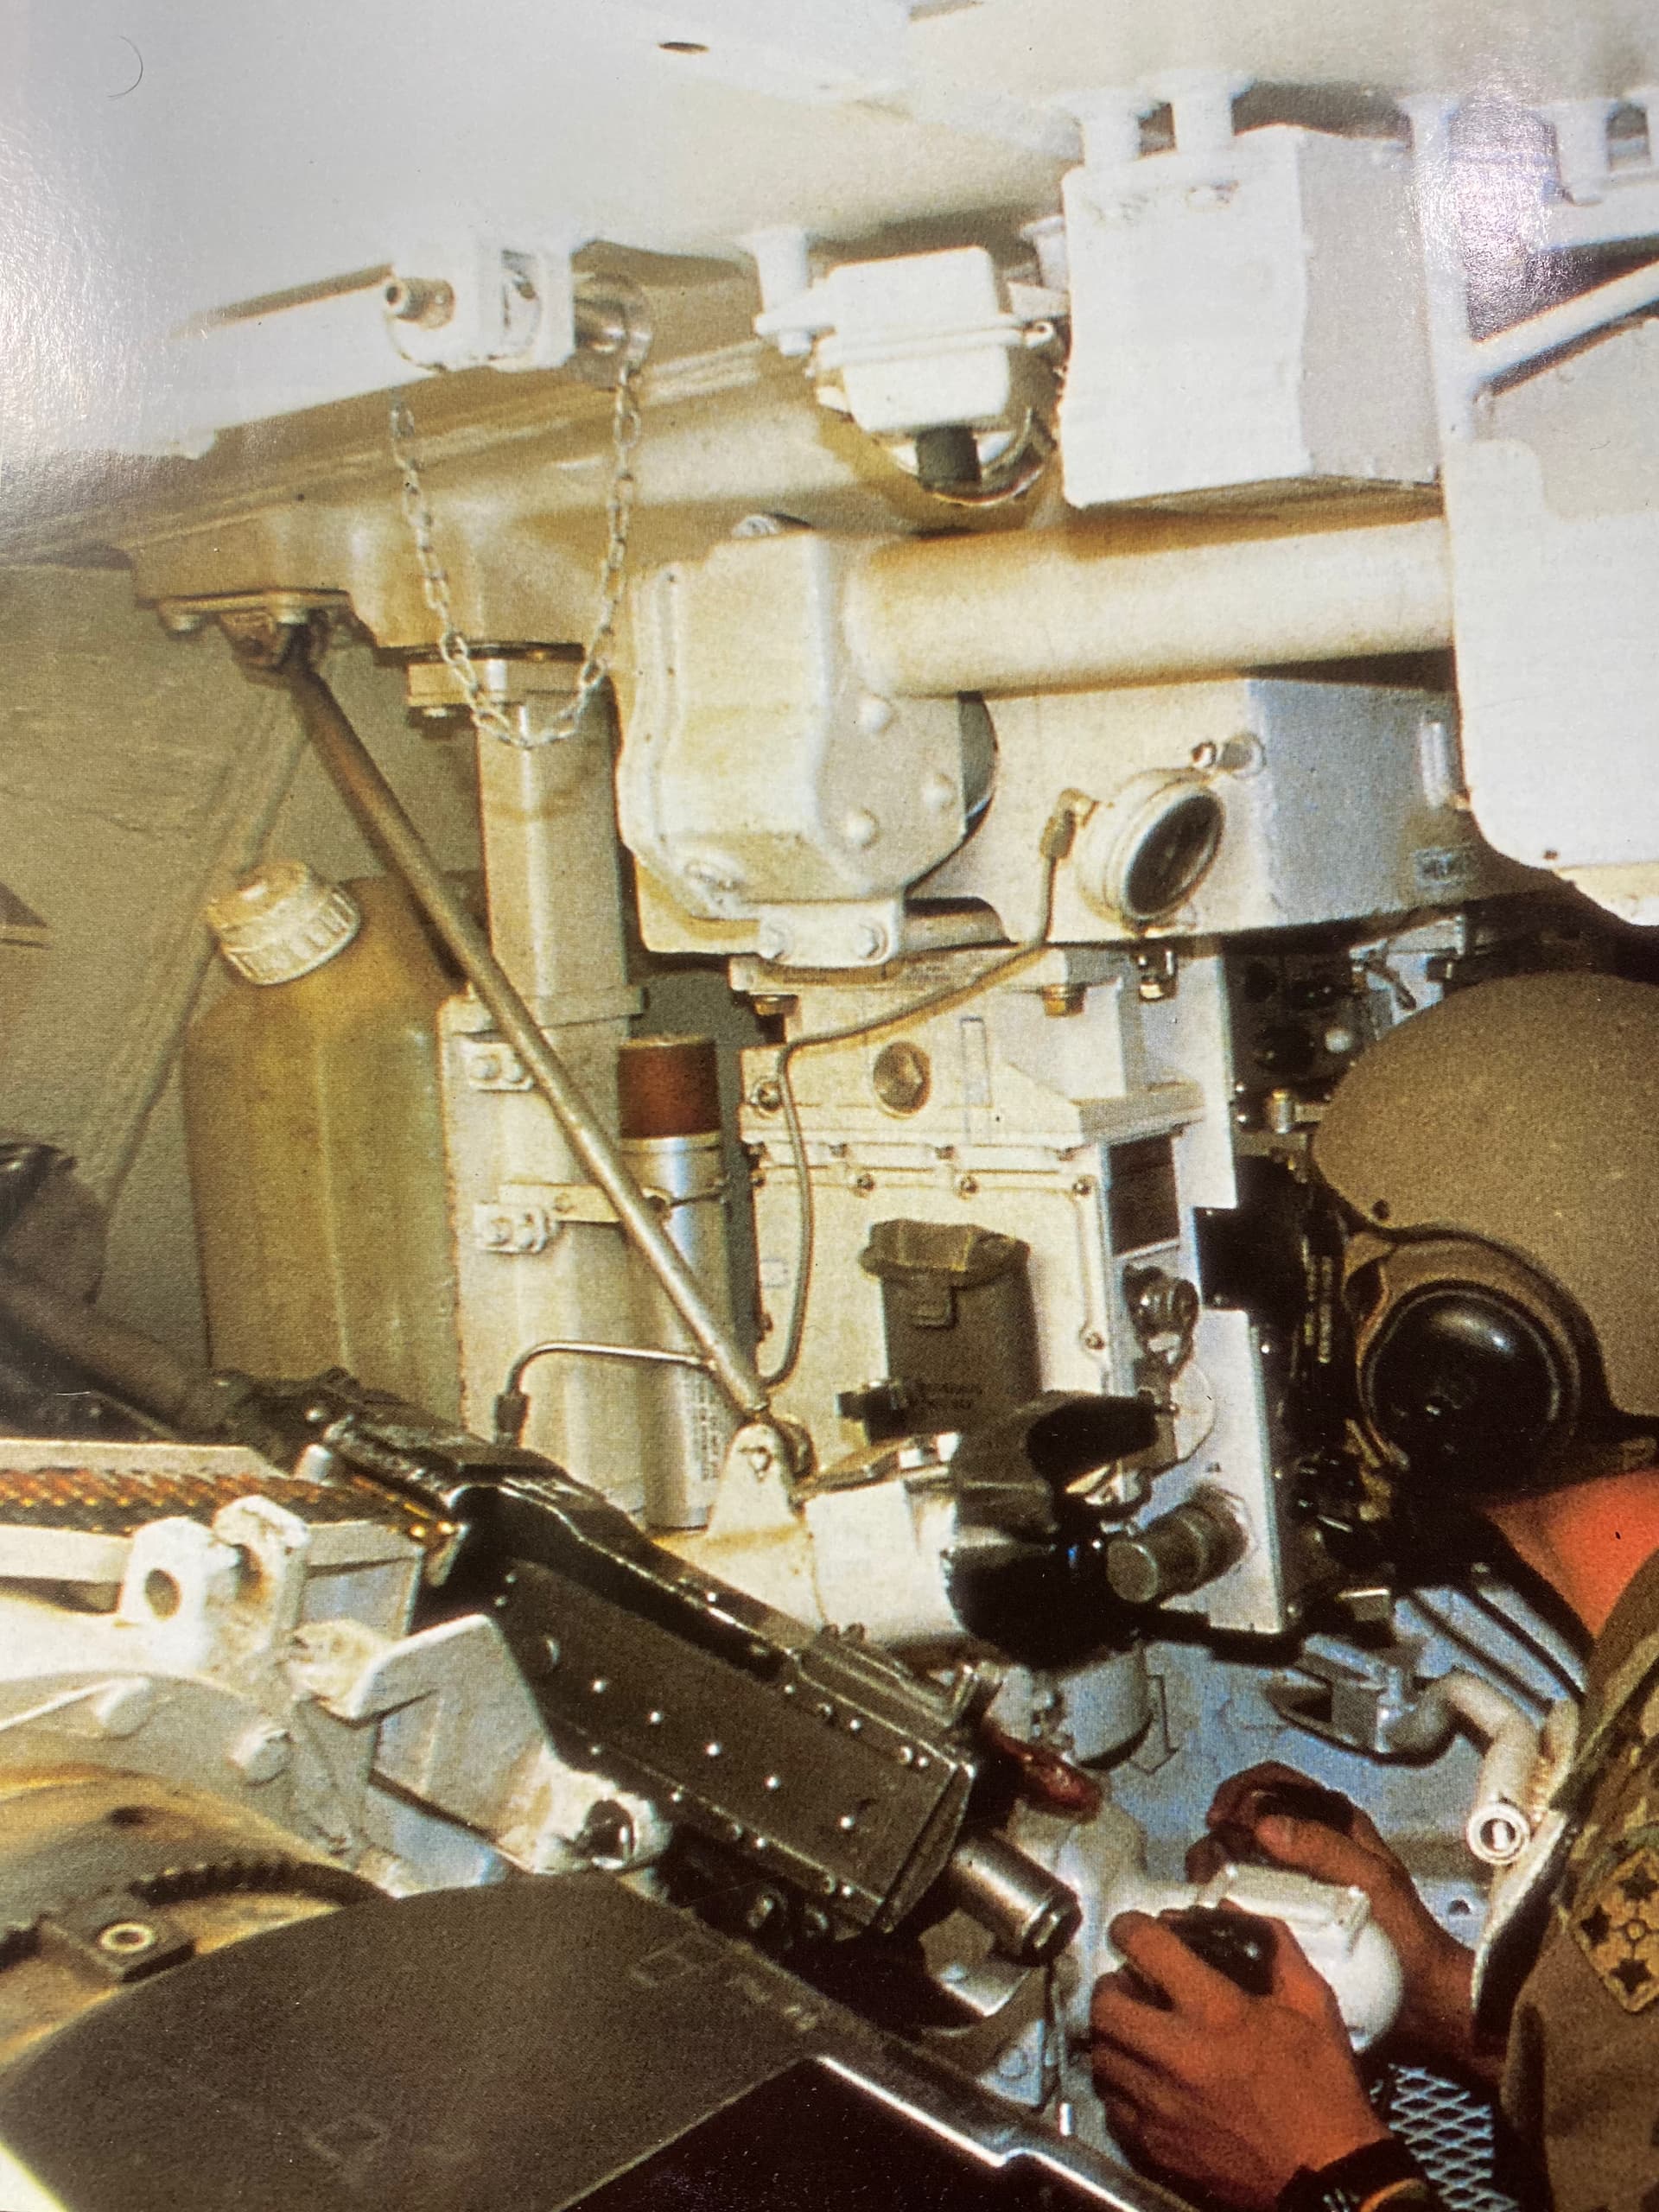
Ok, let’s try this build log thing & see if I can keep up with it. My goal is to recreate this scene
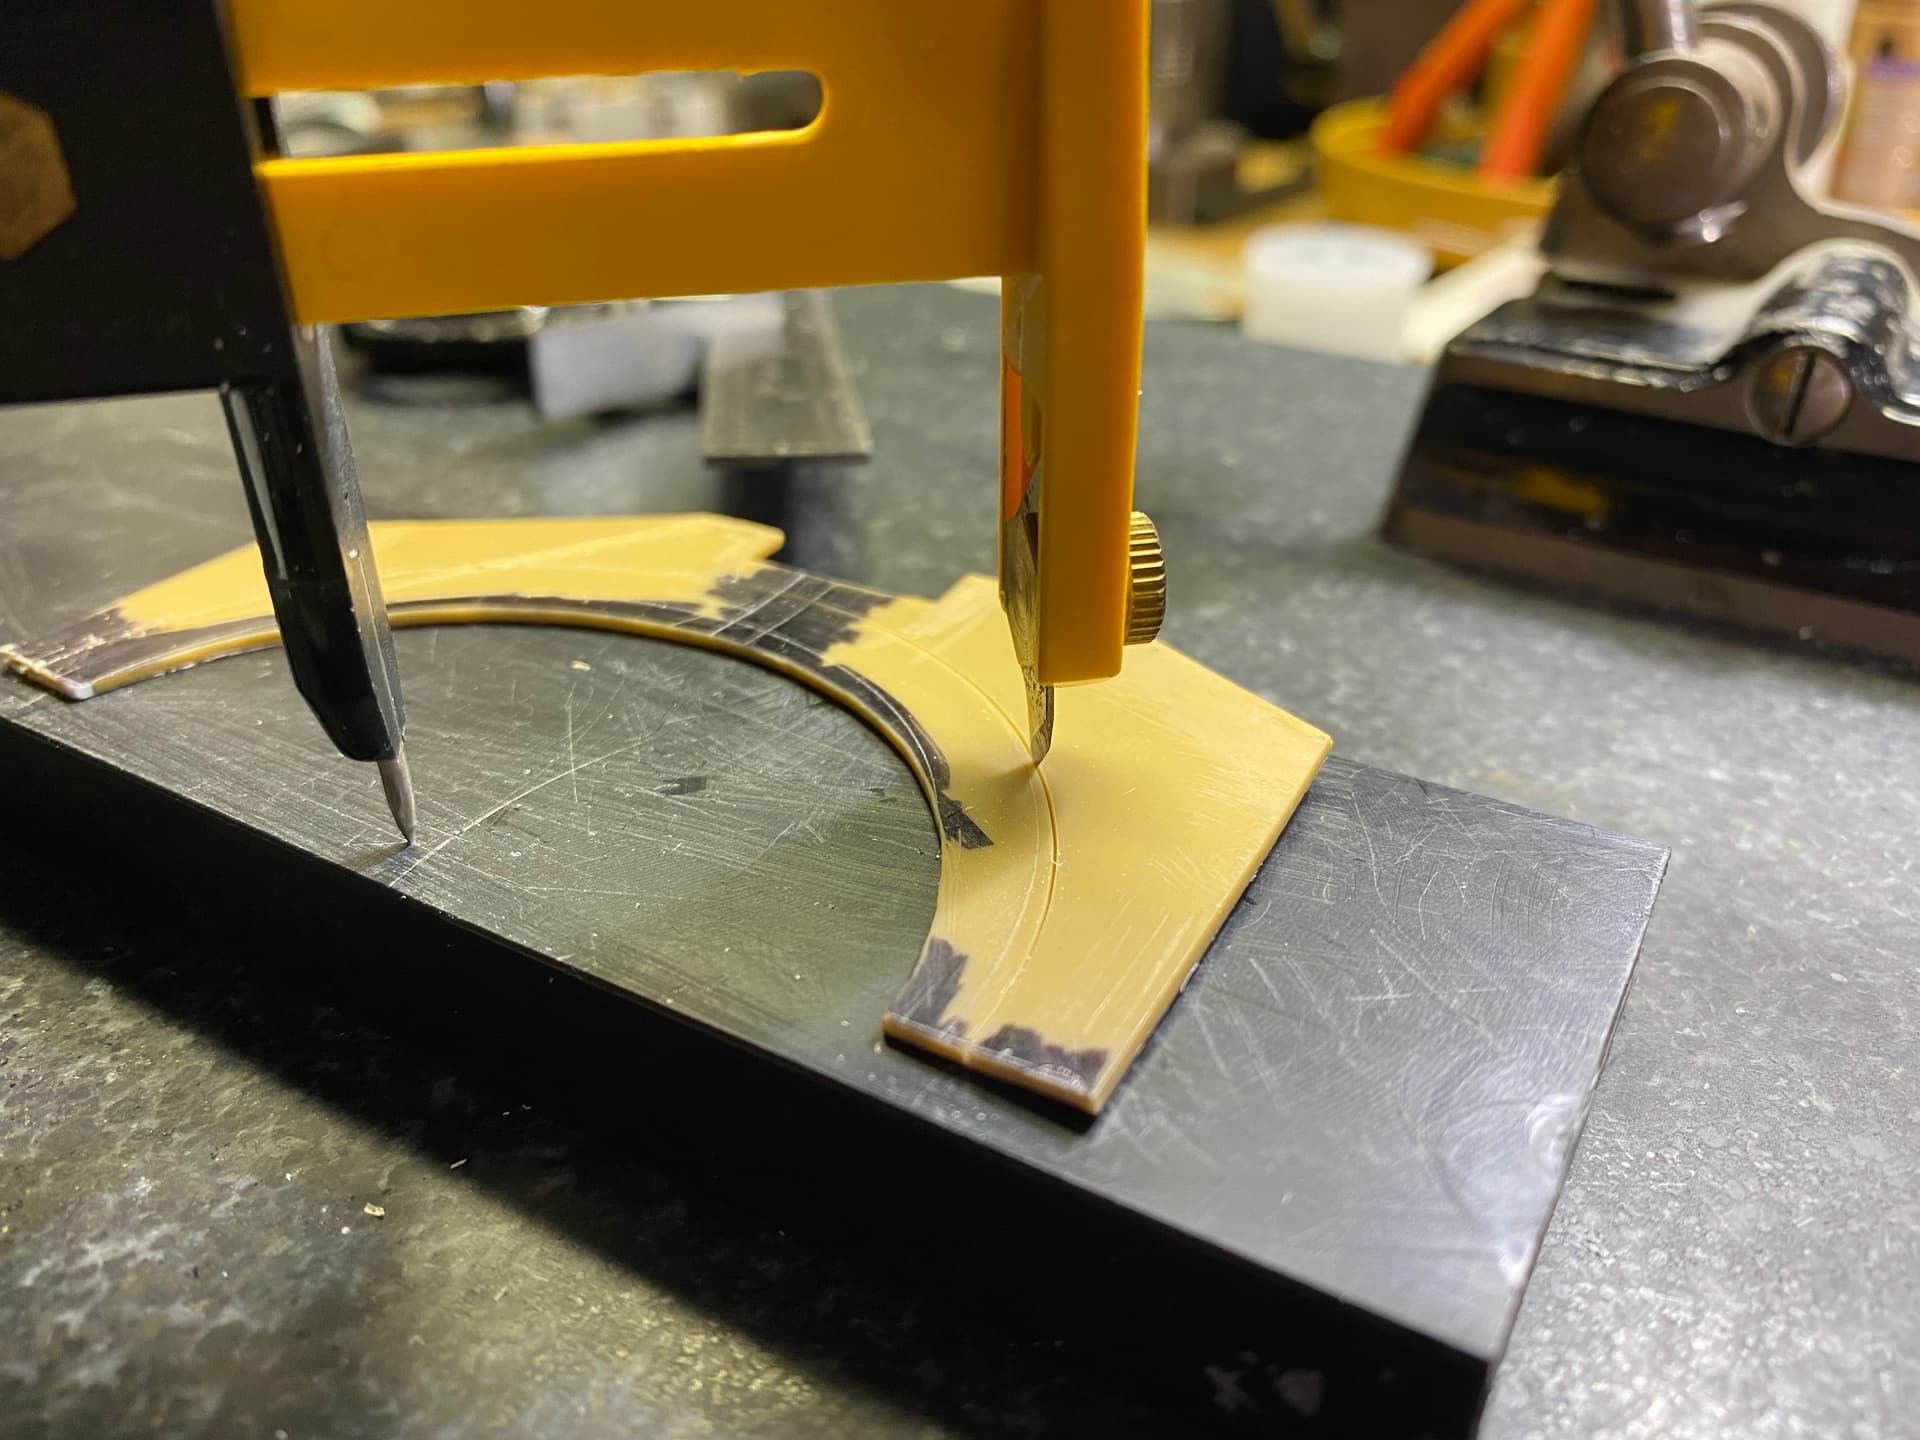
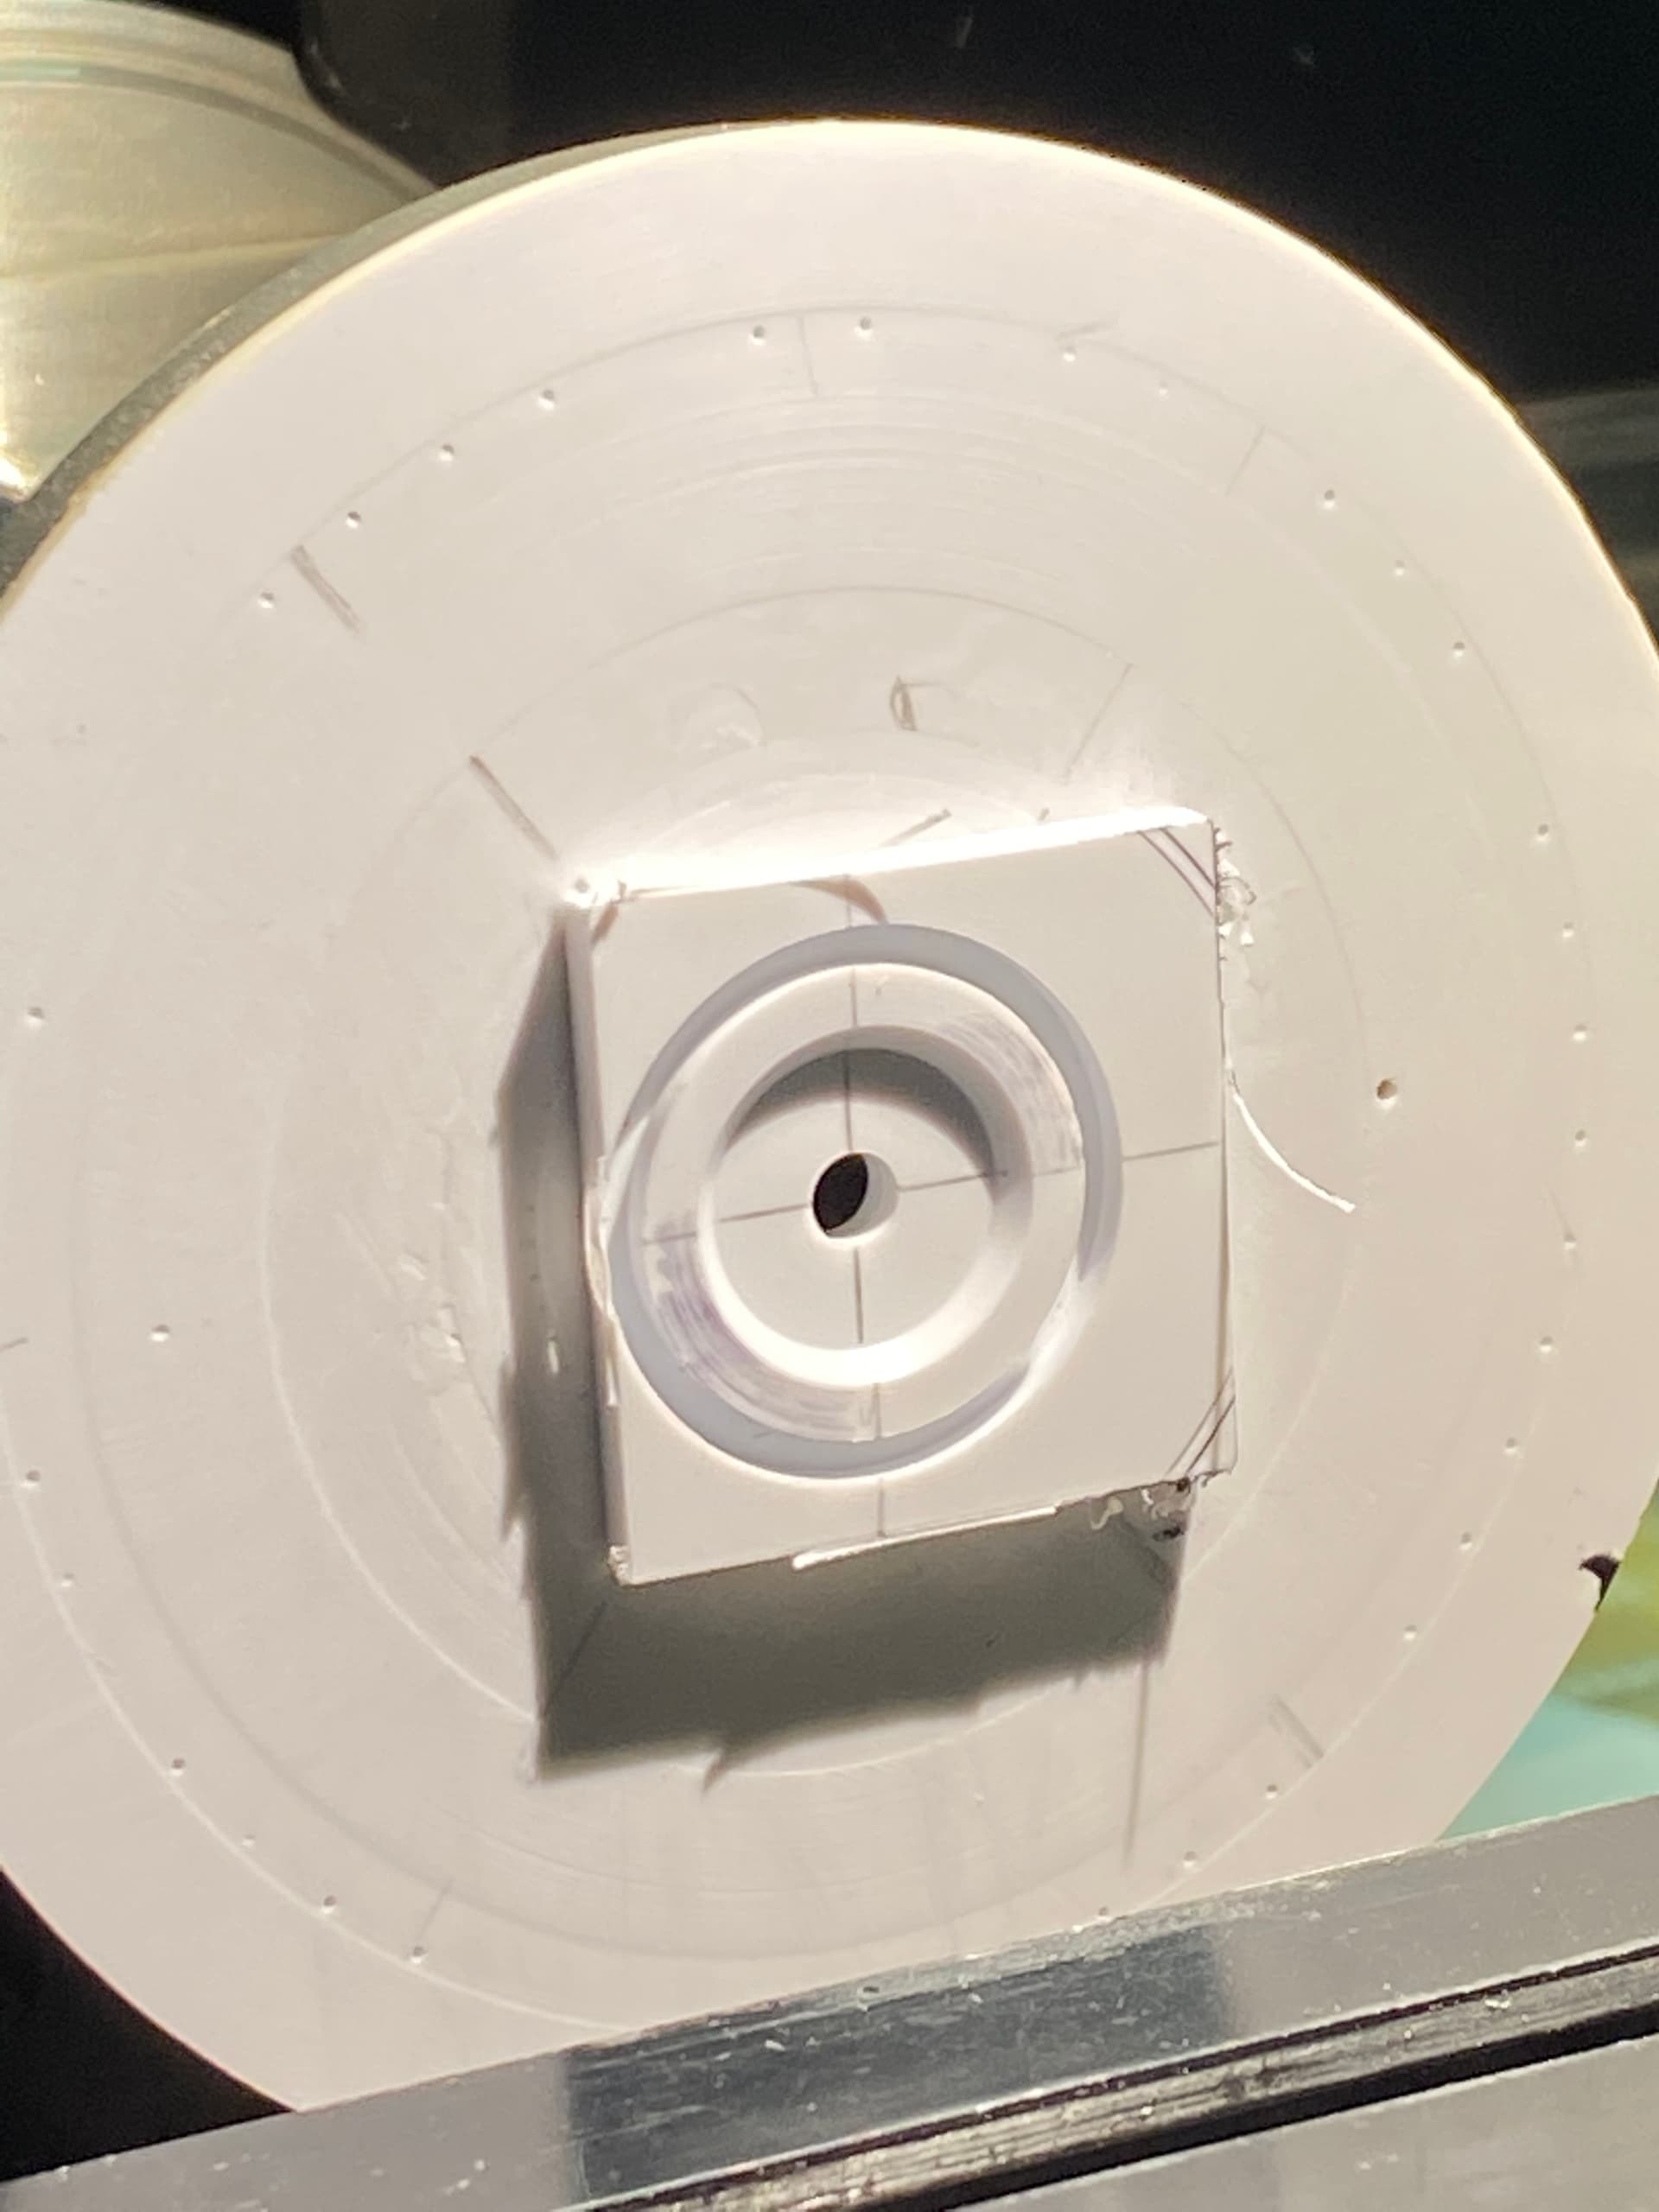
(Lower photo, from old squadron/ signal M1 book) I started with the turret shell of the old ESCI kit and base from Trumpeters kit as the original was lost many years ago. Here is the base being opened up
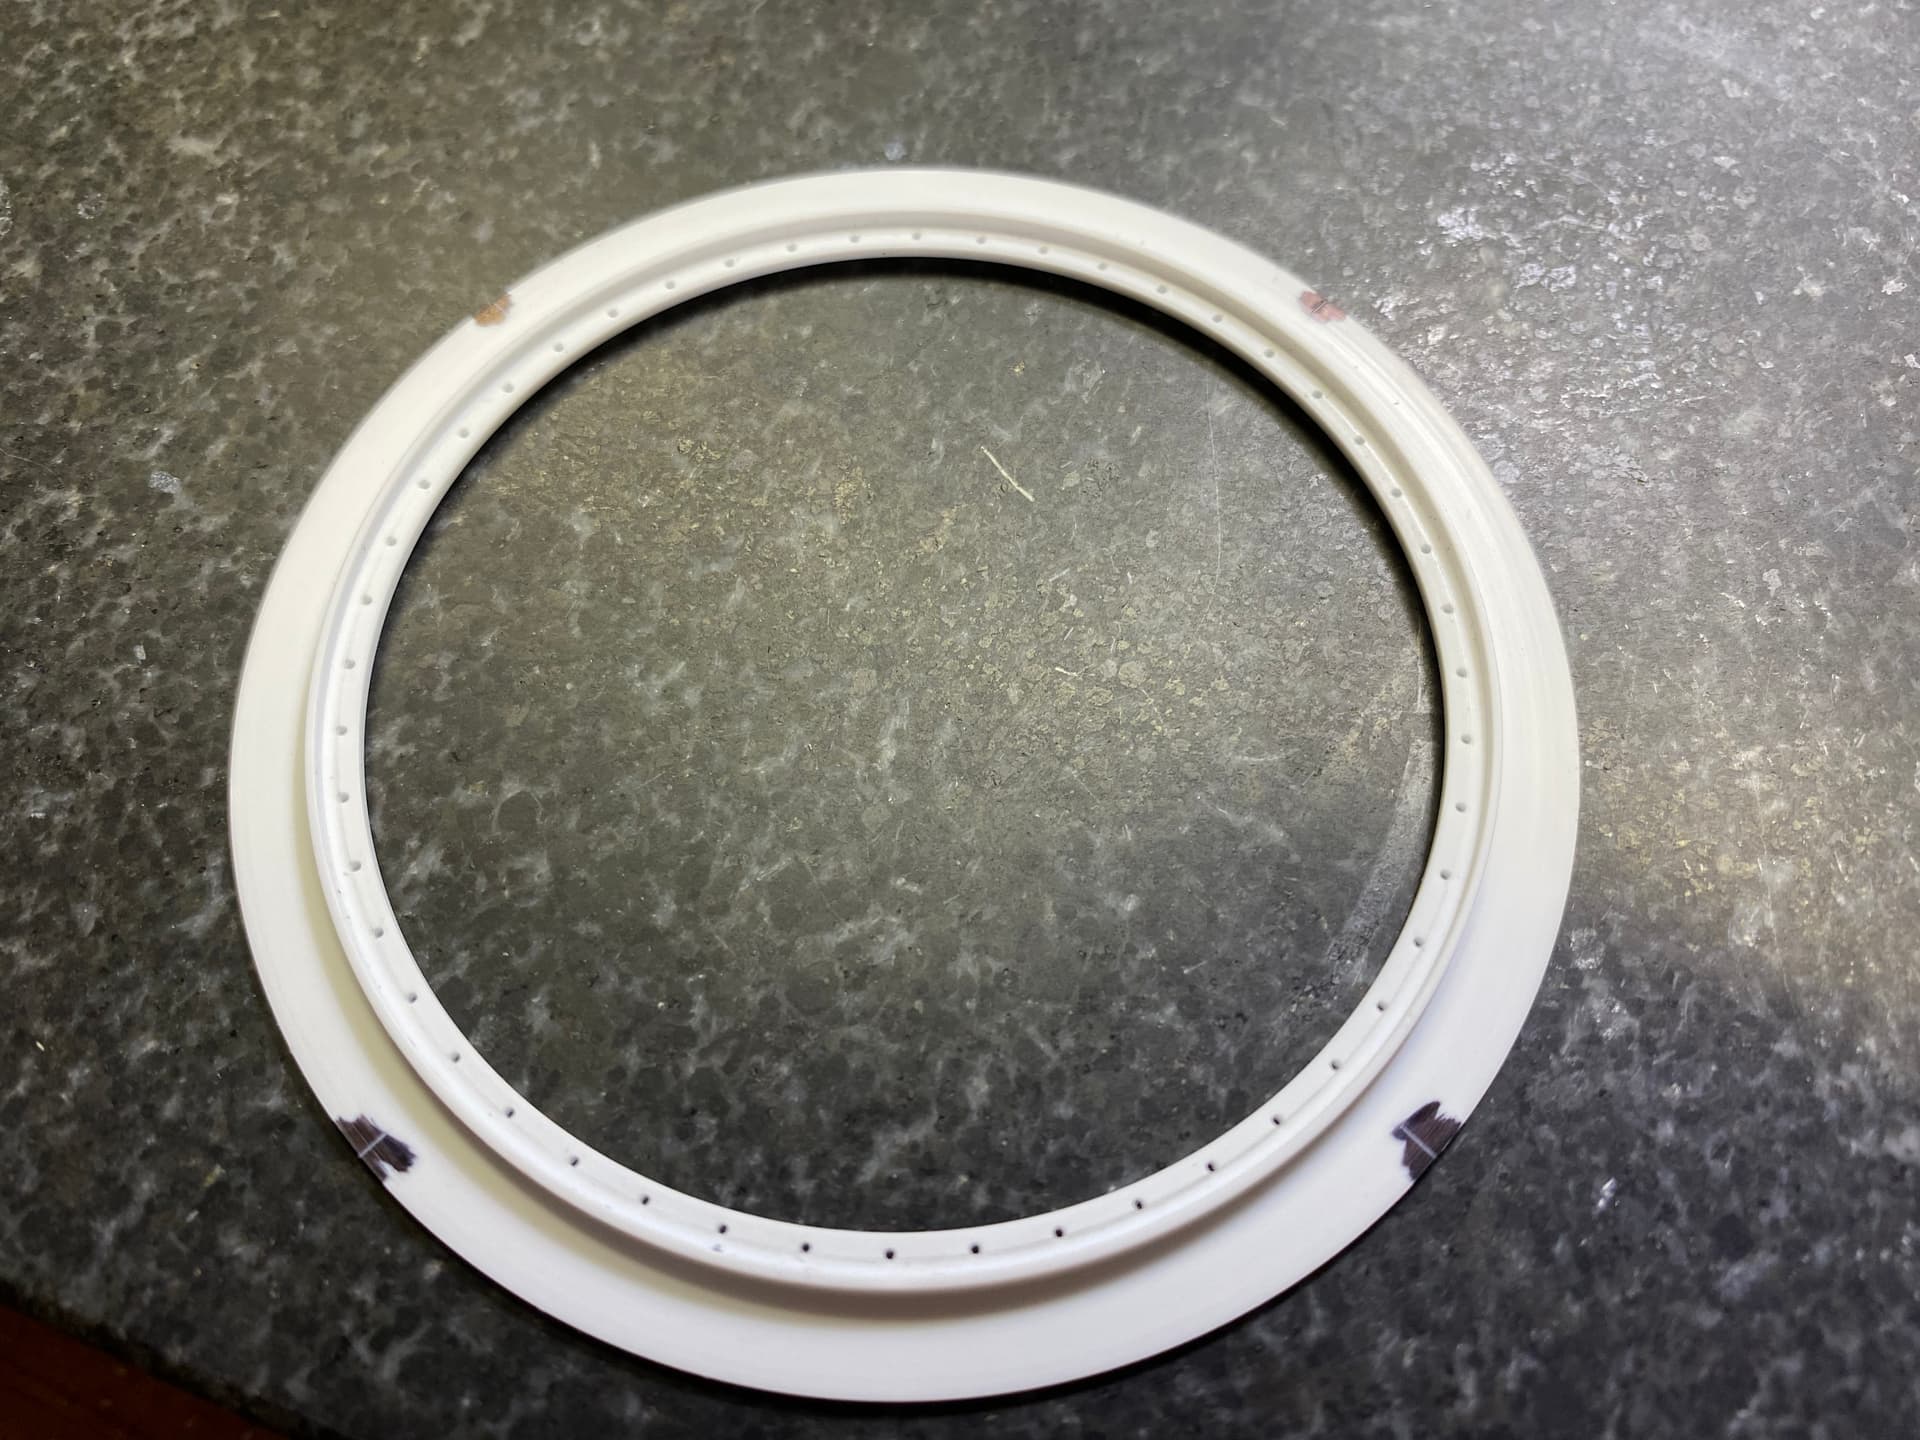
to accept a turned race seat
I’ve been combing the internet for images or info on how the turret goes together and have found some of the best resources to be online gaming forums.
6 Likes
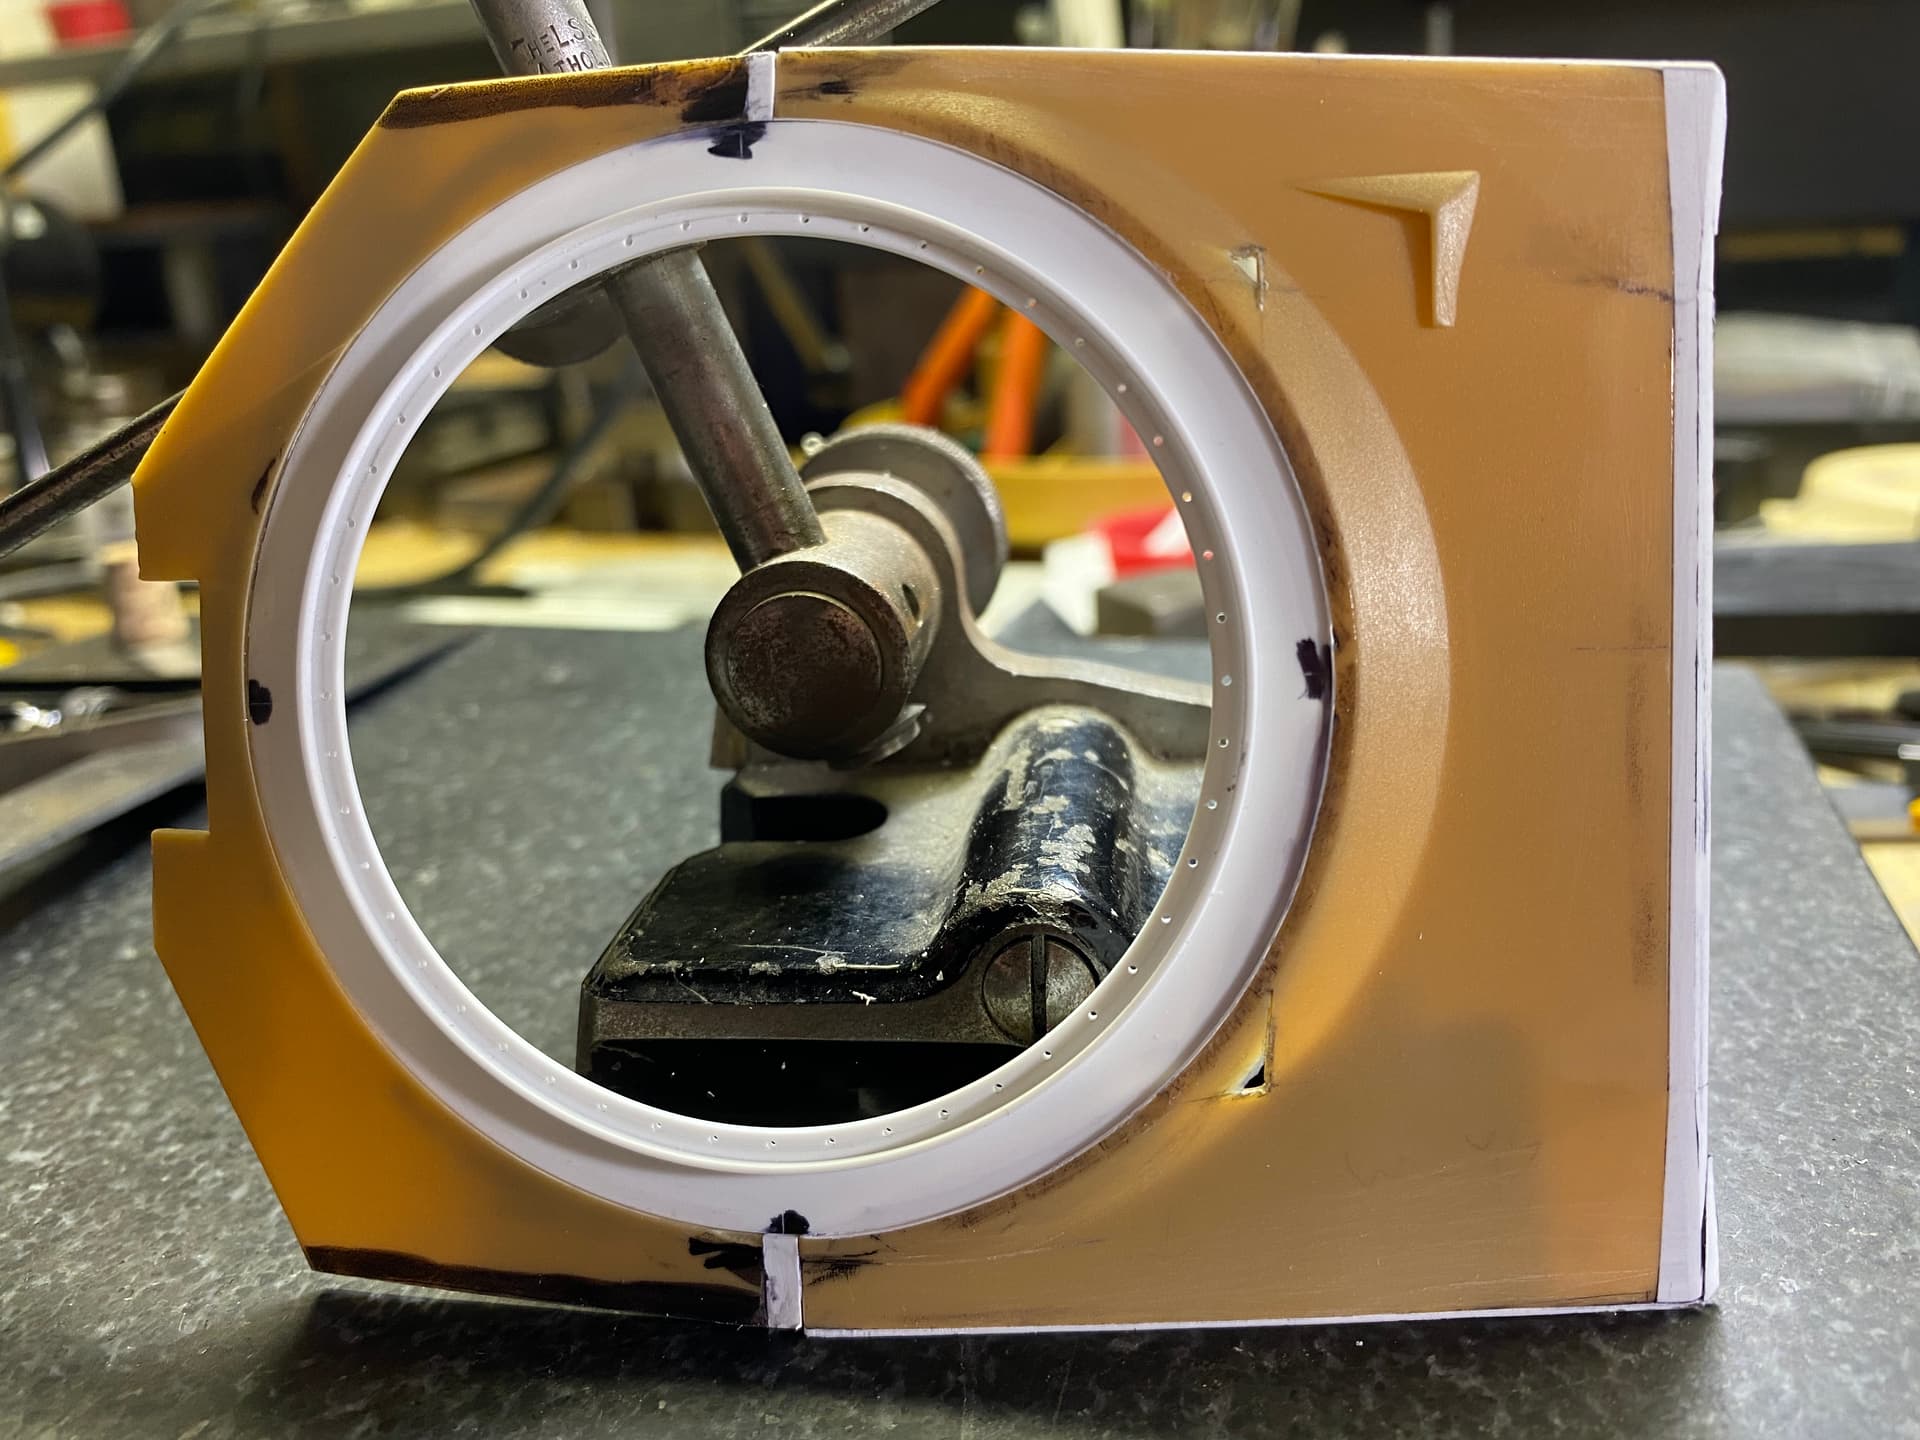
That’s a nice fit.
Why did you choose that scene?
Something out of the ordinary to do with a turret that had been floating around my shop for many years.
What isn’t shown so well in that one picture is the horizontal boring mill behind the turret, that should be a bit of a challenge to scratch build. Here is a shot of what it would look like from the other side, the clamping fixture will be challenging to puzzle out as well
2 Likes
Yeah, but you don’t have to do the turret interior so that’s a bonus. Granted more photos exist of that then that machine.
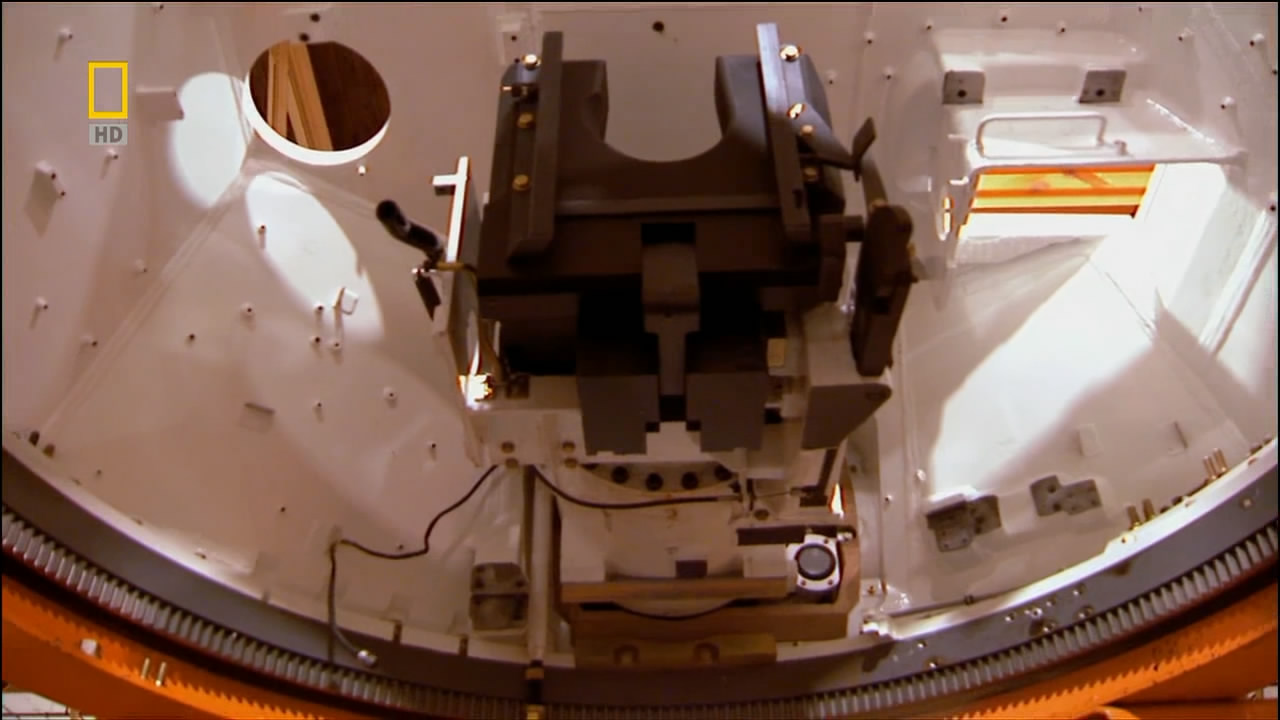
True, but the interior turret structure has been challenging to figure out all on it’s own. The most help has come from video stills that are from the same National Geographic program the above still came from
2 Likes
I get that. The white coating doesn’t help with the angles. Are you planning on doing what looks like welded mounting holes too or just before that?
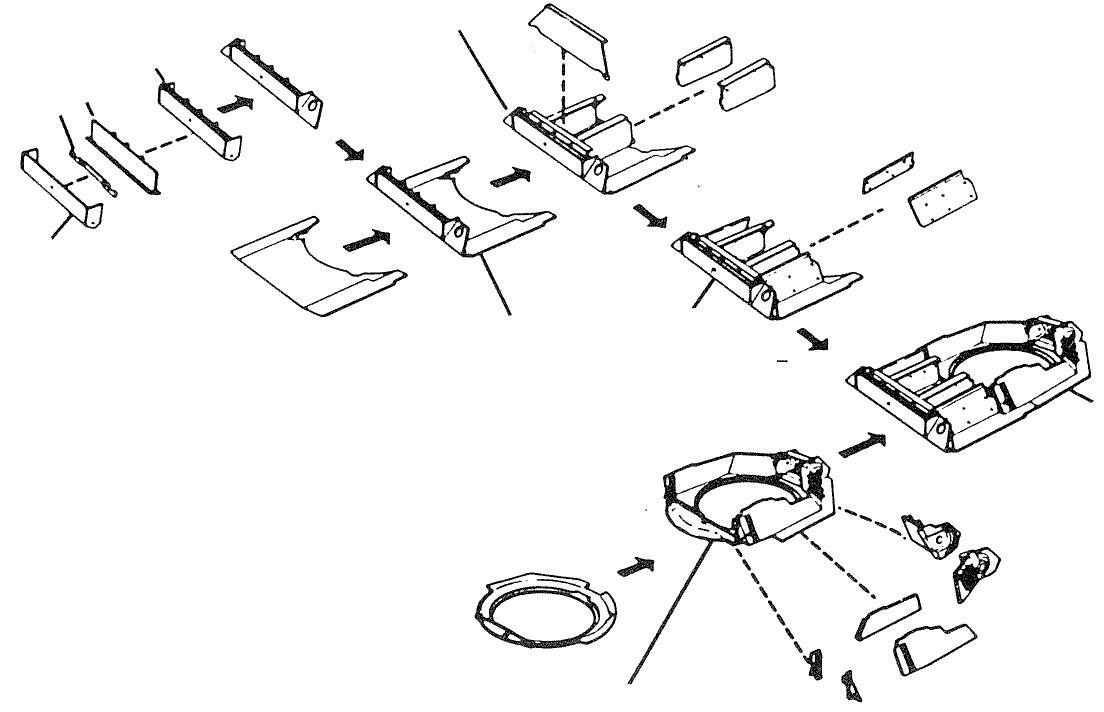
Yep, the gloss white doesn’t help much, I am planning to do all the mounting studs. At this point I’m unclear on what would be machined prior to welding up the turret structure , for example, the mounting pads that remain unpainted in the above image and what would be machined after. This is the type of thing I love to find, a schematic of fabrication sequence for the base & sides.
2 Likes
Best of luck, I will be following along but don’t have the information you need or want.
1 Like
Thanks. Sometimes it goes like this for me with these types of projects, if I wait long enough that bit of information I’m after seems to appear .
2 Likes
I think everything that has to be machined, mounting points, etc. would be machined before the turret gets welded together; otherwise it would be very difficult to get the tooling inside the completed turret. Then after everything is welded, mask off all the mounting points and paint the white. I think they use some kind of plastic insert for all those bolt holes, don’t want them getting filled up with paint.
Ken
1 Like
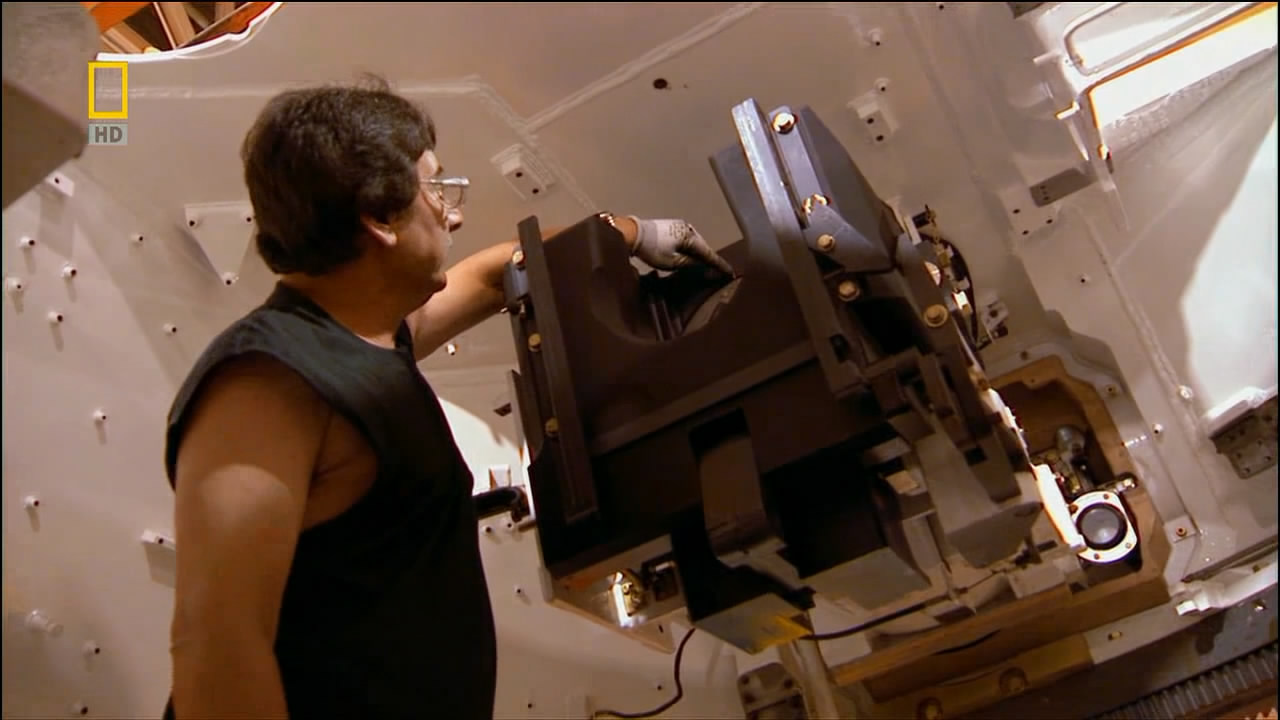
Agreed, any mating surfaces on the inner structure would need to be machined prior to final fabrication , the two pads in front of the GPS opening are for a GAS support strut and traverse and elevation handles column as seen here
Maybe particularly tight tolerance areas are finished after final welding such as the CWS and main race rings.
2 Likes
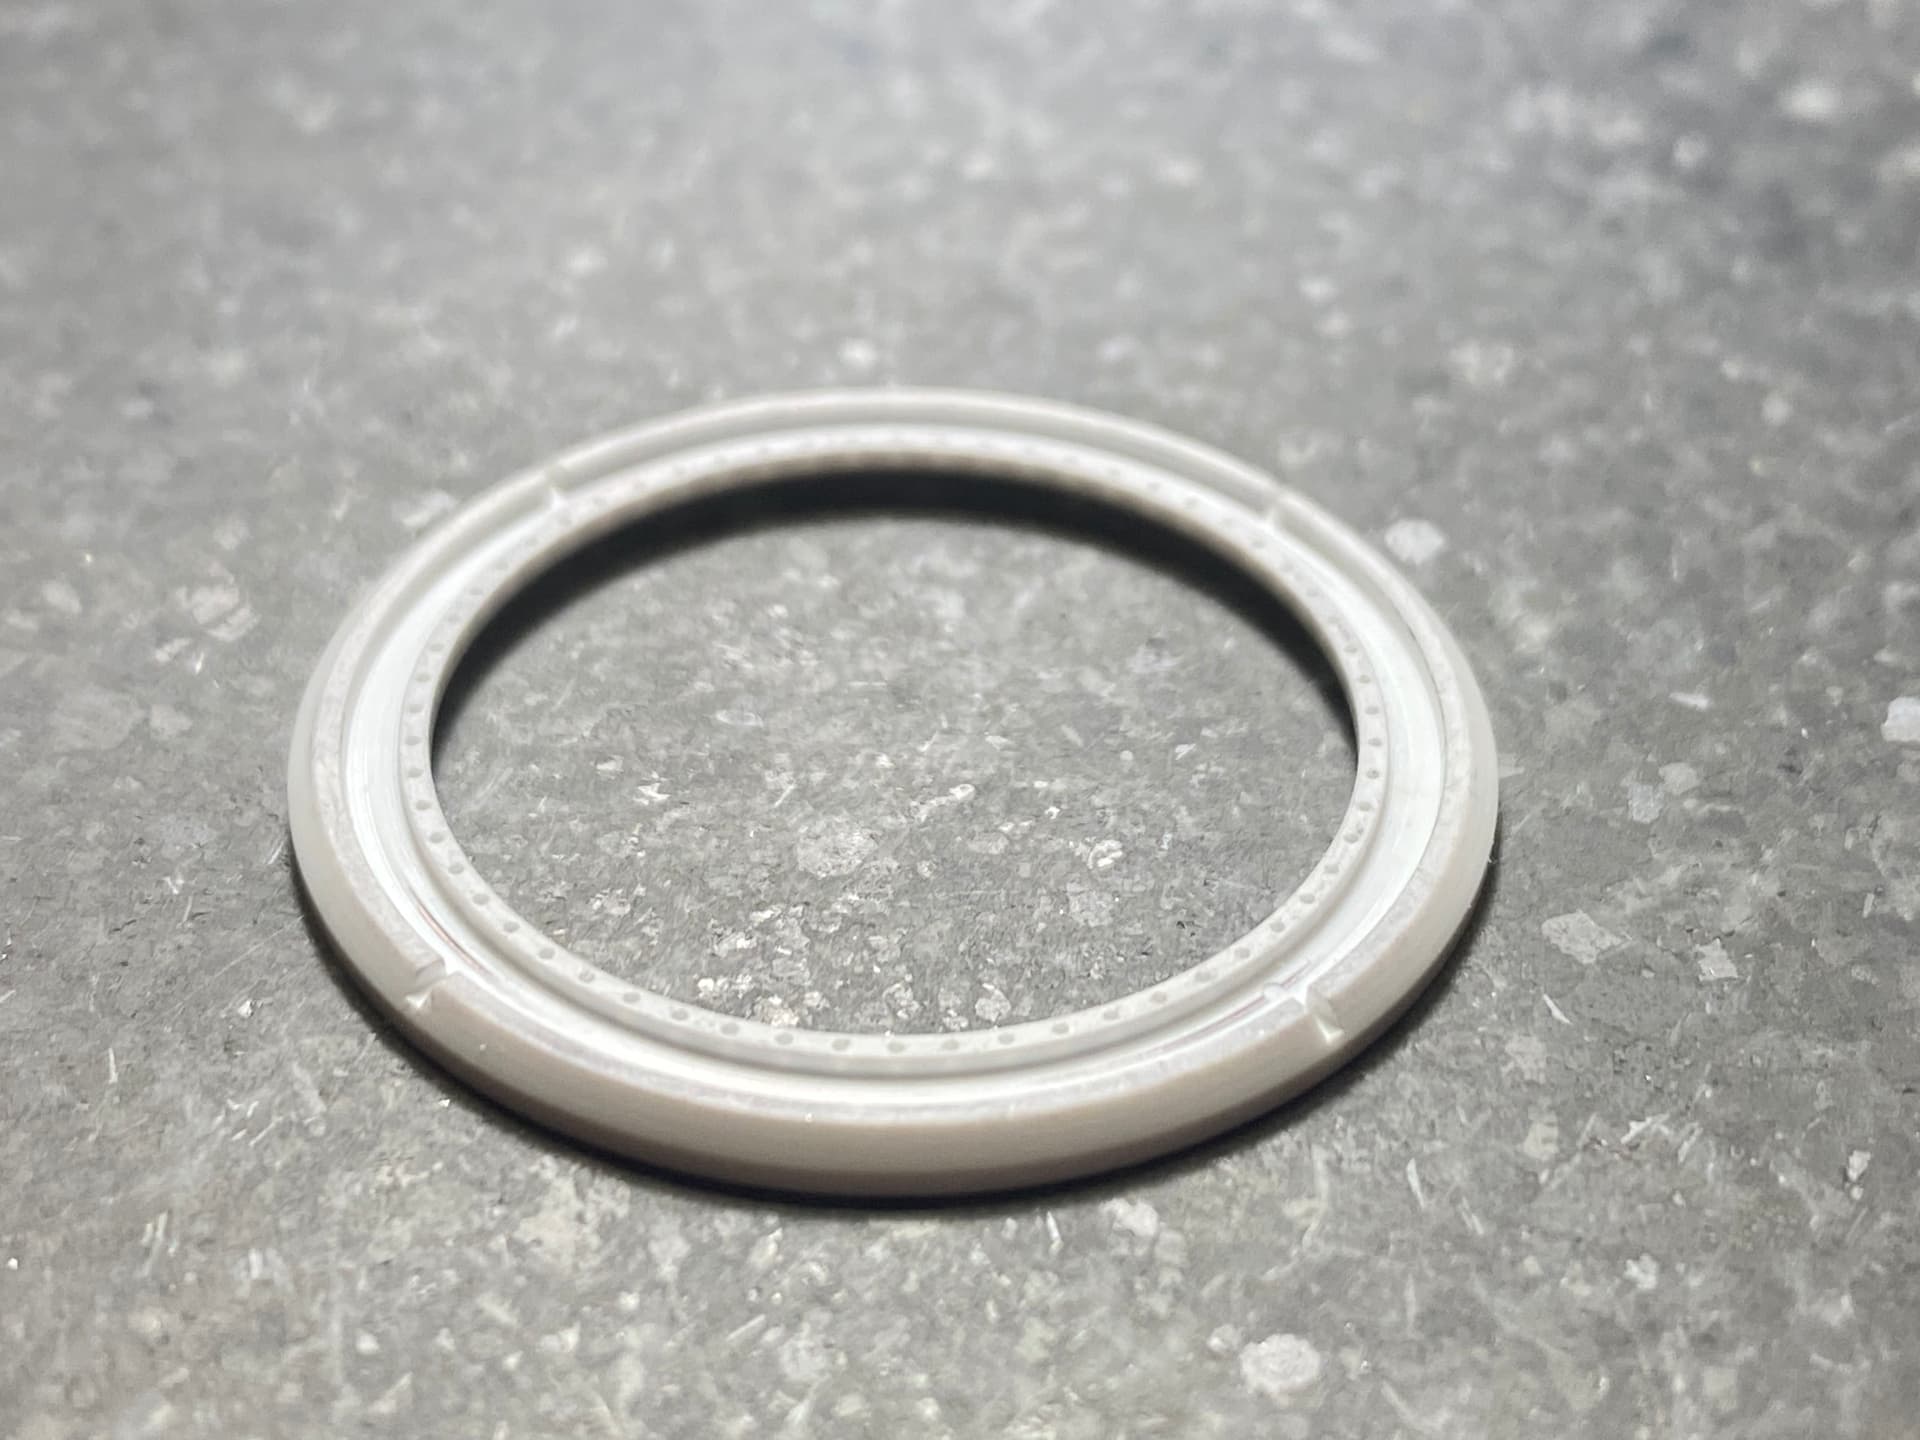
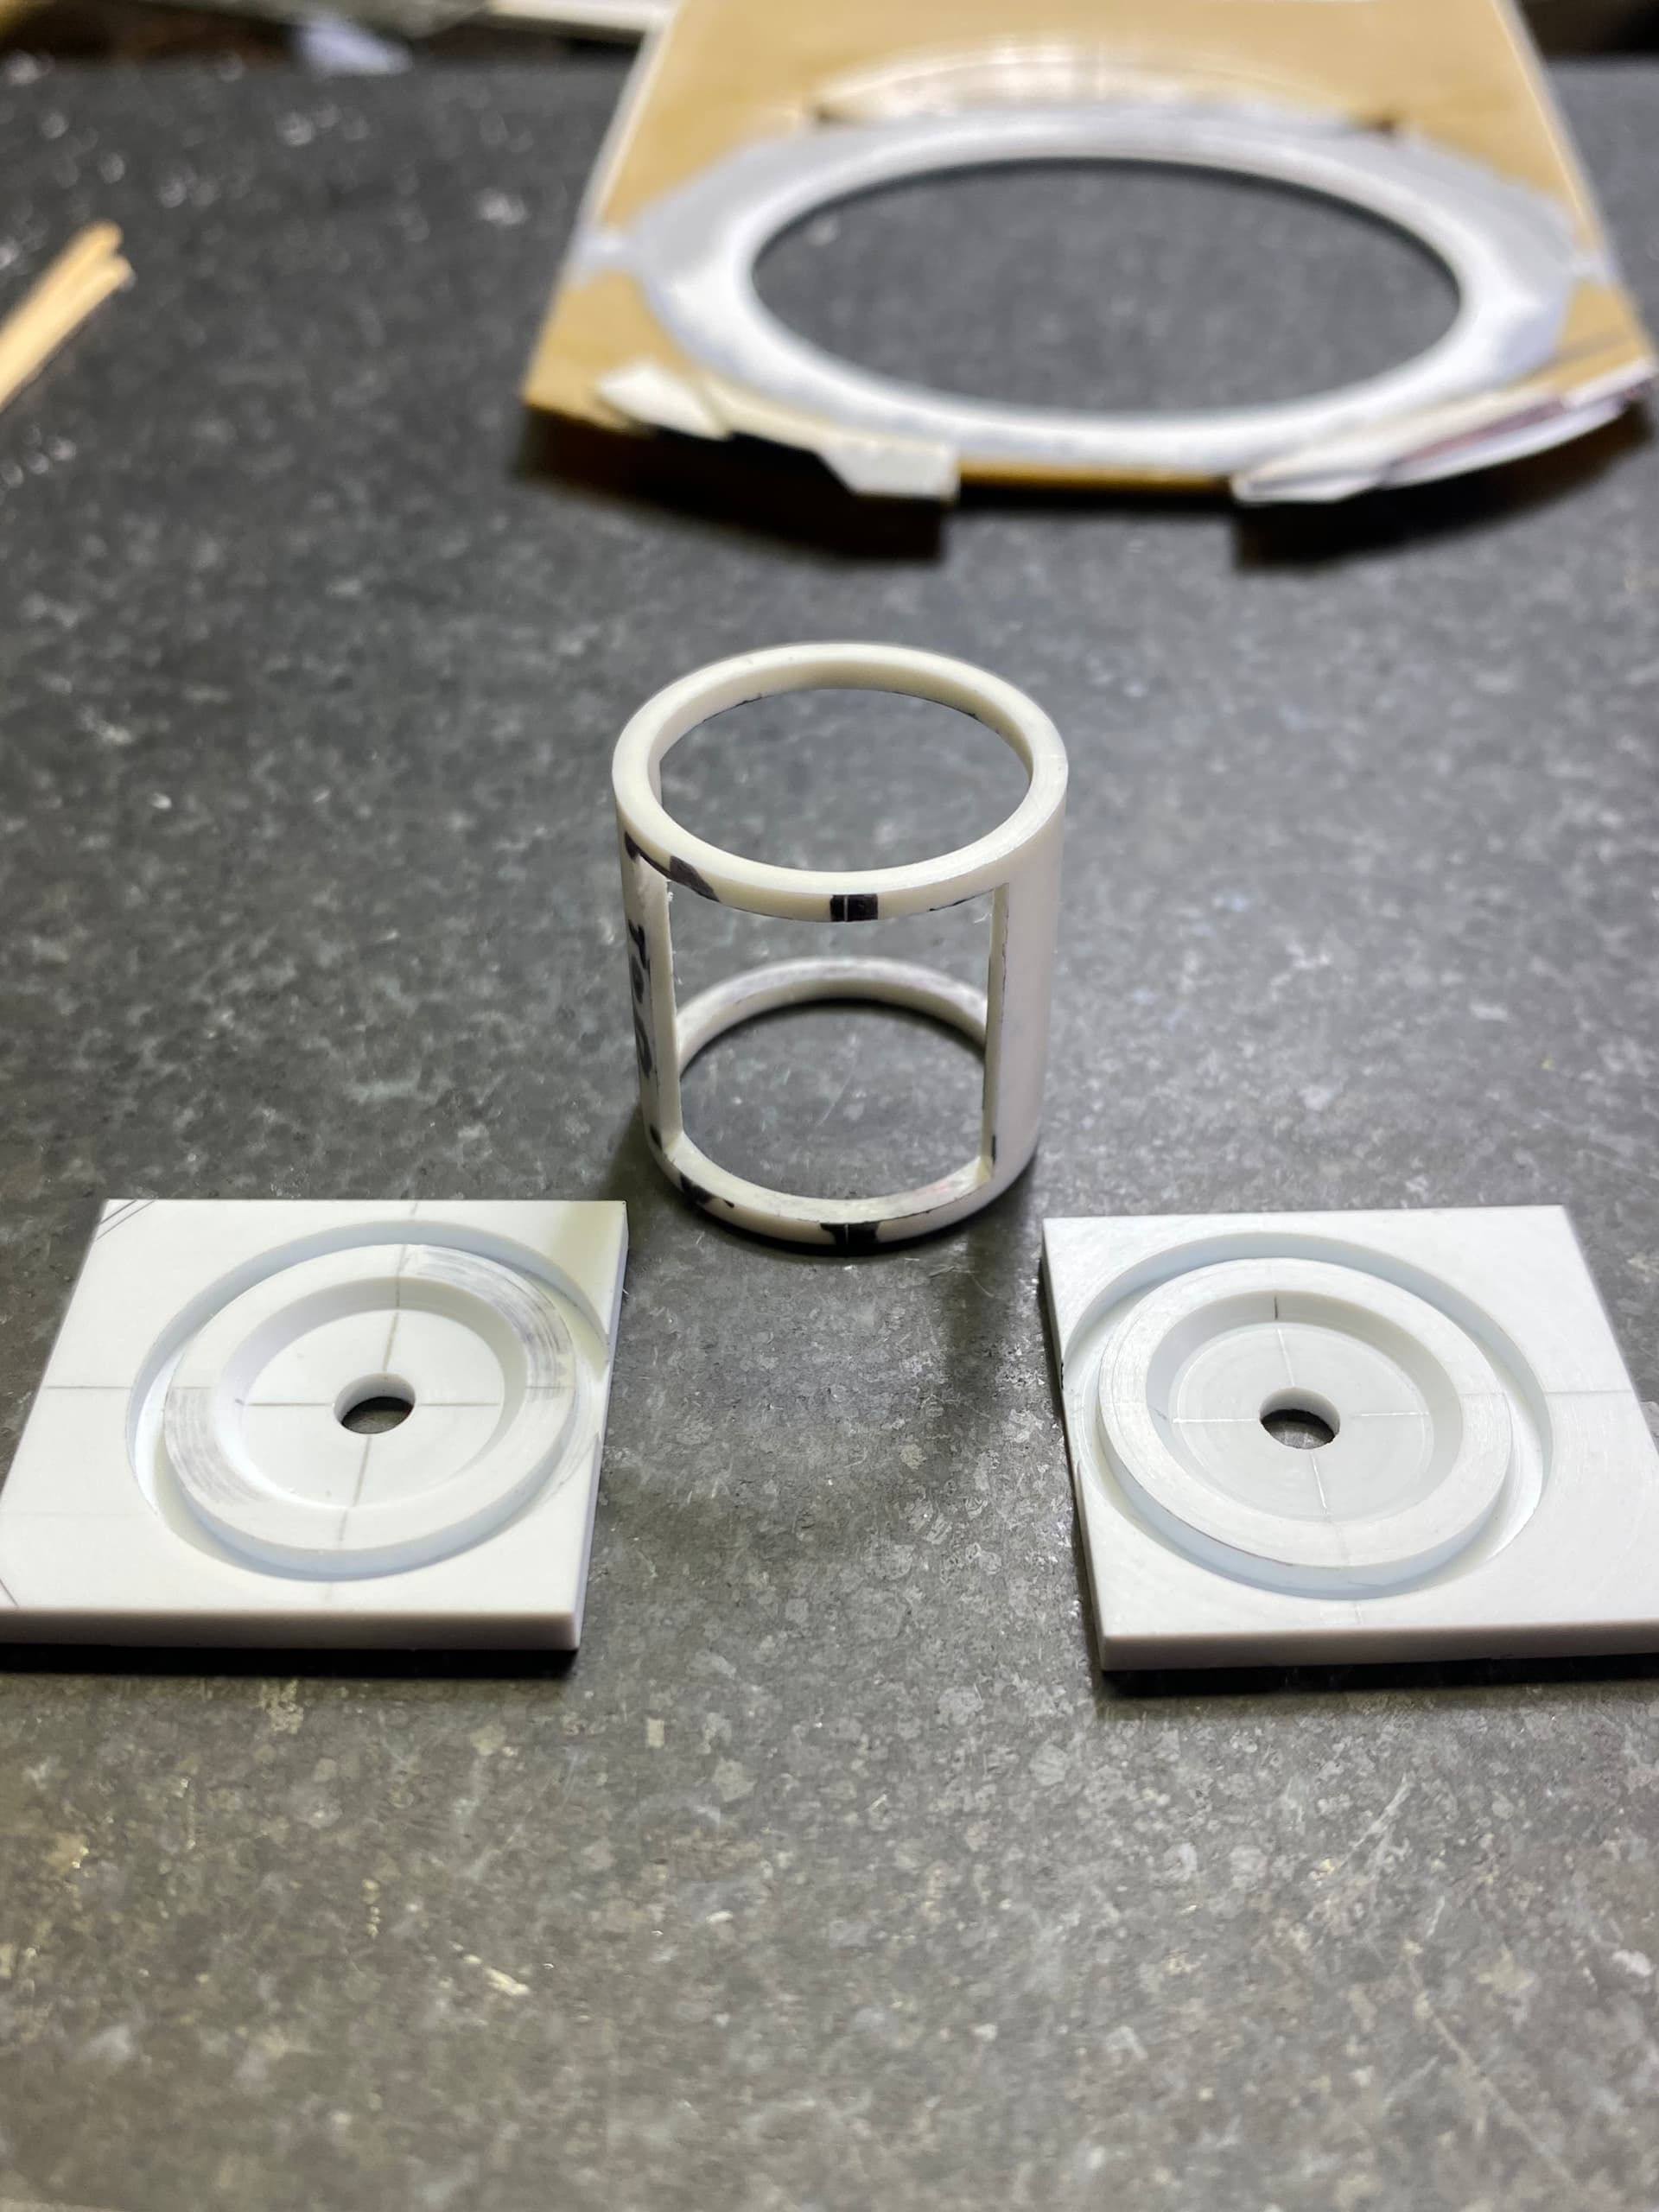
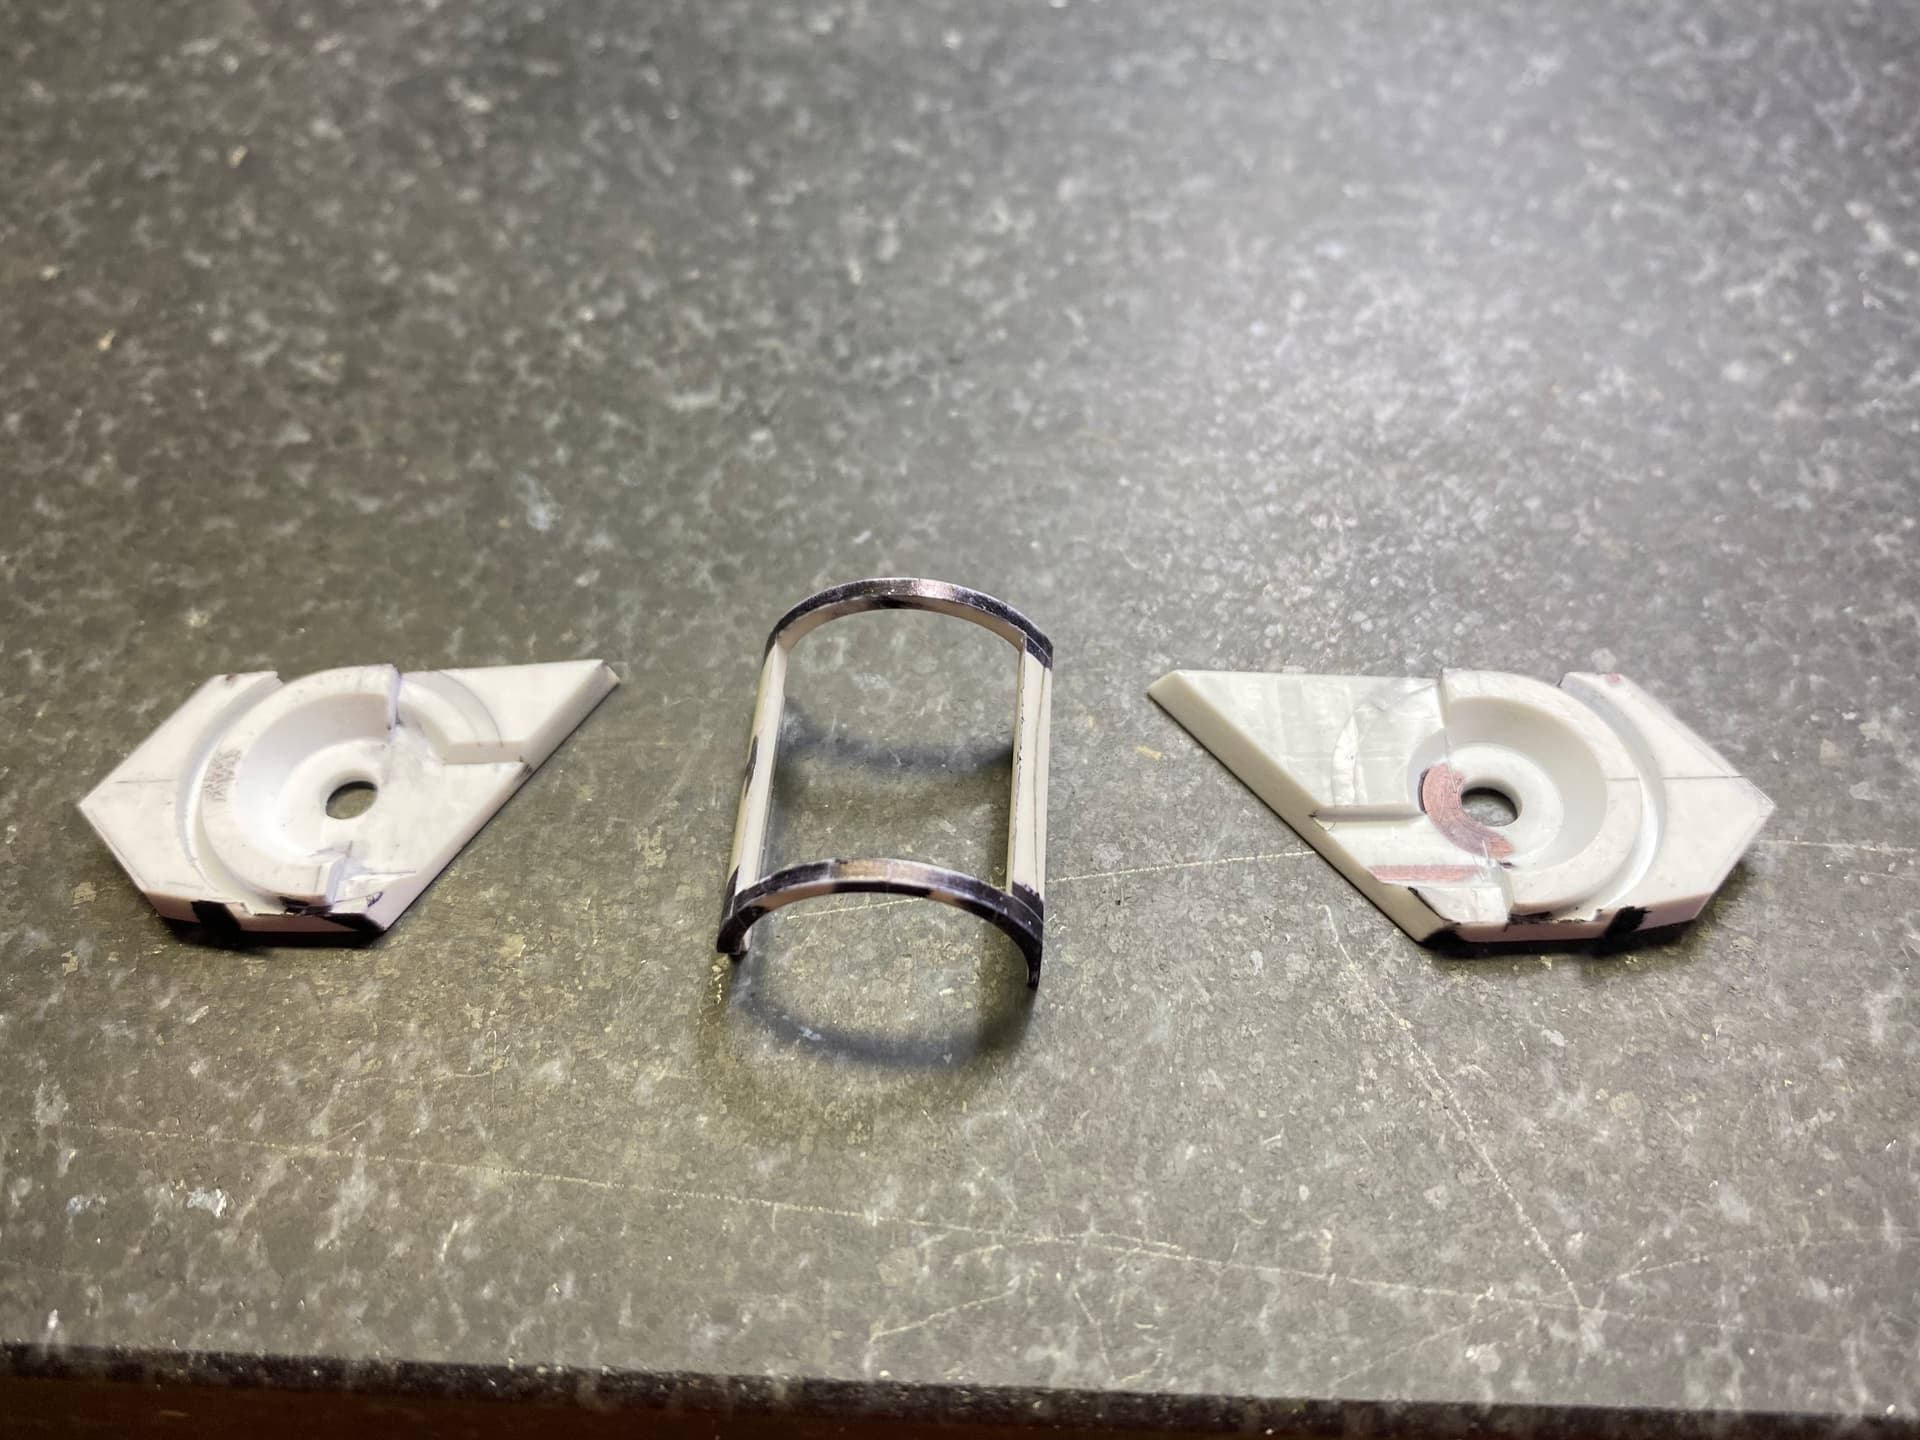
Next up is a new race for the CWS, again a circle cutter is used to get a nice round hole
to accept a new turned race ring
8 Likes
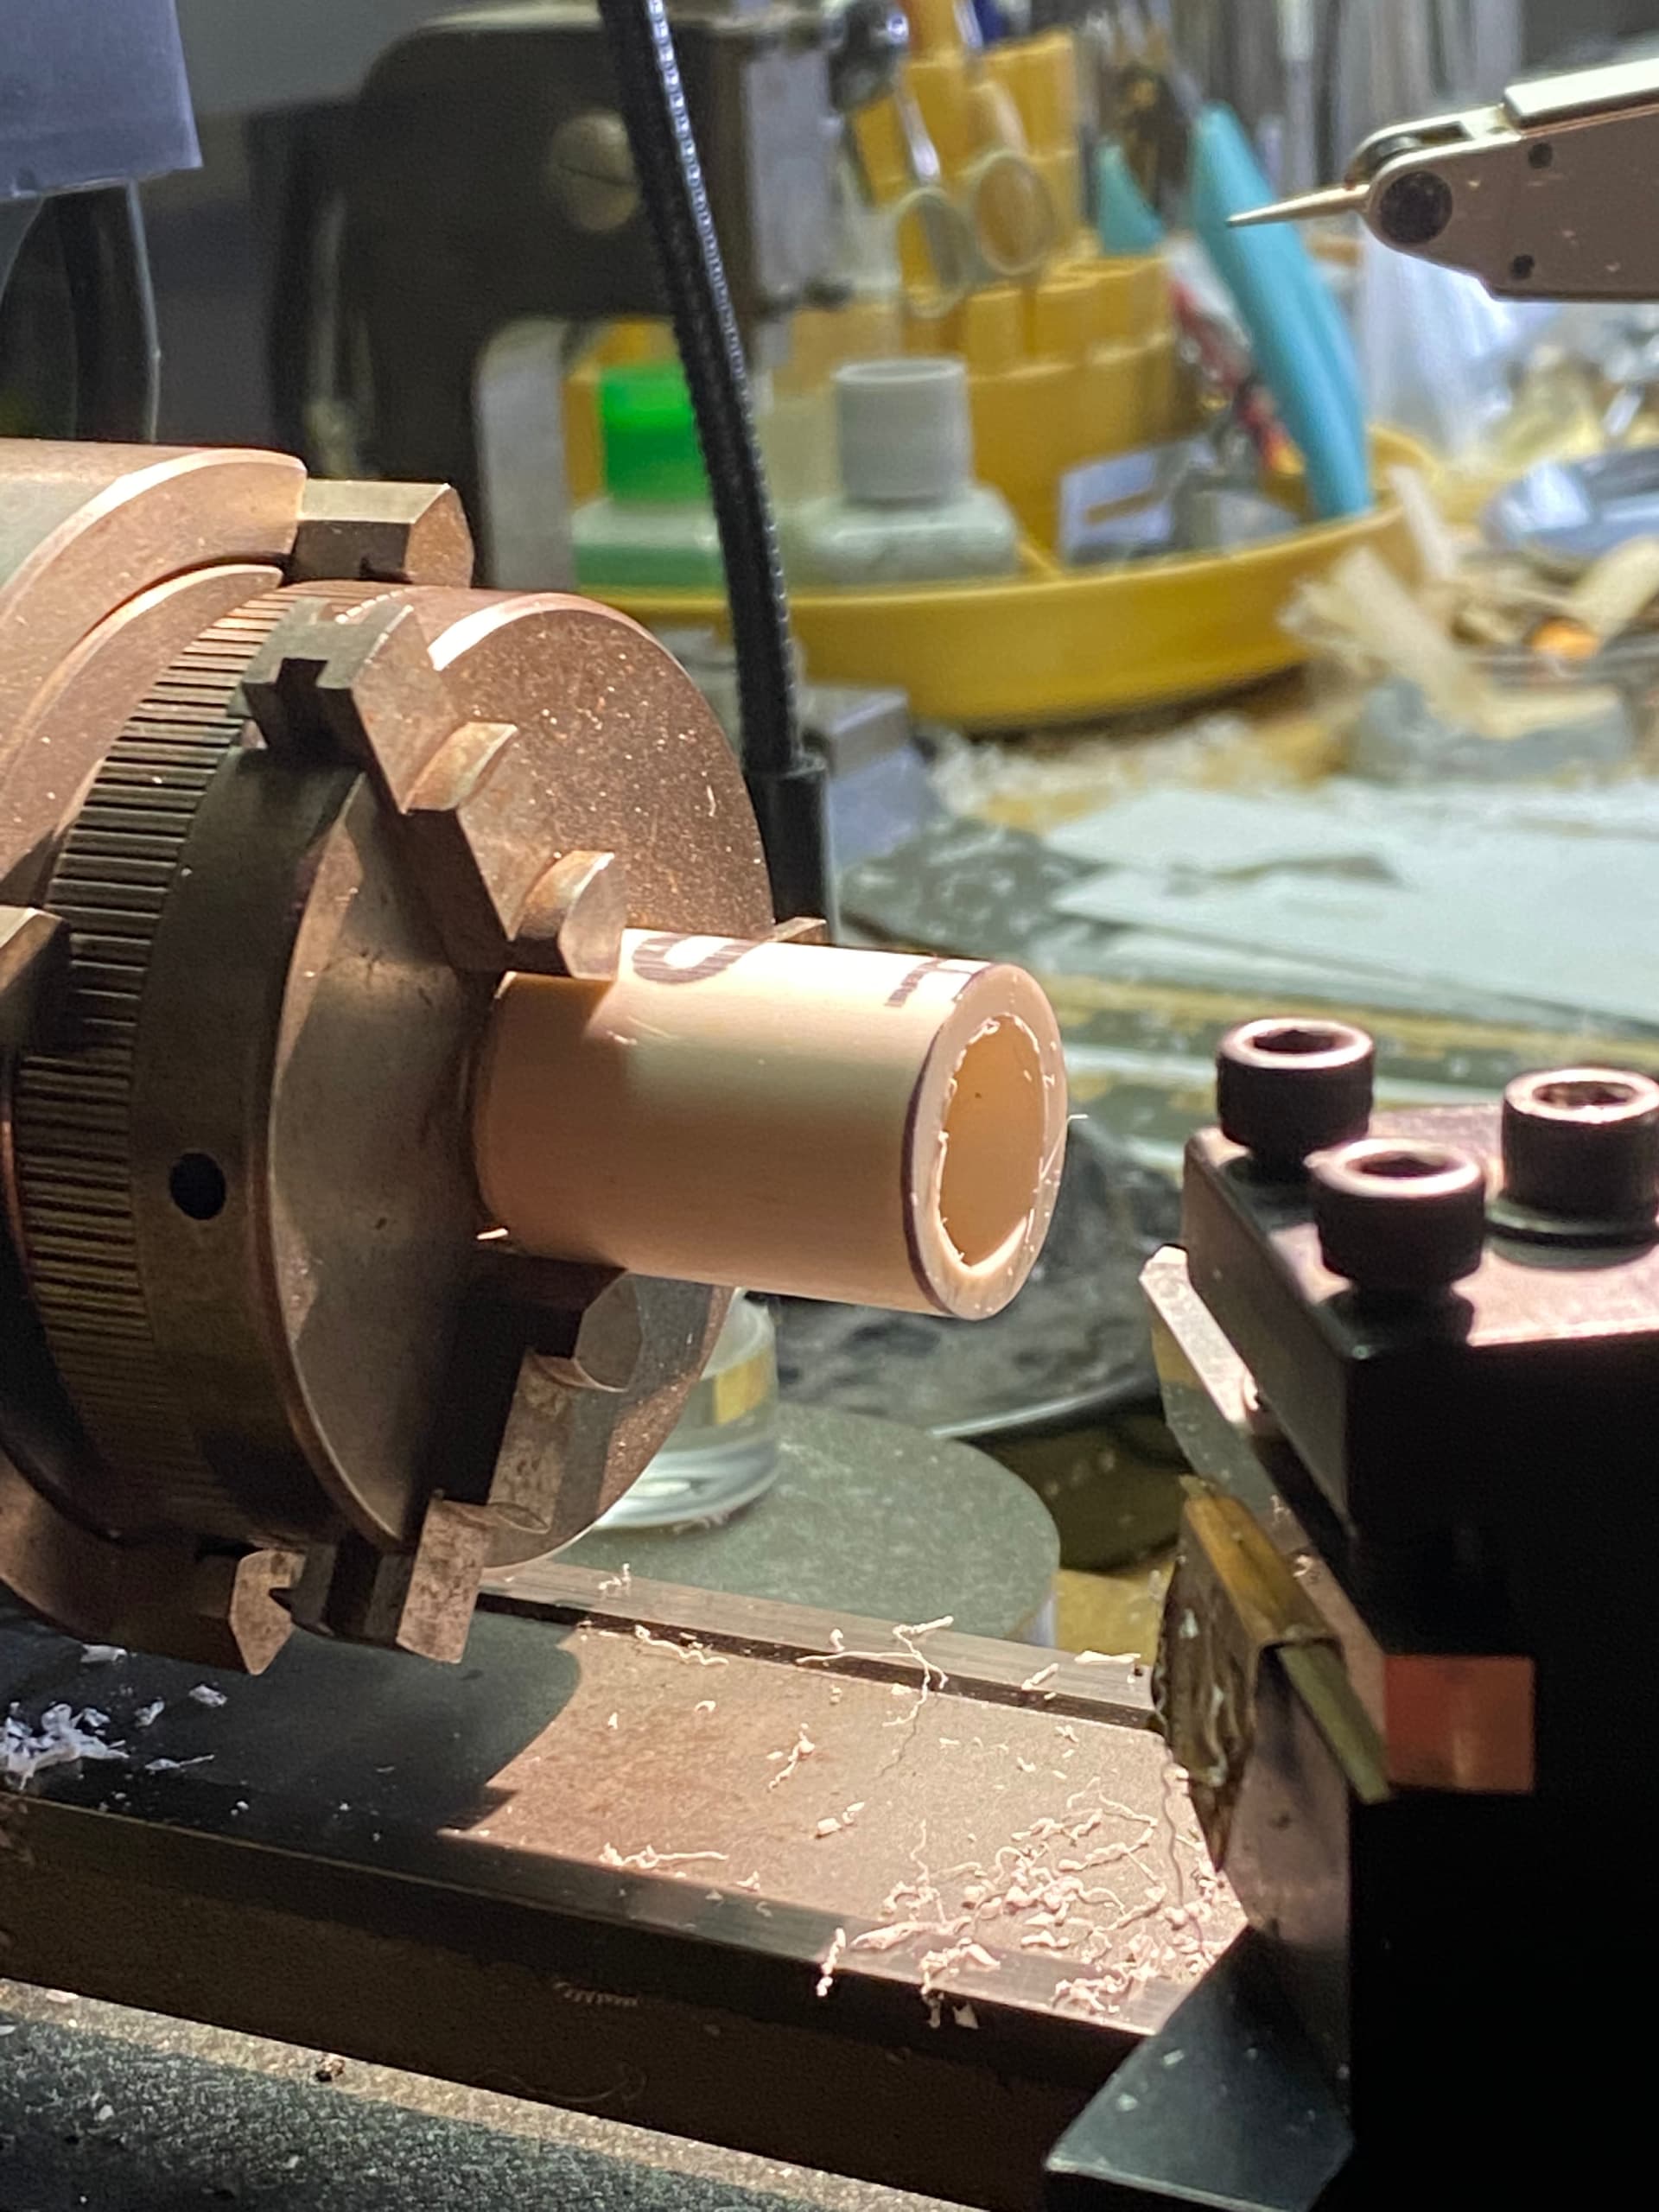
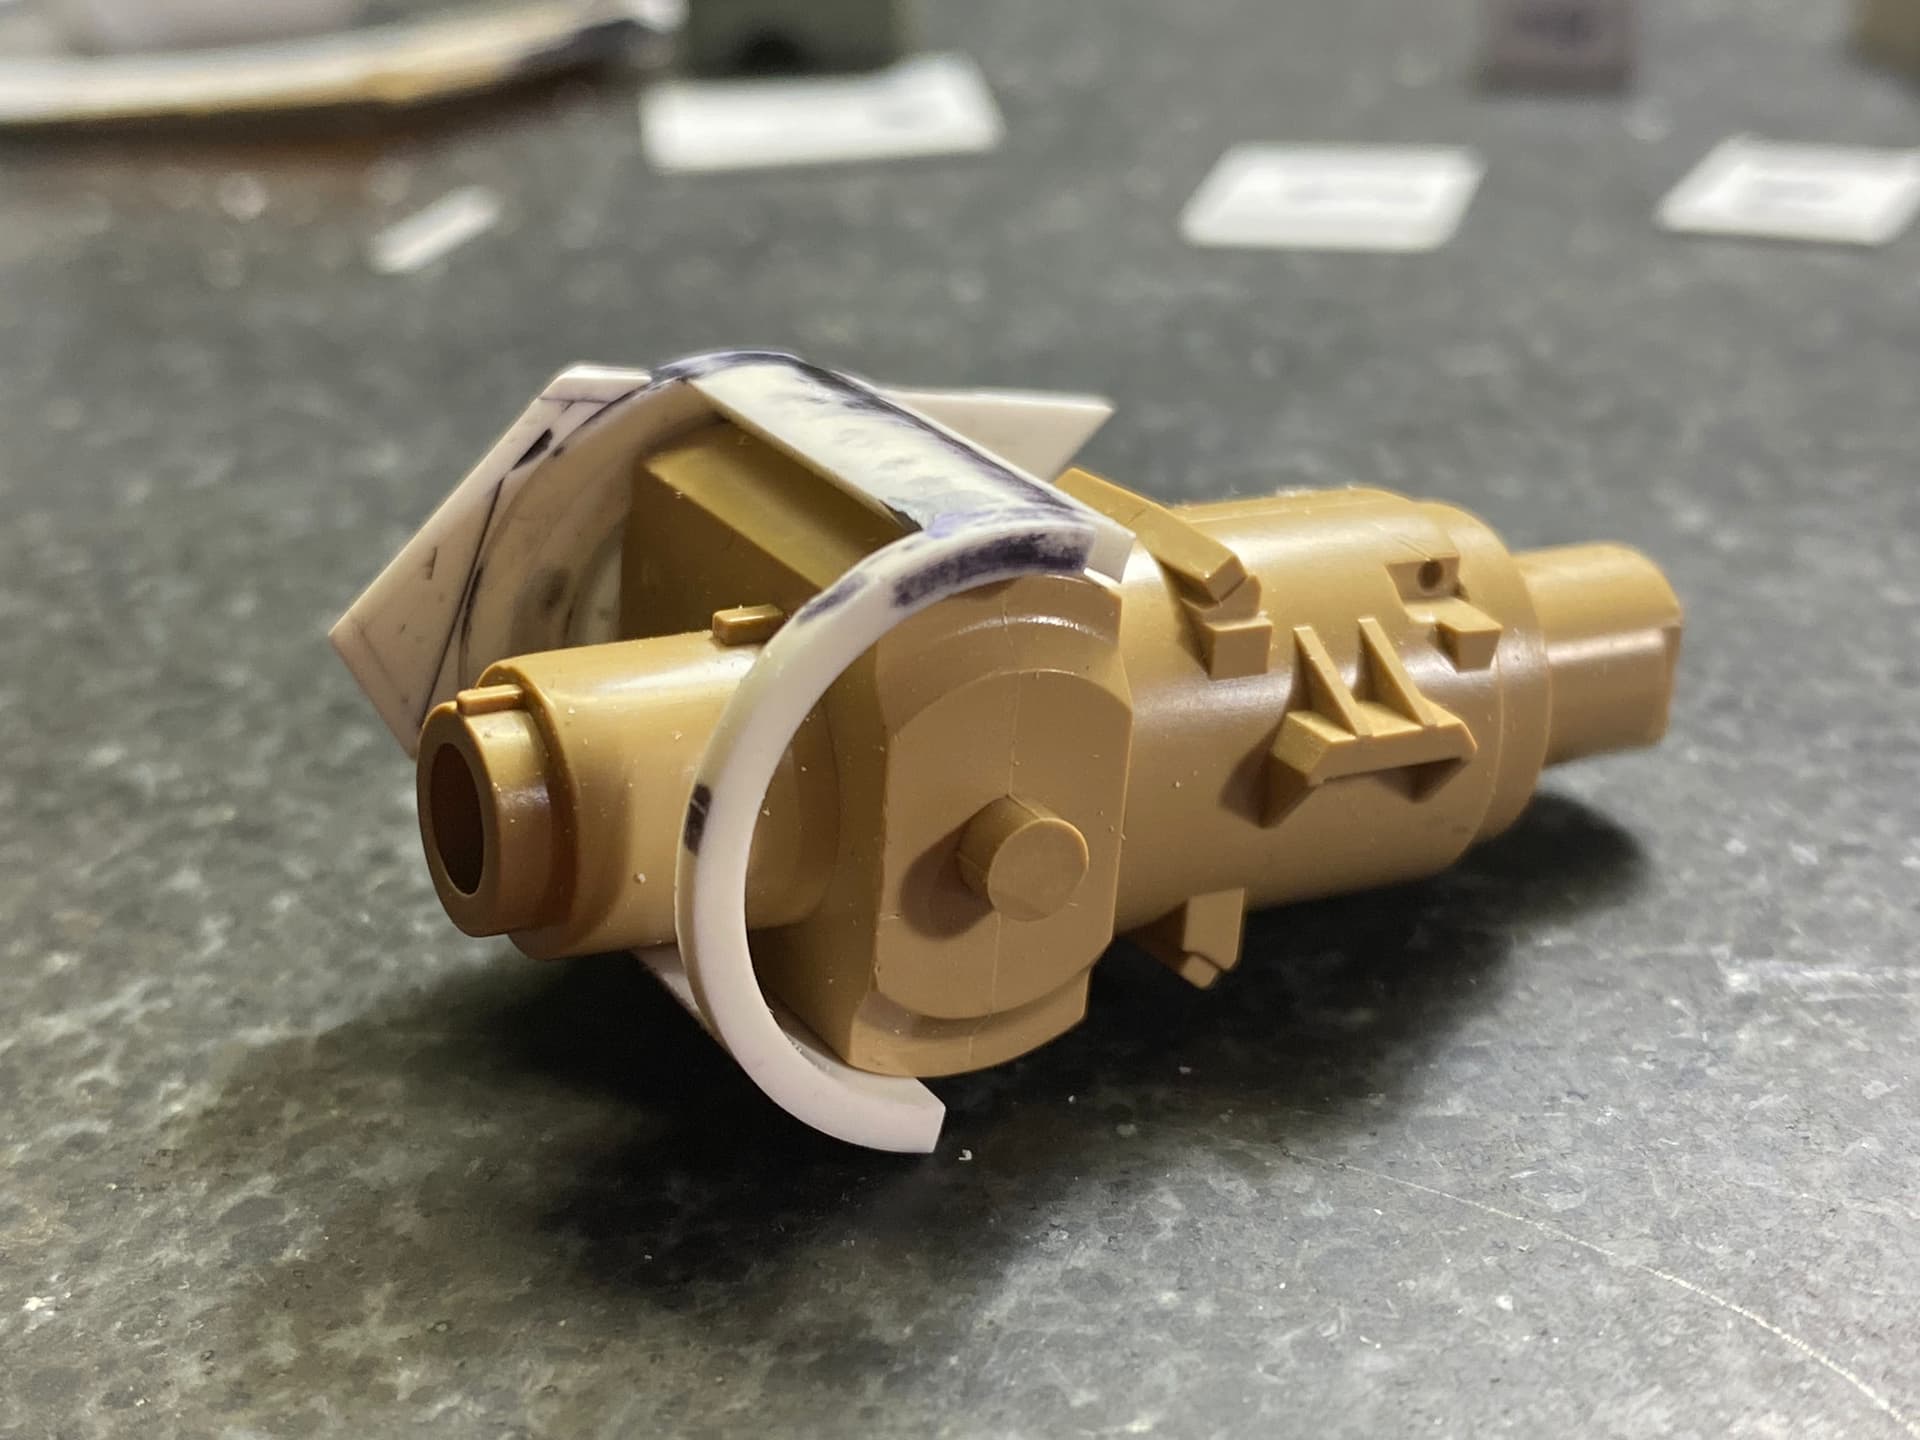
The cannon trunnions started out as a section of 1/2 “ PVC tubing and 2 pieces of 1/8” styrene
2 Likes
Had to remake this assembly as the original was scaled to fit the cannon assembly of the RFM kit and was too tall for my turret
Second try
5 Likes
This sis coming along nicely. I am really liking your lathe work.
actually there is a welded metal frame work that everything goes onto, or into. I’ve seen that boring mill several times, but it was always empty. The one to see is the machine that roughs in the bore for the turret on the hull!! When you first see it, it is kinda odd looking. Probably the biggest I’ve ever seen (actually second biggest parts size). Boeing has a CNC machine center that can cut the main wing spars (both sides) of a B52 or 747 jet plane at the same time.
gary
the turret is built up as a complete unit, and even laser aligned prior to meeting up with the hull. The turret is tagged to a certain hull number, and only those two are put together as a unit. Prior to final assembly they make some very precise measurments on the turret bottom side. This is done at the final assembly point in the area they build the turret. Once they get the numbers and the hull is at the final assembly point; they bolt this spider looking affair to the hull top, and rebore the hole for the turret ring to fit the matching turret. Takes about an hour and a half. Right after the turret is installed in the hull and some work inside is finished (I don’t know what all they did); they do another laser alignment of the main gun and calibrate the gun sighting system (maybe forty five minutes. If it fails they completely redo the assembly, so they say. From there they drive it out the door and it’s off to the test track. Then right about the three quarter mark on the test track, they lock on a bulls eye target painted on a farmer’s silo (close to 2000 meters away. Then finish out the test. If the turret looses the target the tank flunks the test, and gets torn back apart. I asked how many flunked and they said it was uncommon.
By the way my tank with the governor in place did 59mph on wet pavement in Febuary. The governor is supposed to keep the tank below 48mph! Another interesting thing is that the crew rides on the outside of the tank except for the targeting. It was 23 degrees that day! I was supposed to get a ride on it, but they later said I didn’t have to cause of the weather.
gary
1 Like
Been many years ago, but it seems that the boring mill was a custom built G&L and the fixture is also their design. There are qualifying points on the turret that are used for other operations if I remember right. That is what the turret is located on when it sets in the fixture. I’ve seen boring mills that make that one look small (aircraft plants).
Reason for the boring mill instead of a CNC machine center is to get a round hole with virtually no taper. A CNC machine center will cut that, but also in a series of microscopic flats.
gary
1 Like
Hi Gary,
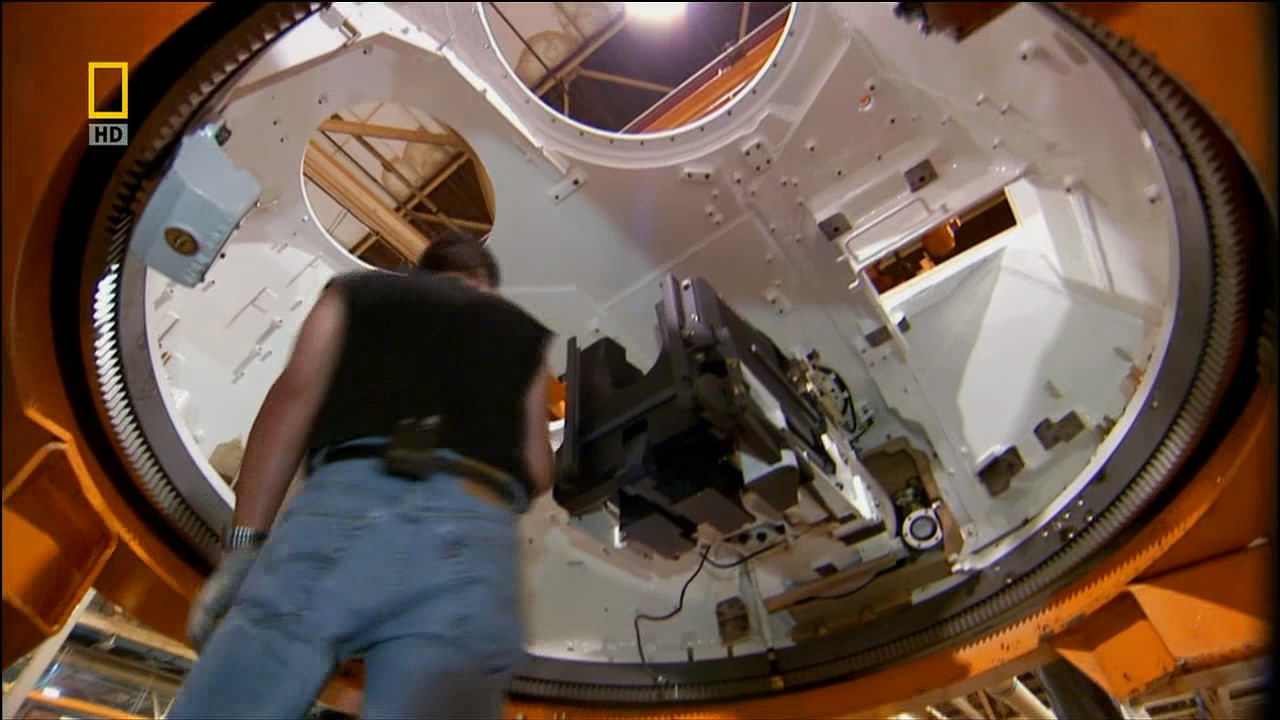
Thanks for the details. I understand what you’re saying about a bored hole being more accurate than a CNC interpolated hole but thought the mill looked to be CNC based on what looks like a tool changer to the left & behind the turret in the lower photo here
1 Like