Mario Matijasic builds a 1/35 scale Tamiya M1025 Humvee adding a complete interior, Blast updates, DEF wheels, Live Resin weapons and Nemrod figures. A simple base sets the model in early stages of occupation of Iraq.
Dude! That’s MY Humvee!! I was in OIF1 and the Raptors were my platoon.1st platoon was Raptors, 2nd was Dark Knights, 3rd was Wolfpack, and Weapons platoon didn’t have one. I actually came up with the stencil of the Raptor that would be able to spray paint without having to much detail. I can see on the bumper the 173rd, Able company 2/503rd. Can’t see which vehicle number you used on the driver side. We painted all our vehicles with the Raptor about a year before we deployed to Iraq. We still had our woodland camo and light skinned vehicles that we had at base in Italy and added plate armor to the sides once we were in country and getting hit with IEDs. We would just go to the local metalsmith/welder in town and pay him to make us side armor. The only things I can see that are inaccurate are the smoke launchers which we NEVER had or was issued. And the gunners shield. Maybe other units had them, but all we had on our add on armor were the side plates. We also had our names stenciled on the bottom window of our position. Driver name on his side, TC name on his side, gunners name on the top right above the windshield, and the fourth guys right above his door window if we had one. I’m now gonna do the same exact model as a present for my father. Really beautiful job my friend of a real life true company vehicle! MY vehicle!!
Wow, thank you for your comment. It is great to hear from someone who was there and who rode in one of these trucks.
I wanted to do an OIF Humvee in NATO 3-tone with additional armor. Having Echelon decal set I opted for Raptor decals which I thought were really cool… the thing is, the instructions did not show the full vehicle, so I had no idea of the roof mount, smoke dischargers, etc… I took a bit of artistic liberty with that and added what I think looked cool.
I thank you for the details and description of your company’s Humvees. I wish I could have used those tips when I was building the model. Oh, and if you have any photos of your ride back then, I would be very interested to see them.
Thanks again for your comment, you really made my day.
Yeah with the NATO three tone, those were our assigned vehicles in Italy as well as the uniforms we wore at the time. We didn’t get issued our desert uniforms until the day before we jumped in. That’s why you see camo gear on top of desert fatigues. Like green body armor, gas mask, ammo vest, etc. Remember that we were a small Airborne Brigade based out of Italy. We didn’t have the funding or tools to mass paint all of our vehicles “prepping” for combat. The bigger guys like 4th infantry Division did. When they did roll into Iraq they all had the sand color. Our Humvees were parachuted in with us, then later airlanded once we secured the airfield in northern Iraq. We really didn’t start taking bad engagements until we took over the city of Kirkuk. That’s when we had to improvise our thin skinned gun trucks with add on armor. And A LOT of that isn’t army issued. That’s “johnny on the spot” welding from the local welder in the city! Lol. The Raptor design WAS really cool. I had to design a stencil that would look nice but not be too hard to apply. It’s like drawing a negative of something. So I got it designed and went to the stencil shack and cut them out. We decided to paint the Raptors always facing forward, and a little flair with the occupants name on their positions on the windows, kinda like jet fighters, lol. Fun fact, when we finally took over Kirkuk, which had a massive airbase and logistics hub, the 4 ID and I think the 3 ID started rolling in to support Brown and Root and getting the oilwells back online. The 173rd always has a history of stirring the hornets nest. We don’t “wait” to take fire, we go and “find” the bad guys and hope they shoot at us. Through our translators and captured enemy combatants, they told their guys to shoot at the tan vehicles because they just keep driving, but don’t shoot at the green vehicles, cause they stop and go after you, . I’ll have to dig through my old pictures and see if I can find any of the trucks. I also seen the you did a nice interior. I remember that we just got the BlueForce trackers installed in the TVs side, and I believe we had the CIP panels installed on both rear doors, one on the hood above the engine grill, and one on the back hatch. The rear hatch one normally got tossed as we kept a lot of gear strapped down to the back hatch, like tires, MREs, rucksack, etc. And a nice touch up which you could do now to add to it without messing up the completed model, is almost EVERY truck in the the platoons had an AT4 strapped down on the top hatch, between the main gun (.50 Cal or MK-19), and the SAW facing the rear/side. Still, amazing beautiful model and really brought back some memories. Lots of memories in that truck! I wanna do the same one now and making a list of parts and add ons from different companies. It’s just so hard to find gun truck models and accessories now!! could you do me a favor and tell me which truck you used? A-11, 12, 13, or 14? A-15 was the PSGs truck and was an open bed truck with a 240 on a pedestal mount. I’m hoping it was A-11, as that was MY truck. I was the alpha team leader and sat in the TC seat and controlled the truck and led the platoon. And another note I just noticed, the figures have the 4 ID patch on their helmets, while the truck belongs to the 173rd. Able Company 2/503. Airborne Brigade. Our patch is a bayonet with a wing on it. Not nitpicking, just giving accurate information to you in case your a history buff like me. Like you said, the decal instructions weren’t very clear and sometimes if your not from the military, all the jargon and info can be confusing to others. rock on brother! Write back soon buddy!!
I wish I knew you when I was building this model… the info would really come in handy. Yes, I wan’t to get as close to the real thing as possible, I do strive for accuracy, but with this one I did some guess work as there were no references that I could find. The patches on the figures… I don’t know what I was thinking there. Good thing the figures are not that visible after closing the cab.
I know what you mean about the AT4s. I did strap those on my other Humvee model:
I thought this is more of a SF modification, I didn’t see any photos of “regular” Humvees with AT4s on the roof hatch.
Been awhile, but I finally got all or most of the things do do this build! Sadly, I’m not buying the Tamiya kit for the price, so I’m converting the Academy M966 version. I got the add on armor and the Raptor decal sheet! I had to order it from the UK which had to come from China! There was no other place I could find them. Went all in on the goodies and aftermarket parts and the only things I’m currently missing is a spare tire and a AT-4. I’ll be sure to send pics of the progress to you my friends!
I will second the new ICM M1025A2 kit. It is a very nice-looking kit. I just got one recently as well and built one of their earlier M1097A2 kits and it was really nice. I hope they continue with more HMMWV versions.
Dang! Wish I would have know or found that kit earlier! I searched all over and everything I found was super expensive for my taste, especially since I was probably dropping more money in aftermarket products than the kit itself. I had to make a few adjustments so far for the interior SINGARS platform, where you cut the old engine shroud out to put in the resin one, since it was made for the Tamiya kit, but any imperfections will be hidden behind the radio platform and vent/heater duct under the windshield. What I AM having to do, and am excited about it, is scratchbuilding the adjustable mirror brackets from the old style flexible rod style. Lots of scratchbuilding on this one since it’s dear to my heart as being MY HMMWV that I drove and fought in. And many thanks to you Mario for lighting the torch and building your kit! Yours is definitely my go-to to make sure I’m doing it justice! some of the things I’ll have to scratchbuild…
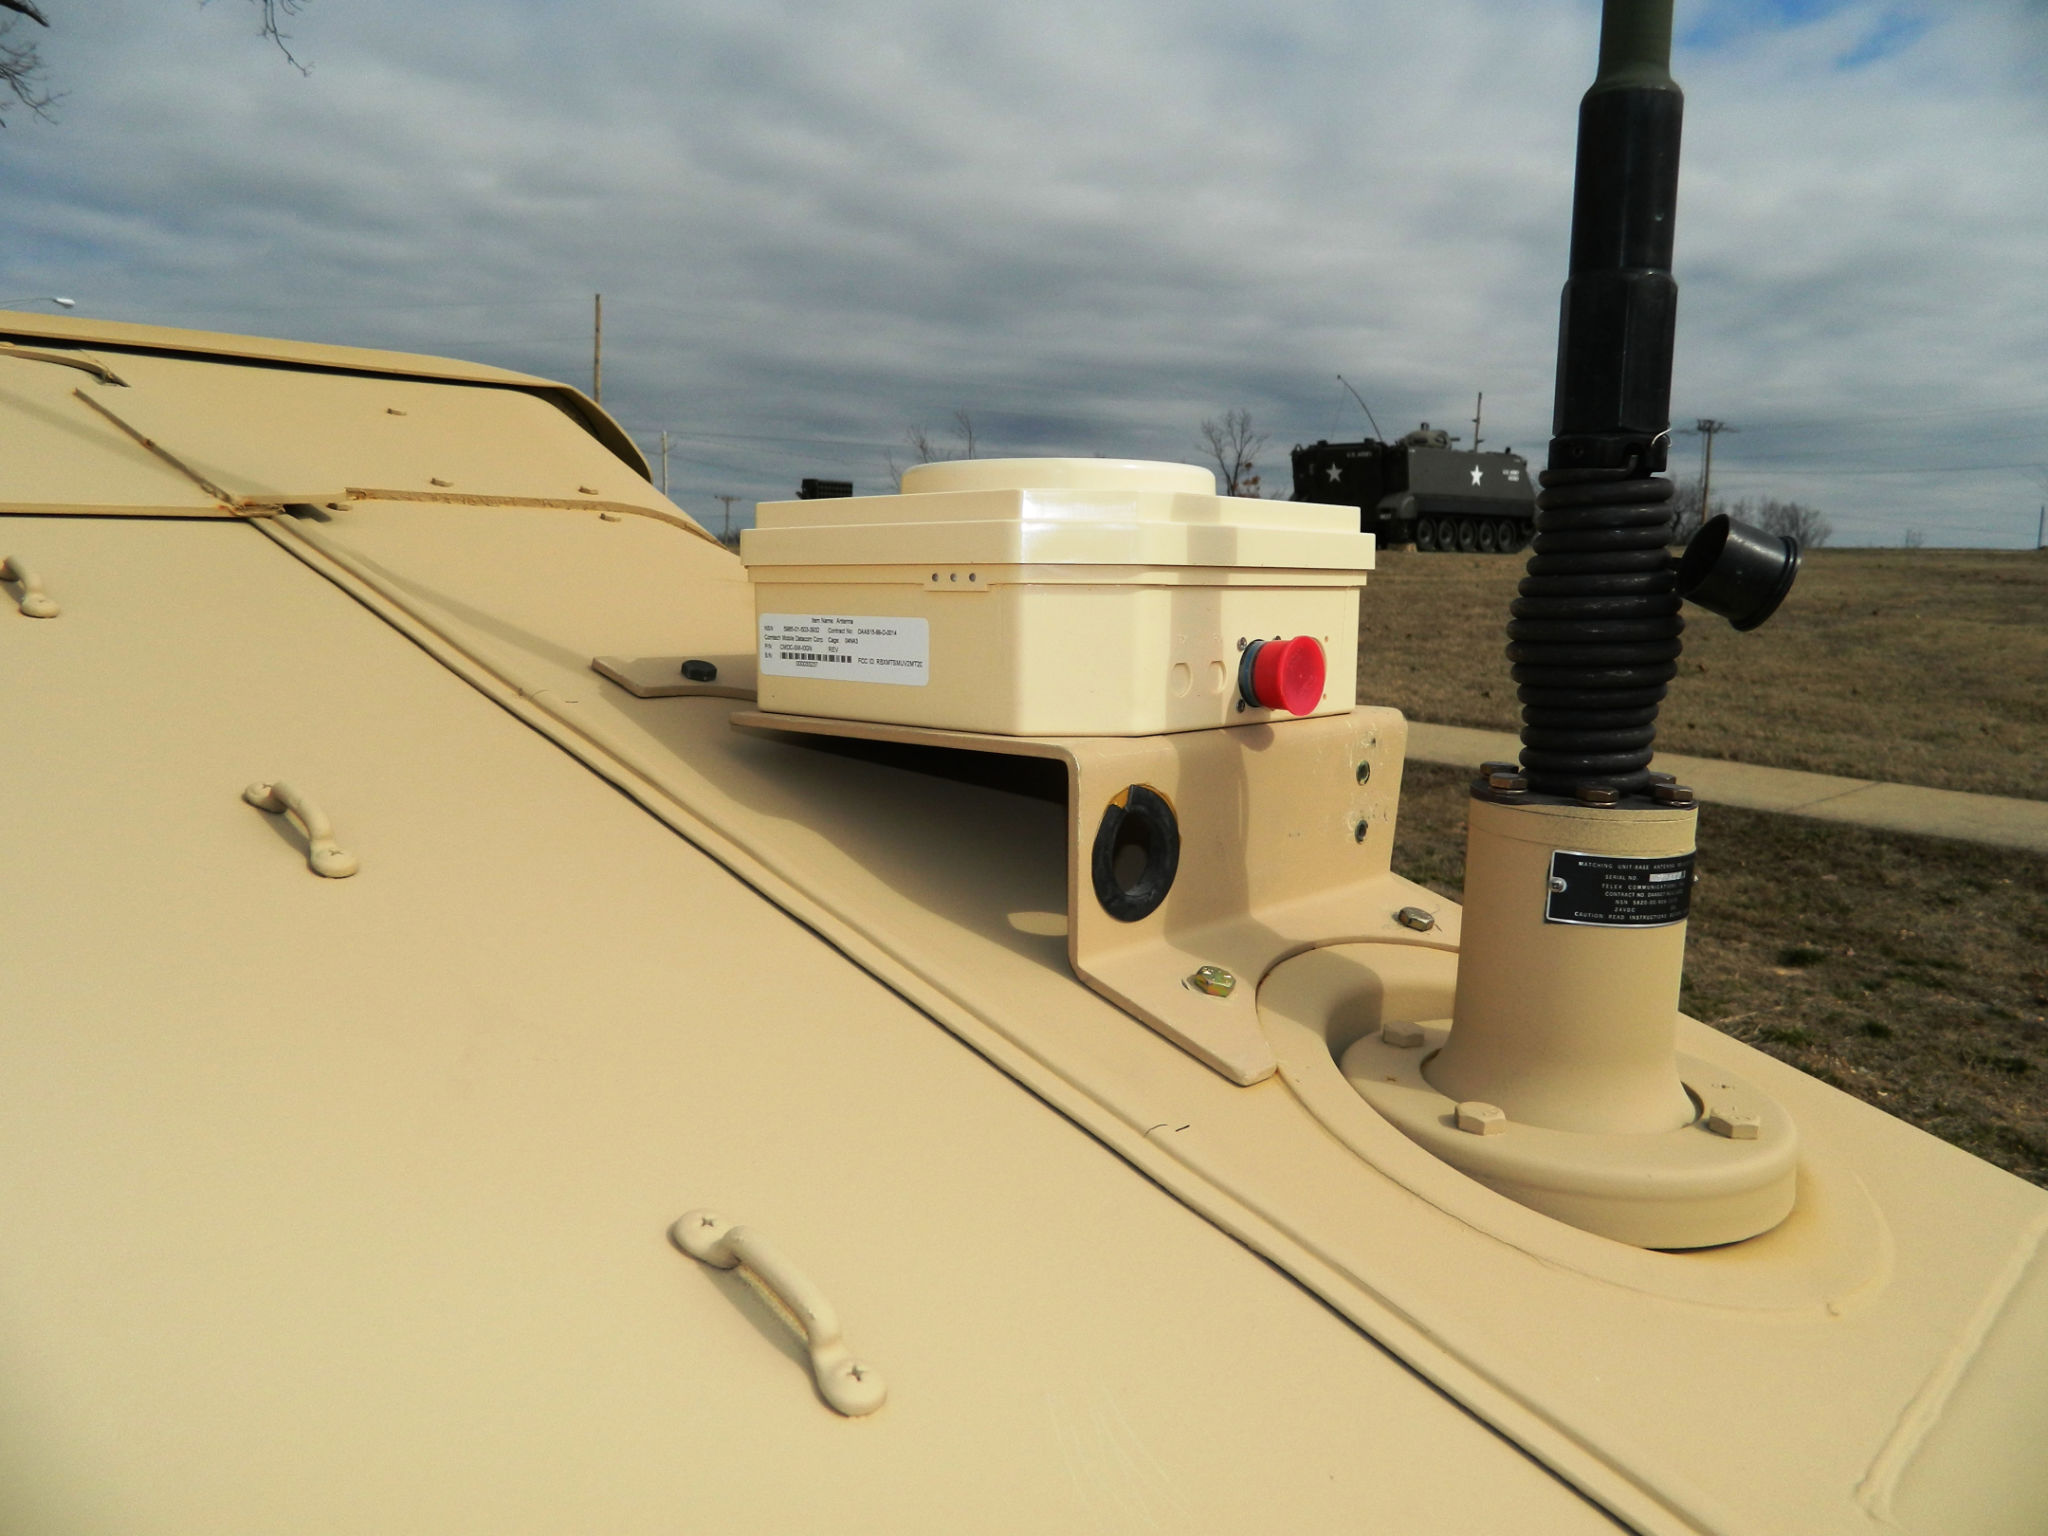
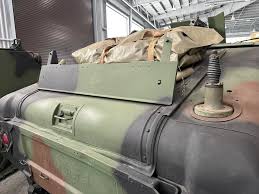
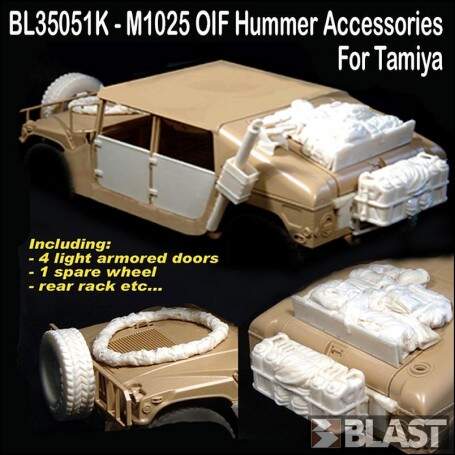
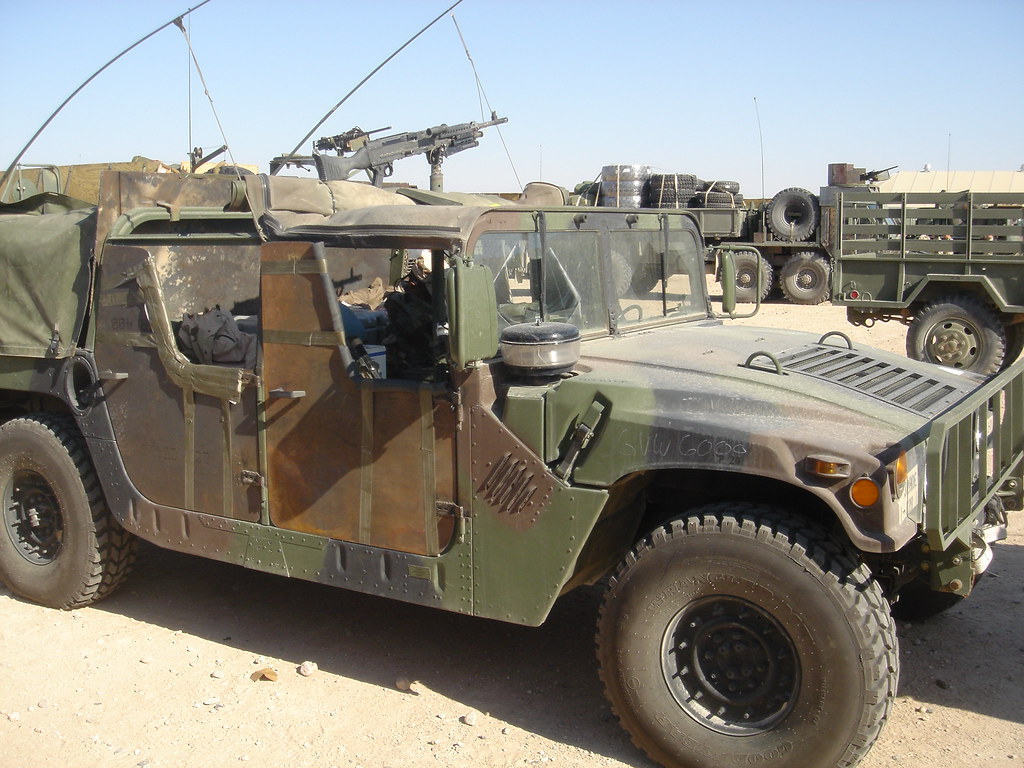
Thanks for the info buddy. That Blast set is nice! That is the type of armor we had welded on from the local welder shops in the city until we were sent the upgraded armor from the military. I’ll probably hold off on the Blast kit because all I need to build is the IFF/IR panel holder on the rear hatch. We normally tossed the ID panels once we had air superiority and used that area to store mess, water, rucks, etc. And the interior/exterior resin kits I bought already has gear. I went ahead and bought PE razor wire which will look better than the wrapped up resin ones provided. And in the pic I sent, it’s not the antenna I need to build, but the BlueForce satellite receiver.
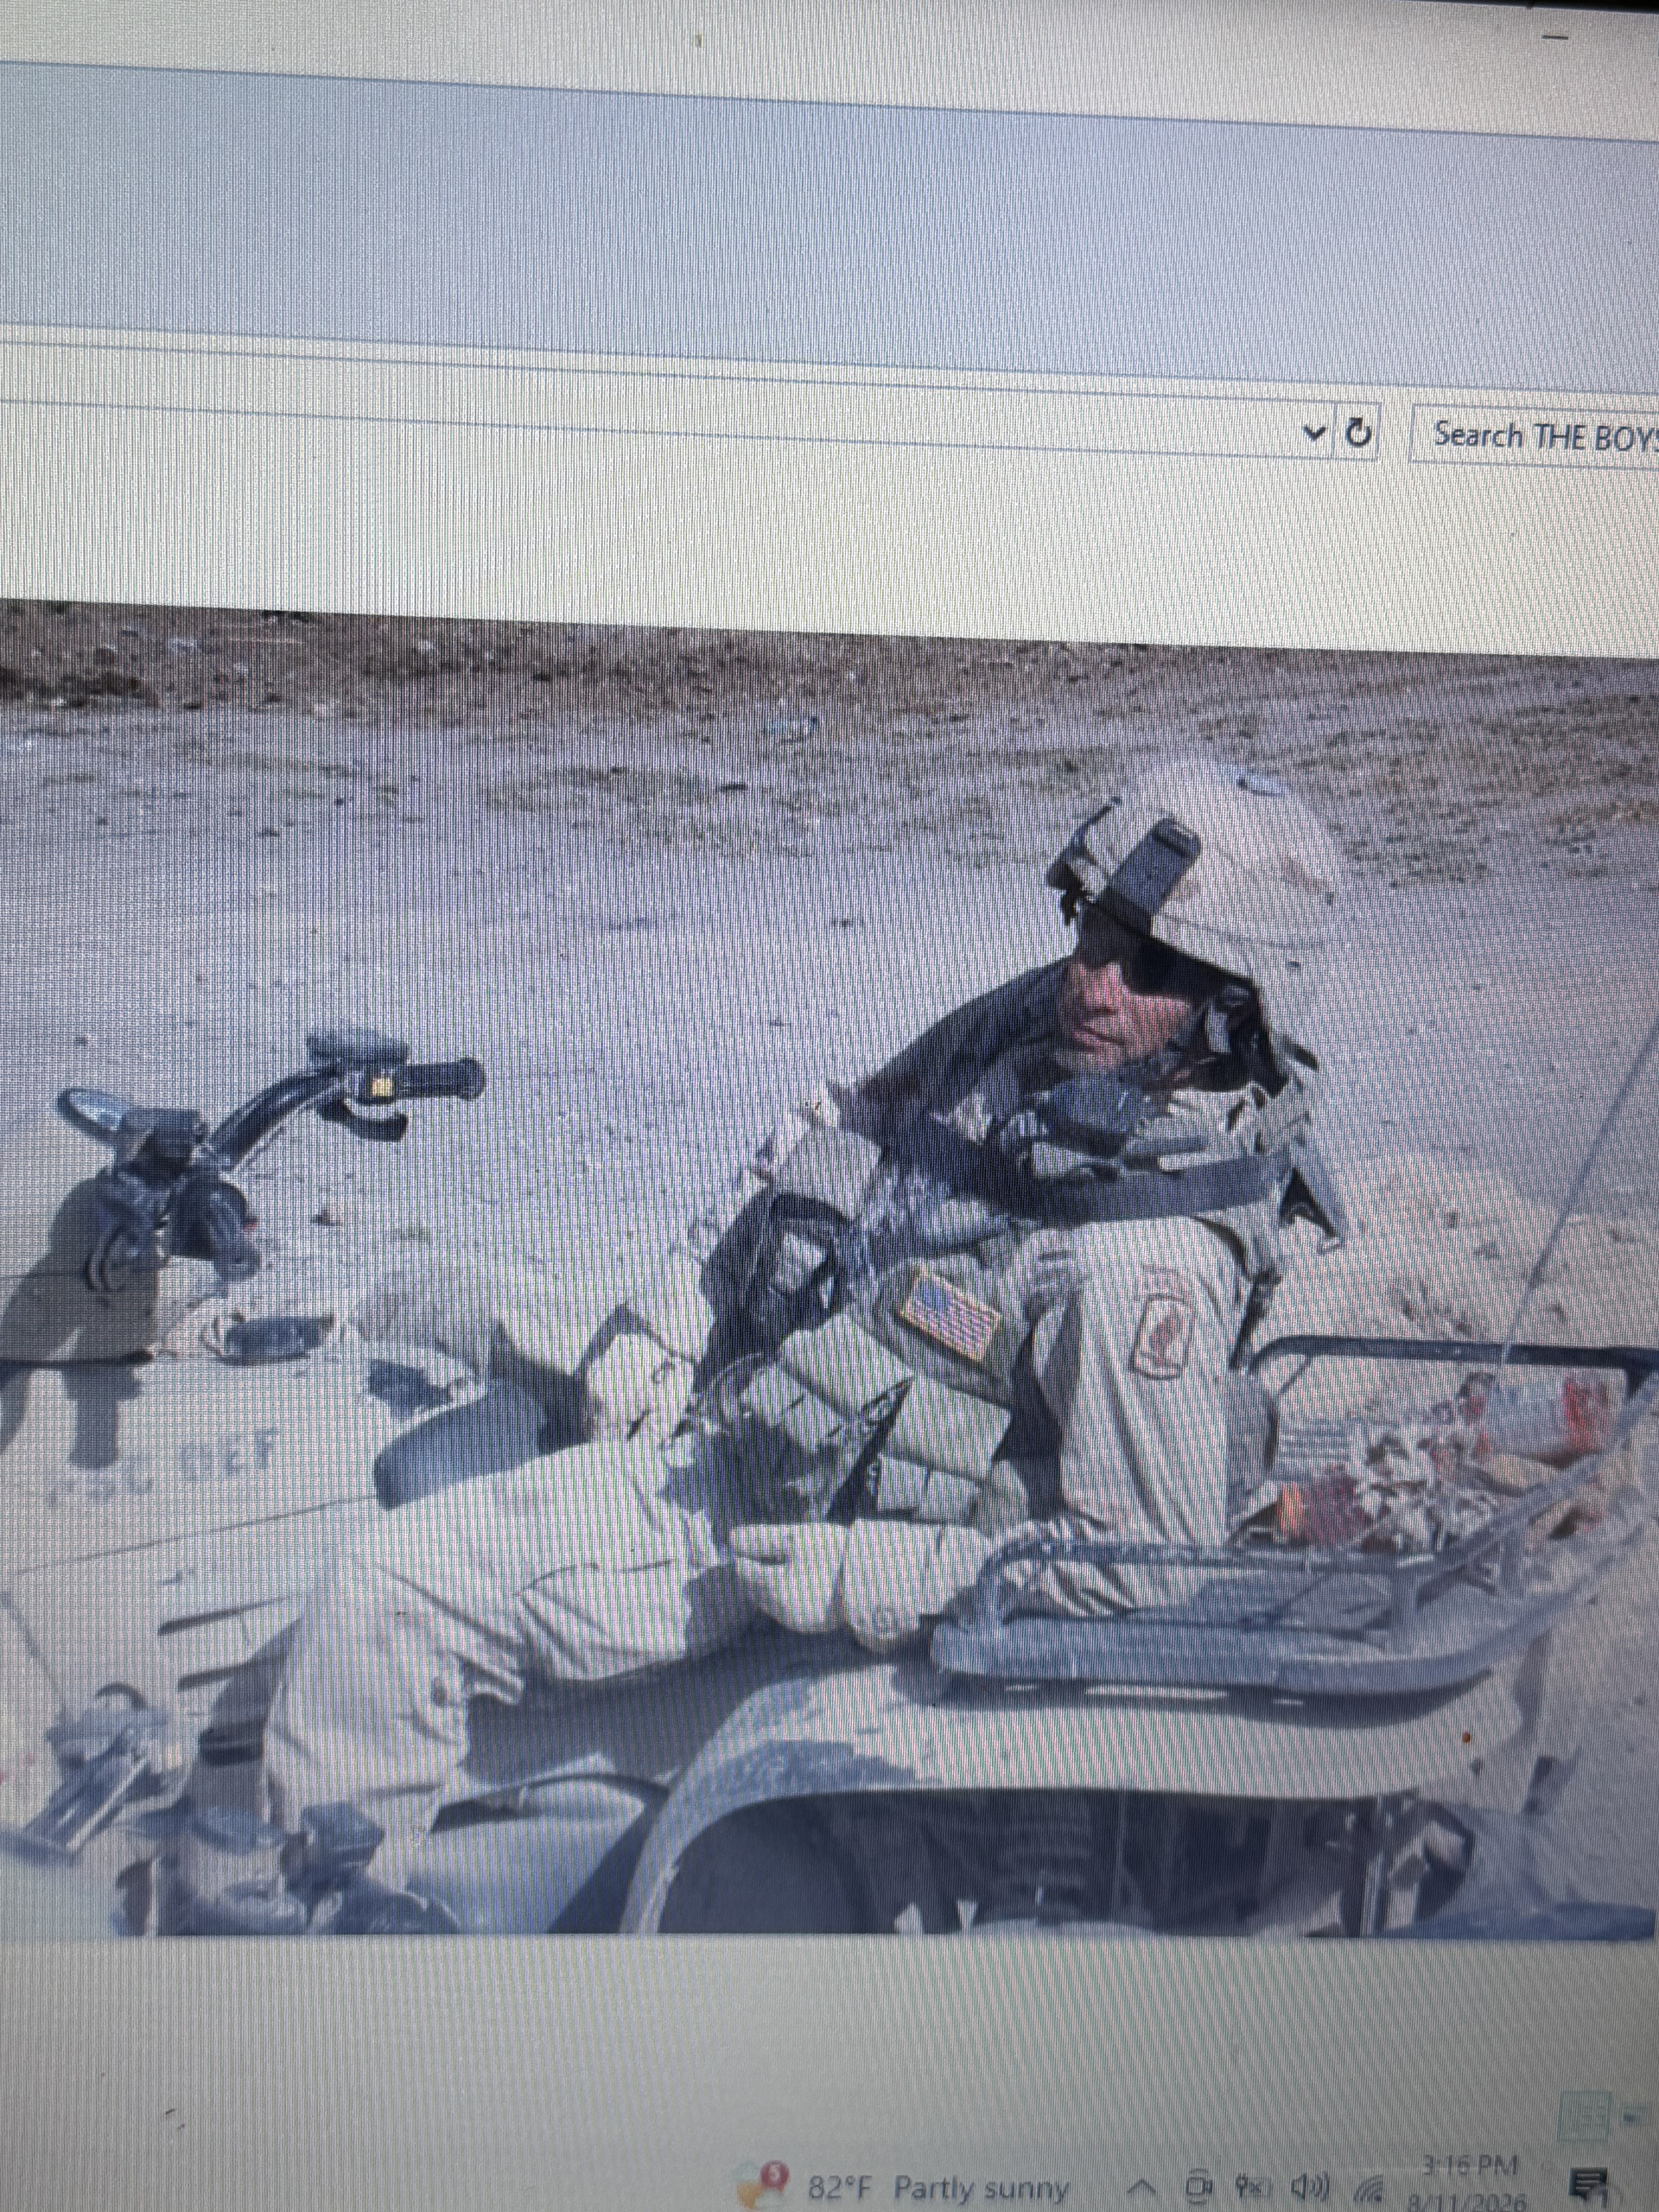
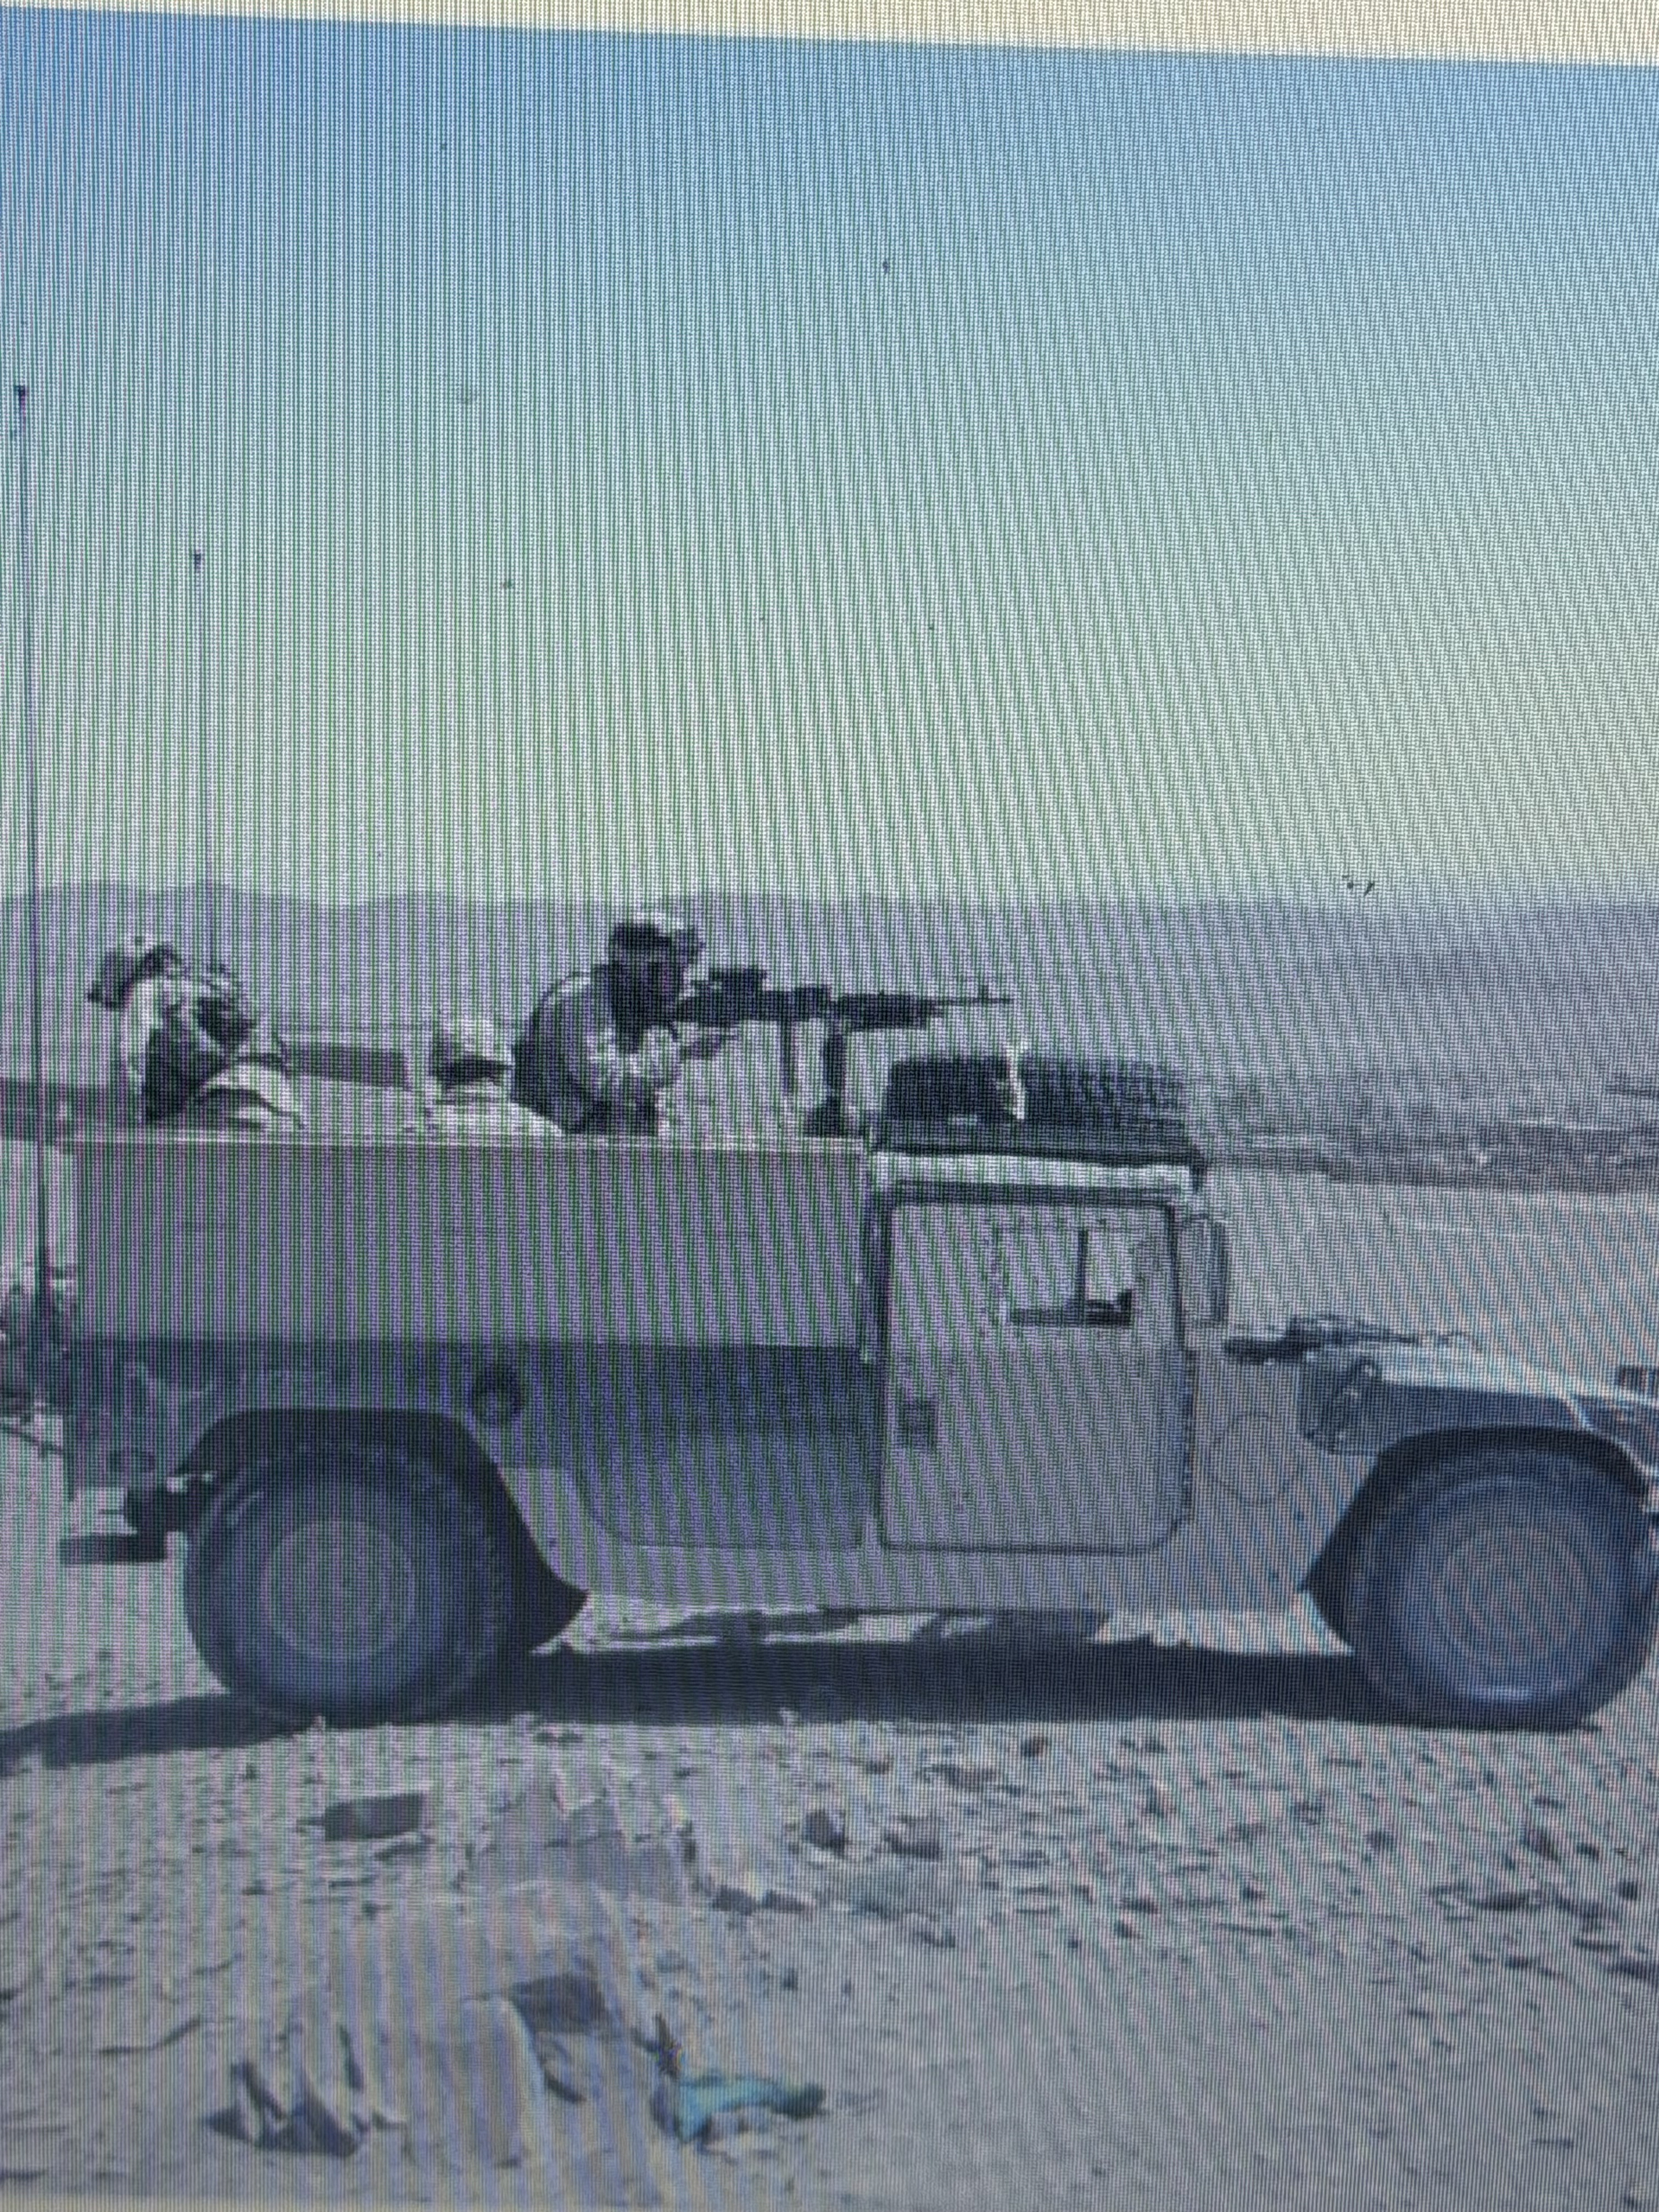
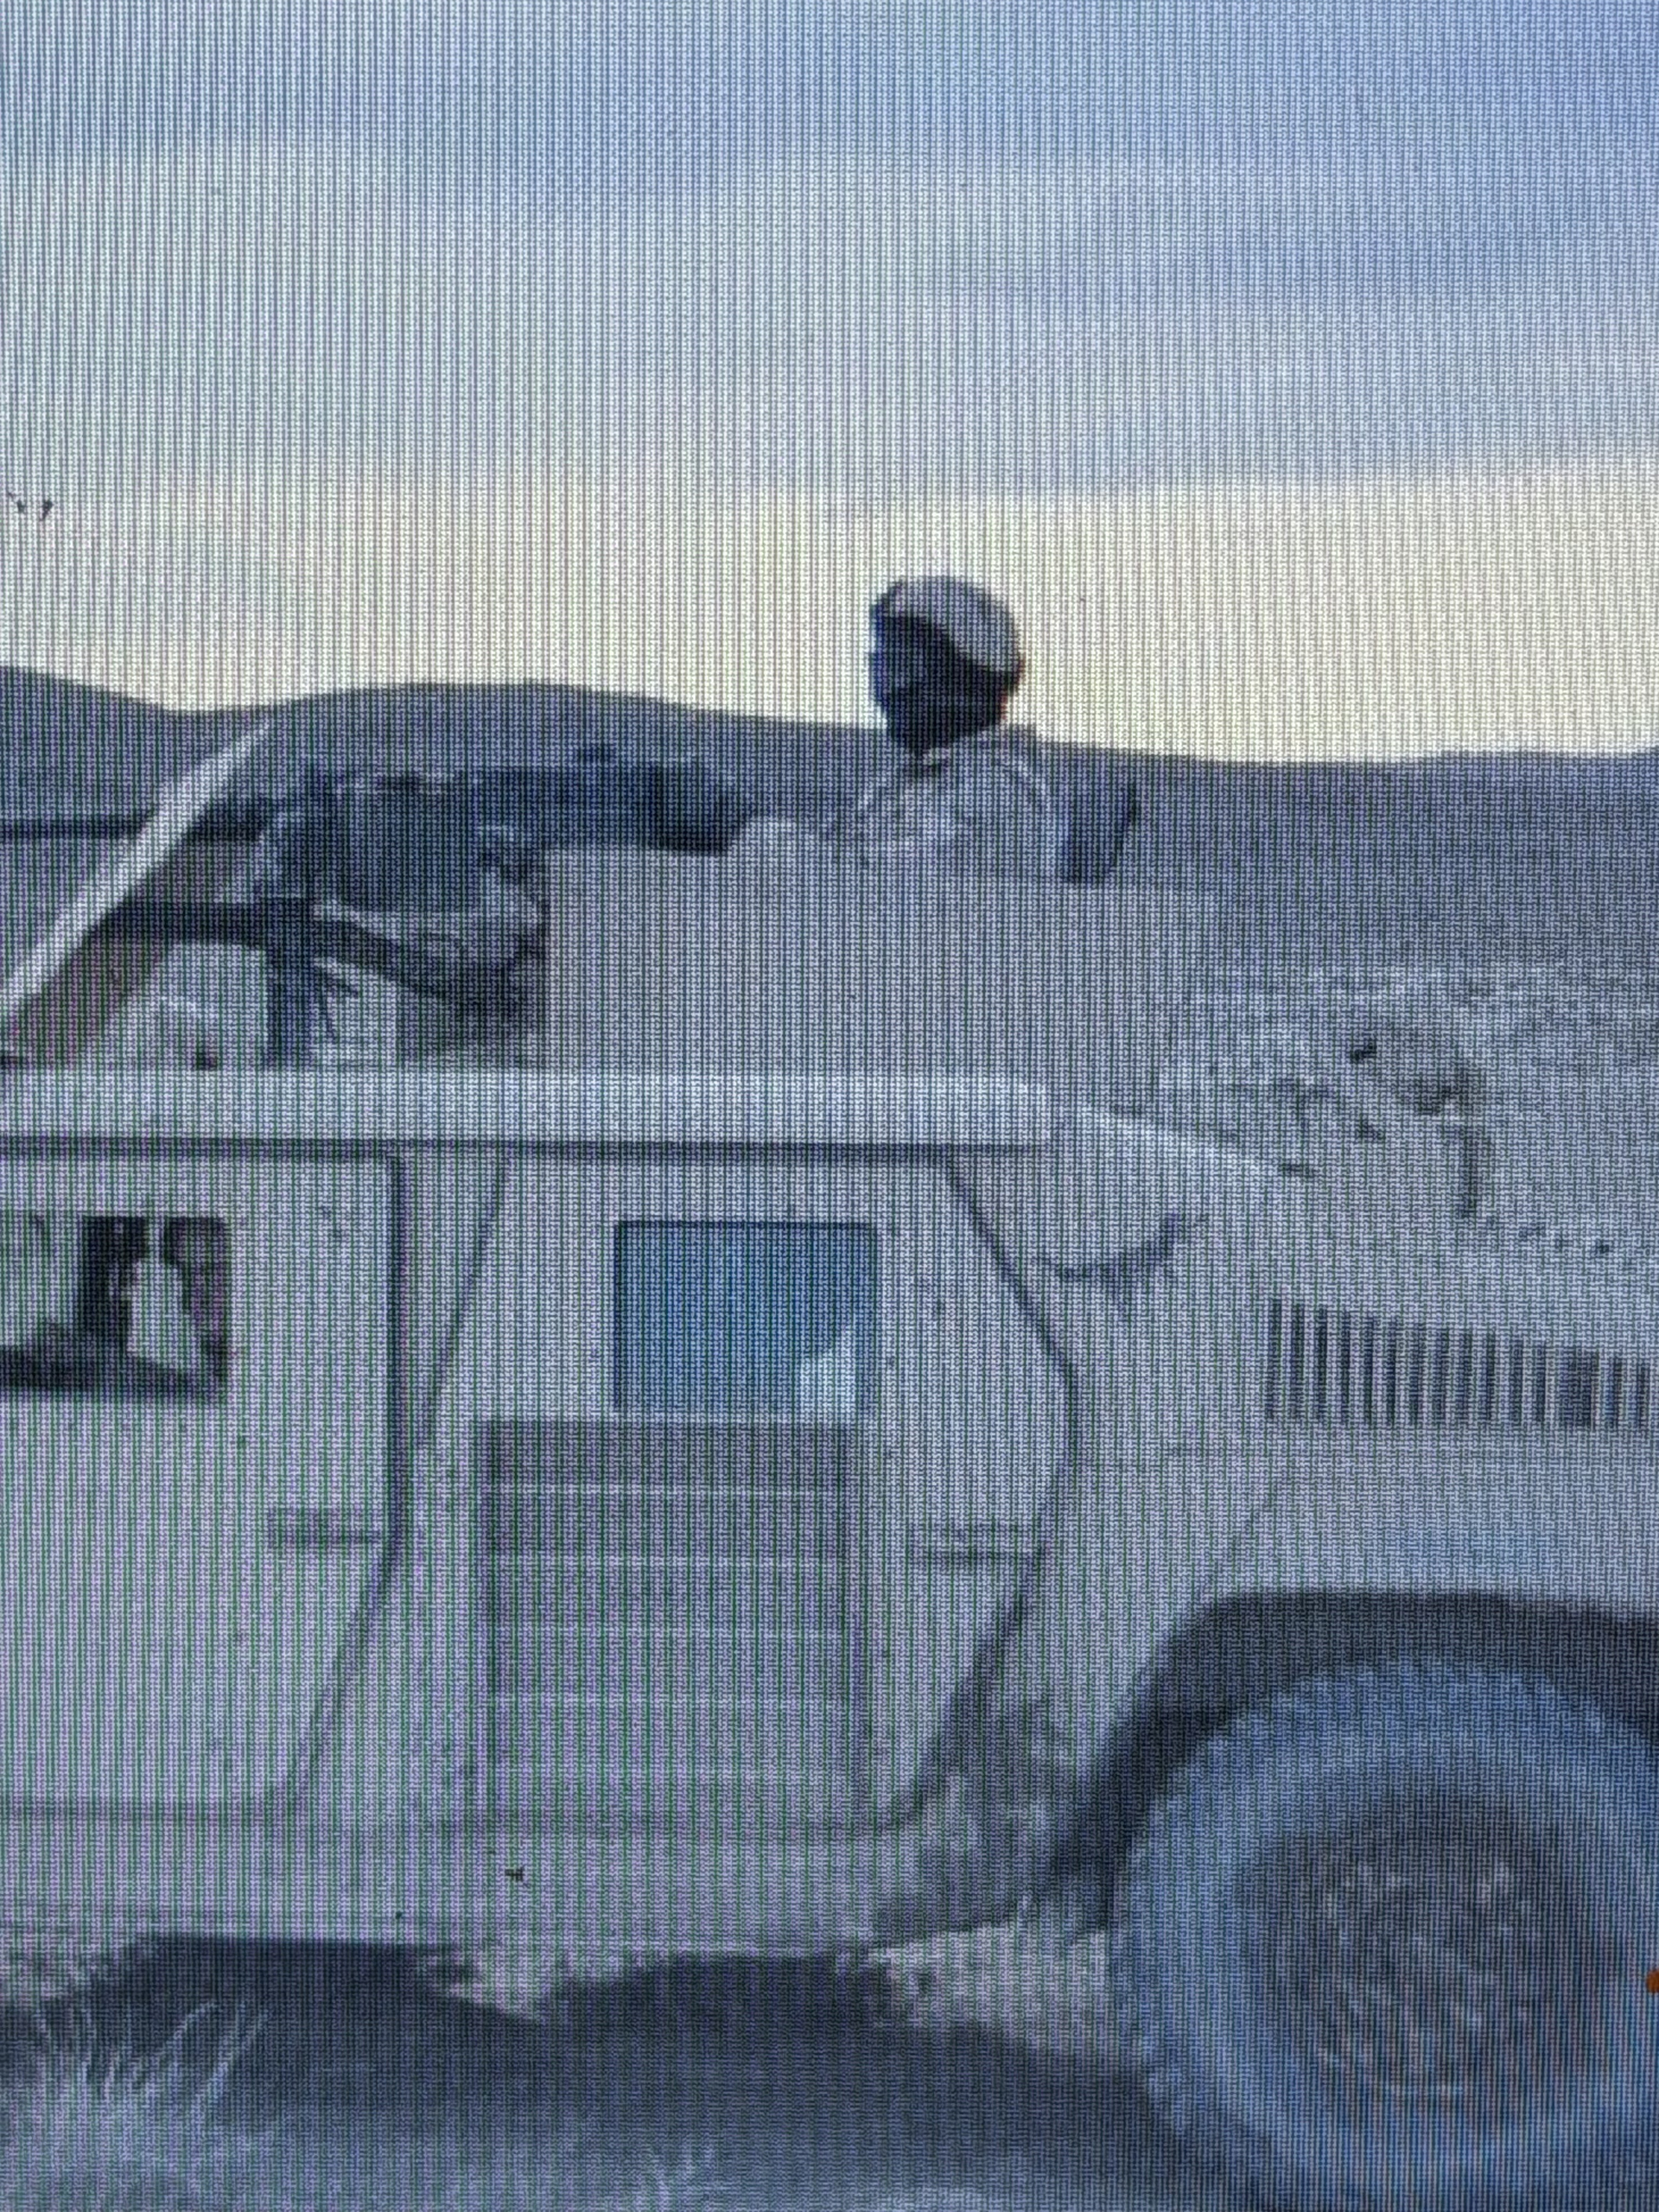
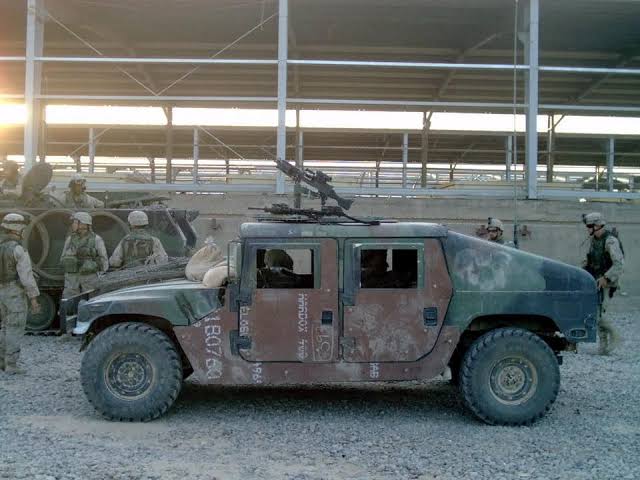
And I’ll attach a couple of pics of our added on cheap armor that we rigged up before we were sent the military grade add-on armor package, as well as a couple of pics from my collection of our M1114 and add on armor cargo vehicle. Notice the Raptor stencil! the clear pics are from Iraq1, the fuzzier pics are from Afghanistan 6.
(sorry about the quality, a few of them were taken as pics from my sisters laptop, I don’t have a computer. But if anyone needs clear pics, let me know and I’ll just have her email them to me so they are clear)
Oh yes, I was really into building one of the add-on-armor steel plate vehicles. I even got the Echelon Decals for Field Fabricated Armor Plating Markings. That looks really cool. Perhaps some day…


 . I’ll have to dig through my old pictures and see if I can find any of the trucks. I also seen the you did a nice interior. I remember that we just got the BlueForce trackers installed in the TVs side, and I believe we had the CIP panels installed on both rear doors, one on the hood above the engine grill, and one on the back hatch. The rear hatch one normally got tossed as we kept a lot of gear strapped down to the back hatch, like tires, MREs, rucksack, etc. And a nice touch up which you could do now to add to it without messing up the completed model, is almost EVERY truck in the the platoons had an AT4 strapped down on the top hatch, between the main gun (.50 Cal or MK-19), and the SAW facing the rear/side. Still, amazing beautiful model and really brought back some memories. Lots of memories in that truck! I wanna do the same one now and making a list of parts and add ons from different companies. It’s just so hard to find gun truck models and accessories now!!
  could you do me a favor and tell me which truck you used? A-11, 12, 13, or 14? A-15 was the PSGs truck and was an open bed truck with a 240 on a pedestal mount. I’m hoping it was A-11, as that was MY truck. I was the alpha team leader and sat in the TC seat and controlled the truck and led the platoon. And another note I just noticed, the figures have the 4 ID patch on their helmets, while the truck belongs to the 173rd. Able Company 2/503. Airborne Brigade. Our patch is a bayonet with a wing on it. Not nitpicking, just giving accurate information to you in case your a history buff like me. Like you said, the decal instructions weren’t very clear and sometimes if your not from the military, all the jargon and info can be confusing to others.
  rock on brother! Write back soon buddy!!
 I searched all over and everything I found was super expensive for my taste, especially since I was probably dropping more money in aftermarket products than the kit itself. I had to make a few adjustments so far for the interior SINGARS platform, where you cut the old engine shroud out to put in the resin one, since it was made for the Tamiya kit, but any imperfections will be hidden behind the radio platform and vent/heater duct under the windshield. What I AM having to do, and am excited about it, is scratchbuilding the adjustable mirror brackets from the old style flexible rod style. Lots of scratchbuilding on this one since it’s dear to my heart as being MY HMMWV that I drove and fought in. And many thanks to you Mario for lighting the torch and building your kit! Yours is definitely my go-to to make sure I’m doing it justice!