Tank_1812… Thank you for pointing out my typo on the year but I can not fix it now.
Ralph
Tank_1812… Thank you for pointing out my typo on the year but I can not fix it now.
Ralph
Ralph it’s all good, just having a little fun. Lord knows I make plenty of mistakes. Your scratch work is impressive and well done.
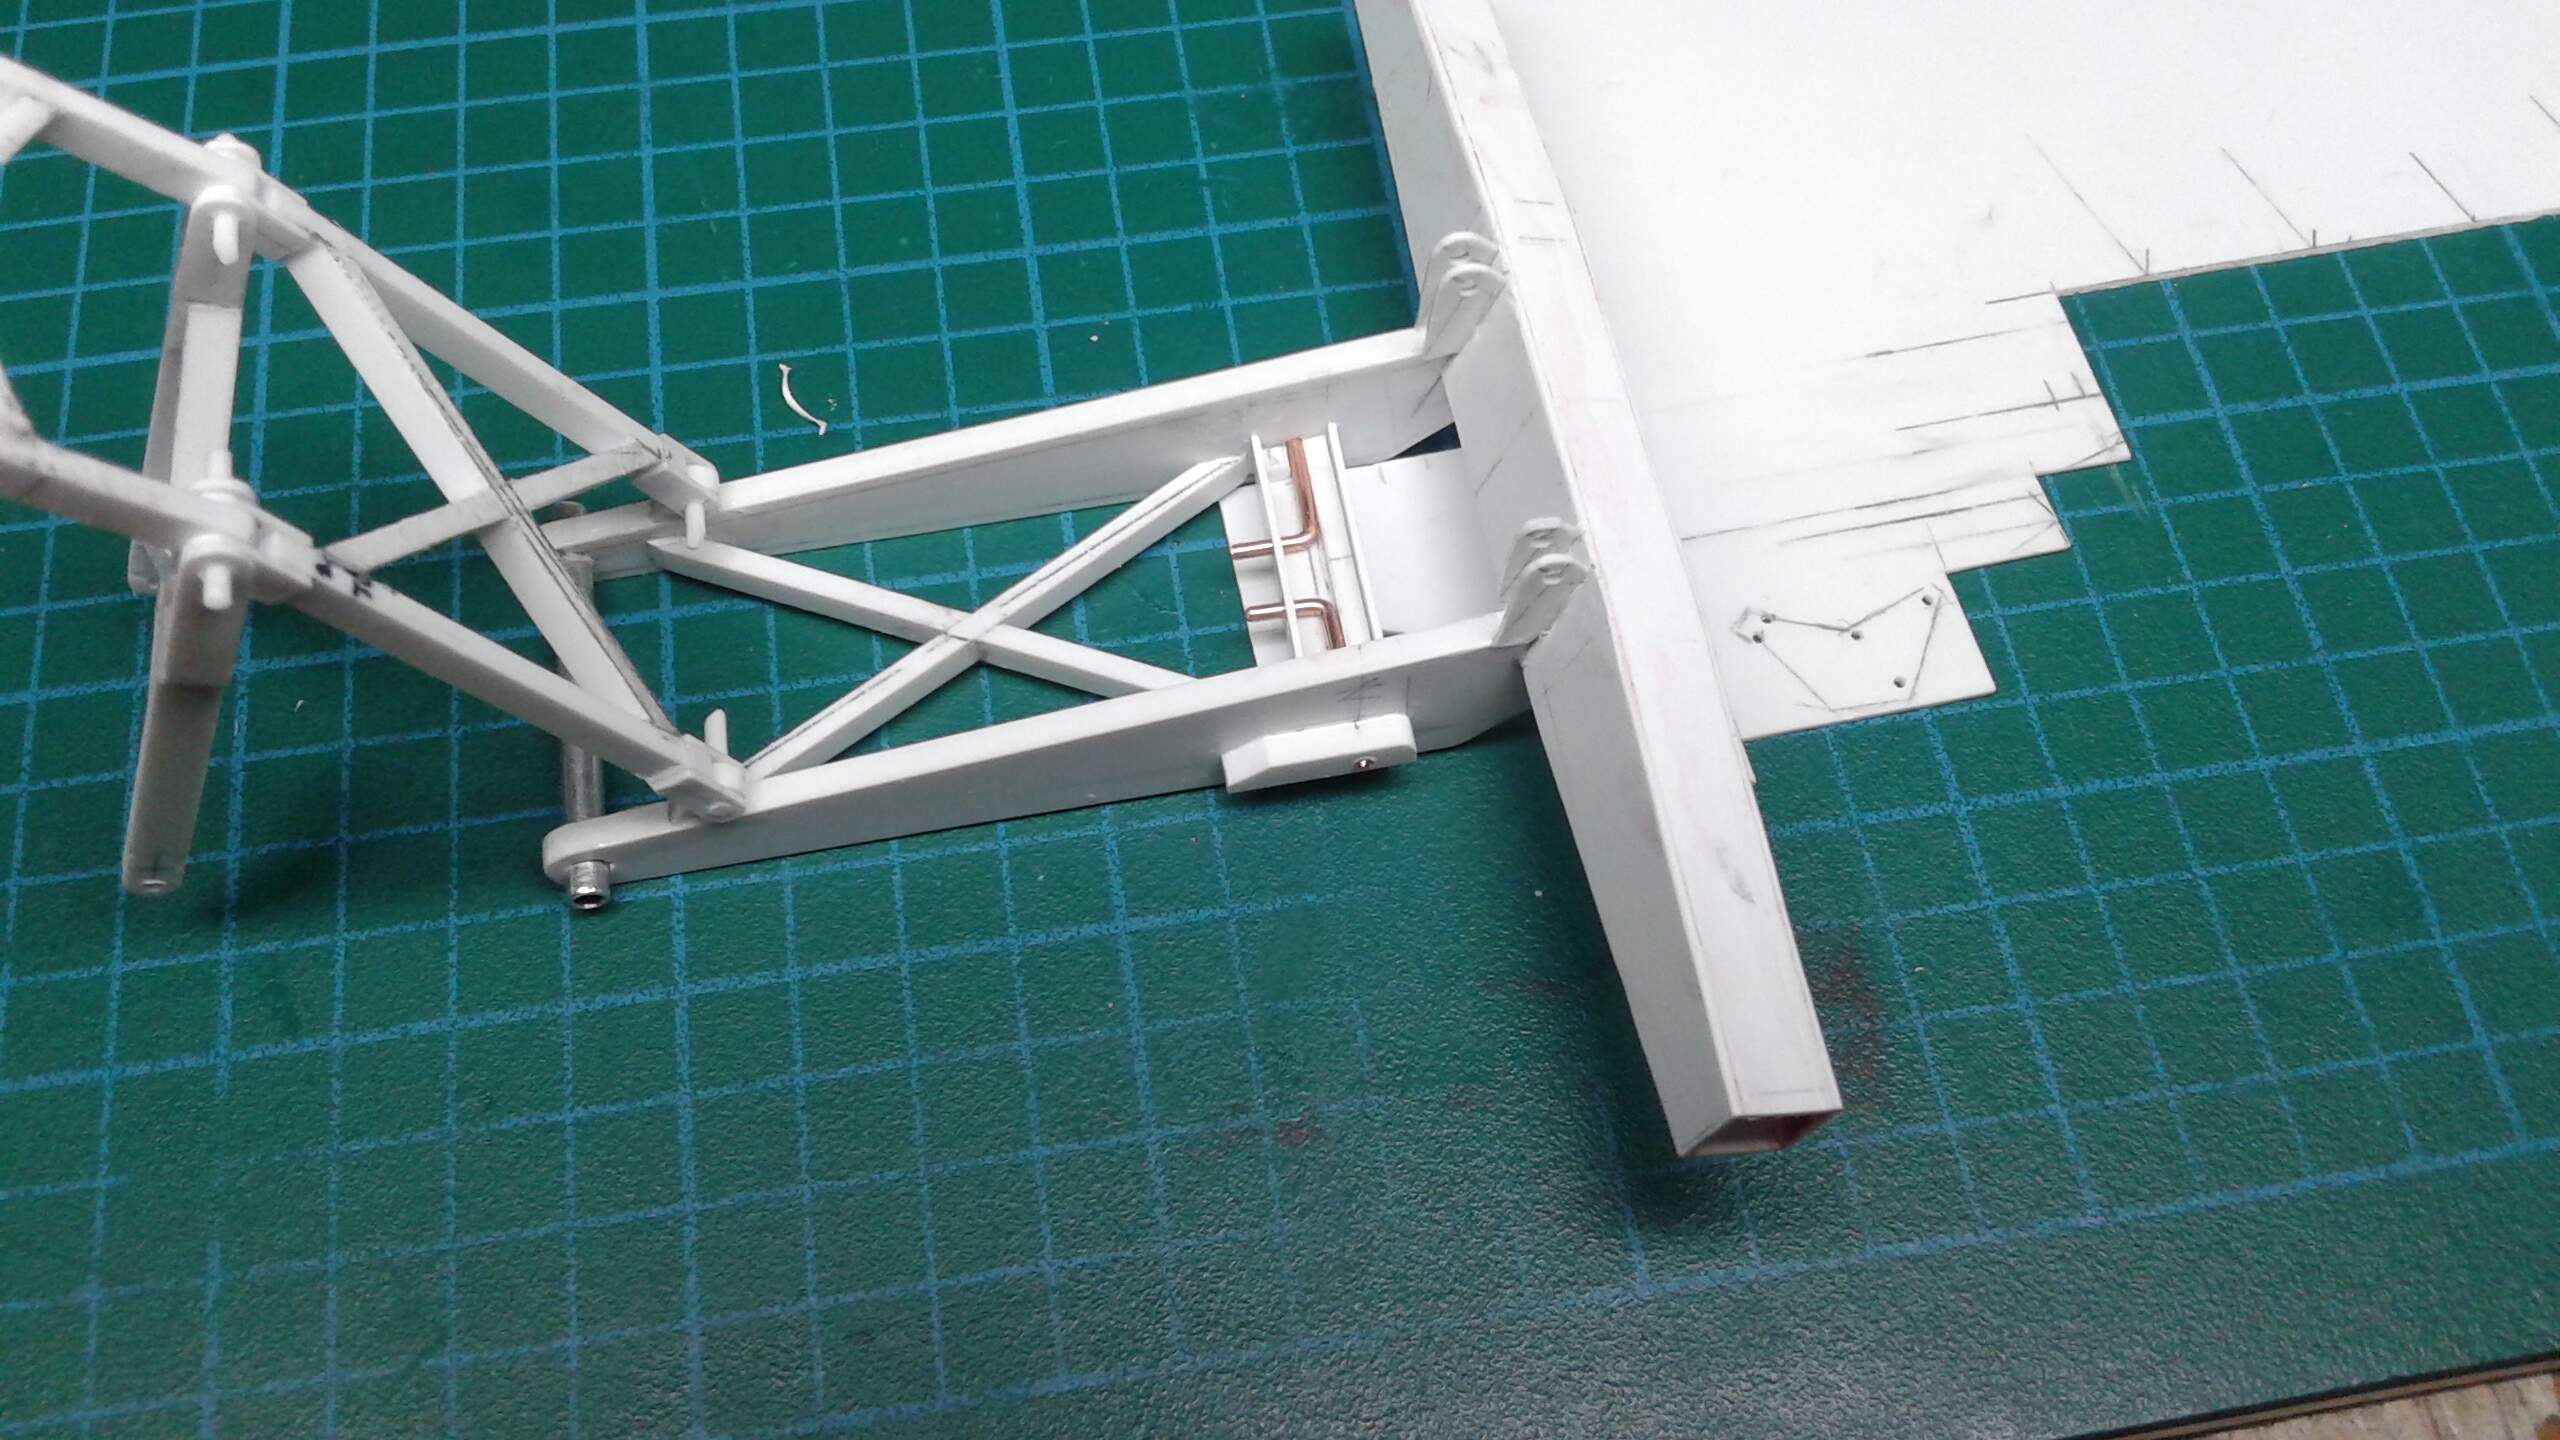
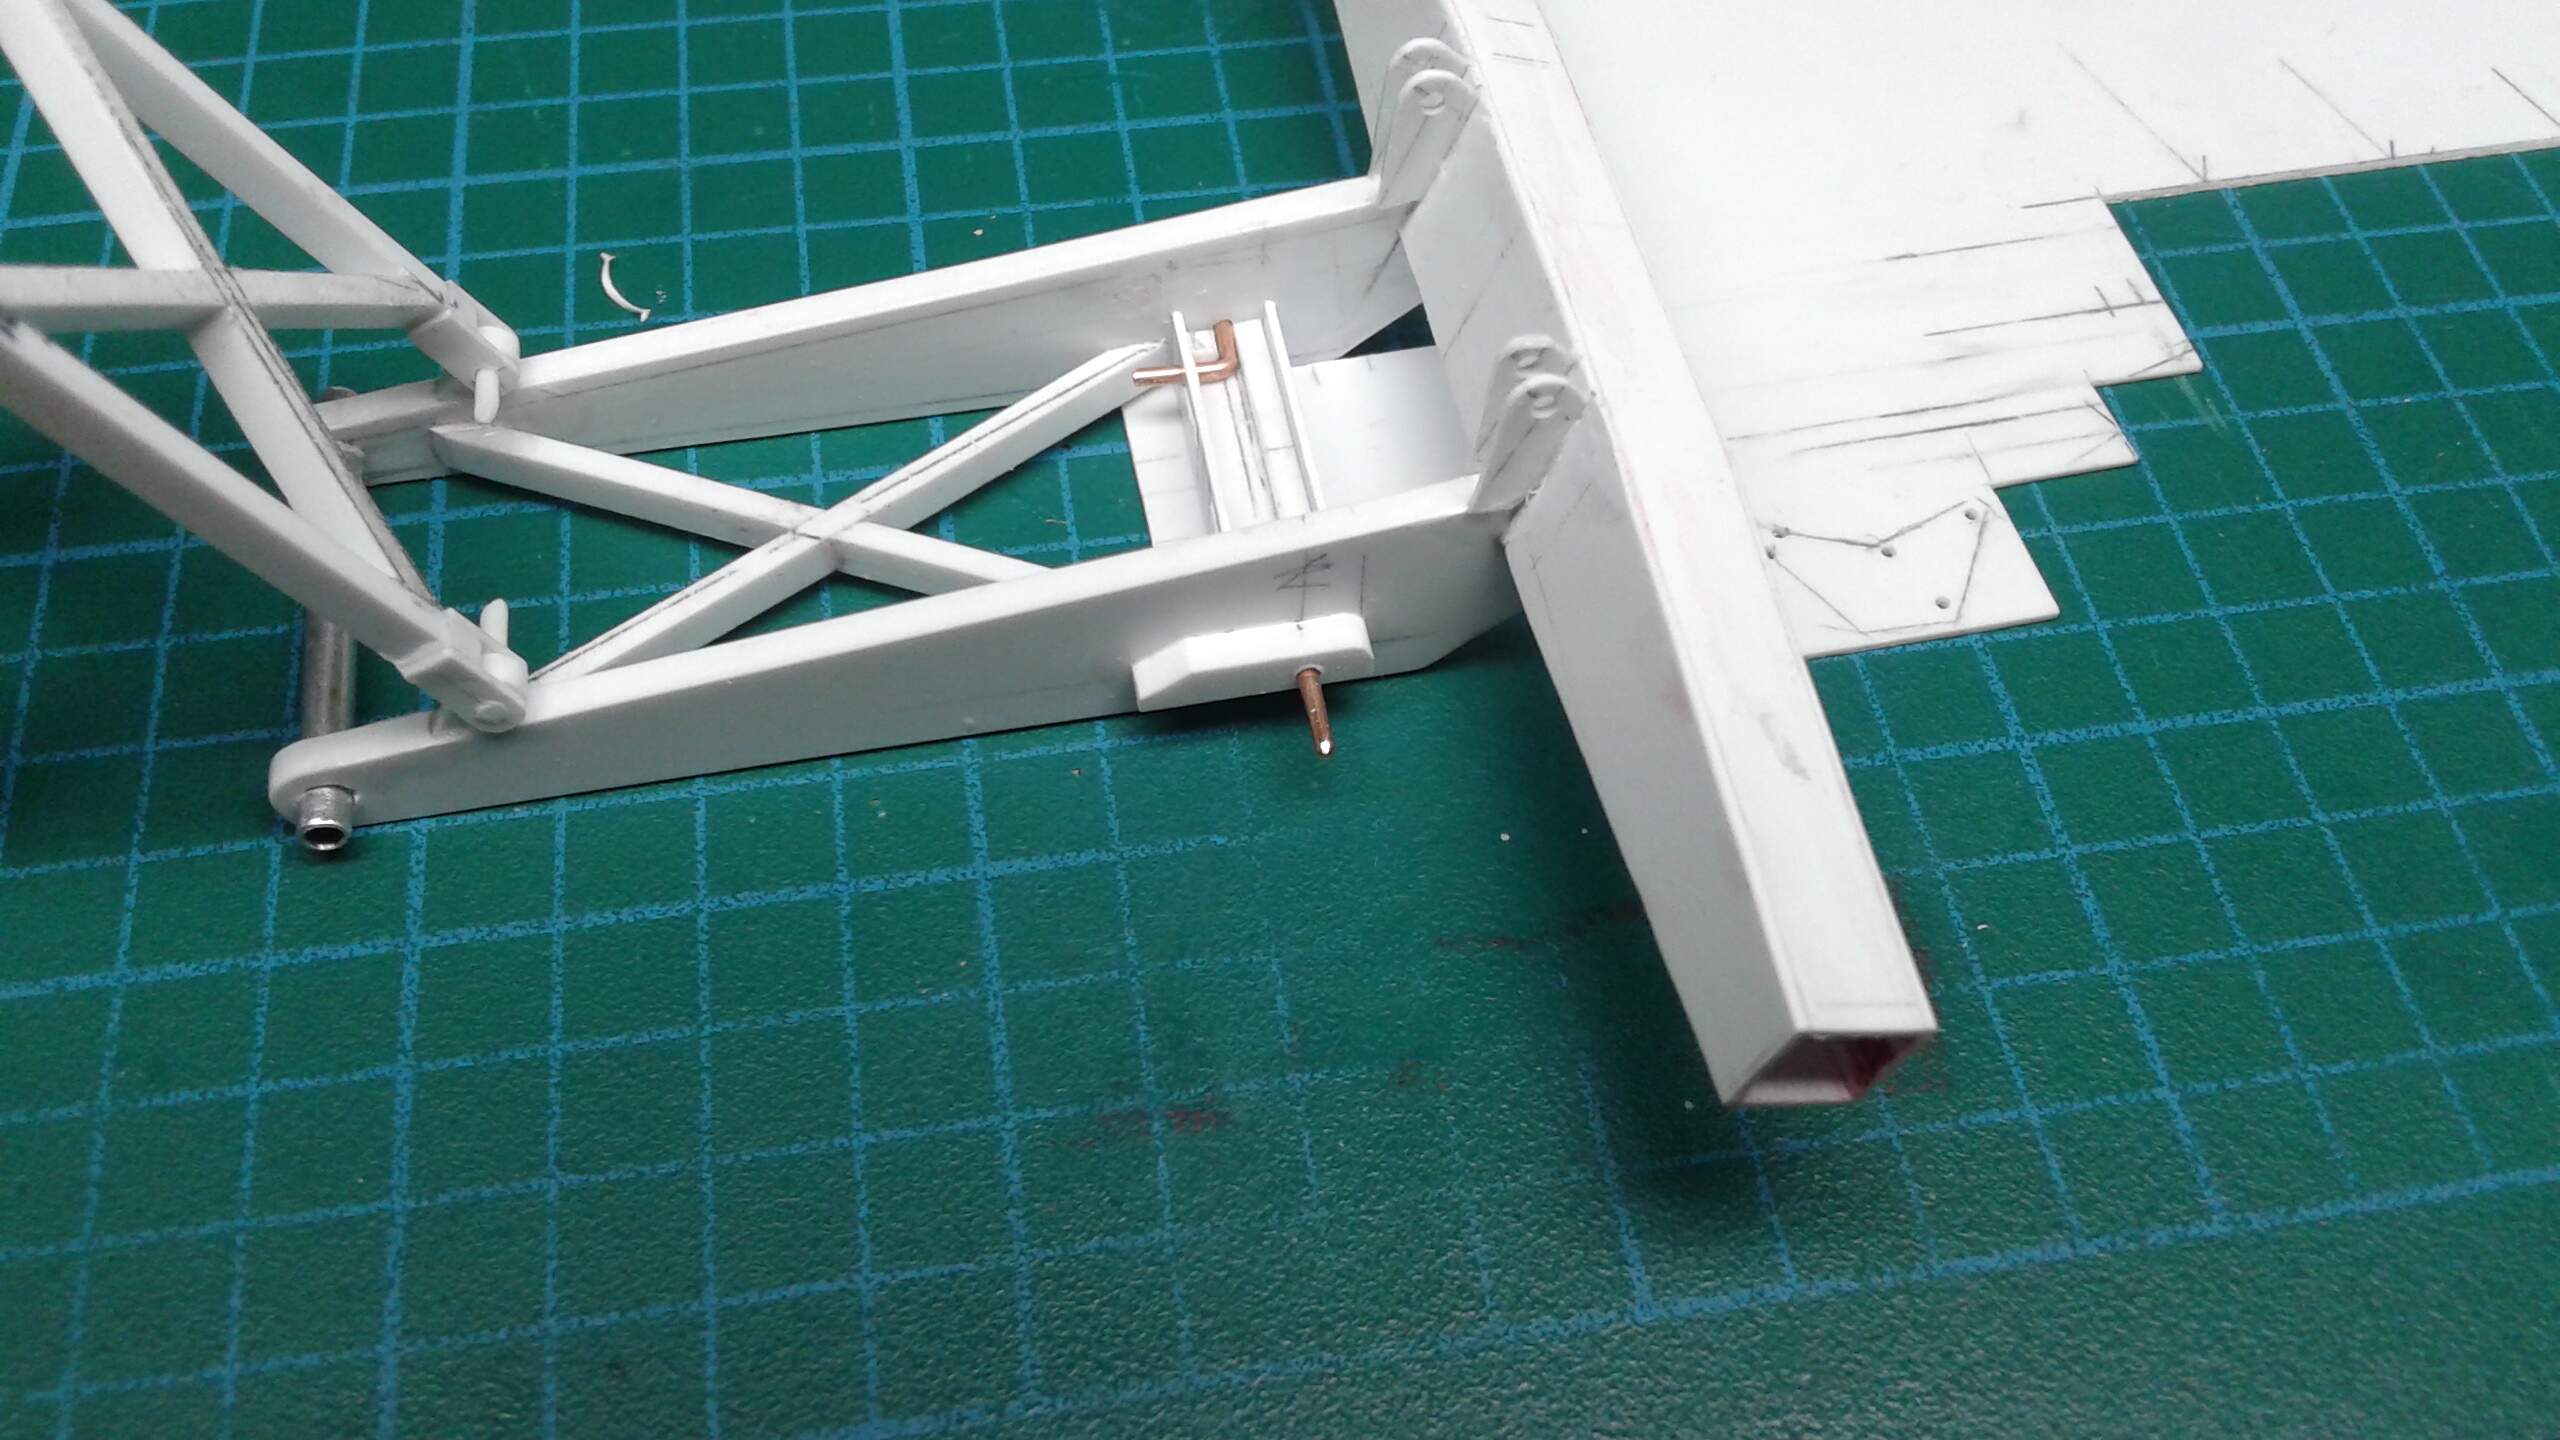
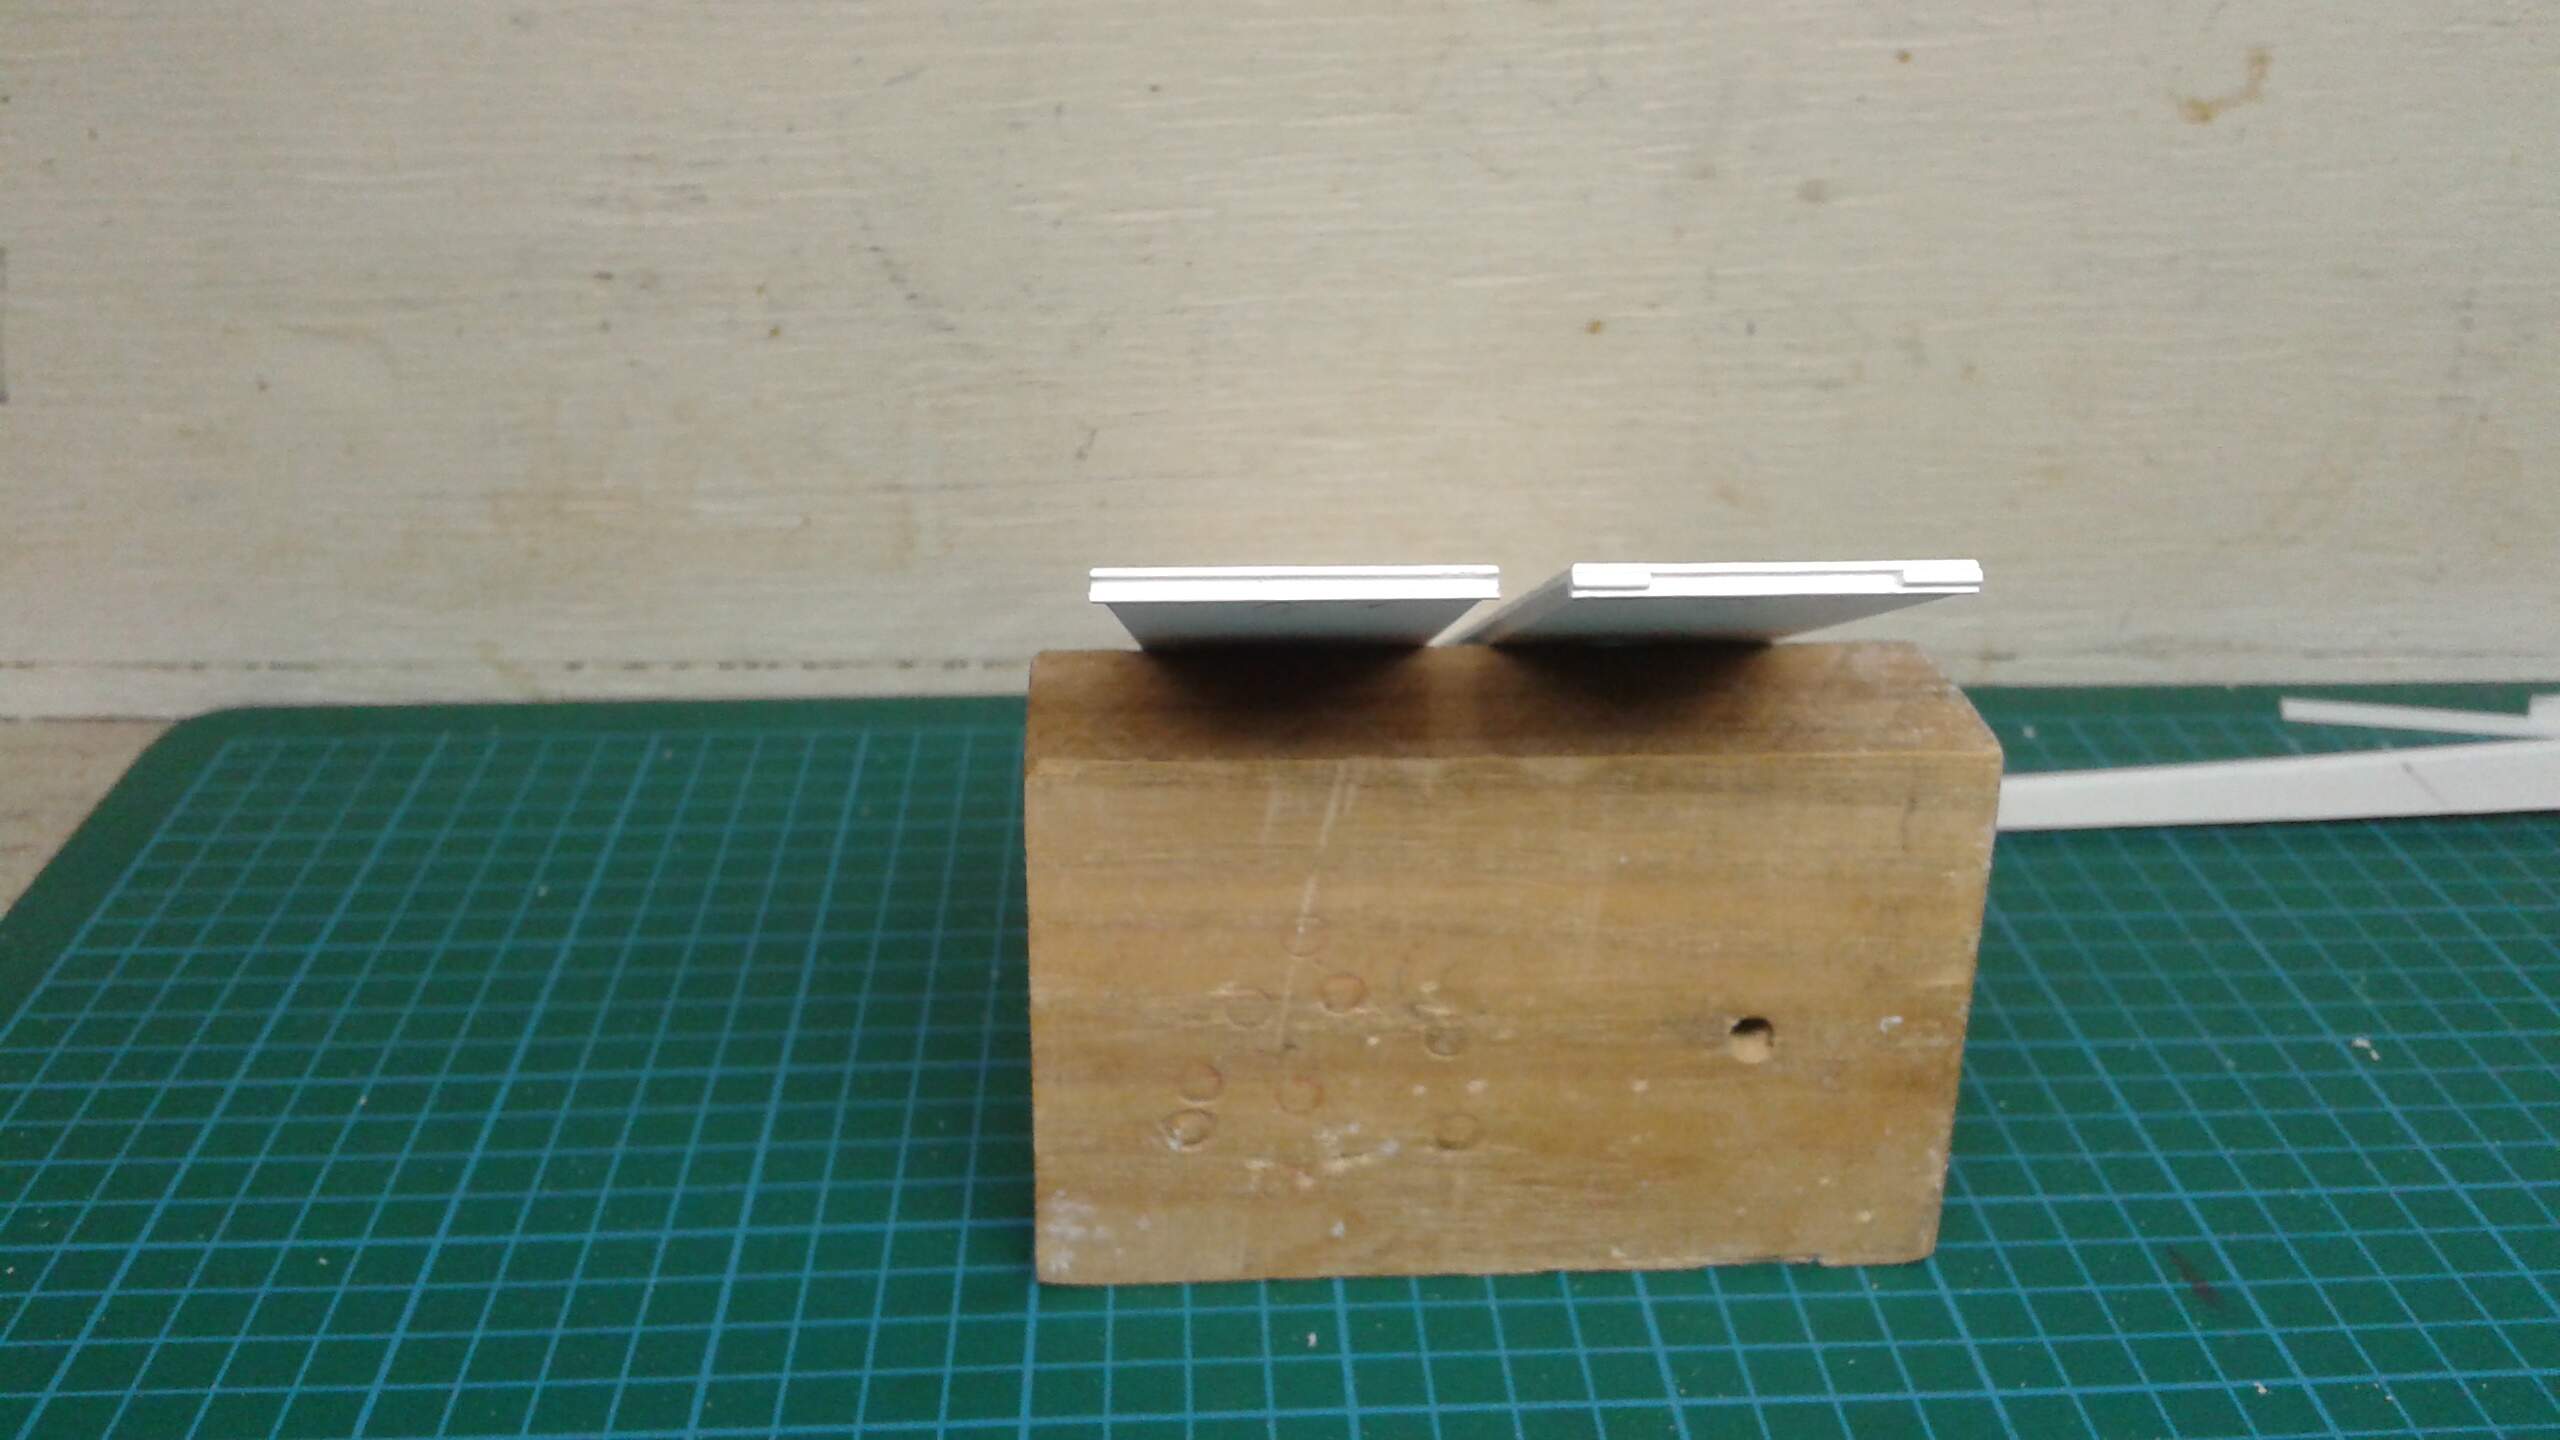
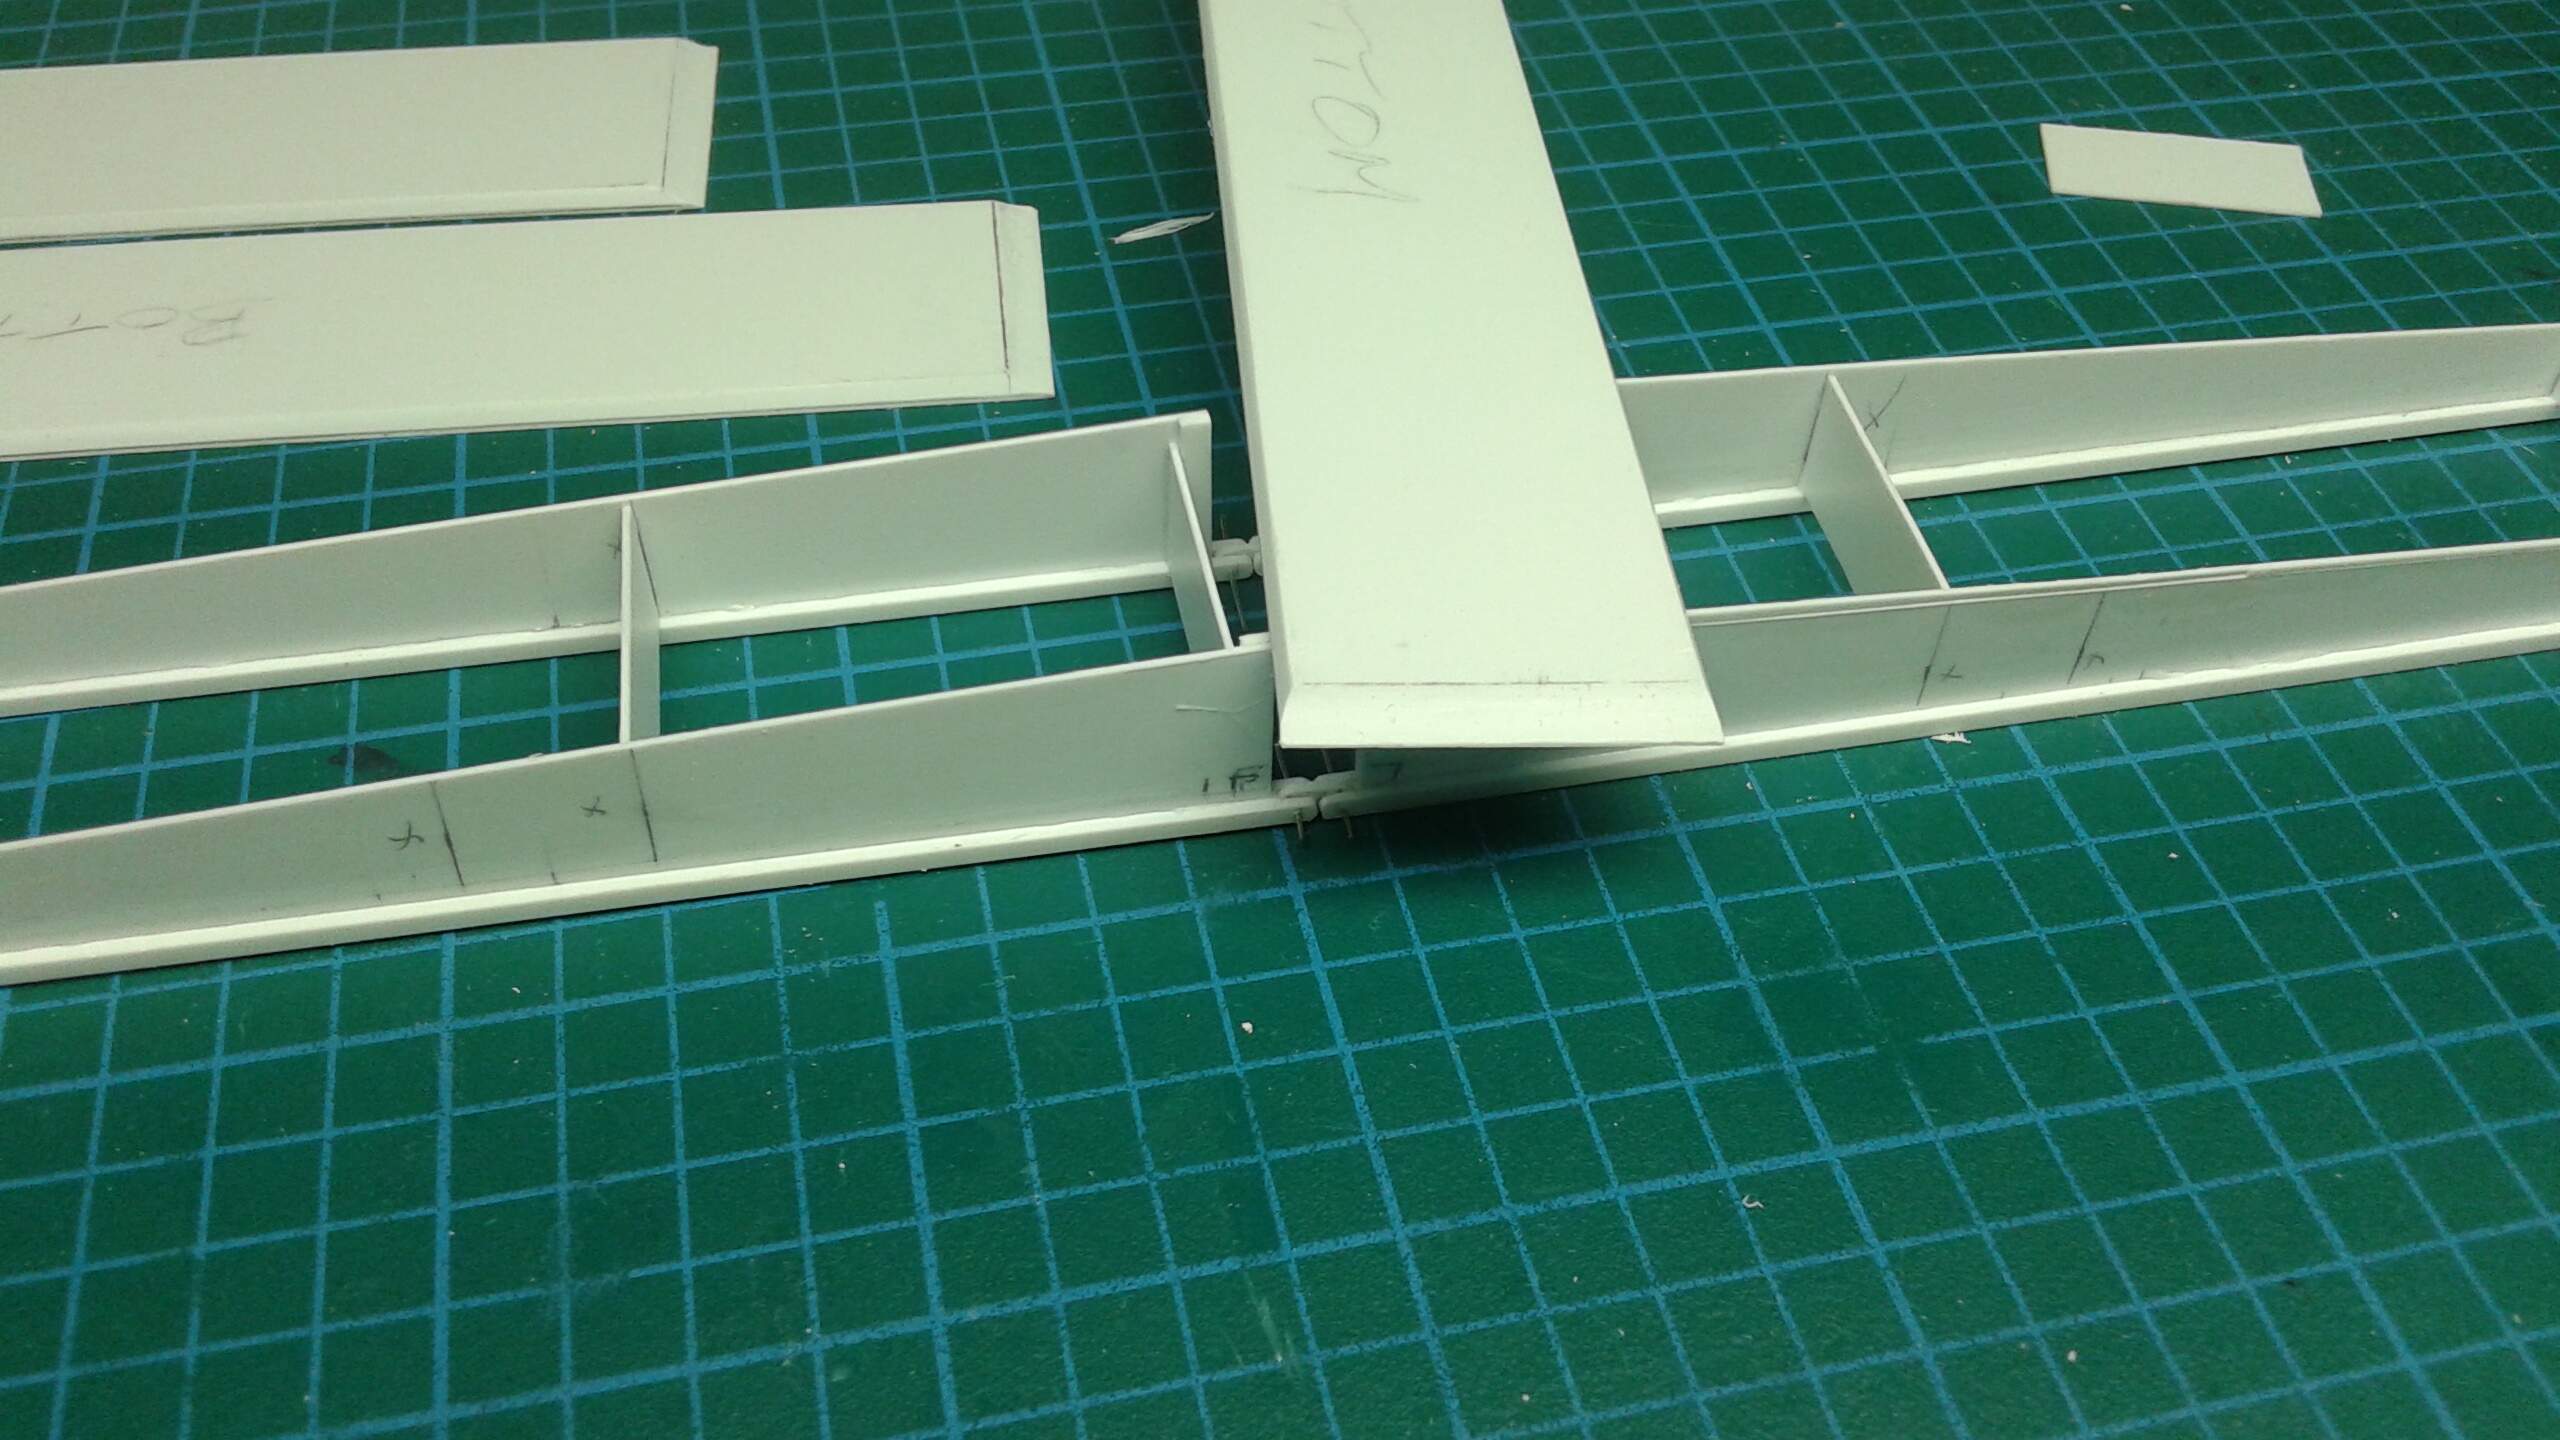
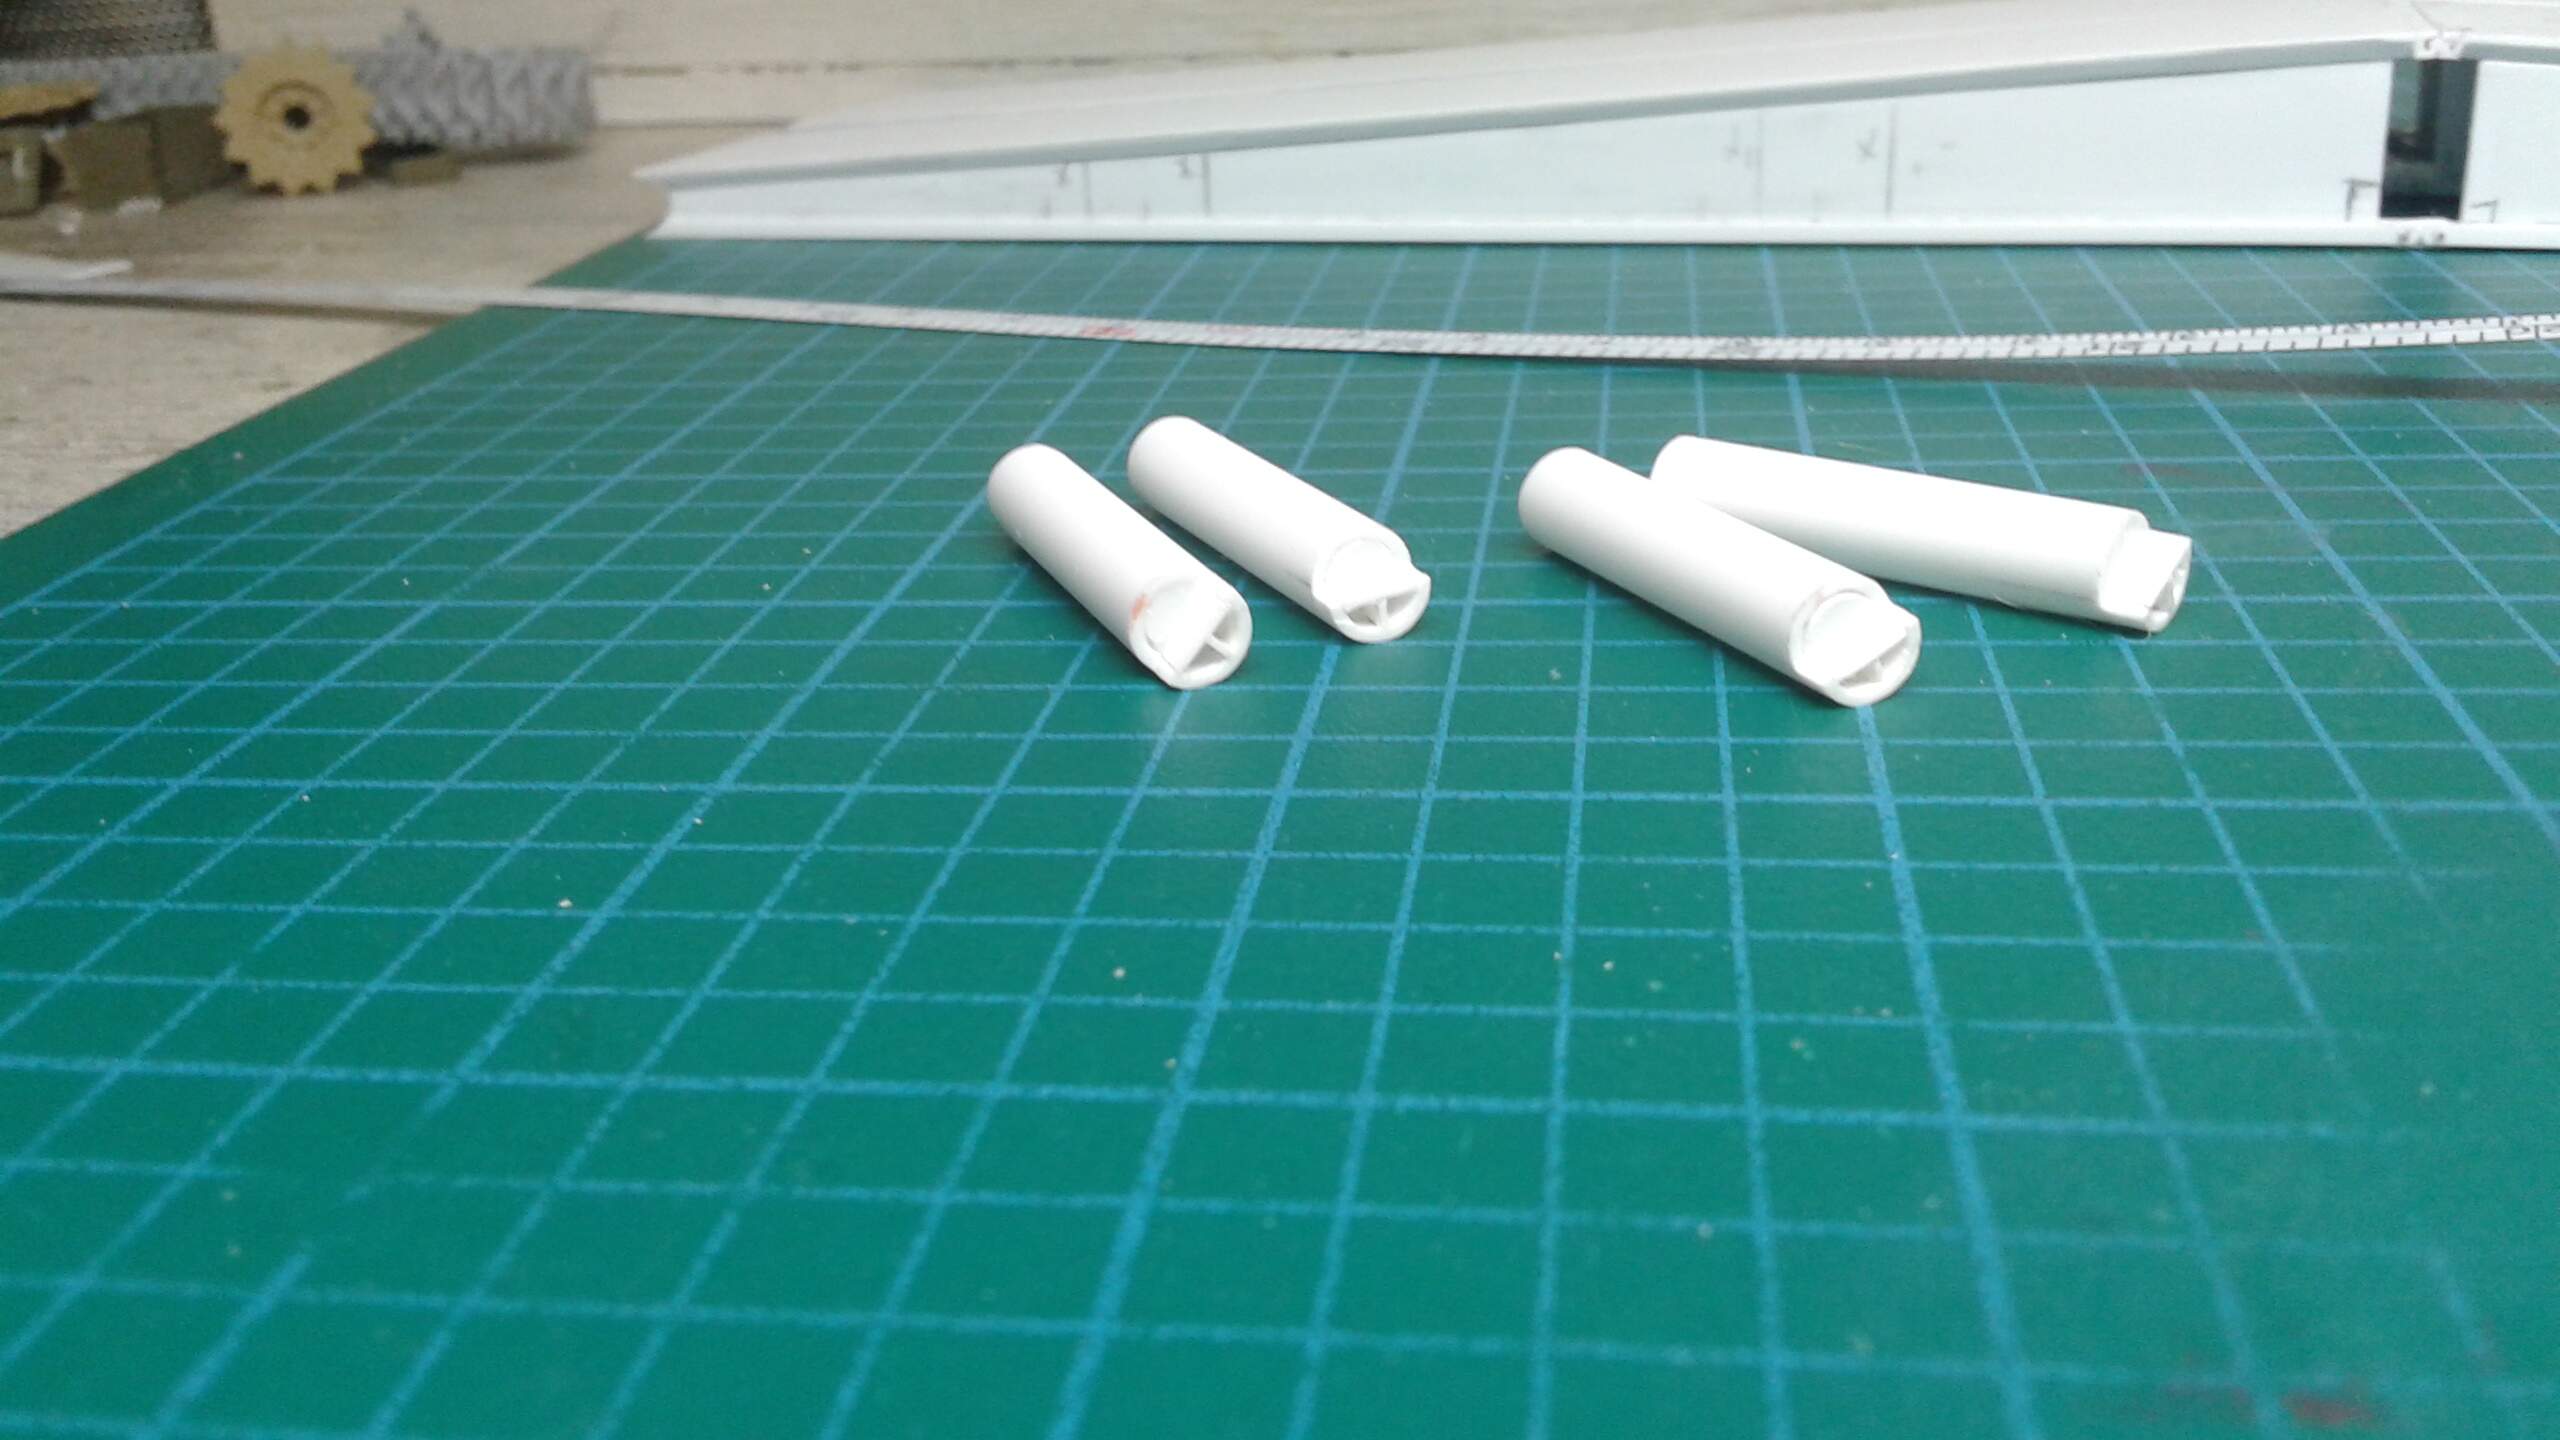
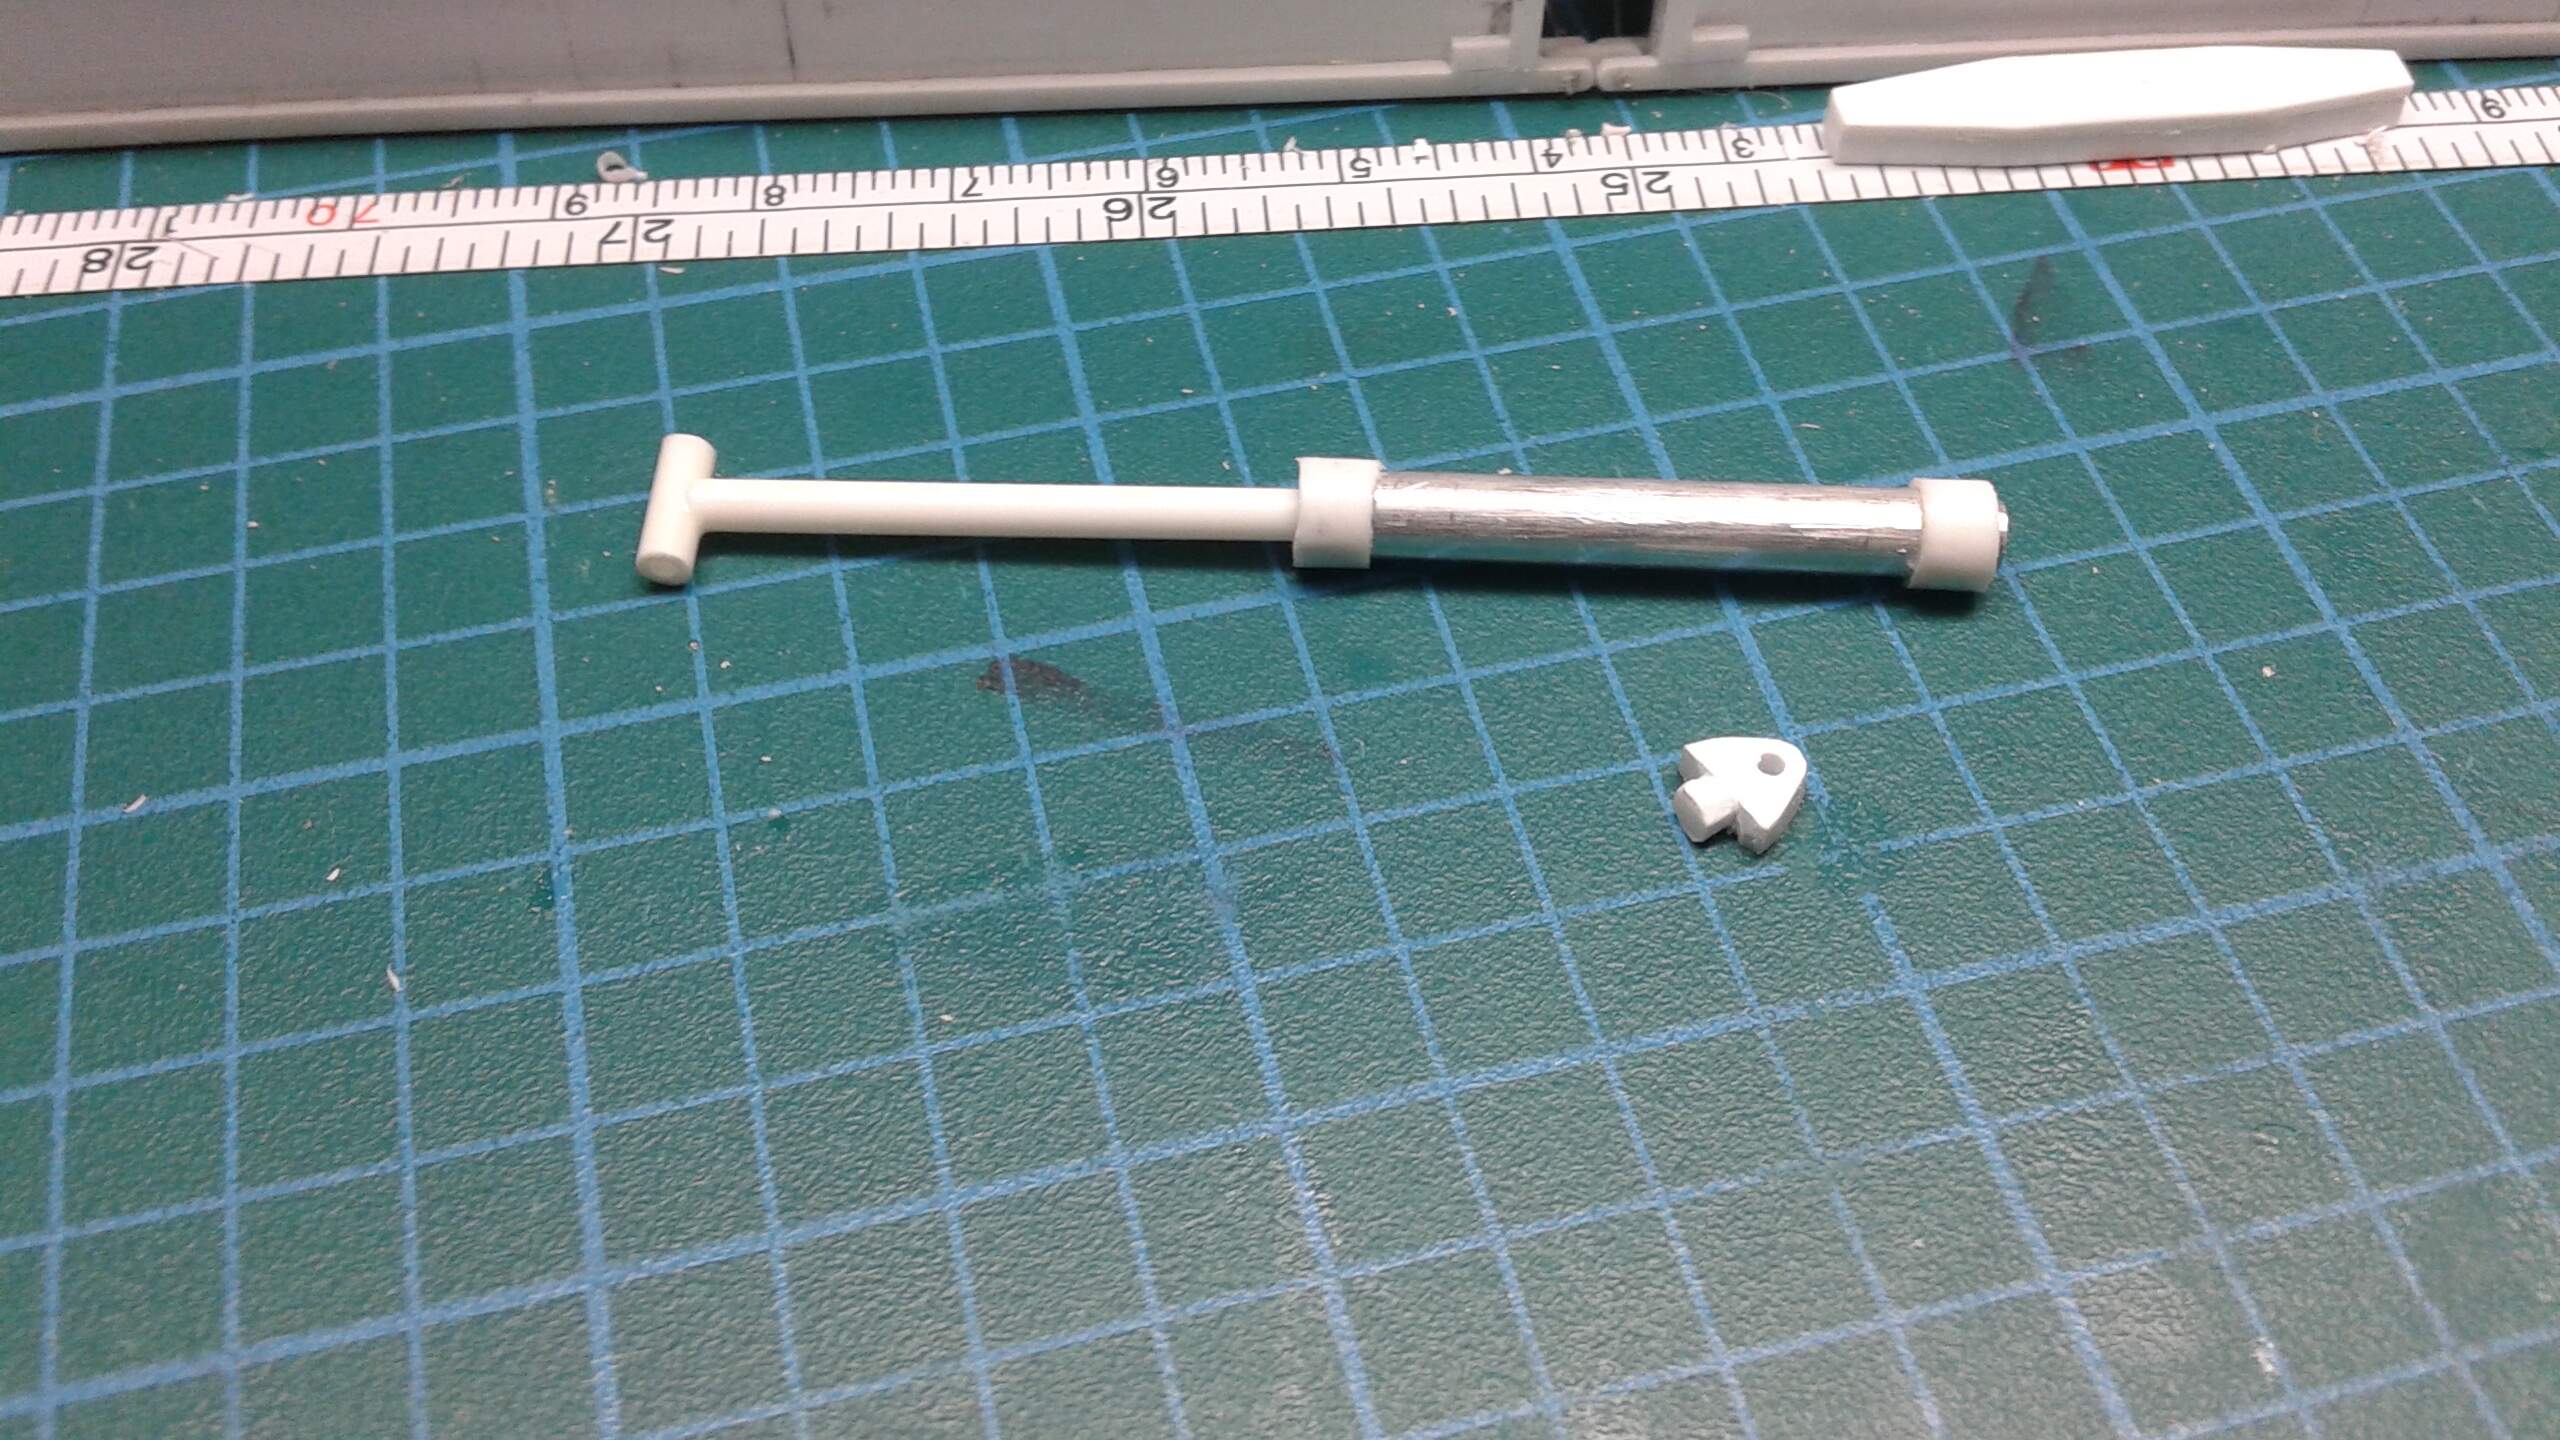
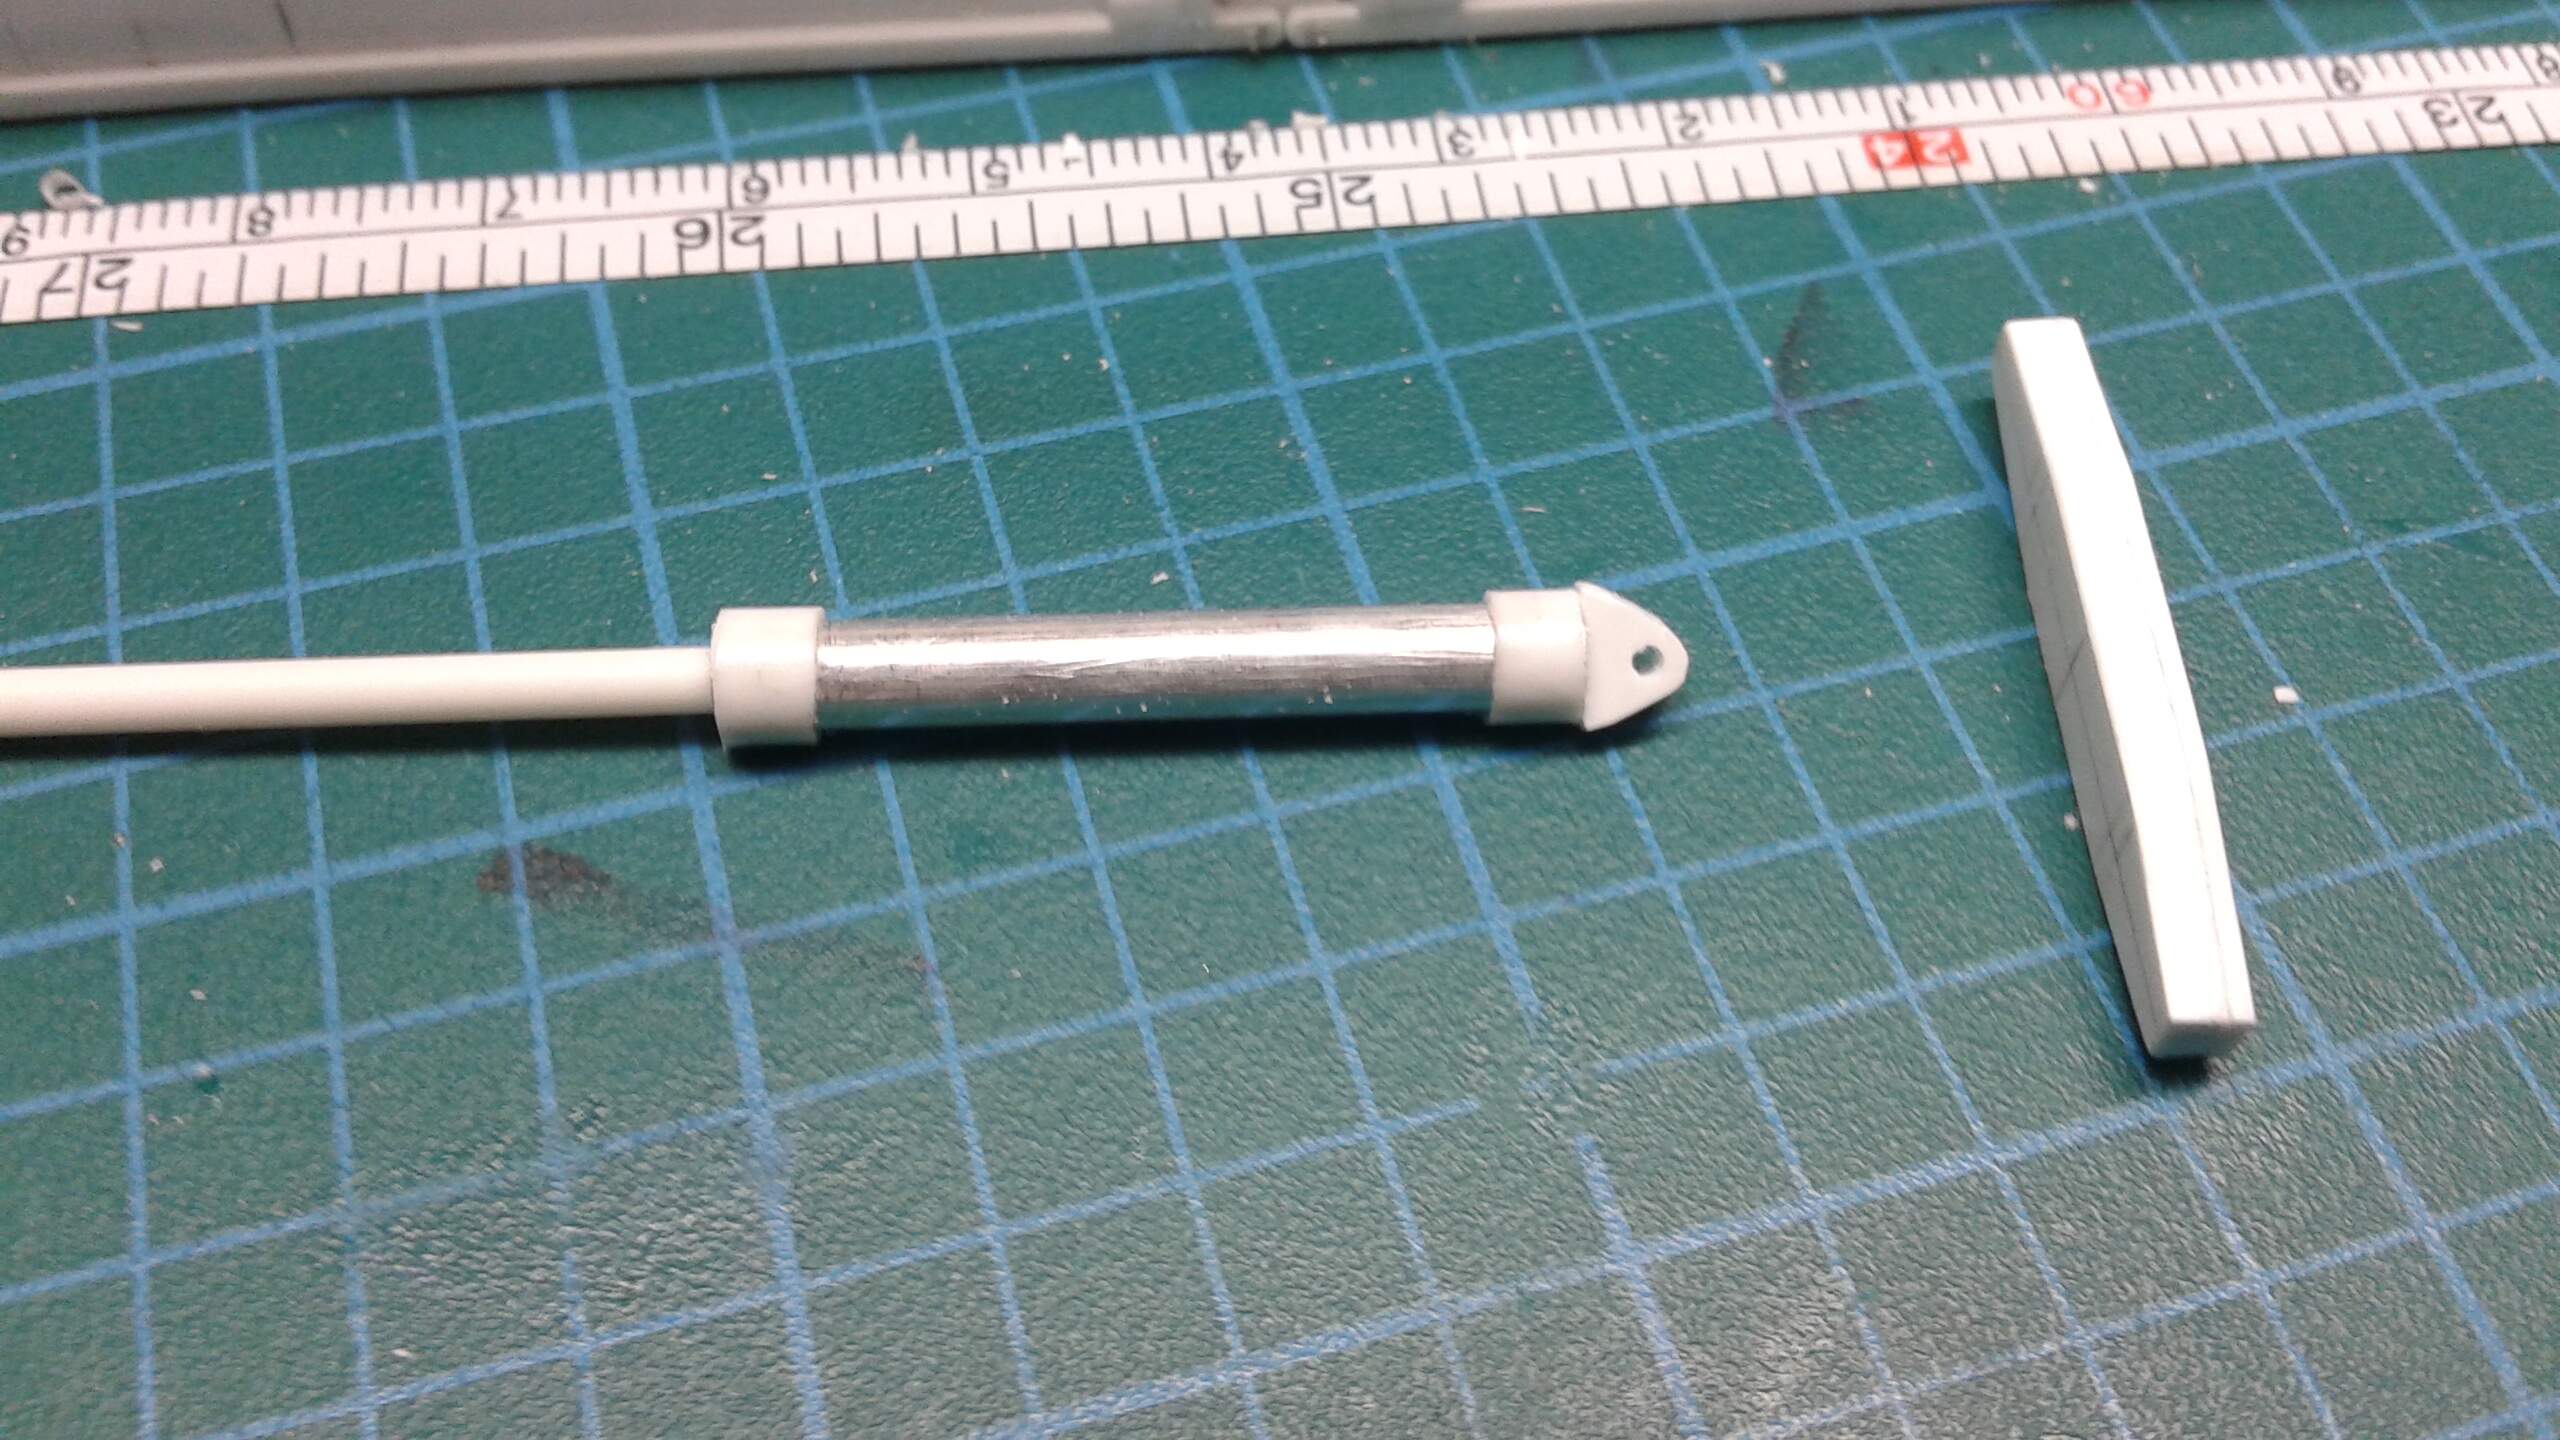
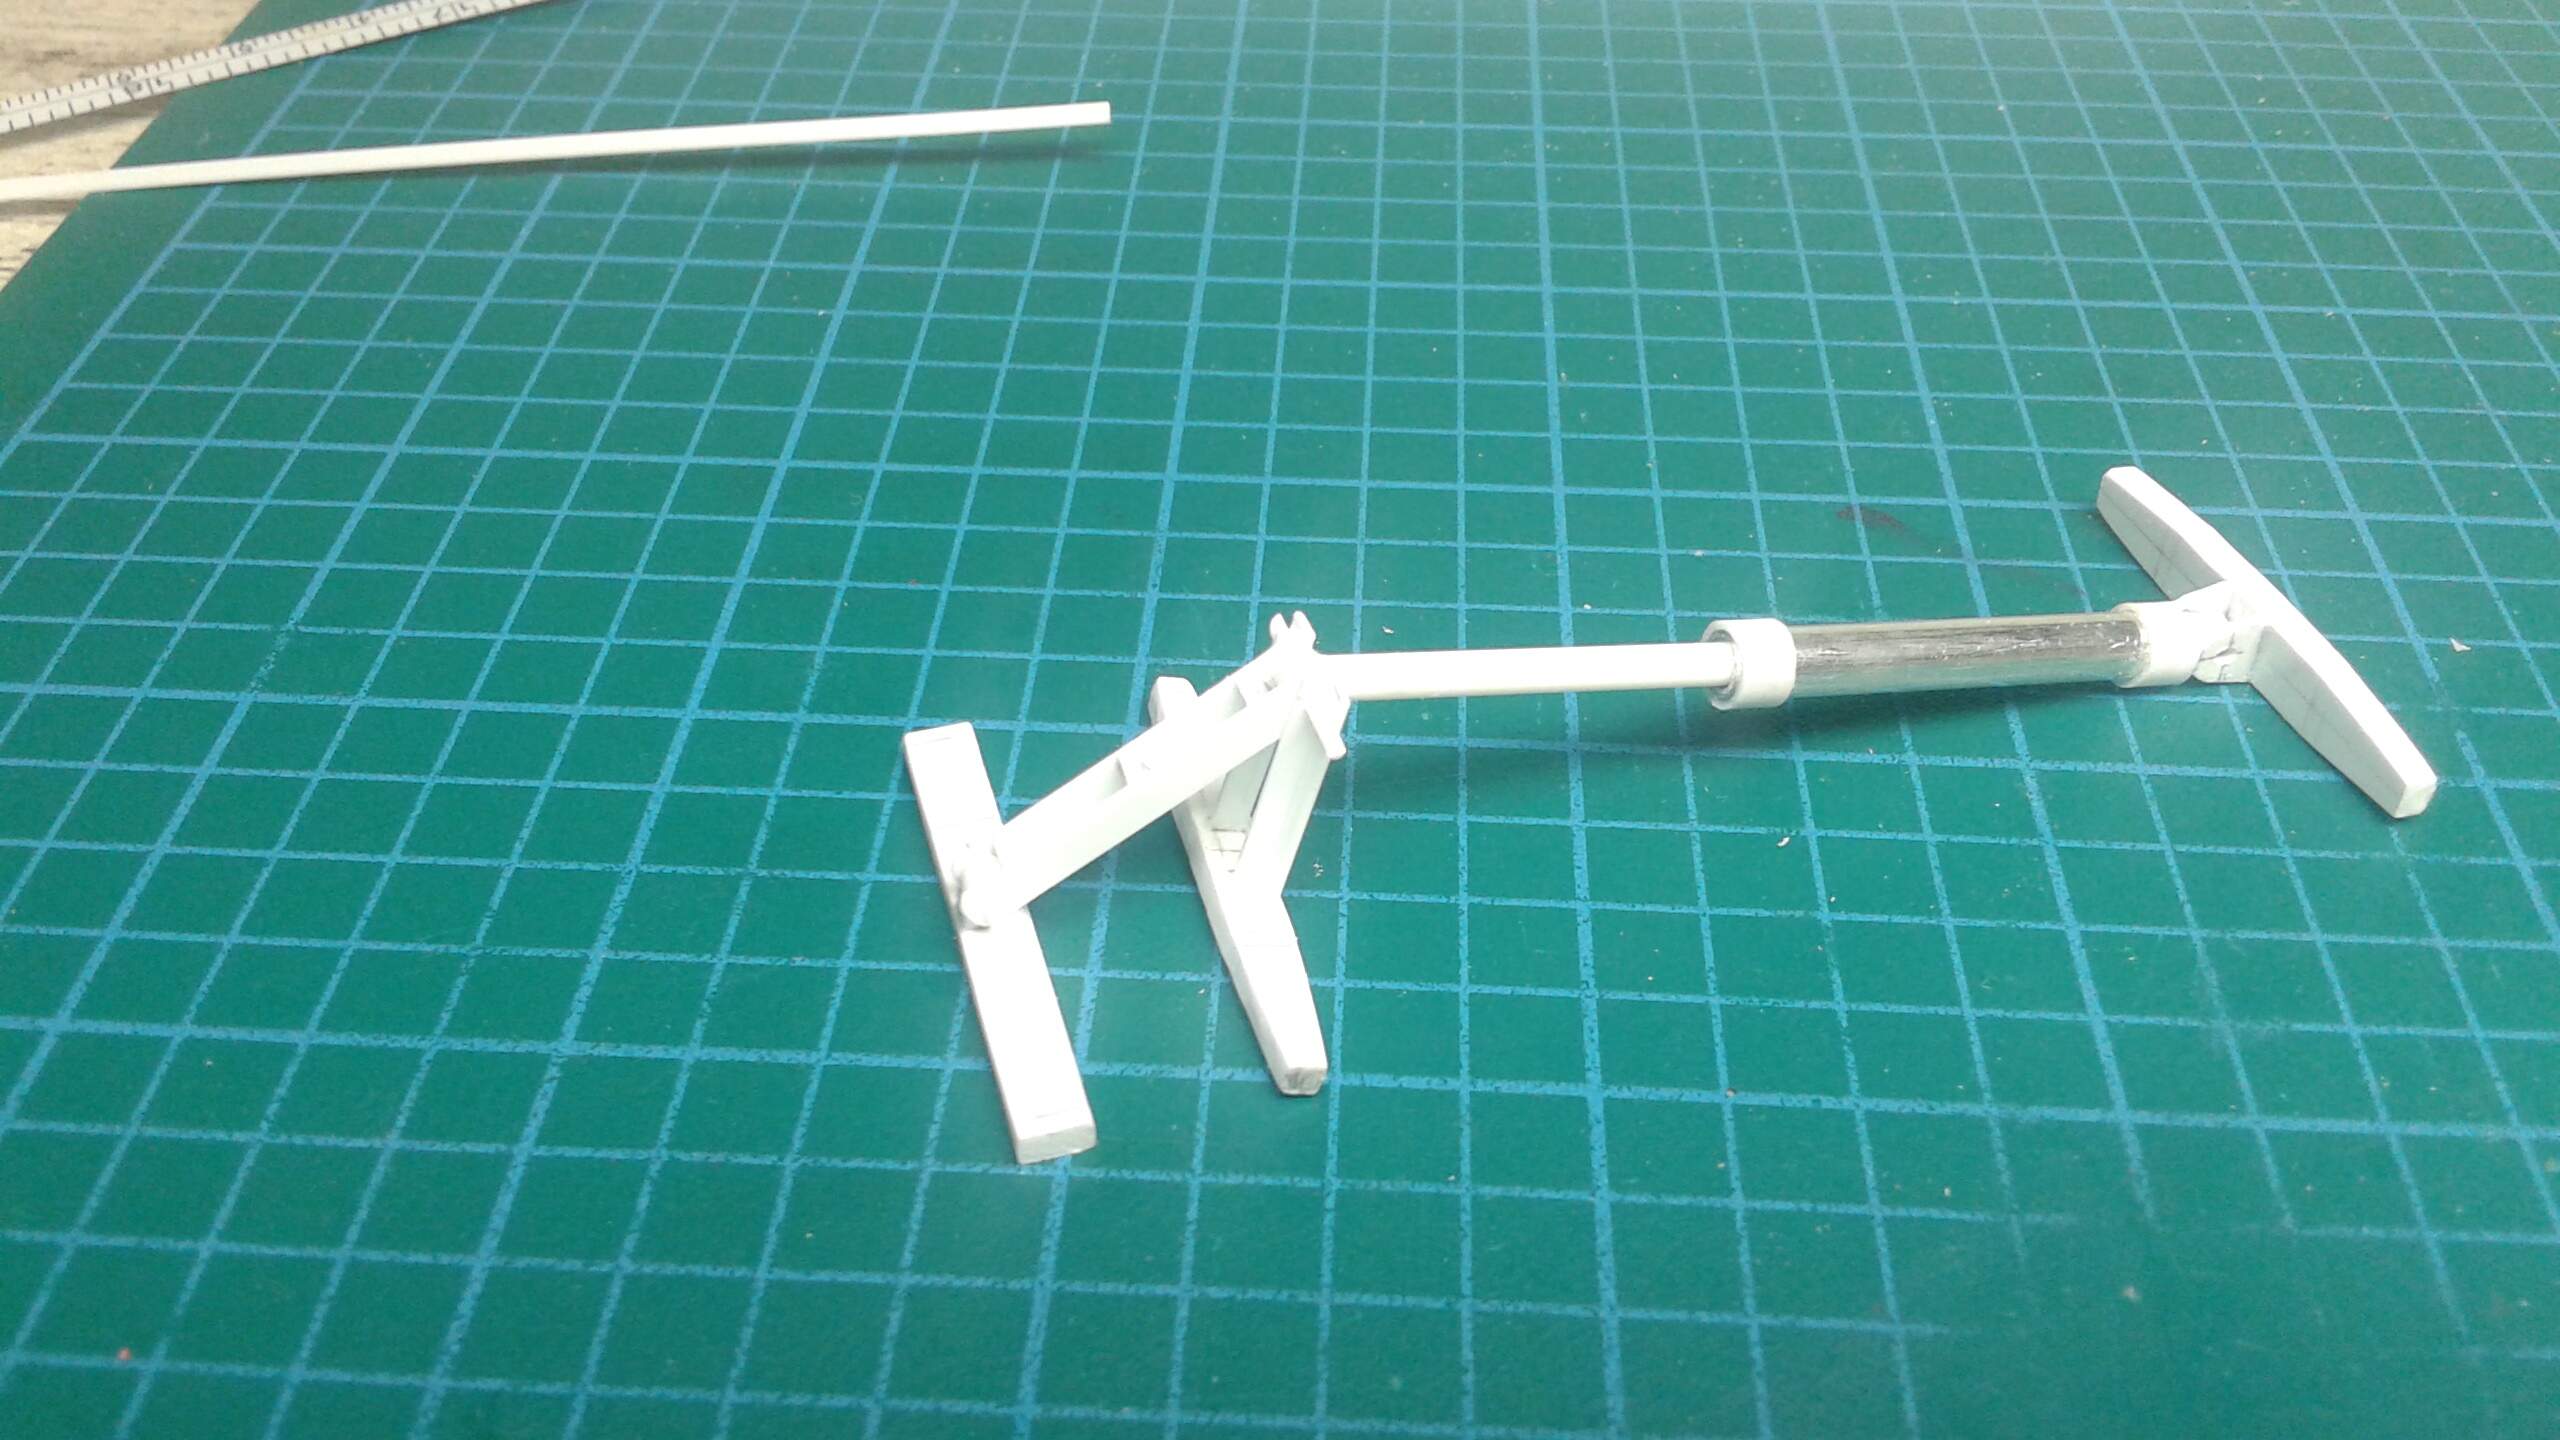
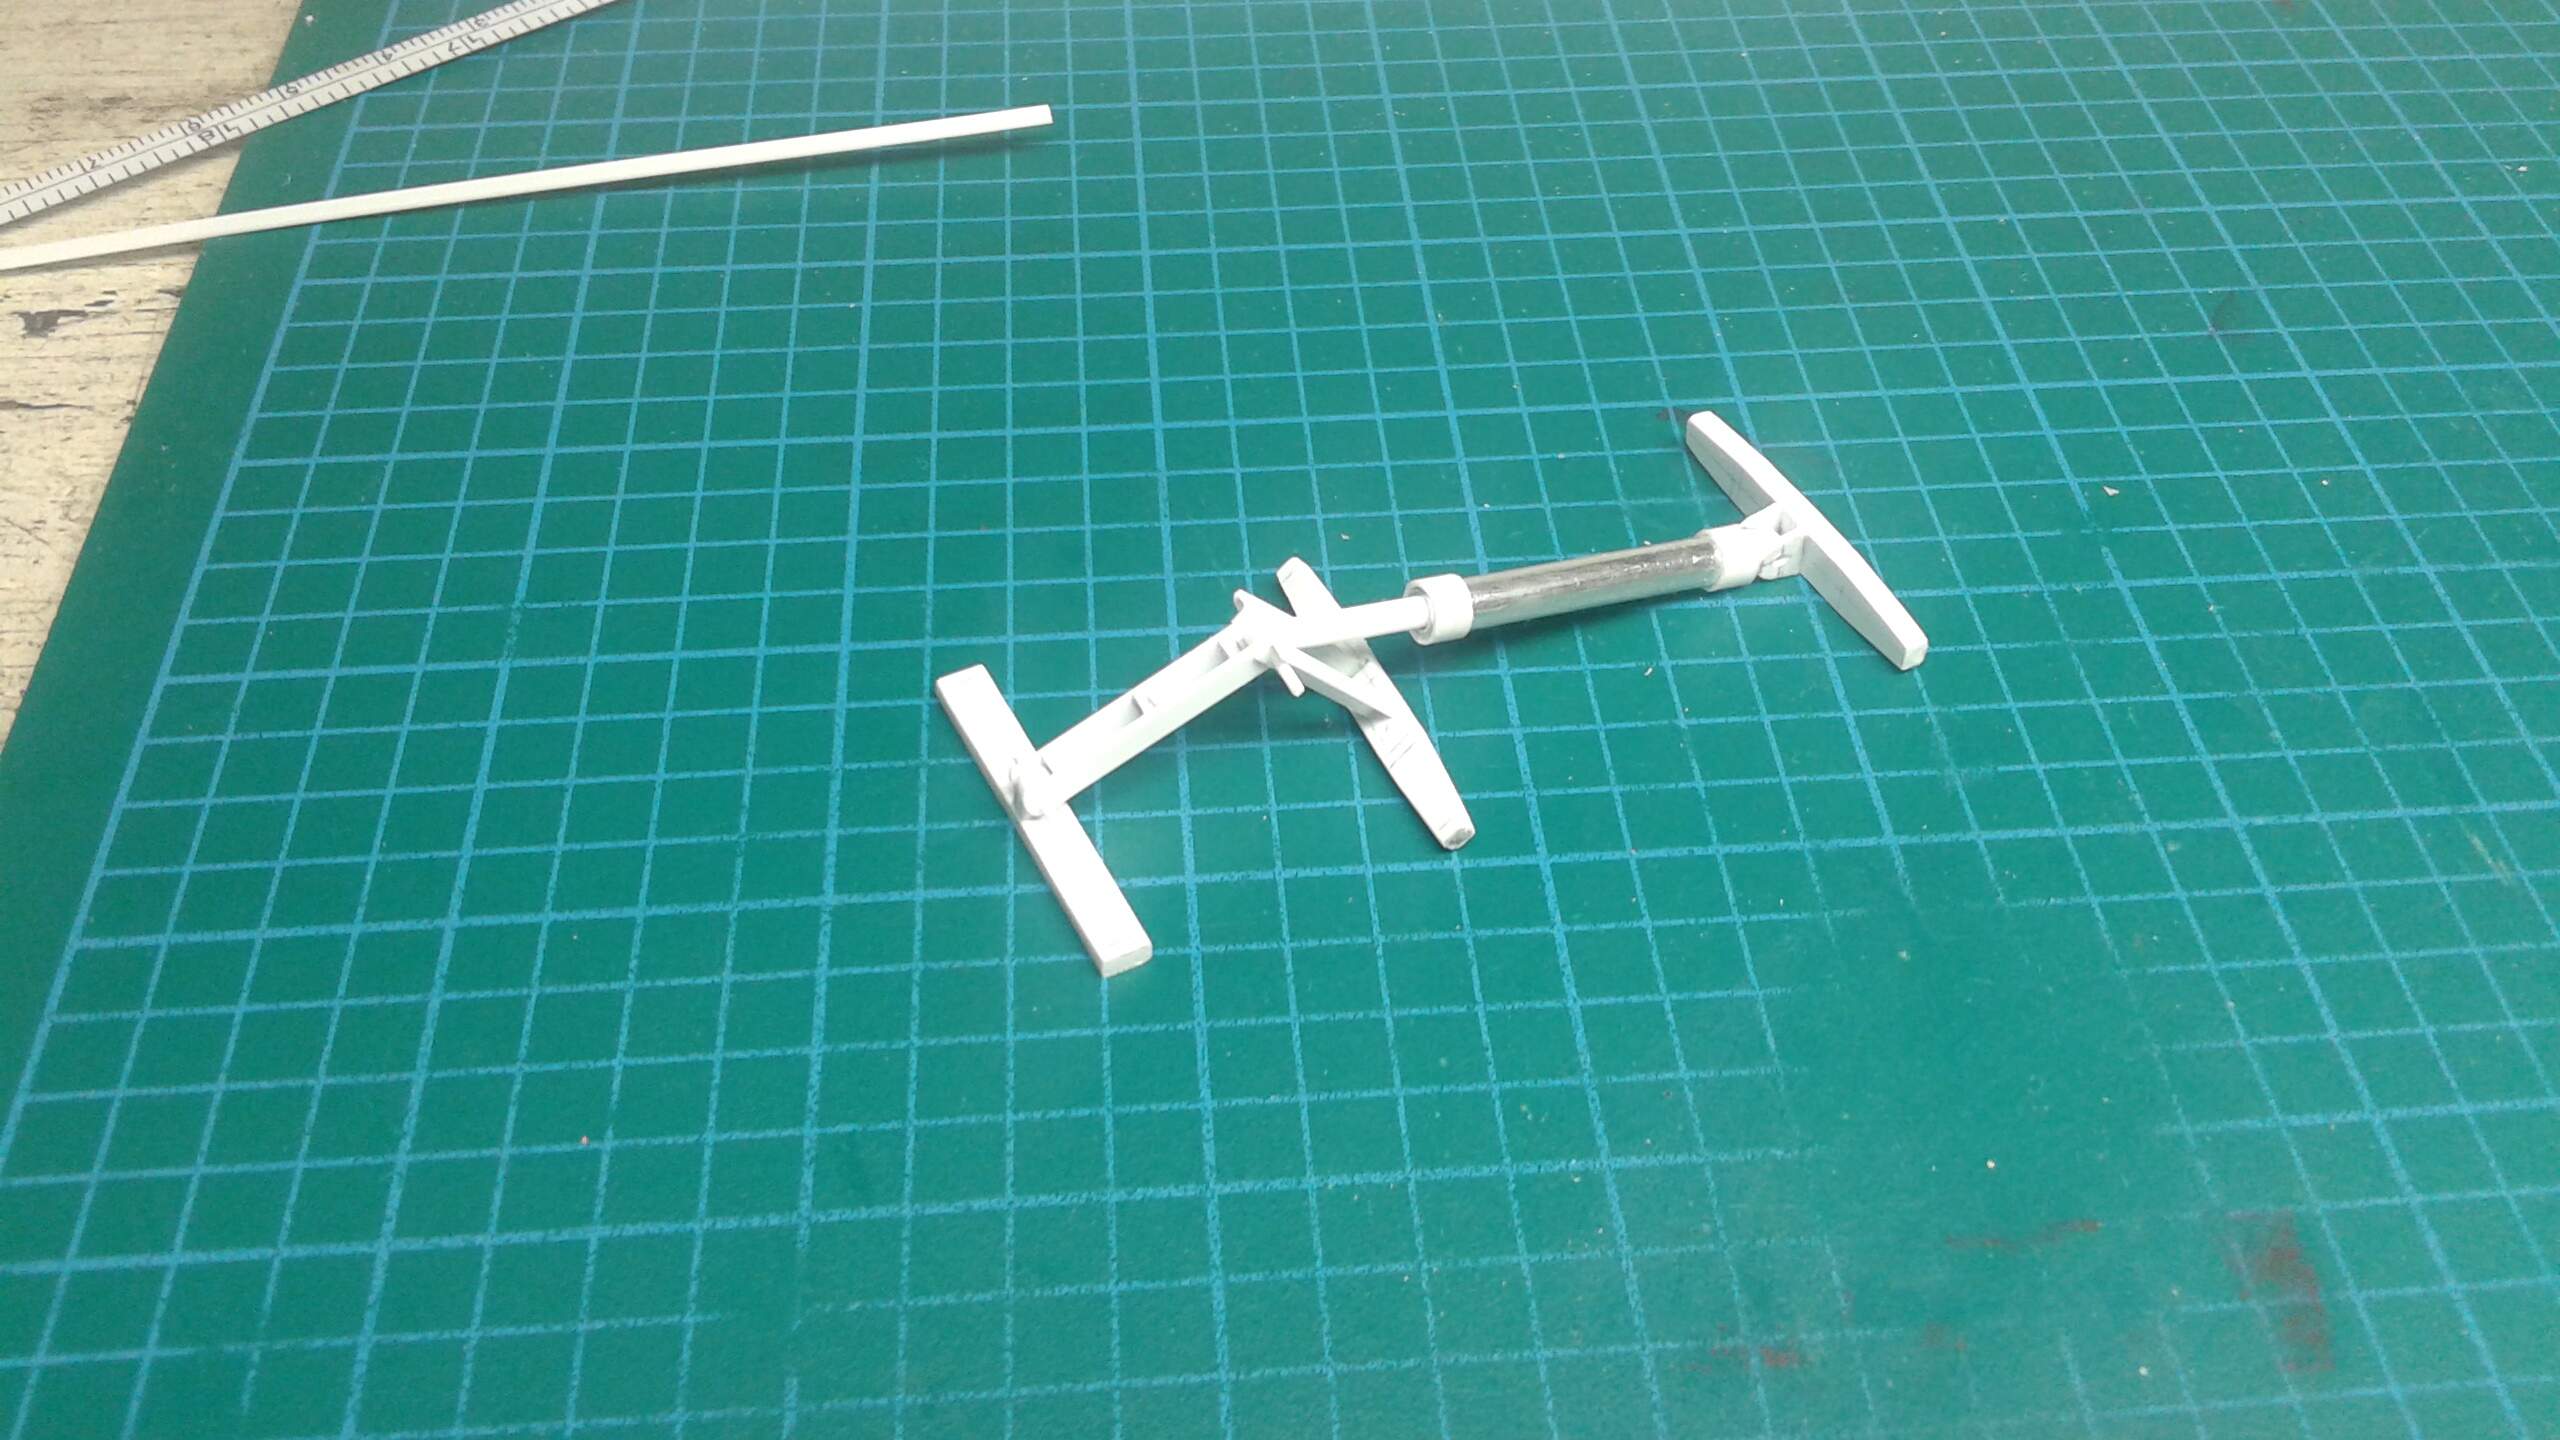
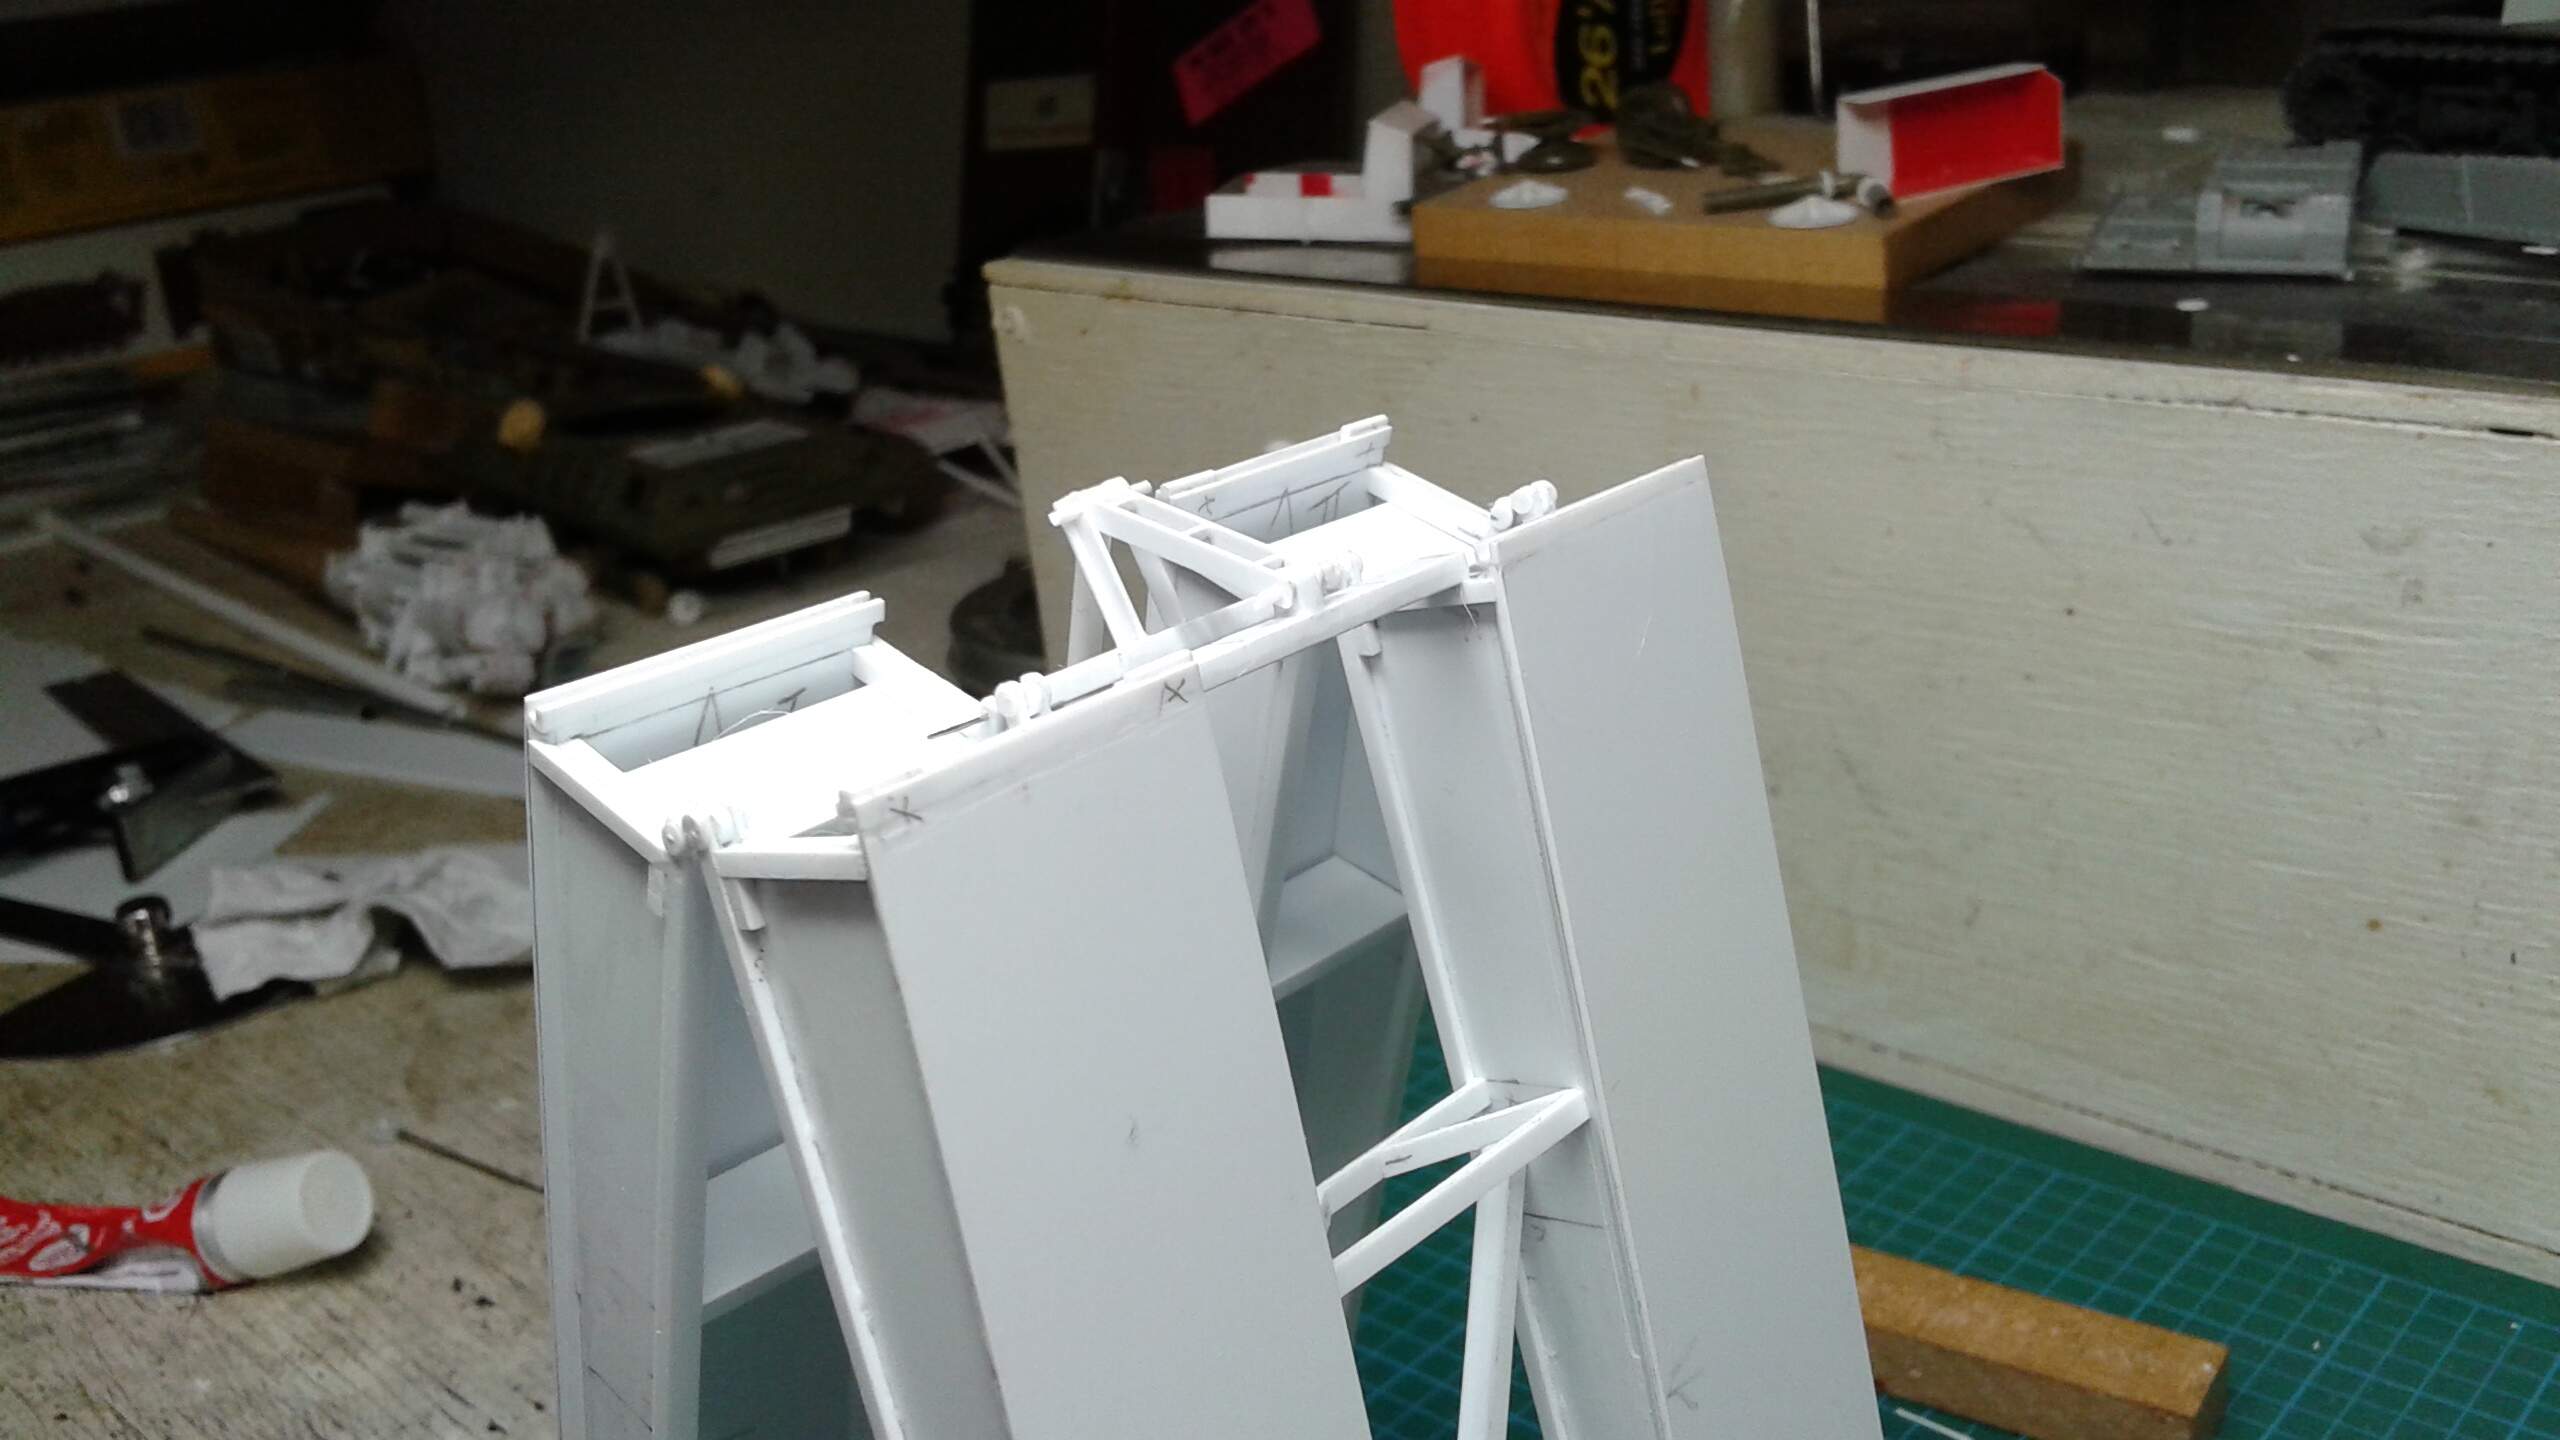
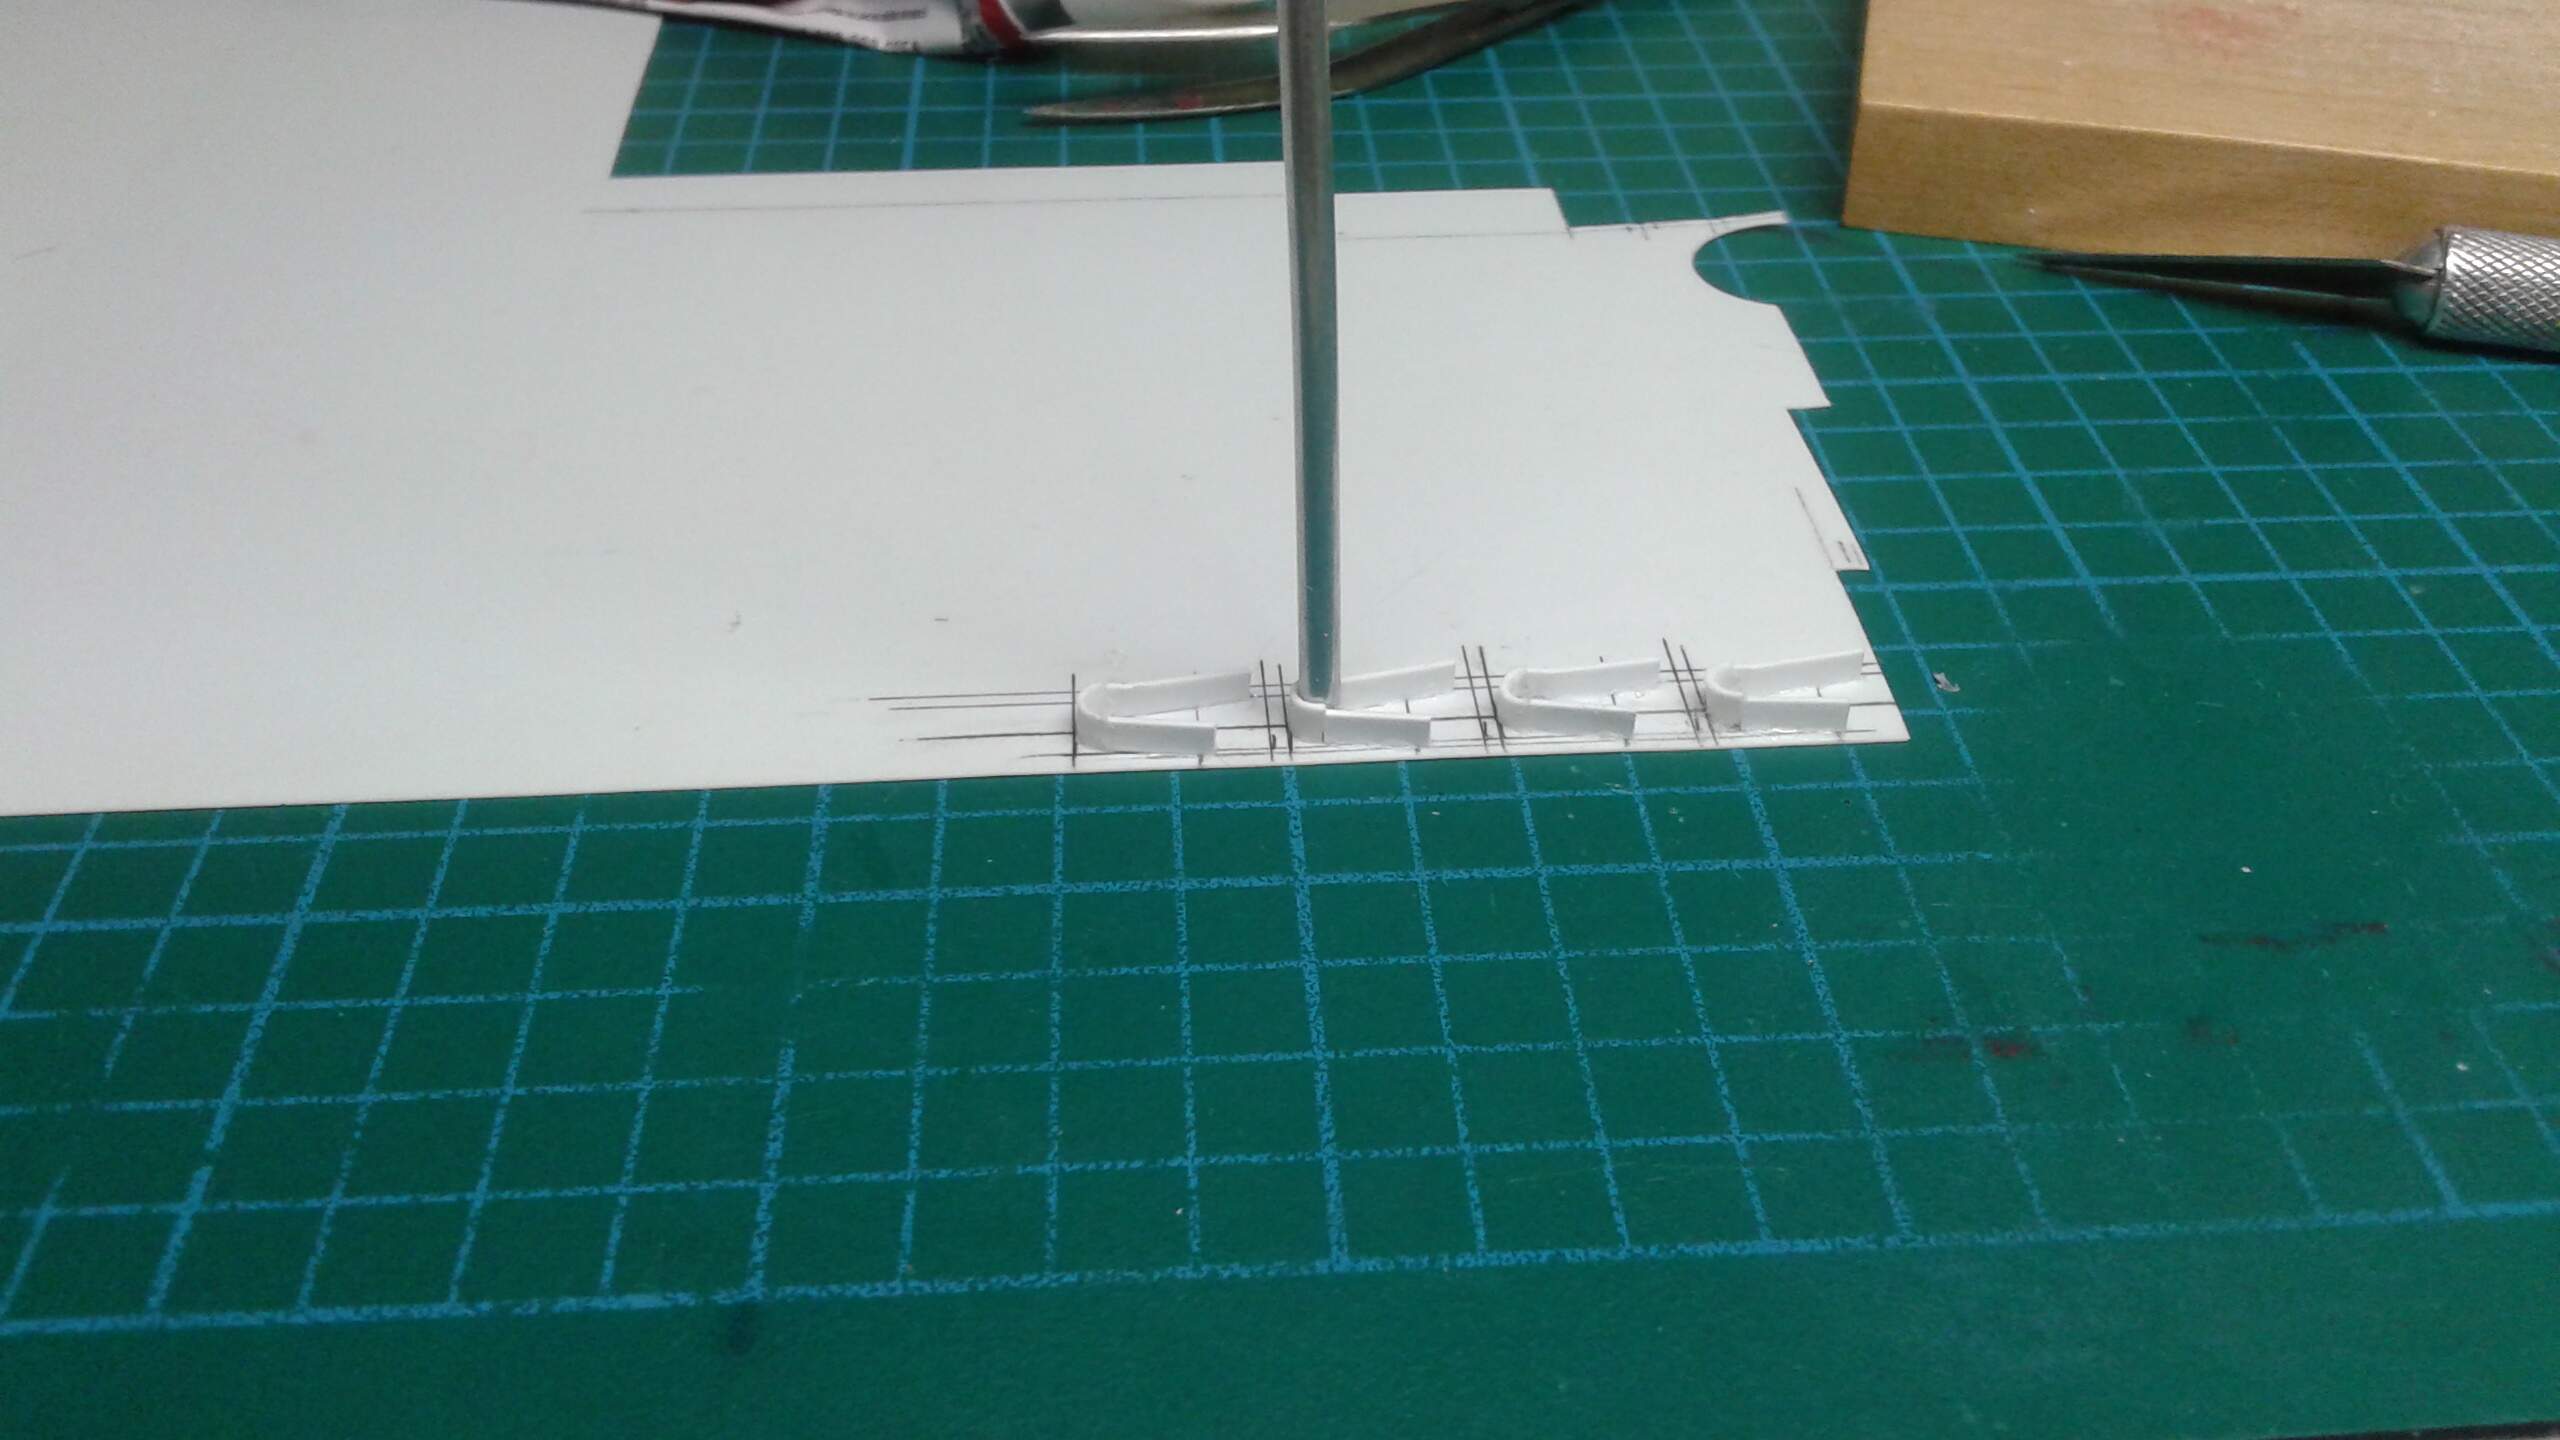
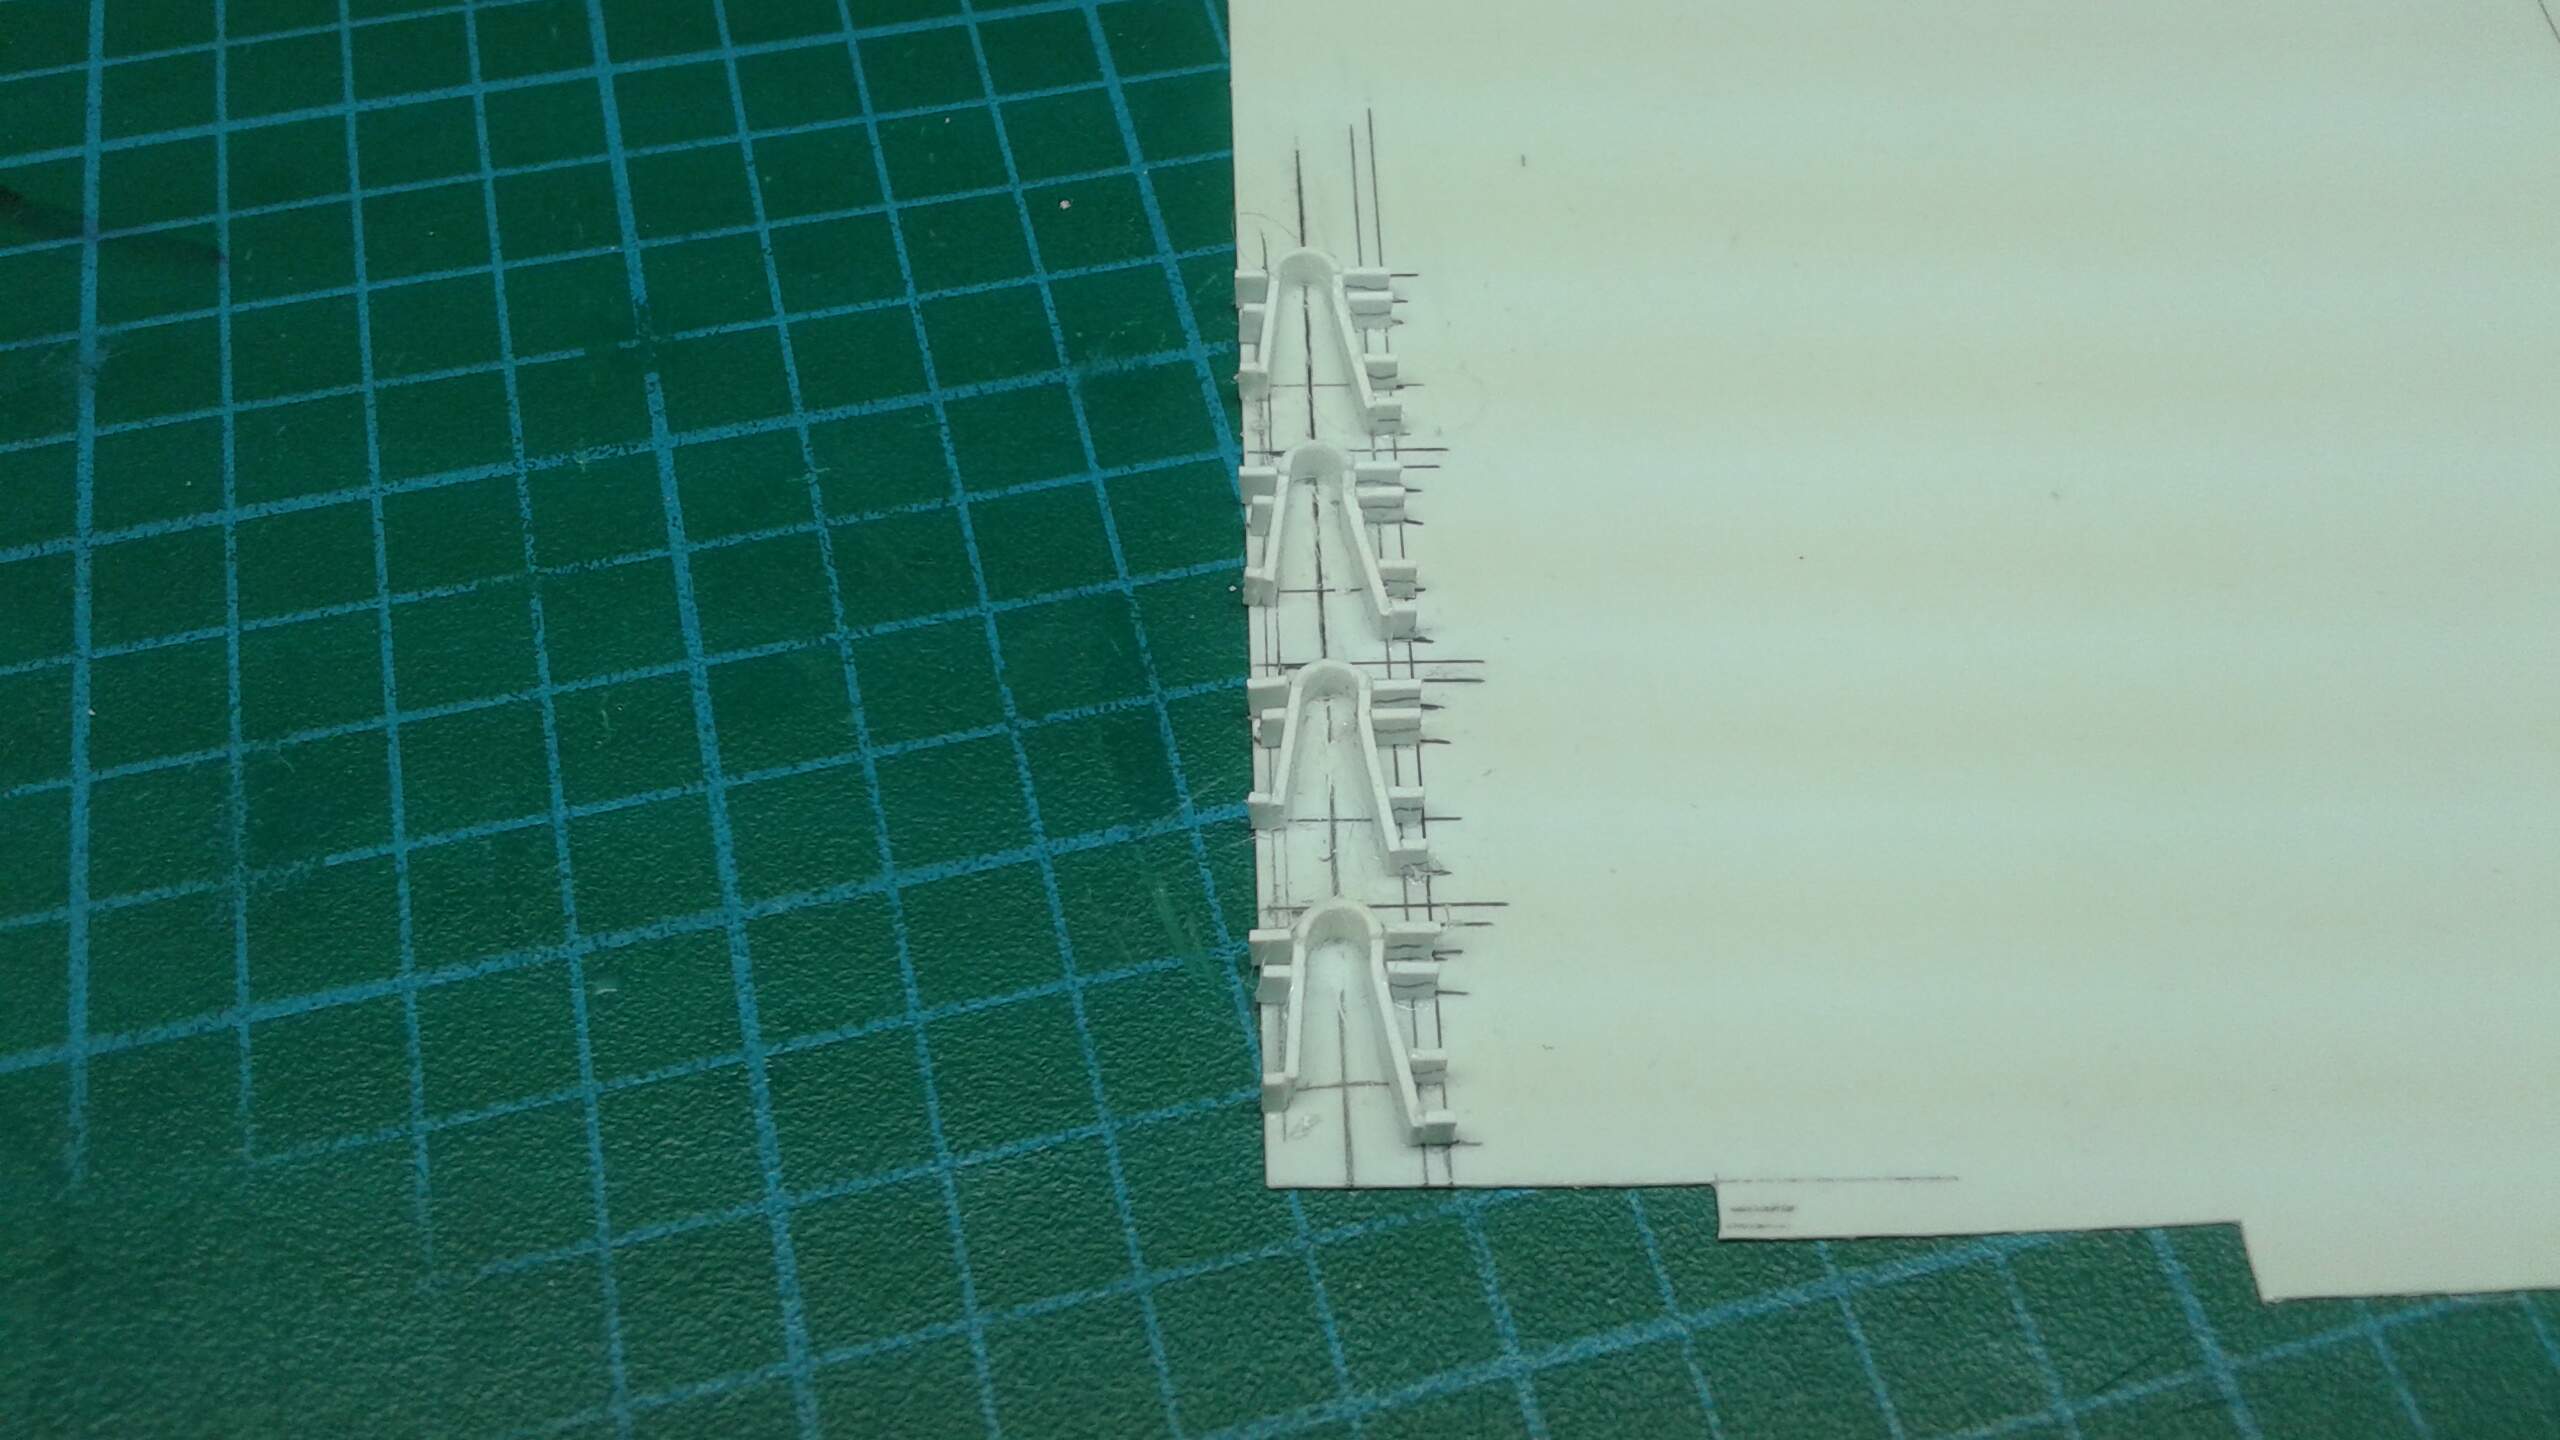
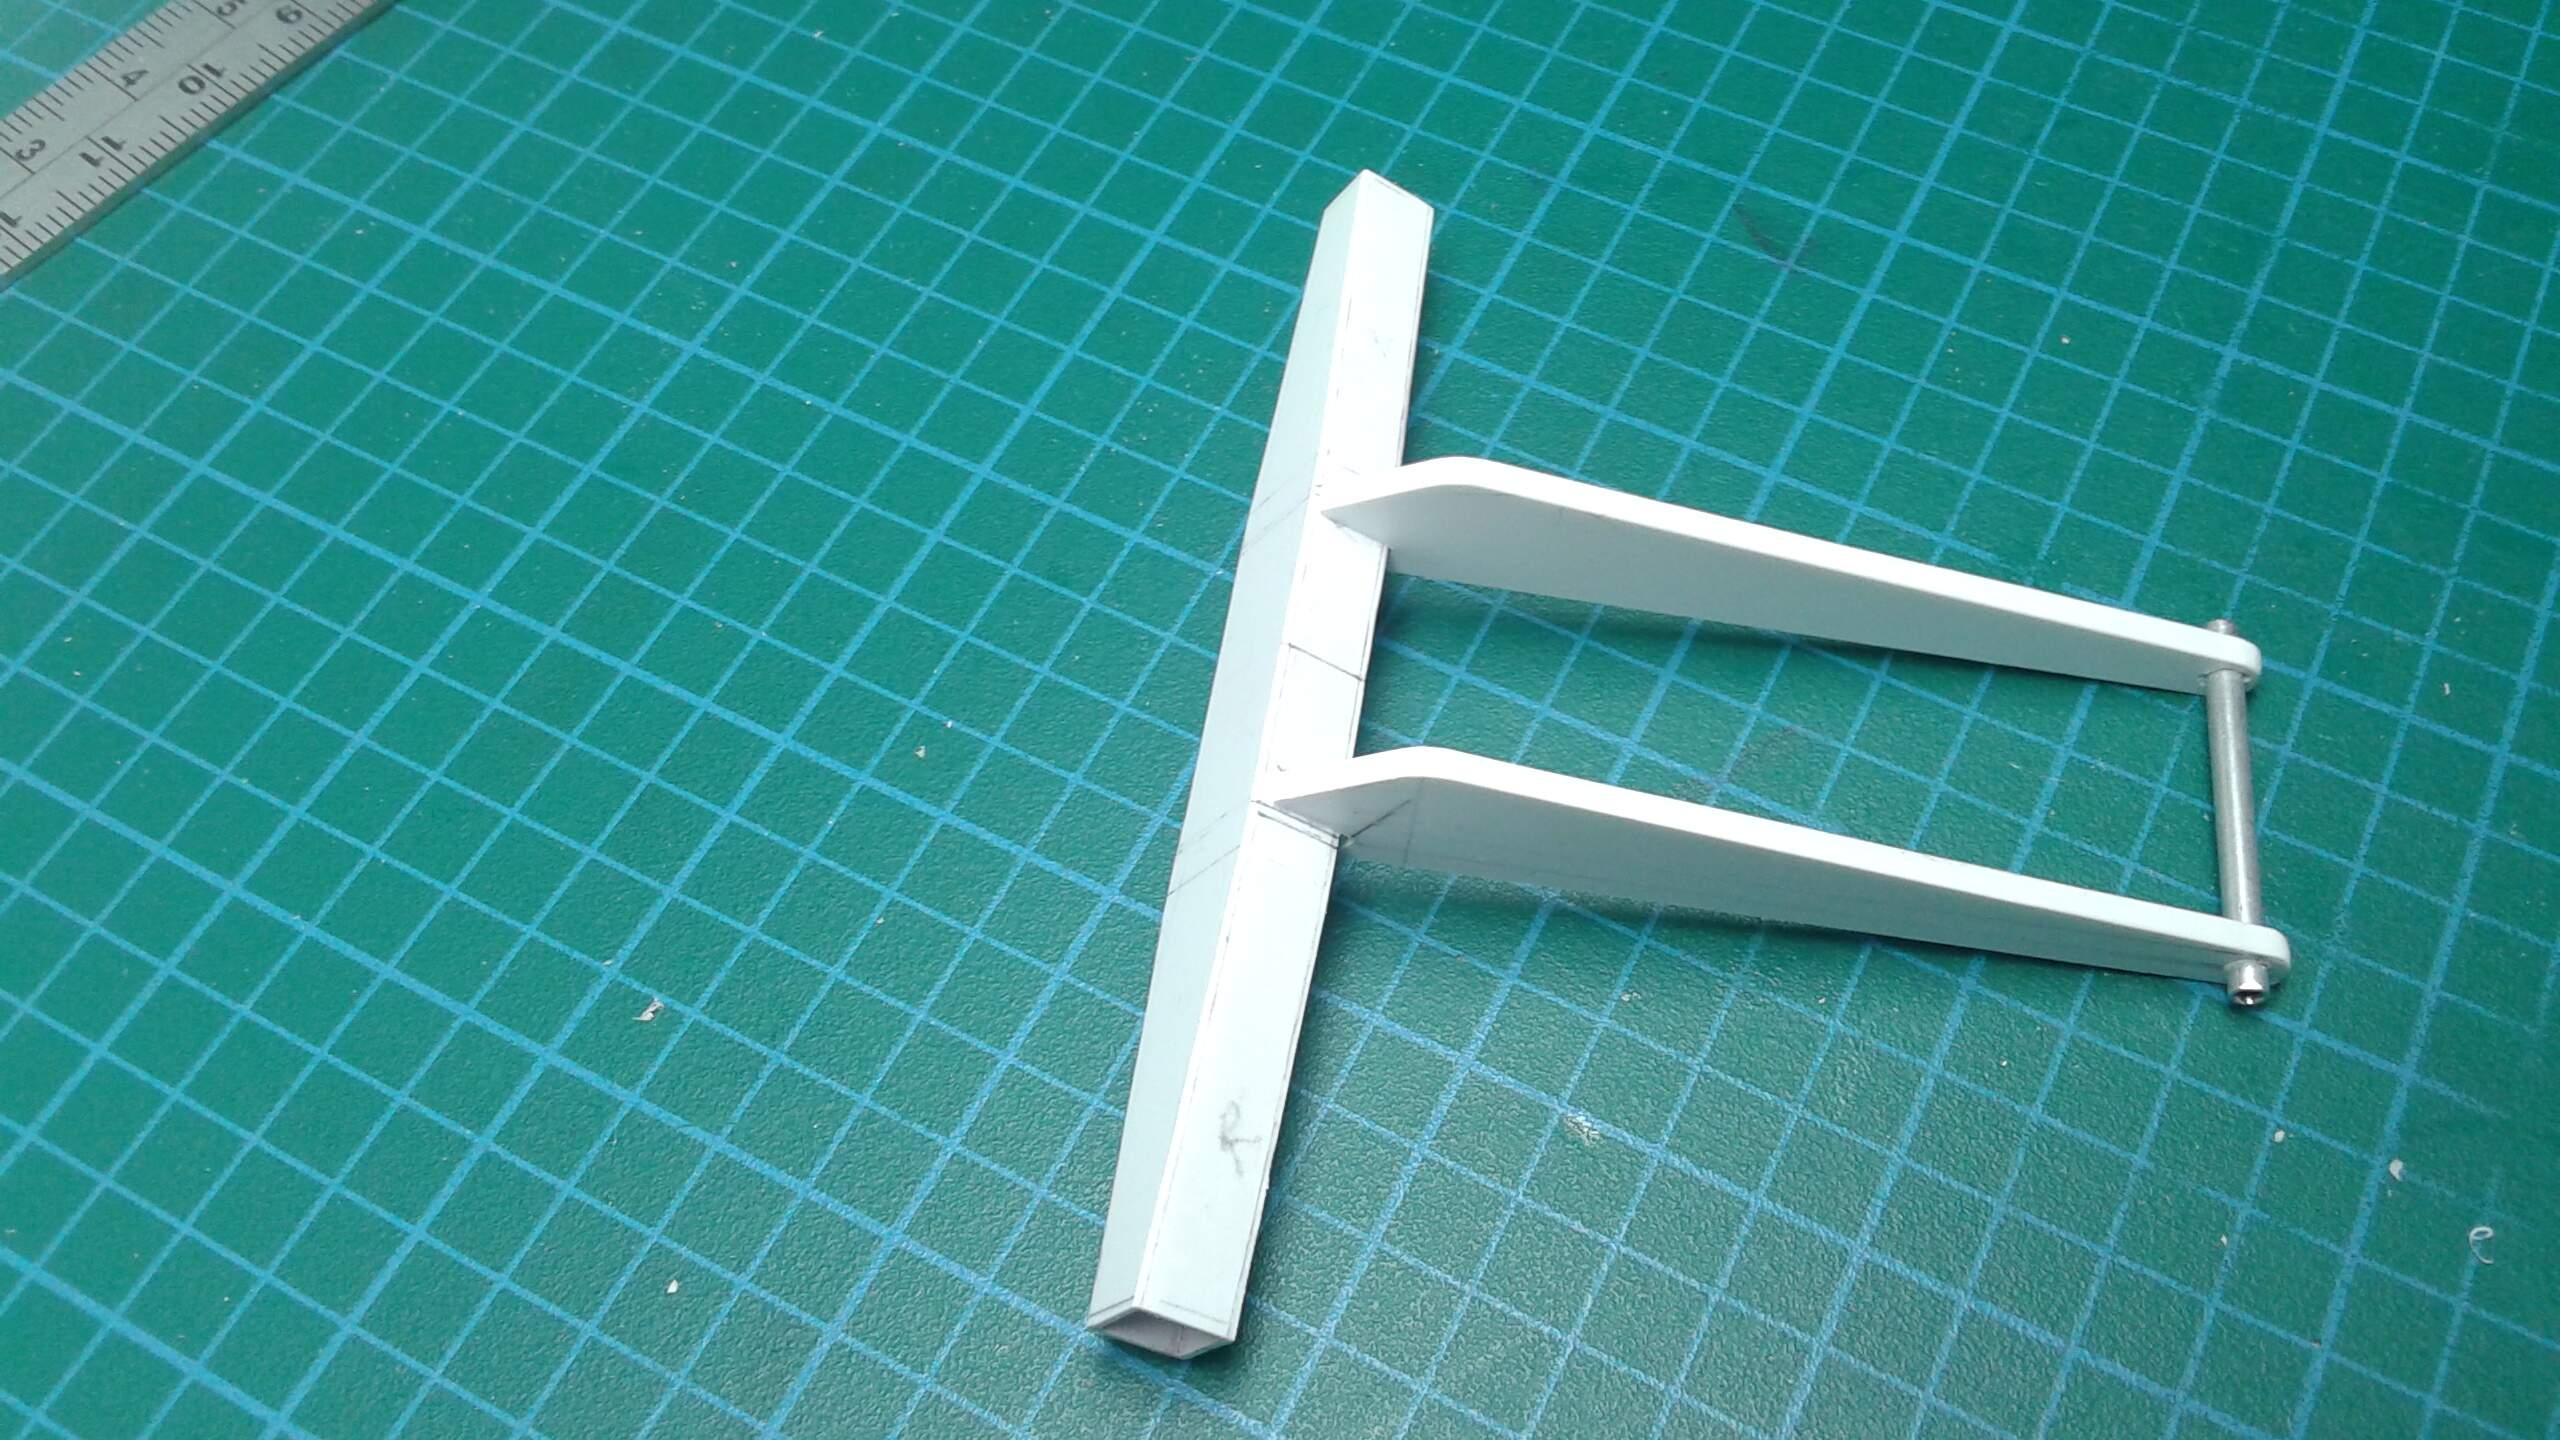
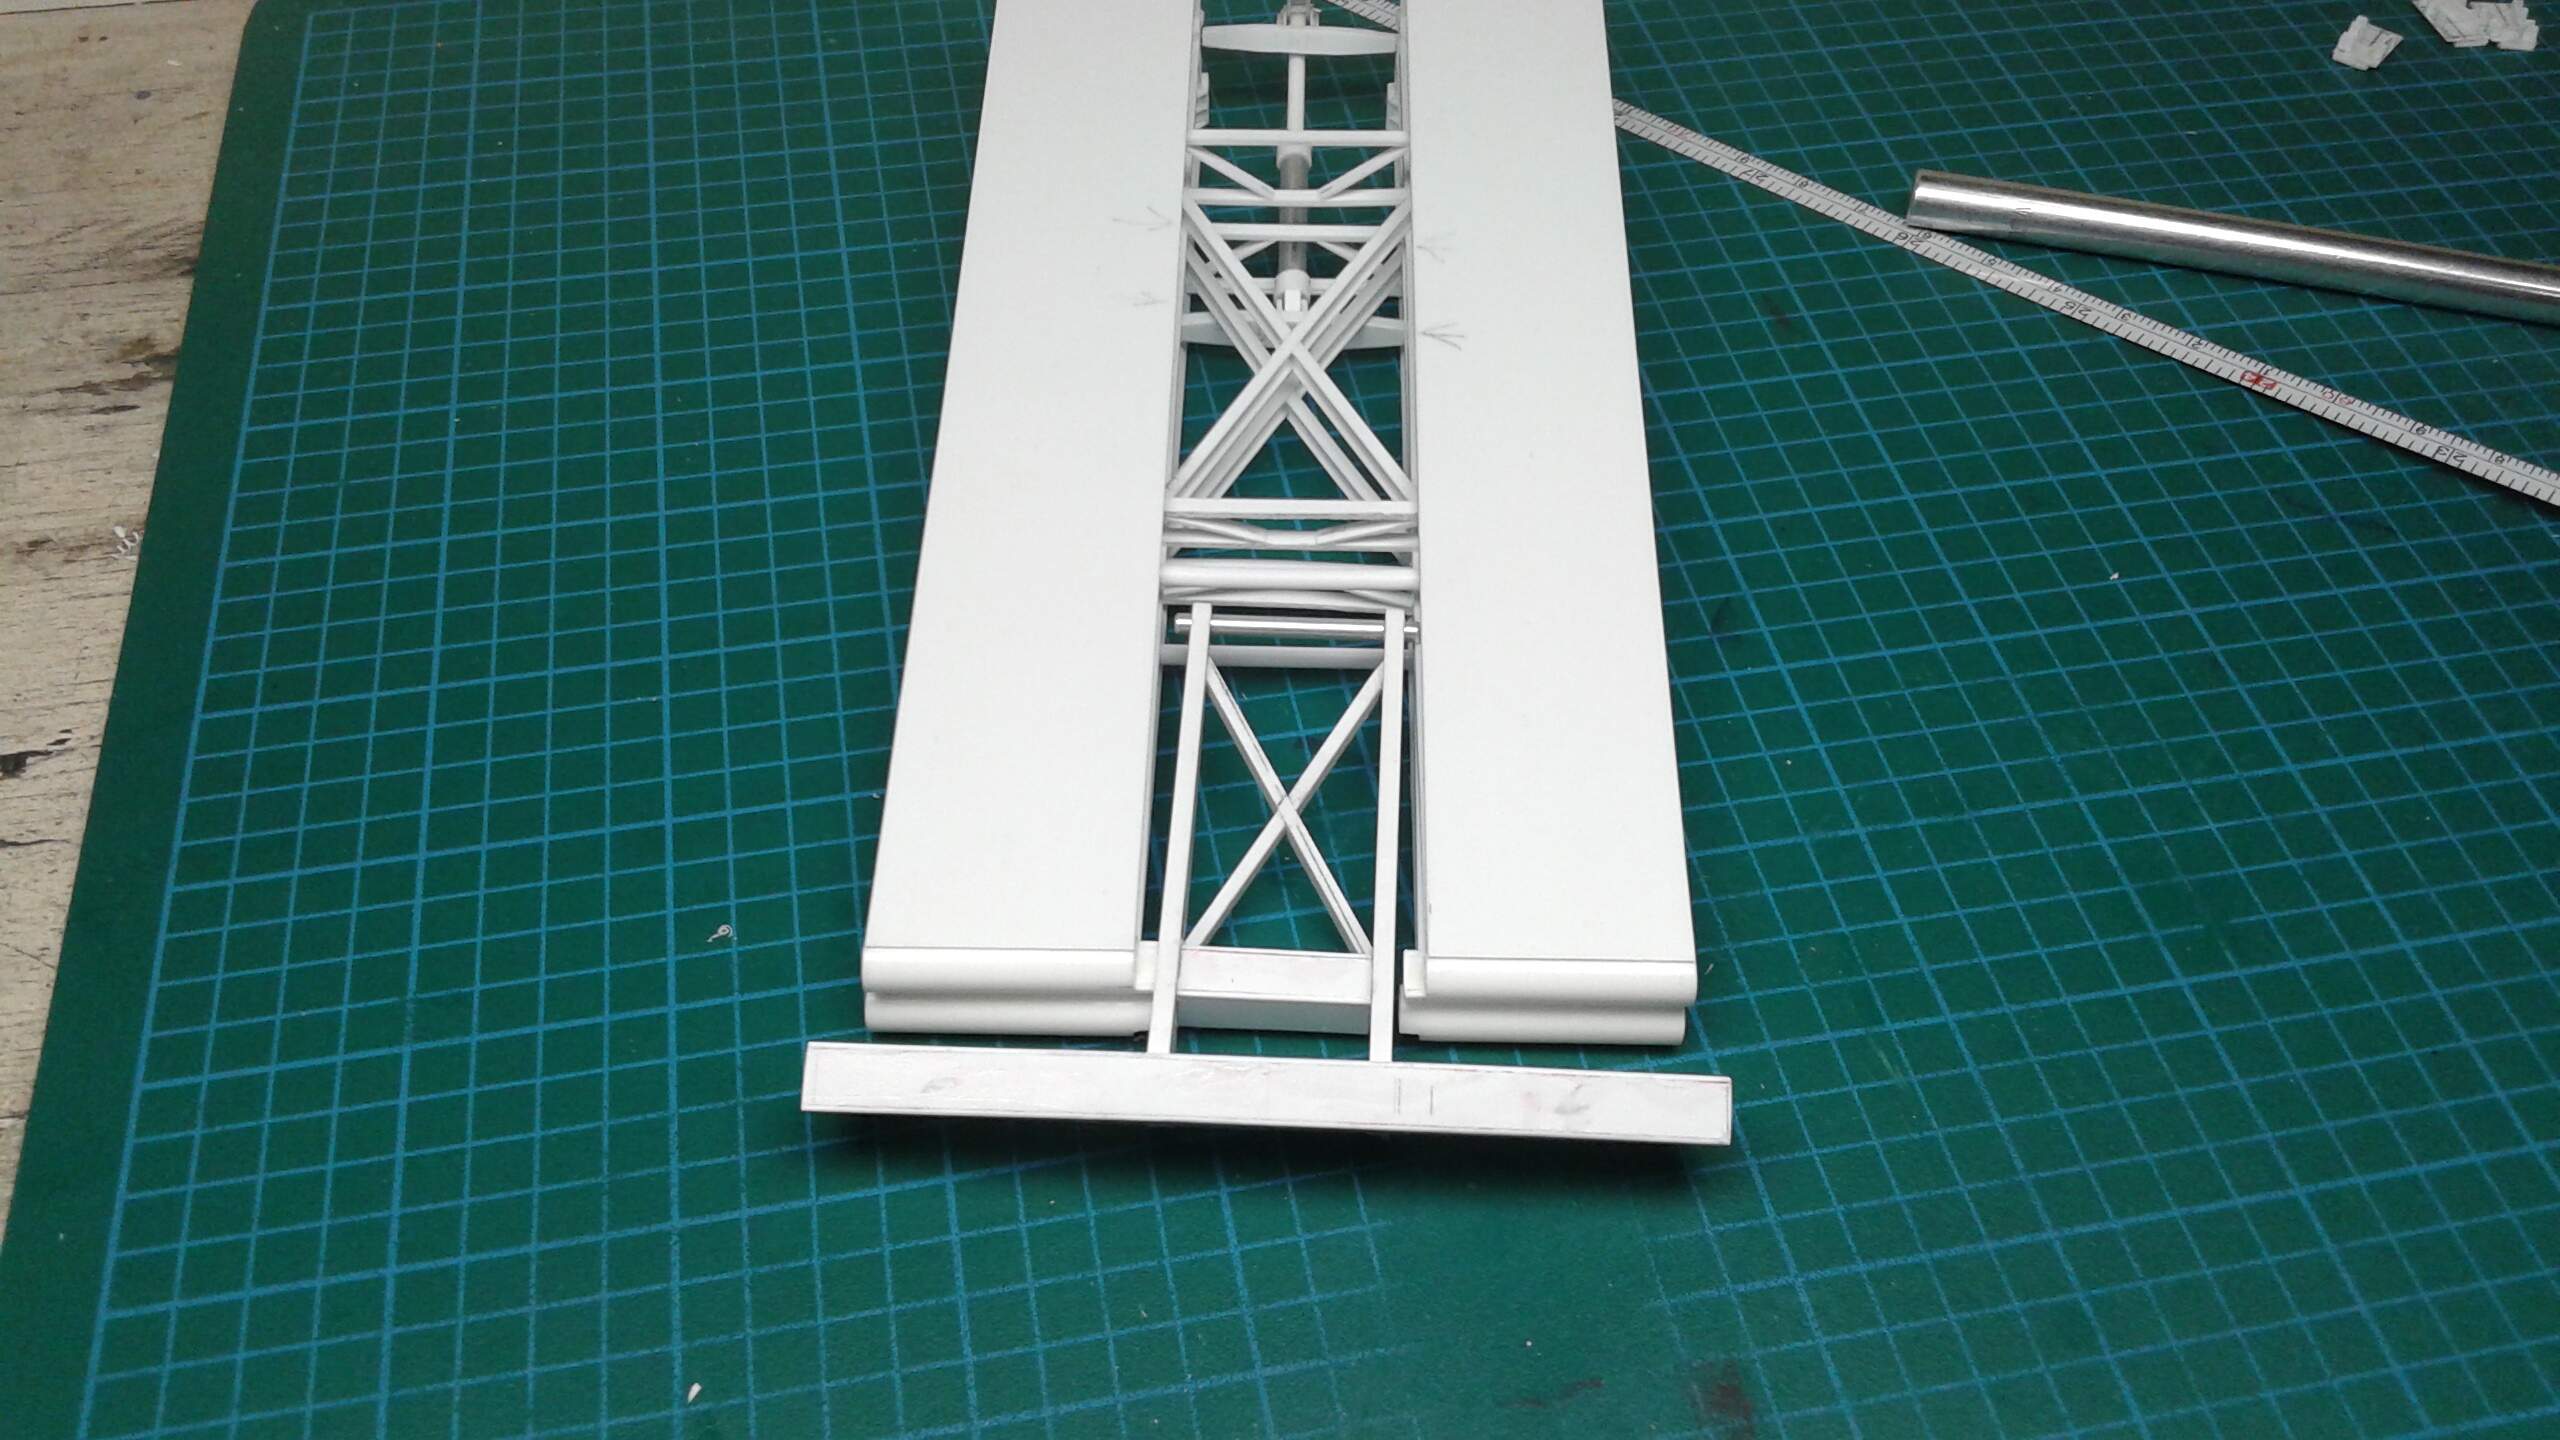
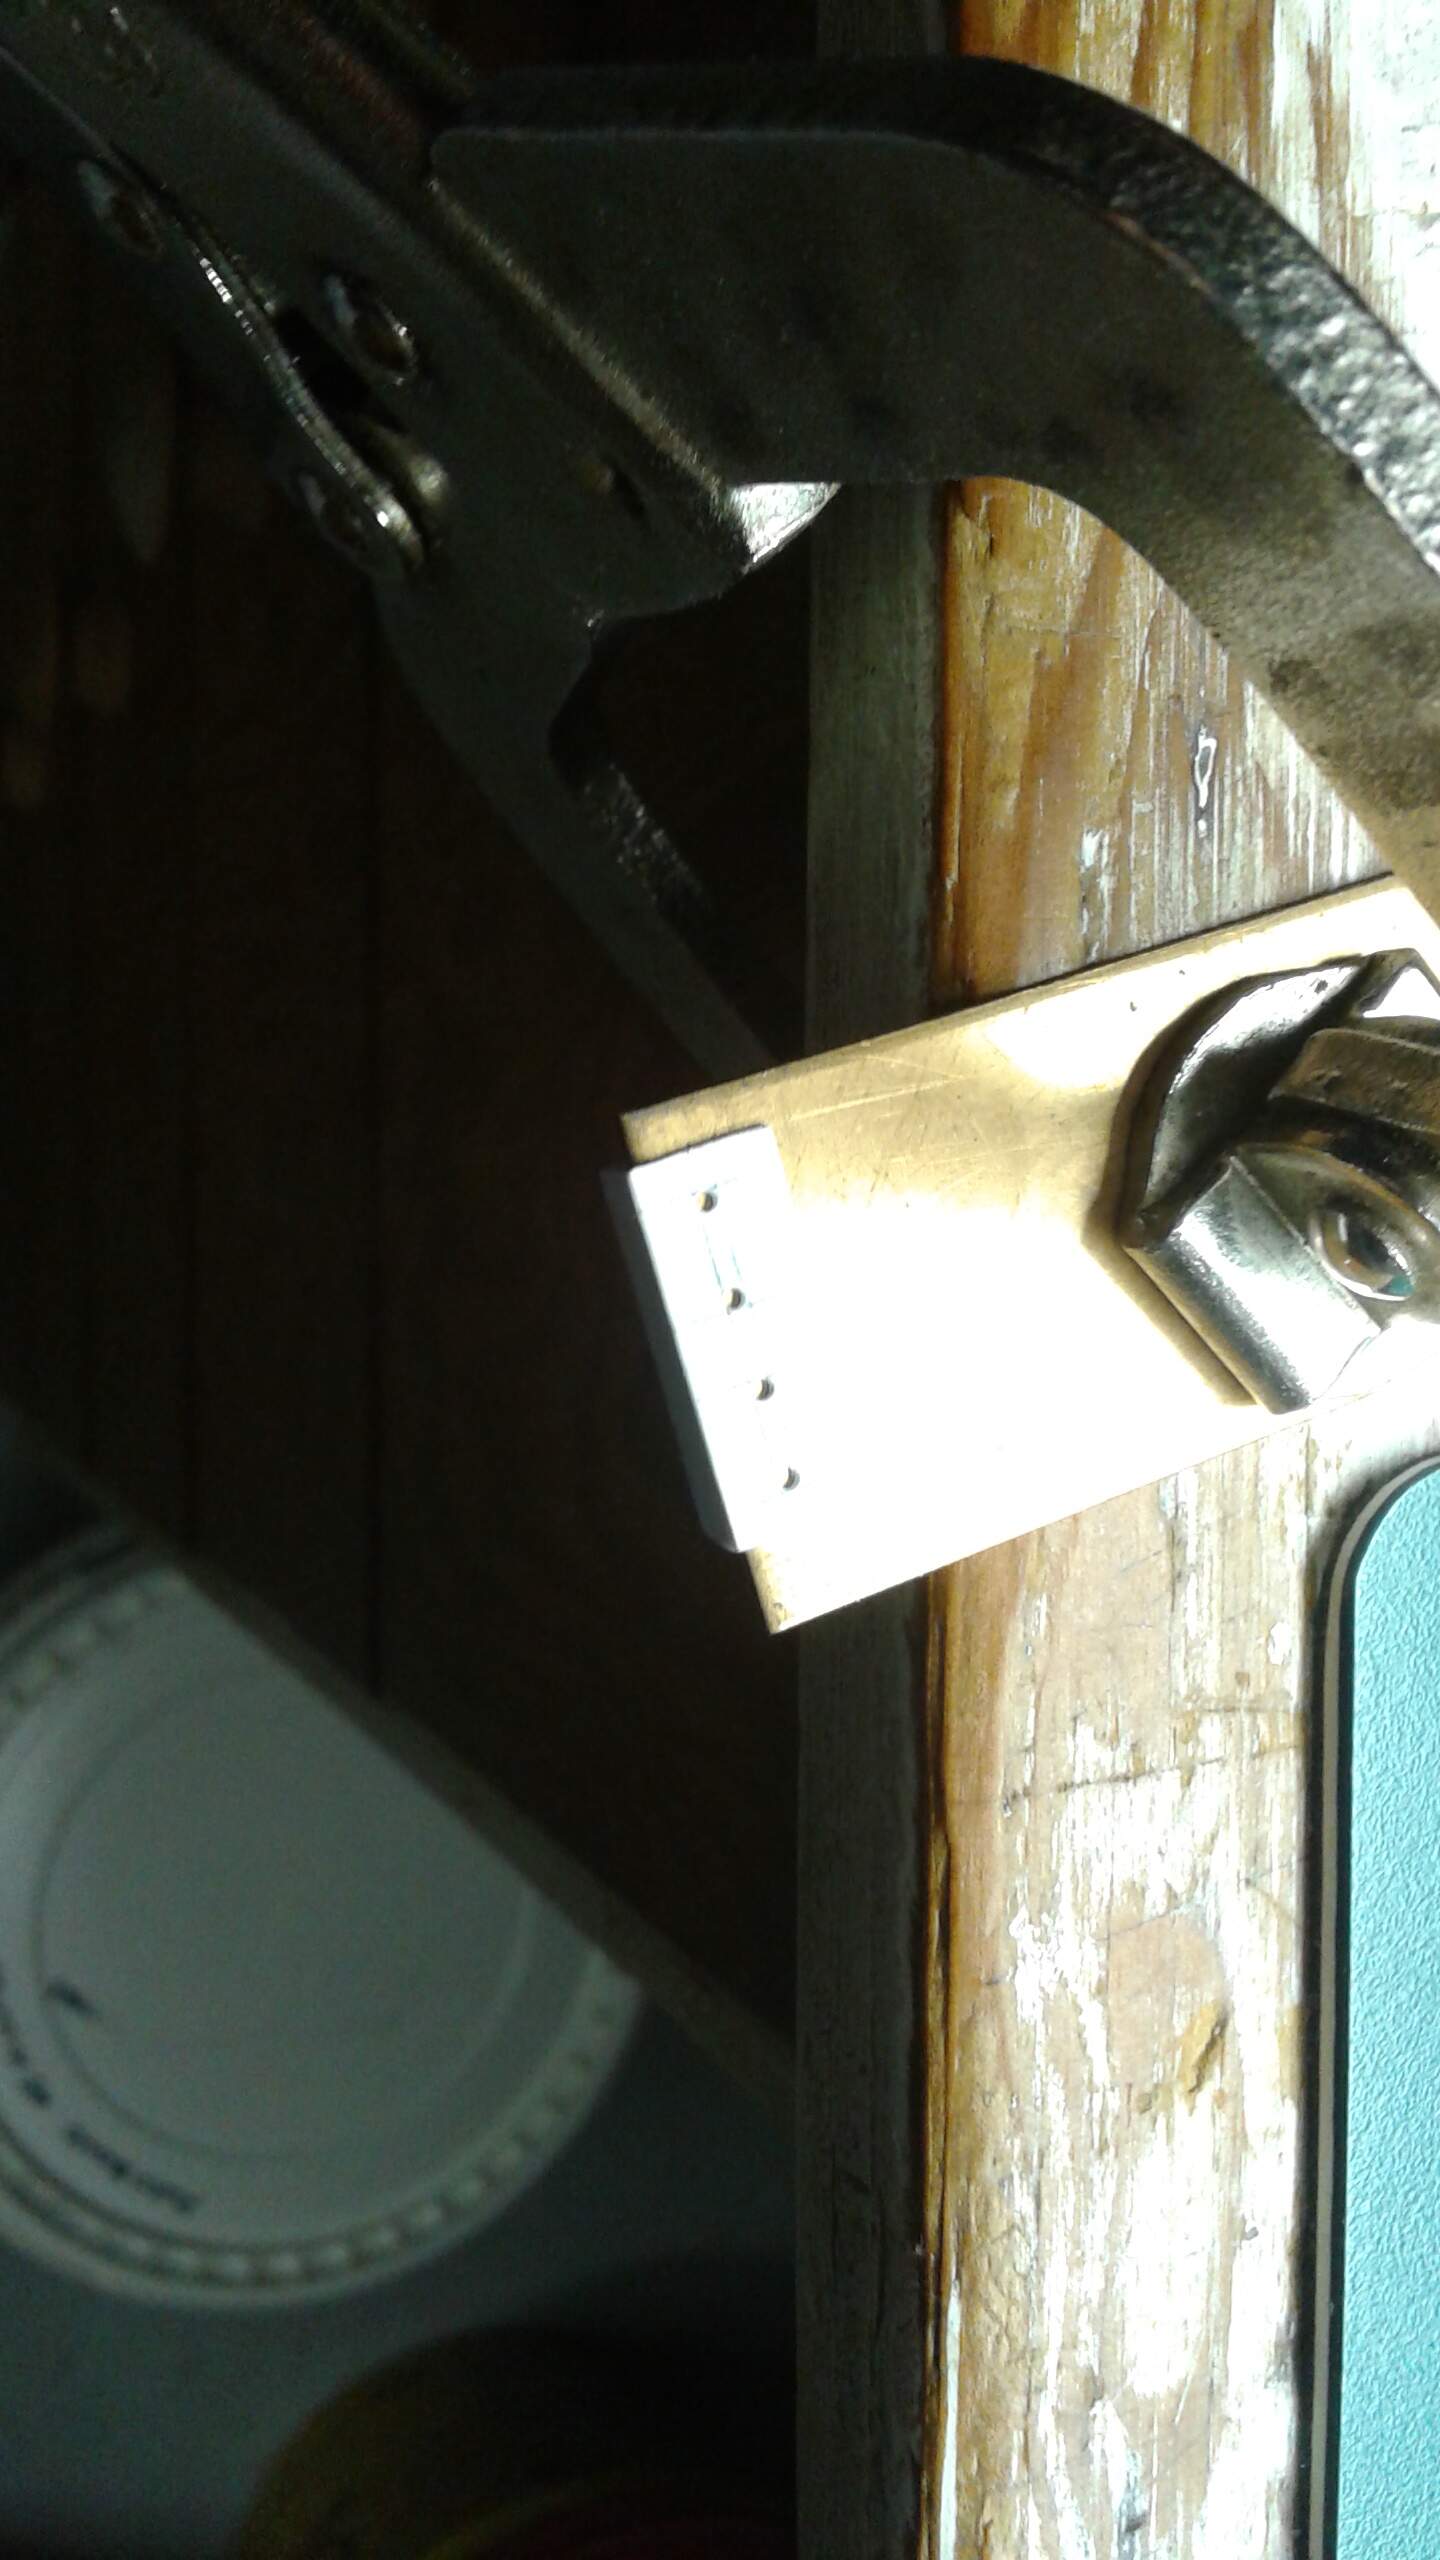
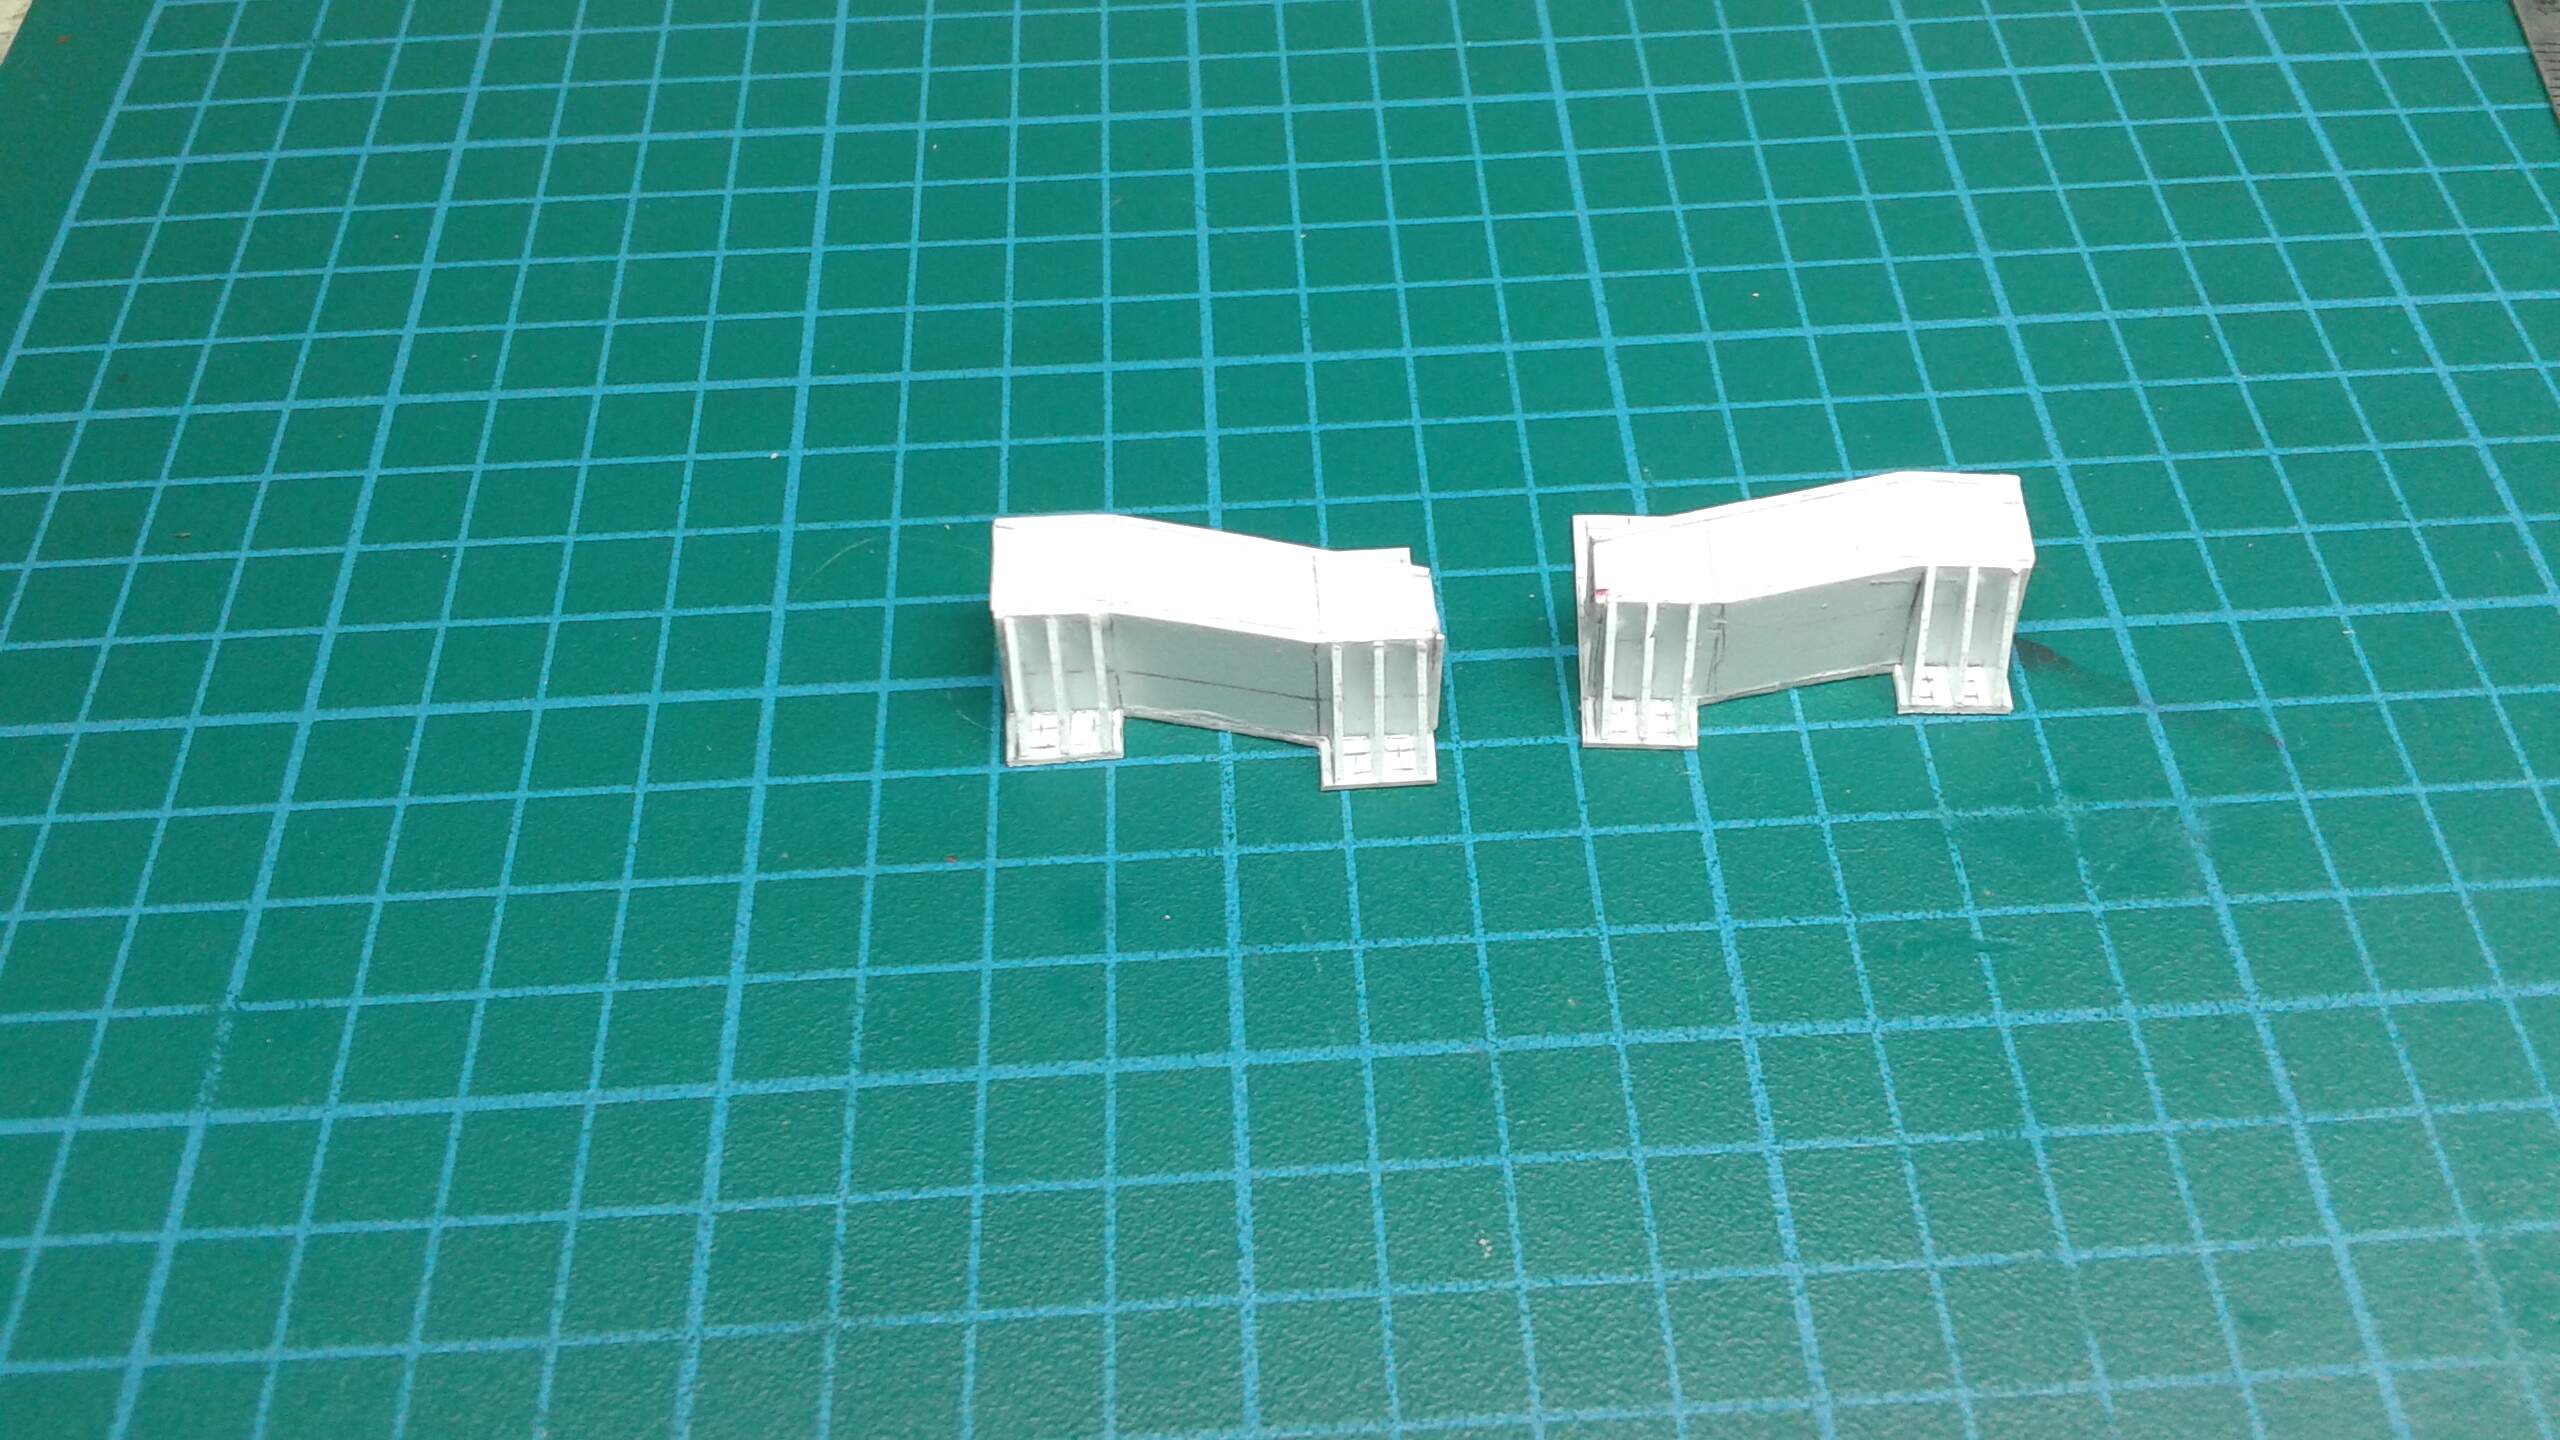
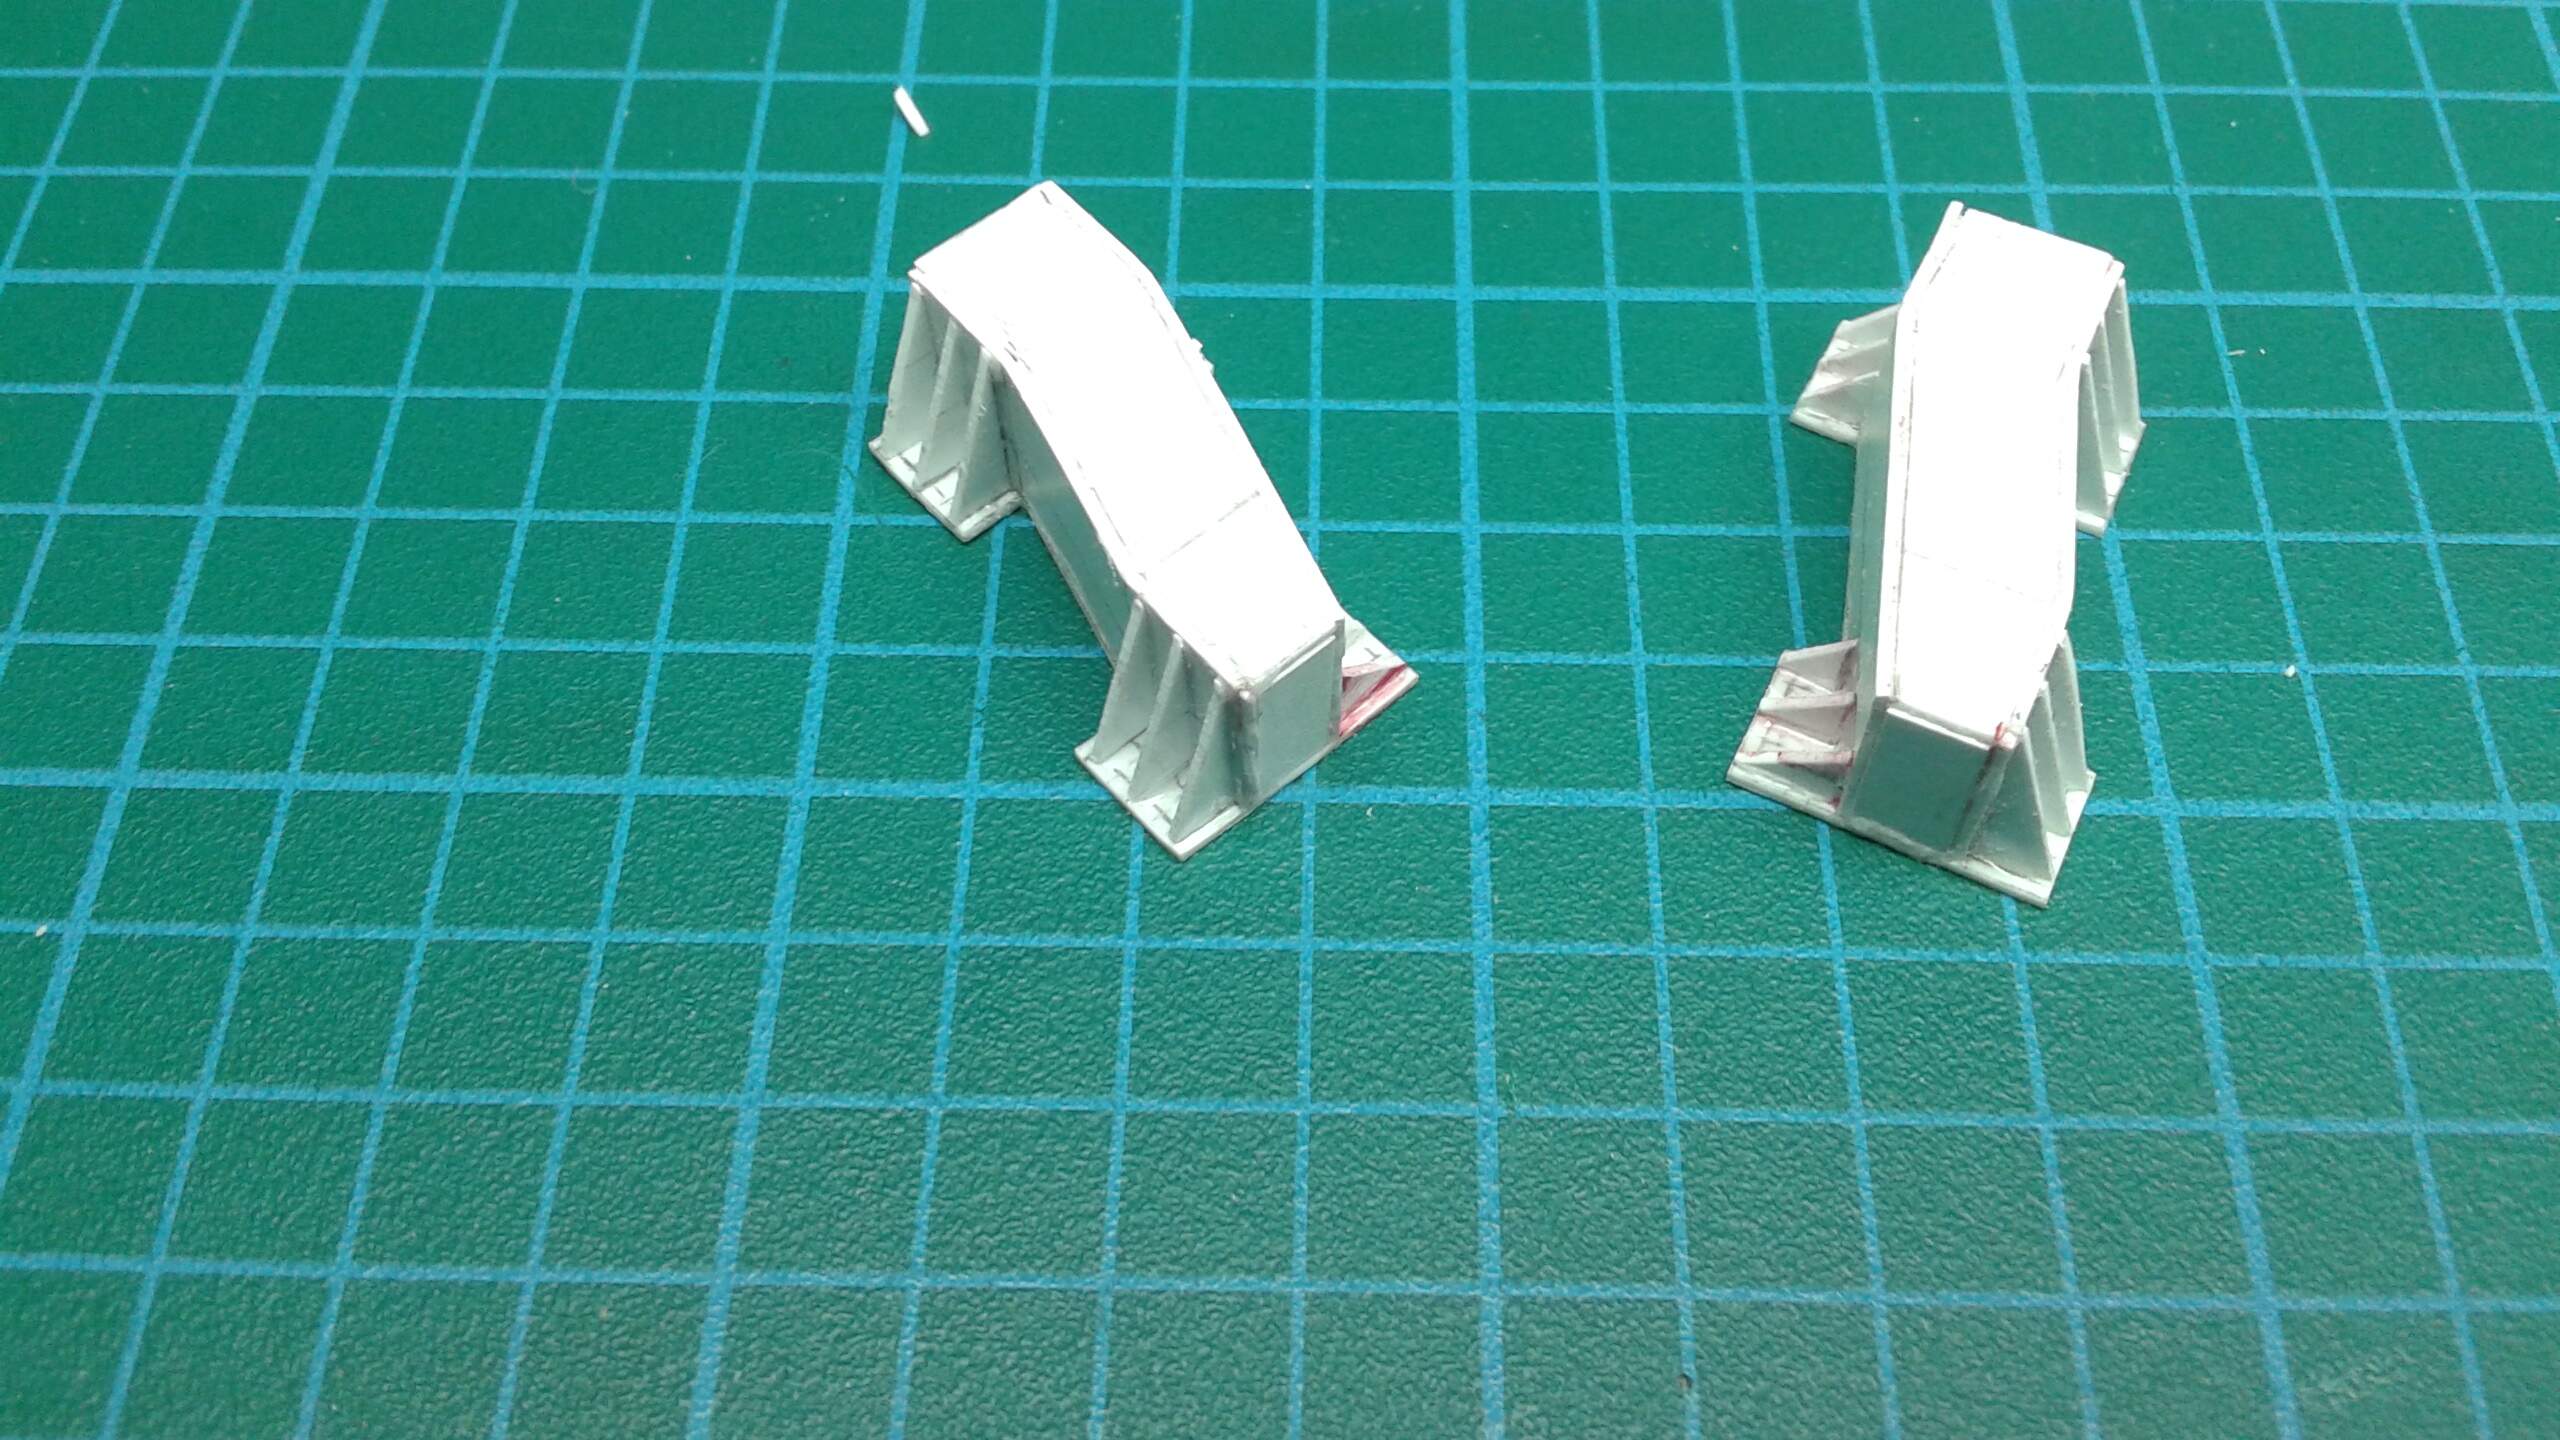
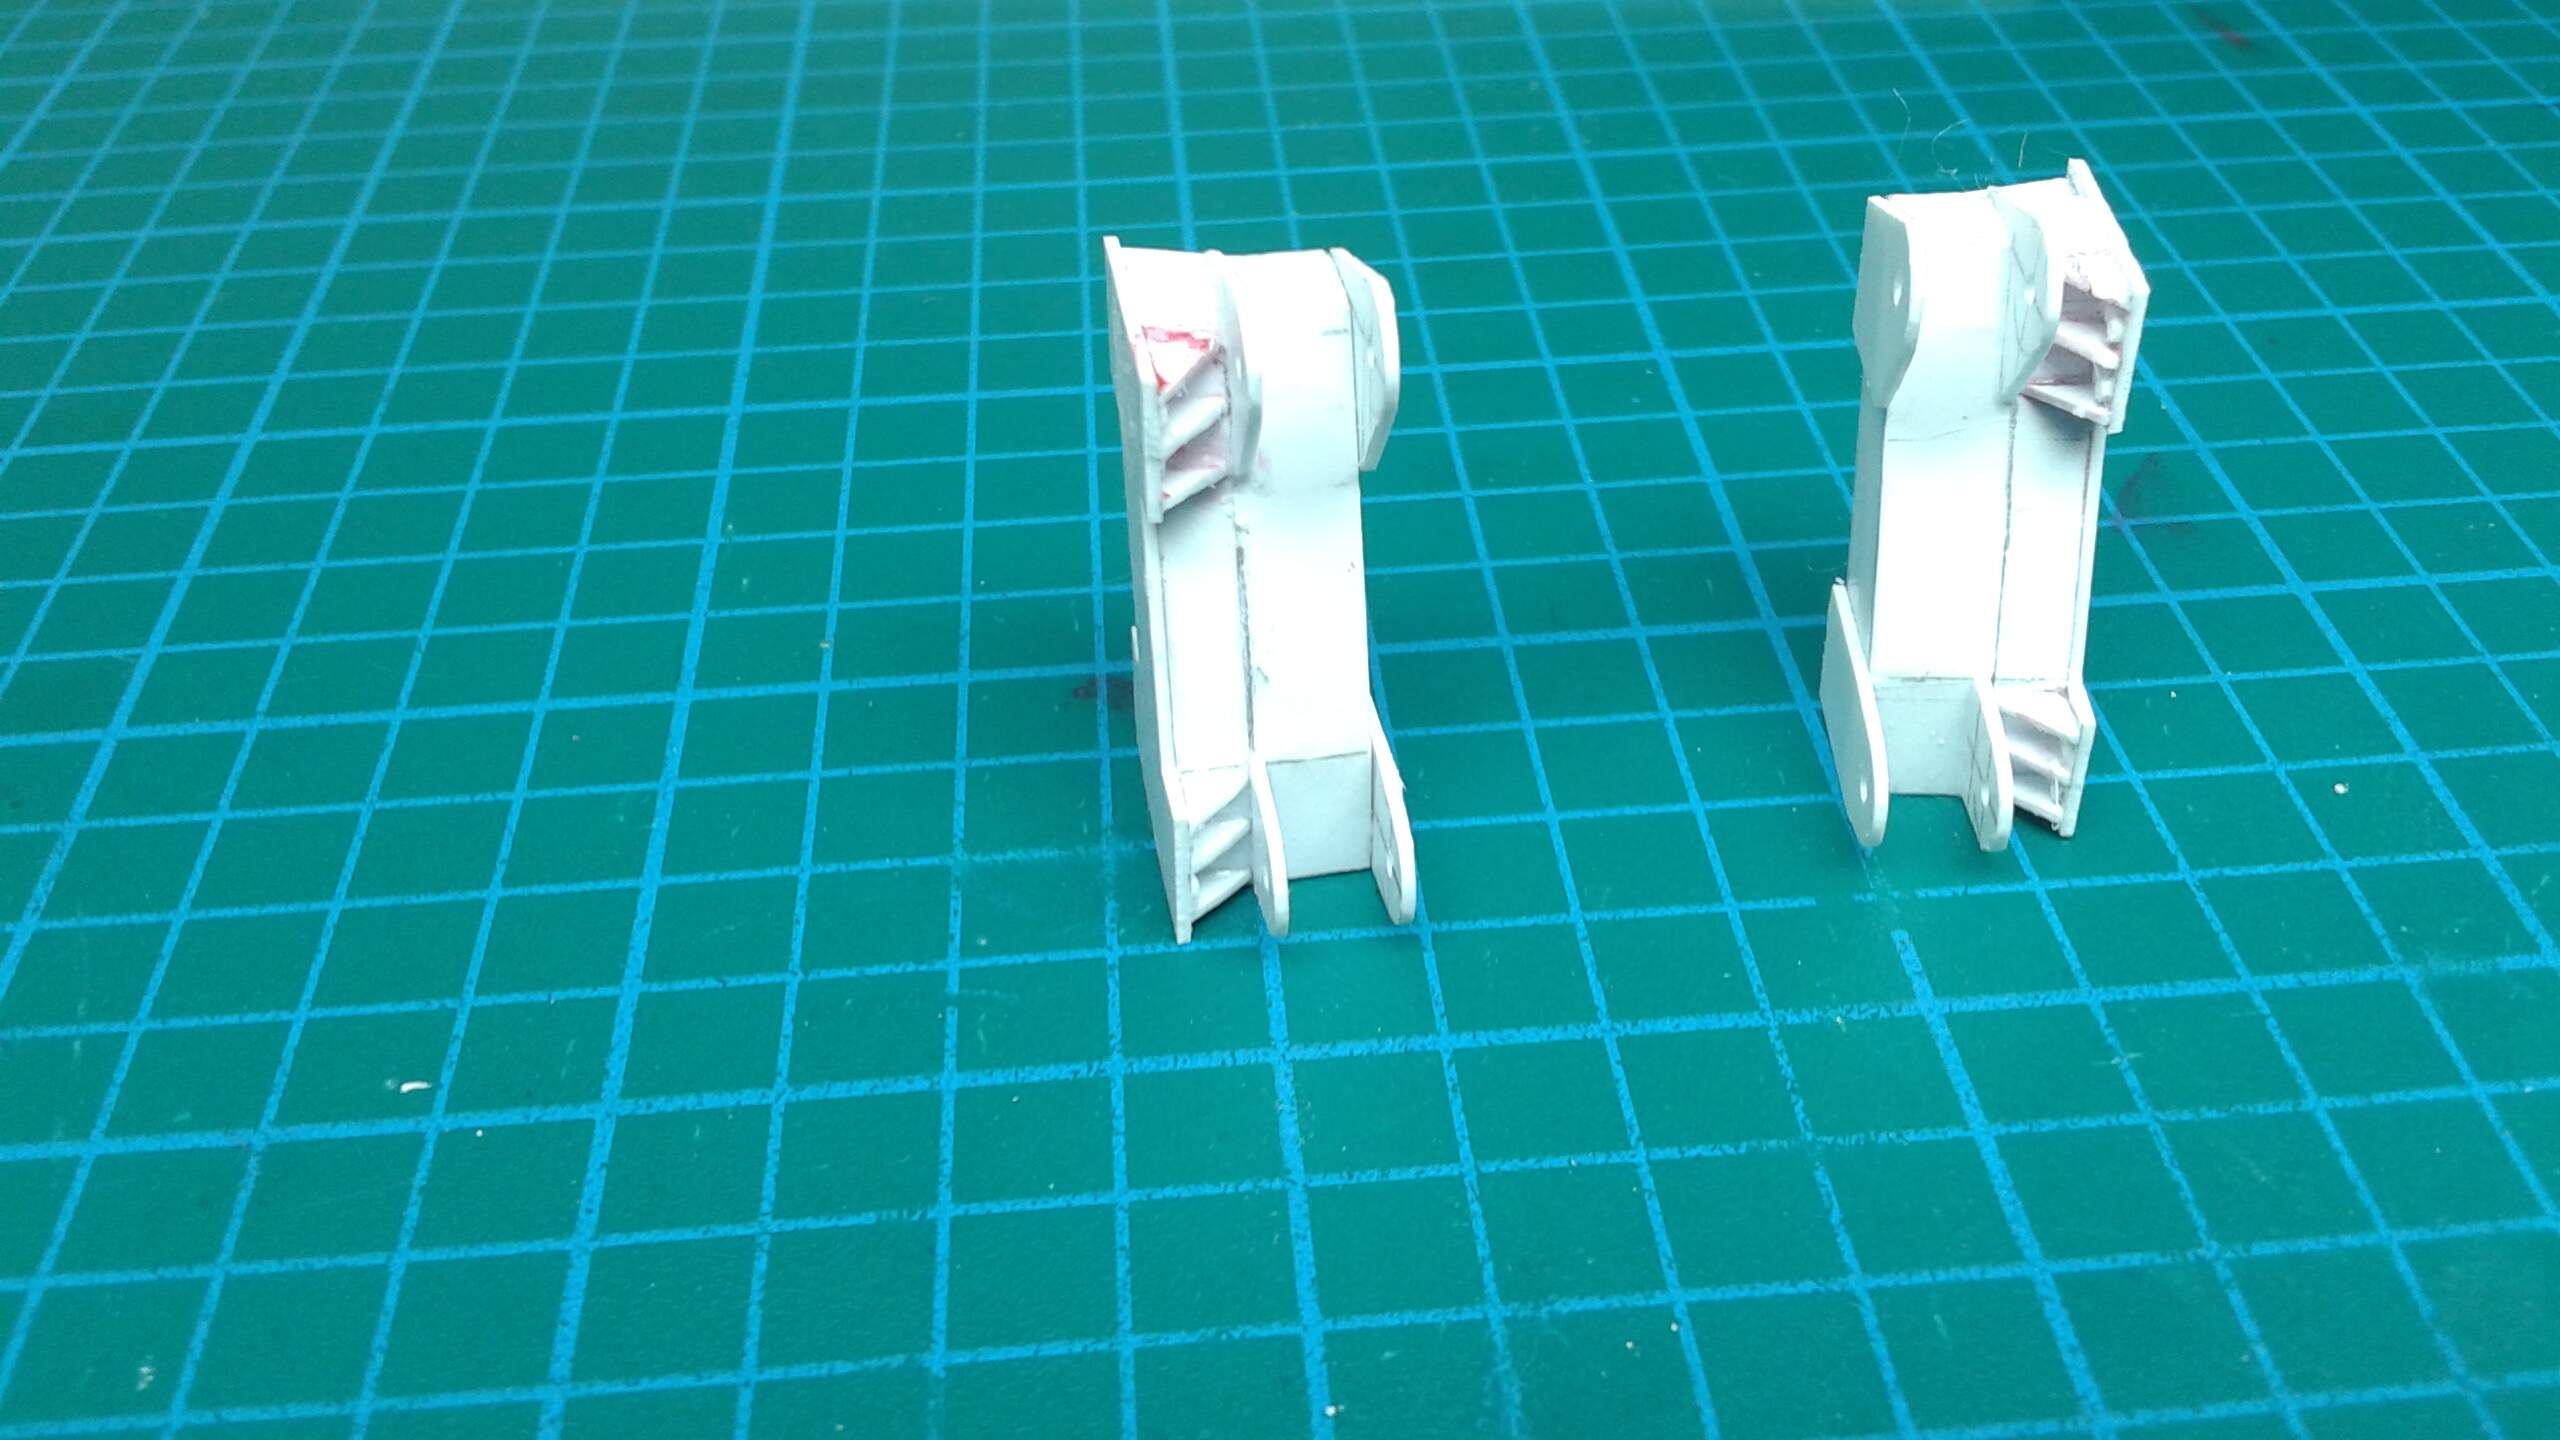
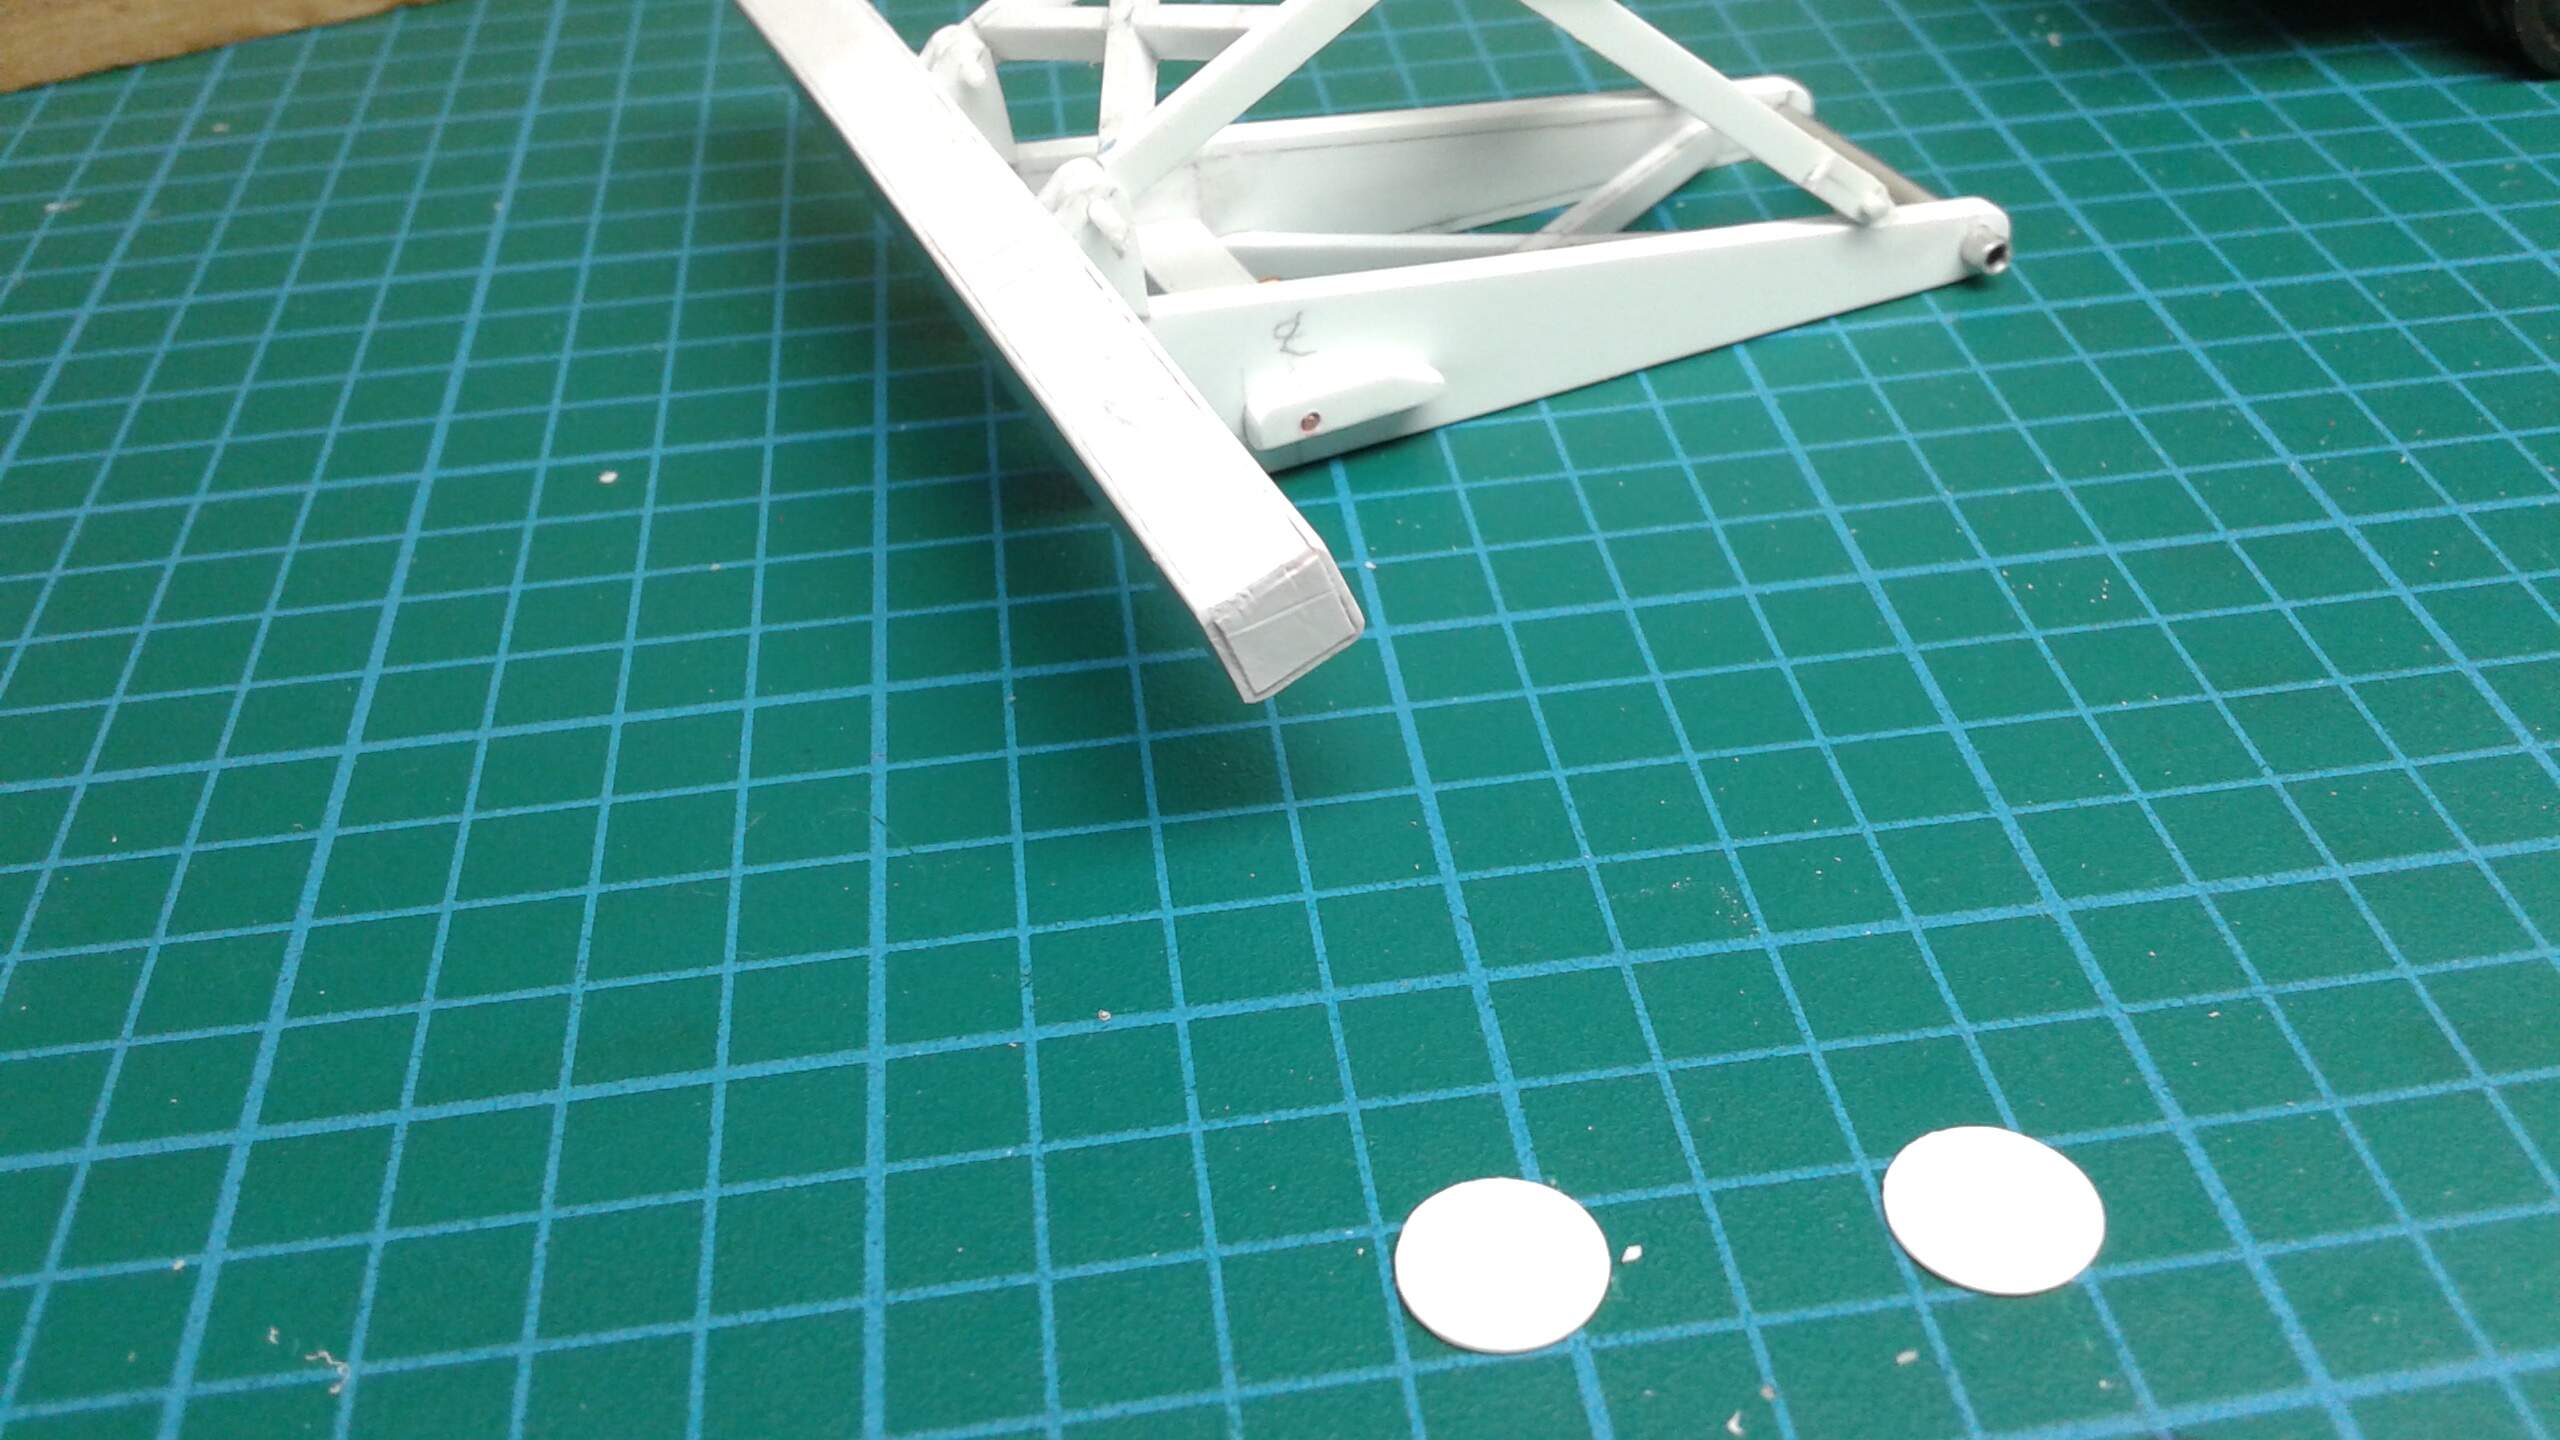
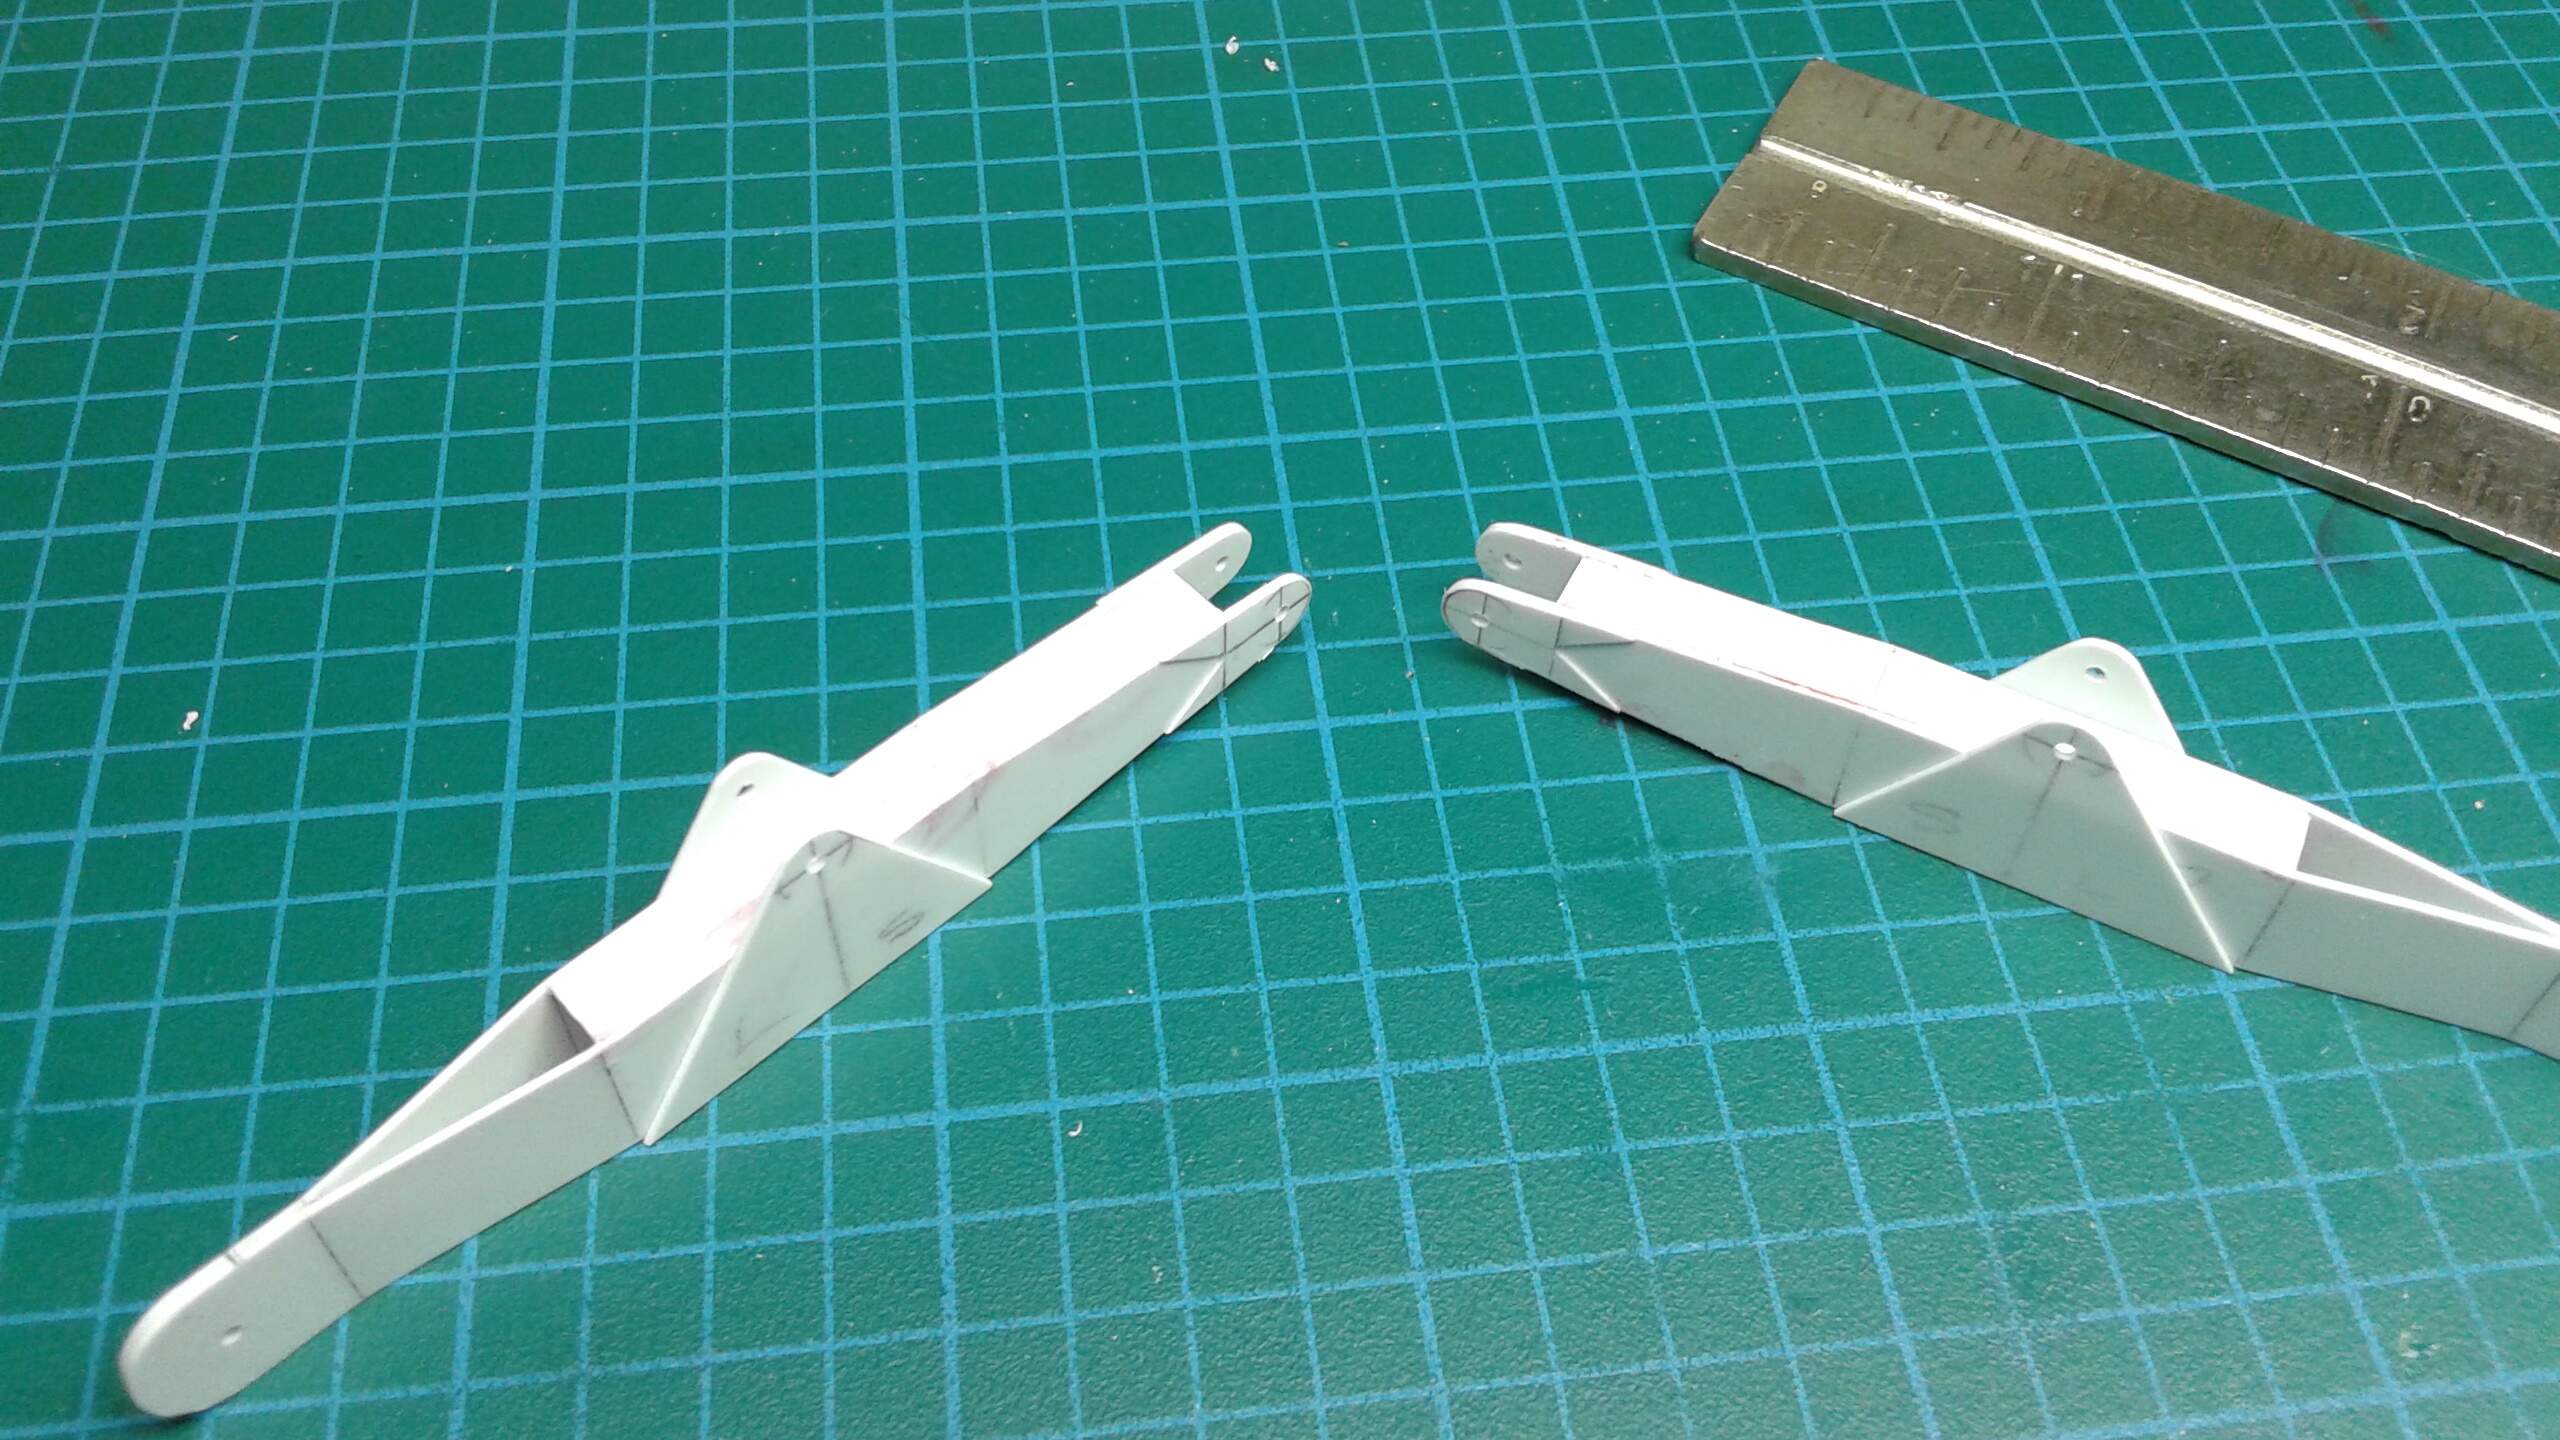
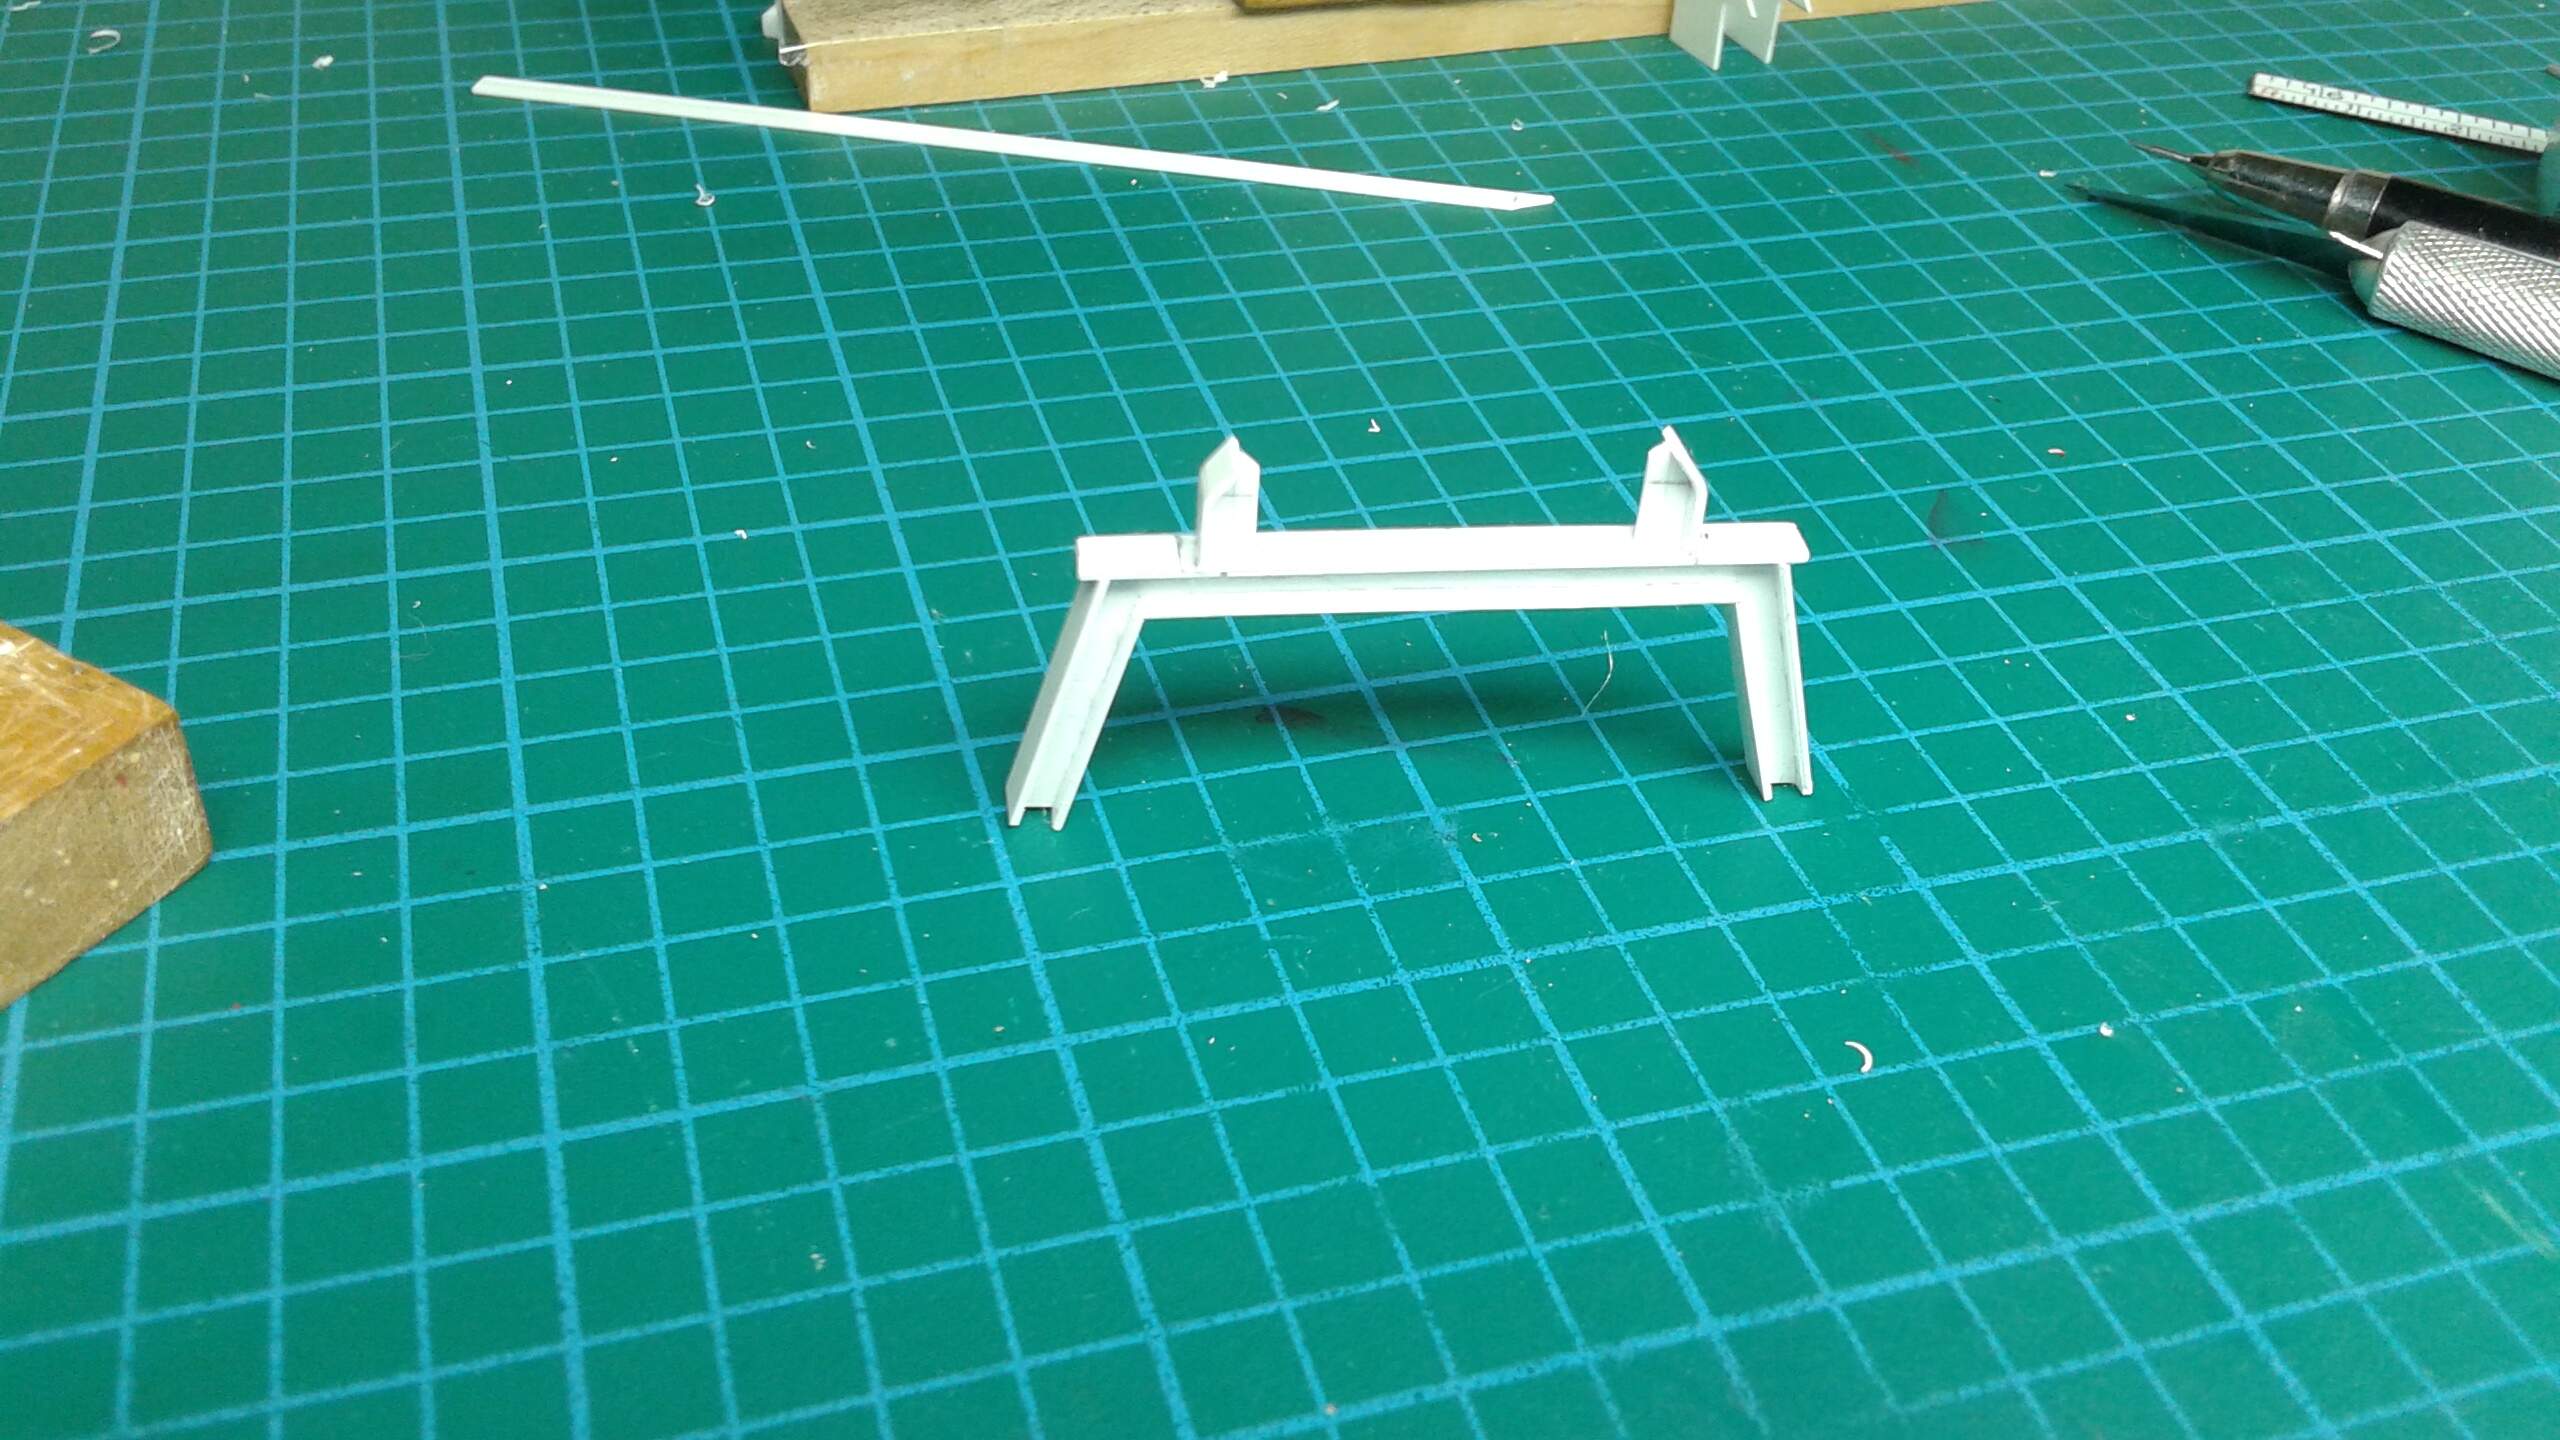
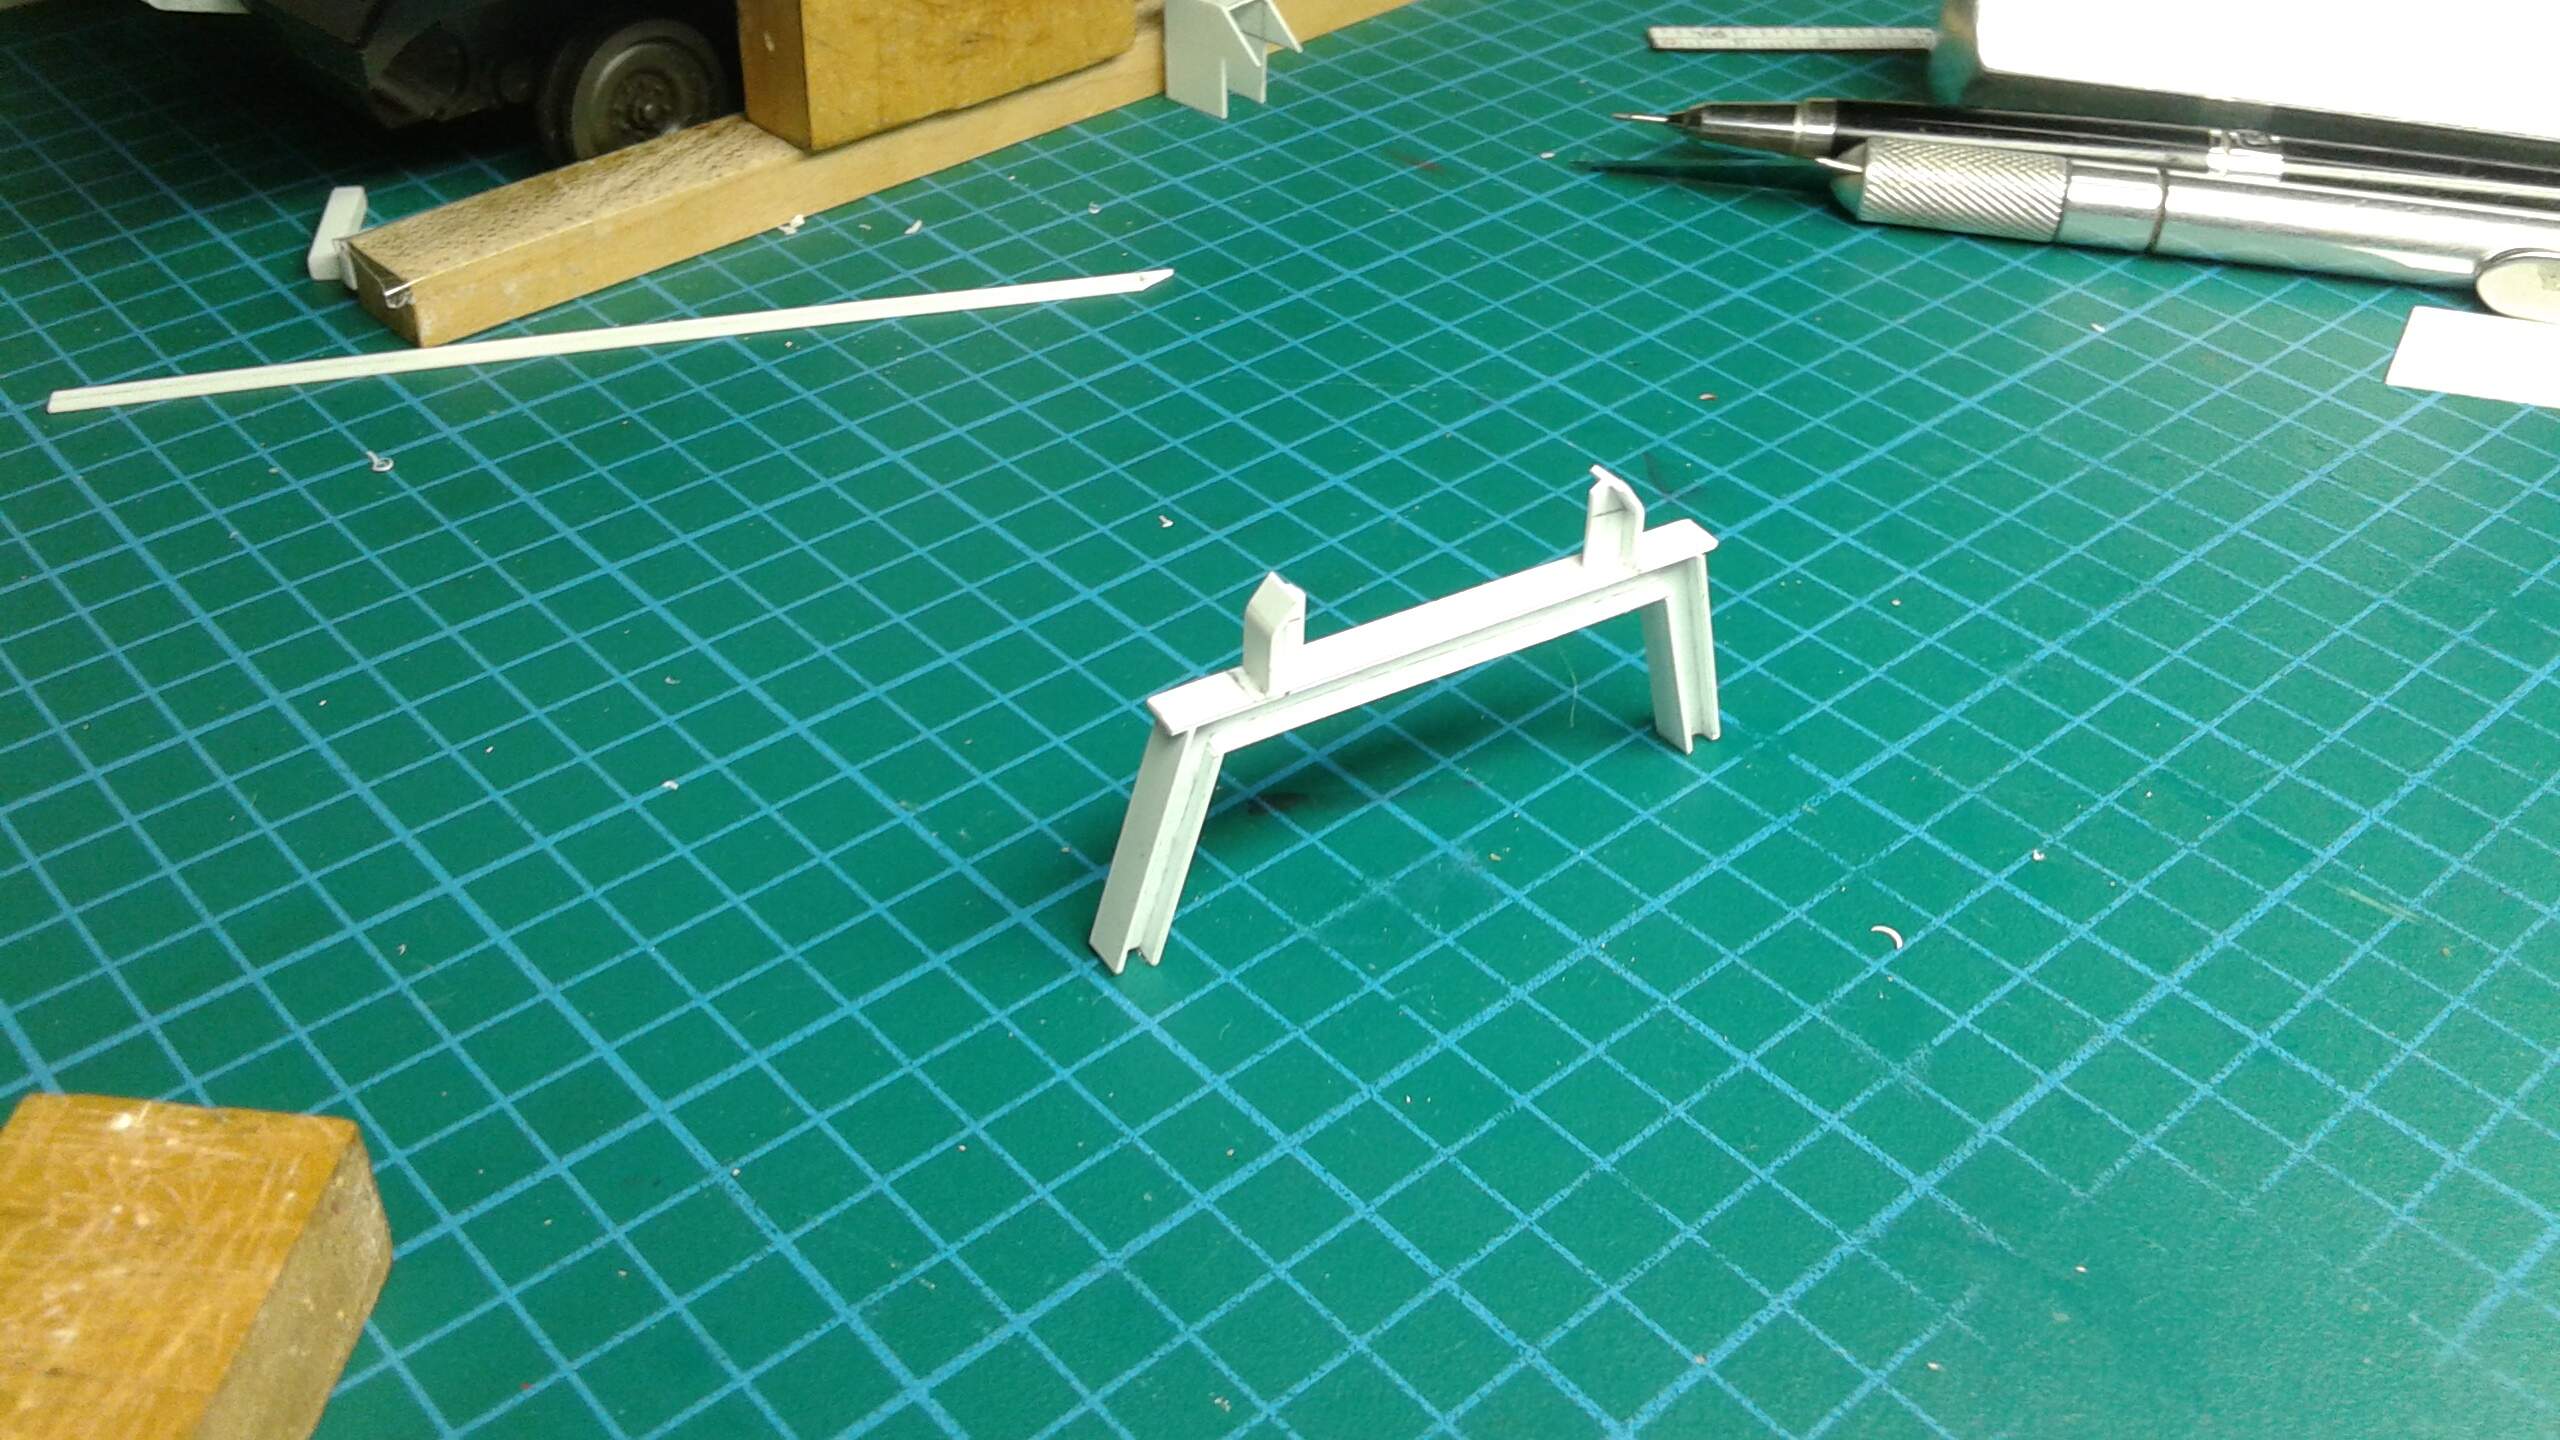
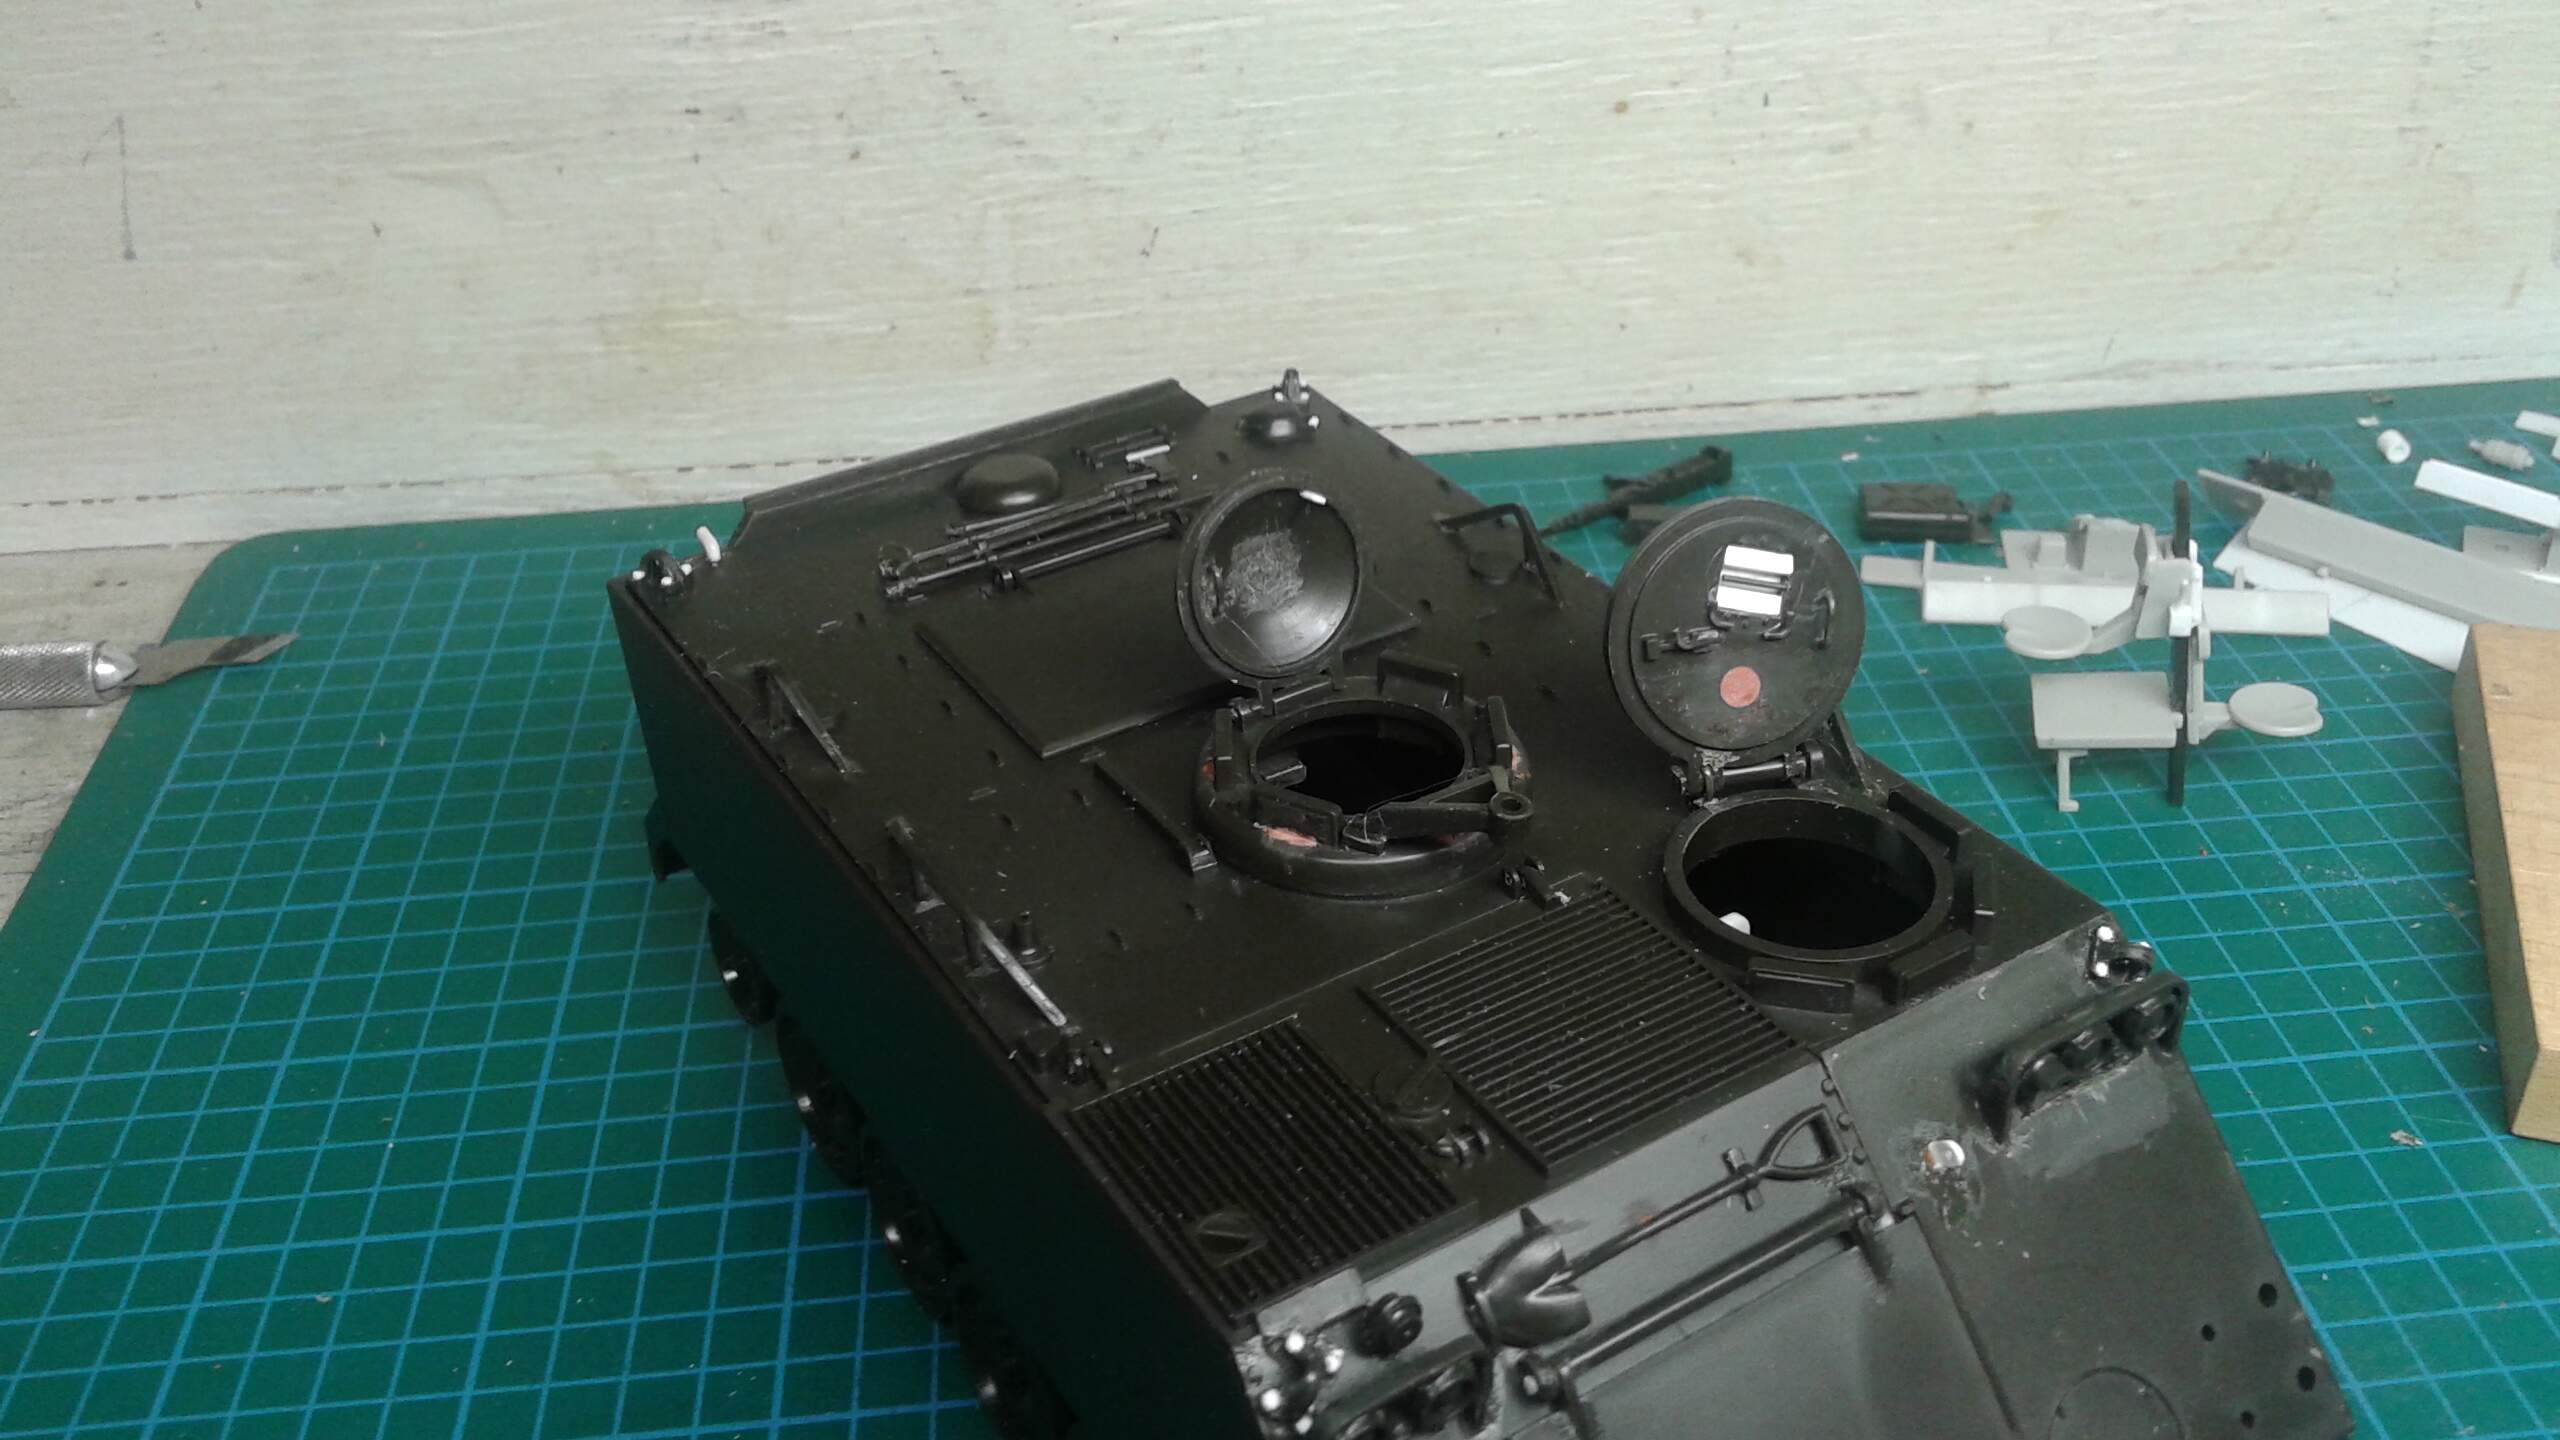
Here is a clear picture of the locking mechanism for the bridge end, on the real one it is hydraulic controlled.
Hi Mech,
I think you meant to say either 1979 or 1987 not 76 years from now. ![]()
Anyhow, doing all this scratch-building using old school way is even more impressive. Something I try to avoid if I can. ![]()
I’m going to follow this thread however. Happy scratch-buliding!
Kind regards,
James
Ralph @mech . . Man, even in the rough that is impressive! I first saw this AFV in Squadron’s book “Armor in Vietnam” sometime back around 1982 and always wanted to build one but I know it wouldn’t have turned out like yours has. I’ve seen only one other scrathbuild of the M113 Light Bridge and though it was a good build I would be hard pressed to say it equaled yours. I am jealous as heck, that is a fantastic looking tank.
PS, kudos on the time travel thing too! Too cool man too cool!
Cajun 
Hi James_Lee
I see I made another mistake on the year and I was able to fix it.
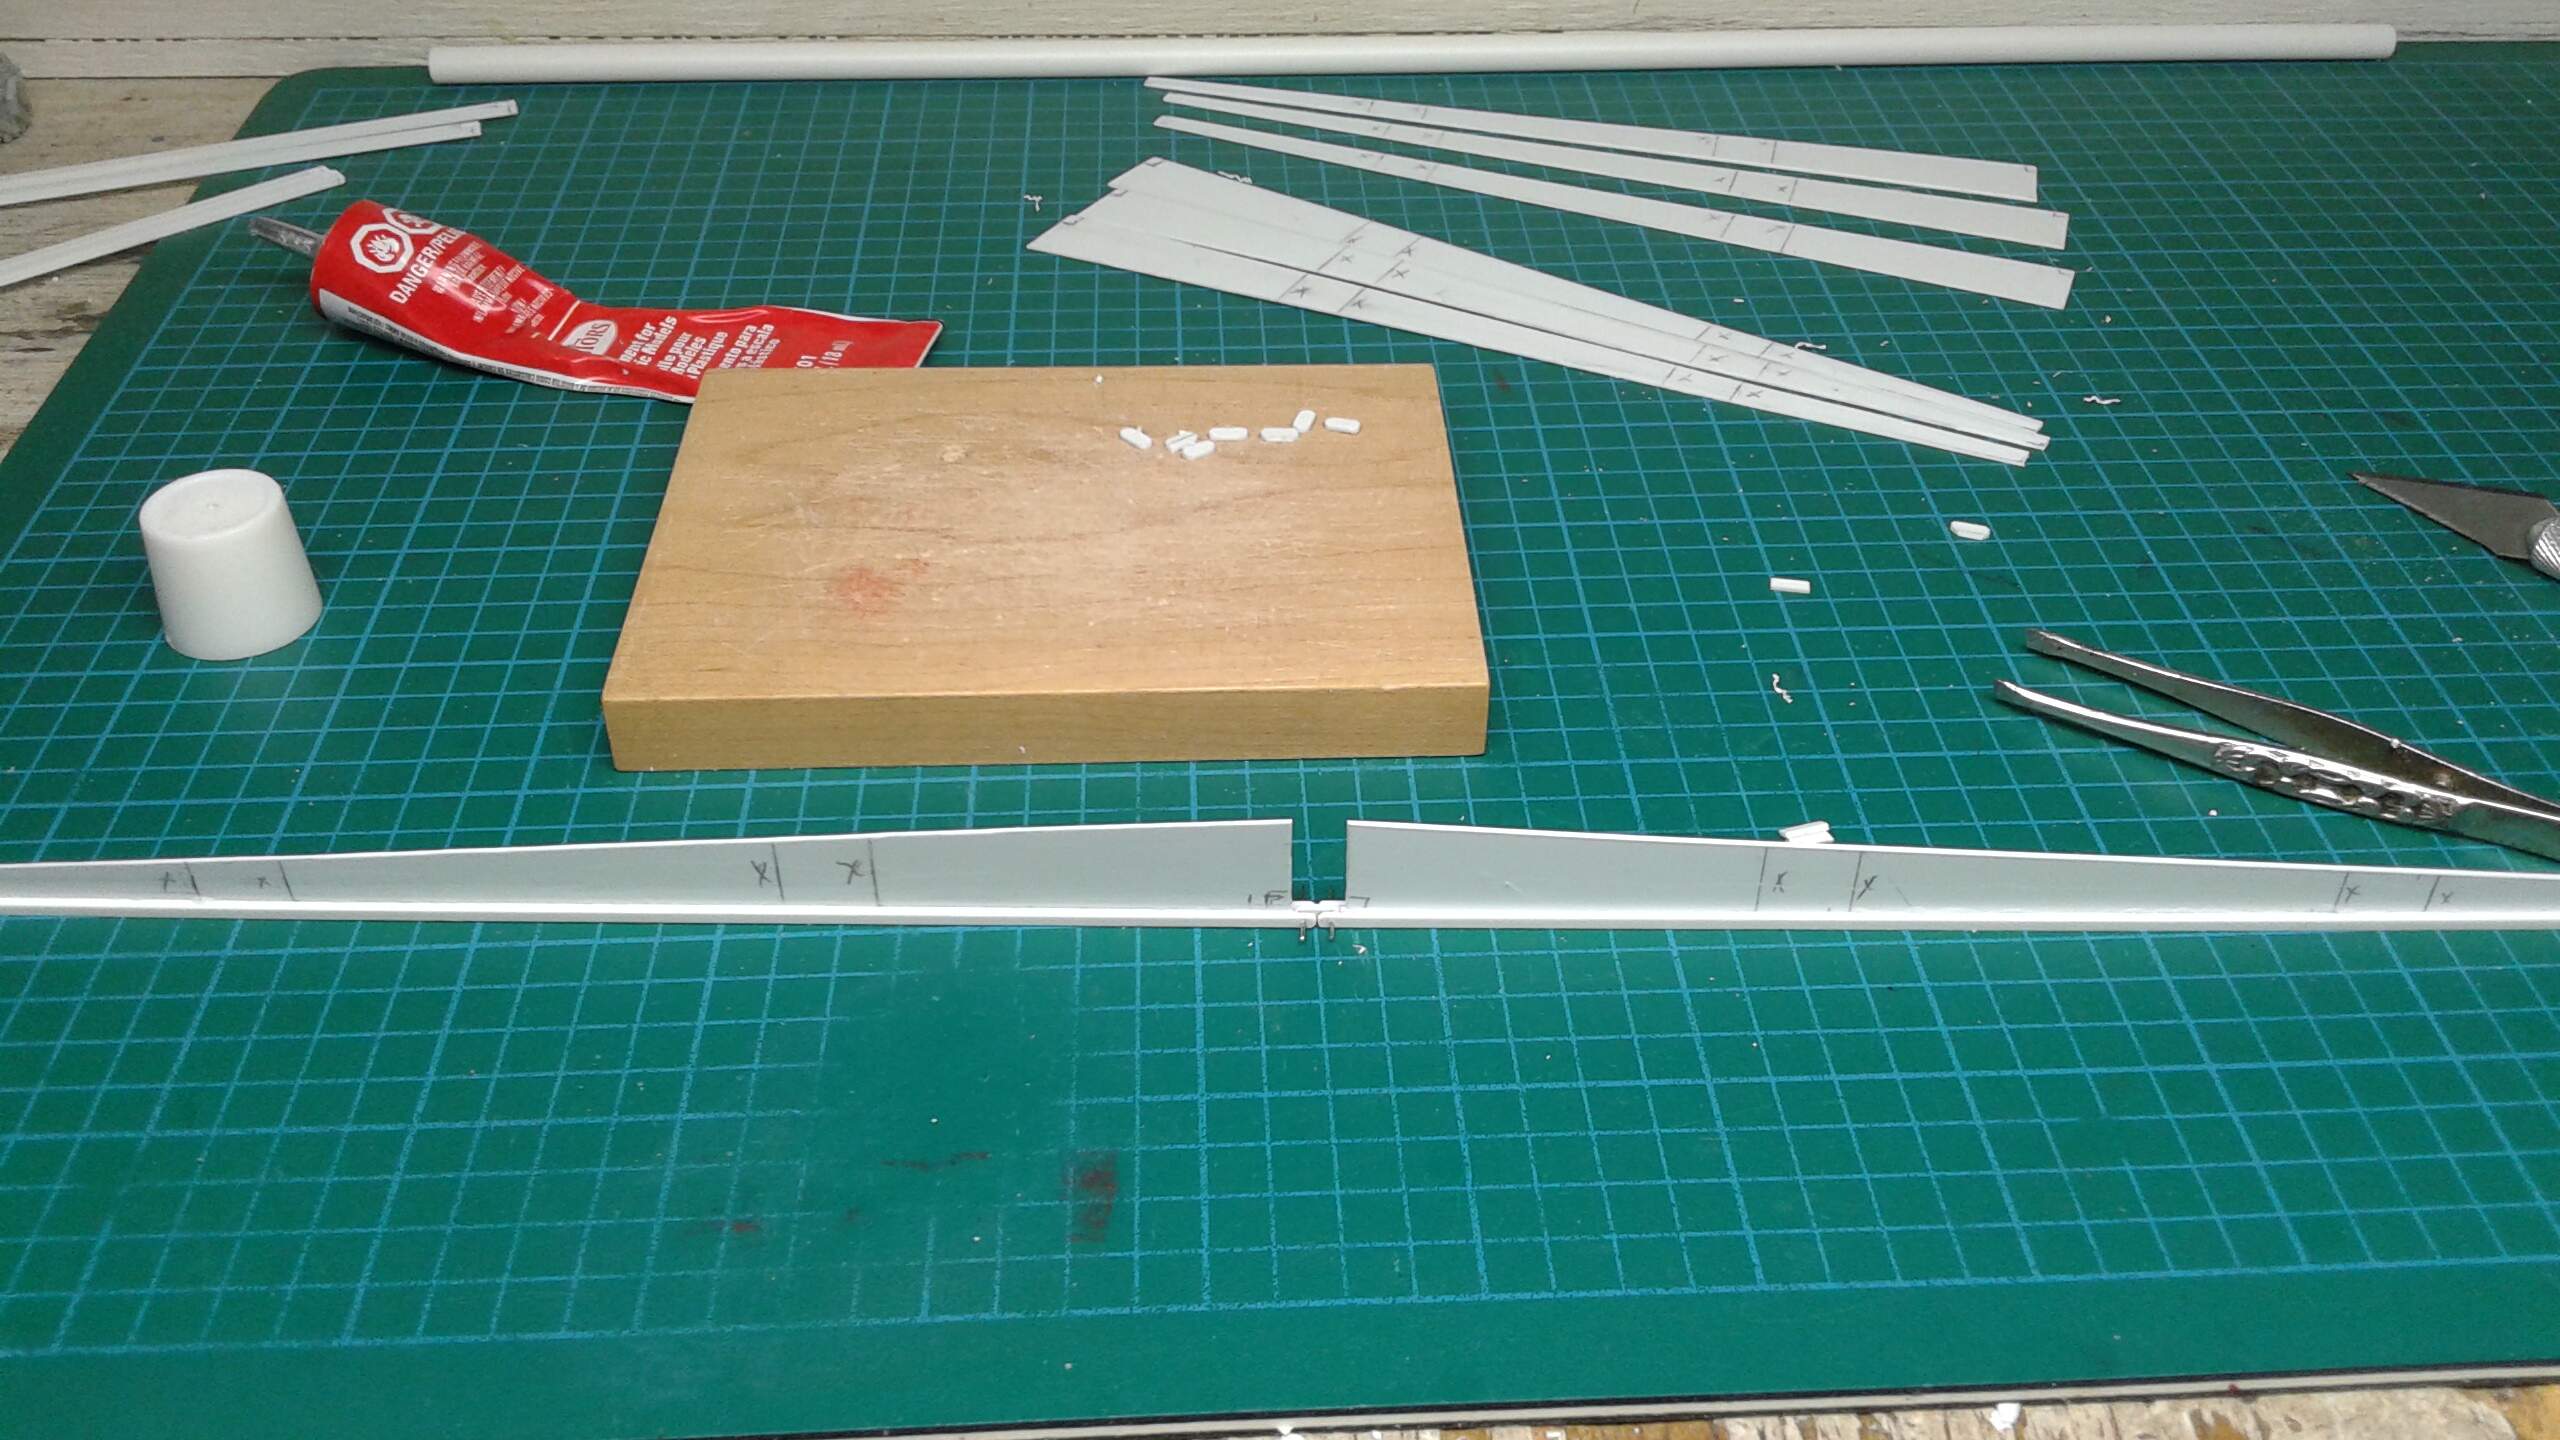
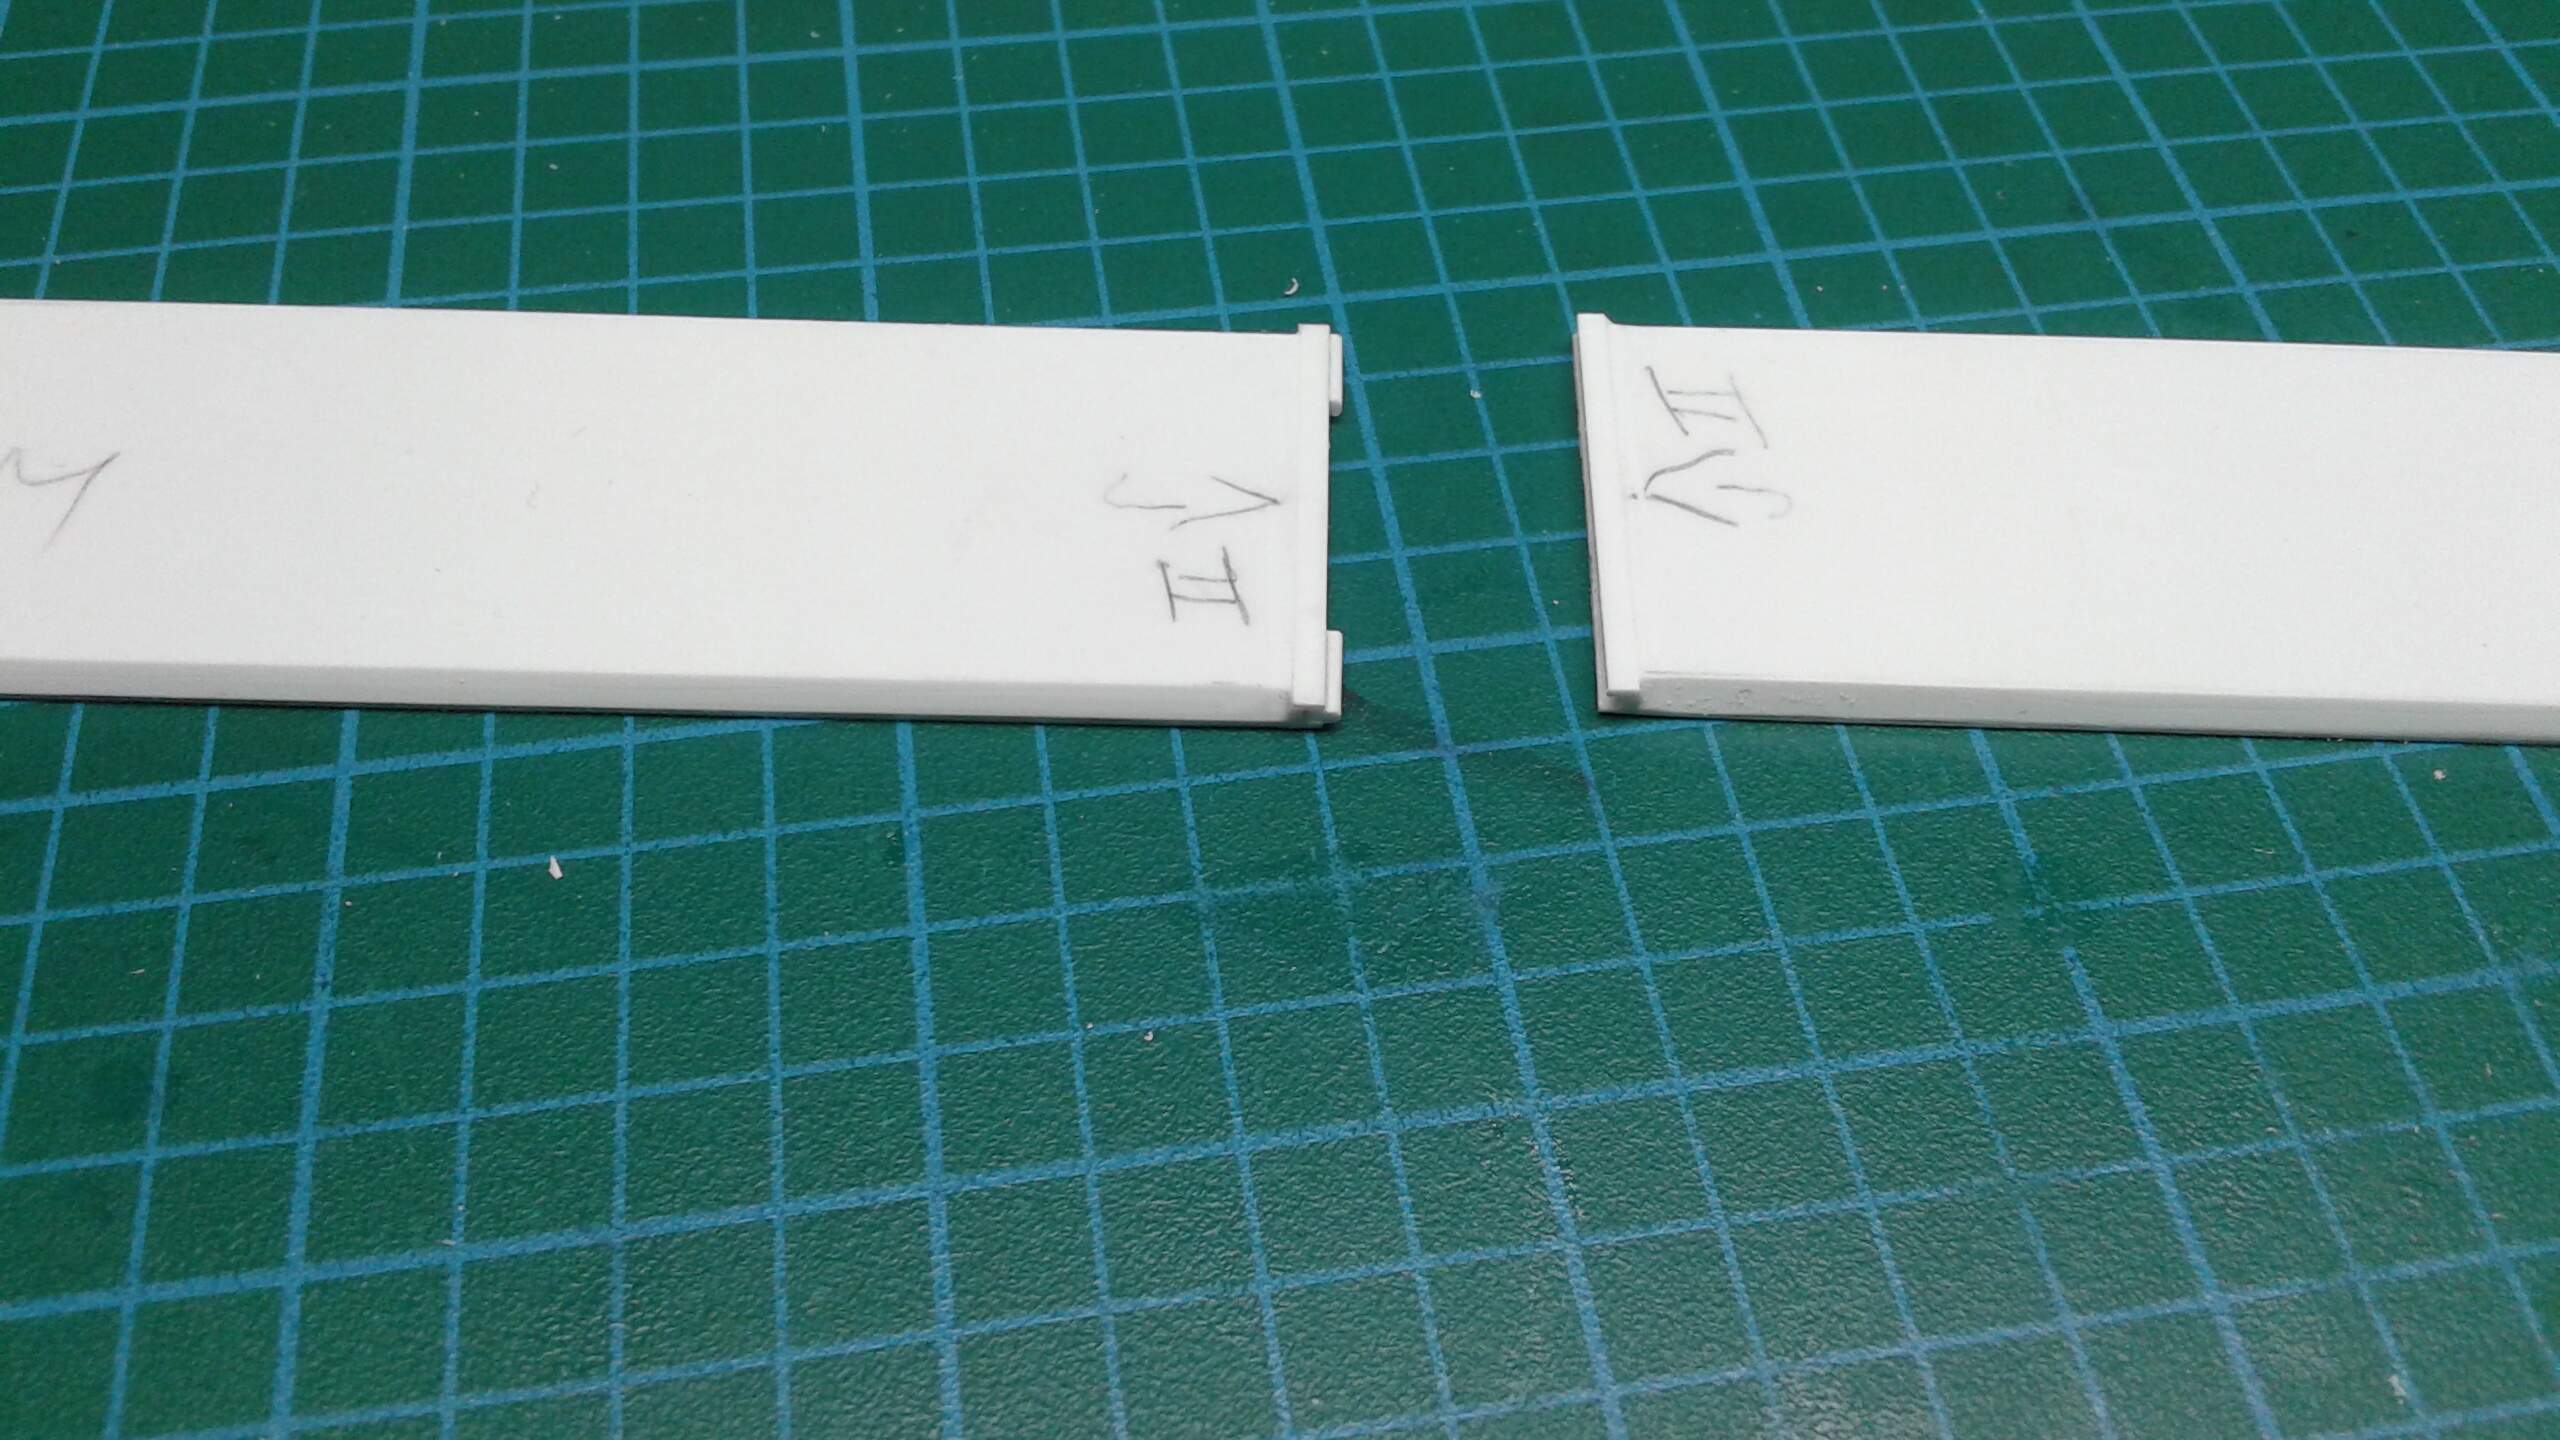
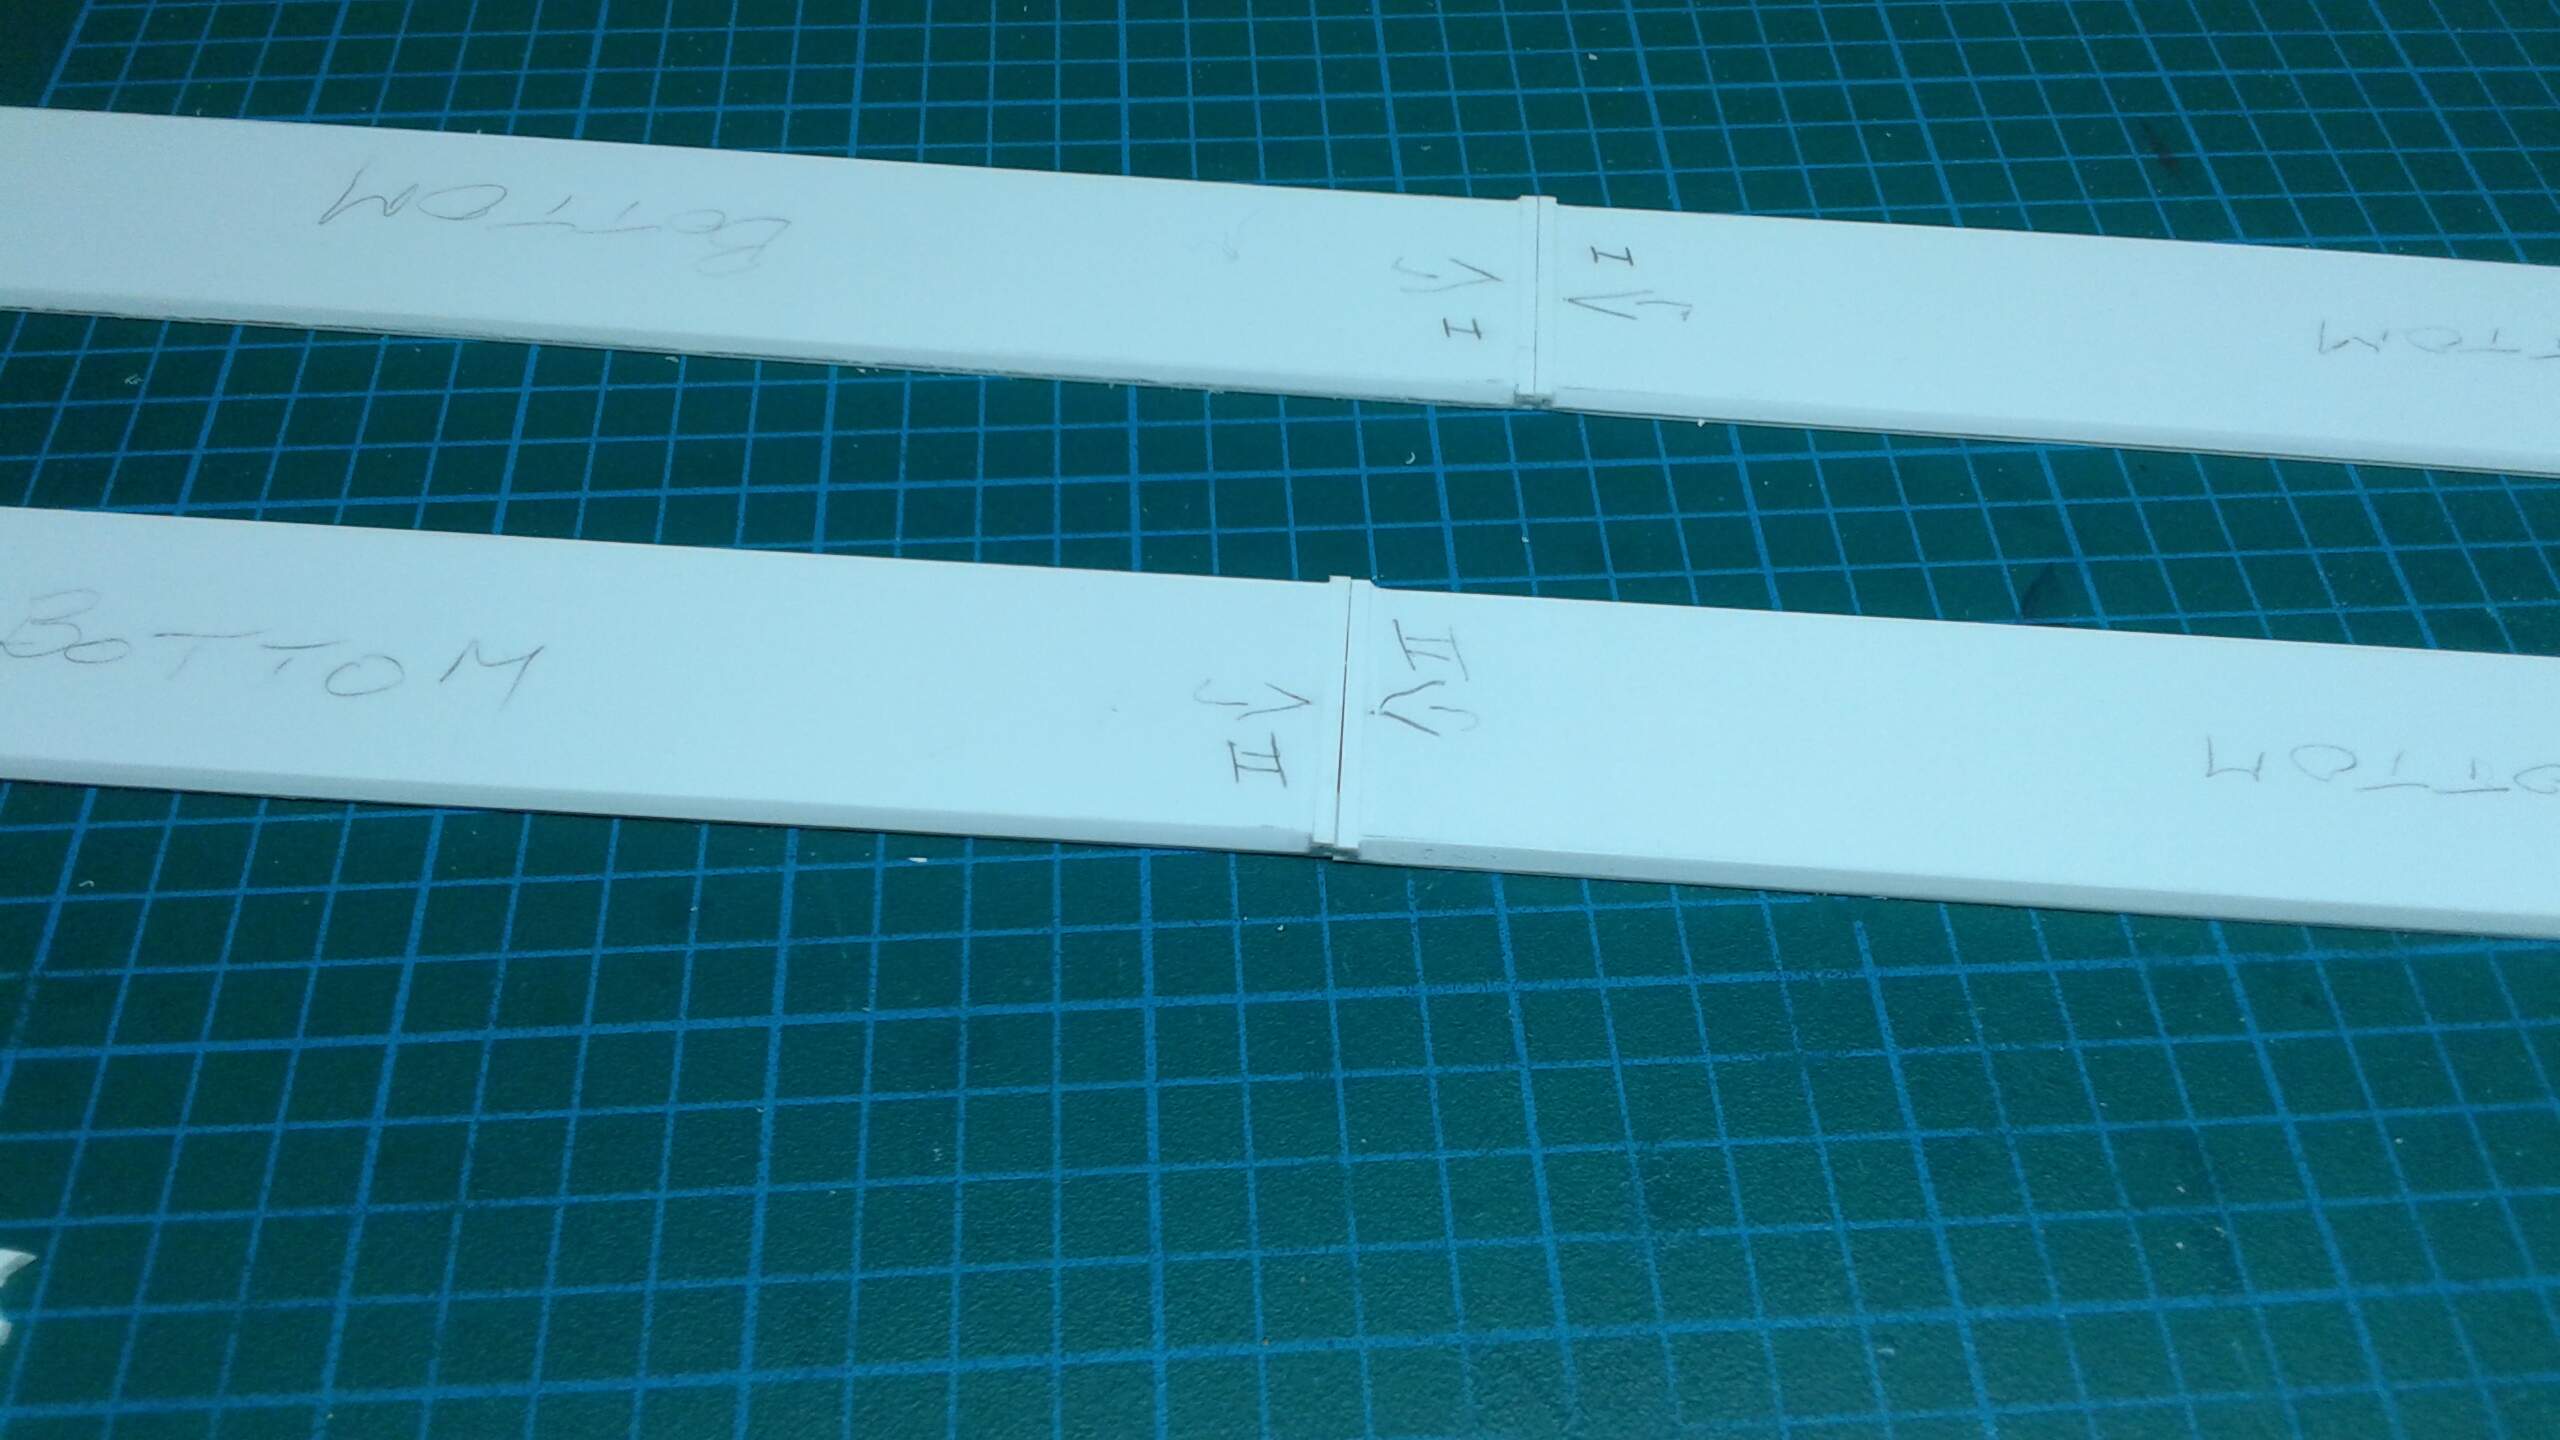
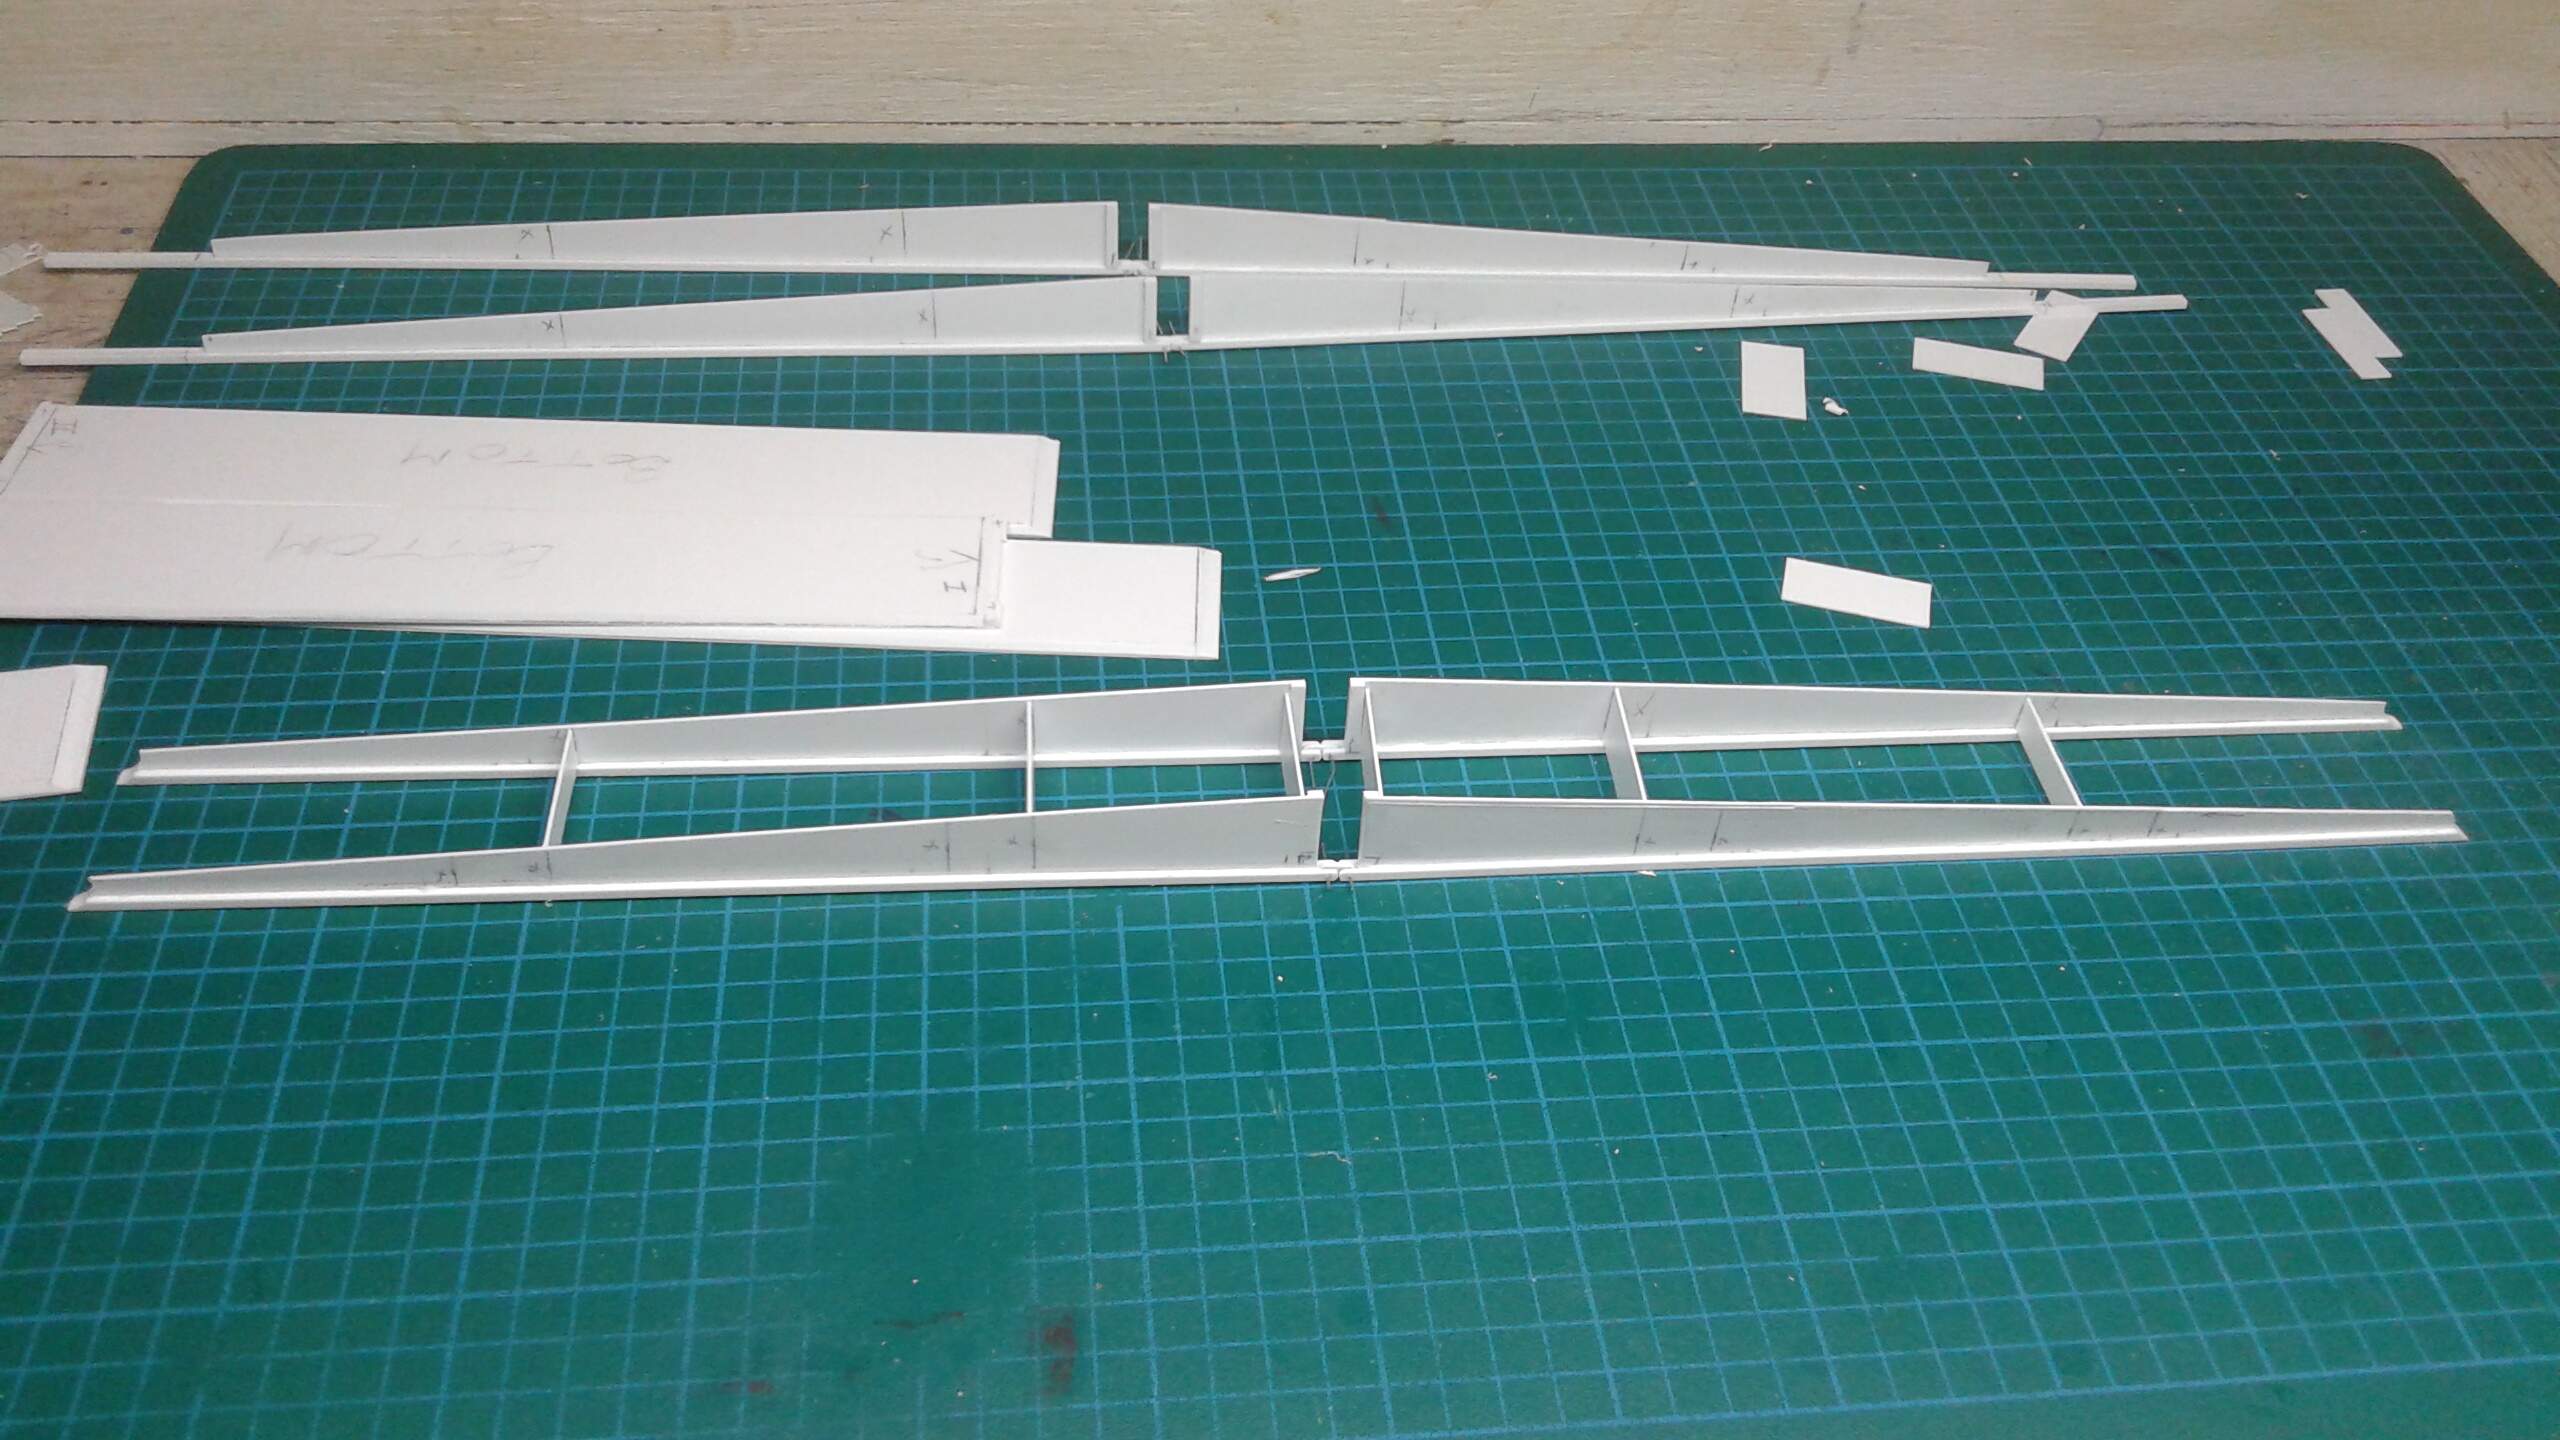
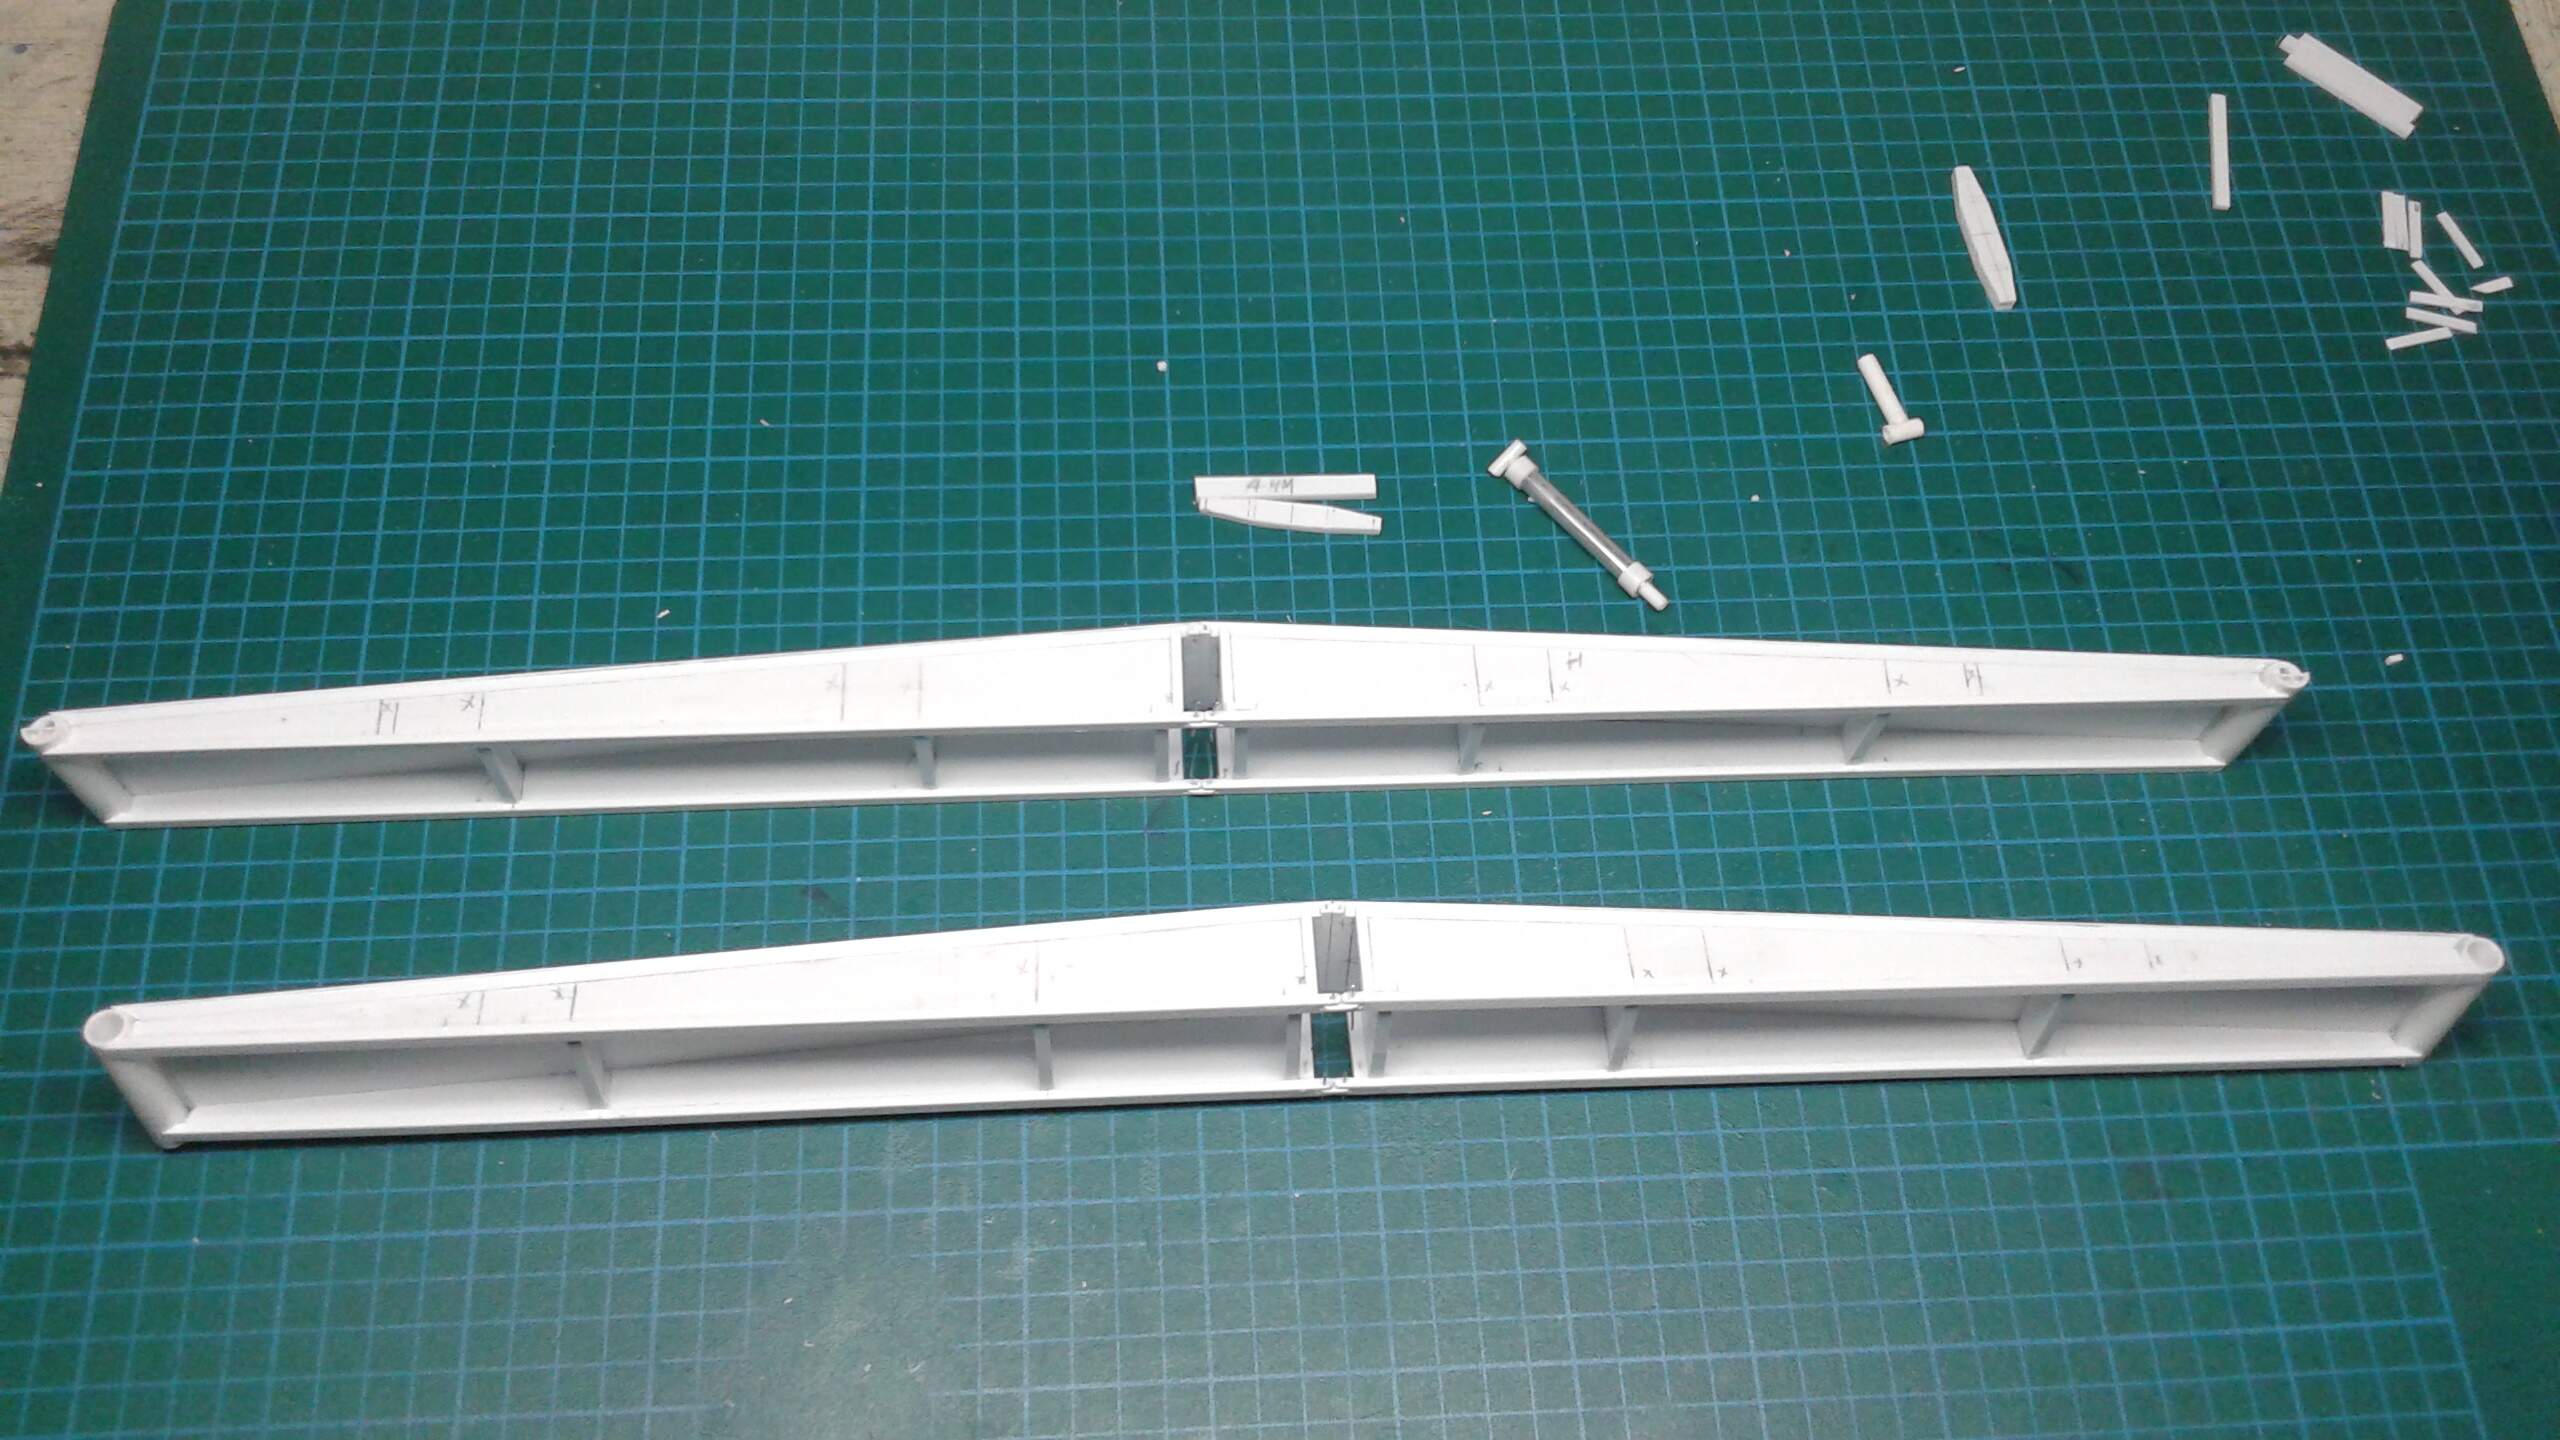
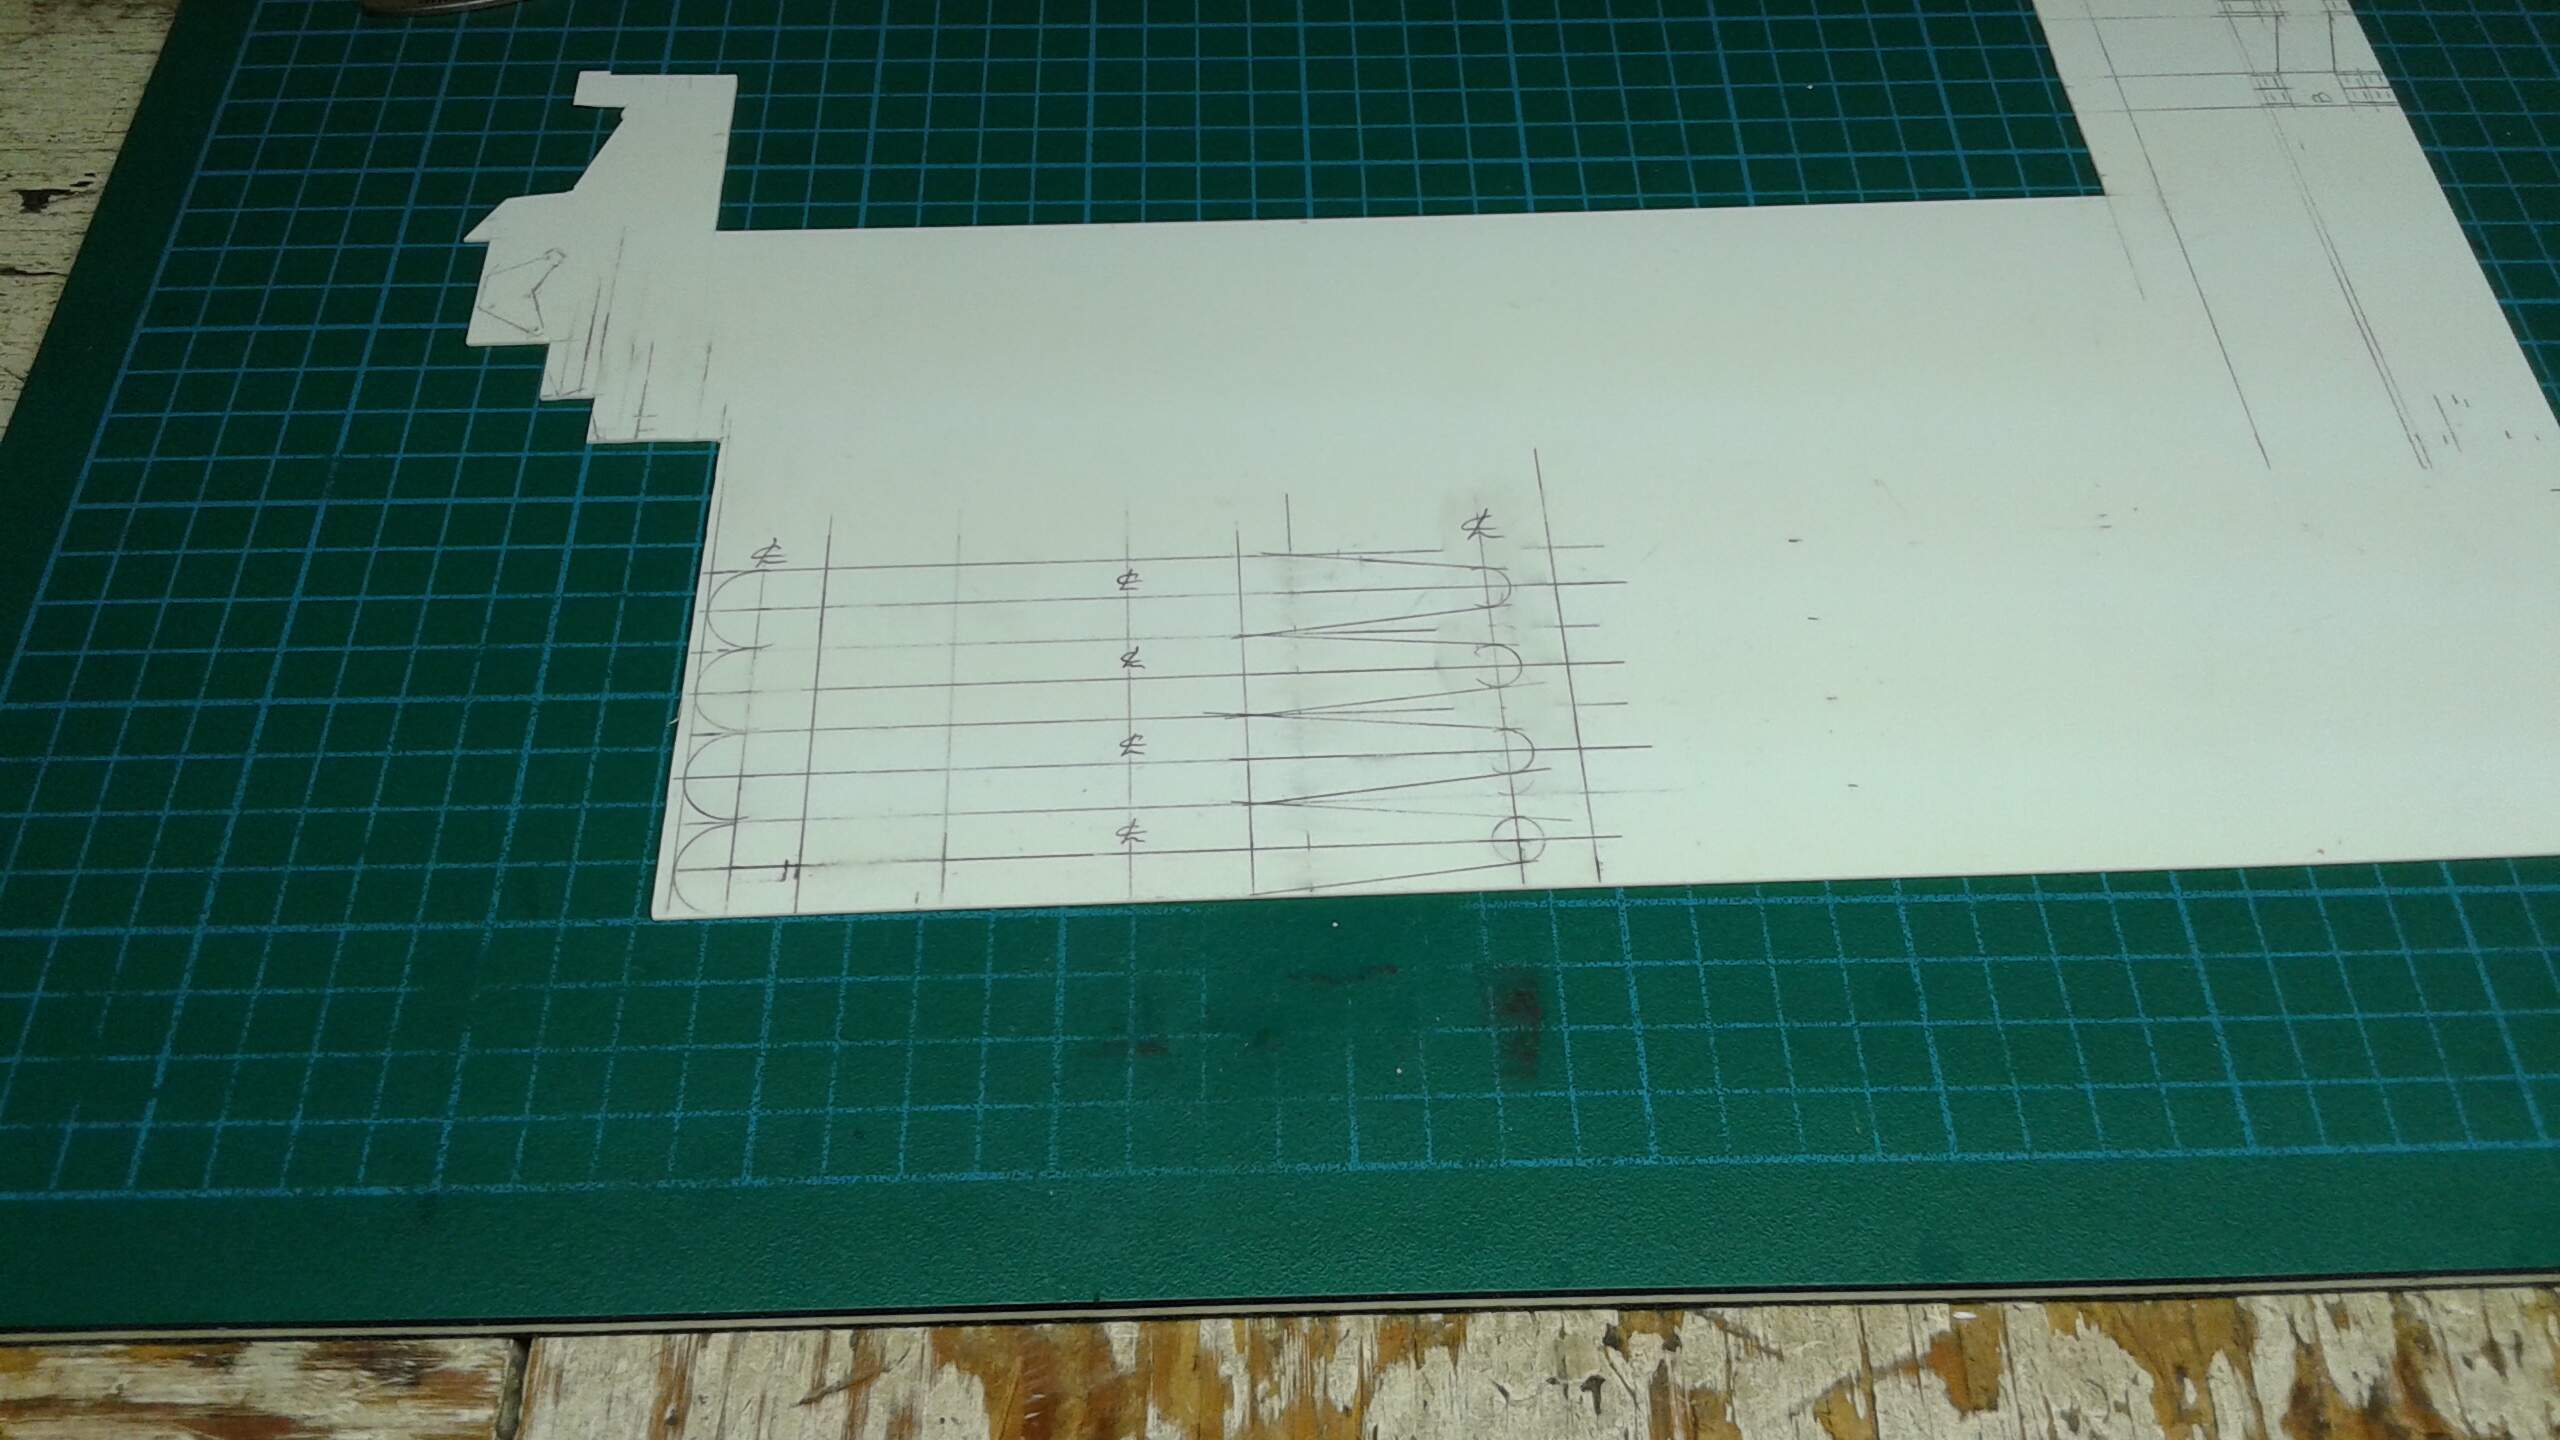
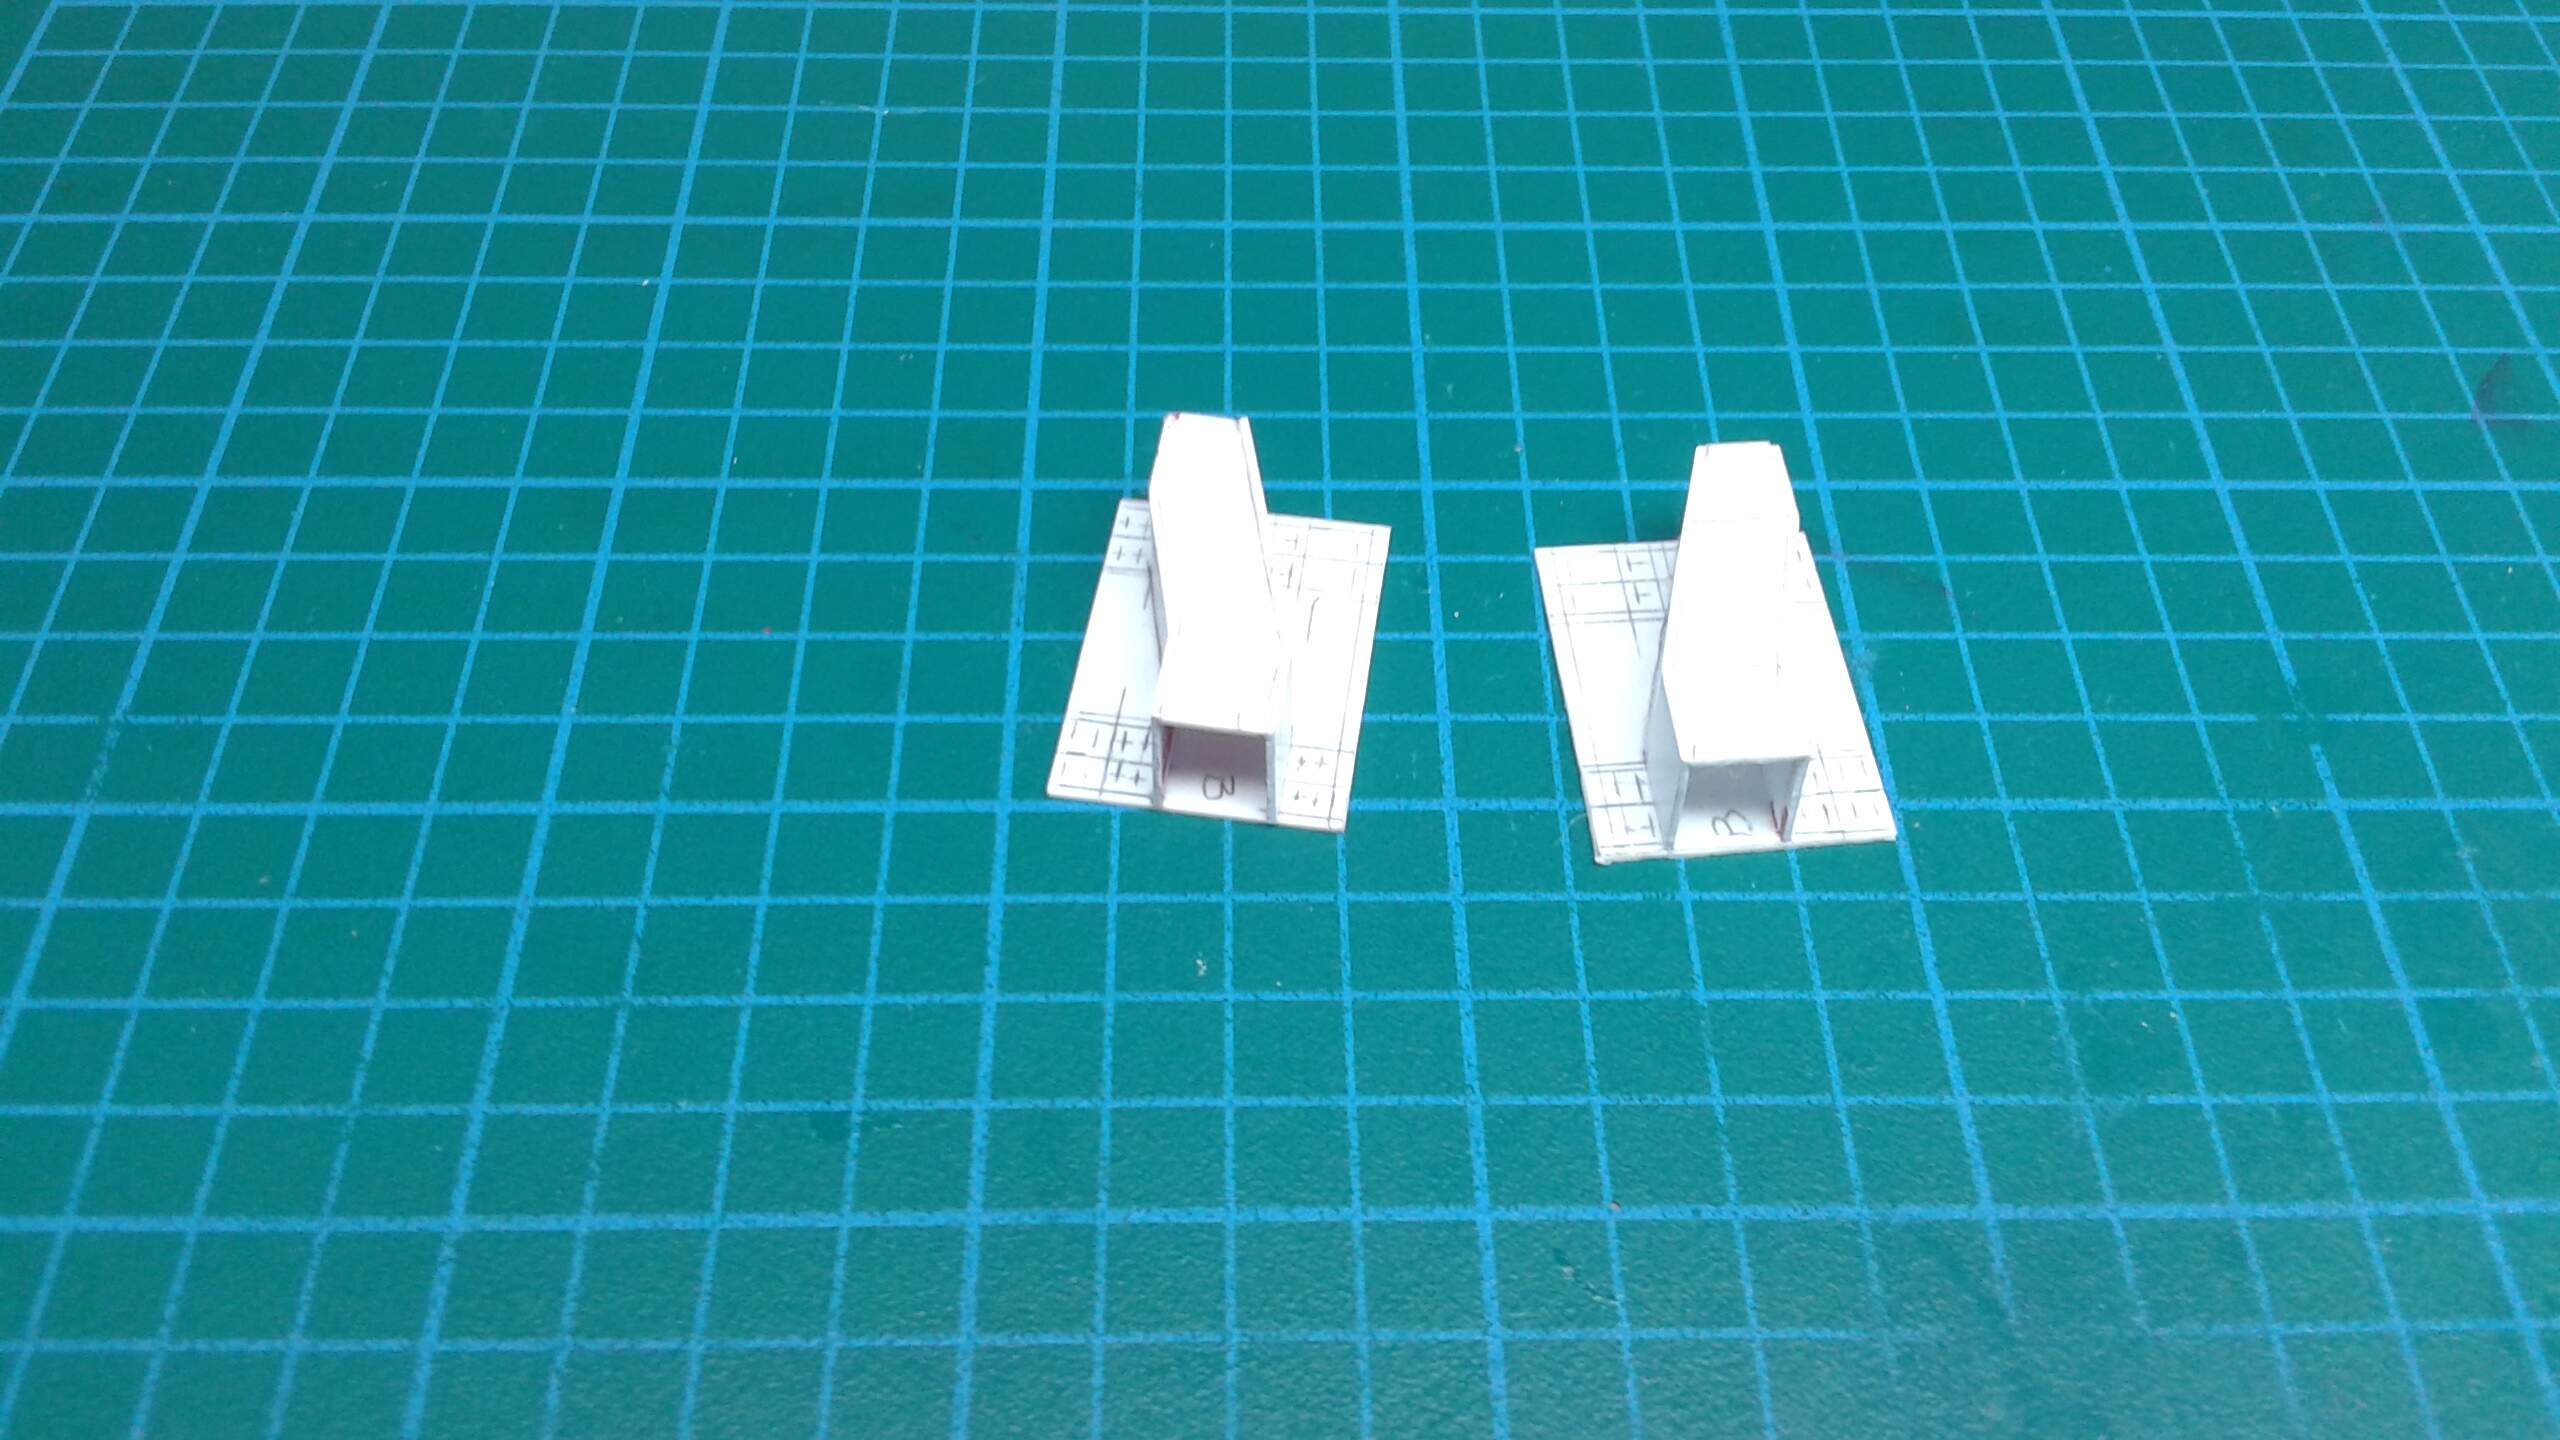
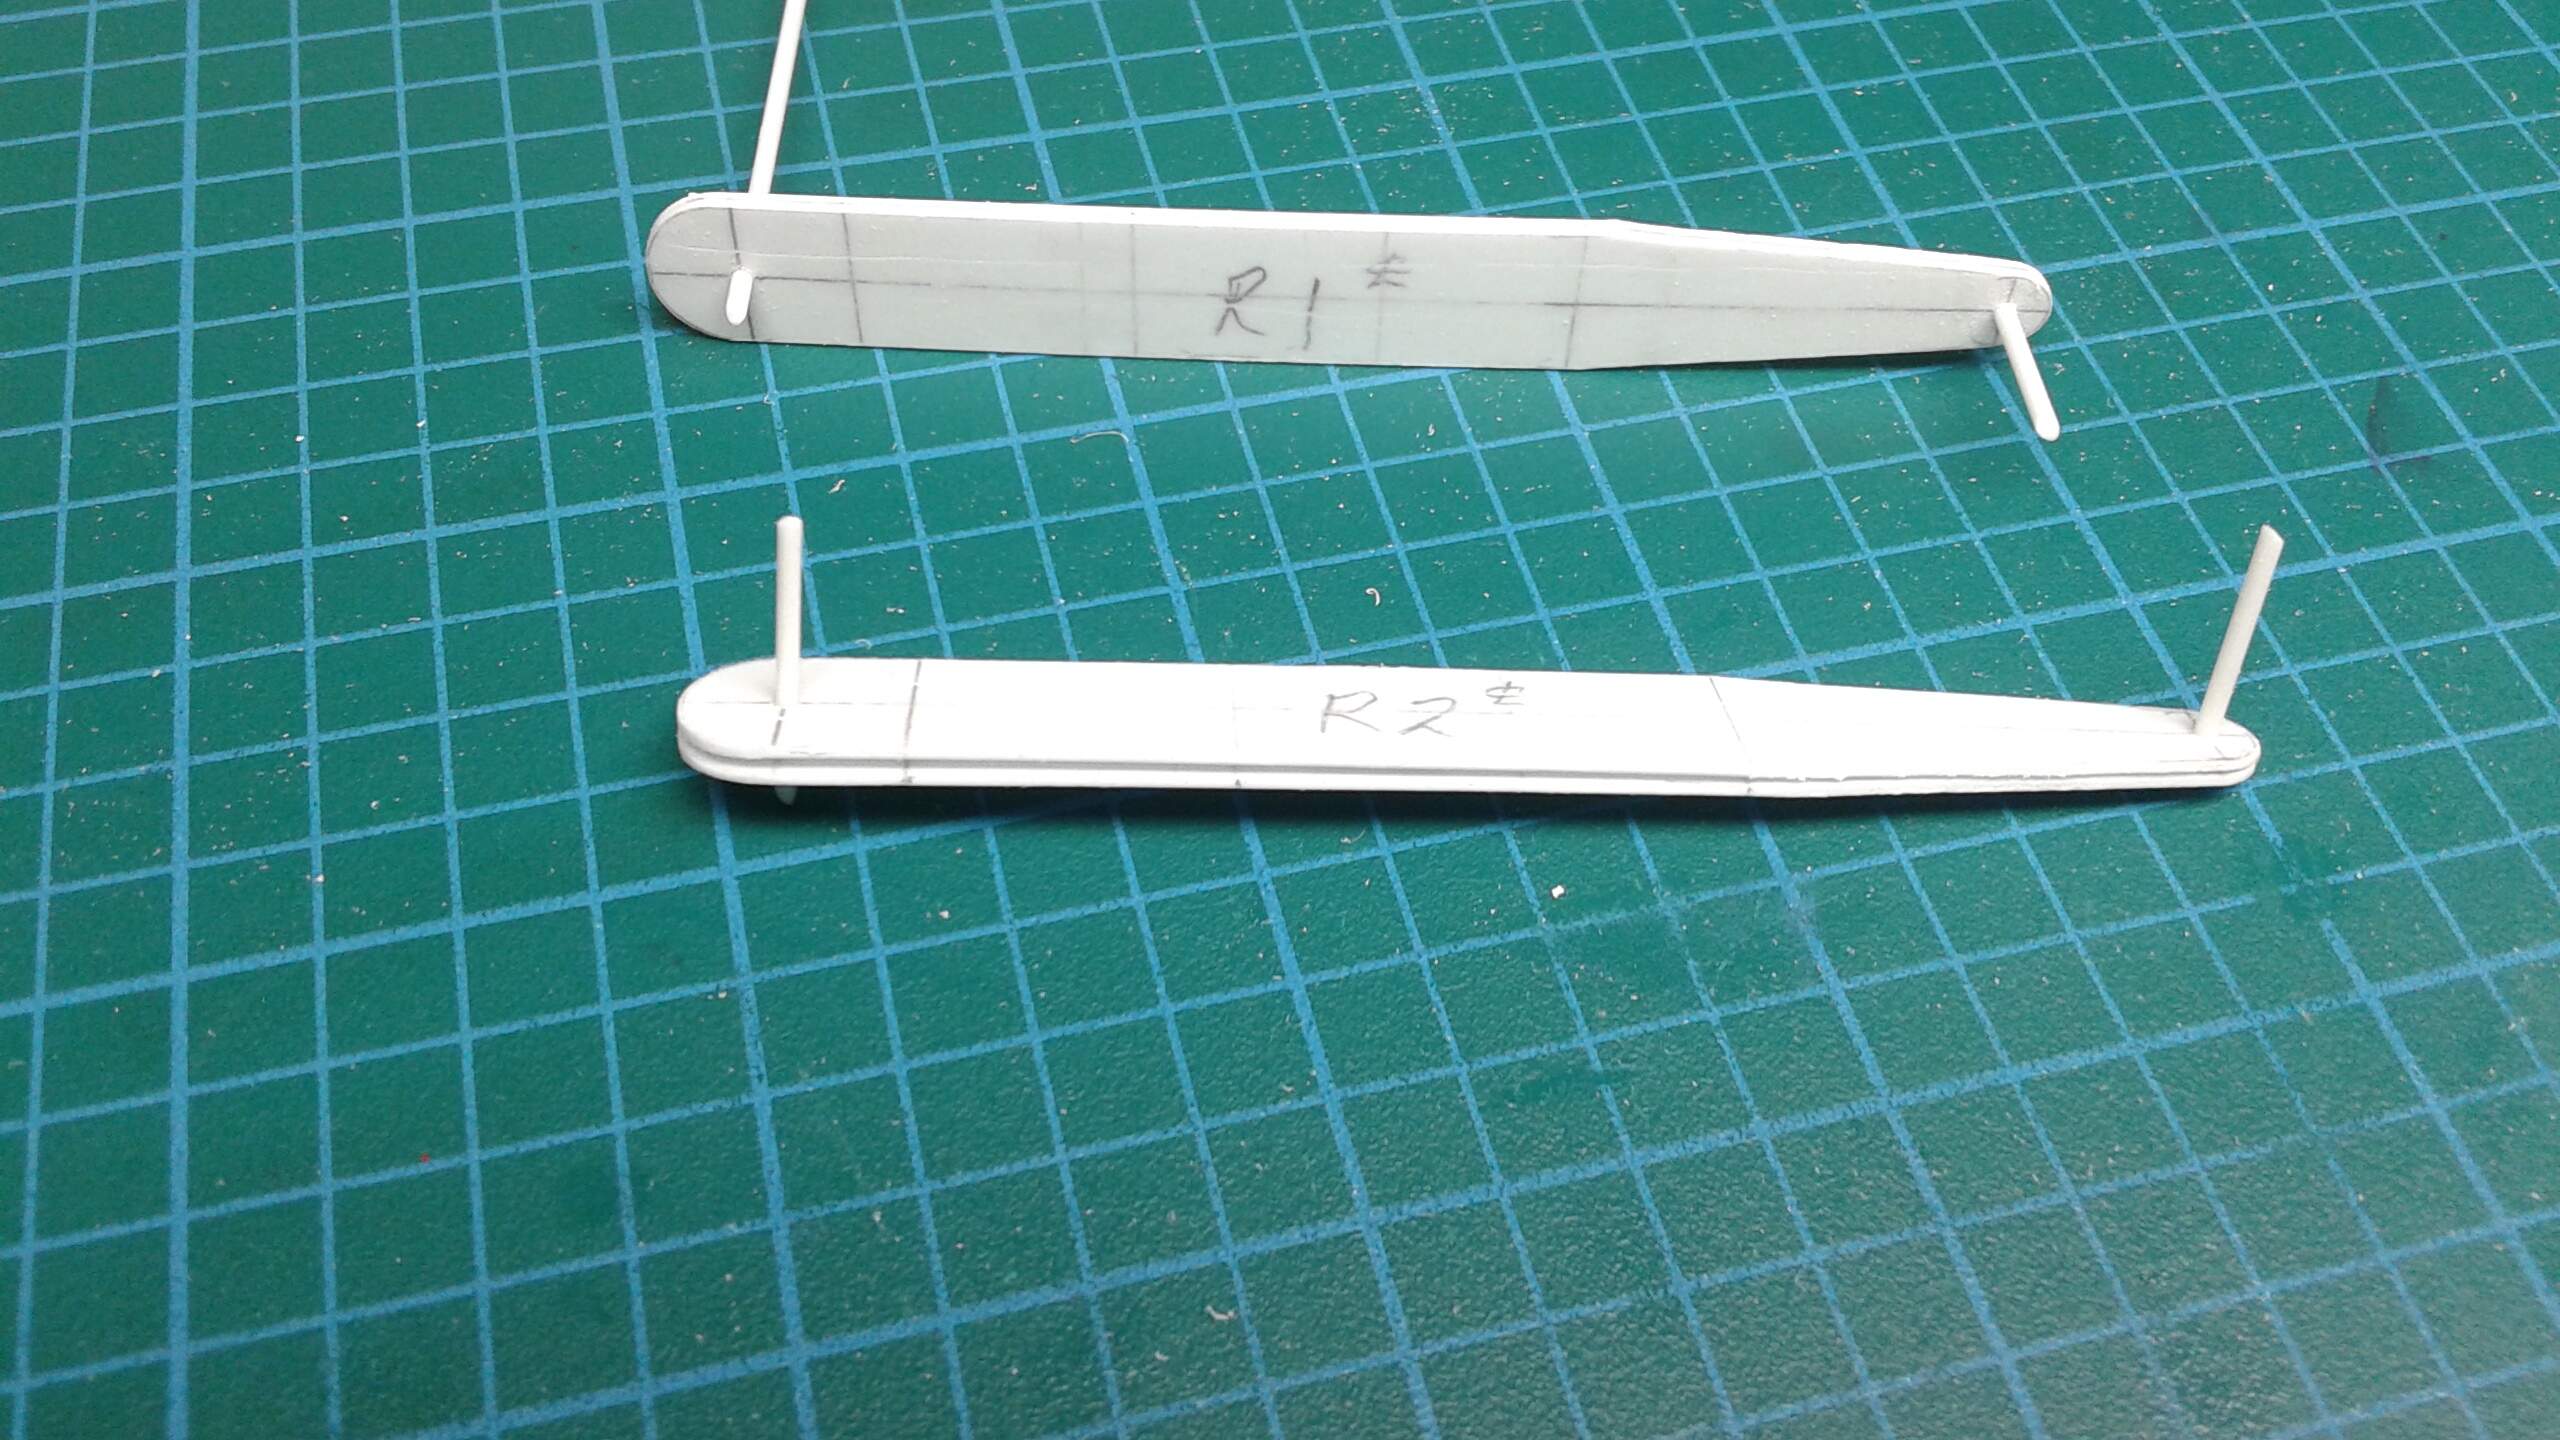
I don’t know if the administrator would appreciate me posting approximately 150 + pictures of my scratch building prosses on this subject.
Cheers,
Ralph
I must say after seeing your amazing work here , I have gone back and made a couple of changes to the one Im building .
Thank you for sharing
@mech .
I would love to see your process. I love to scratch build and you have some tricks that Im not aware of so please share
Hi Terry,
Thank you very much for the compliment.
I wish I could time travel.
Ralph
I have not seen them cap any limits on posting pics. Post away, nobody liking or posting will let you know if you have done to much. ![]()
Go for it!
Very nice indeed.
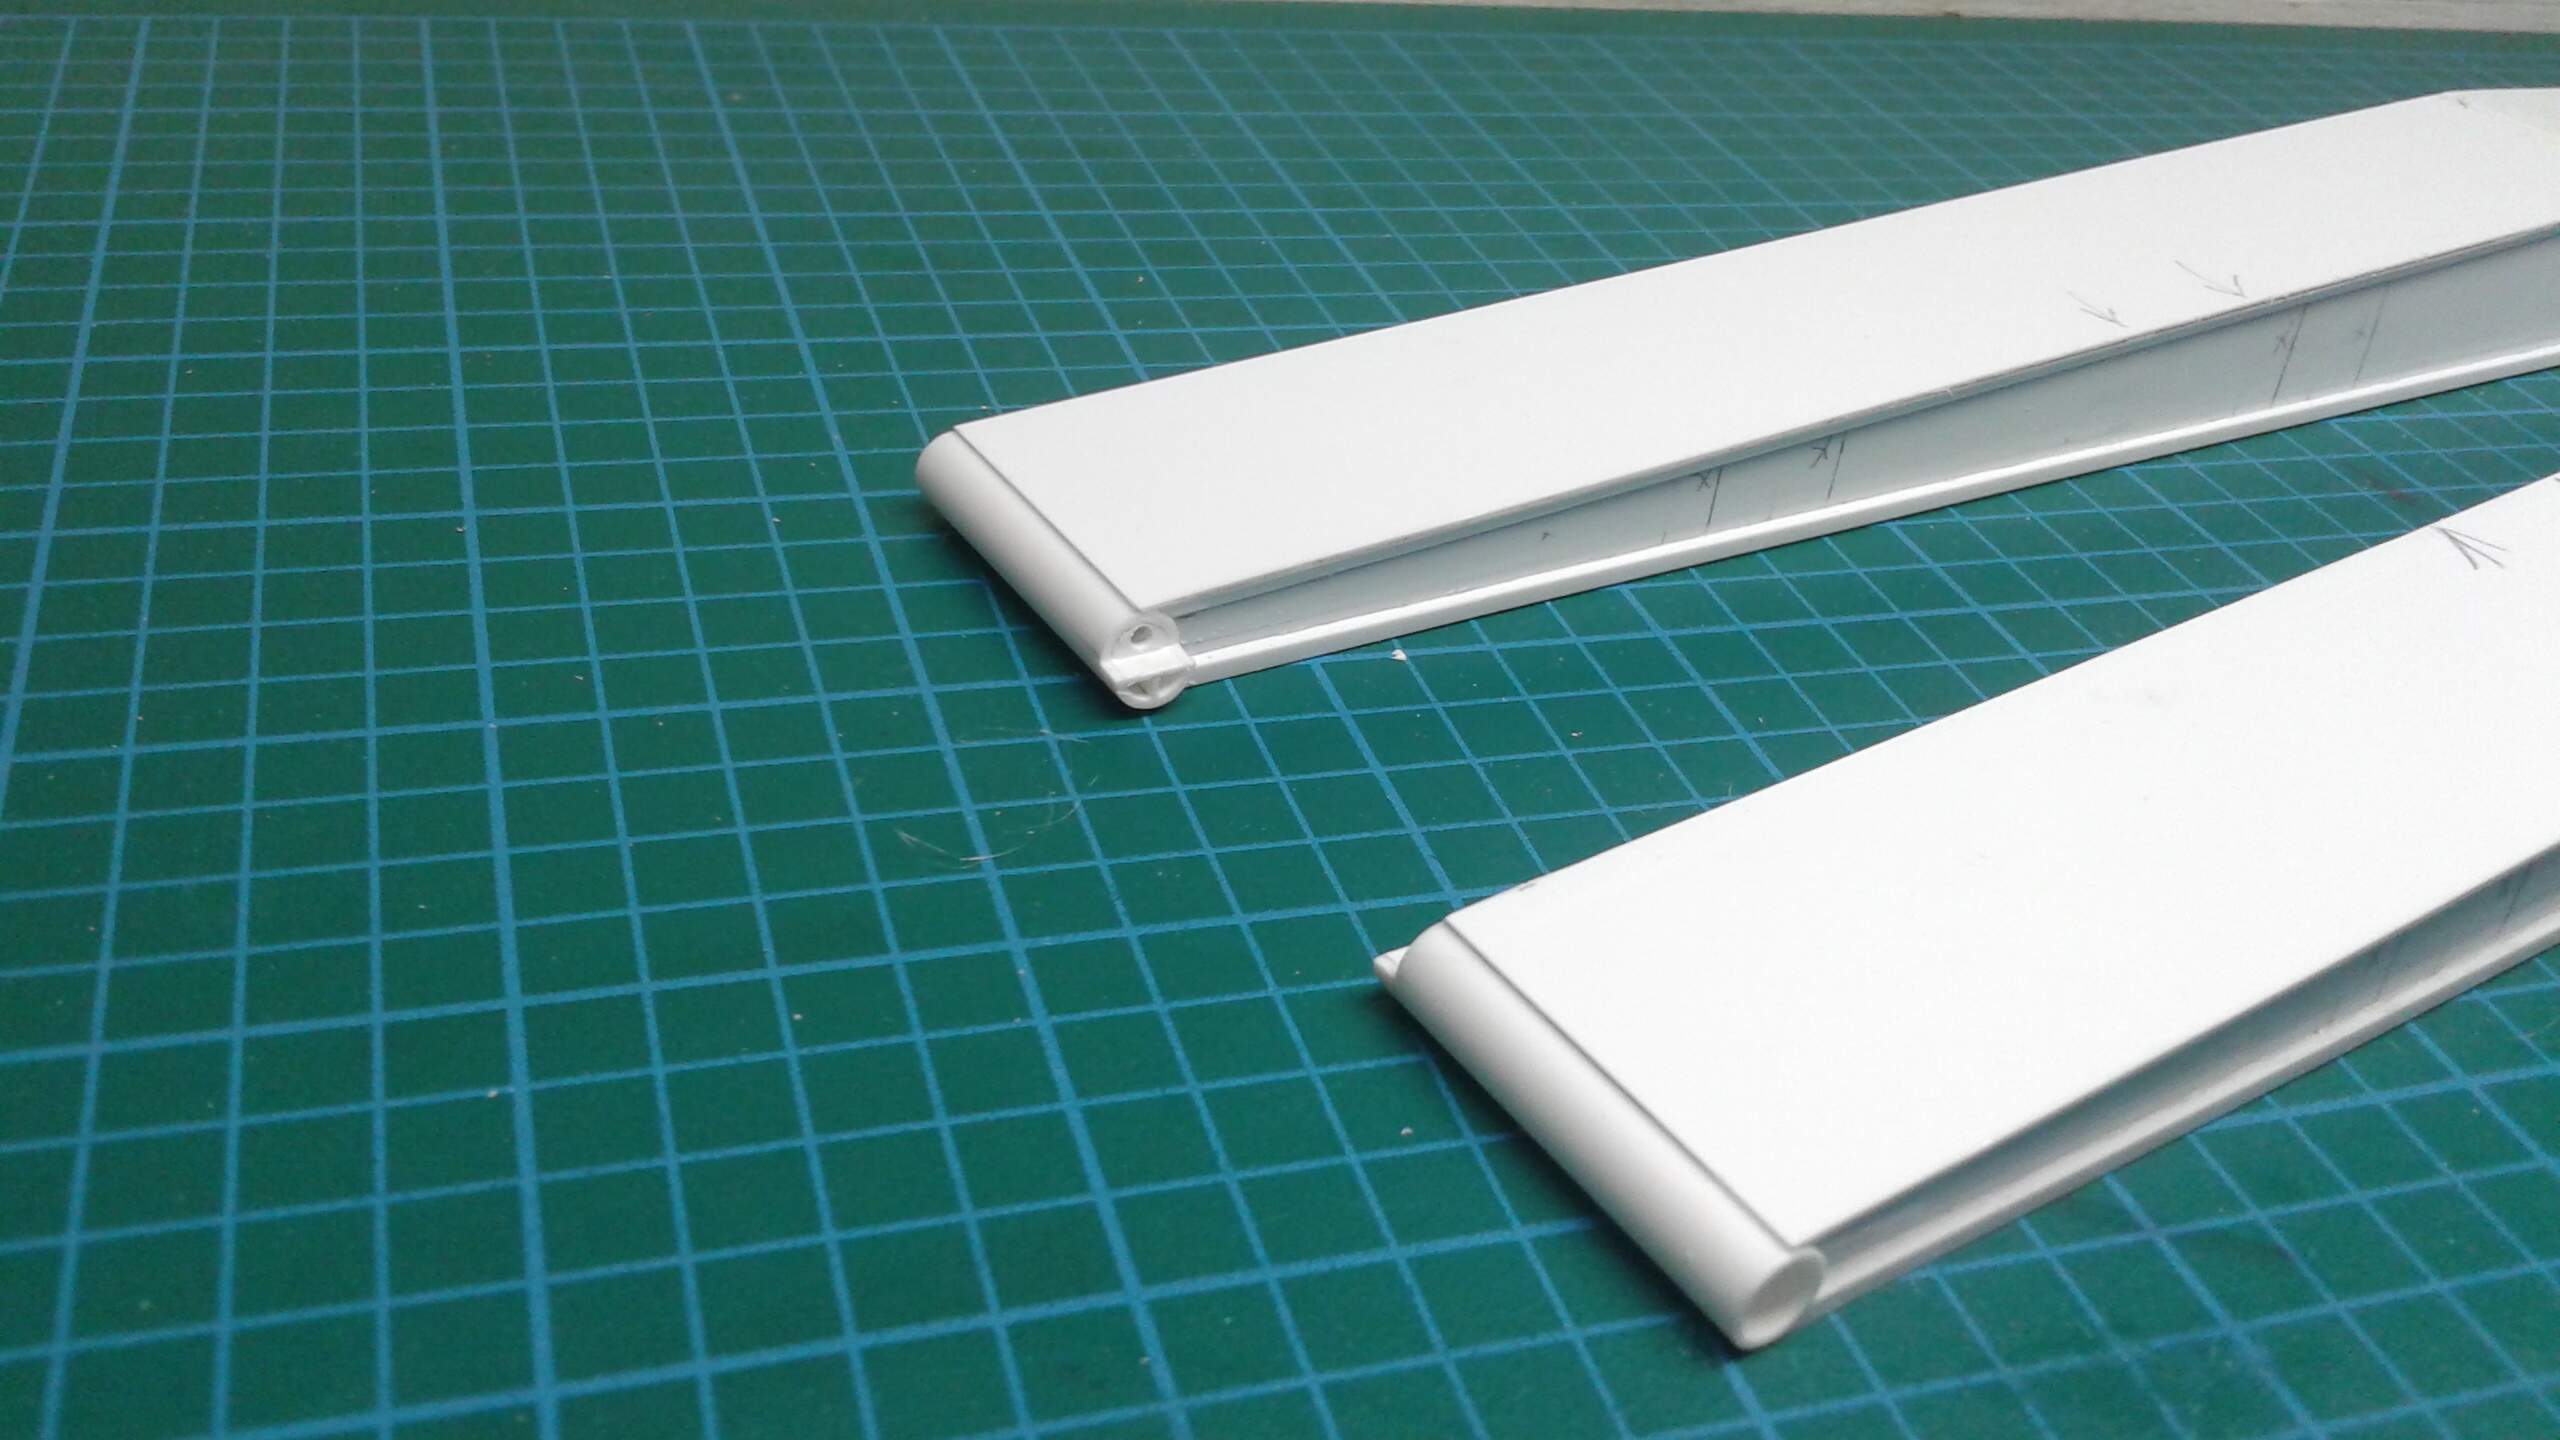
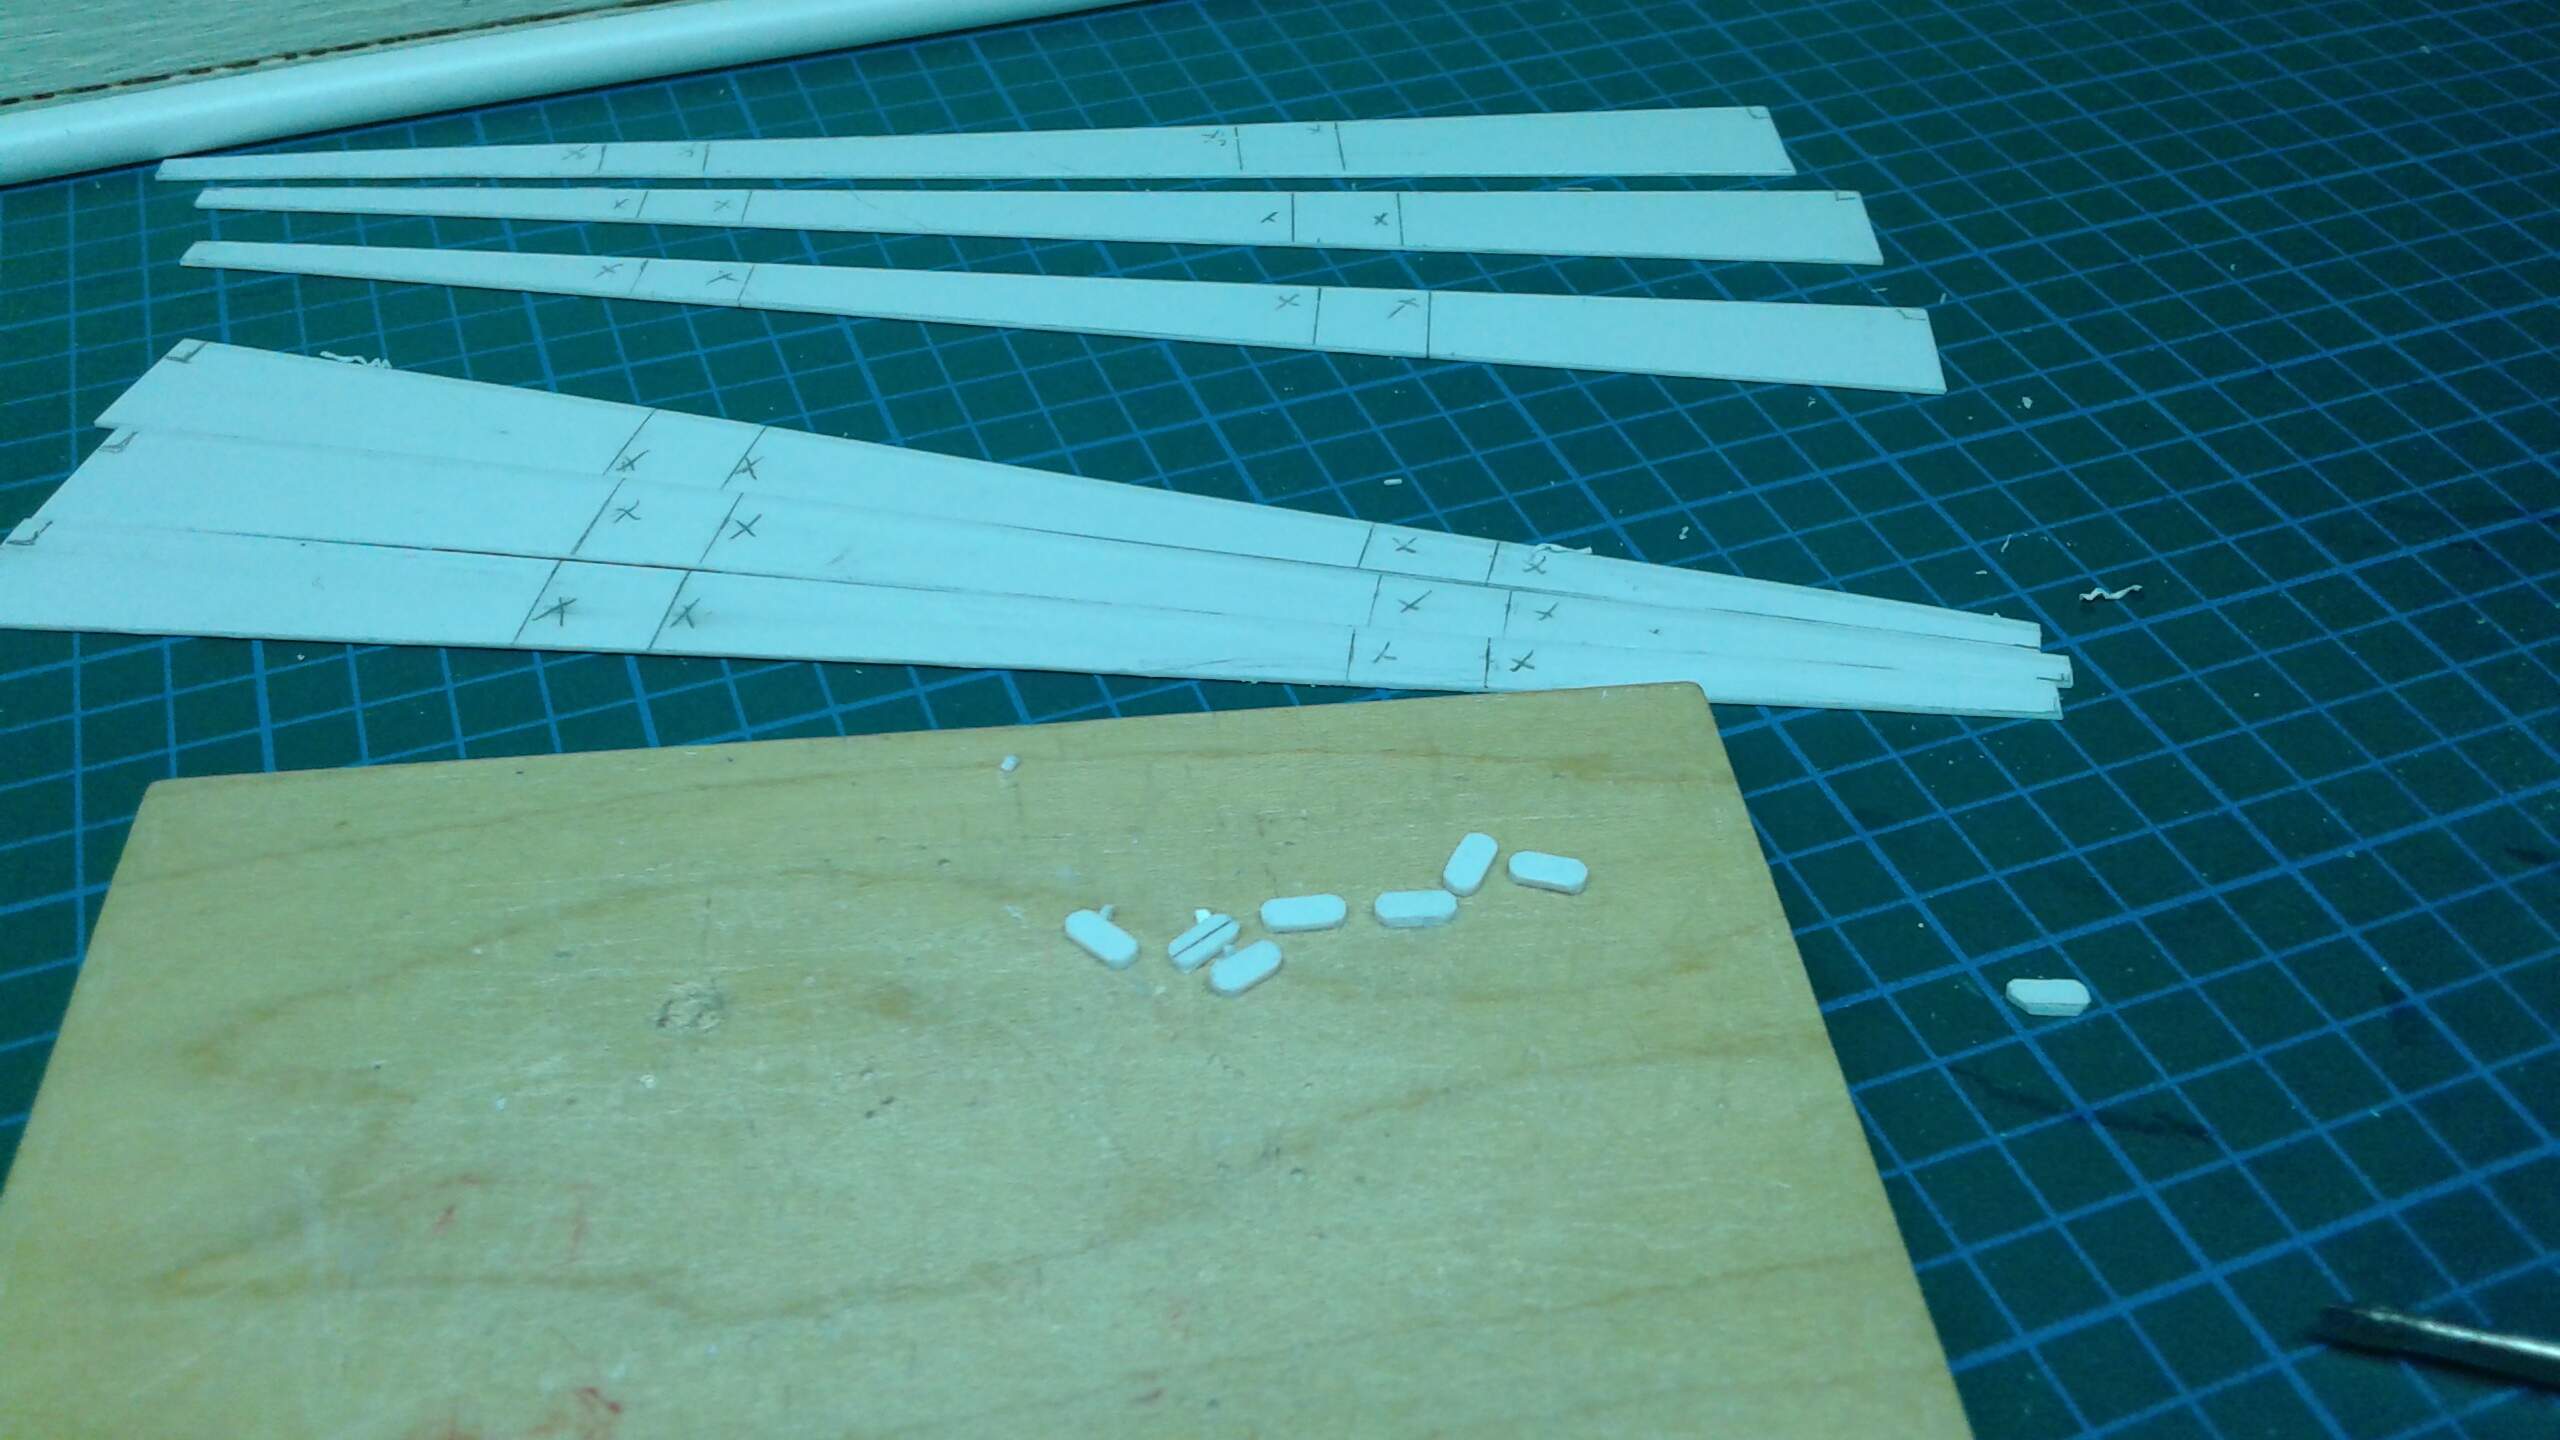
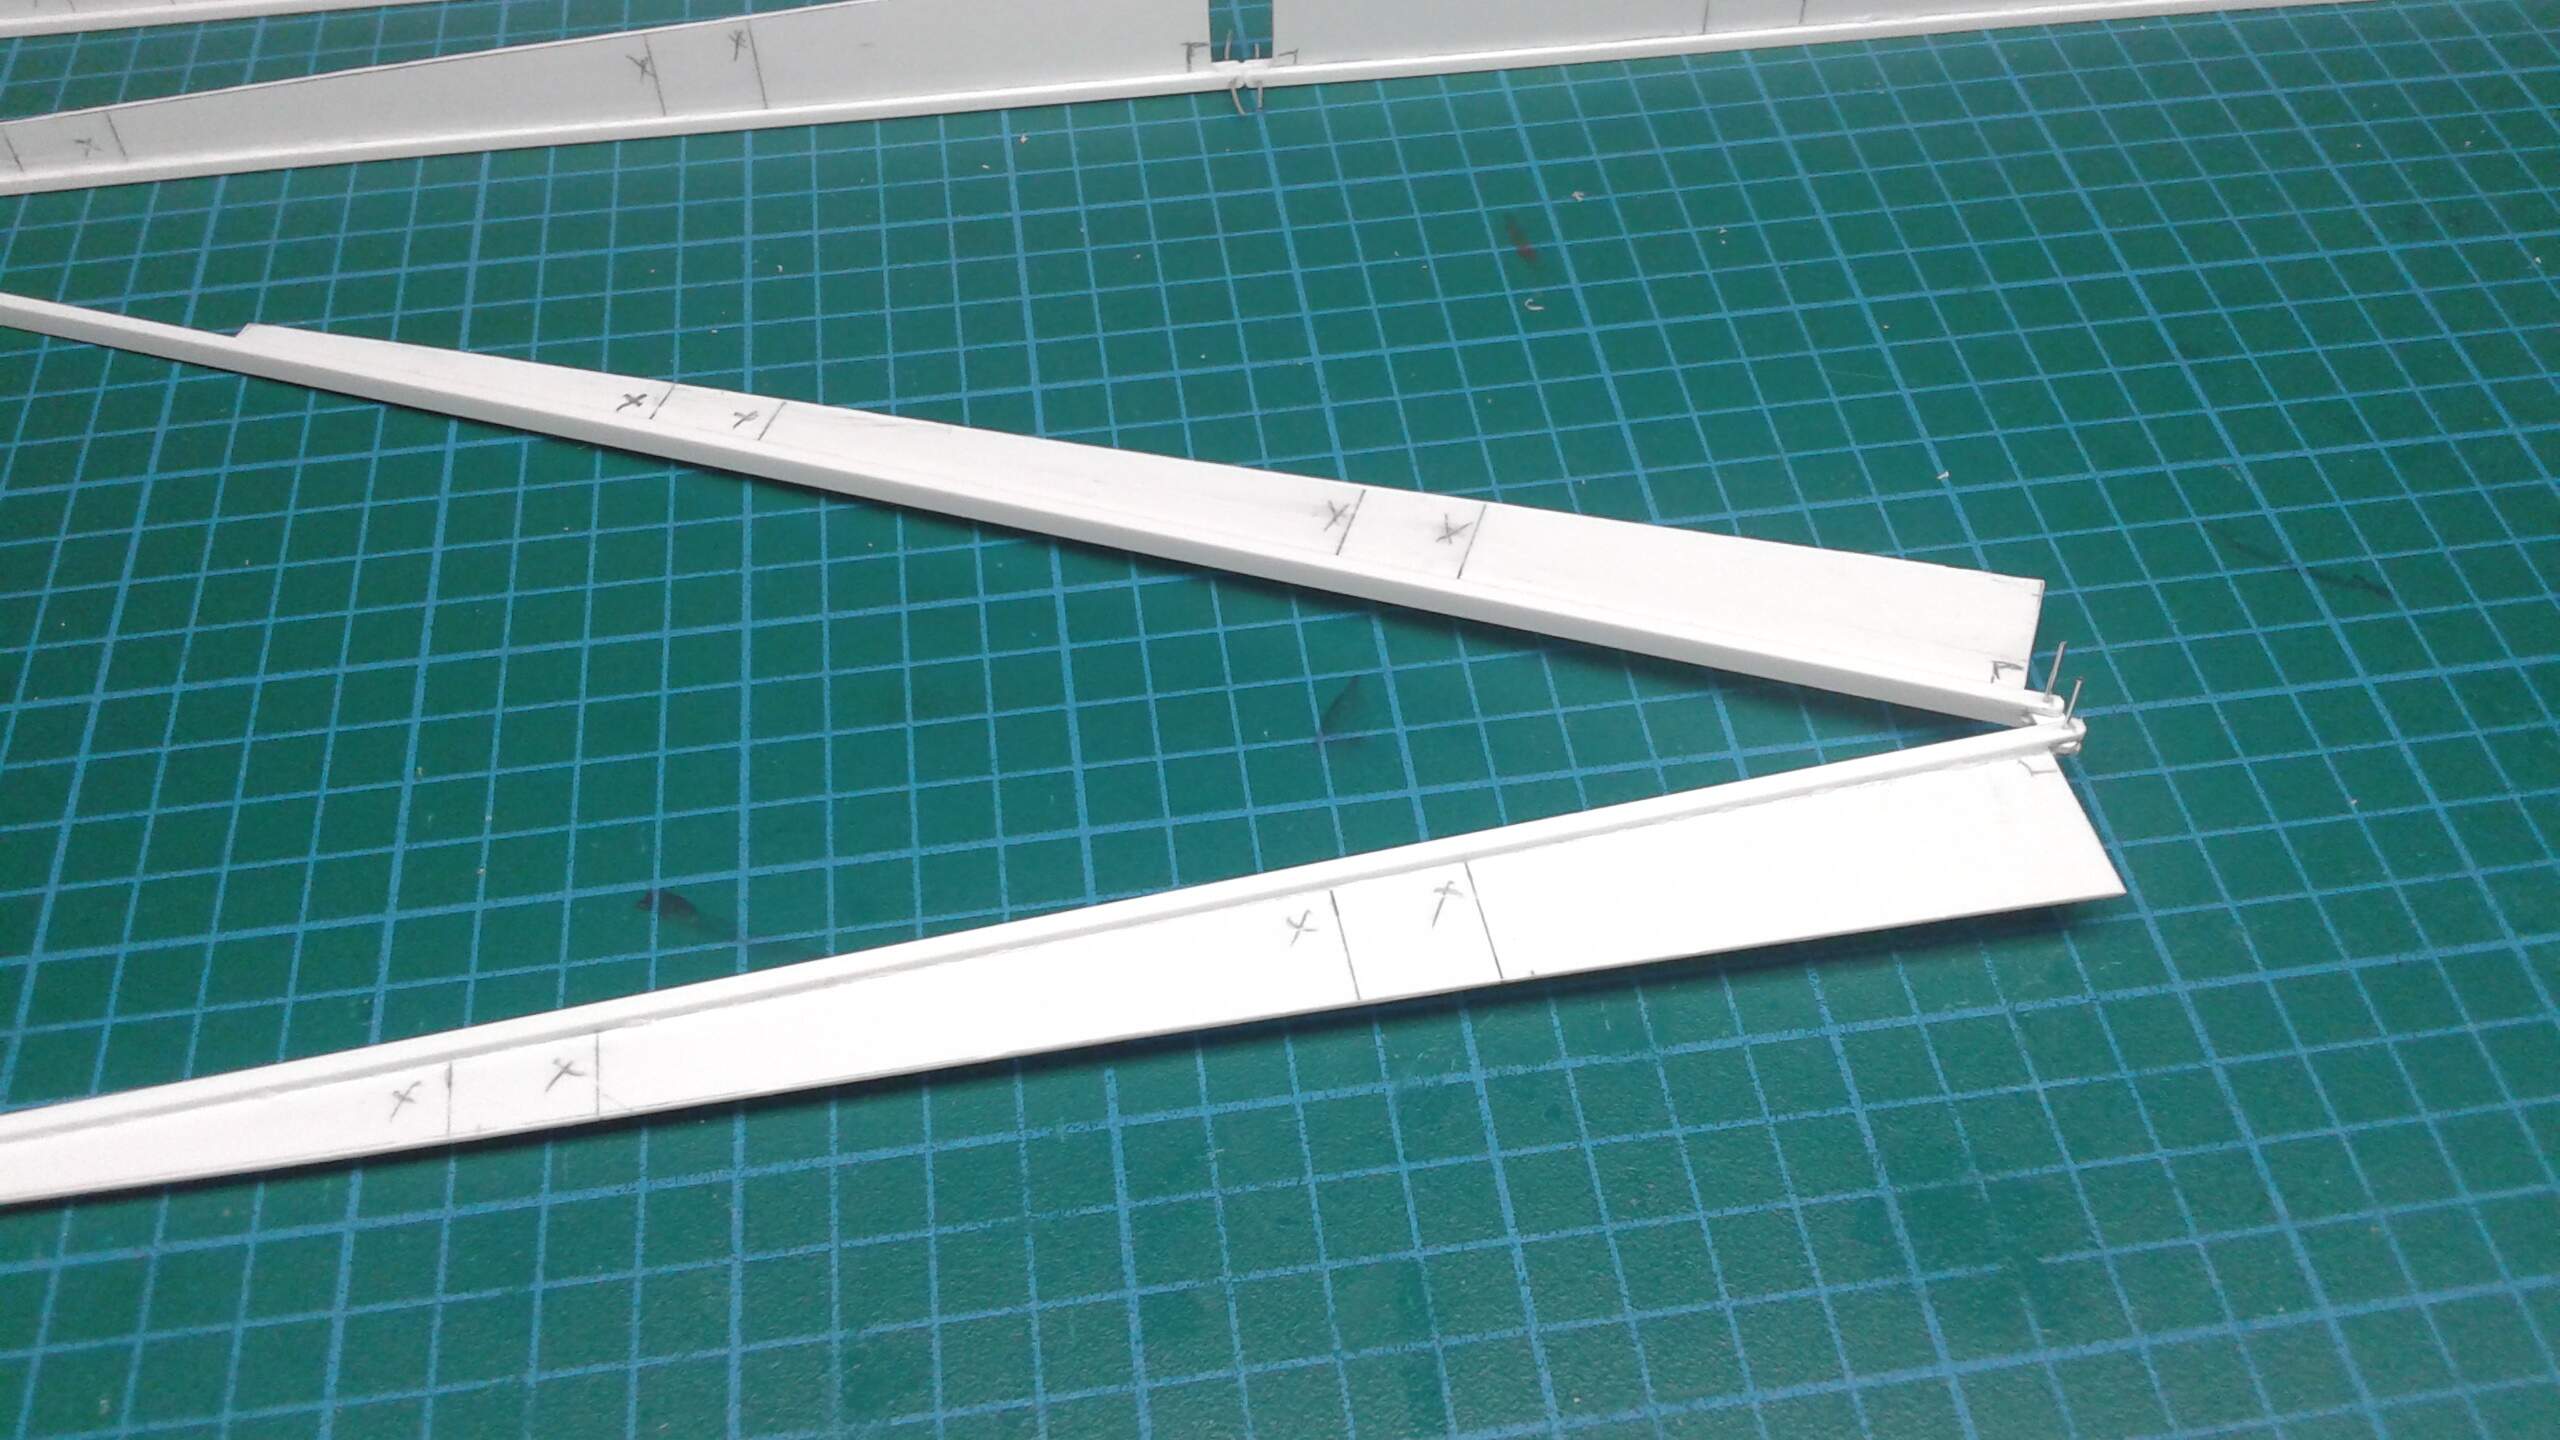
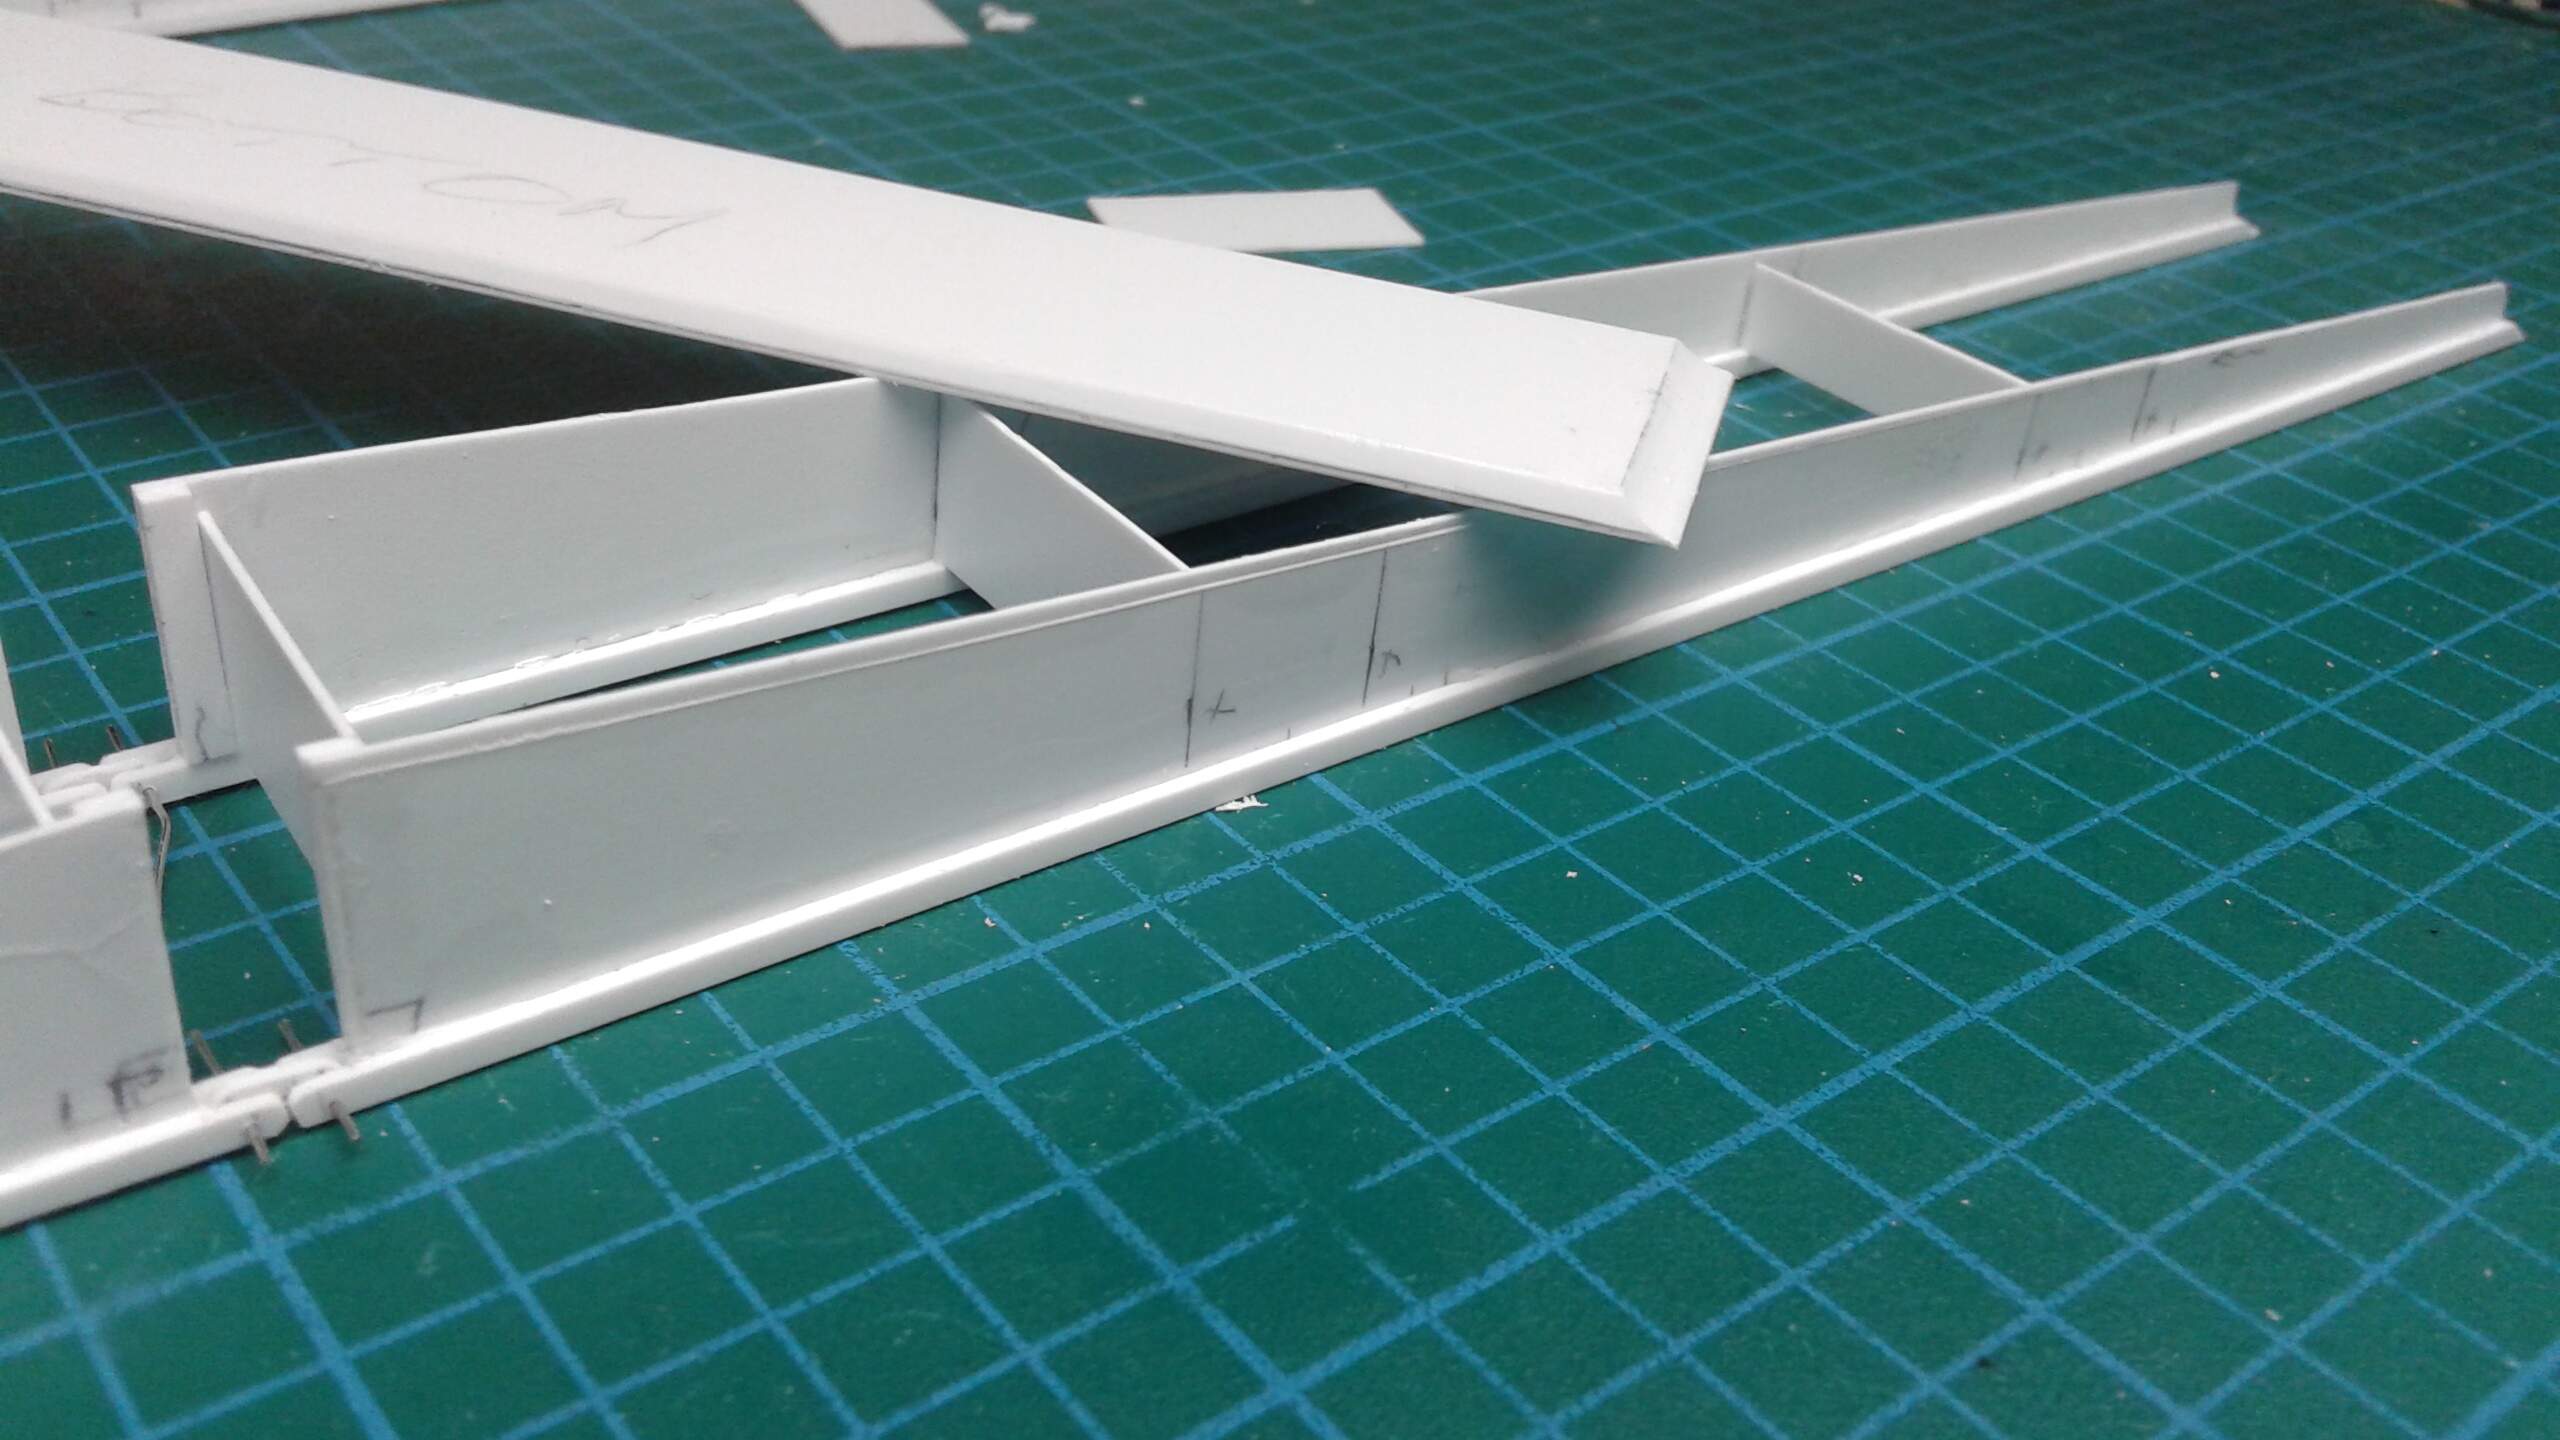
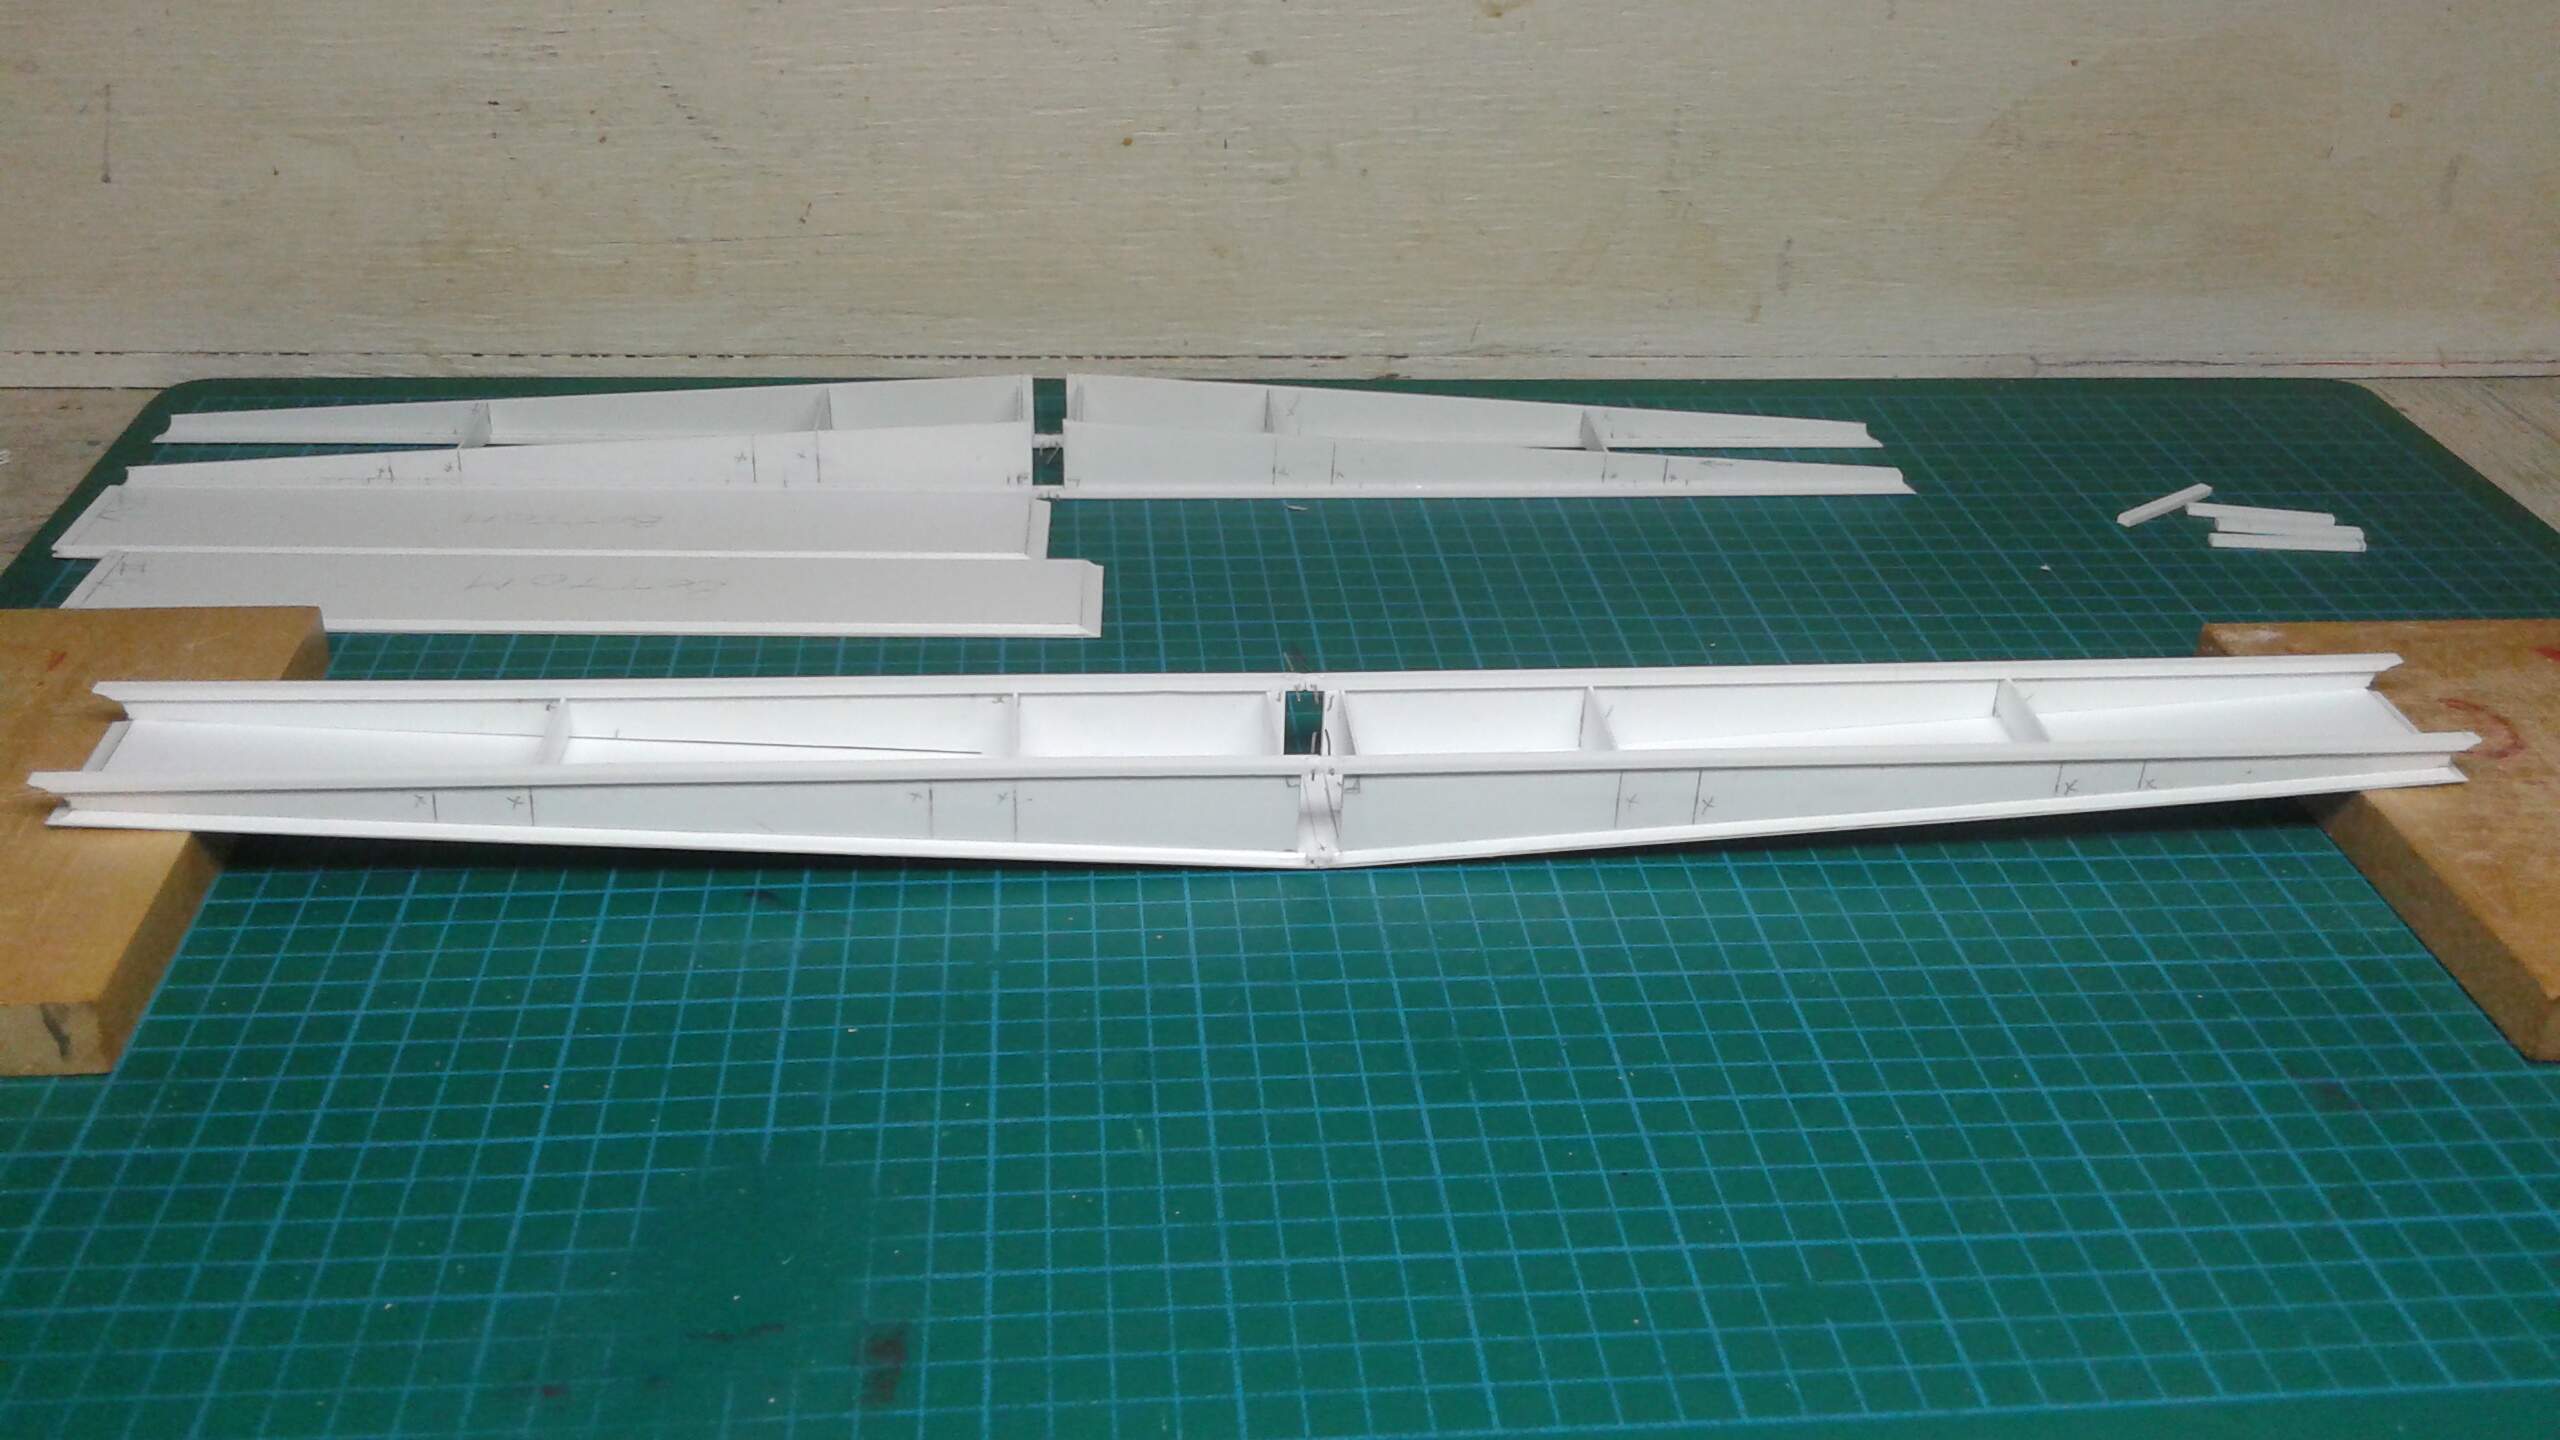
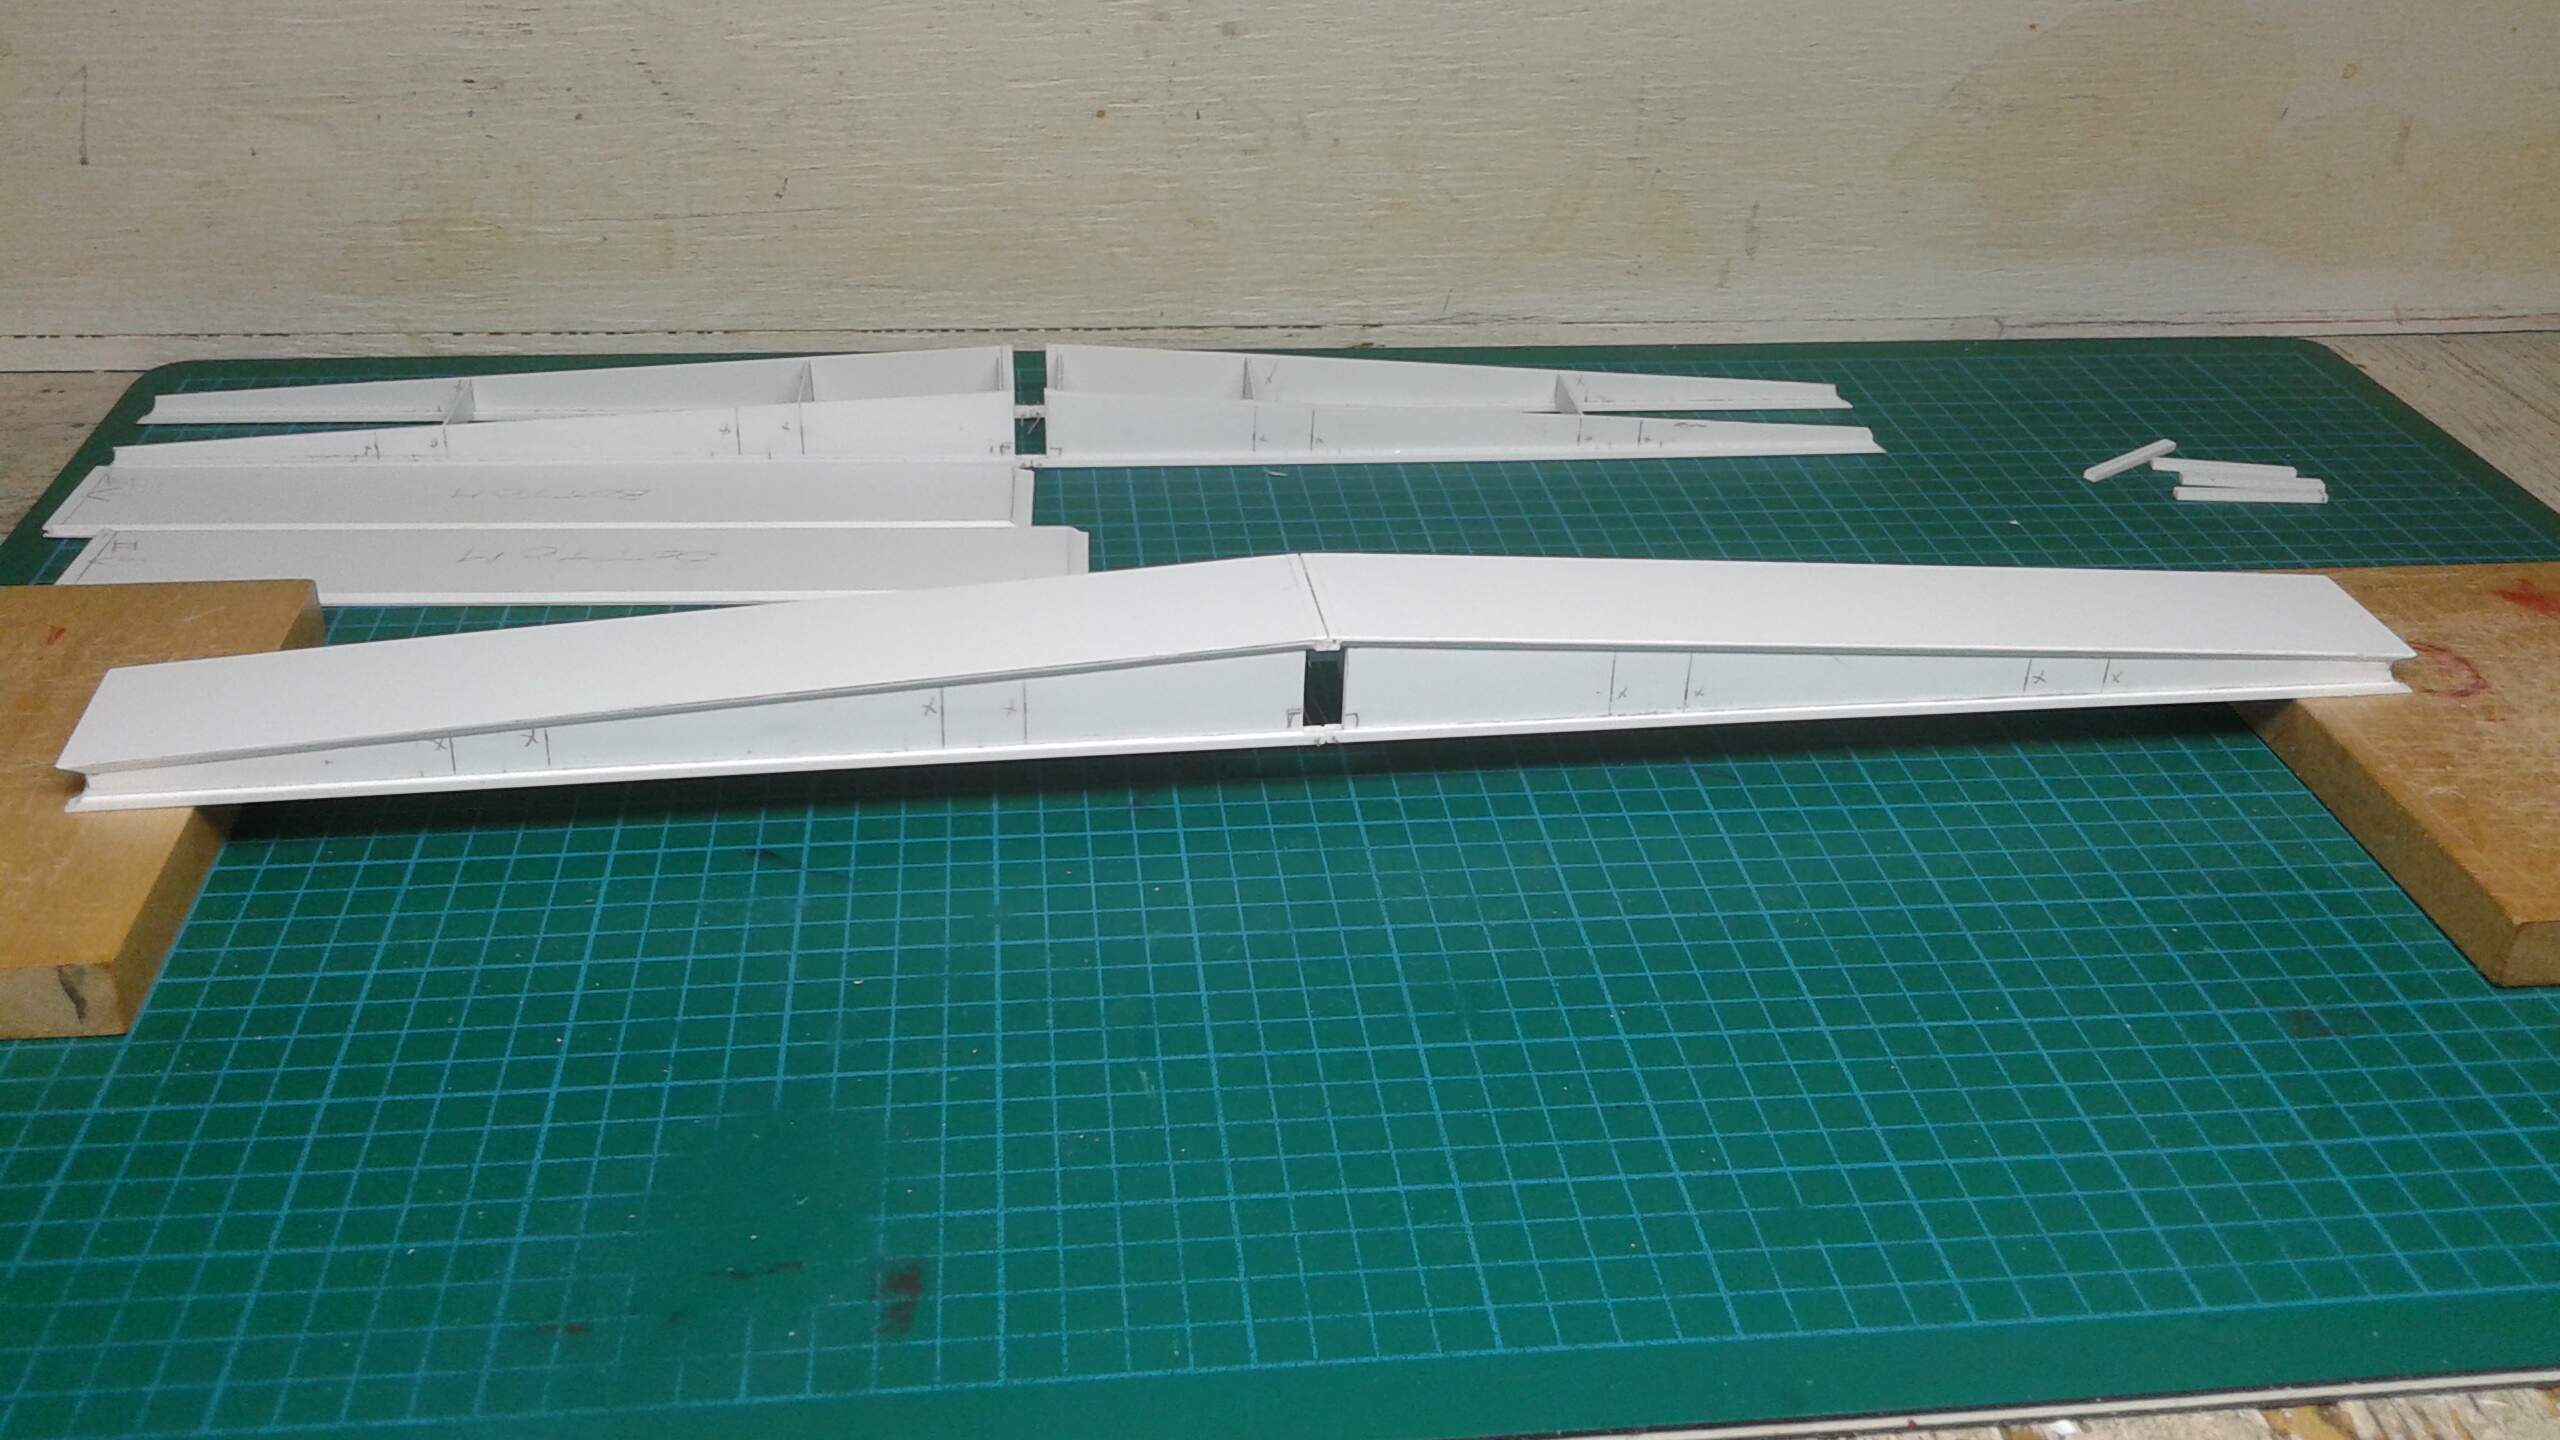
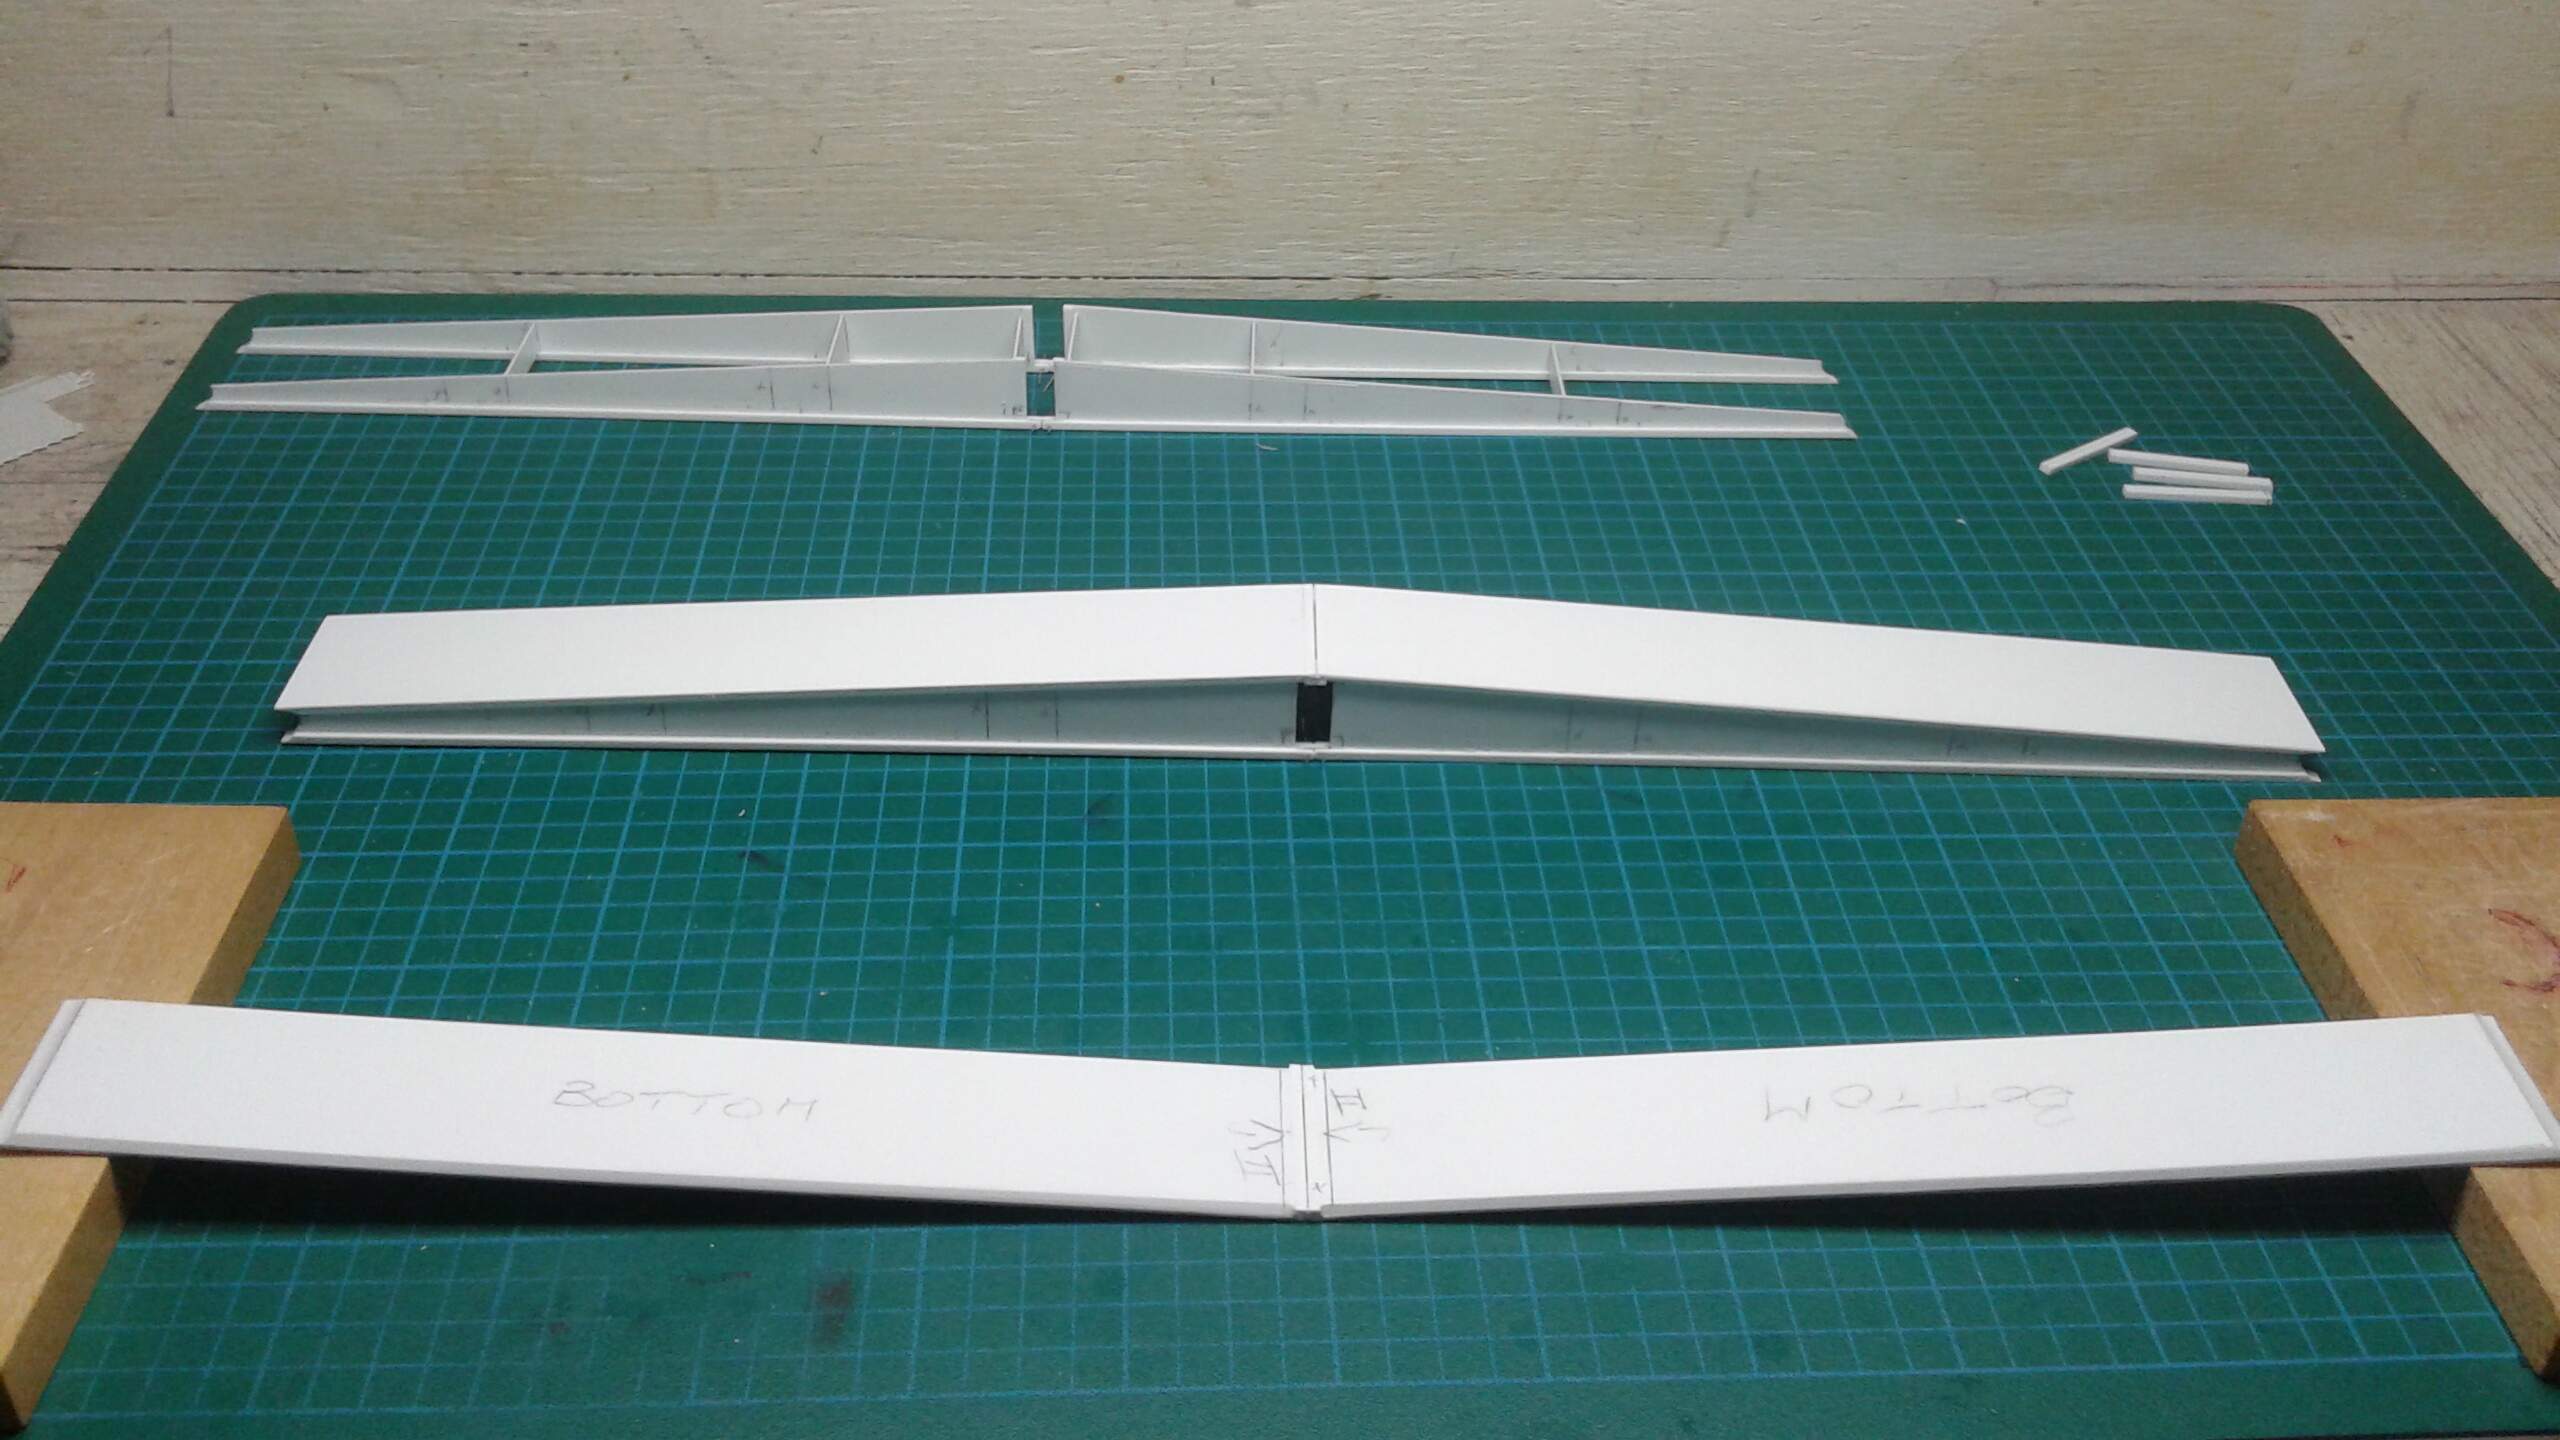
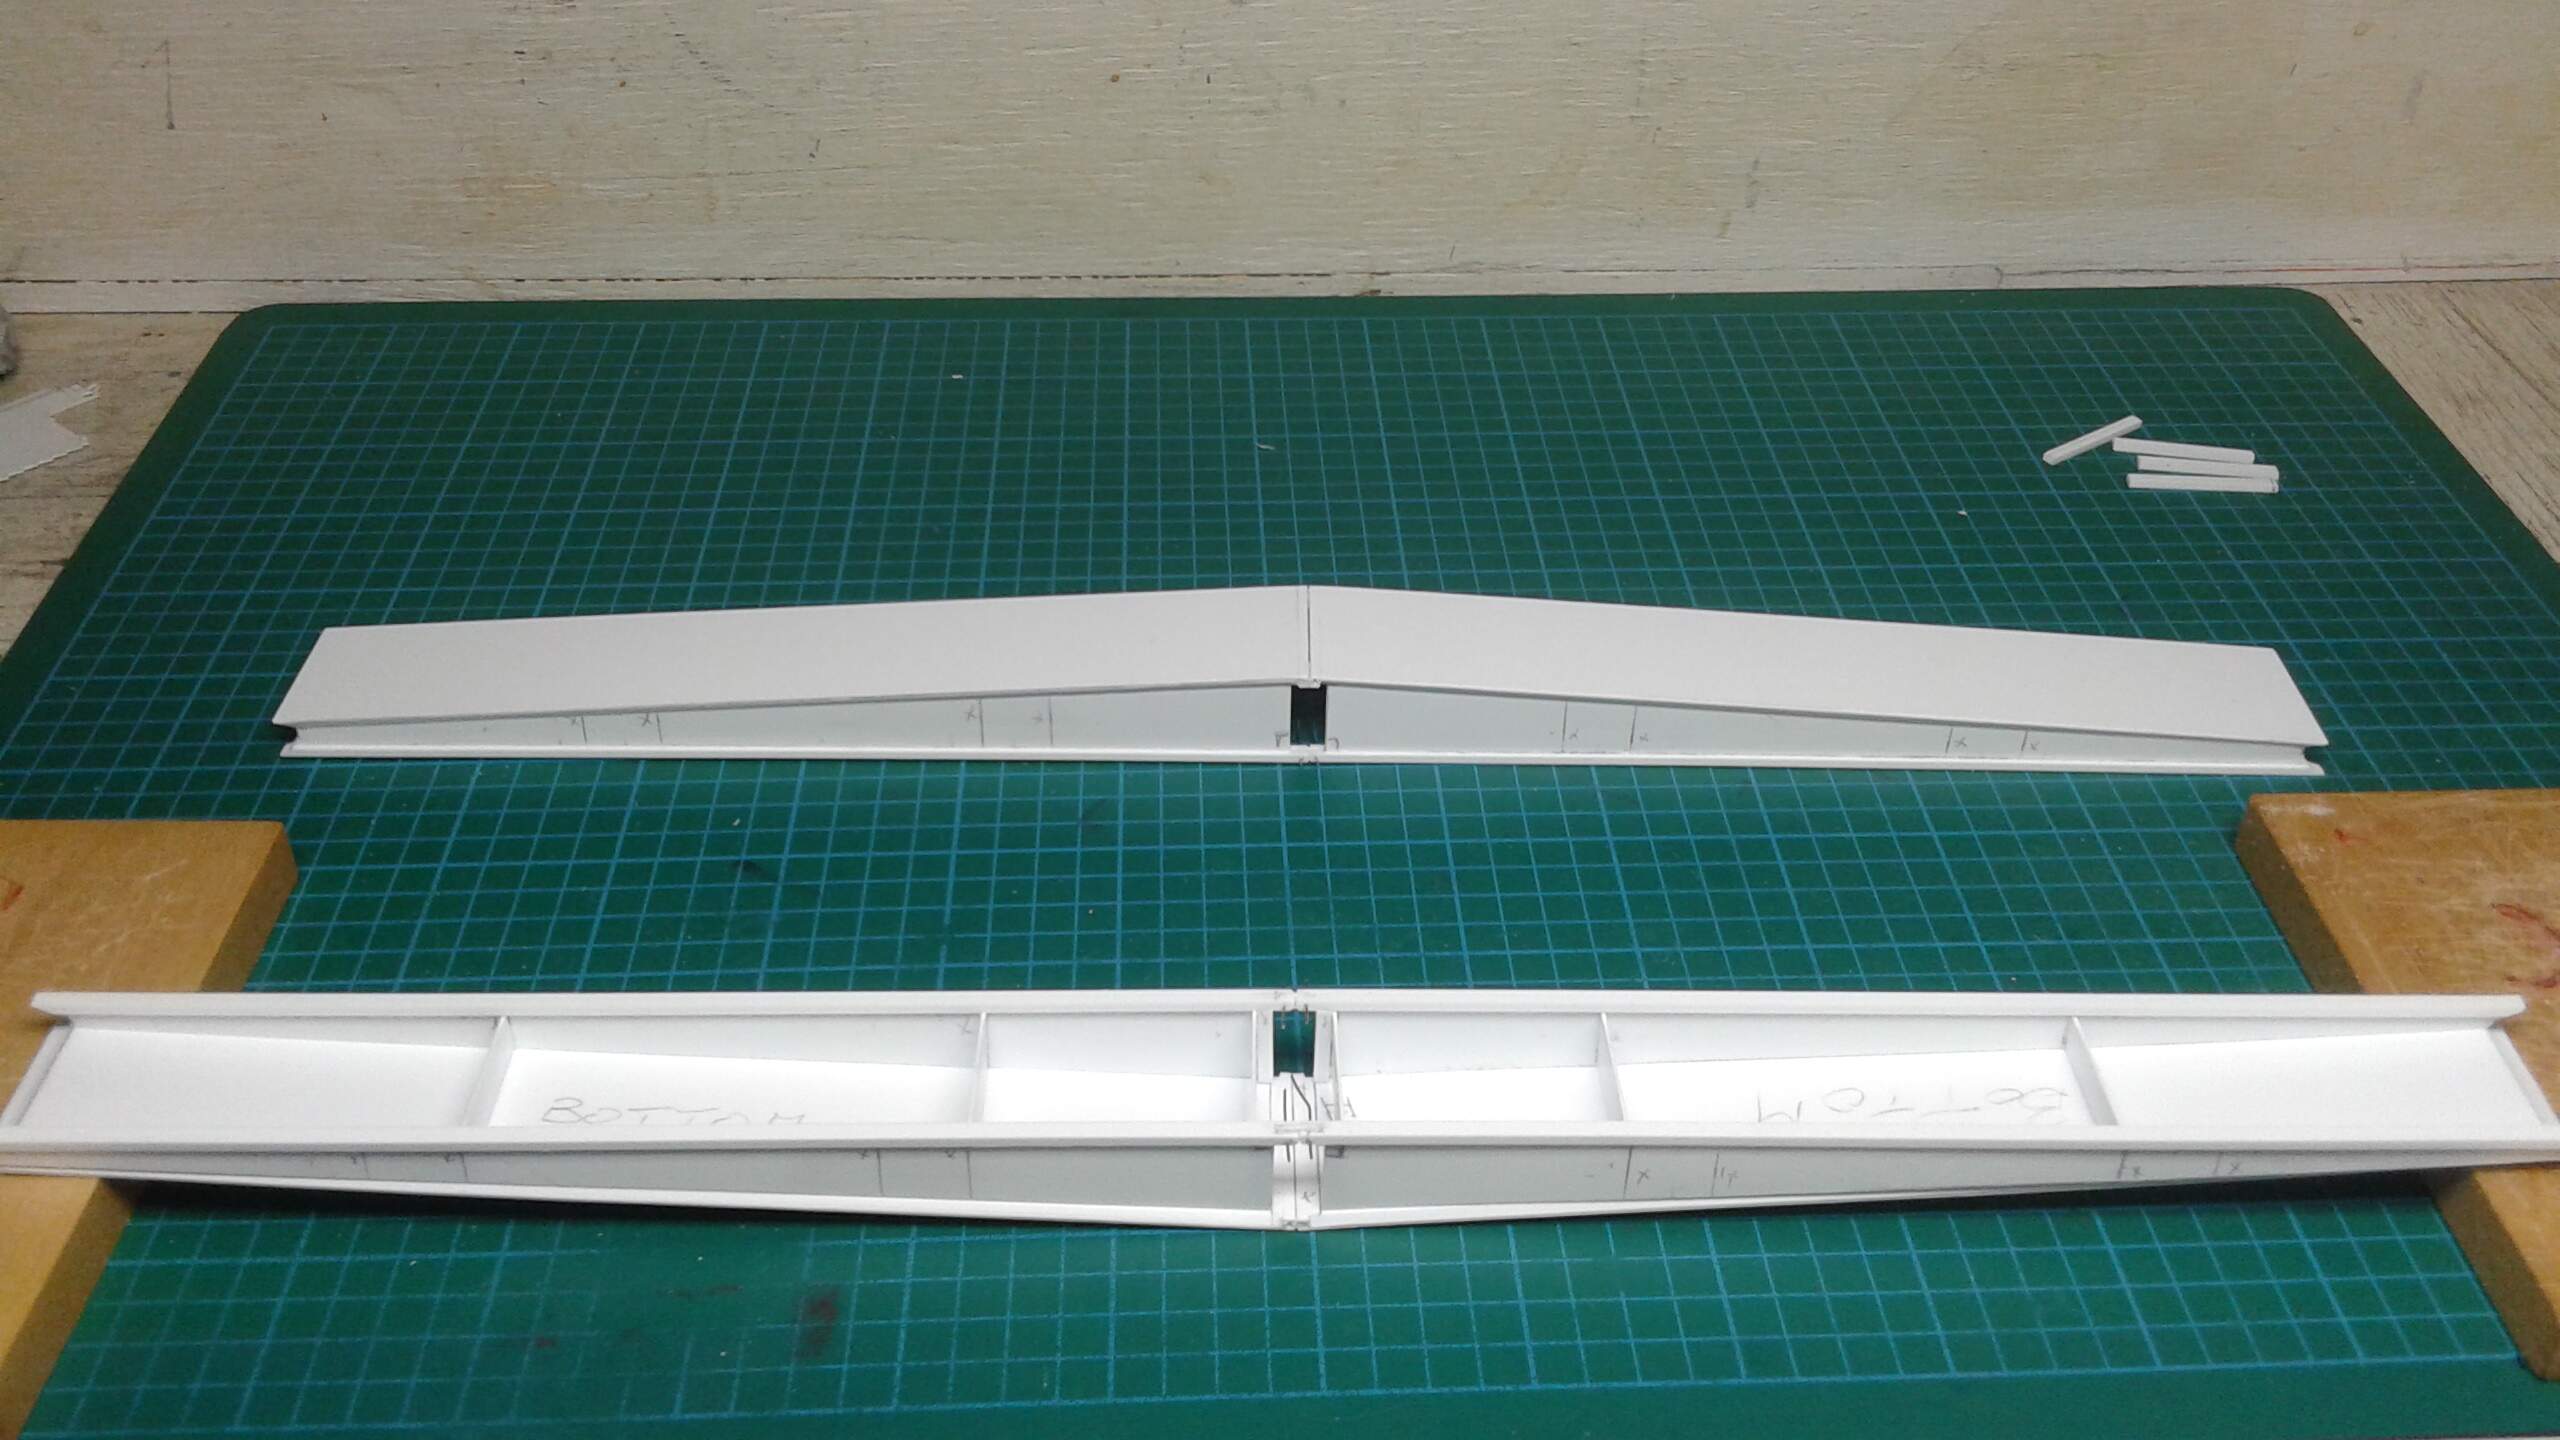
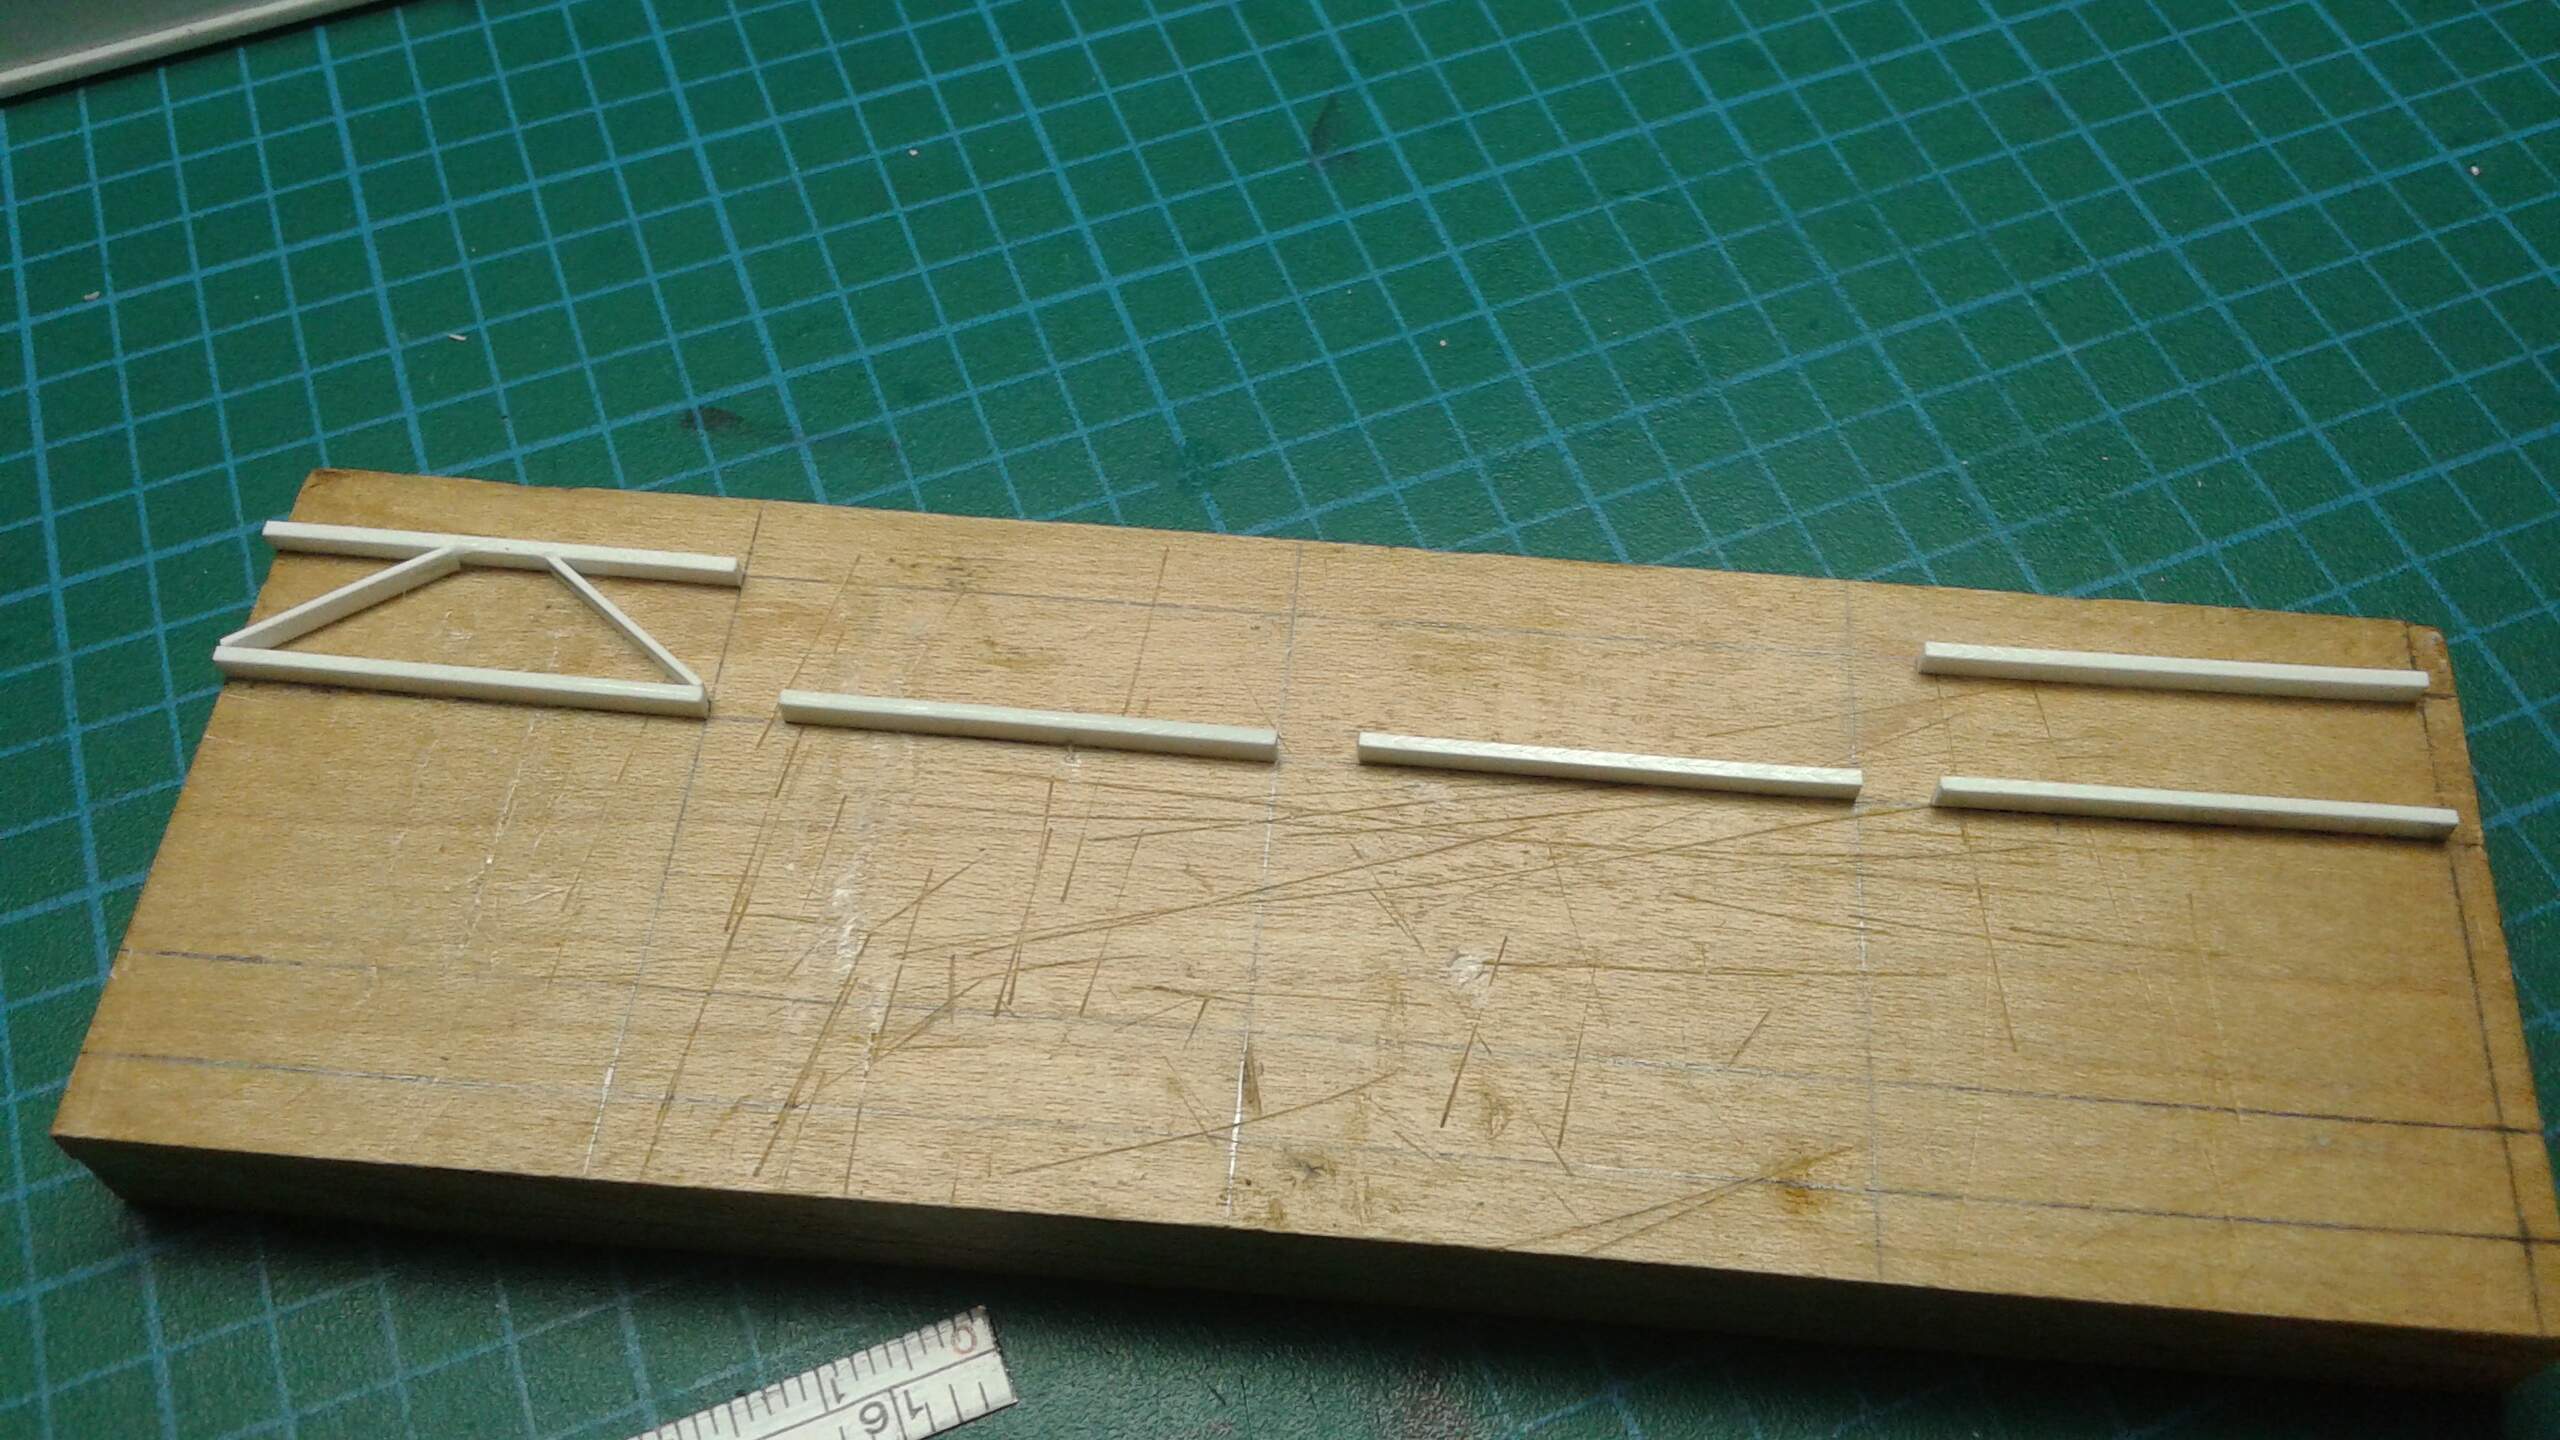
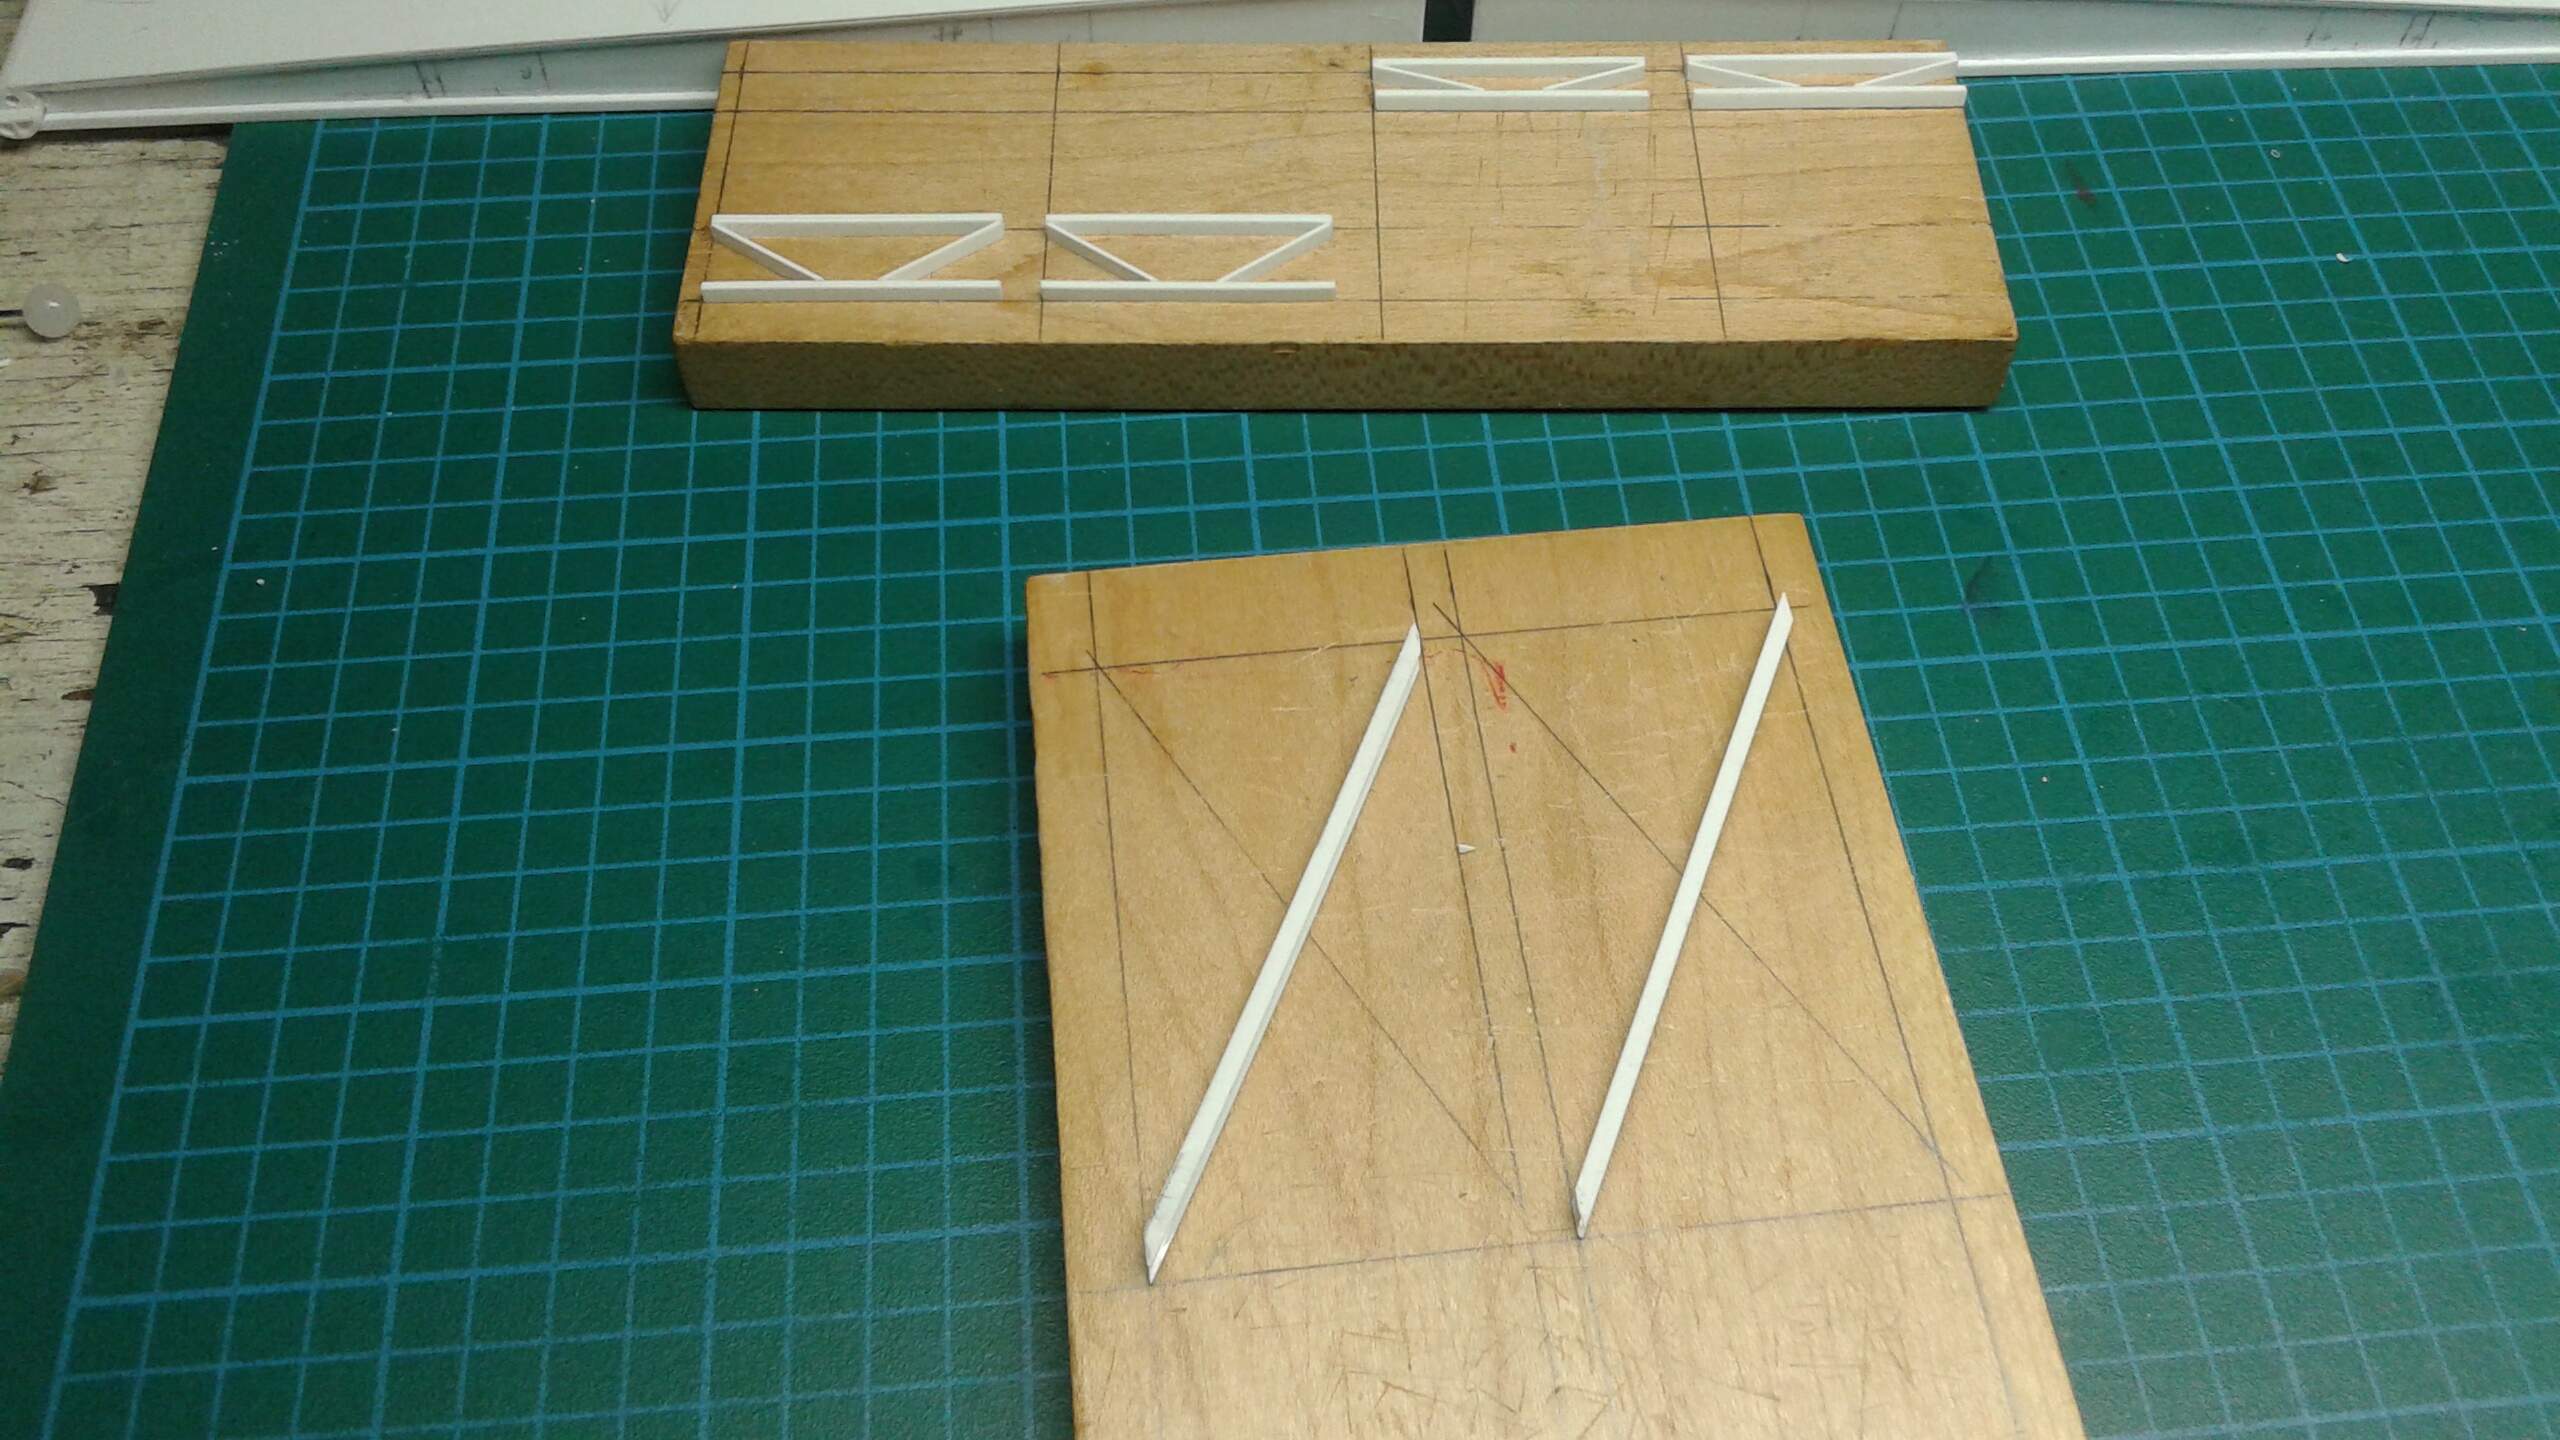
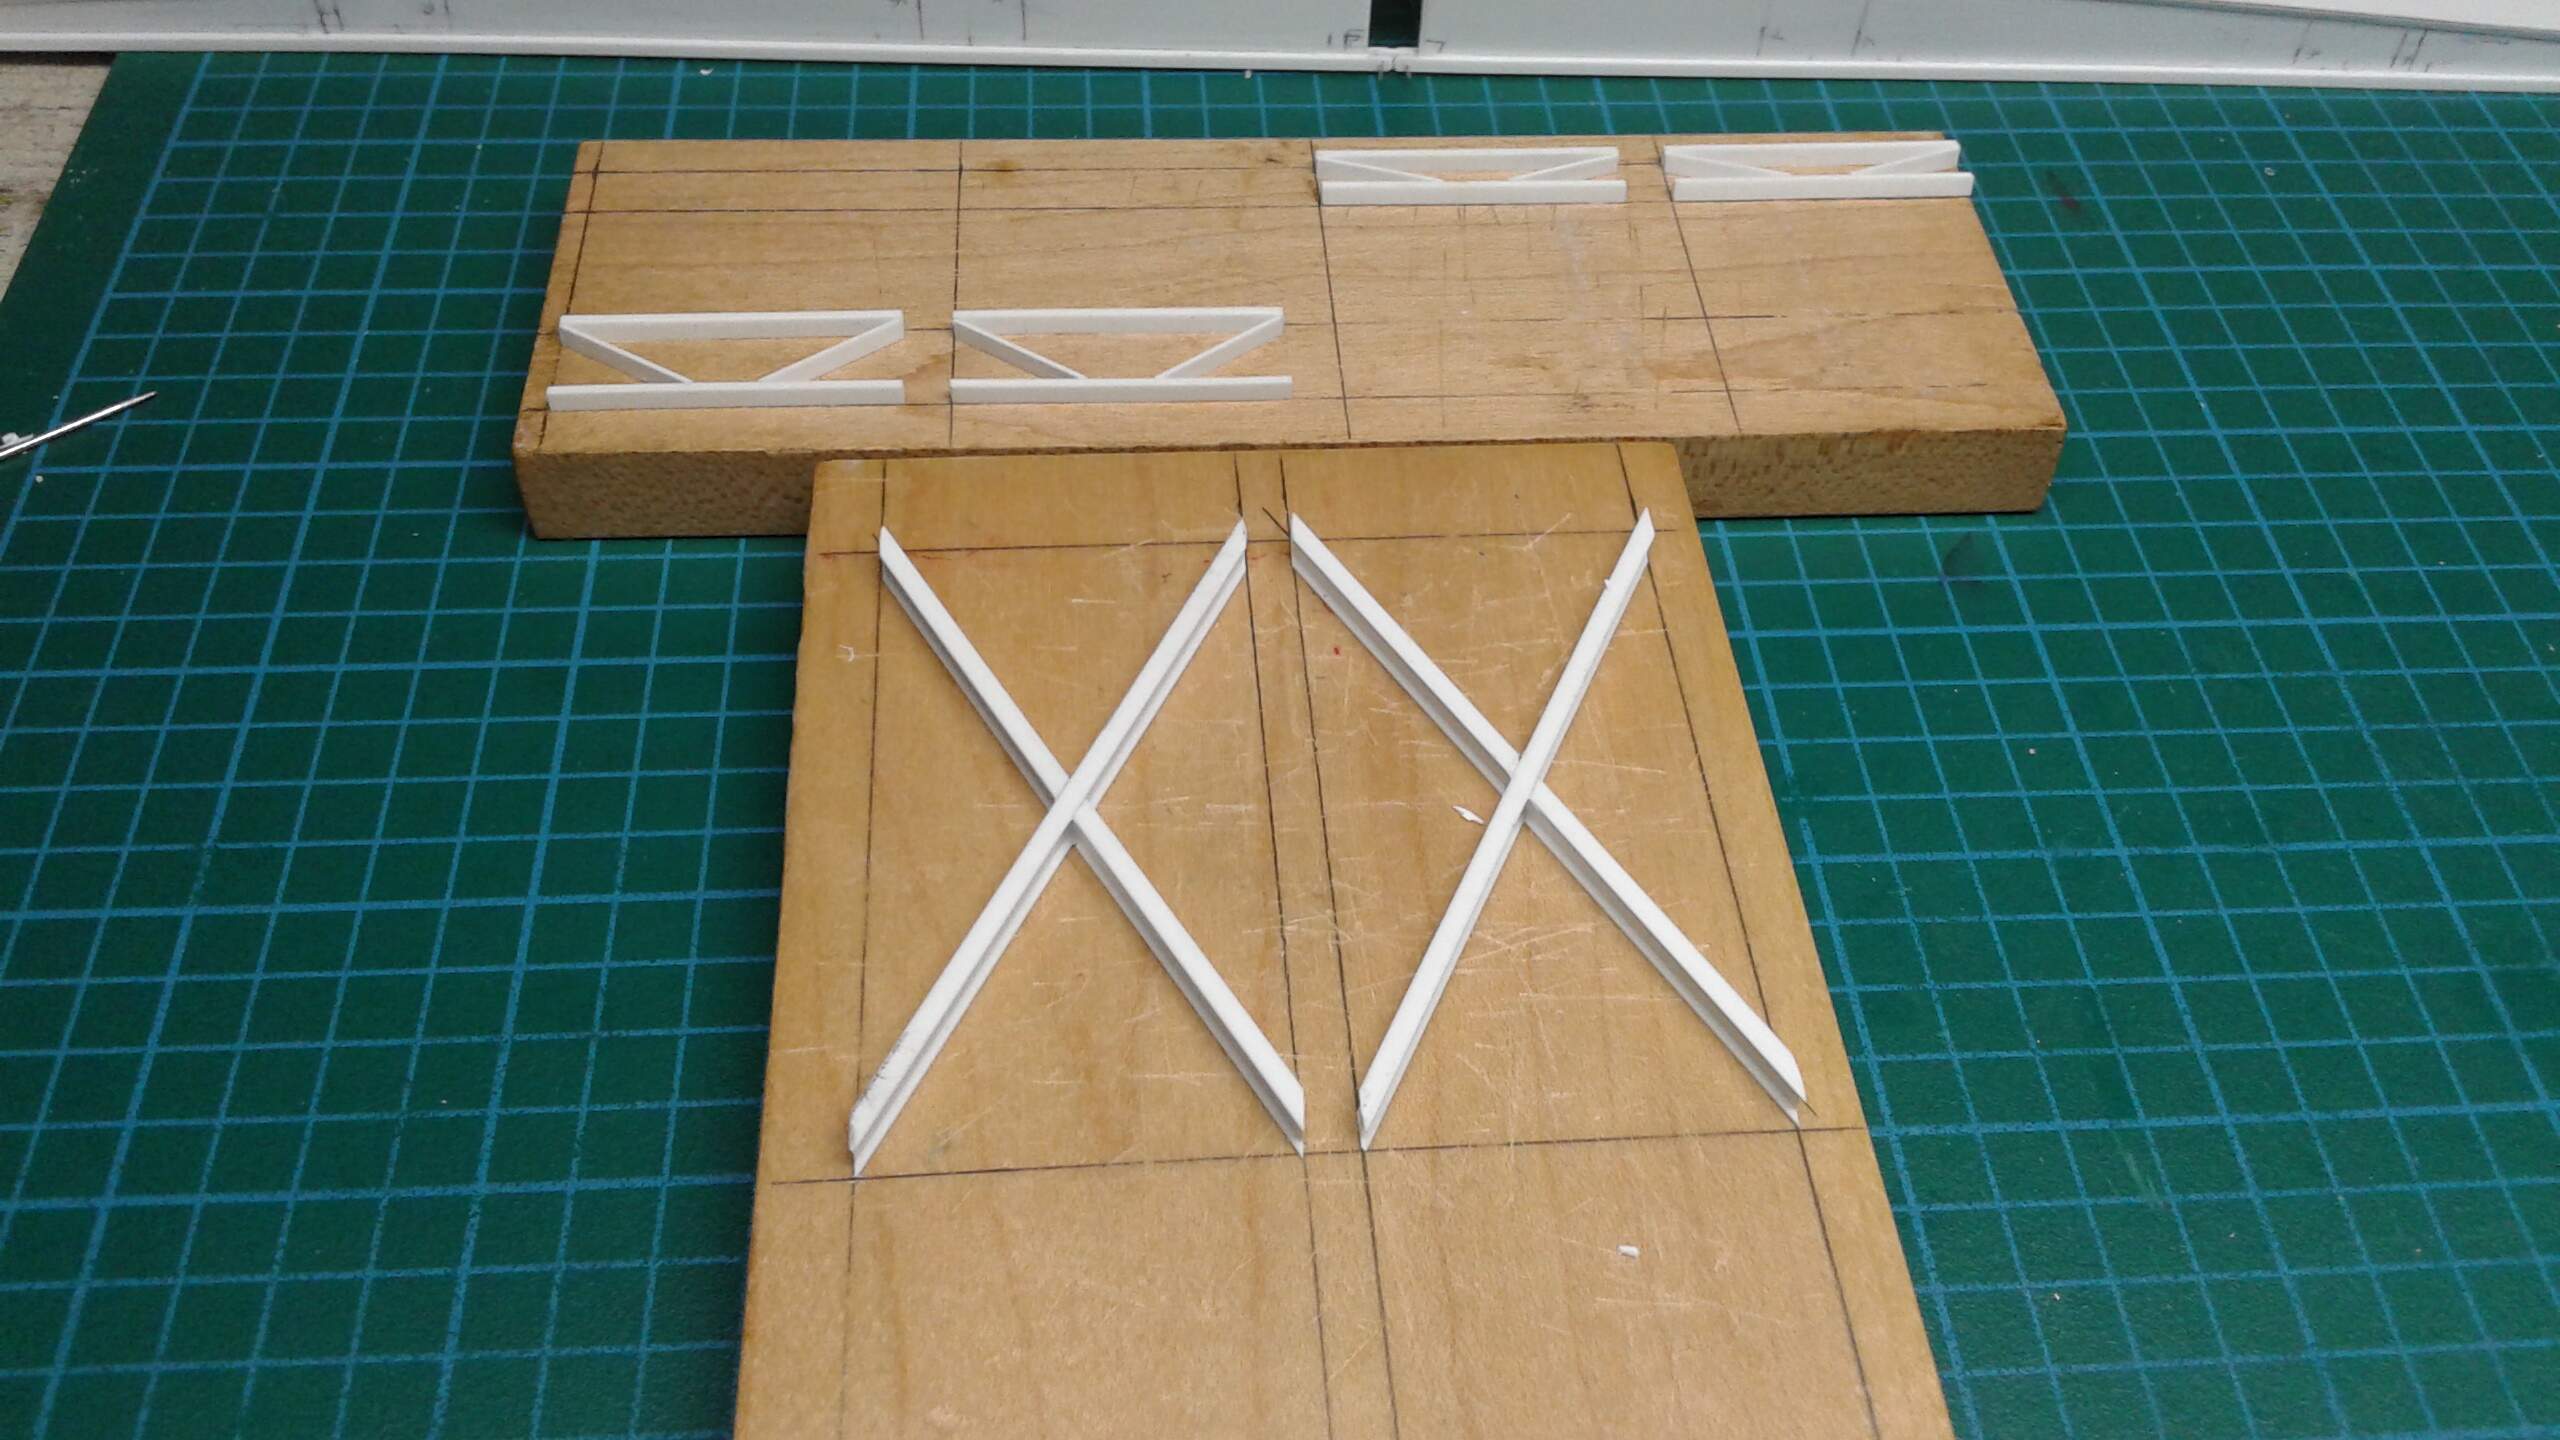
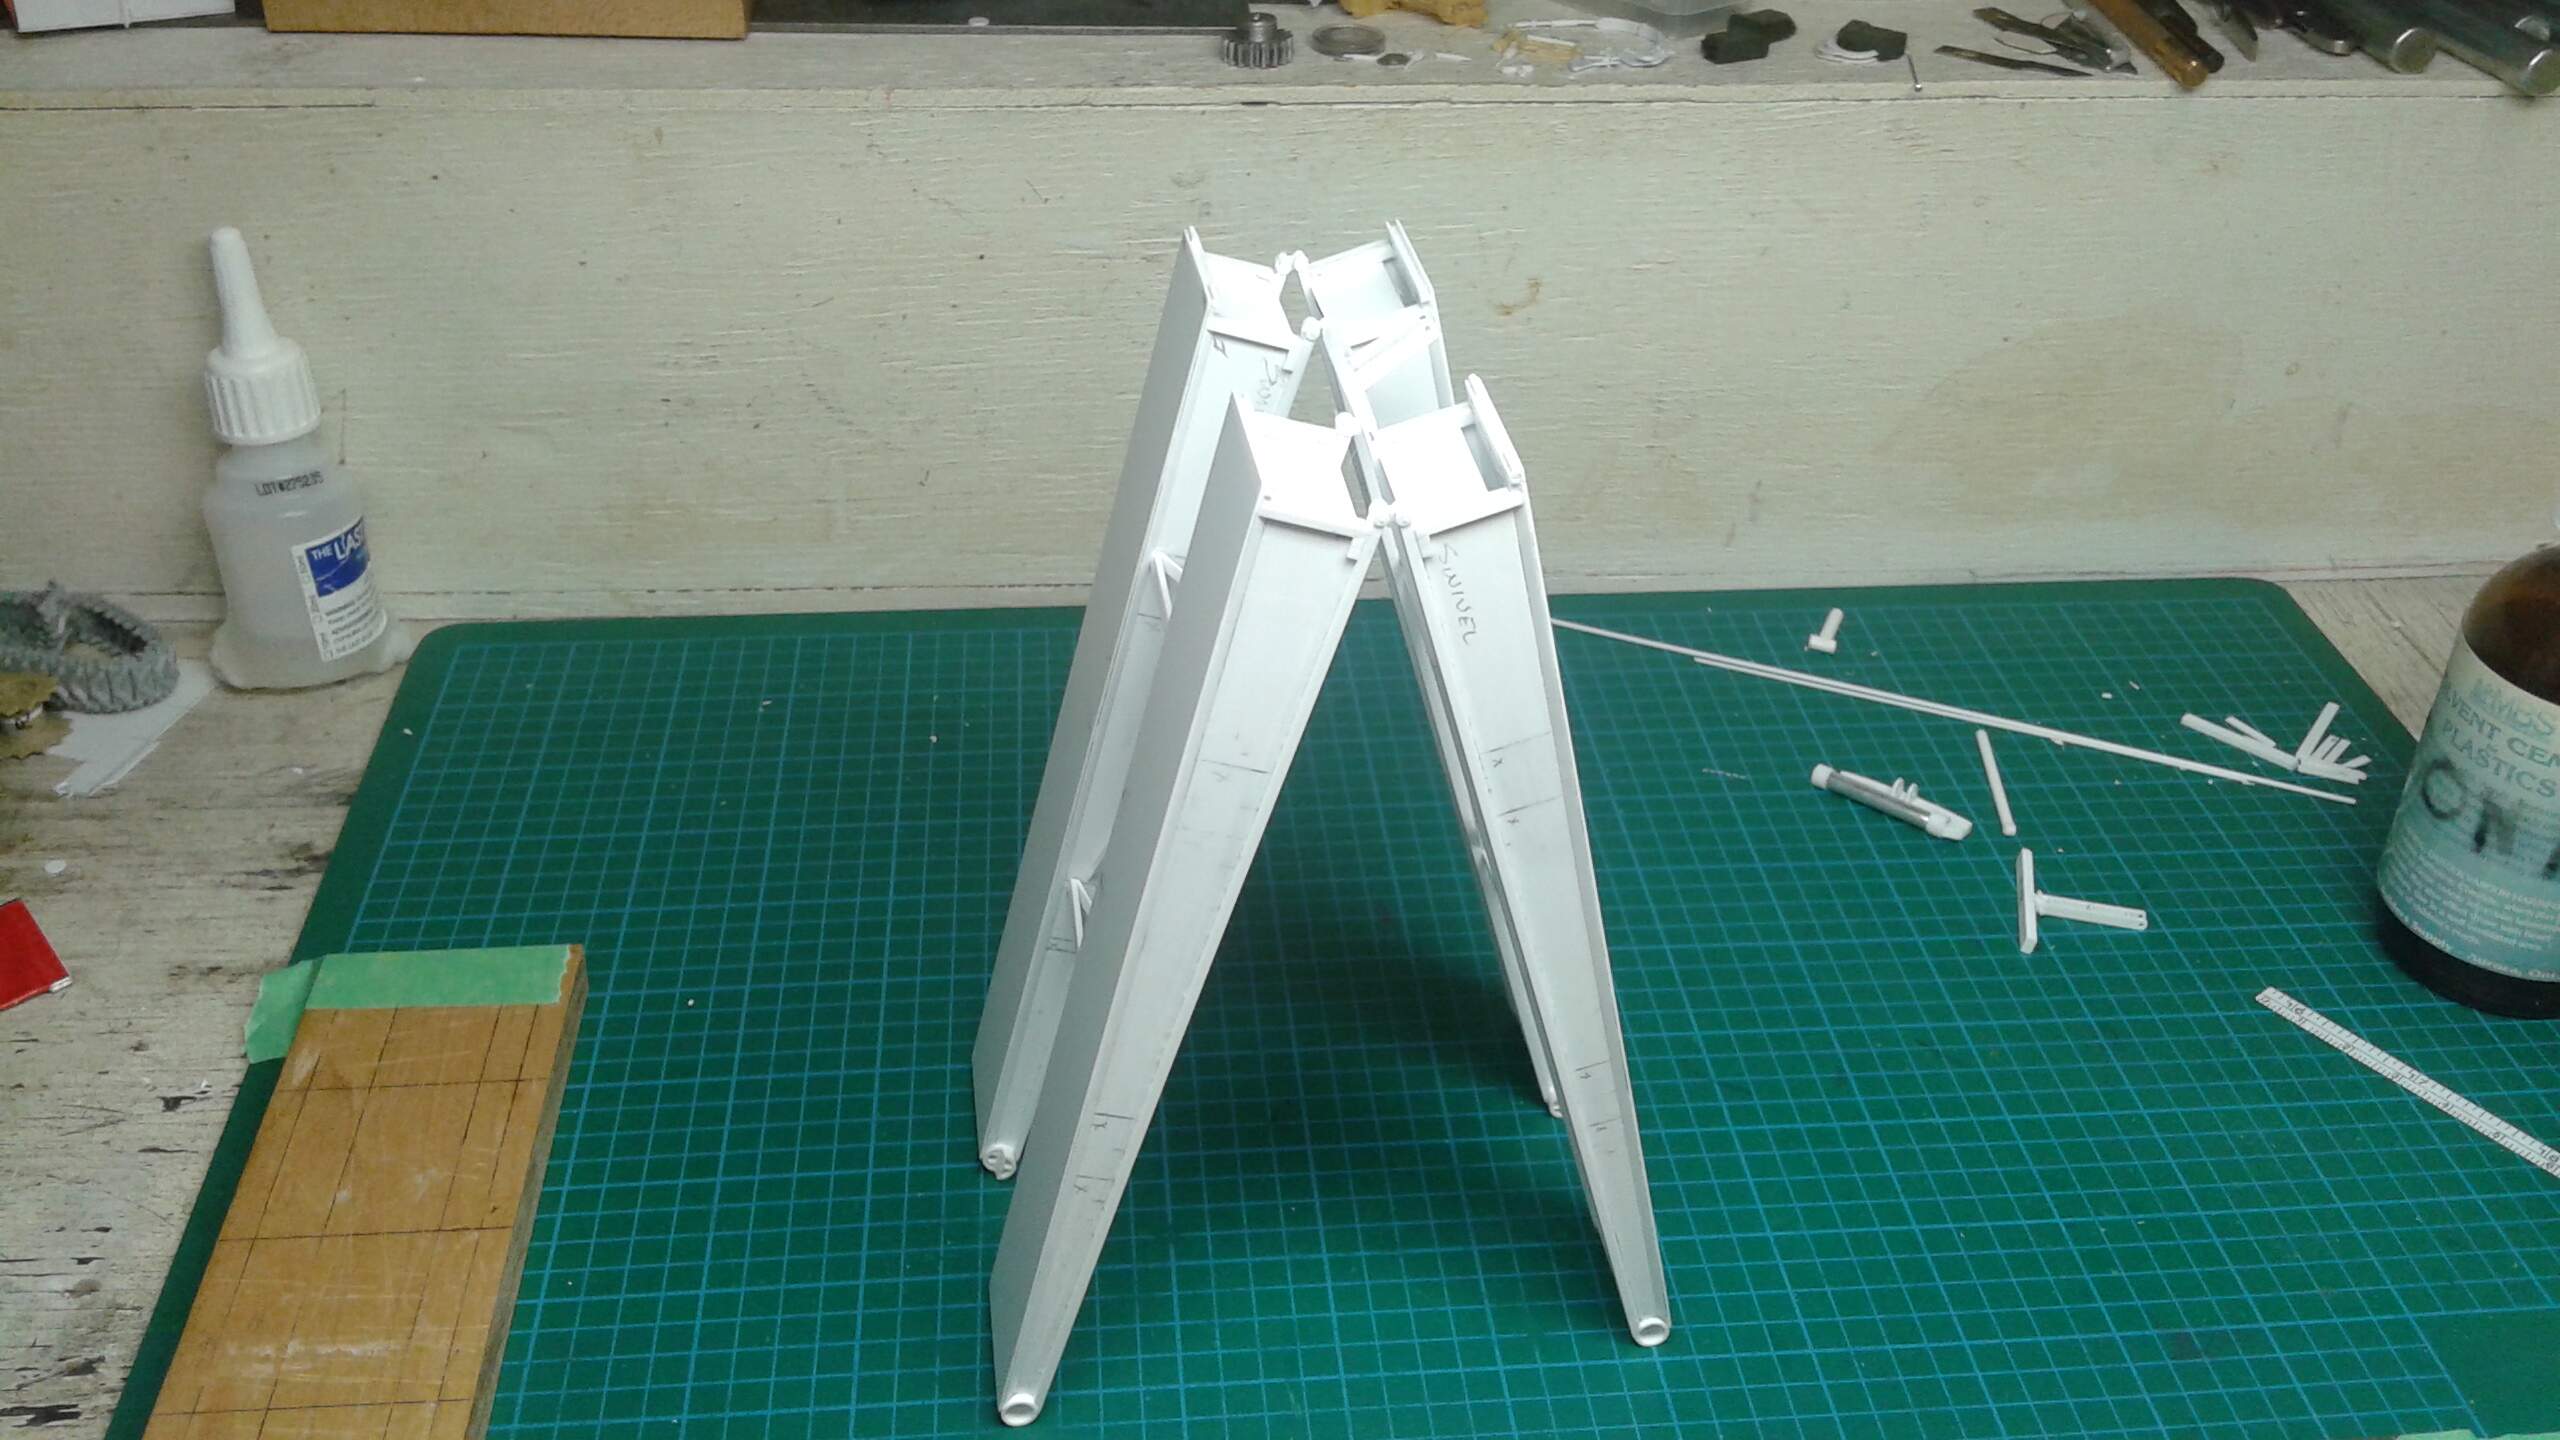
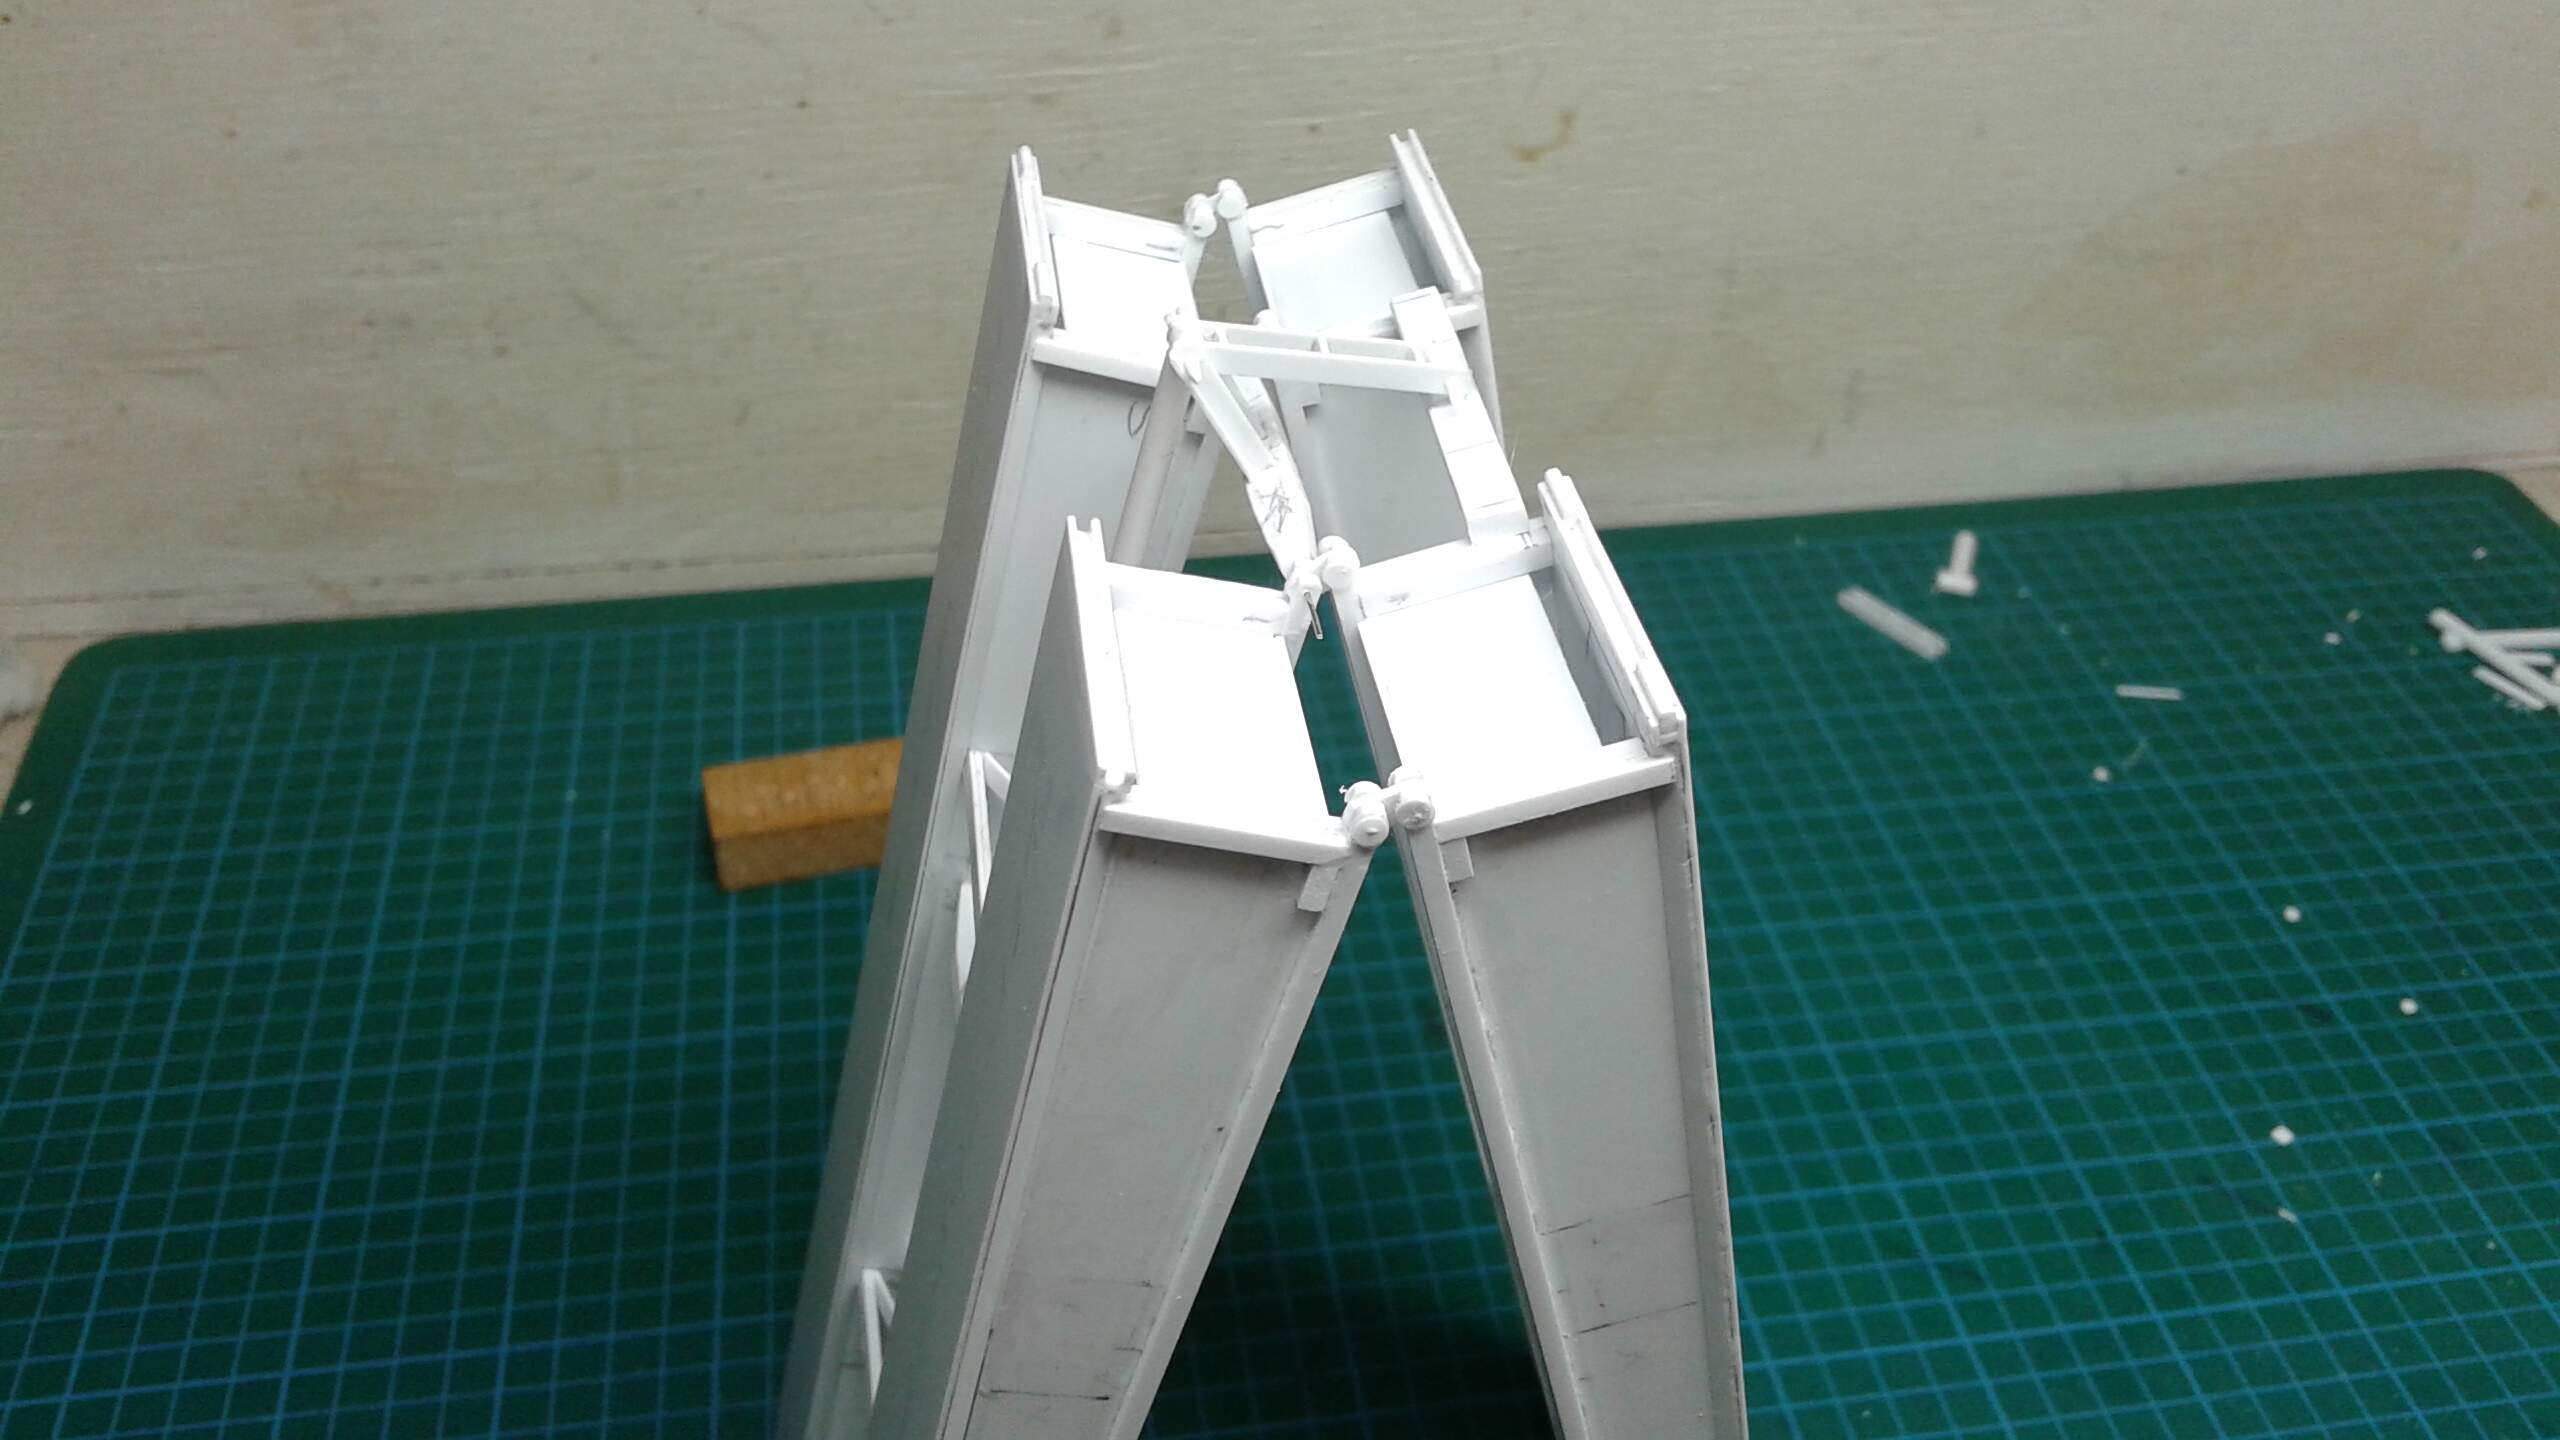
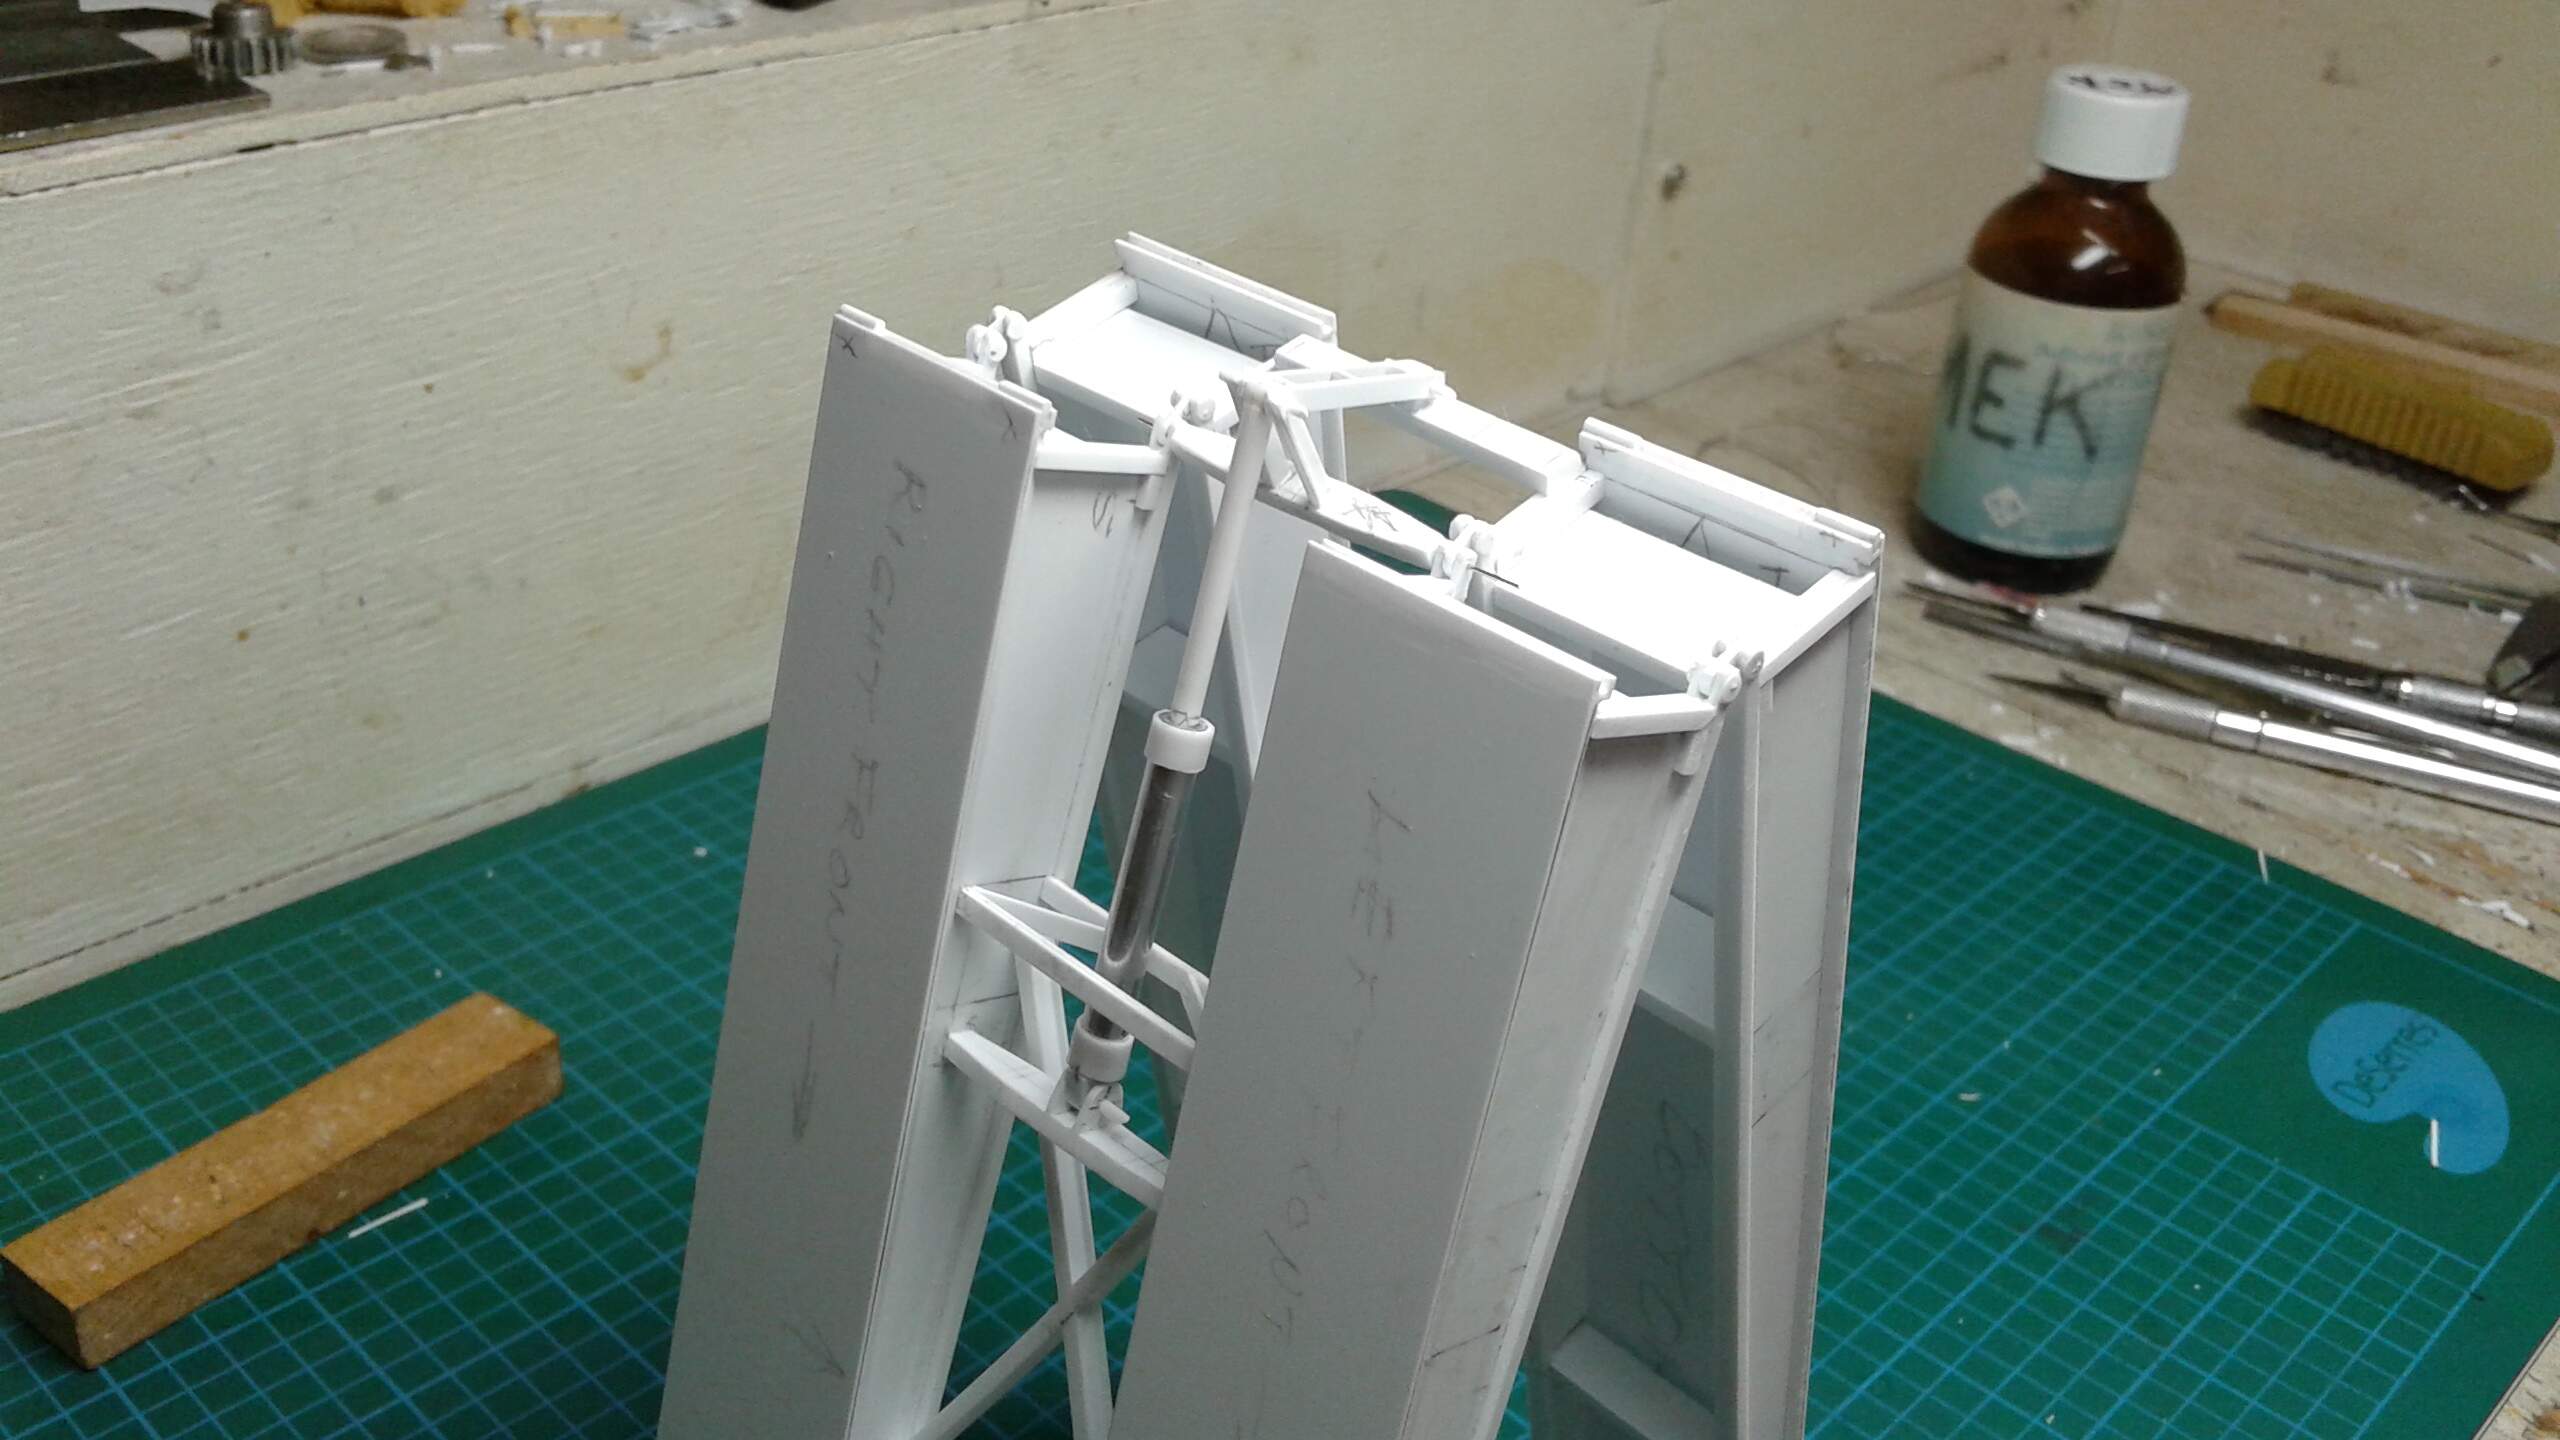
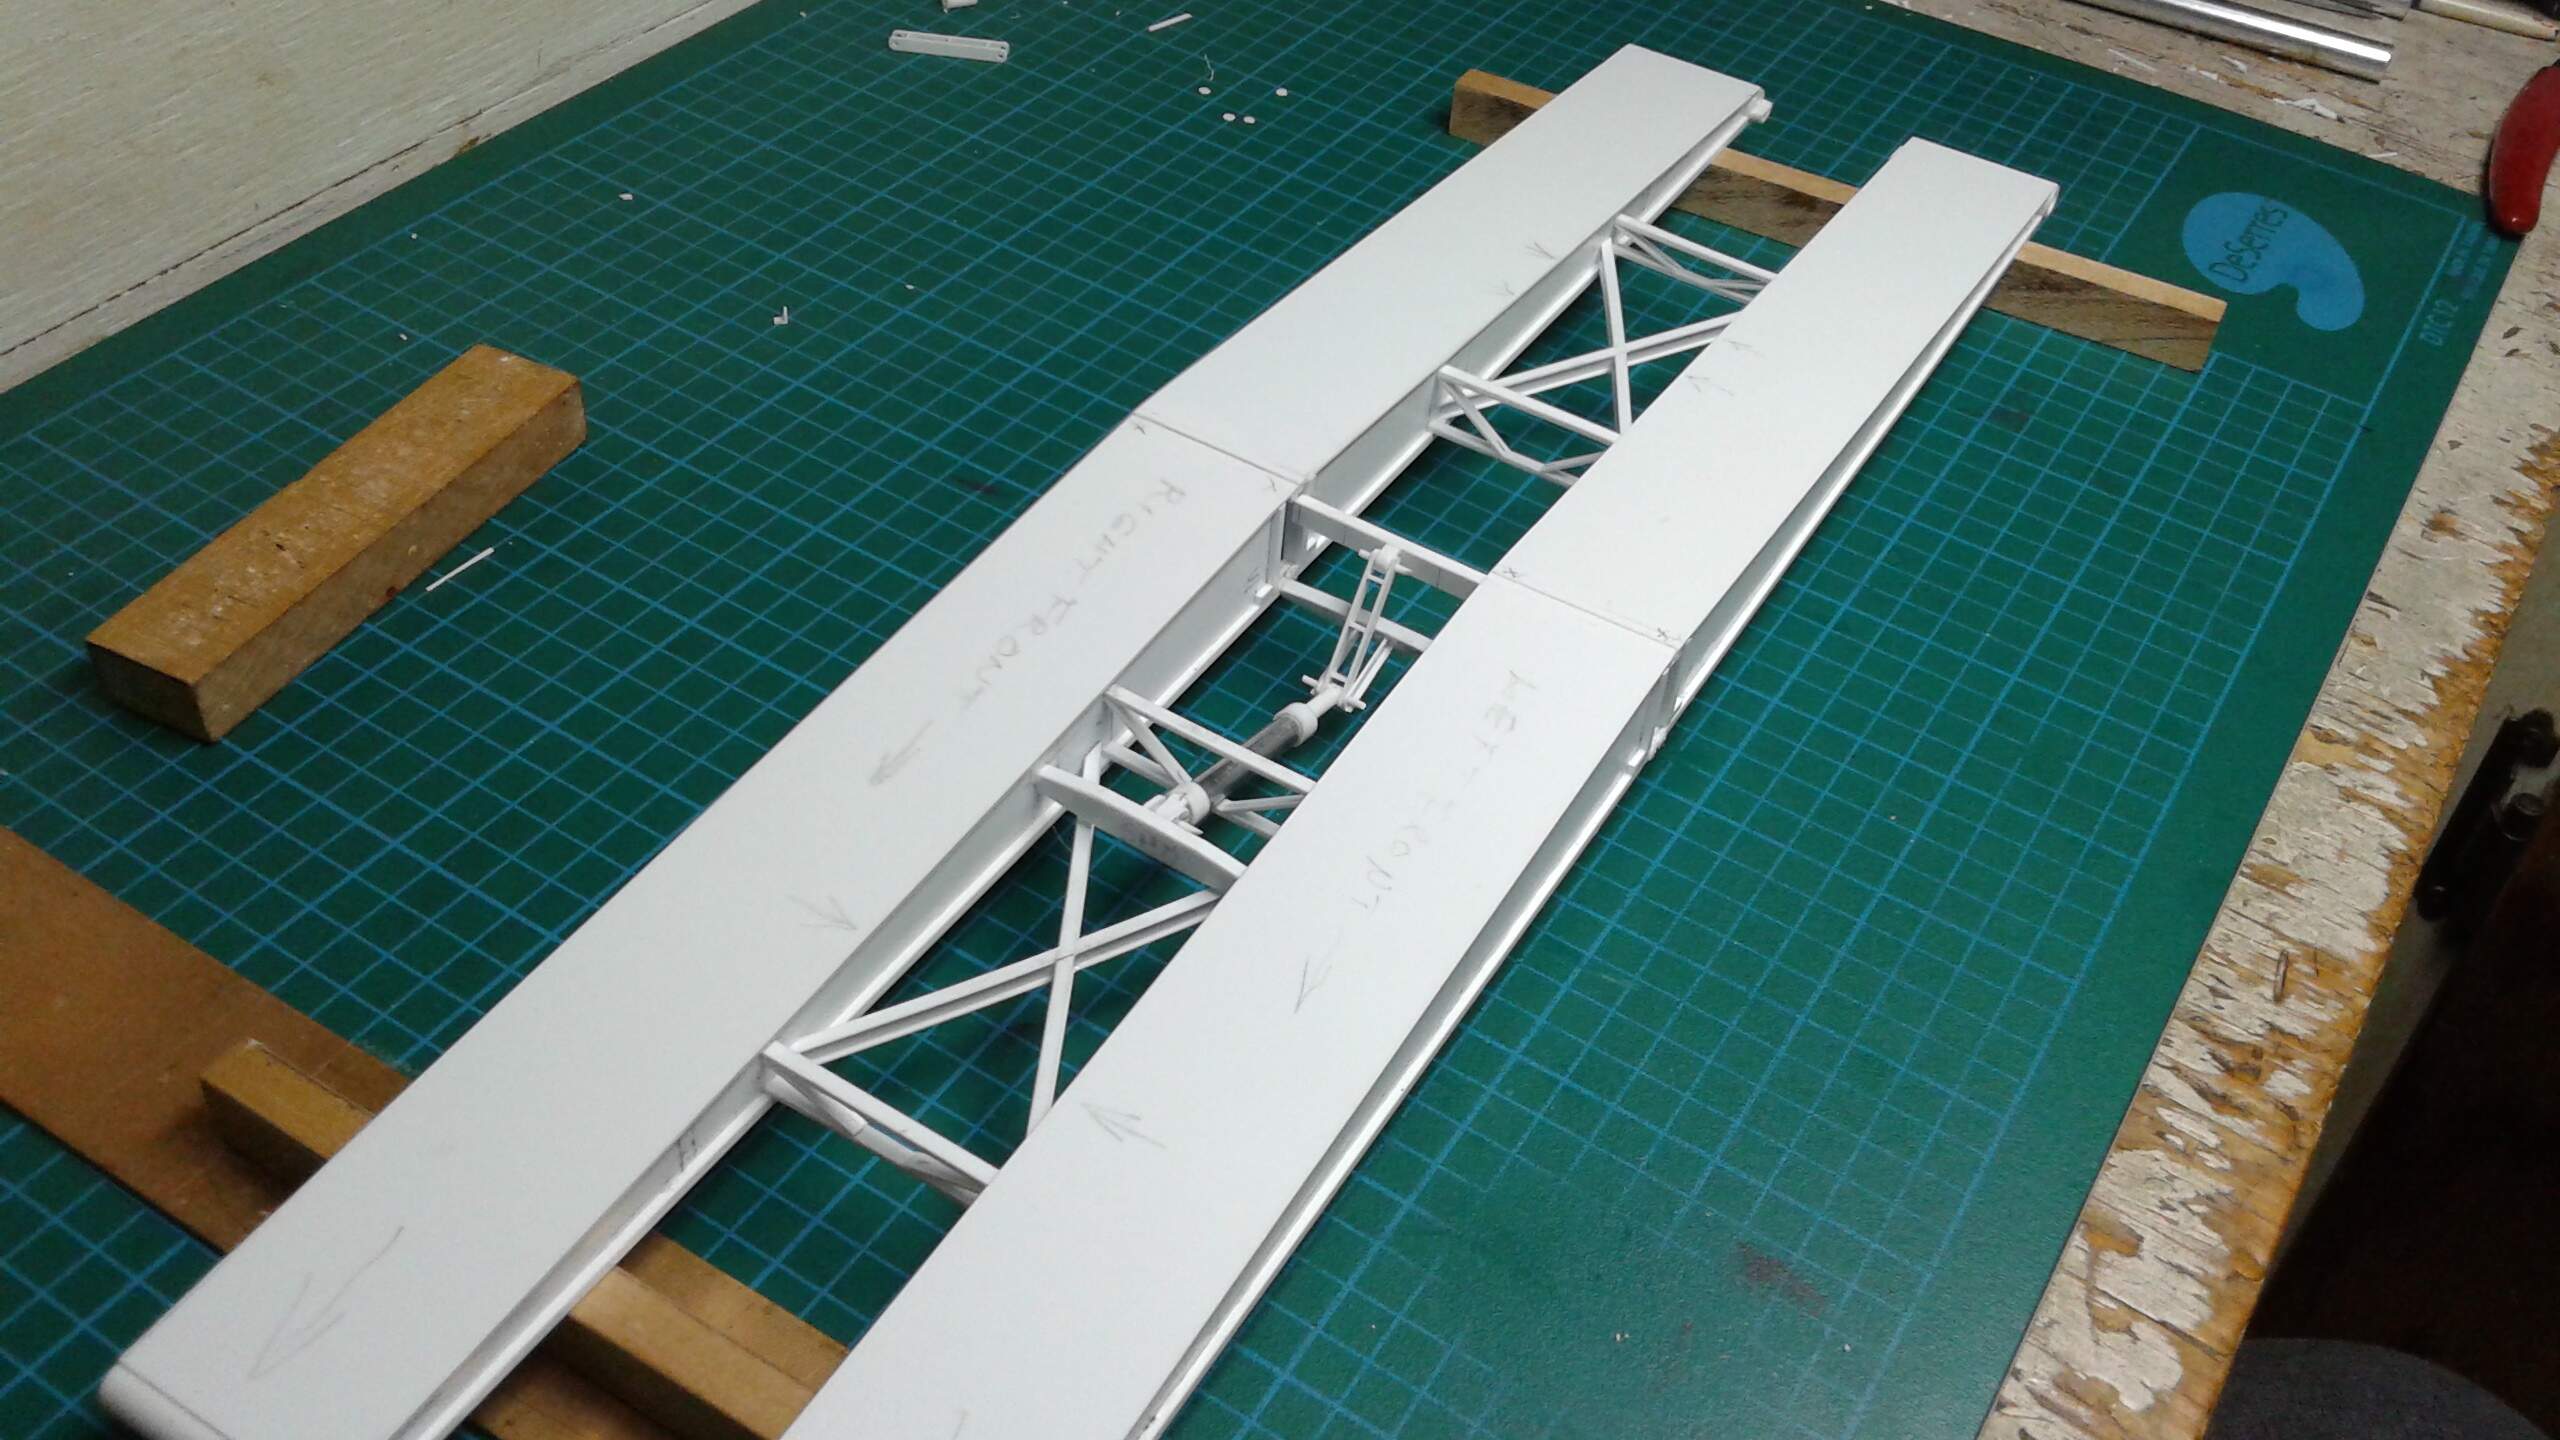
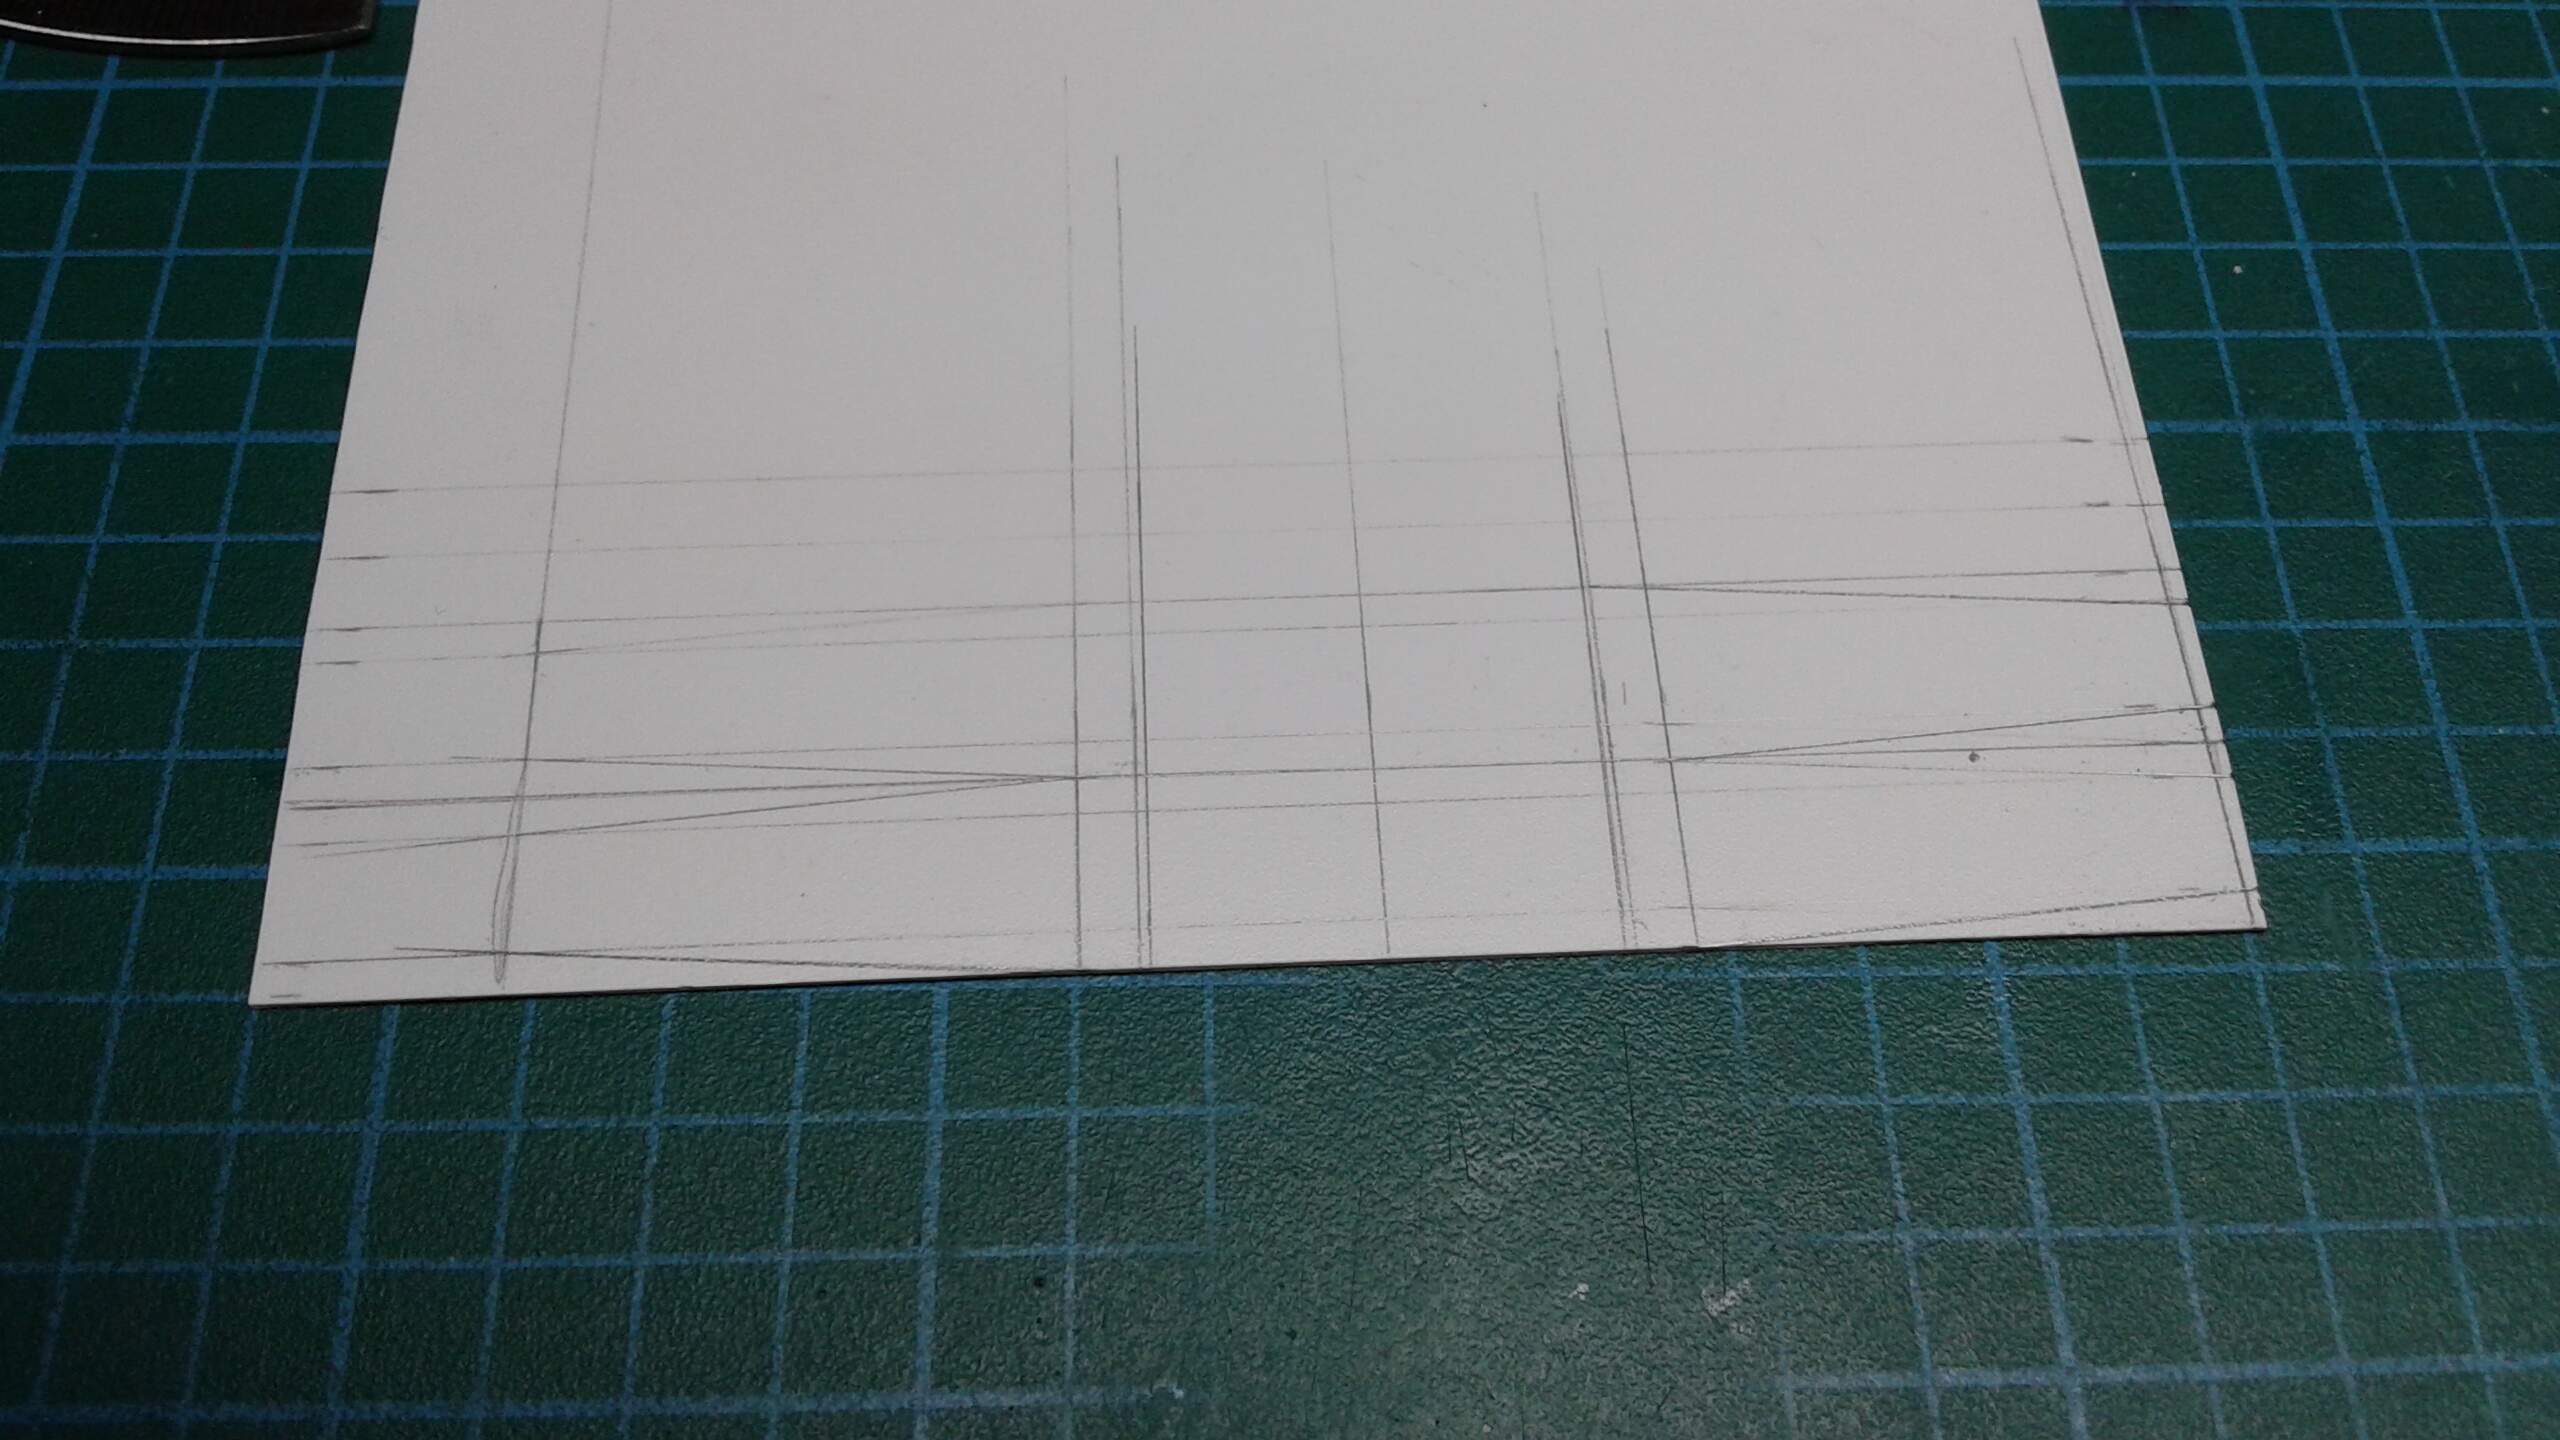
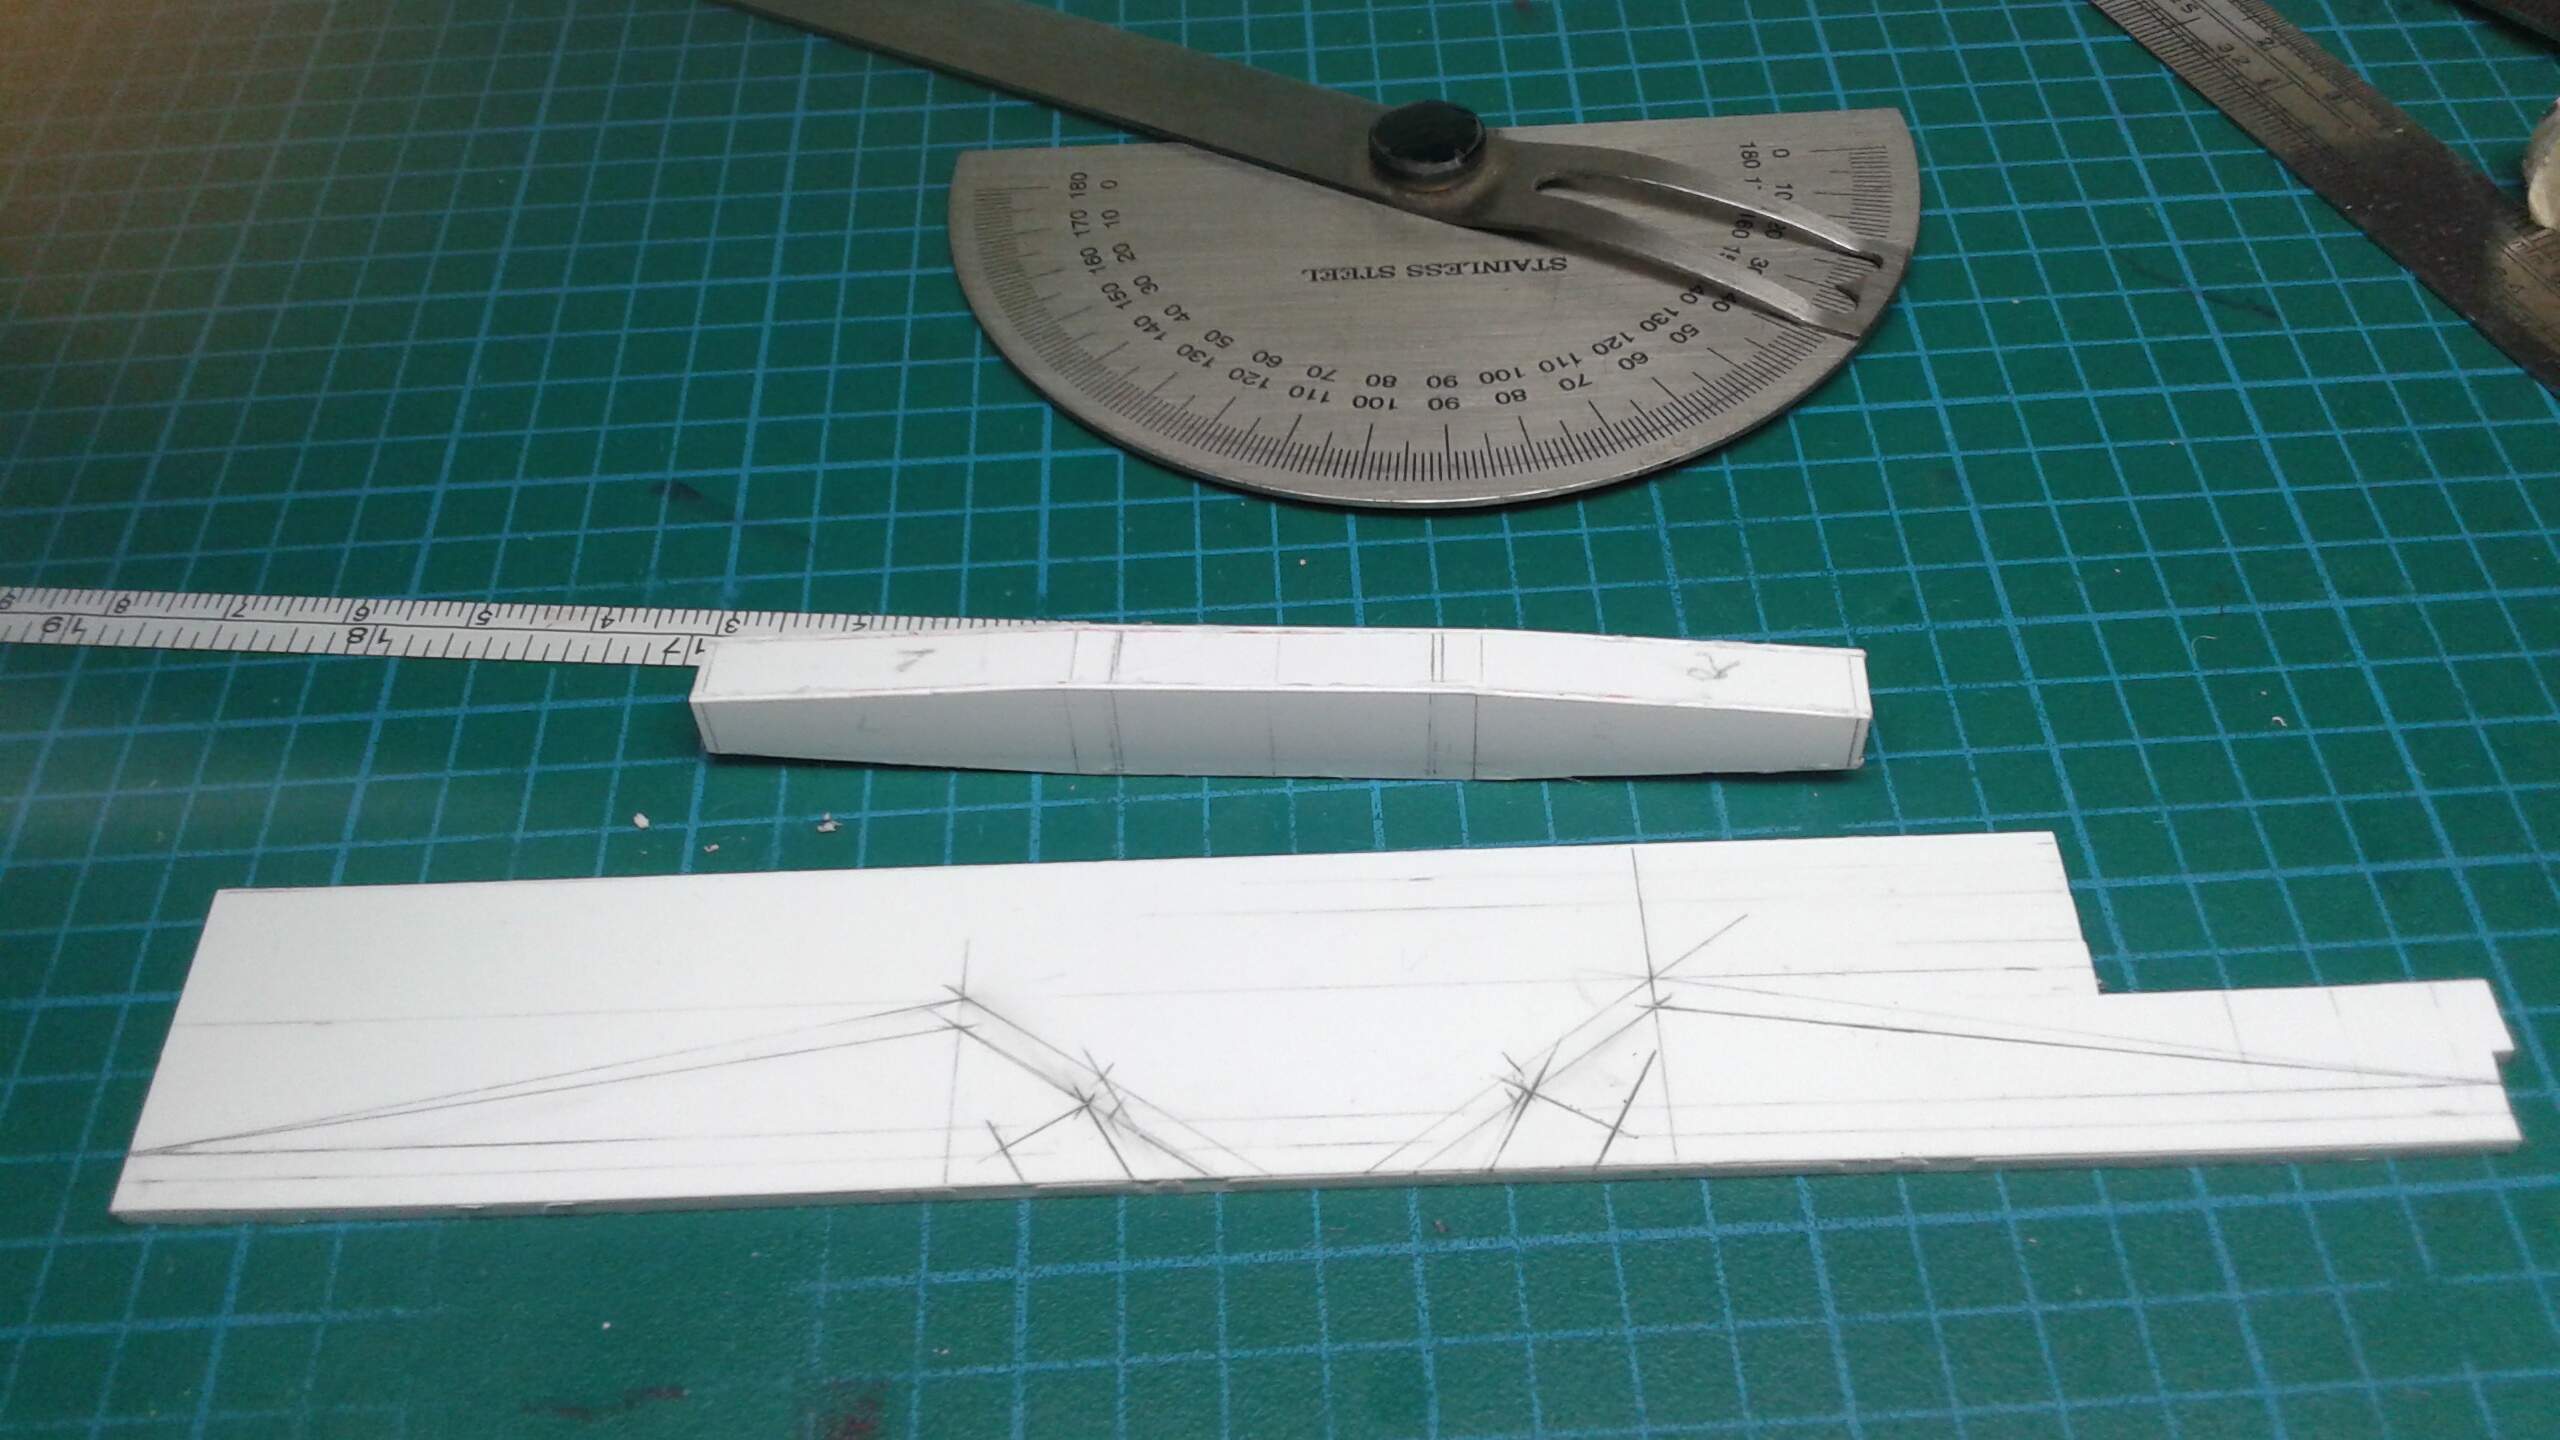
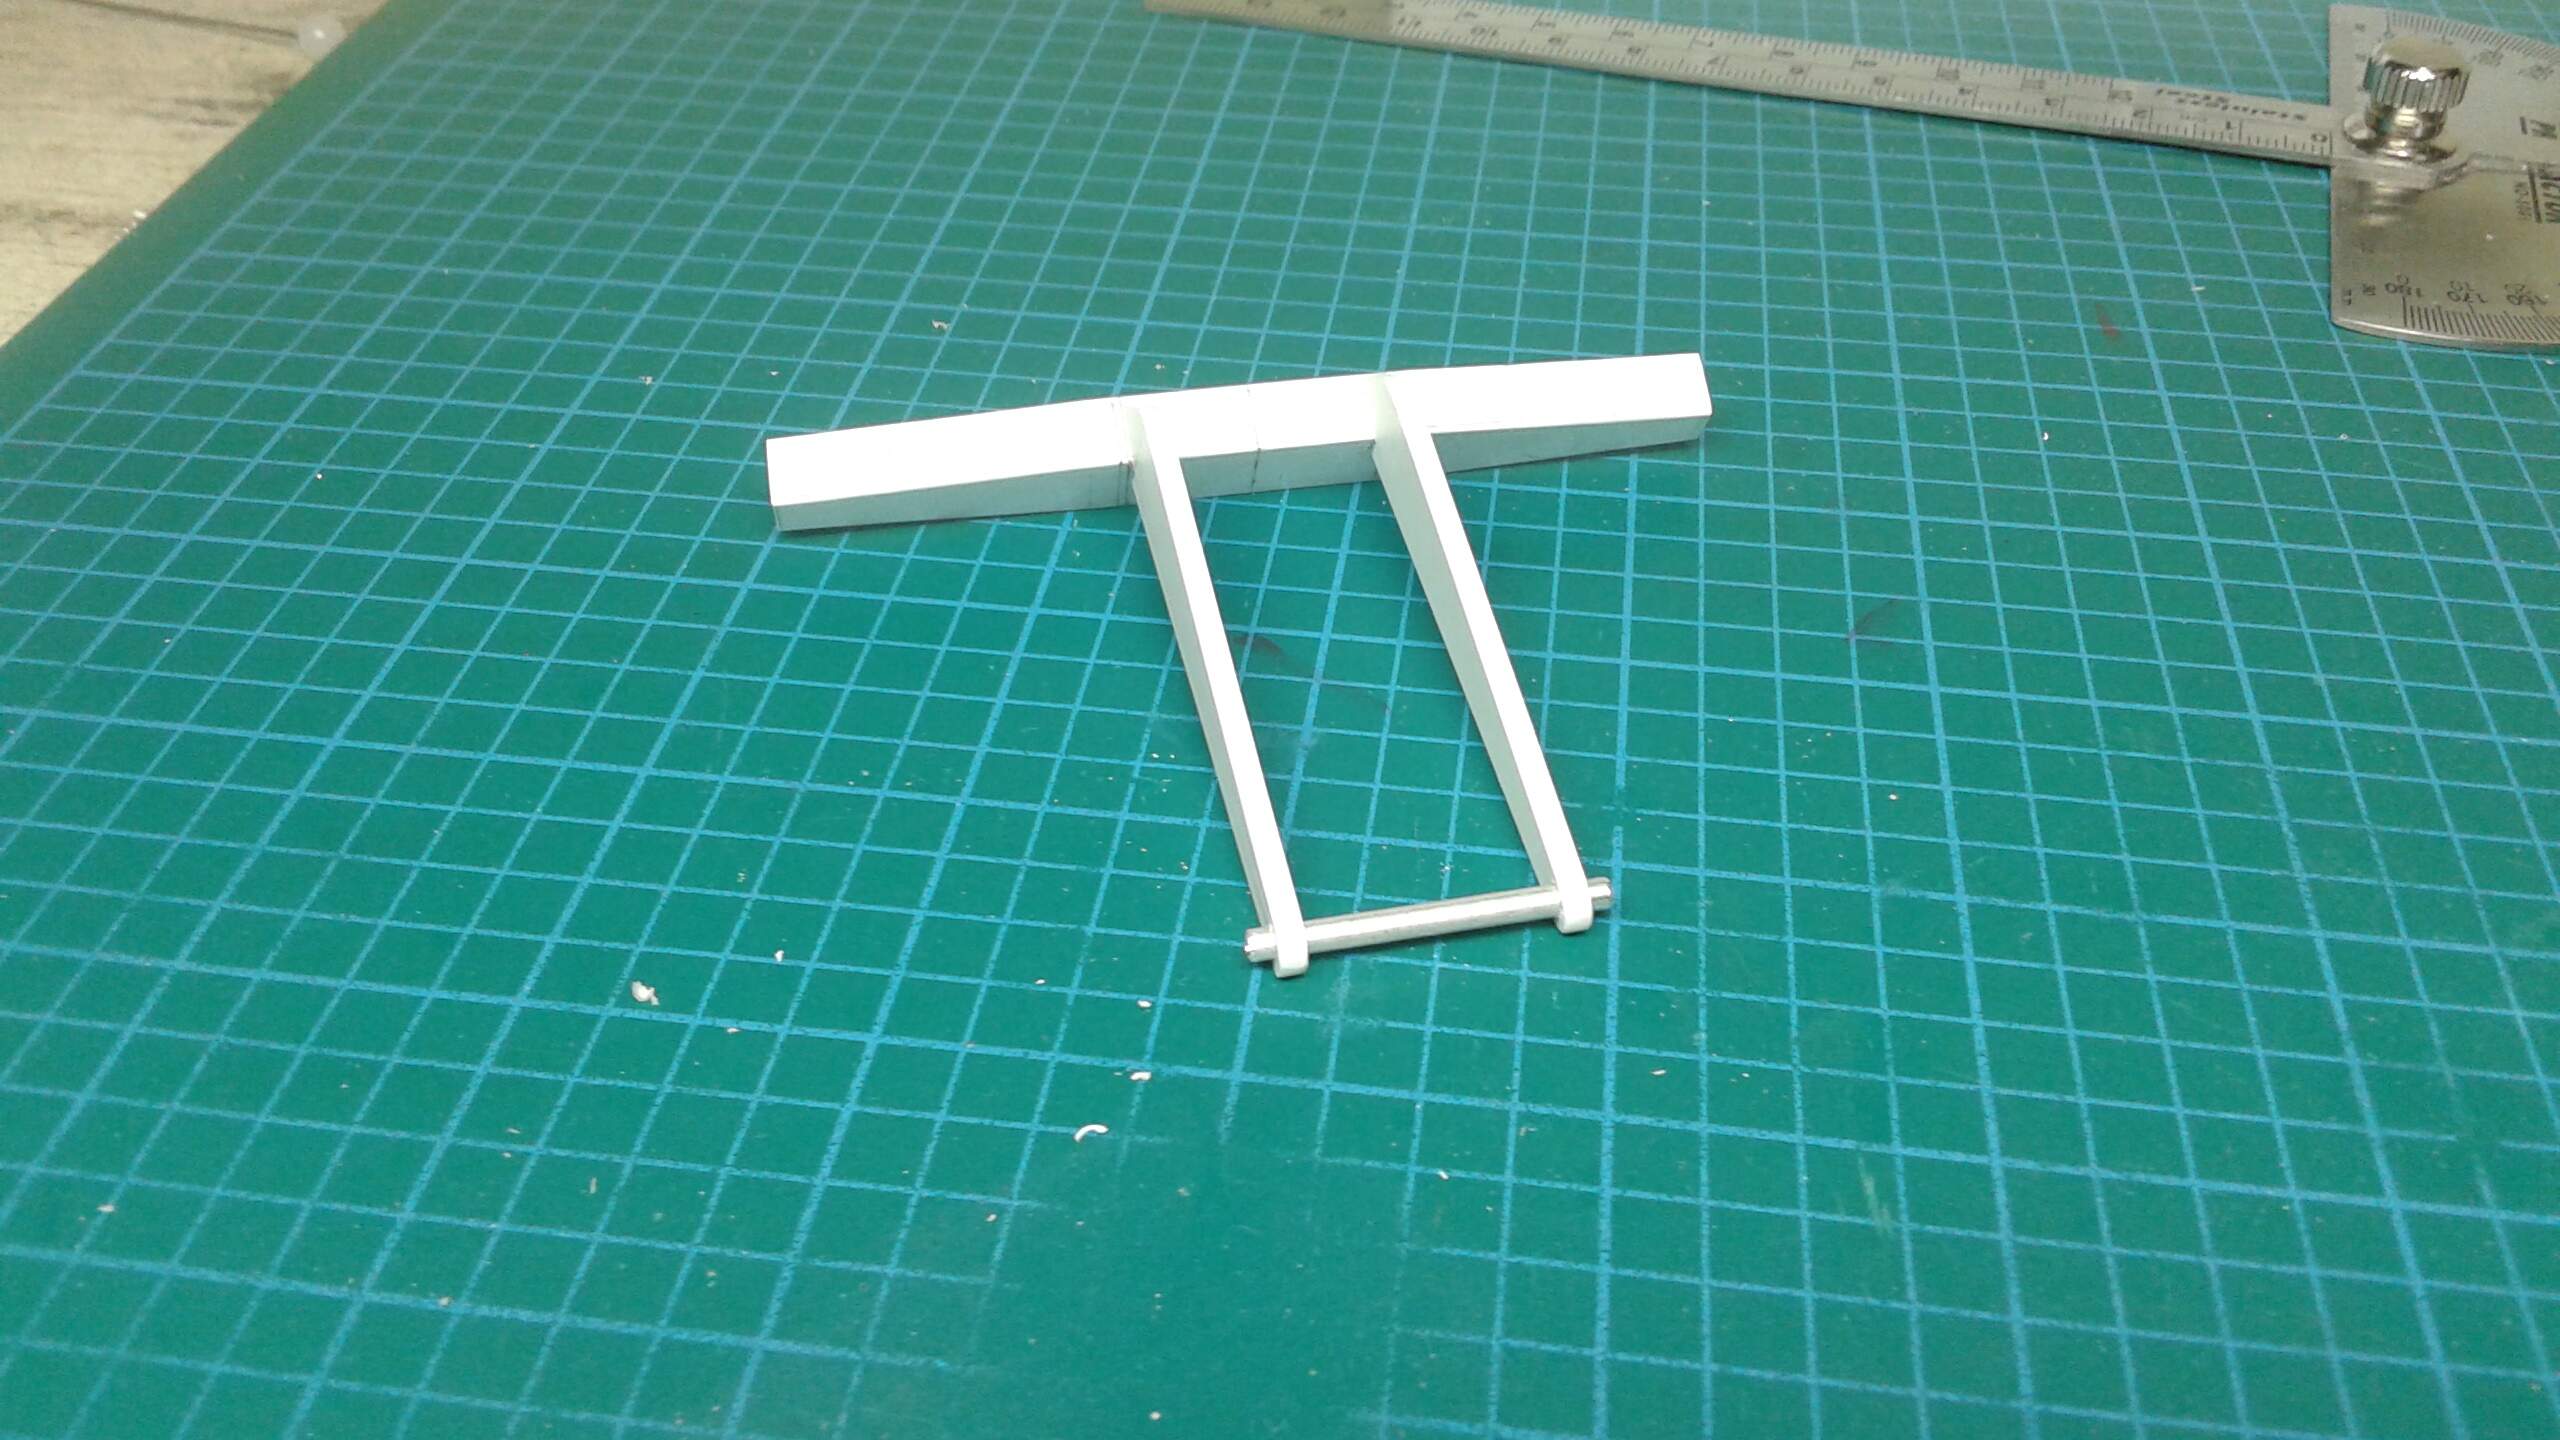
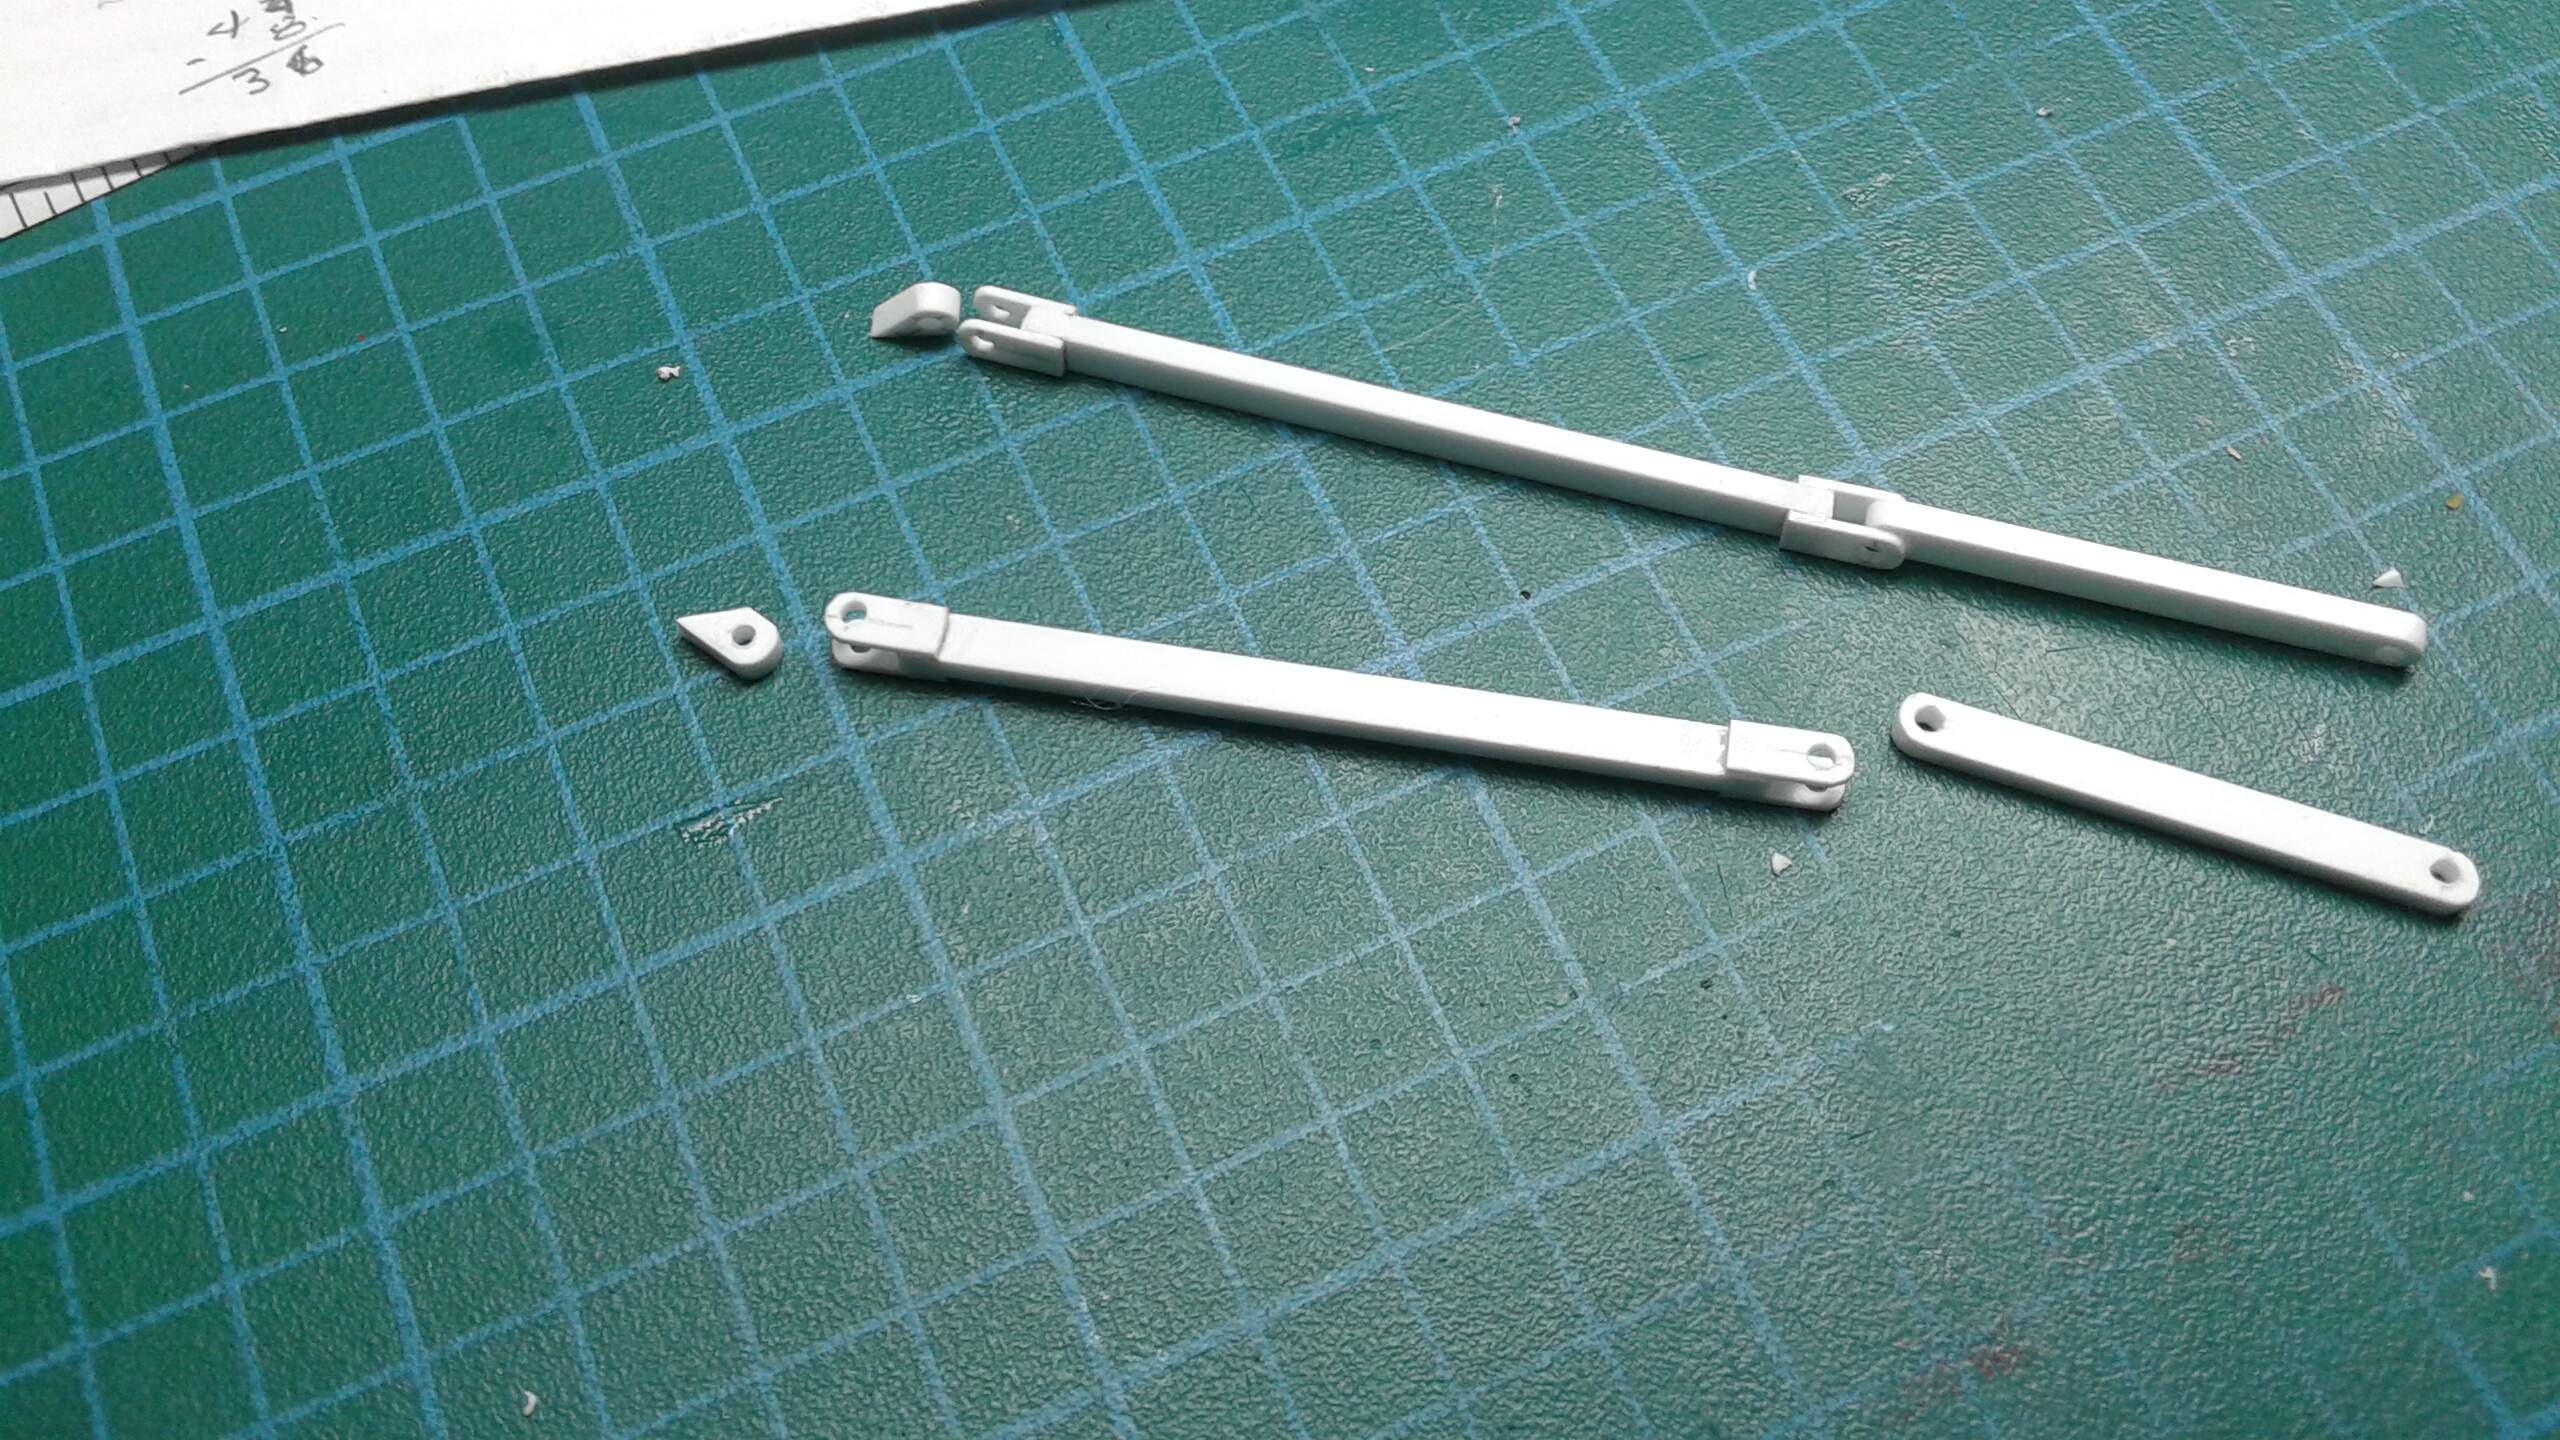
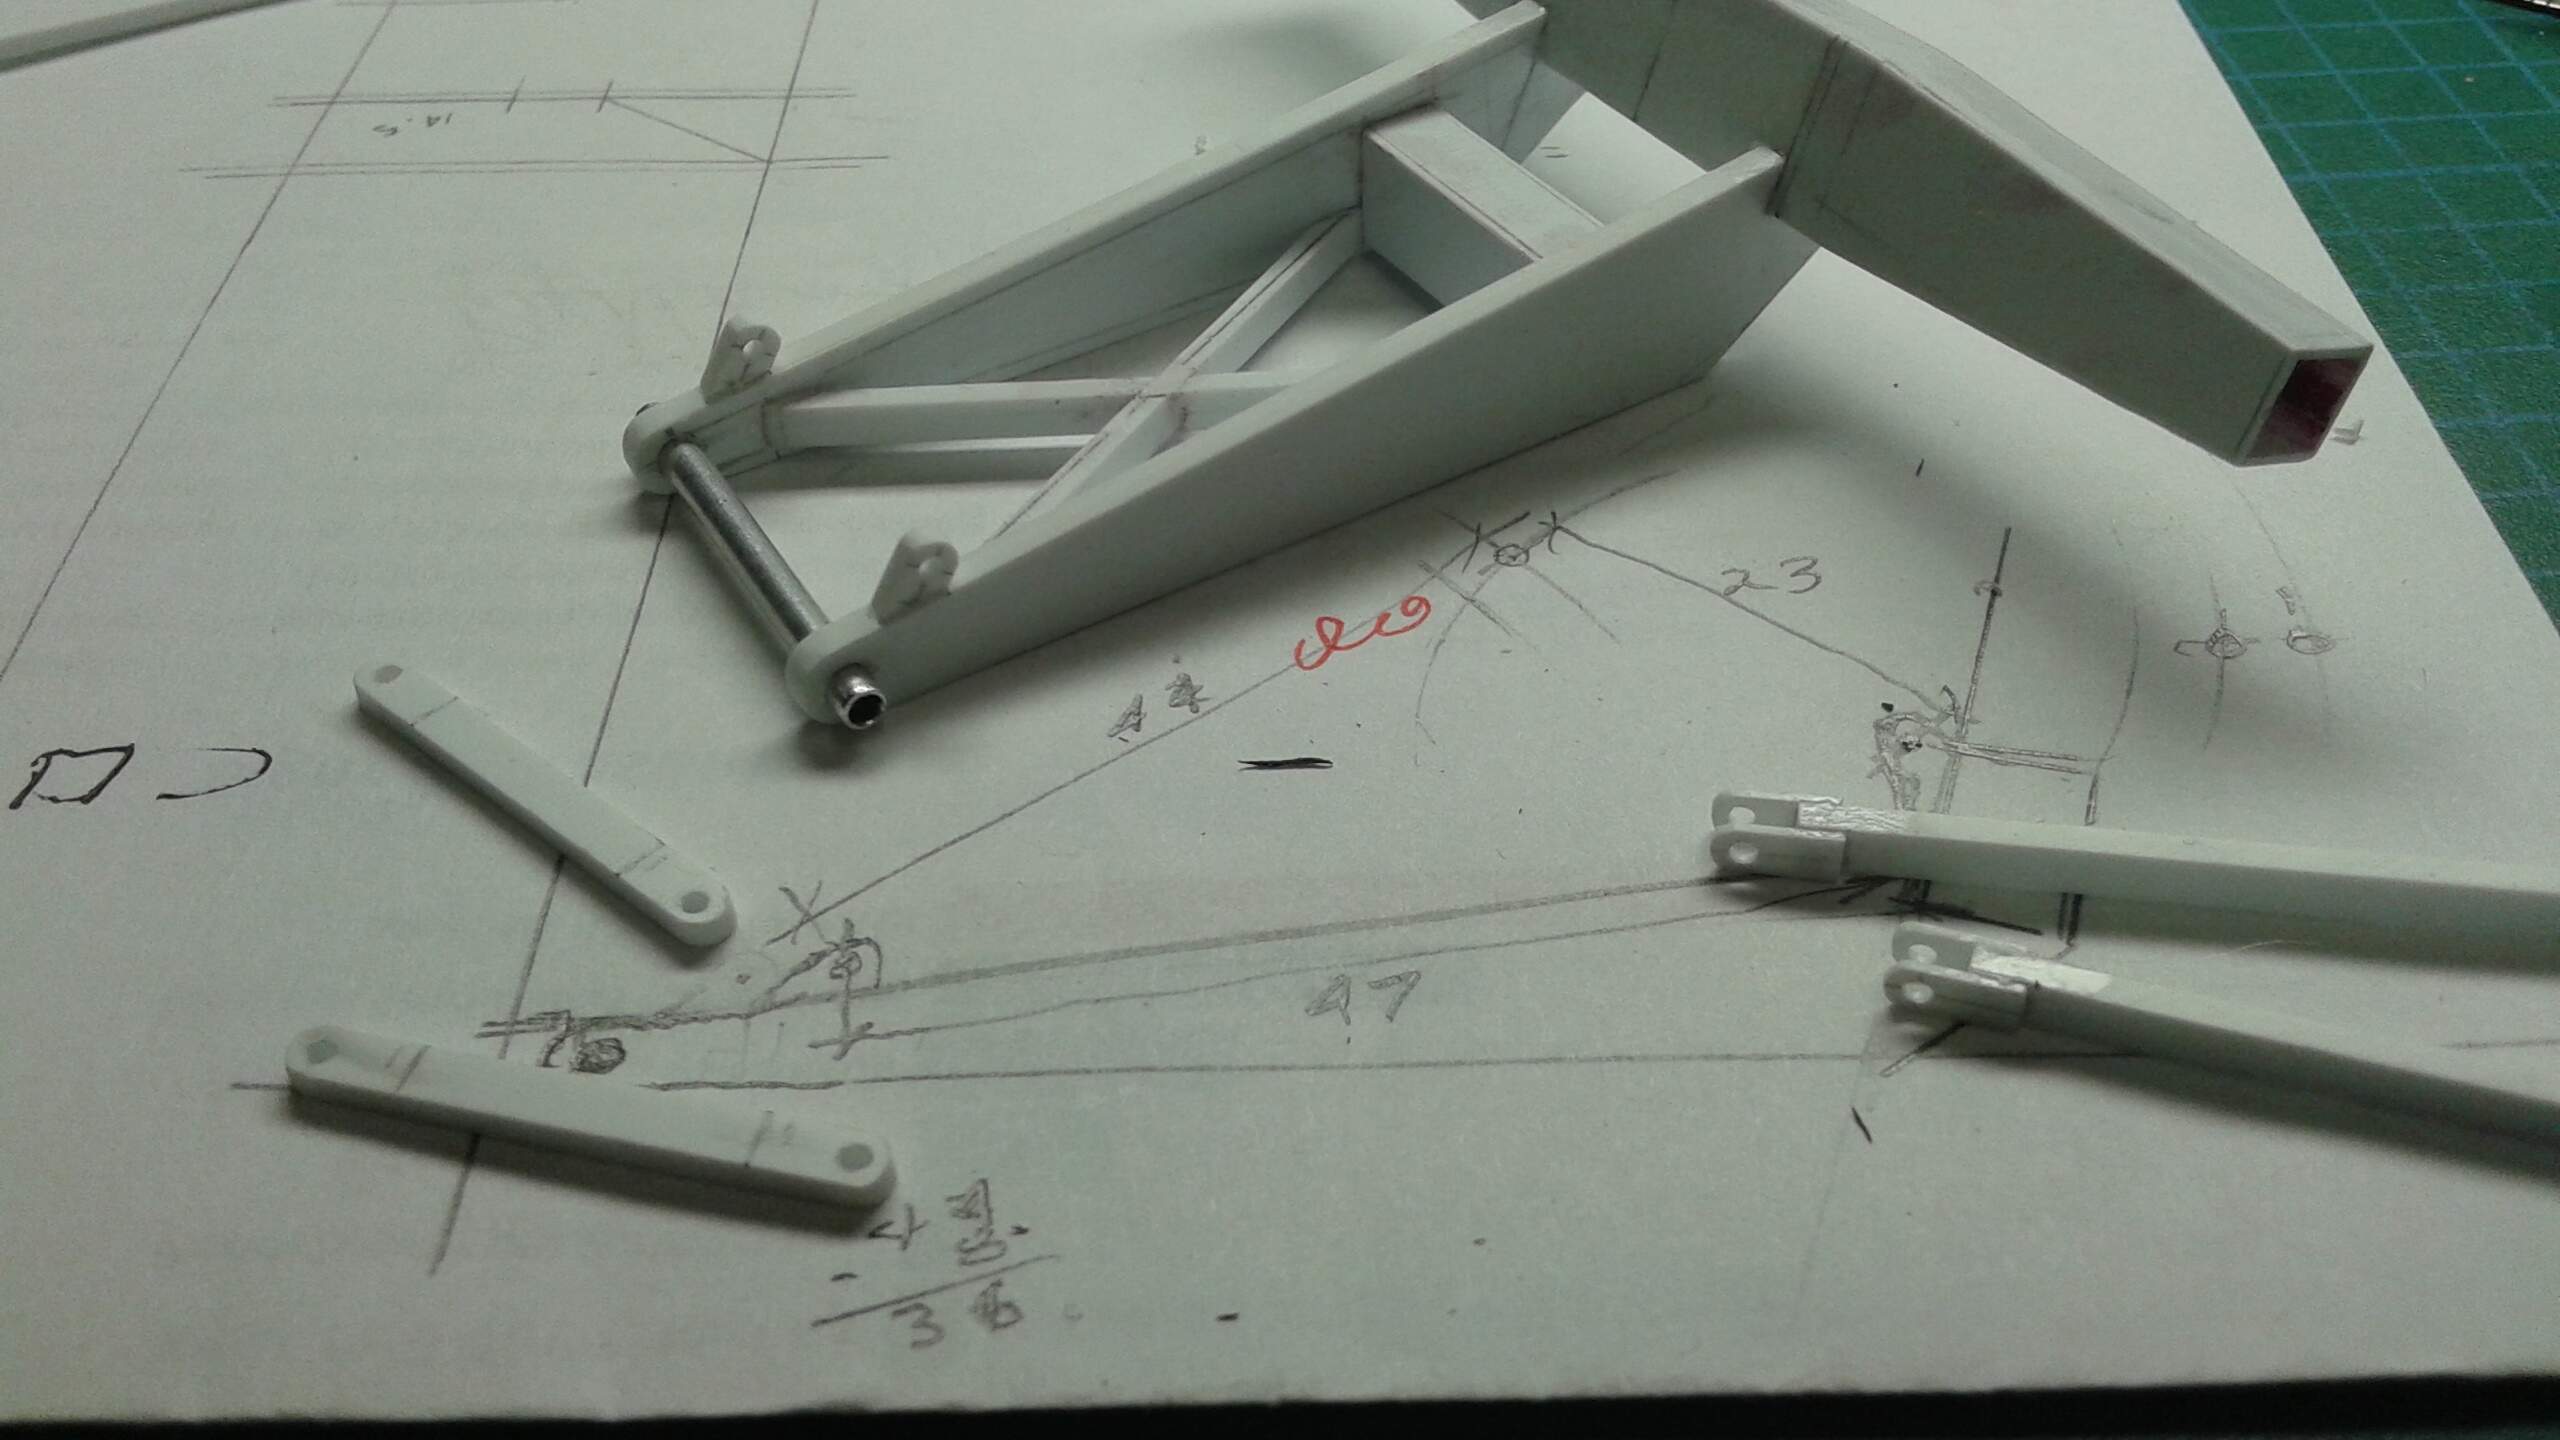
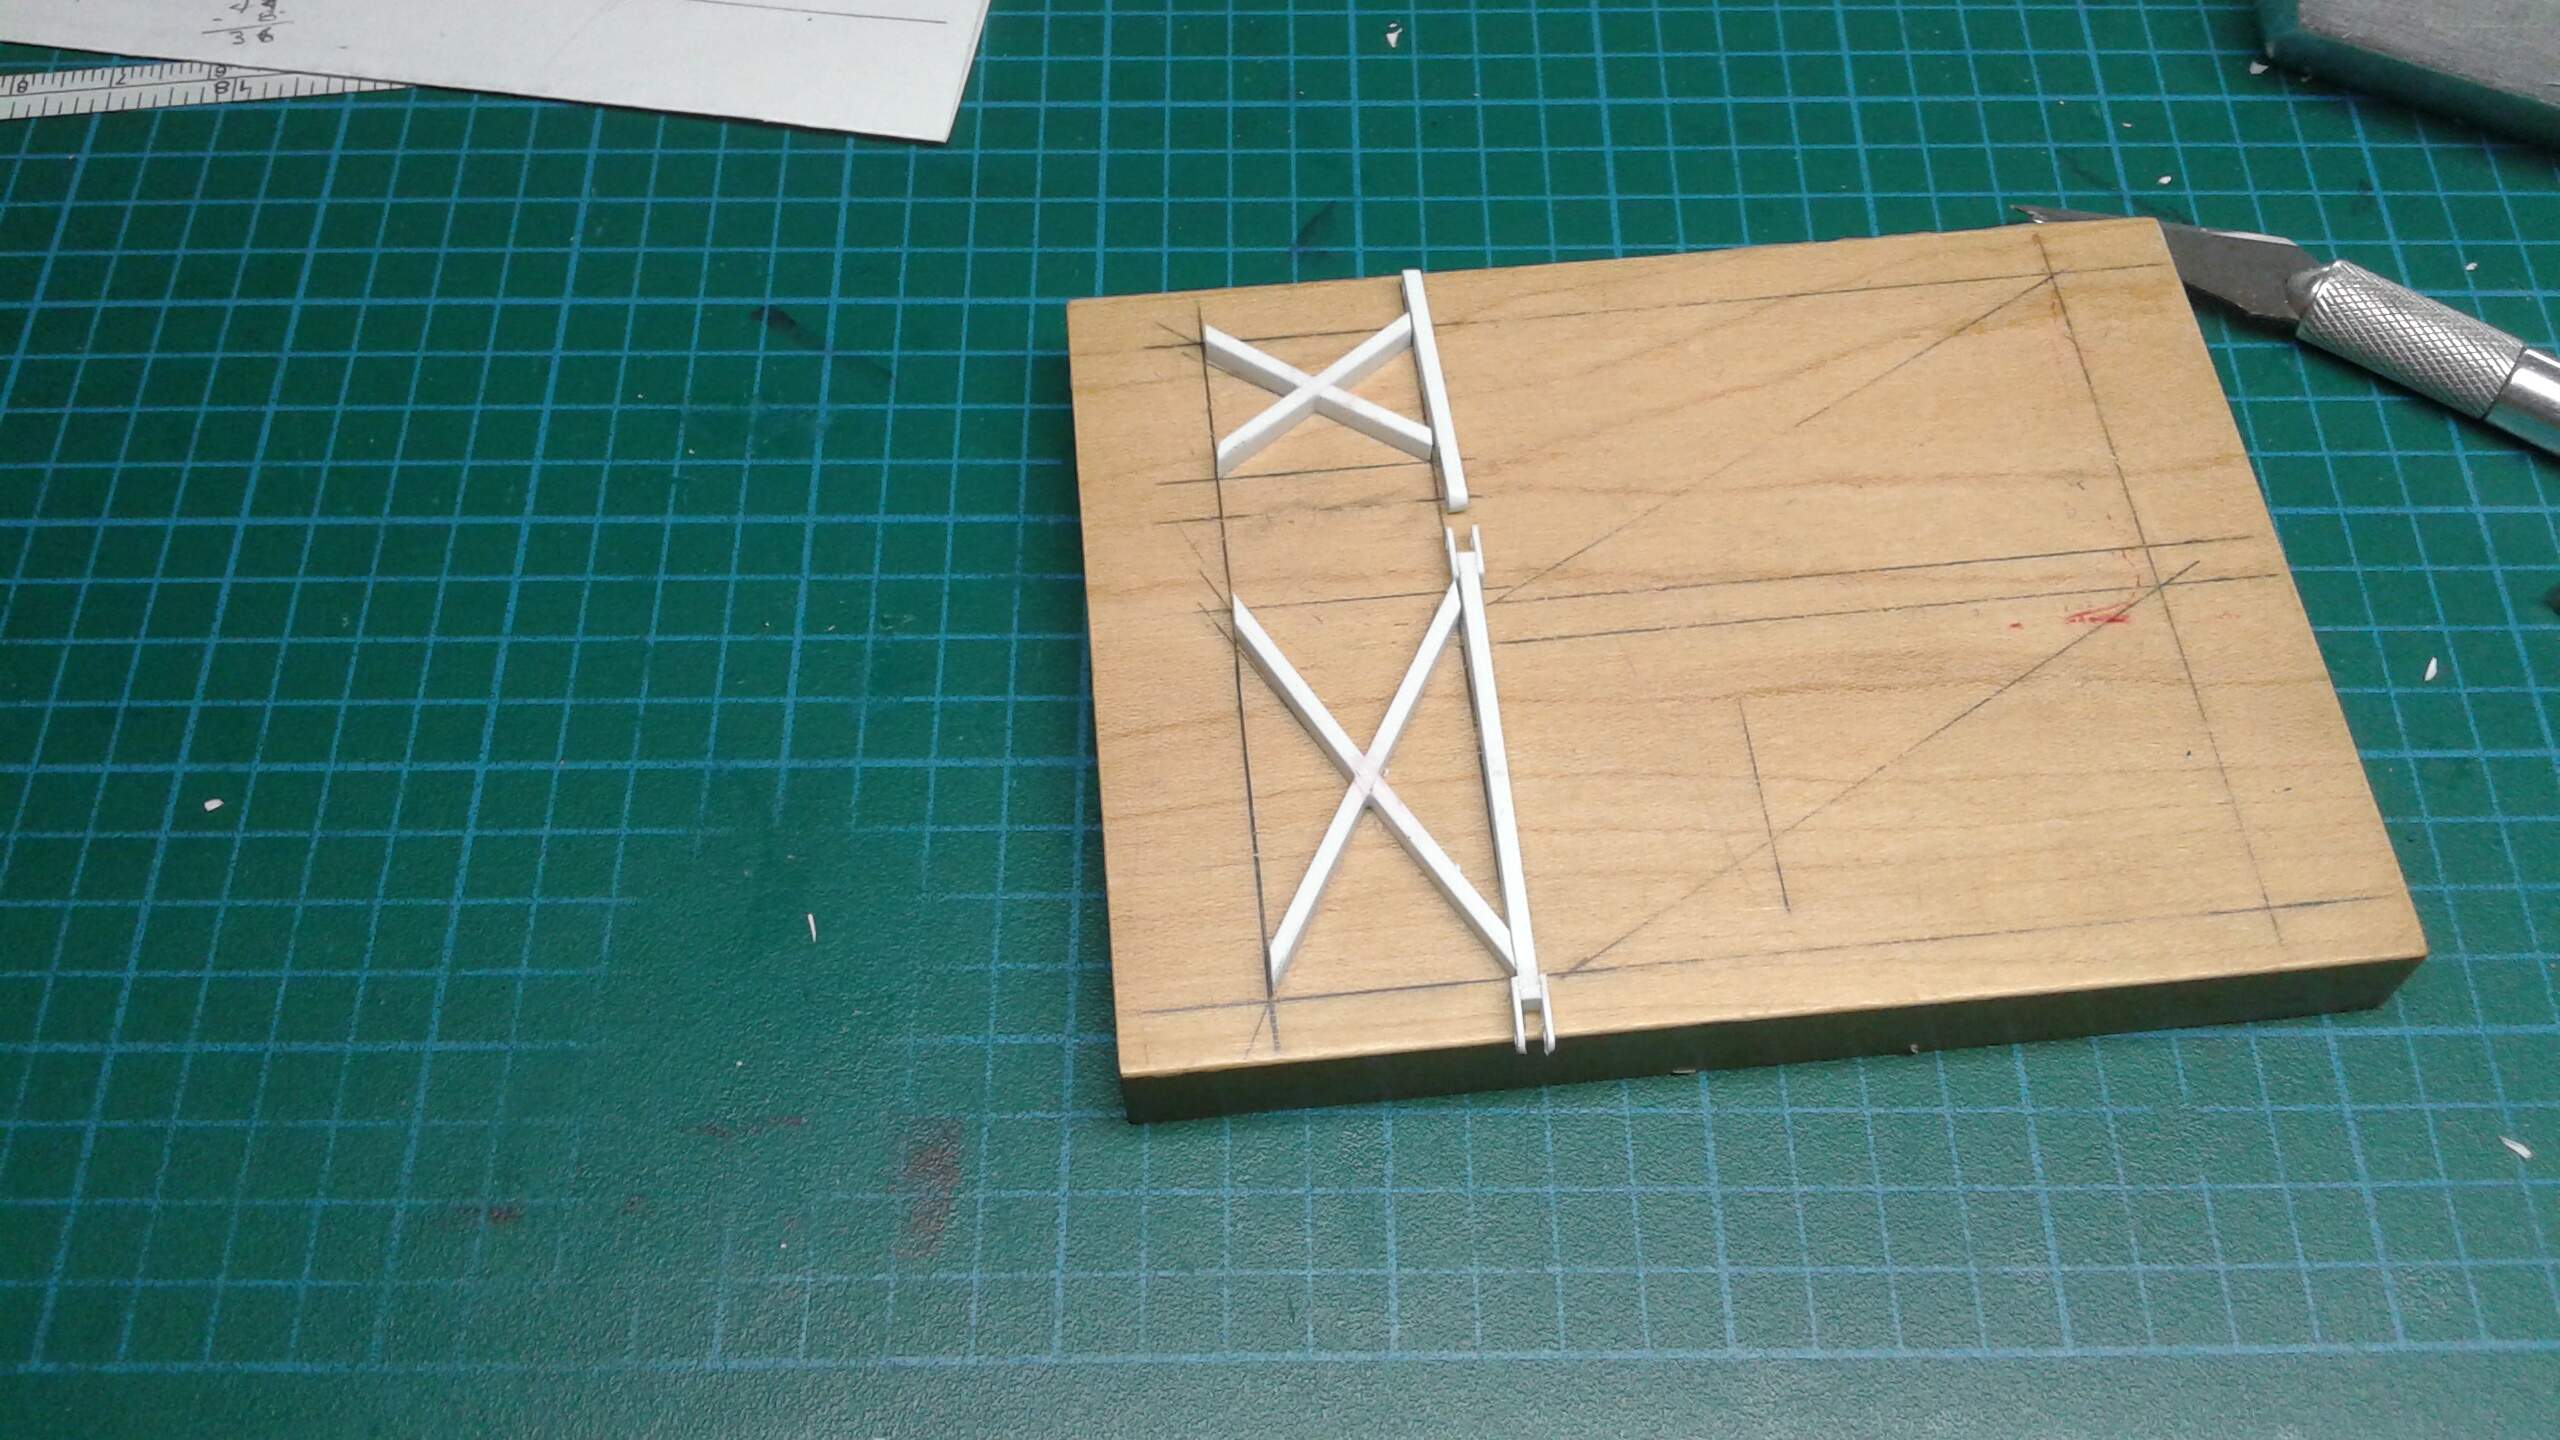
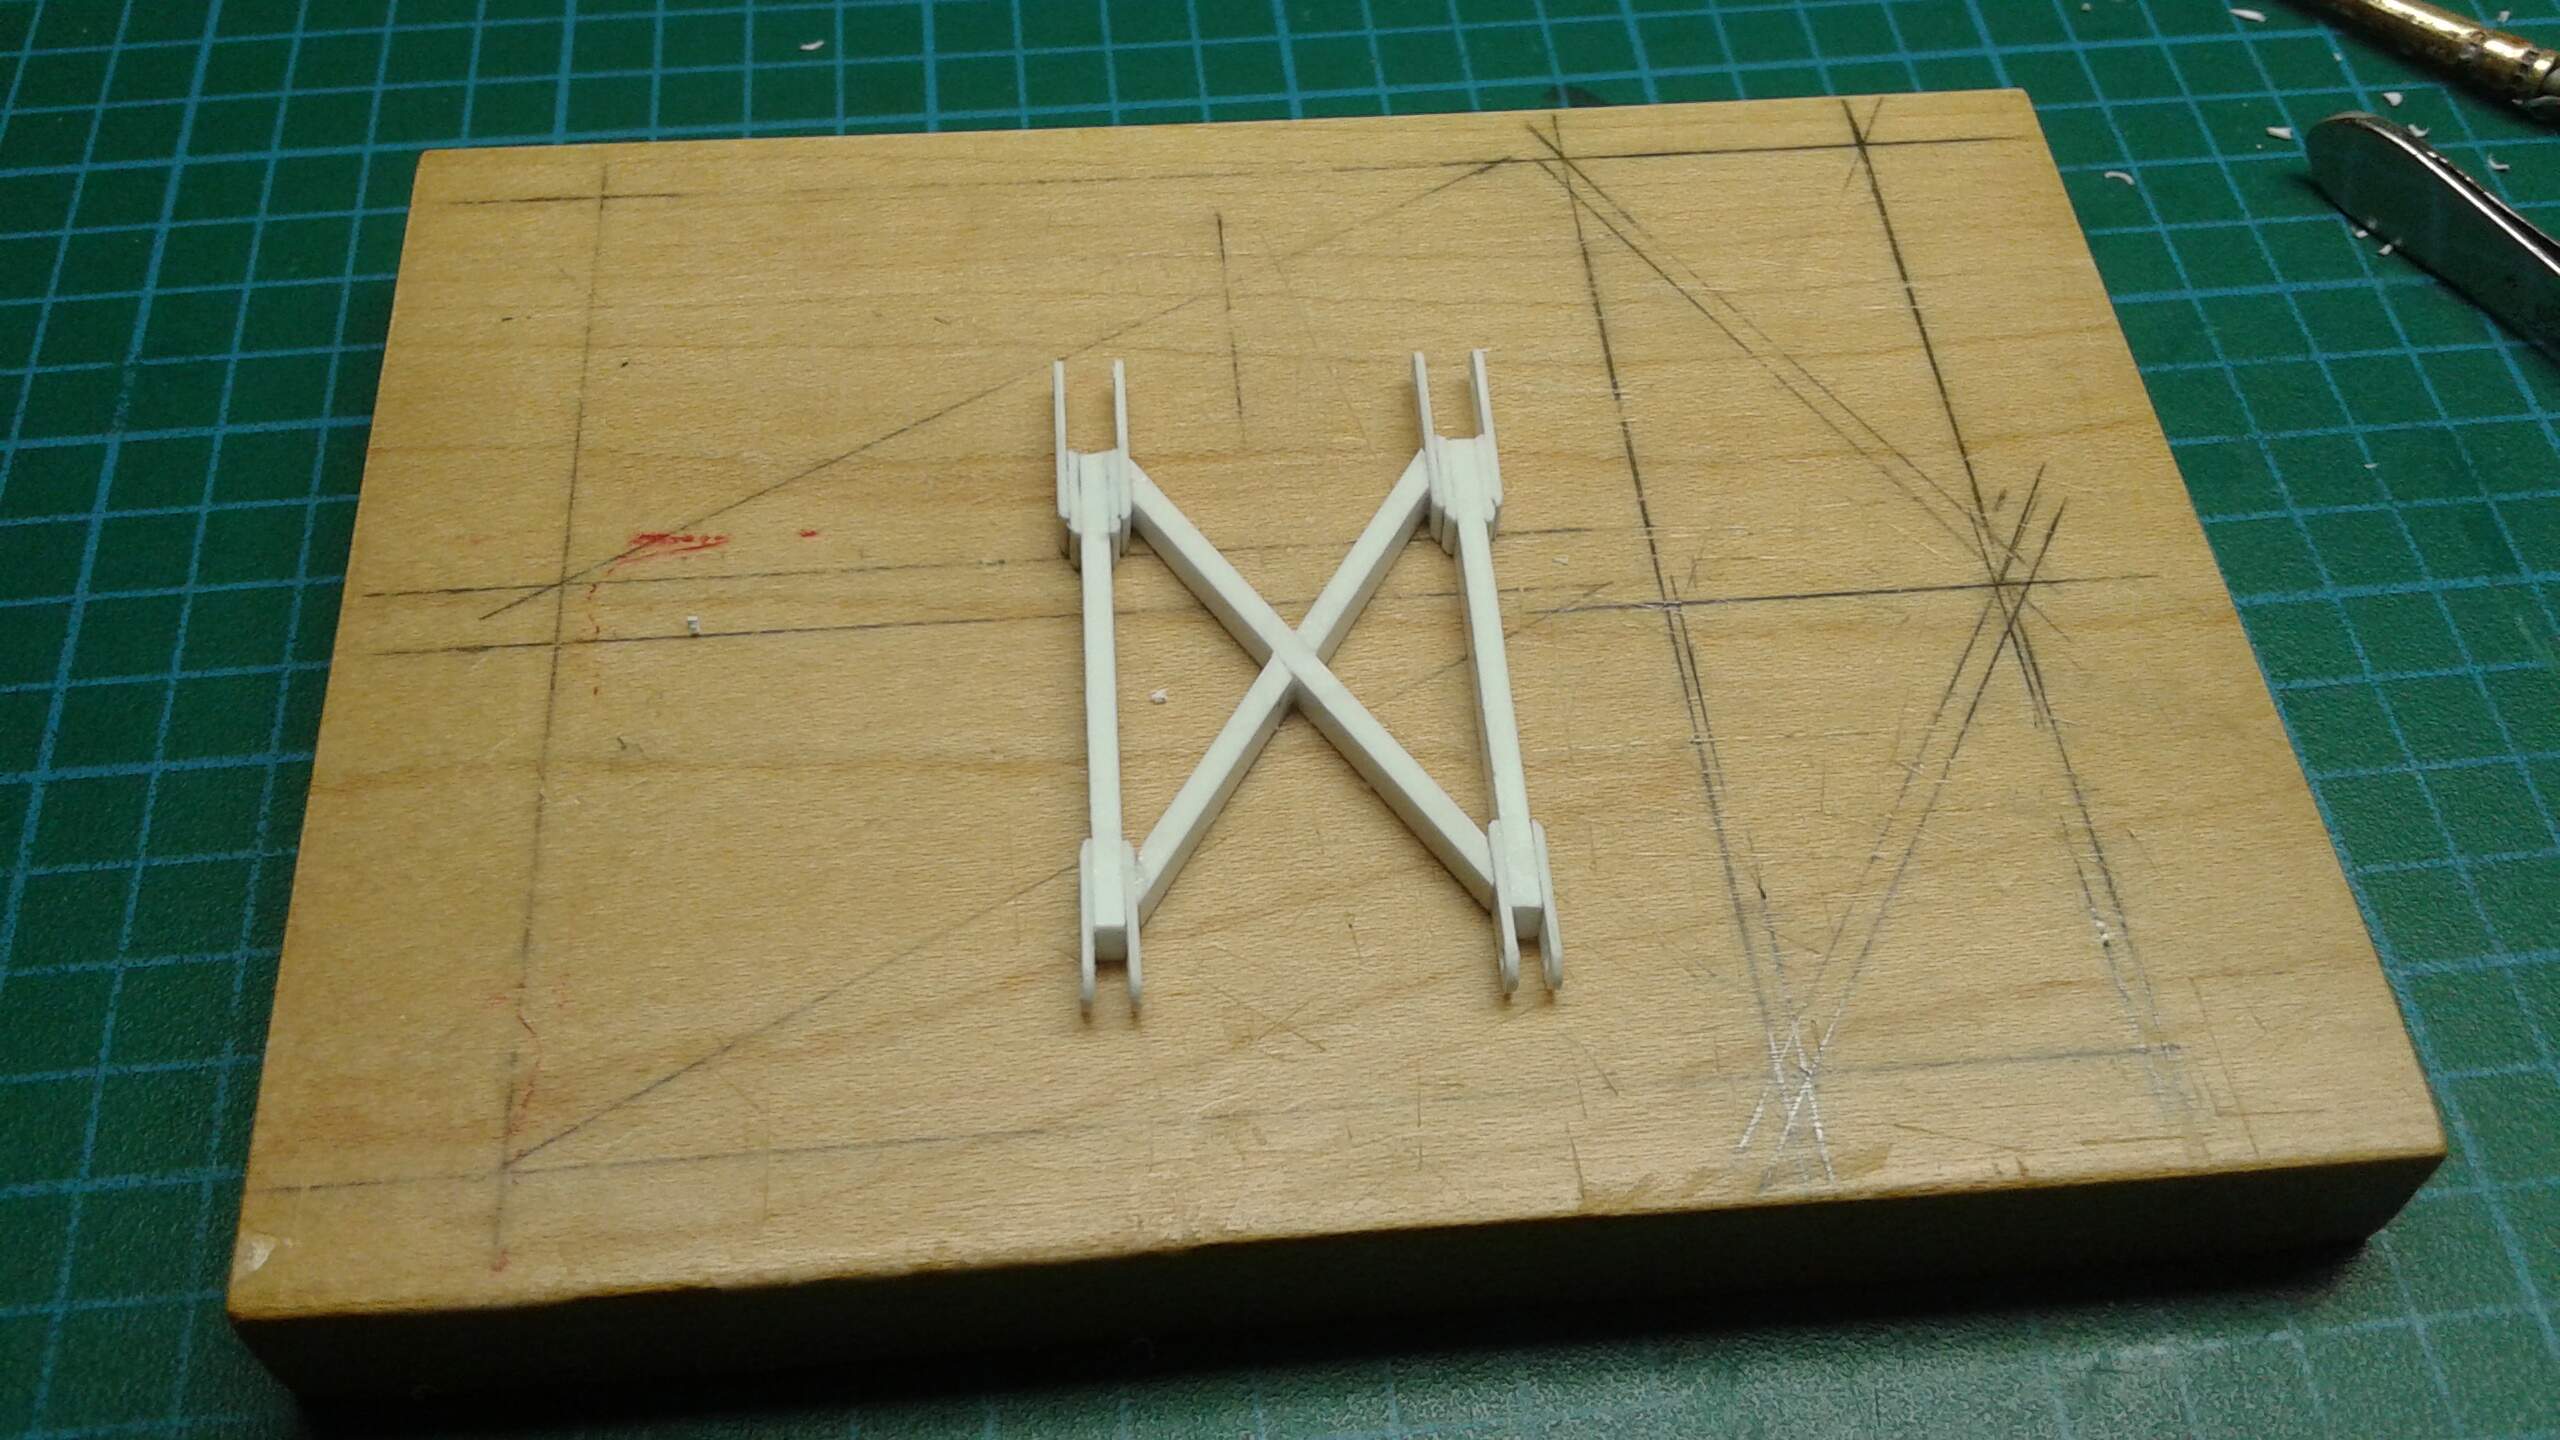
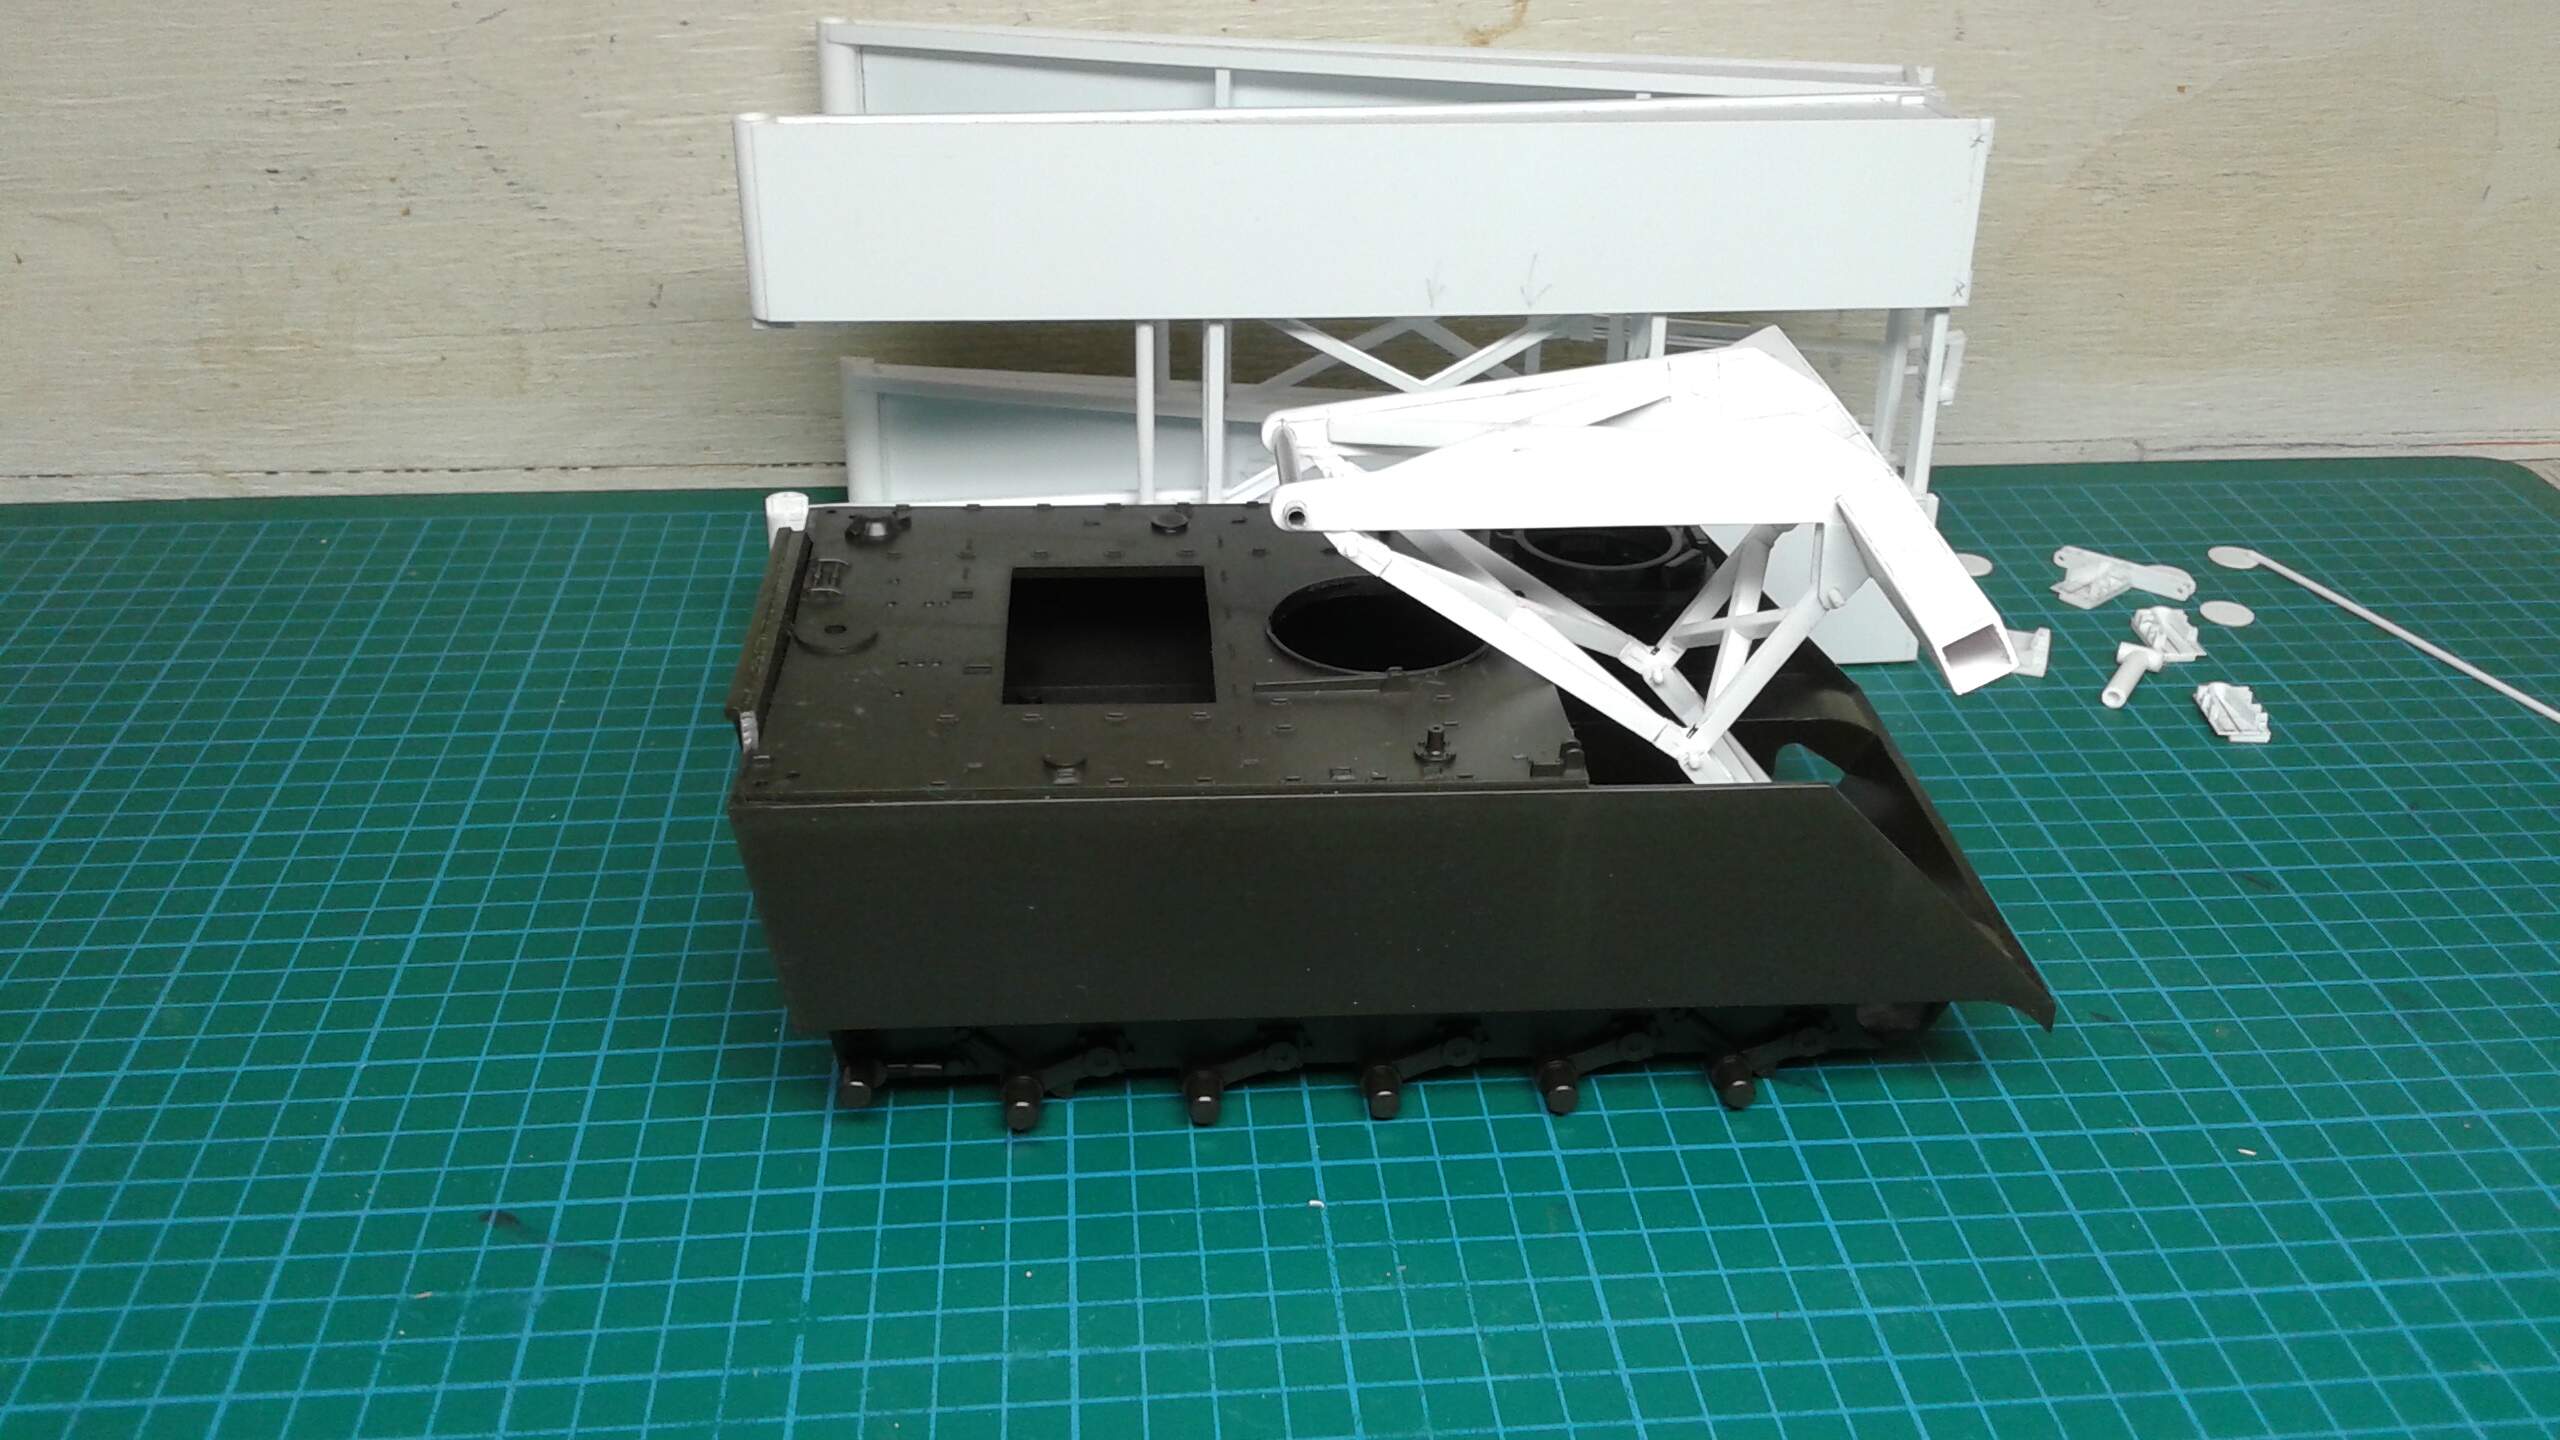
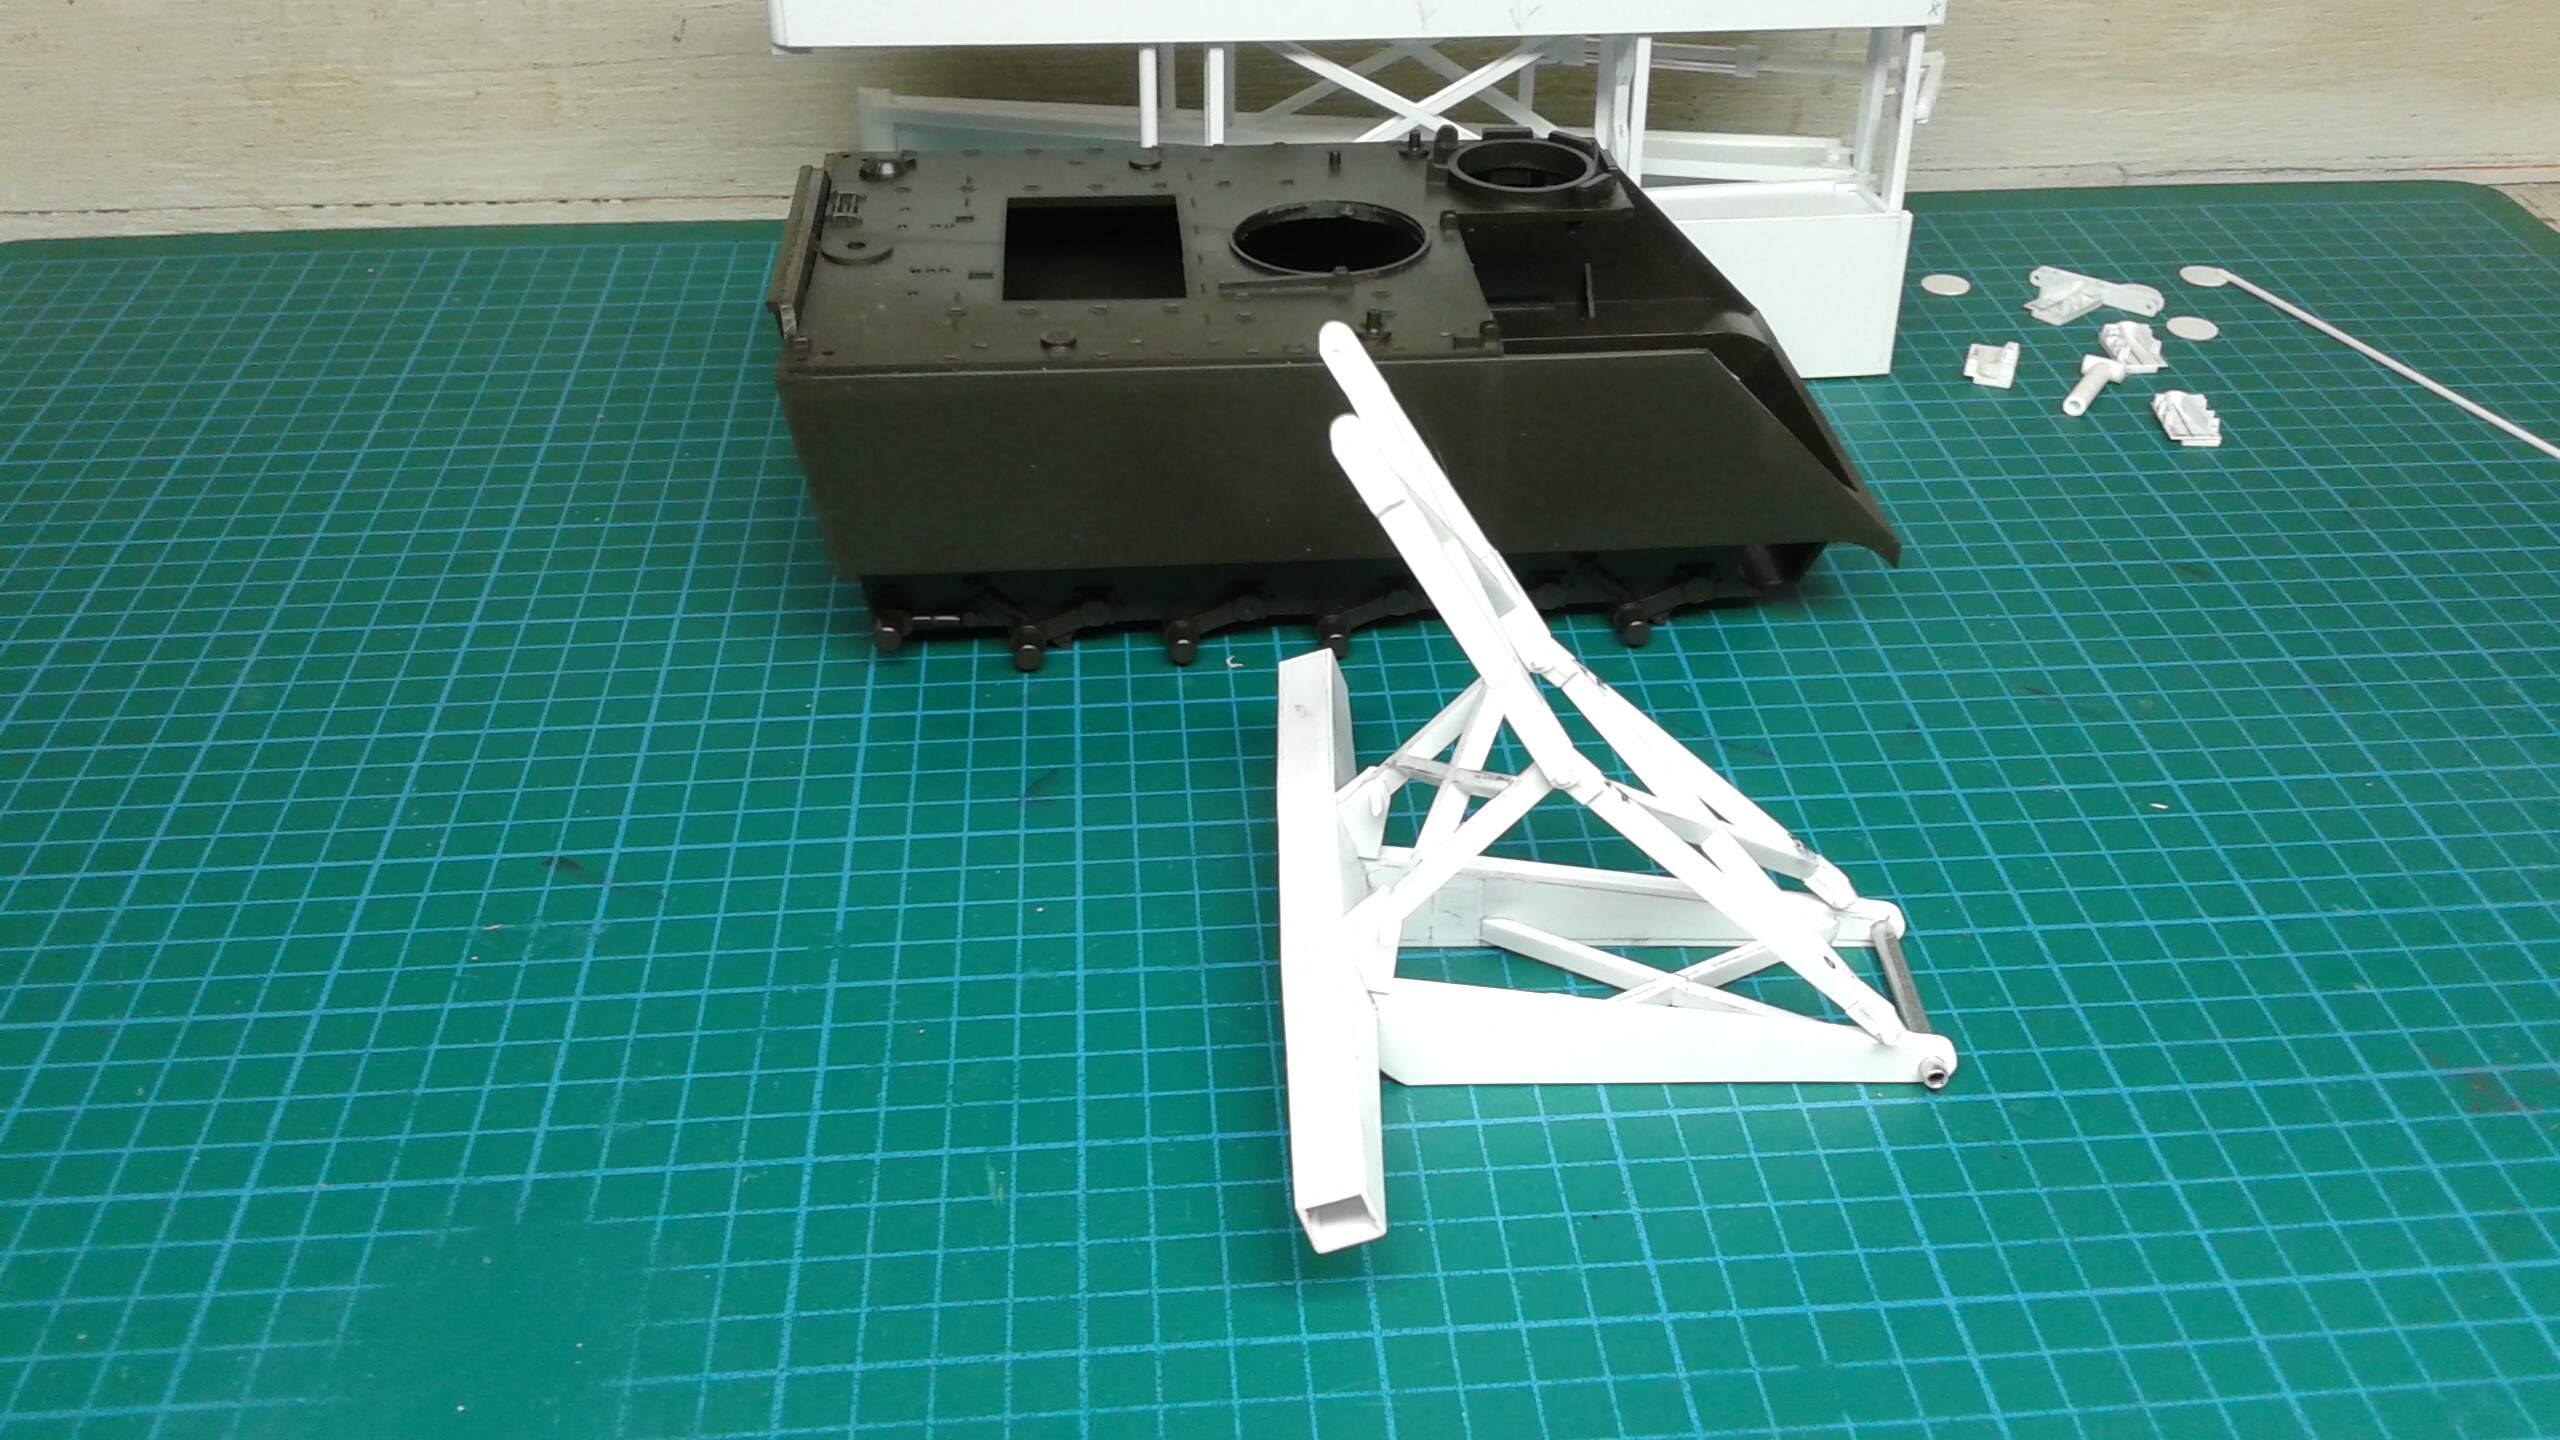
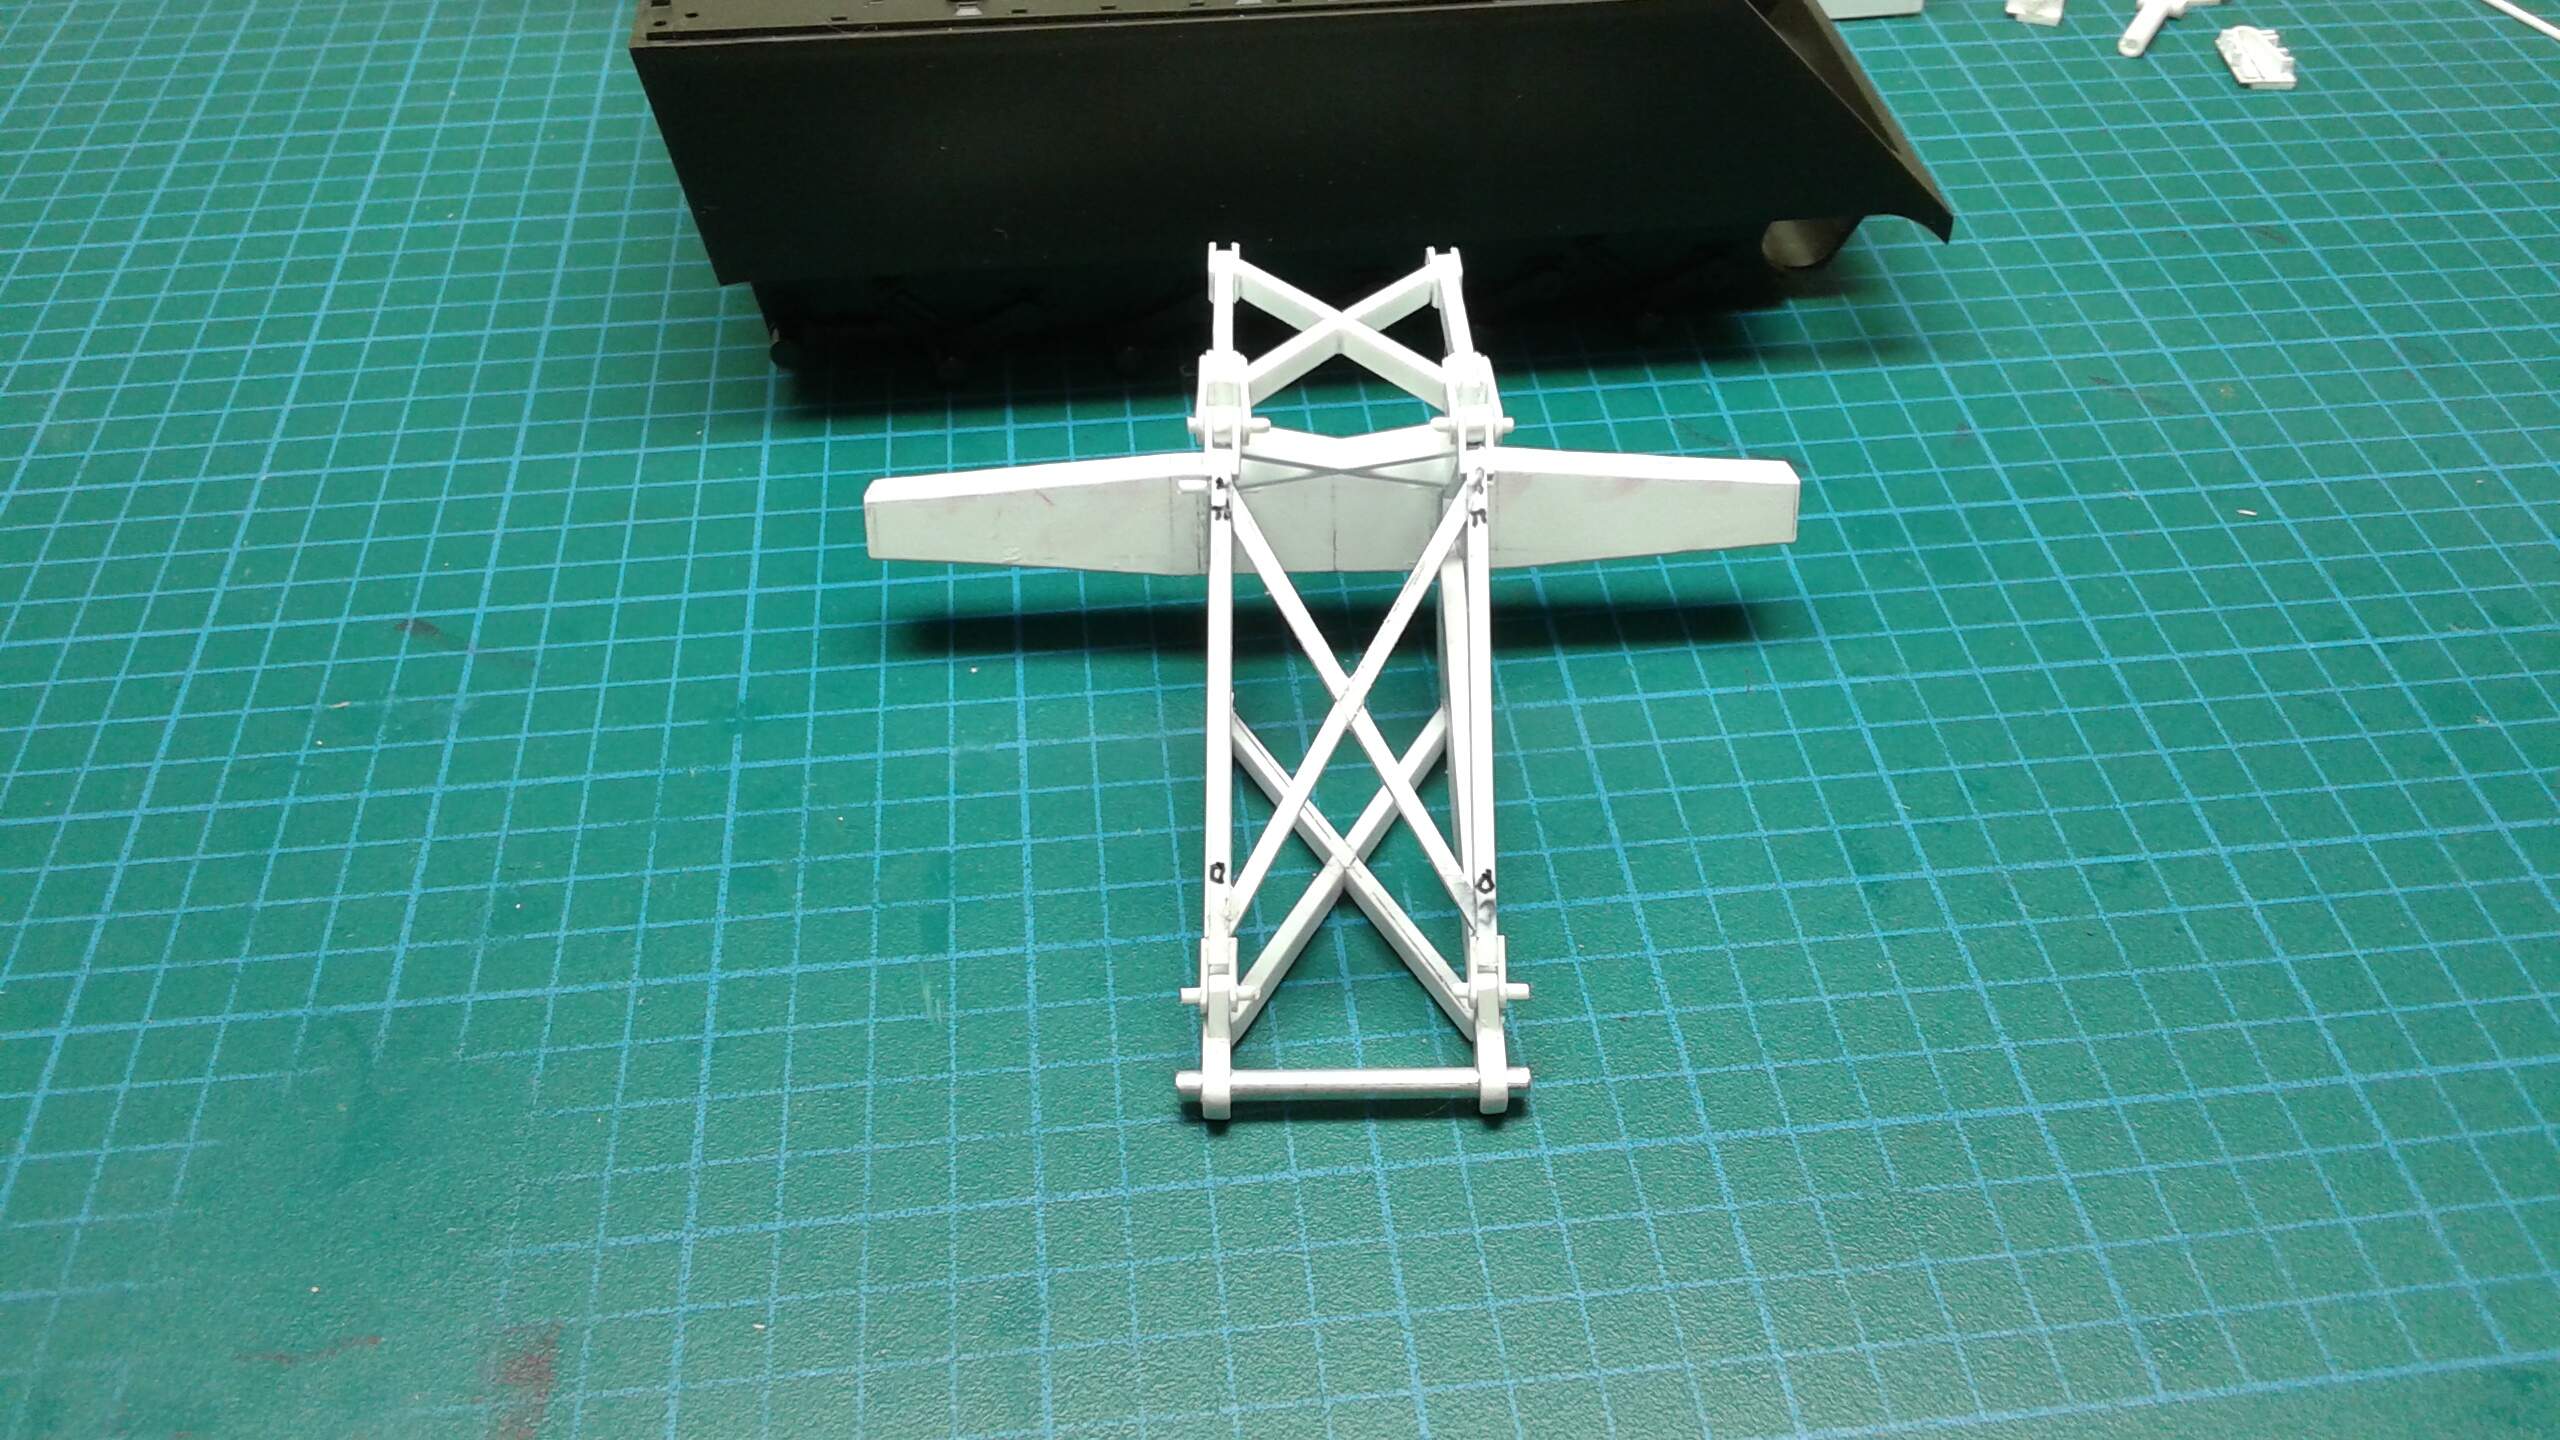
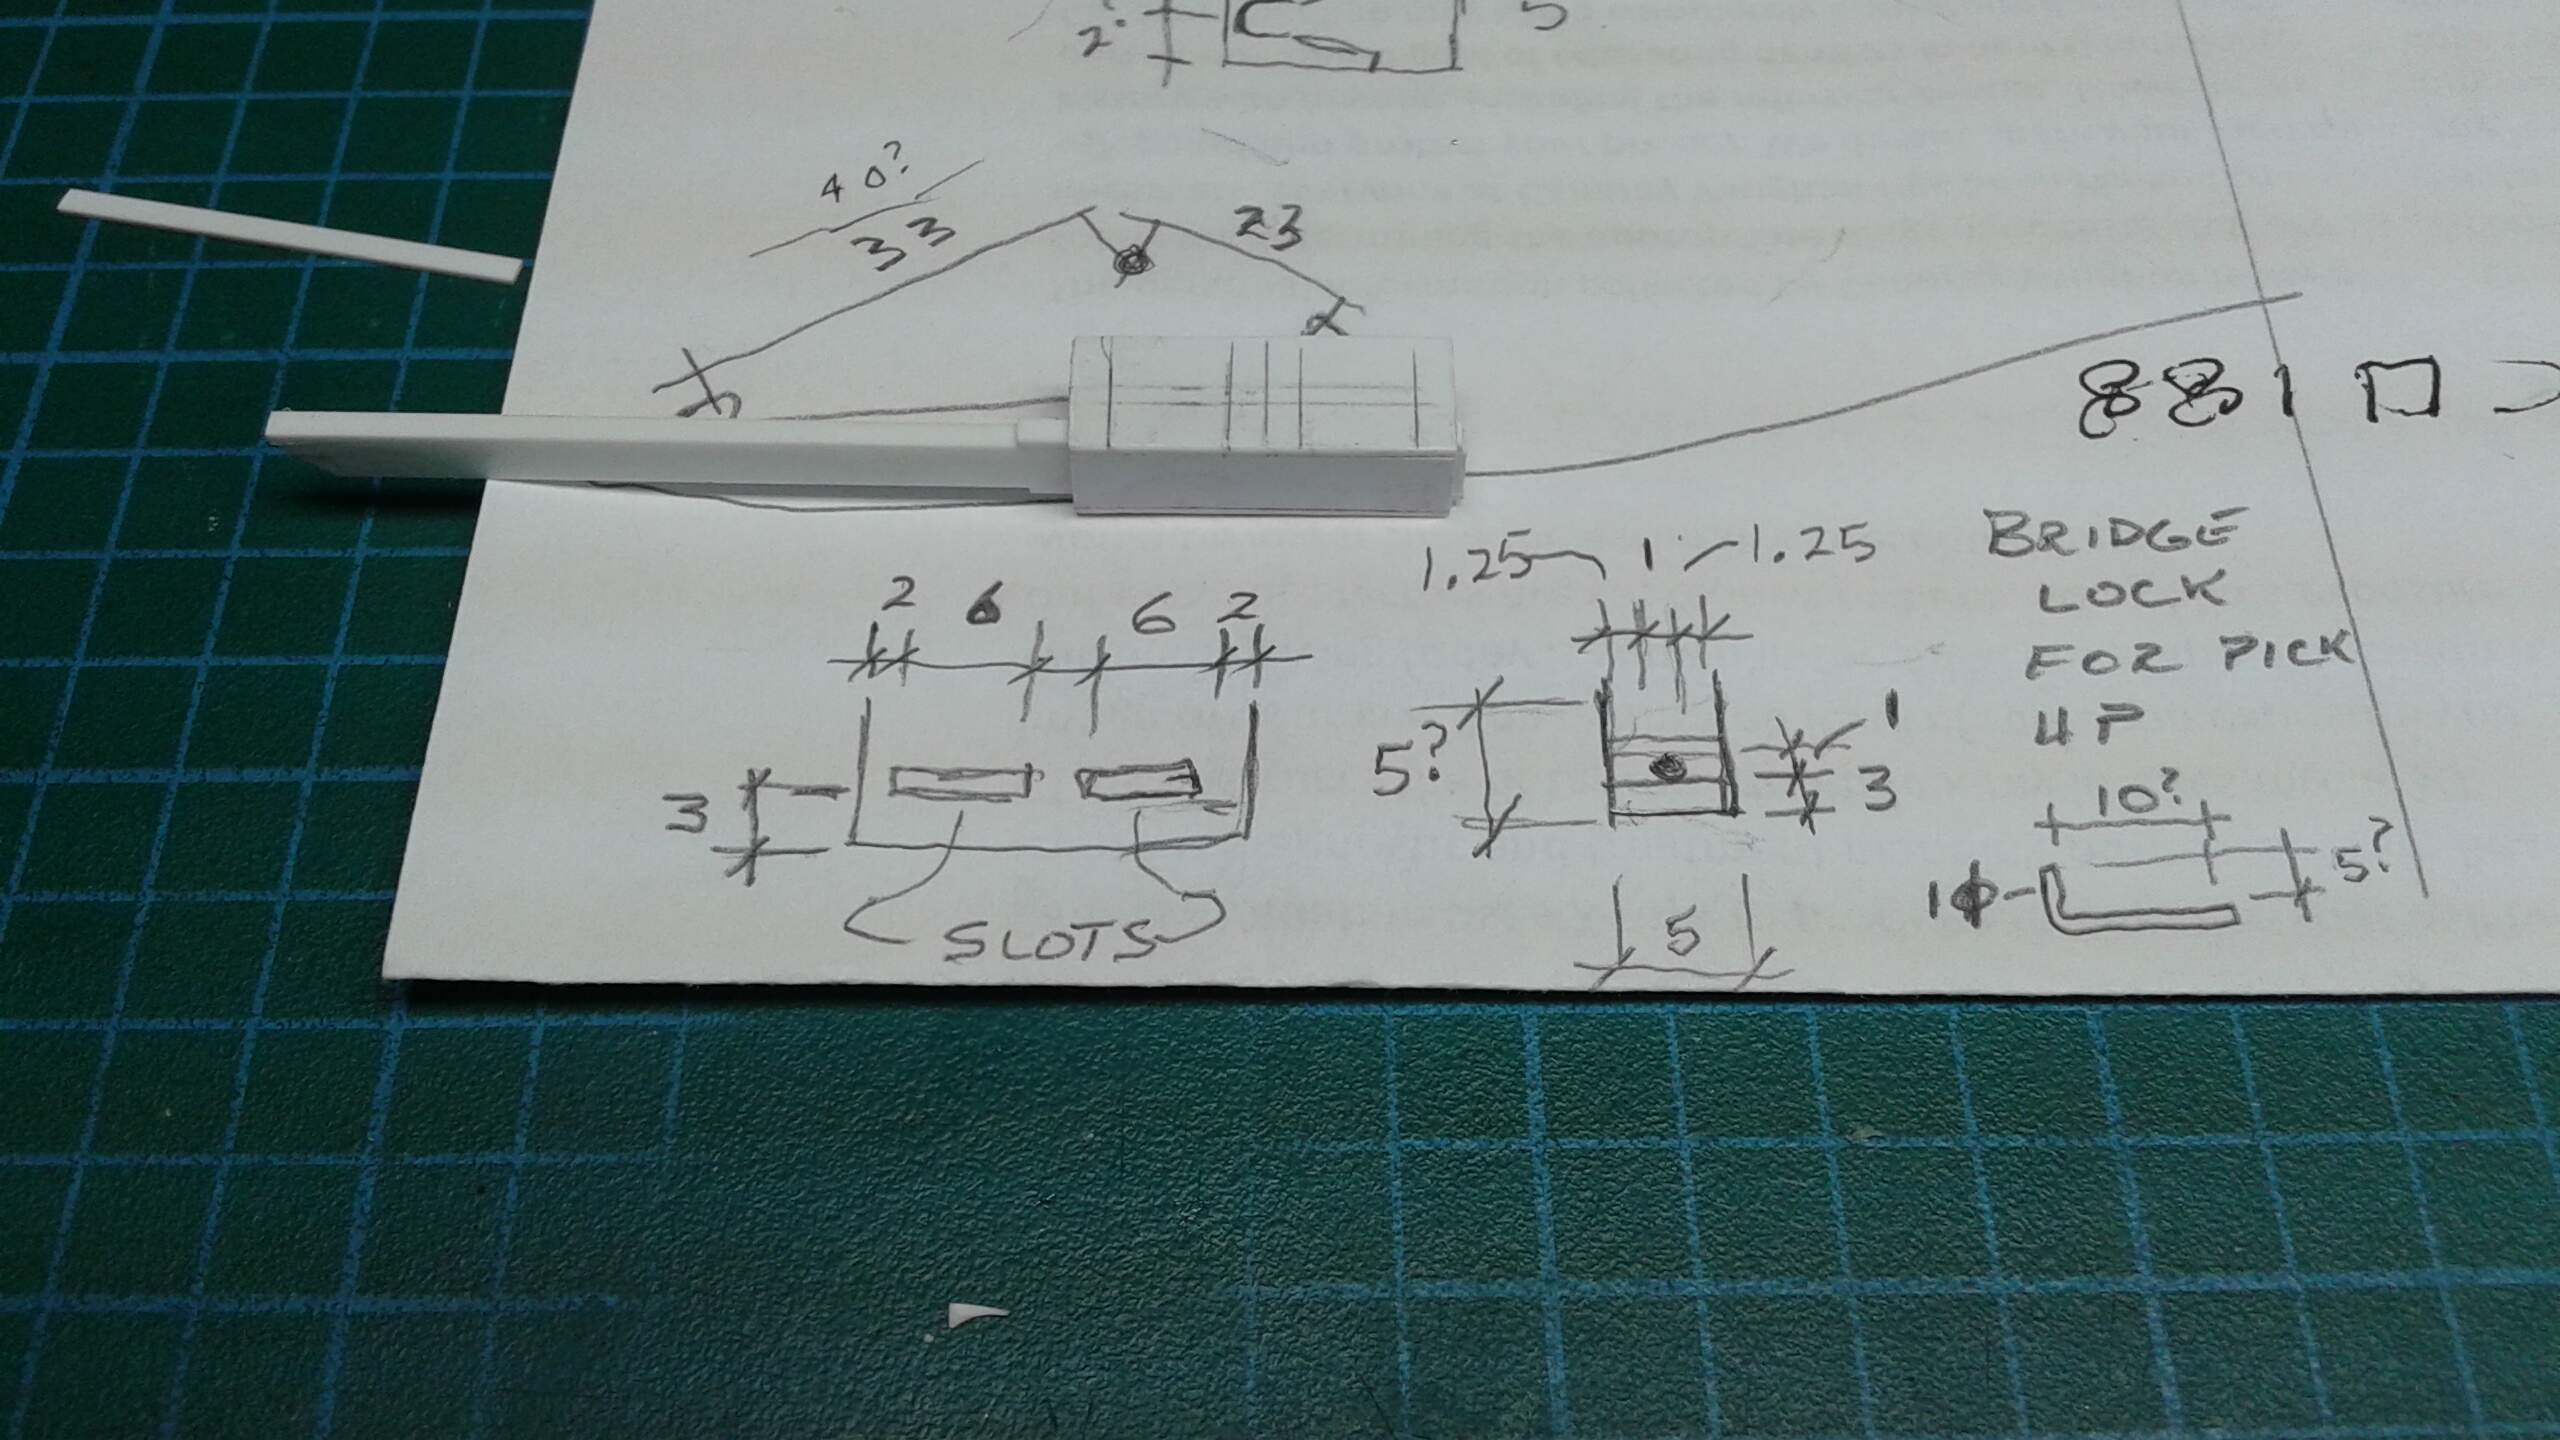
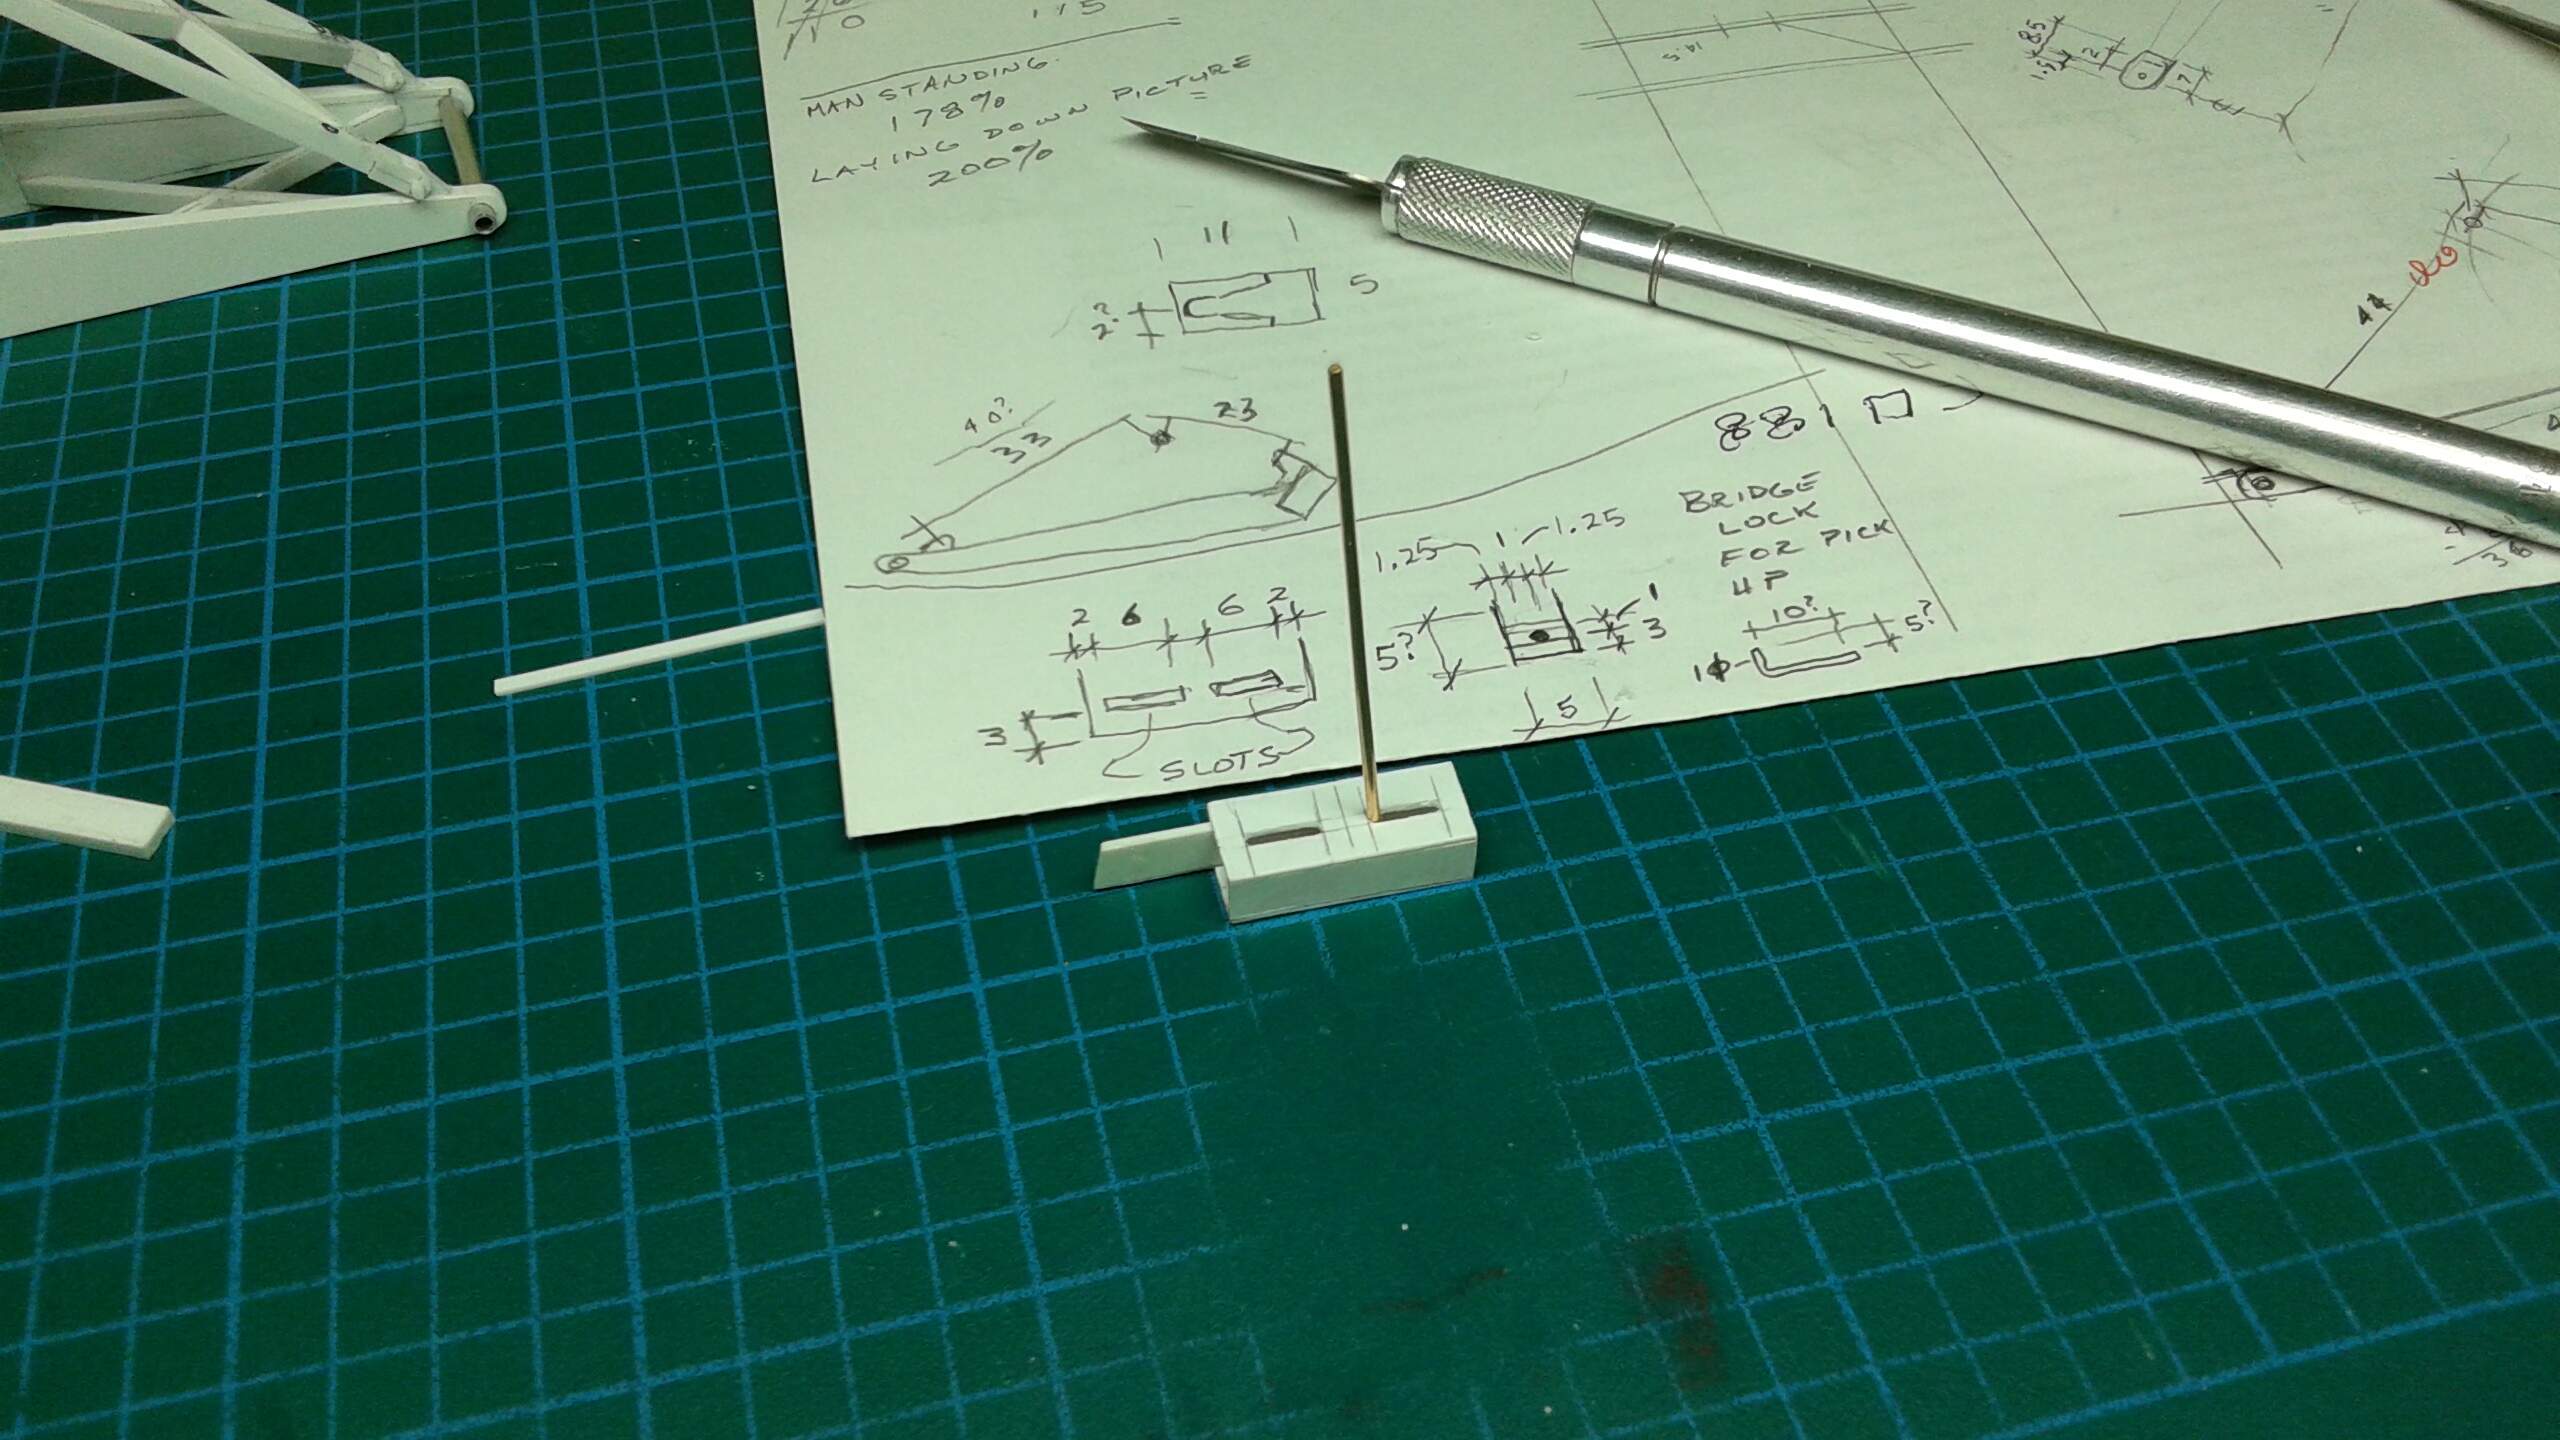
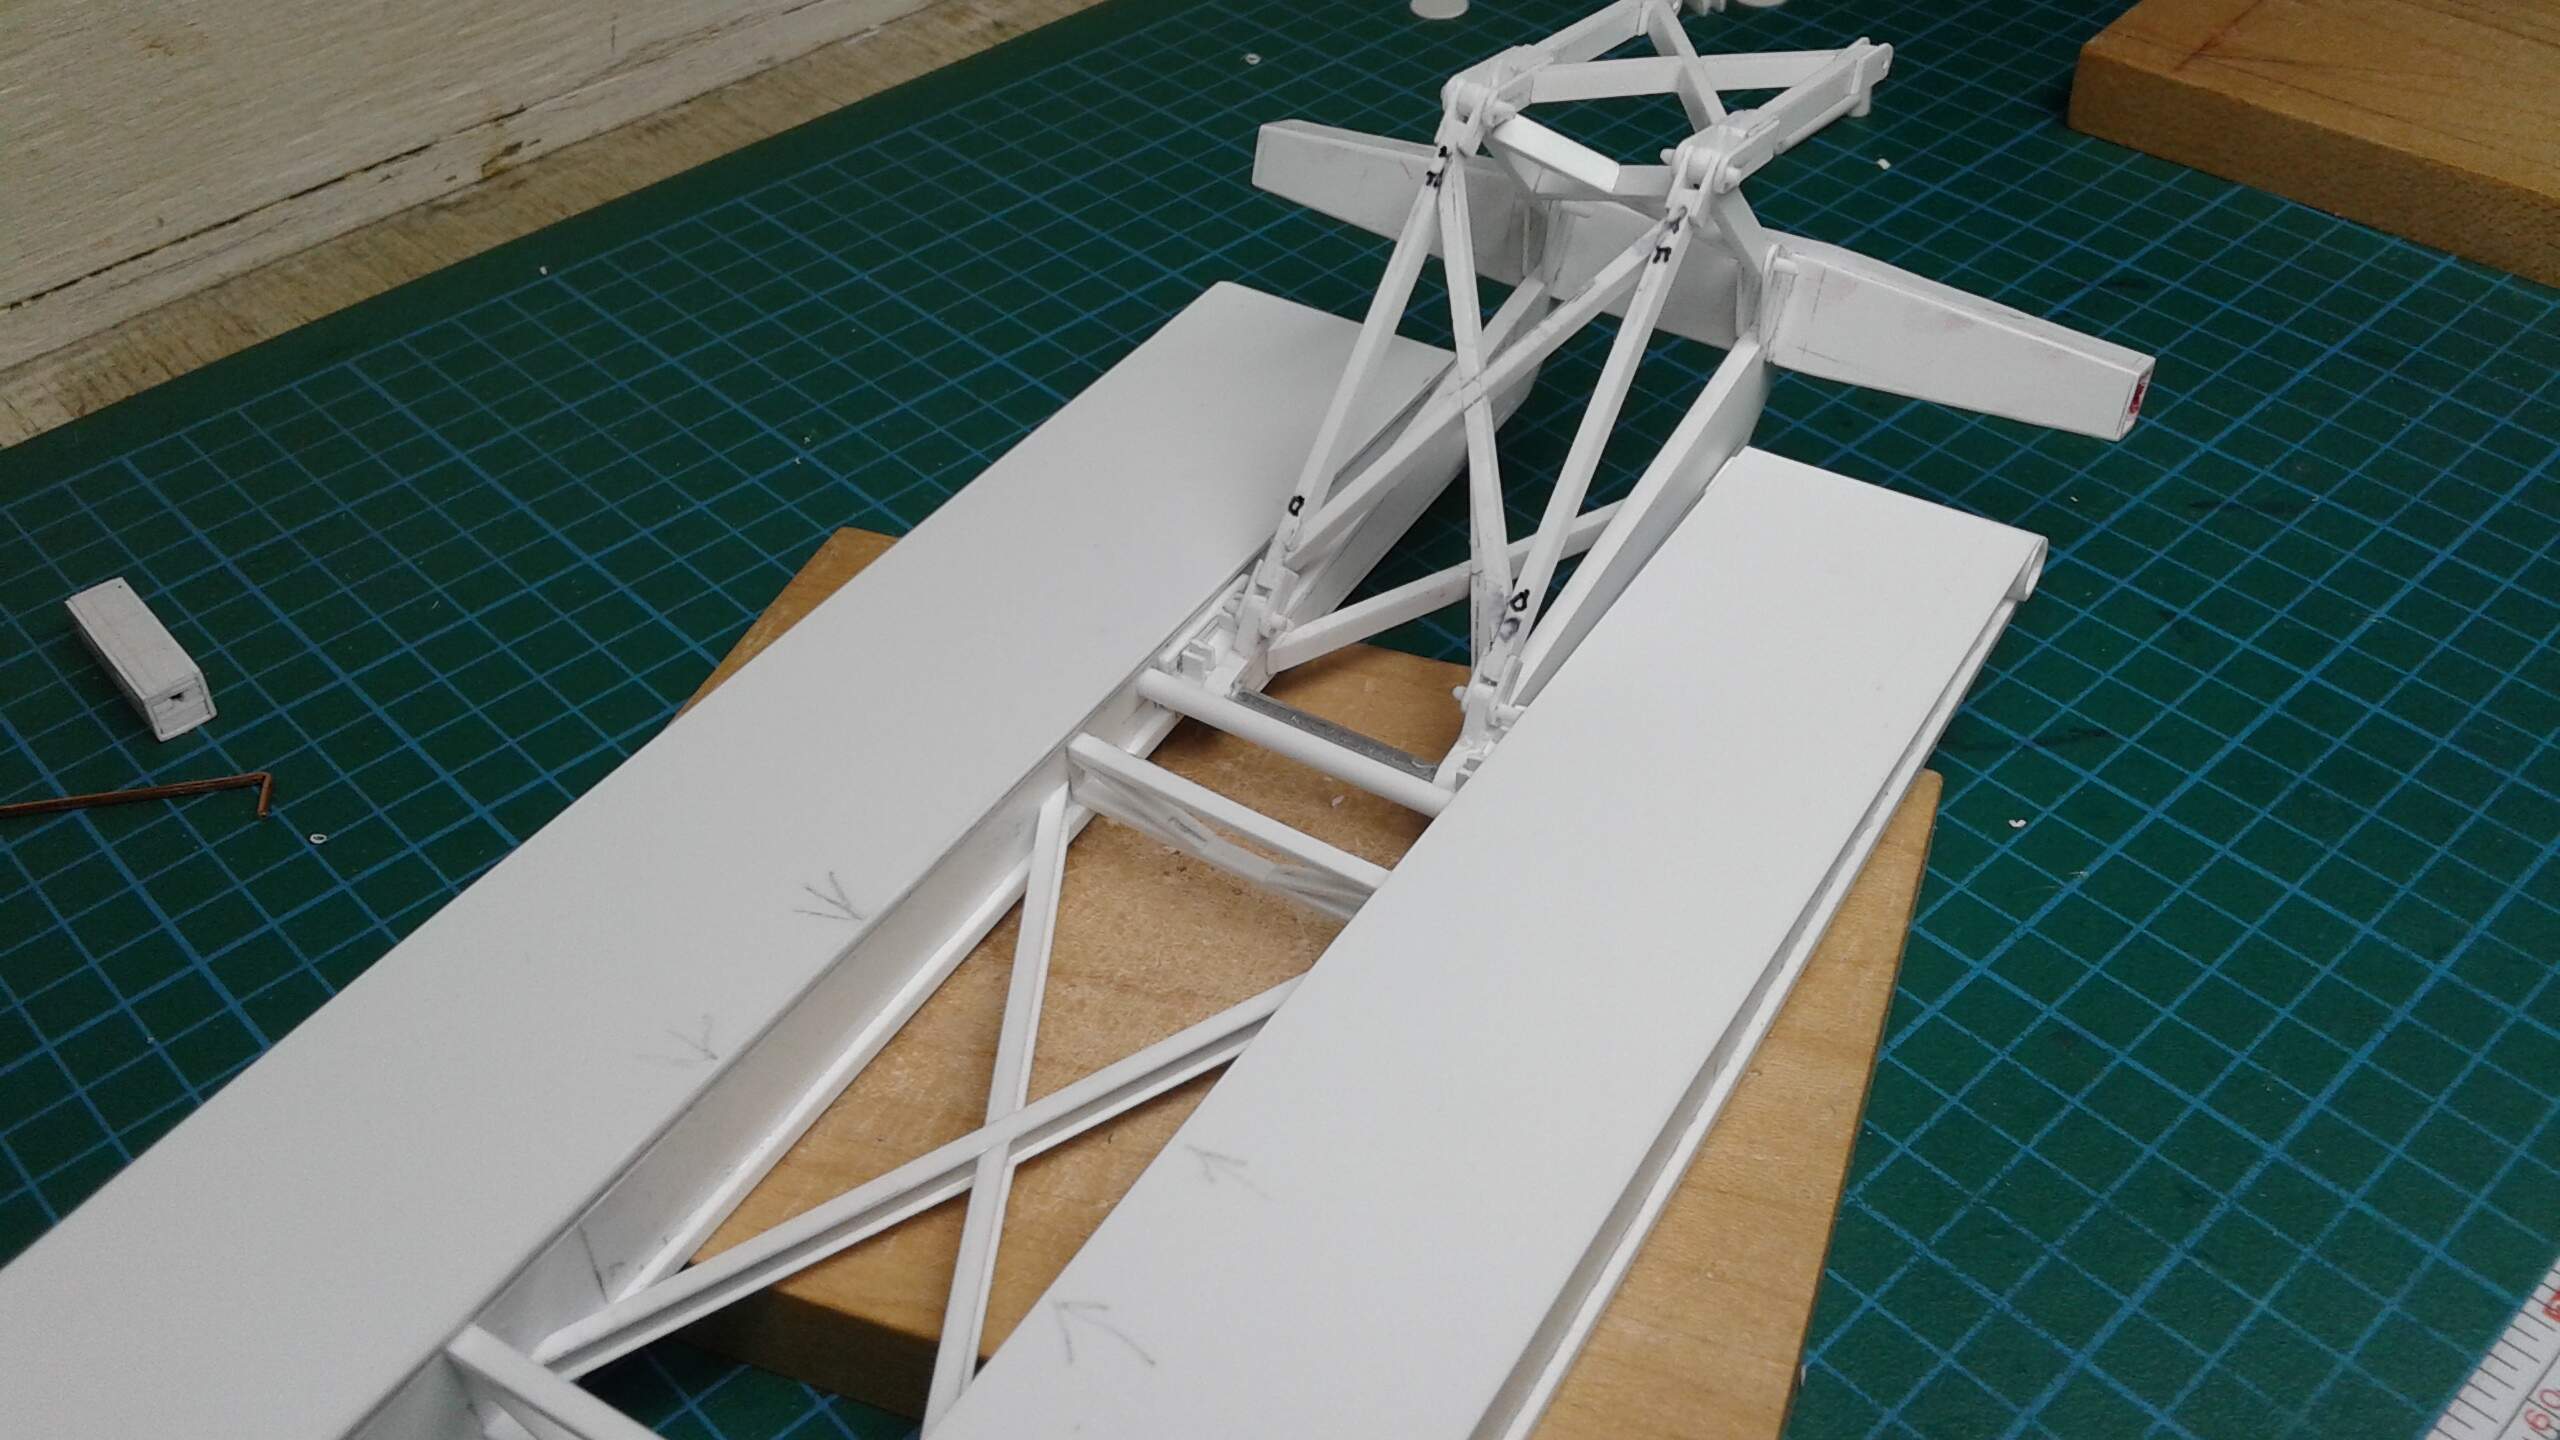
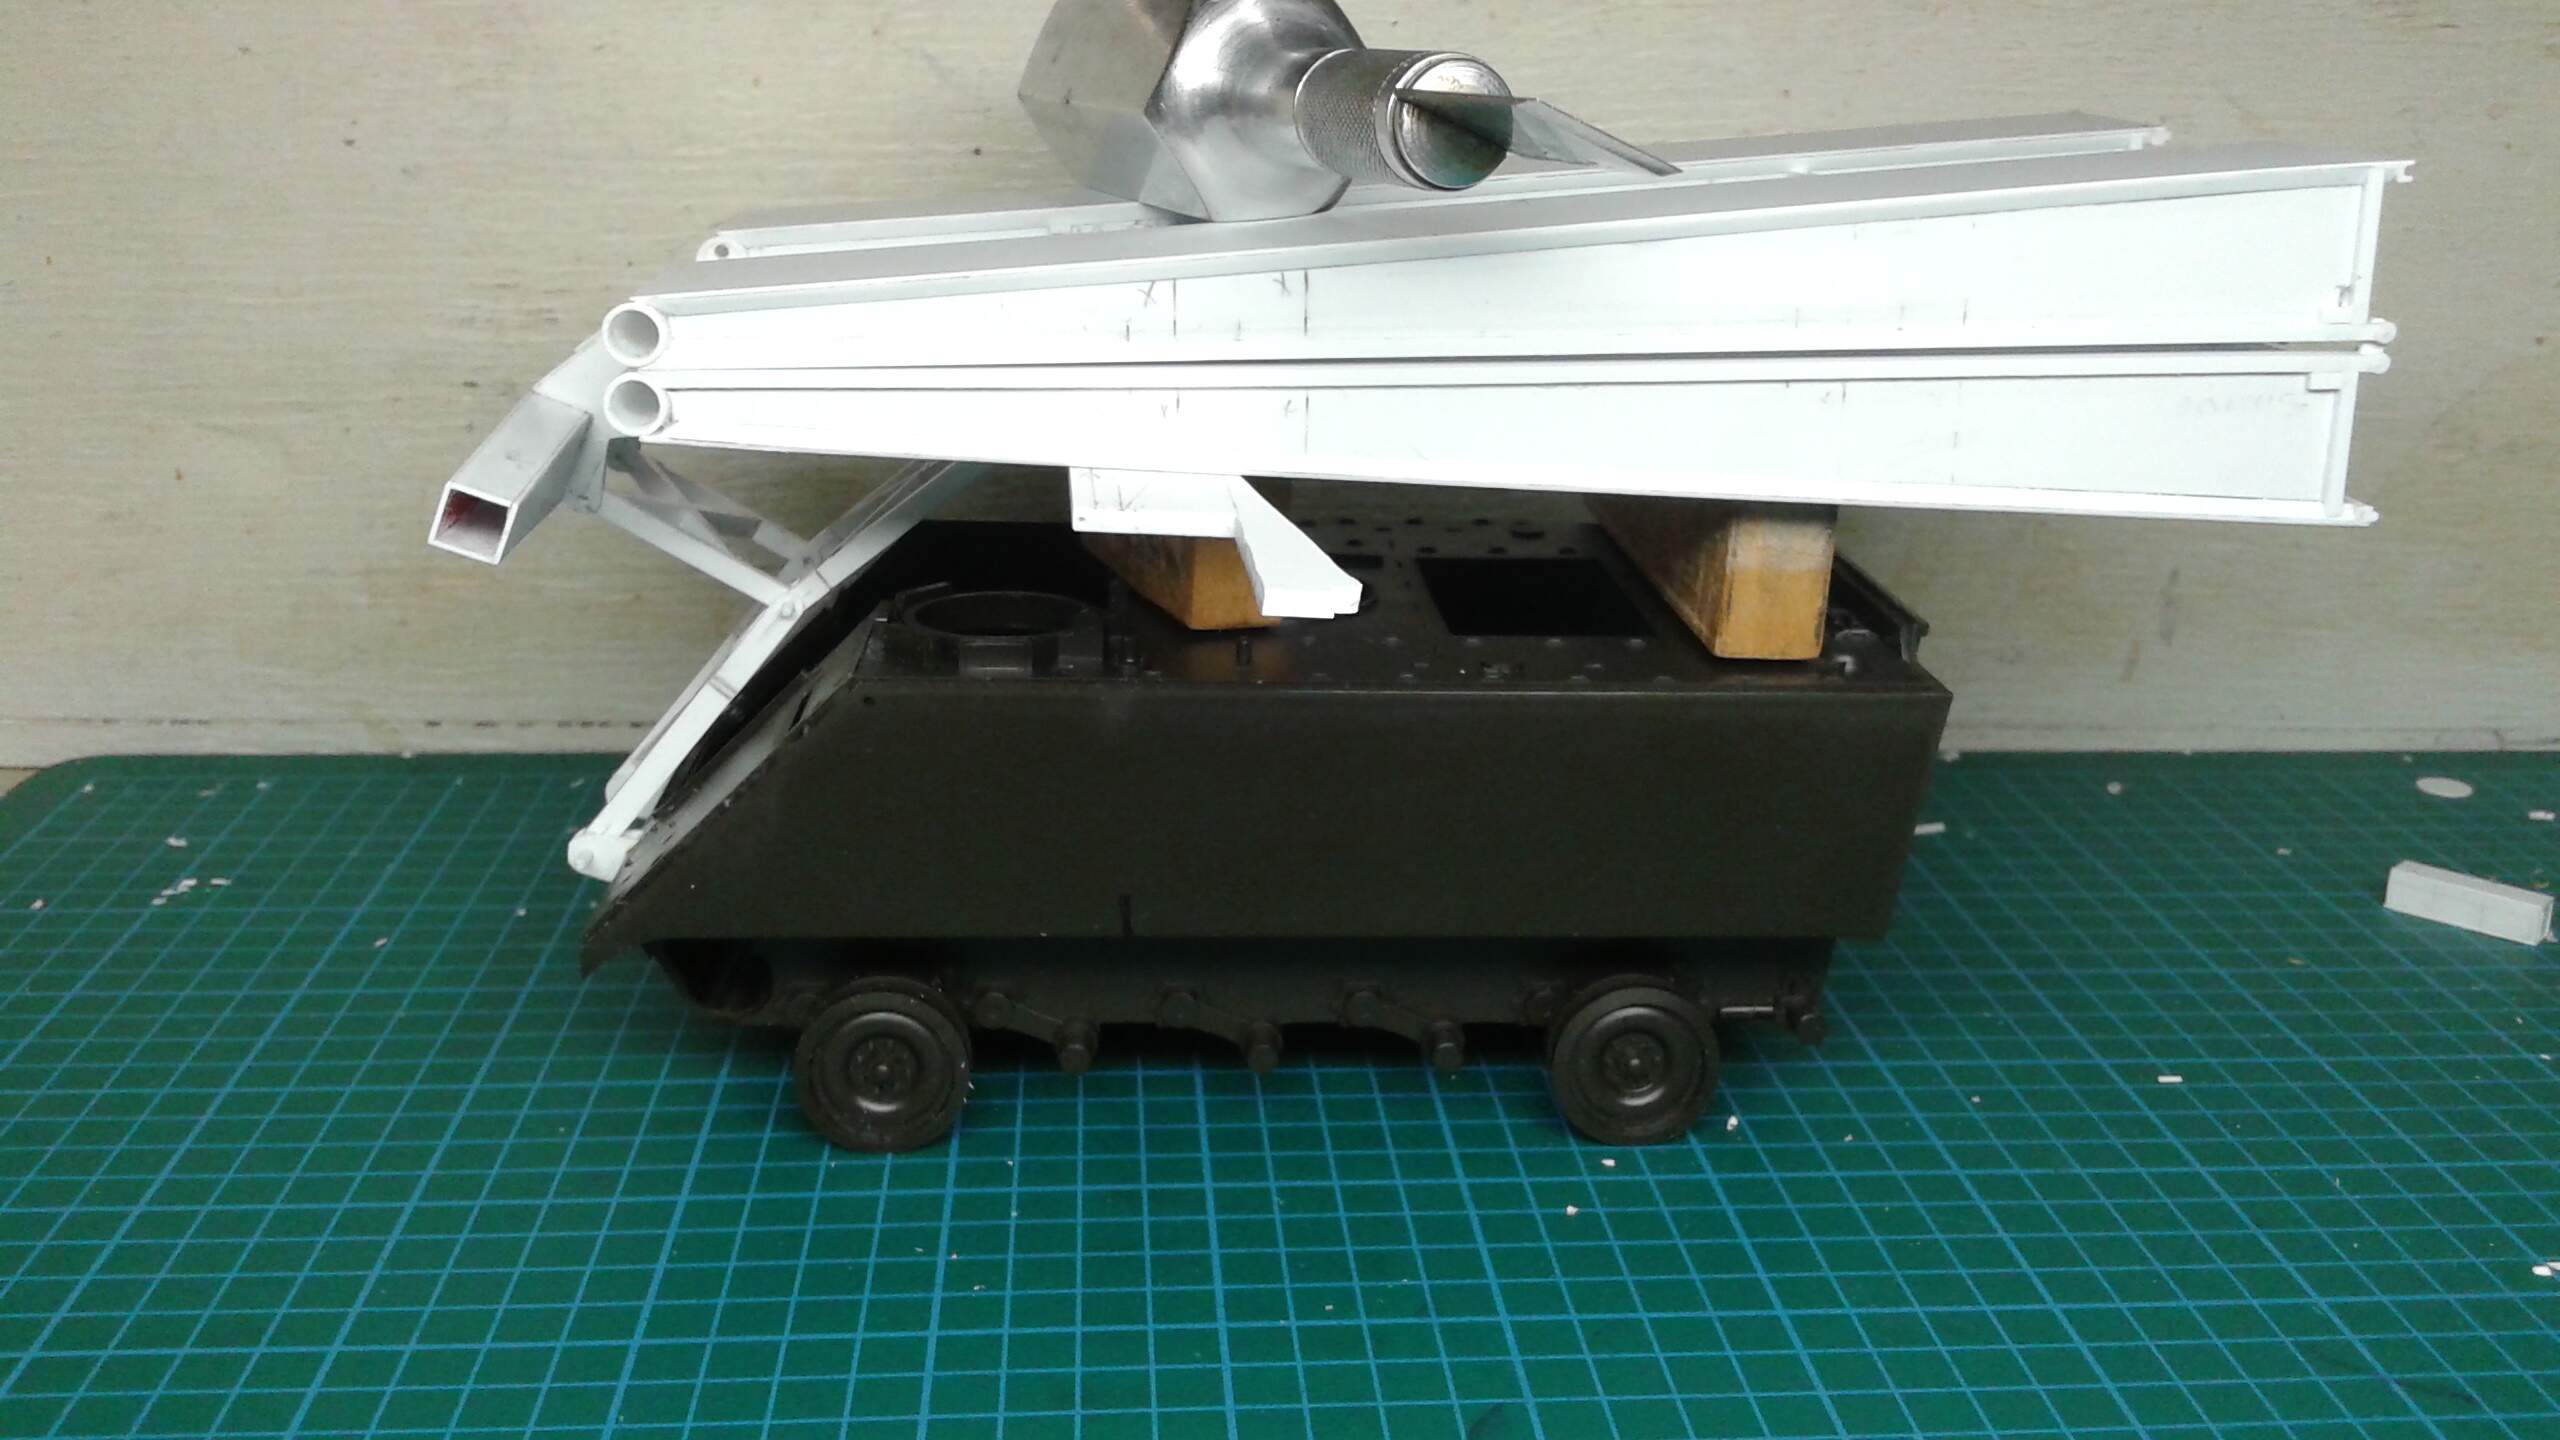
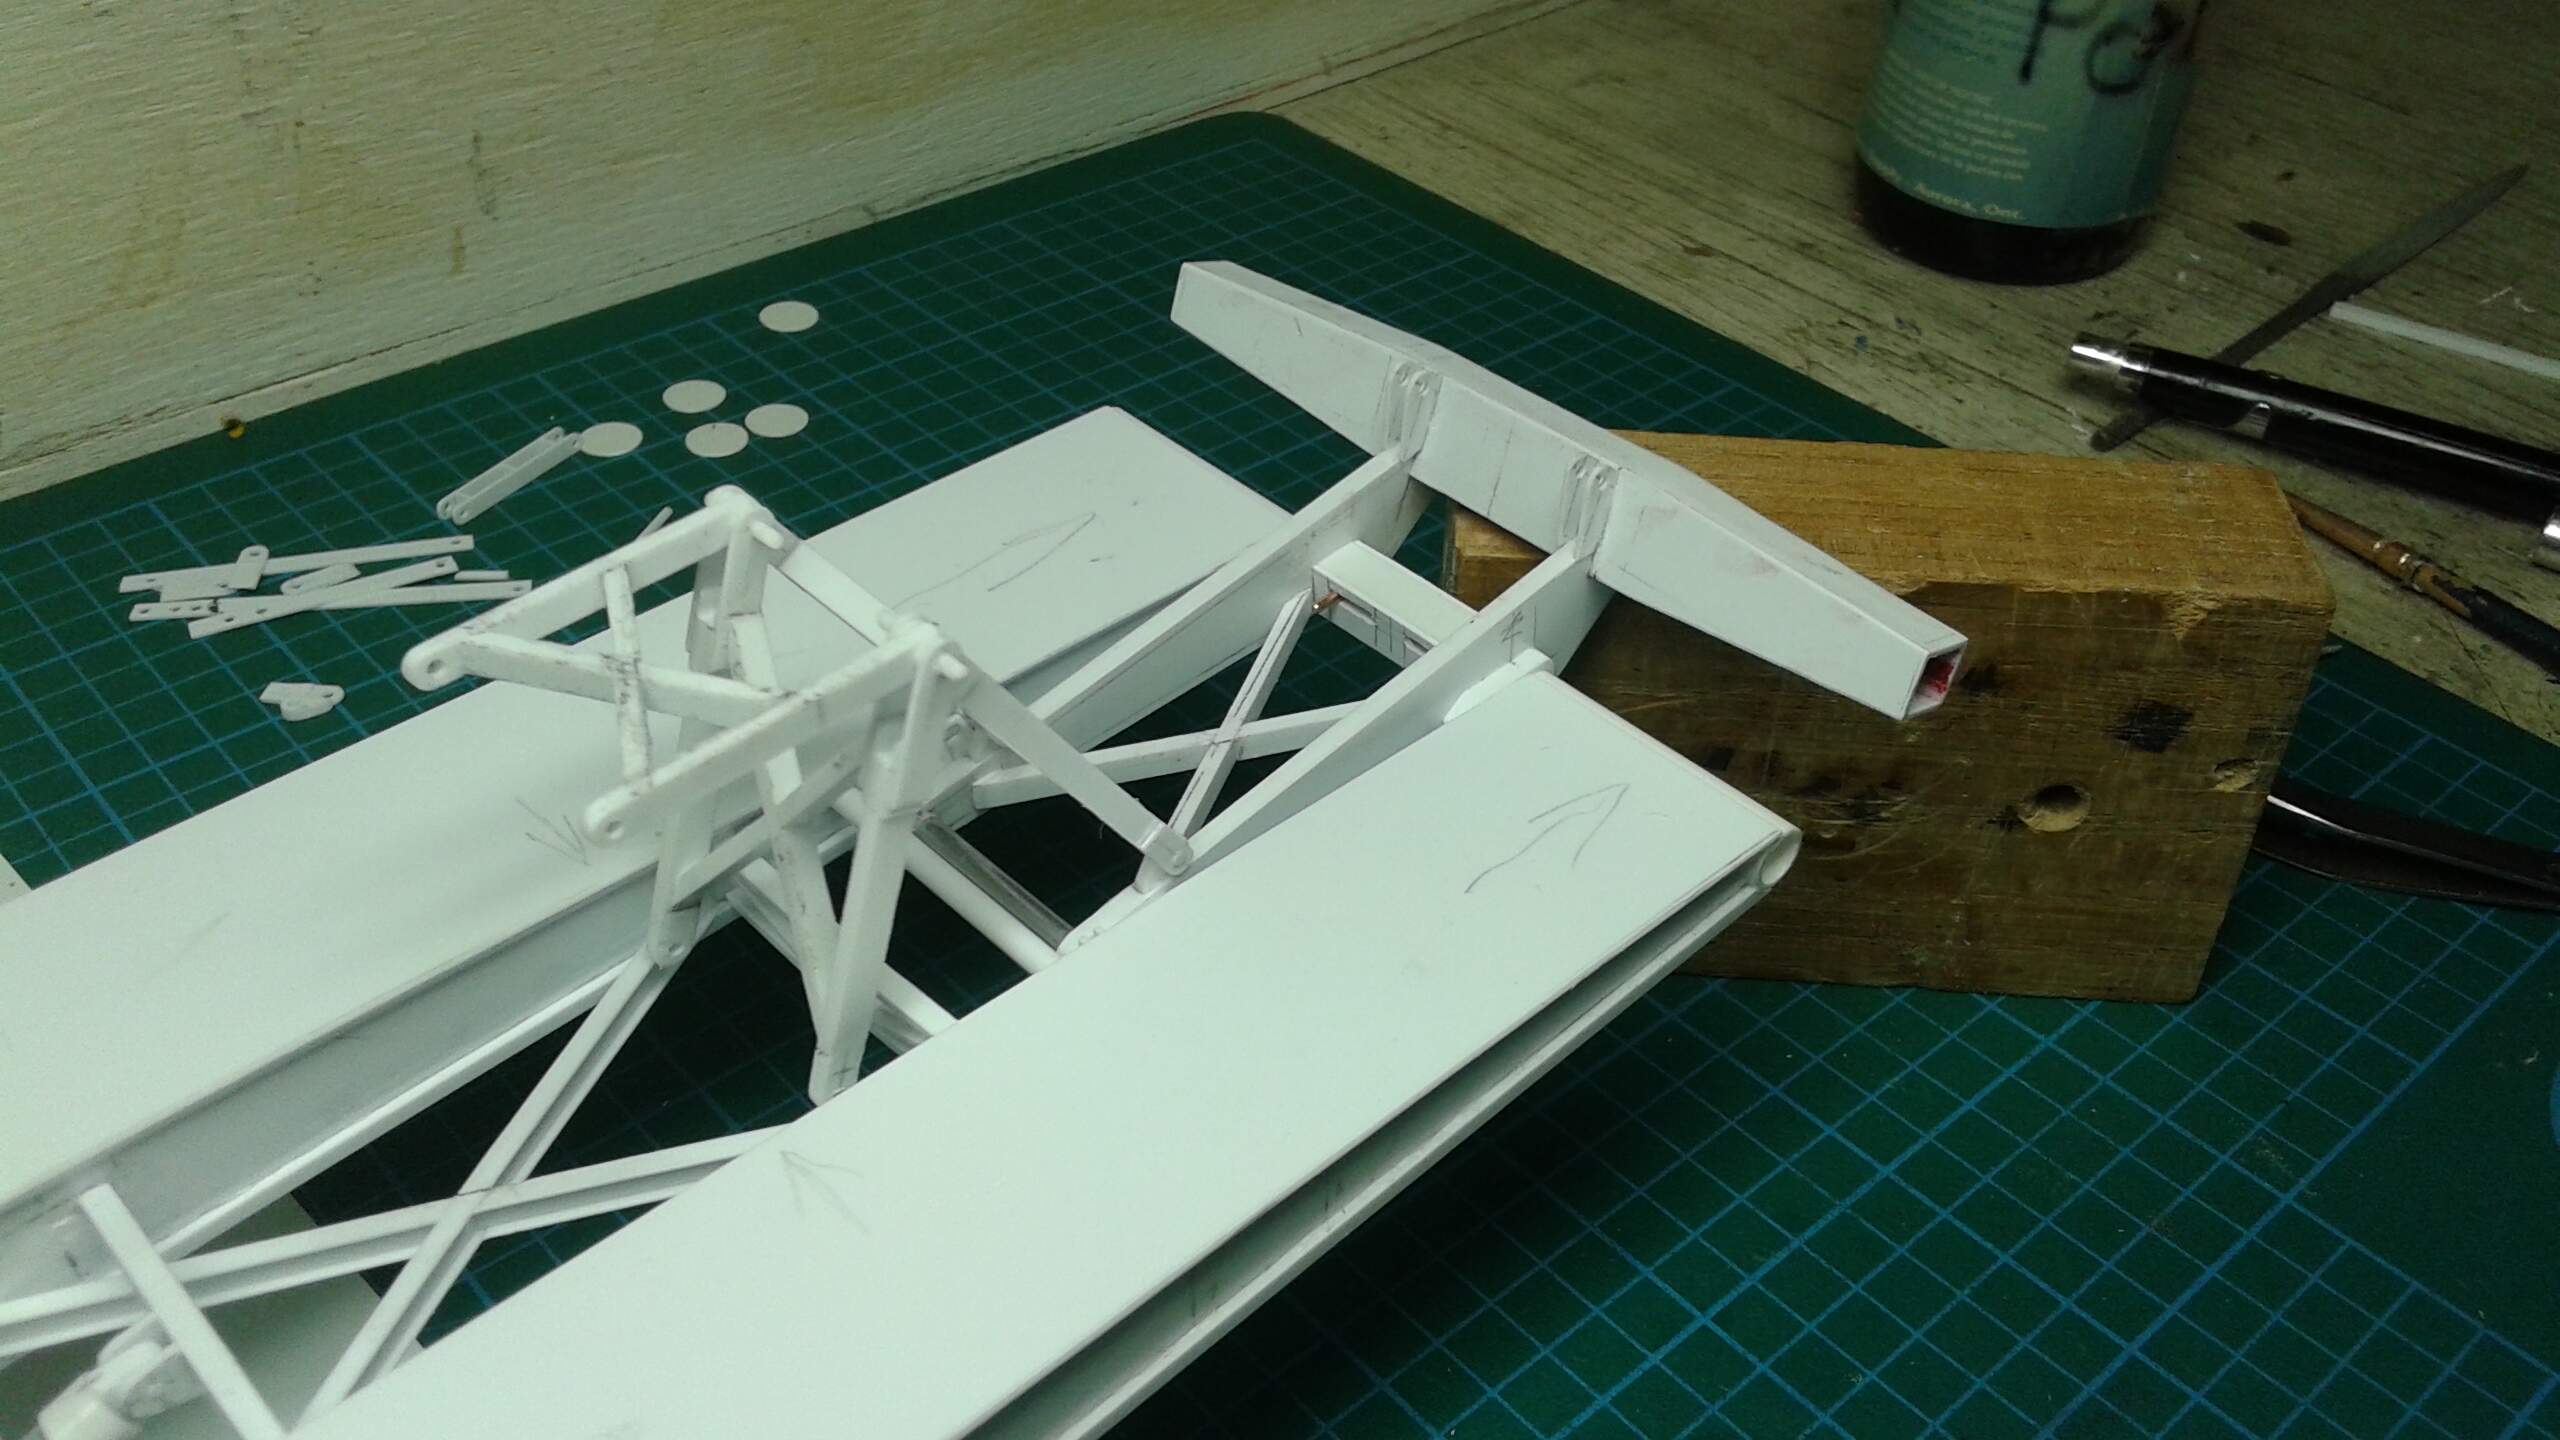
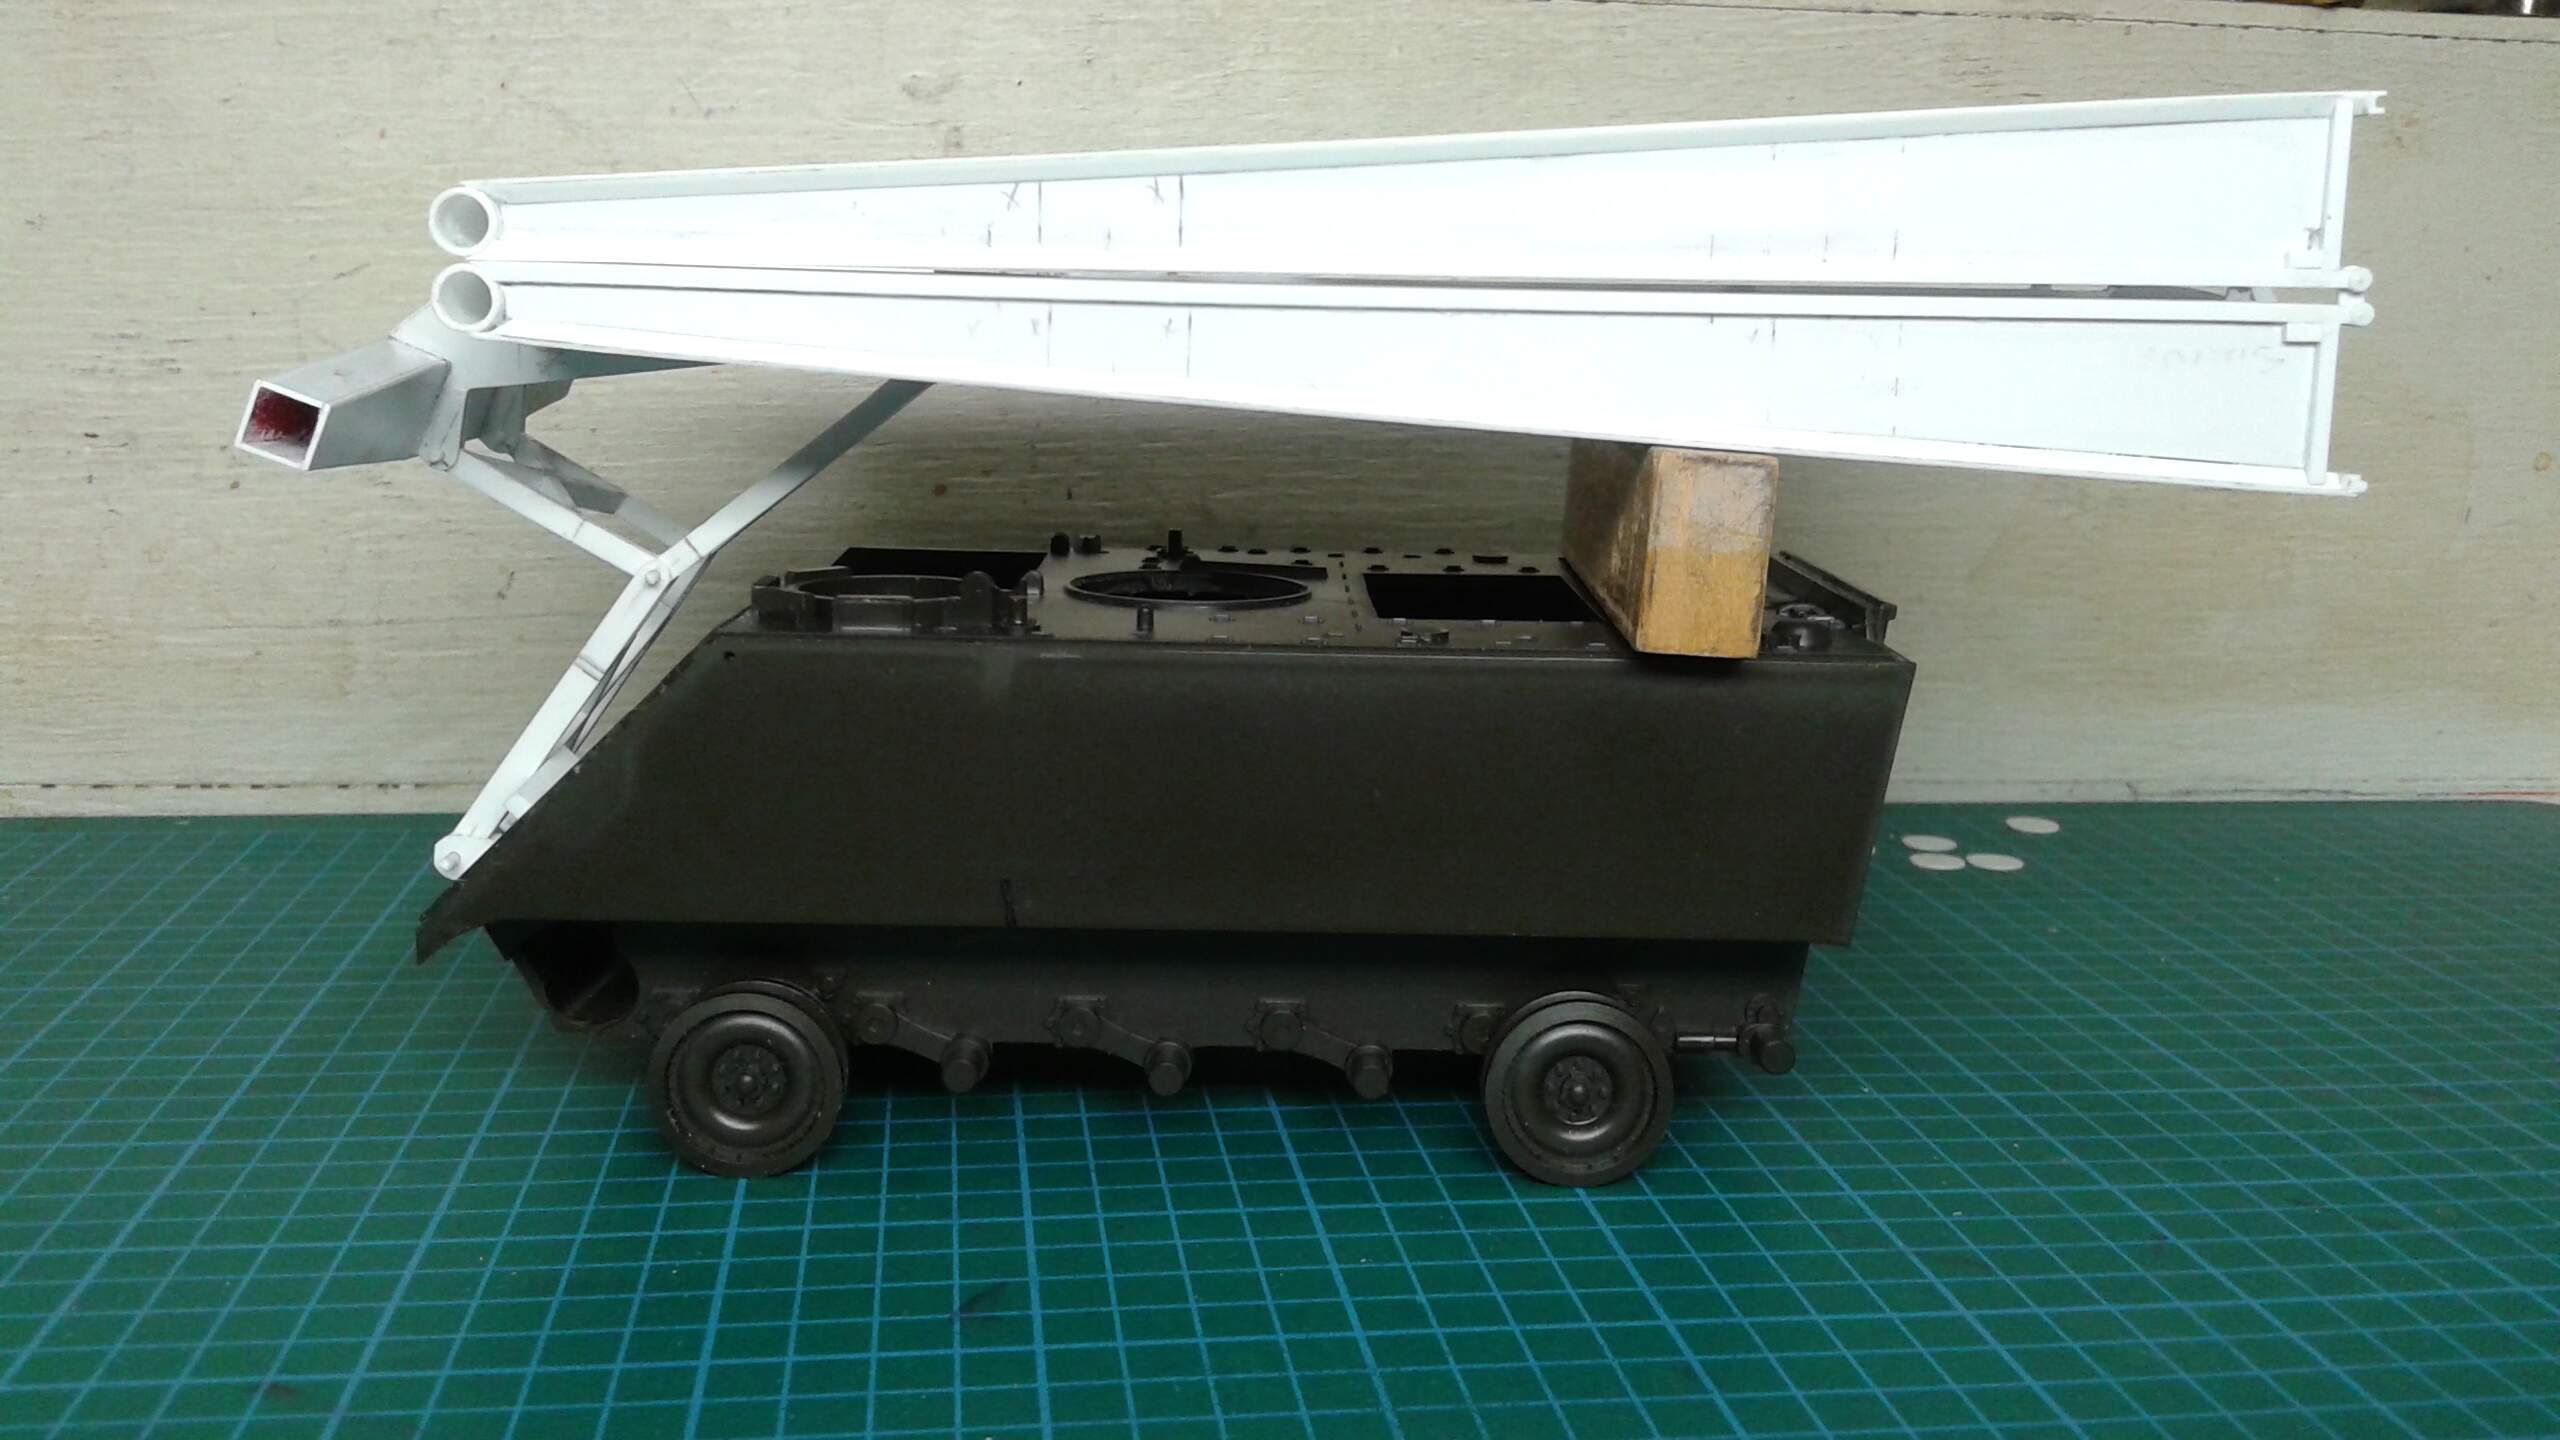
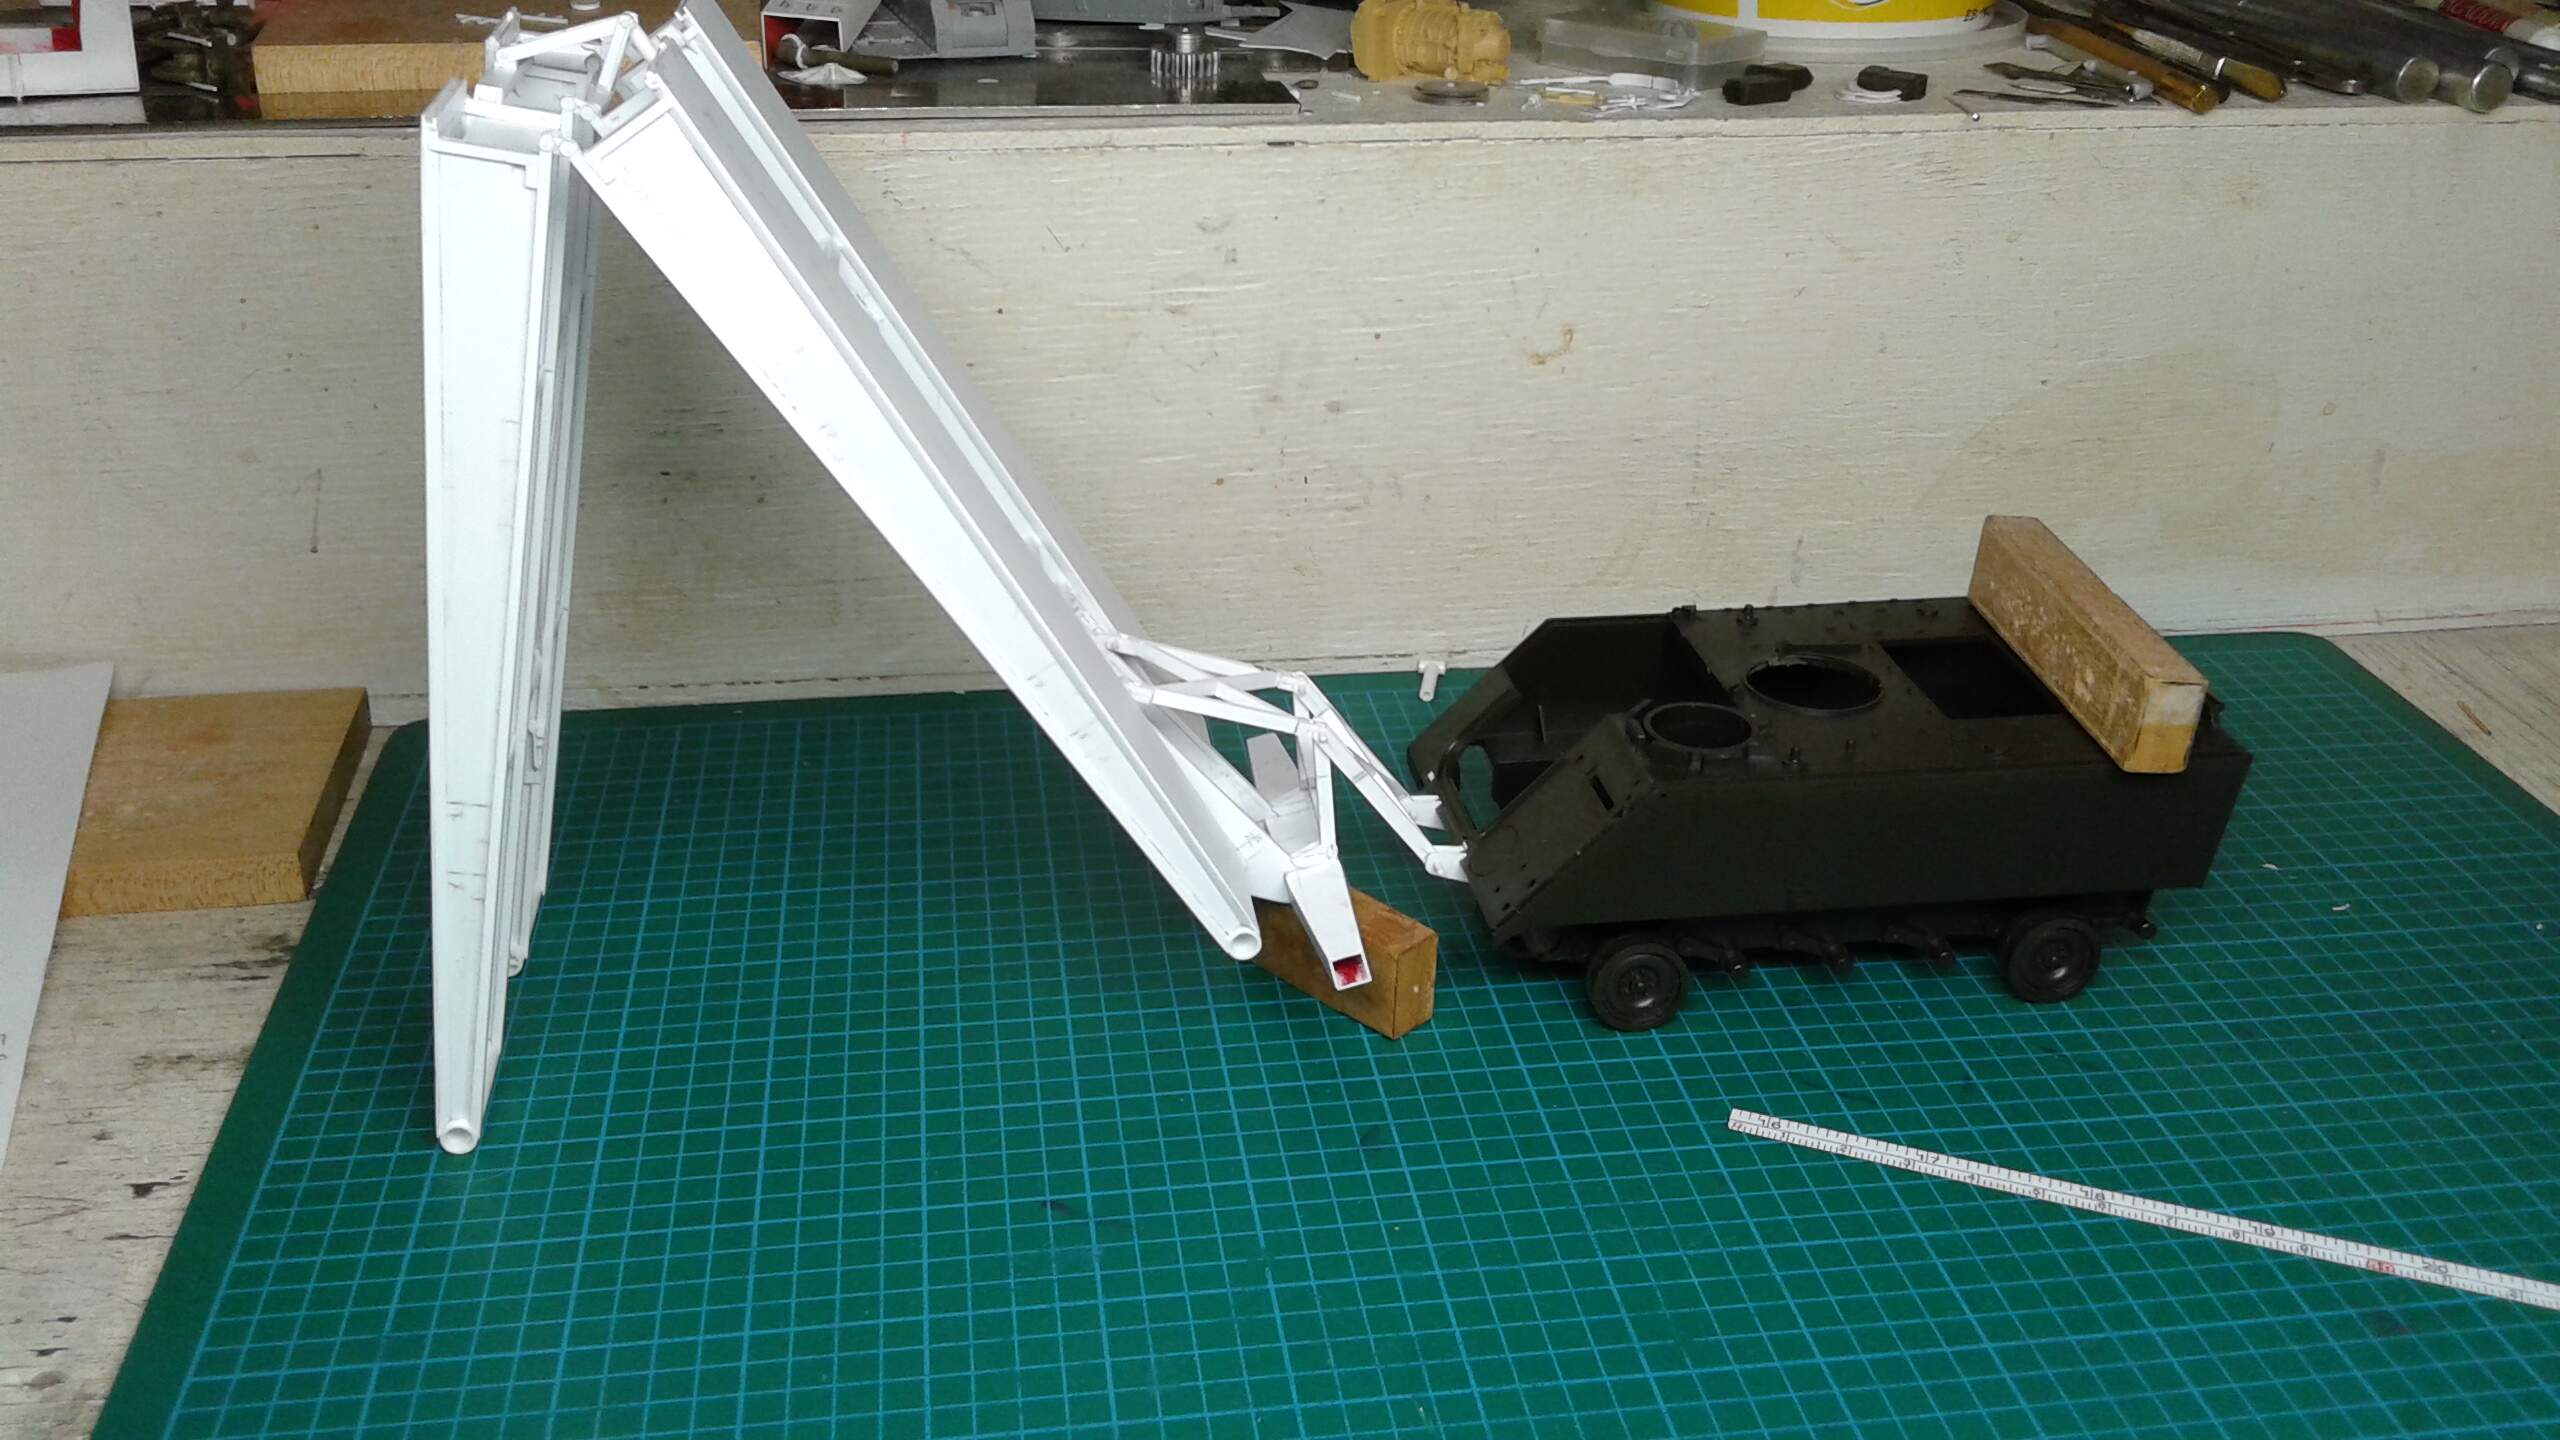
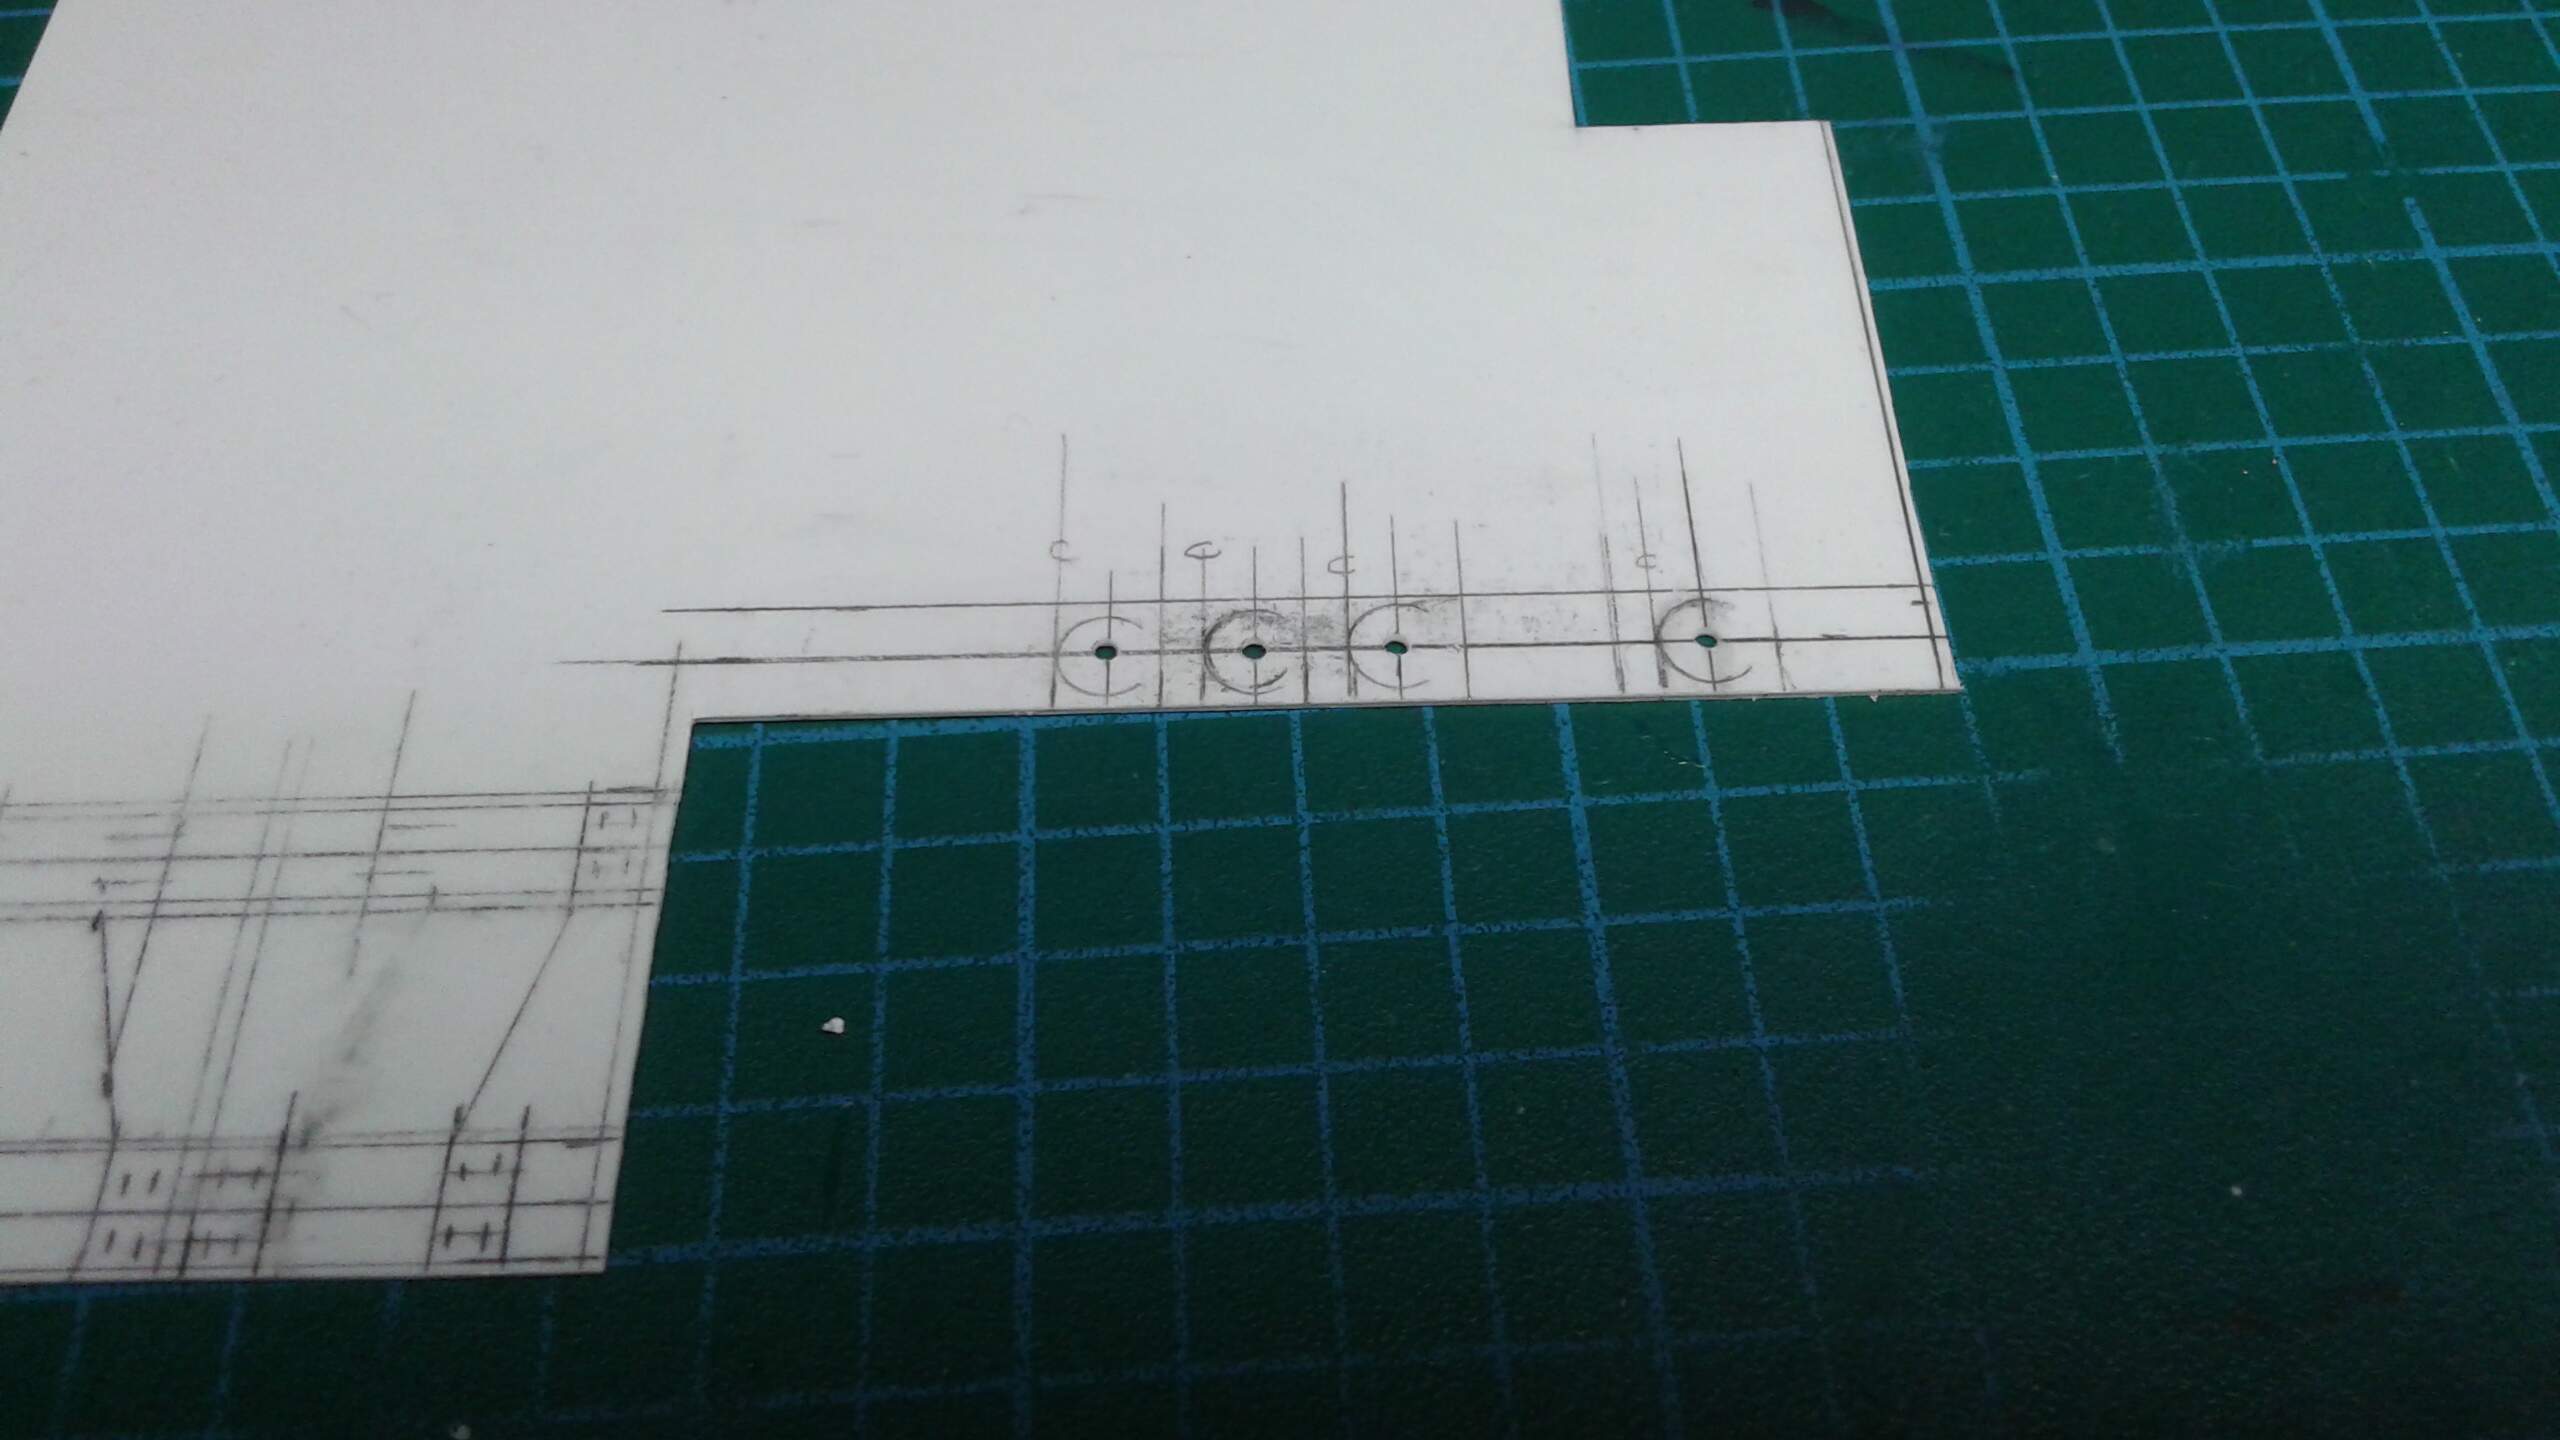
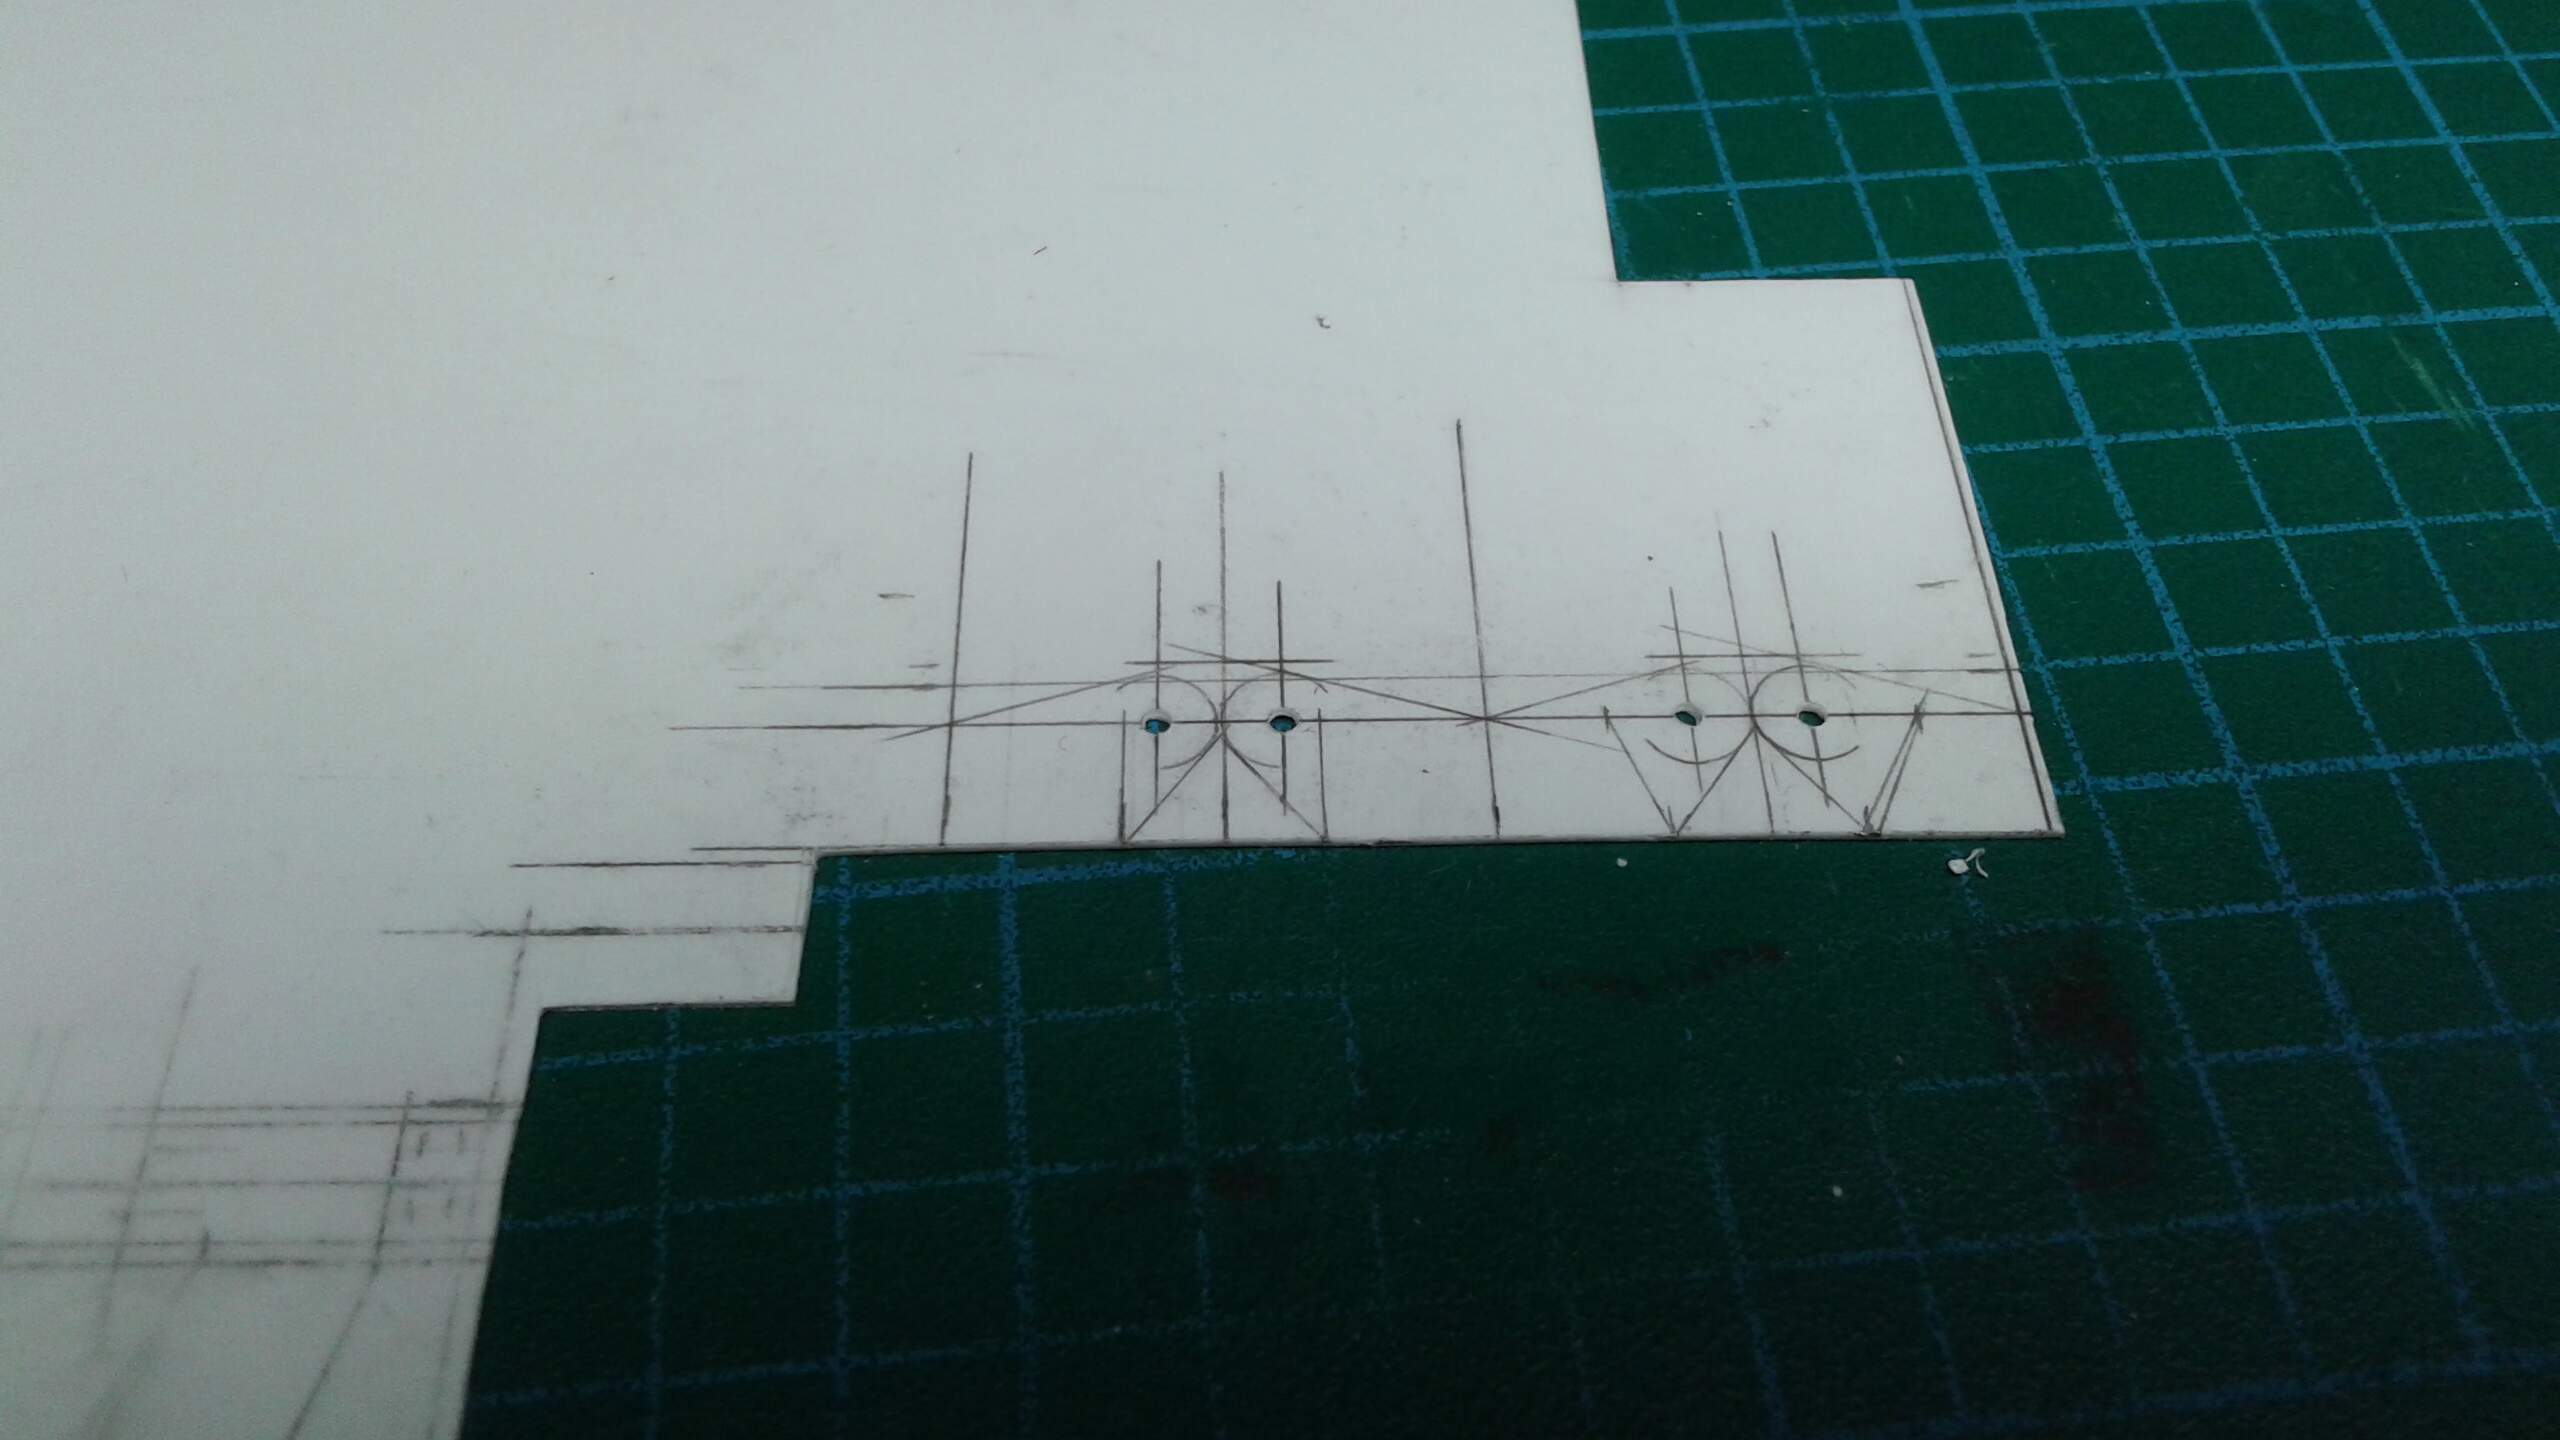
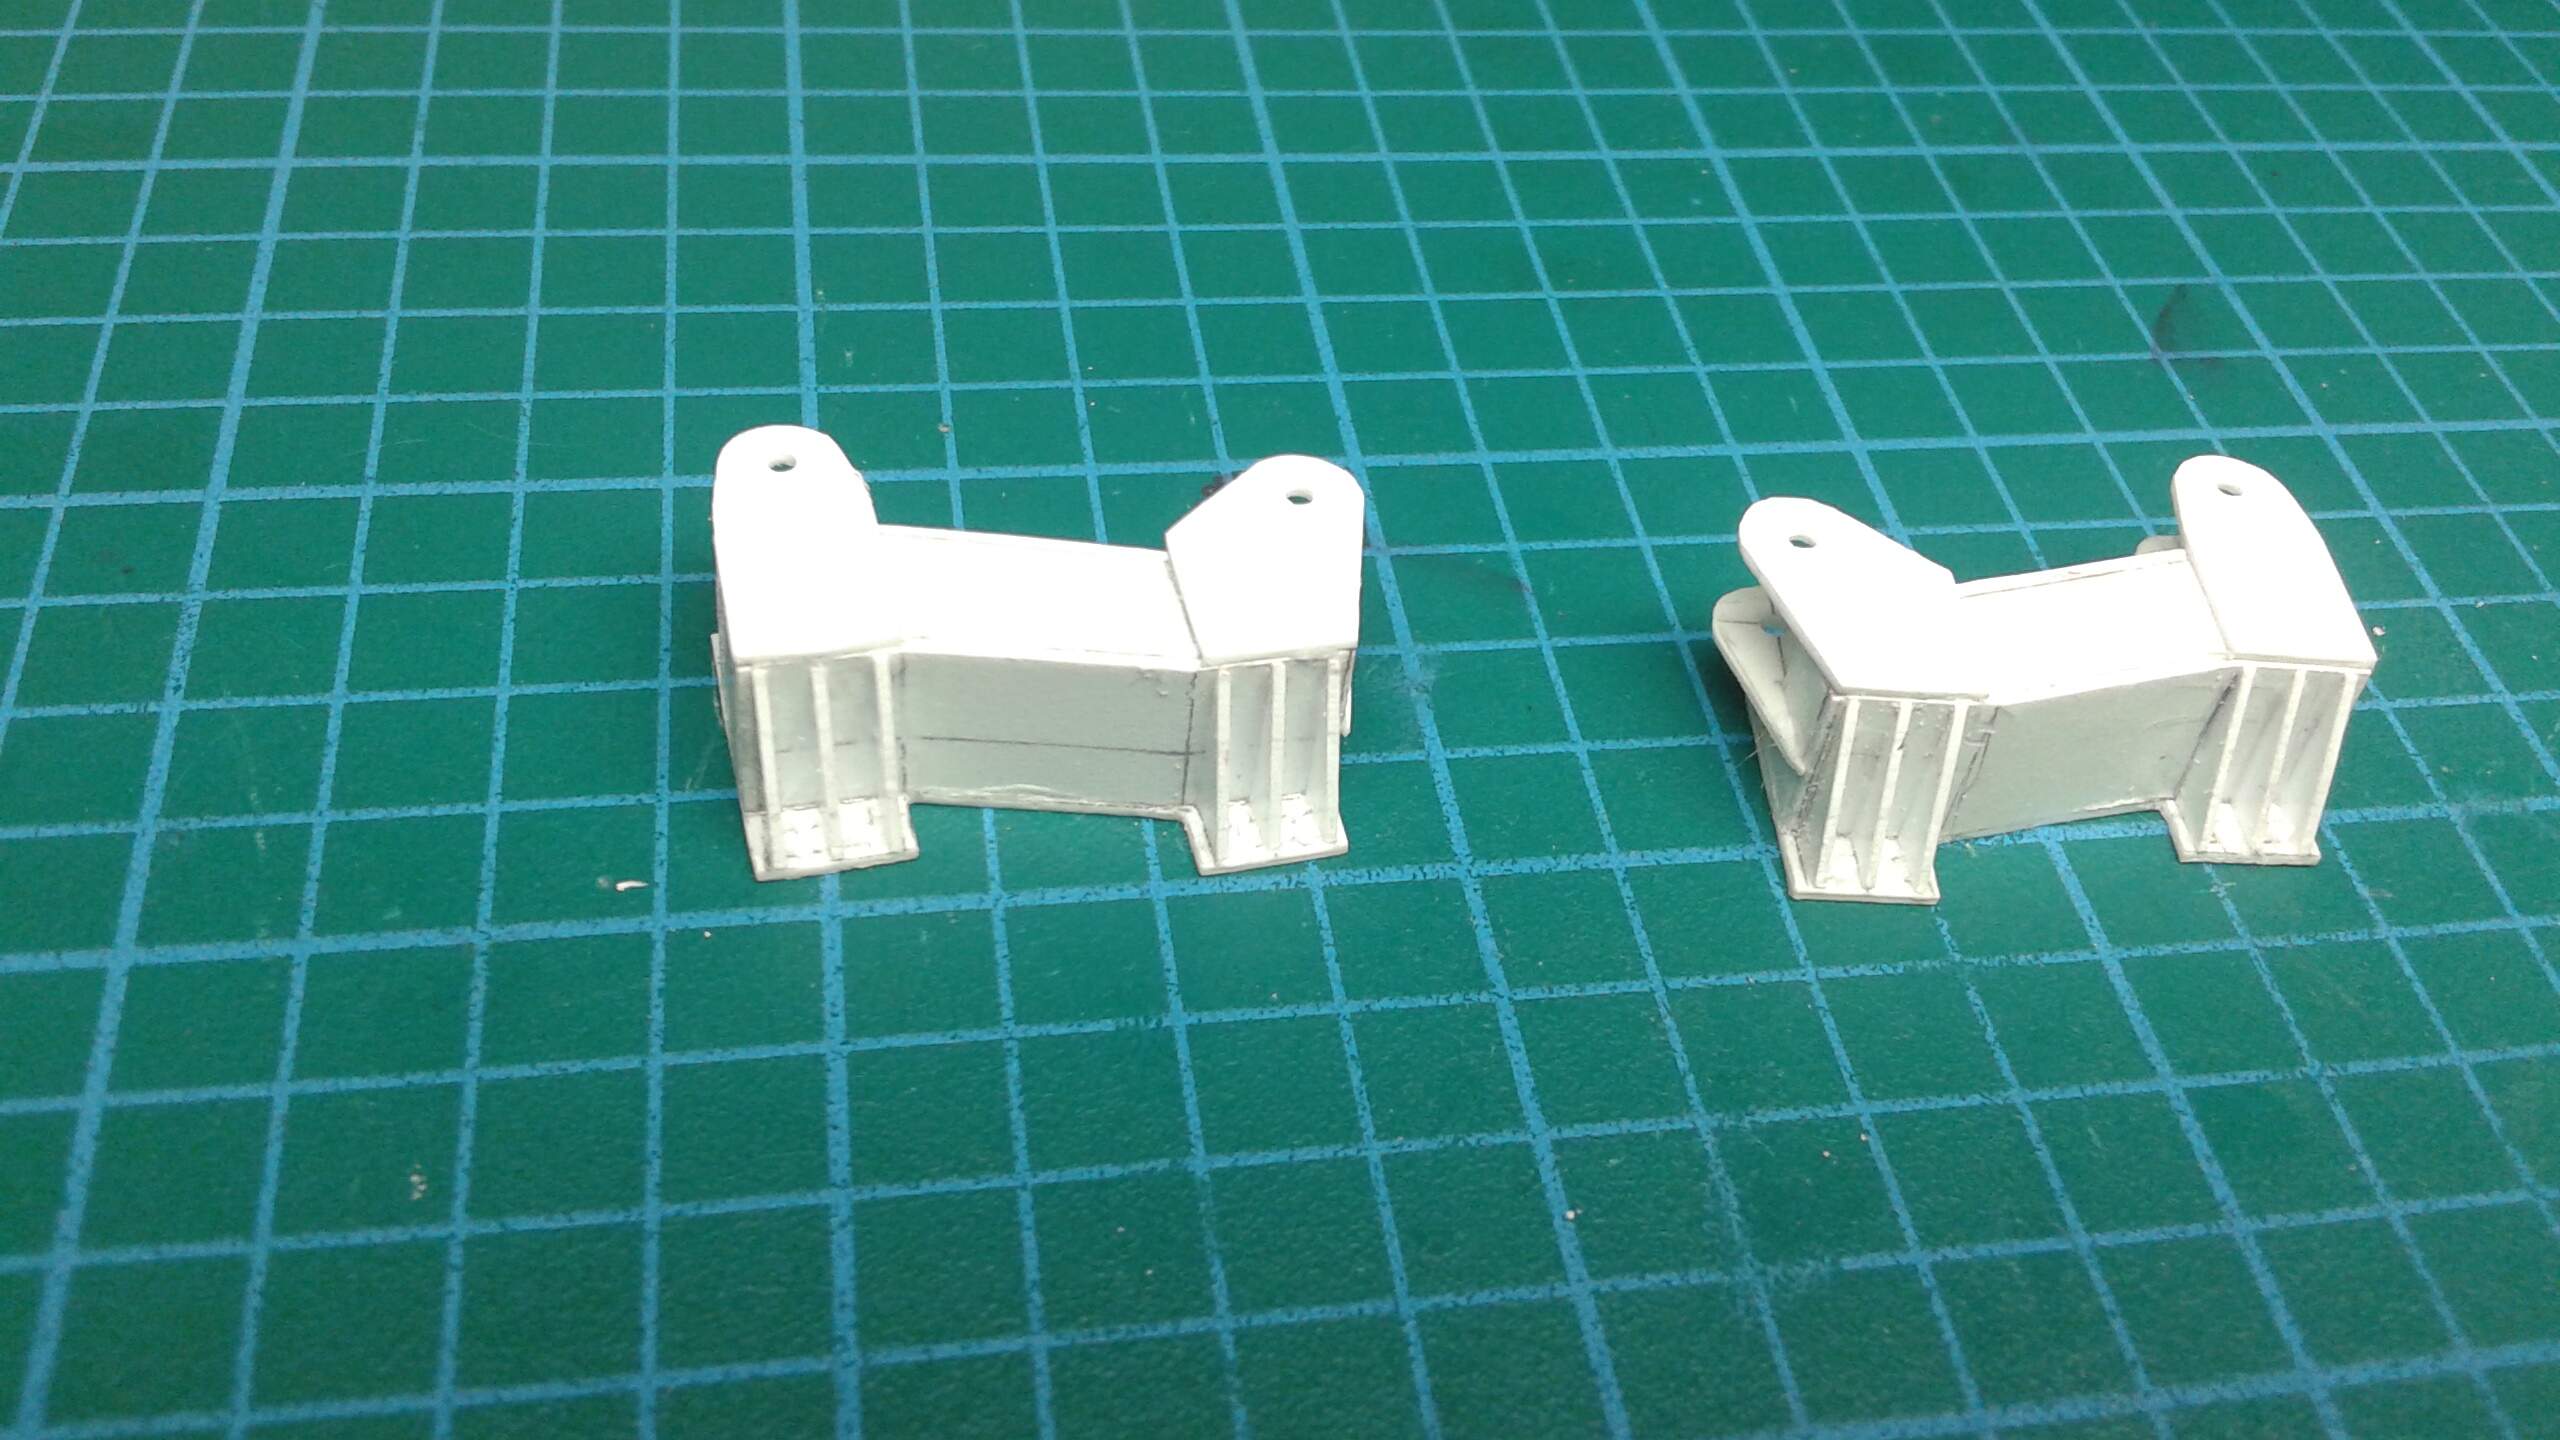
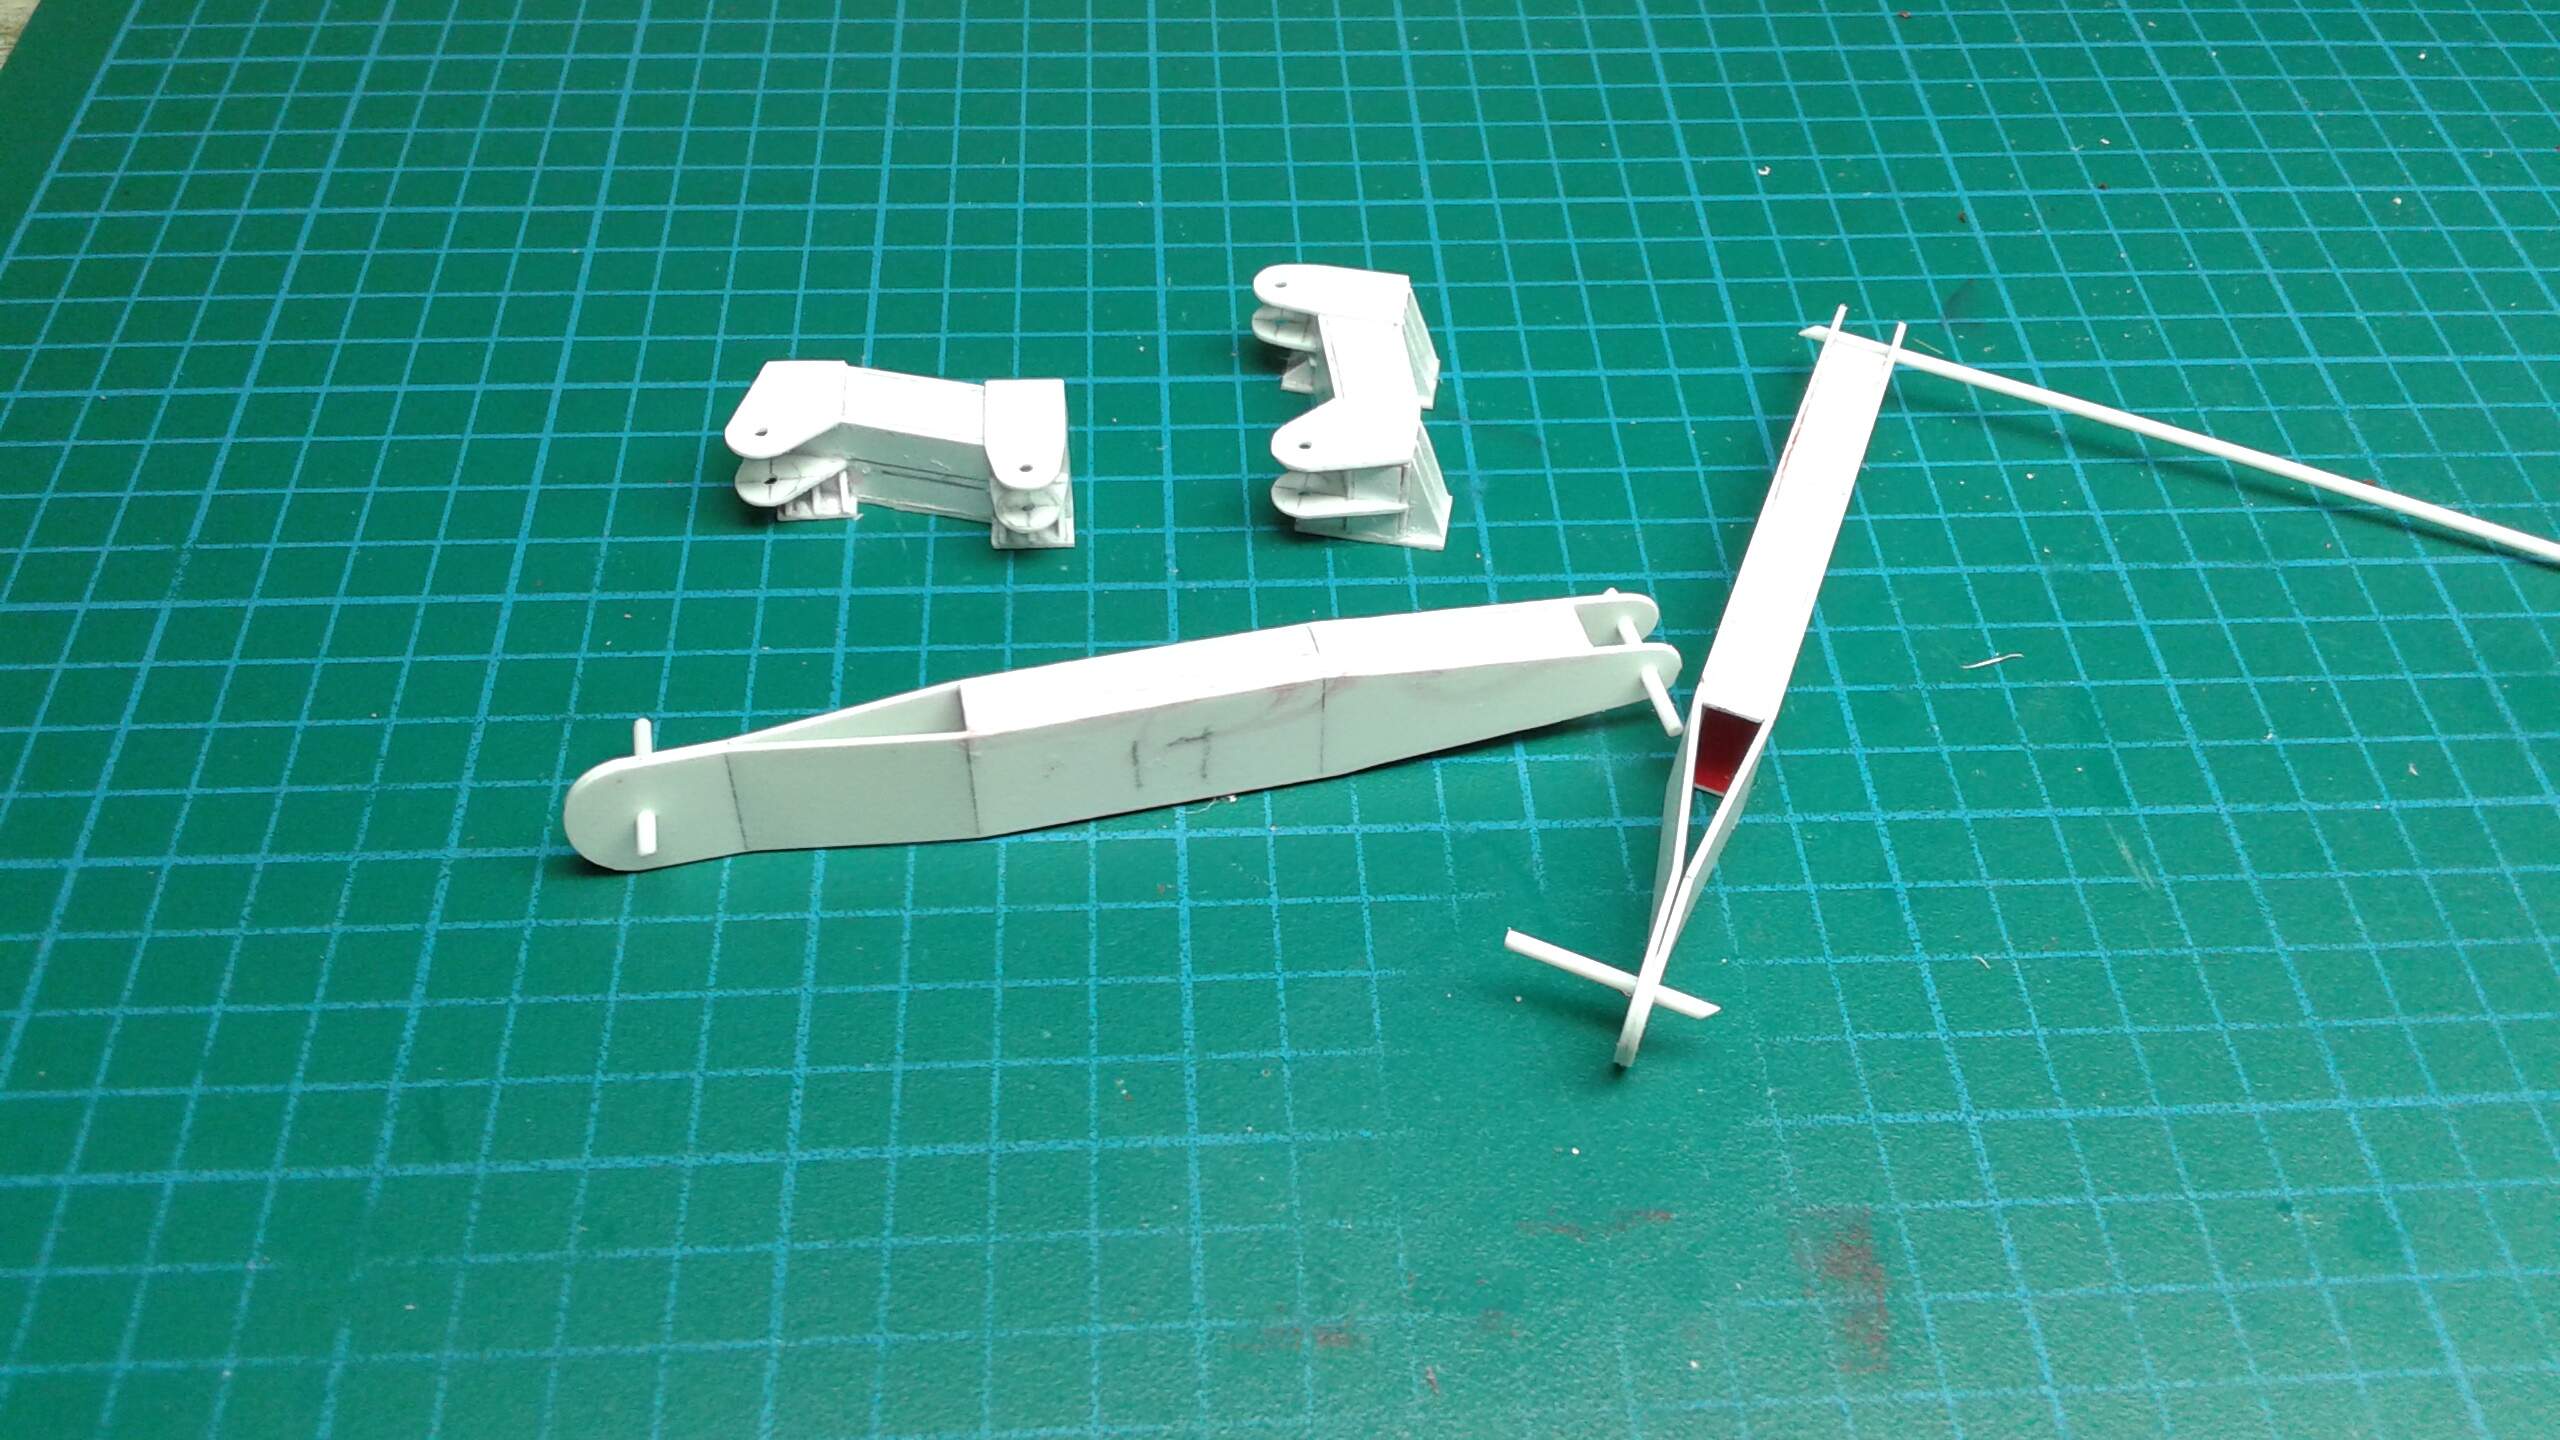
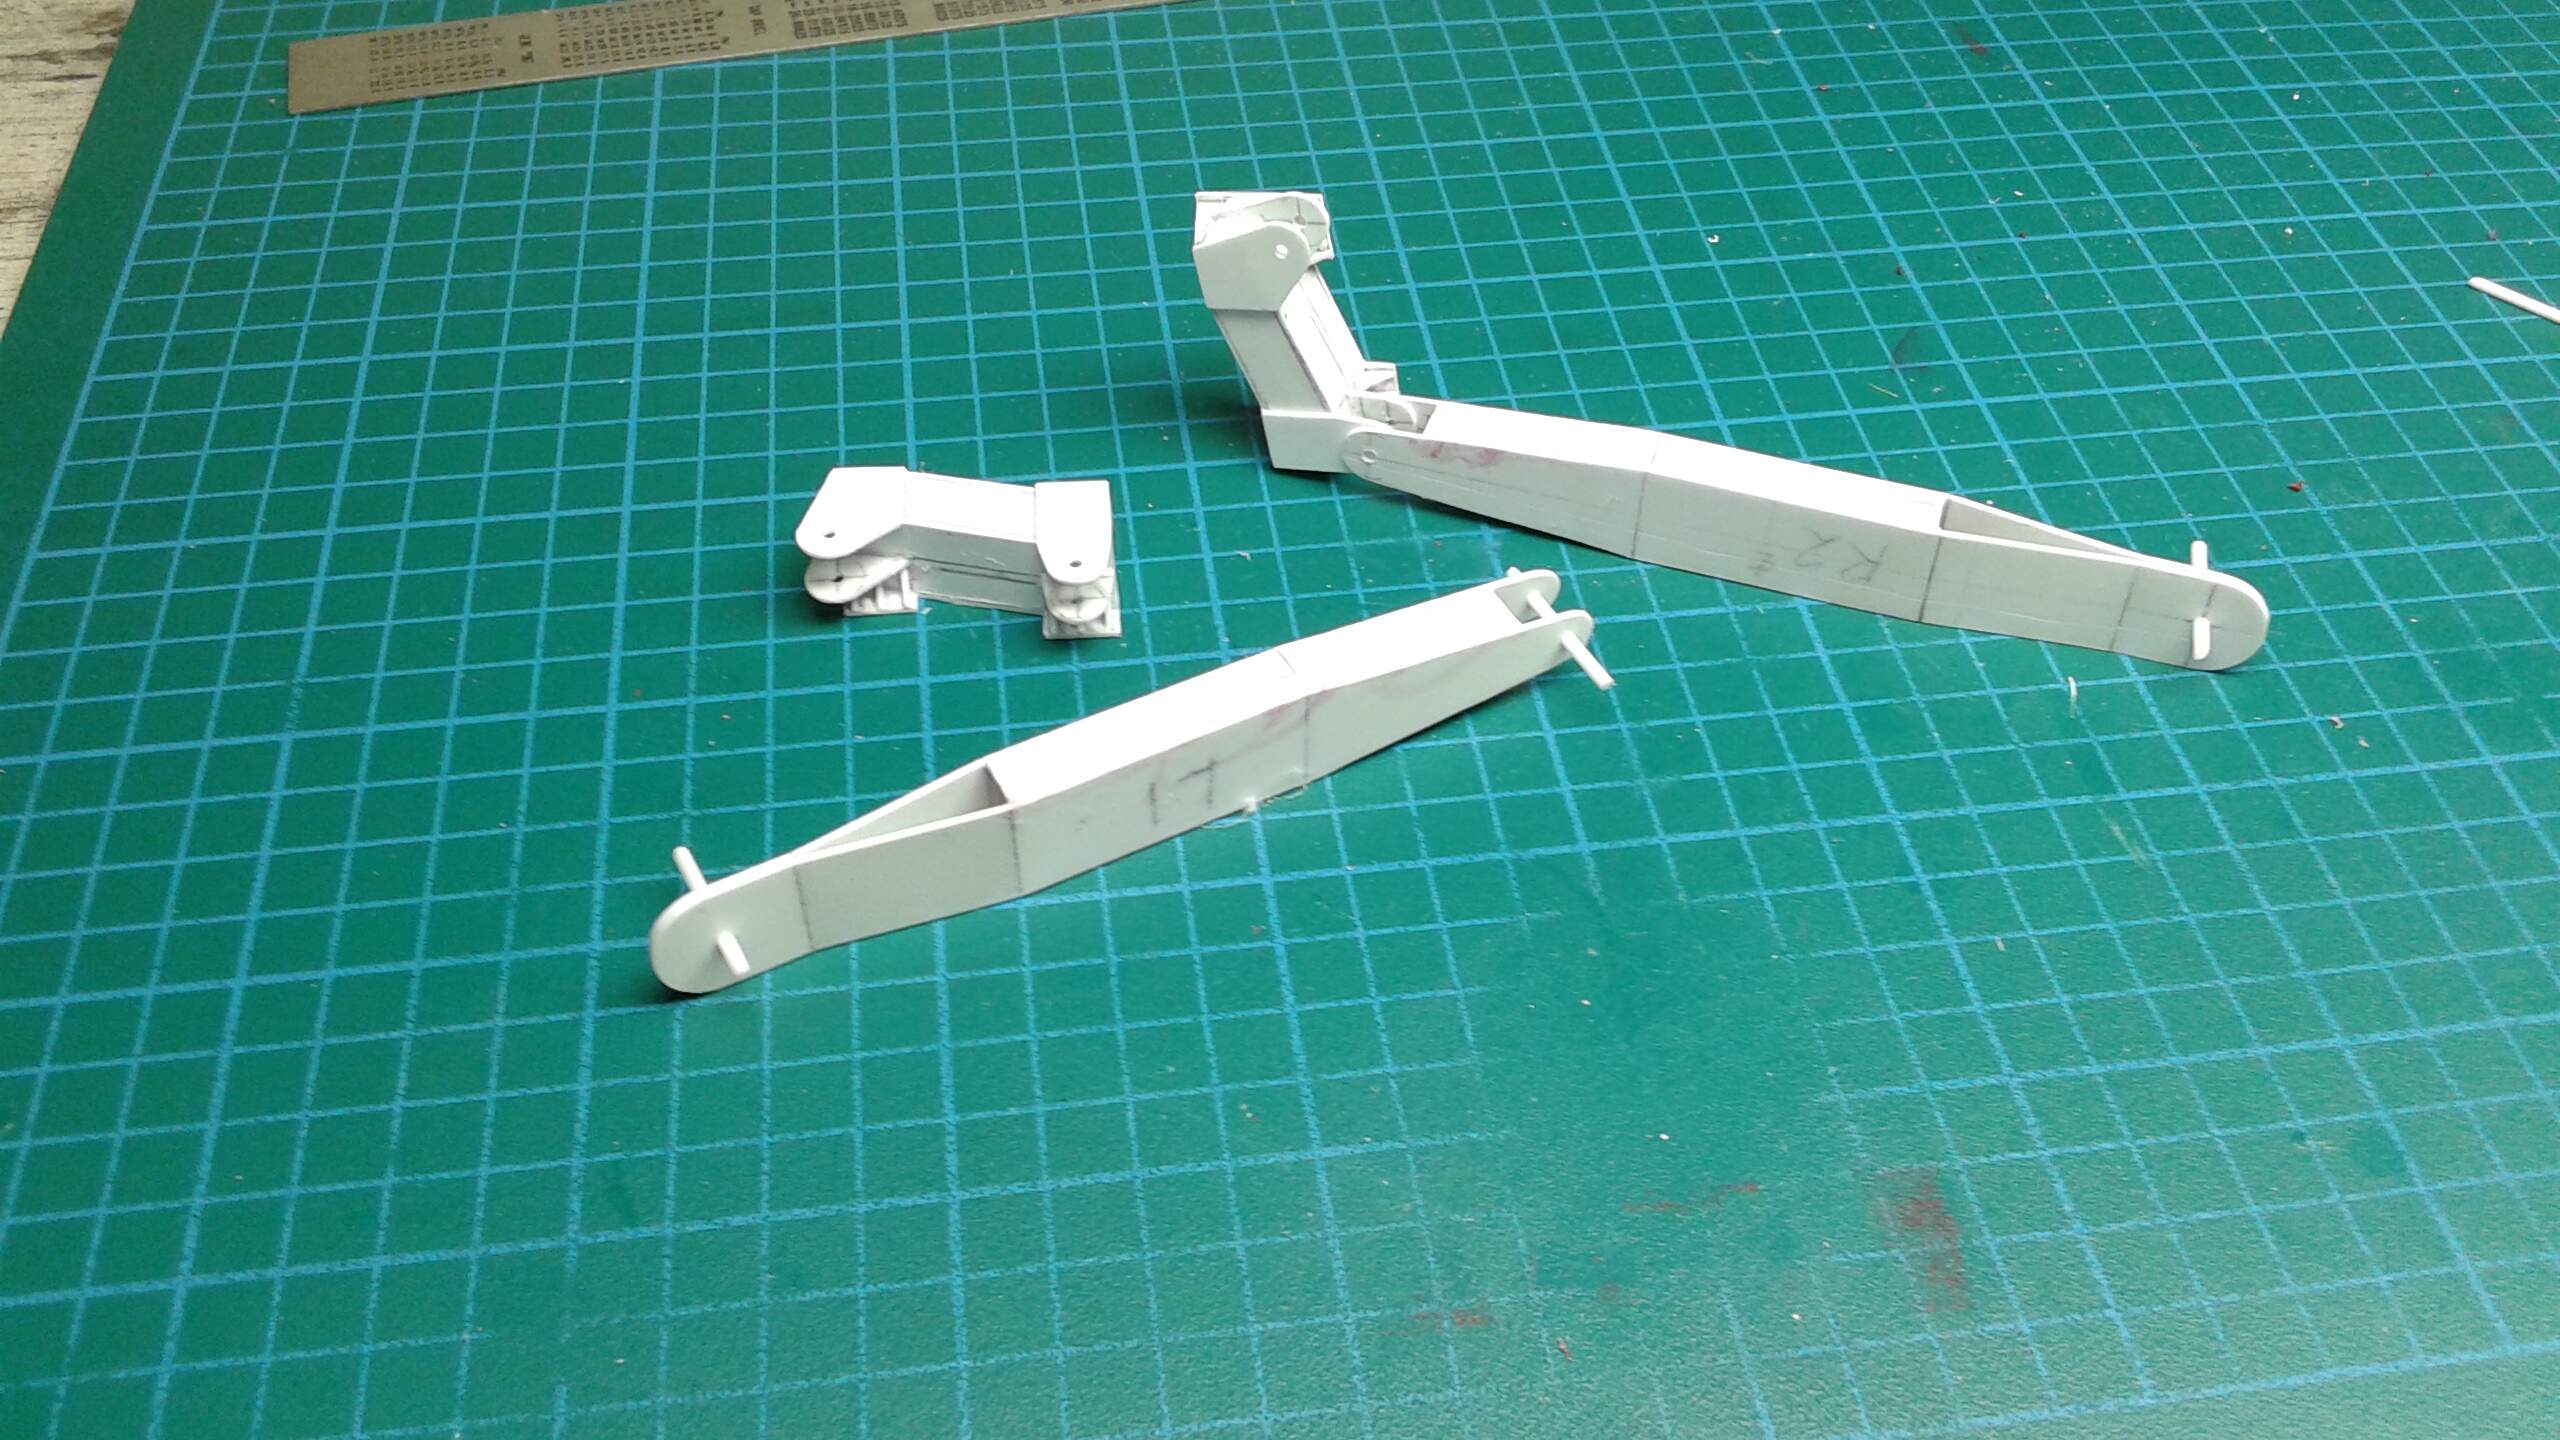
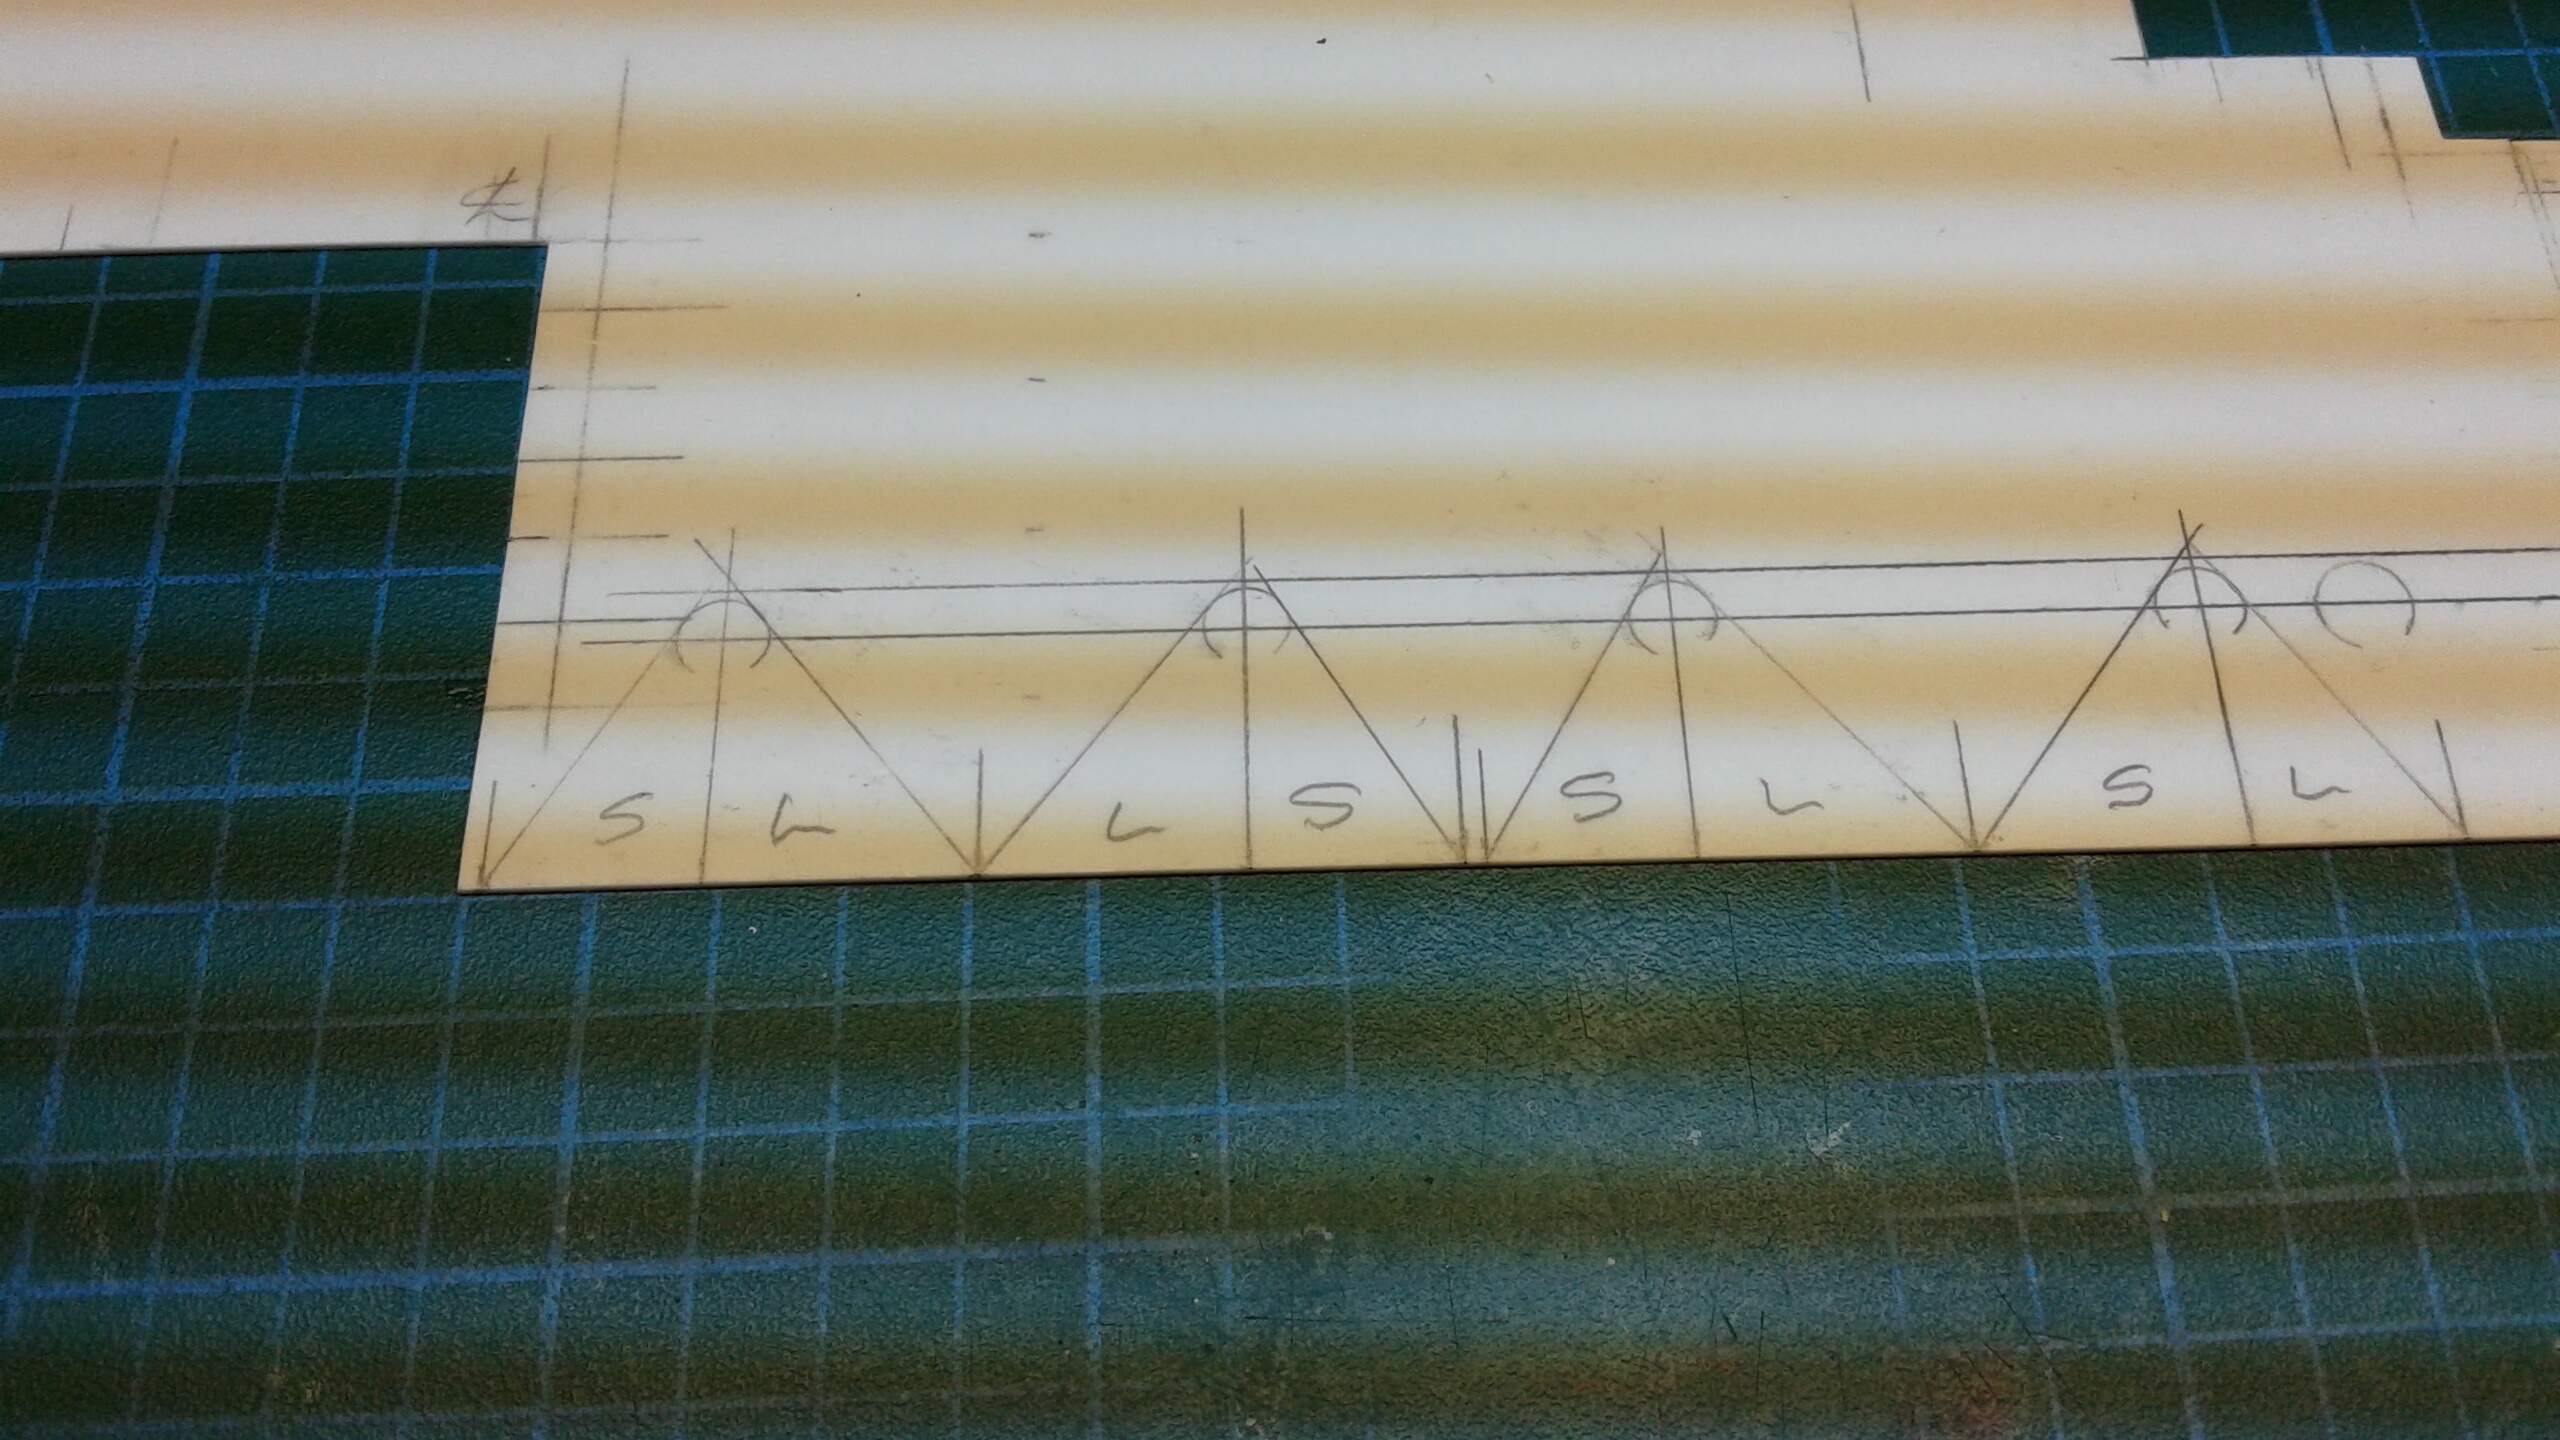
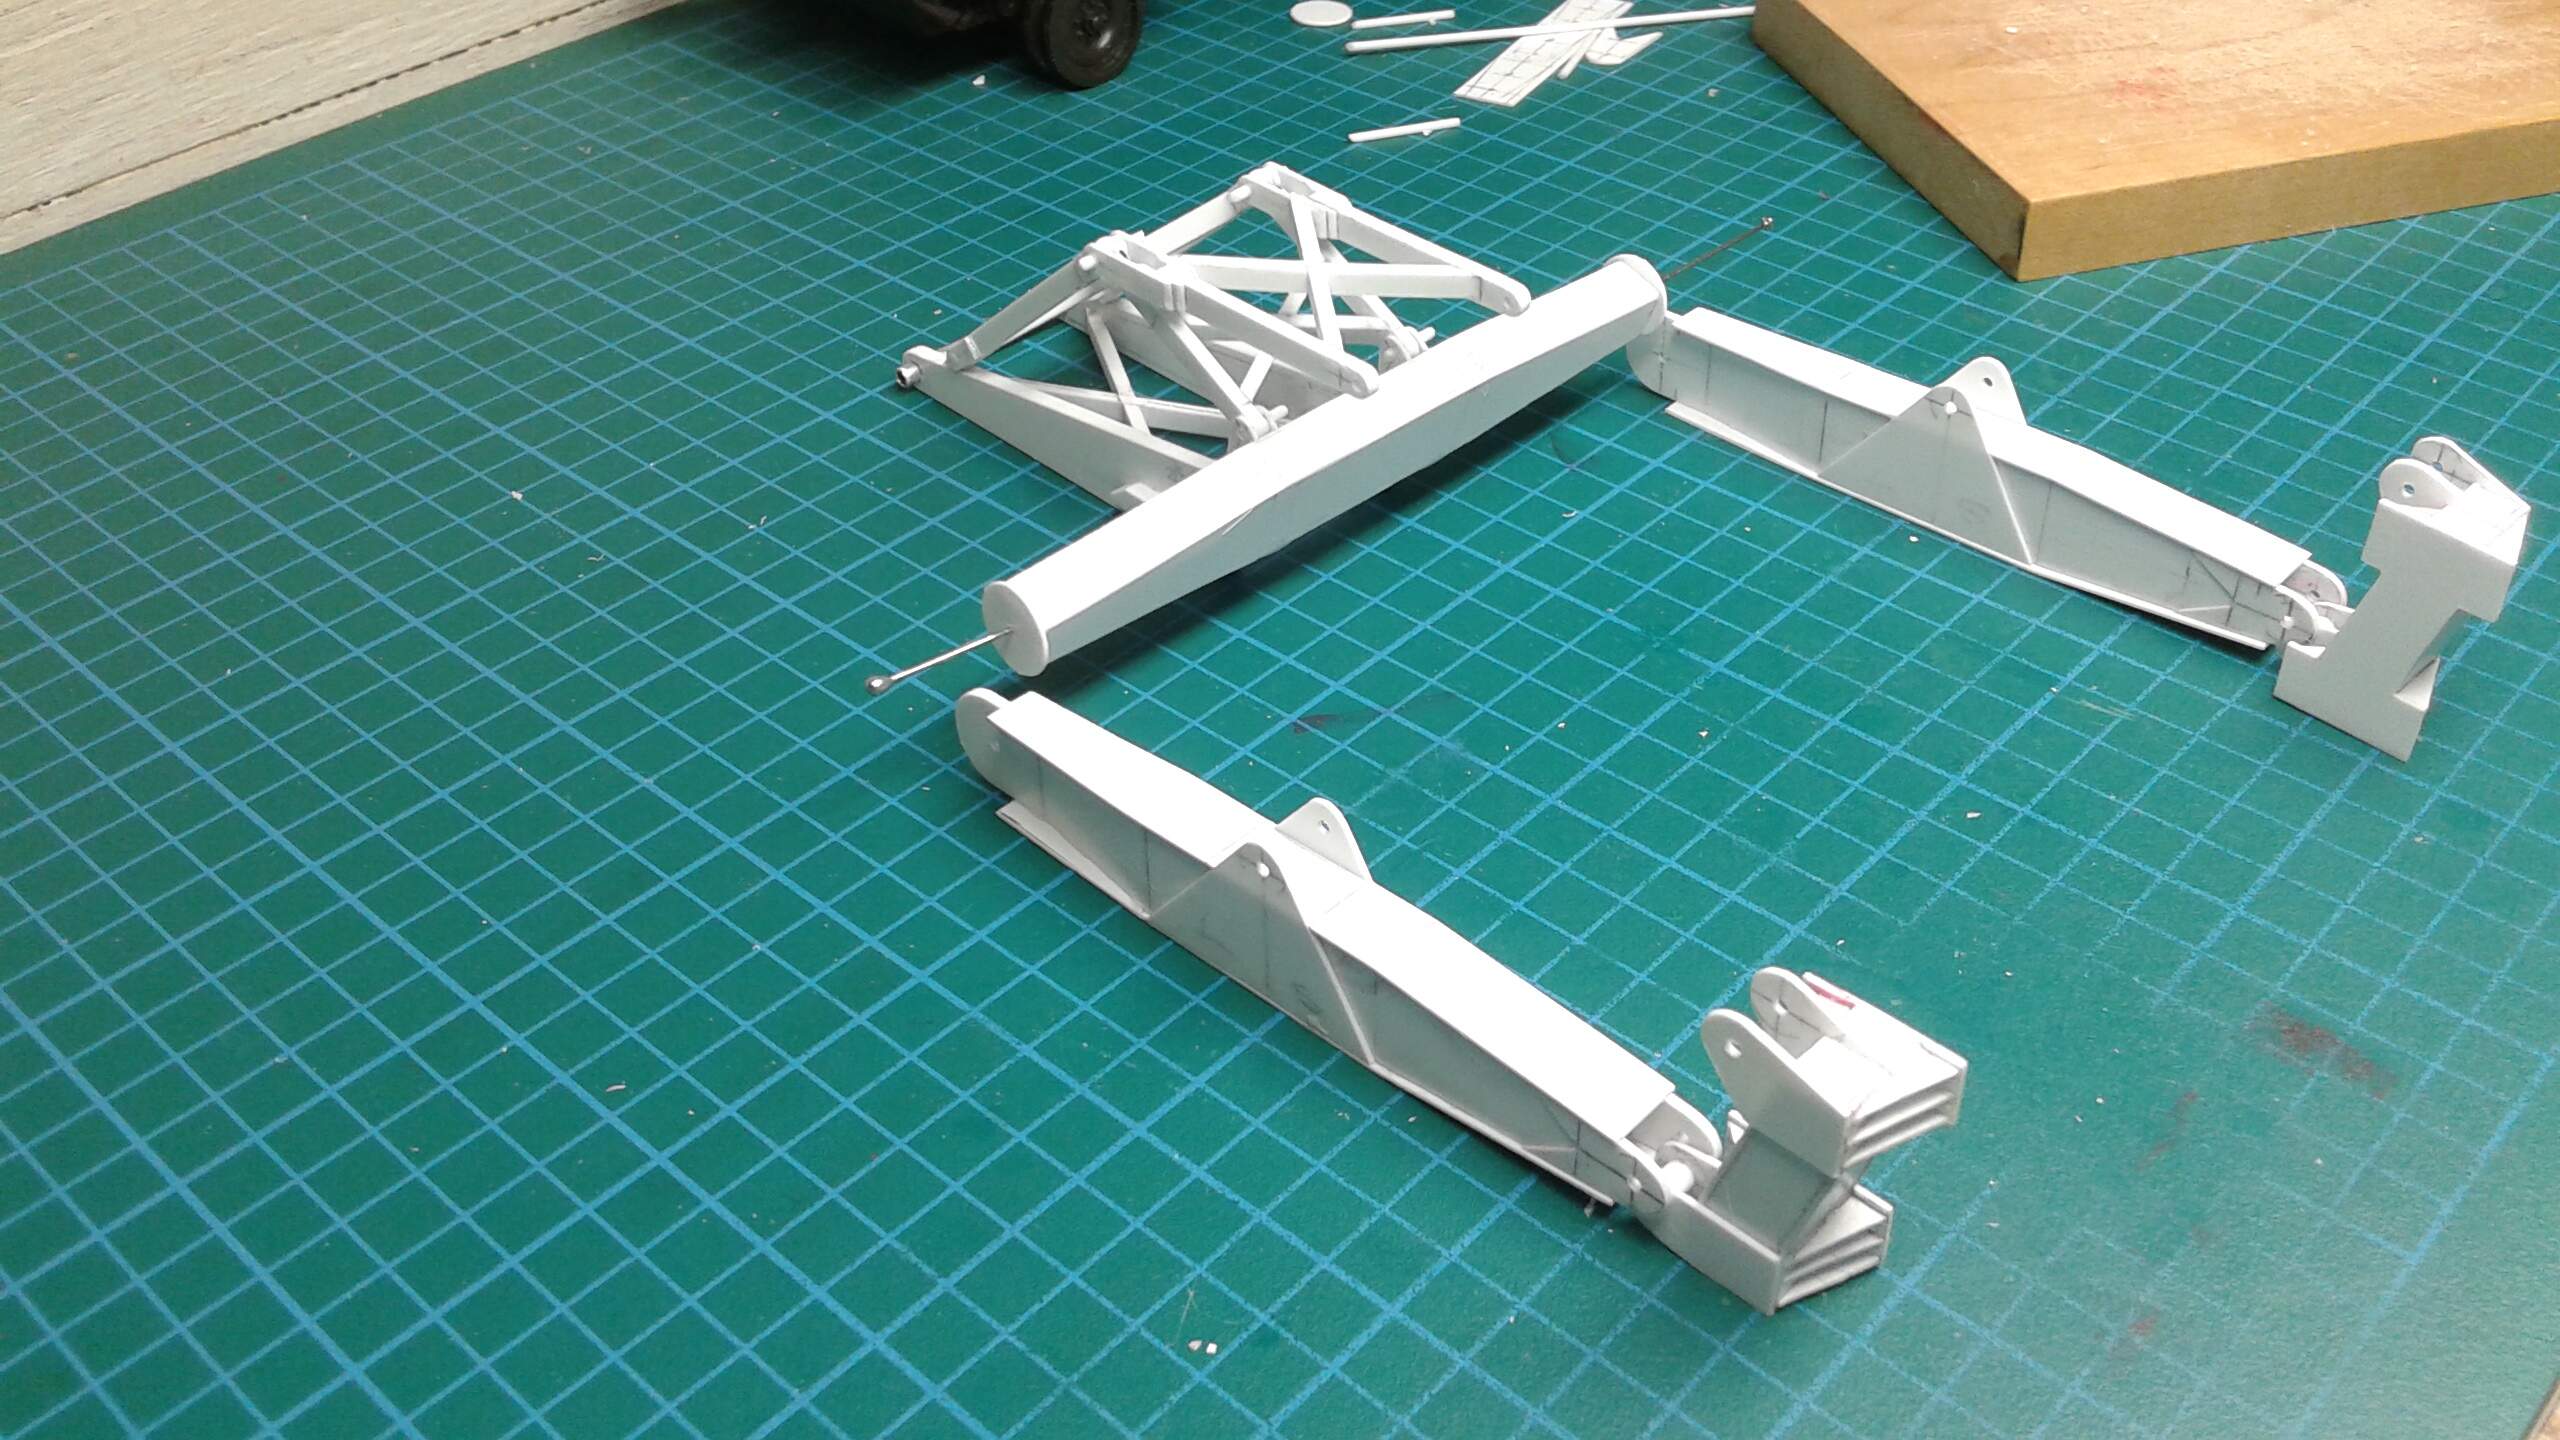
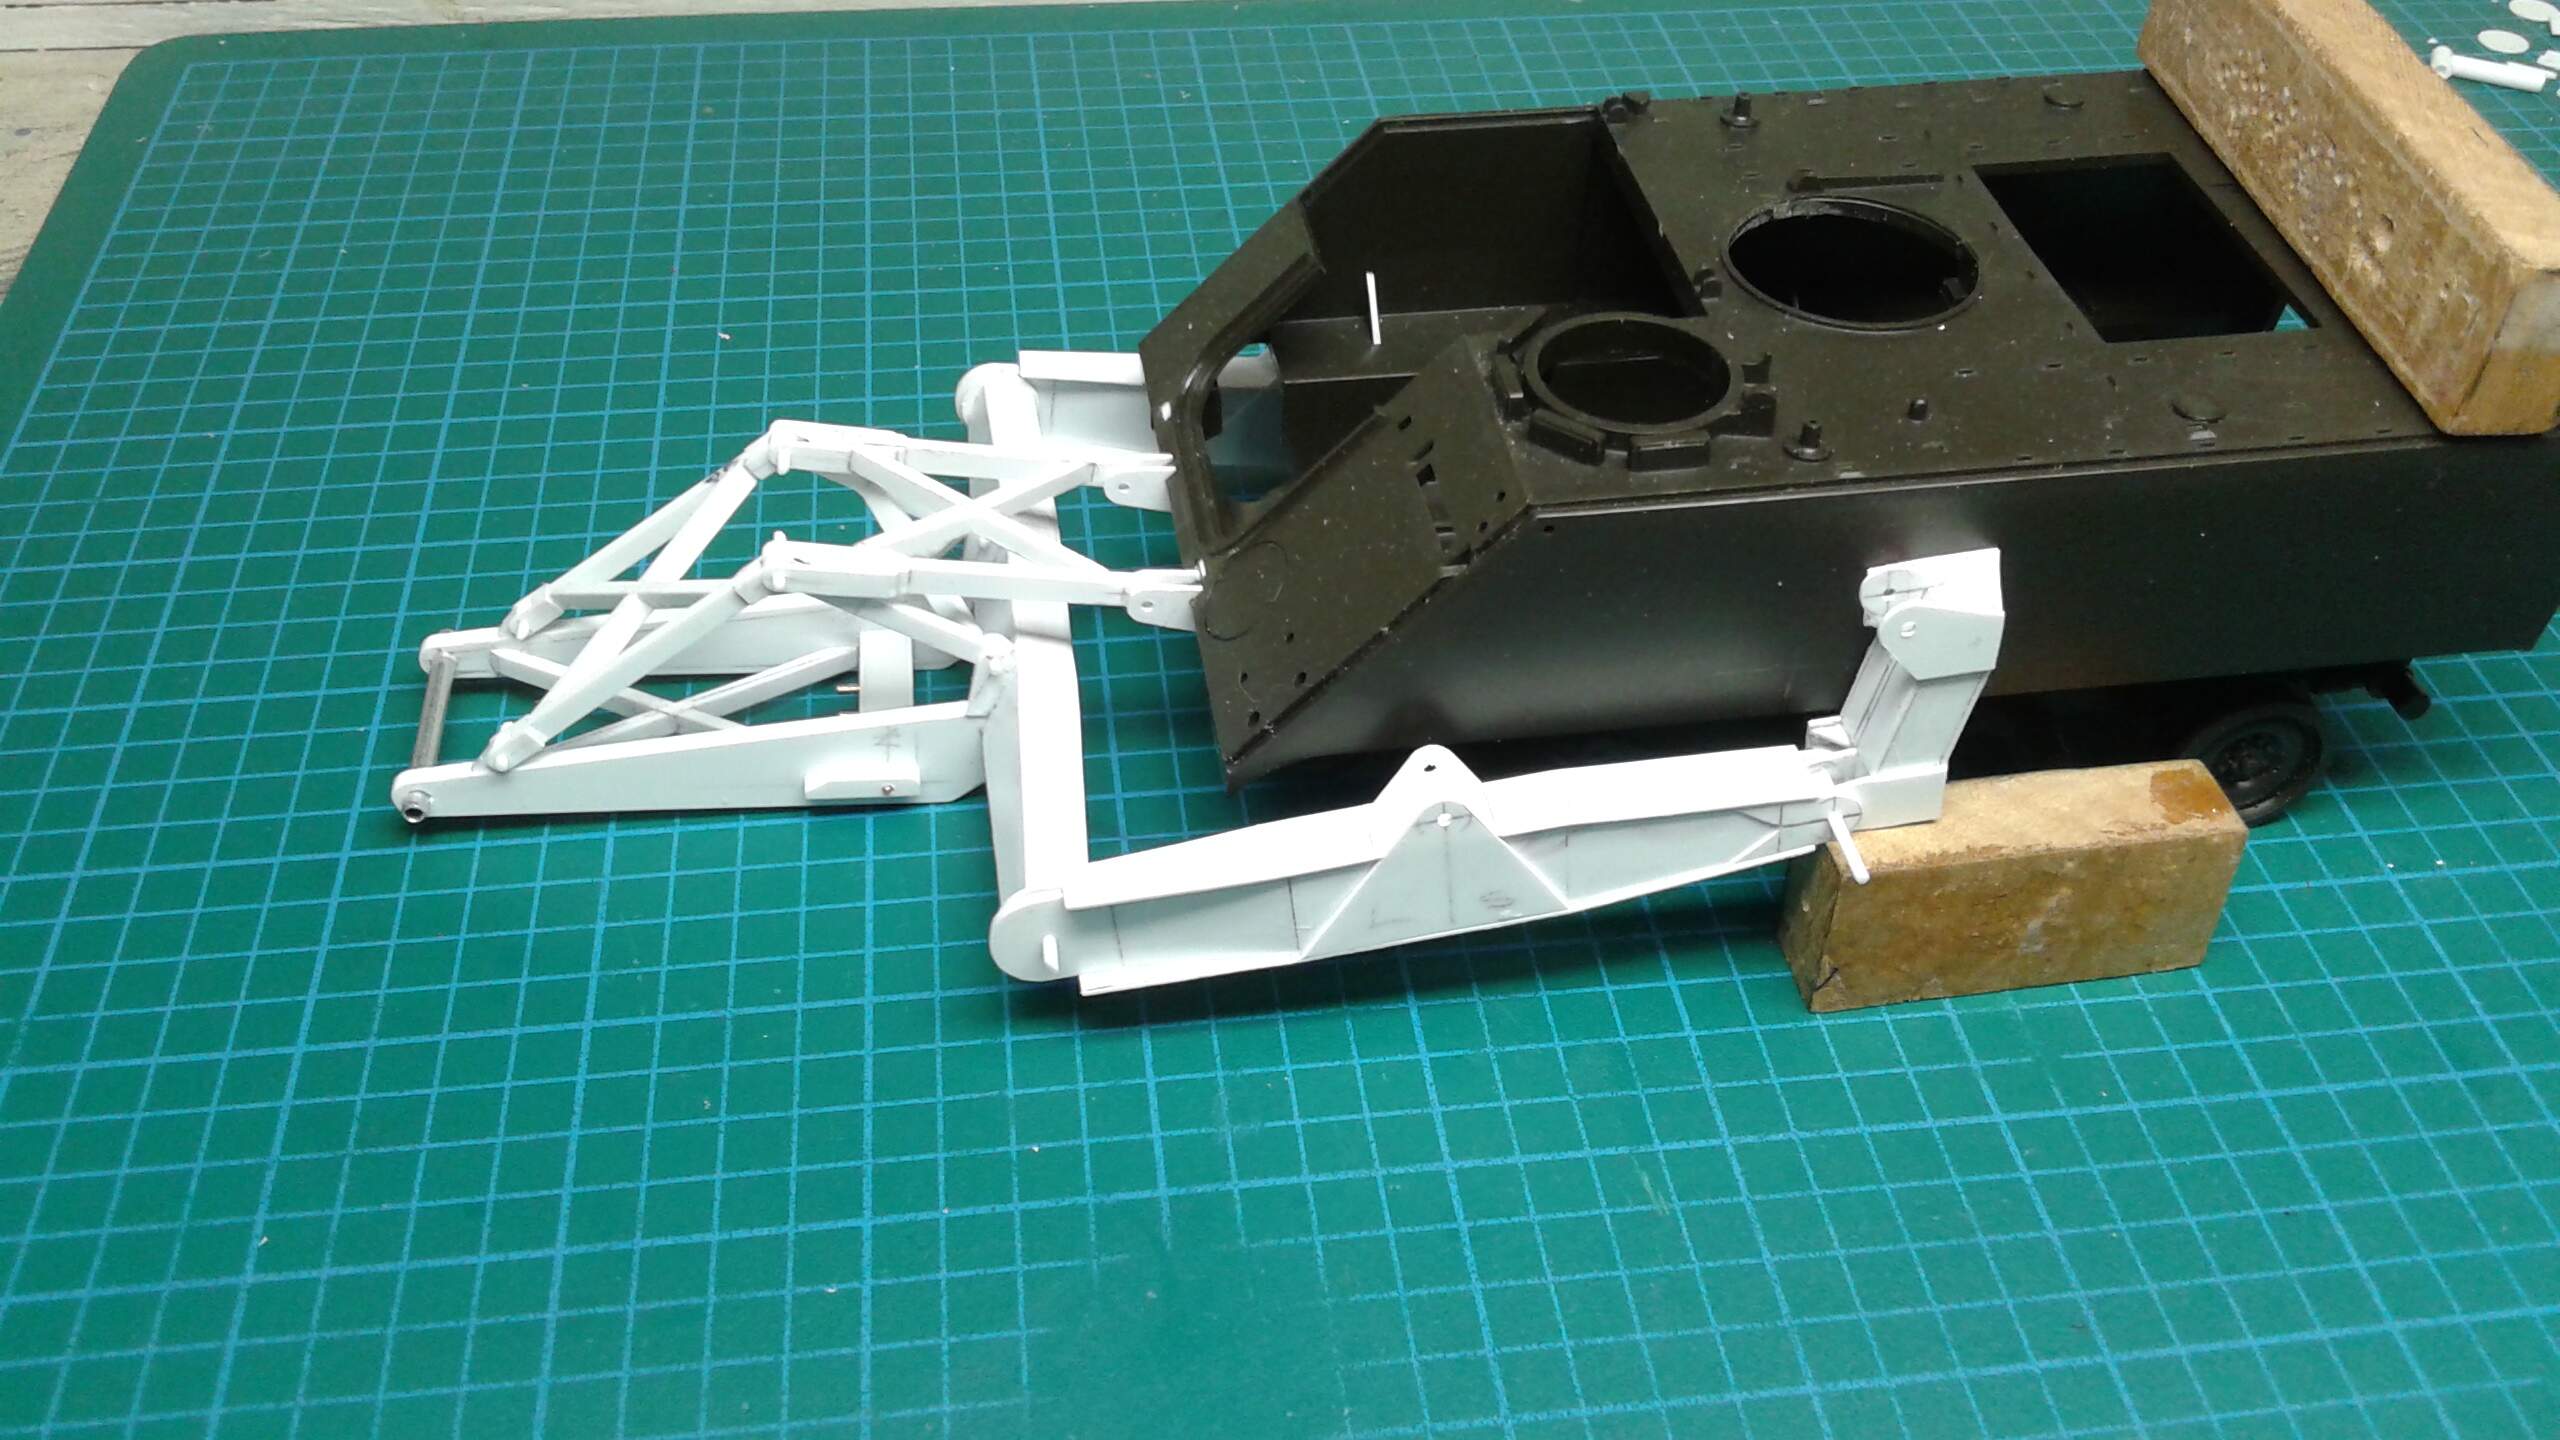
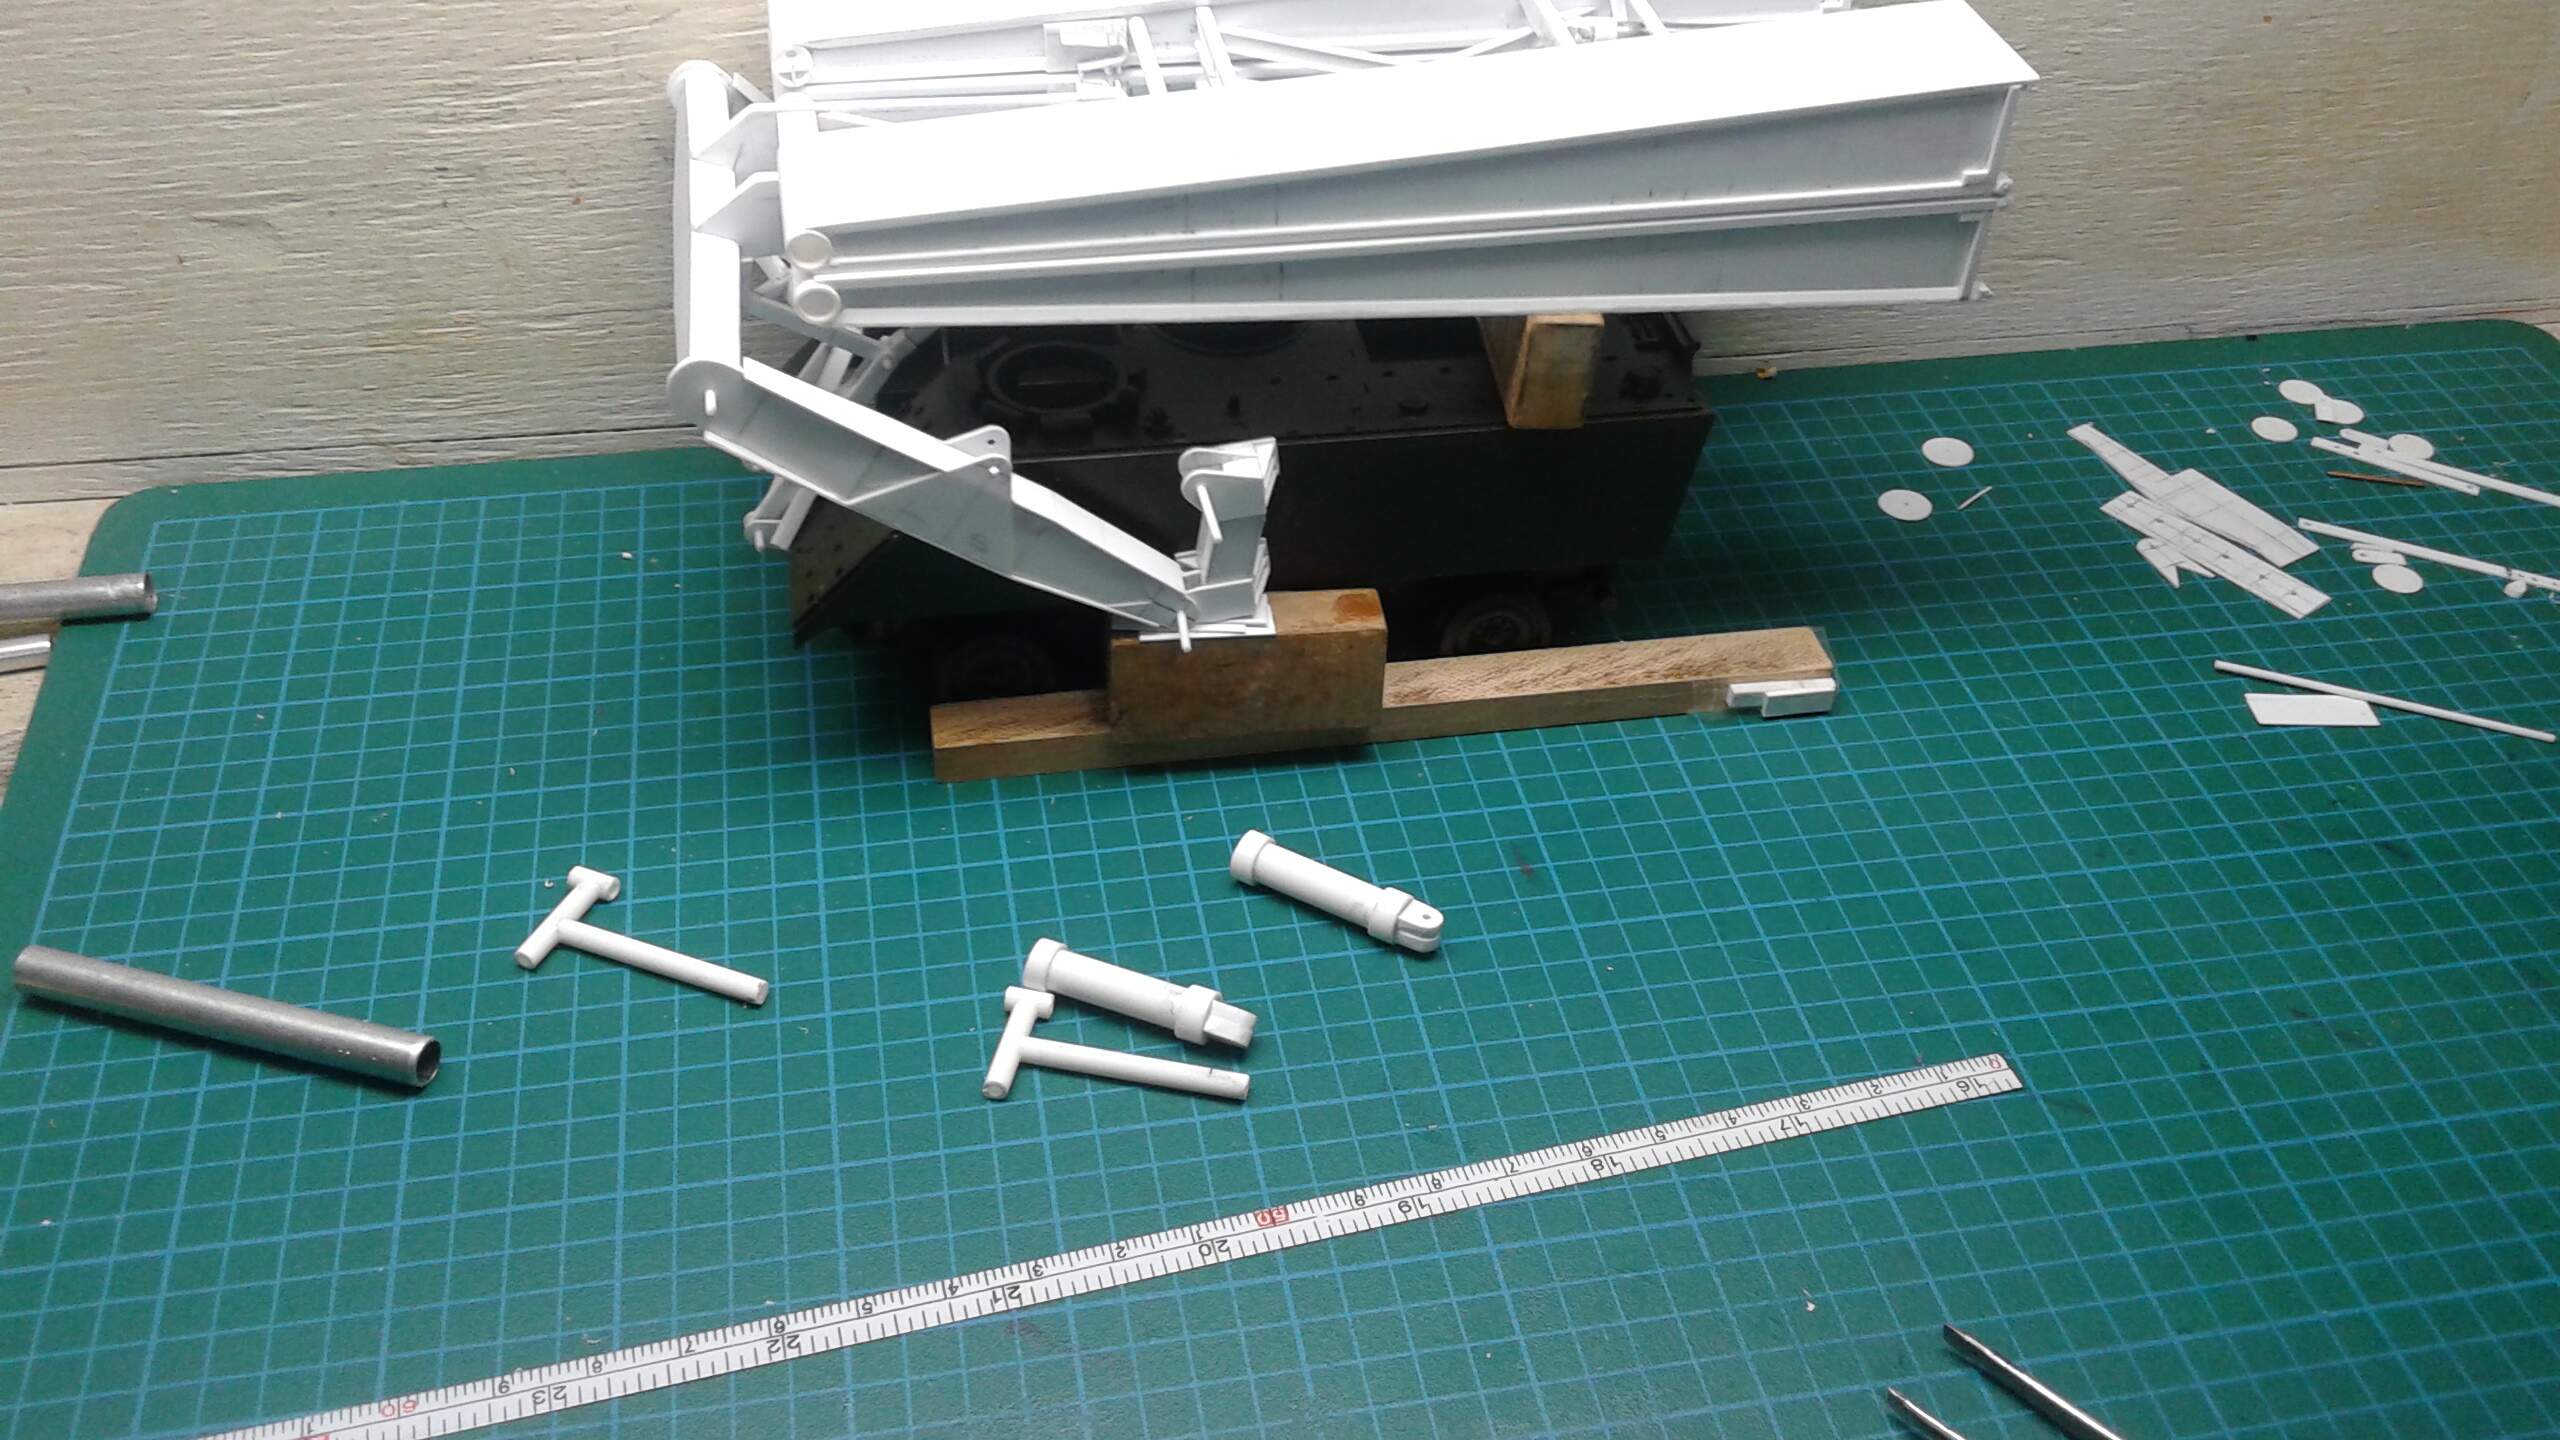
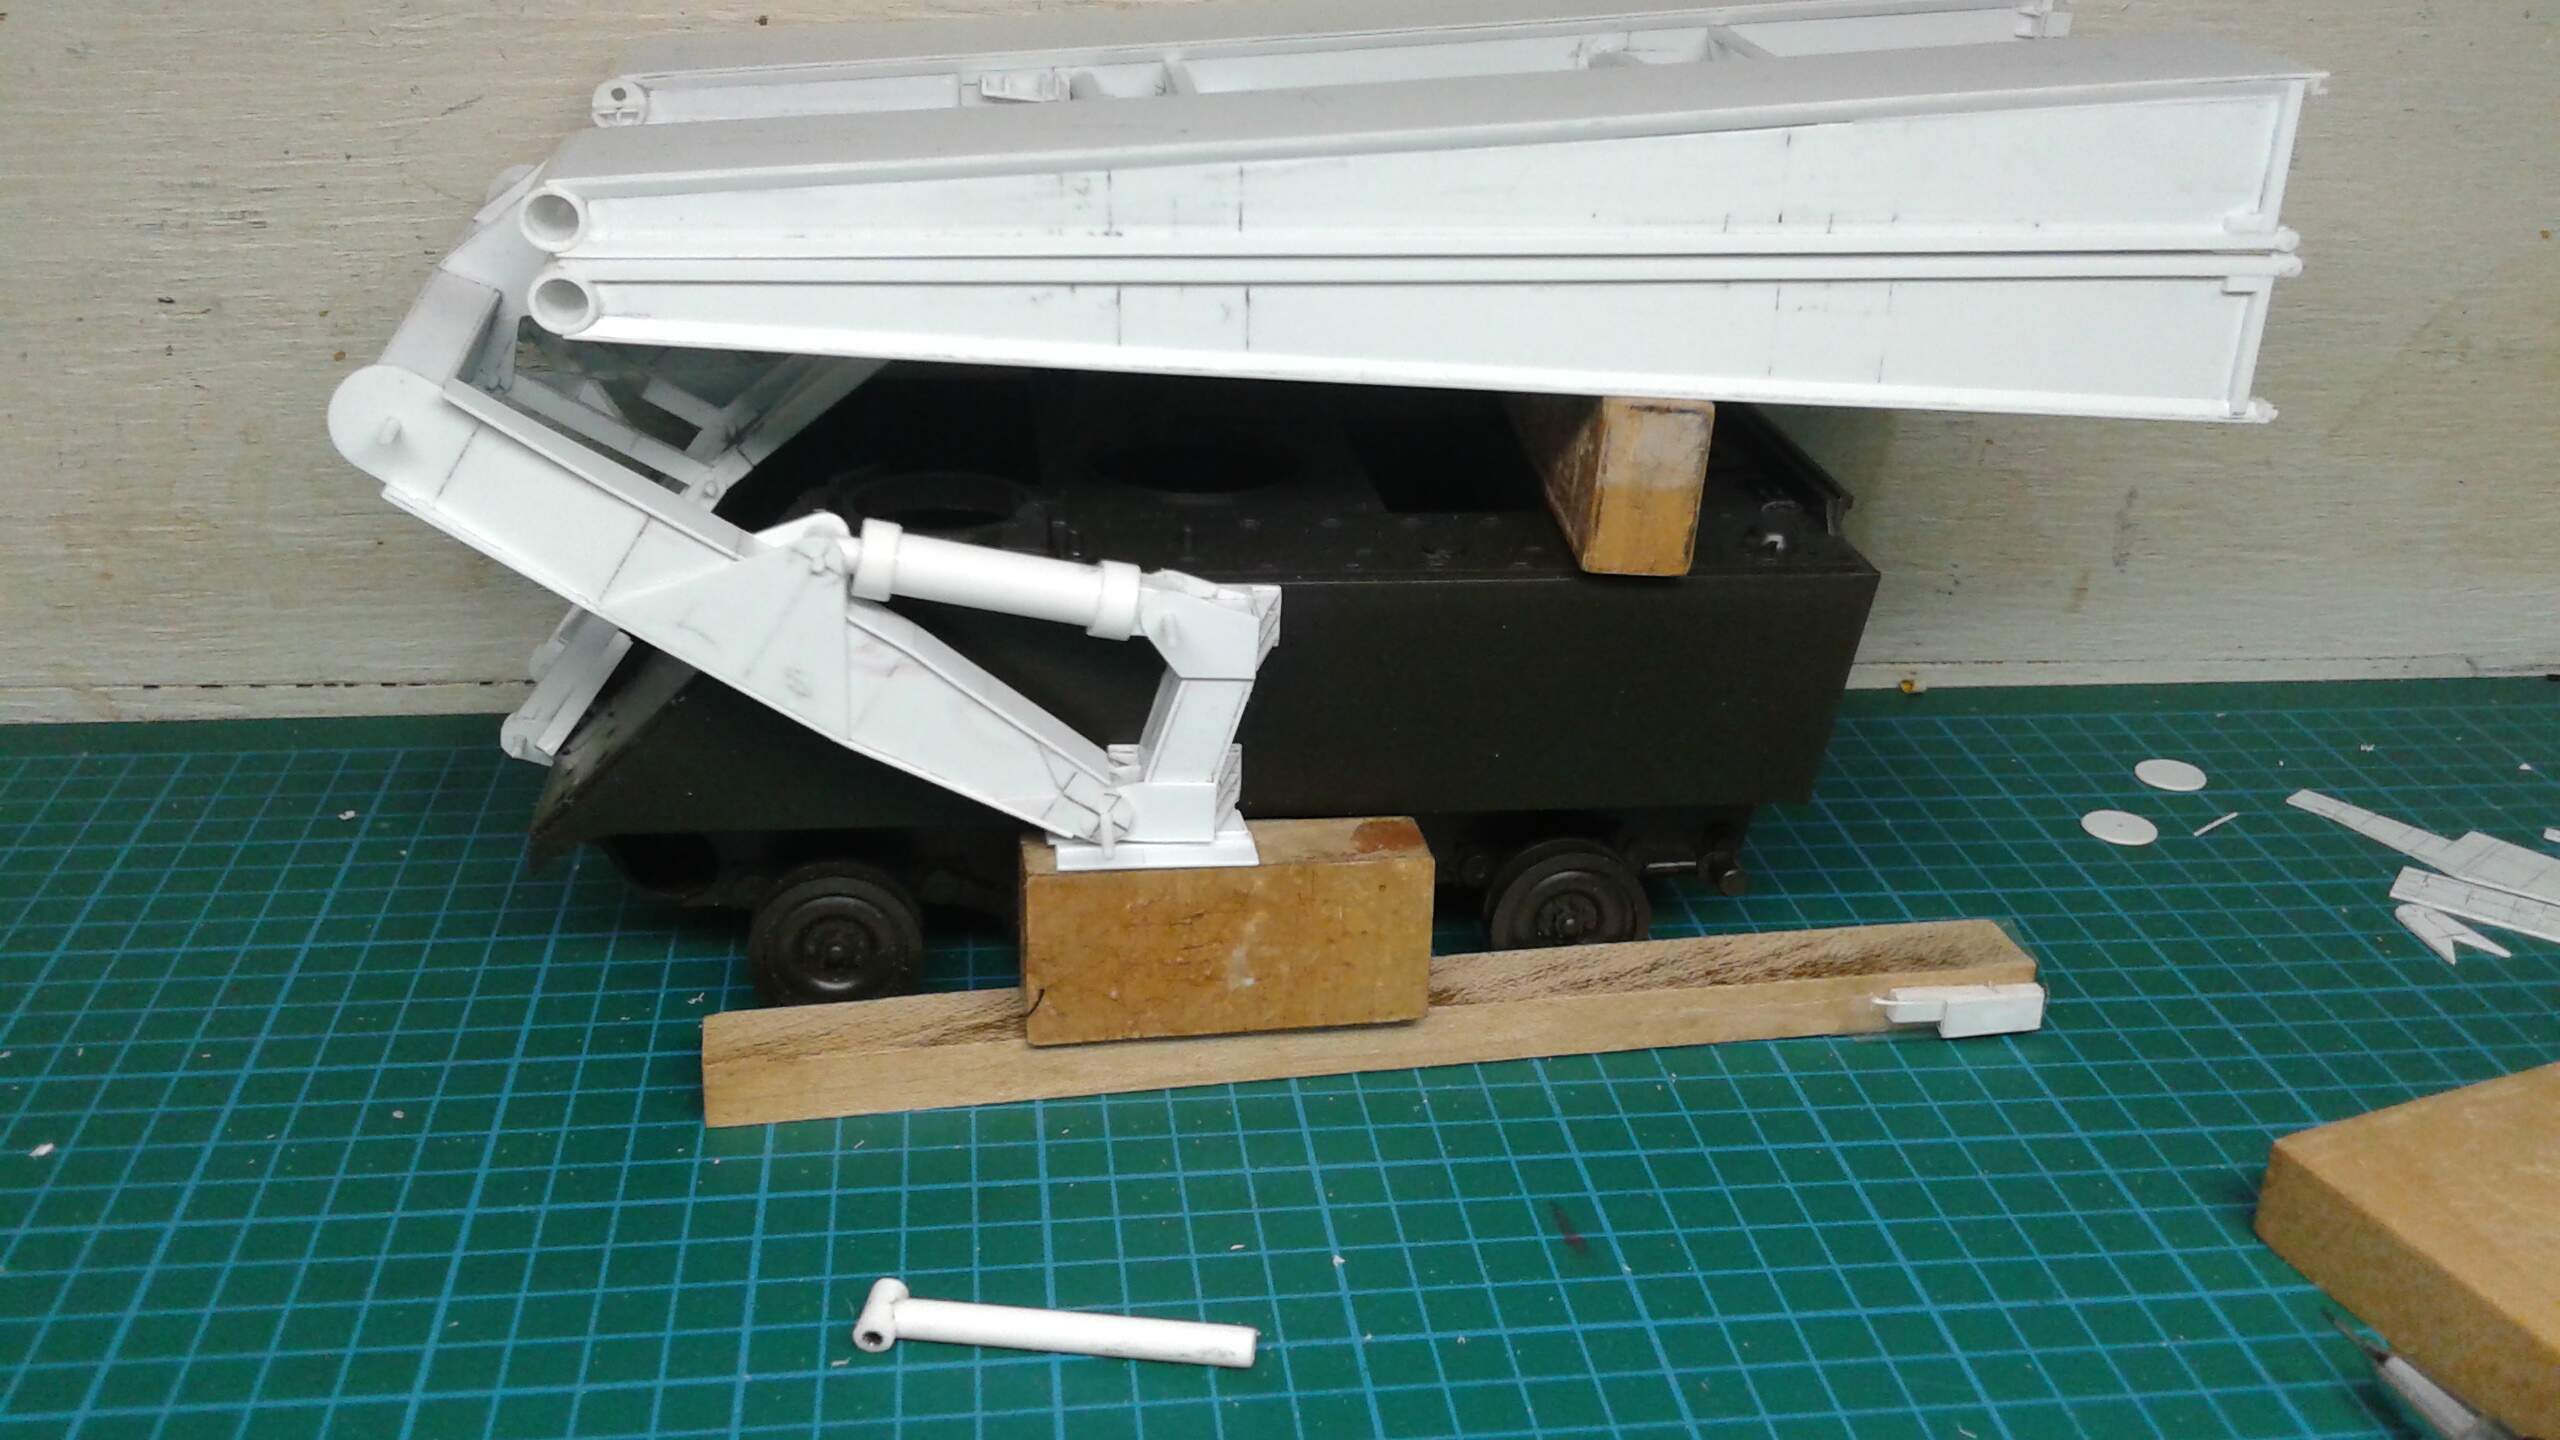
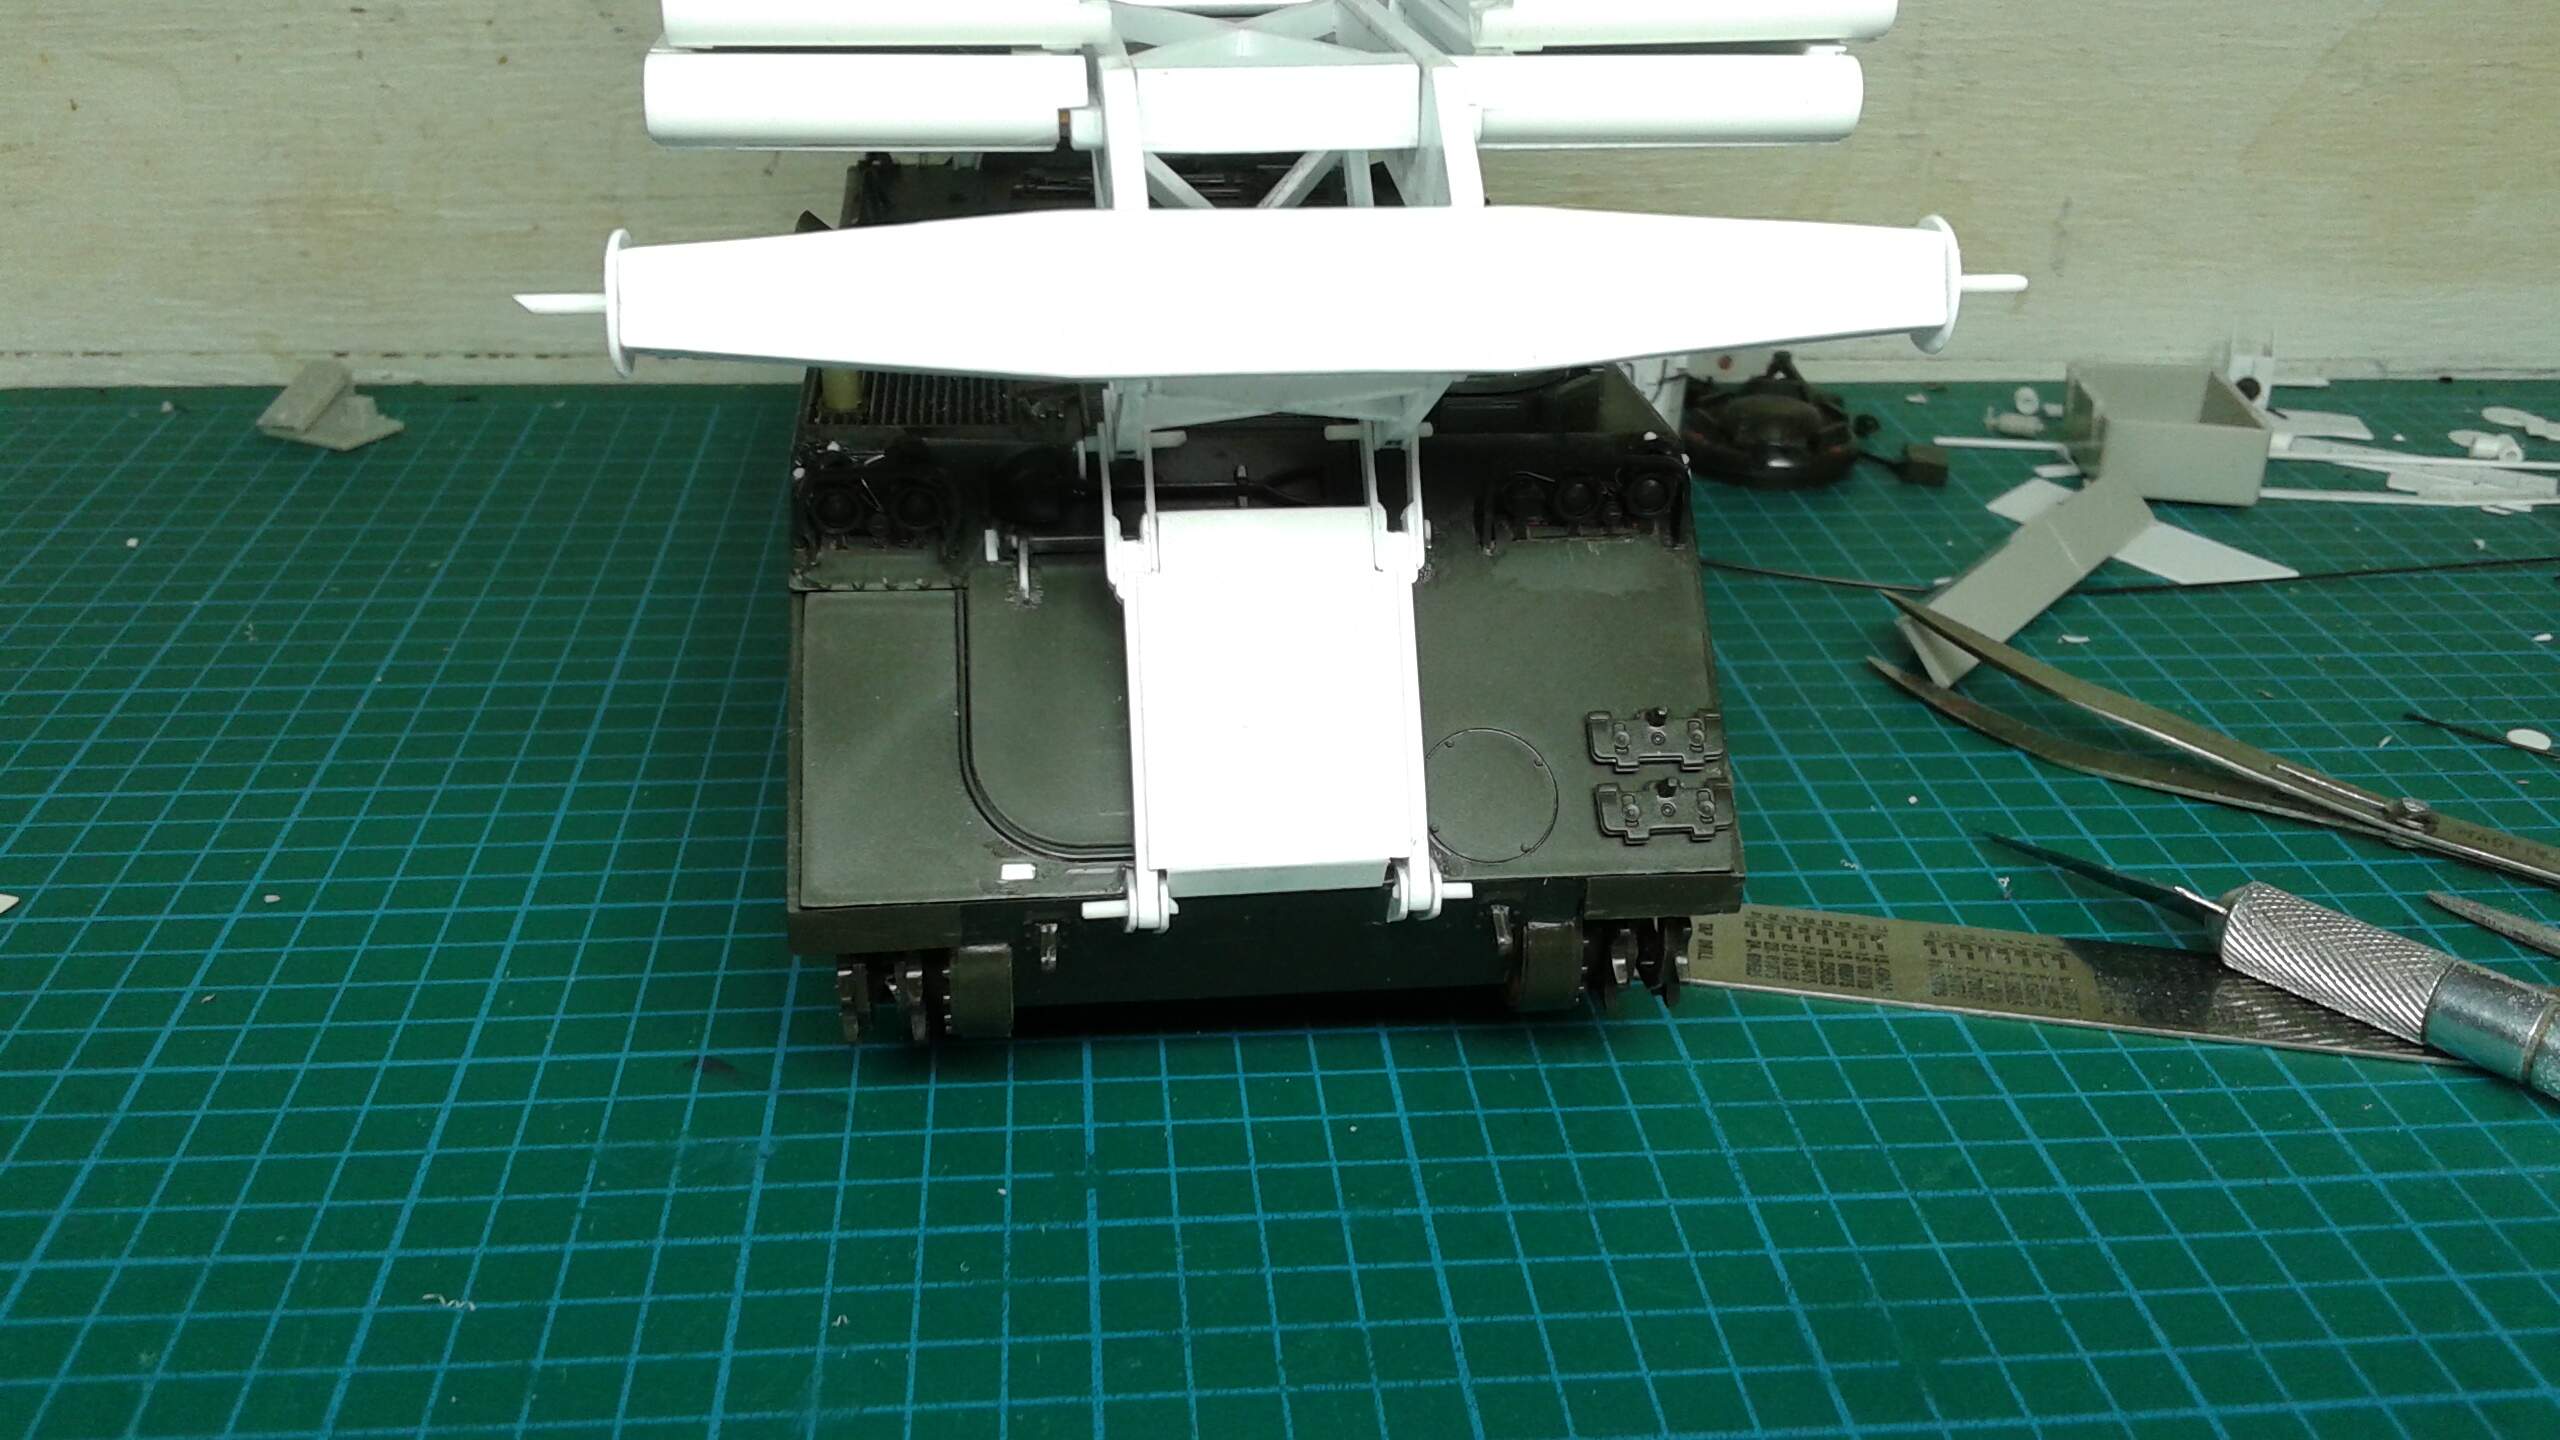
The hardest thing that I encountered was the geometry of the lifting bridge arm to making it work from docked on top of the M113 to launched to siting on the ground and the vehicle backing away from the connection. I made some geometrical shapes that mimicked the launching and retrieval of the bridge. After a few trial and error I finally succeeded.
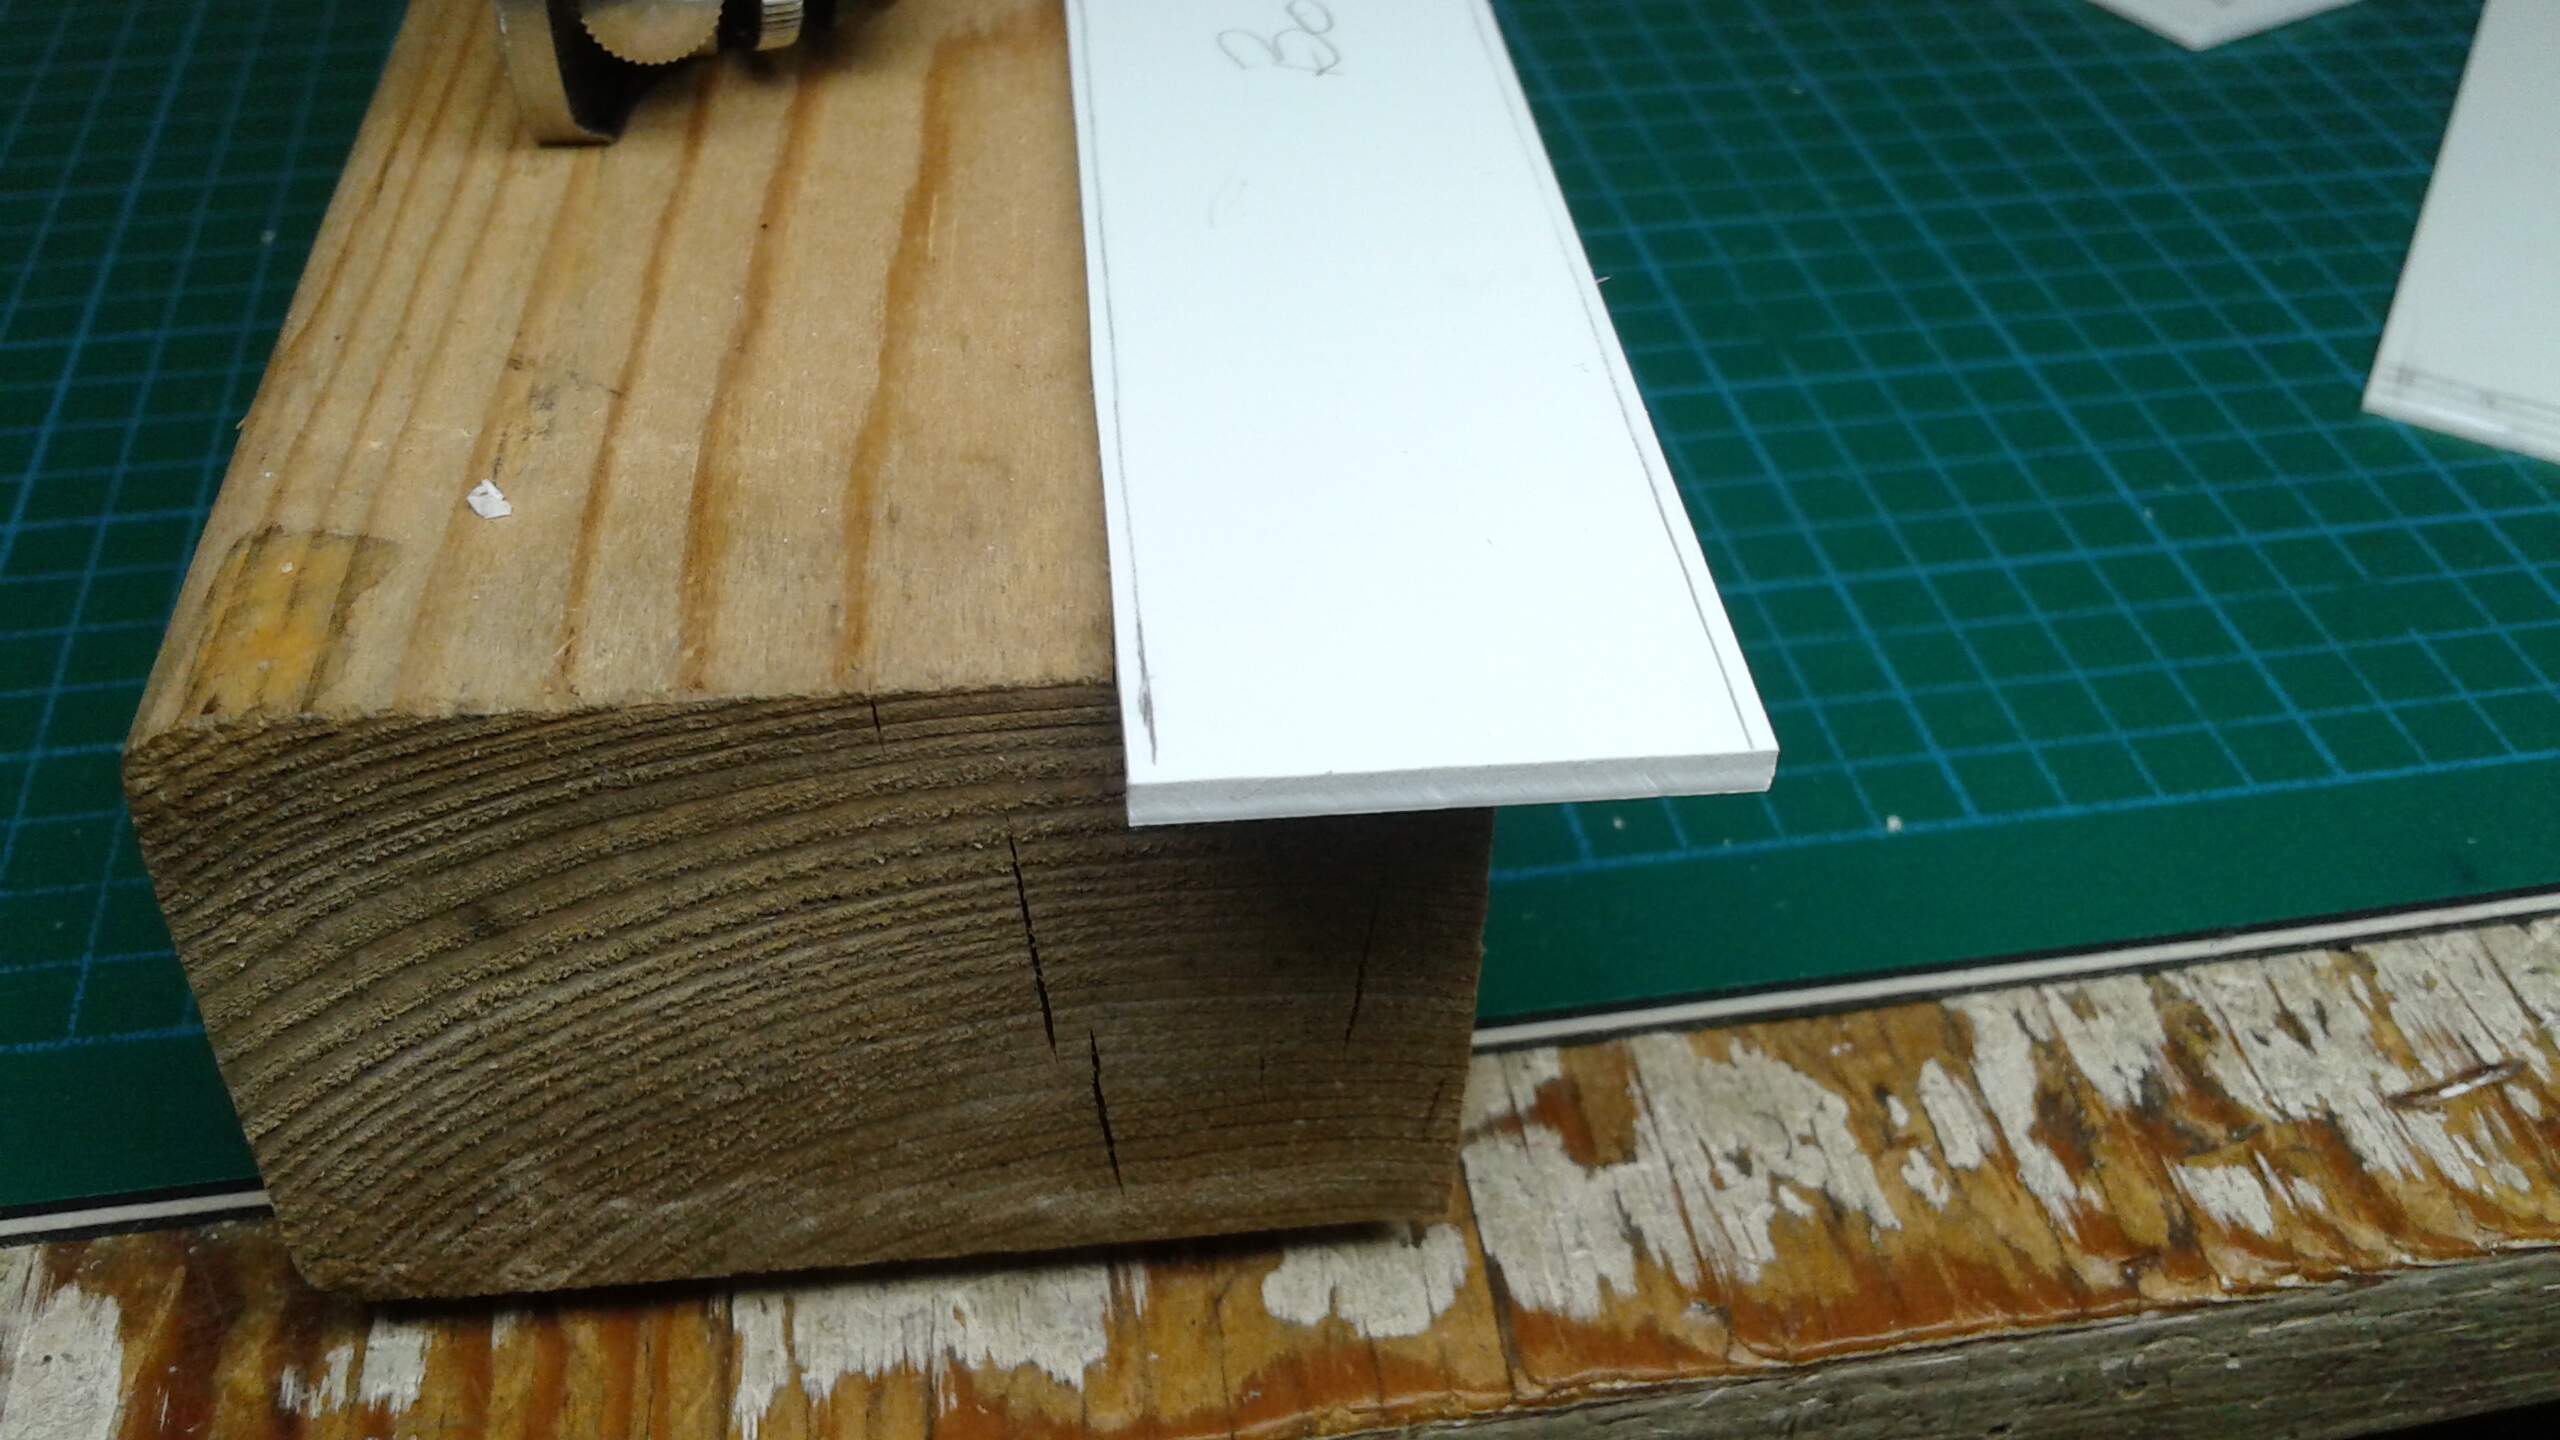
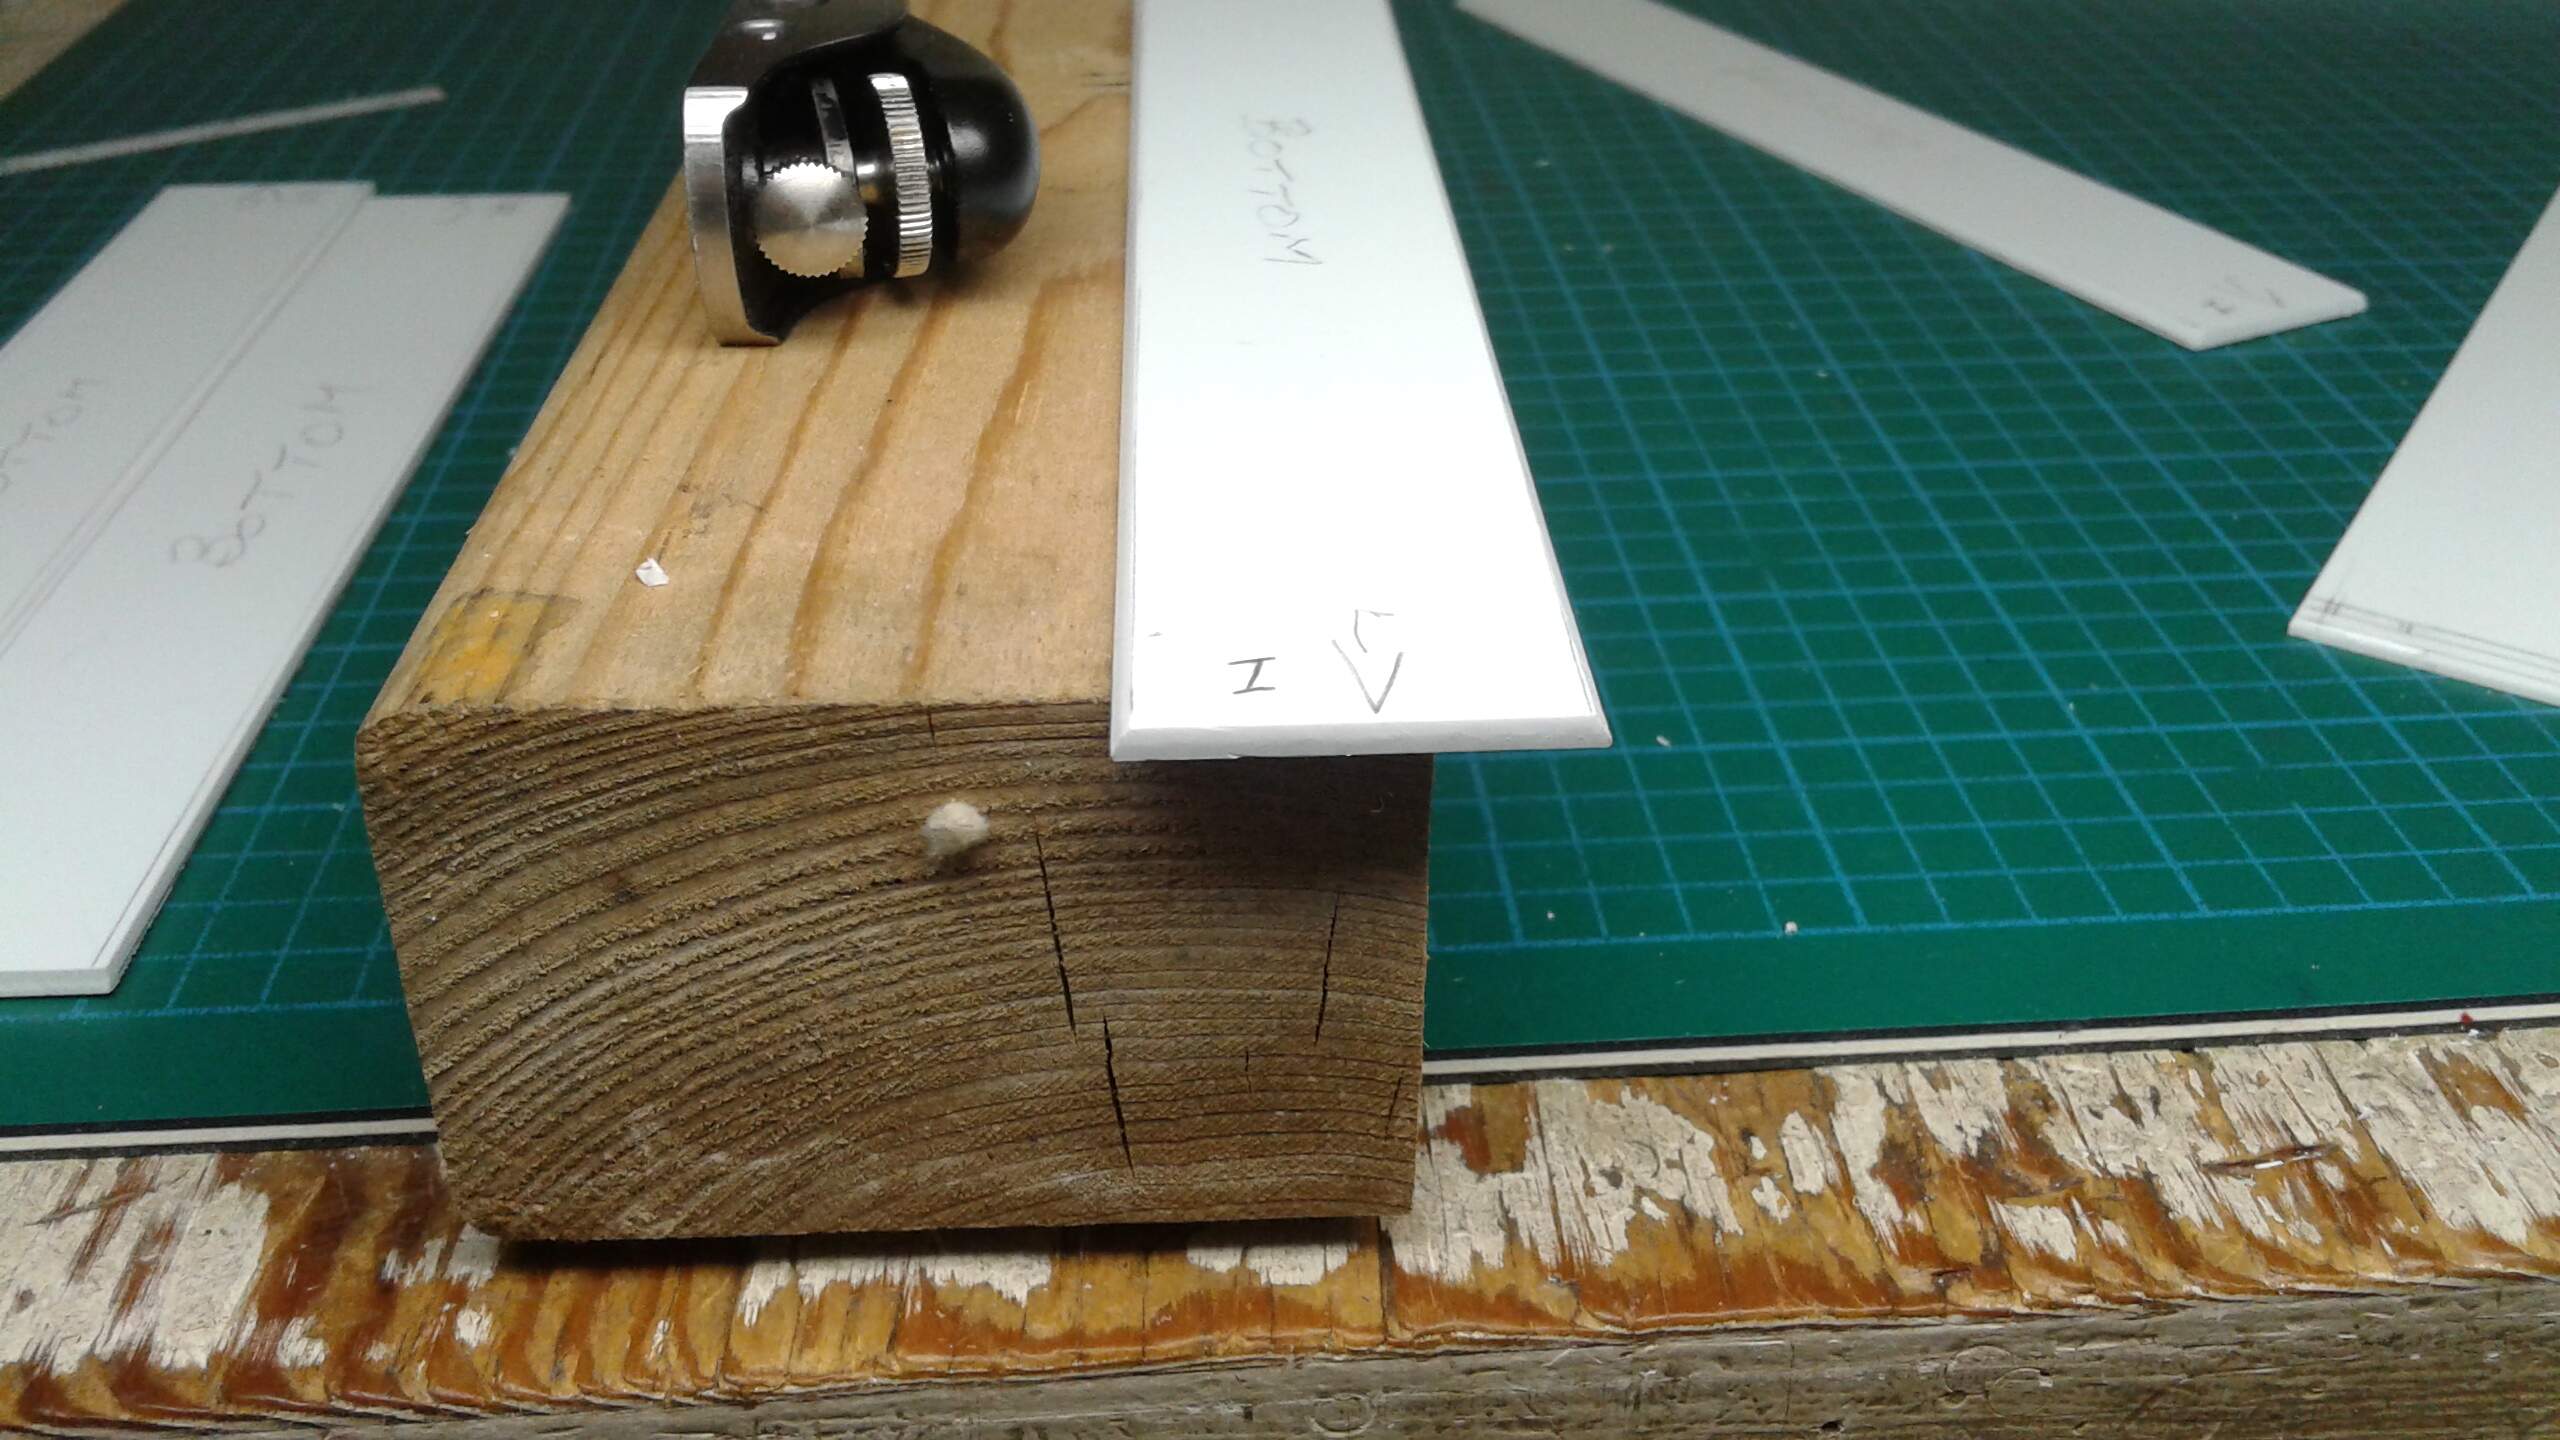
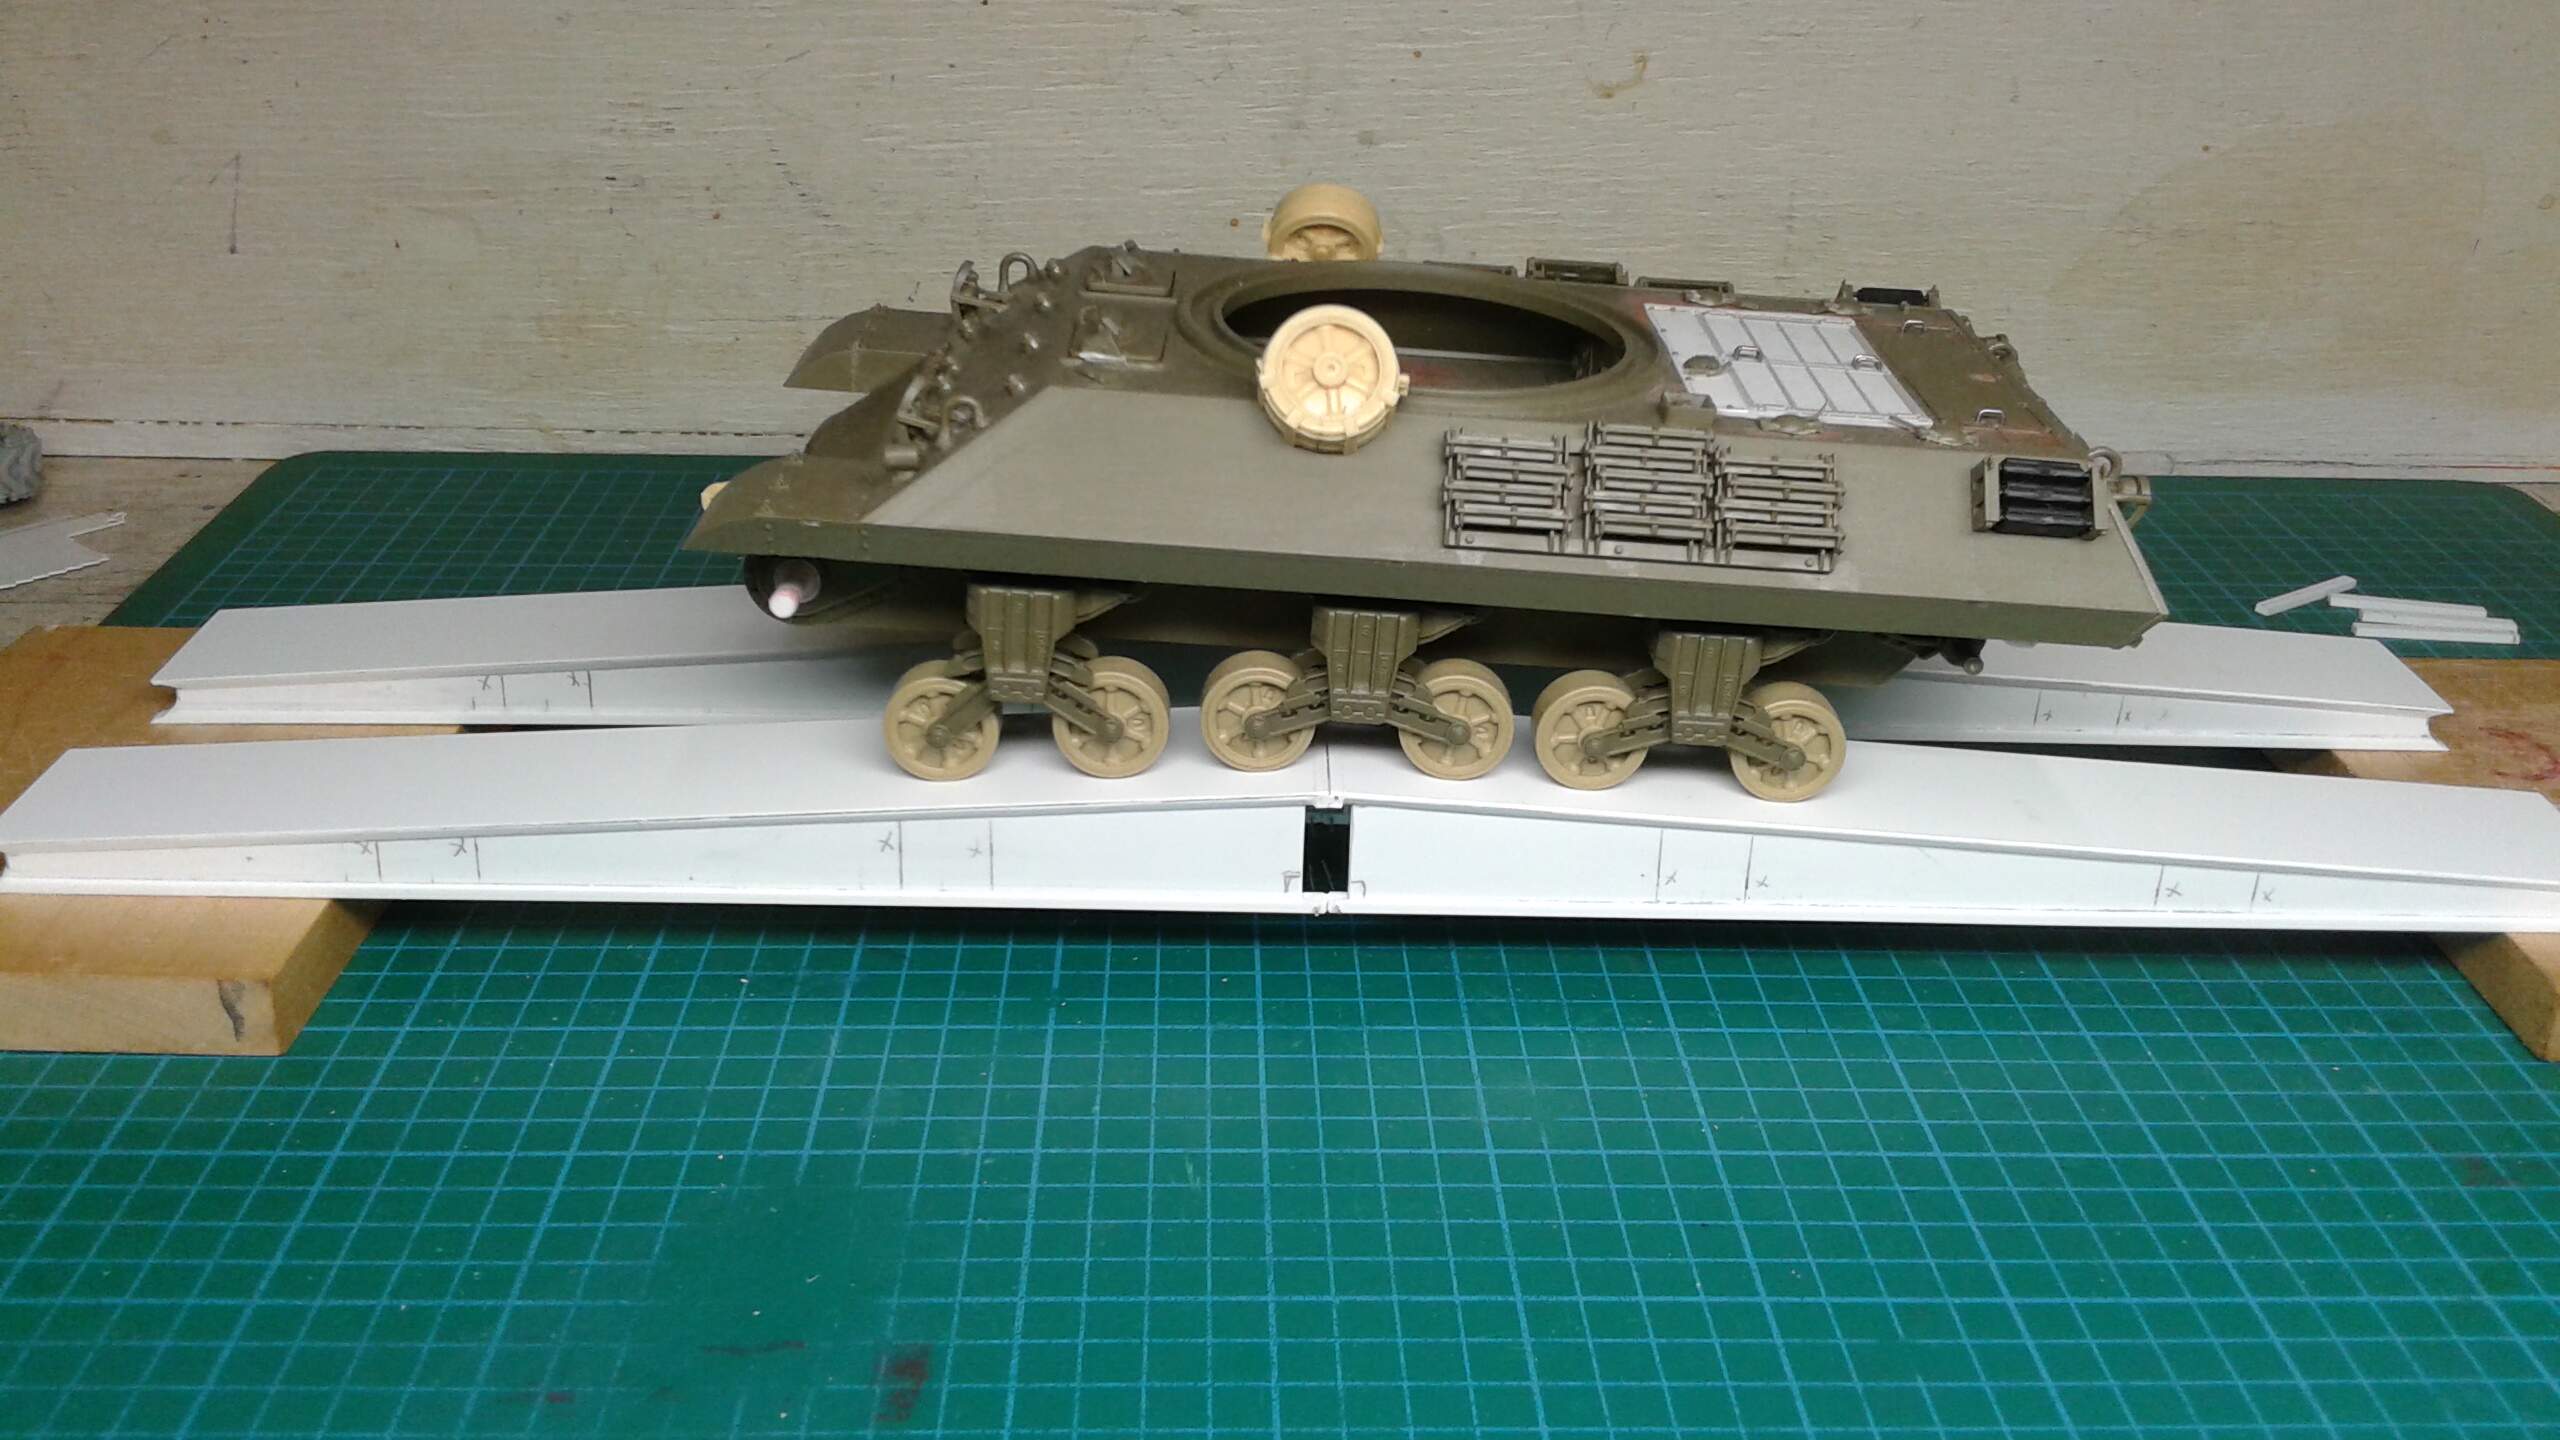
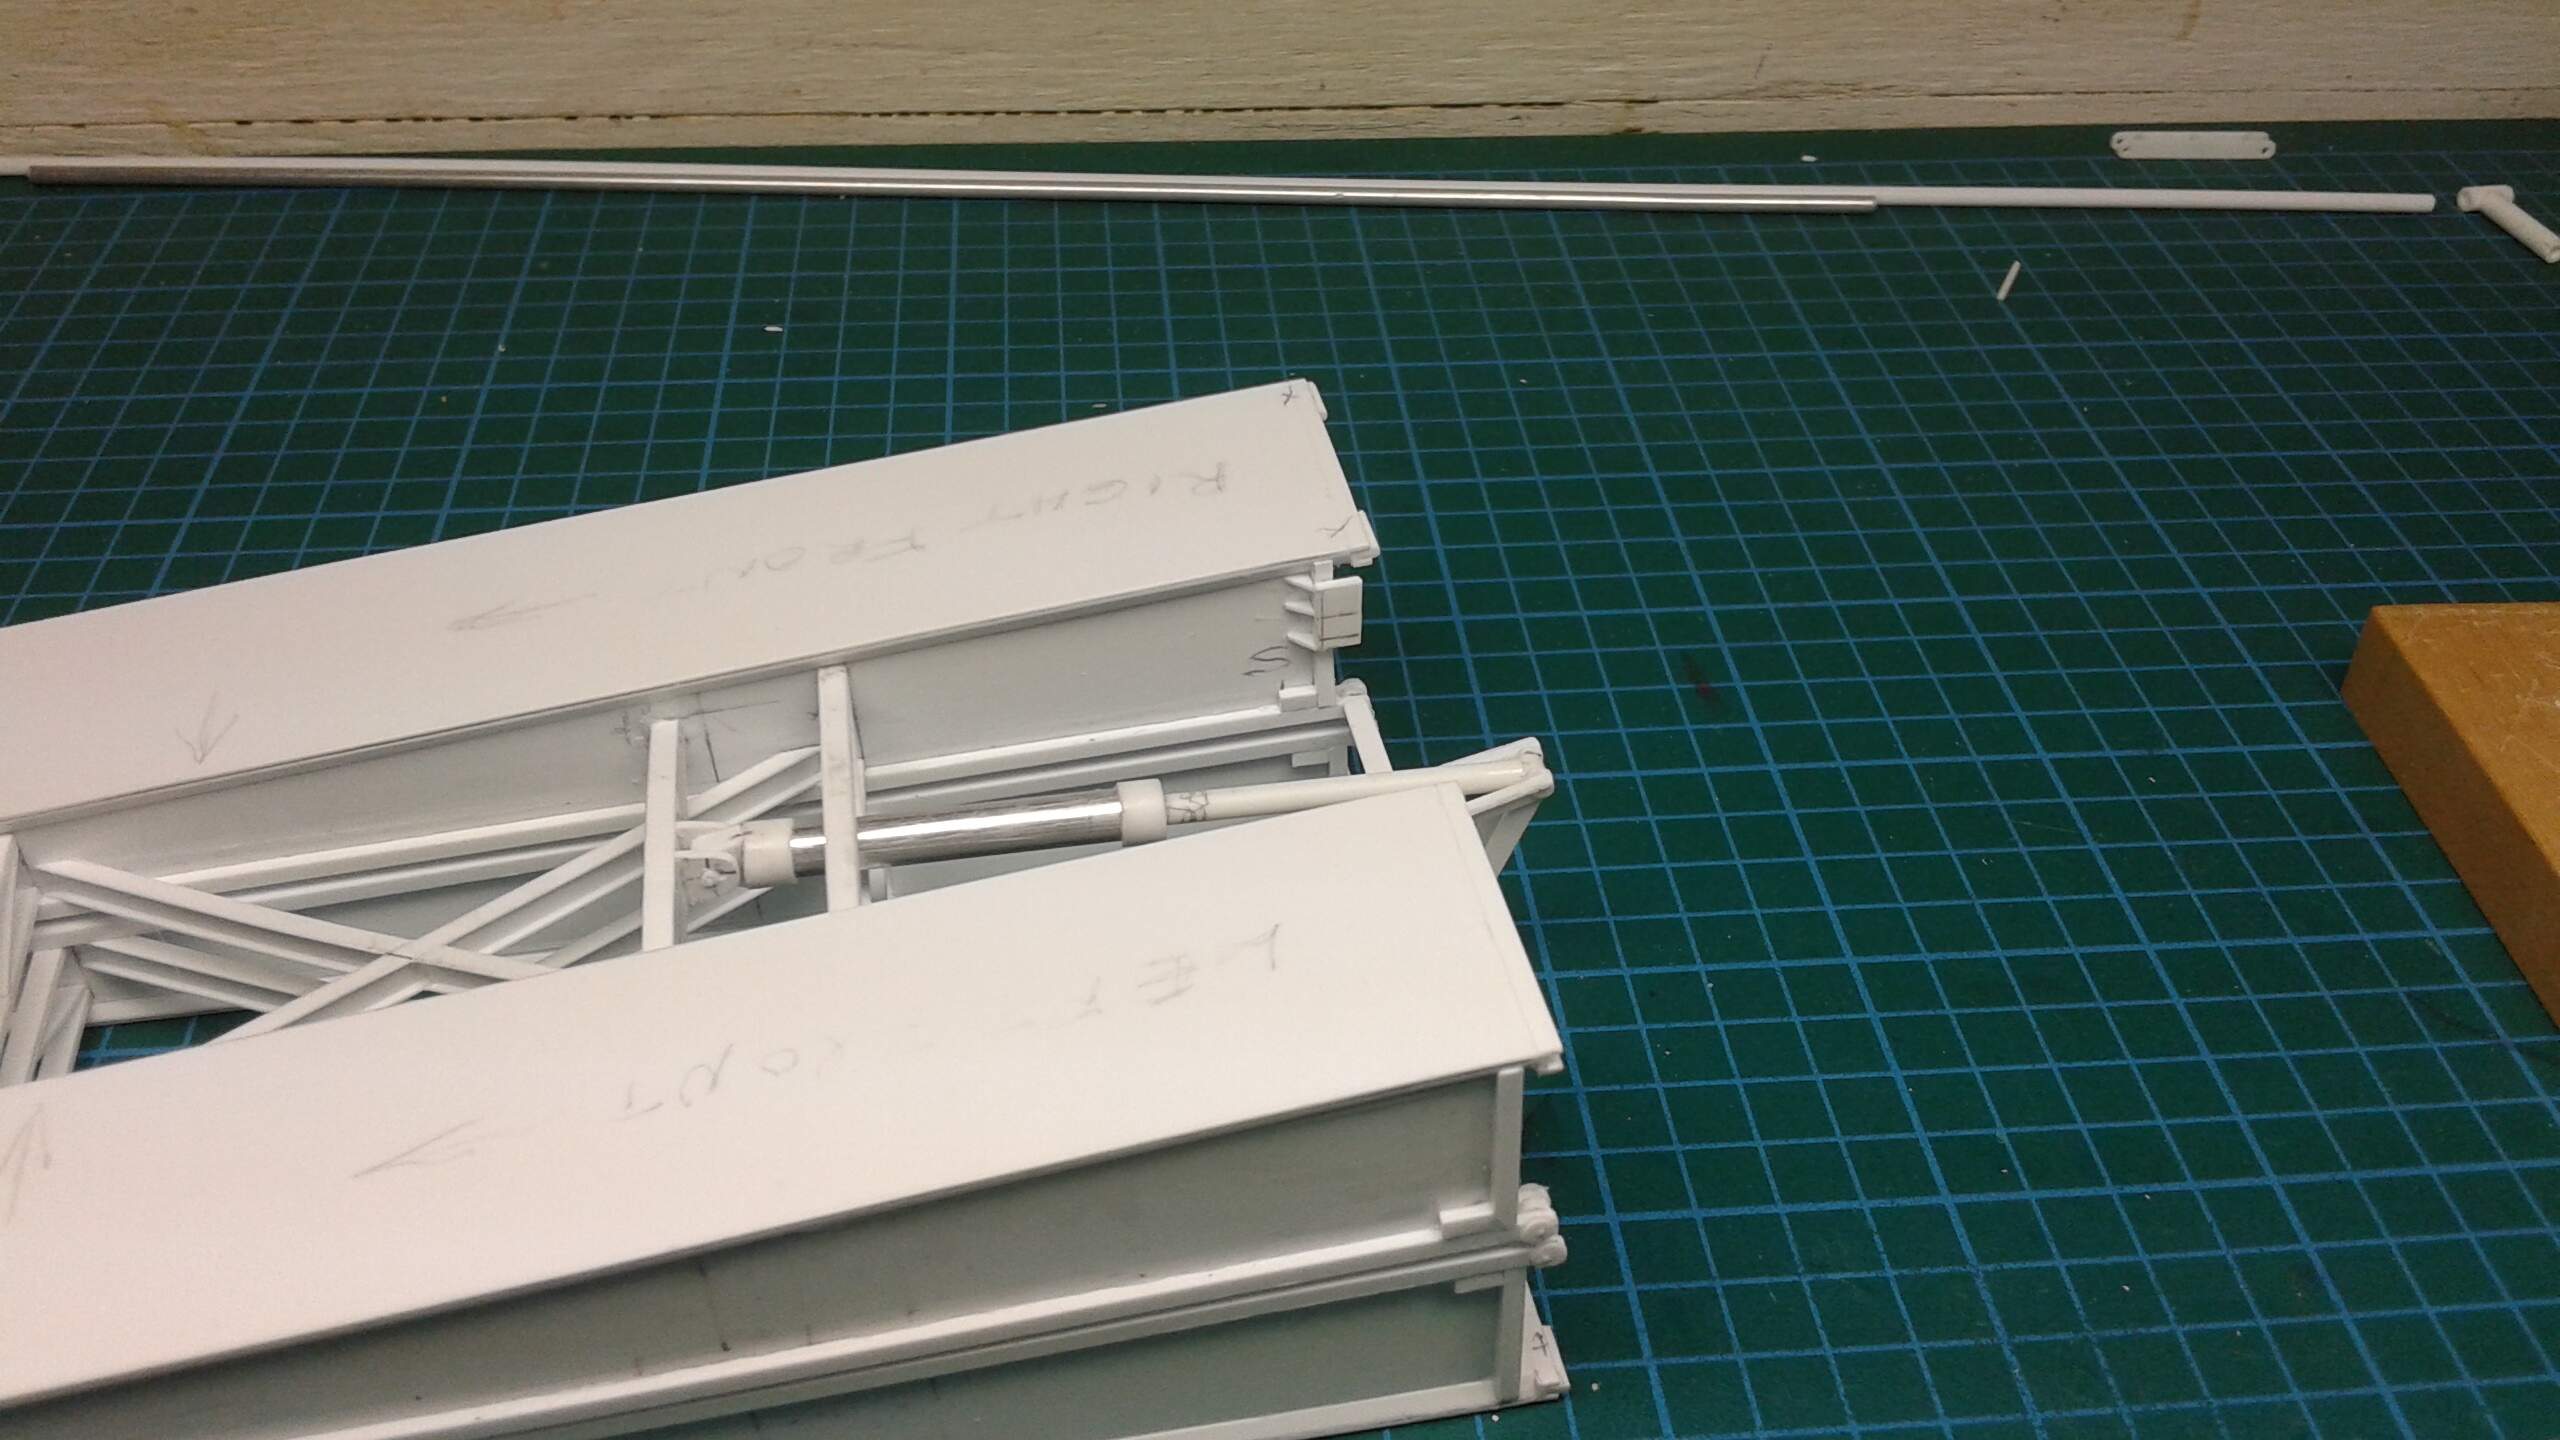
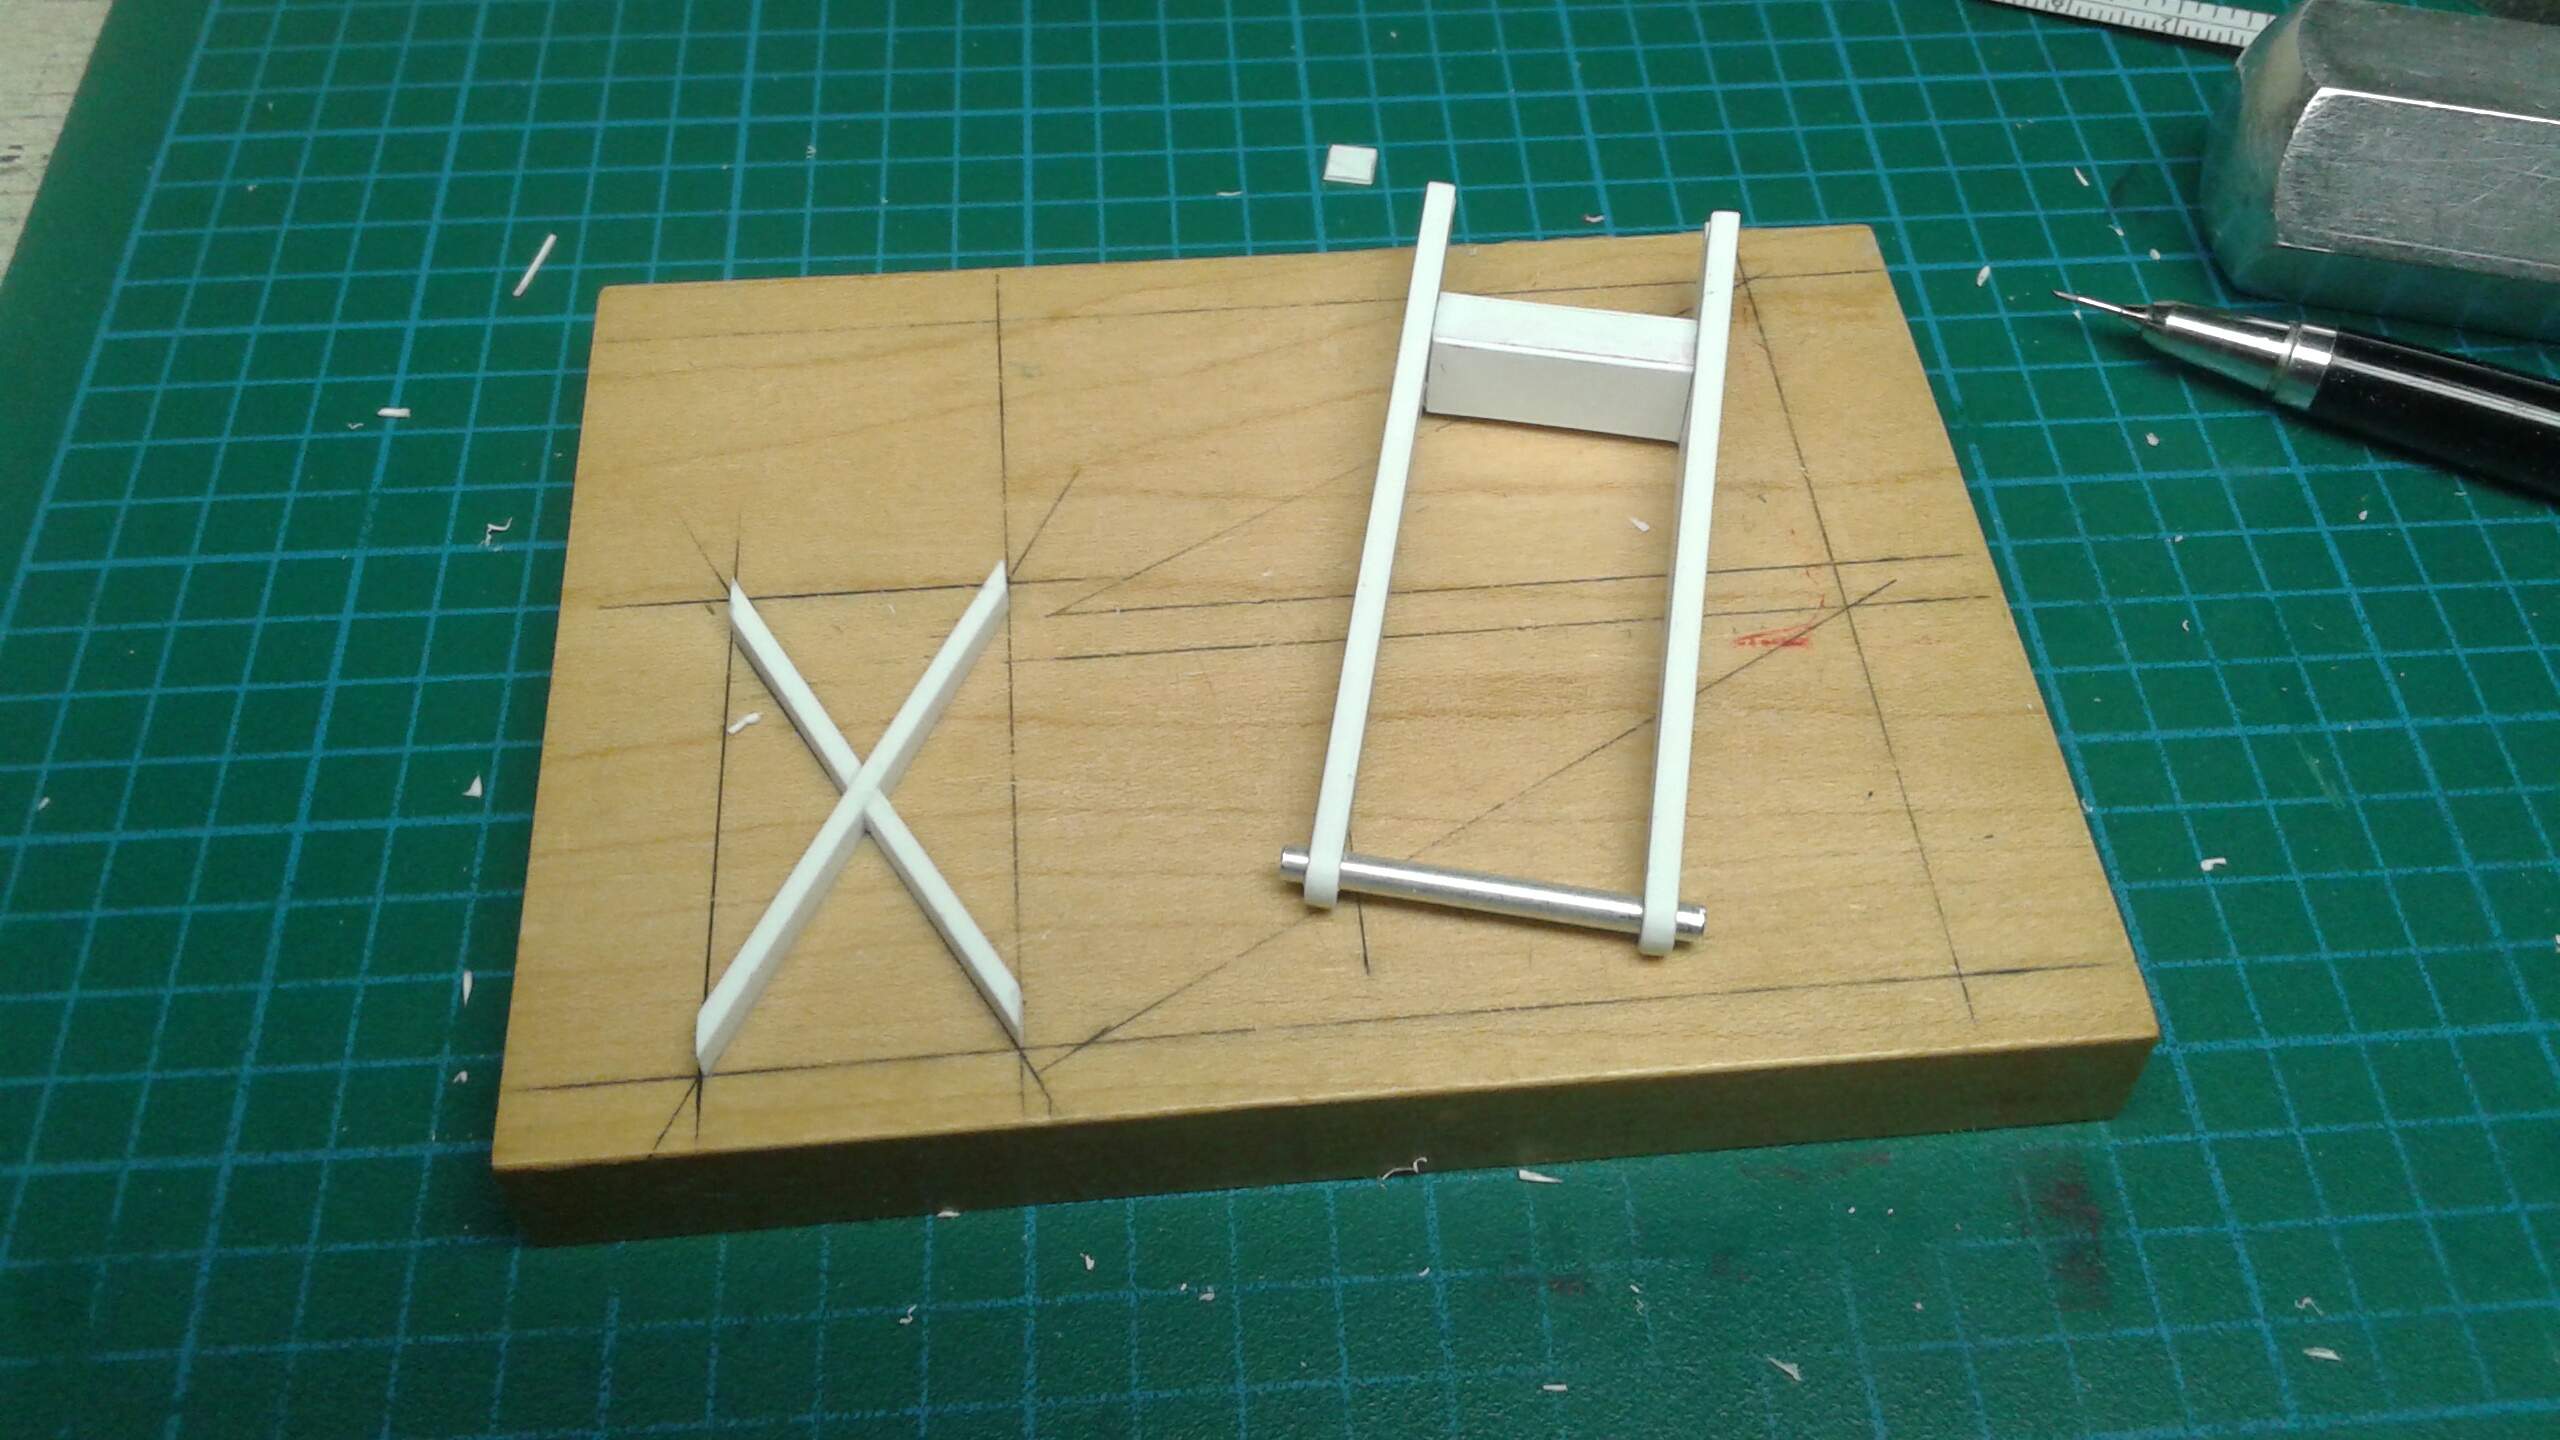
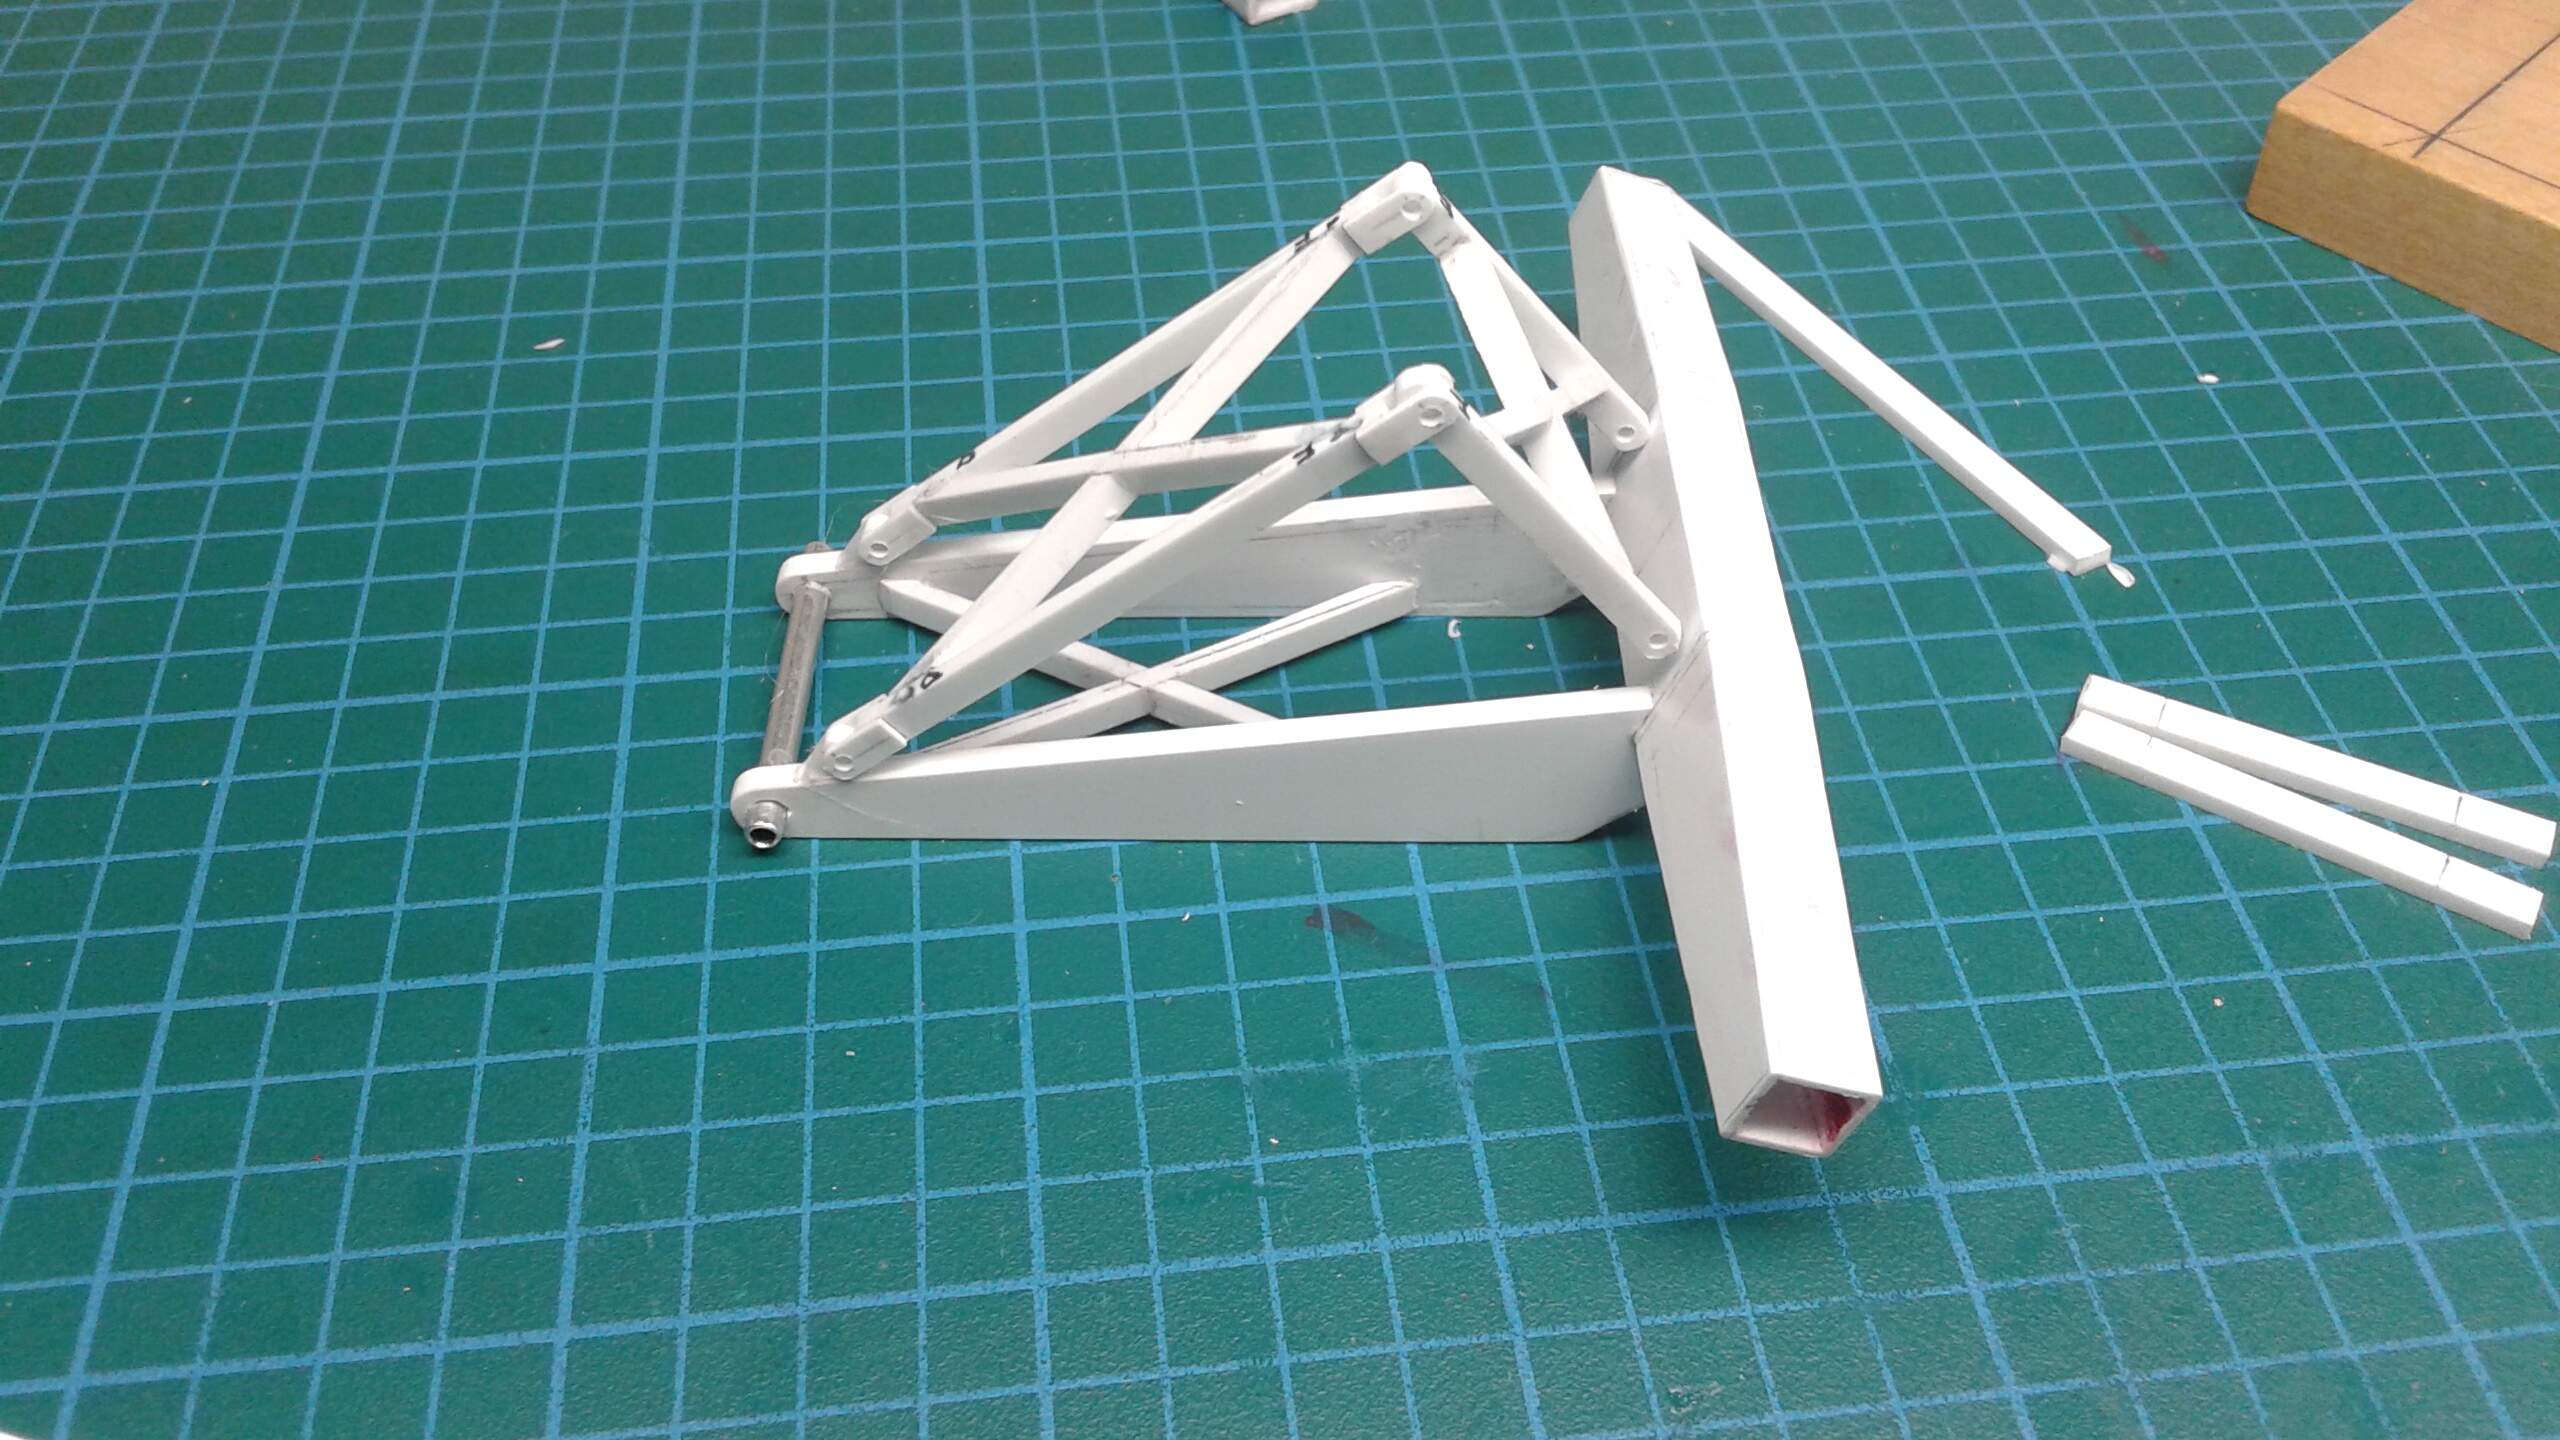
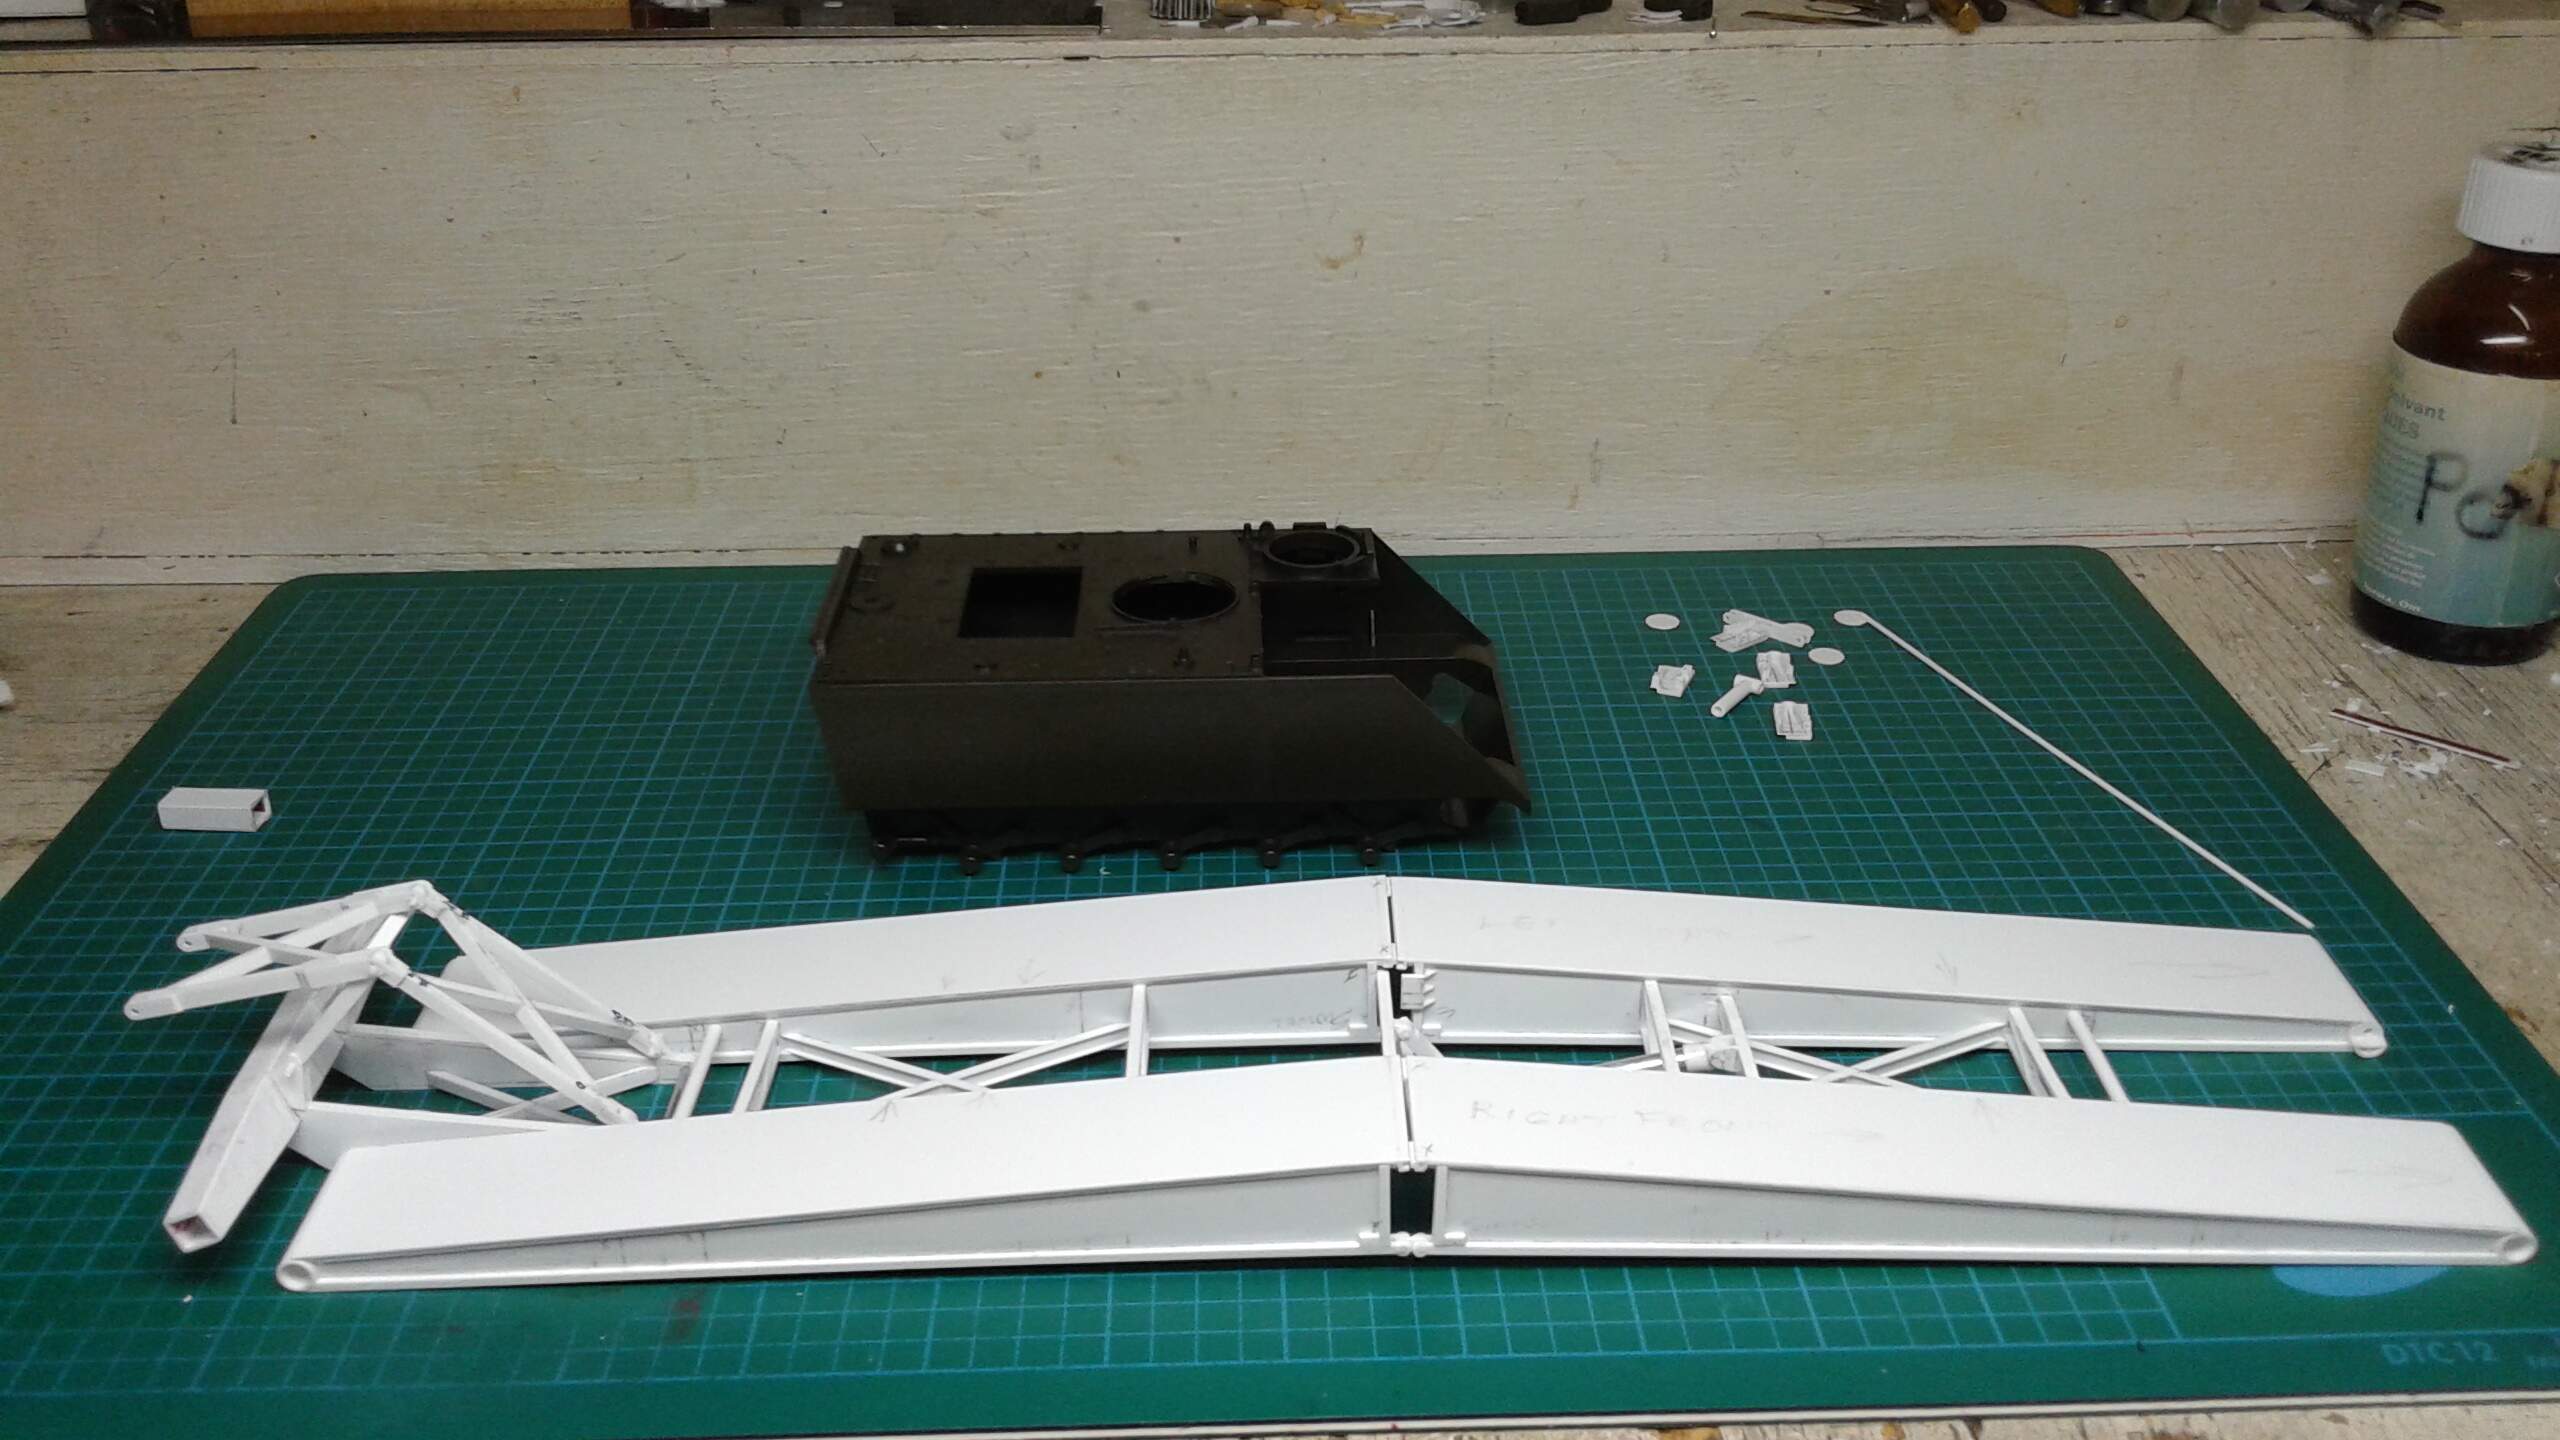
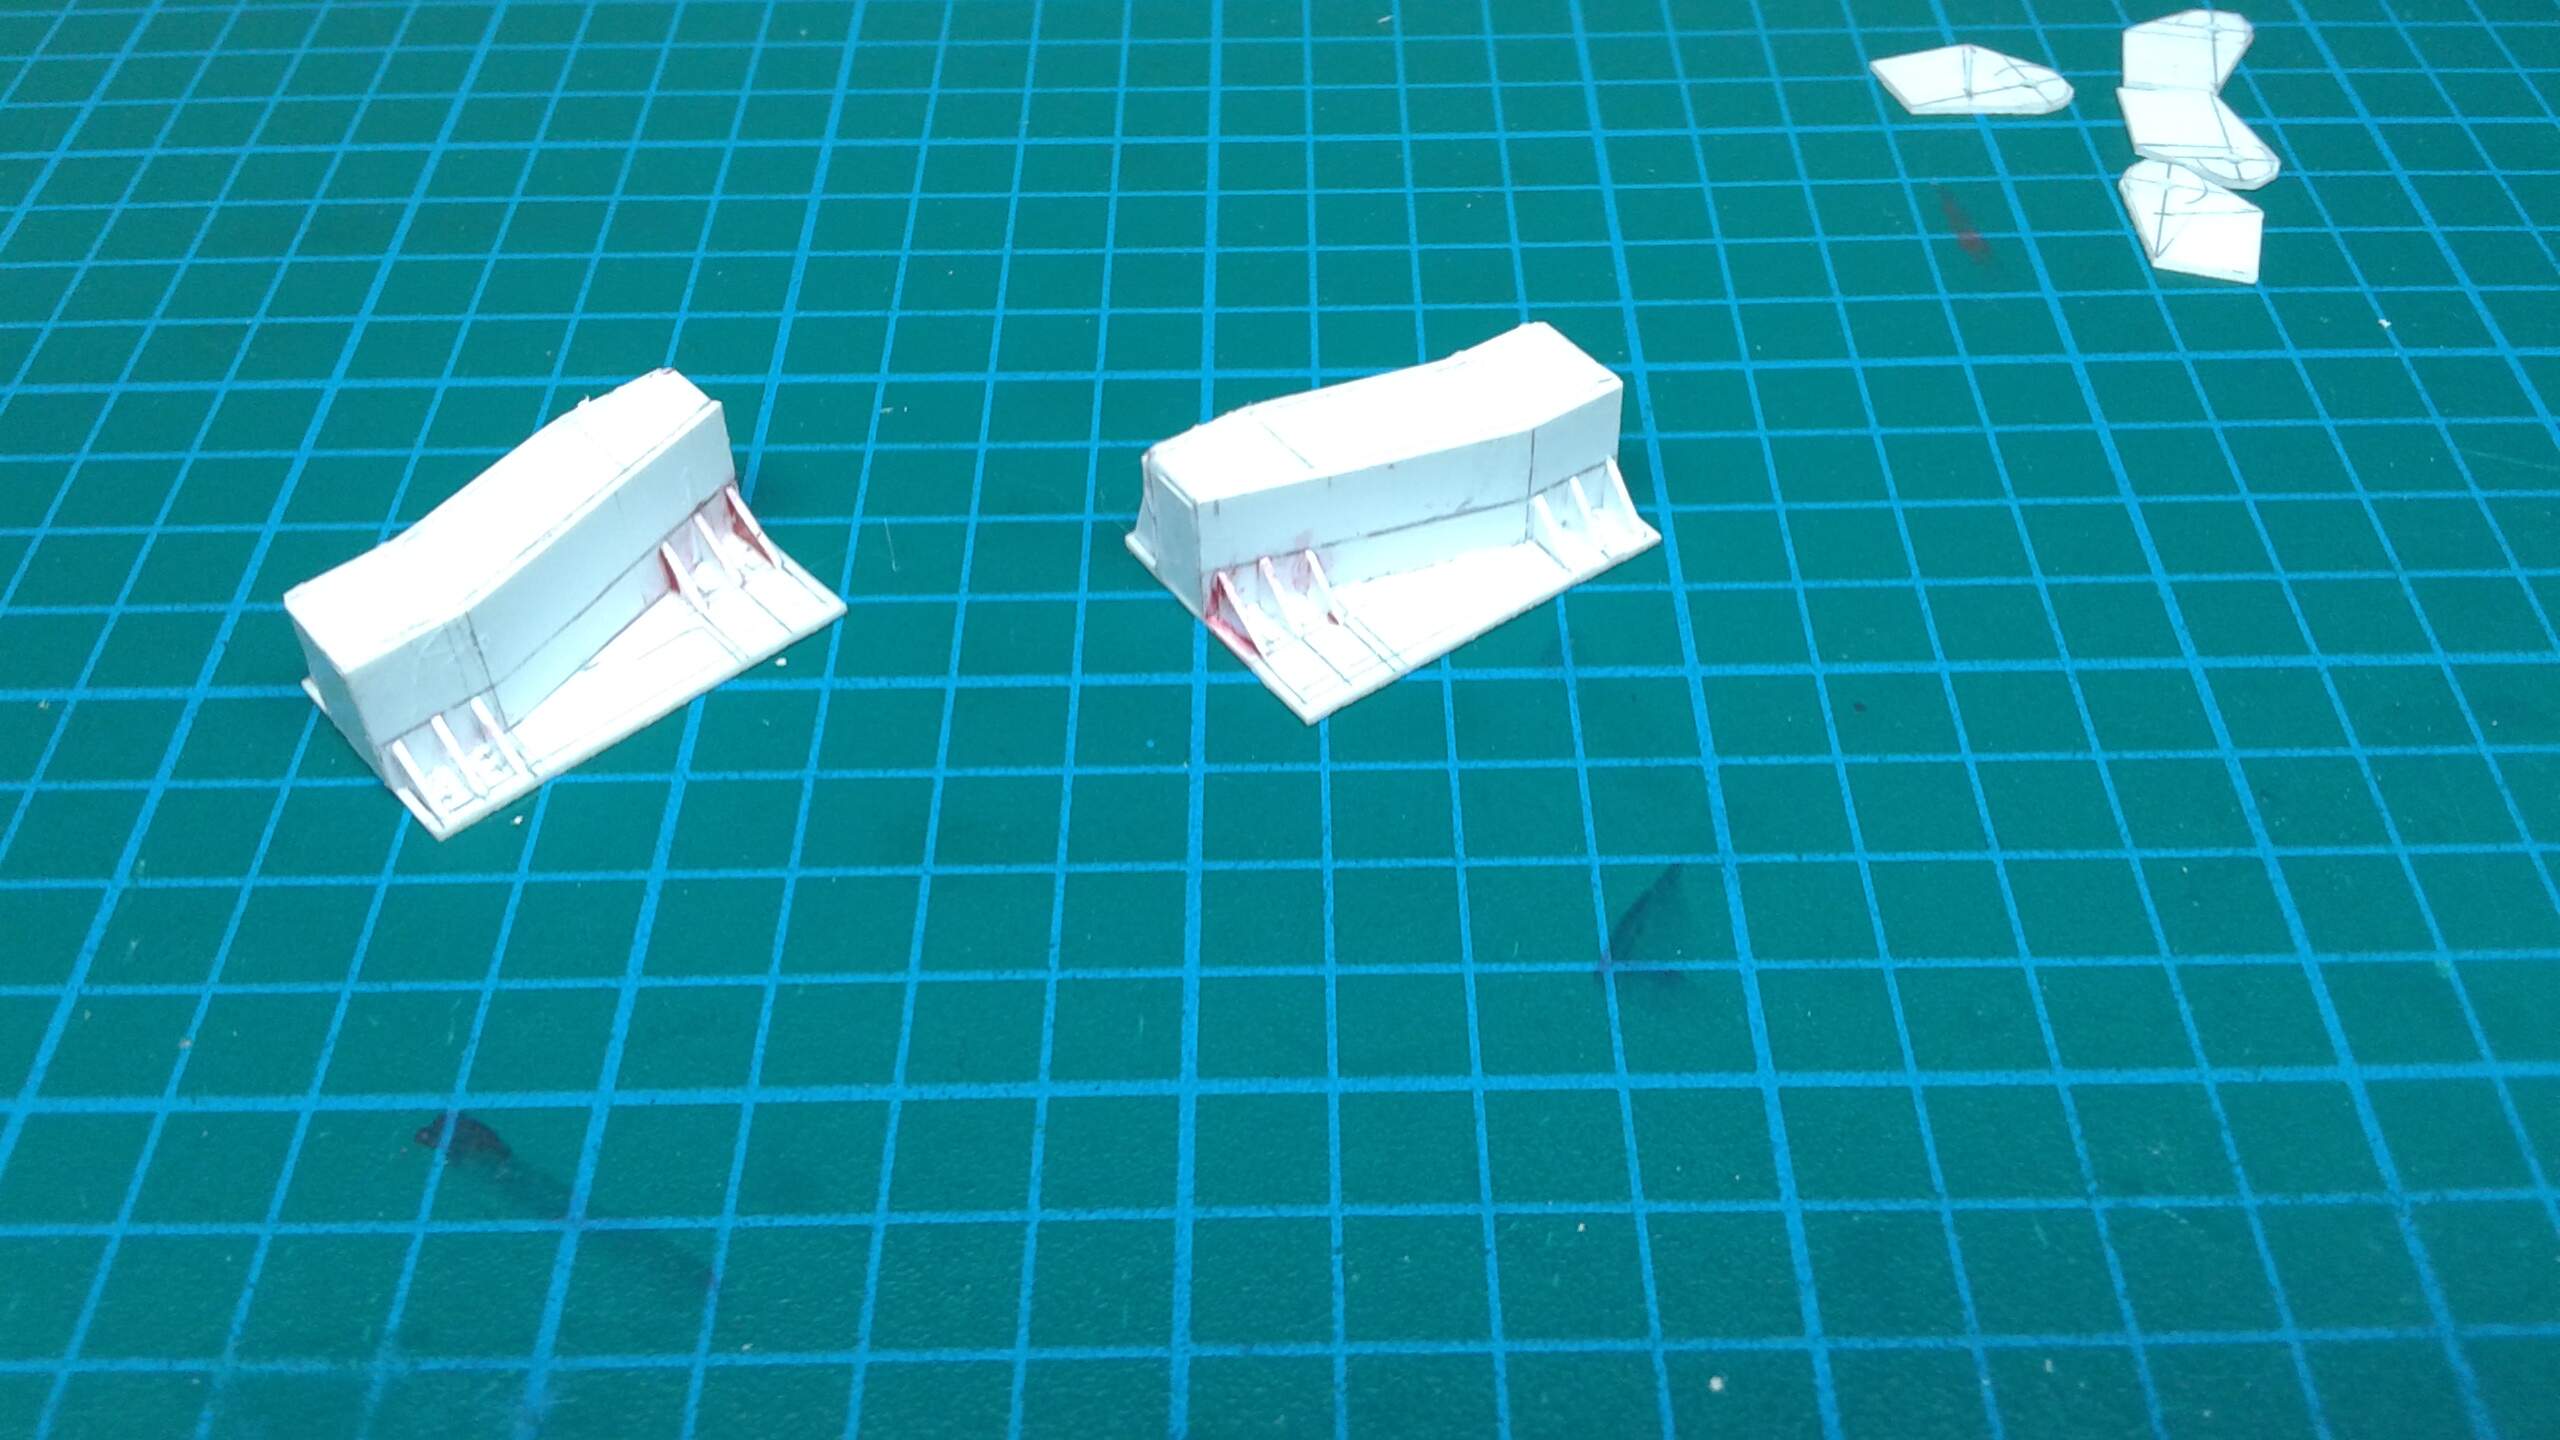
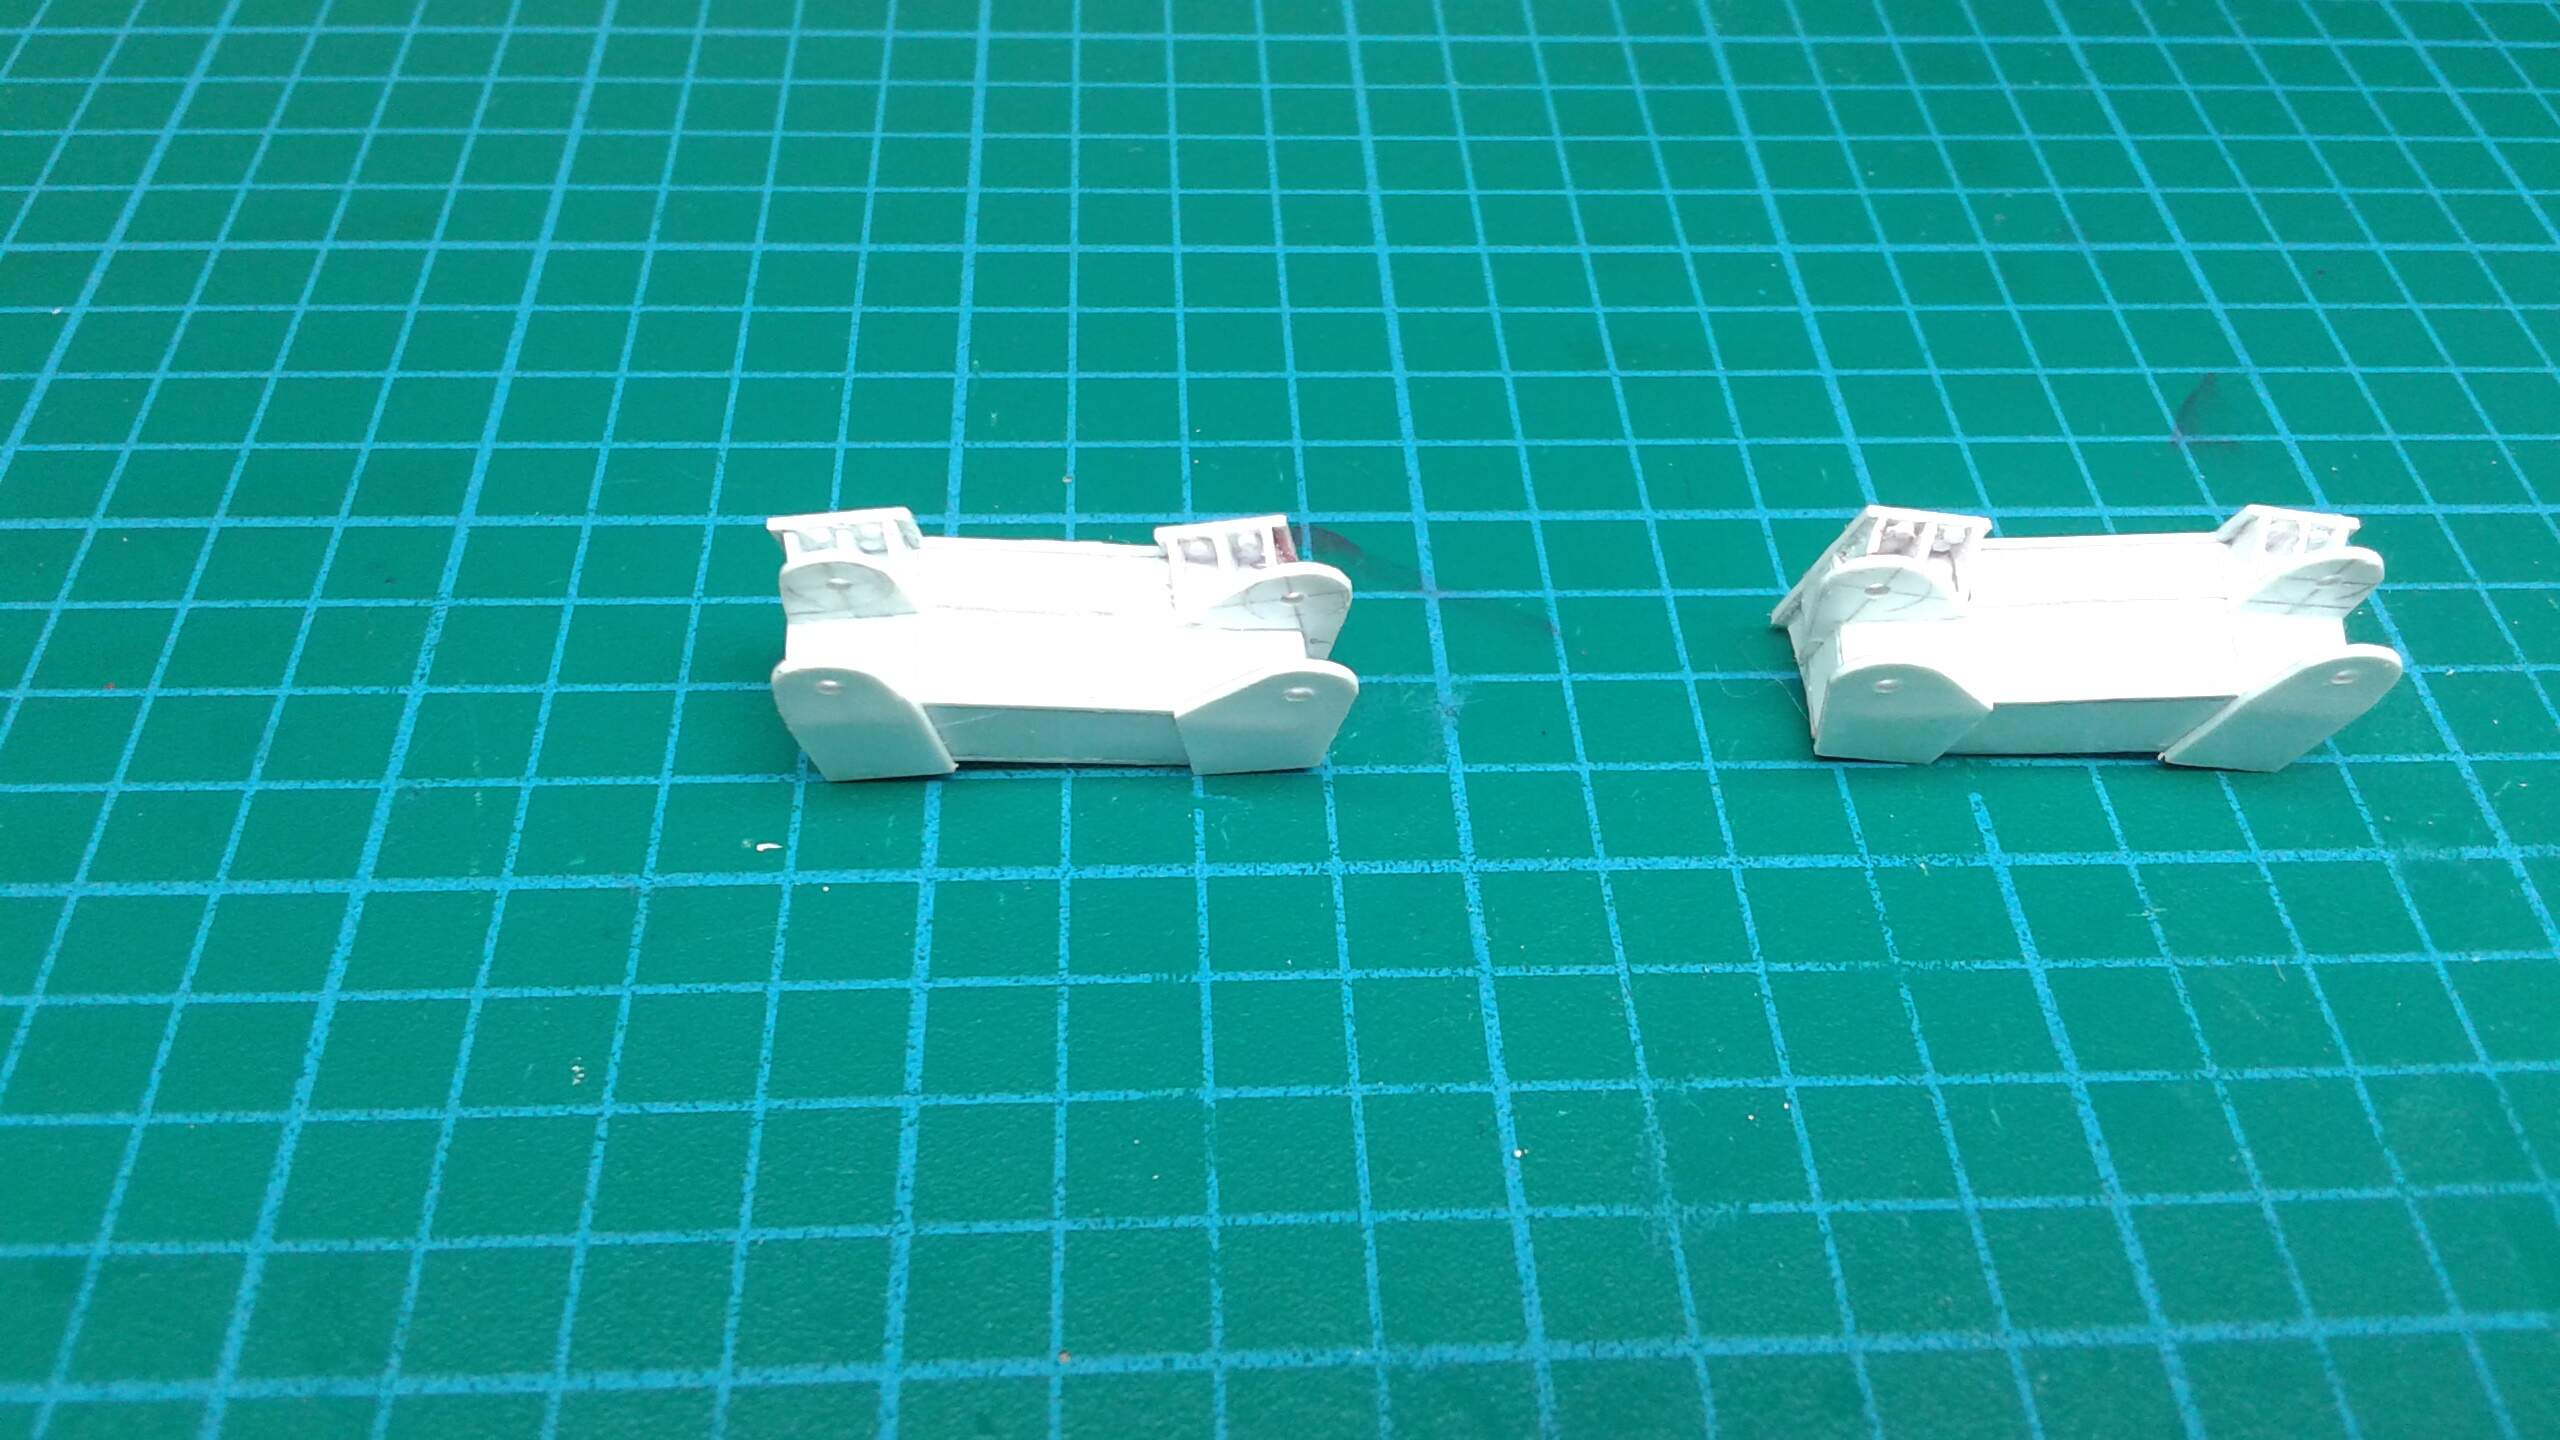
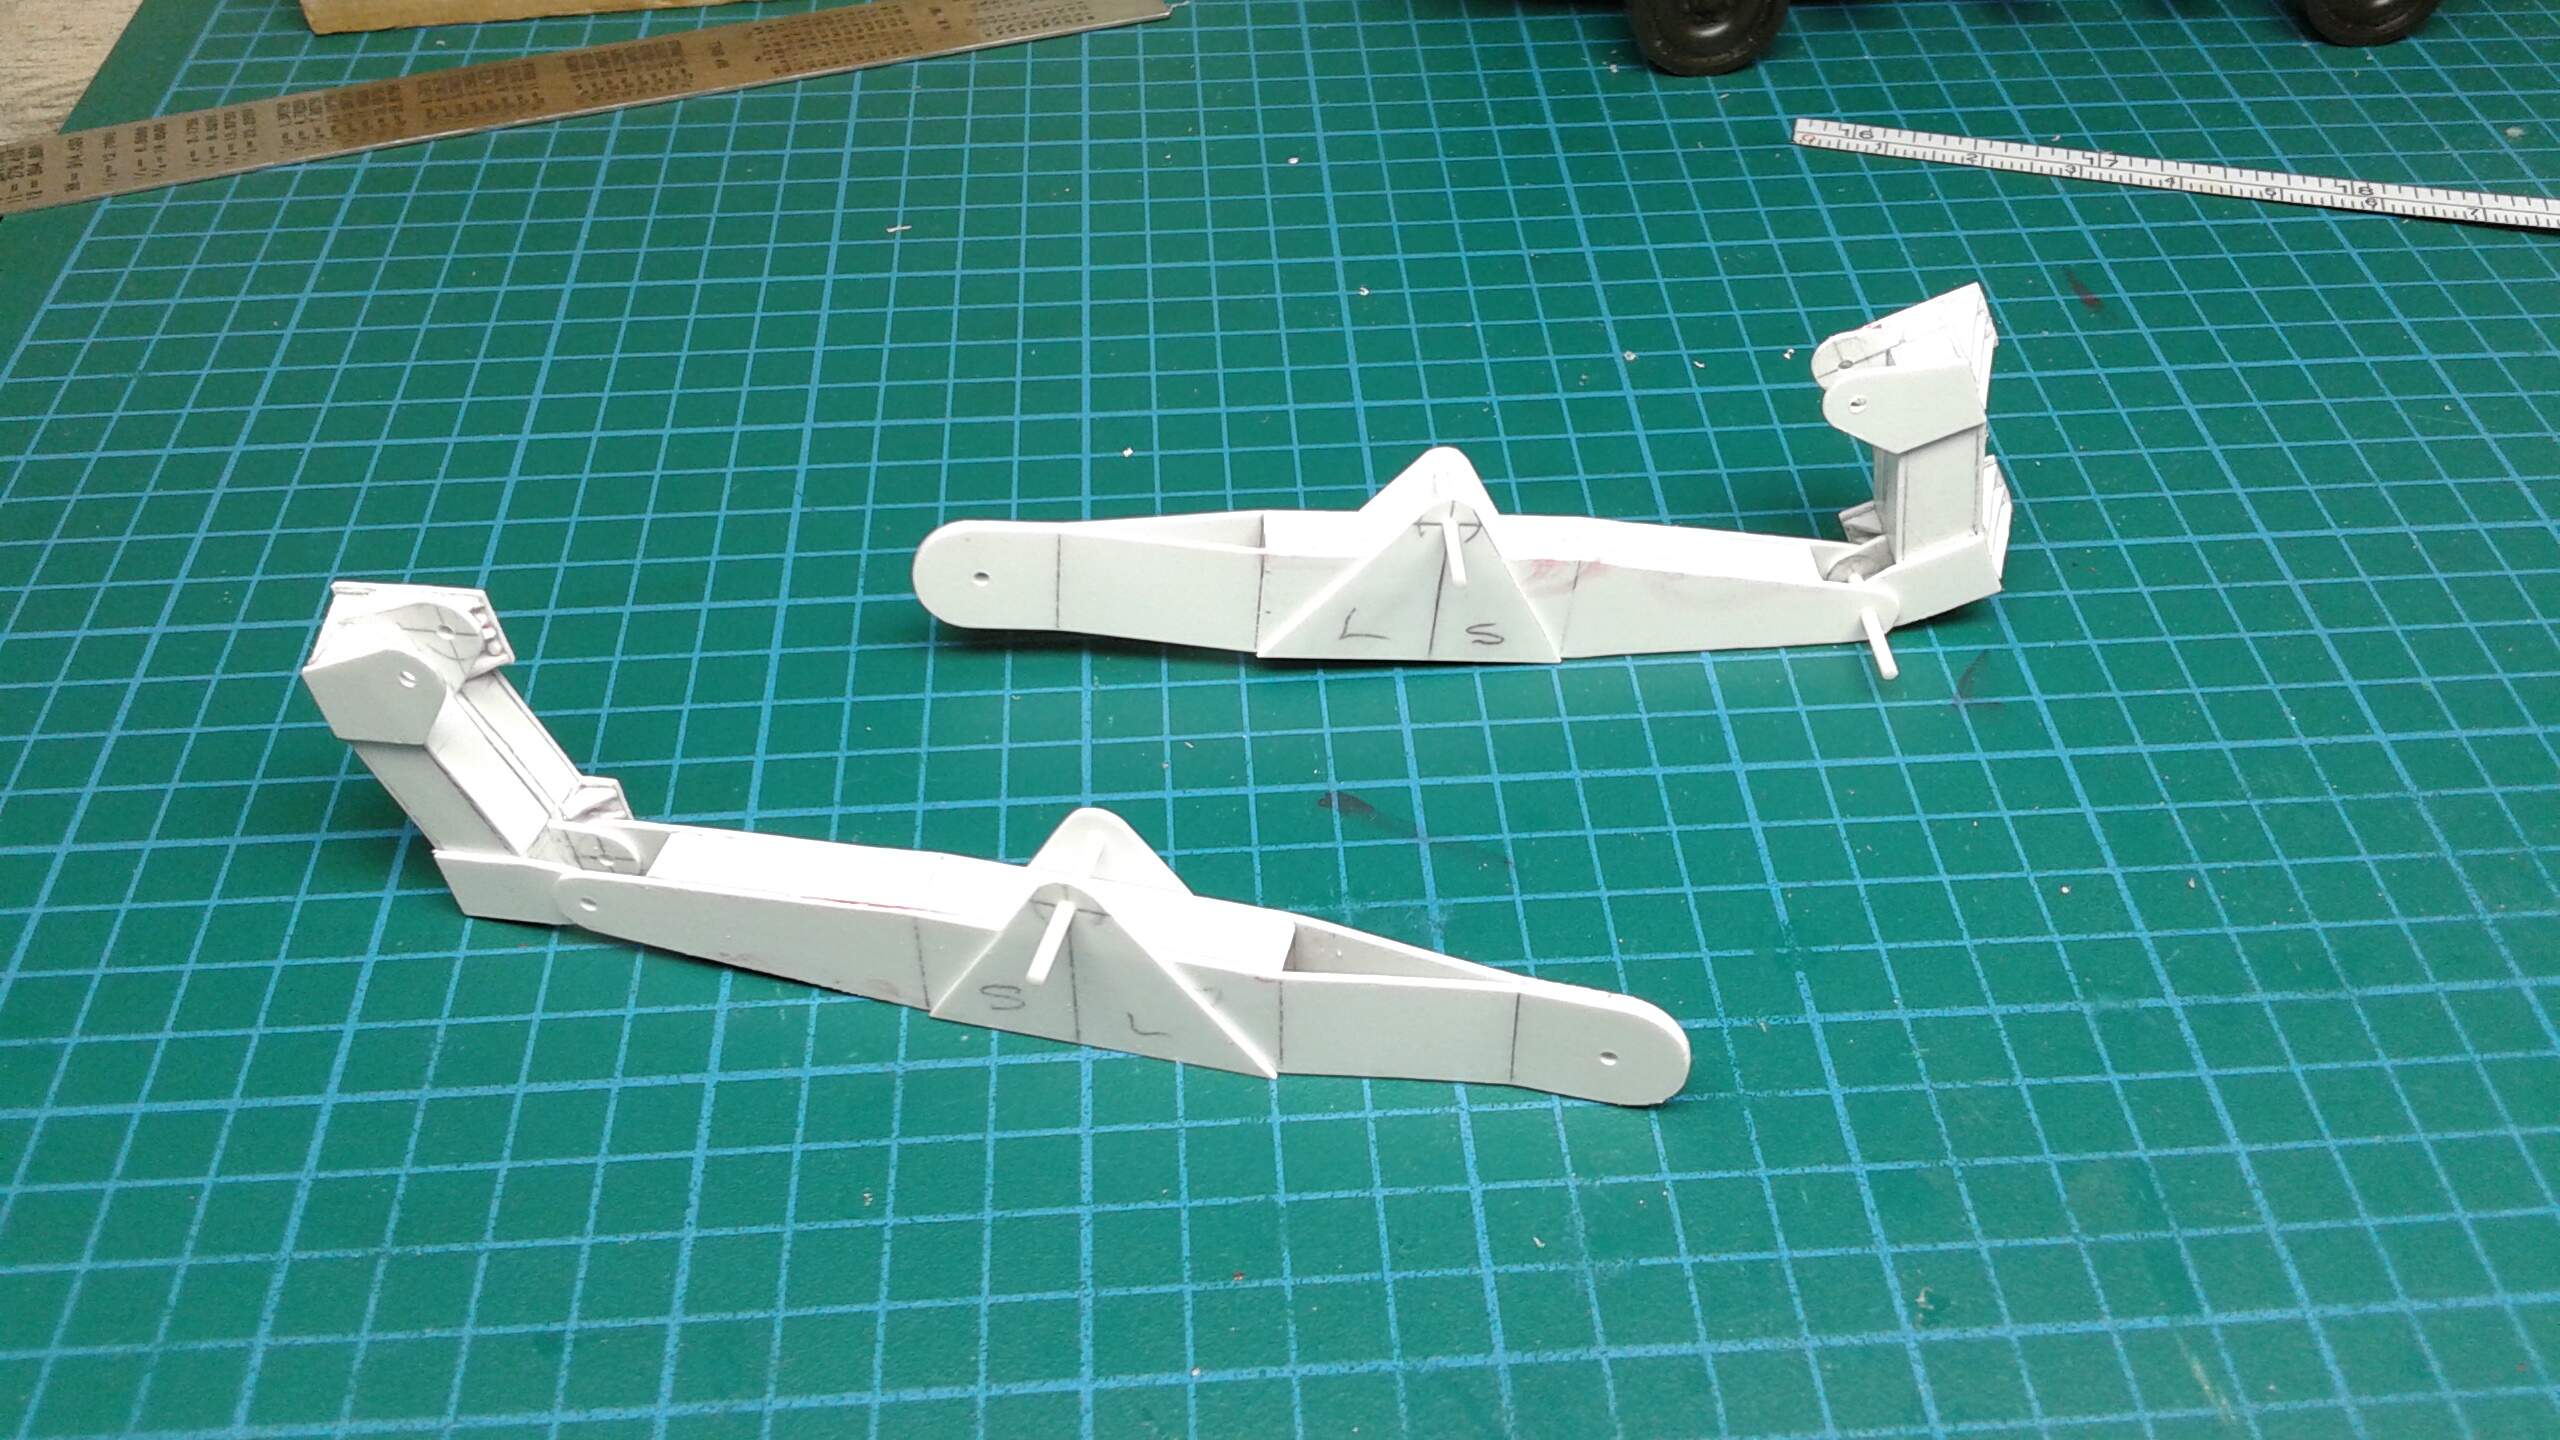
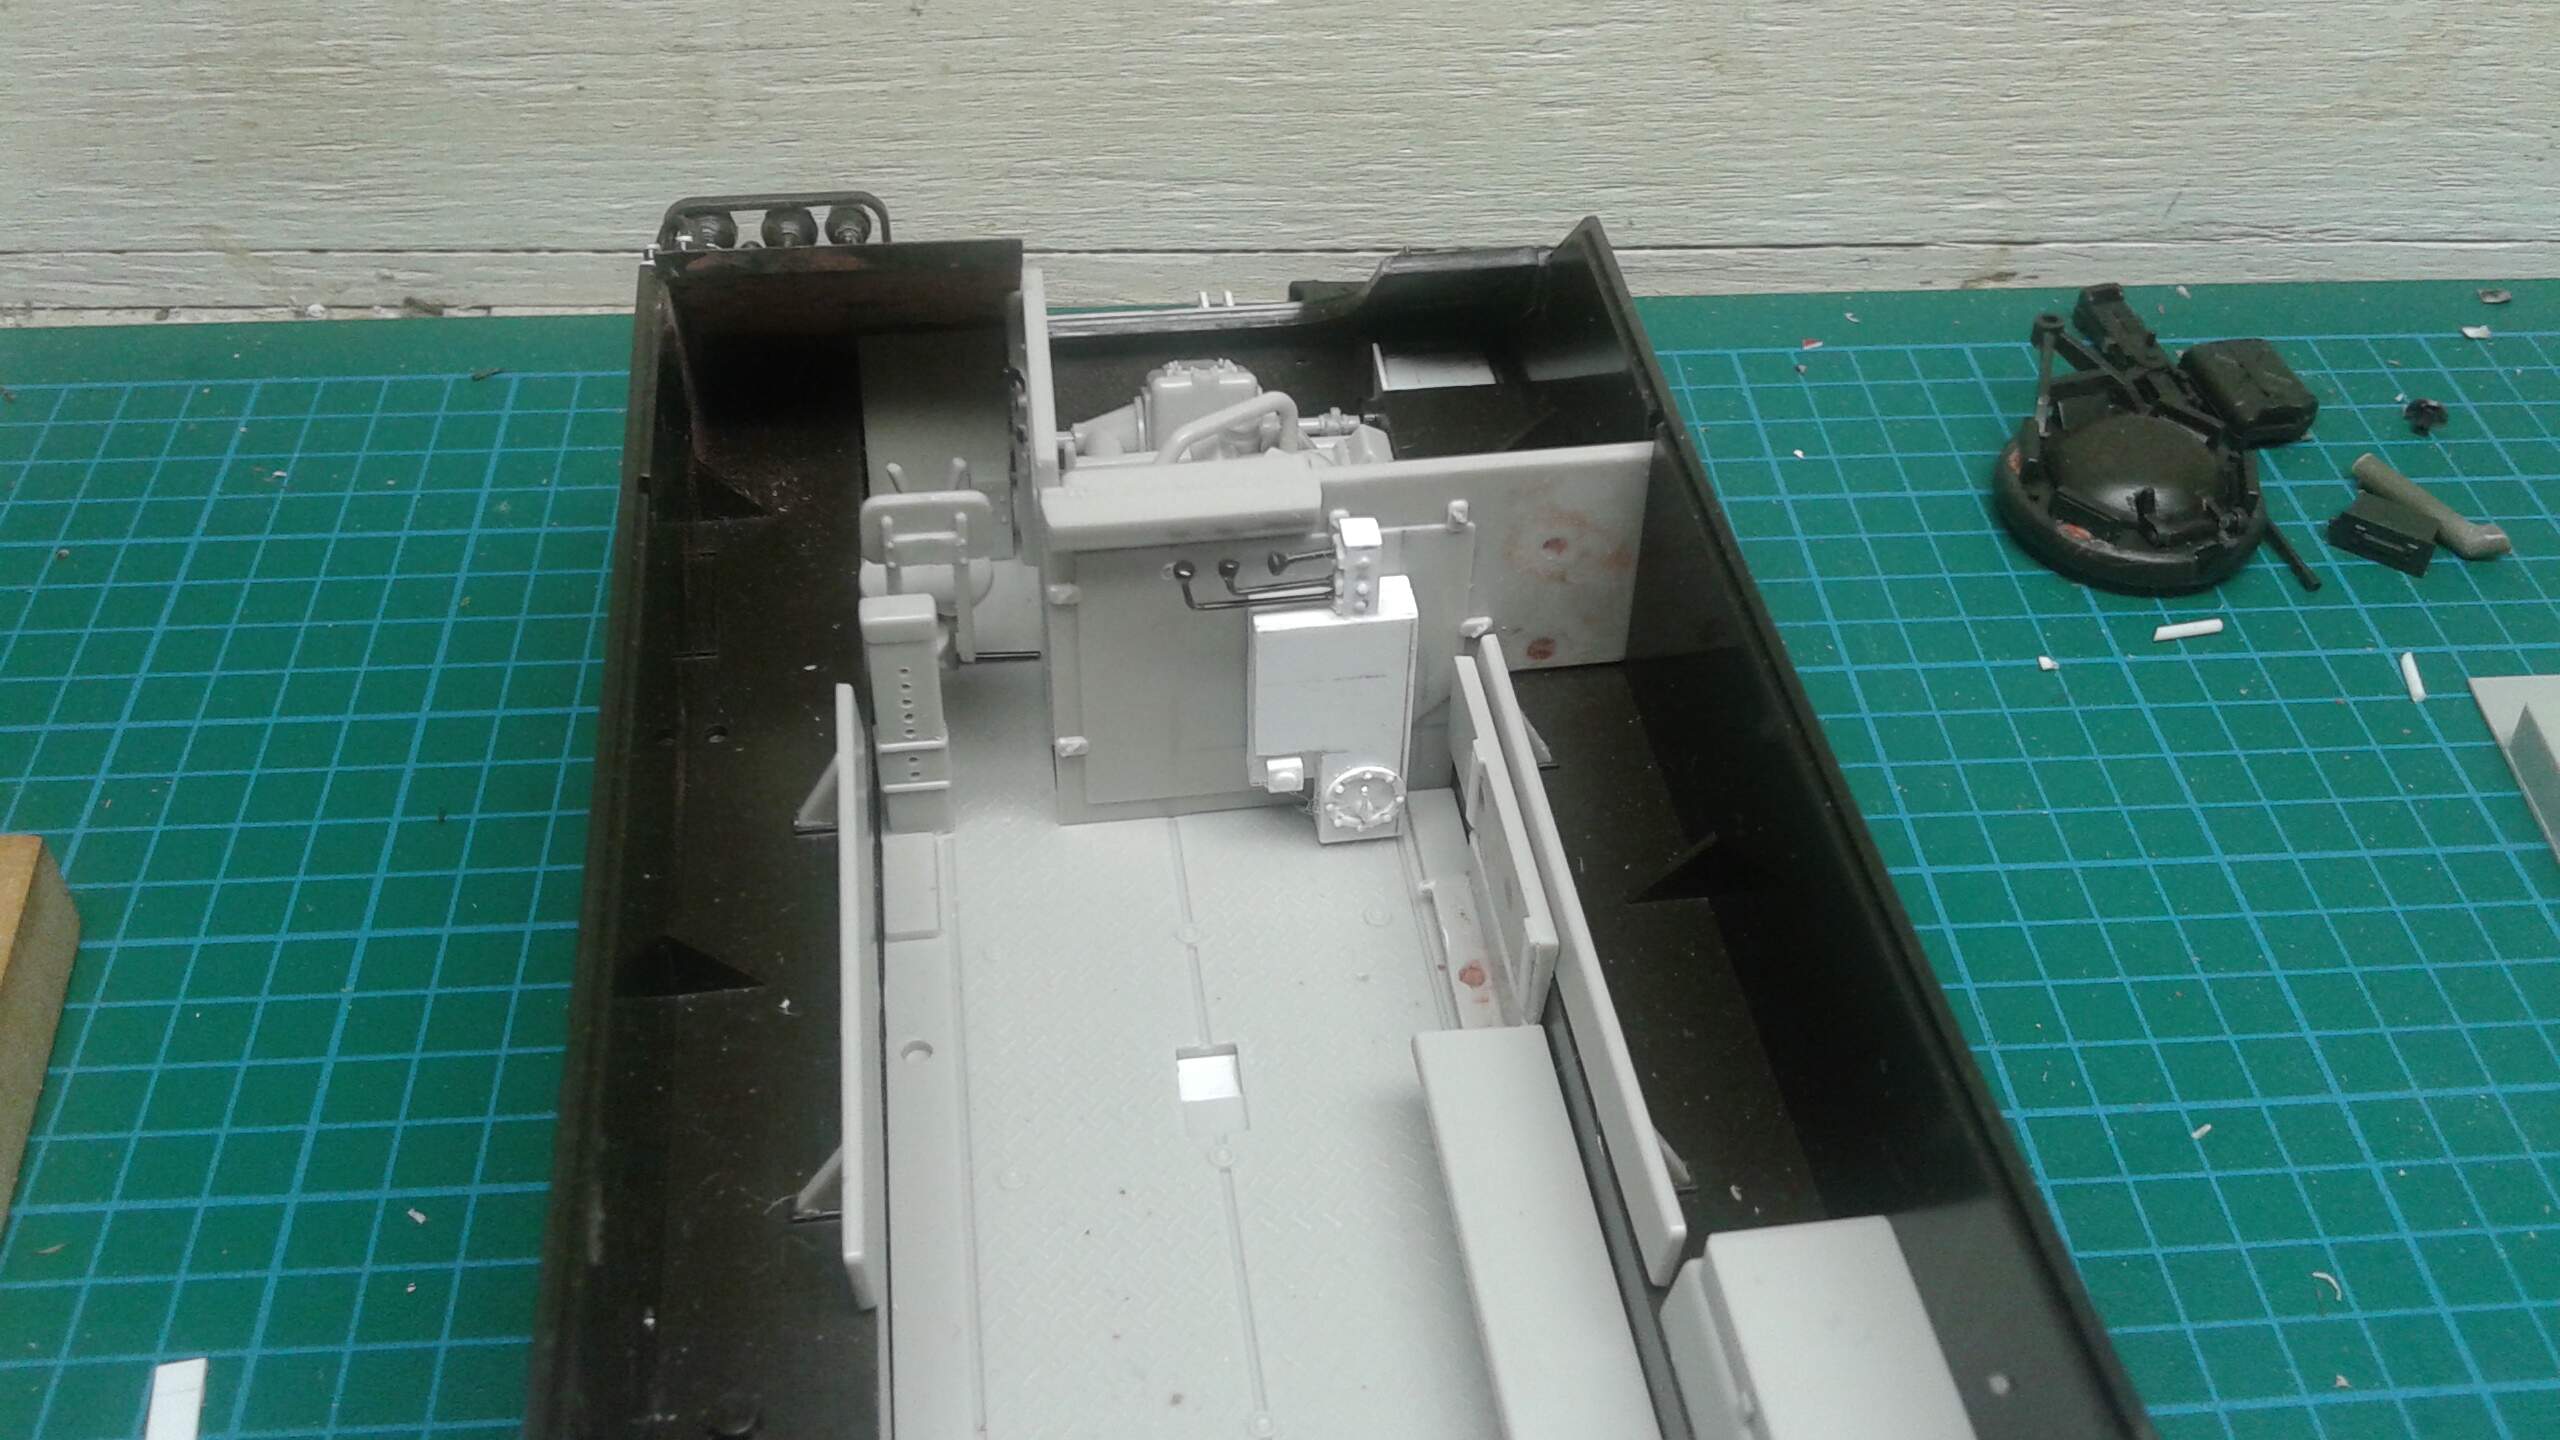
Mounting the lifting structure and the bridge to the M113. I had already calculate the location of the side brackets and the height off the roof before I started building everything.
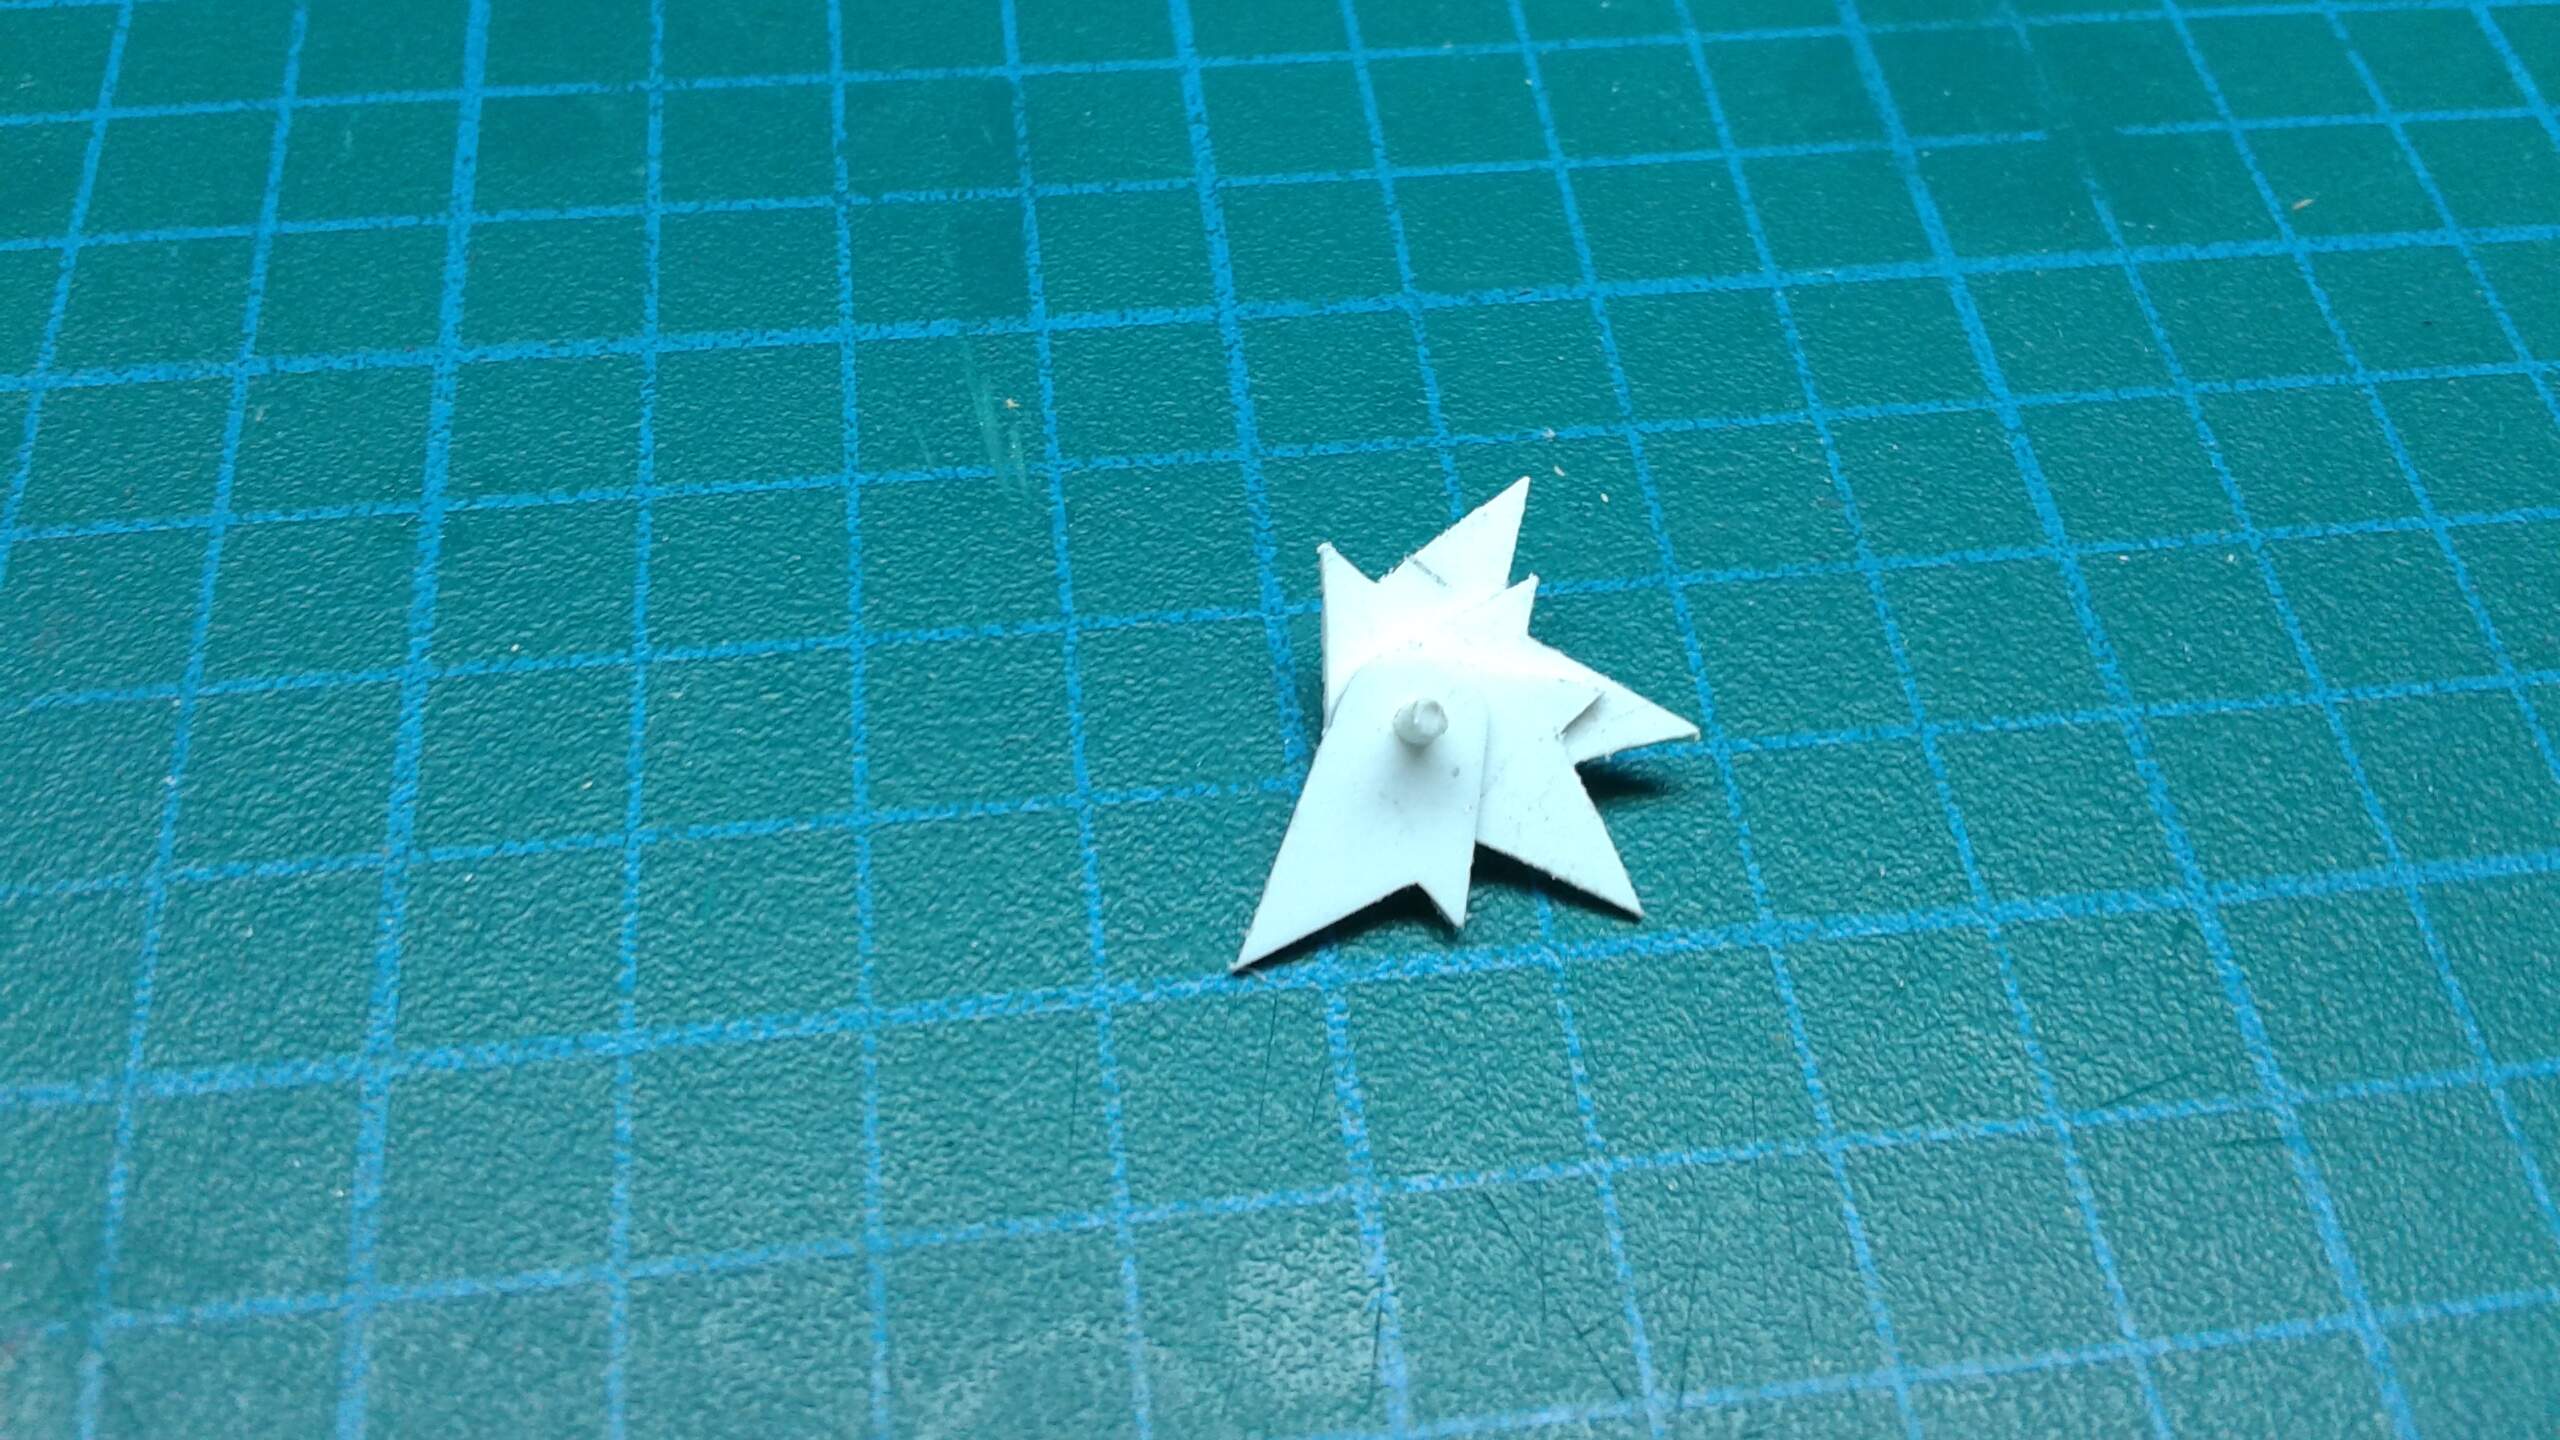
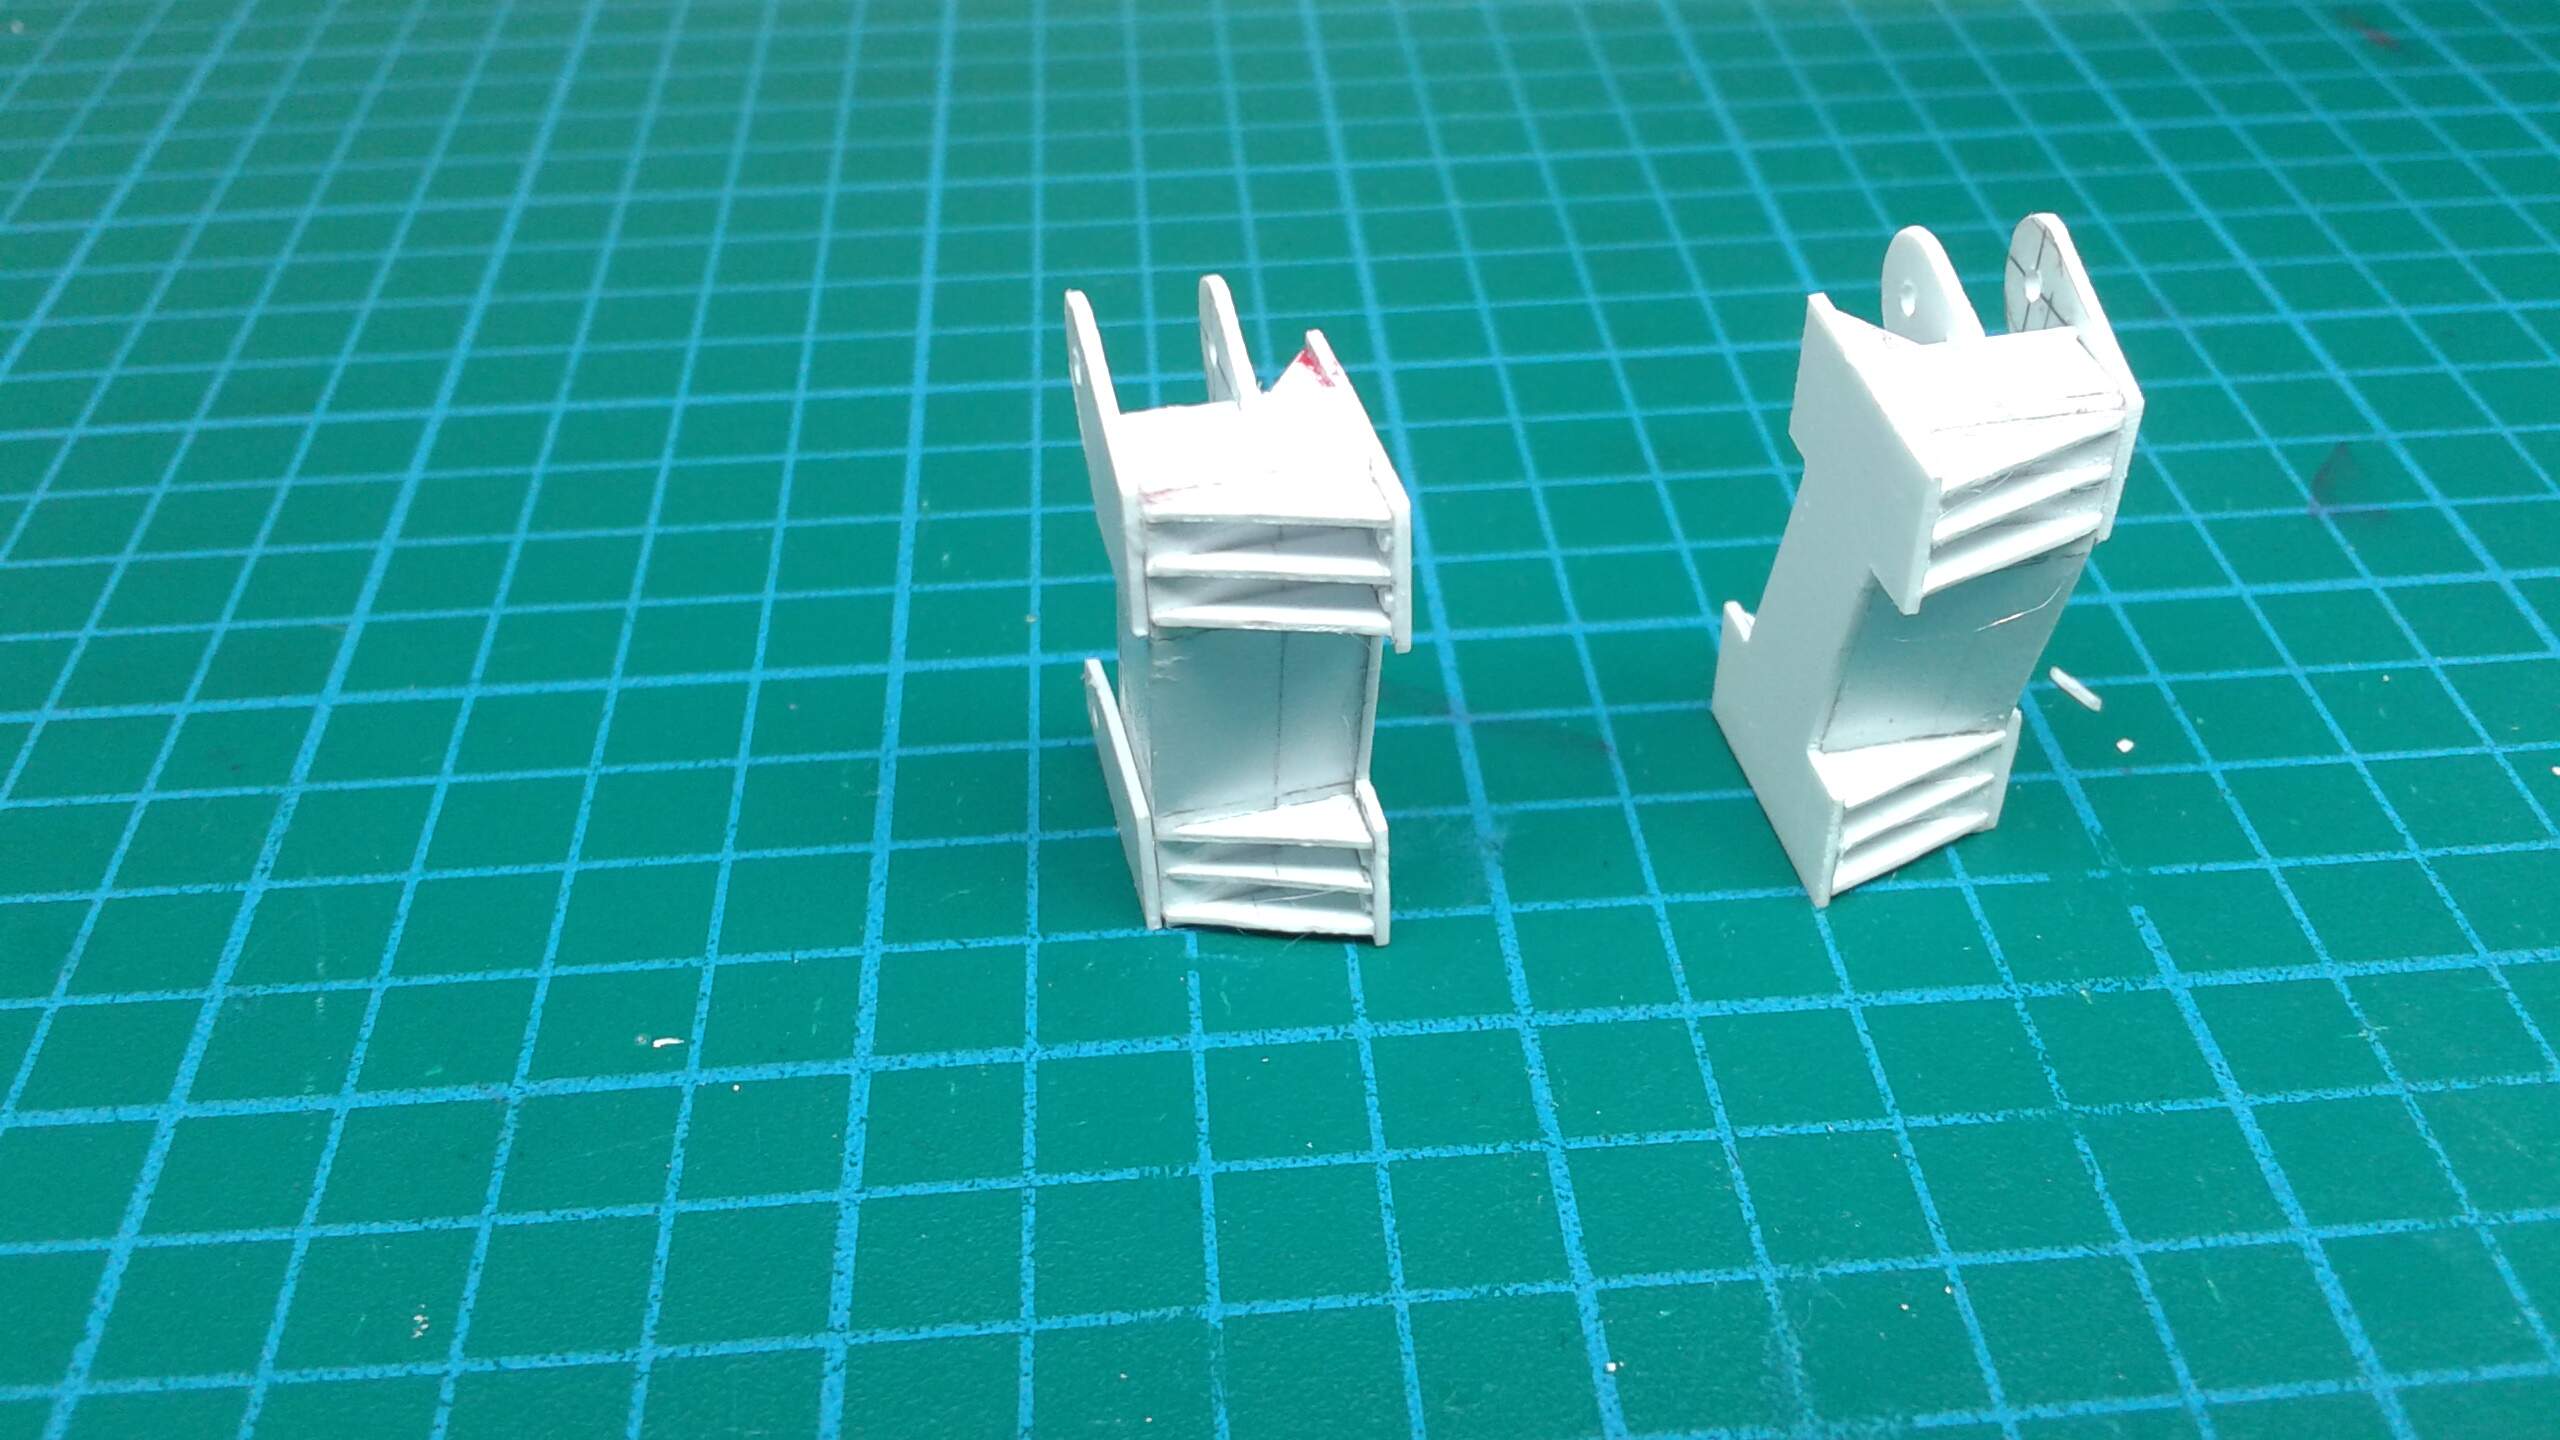
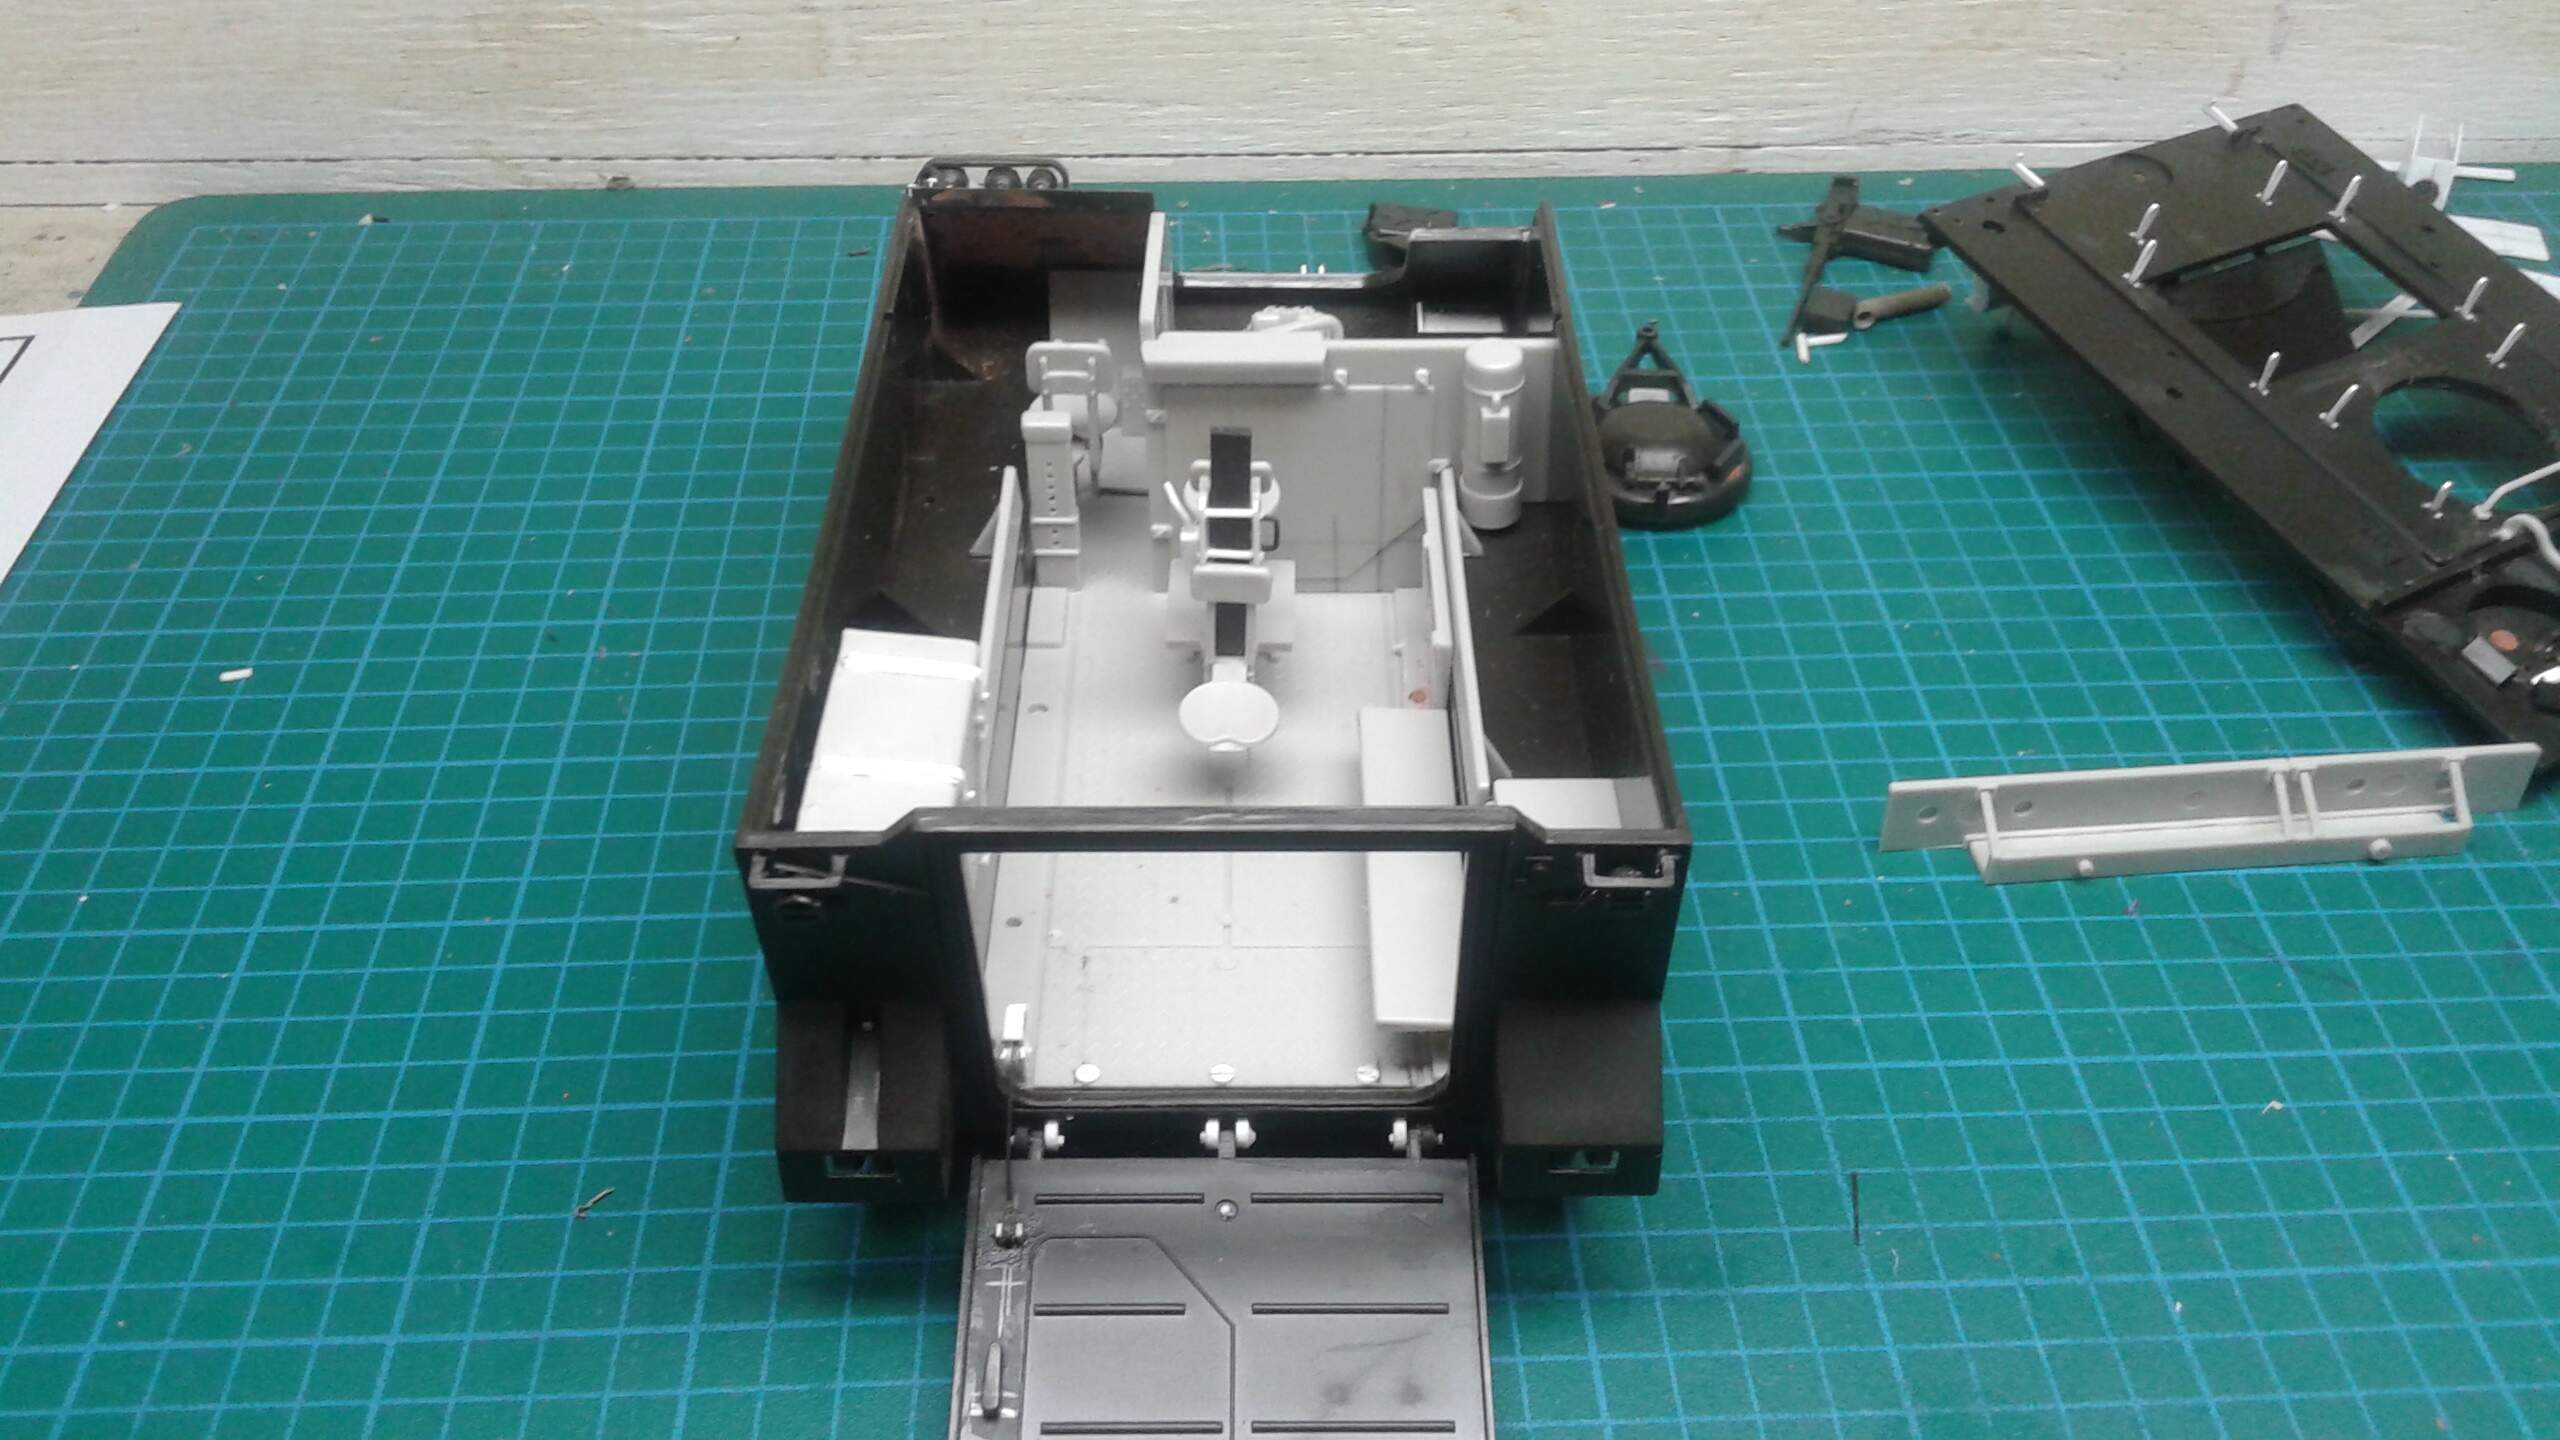
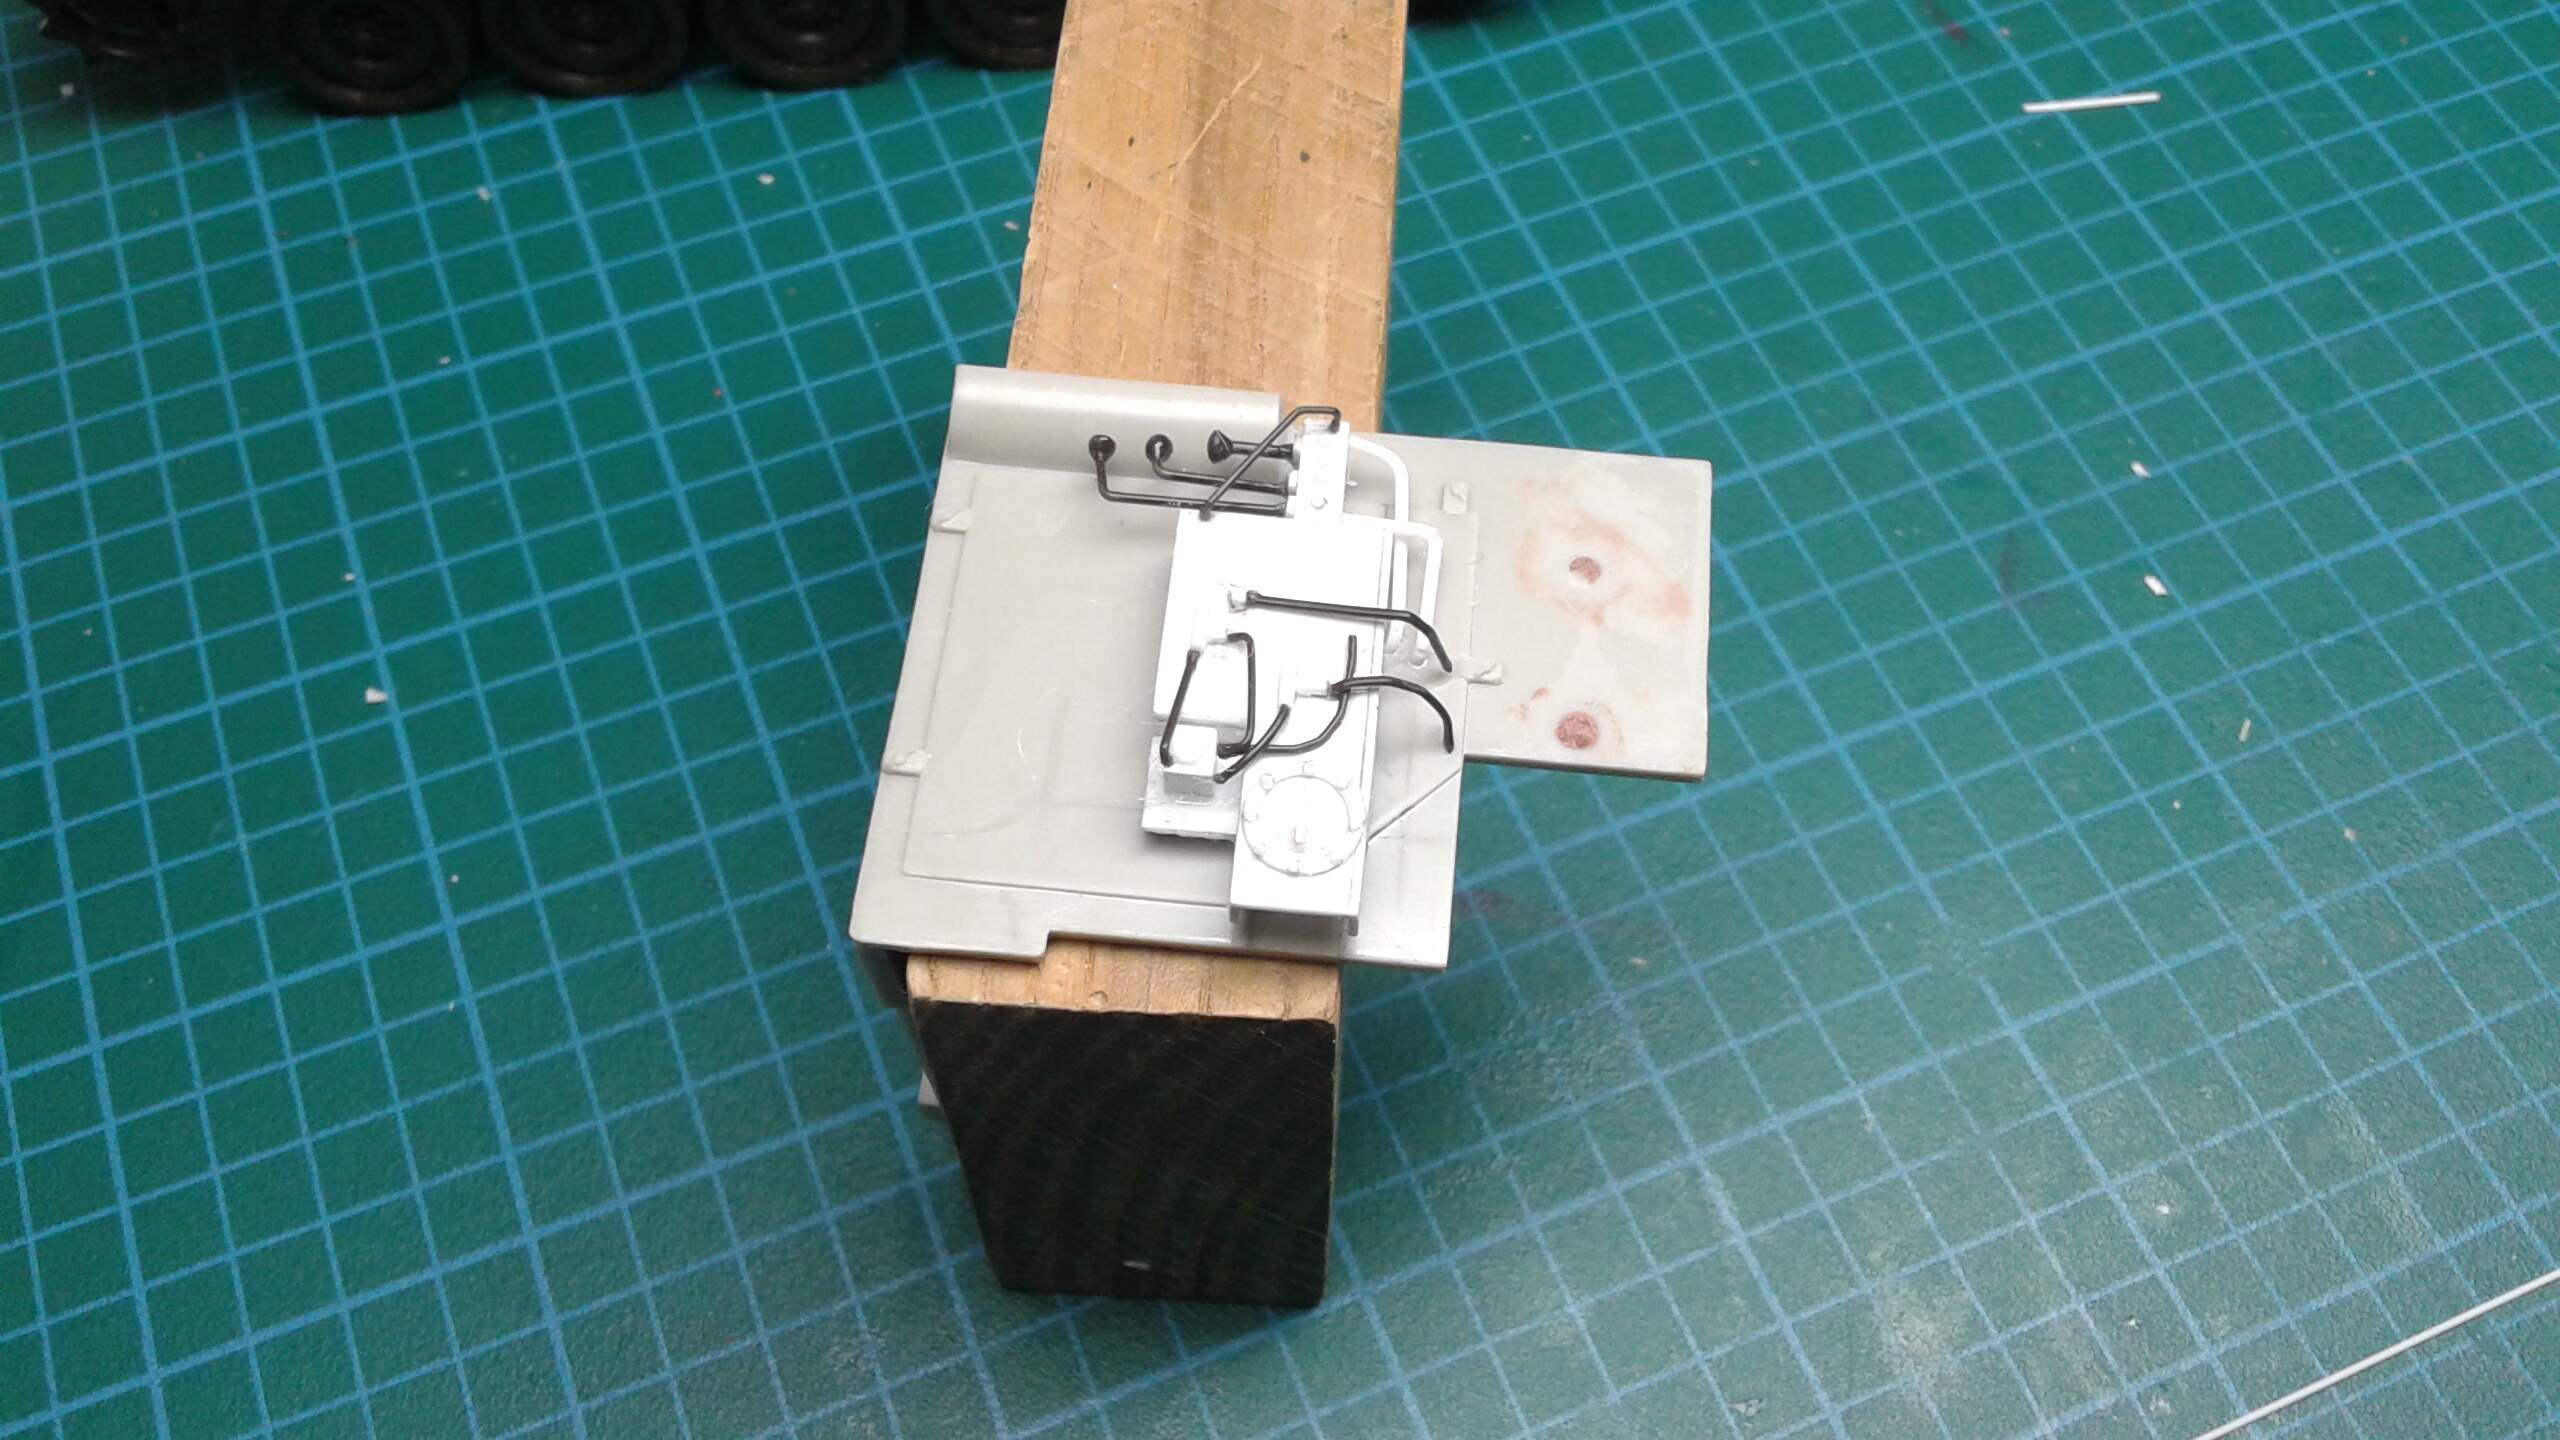
Commander station bridge control leavers.
Drivers Station.
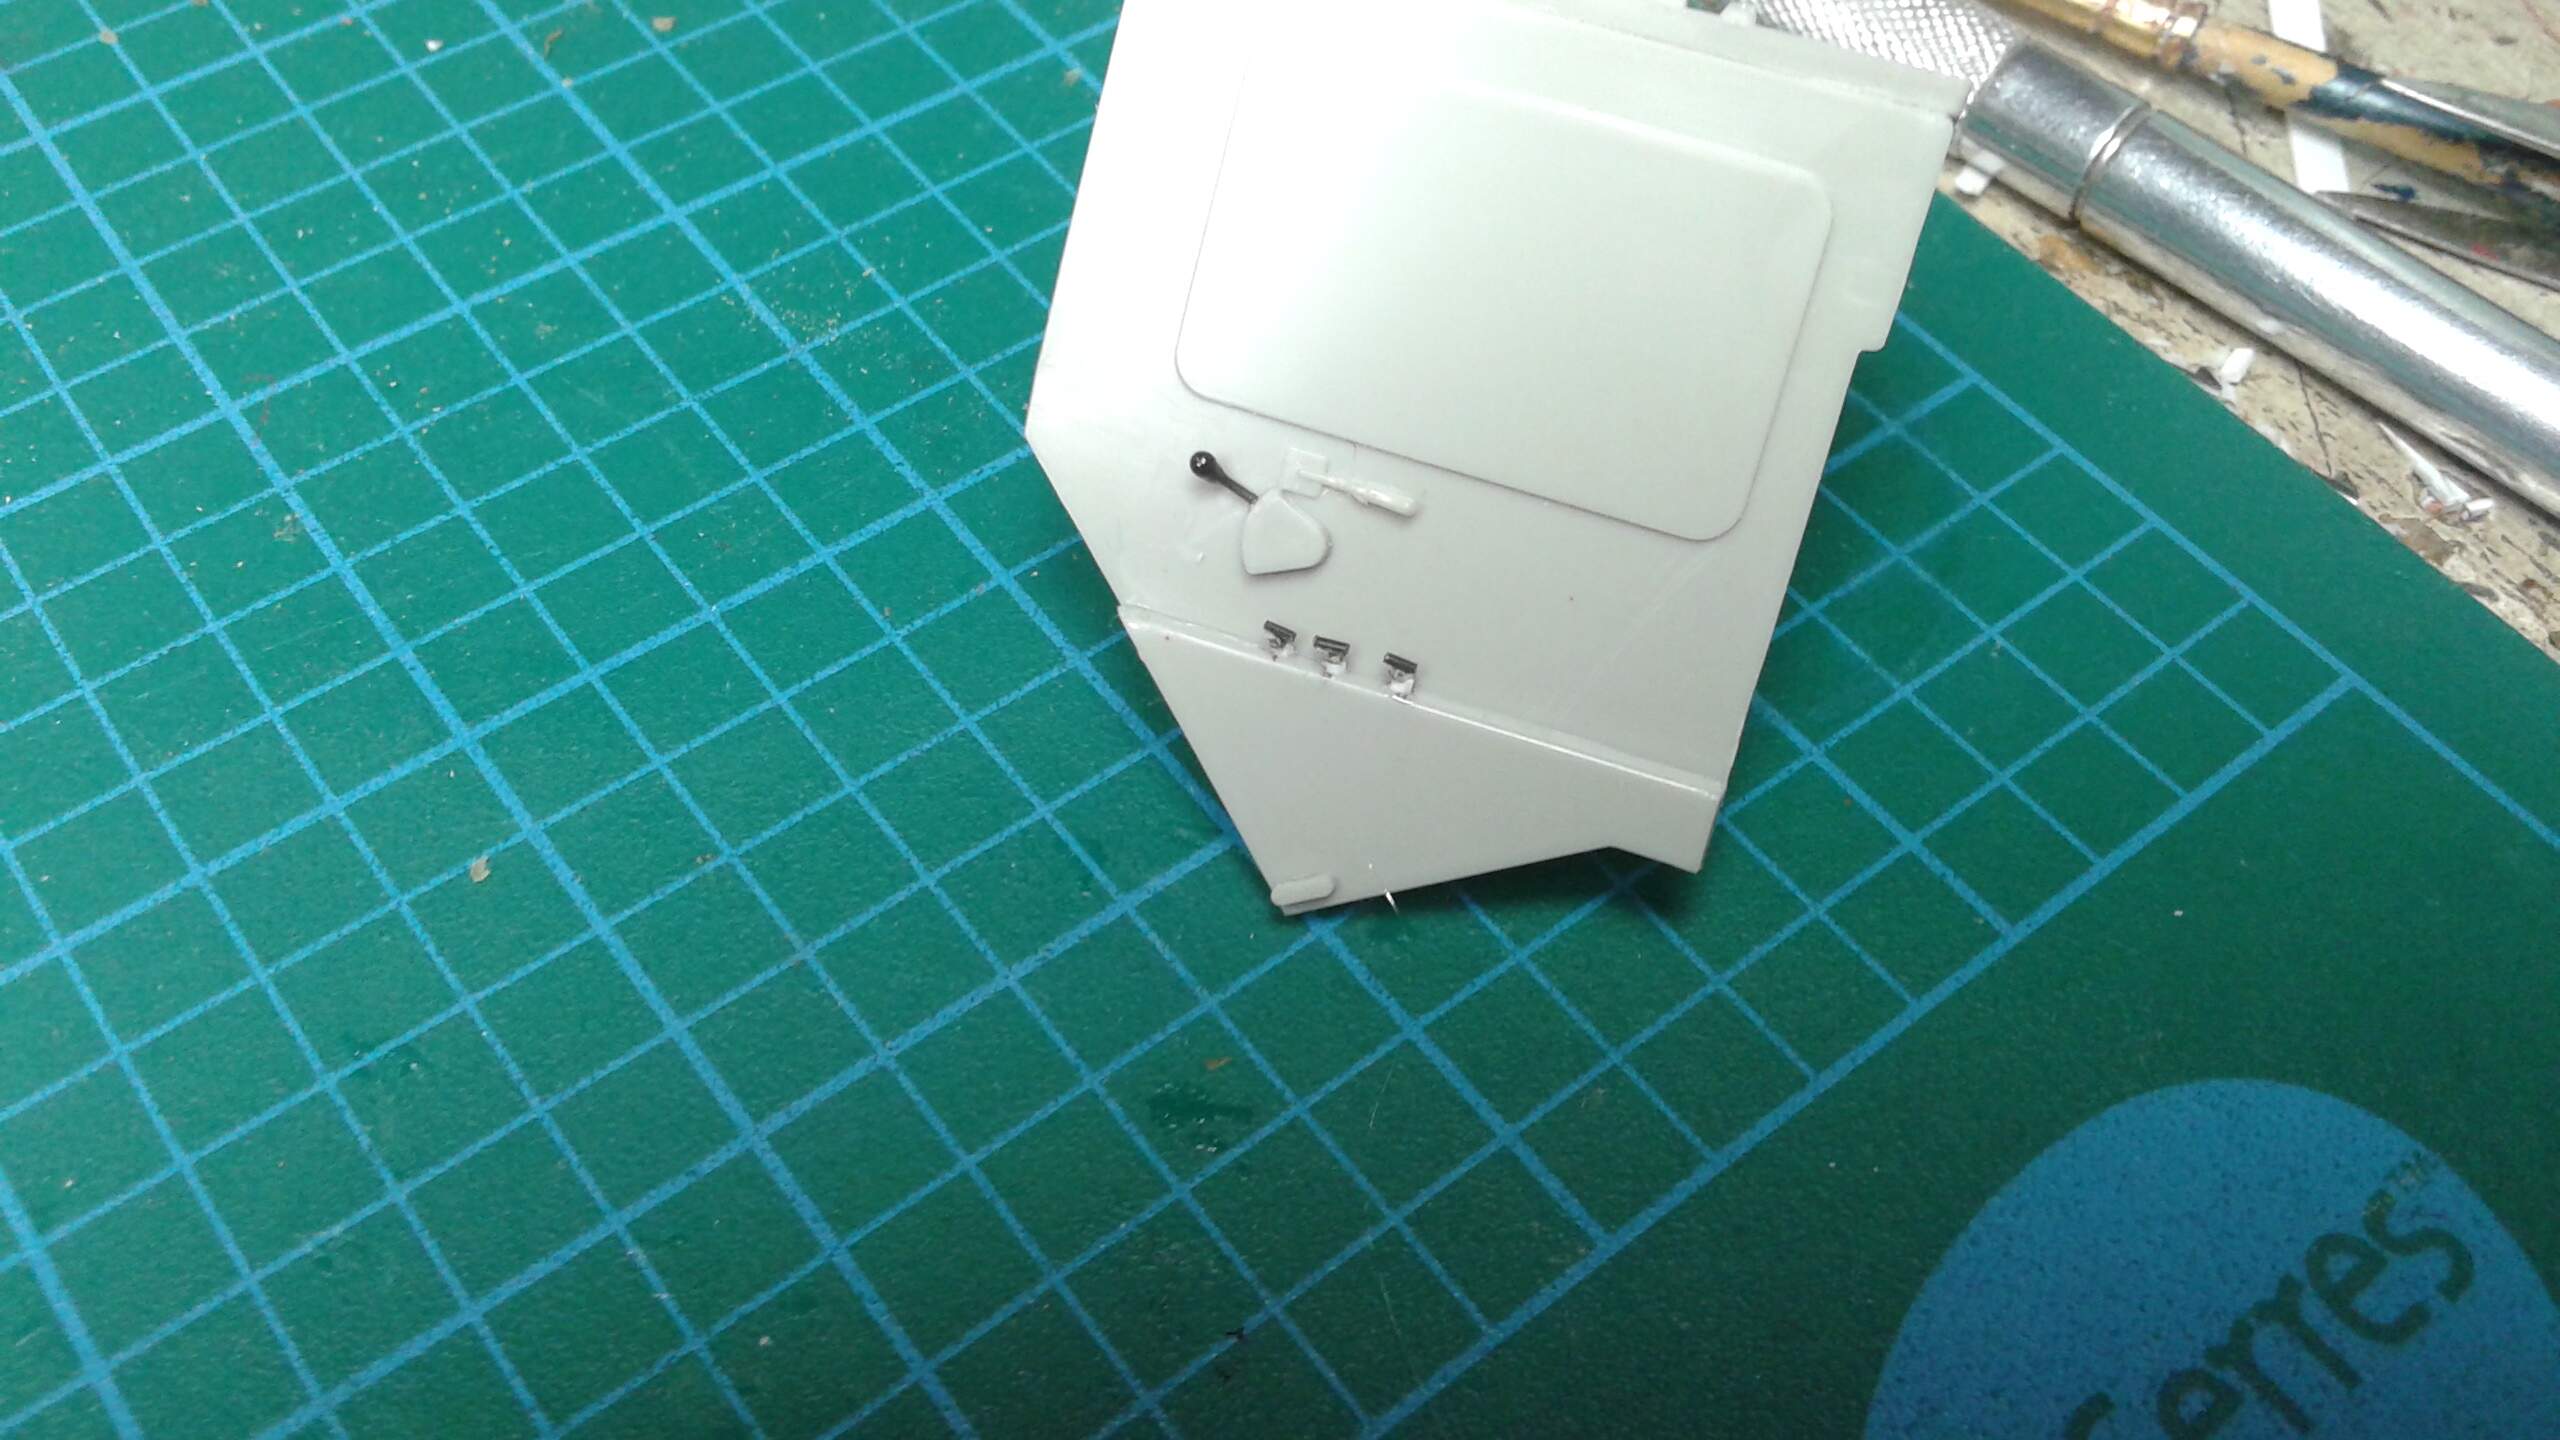
Drivers hatch changes as per Gino or Heavy Harty suggestion in the old forum.
The details look great.
Ryan… Thank you very much for the compliment.
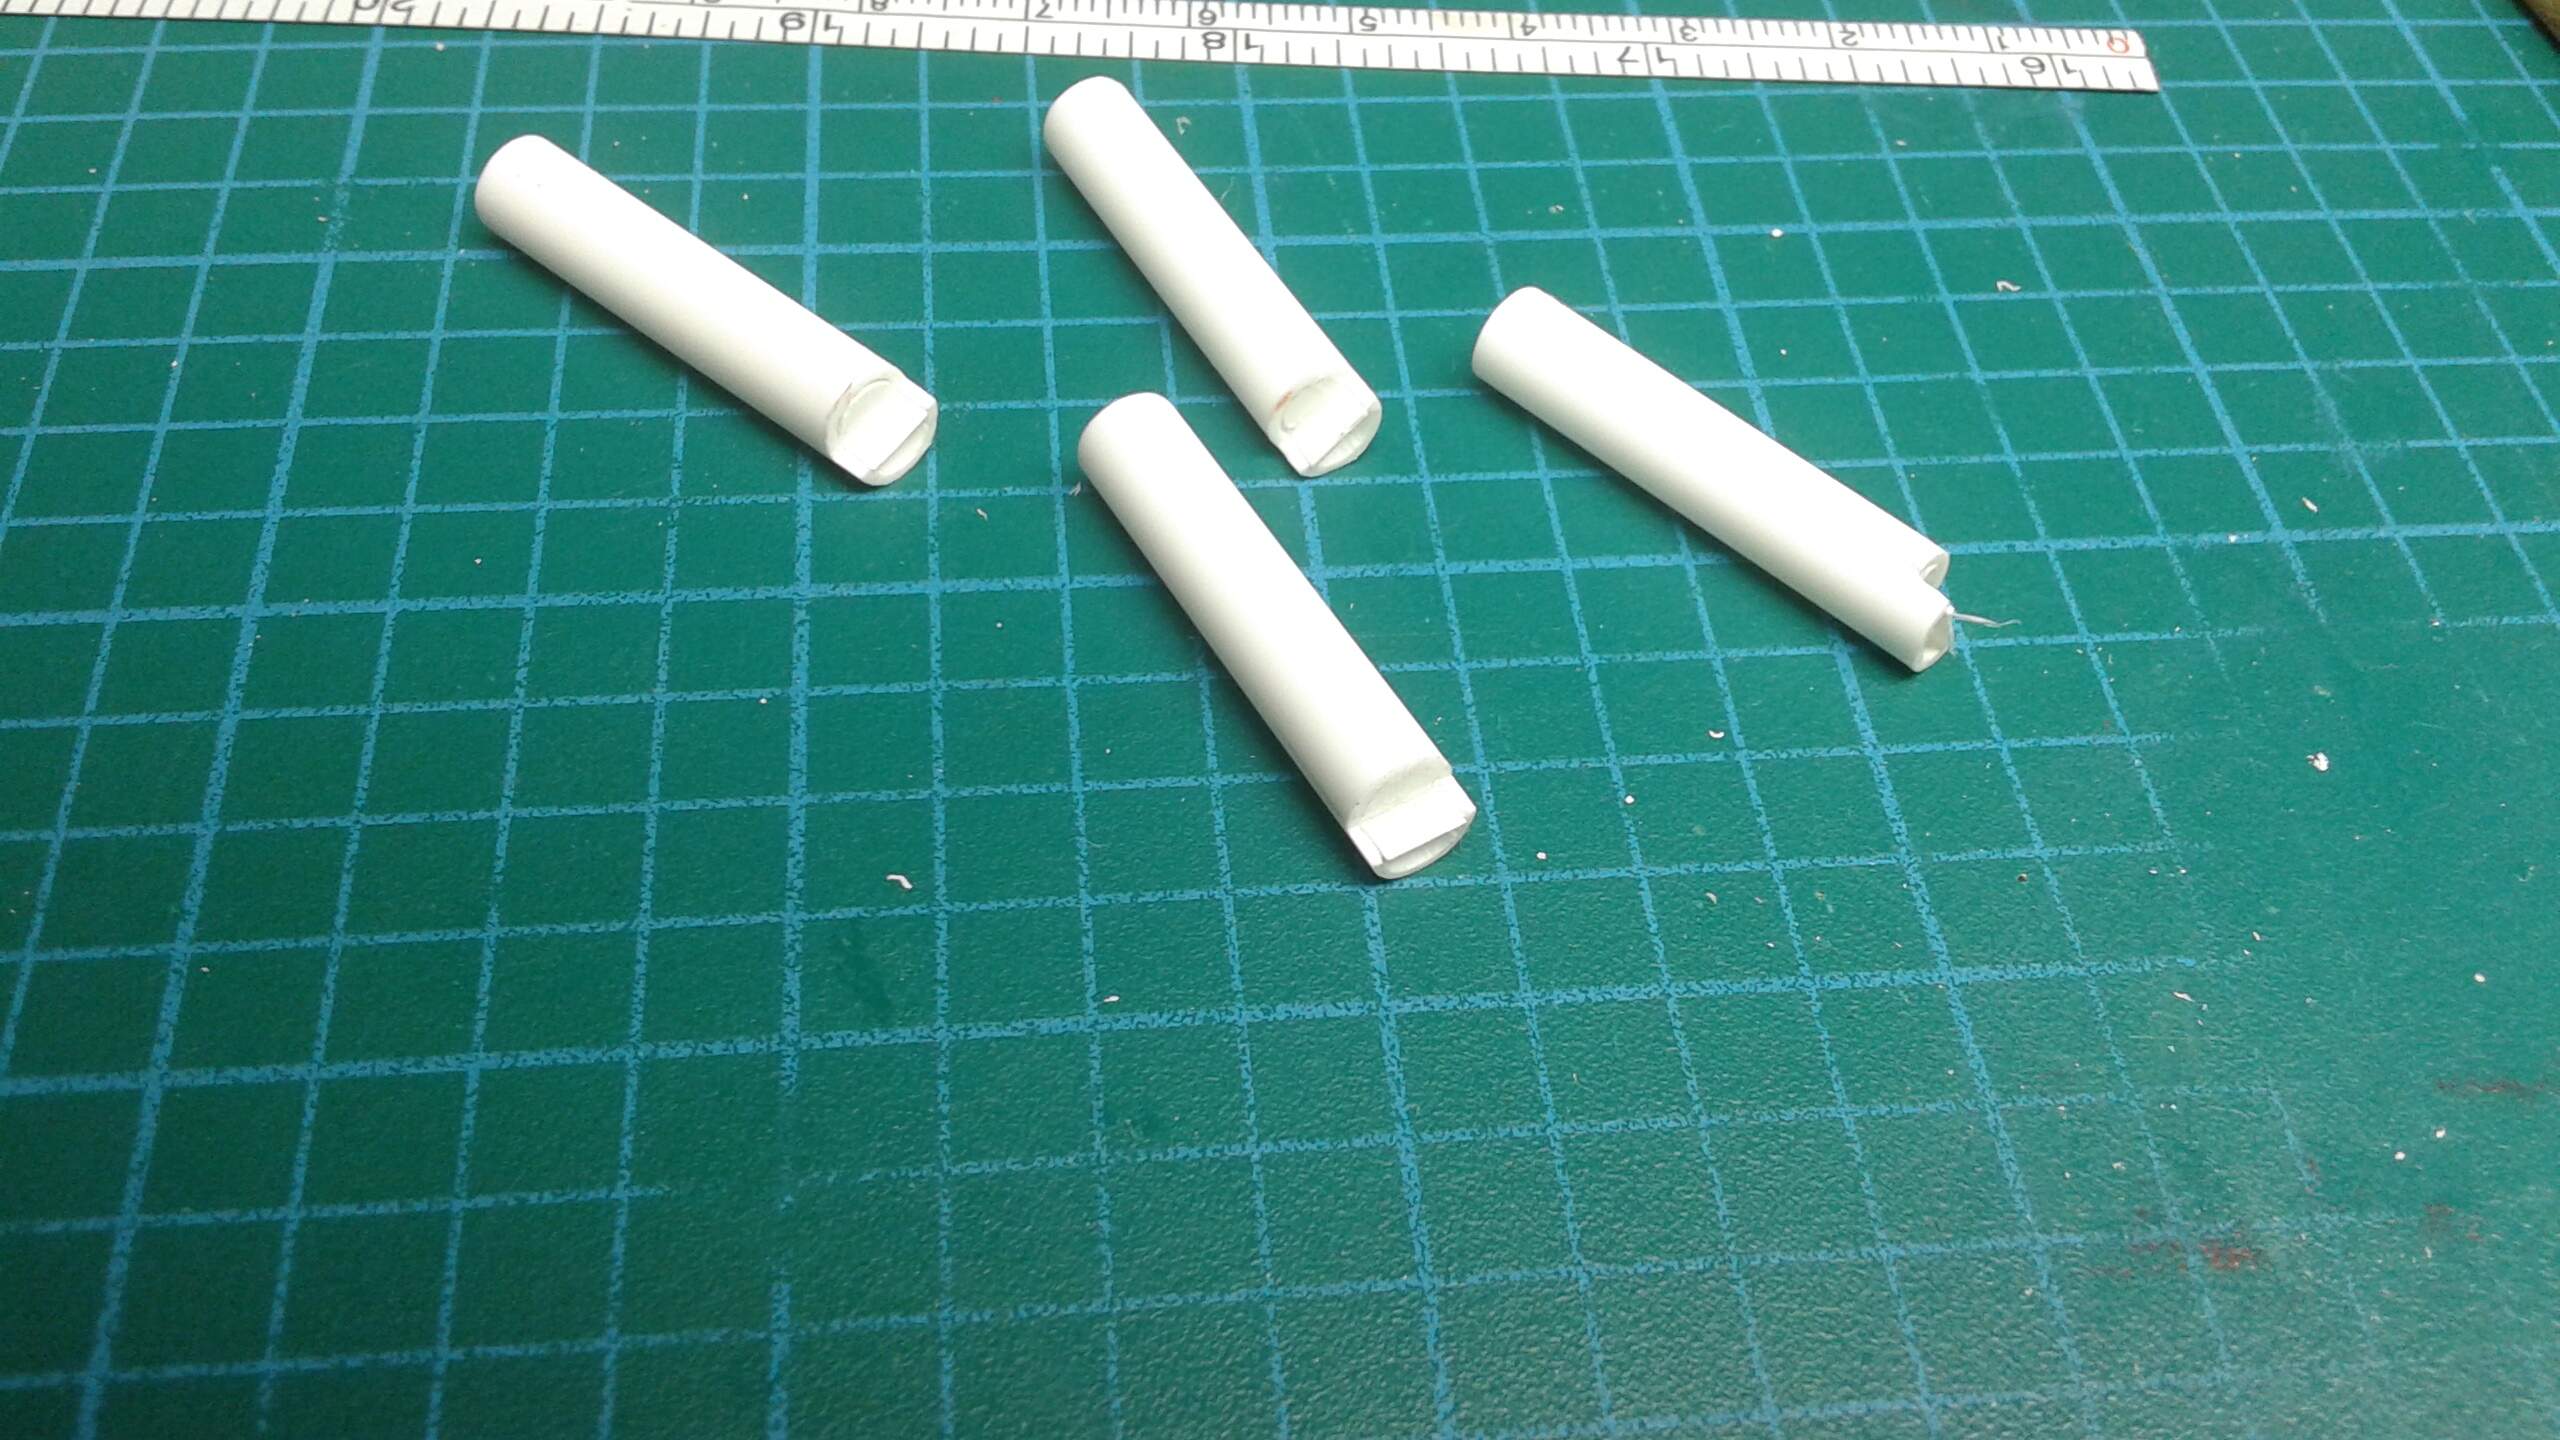
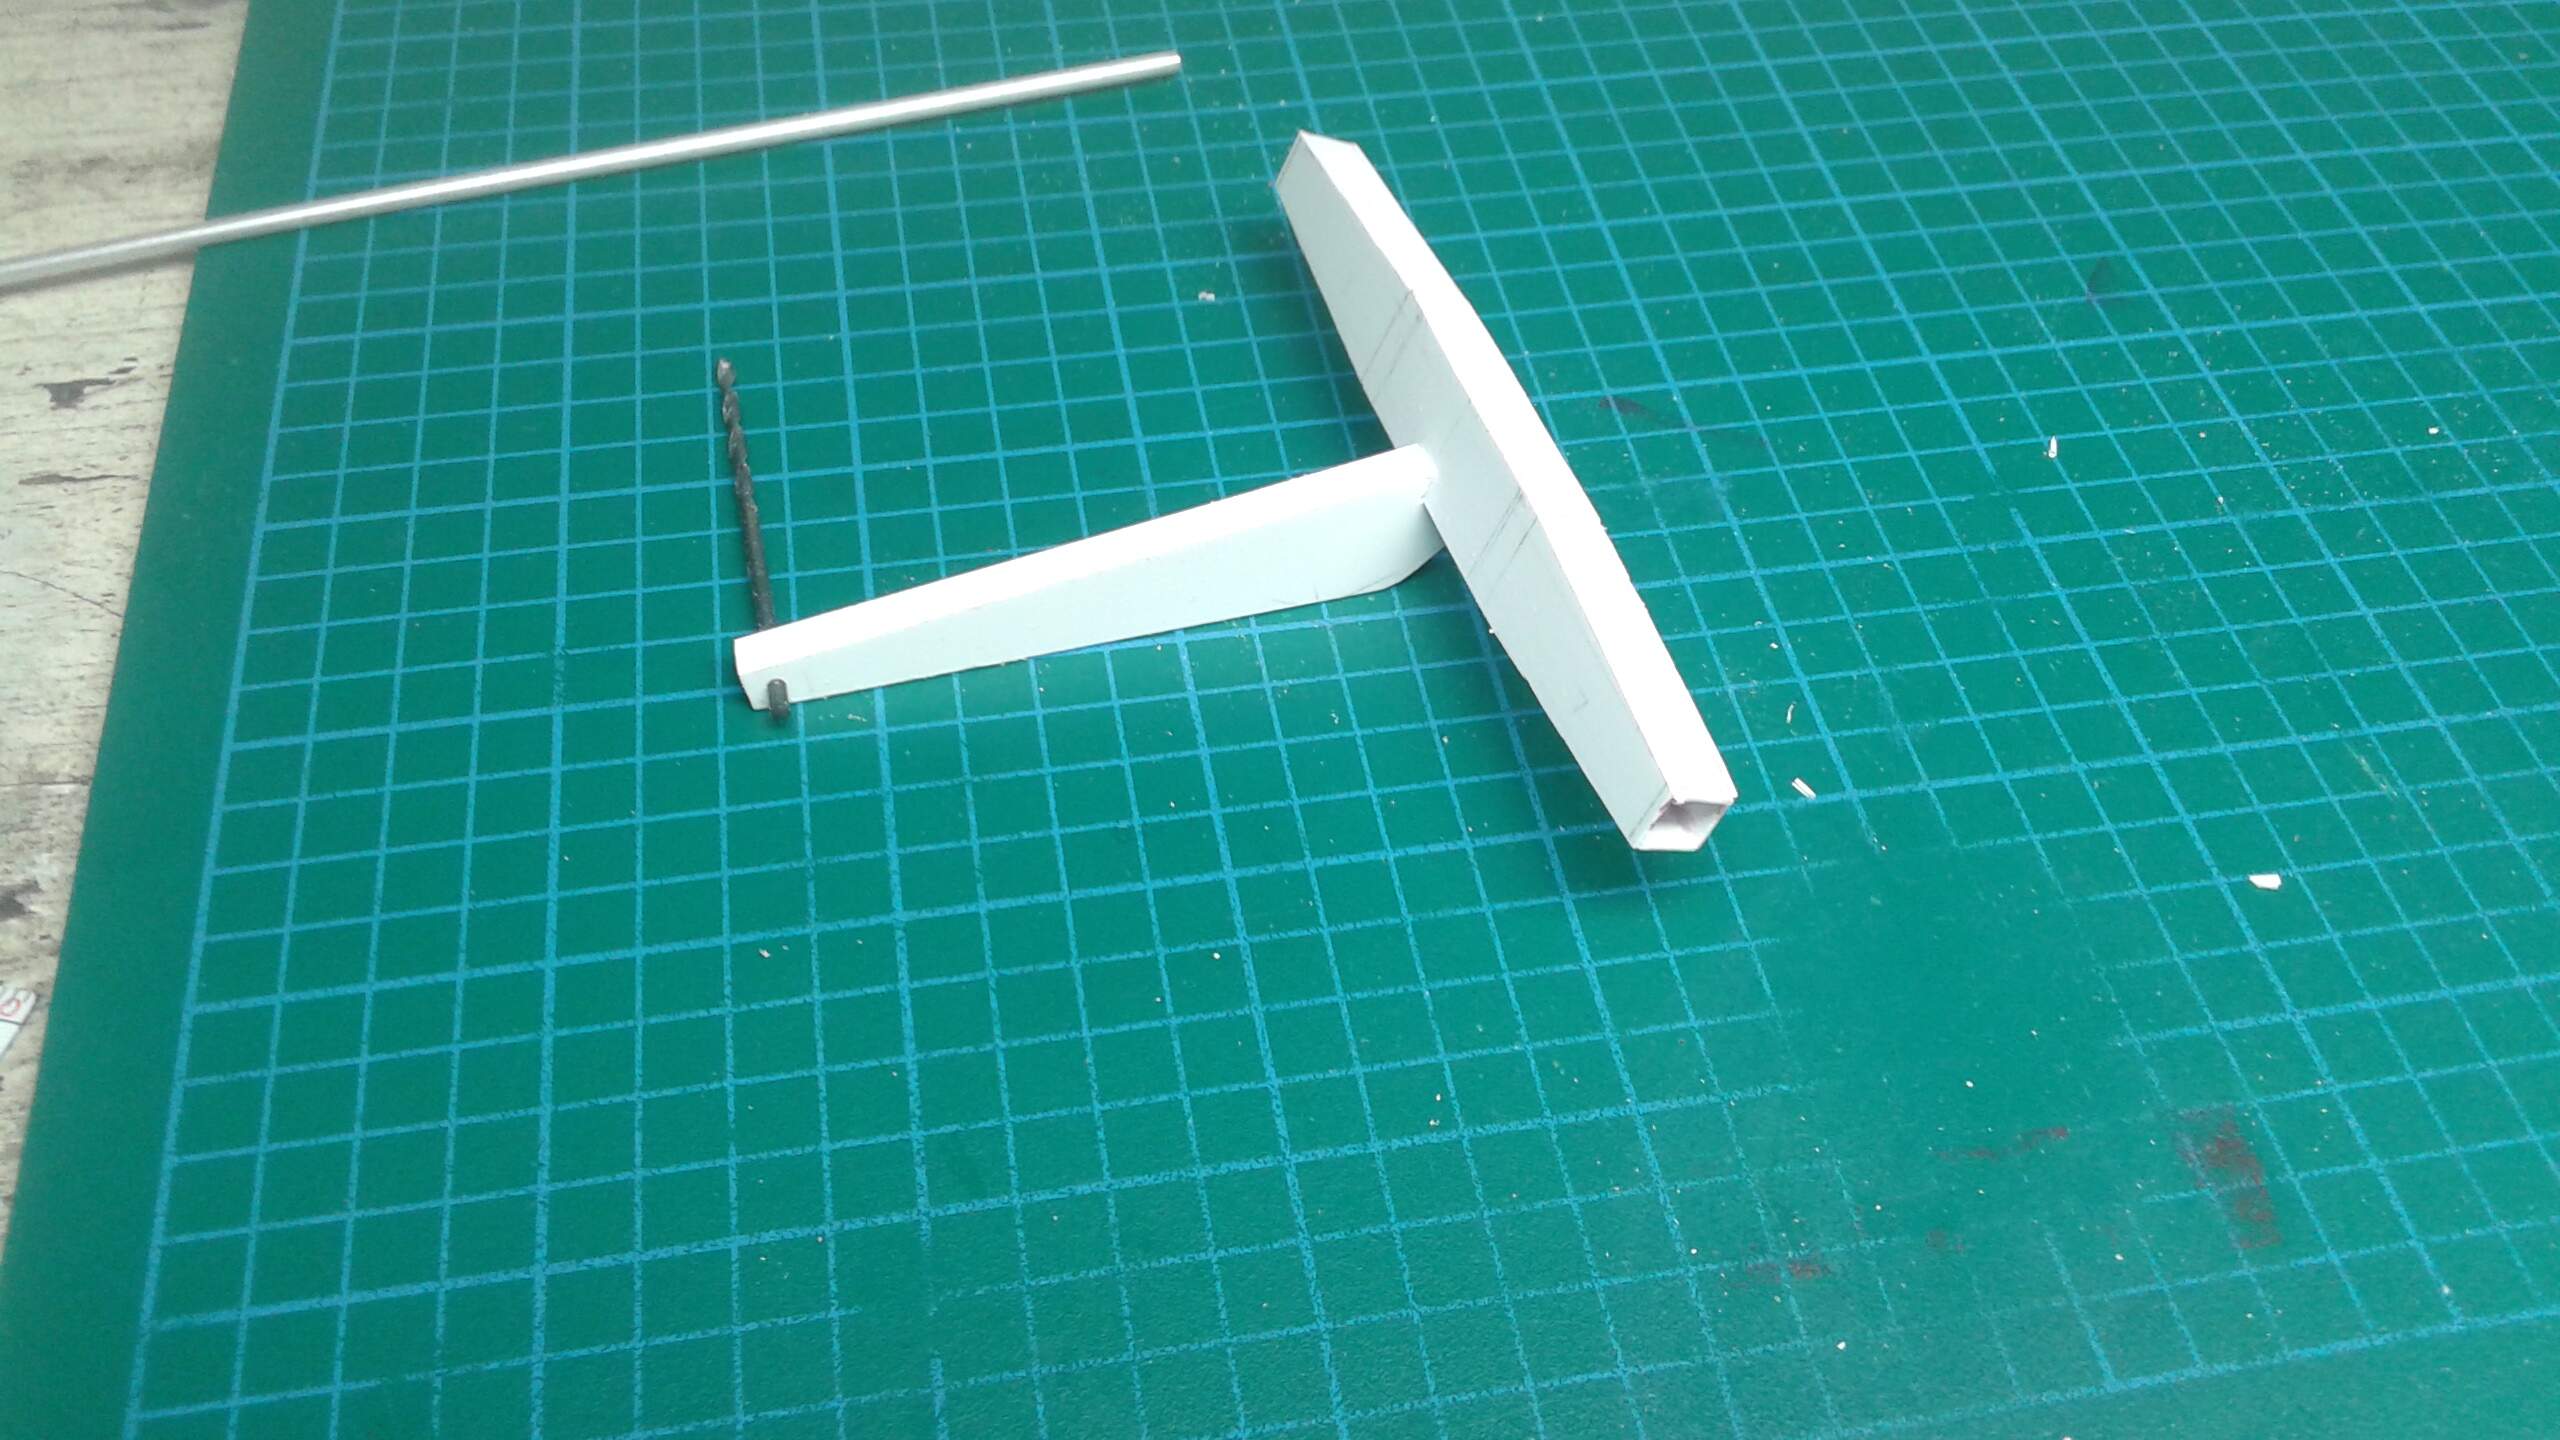
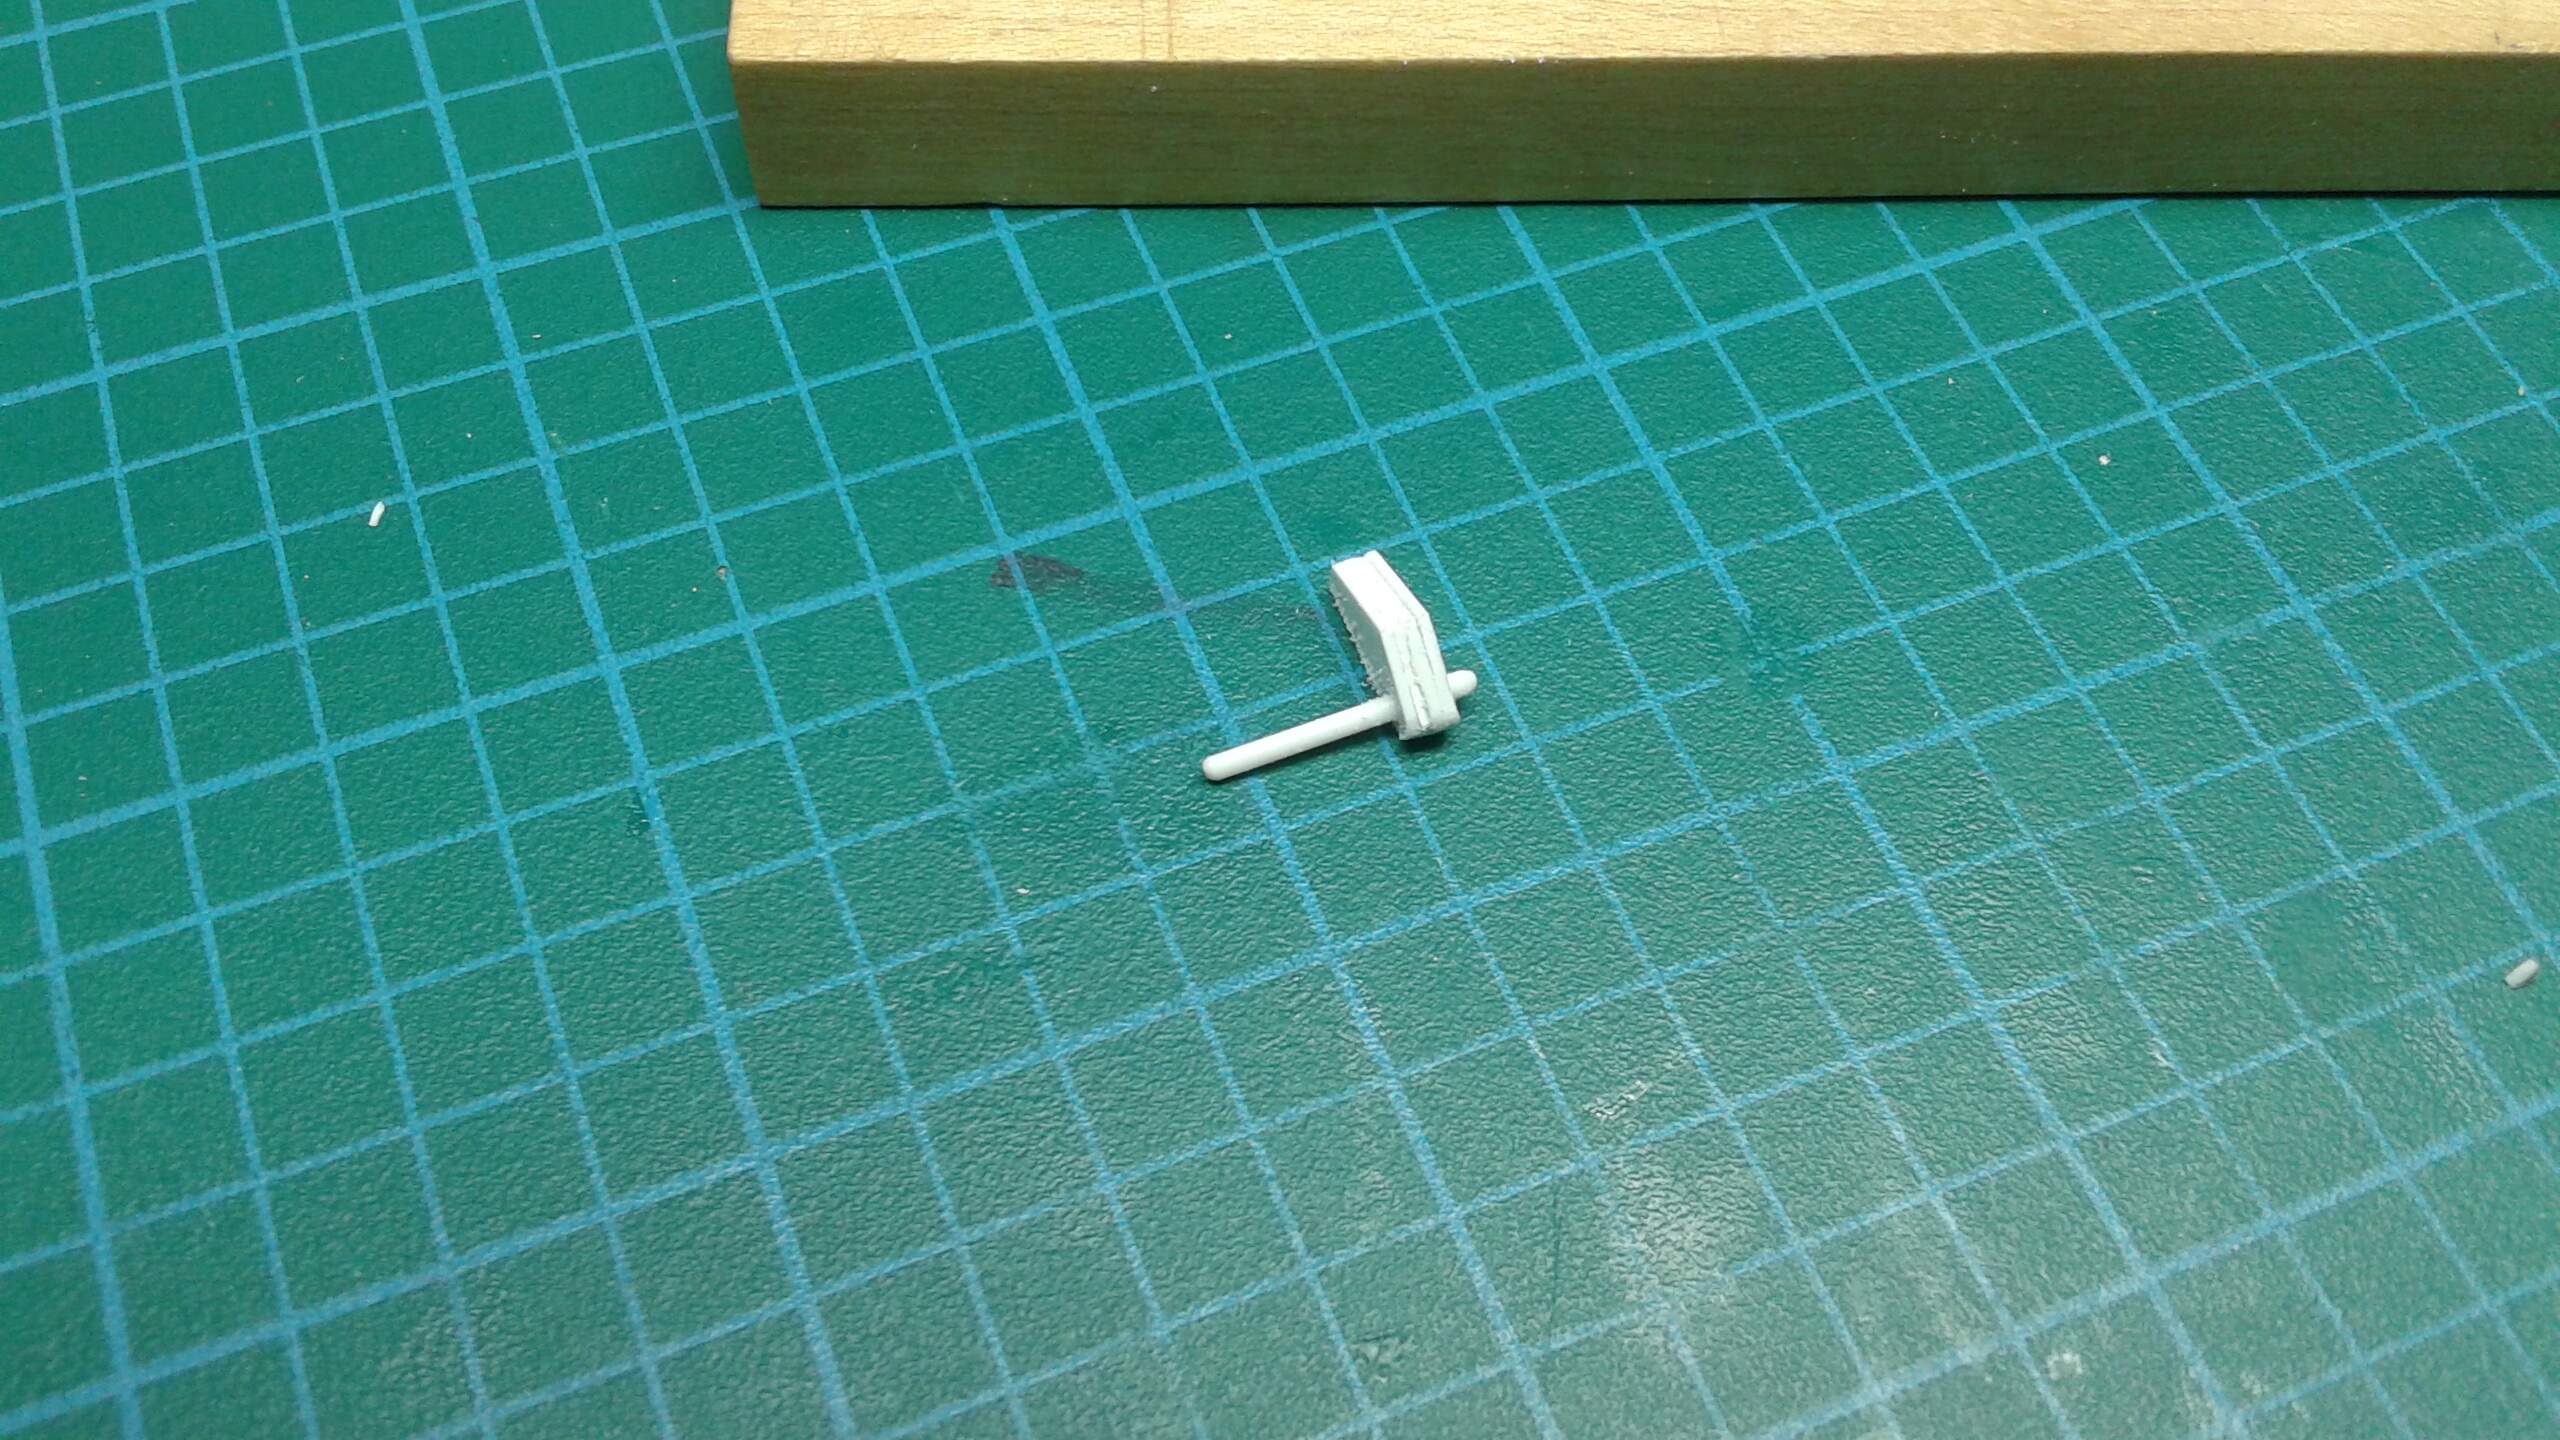
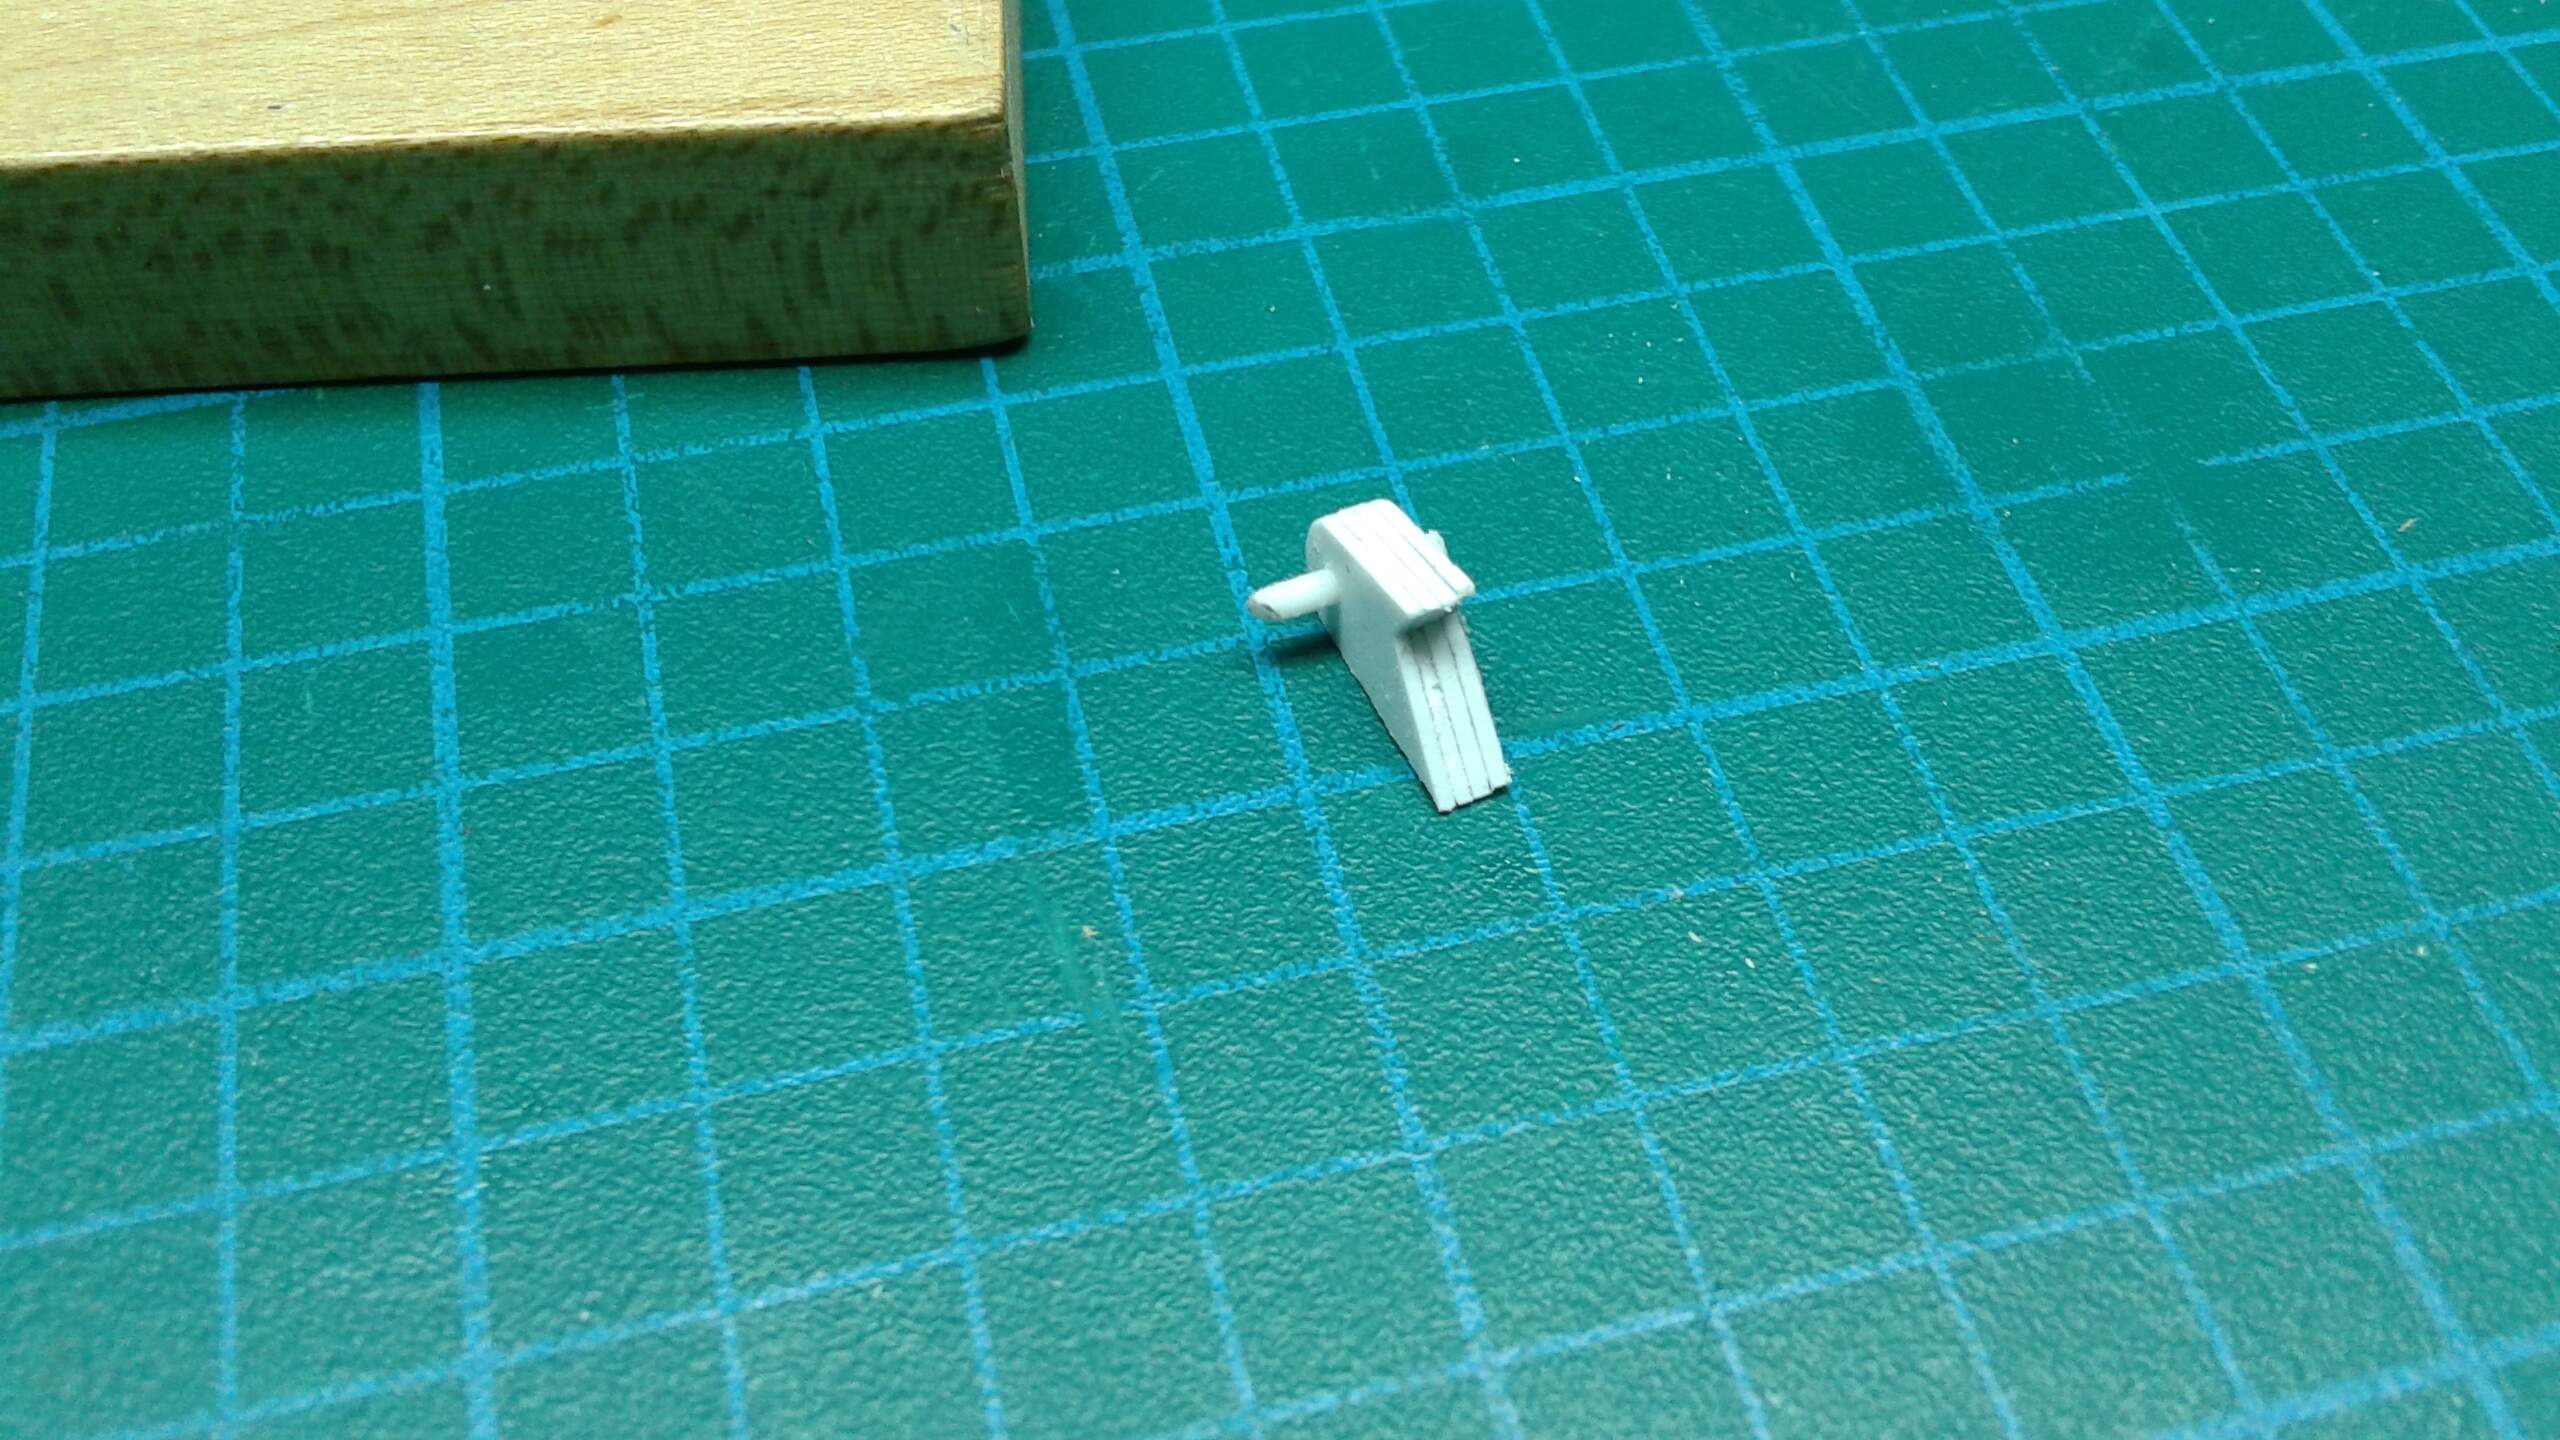
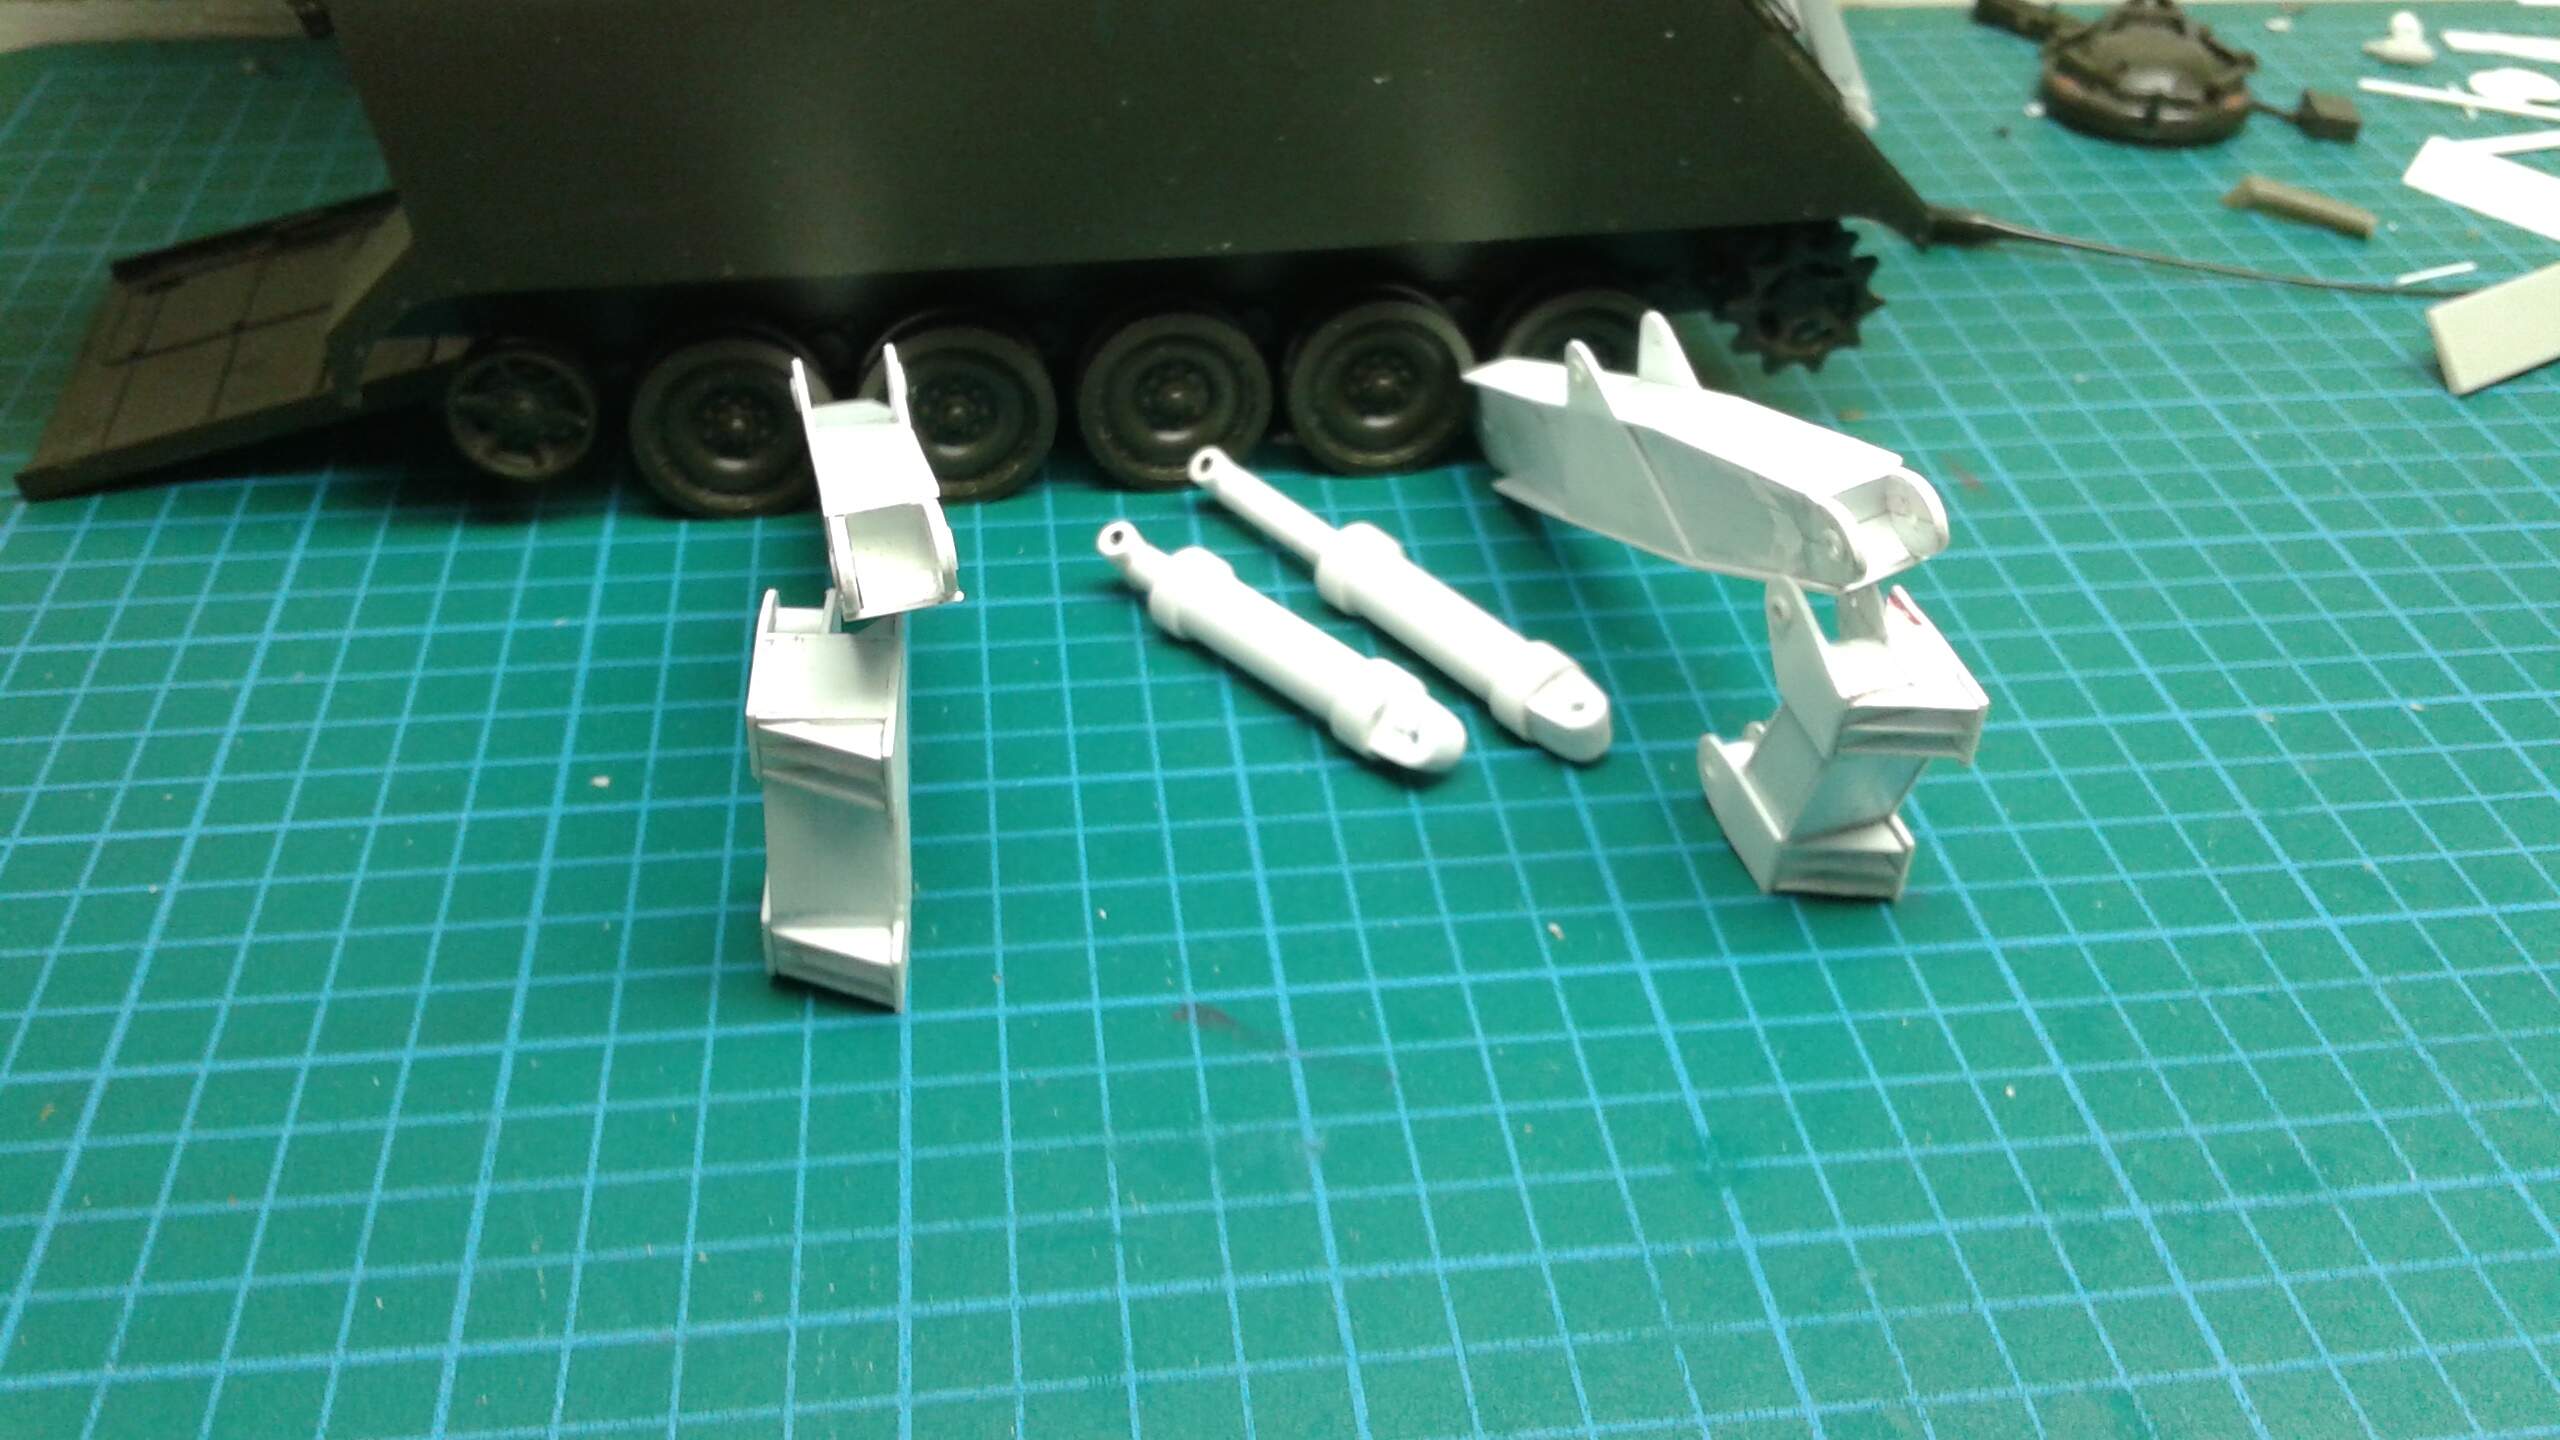
I forgot the location picture of the lifting brackets and the locking point at the bridge ends.