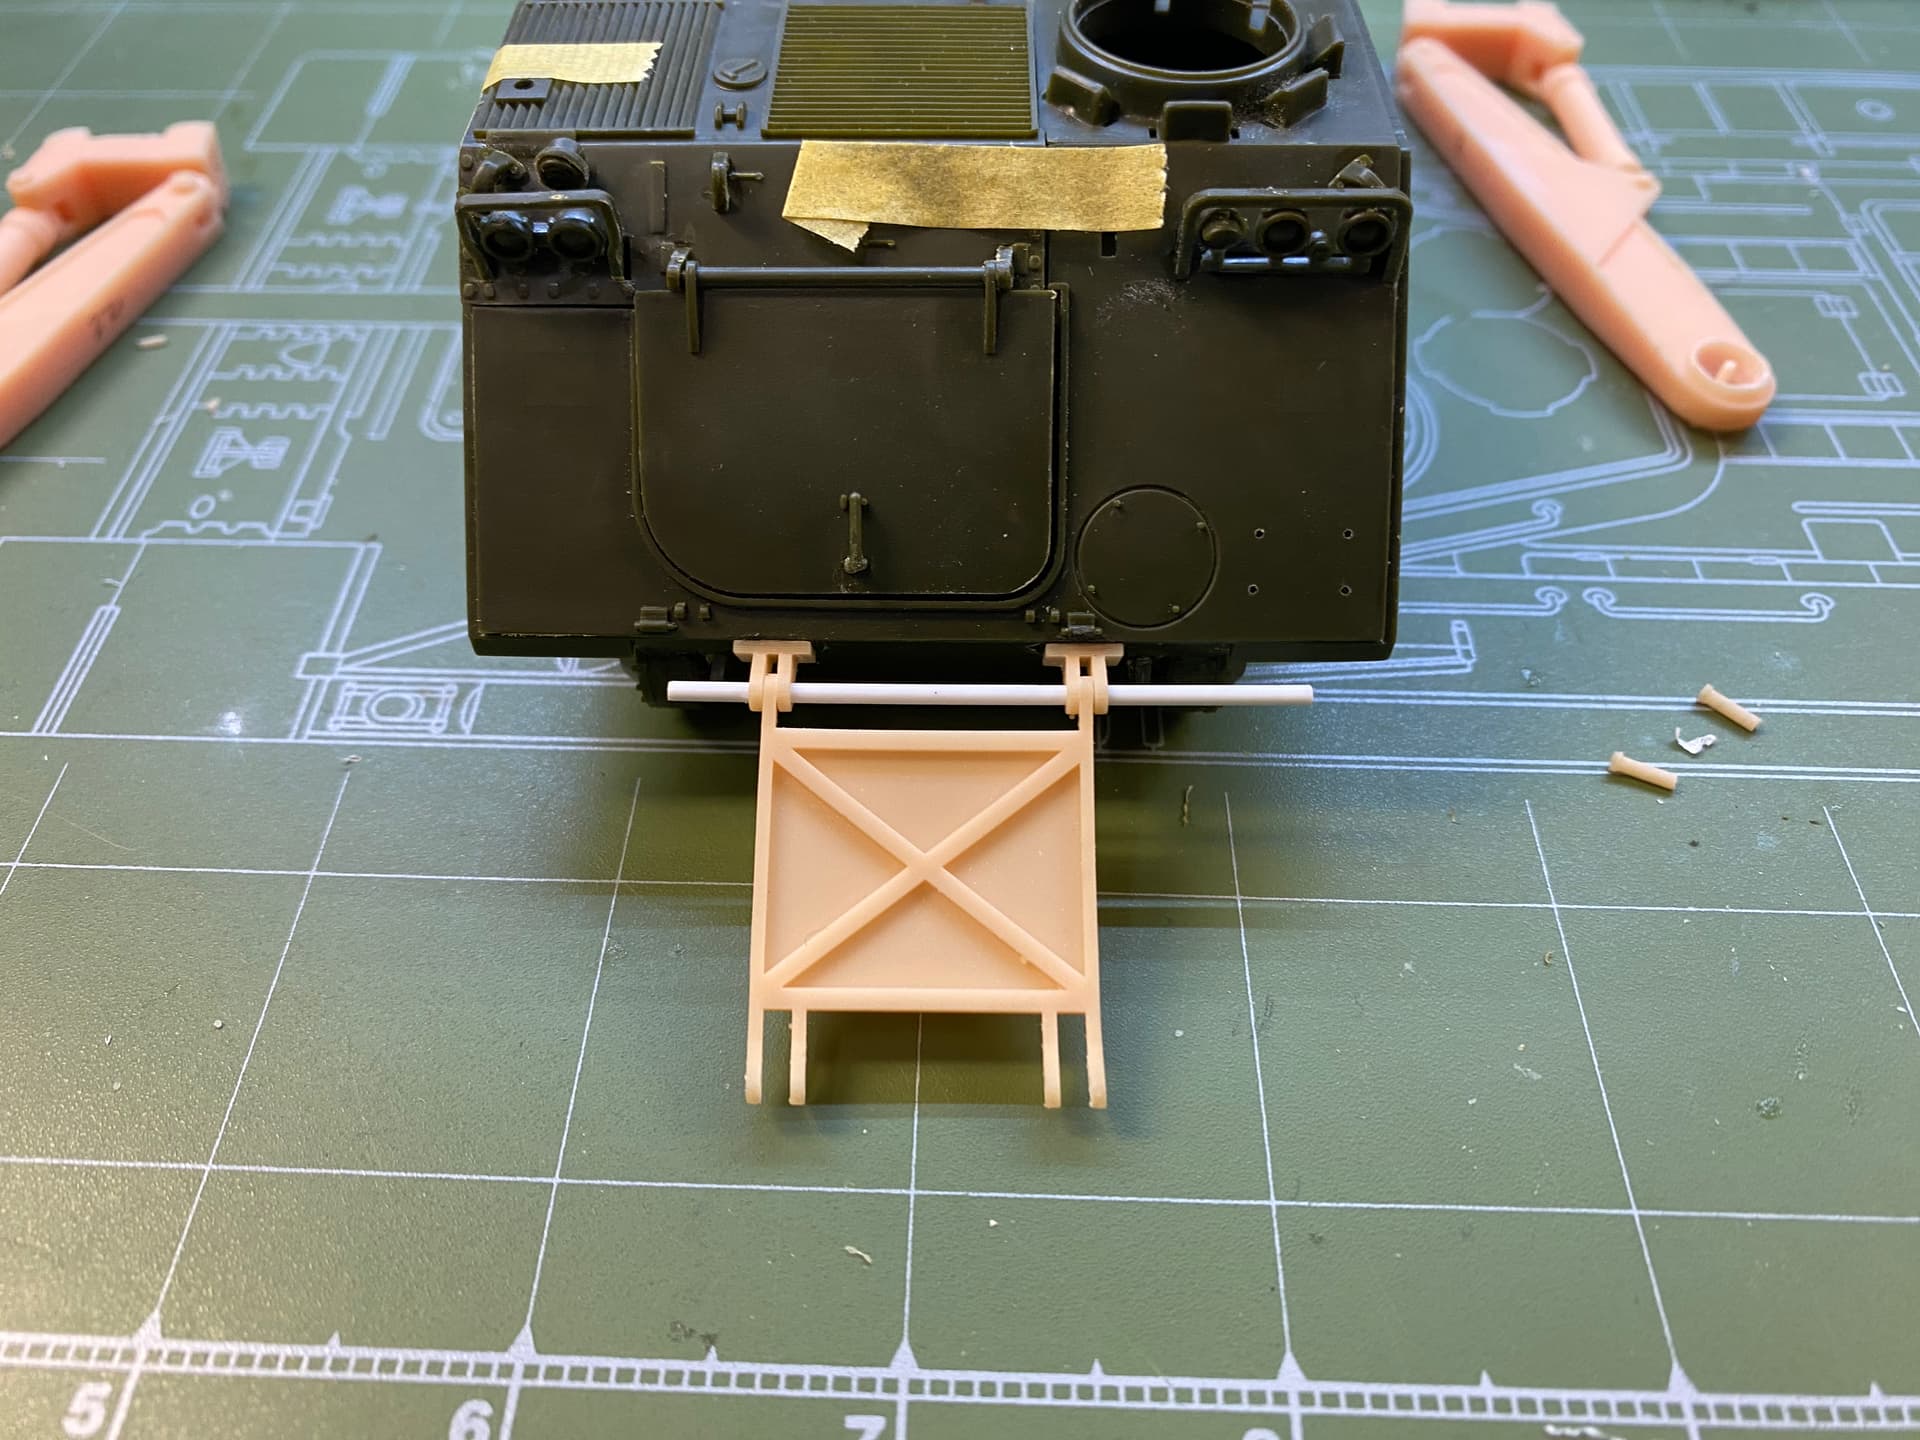
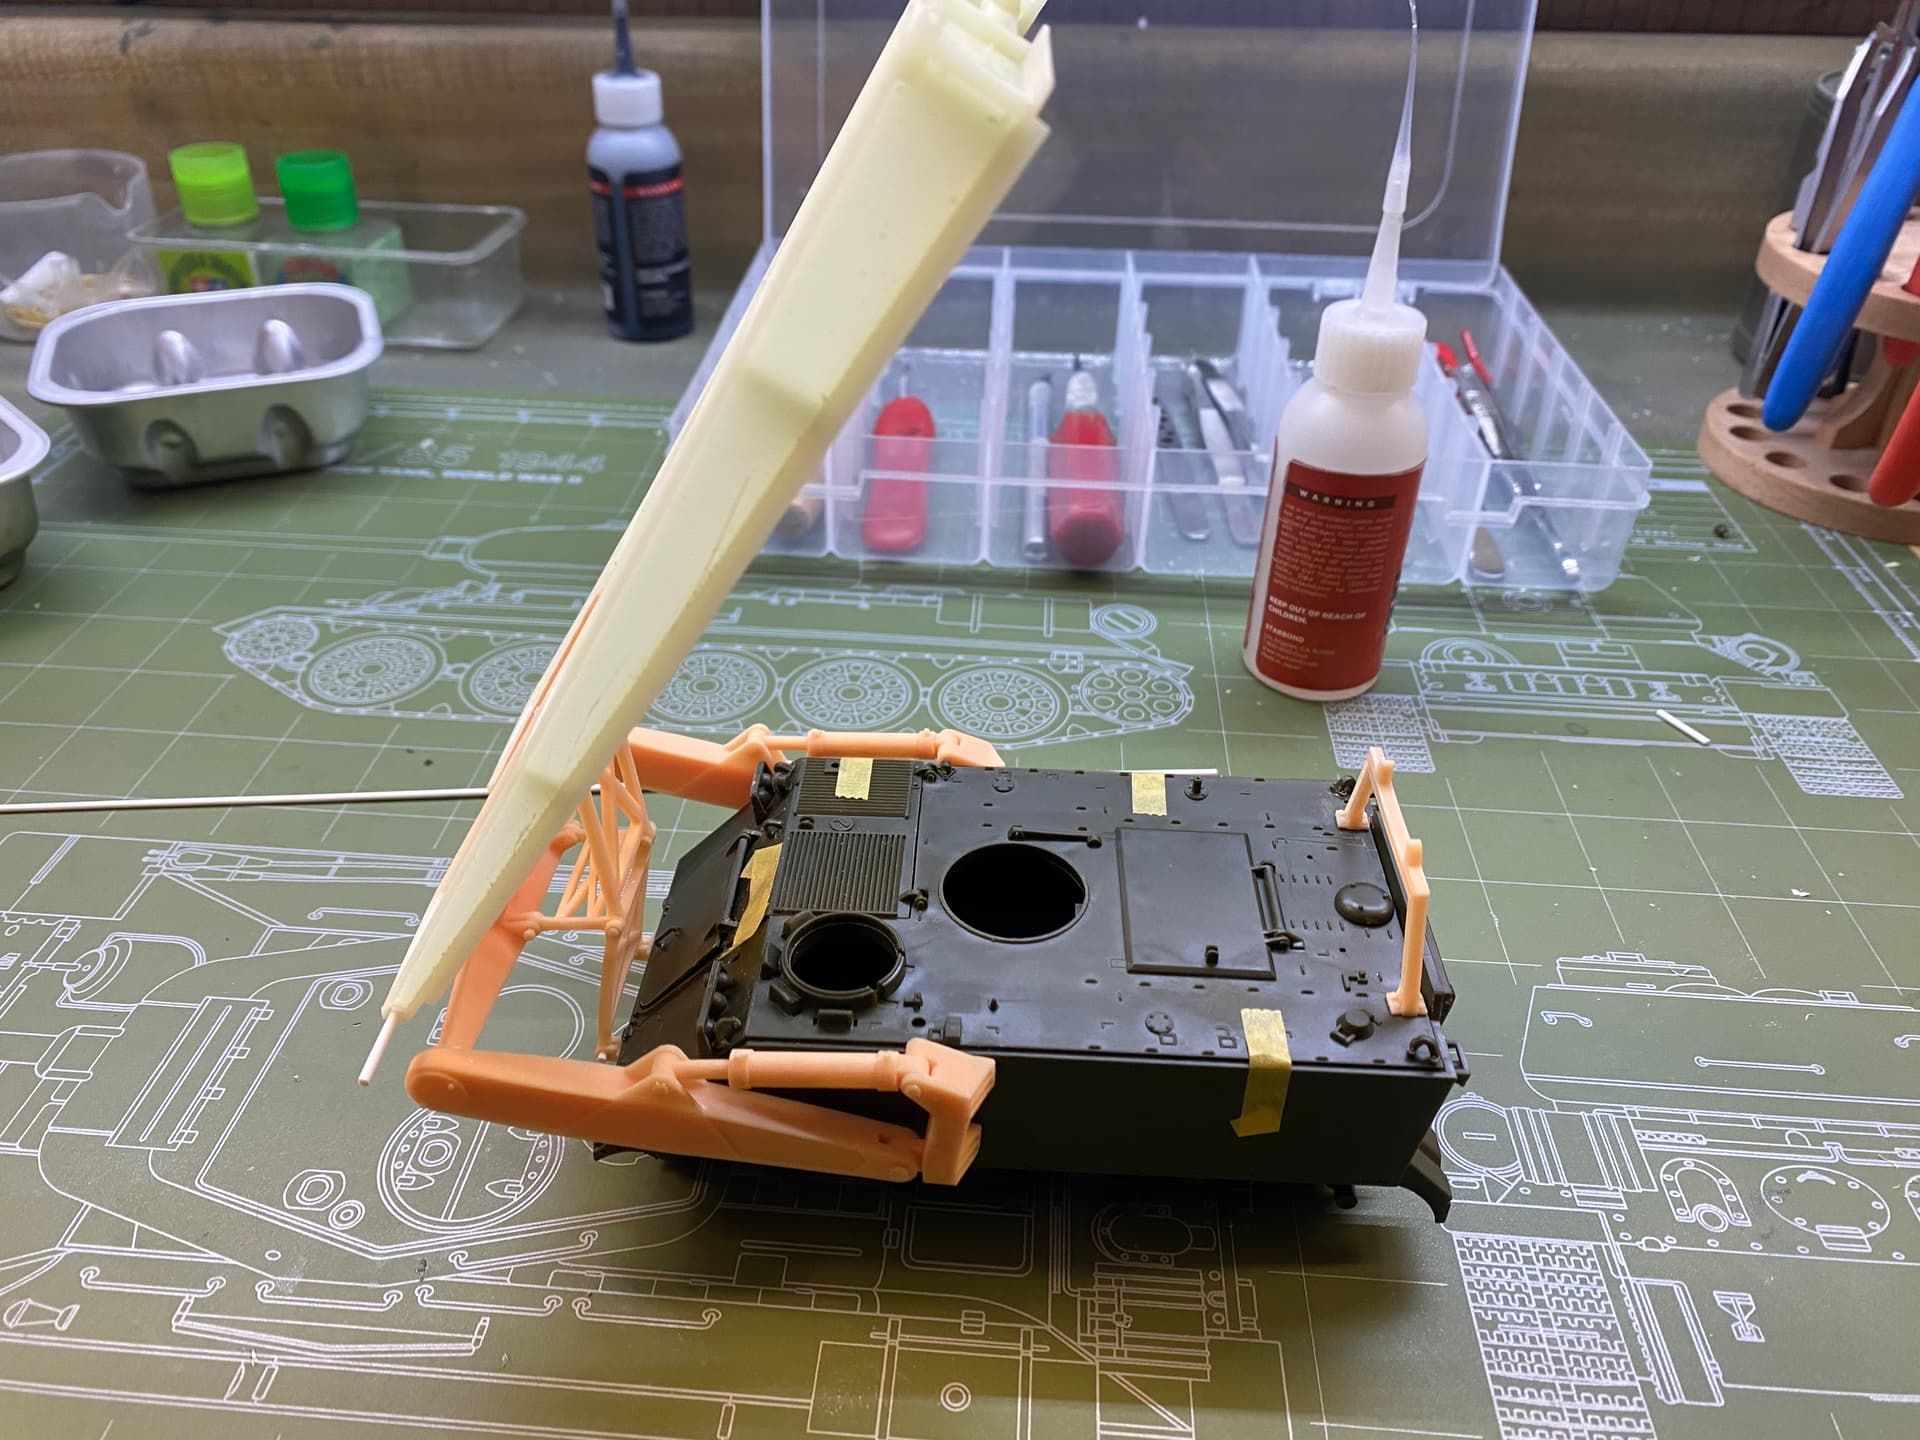
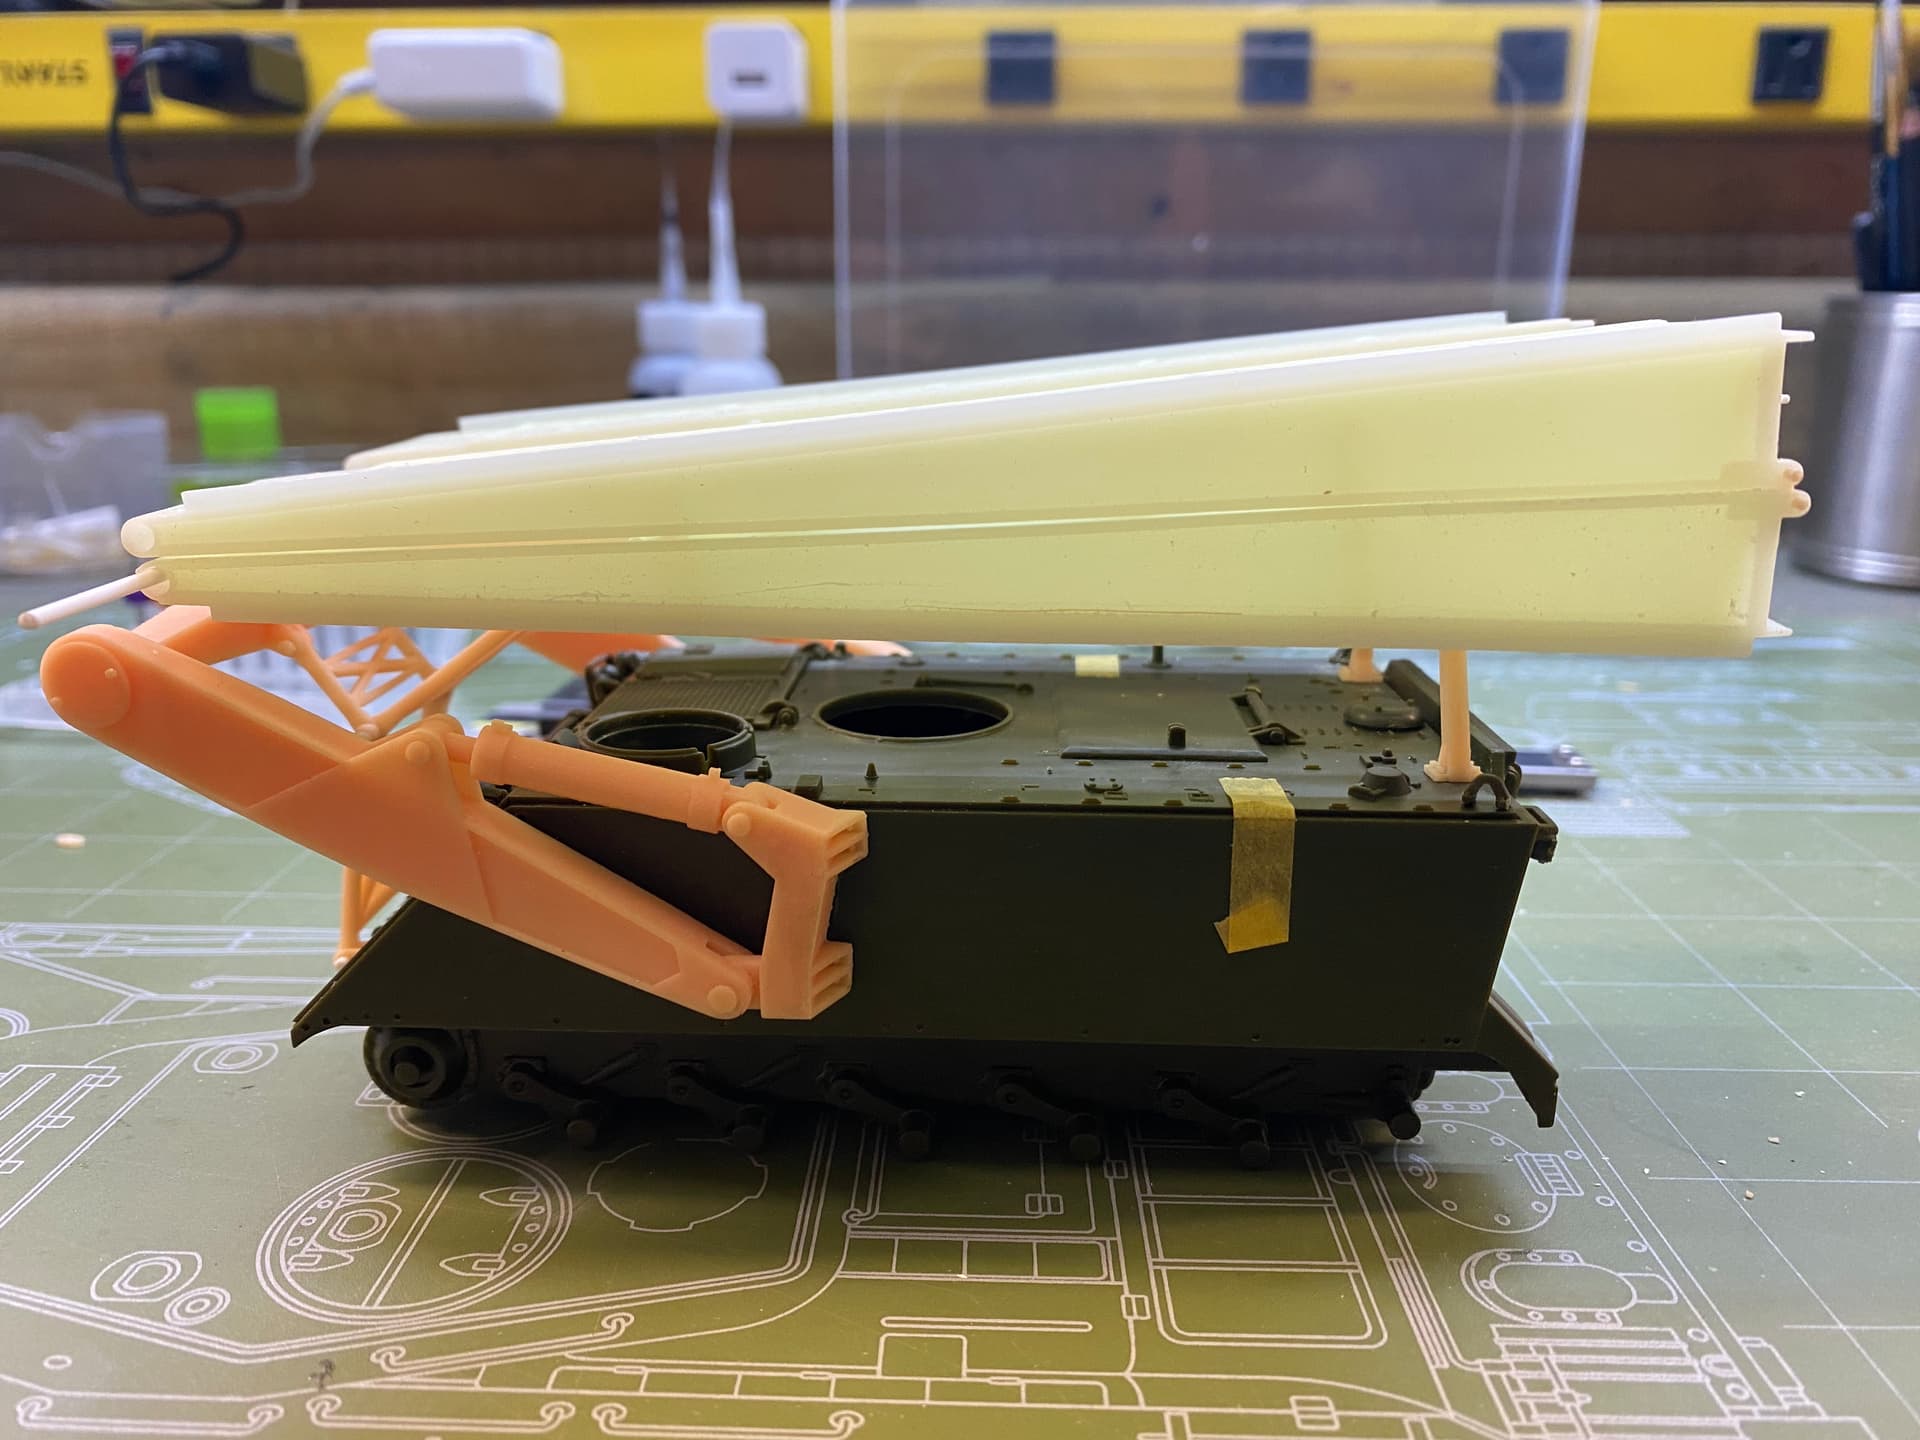
I’m thinking that some adjustment to the suspension arms is going to be required due to the noticeable weight the bridge and launcher arms would add. This would really be evident if the bridge assembly is raised even partially, due to the transfer of the center of gravity. Nose of the M113 would begin to drop, requiring the suspension arms to be re-centered to reflect the shift.
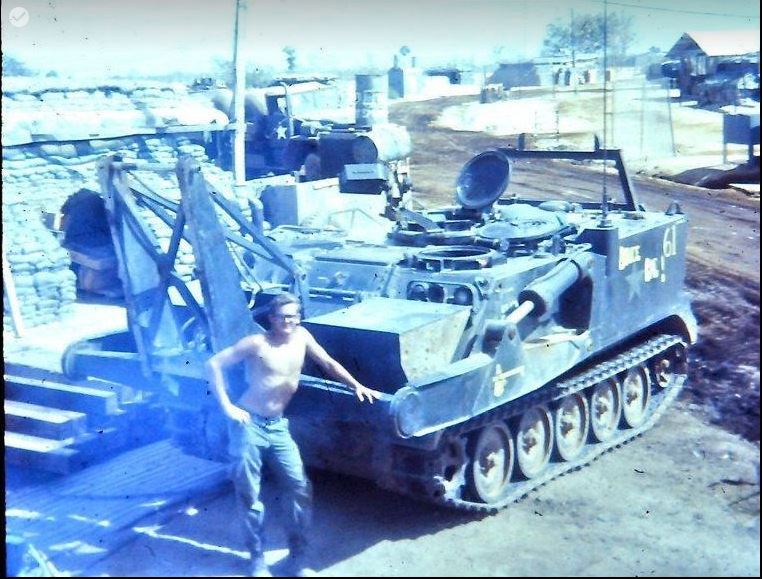
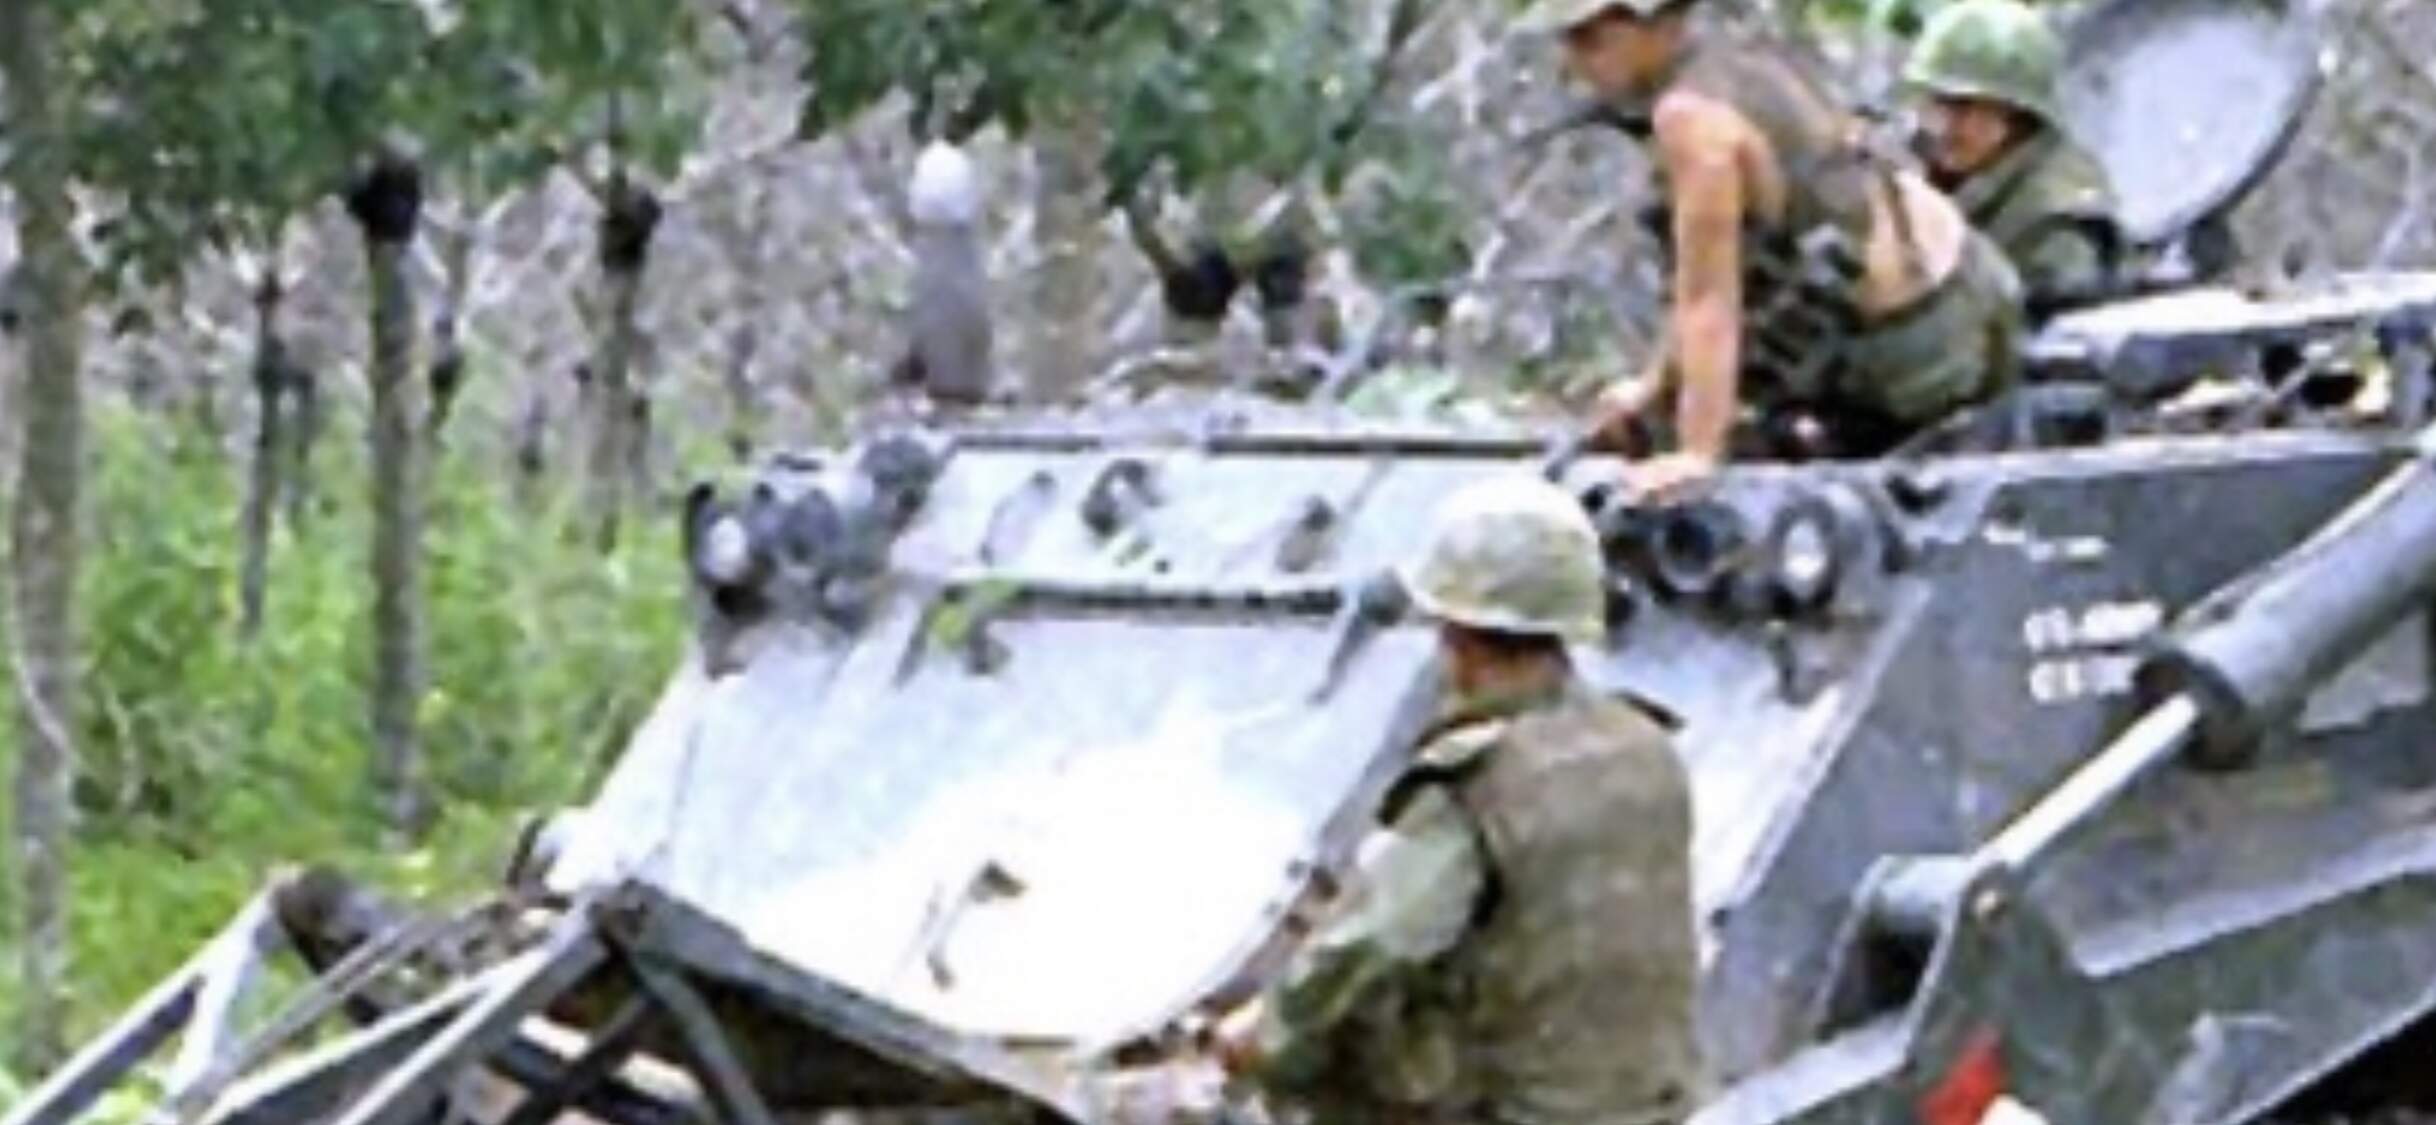
I agree. If you look at the pictures above, all the M113s seem to have a pronounced nose down attitude particularly when traveling/moving.
The parked or stationary vehicles in the pictures above, not so much.
This build will be of number 114 shown above. It’ll be stationary with the bridge folded/stored. I’ve got another kit coming (it’ll be number 115) and it will be deploying the bridge. One thing at a time though.
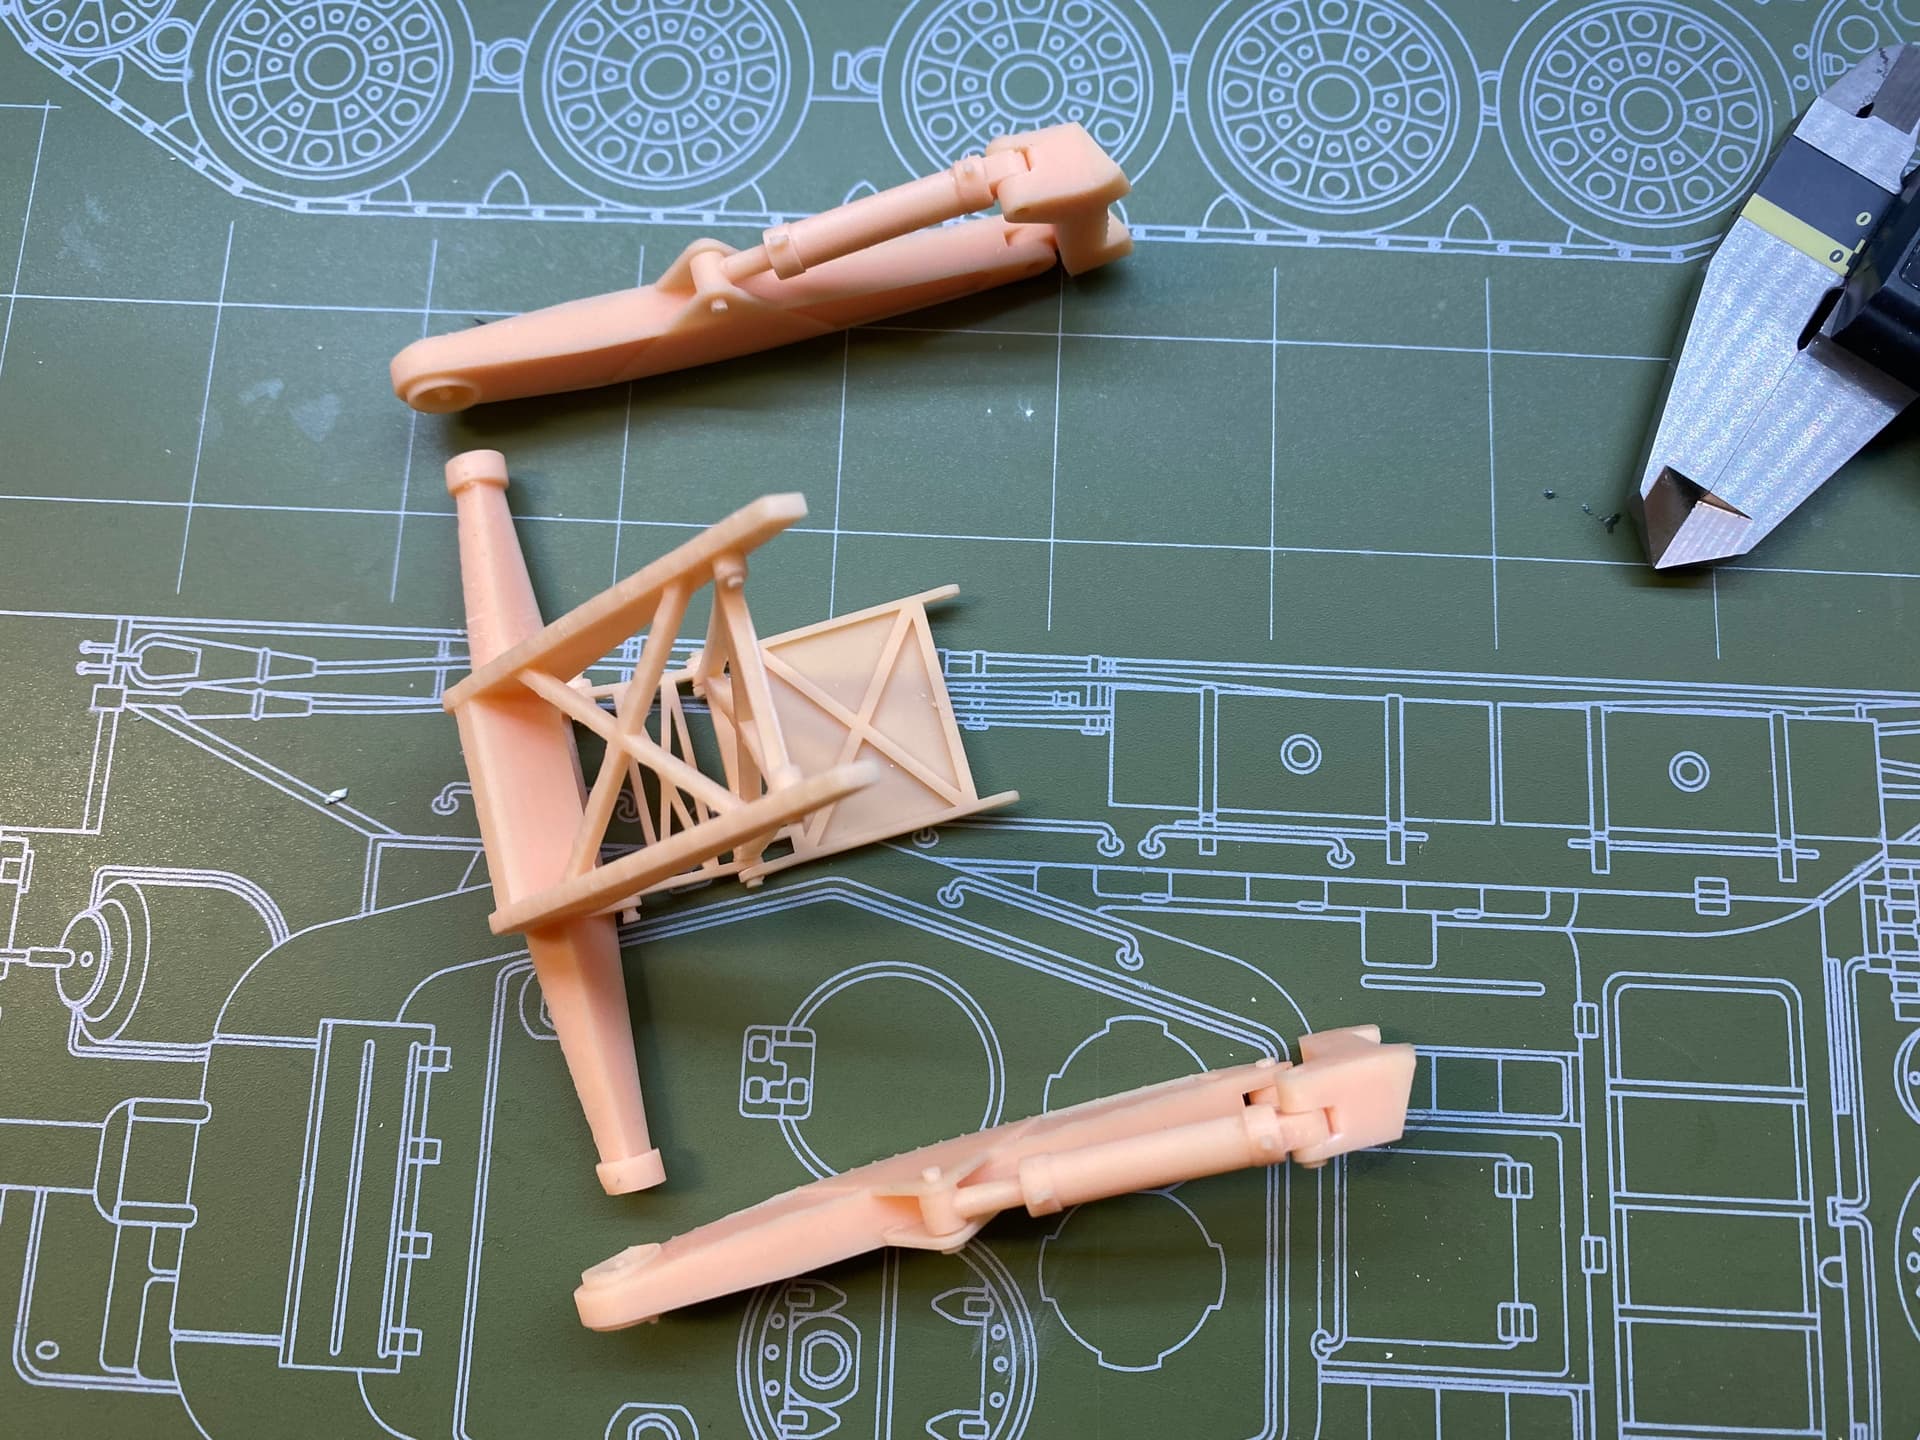
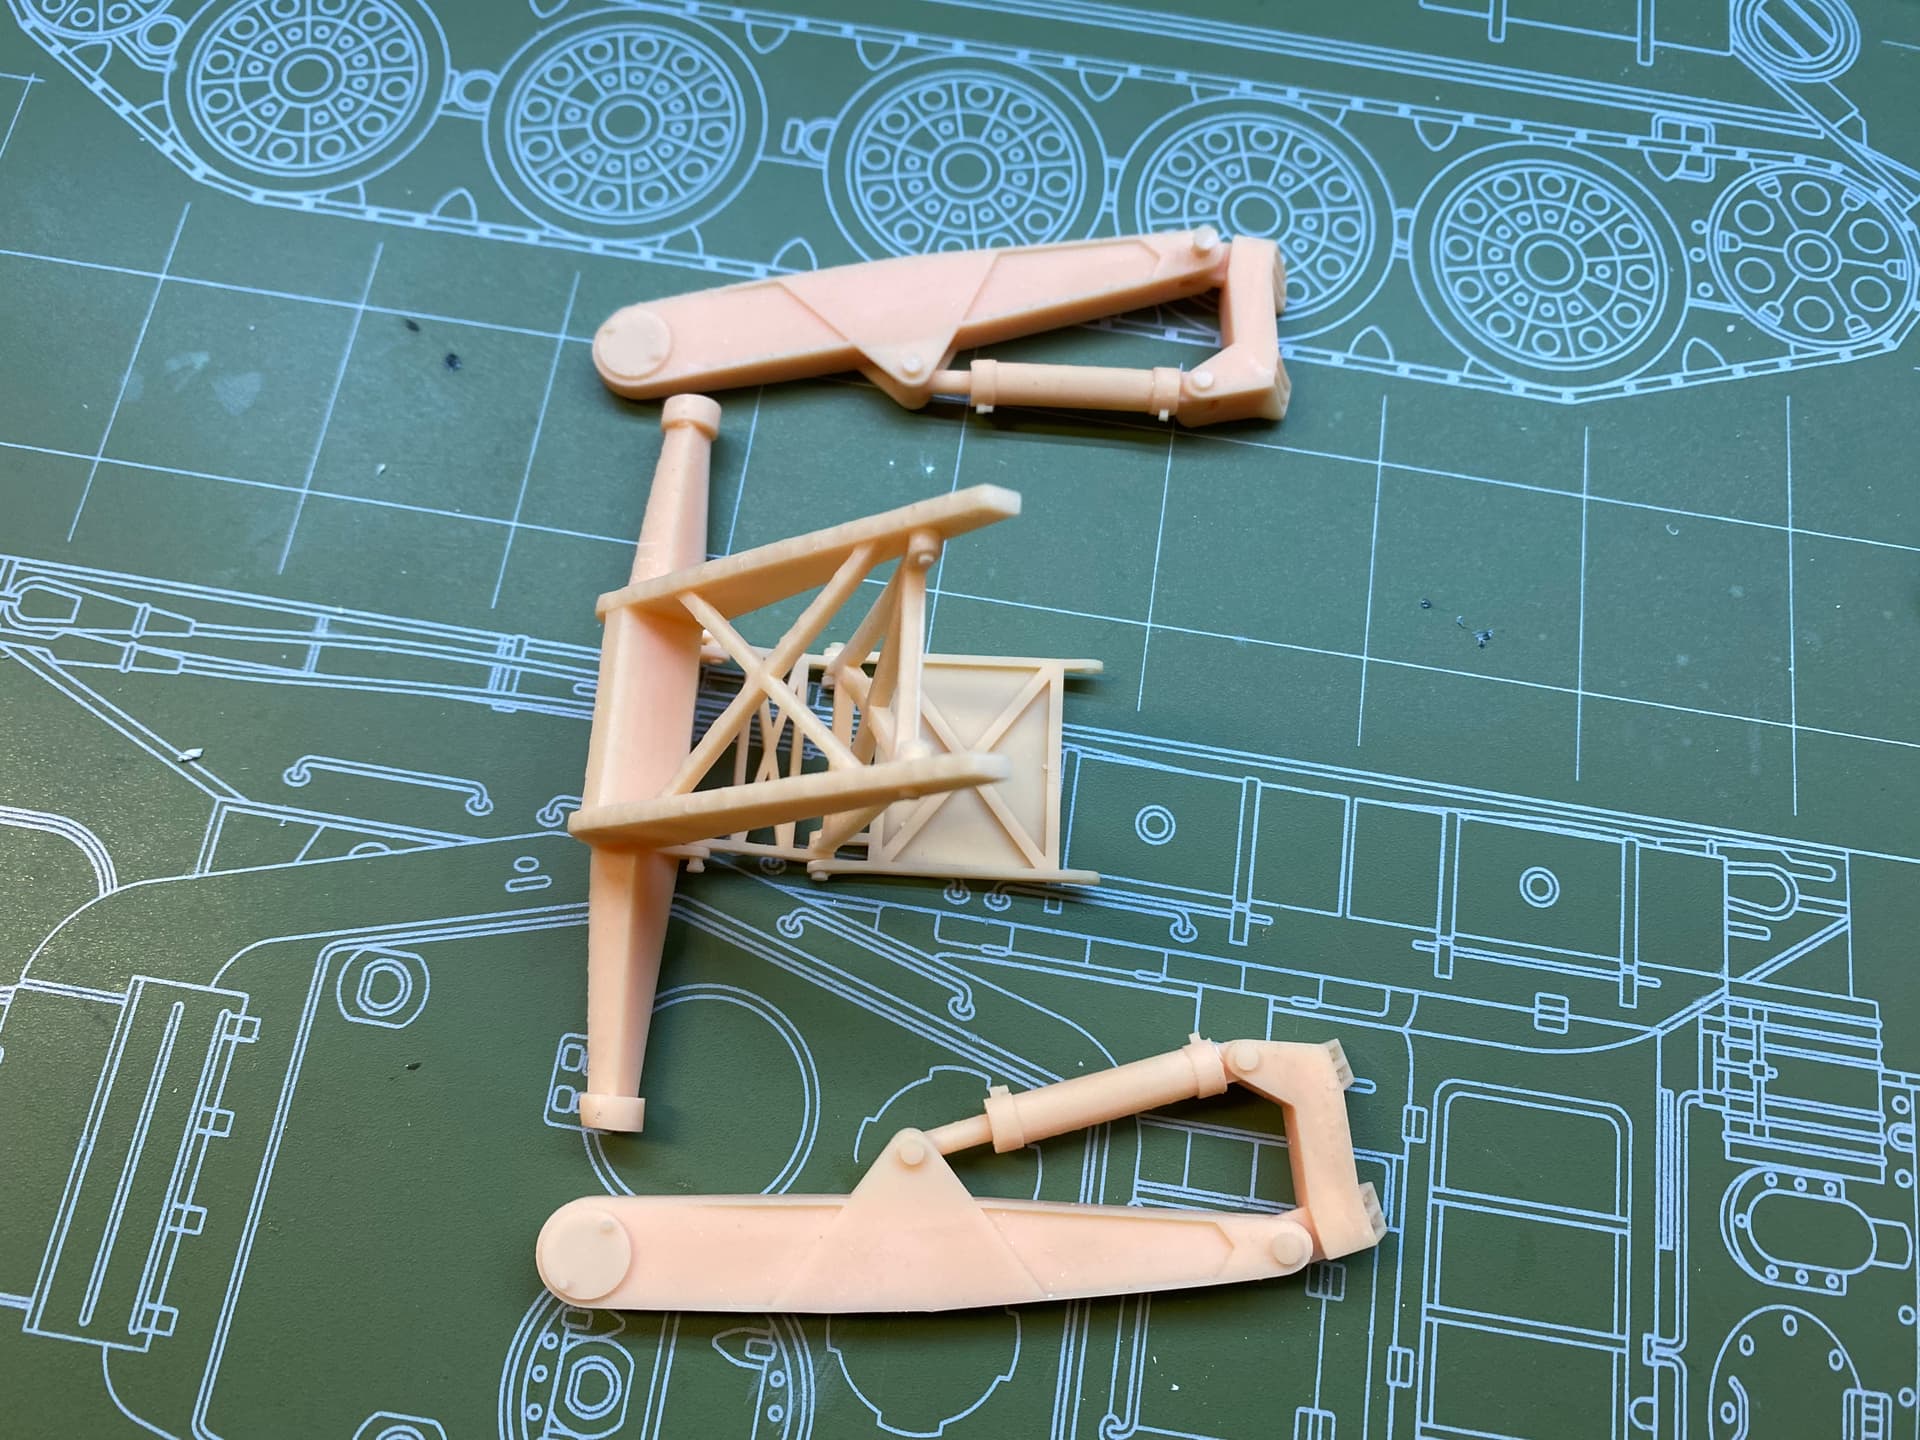
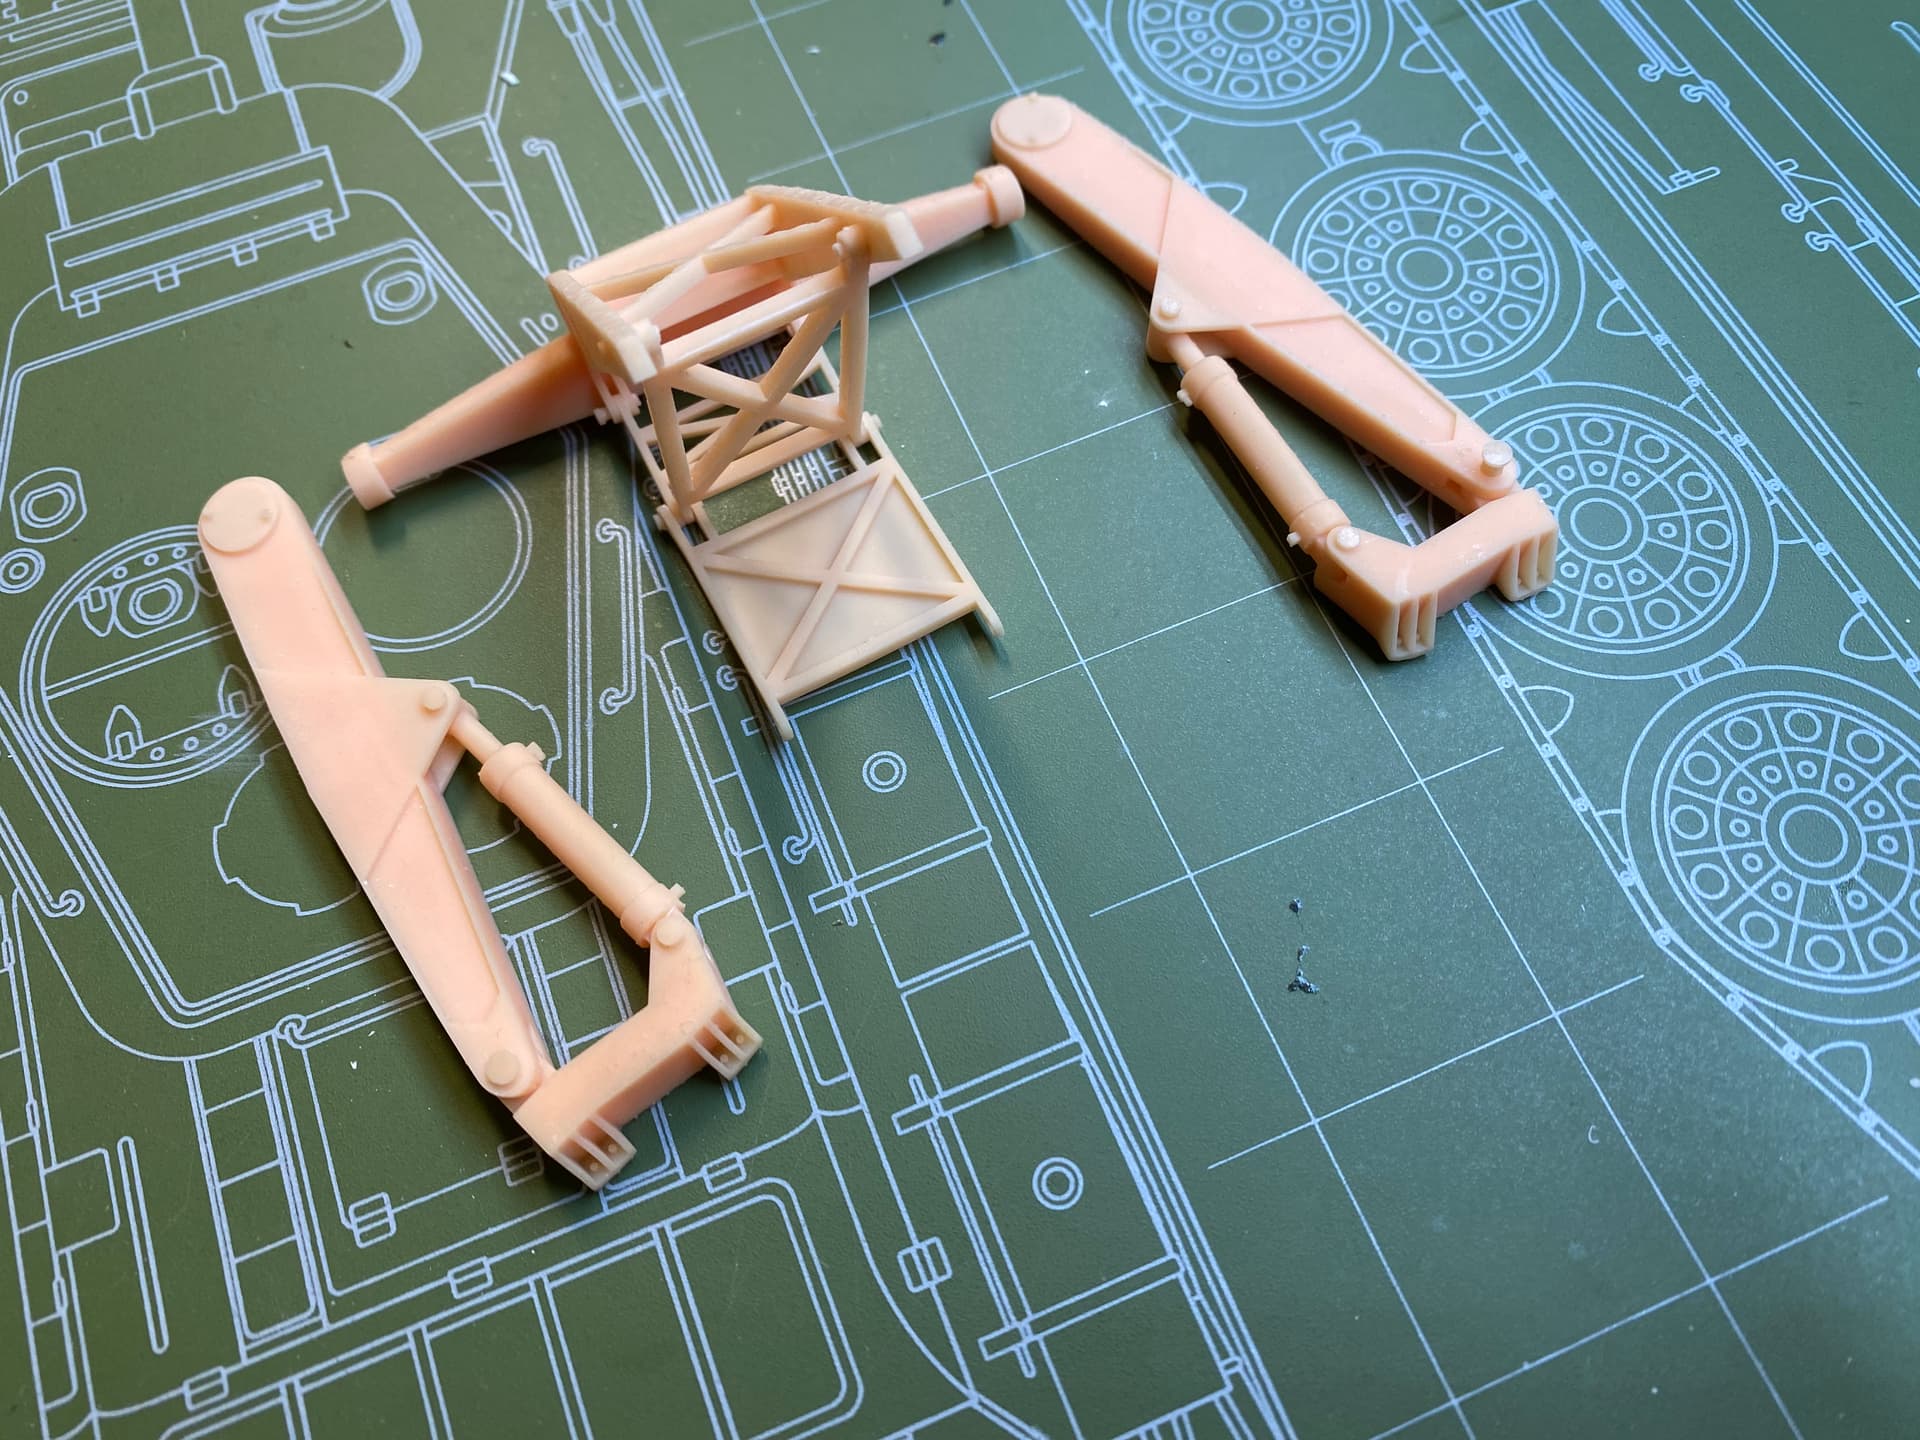
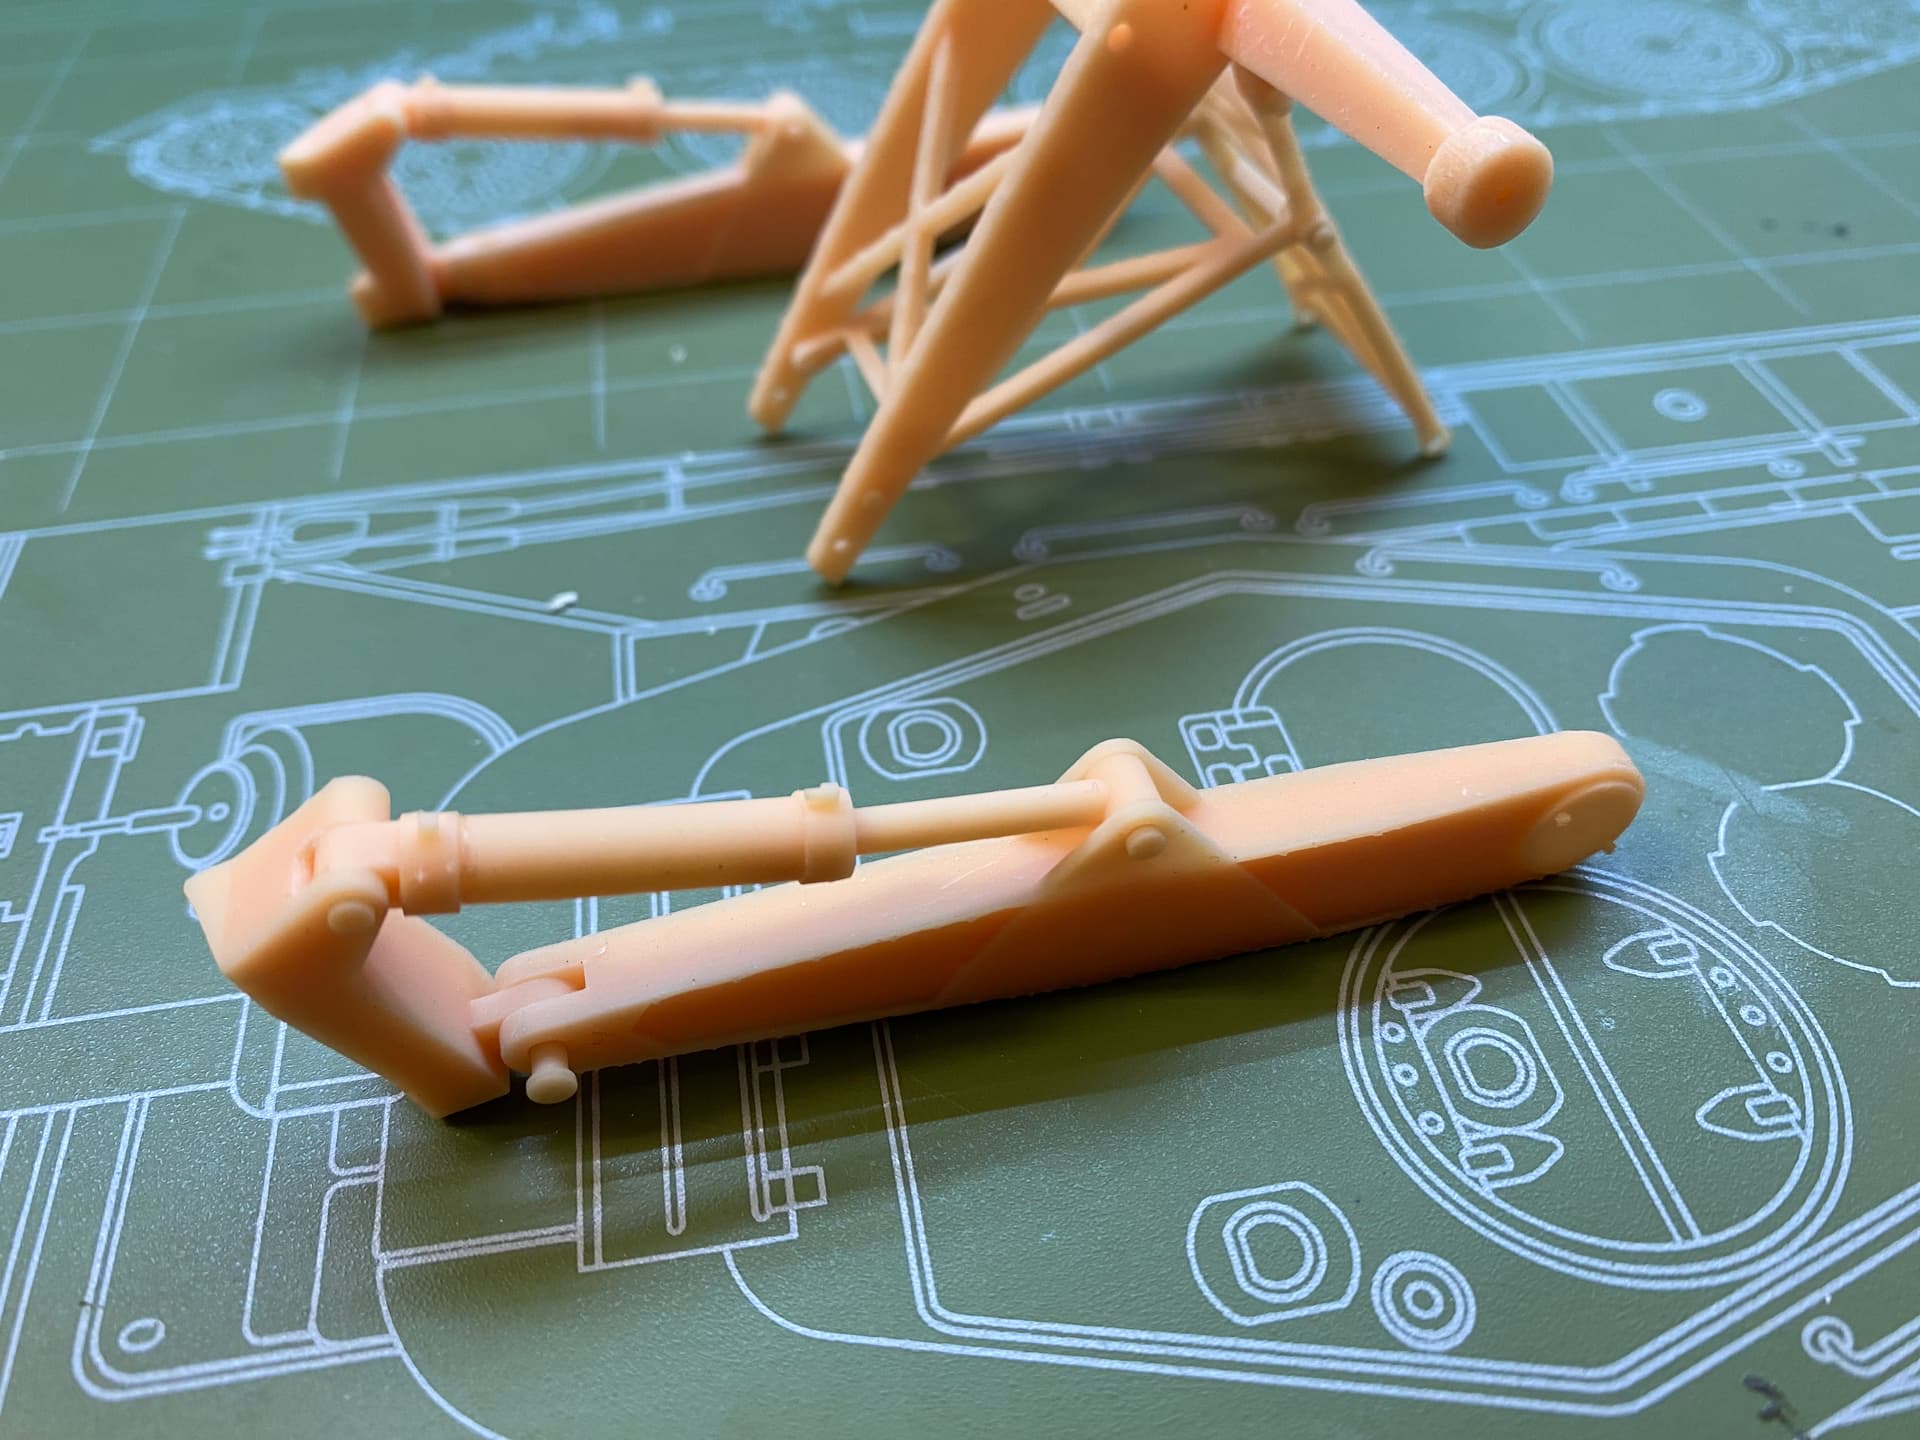
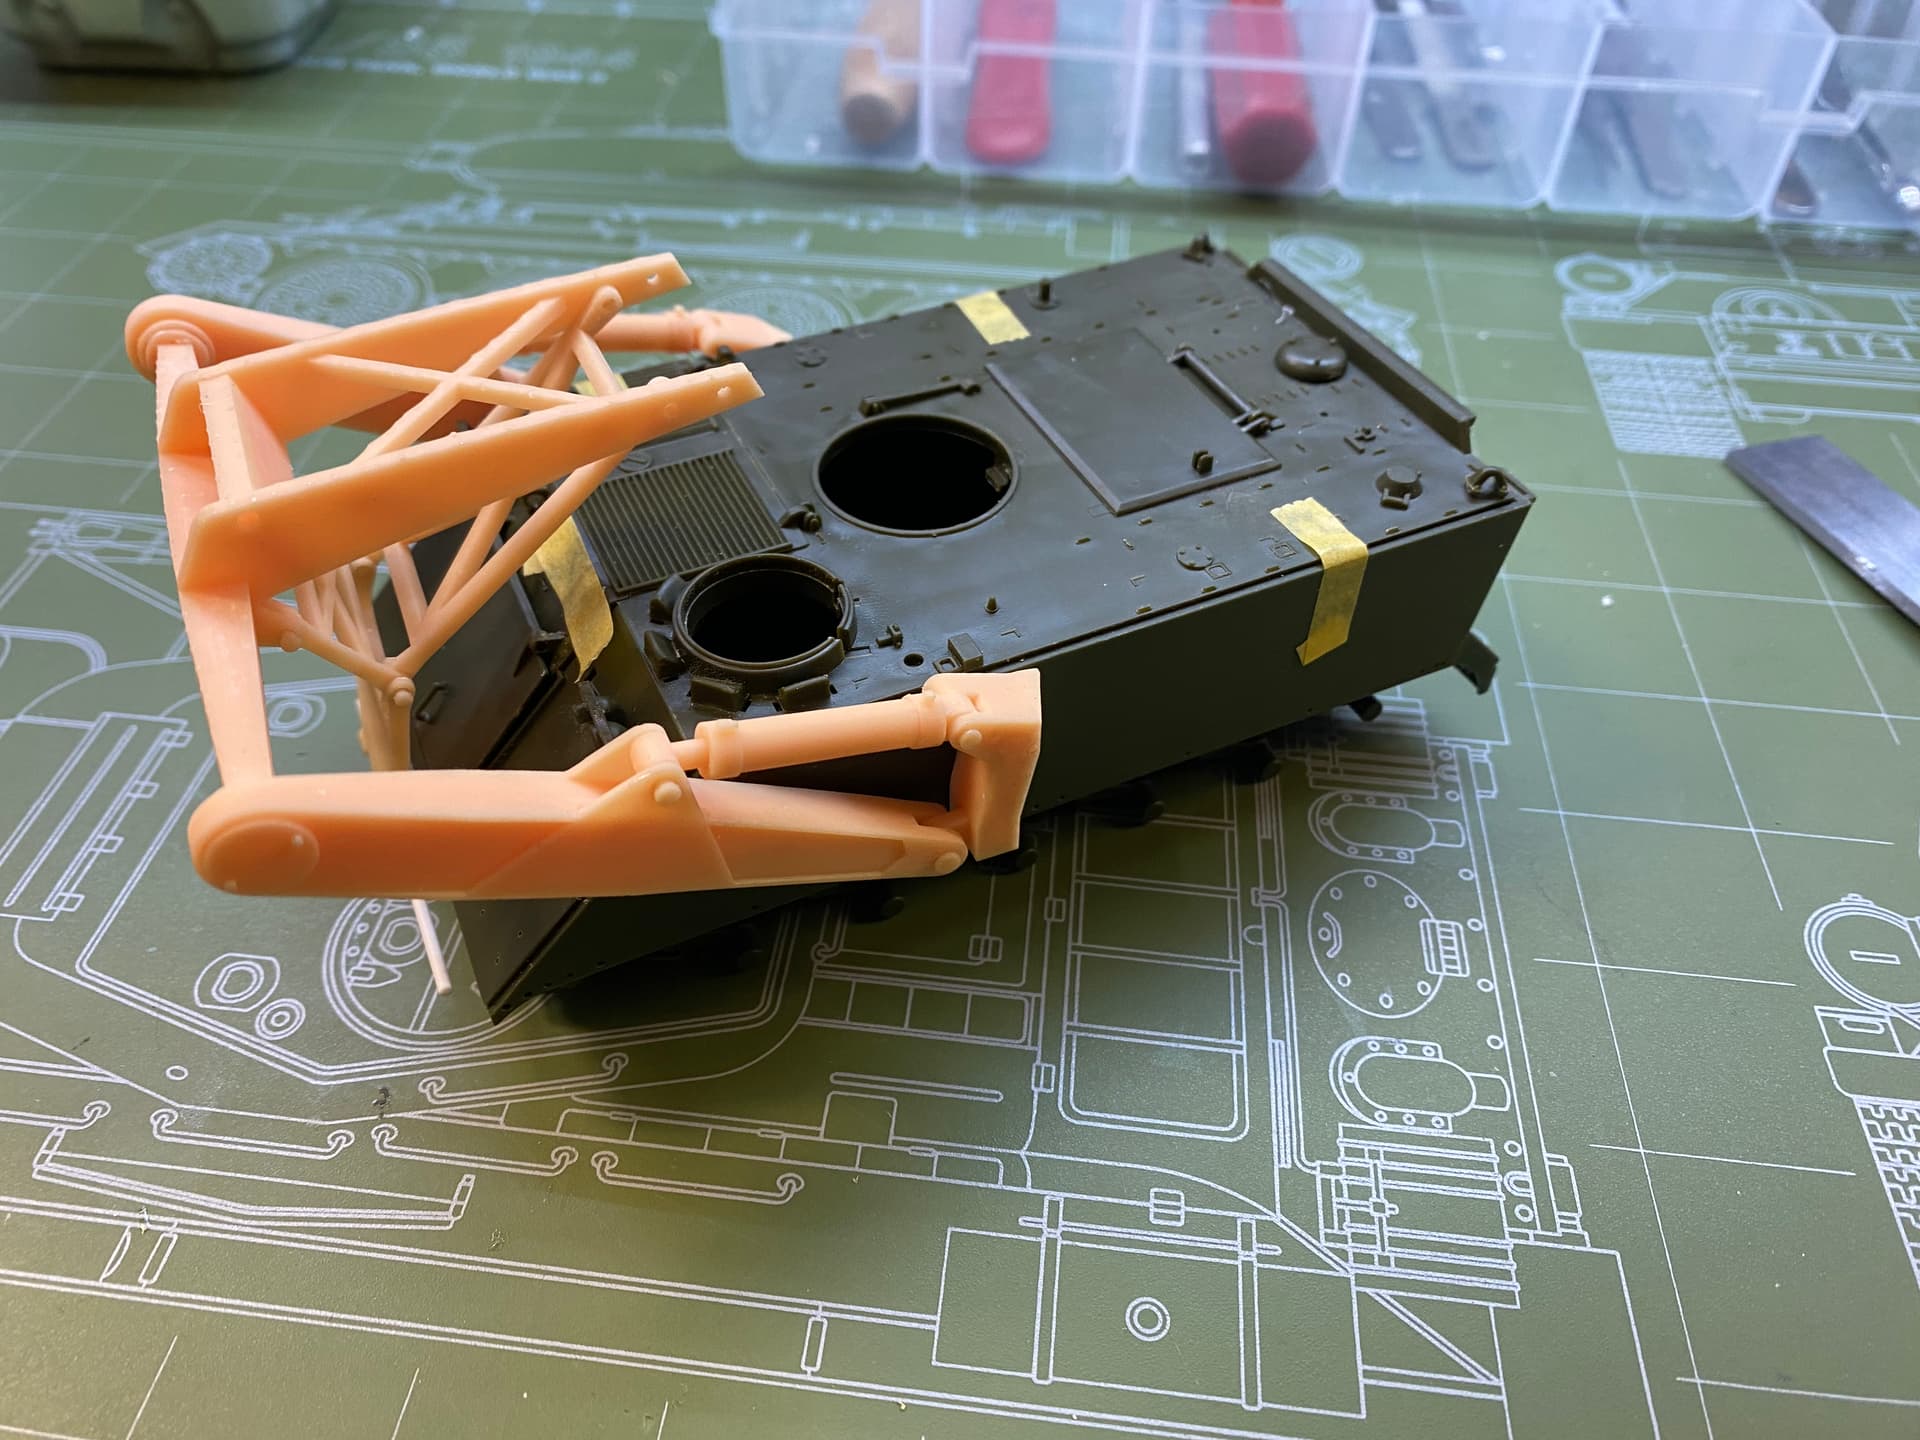
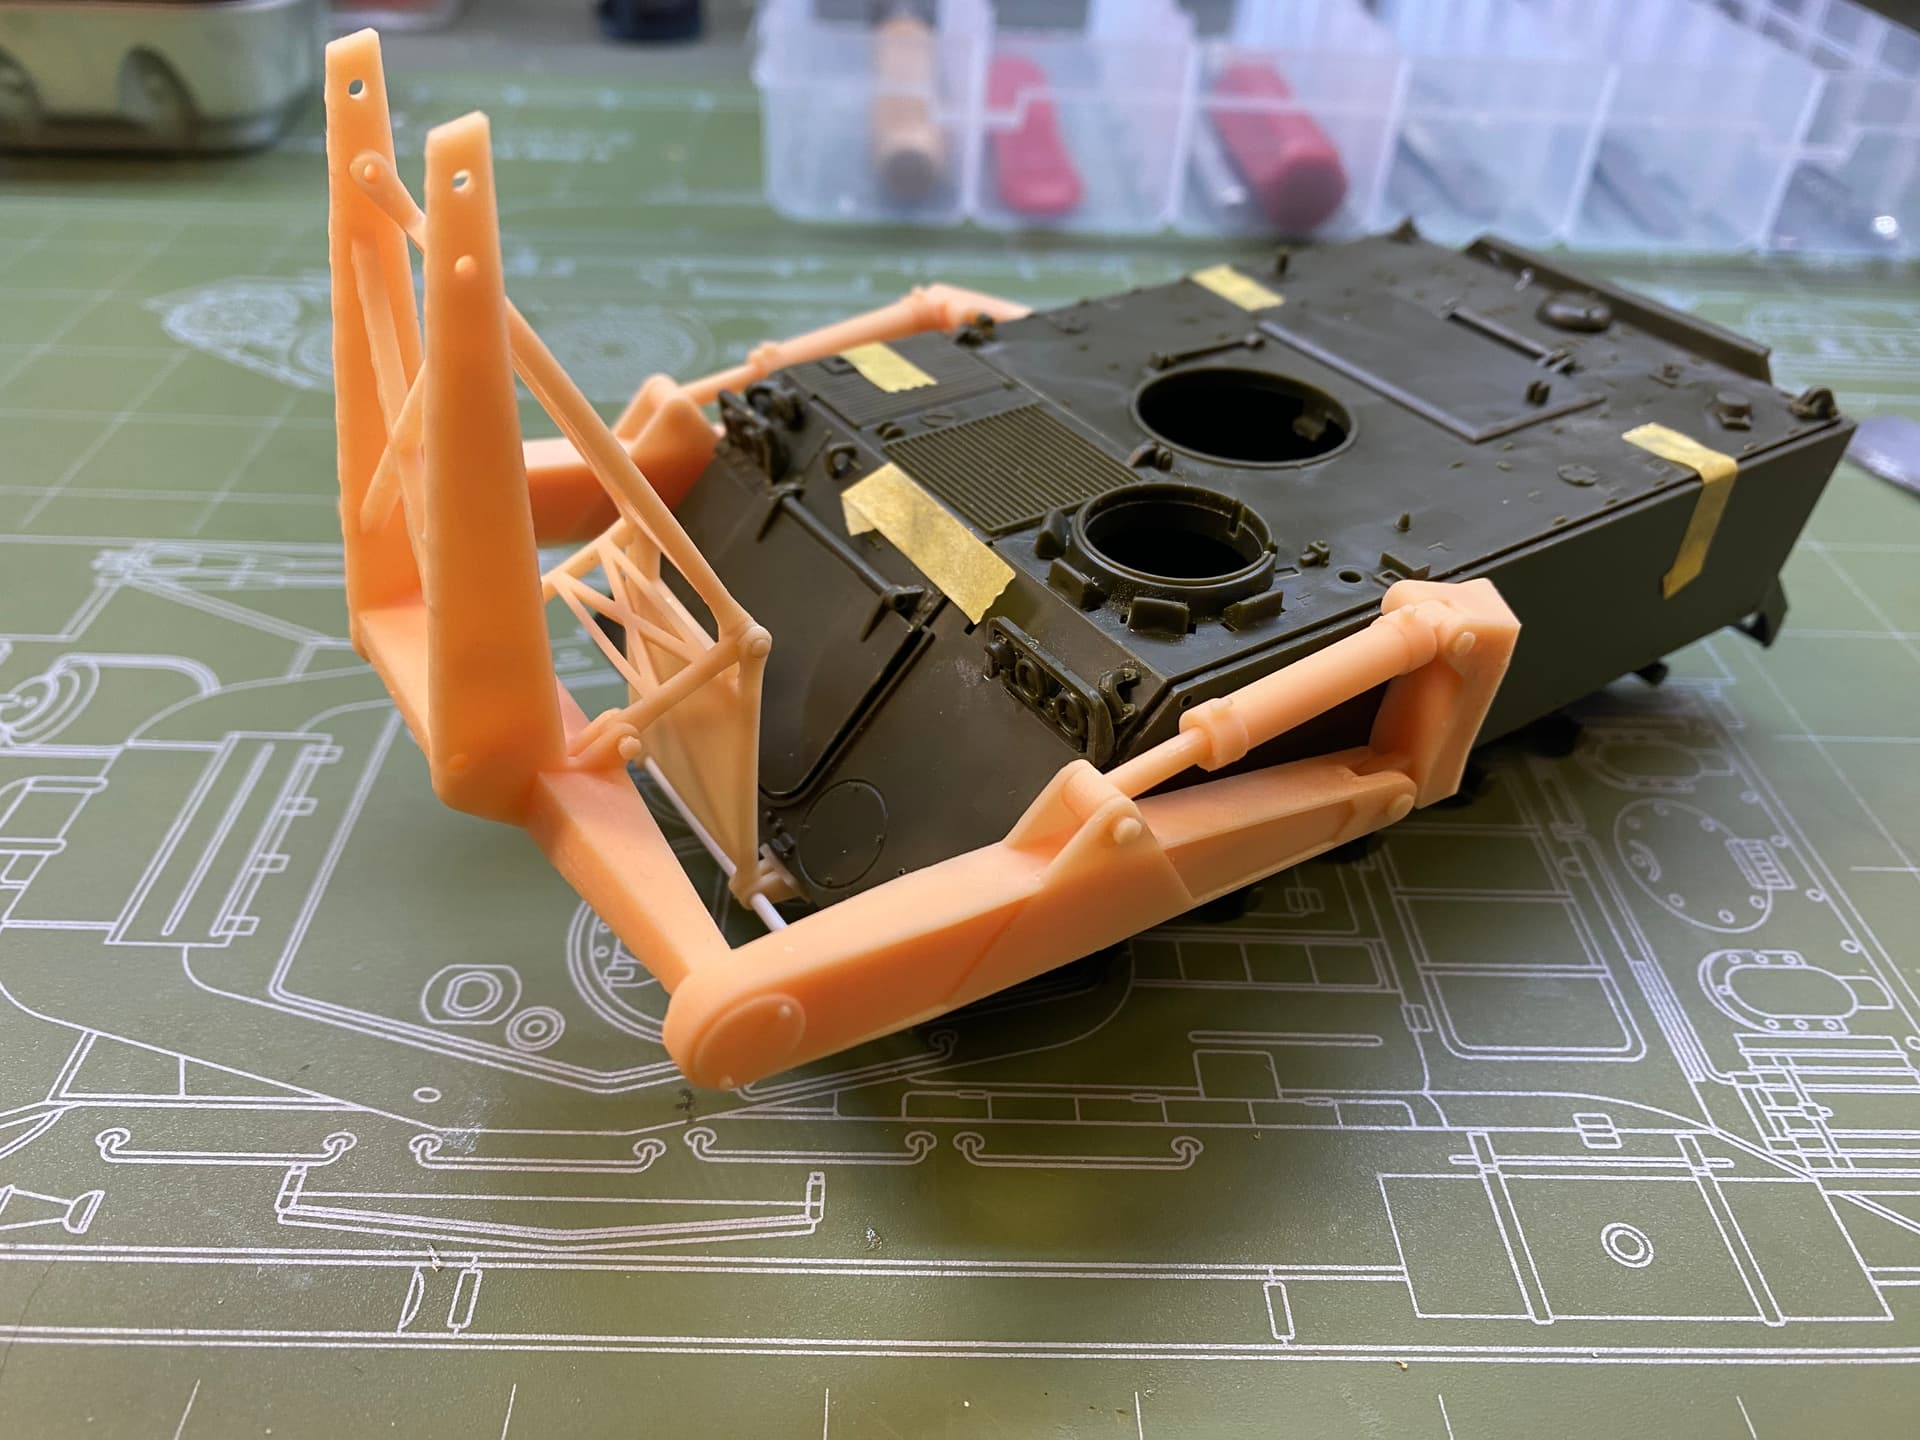
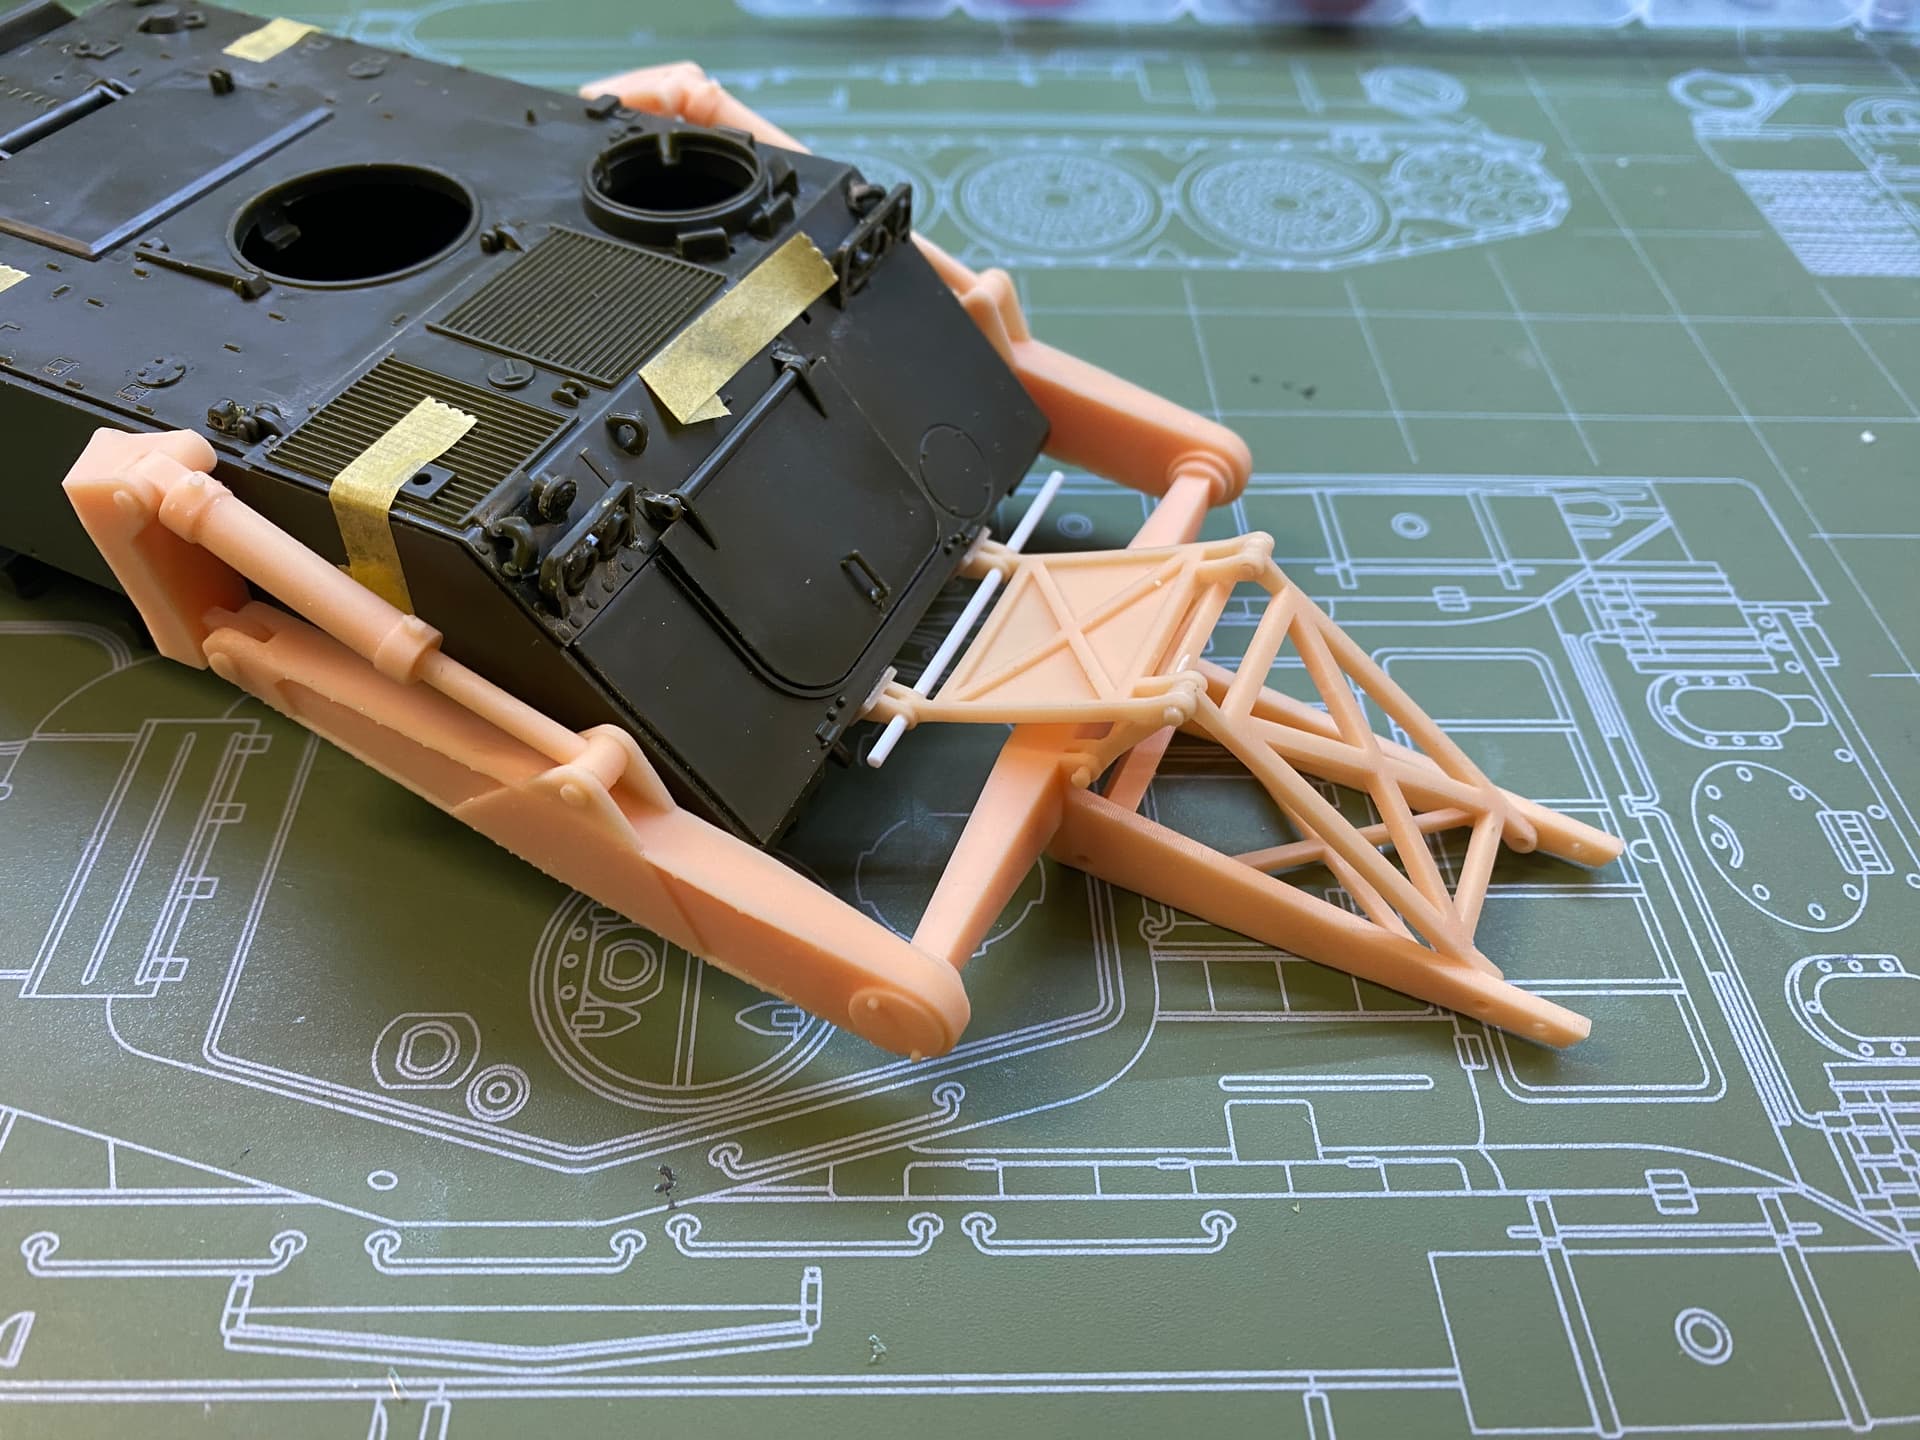
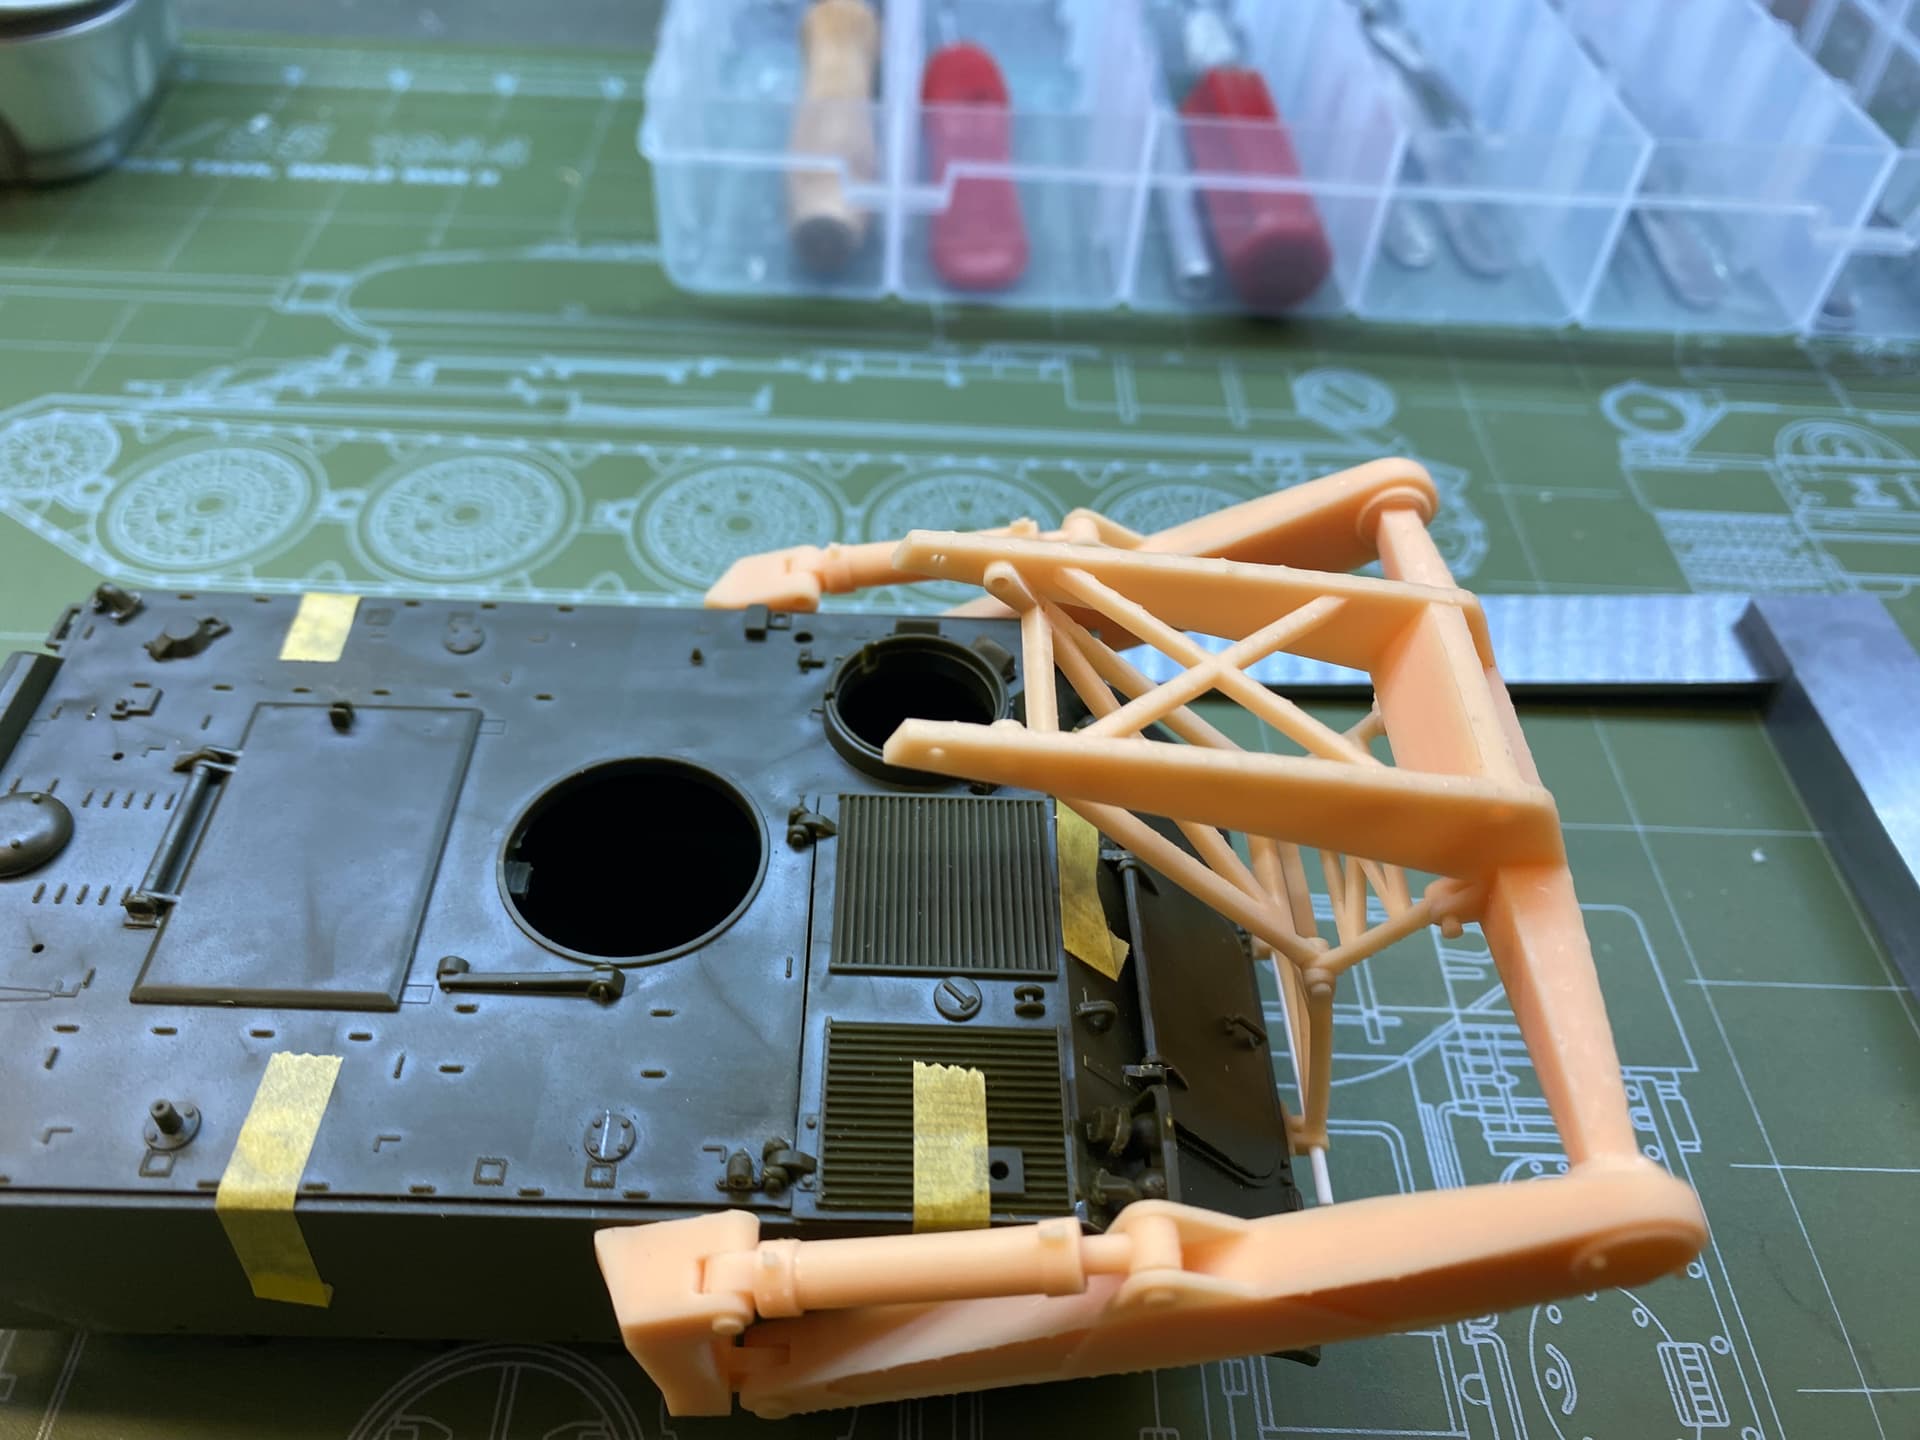
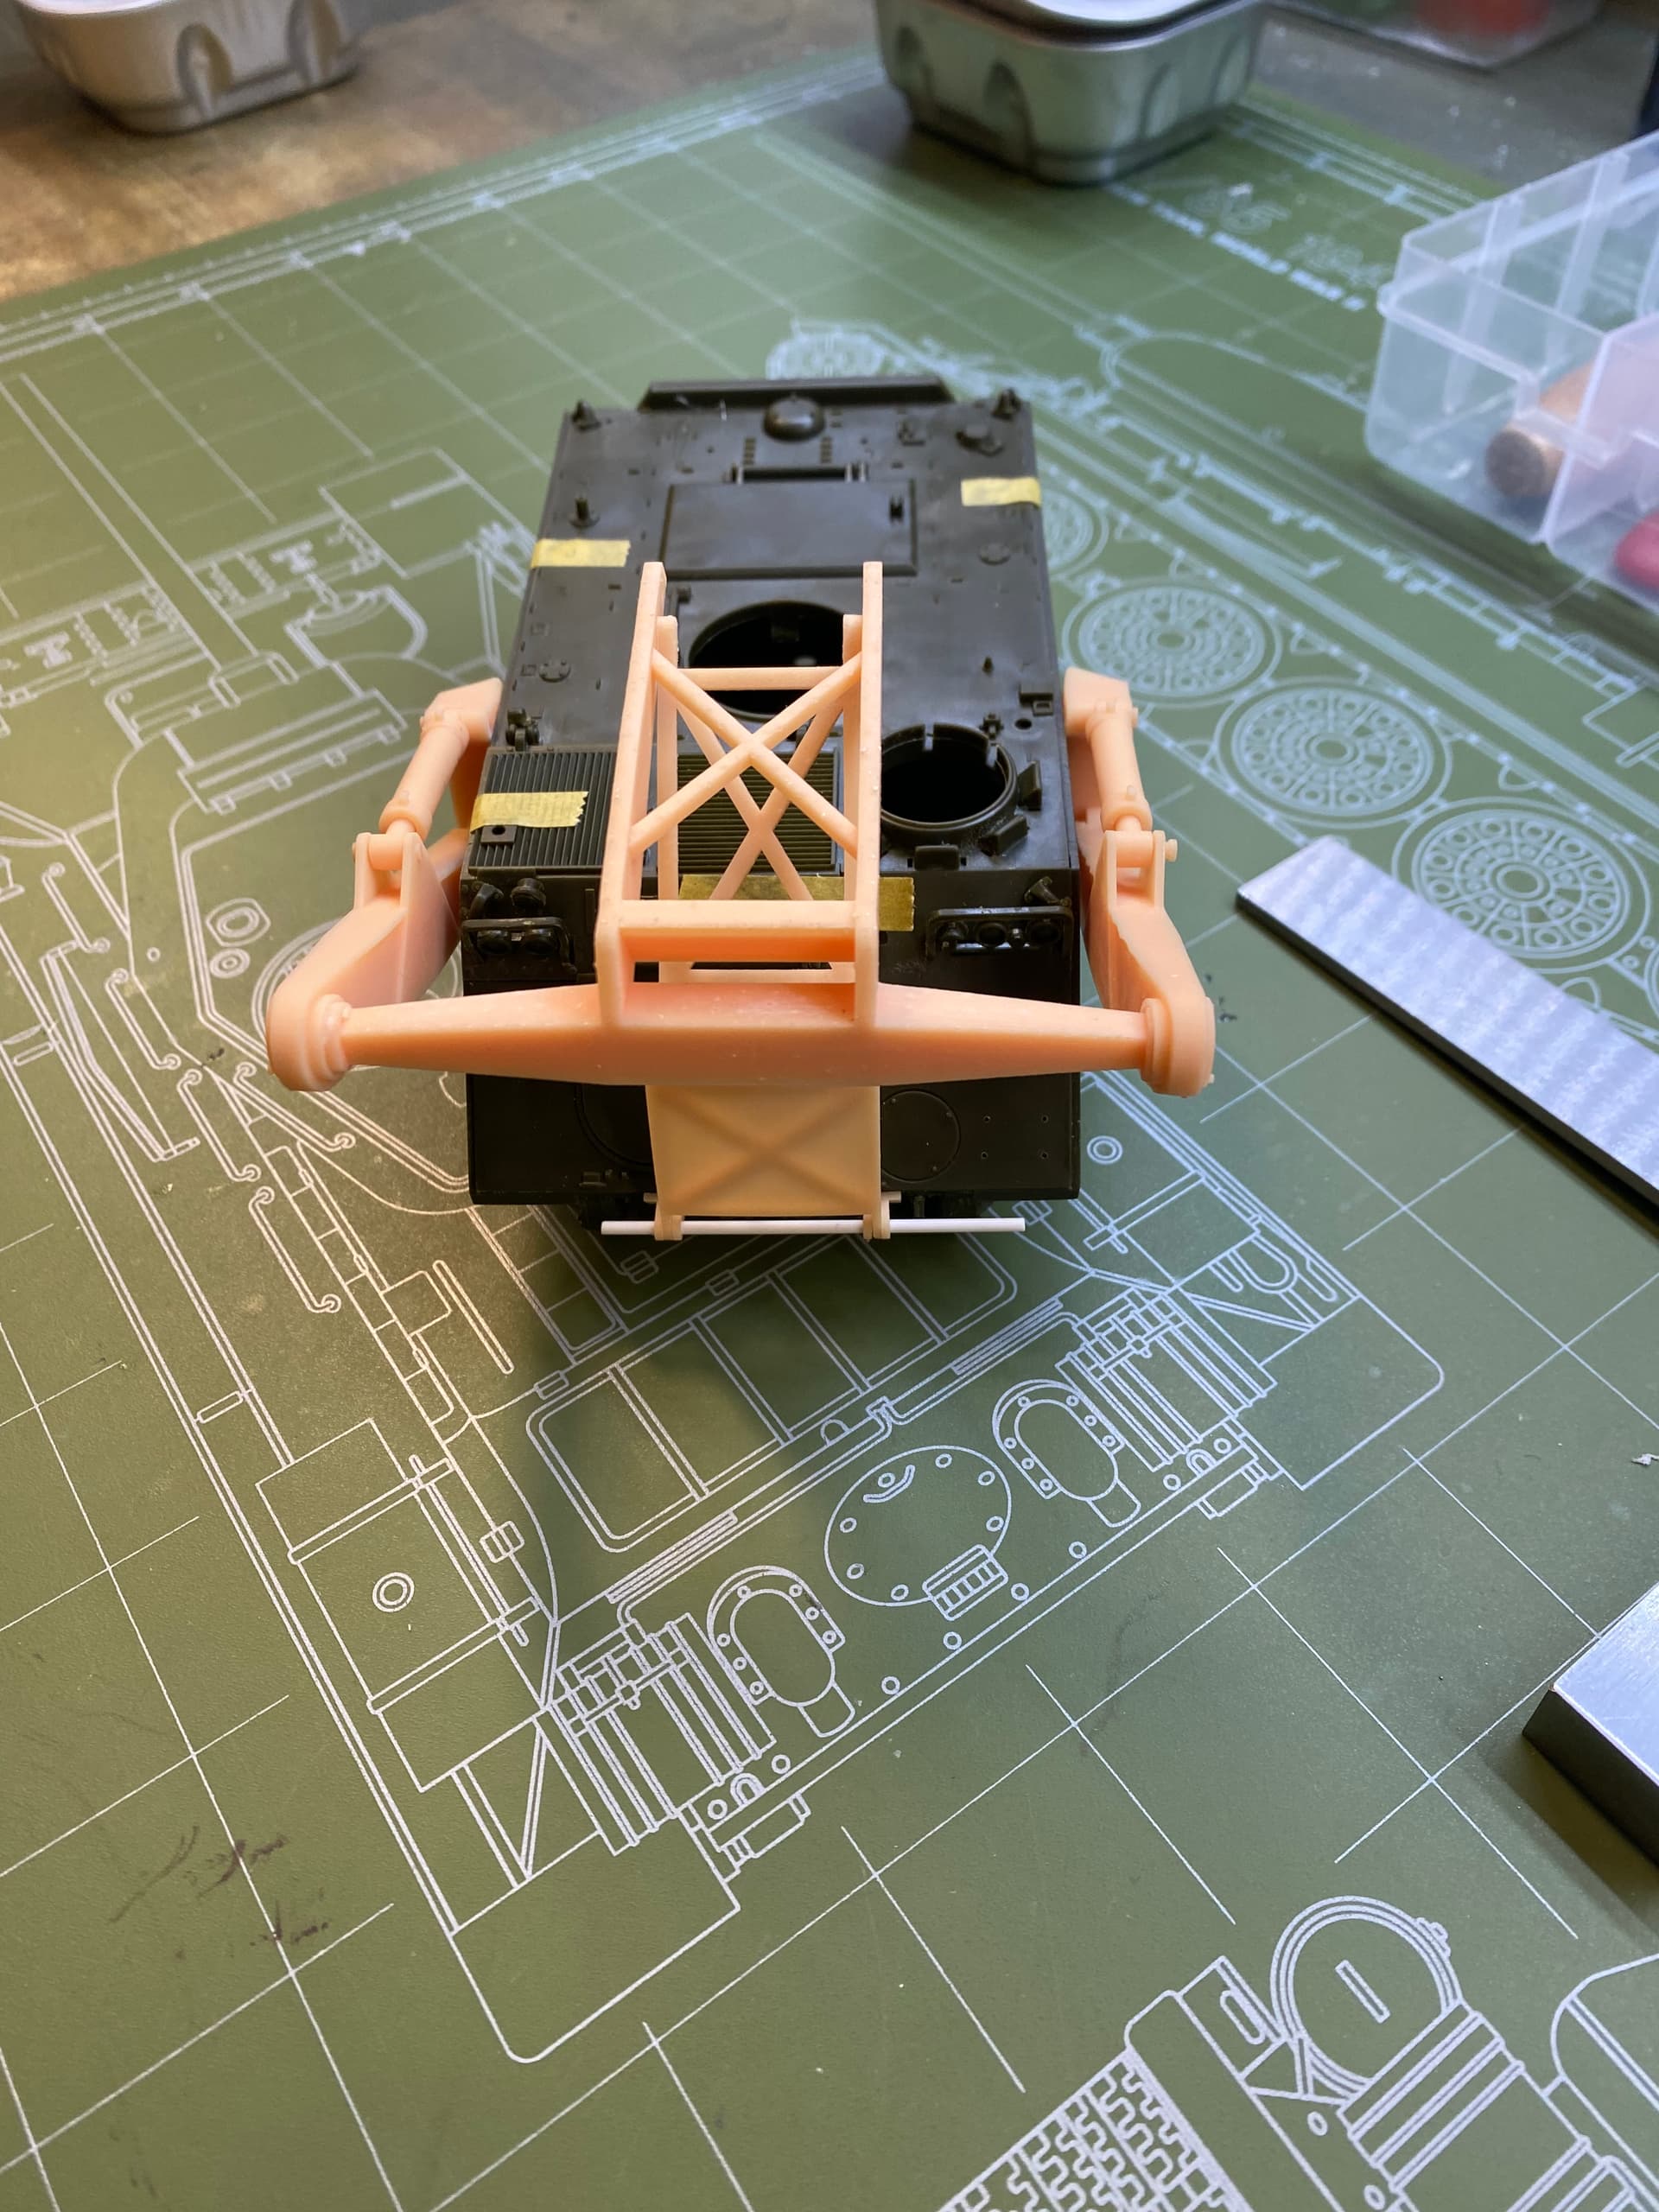
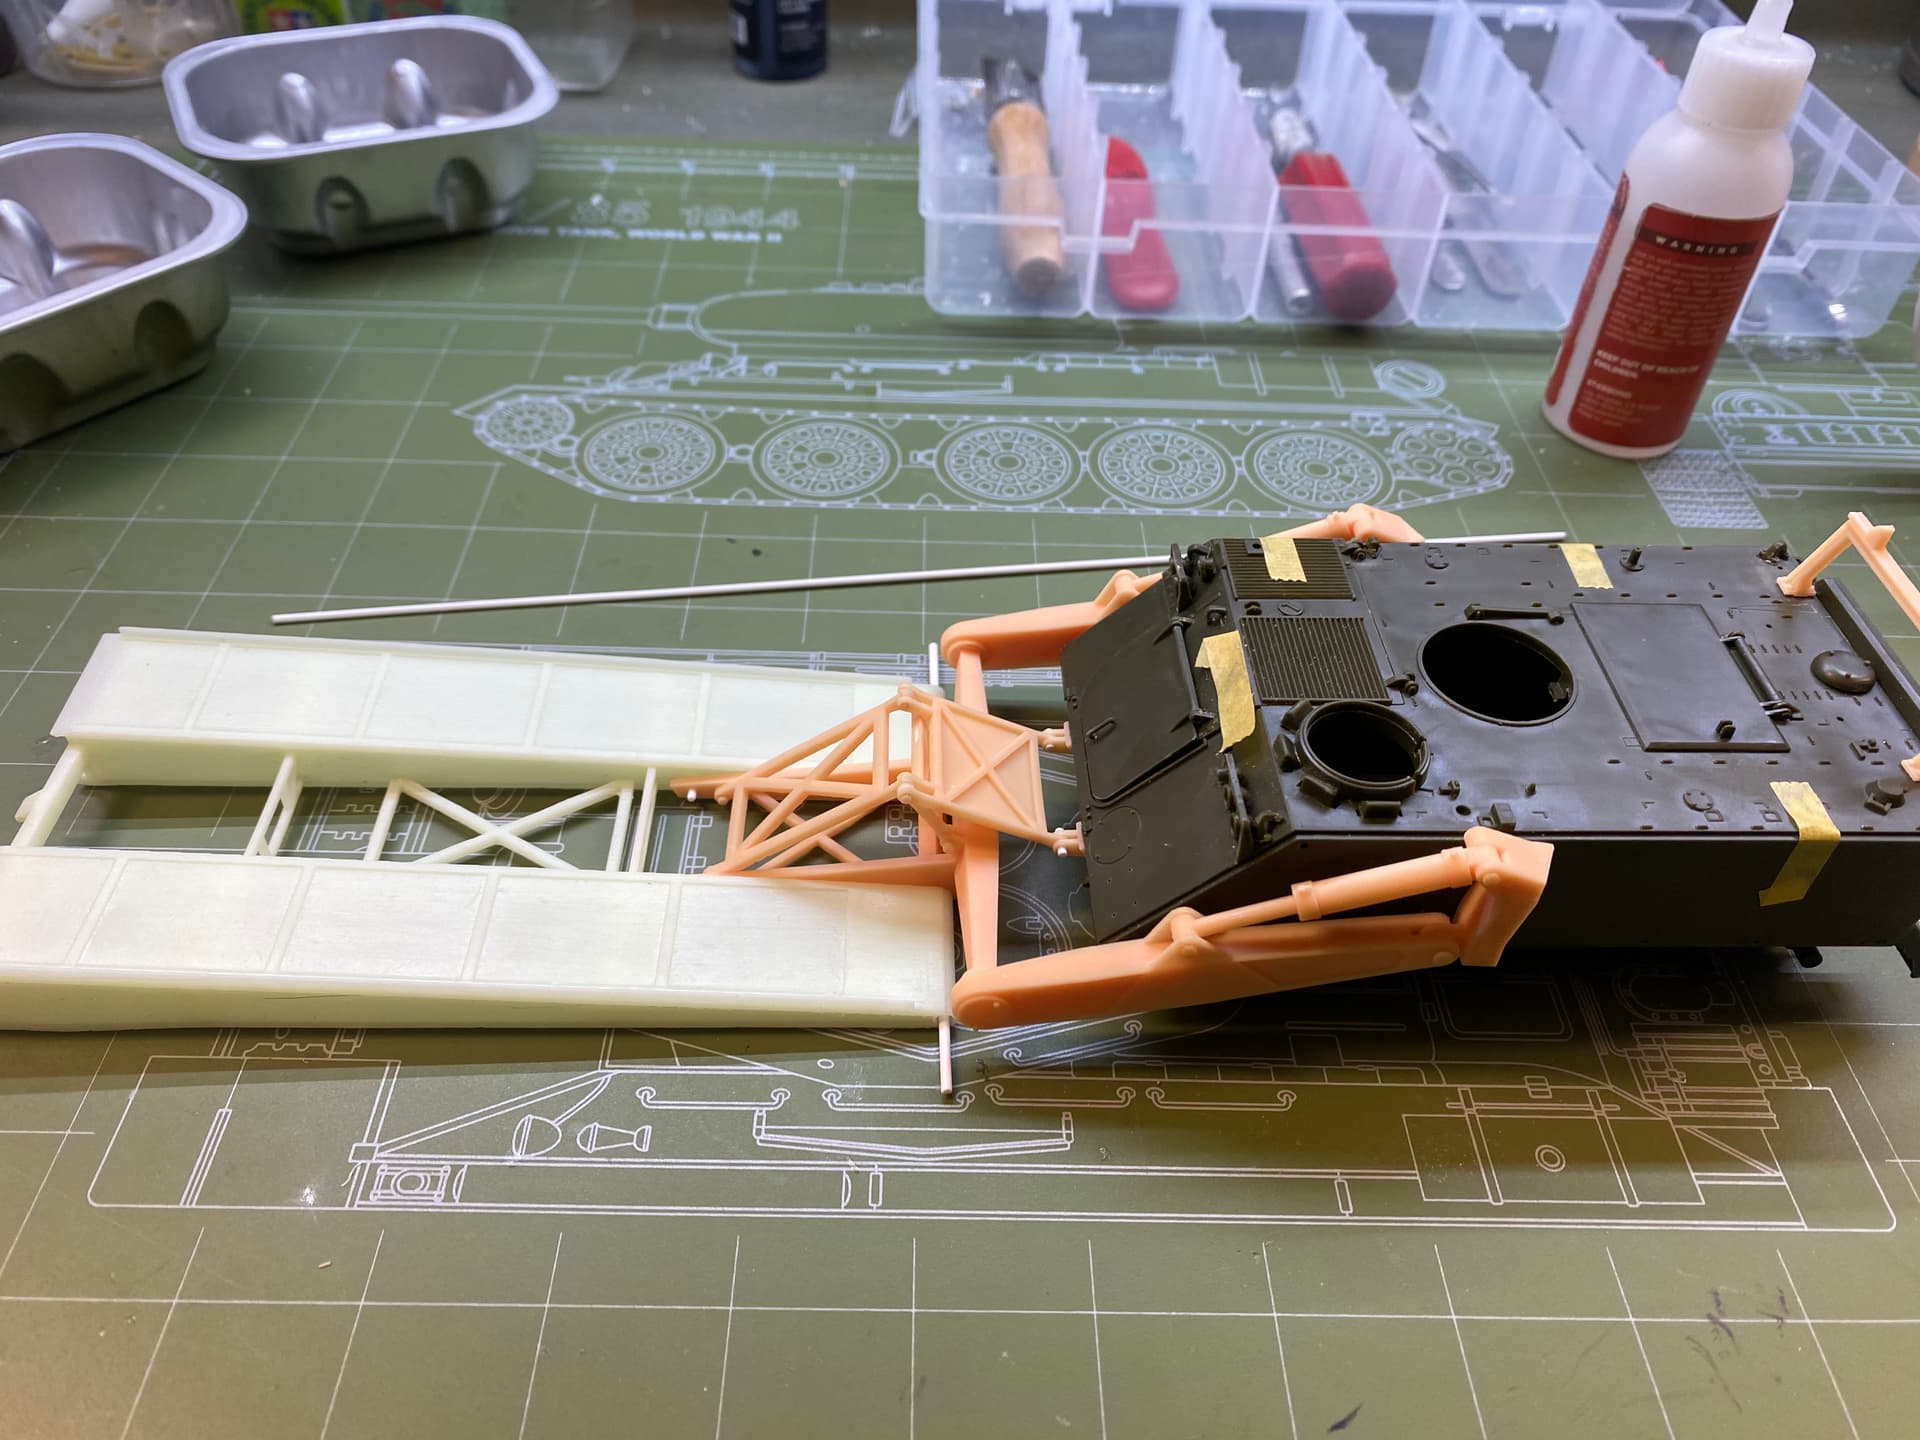
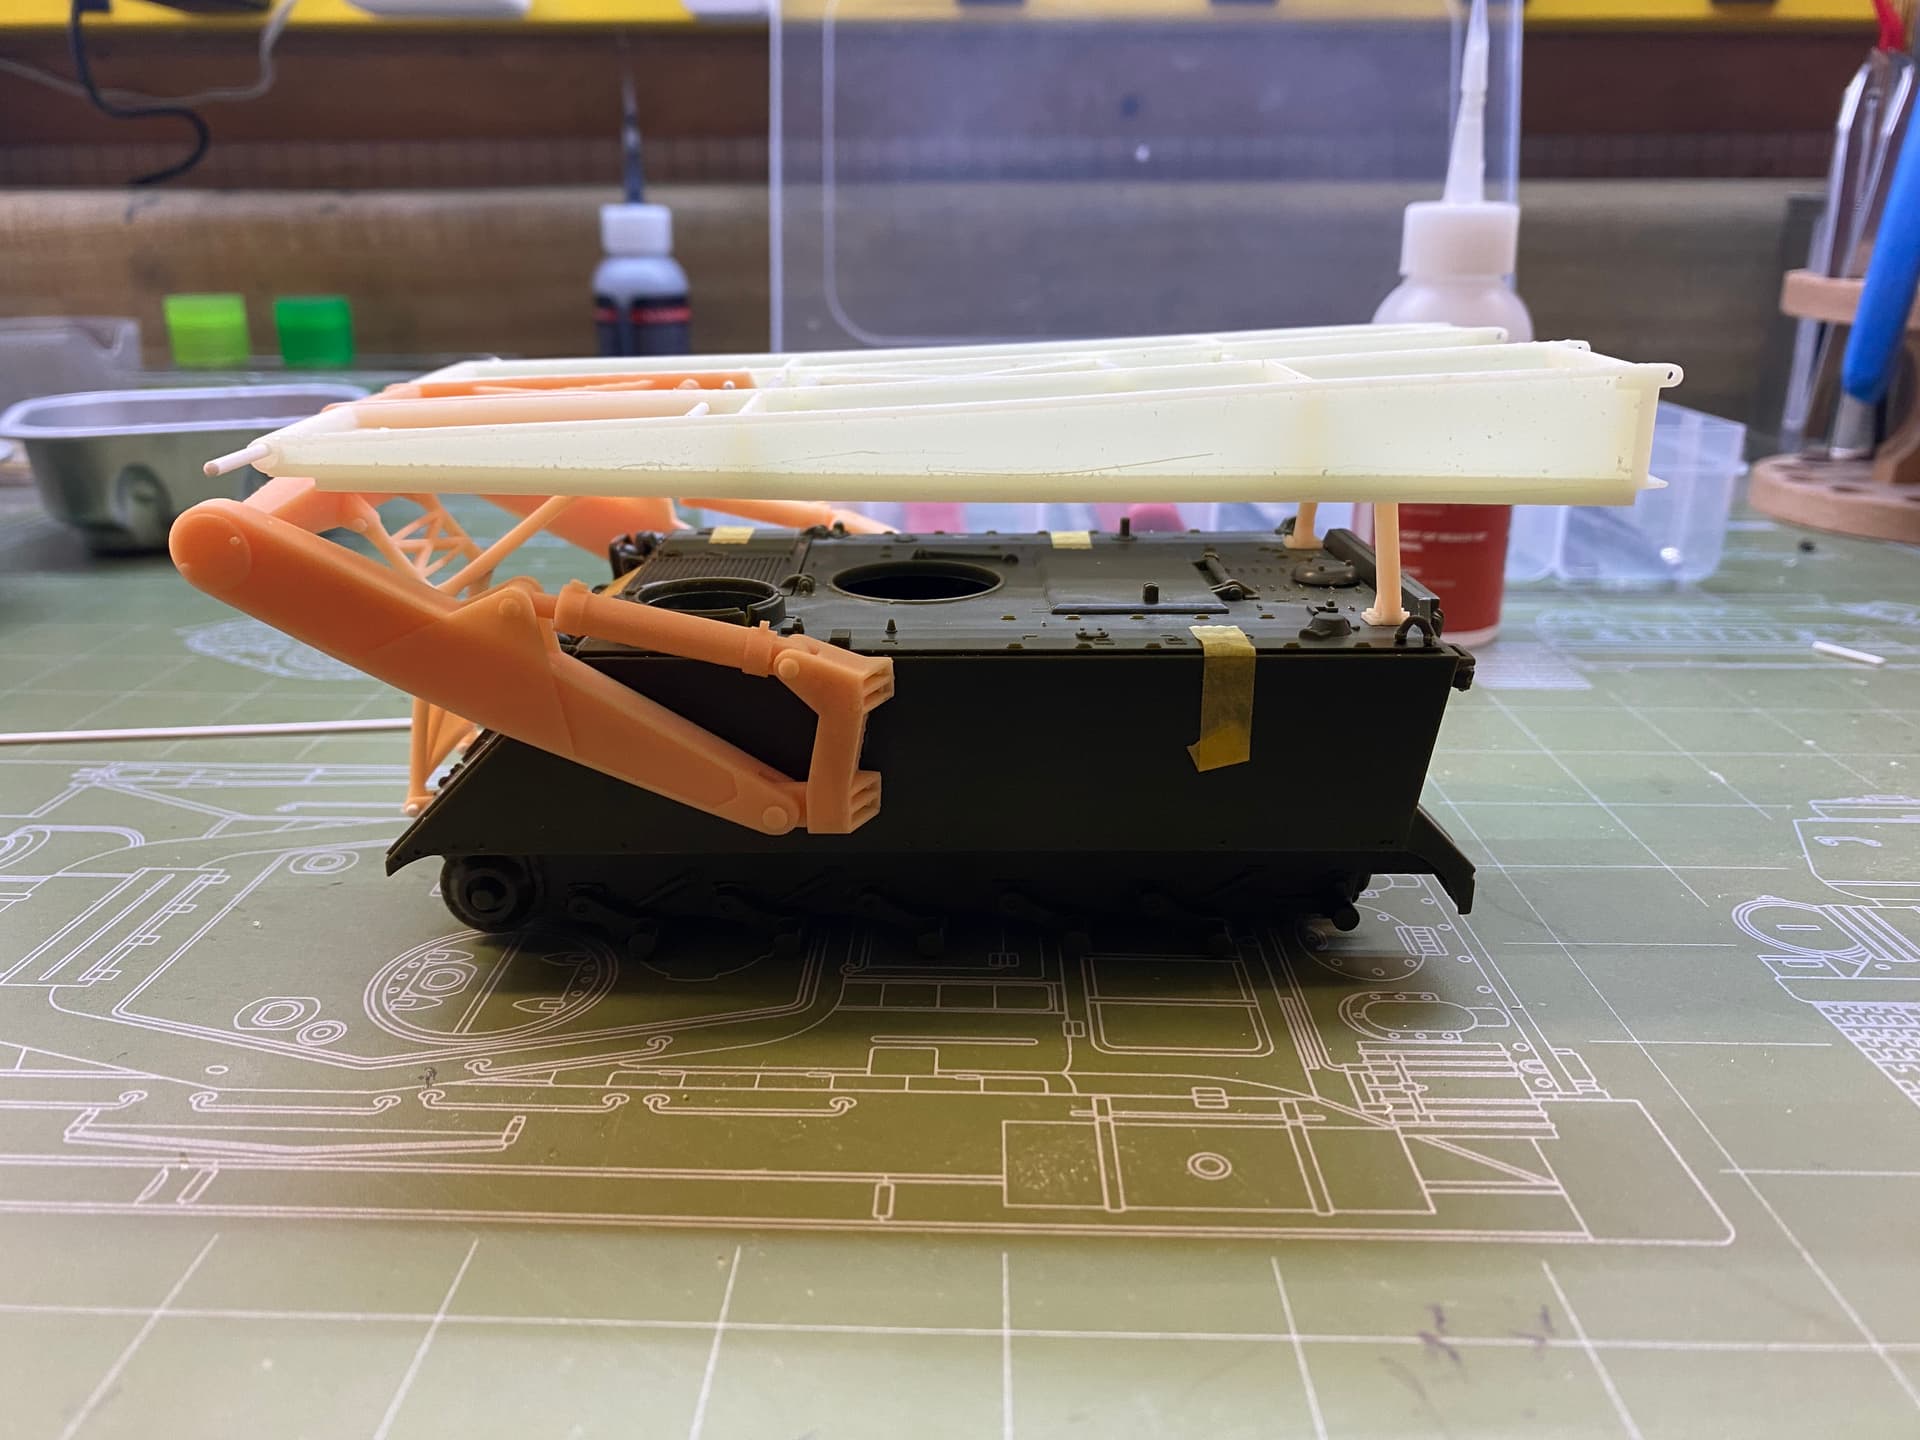
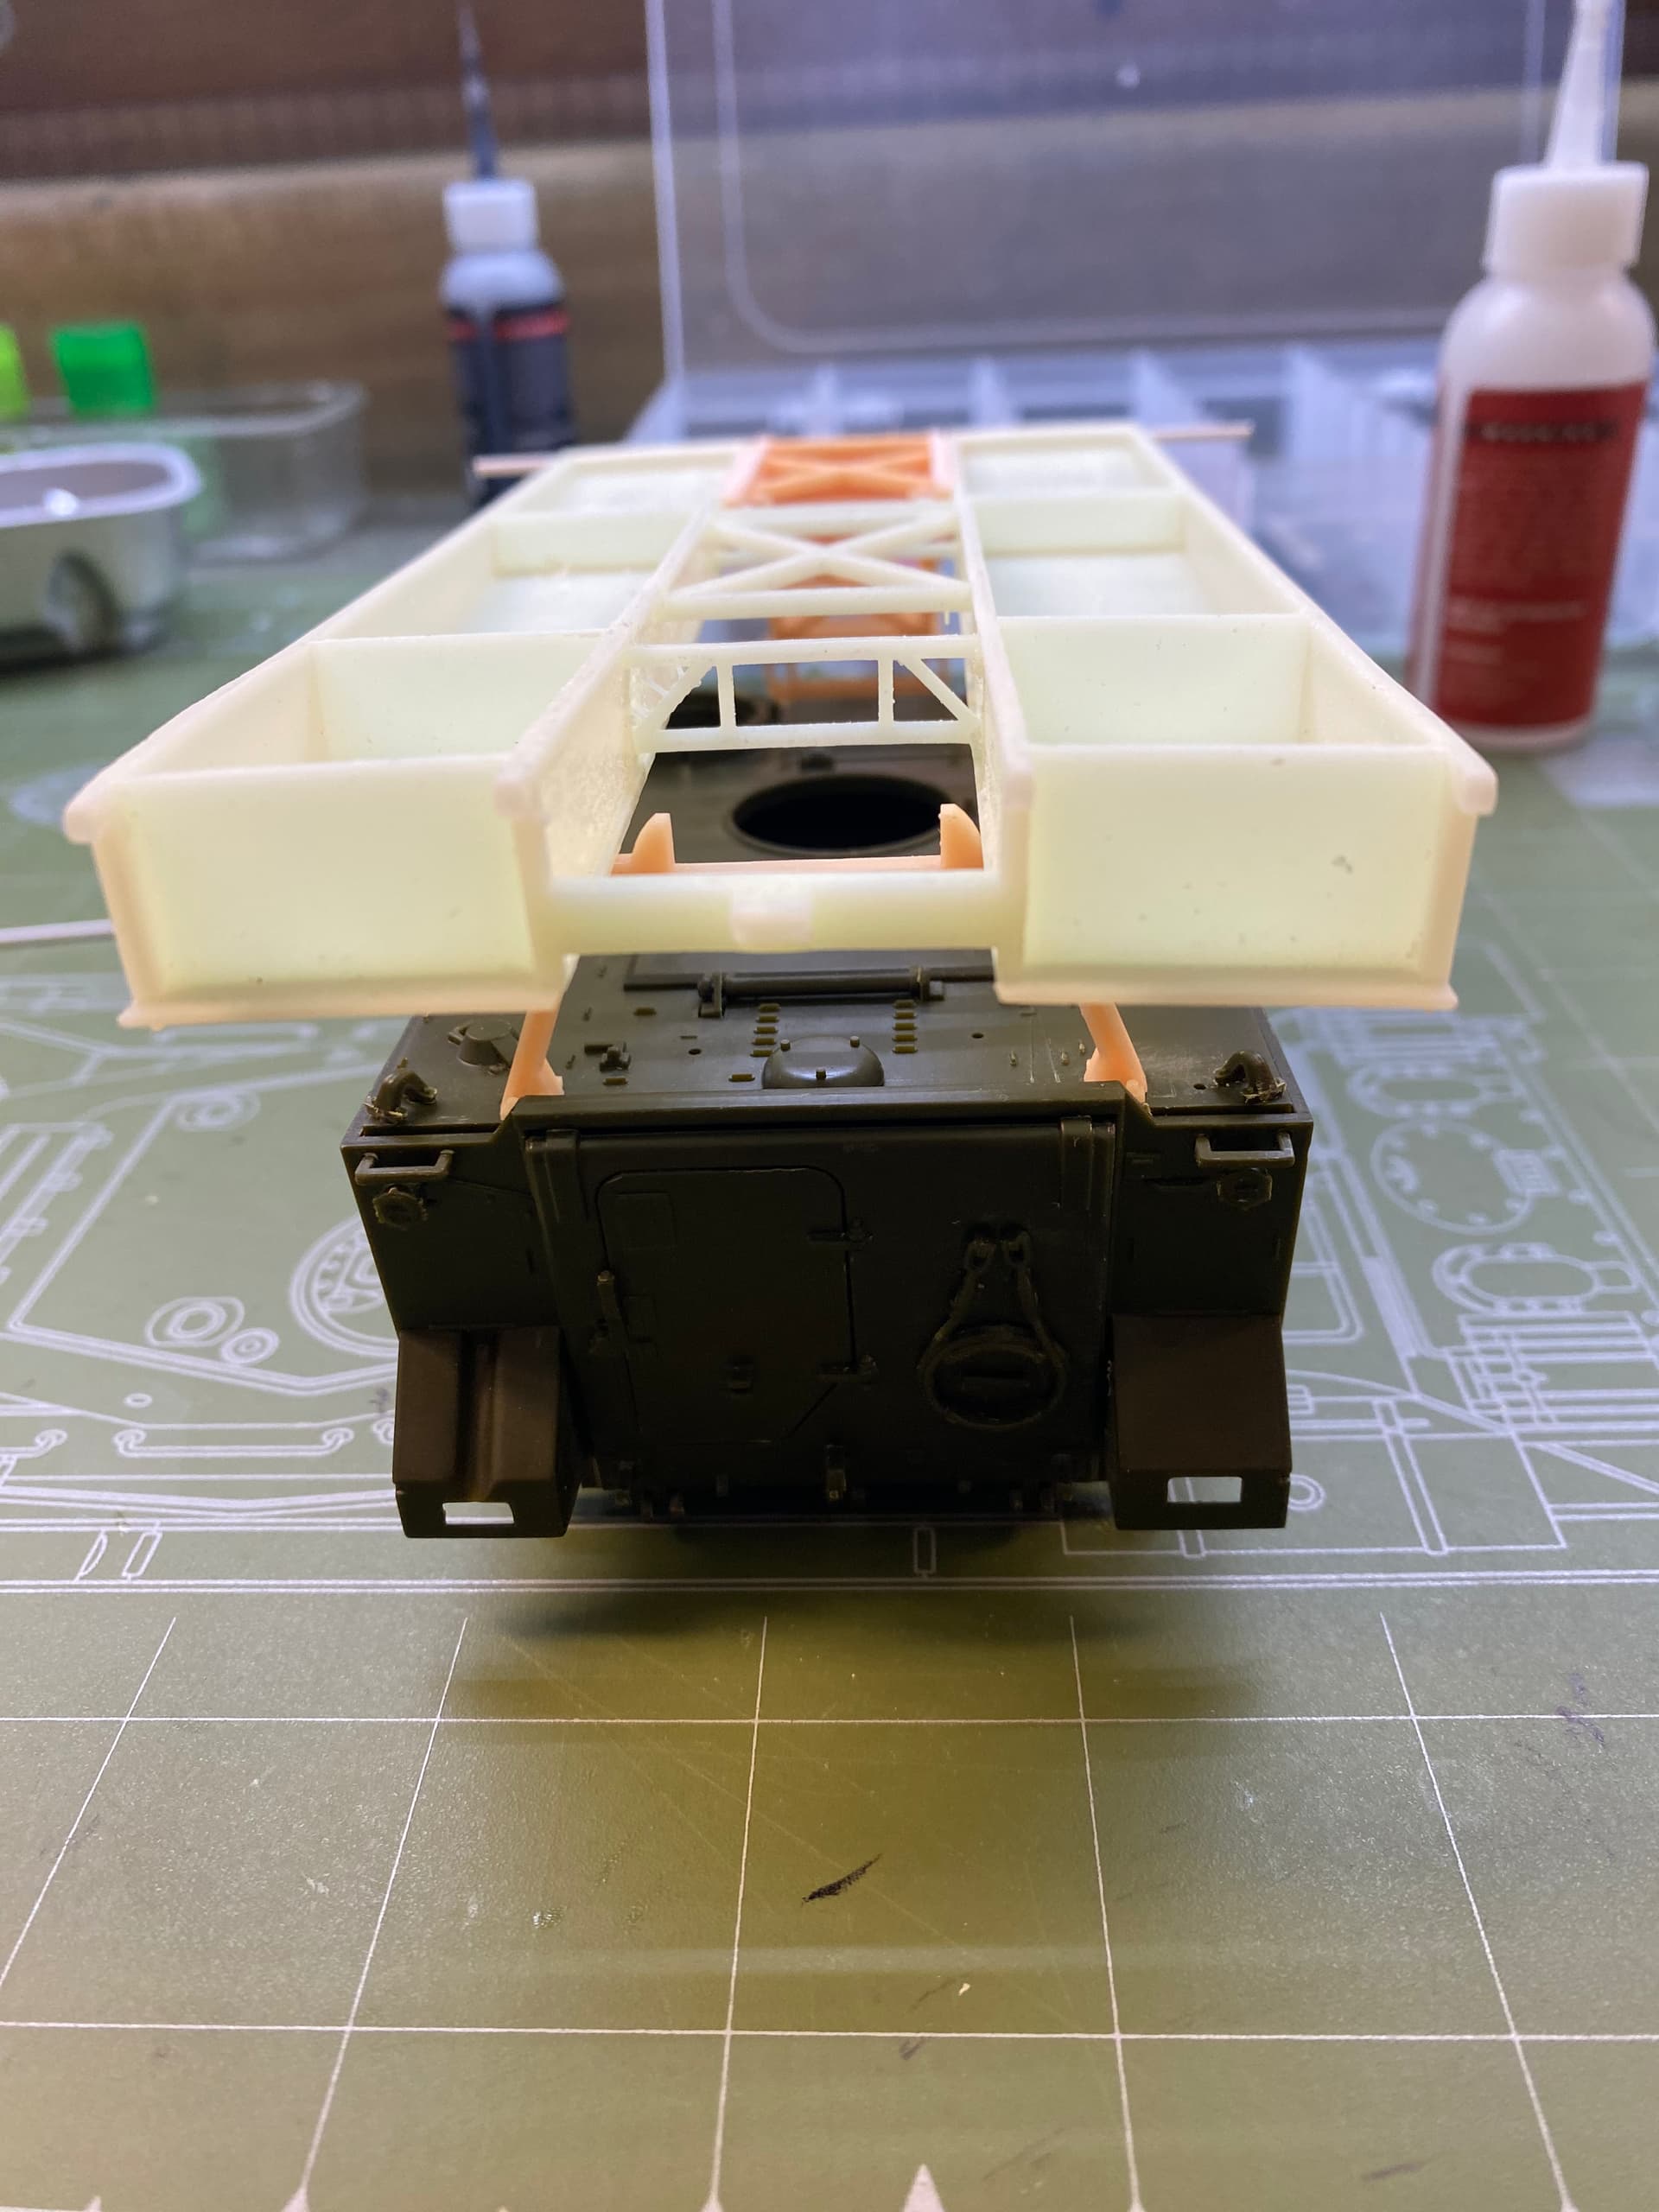
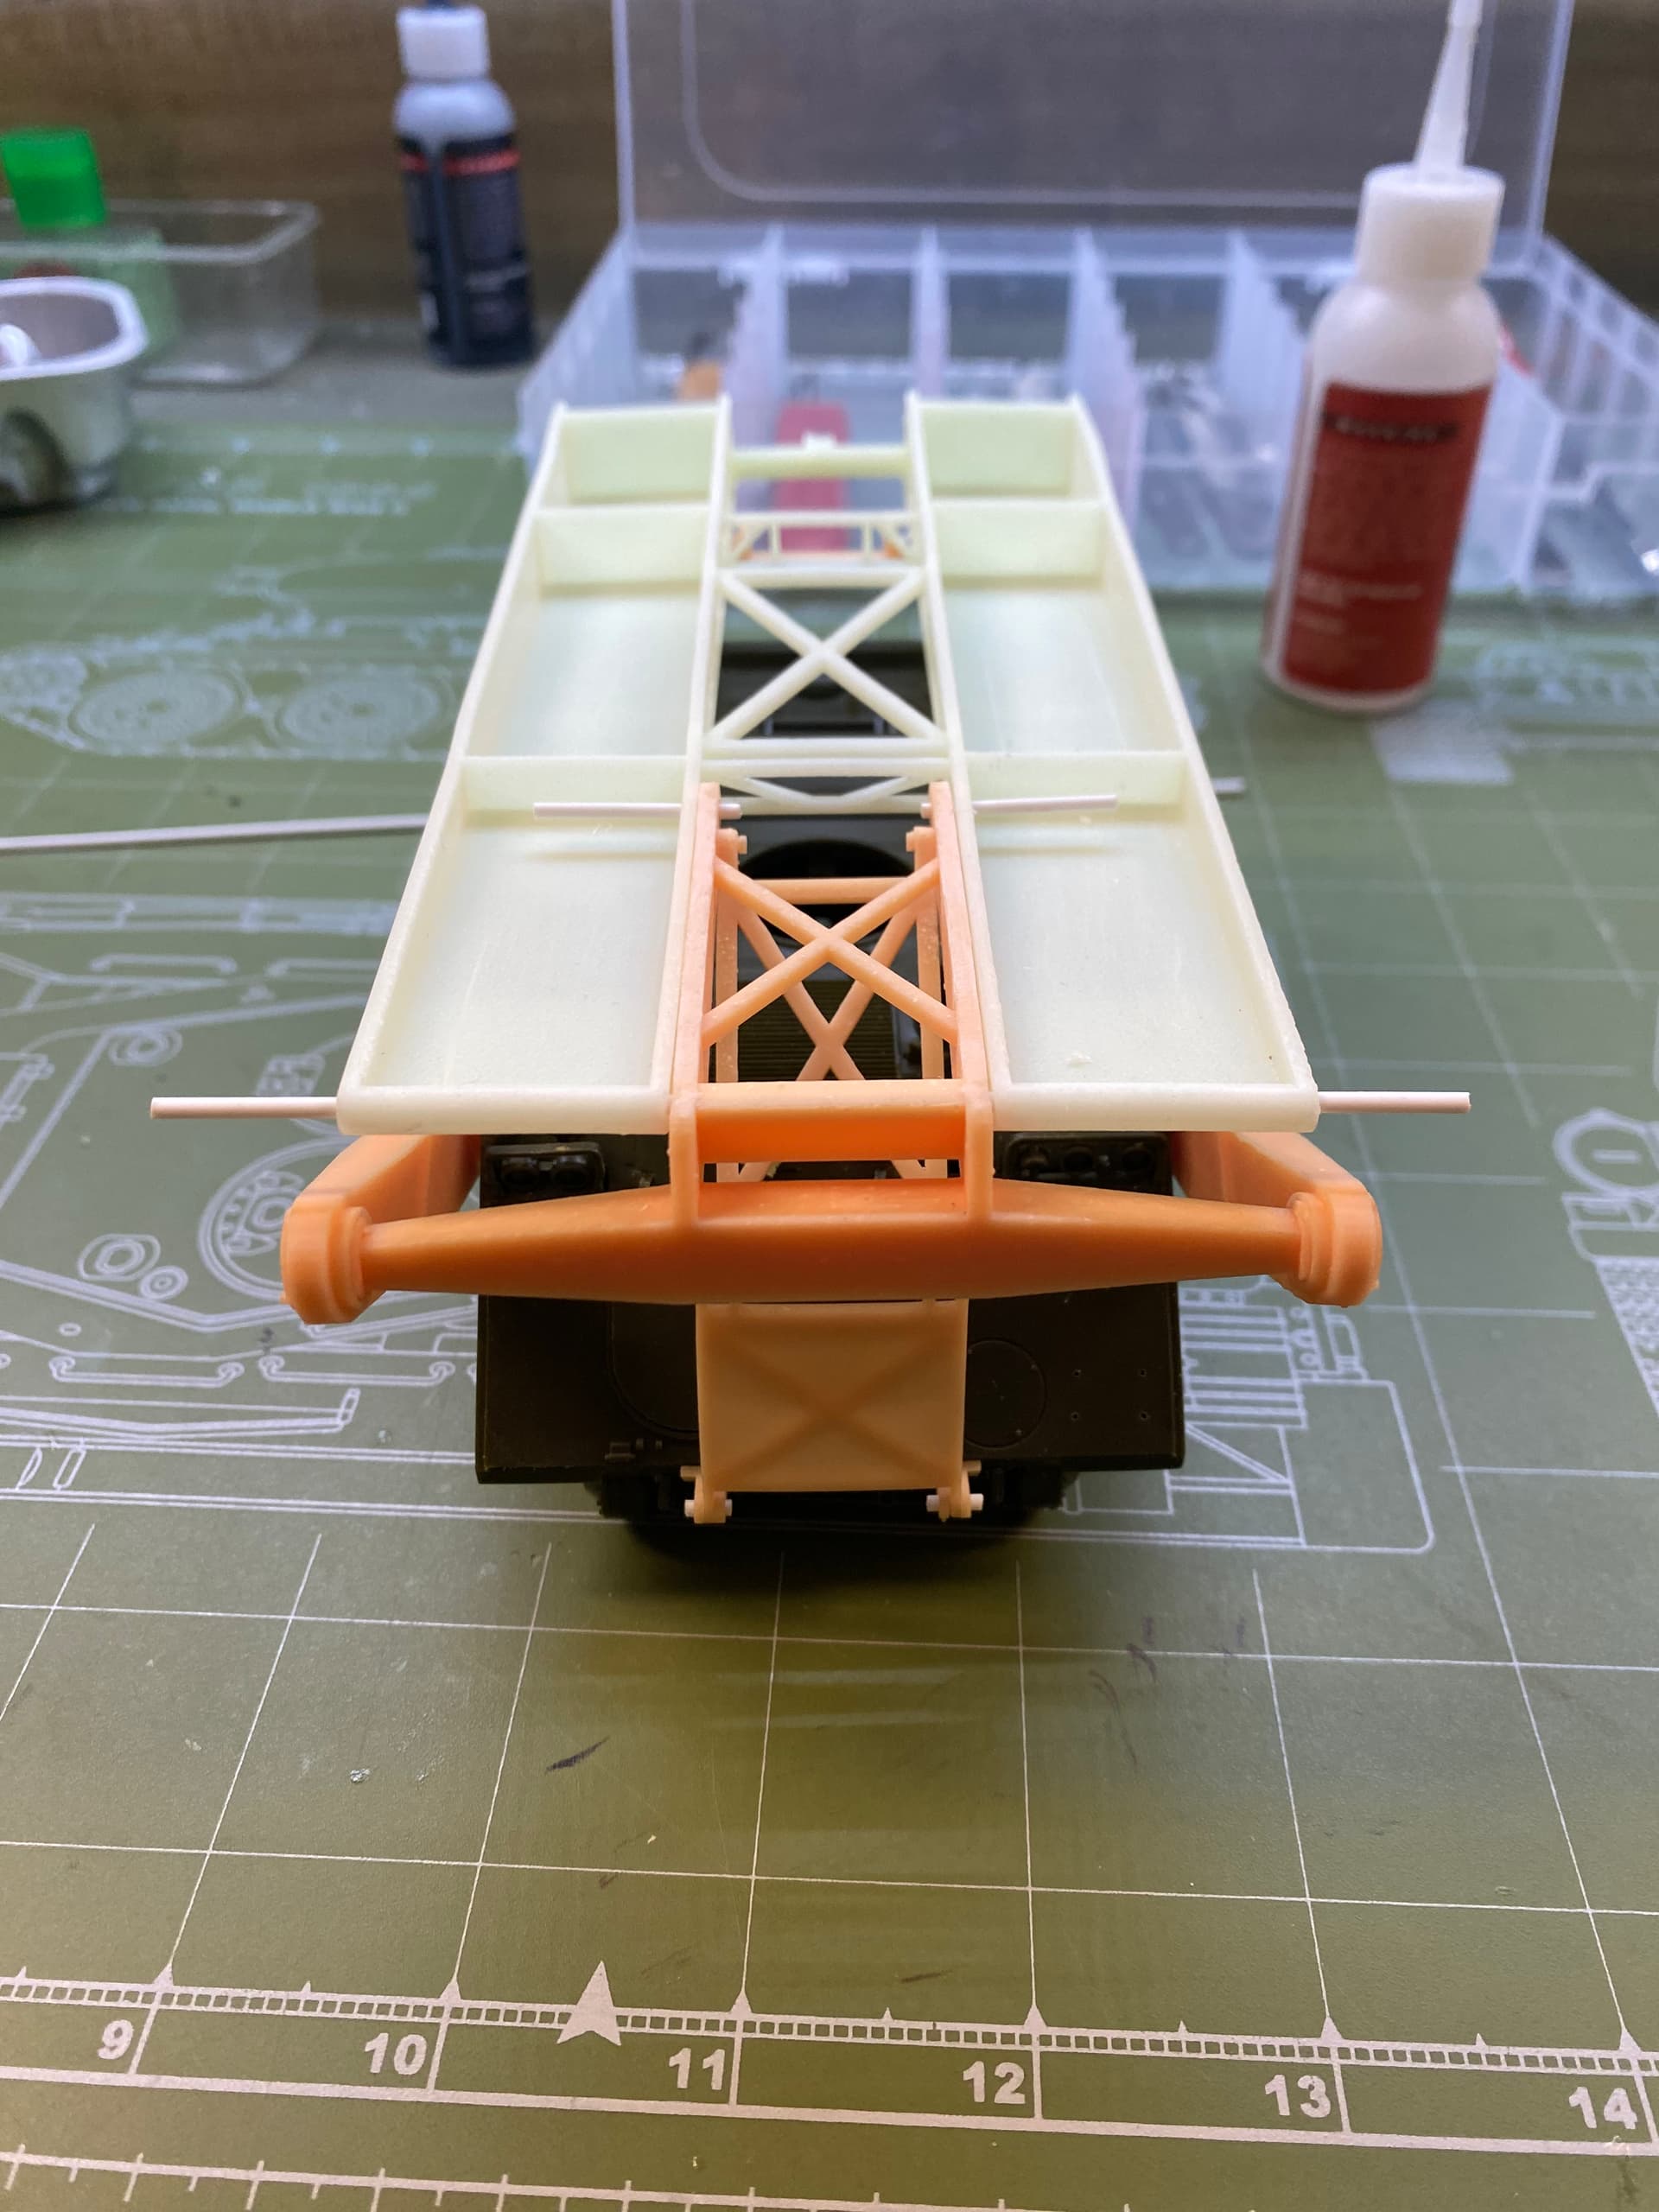
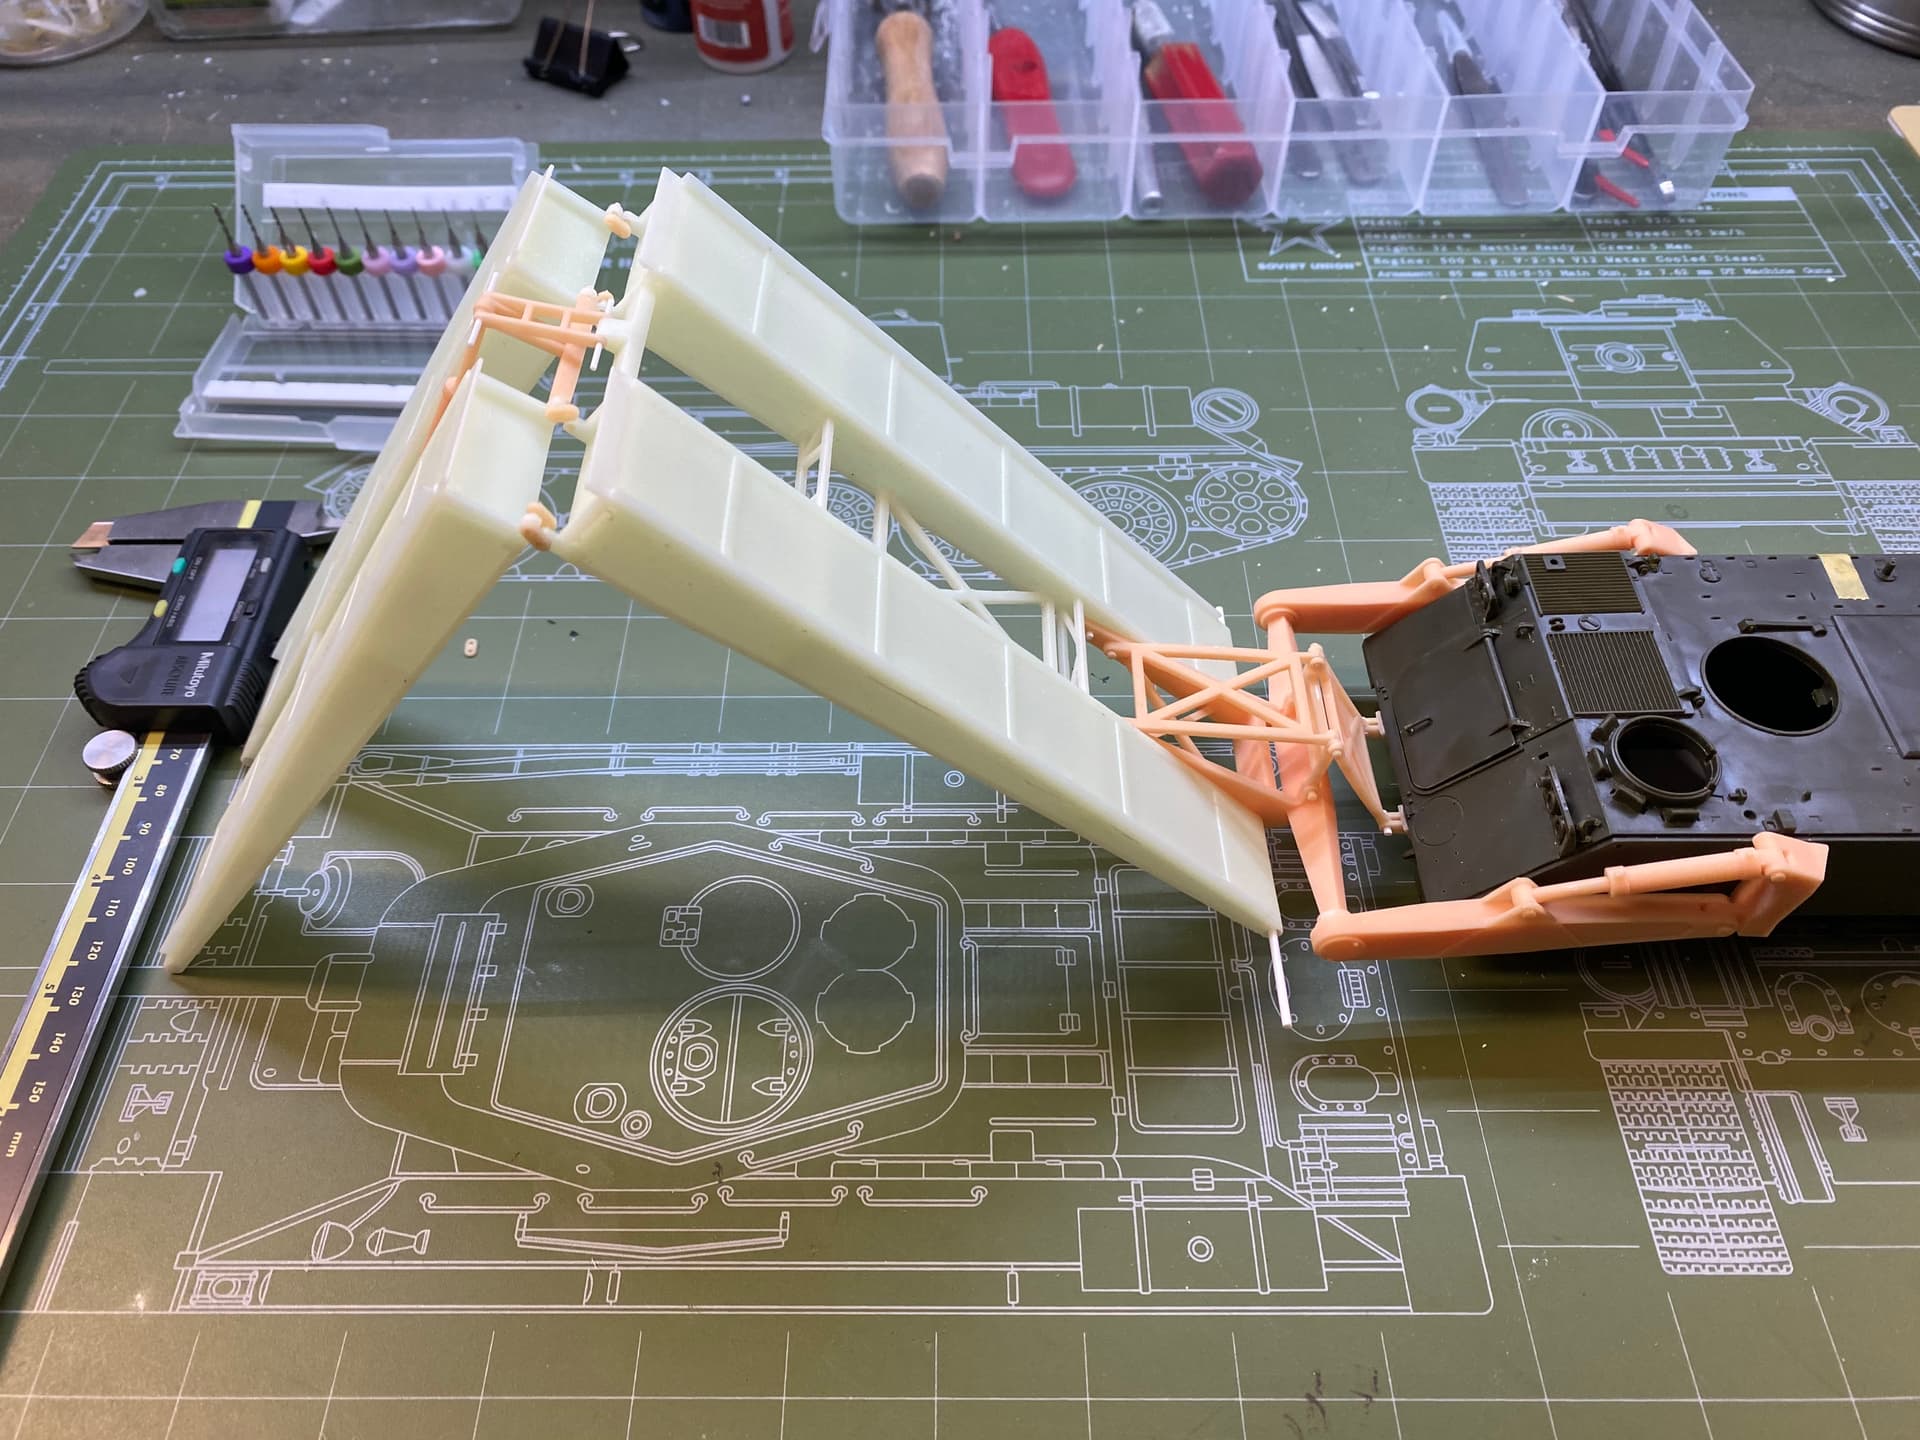
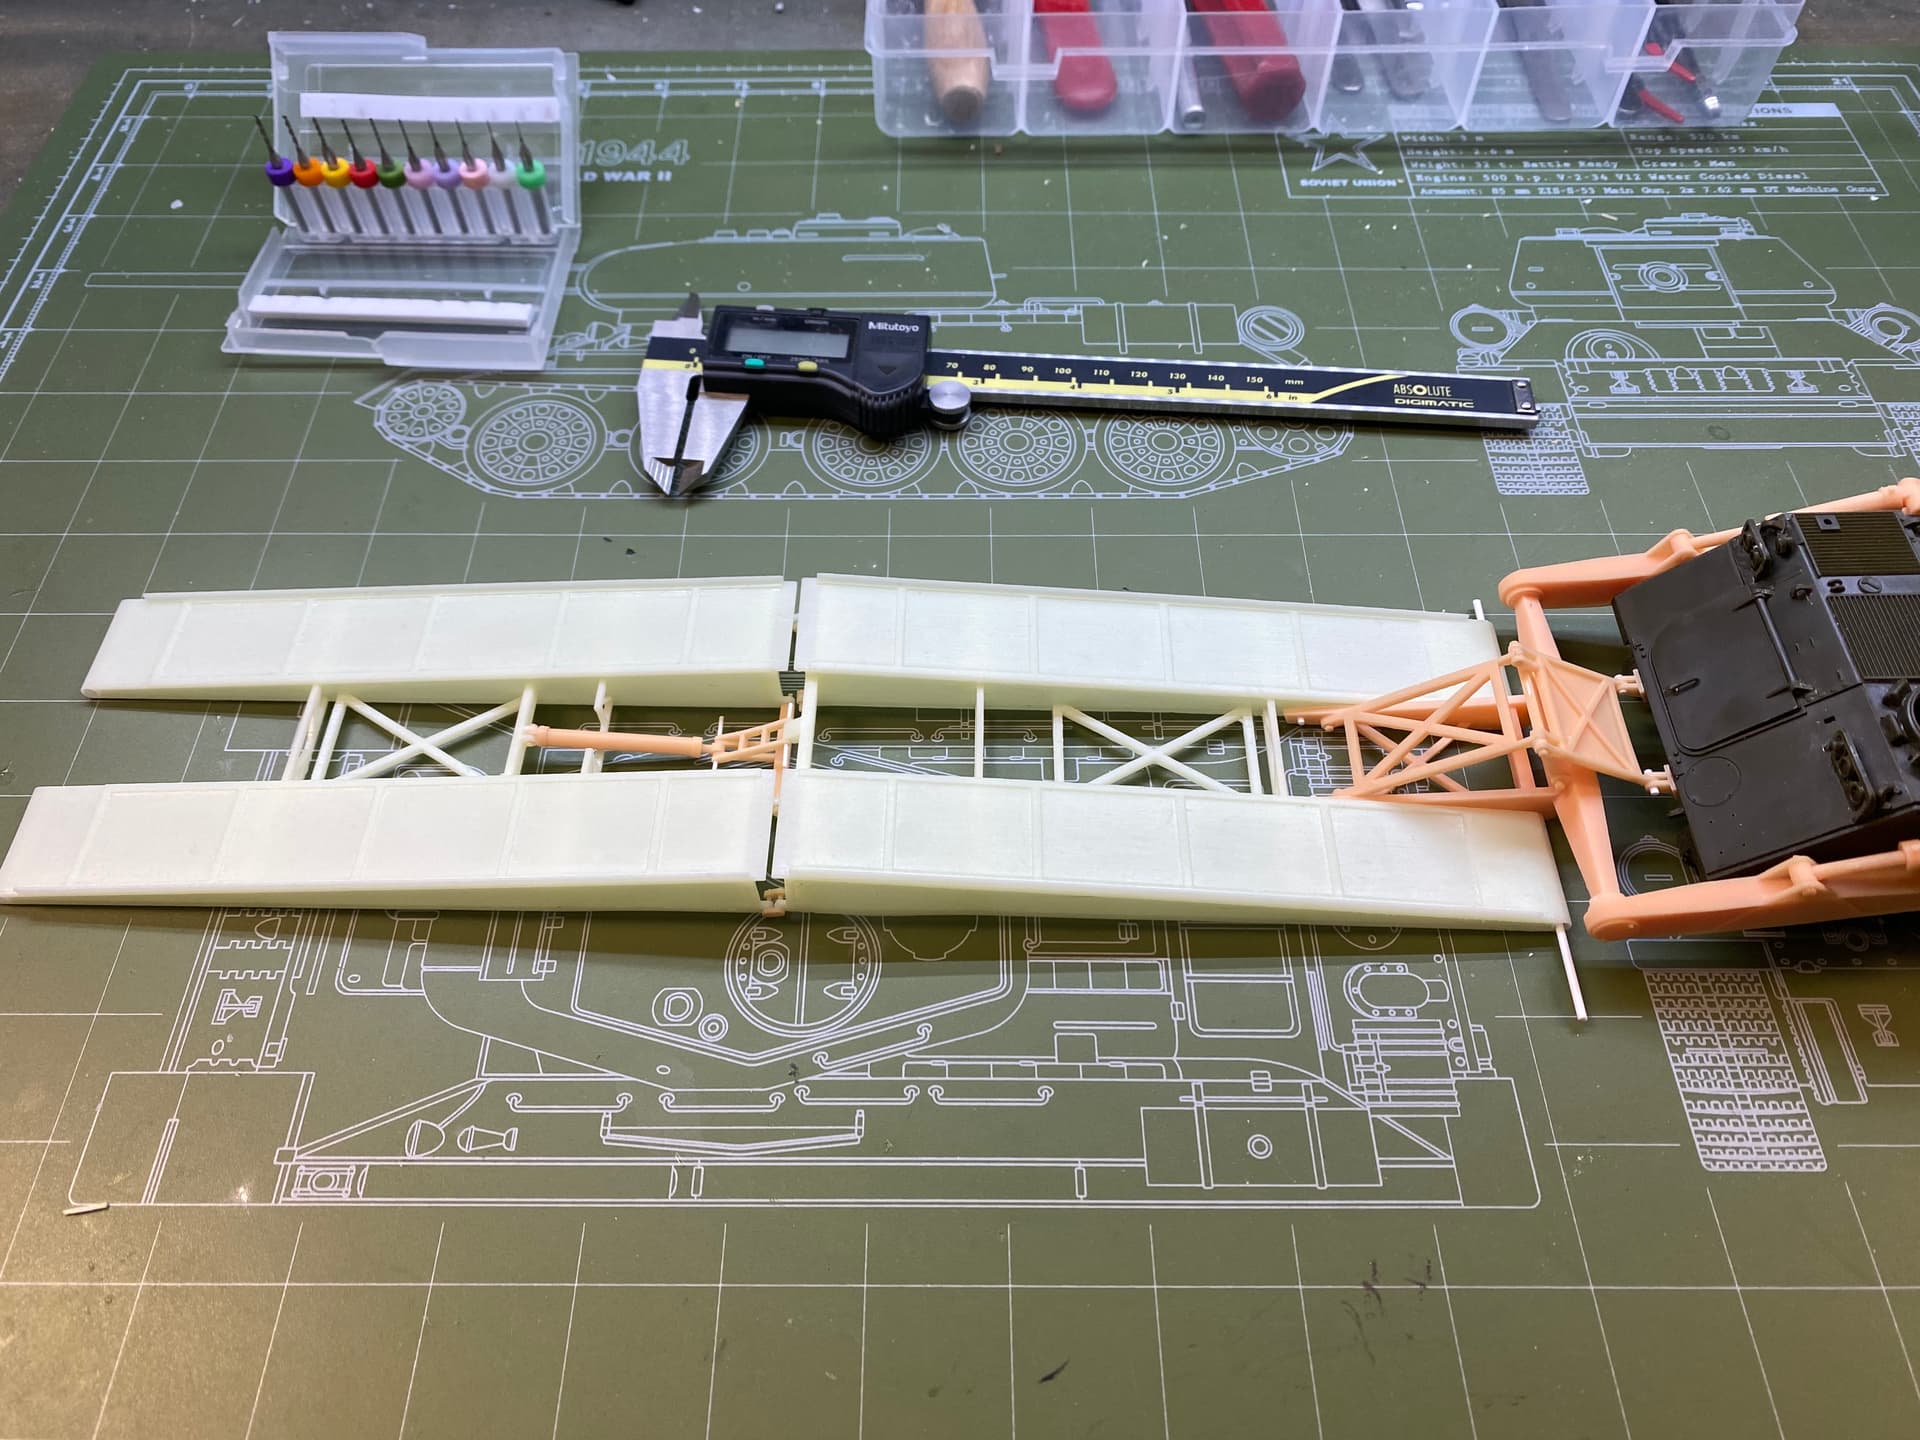
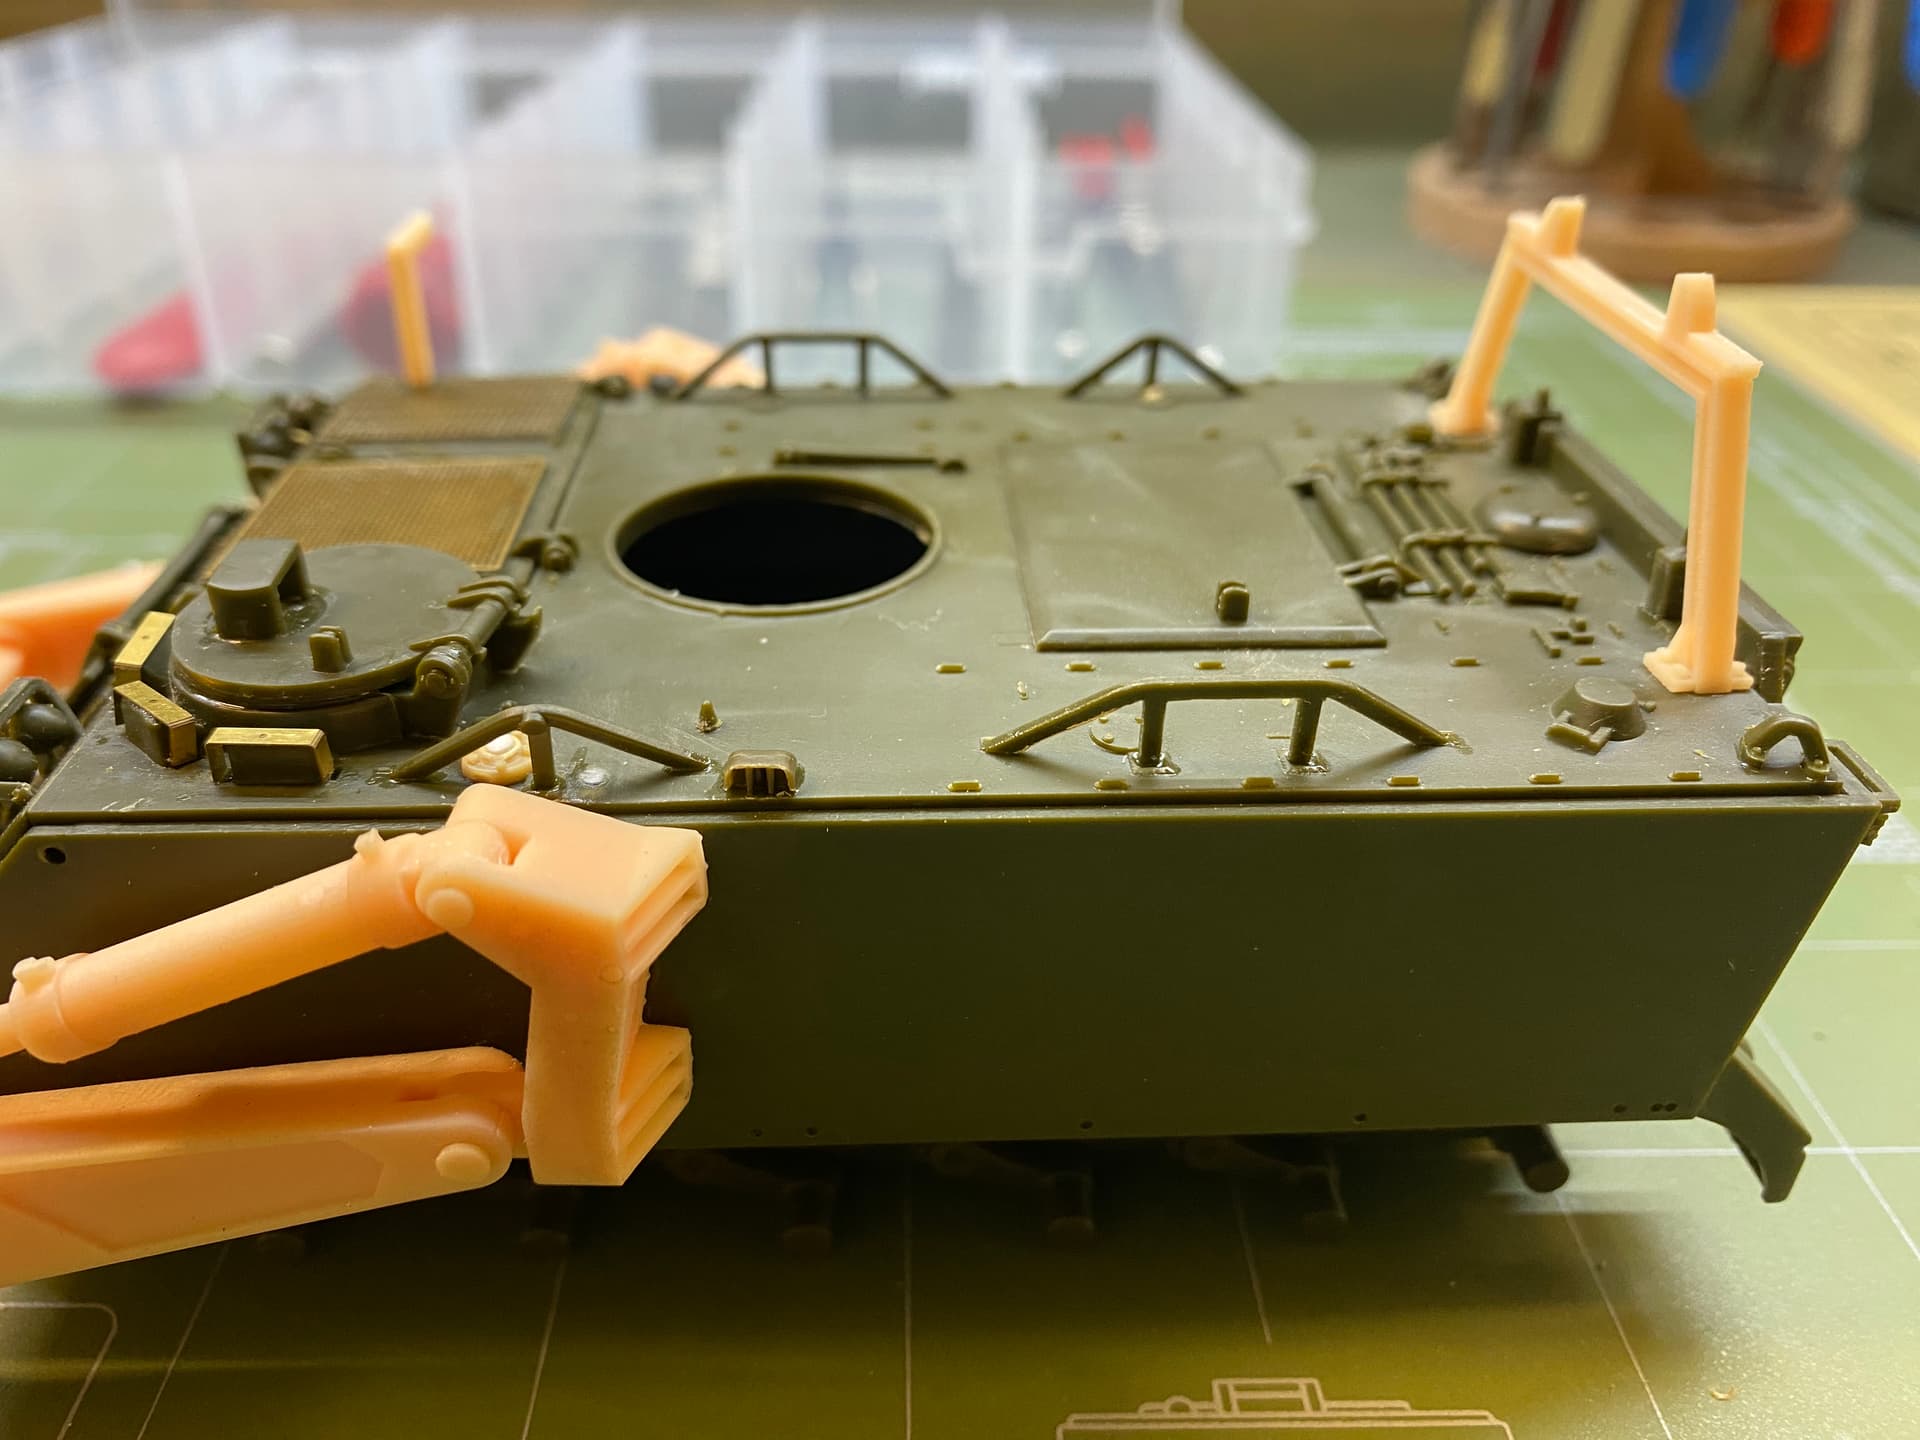
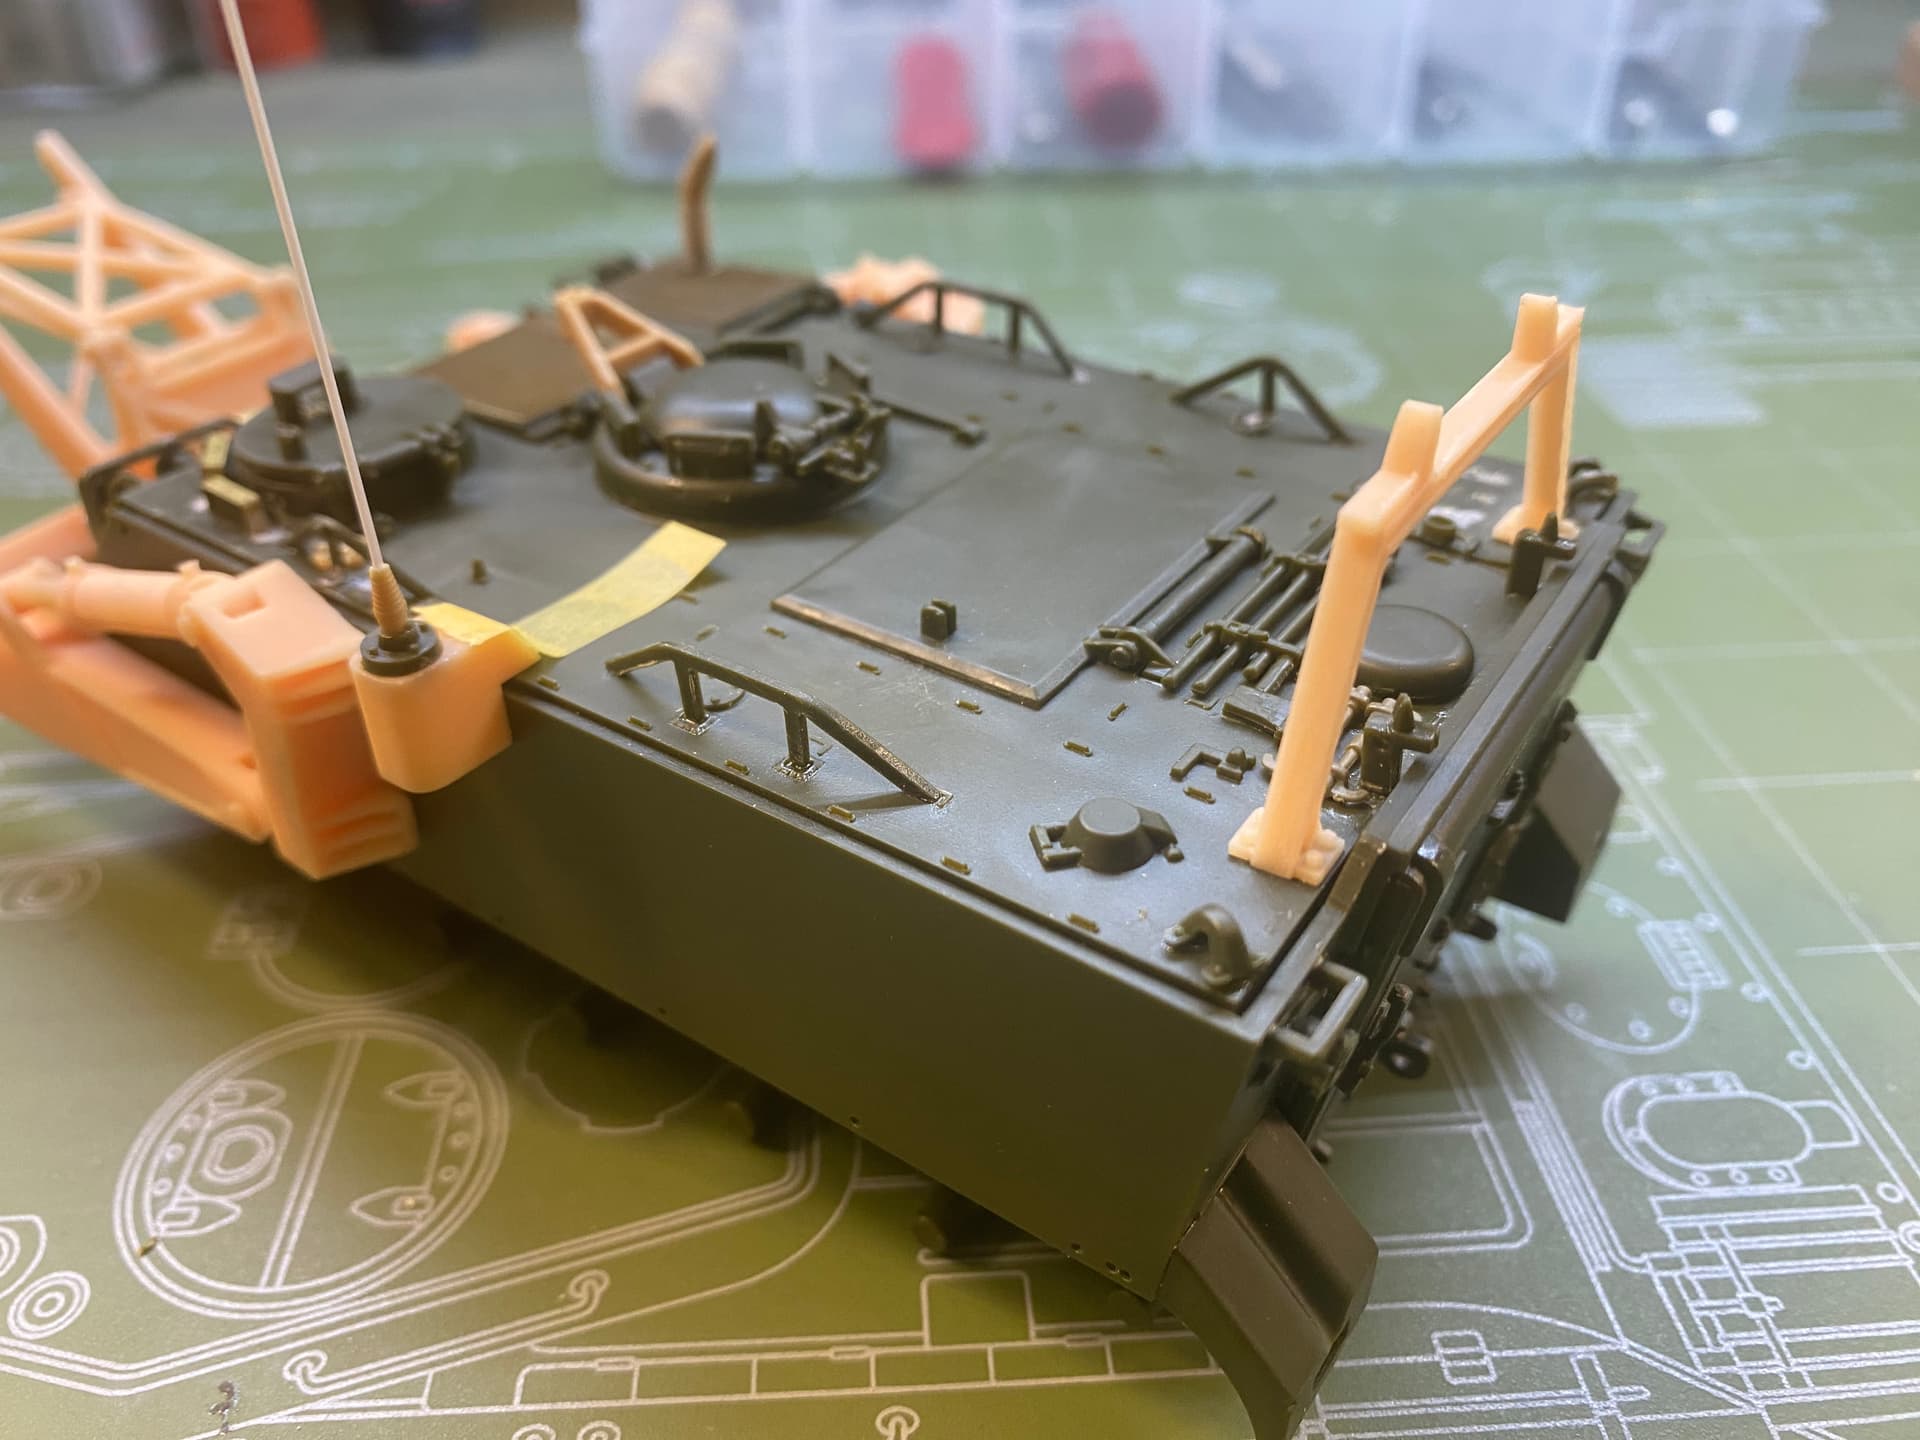
This is my first 3D printed conversion. I’m really impressed with the fit and finish.
On the larger parts that weren’t attached to printing plates, the attachment points are so tiny I didn’t even notice them until I looked at the pictures, so I’ve got some light sanding to do.
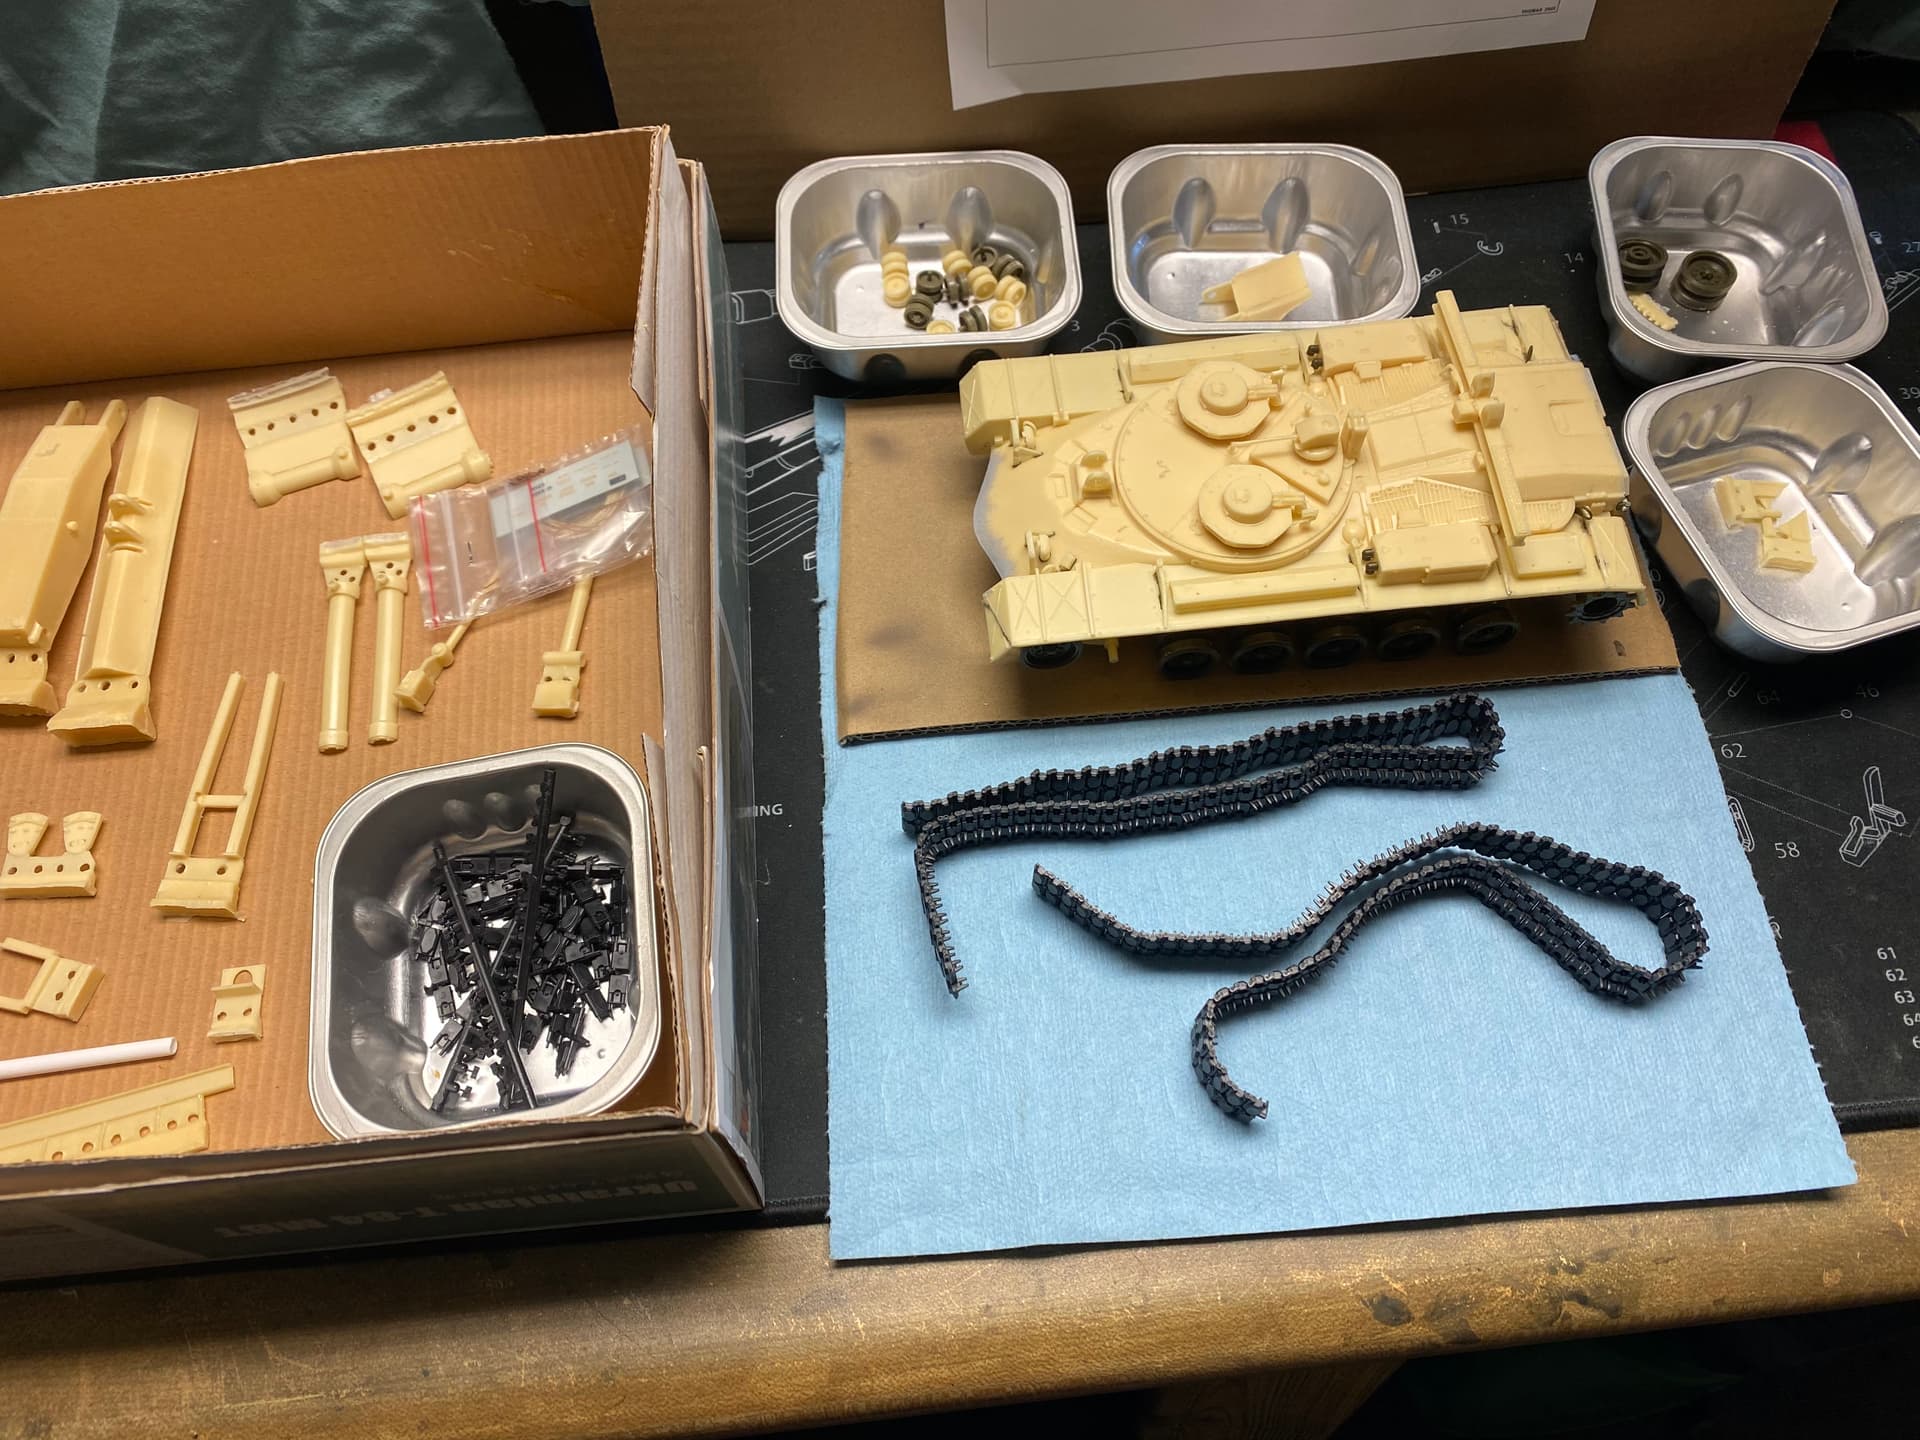
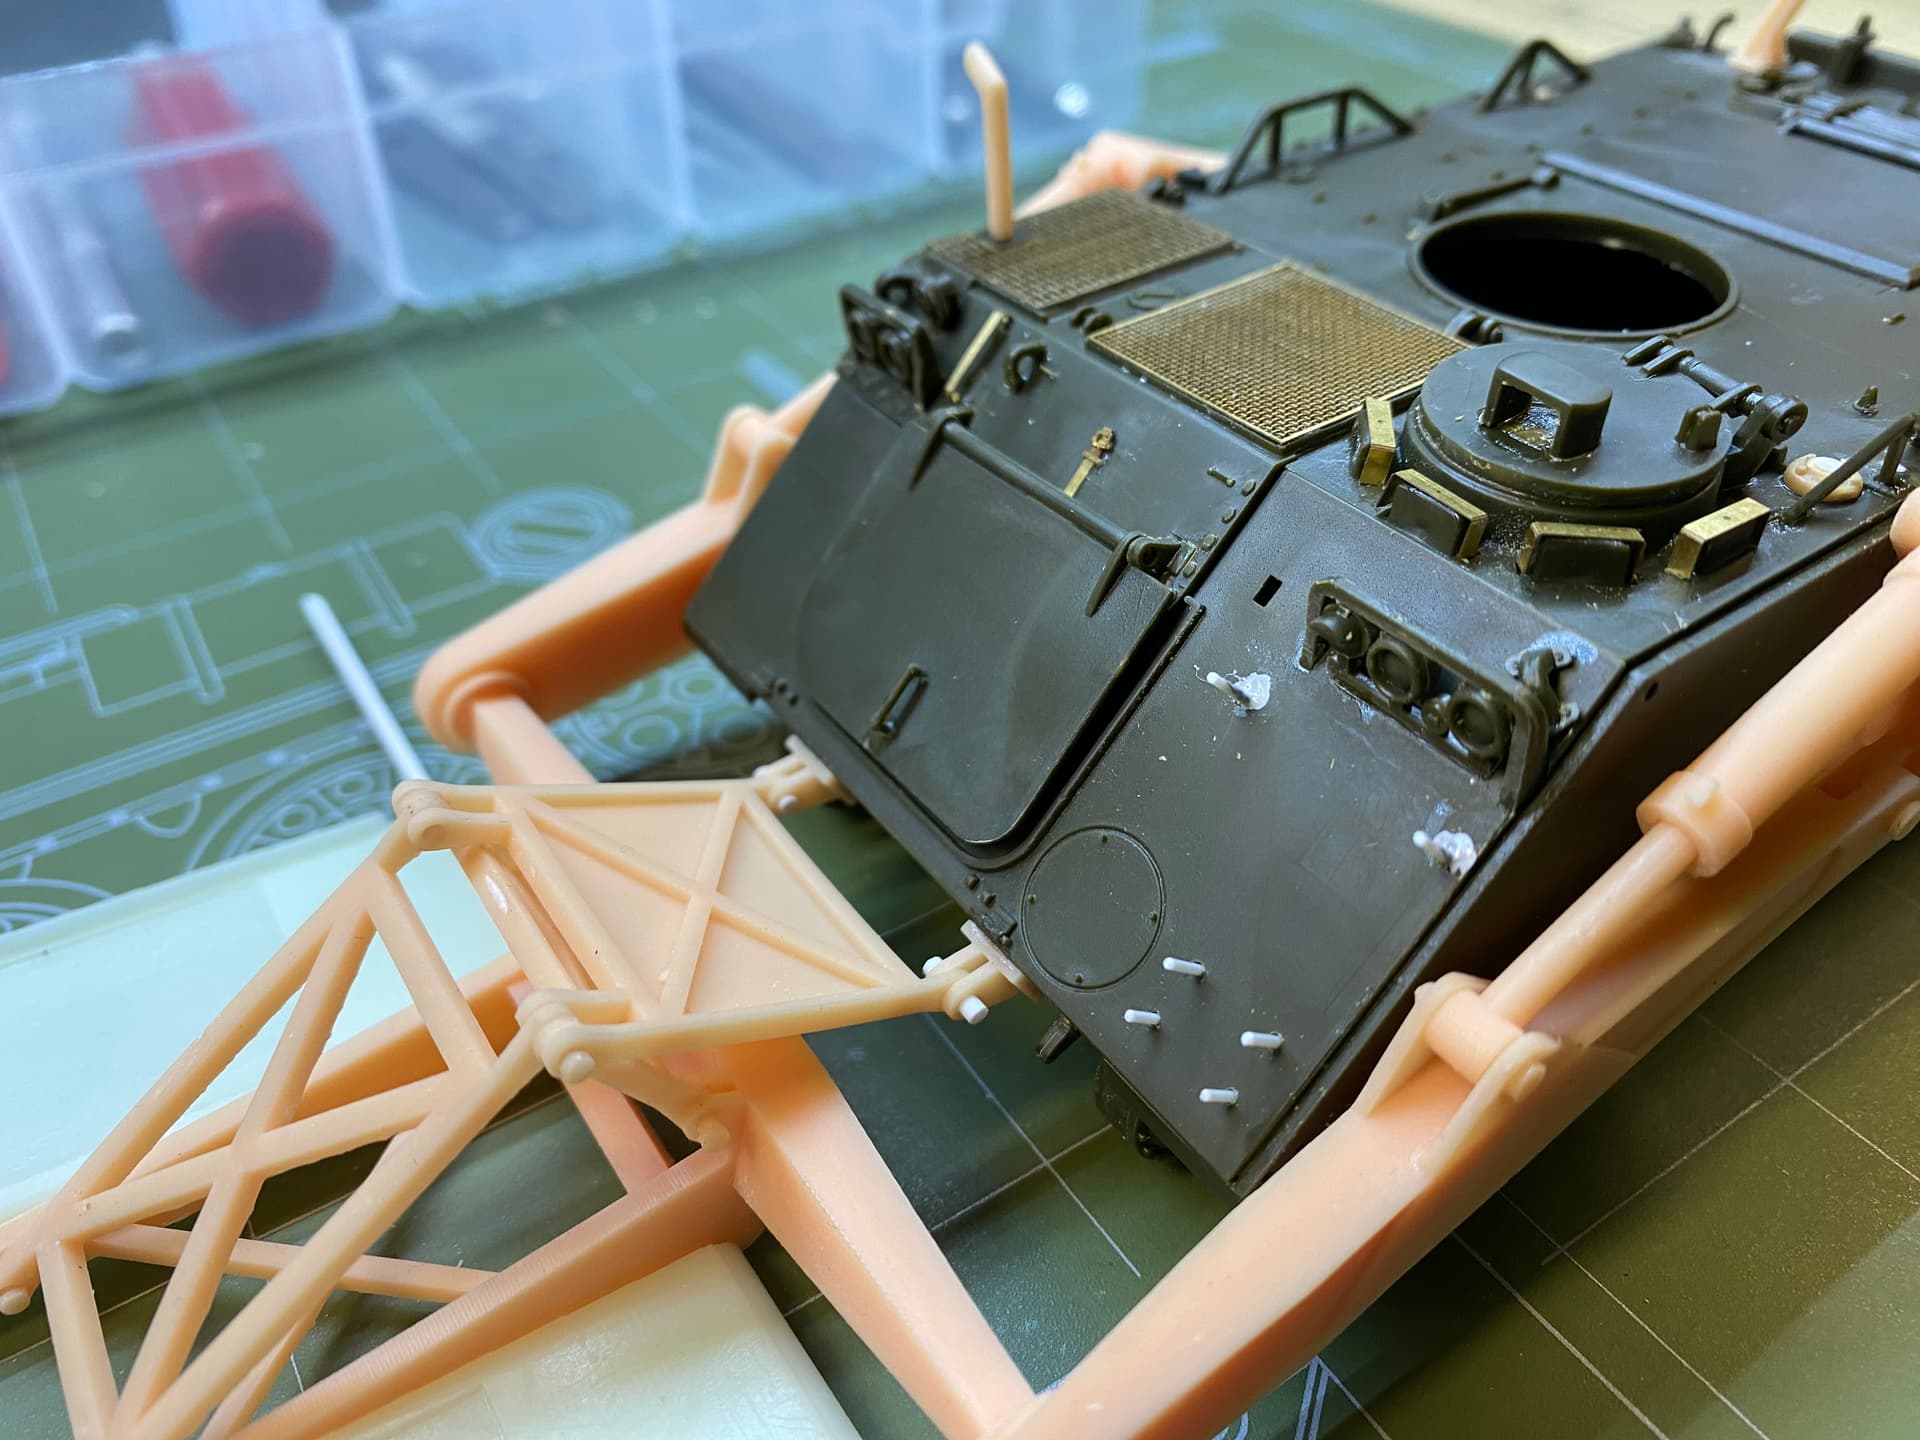
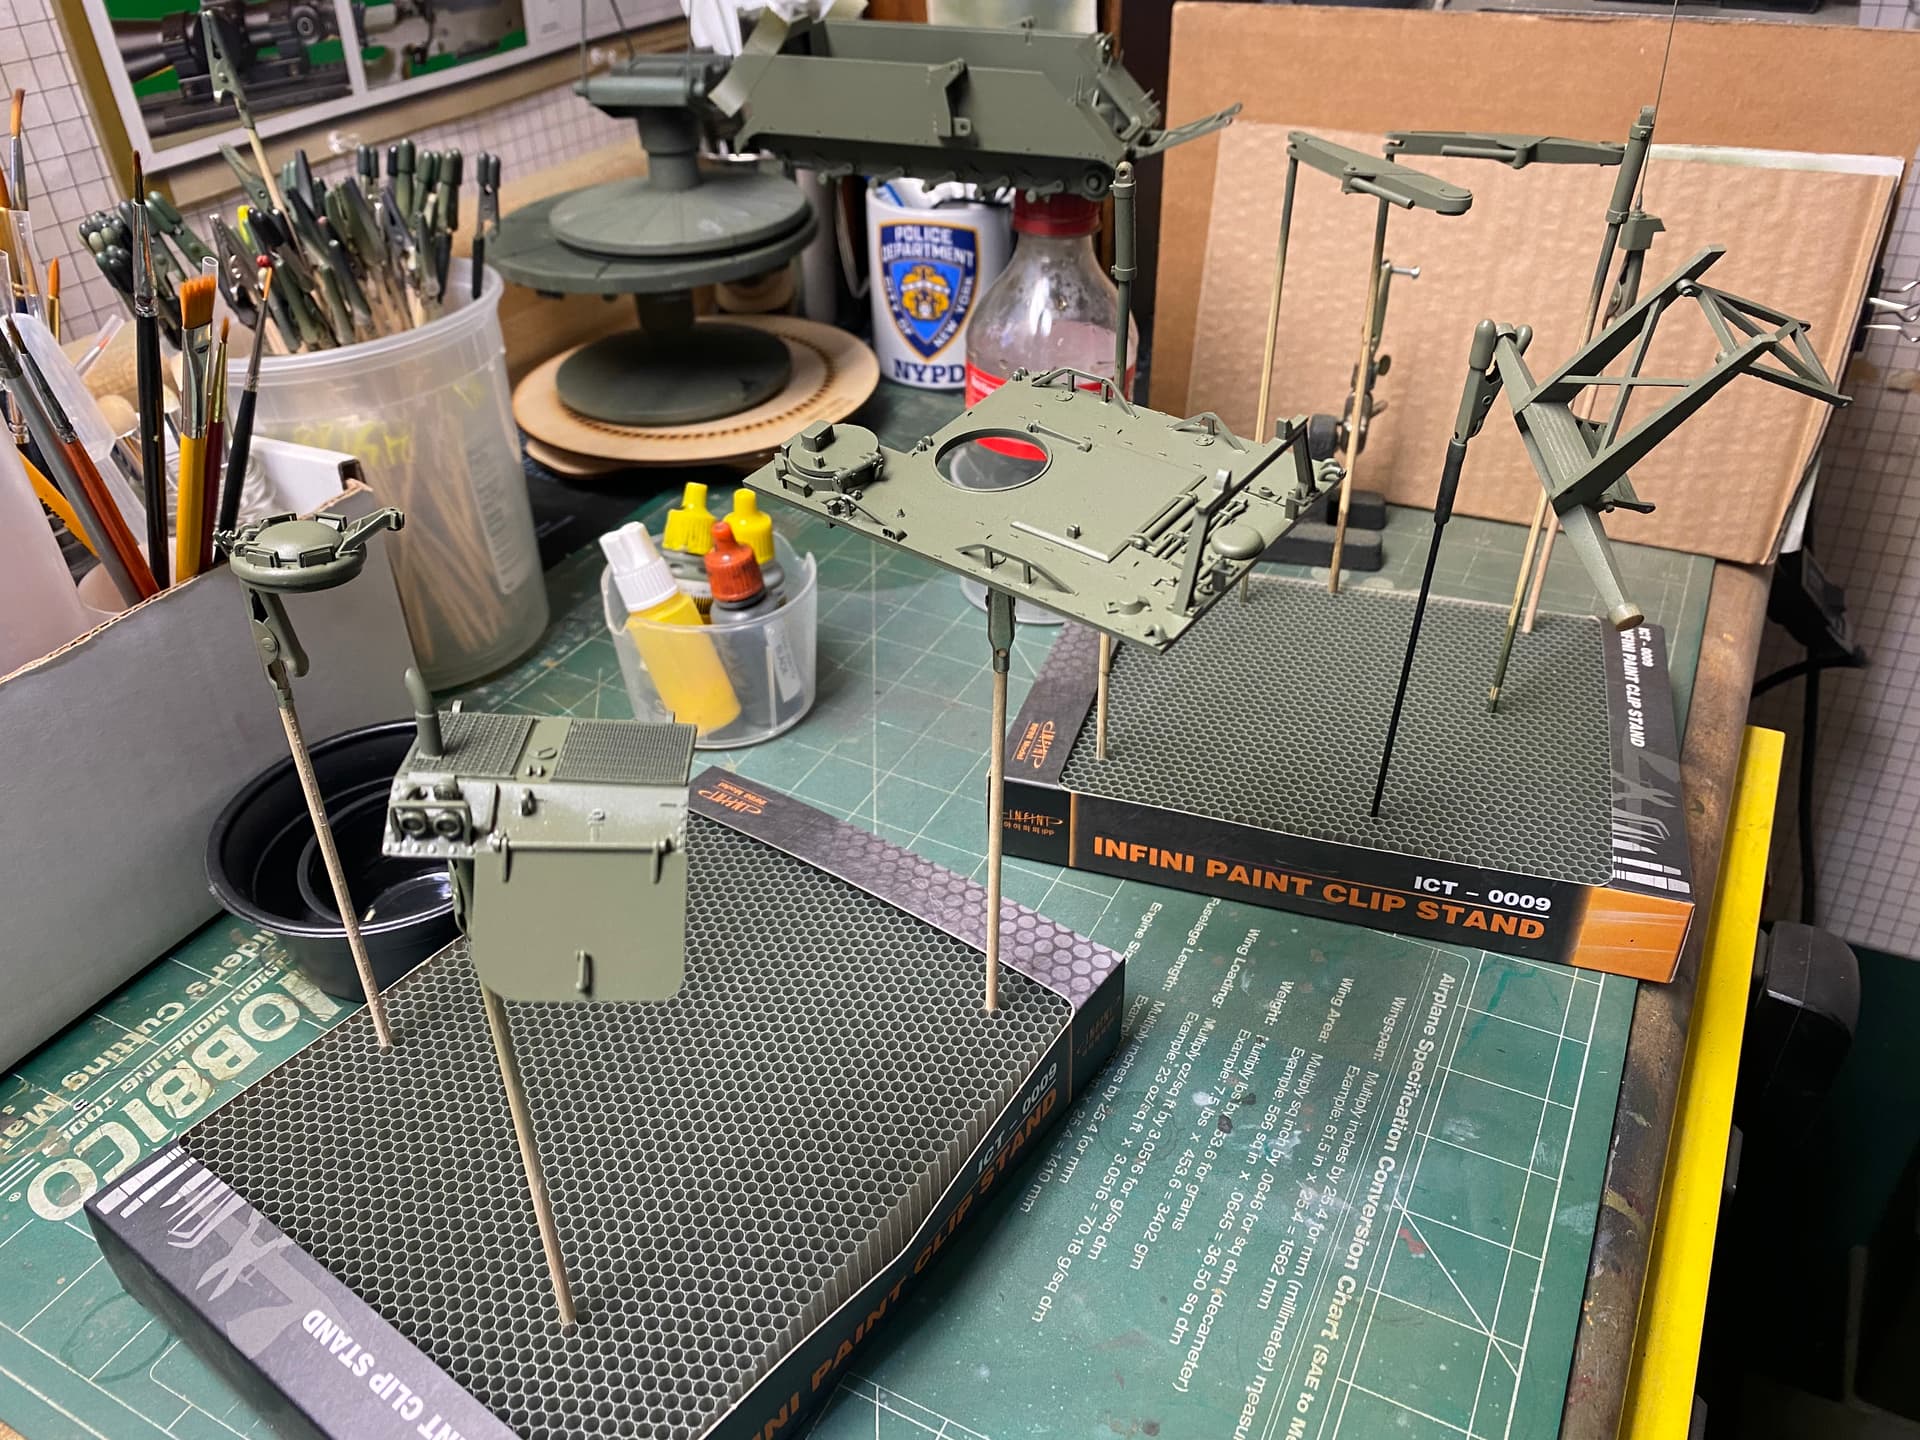
After this, I dunno why I’d ever mess with chunky resin conversions again. This M113 is definitely going better than this 20 year old resin monstrosity that I’m also working on:
I’m planning to get the D7E kit soon and as I’ve never worked with this type of kit, is there a certain type of glue and paints that you need to use? Thanks, Wayne
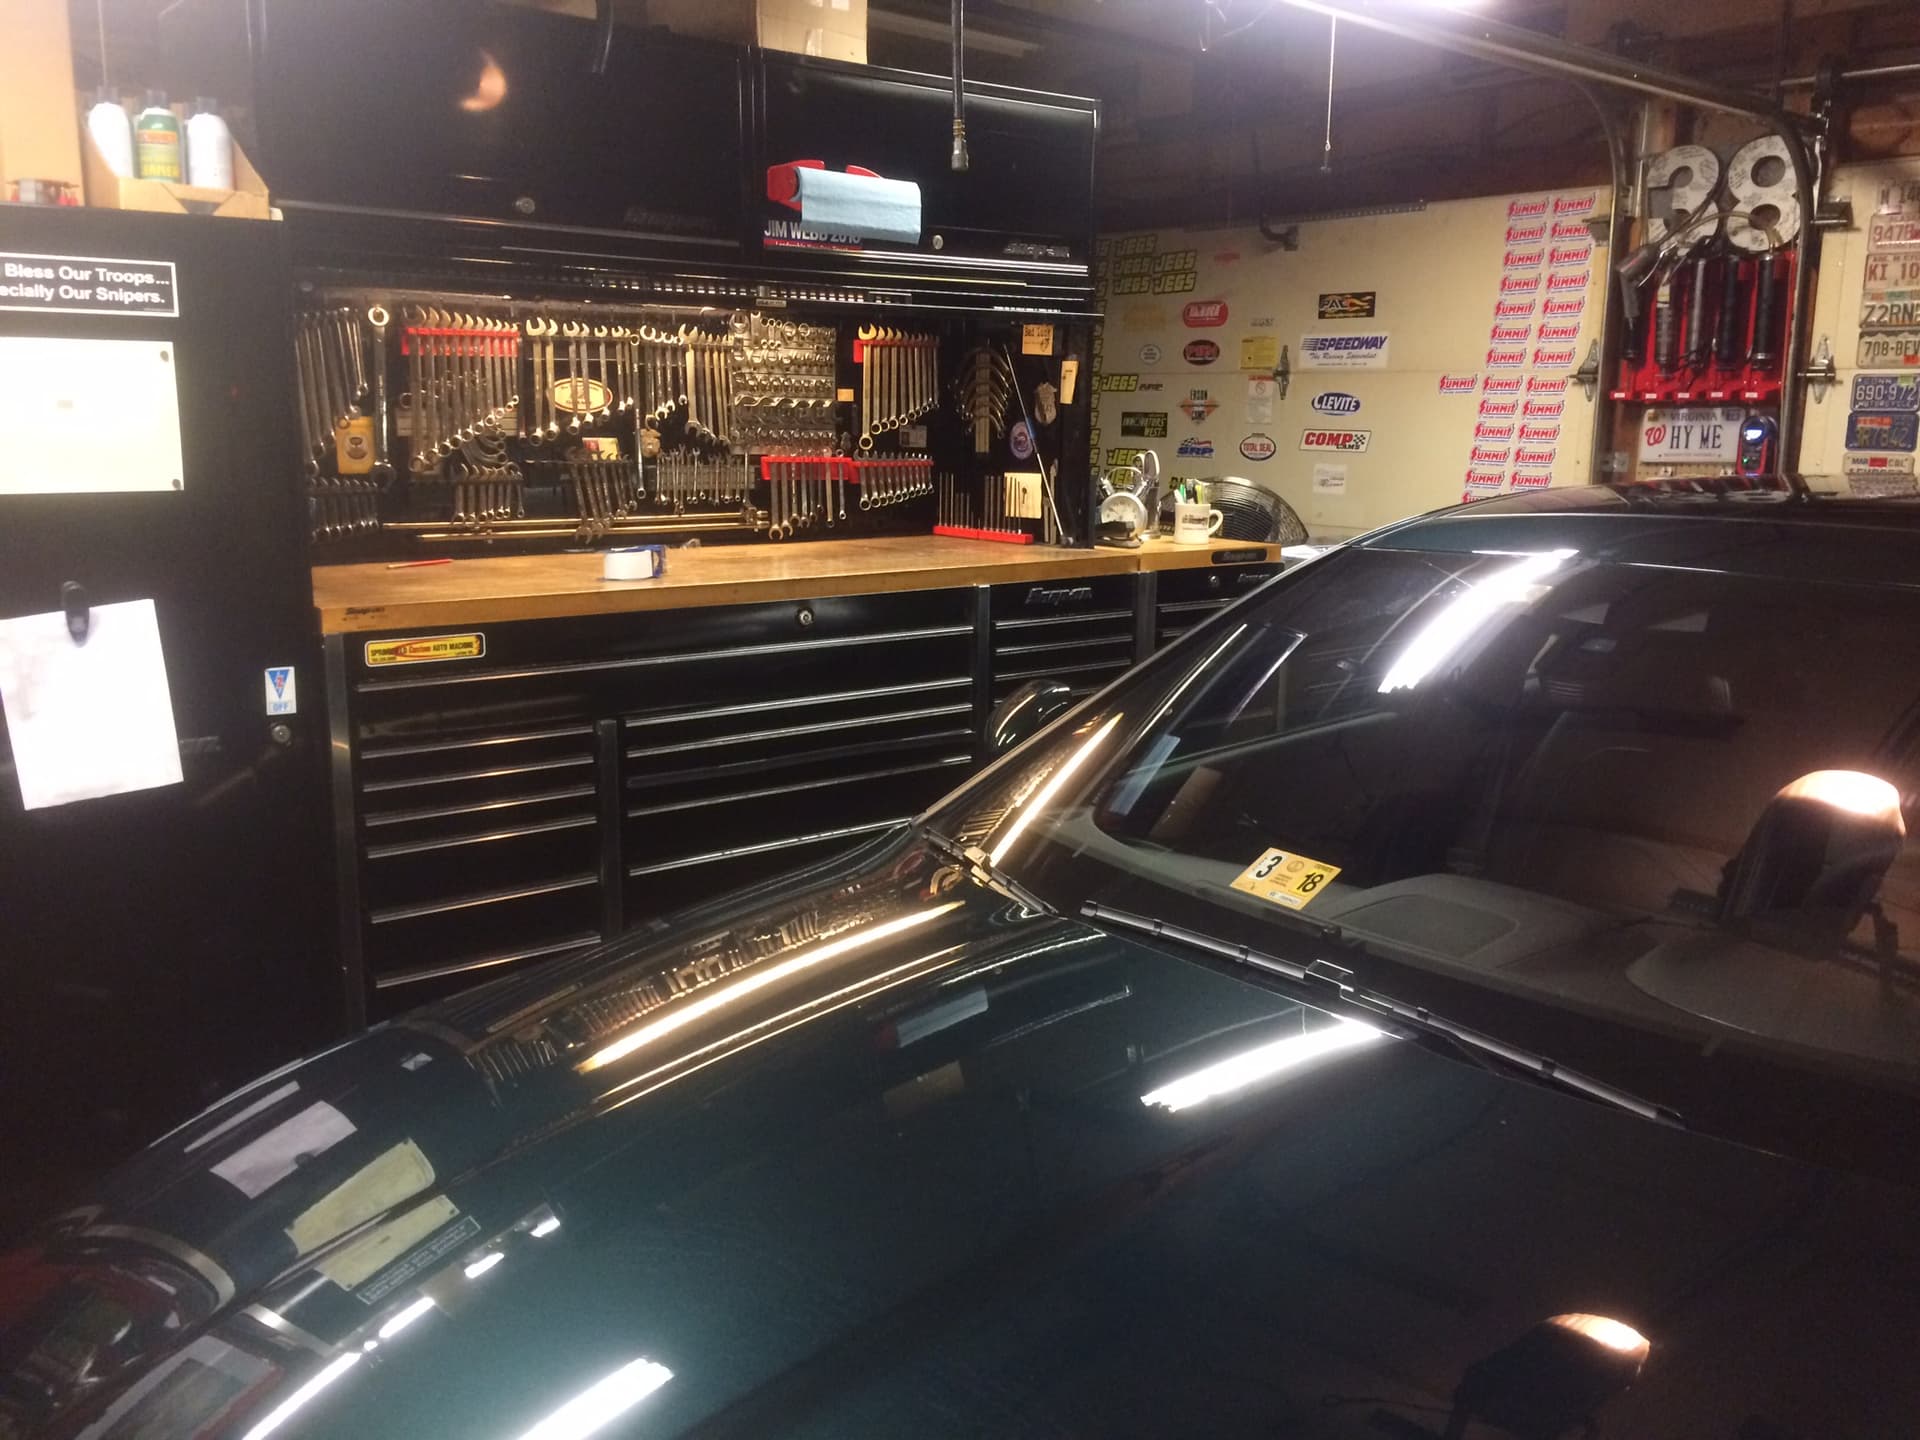
@namengr I’m using Starbond thick gap filling CA glue, but I’m sure any kinda’ CA will work. As for paint, I guess I’m gonna’ find out what sticks to it….on multi media kits like this I usually prime with the nasty rattle can Tamiya stuff but it too cold outside to do that and the wife will stab me in my sleep if I use it indoors. And the nice car is in the garage, so that’s out.
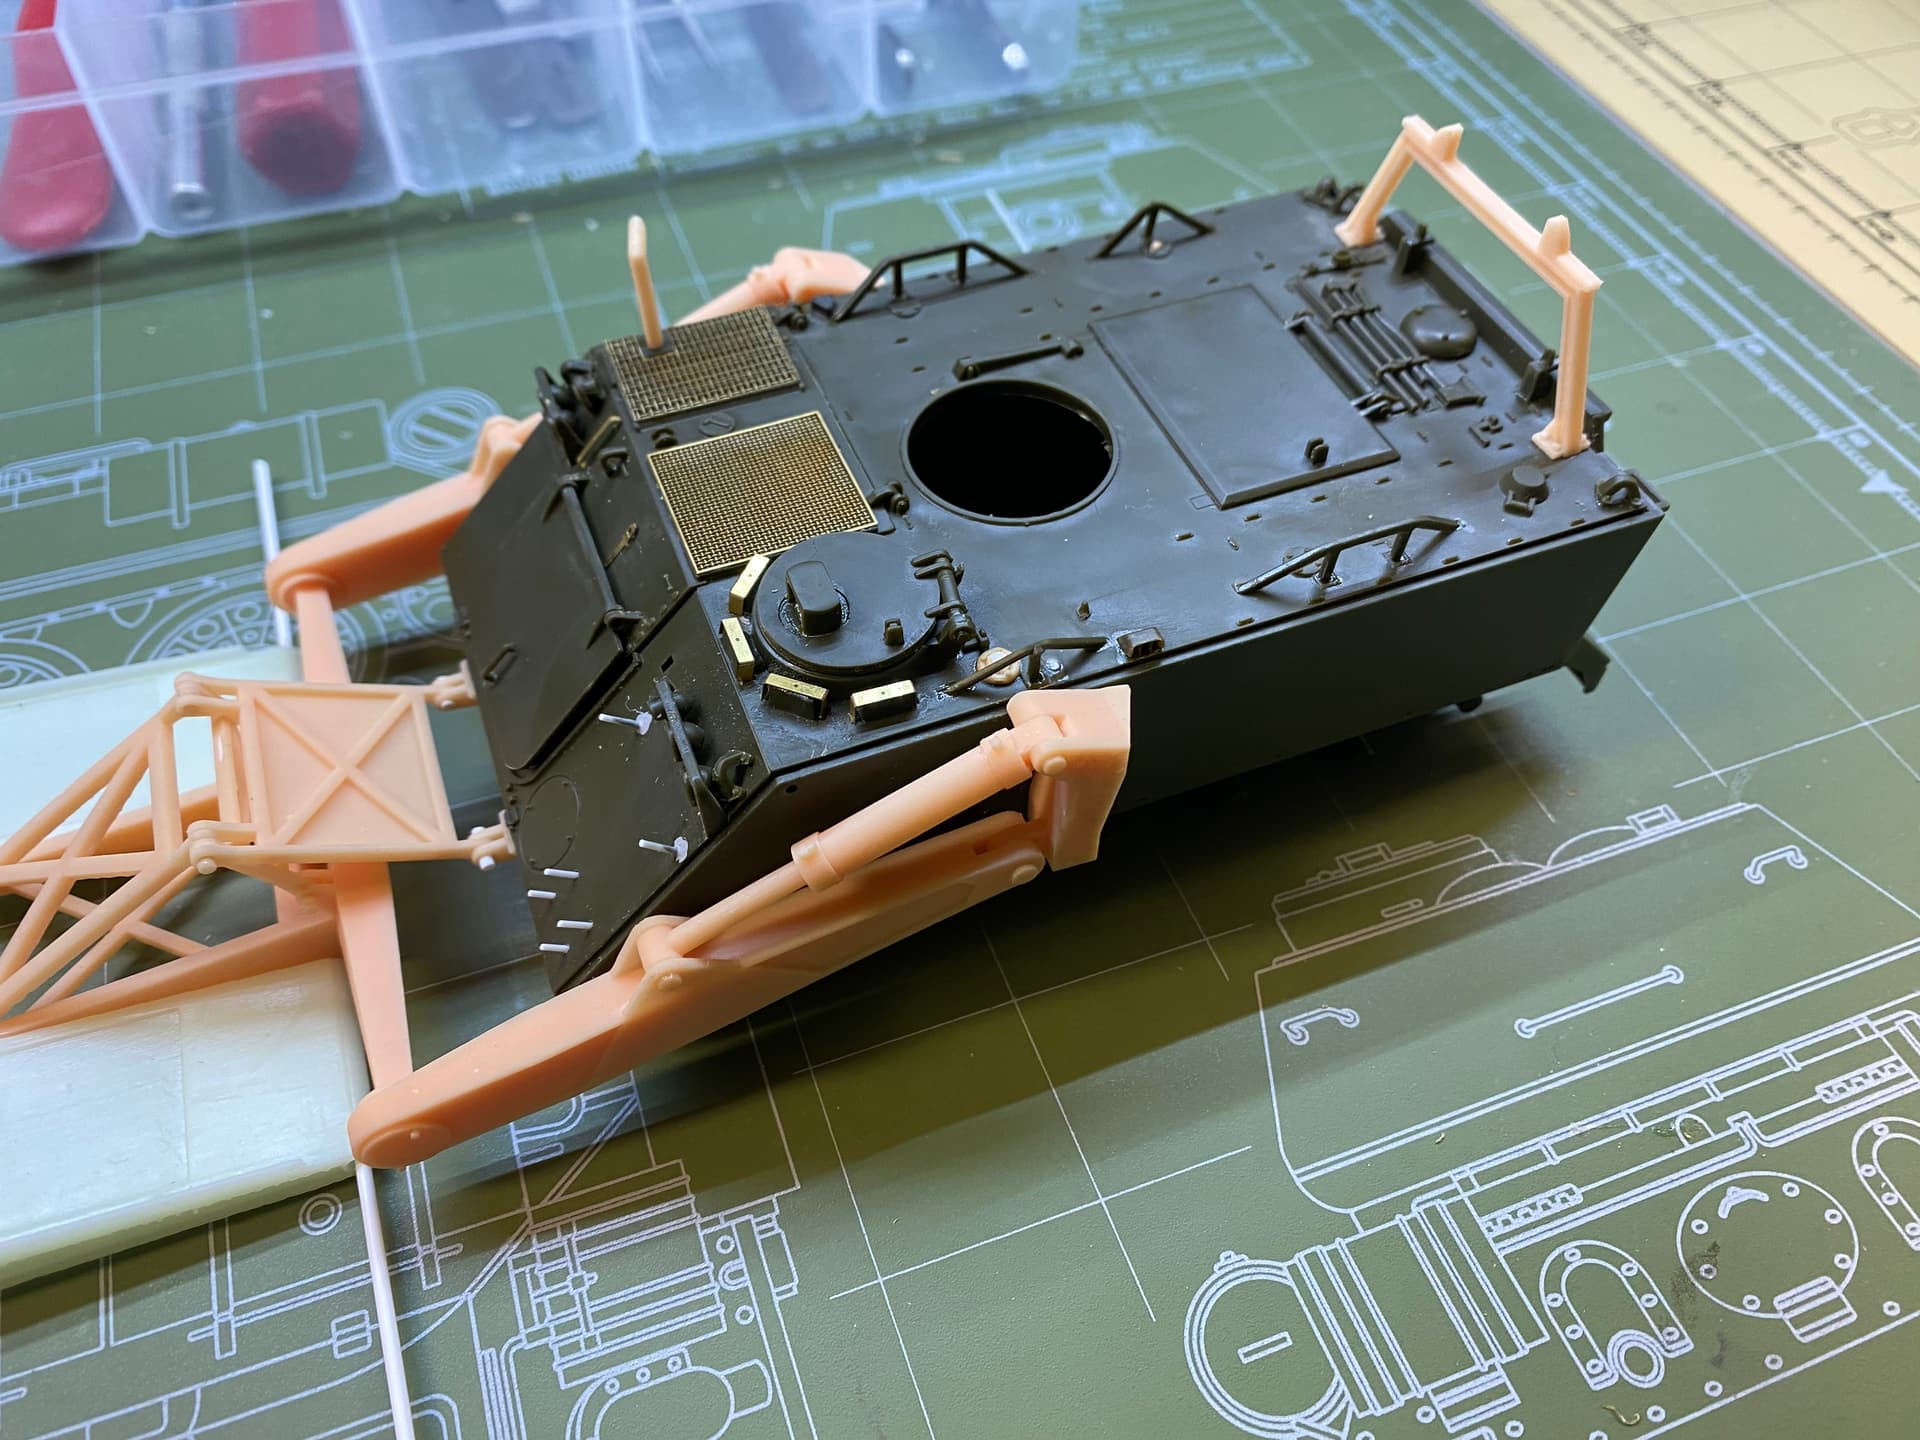
Because there are so few detail shots of this thing, I had to guess where the external fire extinguisher handles are because a hydraulic hose block is where the fire extinguisher box usually is in front of the LF antenna guard, to the left of the drivers hatch.
After following your progress on this assault bridge I’m convinced to go ahead and get my hands on some of the other conversions from HL, the M801 is something I thought I’d never see in scale, nice looking job so far, the OD really brings it to life. I love olive drab