Hi Chris;
I performed most of the assembly some years ago. But I did make some notes in the instructions, most likely tips taken from reviews found elsewhere (or even quite possibly the original Armorama). Of course these all pertain to the M1133, I don’t have any of the other versions. But I’m pretty sure these will apply.
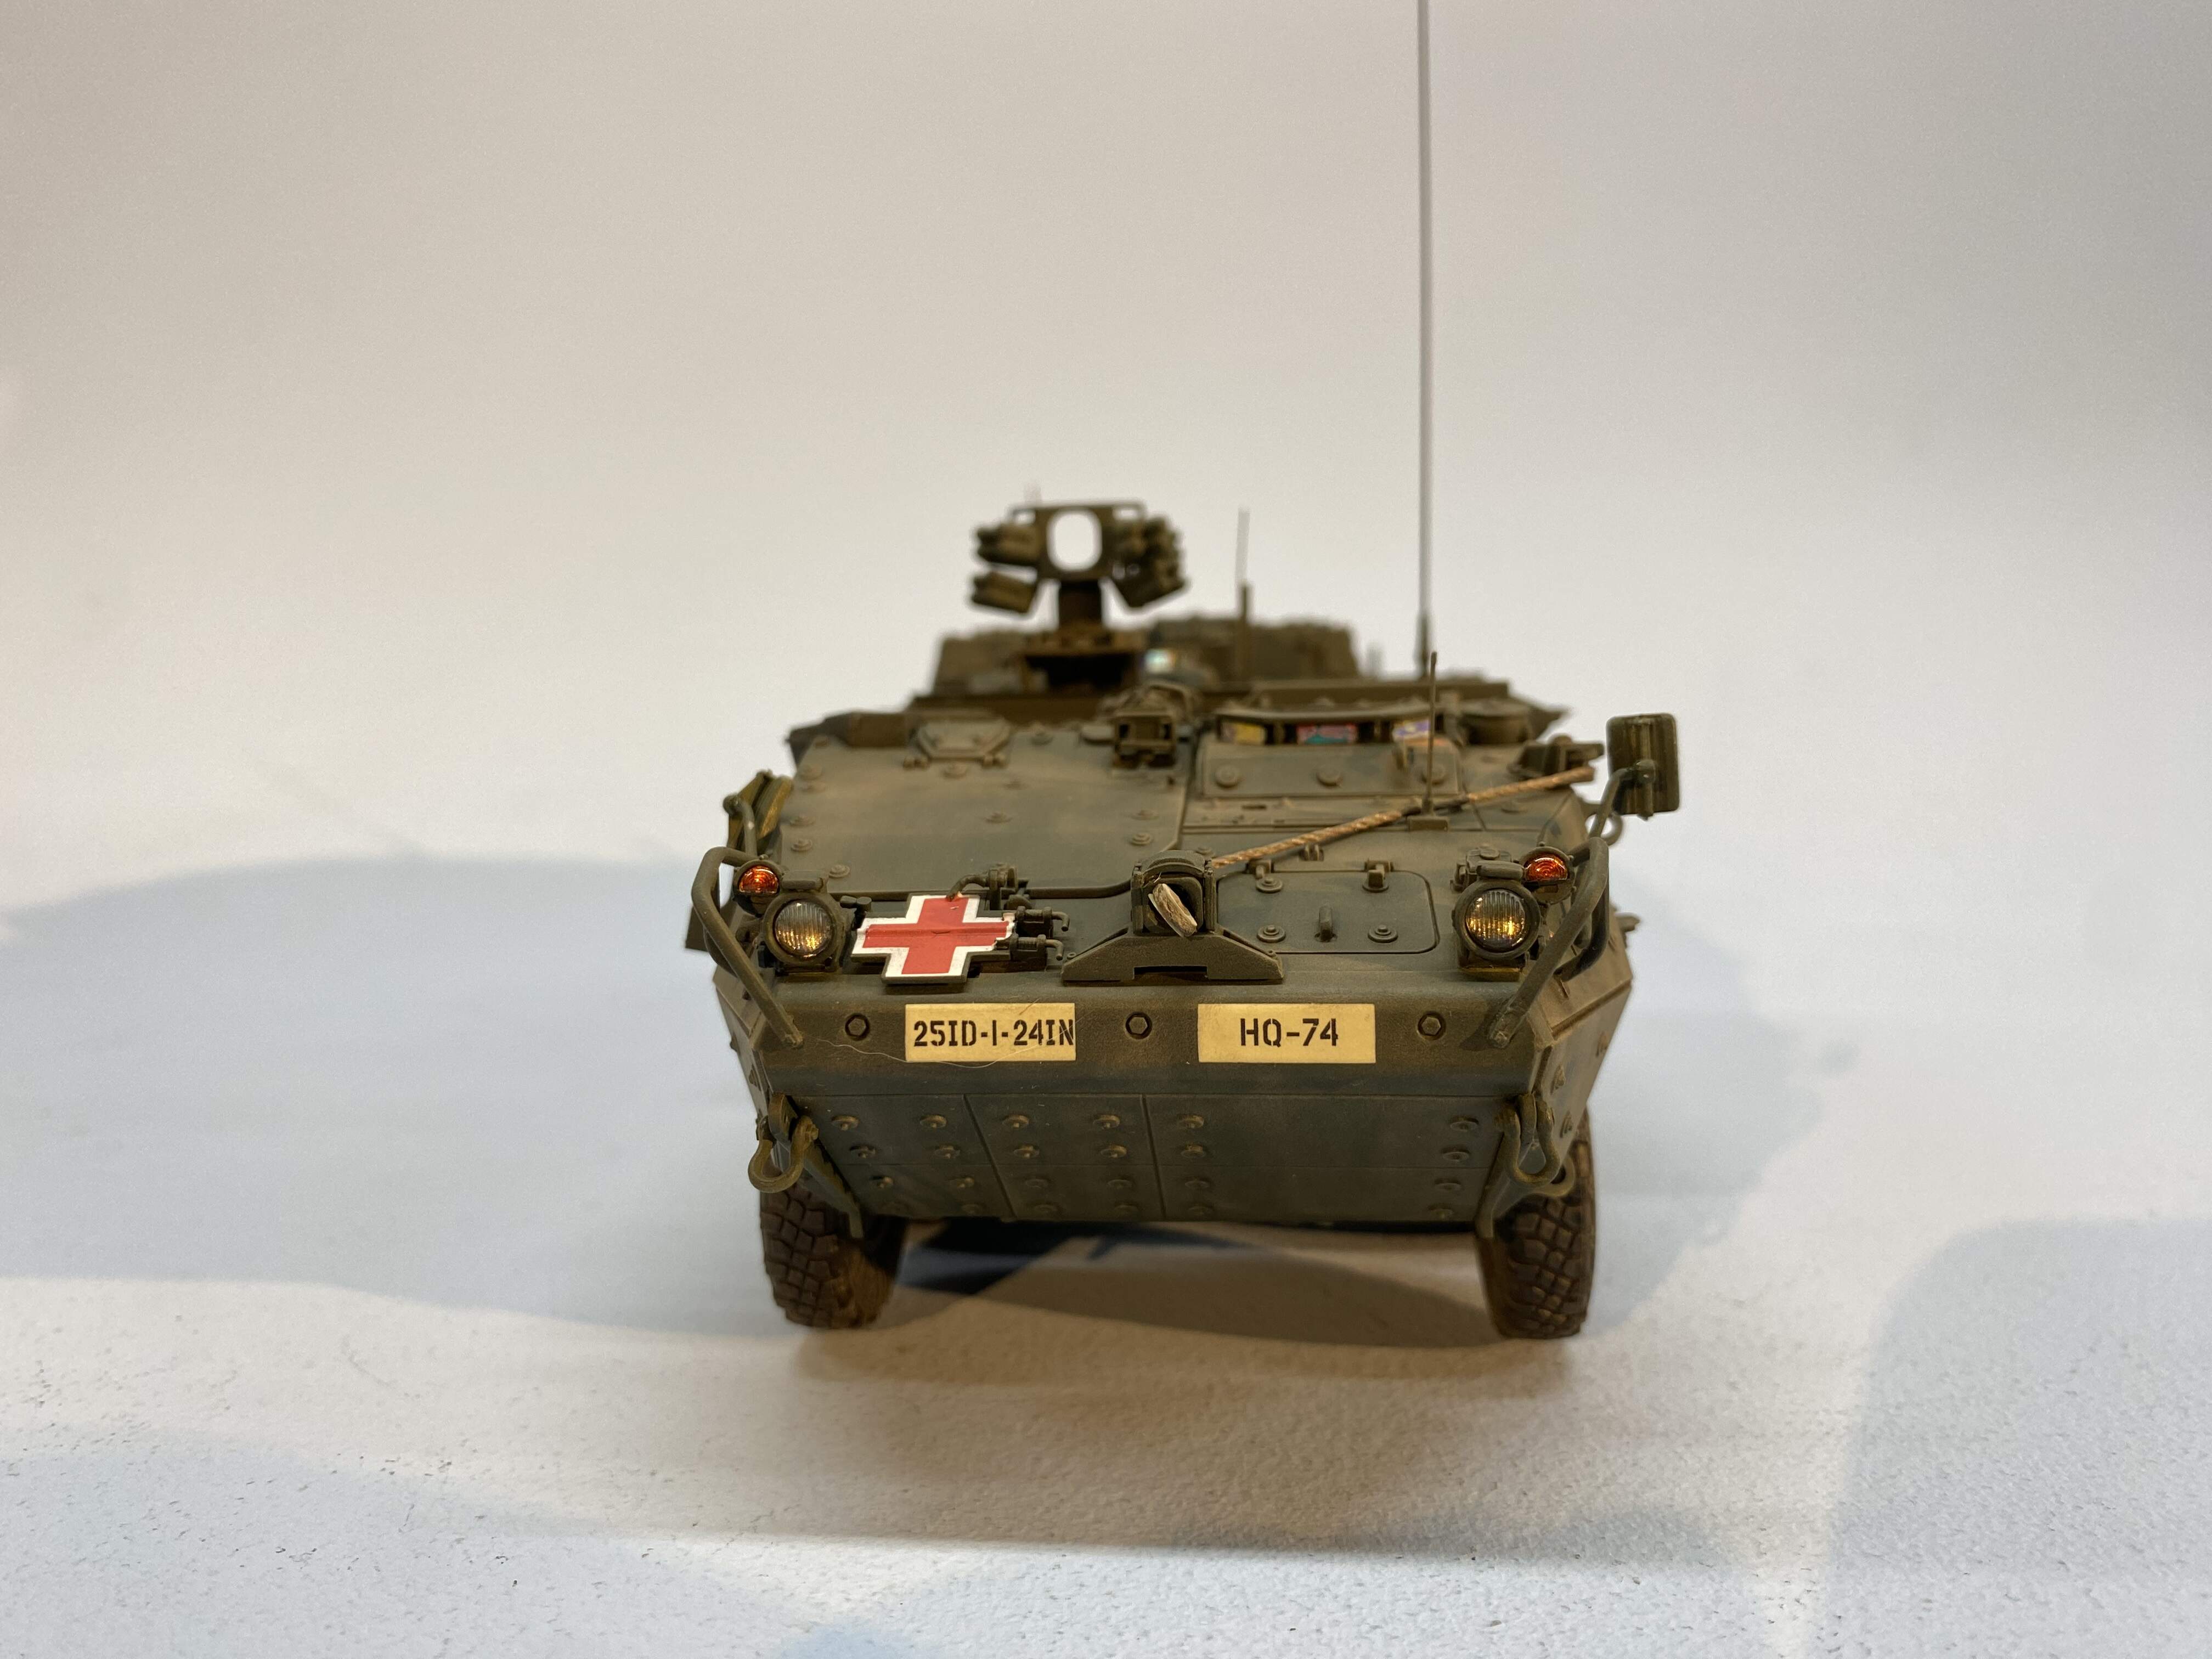
Assuming the lower hull assembly is the same or very similar between variants, when you glue parts WC13 and 14 (small slivers of bolt-on armor [?] at the lower front corners), watch for the fit of parts A33 x2, the ribs for attaching the towing shackles. They ‘slot’ in between WC13 & 14 and B31, the main lower front armor panel.
On the upper deck, at the junction of the center and rear segments, check the install of part WB-25 with the fit of the Commanders Hatch.
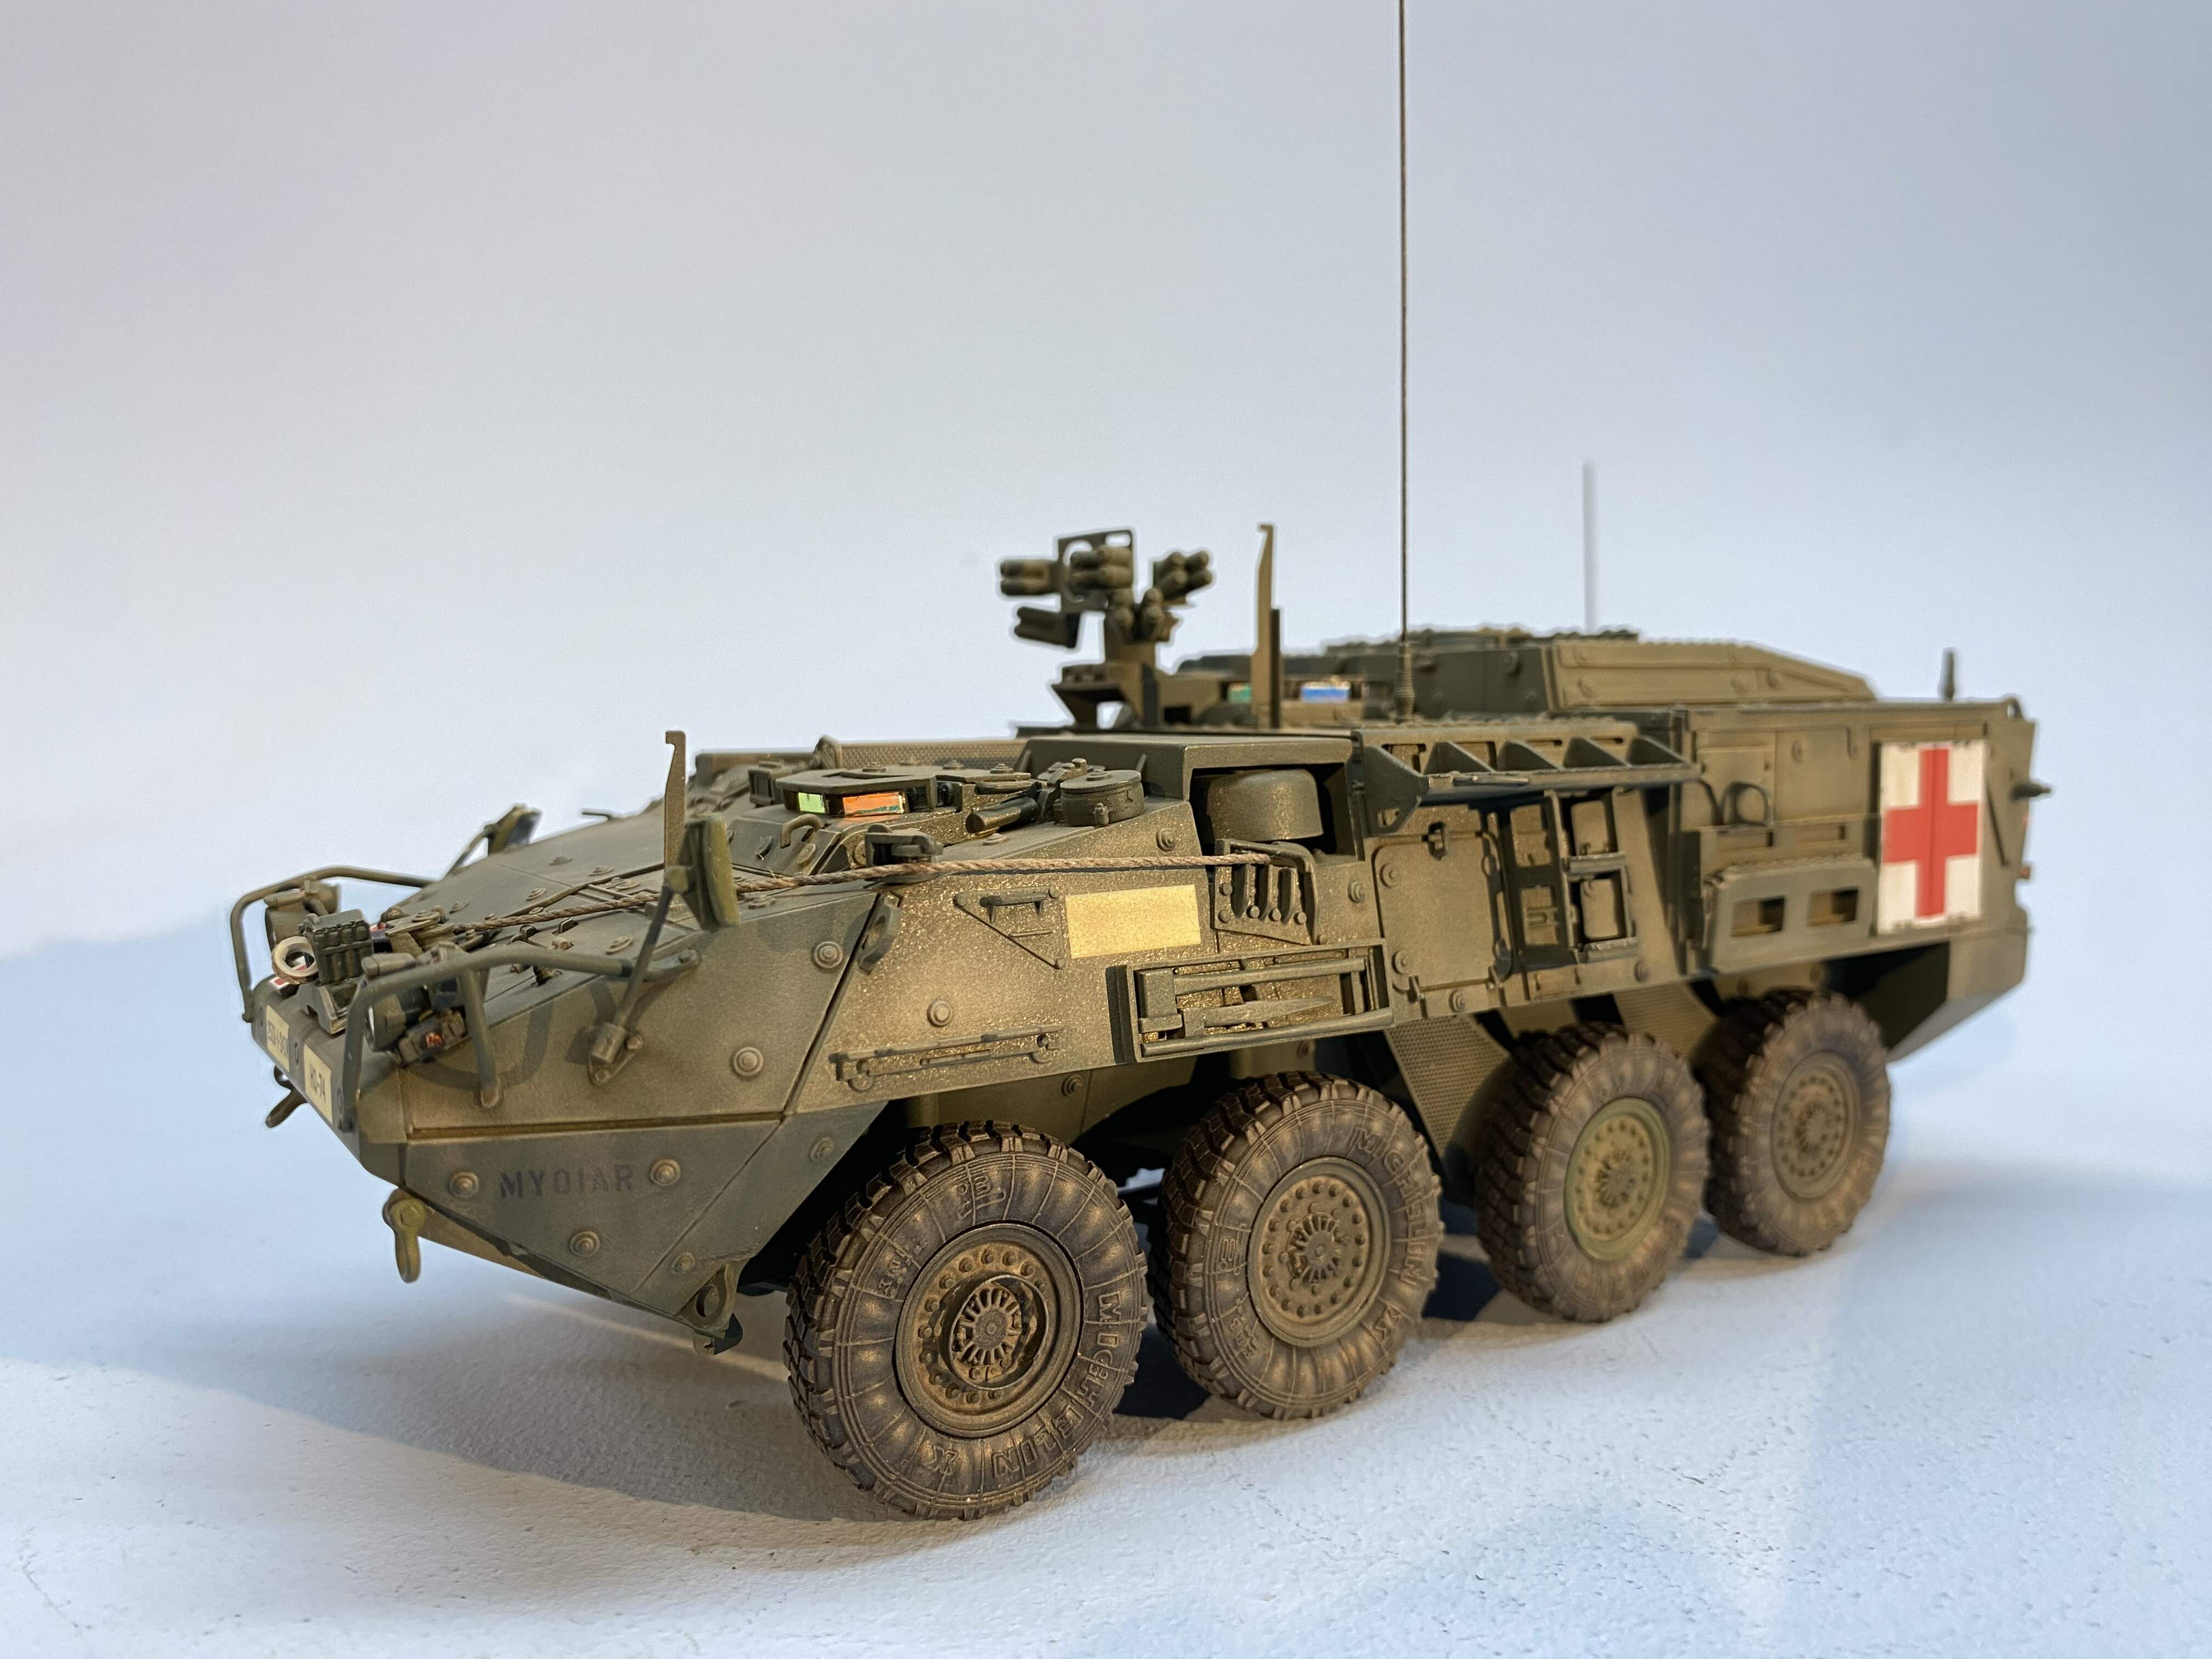
On the left side, check the assembly of parts WG20, 21, 29 & 30 for squareness during assembly.
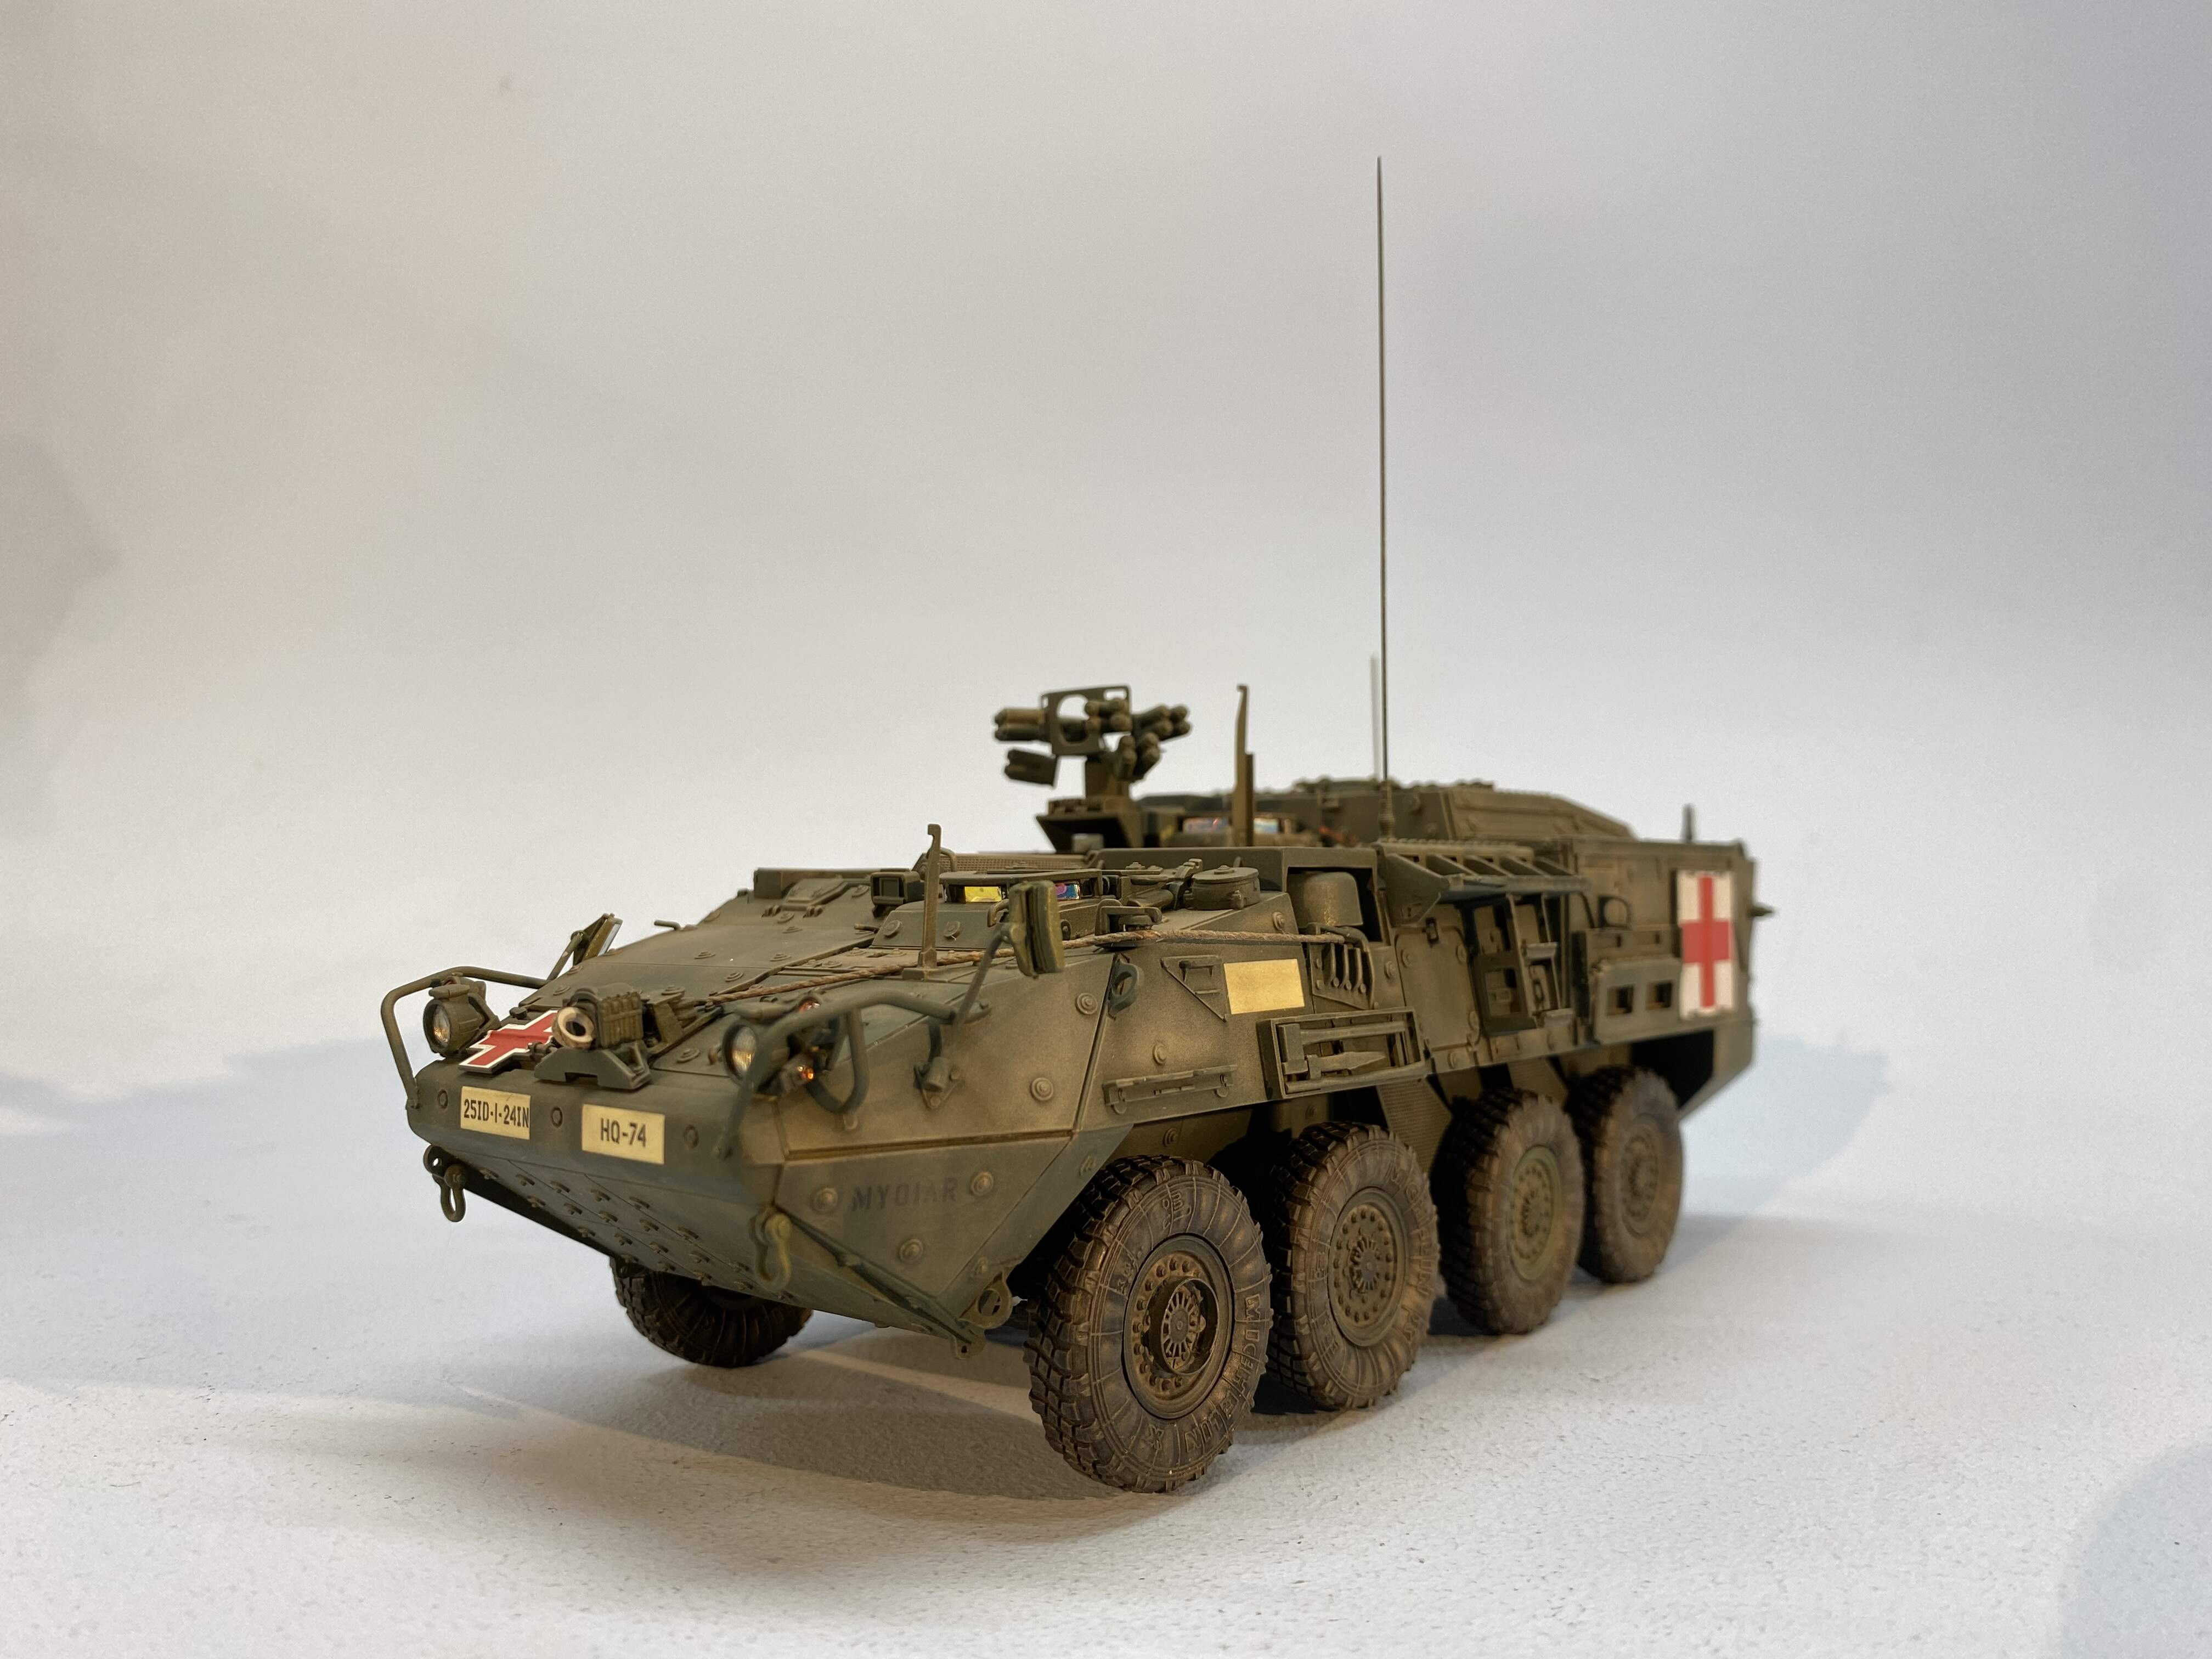
That’s pretty much all I have specifically. I used the Trumpeter-branded Detail add-on set for the M1126 Stryker (PE-06603) as it has a great deal of supplemental photo-etch - even still I didn’t use a lot of it. I added SKP lenses.
Check references - typically only the front left wheel had a step ring; Trumpeter would have you add one to every wheel.
You can do surgery and articulate the front four wheels - I wish I had, but this will eventually be a load for a semi; maybe an M1000, so no need for turned wheels.
They don’t provide a shackle or eyelet for the winch cable; I turned a small eyelet on my lathe and secured it to my cable (which I made from ship rigging cord, much nicer than the typical Trumpy dental floss). I was concerned about being able to glue it and keep the tension; I was able to wedge a toothpick in next to it and it held it perfectly until dry.
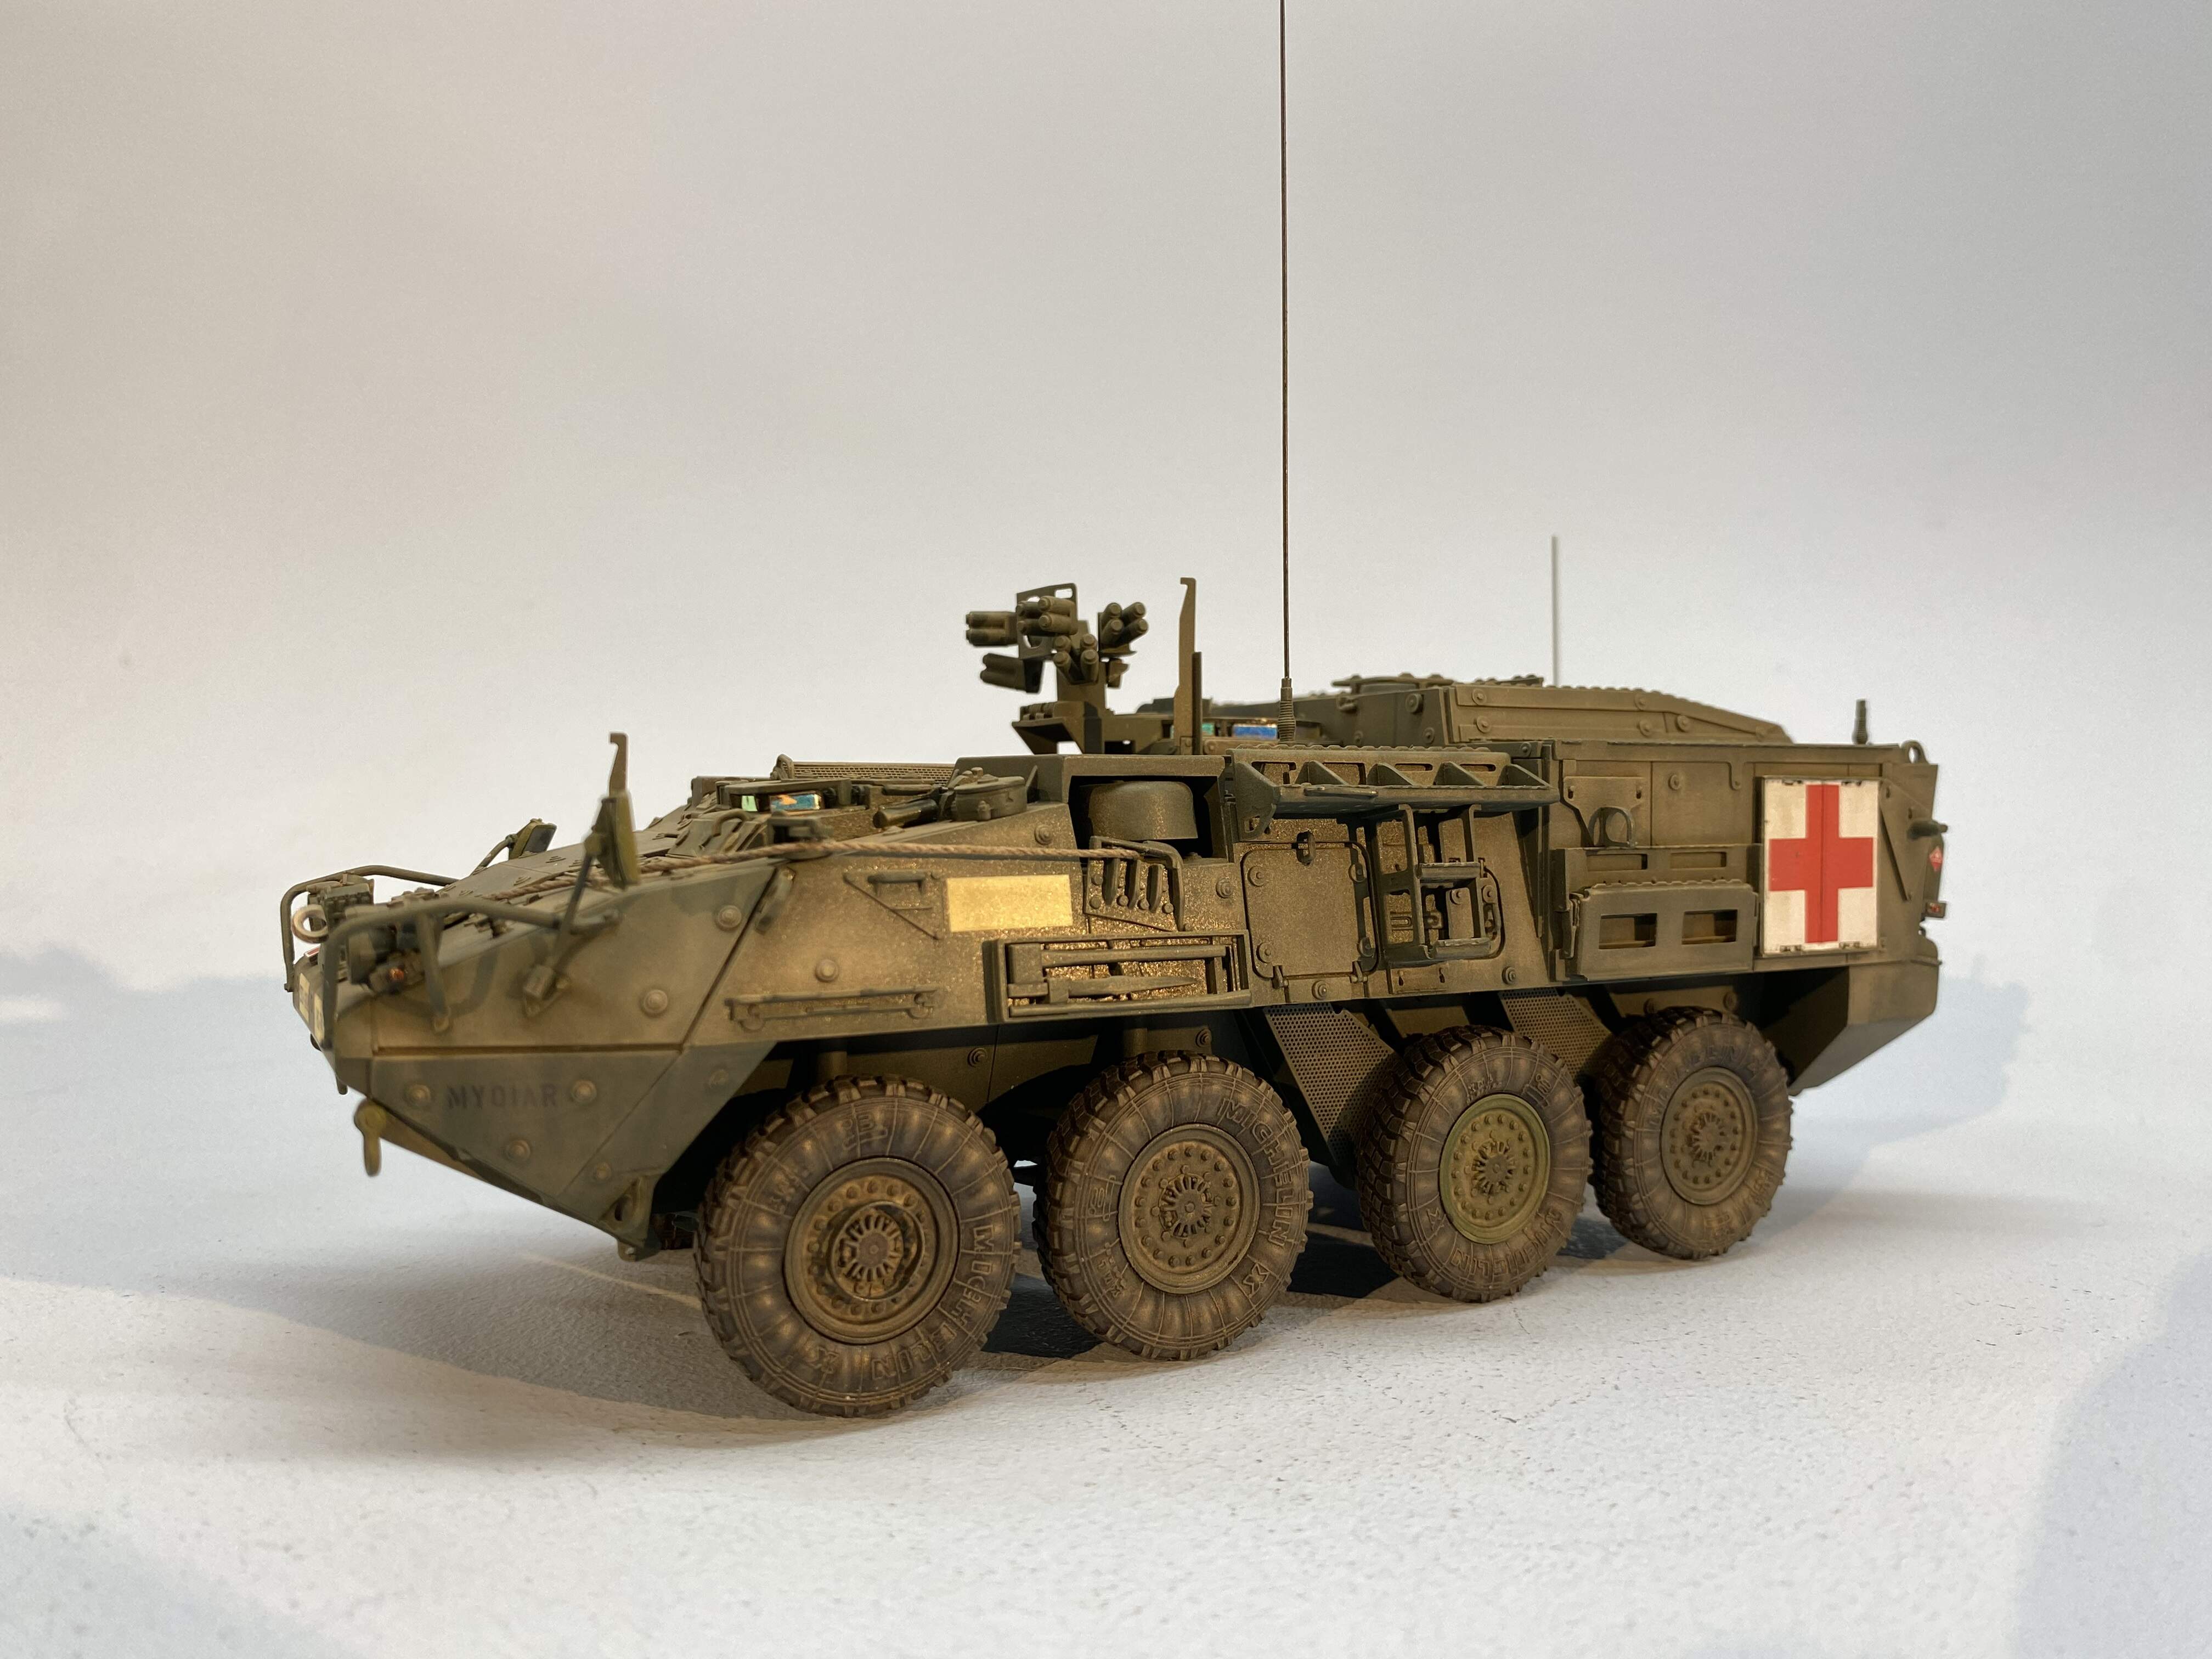
These models can really stand to have ‘bent’ antenna springs as the antennas are very often seen tied down, requiring a bent spring. Someone posted somewhere a 3D printed set.
I used extra AFV Club lens material for the periscopes to give them that color changing effect, though every photo I found they appear red.
If I think of more I’ll post it!
Jimbo