Thanks. The larger grey rounds are illumination rounds.
1 Like
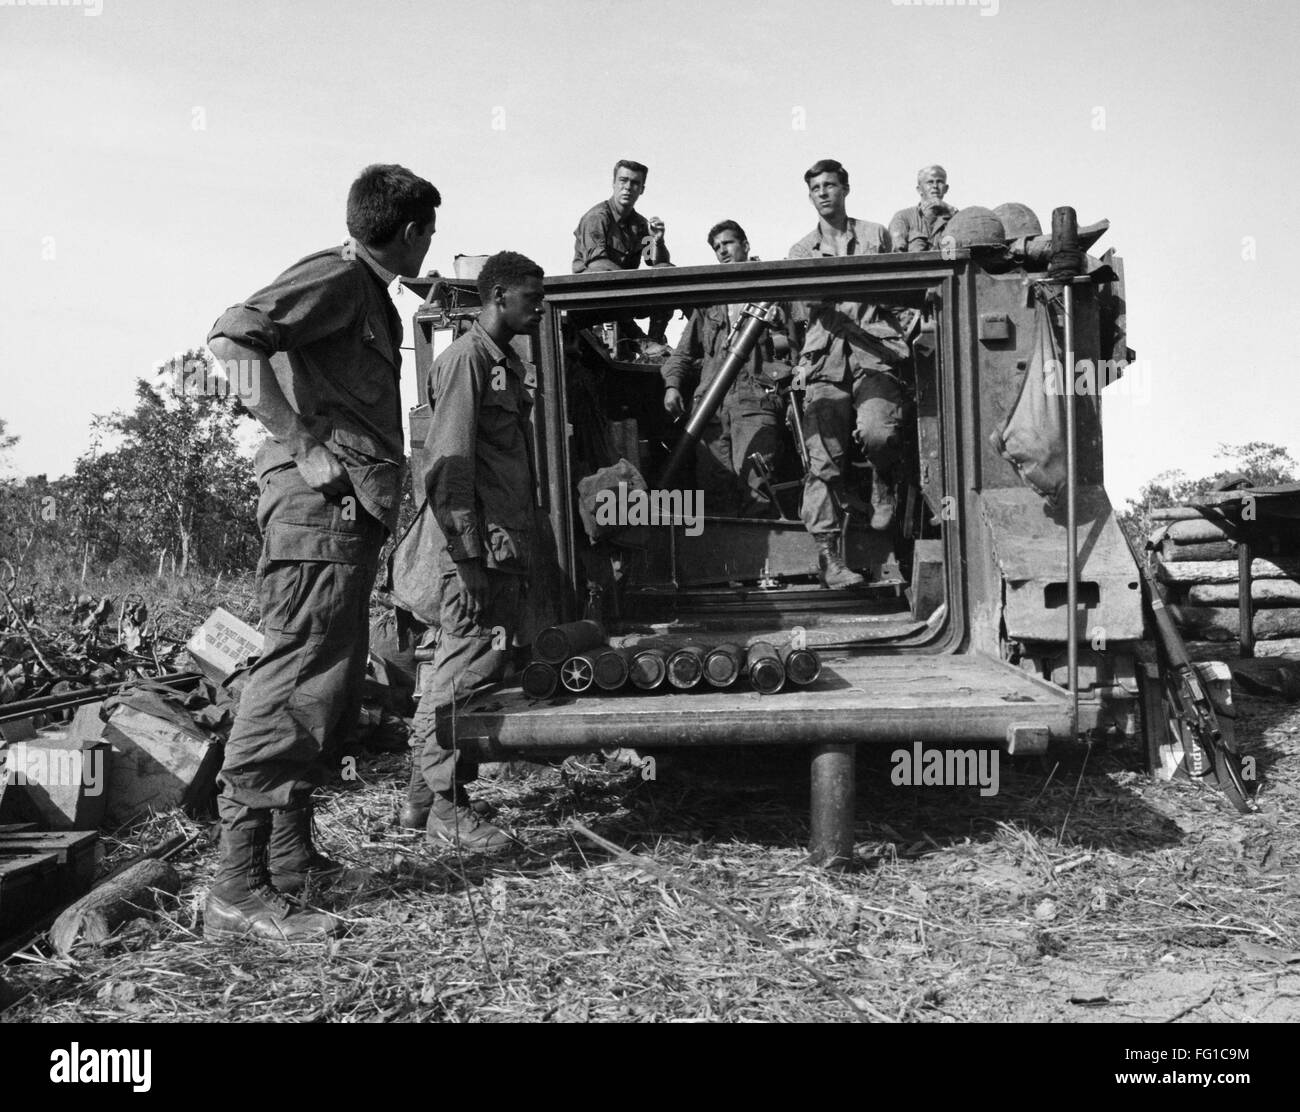
U.S. 4th Infantry Division M125 in Vietnam (1968) short footage :
H.P.
3 Likes
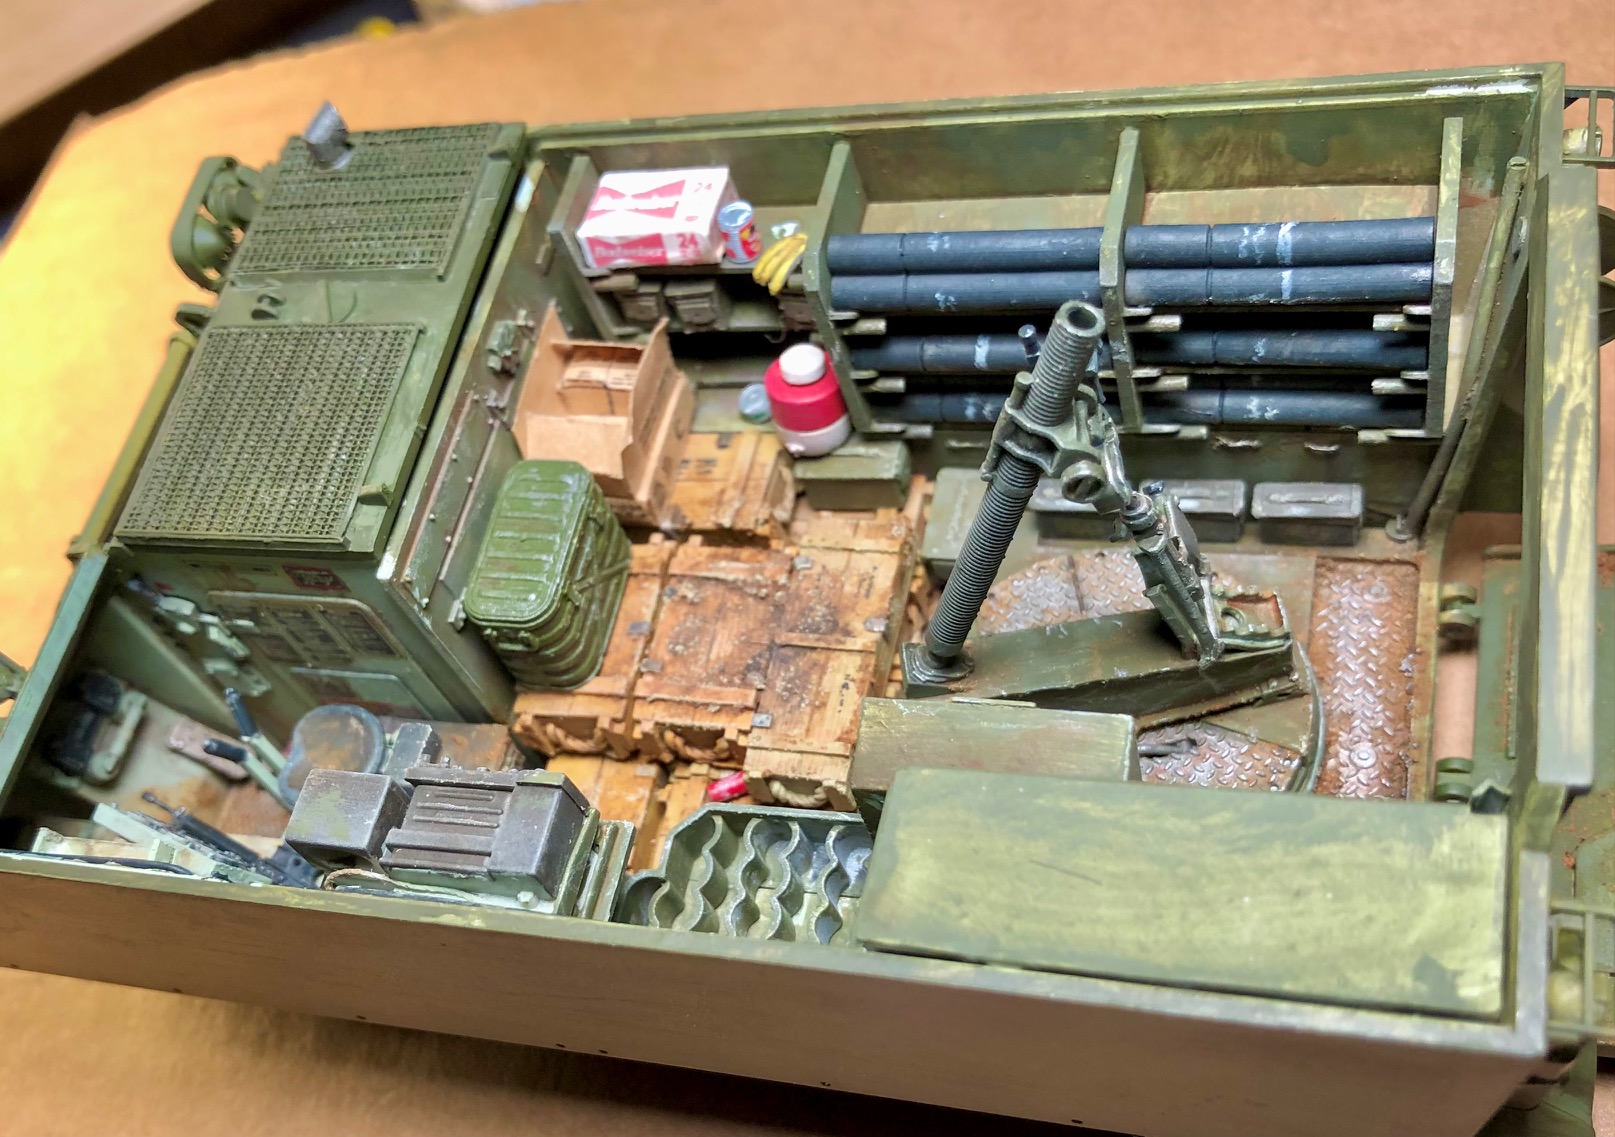
Here is a few pictures of the M16 bandoleer building. I use scalpel packaging foil and strip plastic for the build.
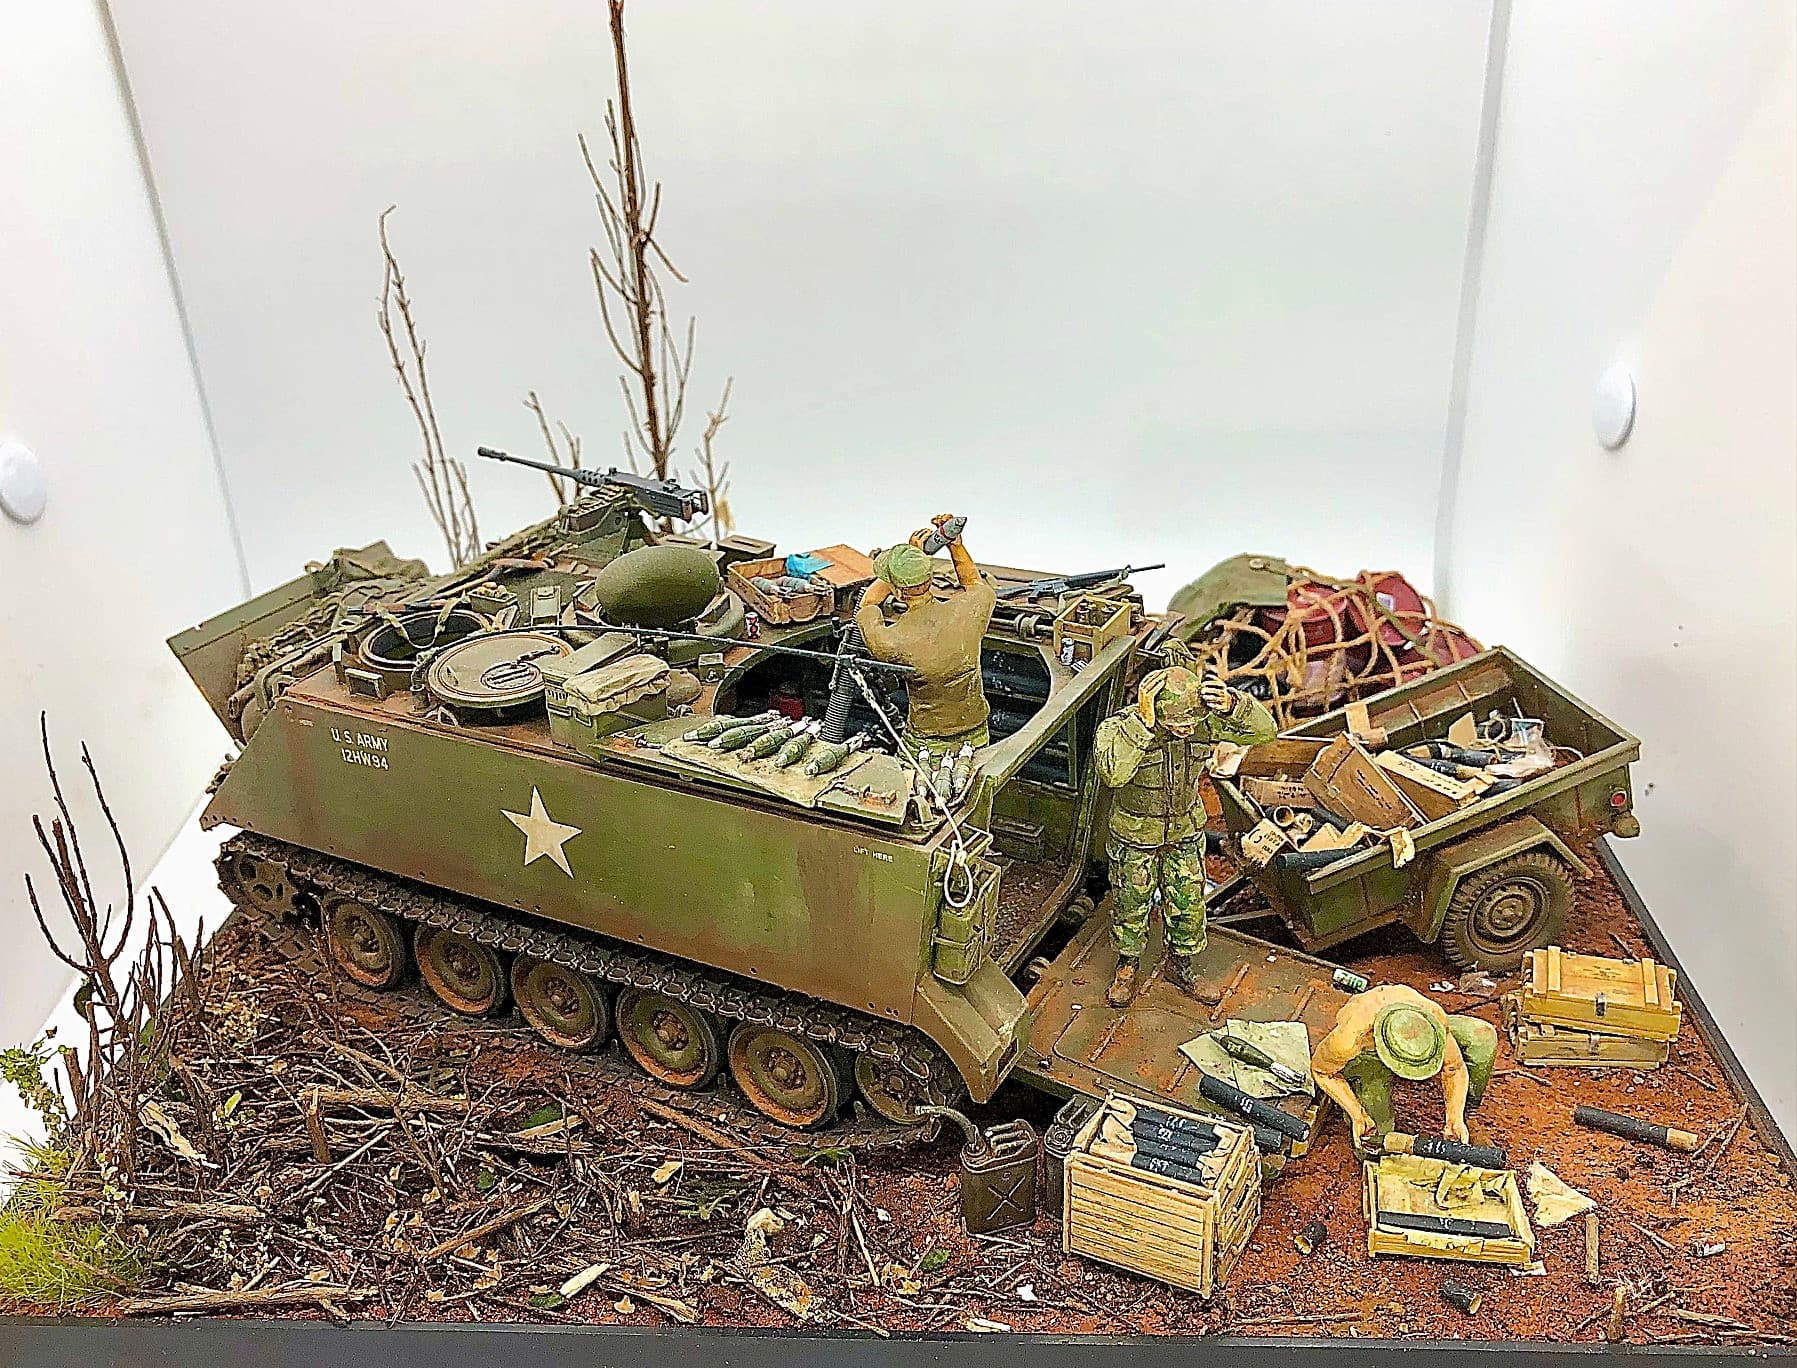
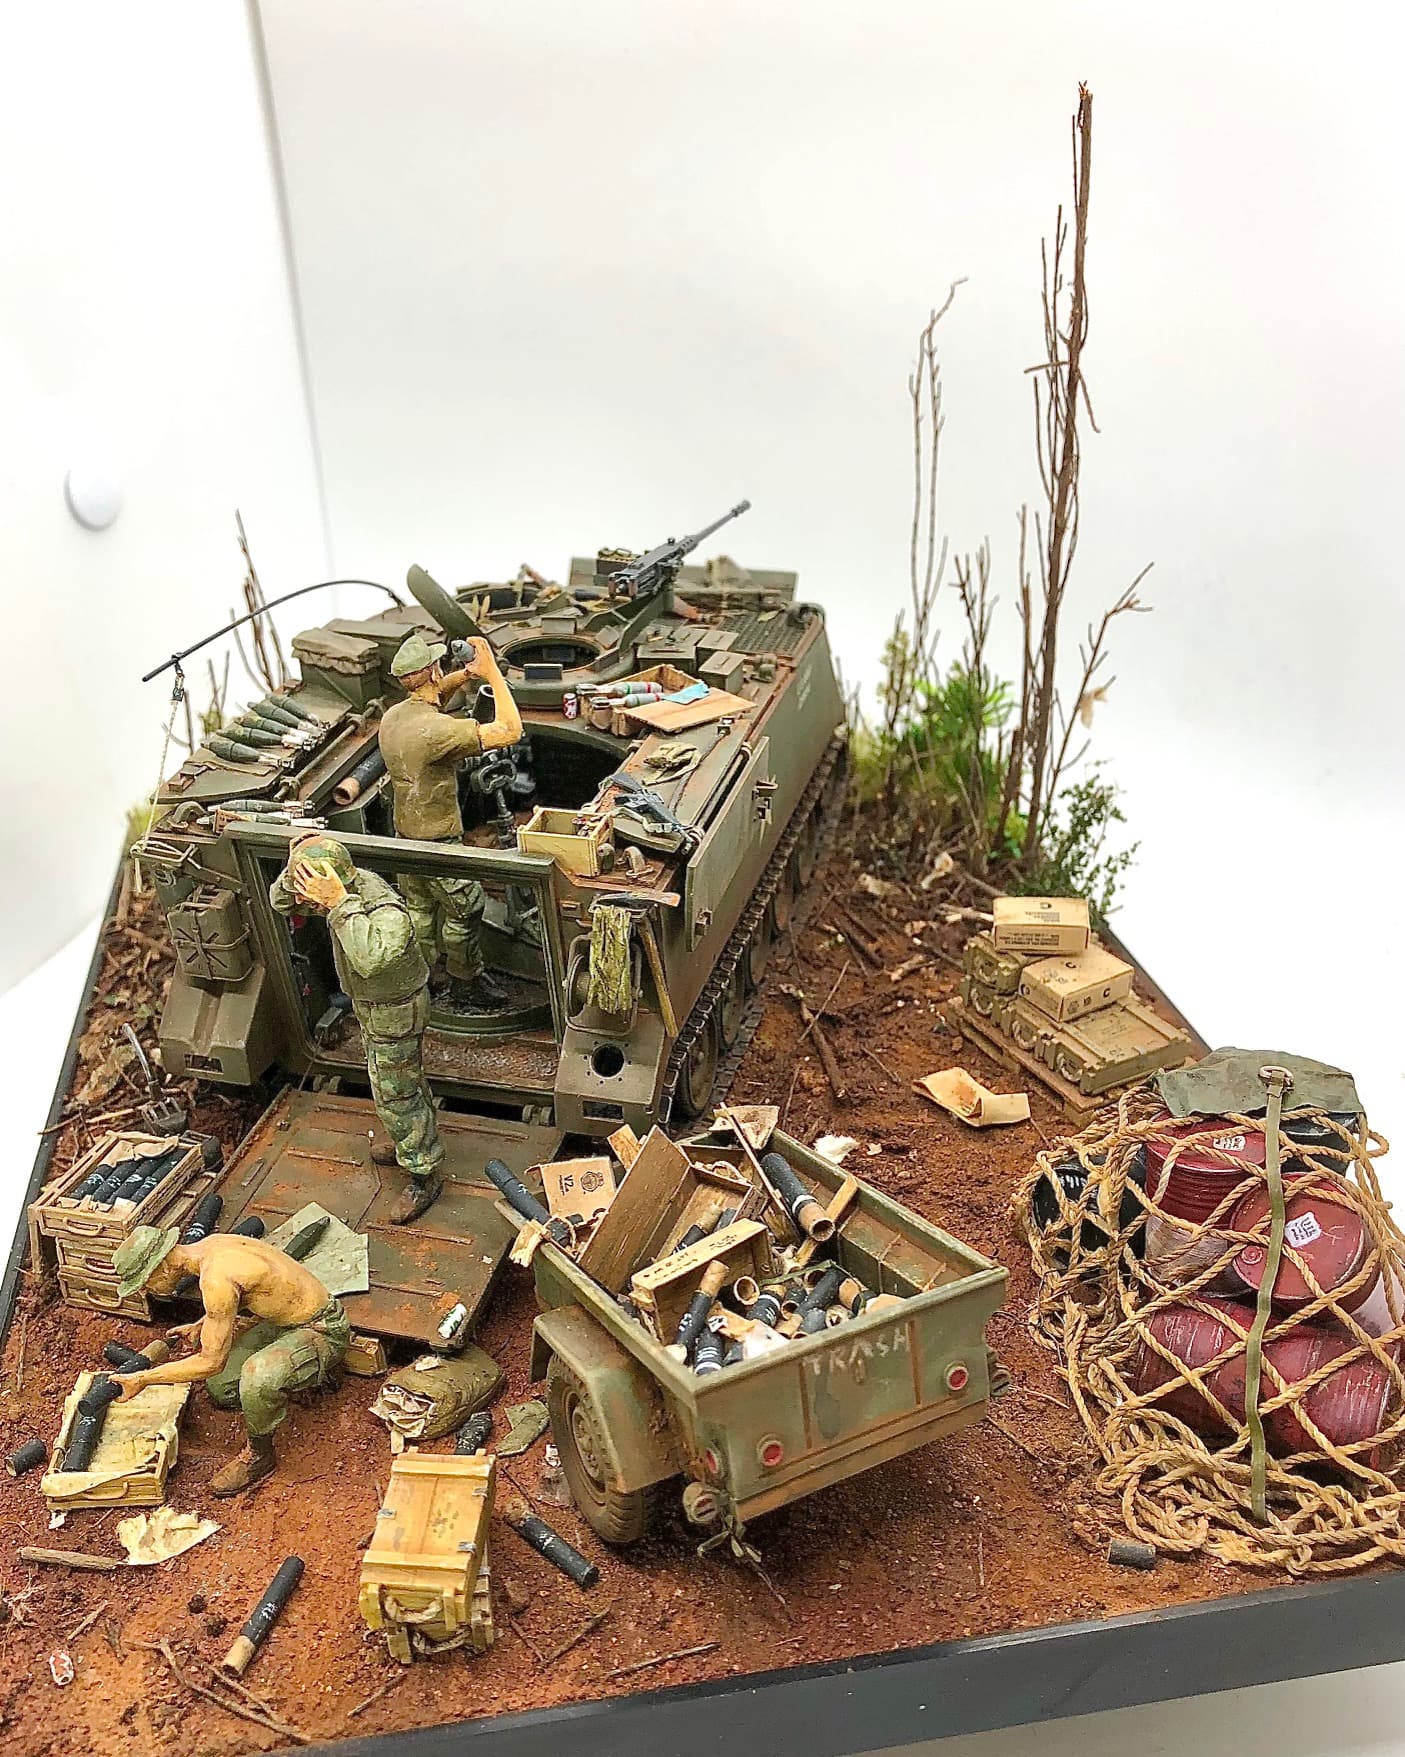
Picture of the “debris of war”. Each crate generally had four shipping tubes (two parts), wrapped in wax paper. The pile of garbage would grow pretty quick. I always found these details interesting and uncommon with models.
Several crates were scratched. The tubes were made from Plastruc tubing. Two sizes as the illumination/smoke rounds were longer.
10 Likes
Looks fantastic. I would add, based on my experience with the 4.2" mortar, that after the rounds are taken out of the shipping tube and fuzed then it goes back in the tube either fully closed or with the nose exposed so the propellant is covered like in the ready rack. Otherwise there is a risk of a flash fire. You could add a couple of fuze cans to your settings. About same size as a .50 cal can but in the 80s ours were a darker brown.
4 Likes
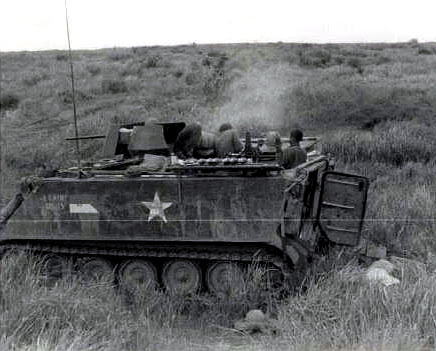
From the little knowledge I have on M125 use, it seems there were “kits” used to convert some M106’s. They were not common in US usage, but were definitely used.
6 Likes
Spot on. One more thing you could add, (or not) is the paper or cloth like tape you had to peel off the tubes to get the tops off. Usually wadded up and saved, but not for turn in. Like left over charges, the stuff burned really well,
It was also a booger to remove in a hurry, which is why your scene does not necessarily have to have it - we removed them before hand and stored them out of the way, usually in a trash bag.
I do like the light brown paper wrapping though.
3 Likes
I noticed the tracks after I posted while I was examining every minute detail of your build.
Got any pictures of the Hobby Link M125 build? I’ve got one in my stash and your pointers on your Rome Plow build to me were invaluable when I did mine.
3 Likes
Beautiful job Robert. So much detail! I have a couple of M113 s with some conversion sets to do one of these and the later version ( forgot the designation!) and will be using your pics as a reference along with my other stuff. Fantastic!
3 Likes
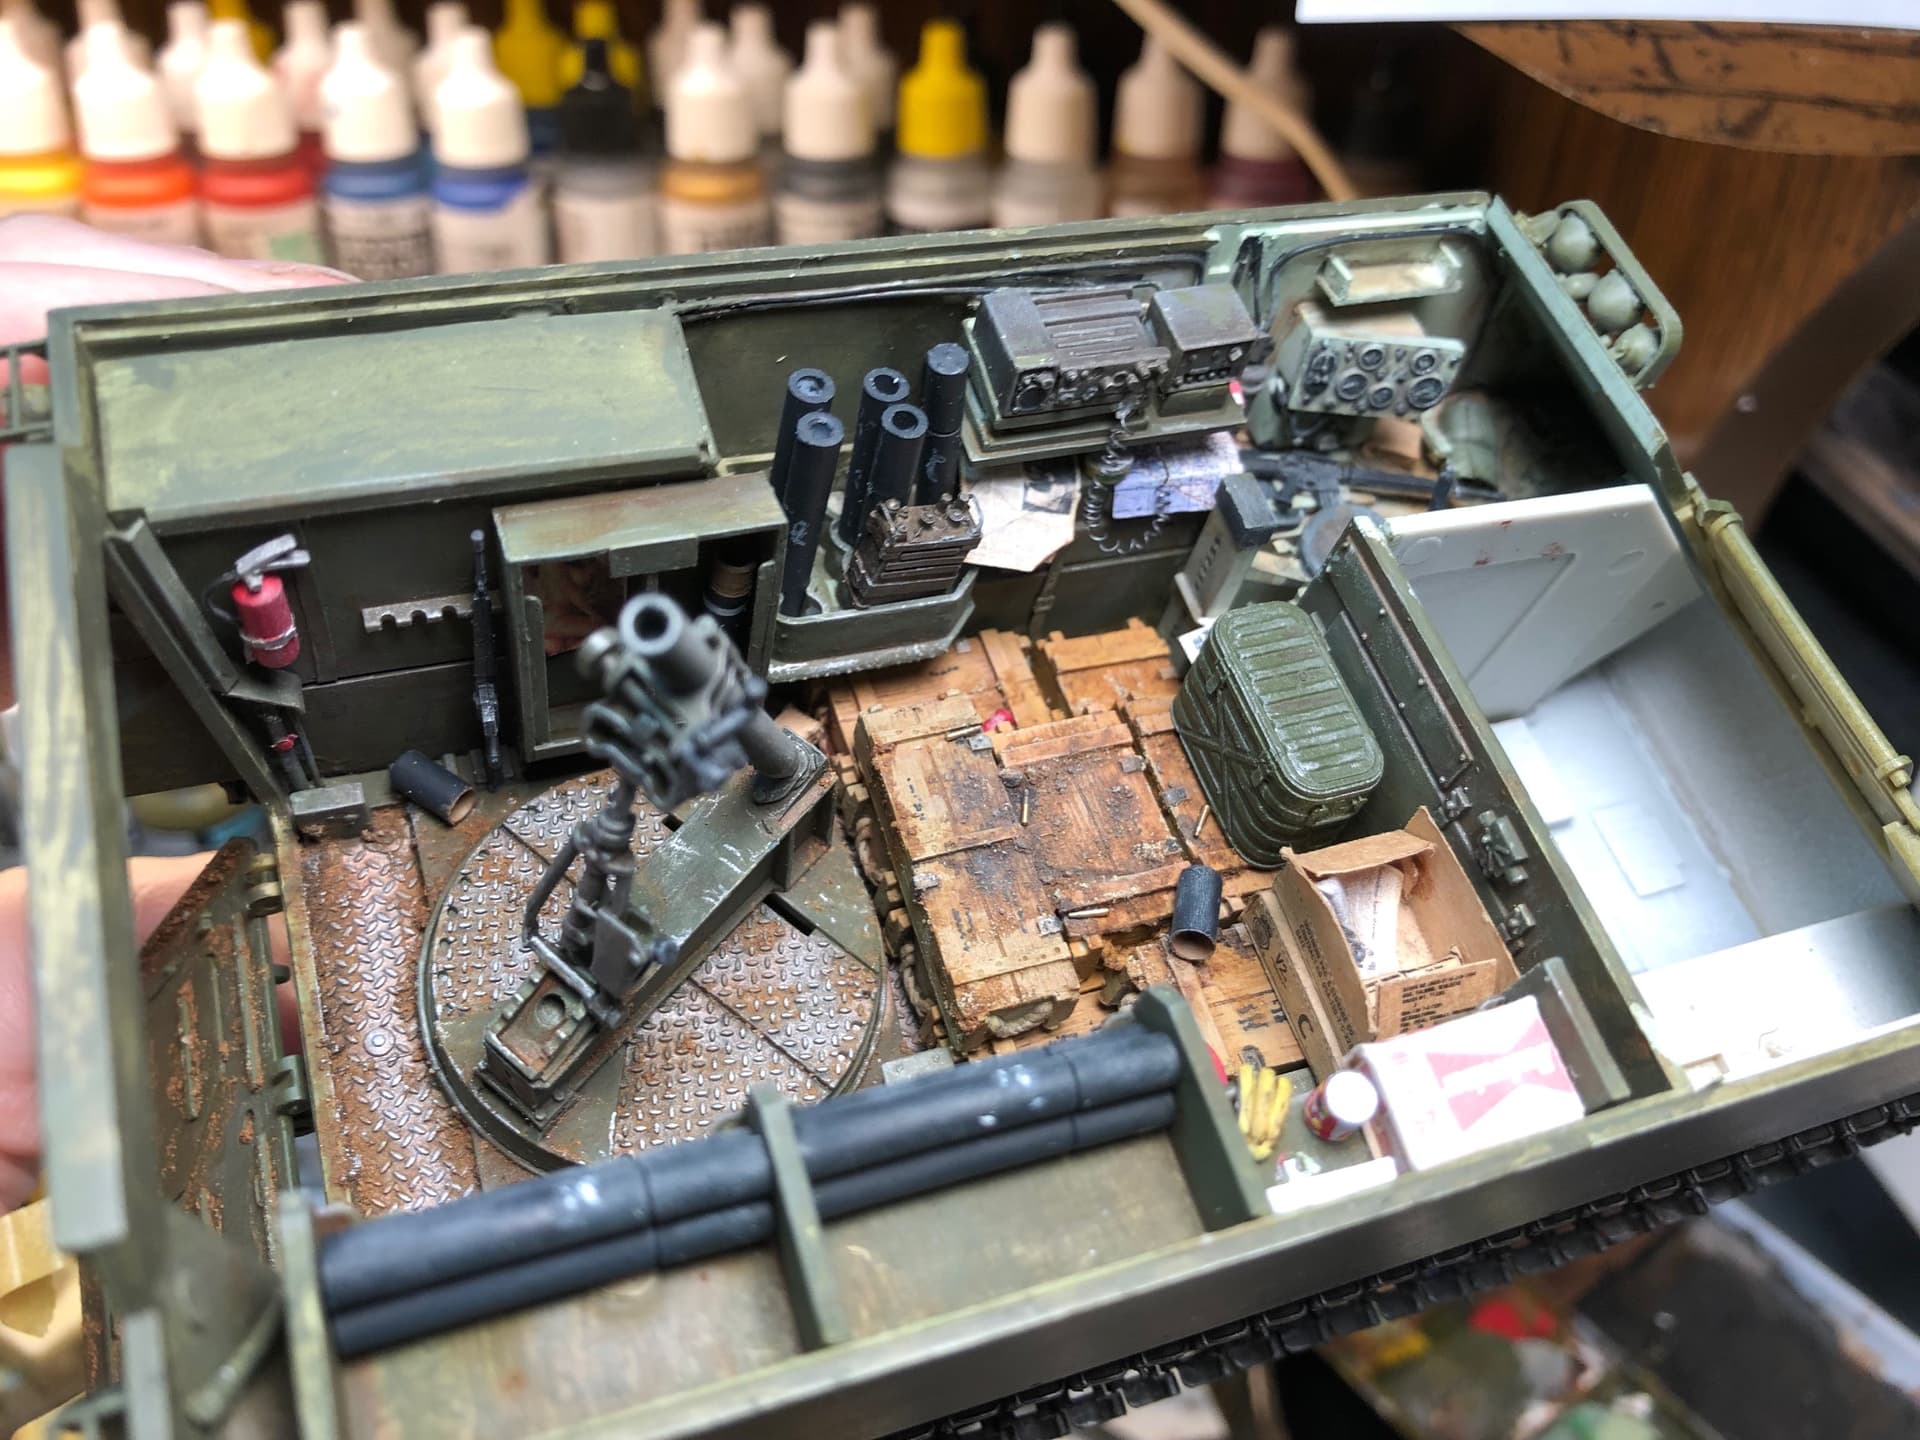
Well, the Hobby Link kit is very similar to the Tamiya M106, except better detailed. I didn’t take many pictures due to the similarity. I do have a few pics before I put the top on. Please test fit everything, as my resin was slightly warped and required extra attention in a few places. Also, there is no need to place all the parts as many cannot be seen (like ammo tubes). Here are a couple pics before I sealed mine.
13 Likes
I have several wads of paper to mix in with the debris. I thought about the tape, mostly trying to represent where it was torn from the tubes, but gave up on it. Like you said, it would be wadded up, burned, or buried. I have learned the hard way that for contests, it’s wasted time to recreate such minutia. Less than 1% would know what they are looking at, even if they noticed it. So now I build what interests me without taking too much stress.
7 Likes
Impressive level of detail throughout. From the mortar rounds to the weathering and all the little bits.
![]()
3 Likes
Excellent build.
Cheers,
Ralph

absolutely fabulous diorama!
3 Likes
Very nice. It came out great.
1 Like
Awesome!
1 Like
It’s spectacular!
1 Like