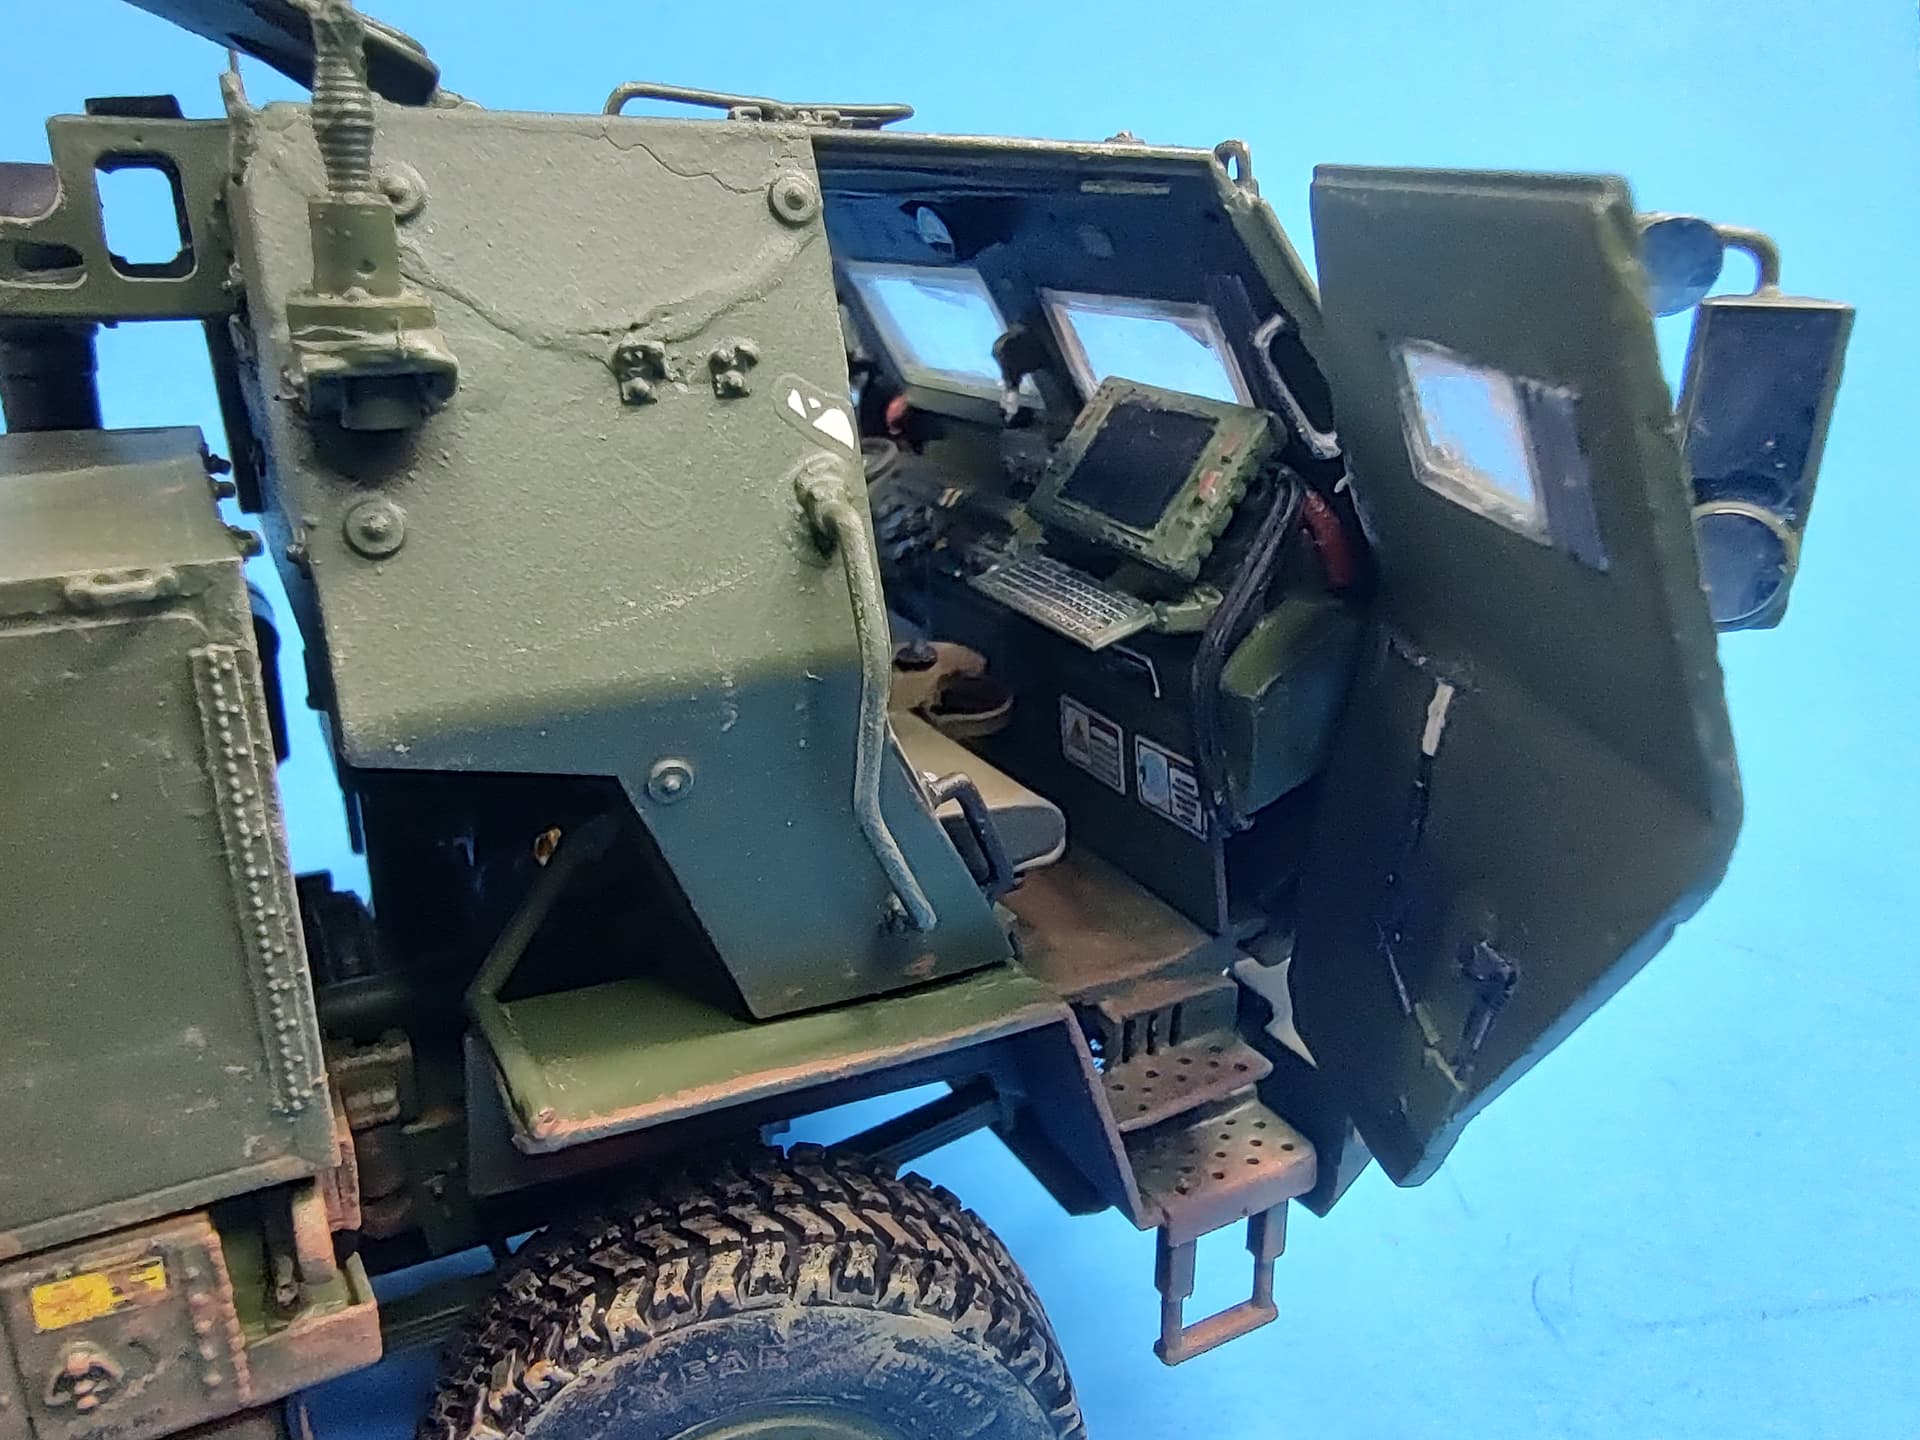
As I said above, I received the Kelik 3D printed interior decals a few days ago and started working with them. They are very nicely printed and look great. They are on decal paper and you soak them like regular water-slide decals to remove them from the paper. After they are off, you glue them on with white glue (PVA) or super glue. I did find one problem with them though. The color is too light, sort of an interior green. The inside of an M142 HIMARS cab is NATO green.
To fix them, I carefully hand painted the IP and smaller pieces with Tamiya lacquer NATO Green. The larger piece for the roof I applied to the roof and taped off the areas not colored NATO Green, then sprayed it with the roof/front wall part.
Here is the seats and back wall. The seat belts are also from Kelik. I added the SINCGARS radio and 3 J-boxes (one on the roof) to connect the CVC helmets, along with one helmet connected.
I added a couple items to the cab interior before closing it up. I placed an AK-74 on the seat and a CamelBack on the center hump so it looks lived in.
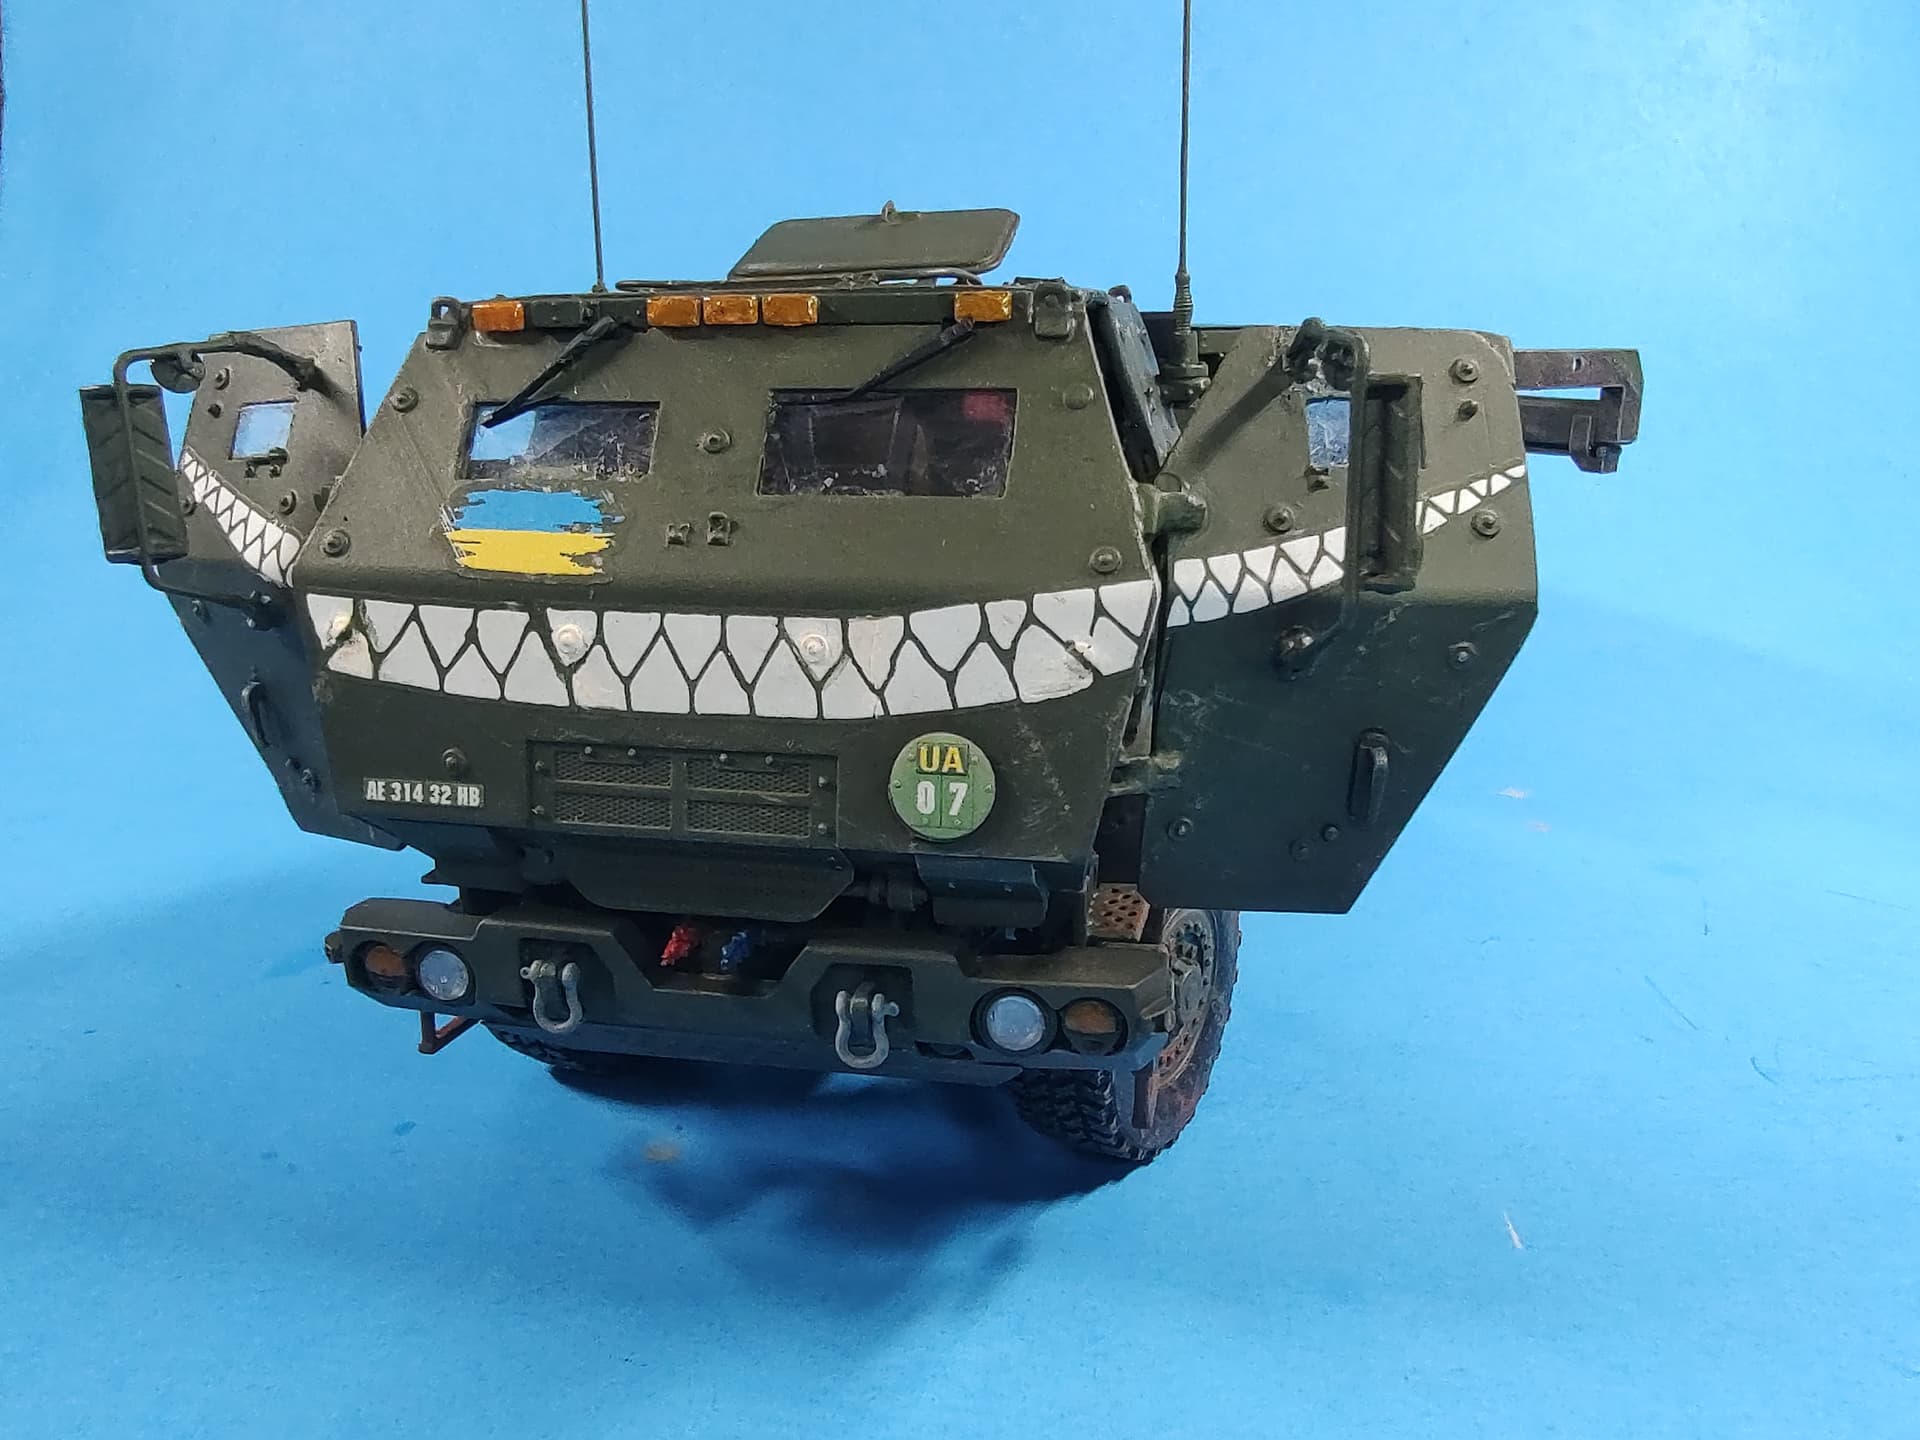
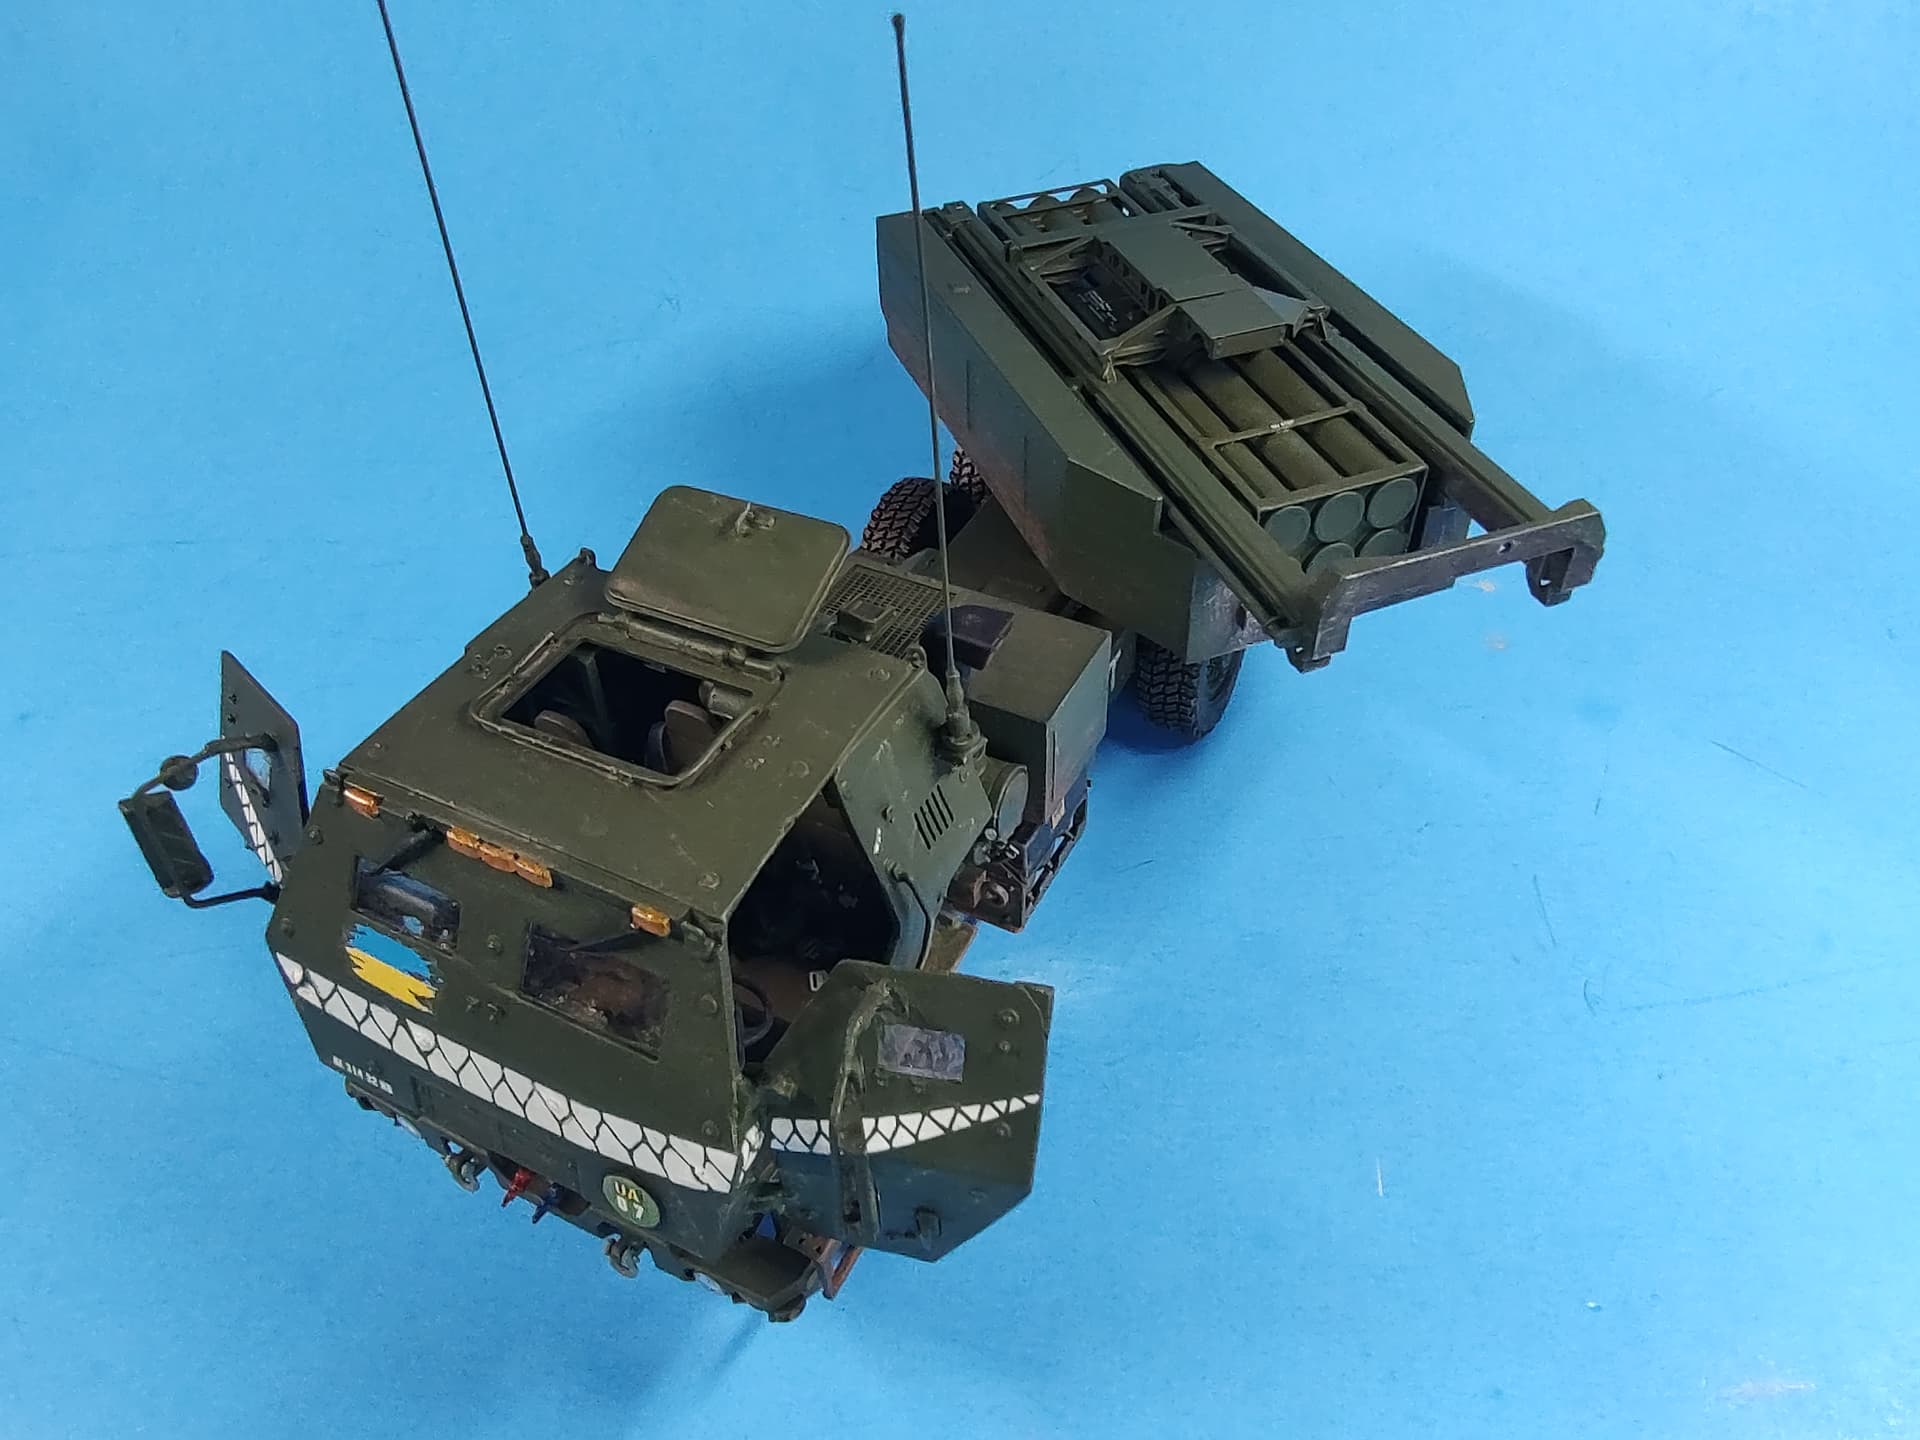
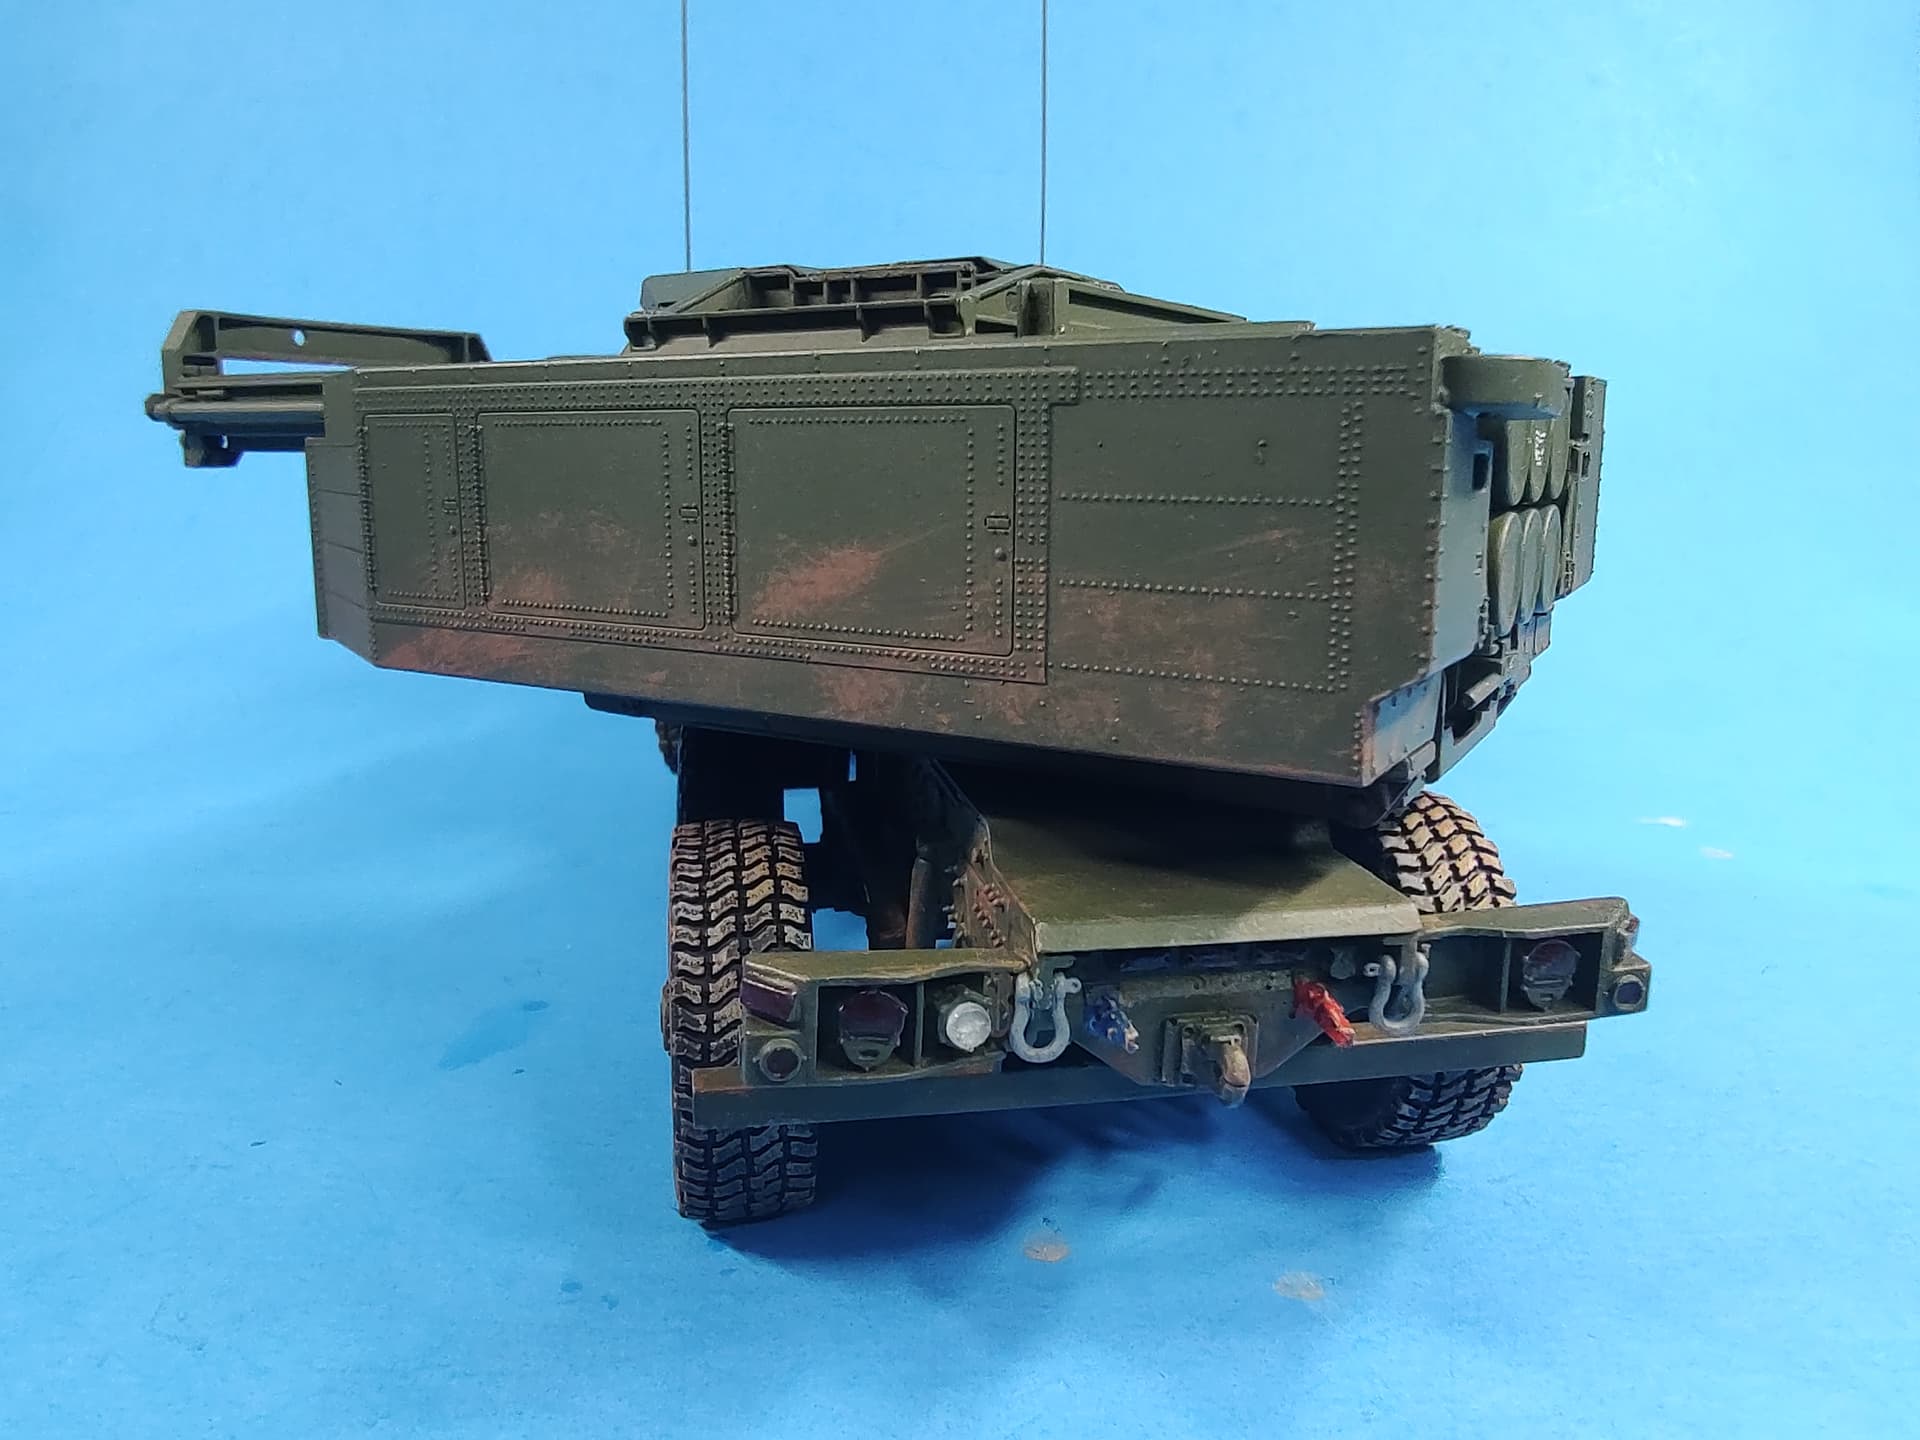
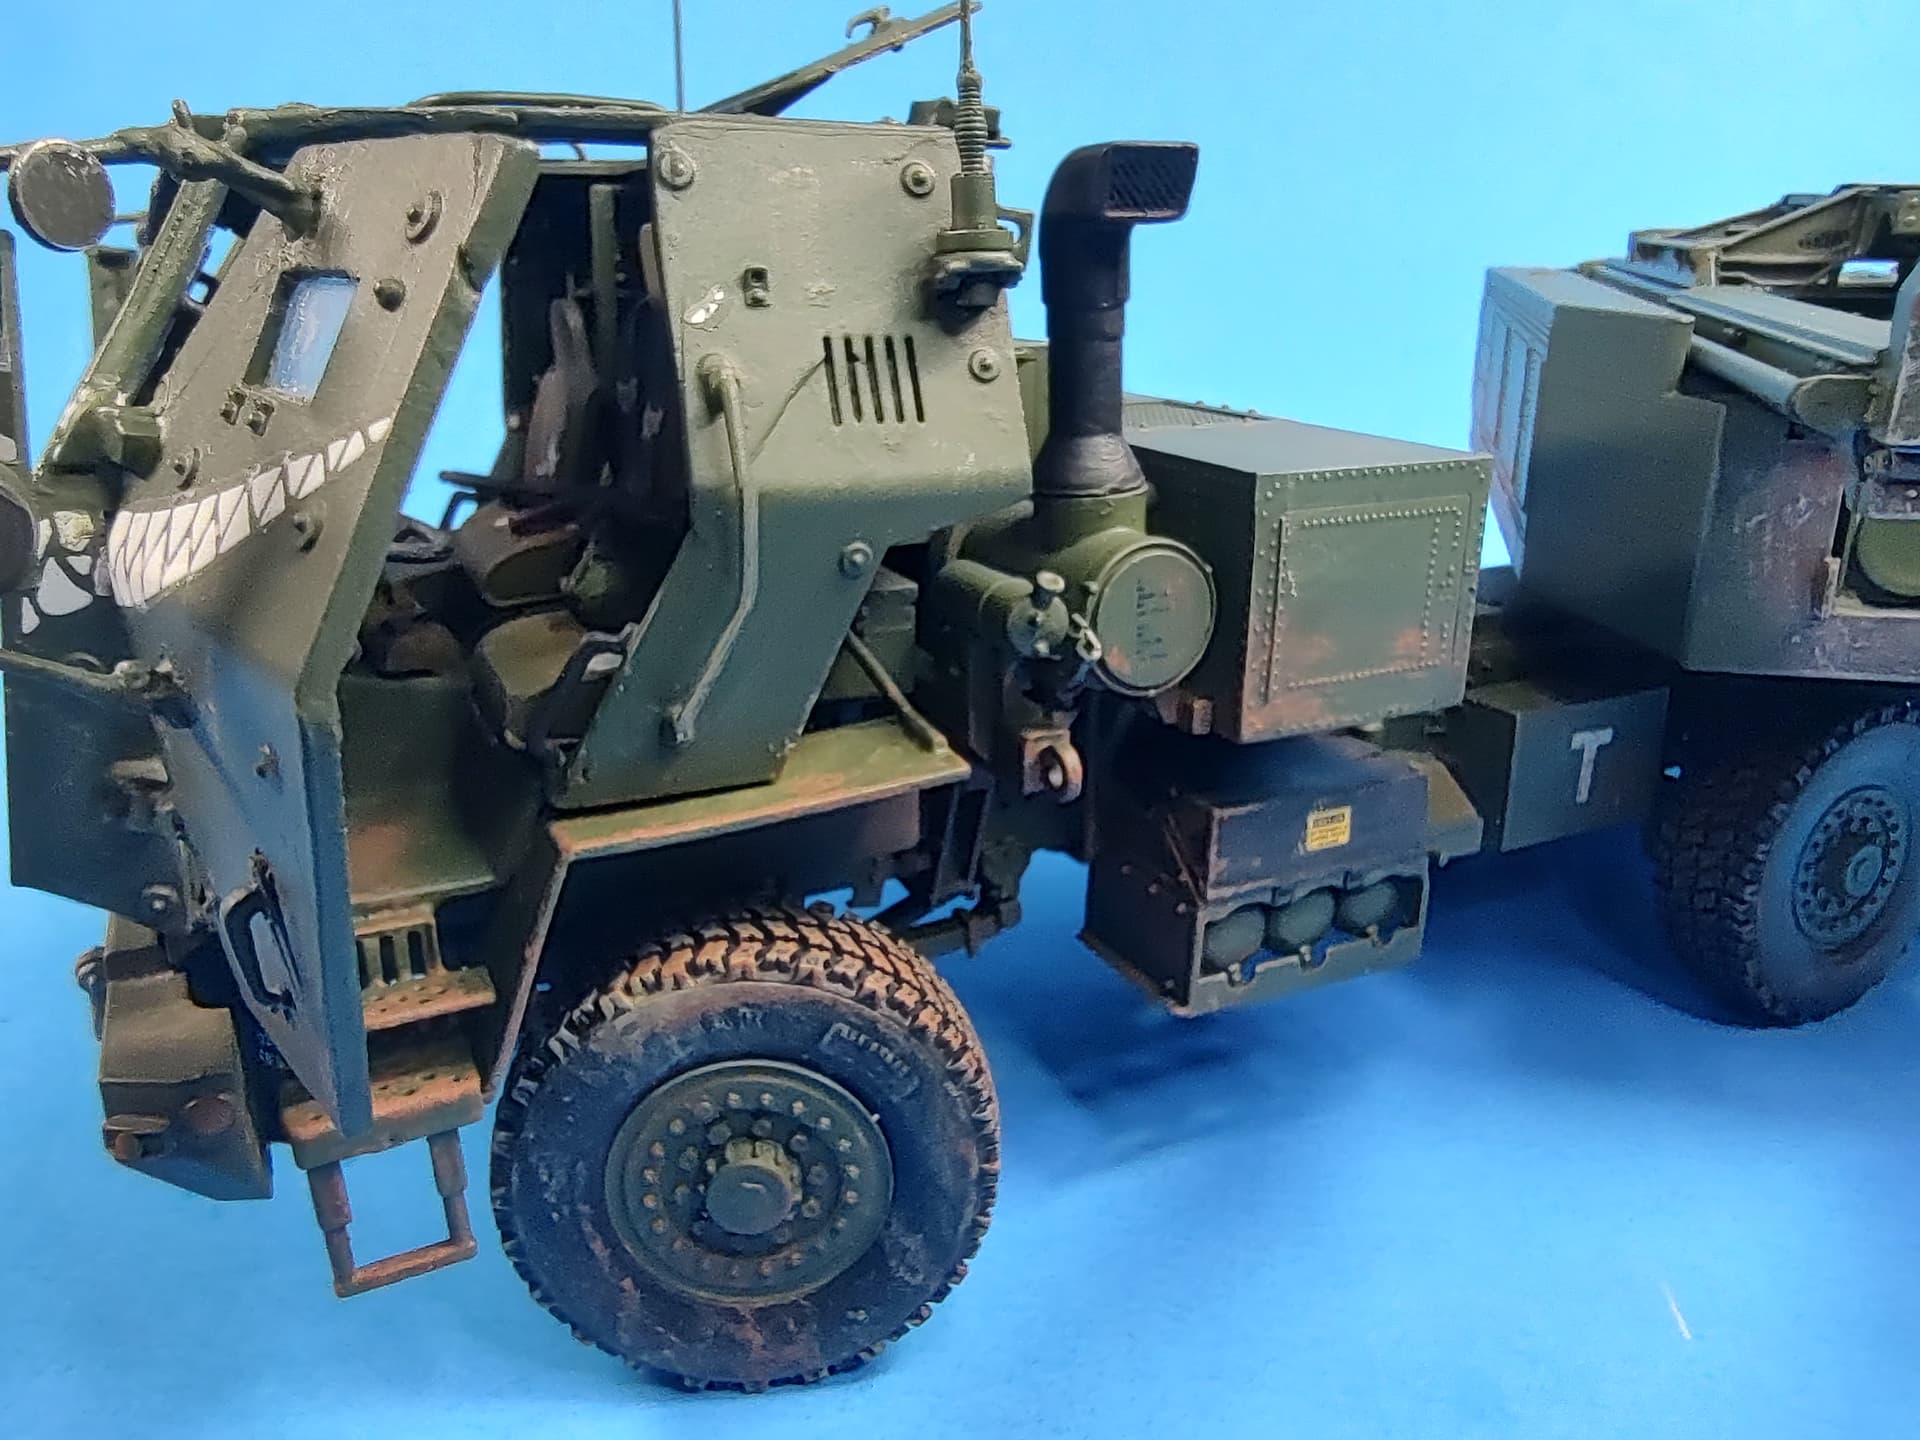
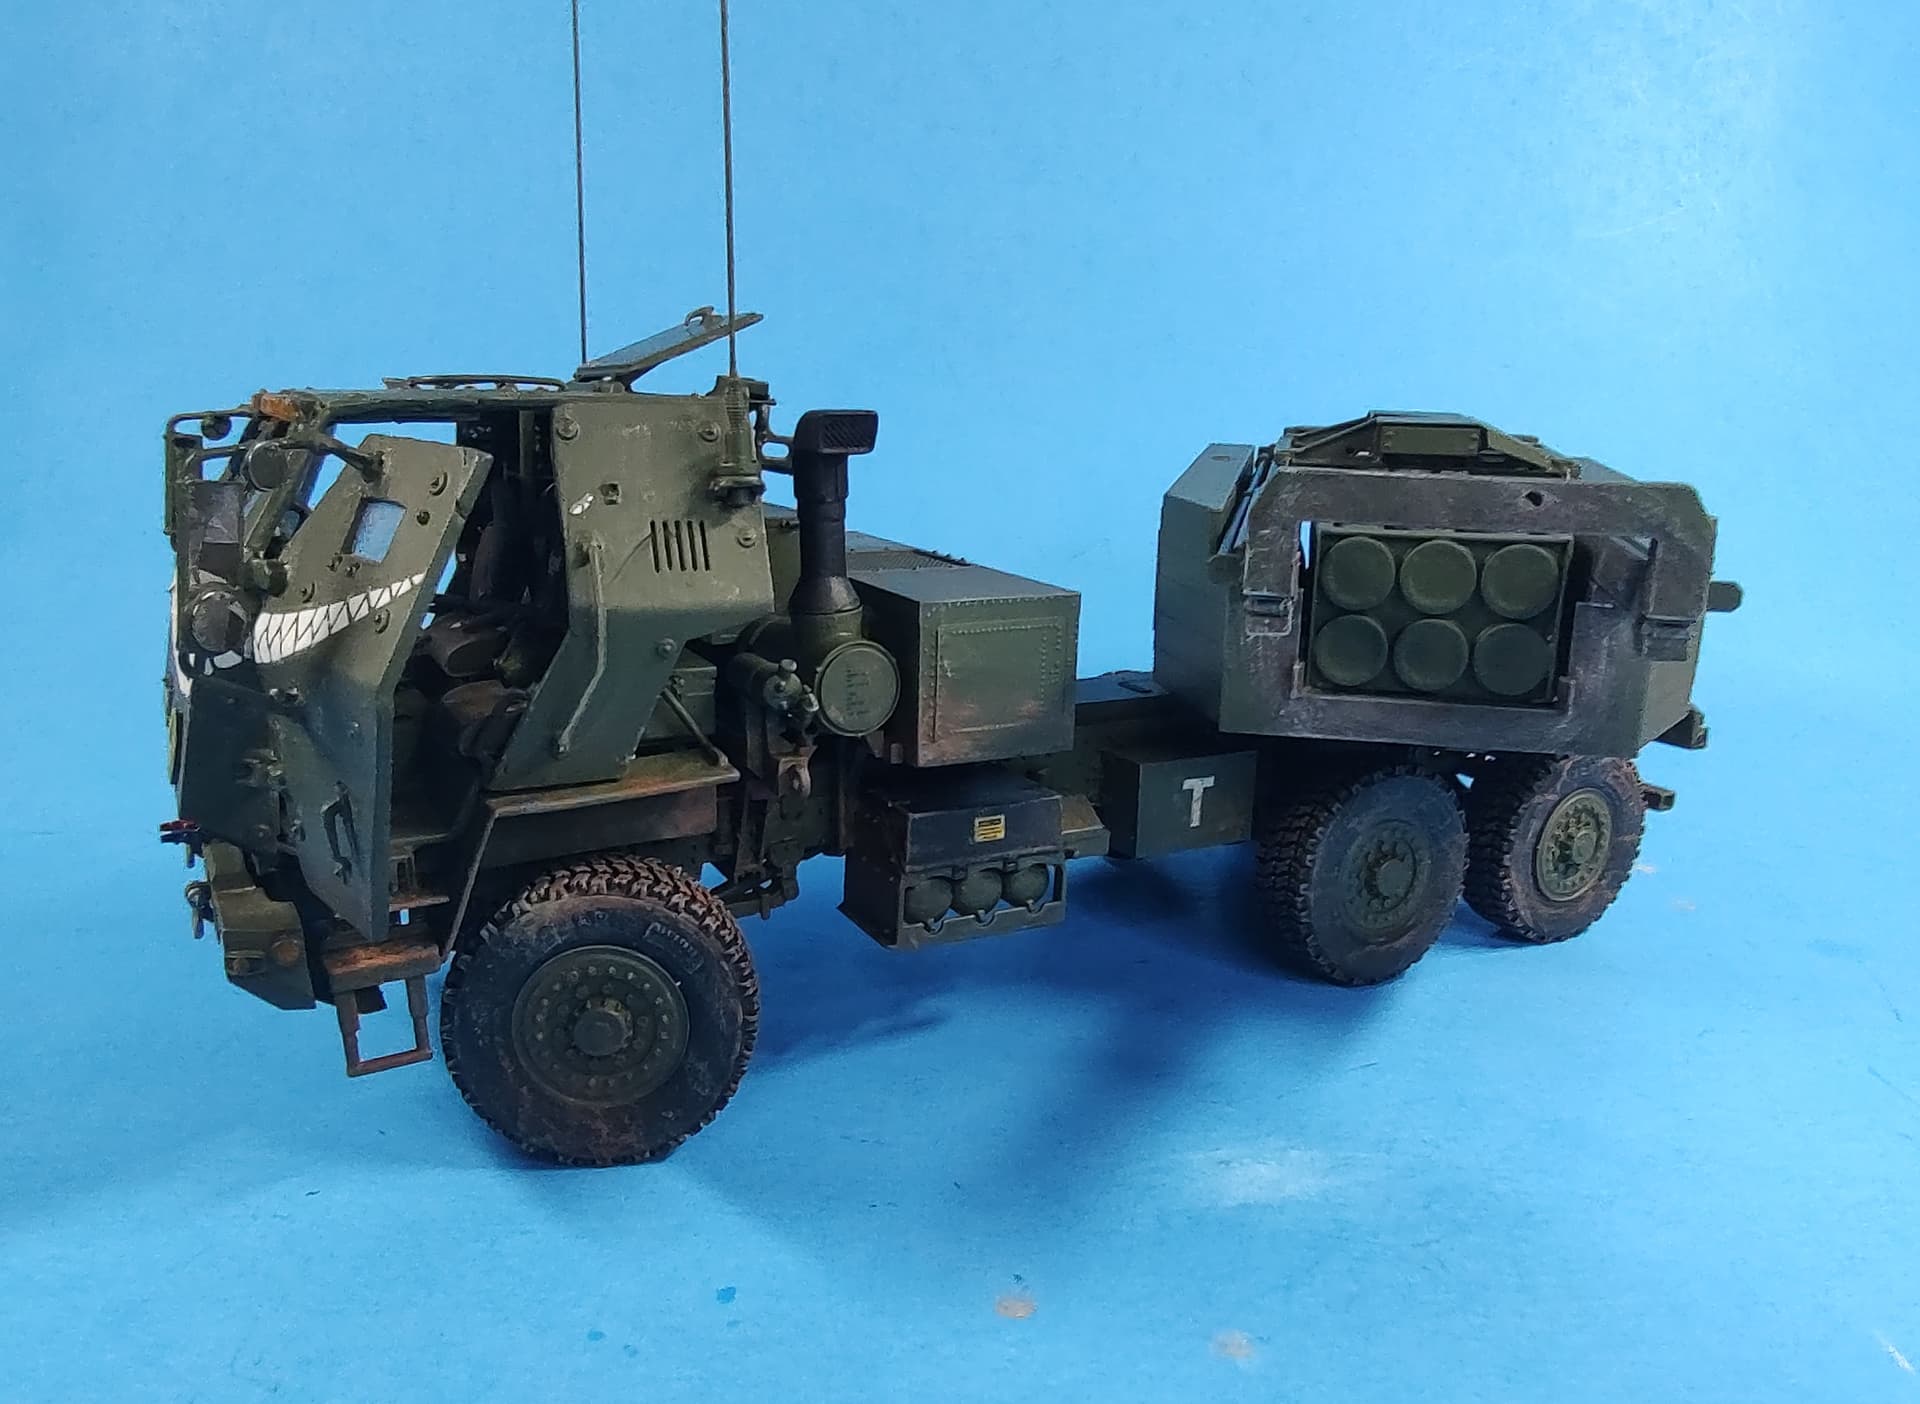
After closing up the cab, I painted the truck/launcher NATO Green. The MLRS pod is a slightly different green (Tamiya OD #2) for some variety. The markings are a combination of kit stencils and placards and the Kelik Ukraine Army markings and mouth. I think it came out pretty nicely. I really like the grin.
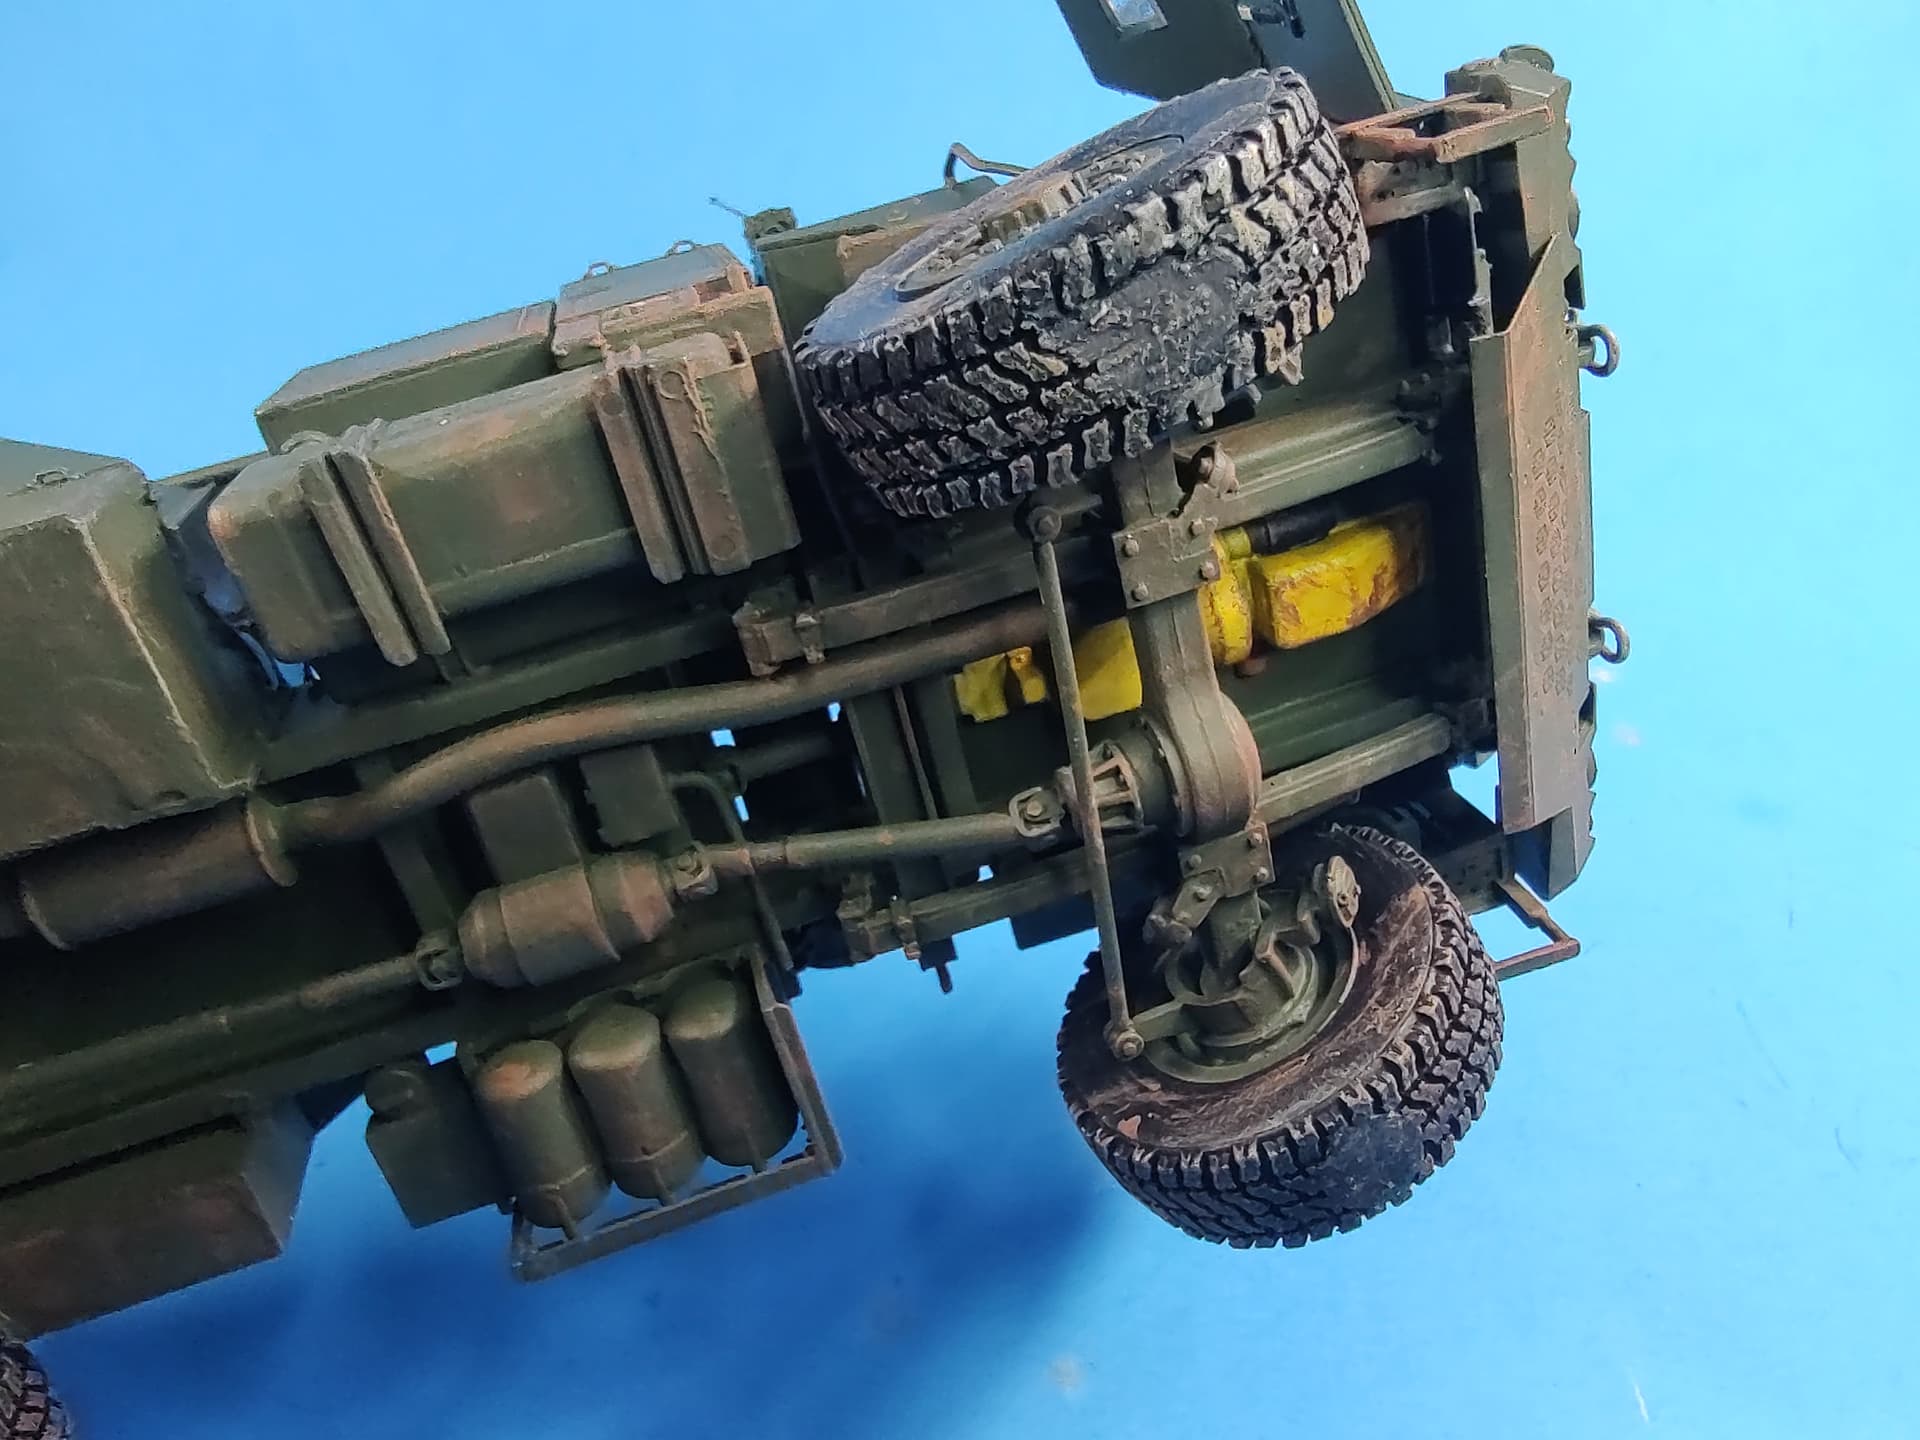
First, I finished up some detail painting like the front and rear gladhands and a couple other small things I missed.
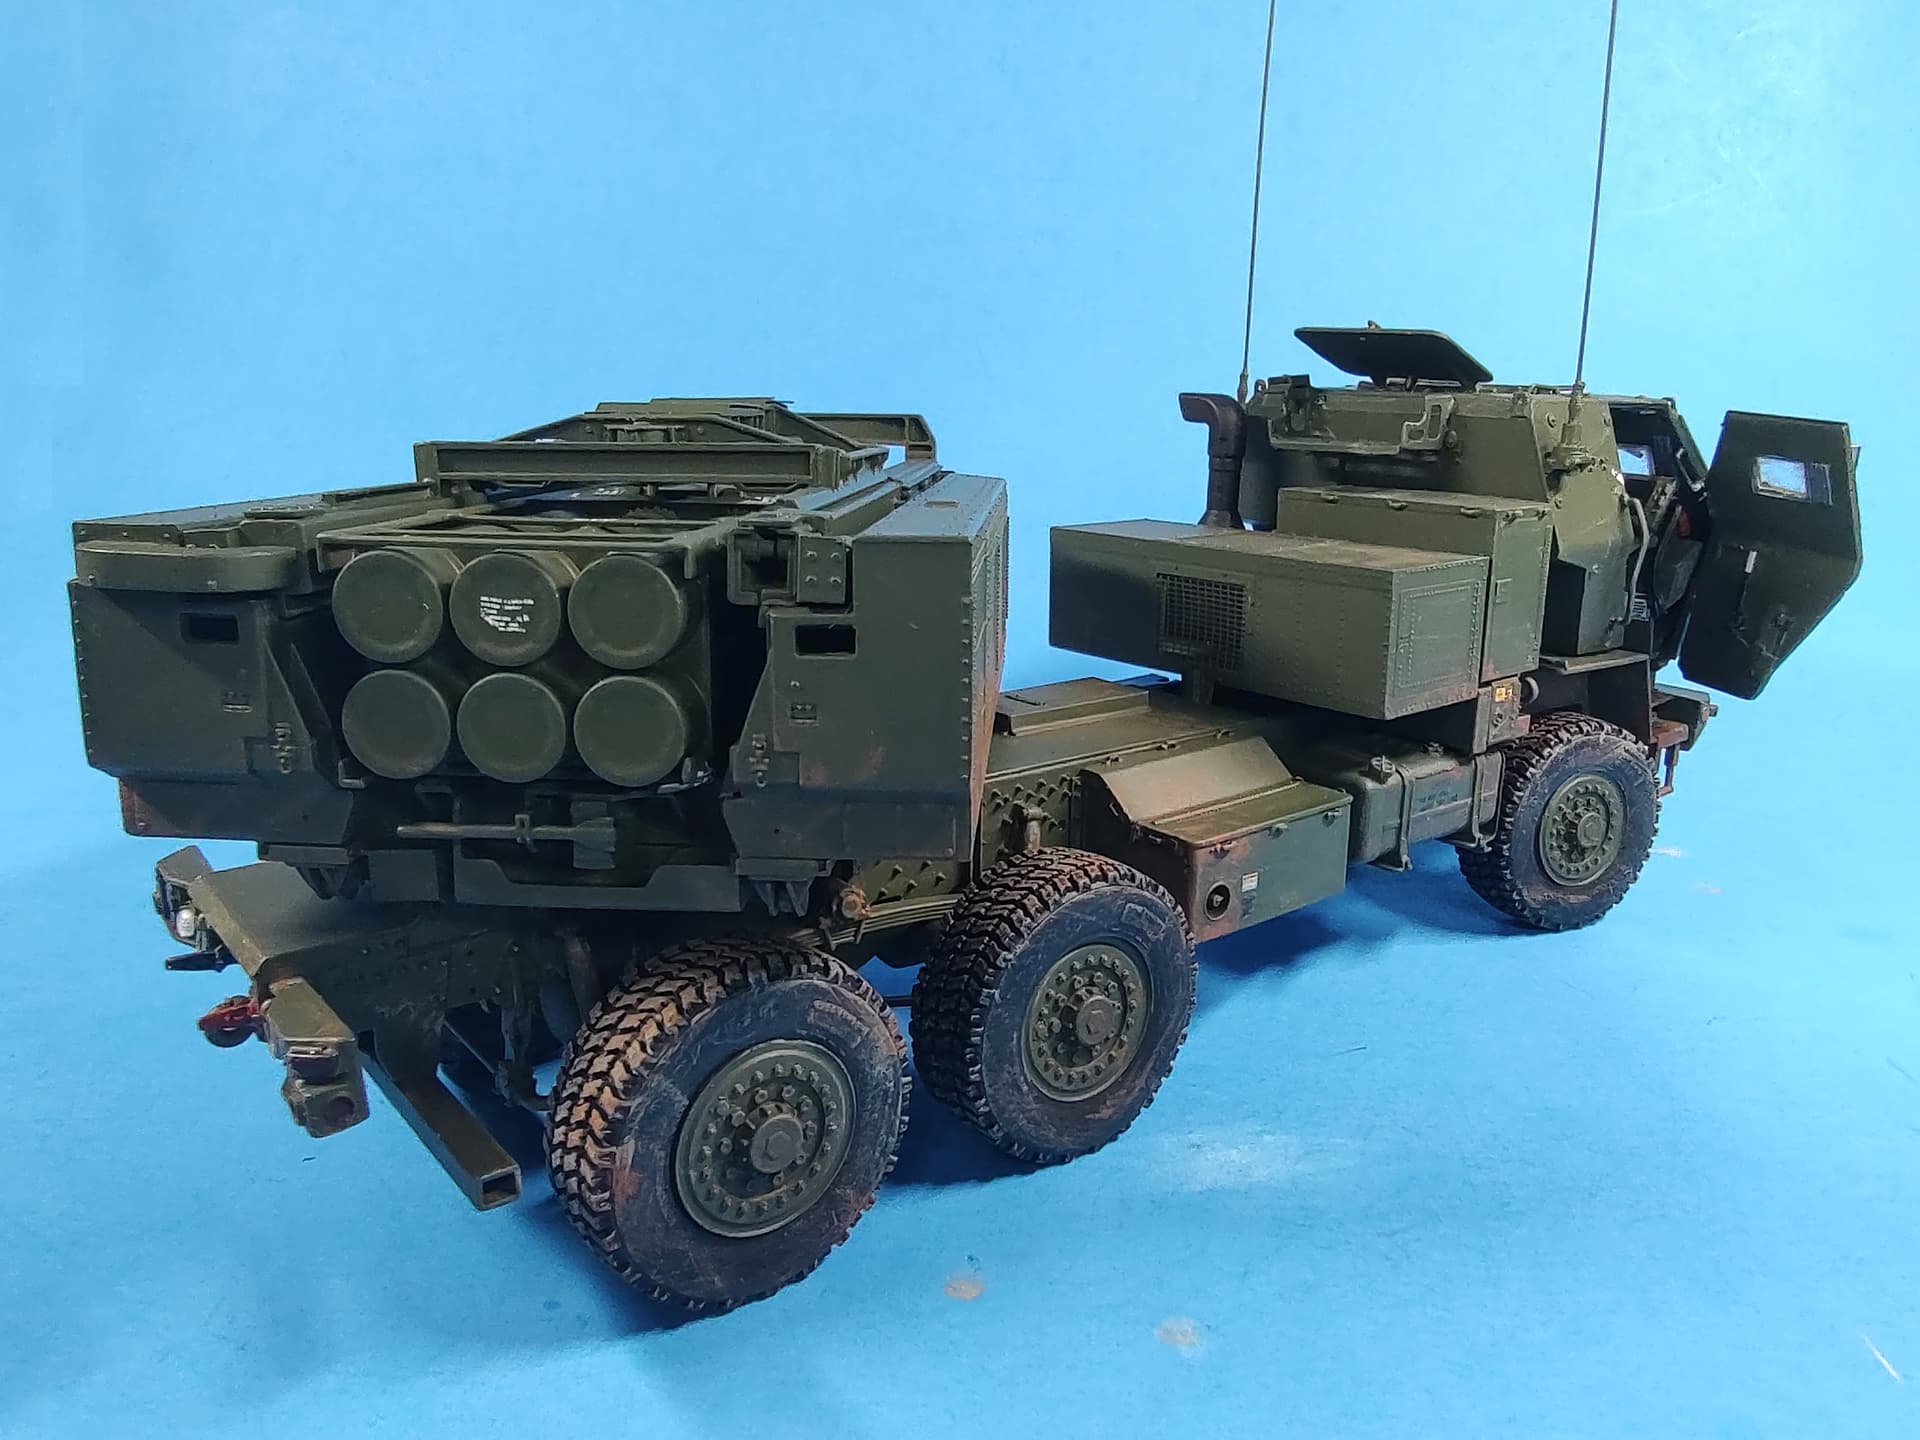
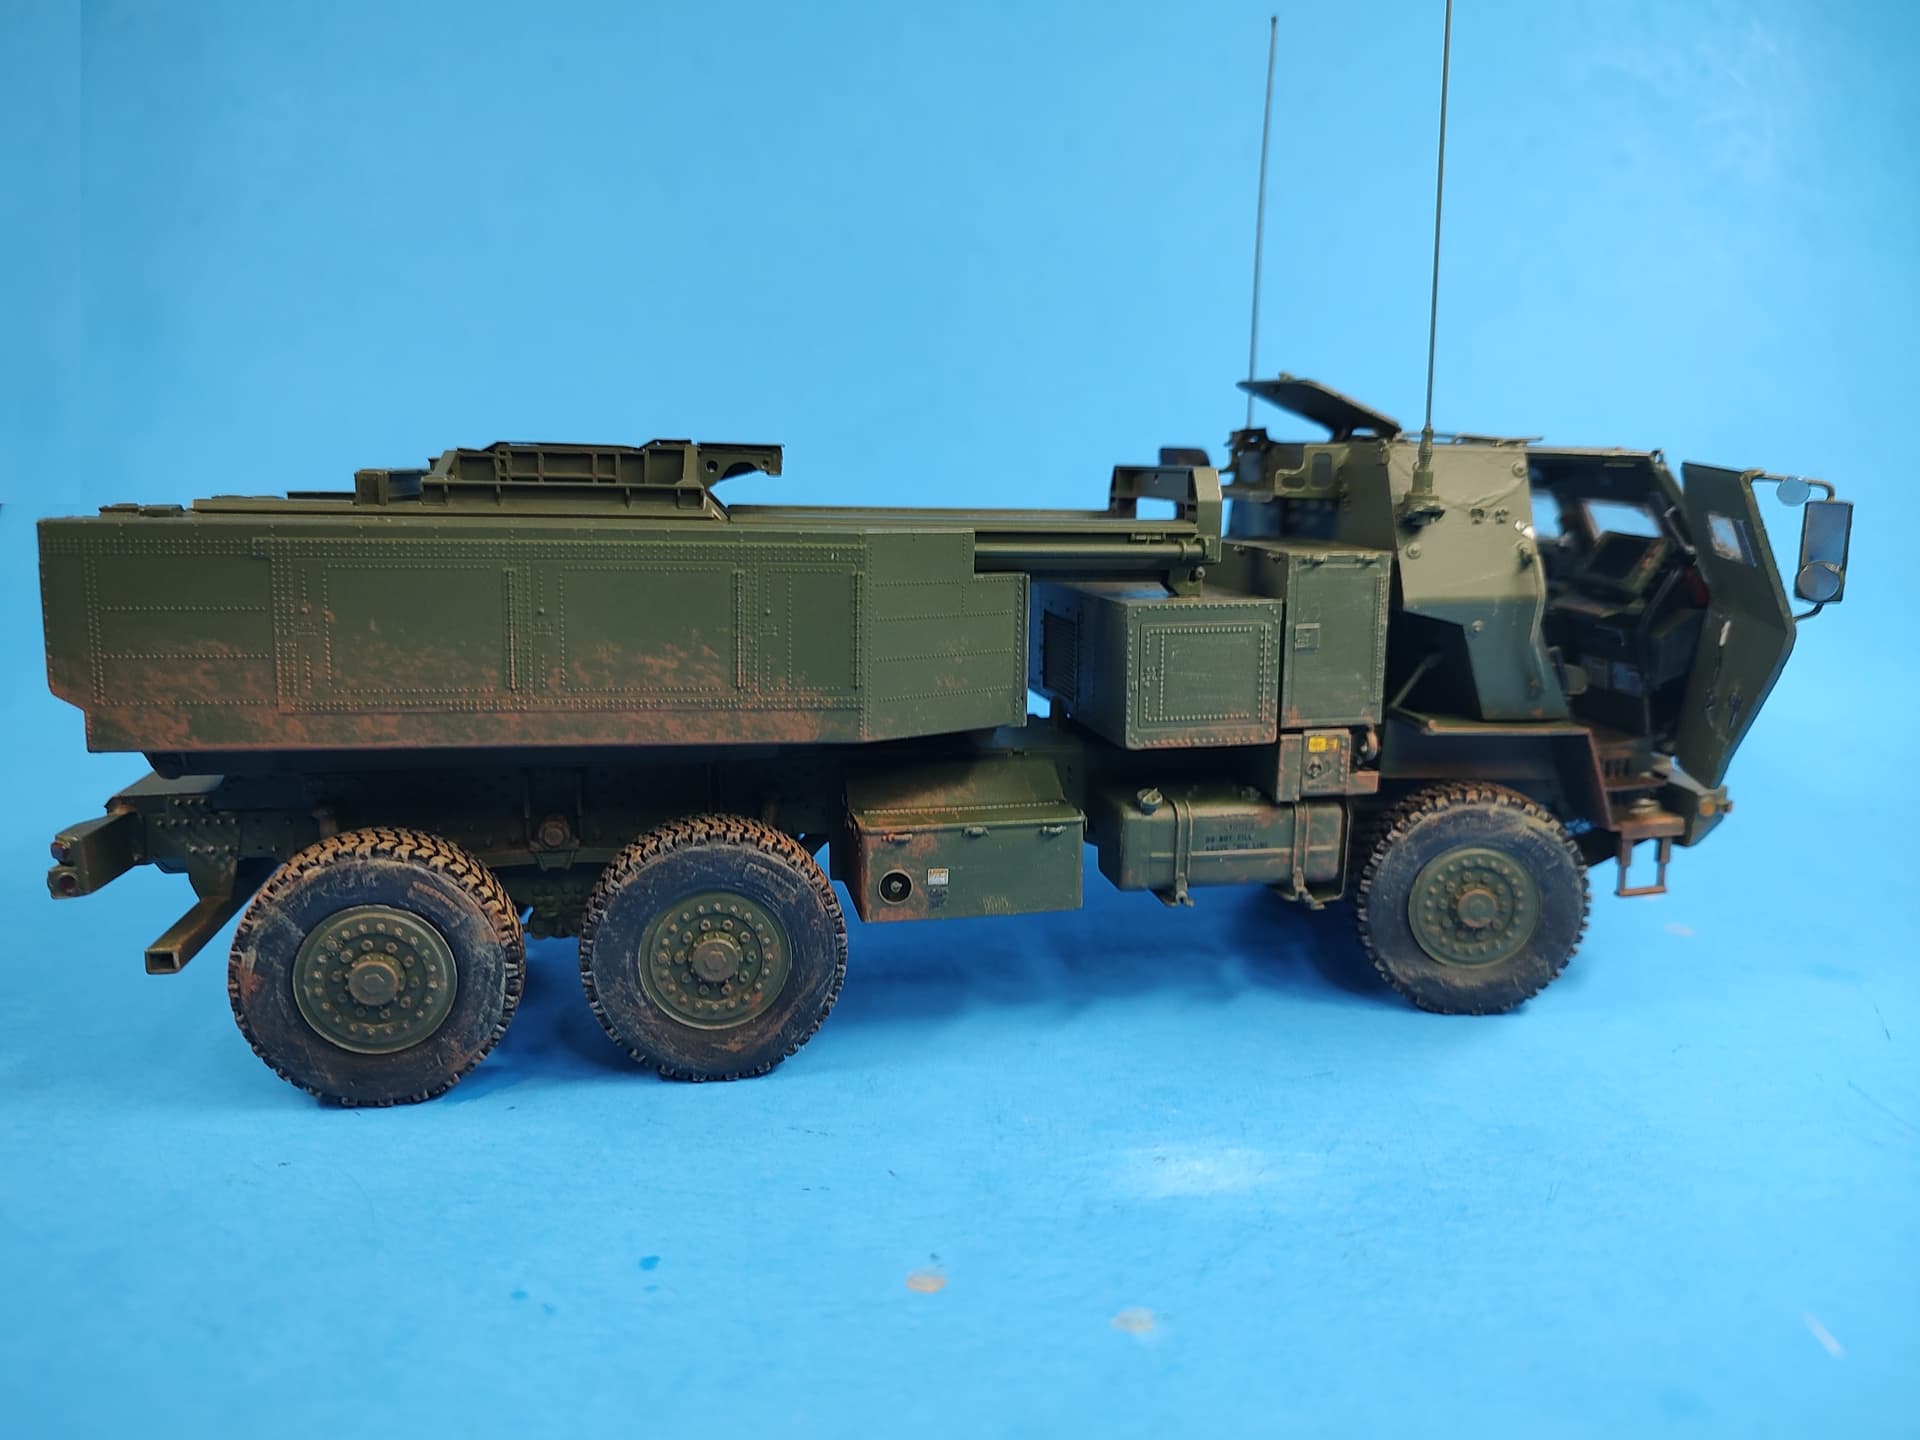
Then I started weathering it with a dirty brown wash. Next I drybrushed selectively with a lighter brown for mud, bringing it up the sides as well. Lastly, I lightly drybrushed it with an armor sand.
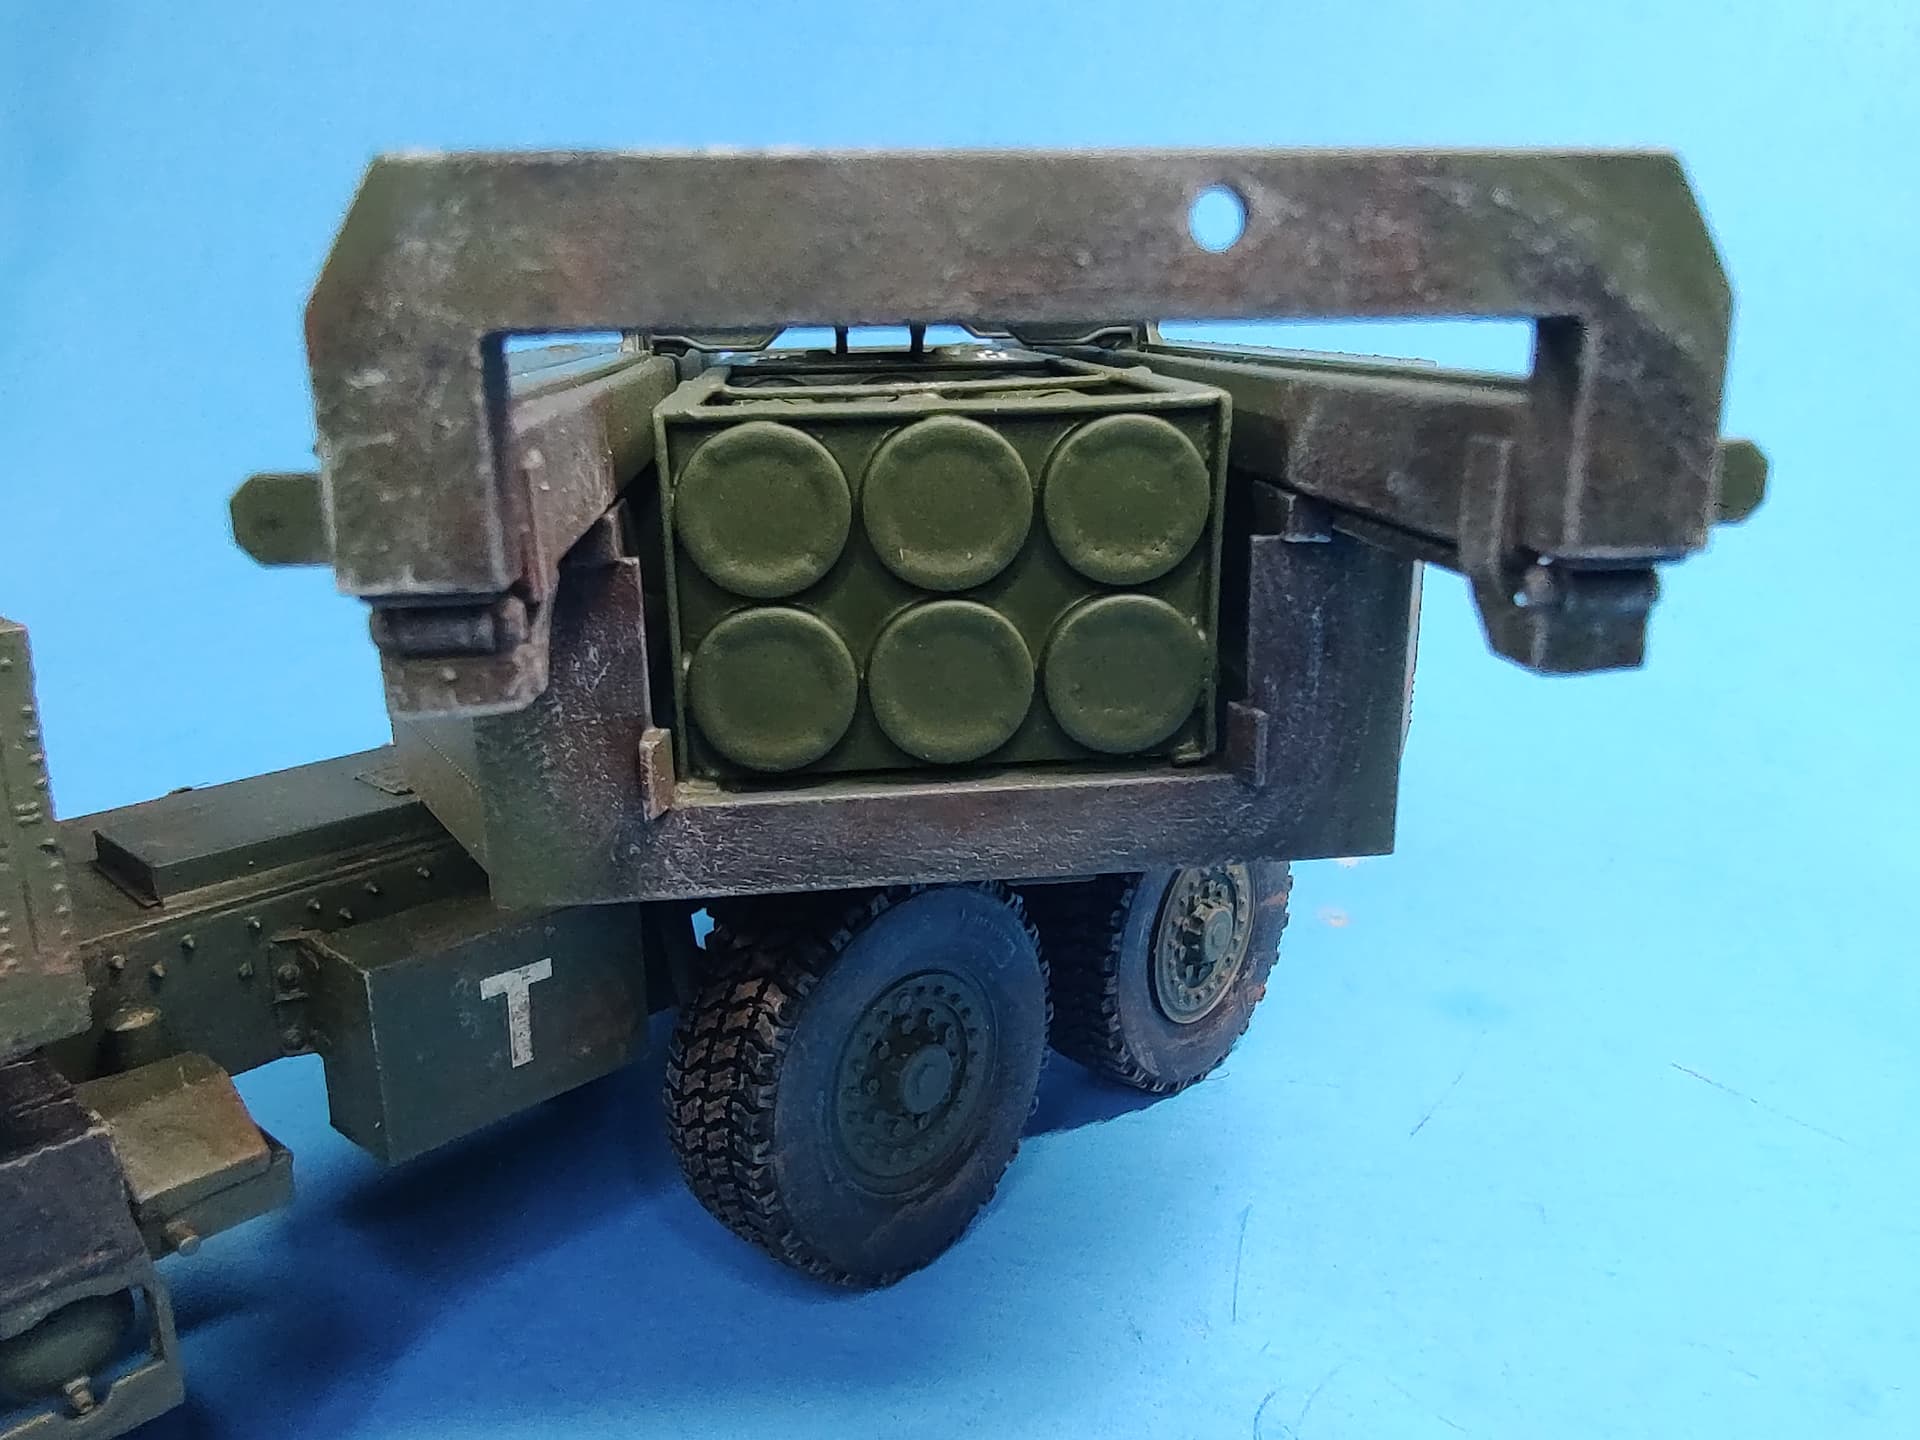
I also added burn marks to the front of the launcher using successive layers of rust, black, and a couple shades of gray to show the burnt paint from firing the rockets.
I really like how it turned out and am very satisfied with it. Another example of how you can turn Trumpeter’s FMTVs into great models. I really like them and have the other M1083 w/M777 to do too…sometime in the future…