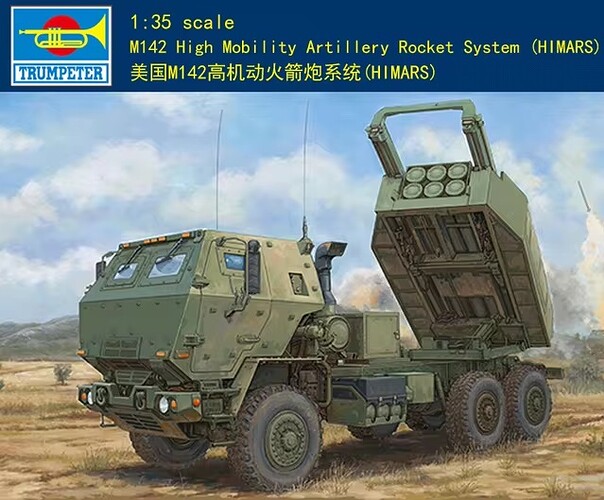
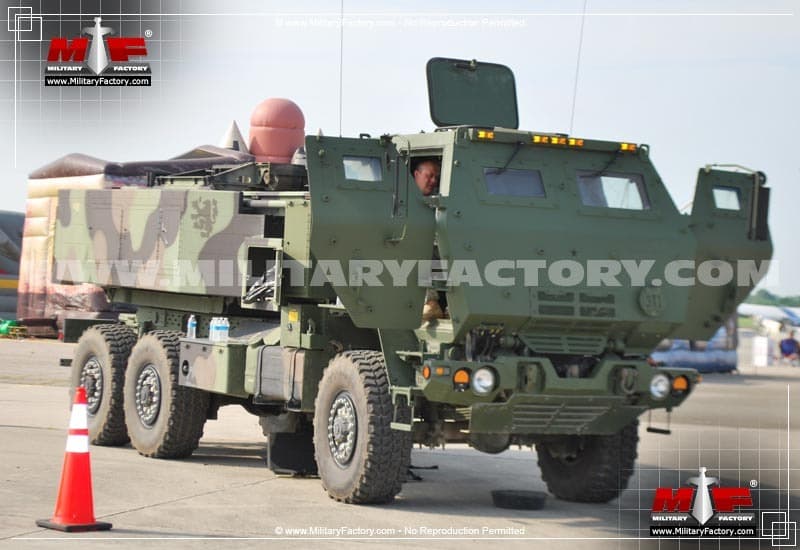
I recently started a Trumpeter M142 HIMARS build. The Trumpeter kit is pretty good, but the cab is off and not the latest armored version. It is basically a lower level of armor without the outermost layer. Also, it is of an earlier version with different boxes and details along the frame, etc.
Here is the Trumpeter kit.
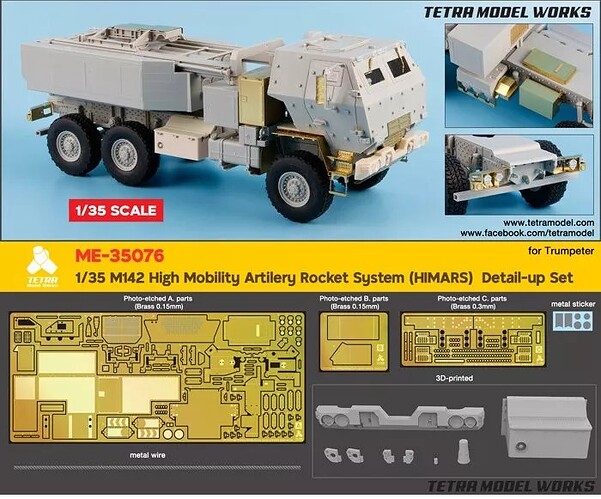
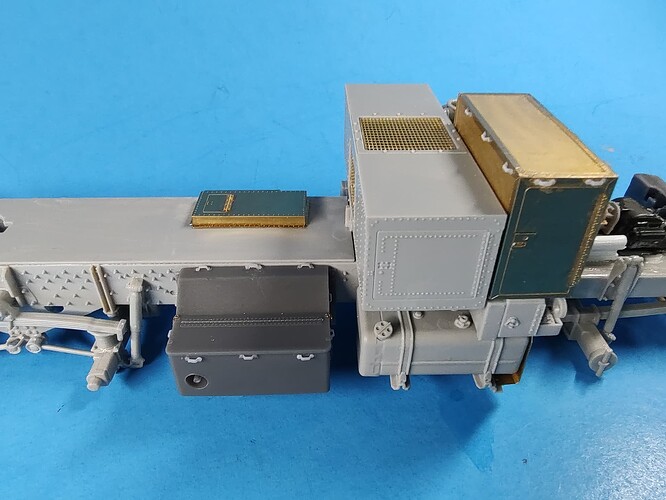
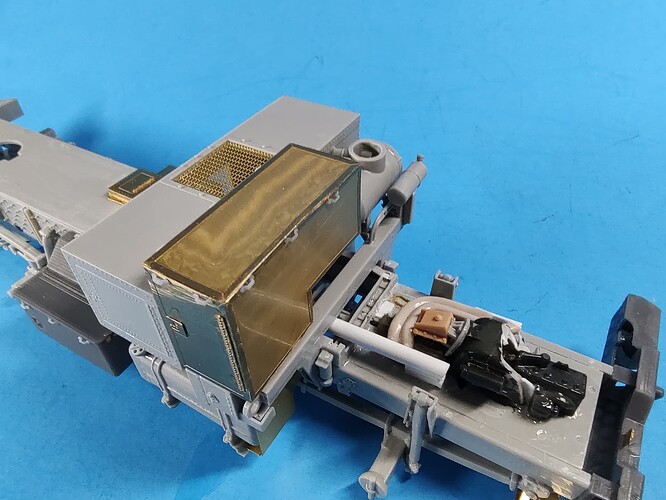
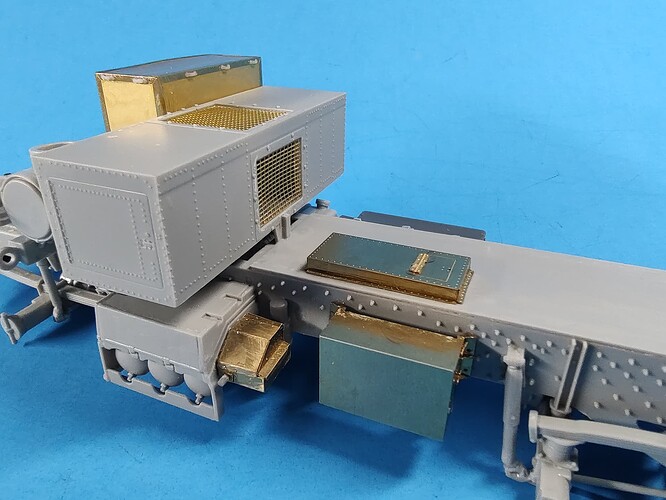
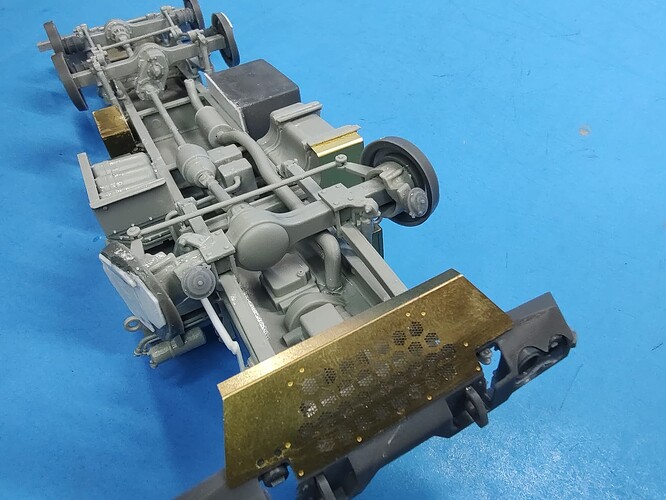
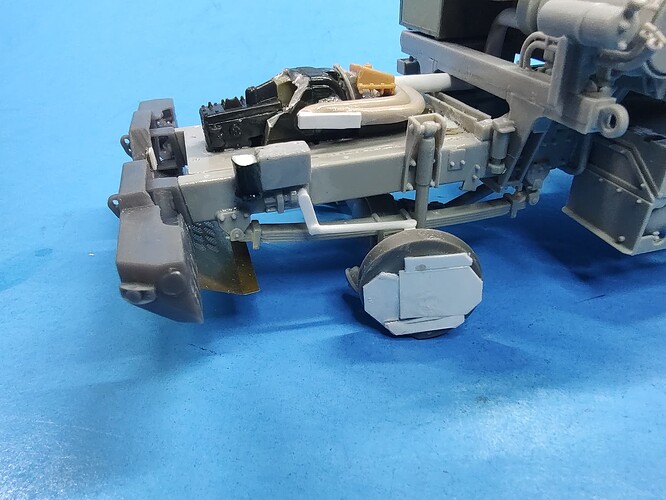
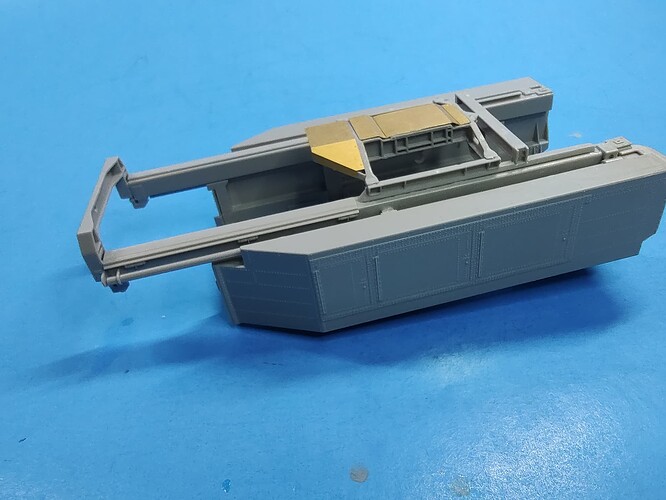
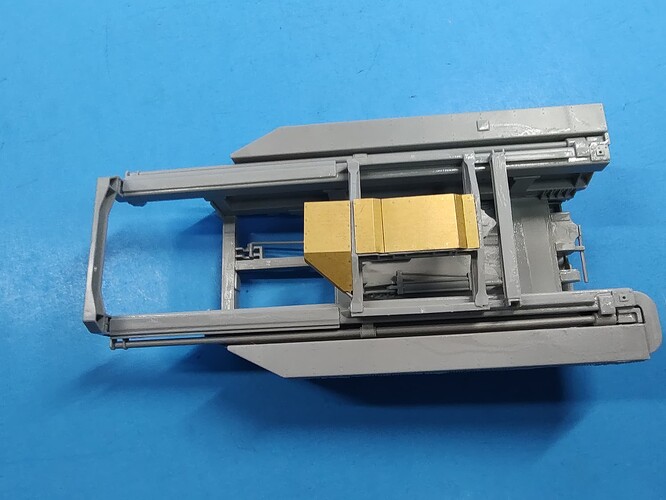
To fix some of the errors, I am using the Tetra Models update set which has an updated front bumper, correct boxes on the frame and behind the cab, and generally better details.
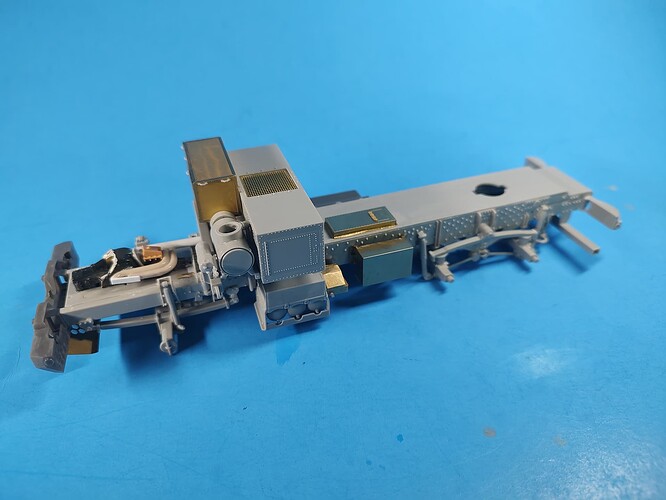
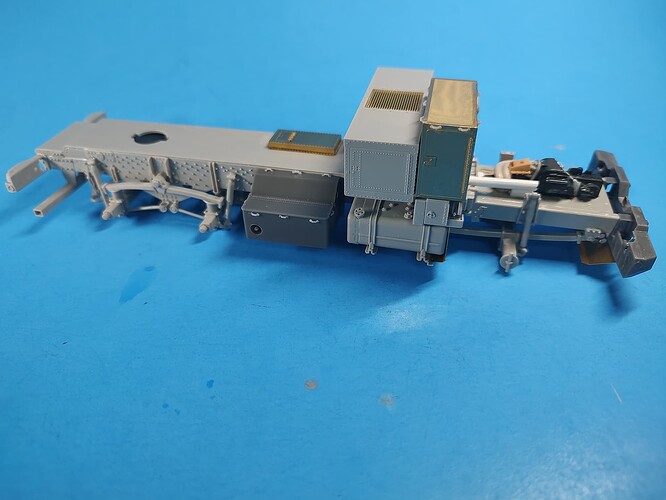
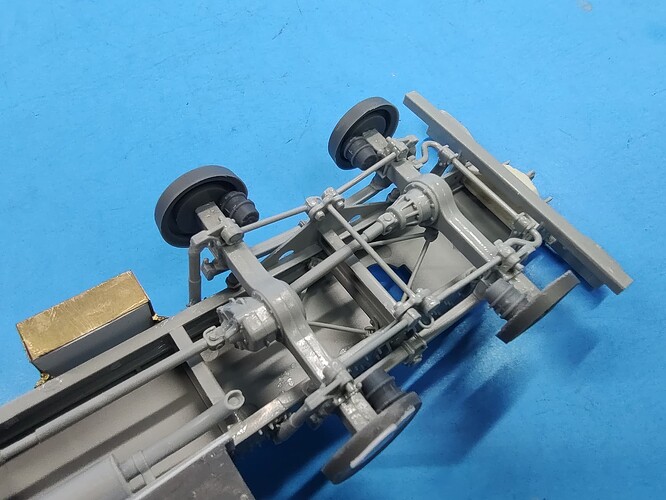
Here is the frame so far. You can see the new PE and resin parts. I also added a basic engine since you can see some of it from the rear of the cab. On the battery box and the storage box behind the cab I added @JacquesD’s 3D printed footman loops. They look great and were easy to apply.
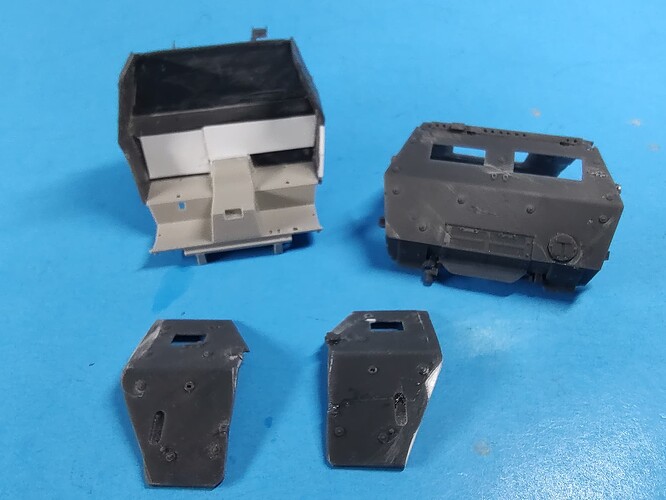
I am also using the 3D printed, corrected M142 cab by @Titan. I removed the doors and cut off and repositioned the driver’s side rear wall so I can detail the interior.
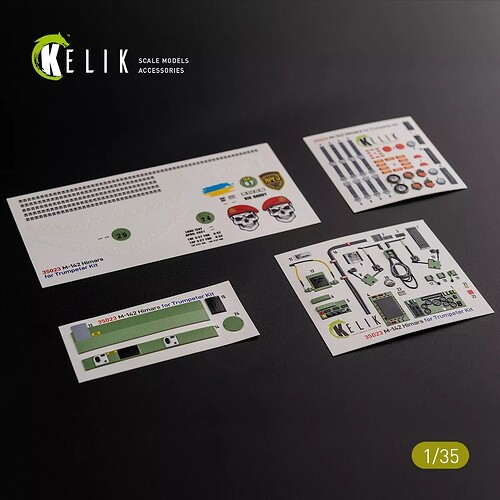
Lastly, I found a 3D printed decal interior set by Kelik to add details for the interior. It looks really nice. I just ordered it from Ukraine, so I will have to wait a while for it.
More to come as I continue on the launcher parts.
15 Likes
Looking good- plenty of extra details you’ve added/corrected already with what looks like plenty still to go. Are you doing this as a US or Ukrainian vehicle?
1 Like
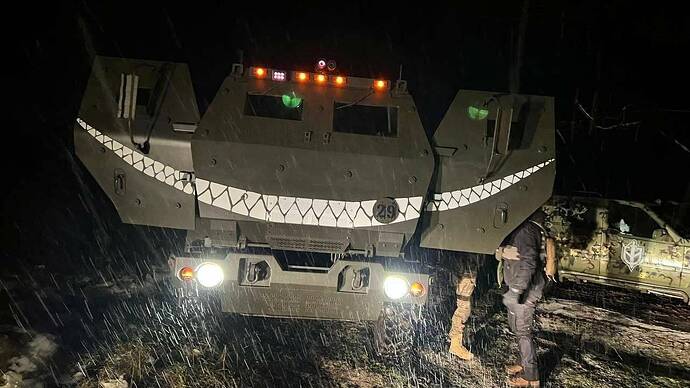
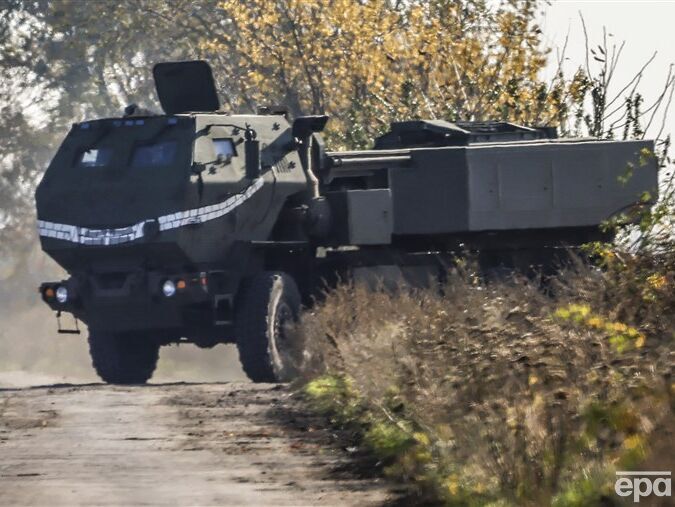
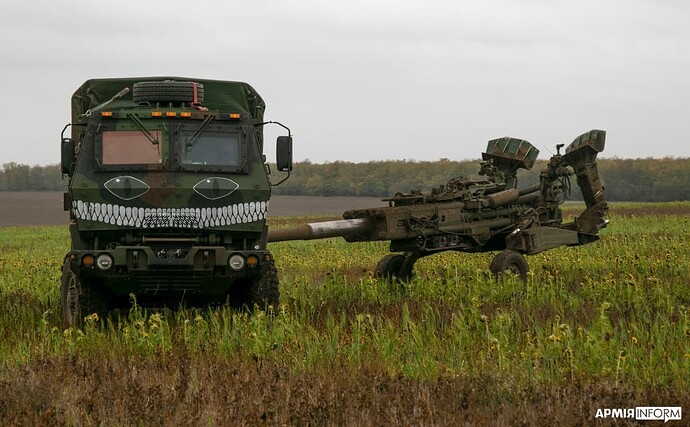
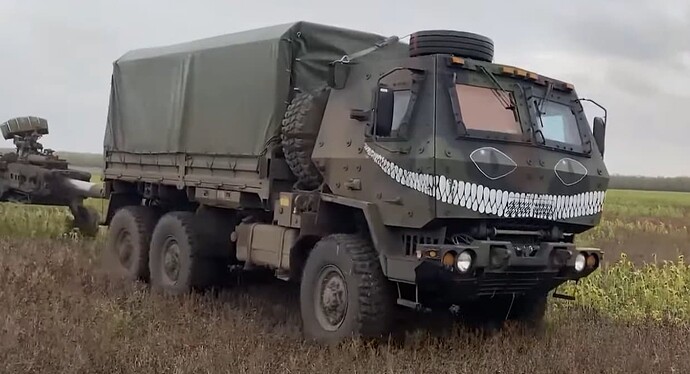
Thanks Karl. I am planning on a Ukraine HIMARS, something like this.
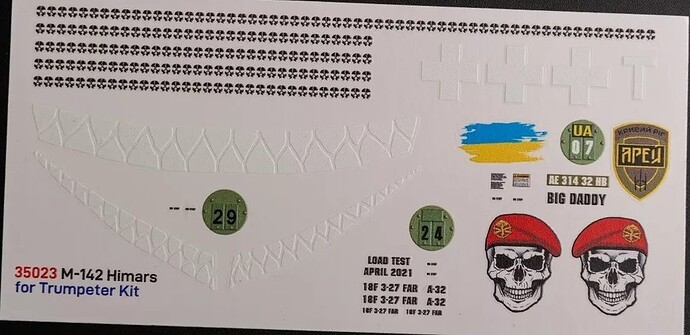
The Kelik set has two versions of the smiling mouth decals.
7 Likes
Well that should look pretty awesome!
2 Likes
Thanks gonna look groovy, Gino! 


1 Like
Thanks Richard. I think it will look good too.
For the second smiling mouth, I think I will do something like the below setup using the Vargas M777 as well.
4 Likes
Are there any Pictures of it in NATO Camo?
1 Like
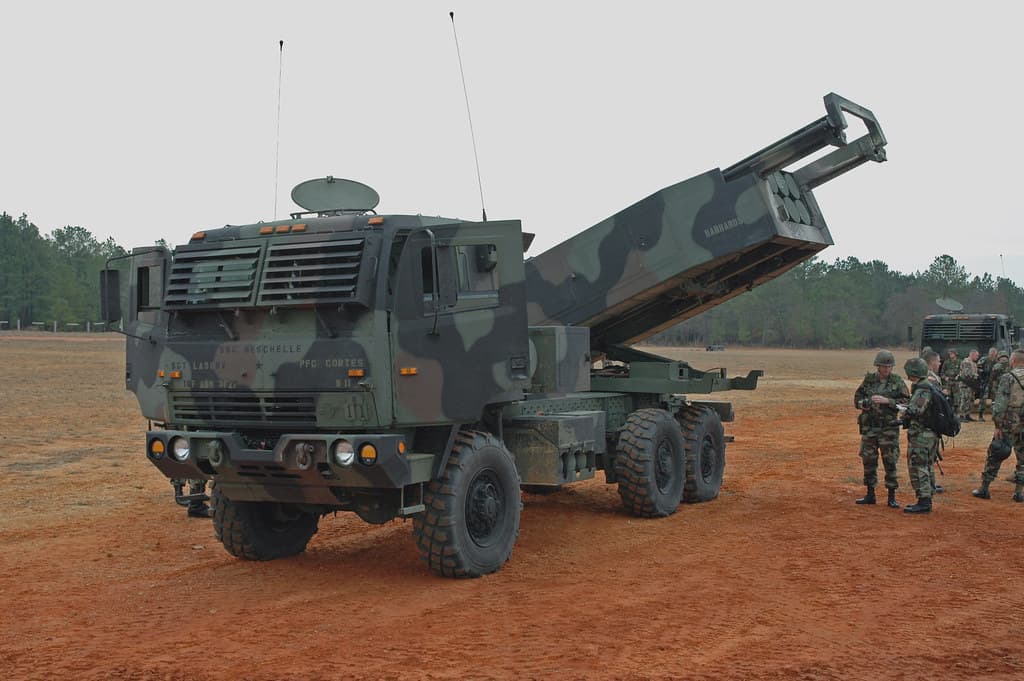
None that I can find. I have only seen M142 HIMARS operationally in sand and NATO green.
The closest I can find is one with a NATO green cab and NATO CAMO rear section. I don’t know what the story is/was on it.

The only full NATO Camo one I have seen was an early, soft cab prototype.
4 Likes
Great beginning, i’ll follow your build Gino, i likes the subject!
1 Like
Thanks Stephane. It is slowly coming along.
1 Like
Dude, how, how do you find the time to do so much modeling?!  I’m lucky to get an hour or two a week!
1 Like
Minions…lots of minions.
It’s great being an empty-nester. I actually usually do most of it Sat morning when there is nothing going on, and a hour or two once or twice during the week.
4 Likes
That will Do! I don’t want to Do My HIMARS in just one color; Thanks!
1 Like
I am retired! lol, but working full time one more year until my wife gets on my pension health care from the State of Alaska.
1 Like
Thanks Ralph. I should have some more pics up soon. It is moving along nicely.
1 Like
Here is where I am at on the M142 HIMARS.
I added more details to the suspension. Up front I added air brakes and the steering gear box and steering arms (still need to add bolt heads).
In back, I also added the air brake cylinders.
The wheel backs are from the Res Kit Goodyear tires. I got a little too aggressive with the hobby belt sander on a couple of them, easily fixed with a few pieces of sheet styrene. The air brake parts are 3D printed by @MikeyBugs.
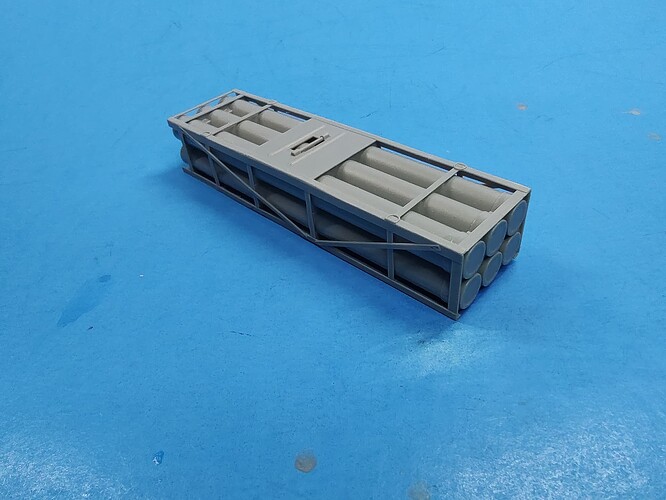
I built the launcher and rocket pod. Both are straight out of the box and went together easily.
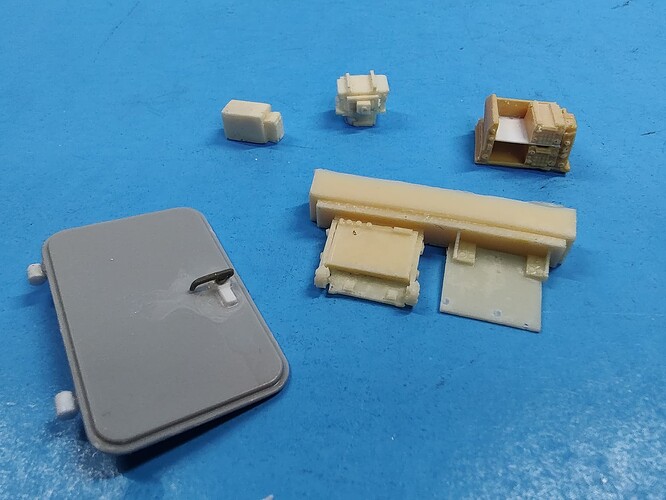
I worked on the cab interior as well. I added the NBC filtration system parts behind the driver and a radio rack on the other side. I also added the defrost manifolds and hoses below the front windows. Additionally, I added grab handles inside the door openings and lift rings on the front and rear of the roof area.
I have a SINCGARS ASIP set for the rack and a couple other electronic boxes. I added a handle to the hatch interior. I have a driver’s viewer screen from a Pro Art M1078 Detail set as well.
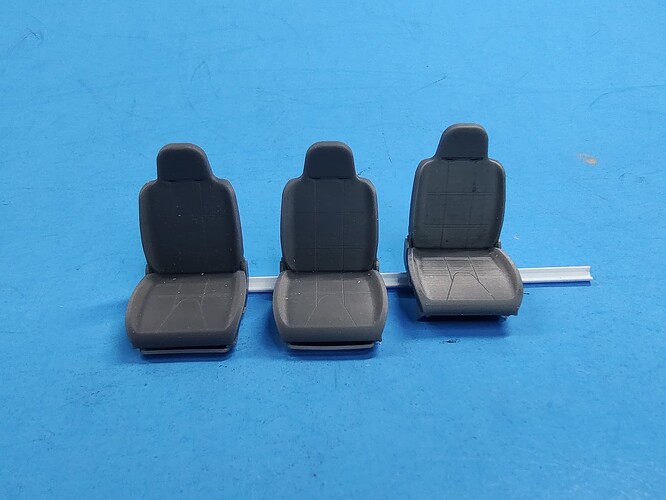
Lastly, I will be using a set of very detailed 3D seats from @MikeyBugs when he made the LTAS cab. They are way better than the nondescript Trumpeter seats, of which there are only two, not the correct three
.
I am at a stopping point as I am waiting on the Kelik interior set and have a two-week work trip starting Monday. More to come later.
10 Likes
I just received the Kelik decals. They are really nice. I should have an update soon.
2 Likes
