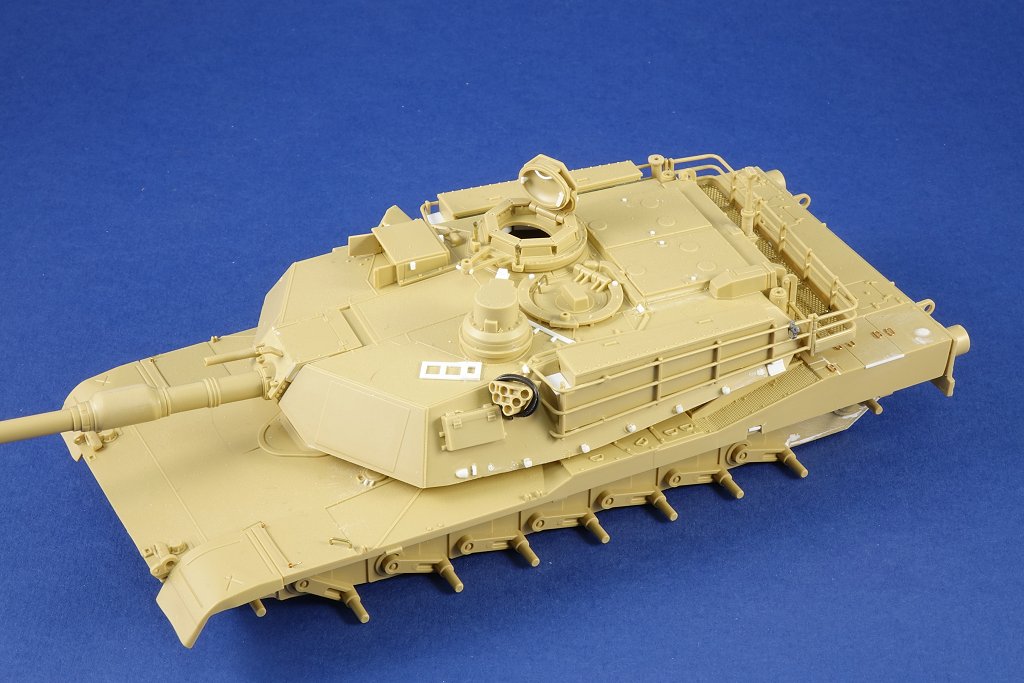
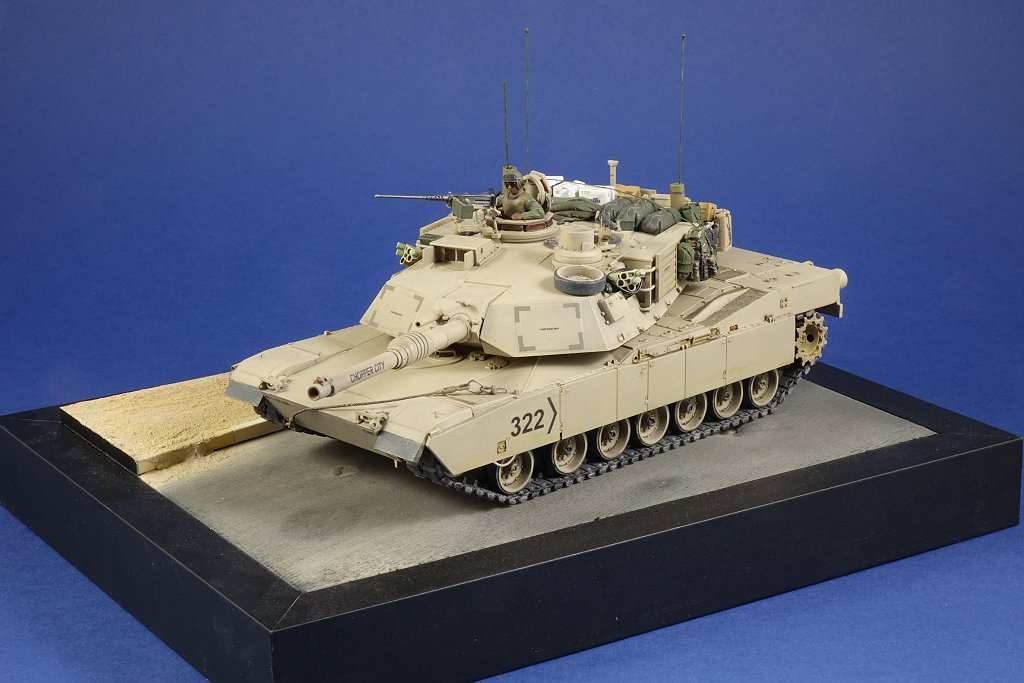
This is the second example of the Tamiya 1/48 scale M1A2 I’ve built. The first one I finished as a SEP v2 but this one will be an earlier version without all the extra stuff.
The Tamiya kit needs to be modified to remove a couple of features that aren’t really relevant to the vast majority of US Army A2s. Other than that, it’s been a case of refining ans adding details to improve the base model.
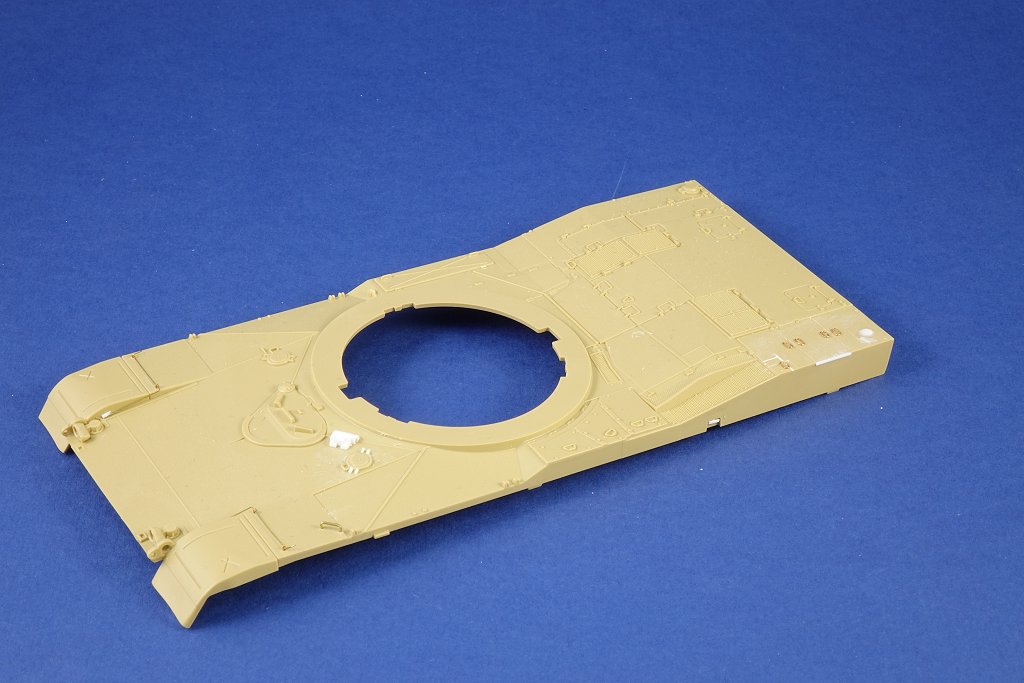
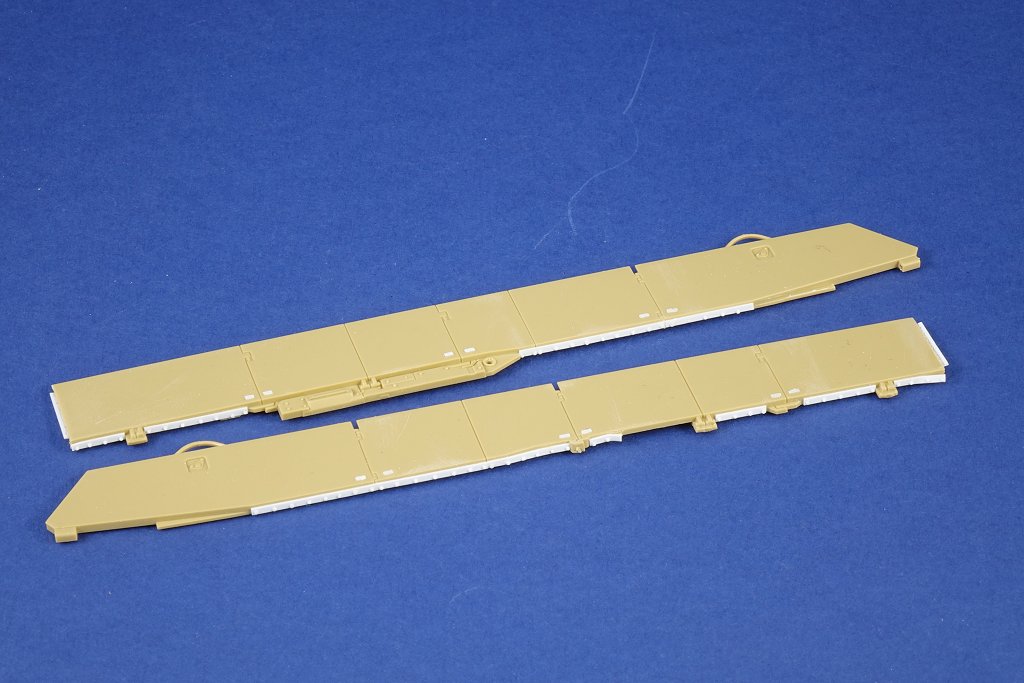
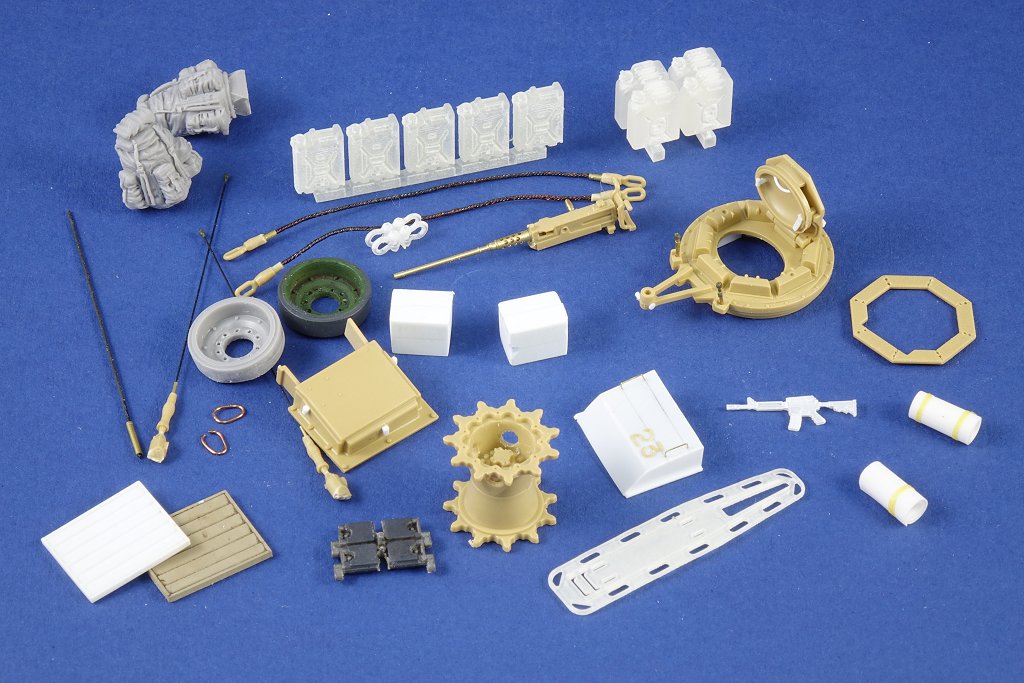
Stowage and extras are a mix of aftermarket, 3d printed (from Shapeways) and scratchbuilt pieces.
I’m not entirely sure what markings I’ll be using but probably 1-67 or 3-67AR from 4 ID with a 2003 timeframe. I decided not to use the kit decals simply because they are ones everyone else seems to use 
1 Like
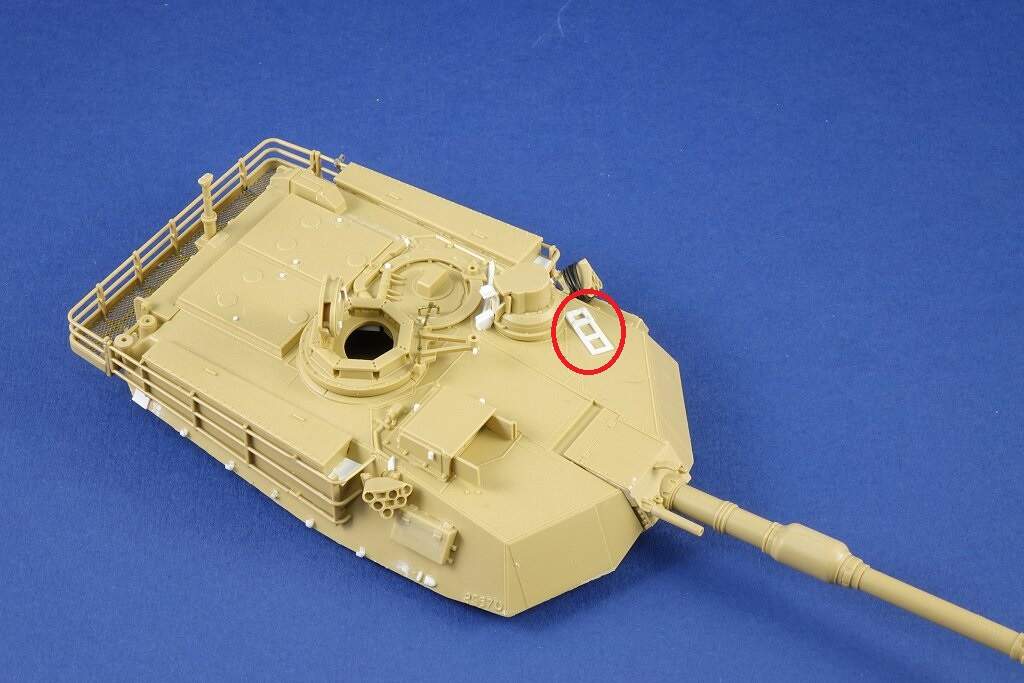
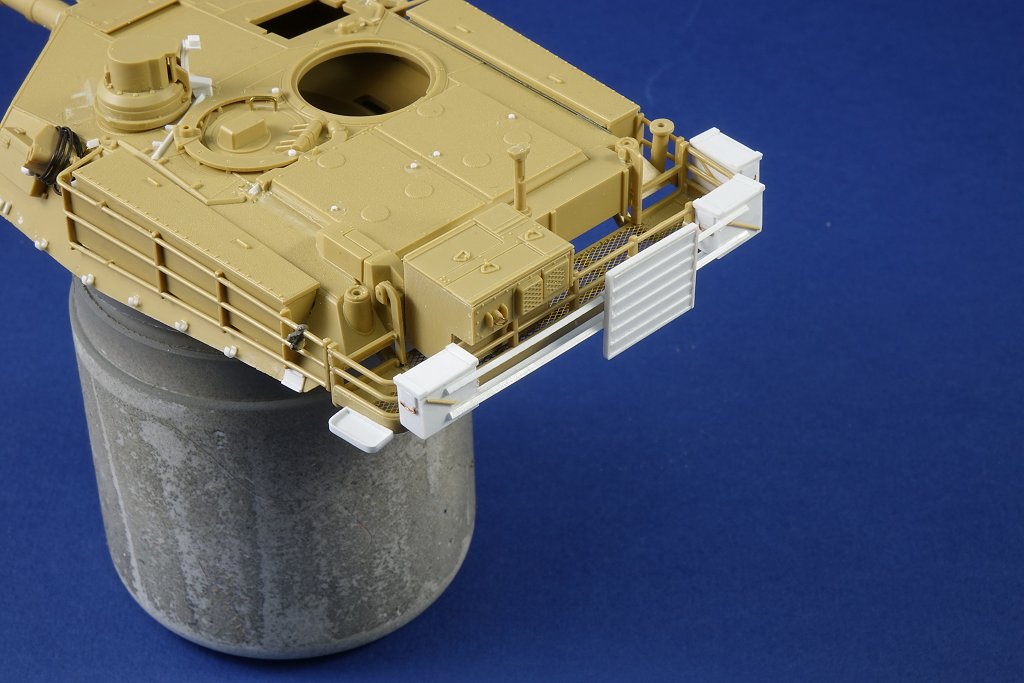
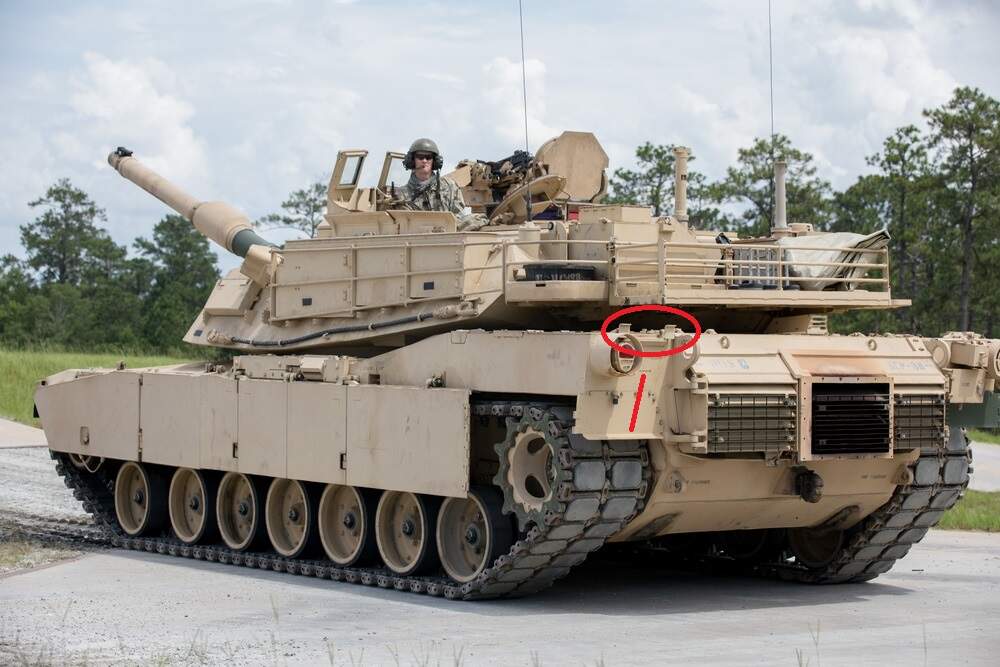
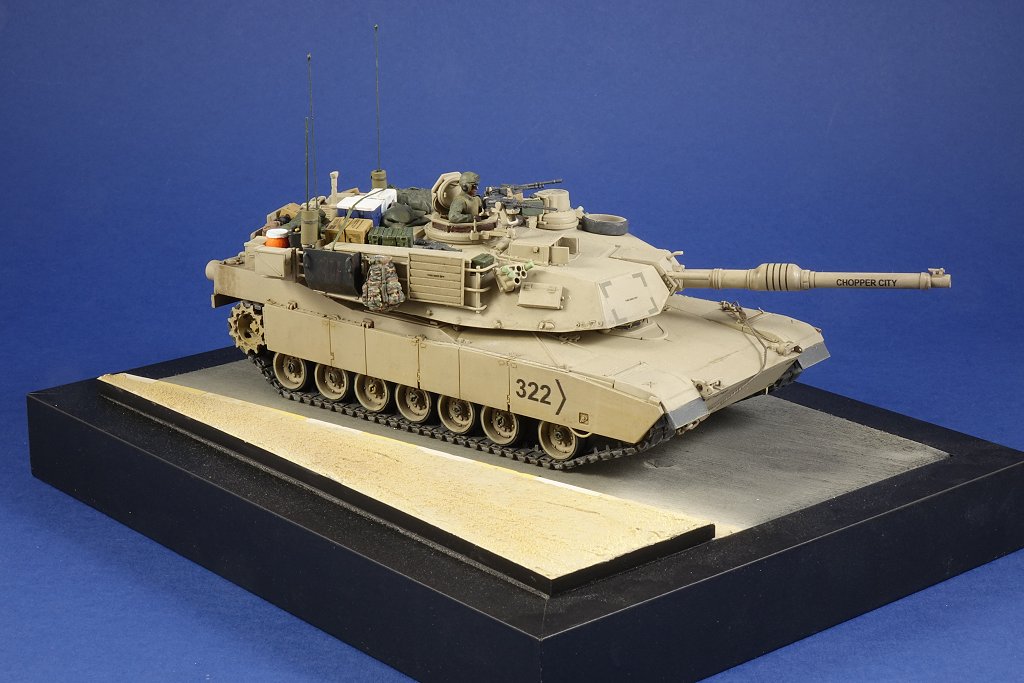
Looking good. One question though. What is the stepped piece on the front left of the turret (circled below)? I have only seen them on M1A2 SEP v2. I presume it is a support for the RWS when it is stowed.
Bracket for a spare roadwheel. If a wheel and/or sprocket ring is carried it pretty much hides the bracket. It attaches to the four bolts just in front of the CITV and extends forward.
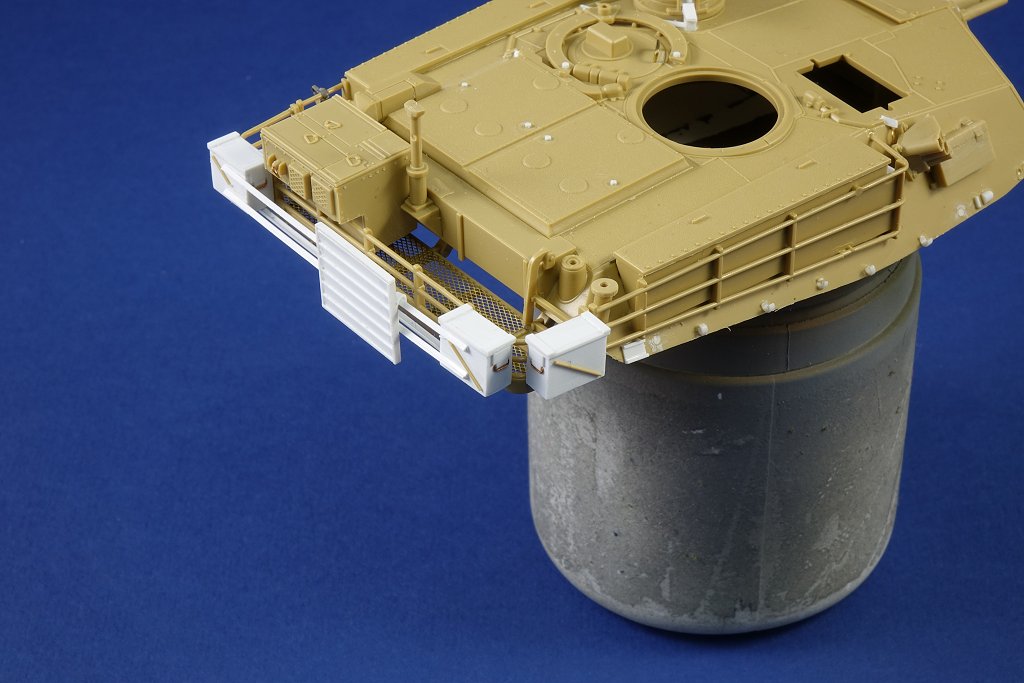
This image is from the v2 I built a couple of years back.
The RWS stowage is between the CITV and the doghouse
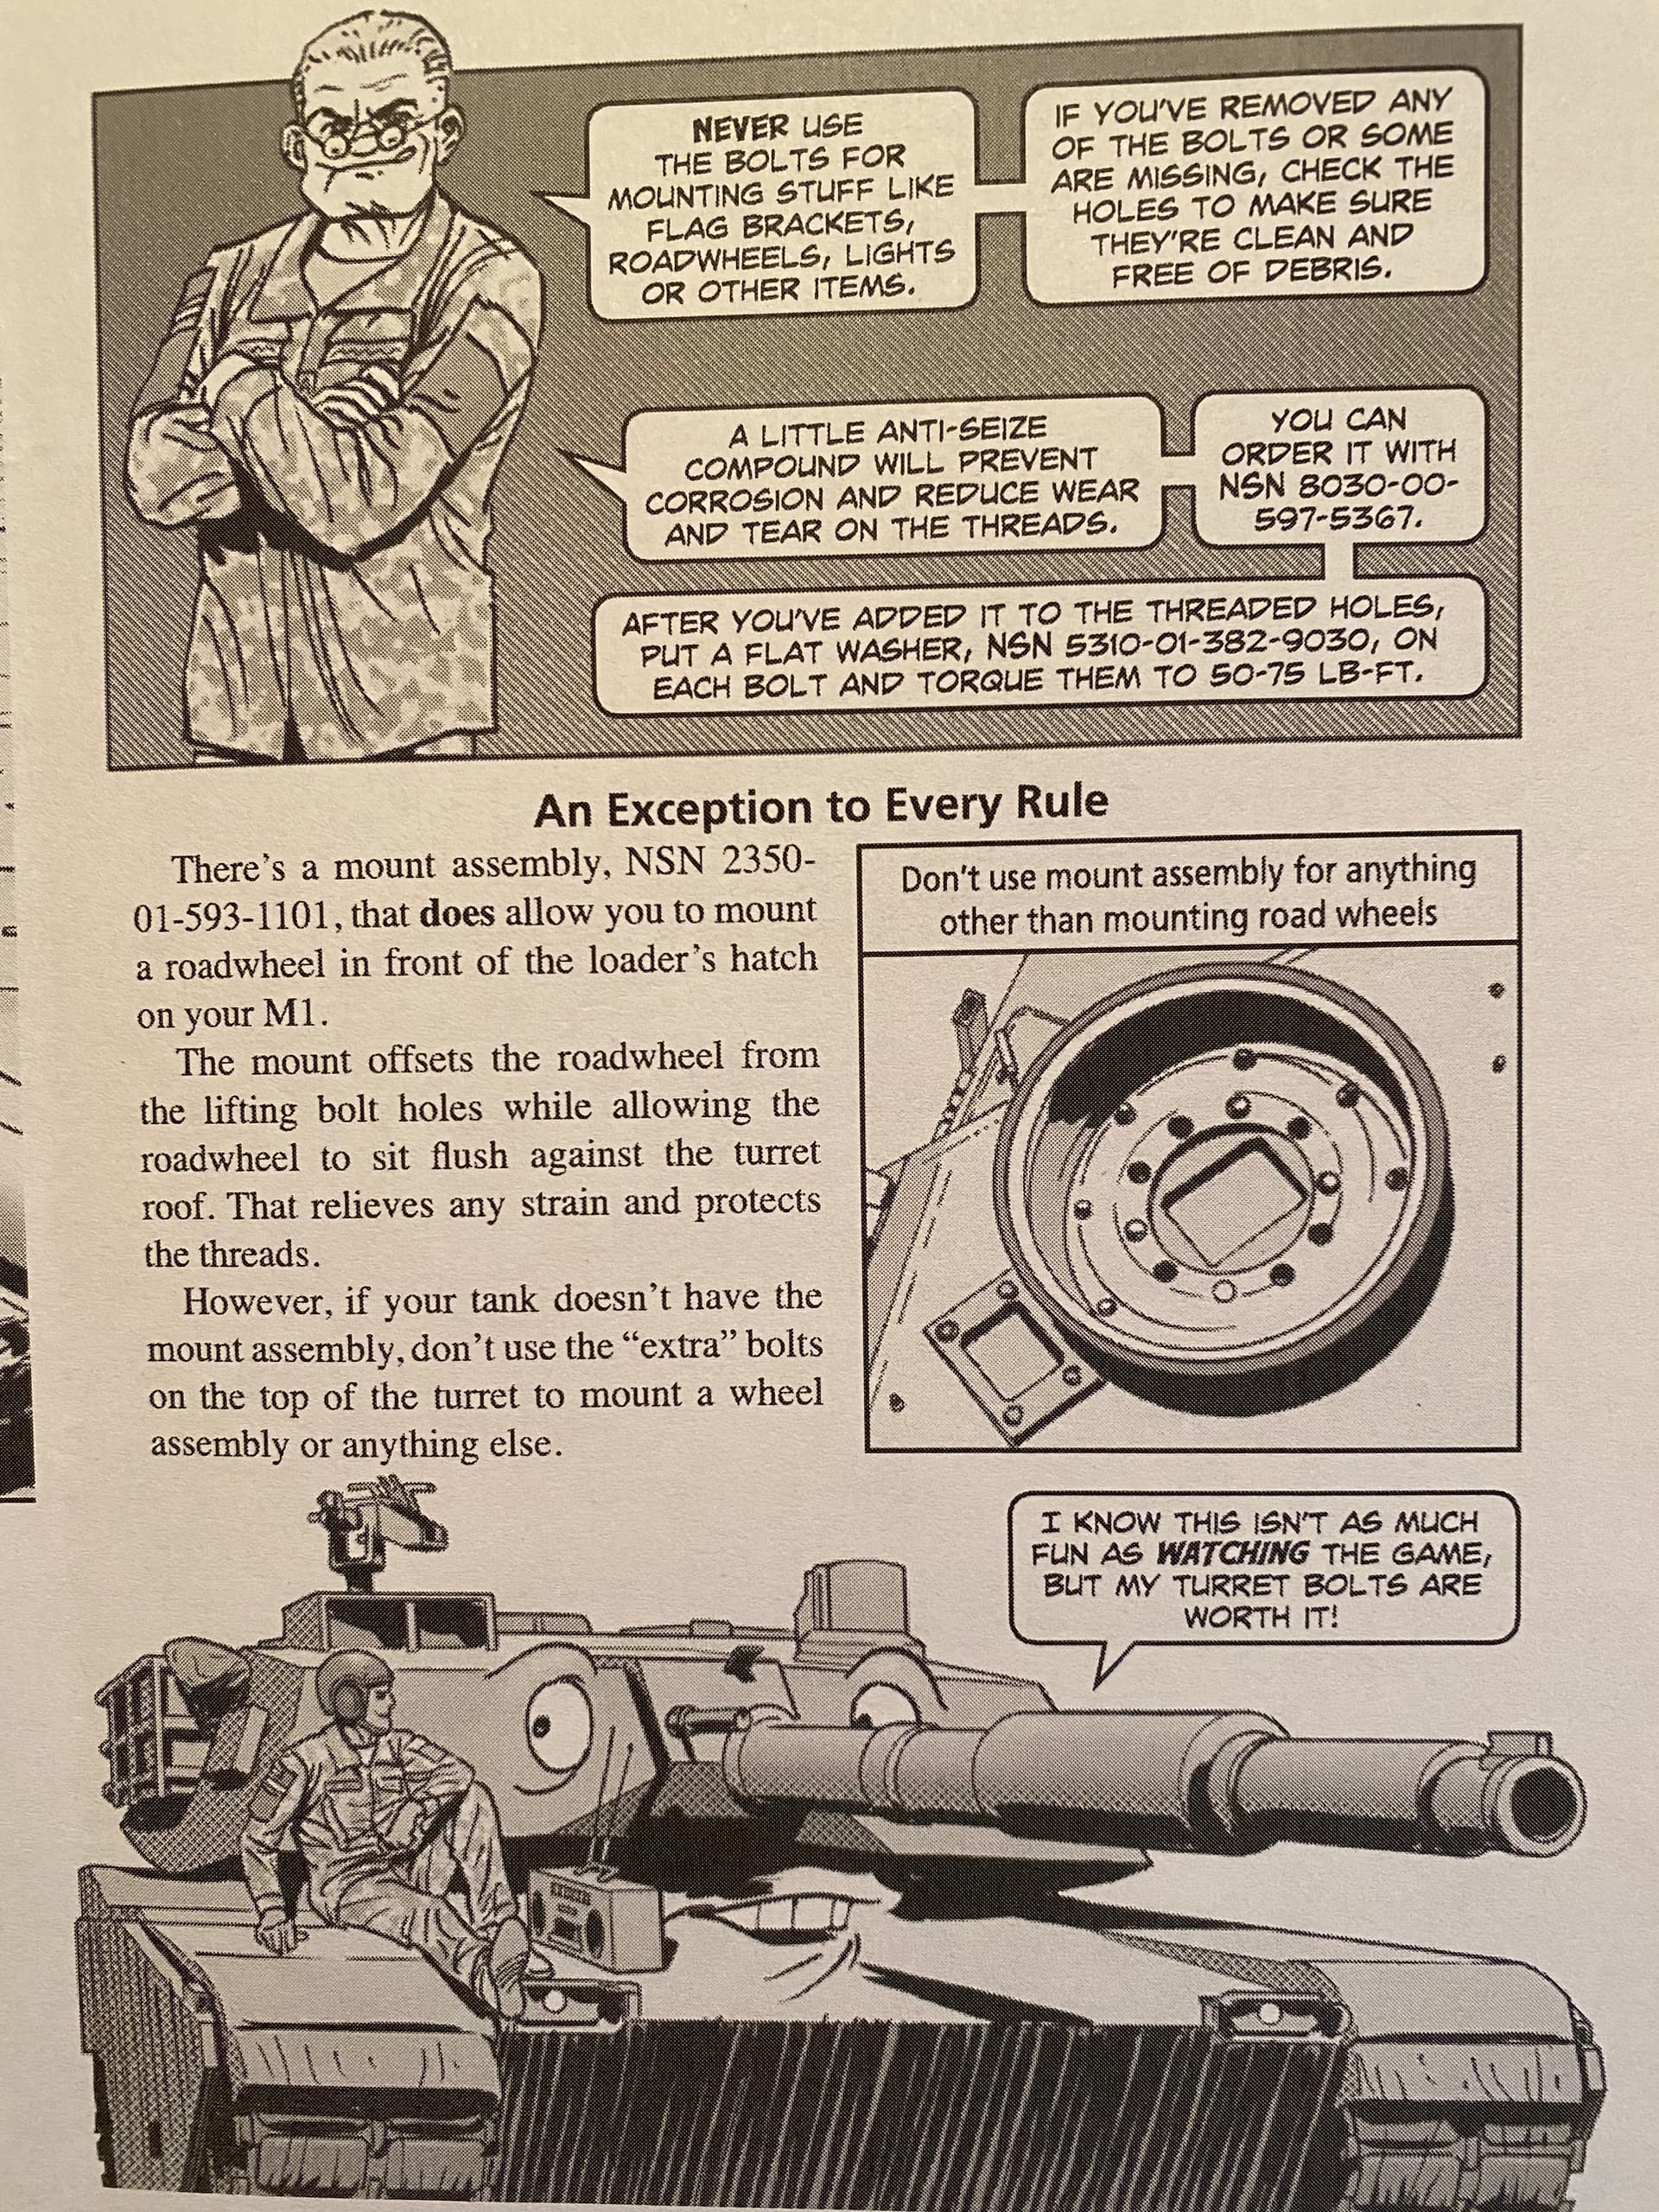
That’s new then. The spare road wheel or sprocket used to be attached by backing out one of the four bolts there for attaching a lift ring. Take the bolt out, put it back through one of the road wheel or sprocket holes, and tighten it down. If this is an older M1A2, it most likely would not have this newer bracket.
You may be correct. My only concern is that on some tanks from the 2003 timeframe, the roadwheel/sprocket combo seems to be sitting too far forward on the turret for the bolts to be in use, but it may just be the angle of the photos that are throwing off the location in my eyes (or Tamiya have got their four-bolt location wrong…).
From Preventive Maintenance Monthly magazine June 2014
1 Like
Wait, the M1 was adopted in 1980. This came out in 2014. So after 30 some years of mounting roadwheels in that location, they suddenly decide there may be a strain on the bolt threads?
Ken
1 Like
The Army has to go through channels, you know…
Not necessarily, in my search among PS back issues I’ve seen things that get reprinted throughout the years so unknown when it really first showed up but no doubt the original bolt holes were used for quite a long time.
Looks like that NSN was issued in 2011.
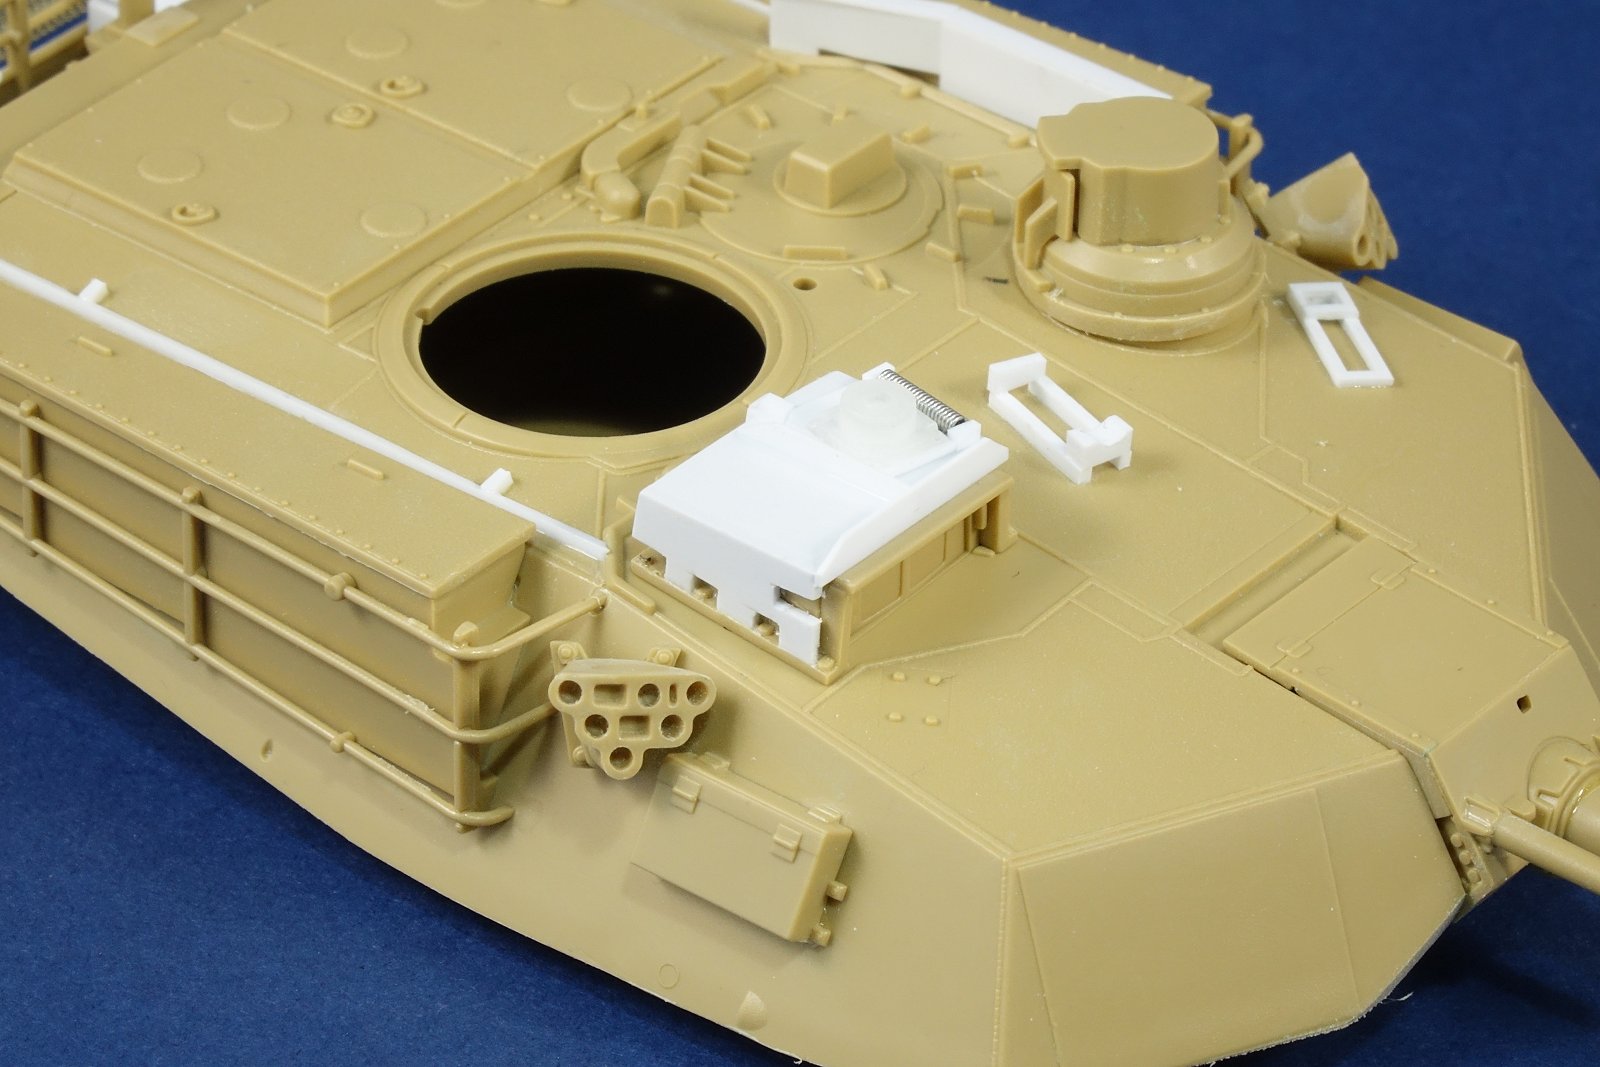
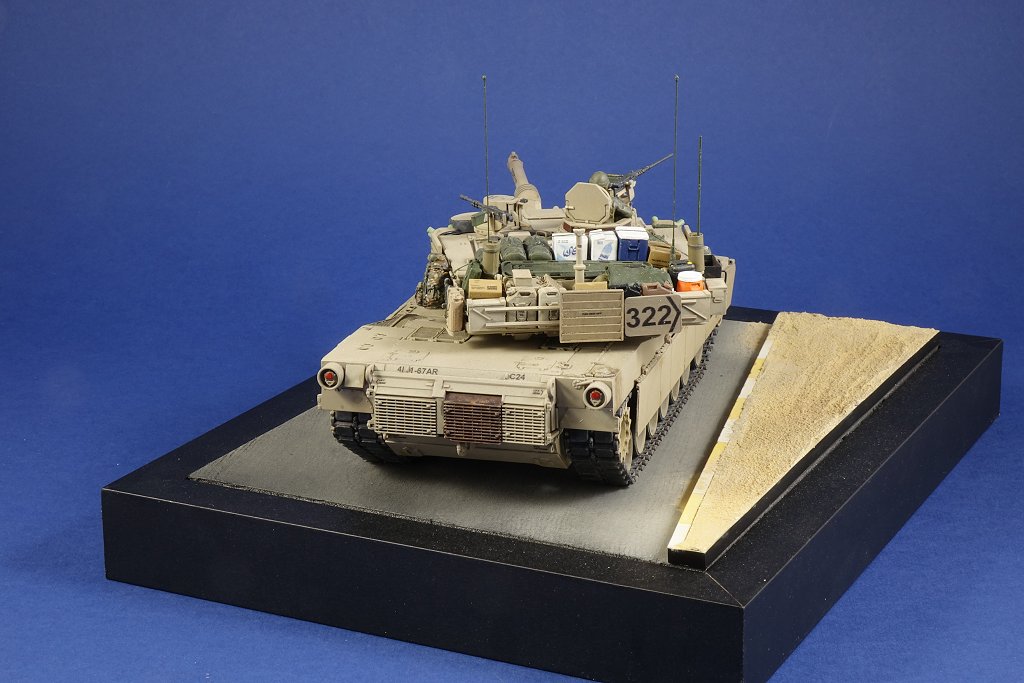
Some more work on my Abrams.
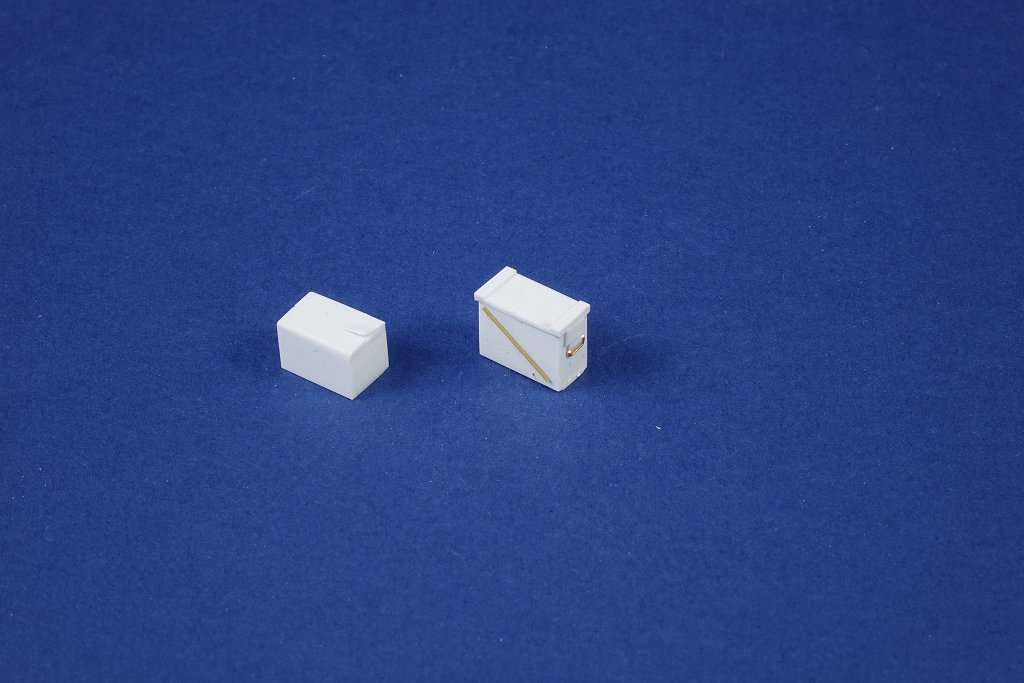
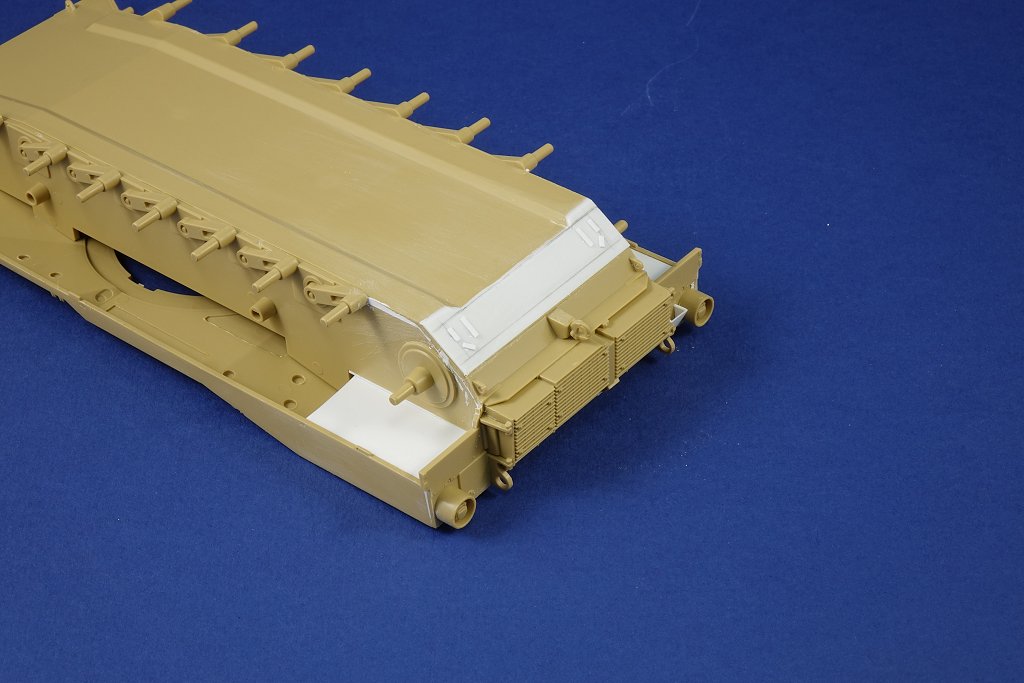
Scratchbuilt ammo boxes, MRE cartons (don’t like fiddling with tiny printed card versions) and CIPS panel. I’ve also added the vent and plated-over intake for the APU, plus beefed up the lower rear hul plate to make it sit proud of the one above it.
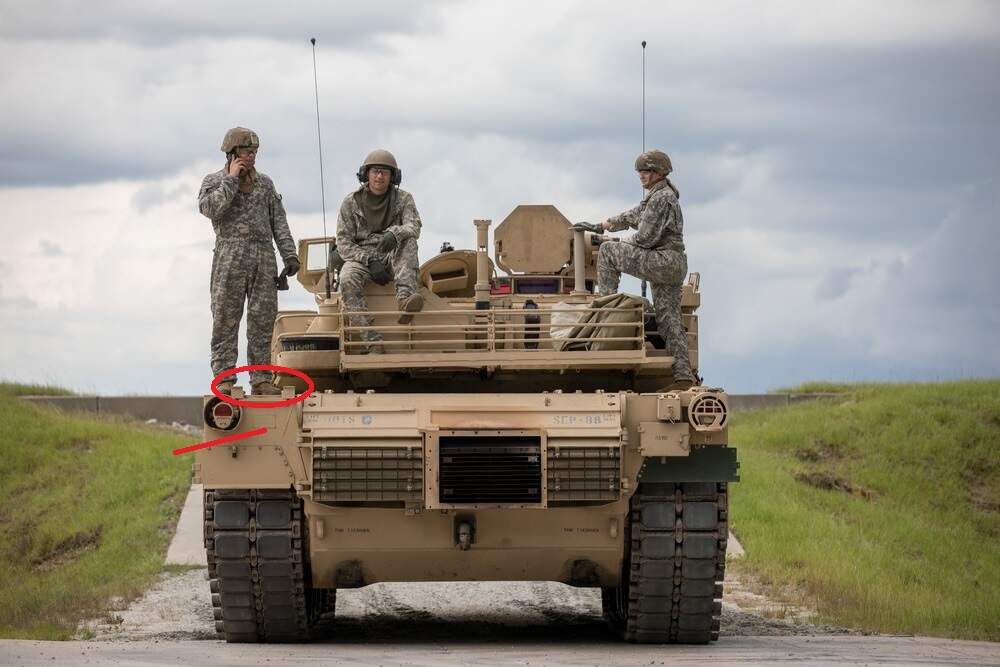
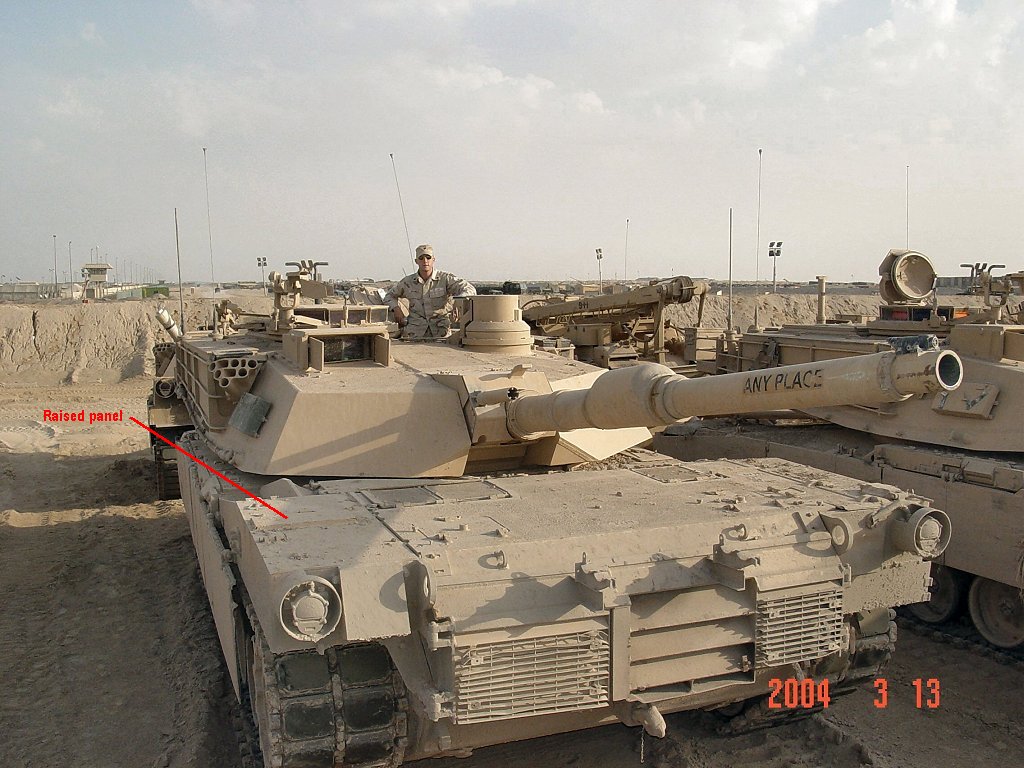
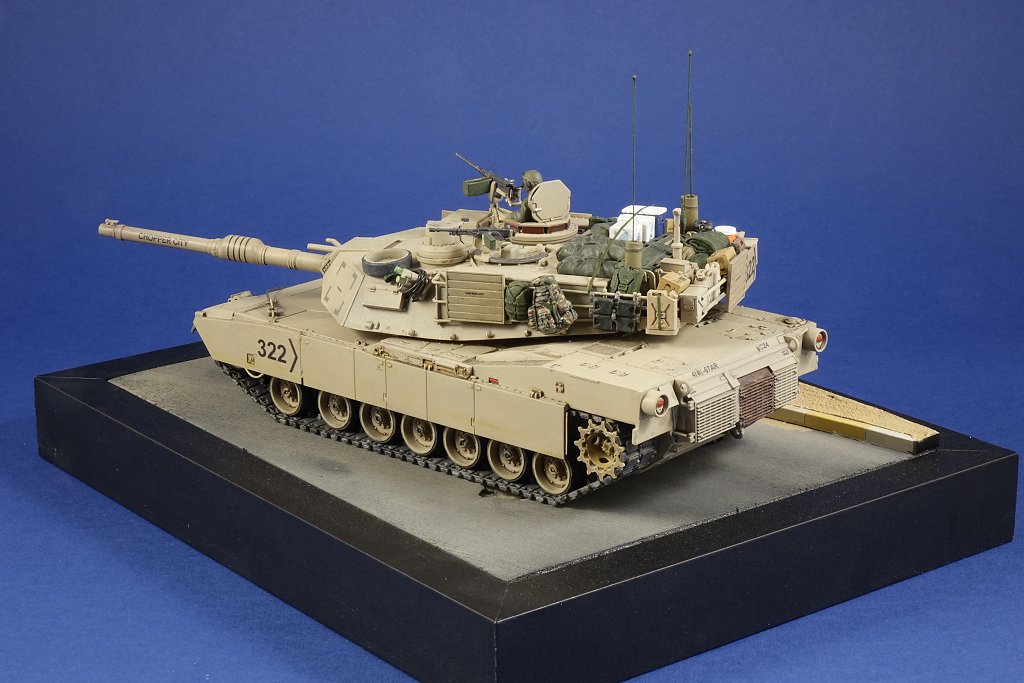
Looking good. A couple further corrections for the Harker Battery System though. There should not be the angled exhaust cover on the left rear. These were also plated over (line to the plates below). There is also a two pronged bracket (circled below) that sticks up off the rear that holds the doors in the open position.
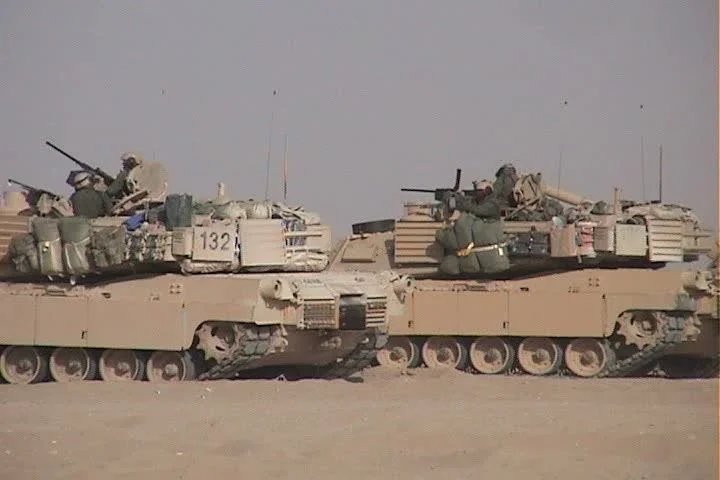
M1A2 SEP, but the same Harker Battery System.
Thanks Gino, but those are both more recent vehicles than the one I’m modeling. Other tanks (2003 vintage) show the arrangement I’ve depicted. The lower image also shows a raised panel that I hadn’t previously noticed so thanks for making me re-check my references 
Looks that way. I guess the exhaust was plated over during rebuild then. It looks like the intake was also plated over as opposed to just using the bolted plate. Interesting though as the door support bracket has always been part of the Hawker Battery System.
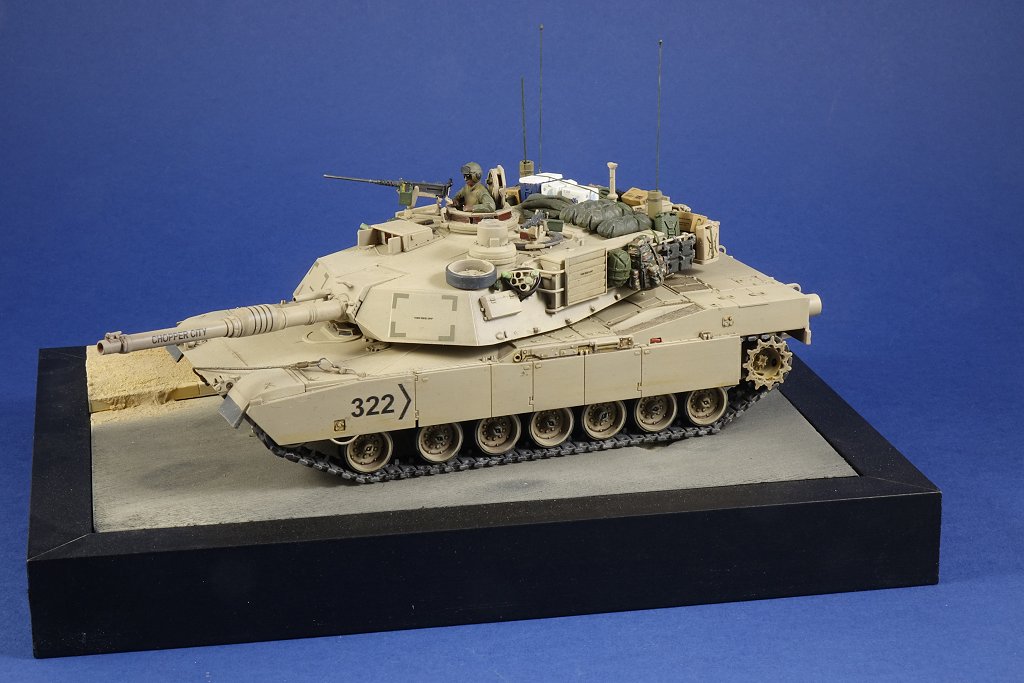
Finally finished this little beastie.
1-67AR, 4th Infantry Div - Iraq 2003. Most of the decals were home printed because I couldn’t get what i needed commercially.
6 Likes
It came out looking really nice. Great job on it.