Oh okay, because if it closes, let’s say… if the hatch closes, your head would hurt a little, right? haha, by the way my comment before was not in a mocking tone
1 Like
As I also said above, my comment was not in a bad way, let’s see how this Abrams evolves, my point is when I paint it and have it glossy varnished, stop and investigate or ask what techniques to follow
1 Like
I did not take it that way at all. The problem actually happens.
3 Likes
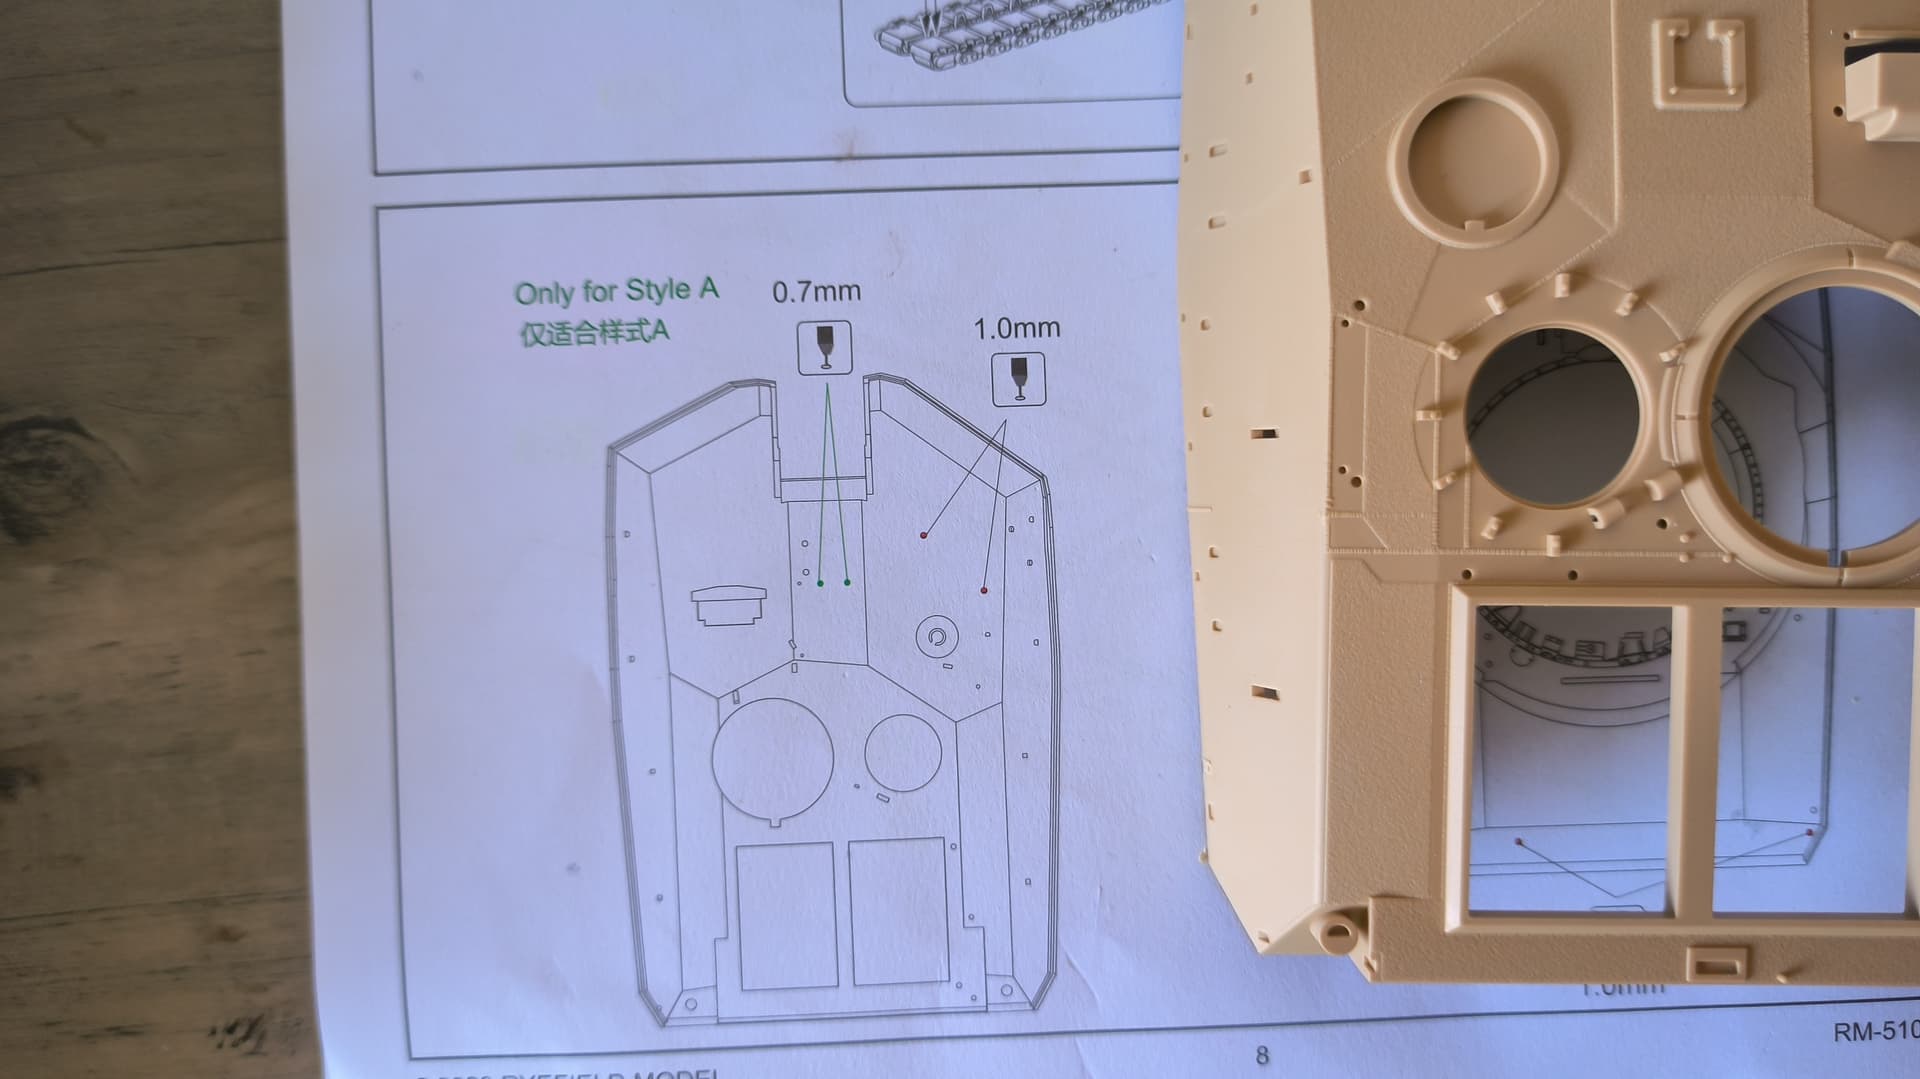
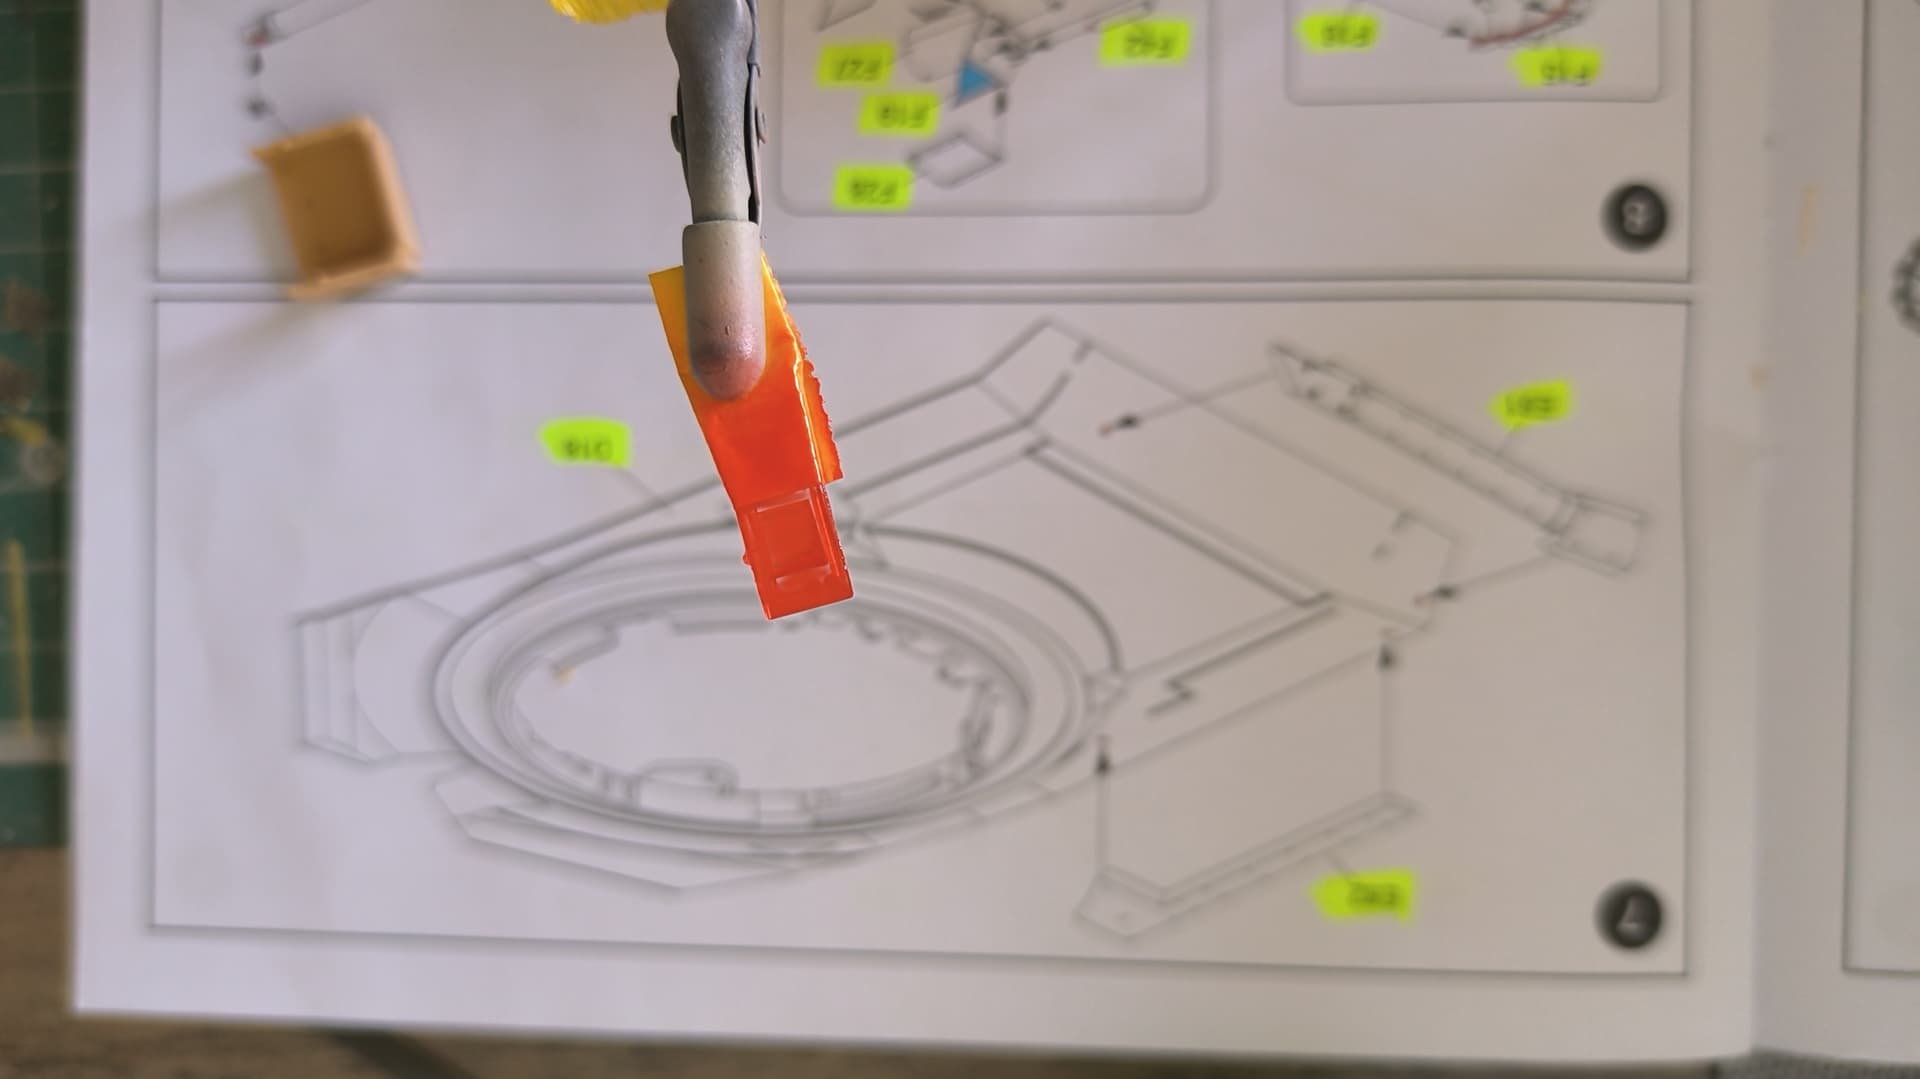
Guys, a question, this has me a little confused, when it comes to assembling the turret, it tells you to make some holes, okay? but it says Style A, what difference does it make? I ask because I don’t want to make holes where I shouldn’t.
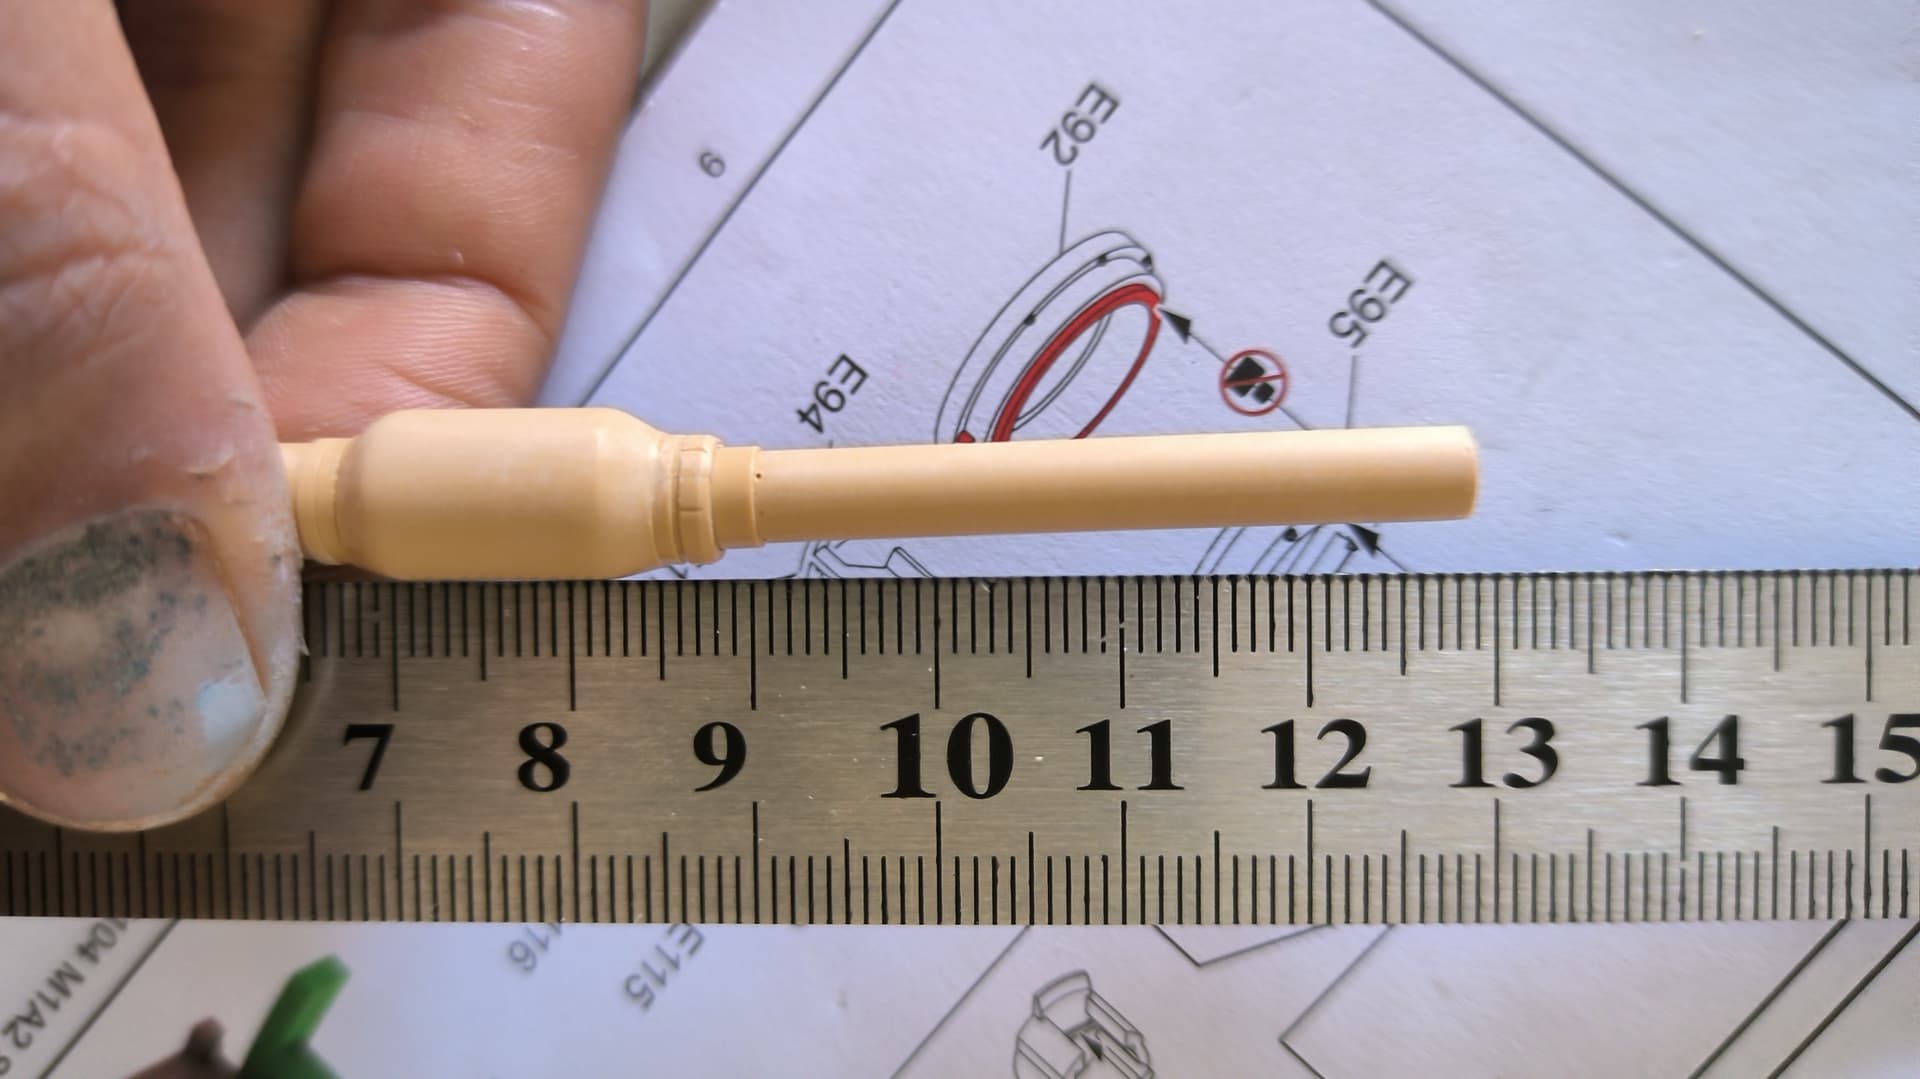
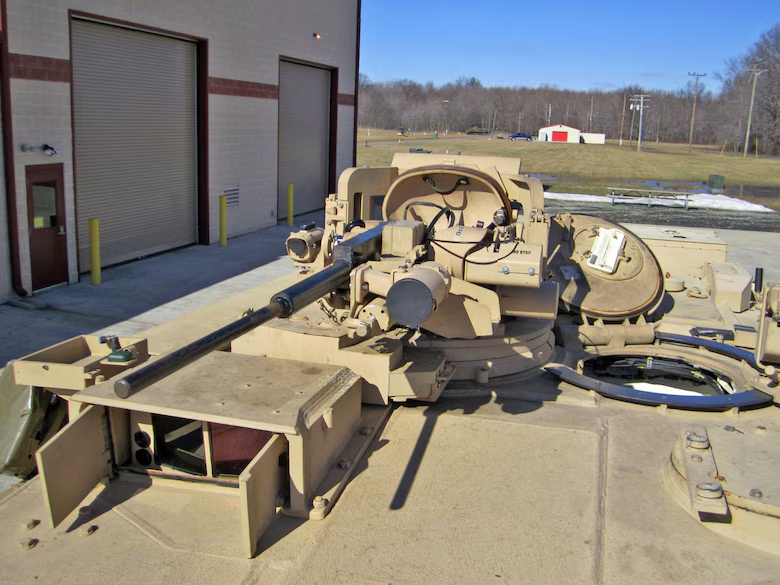
I take this opportunity to edit and present another question, the barrel is not glued yet, is this small inclination normal in the barrel of the Abrams?
2 Likes
“Style A” is for mounting the CROWS in transport mode; it makes it lower for rail transport. If your machine is in operational mode, don’t drill the Style A holes.
2 Likes
Thank you very much, I will keep it in mind for the next Abrams
2 Likes
No, the barrel should be straight. It may be how you are holding it or it is warped.
2 Likes
I have already solved the alignment of the barrel thanks to the Tamiya extra thin quick setting
1 Like
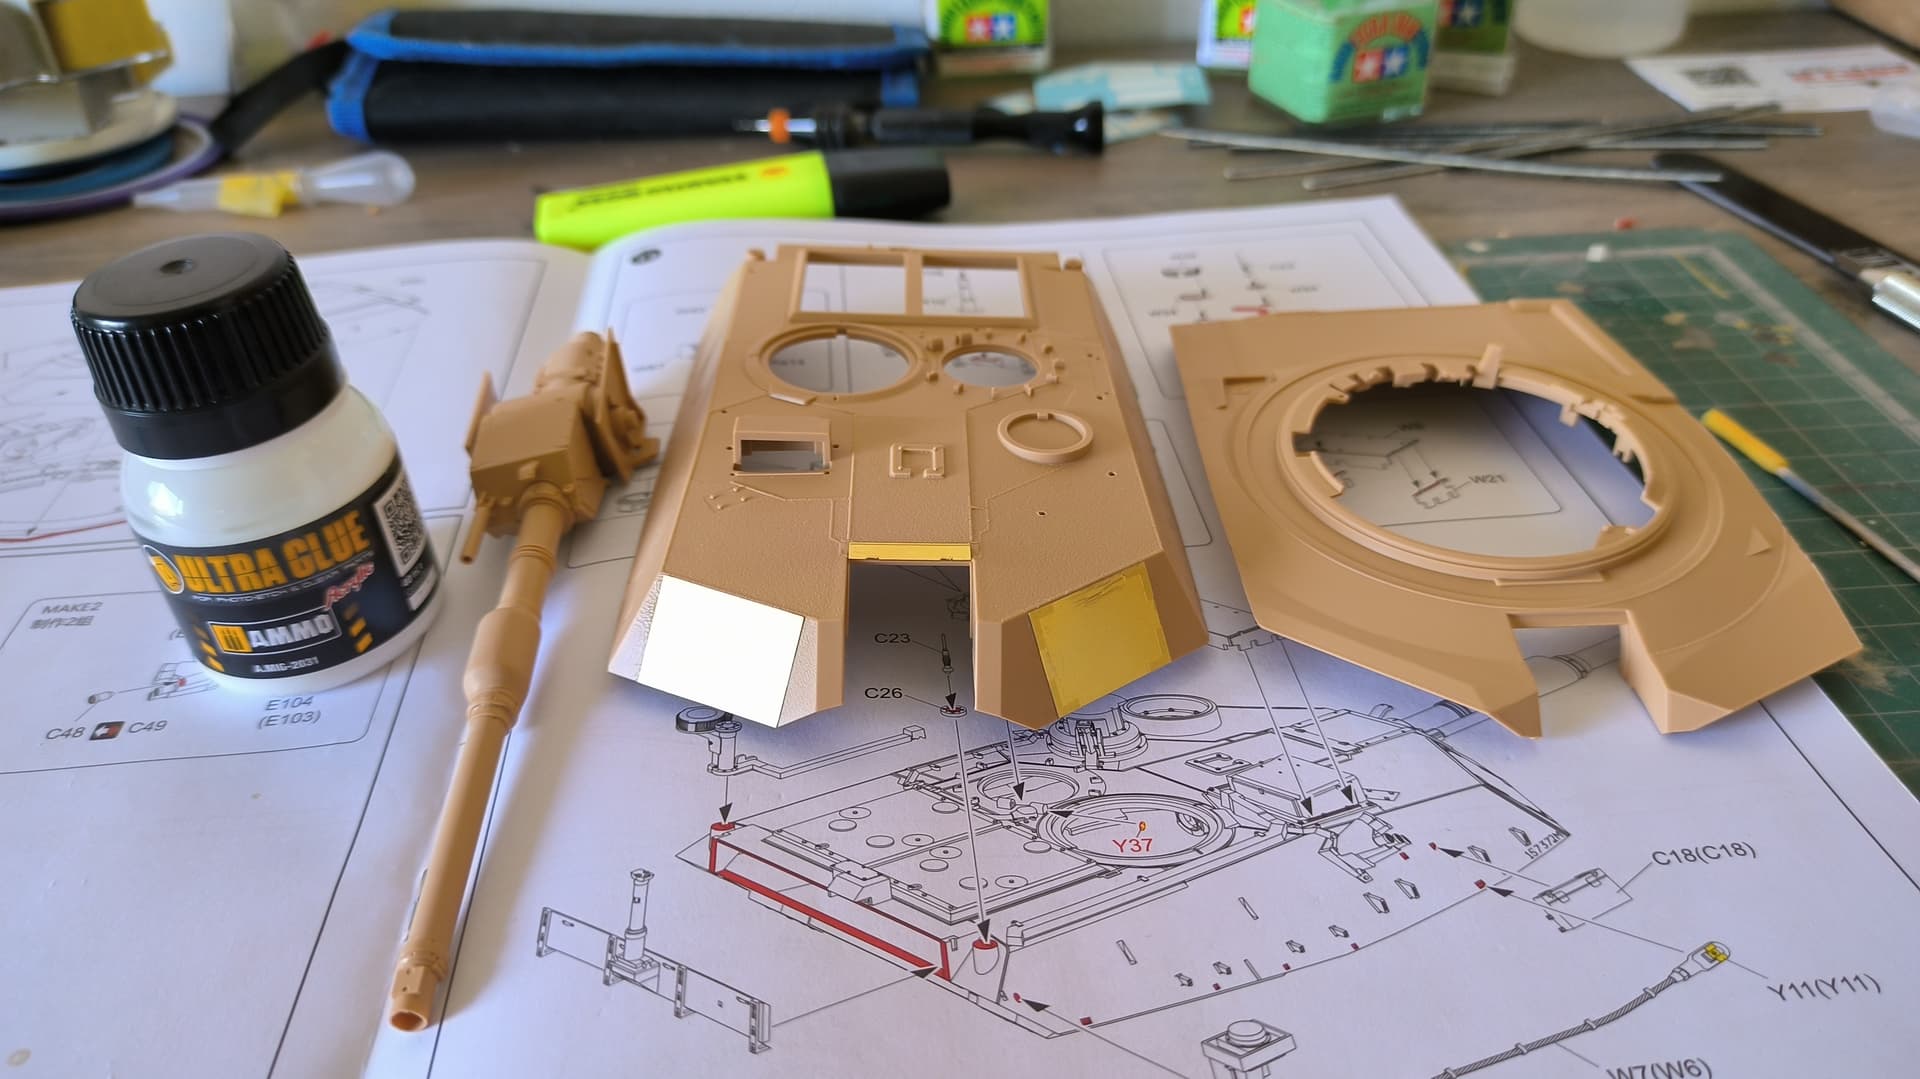
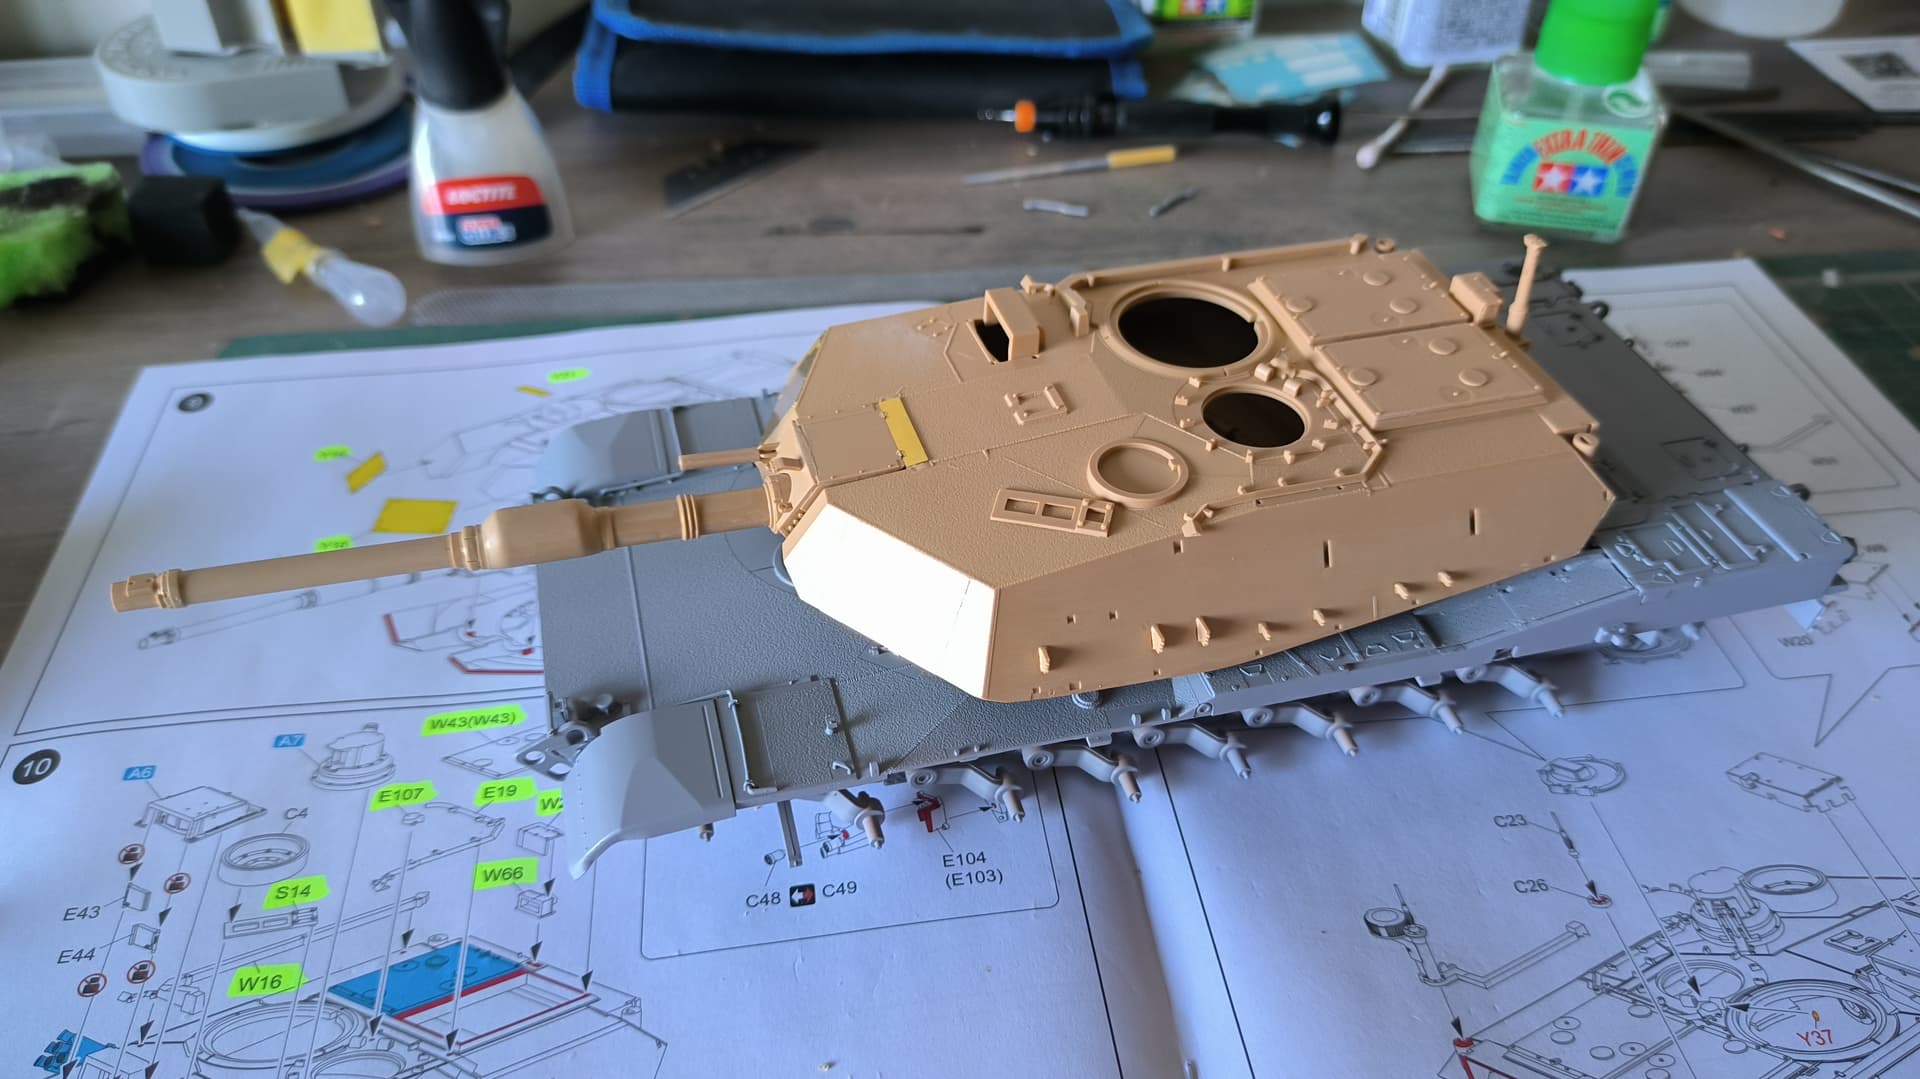
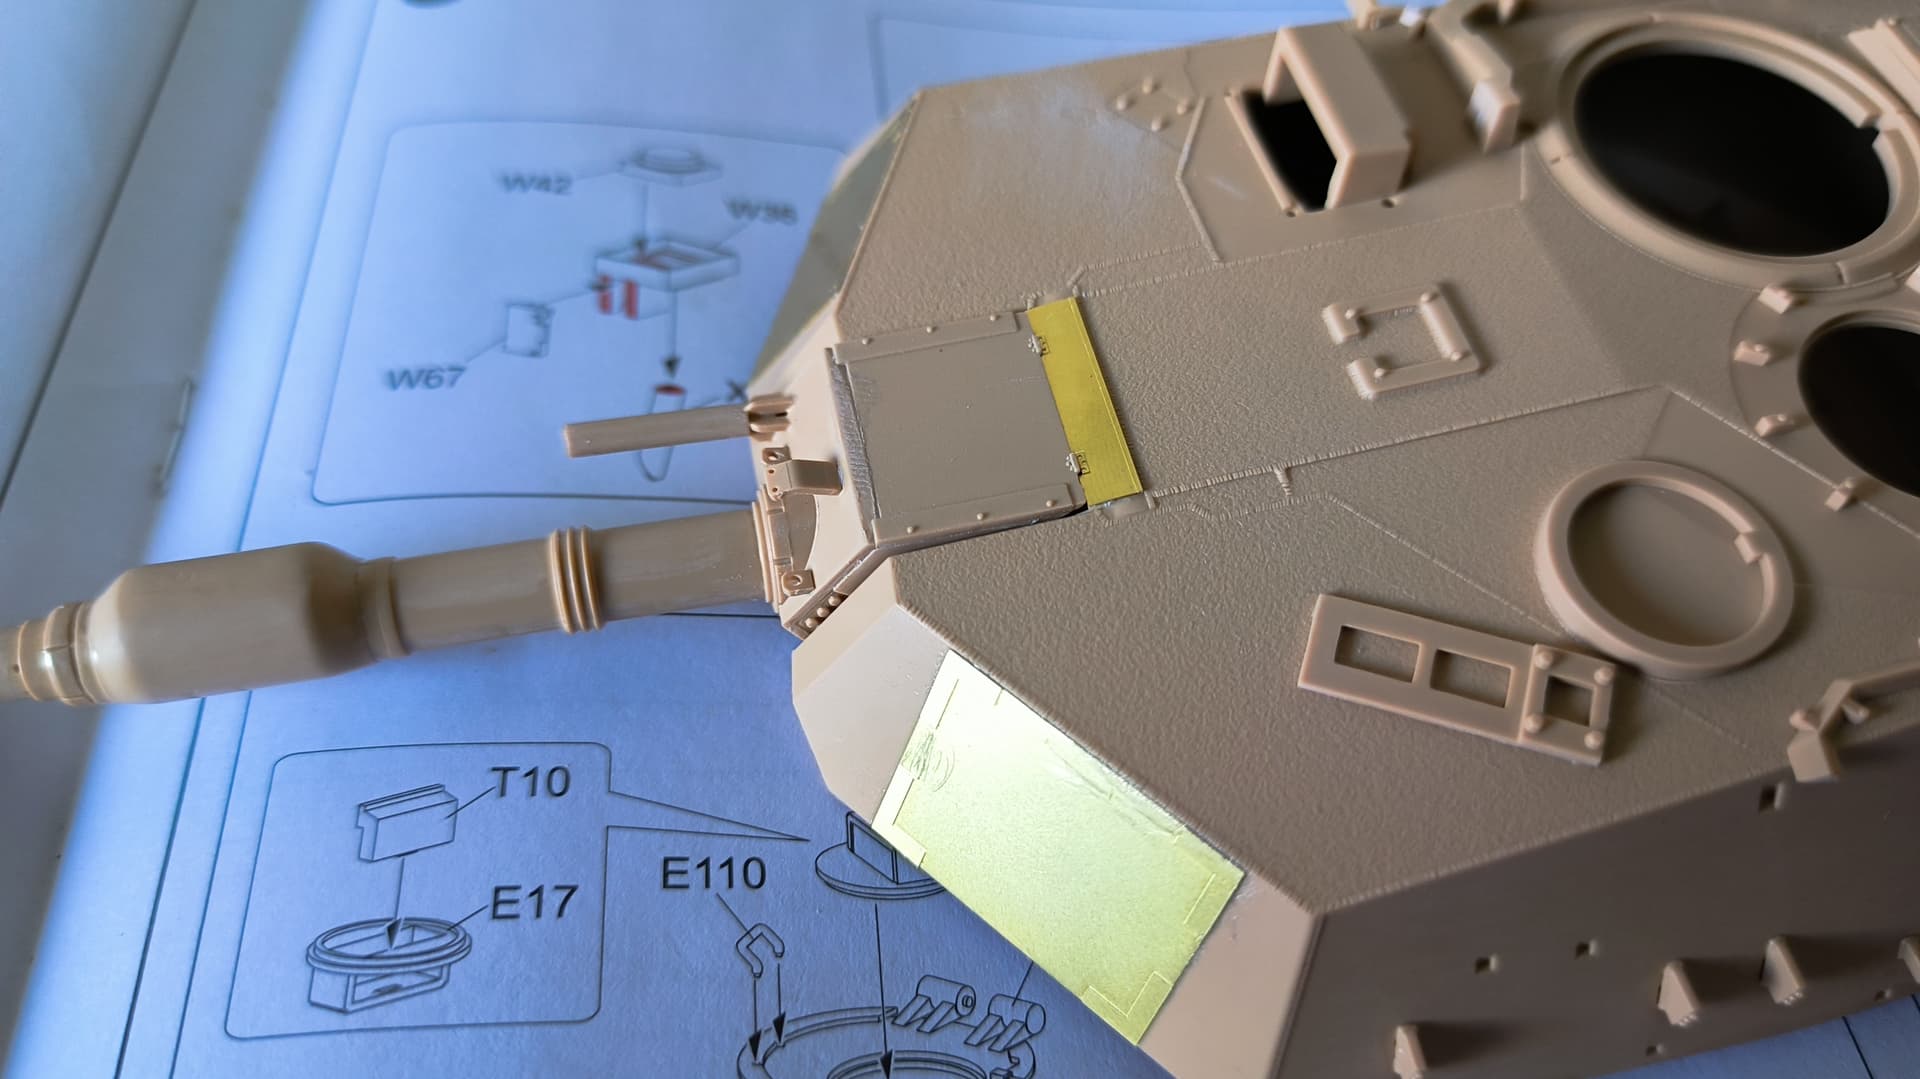
small progress, I have finished the barrel and the front photo-etched plates, any warning beforehand about the turret?
2 Likes
My V2 went together fine, I just added some masking tape to secure while glue set.
2 Likes
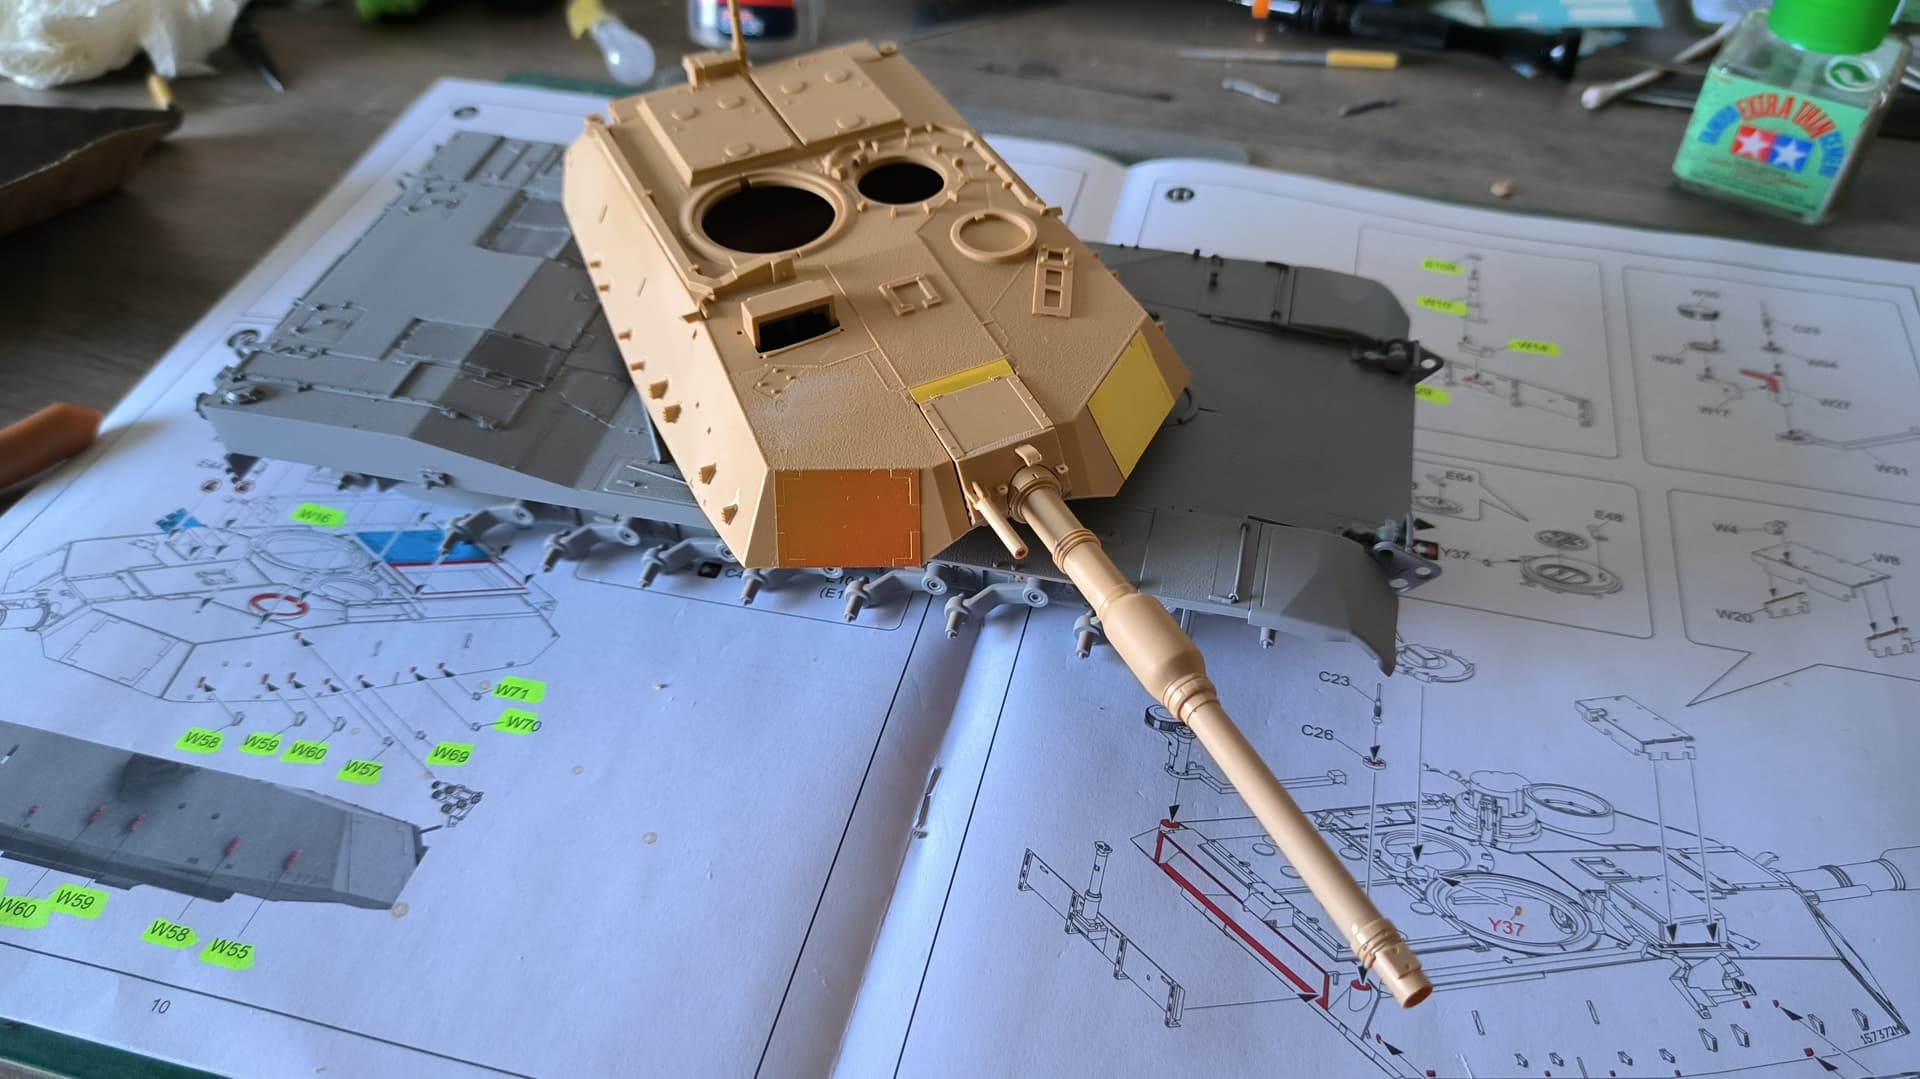
Excellent, then I’m going to proceed to join the top and bottom
1 Like
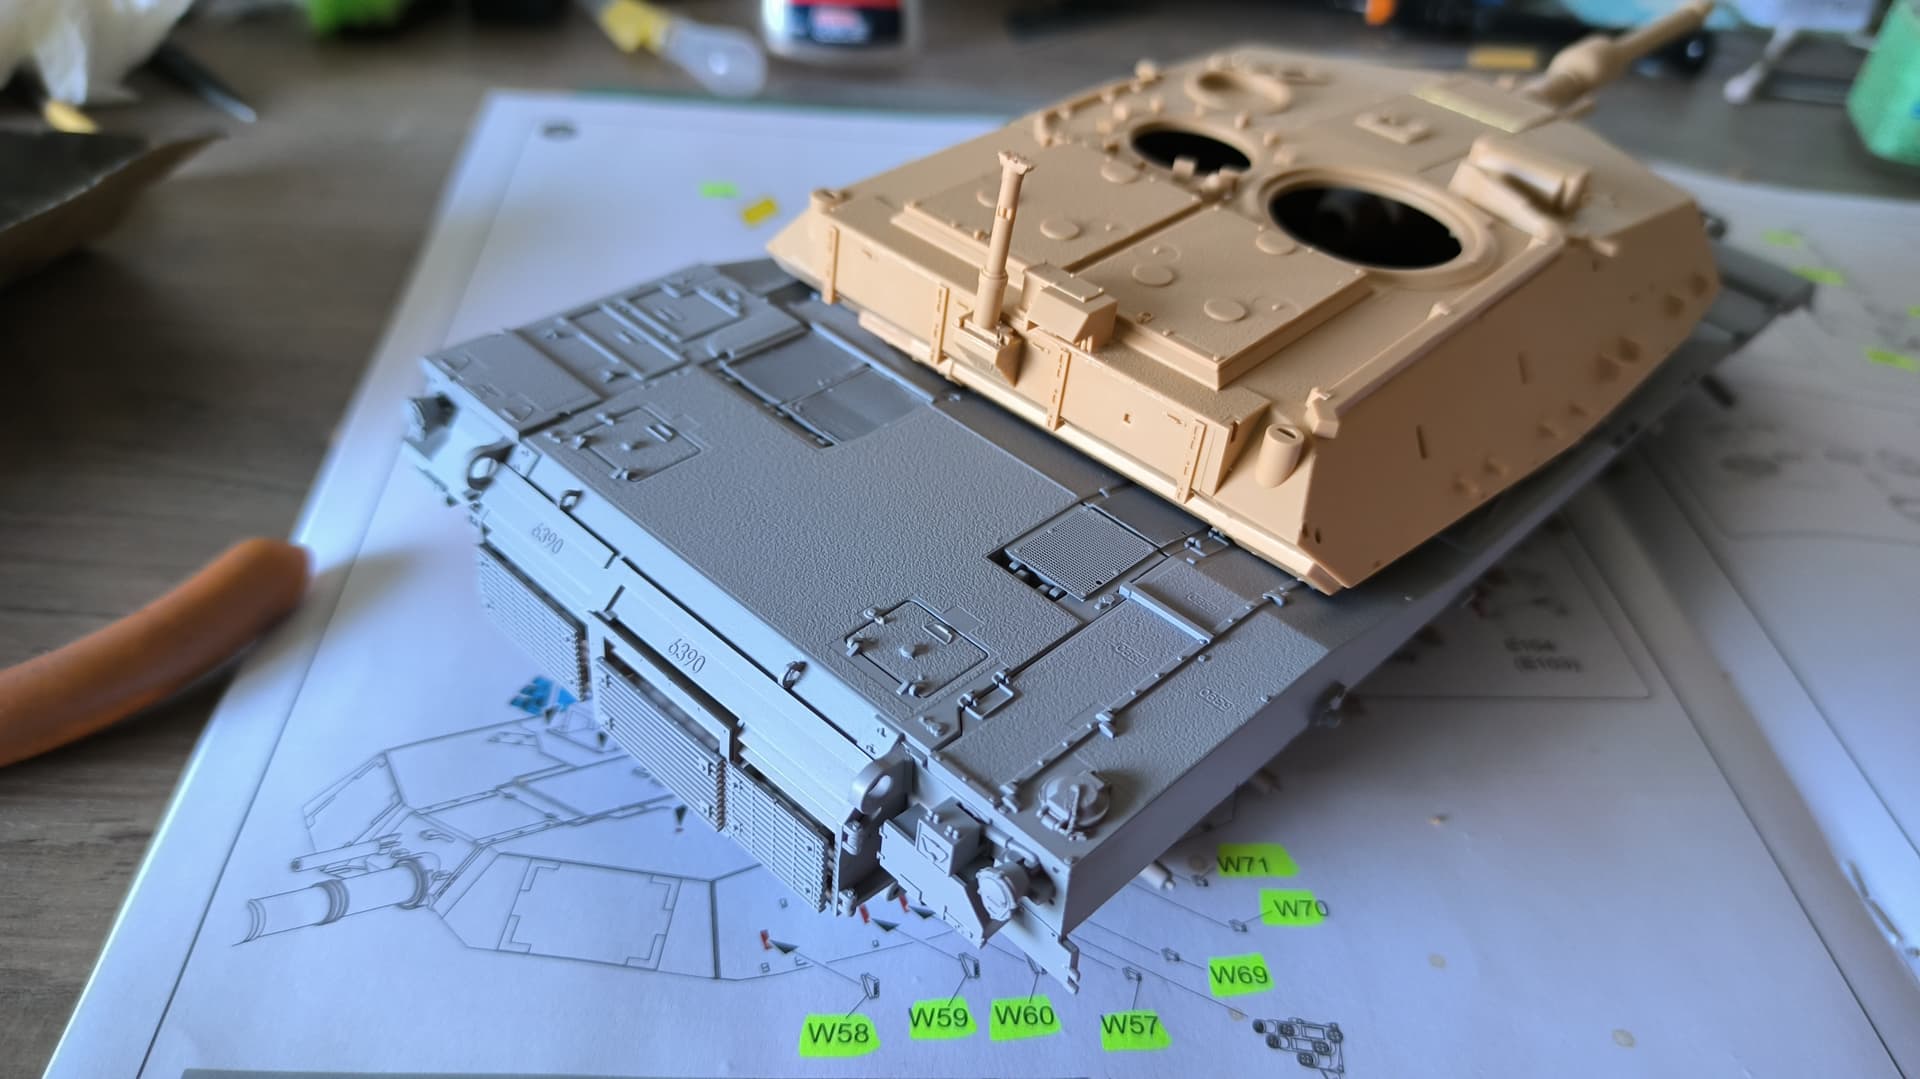
more progress on the turret and a little mr surface 1000 on the lower hull, maybe I won’t be able to paint it until next week because I thought the atom carc tan would arrive today but no ![]()
4 Likes
The engine deck looks really nice. ![]()
![]()
It also good to see that other people also leave forensic evidence (i.e. fingerprints) on their builds to claim copyright like me… ![]()
![]()

4 Likes
haha, good eye, well… then this can be deleted
1 Like
well guys, today I was going to continue with the turret and I found an unpleasant surprise, the XA sprue is not there, they have not included it in the kit
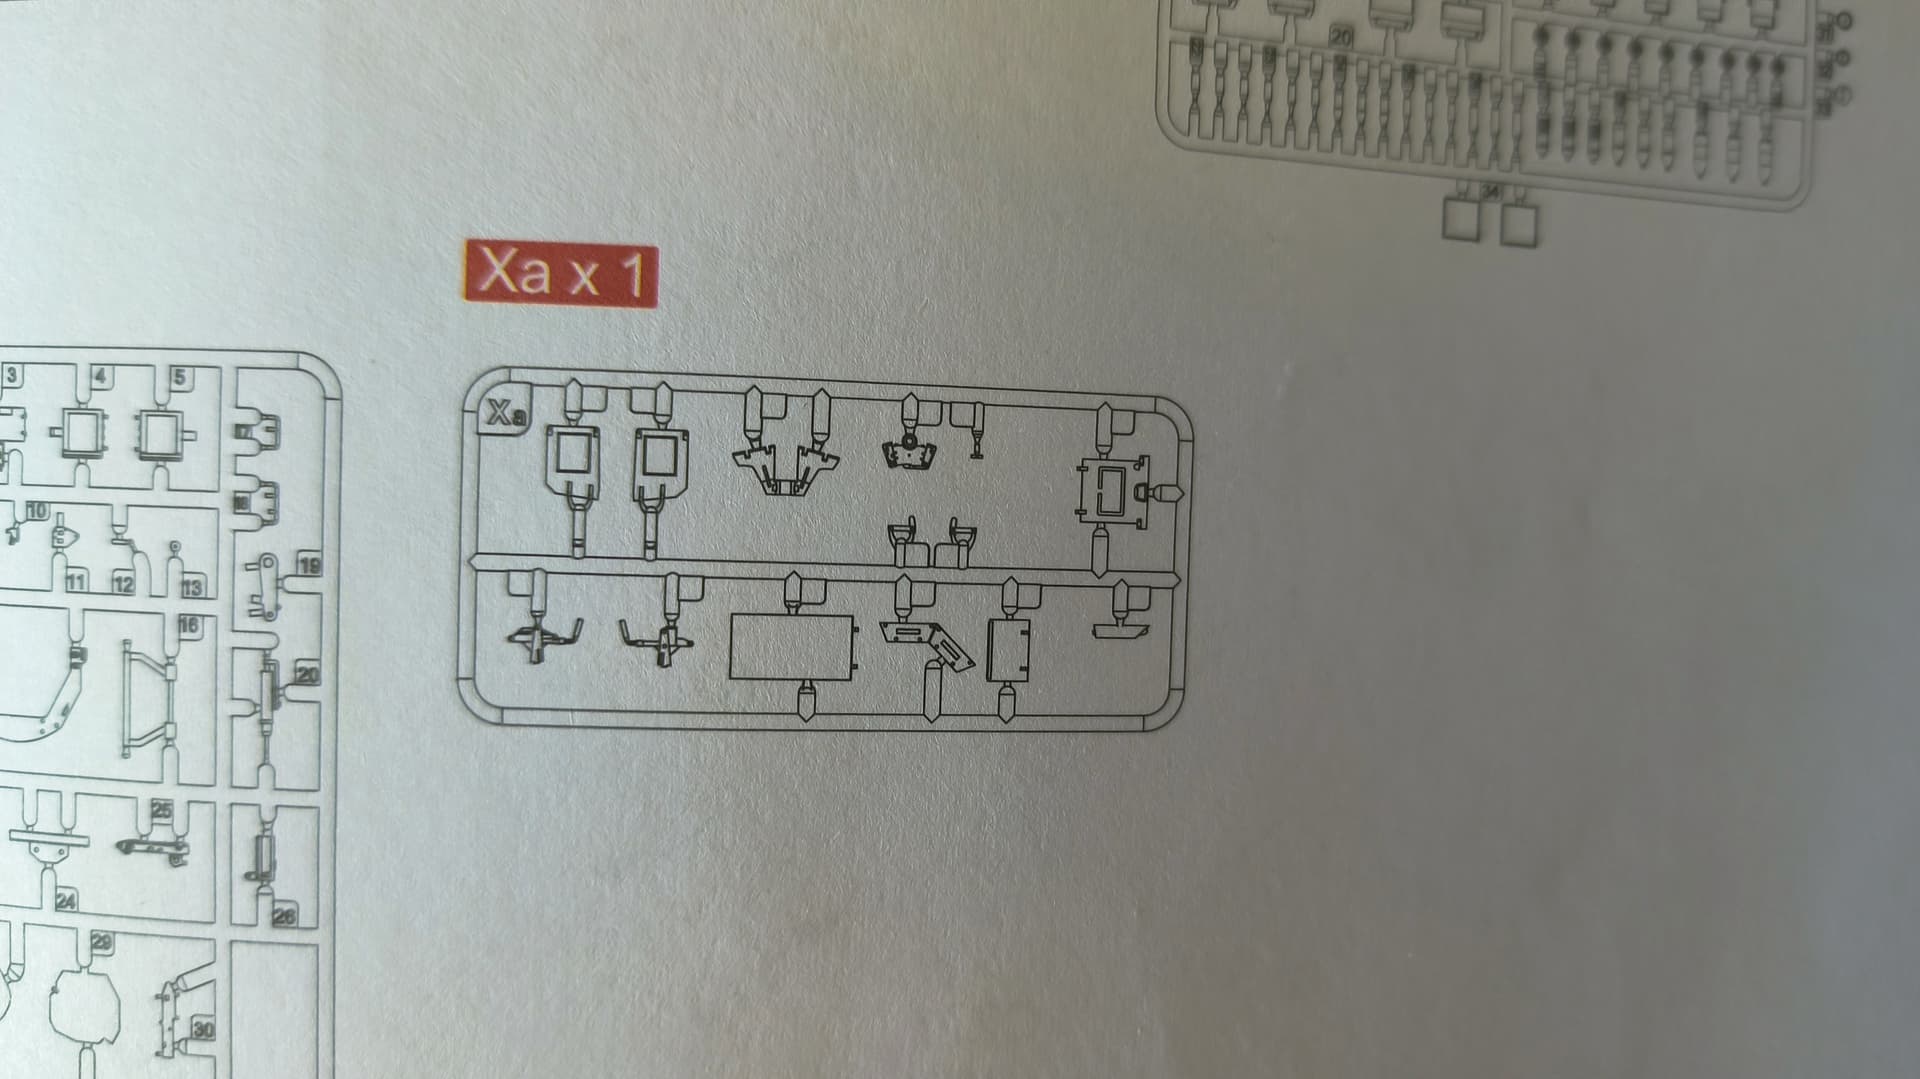
1 Like
Too many posts recently showing RFM kits missing sprues. This made me look into most of the RFM kits I got recently for missing sprues, at the moment none found but it is a shame to have to postpone a build because of poor quality control
3 Likes
+1000, I have already contacted ammo mig jimenez, and I have sent them the contents of the box and everything they have asked of me, I am waiting for their response, it also happened to me with a 1:48 superhornet kit from meng (but in In this case, the store where I bought it did not understand, I am still waiting for the pins for the pylons, and I will not buy from that store again) ammo from mig jimenez until now they have been very serious, I hope they give me a solution (basically they send me the sprue XA)
I personally like to focus on one model, and when I have it completely finished start another one, next week I will receive the T90A from Meng
3 Likes
Today I have done absolutely nothing, only painted the screens of the commander and the gunner, I have seen in a photo that half of a screen is “red” and the other half is light smoke, so based on the reference photo I will do it like this ,unless there is no objection
3 Likes
As I recall that is the anti laser coating and changes color based your view angle. If seen from the other side the colors would be flipped.
3 Likes
Actually, there are two sights in one. The left one (dark) is a thermal imager. The right side above is the daylight sight and has an anti-laser coating. Depending on the angle of view, the coating varies from metallic shades of purple, to red, to blue, to golden colored.
4 Likes