Very cool build i got 2 SEP V.3 in my stash looking to add at least 2 more one will be in US markings would love to do a Taiwanese and a Romanian SEP V.3 but not sure how either of those are configured any one have any ideas on either of those or markings as my other one will be Australian but then again i may do a Australian A1 SA as i have markings for that
1 Like
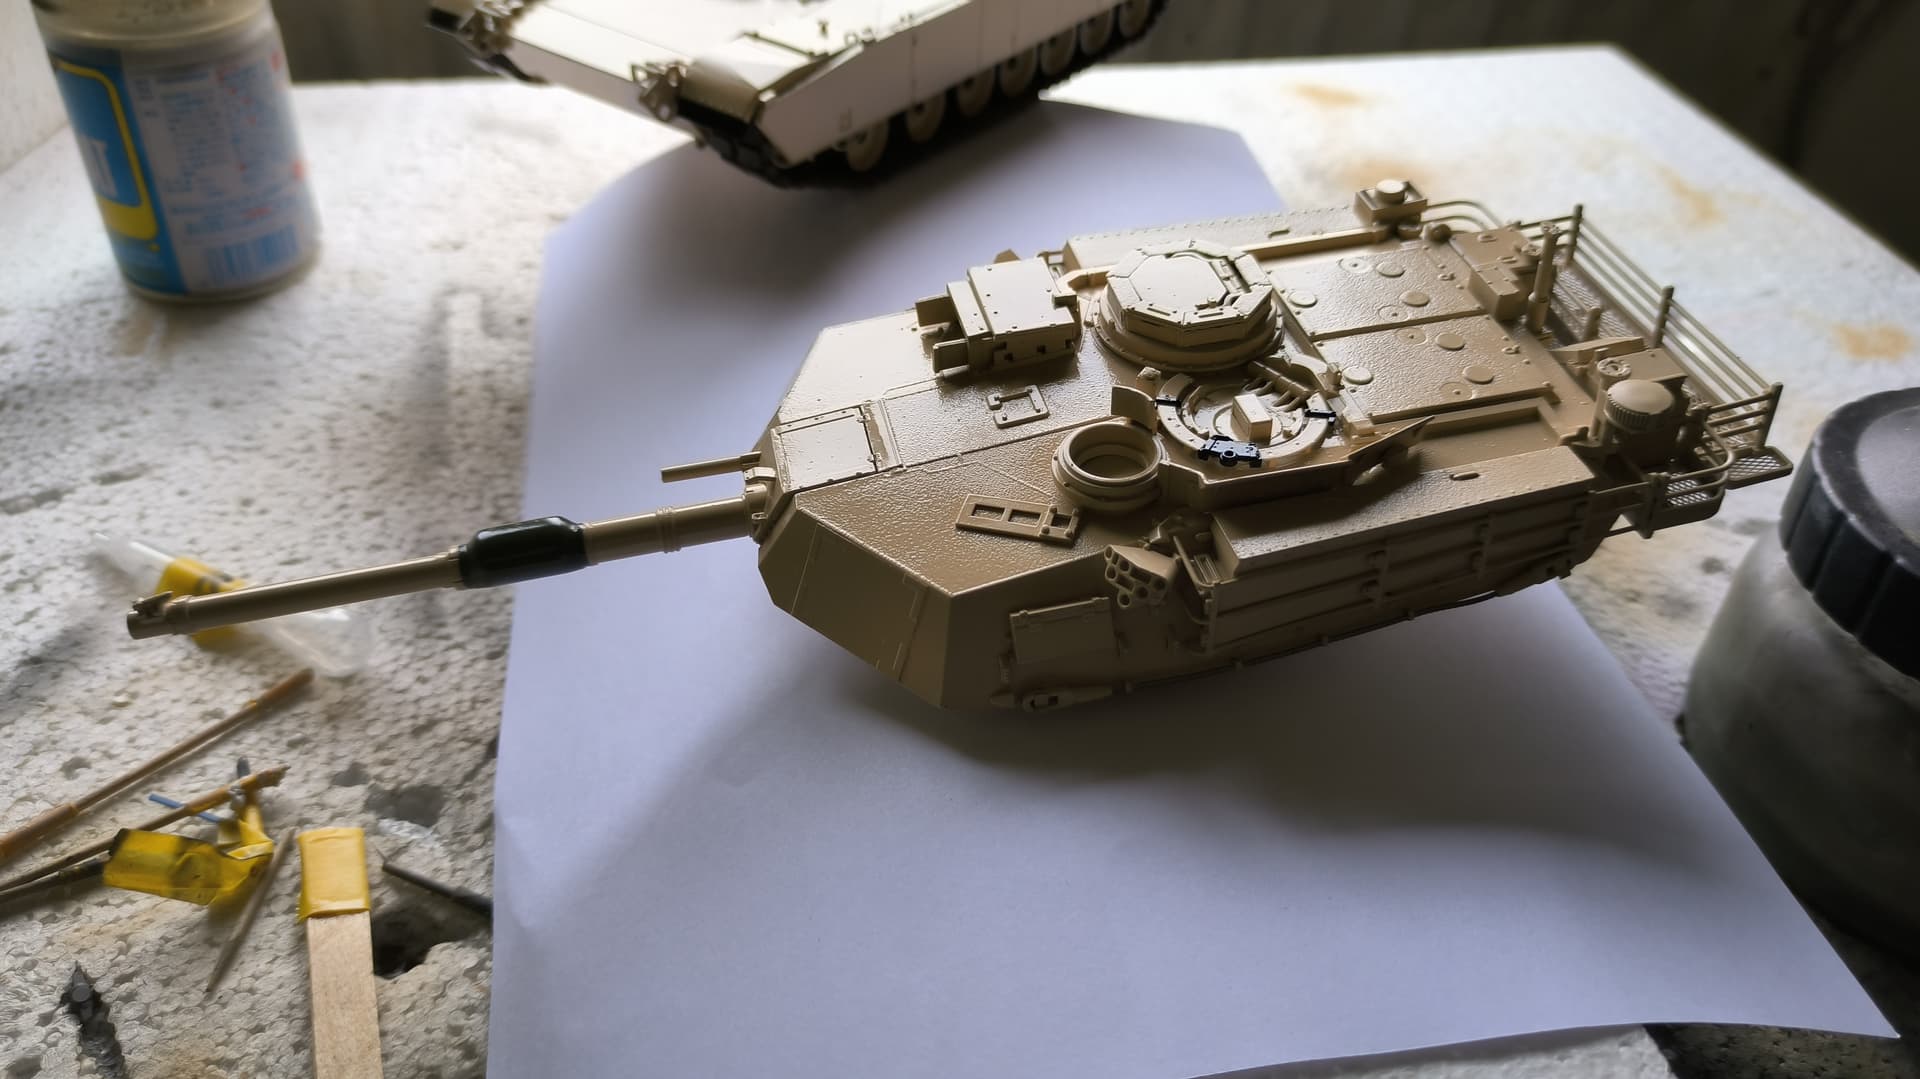
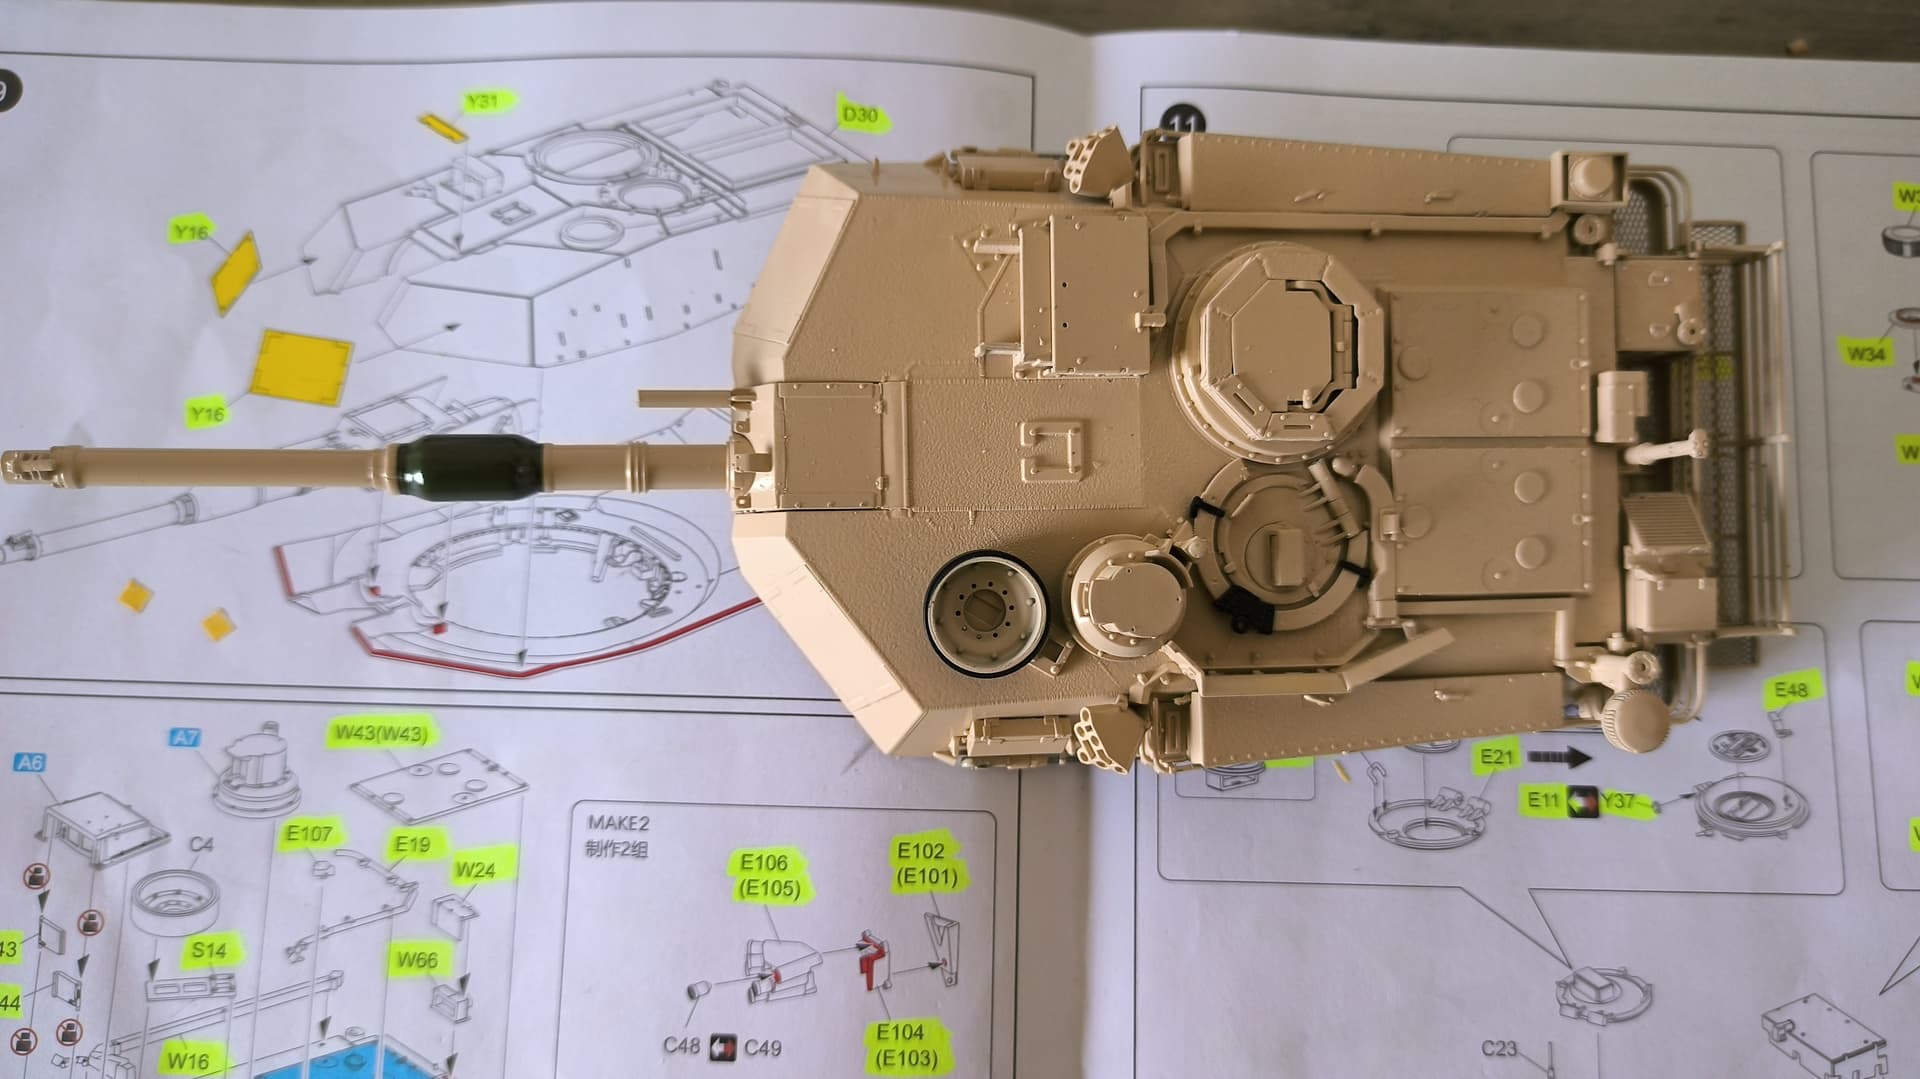
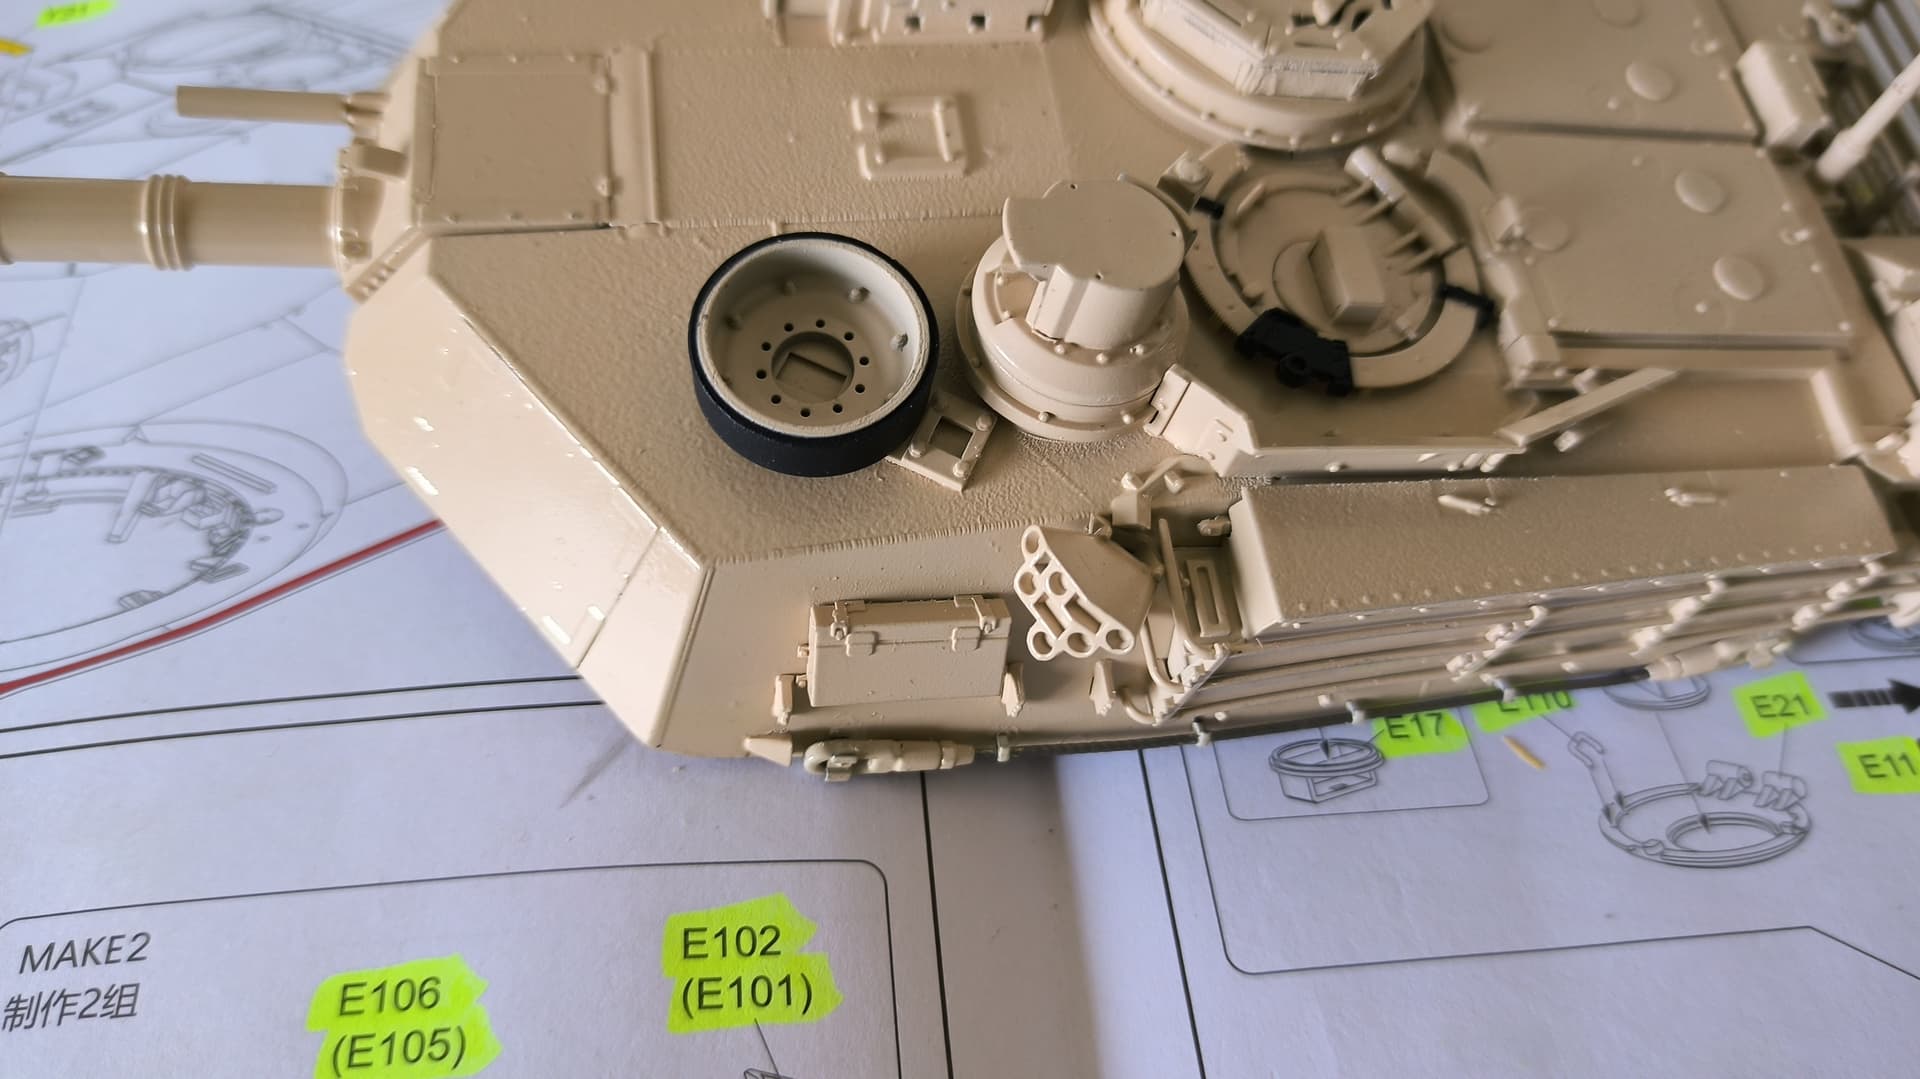
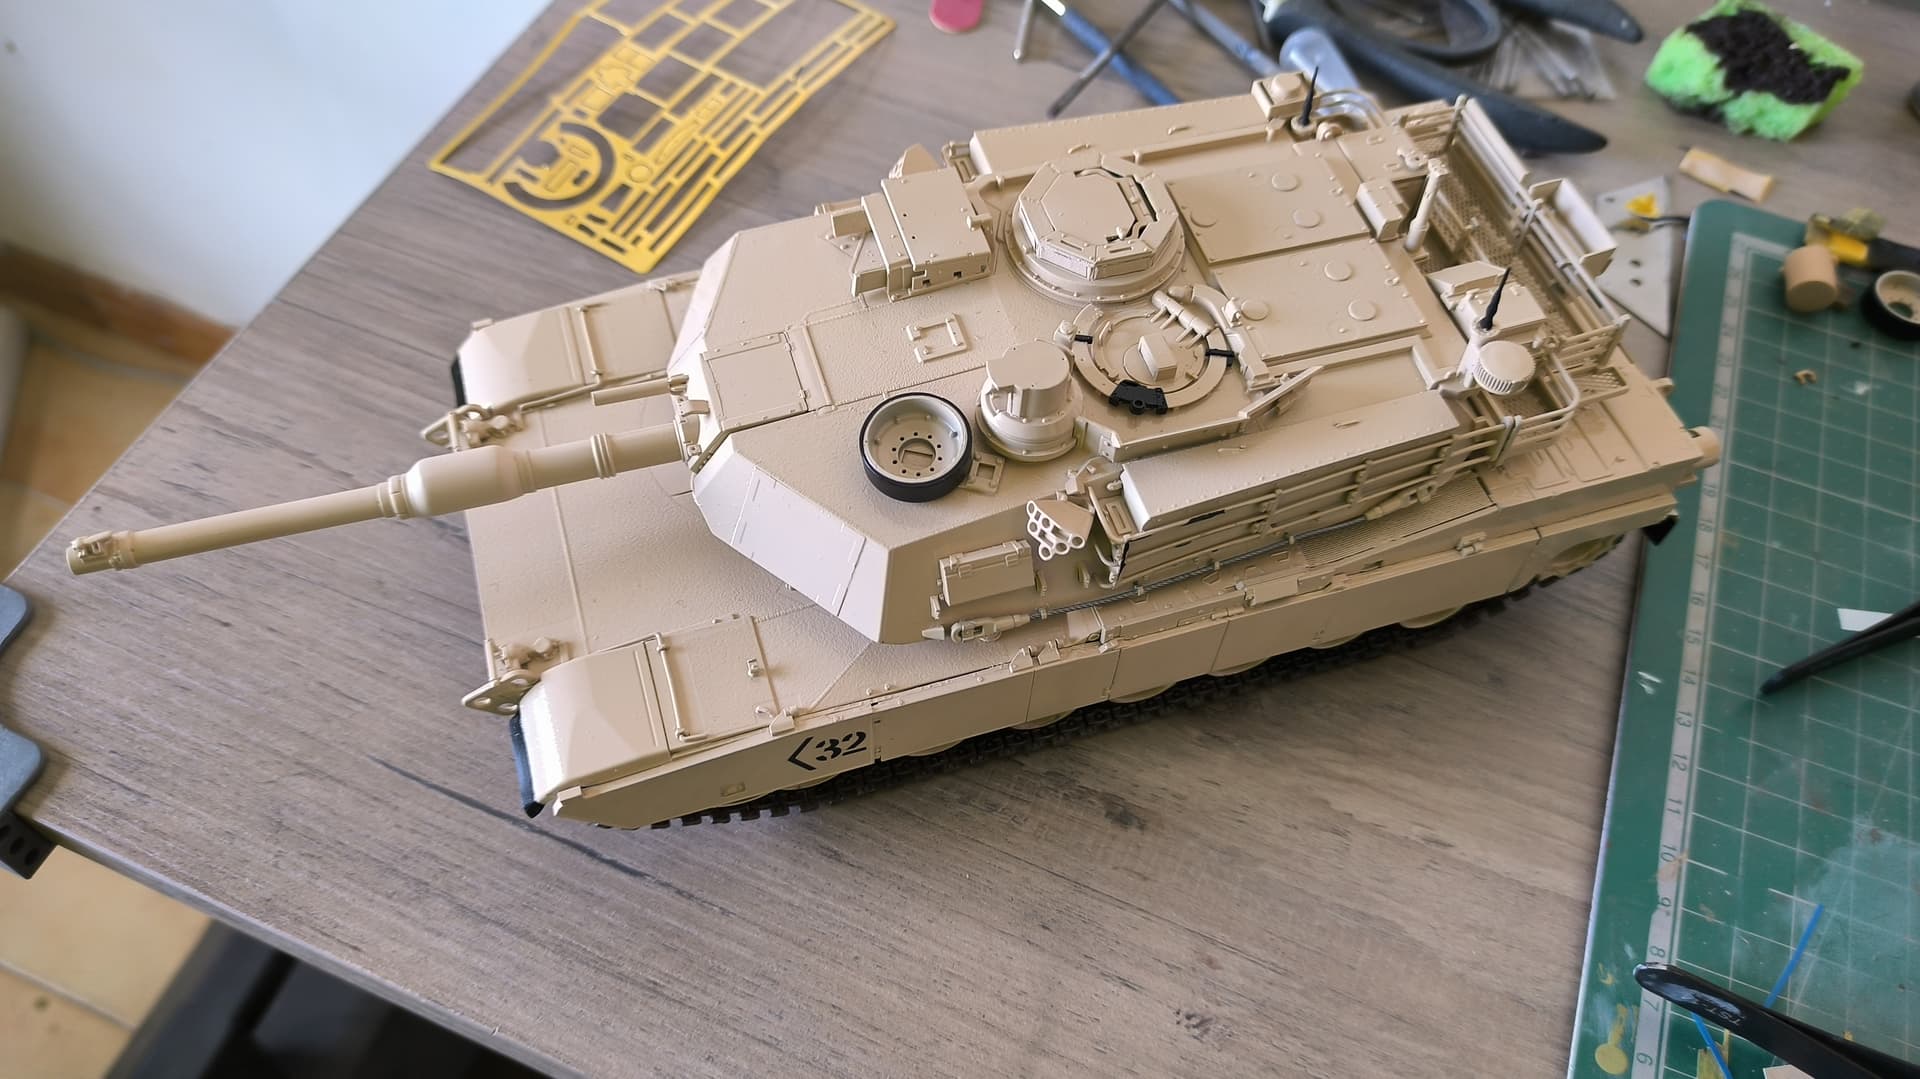
@TopSmith thank you very much guys, today I have put the rear skirts and I have varnished them in gloss, there is still work to do of course, but let’s say that the main thing is done, I do not know if it is because it is hot here, or is that the leveler is thinner or that … but the varnish has dried very fast, here I leave a small progress, as for the trophy system I will keep it in the box, in the end this v3 is without trophy
7 Likes
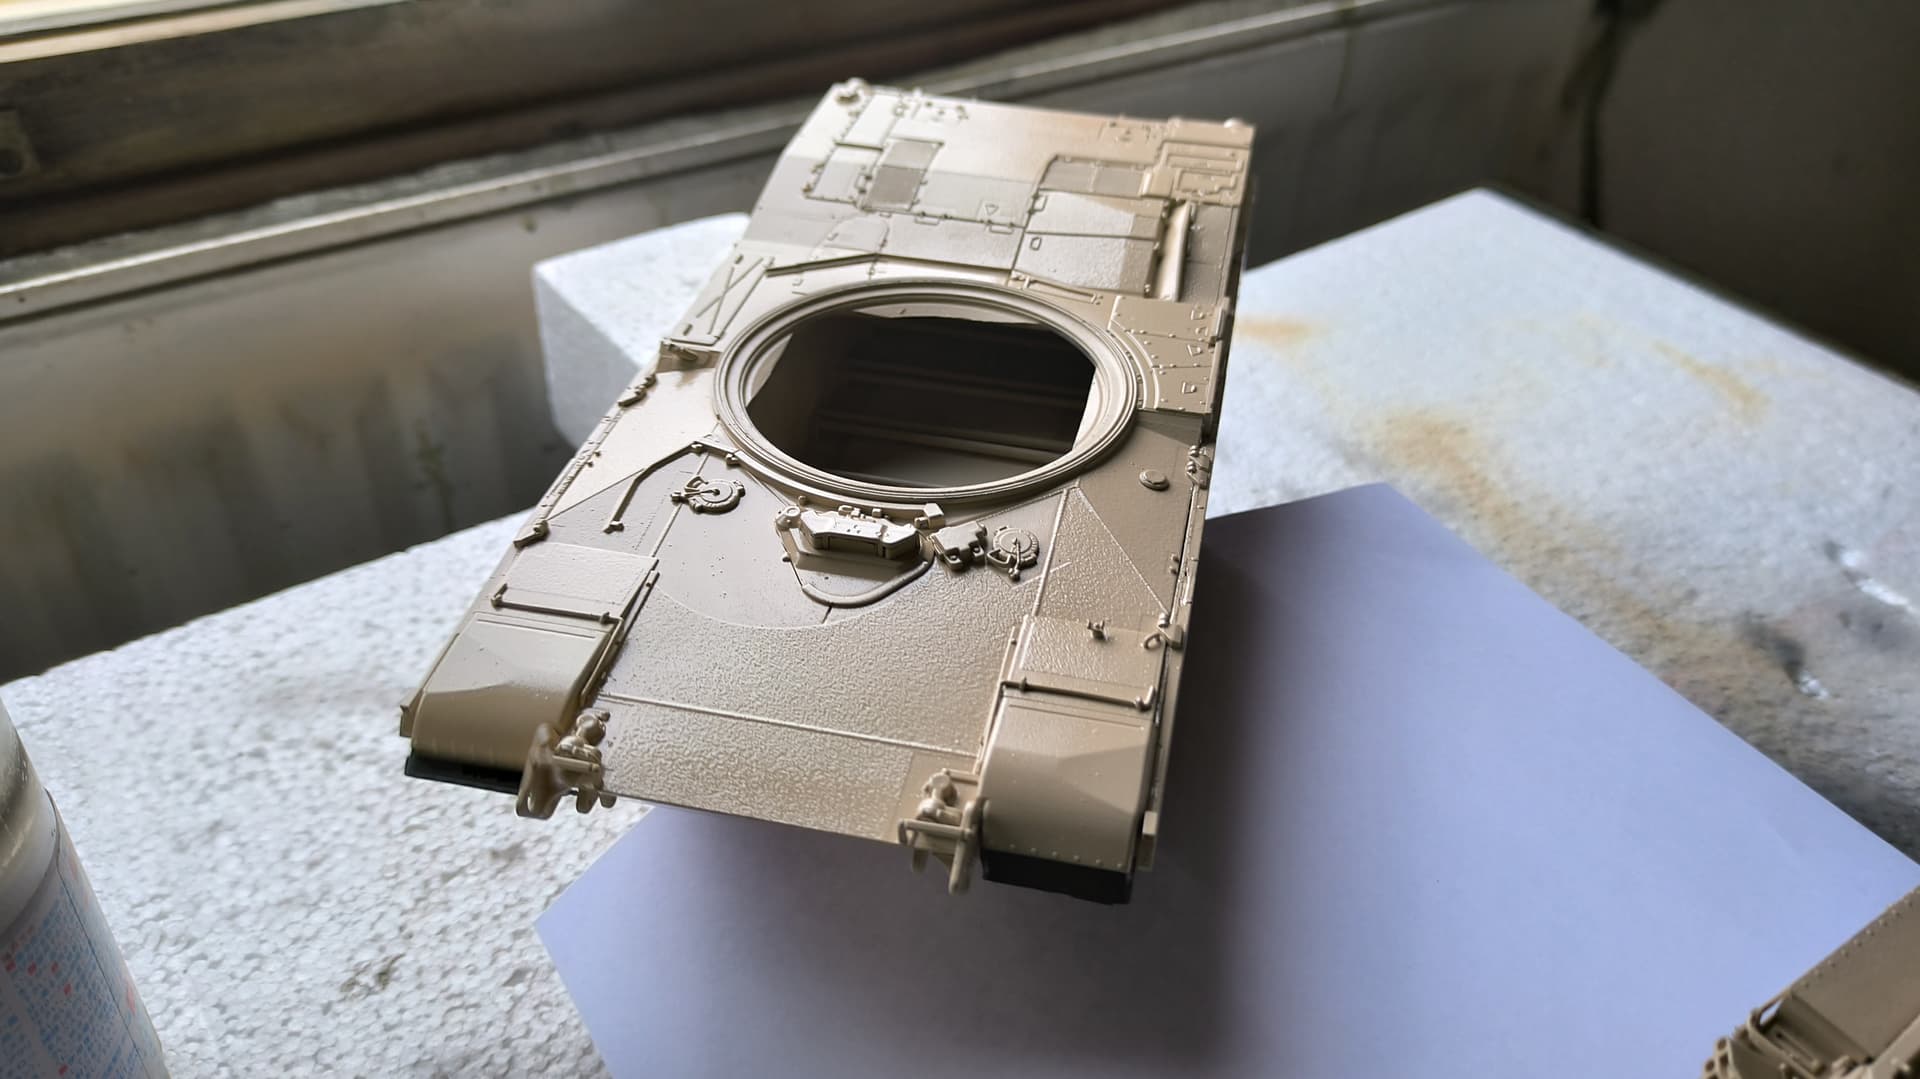
further small advances
once everything is in place varnished, I will start with the wheatering but I want to see pictures and techniques first
5 Likes
already planning my ROC M1A2T buts will be putting it on hold for now as there is no markings available
1 Like
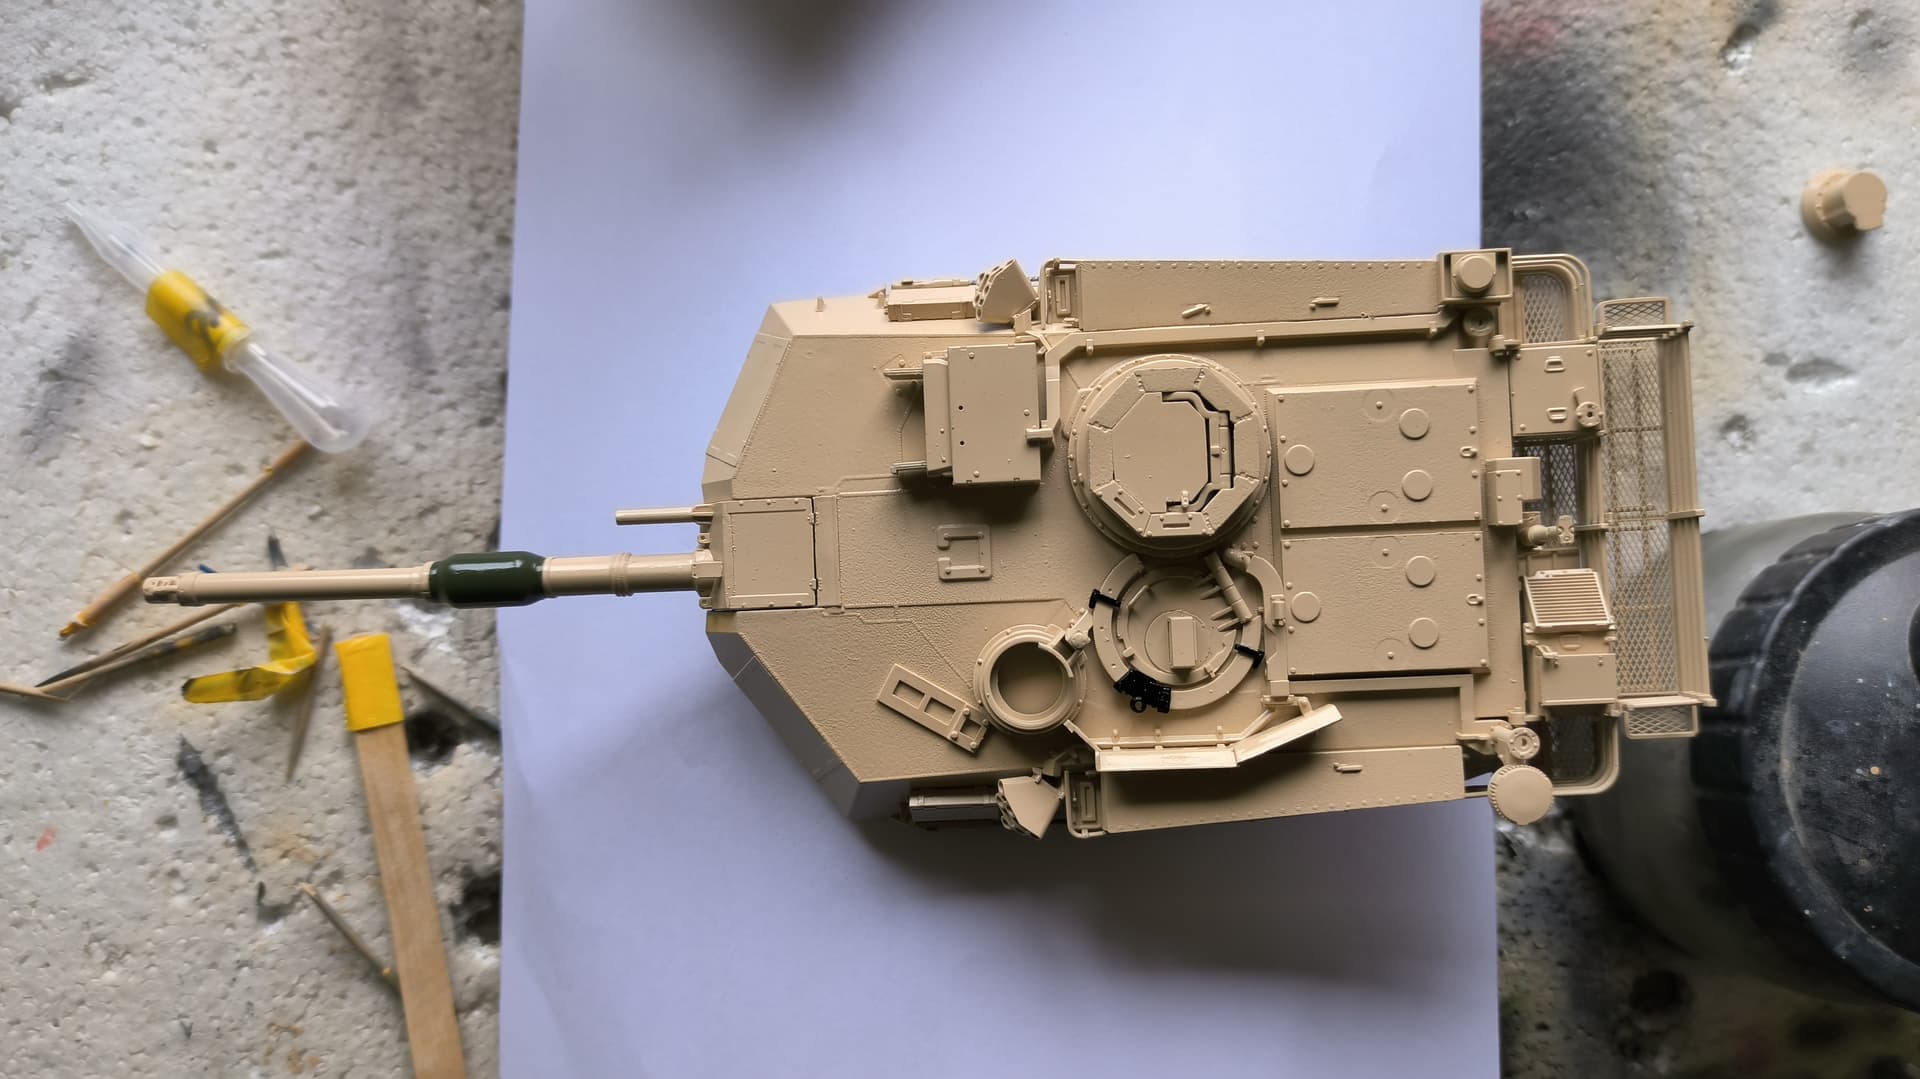
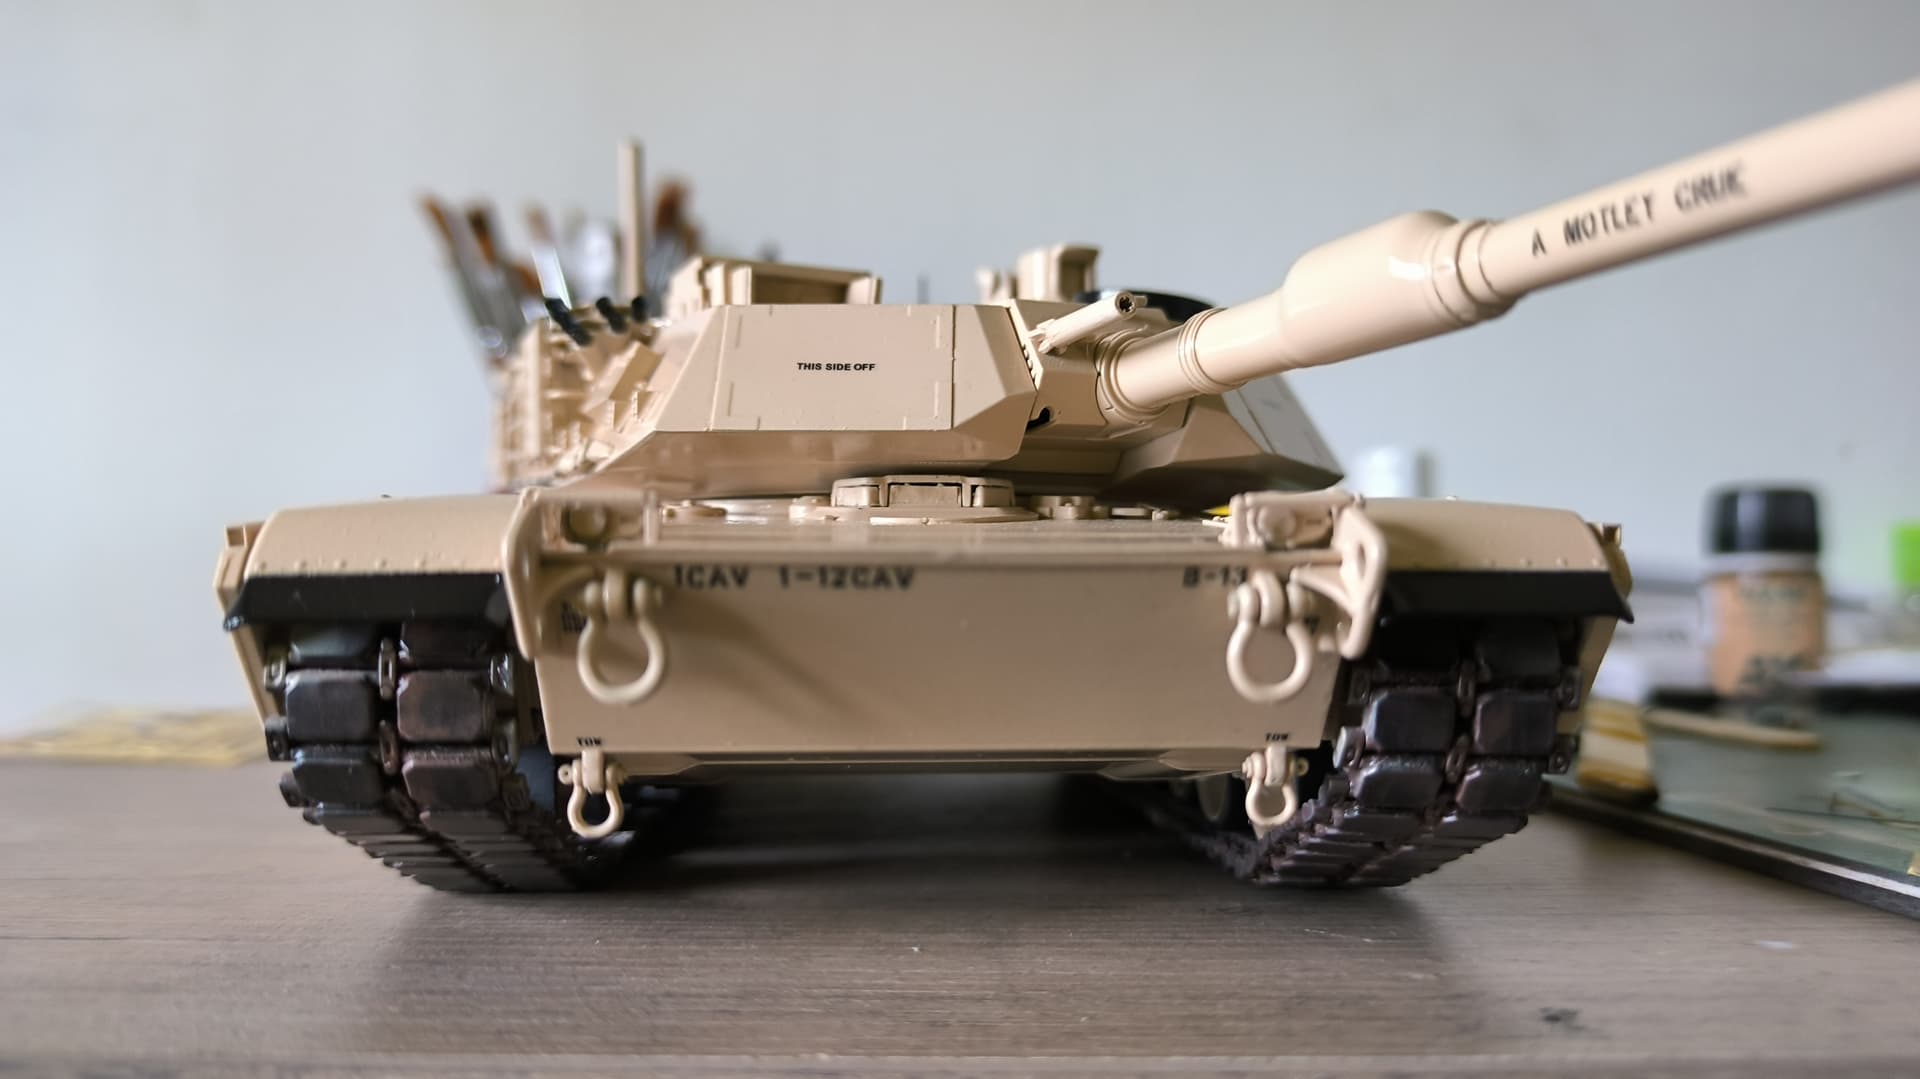
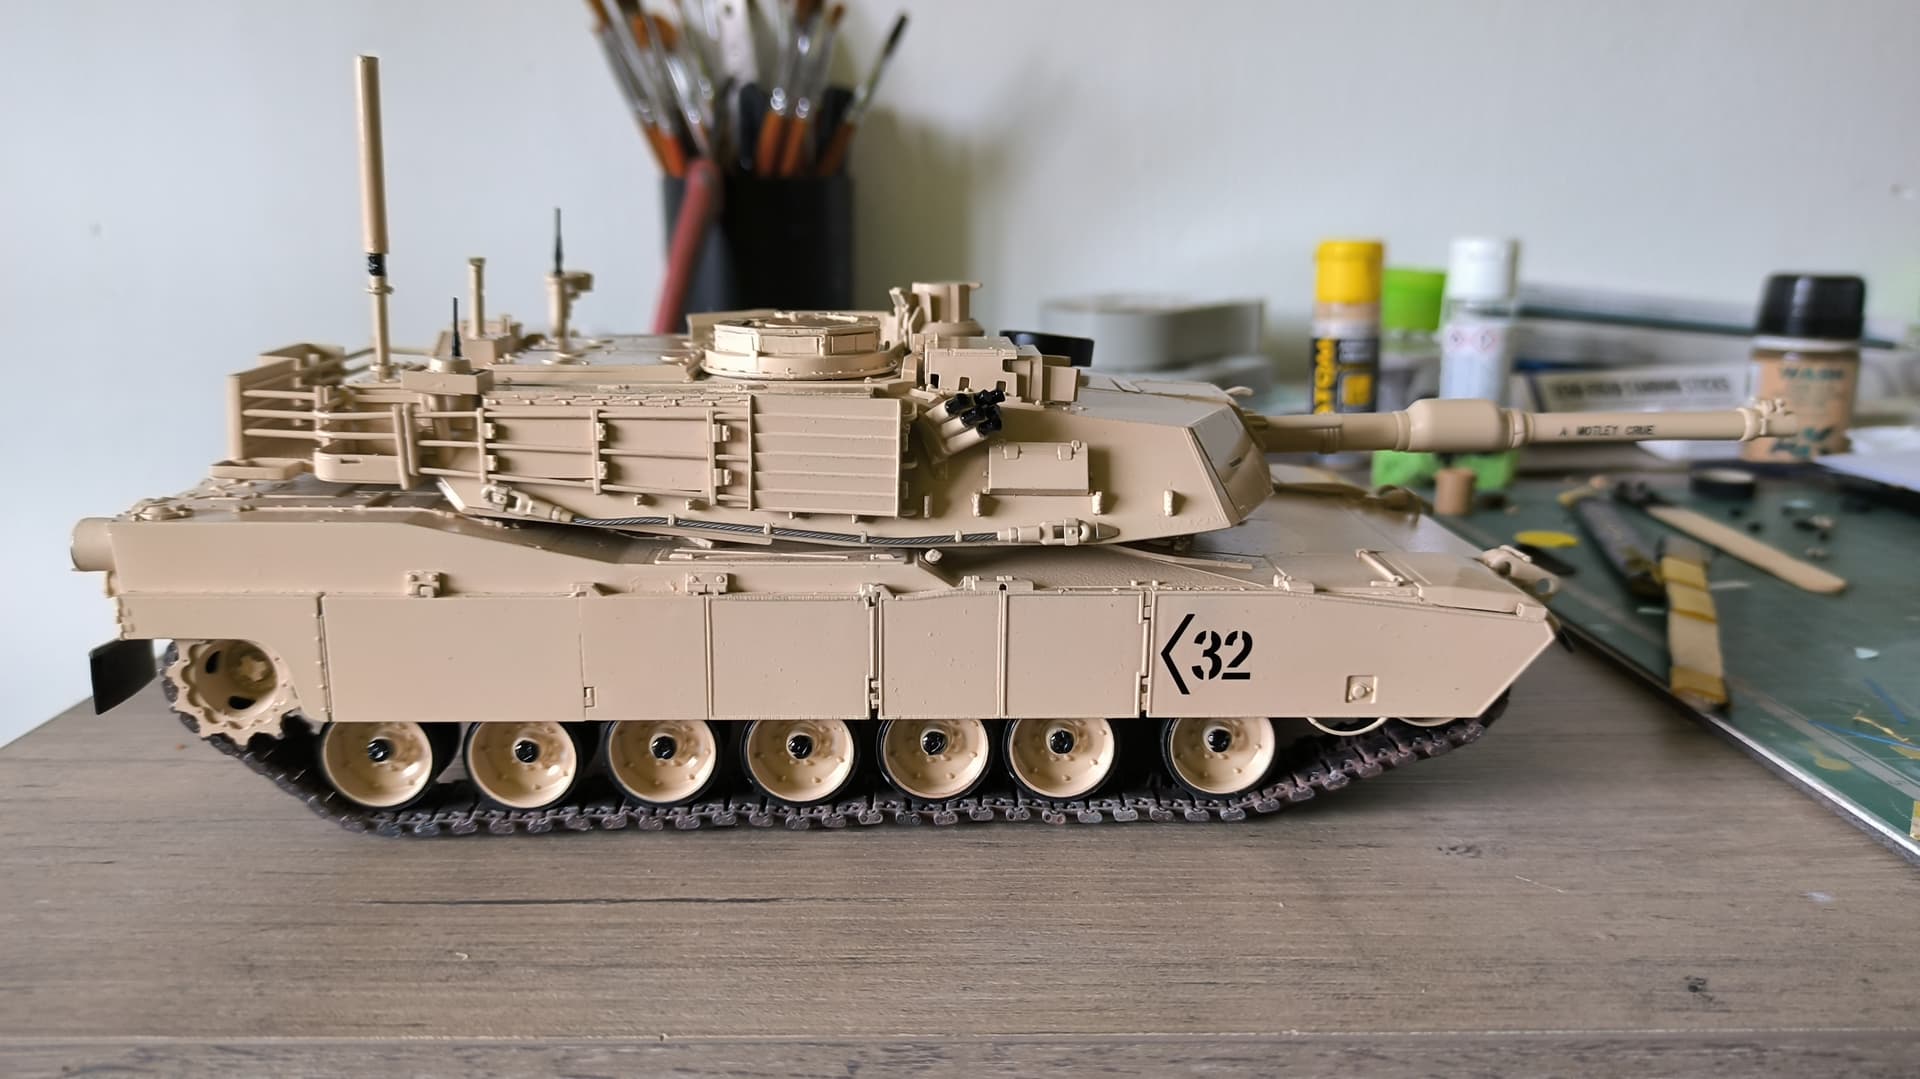
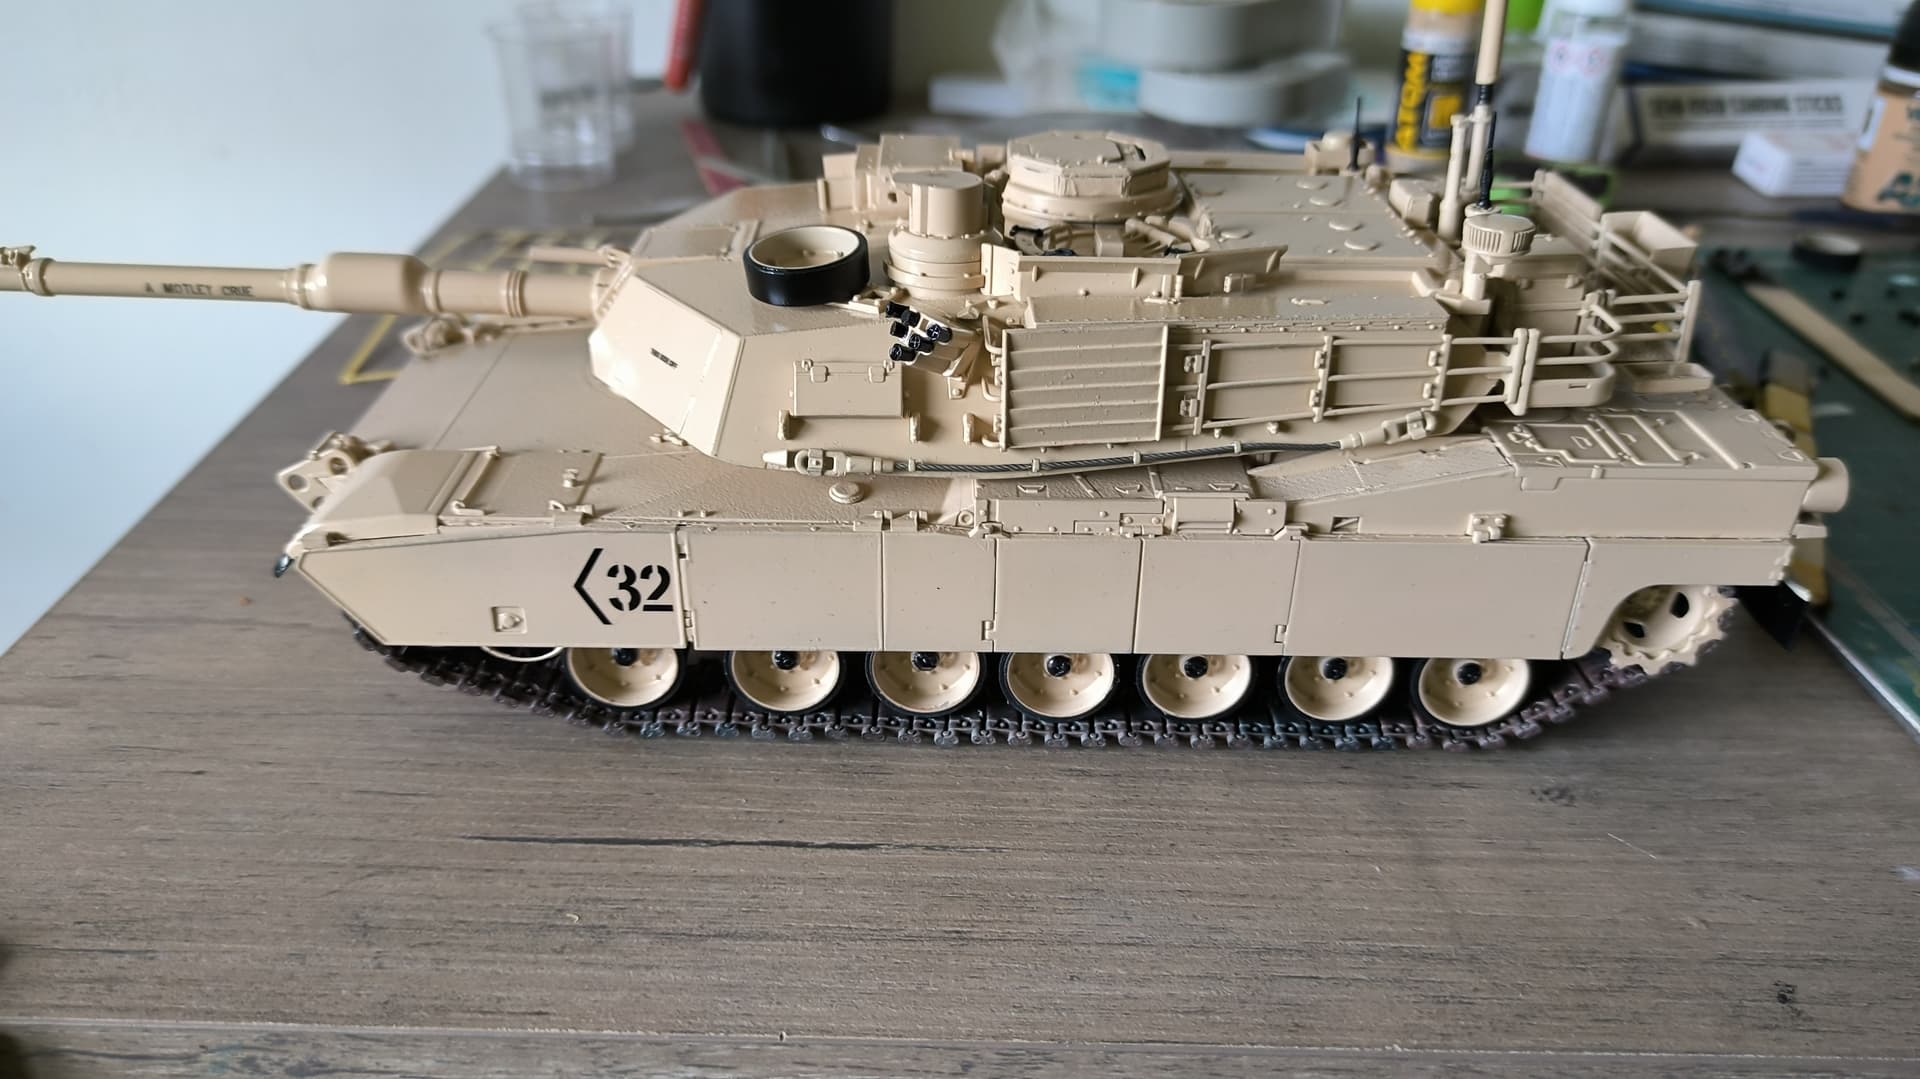
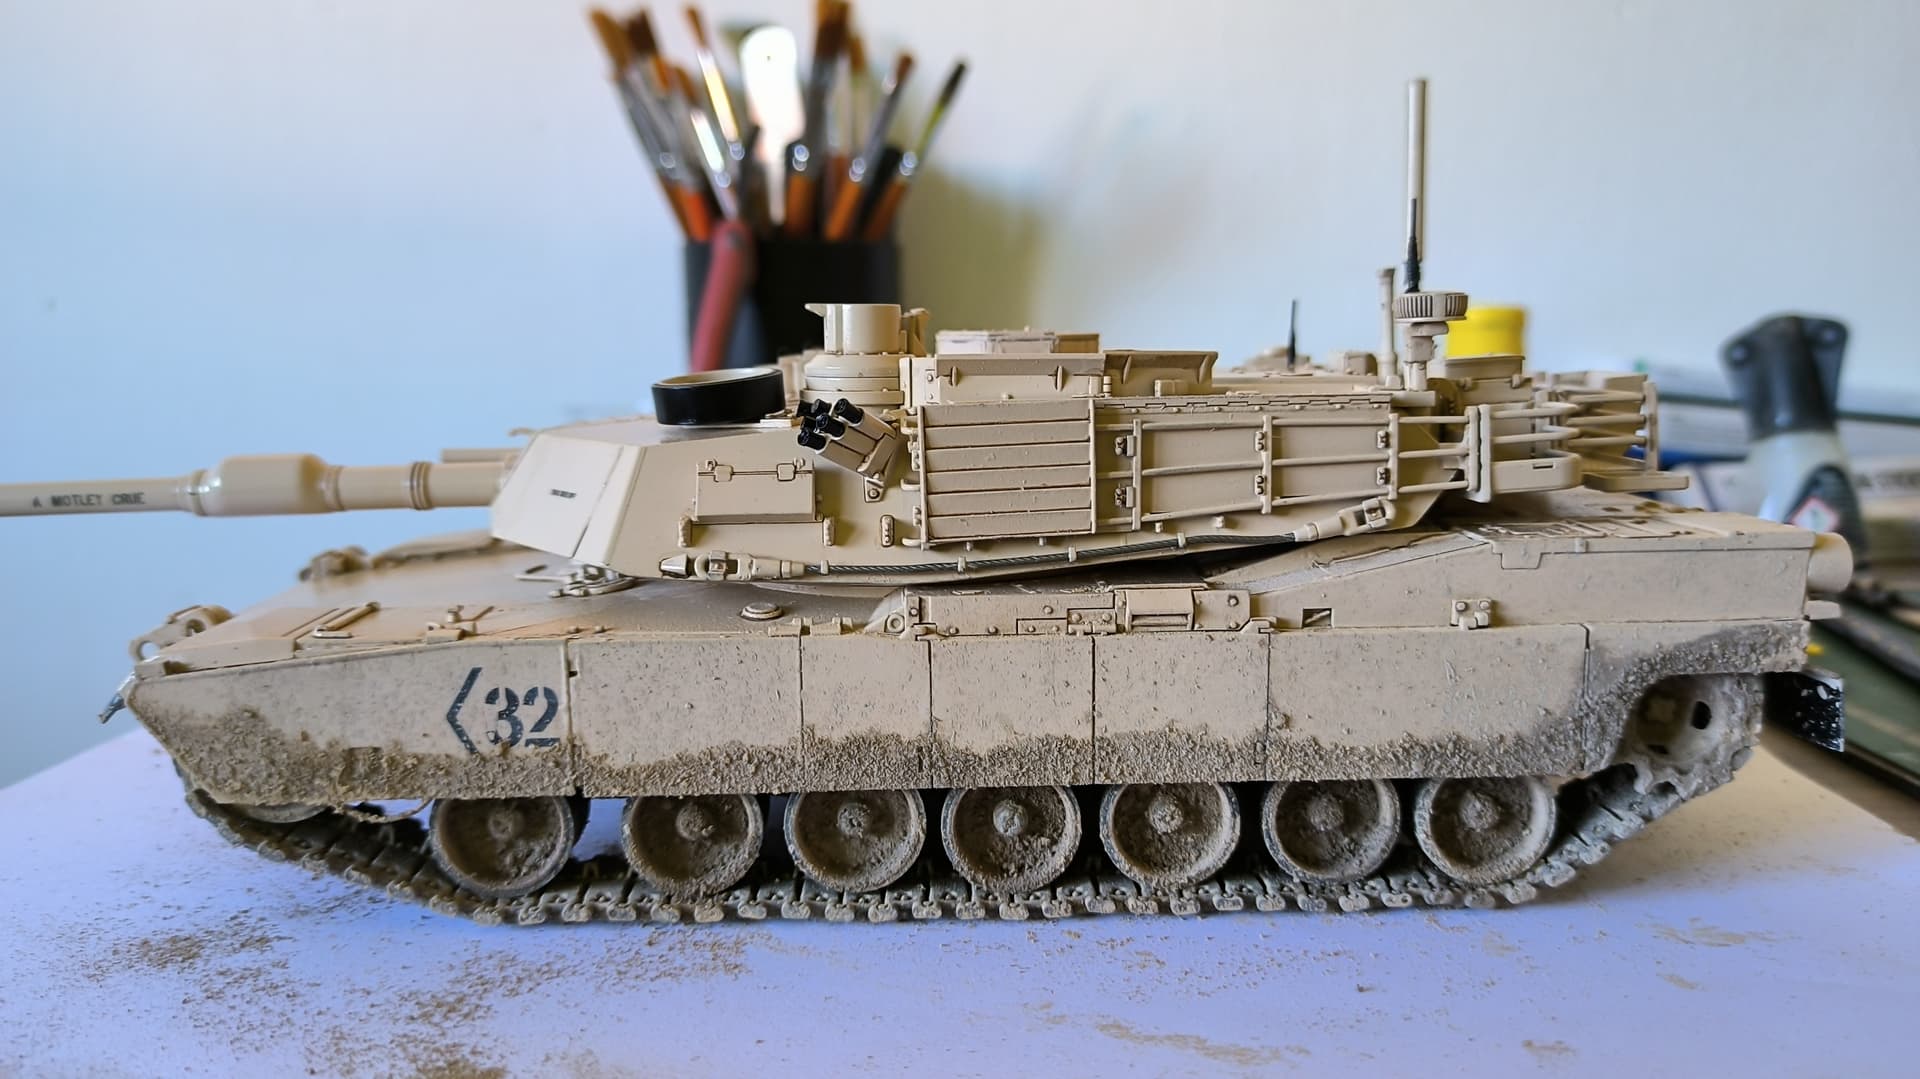
well guys, small progress and corrections, yesterday I varnished in gloss (another coat) today I repainted the green part of the cannon the cannon because I screwed it up with the cannon decals and I’m going to do the “motley crue” version, I had to take off the basket of the turret because it was a bit tilted, and I removed the side parts because I had put them upside down, don’t be scared by the photos the black of the fence will not be seen, and finally the decals. … they remind me a little to the tamiya decals, I think they are a little thick …
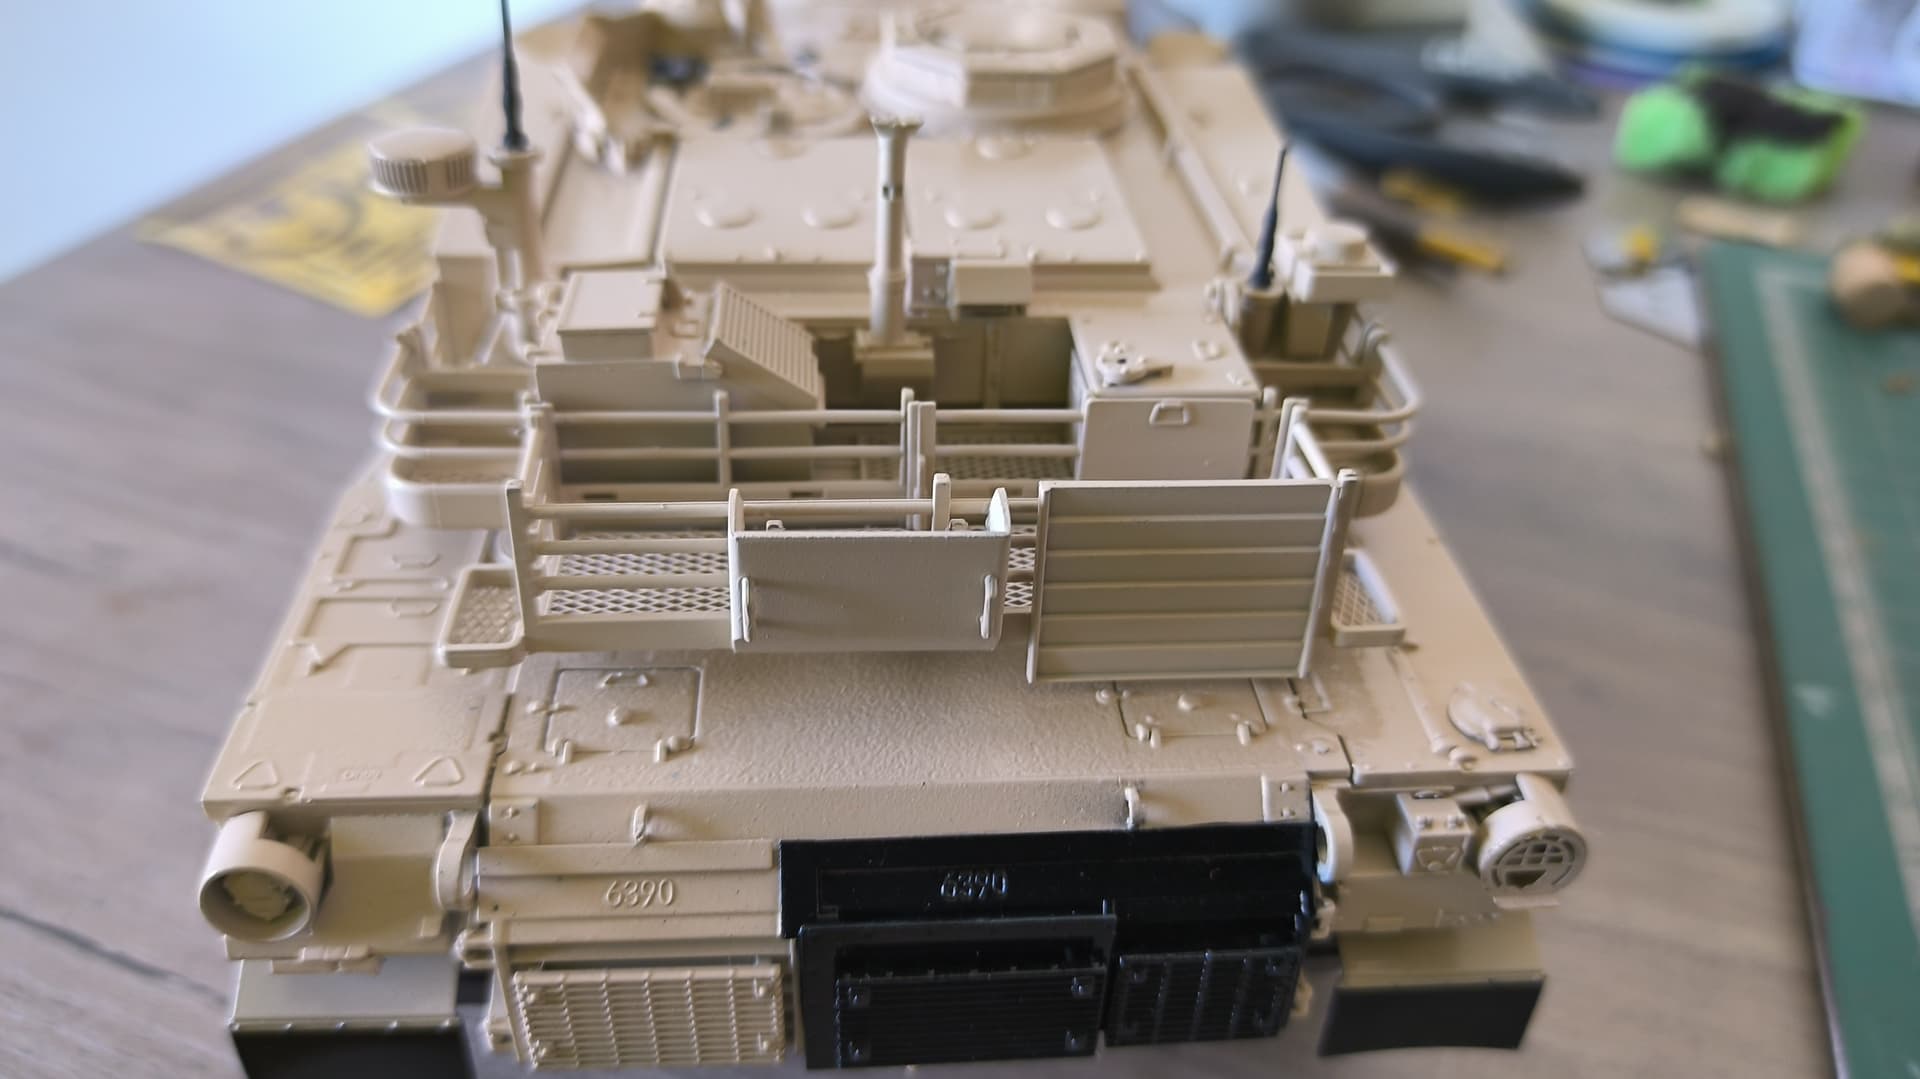


edit: well, I have re-varnished the decal area, and if at least for me the decals are too thick, the good thing is that I will hide it with pigments and dirt.
8 Likes
Really nice build and paint on this one … Great job
3 Likes
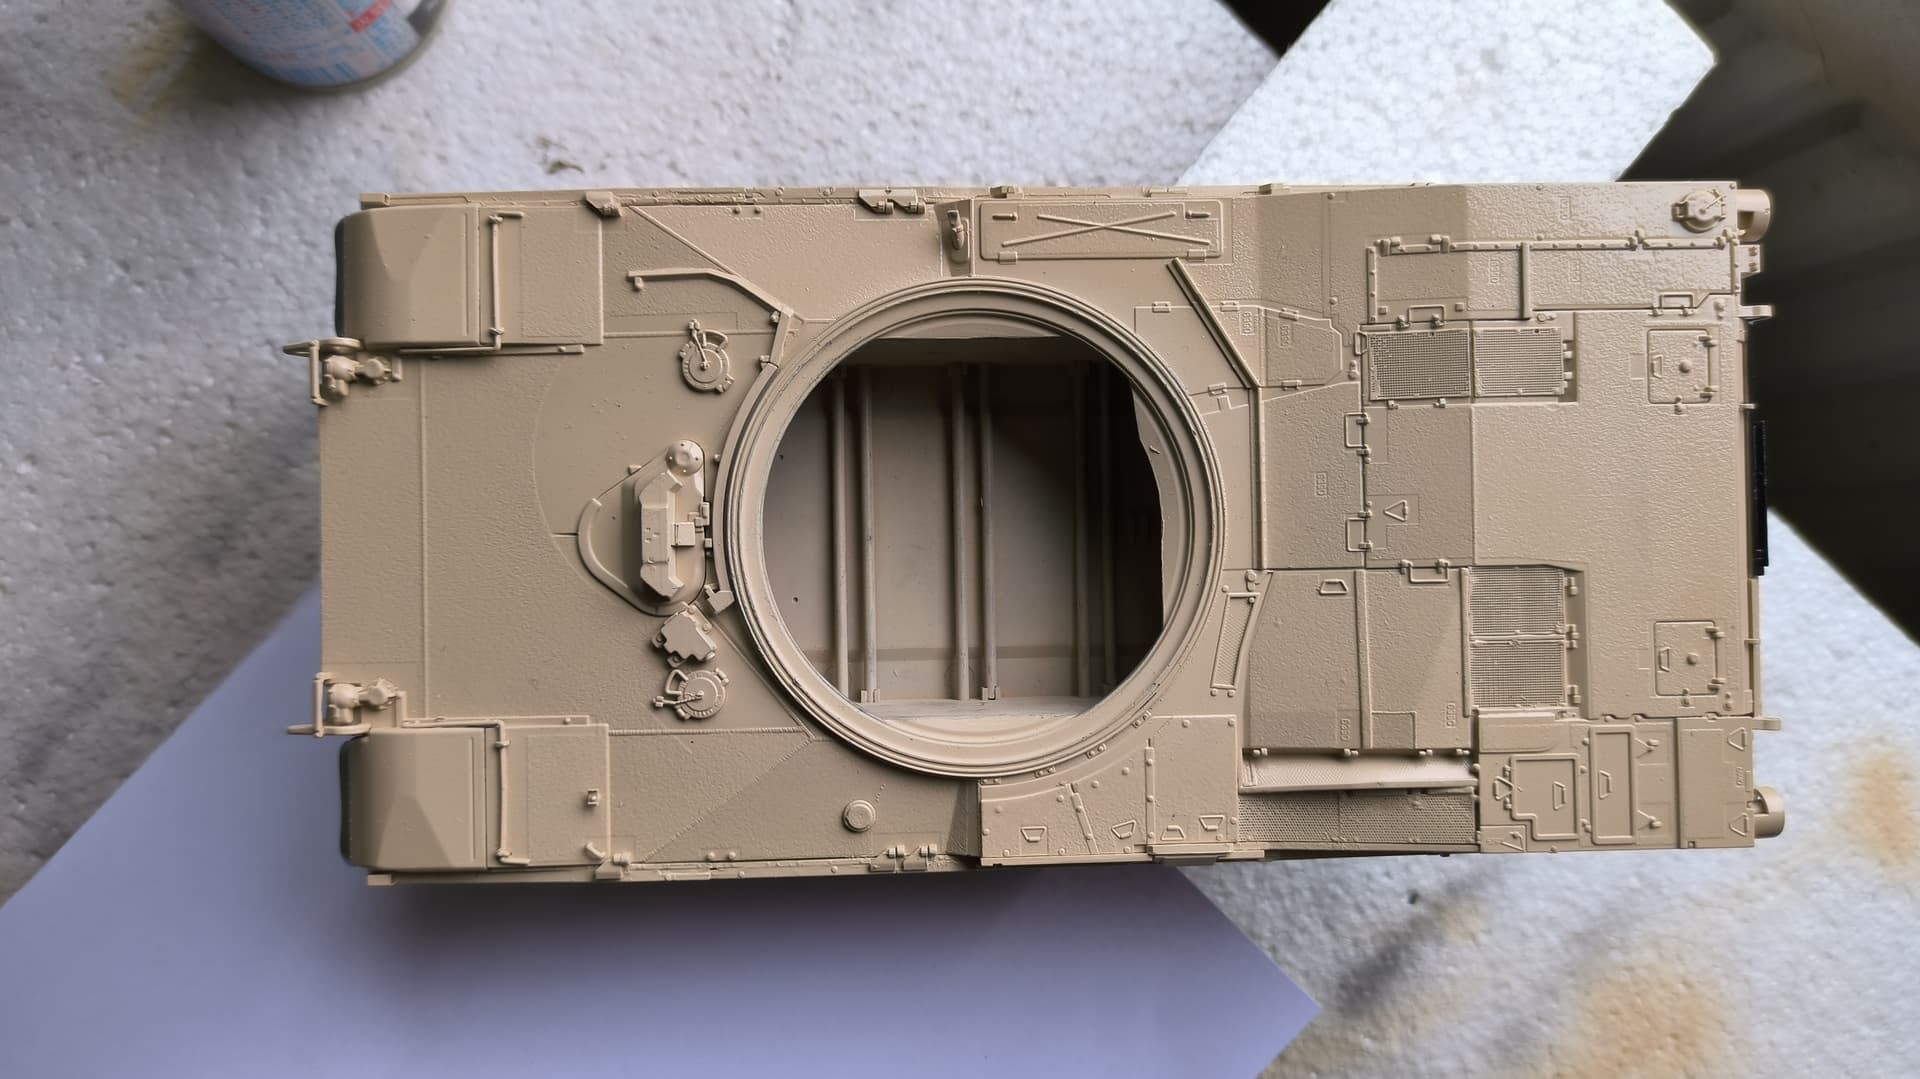
Thank you!! I apologize for being absent, I have had some bad days, today I finished putting the decals and put the last coat of varnish, tomorrow I will start with the panel lines and then I will have to get dirty.
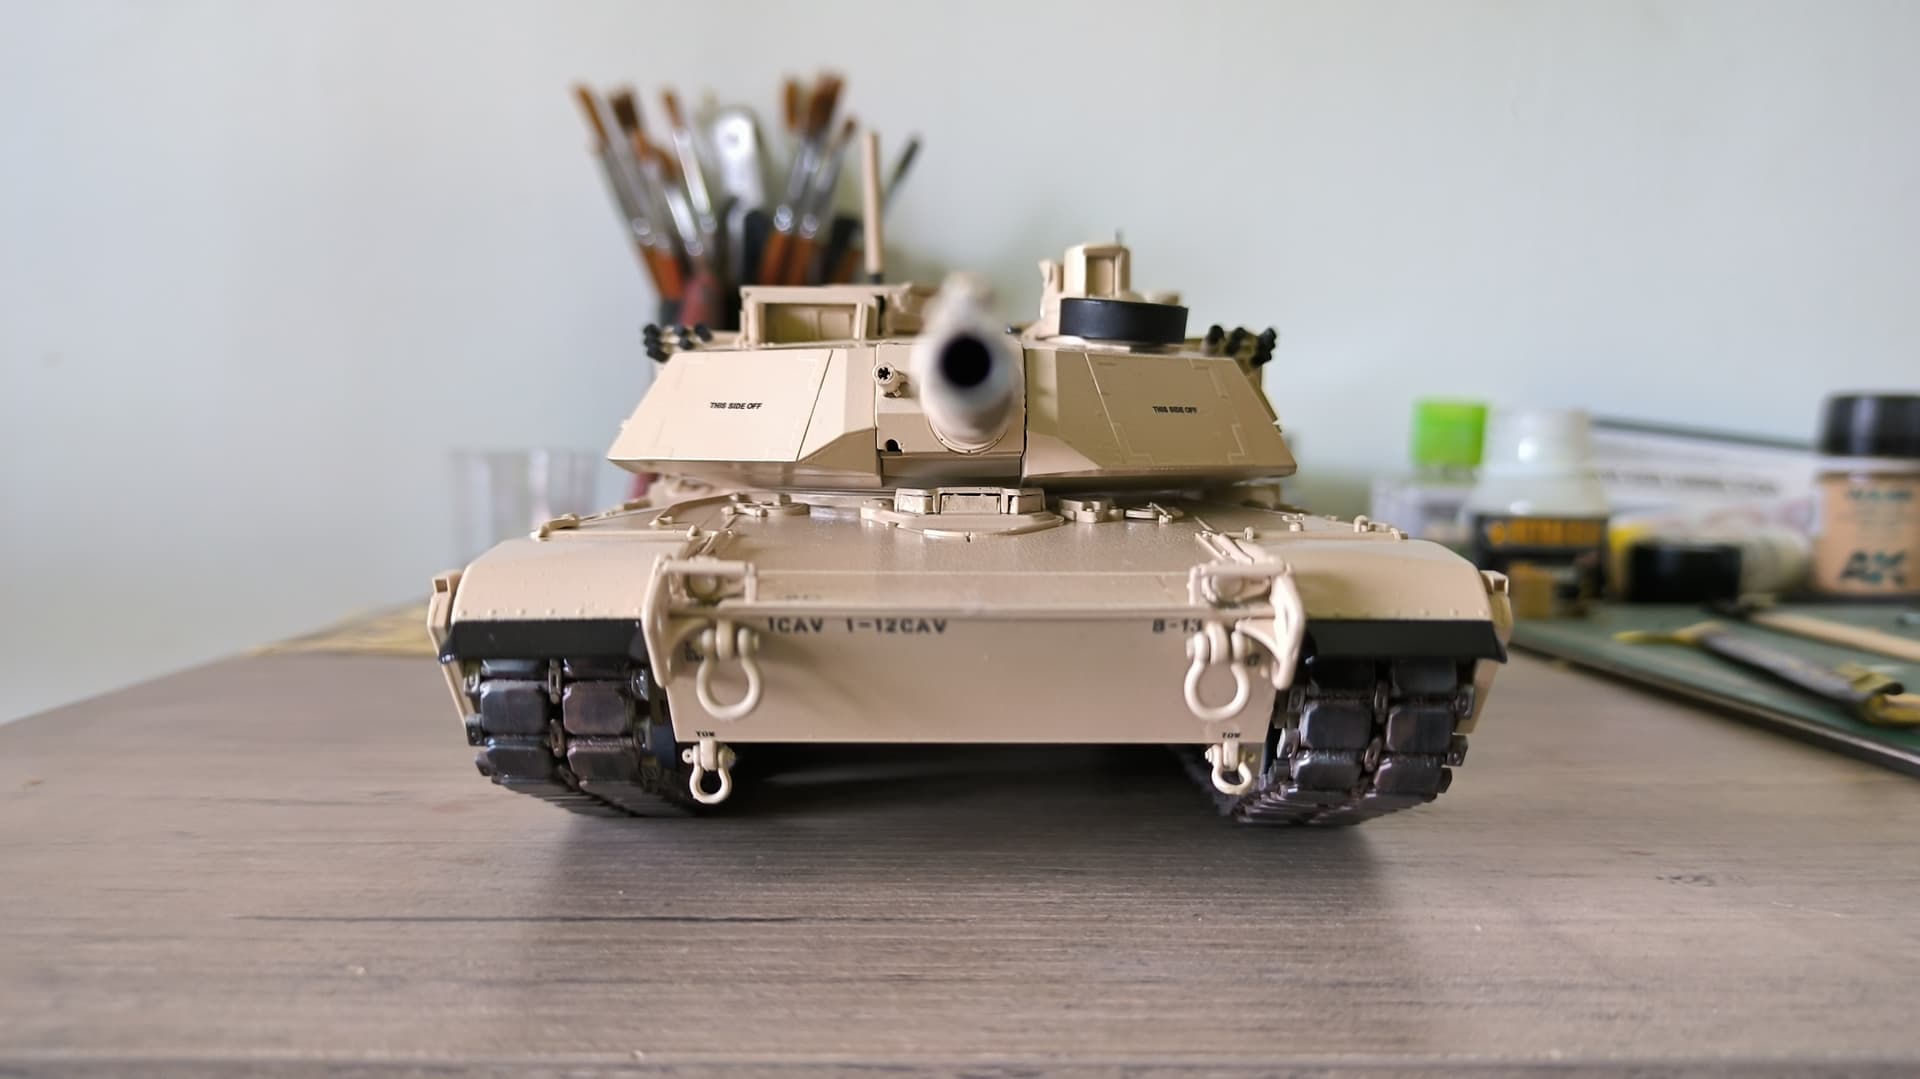

9 Likes
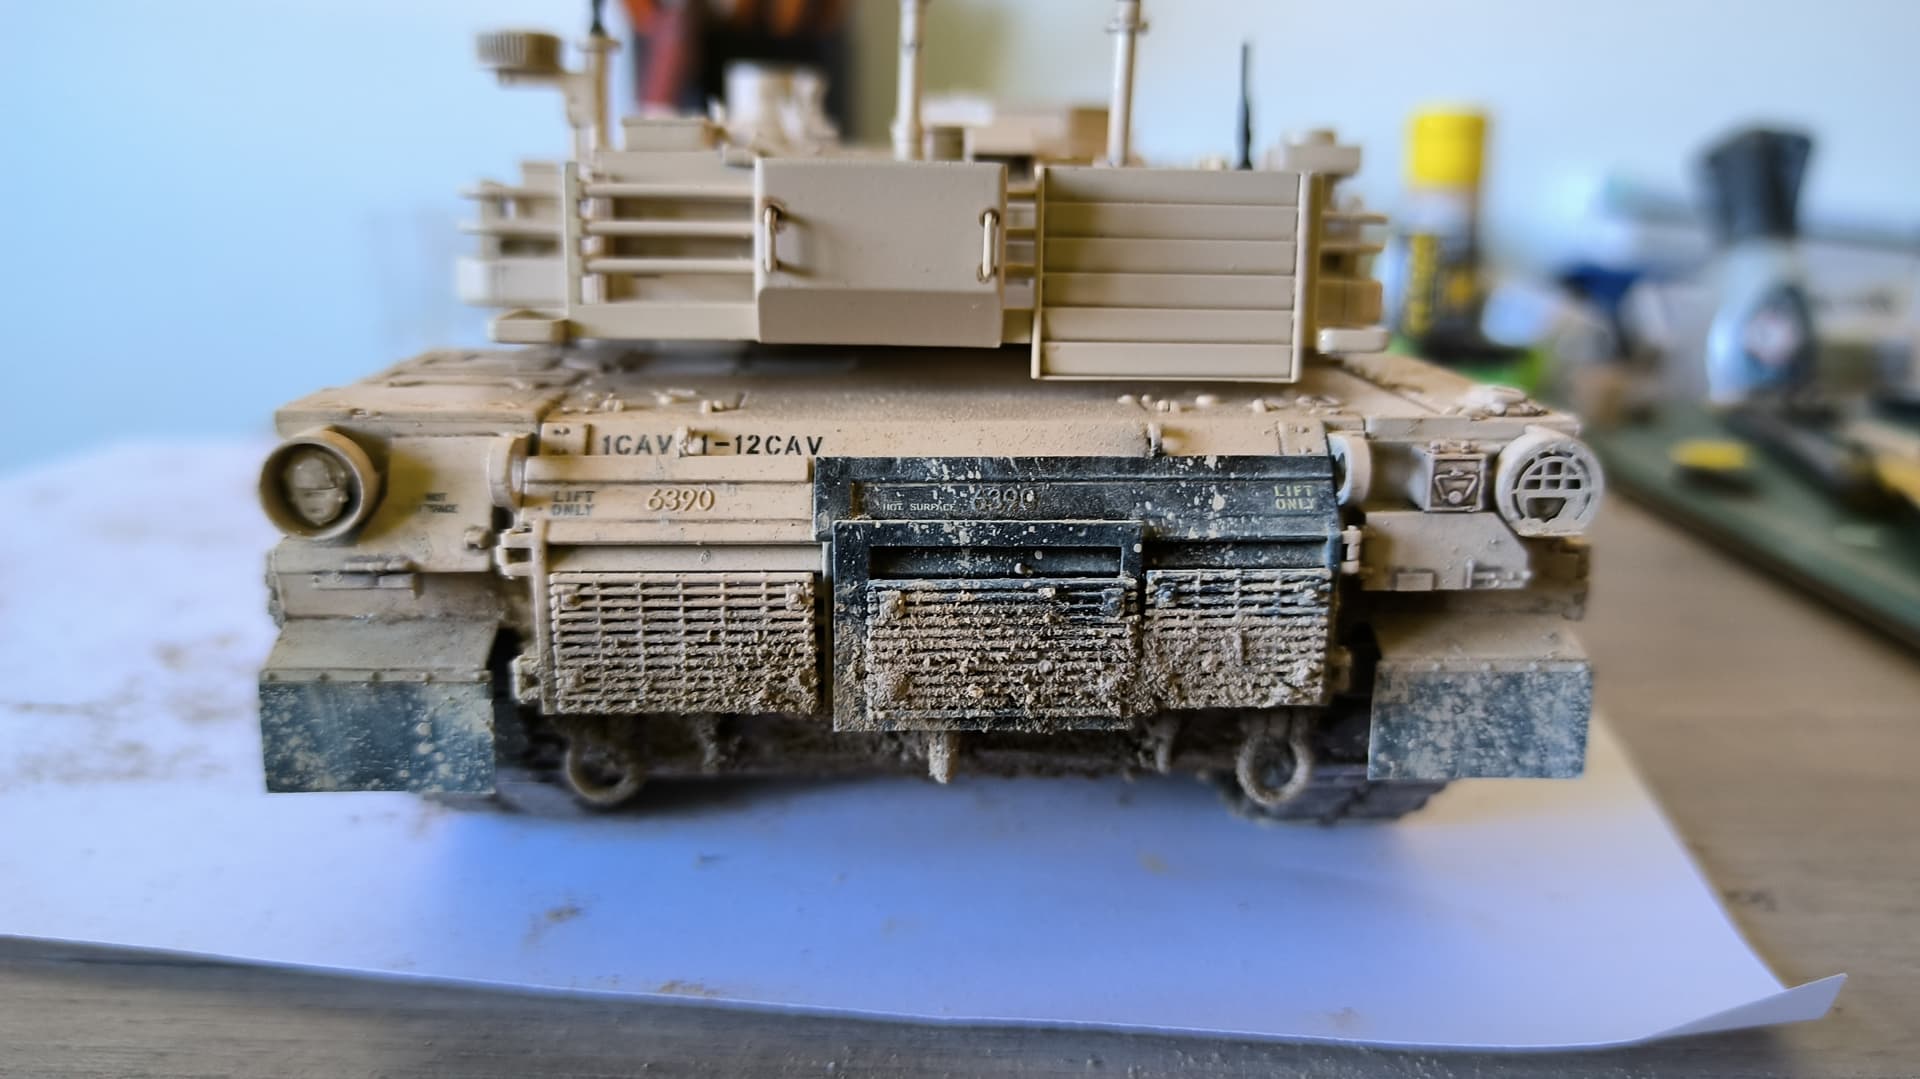
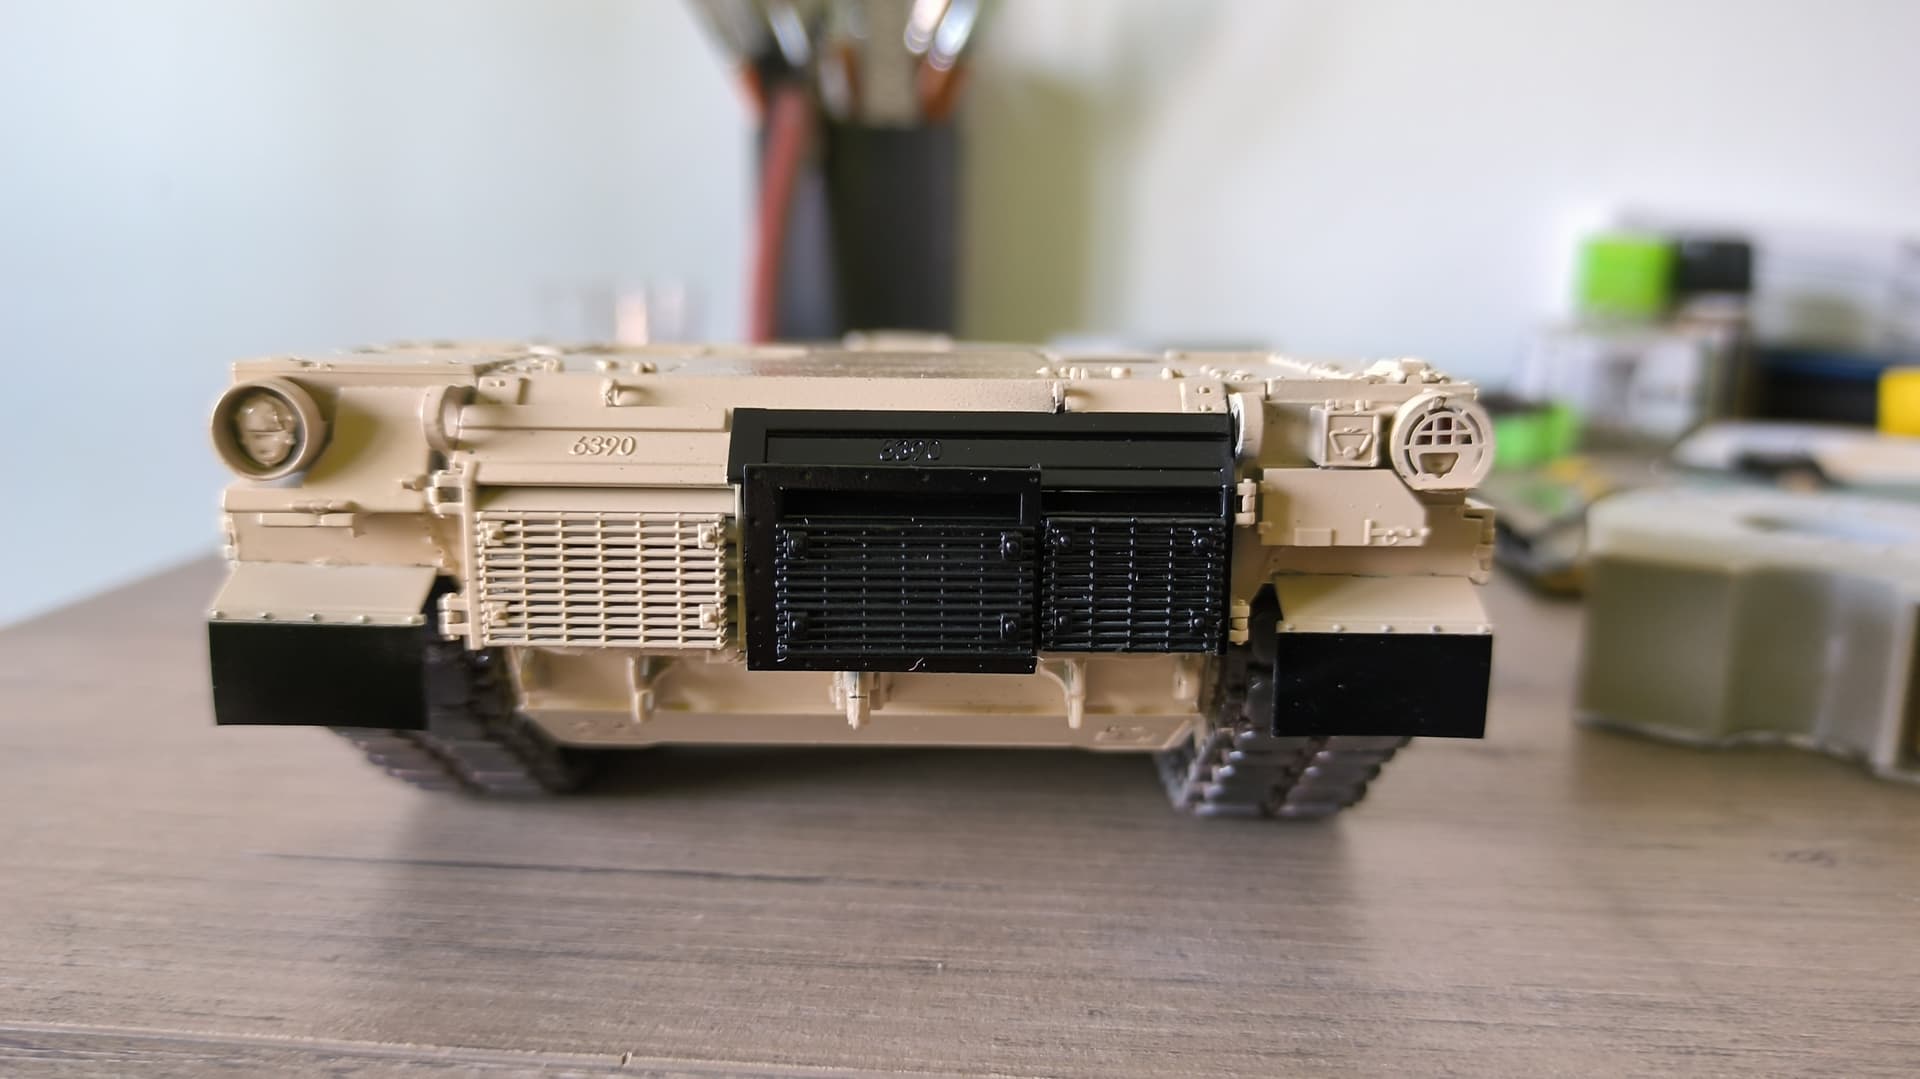
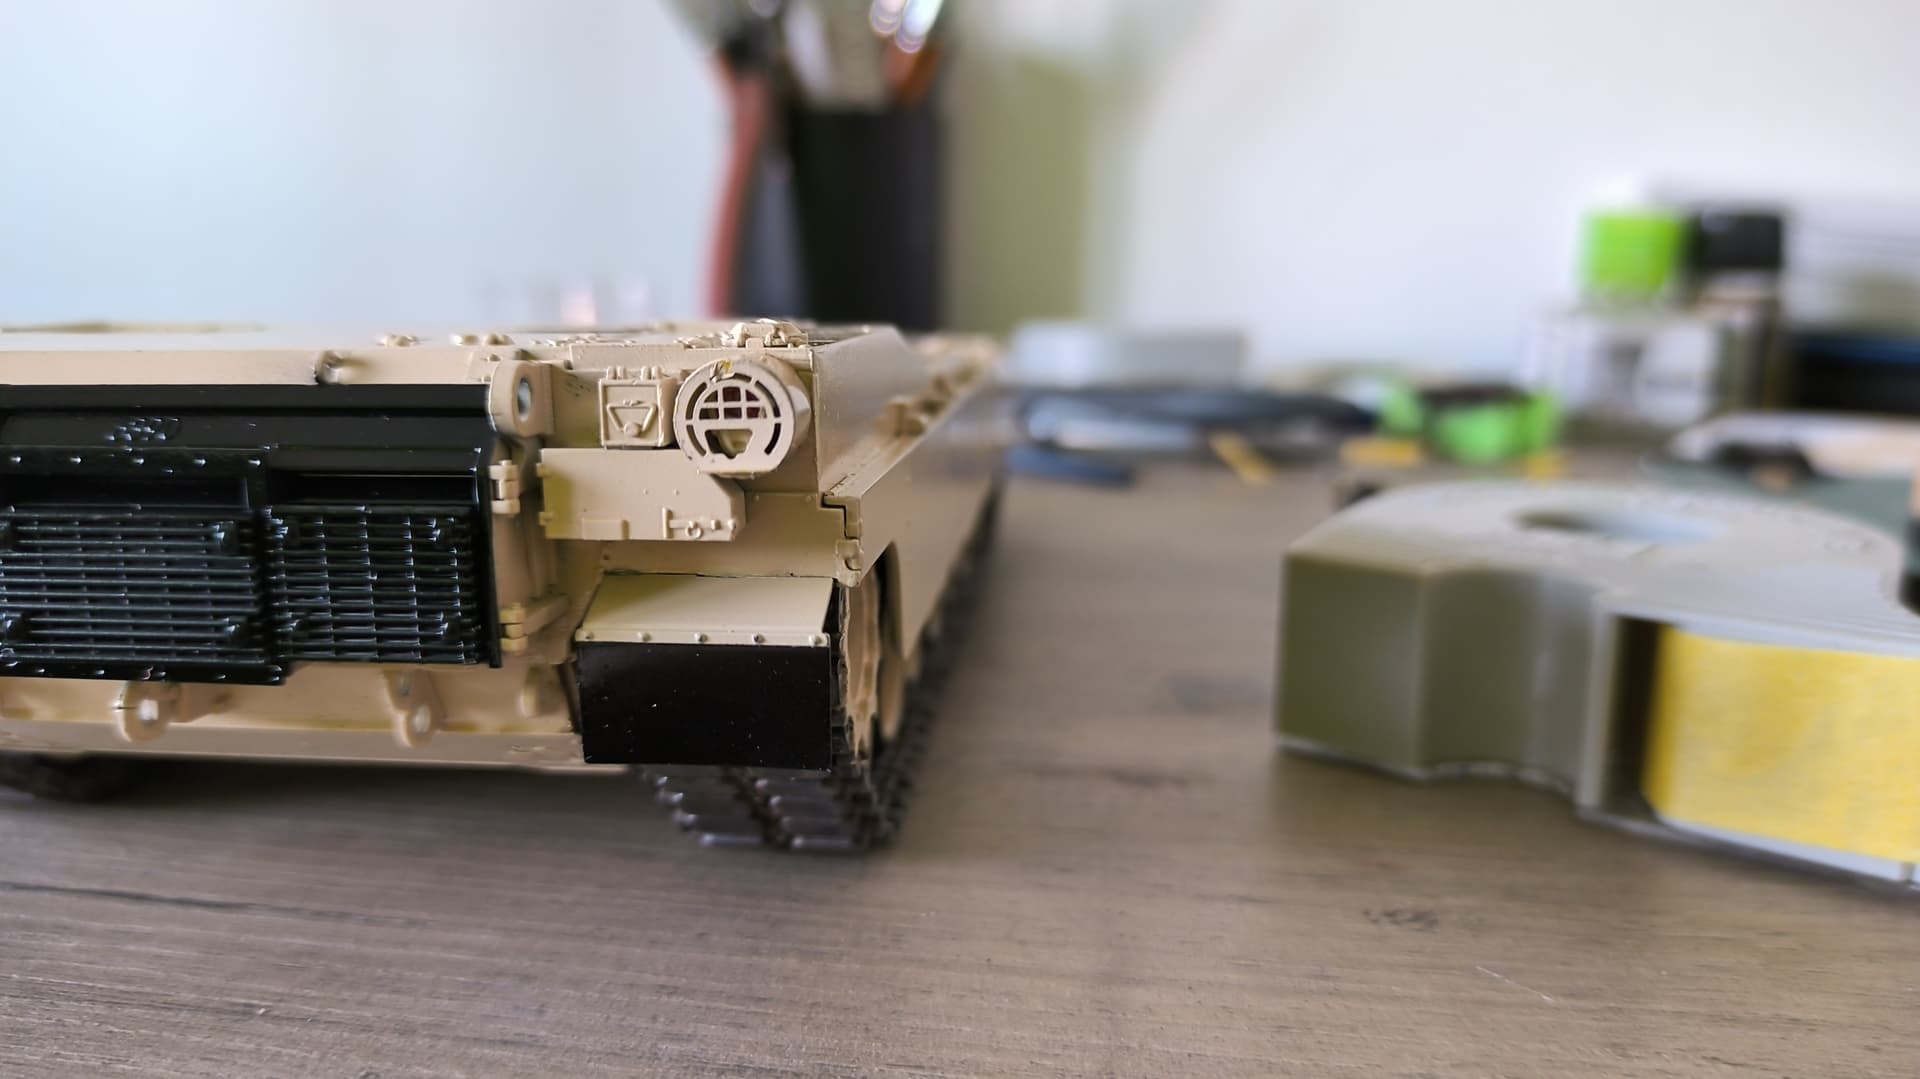
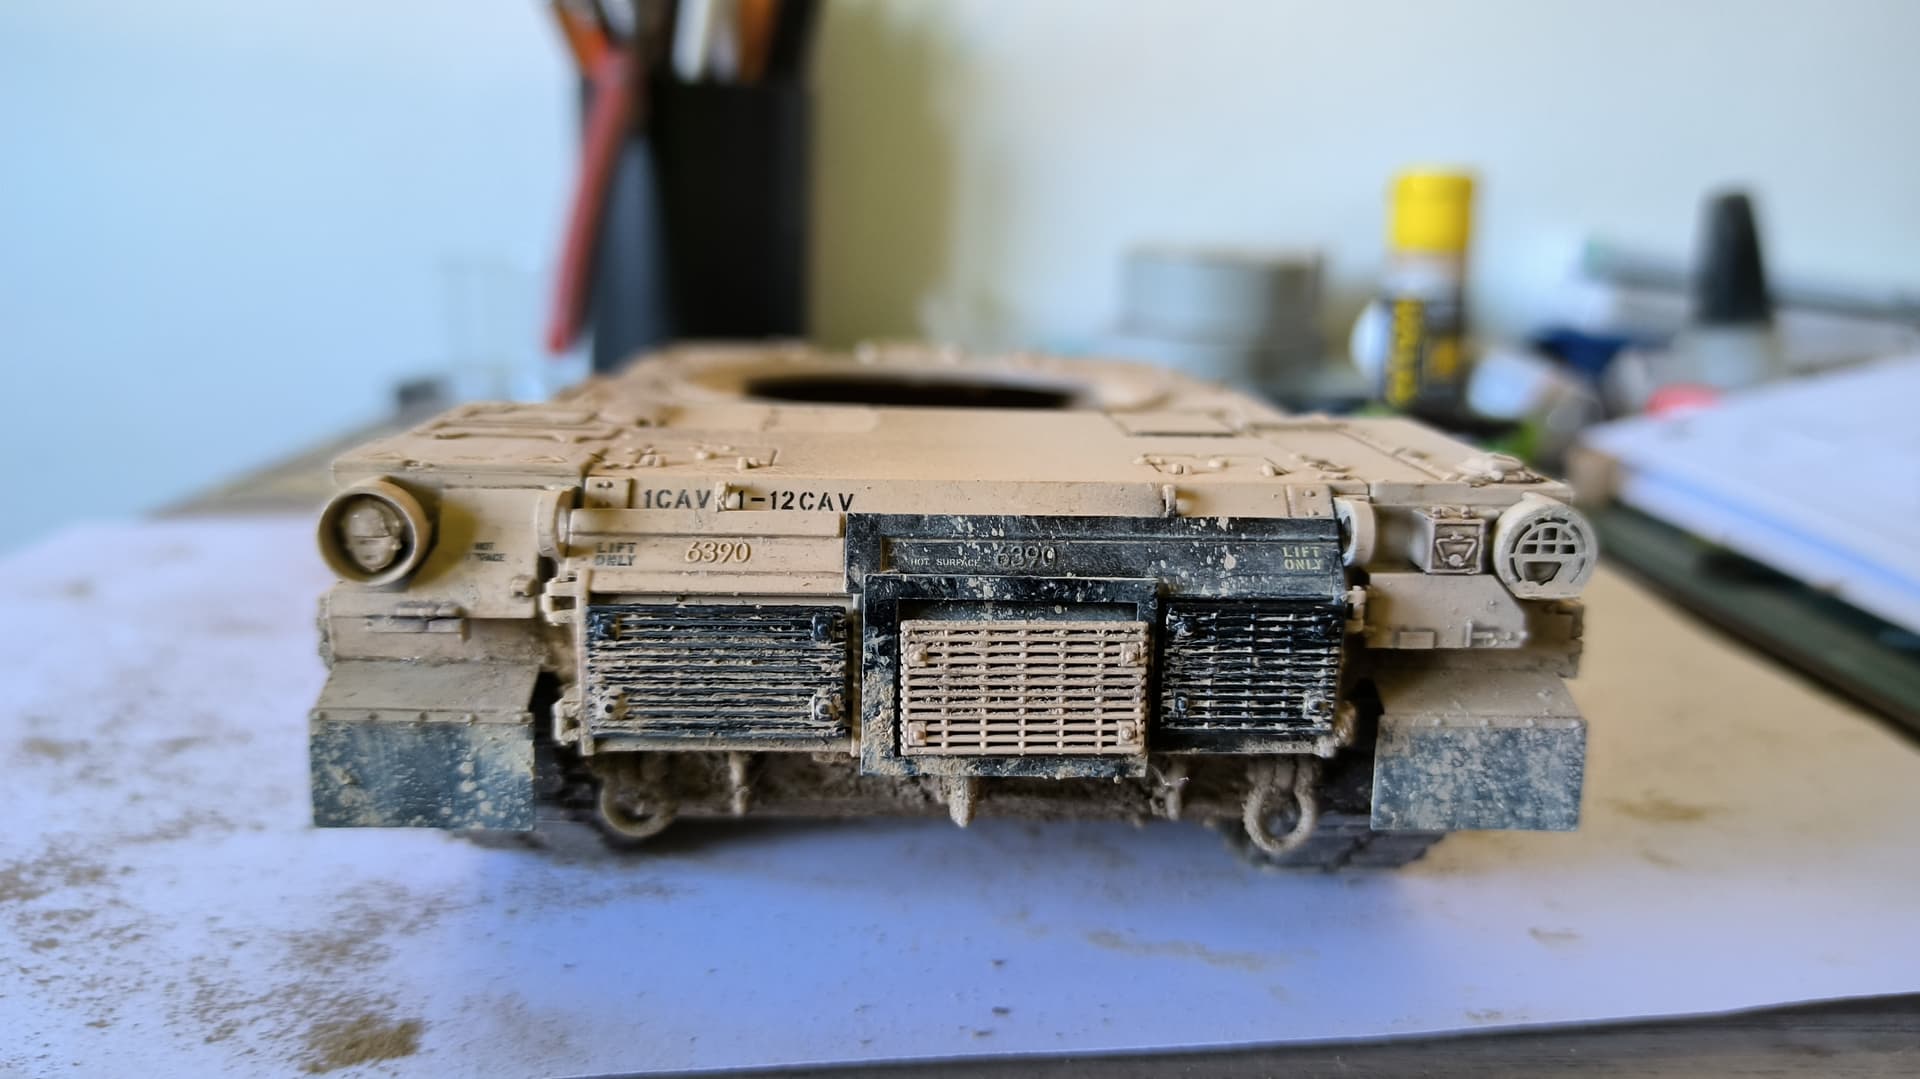
Looking nice, but the rear grills should not have all that stuff there. Air and exhaust are blown out of those grills under pressure whenever the engine is running, so nothing would accumulate.
Ken
4 Likes
good point, I will remove it, let’s see if it doesn’t cost me too much… thank you!!
2 Likes
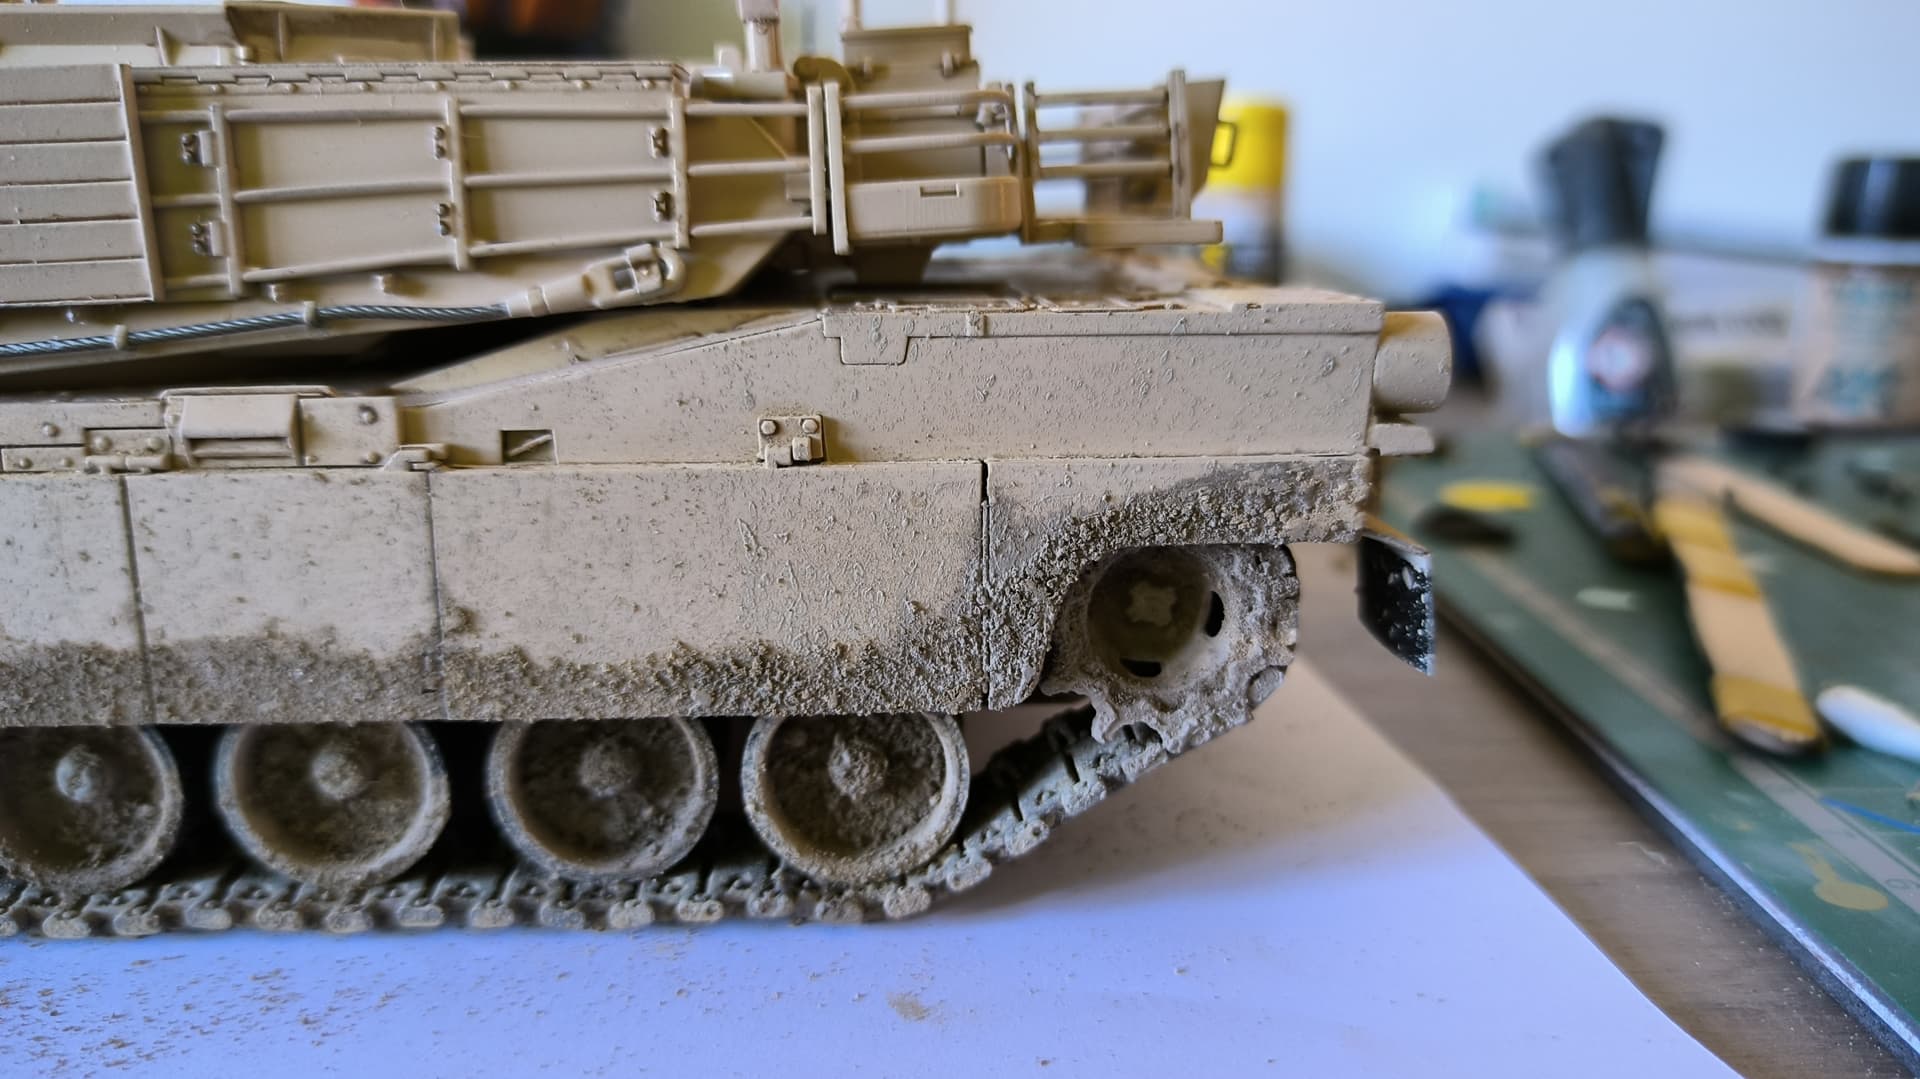
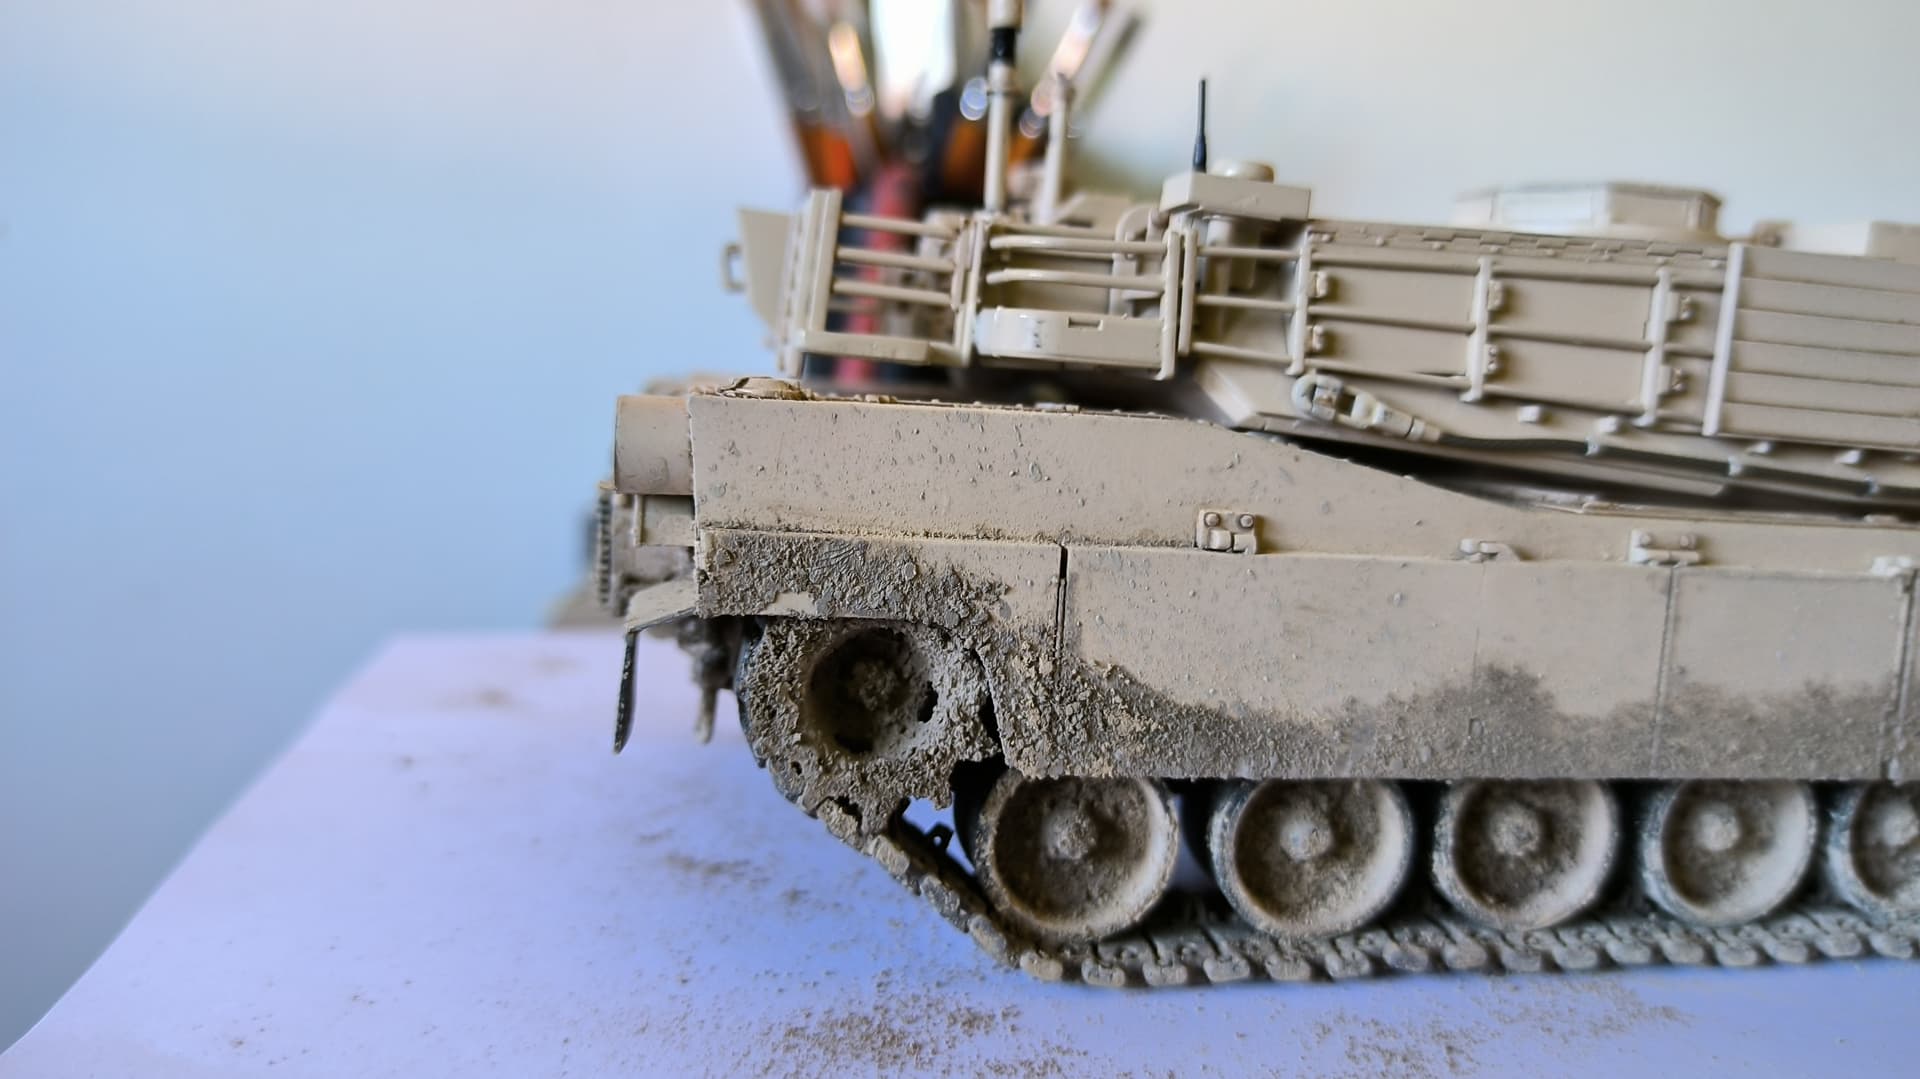
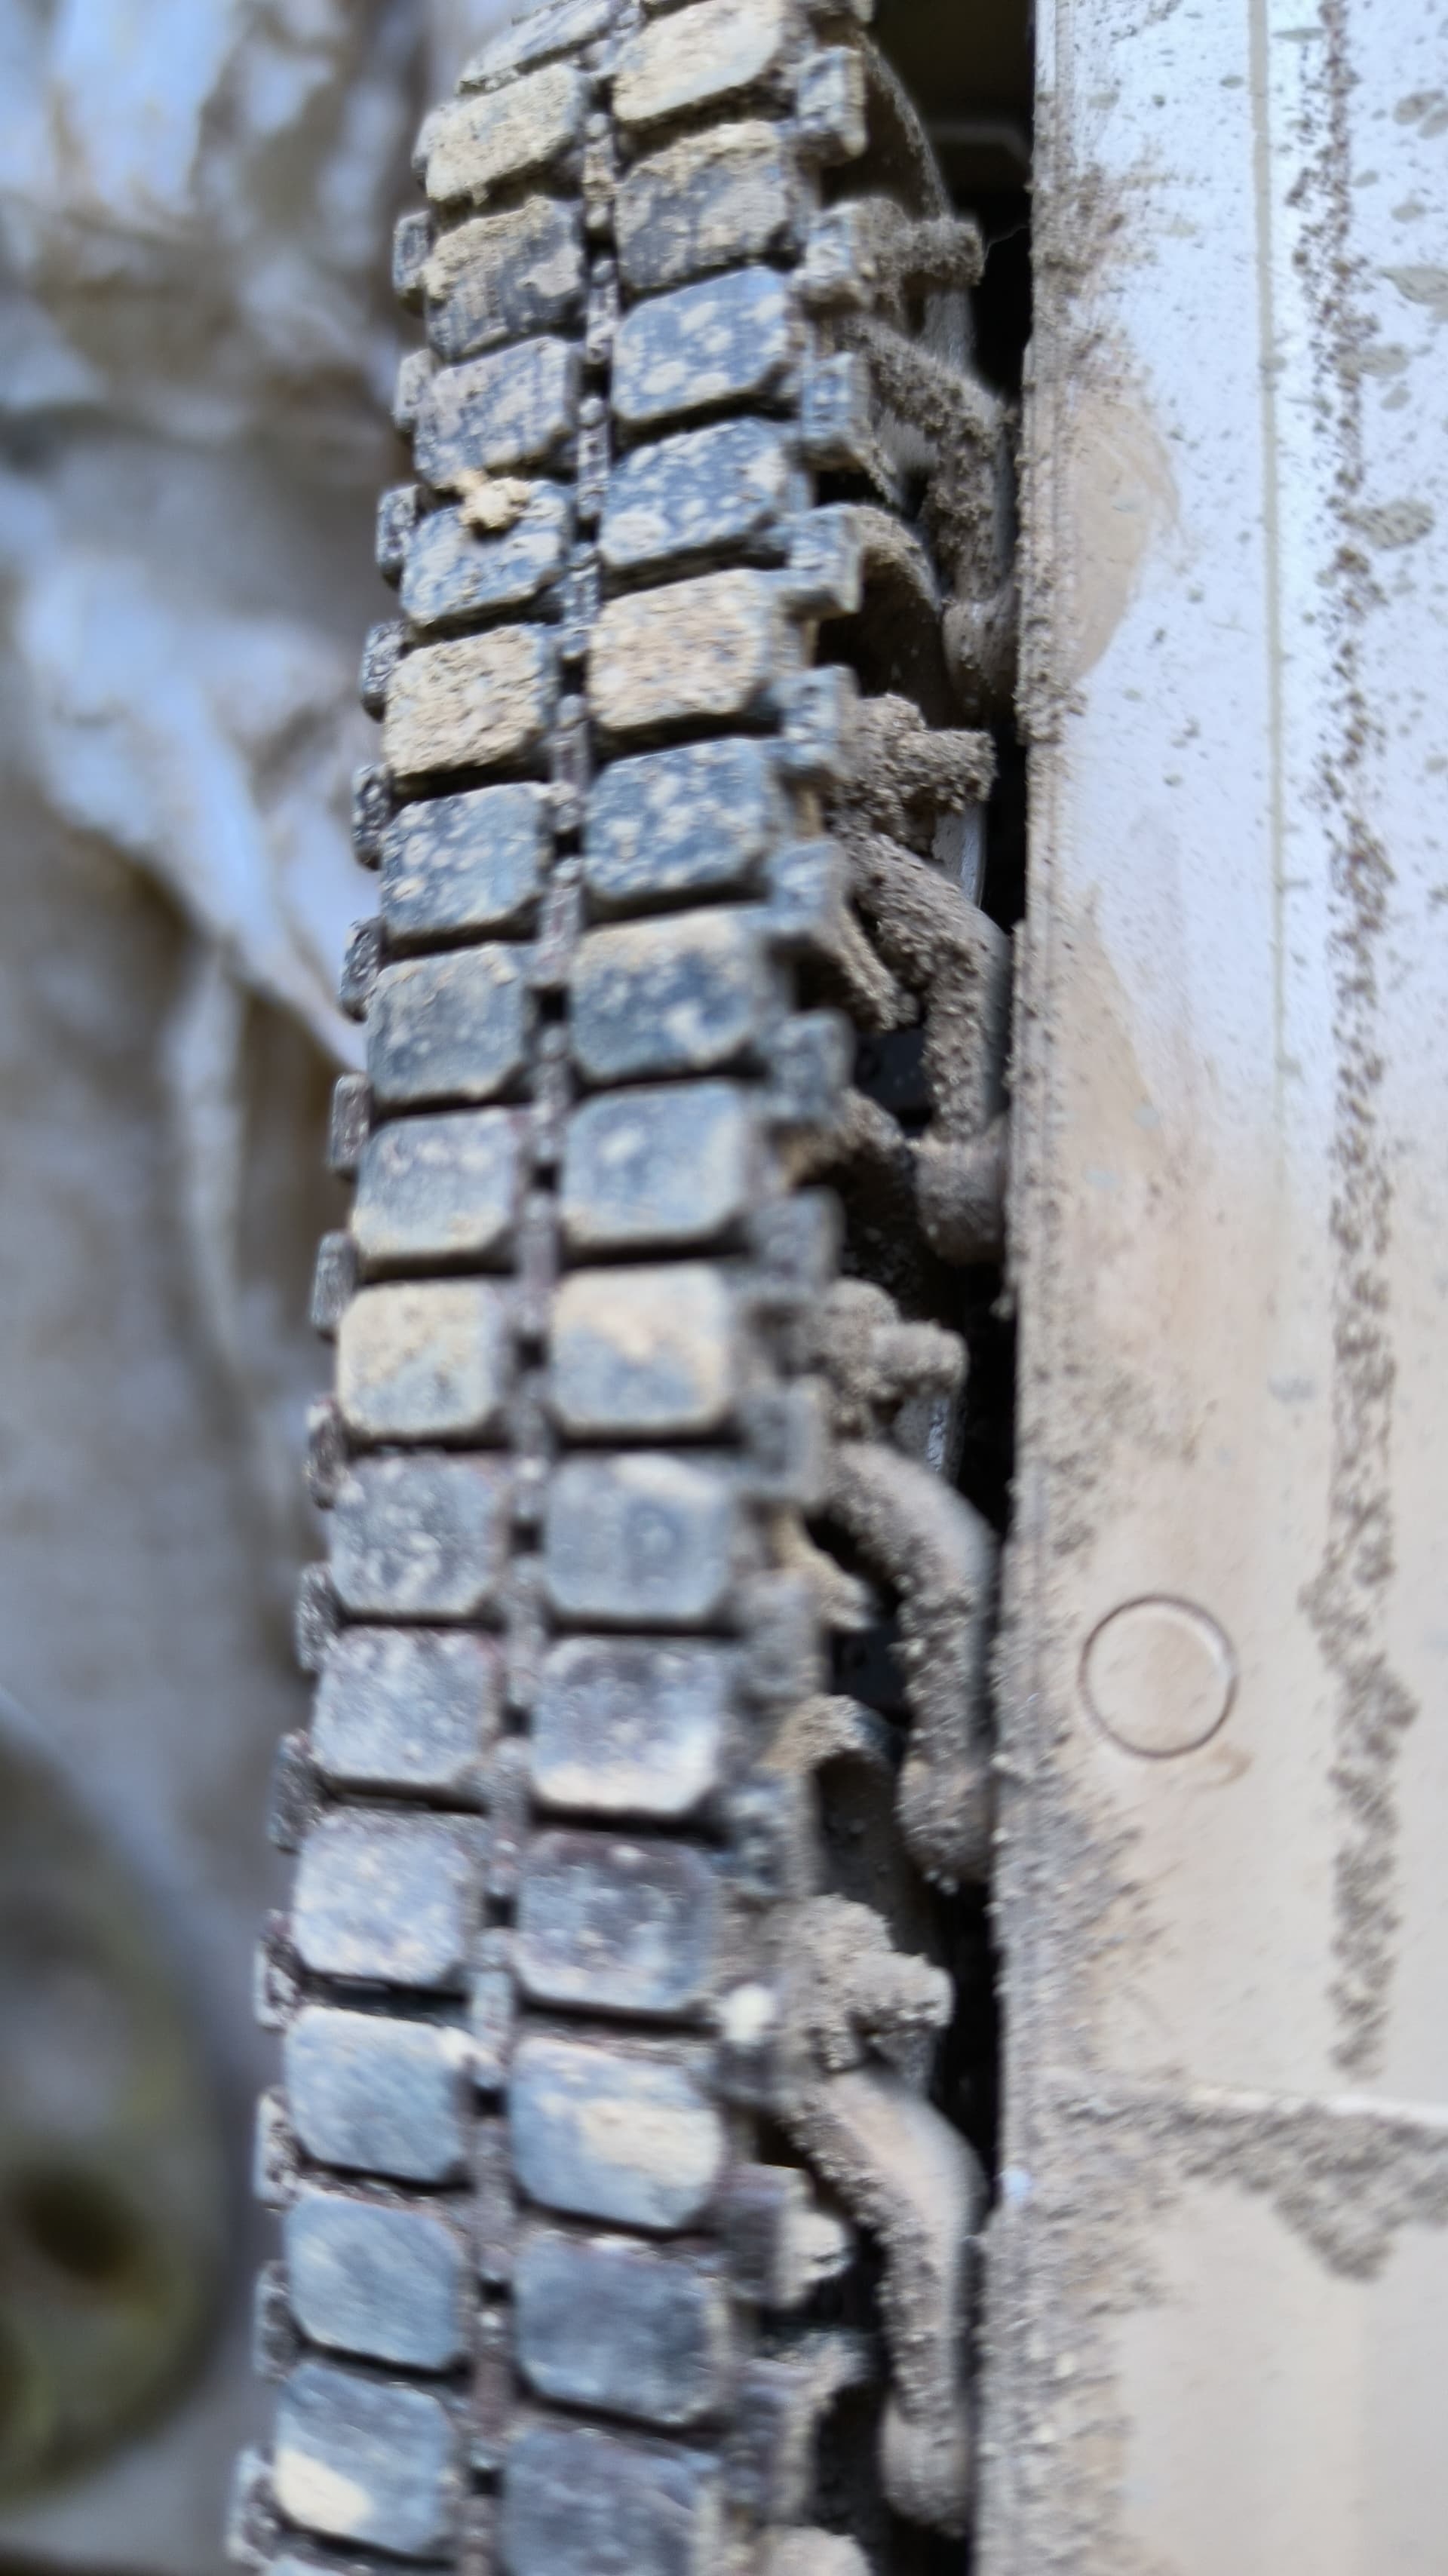
Apart from what Ken said, that looks nice … and the balance of dirt is good, yes, there’s a fair bit of it which some may not like, but it’s even and well placed… ![]() I would just say though, with that much crap on the running gear the inside of the rear mud flaps would be covered…
I would just say though, with that much crap on the running gear the inside of the rear mud flaps would be covered…
2 Likes
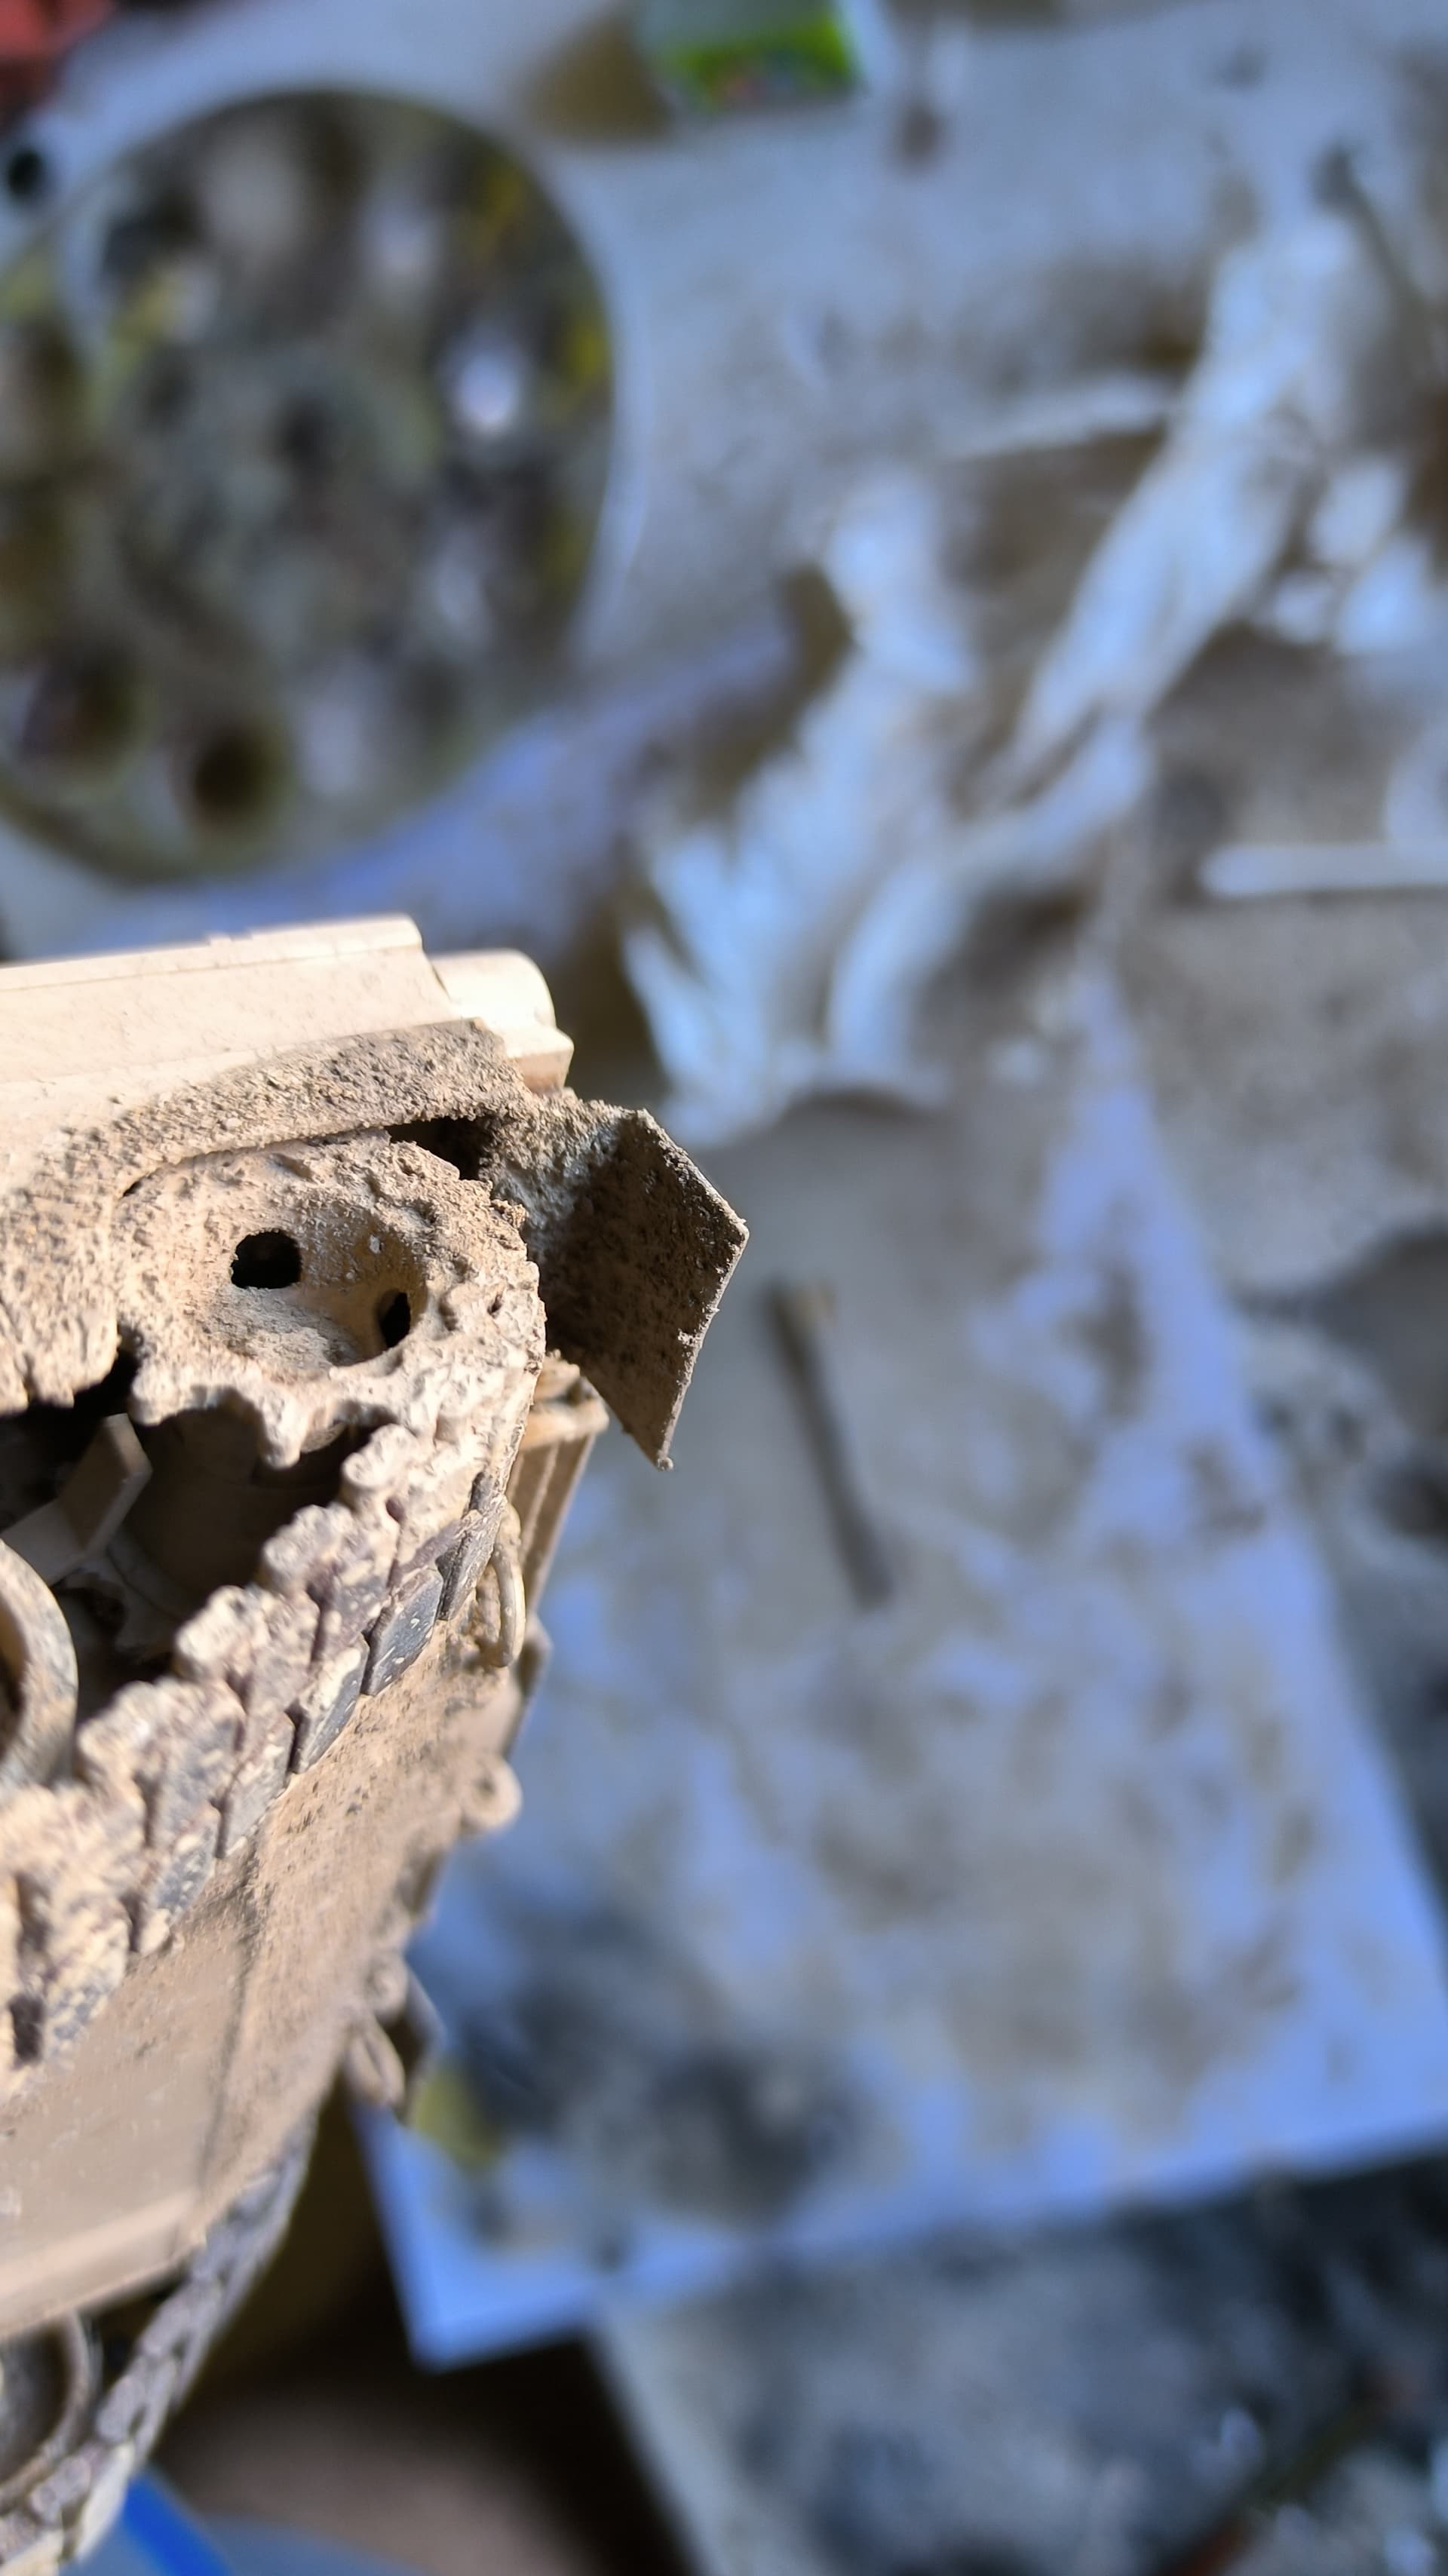
Thank you!! I’ve touched it up a bit, I mean the inside of the fenders would be dirty, right? tomorrow I will do it and I think you will like it, by the way… be careful with the fenders, they are delicate.
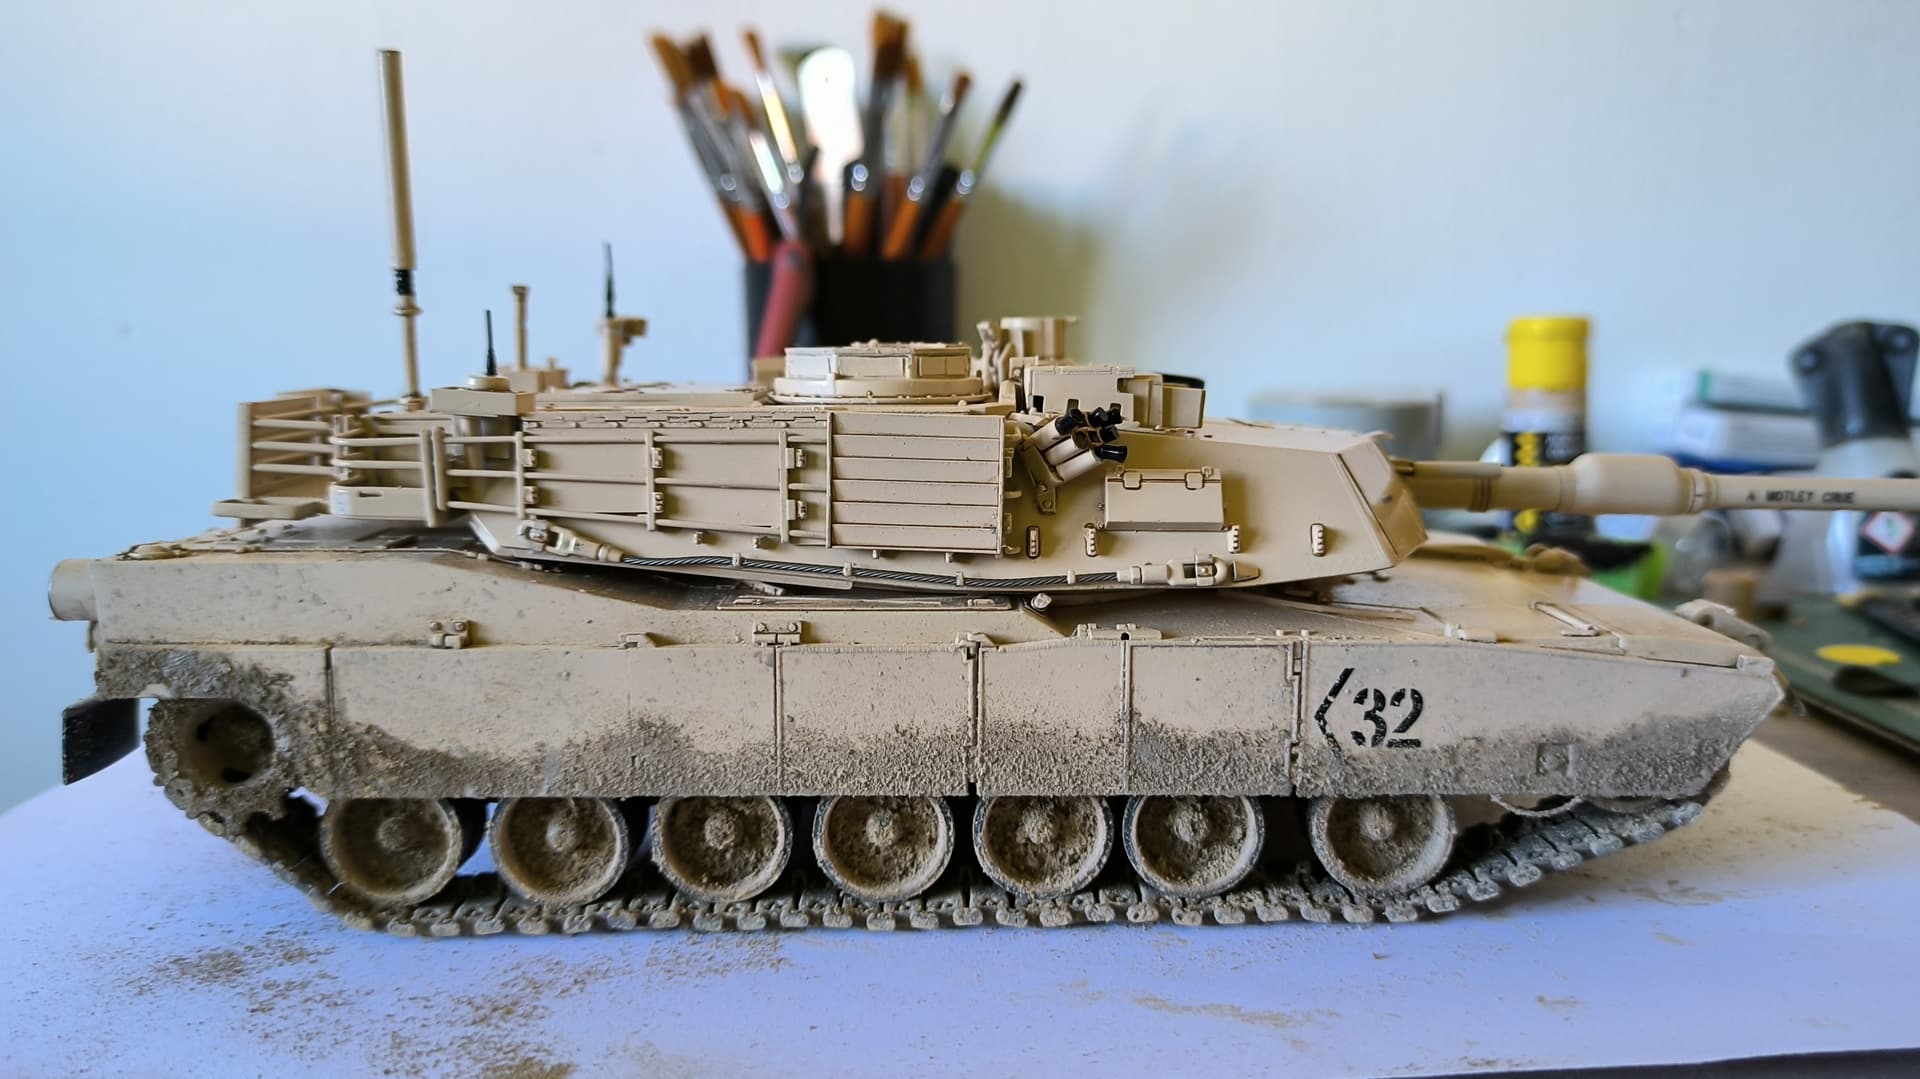
what I still have some doubts is how to make the turret, because if you see it now, the turret is extremely clean and the hull is dirty, I’ll see how I’ll do it, for now I want to focus on the hull.
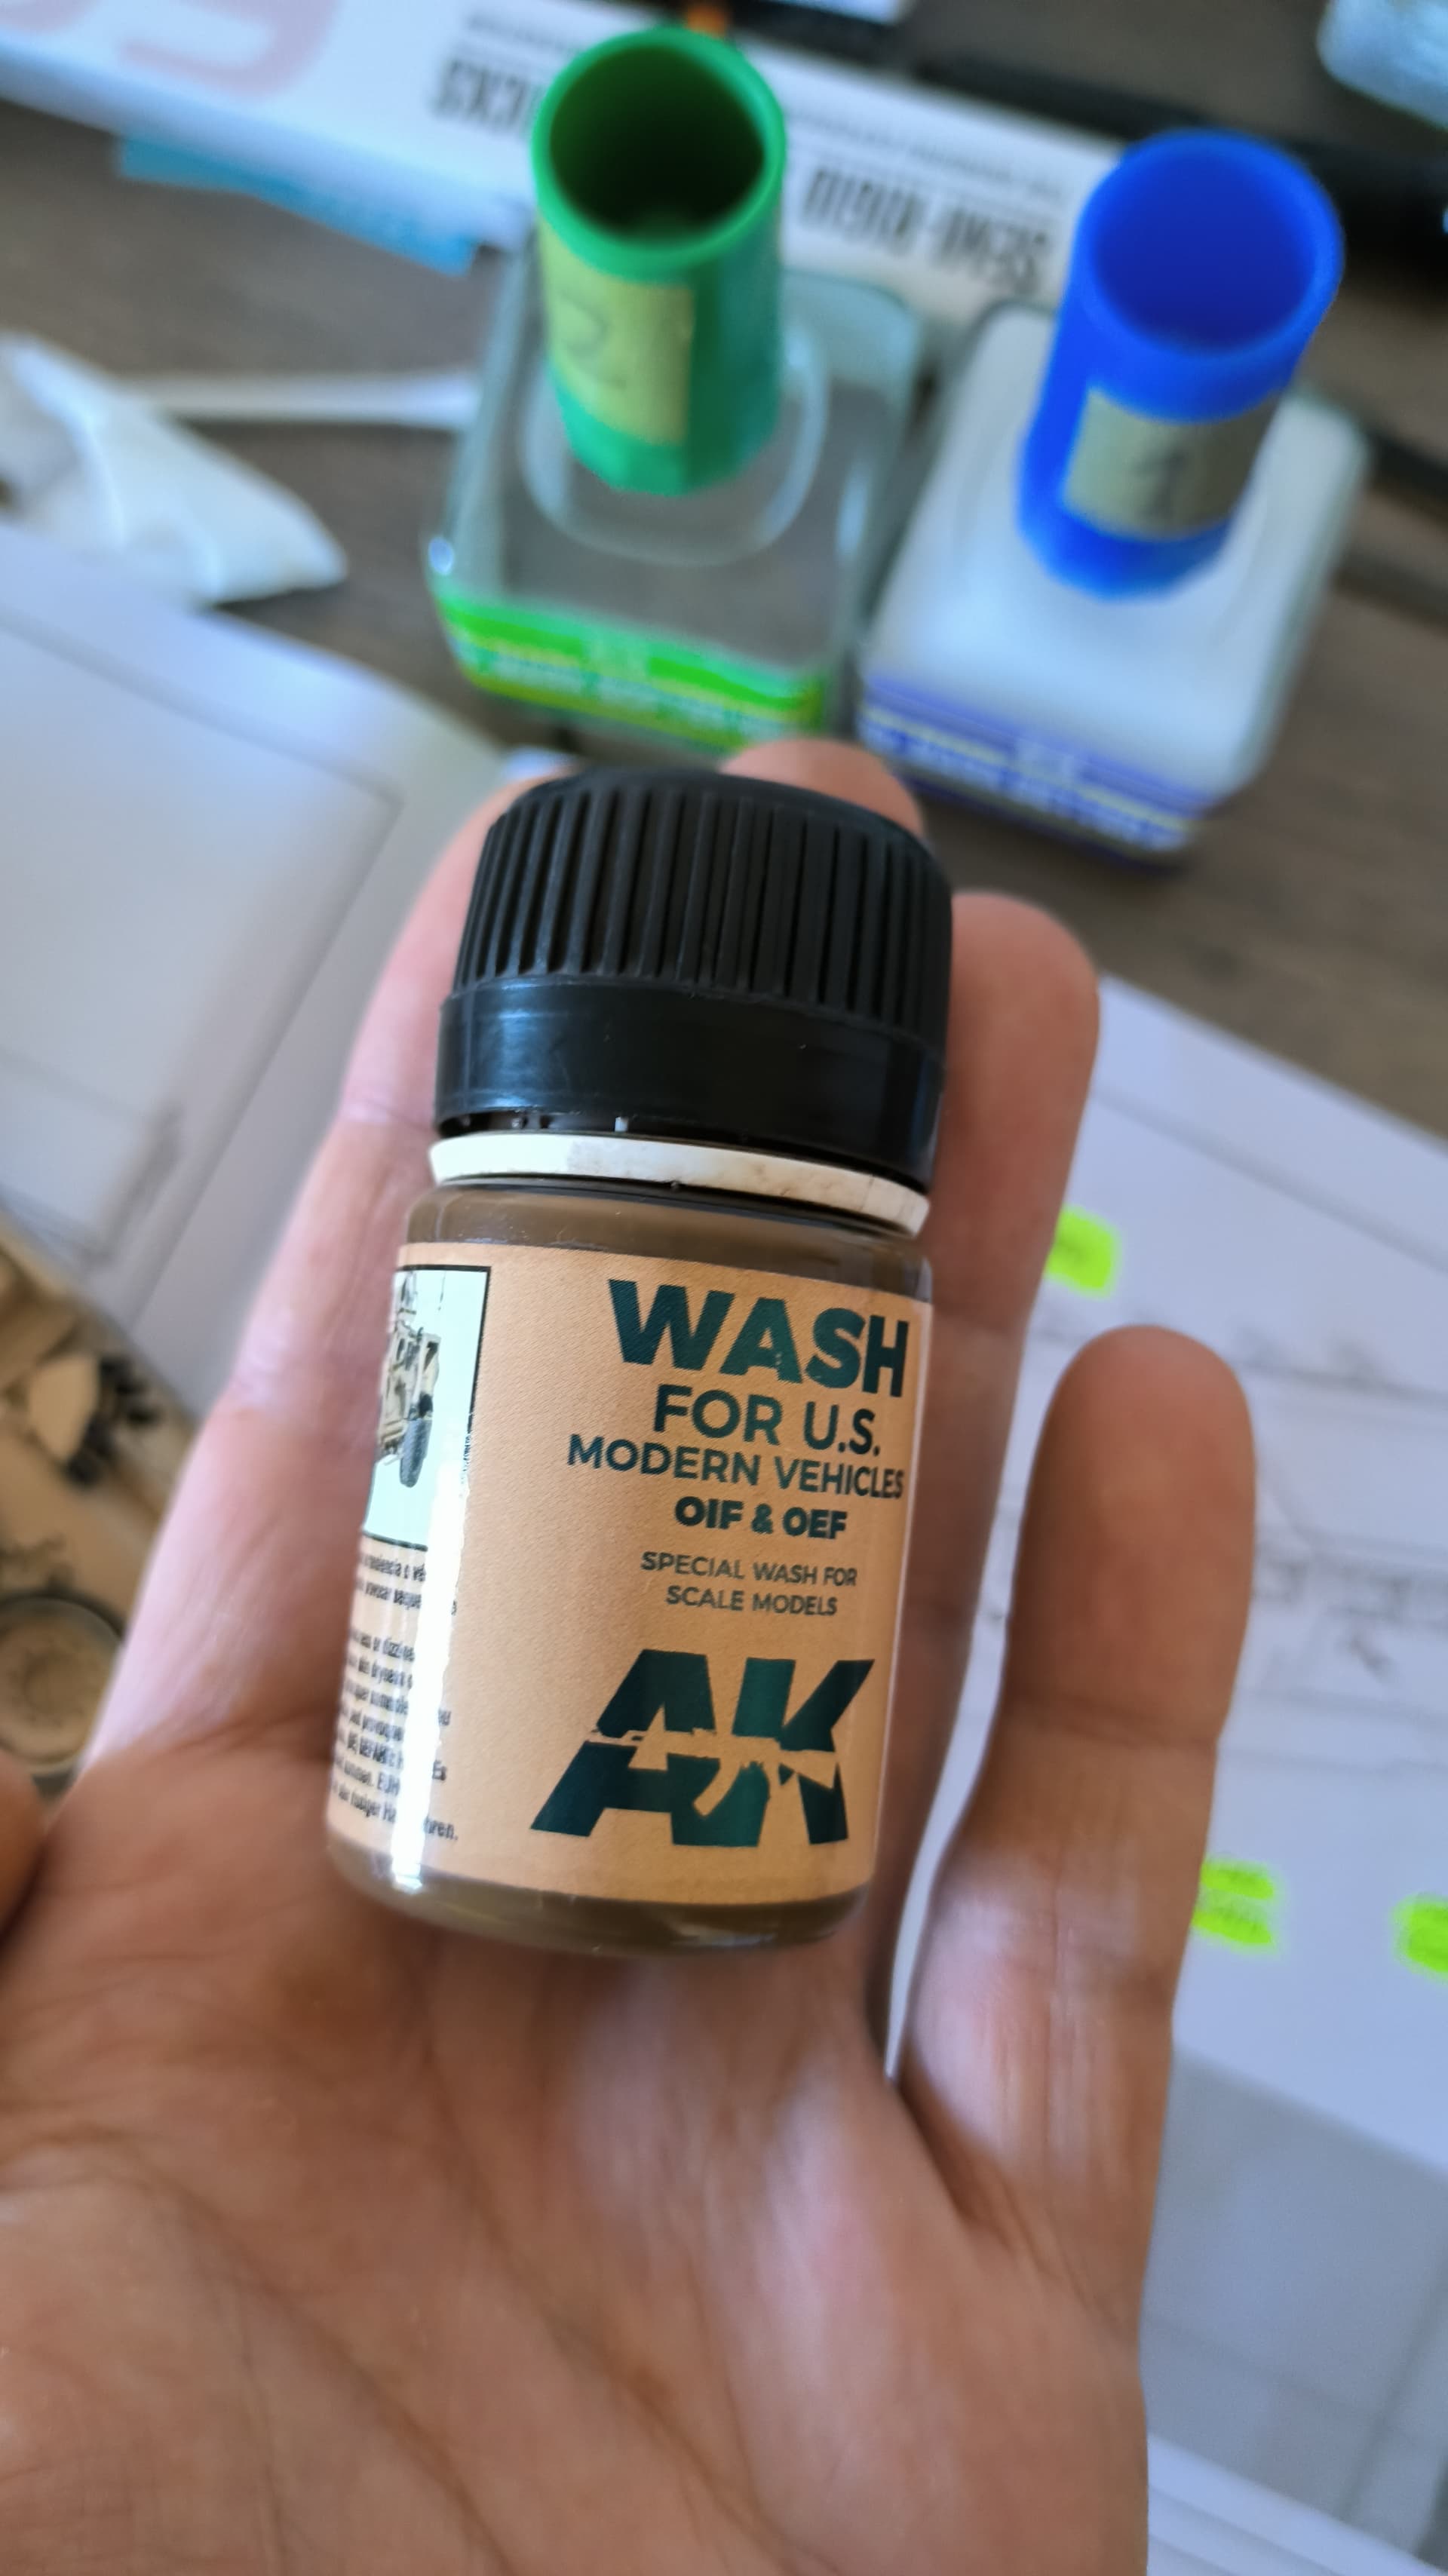
by the way I already made the panel lines with the ak productos for U.S. vehicles (OIF OEF) obviously before applying the pigments.
4 Likes
I love your build and I love the mud did you pile it up on the arms for the road wheels. I was an 88 driver and have pulled many Abrams behind me and that was the most annoying part to clean.
3 Likes
thank you very much, yes, I have put mud on the arms of the wheels, and I have retouched the inside of the fenders, thanks to the good eye of @Johnnych01


4 Likes
Turrets can be tricky… Generally they won’t get as dirty as the running gear. Don’t get me wrong, sometimes they can get super filthy, but generally no where near as bad as the running gear…
…most crap is walked up there by crews mounting and dismounting…
Some things you can consider… When the guns rear, you can get some thrown up mud on the underside of the gun and you can easily get speckles of mud on the turret sides from when a wagon hits a big puddle at speed…
Also, if the guns front and the wagons moving forward or backwards, the Comd may tell his gunner to ghost to cover his arcs , say from the 32 position left and slowly across to the right, so in muddy conditions you could again get mud splatters on the fume extractor forward to the muzzle.
Another point to think about, … Where there’s mud, there’s probably also rain… On wagons like M1, Cr1 & 2 and Chieftains that have nice slopes on the front and part of the sides or curves, any rain water assists in washing away mud splatters …
I would go very minimal with pigments but give it a decent wash/filter with AK OEF/OIF…
3 Likes
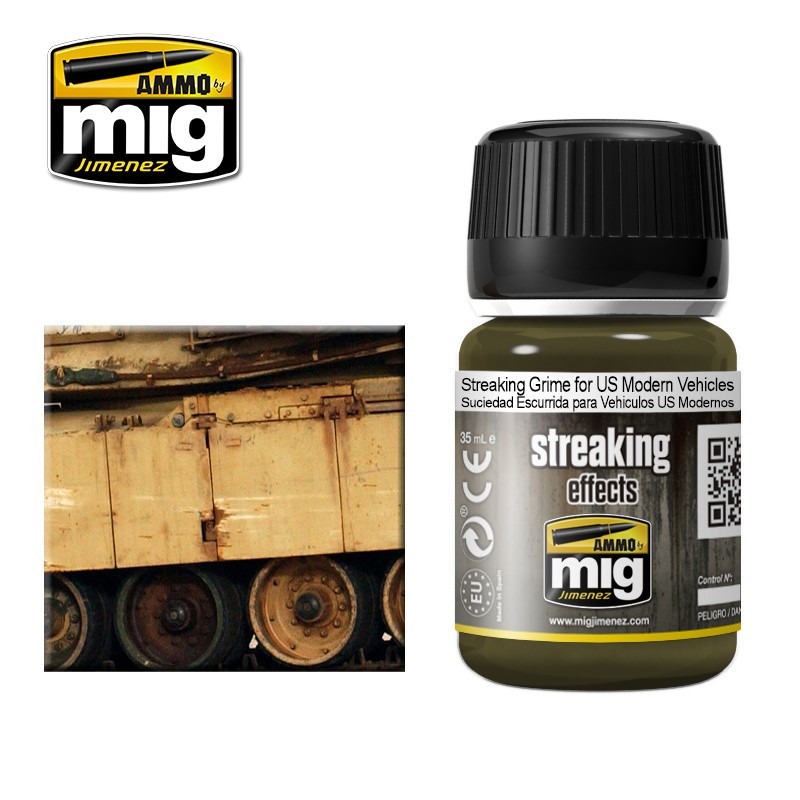
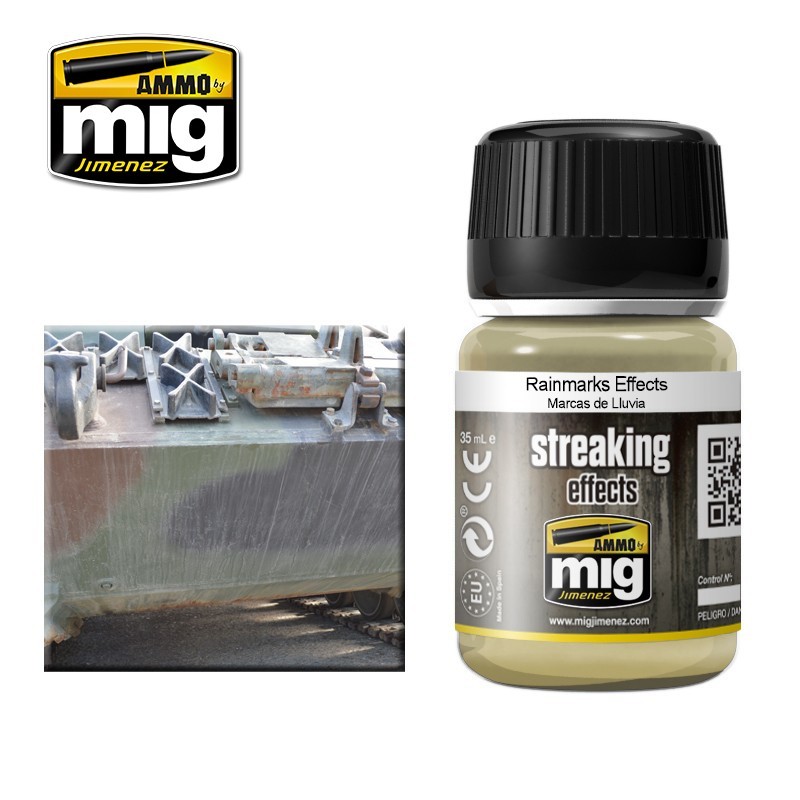
thank you very much for your guidelines, pfff but right now I am blank, I was about to use these products of mig jimenez, or as you said the product of ak for oif and oef, the problem is that when it comes to making drained I am nefarious, I do not know how to apply the technique to get it right, I was about to buy these two products, what do you think?
3 Likes
I love the AK products but please test them and polish your technique on a paint mule. I really messed up a Bradley with the non-slip surface kit.
4 Likes
As Michael said, test test test !! I have used both of those and still practice before I do it on the real model. Get an old model and paint an area in the same colour as the kit your going to be using it on, and apply the streaking effects on the test piece first and carry on doing that until you are happy with the result - them move onto the actual kit and carry on the way you just practised.
4 Likes
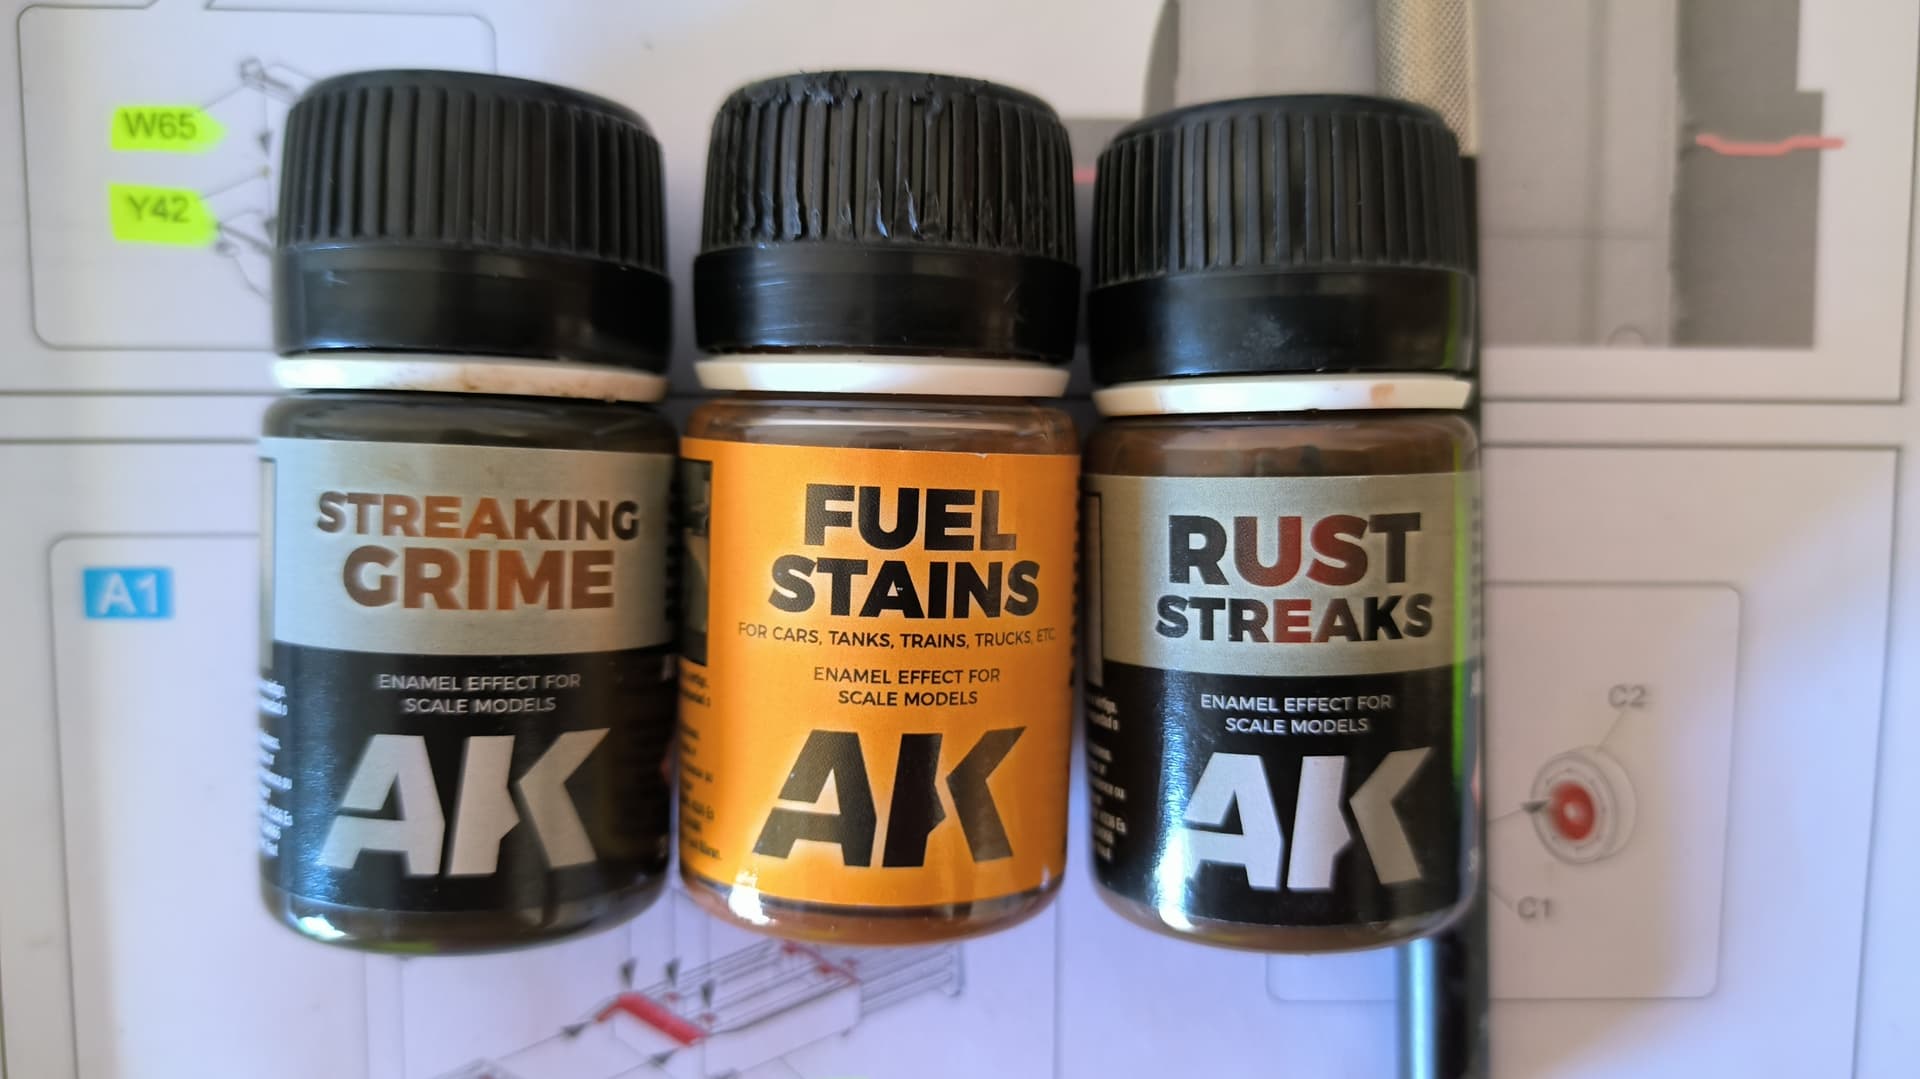
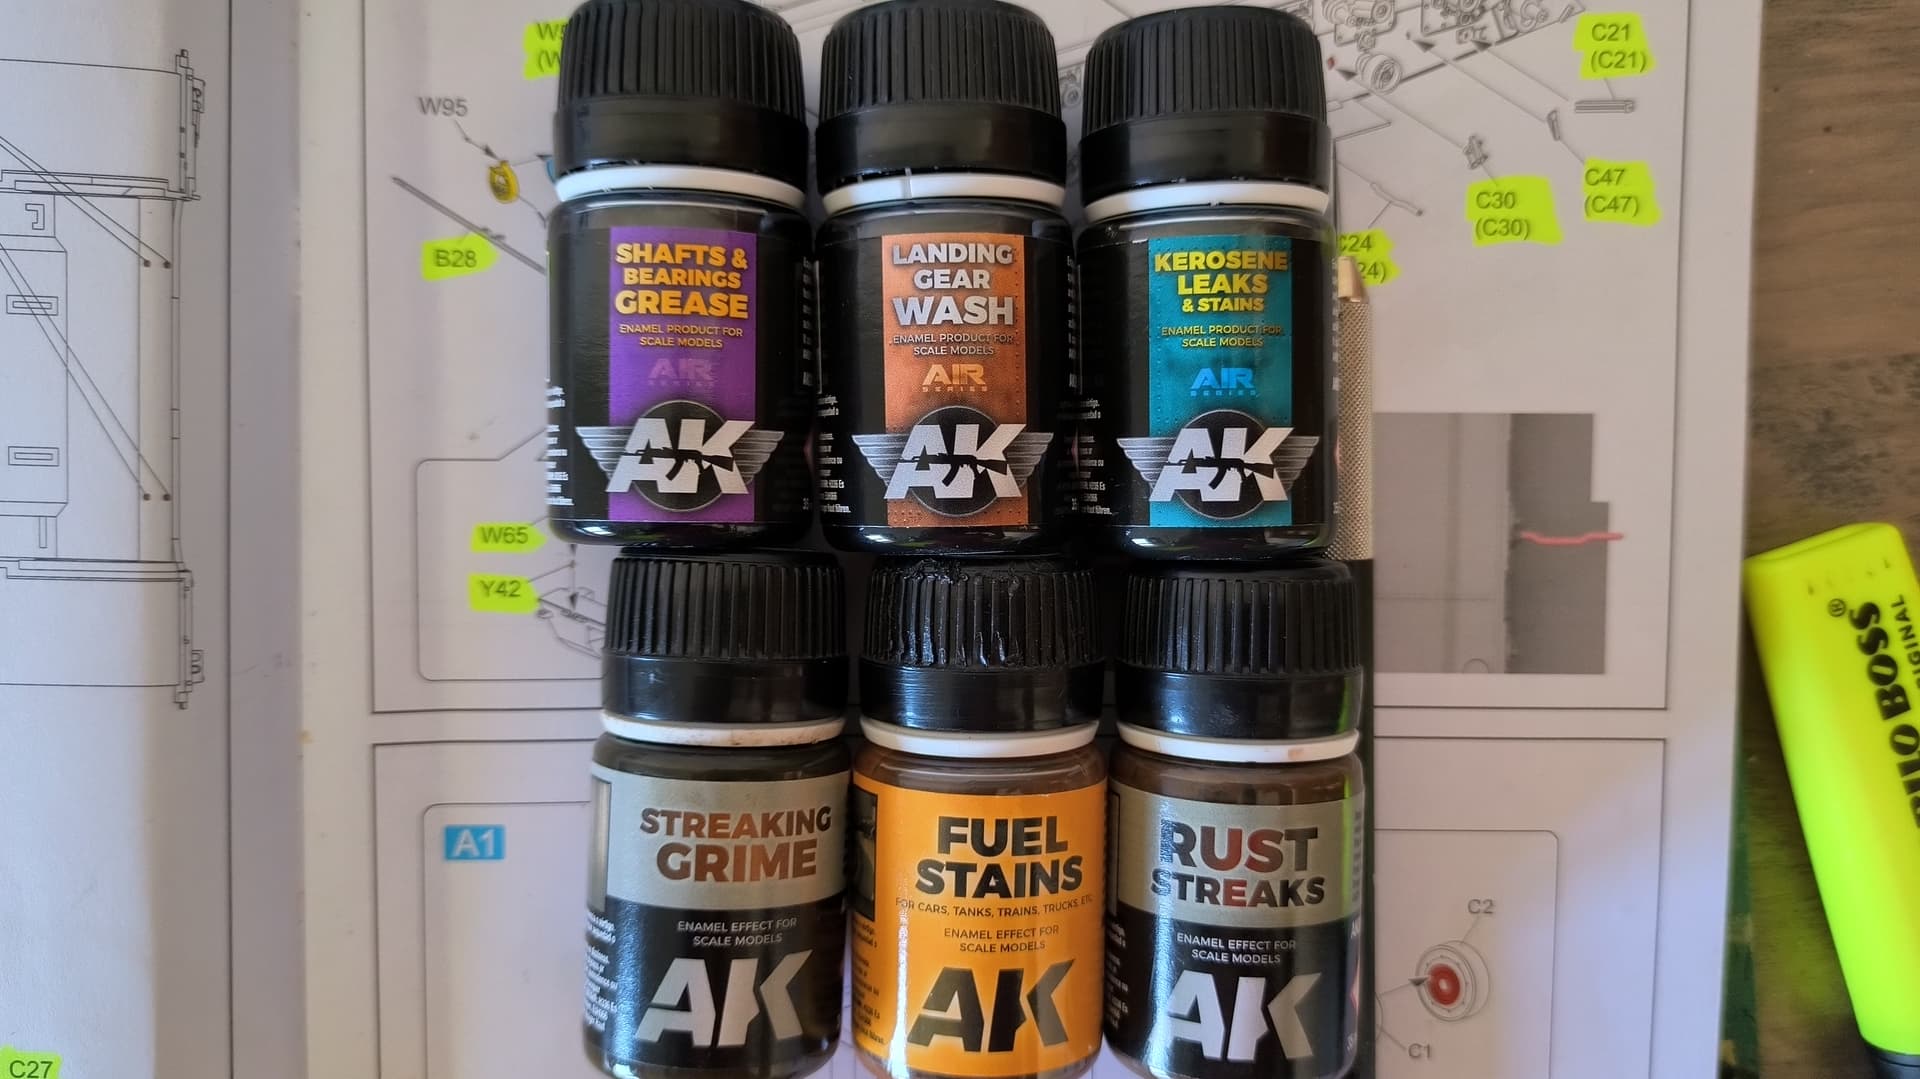
@Johnnych01 guys, thank you very much for your advice, I have these ak products for both aircraft and ground vehicles, I don’t know whether to use the rust streaks or the streaking grime.
3 Likes
Good start. I really like their chipping fluid and. I’ll try to take a pic of what I have and throw it up later.
2 Likes