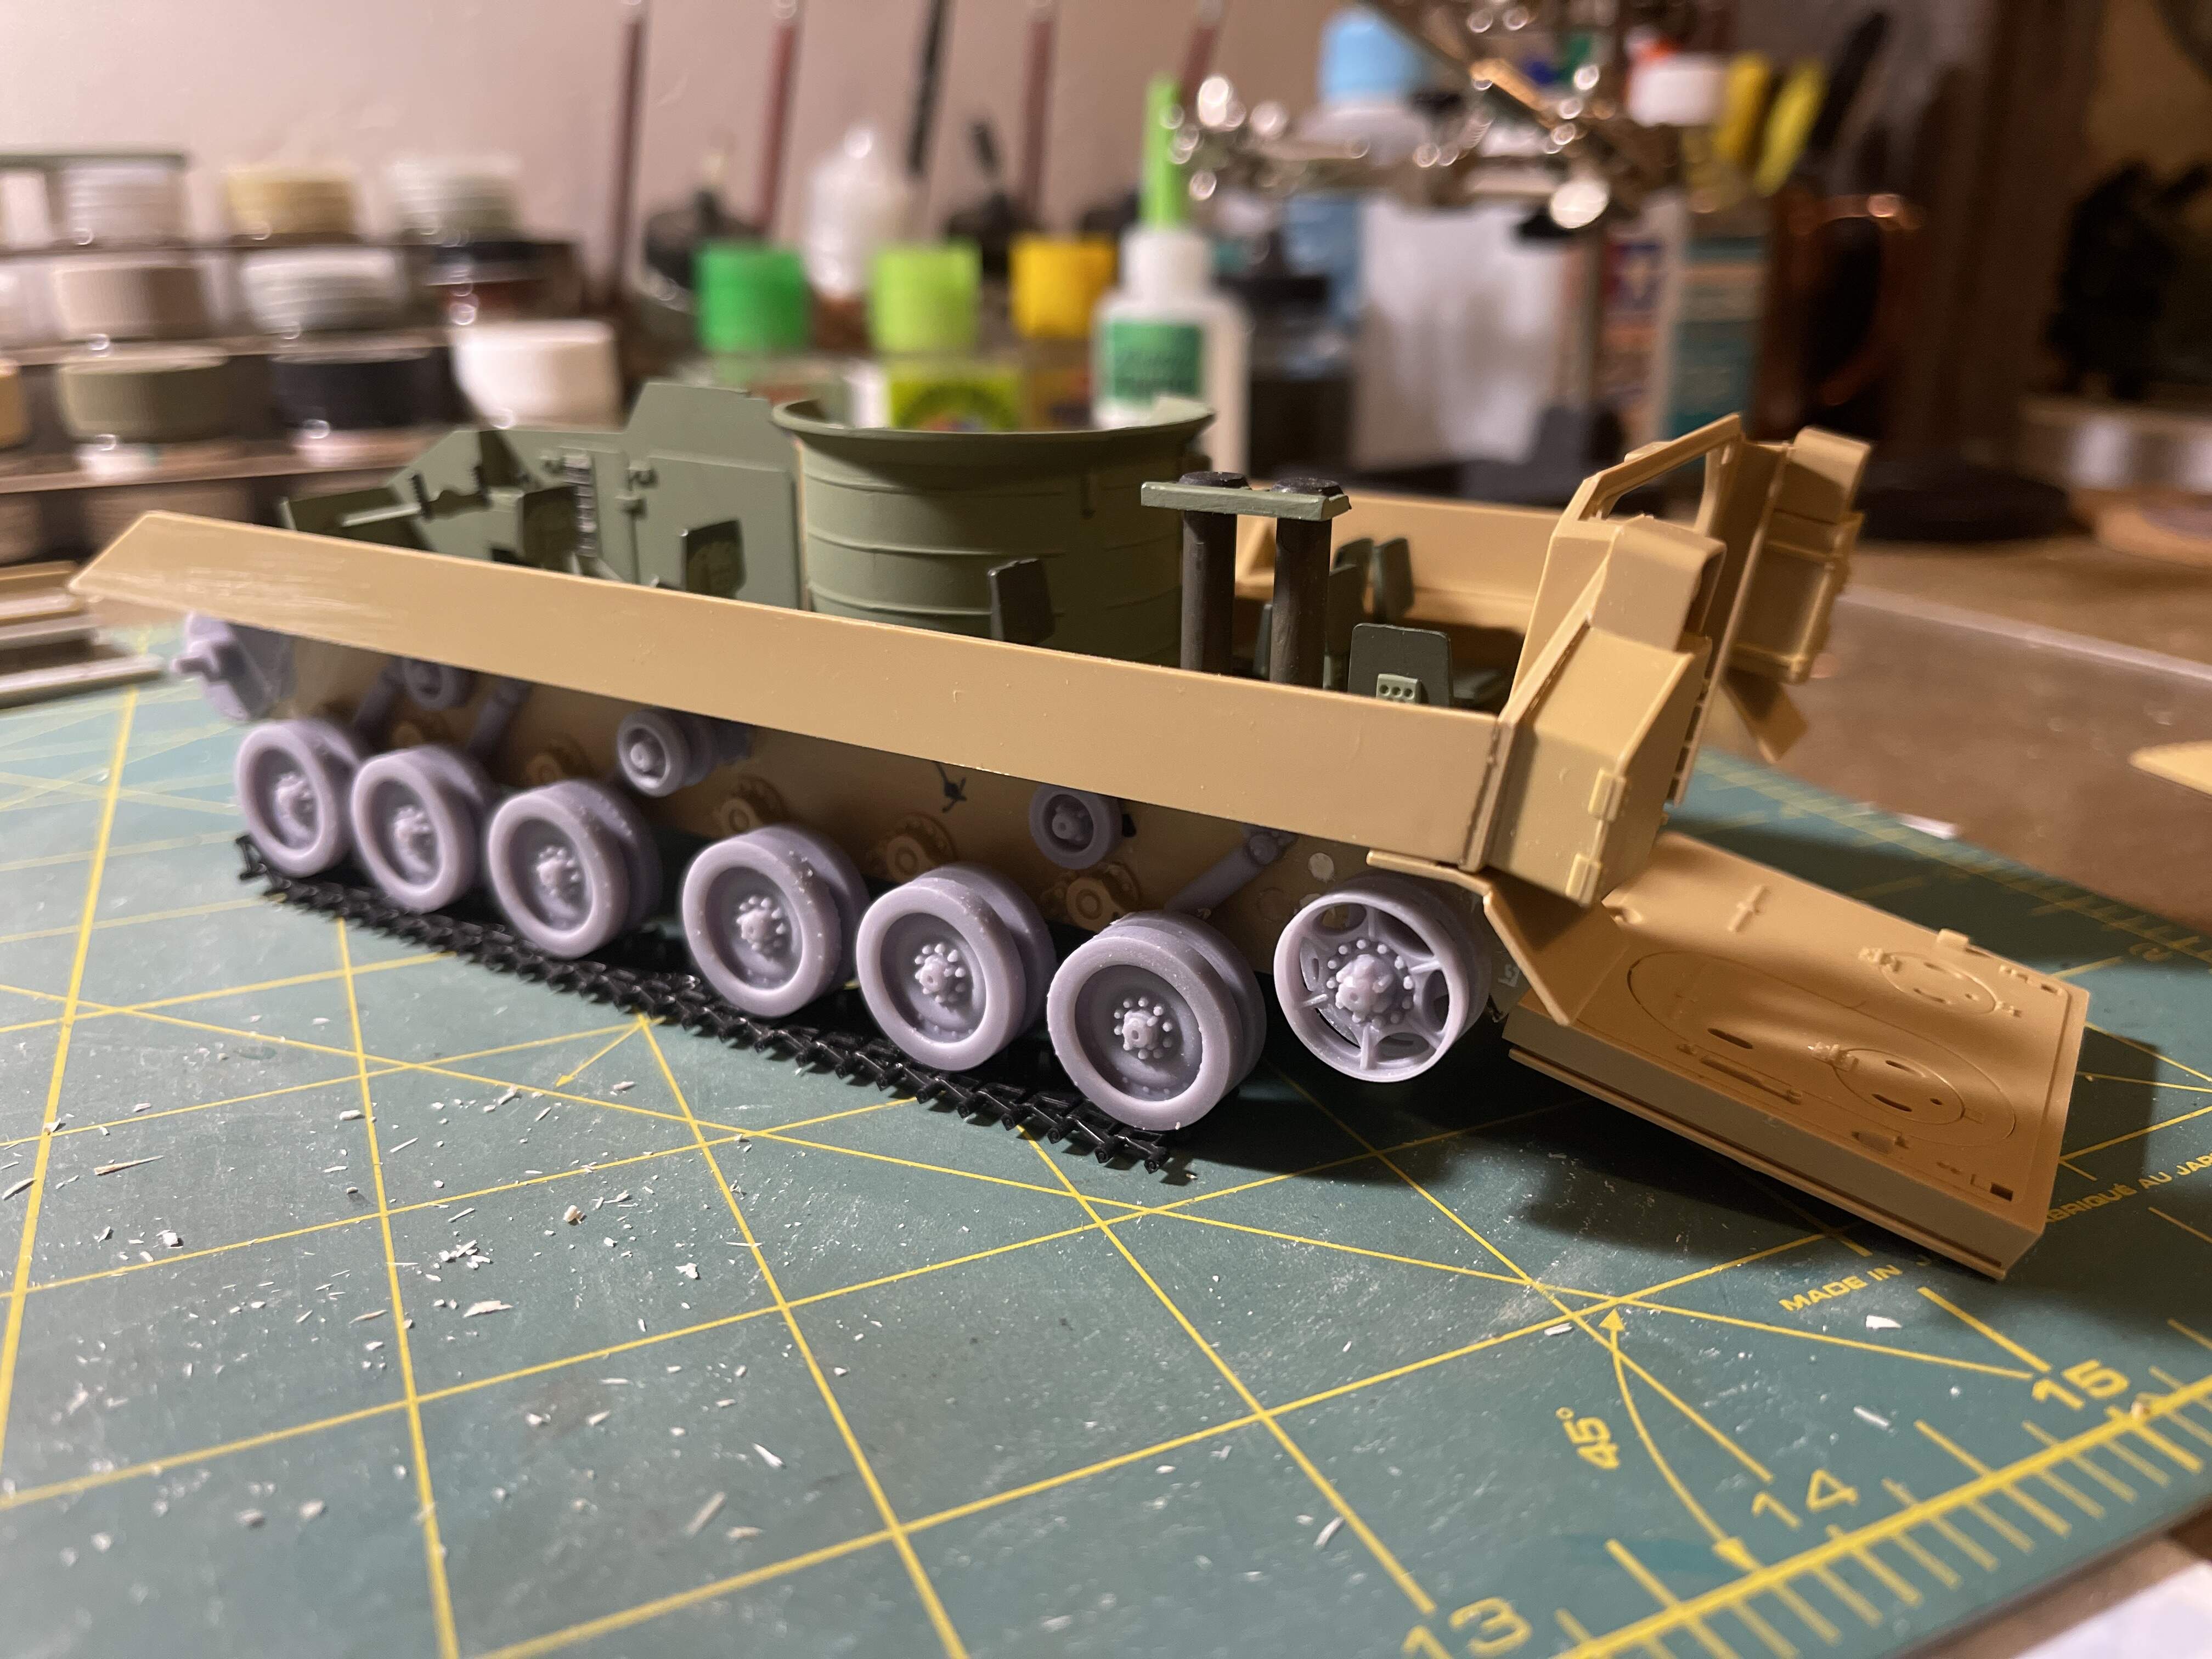
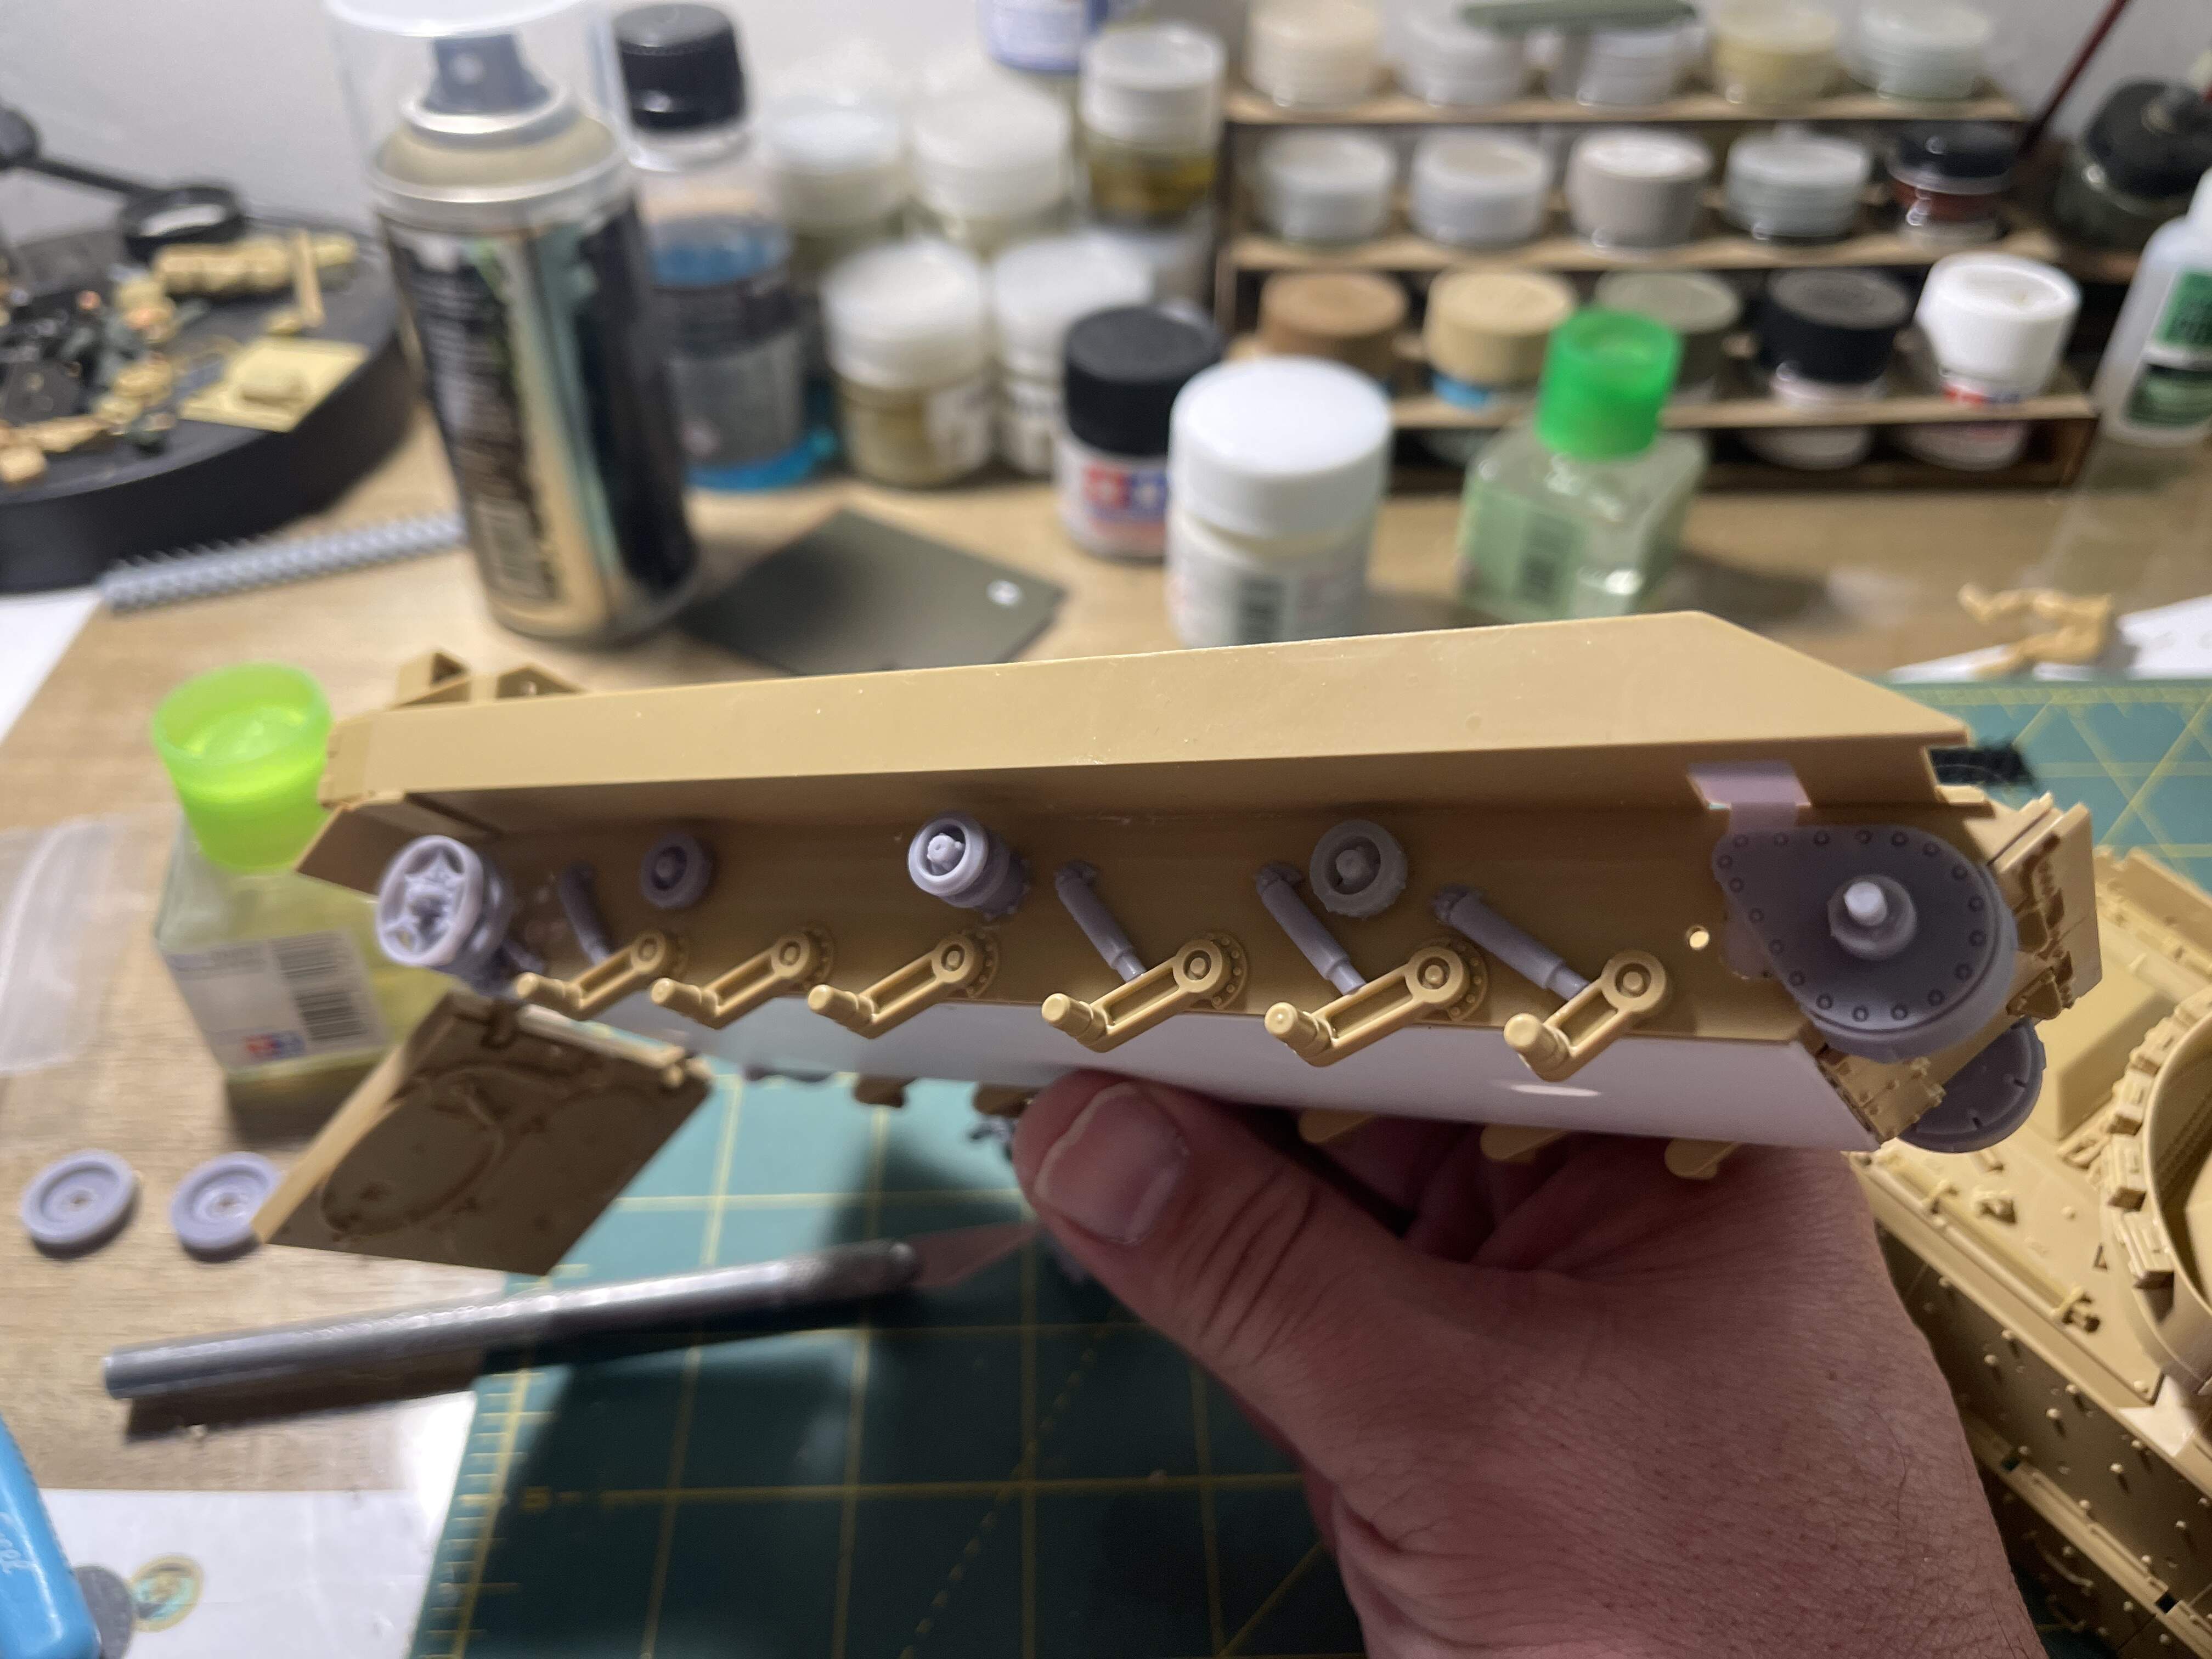
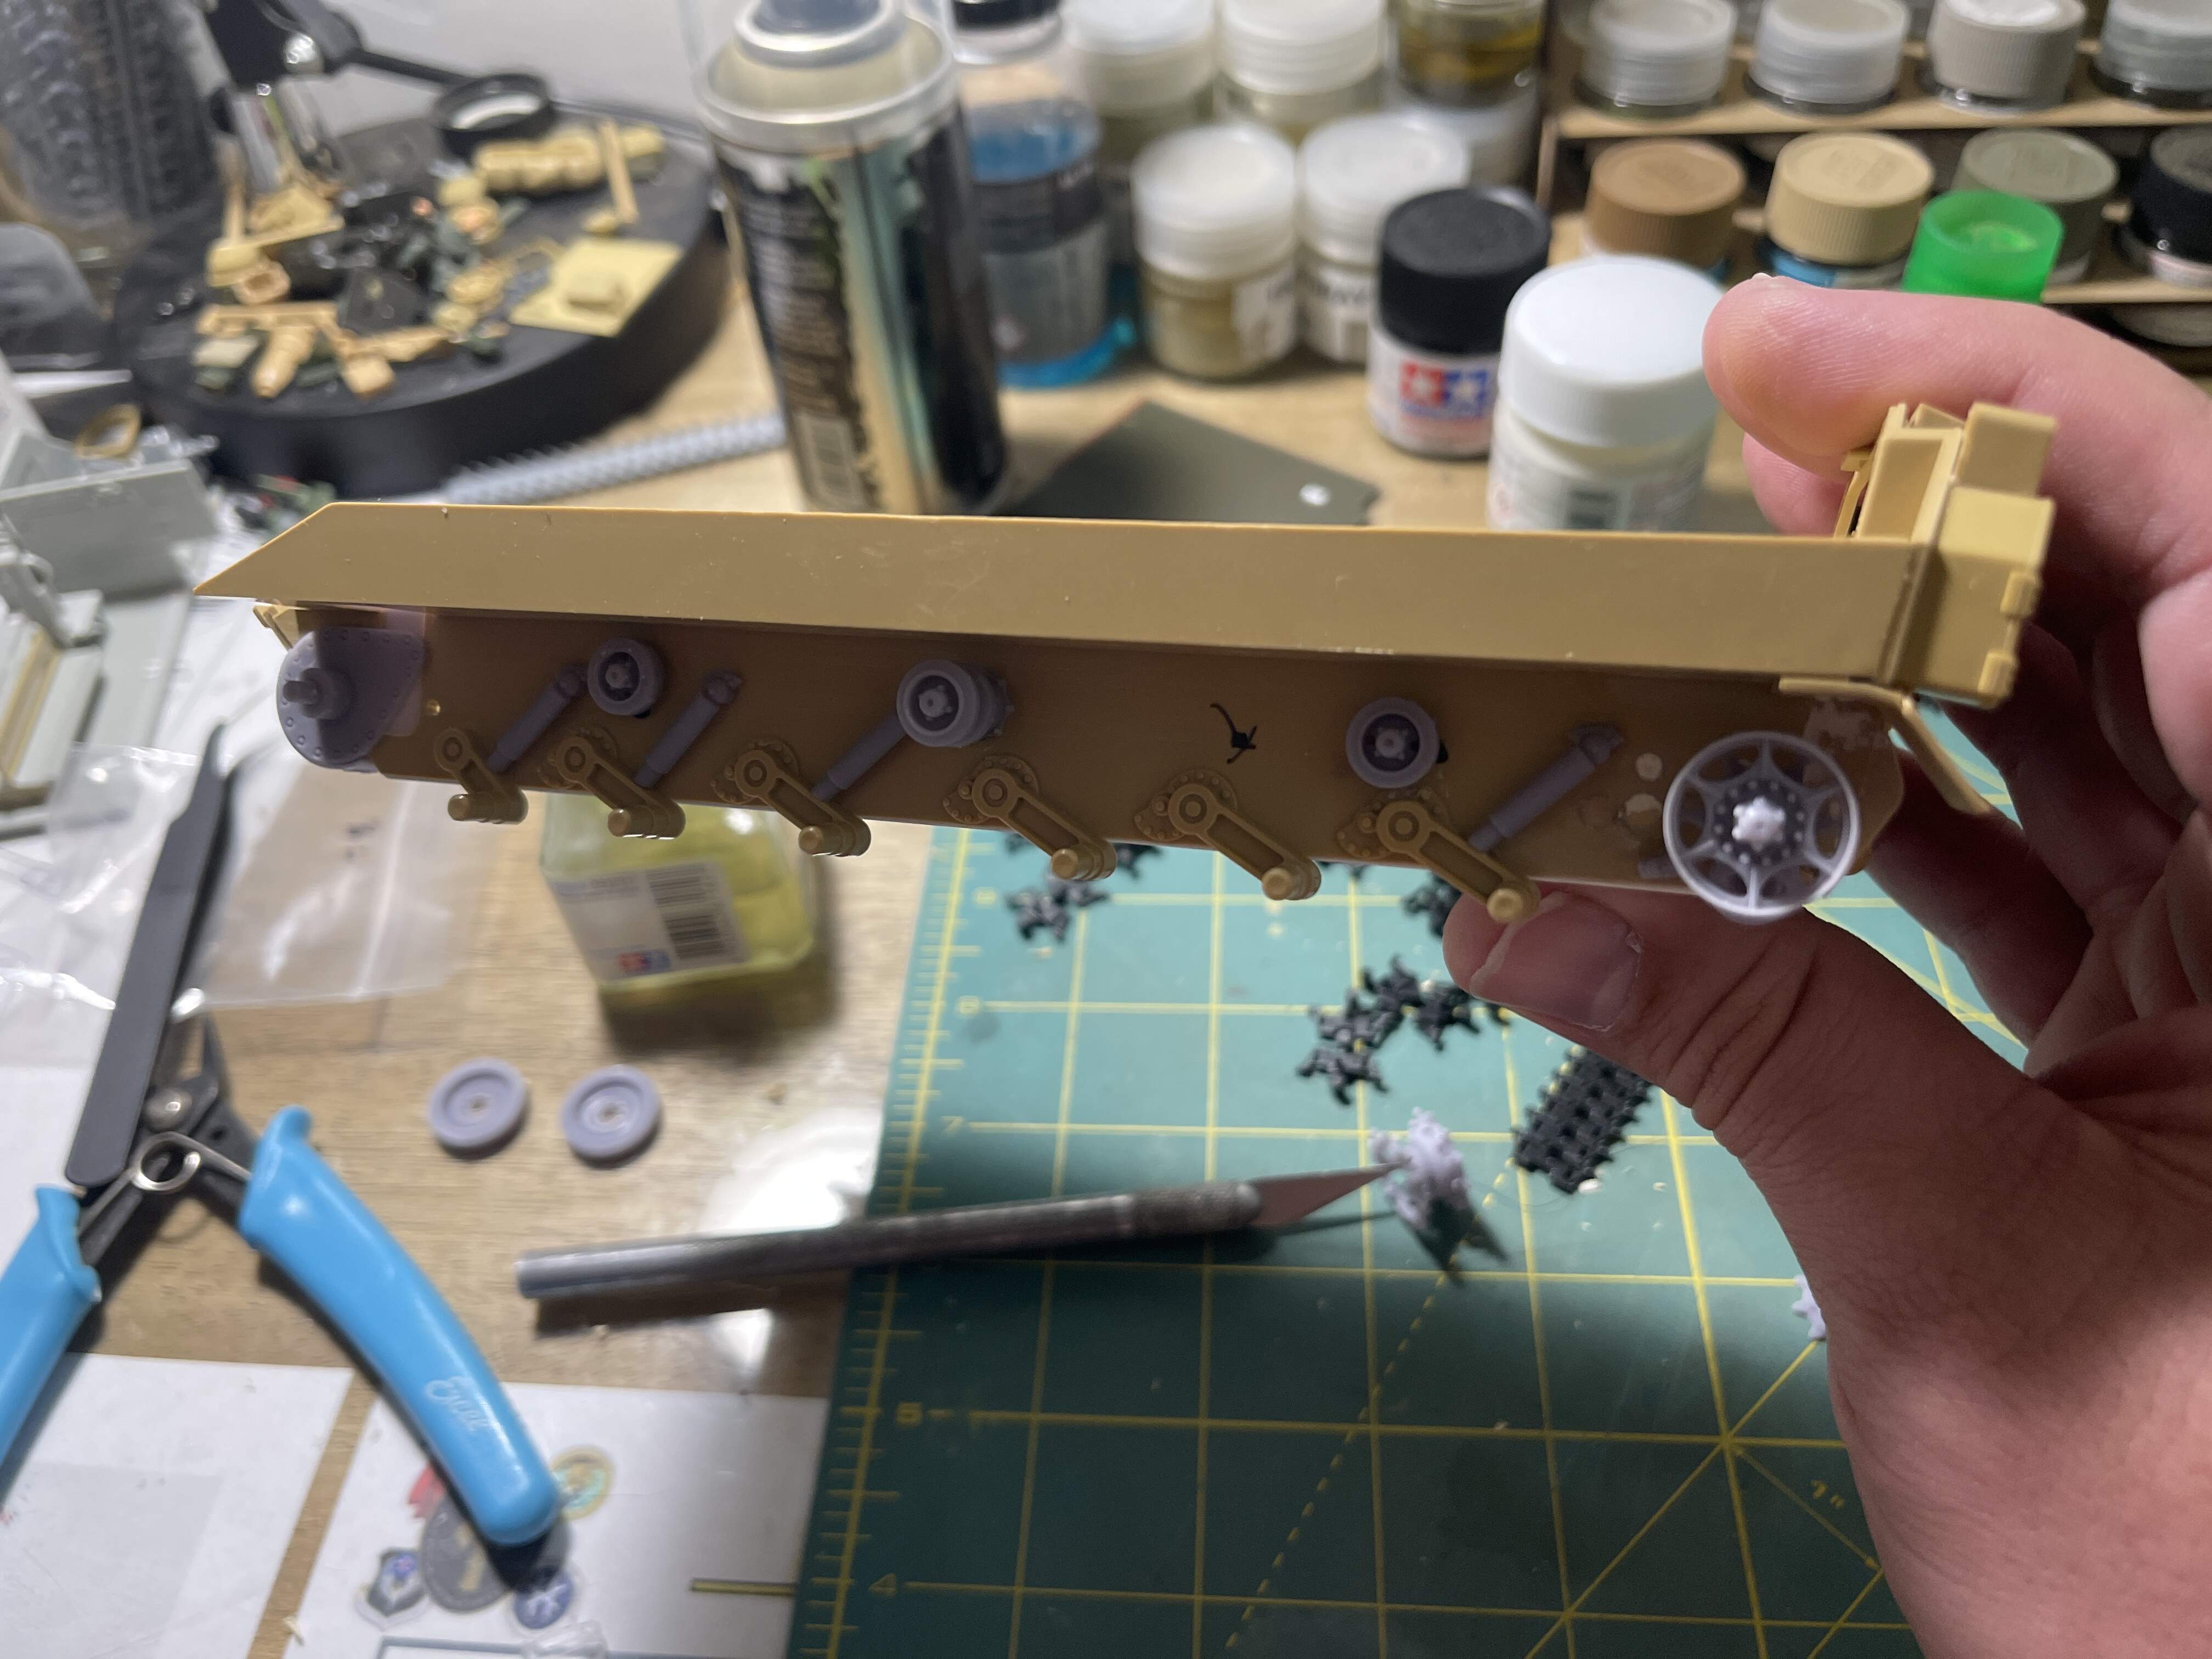
Finally glued the suspension in place on the M2A2. Think I didn’t get it all 100% in place properly all it needs now is to putty and sanding.
I’ll be using the kit tracks off my Meng M2A3 BUSK.
Finally glued the suspension in place on the M2A2. Think I didn’t get it all 100% in place properly all it needs now is to putty and sanding.
I’ll be using the kit tracks off my Meng M2A3 BUSK.
Sounds like you’re going to have a lot of M2/M3 carcasses lying around after this project.
Hey, all 12 road wheels appear to be touching the mat- looks pretty damn good to me.
Nice job. The 3D printed suspension set looks like it fits great. Very nice. I got my set too and it looks awesome. I may have to get a few more sets of these.
Plenty missed for sure. But thats why you could bust this kit out as a weekend edition.
props to the effort ![]() put in.
put in.
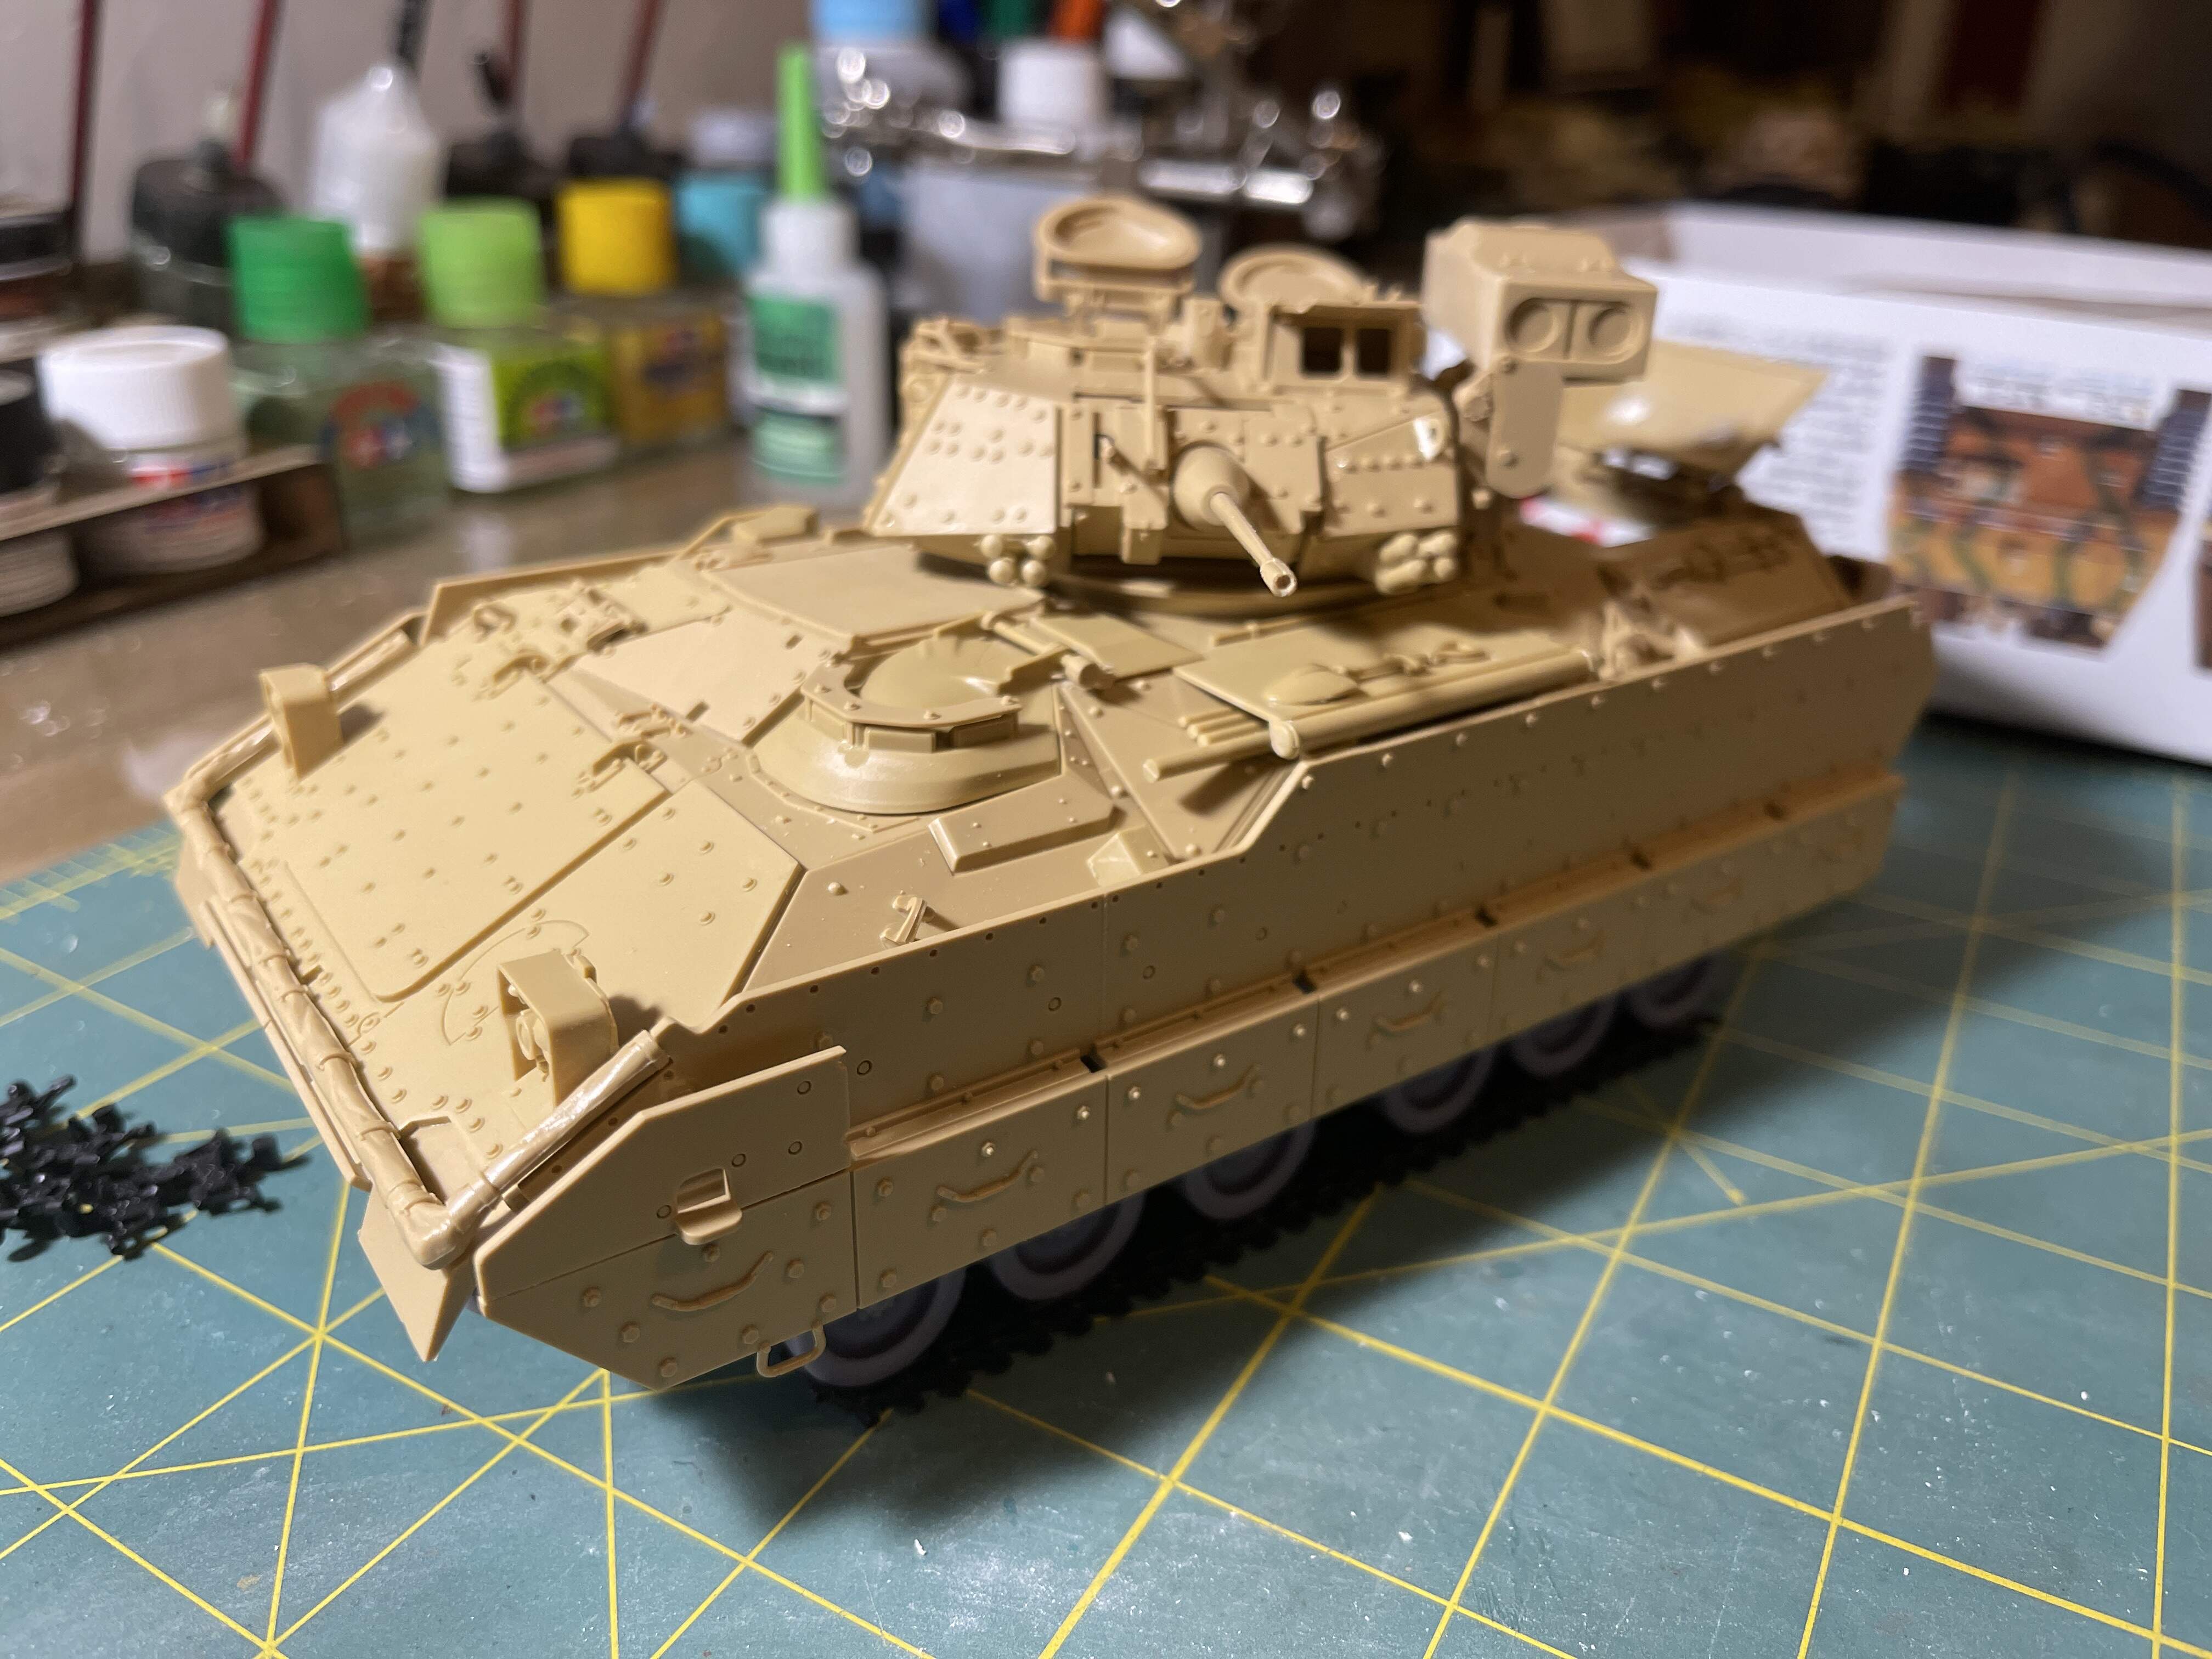
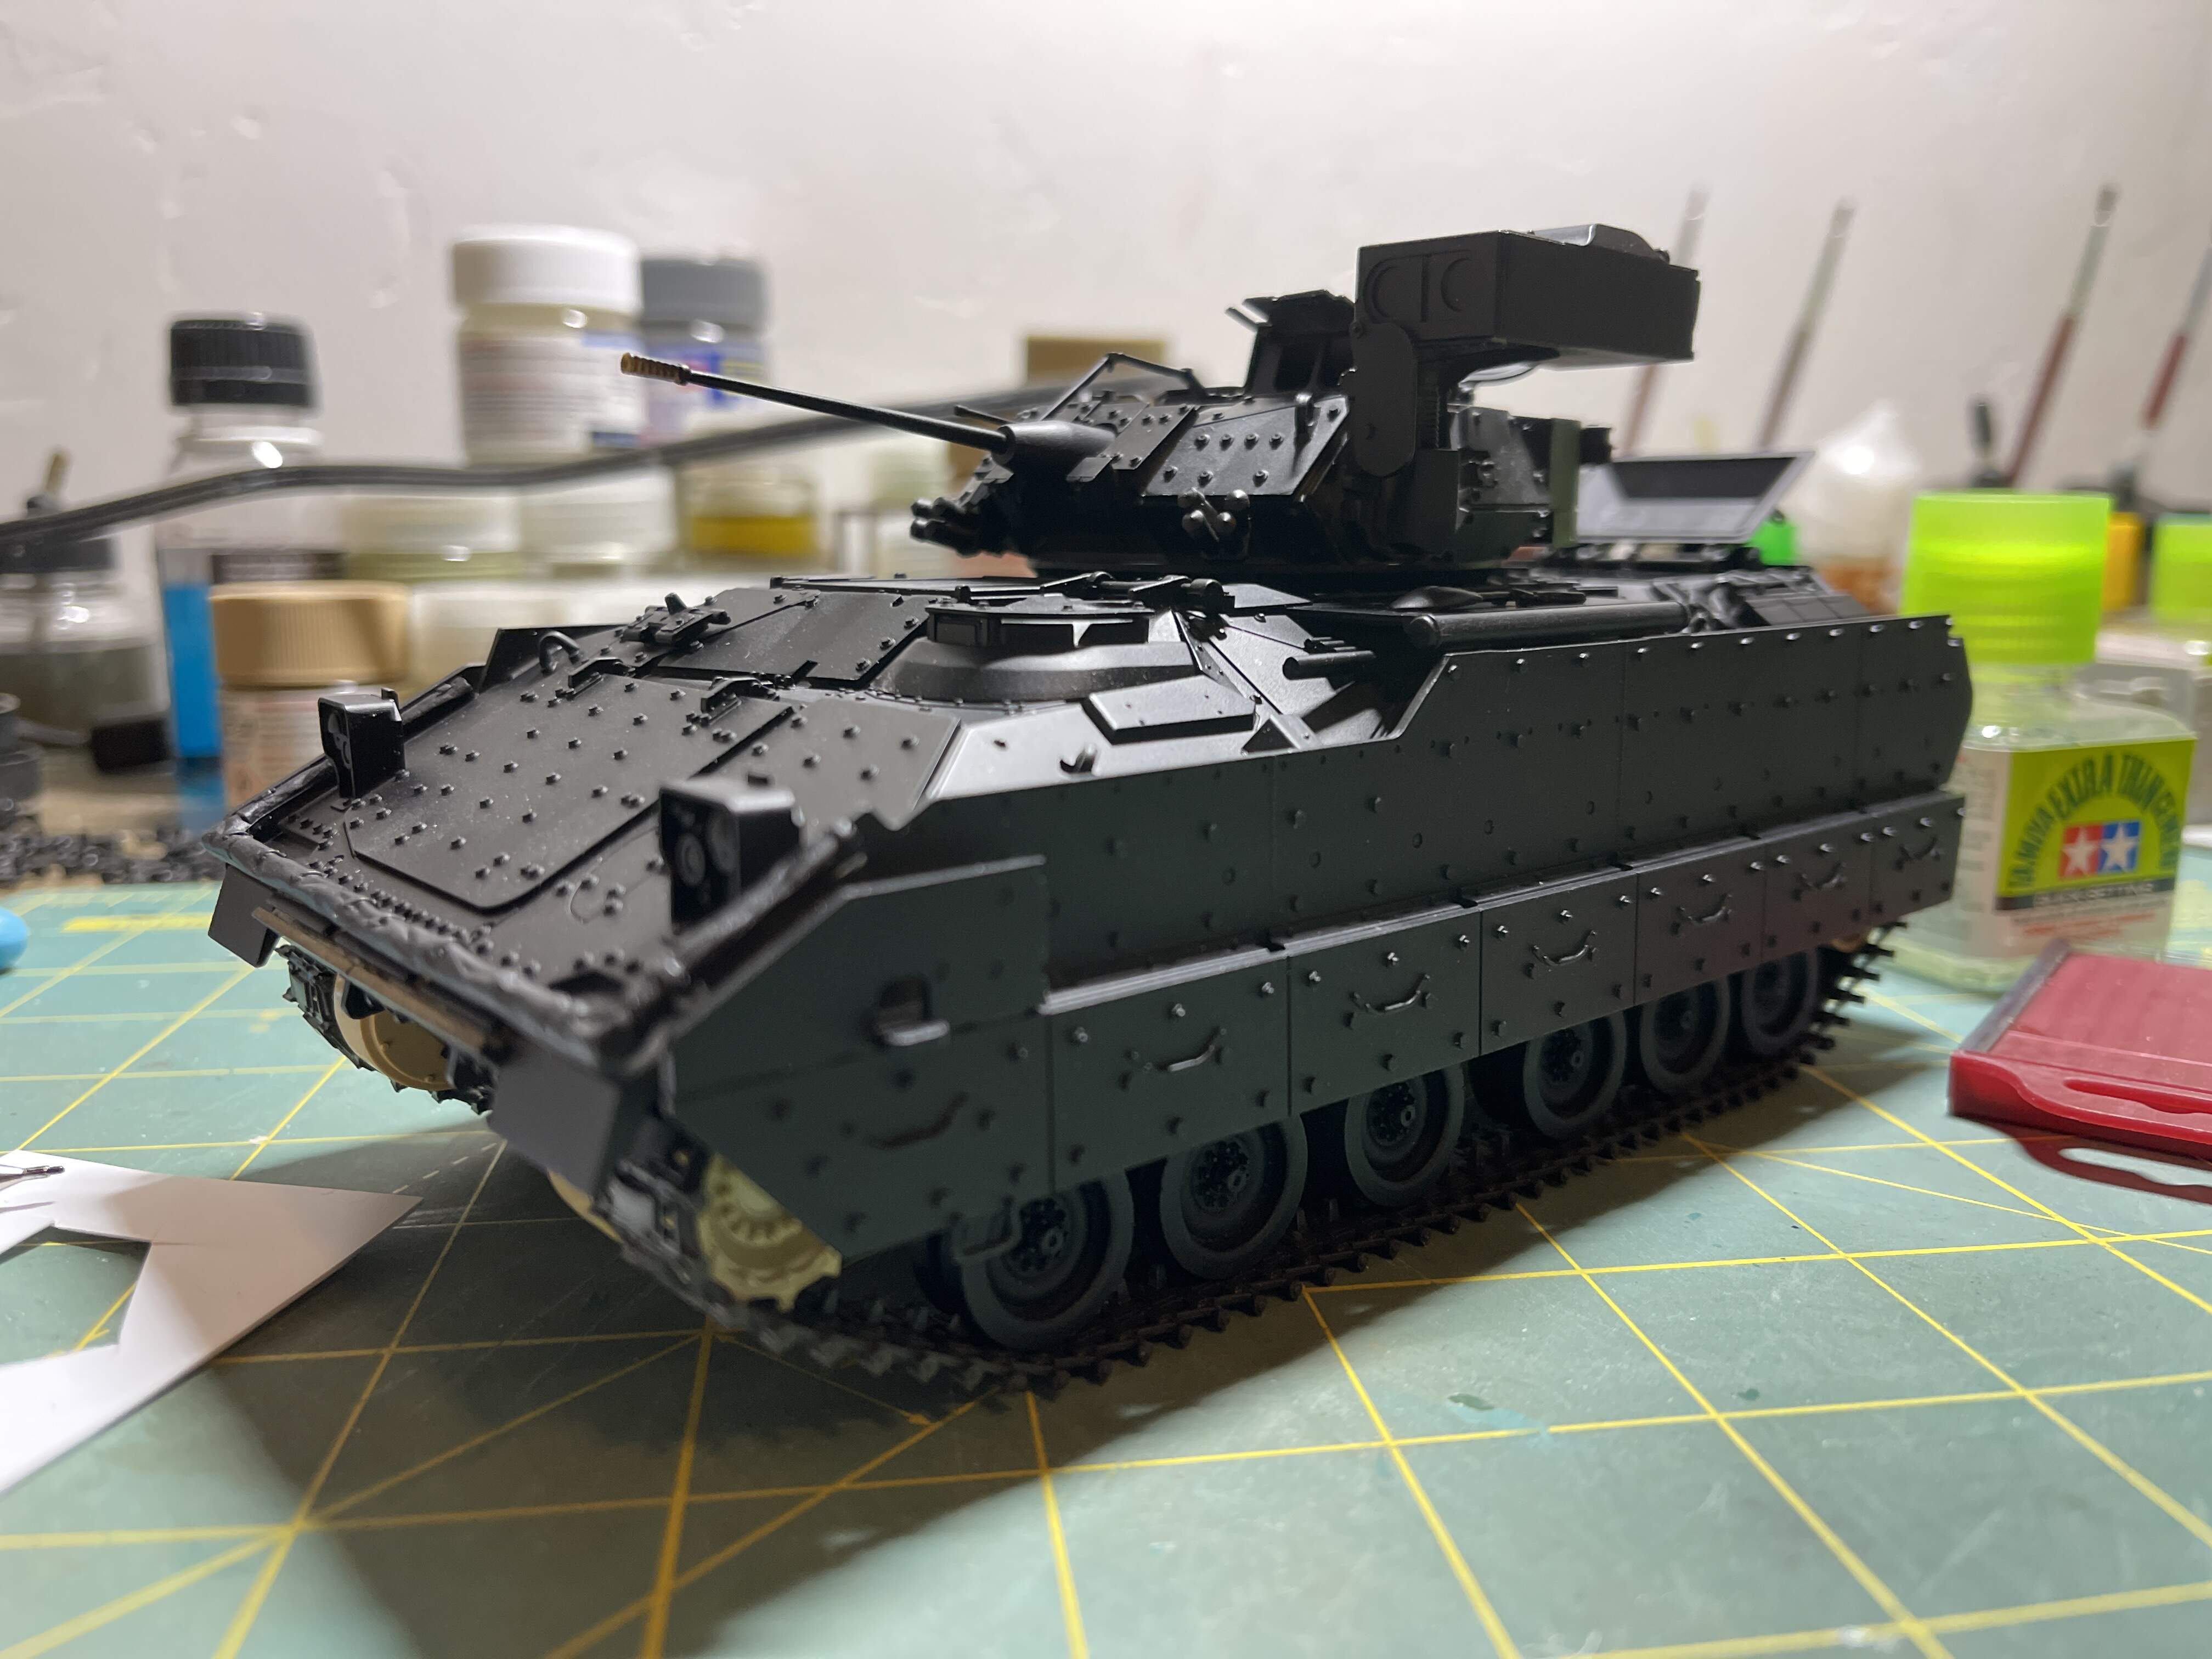
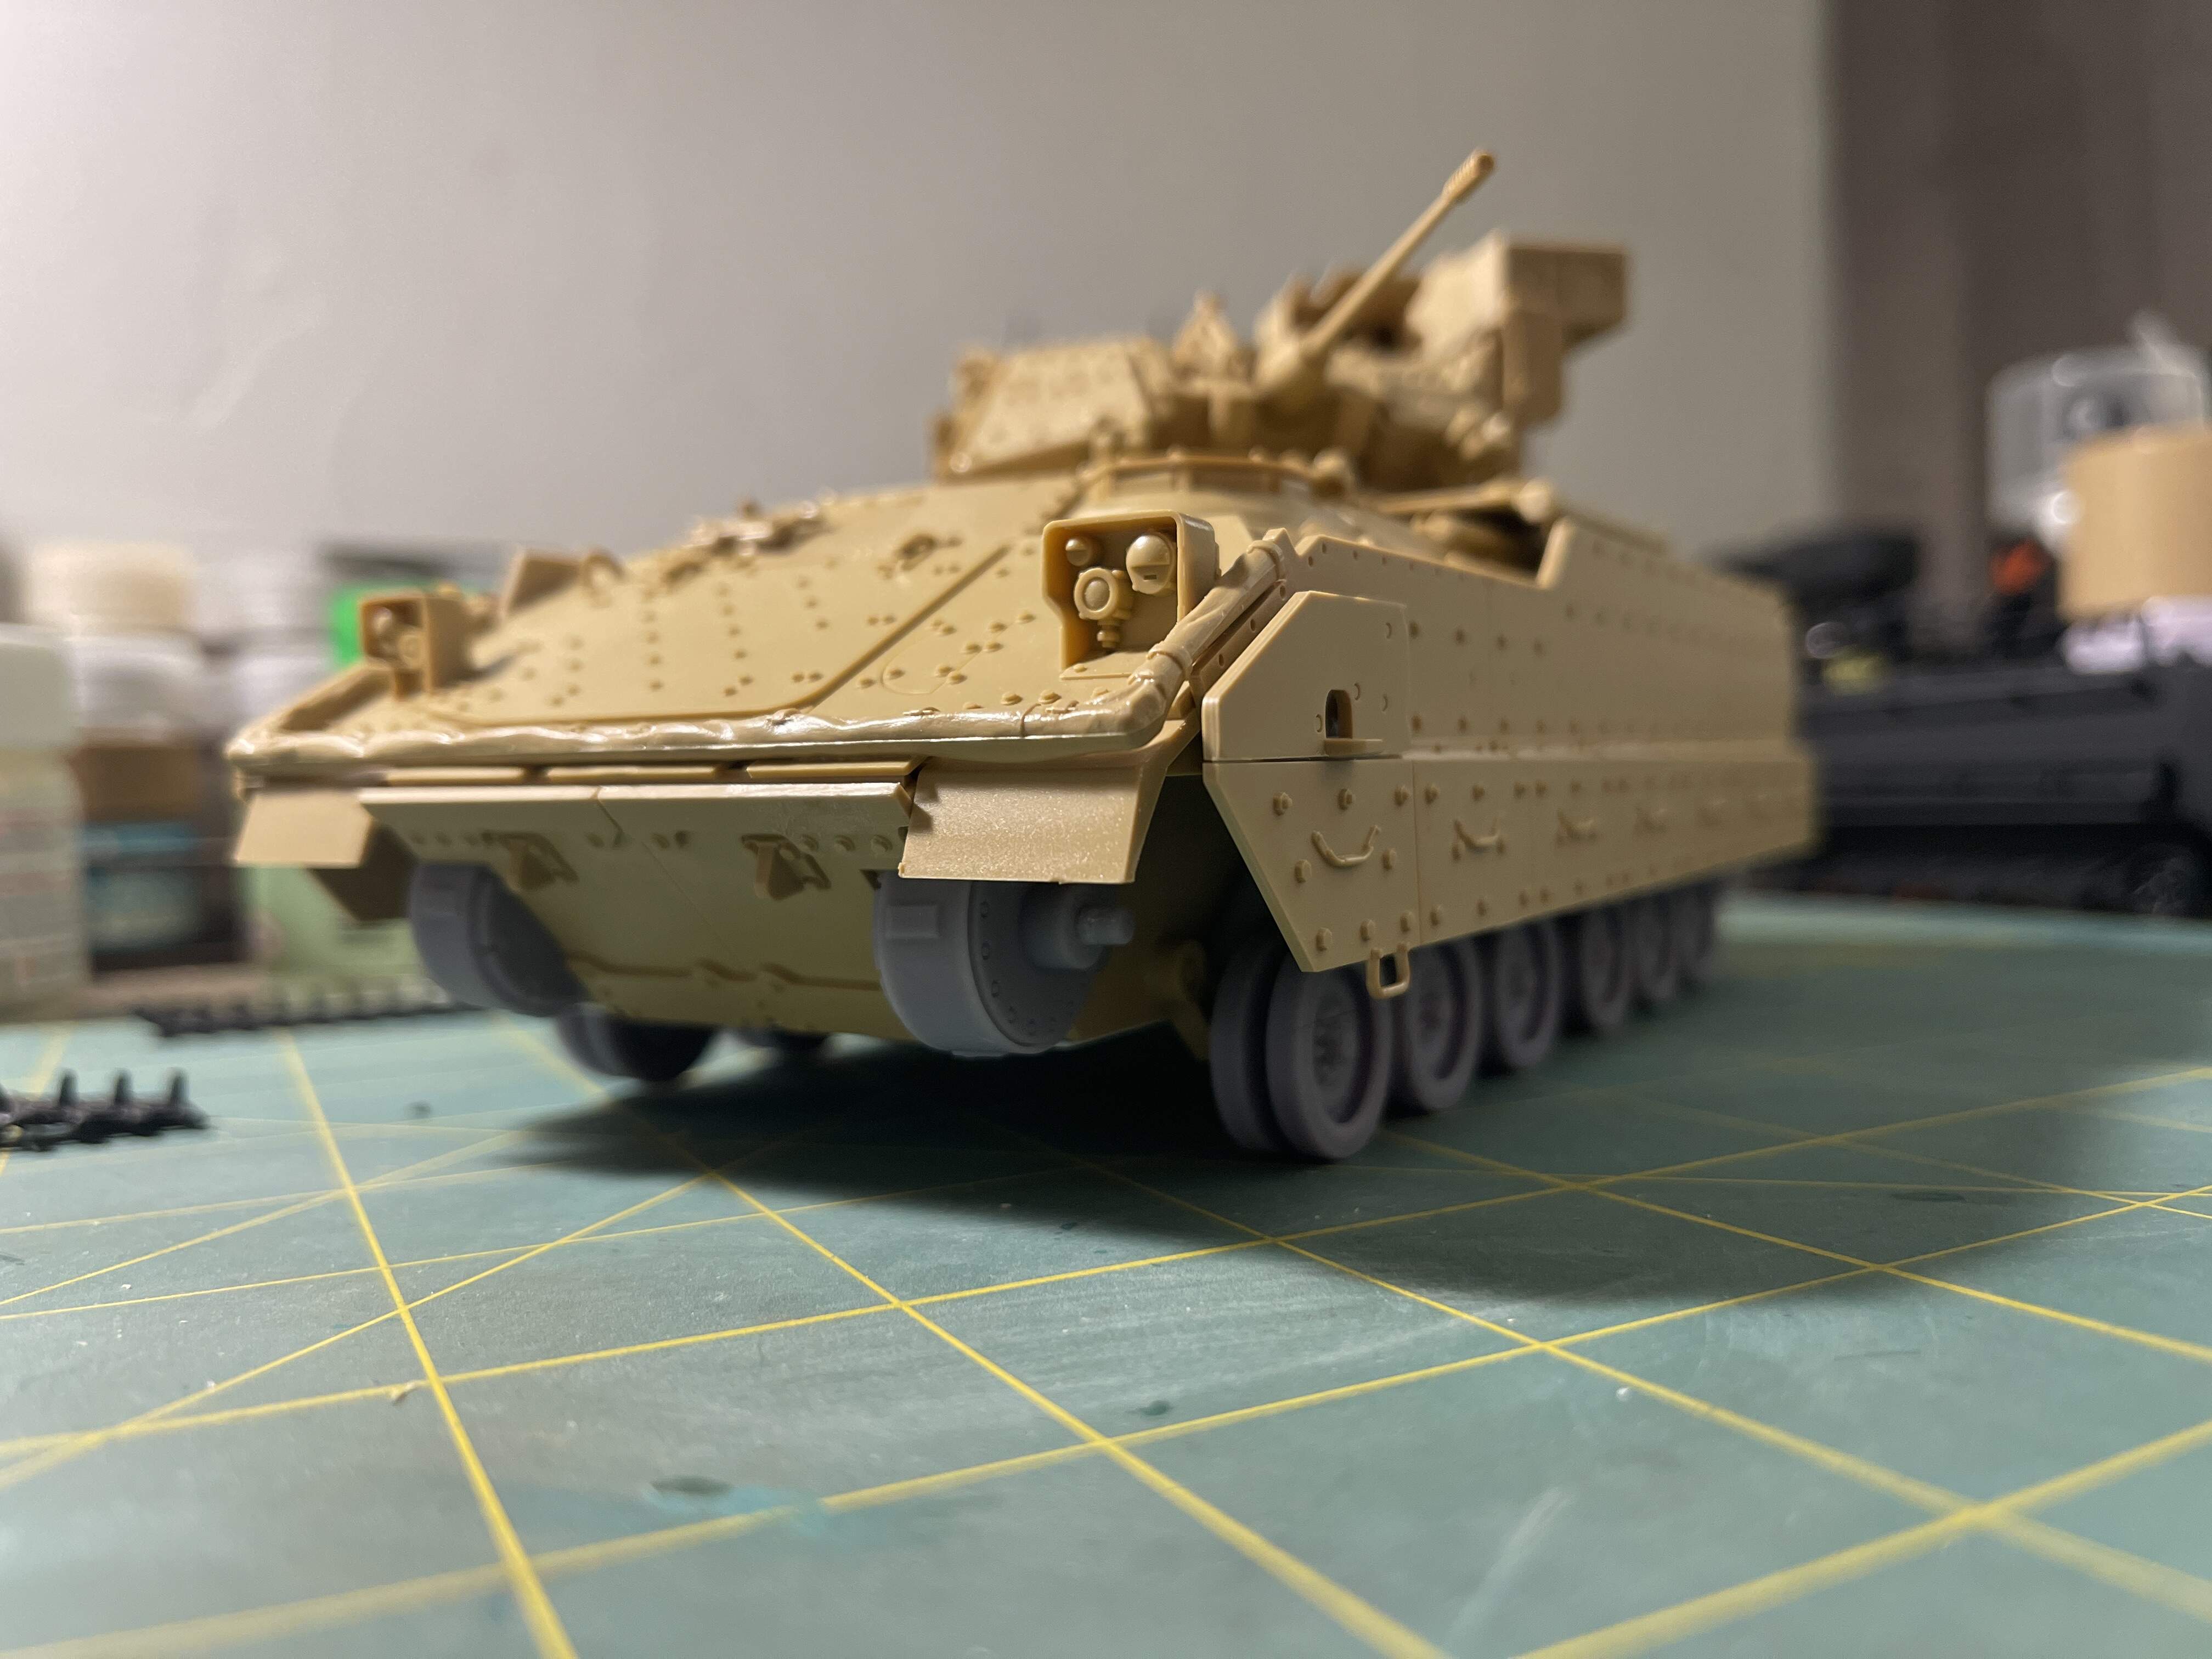
More progress put into the build.
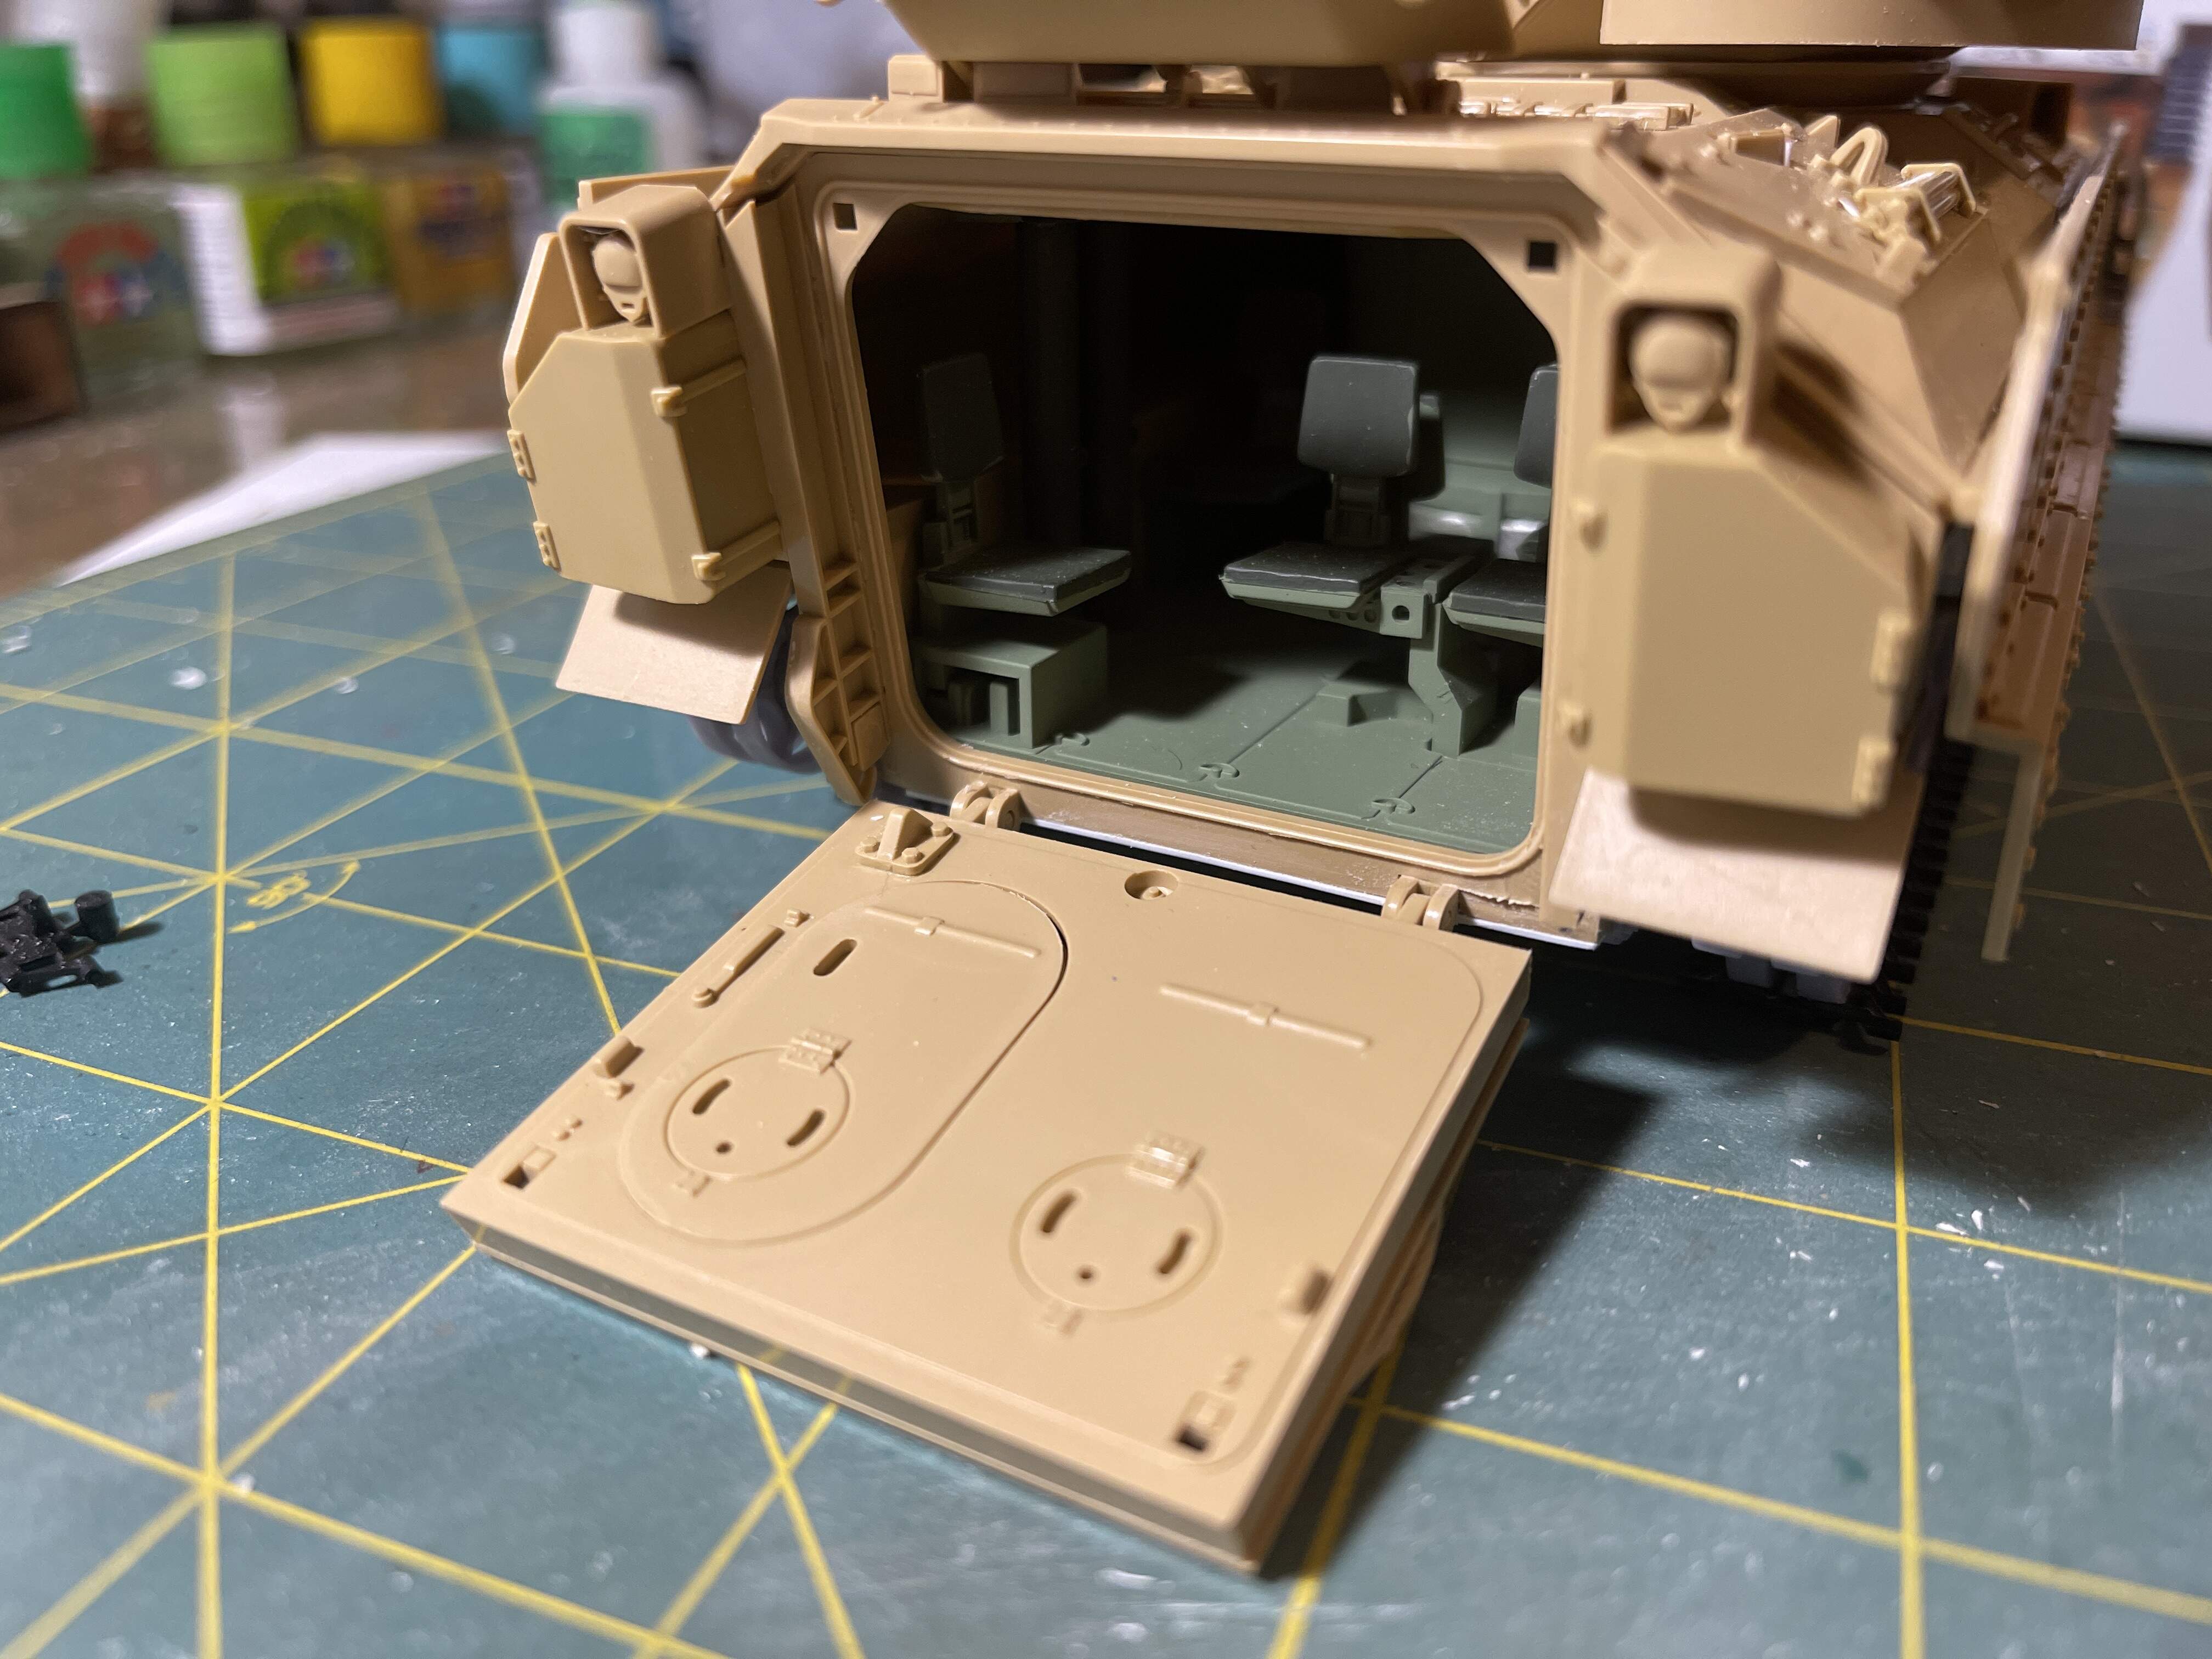
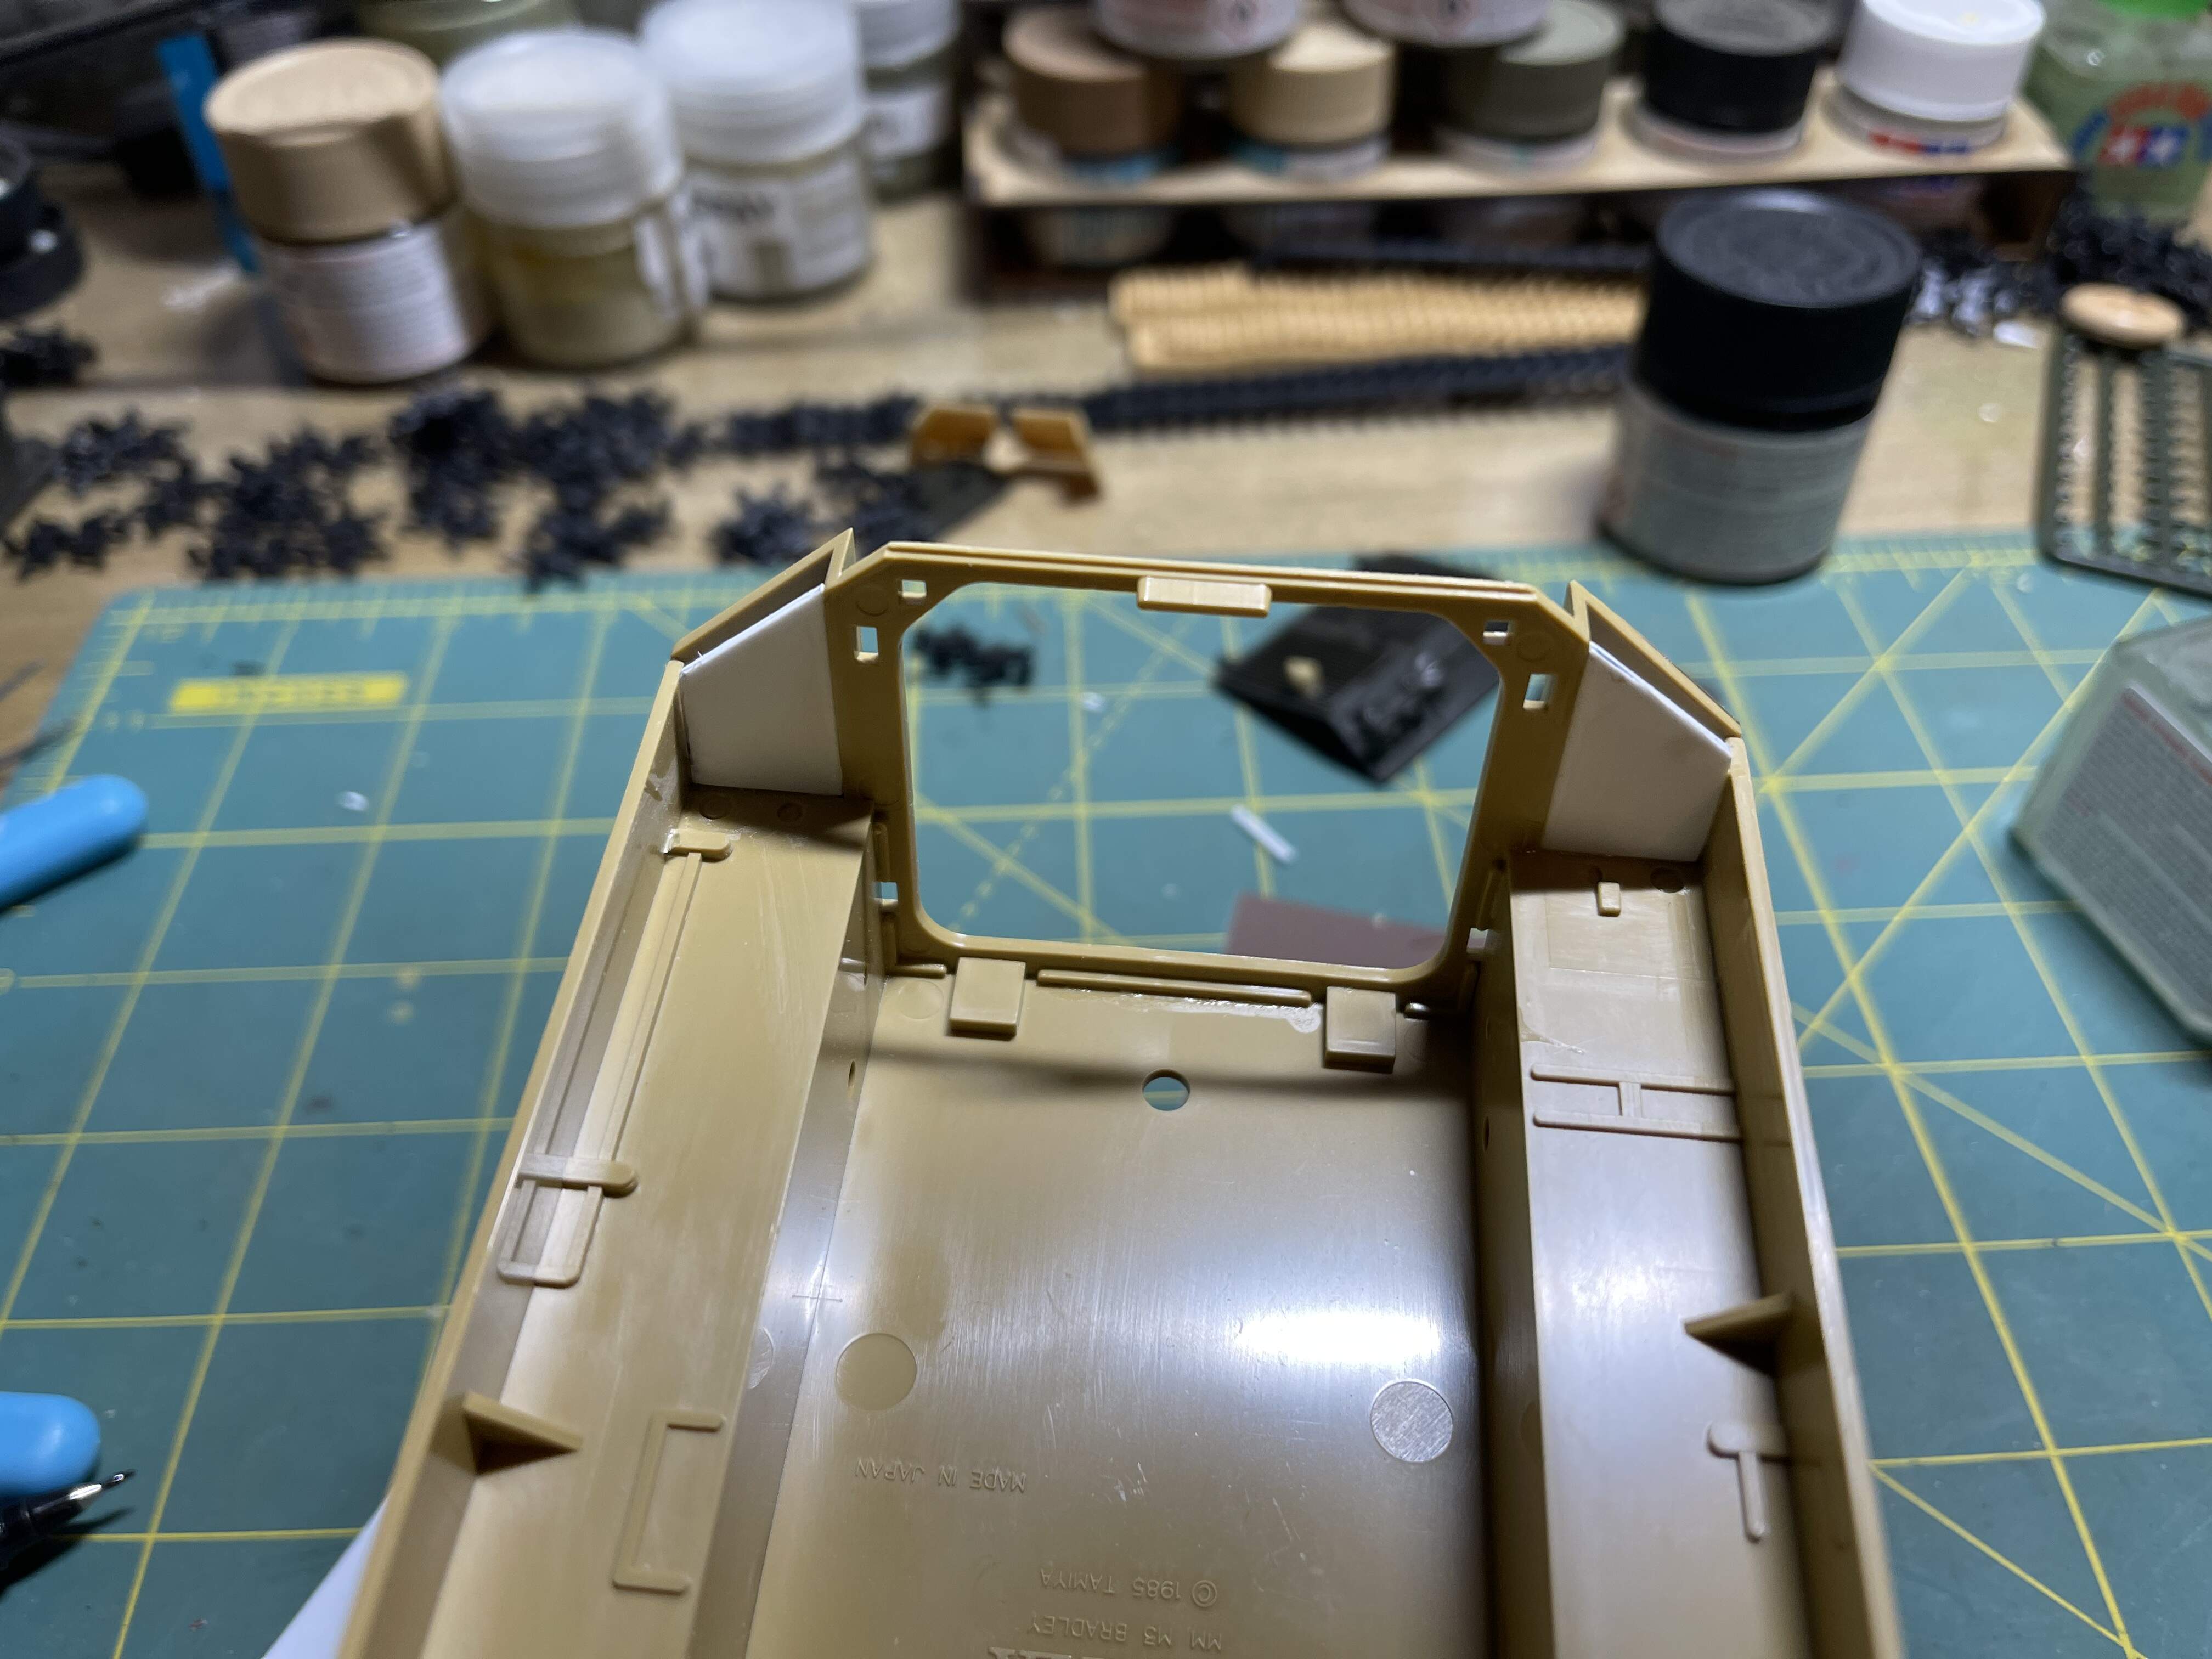
Plugged all the holes on the inside upper hull. I will have to add the periscopes on the inside.
I also took the idea @HeavyArty had for his Linebacker build, to add the lifting arm for the rear troop hatch.
Looking really good so far.
Just out of curiosity… How many Bradleys served in Somalia?
Your build is looking sweet.
The 24th sent a company sized element of Bradleys to Somalia, along with Abrams tanks, M109 howitzers and support elements.
Your detailing and modifications are looking excellent!
It is coming along great. One pointer. On the rear of the inside hull top, you have put part A12, which is for no interior. If you swap it with part D38, this is the same area but with the three rear periscopes on it, so you won’t have to make them. Nice job so far.
Yeah D38 is on my other Bradley build would have to remove it and put it on the other build.
Ah, oh well. Time to scratch up some periscopes then.
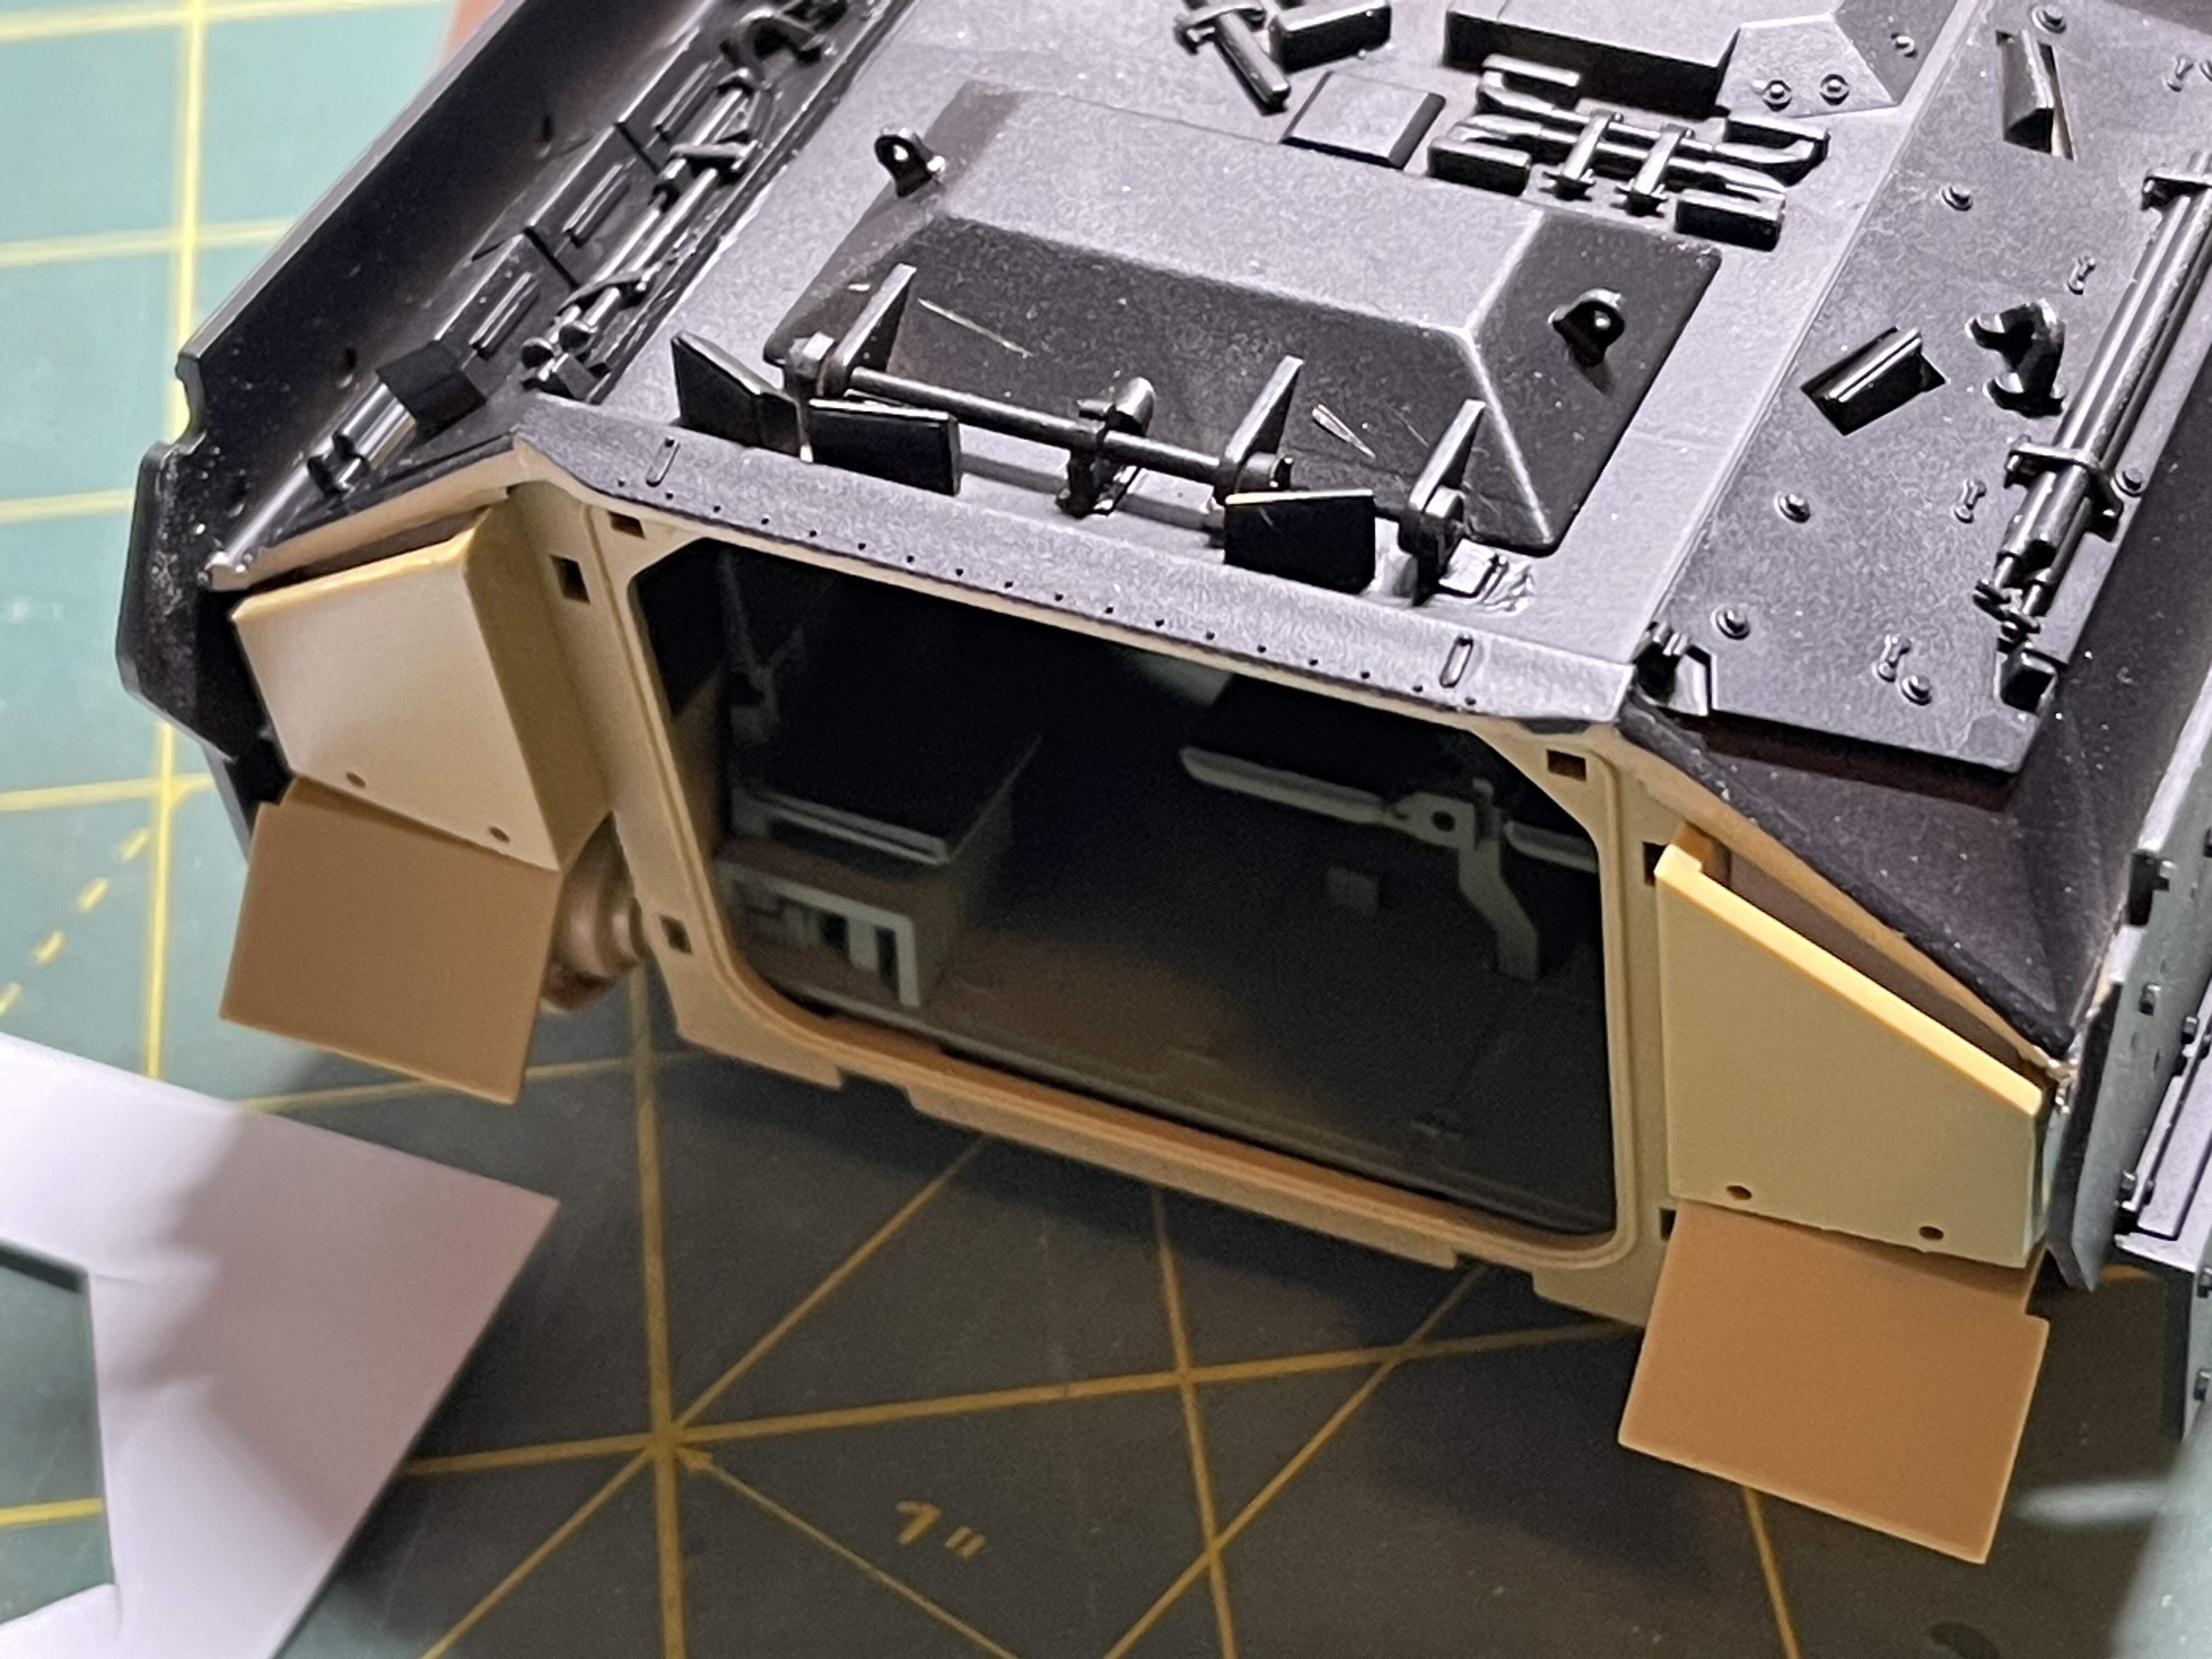
I was actually able to finesse it out and re-glue it to the Somalia build. Had plenty of the other clips, so I left it home to dry in place. It’ll need a little creative sanding. But it’ll look good. ![]()
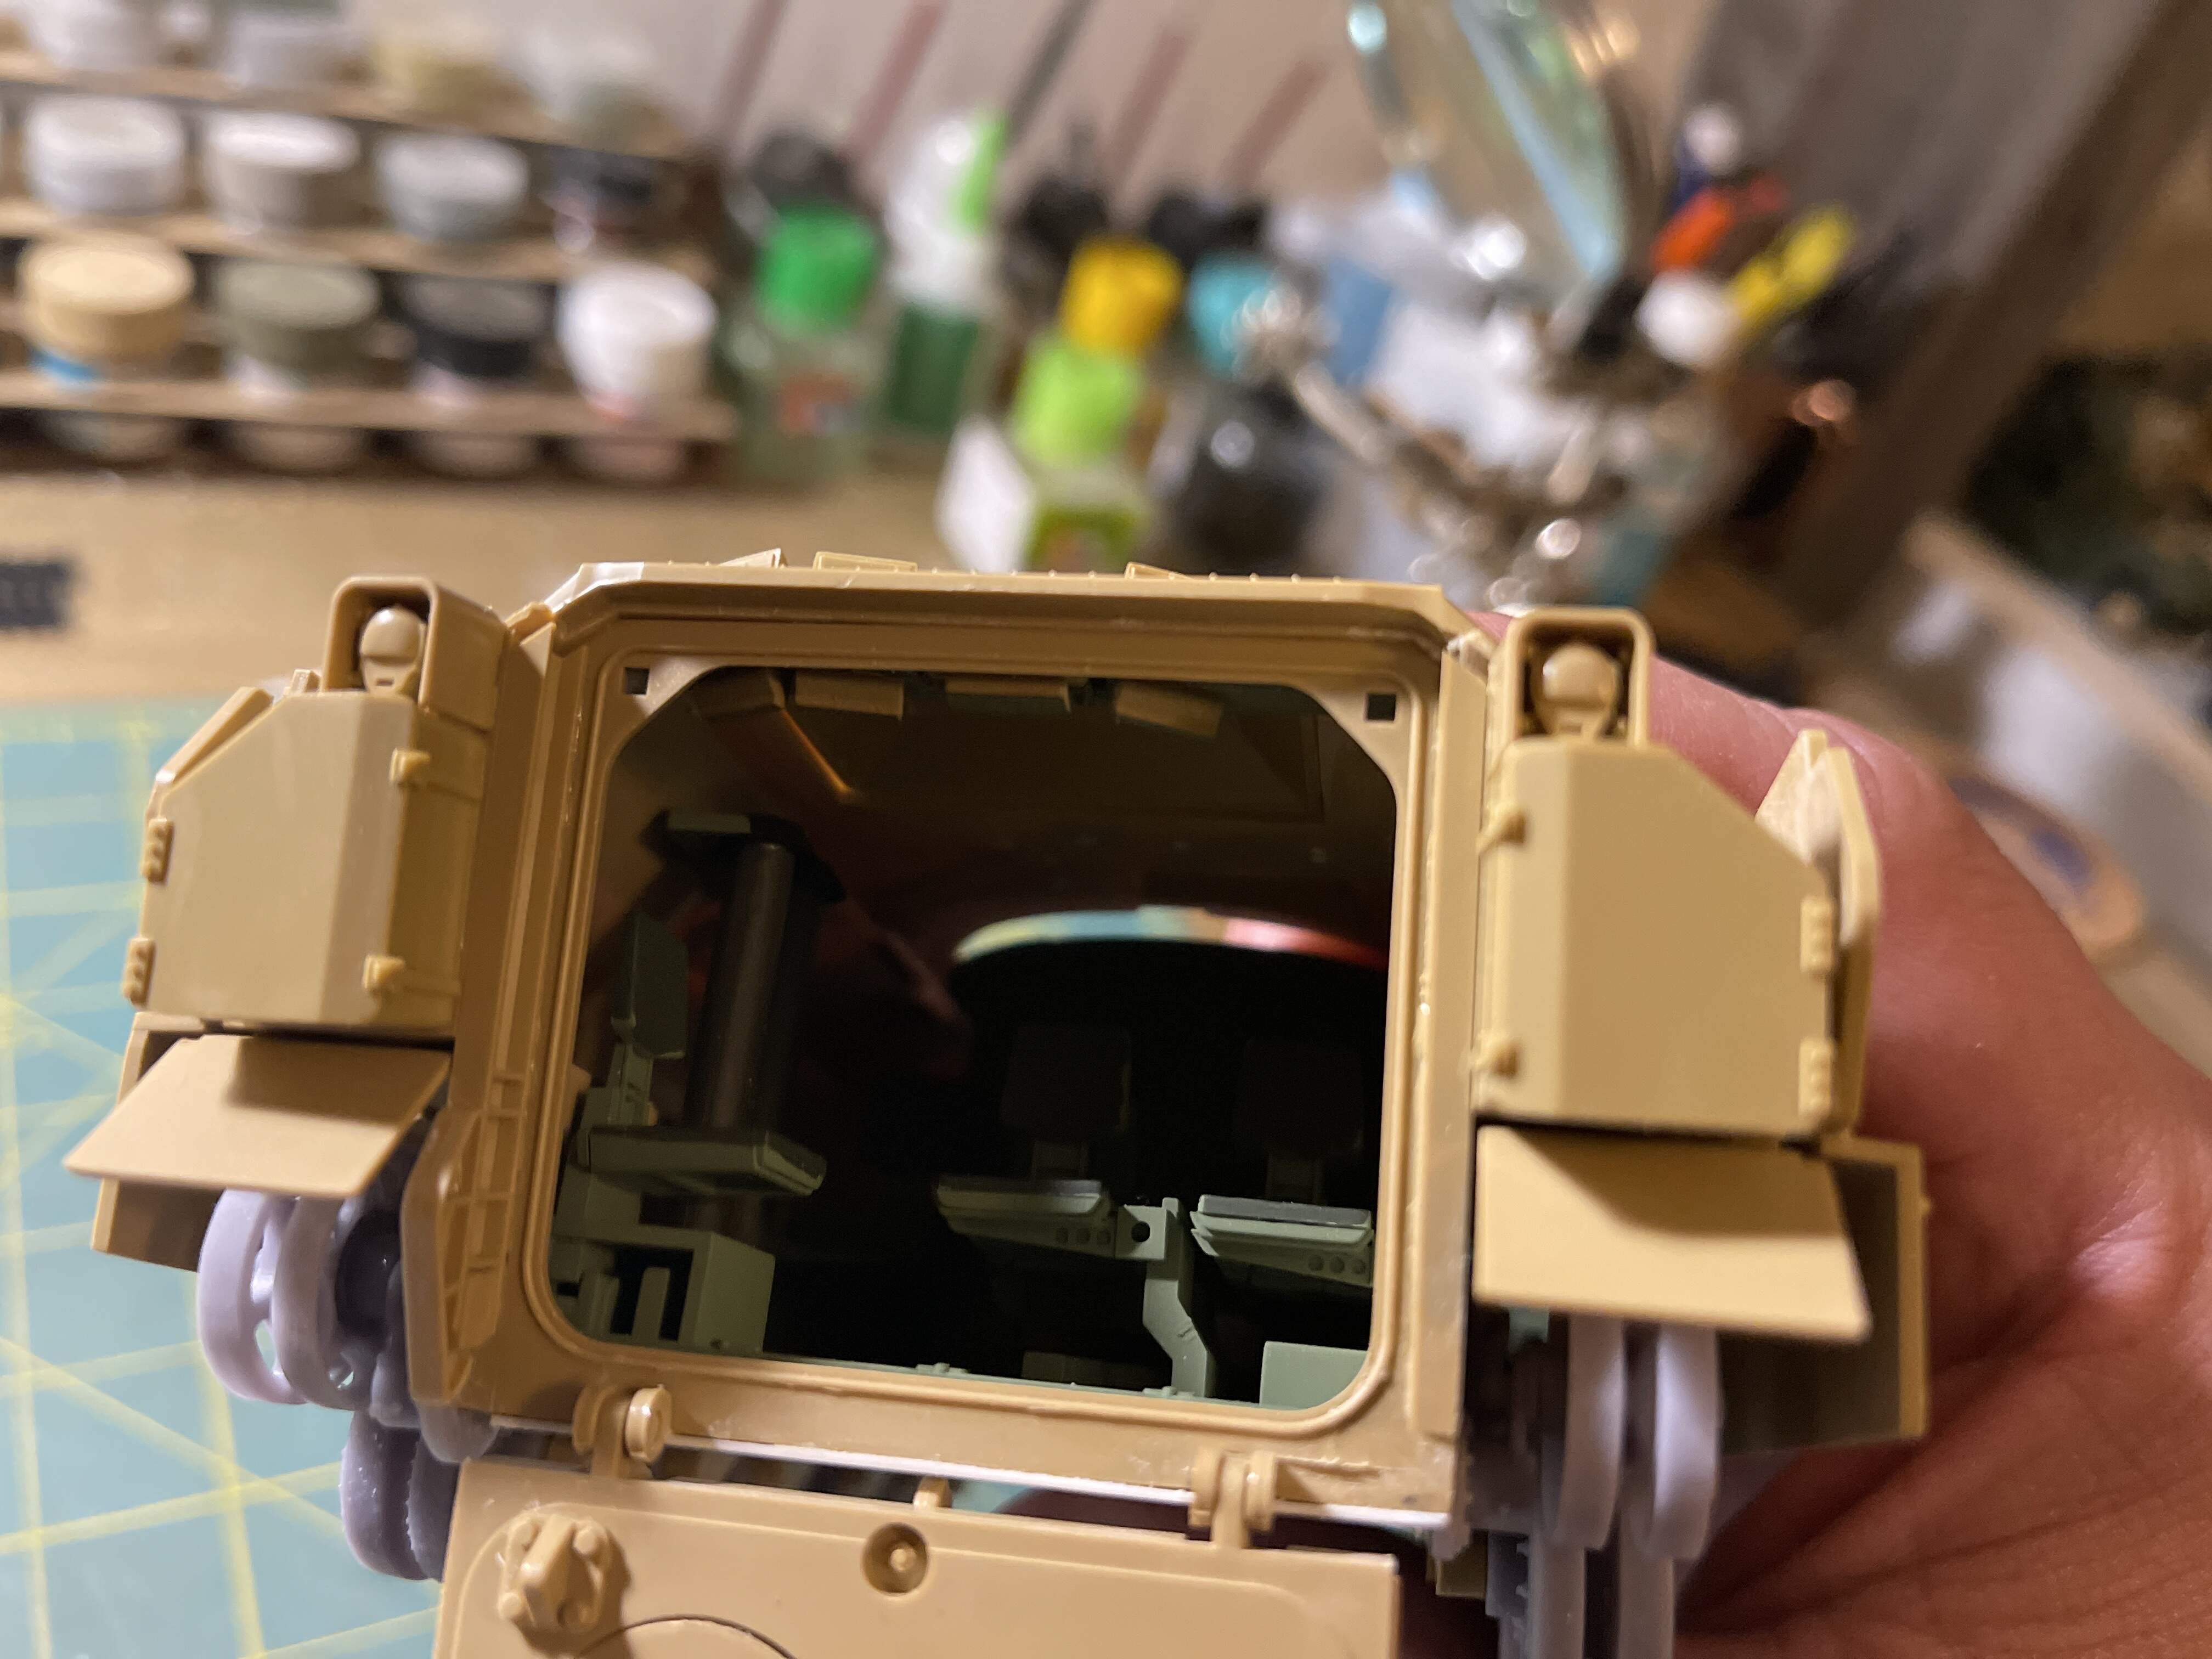
Like stated before, I was able to pry this part out and reapply it to my build.
It did snap in two, but it’s an easy fix.
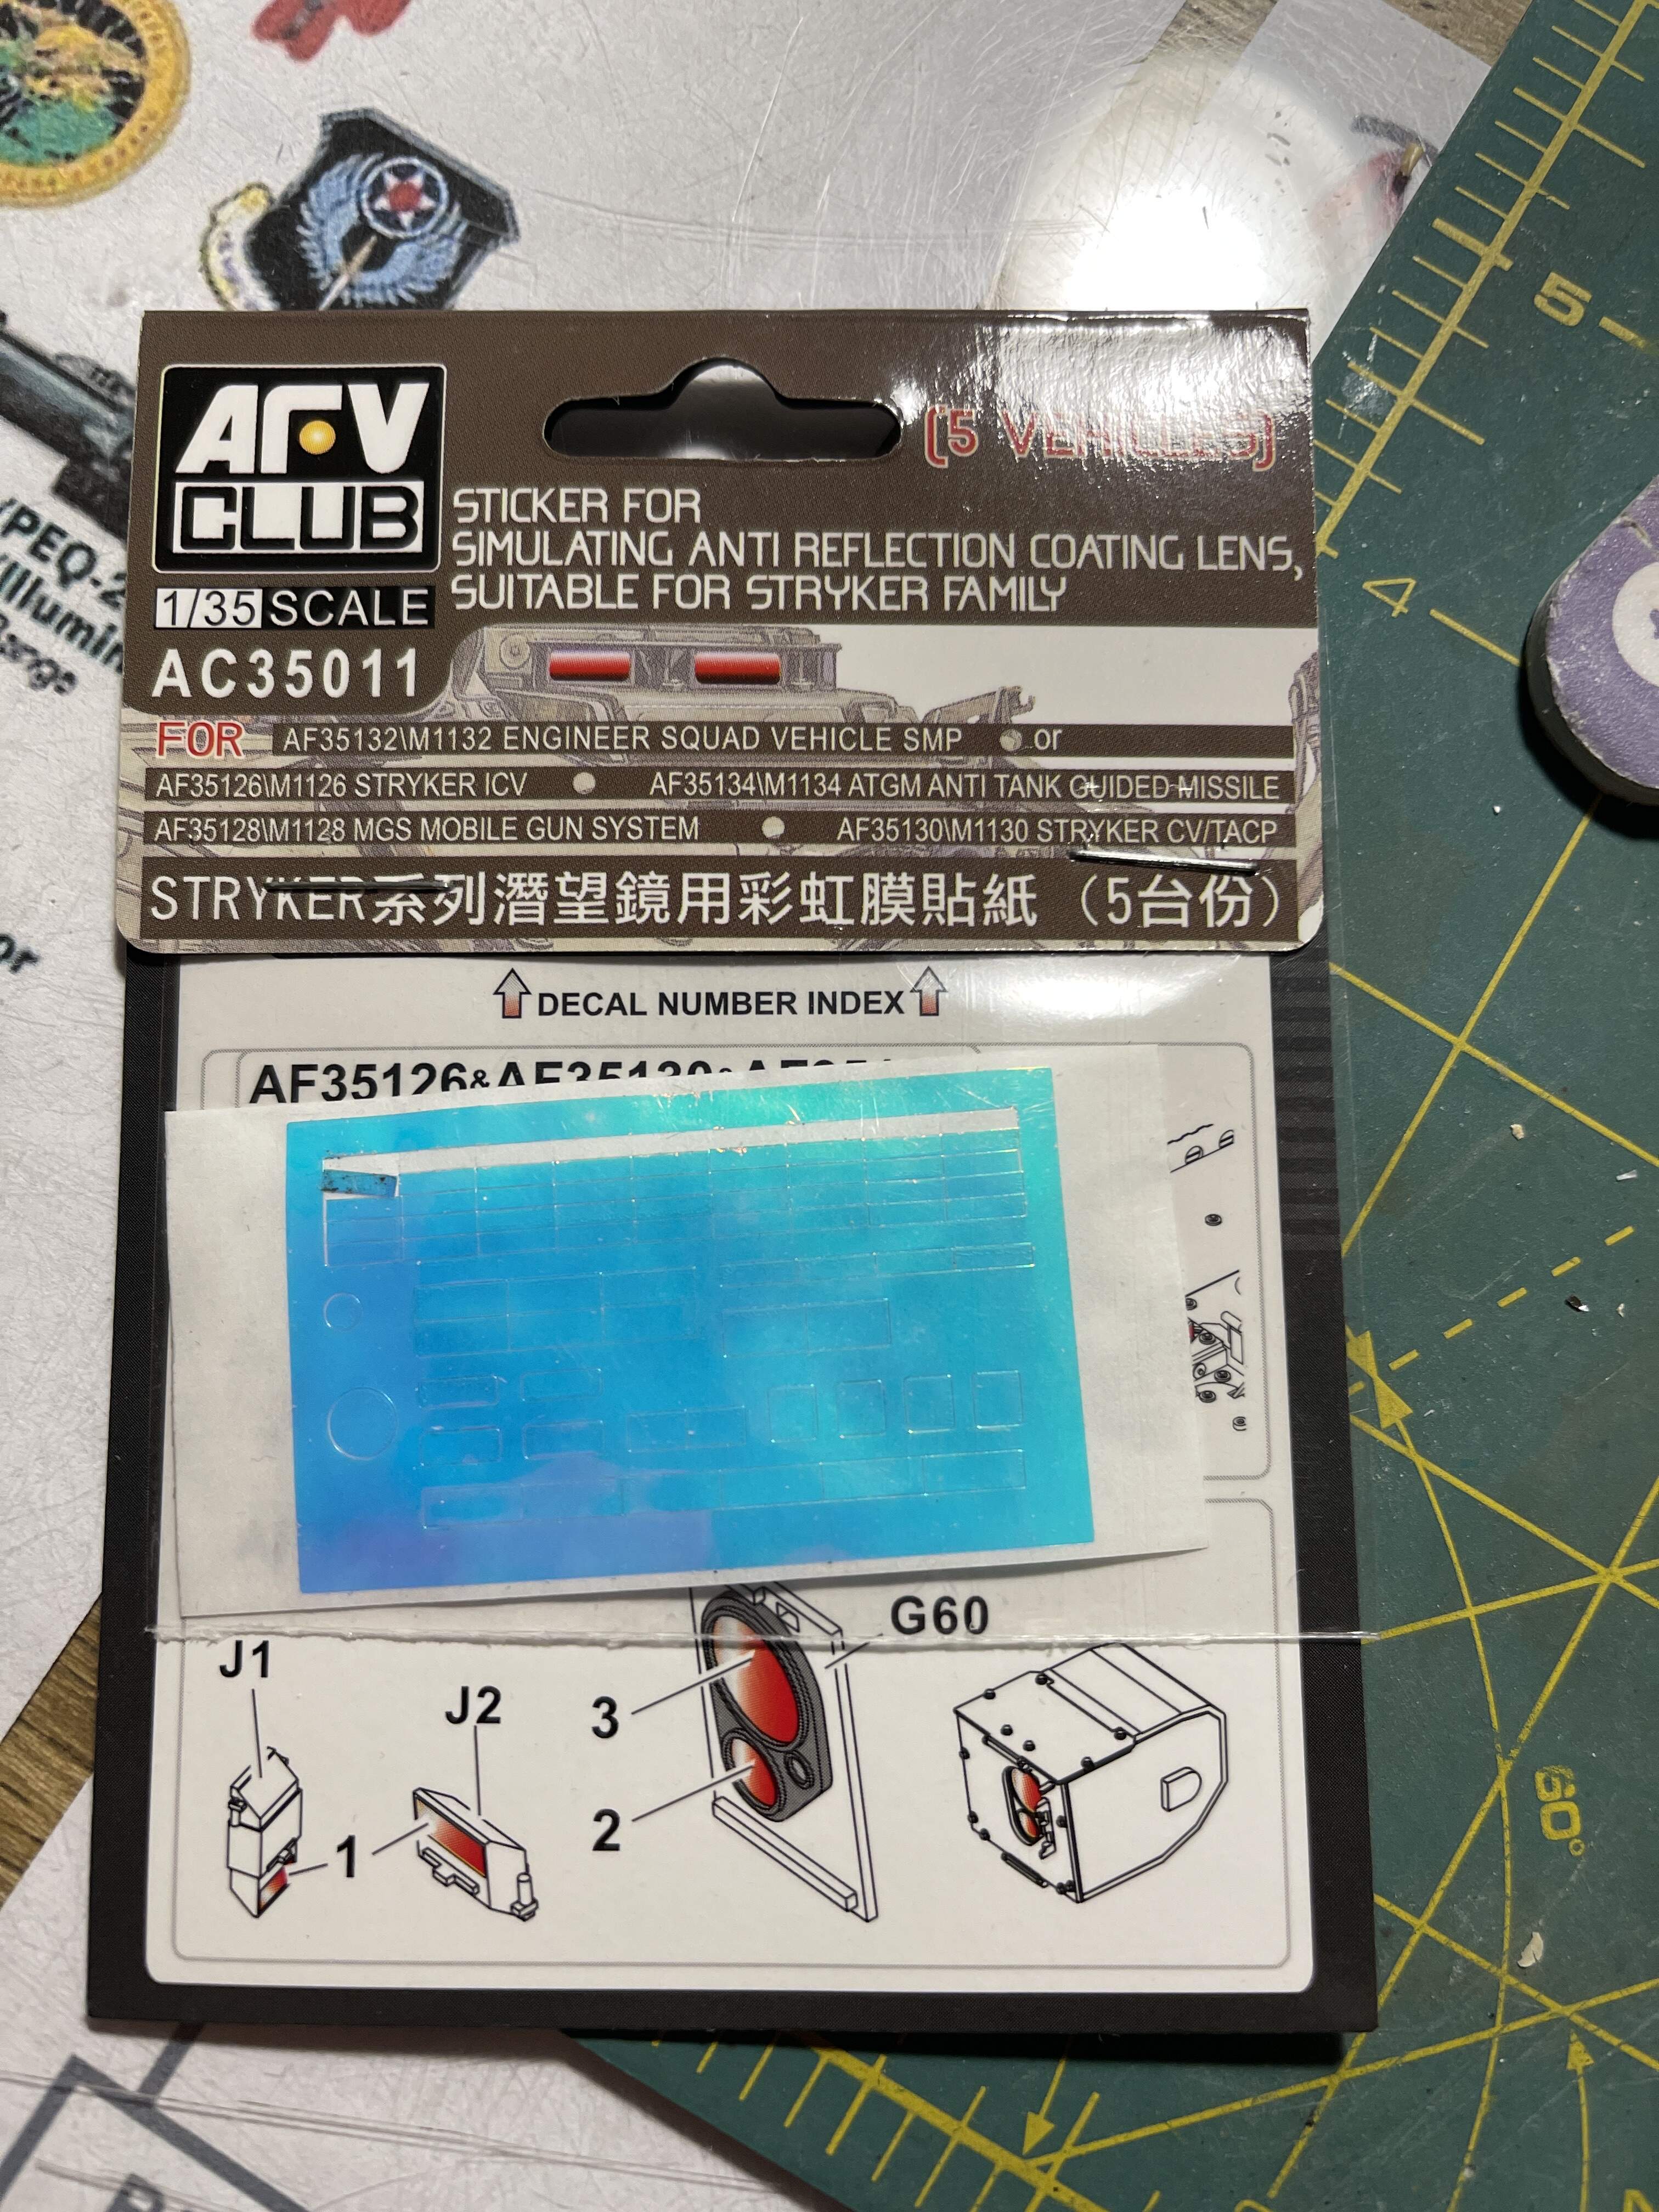
Now, in its proper place. I will be using the reflective decals from AFV to replicate the sheen on the periscopes.
The top line was used on my M1126A1 build.
Good save. Looking good.
Mighty fine, sir. Mighty fine! ![]()
![]()
![]()
For the wound or the model?
For the model. I already have it. Have to get back to the kit and focus on the tracks.
A setback.
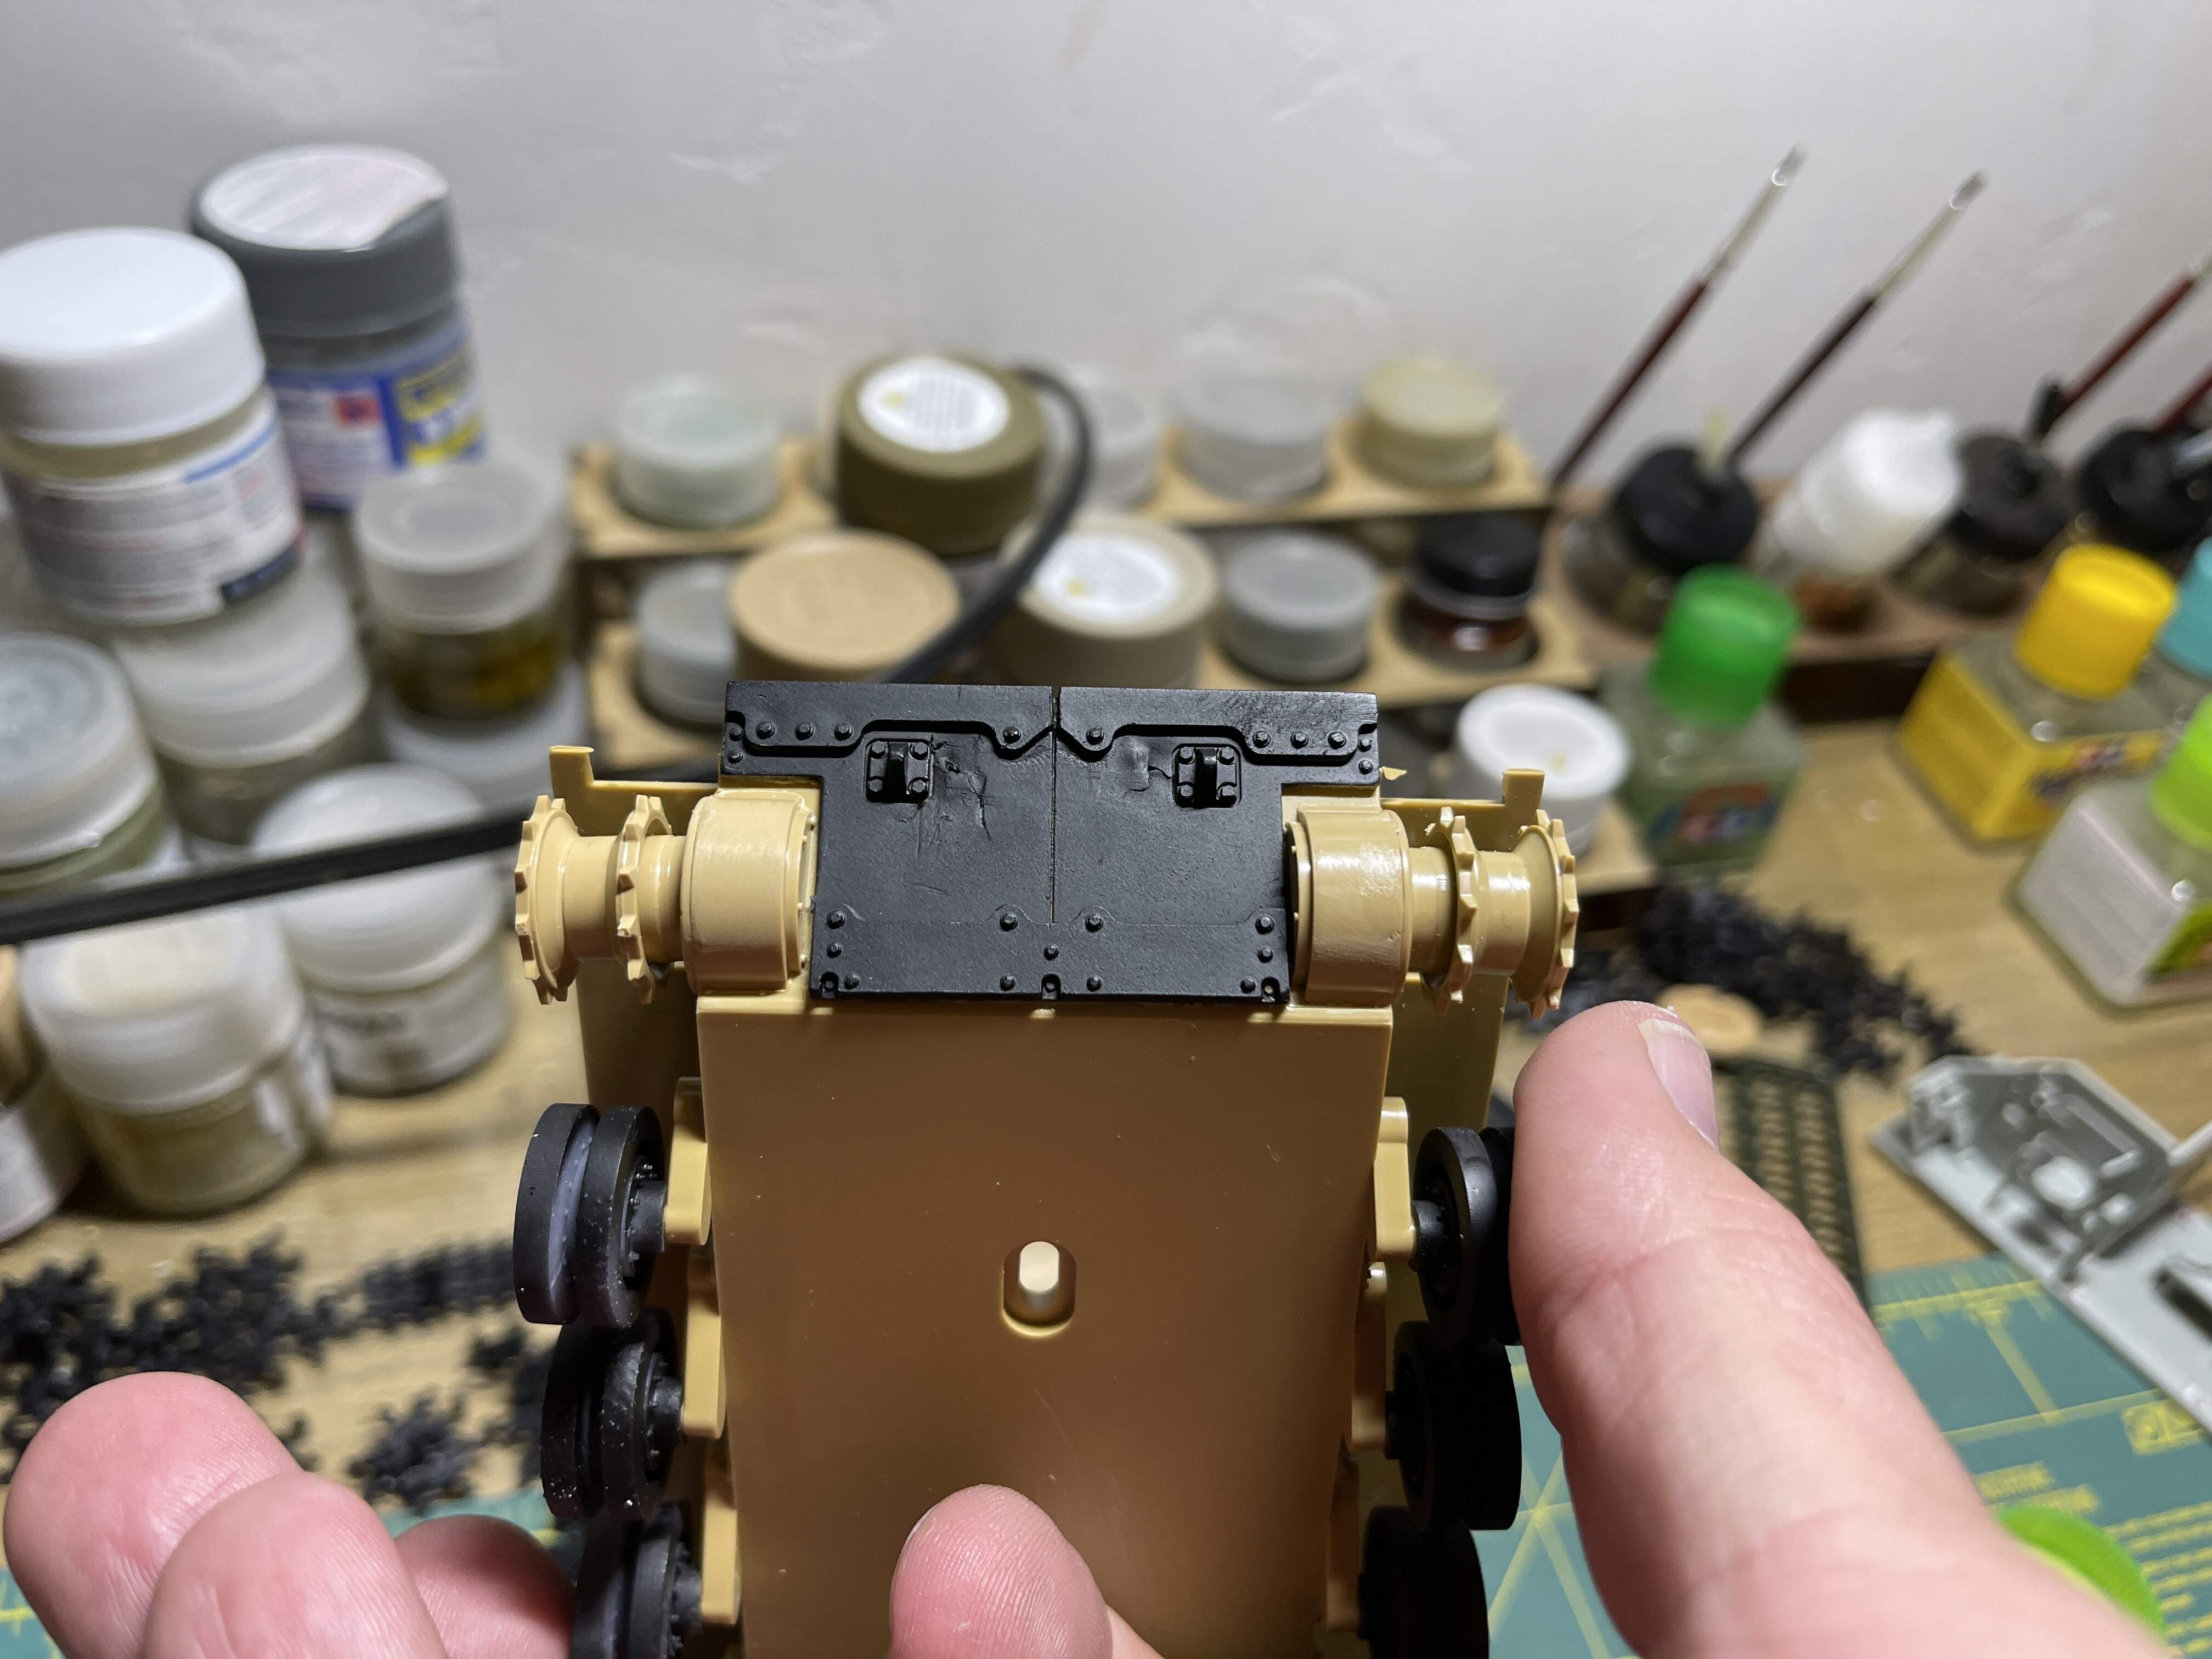
While attempting to redo the rear wall of the vehicle; I accidentally broke the 3D printed rear idlers. After some choice cuss words. I decided to redo the lower hull altogether, which gave me time to start again fresh and using some of Gino’s advice on the rear wall.
I fashioned new walls from two pieces of 0.20 styrene glued together and sanded to fit, rather than chopping up the rear wall and risking a screw up on my part.
Also trimmed thf top hull per Gino’s advice.
I’ve decided to just leave the lower hull as Tamiya made it, so as not to drive myself crazy. Everything will be covered by the rear skirts, so nobody will care.
I’ll reuse the road wheels and maybe the drive sprockets (after drilling and gluing to fit).
Also had to pry the front lower glacis off the other hull and slightly damaged it in the process; hopefully I can fix that with some liquefied putty and elbow grease.
I’m not going to lose this build to my fat sausage fingers.