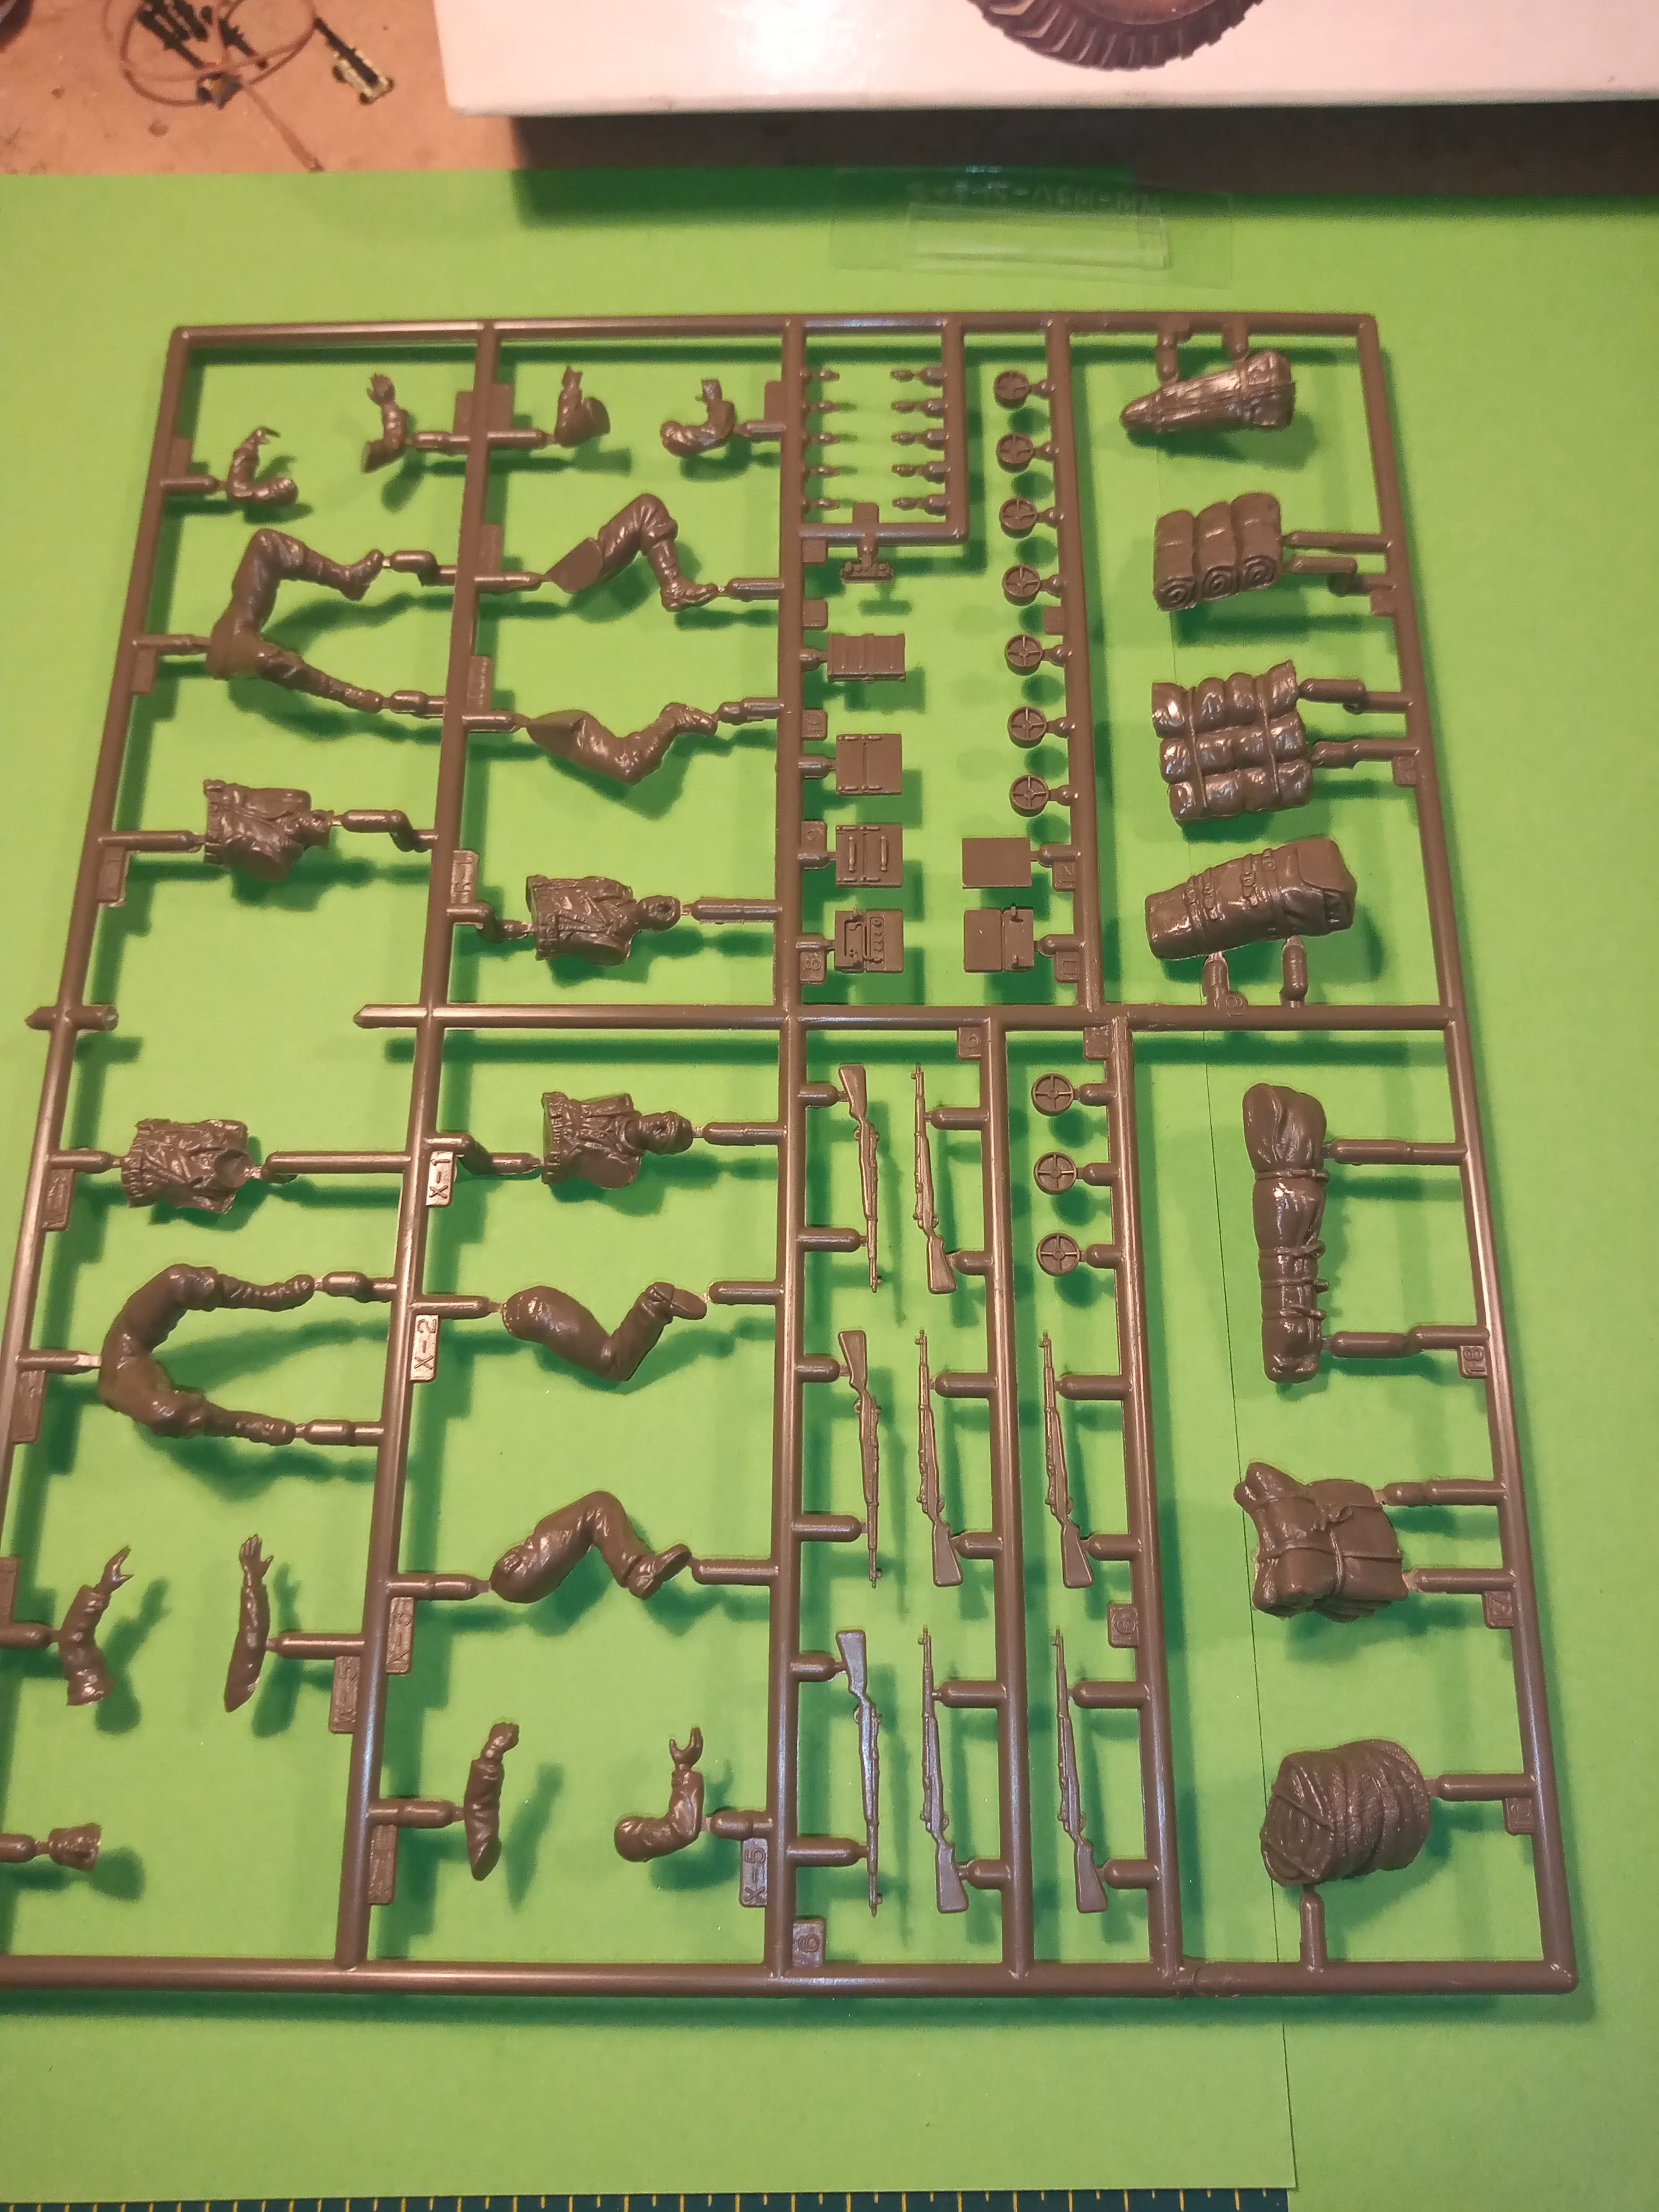
And the last figure sprue. You get 8 troops plus a driver figure. Don’t think I will be using any of them though.
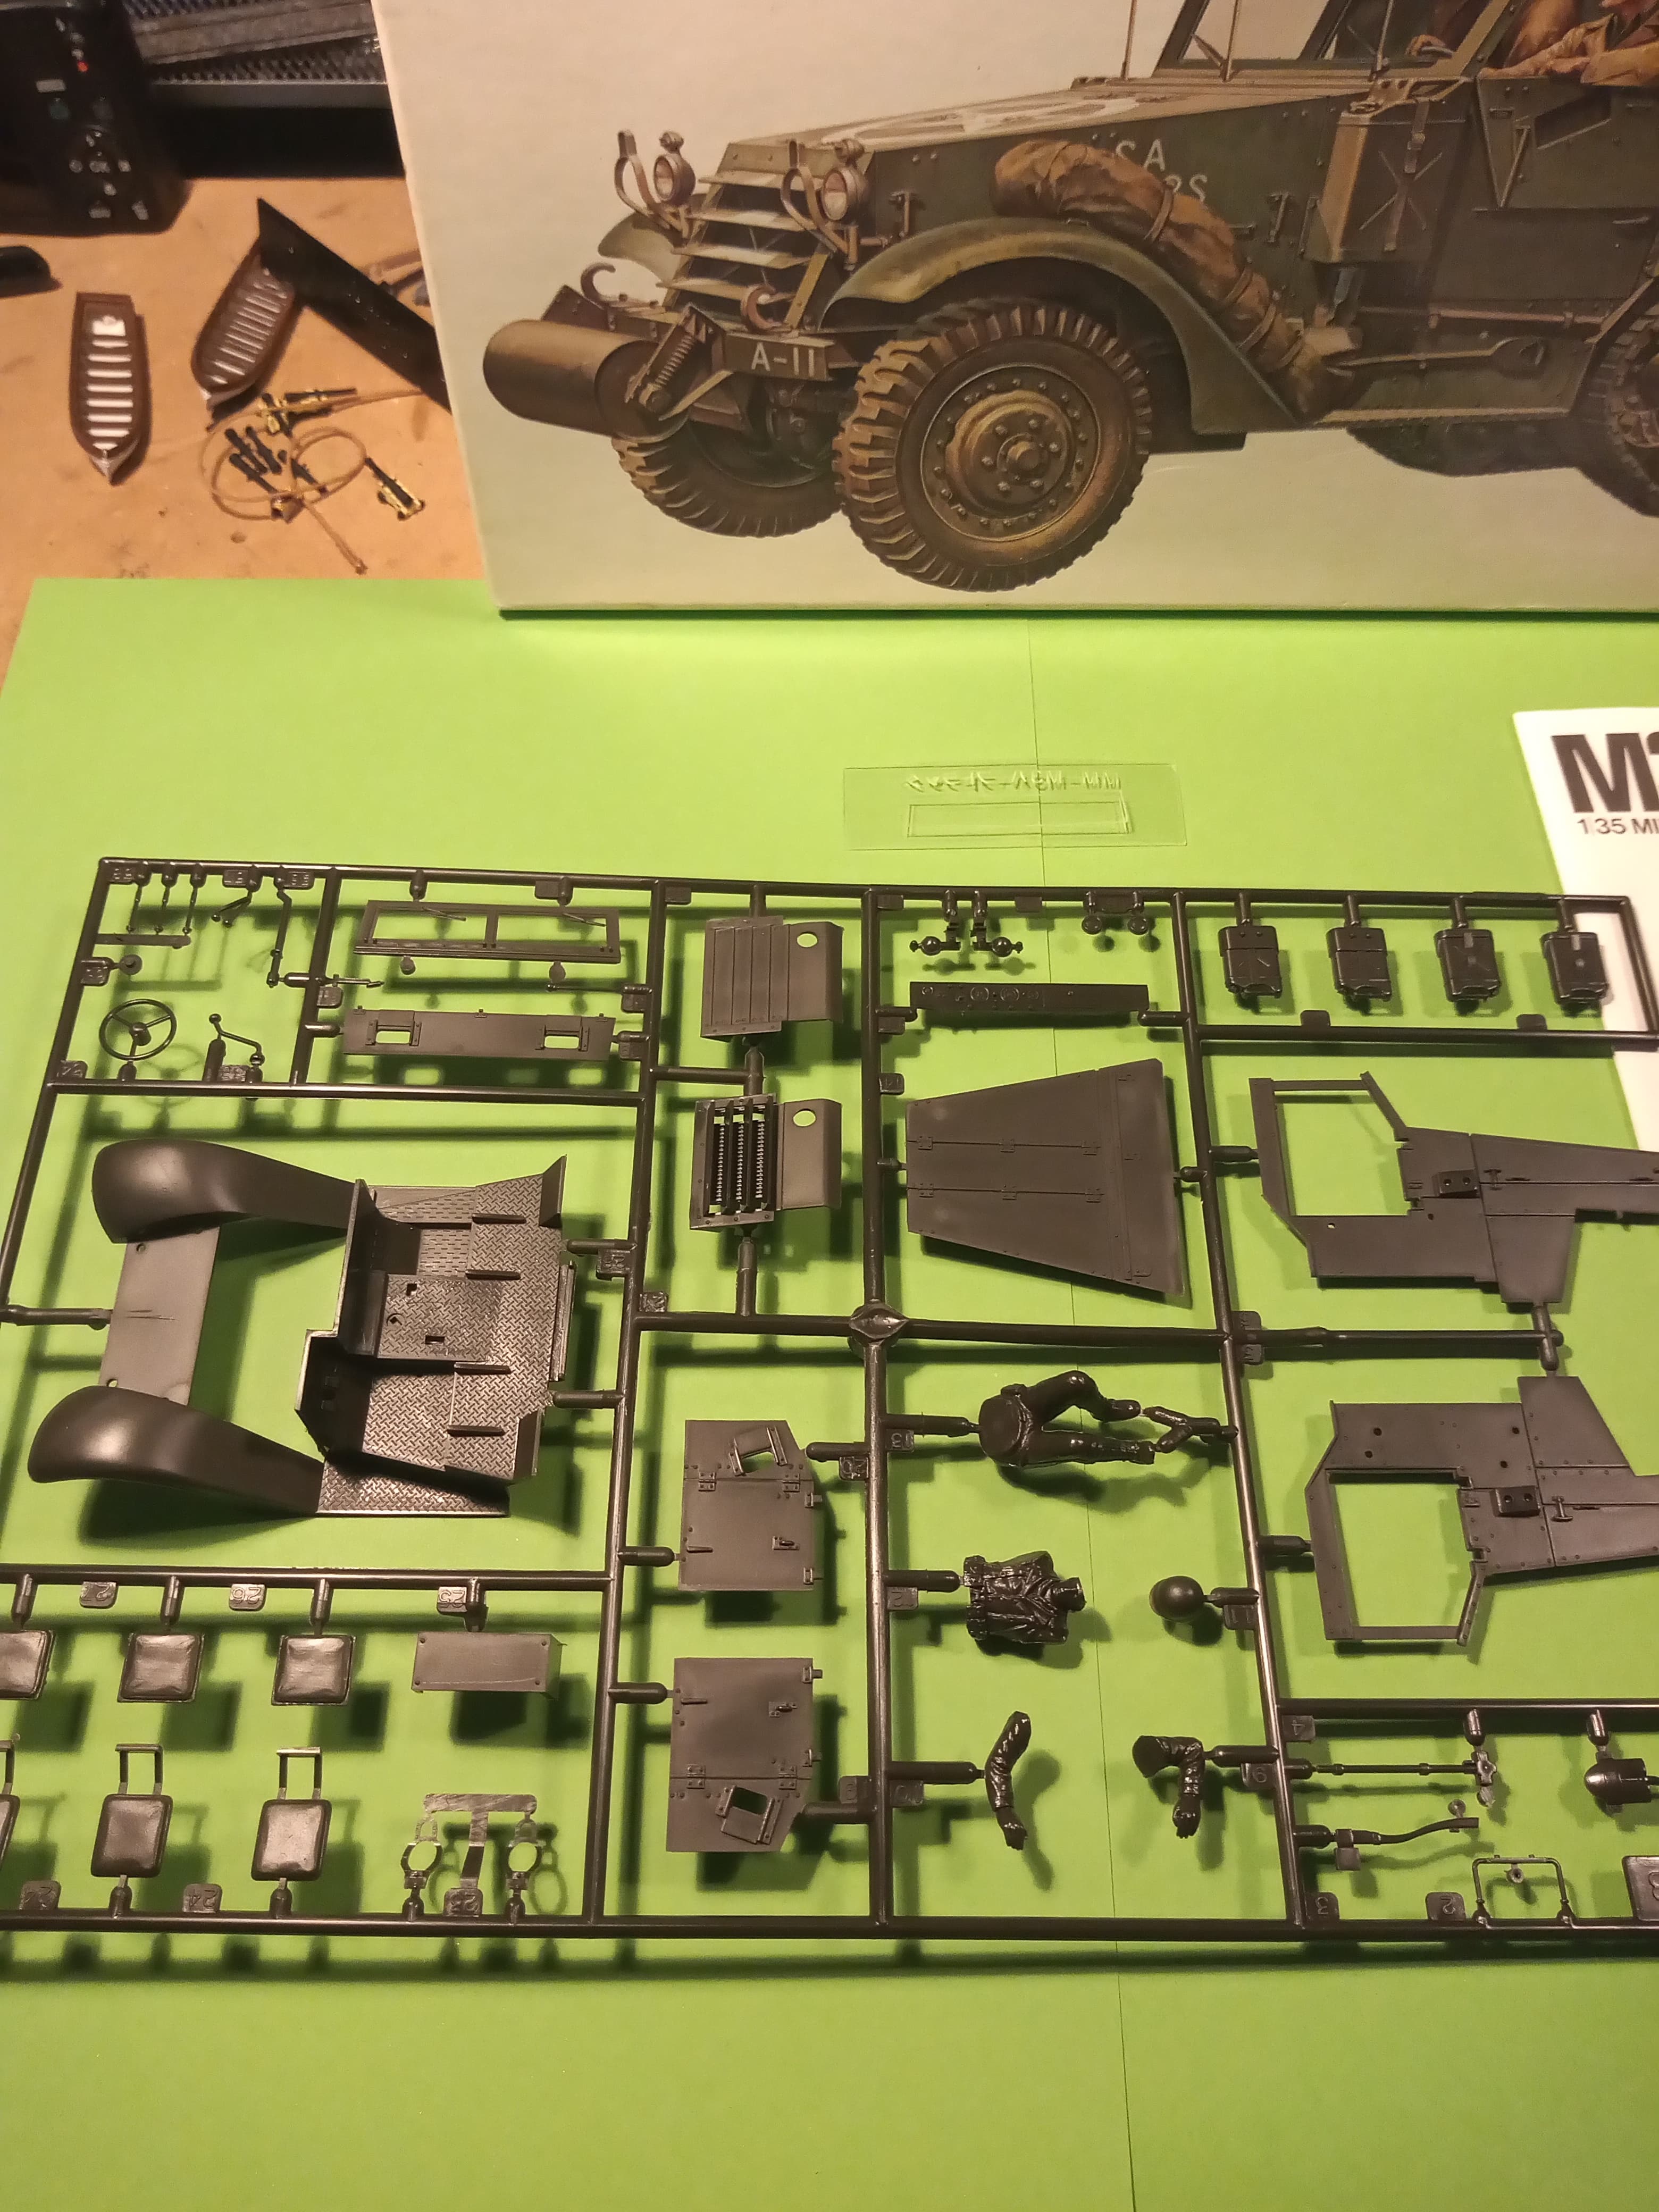
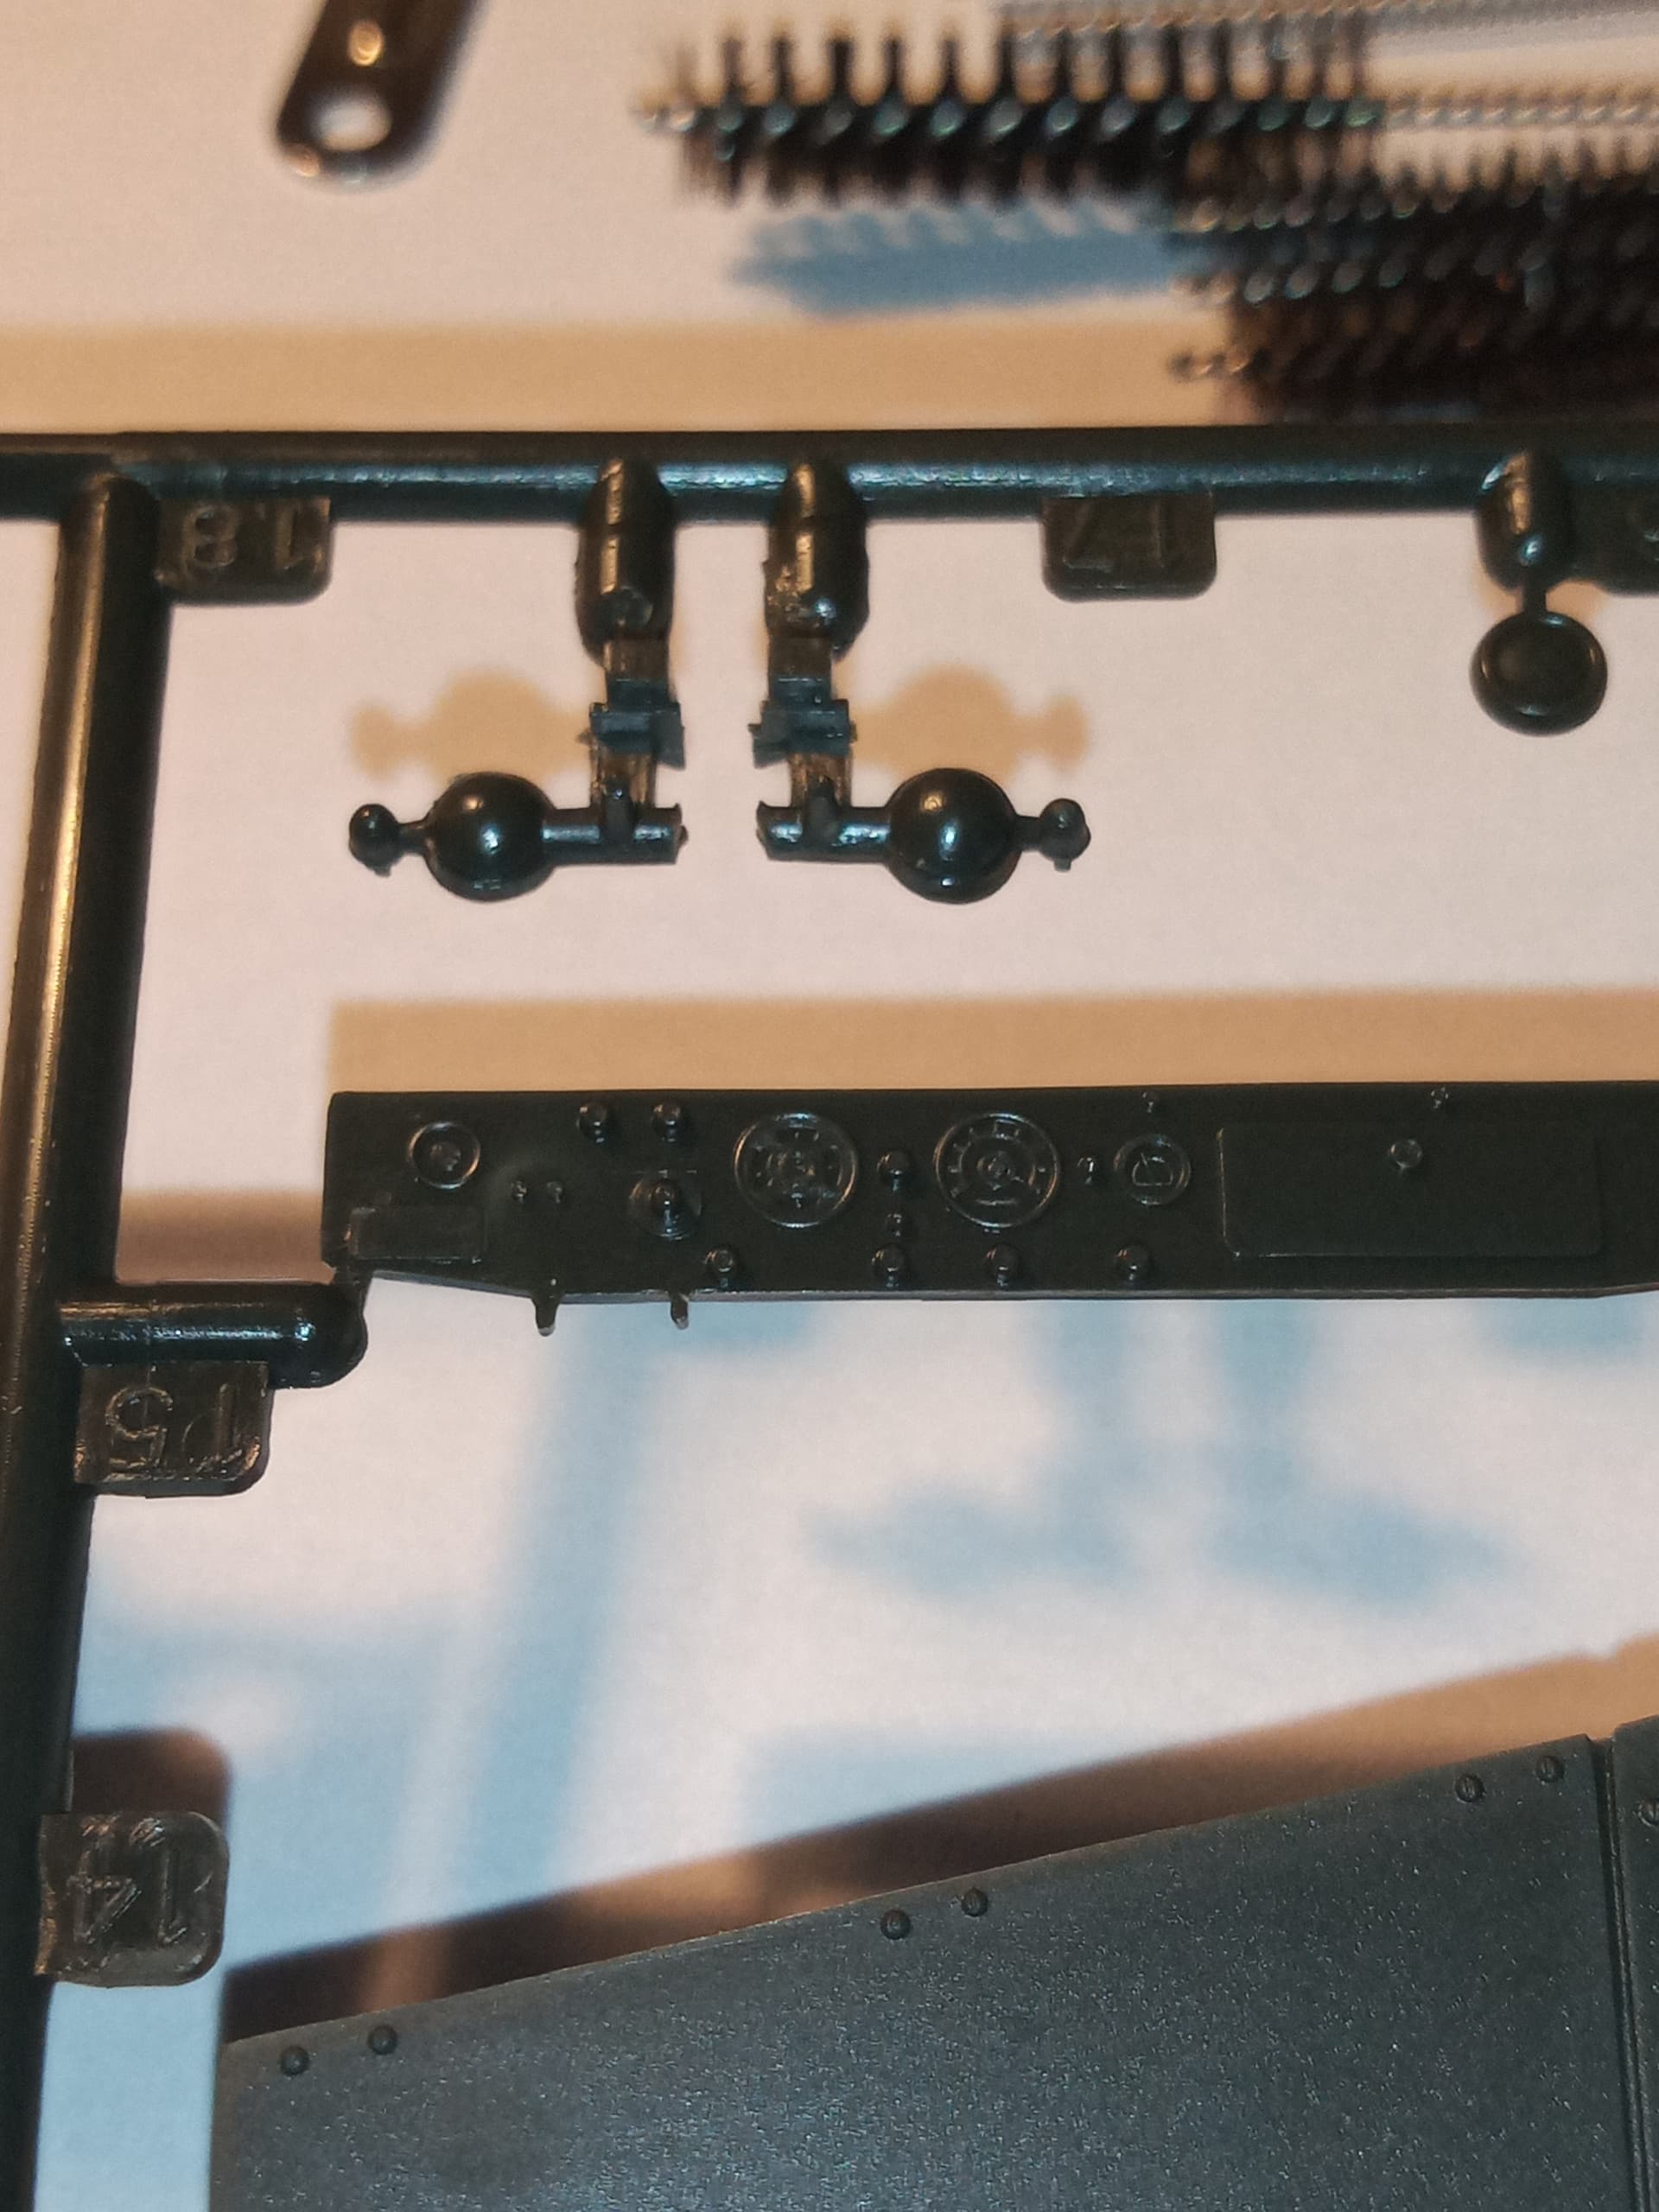
Although the PE does come with a dash, I may just use the kit one as the Eduard one needs the missing printed dash background…kit one looks ok though.
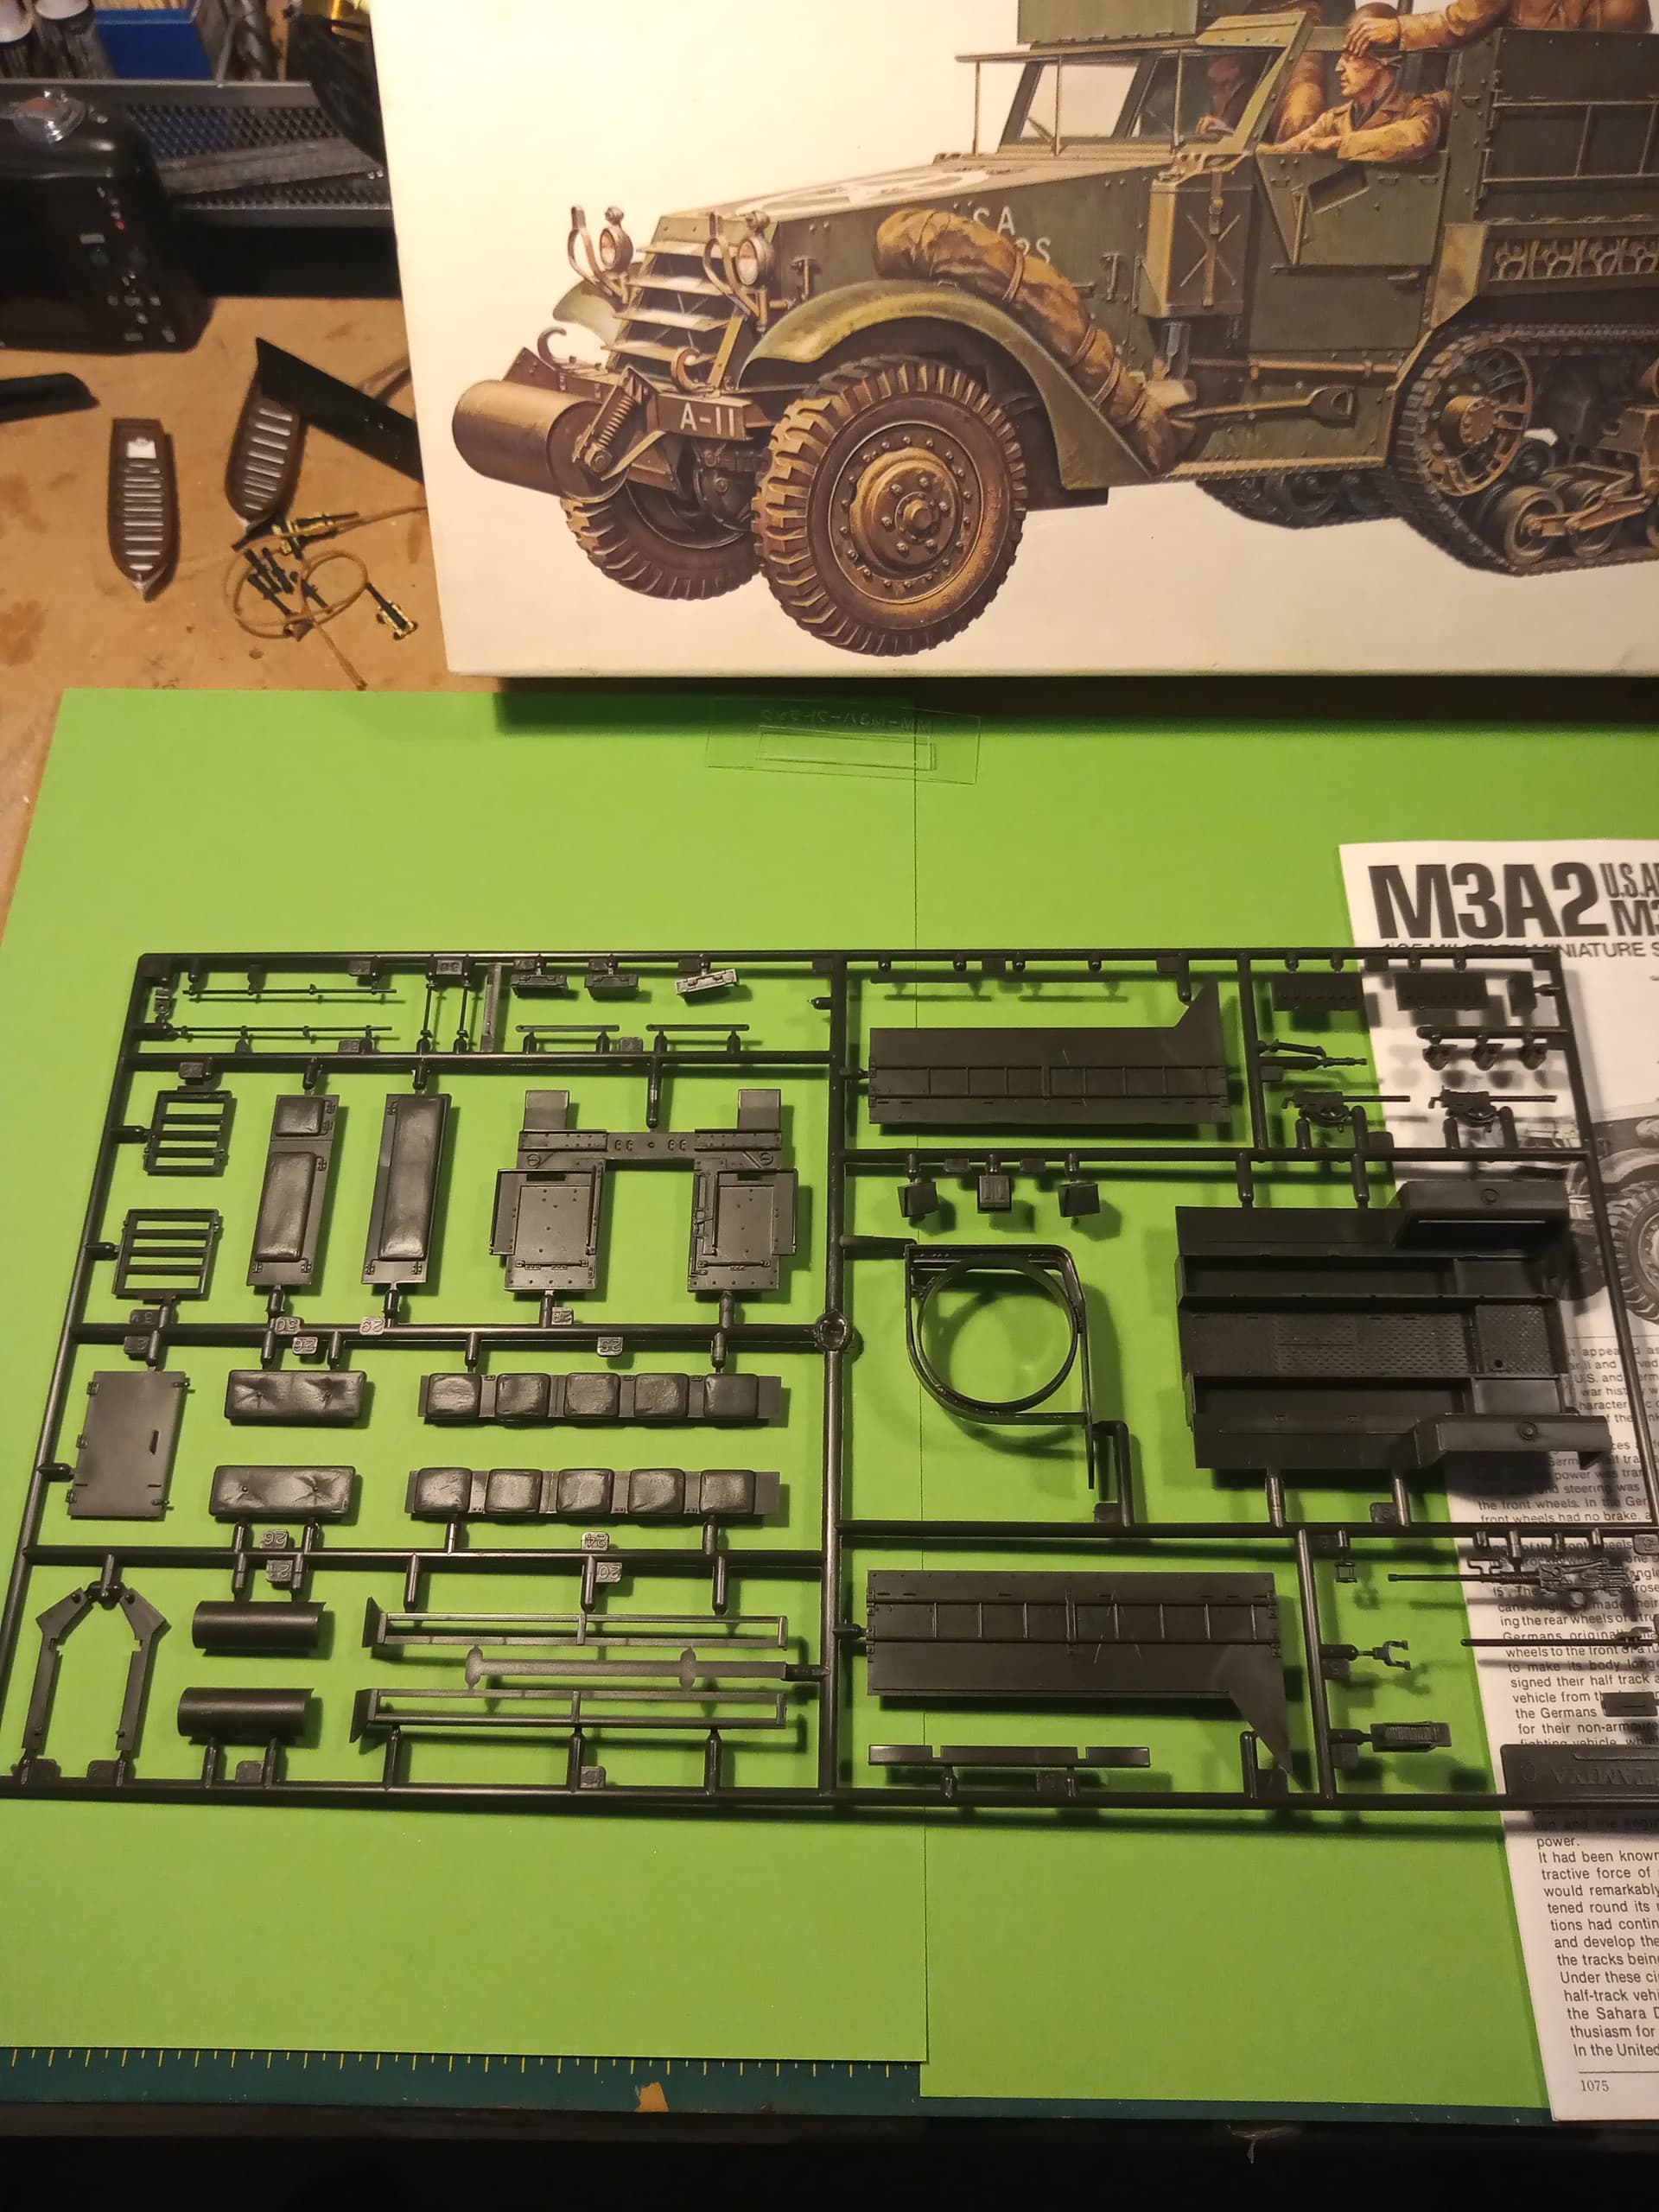
I was going to shave off the side stowage (ladder type ) racks, but after Rob @18bravo showed the picture of the late M3A1, I was going to keep them on.
Then, when it was apparent that a handful of A2s got built, I felt it was fair just to build it as one and crack on with it.
The Tamiya instructions do actually say how to convert it back to an A1 so a bit of credit to them for that .
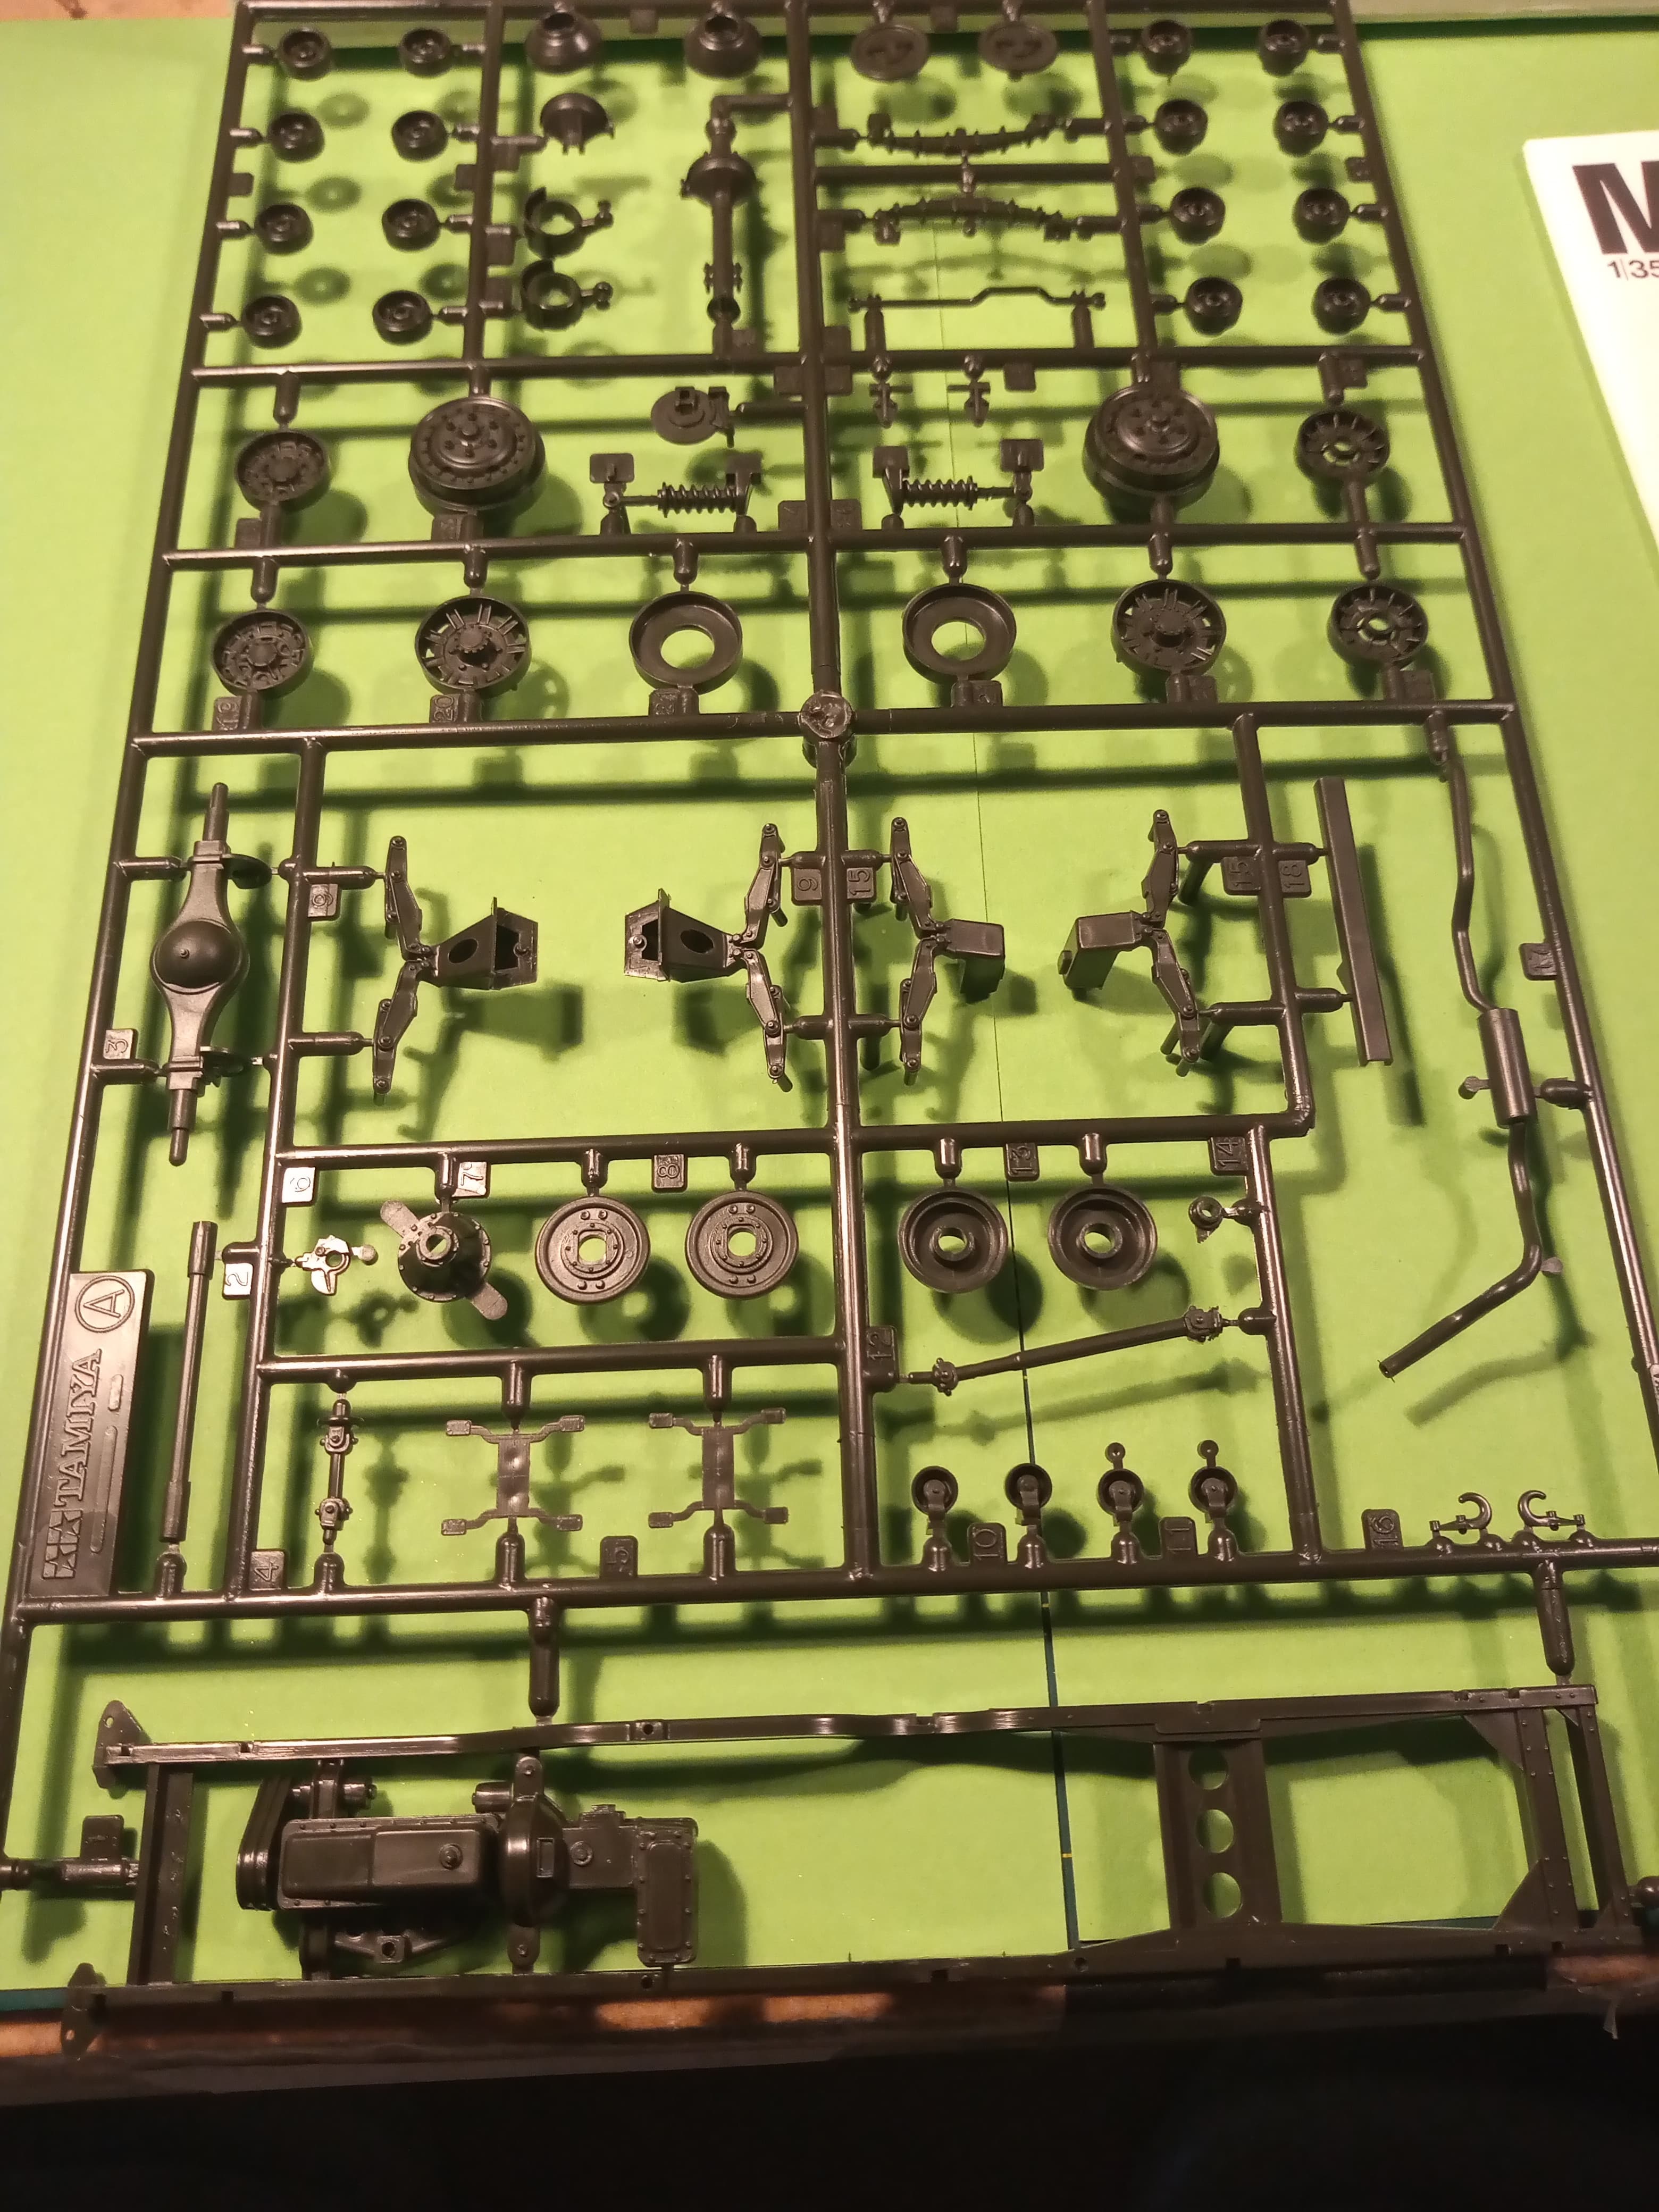
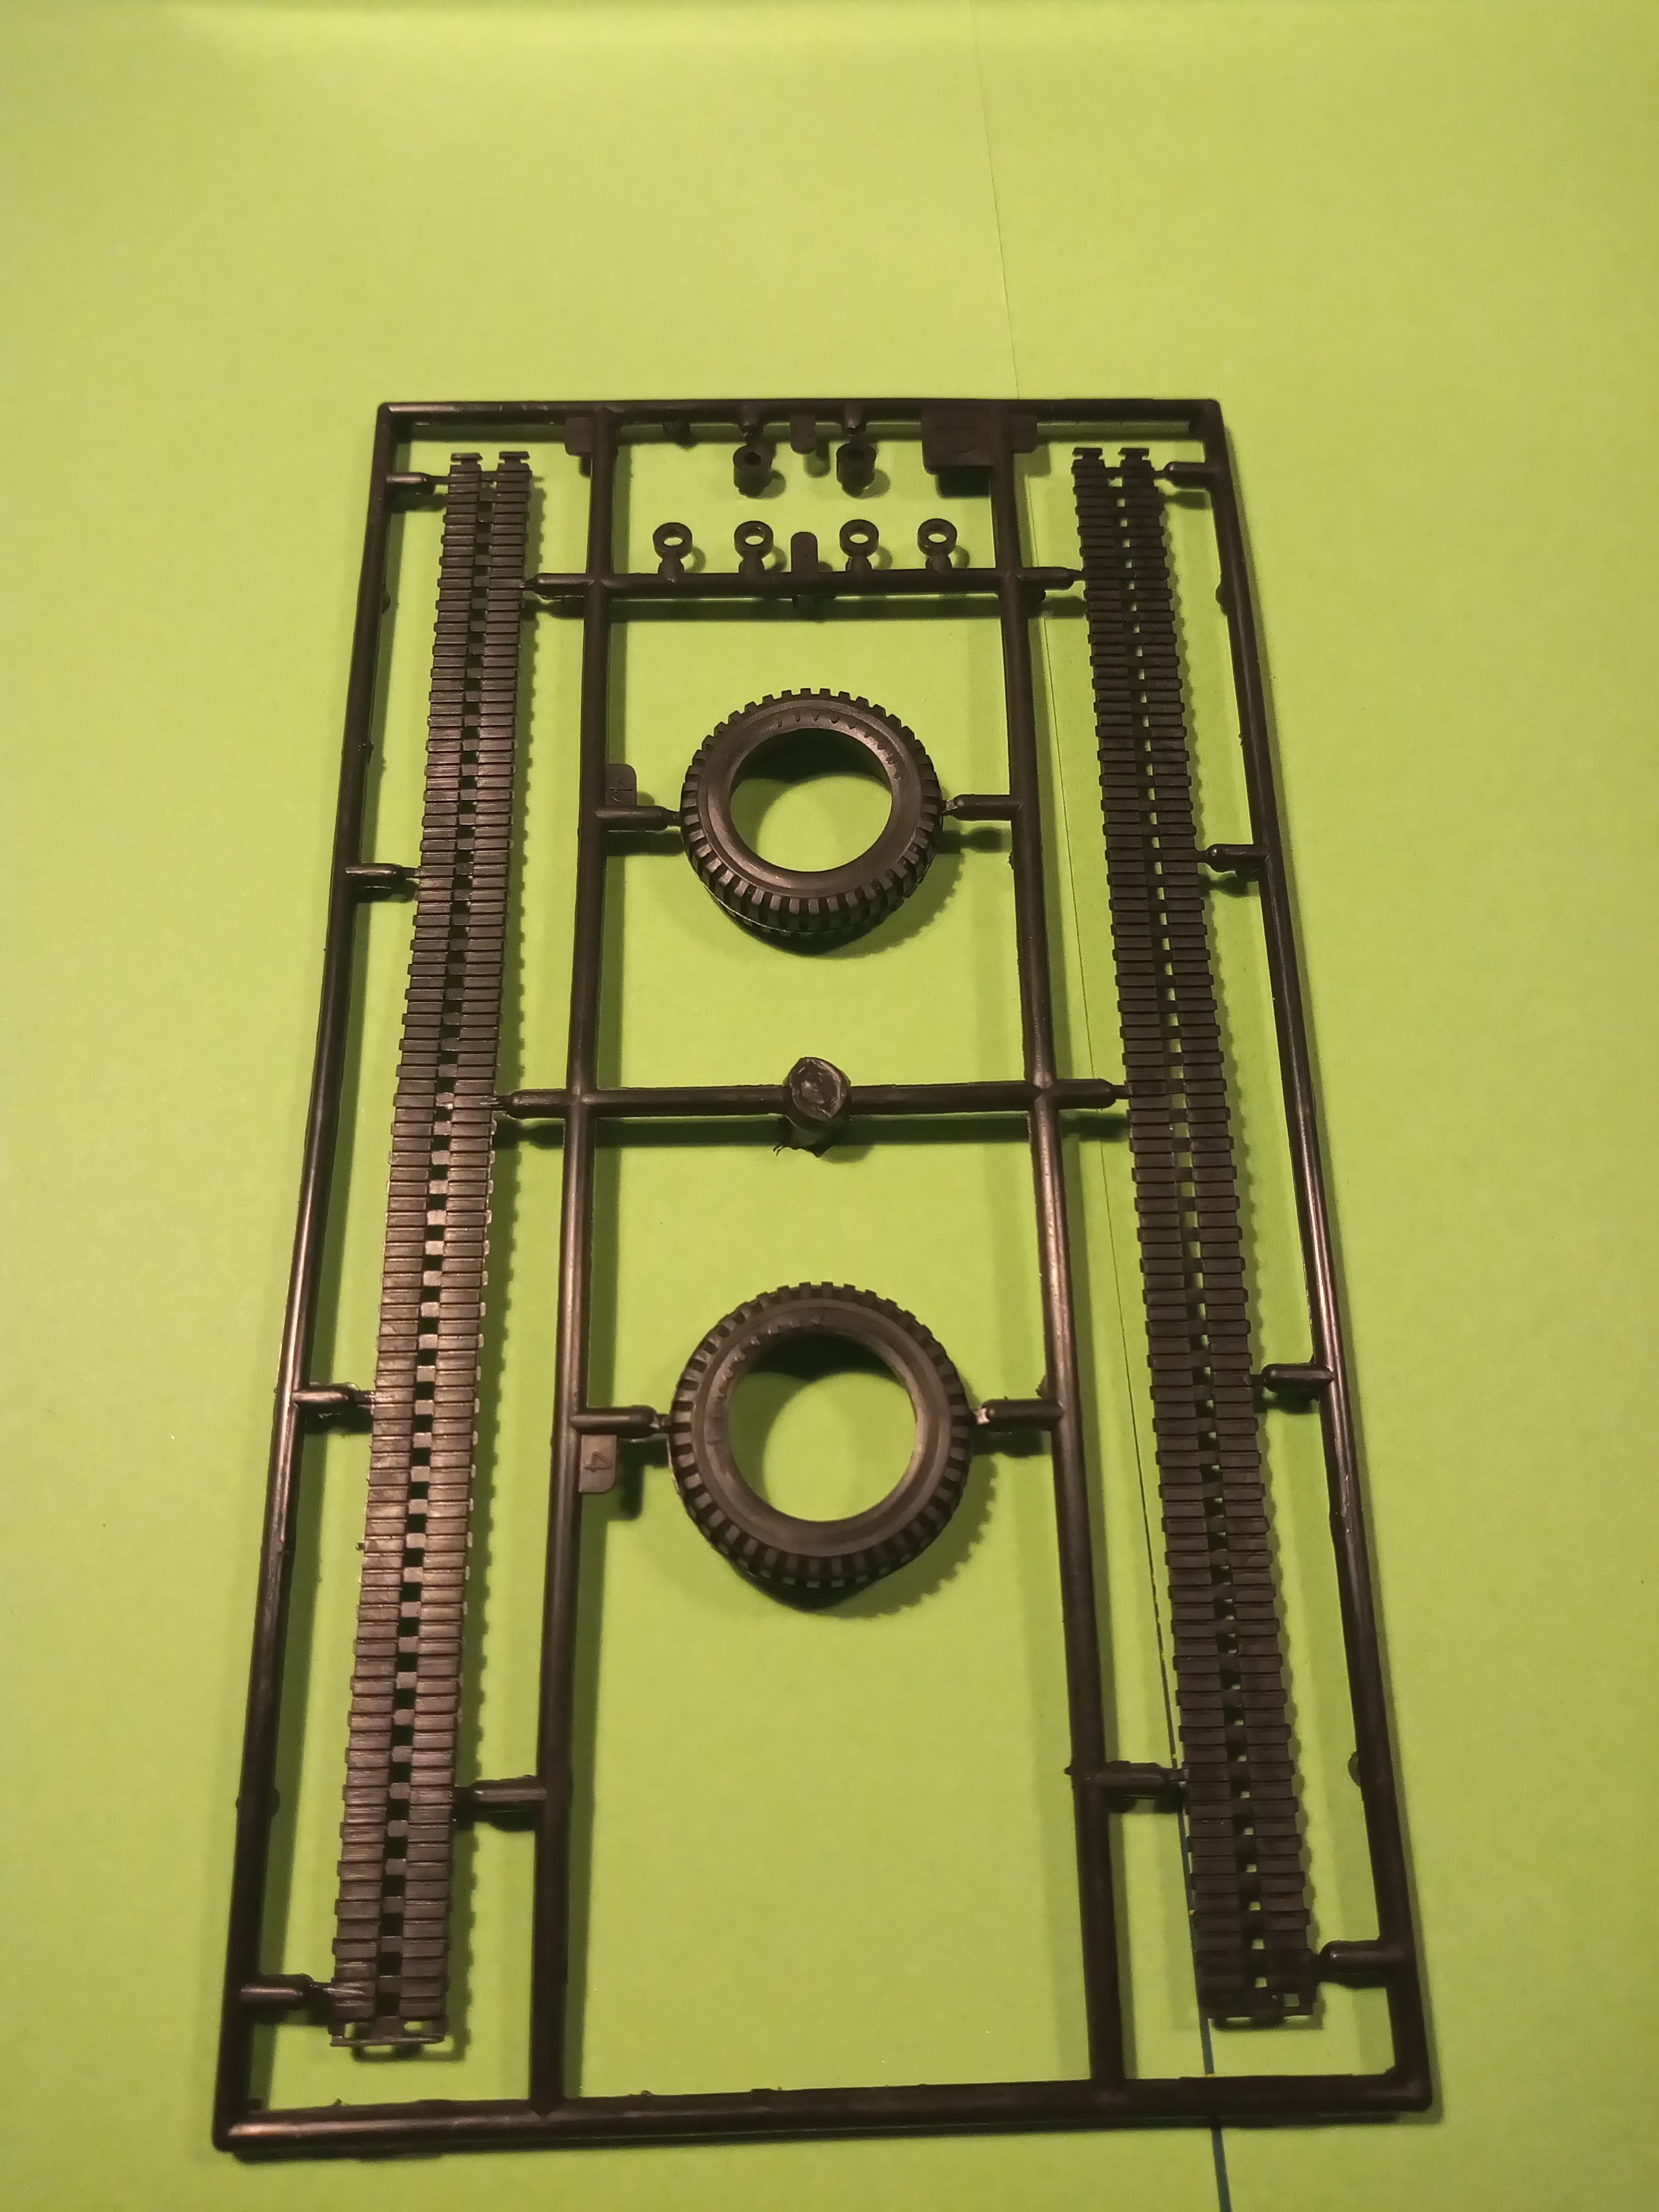
I fully see what people mean about the track sprockets and idlers, not cut away by far, but they will have to do for this unfortunately.
Right, will cut a bit of plastic and get started … Stay tuned troops
These are the figures that are nice to cut up and reposition the way you want them… it is that driver, sitting wide legged that I changed into someone getting out of the drivers cabine.
Nice to see another halftrack, looking forward to the result!
Thanks Peter, it’s not so much budget wise, more not that worried by it. Although it sounds odd, I don’t mind painting the dash boards if it’s possible. Makes me feel like I tried a bit harder…
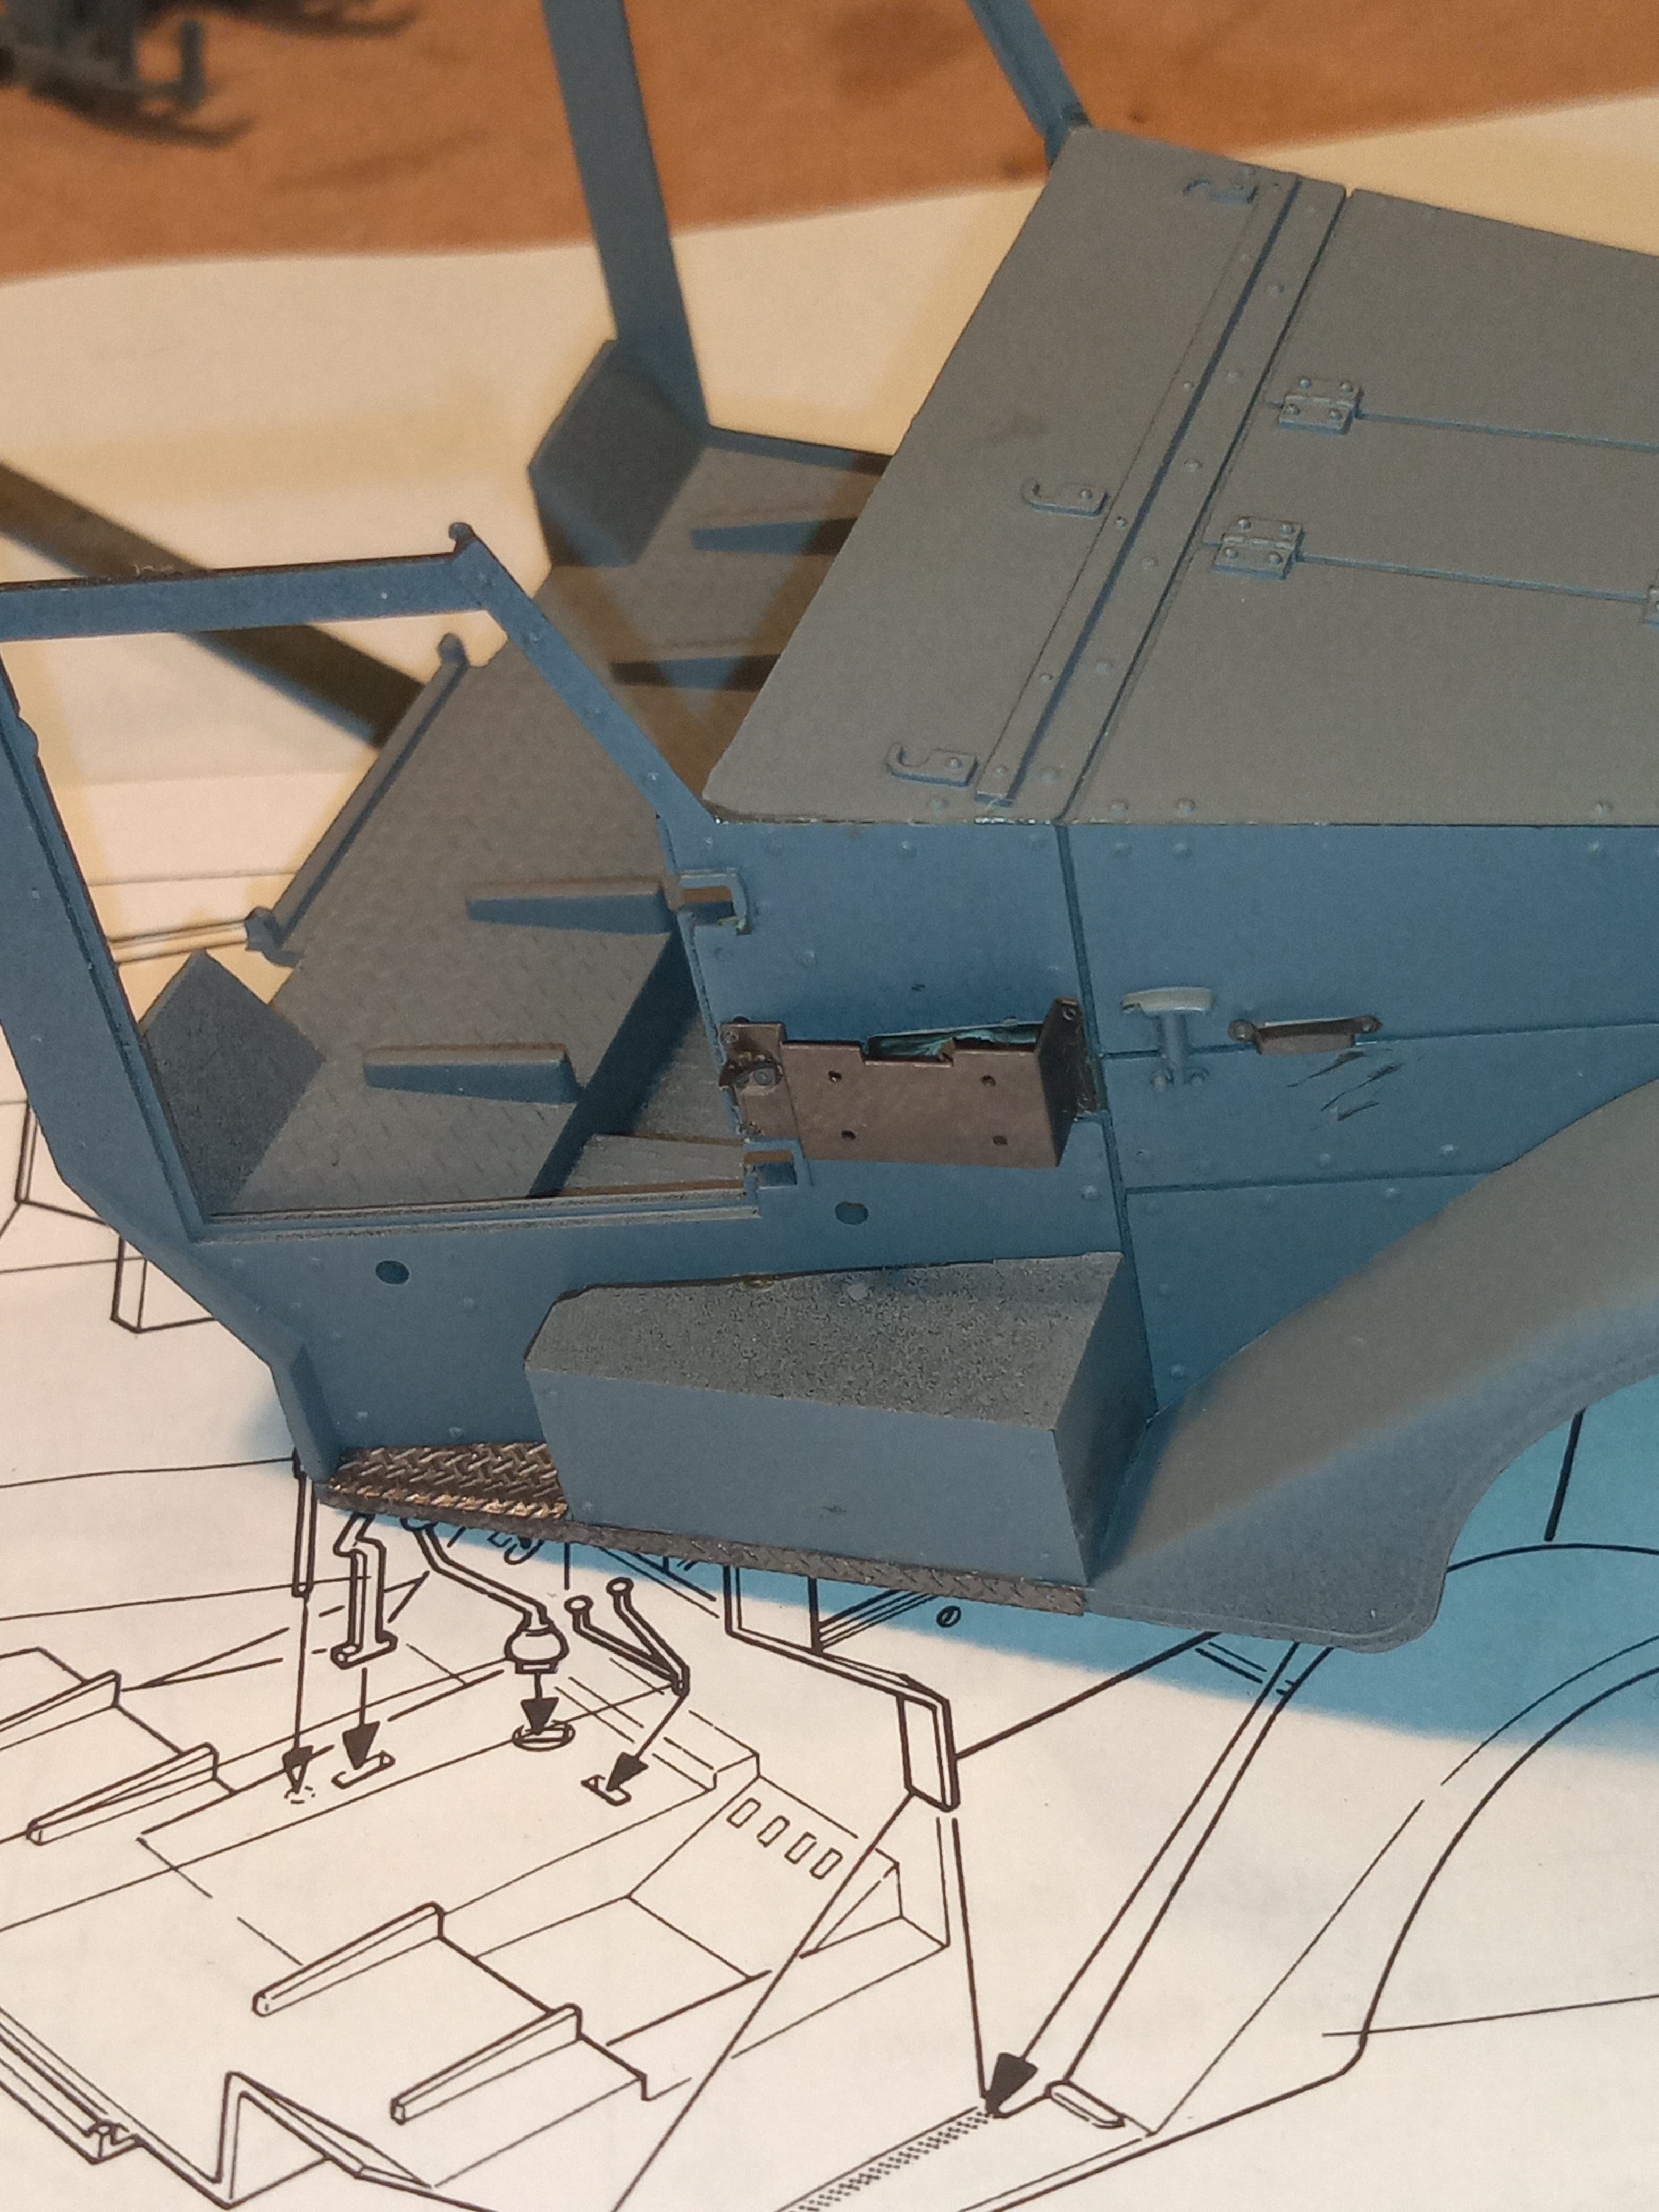
And the dash on this isn’t to shoddy for raised details…and it will be partially hidden away at the end.
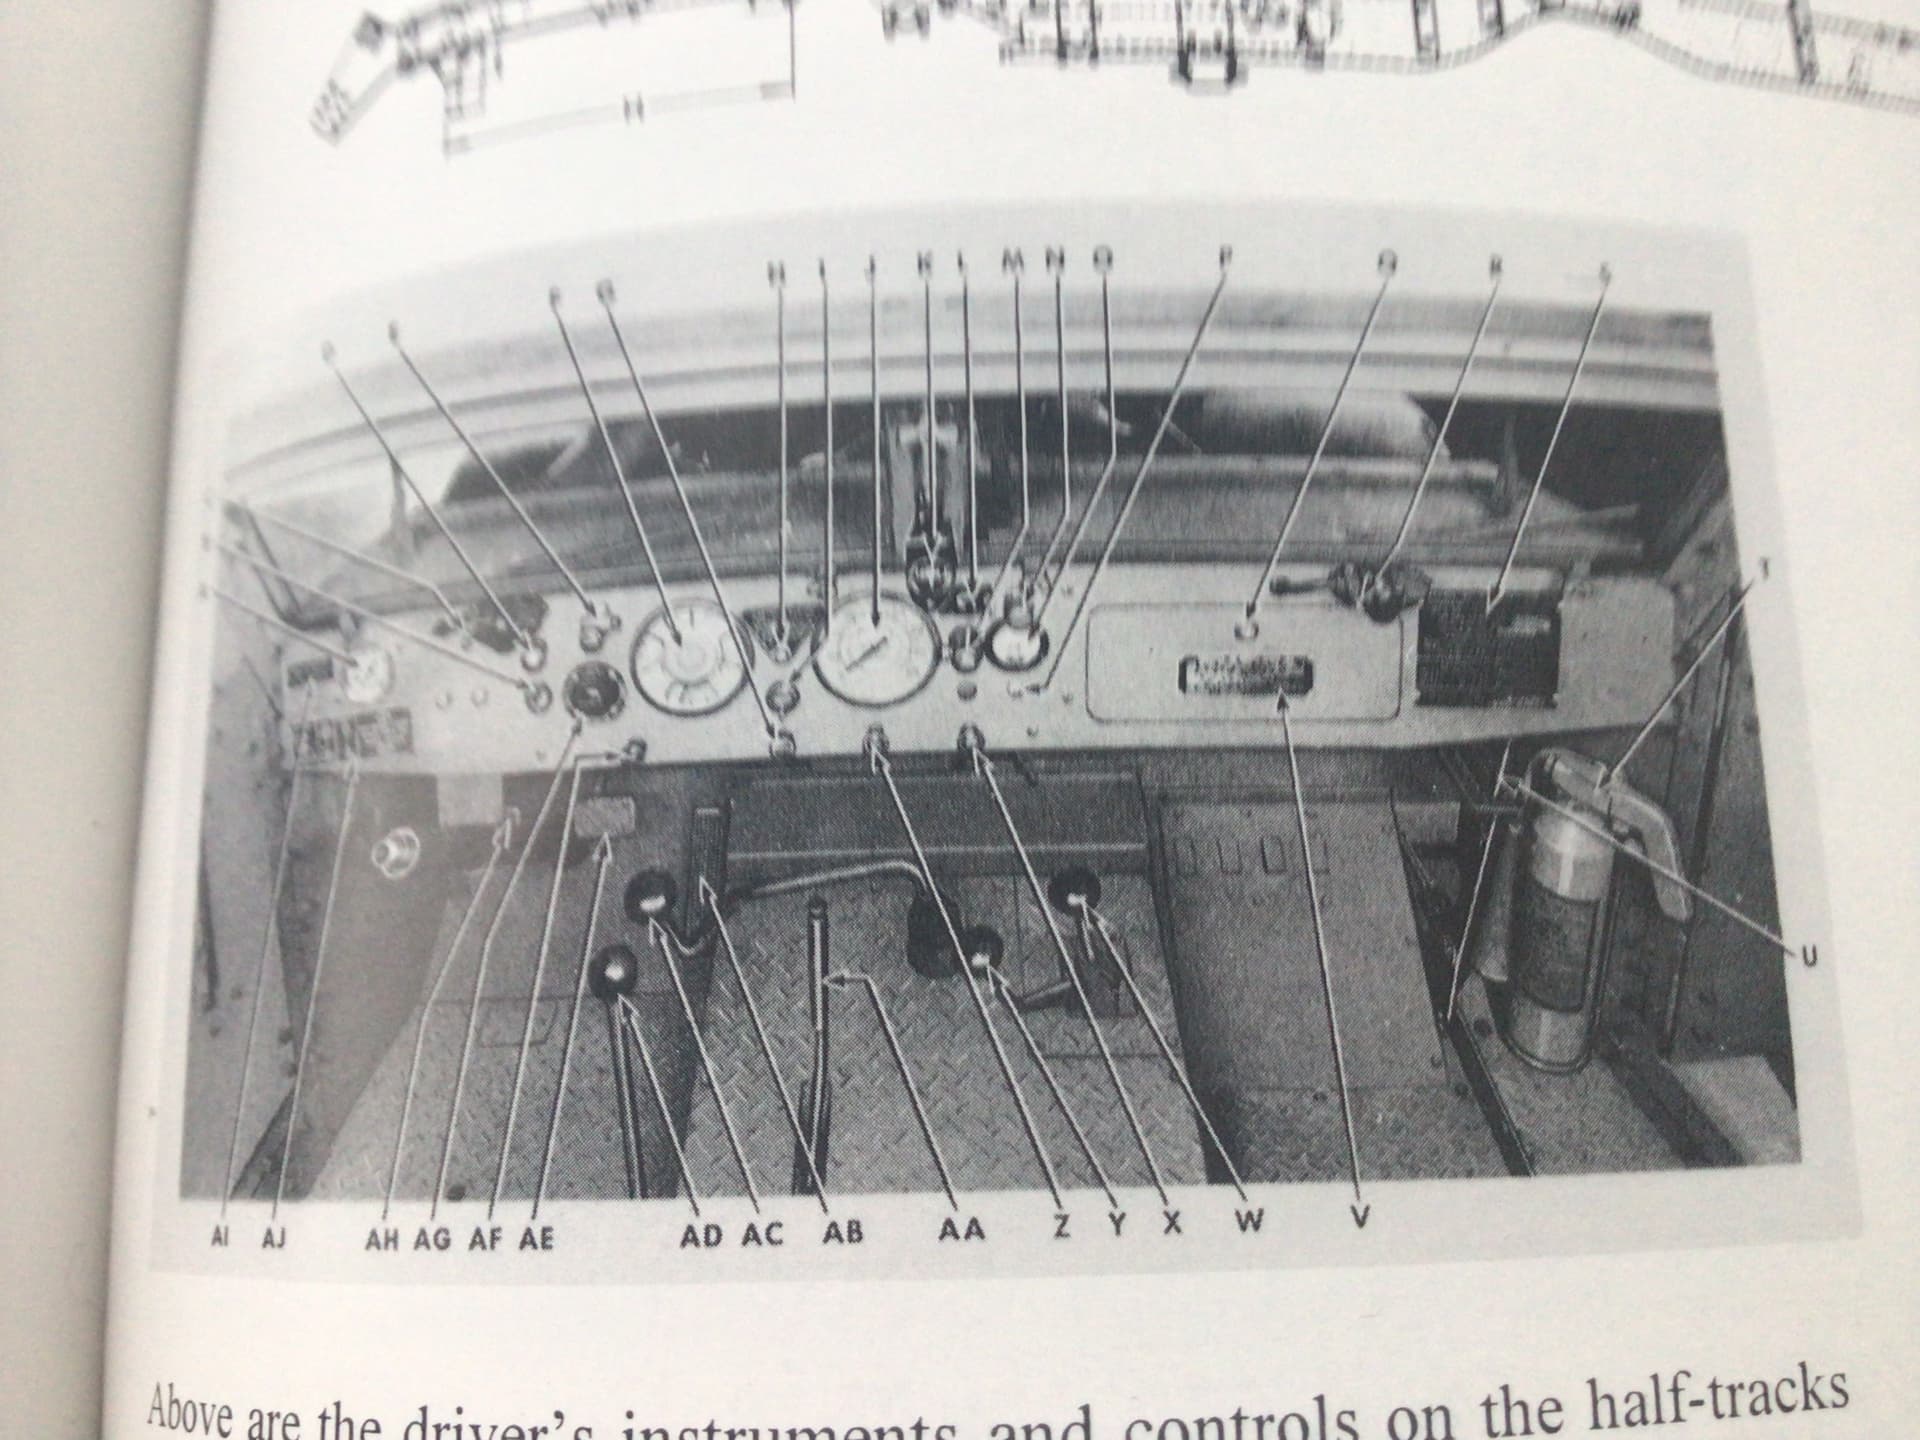
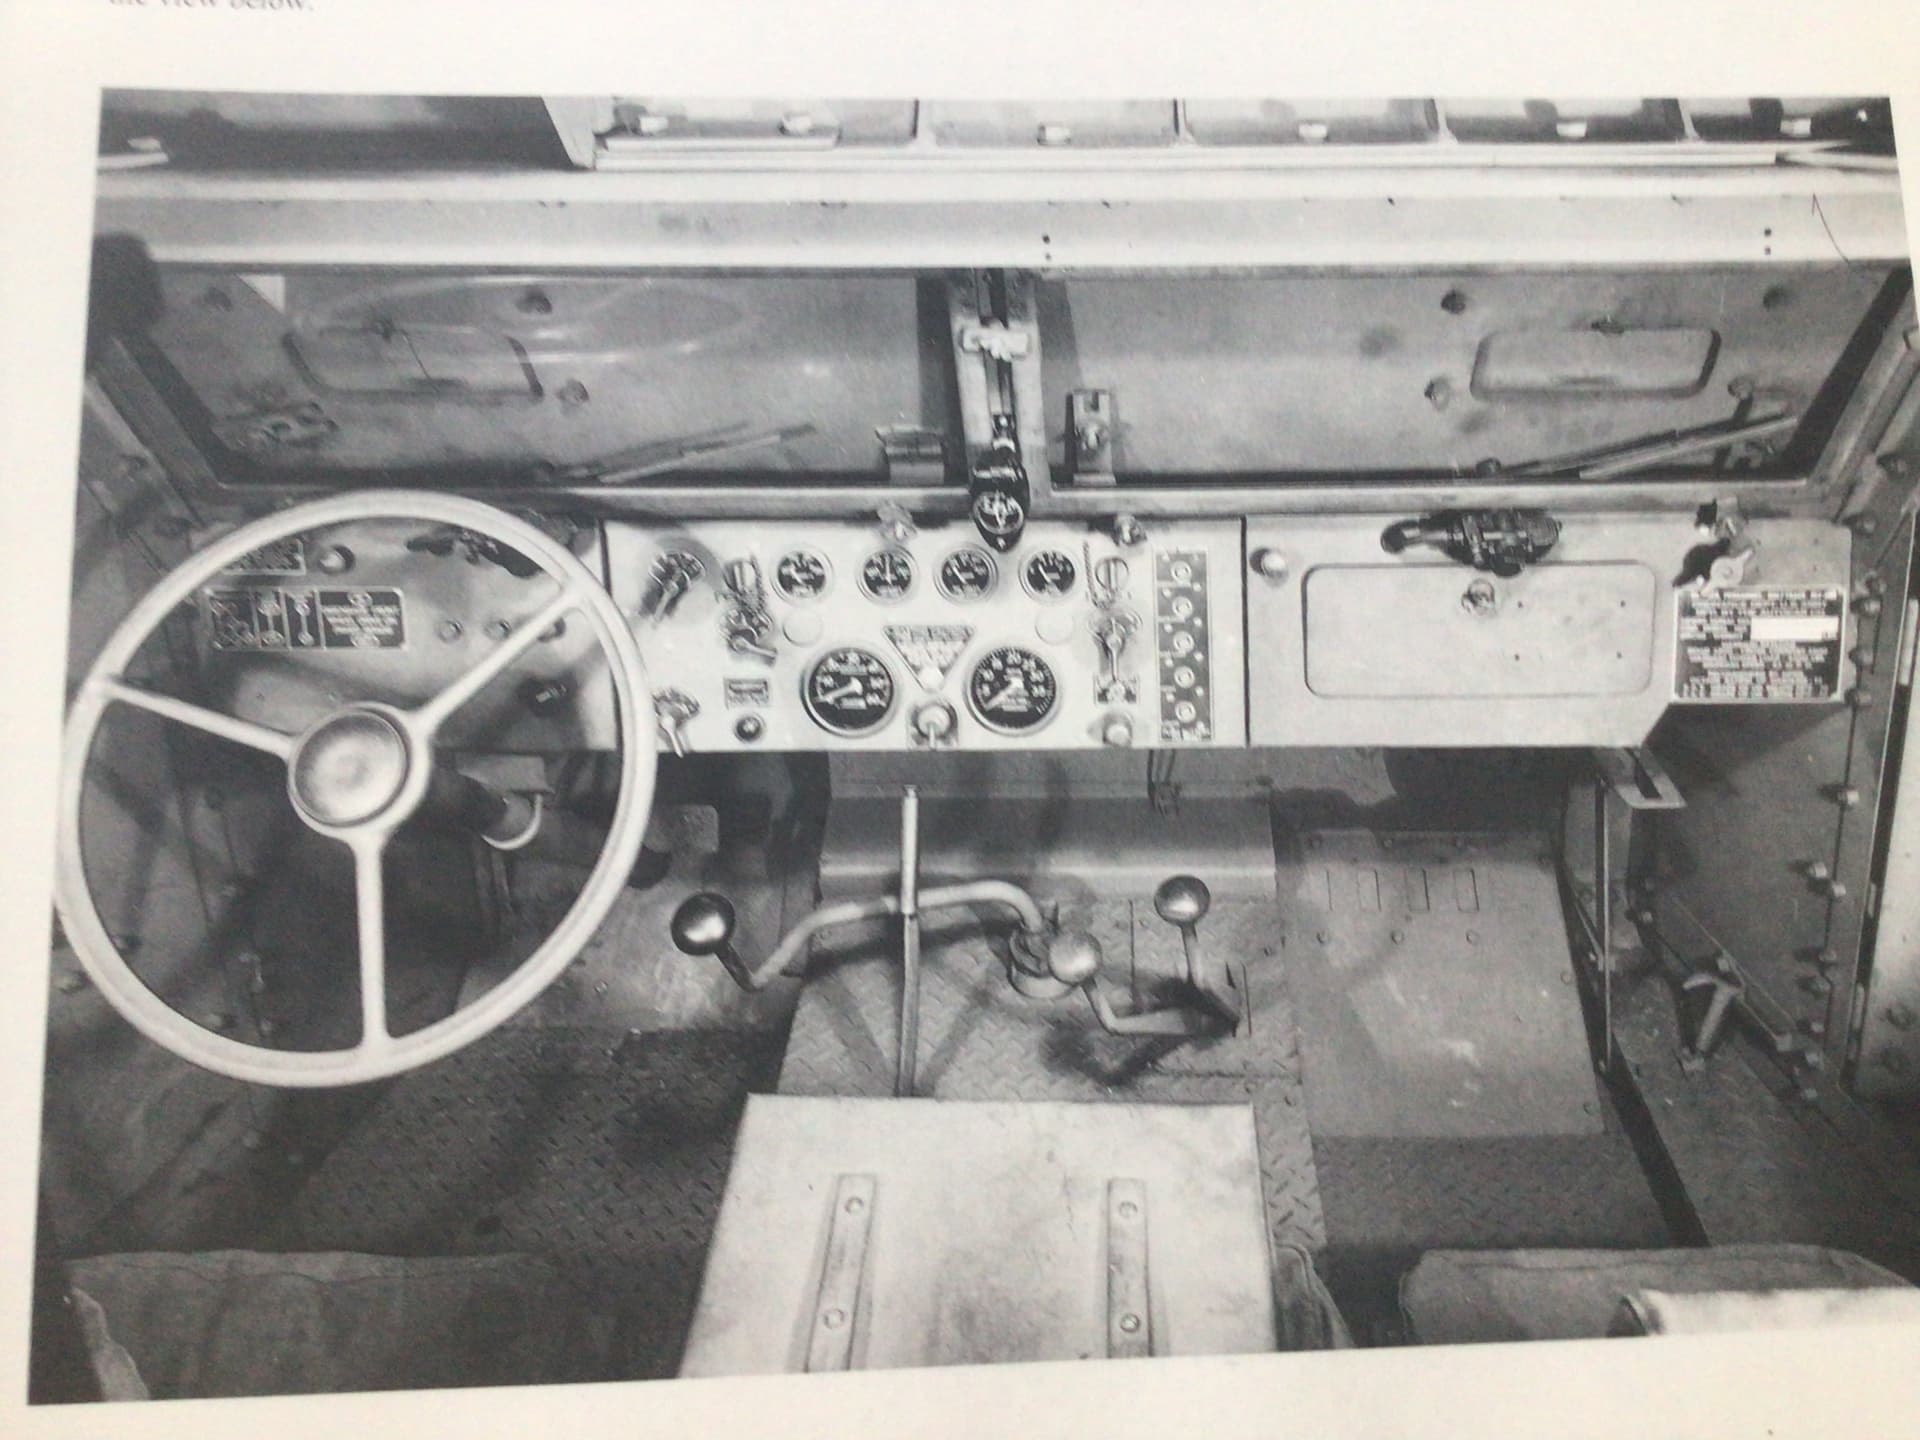
I’m glad you posted that photo of the dash, I had searched the internet for good photos of it to see what the kit contained but came up empty.
That is the dashboard/gauge cluster of White, Autocar and Diamond T manufactured half tracks. This was not the dashboard found in the M3A2, which used the International Harvester dash/gauge cluster.
Ken, are you seriously trying to make this build as hard as possible ??? Lol… Only kidding.
Great references there, and interesting to see the difference between the manufacturing plants.
Sadly my skills will not be up to scratch building a new dash so the kit one it will be.
I’ve no doubt others will try and do one if they do the A2 version, even if numbers of it were very limited so those images will be a godsend.
Please feel free to highlight any A2 funnies between it and the A1 as the build progresses, as it’s all great info
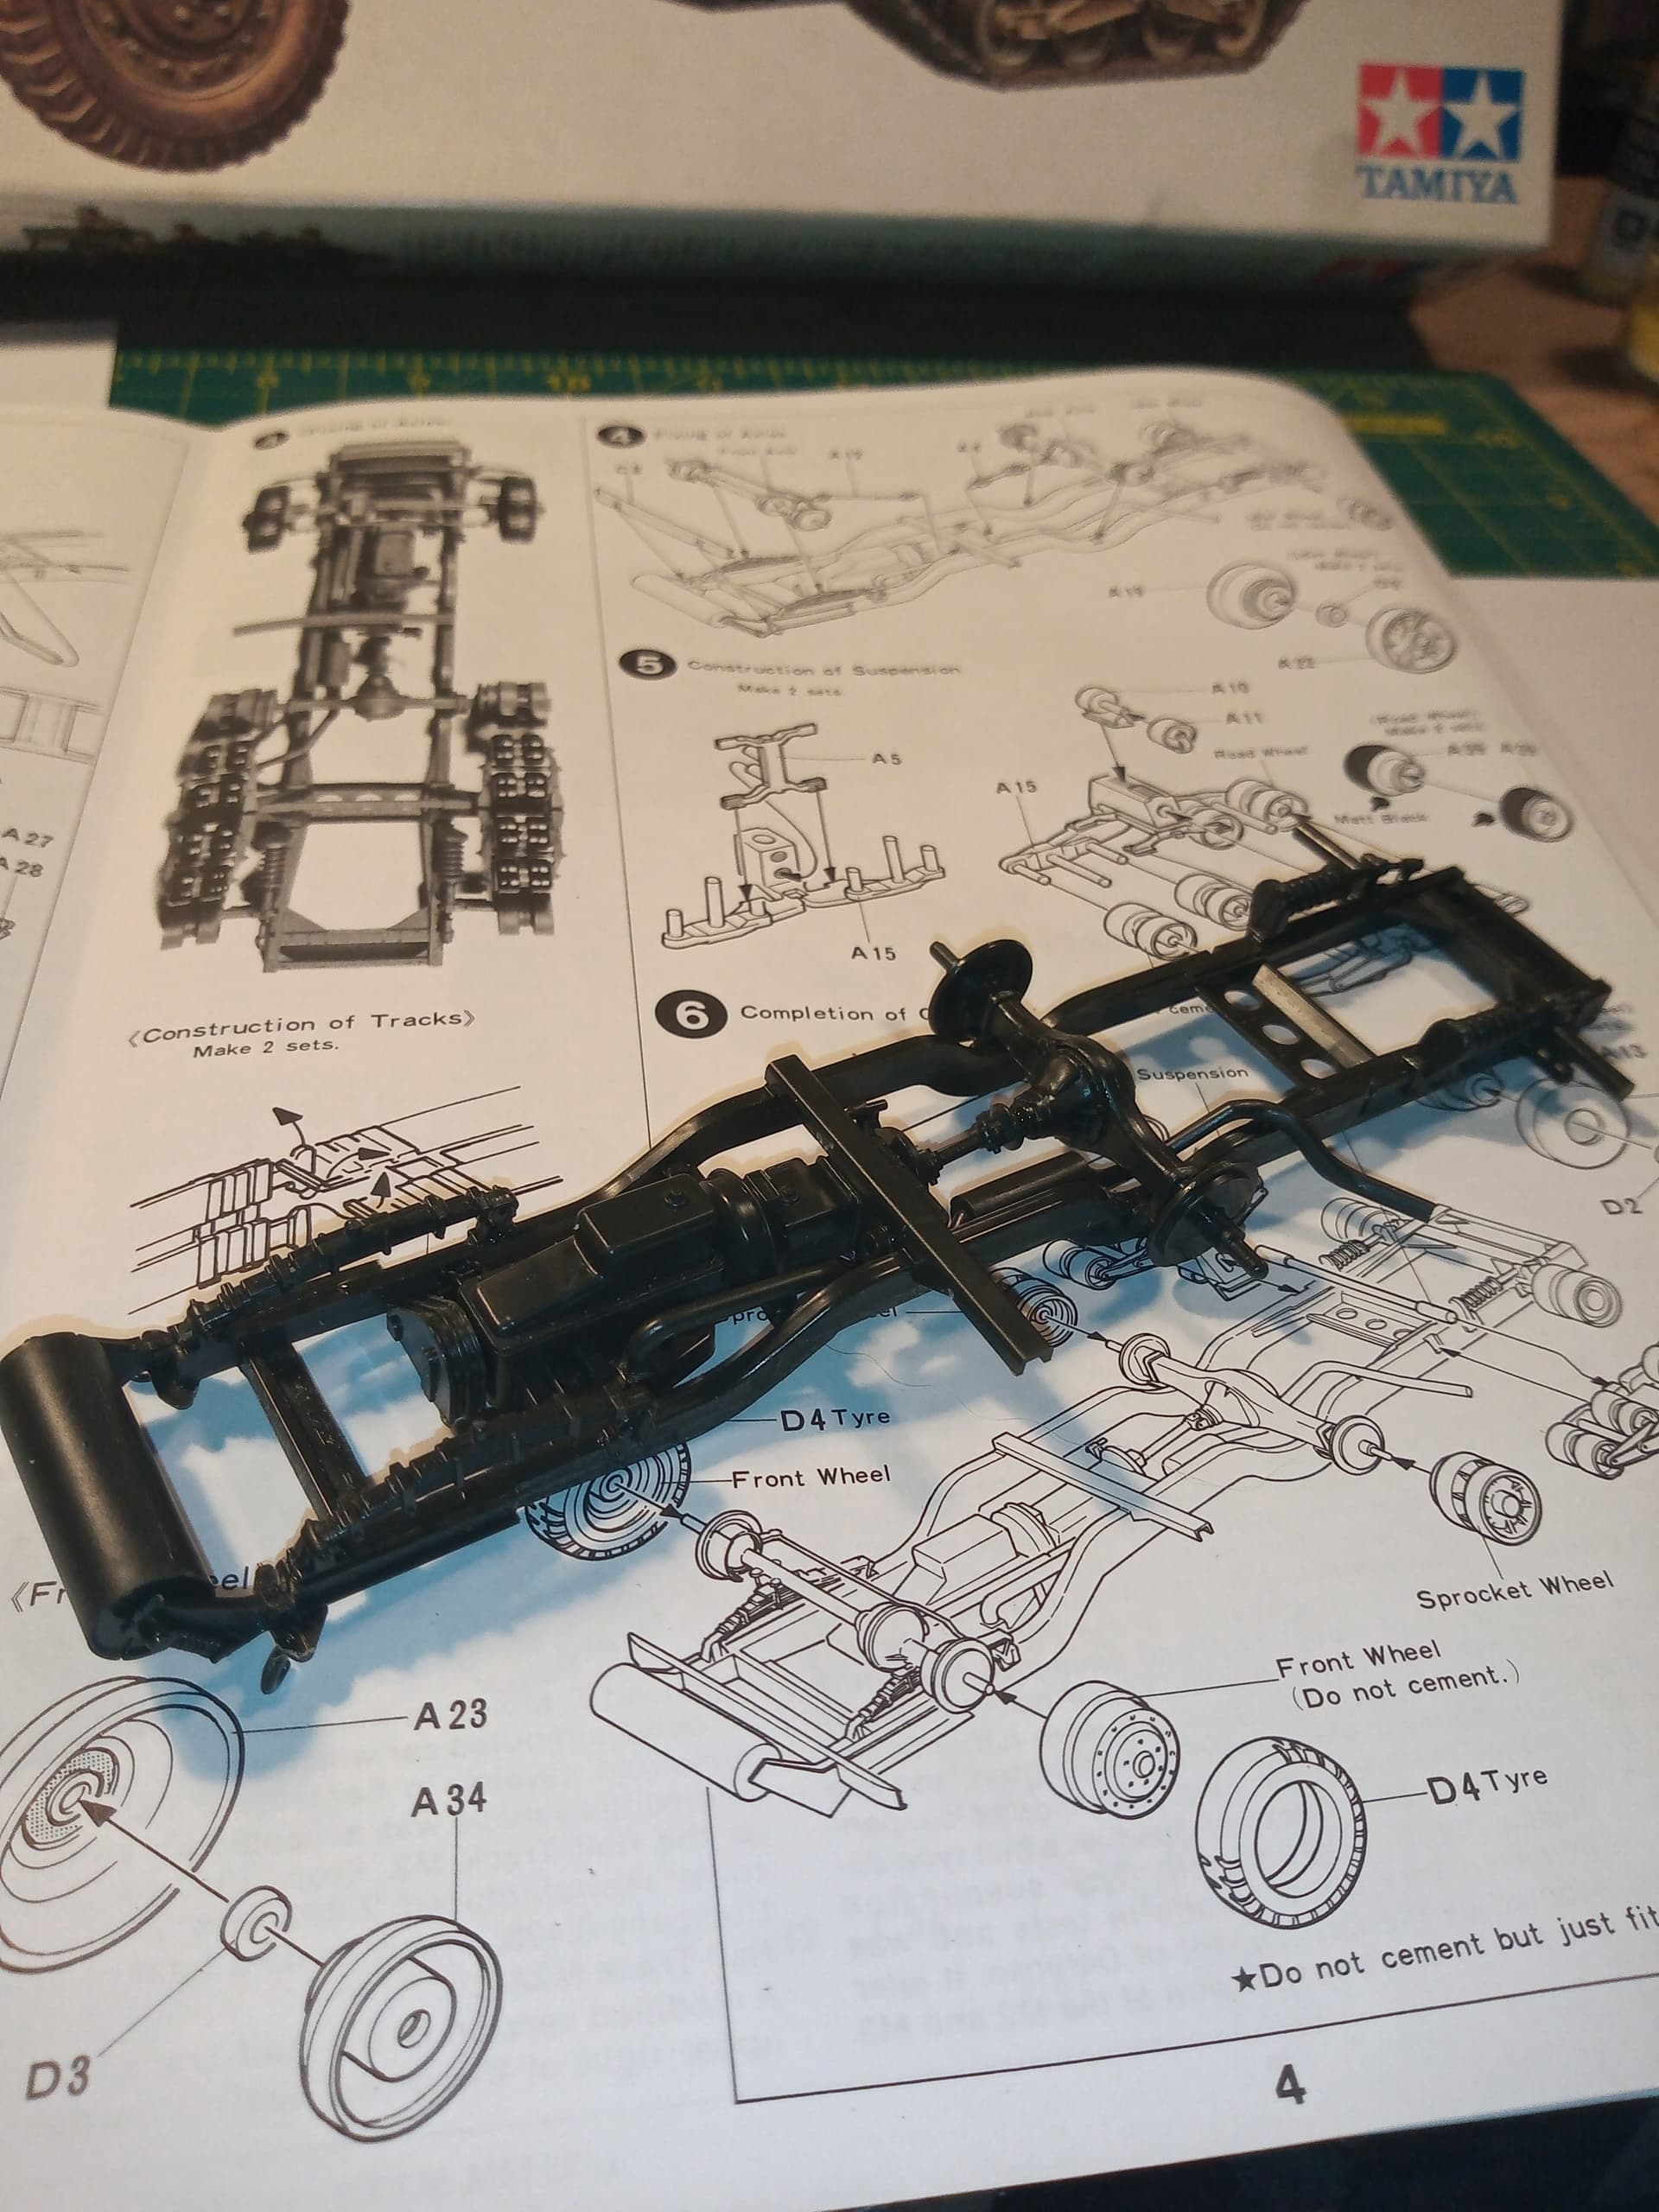
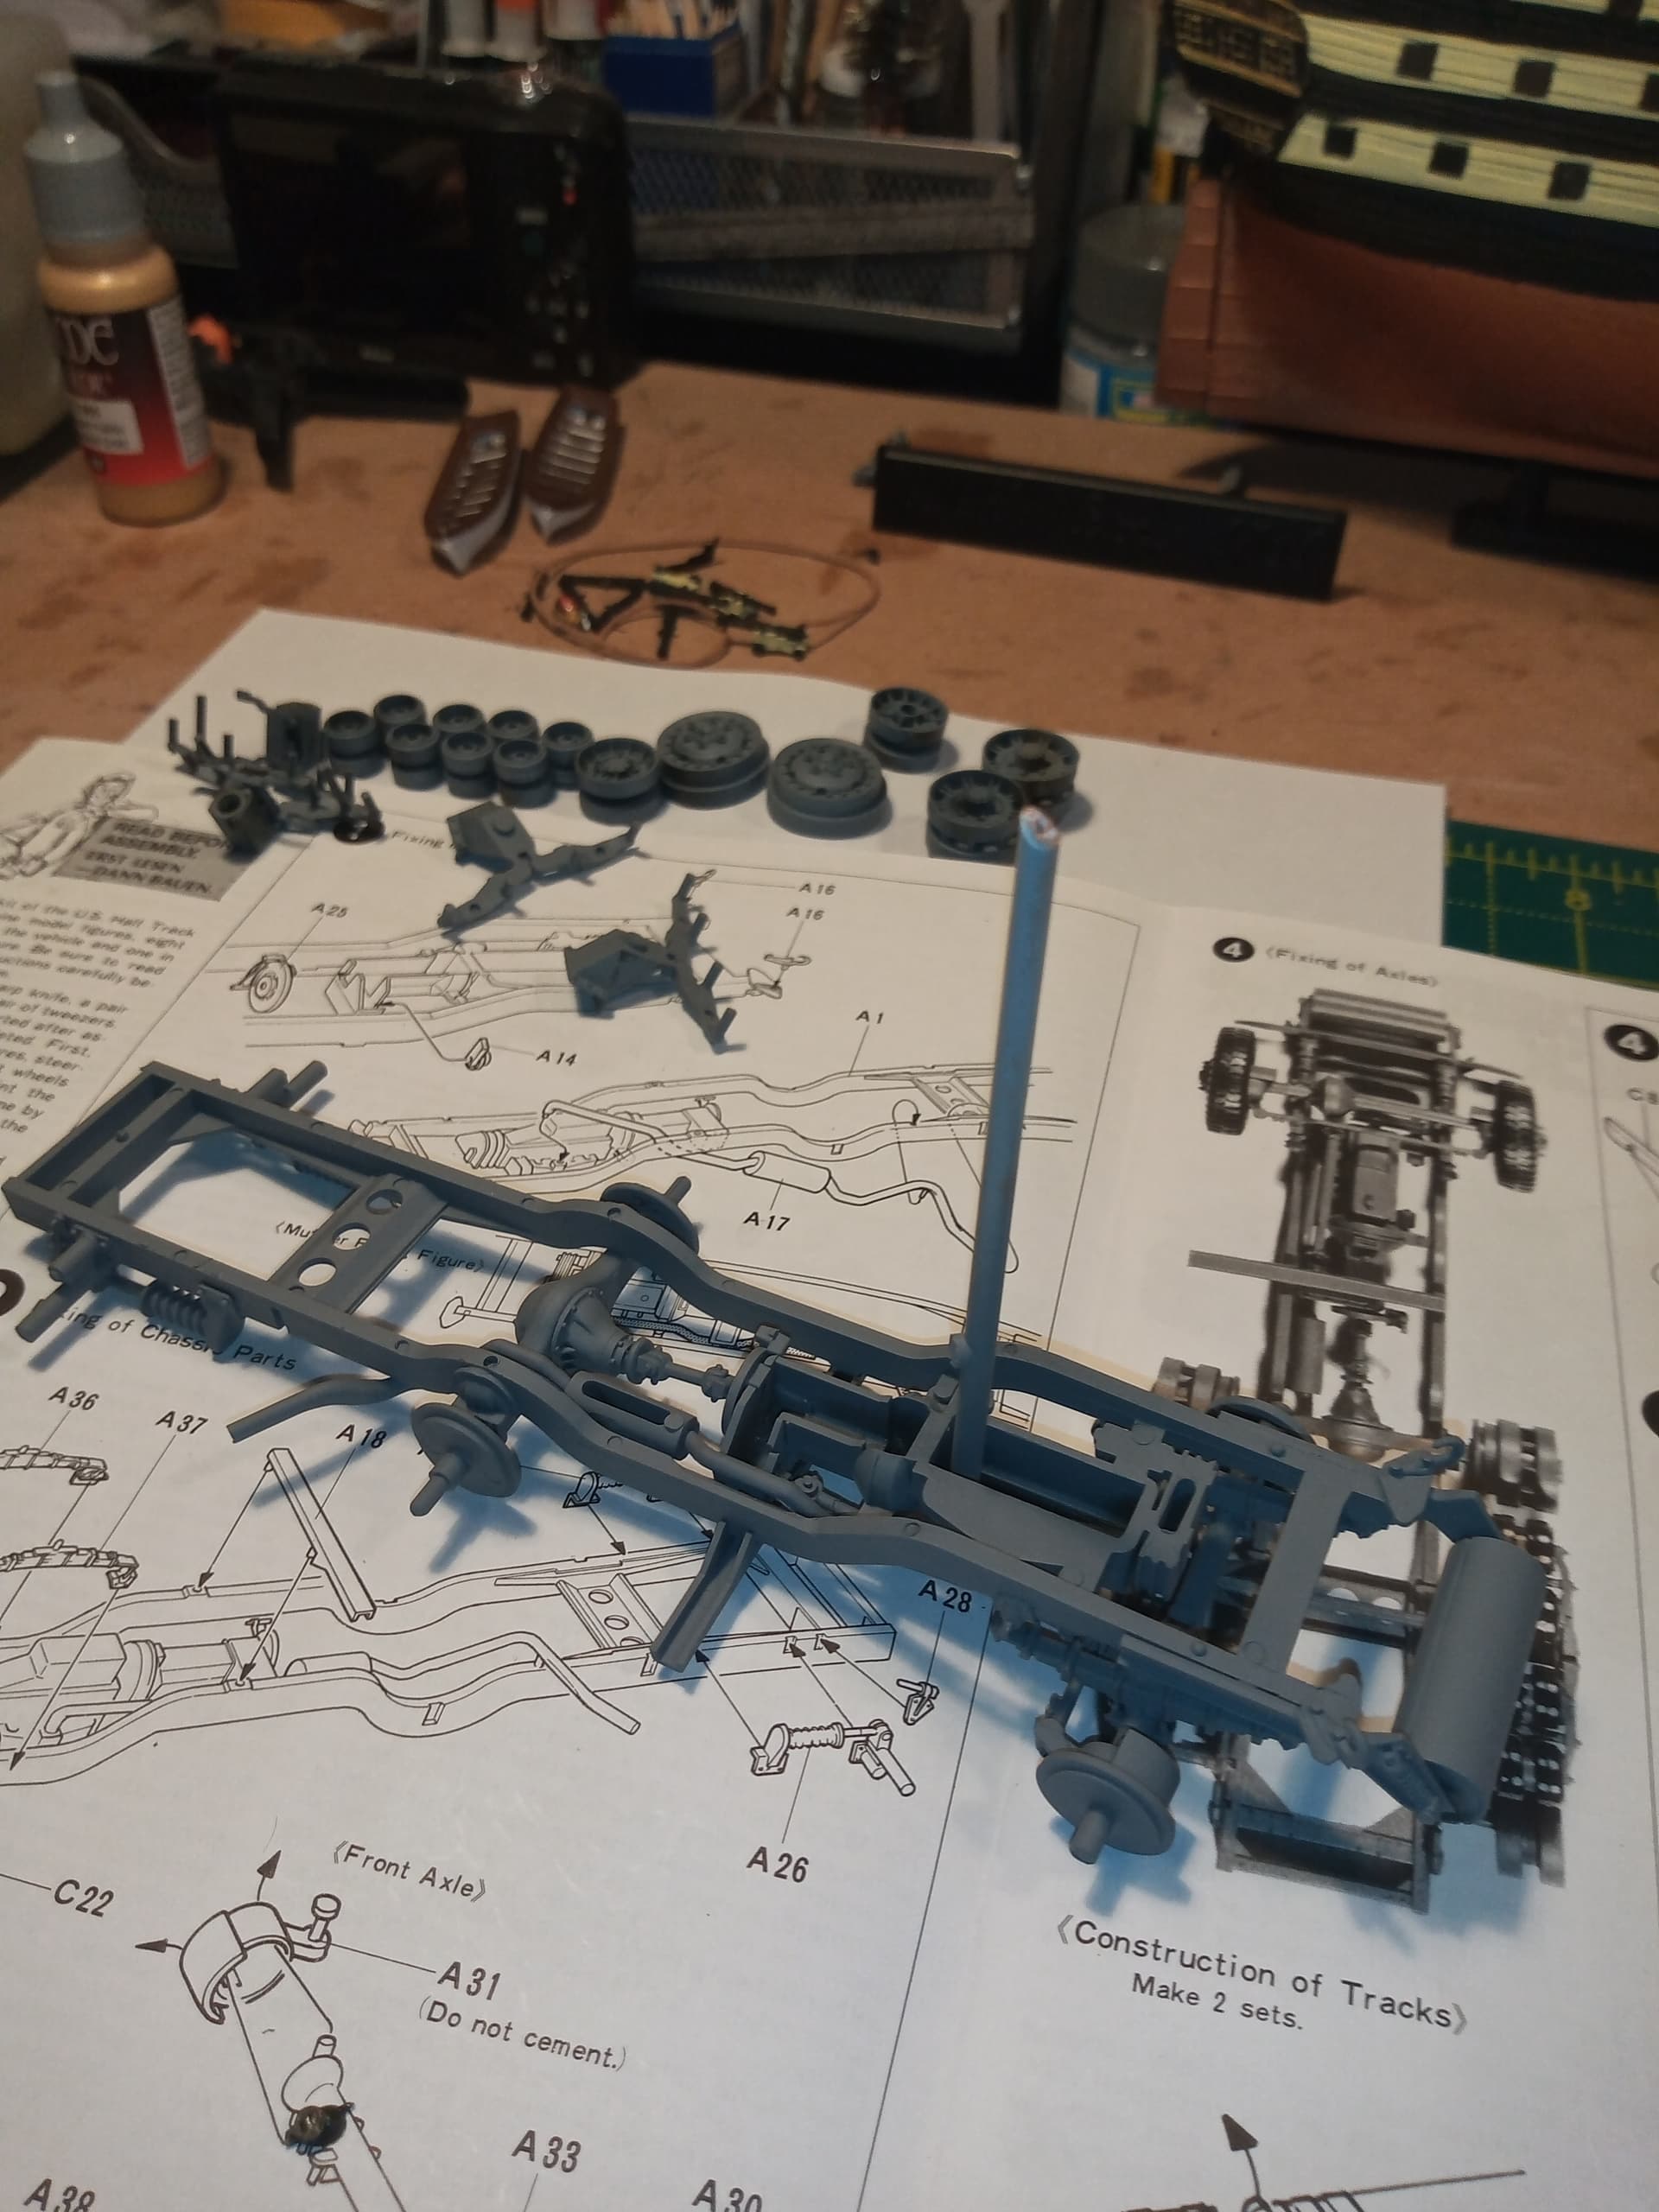
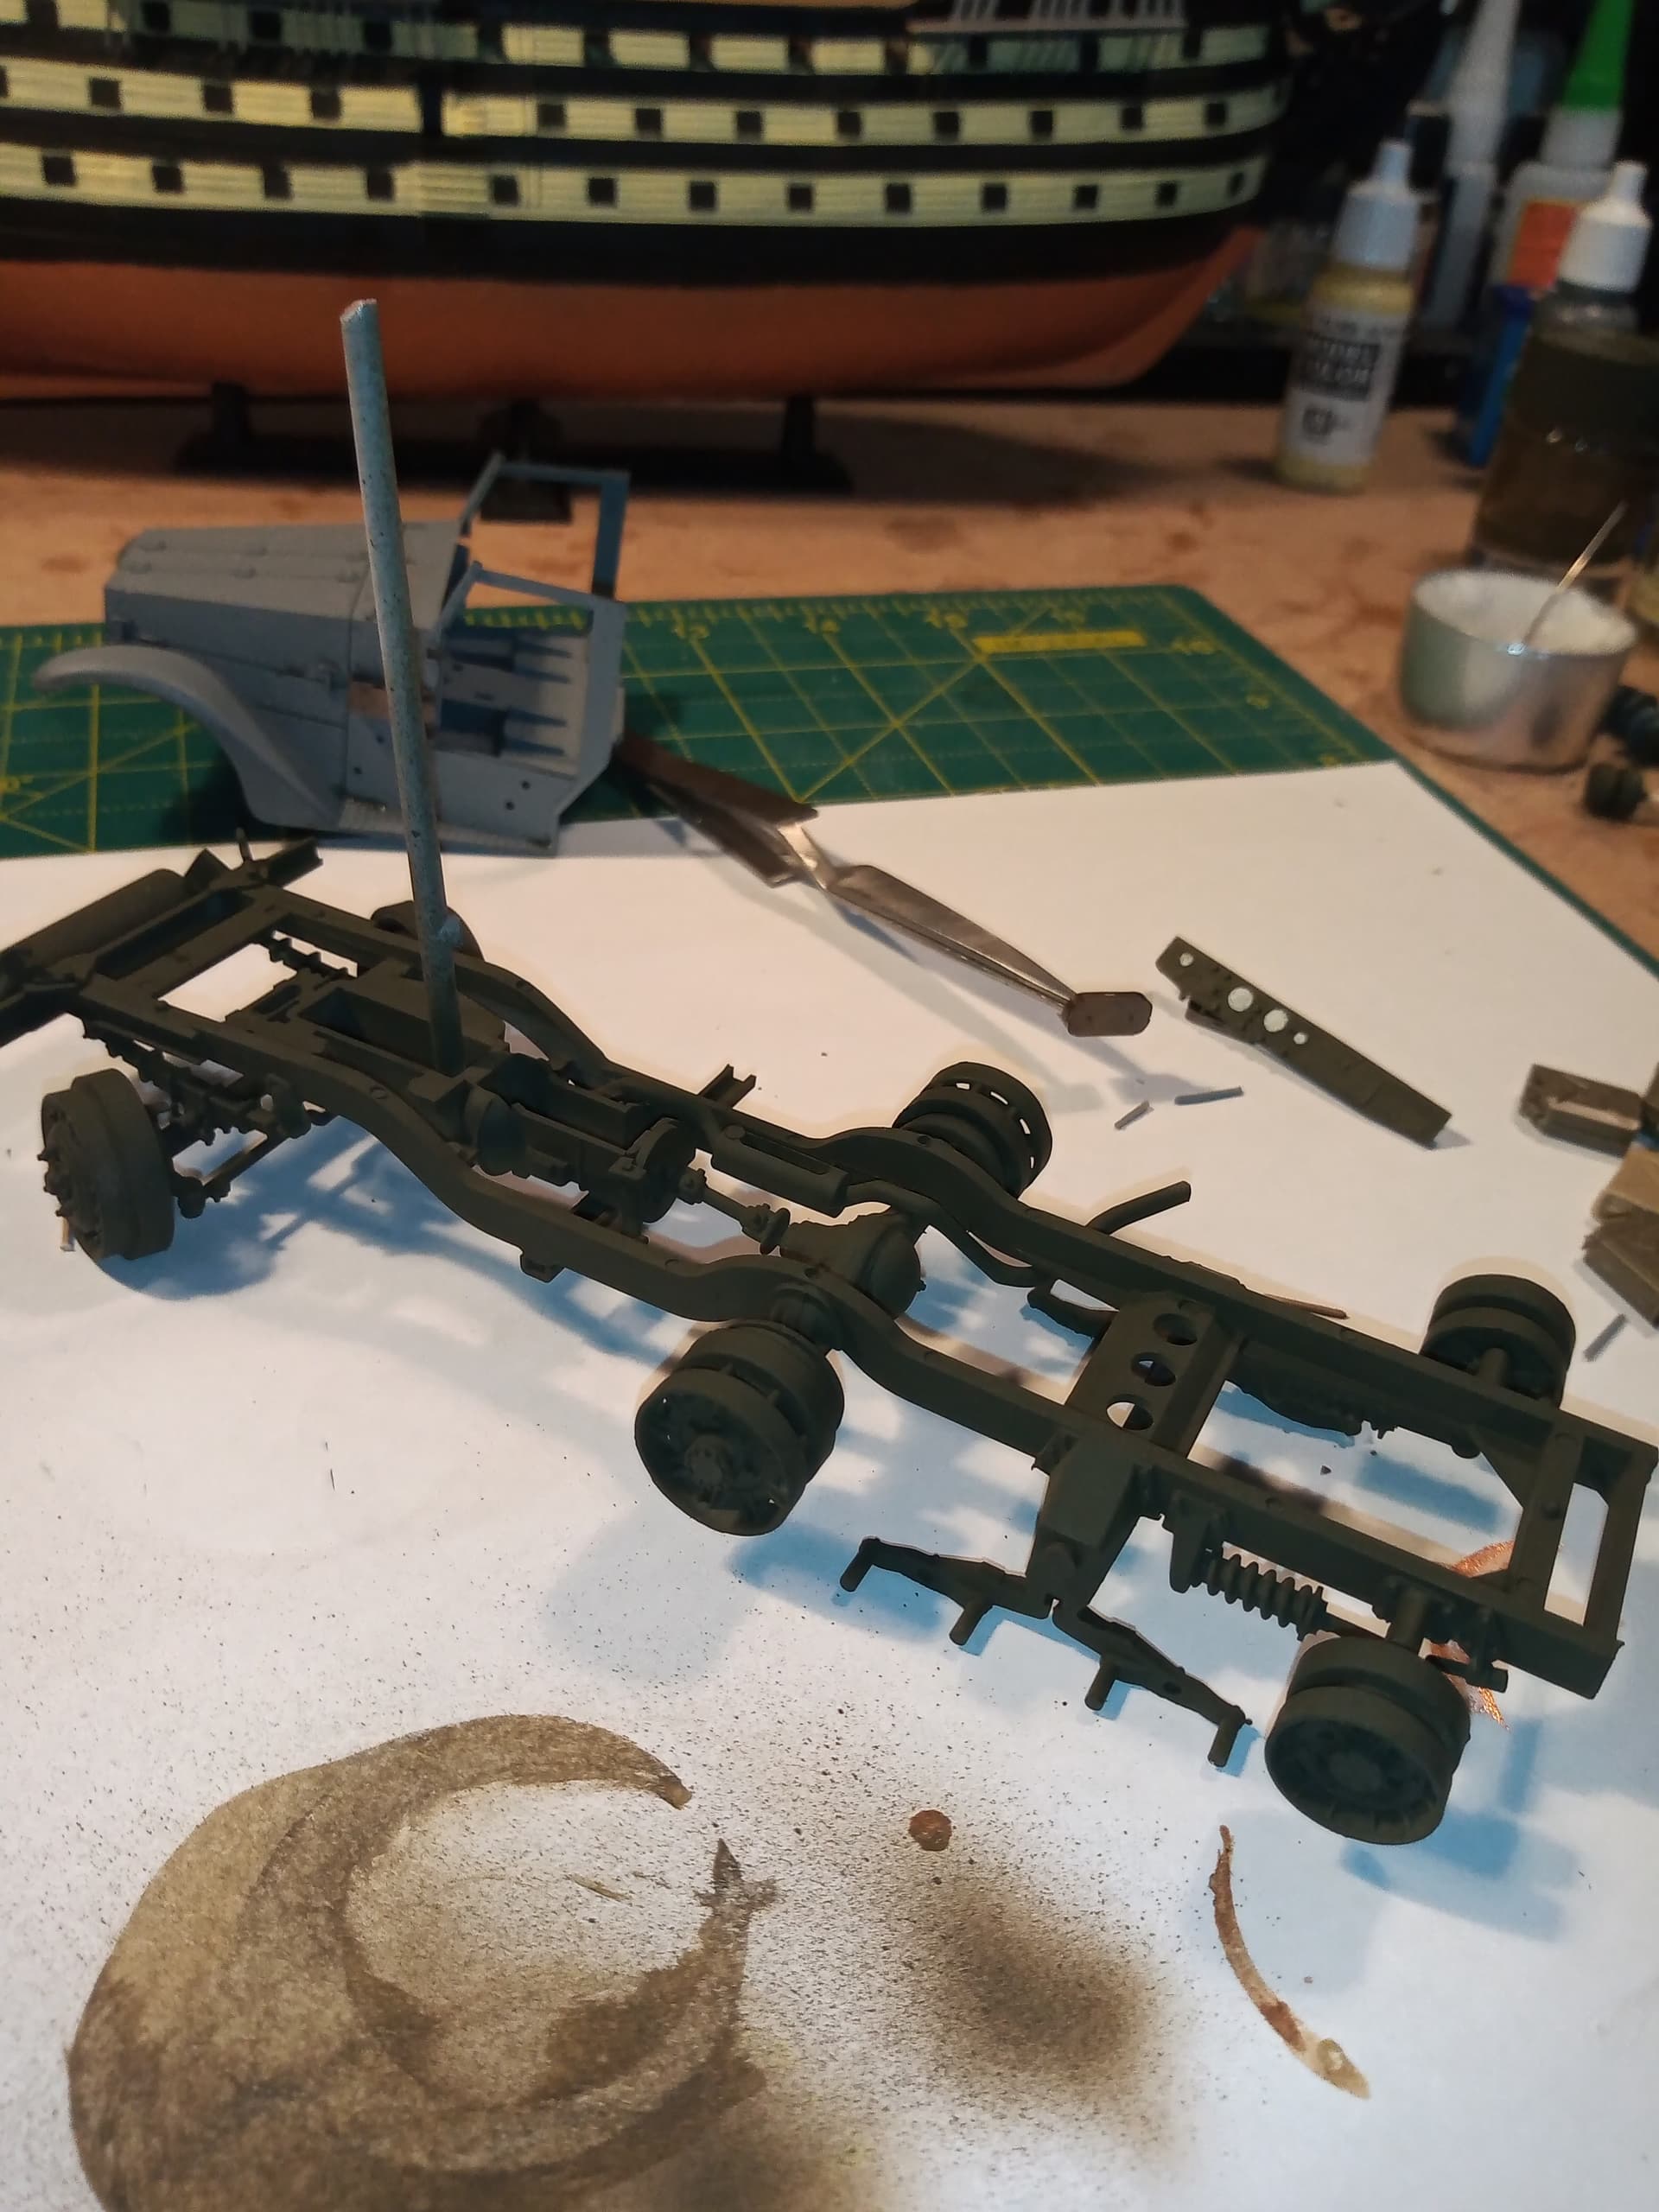
Instructions clearly direct you insert the 2 circular connections on A5 into the 2 holes in A15…now, can anyone see those holes lol…anyway it all fits …
Then I did my first goof… I stupidly put the front wheel rears, into the rear of the sprockets… Luckily I spotted it just before the things set so managed to safe it … Just
I was thinking about doing a top cover for the crew compartment partially closed, maybe from the rear to half way along and the support bars … Not sure yet …
Have only put 1 side of the rear track suspension on, as I’m going OD all that tomorrow, then do the small wheels by hand.
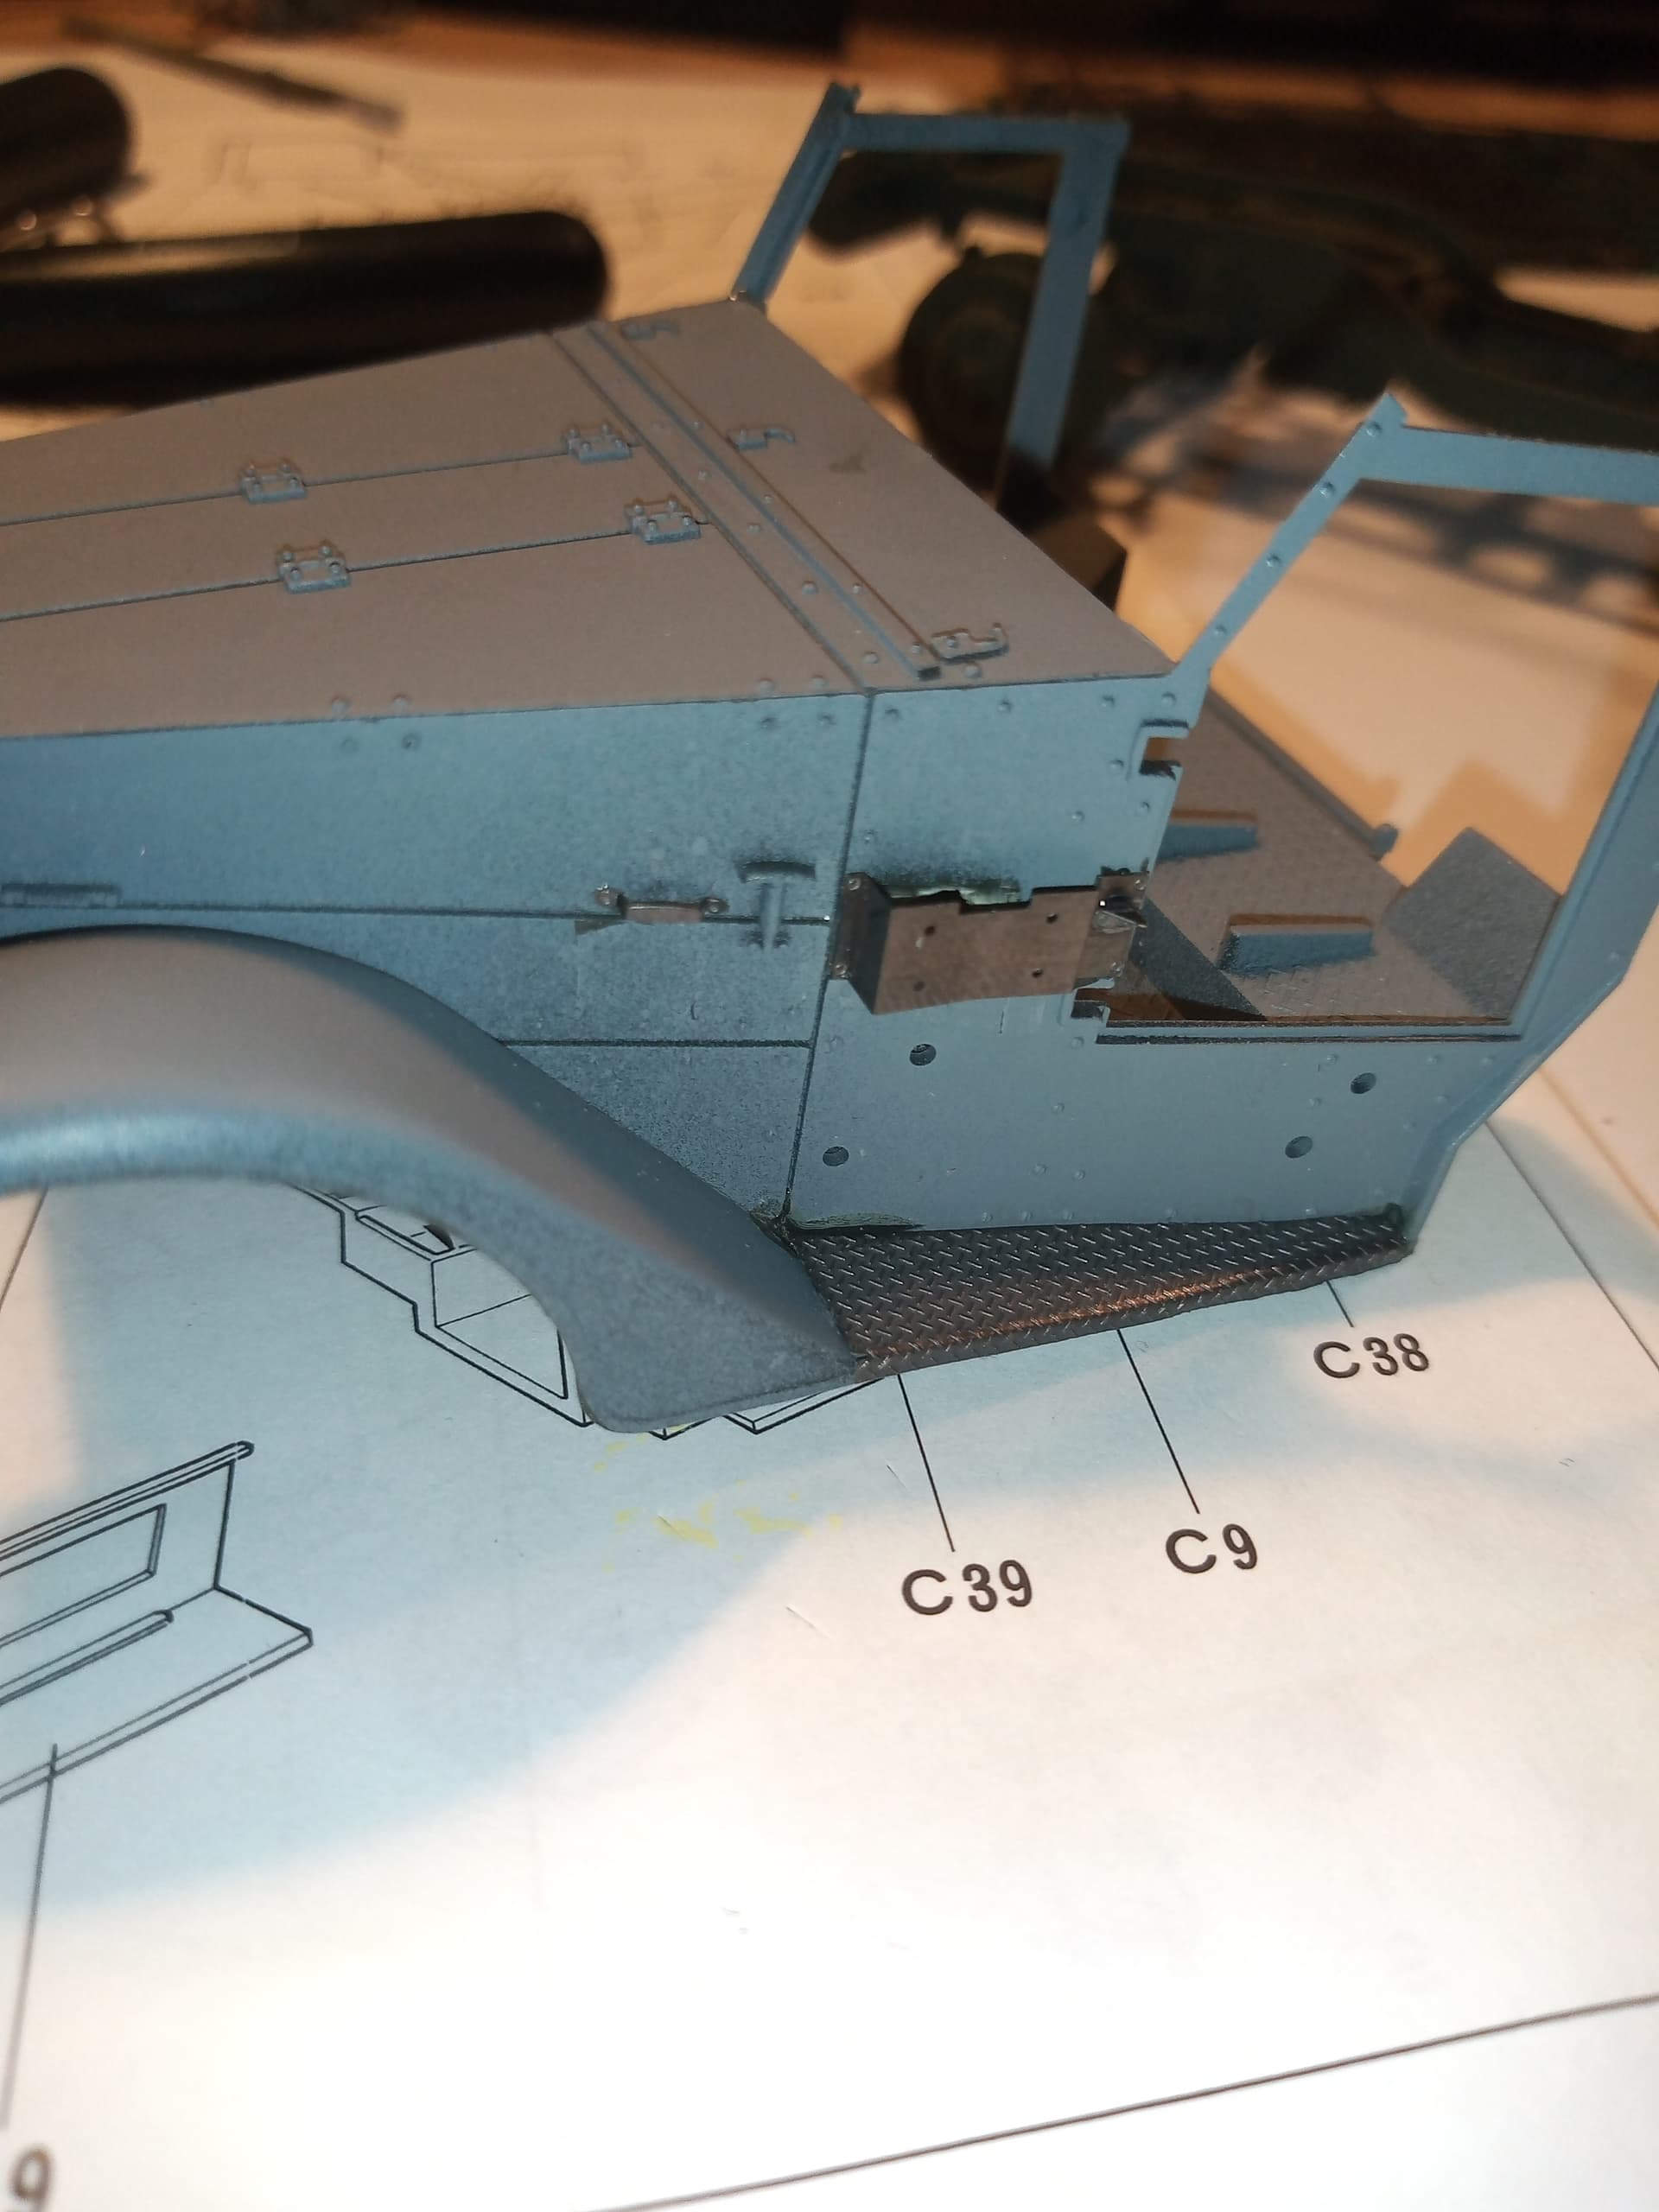
Have also started on the cab and engine covers. The bonnet top is just taped in at the mo so the sides keep their shape as I still need to add the dash, which I will paint tomorrow as well.
Quick update, weather has put me off doing much… To hot at night so just been sat in garden chilling…
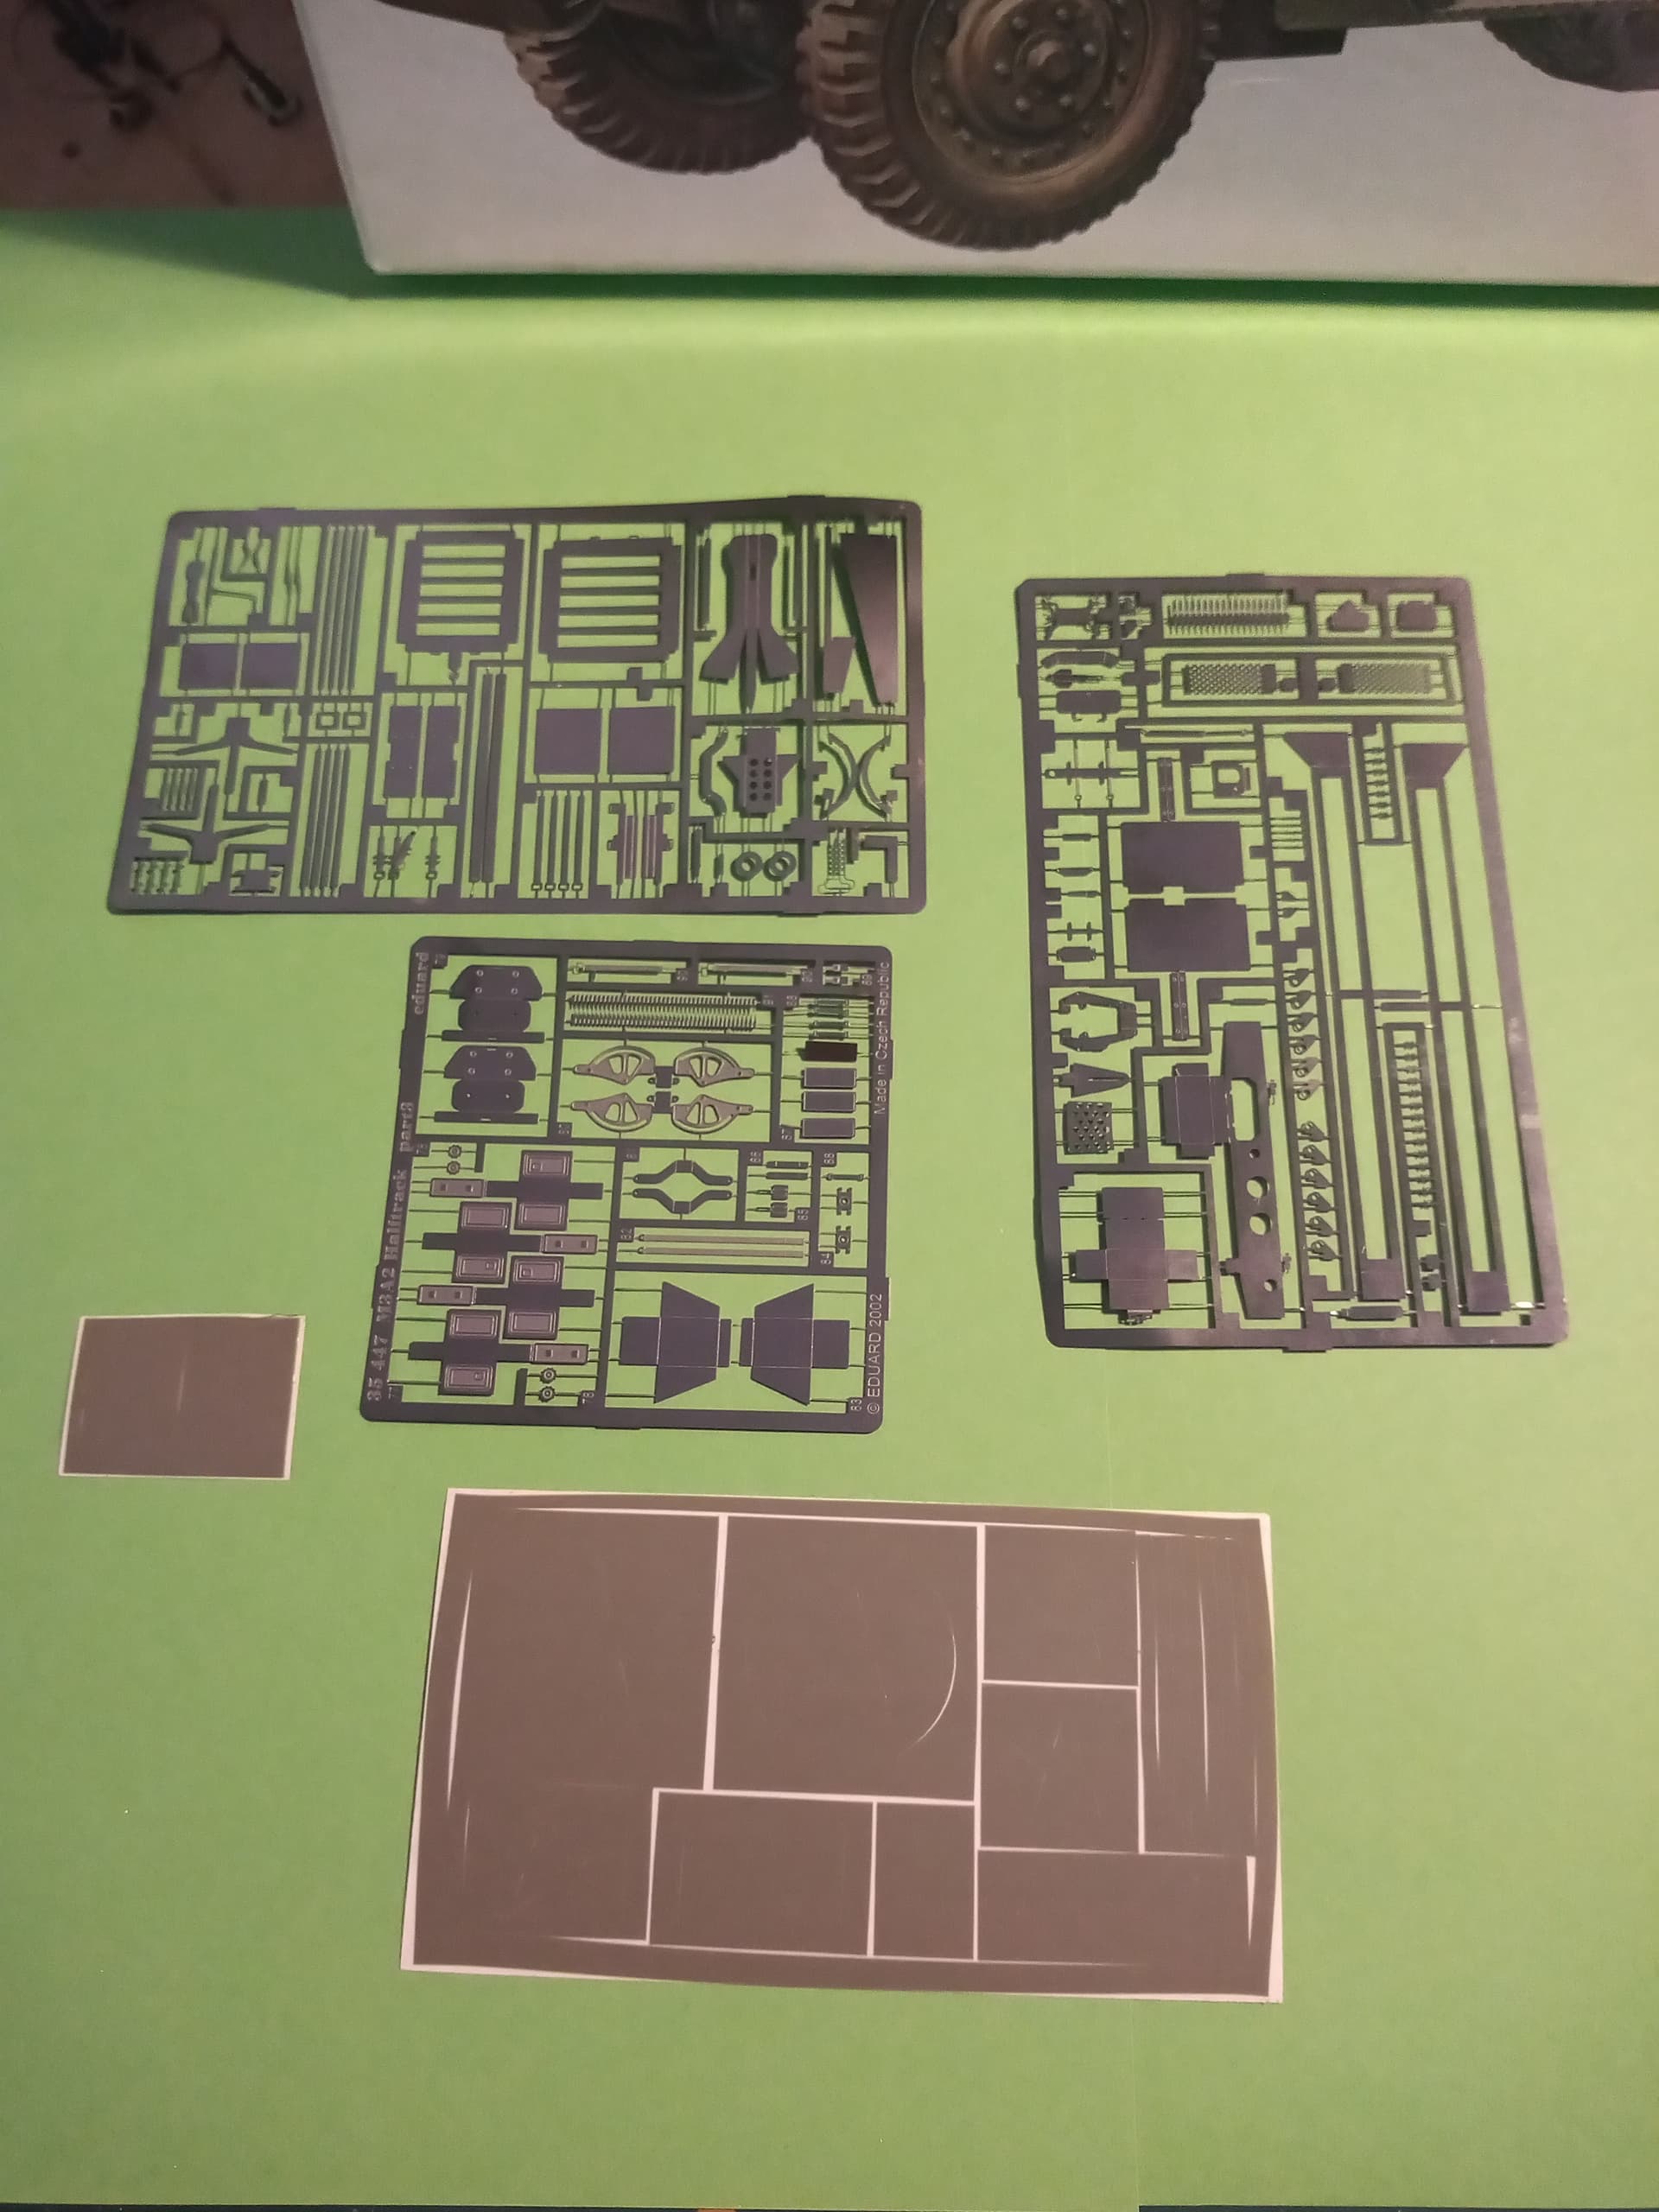
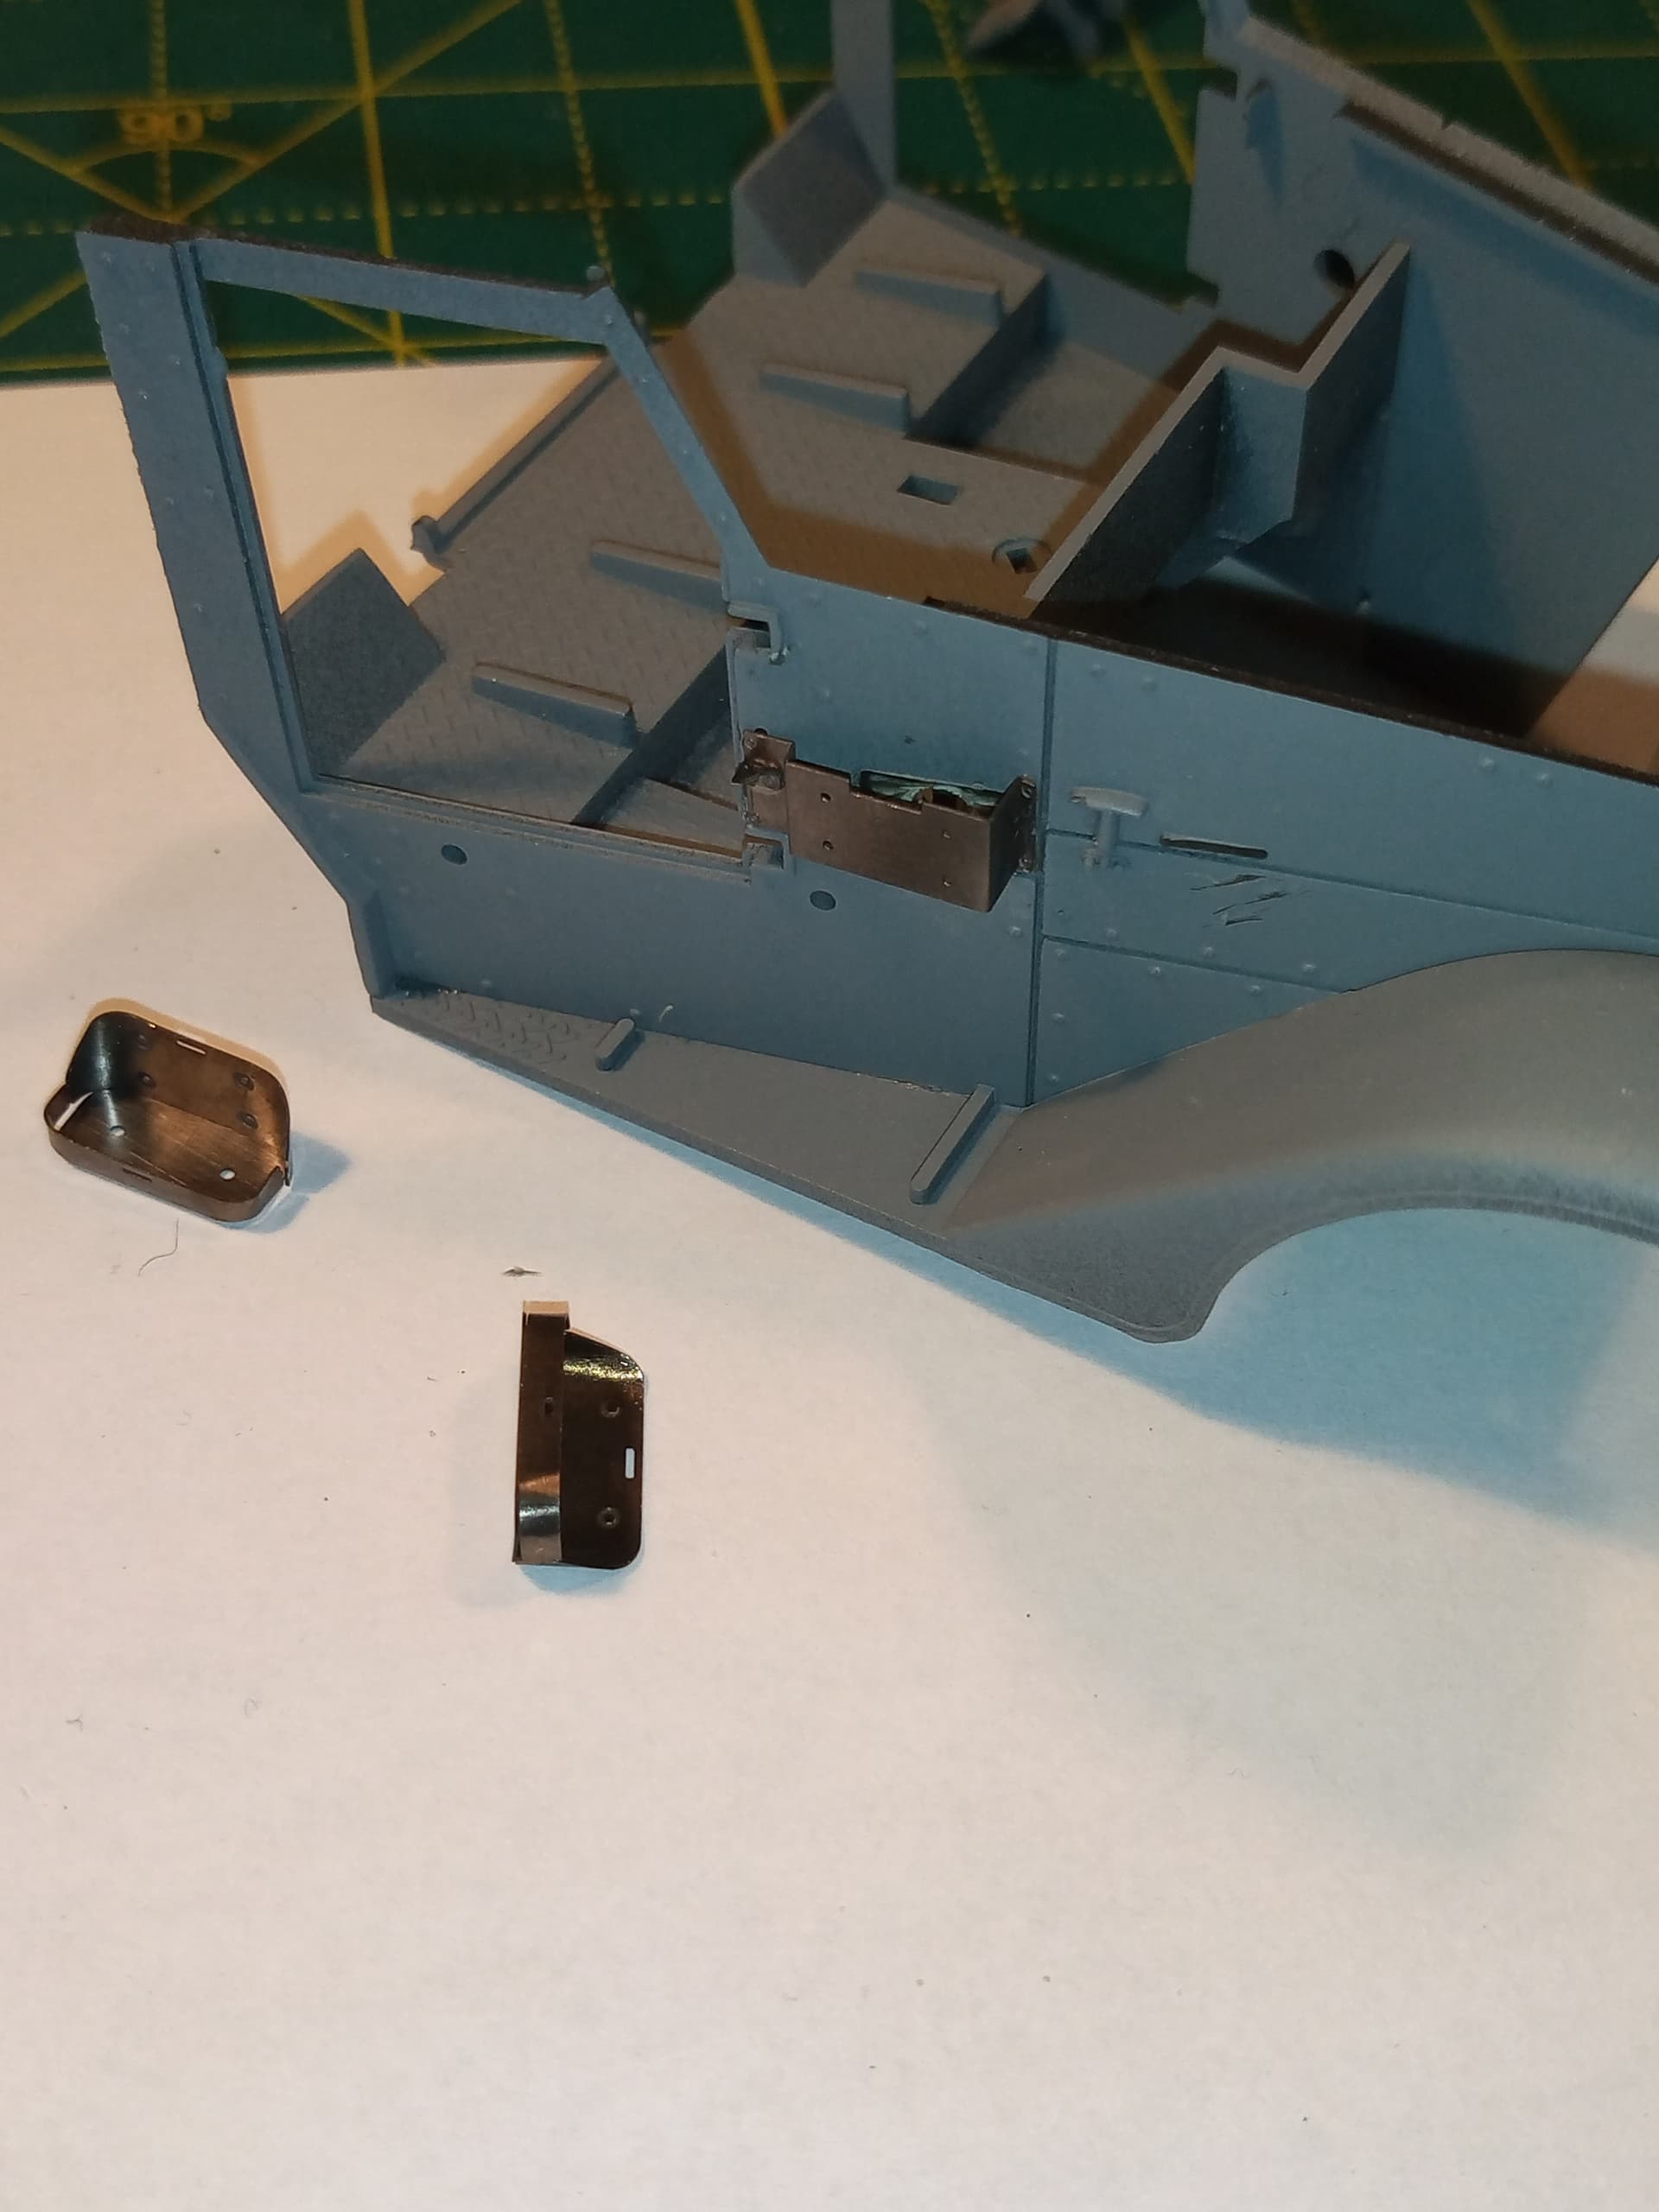
I have begun the prep for the etch I’m going to use. Carving off various bits and sanding or filling…
I won’t use all the etch, in fact a lot of it won’t be touched, it’s either to fiddly or the kit stuff looks more realistic and not so flat as a lot of PE does… Anyway, the bits I do use should help improve the areas they go into. Stay safe