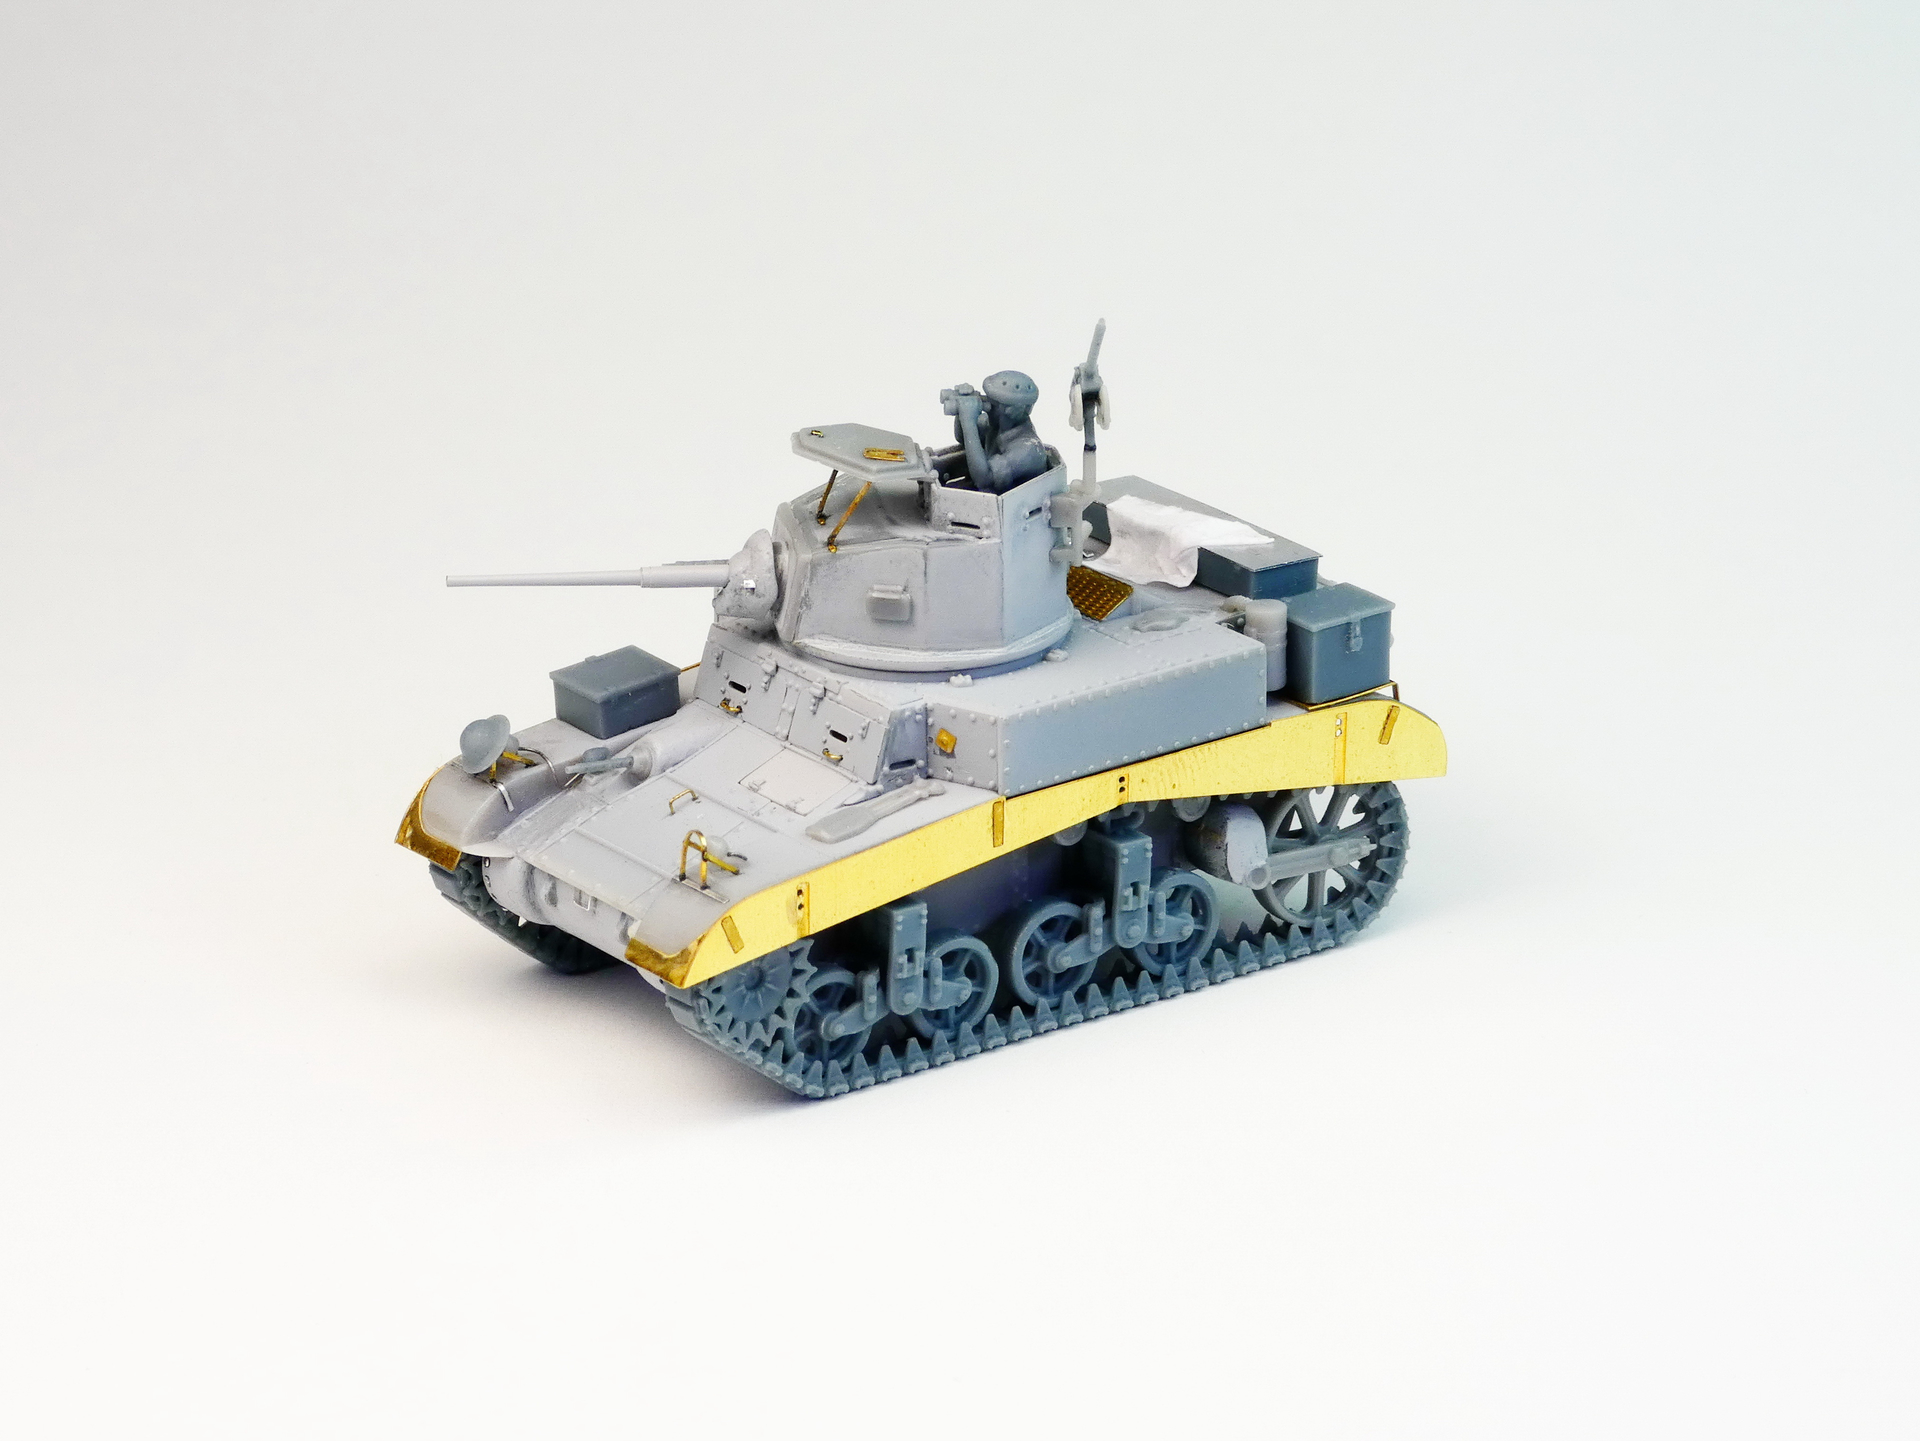
I was at the XXXIVth Model Show in Szolnok, Hungary and saw a lots of cool 1/72 models and dioramas. I was a “tank guy” cca 20 years ago but left the AFV’s world in favor of the planes and sci-fi stuff.
Bought a little M3 Stuart from the polish manufacturer, Mirage Hobby. Never built anything from them. The kit is a little gem, especially the upgraded edition with 3D printed and PE accesories. Got a figure set and a Master metal 37mm barrel too.
The main hull had some sinkholes on the sides. Filled them with VMS black CA.
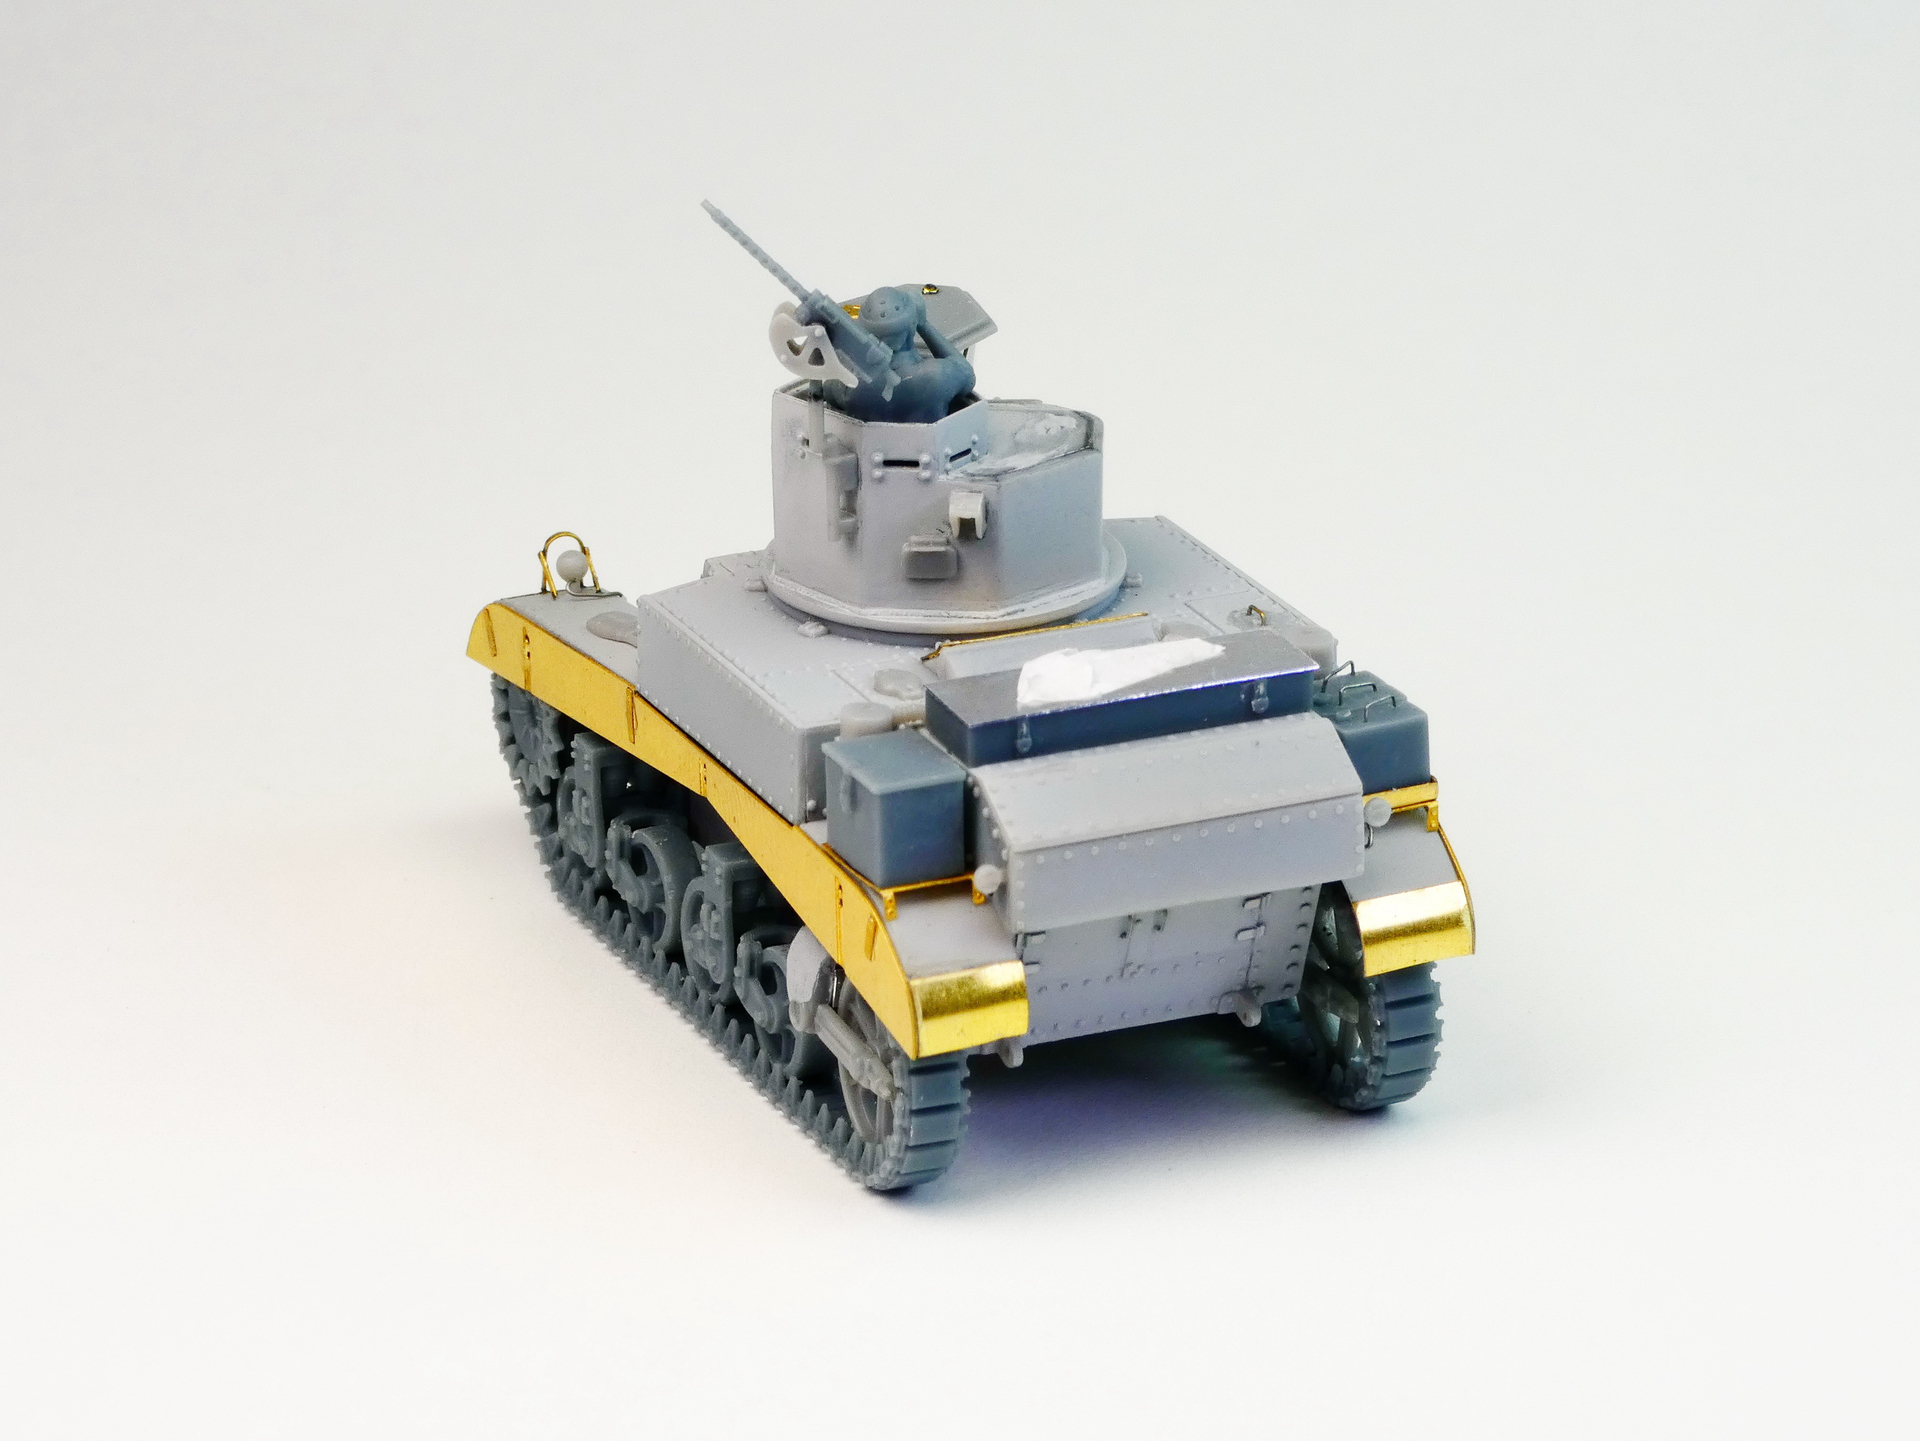
The M3 Stuarts had a very identical detail on their back, the doors to the engine.The kit is very simplified here, misses a lot of details.
Heres the list of my modifications:
-added missing armor plate lines;
-added missing rivets;
-added the service door handles;
-the service doors originally had 6 hinges, the kit has only 4. Removed them and rebuilt all of them from metal scratch.
-added the mesh that covers the exhausts.
Originally there are rivets on the hinges too, but they are way too small in 1/72 so I ignored them.
Yep, this thing is small.
6 Likes
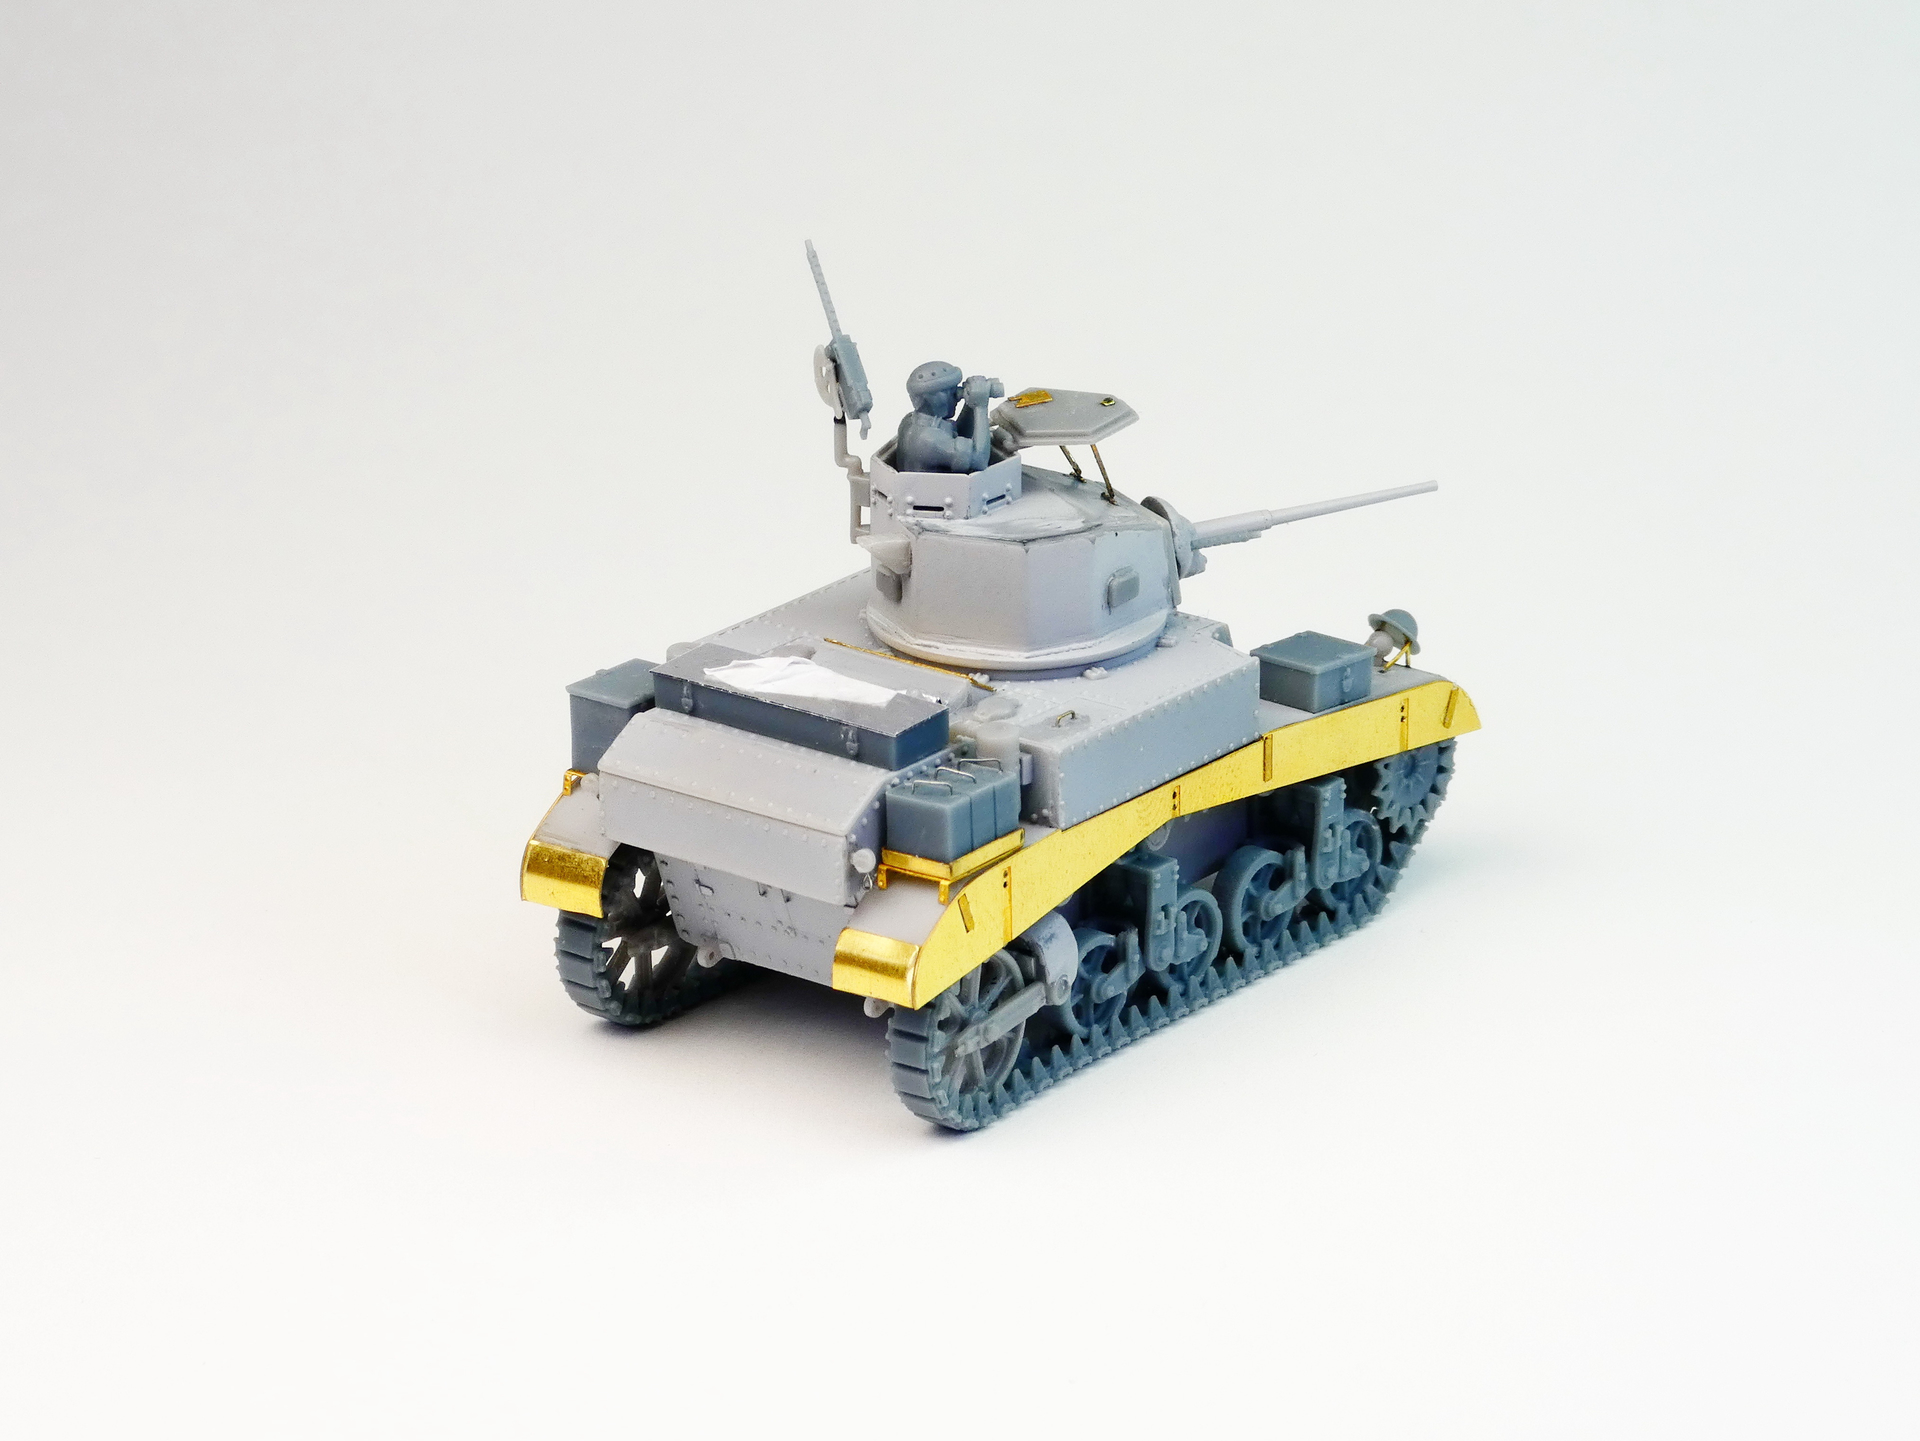
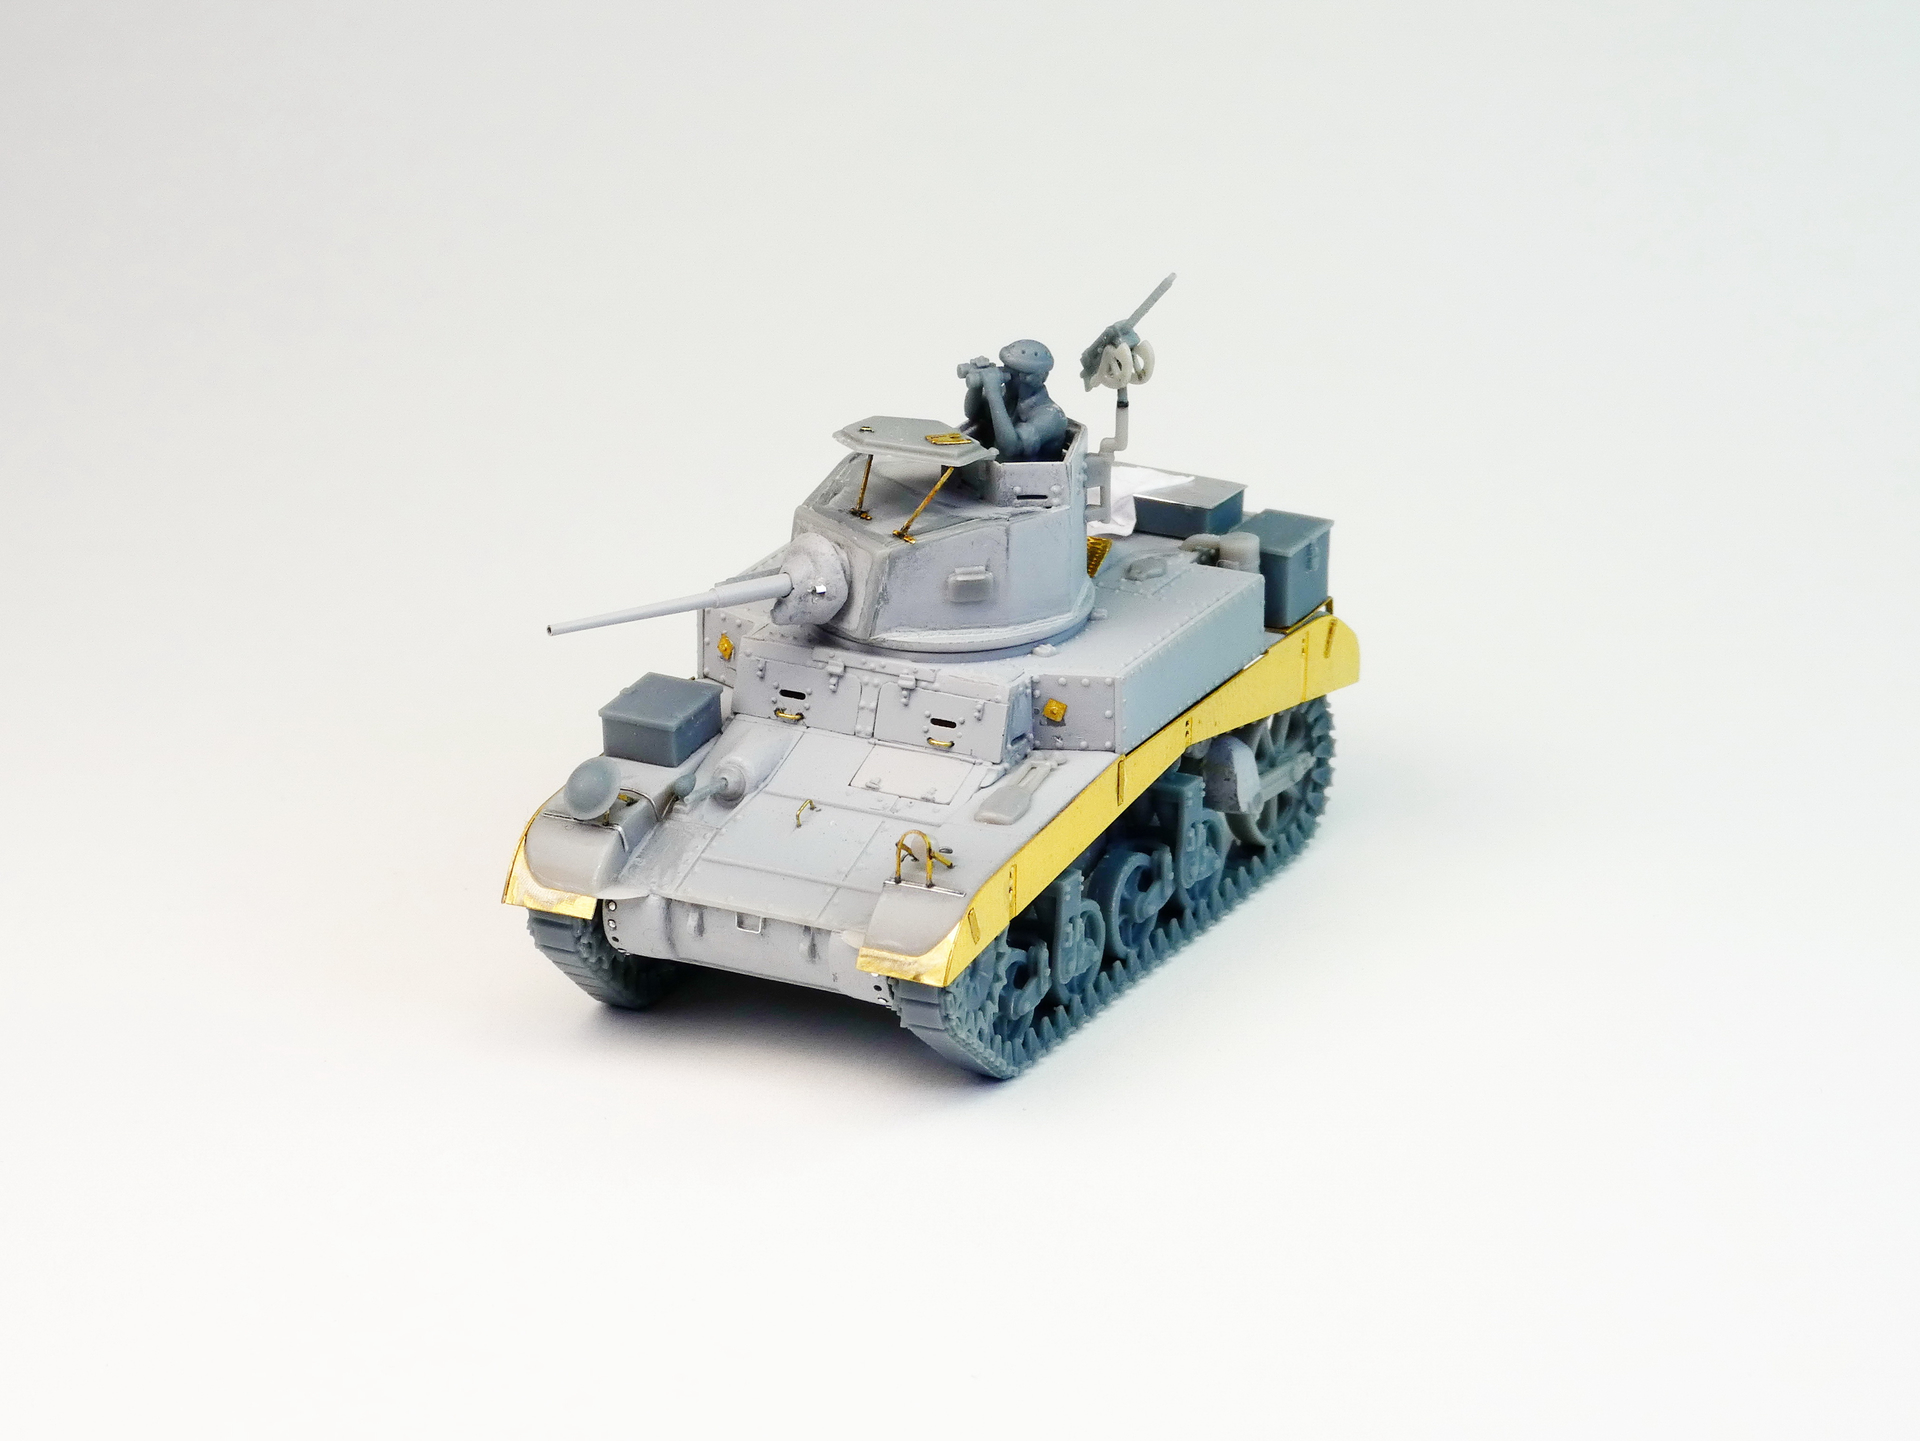
Now it’s time for a big jump! The Stuart is ready for priming and painting. I have to say, I’ve had quite a busy few weeks. The Mirage Hobby kit is unfortunately a bit outdated now, but the 3D printed and photo-etched accessories that come with it improve it a lot.
Here’s a detailed list of the improvements I made:
- I re-scratched the engine compartment access door, replaced the hinges, handles and rivets.
- I created the grille that hides the exhausts, the kit is completely empty here.
- I replaced the texture and screws of the gearbox housing, along with the step located here.
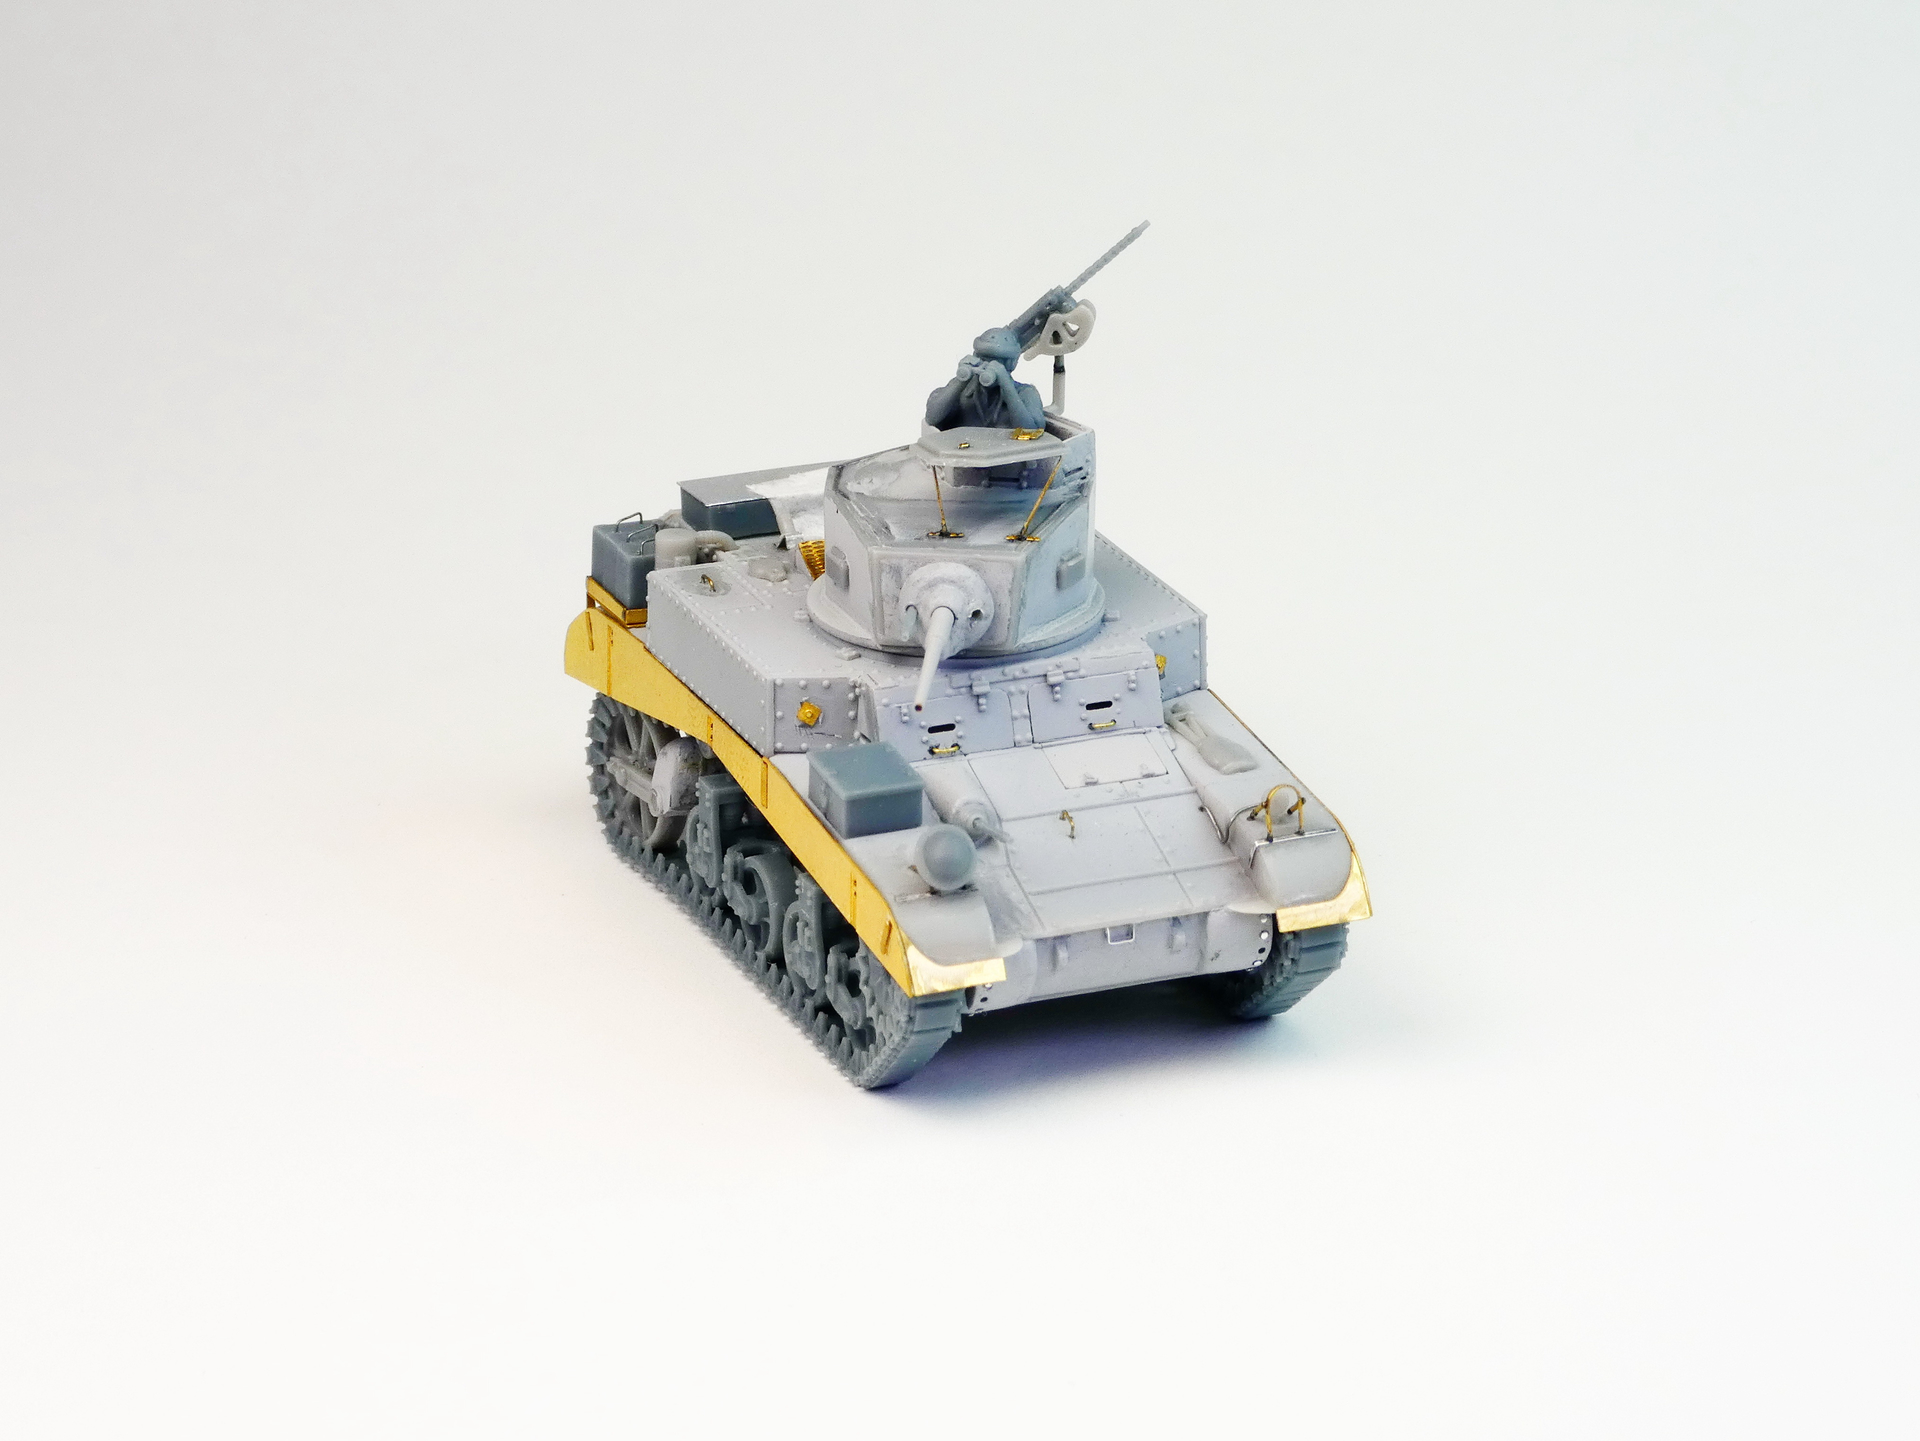
- I made the wiring for the headlights and horn.
- The air filter tube enters the engine compartment through an opening in the armor. This was also missing, so I replaced it.
- I created the cast texture of the chain tensioner wheel suspension.
- The suspension and running rollers of the kit are bad. I replaced them with a 3d printed kit from OKB Grigorov.
- I did not put dust covers on the side skirts, but I drilled out the places where they would be mounted.
- I replaced the gun with a Master product.
- I created the protective plate above the sight hole.
- The rivets were missing on the inside of the turret hatch, I replaced them. They are visible when the hatch is open.
- I made the missing details on the inside of the hatch cover from leftover PE parts. The handle also broke, I need to replace it.
- I created the texture of the gun shield.
- I made the lid of the box in the engine compartment from aluminum sheet.
- I made the handles of the water cans from thin wire.
- I made the handrails on the tank from copper wire.
- The driver’s hatch was completely bad, I made a new one with hinges.
- I made the antenna bracket from aluminum sheet.
- It got a tarpaulin, paper treated with VMS paper shaper.
- I tried welding, but it didn’t work. The seams on the Stuart are very thin, I simply couldn’t do it in this scale. But on a KV…
Edit: pics
7 Likes
Wow that’s great work Istvan!
2 Likes