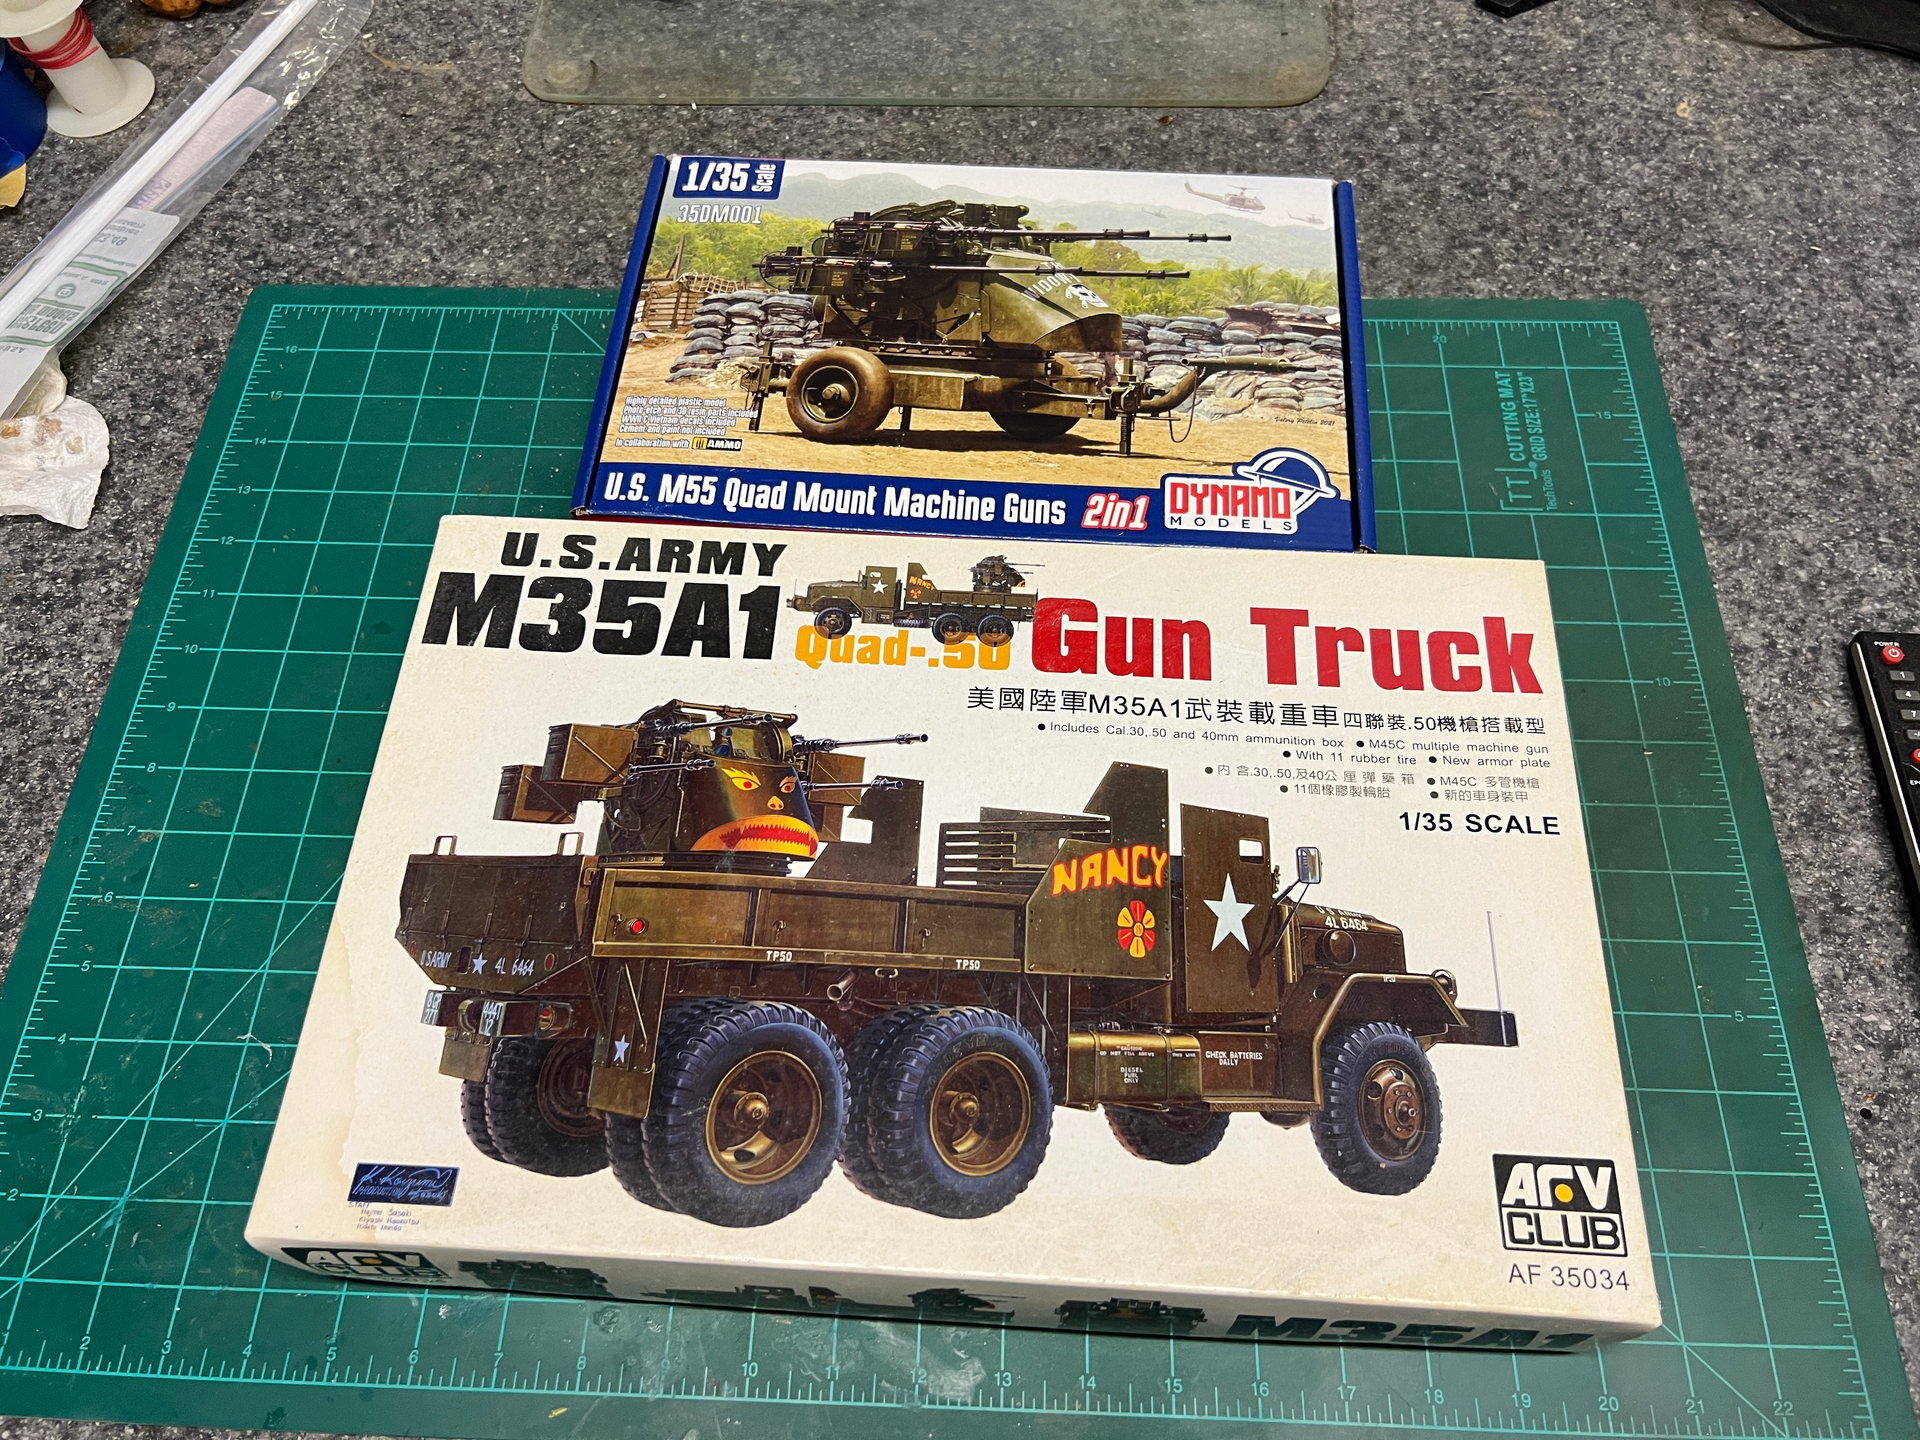
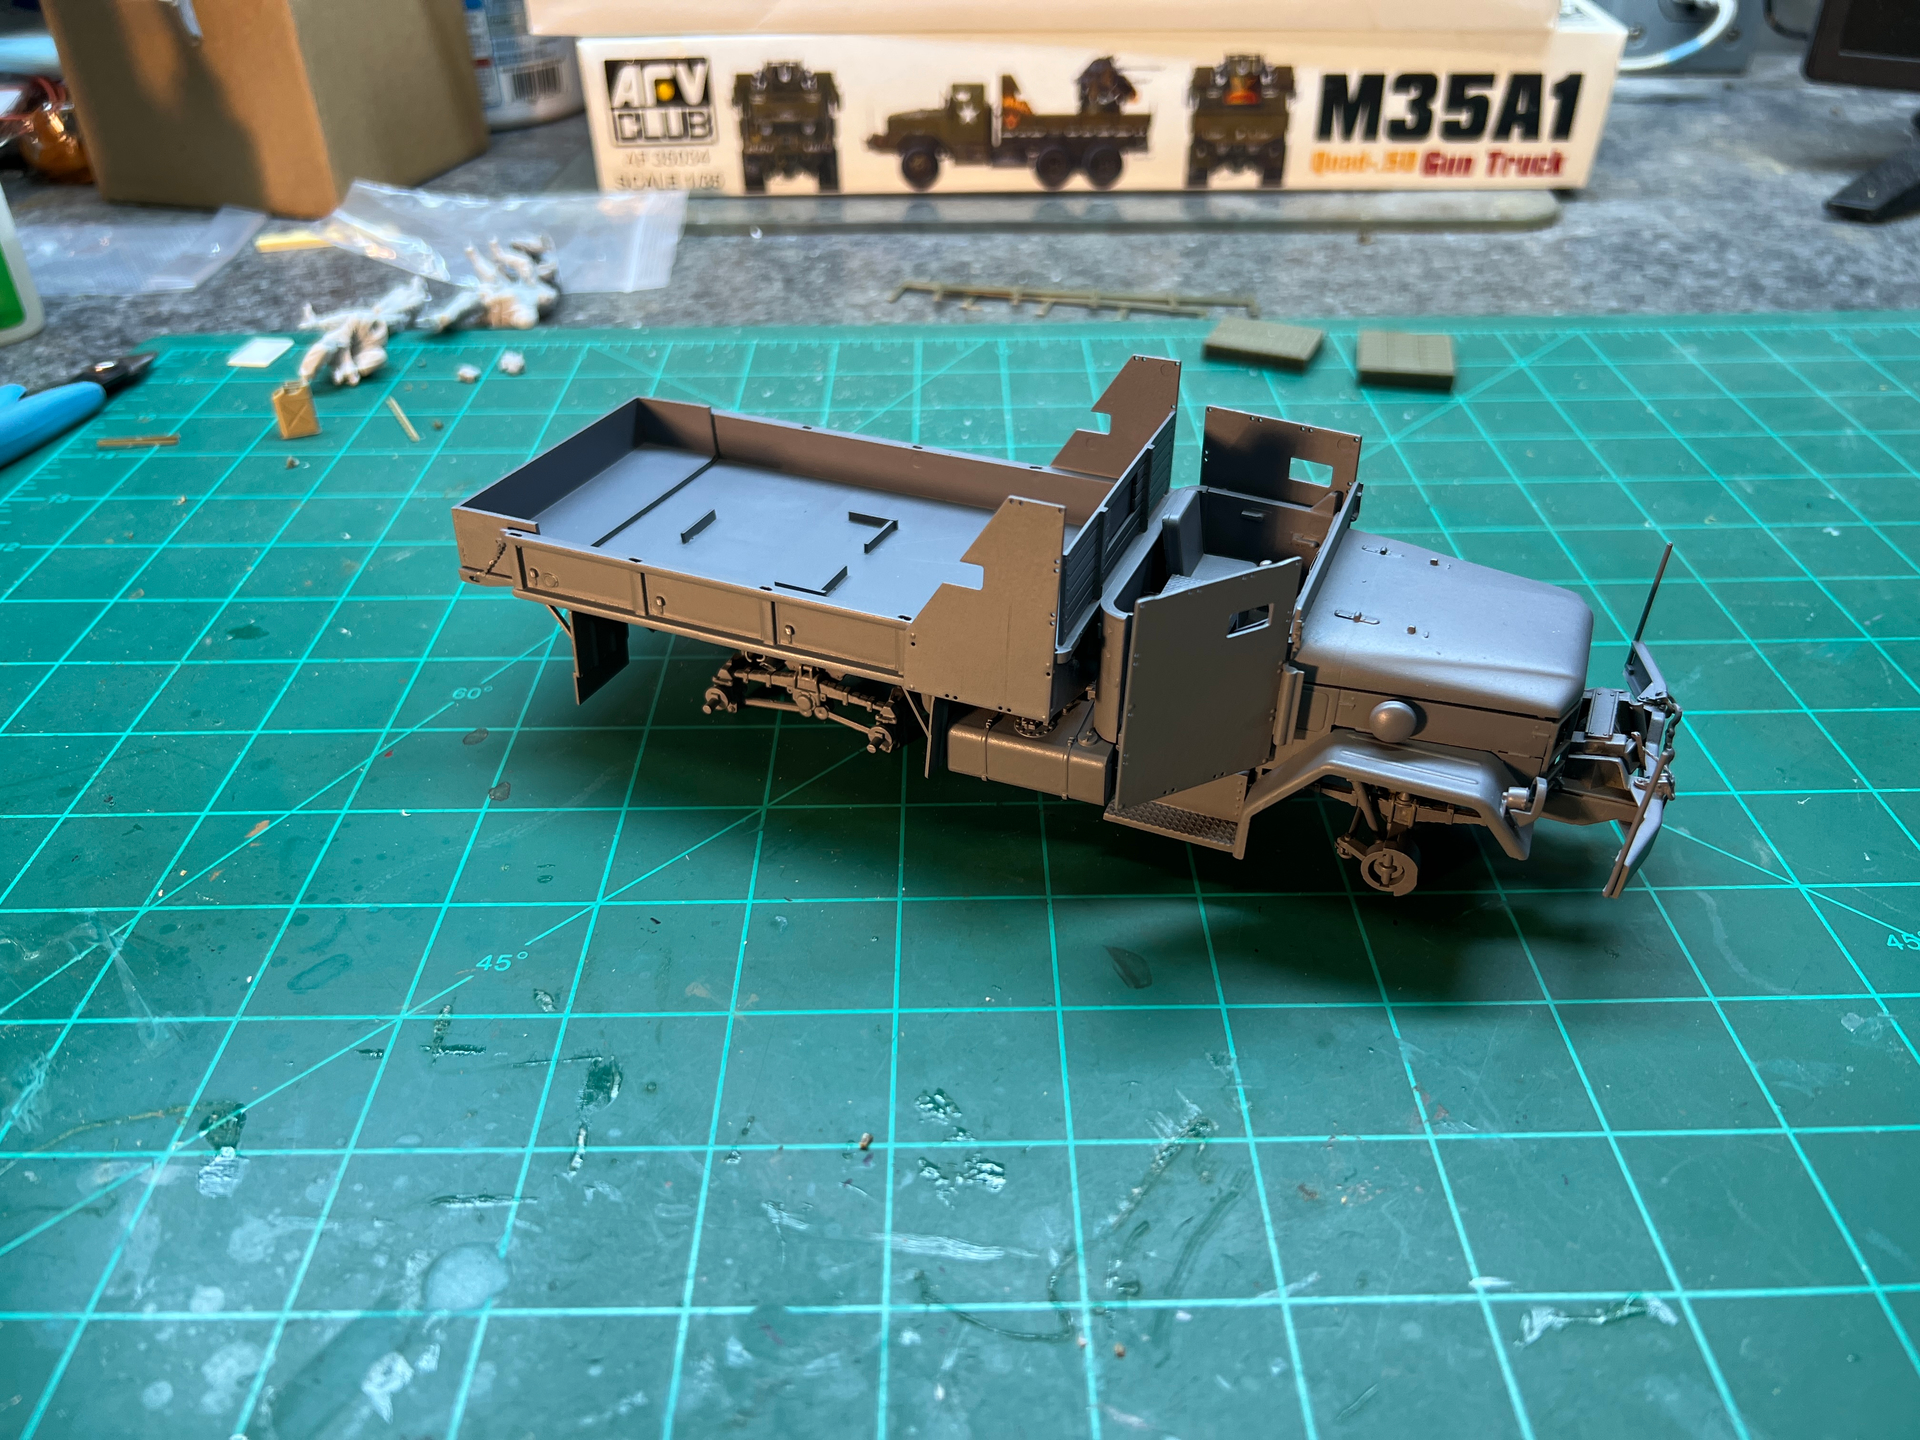
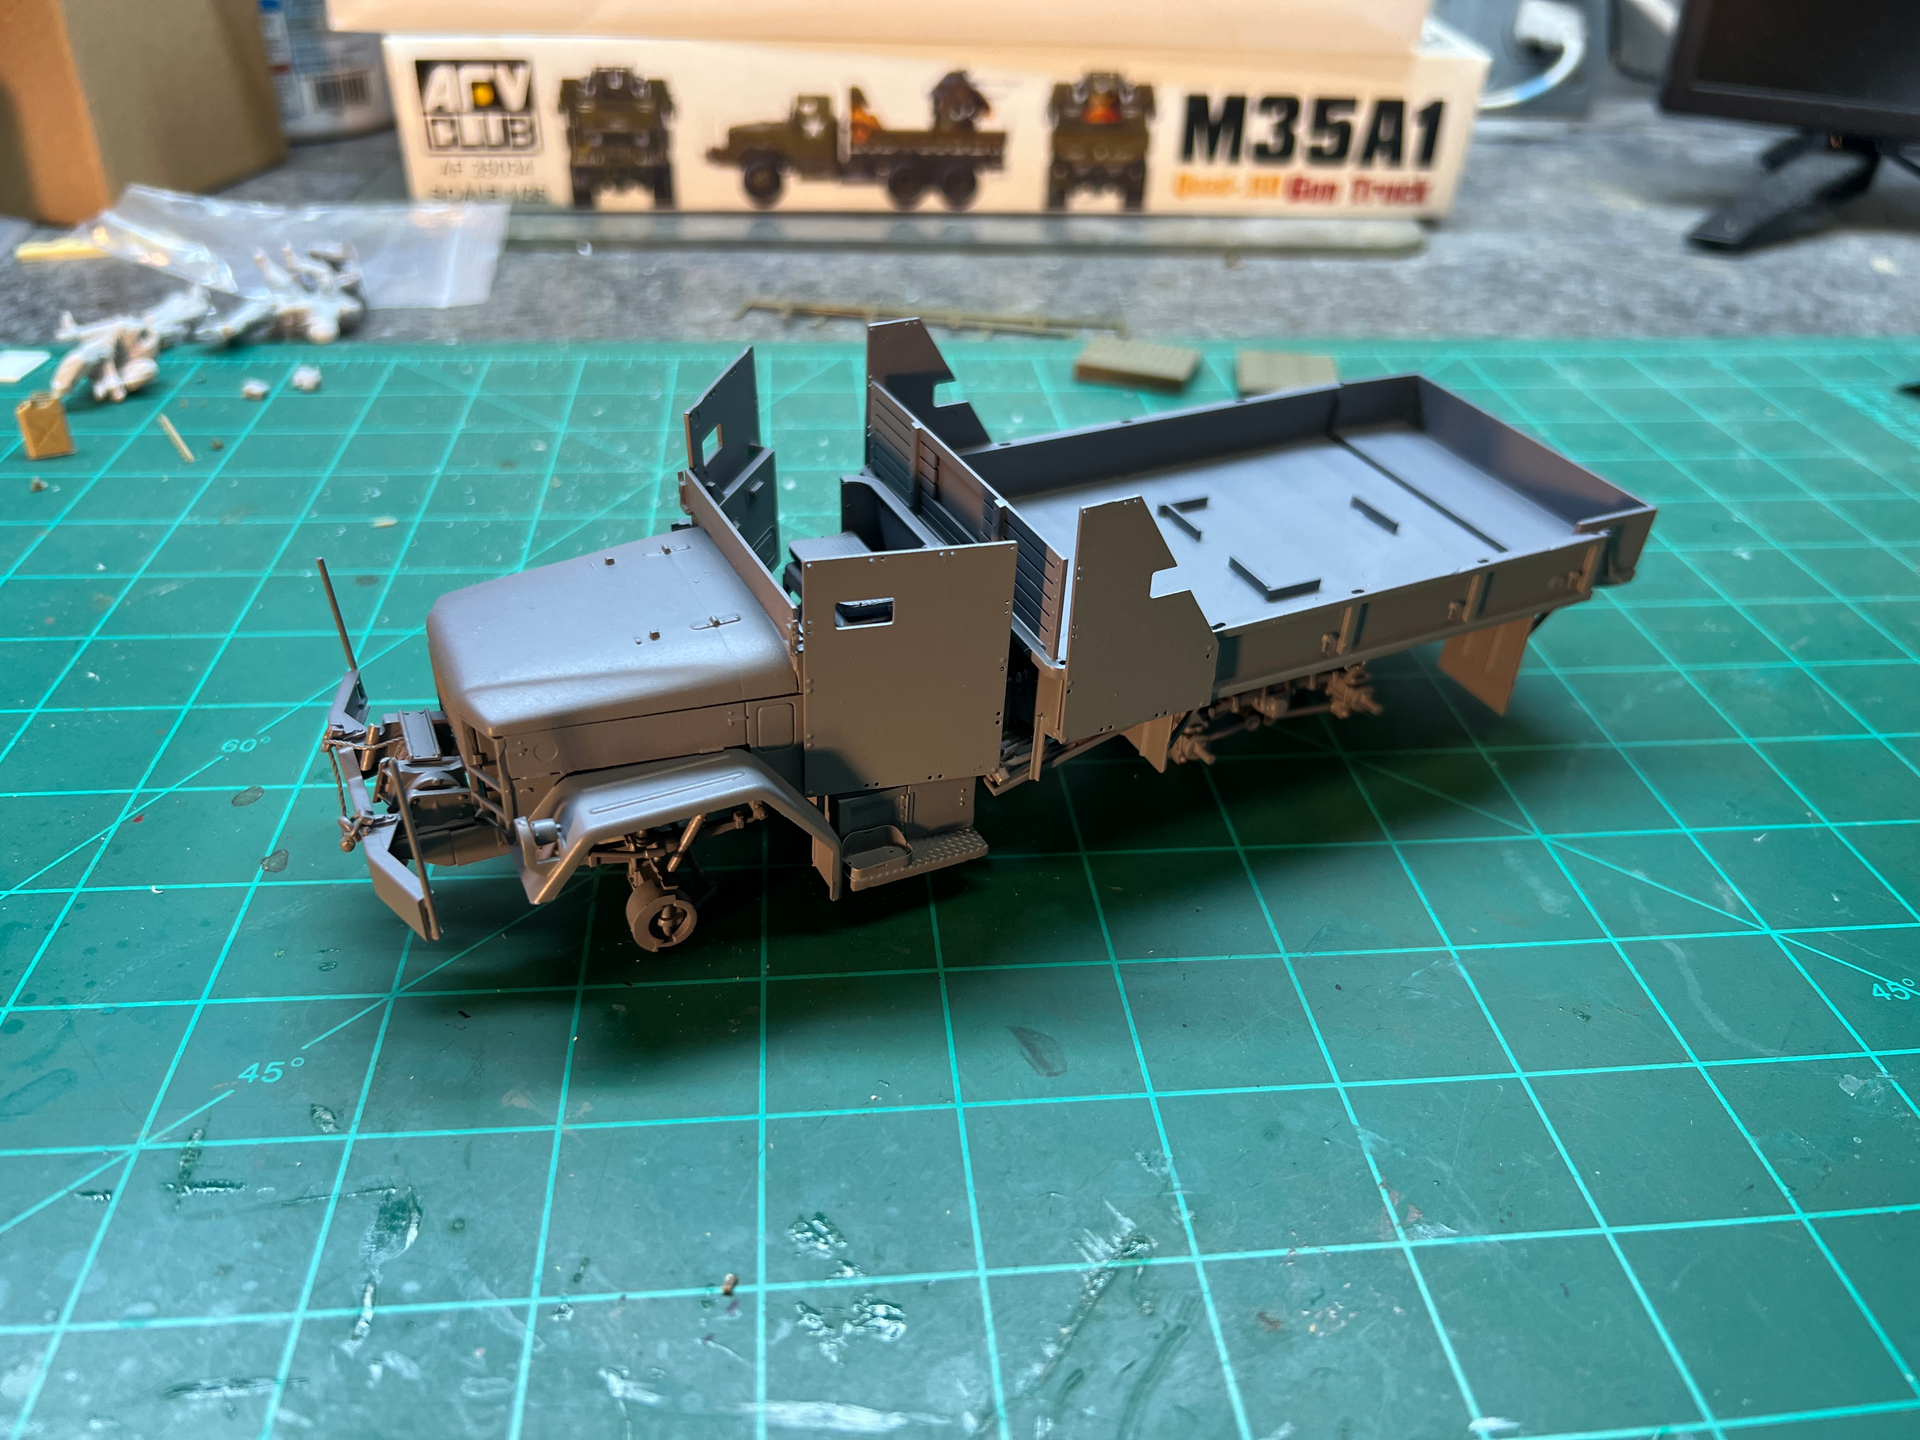
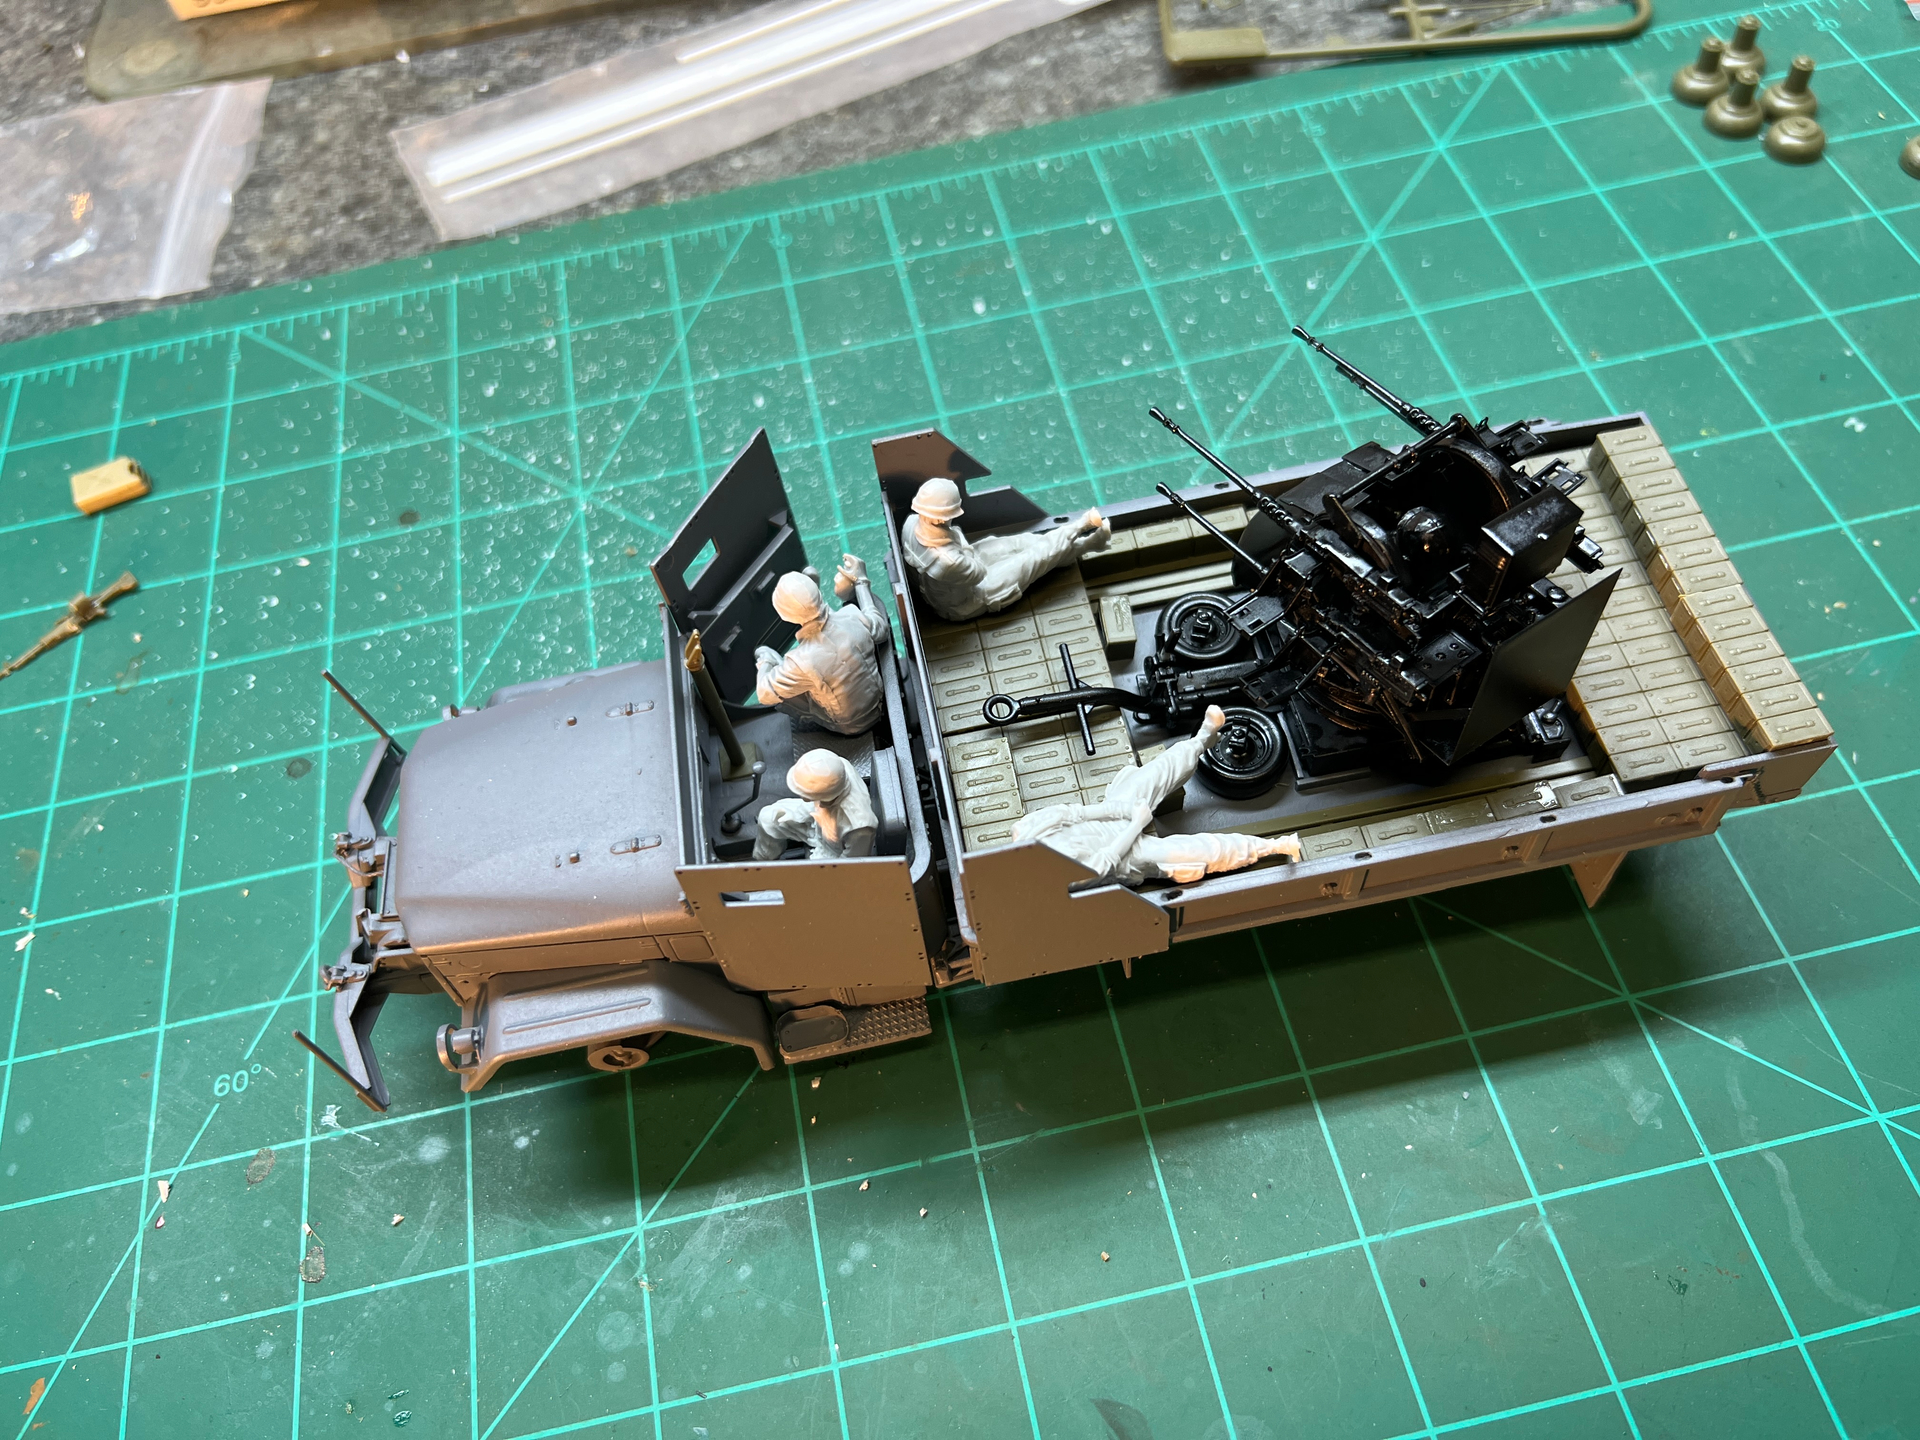
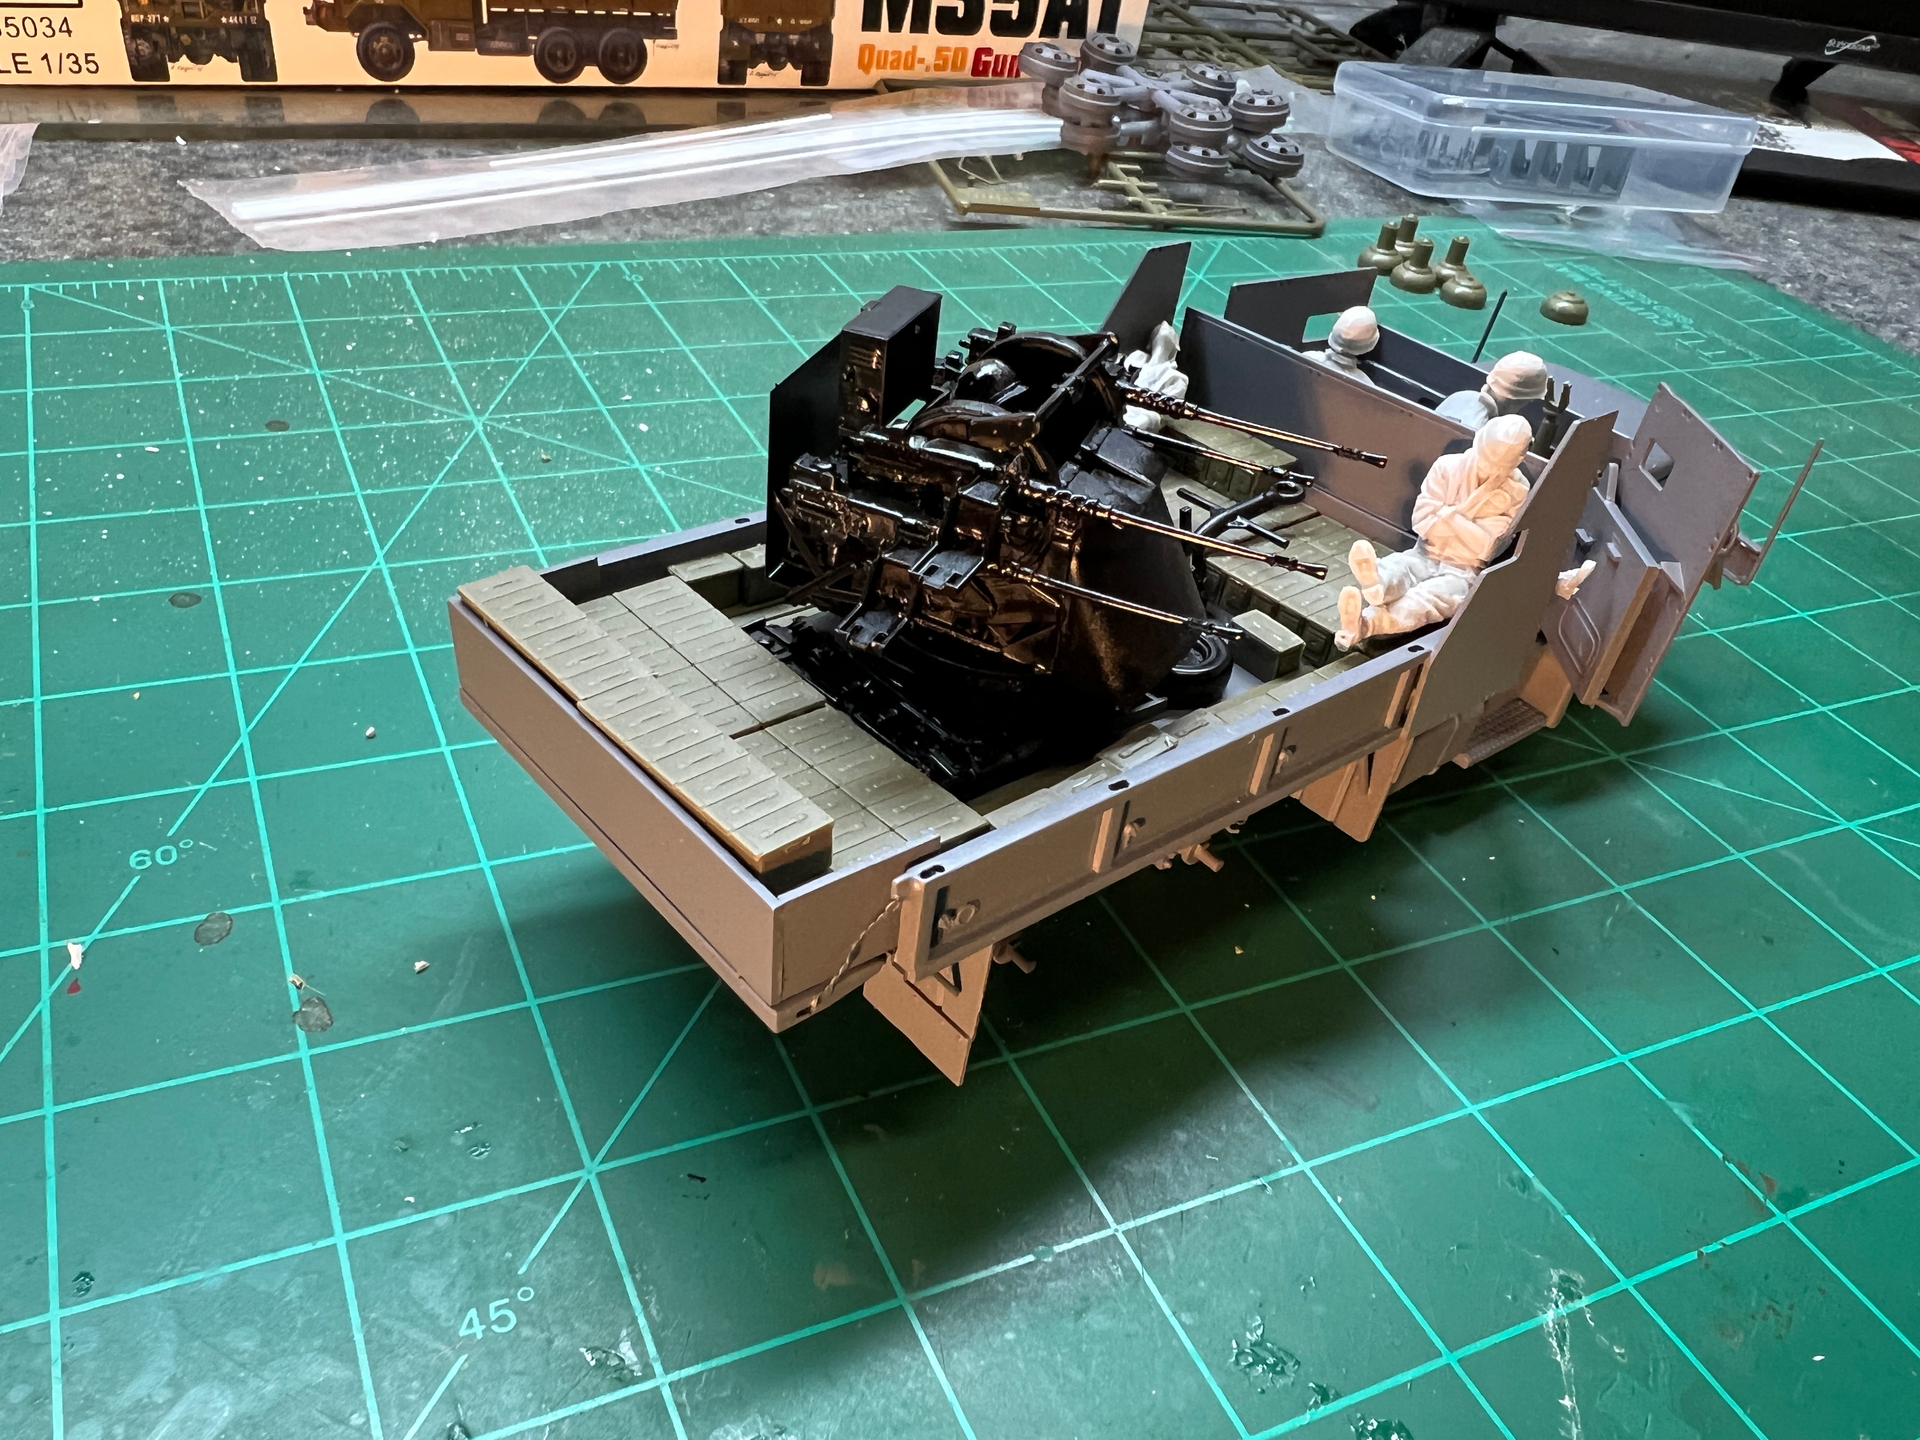
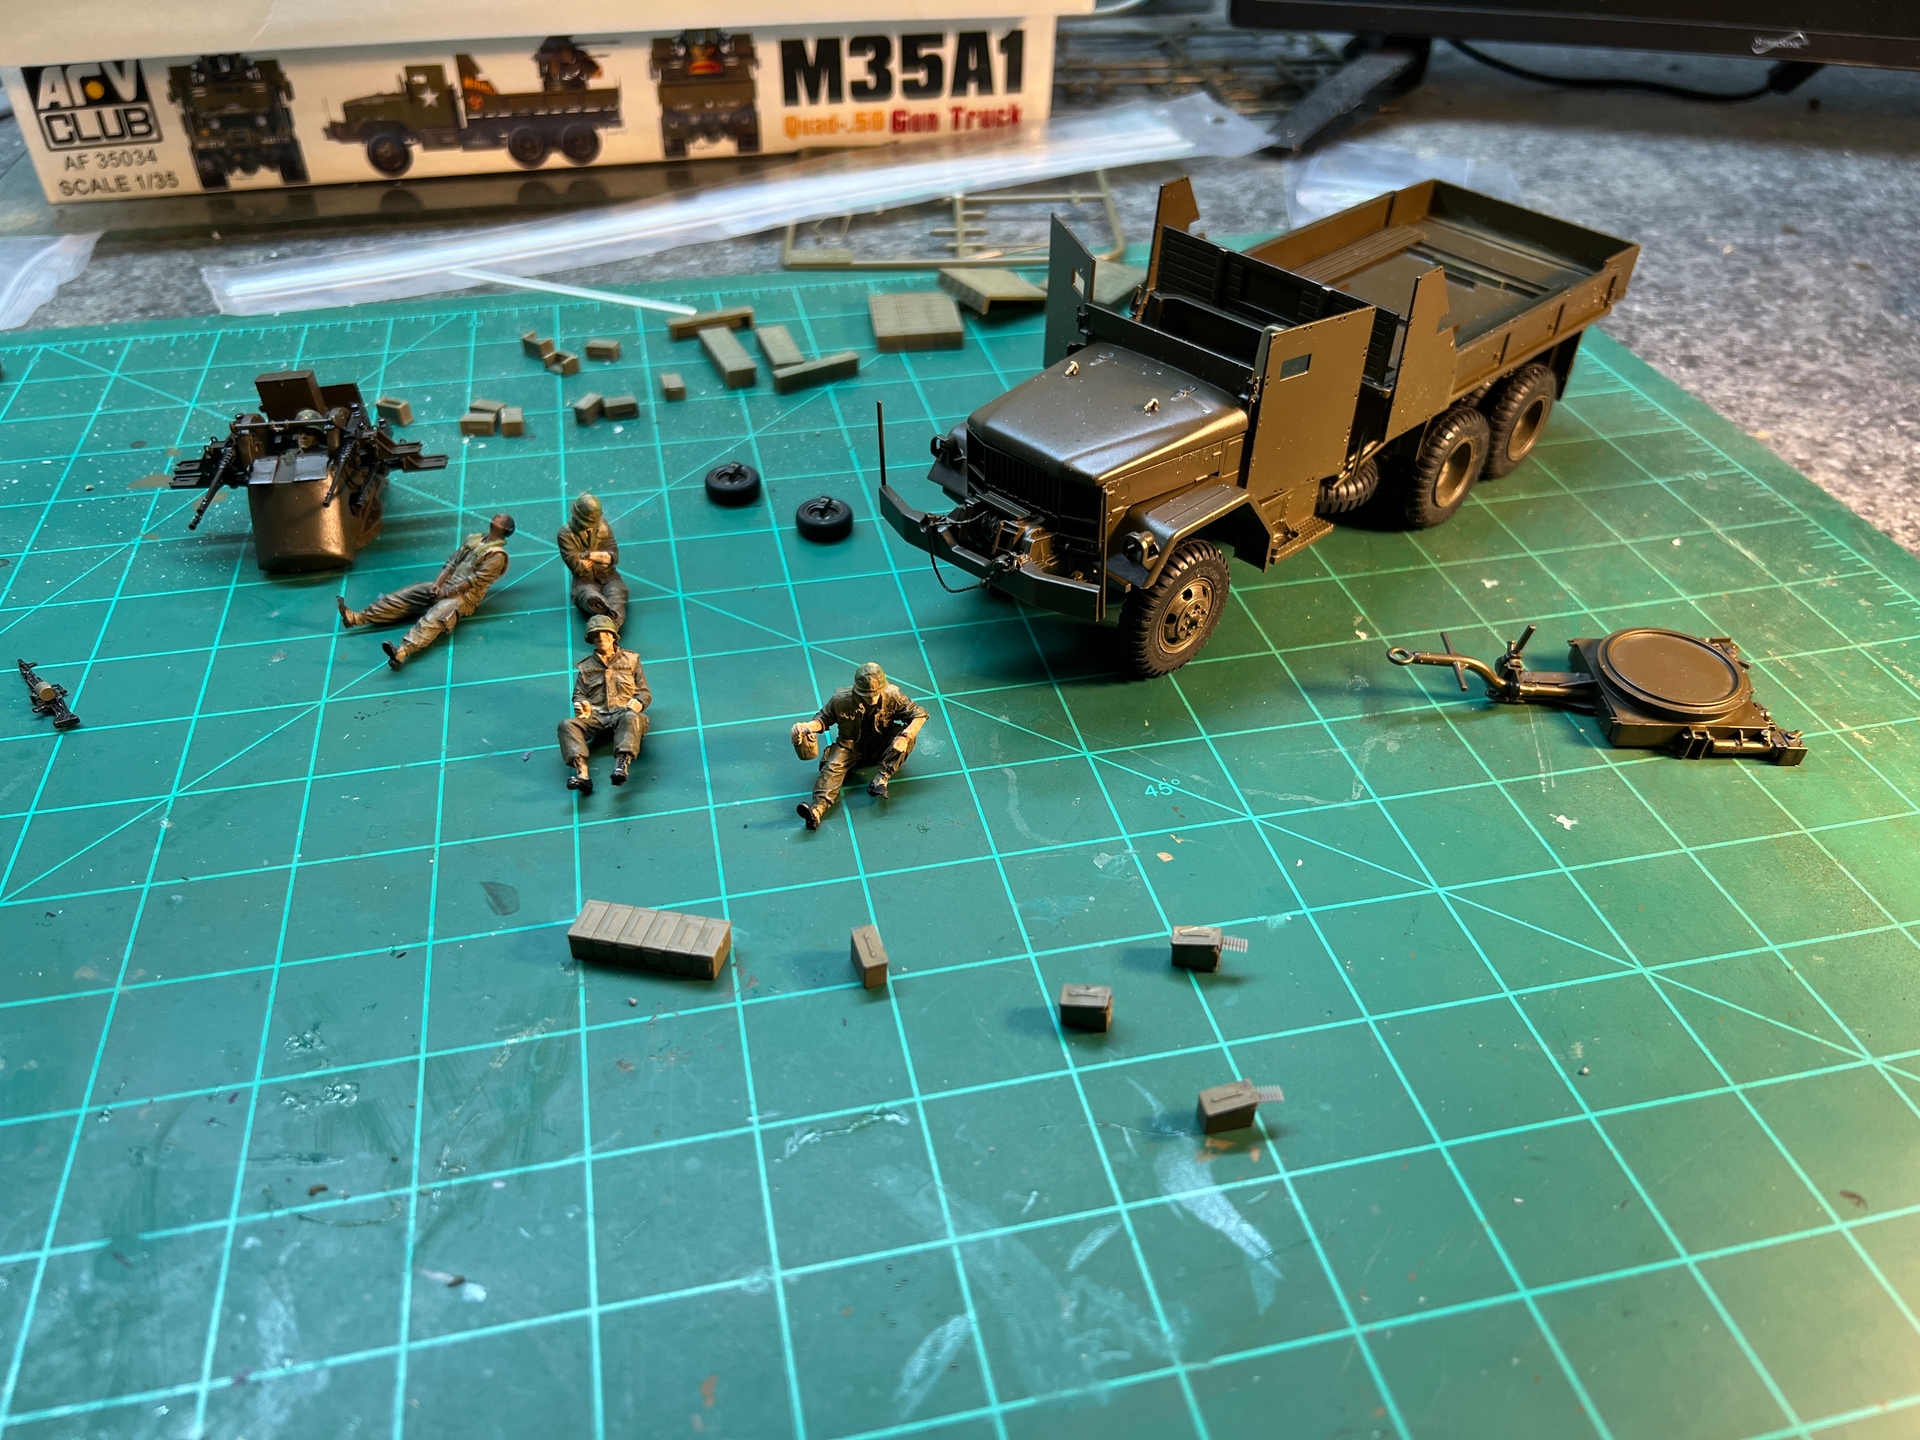
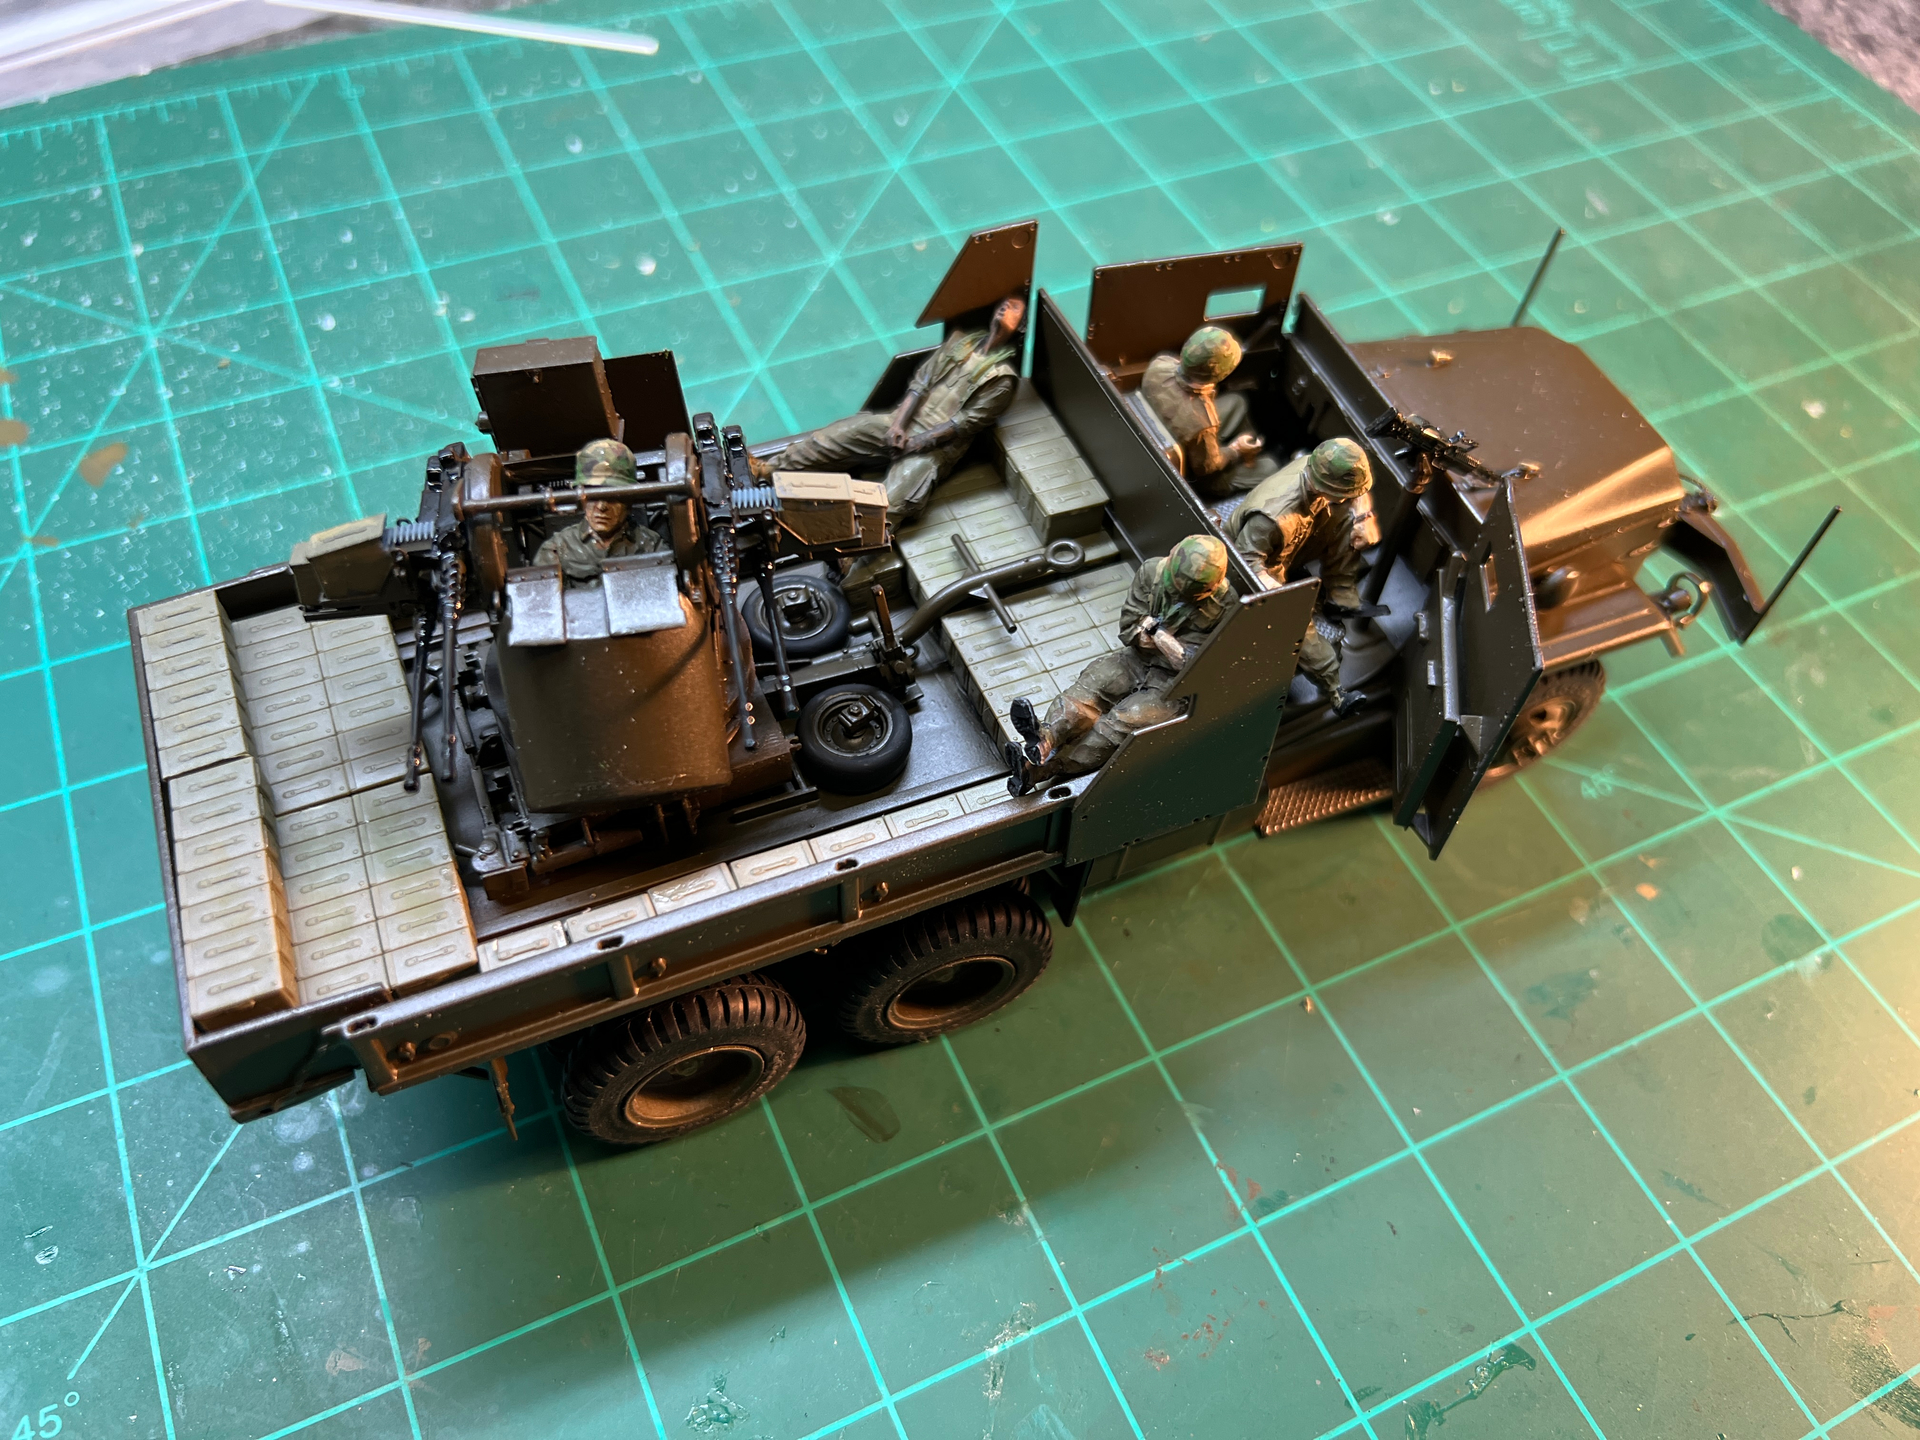
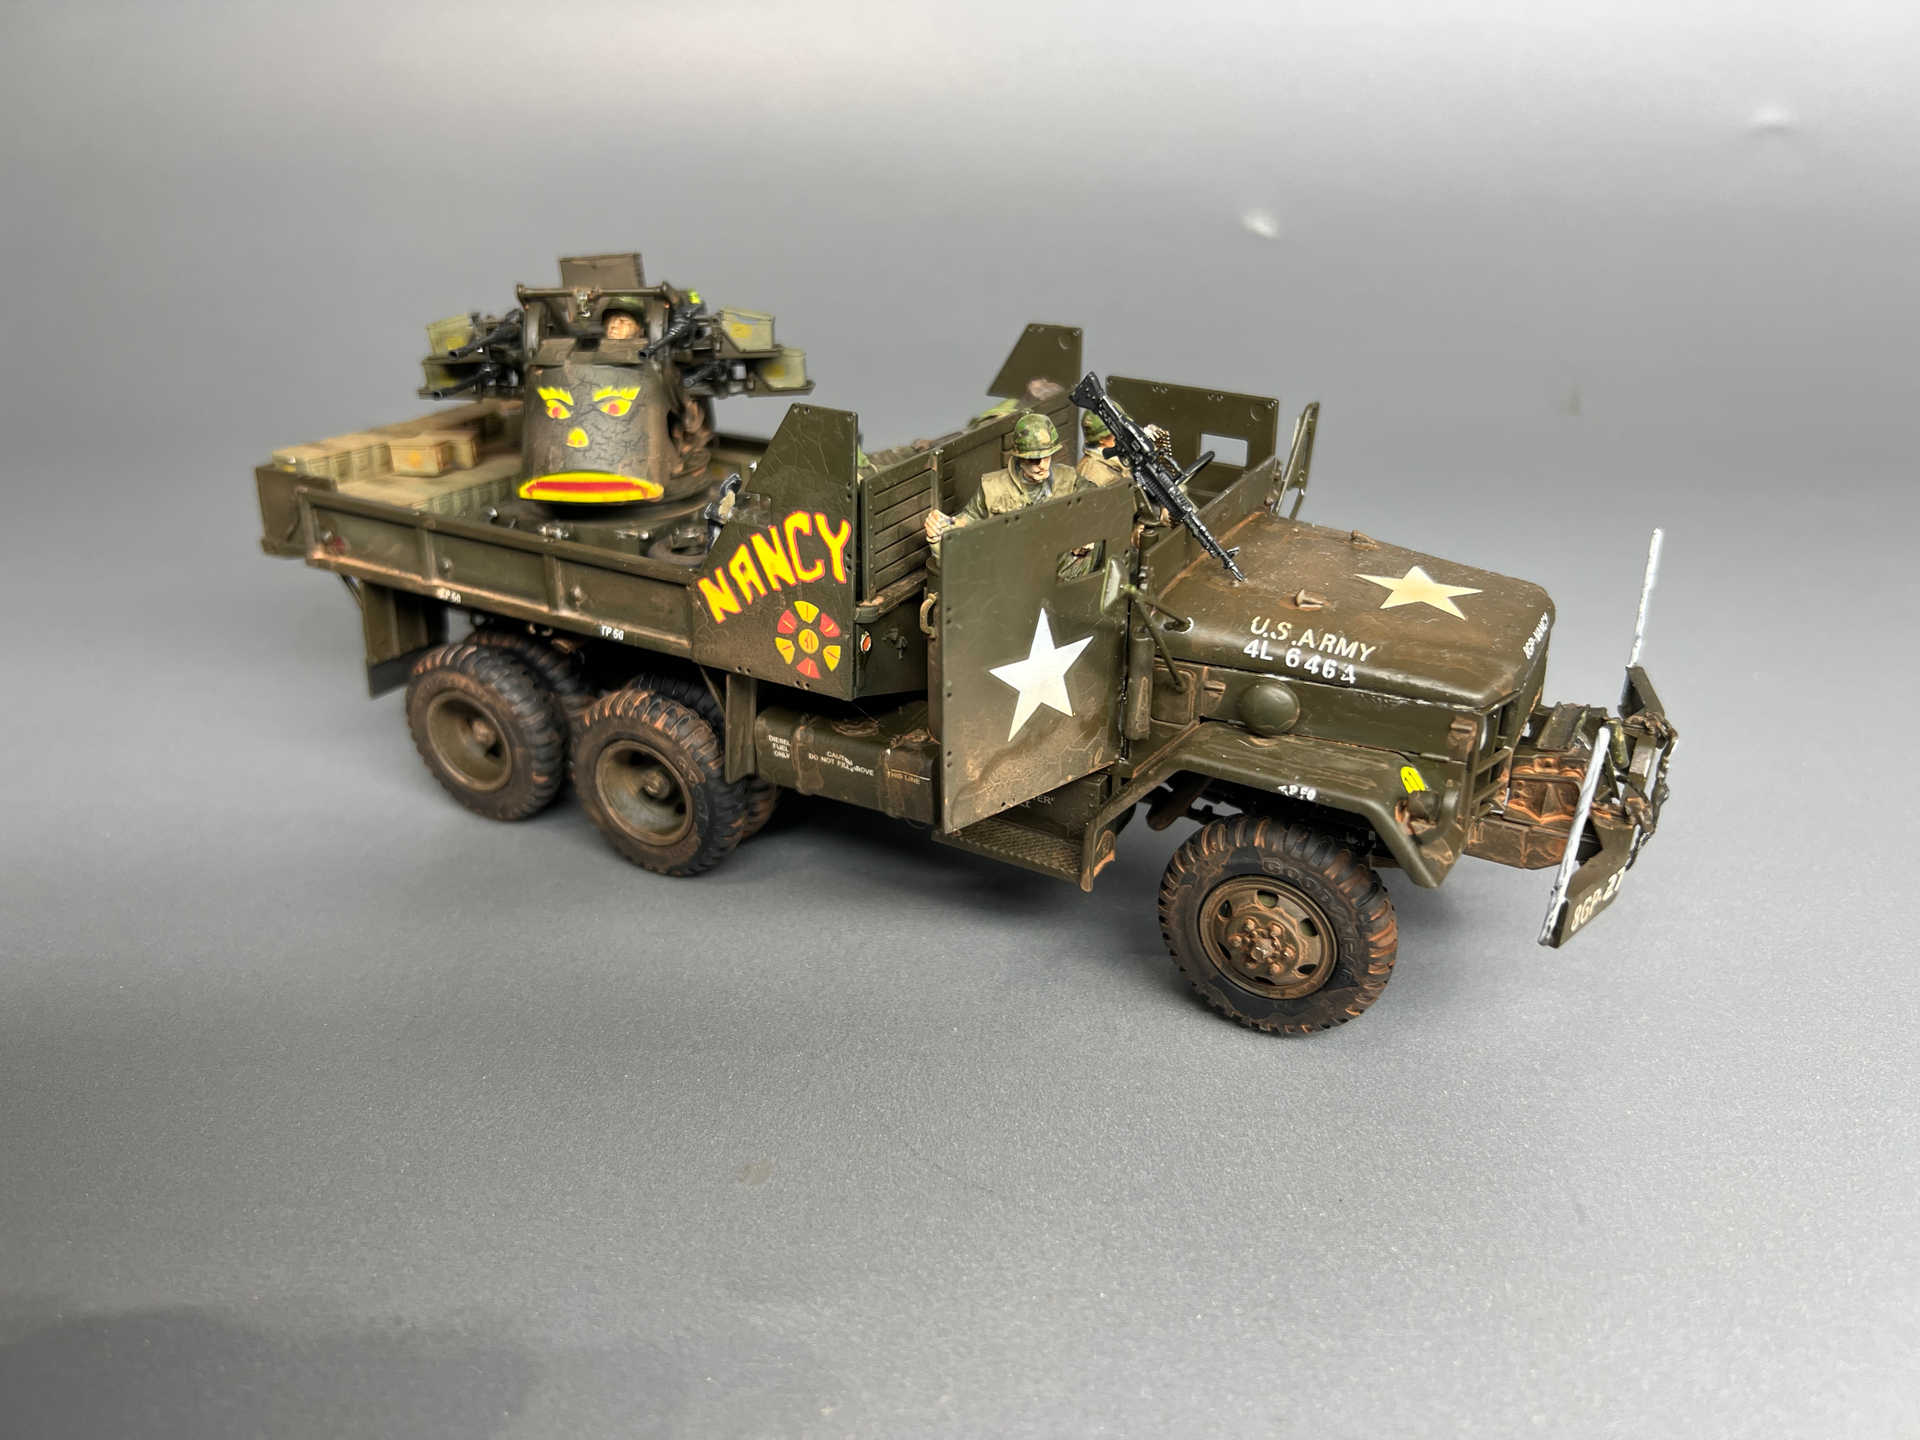
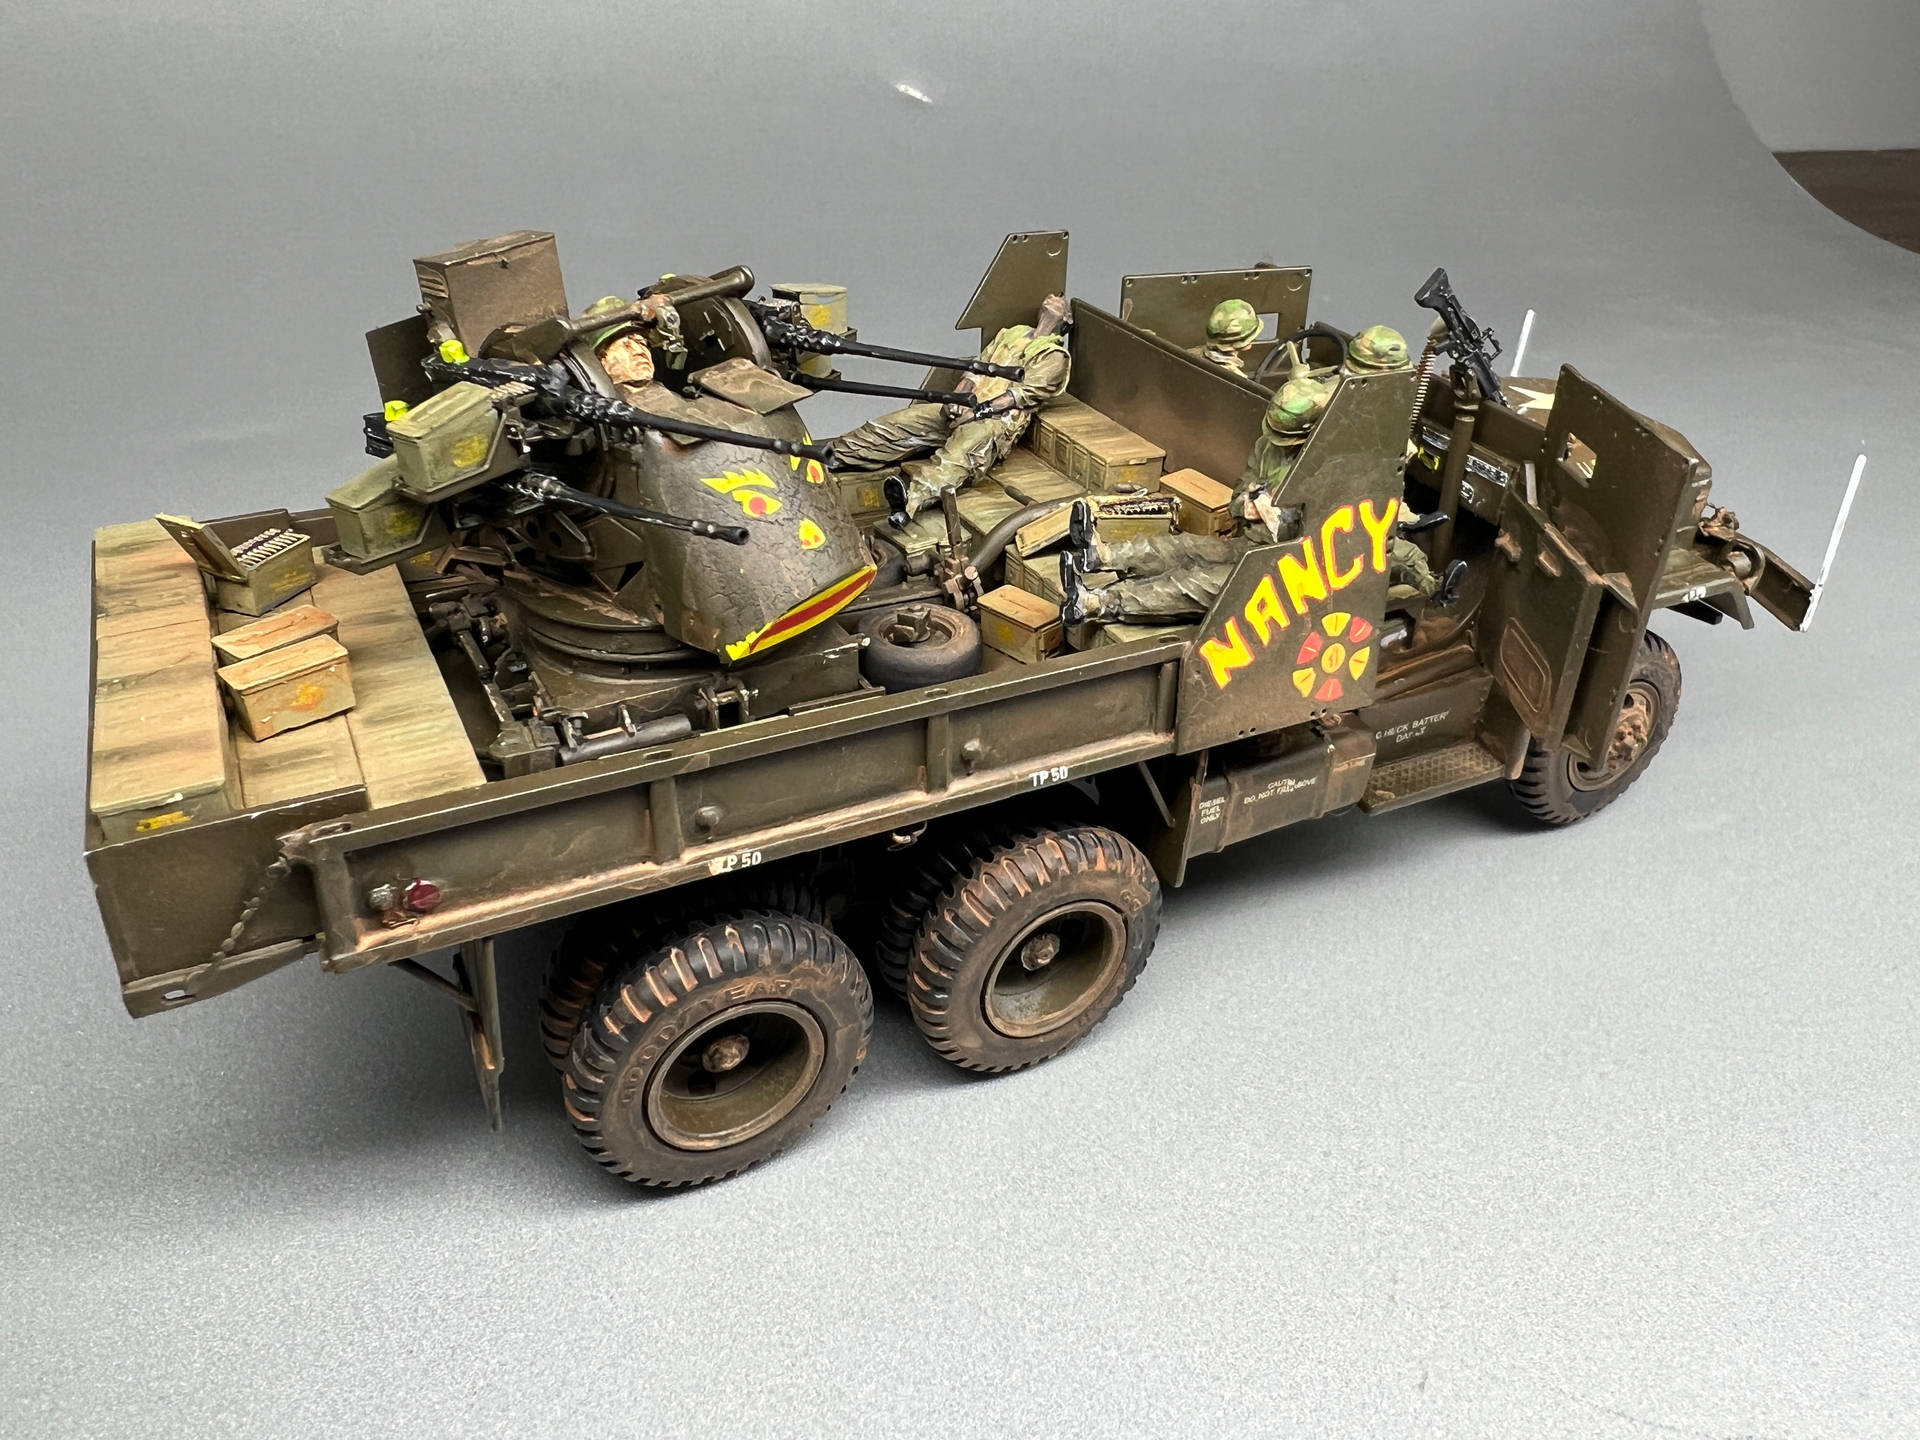
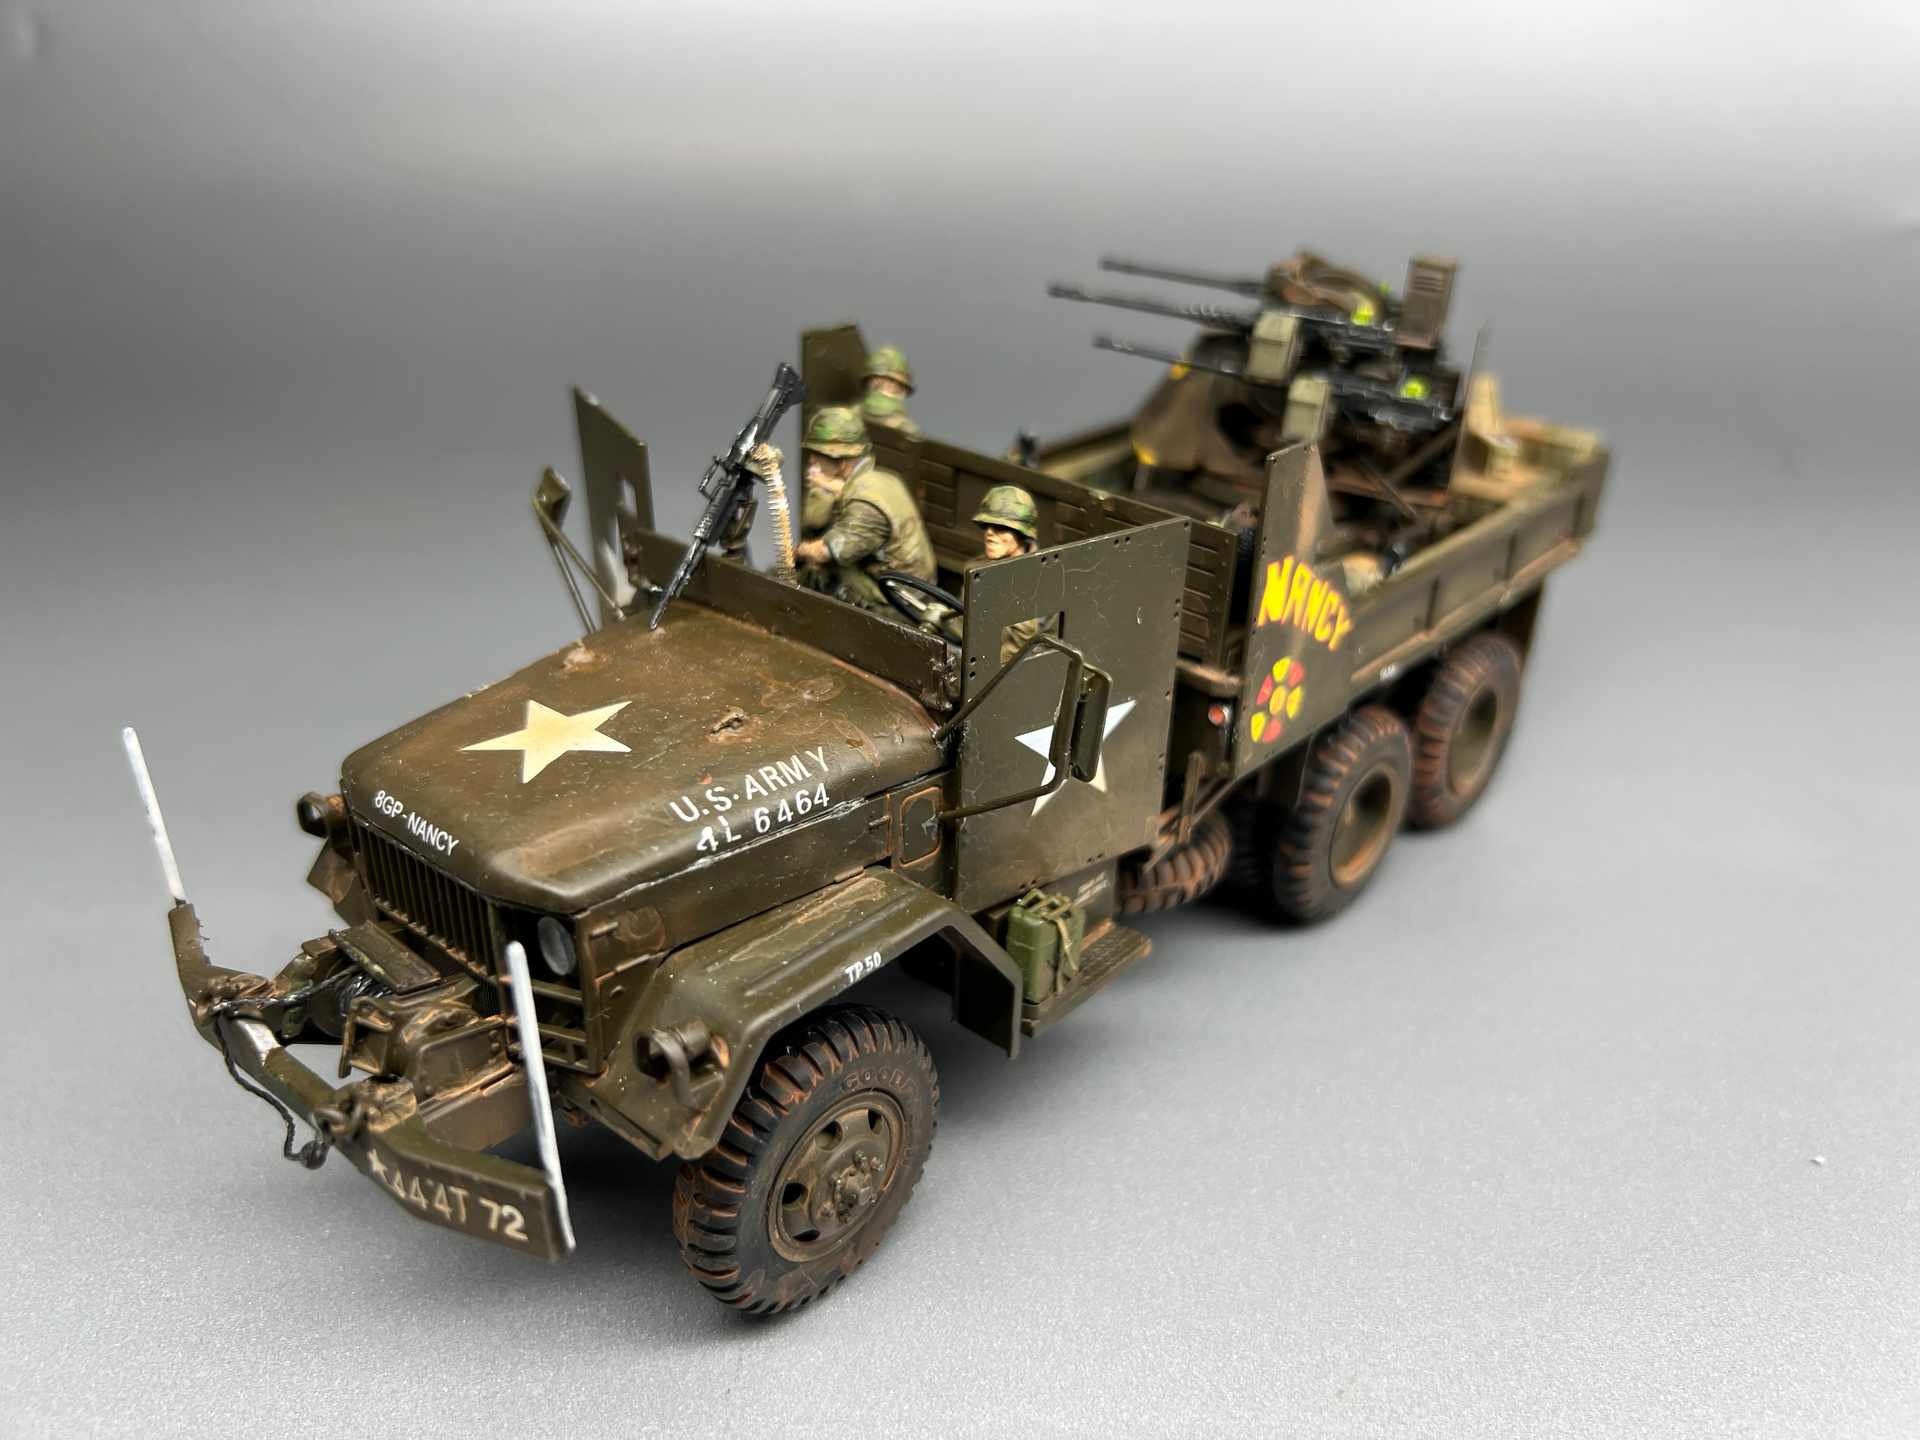
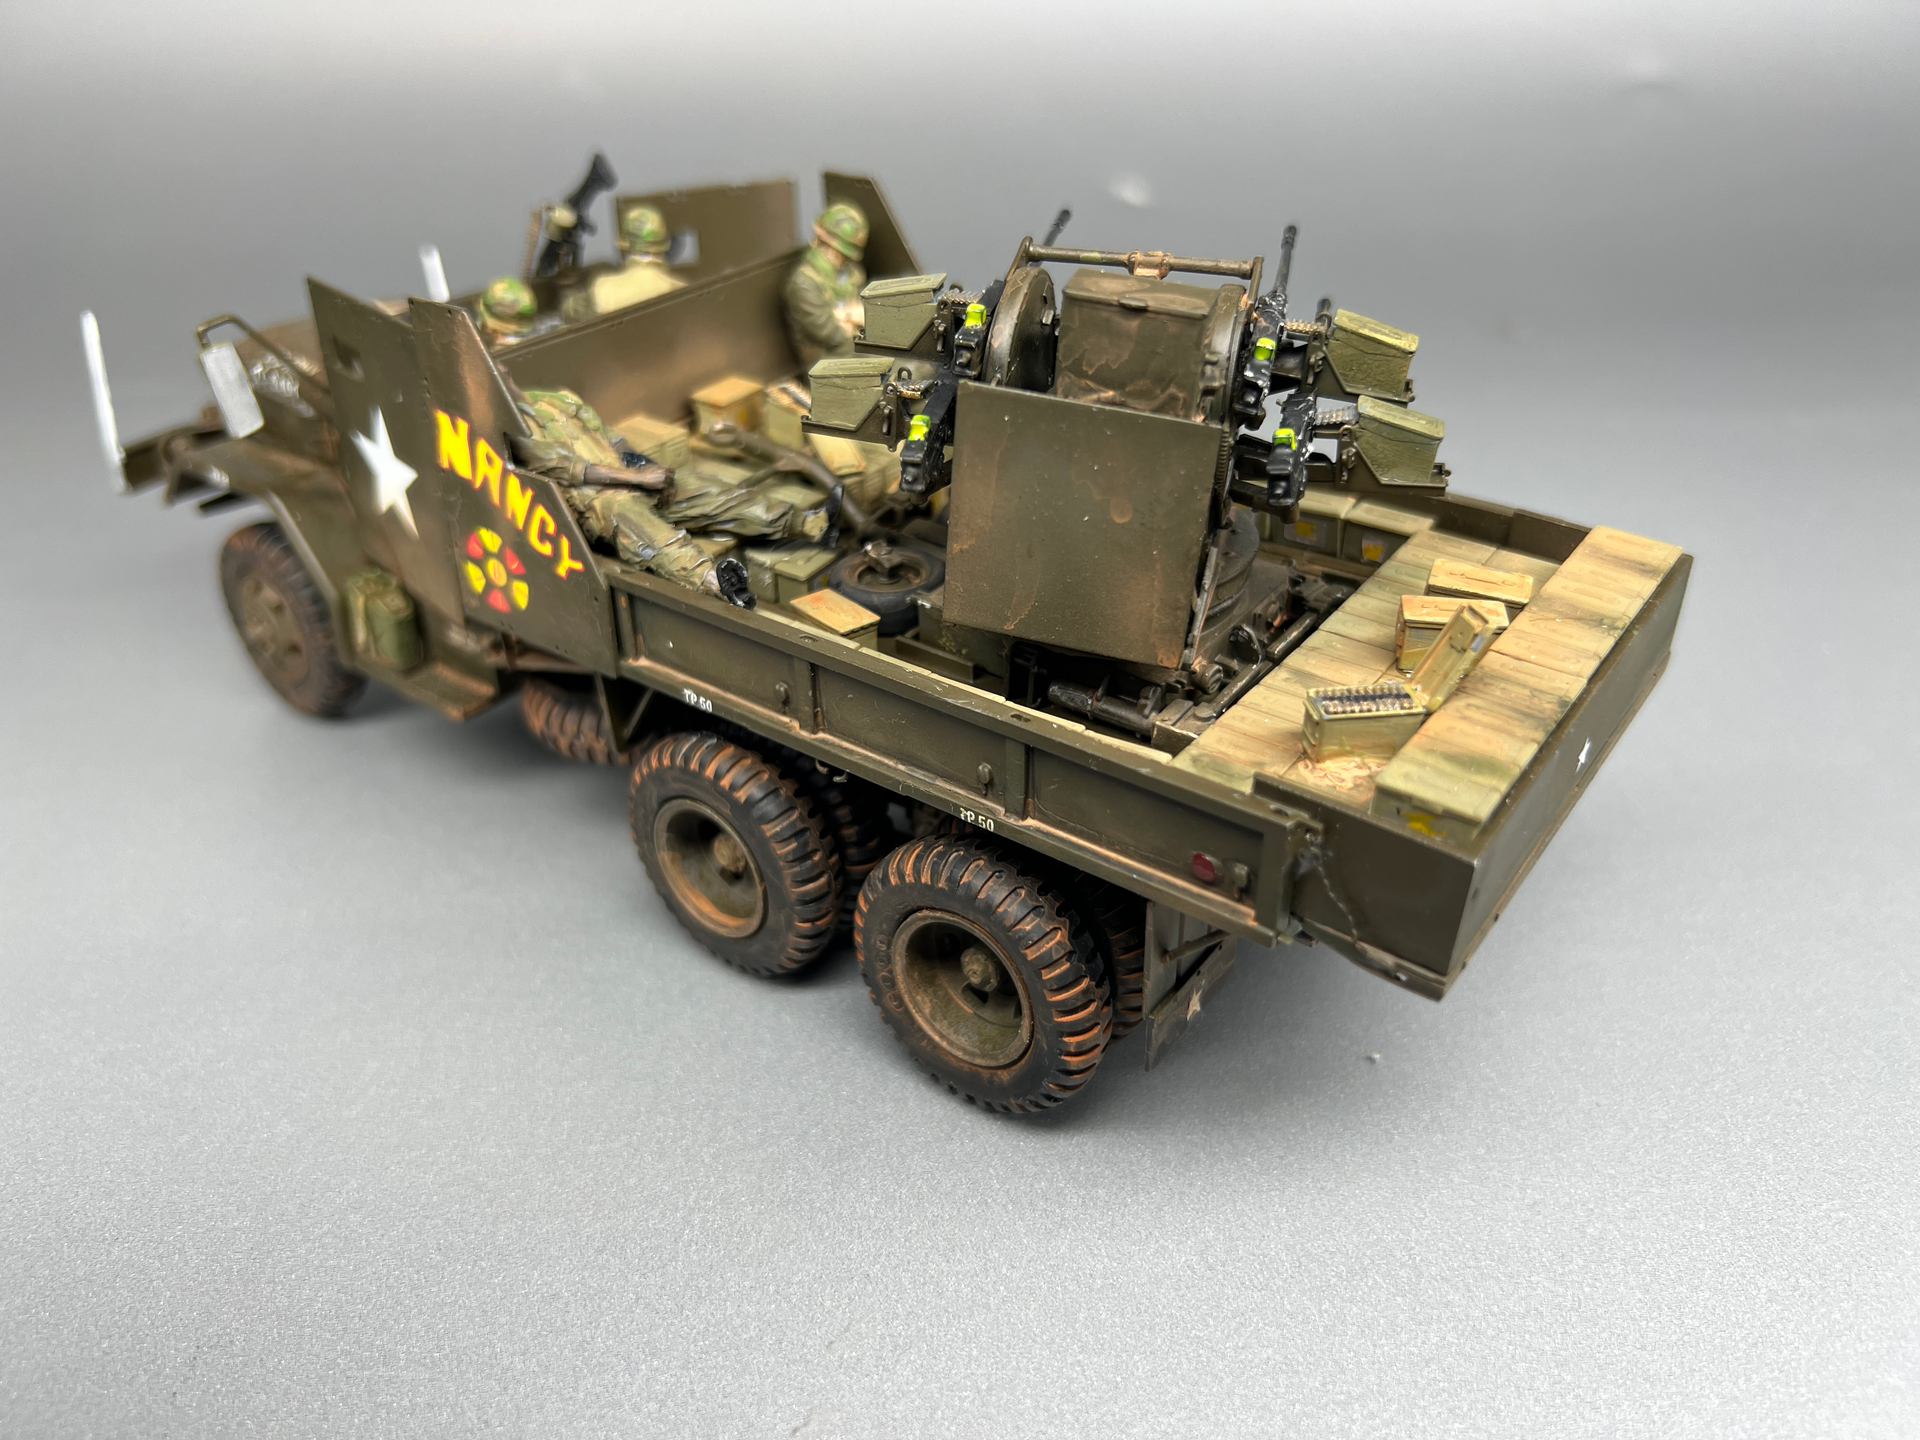
I started a build on the old AFV Club M35a1 Gun Truck Nancy recently. After going through some of the great older post here on it, I was able to use that information to build hopefully a fairly accurate model. This meant adding the Dynamo M55 kit for the trailer and 3d printed upgraded pieces for the Vietnam versions and the Eduard PE set along with scratch building several items like the rear box extension. Here are a few pictures
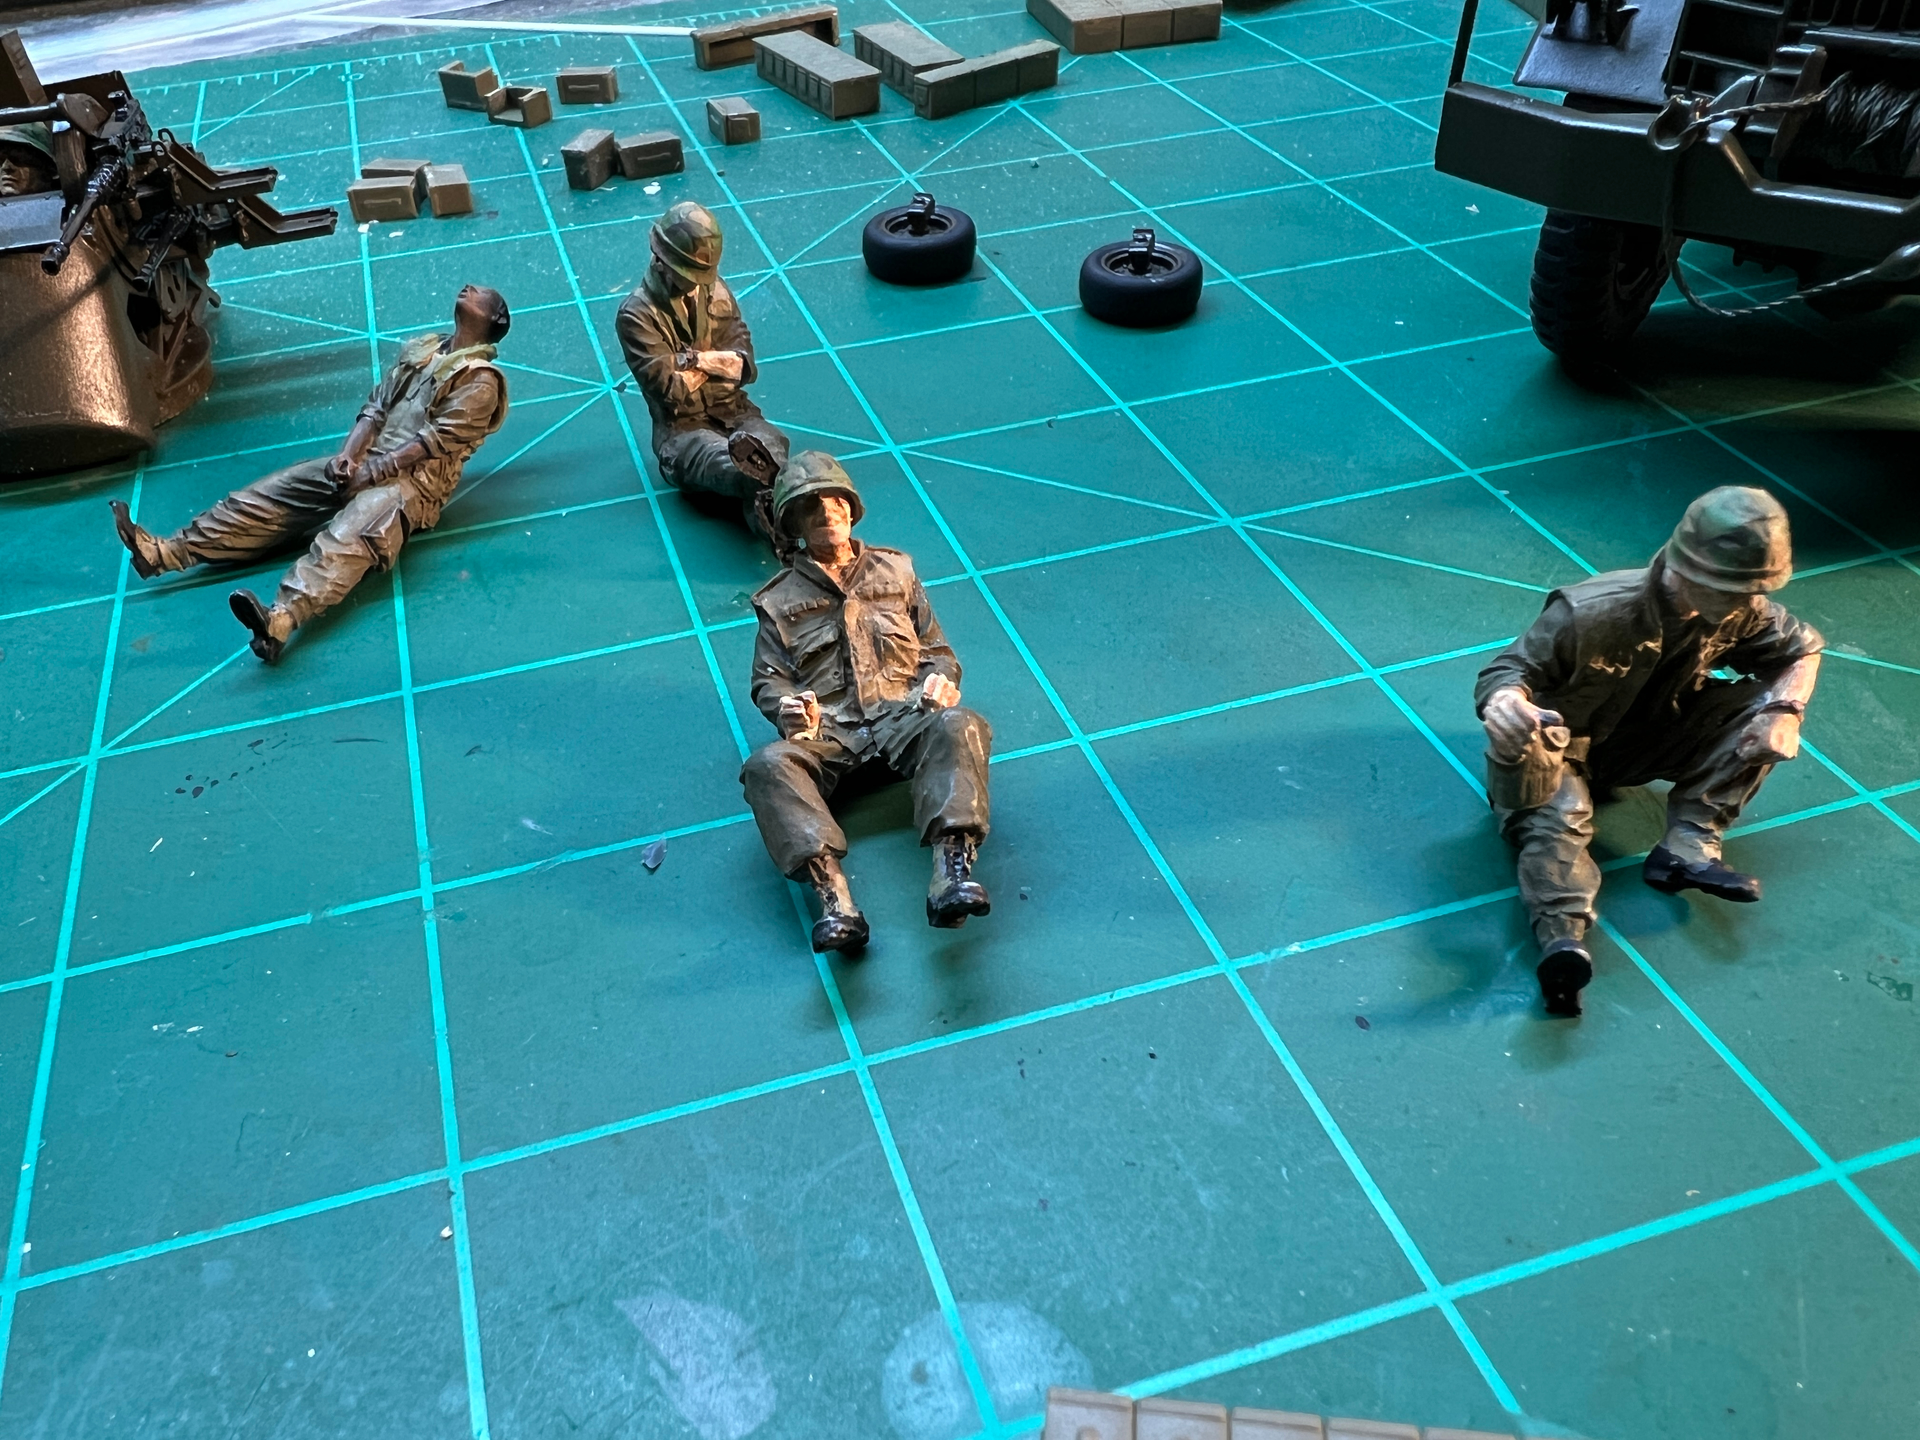
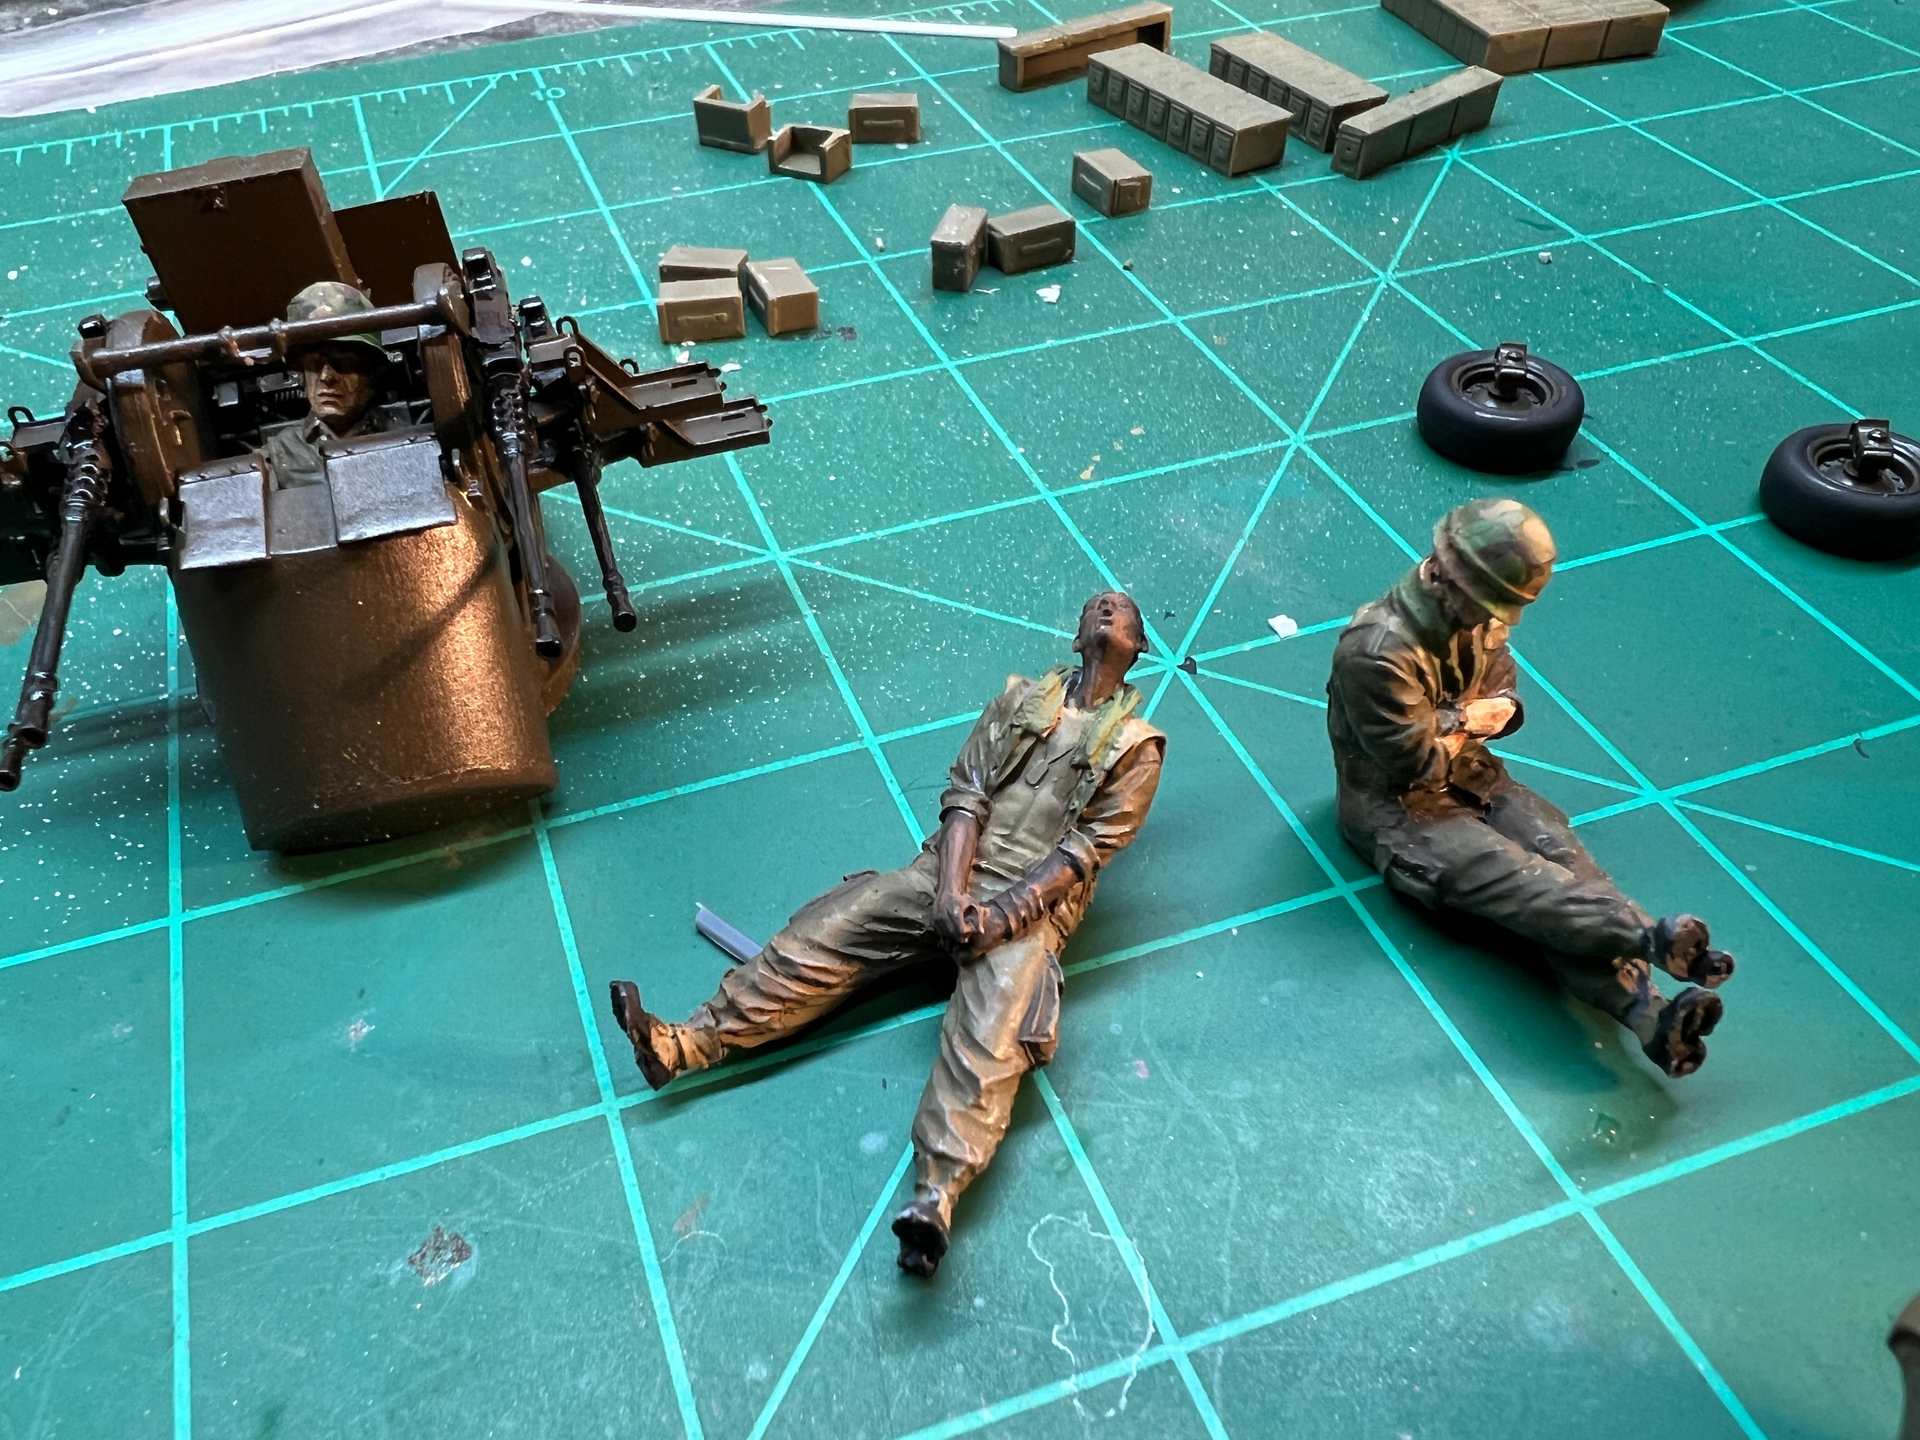
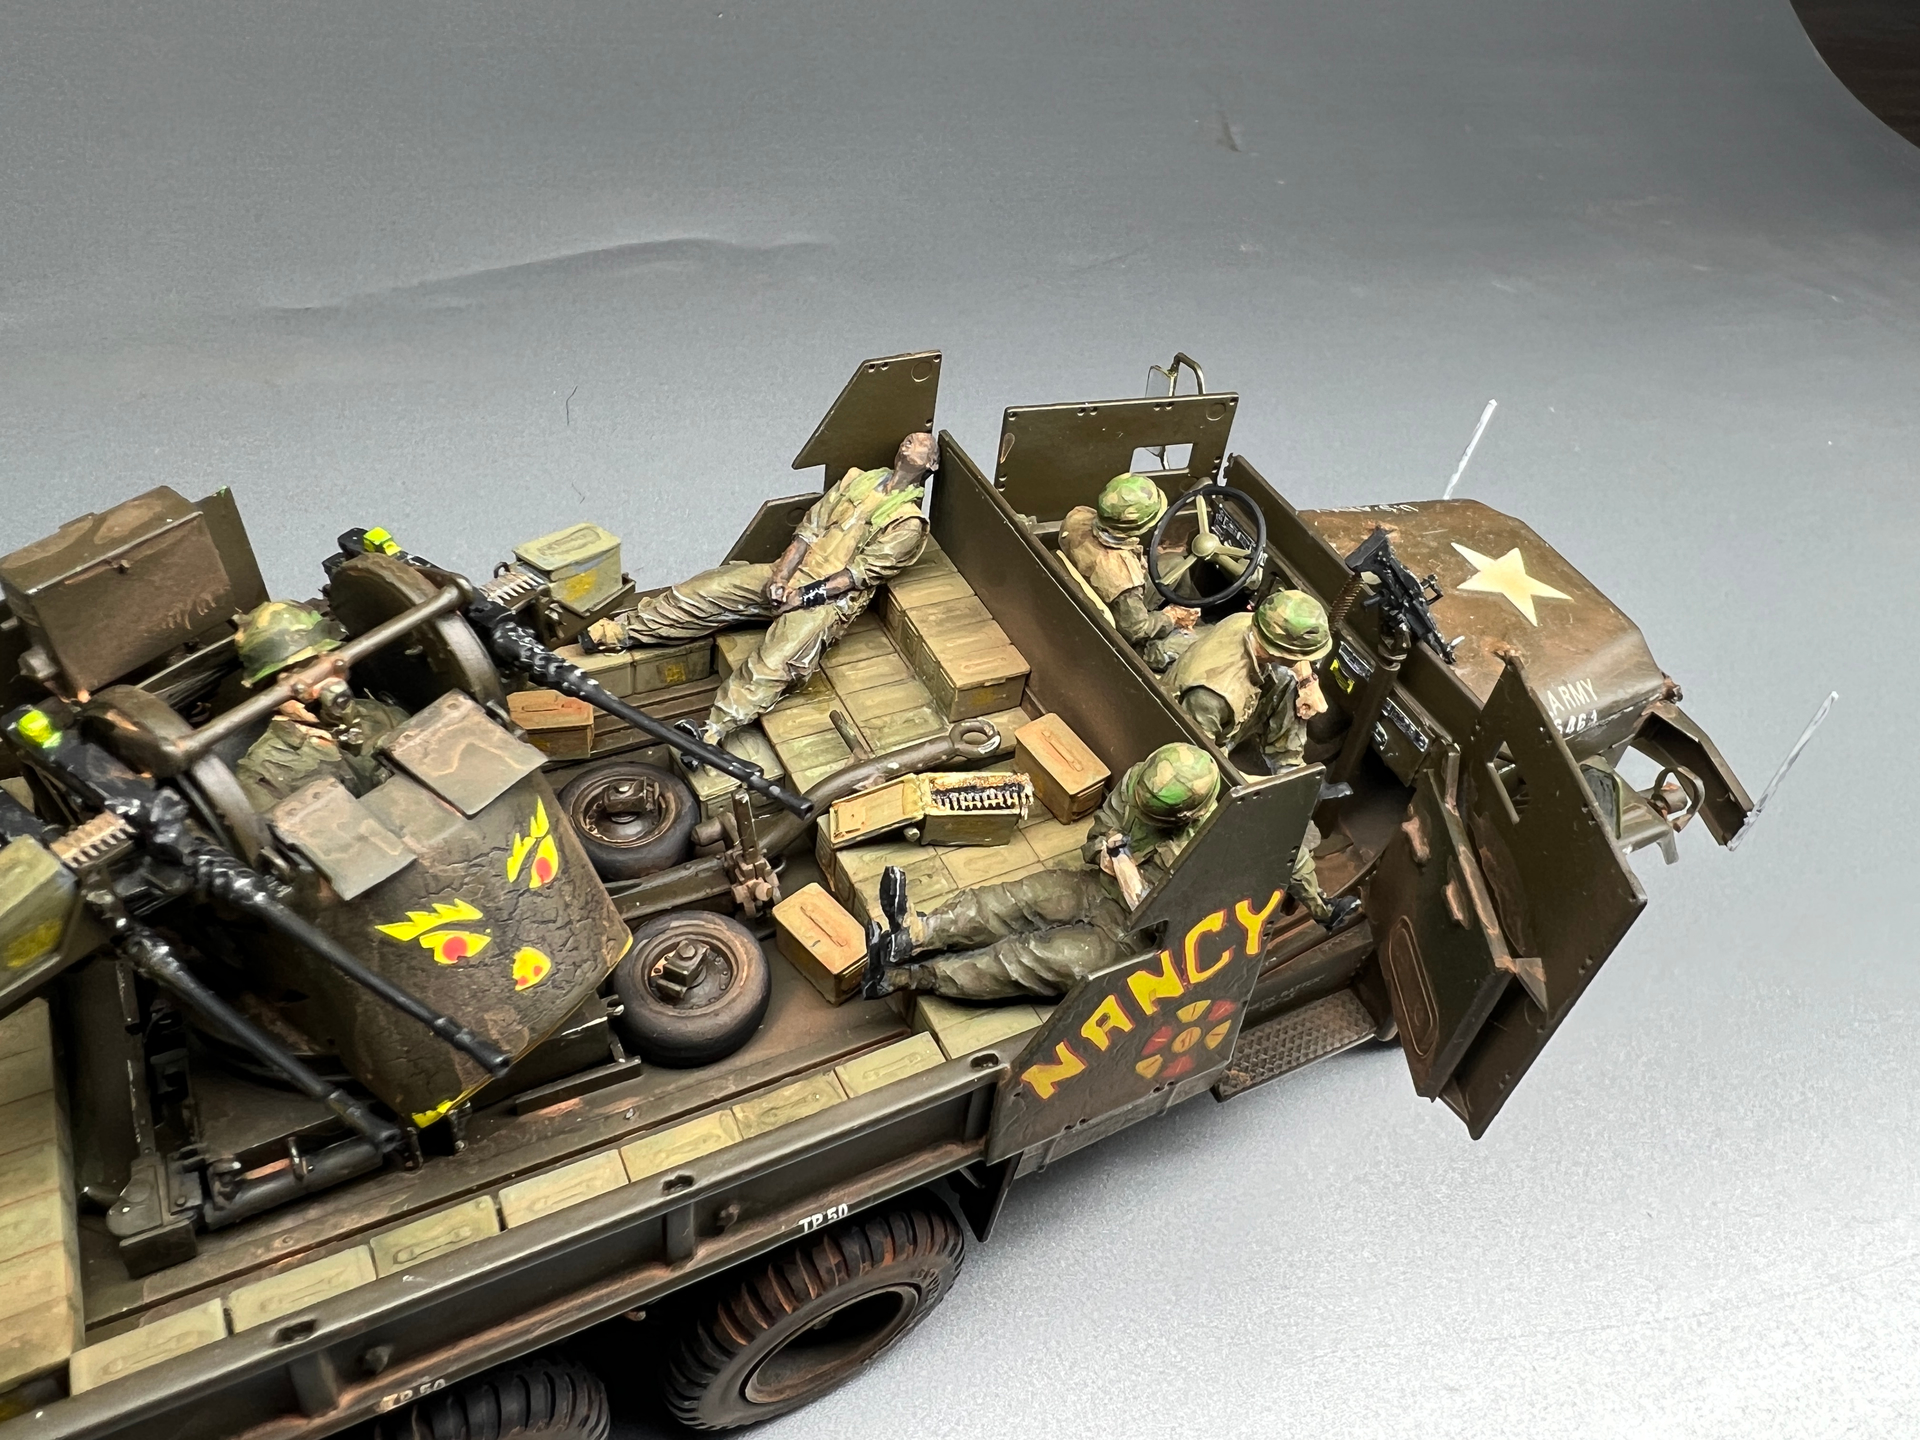
The crew is a mix of left-over resin figures I had around. I swapped some heads and hands to get the look I wanted. Plus I removed all of their web gear as pictures seem to show that gun truck crews didn’t really wear much gear other than flak jackets and helmets. And I wanted a relaxed pose like they are waiting for a convoy to start or they bored off duty.
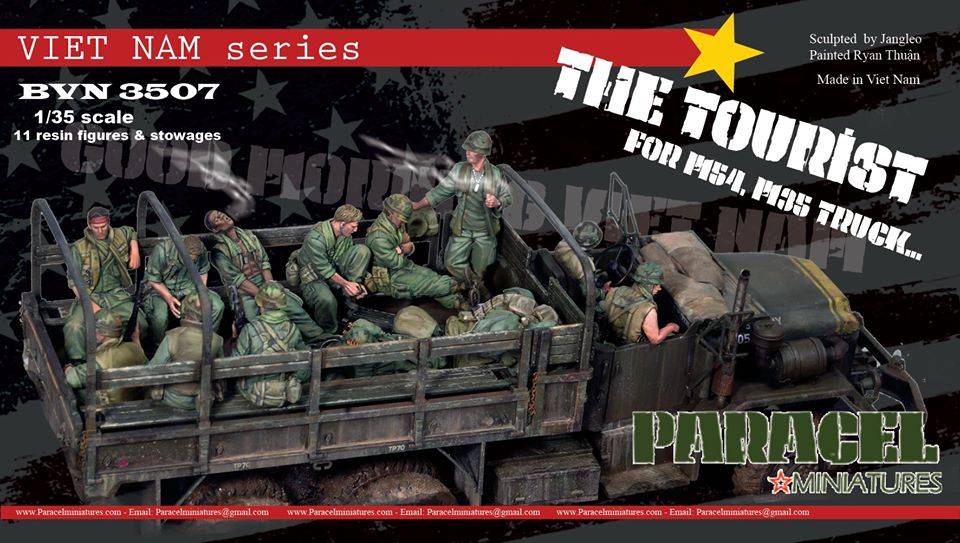
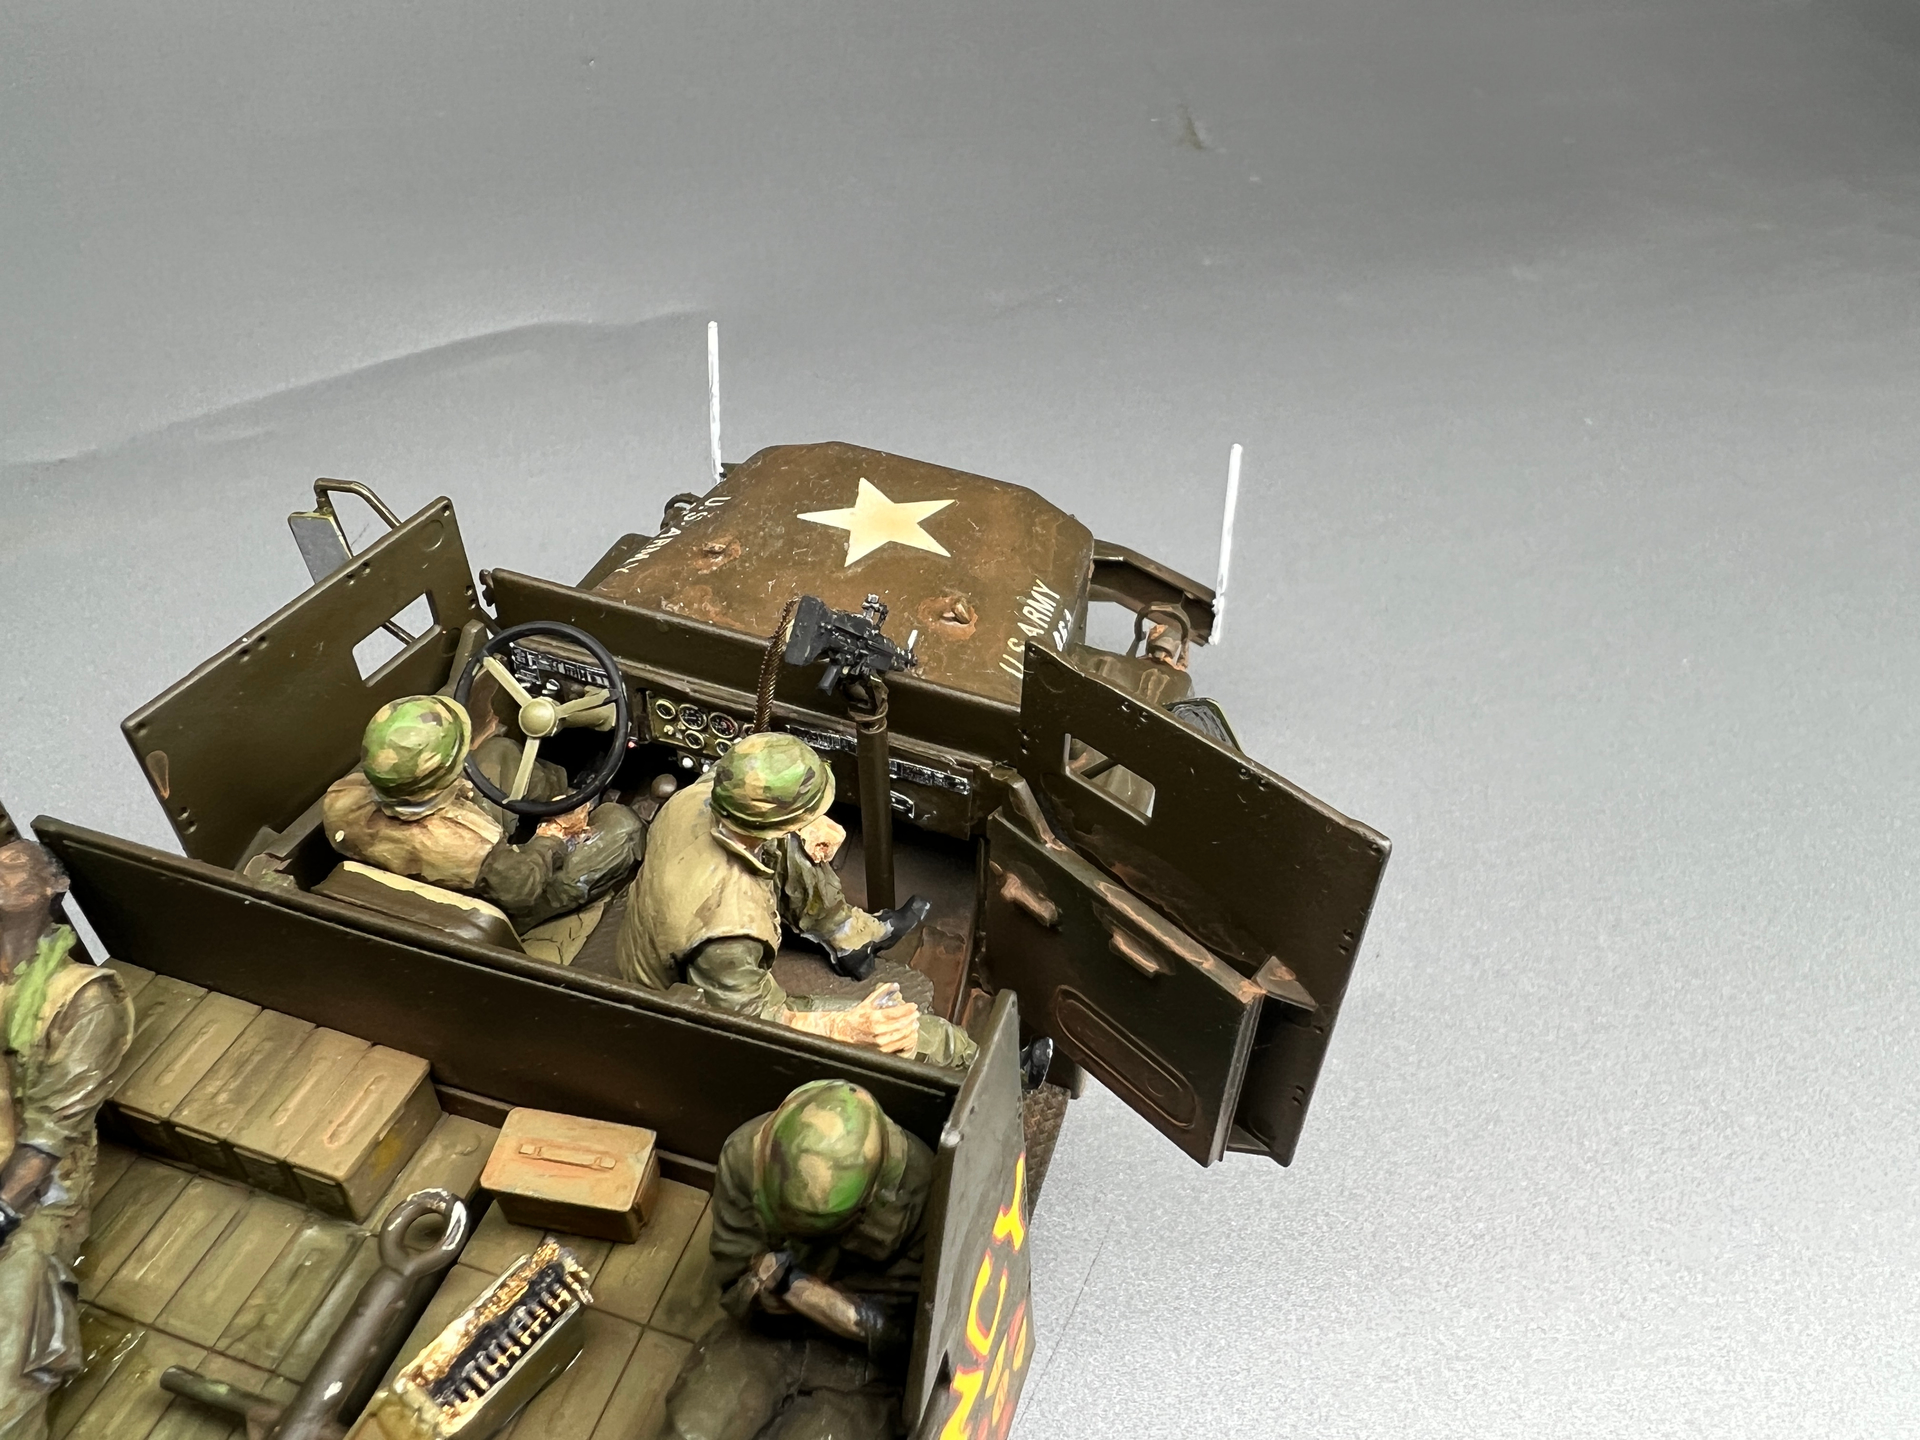
They are from Paracel “The Tourist” set. I have used a couple of those sets to fill out several of my previous builds and these were some leftovers. I changed around a few of the heads and changed the front passenger out from holding a rifle to holding a canteen. Plus I shaved off all the extra gear from them like ammo pouches and canteens so that they just had on their flak jackets like pictures of the real truck and crew.
Well, I have finished the build of Nancy and I’m quite happy with how it turned out. The Dynamo kit really help build it out correctly and along with scratch building a few items it wasn’t too bad. I’m most proud of how the drilled-out stake pockets turned out and really give the bed sides a proper look. I did have to fight the decals as they were very weak and broke apart almost immediately, so I had to overcoat them to try and save what ones I could. I’ve had this kit in my stash for years so I assume these are from the first run in 2001. Plus I had a problem with the future floor polish I put down in some areas where the decals were going to be laid in that it ended up cracking after the top dull coat. Part 2 in my video build of it is available here Green Iron TV
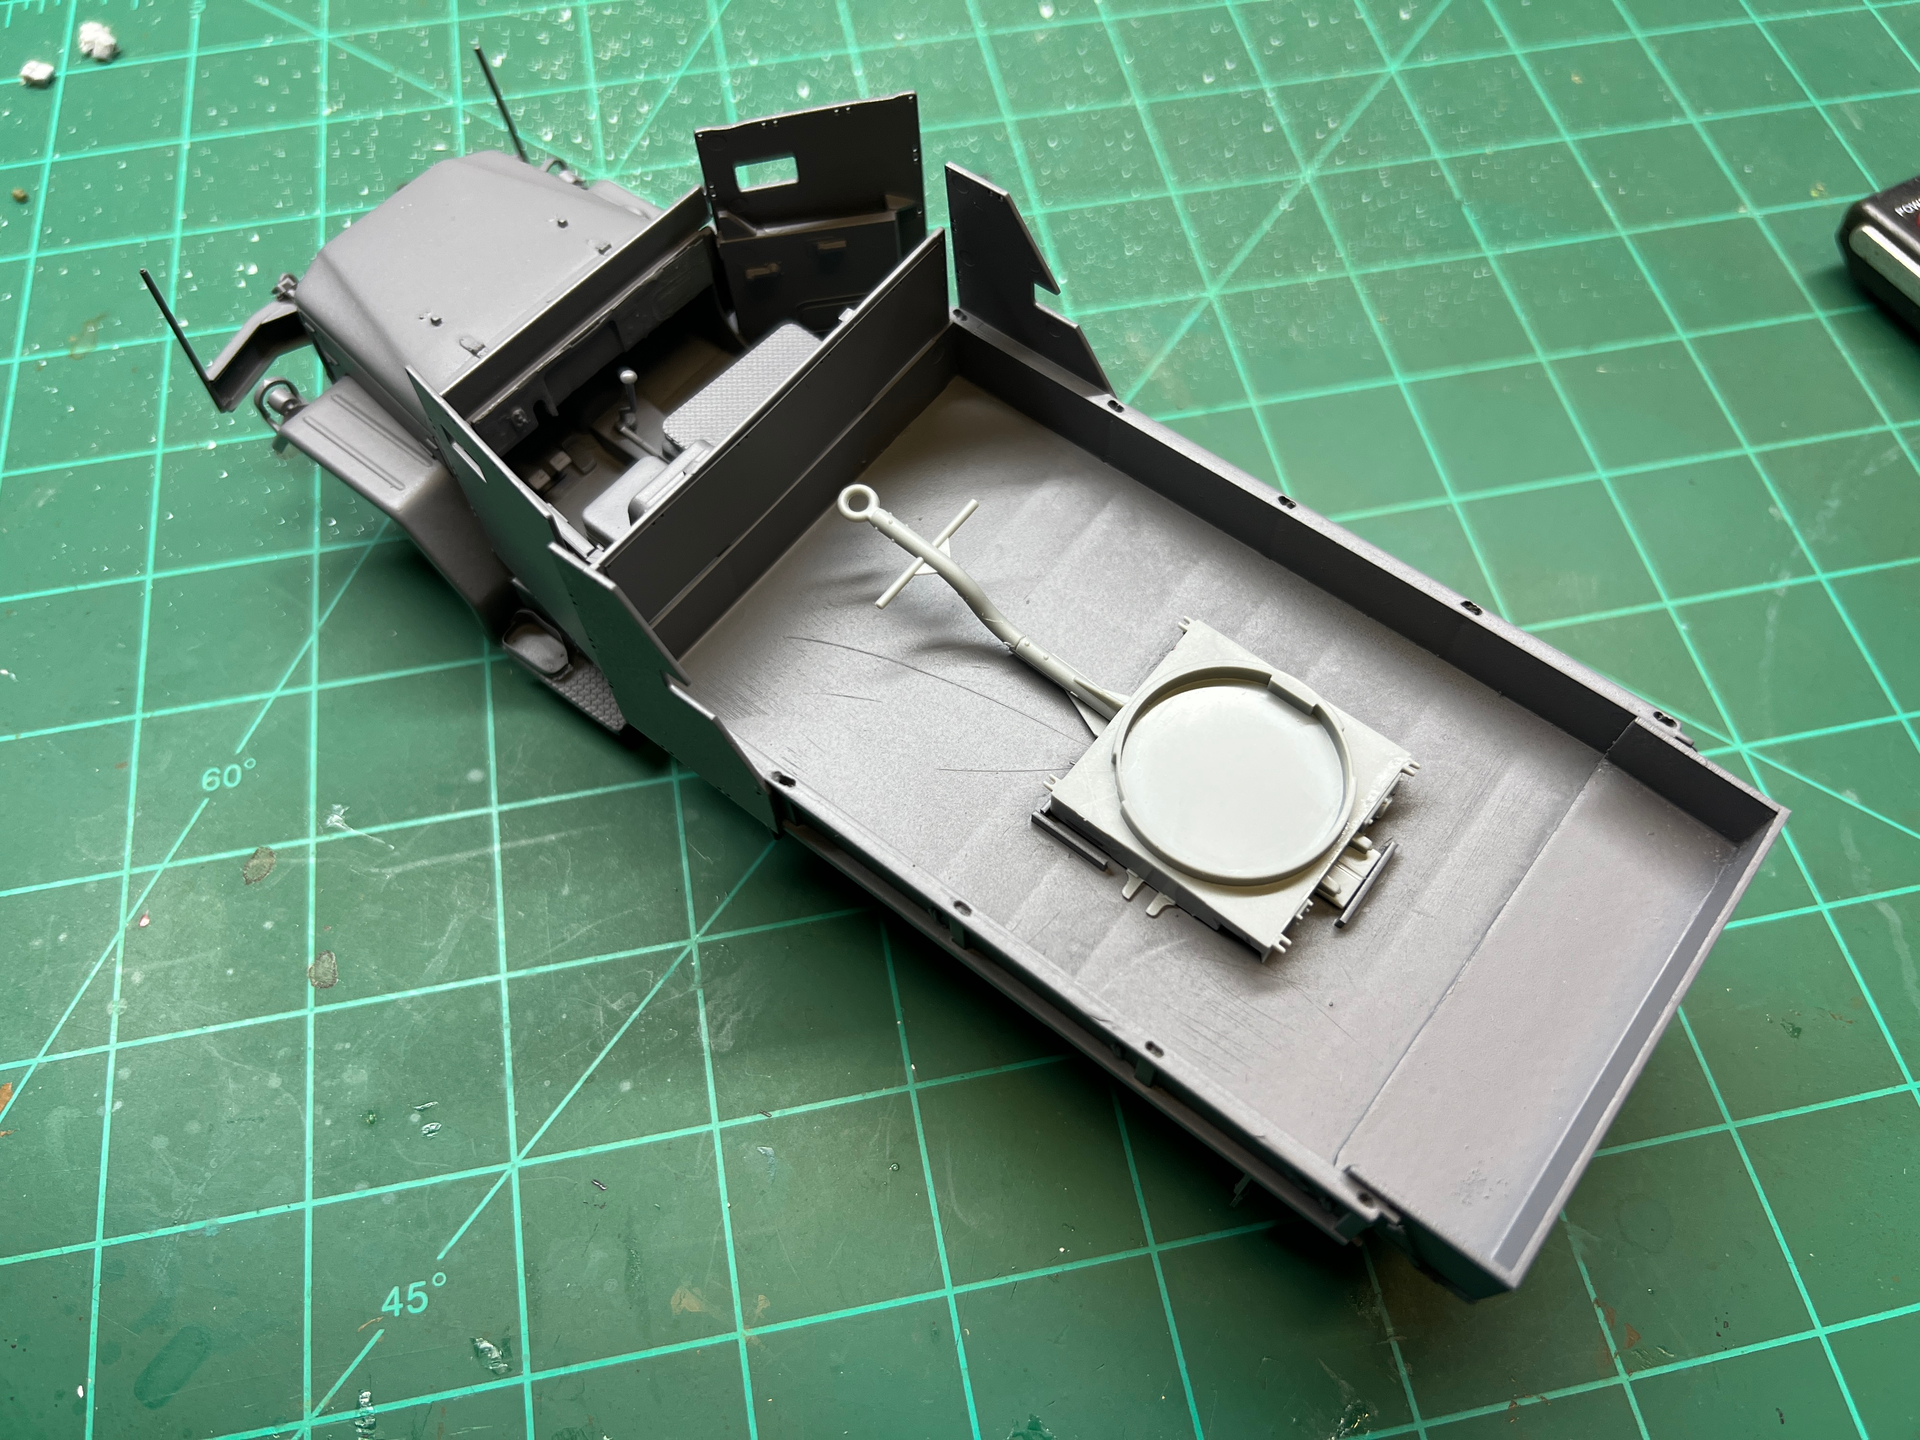
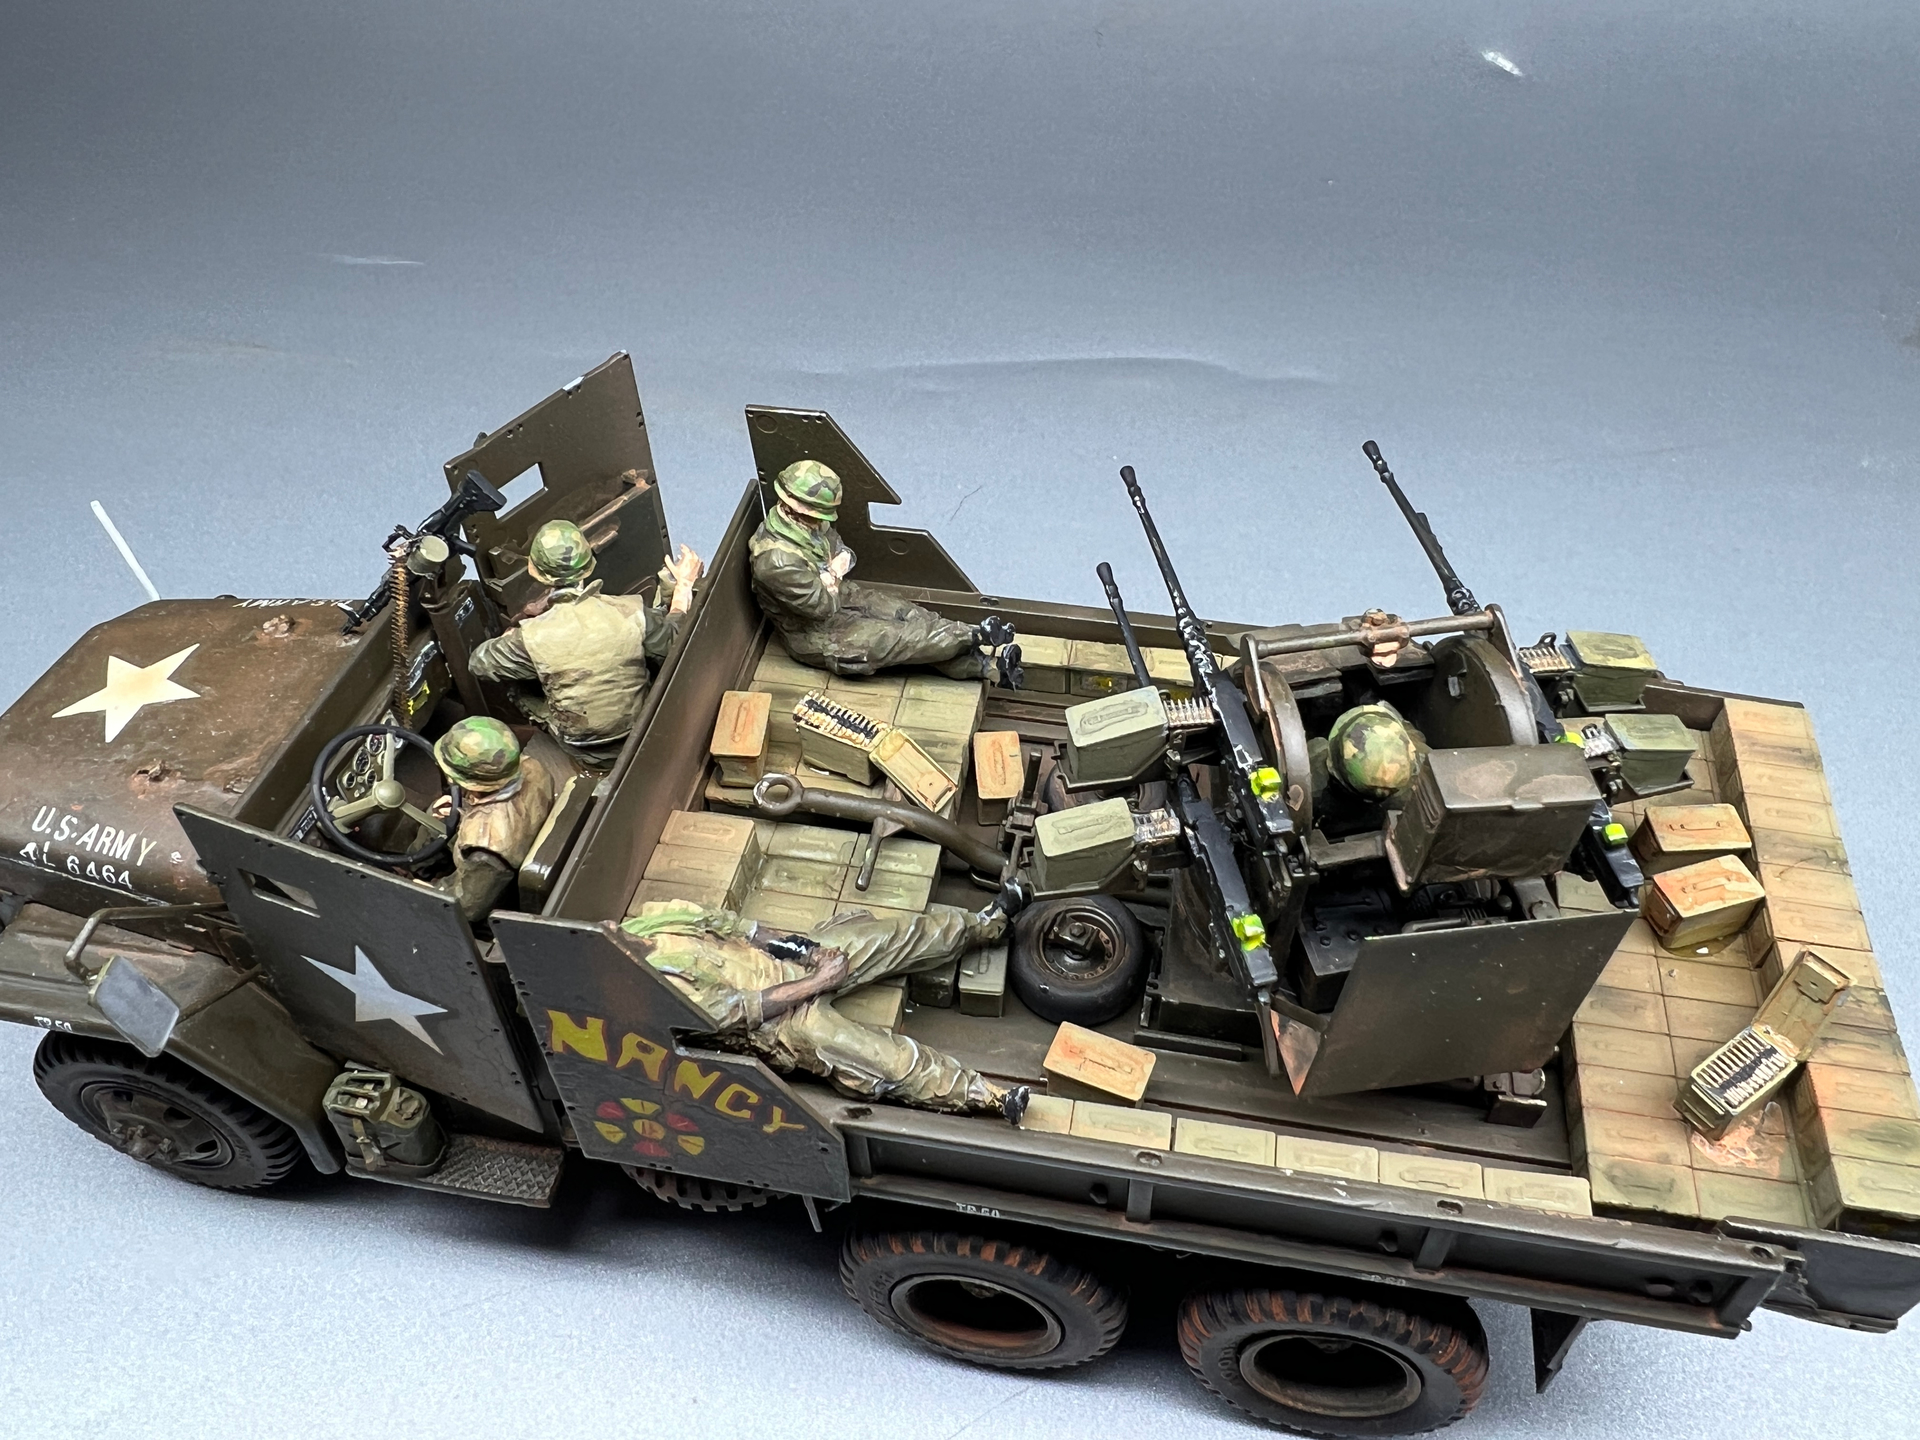
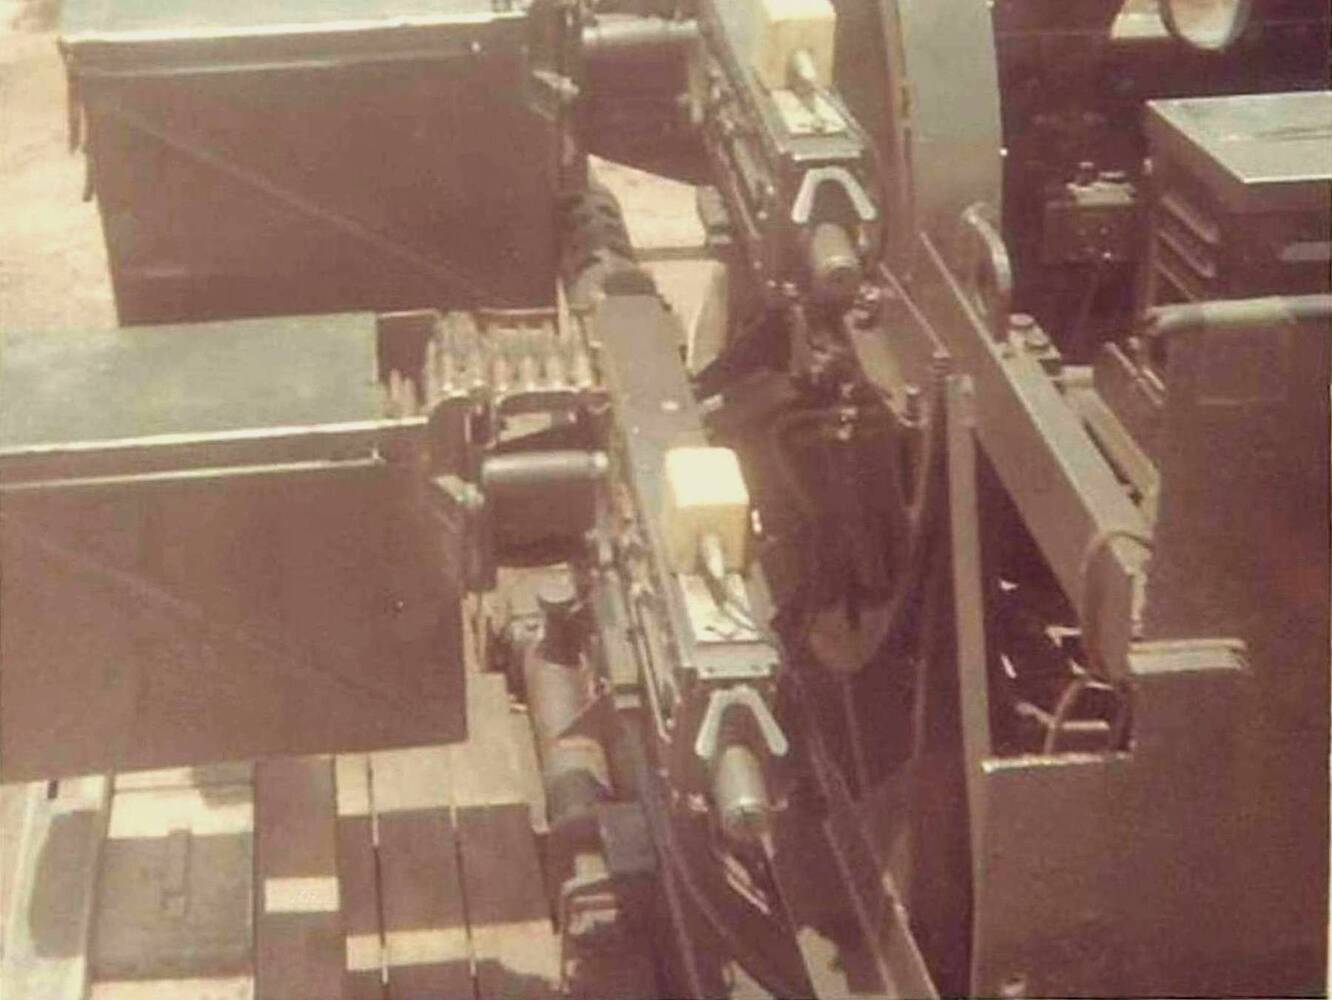
Thanks James, I used your advice from several of the older posts here to try and get the truck as correct as I could. Using several of the pictures you posted as reference material. I know you had talked about how Nancy had a wooden decking built around the trailer in the bed and that made me wonder if they had just repurposed the benches off the troop seats, so I used them from the kit, and they laid in almost perfectly alongside the trailer in the bed and look just like the picture you had posted of it.
The troop seats in the bed is an excellent idea. I hadn’t thought of that. I’ll have to do the same when I build “Nancy”…eventually. Great overhead shot too.
Yep, we all know how resourceful GI’s can be. Why build if you can just use a piece you already had lying around. I guess it works the same in modeling. Ha Ha.