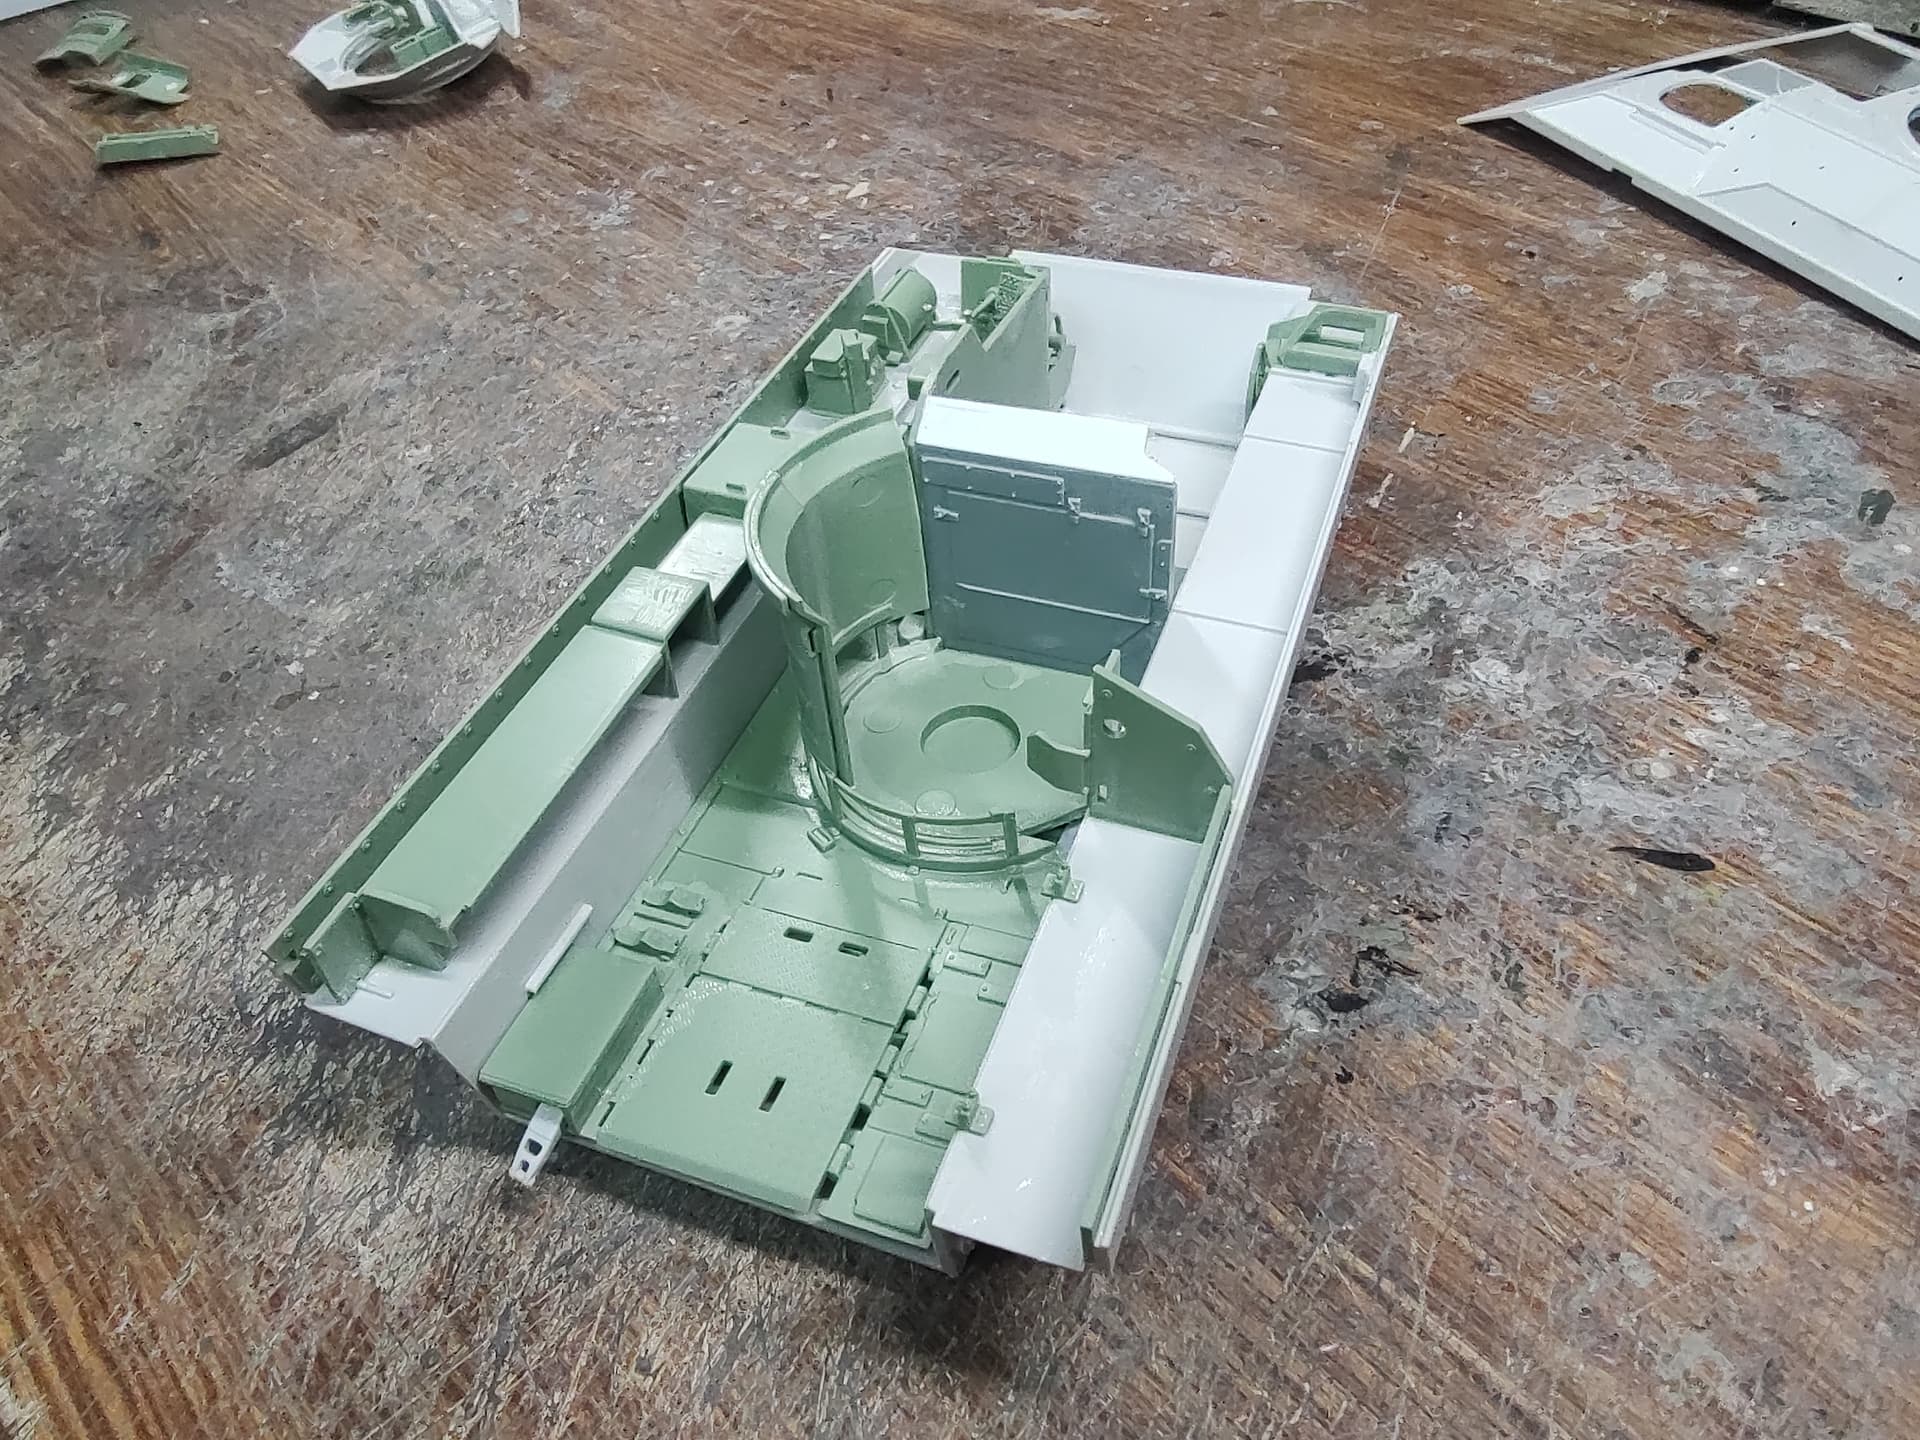
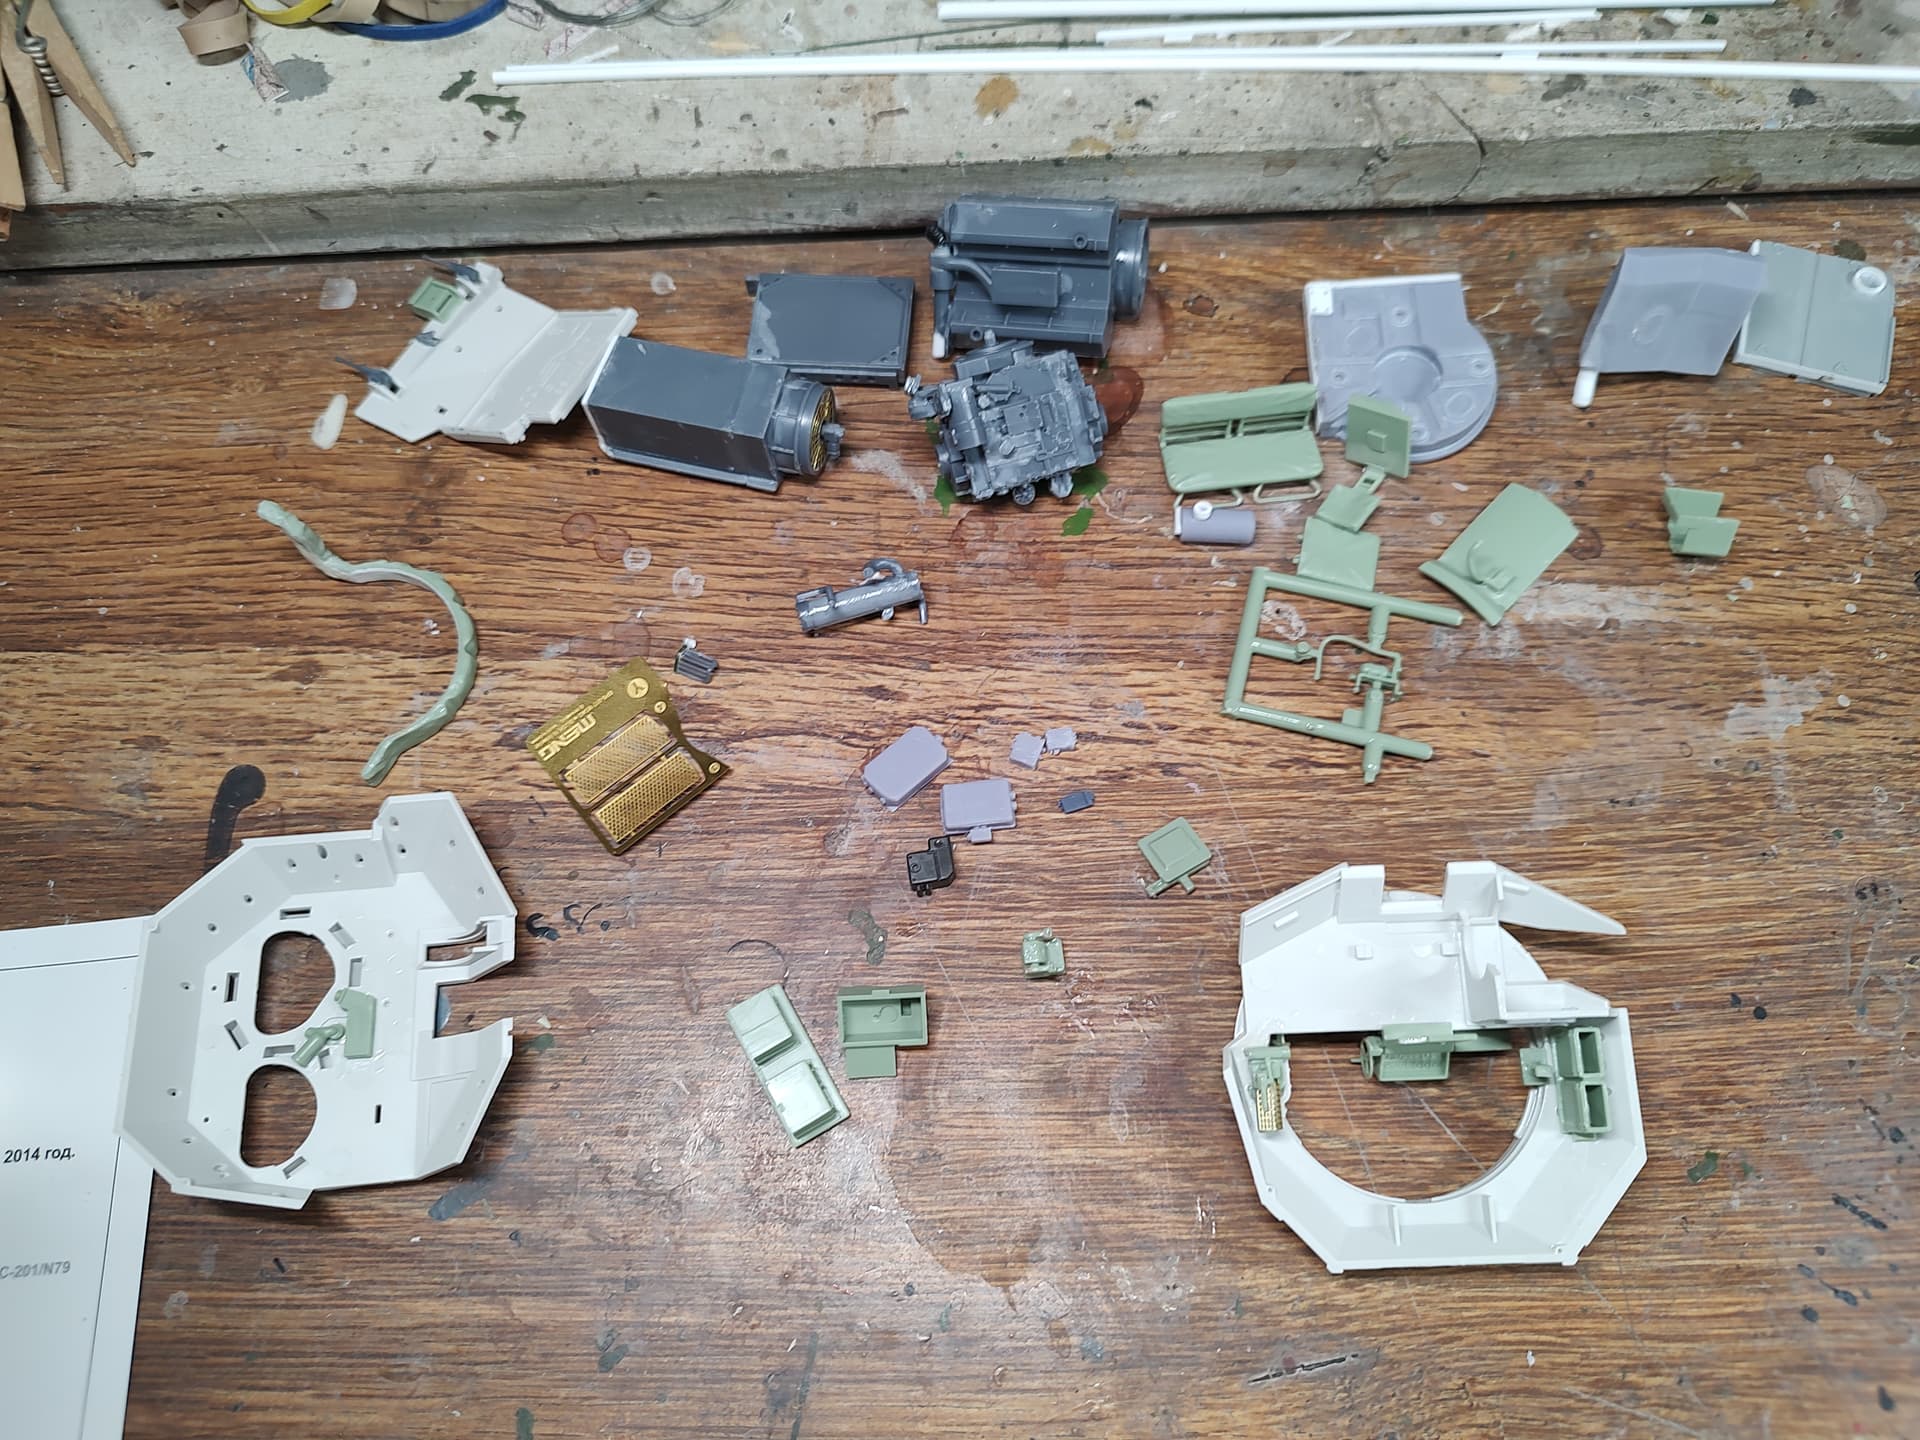
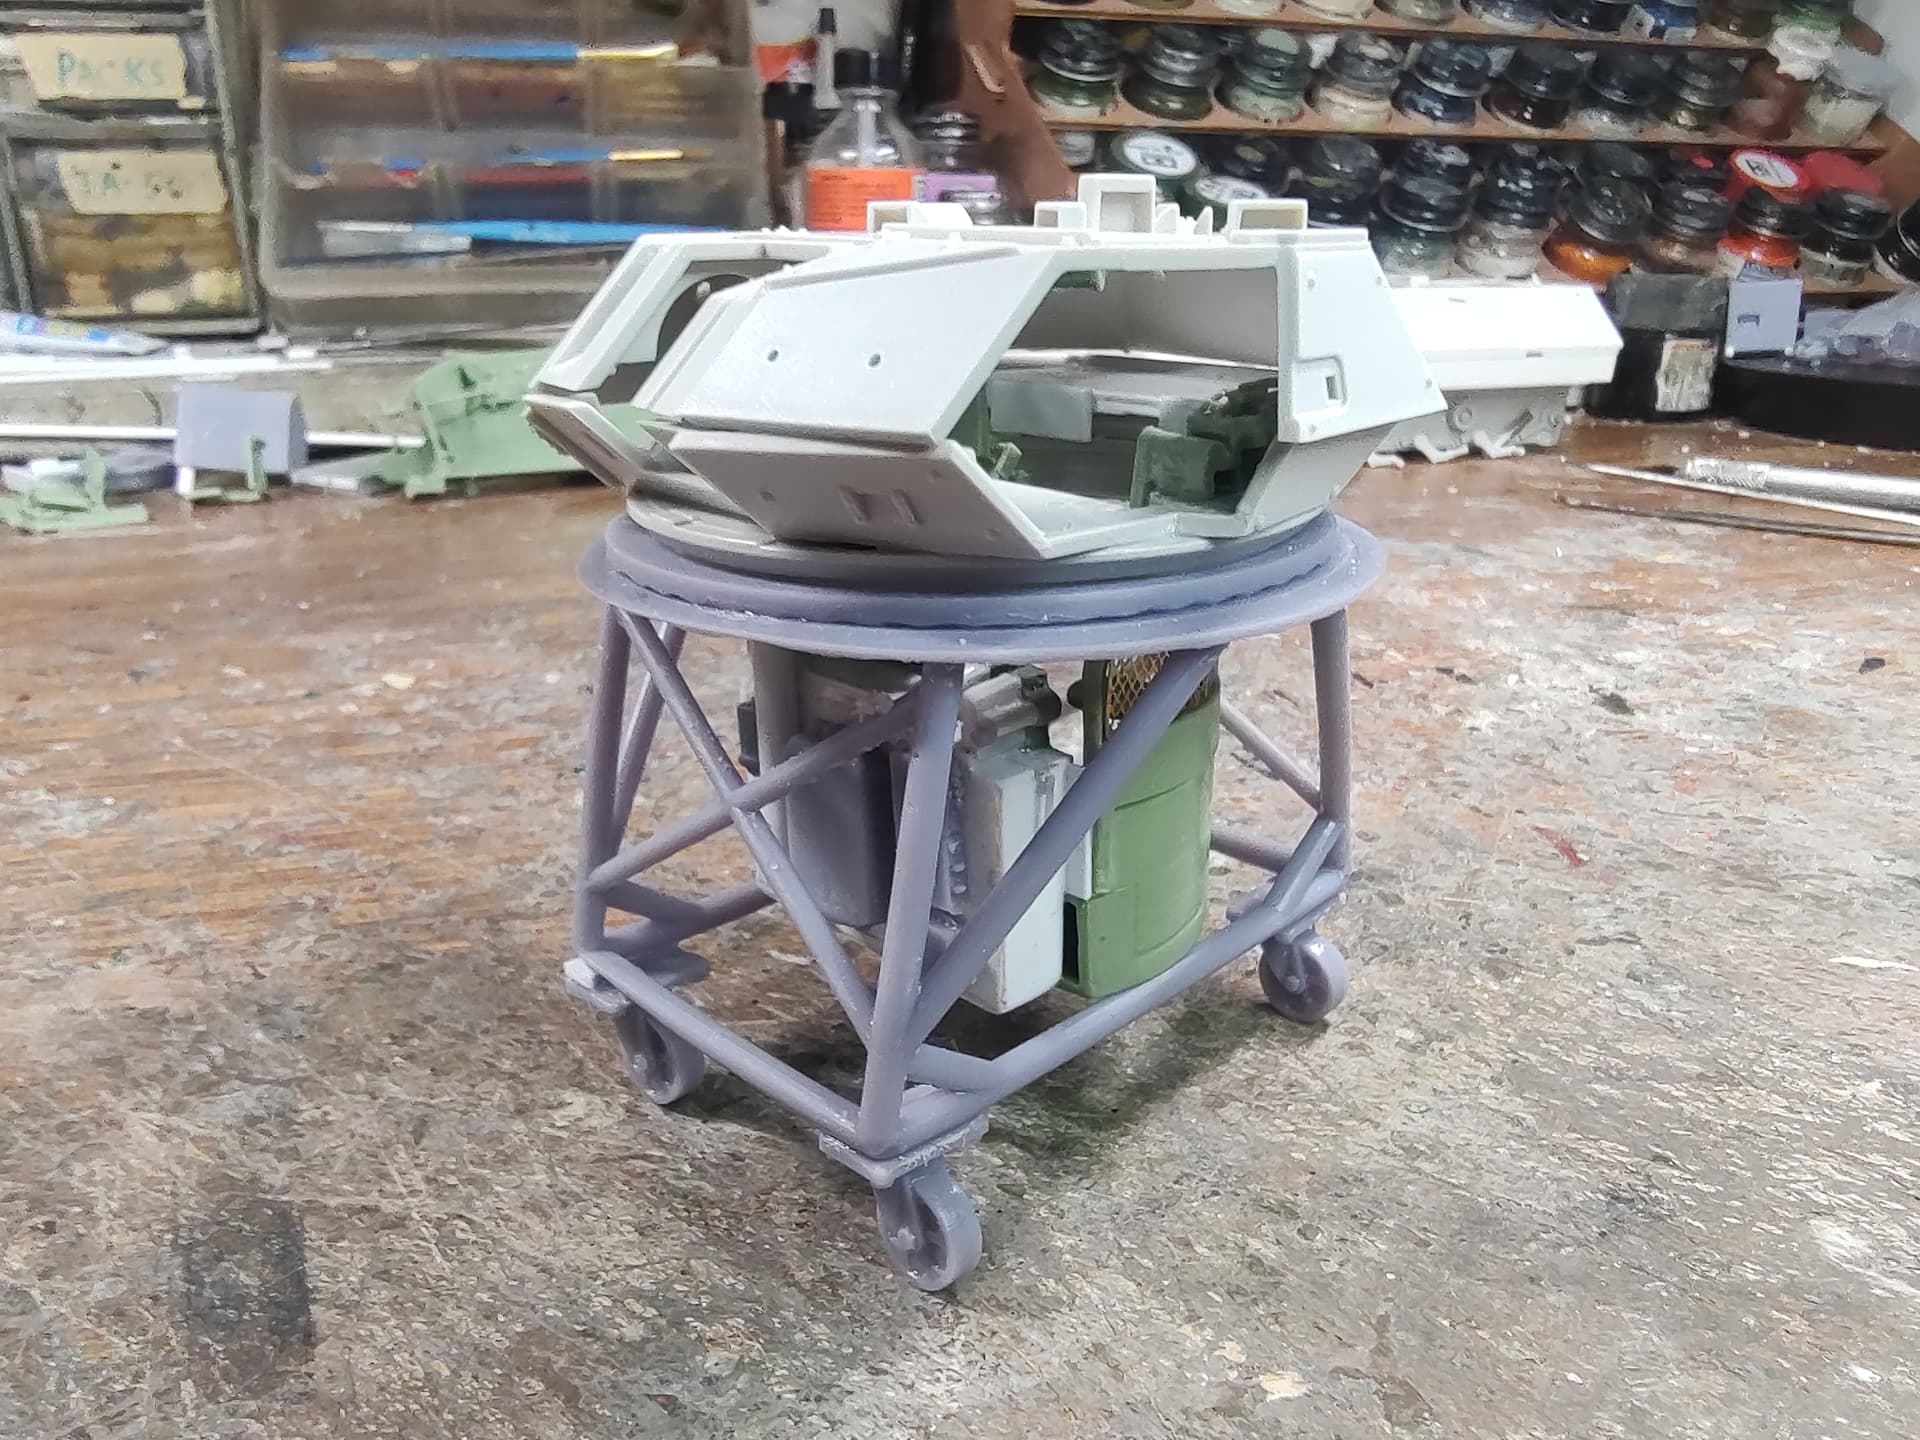
My latest project is an M3A3 CFV undergoing depot-level maintenance. I am starting with the Meng M3A3 CFV kit and the interior set for it. I will be showing it with the turret removed and on a stand, and the engine compartment opened up and fully detailed.
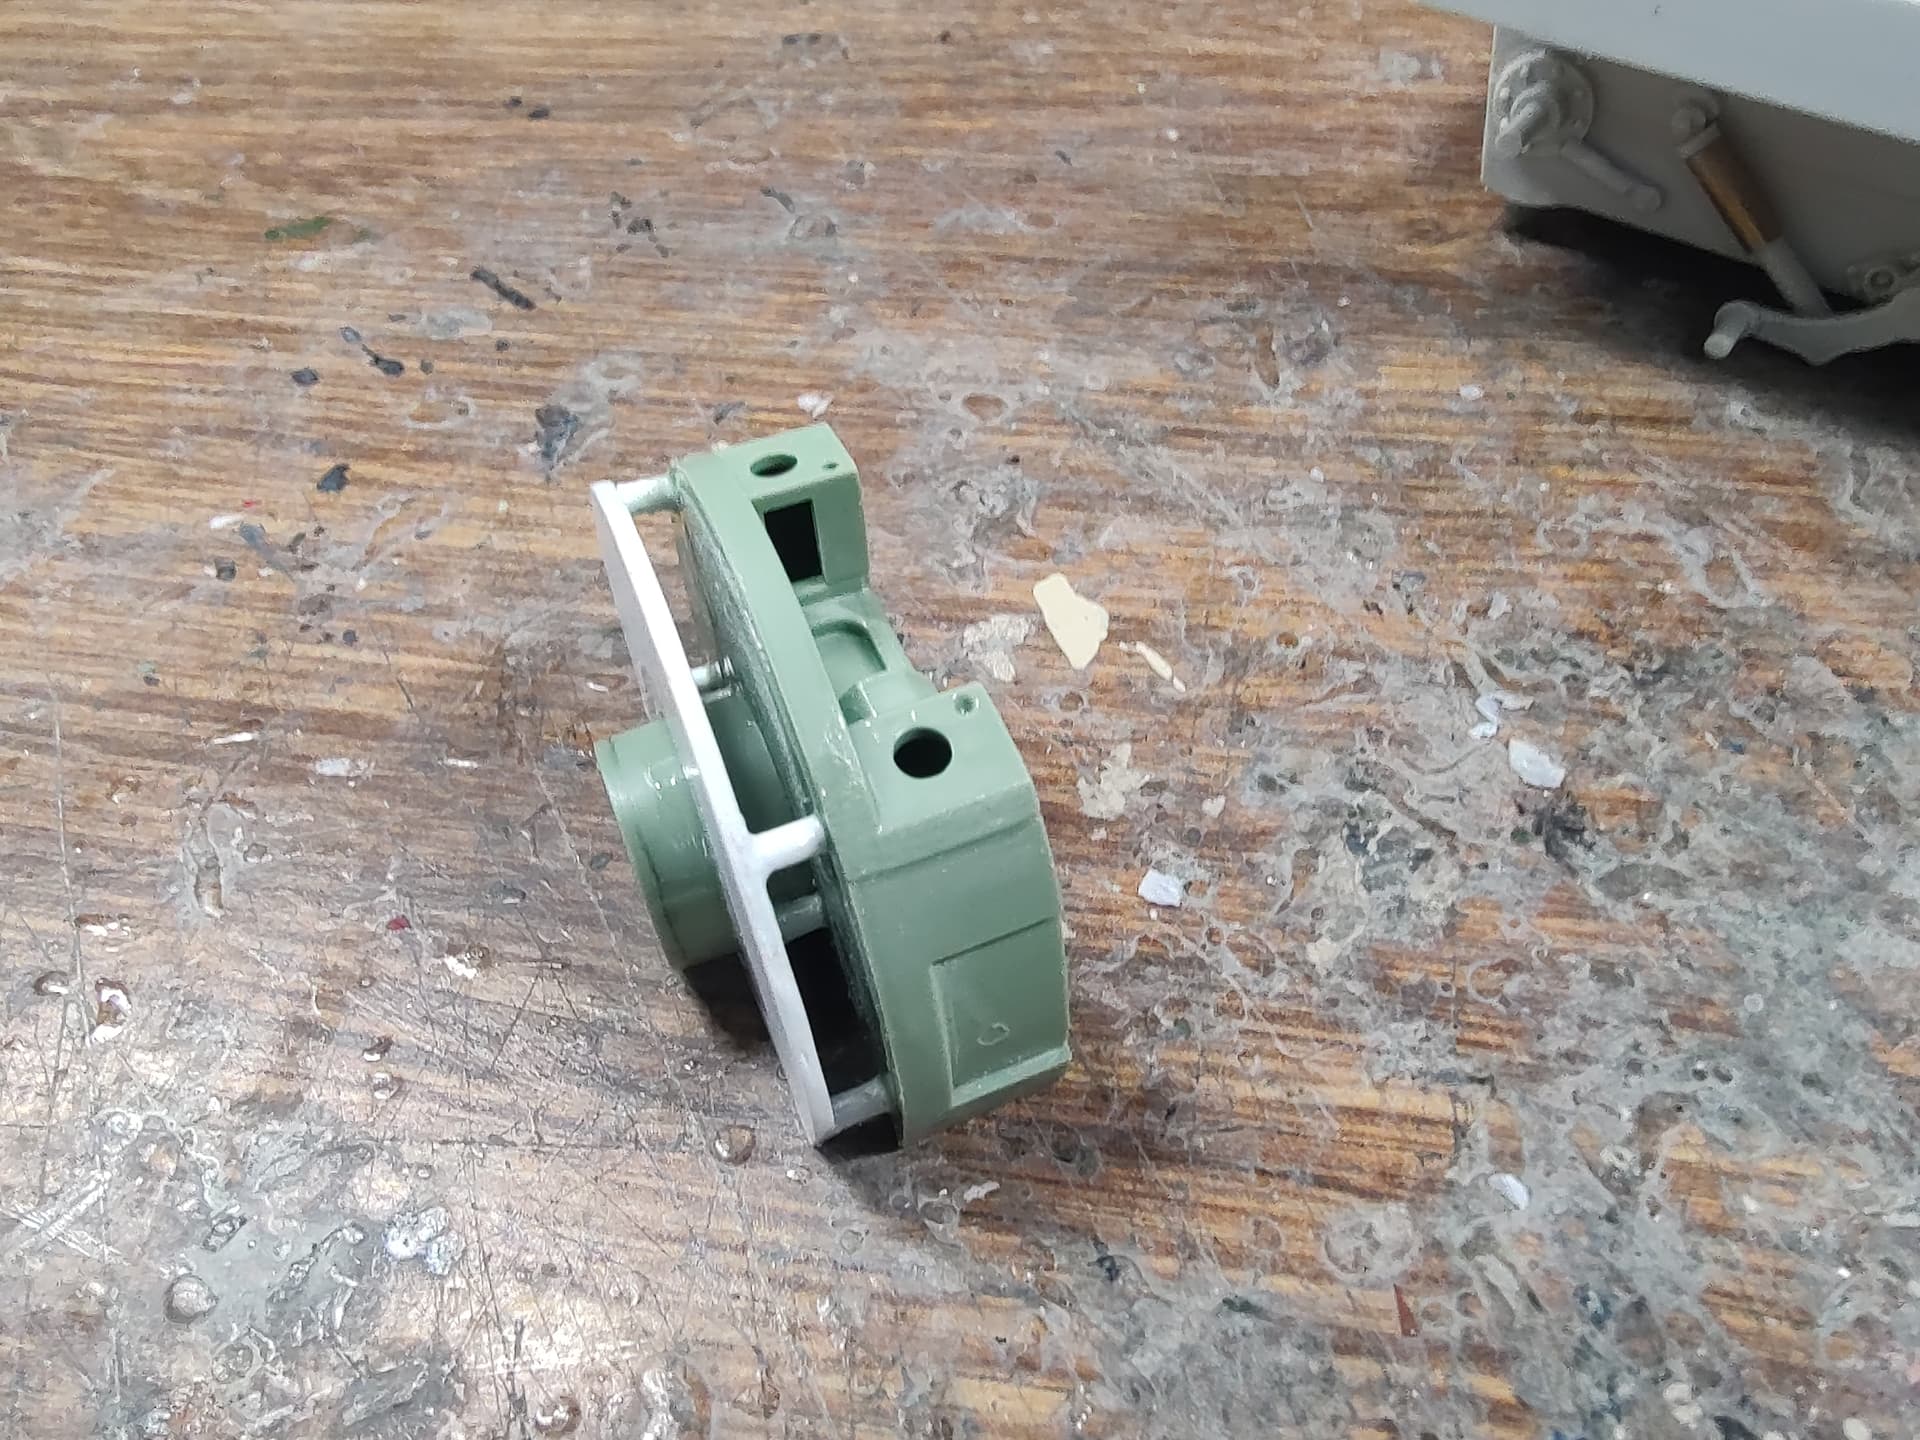
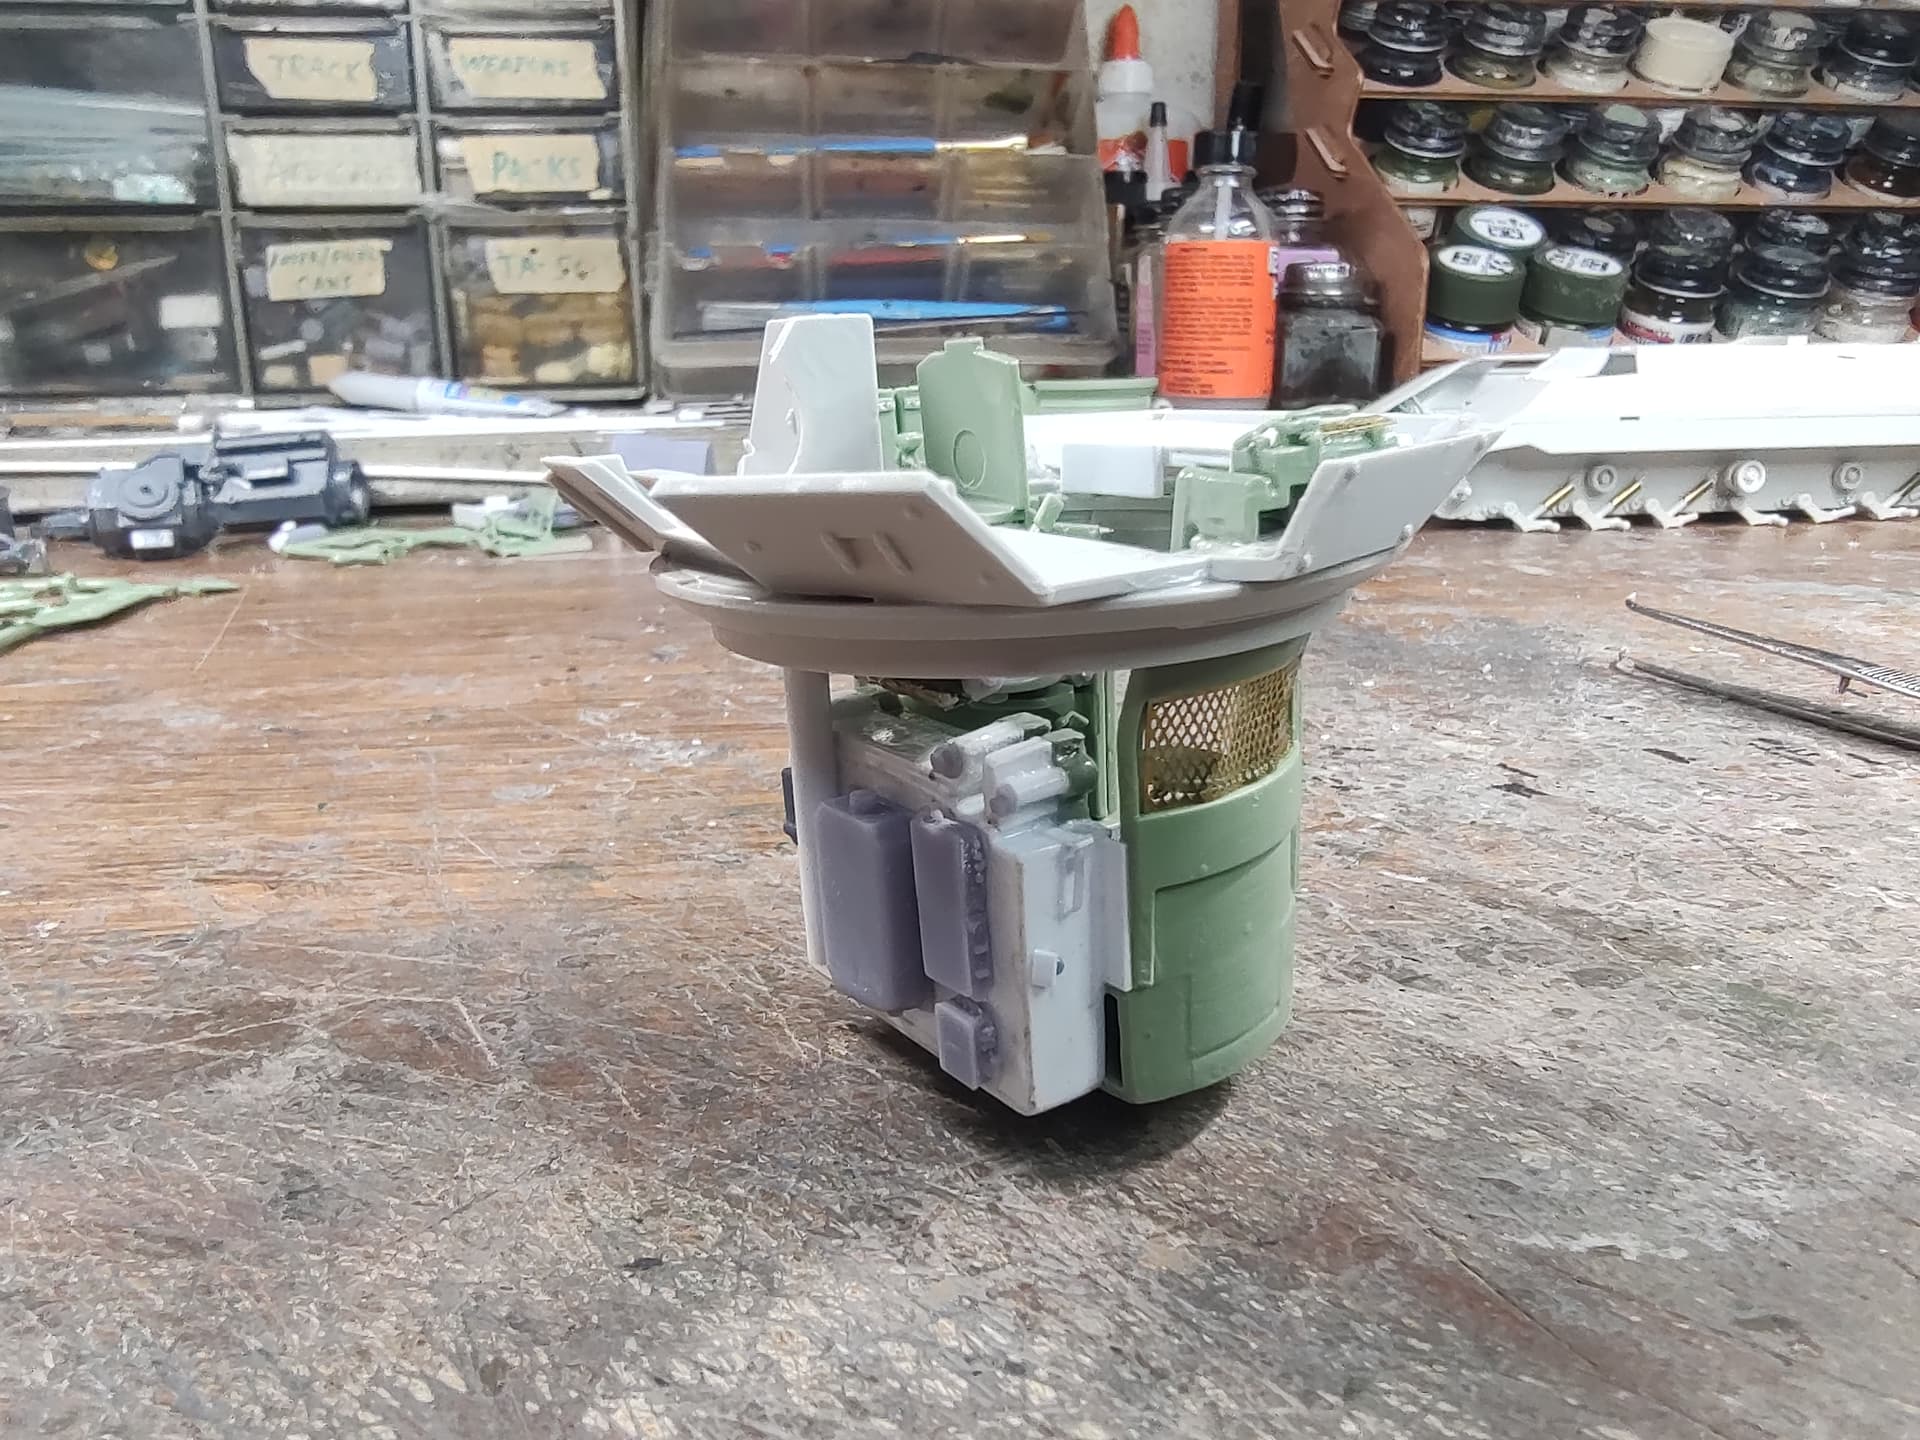
I have started by cutting down the circular turret guard, which Meng has go completely around the turret. It should only go on the driver’s side and rear. At the front of the turret is a flat firewall. I used a modified M113 front wall to replicate it.
Thanks Steve. I love the Meng Bradleys as well. They are very versatile. I just wish they did the M2 IFV interior as a separate kit as well. It has only one sprue different, S as opposed to Y (M3 parts), from the M3 CFV interior.
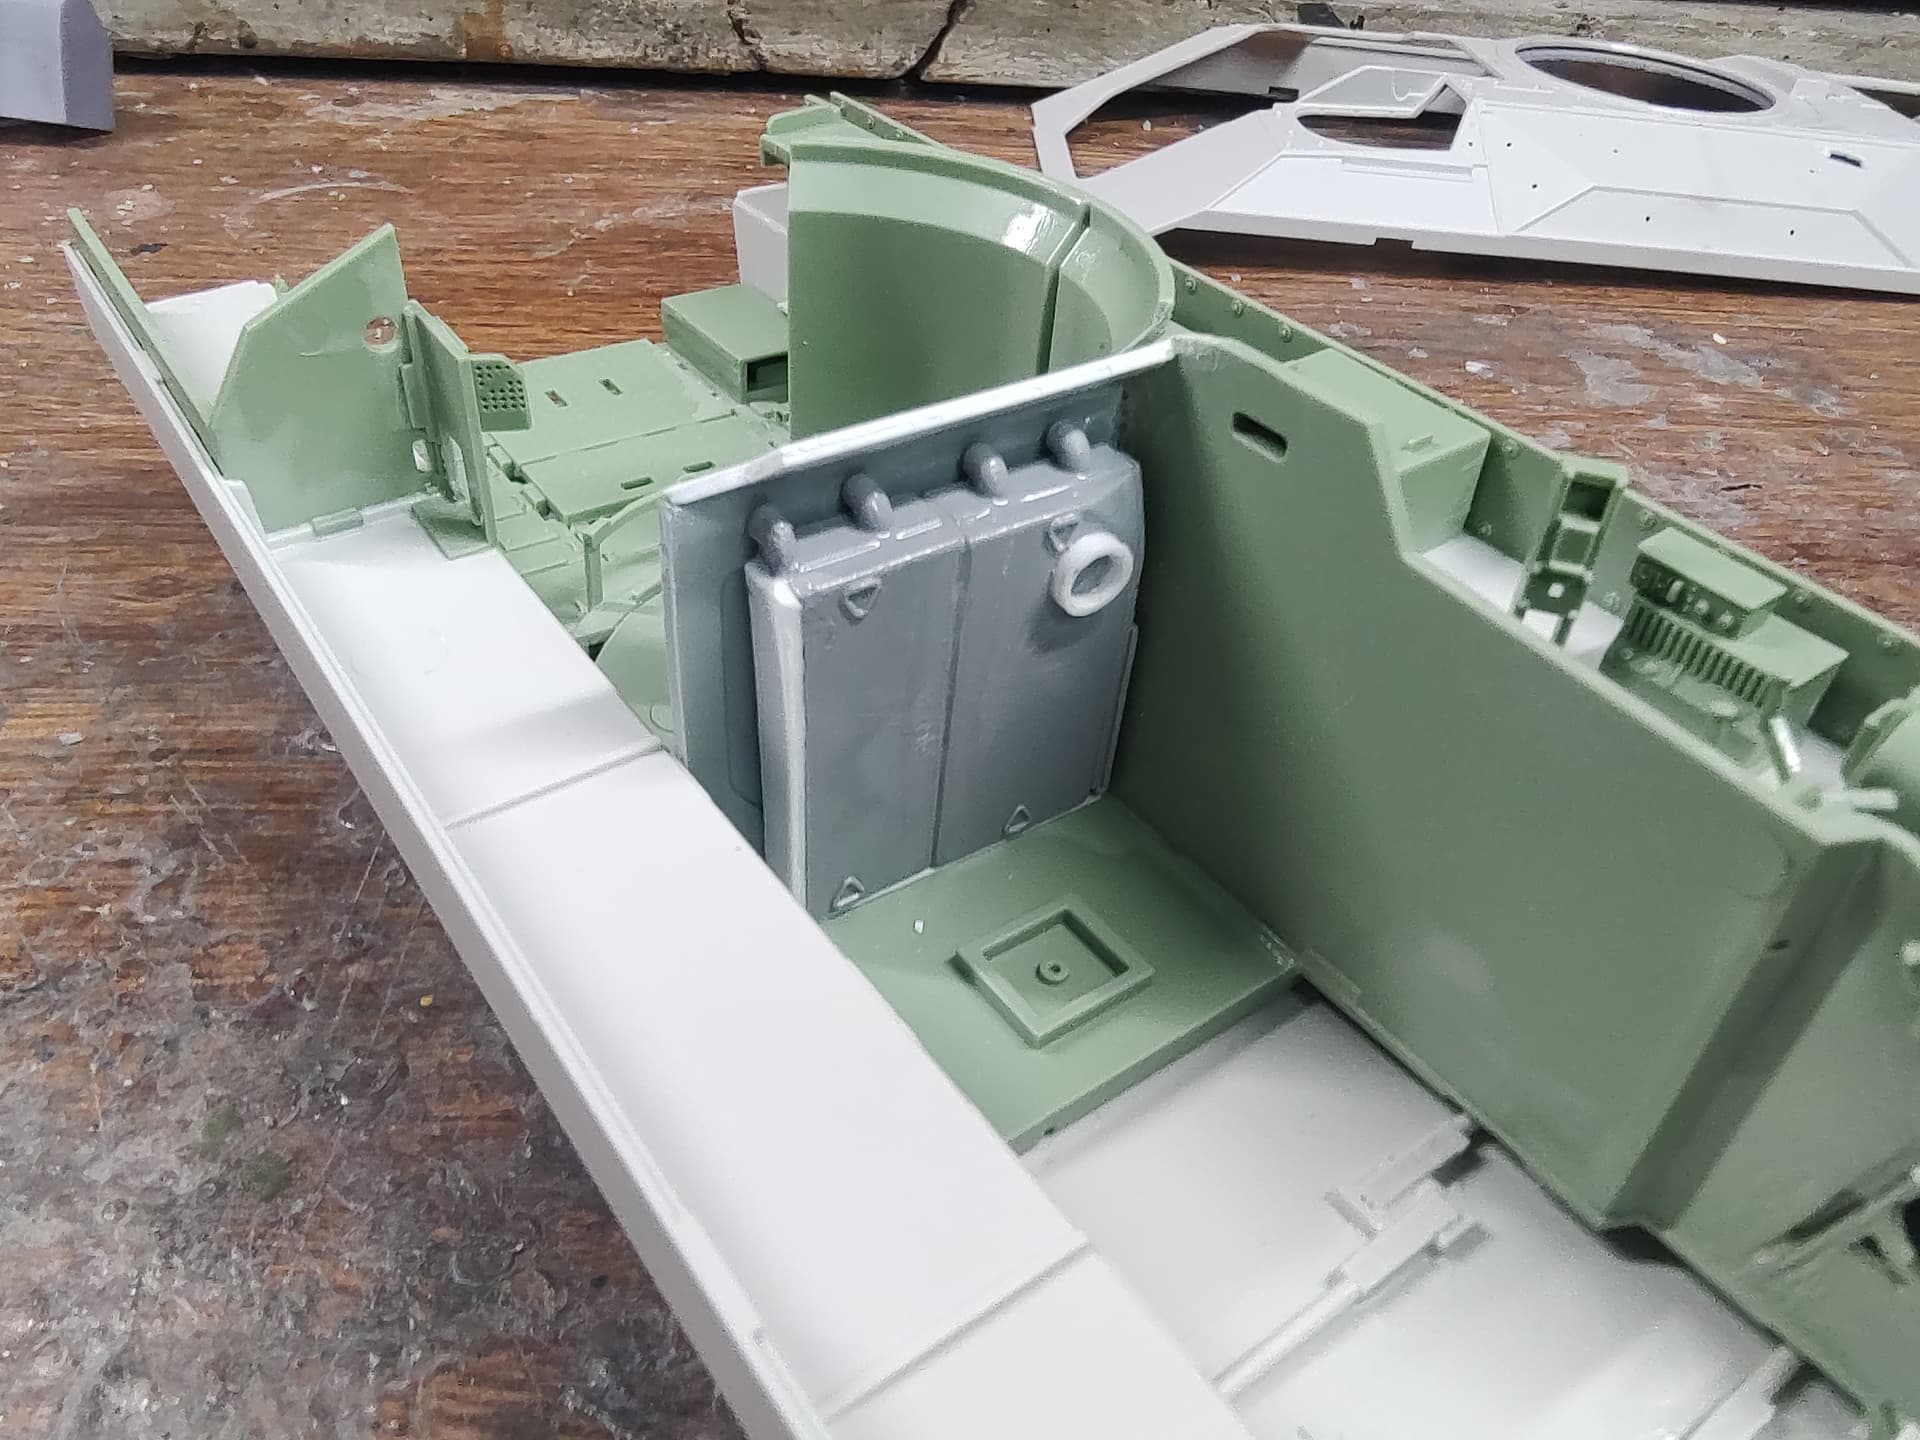
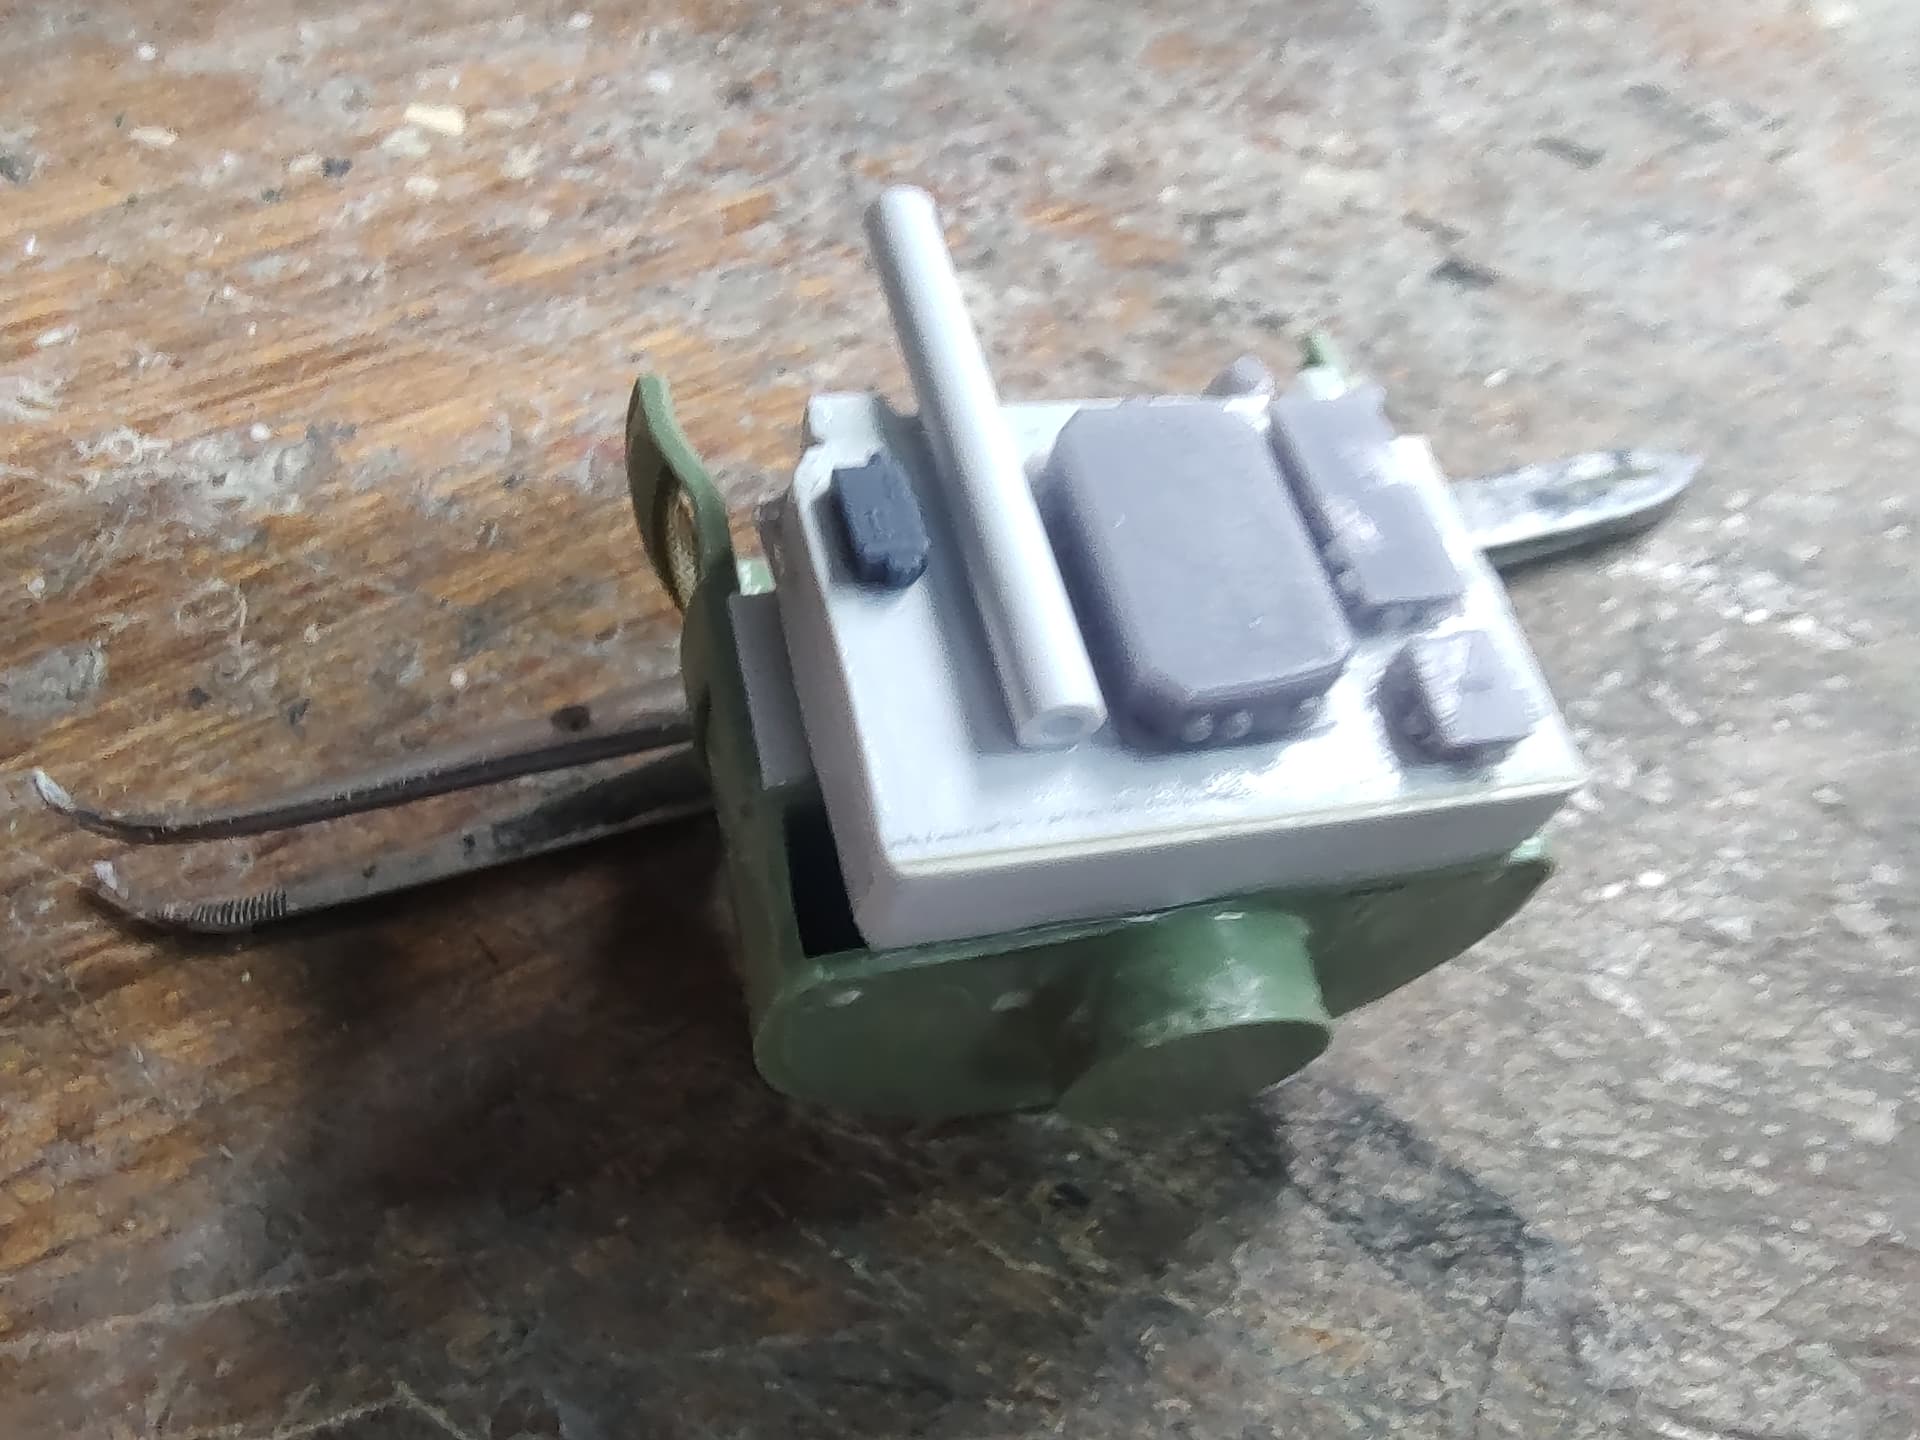
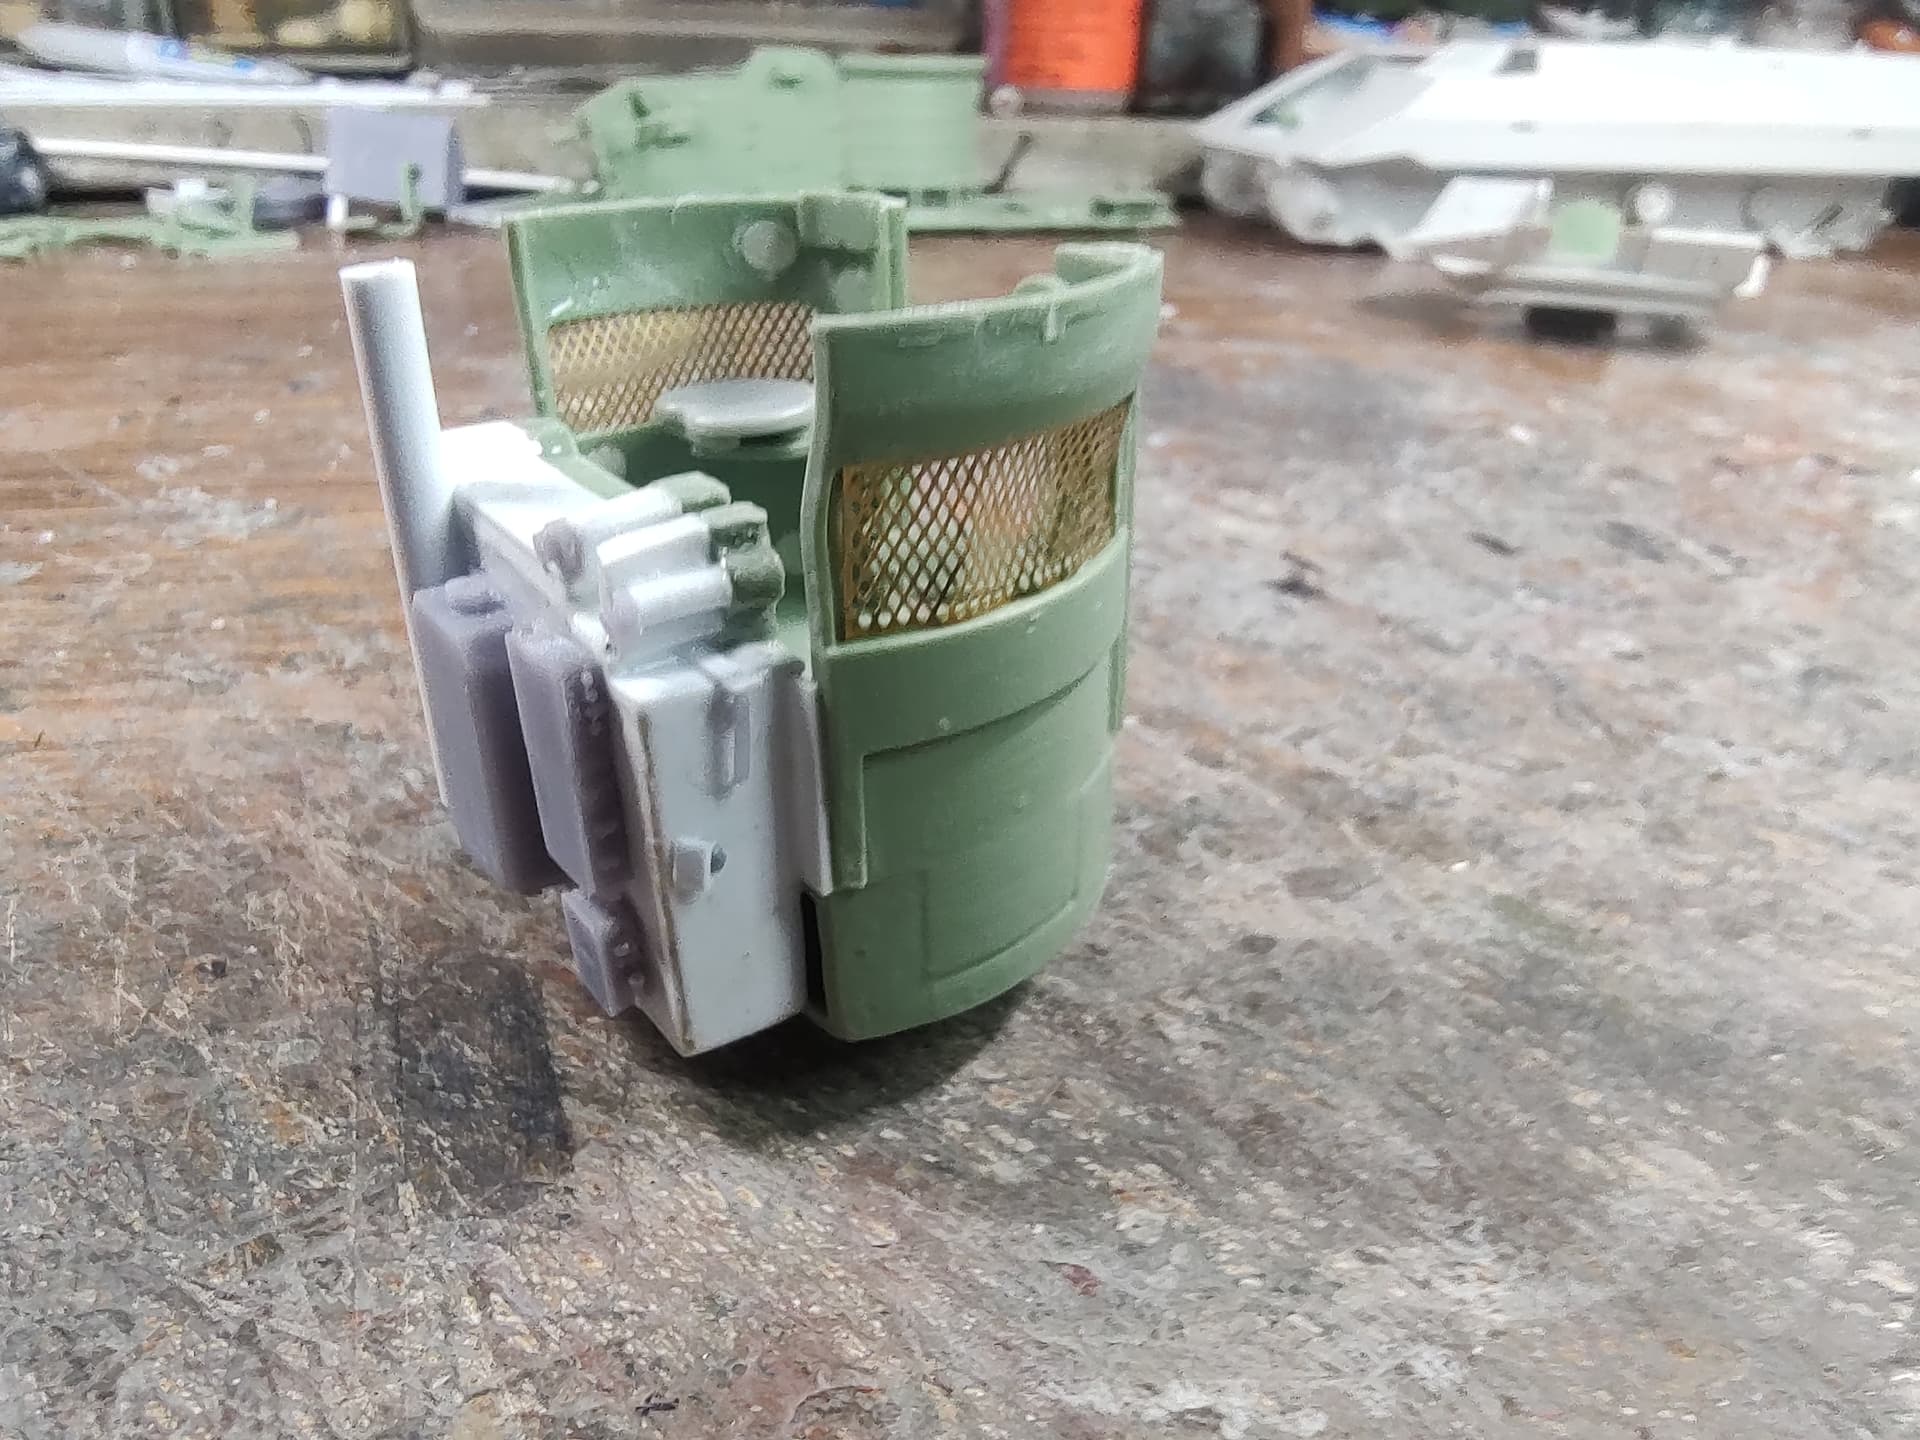
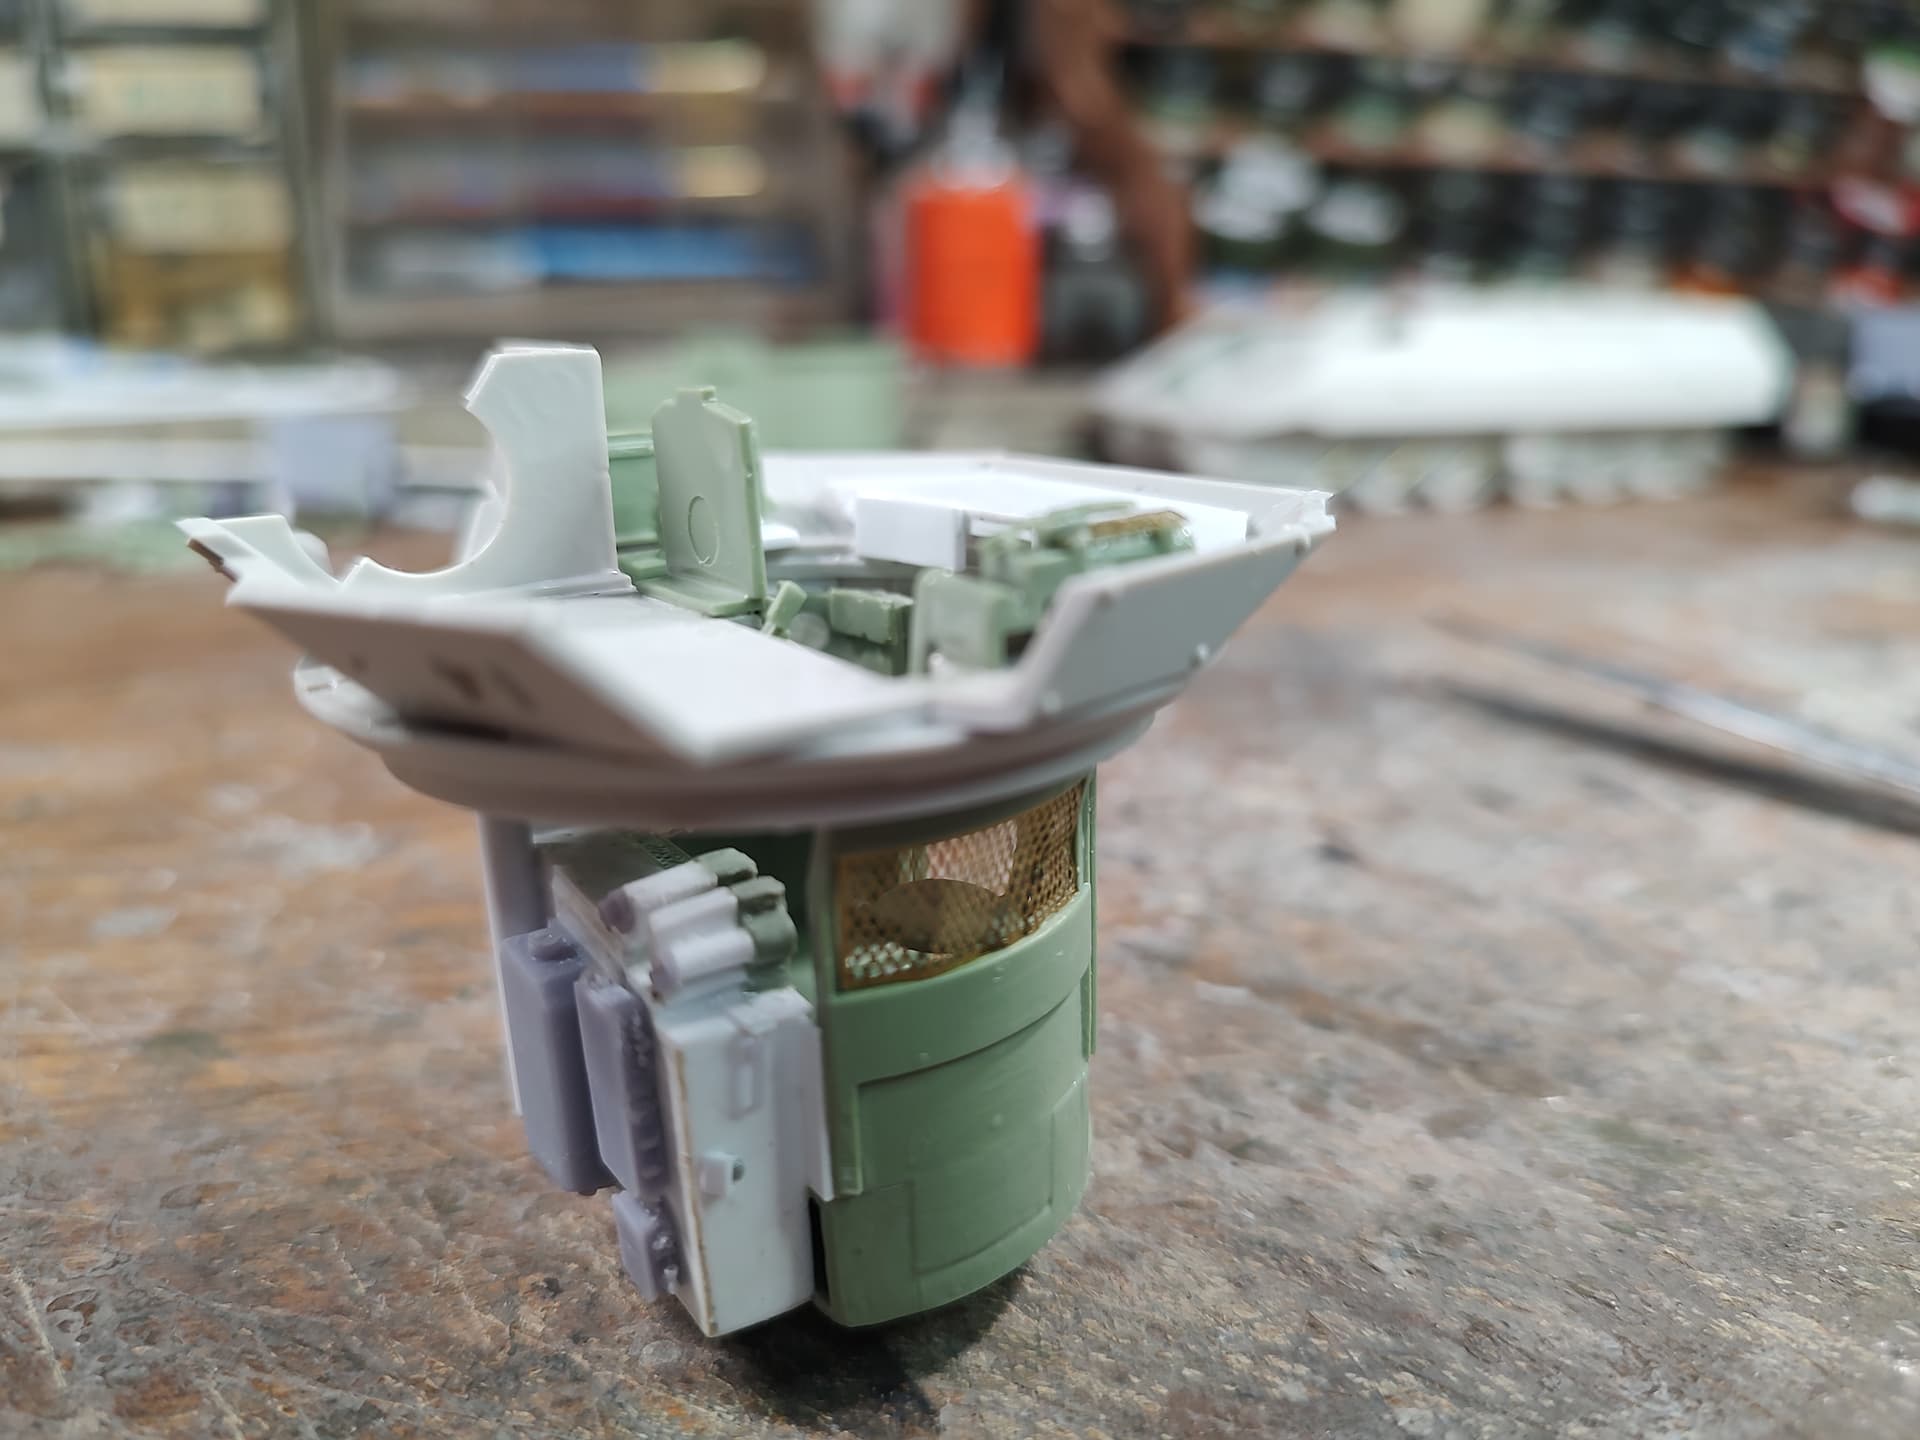
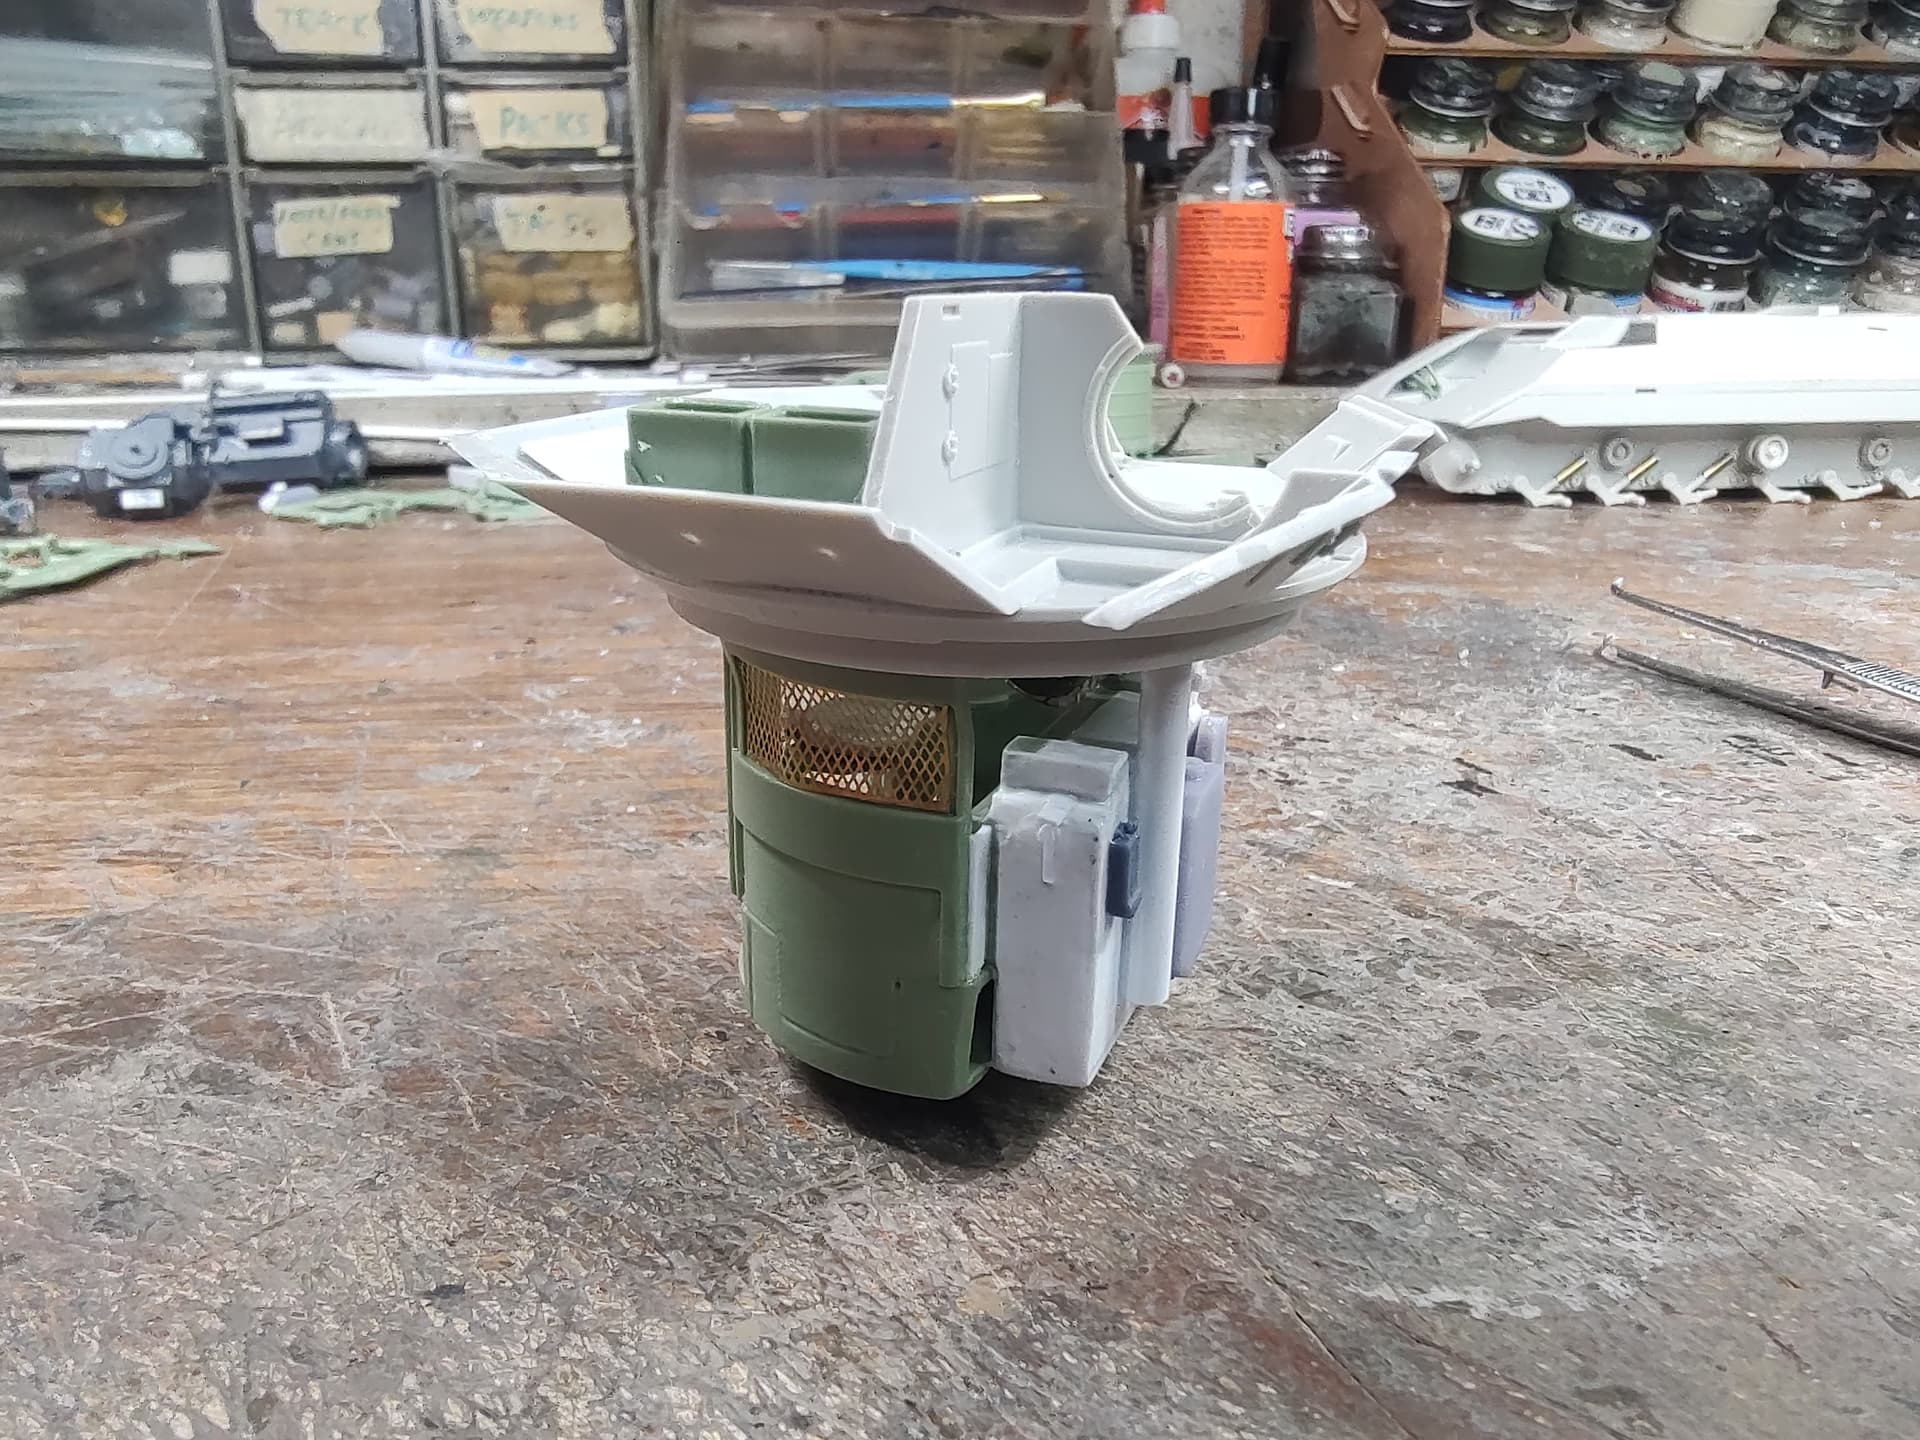
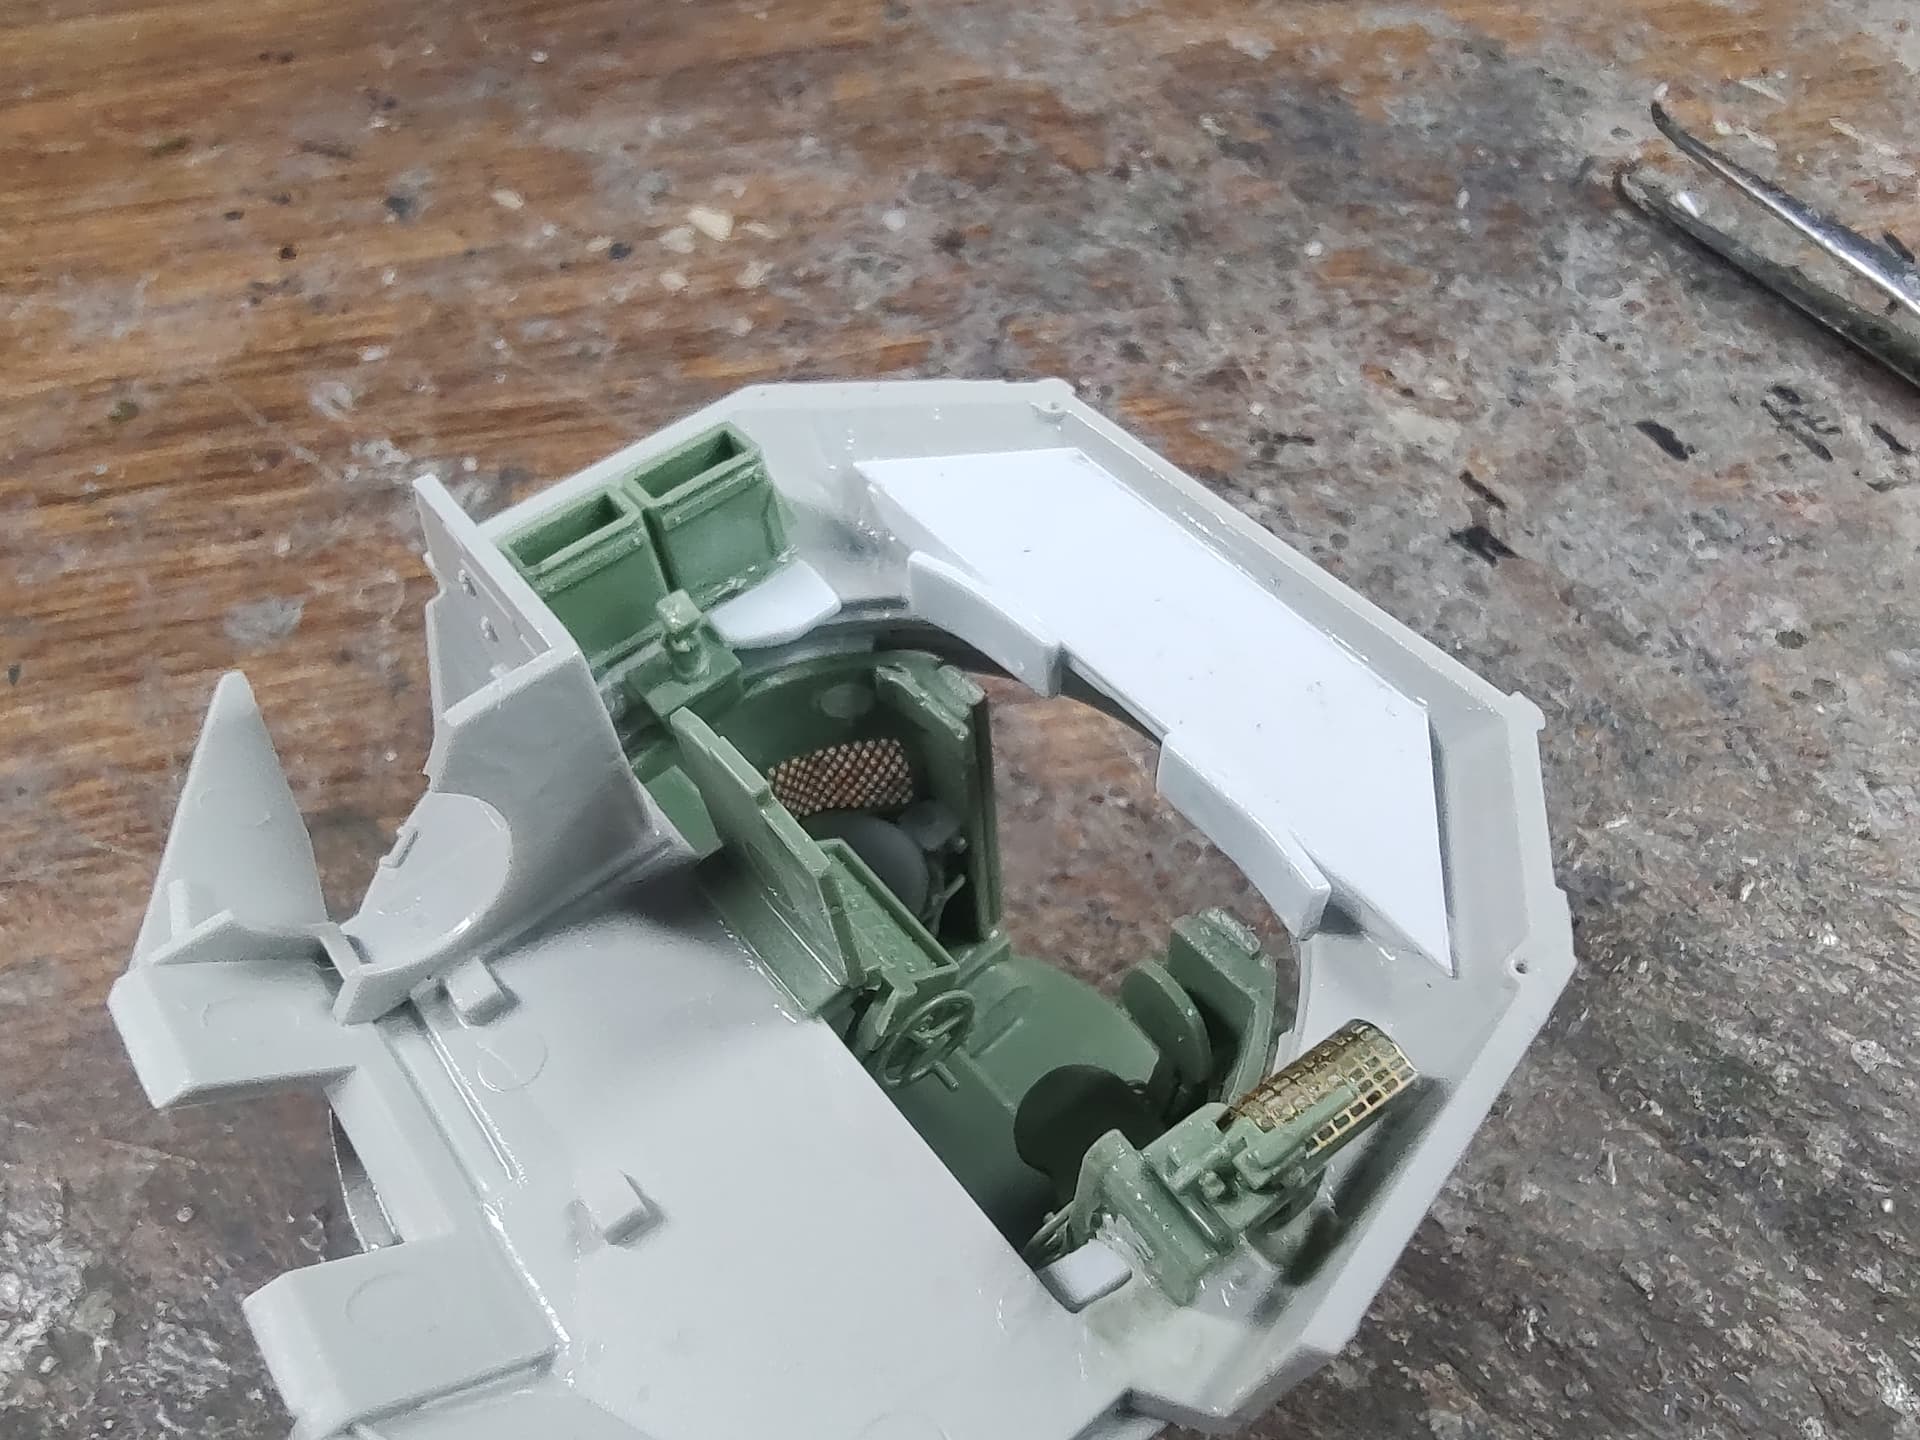
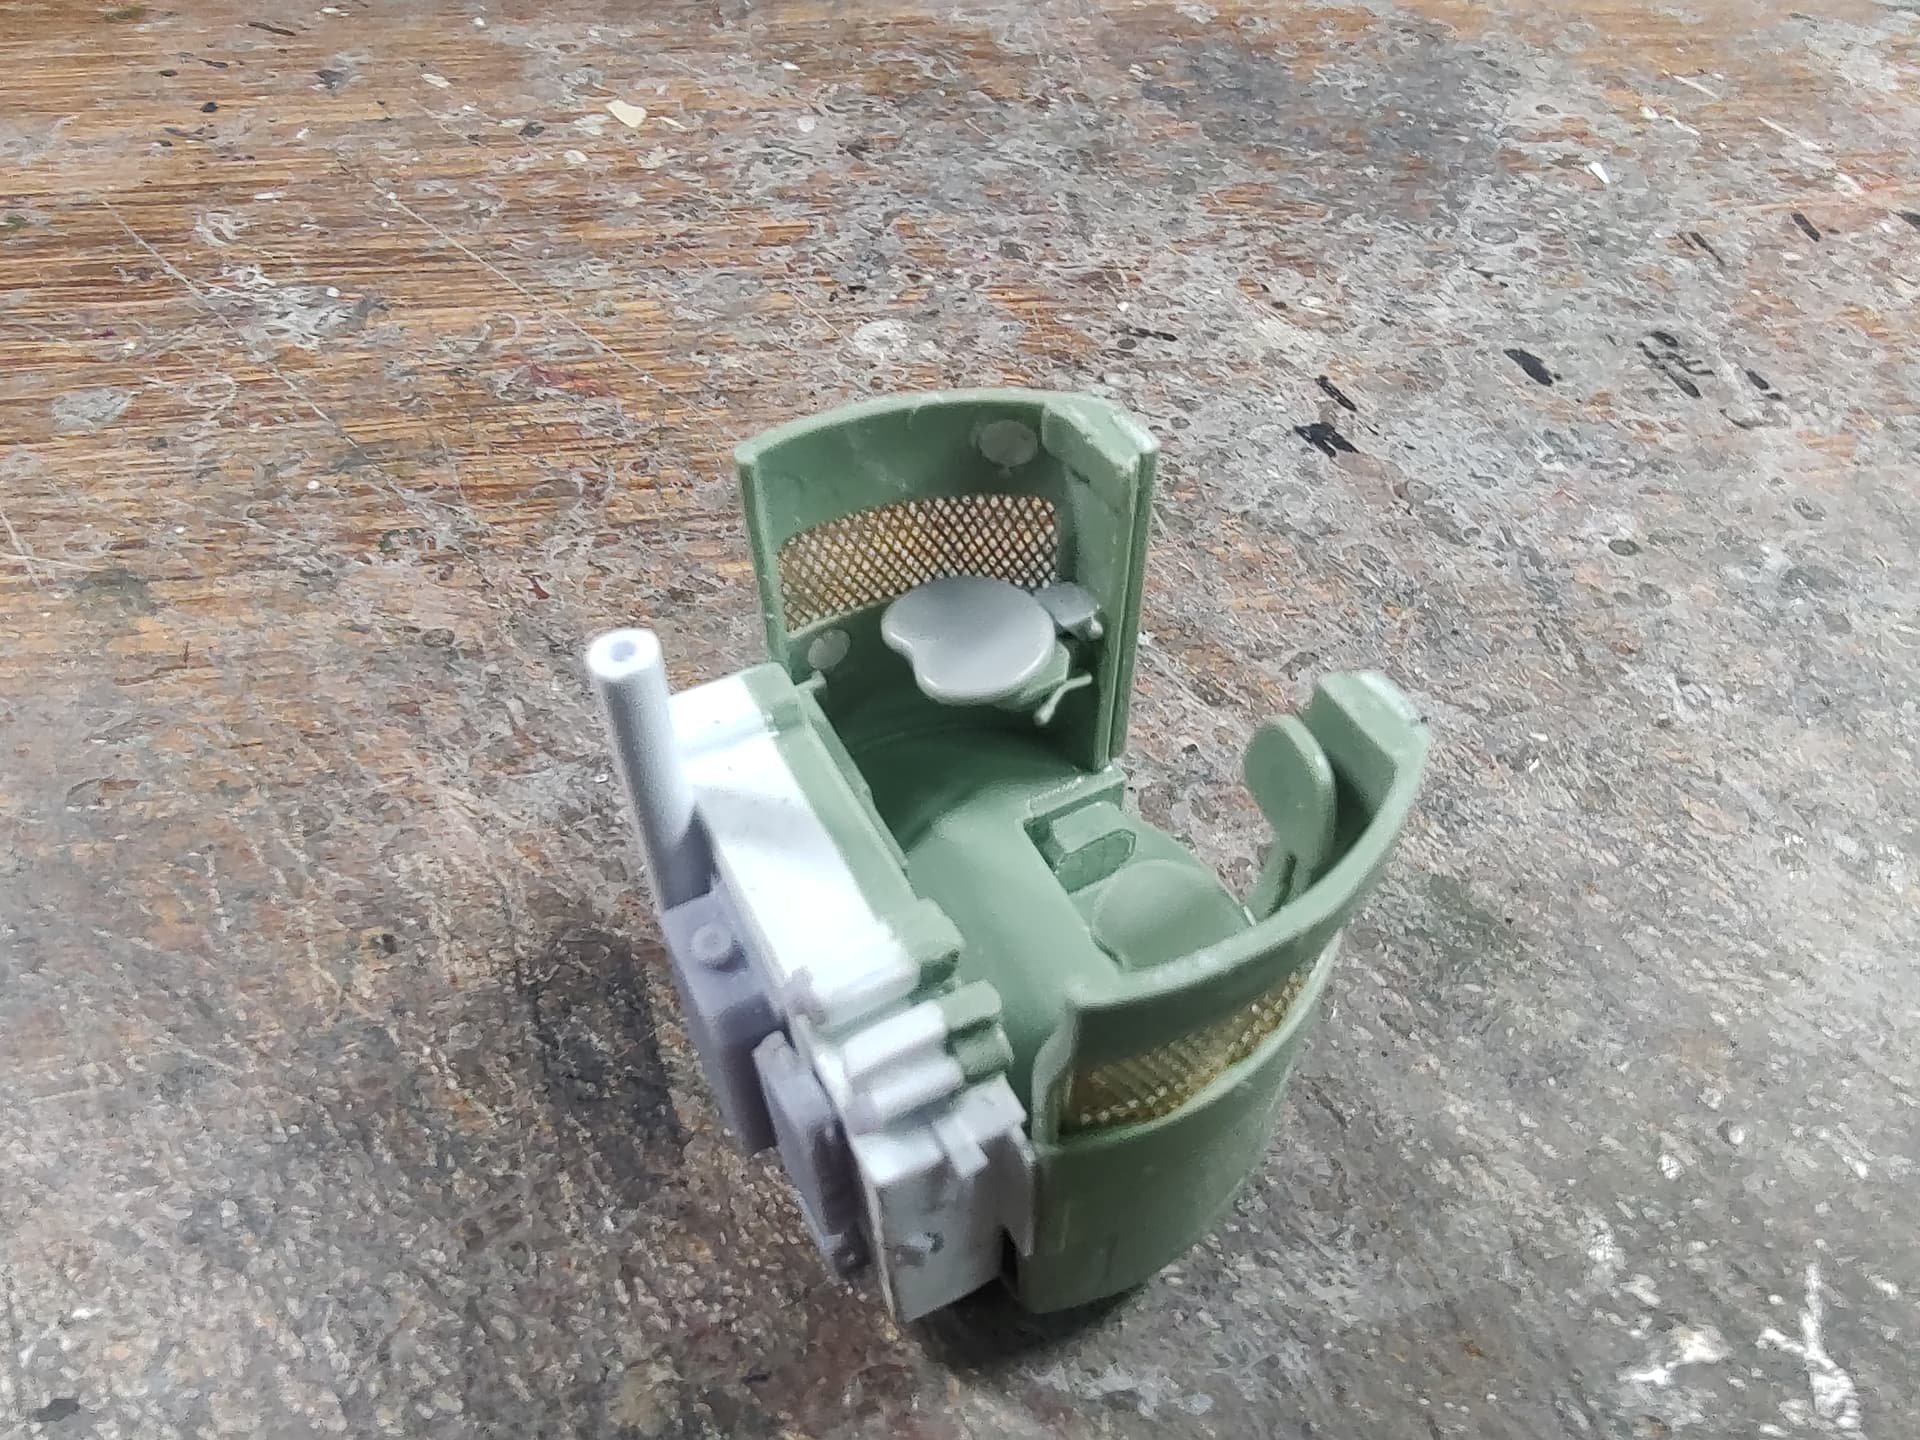
I’m continuing to work on the M3A3. I have completed the turret details by building the ammo box and electronic boxes at the front of the turret. I also added handles and a few other details to the box. The electronics boxes are 3D printed, along with the handles. I still need to add wiring once it is painted.
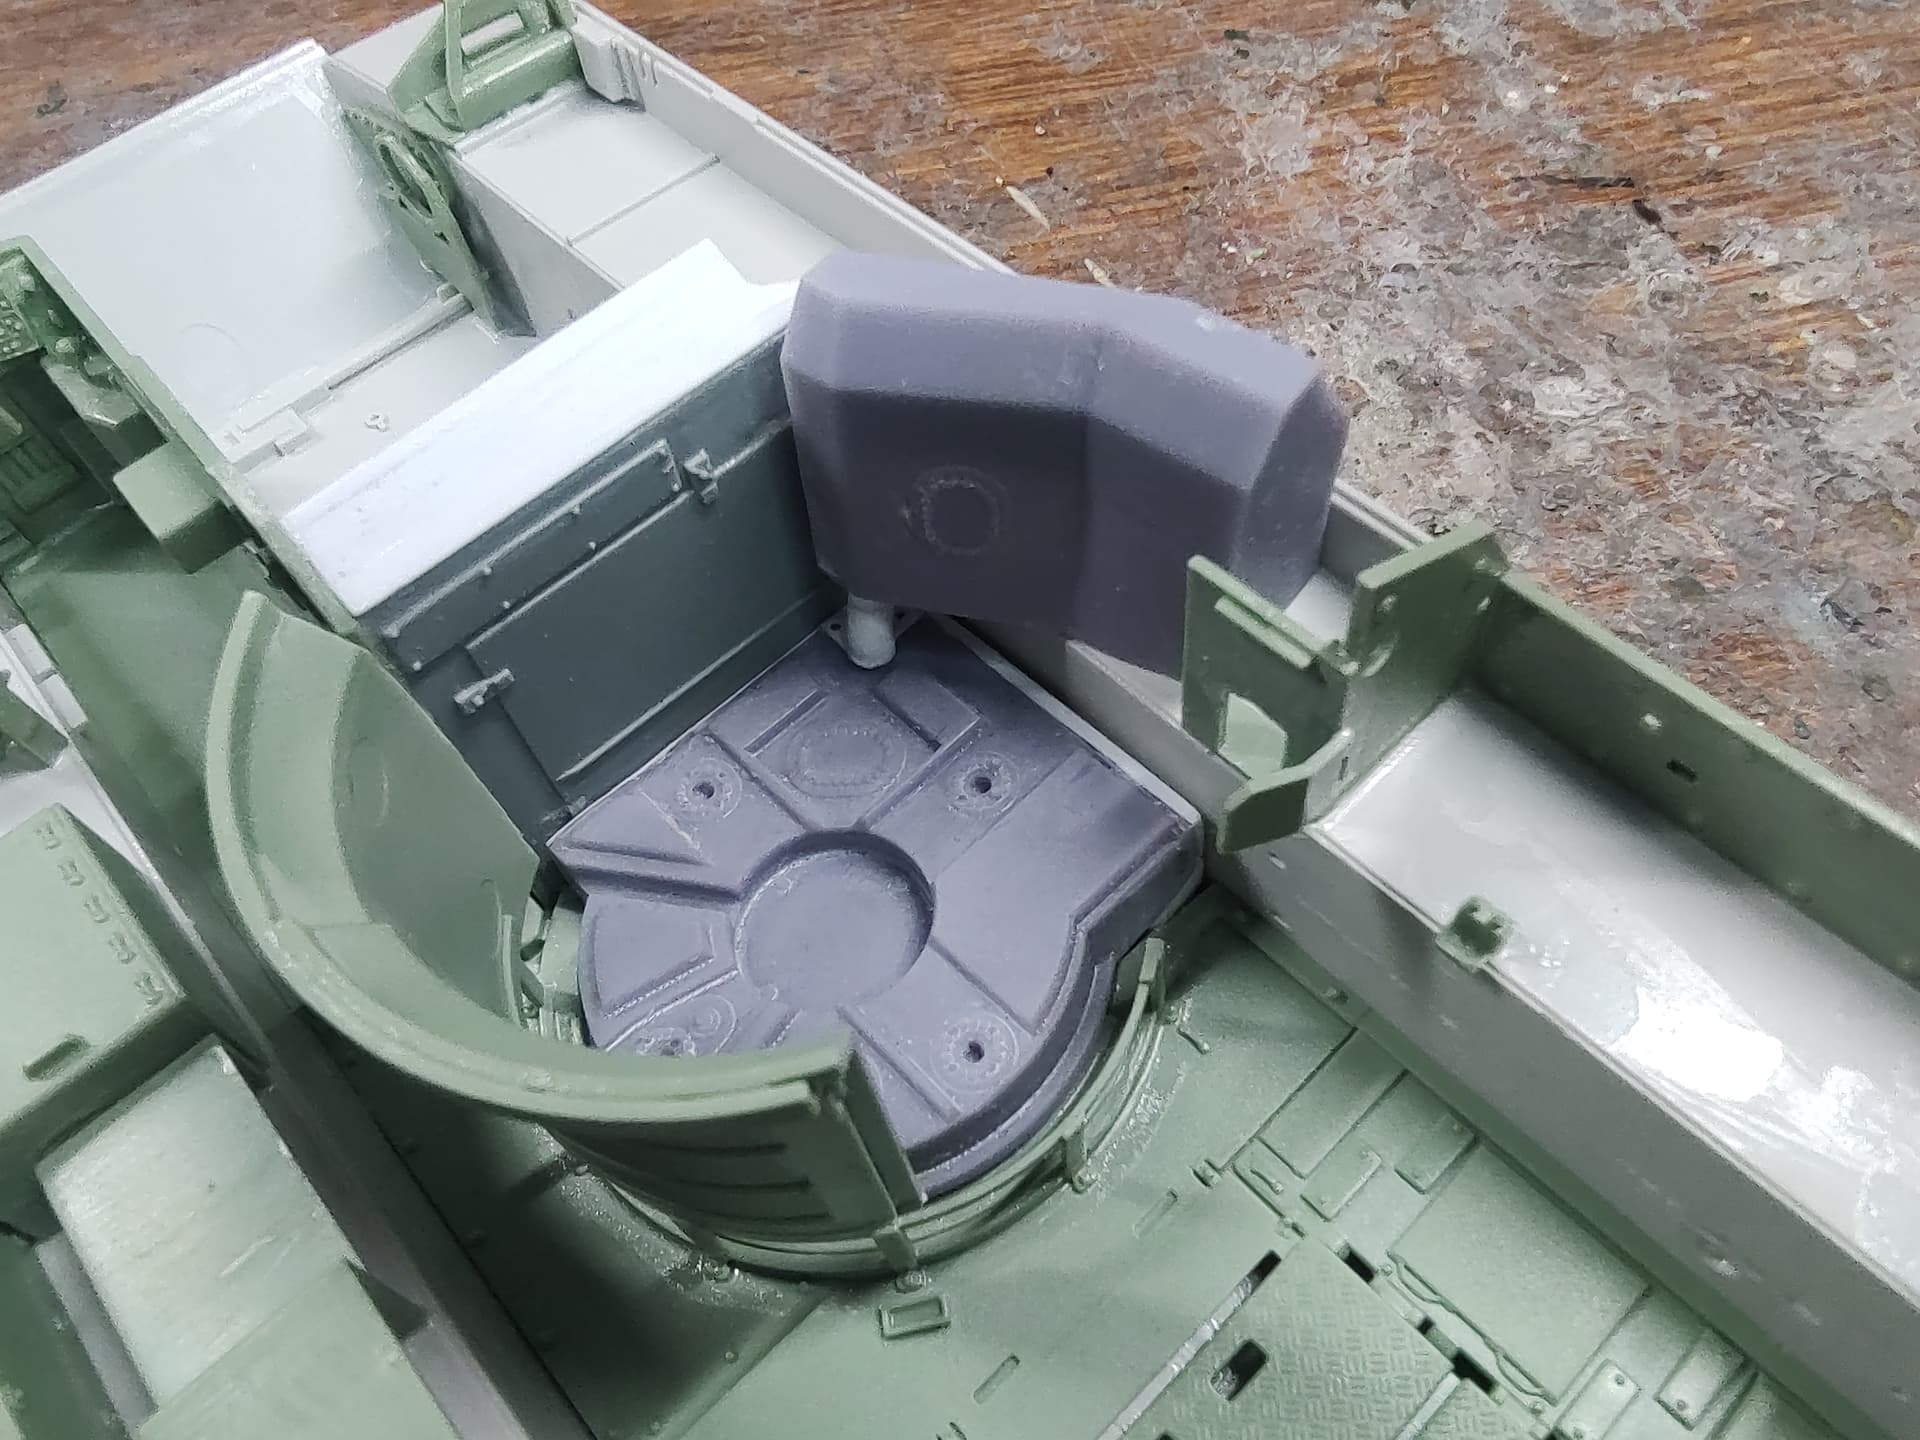
I also added details on the inside with a radio shelf, kidney pads, an arm pad for the control stick, and a seat for the BC. Meng includes the platform for him to stand on, but there is a fold up/down seat there as well to sit on. I added one from an M113. I will add a SINCGARS ASIP radio rack, intercom control box, and J boxes once it is painted.
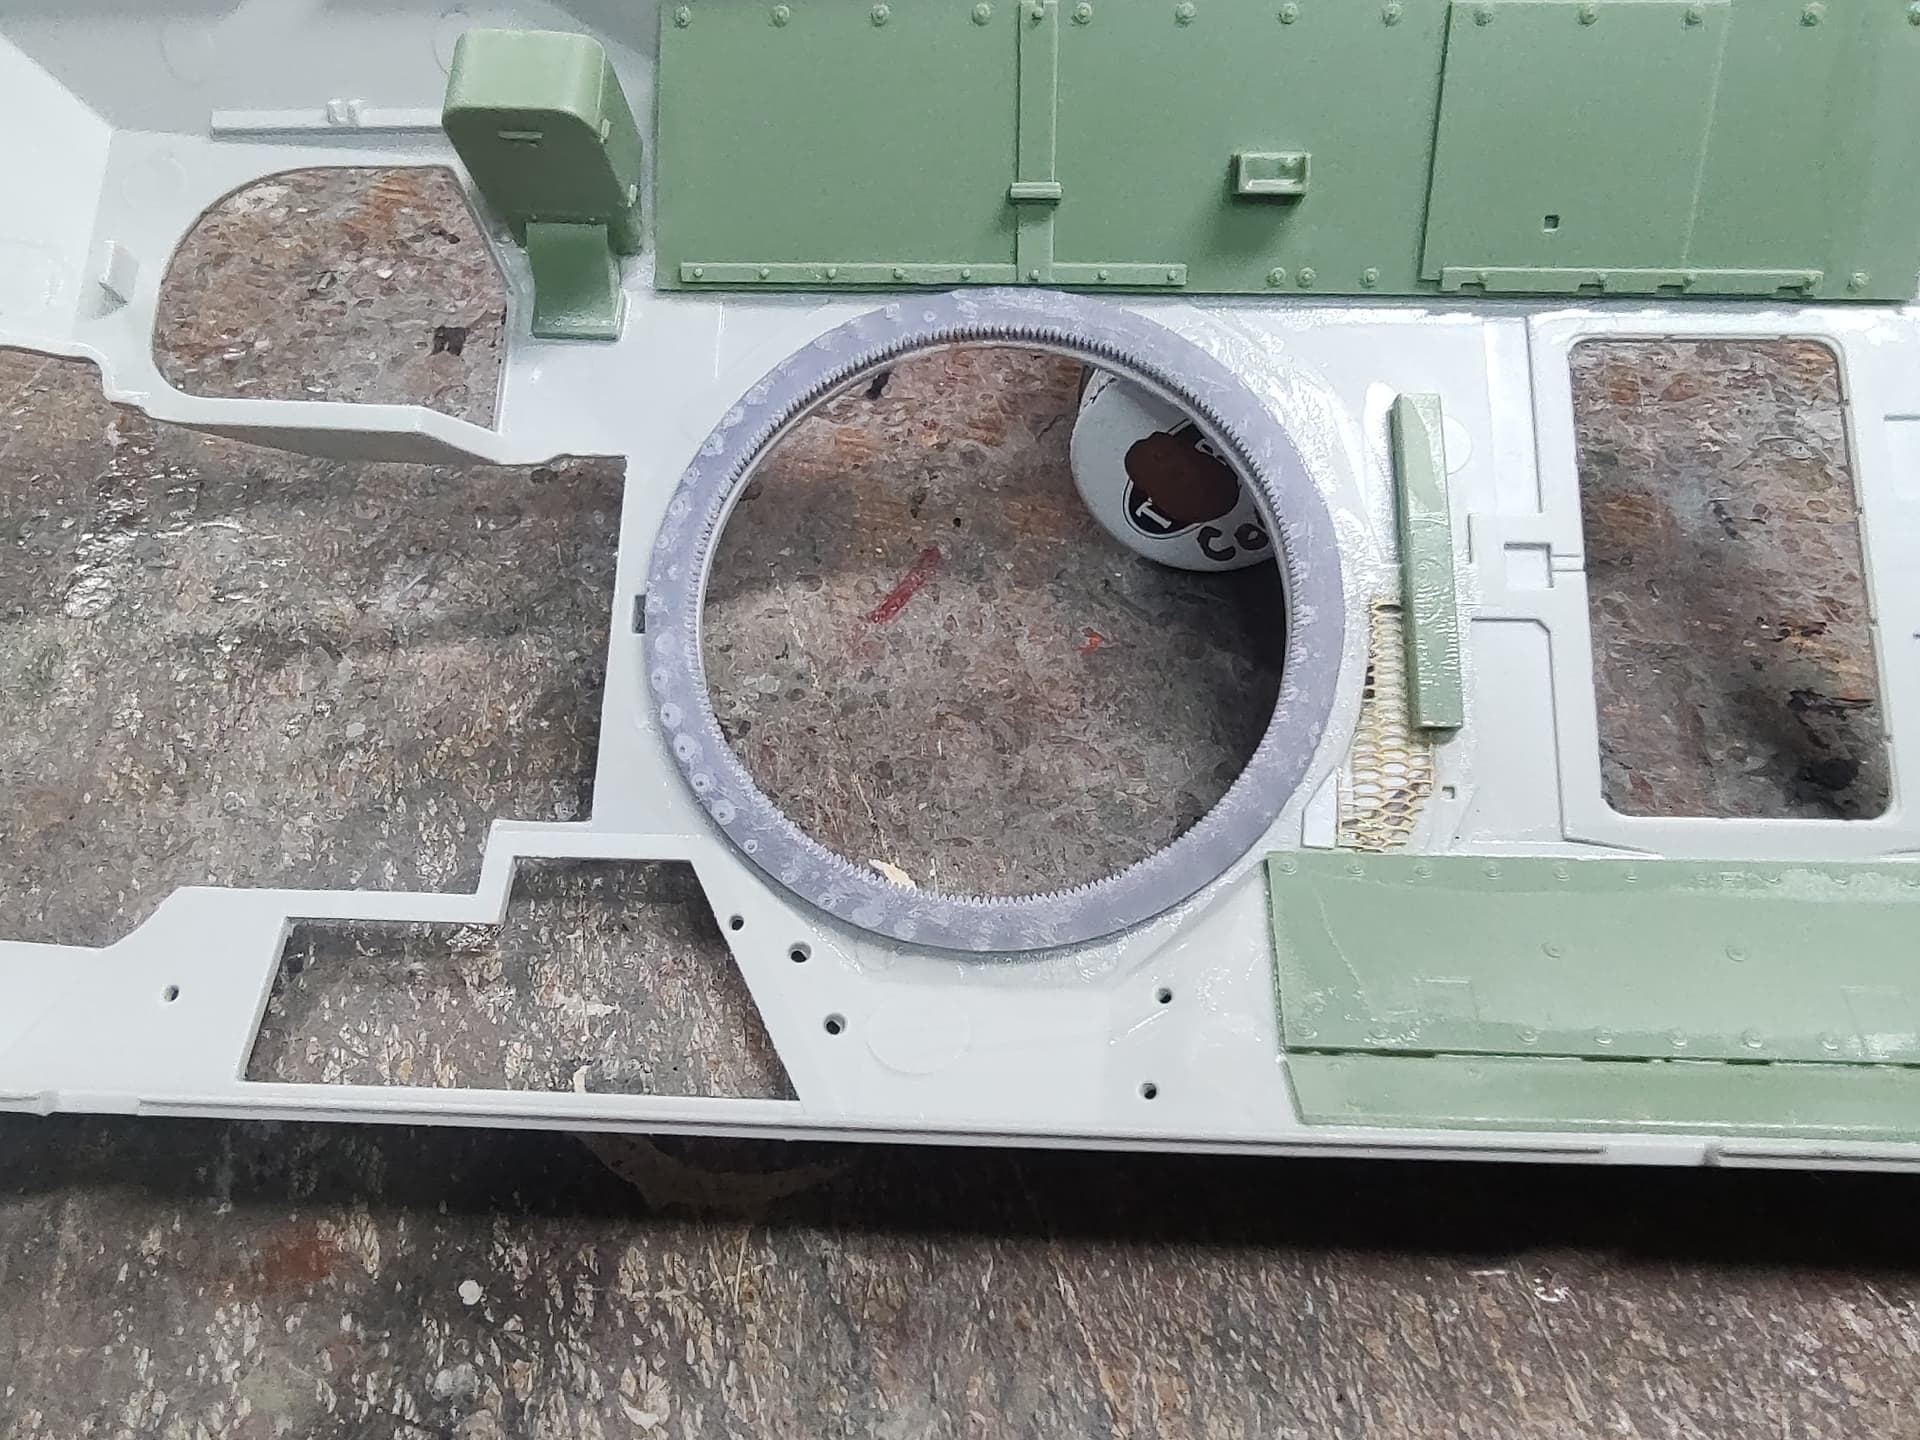
Lastly, I have printed a stand for the turret. It was supposed to be used w/a Tiger tank, so I sized it down for the Brad turret and changed the wheels to more modern casters. I also added the toothed turret ring on top like I did in the hull. It looks good to me.