I never had a Gama Goat among my own vehicles but I saw them in other units and I don’t think anybody ever liked the things. They were maintenance nightmares and loud when they were running.
It seems that in the ‘60’s and ‘70’s the army bought some real bad vehicles…
Speaking of “The Good Idea Fairy” we used to have a saying: The most dangerous thing in the Army is a Second Lieutenant with a map. The SECOND most dangerous thing is a Major who says, “You know, I’ve been thinking…”
1 Like
We used to say the most dangerous thing in the Army was an enlisted man who says, “Hey Sarge watch this!”
1 Like
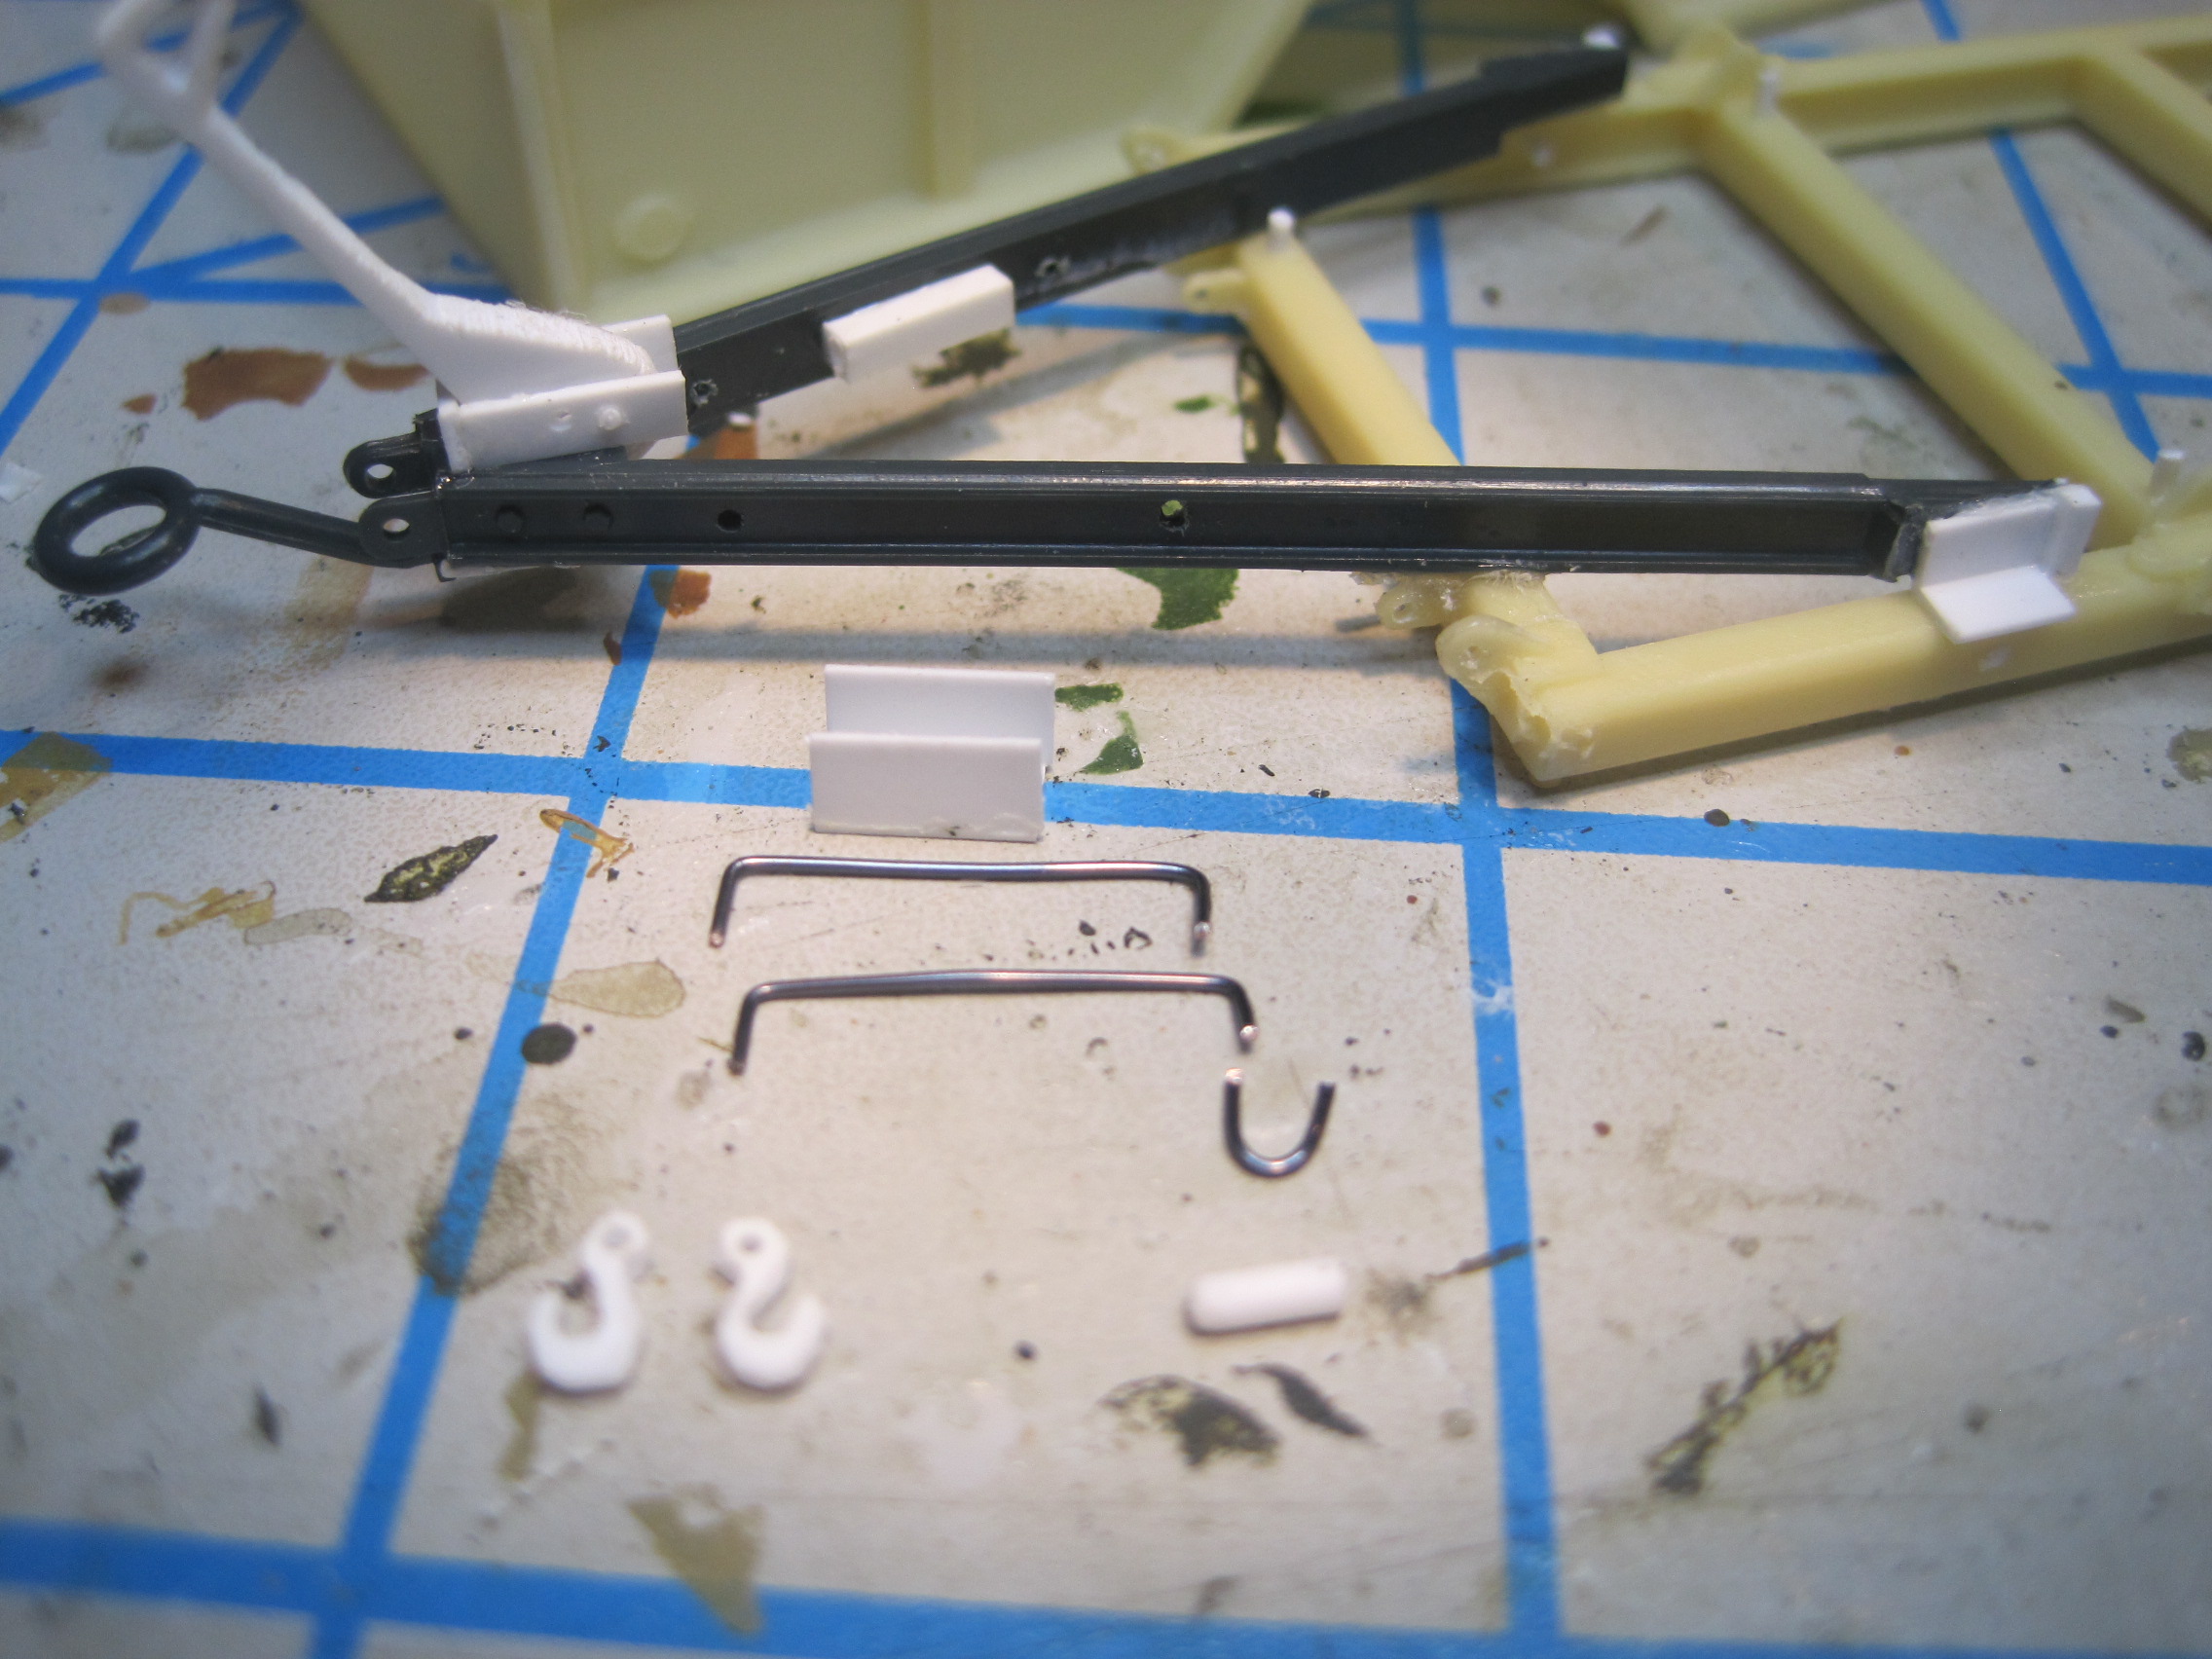
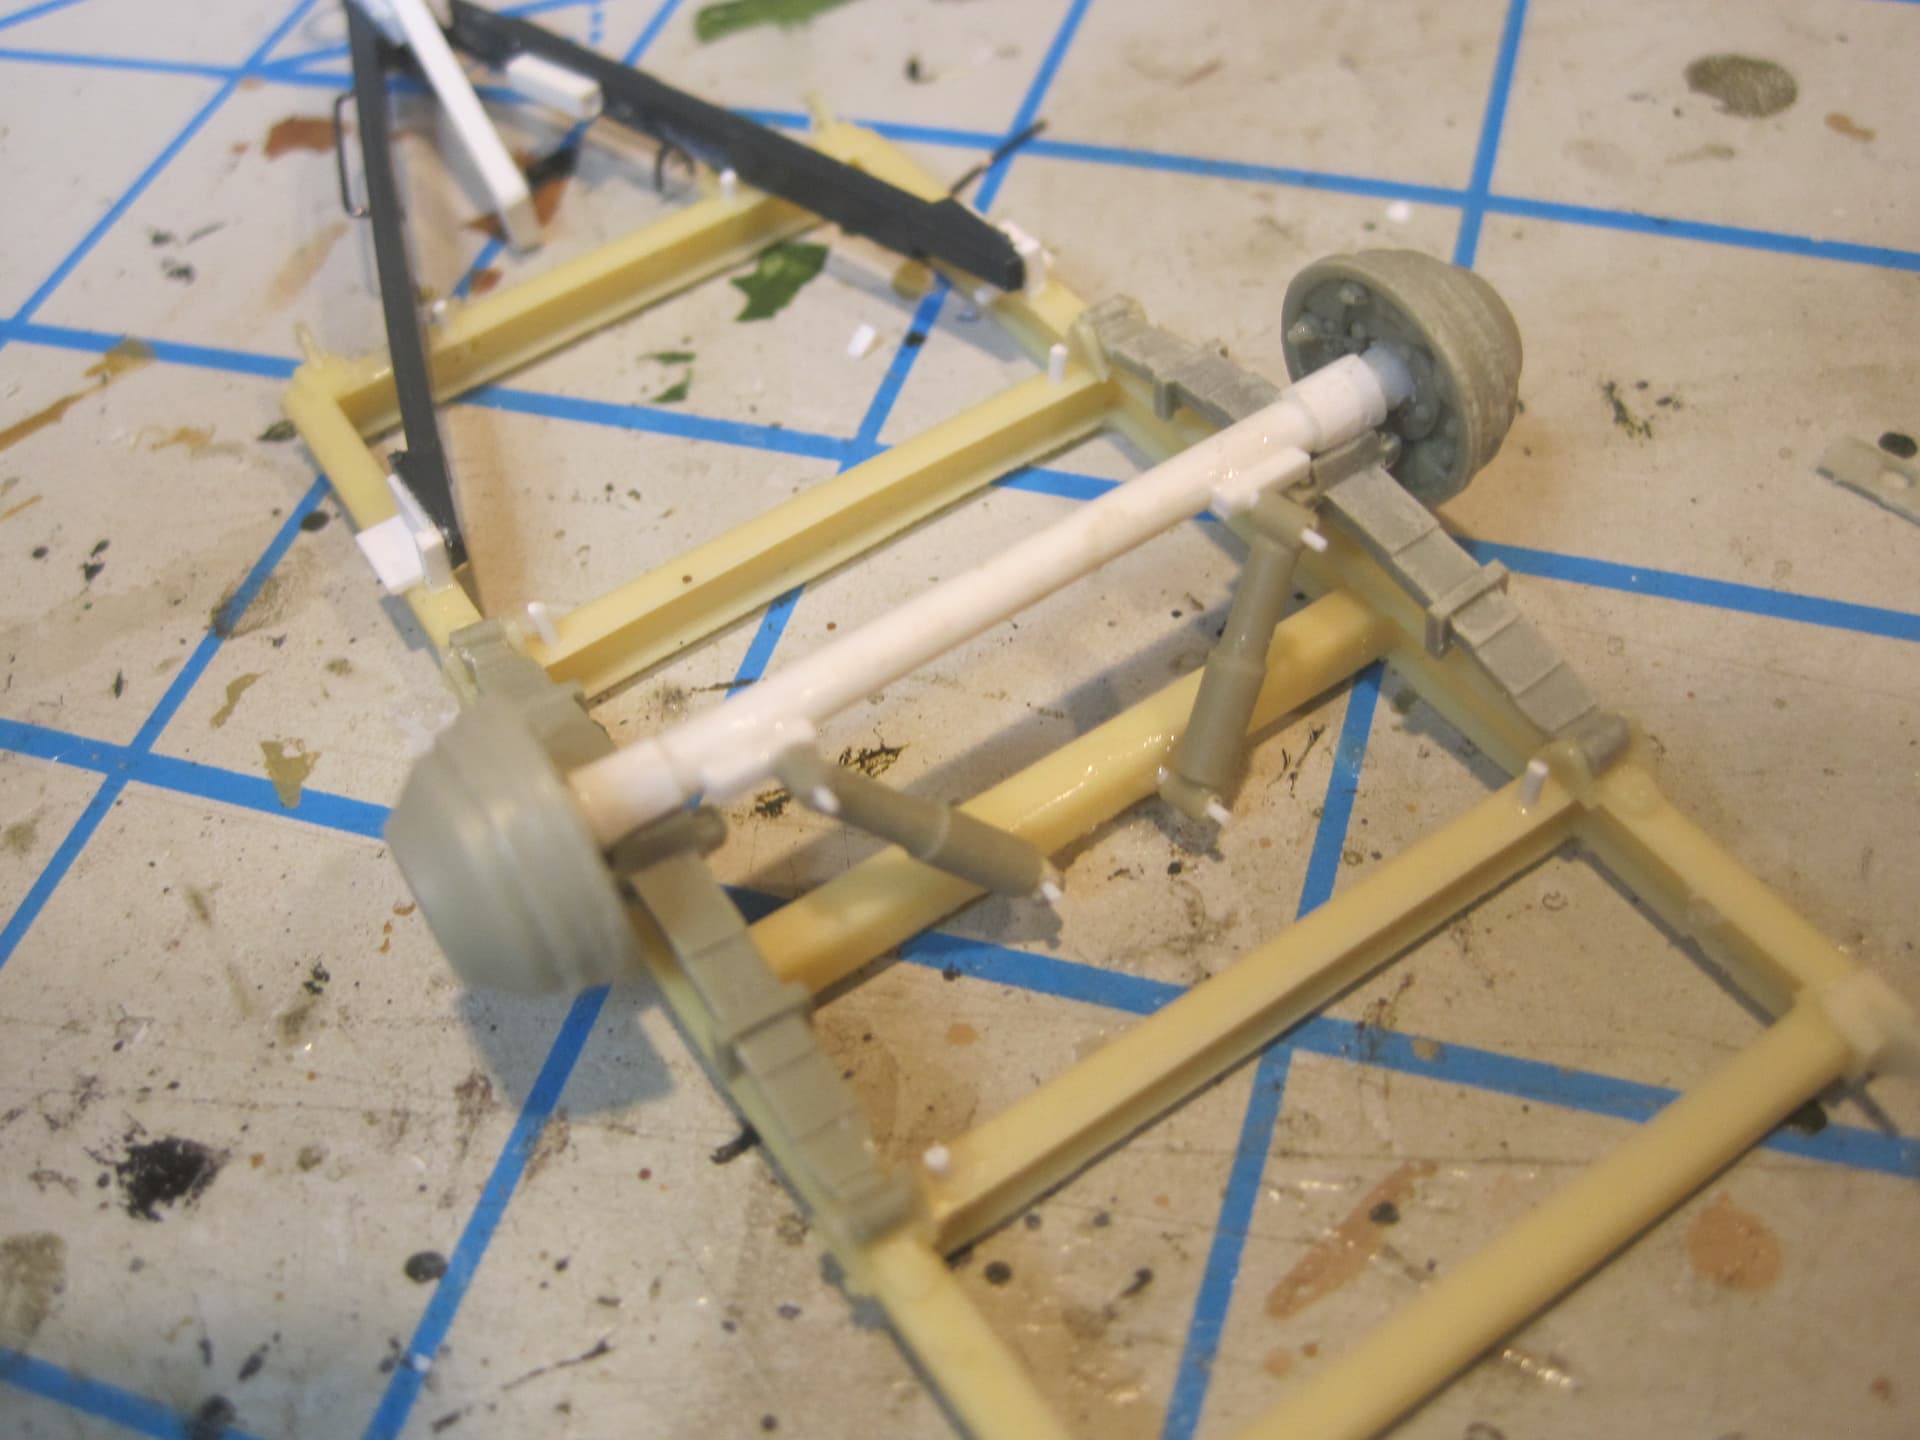
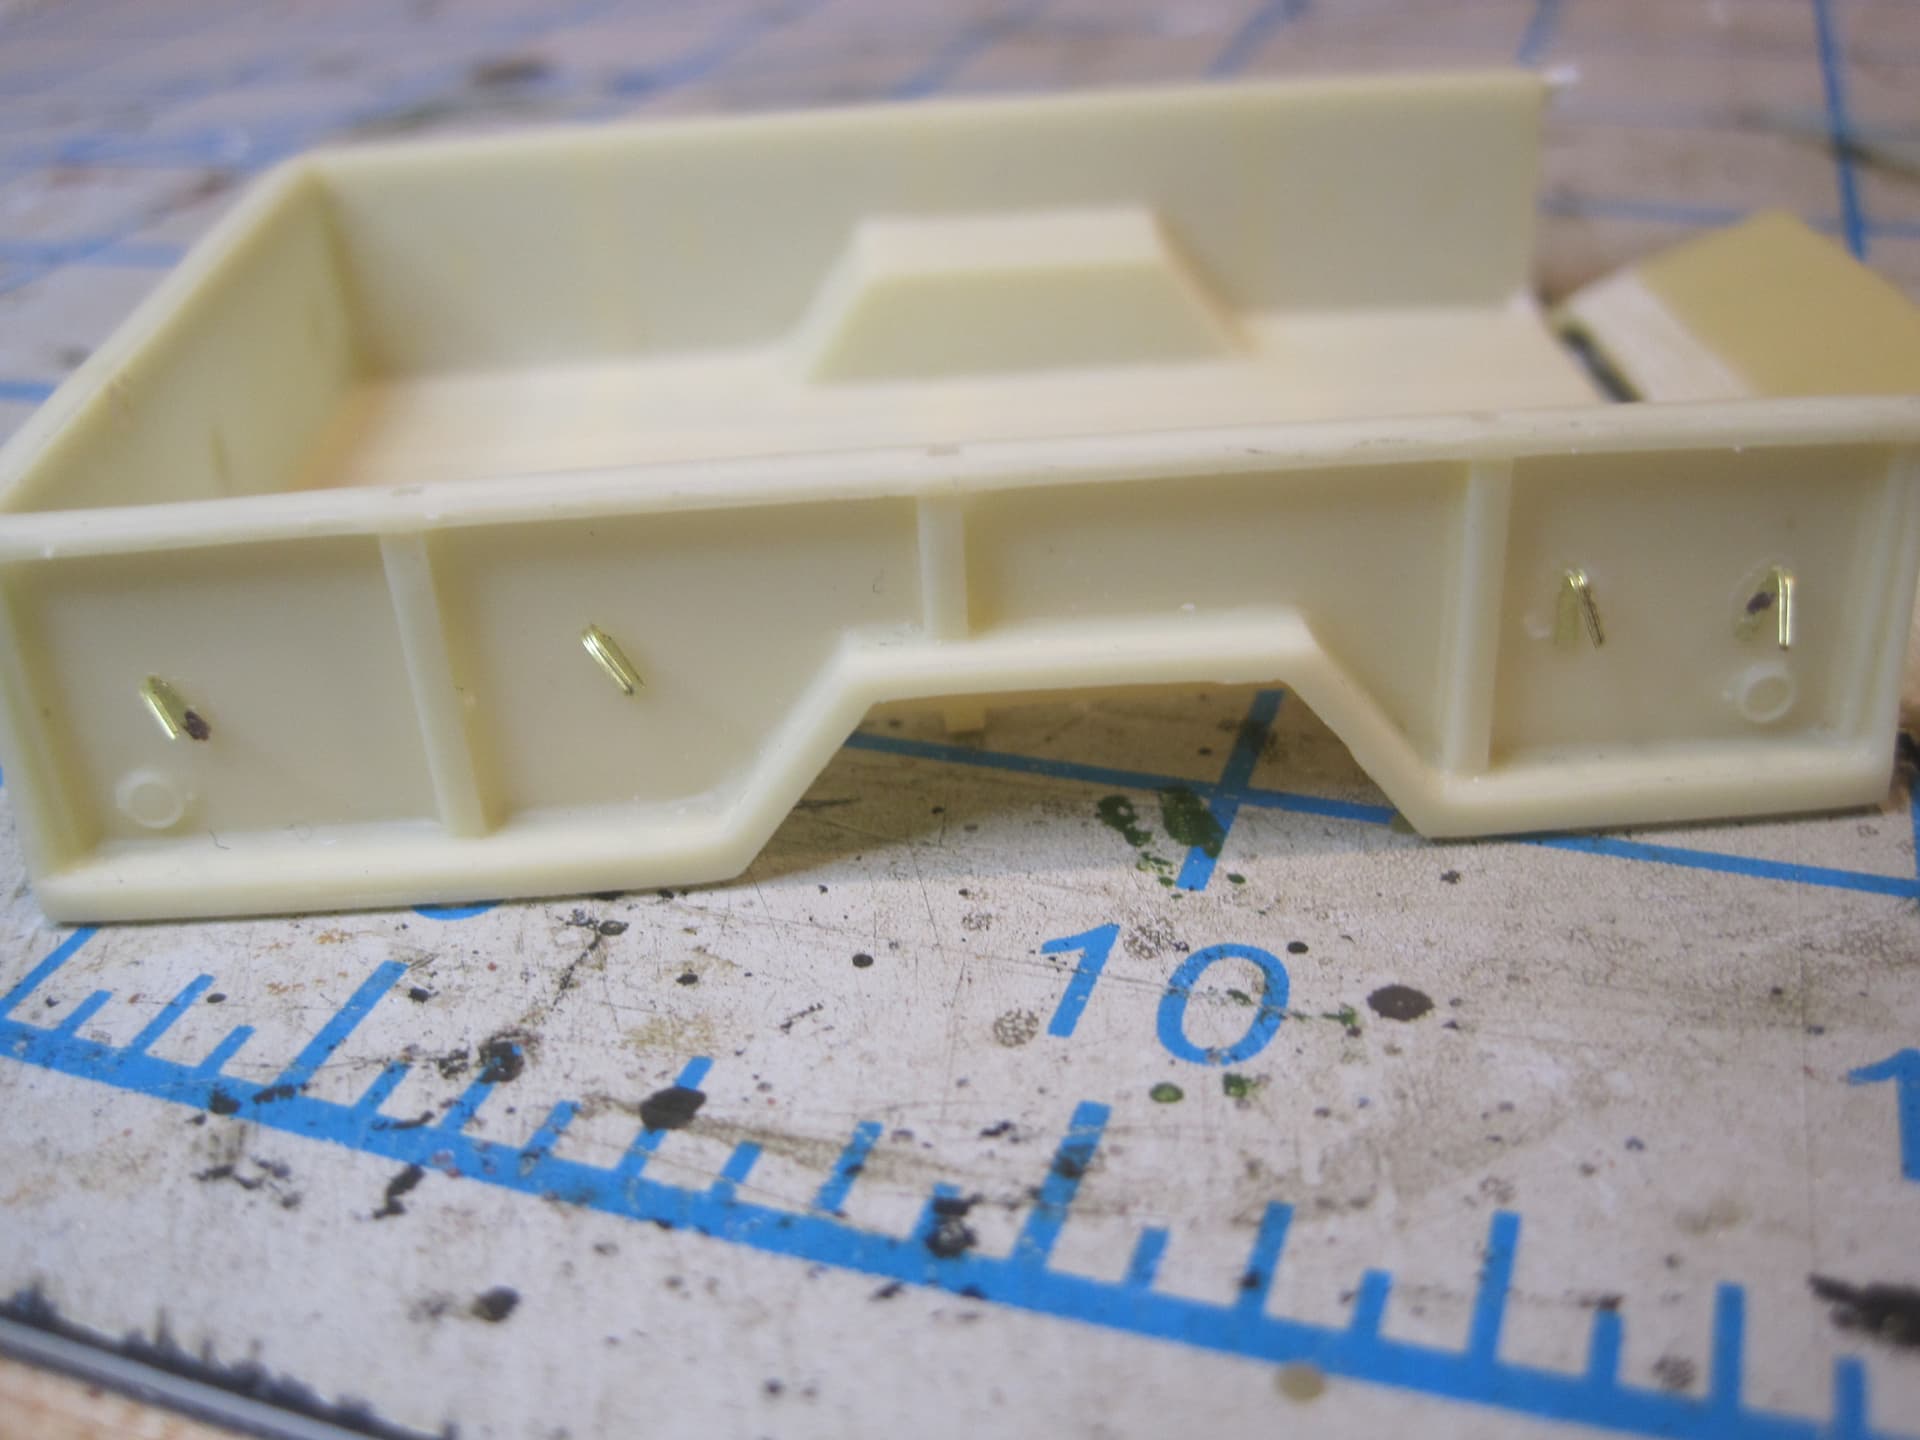
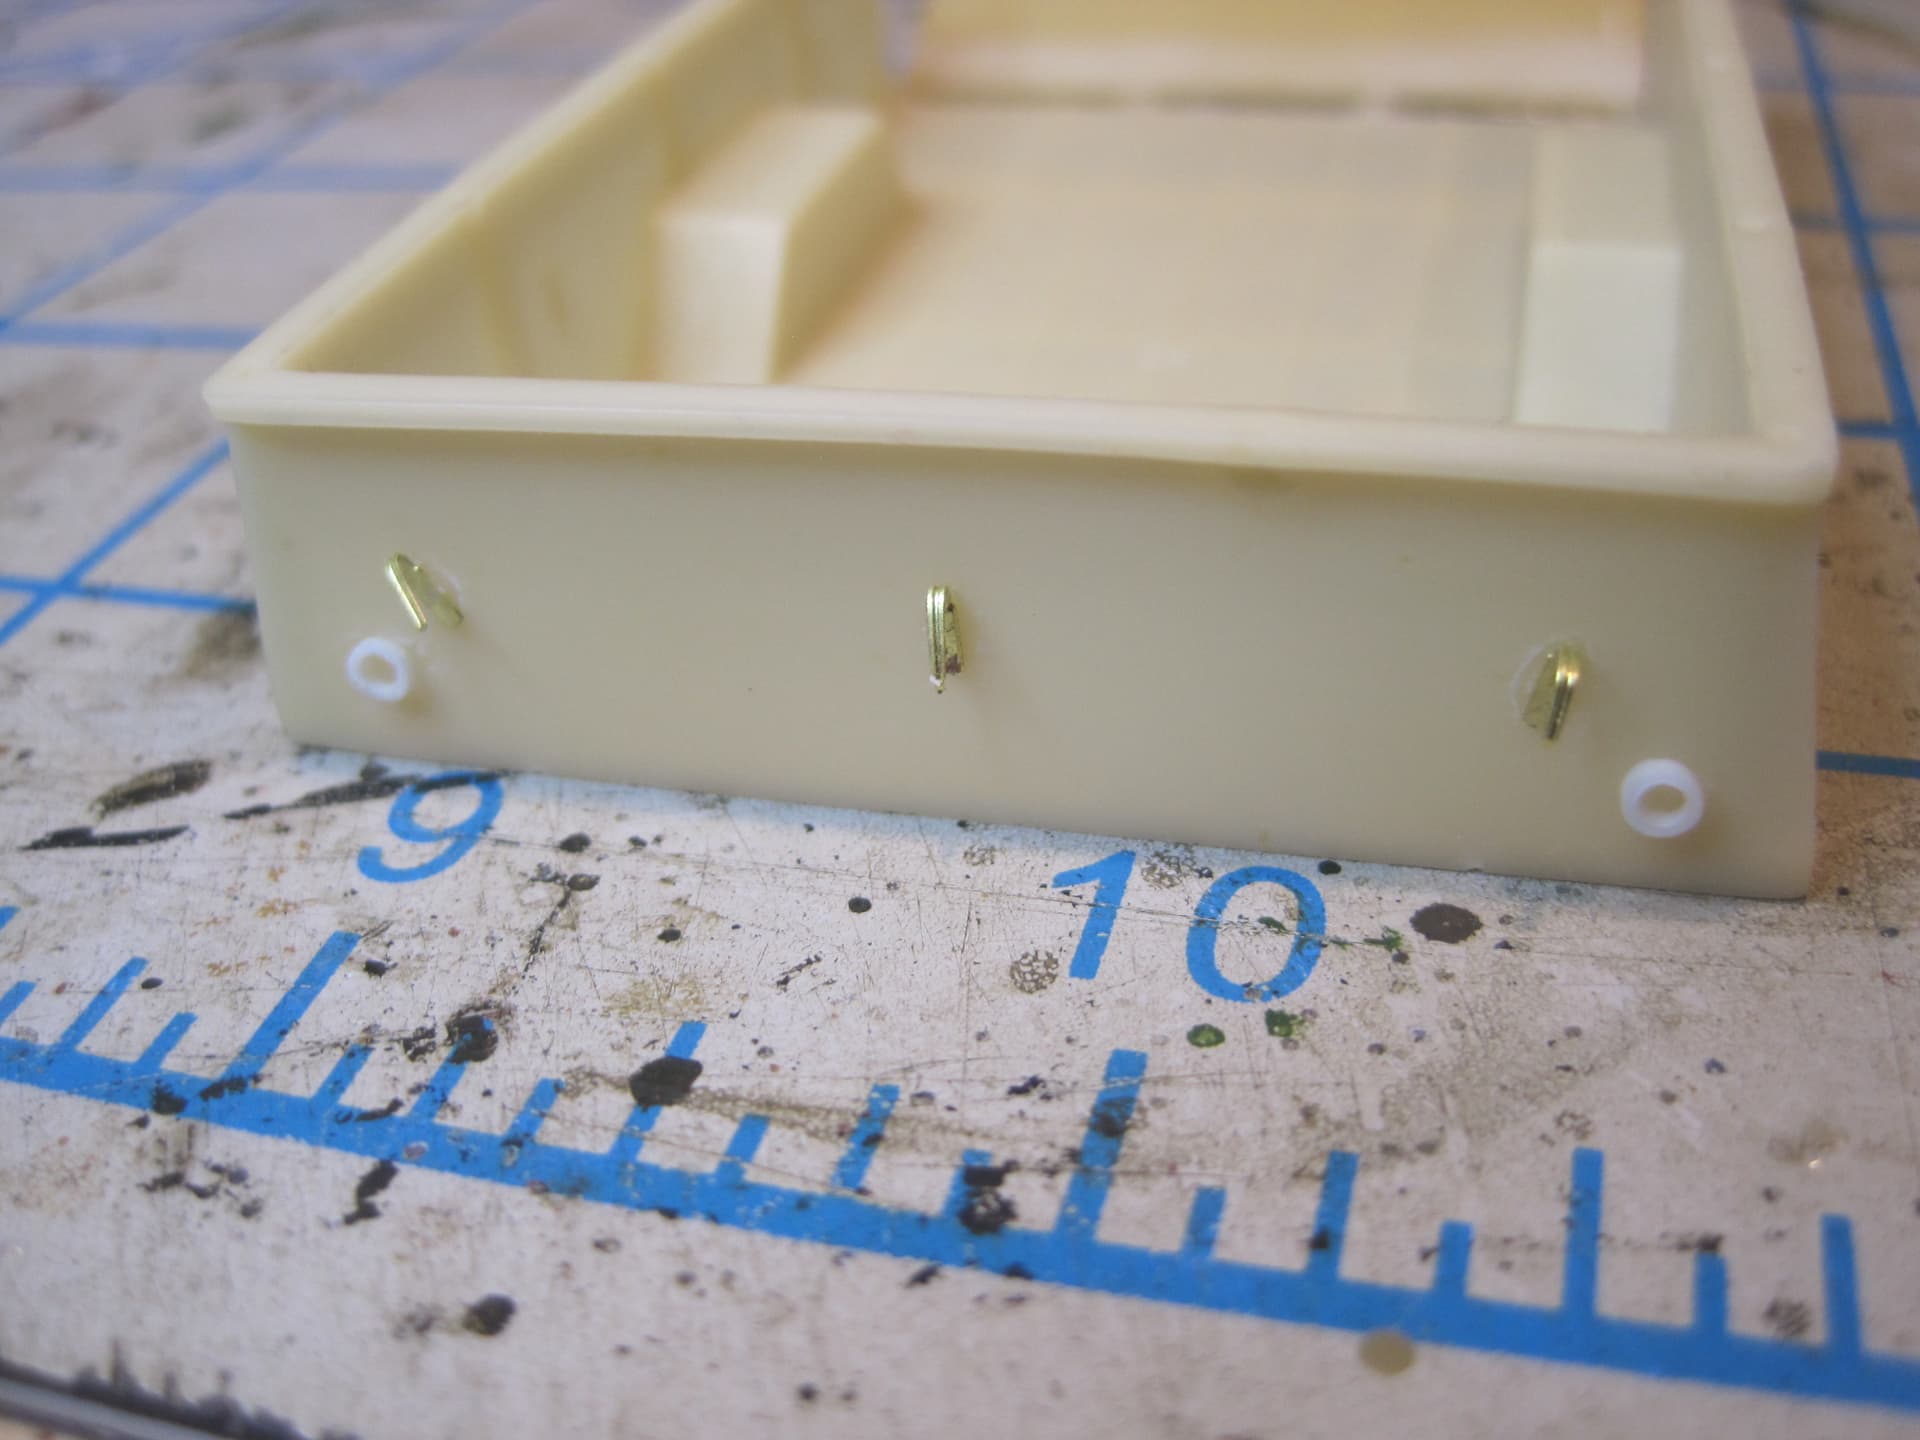
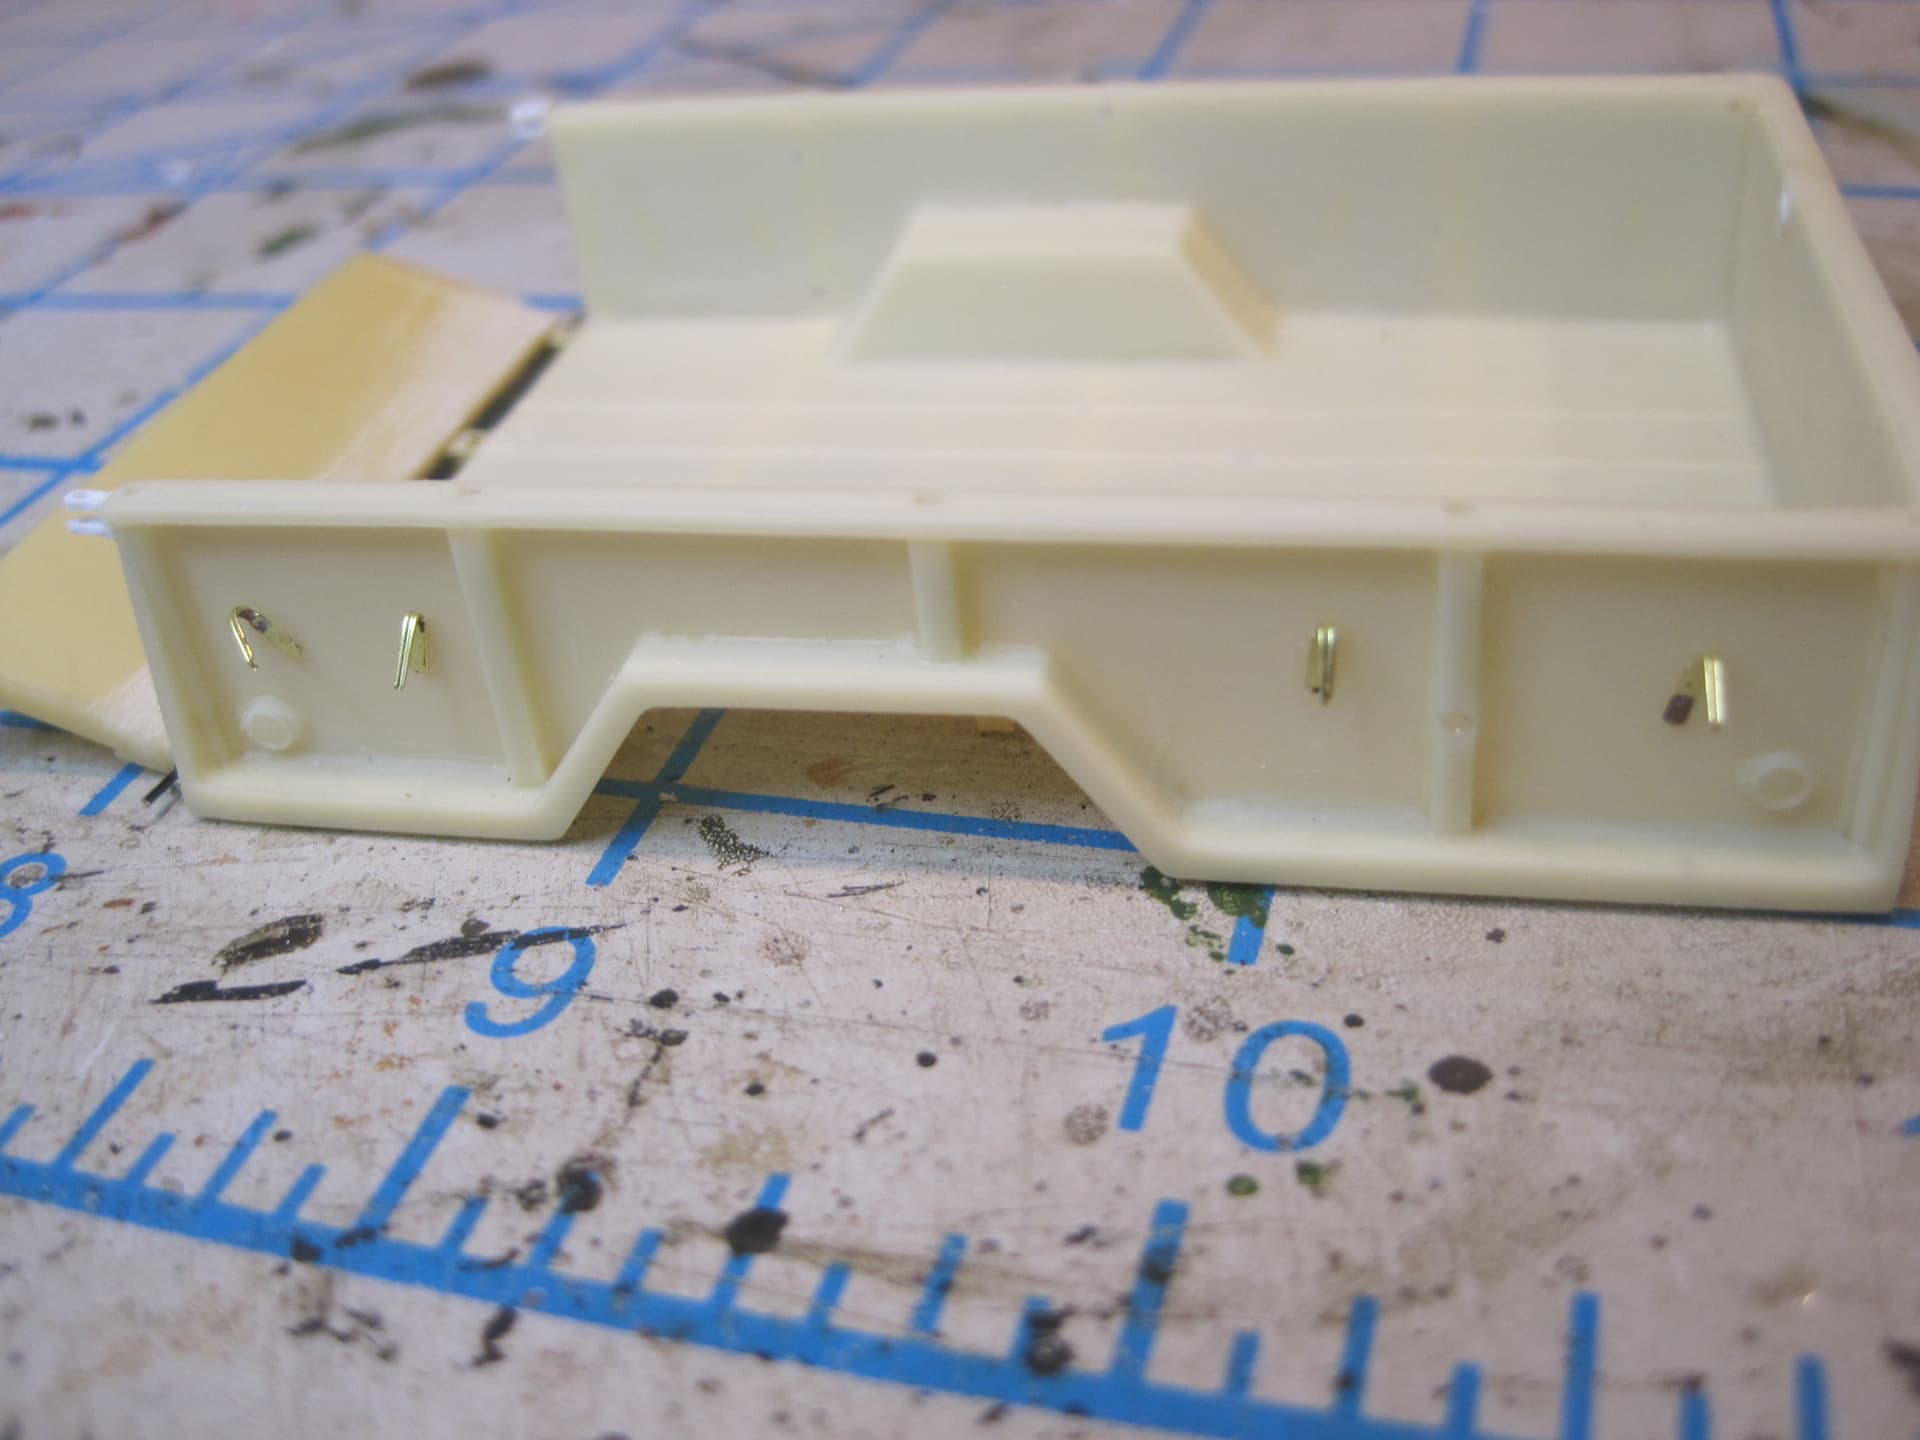
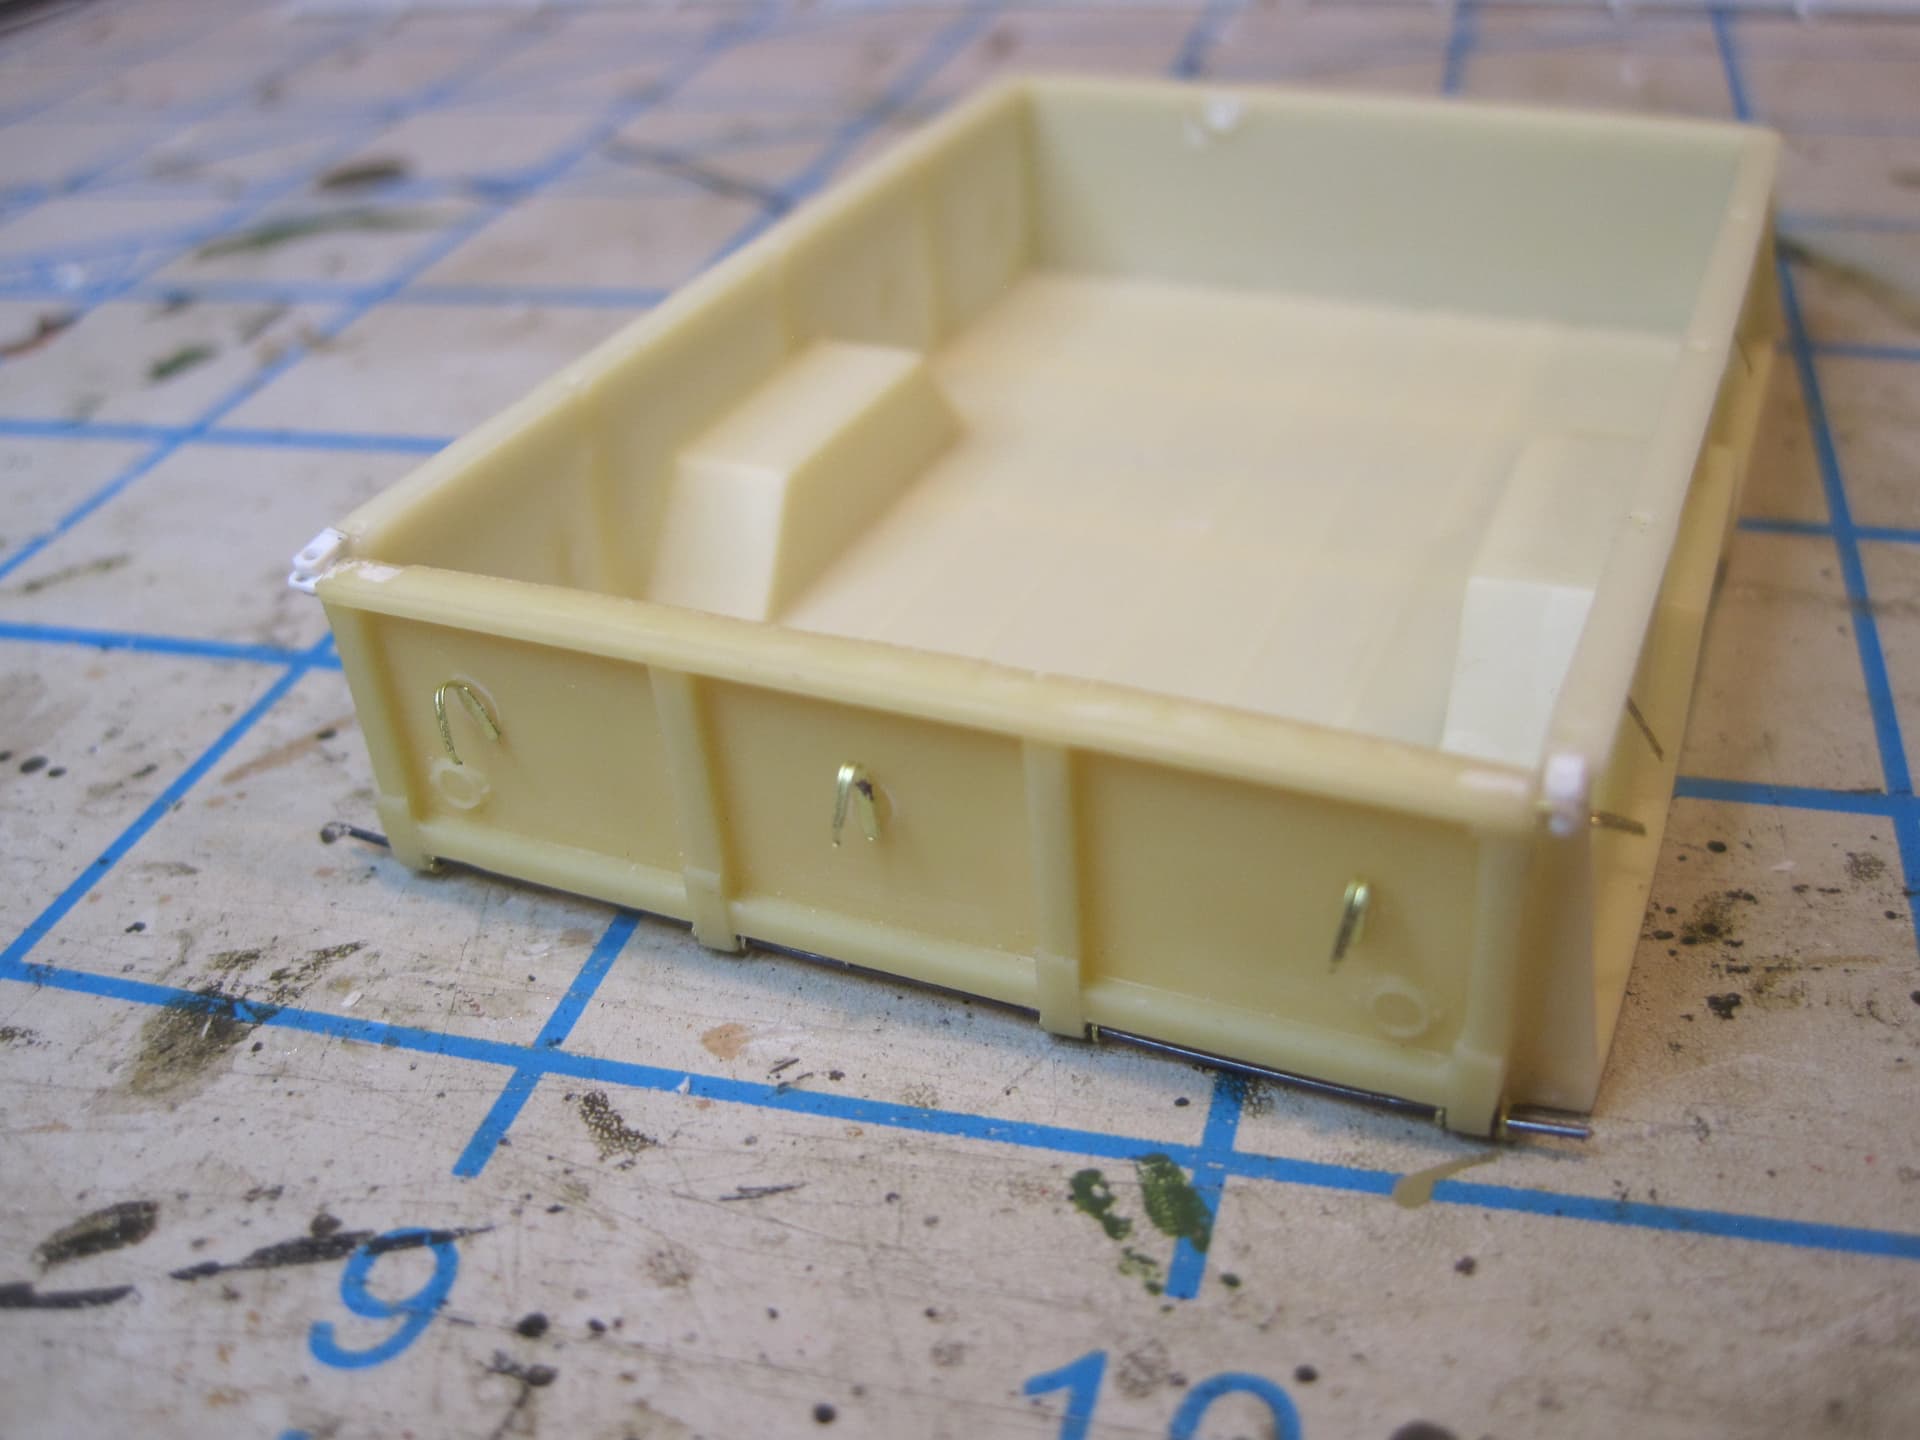
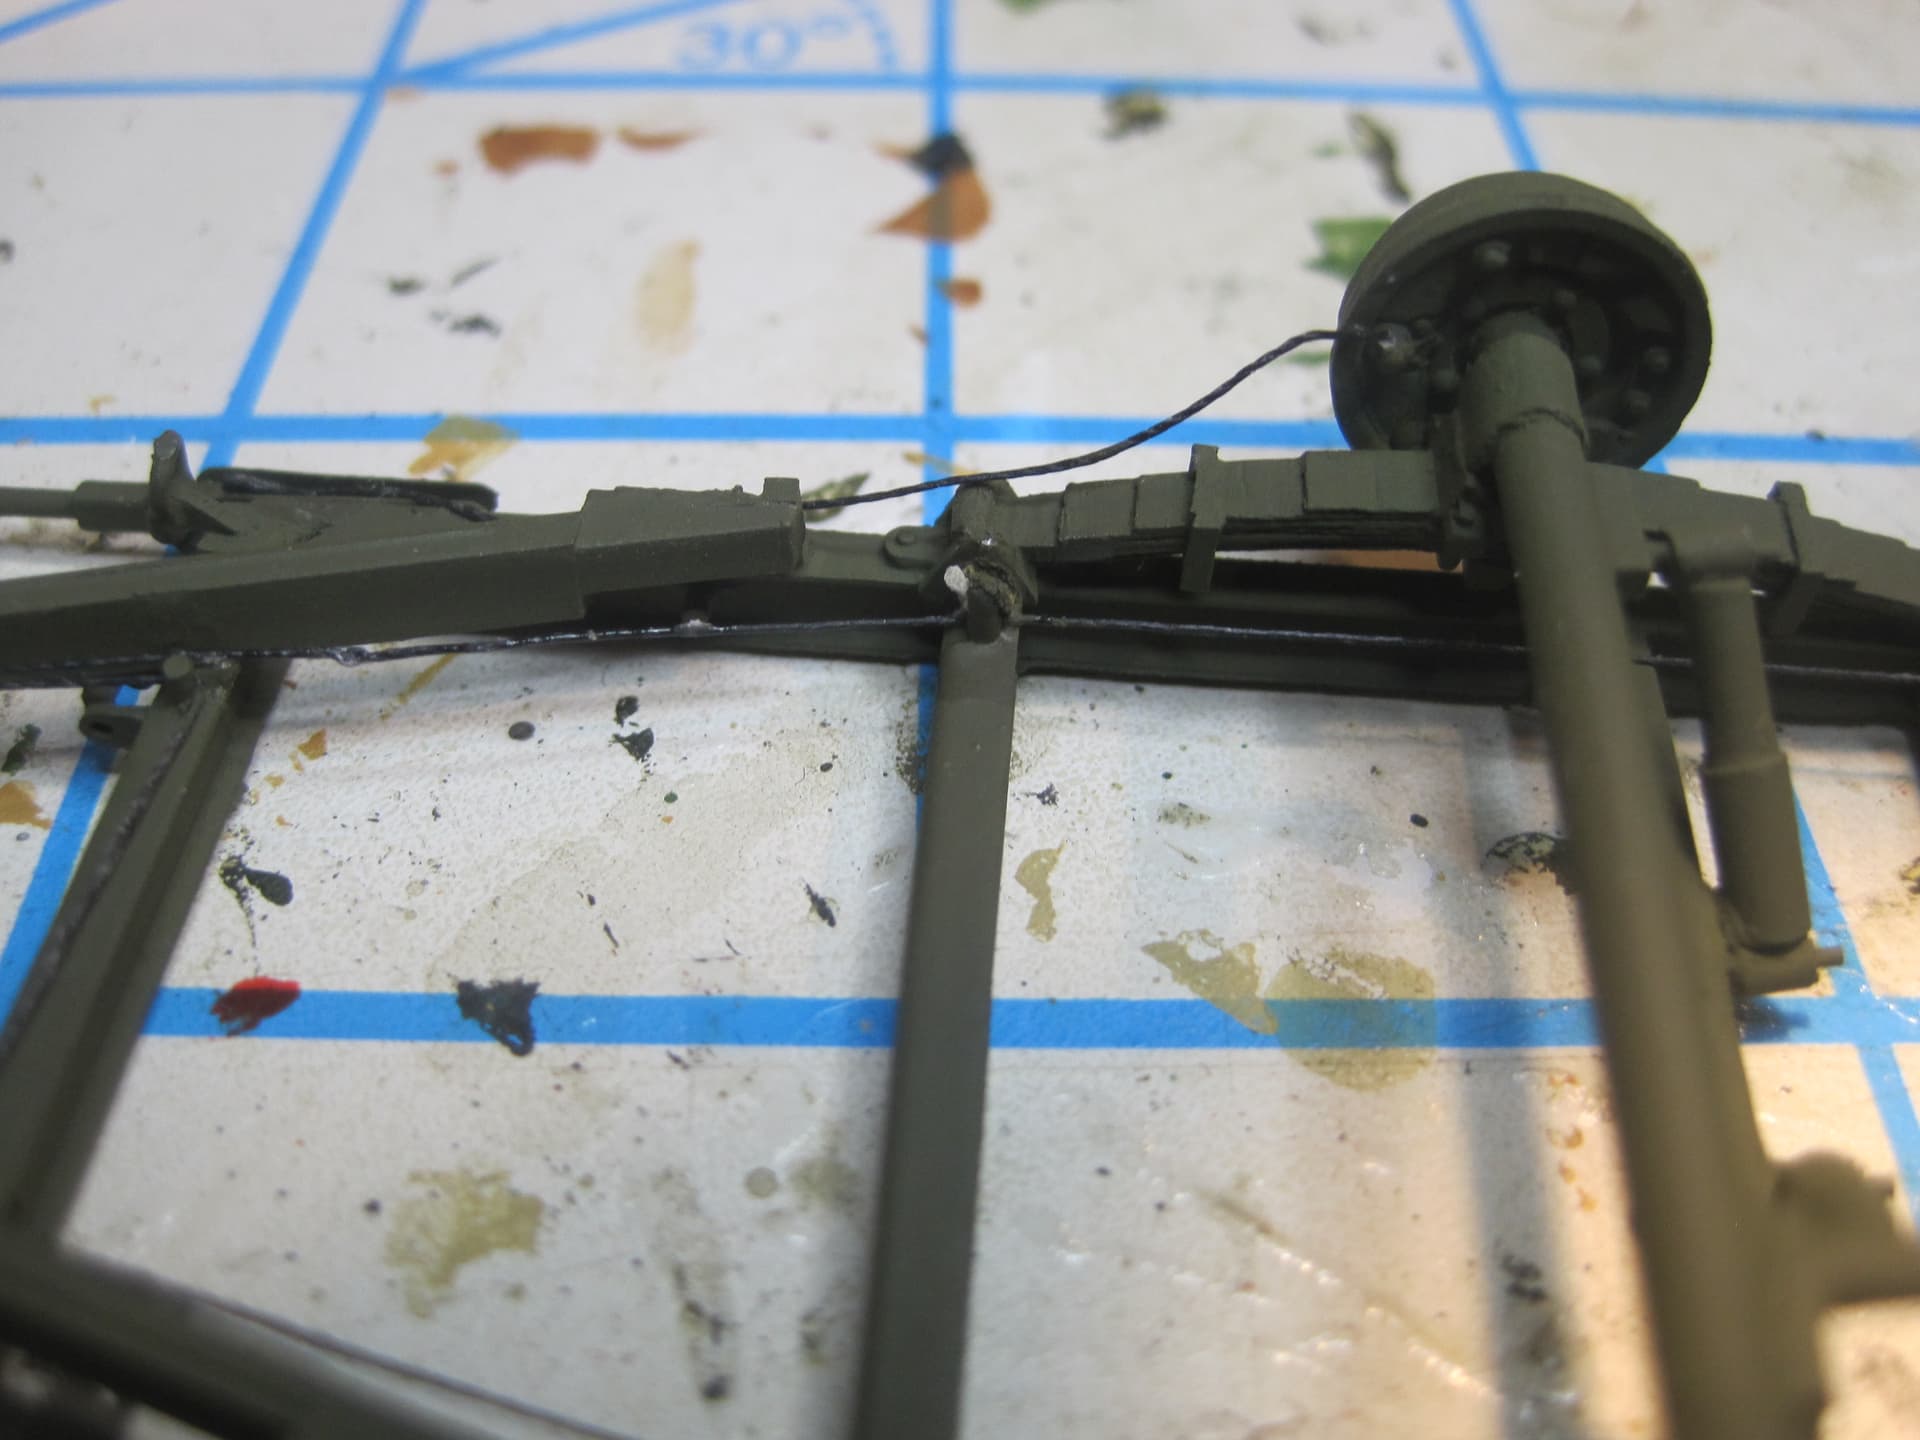
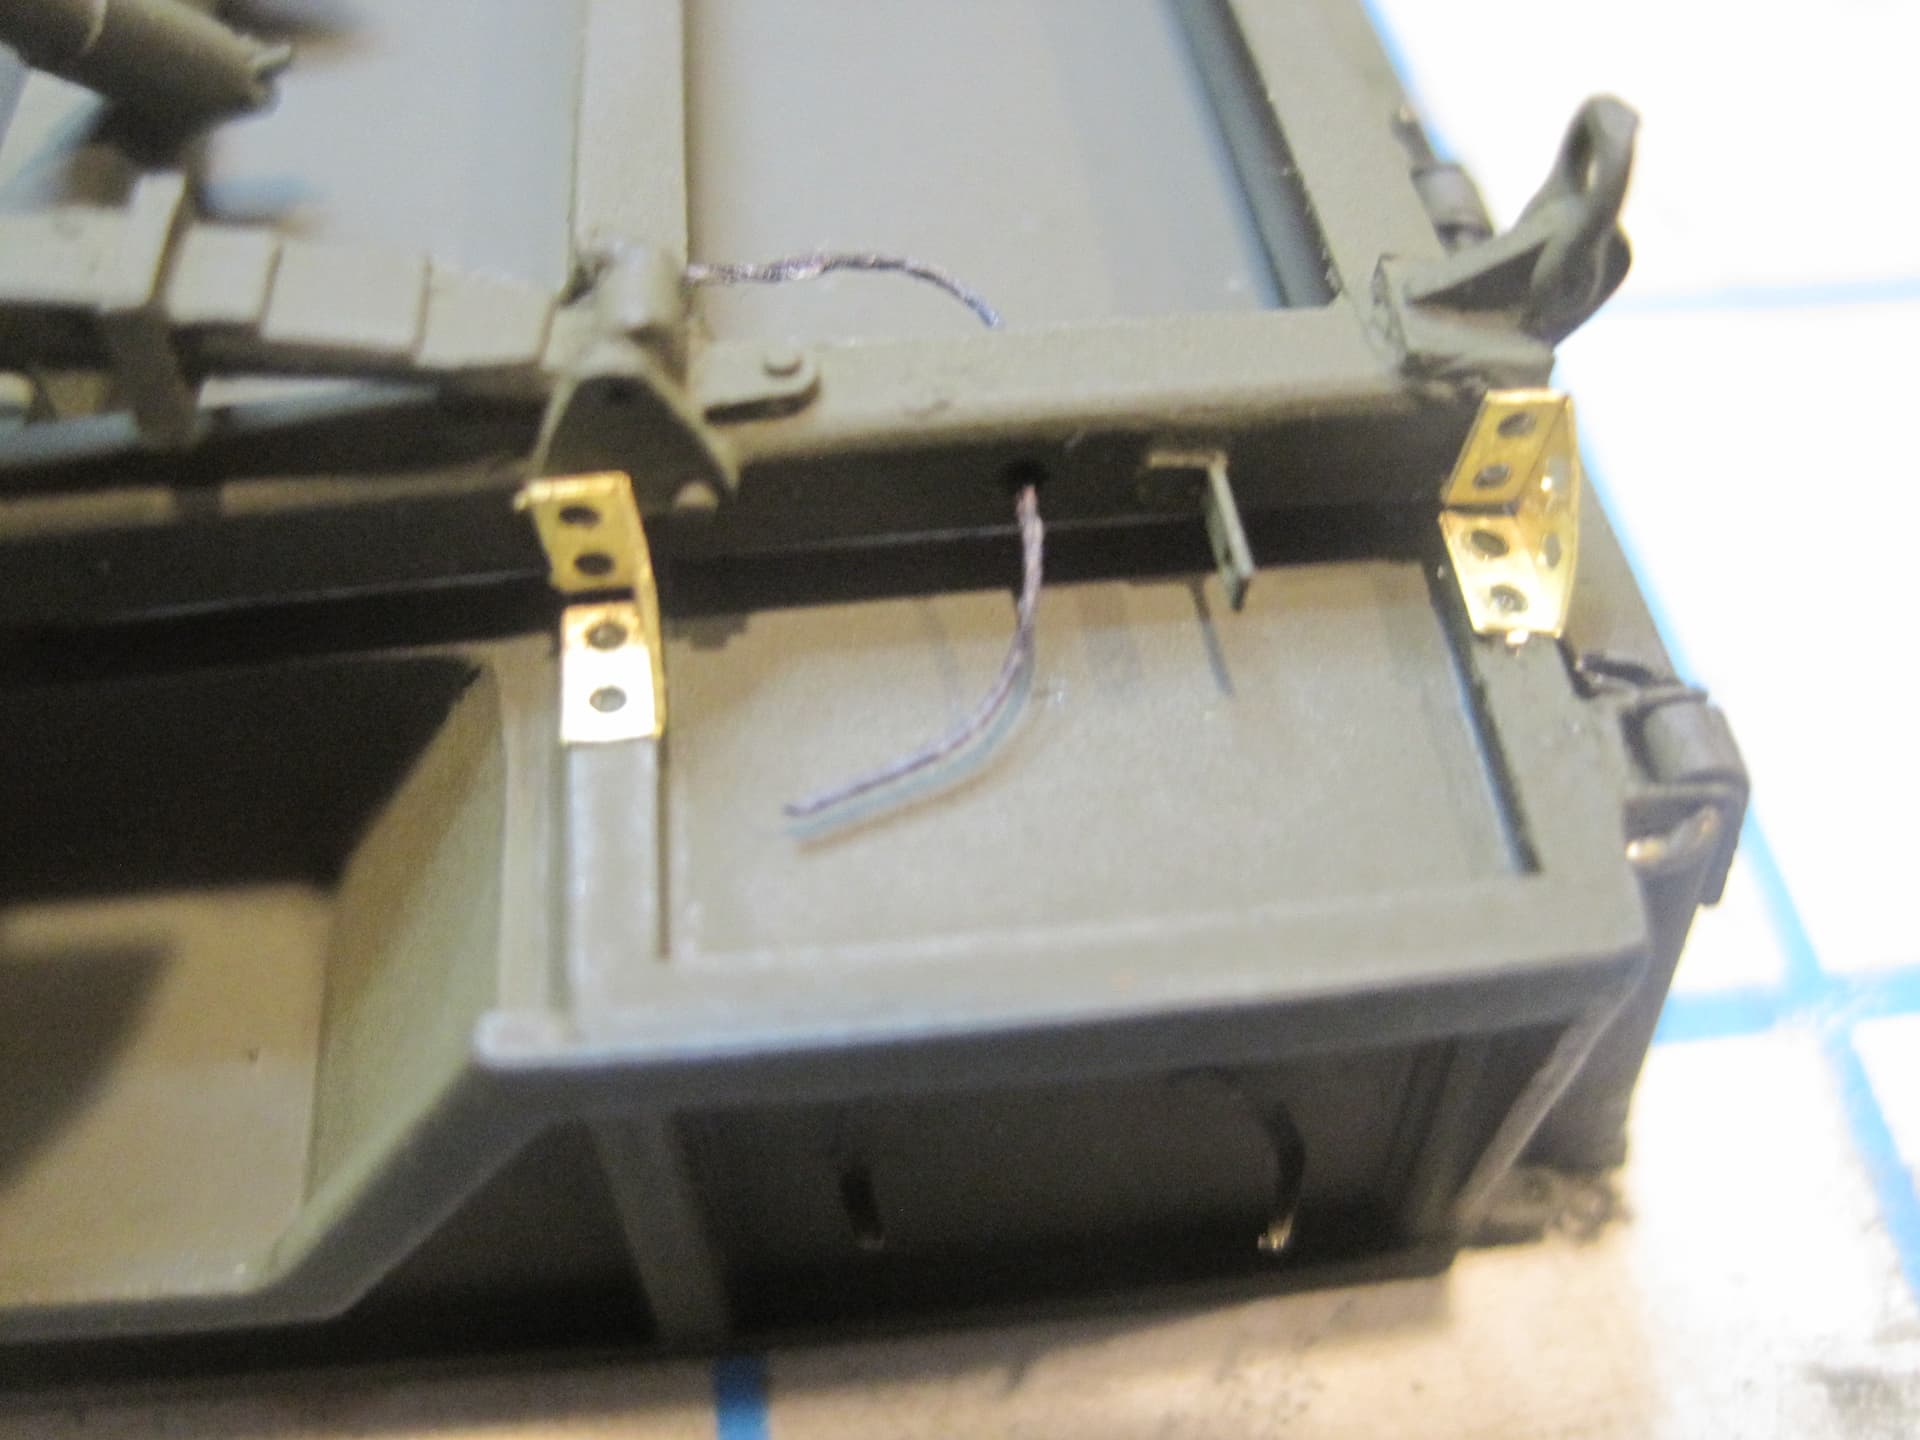
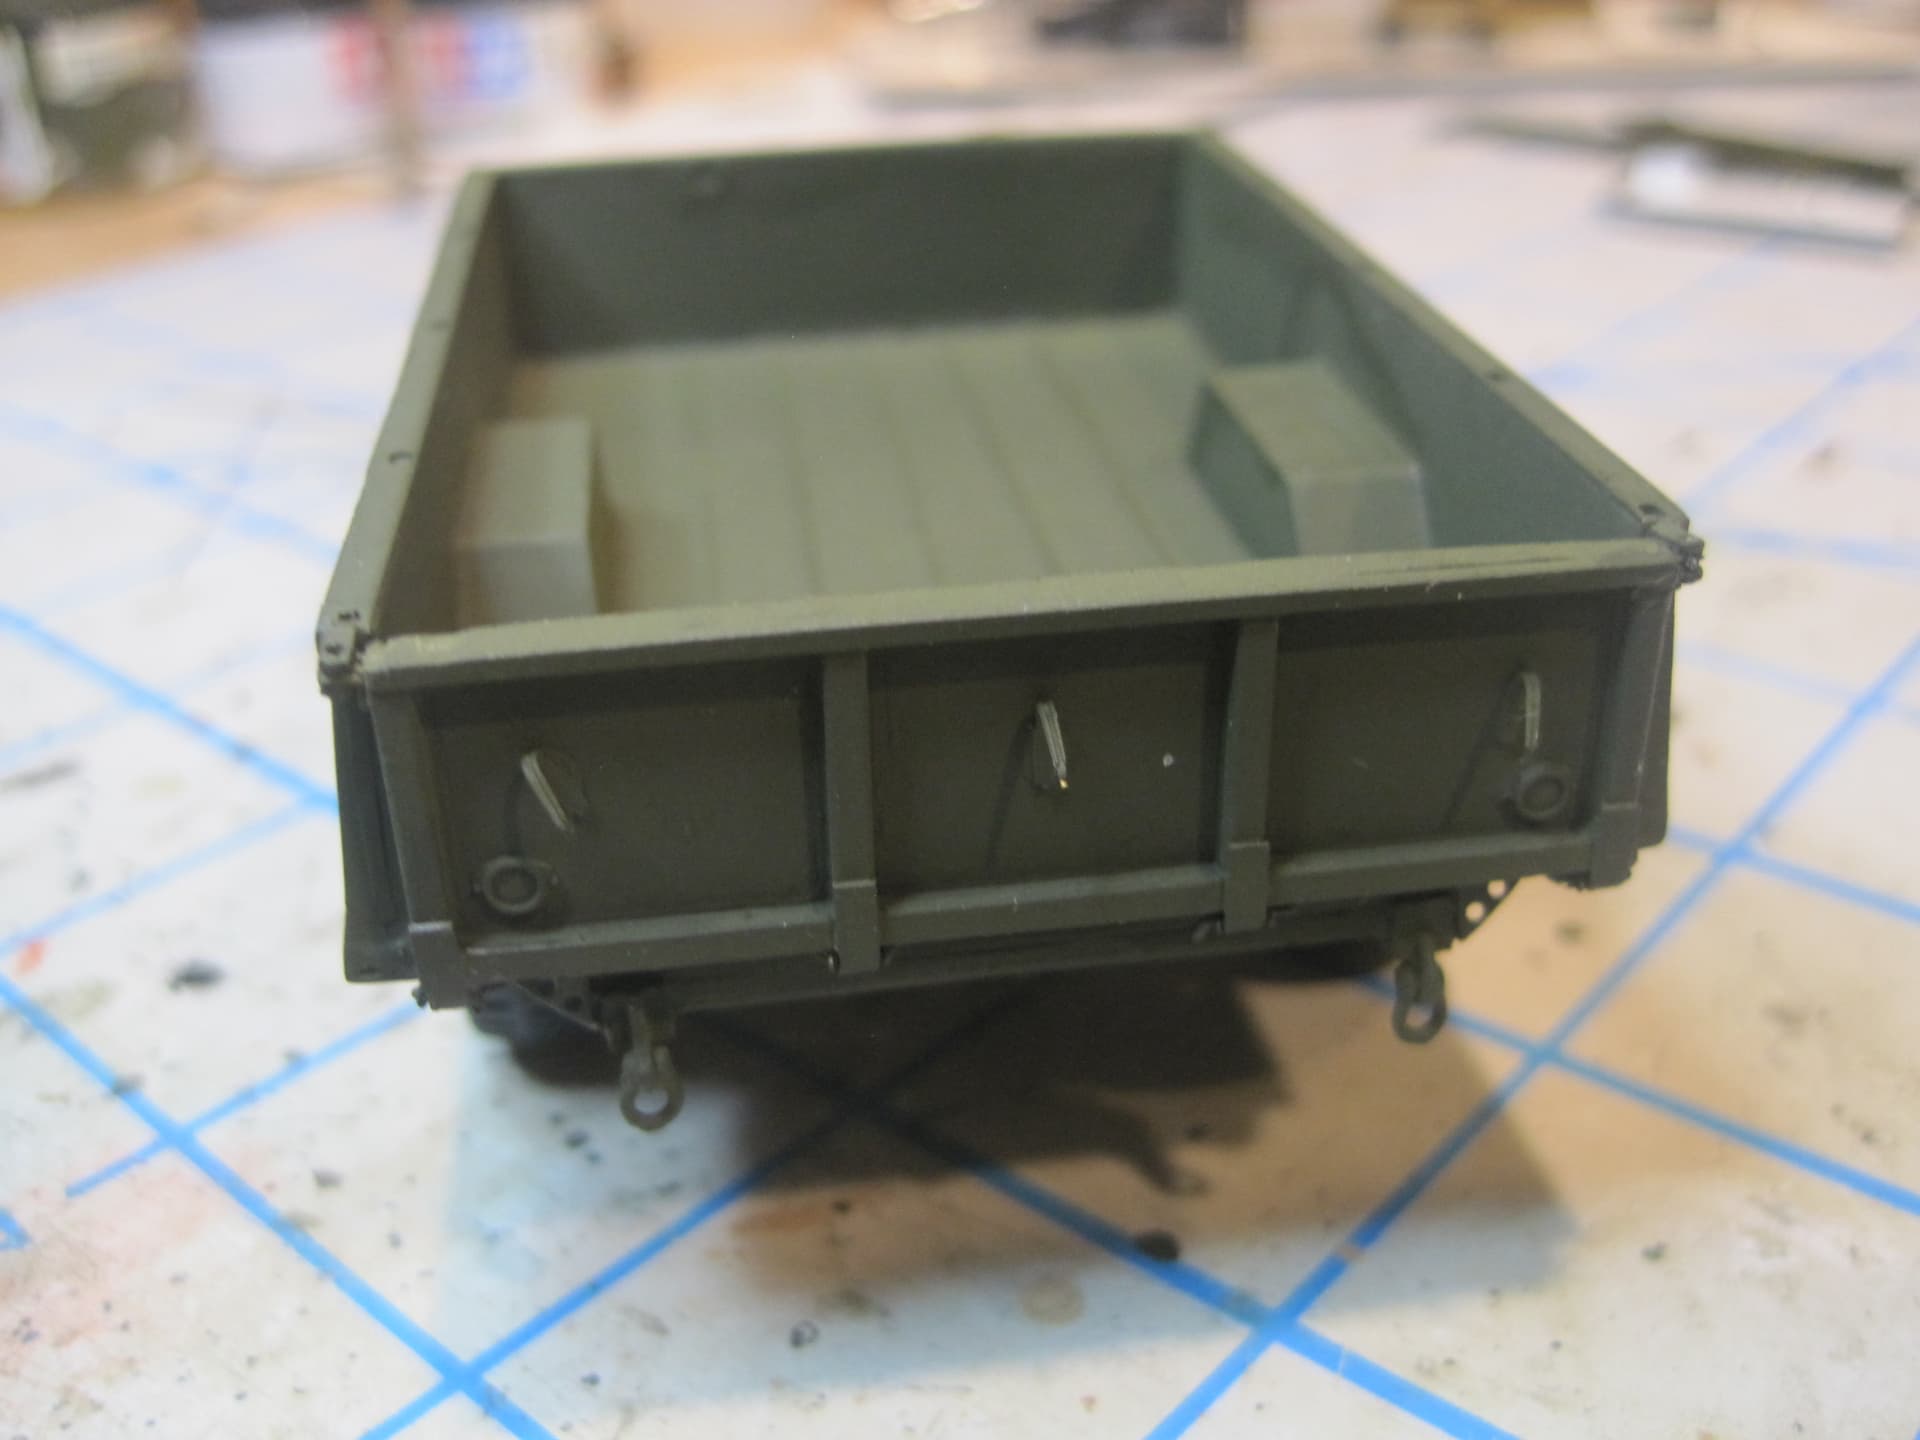
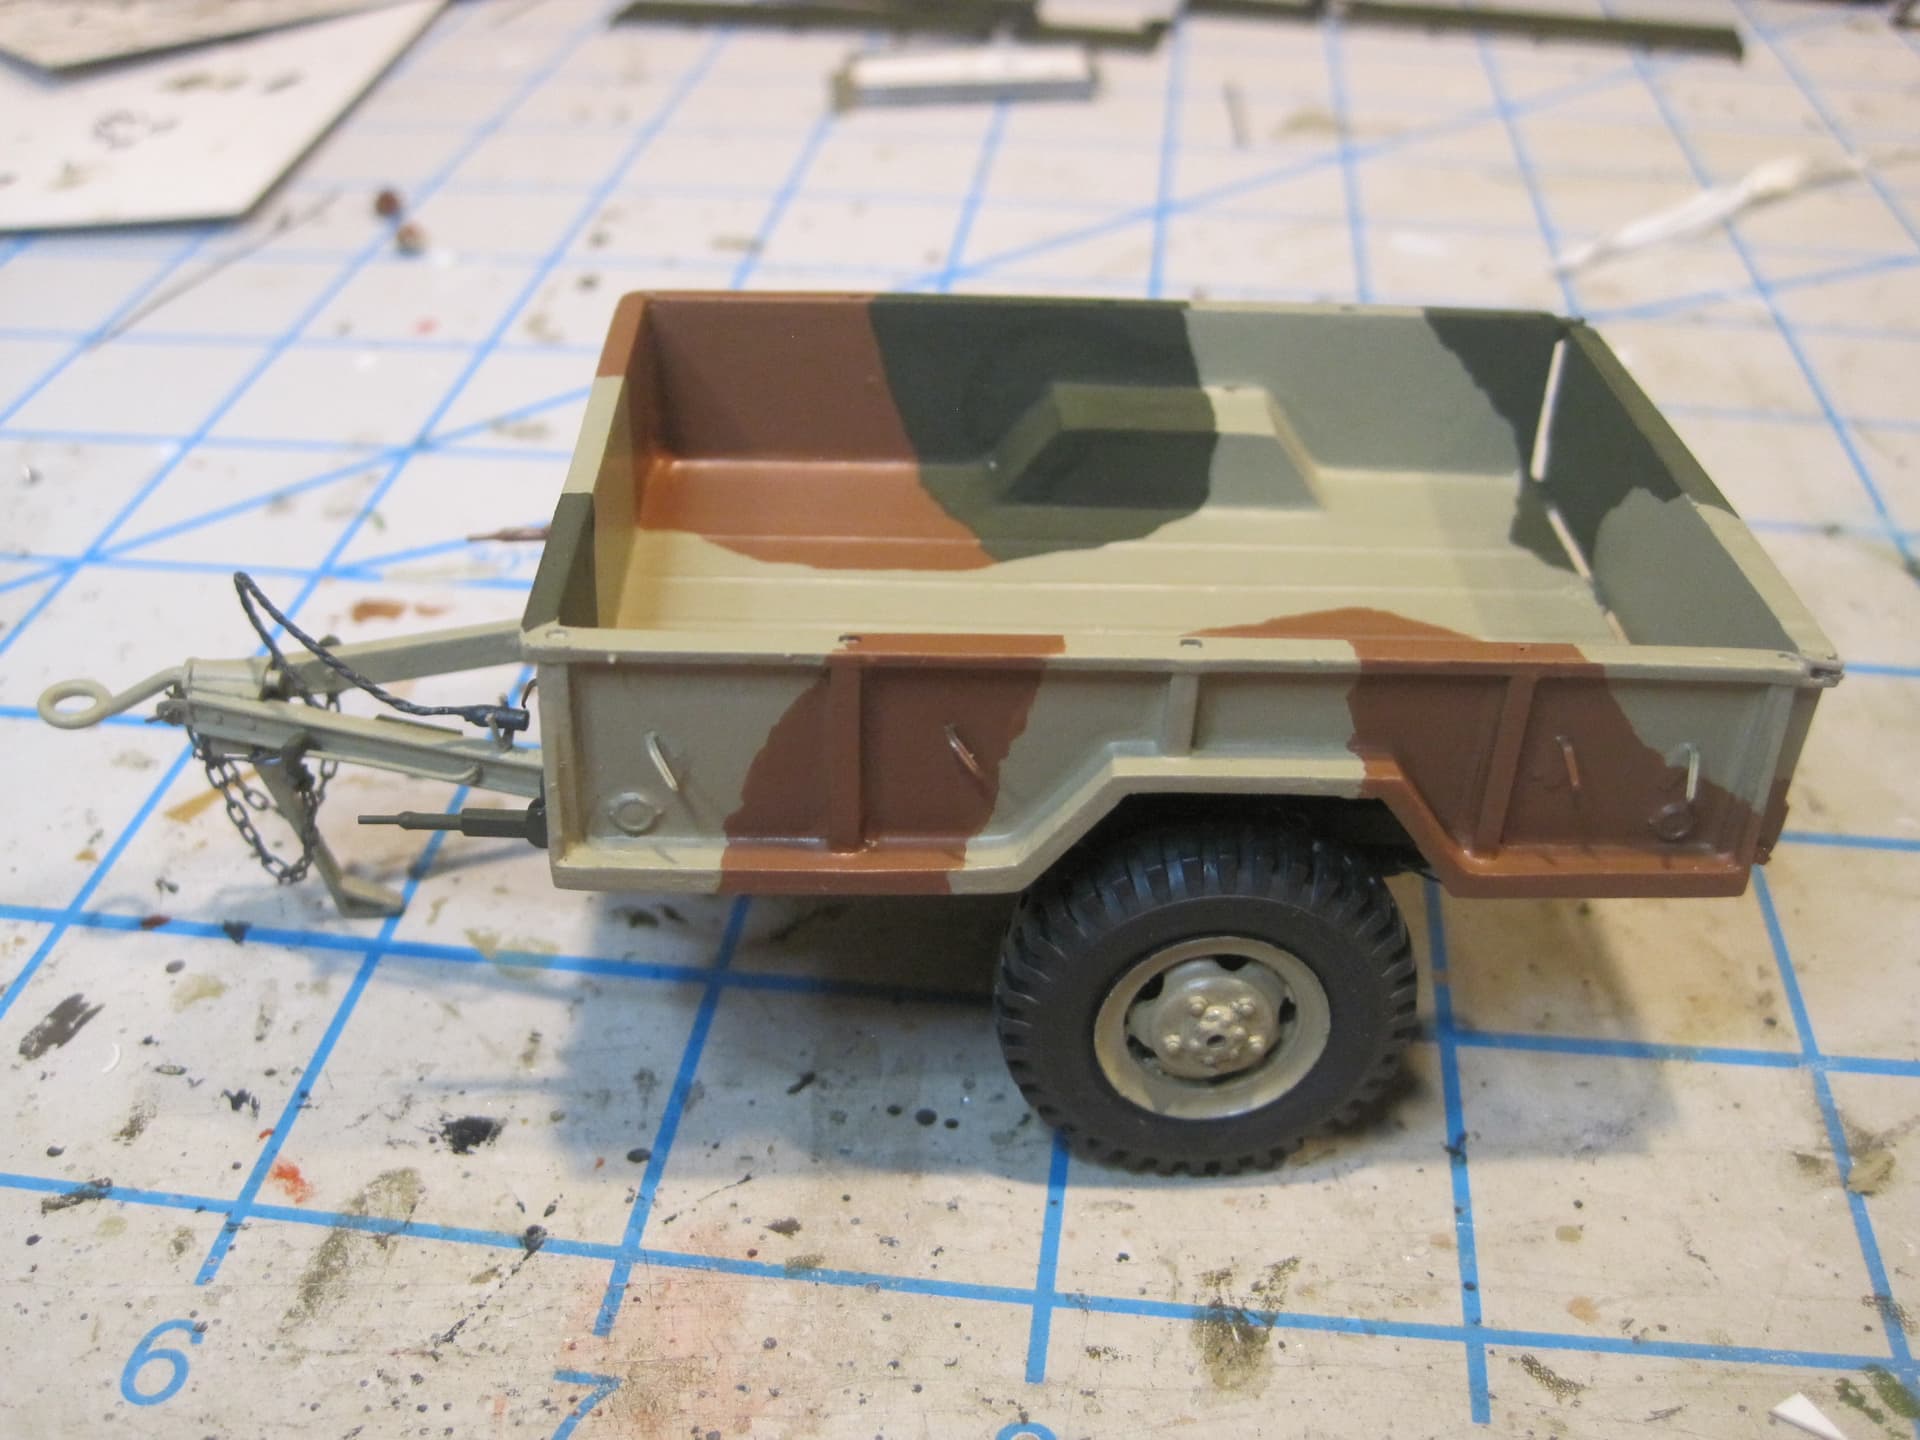
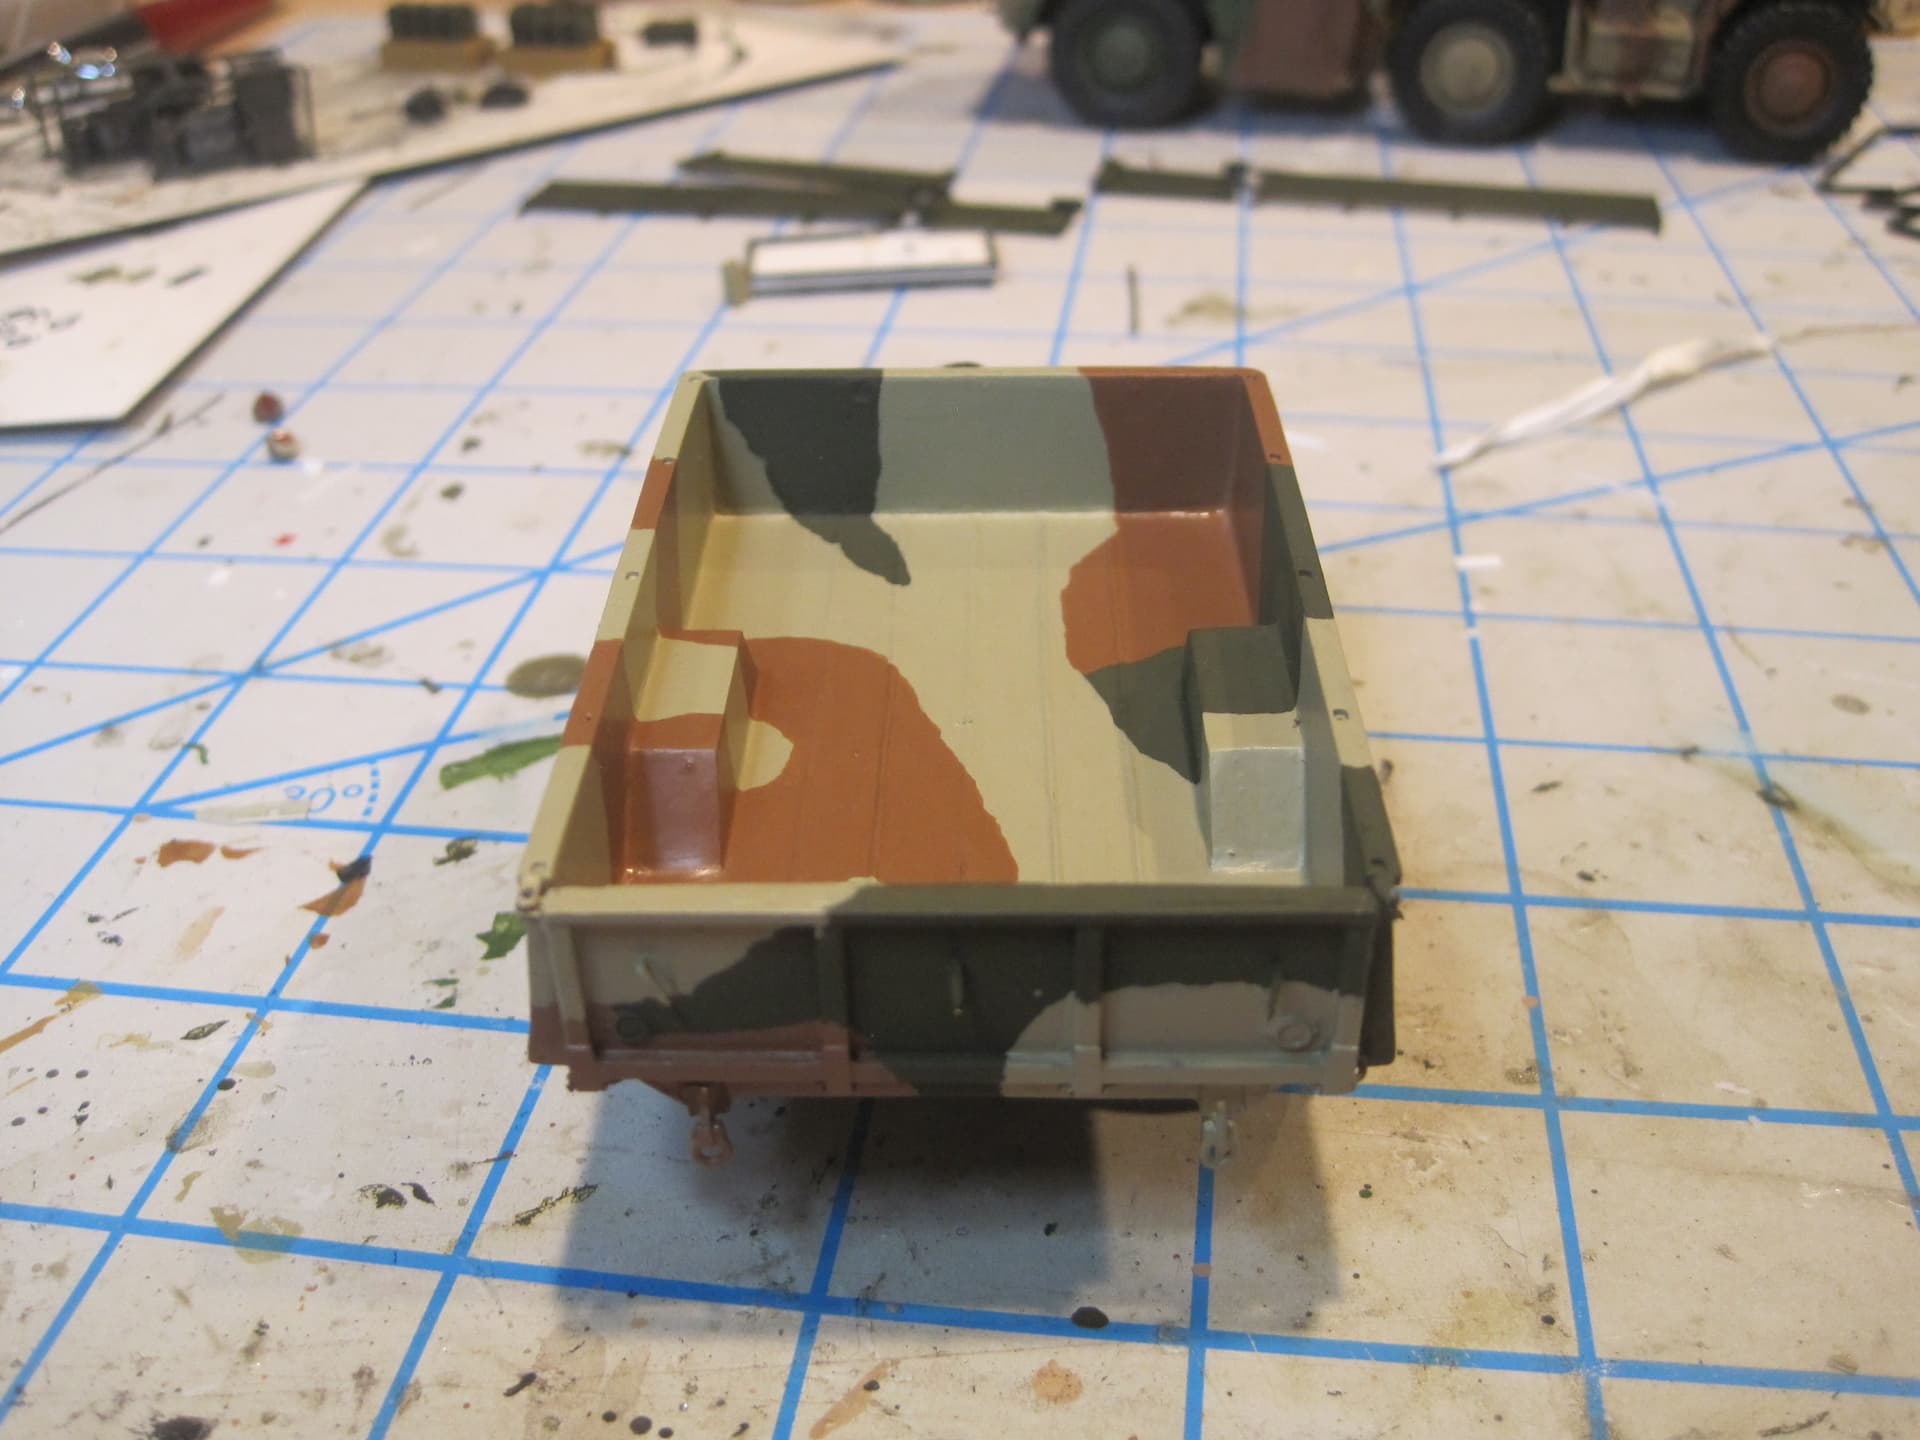
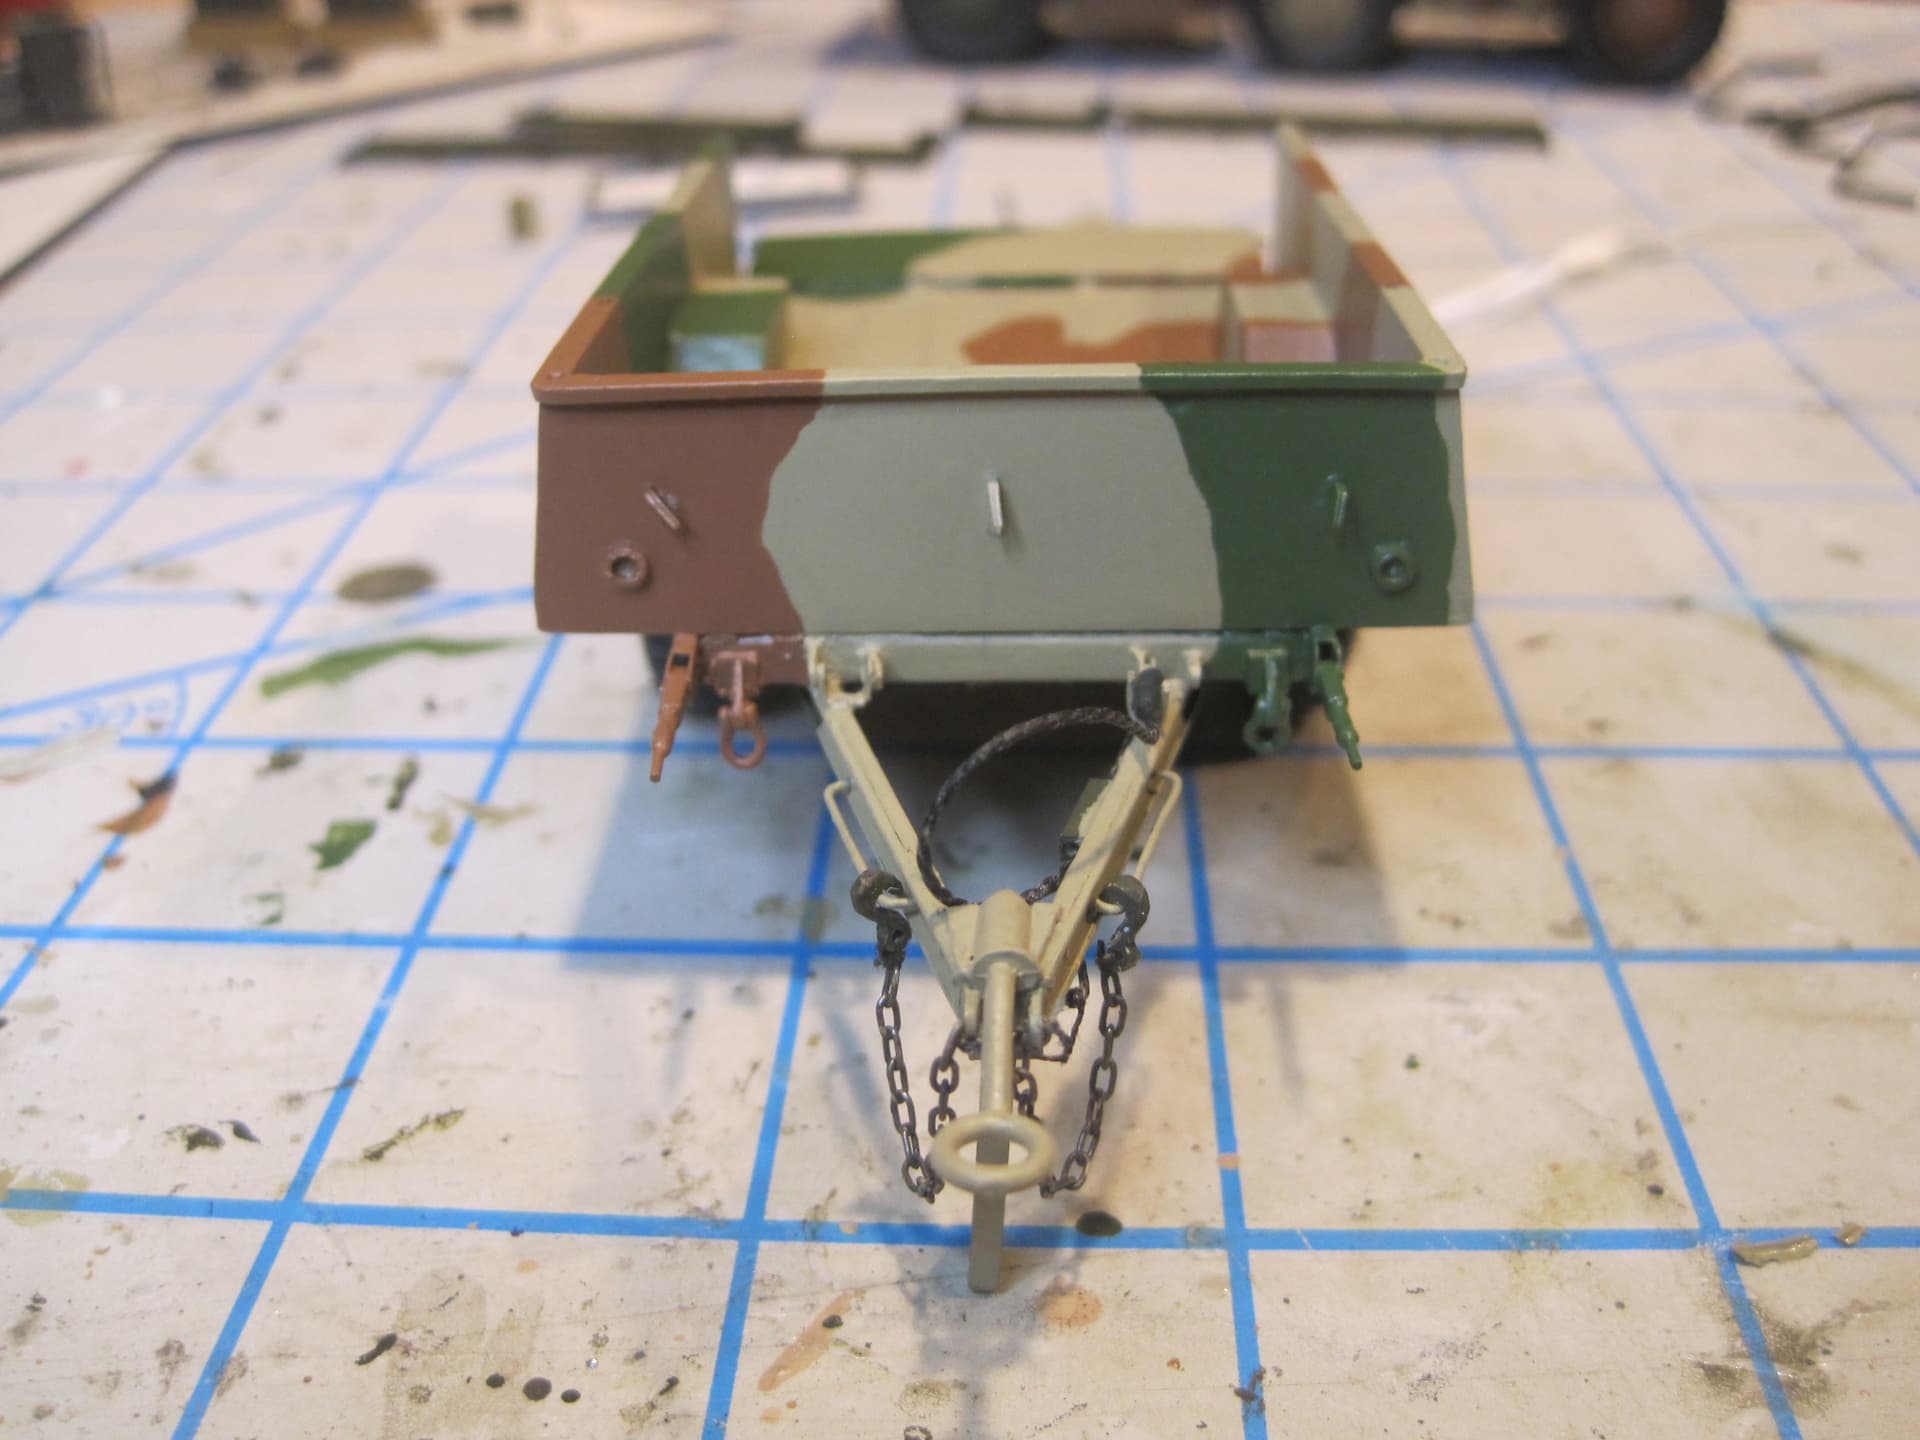
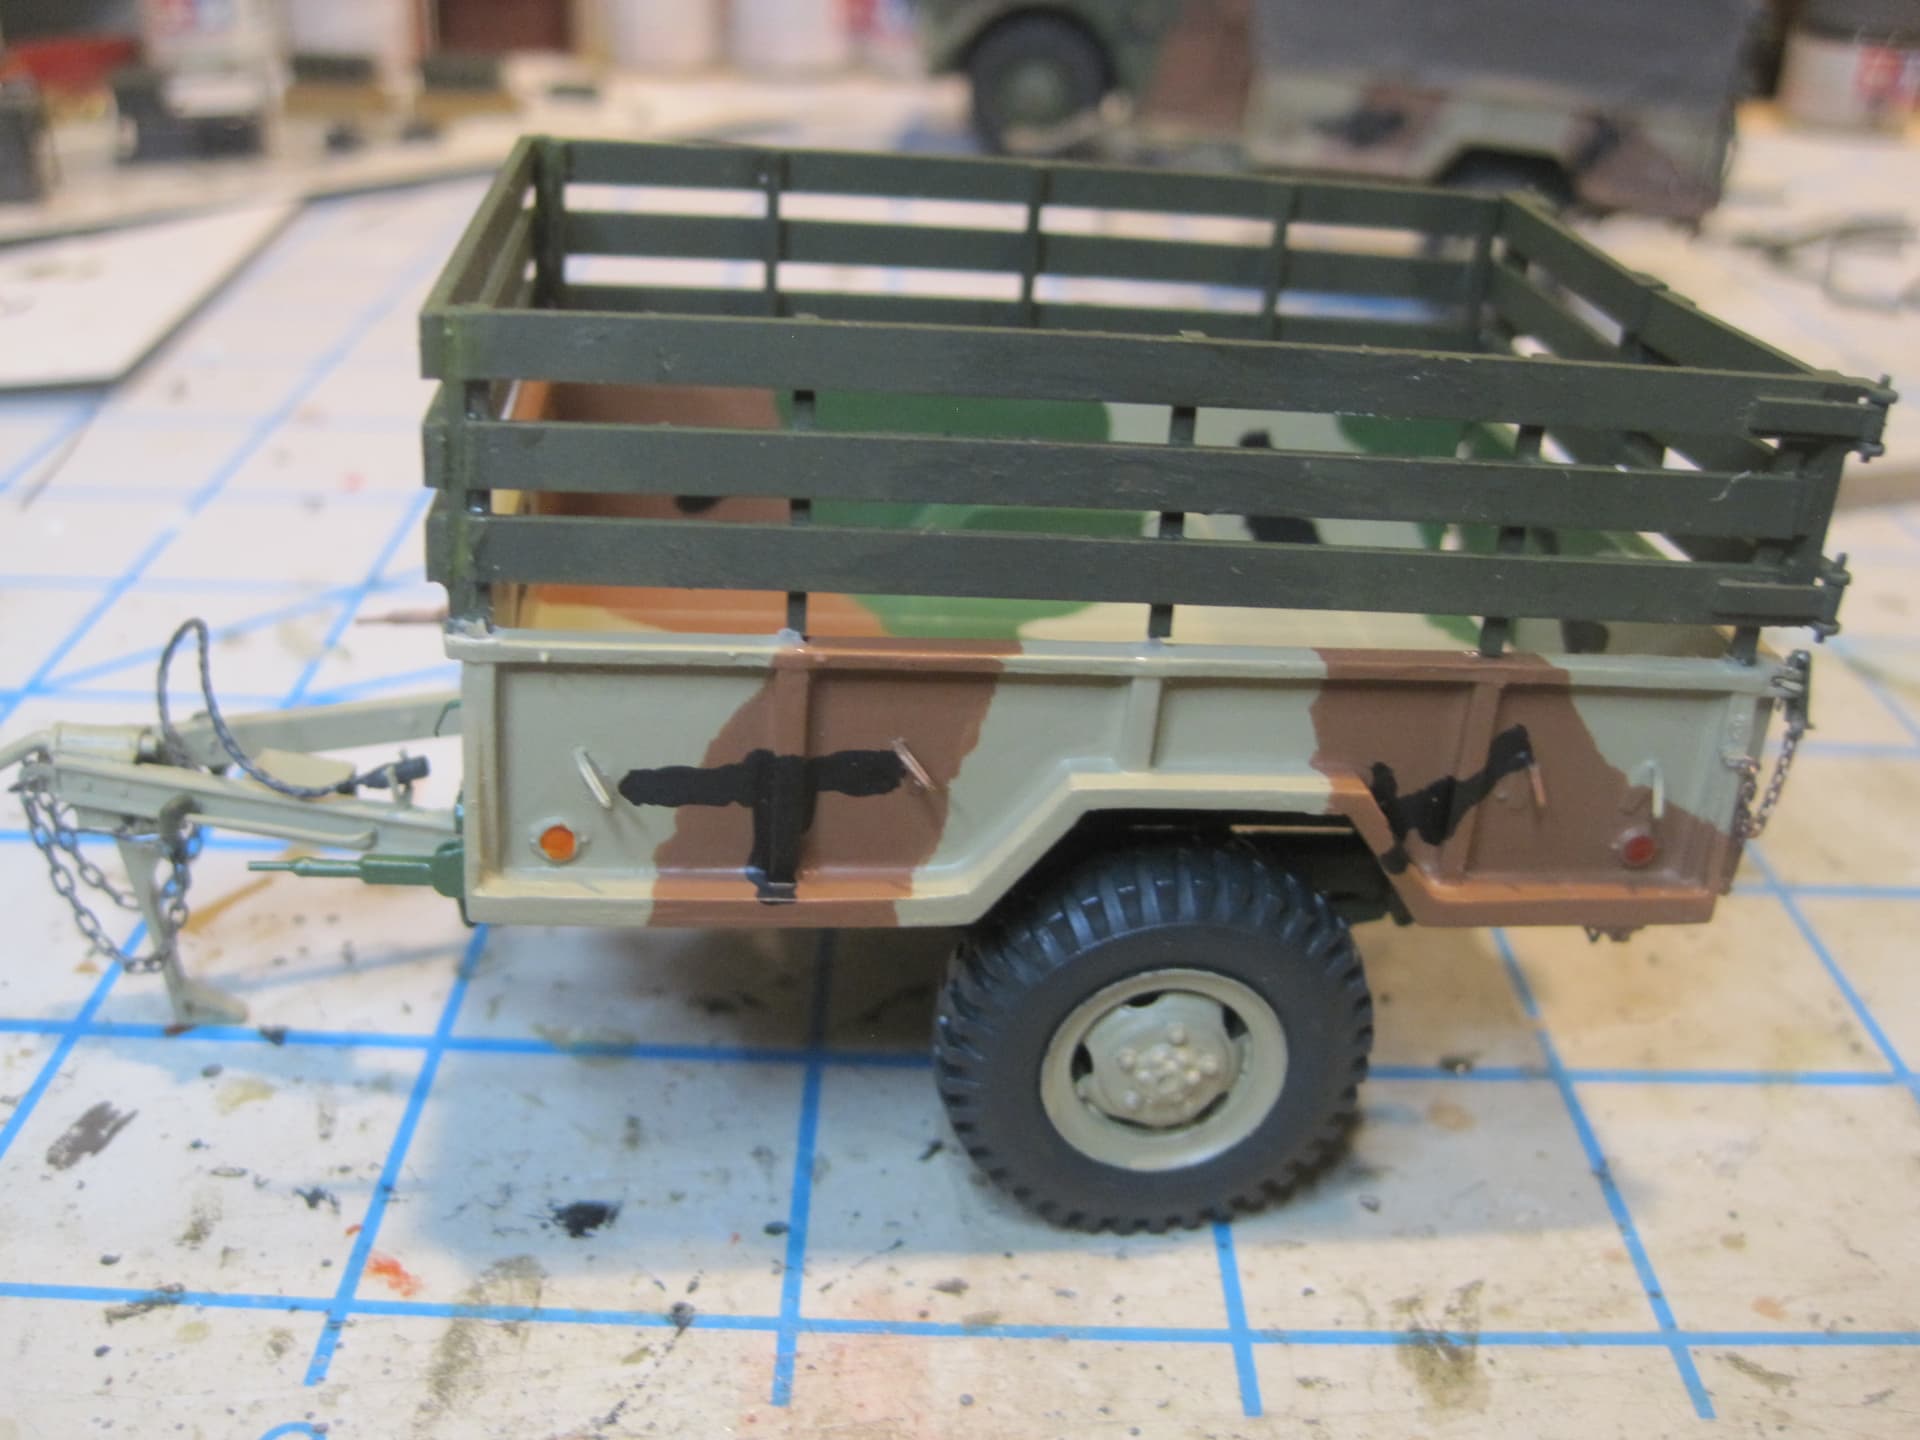
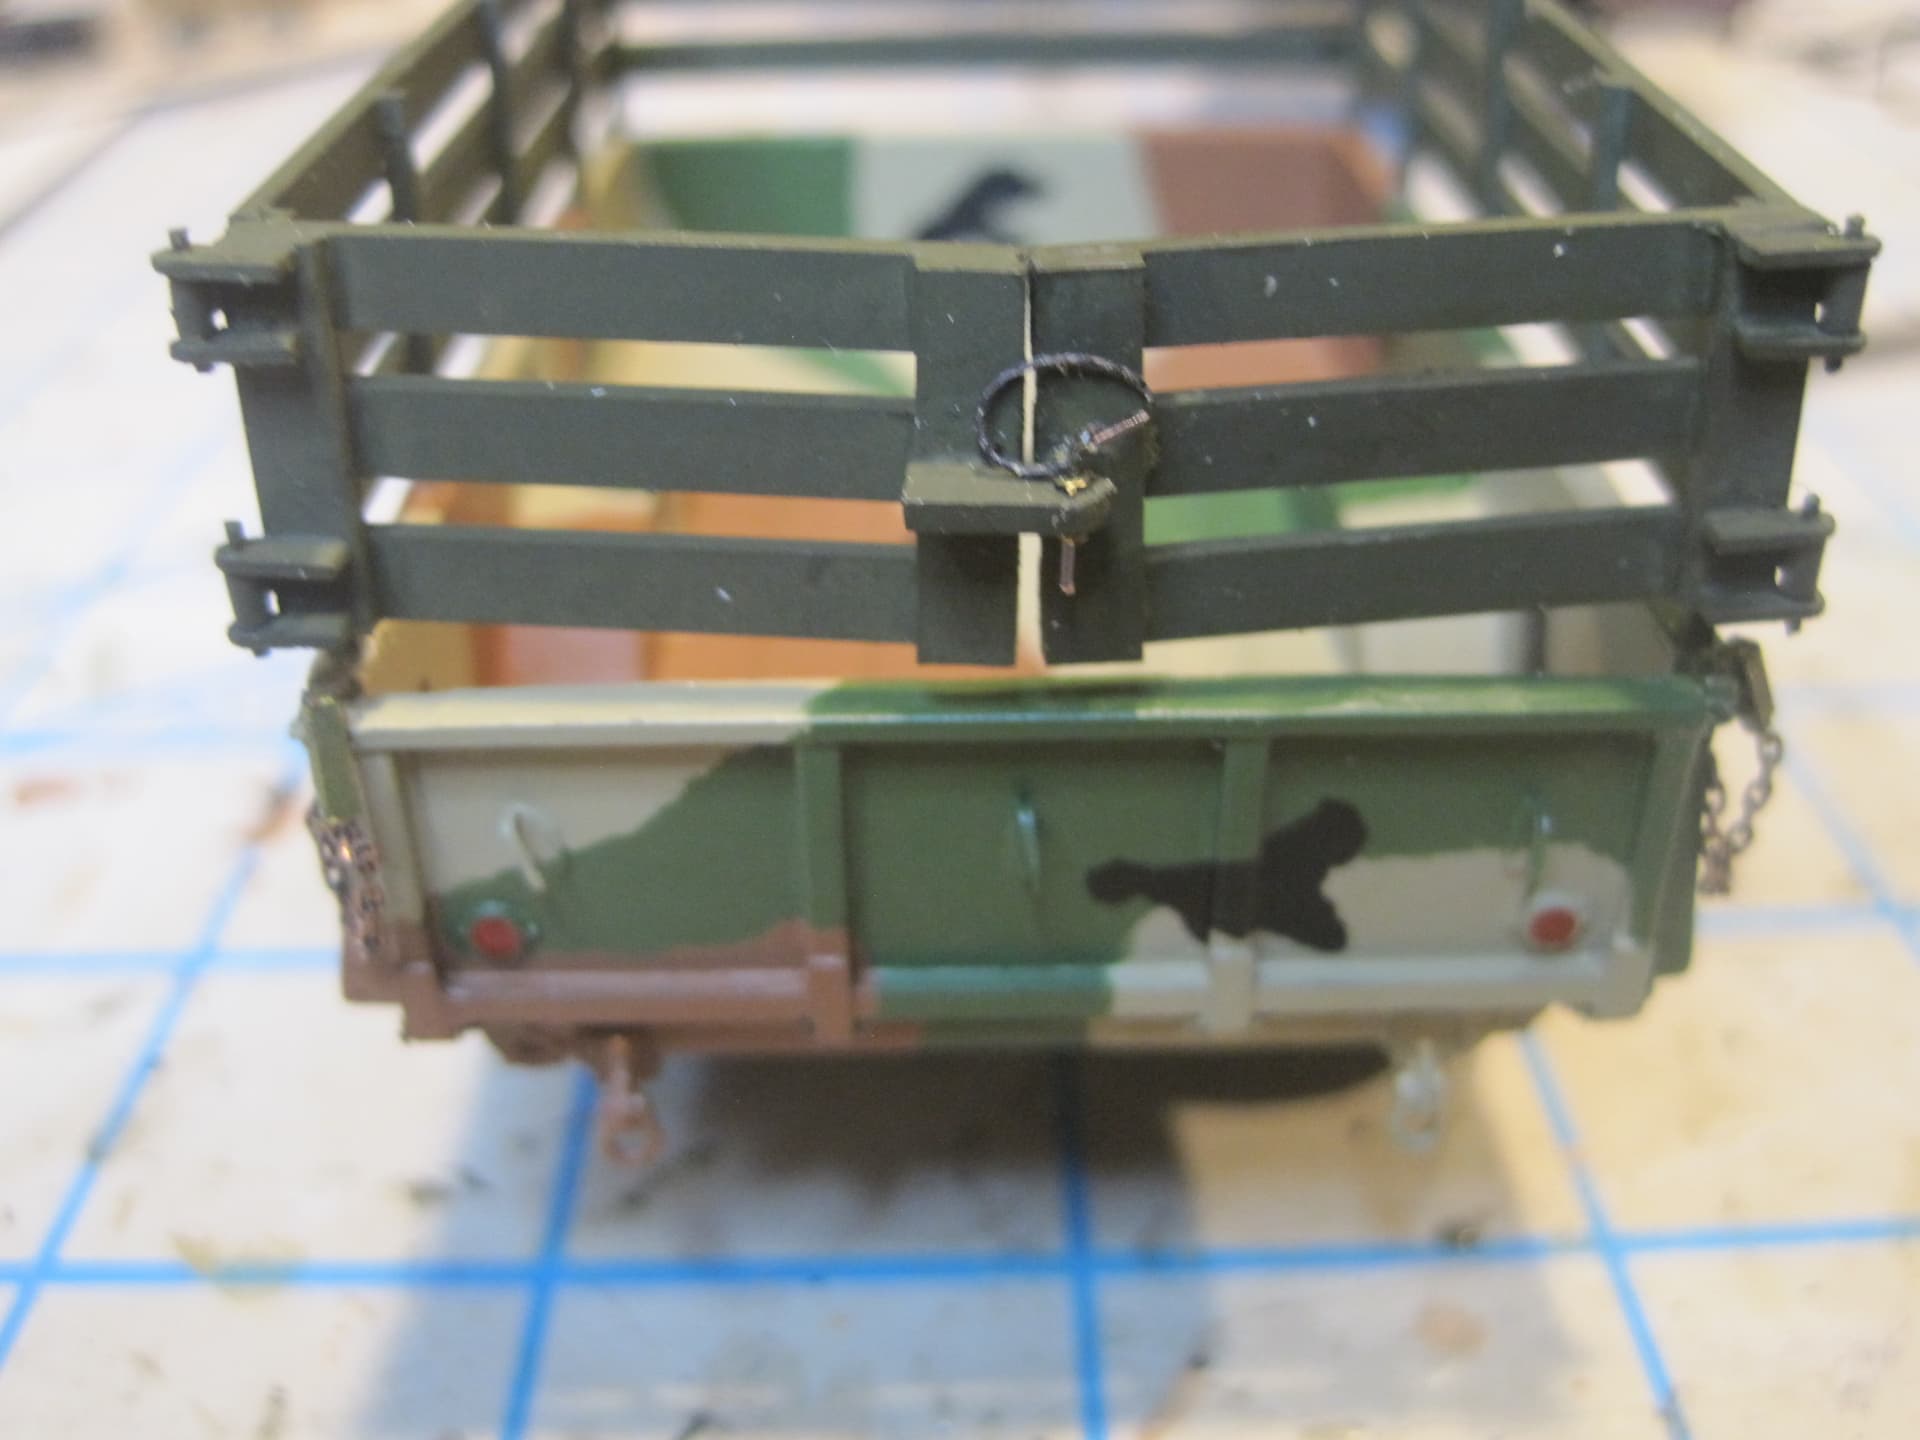
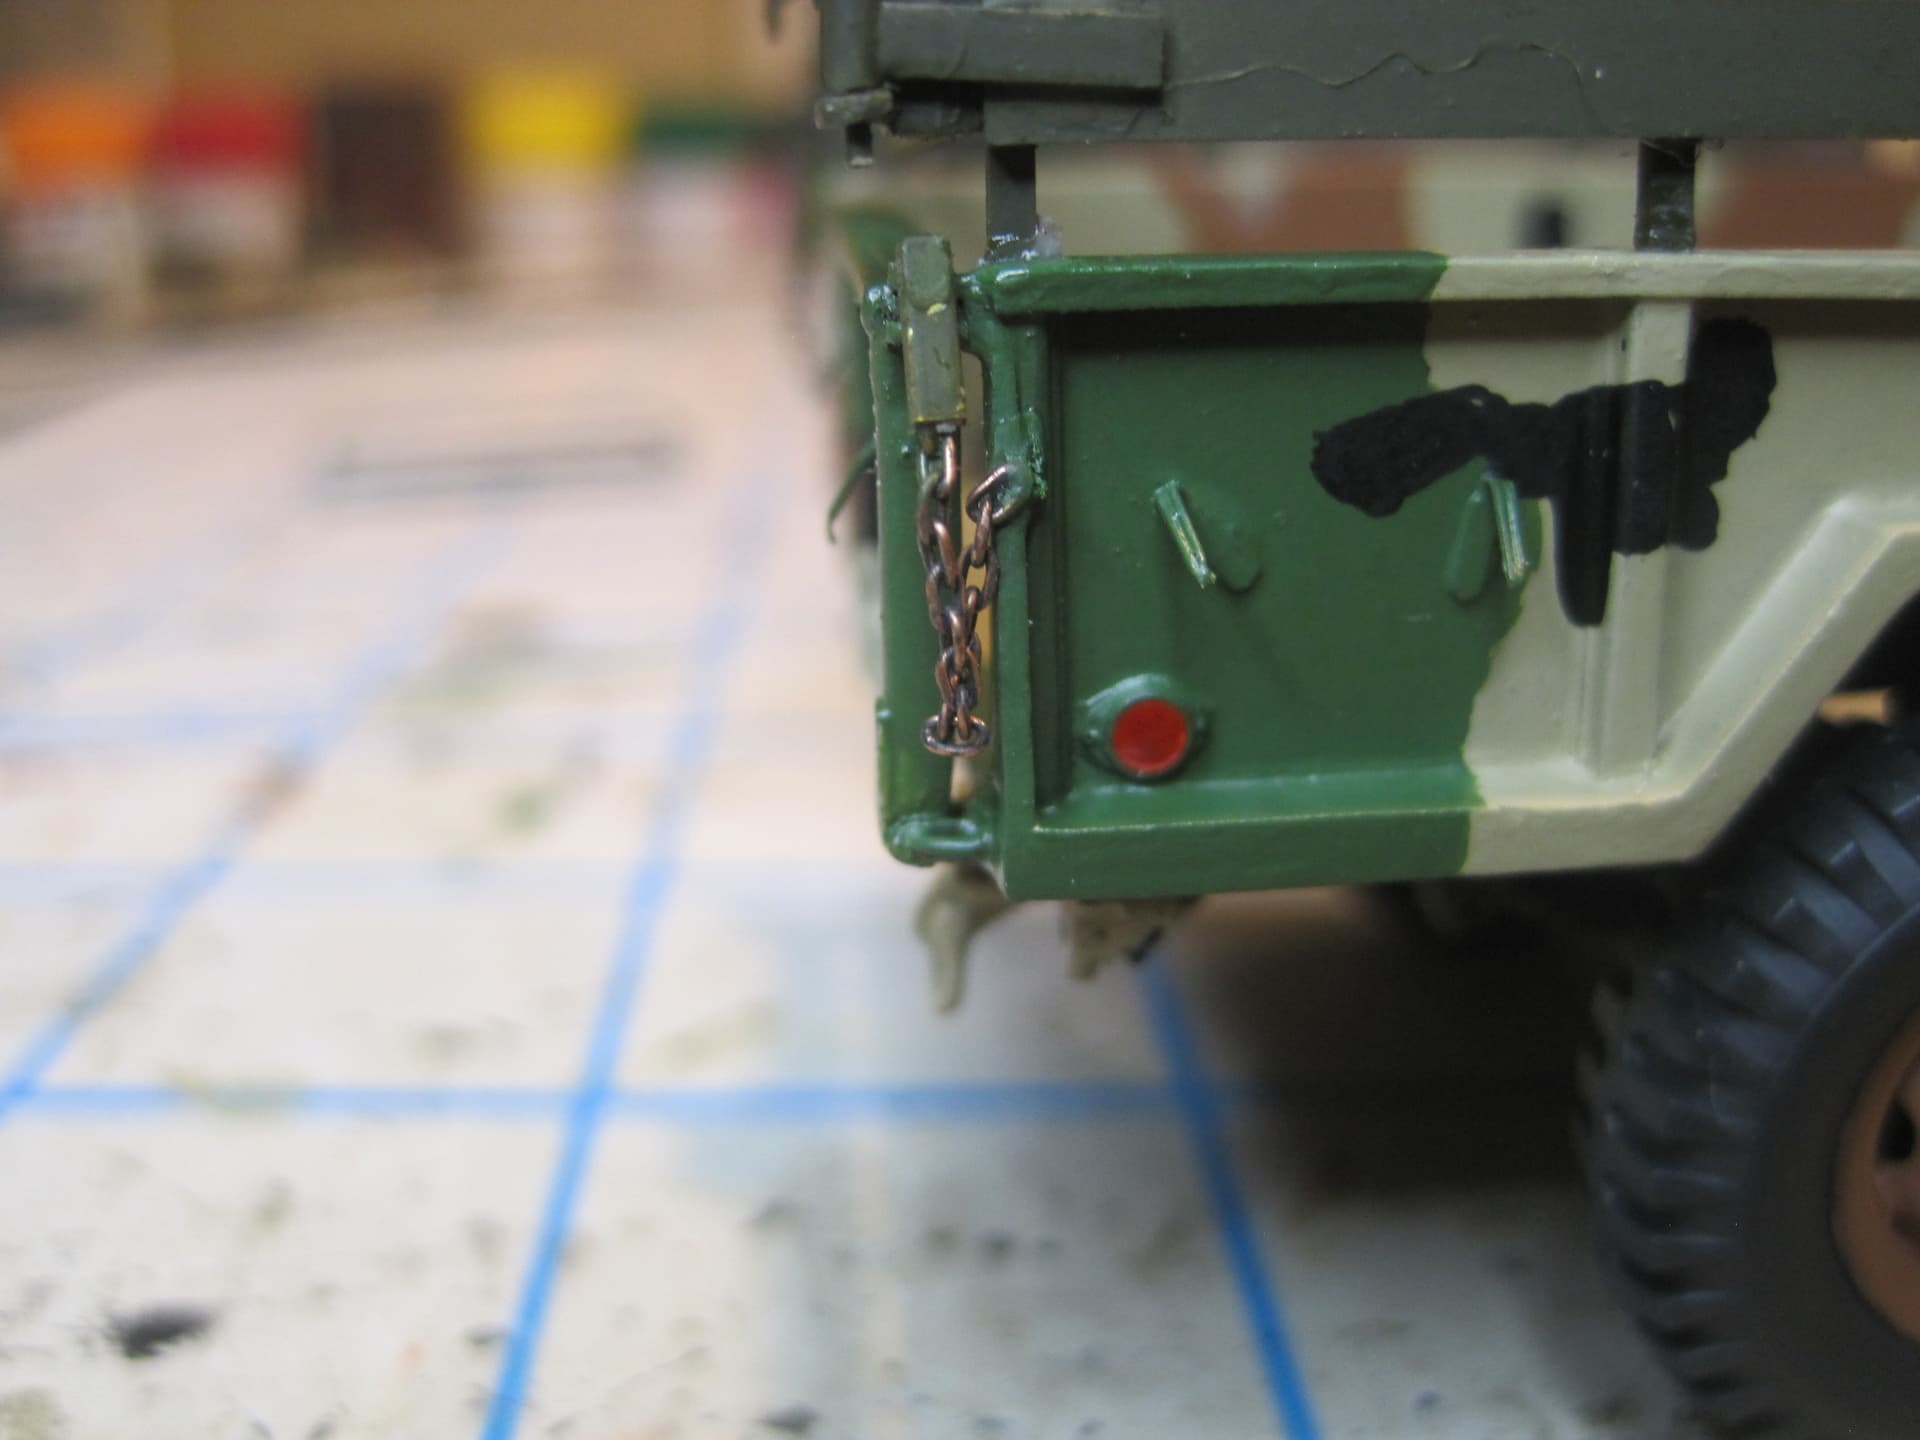
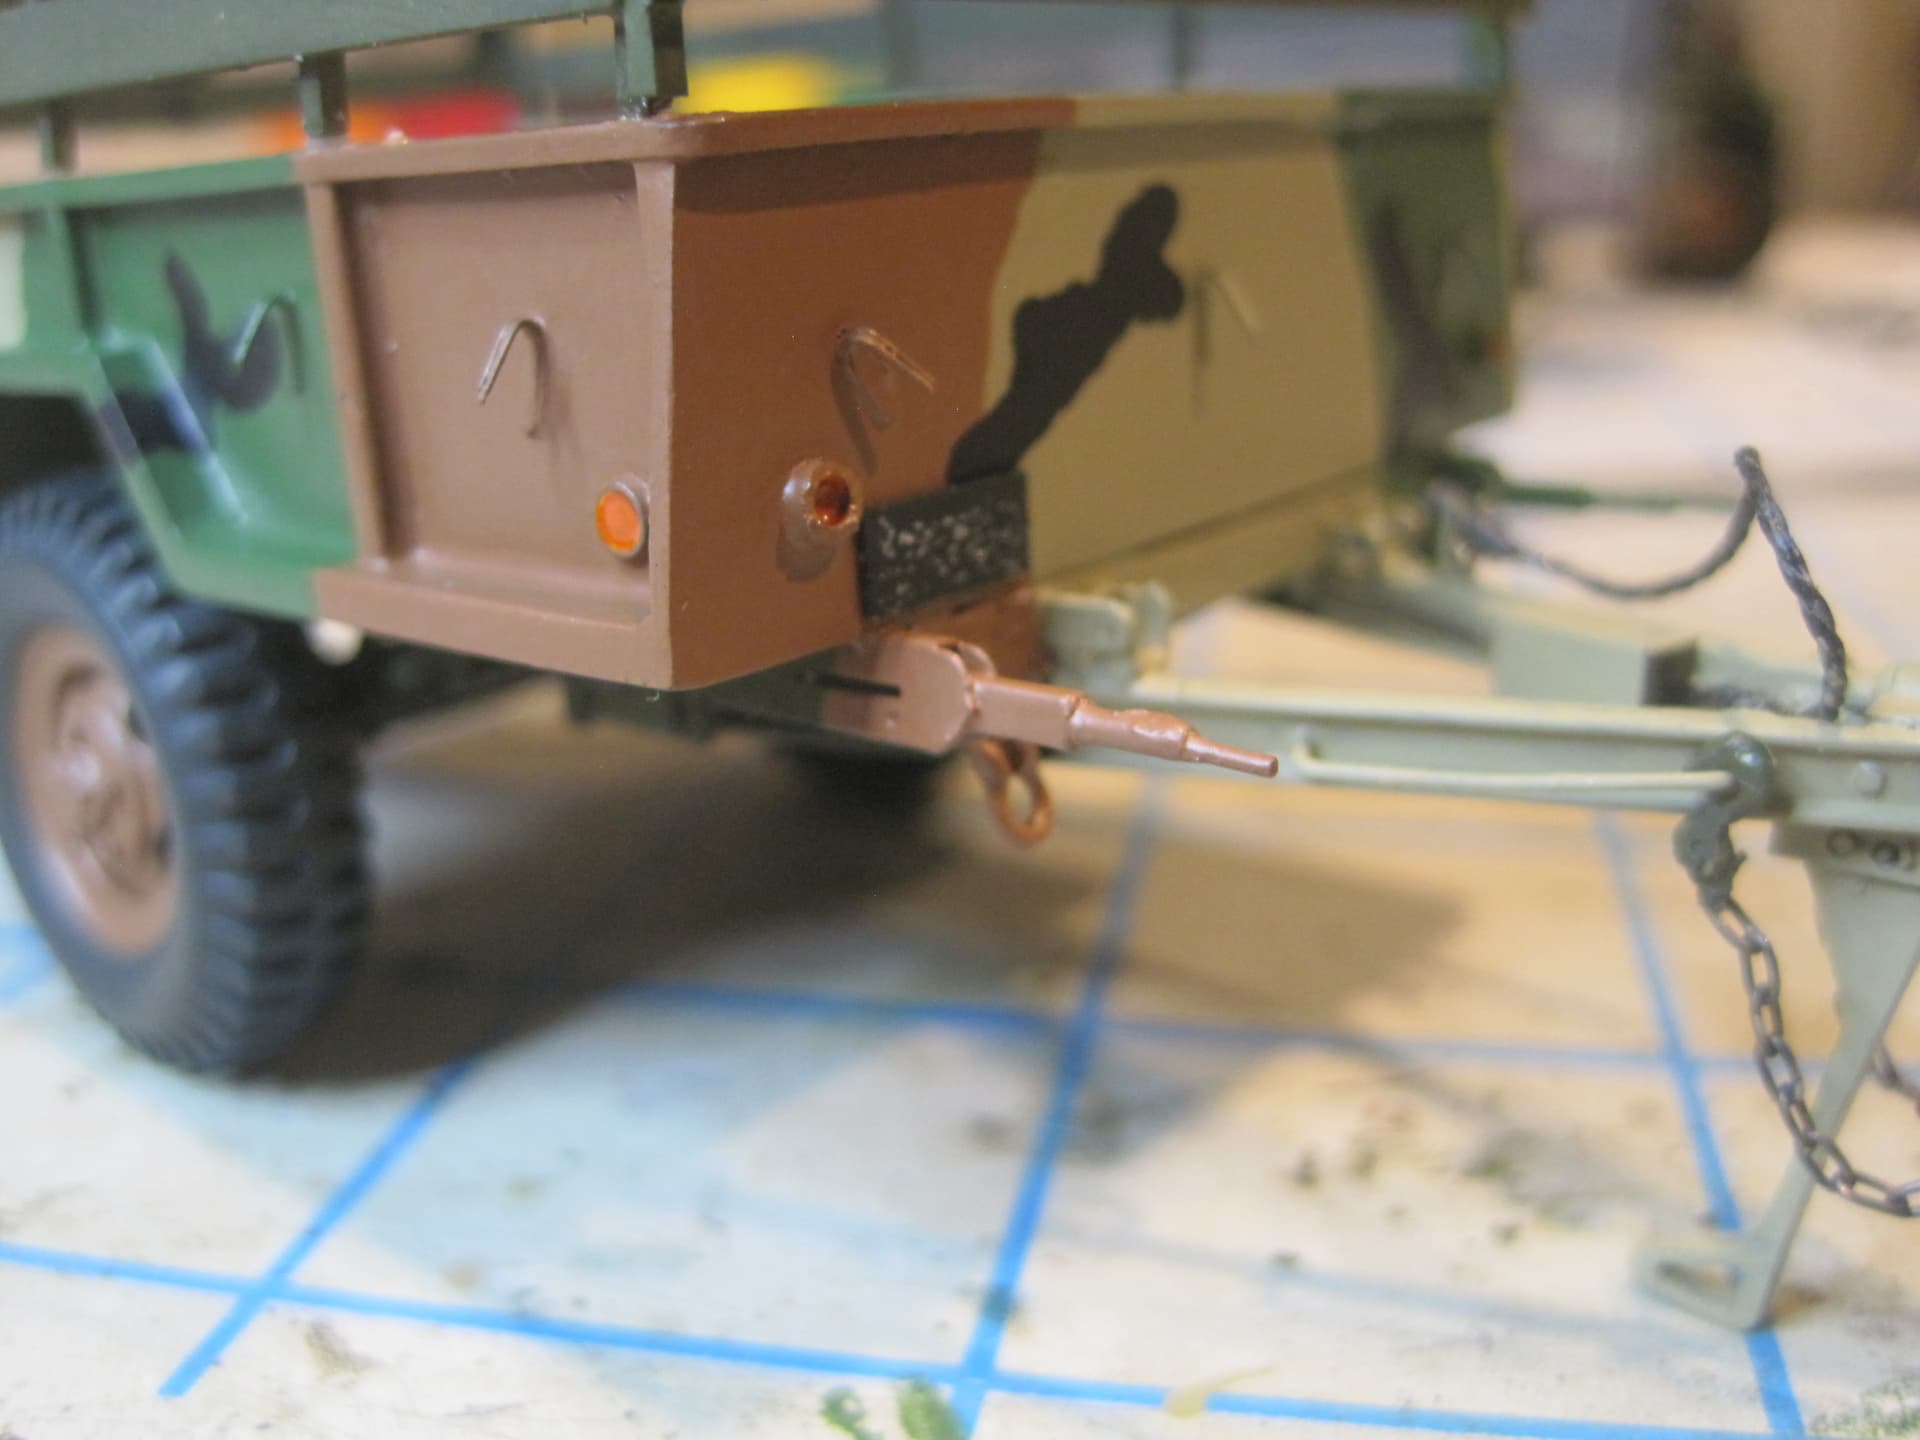
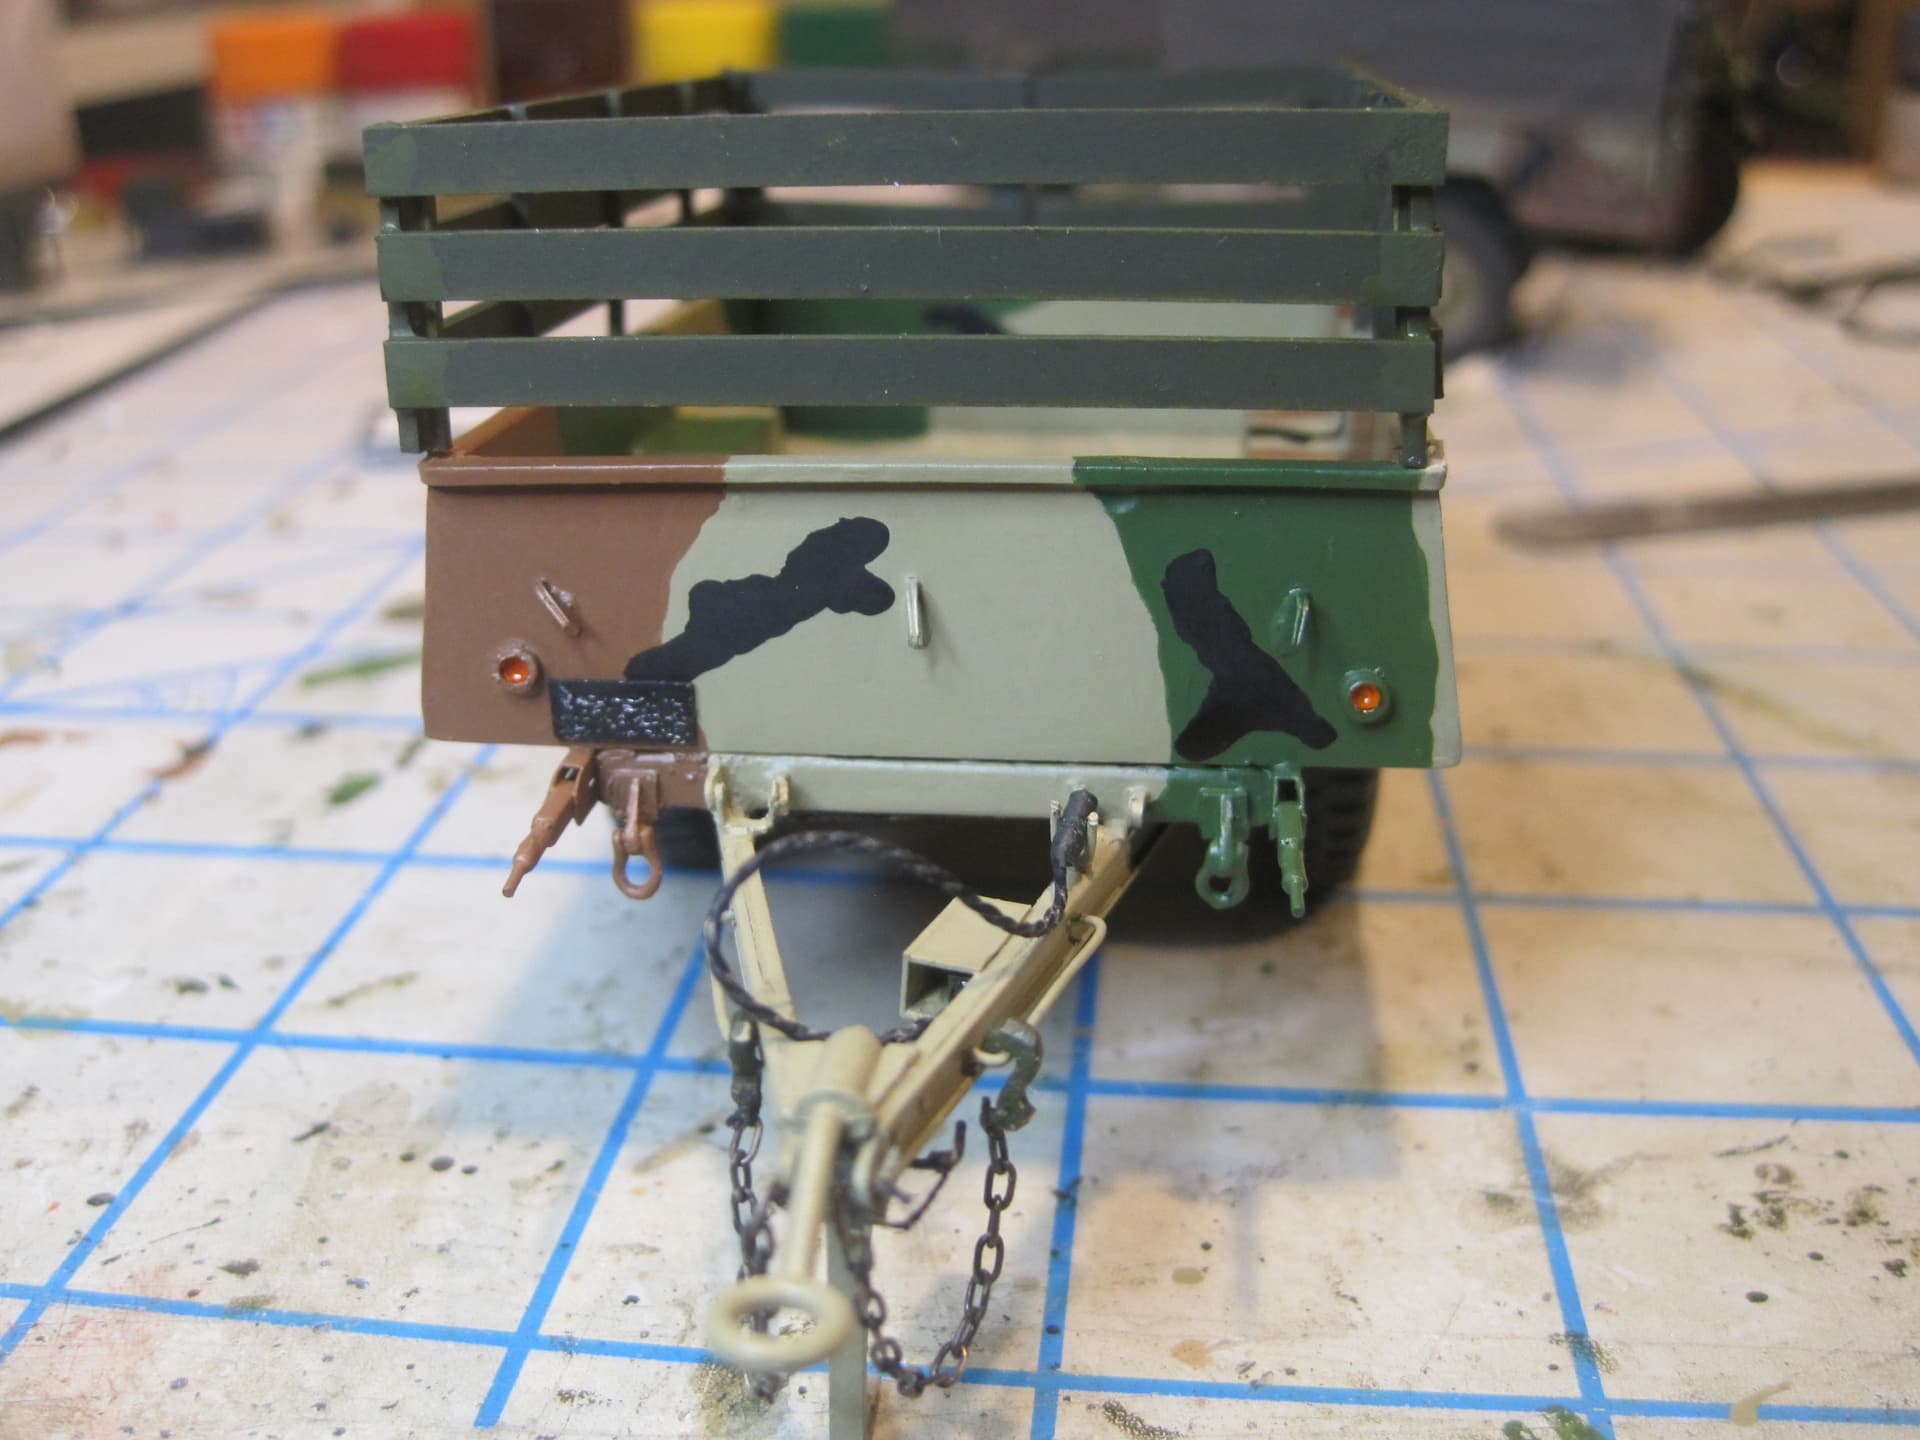
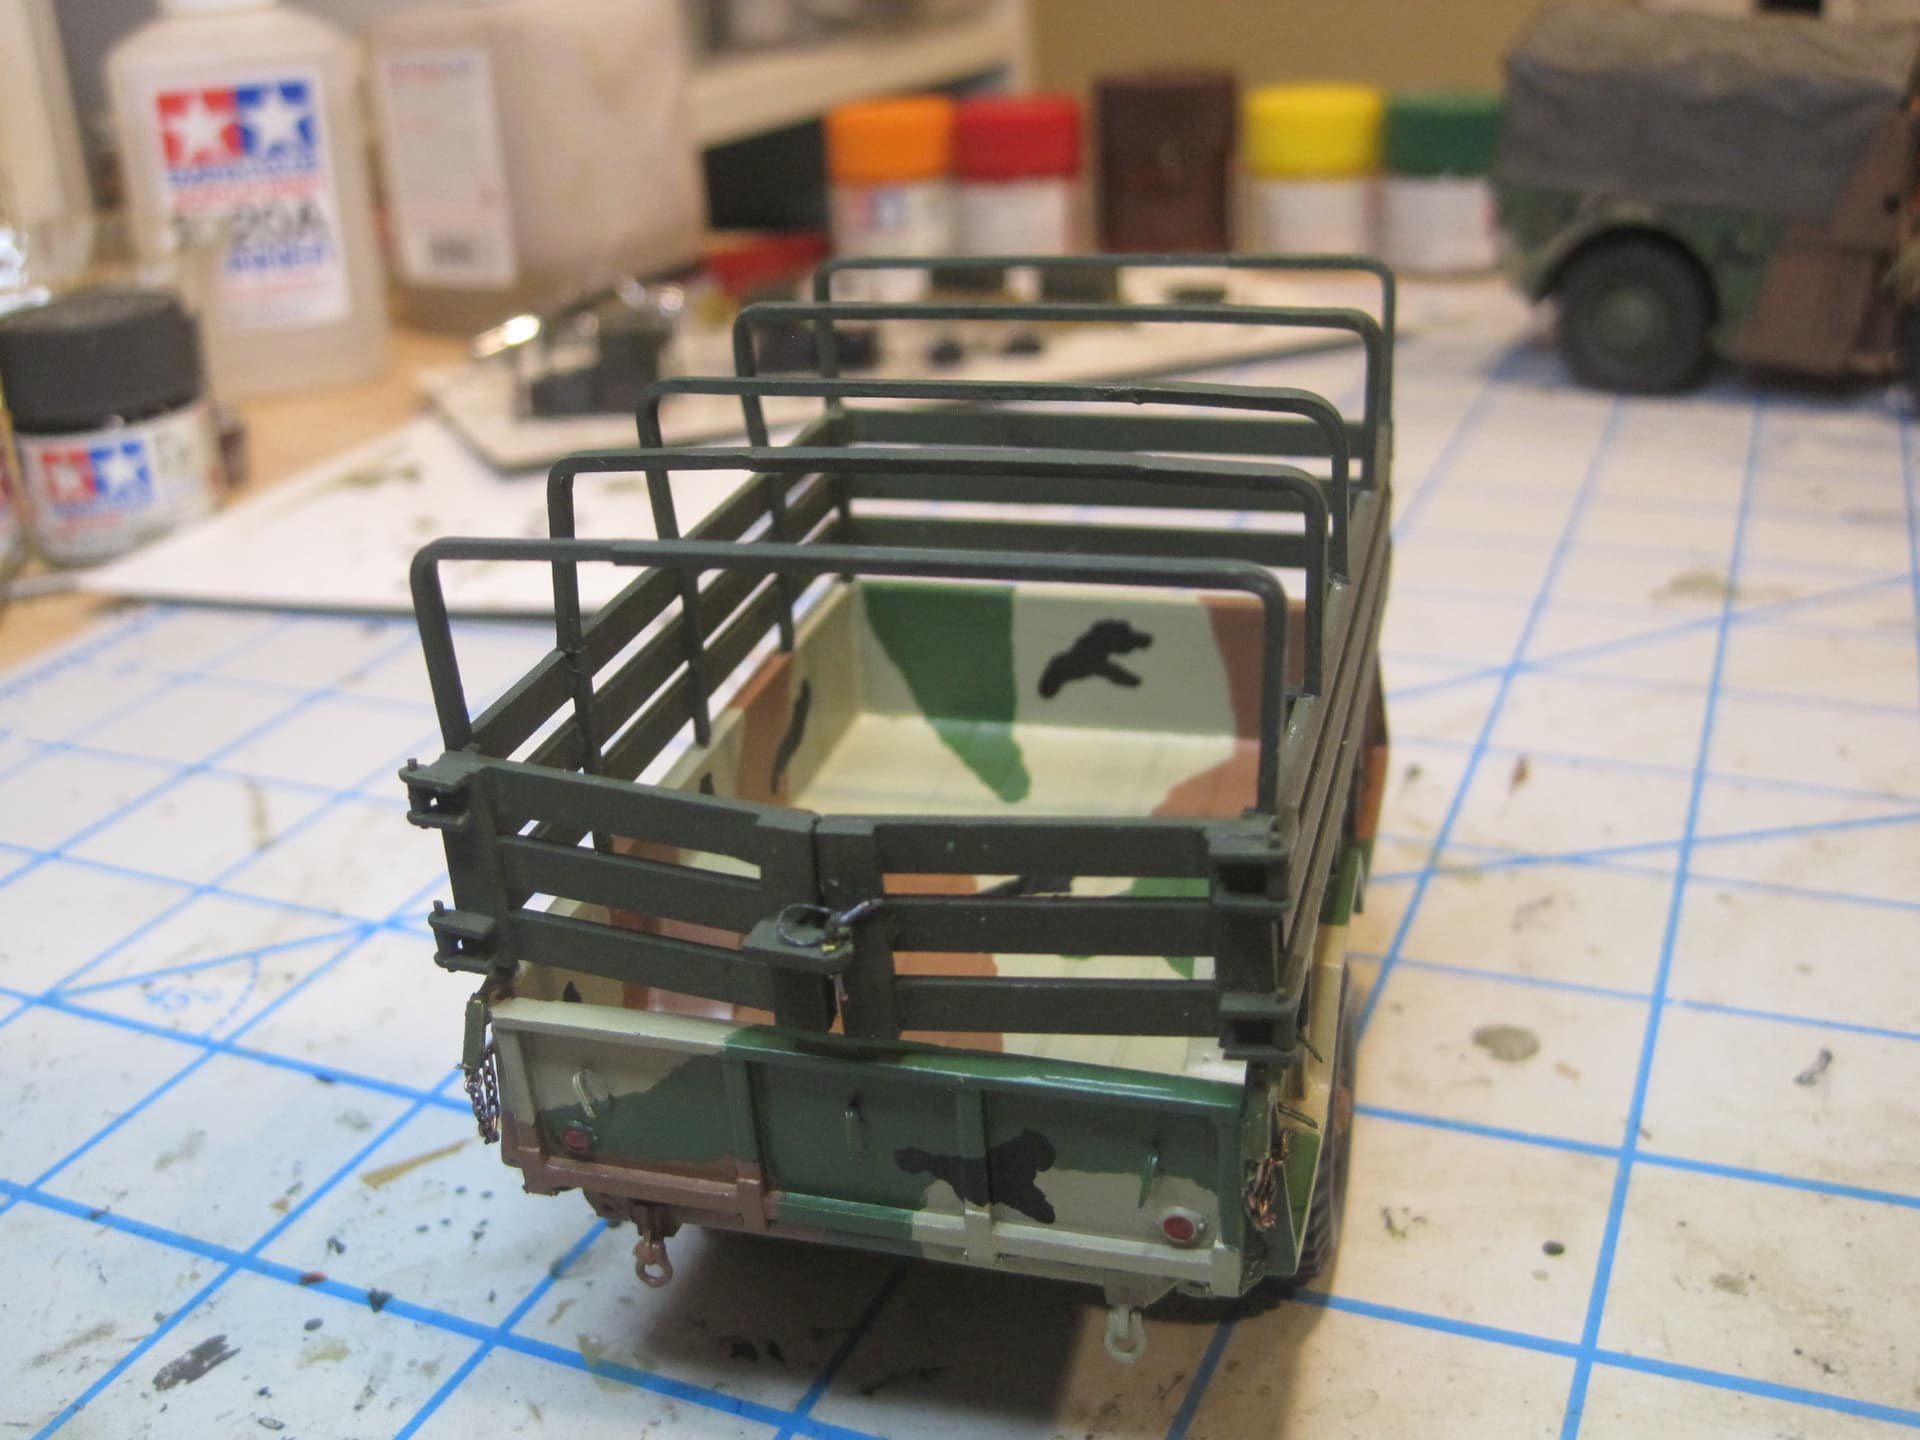
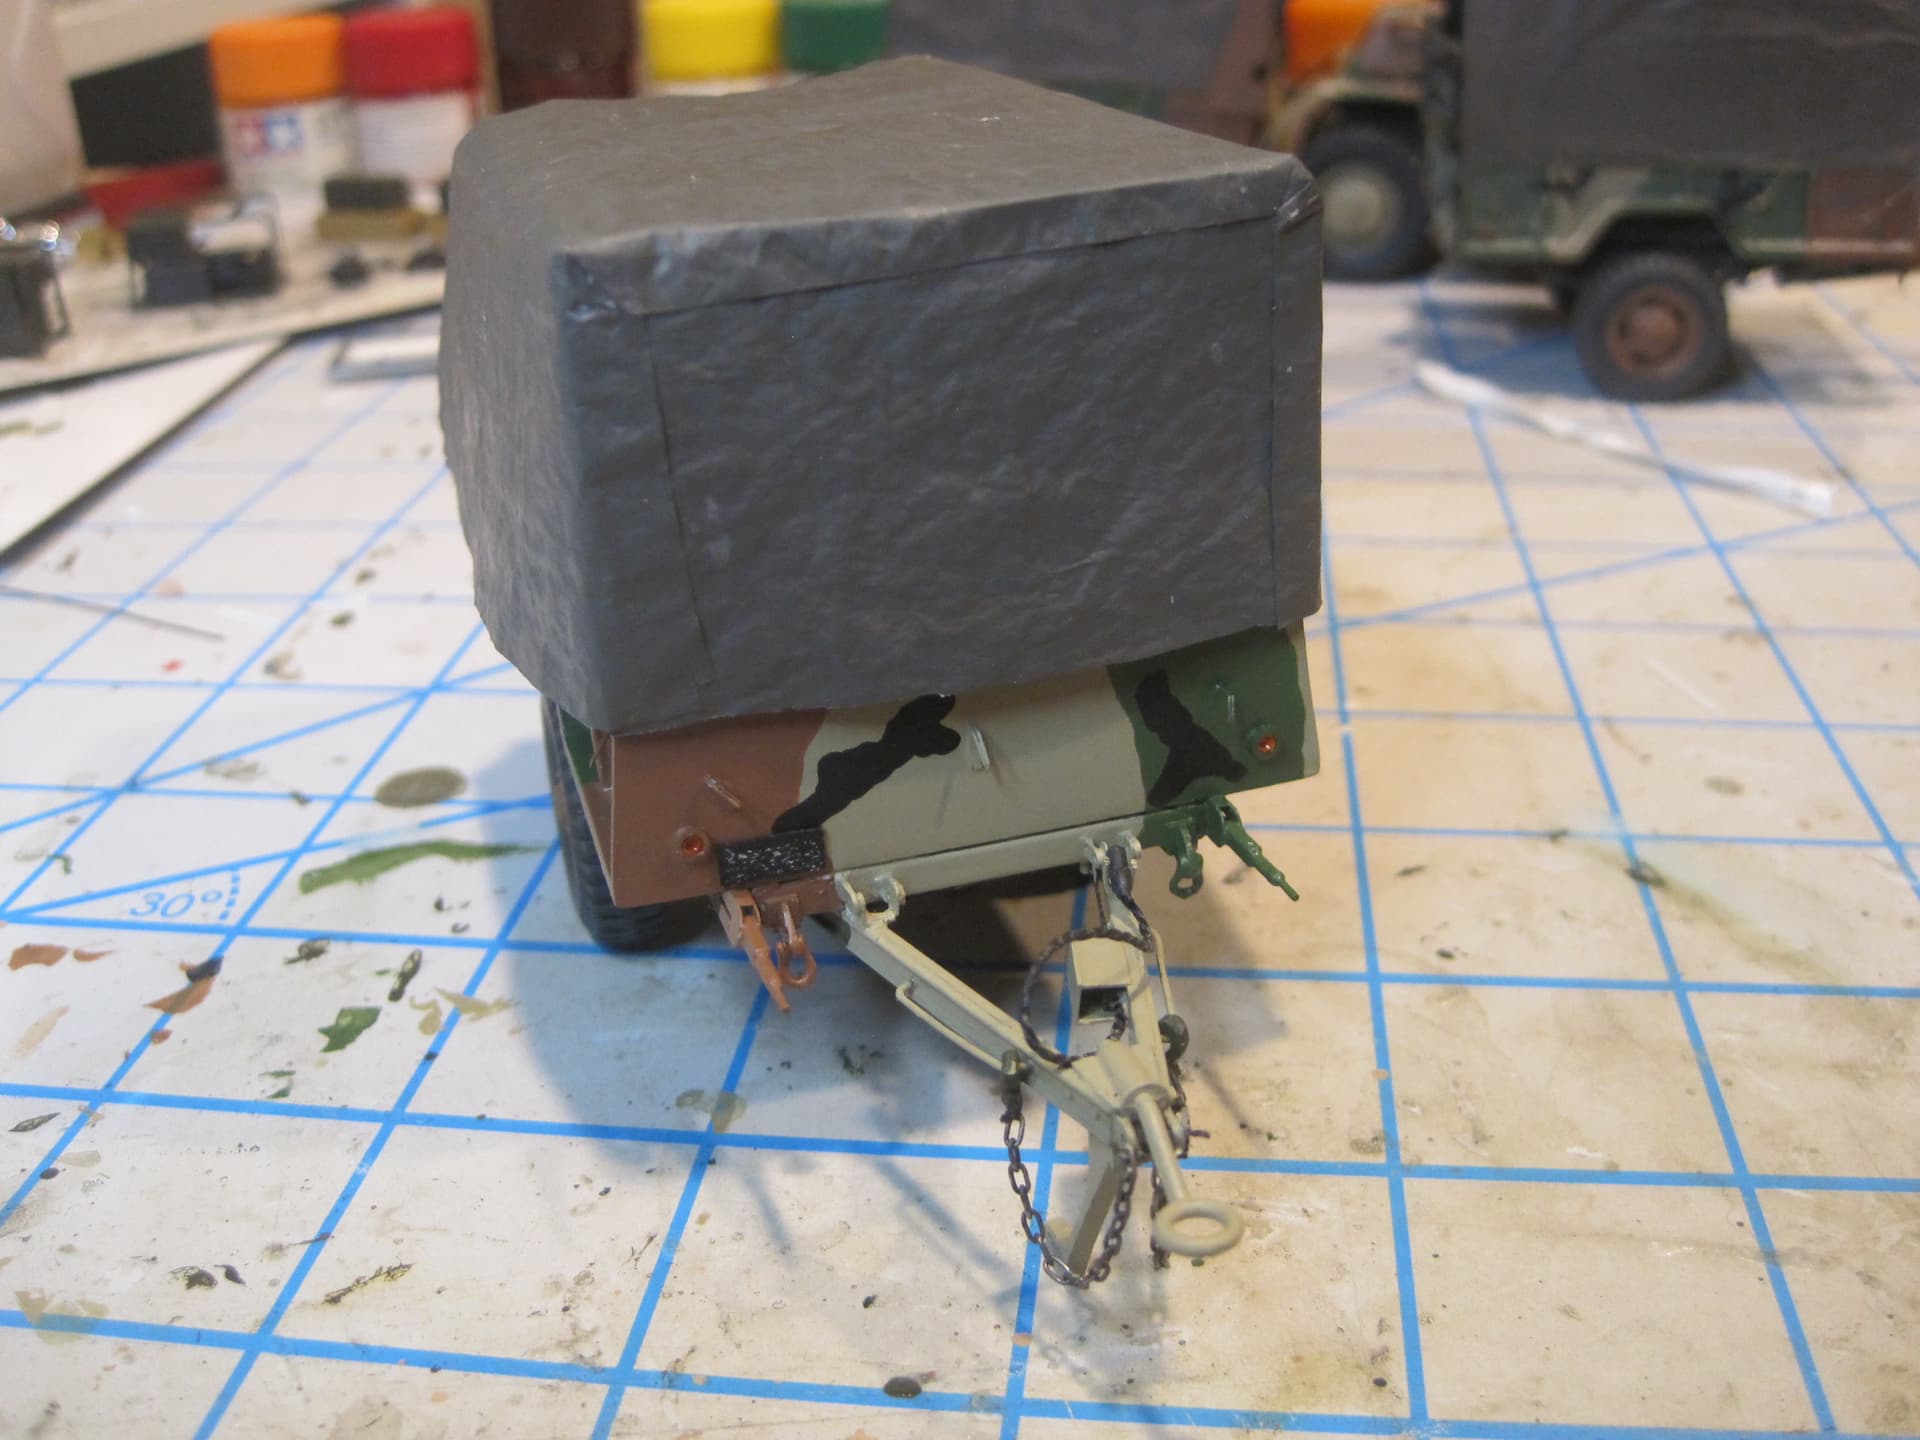
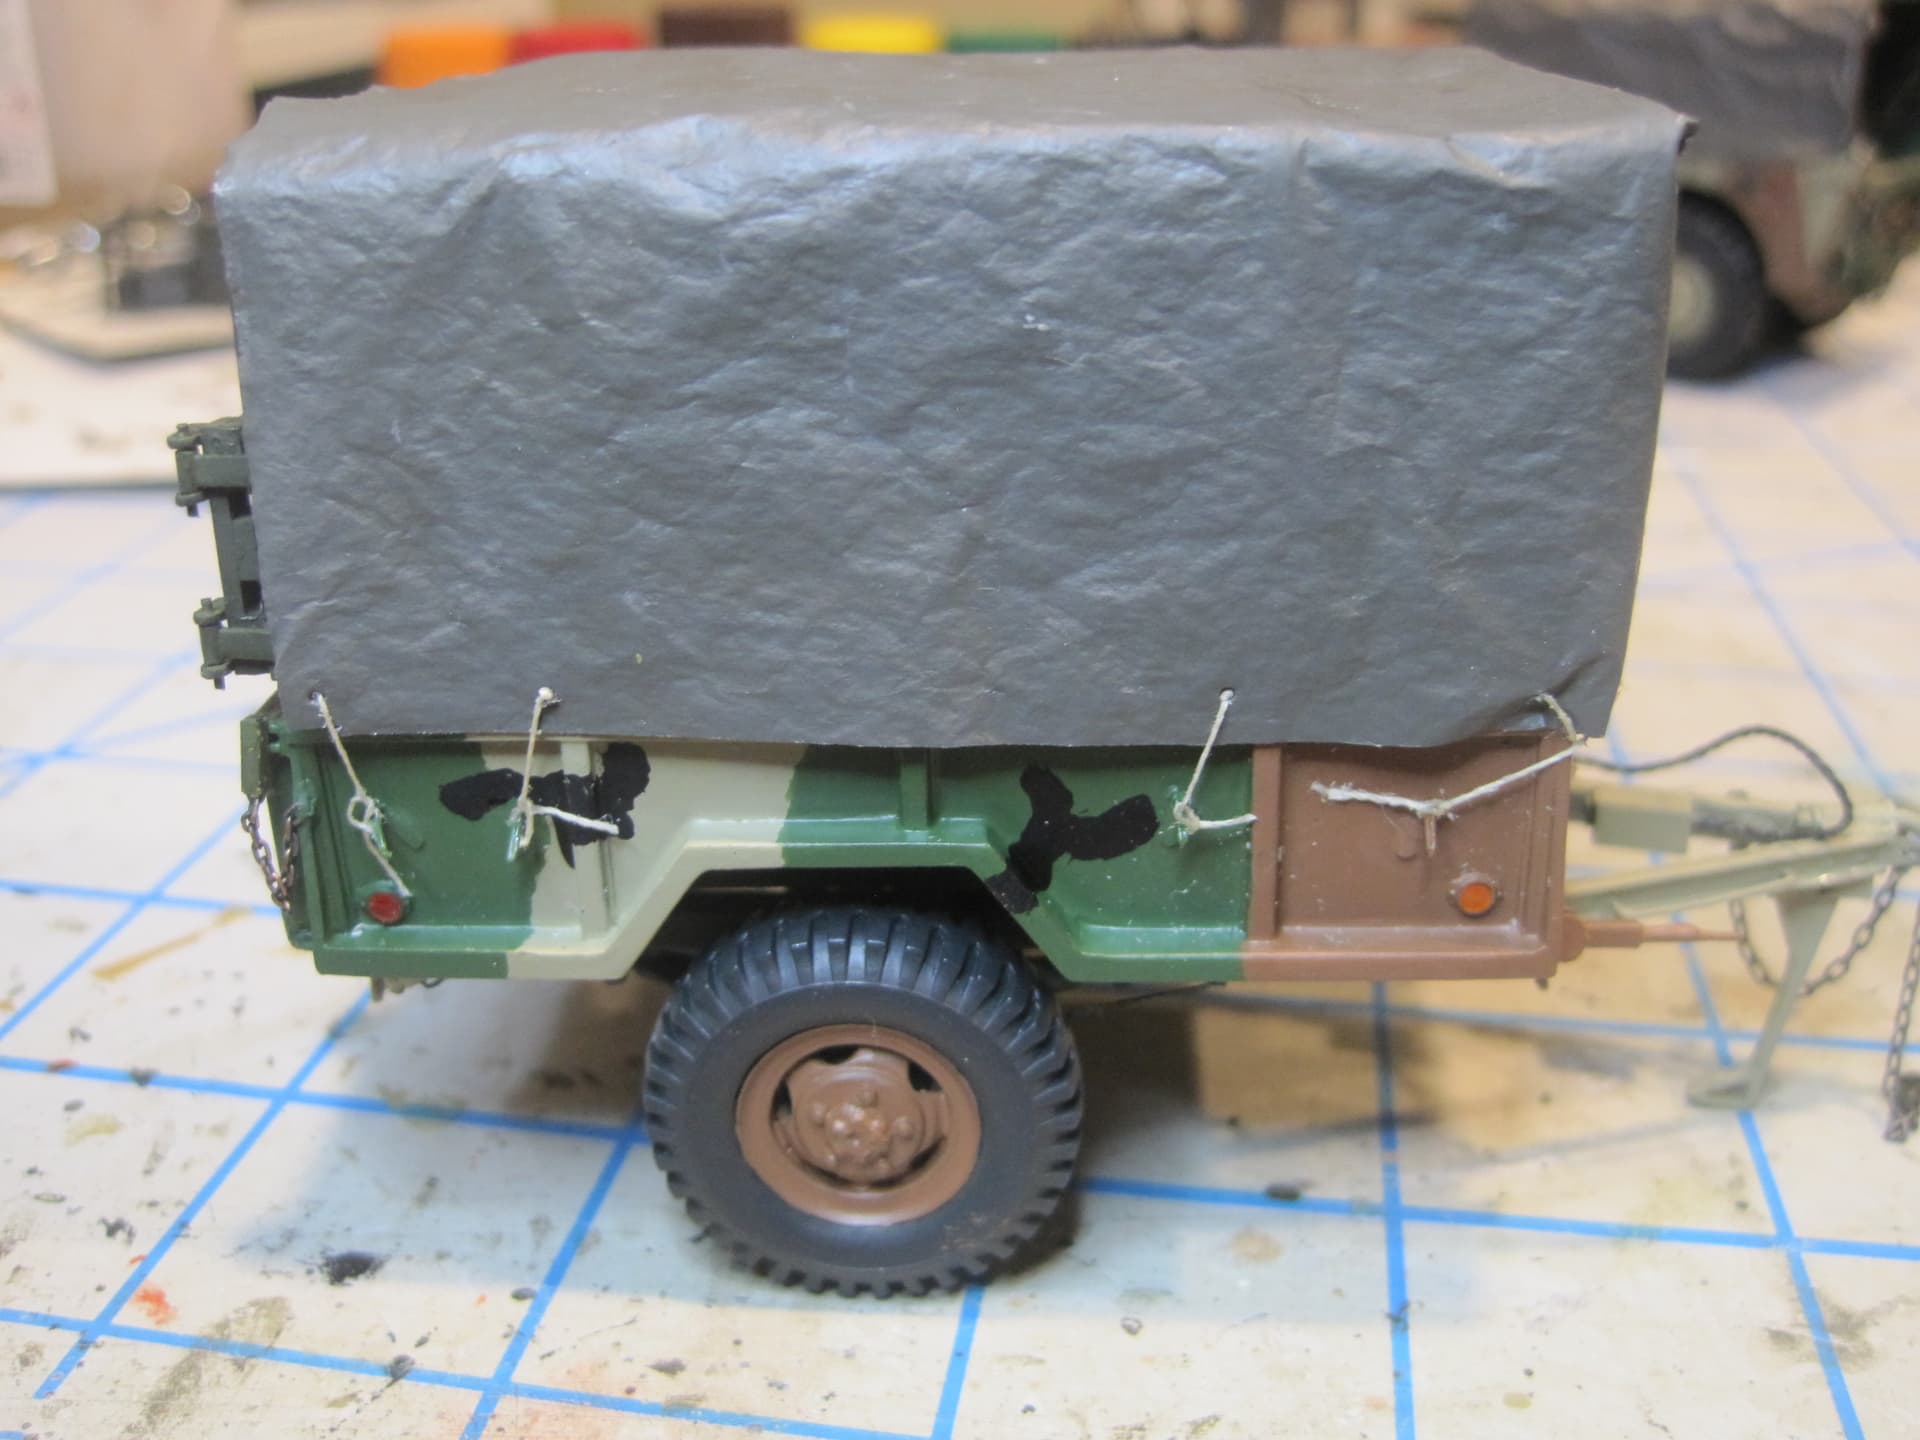
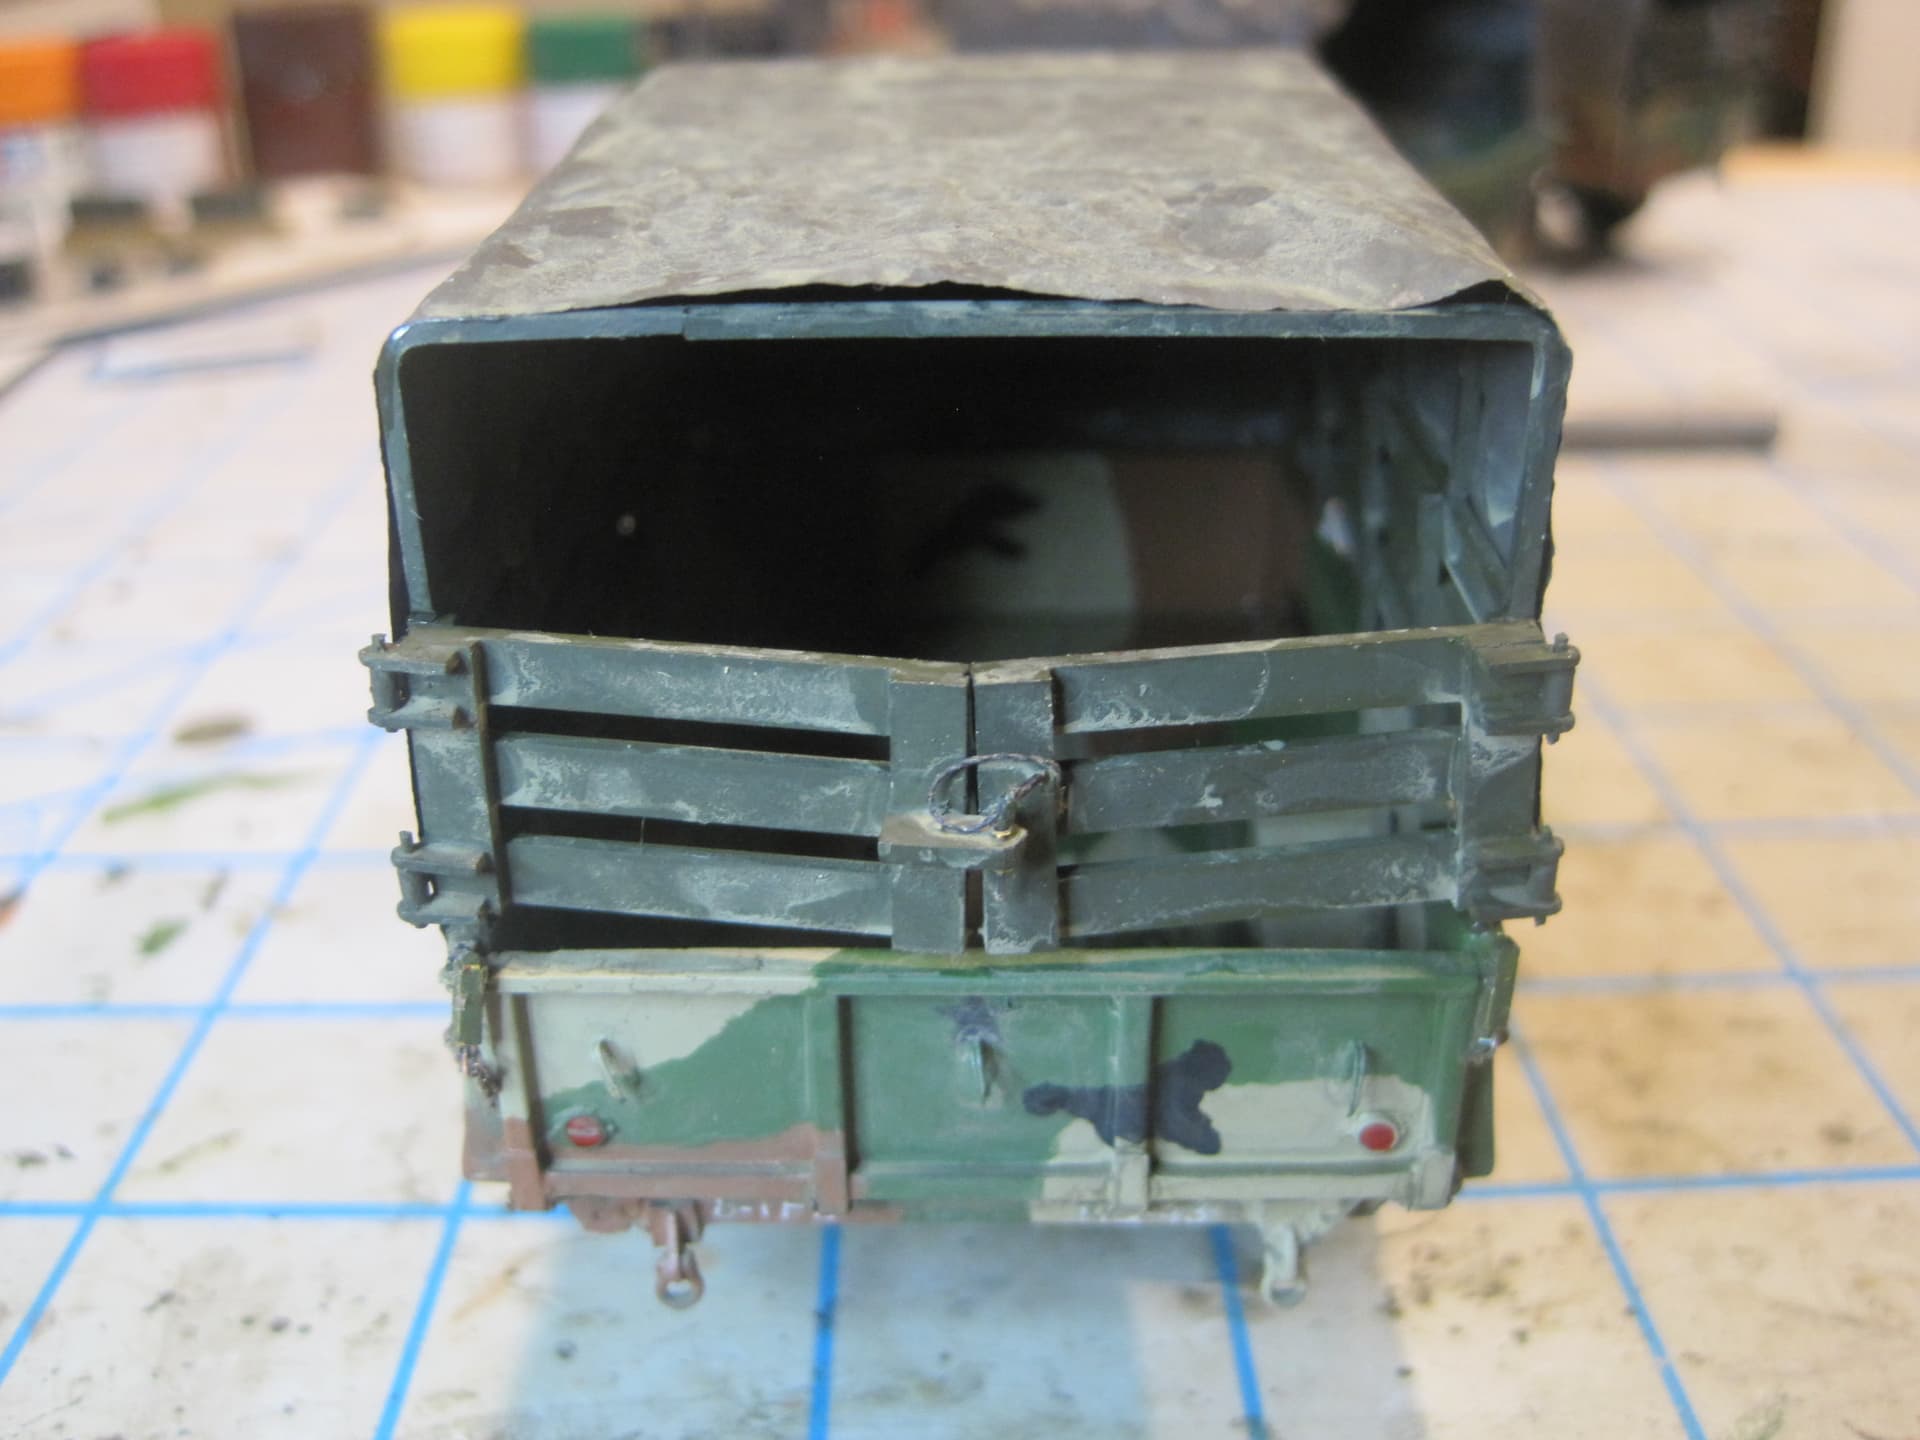
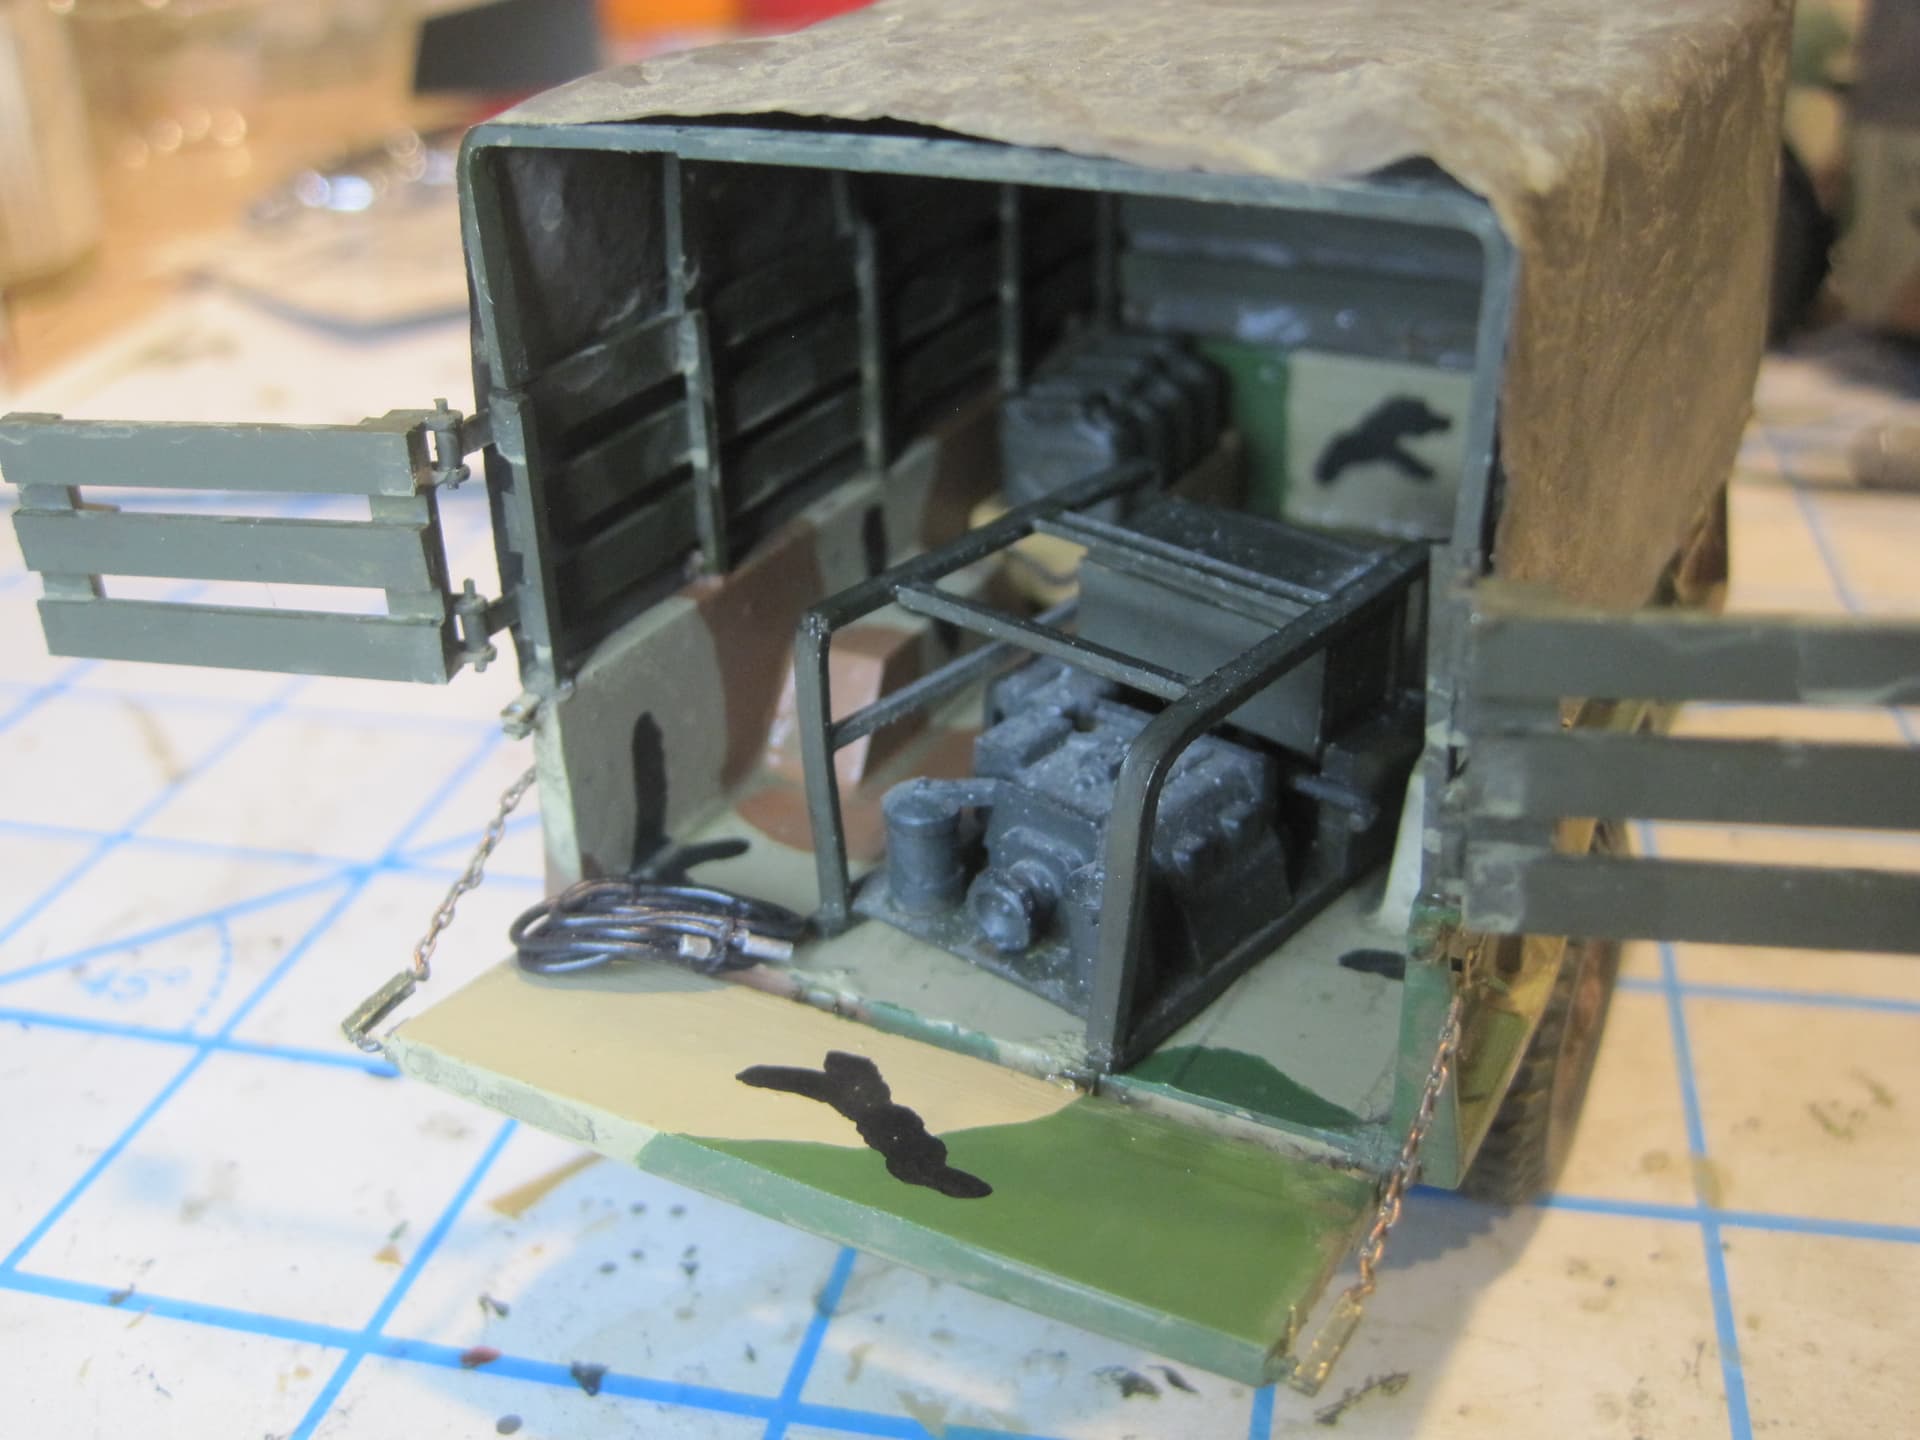
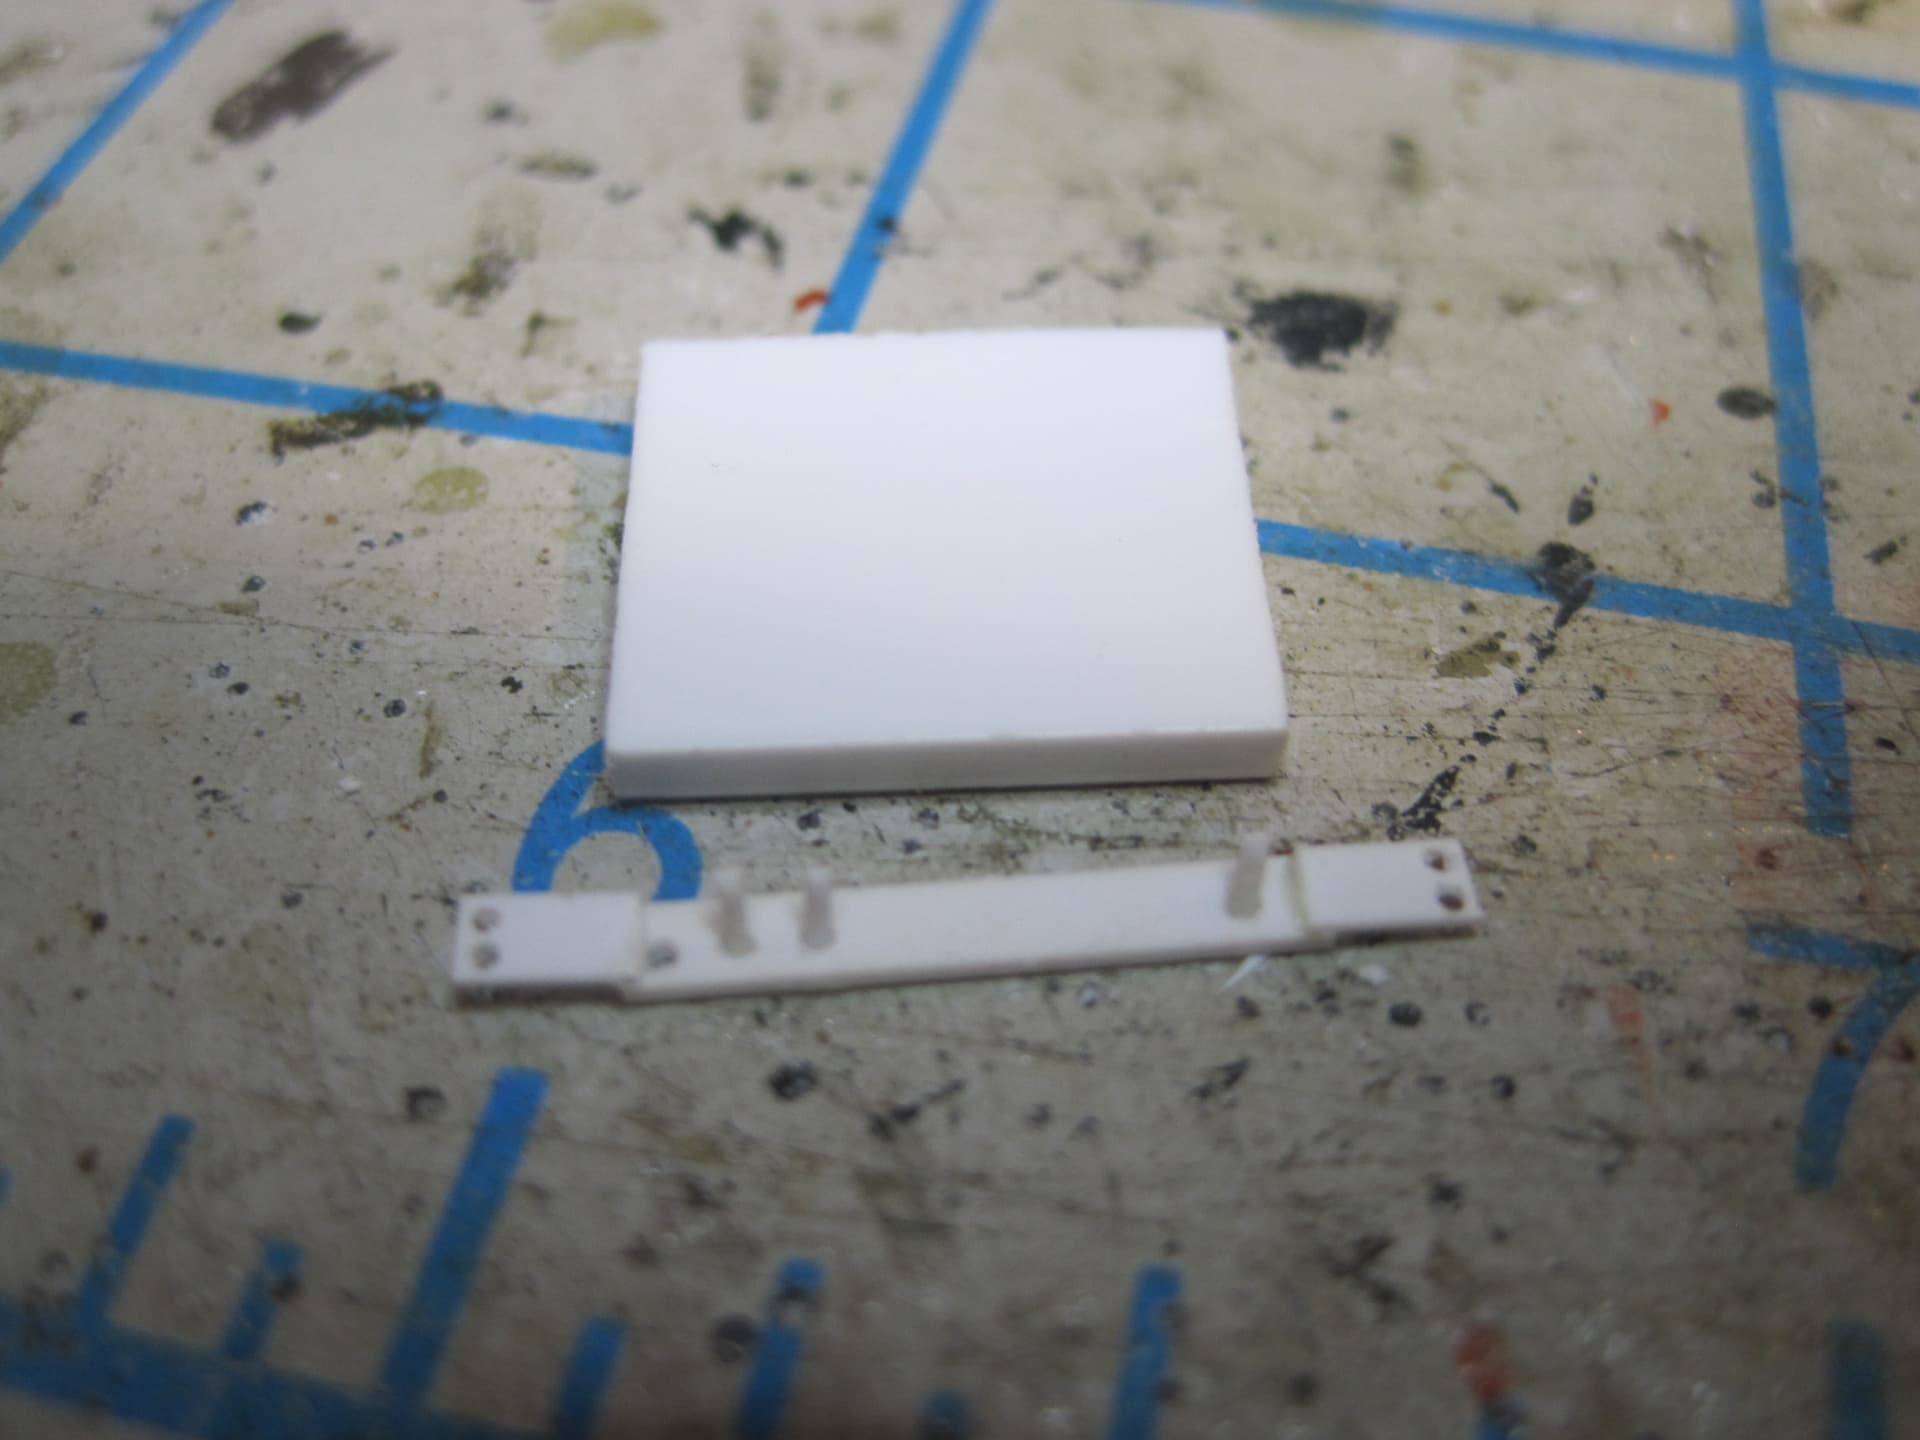
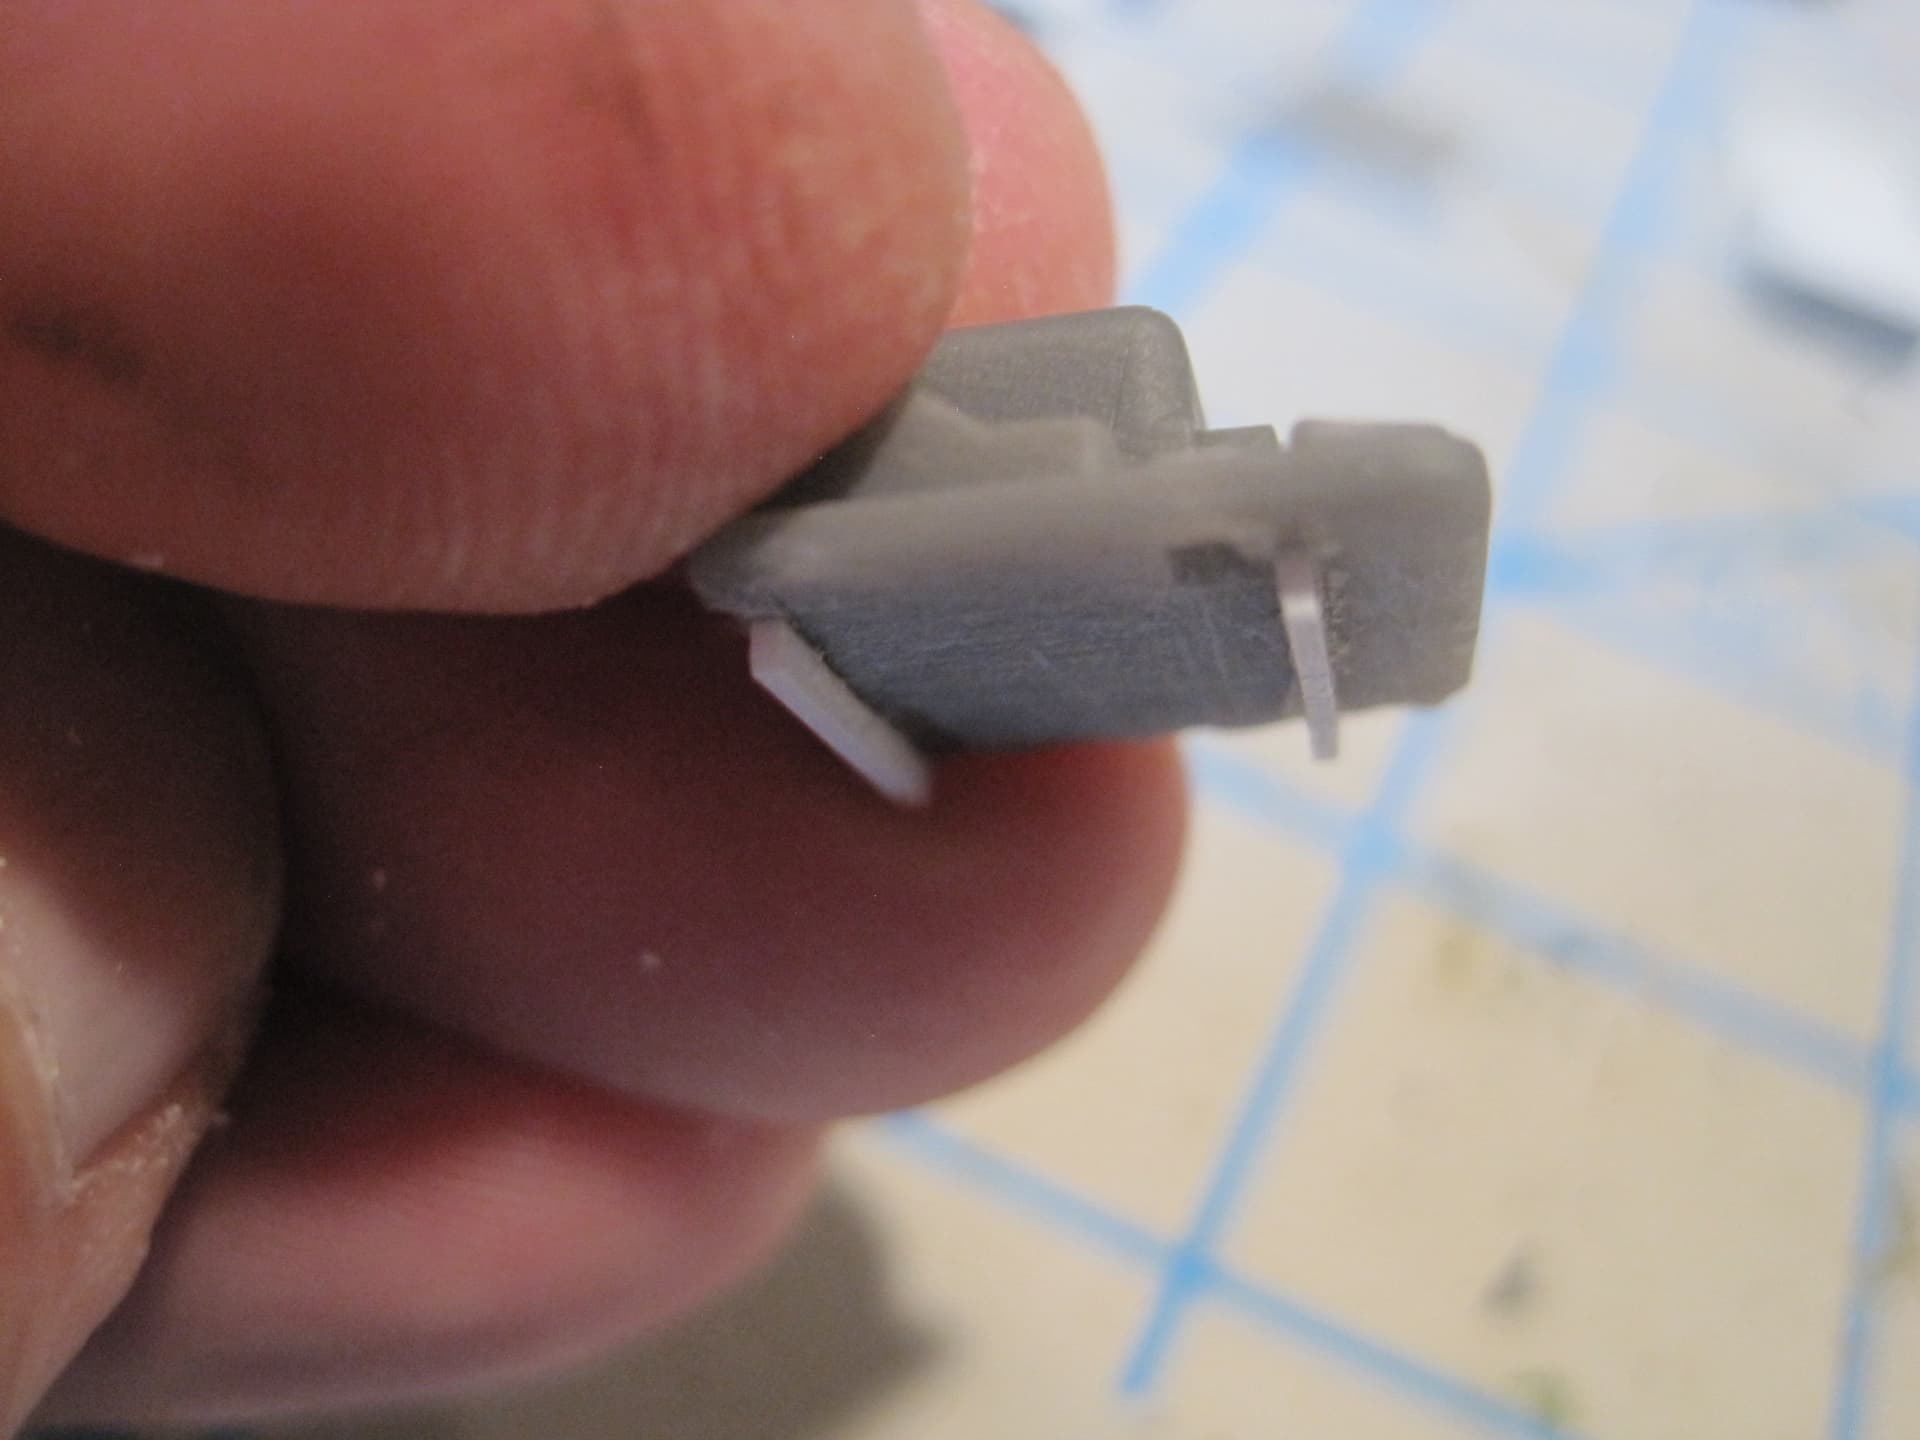
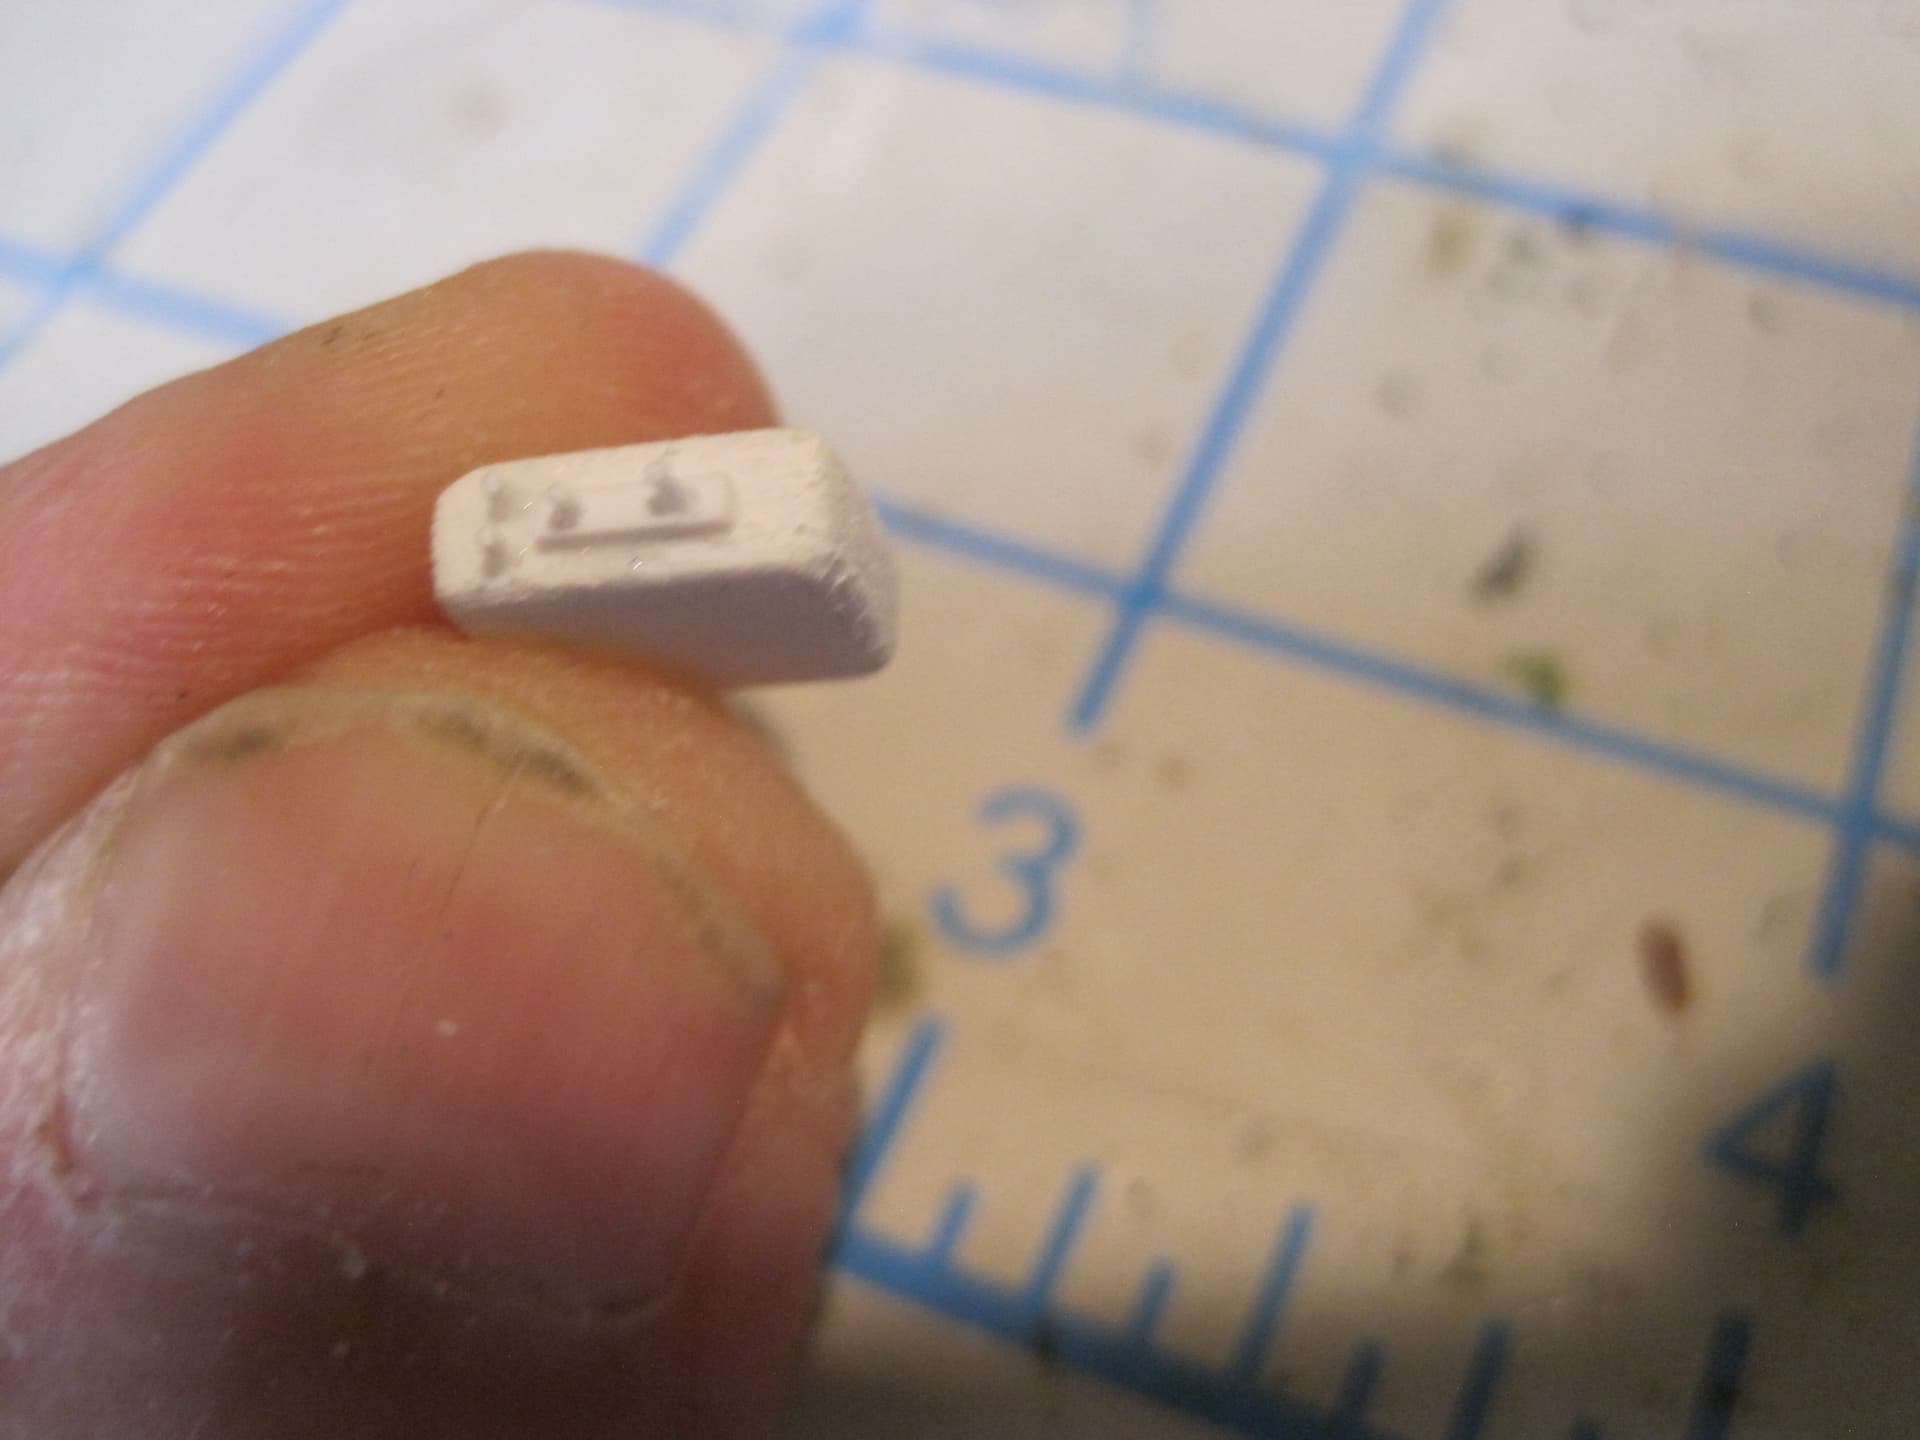
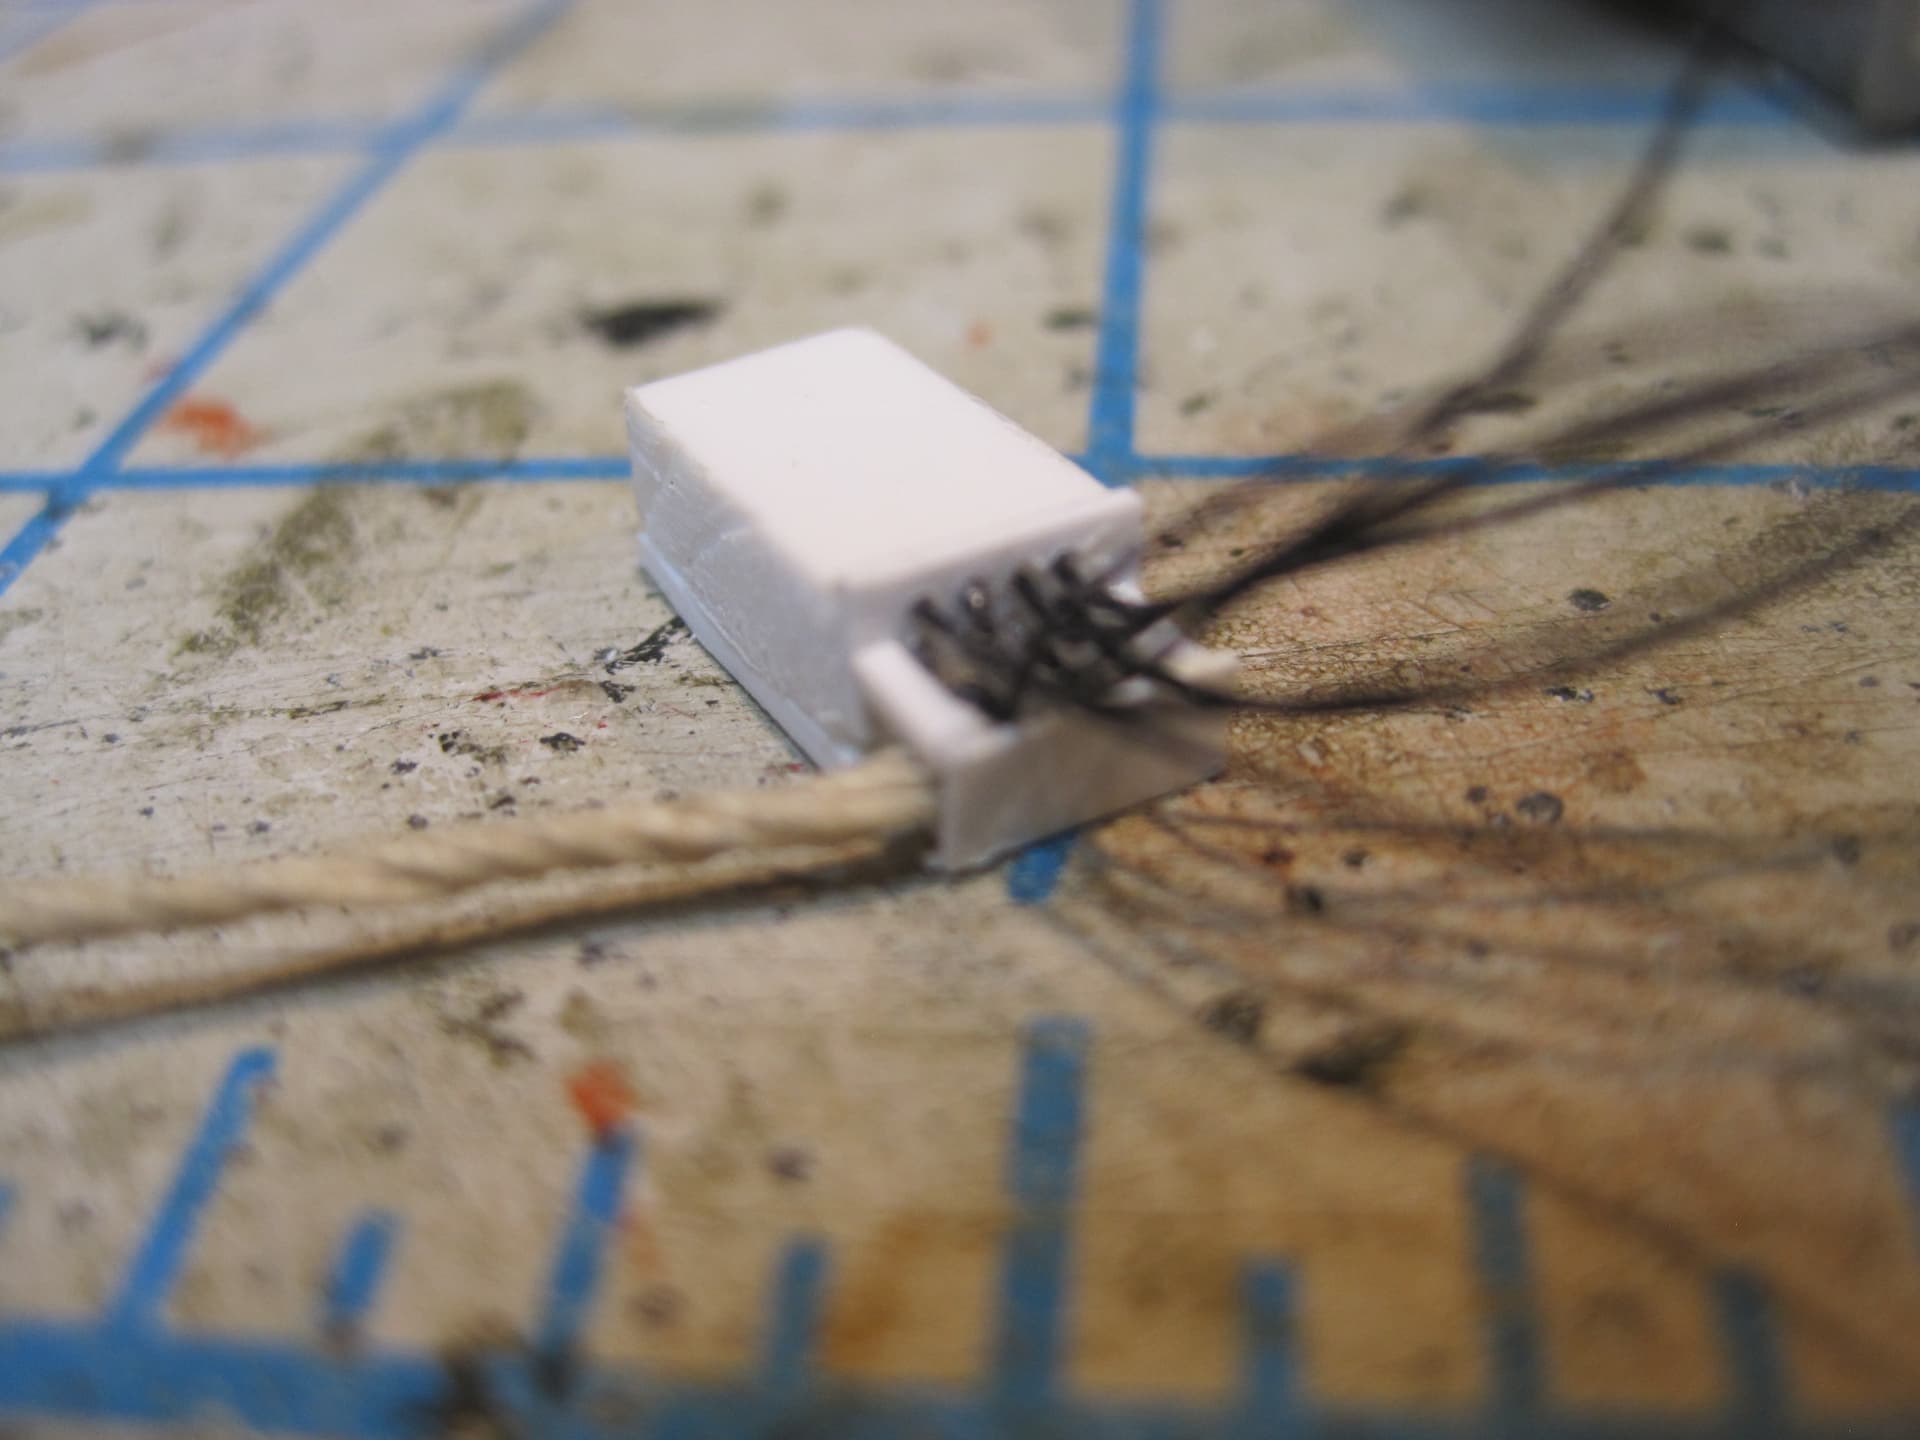
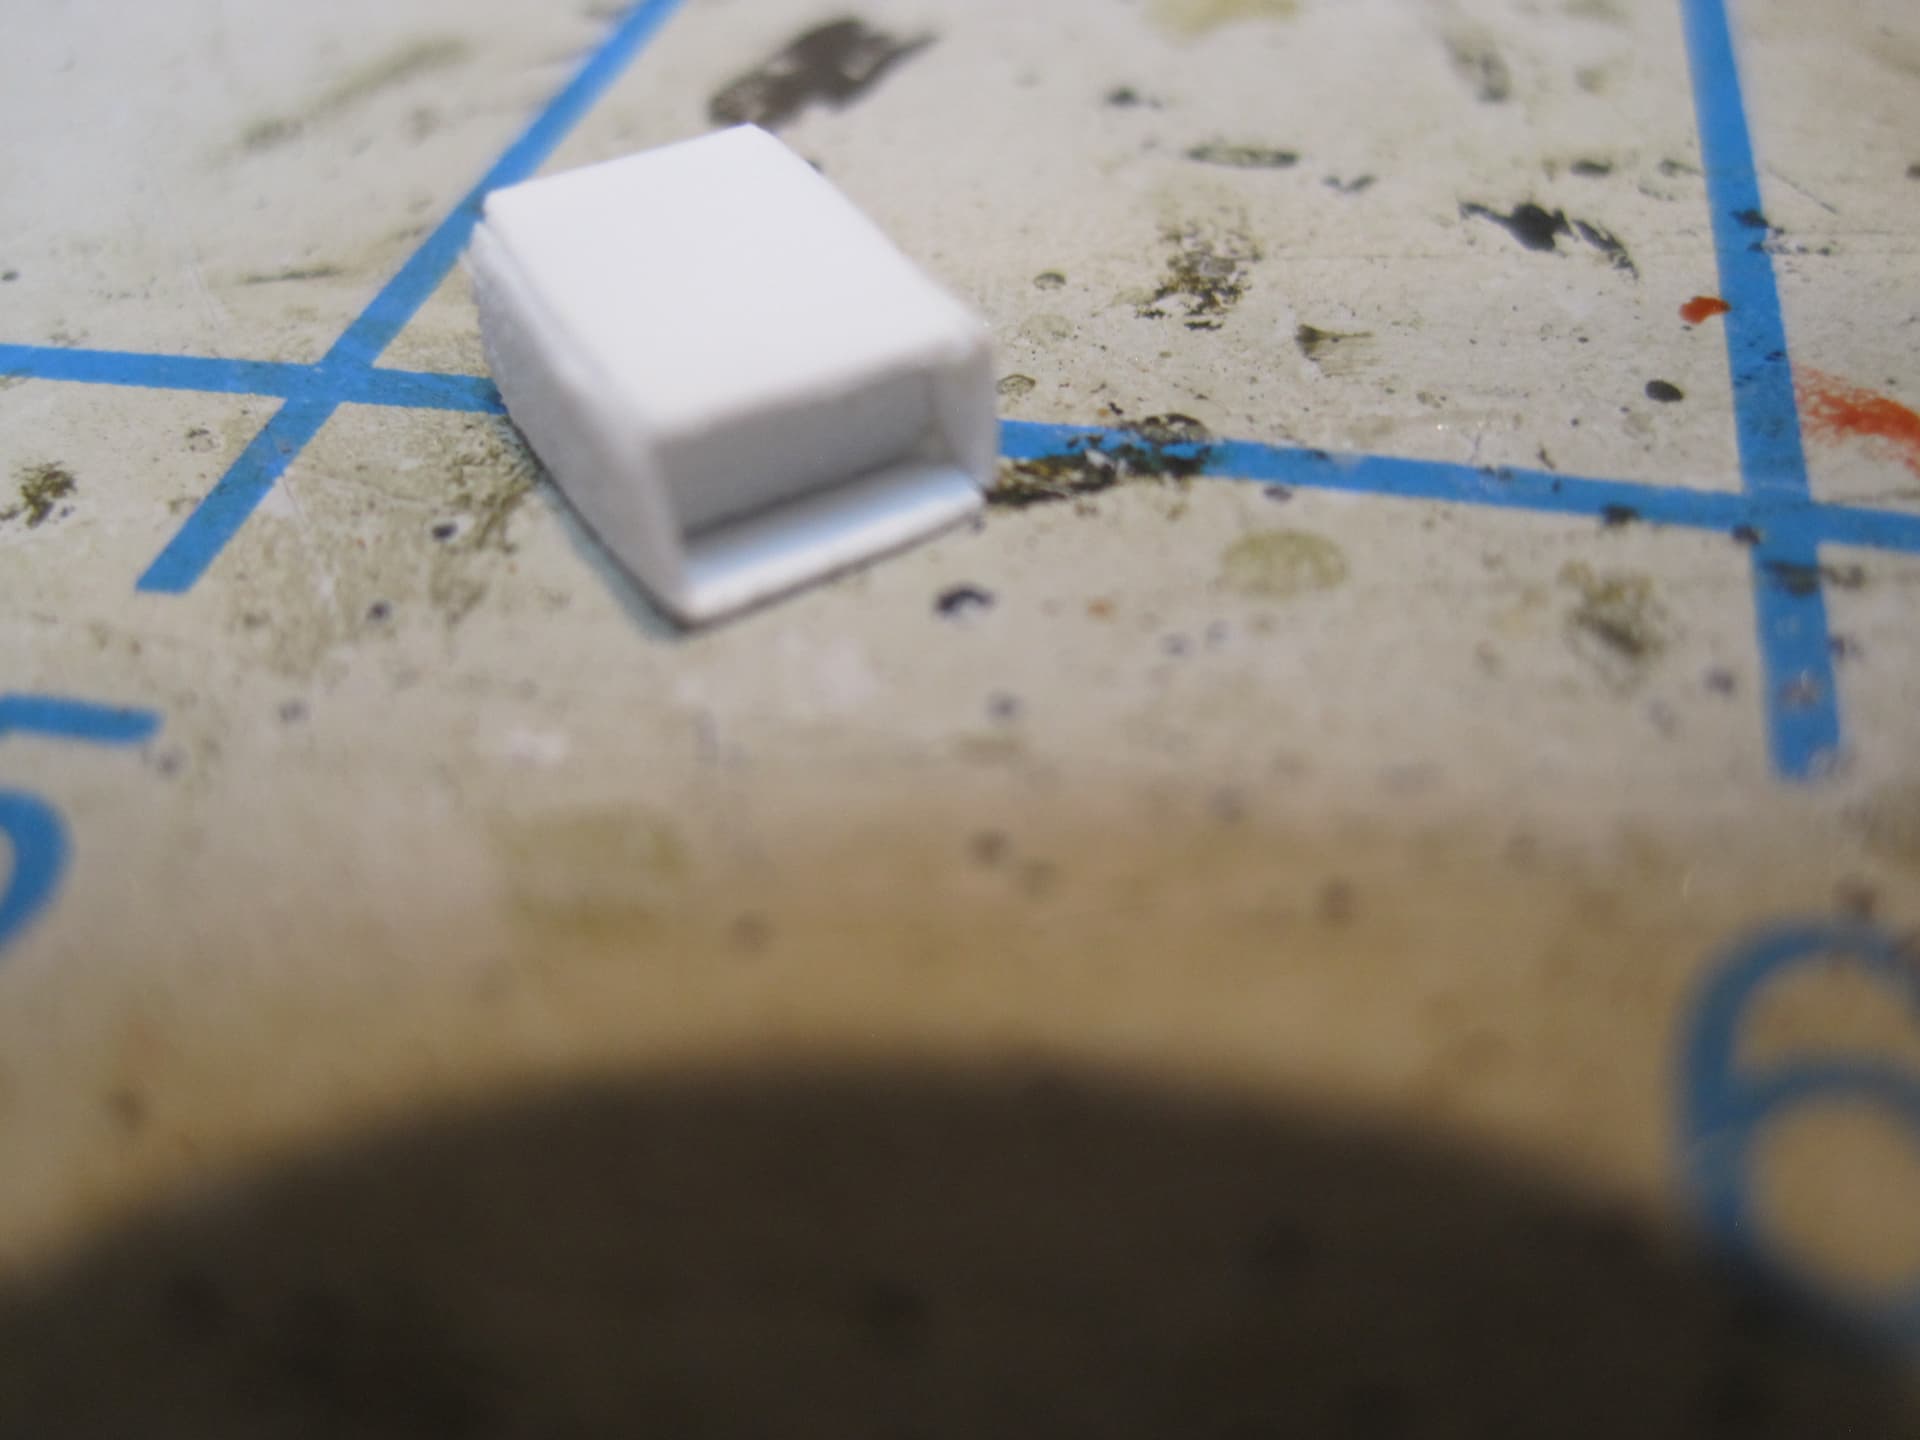
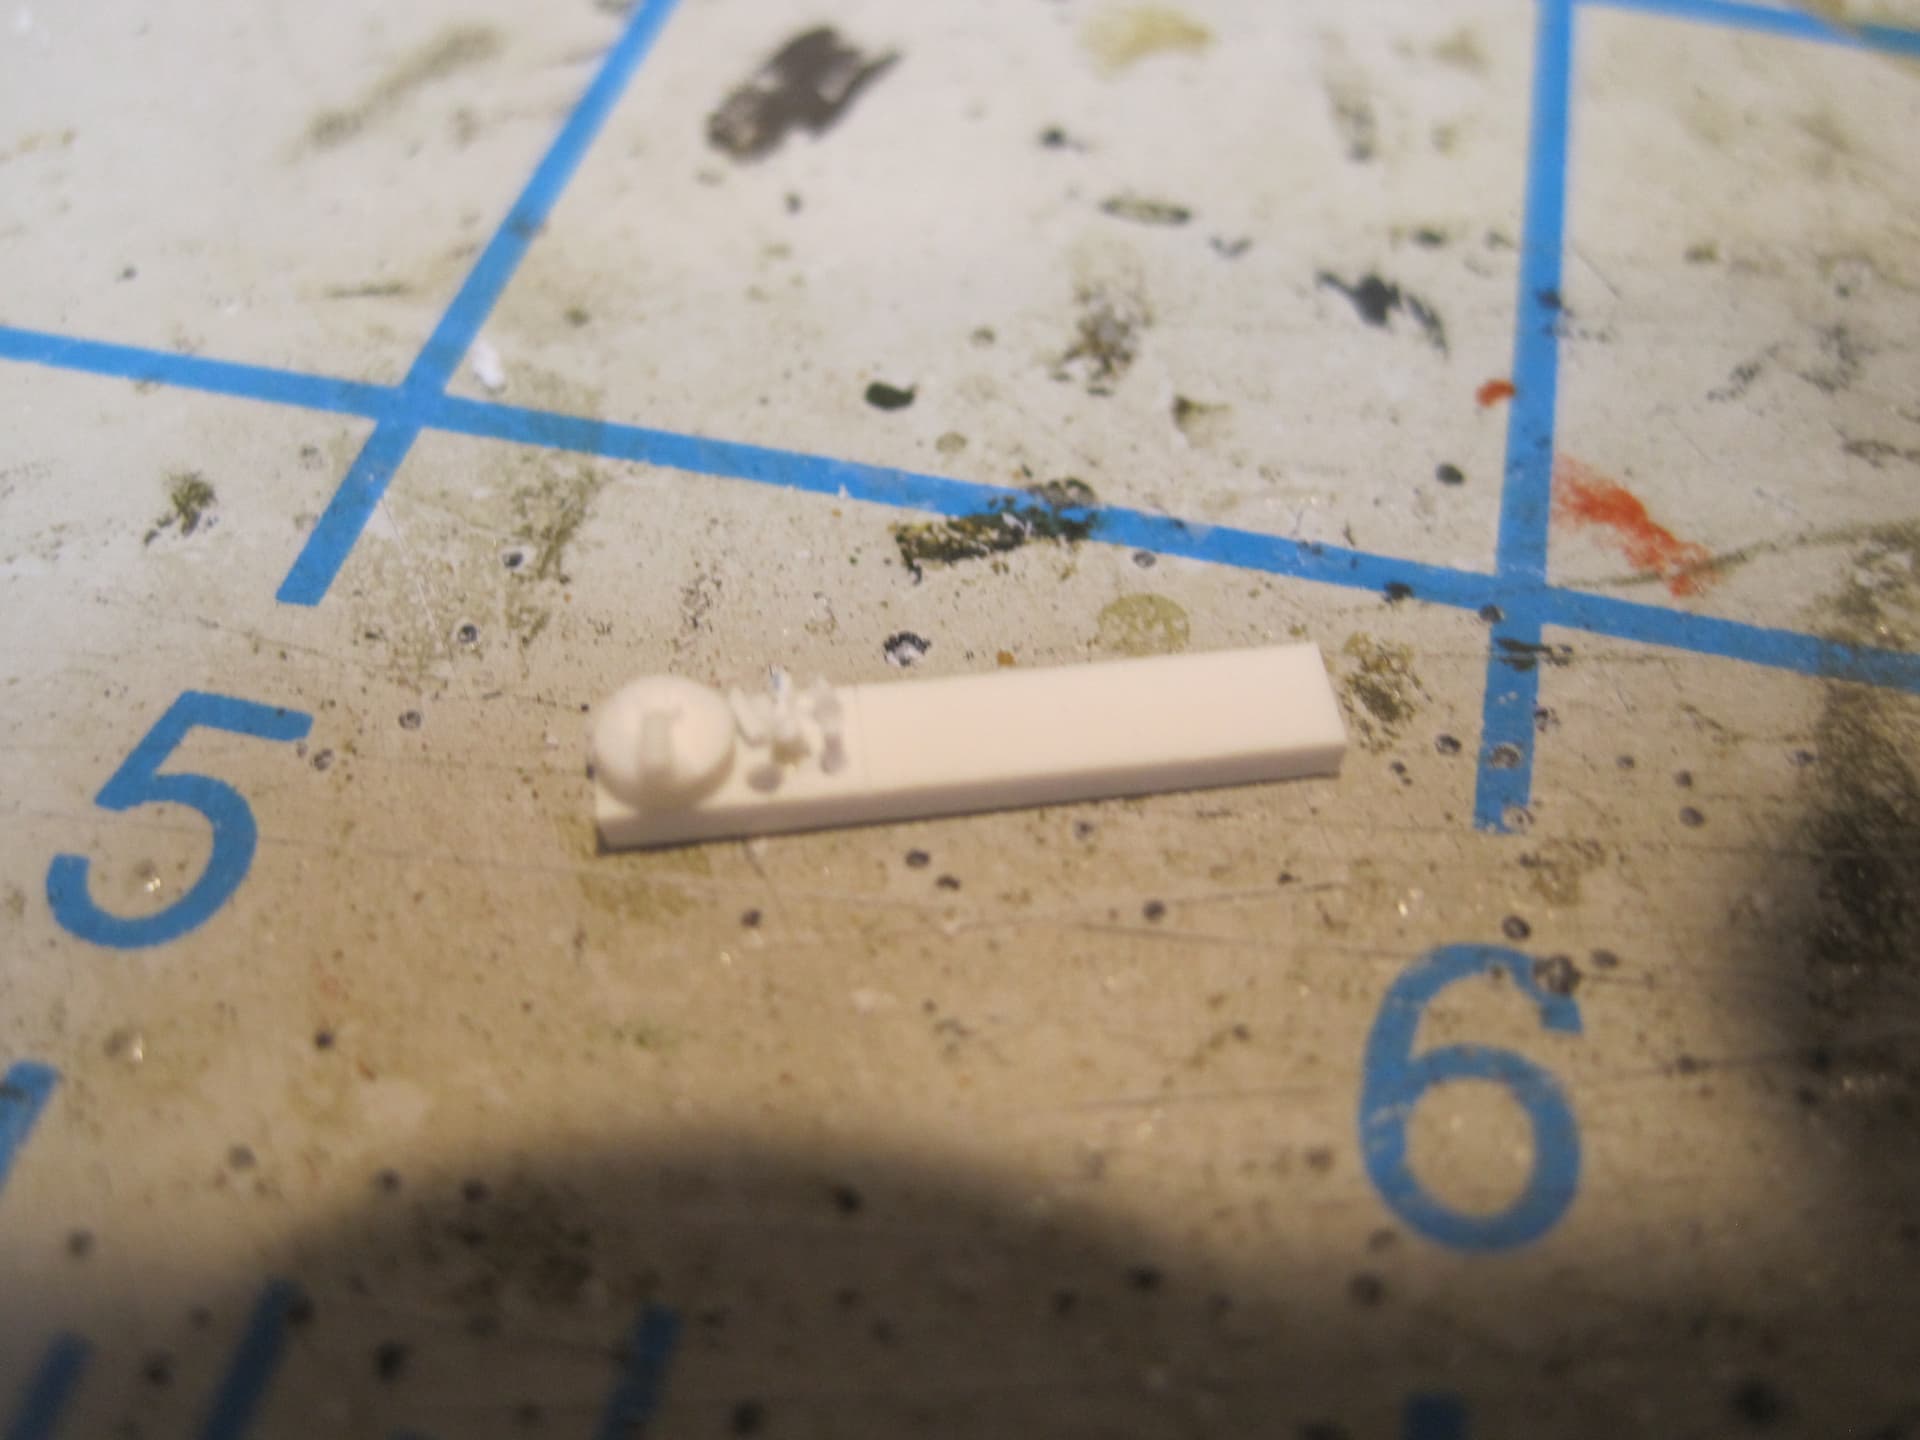
Today I finished scratch building the last few detail items for the trailer which were not included in the kit. There’s a junction box where the two leads from the taillight wiring combine into the single cable which connects into the socket on the back of the truck, as well a a cover for the box and the plug itself. There is also a fitting to stow the plug on the trailer frame when not in use.
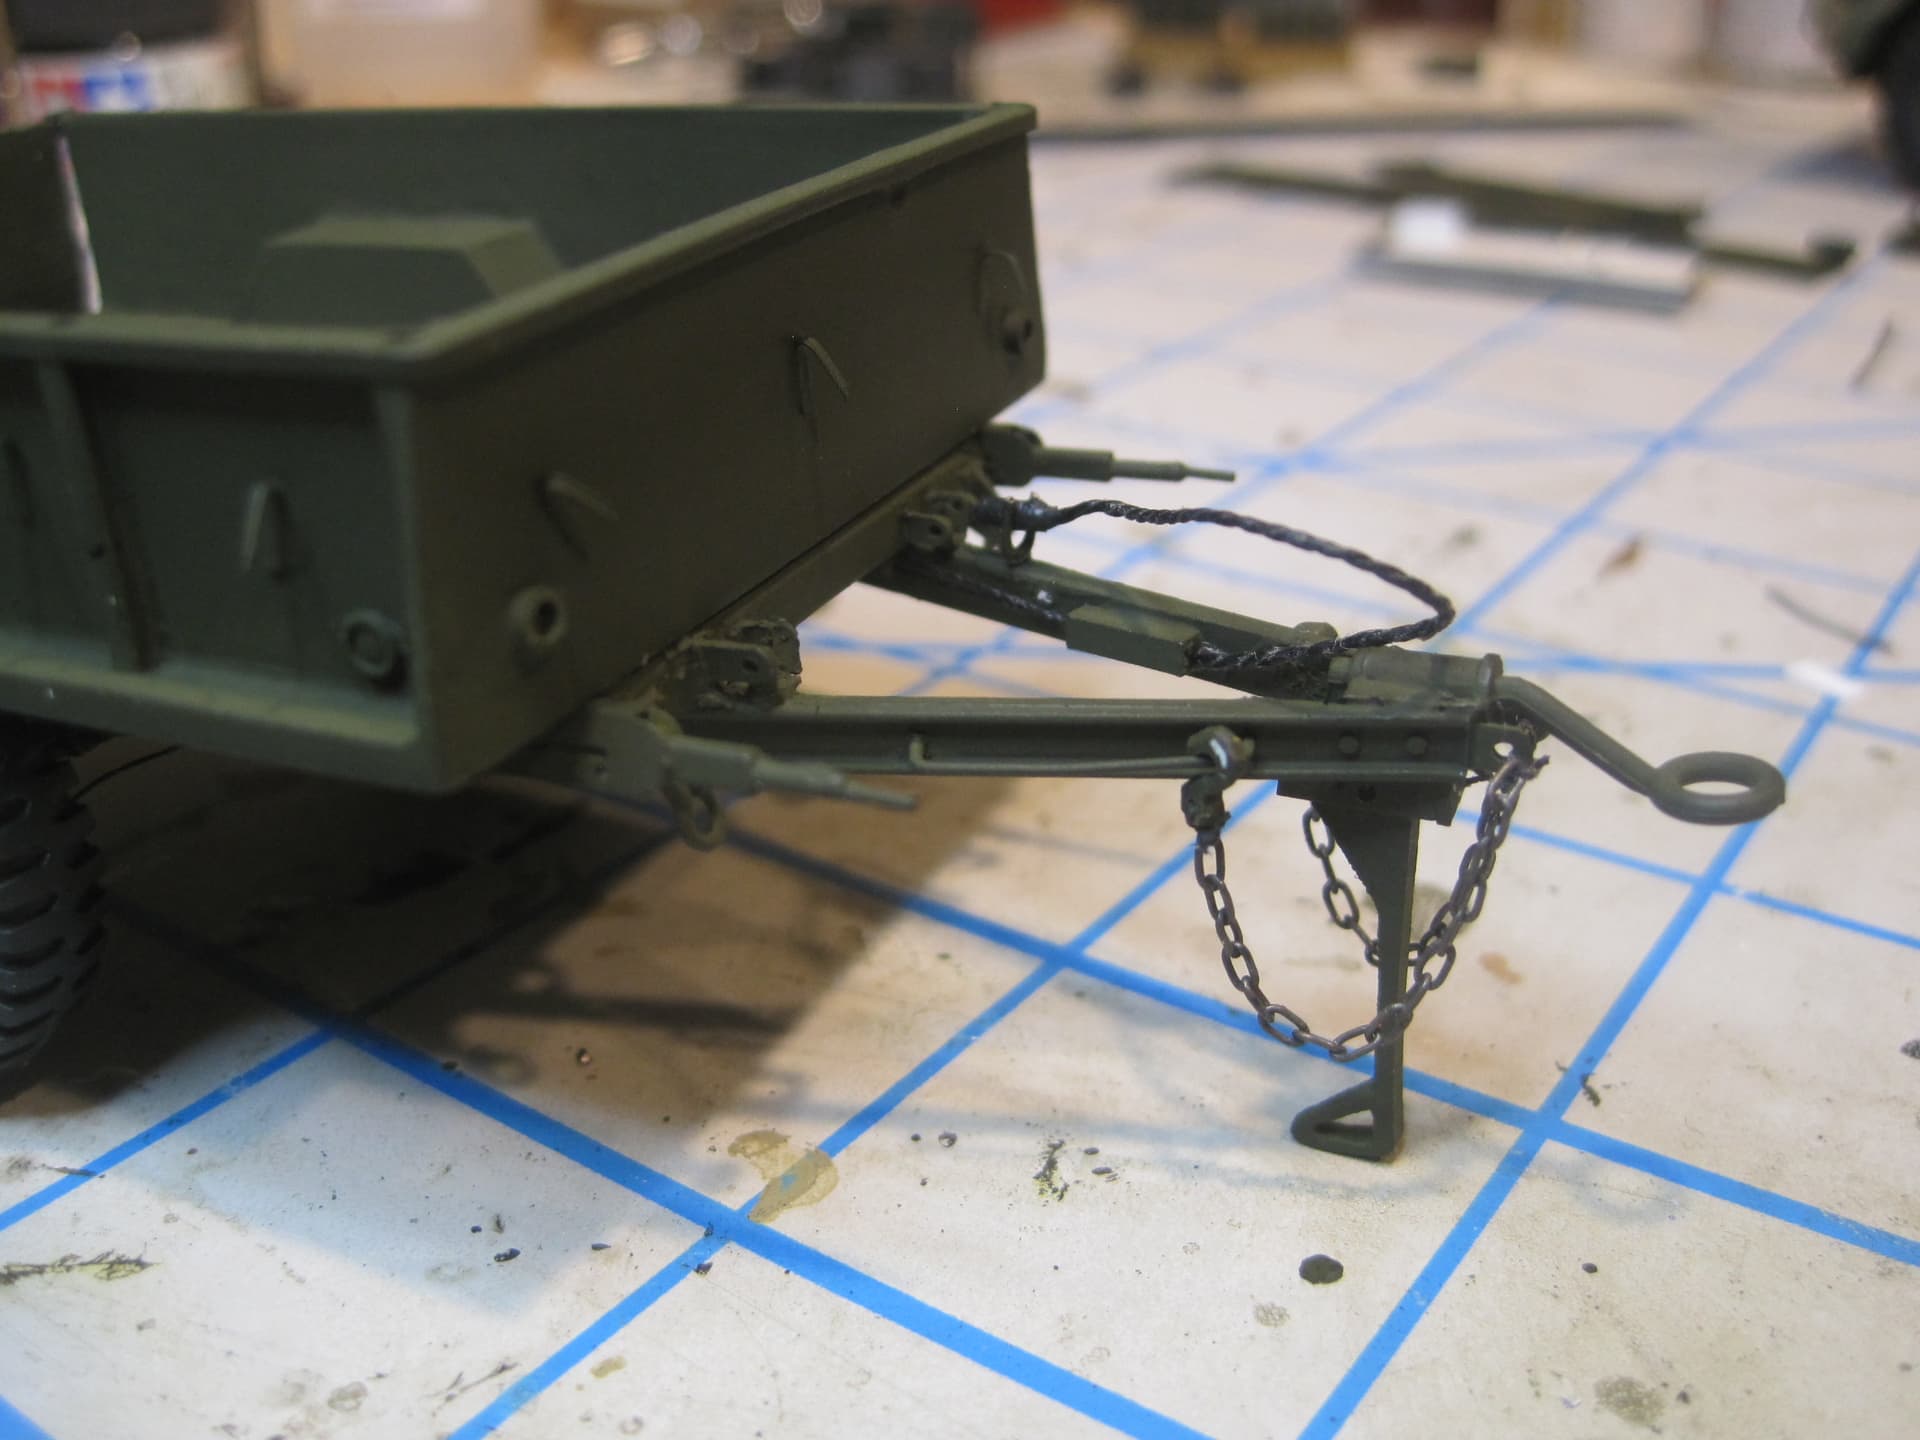
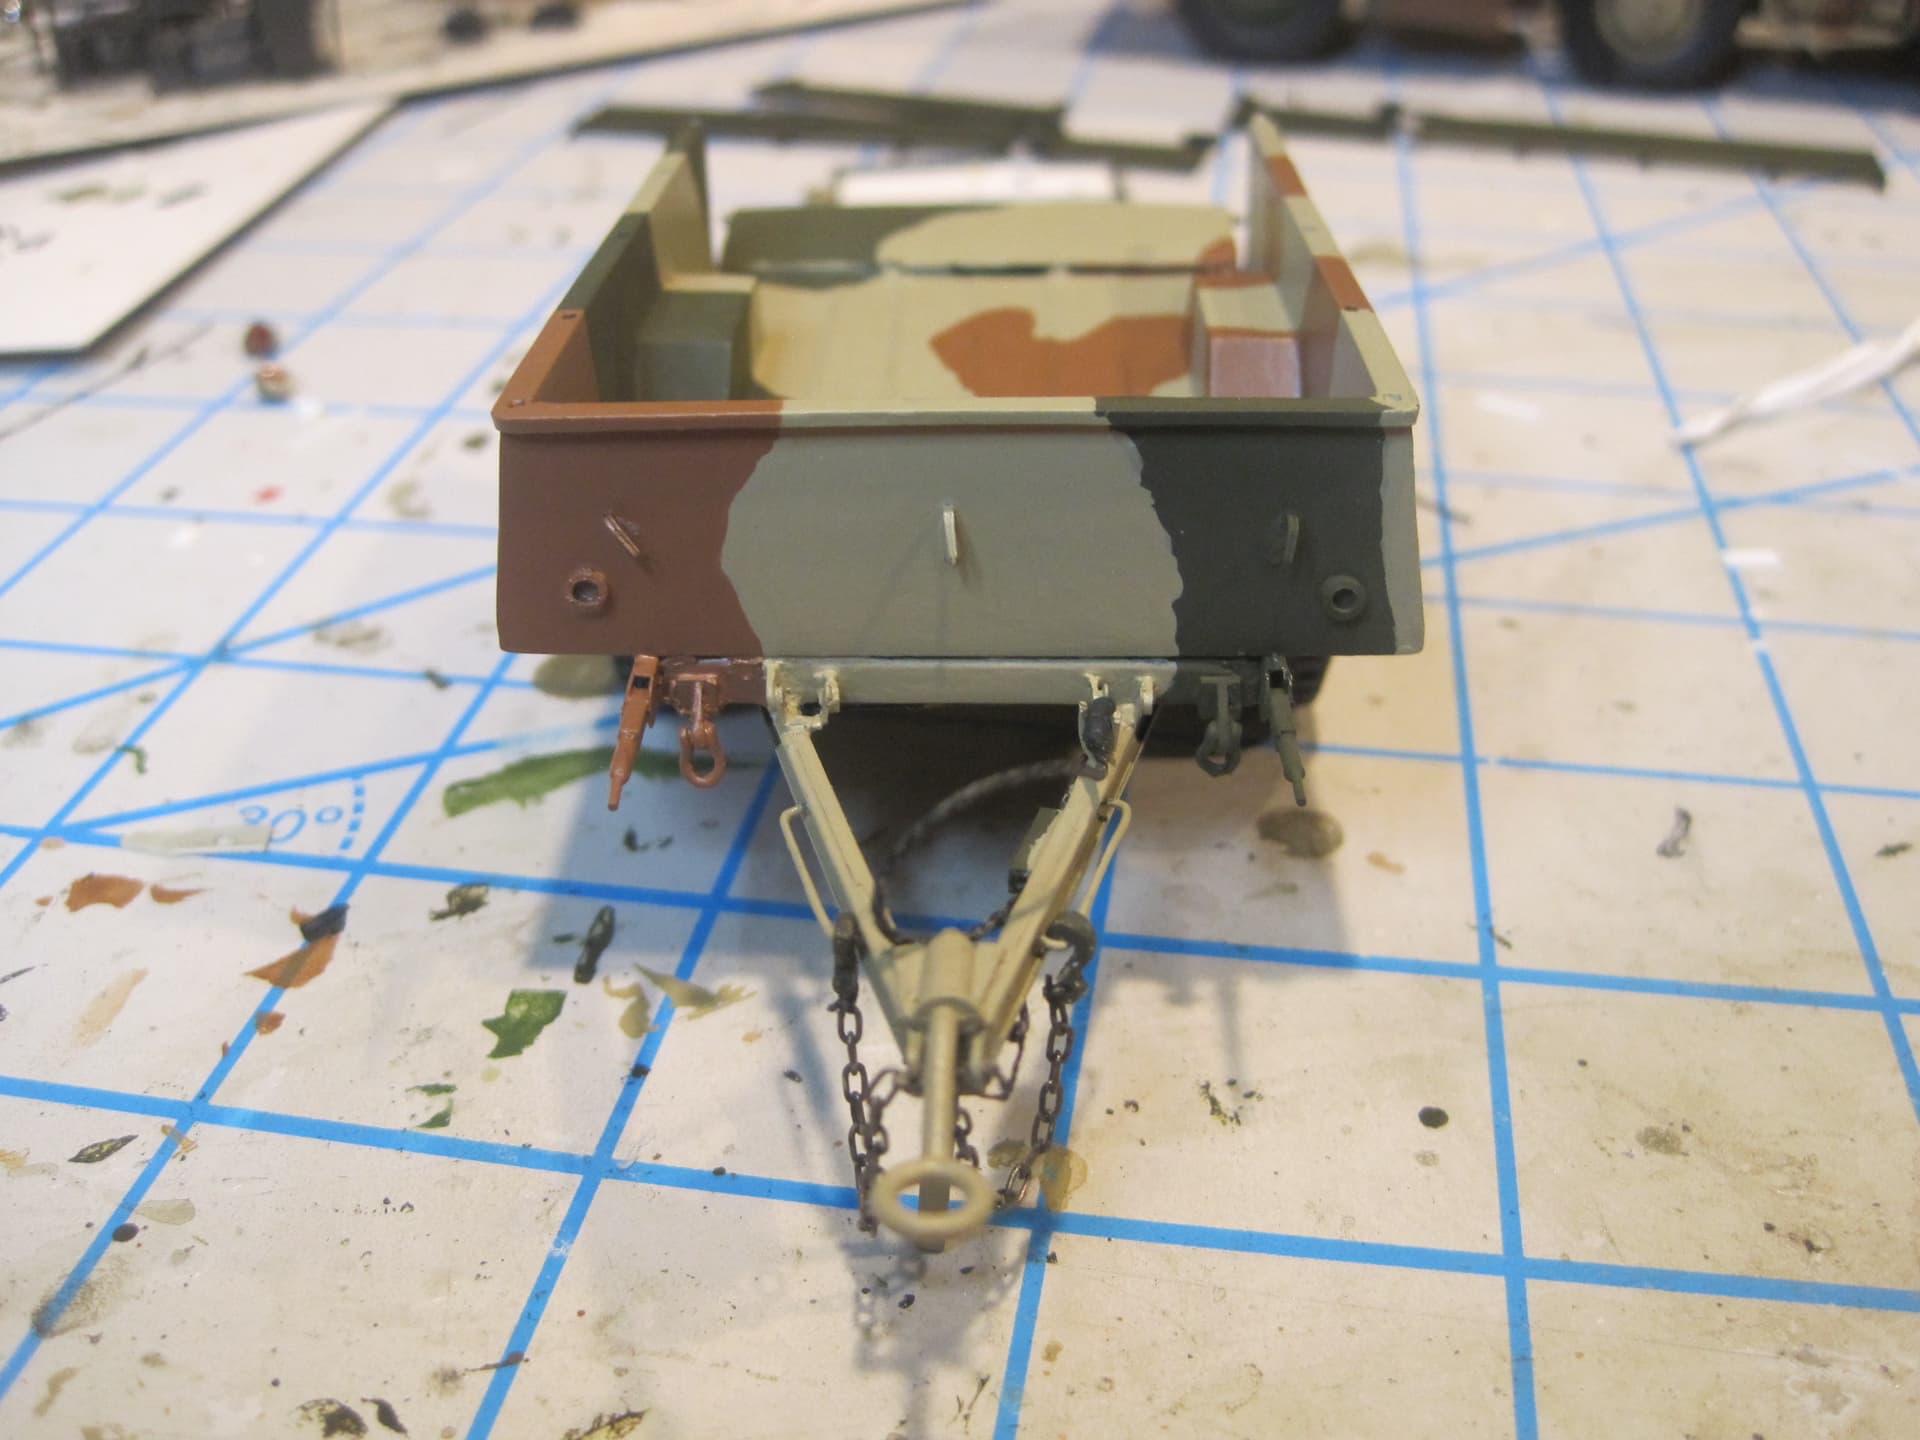
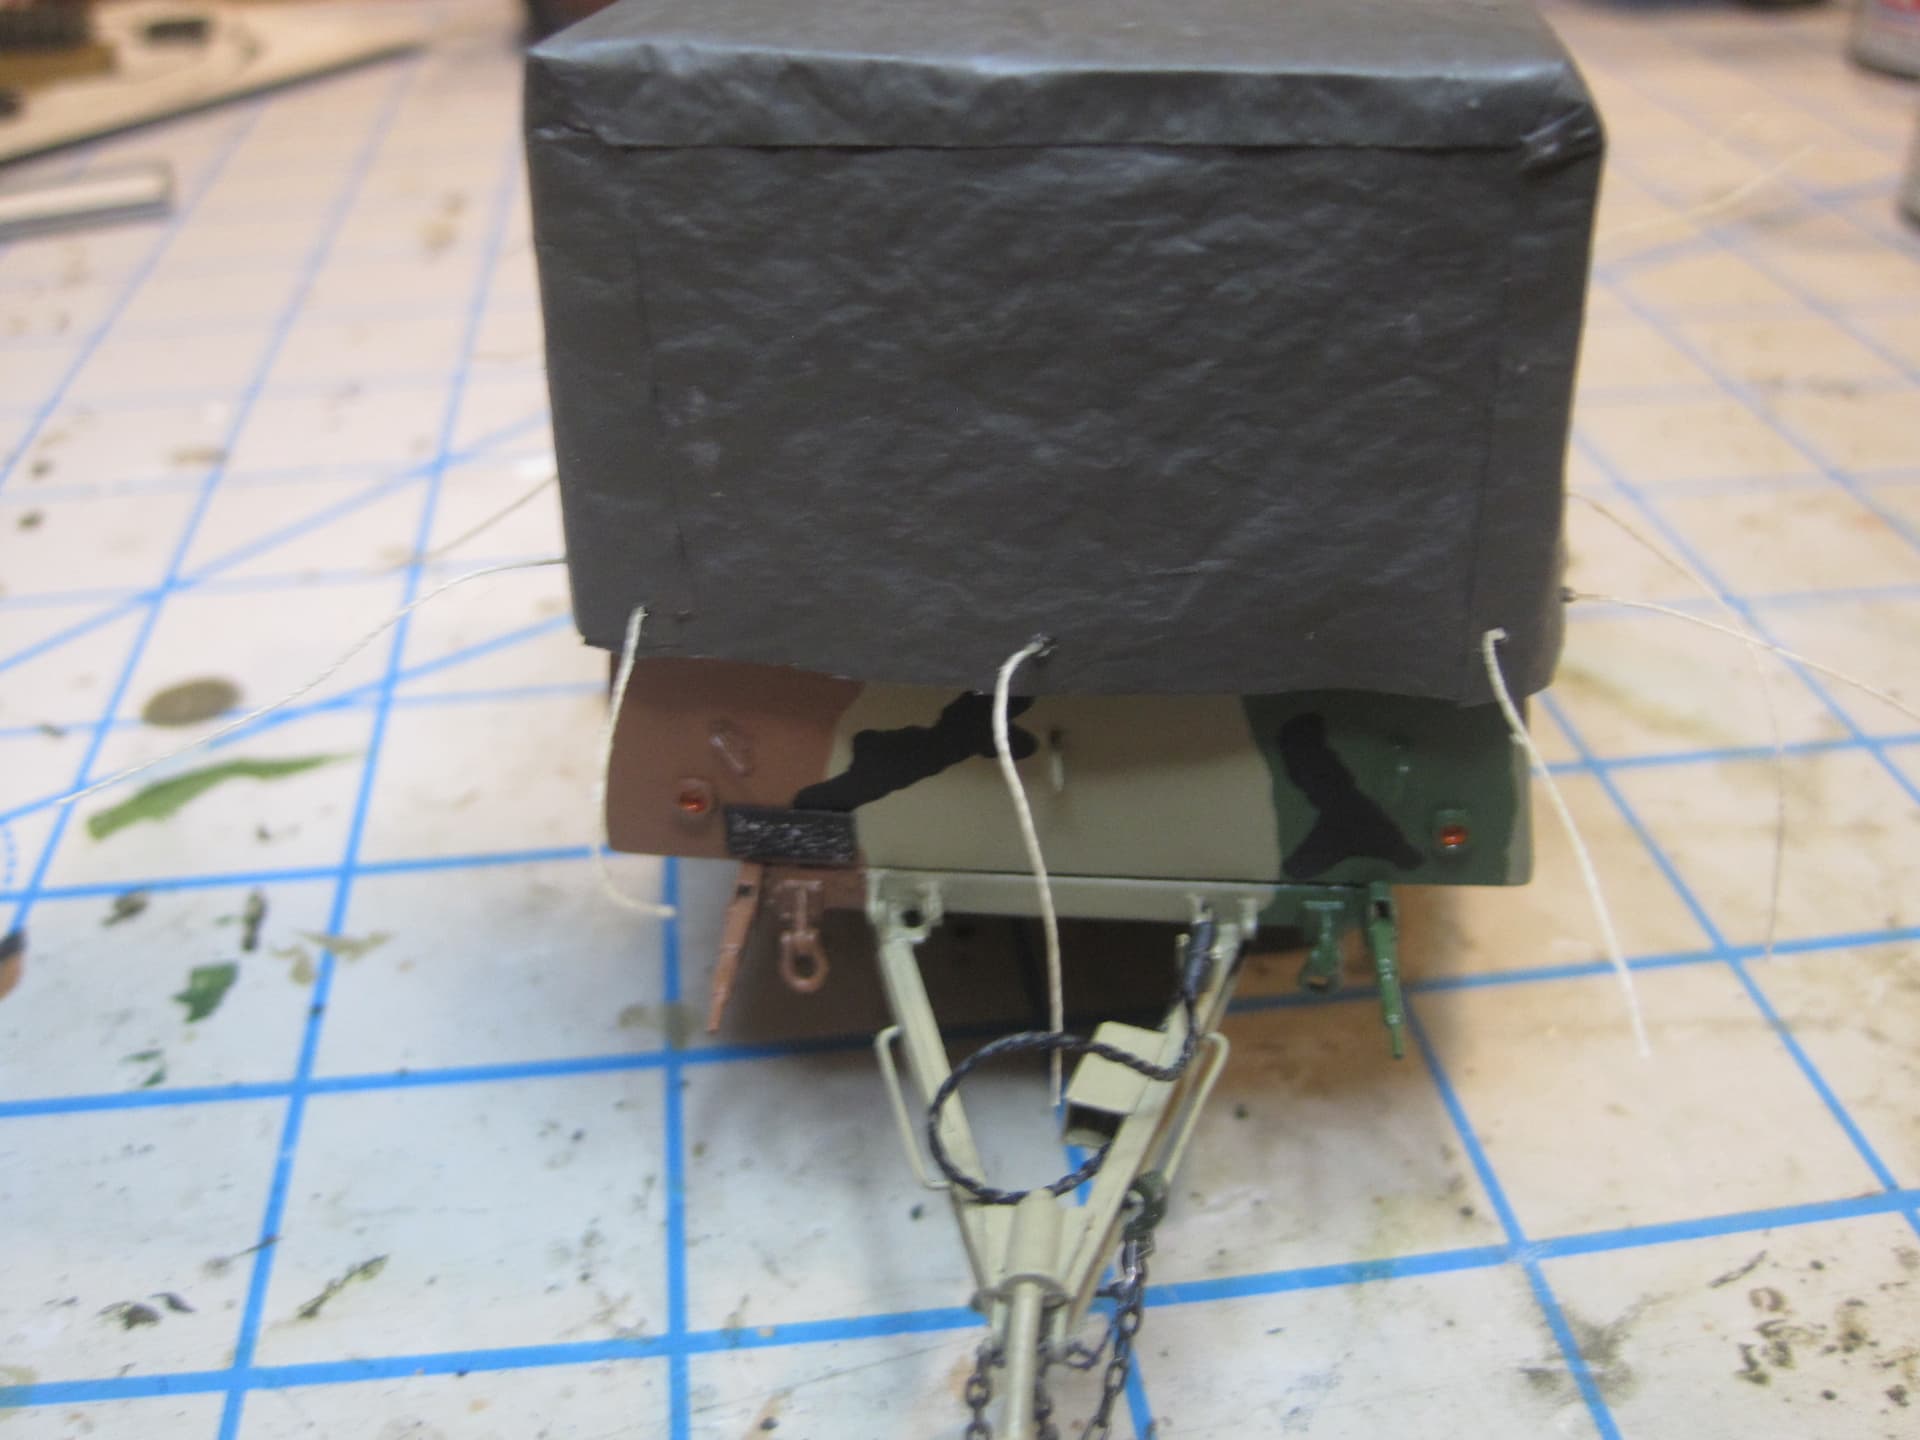
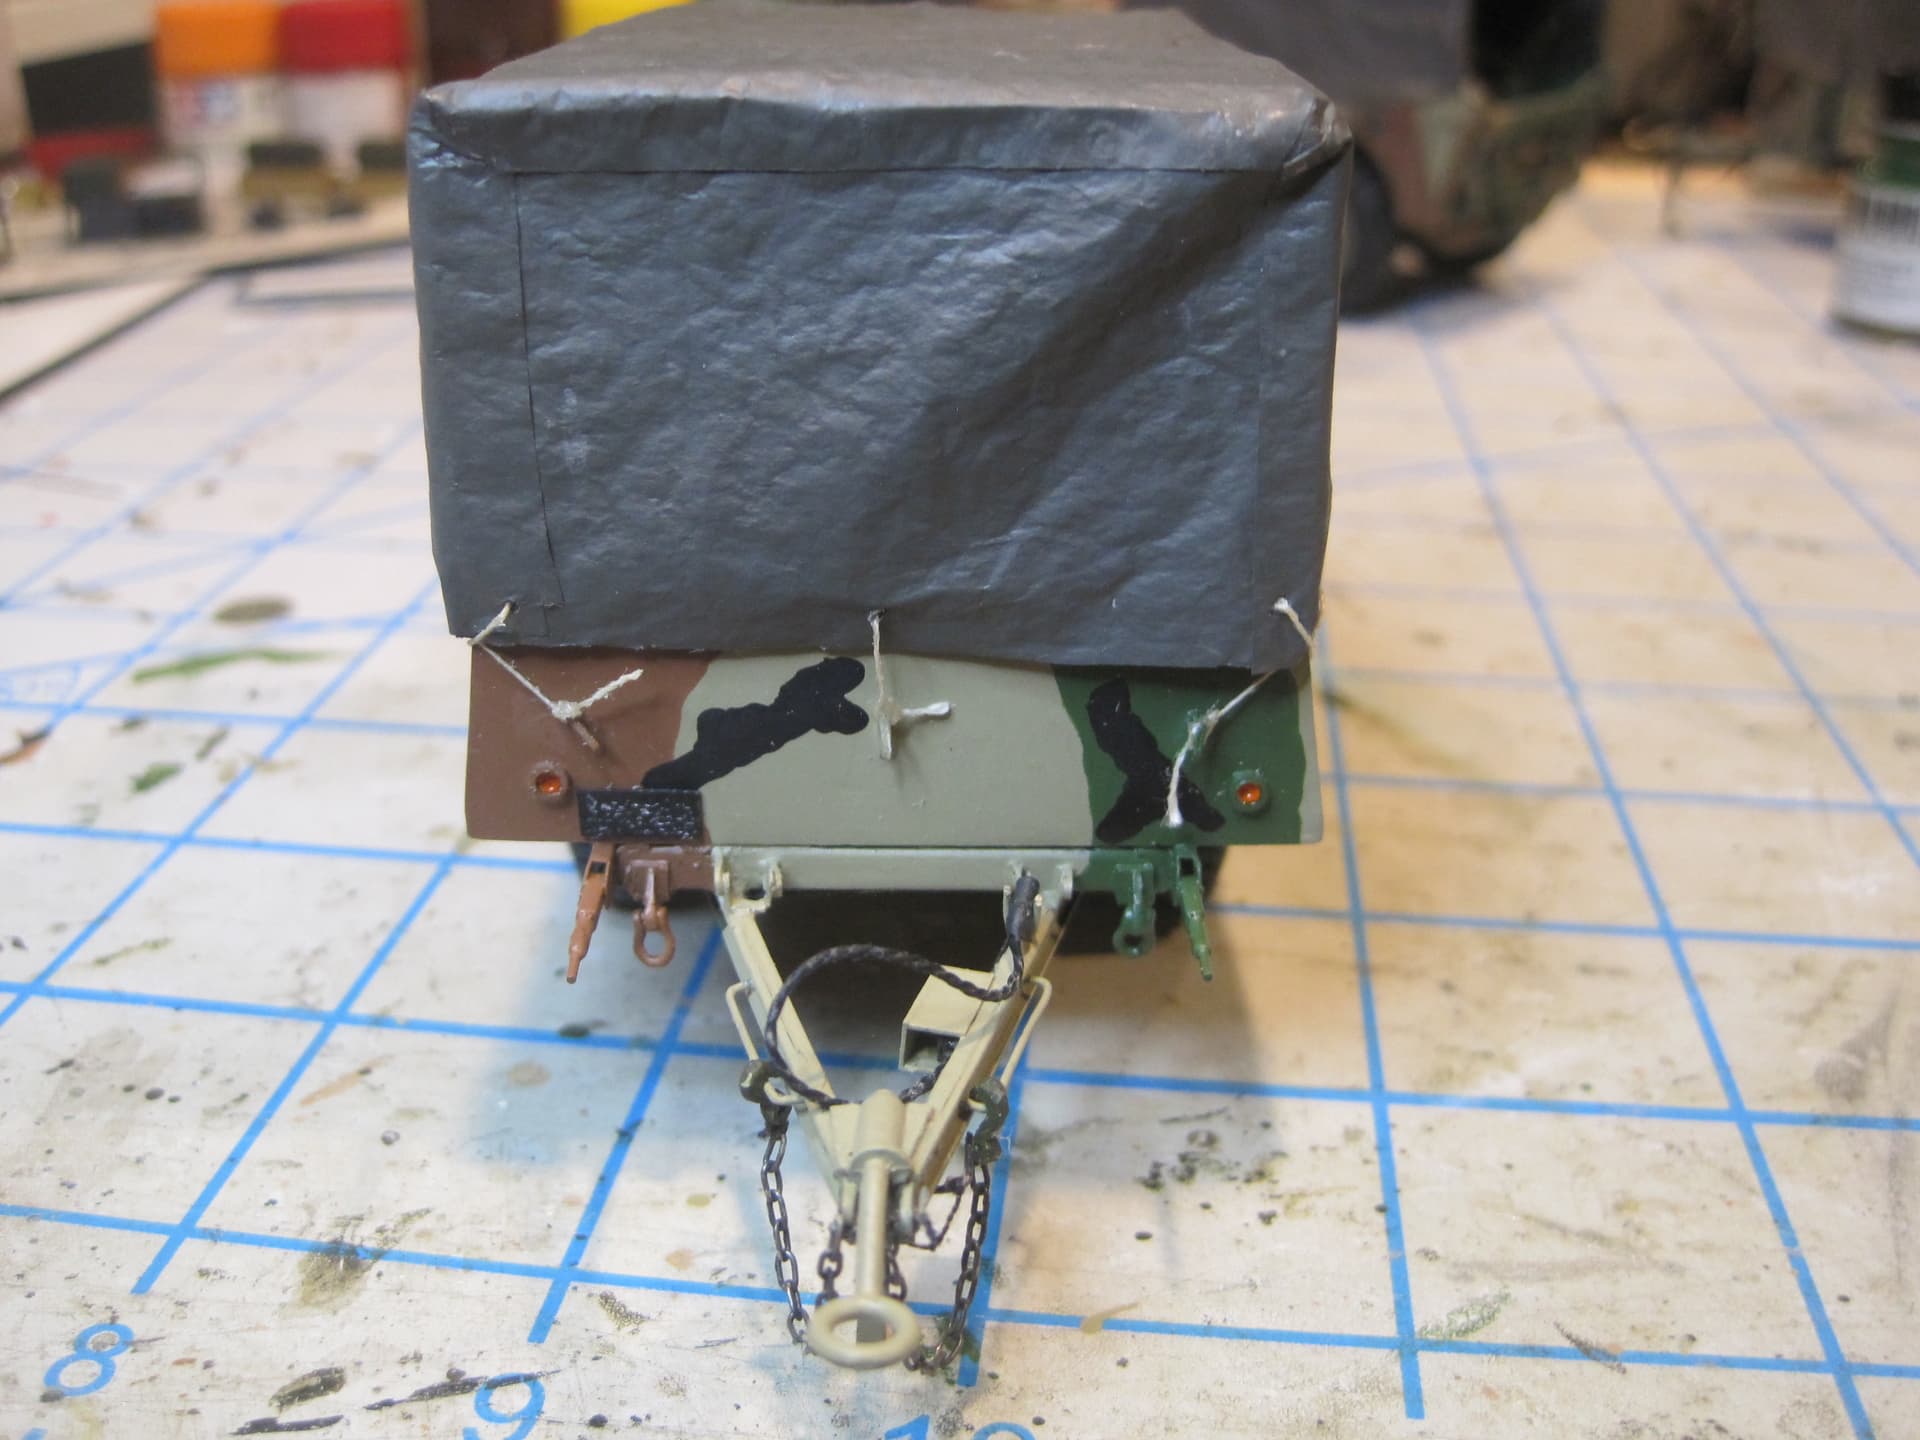
In addition there are the two hooks for the chains which connect to the truck when towing. These chains connect to the two eyes which are at the front of the trailer frame just below the lunette which goes into the tow pintle on the truck. The two other wires are for the “grab handles” on the trailer frame which help move the trailer around and where the chains hang when they’re not in use.
With this stuff done I can now move on to painting and assembling.
2 Likes
Thank you!
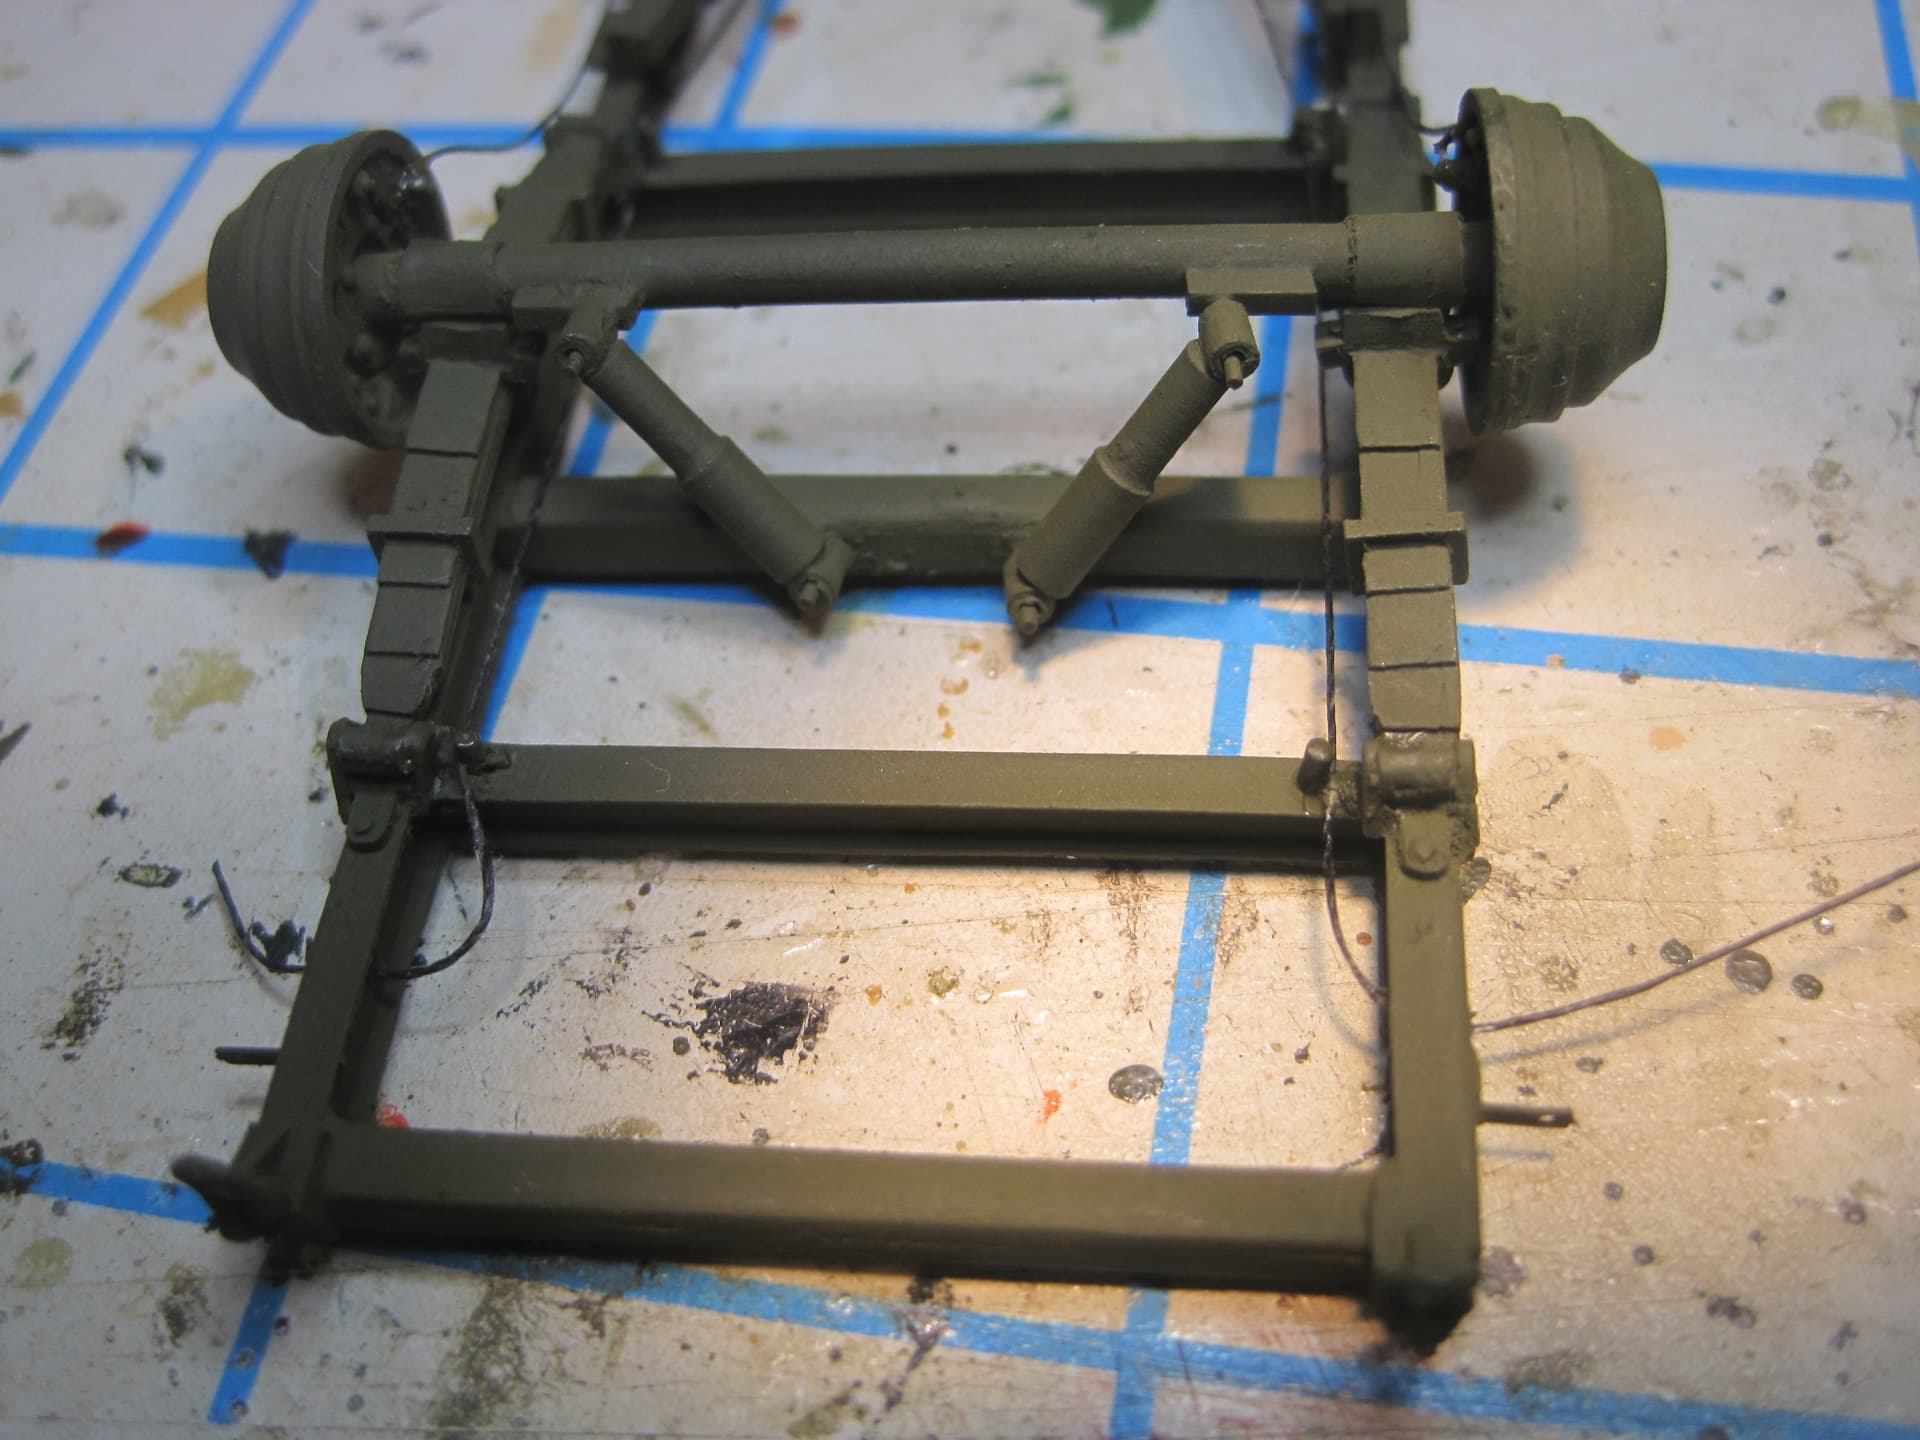
OK, I think at this point I’m FINALLY ready to paint. There were a few more things I need to scratch, including the shock mounts, extension handles for the parking brake levers, and the reflectors for the front face of the trailer, which for some reason, despite the fact that both sides as well as the tailgate had them, was missing them.
Once I’ve done the base coat in OD, I’ll put the bed onto the frame, and the do the final detailing, to include the parking brake and electrical wiring, as well as finishing up the latches for everything.
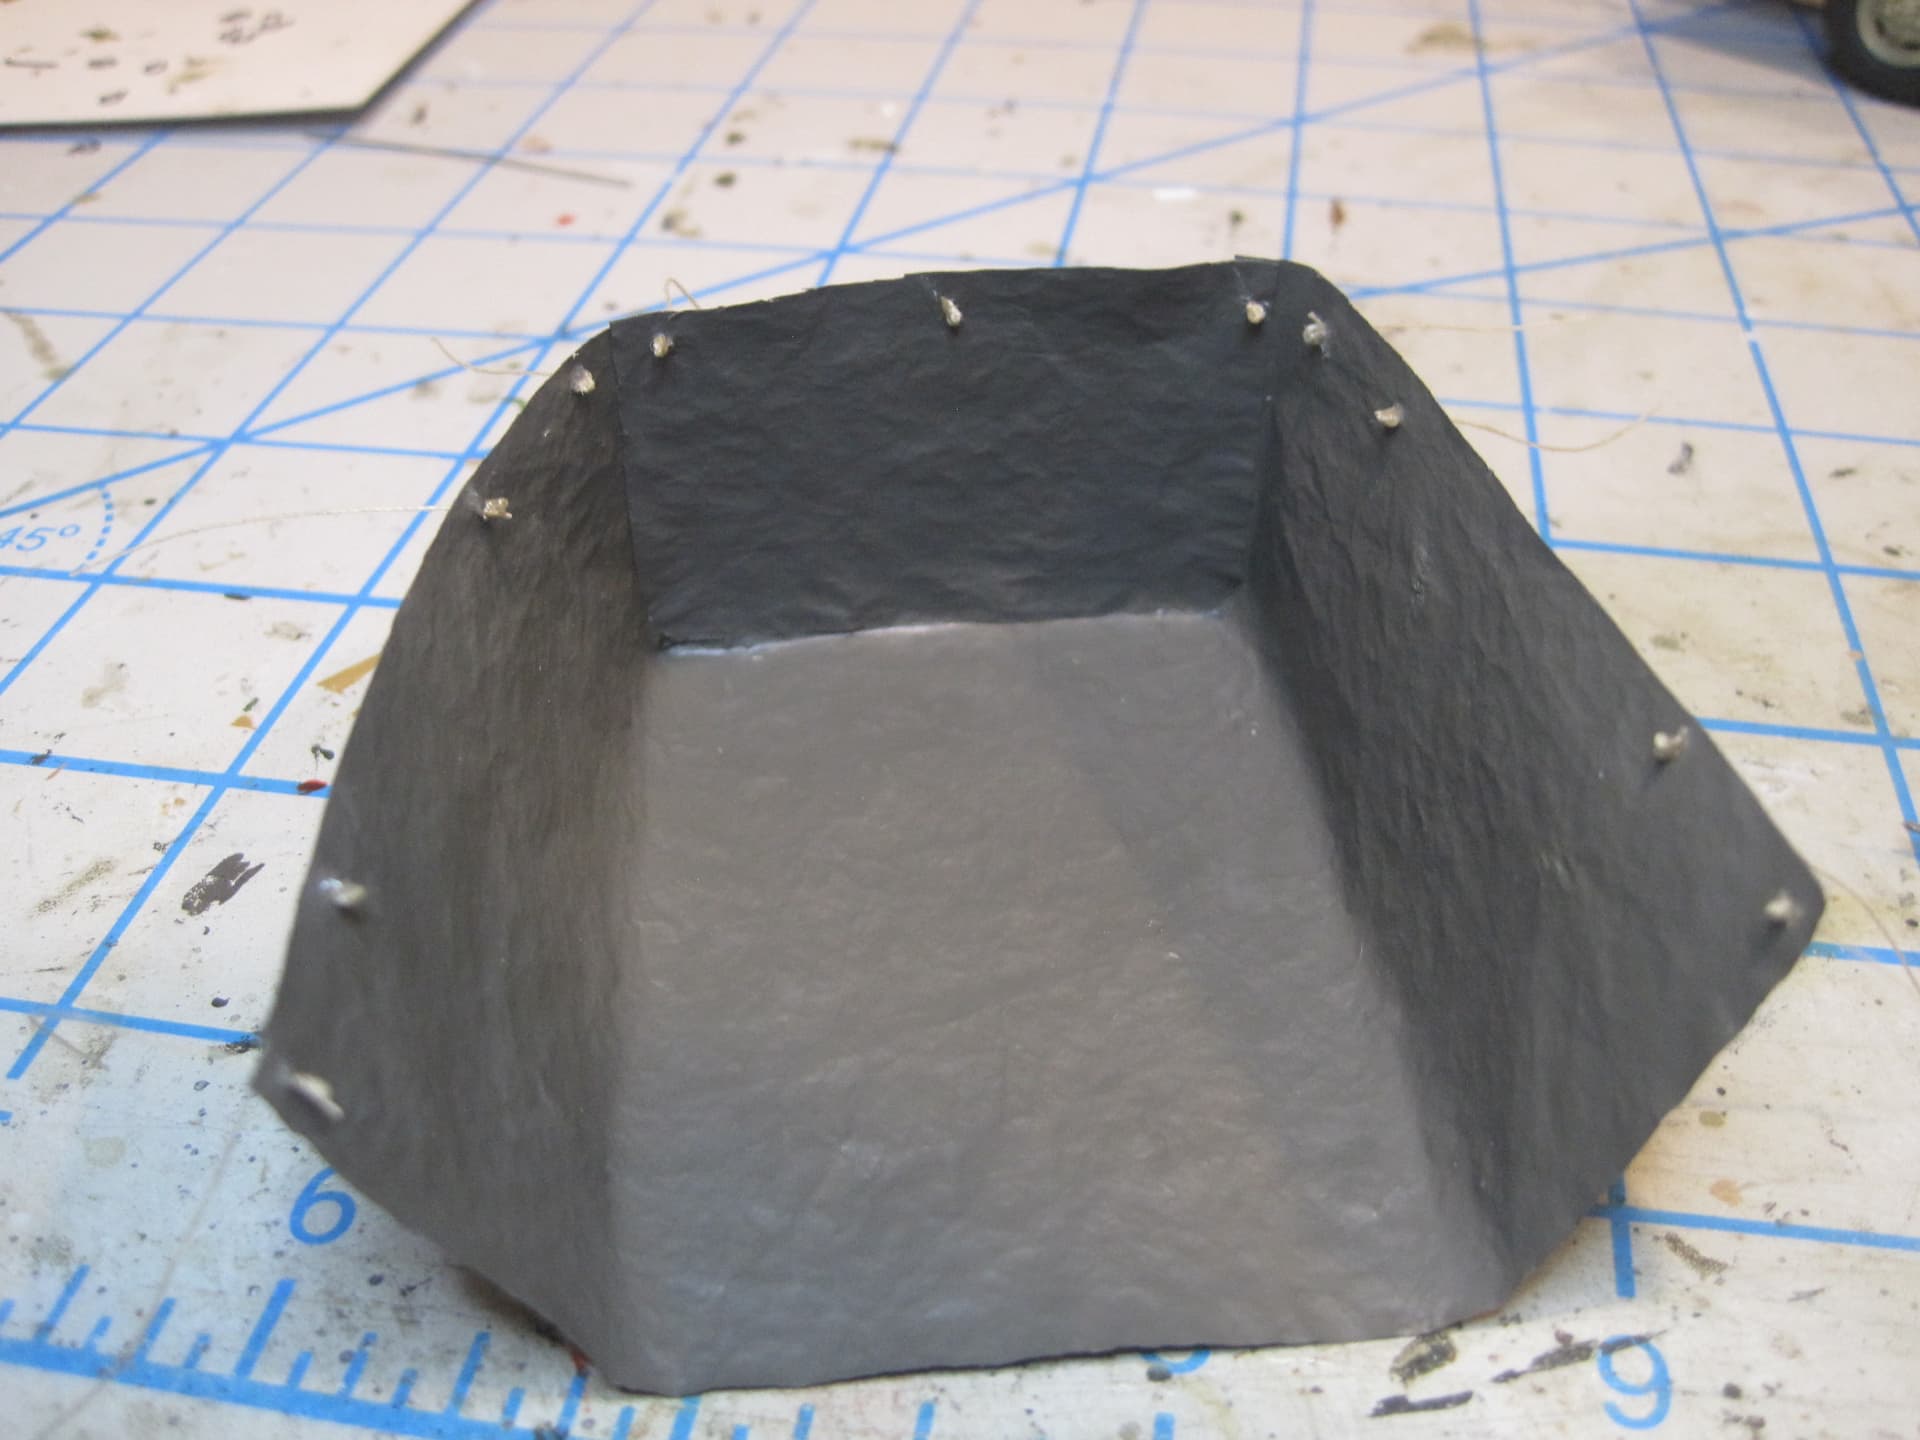
After that, I’ll tackle installing the stake sides, the bows and then make and tie down the canvas tarp.

3 Likes
It’s a great record of work.^^
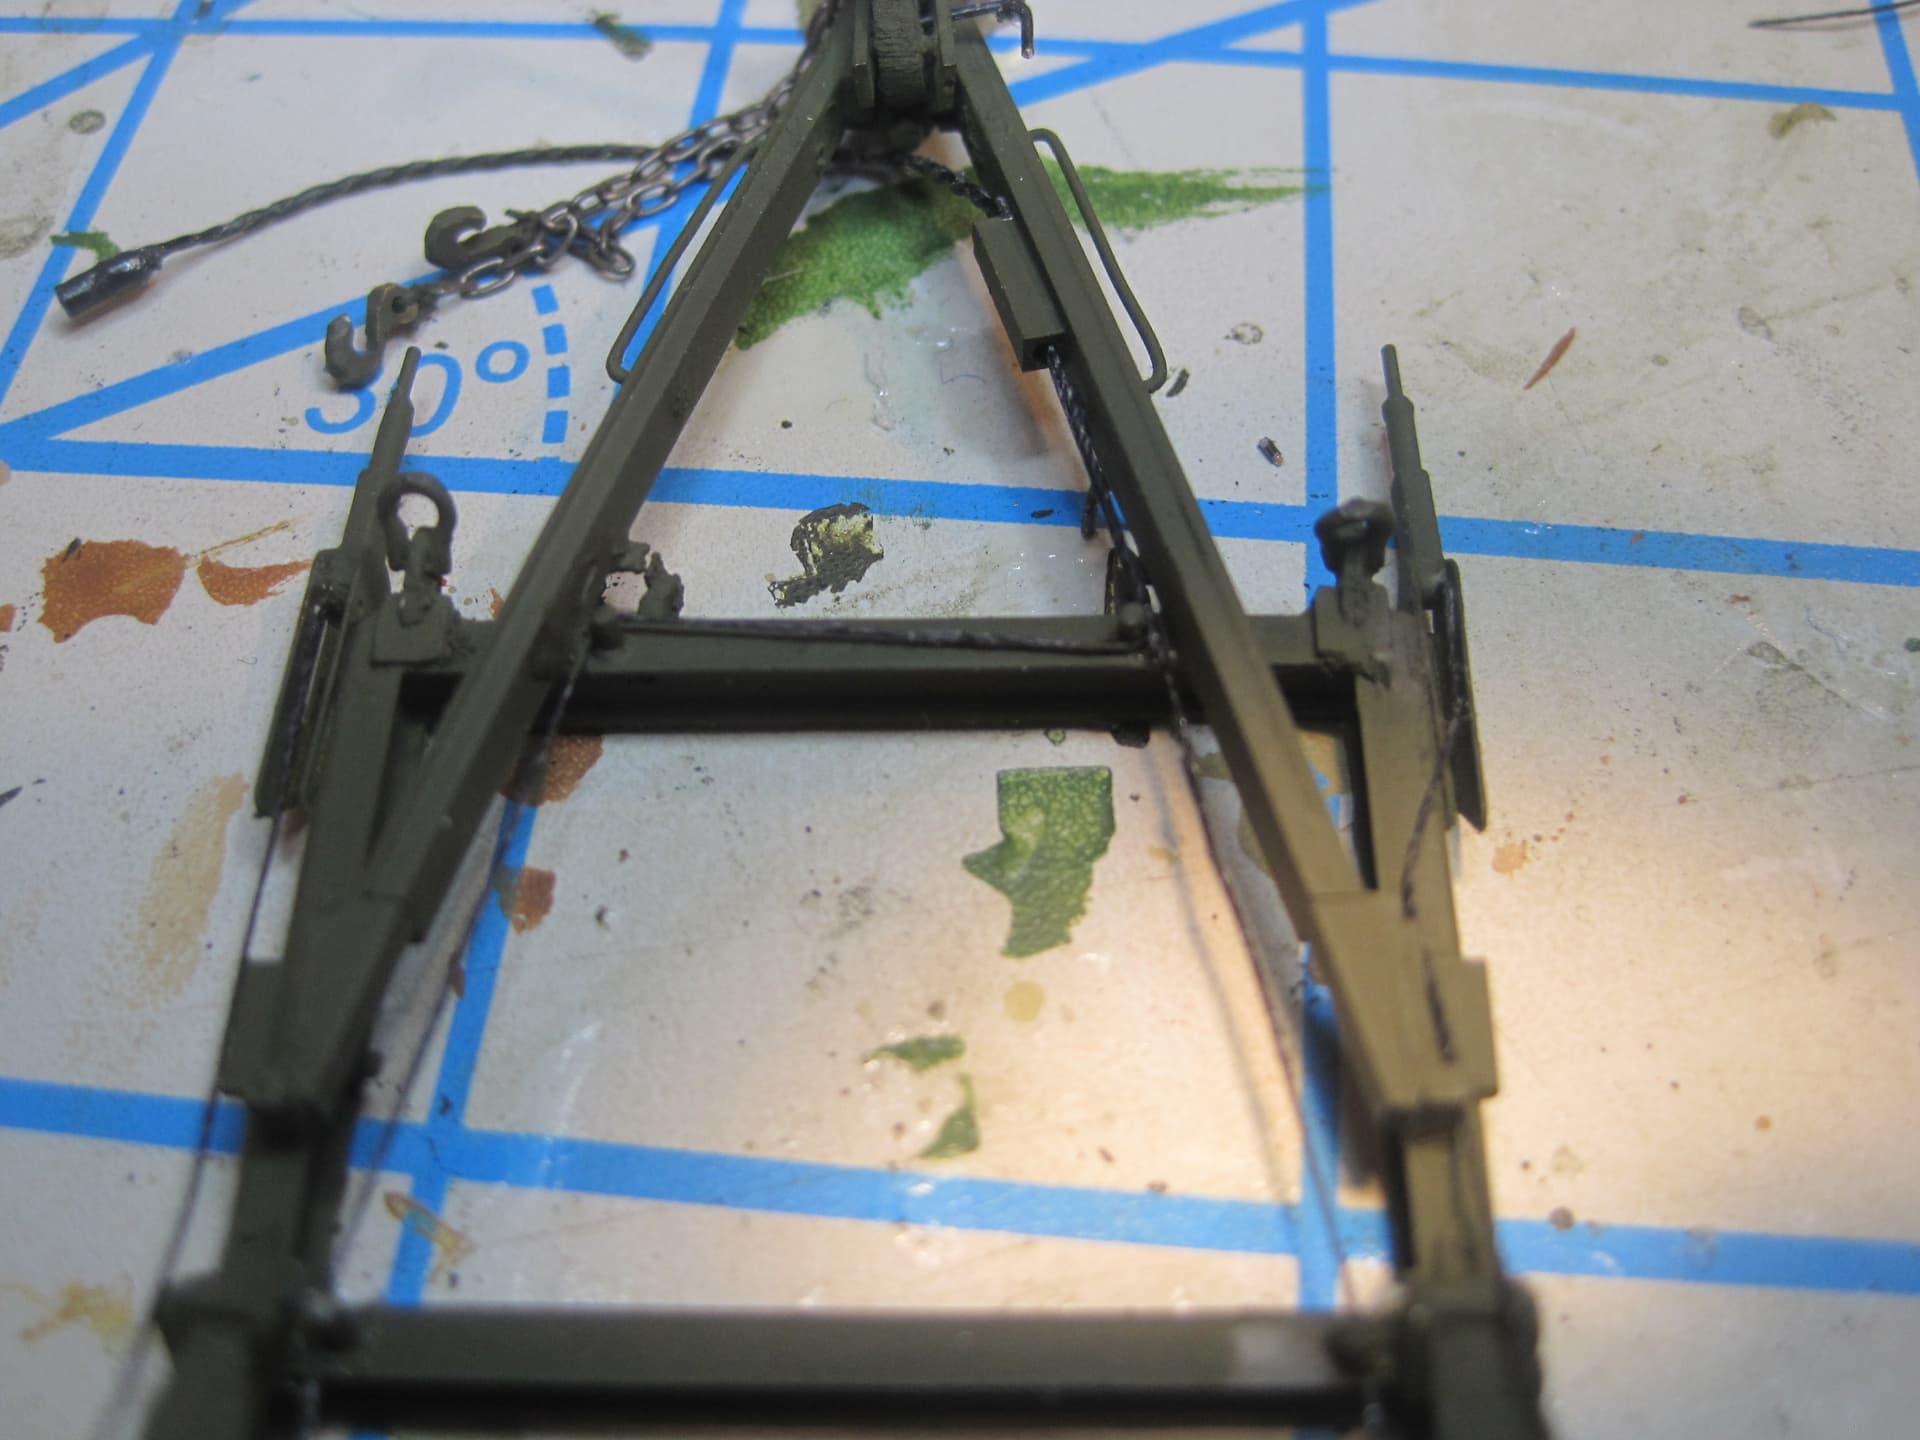
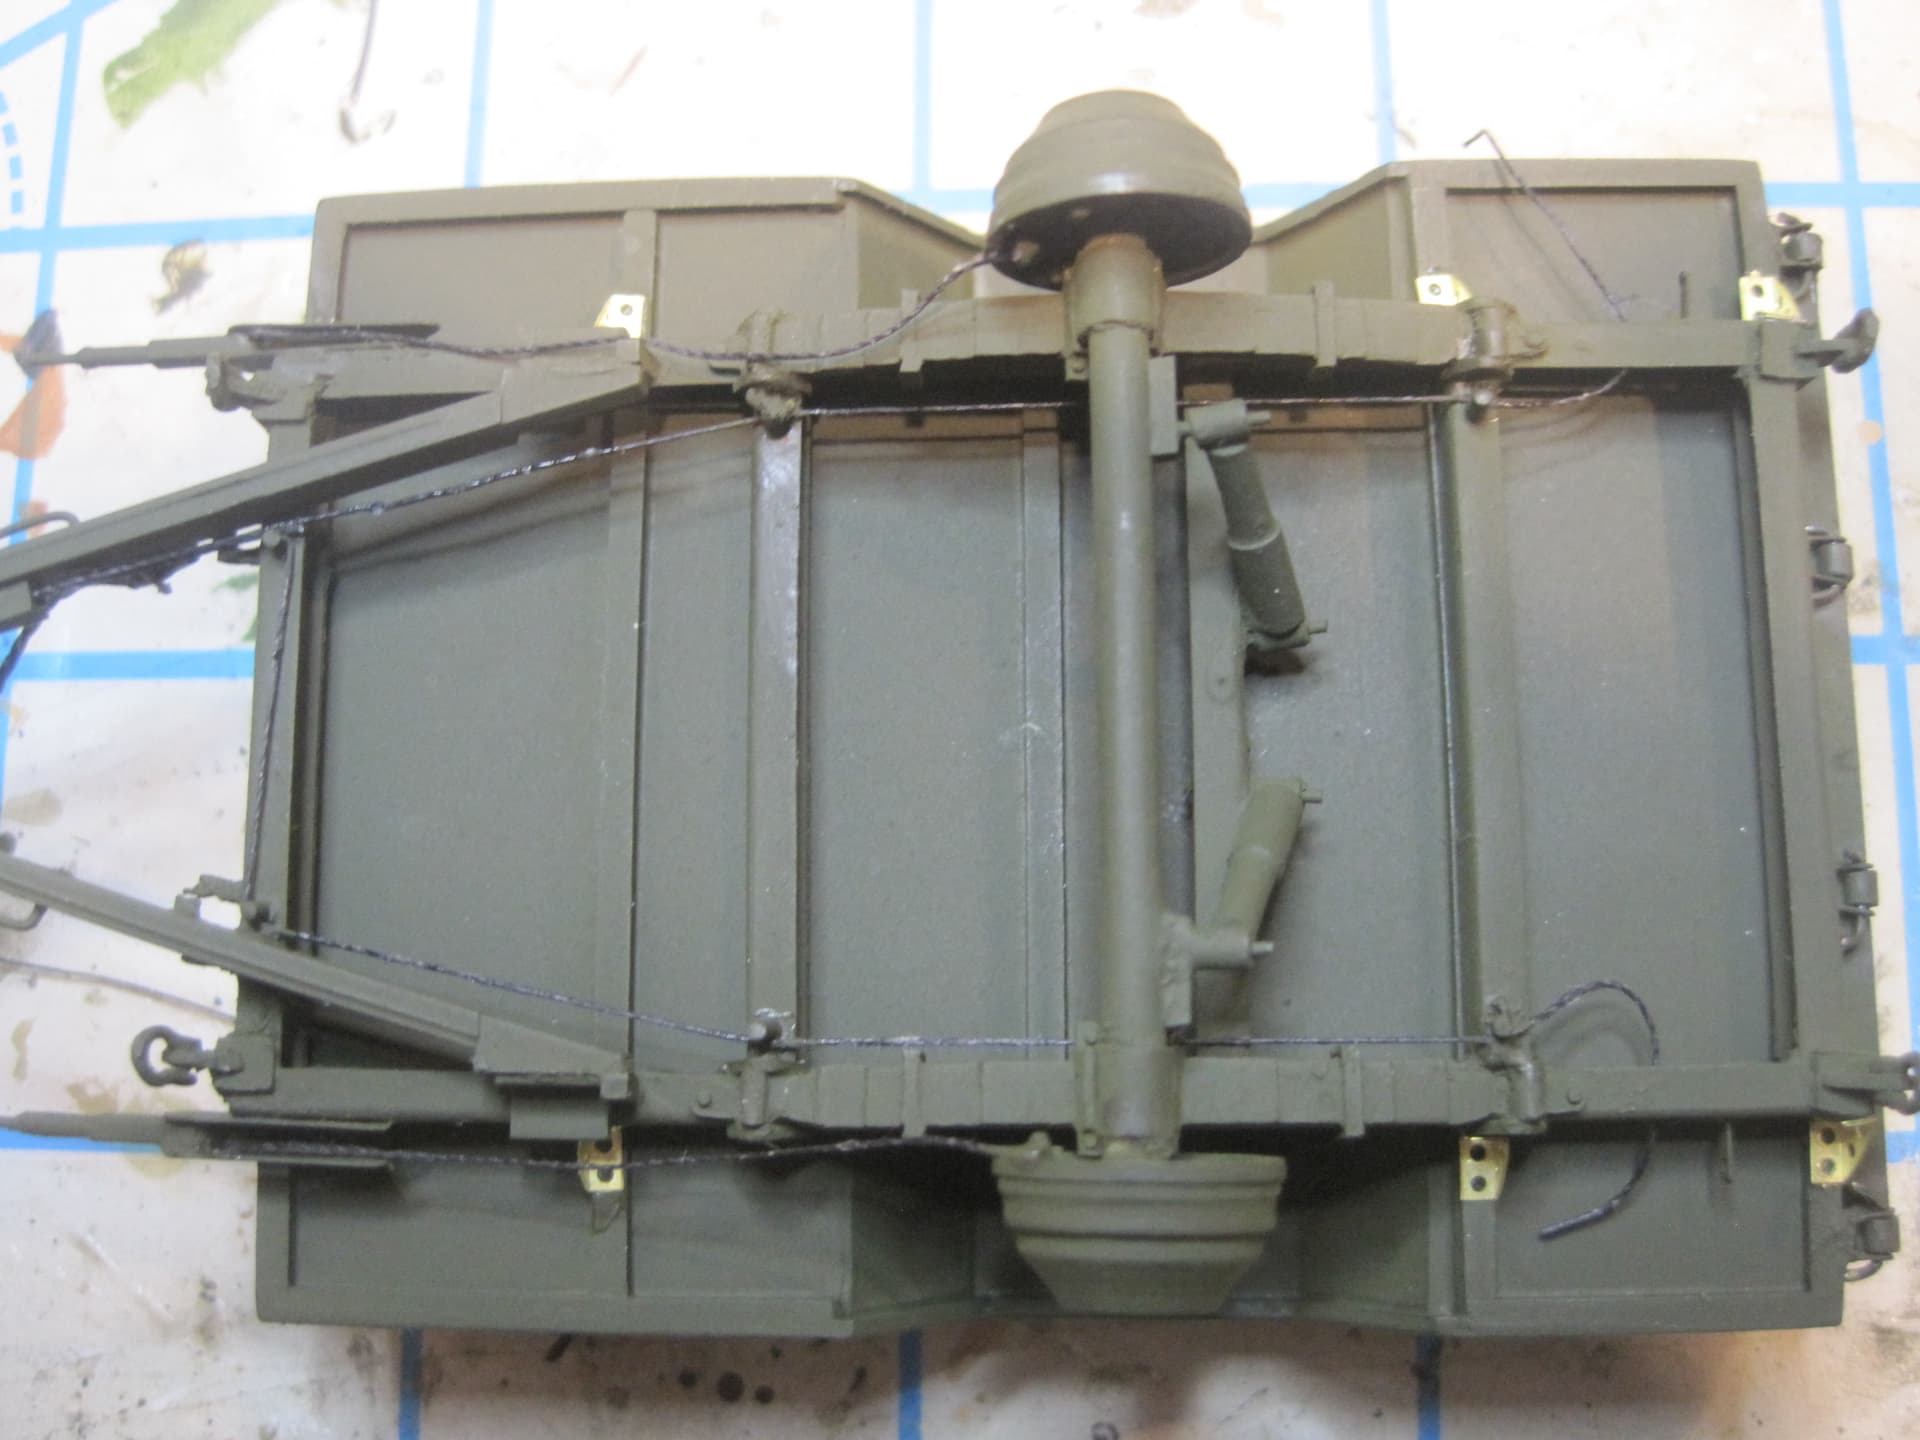
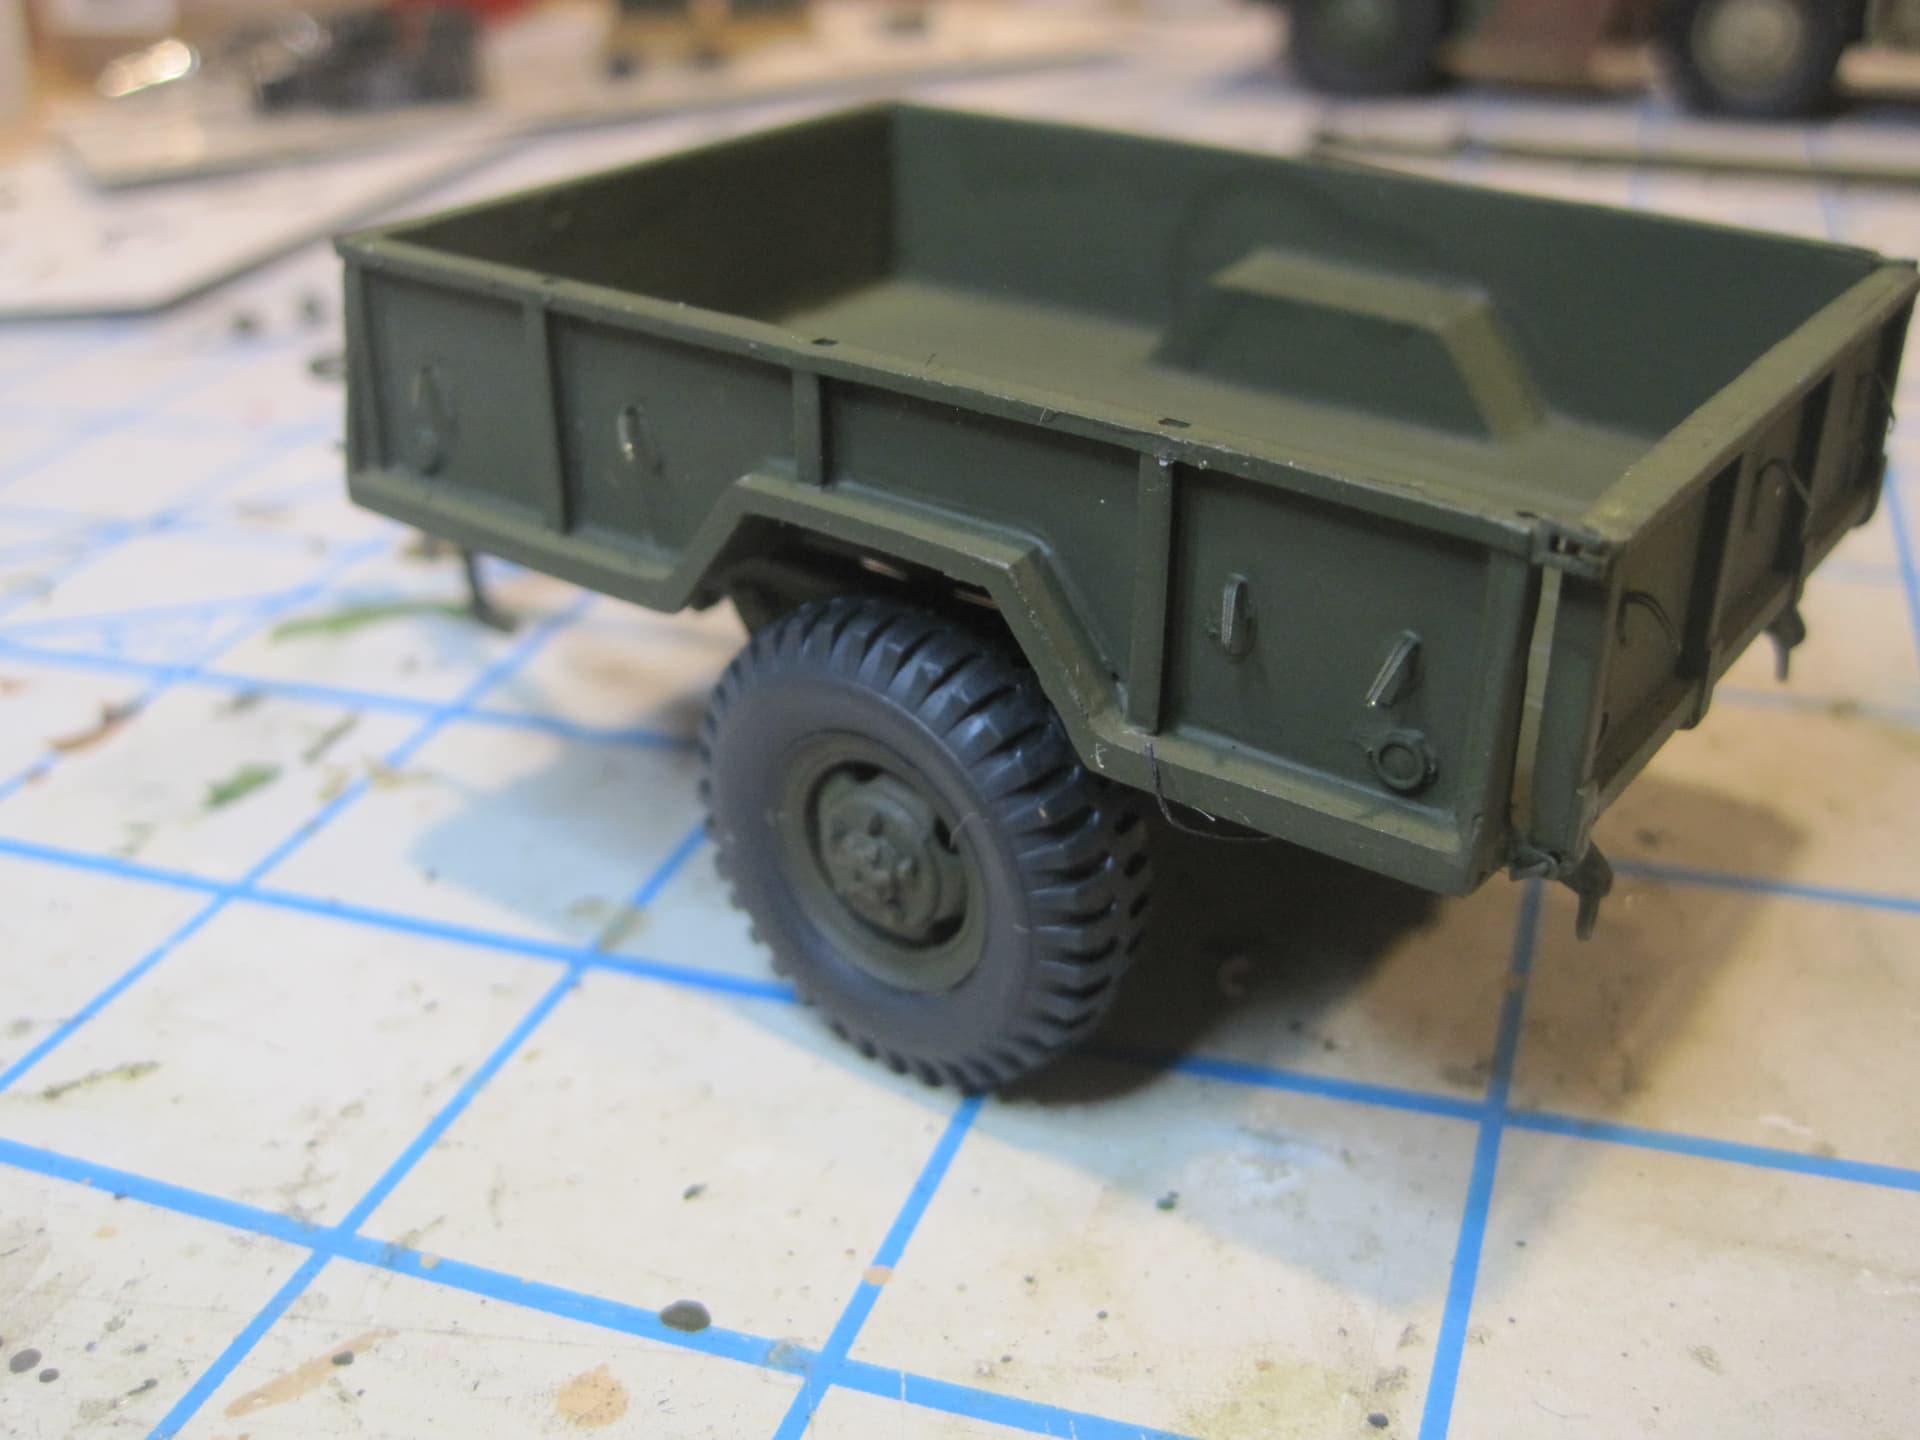
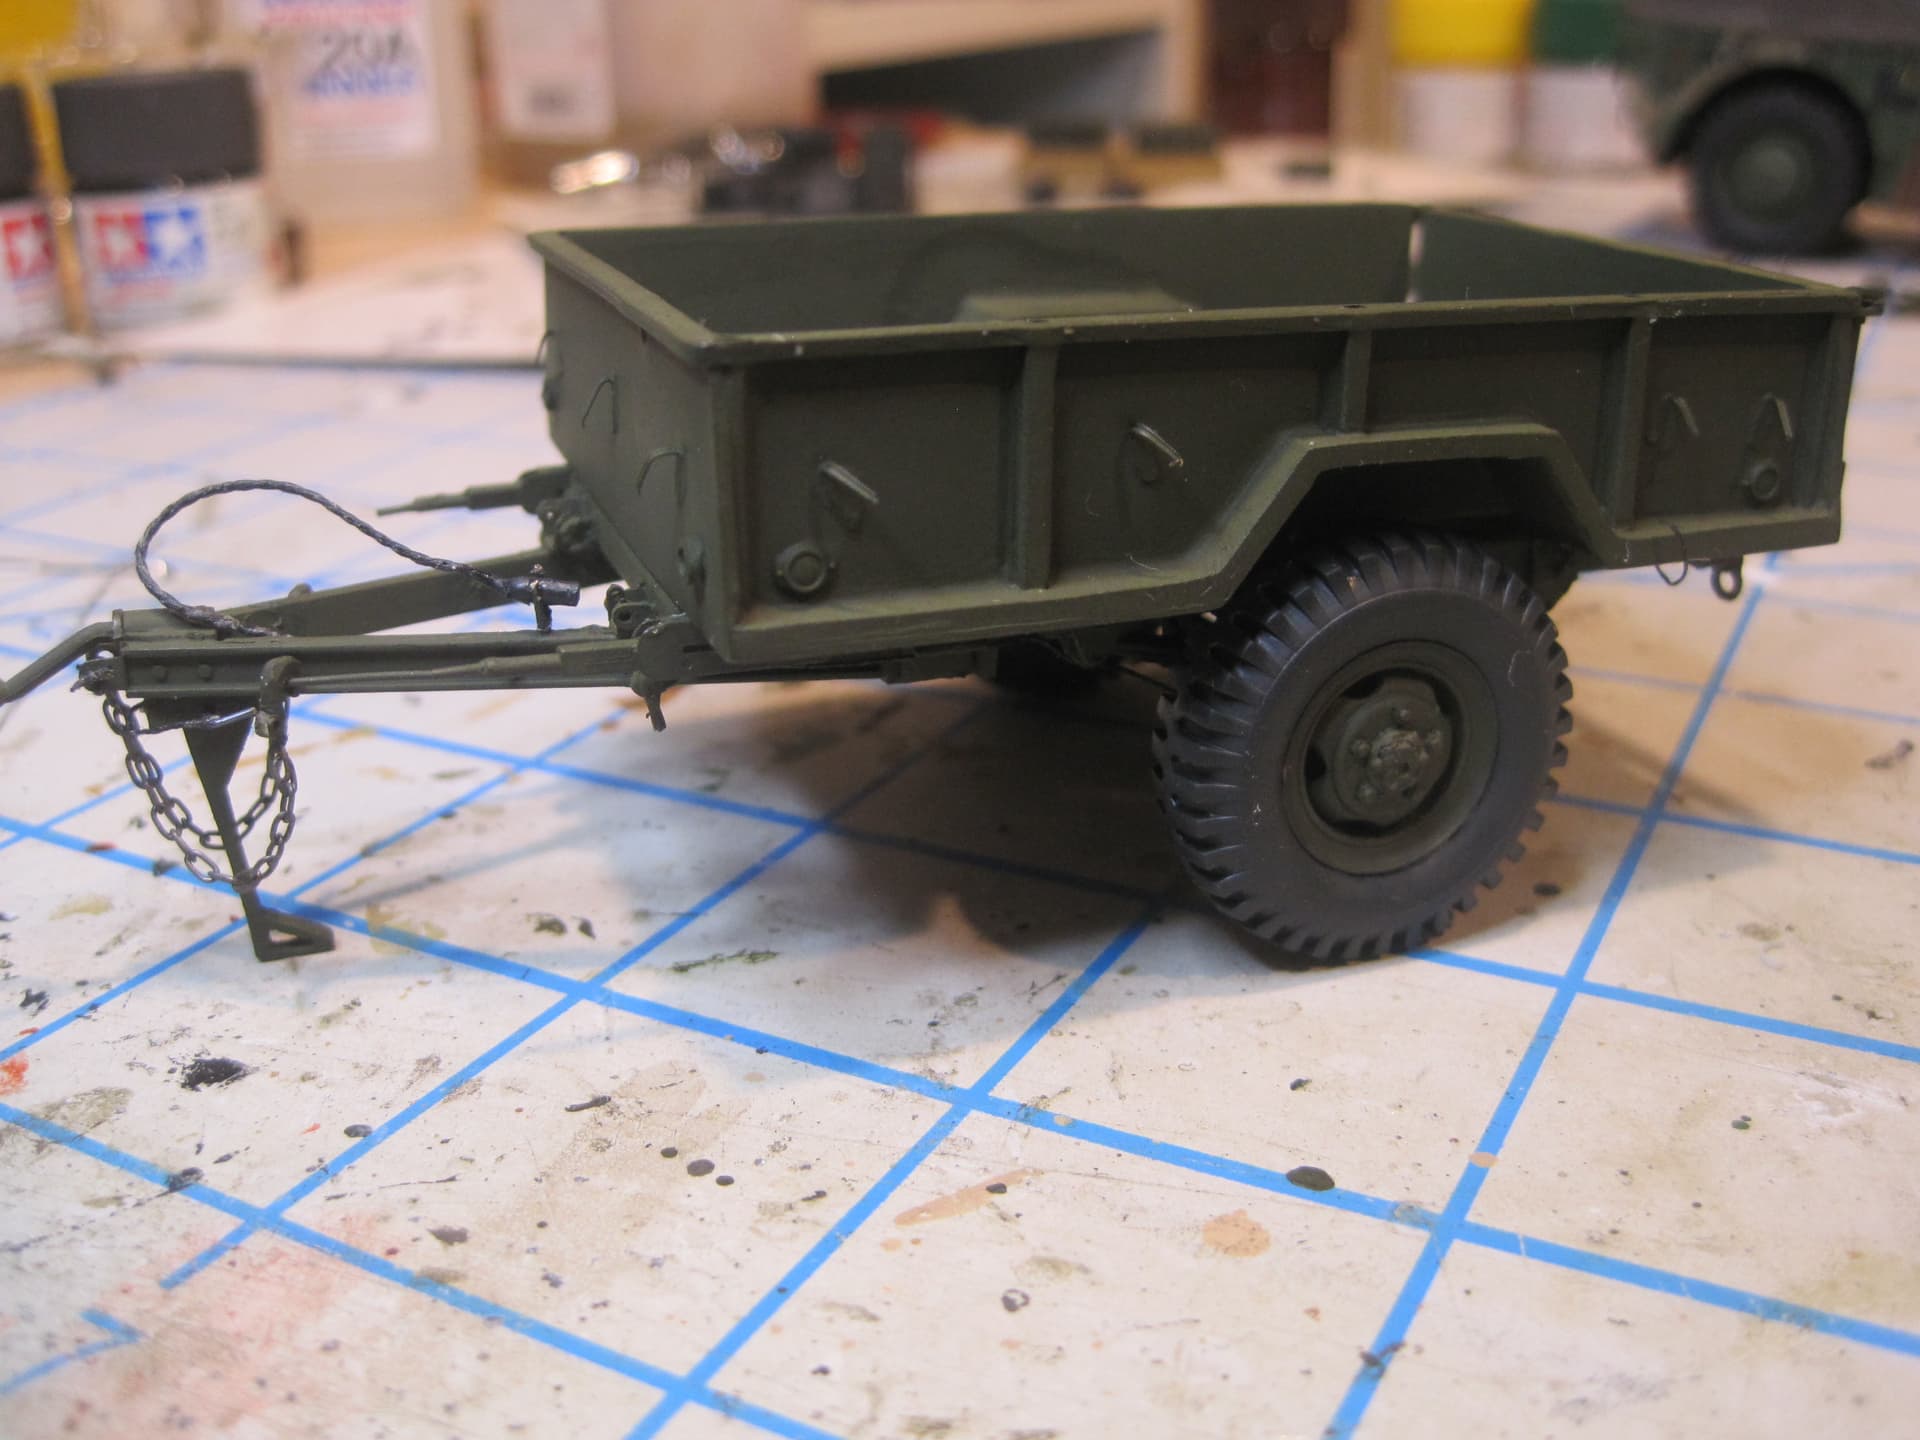
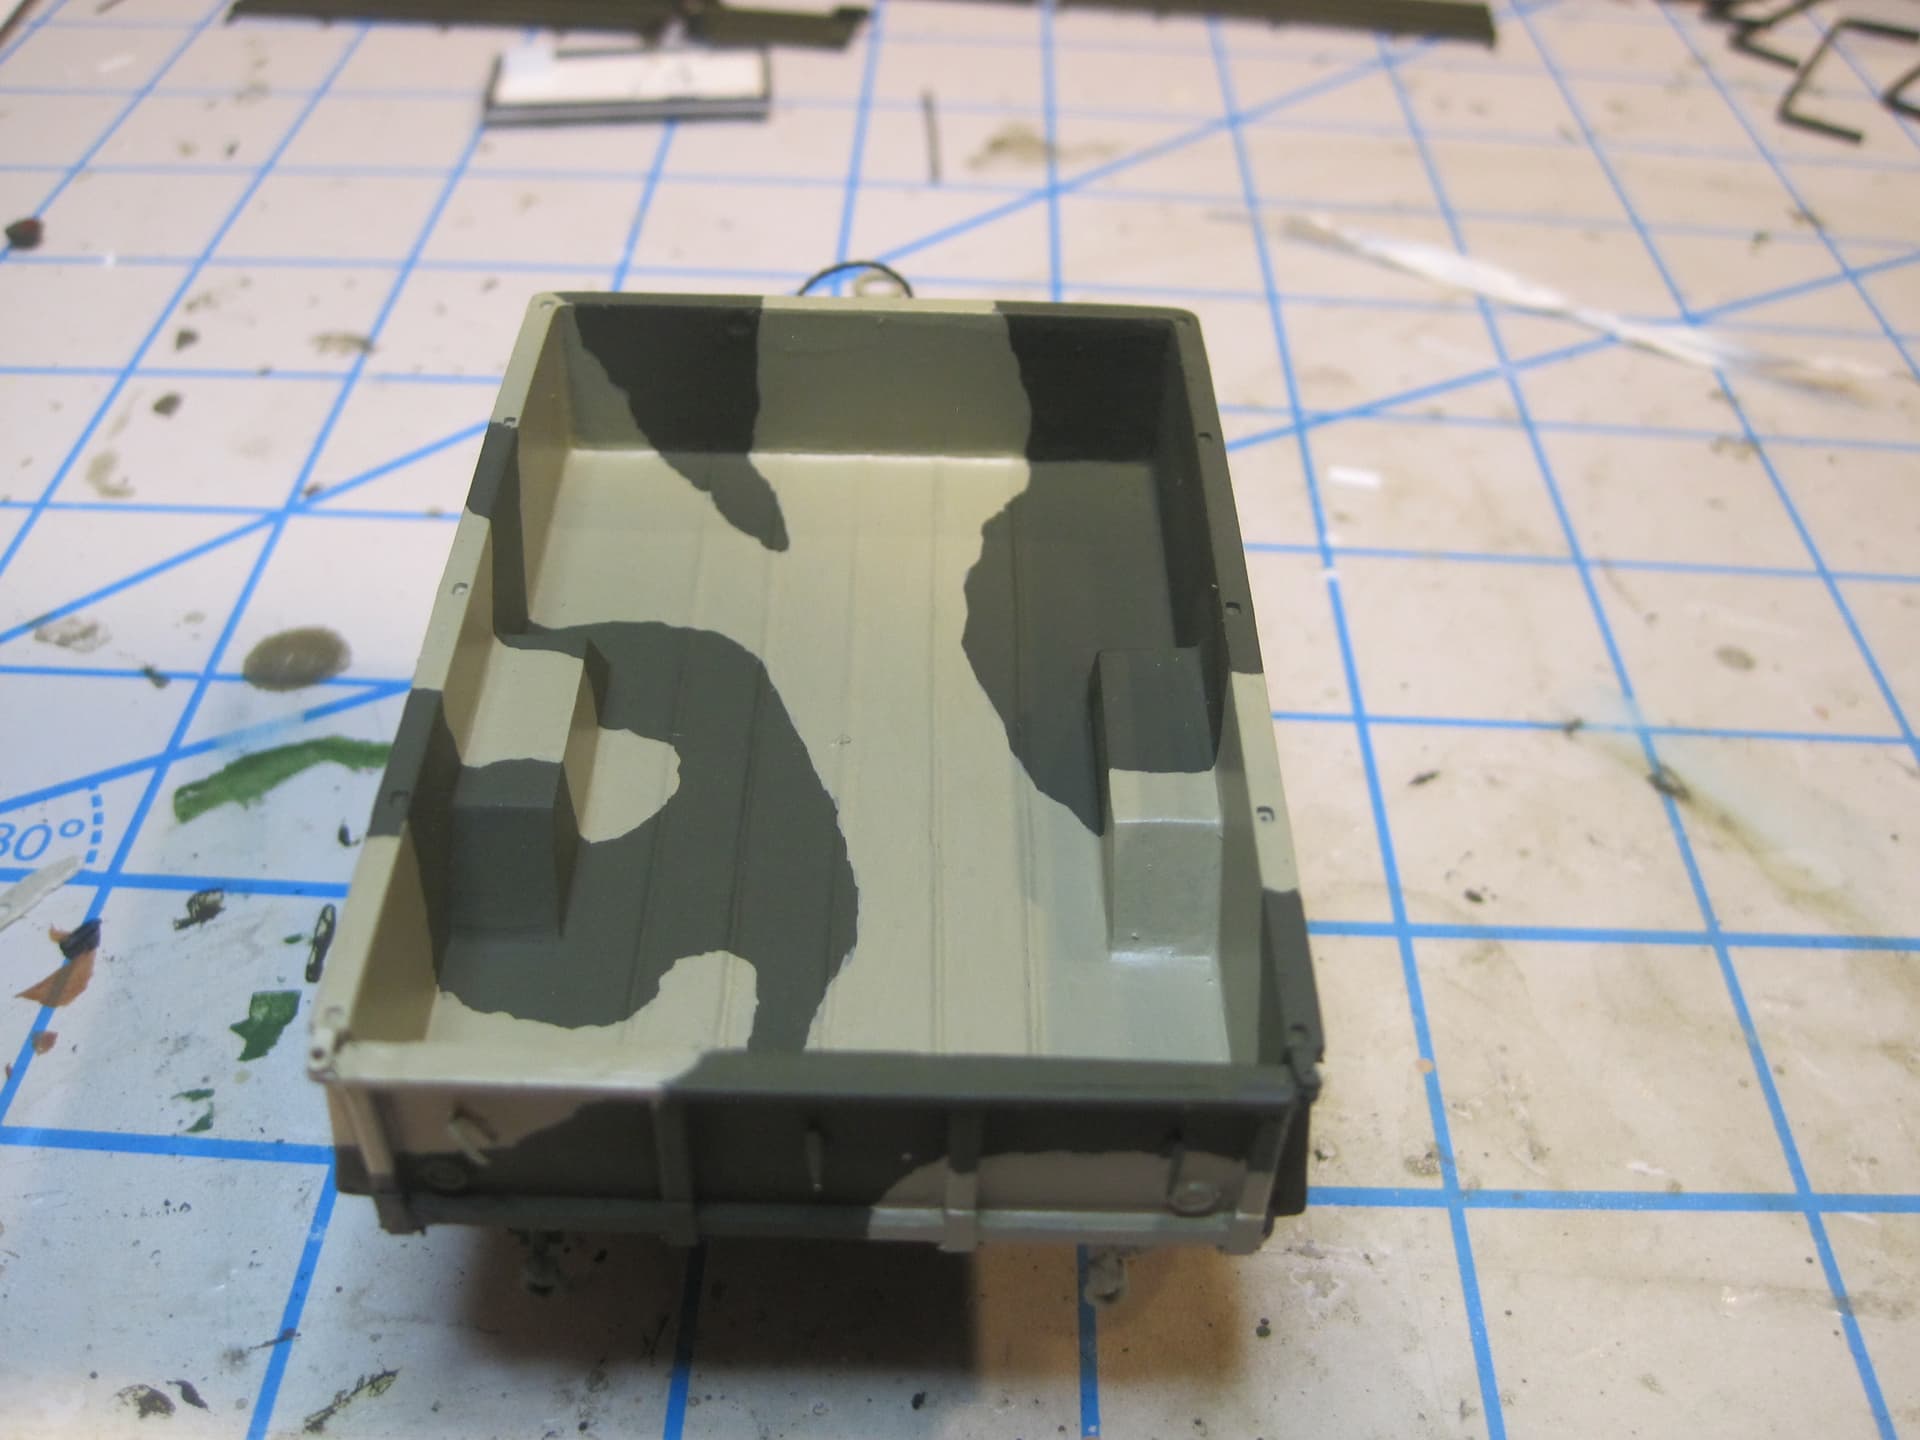
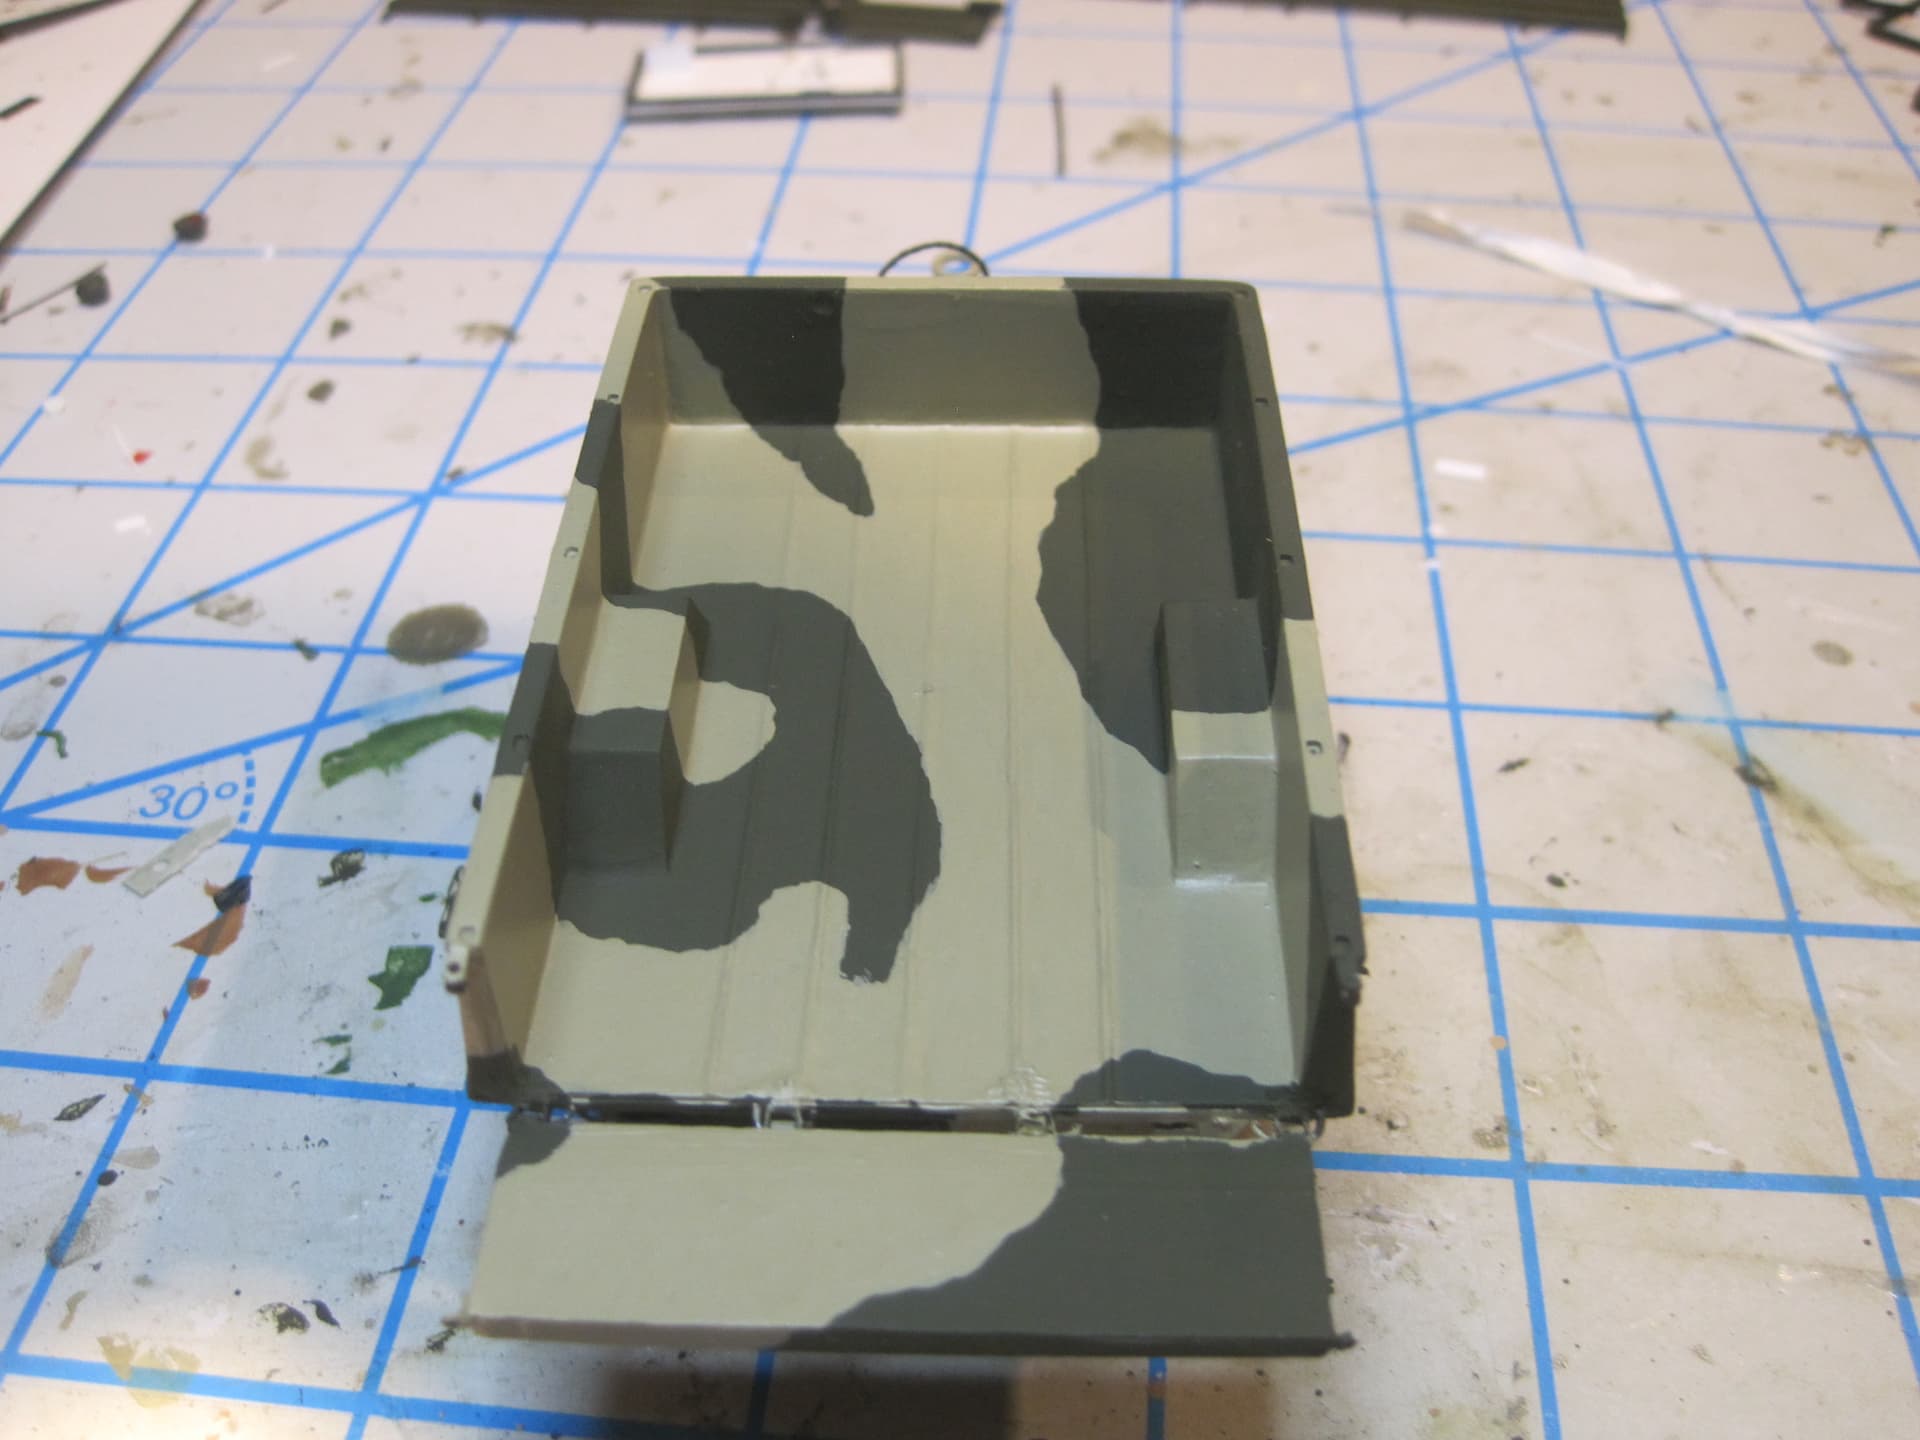
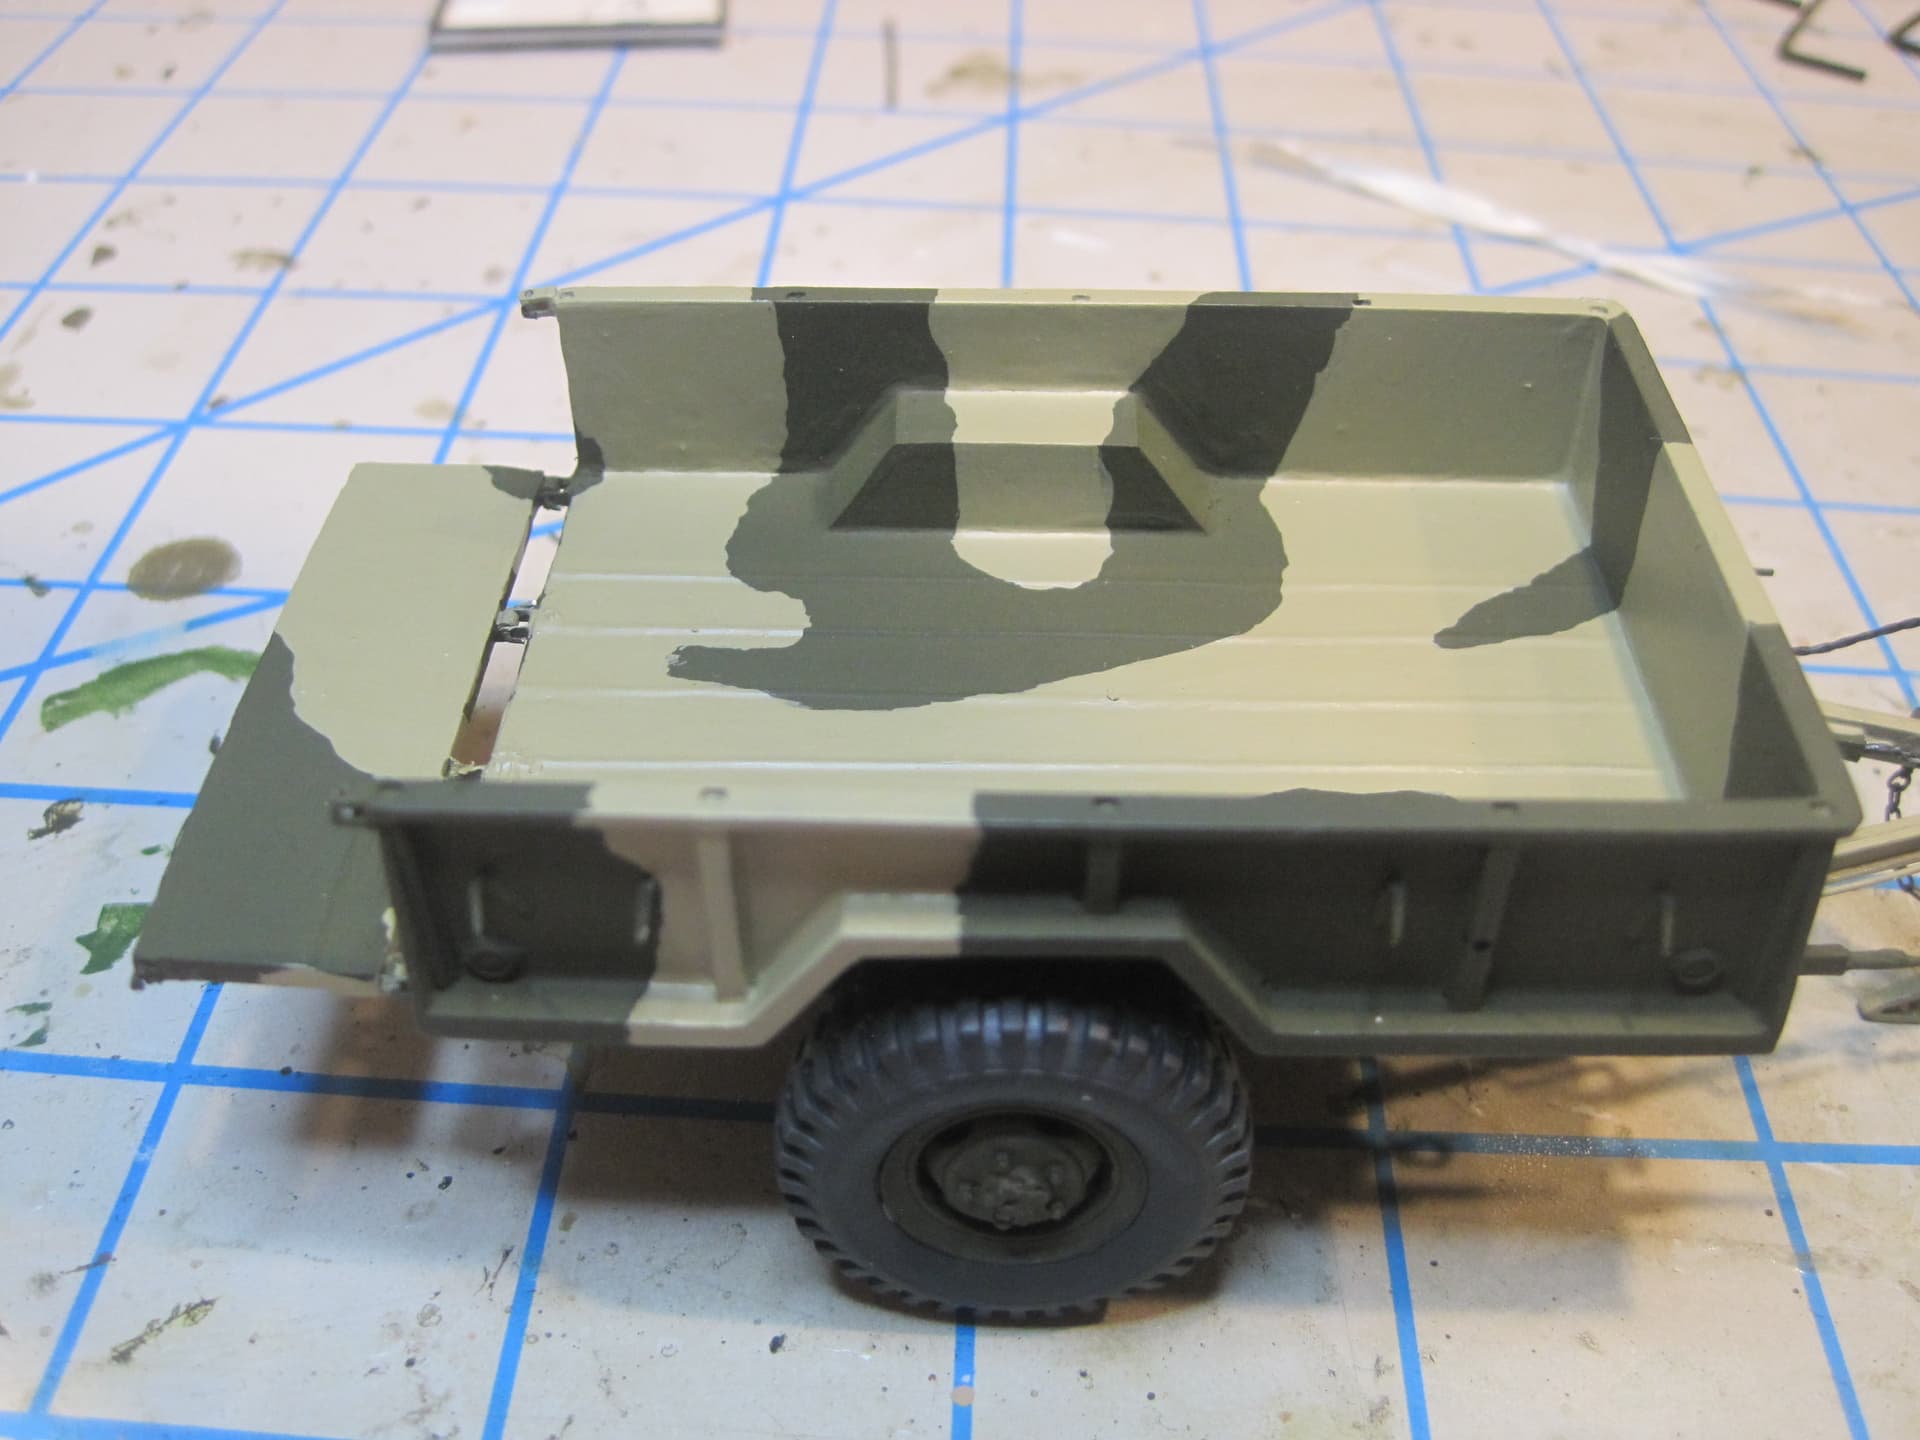
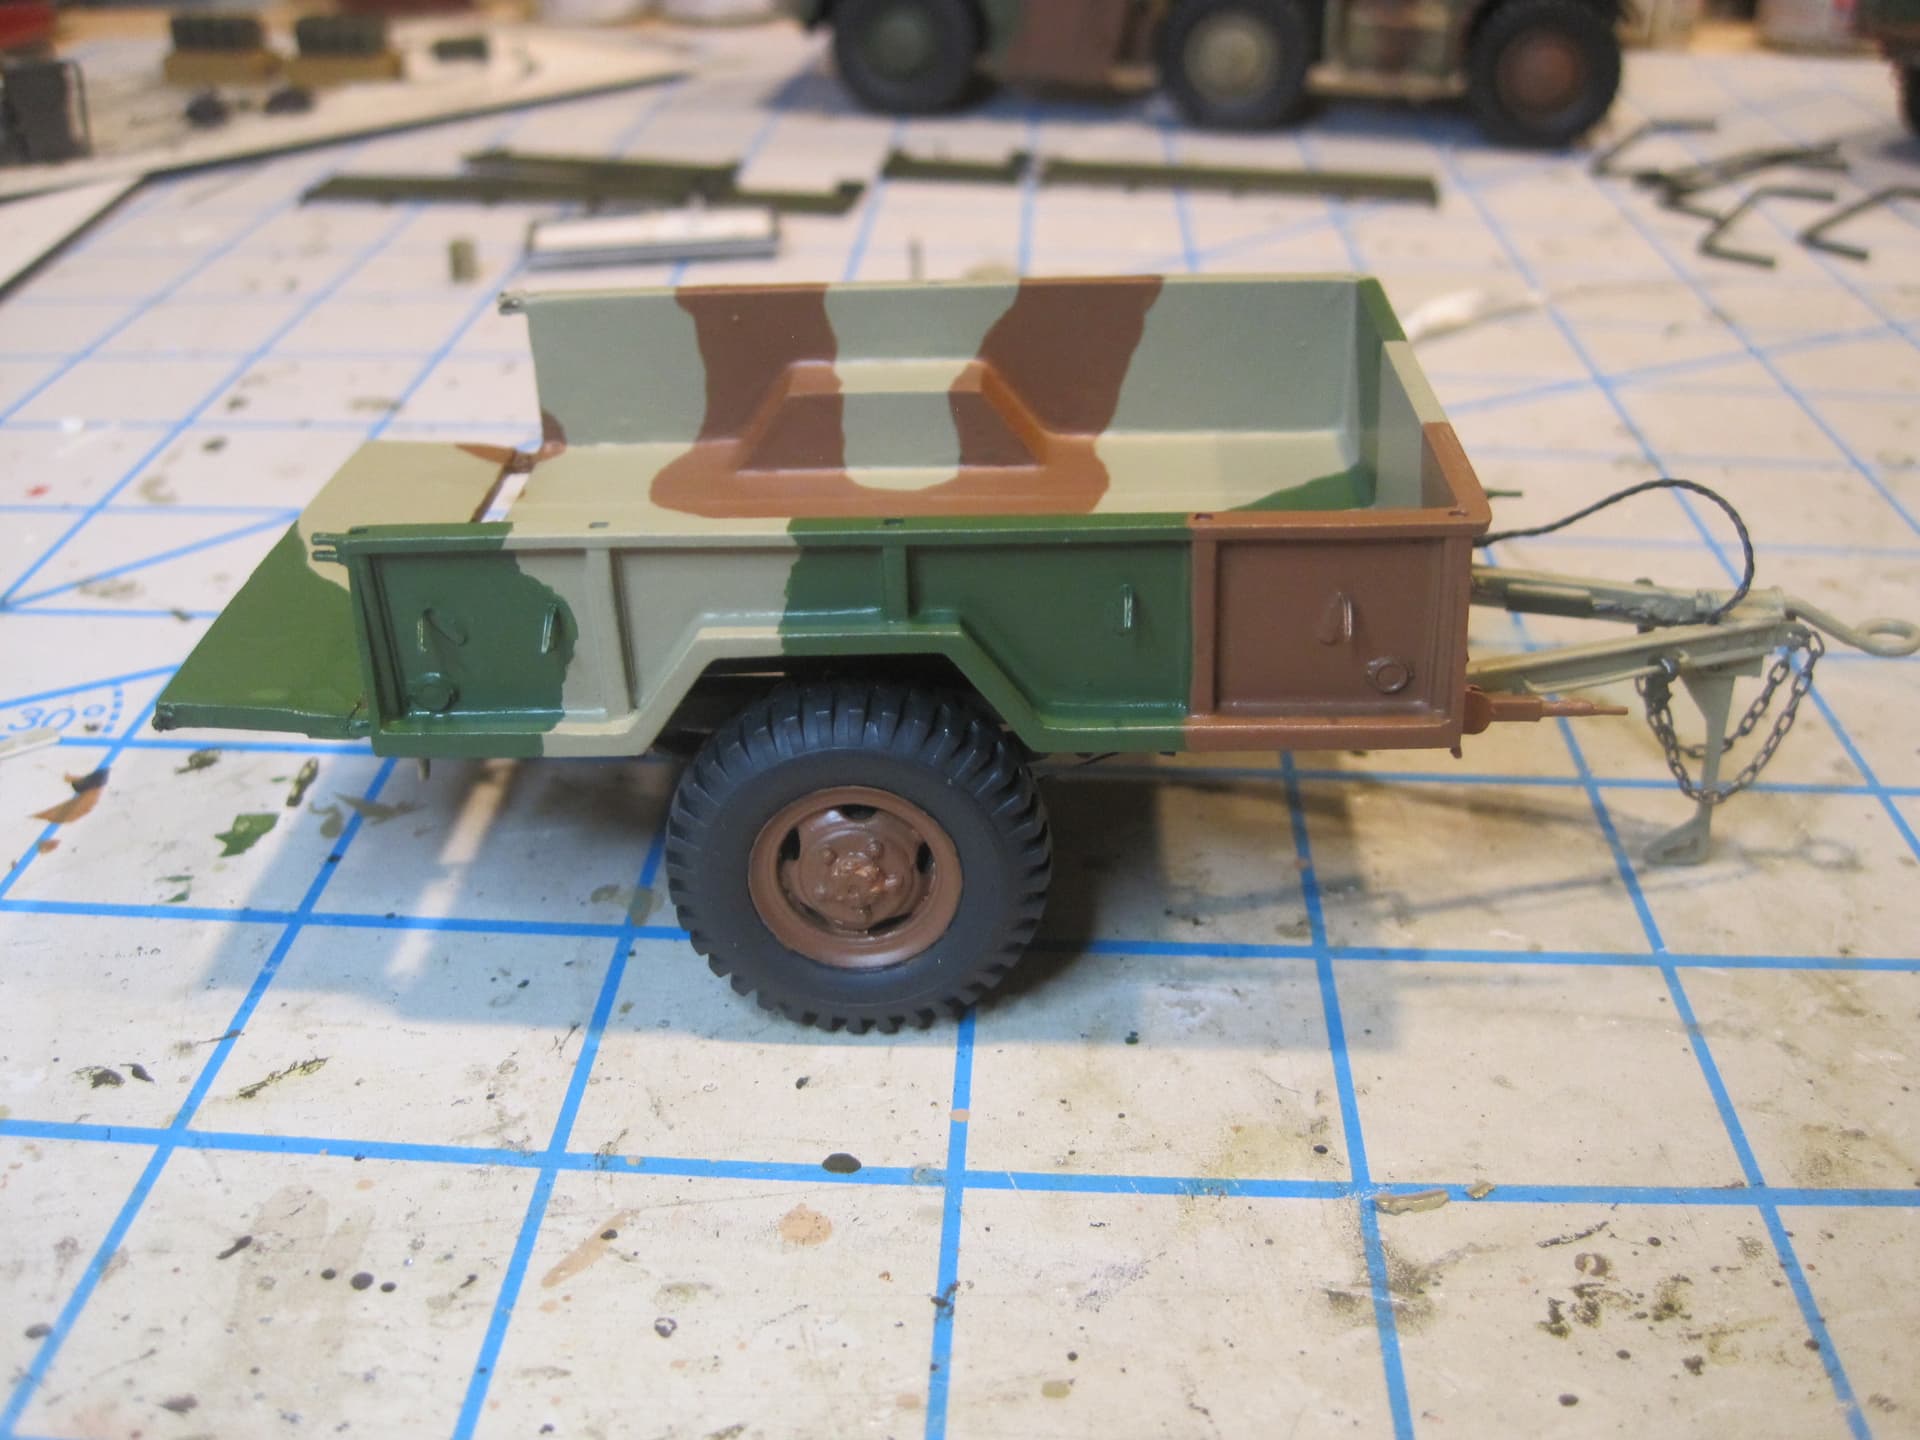
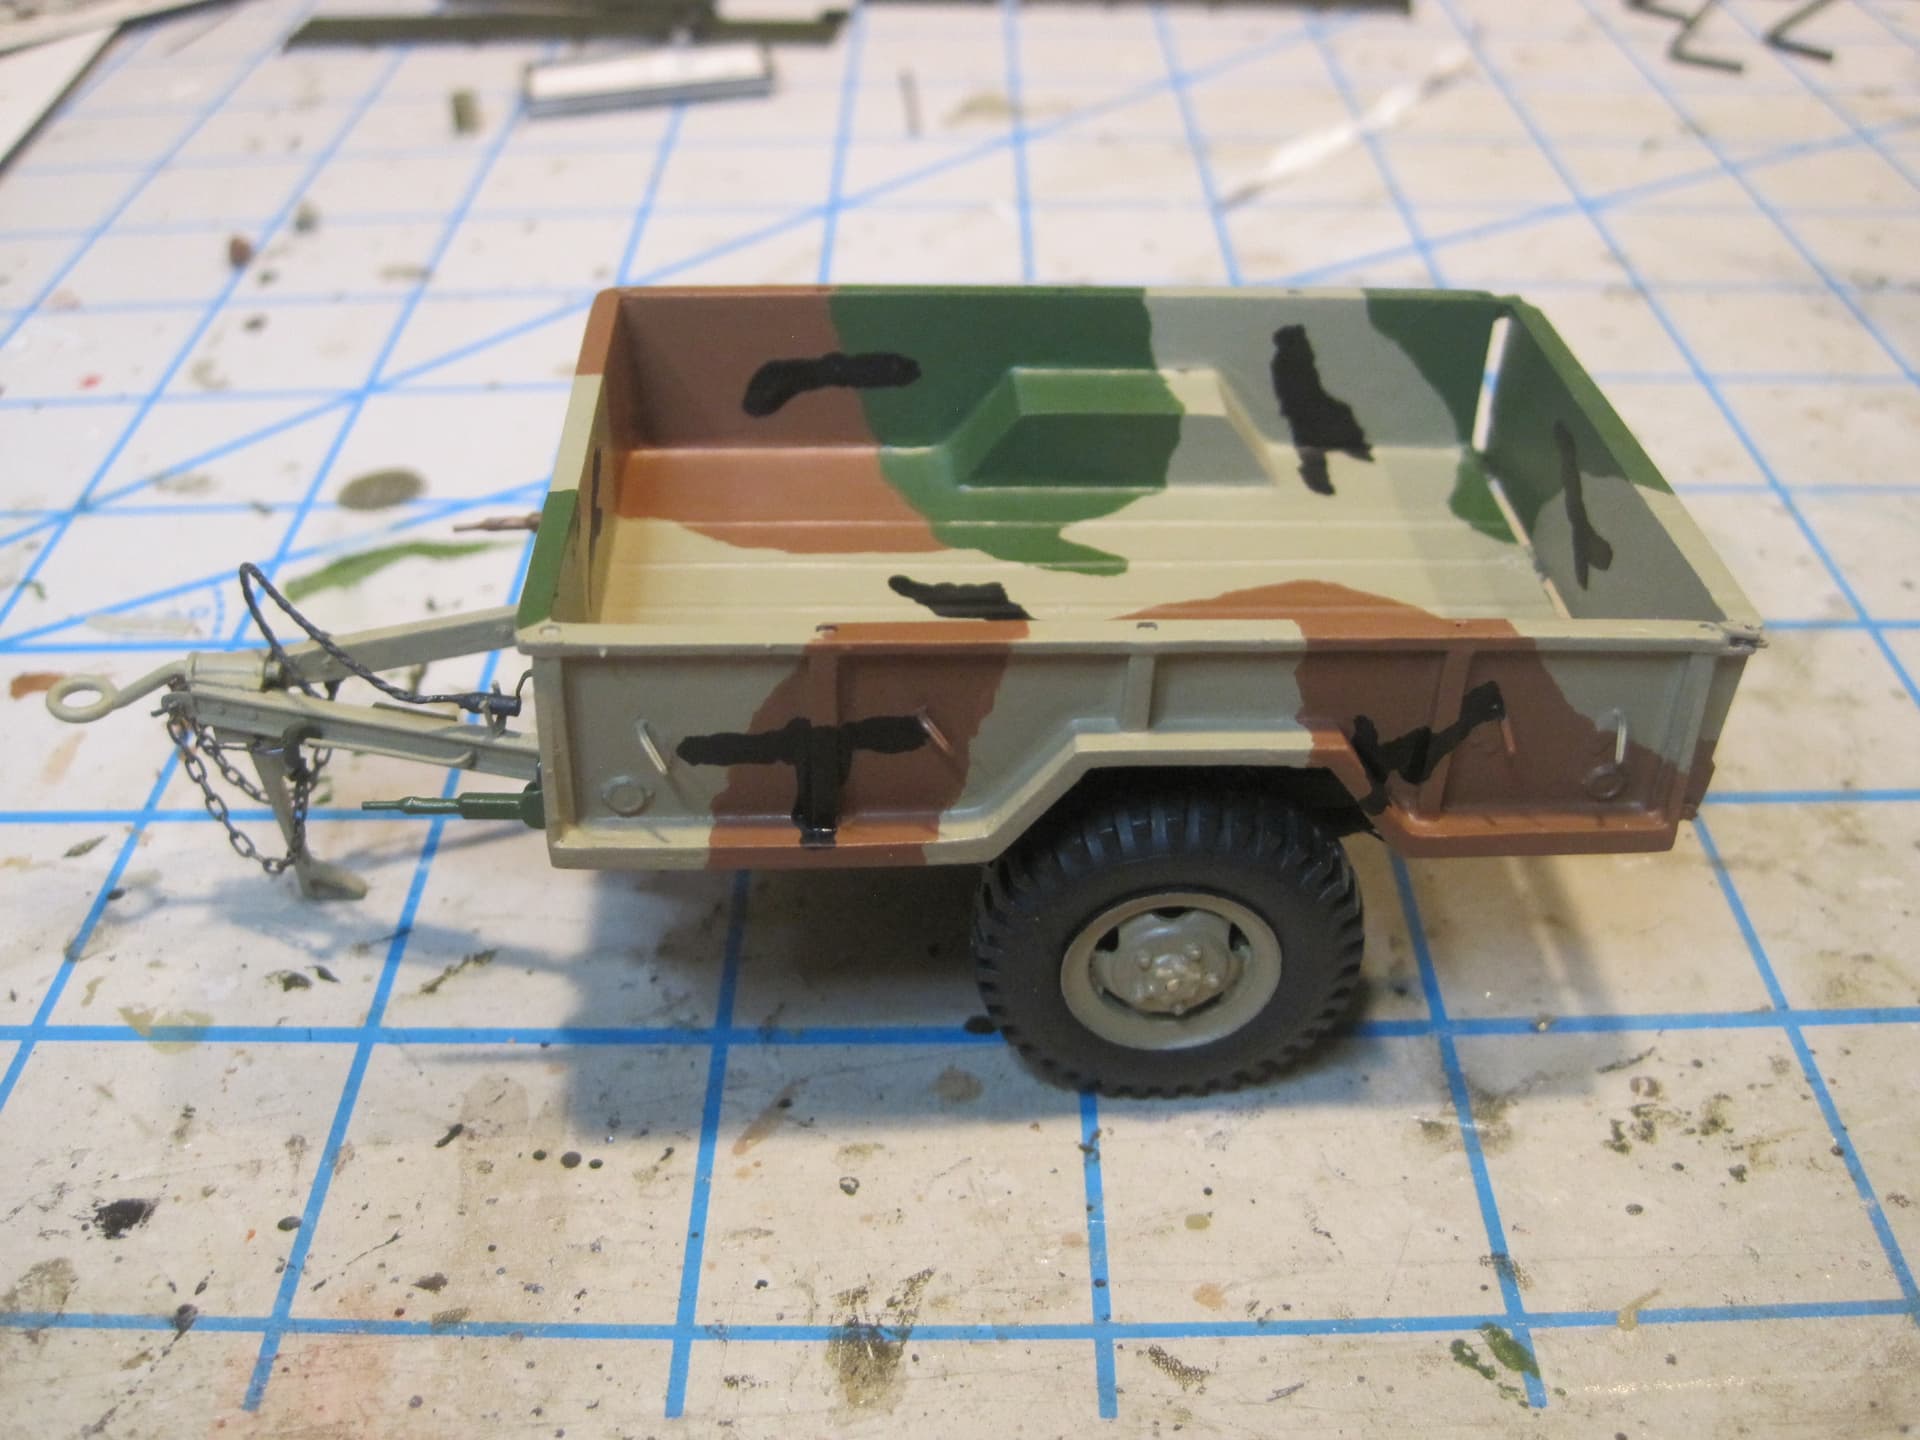
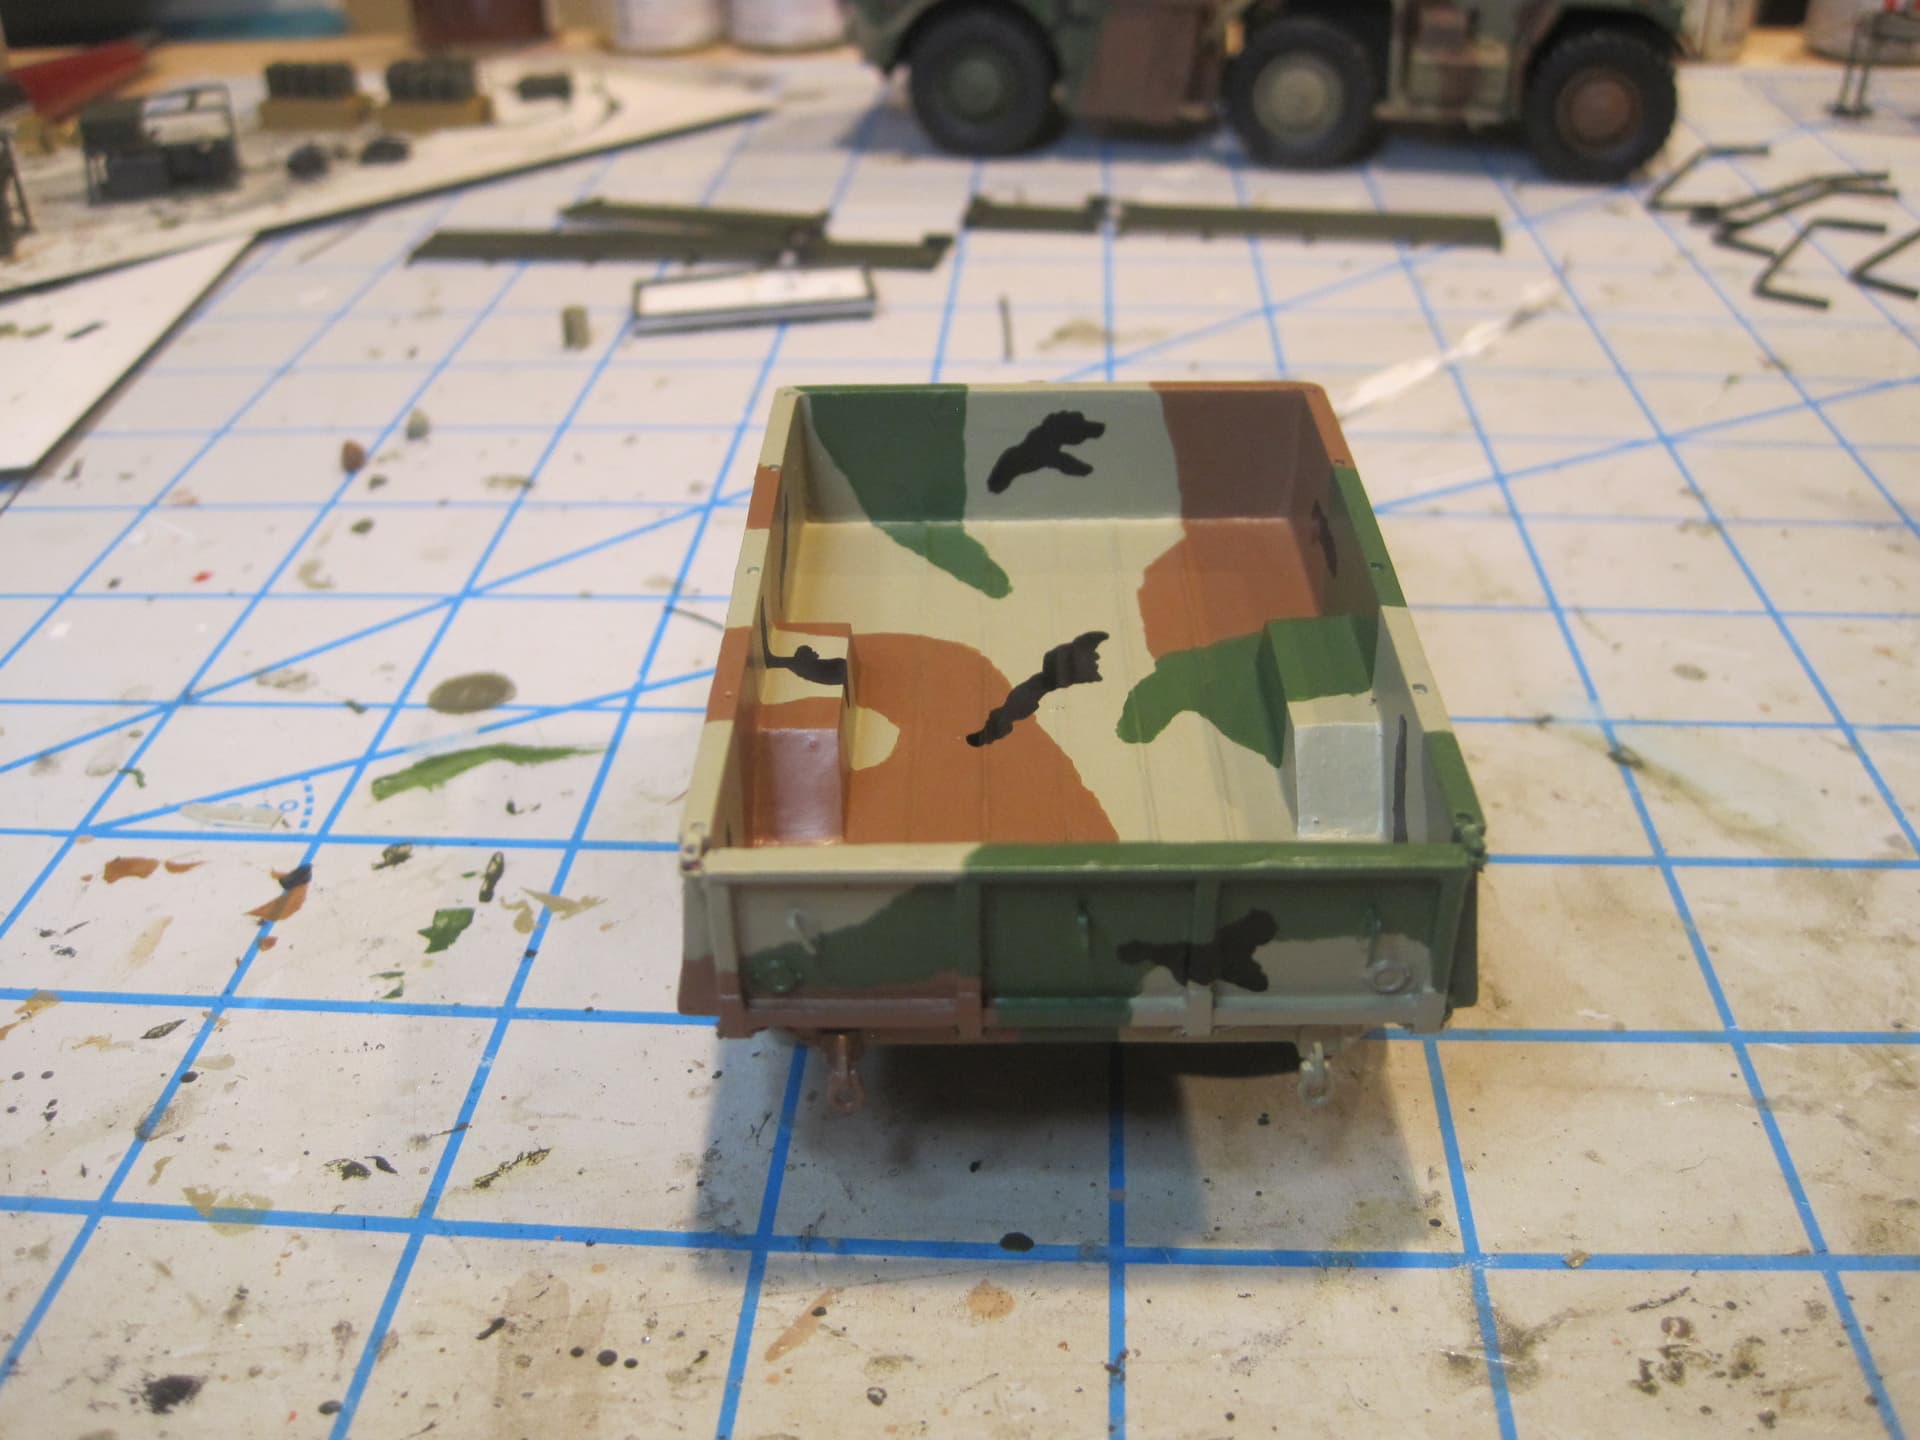
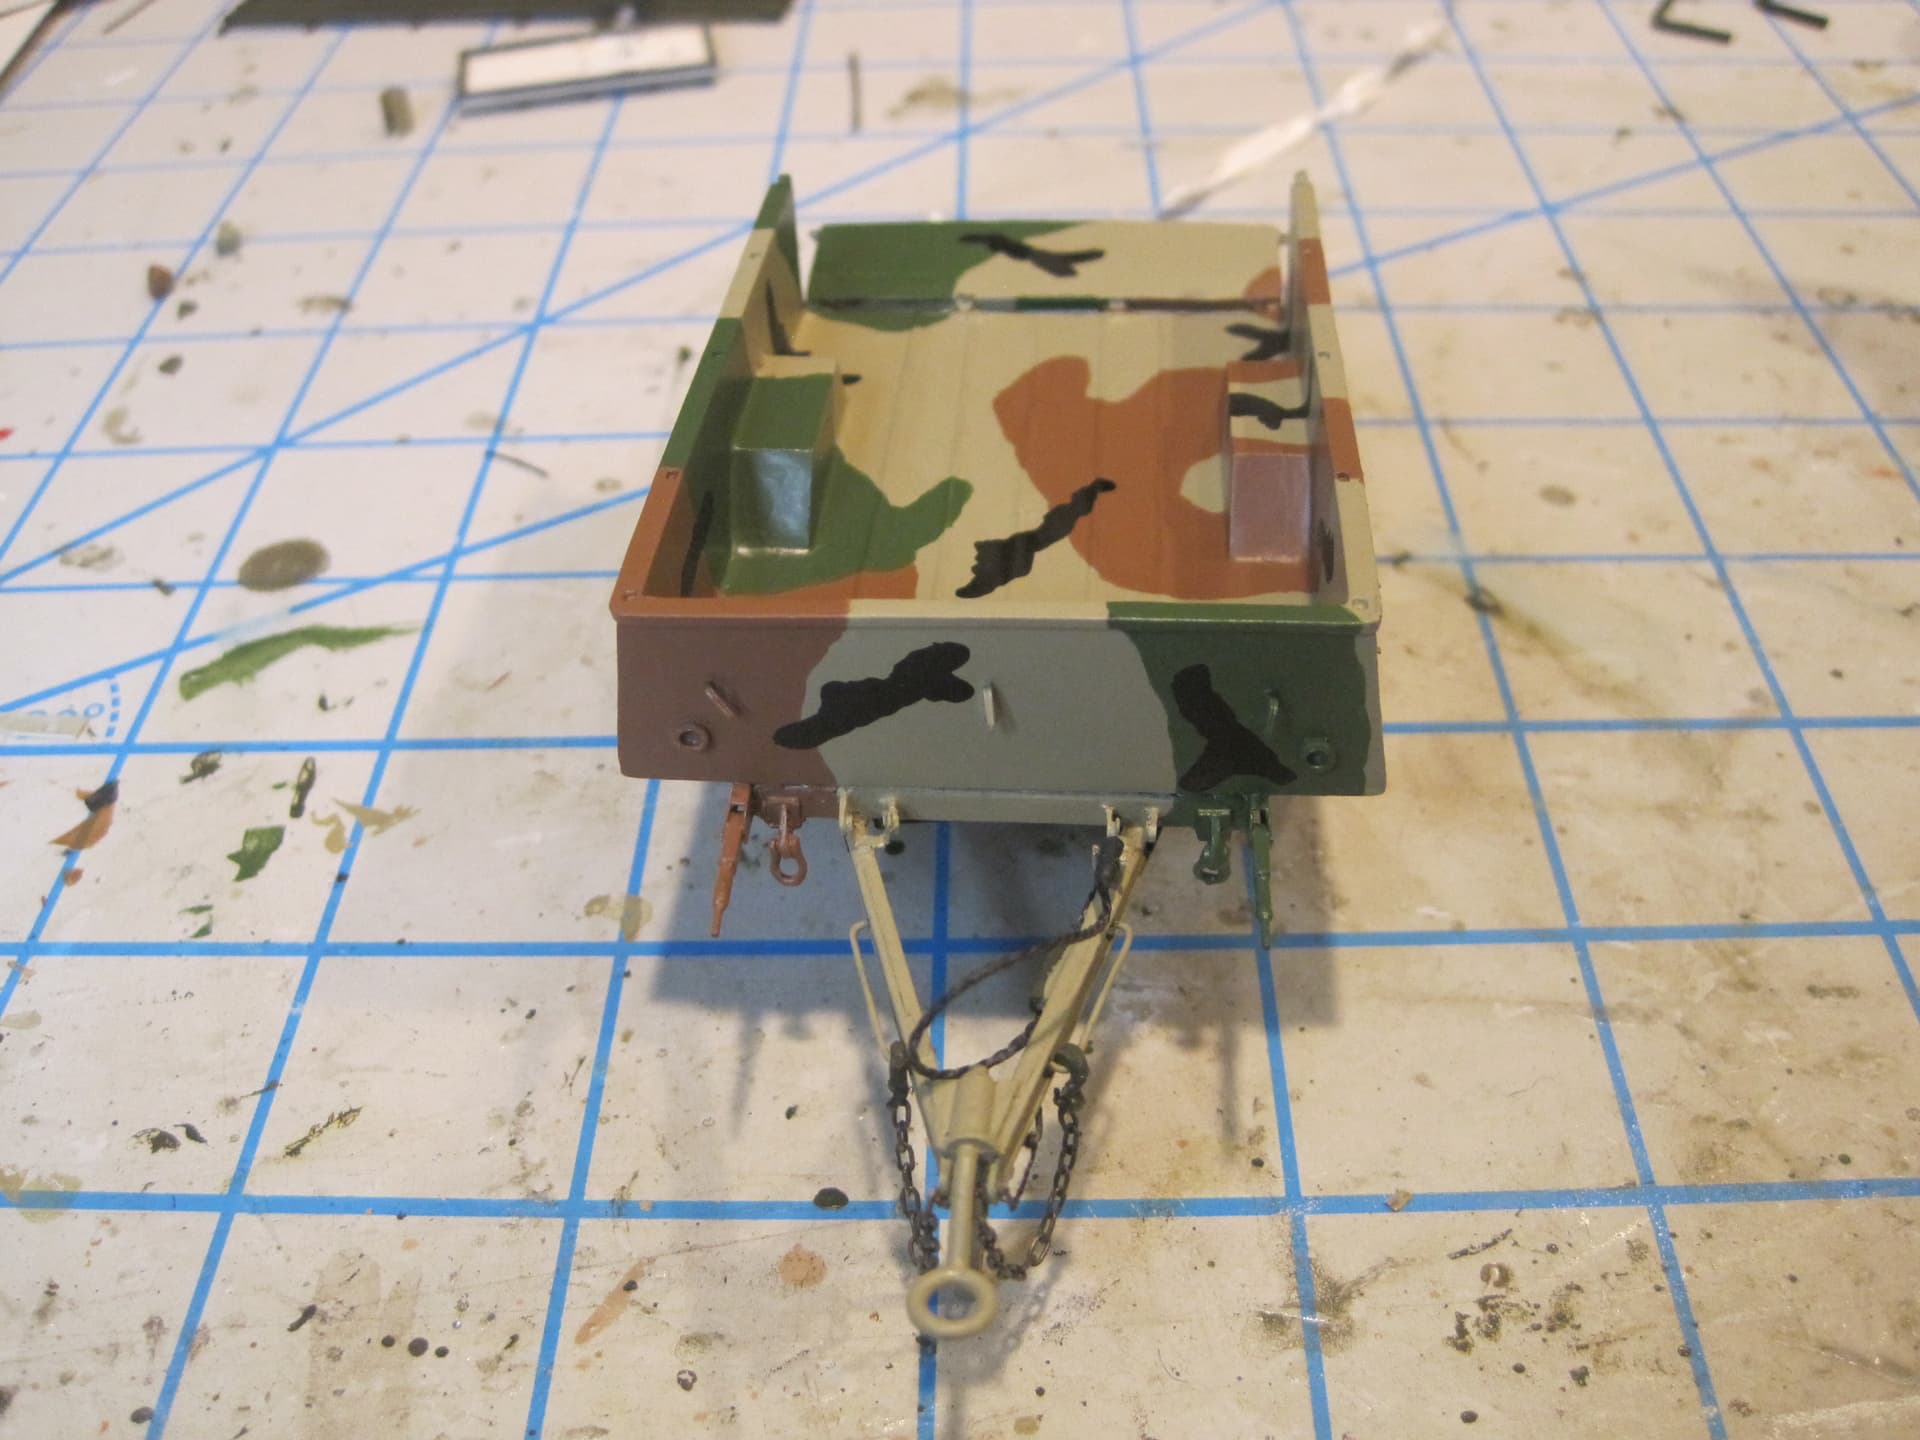
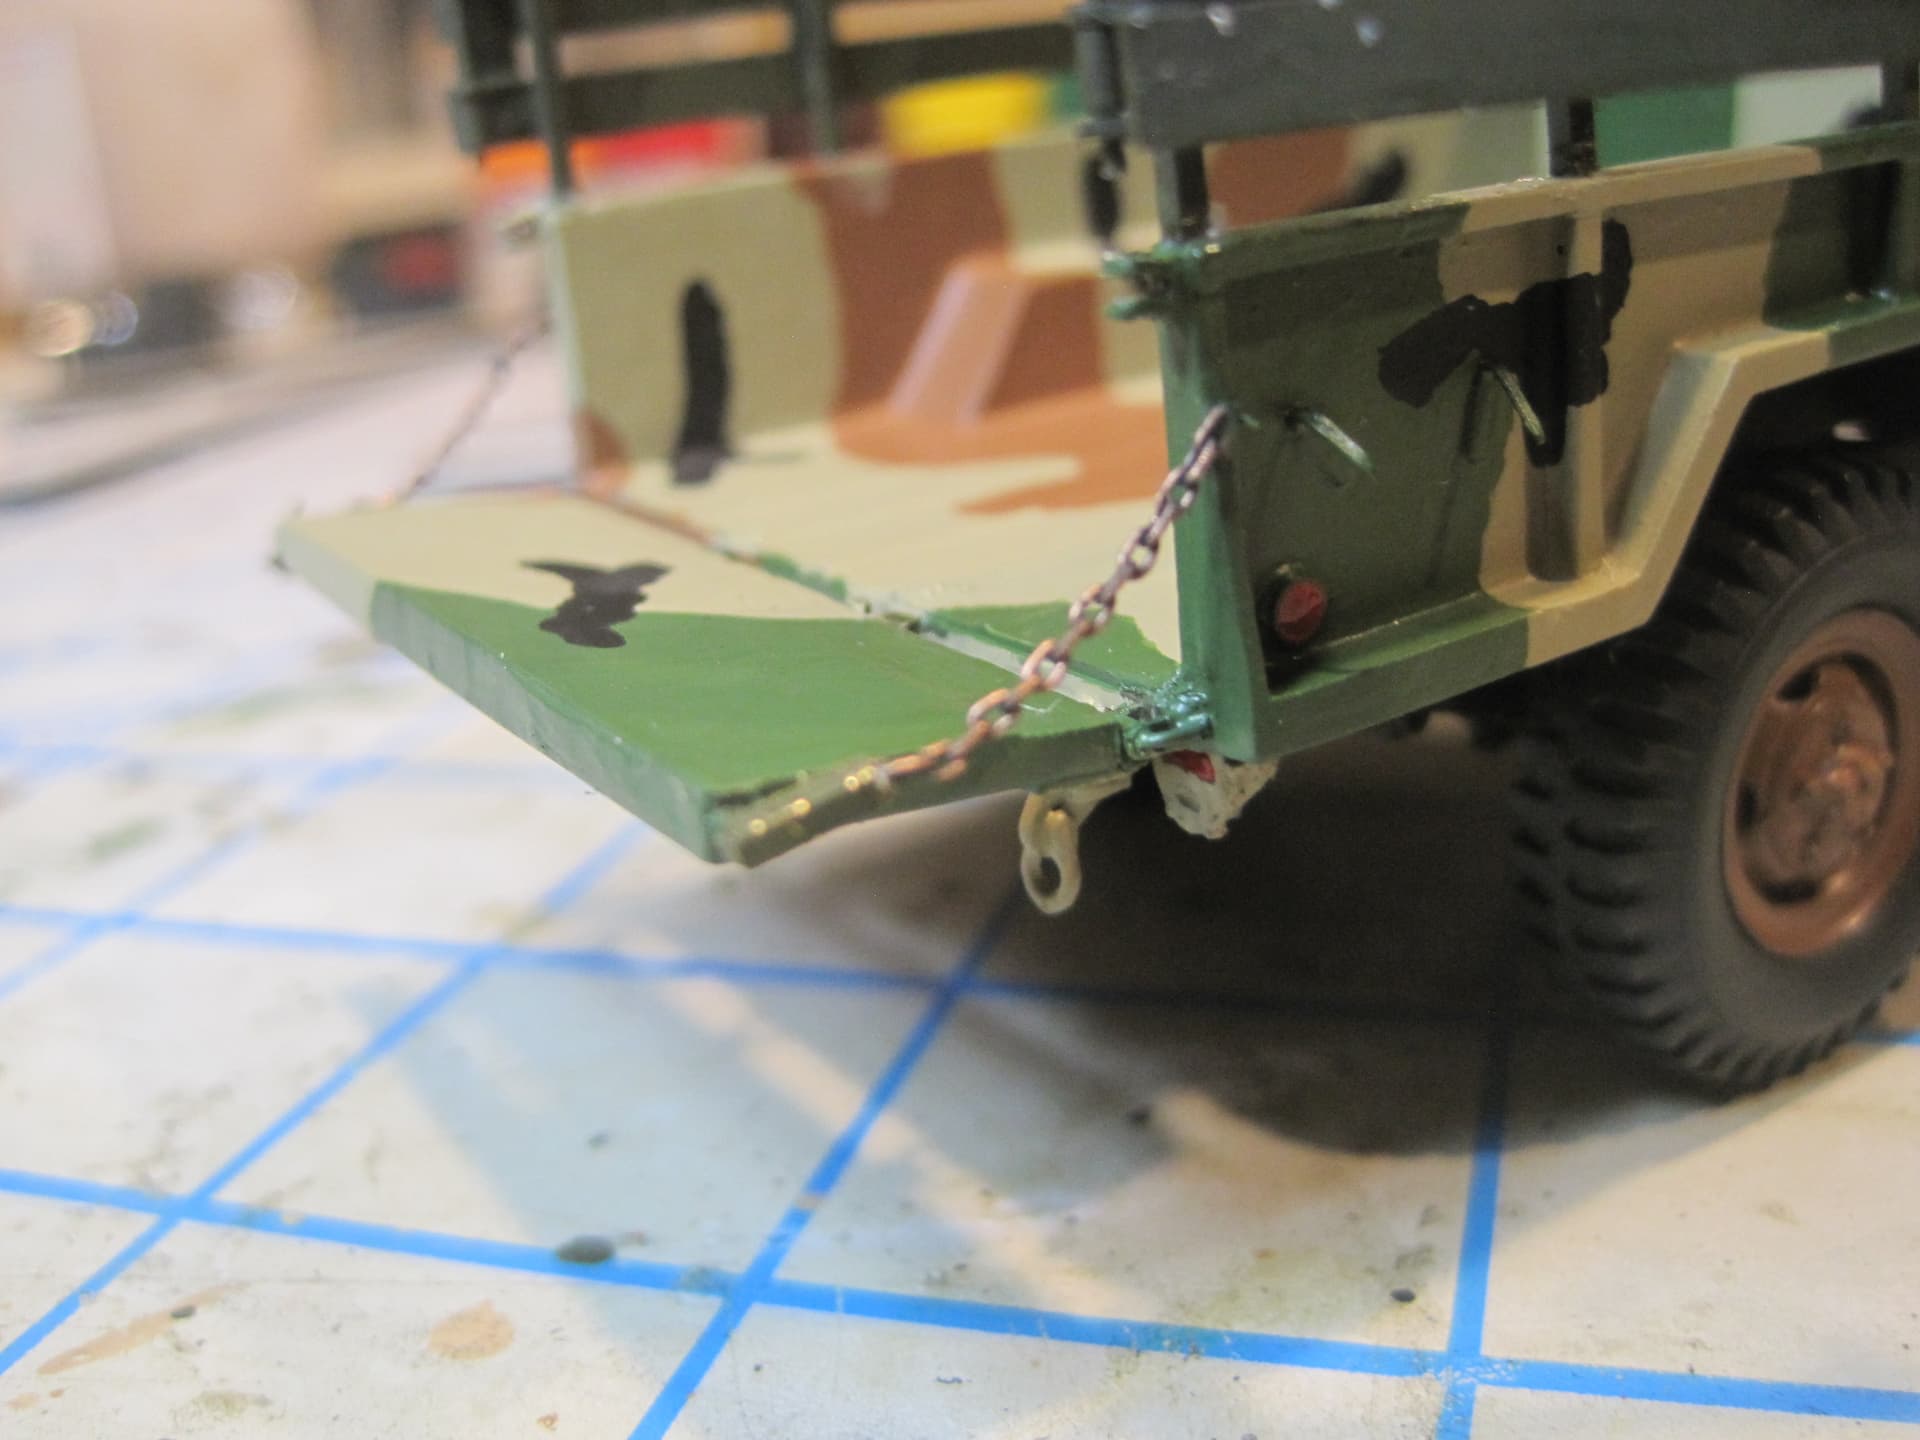
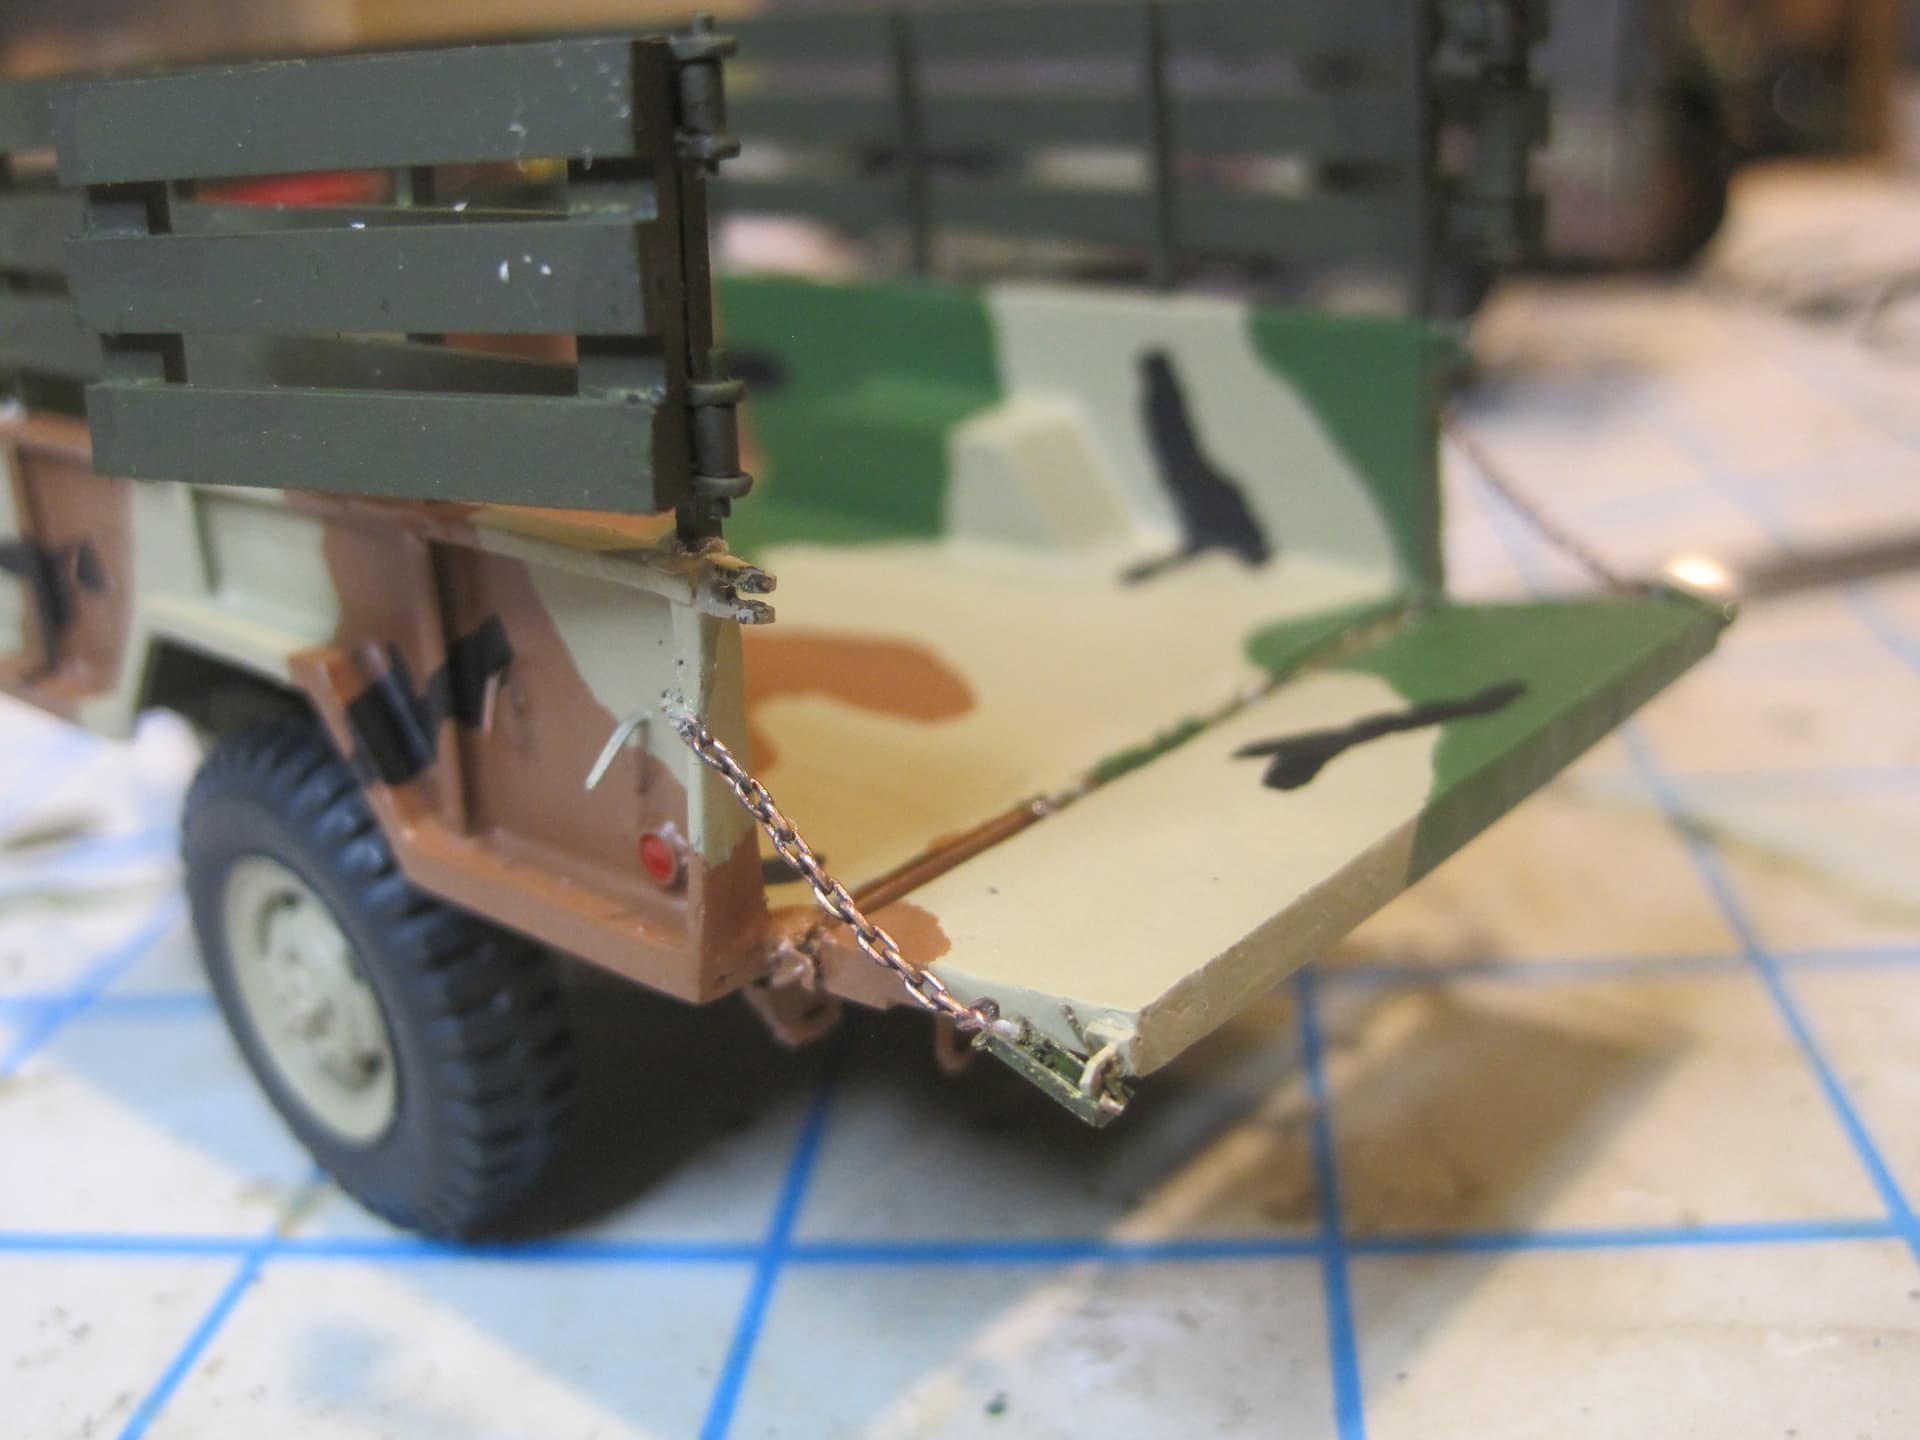
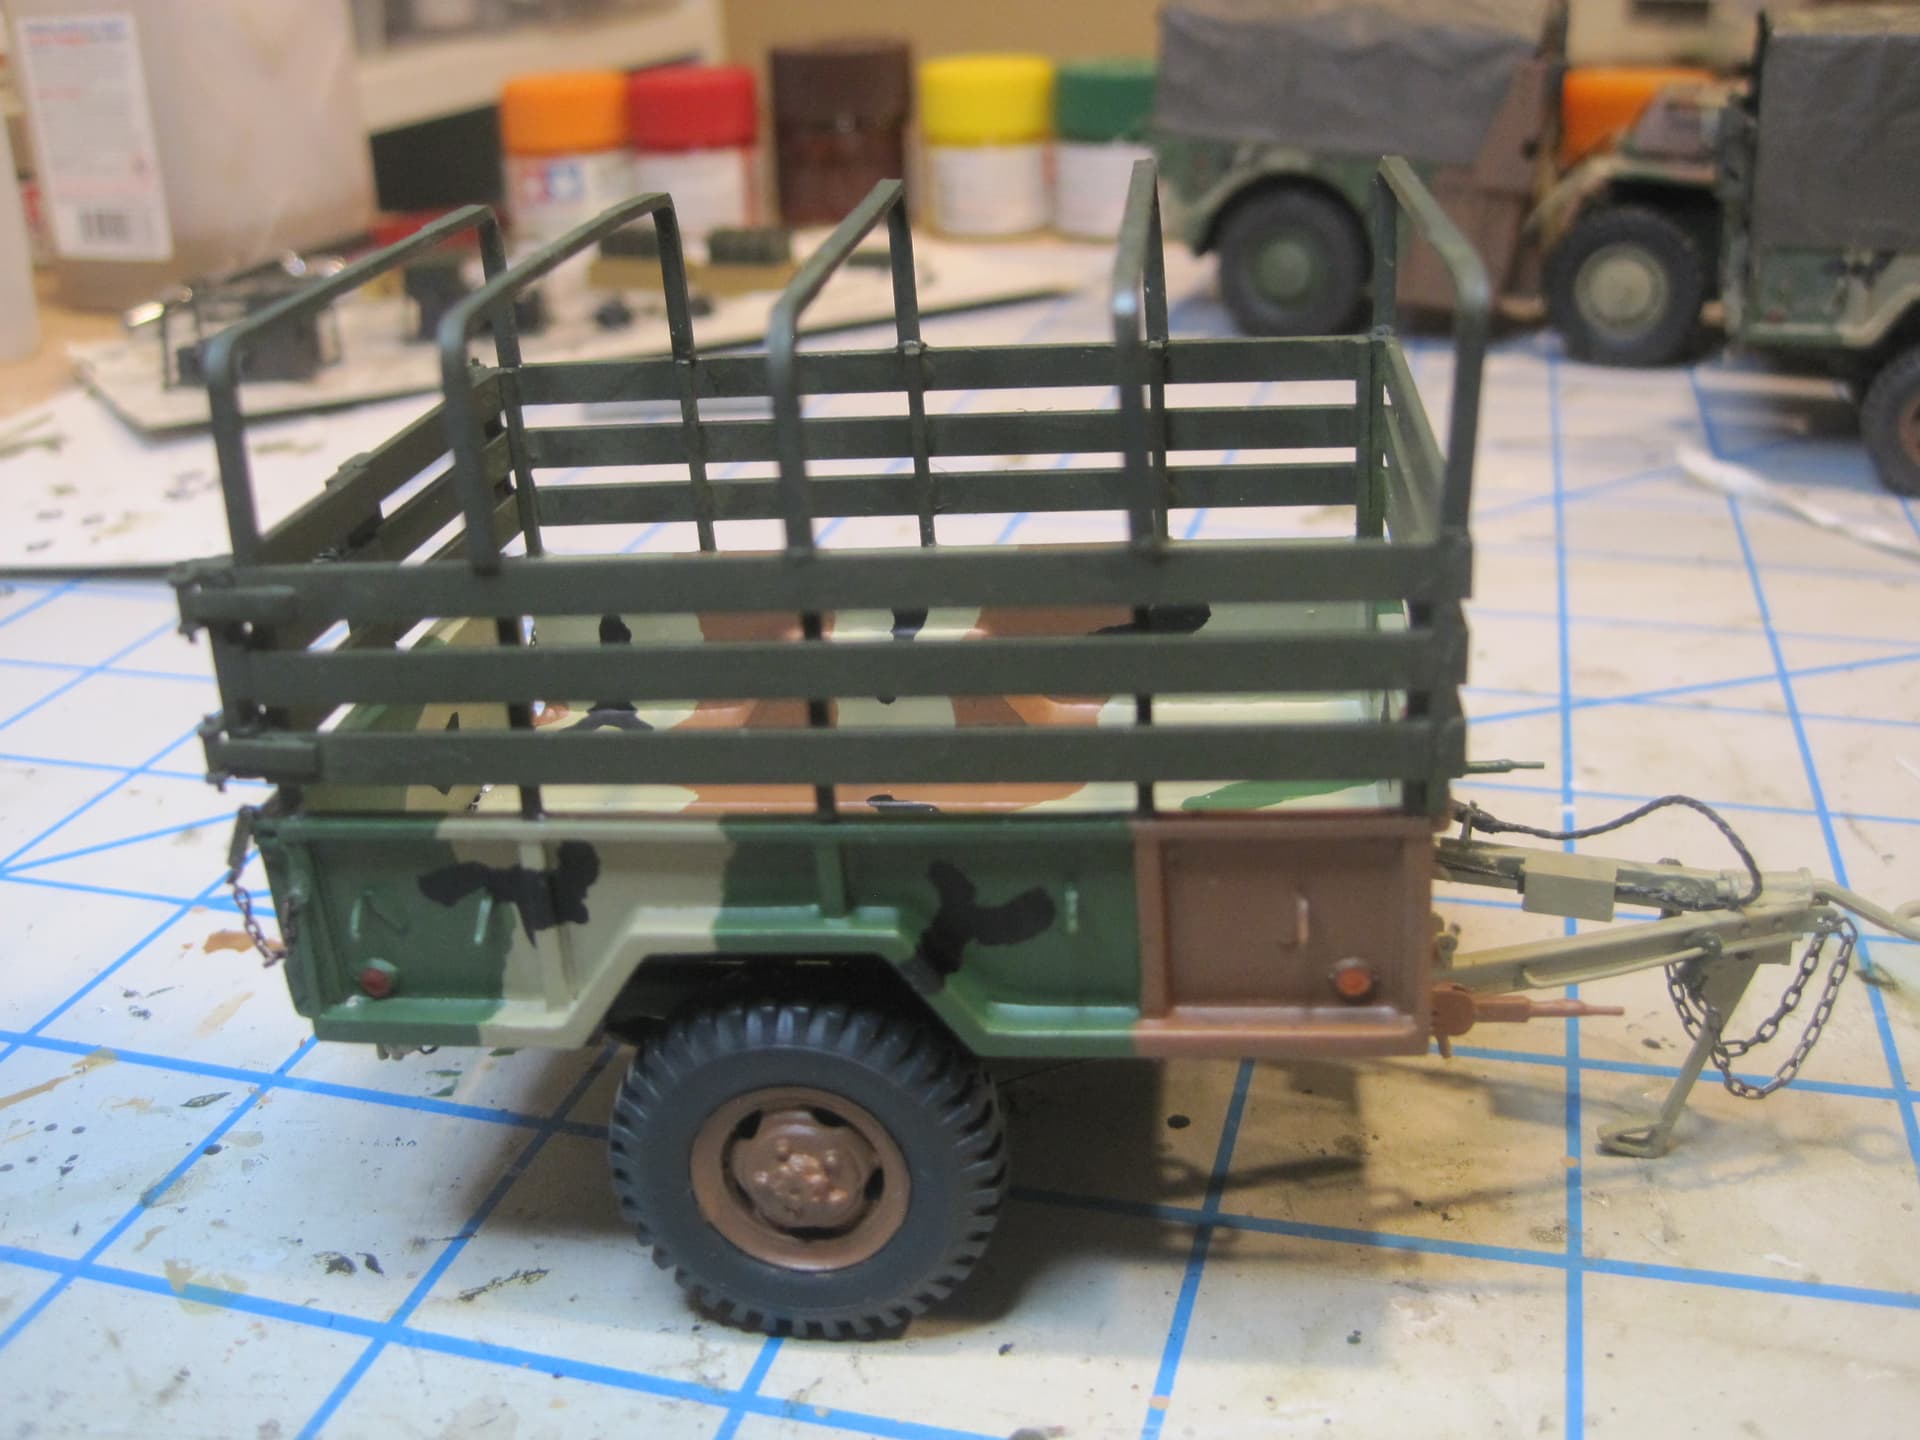
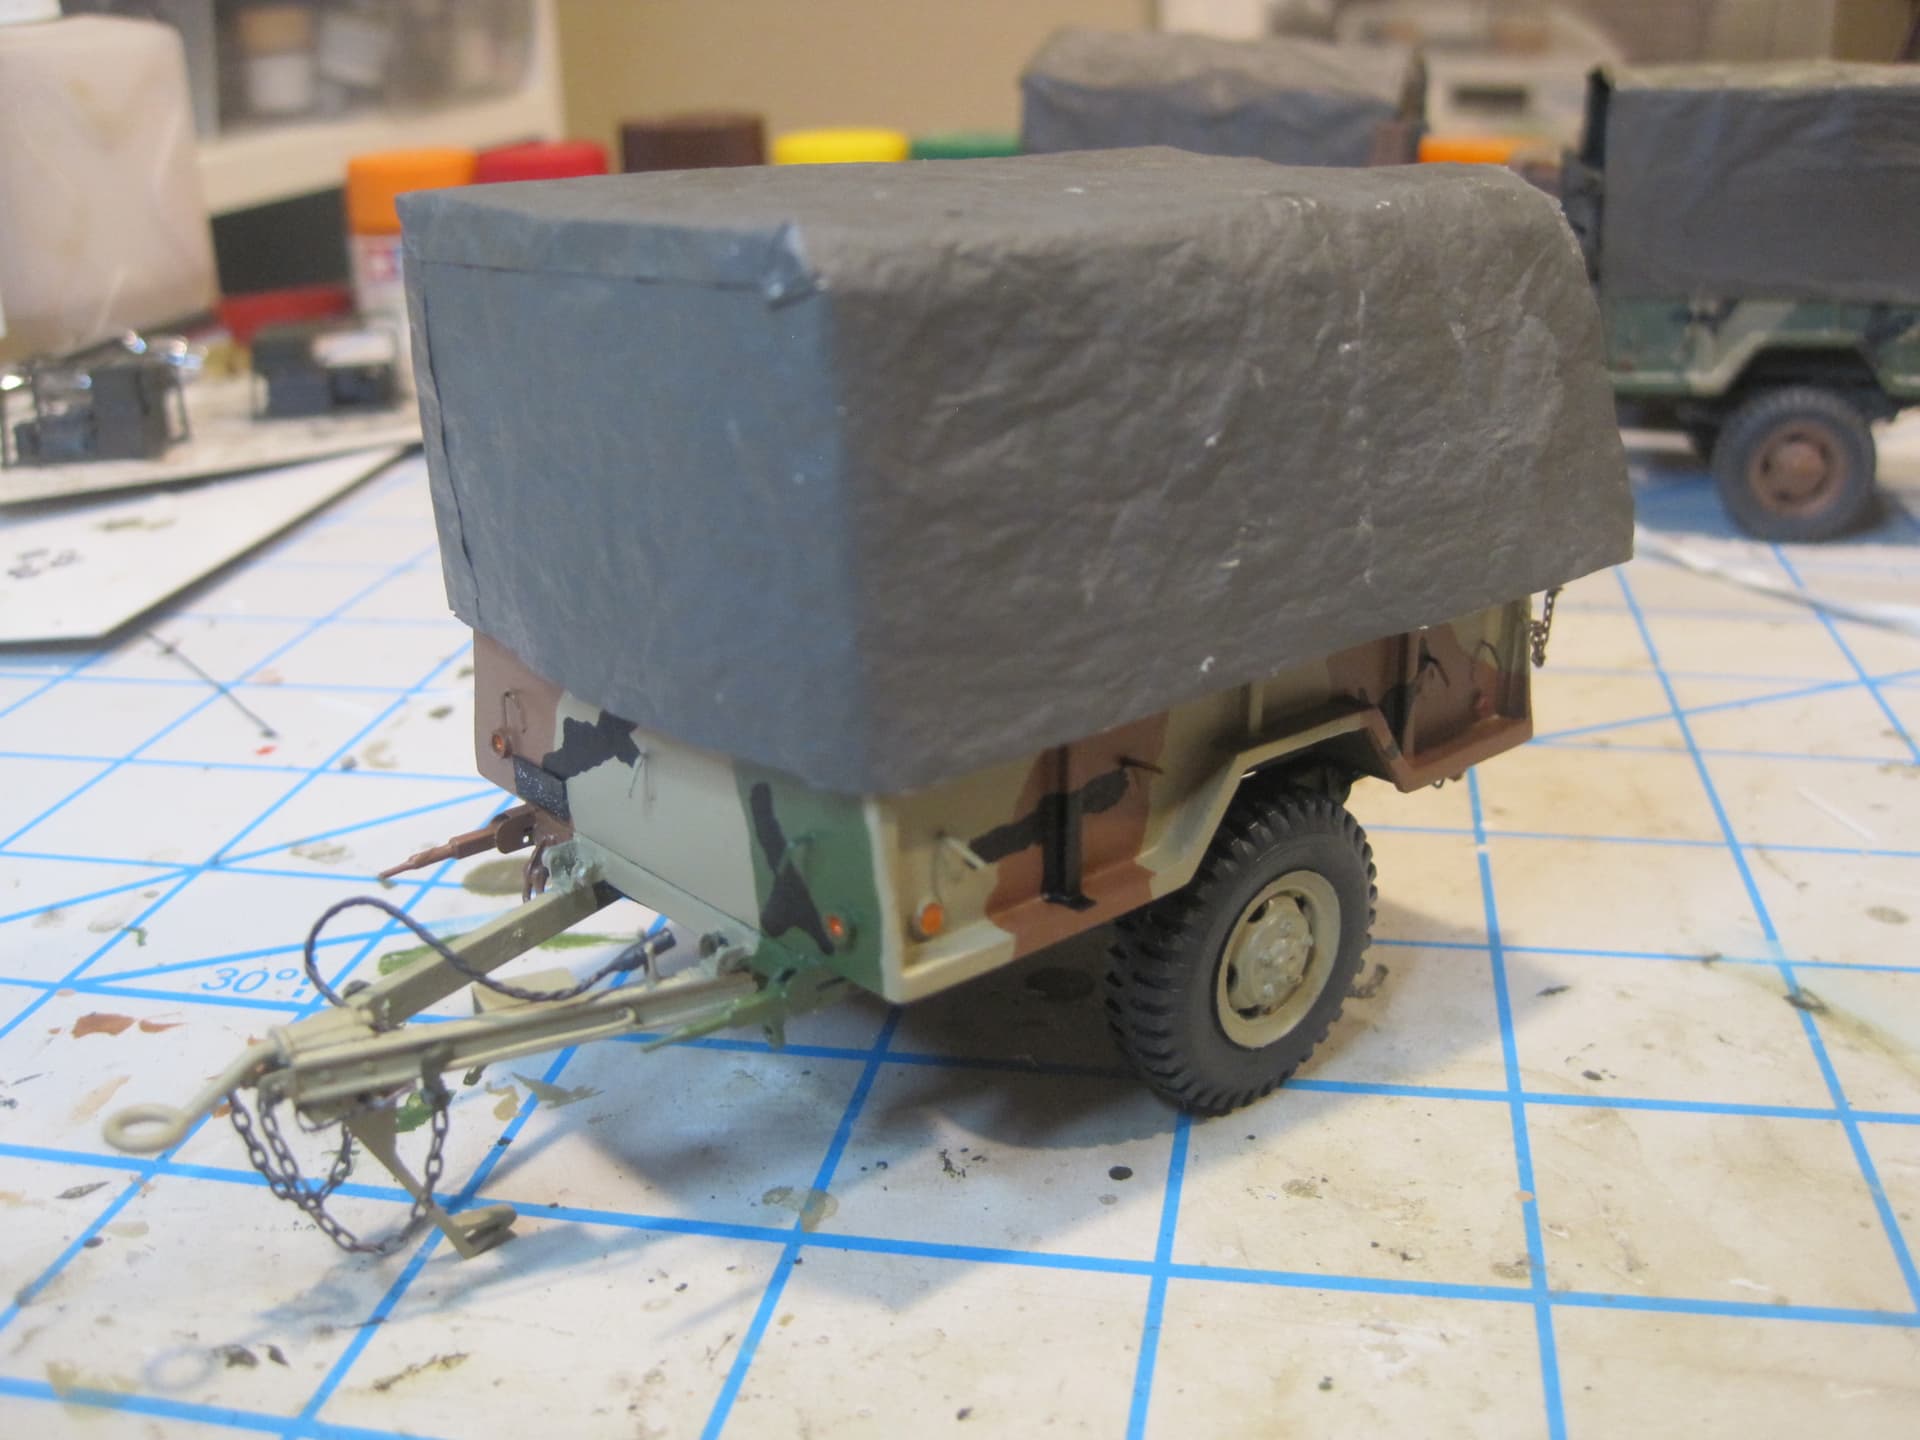
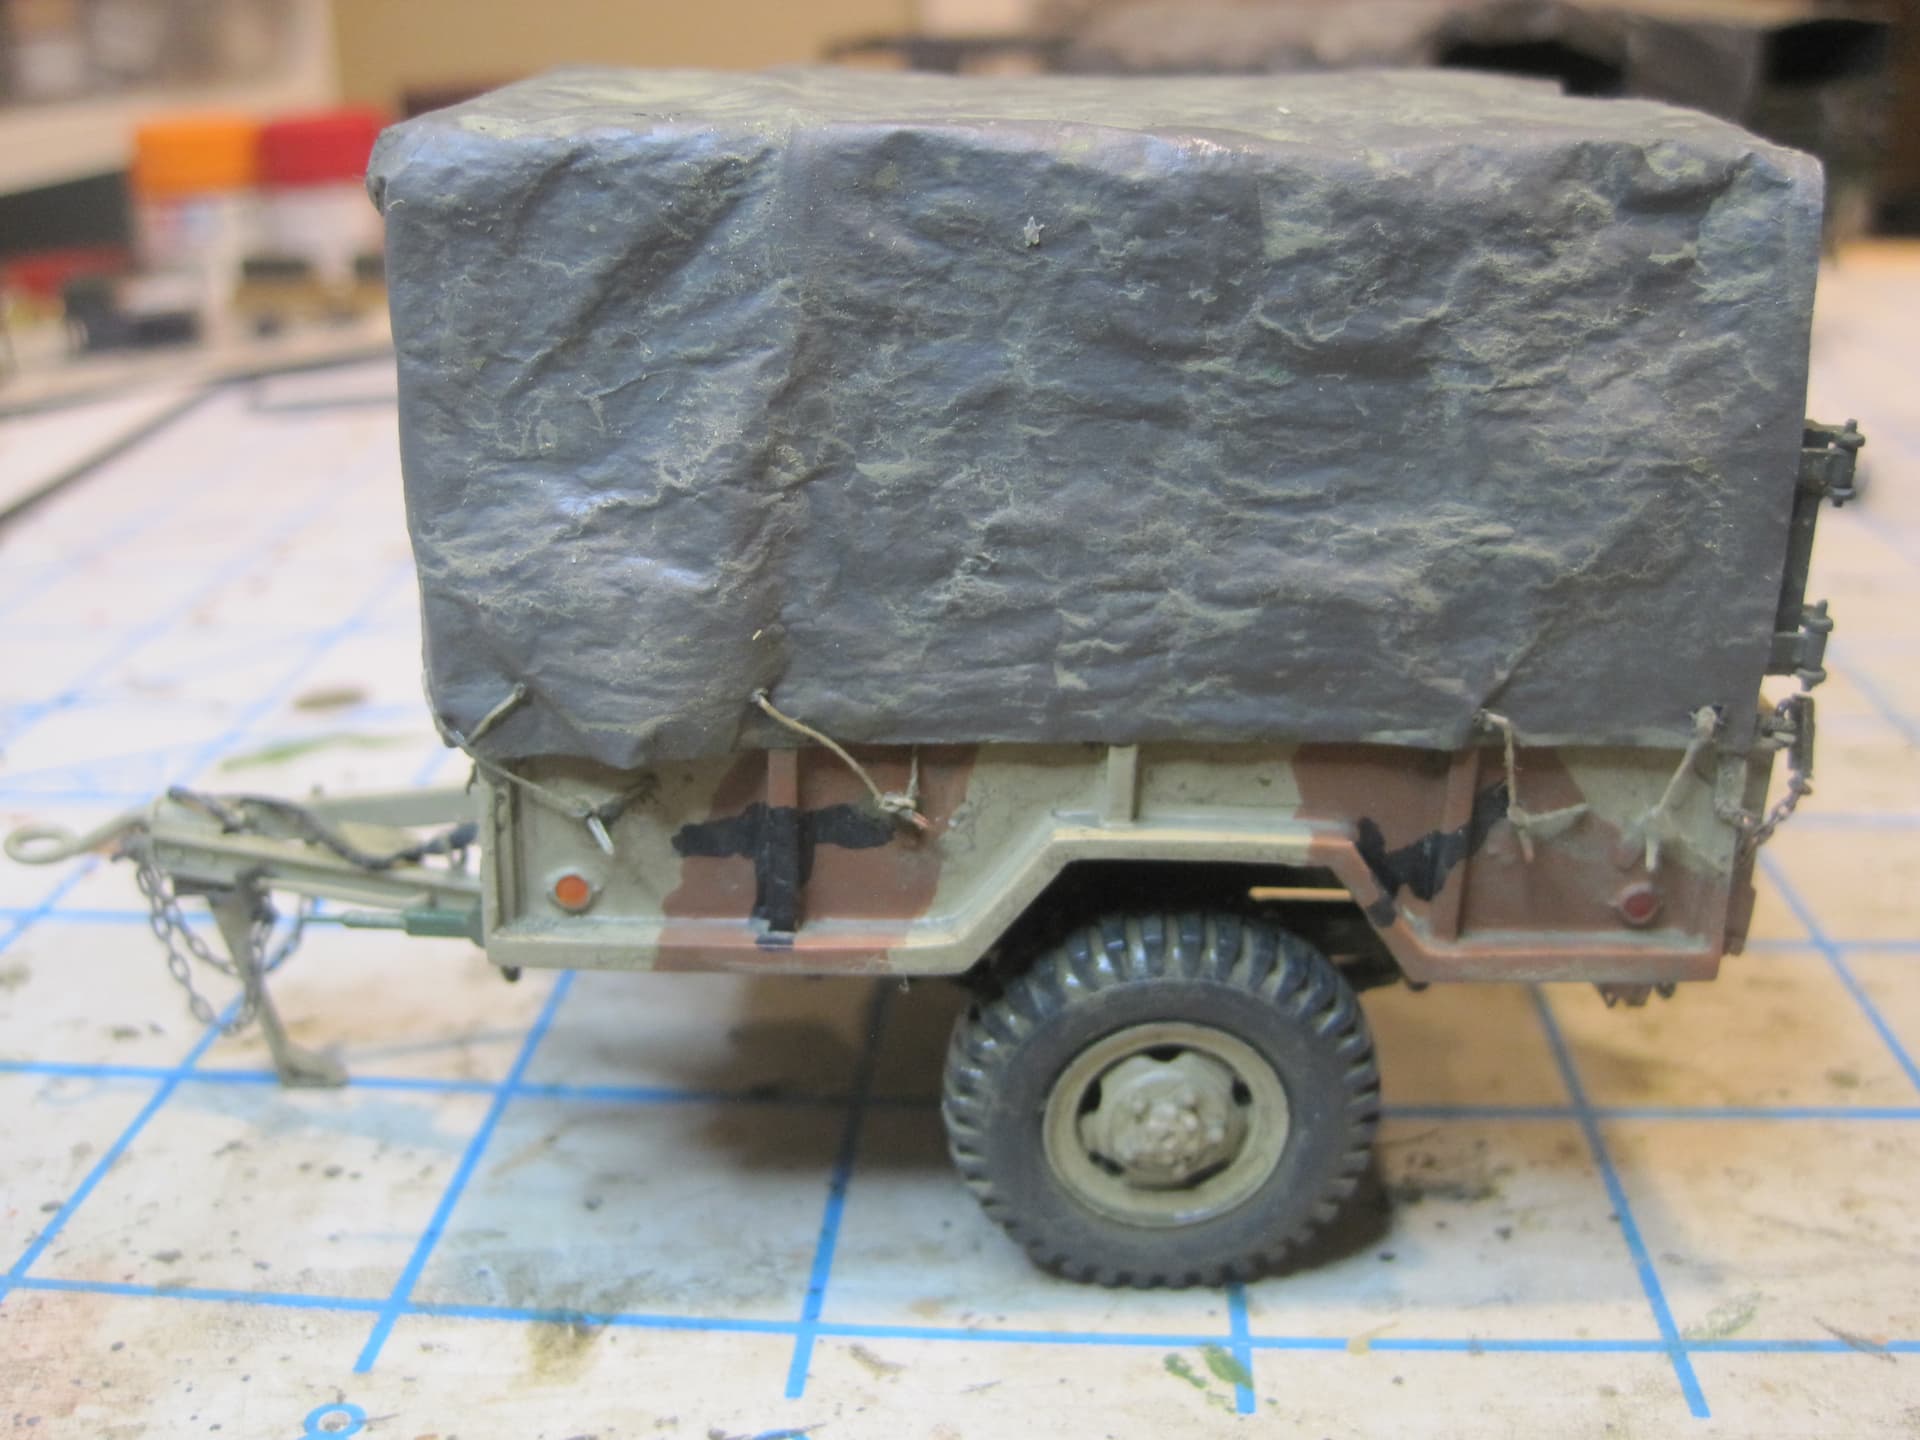
I actually got quite a bit more done today than I expected. Except for adding the tail lights and the tail gate latches, the basic trailer is finished. I still need to add the side stakes, bows and canvass, but I’ll do that after I repaint the trailer in MASSTER.
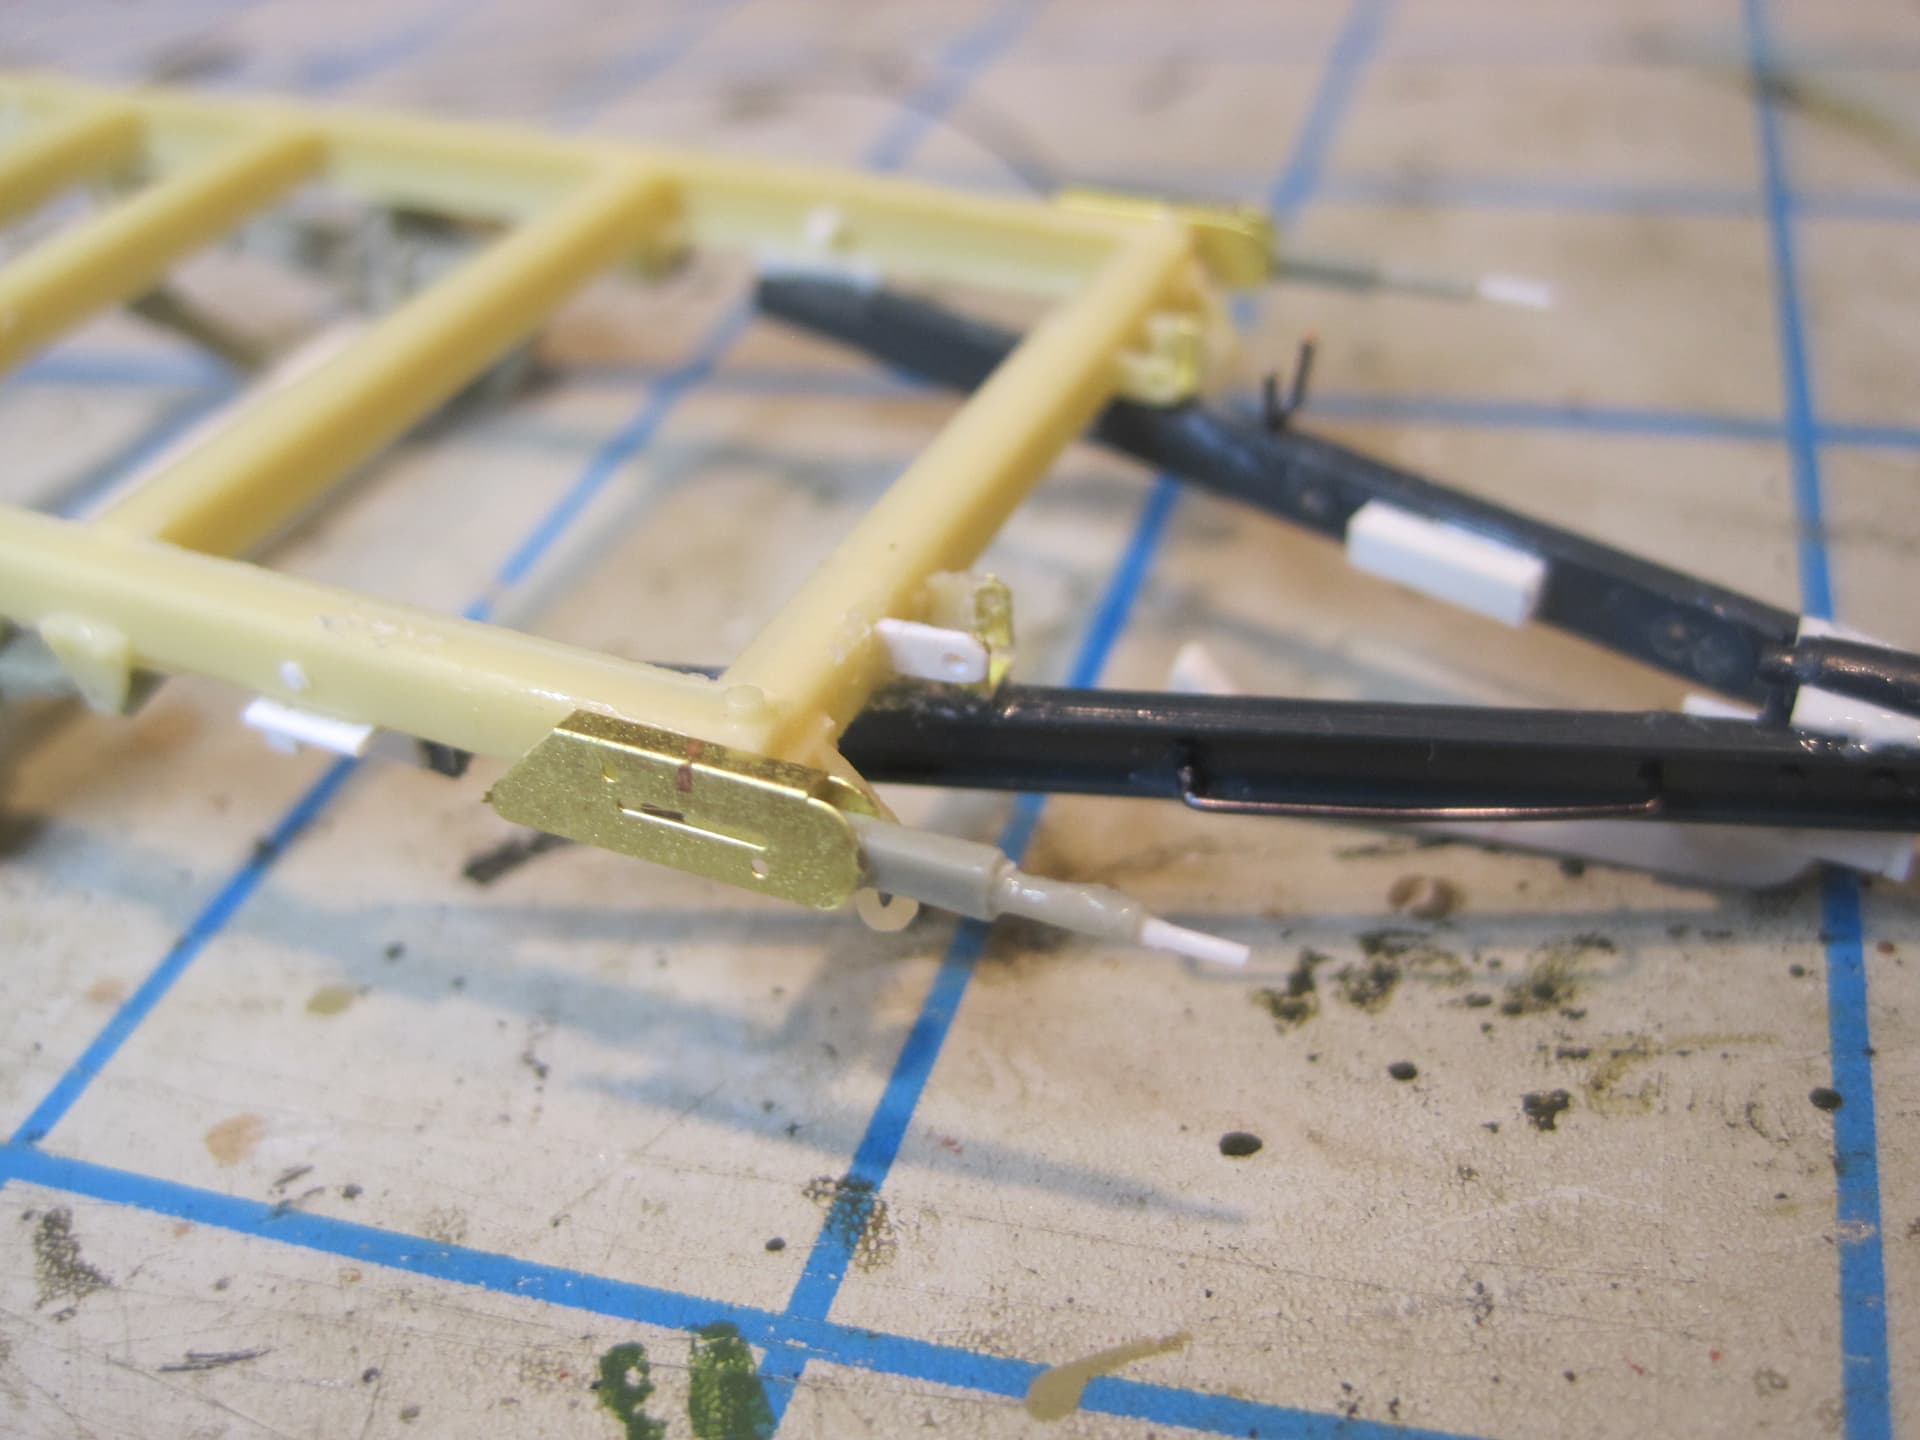
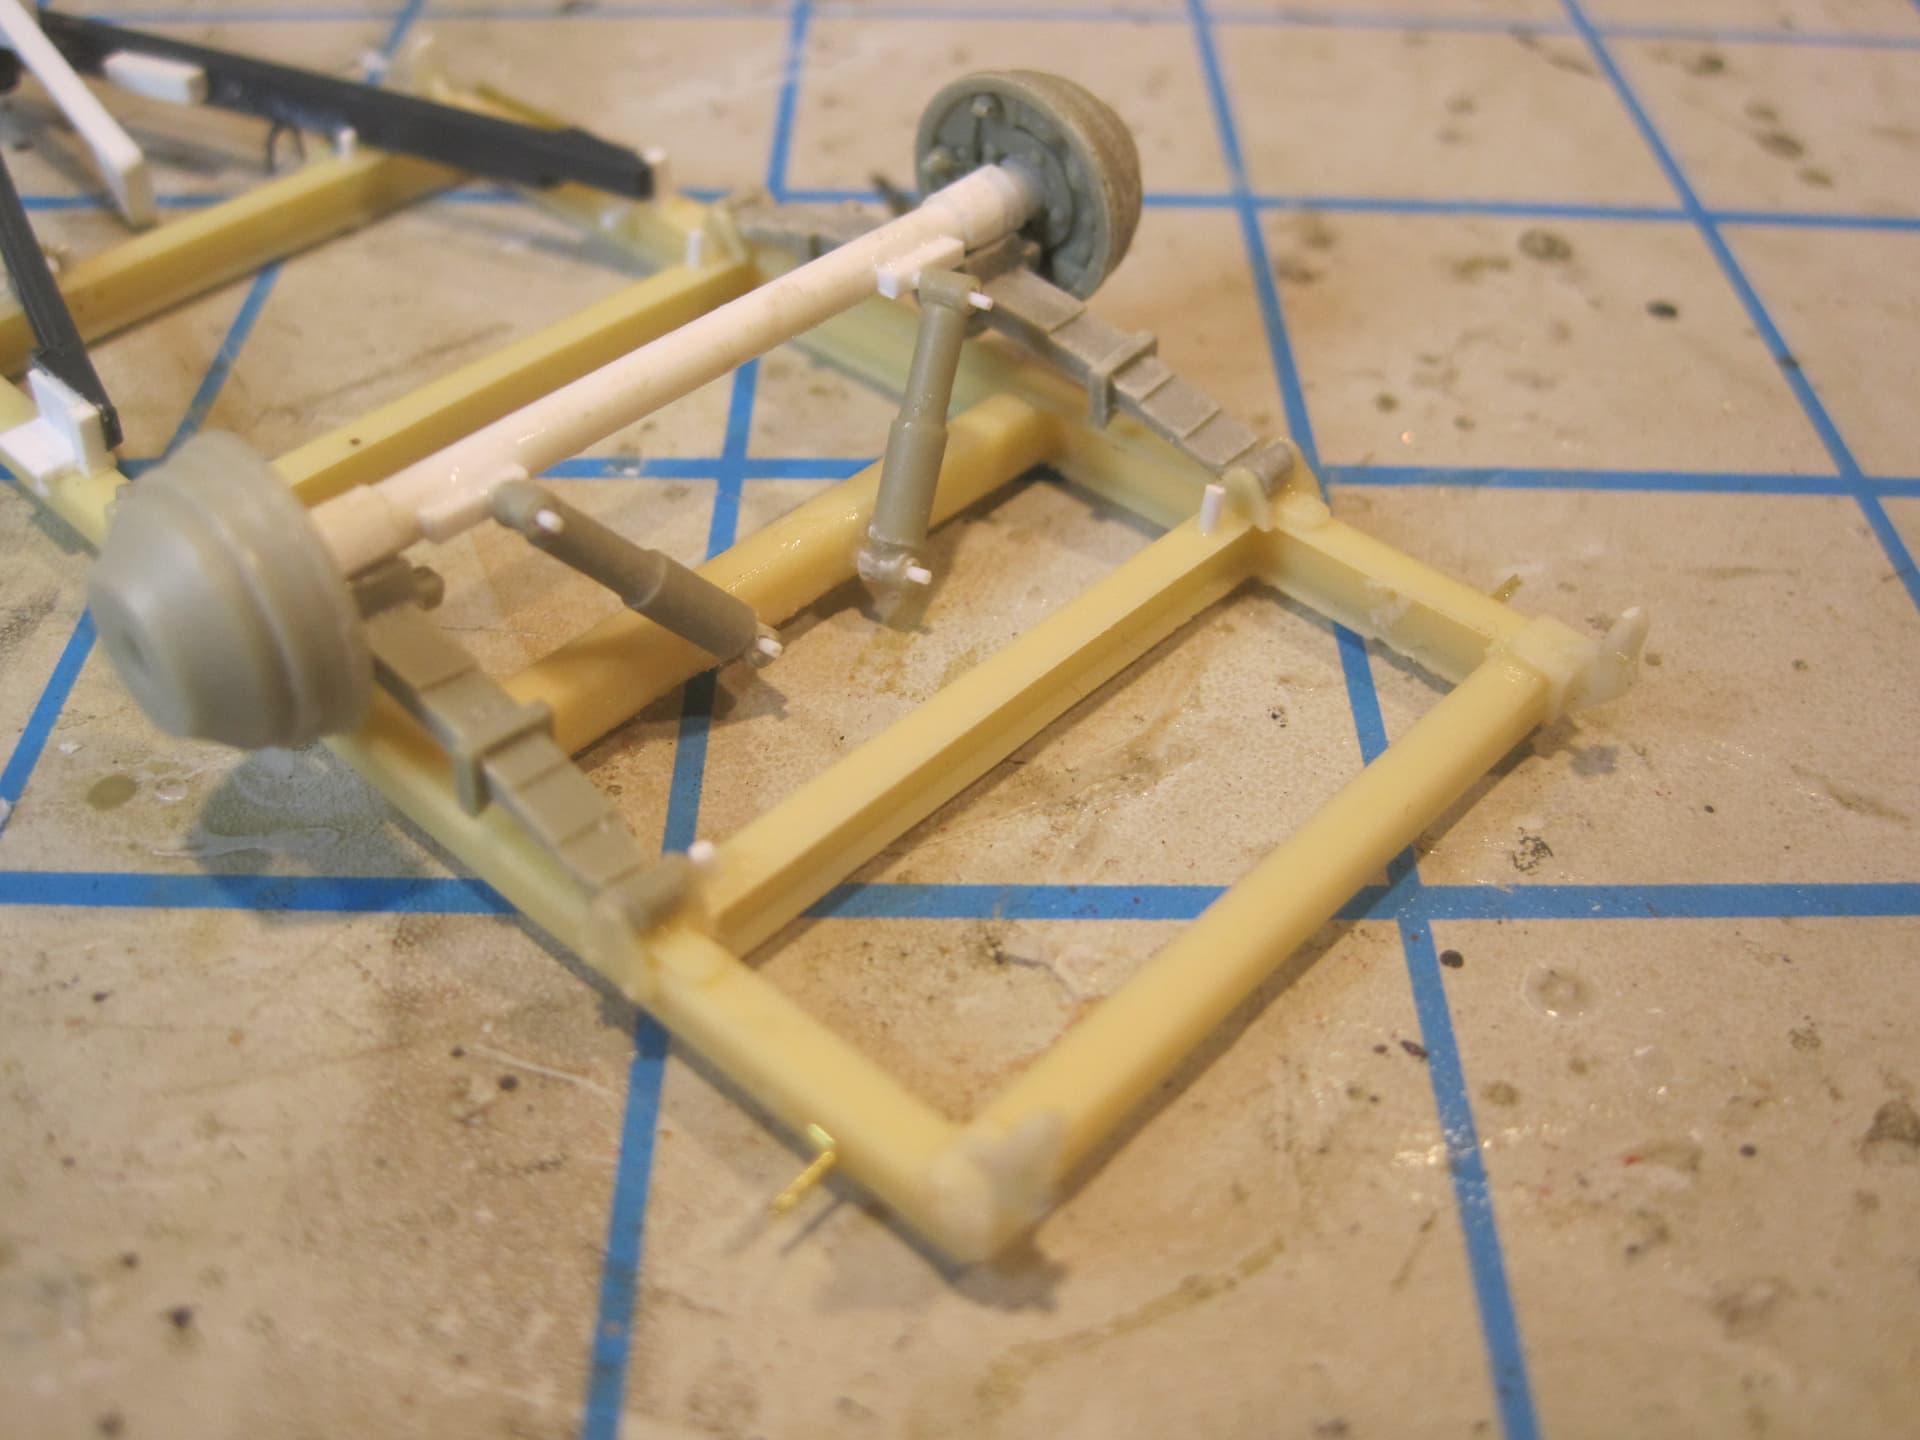
I got the safety chains, lighting cable, tail light wiring, and parking brake cables wired up. And then assembled the cargo bed to the trailer frame and added the PE mounting brackets.
Still plenty to do, but it’s getting close.


4 Likes


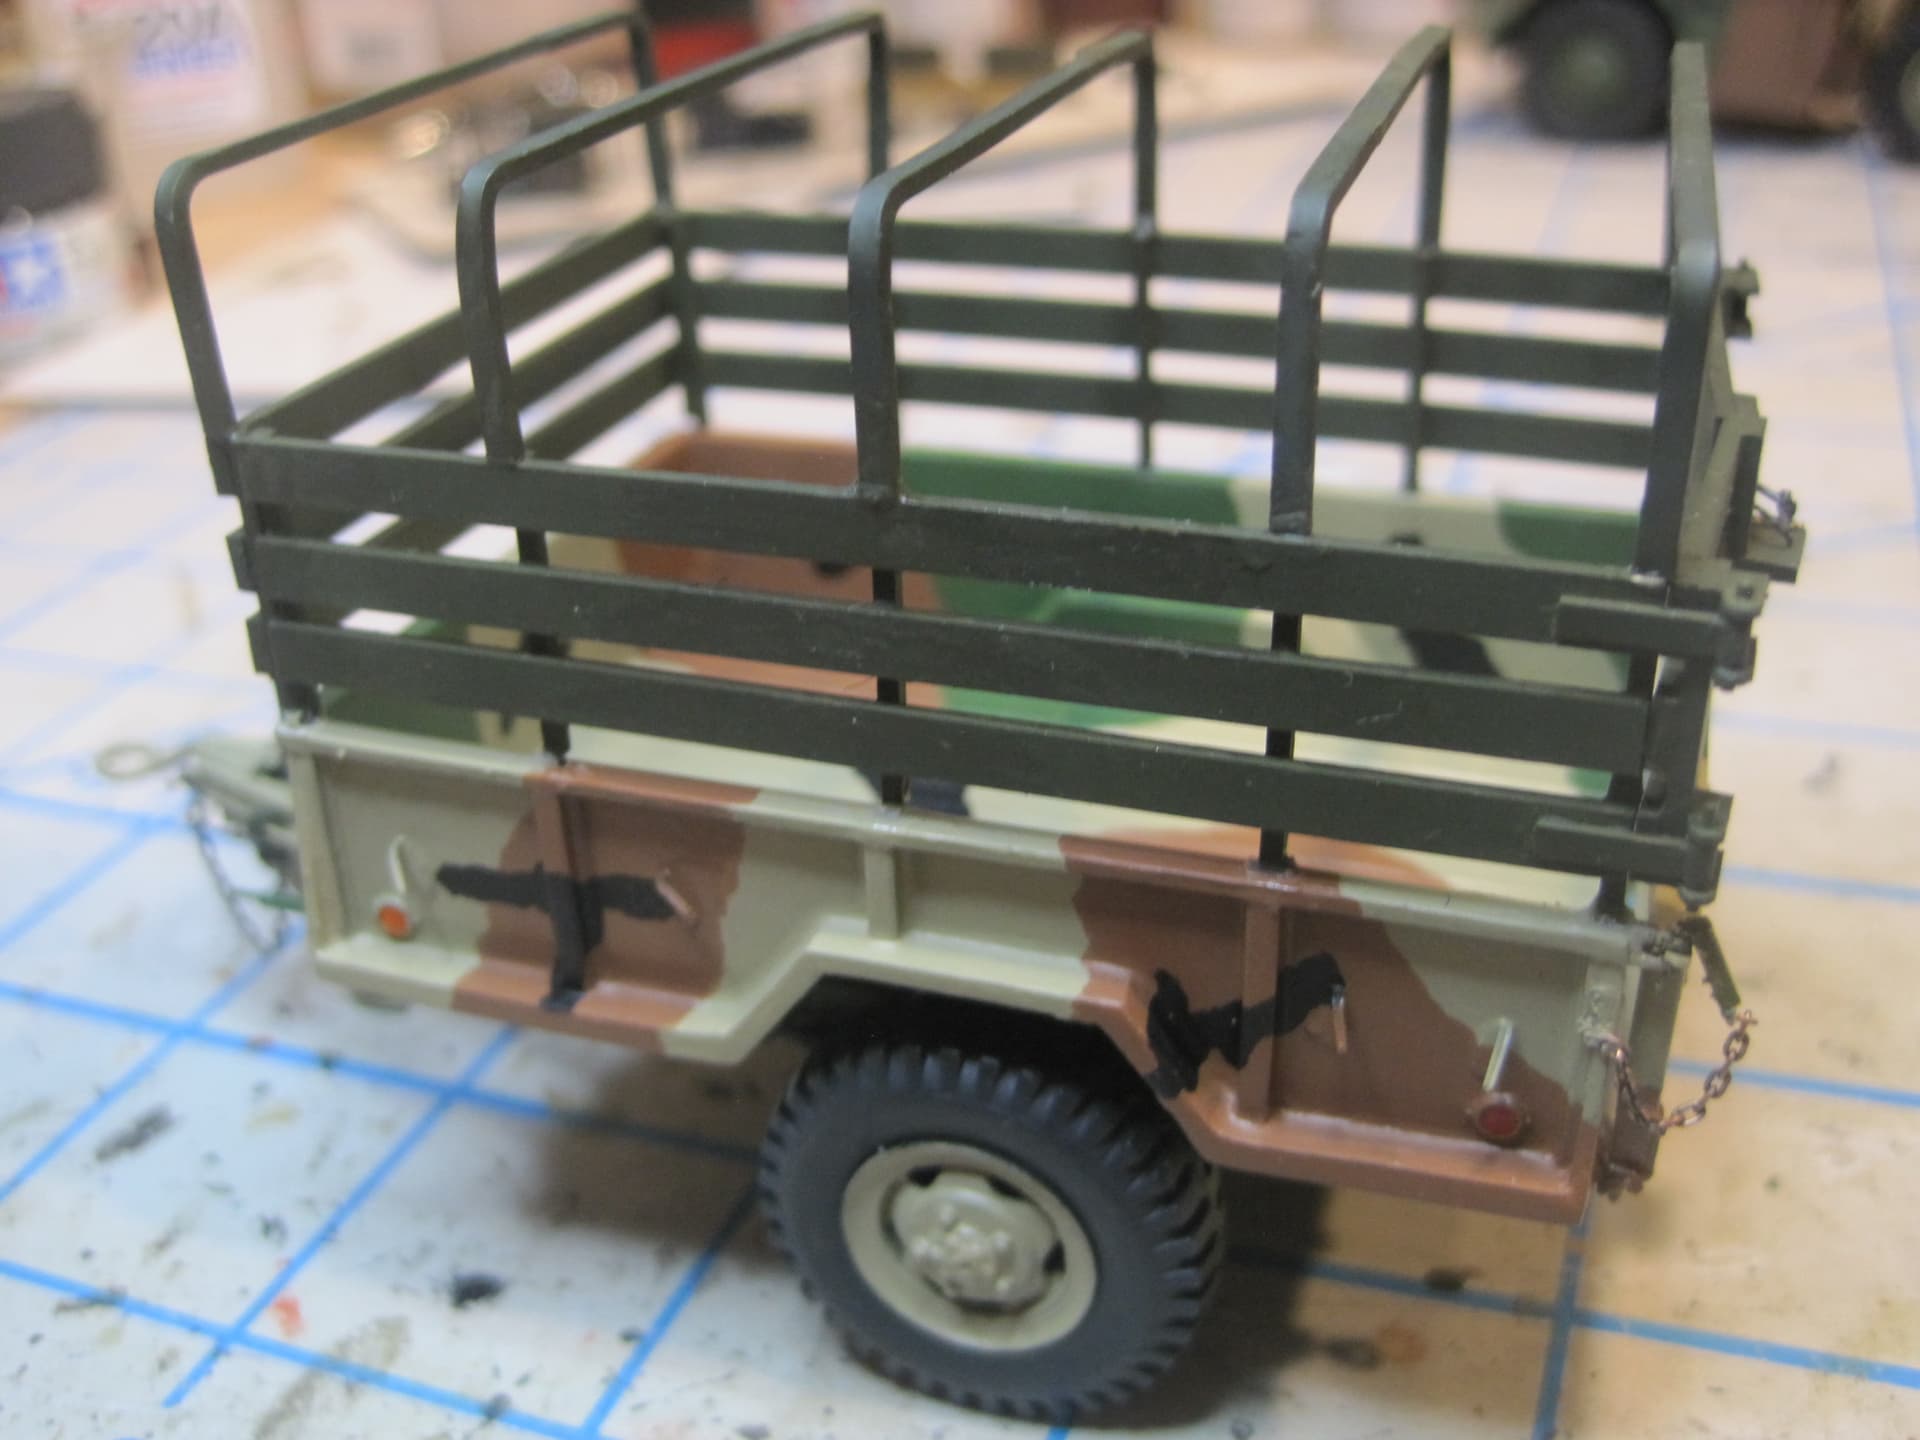
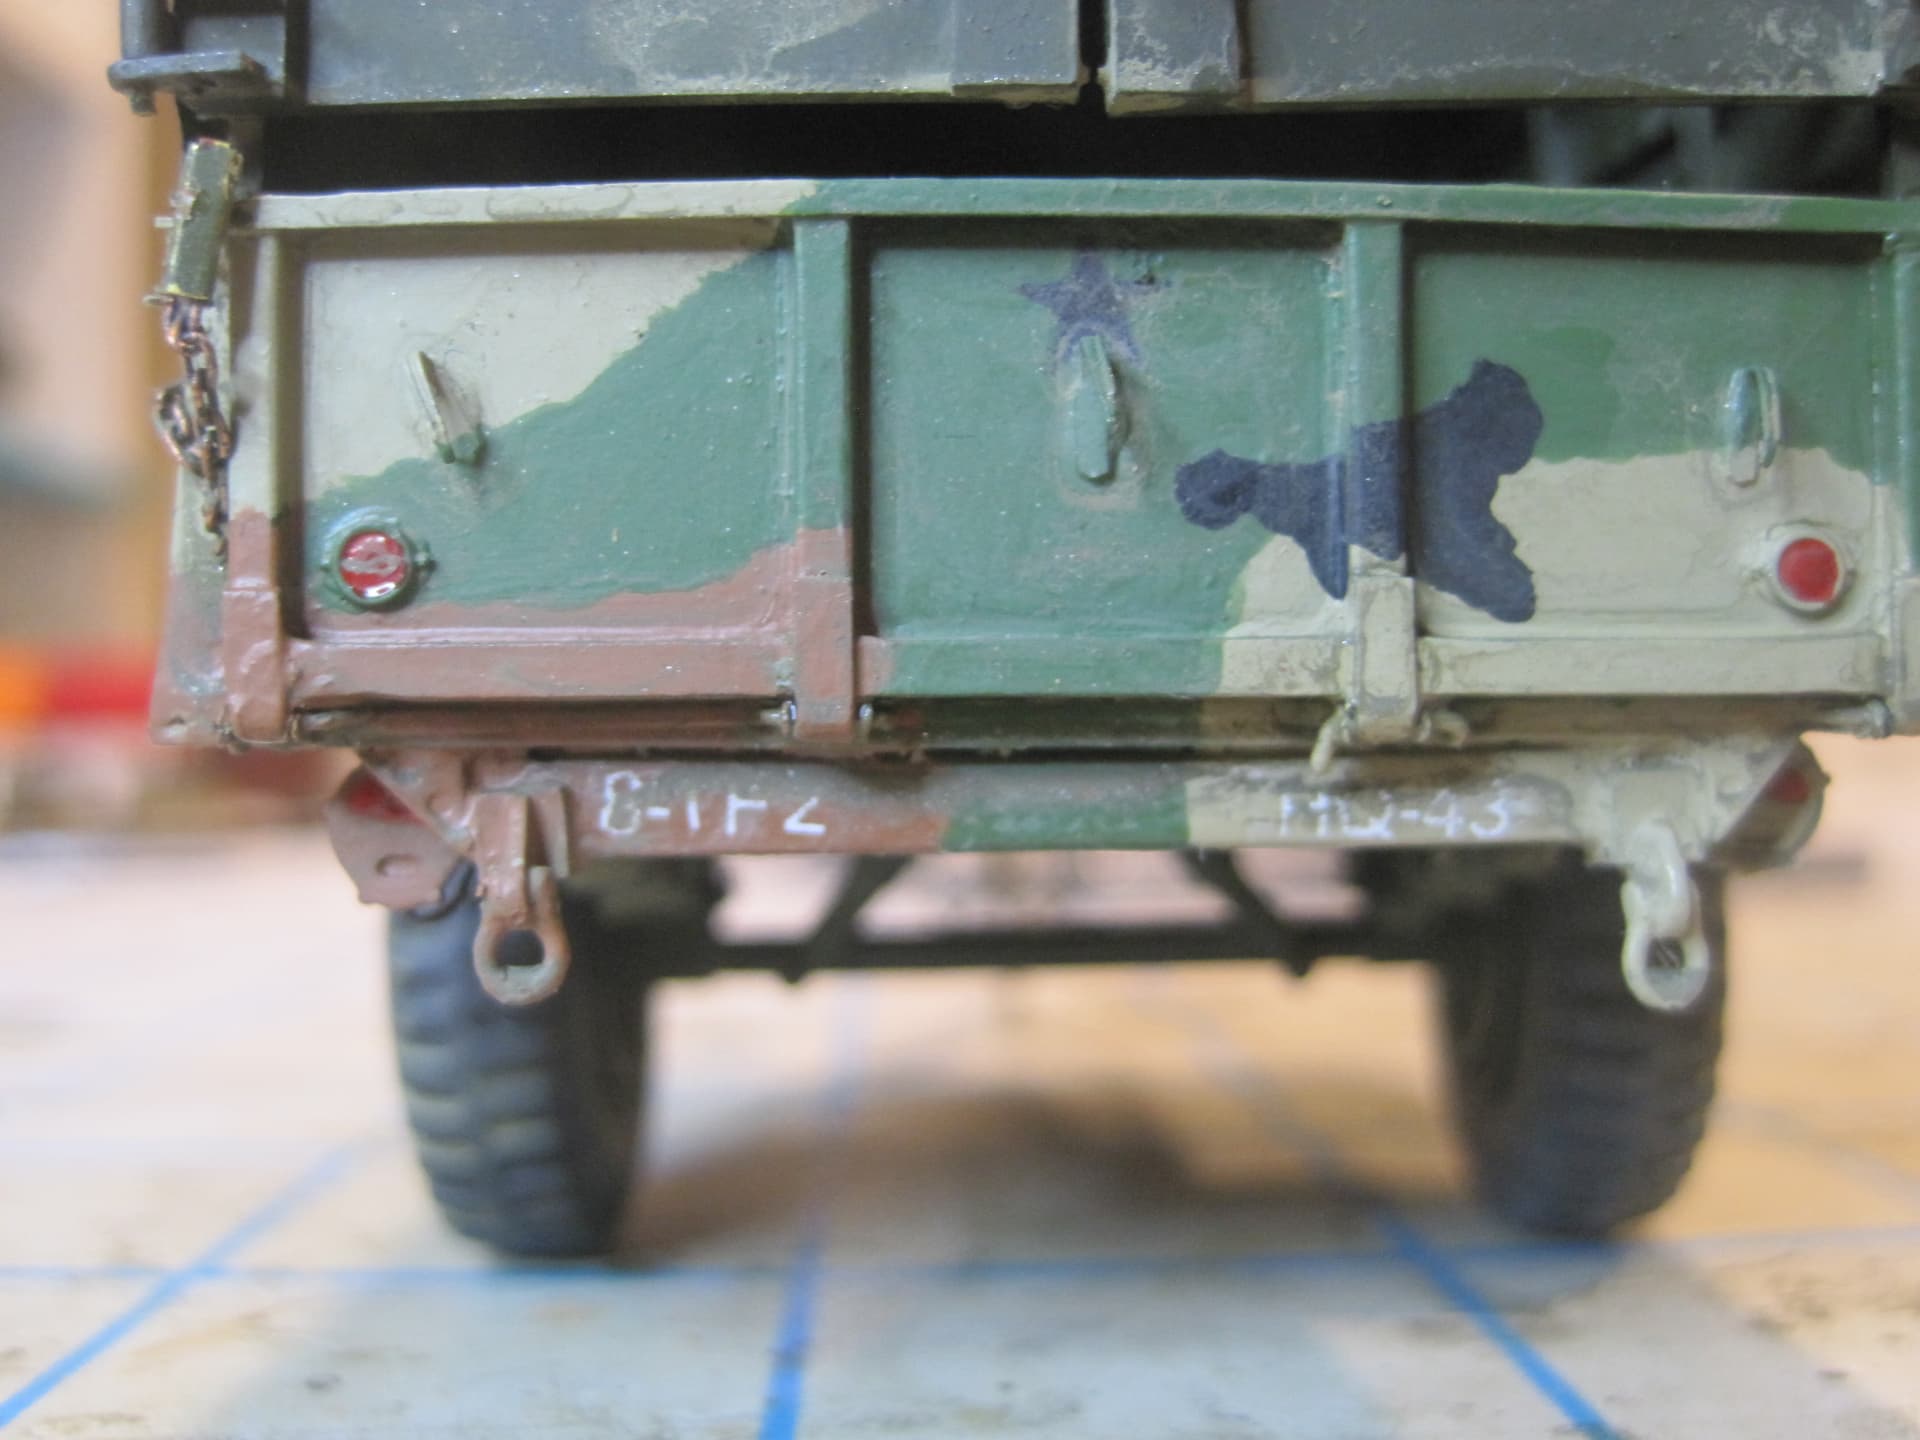
More progress today. I finished the taillights, reflectors and added the data plate, the tailgate latches, and the stake sides. Tomorrow, I’ll add the bows and canvas. Once that’s on and tied down, there are three decals to add and weathering and this part of the project will be complete.

2 Likes
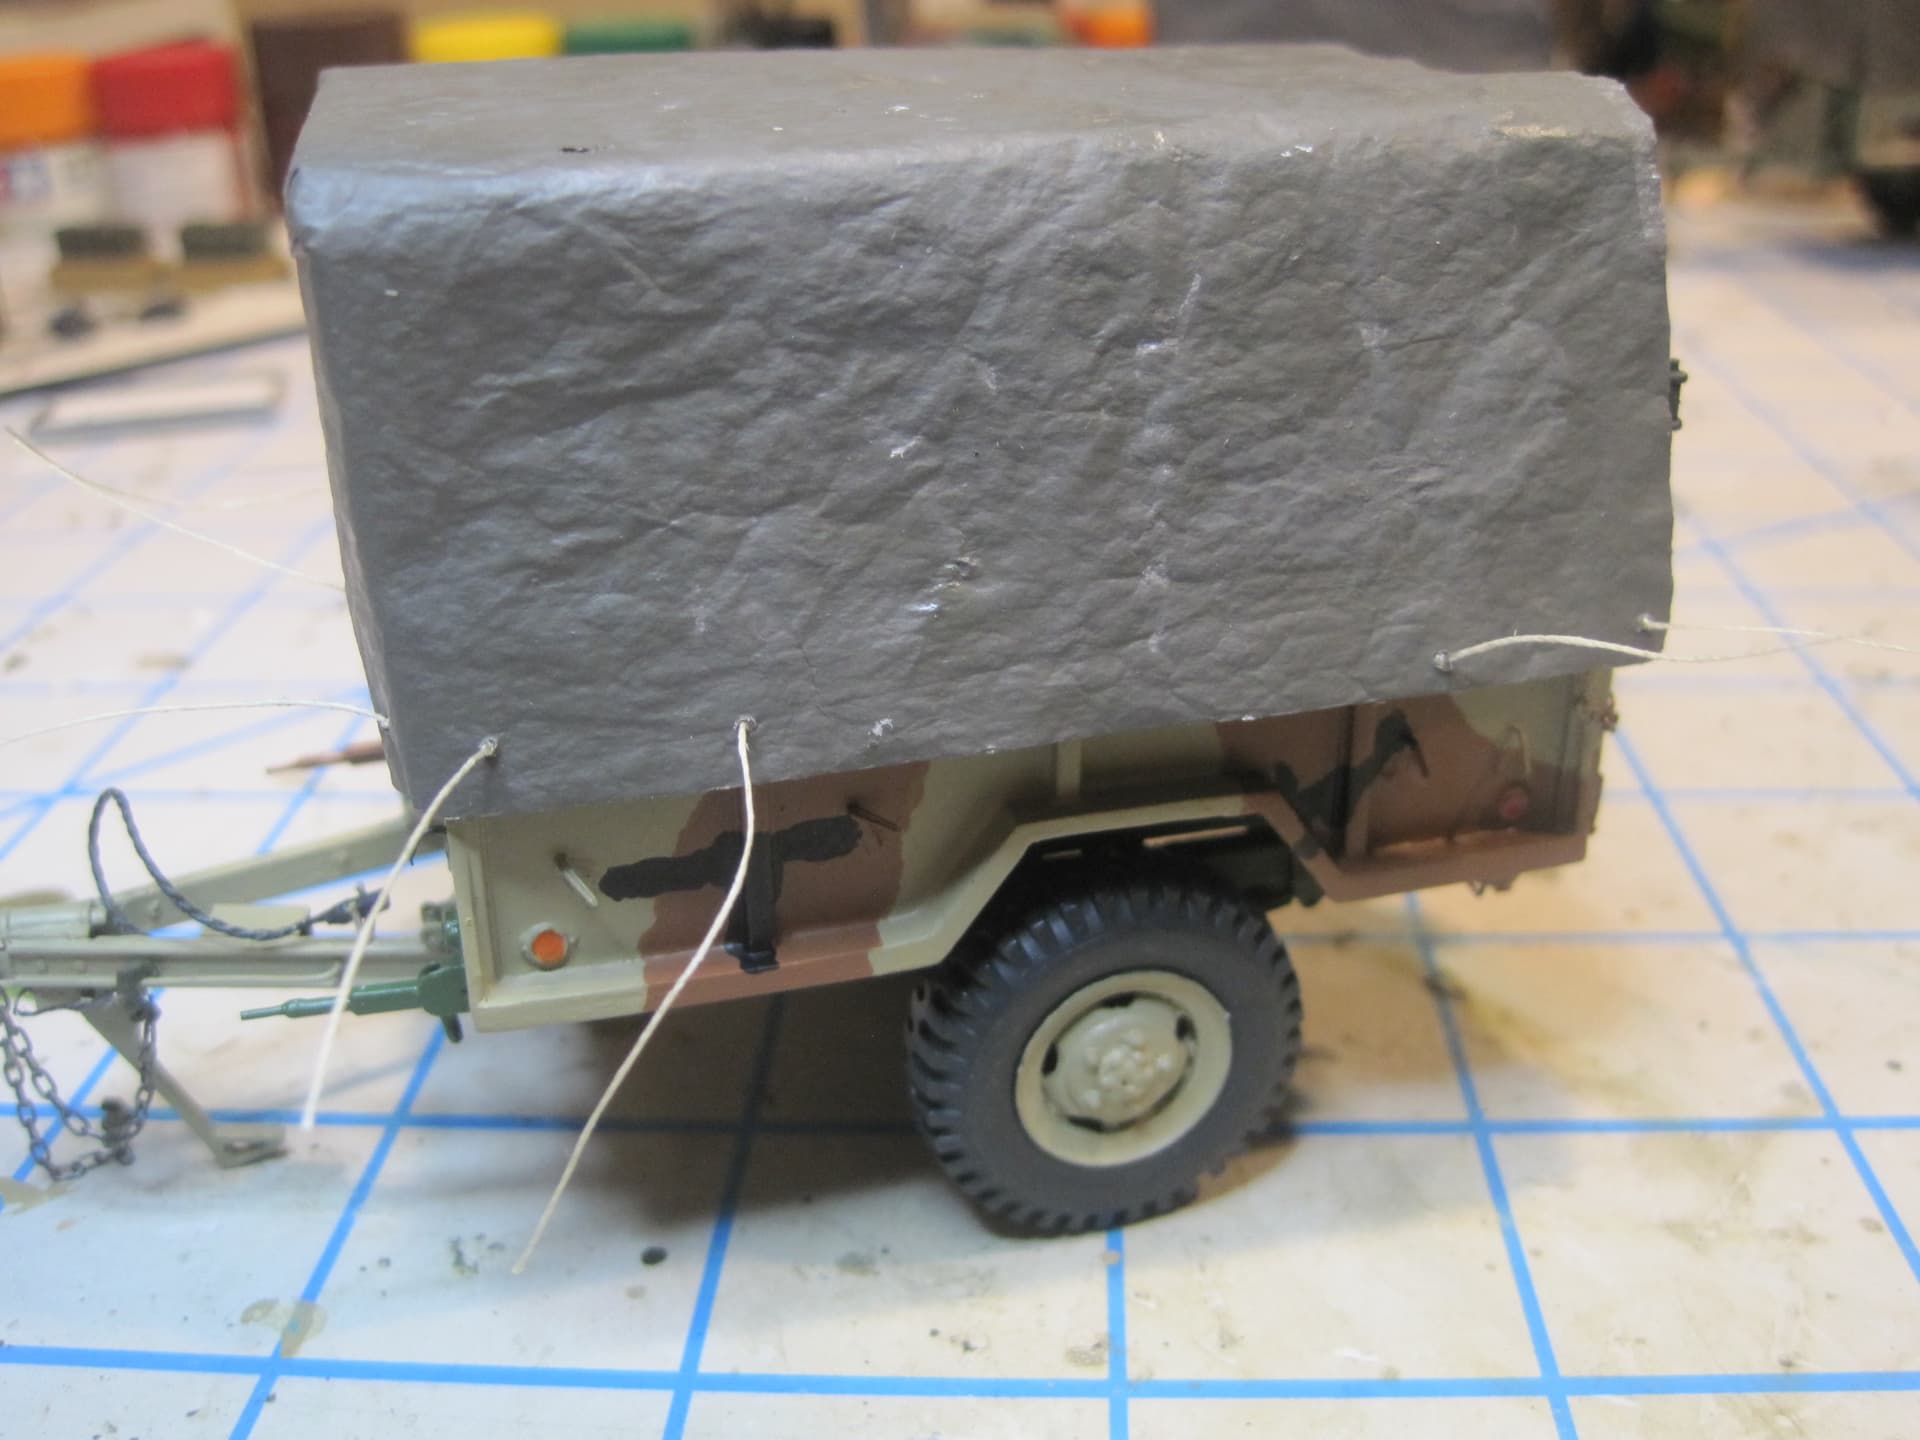
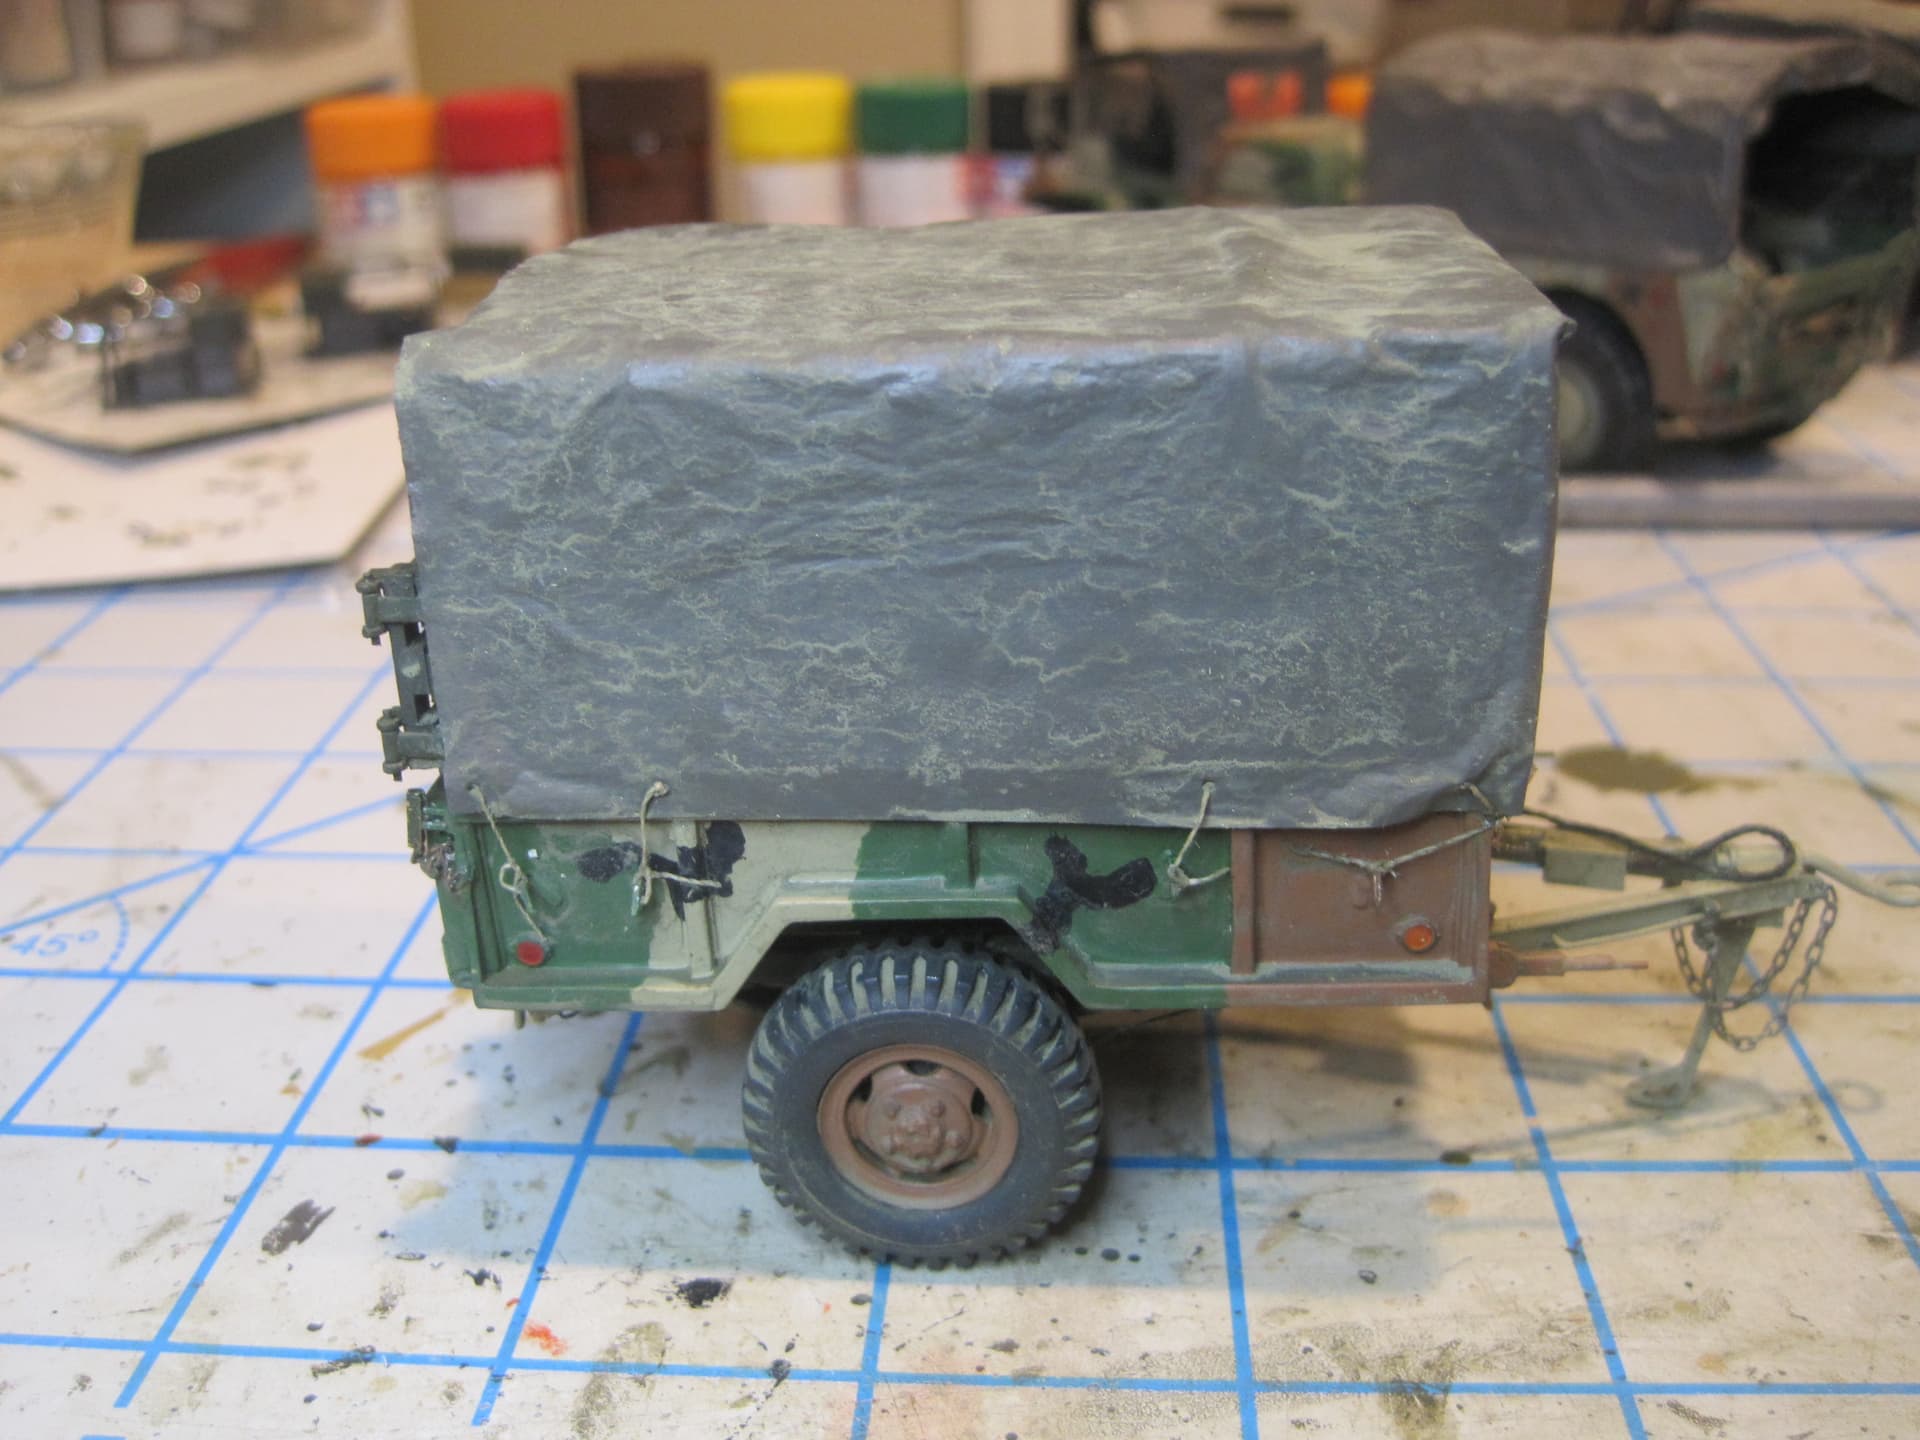
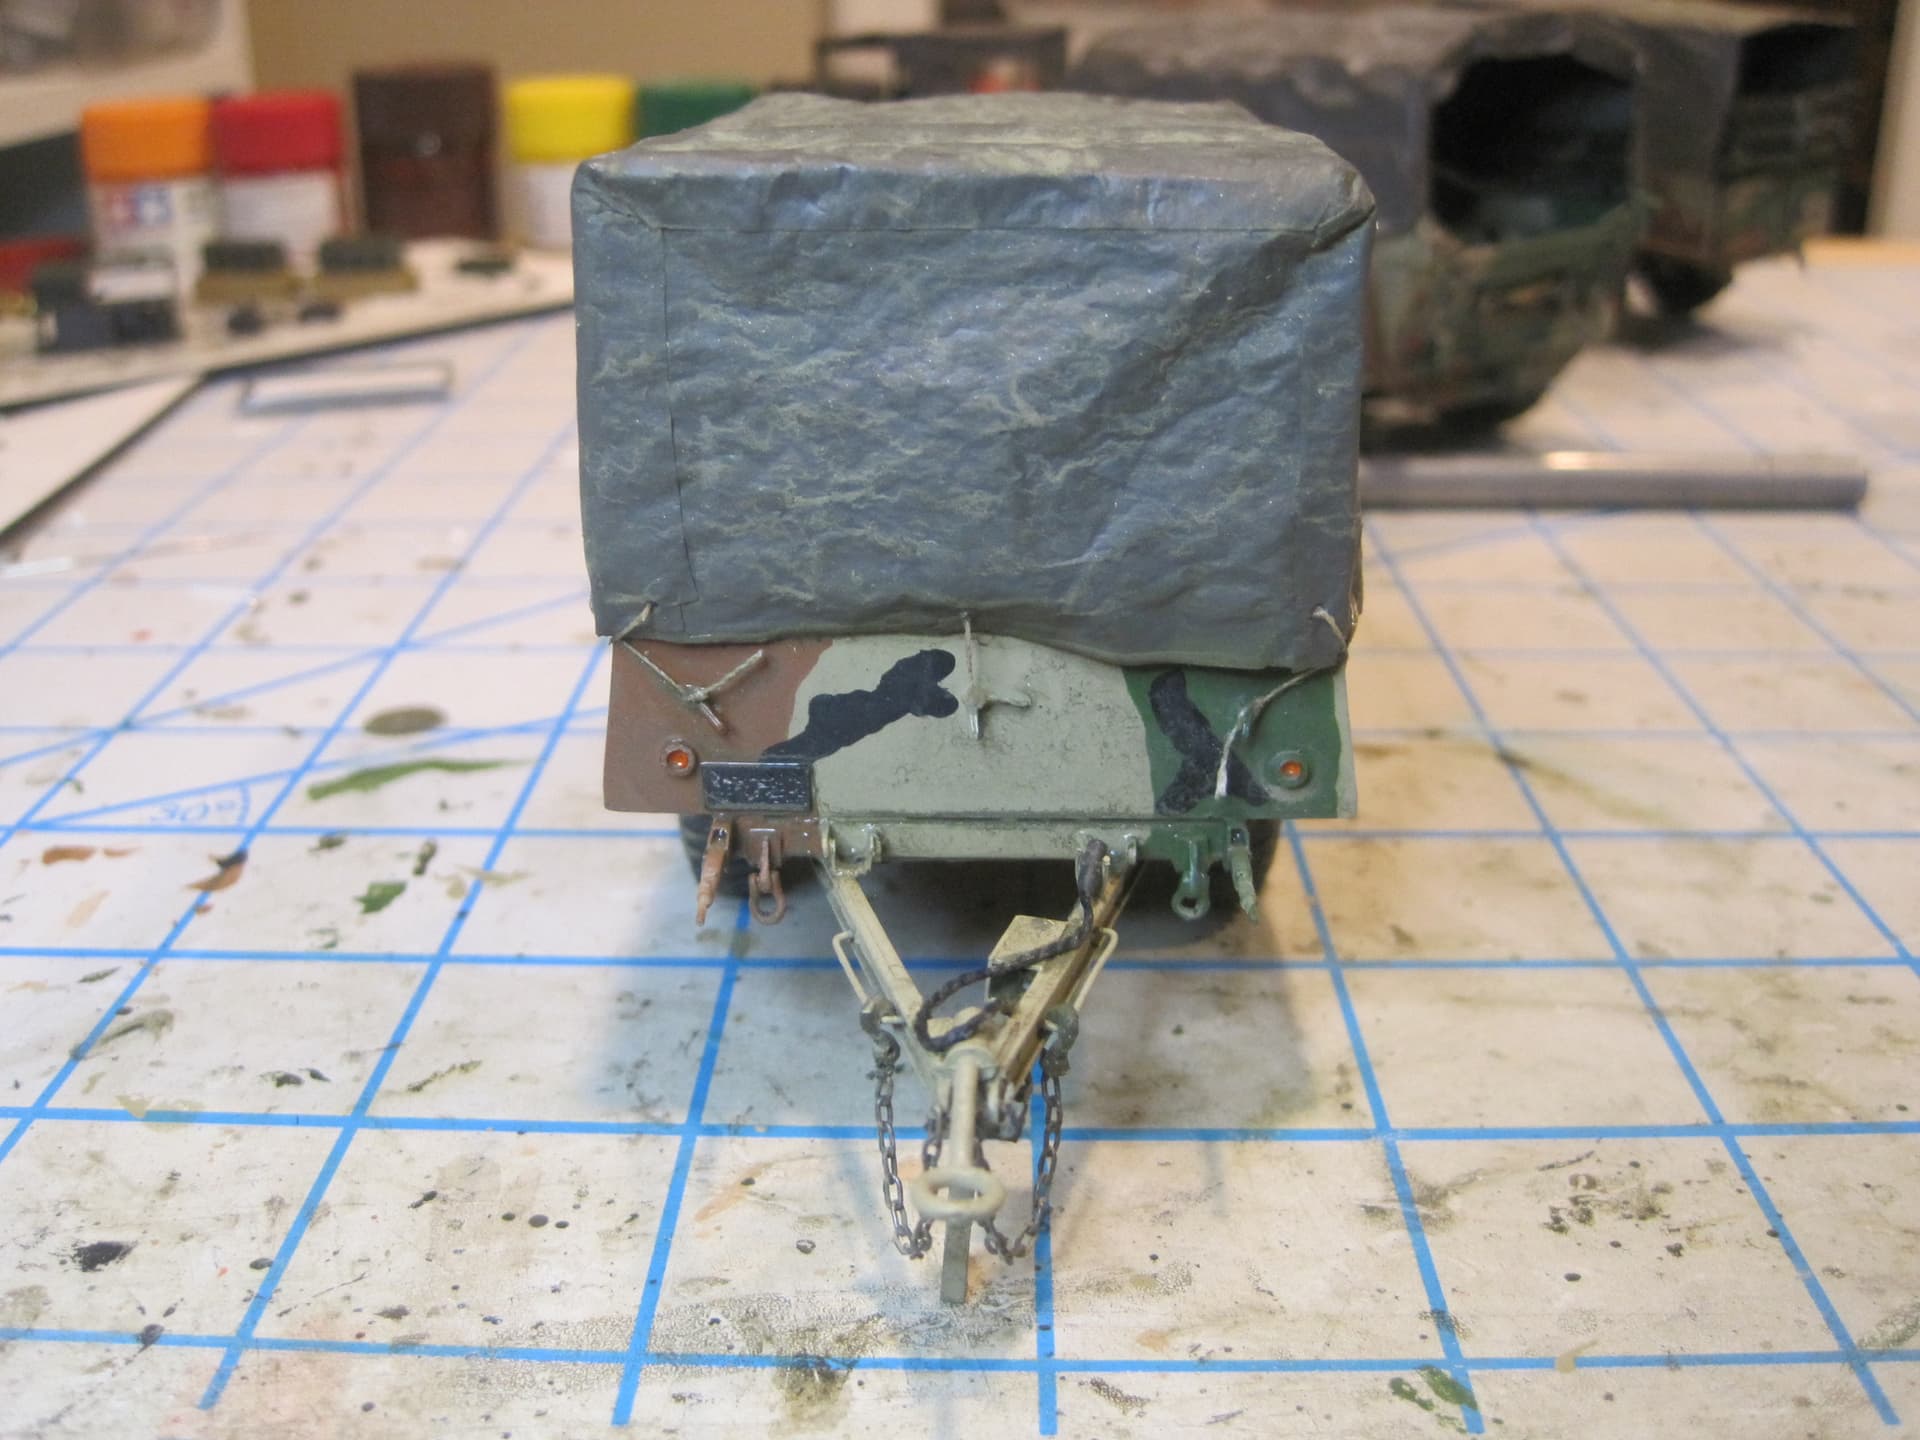
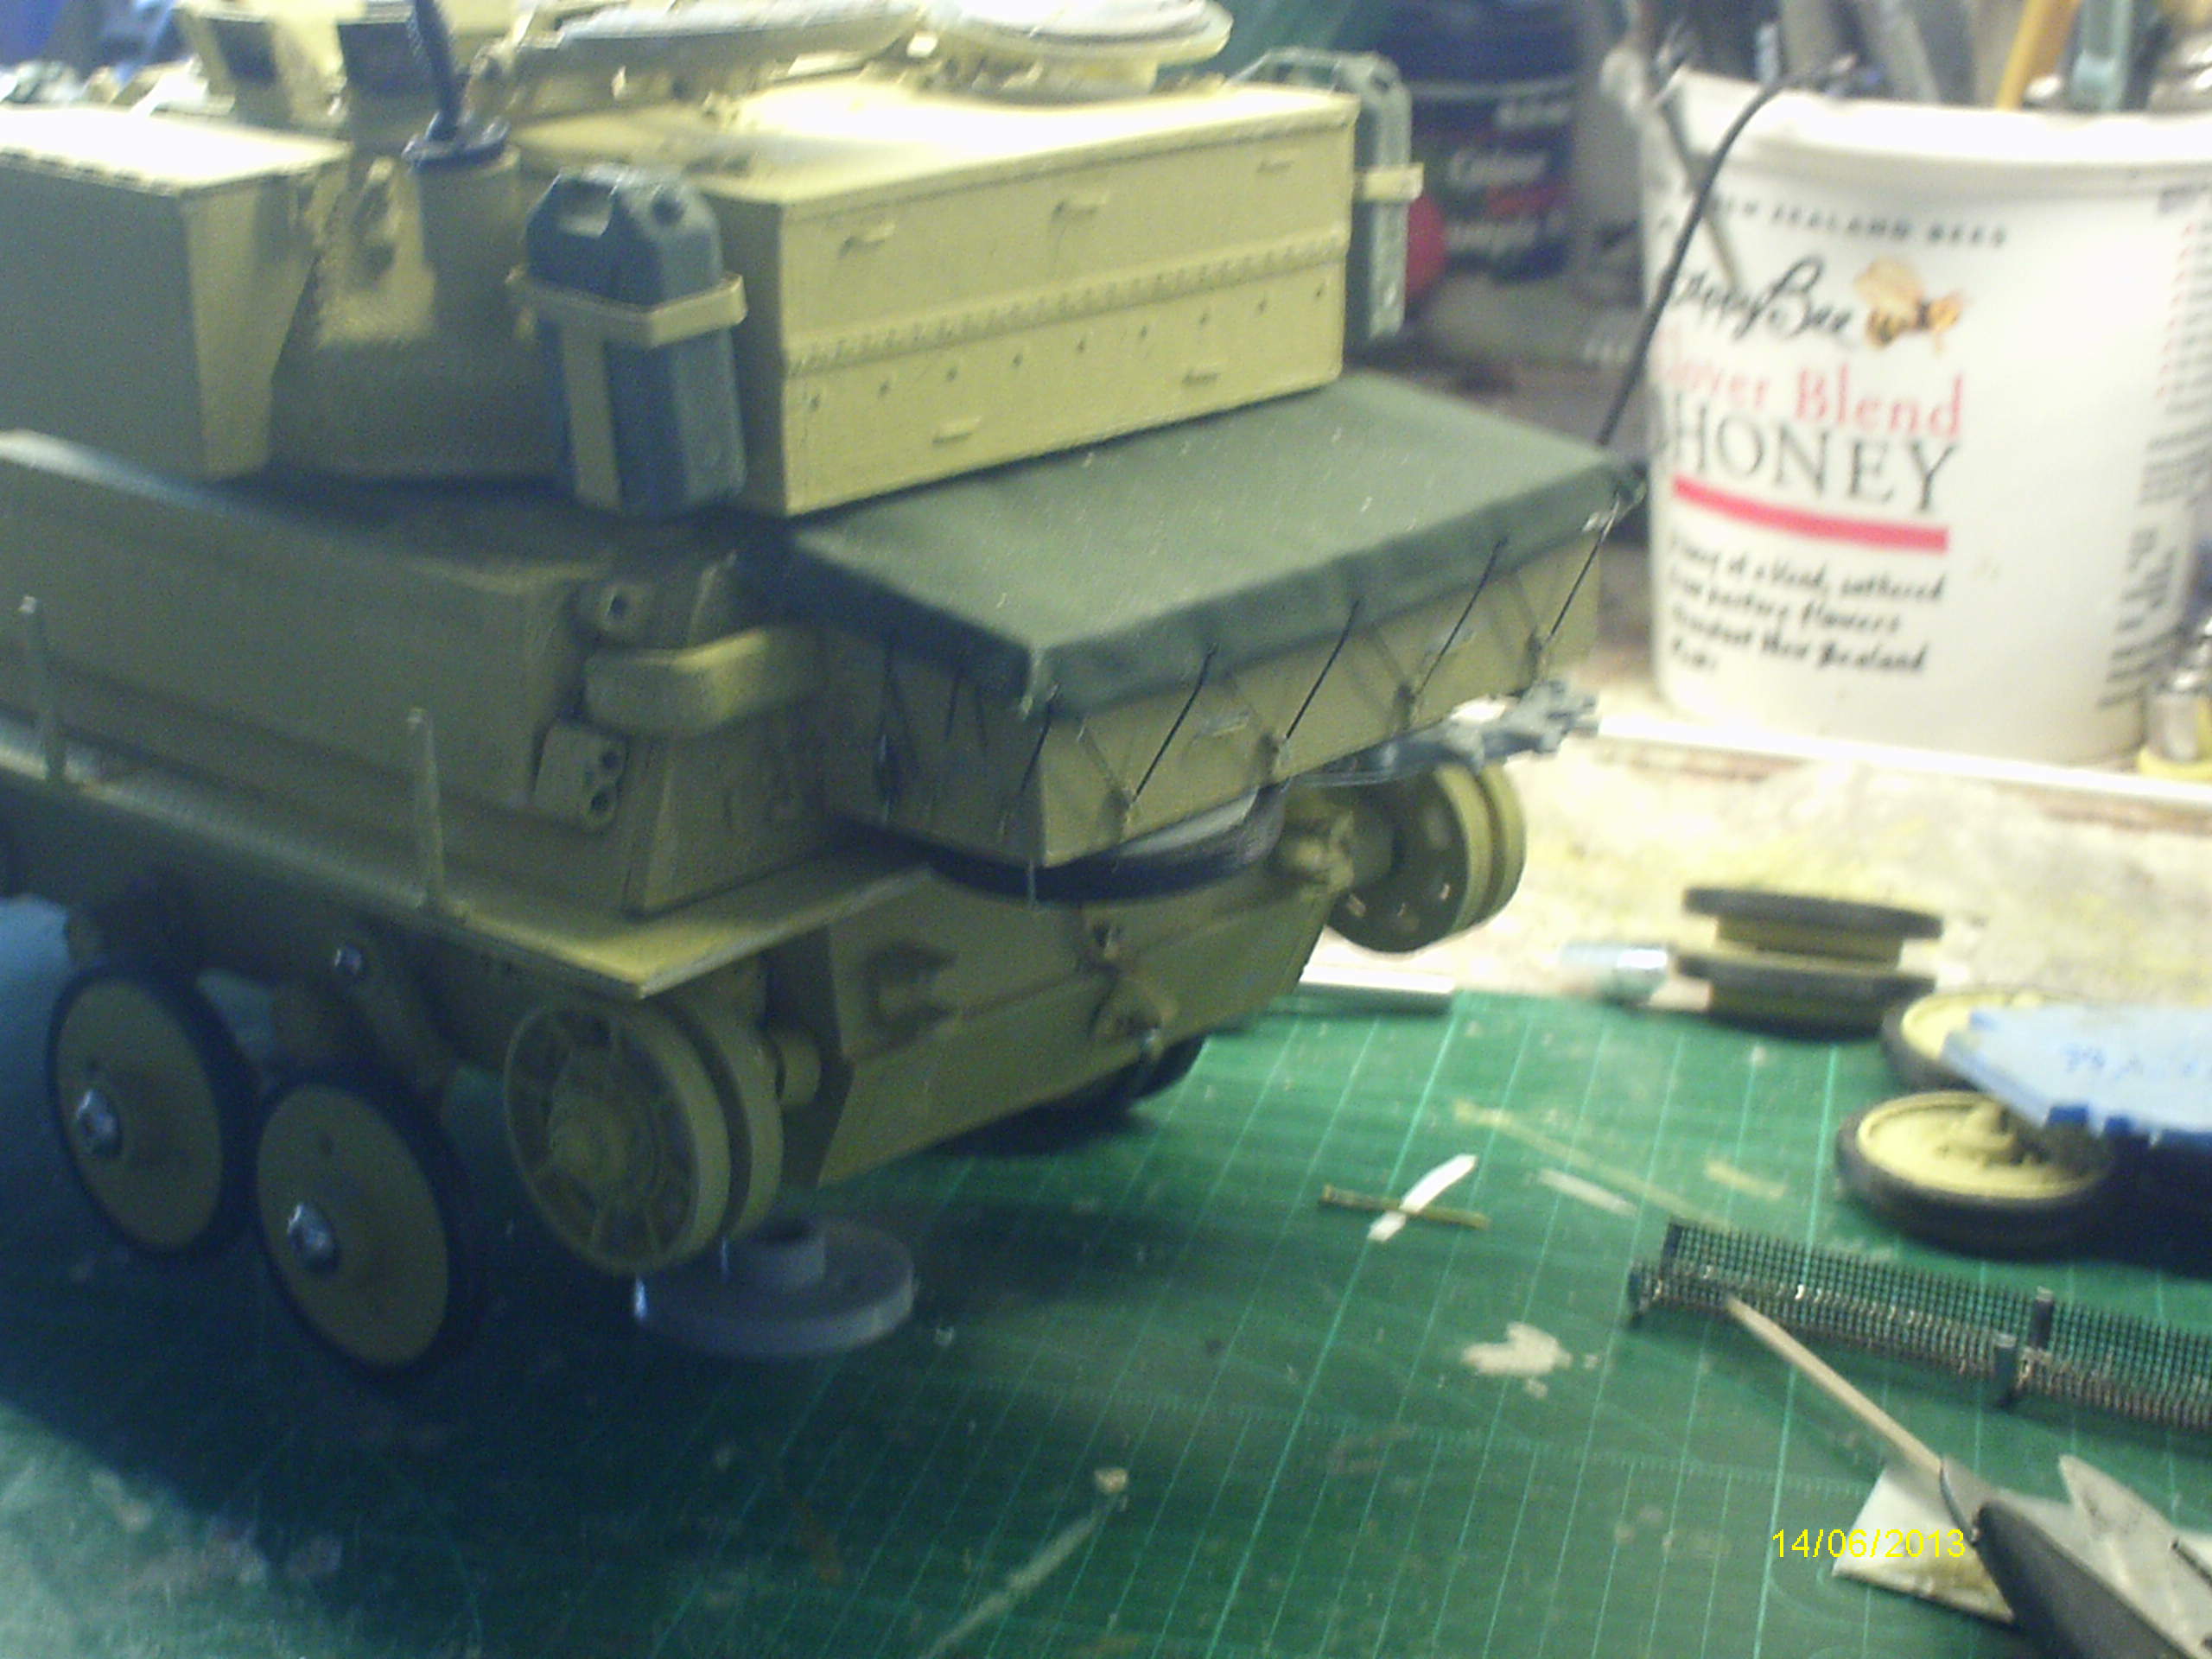
Bows are installed, and the canvas made and put in place.
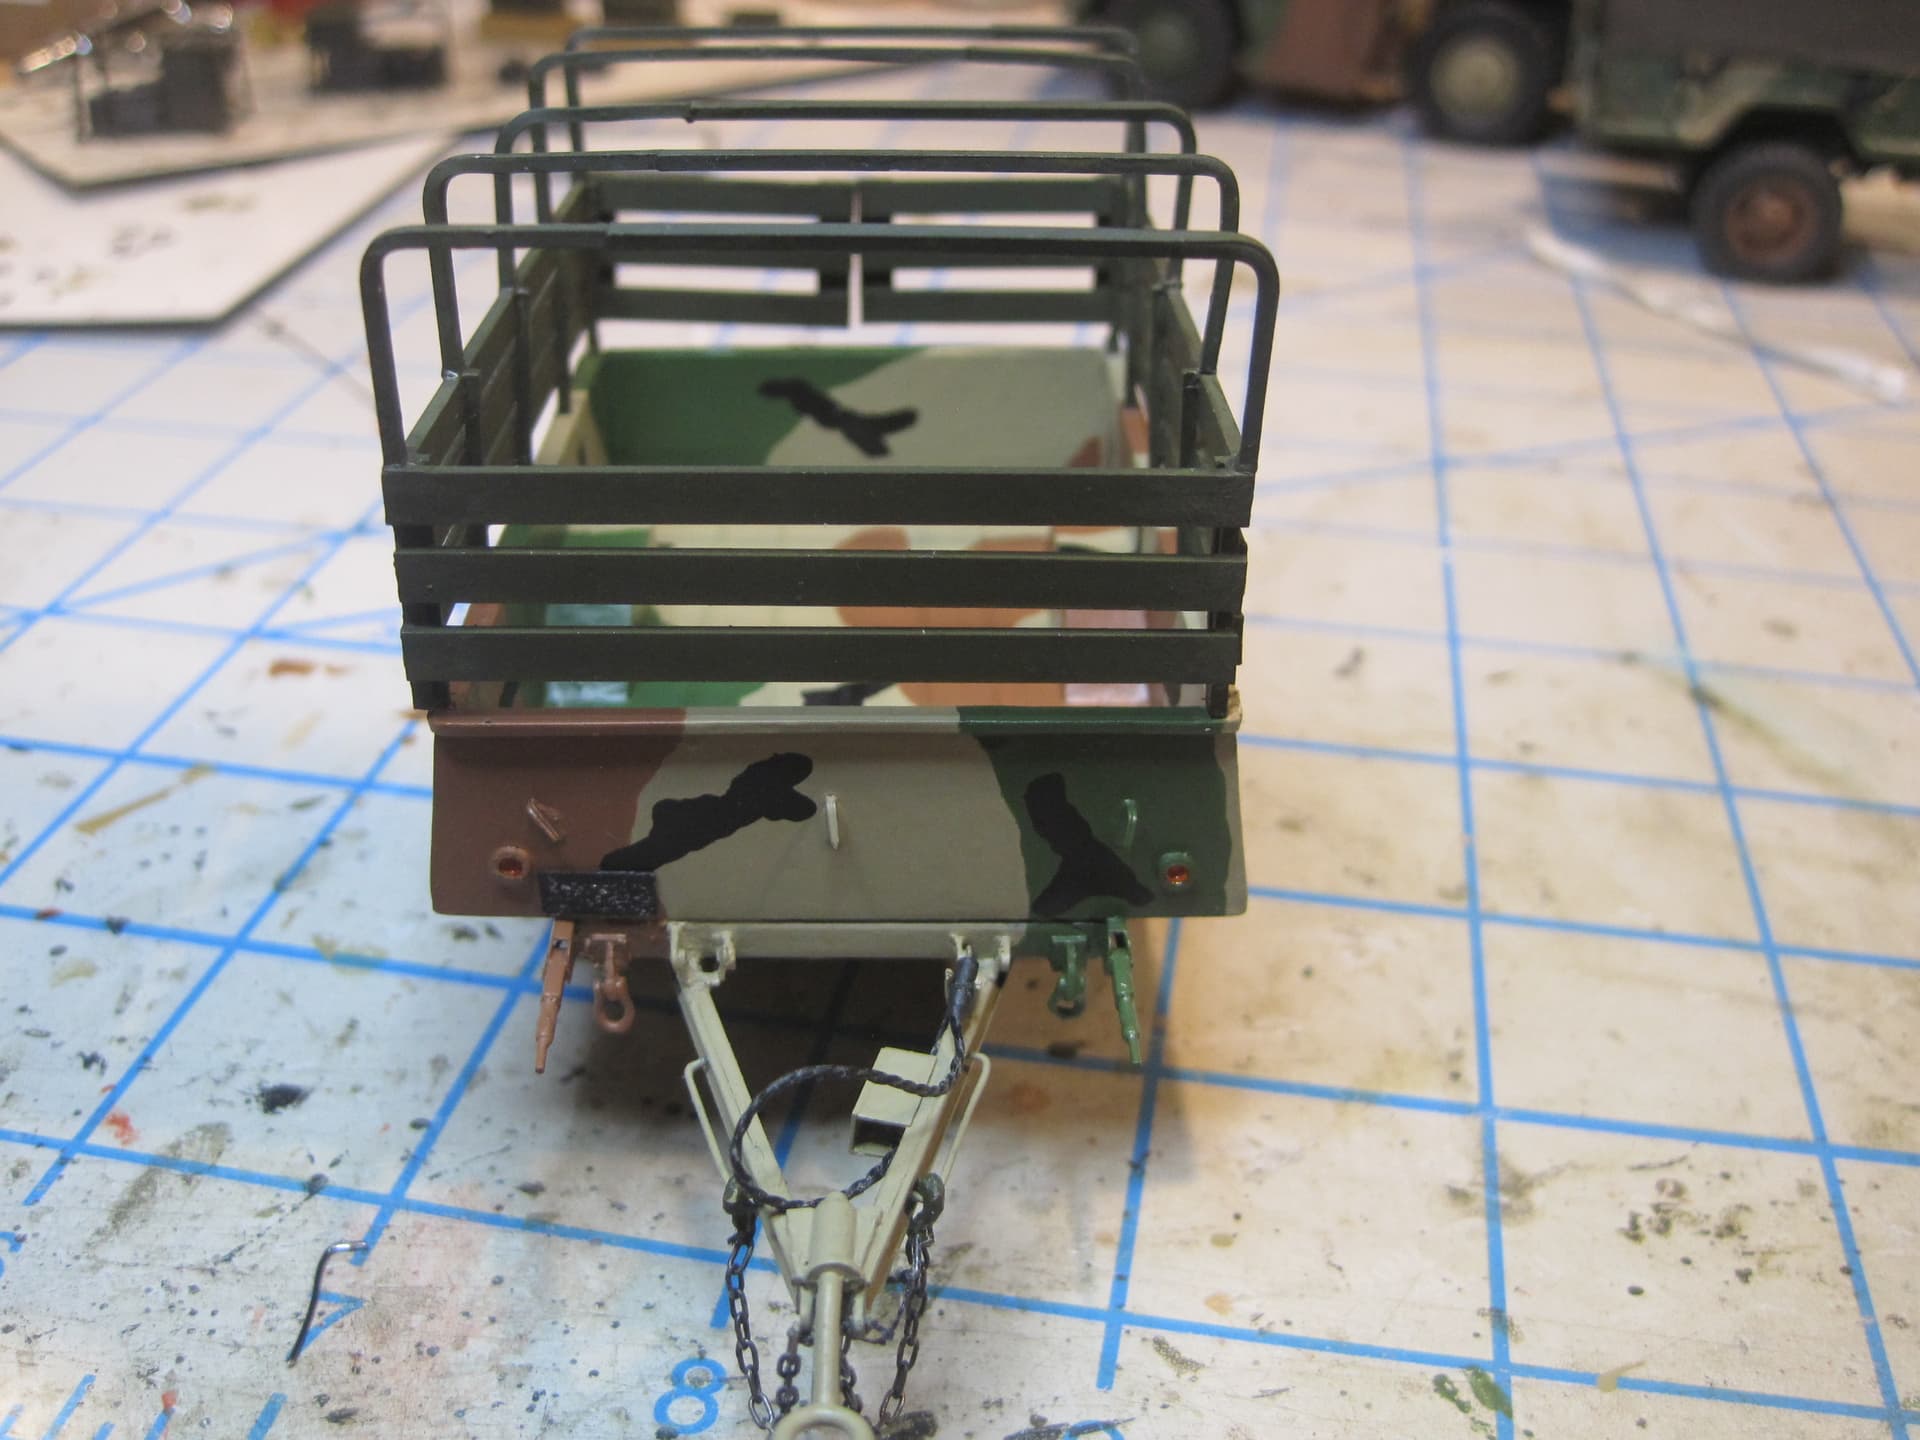
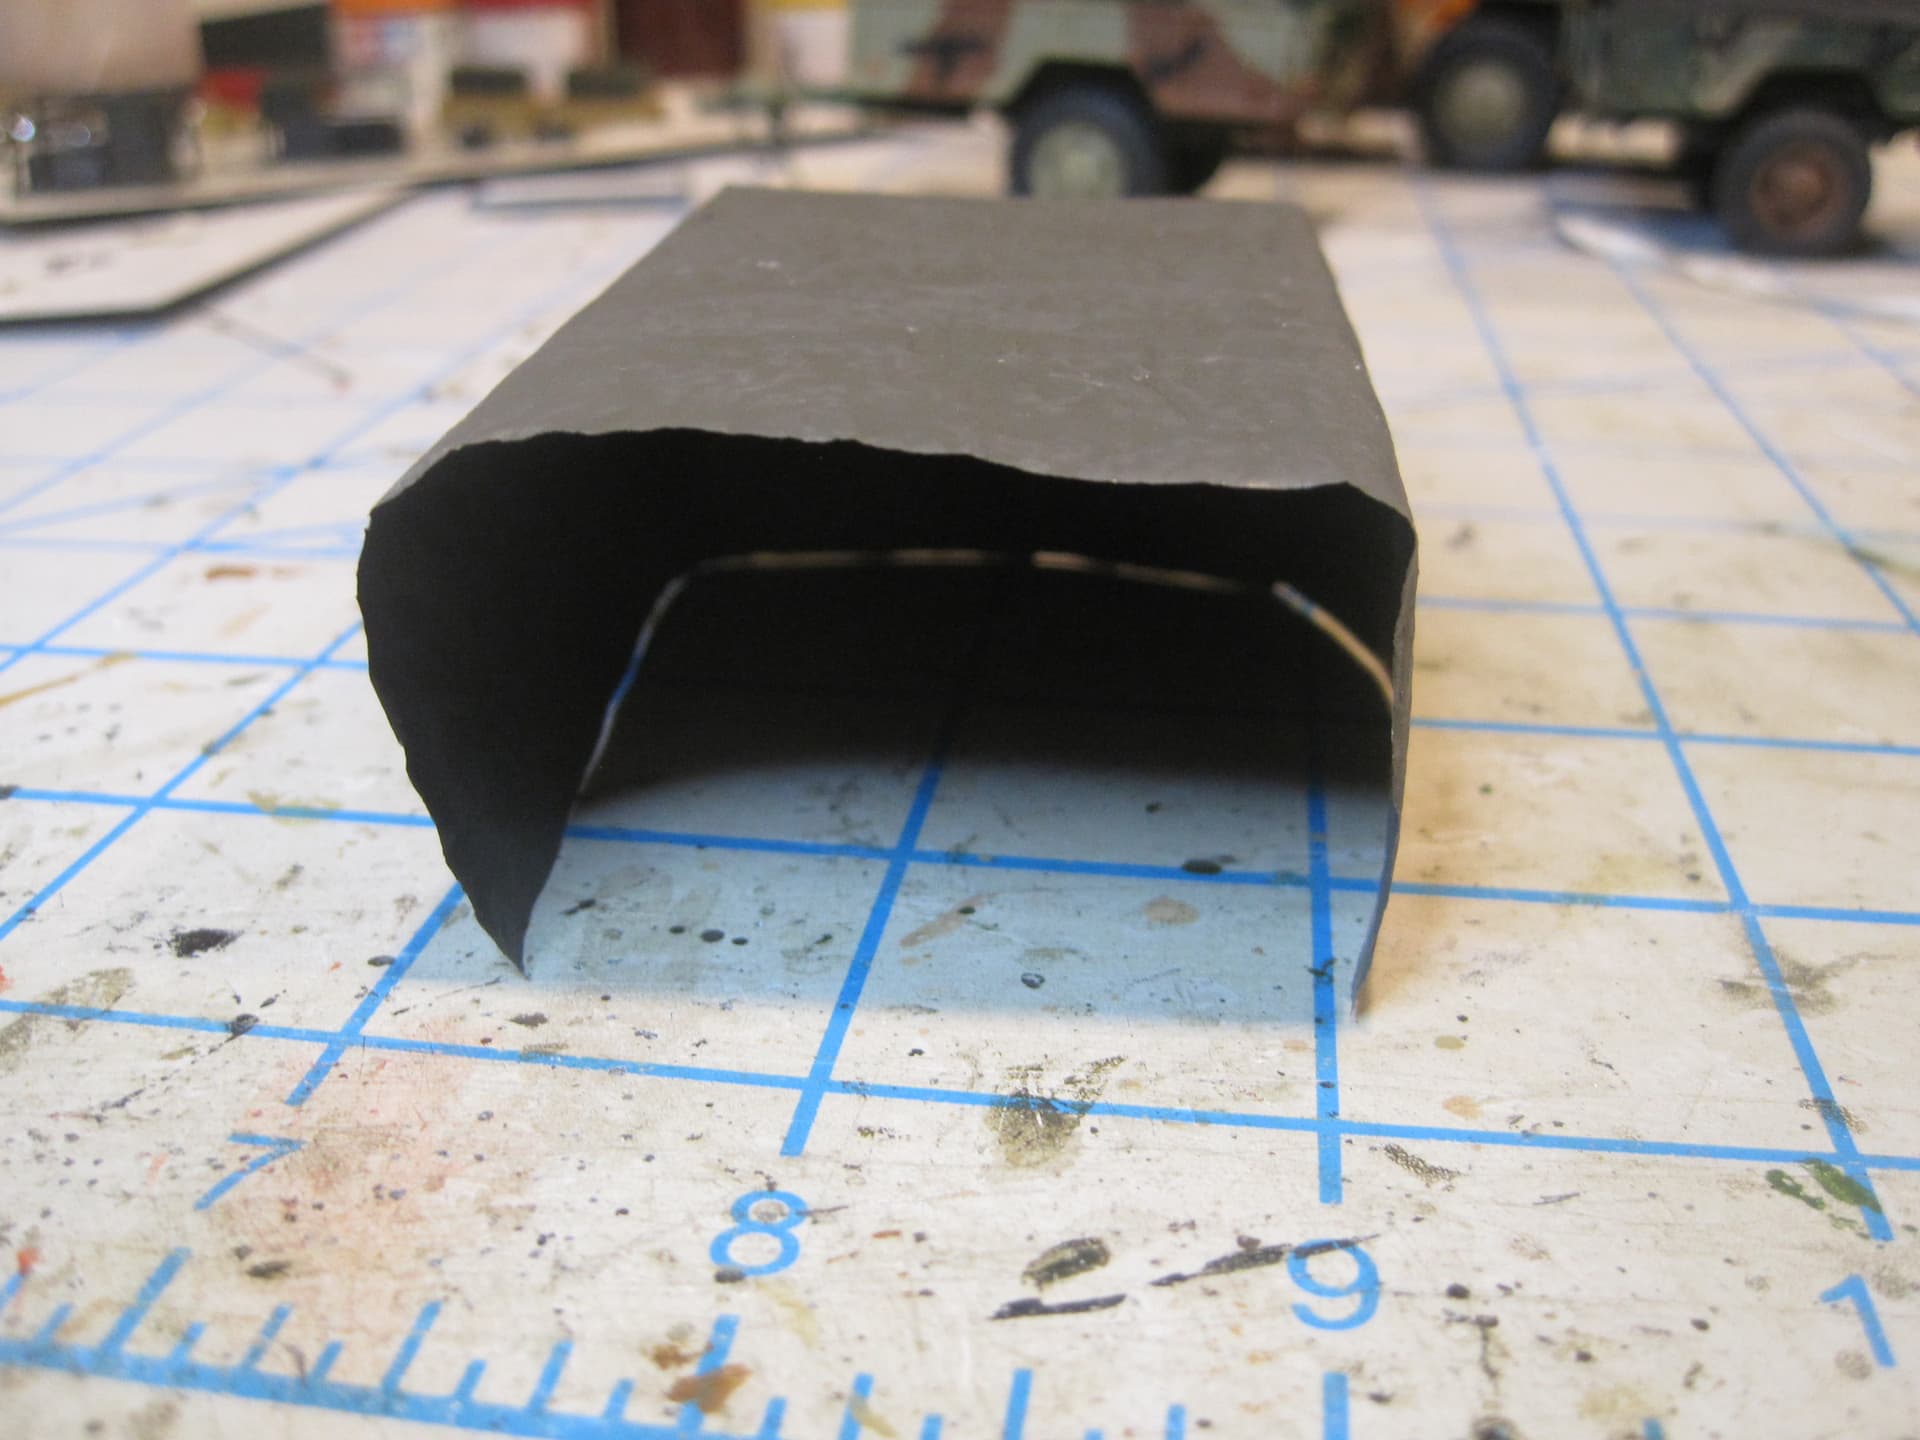
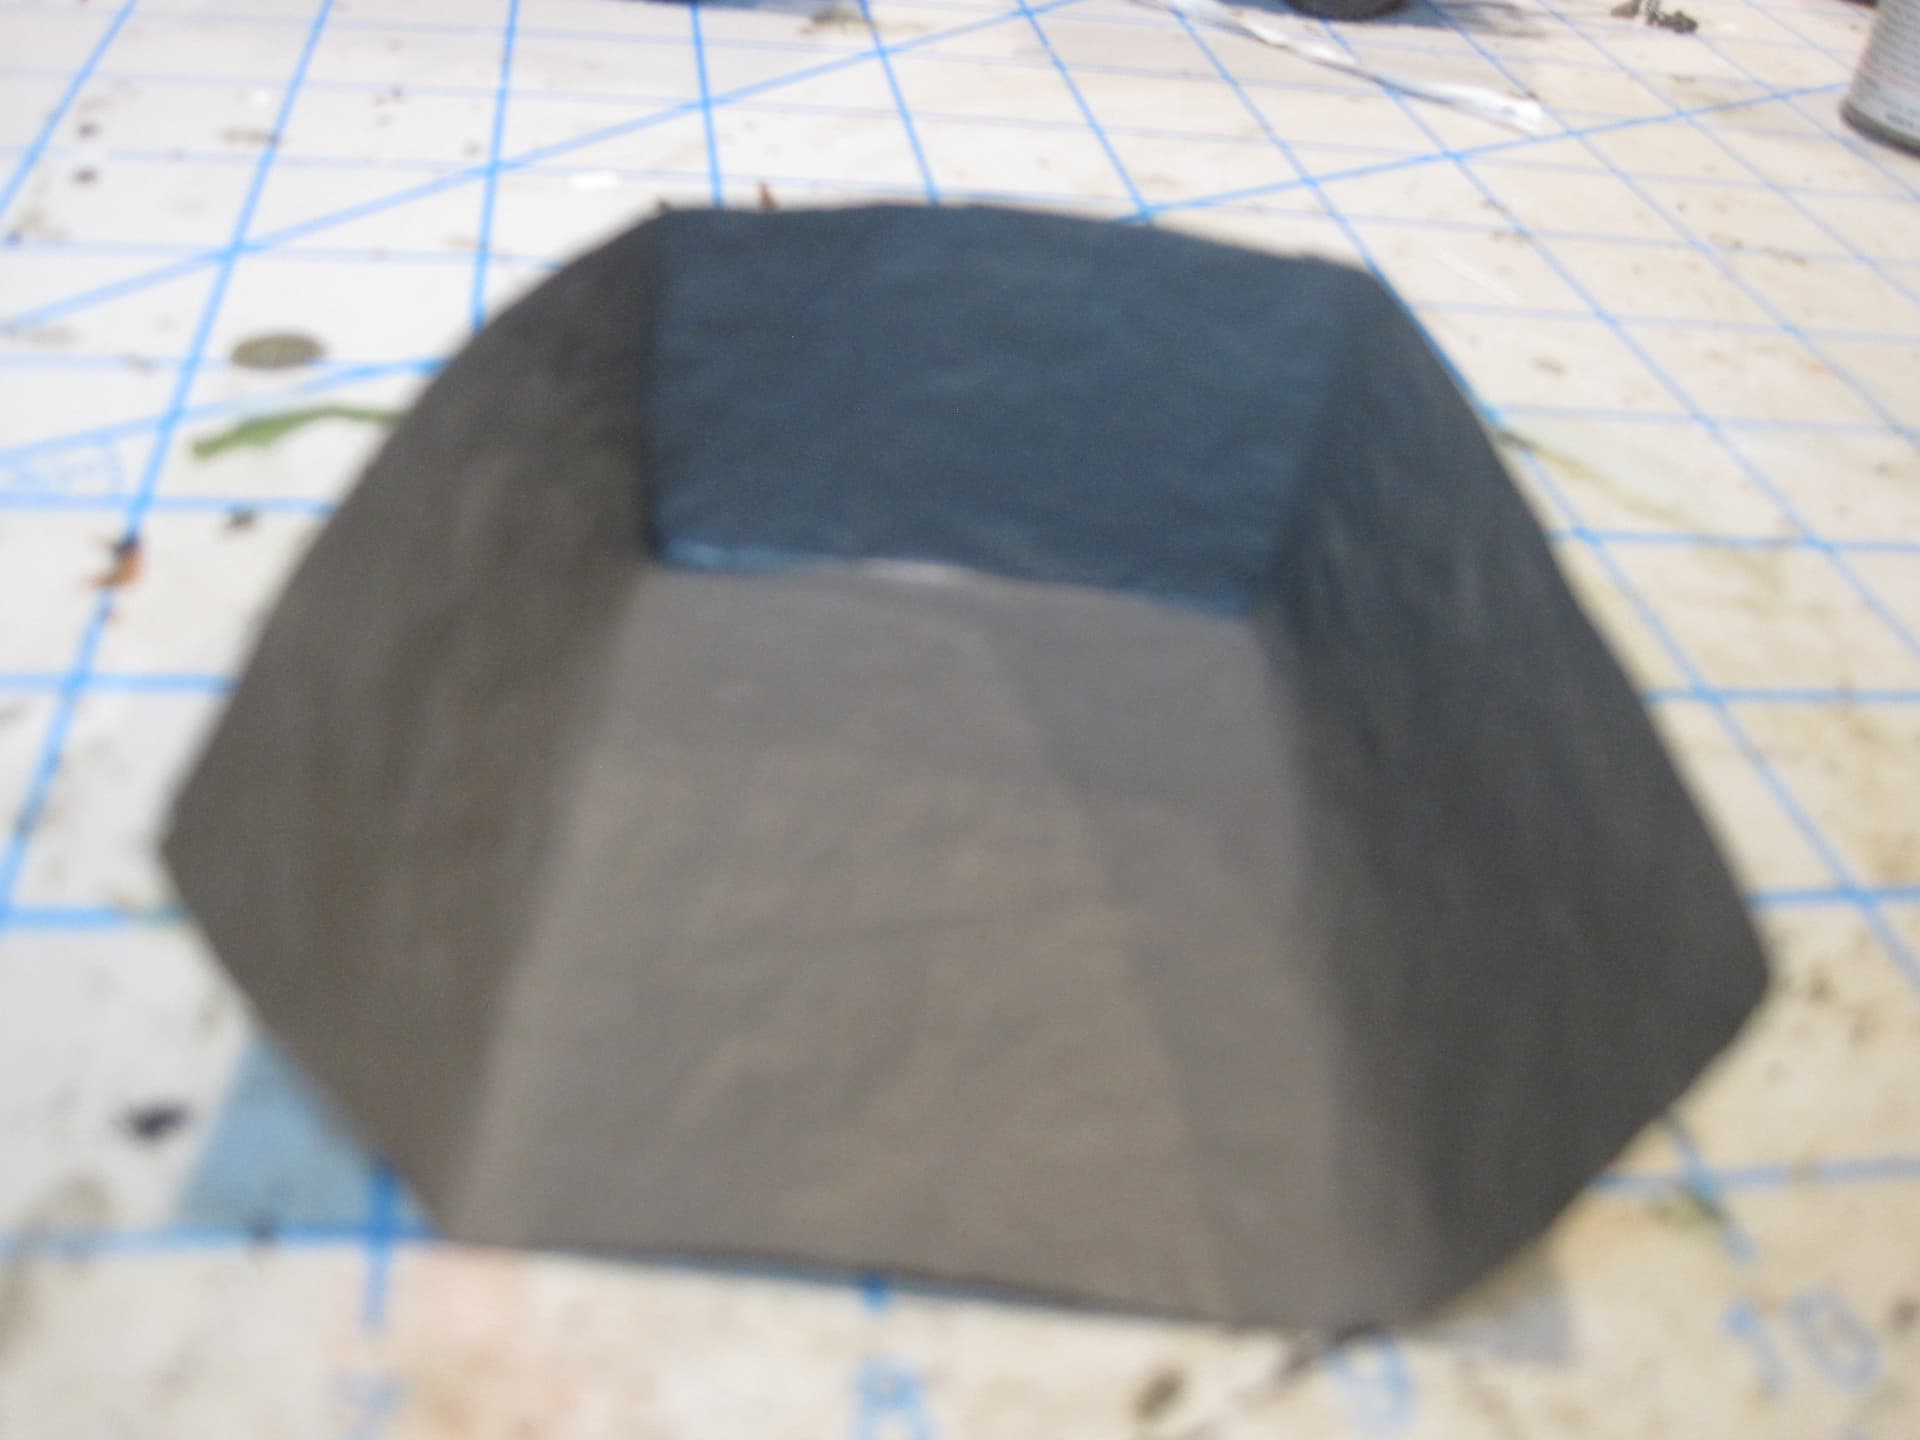
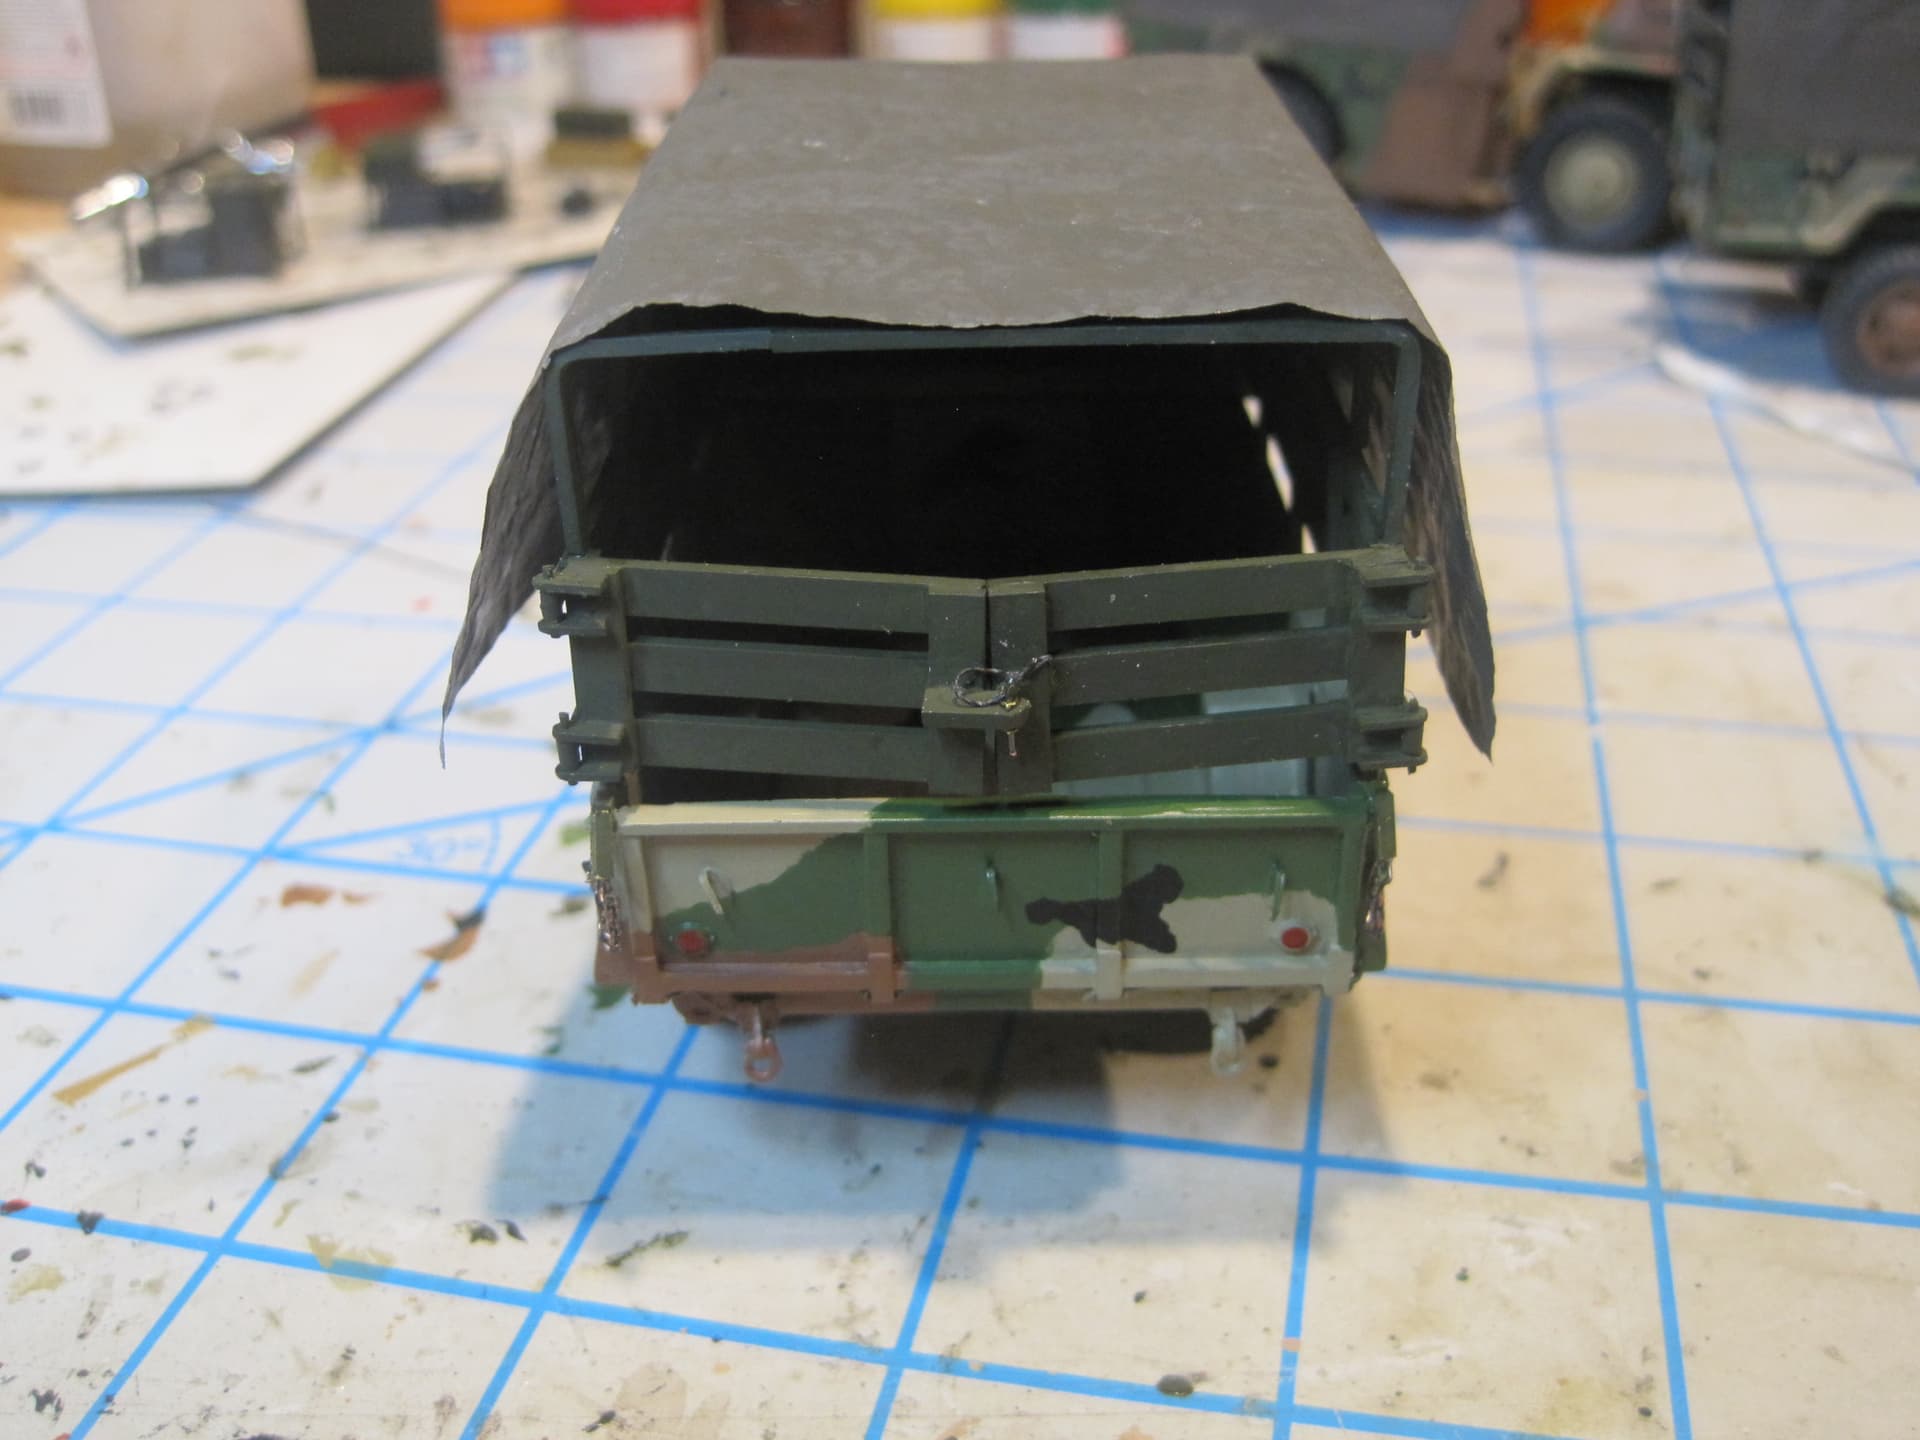

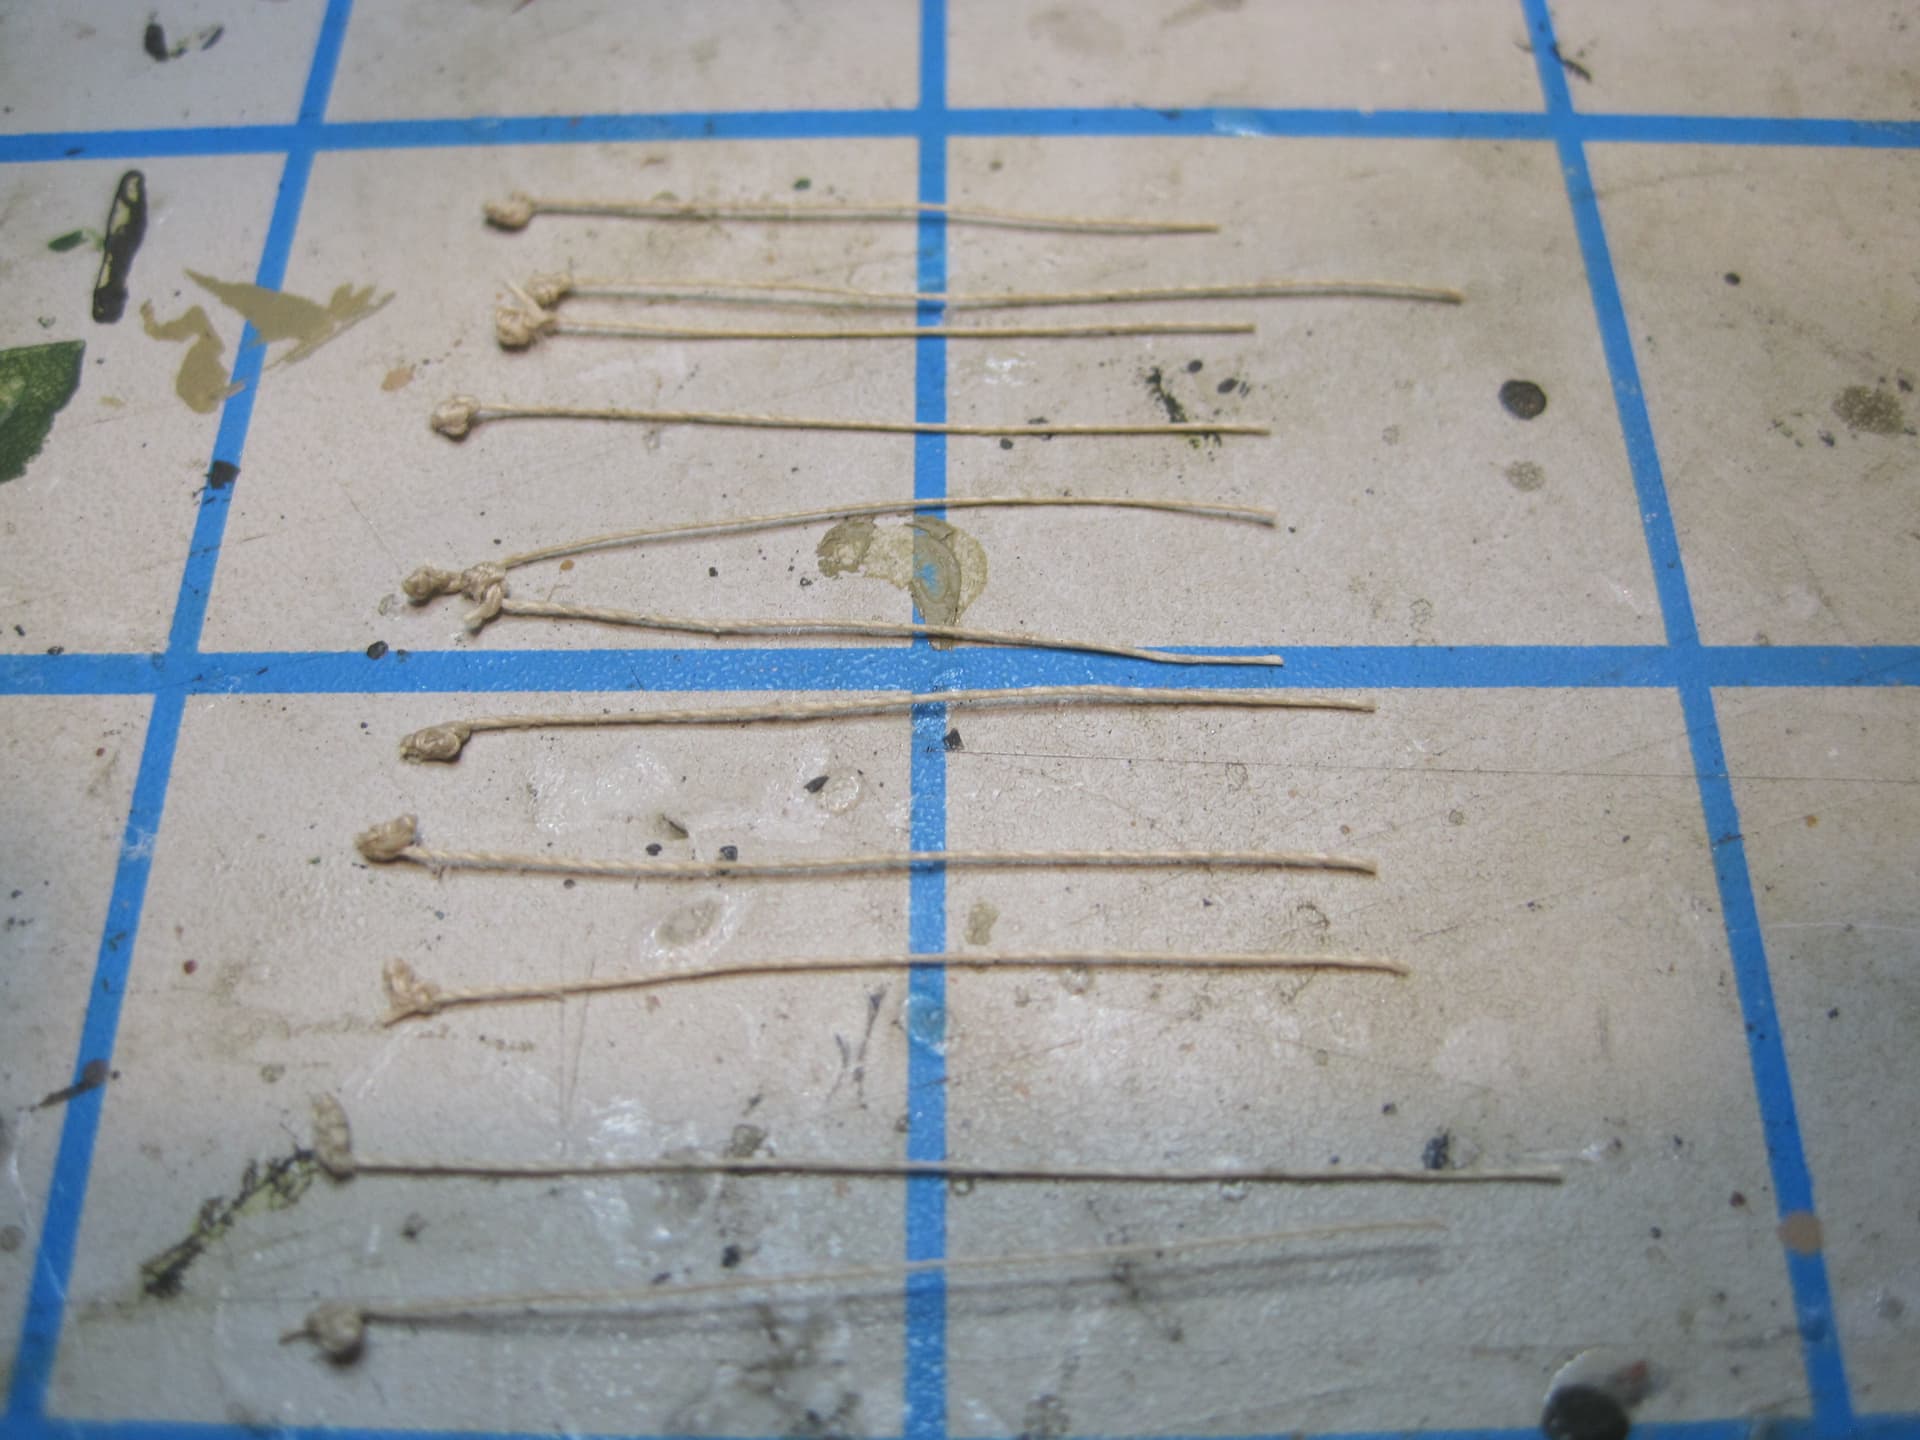
After fitting the canvas in place, holes for the tie downs are punched. Since I won’t be putting a back flap on I’ll make 11 tie downs. These are inserted from the inside and then tied off.
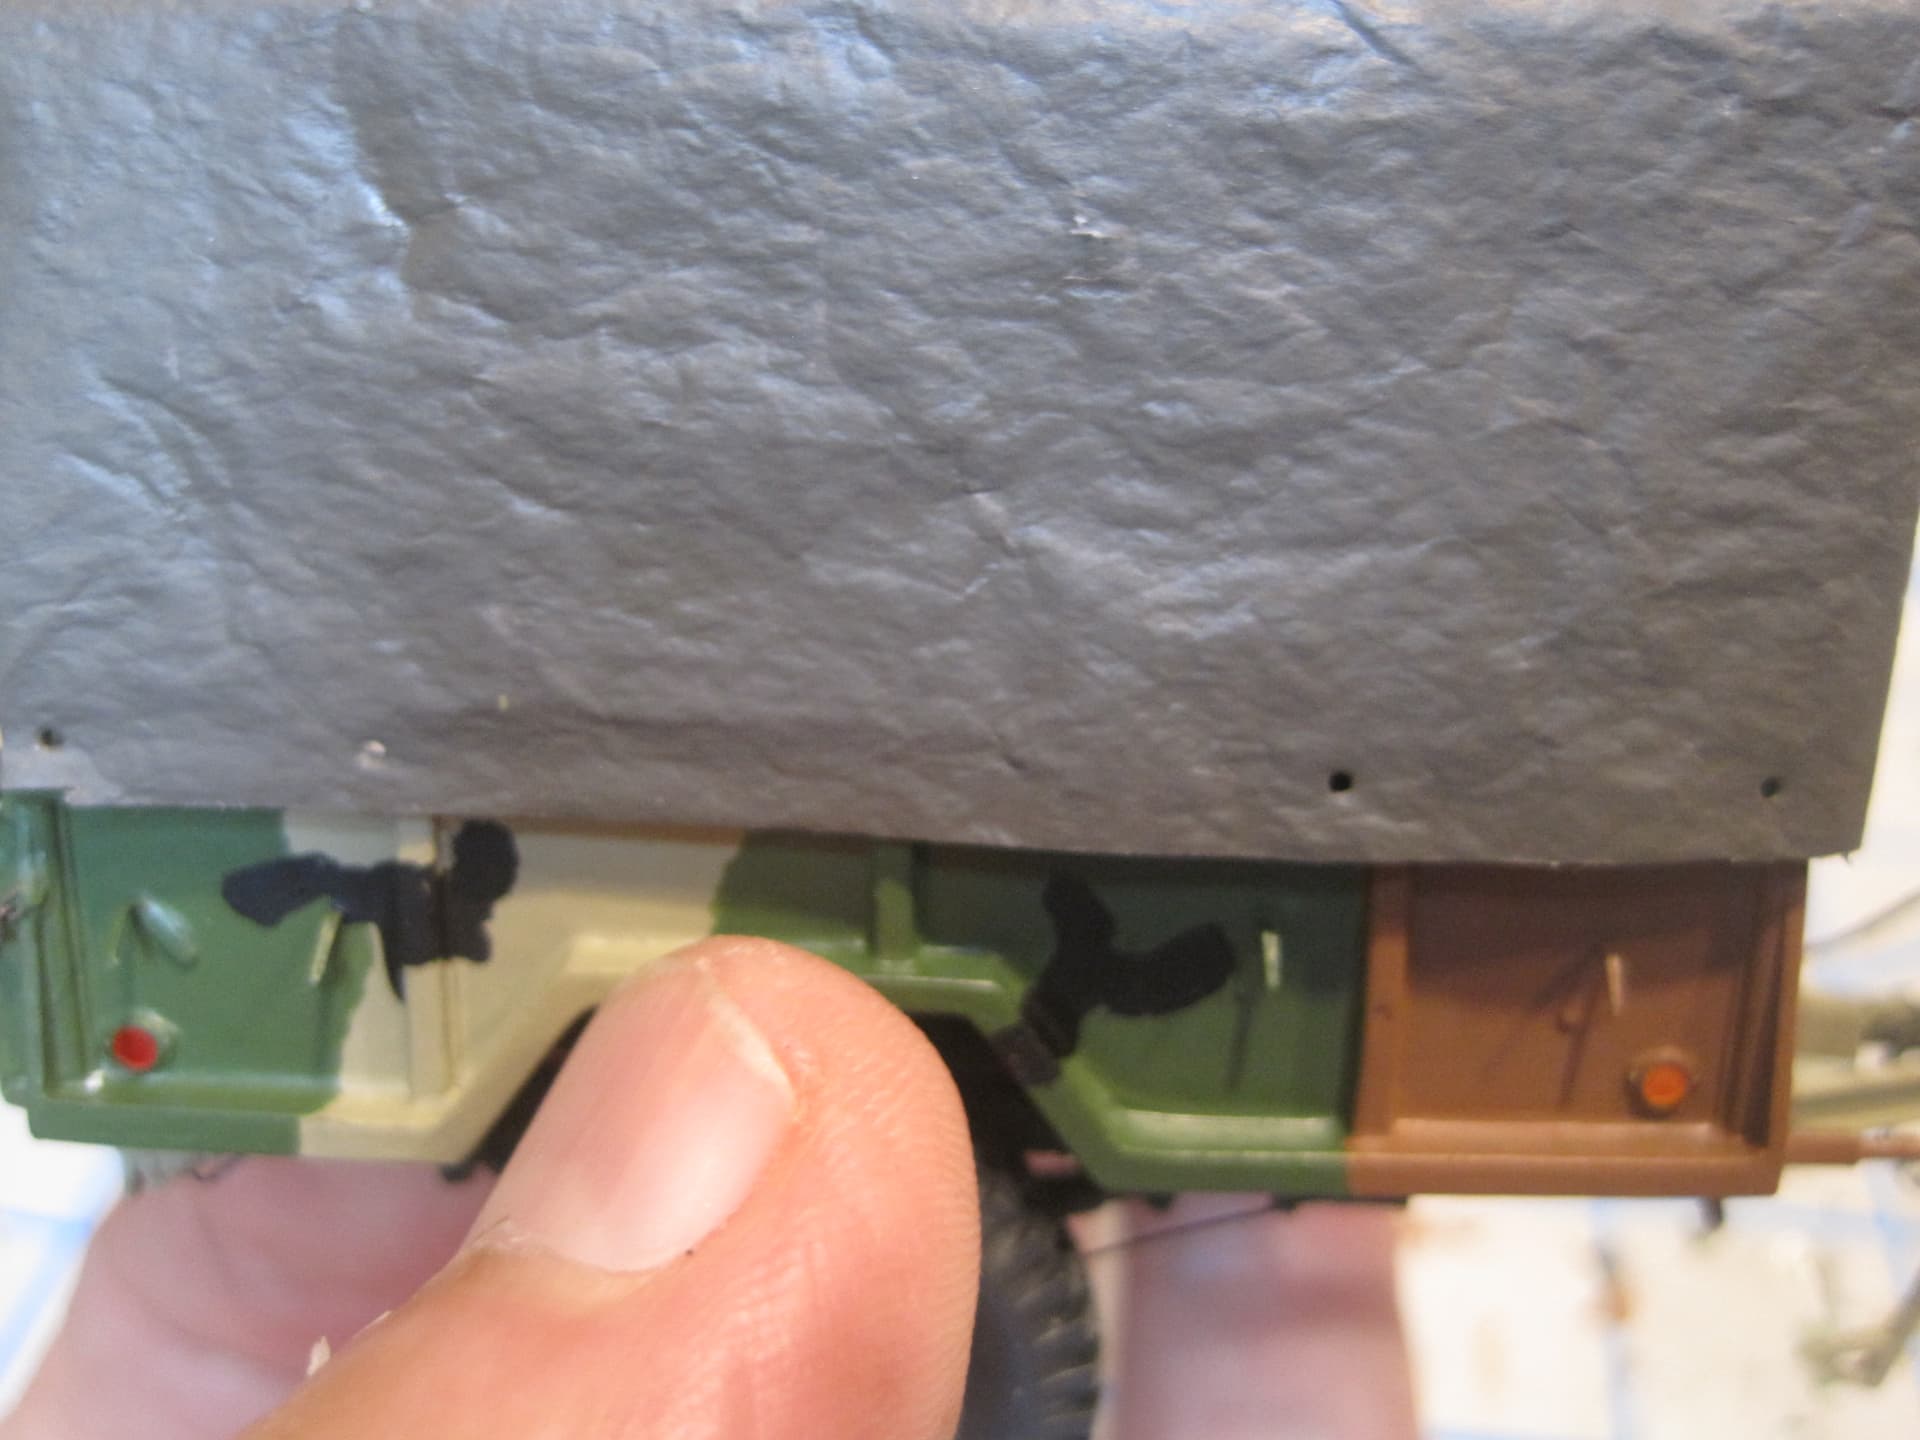

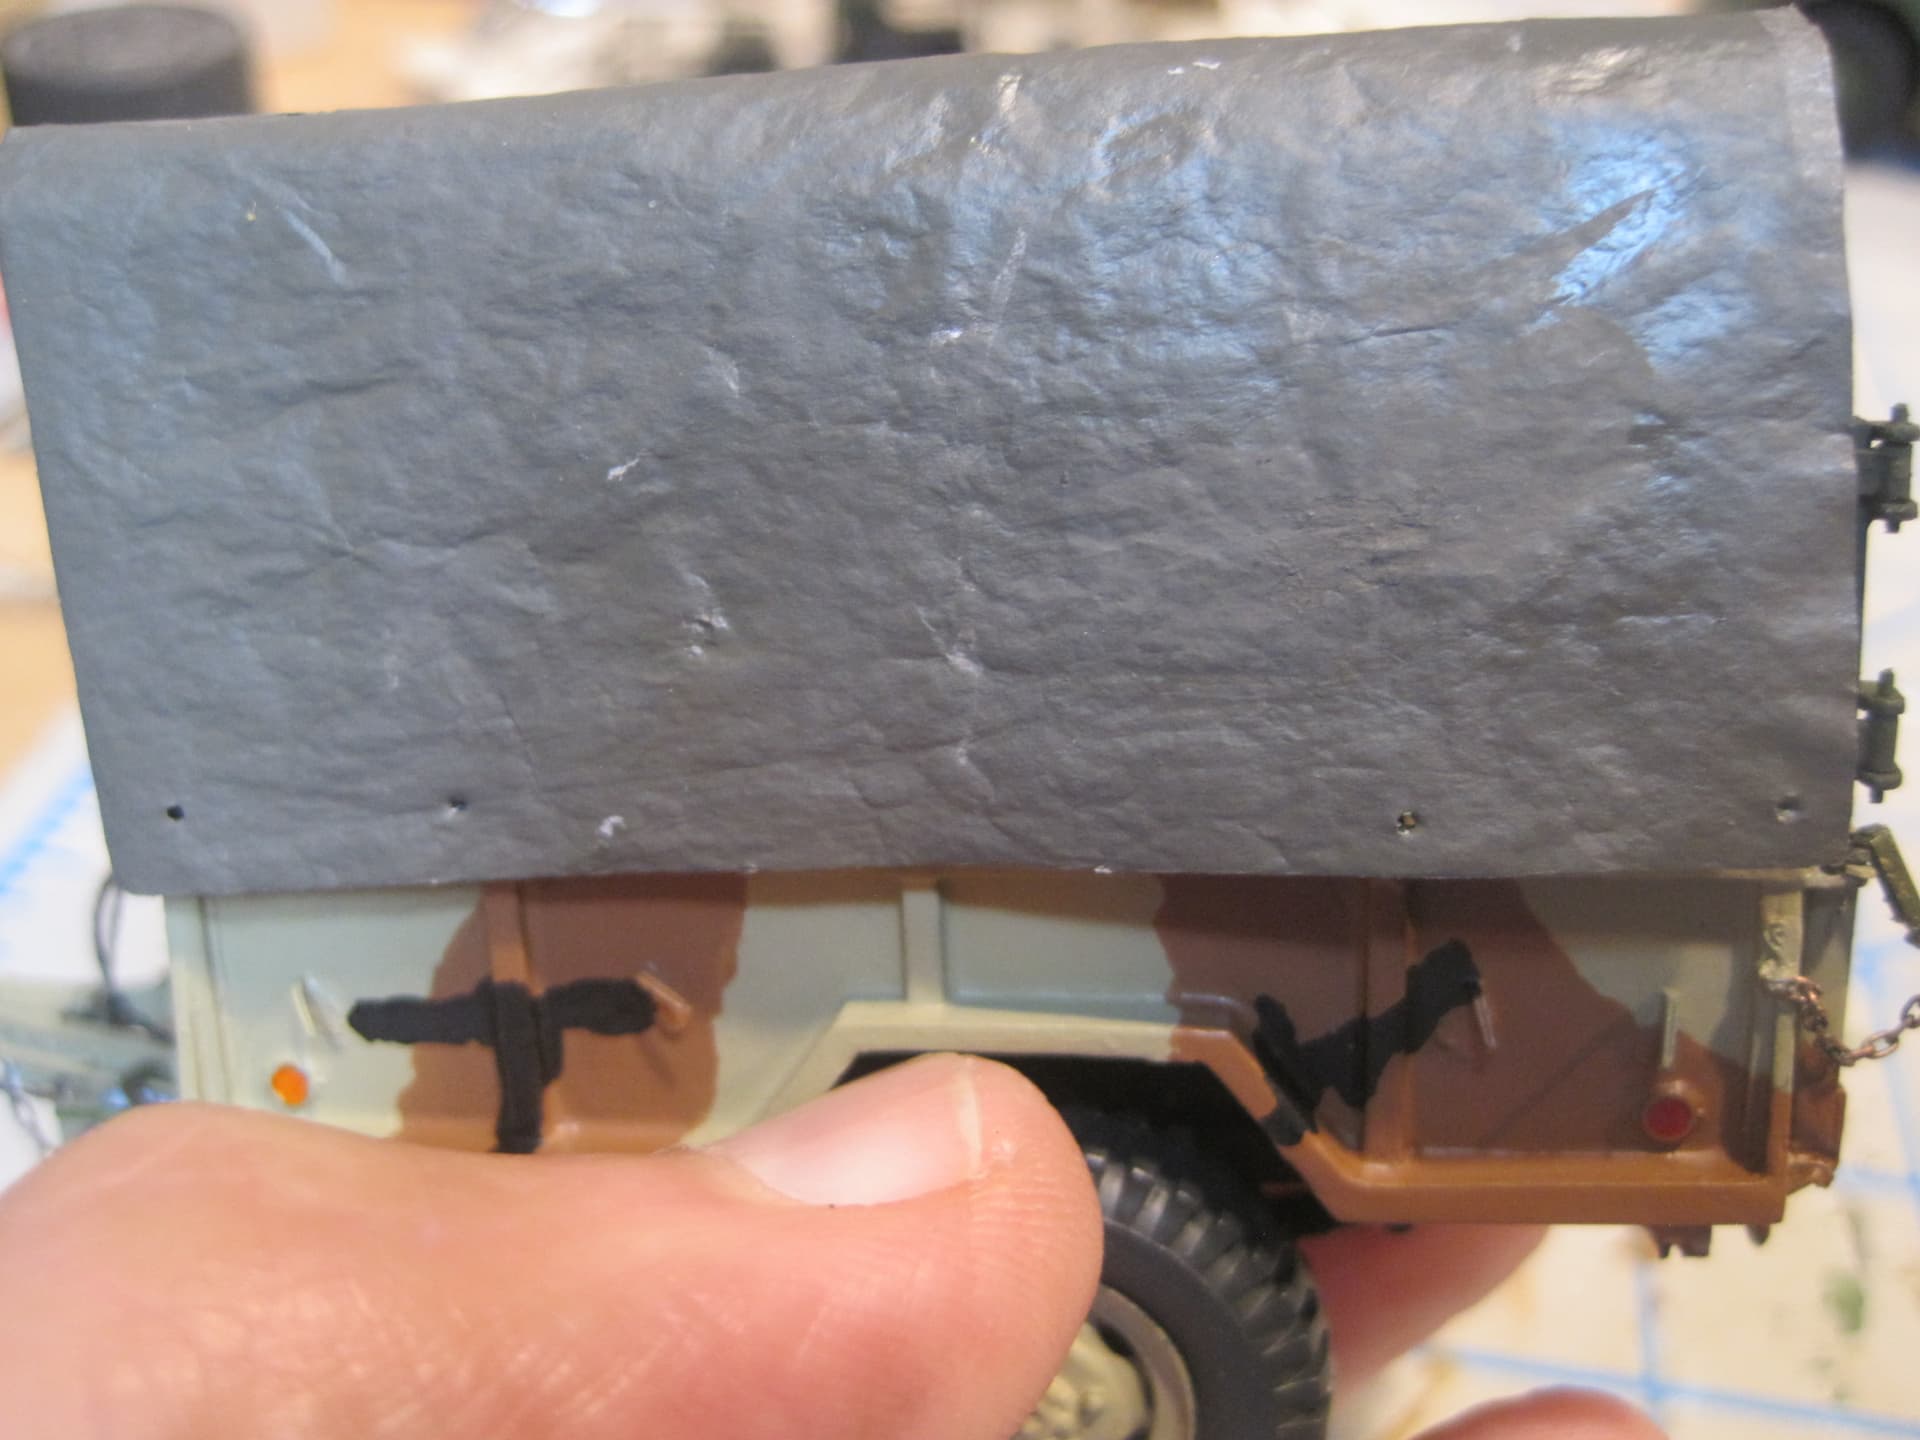


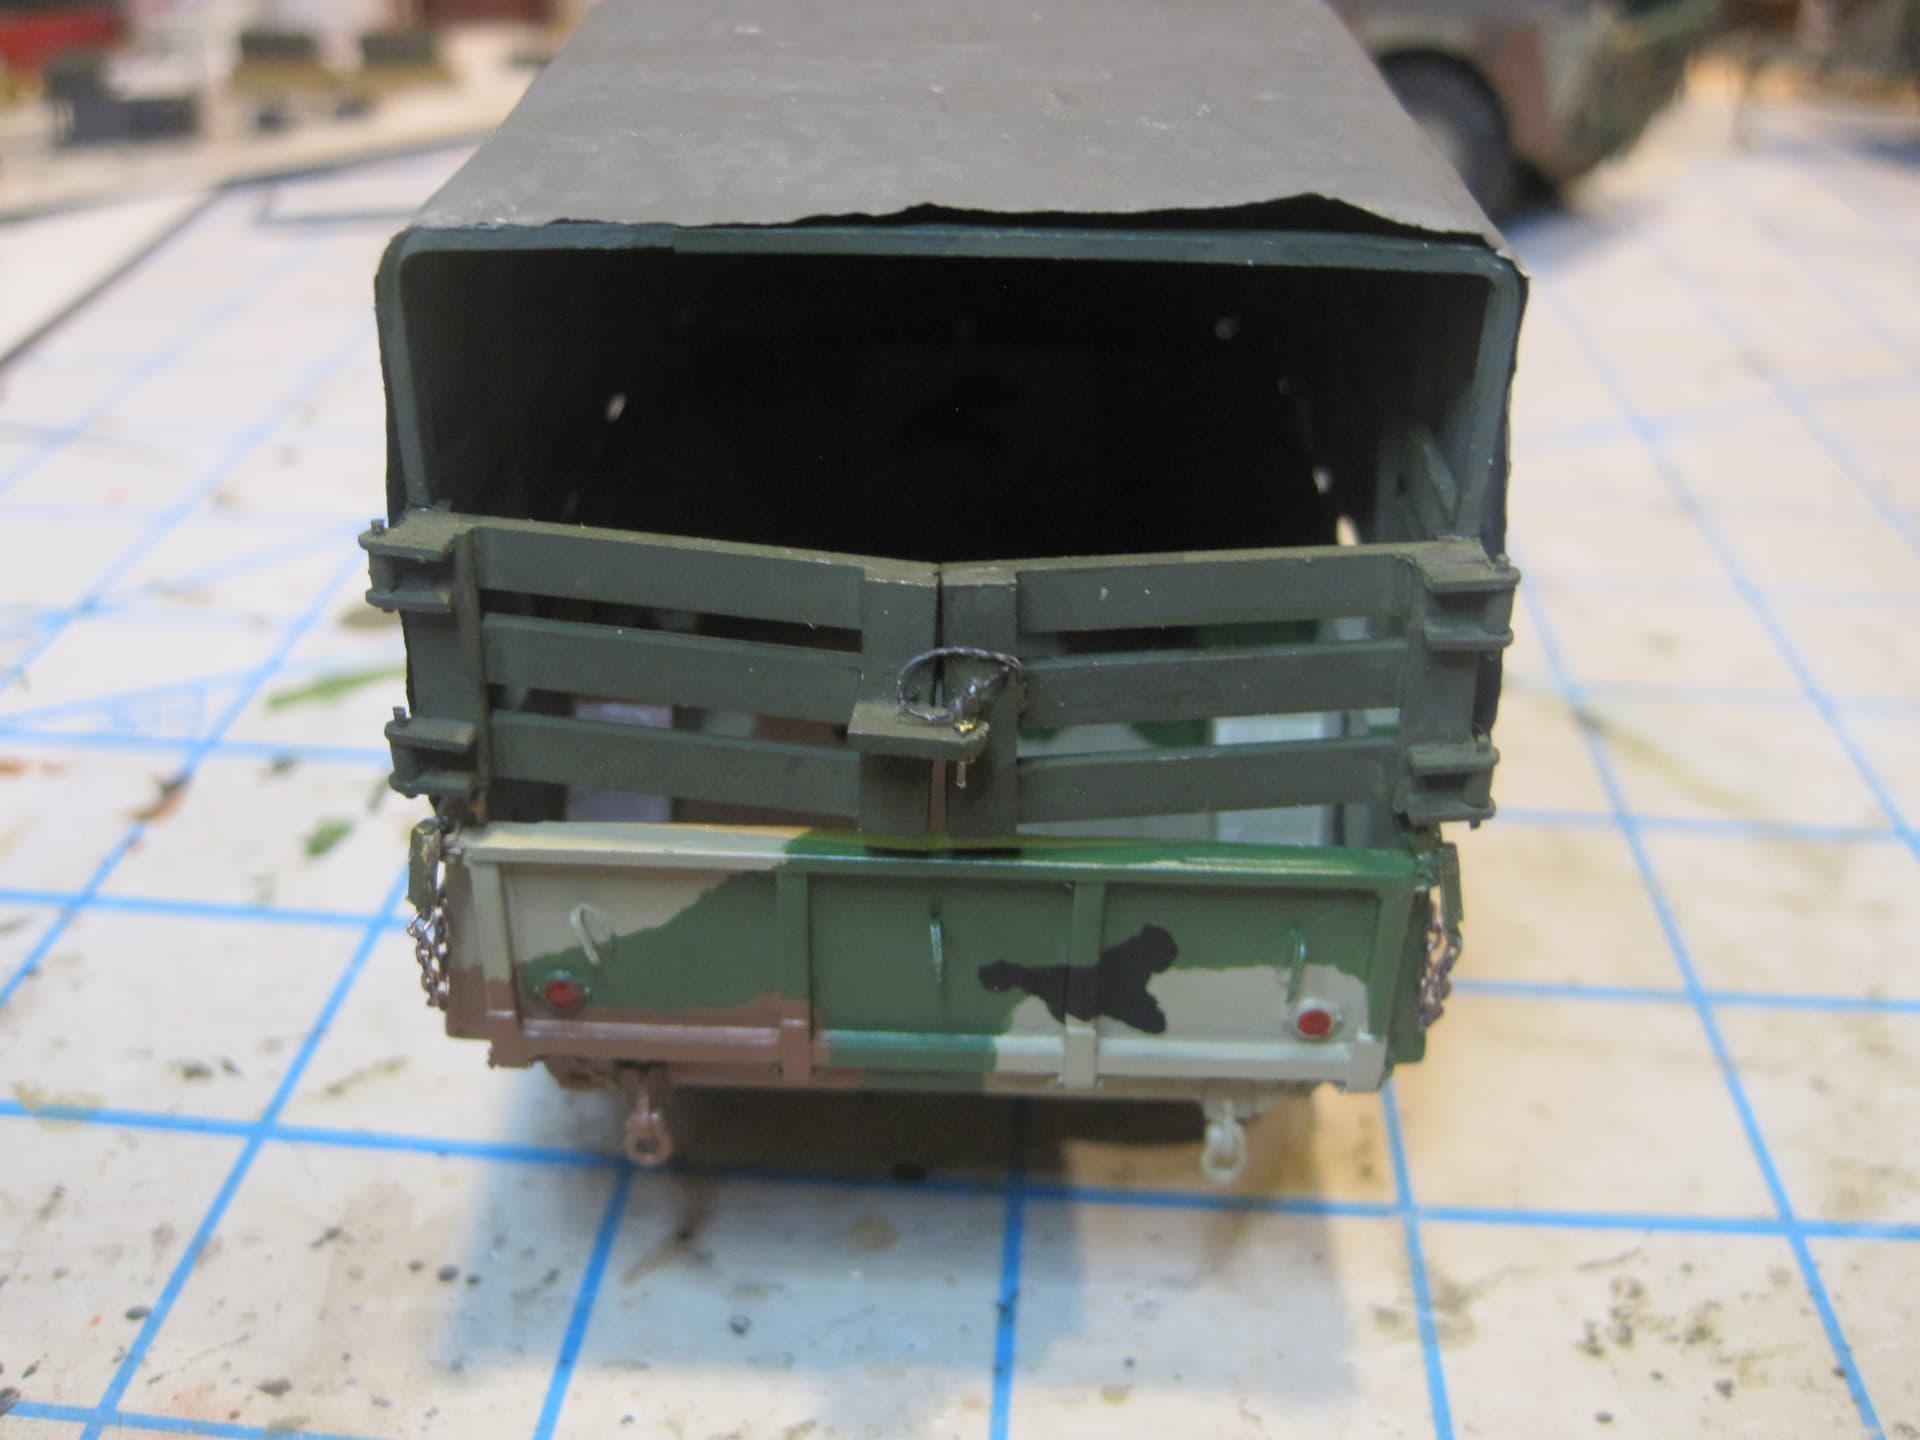
All that’s left to do is add the decals and apply the wash coat for weathering.
5 Likes
Nice. Actually you just reminded me to ask if you know if anyone does resin decals for grommets.
I did a tarpaulin over the rear stowage bin on my Scorpion, but the holes in the canvas need more definition.
Mal
Yeah, there’s no question that simply punching a hole isn’t the best, but I don’t know of anyone who does resin grommets.
What size are you talking about? Depending on how large (or small) they need to be if I were going to do grommets, I’d try to drill out about a 0.020" hole (about what you’d need to be able to run the thread through it) in a 0.010" x 0.040" strip, and then round the edges and cut slices.
That doesn’t leave a whole lot of material around the hole (0.010" if you’re right in the middle) and trimming the cut edge (I always trim and round one edge while it’s still on the strip before I cut it off.) isn’t easy either, but even if what you need is even smaller, it’s hard to imagine that it could be done in resin.
Is that something that might work? Plan on a lot of “scrap” but it might work. Good luck!
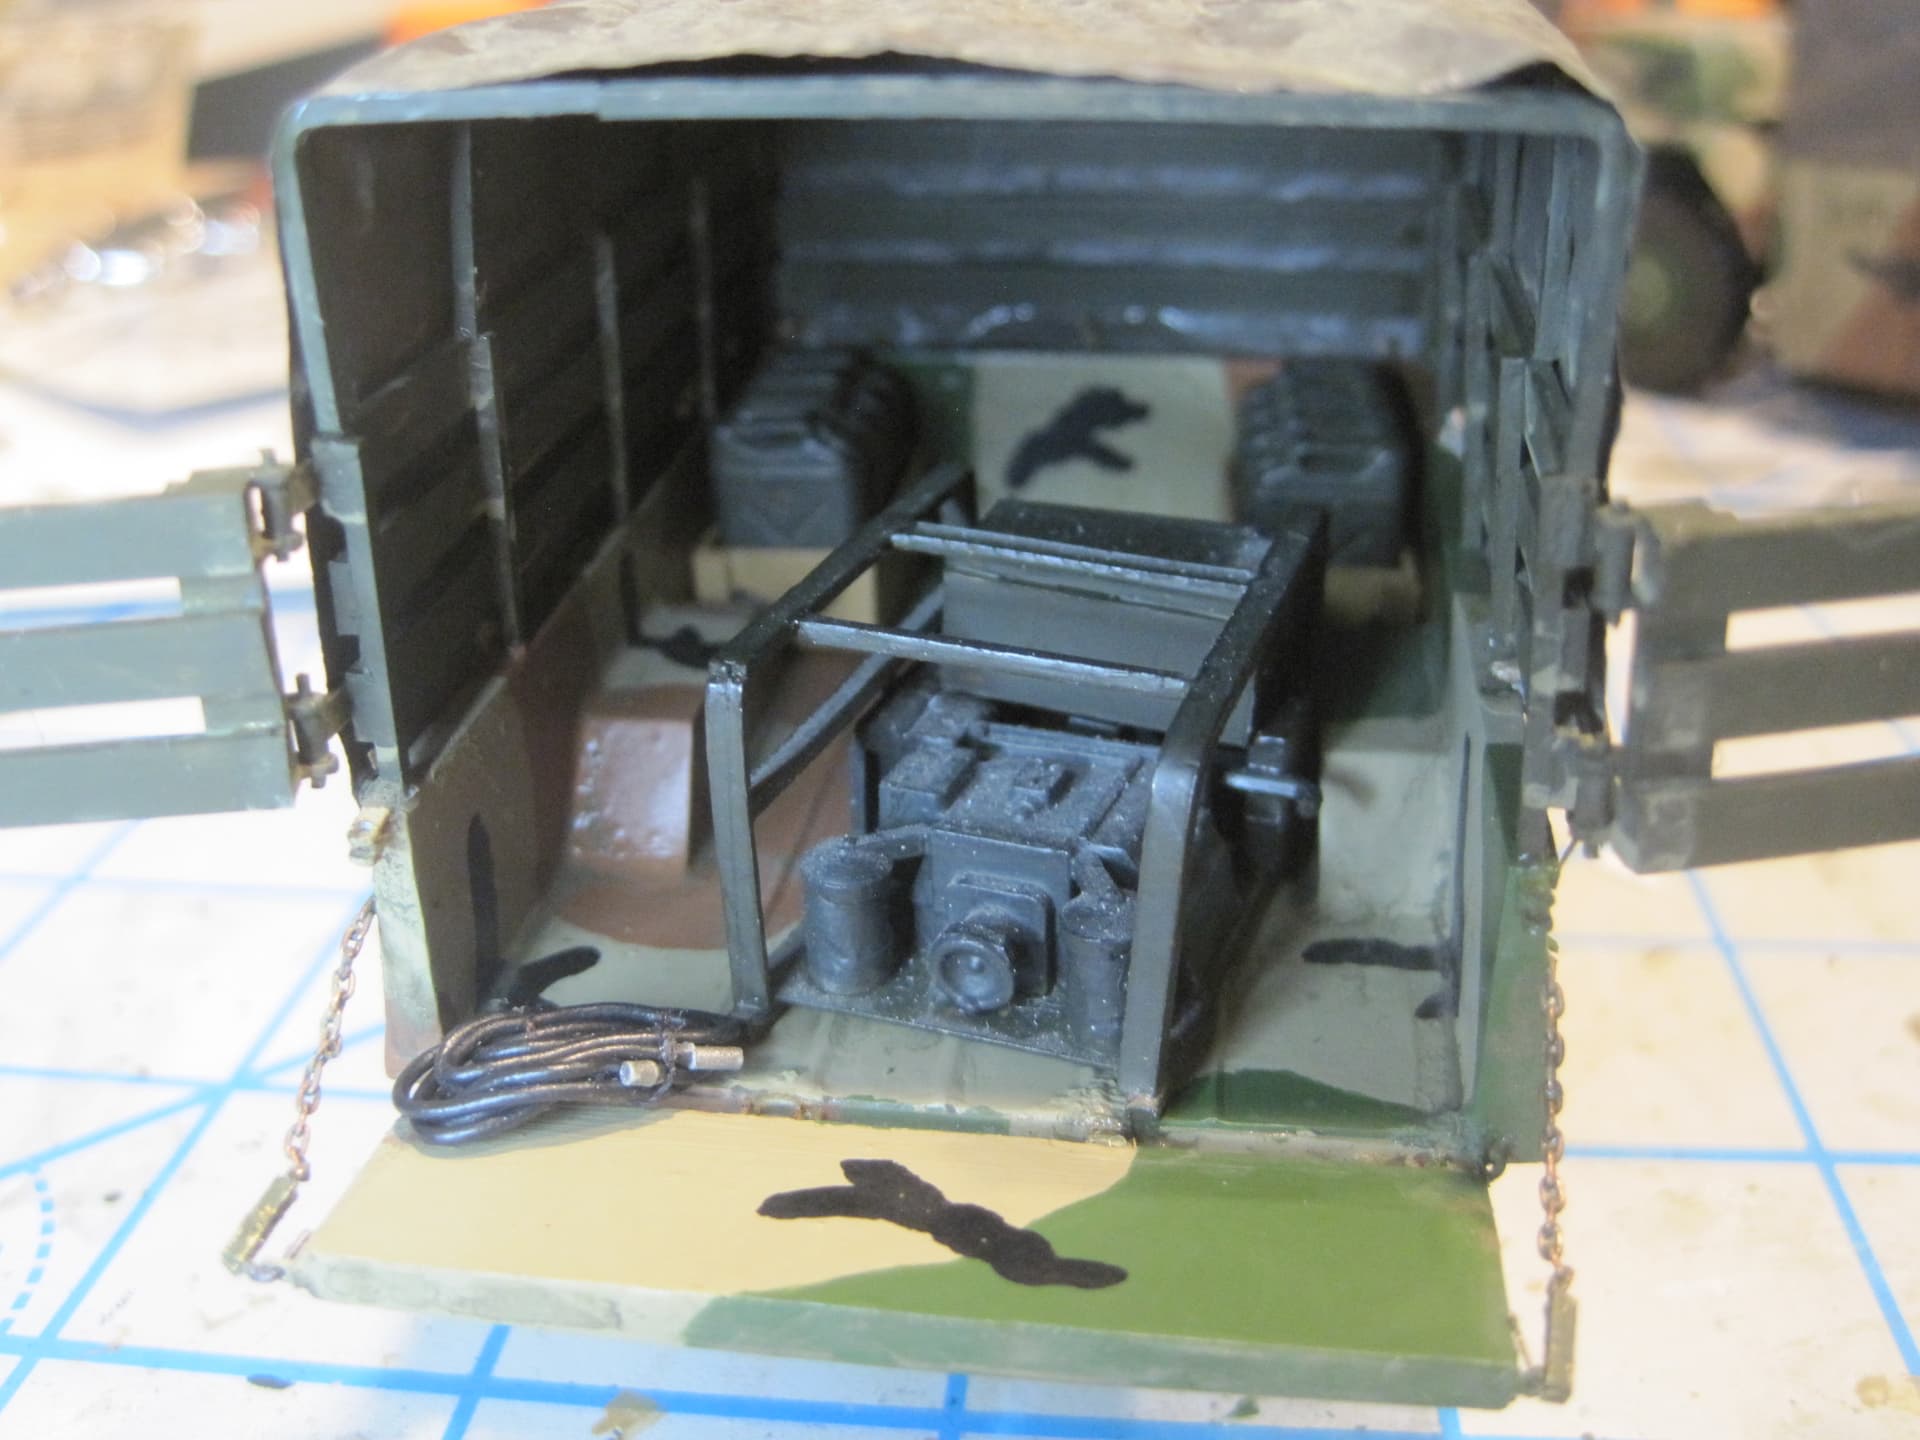
Weathering and decals completed and with the addition of the 3Kw Generator, a cable and several boxes of 5 Gallon cans of MOGAS, the trailer, HQ-43 is done.
Next step in the build will be completing and detailing the S-250 shelter with all the commo gear.
3 Likes
Hi
My Scorpion is 1/16th so the hole in the grommet needs to be about 1-1.5mm, the whole thing 2.5 - 3mm or thereabouts. Archer does resin weld decals in 1/35, I suspect producing grommets like that could be a doddle, but need to find references - photo’s & measurements.
My scorpion pics -

Mal
3 Likes
Very nice work indeed. I suspect that you should be able to fab up some grommets in this scale without too much trouble.
OK, on to the next part of the project. First I’ll complete all of the contents that I plan to add into the S-250 Shelter, then I’ll complete the shelter itself, and then when all that’s done, I’ll actually move on to the M561 Gama Goat itself.
The installation I’ll be building is the AN/GRC-122 which is a “duplex” set, and our RTT vehicles both had two antennas, so that’s almost certainly what we had.
According to the TM, the following items are part of that set or are inside the shelter.
| Item | Nomenclature | Description | Quantity |
|---|---|---|---|
| 1 | AM-3349 | Amplifier | |
| 2 | RT-662 | Radio Transmitter | 2 |
| 3 | SA-1555 | Switchbox | |
| 4 | TT-76A | Teletypewriter | |
| 5 | MD-522 | Modem | |
| 6 | SA-1554 | Switch Assembly | |
| 7 | J-7228 | Interconnecting Box | 2 |
| 8 | AN UGC-74 | Teletypewriter | 2 |
| 9 | J-2776 | Distribution Box | |
| 10 | PP-4763 | DC Power Supply | |
| 11 | SB-3018 | Power Distribution Panel | |
| 12 | SMD 602952 | Entrance Box Assembly | |
| 13 | AN/GRA-6 | Remote | |
| 14 | LS 166U | Loudspeaker | 2 |
| 15 | TA-312 | Phone | |
| 16 | PU 724/U | Motor Generator Invertor | 2 |
| 17 | ME-165 | Power Meter | |
| 18 | MIL H 52204 | Heater | |
| 19 | MH 1583C1 | A/C Unit |
While I suppose I COULD make CAD files and 3D print all of these, the reality is that given the time involved and the minimum detail which will be visible on some of these items, I’ve decided that I’ll just scratch build most of them.
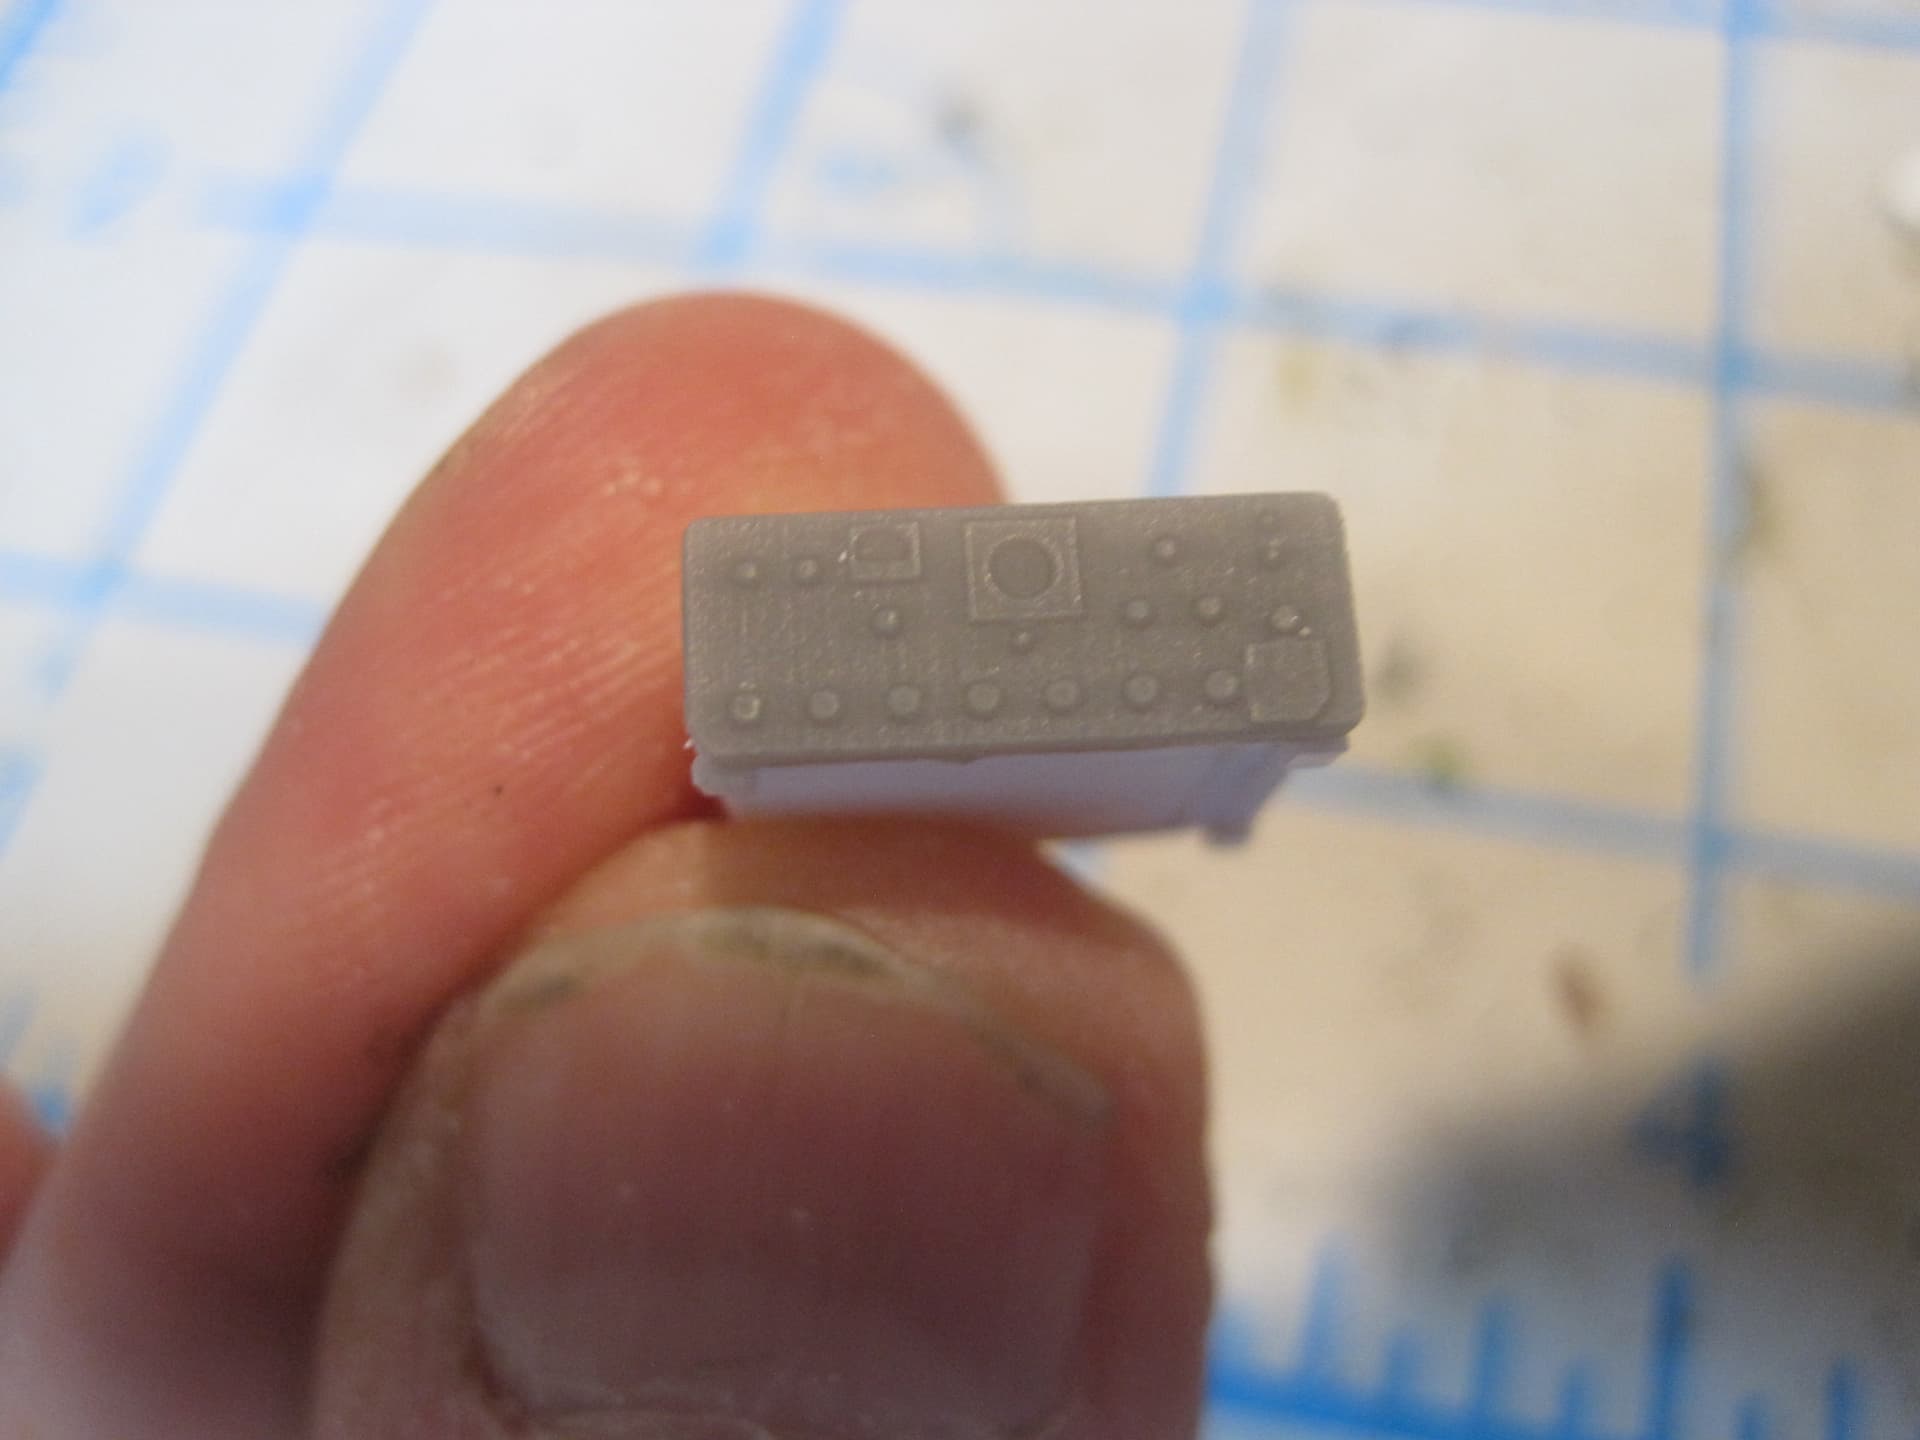
However there five of them which I have decided to model. Those were items 1, 2, 4, 5, and 8.
I have to give a two huge shout outs here.
First of all to my son, with whom I sat for the better part of 2 weekends while he actually created the CAD models using Auto CAD Fusion 360.
While I myself was actually a CAD Supervisor at Ford for several years, and am very comfortable in front of a computer, the fact that I didn’t know how to actually use this particular software and my son did, meant that the best process was for me to tell him WHAT I actually wanted modeled from the pictures we had, and he created the file. Then when the models were completed, the files were sent to a Form Labs Form 2 3D printer to be created with resin.
The second huge shout out is to Maker Works, in Ann Arbor, MI and their fabulous staff. This place is amazing and no matter what you want to “make” and in whatever medium (wood, metal, resin, you name it) they have EVERY machine you can possibly think of to do so, and the people who can teach you how to use those machines. You can purchase either a monthly or annual membership, and if you do ANY serious building and don’t have a warehouse full of machines, you simply can’t beat it!
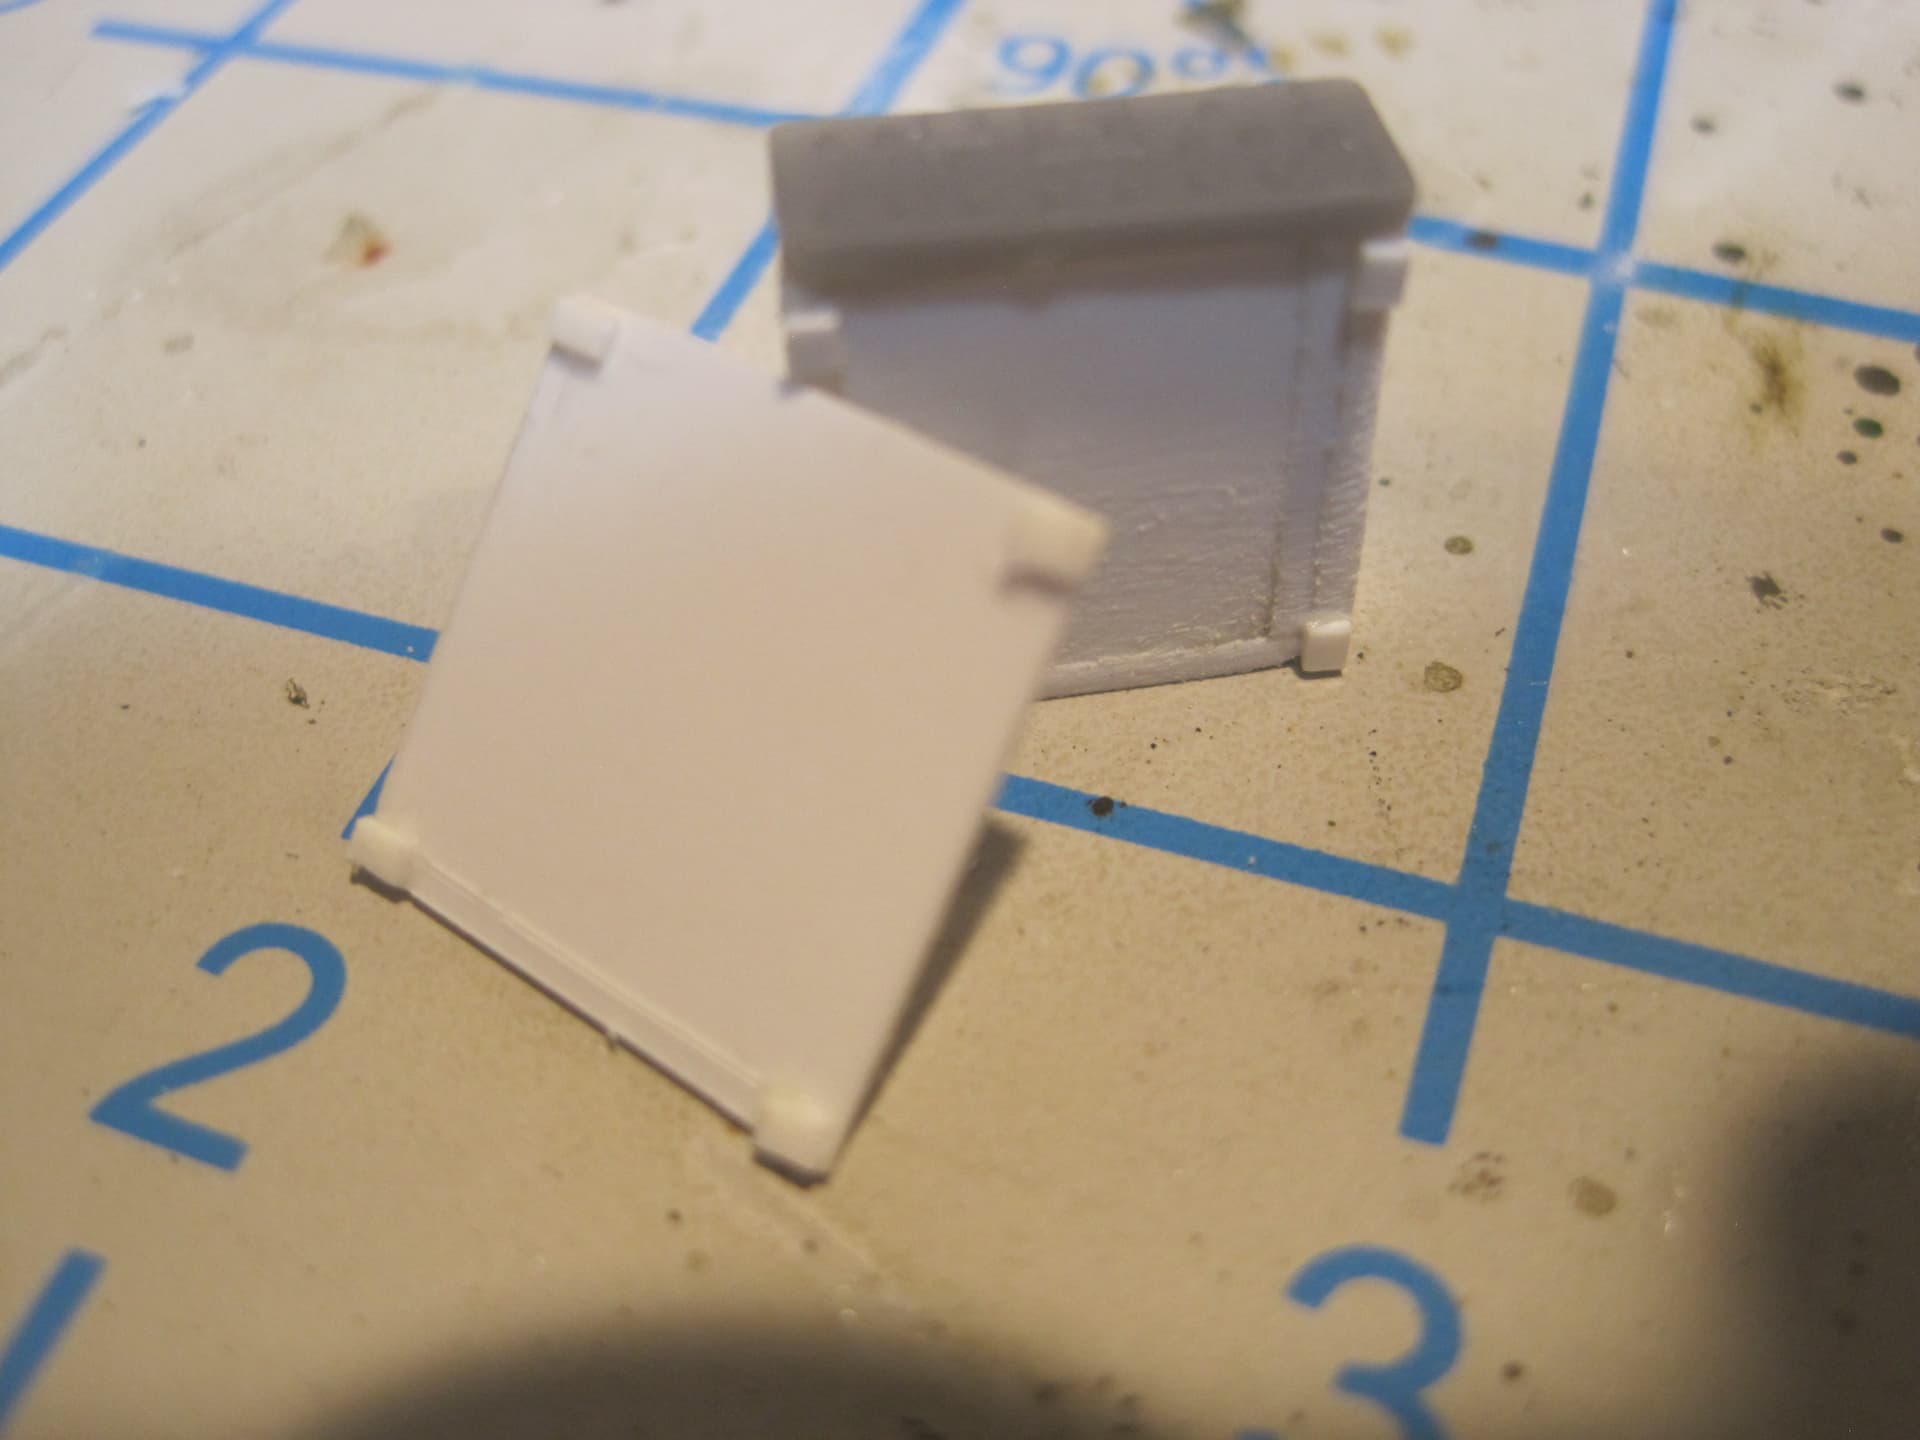
You may wonder why we only created “face plates” for the Amp, R/Ts and the Modem, and the reason is all that material will be hidden inside the shelves, and given the way the 3-D printer works, it would have take several HOURS to add this excess and unnecessary material. And given that Maker Works charges for these items by weight, no sense paying for it.
But here’s the other HUGE shout out to these guys, Because of membership, all we had to pay for was material. The use of the computer, software and printer is included. And the total cost for ALL of these parts (and I made a number of extras for that reason) because we paid by weight, was about…$5.00.
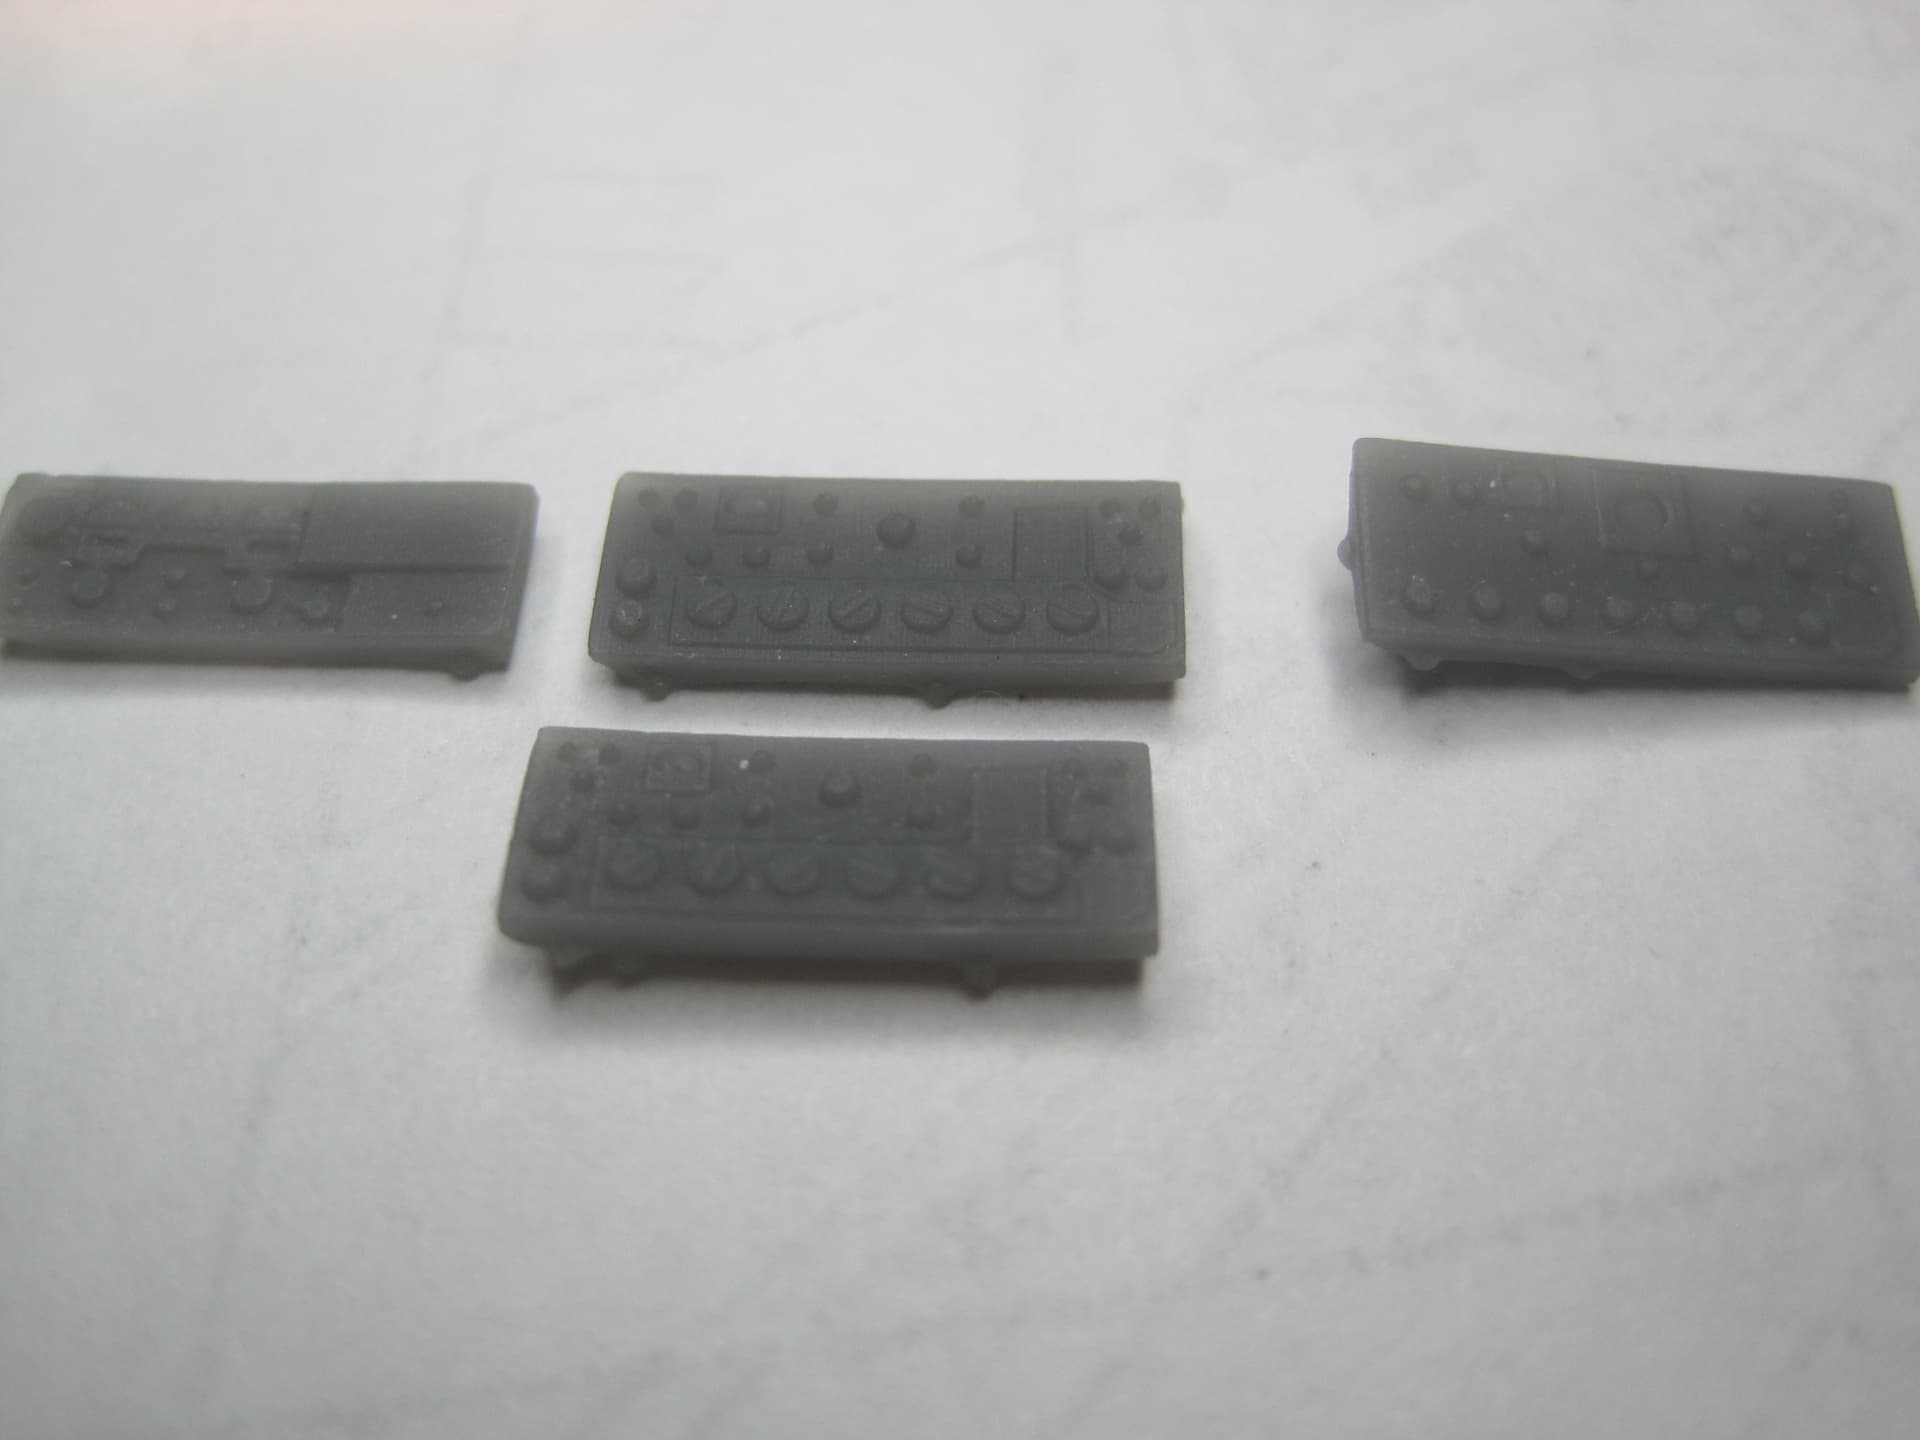
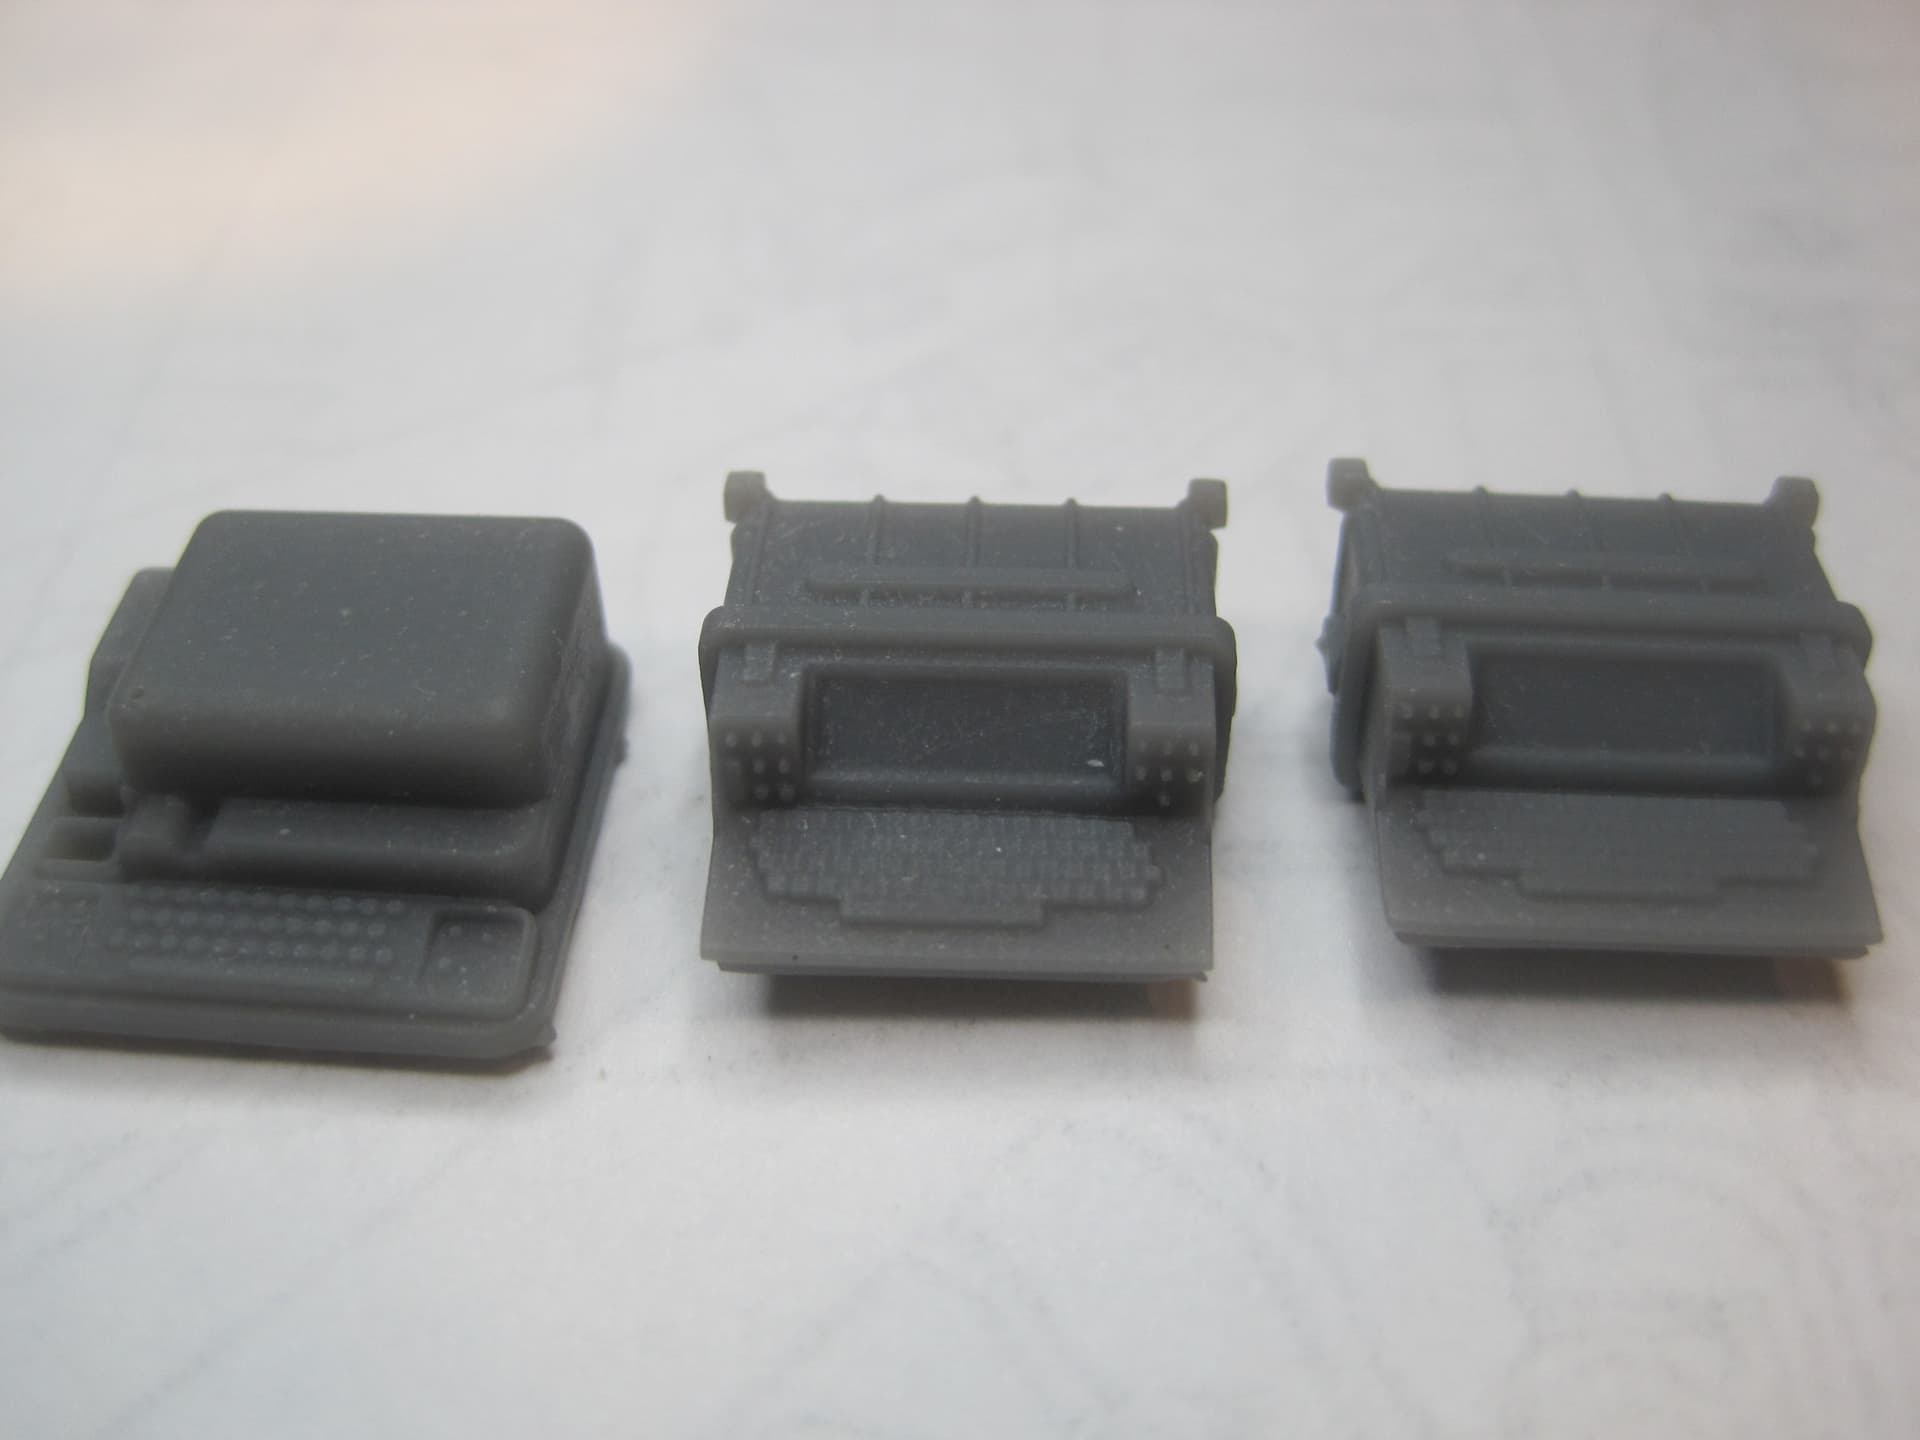
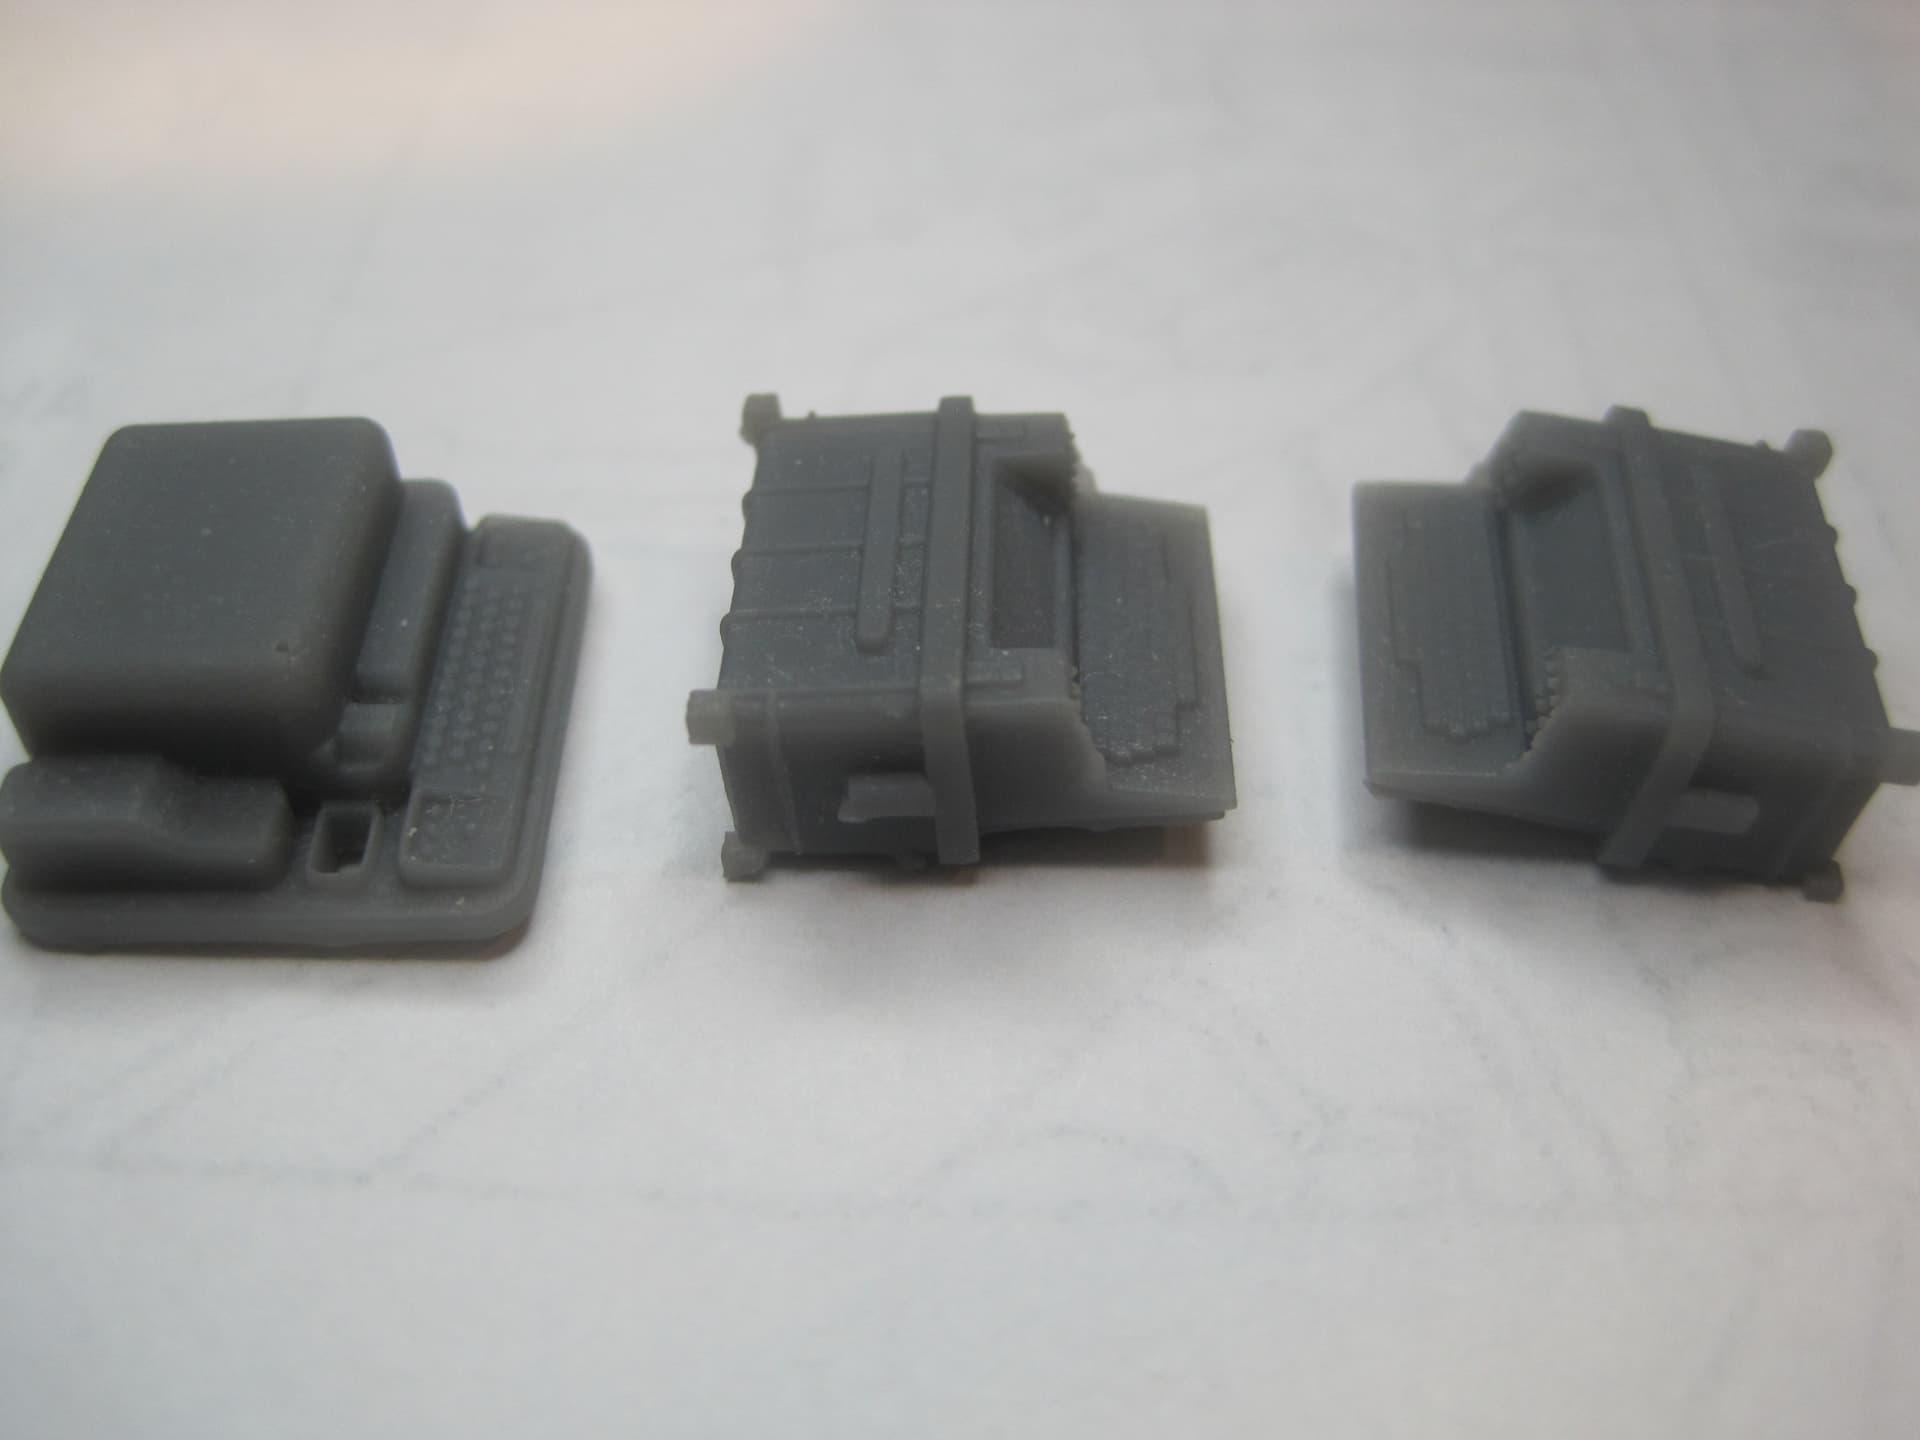
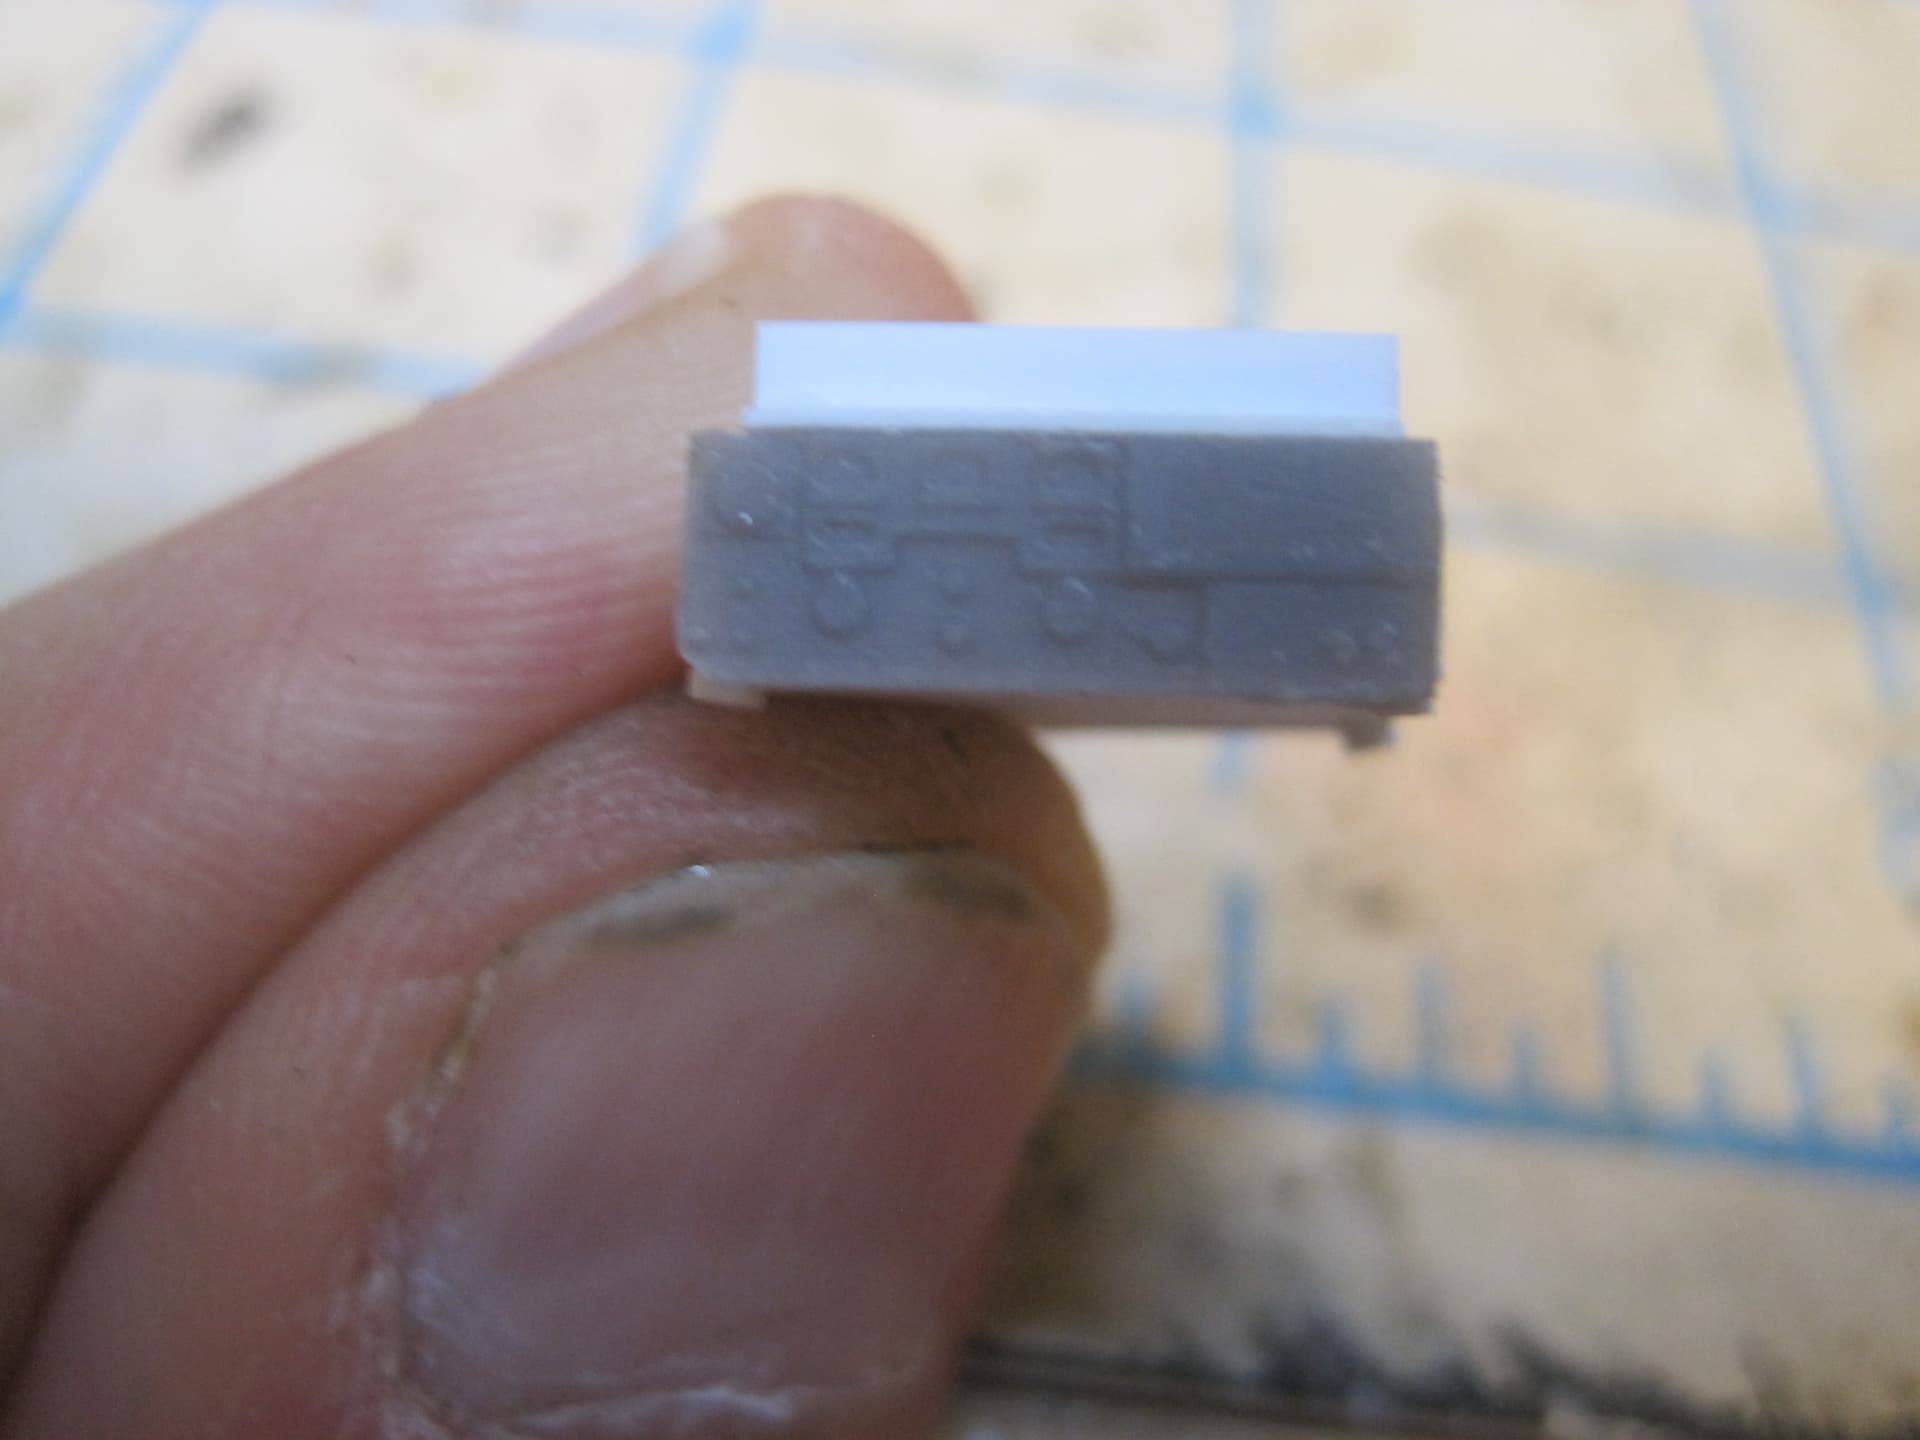
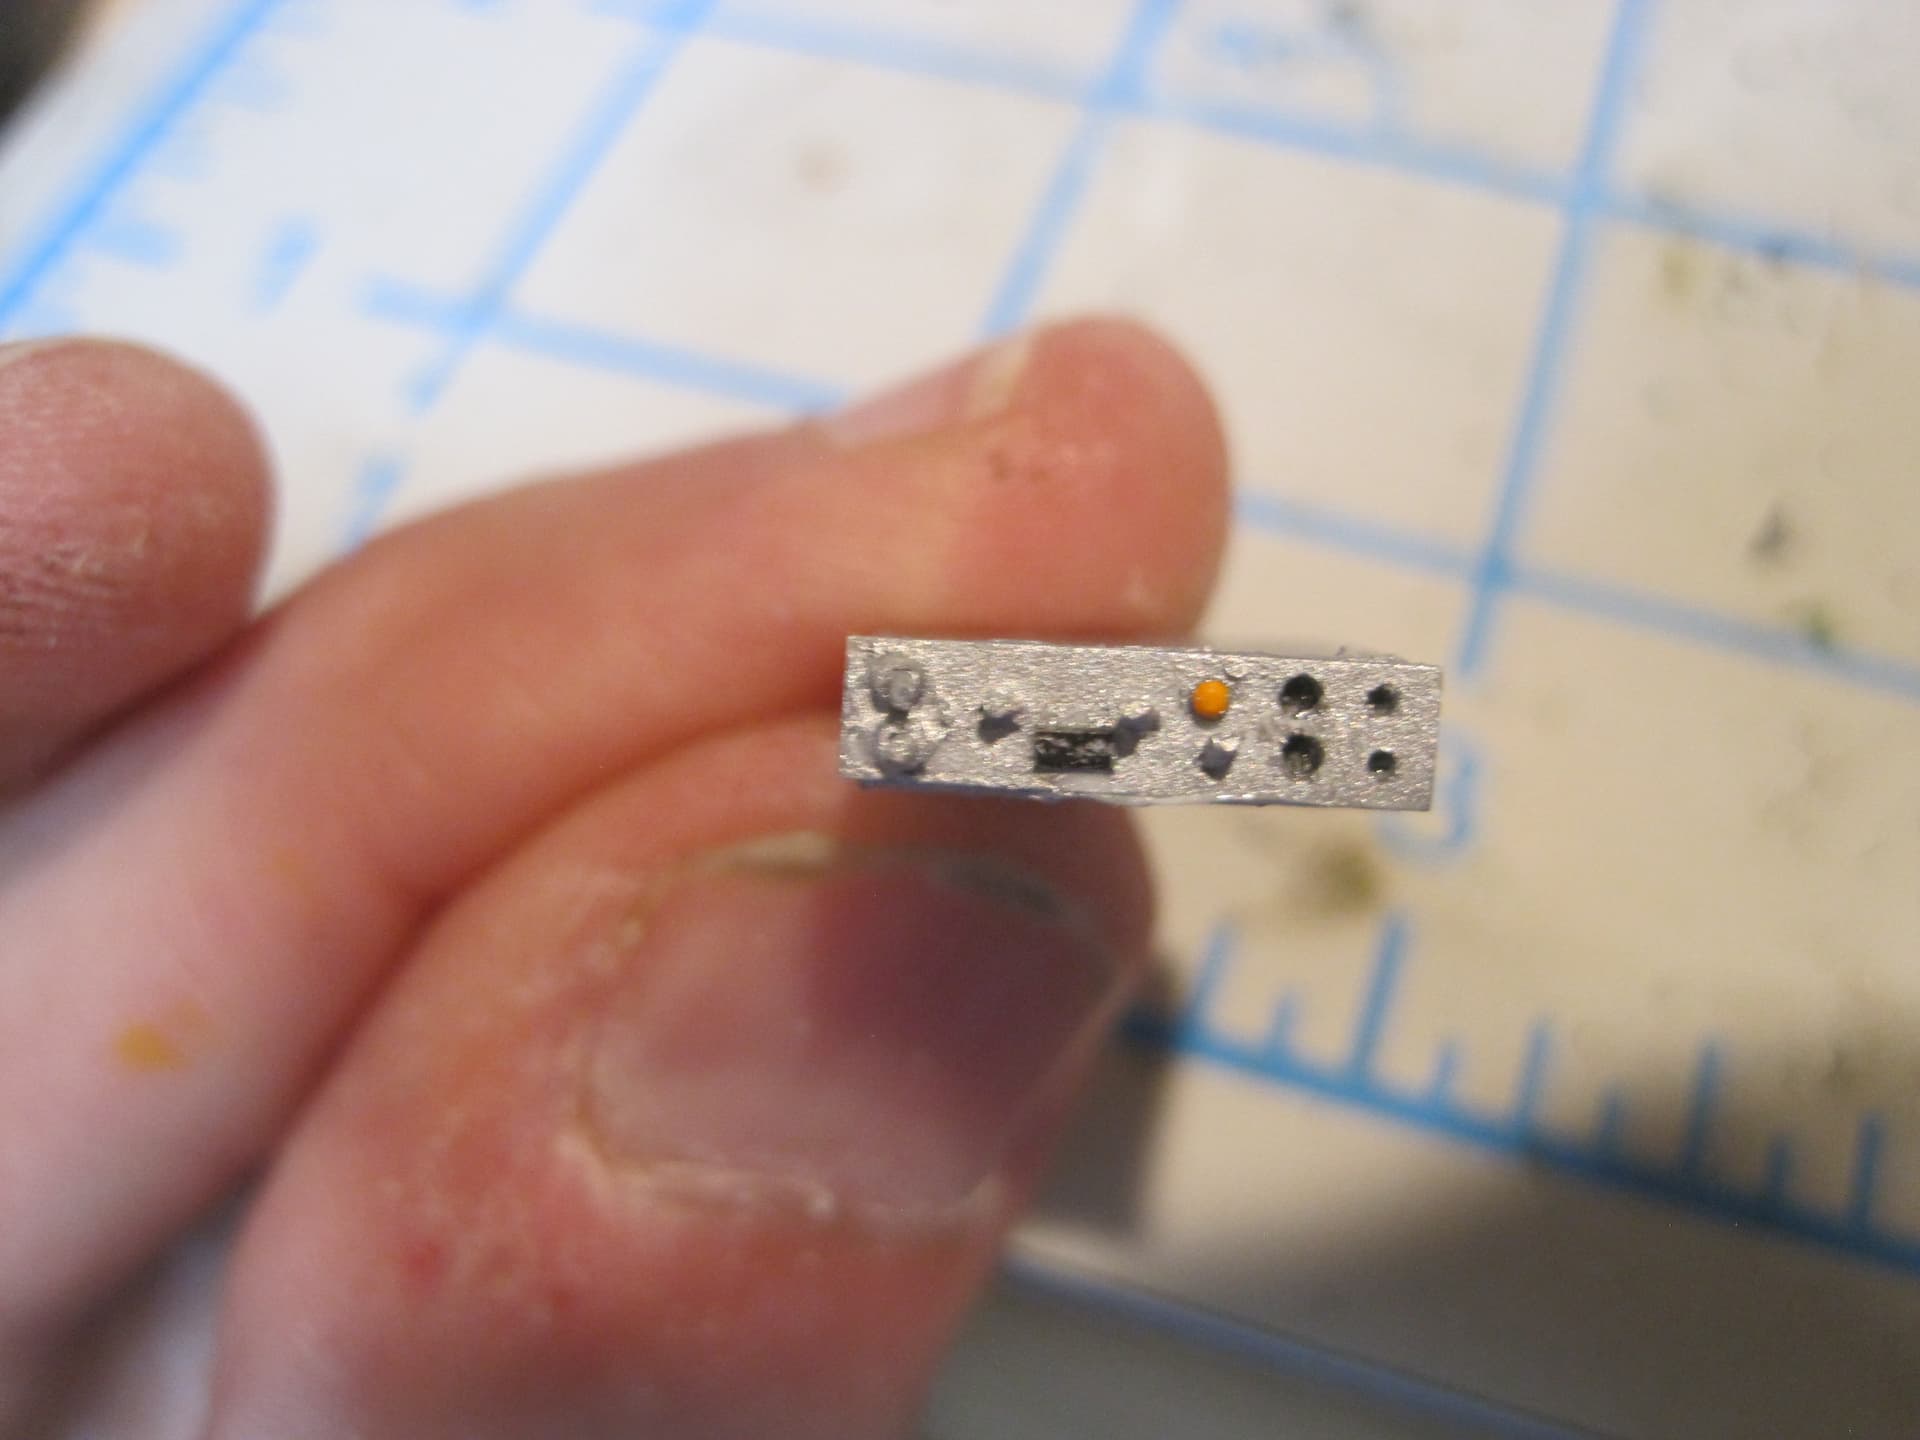
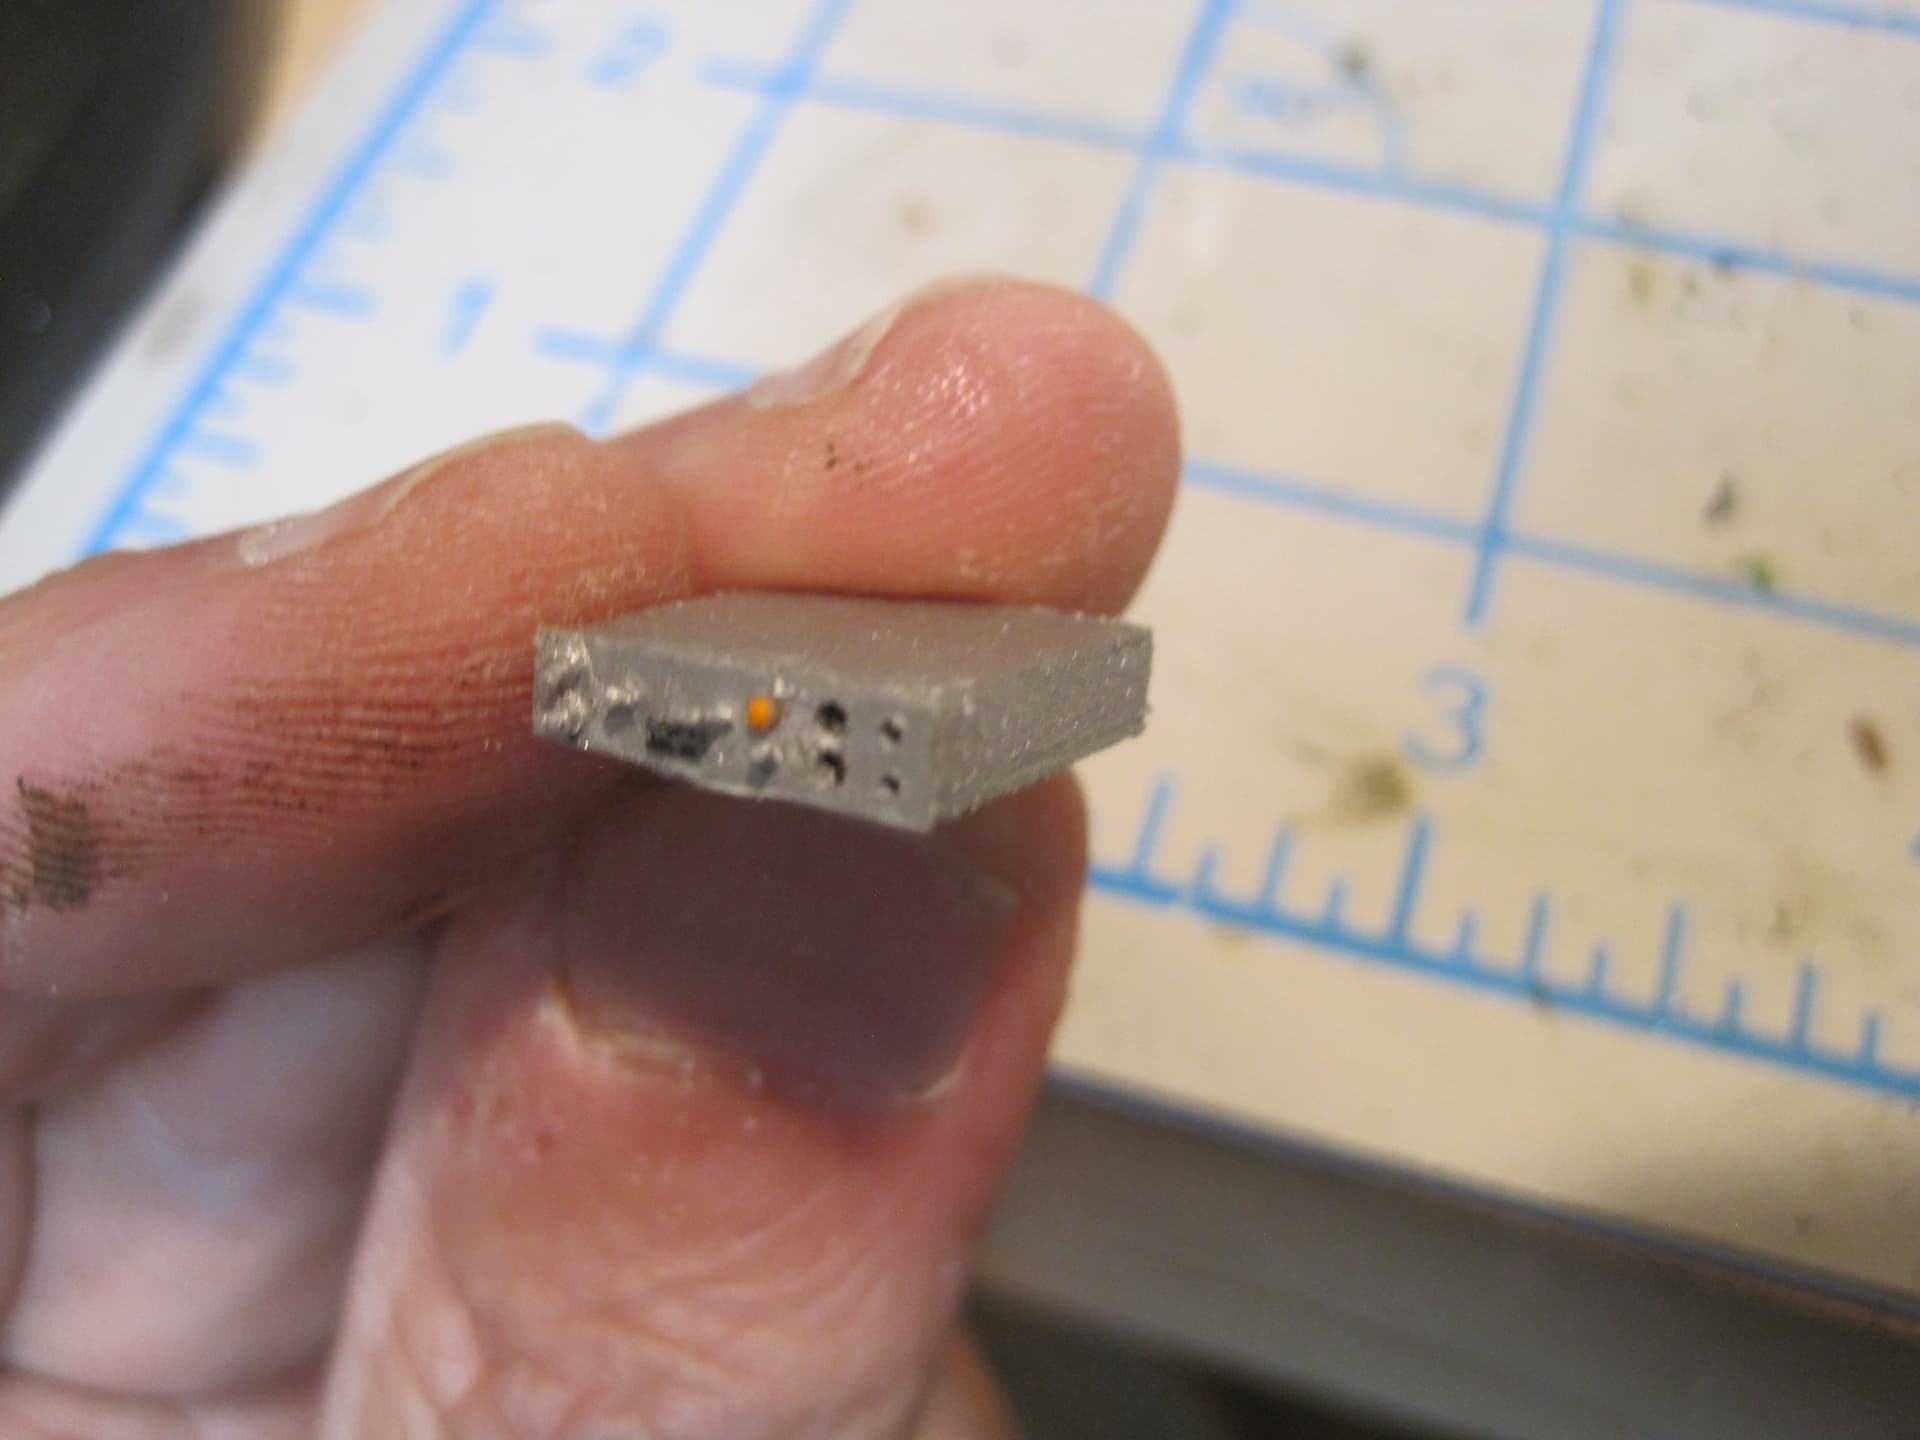
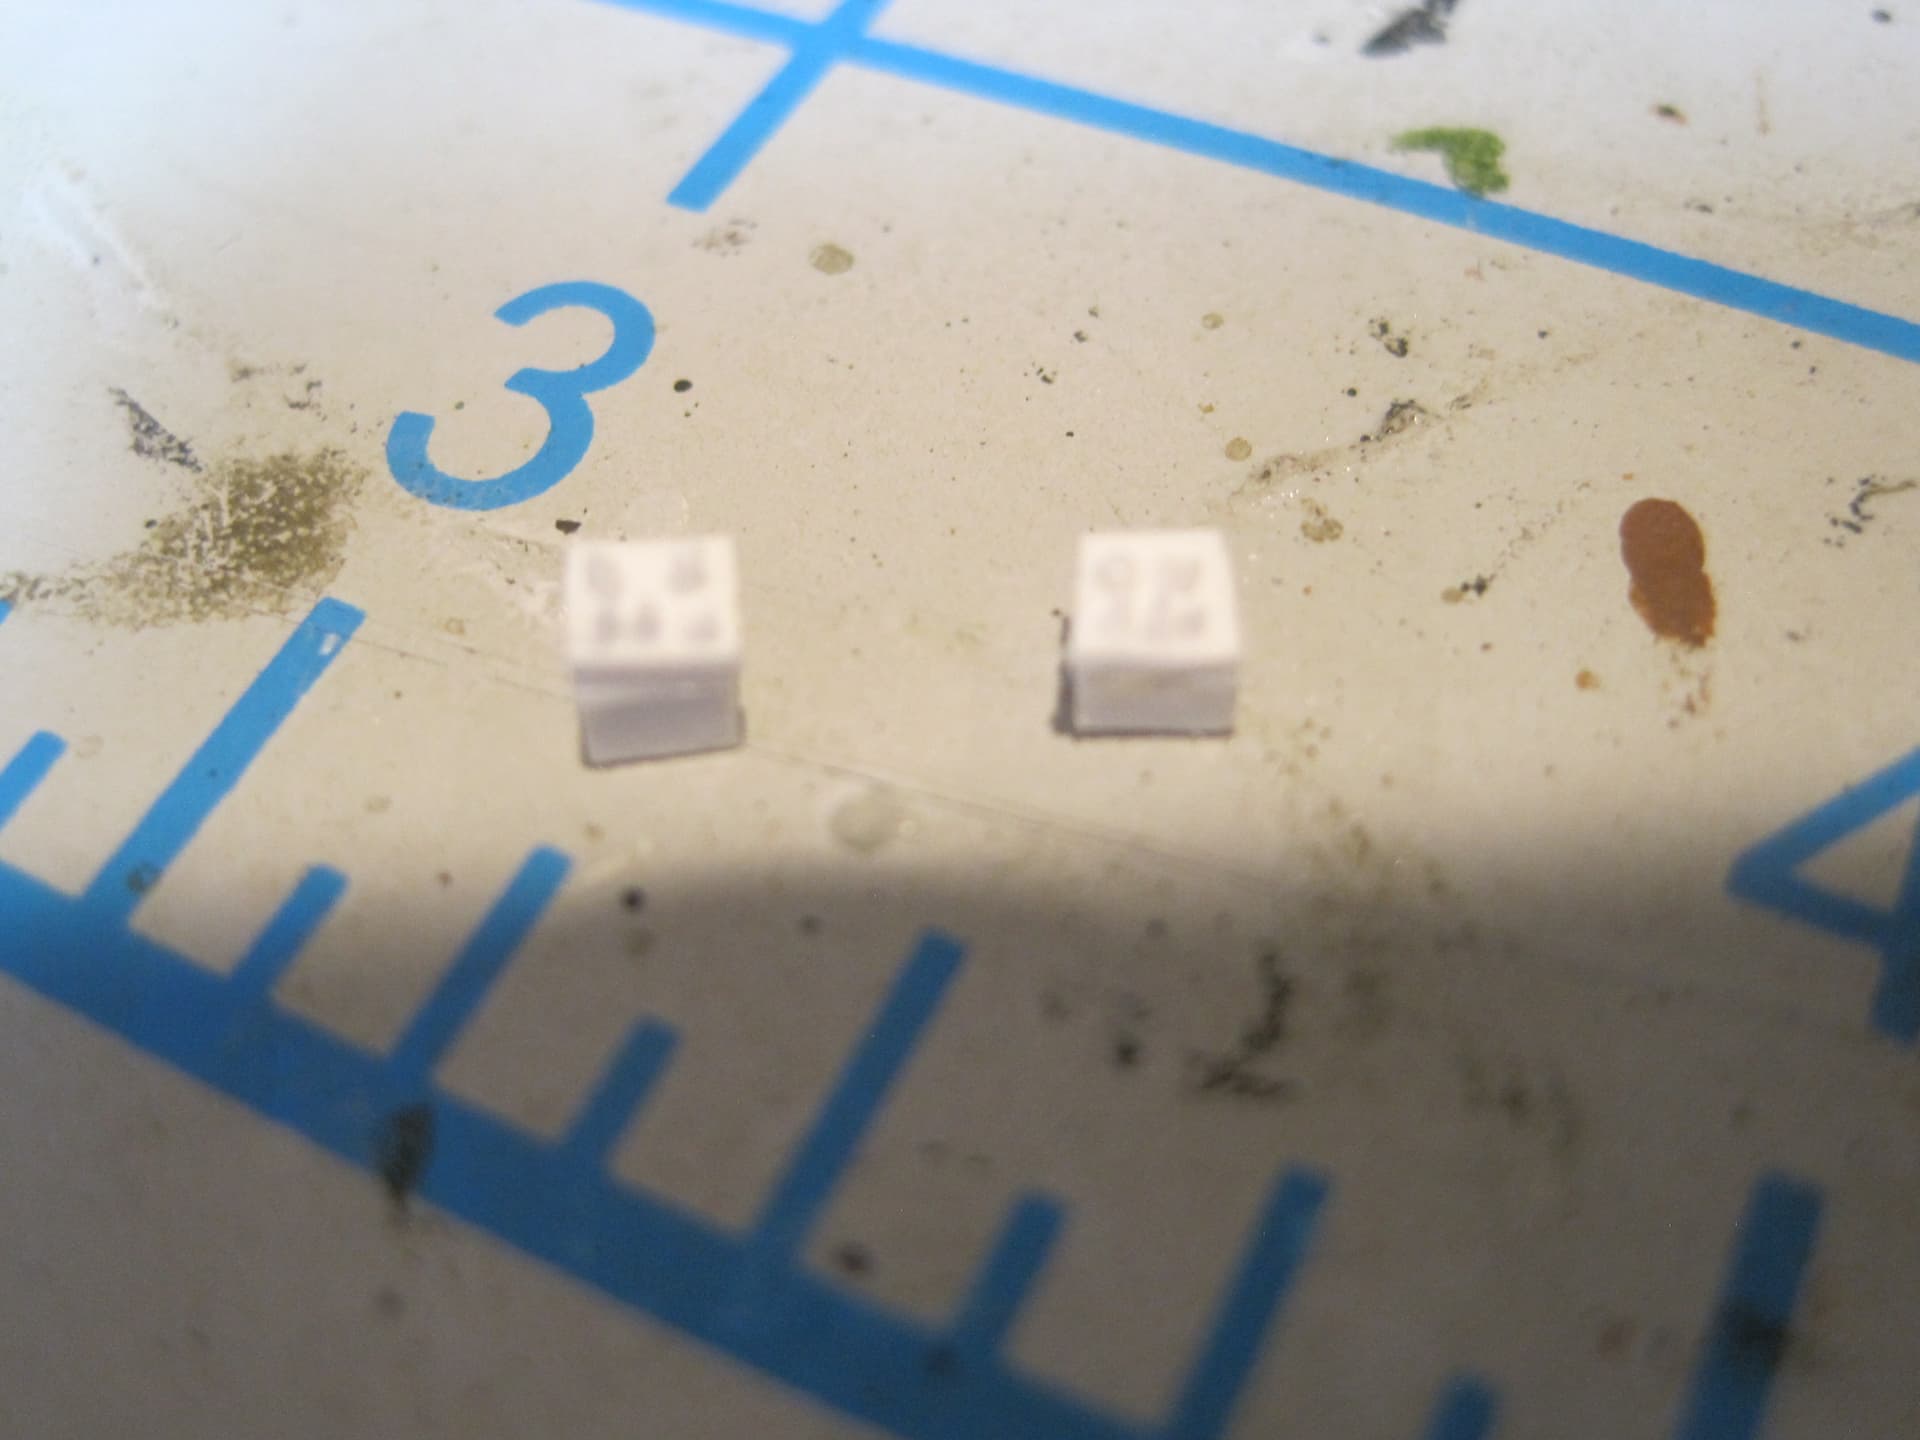
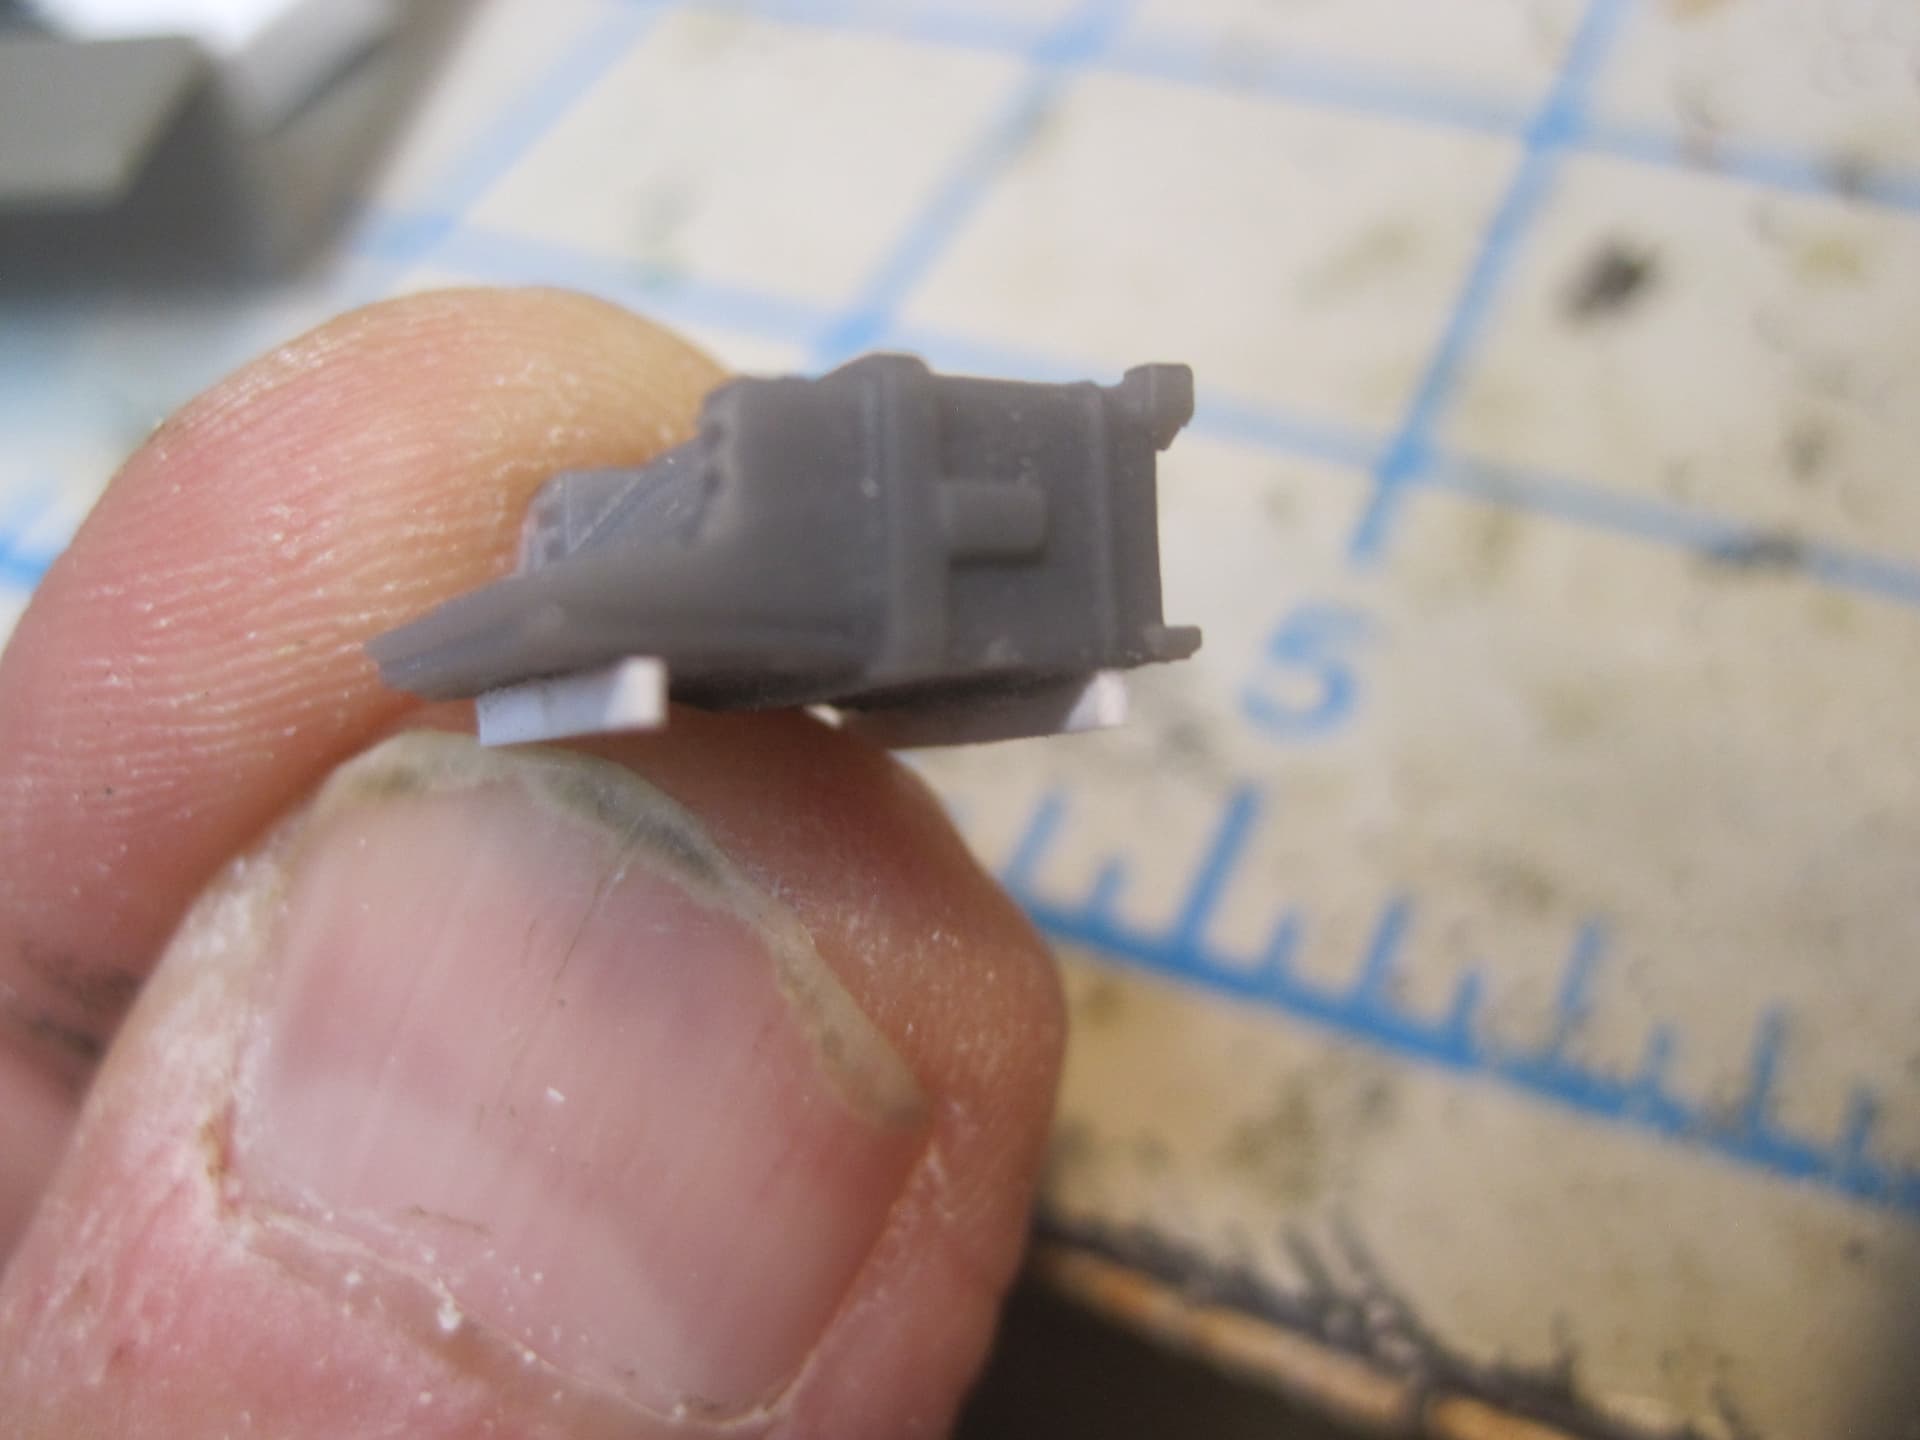
So here are the 3D parts we made.
3 Likes
On refection, you’re probably right. Will think on it.
Like what you’ve done with the 3D, wish I’d had that when I scratch built my Simfire units.
Mal
I actually made pretty good progress this weekend on the scratch building. I still have a couple of pieces to build, but so far I think that deciding to scratch build rather than model and print is the right idea.
Each piece, even the ones I 3-D printed needs additional work, whether it’s some filling out, or some mounting details, and I still have to do final paint, So here goes:
- AM-3349 Amplifier - This needs a piece added on the top which is some reference information on antennas, as well as a body and some feet.

2 RT-662 Radio Transmitter- again adding a body and some feet as well as a mounting base.

-
SA-1555 Switchbox. This one was scratched.
-
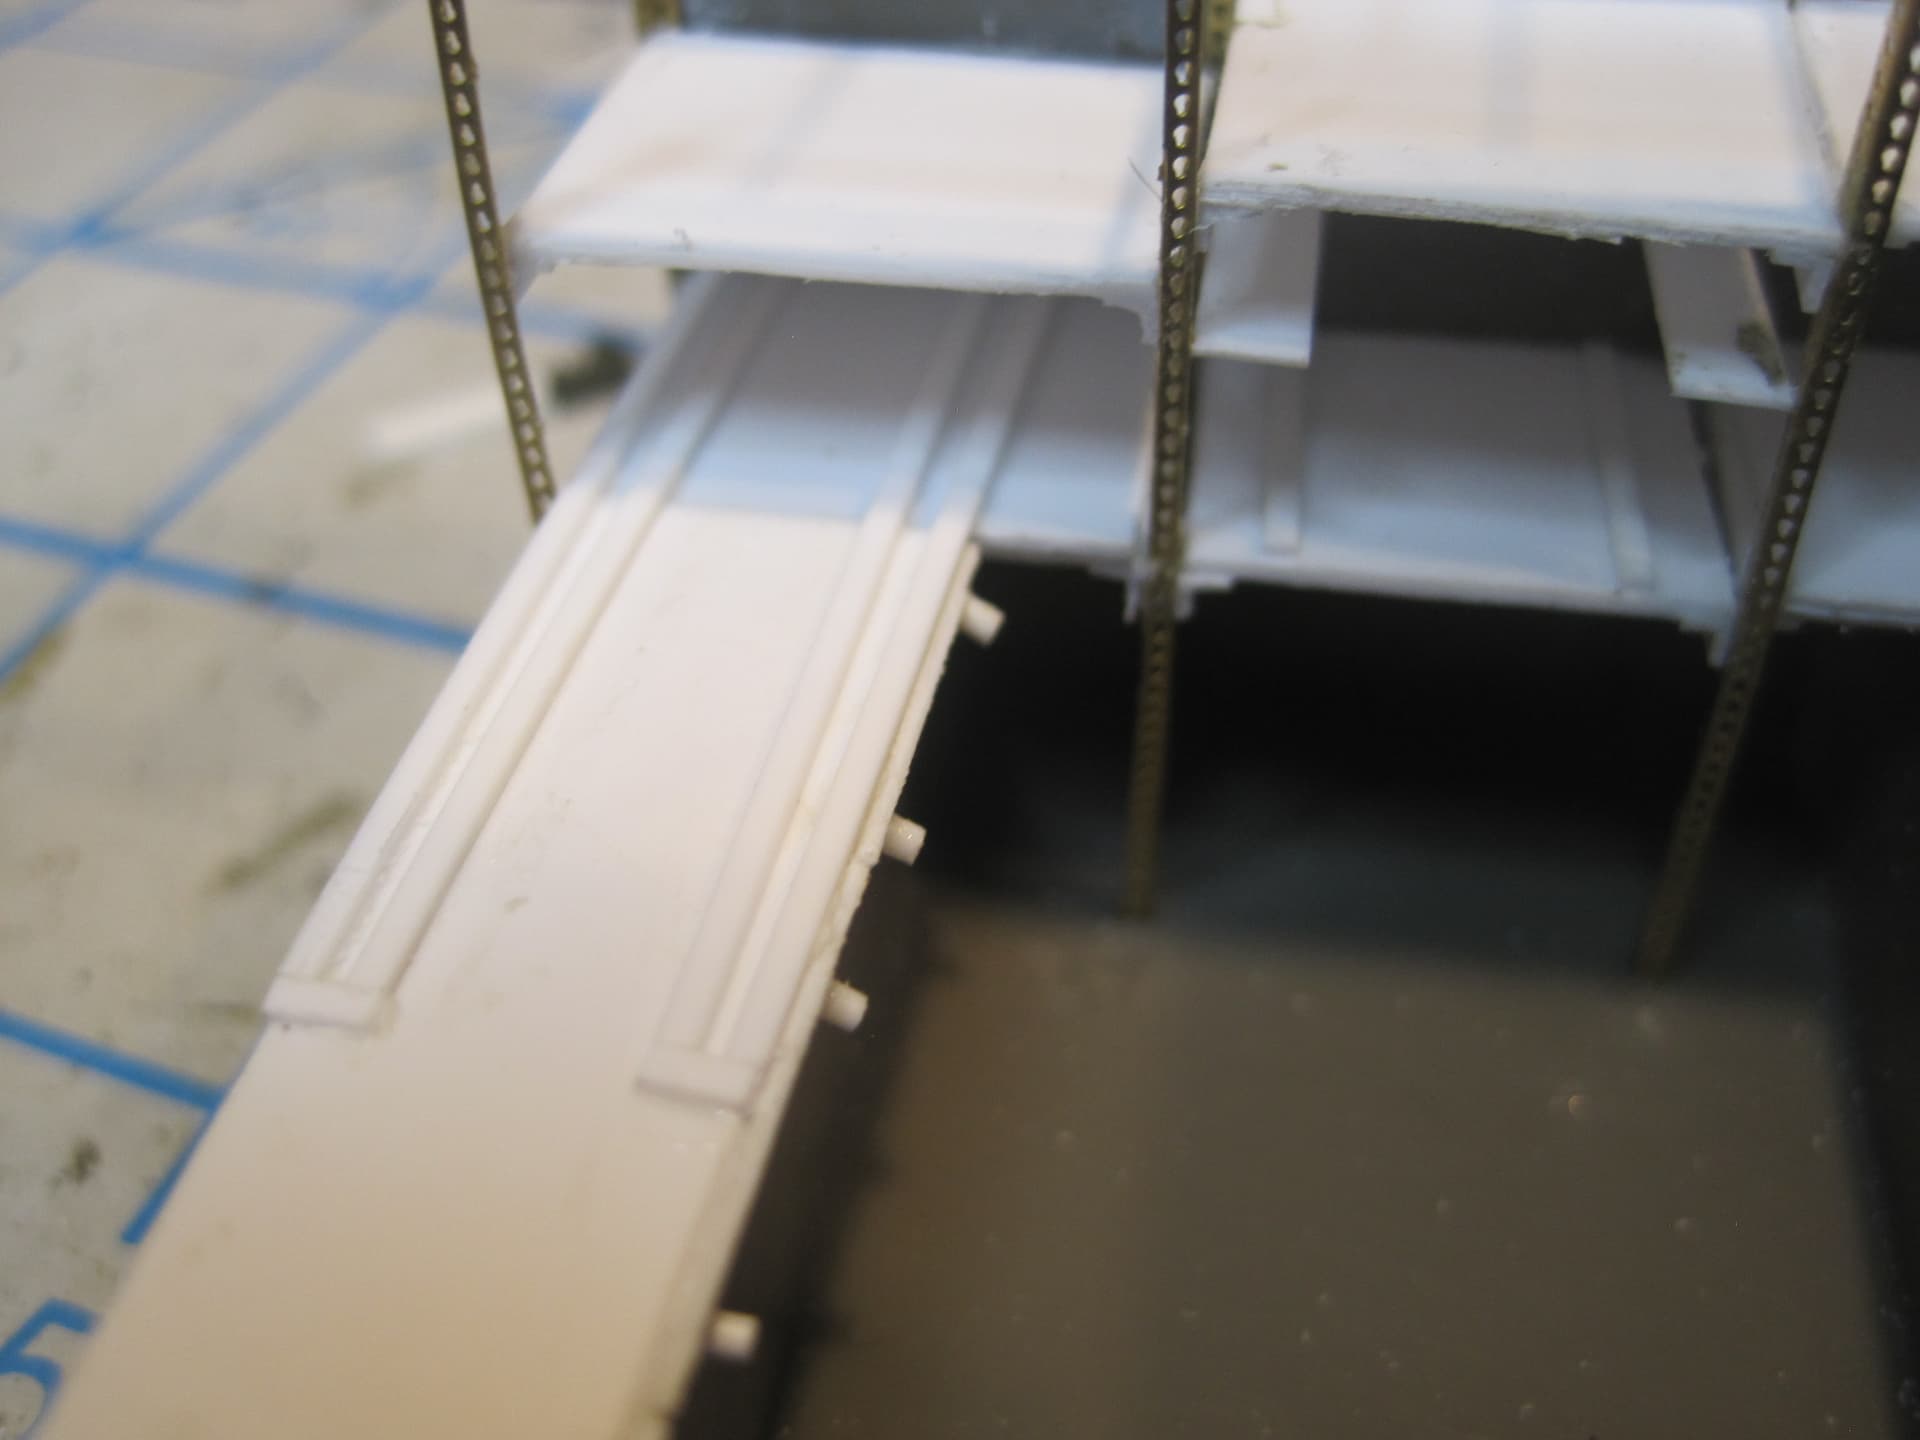
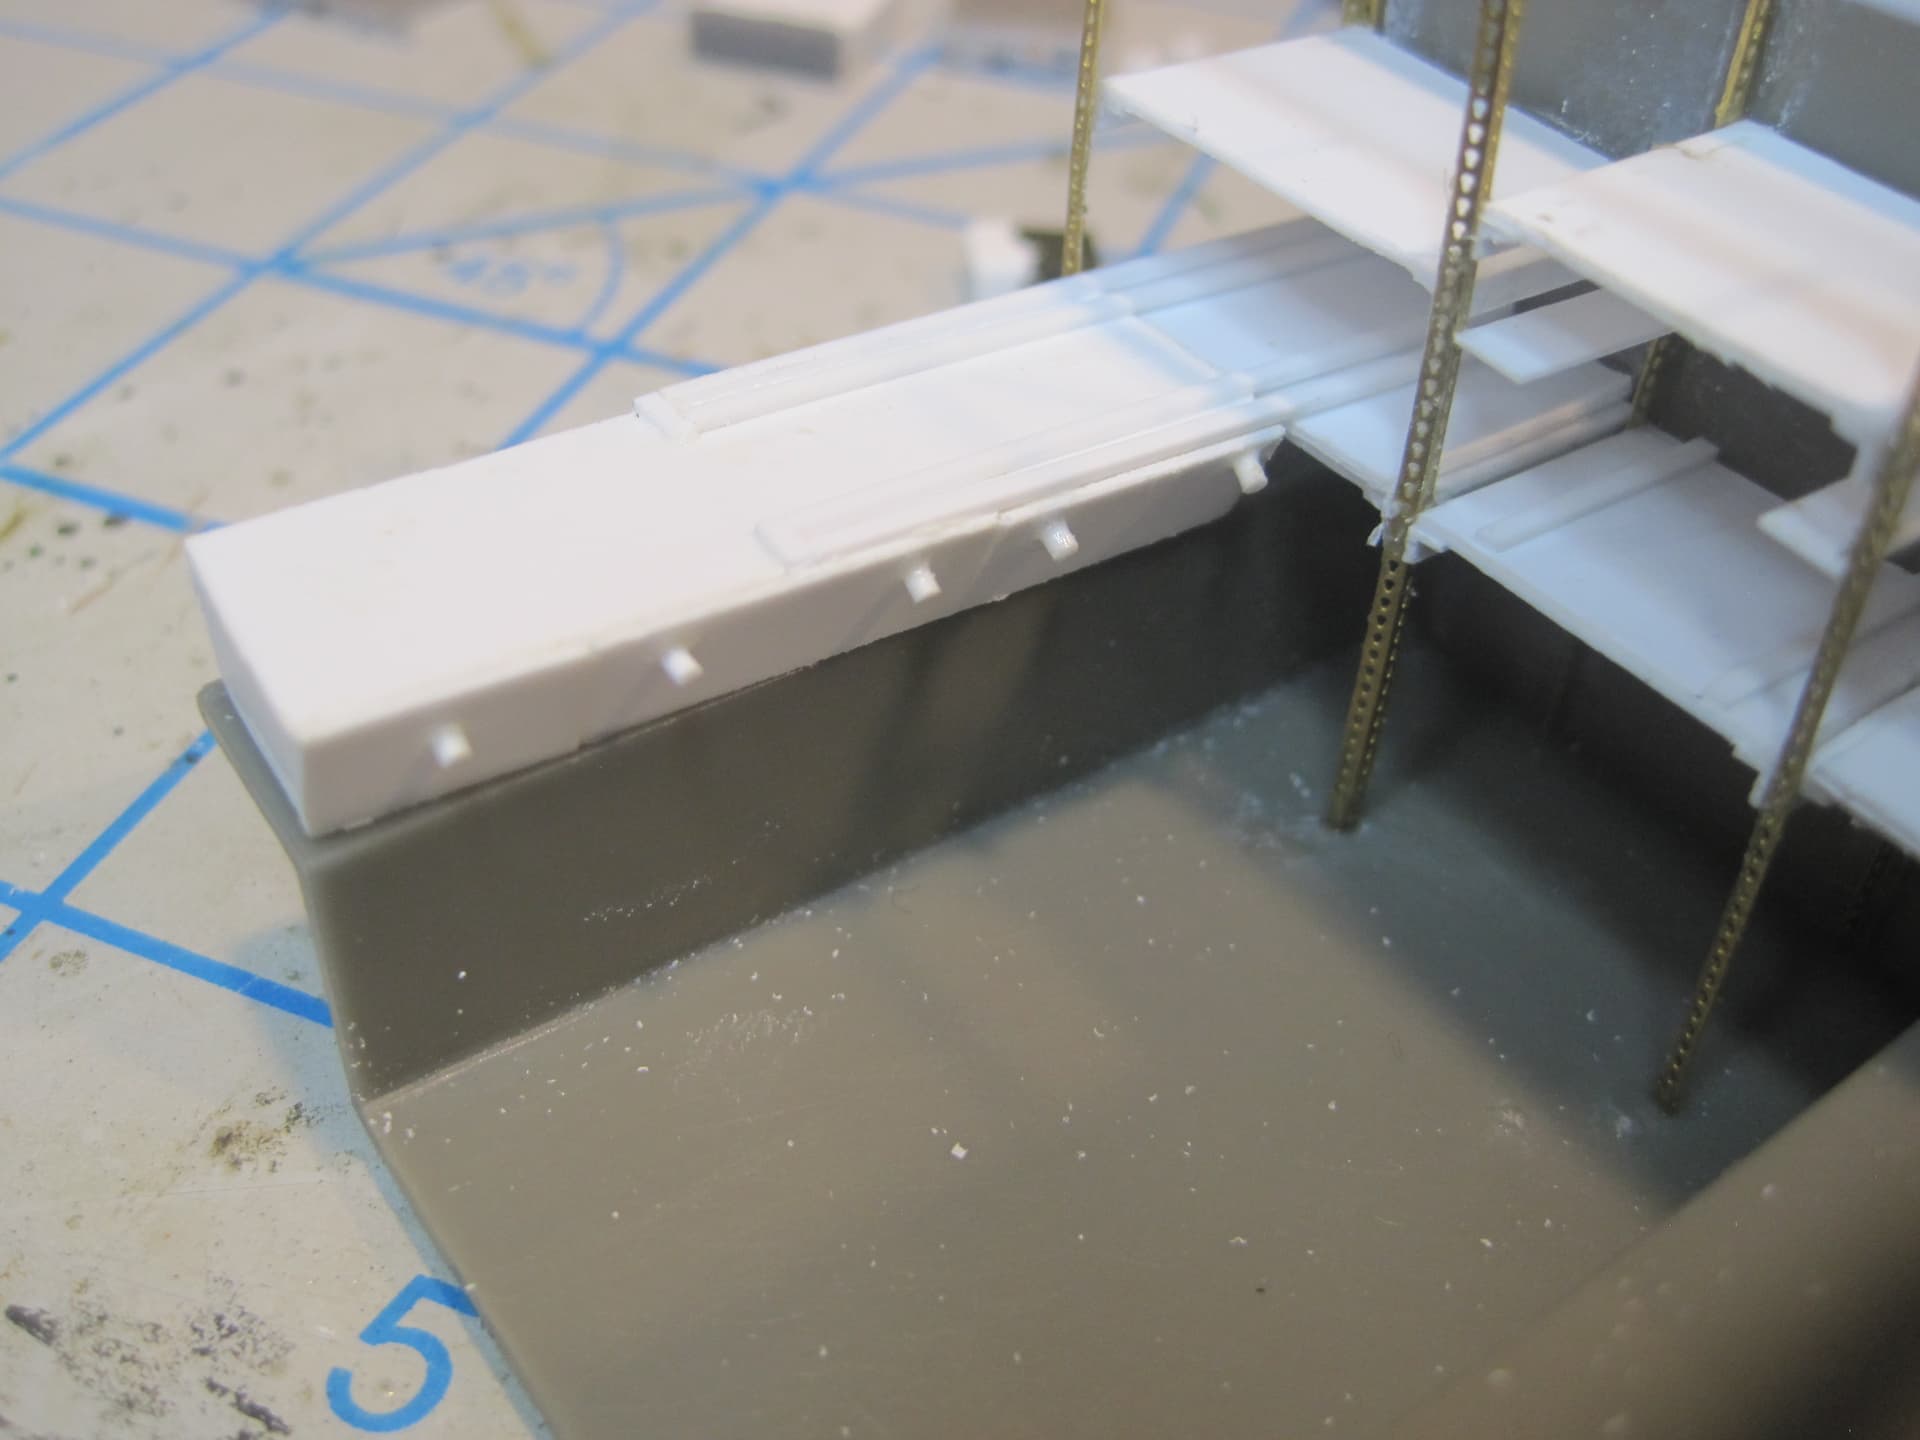
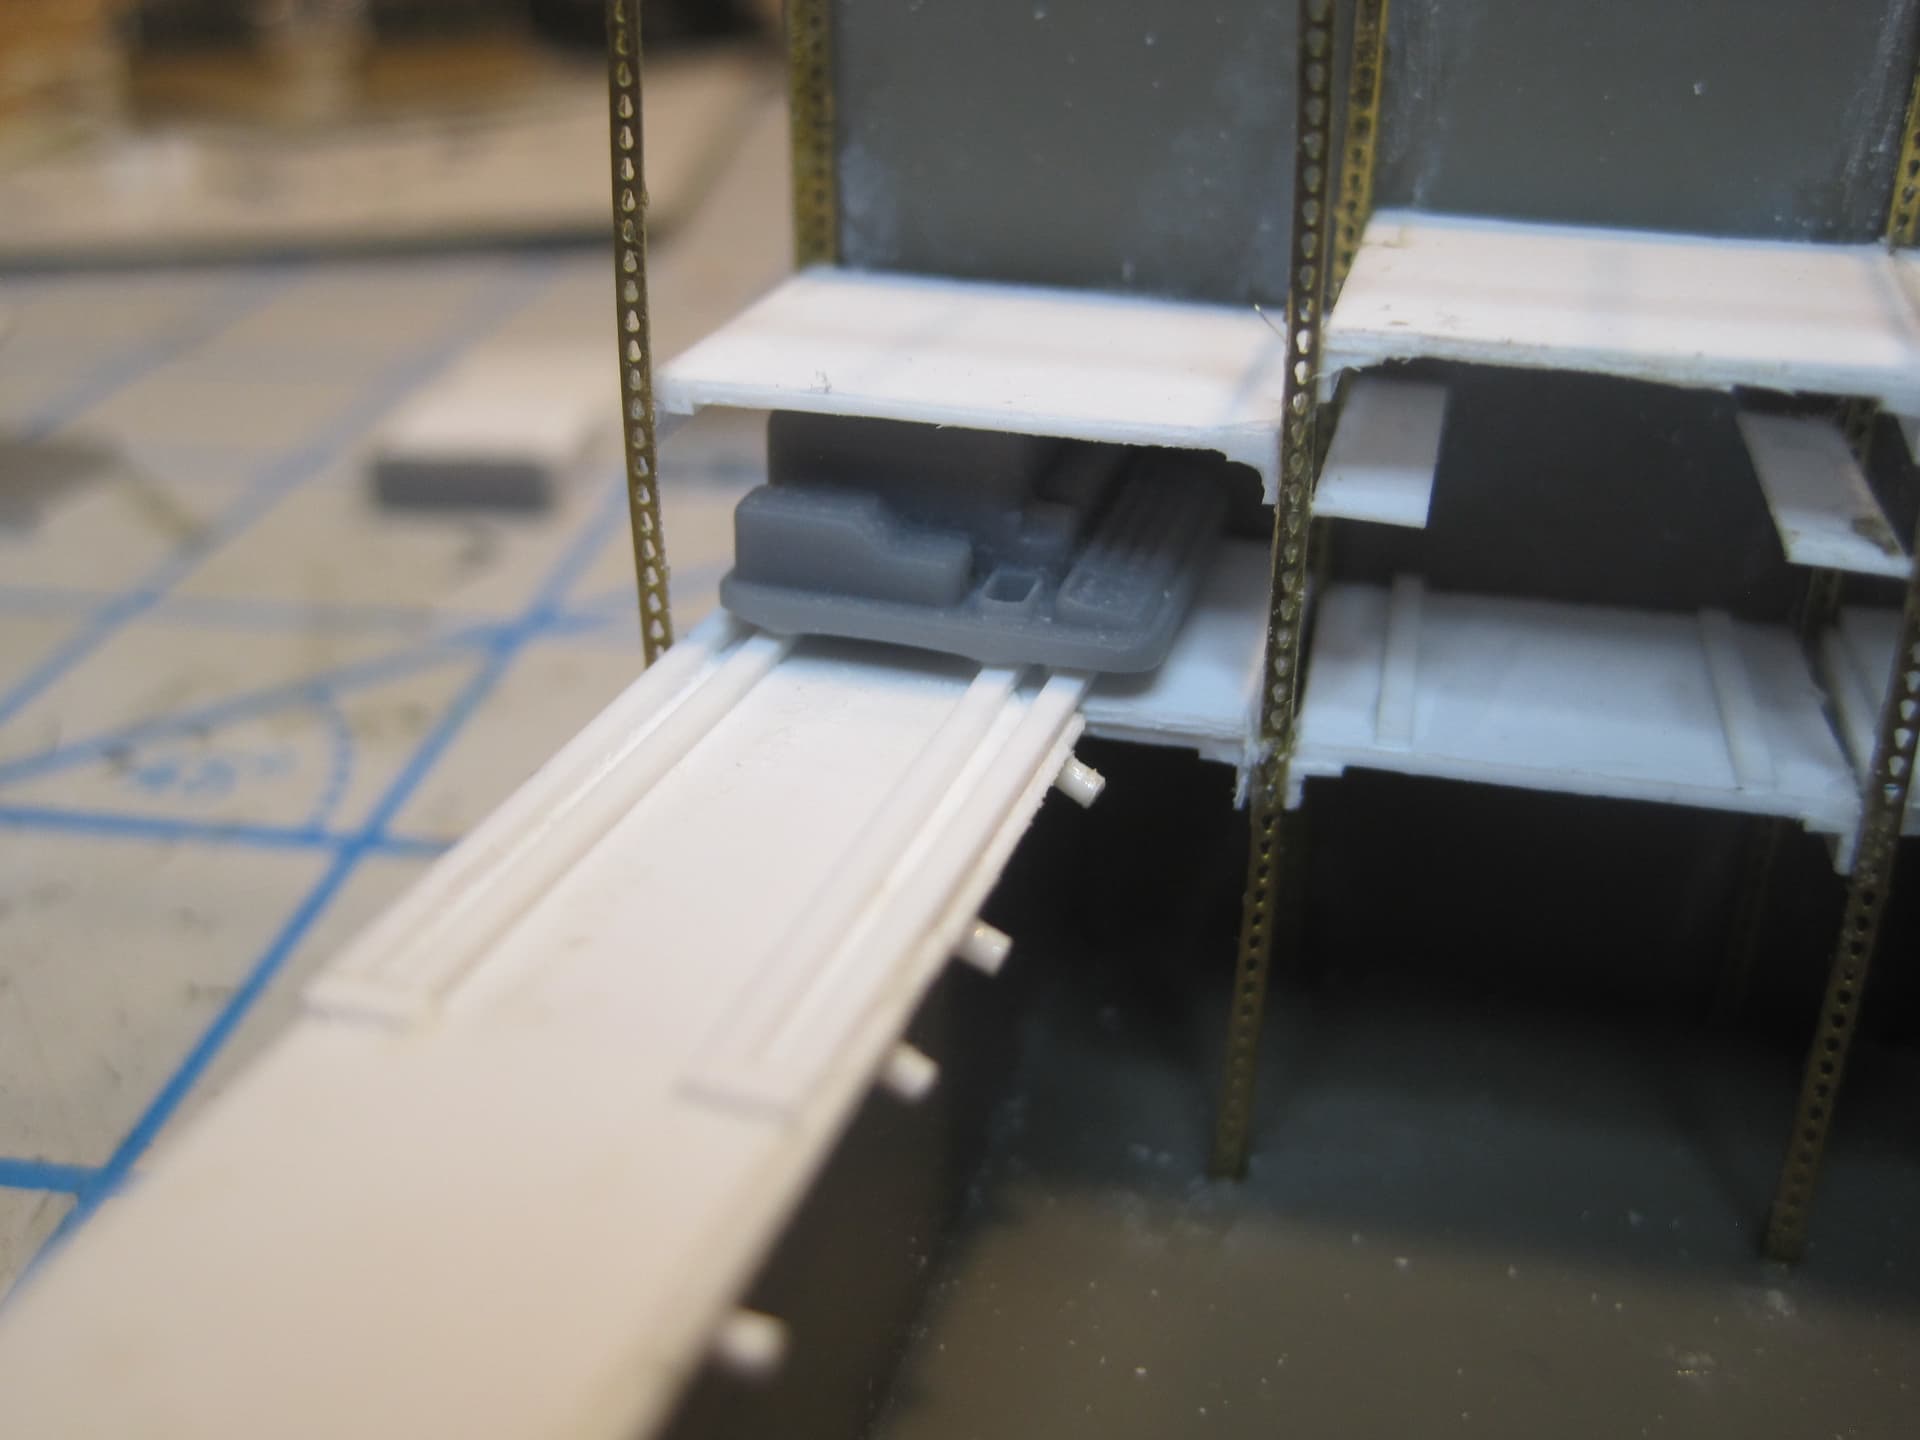
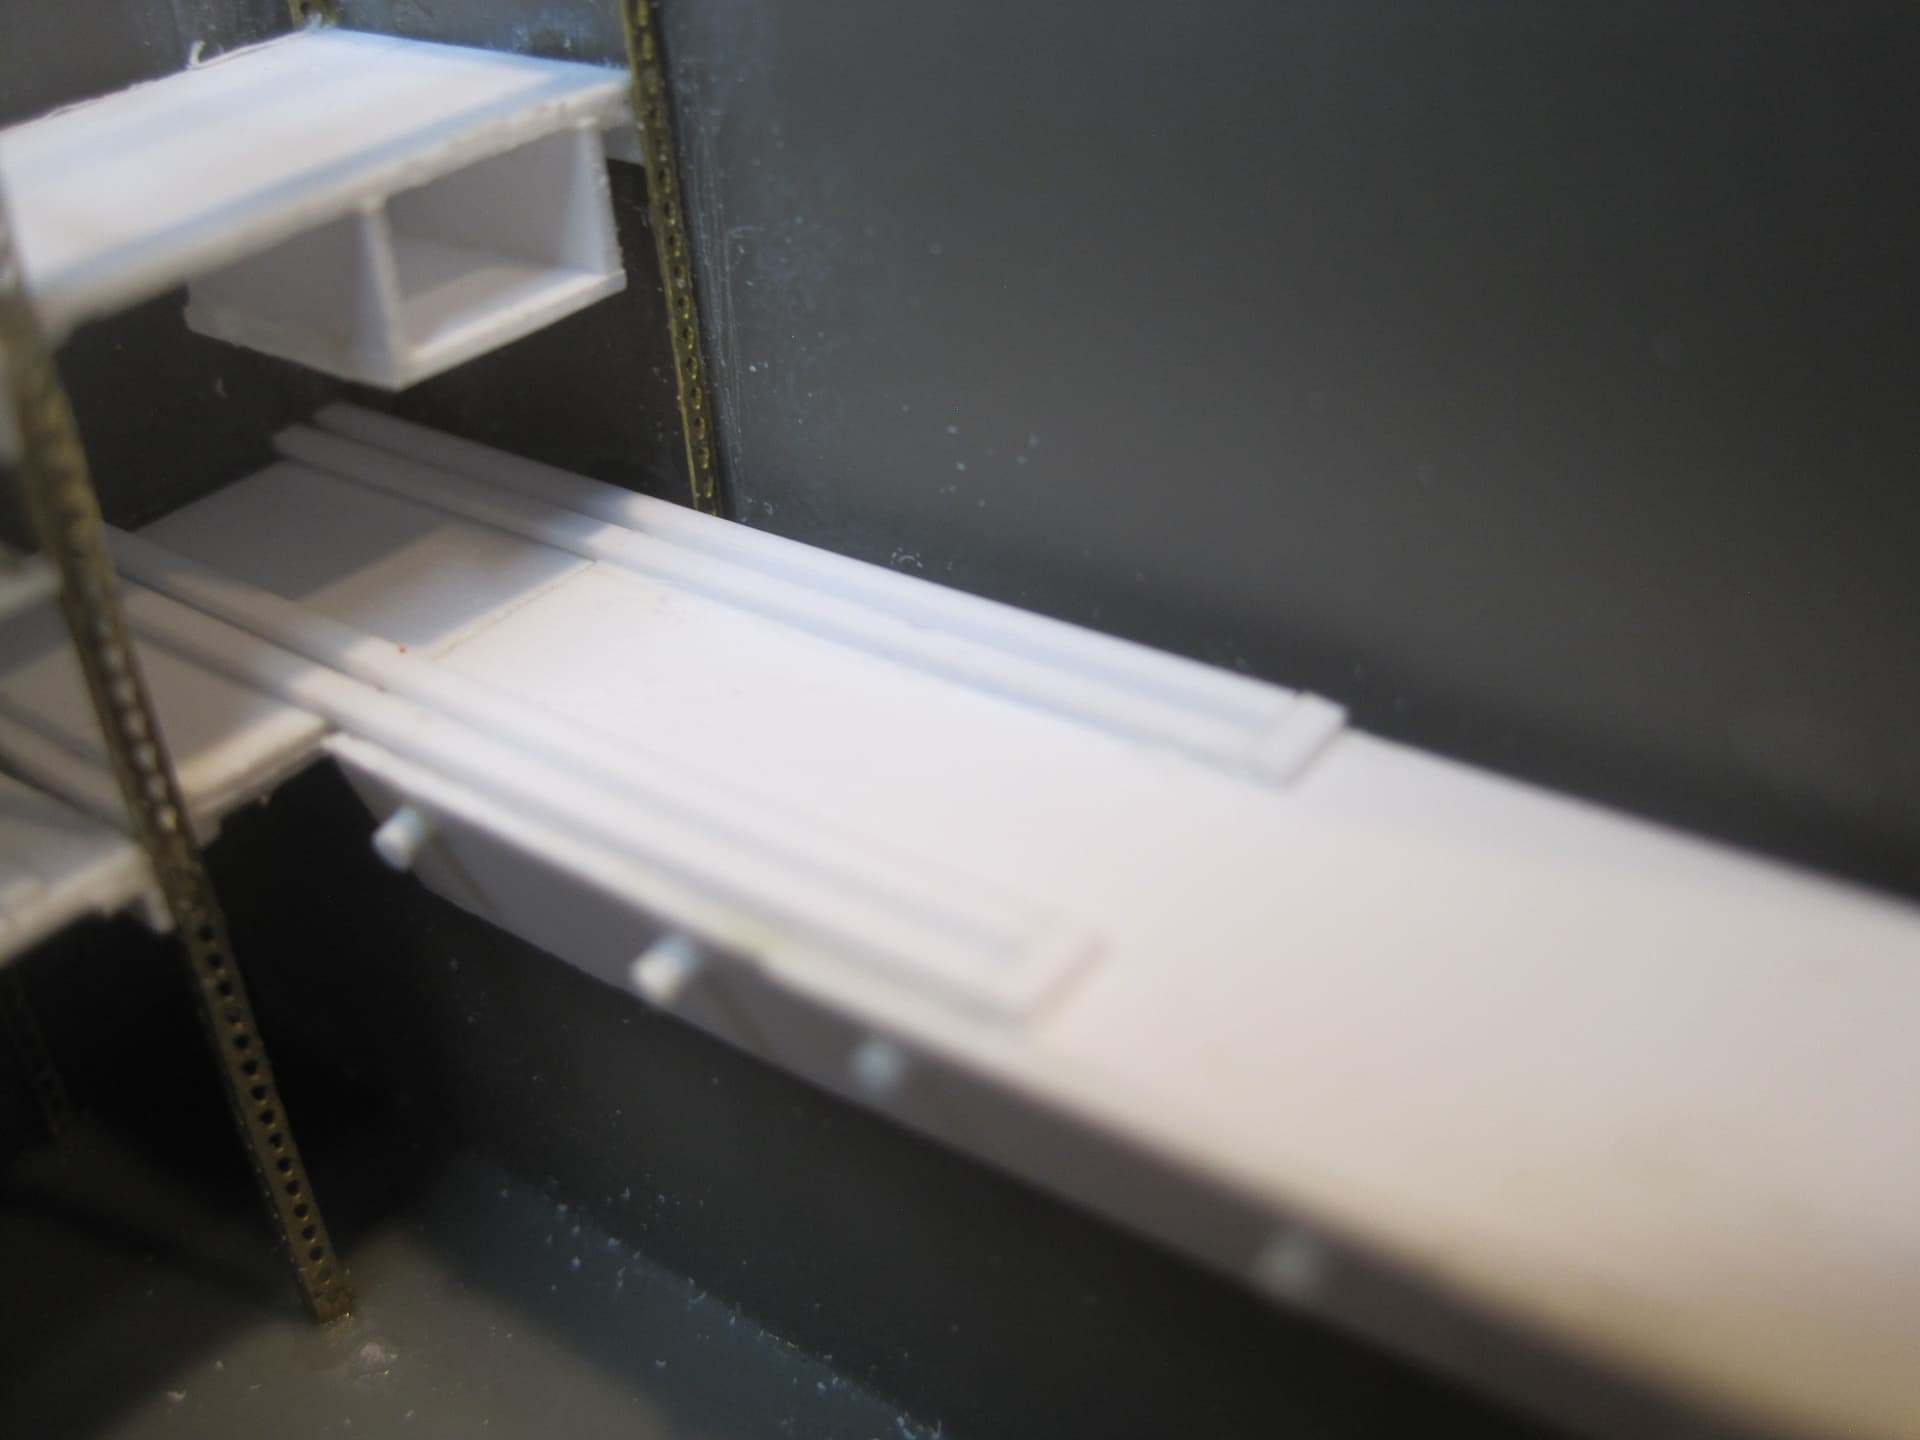
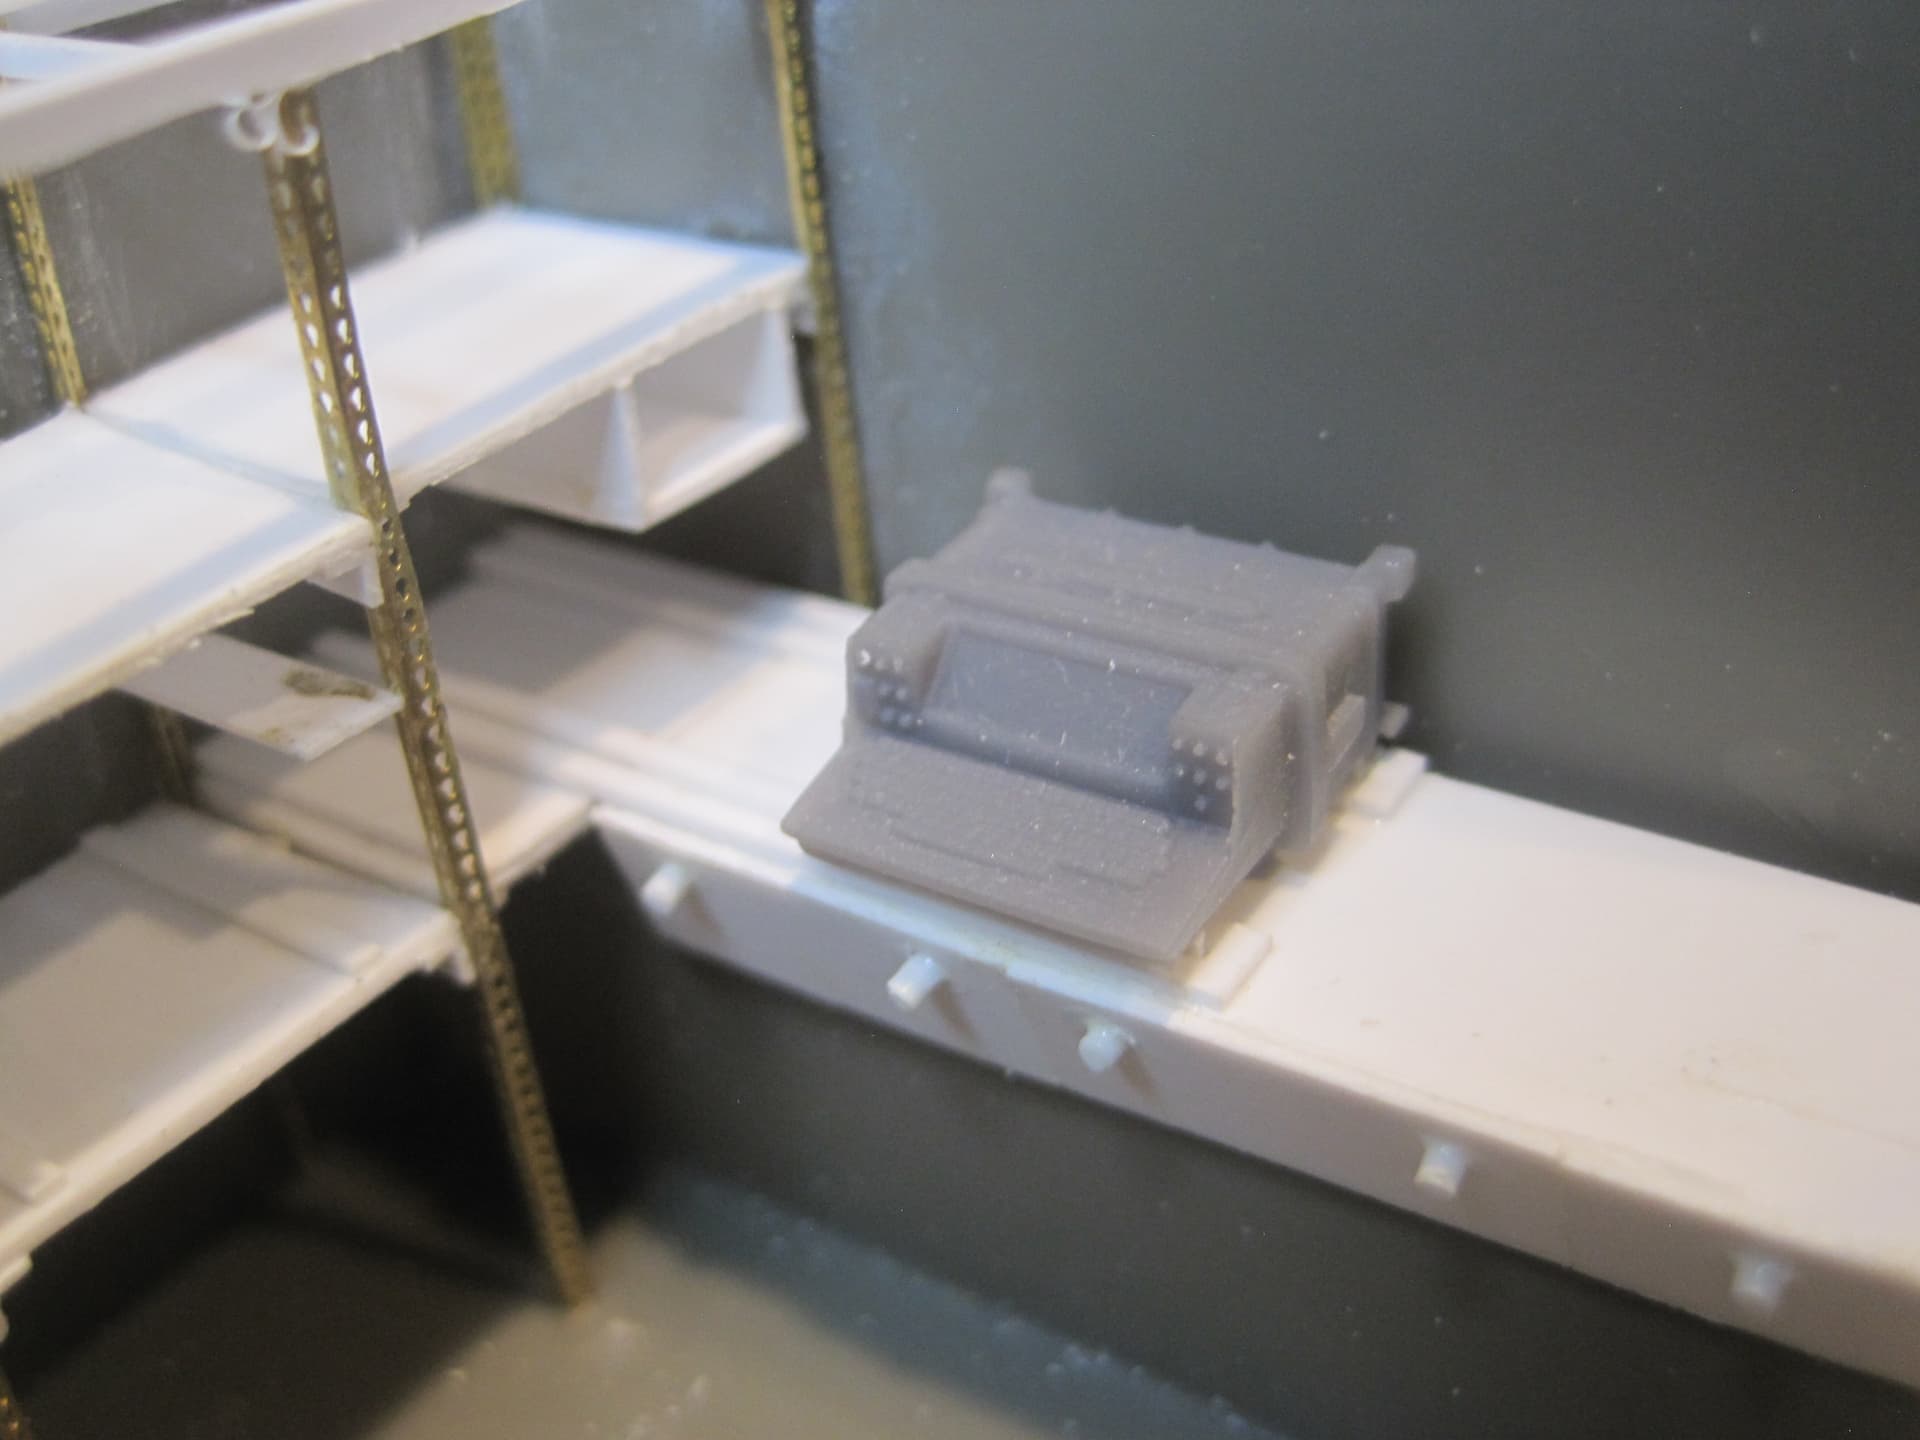
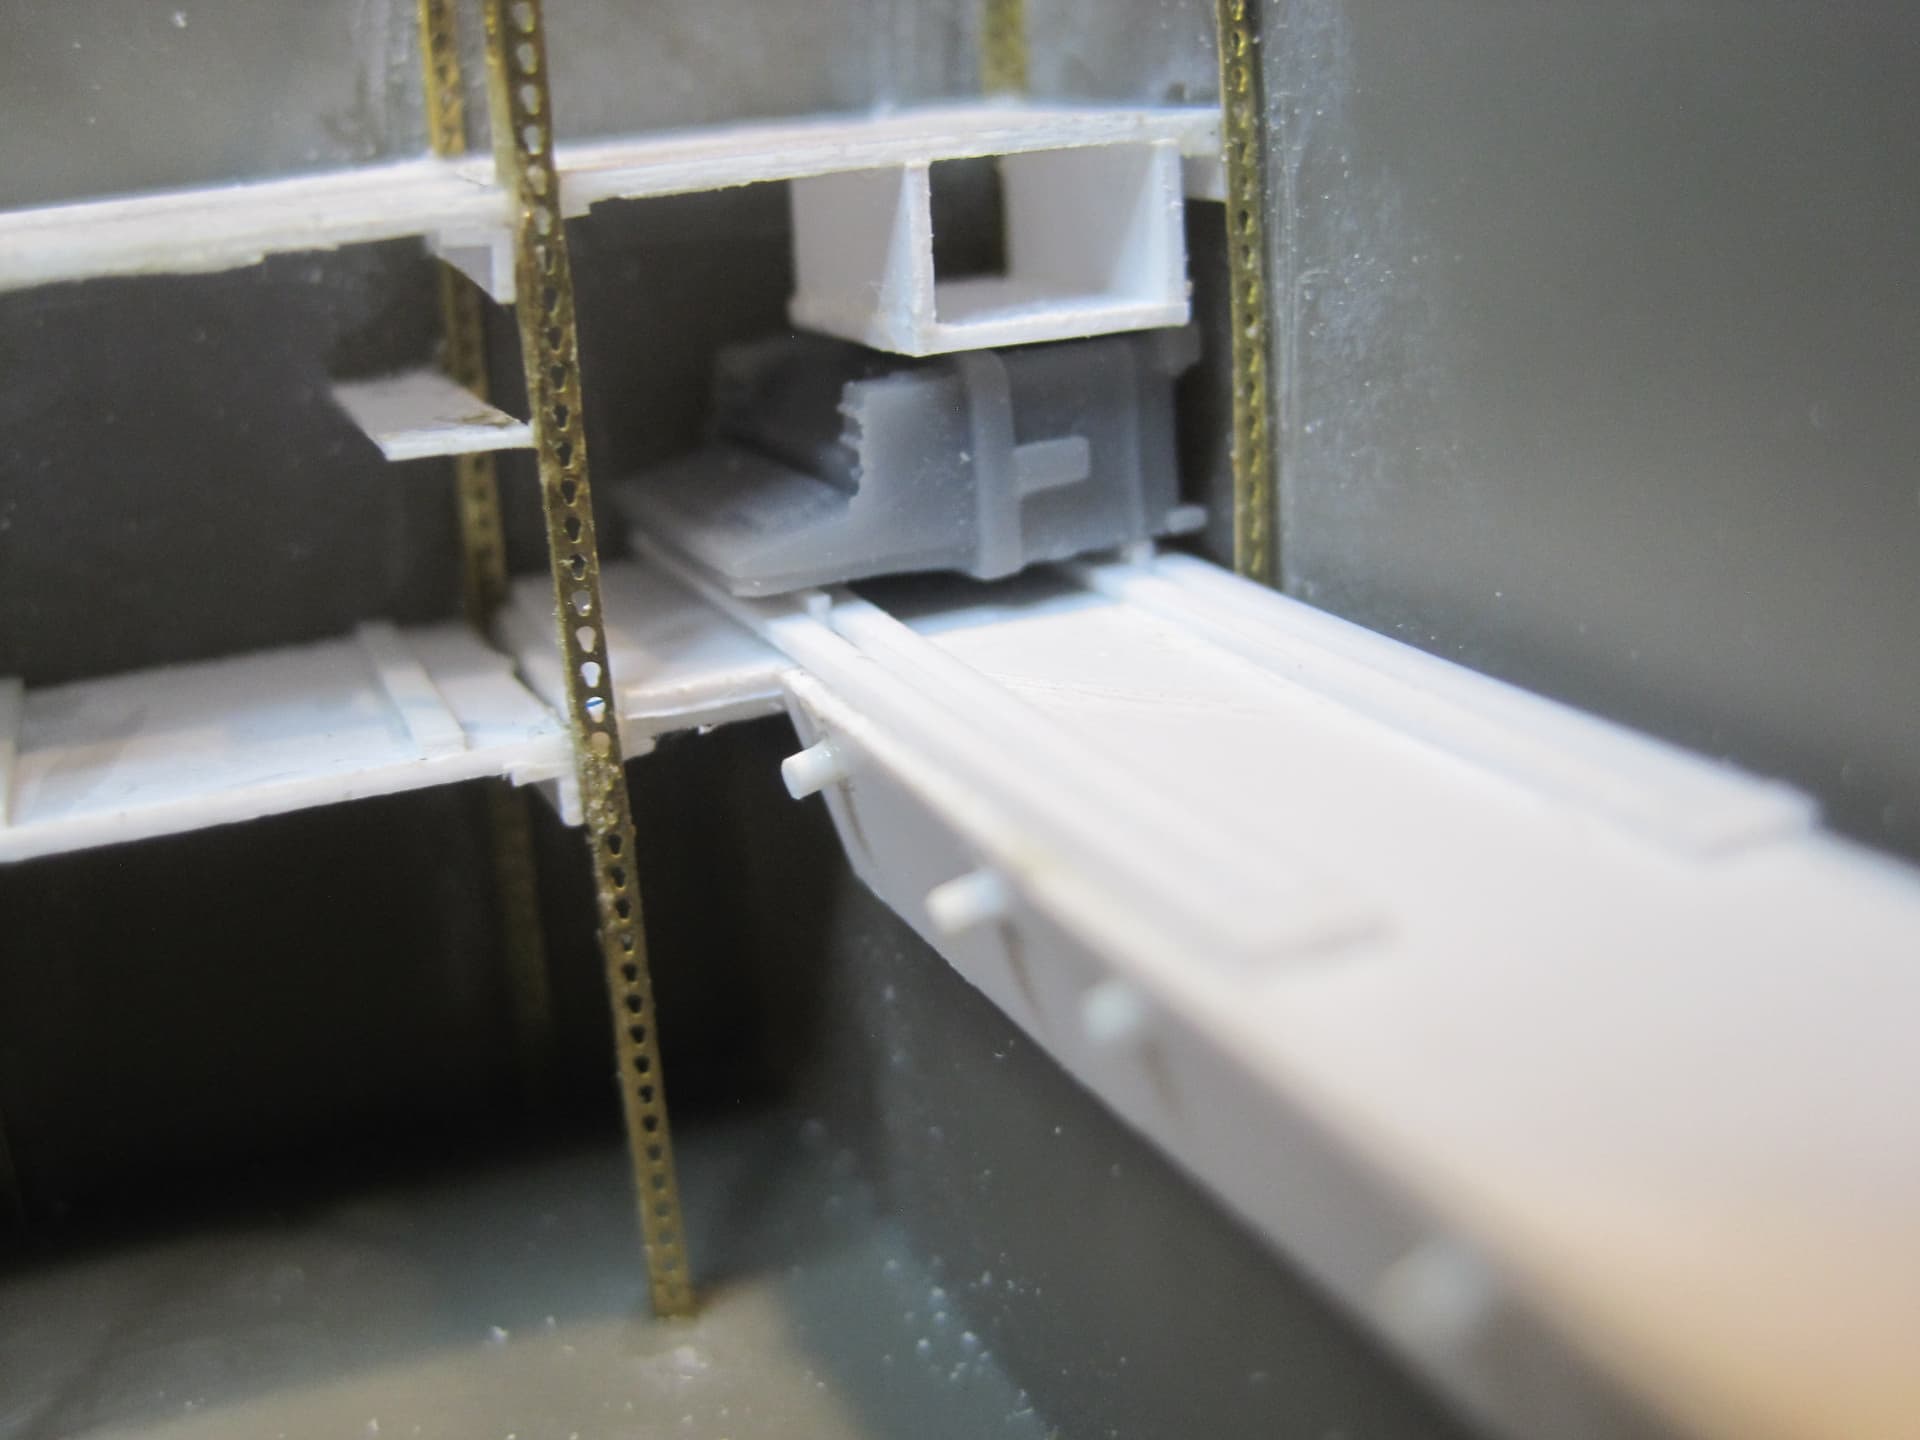
TT-76A Teletypewriter. This goes on the counter on the left side of the shelter and has a track on which it slides and goes into the shelf unit. I had previously made the two counters and so I added two tracks (on each side) and simply glued a strip on the bottom of the teletypewriter so it slides in the tracks.

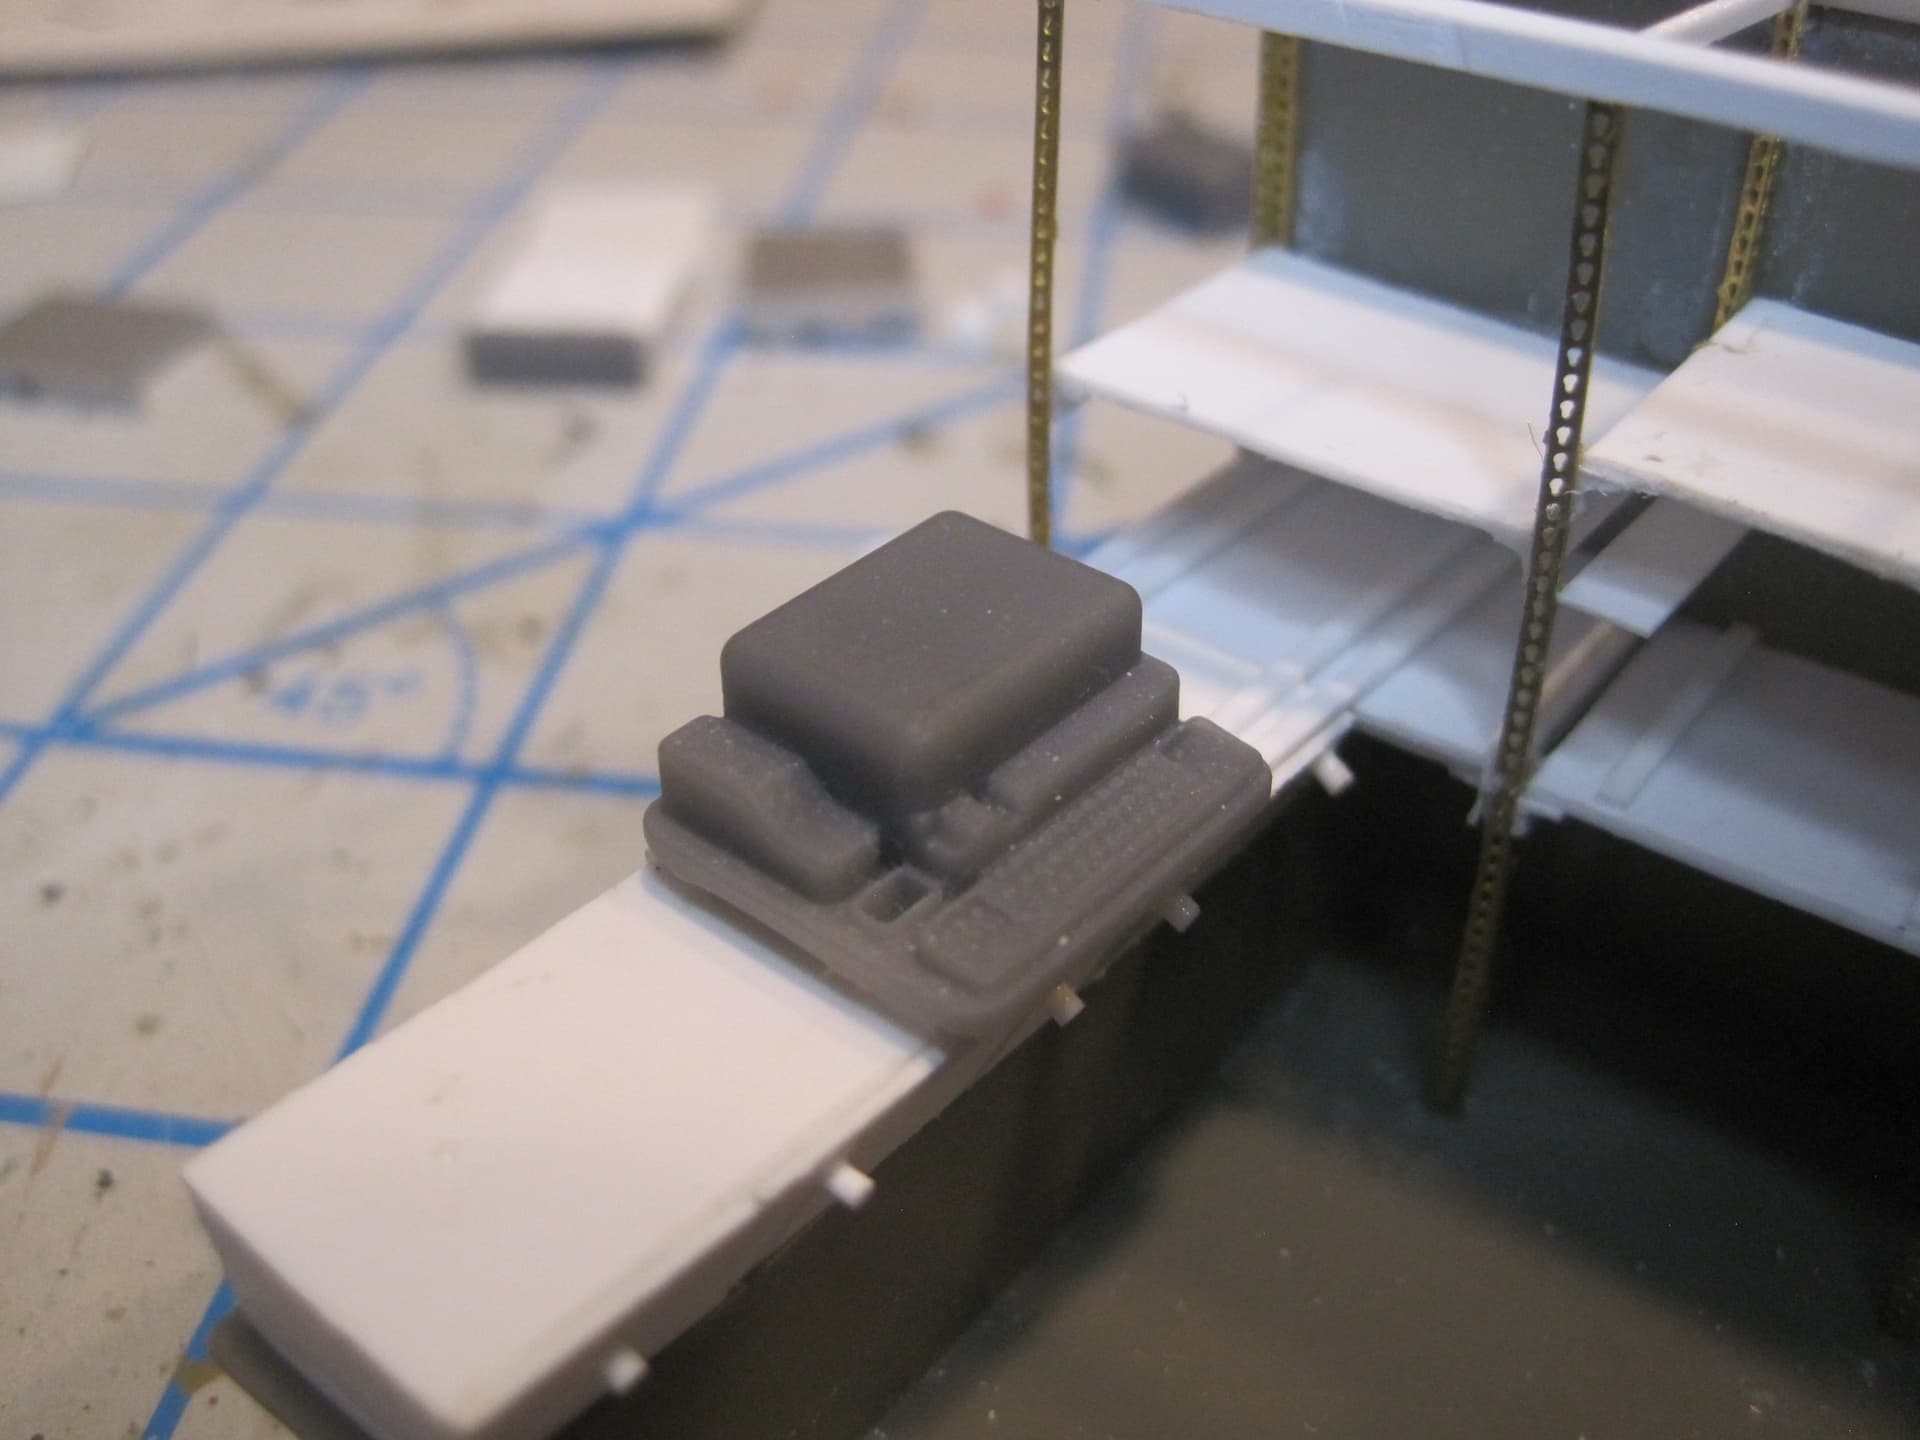
5.MD-522 Modem - again adding a body and some mounting feet, as well as a base.
-
SA-1554 Switch Assembly - scratch built
-
J-7228 Interconnection Box(es) 2 each- scratched
-
AN UGC-74 Teletypewriter There are two of these. The first goes in the middle and slides out on a base, so I added some tracks and the base.

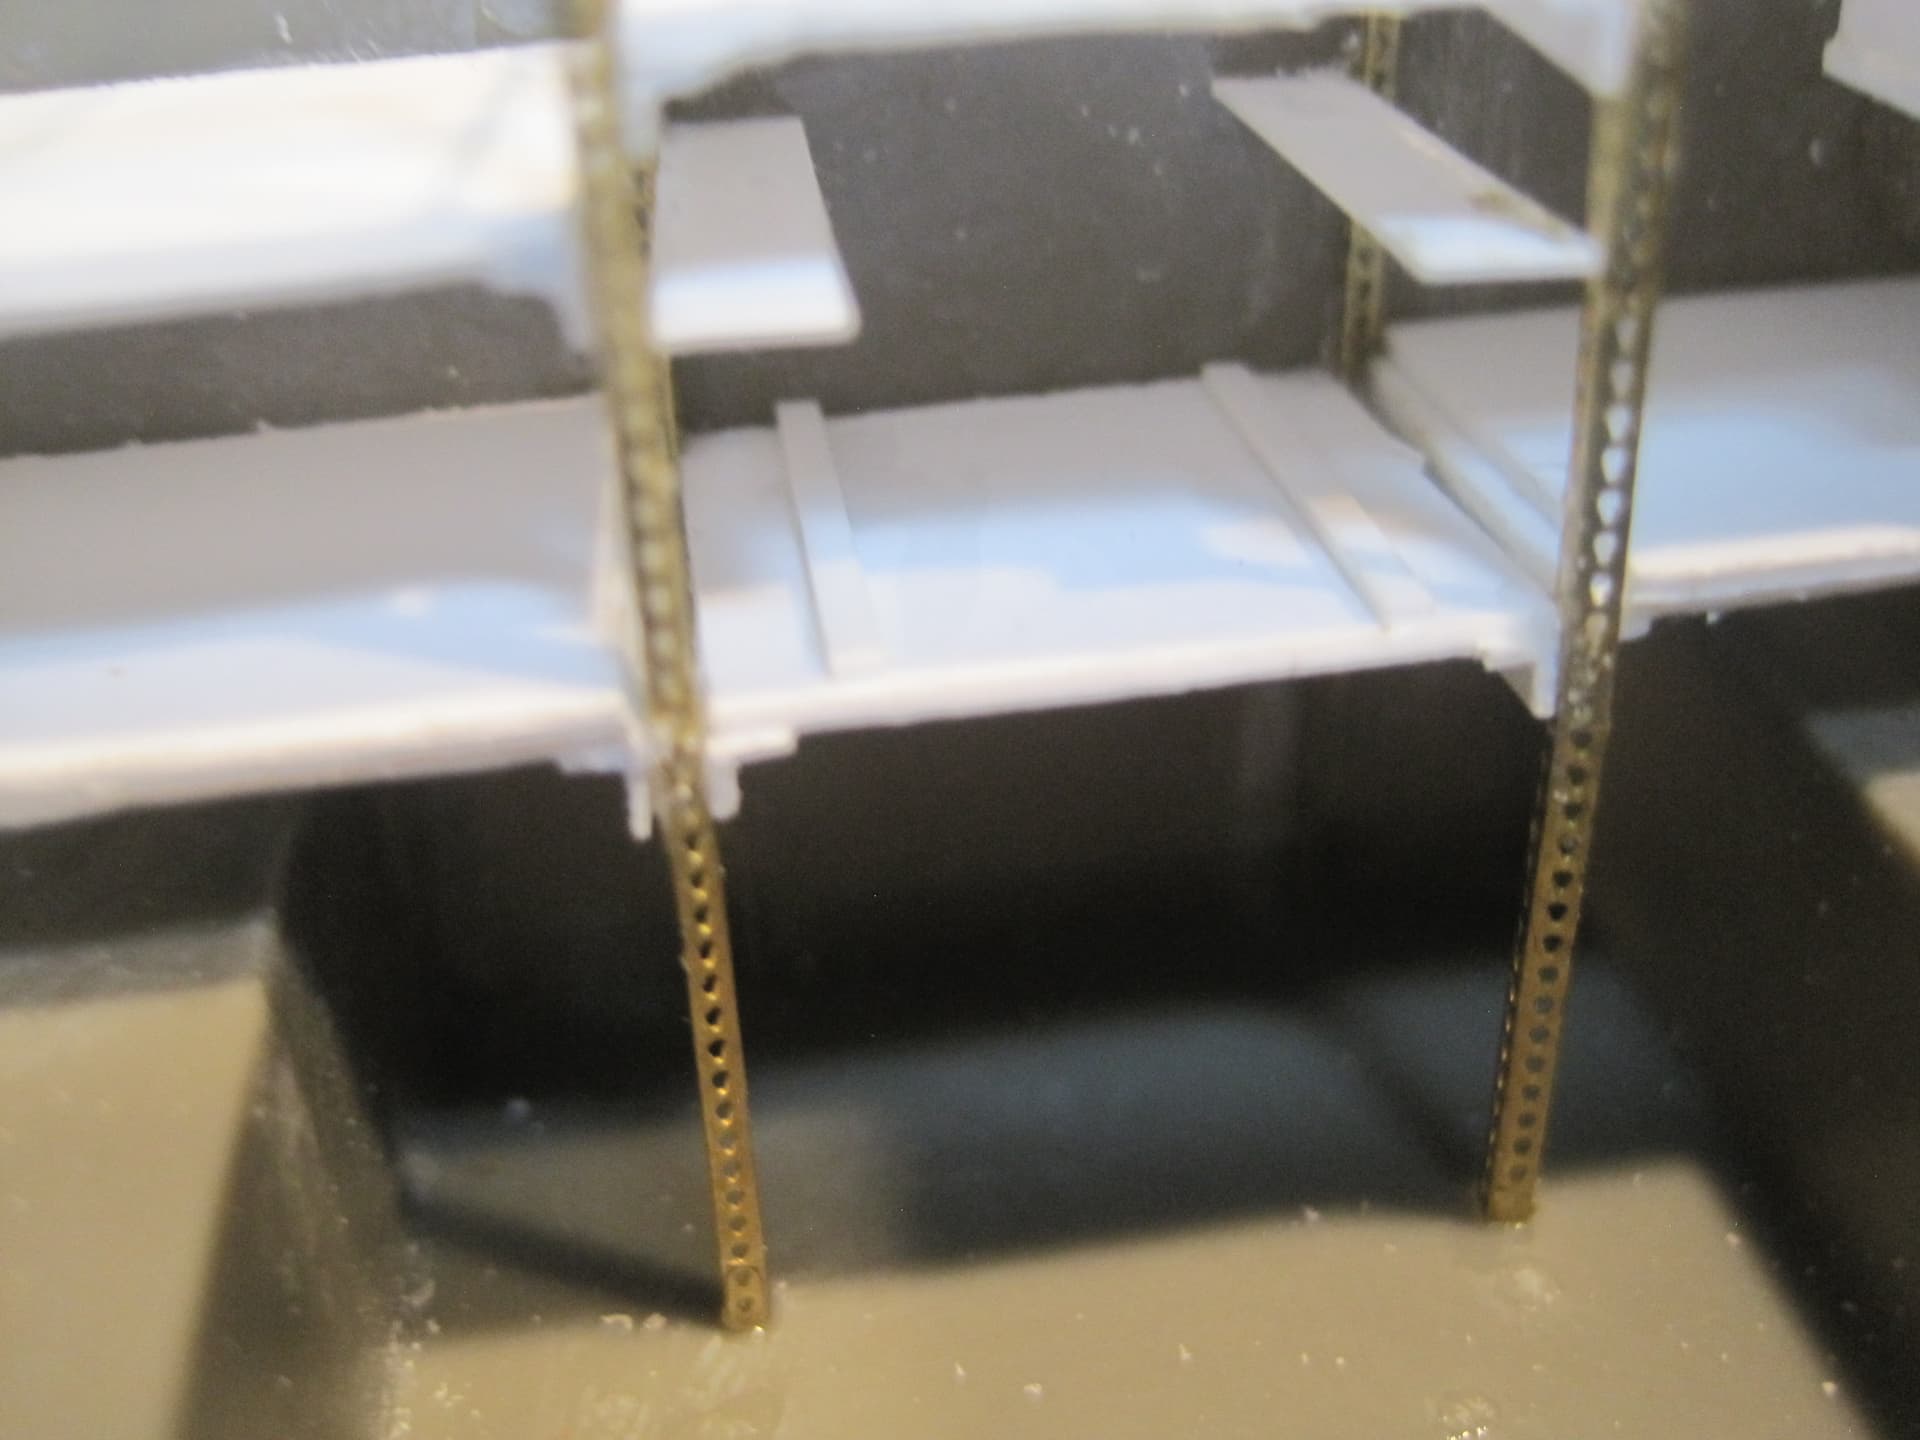

The second goes on the right hand counter and also slides into the front shelves so I added tracks on this side just like on the LH side.
9.J-2776 Distribution Box - This was scratched
10. PP-4763 DC Power Supply- again scratch built.
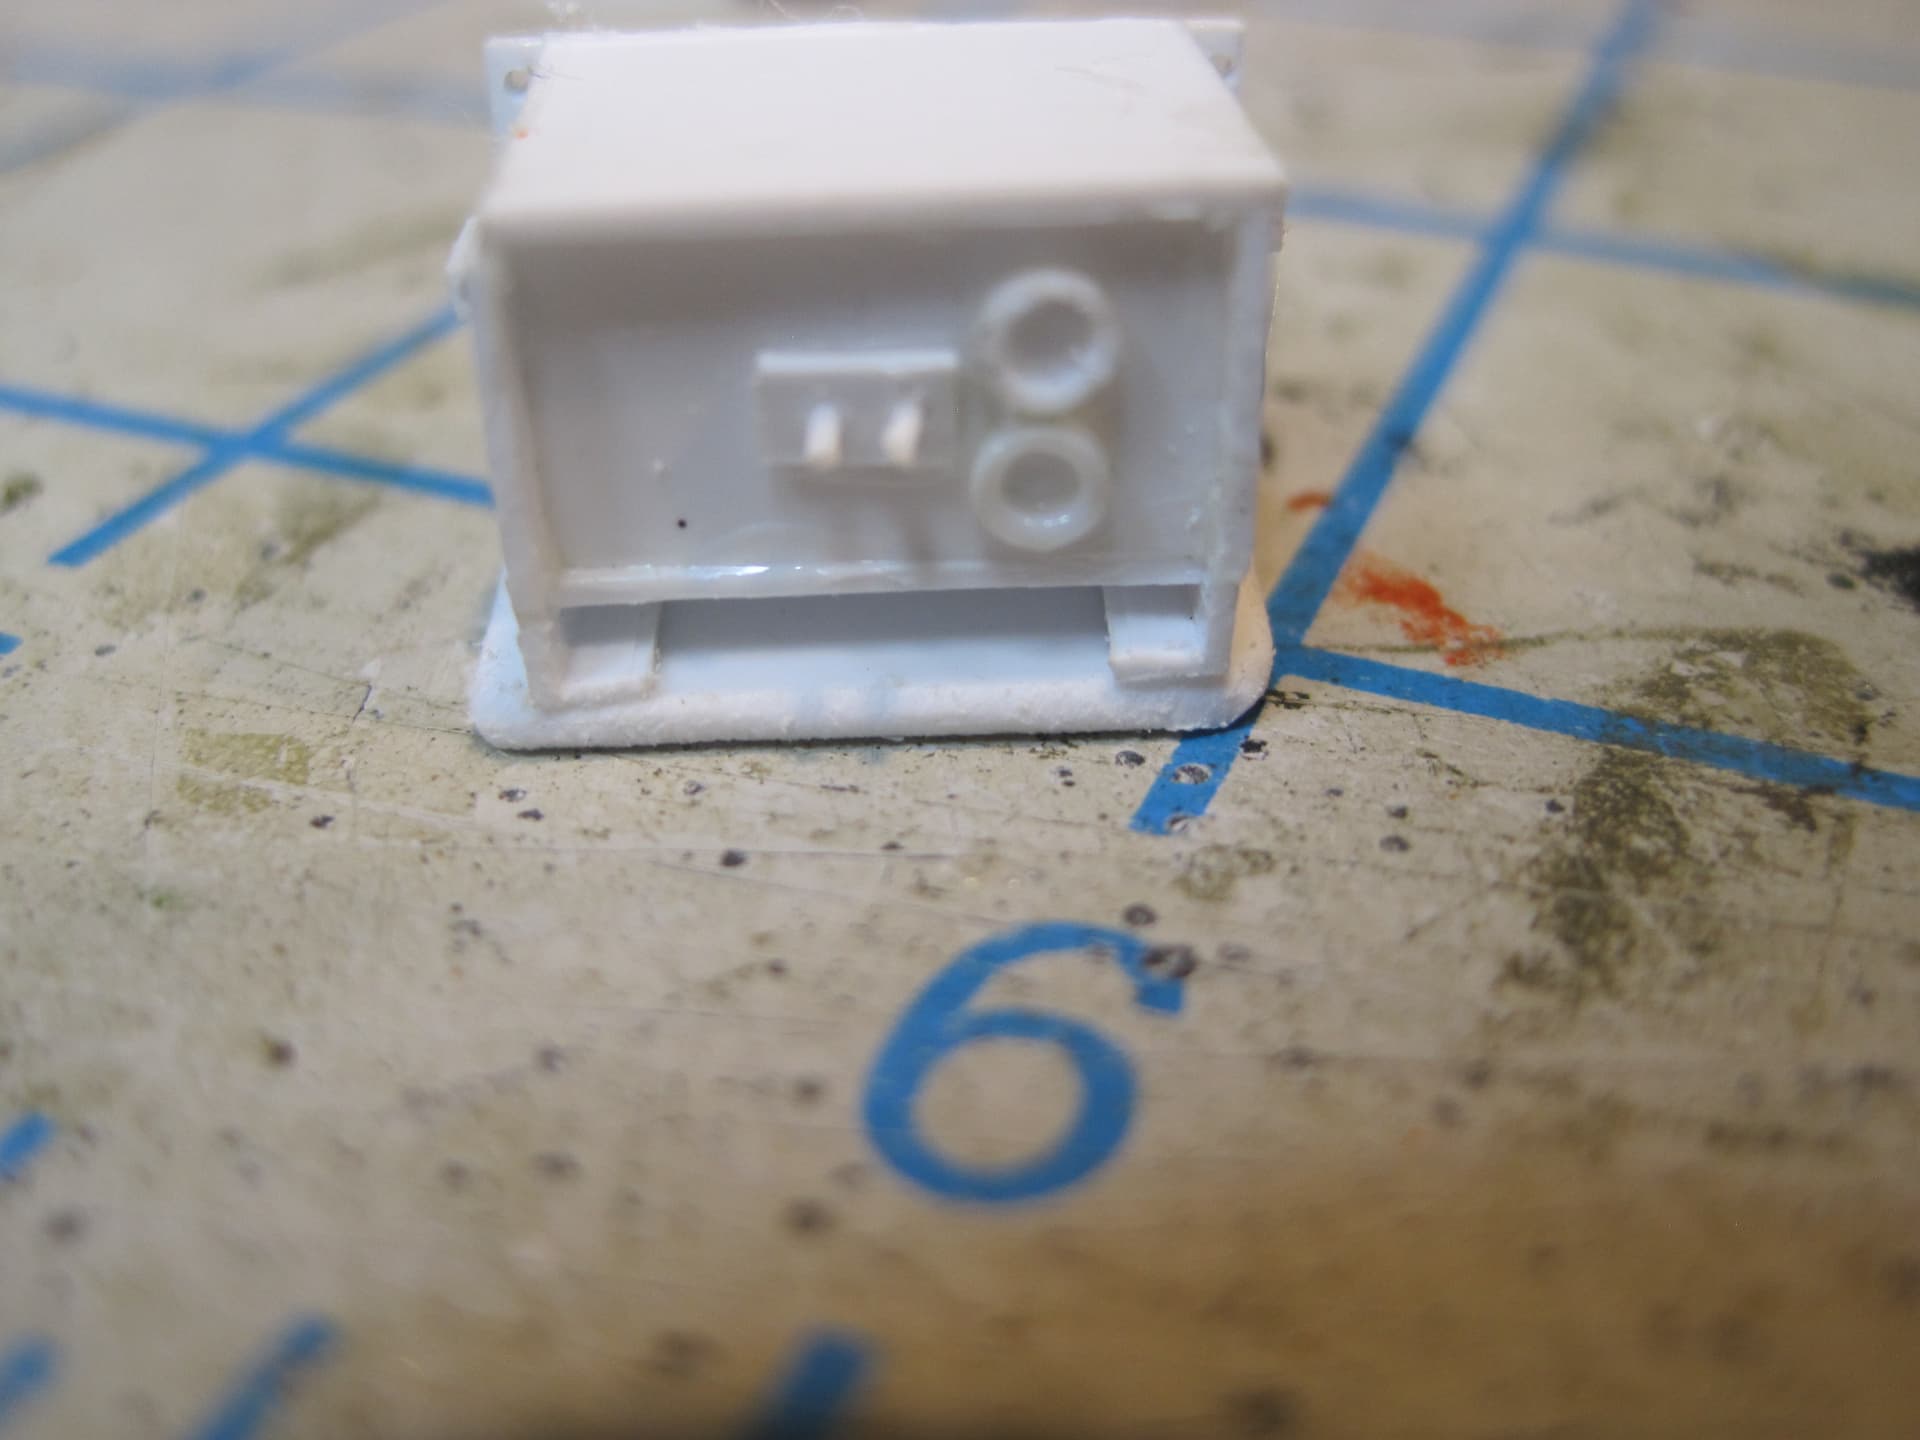
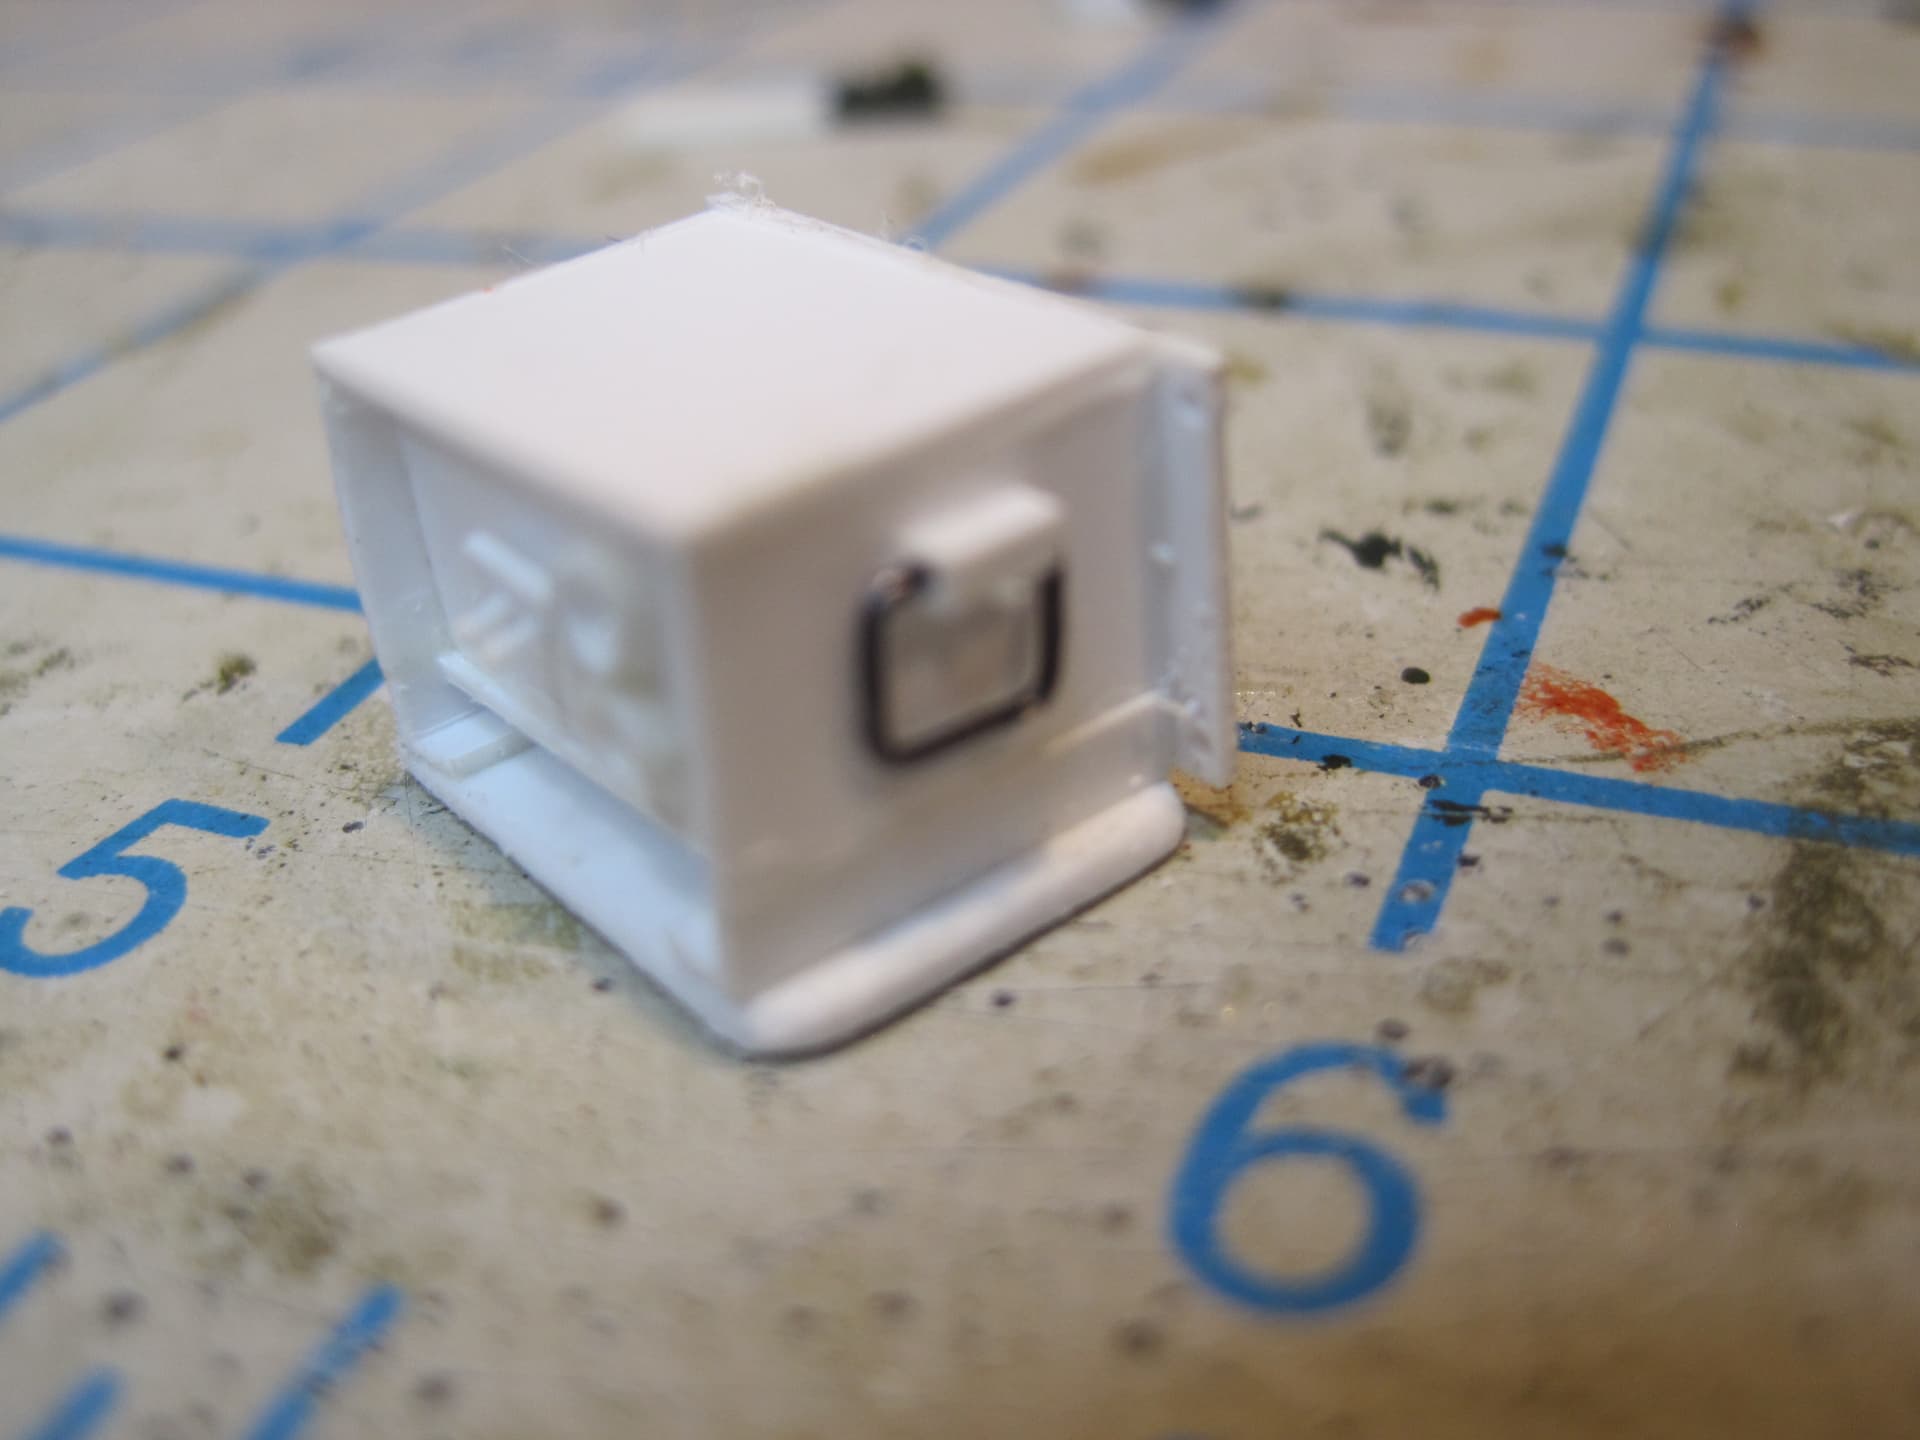
11. SB-3018 Power Distribution Panel - Scratch built

12. SMD 602952 Entrance Box Assembly

13. AN/GRC-6 (Local half)- scratch built.

14. LS 166U Loudspeaker two of these one on the LH side on the front face of the counter, and one one the RH side in the shelf unit.

5 Likes