Very nice!
amazing work…
Great work, Tom!
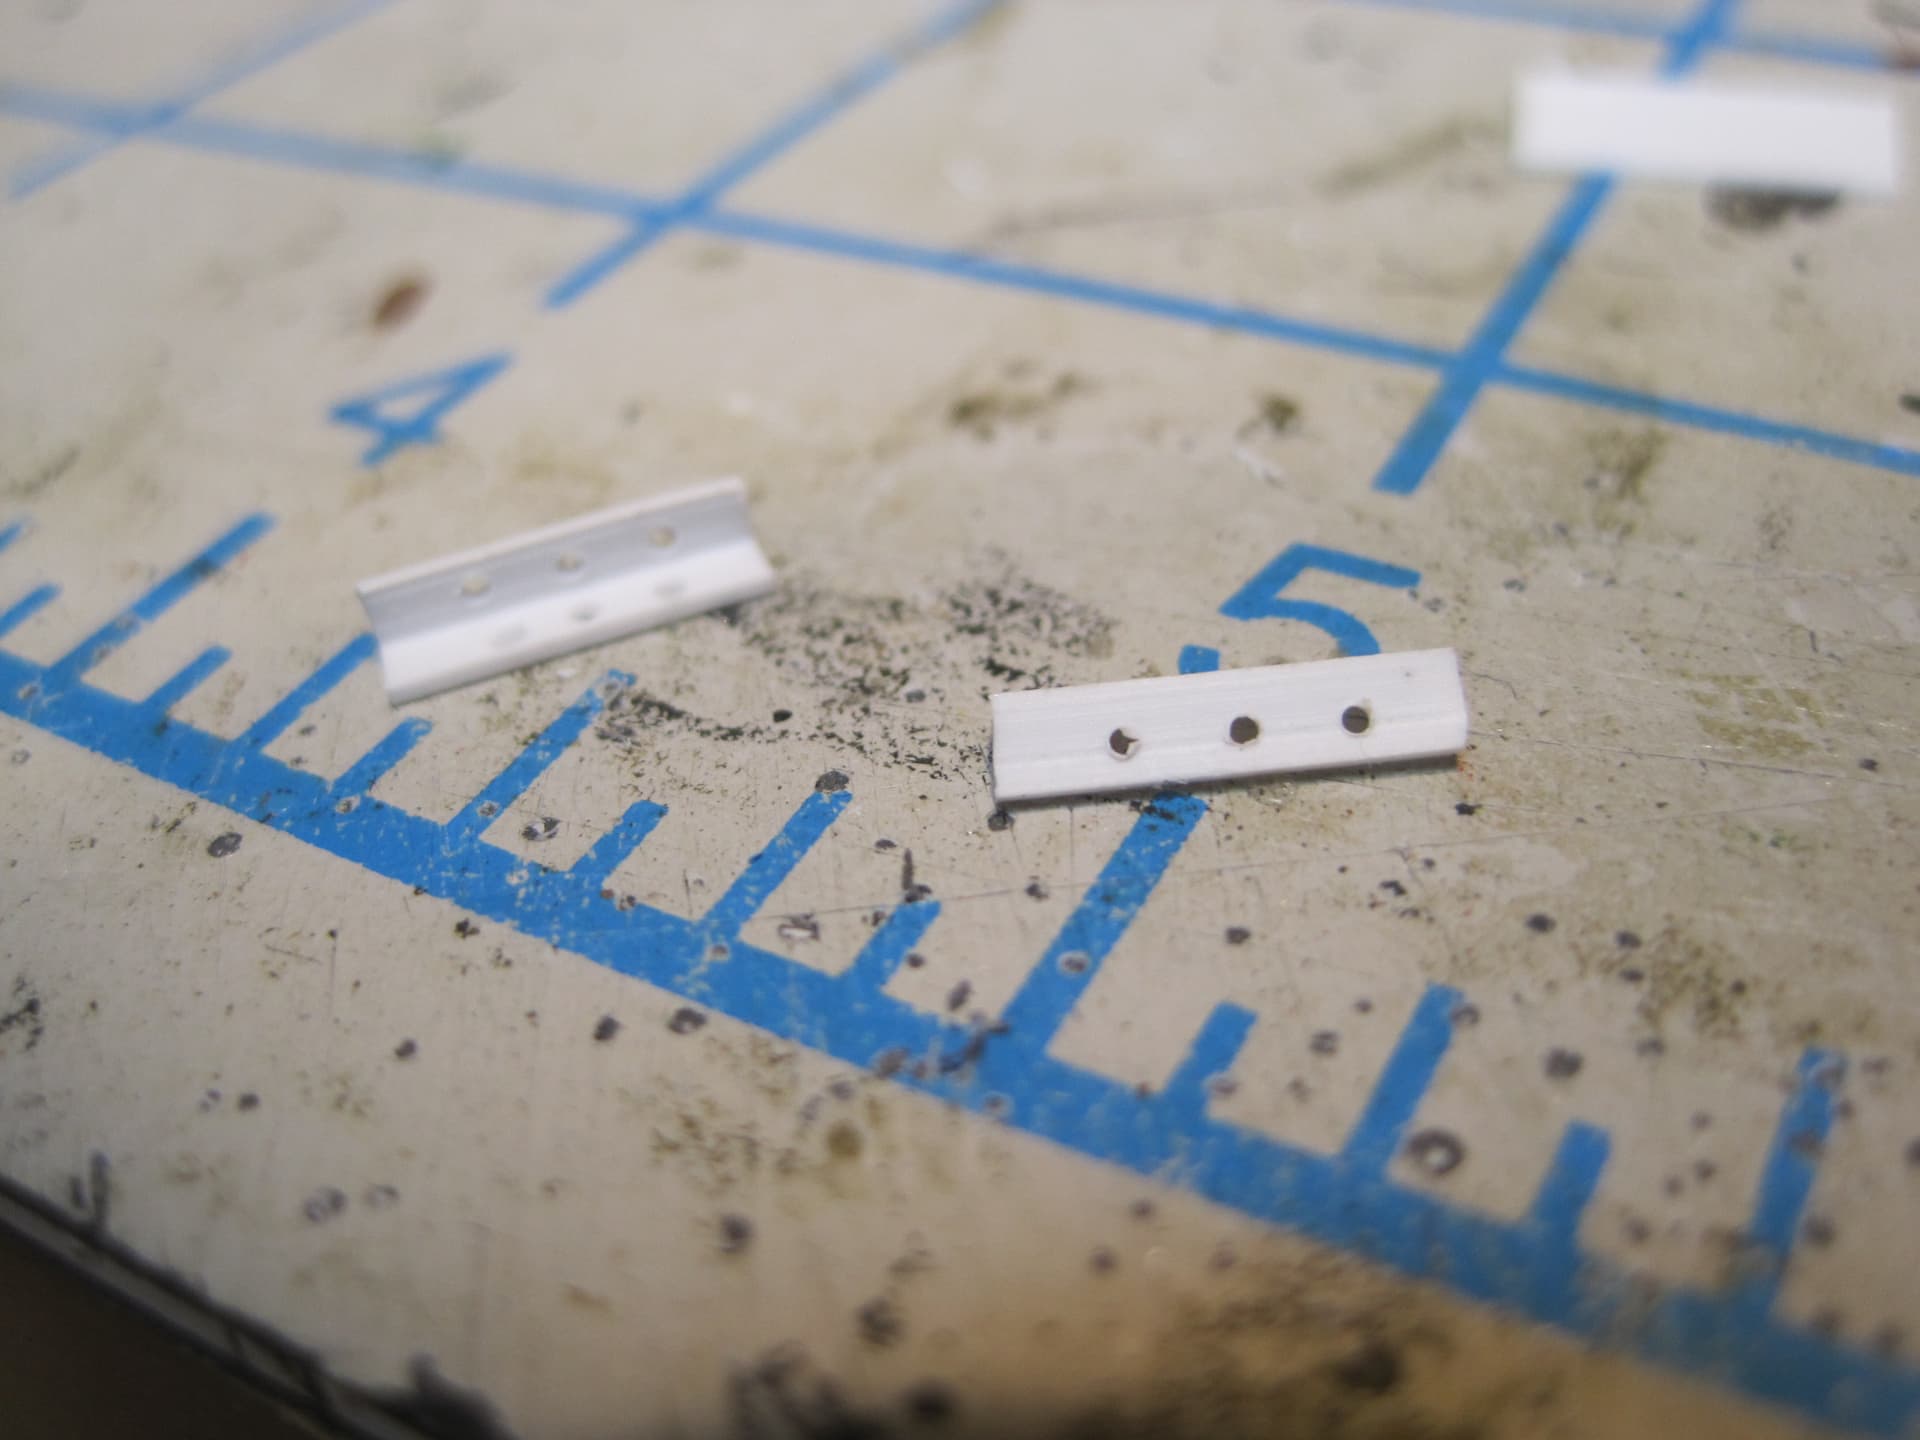
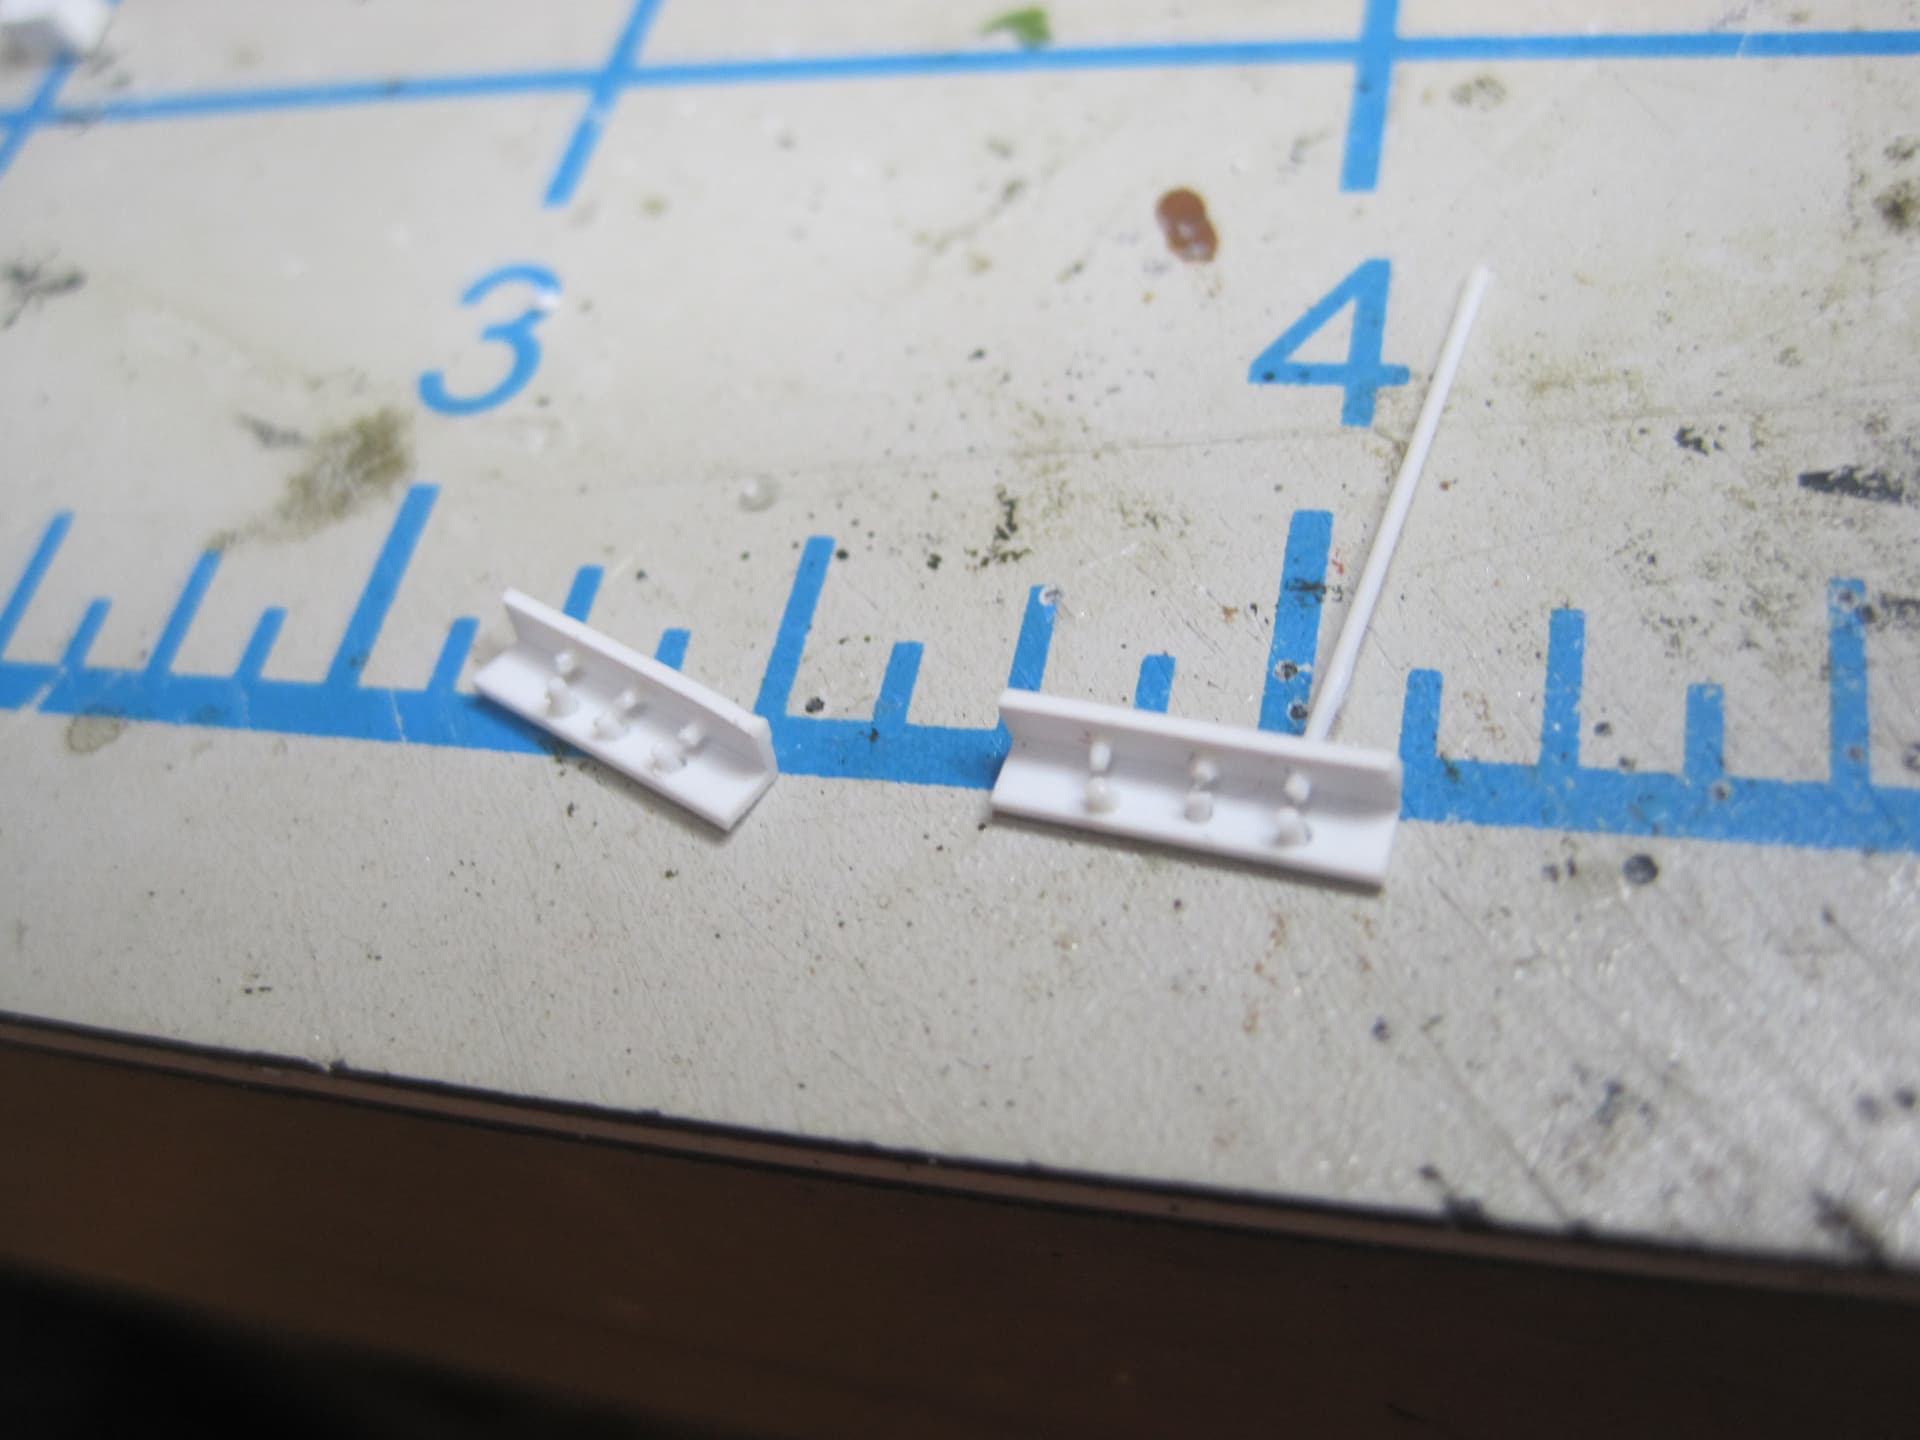
Where did you get the brass angles for the shelves? (I suppose you didn’t drill all those holes …)
Peter
Hi Tom … great work on all the scratch building.
Cheers,
Ralph
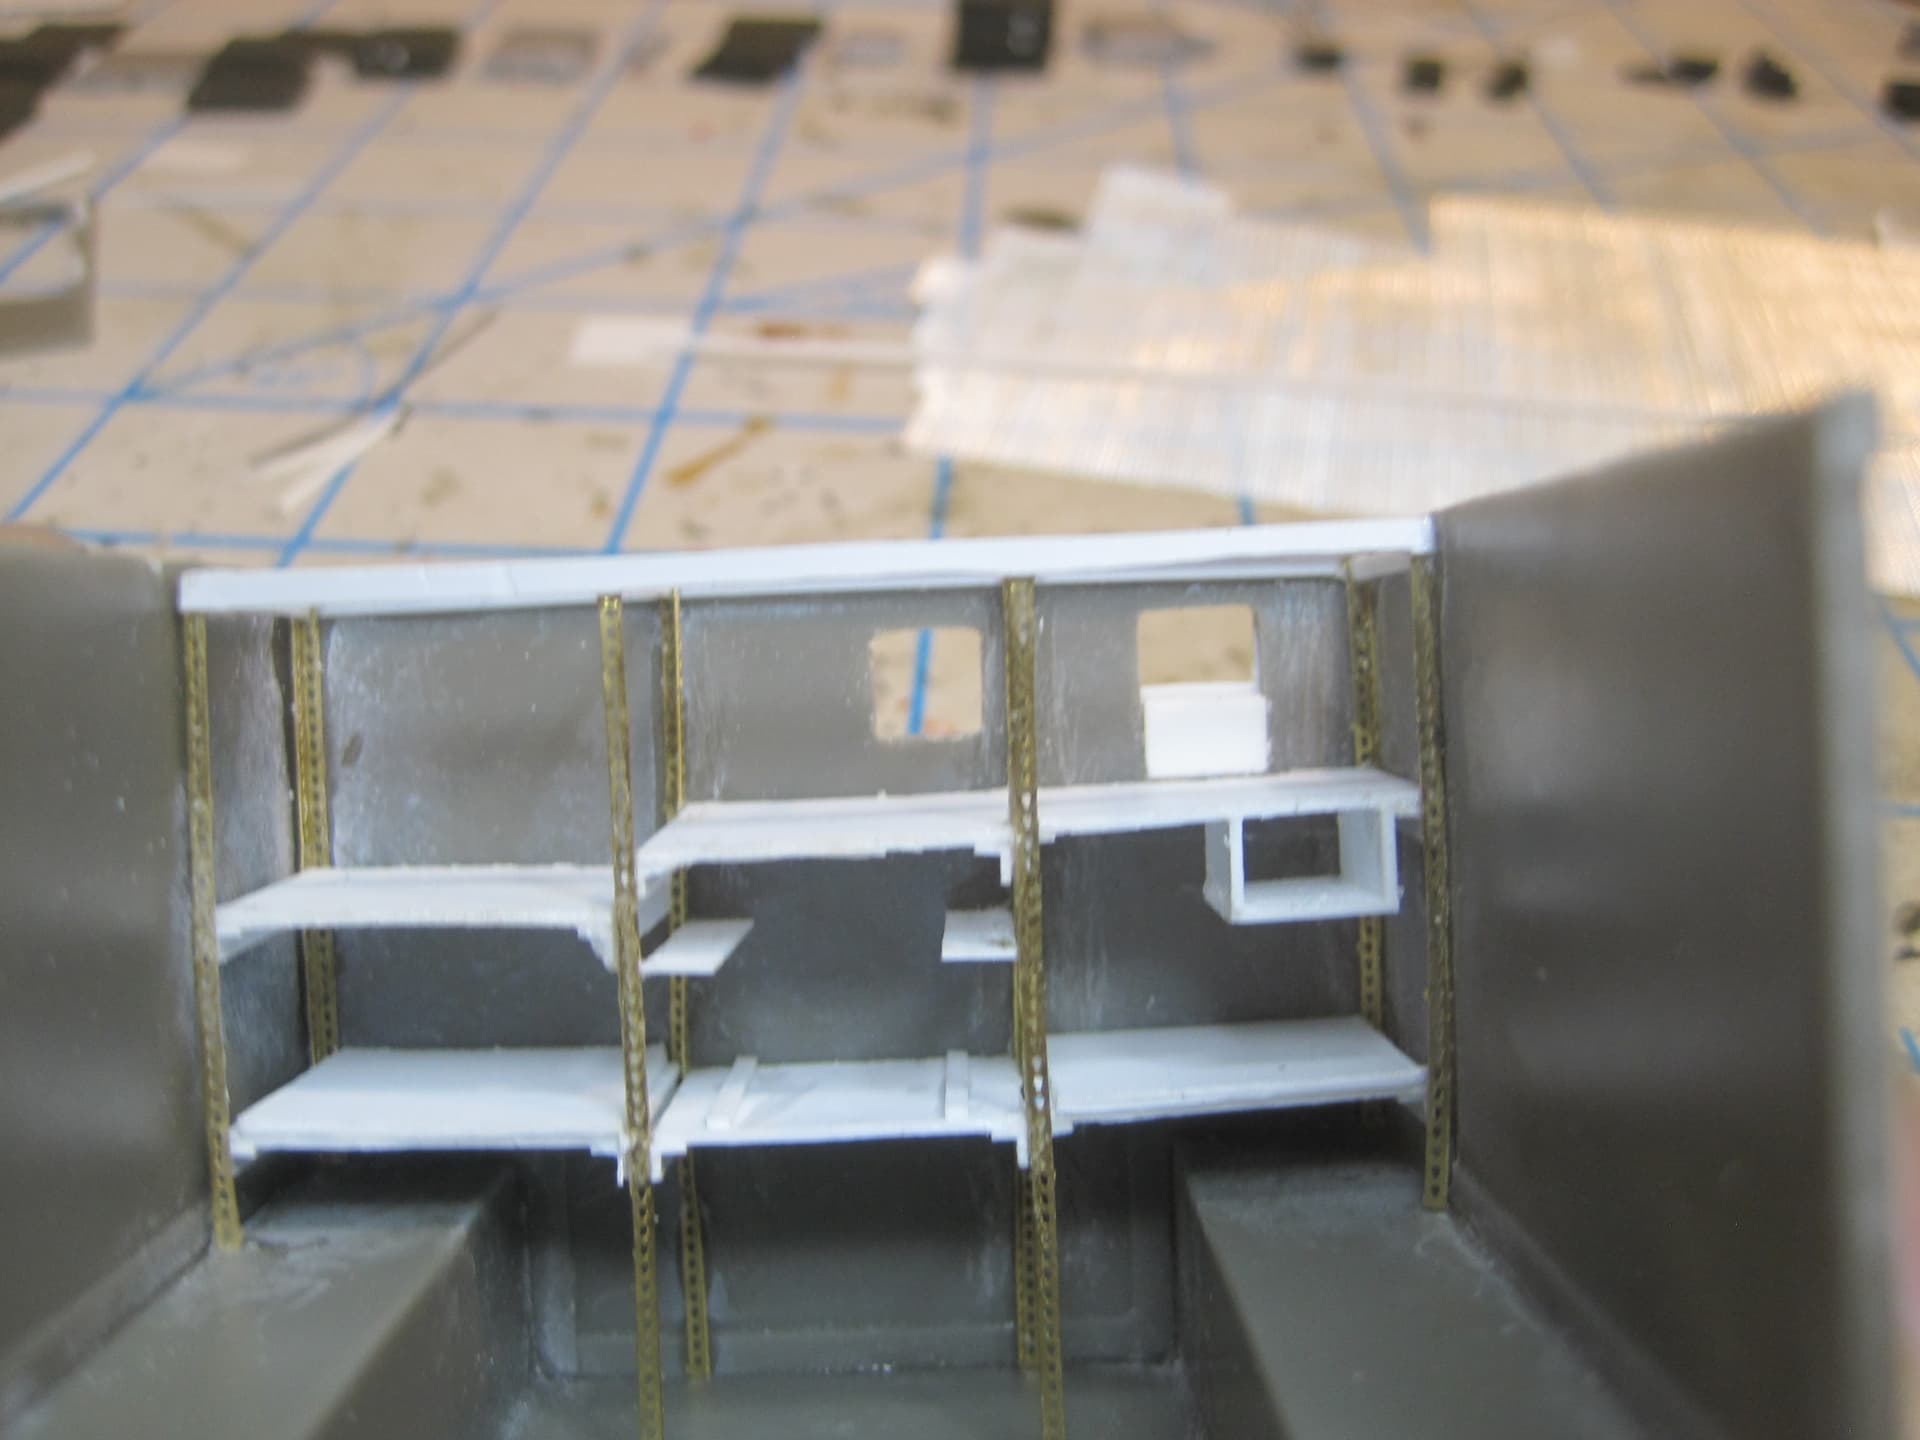
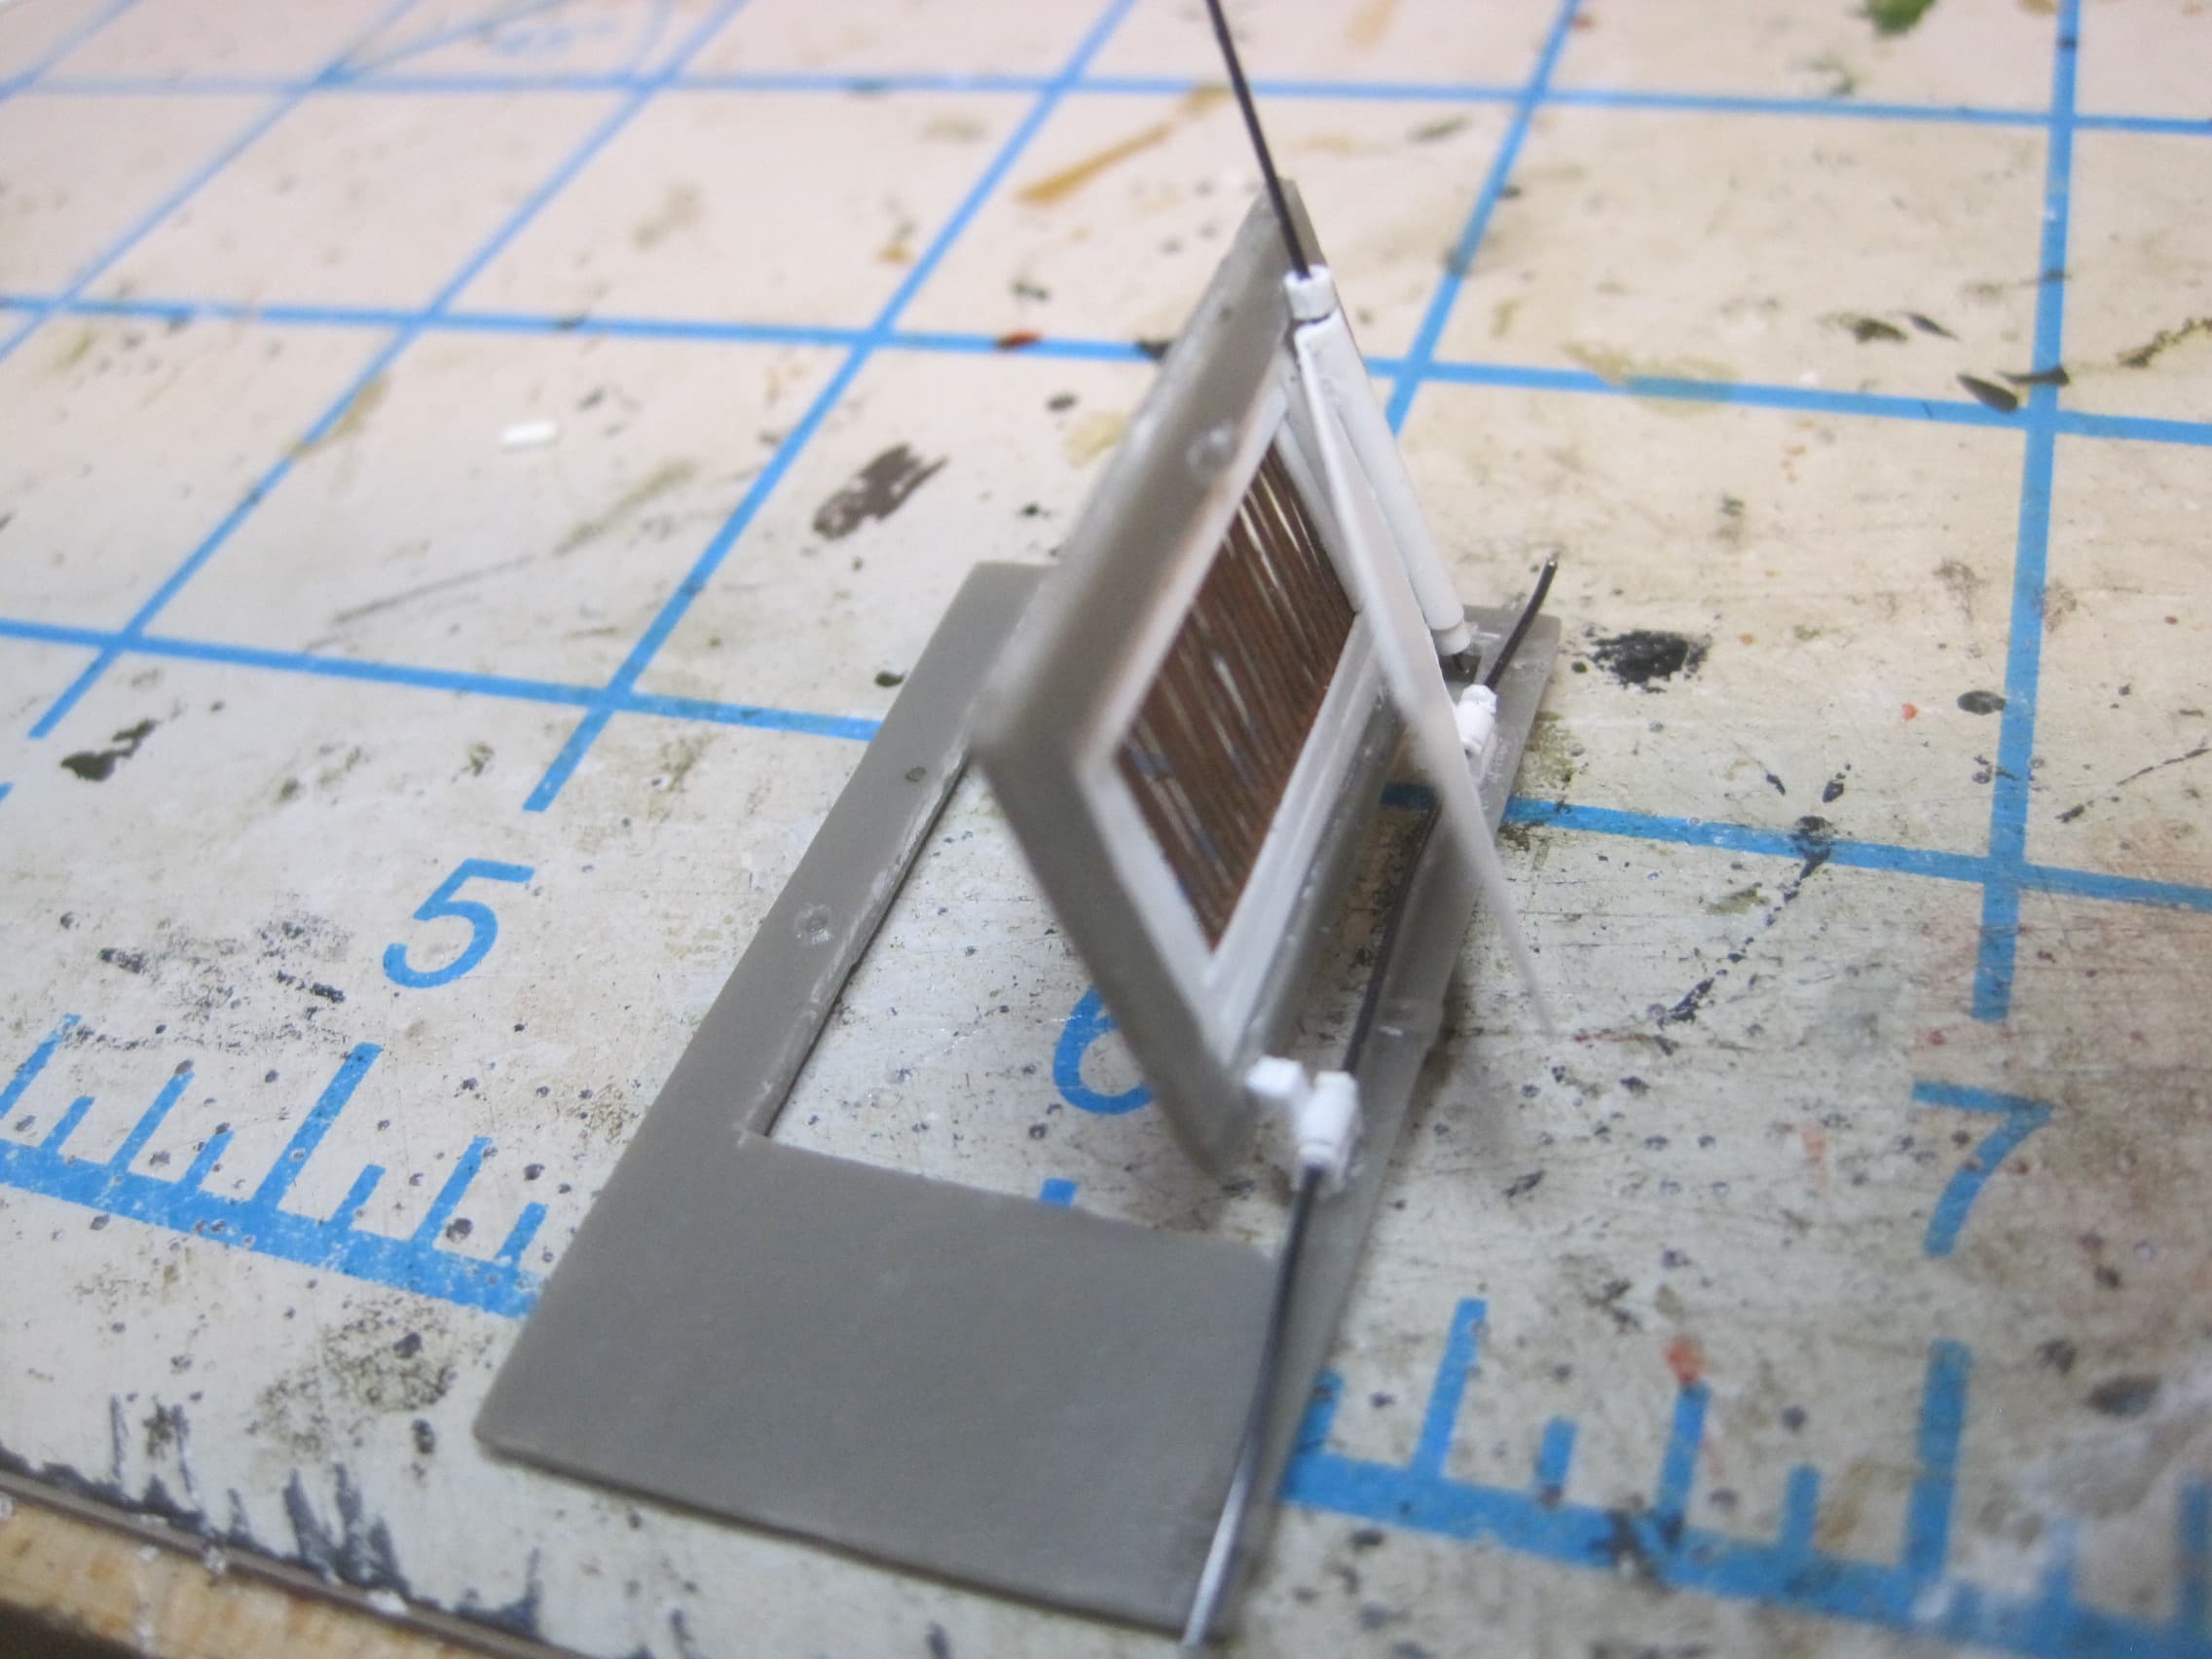
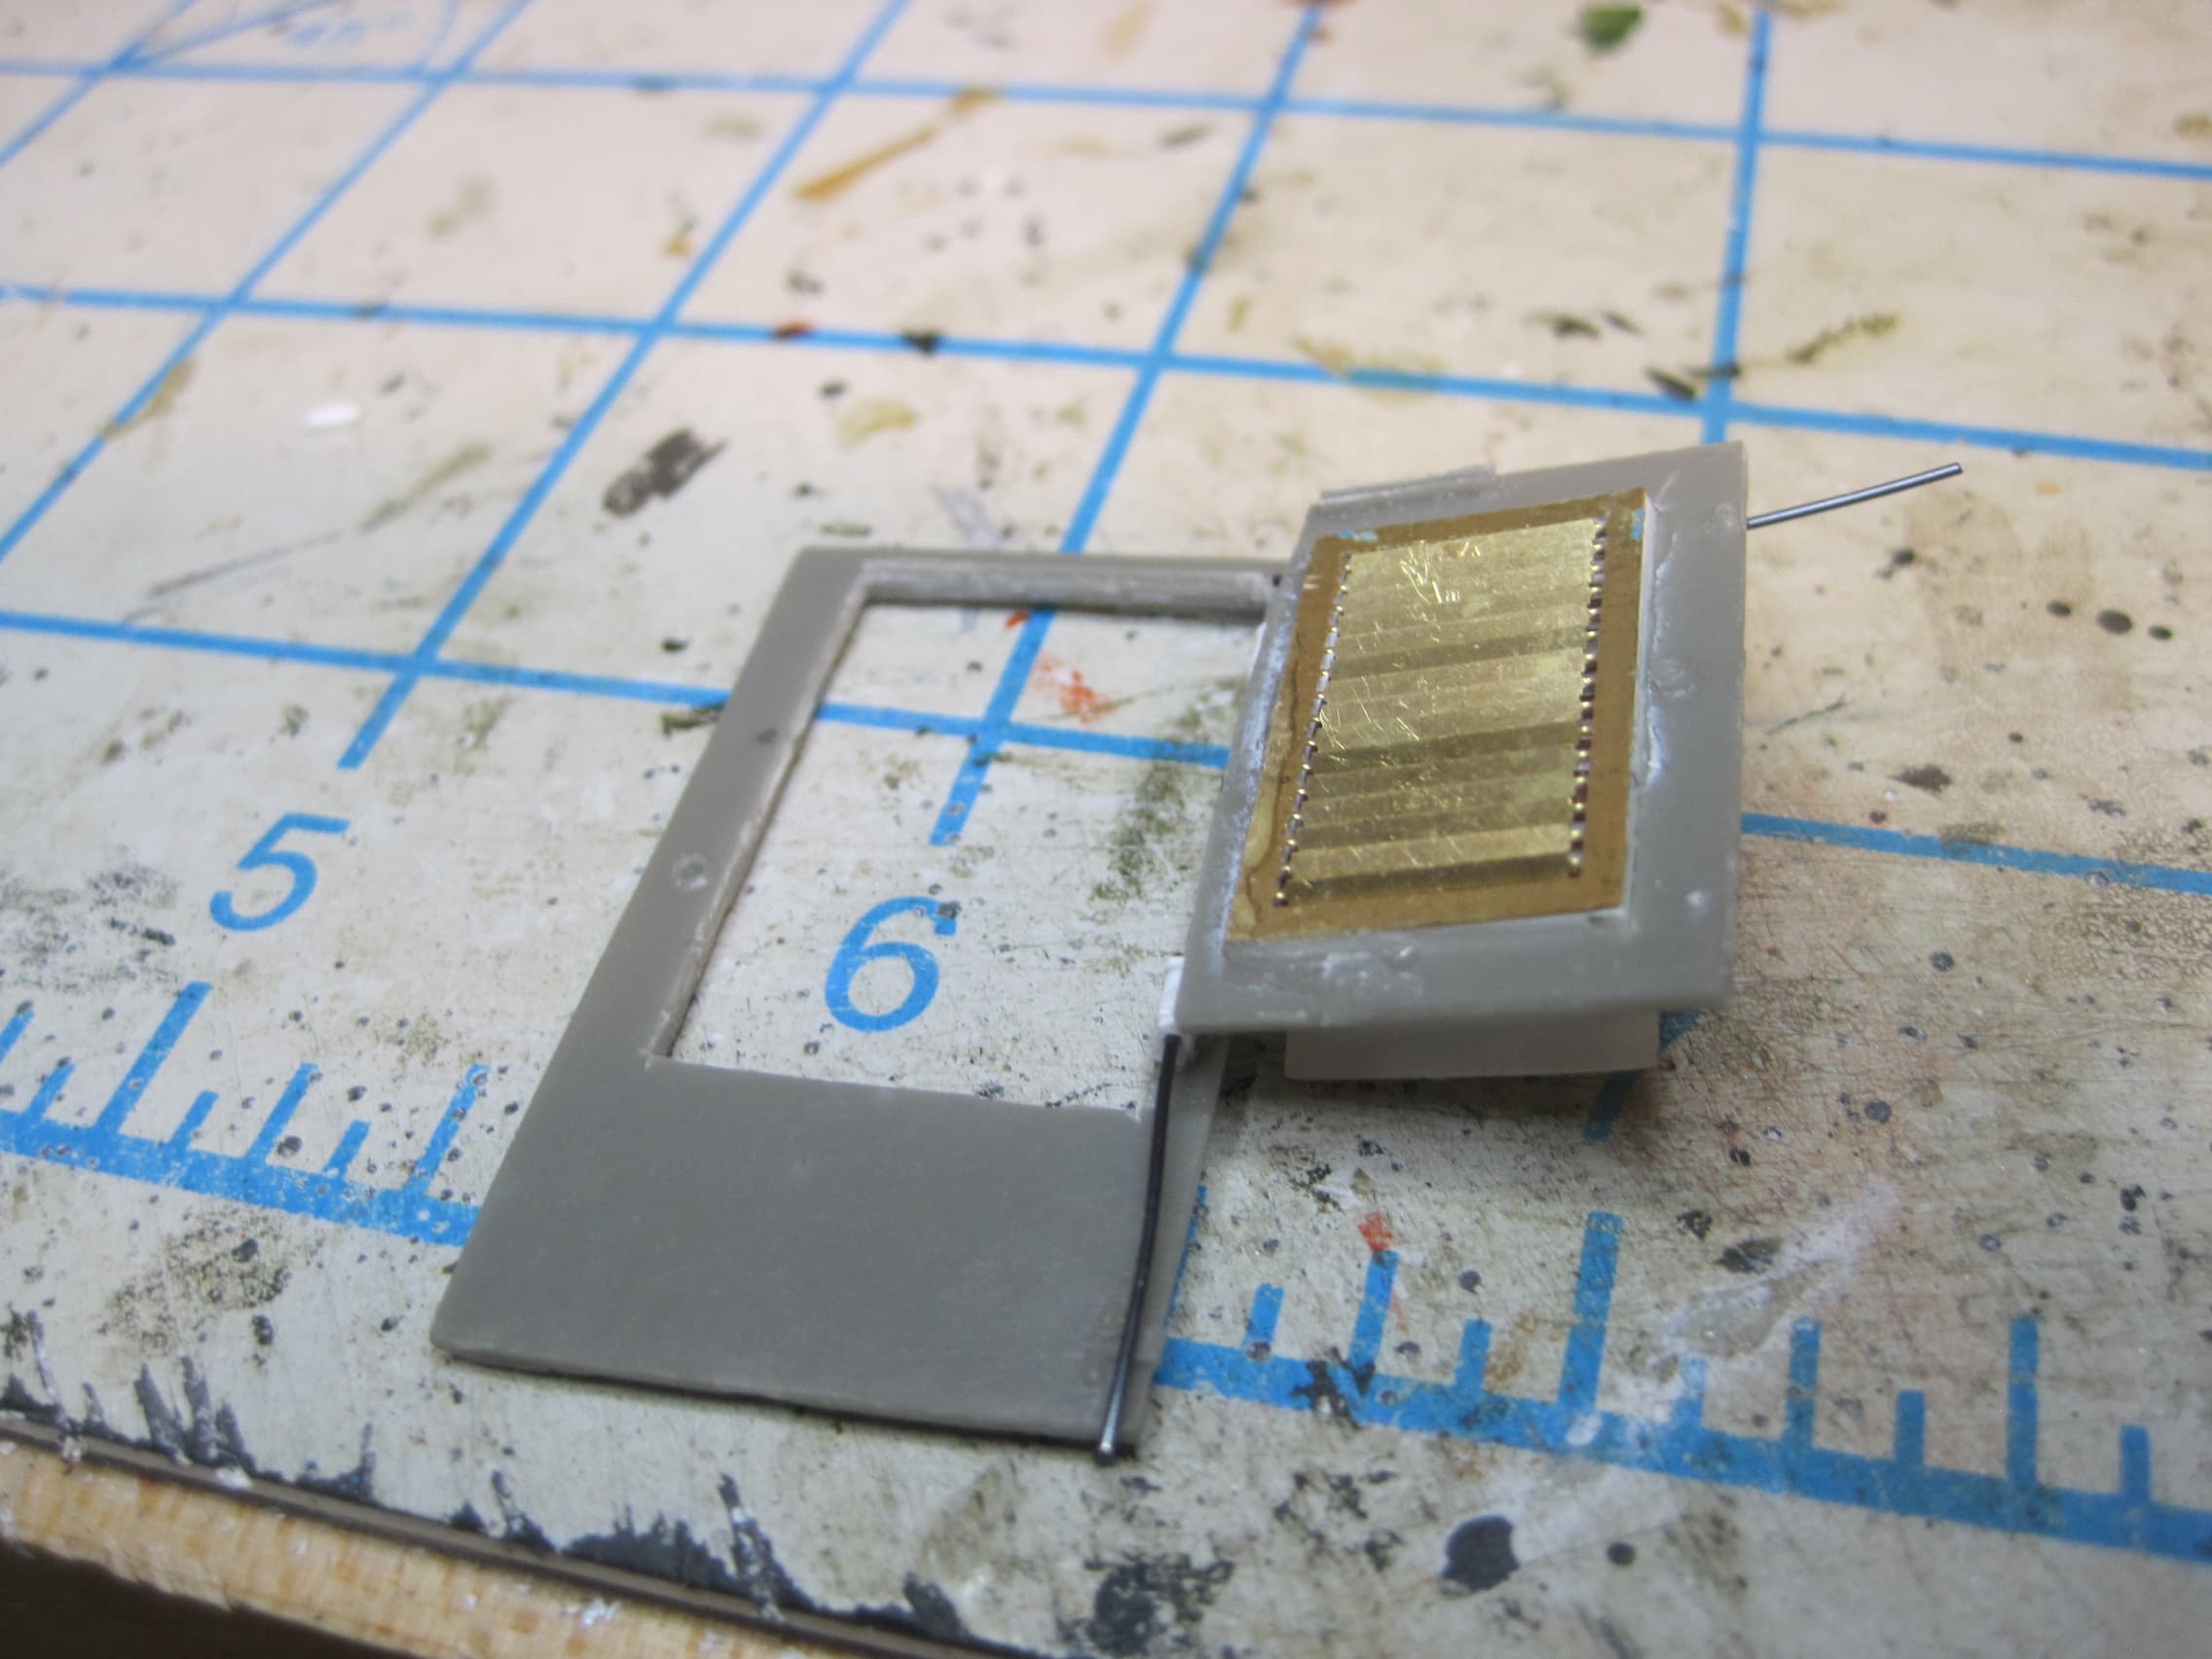
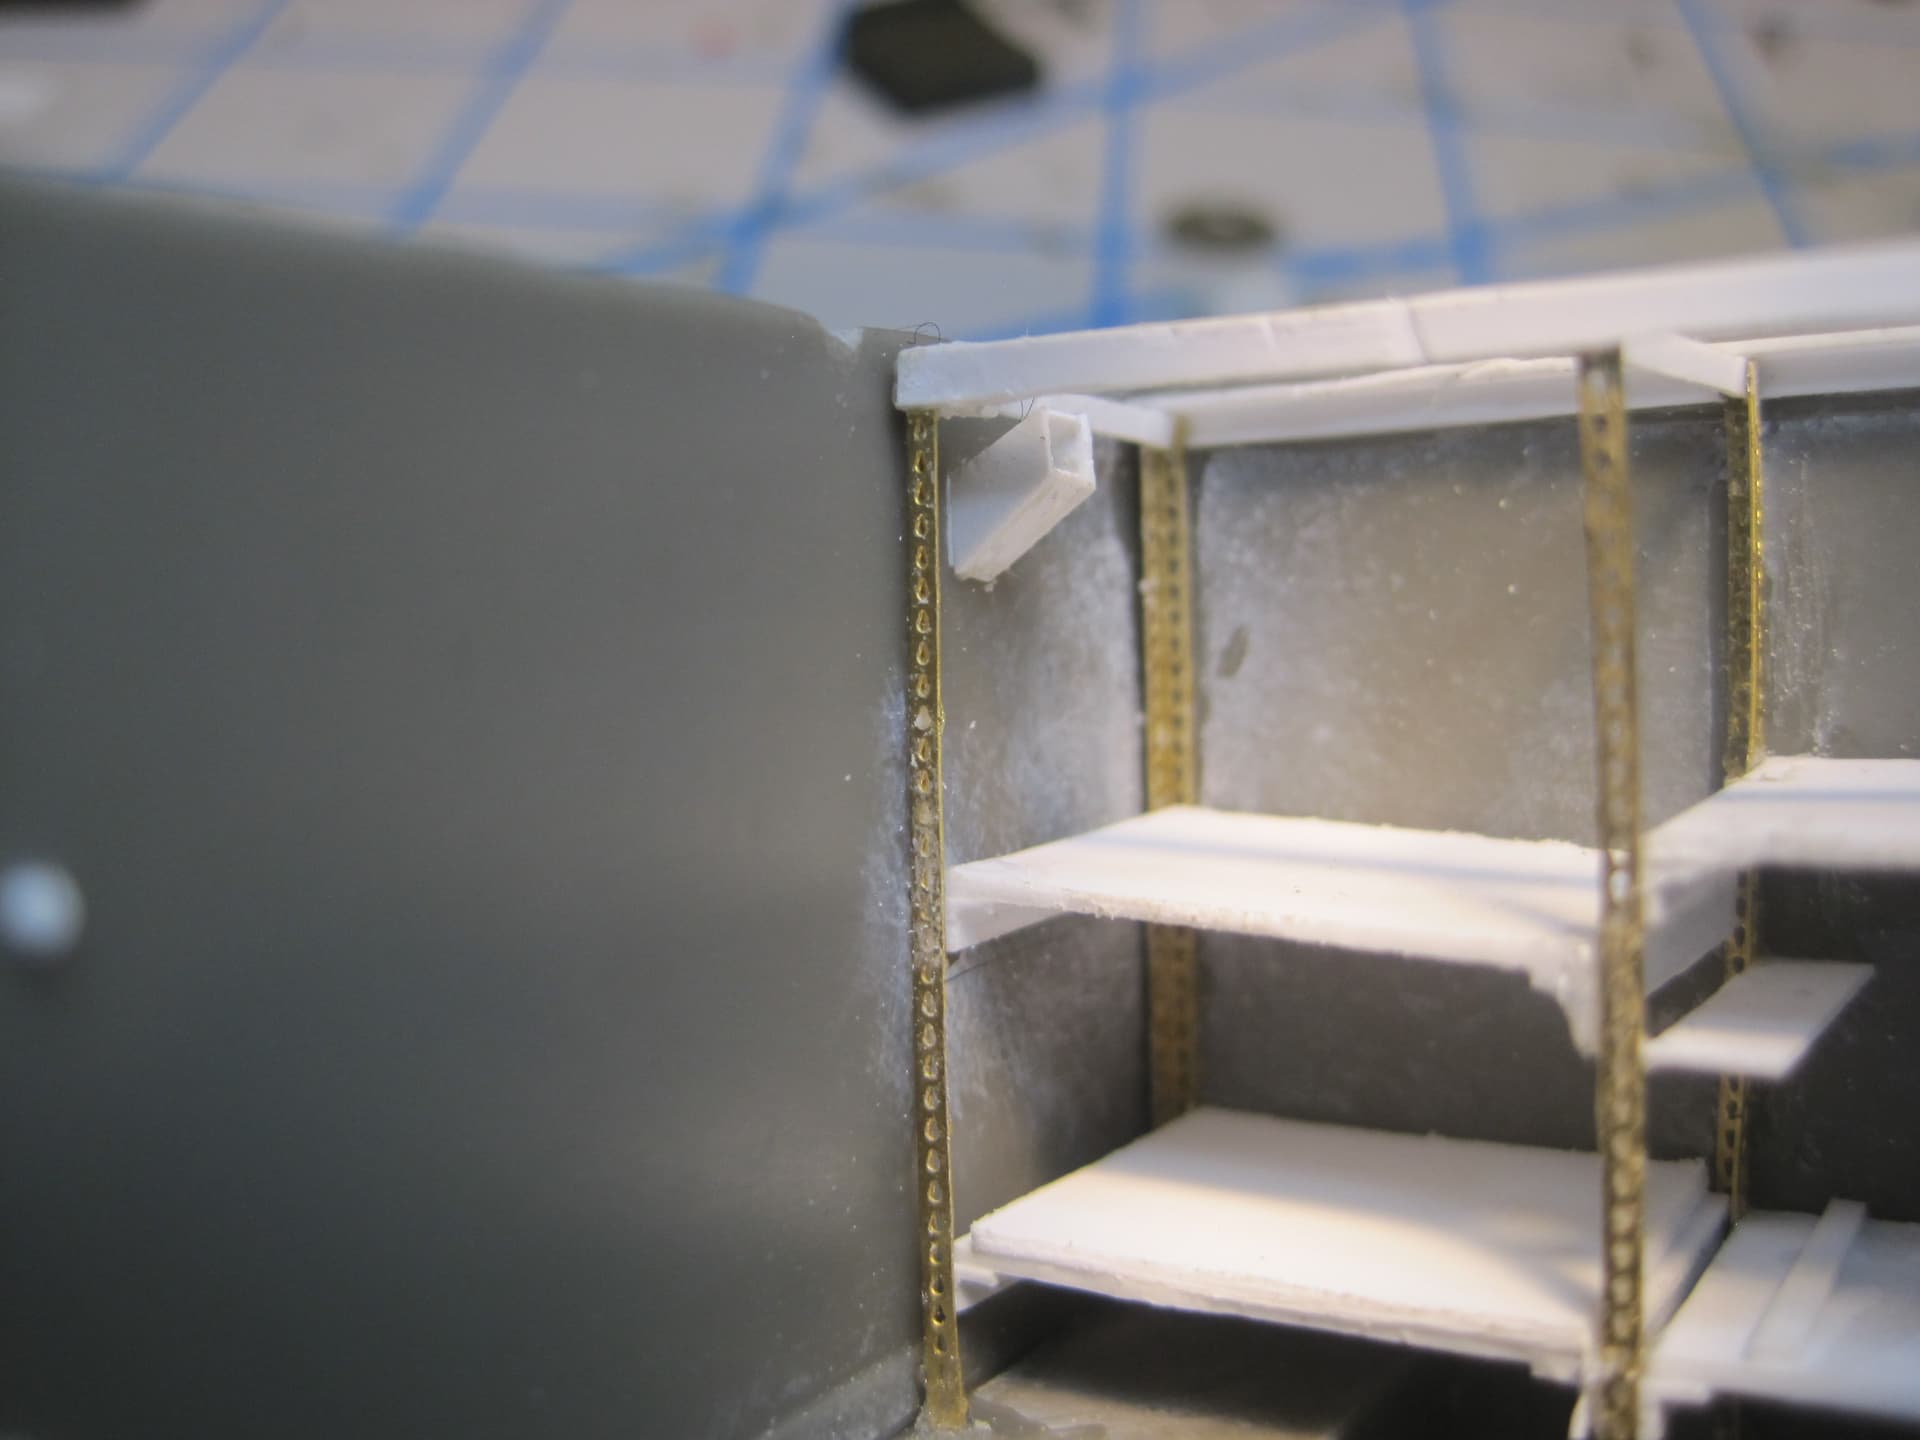
Thanks Ralph and Peter! The shelf supports are the PE from the Plus Model Shelter kit. And while I didn’t have to drill out all the holes thank goodness, they are made just like real shelf supports and have “tear-drop” shaped holes for dropping in the support studs on the shelves from the top so you have to make sure you don’t install them upside down!
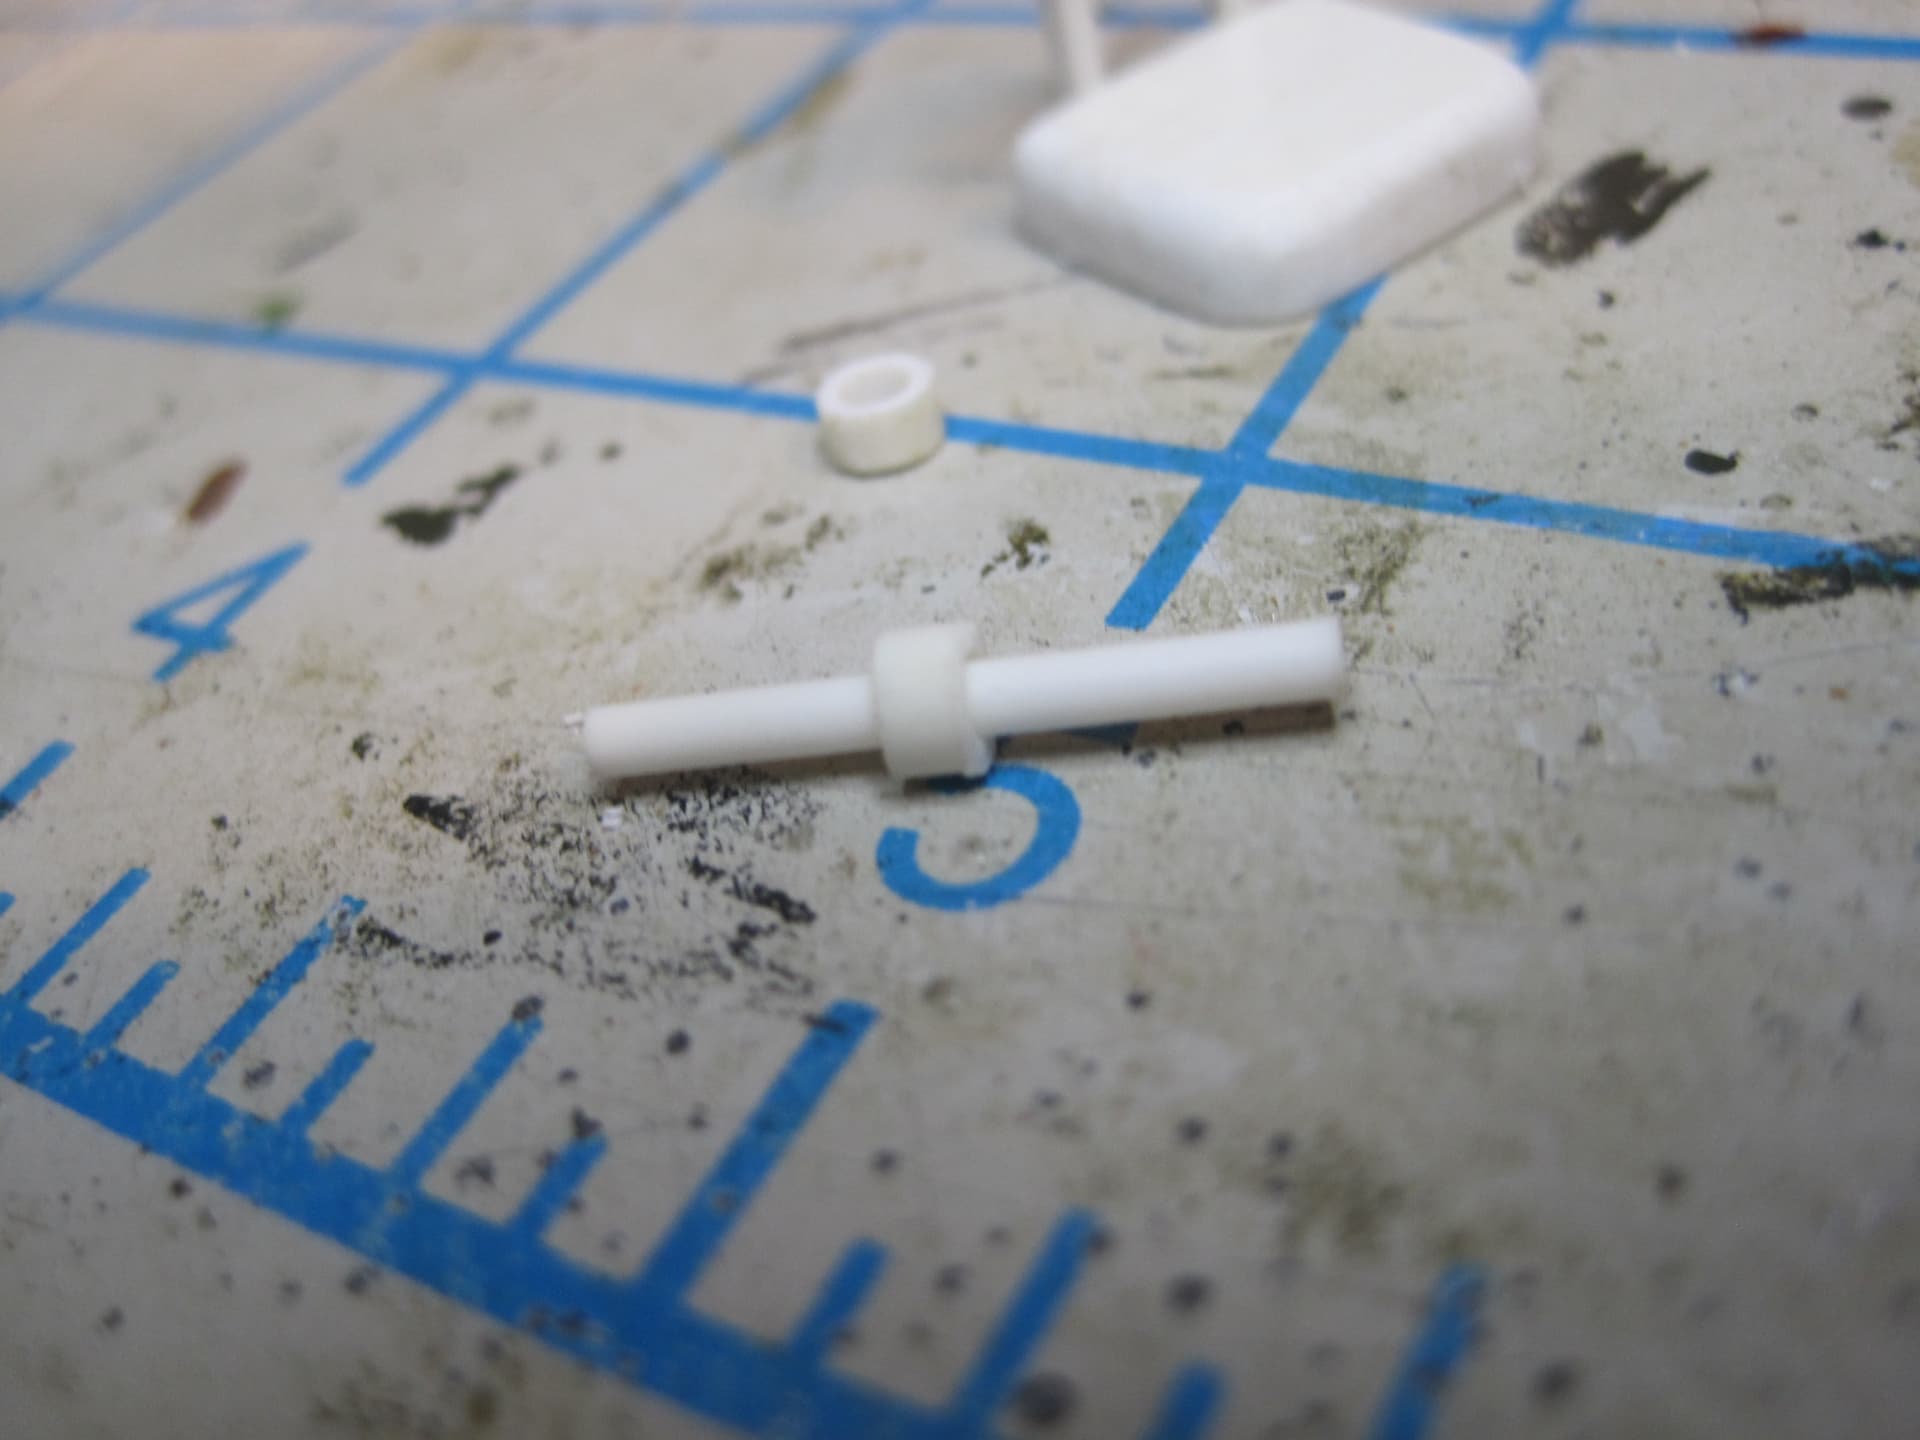
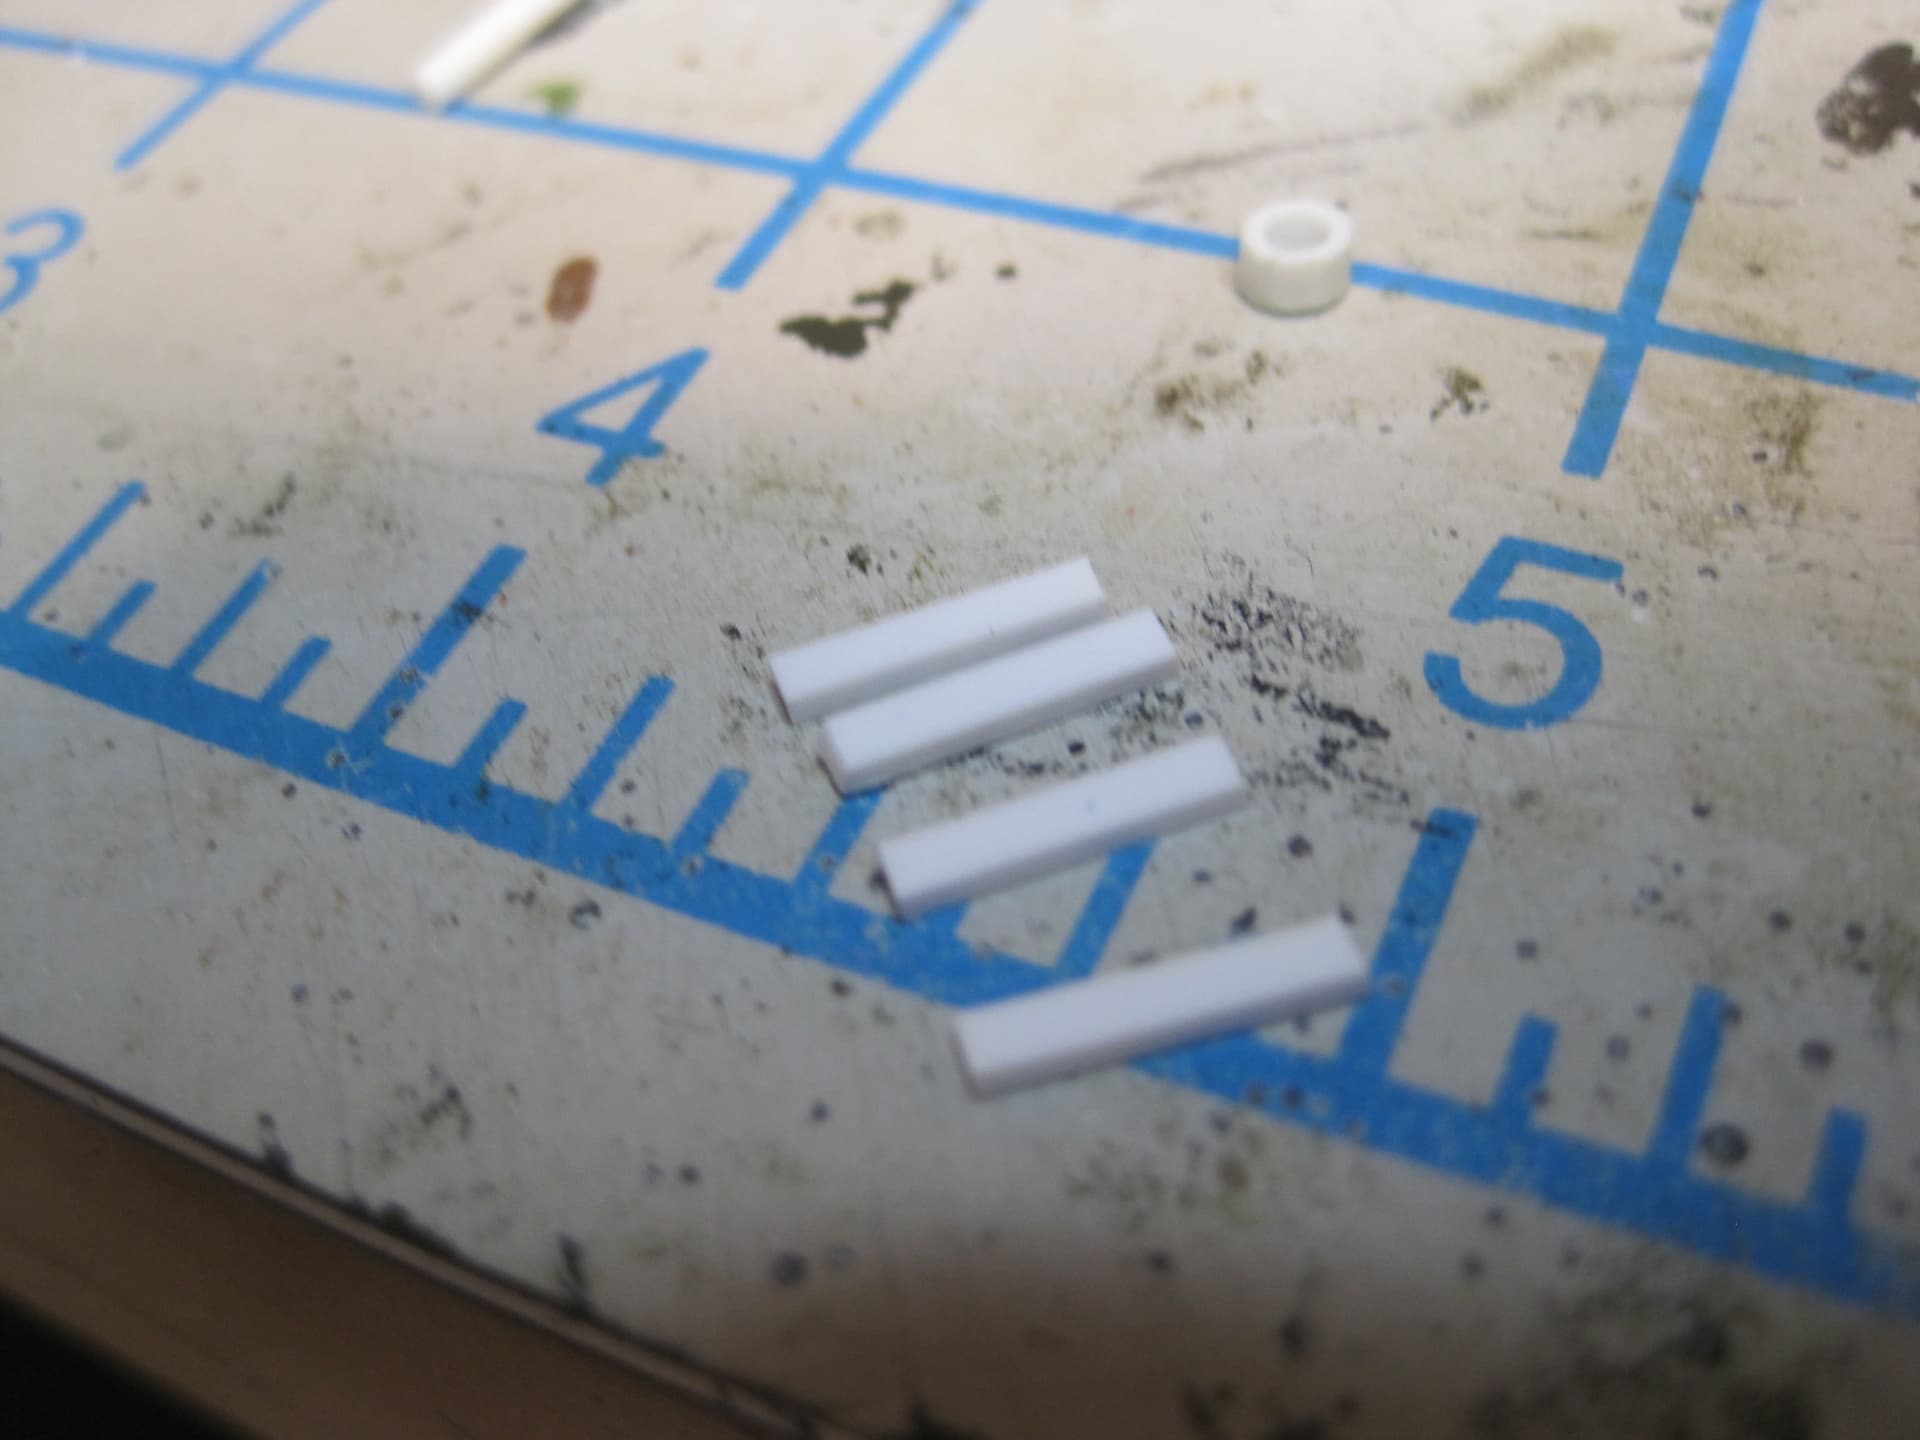
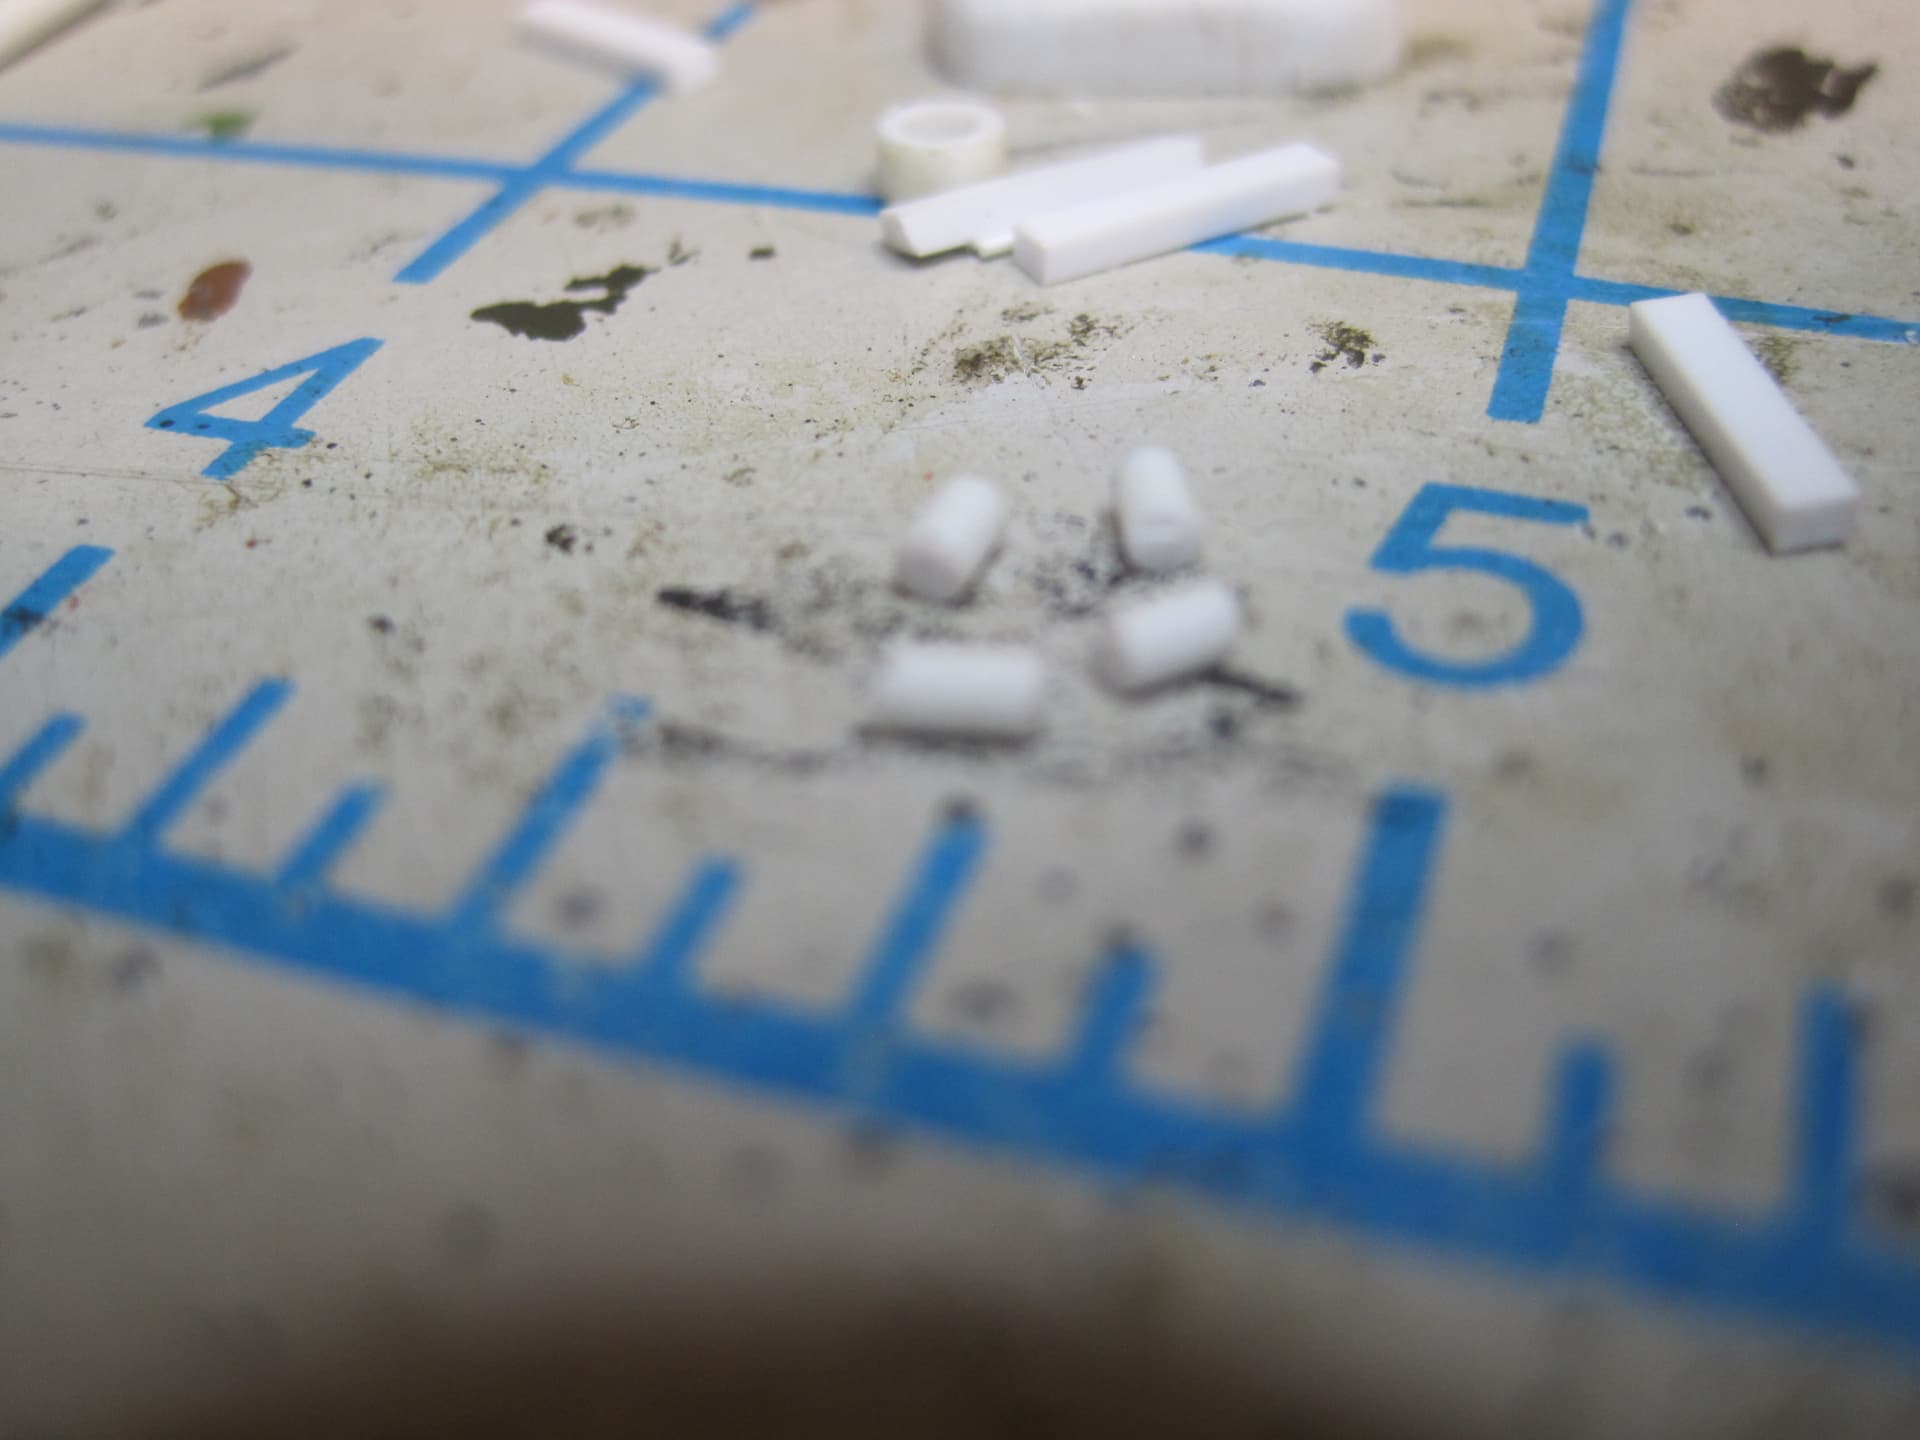
Finished making a few more items today:
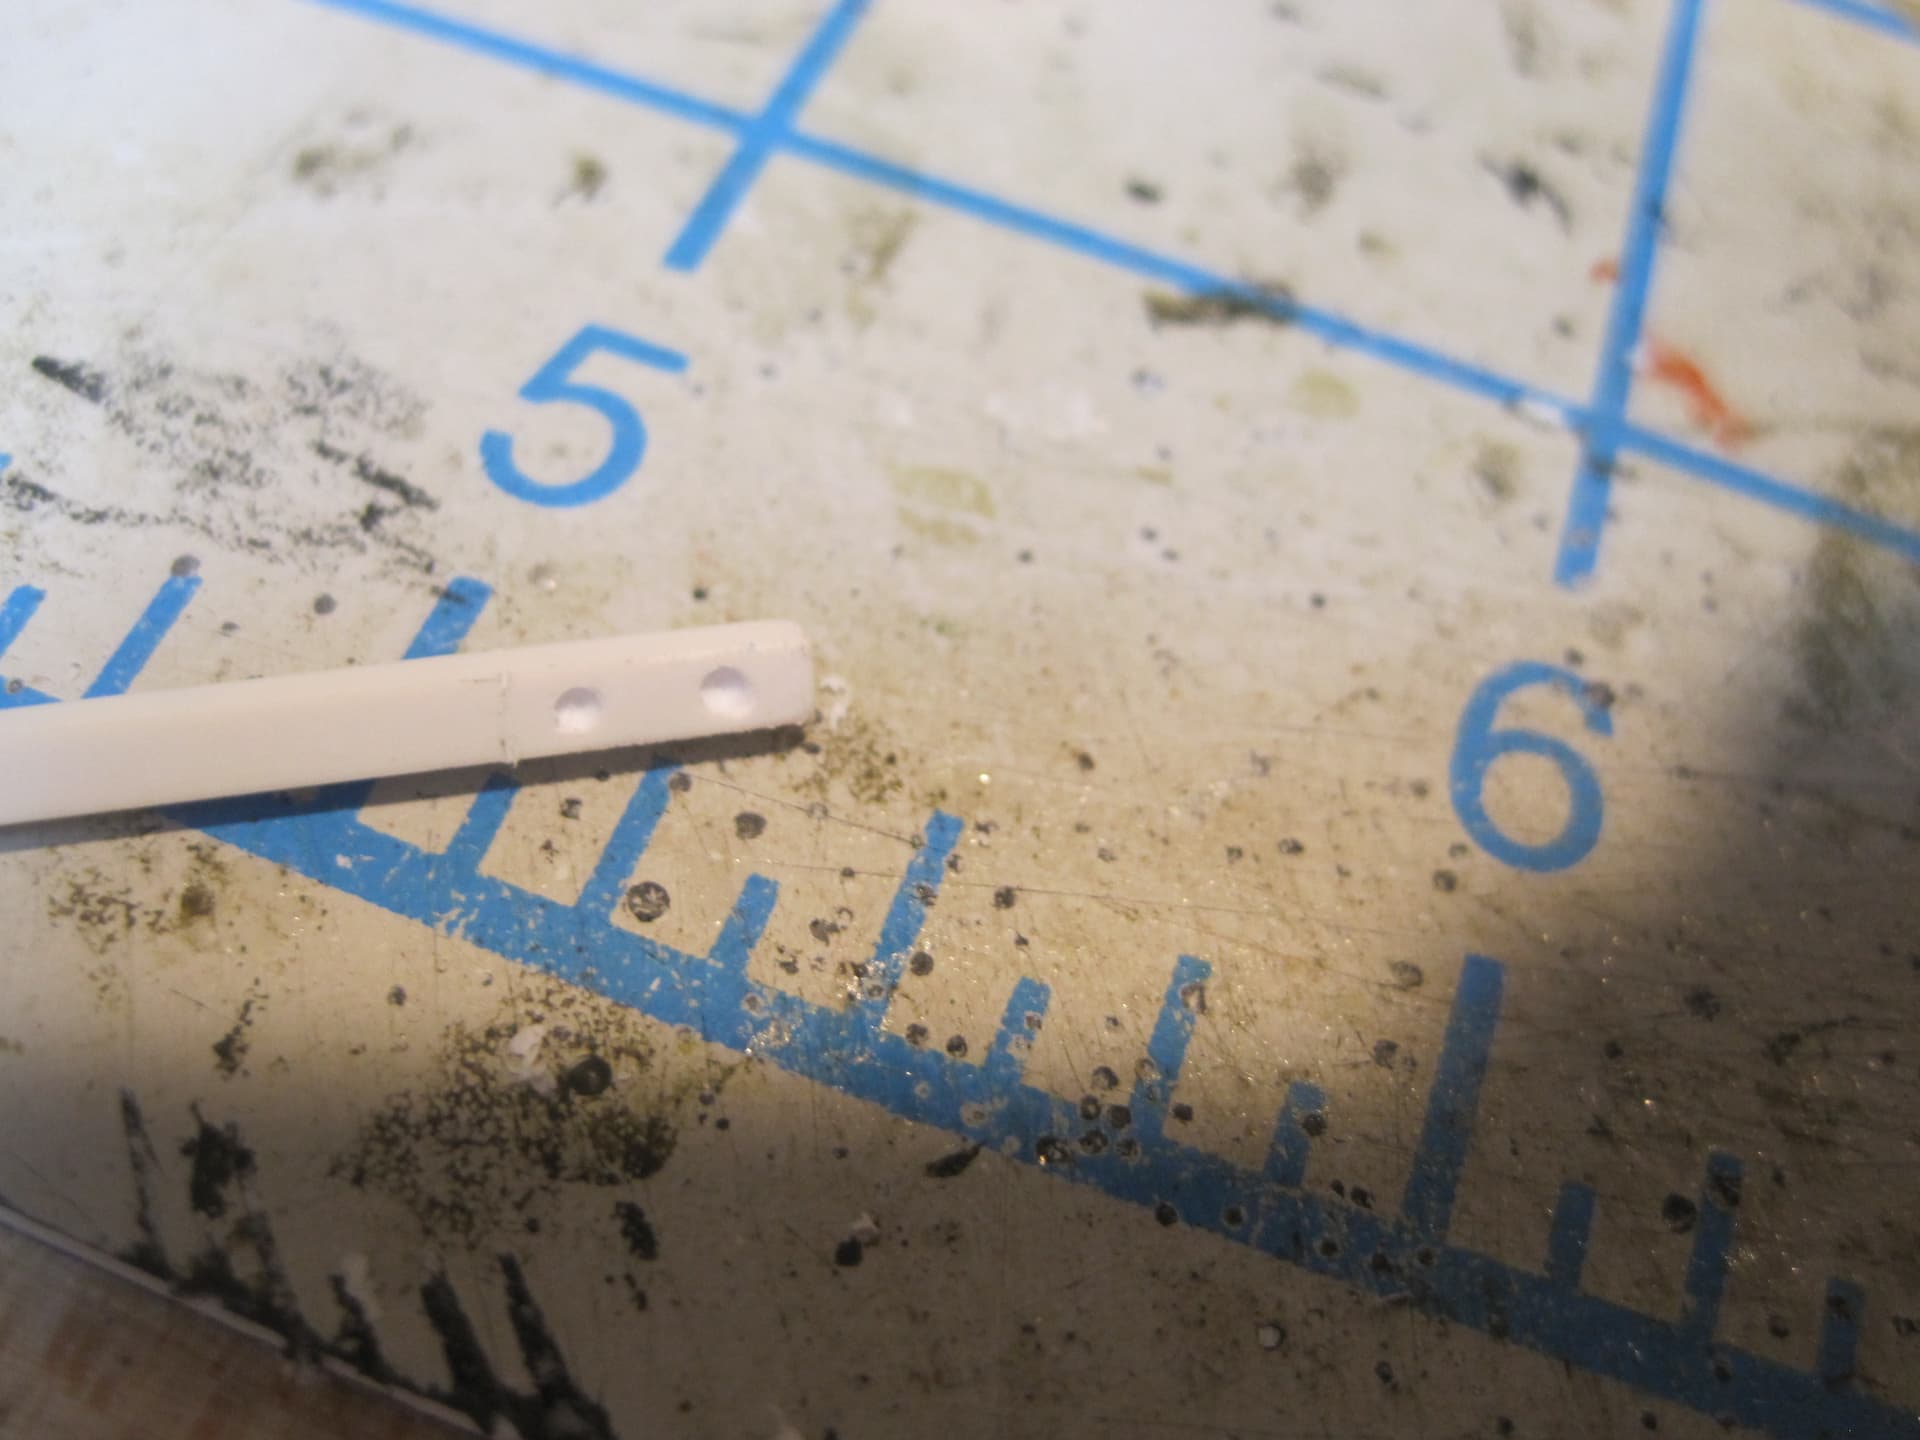
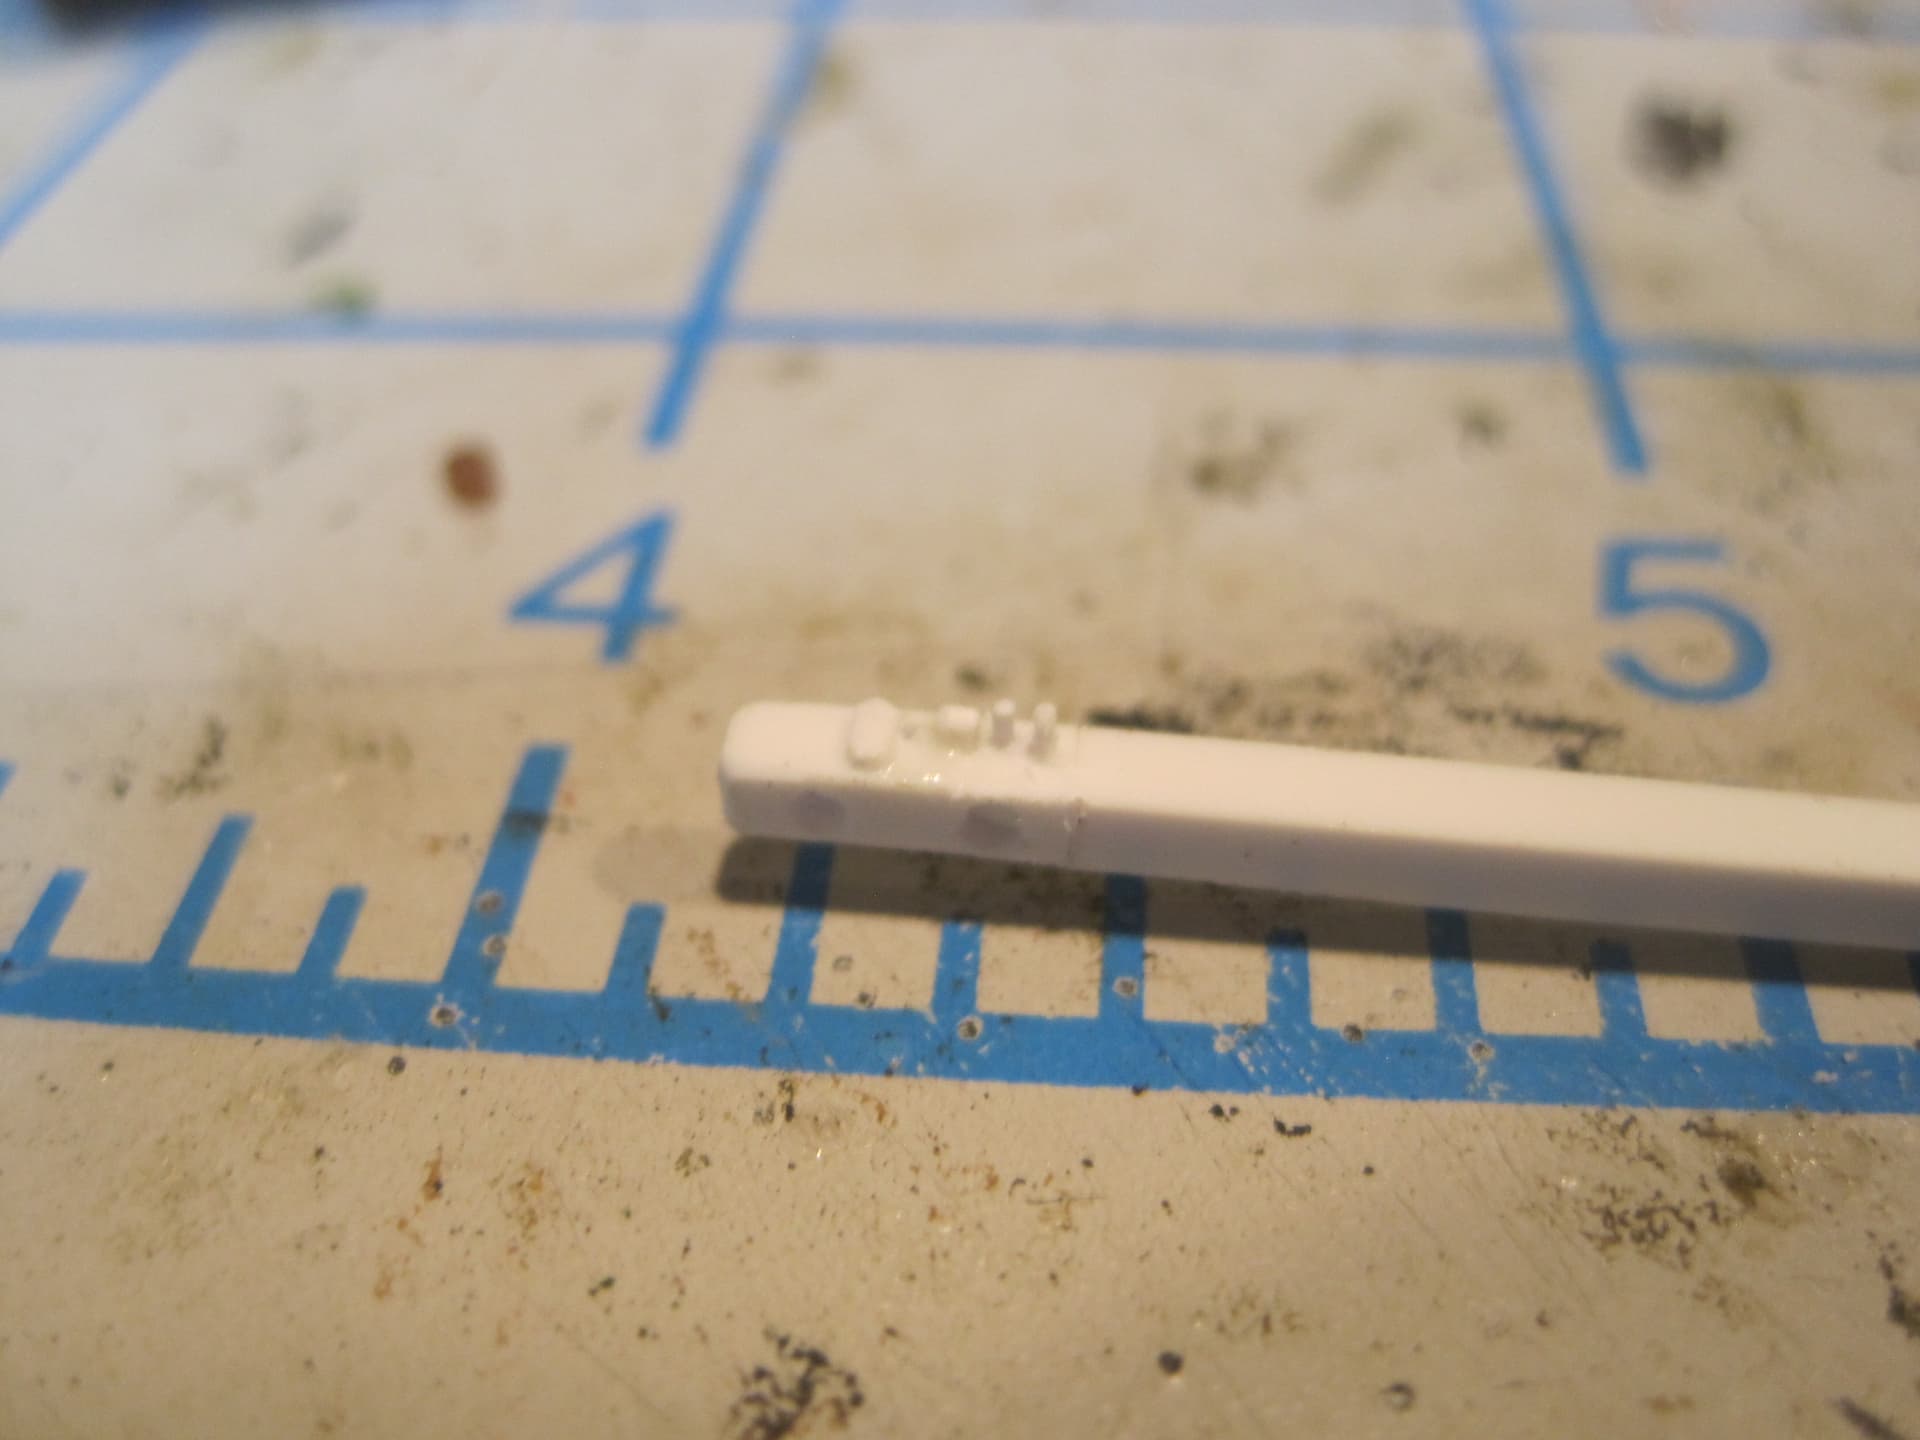
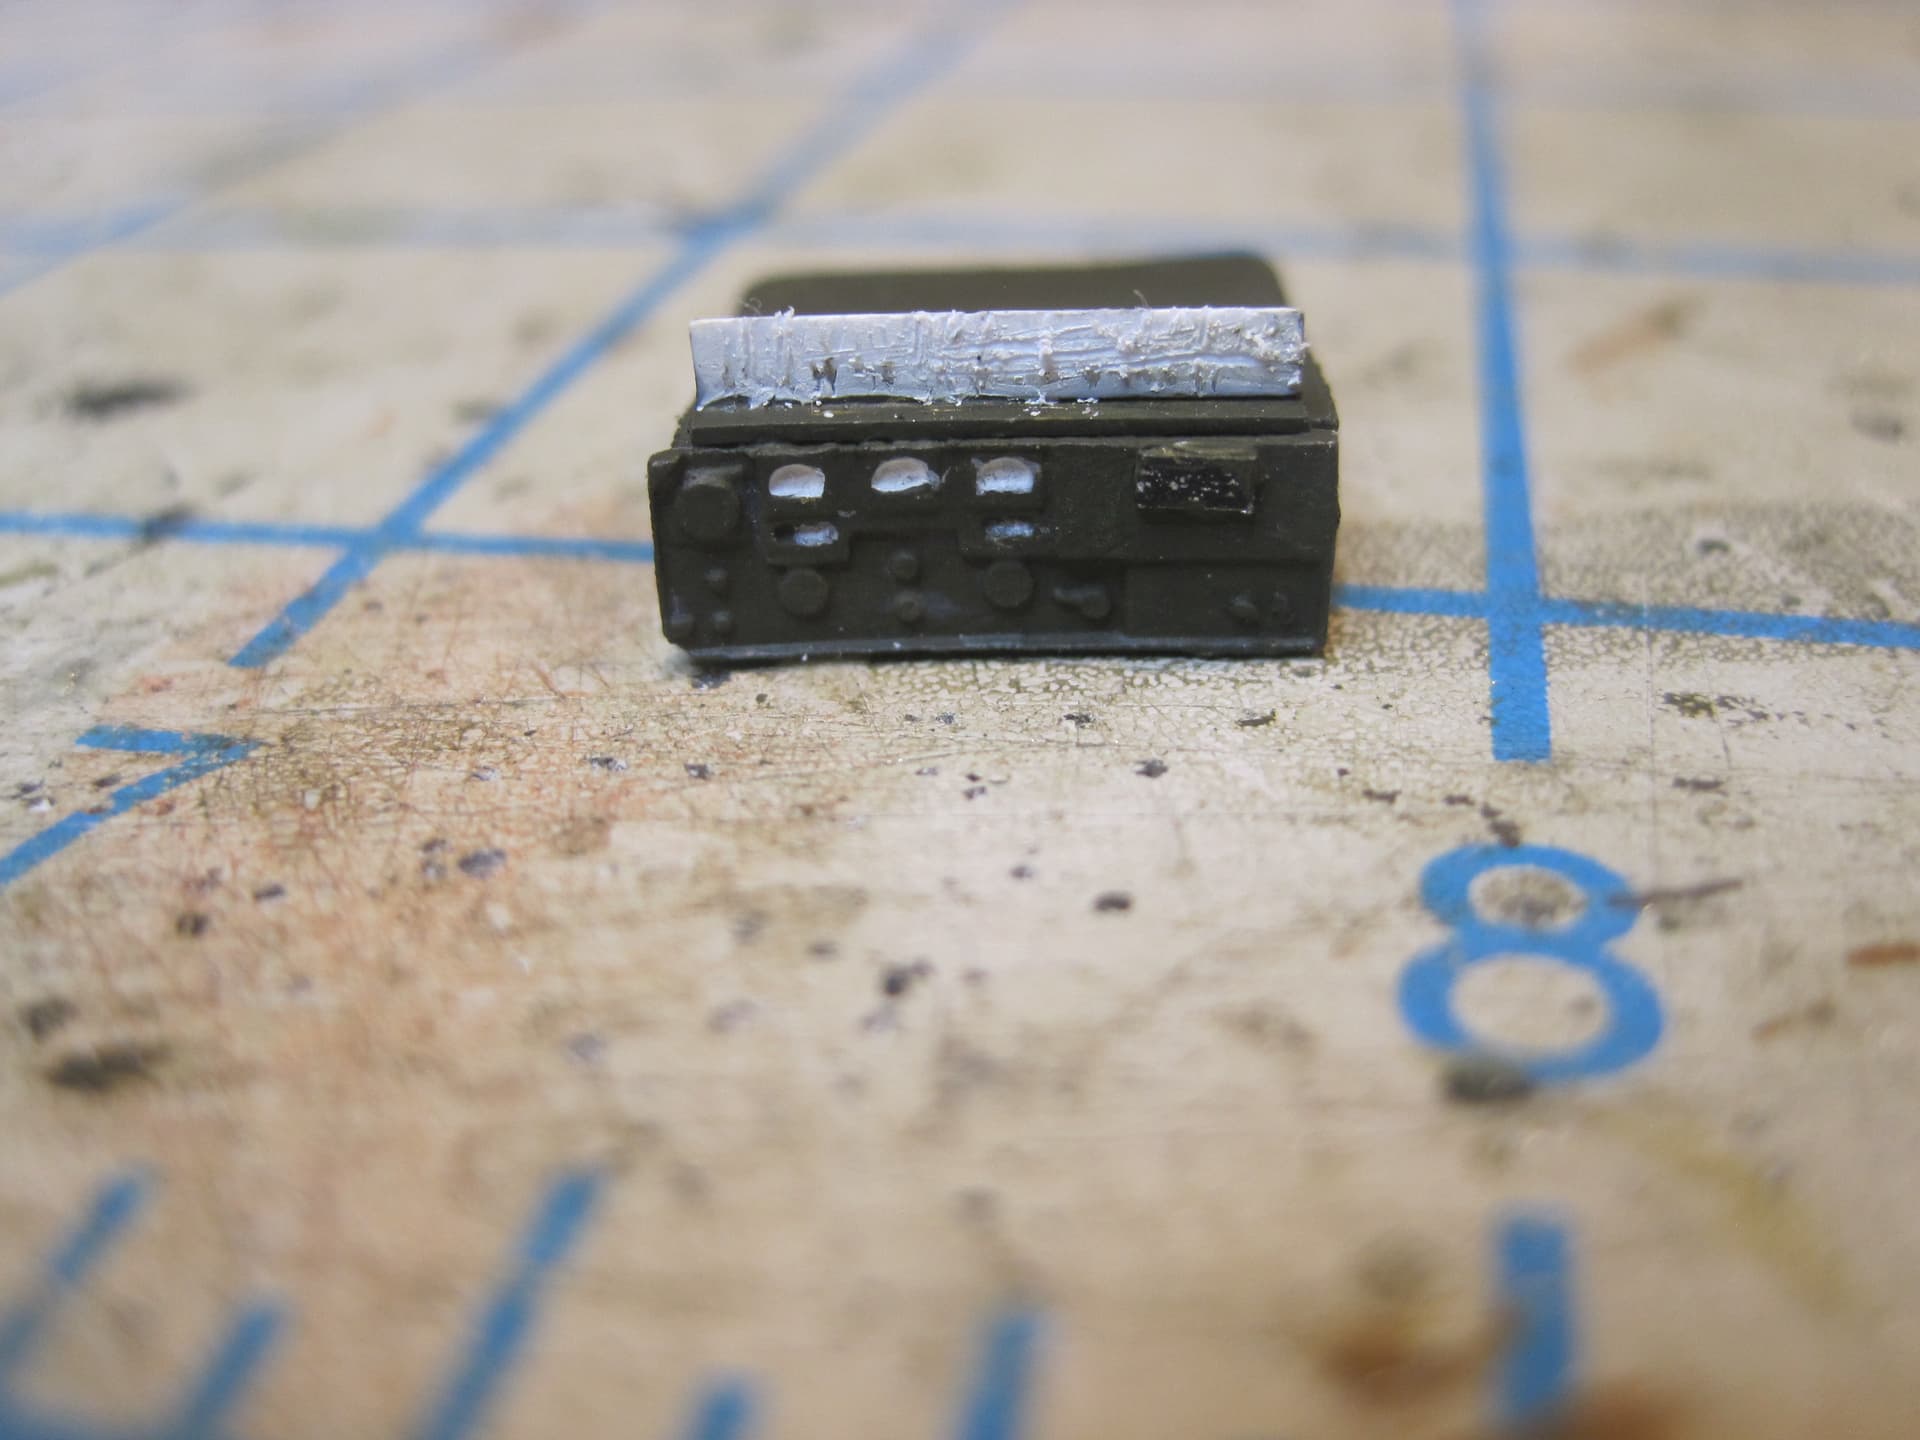
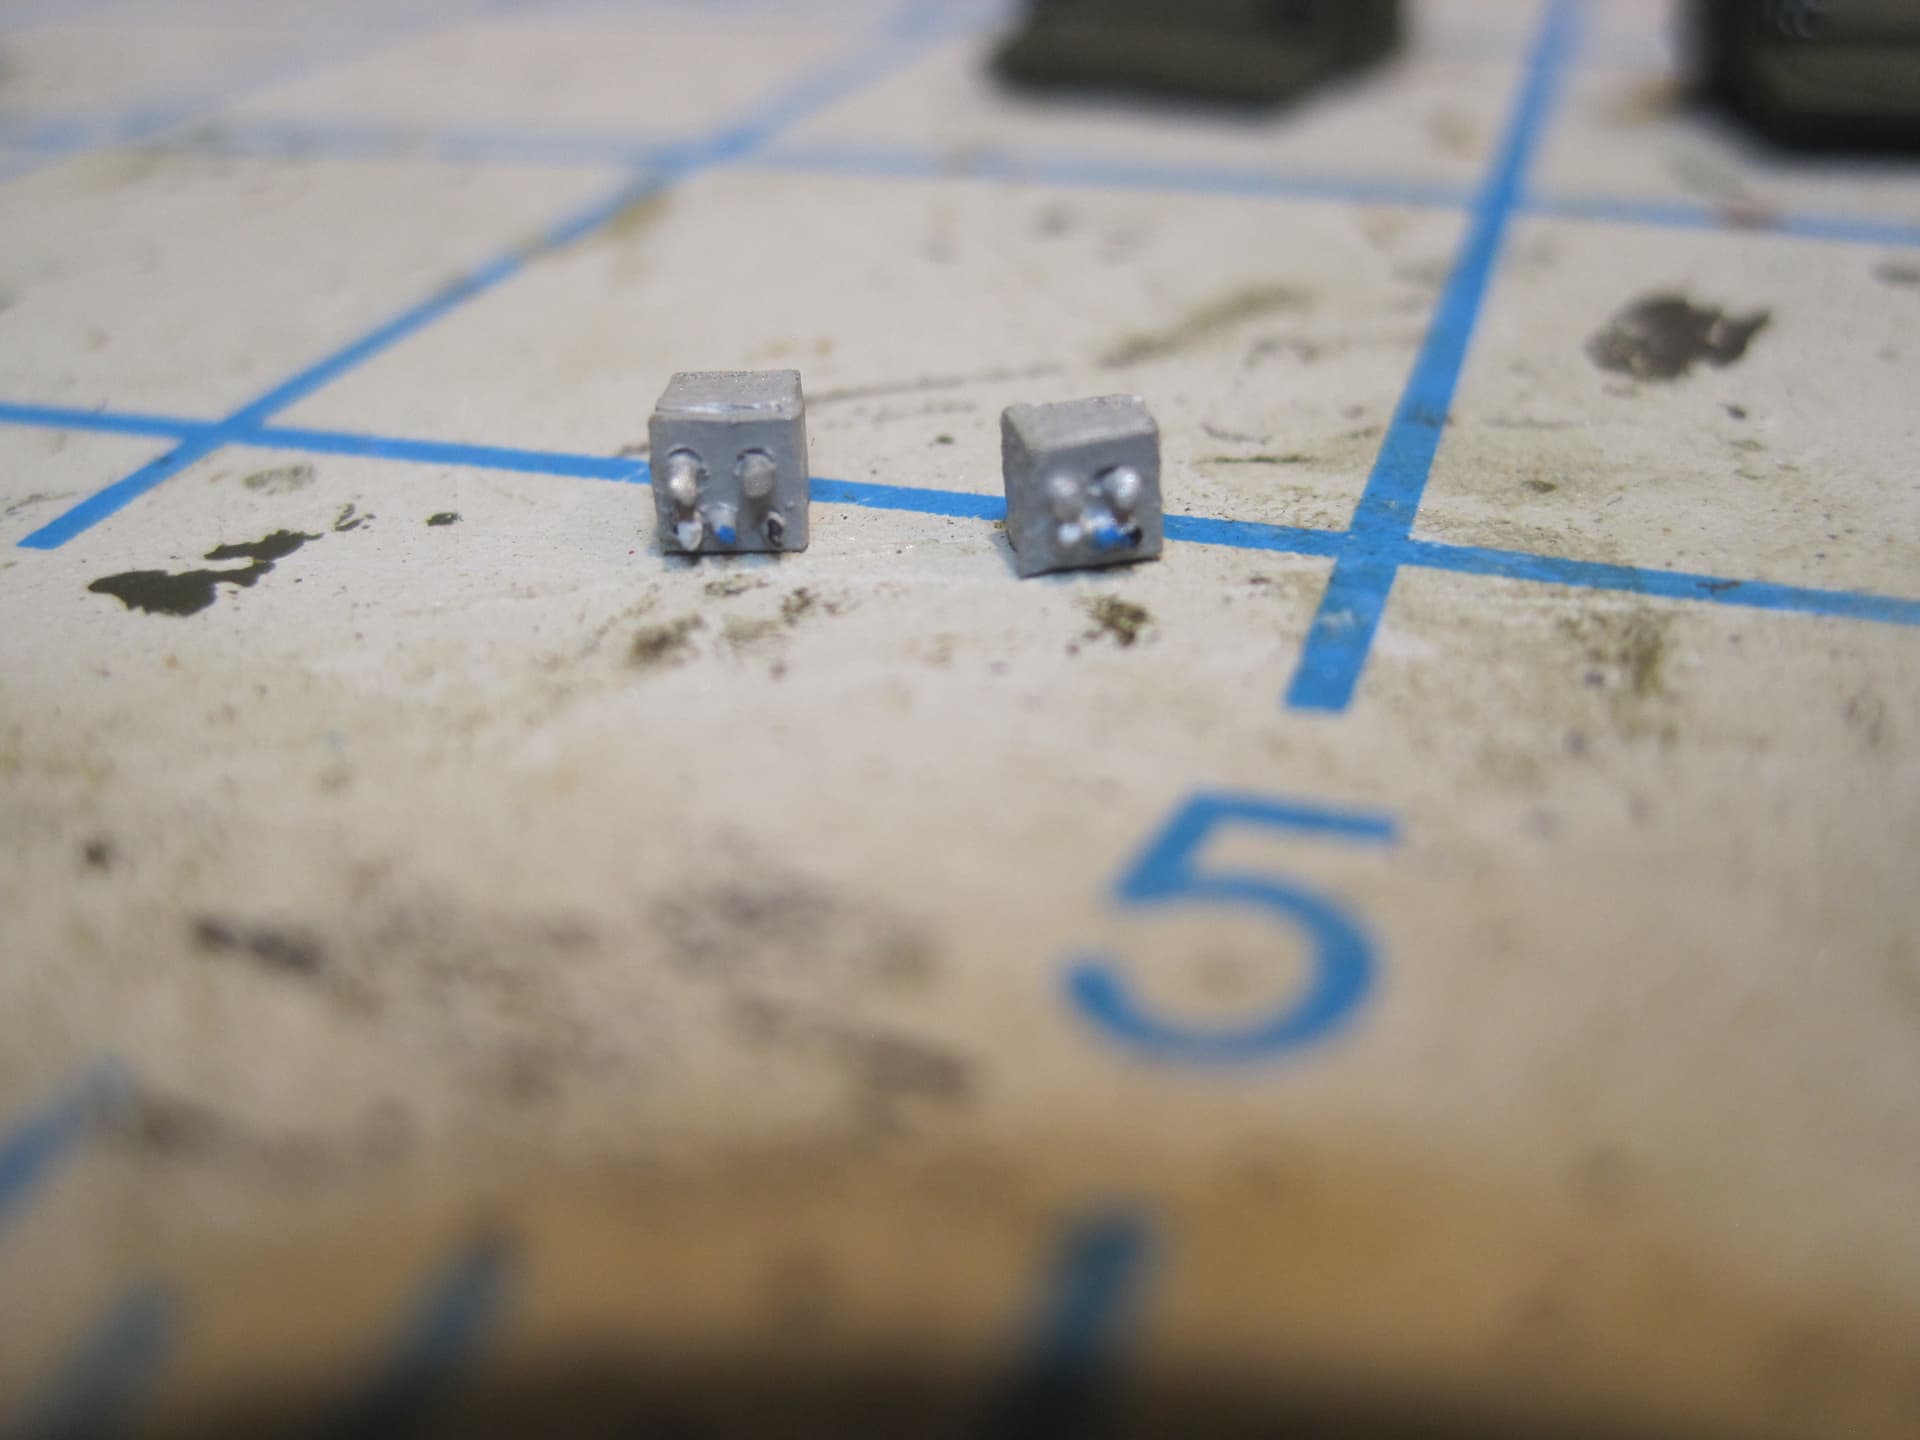
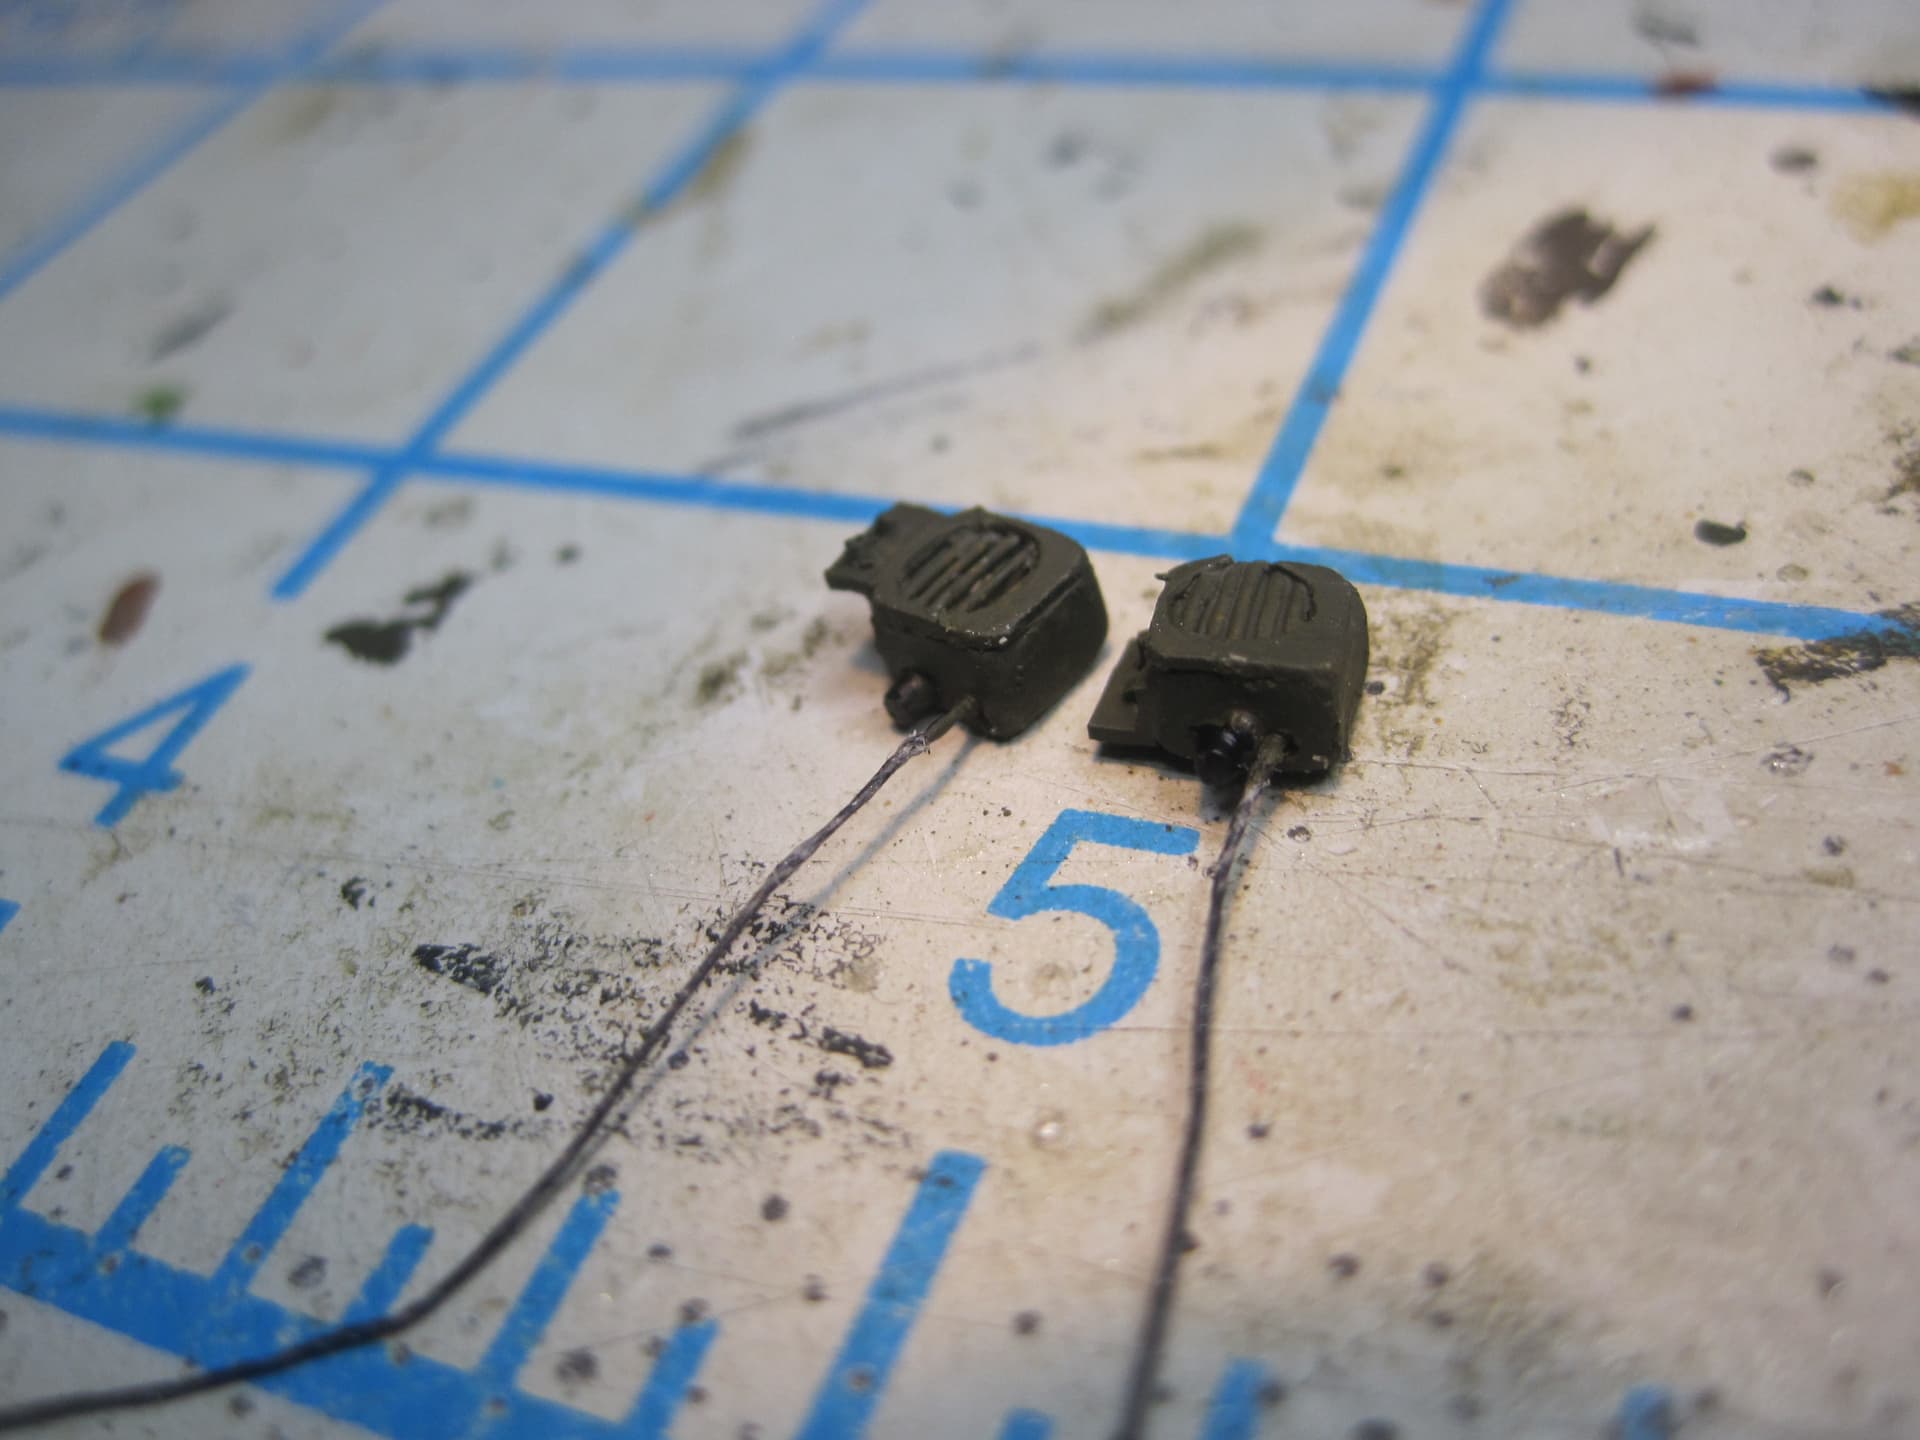
15. TA-312


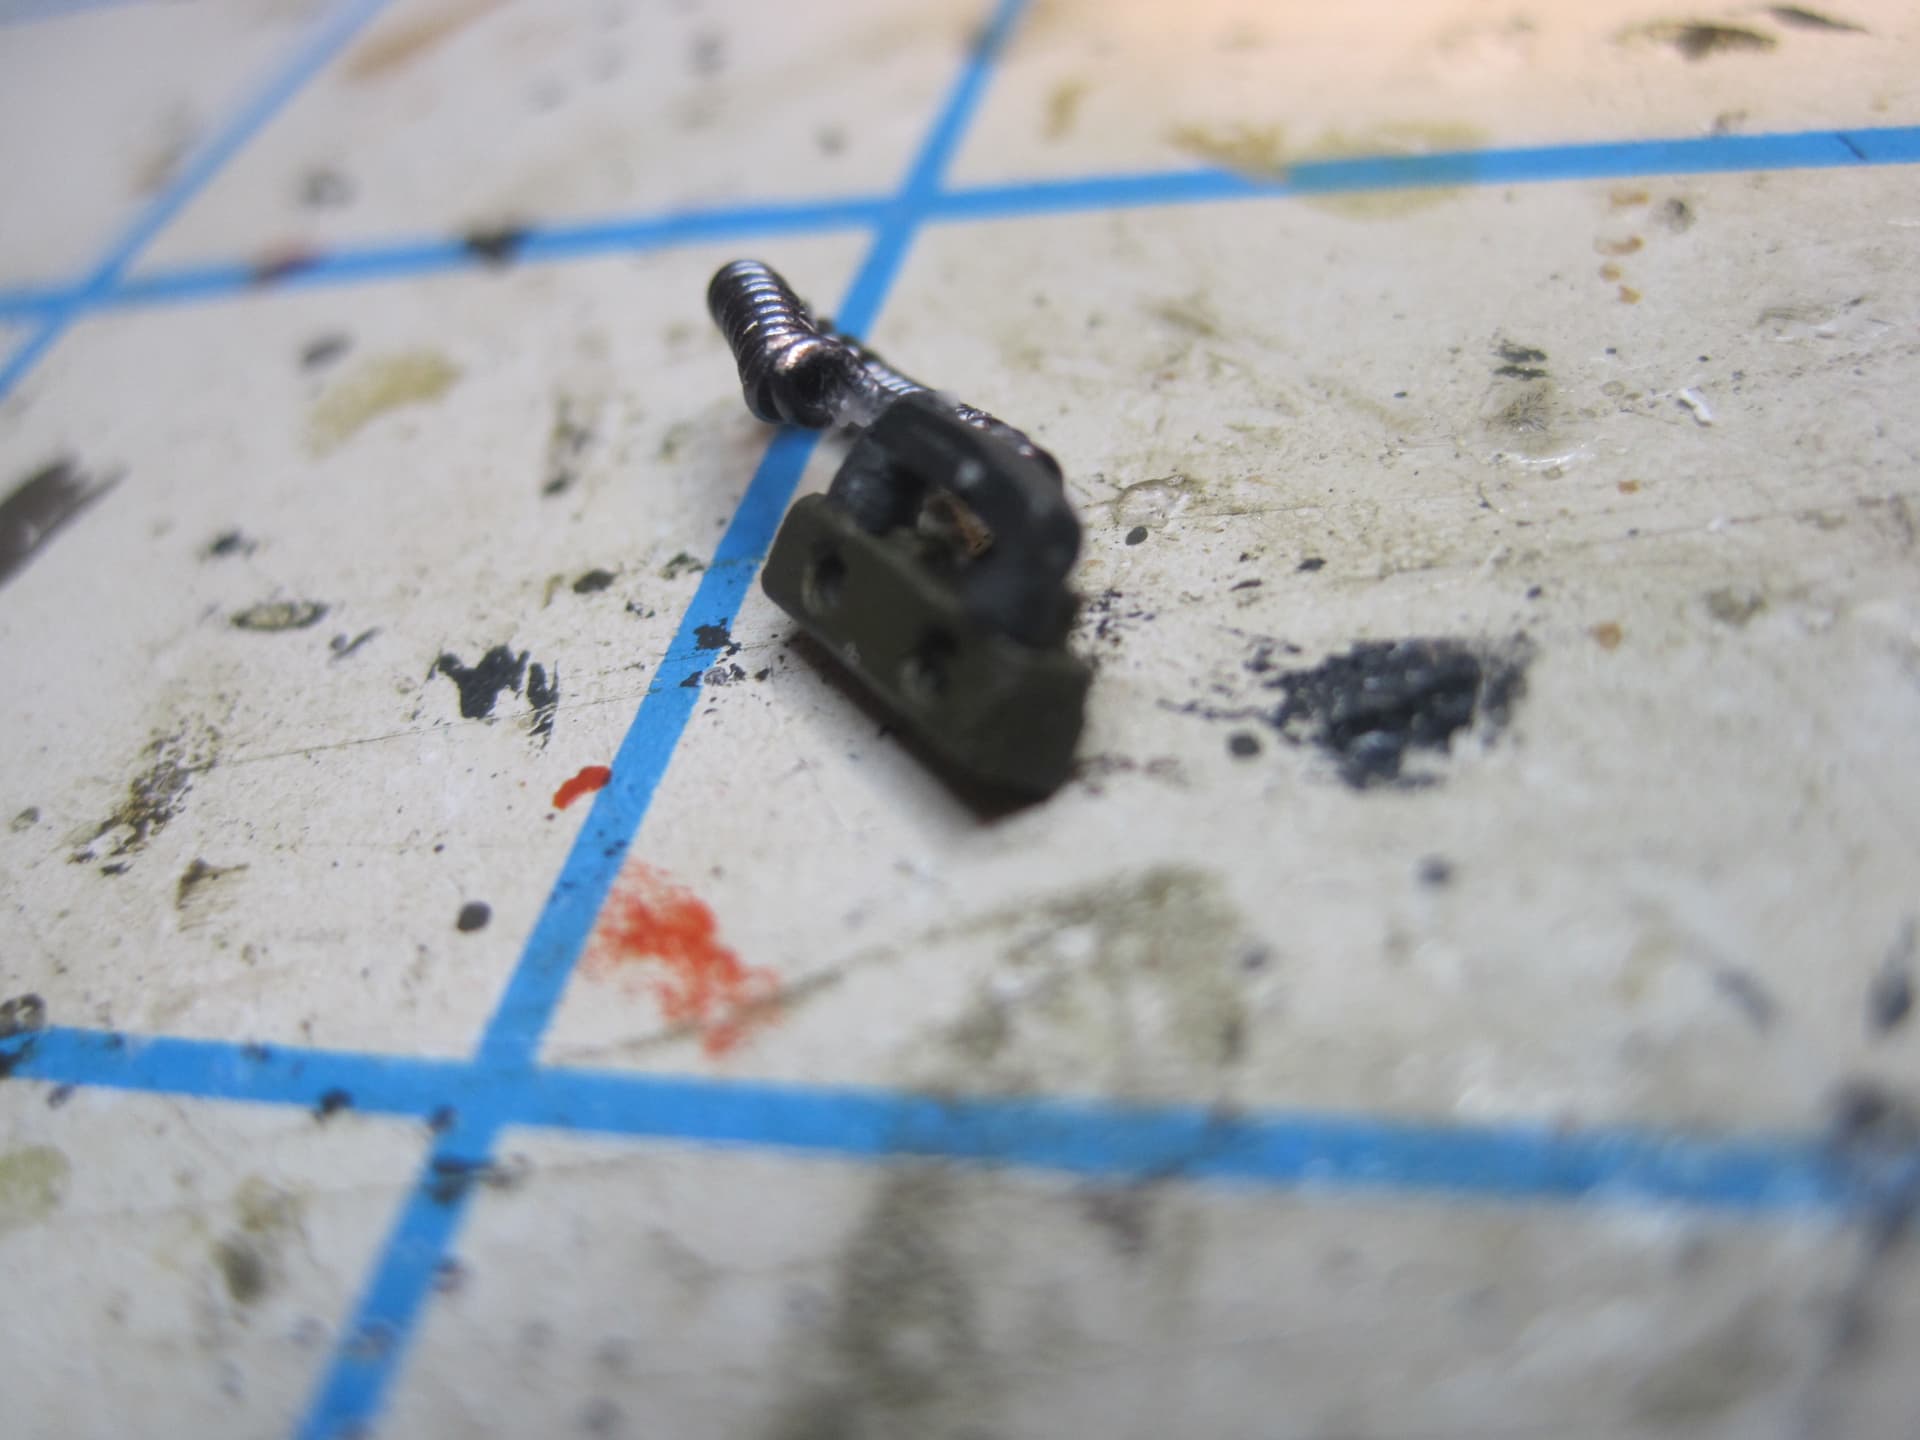
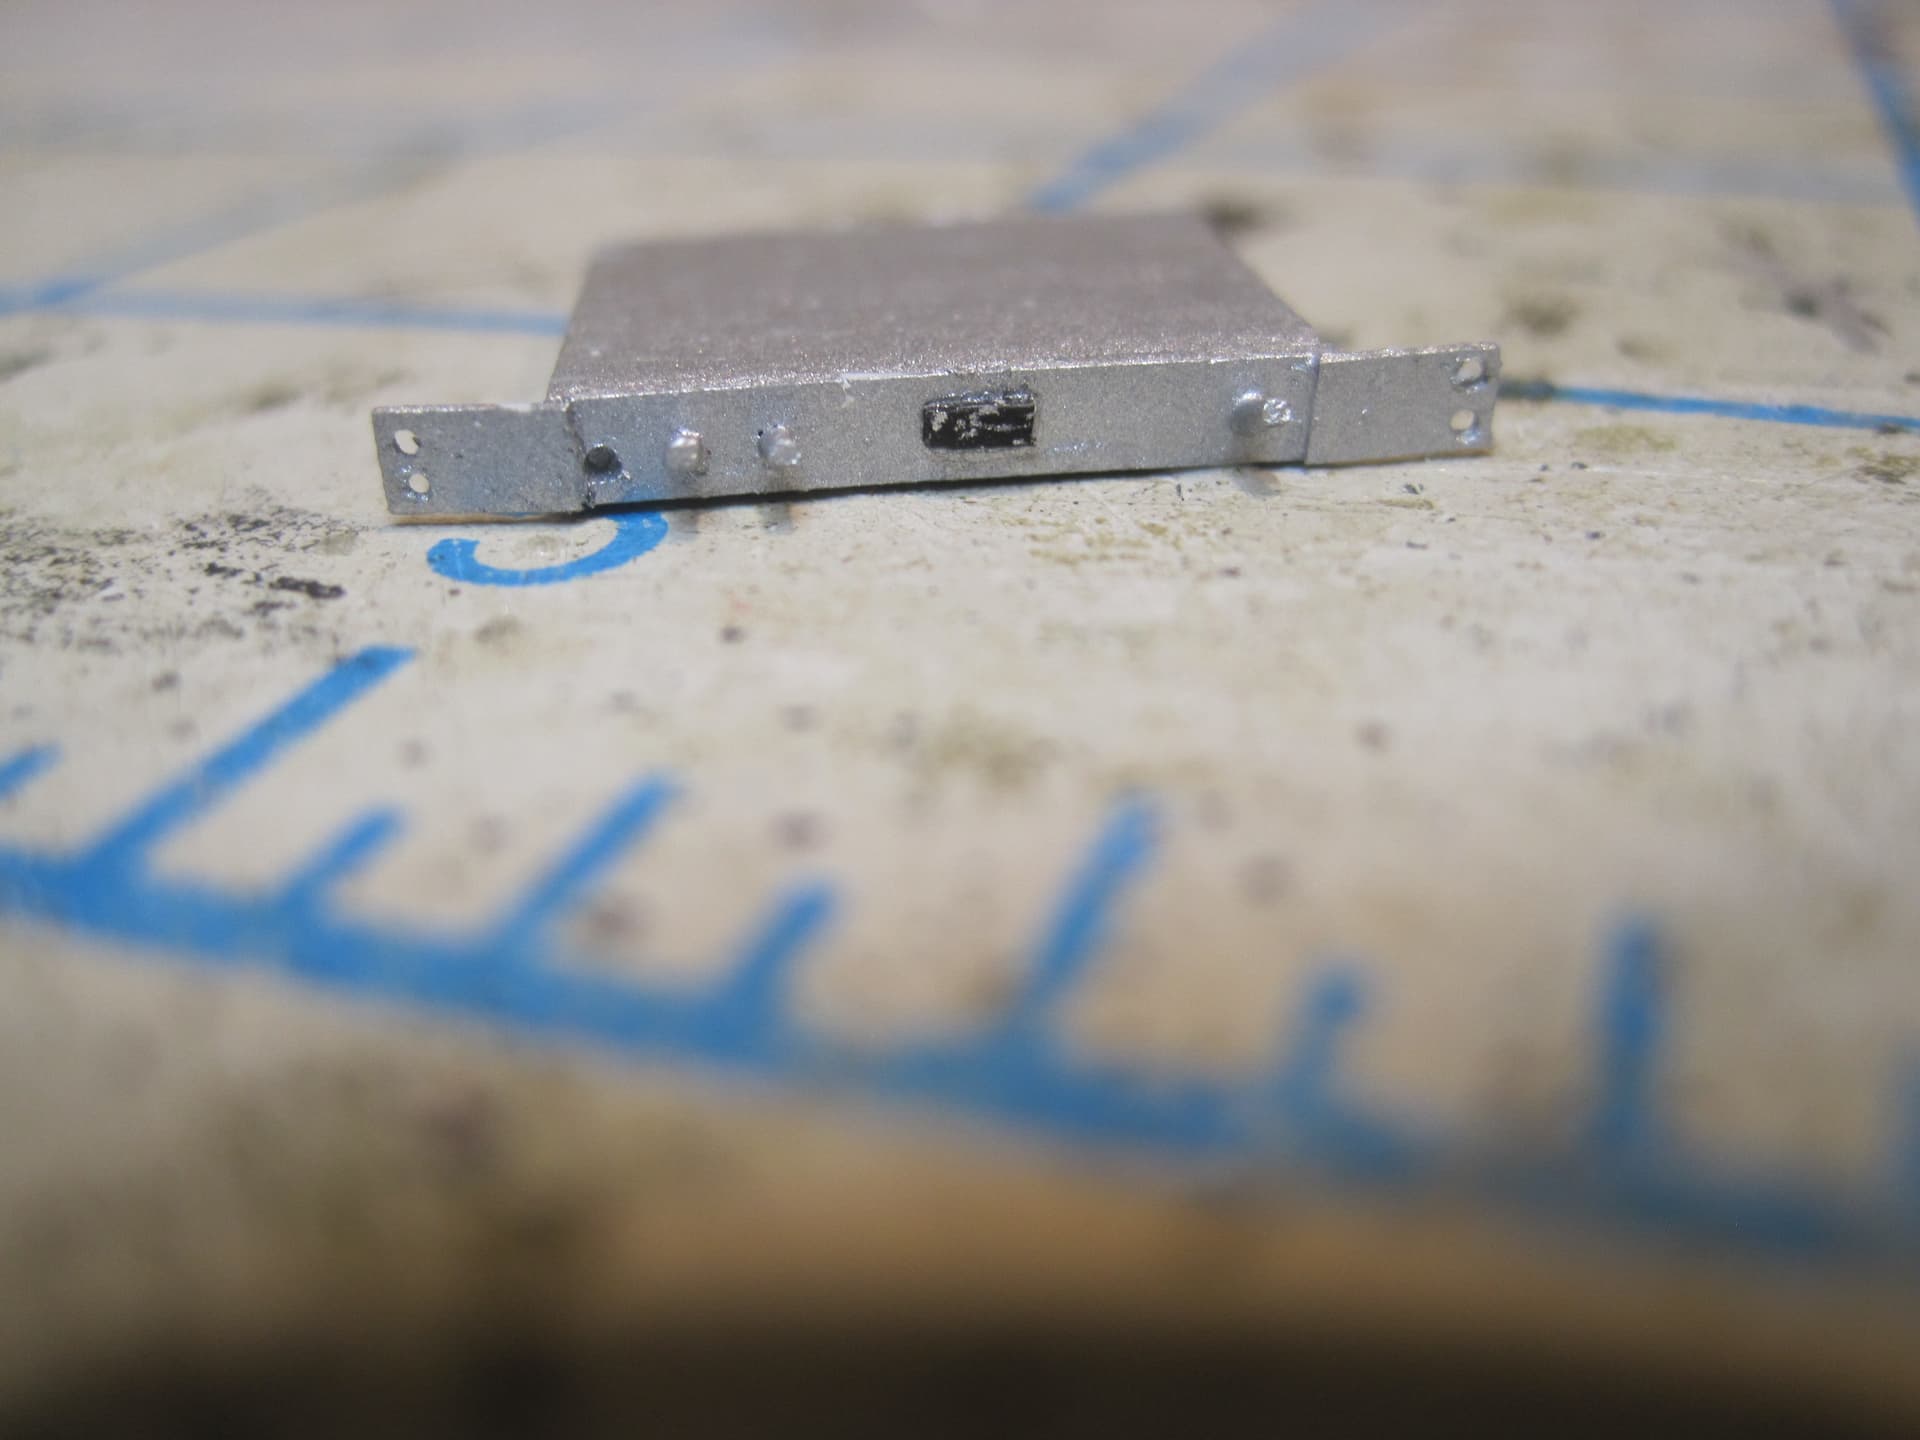
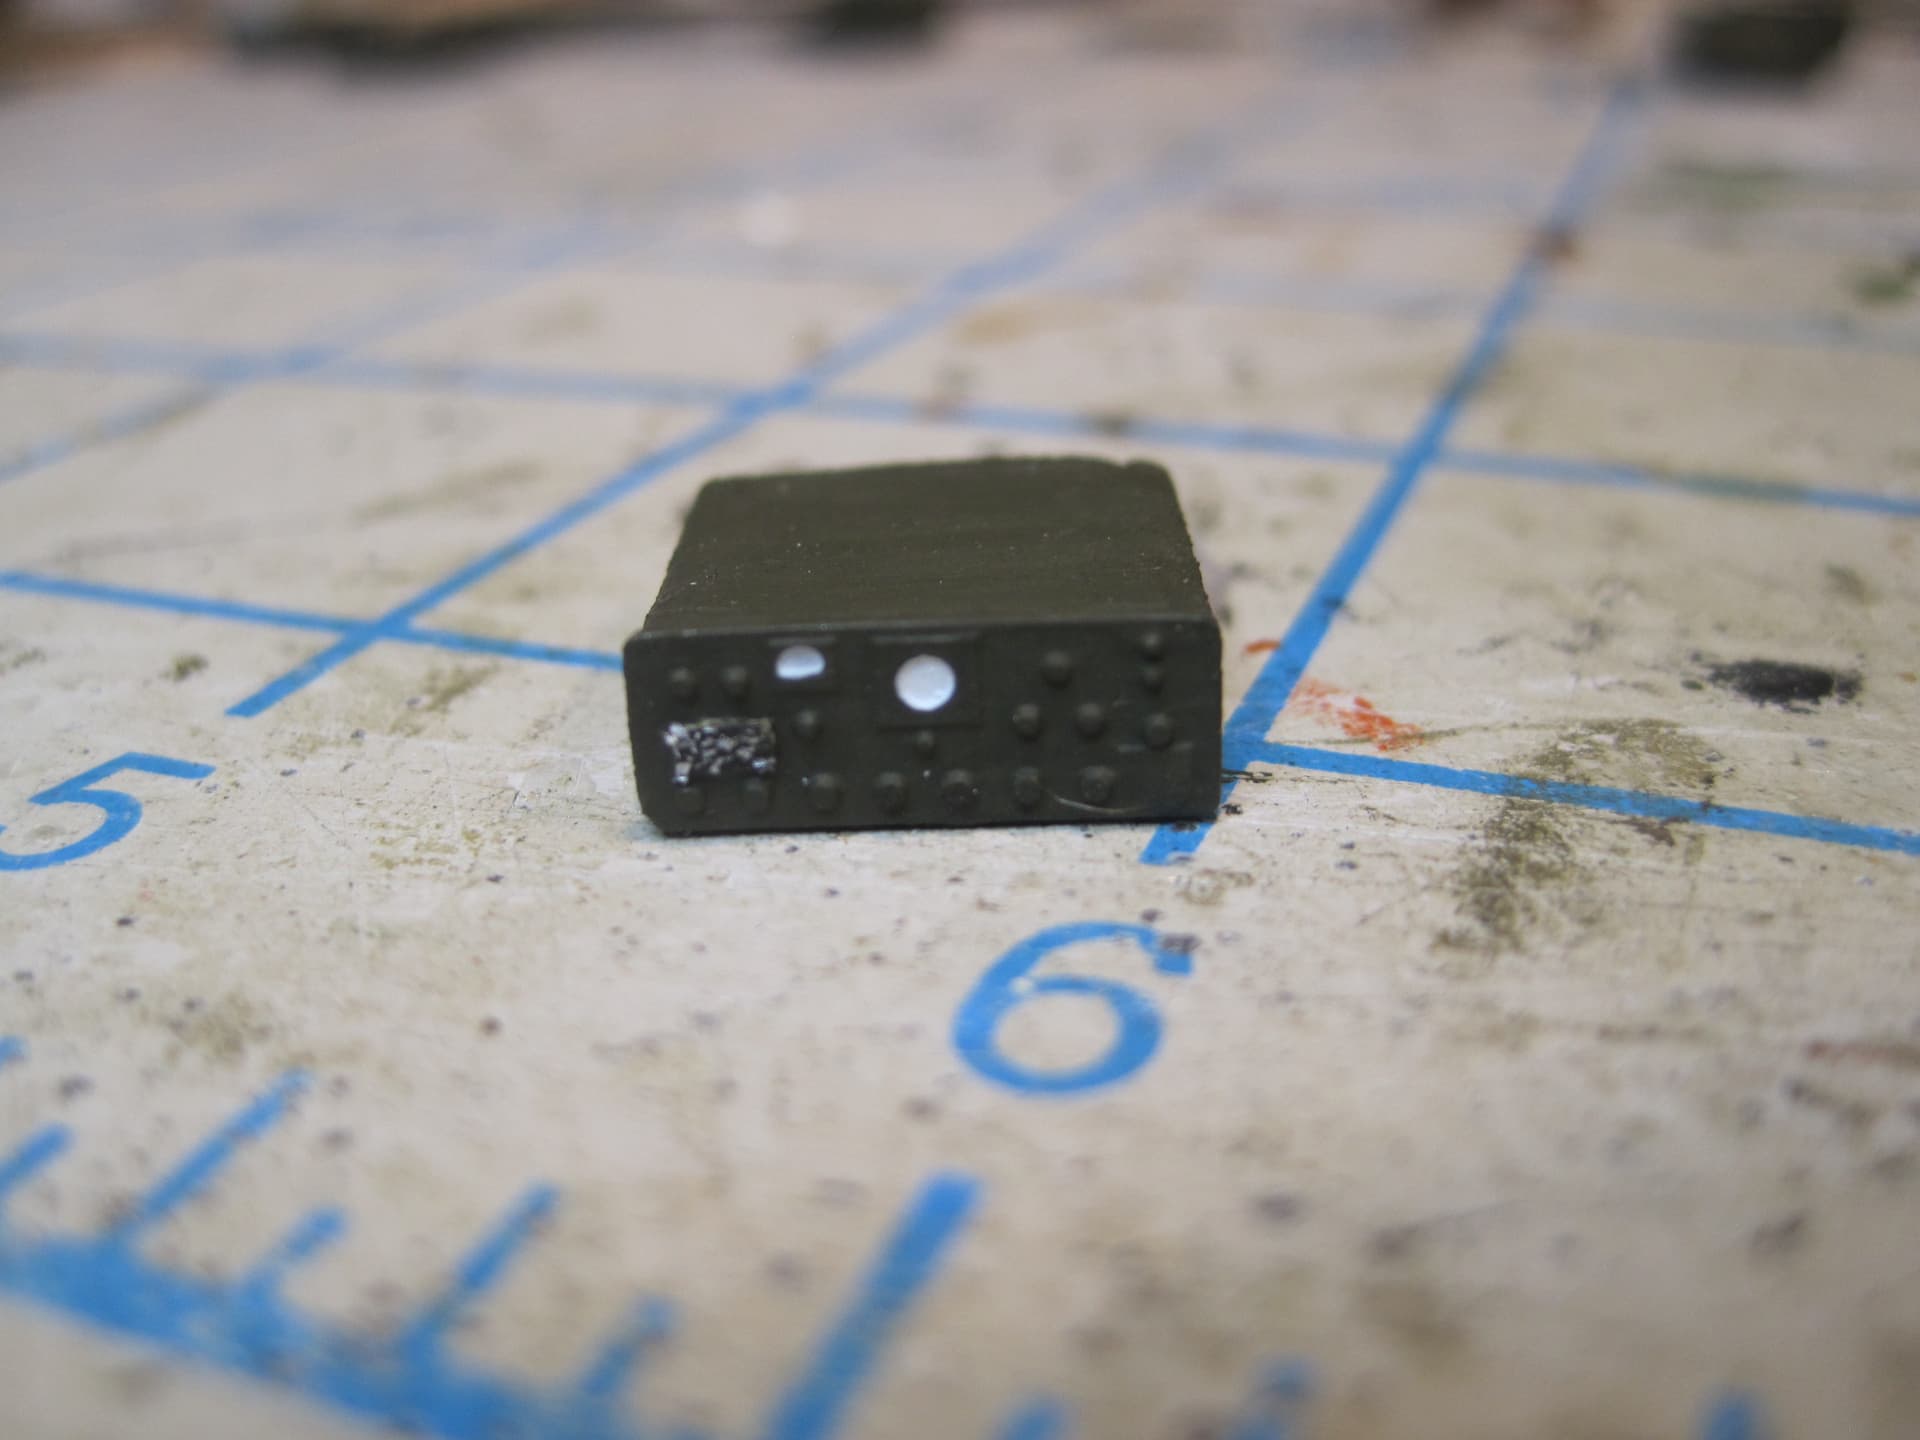
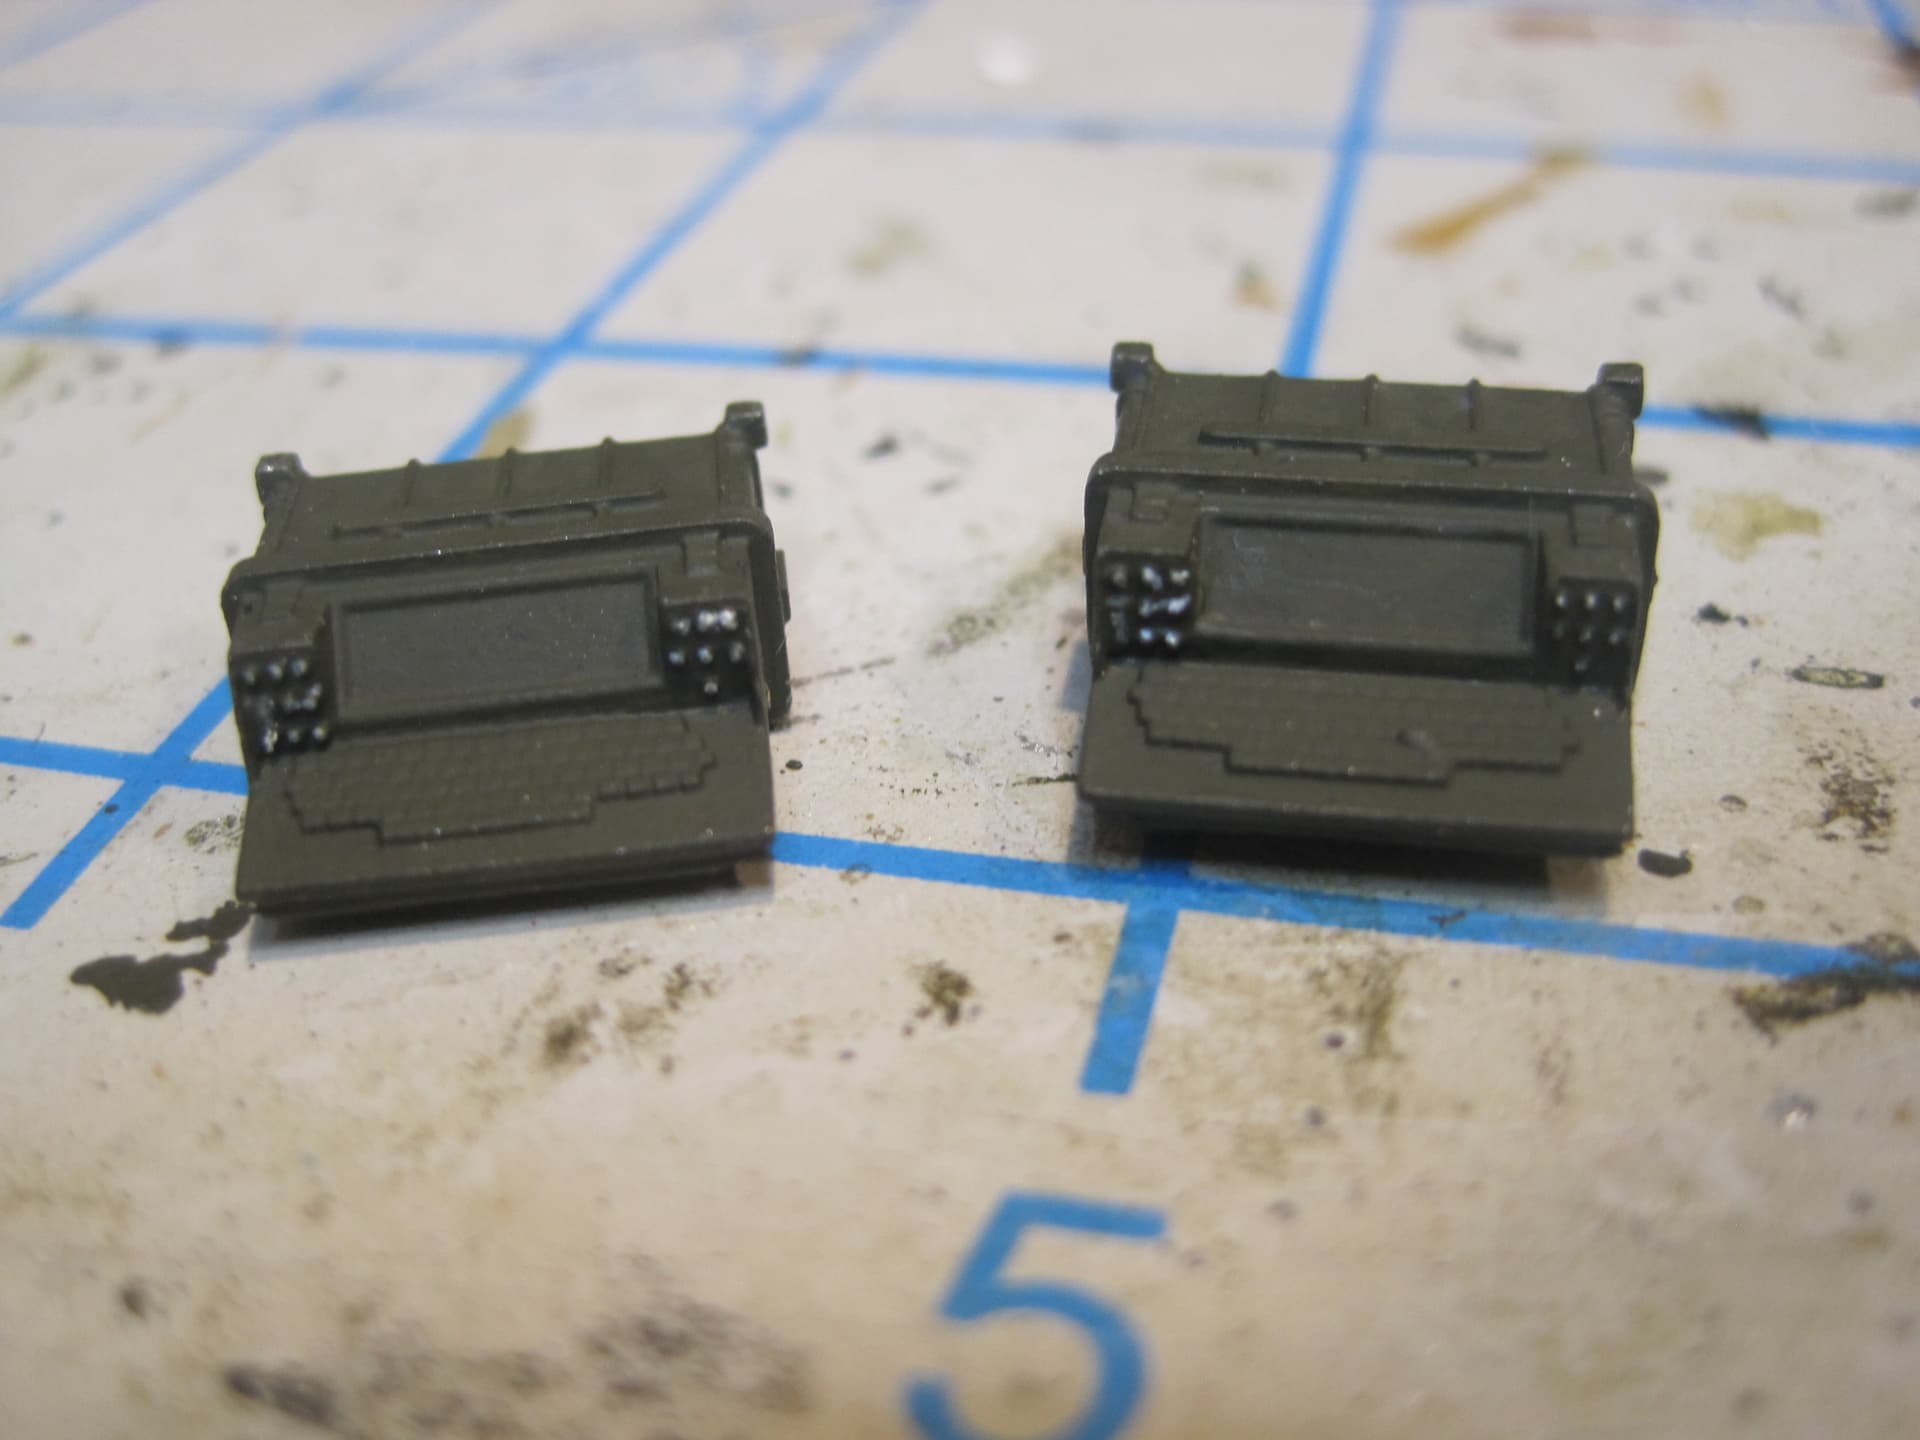
16 PU 724/U Power Generator Invertor (2 each)
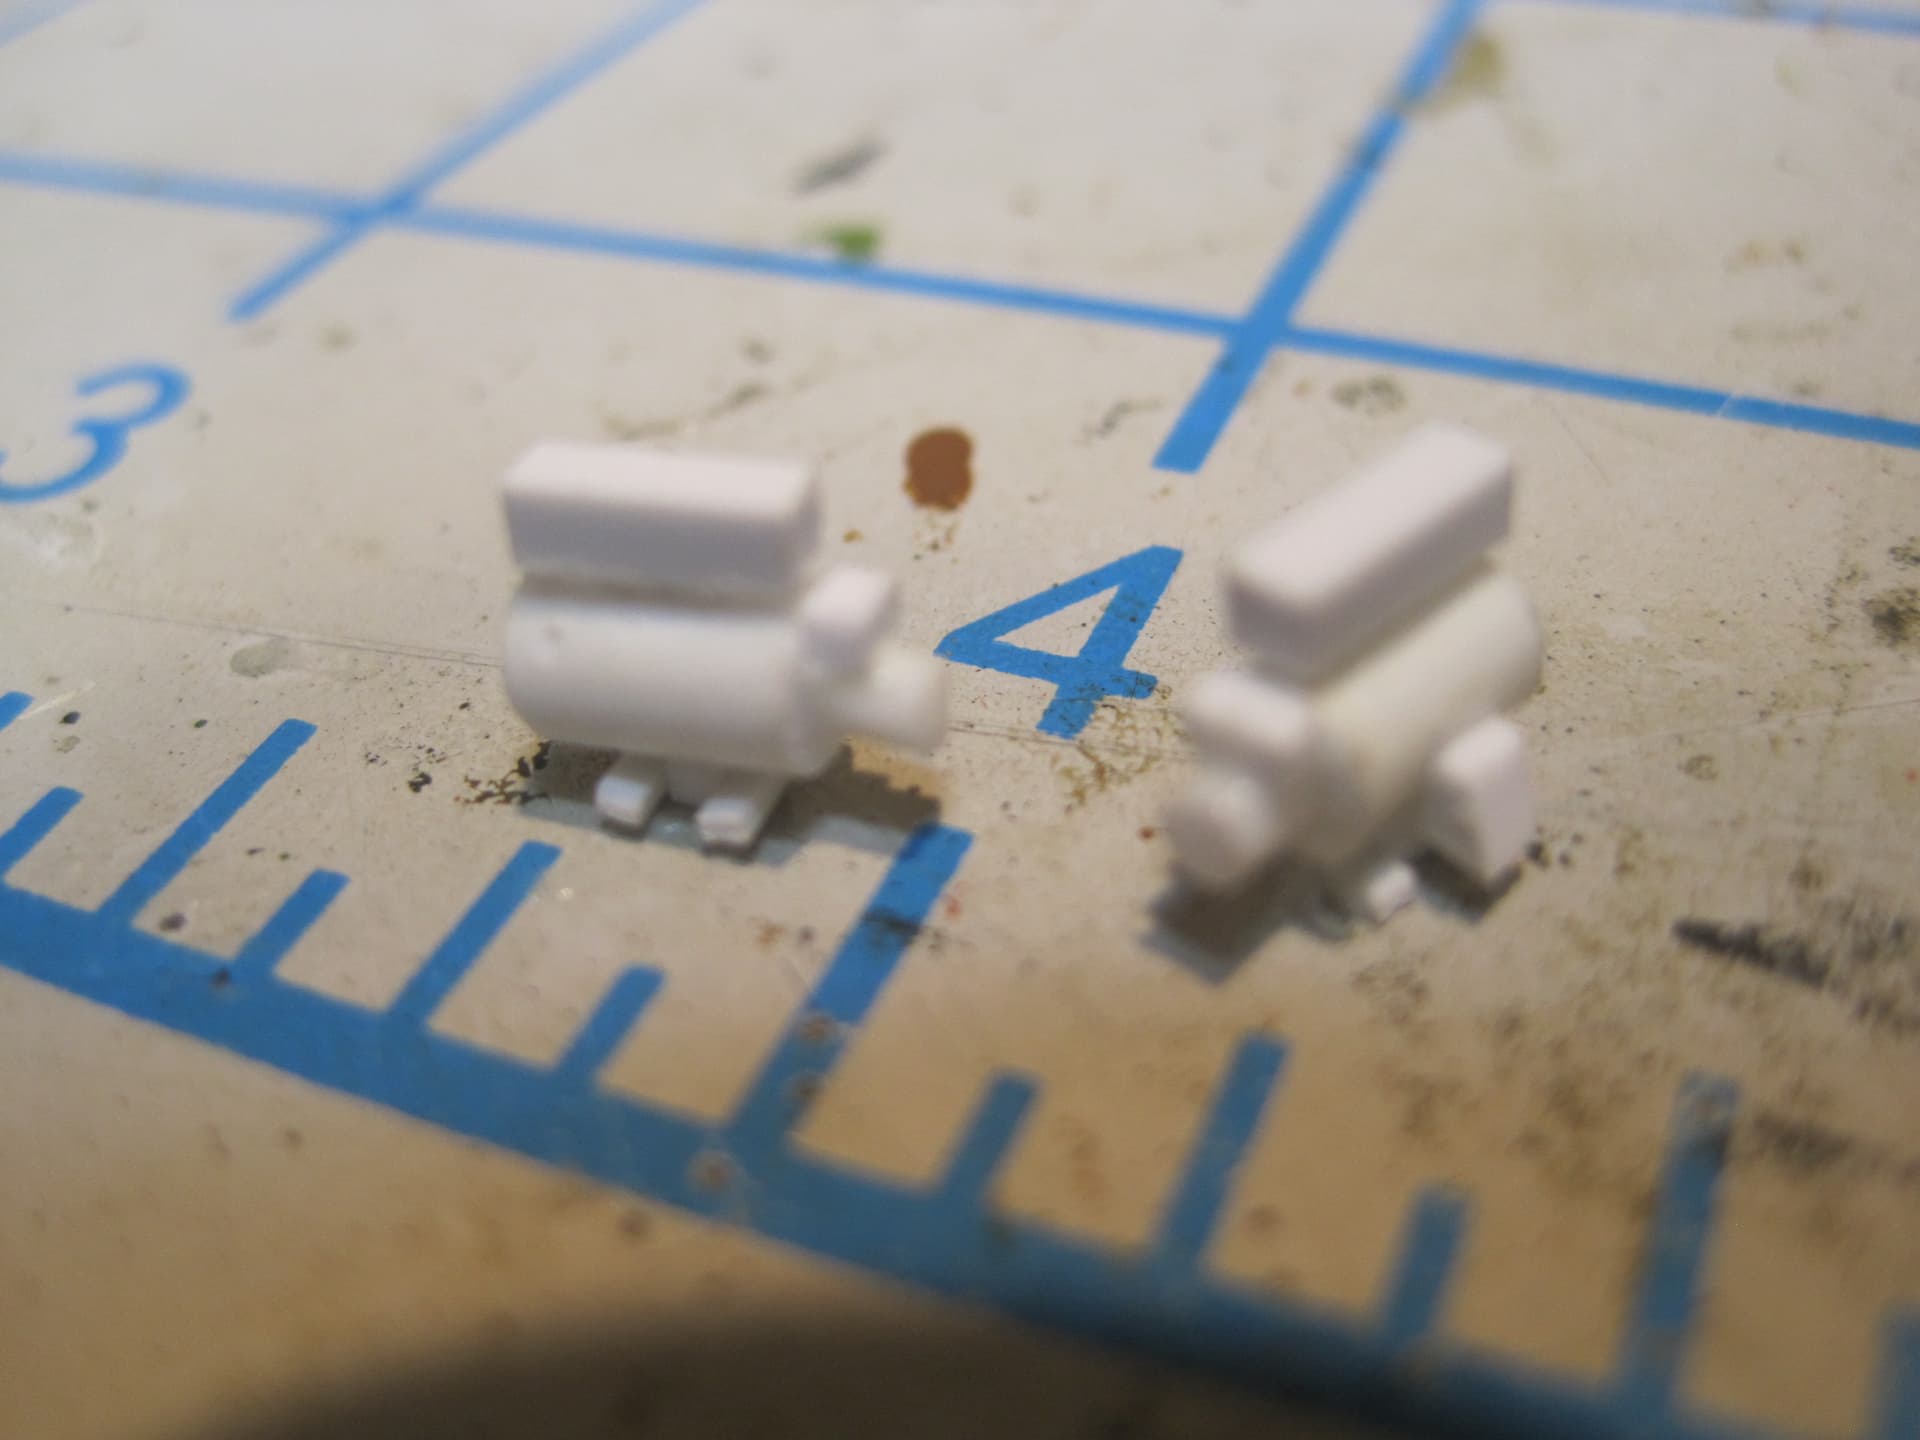

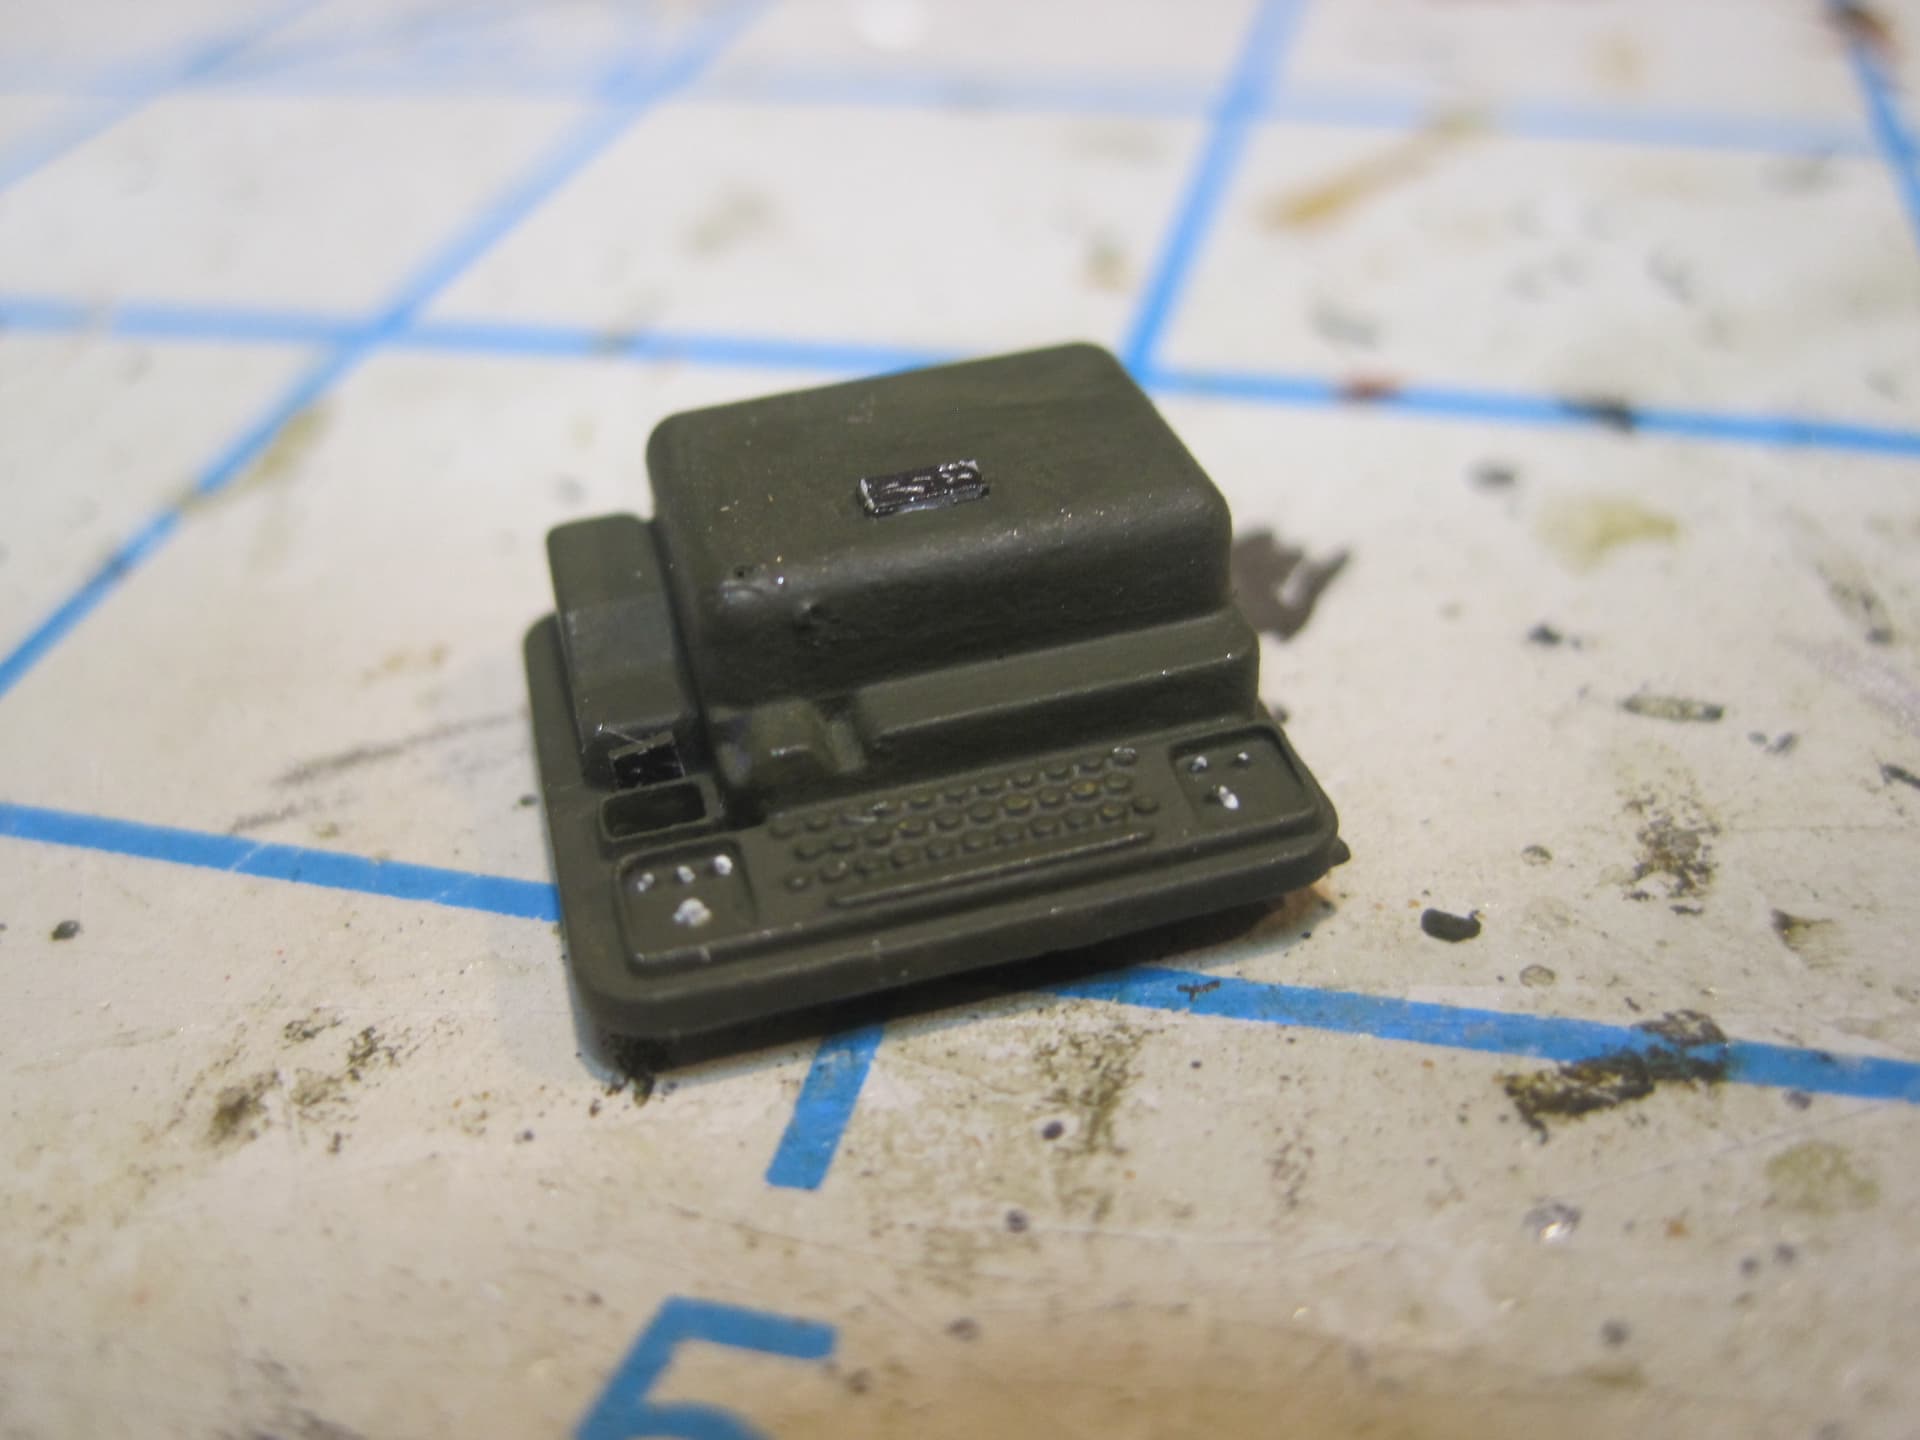
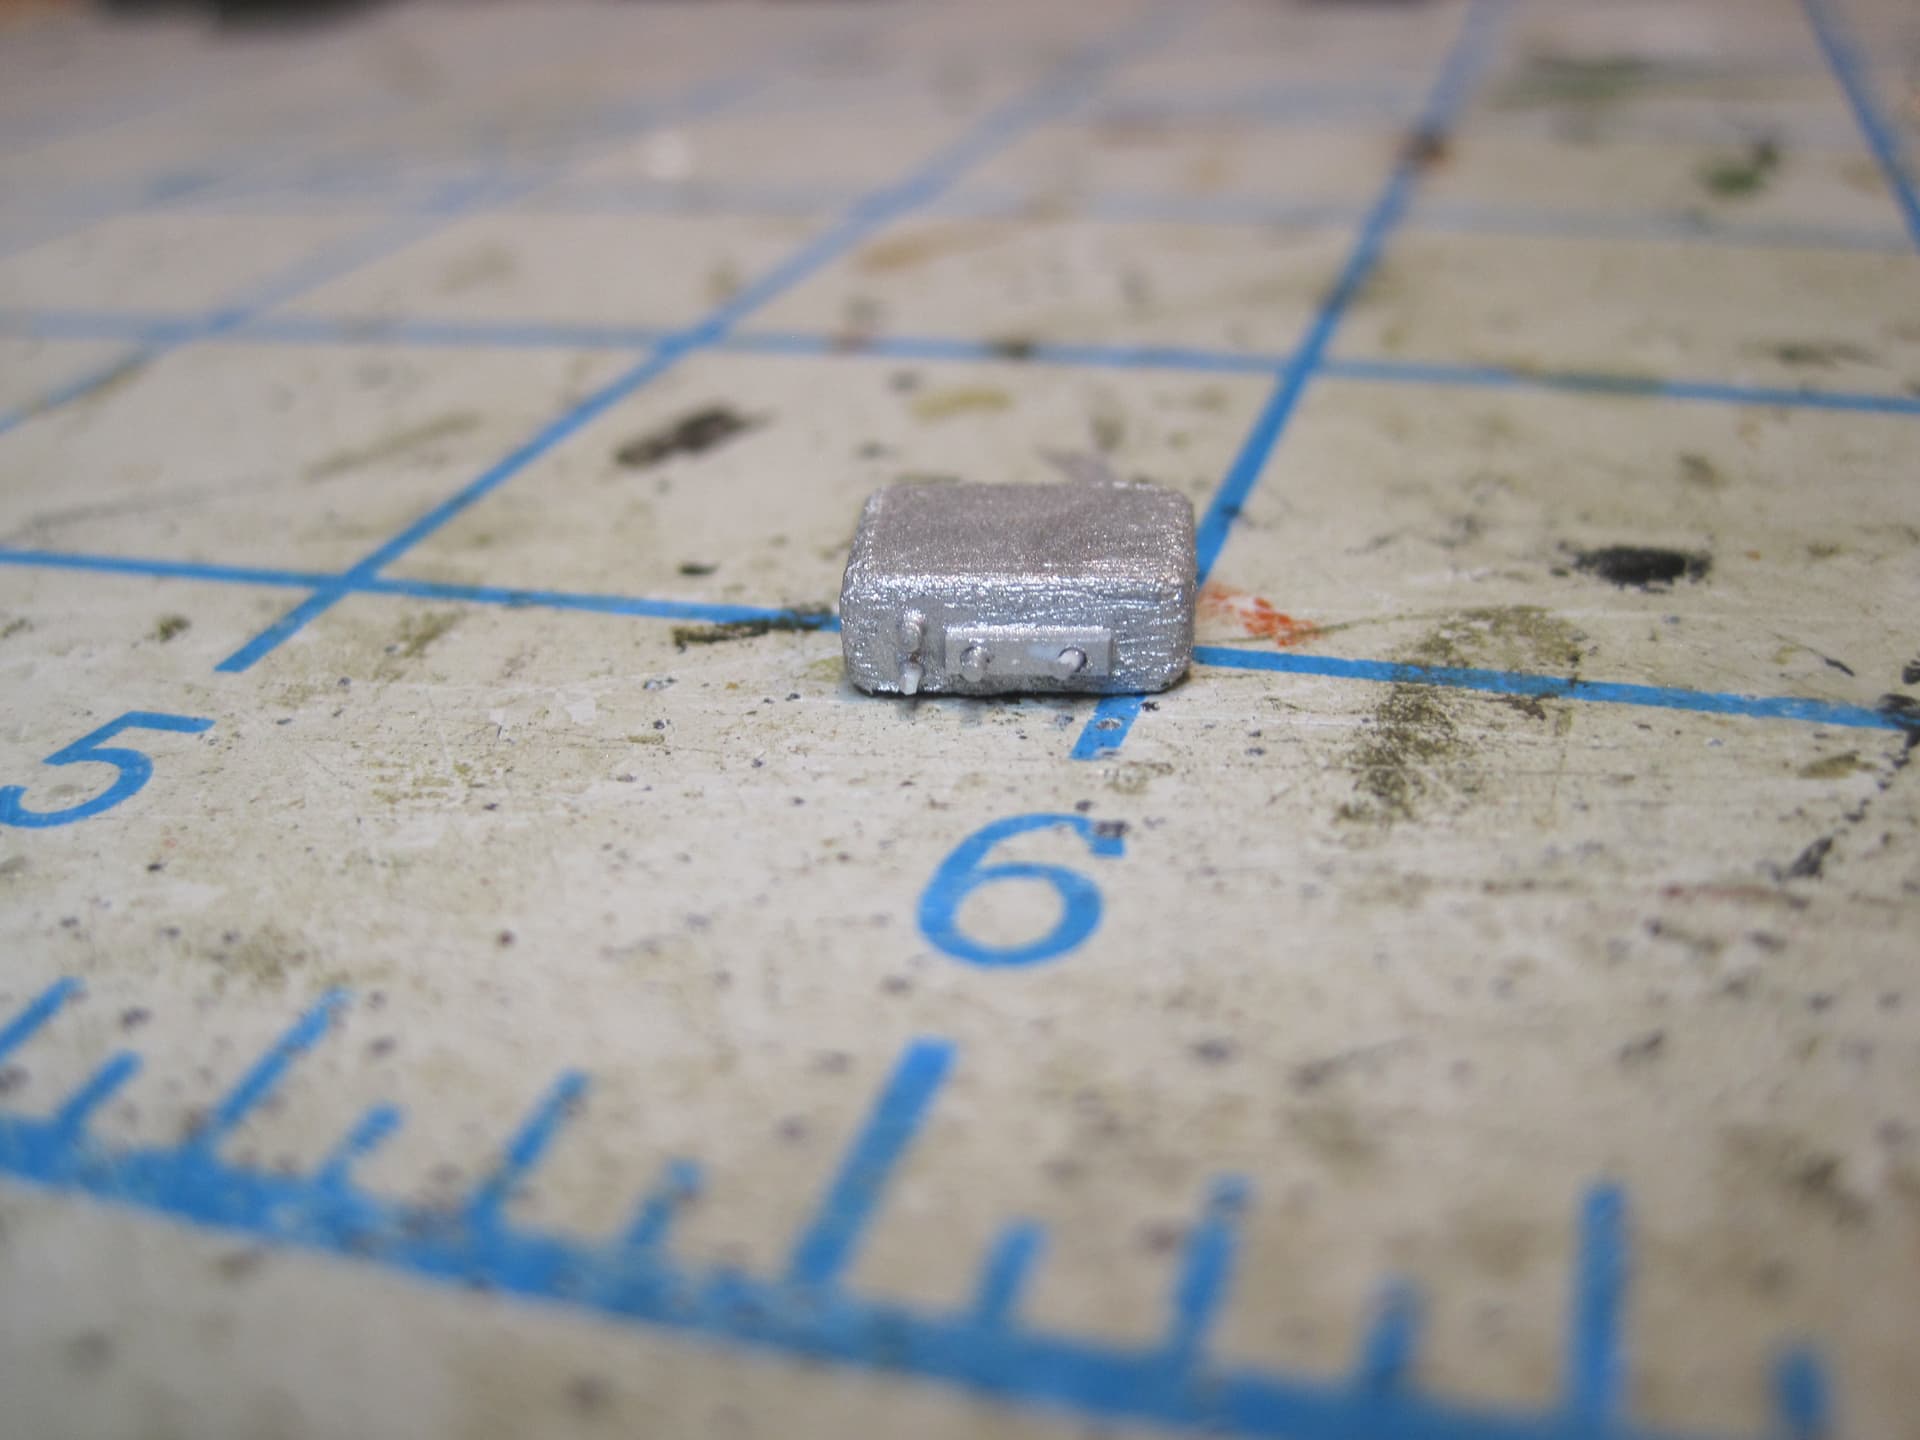
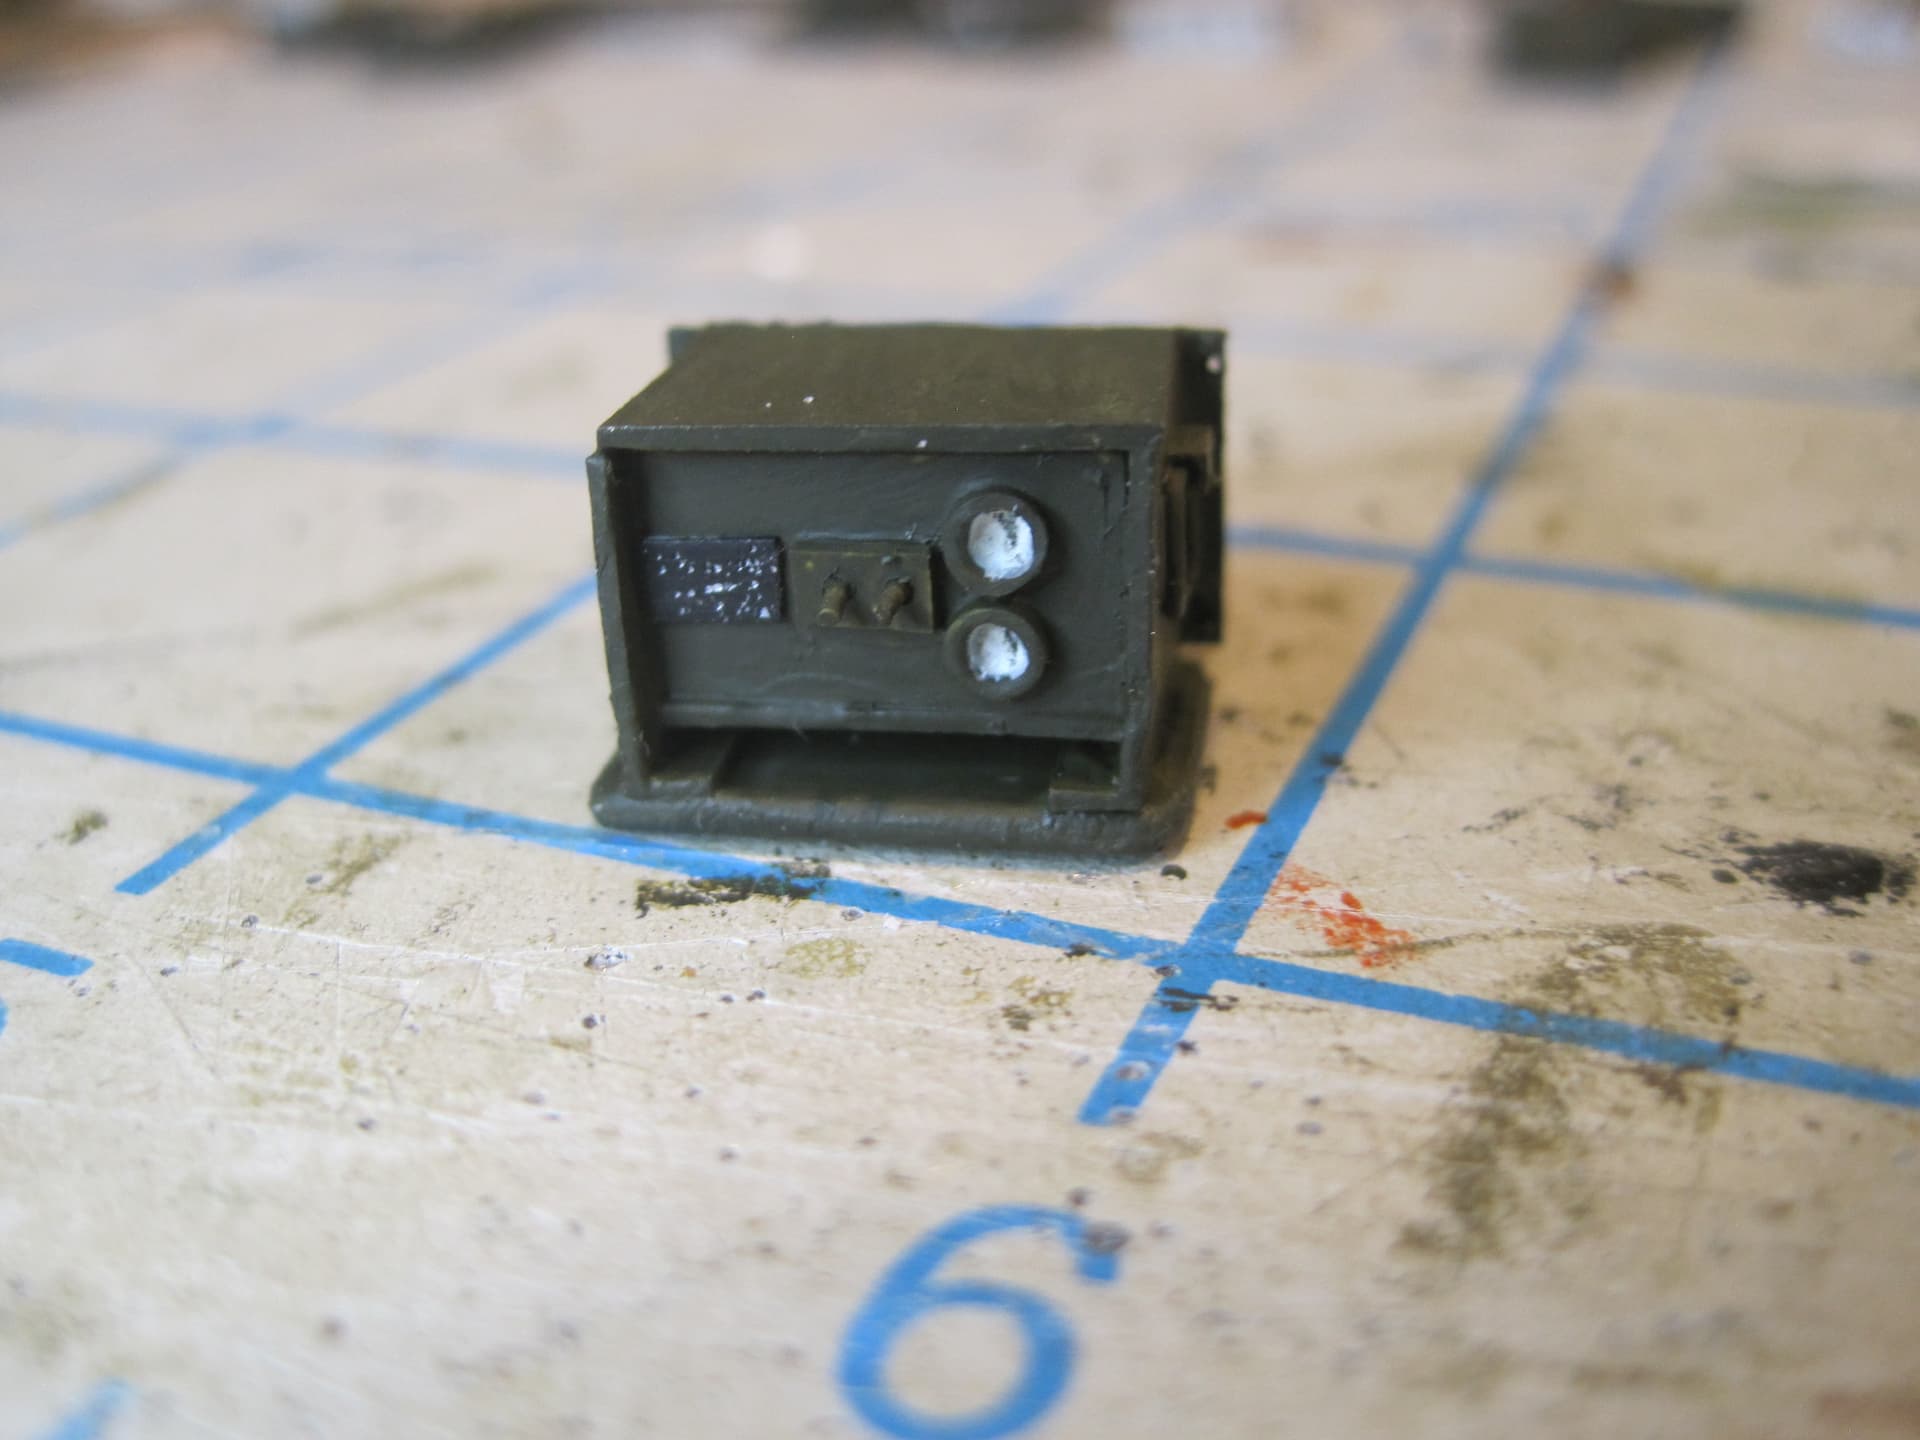
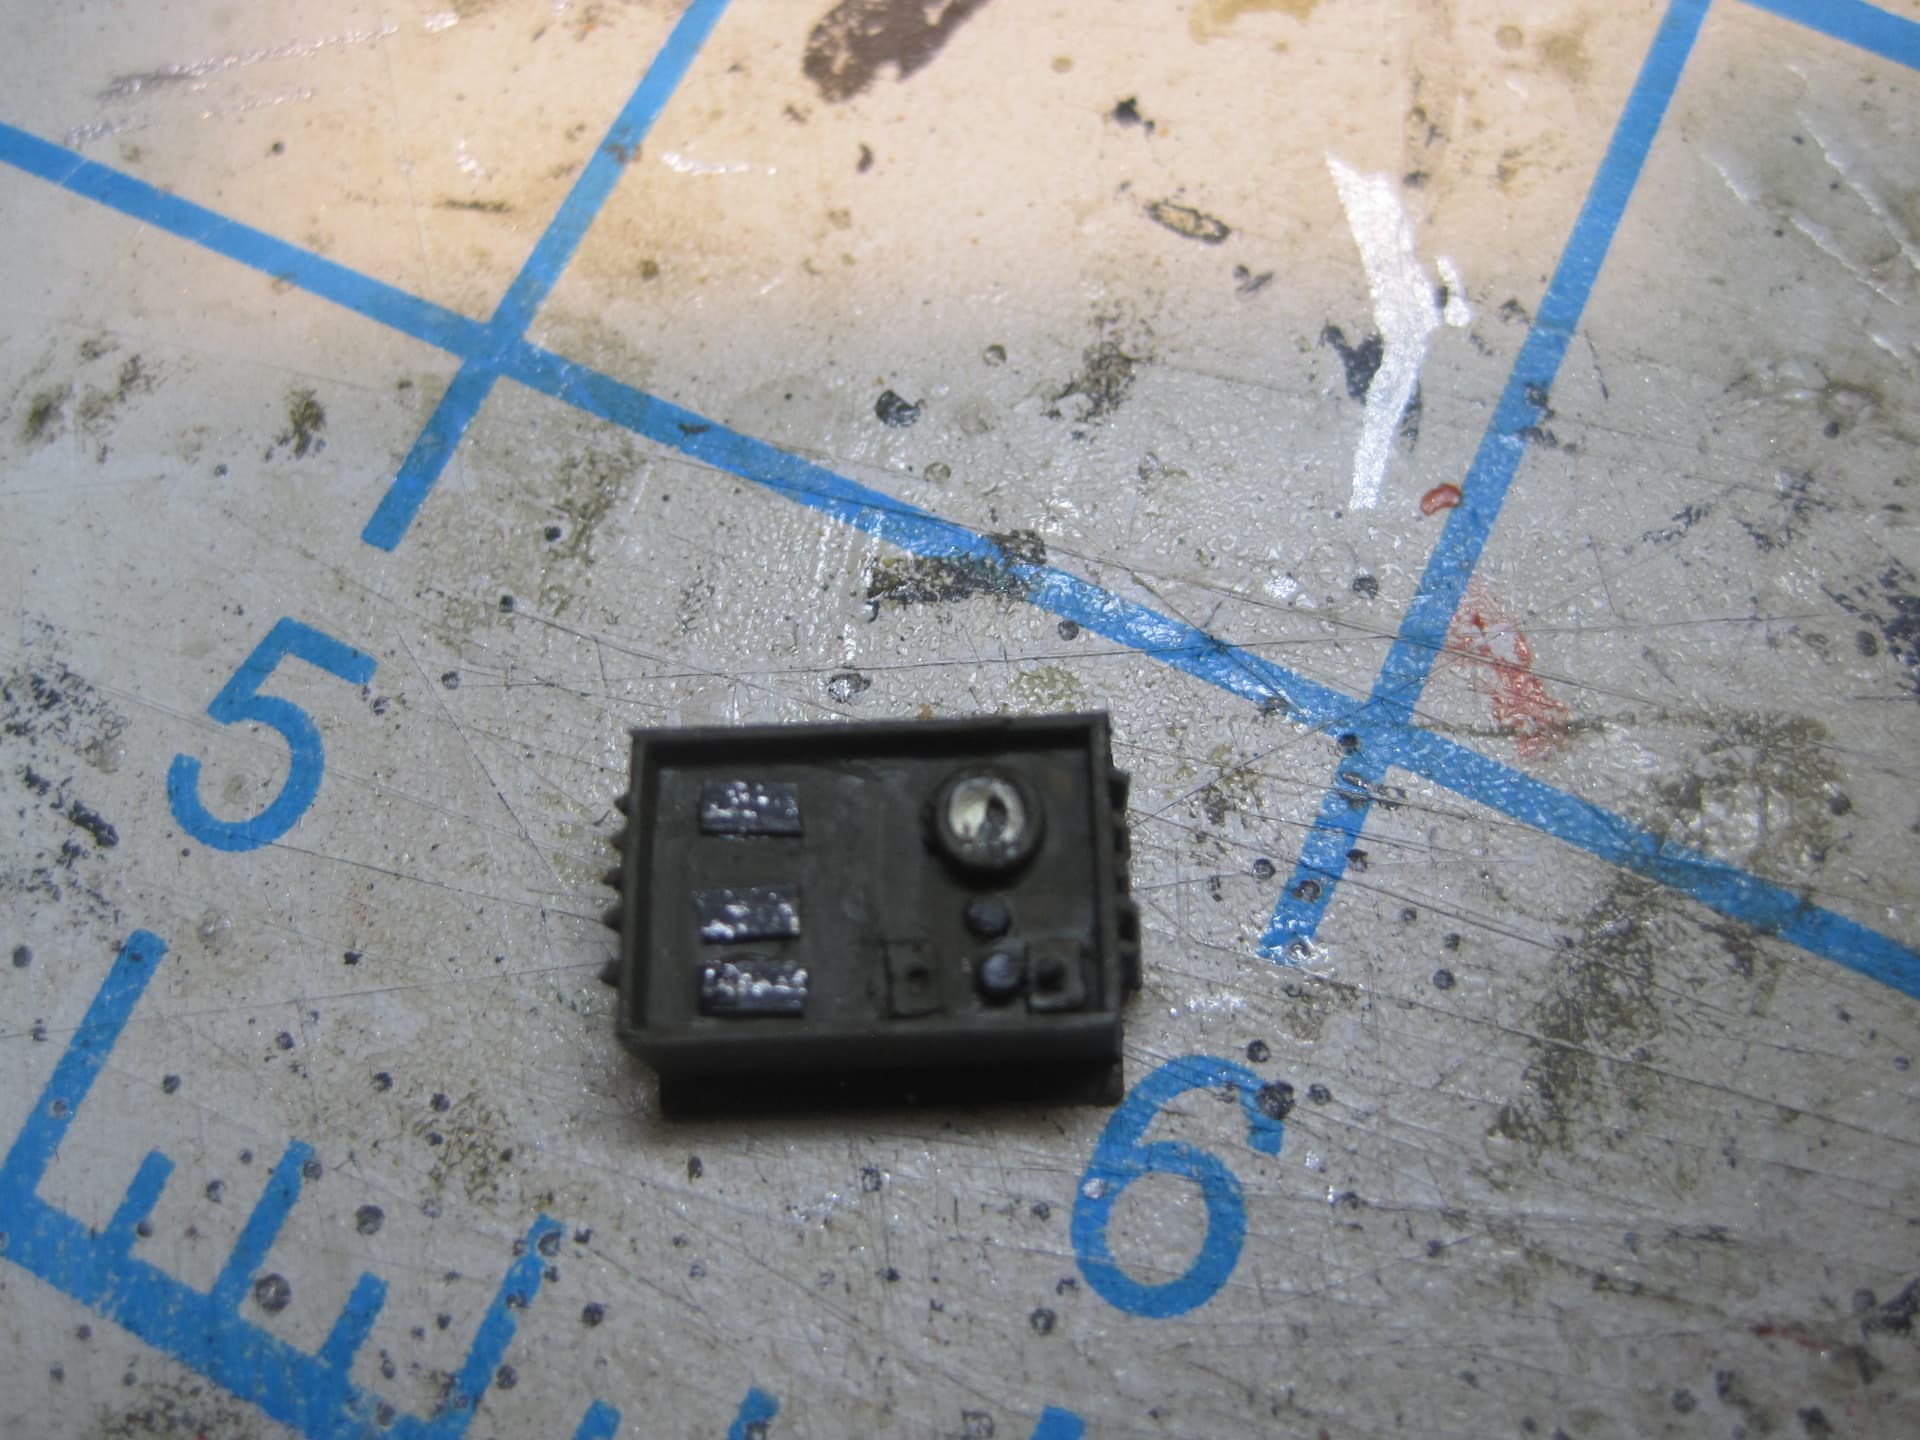
17. ME-165 Power Meter


3 Likes
Outstanding work on all those components. Gonna be nice and properly busy in there.
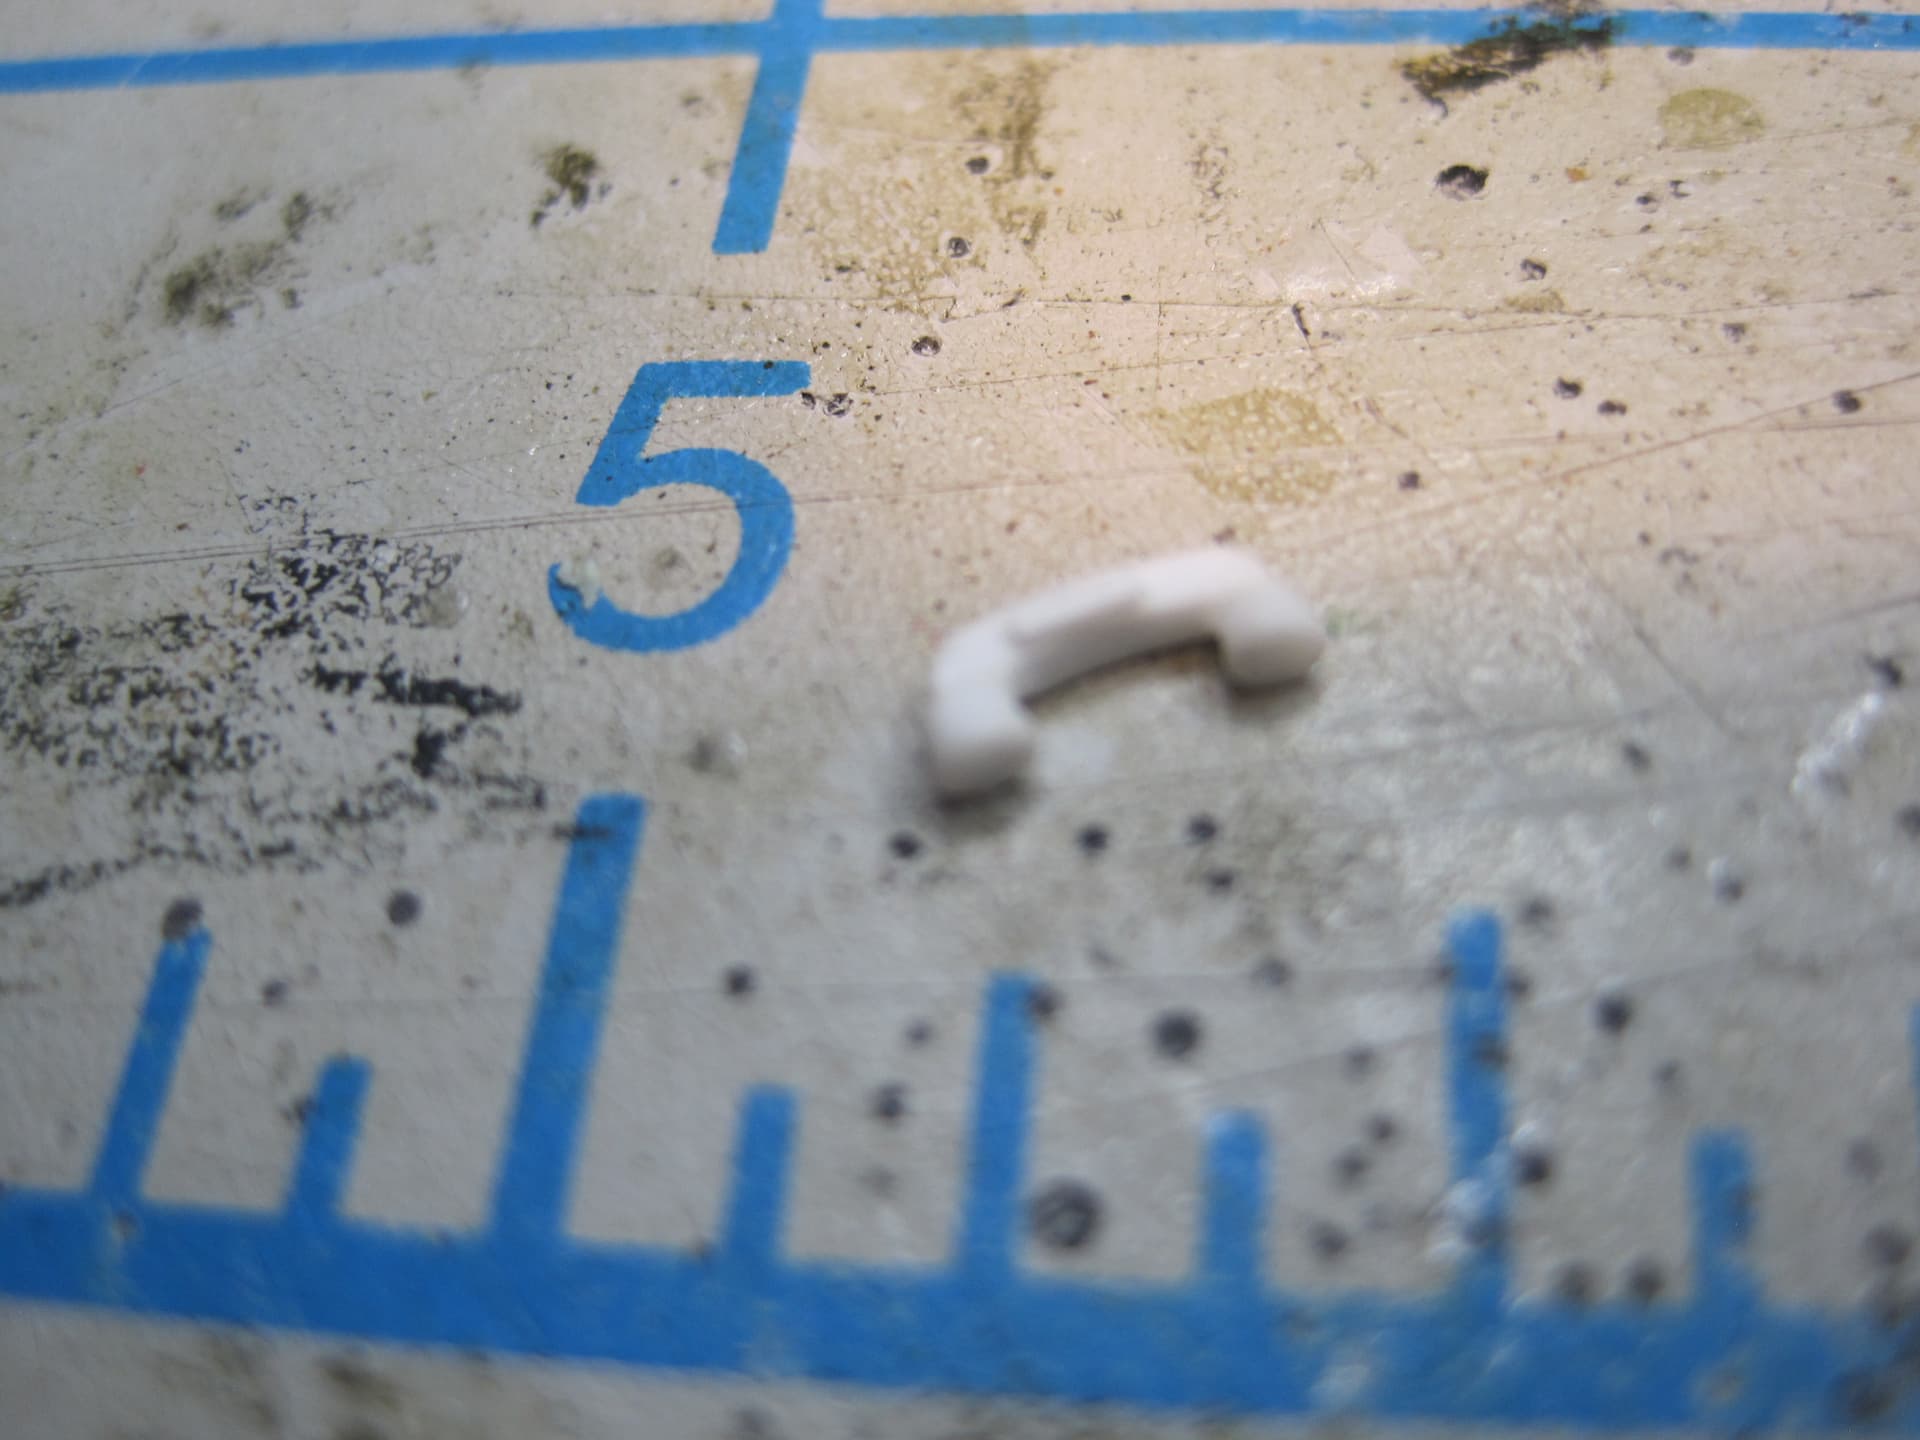
Most days I can’t scratch an itch let alone anything else and here you are making field telephones for ants… I stand in awe sir.
Believe it or not, it’s really not all that difficult. One of my reasons for showing all the steps is to hopefully cause someone to think, “Hey, maybe I can do that too!”
2 Likes
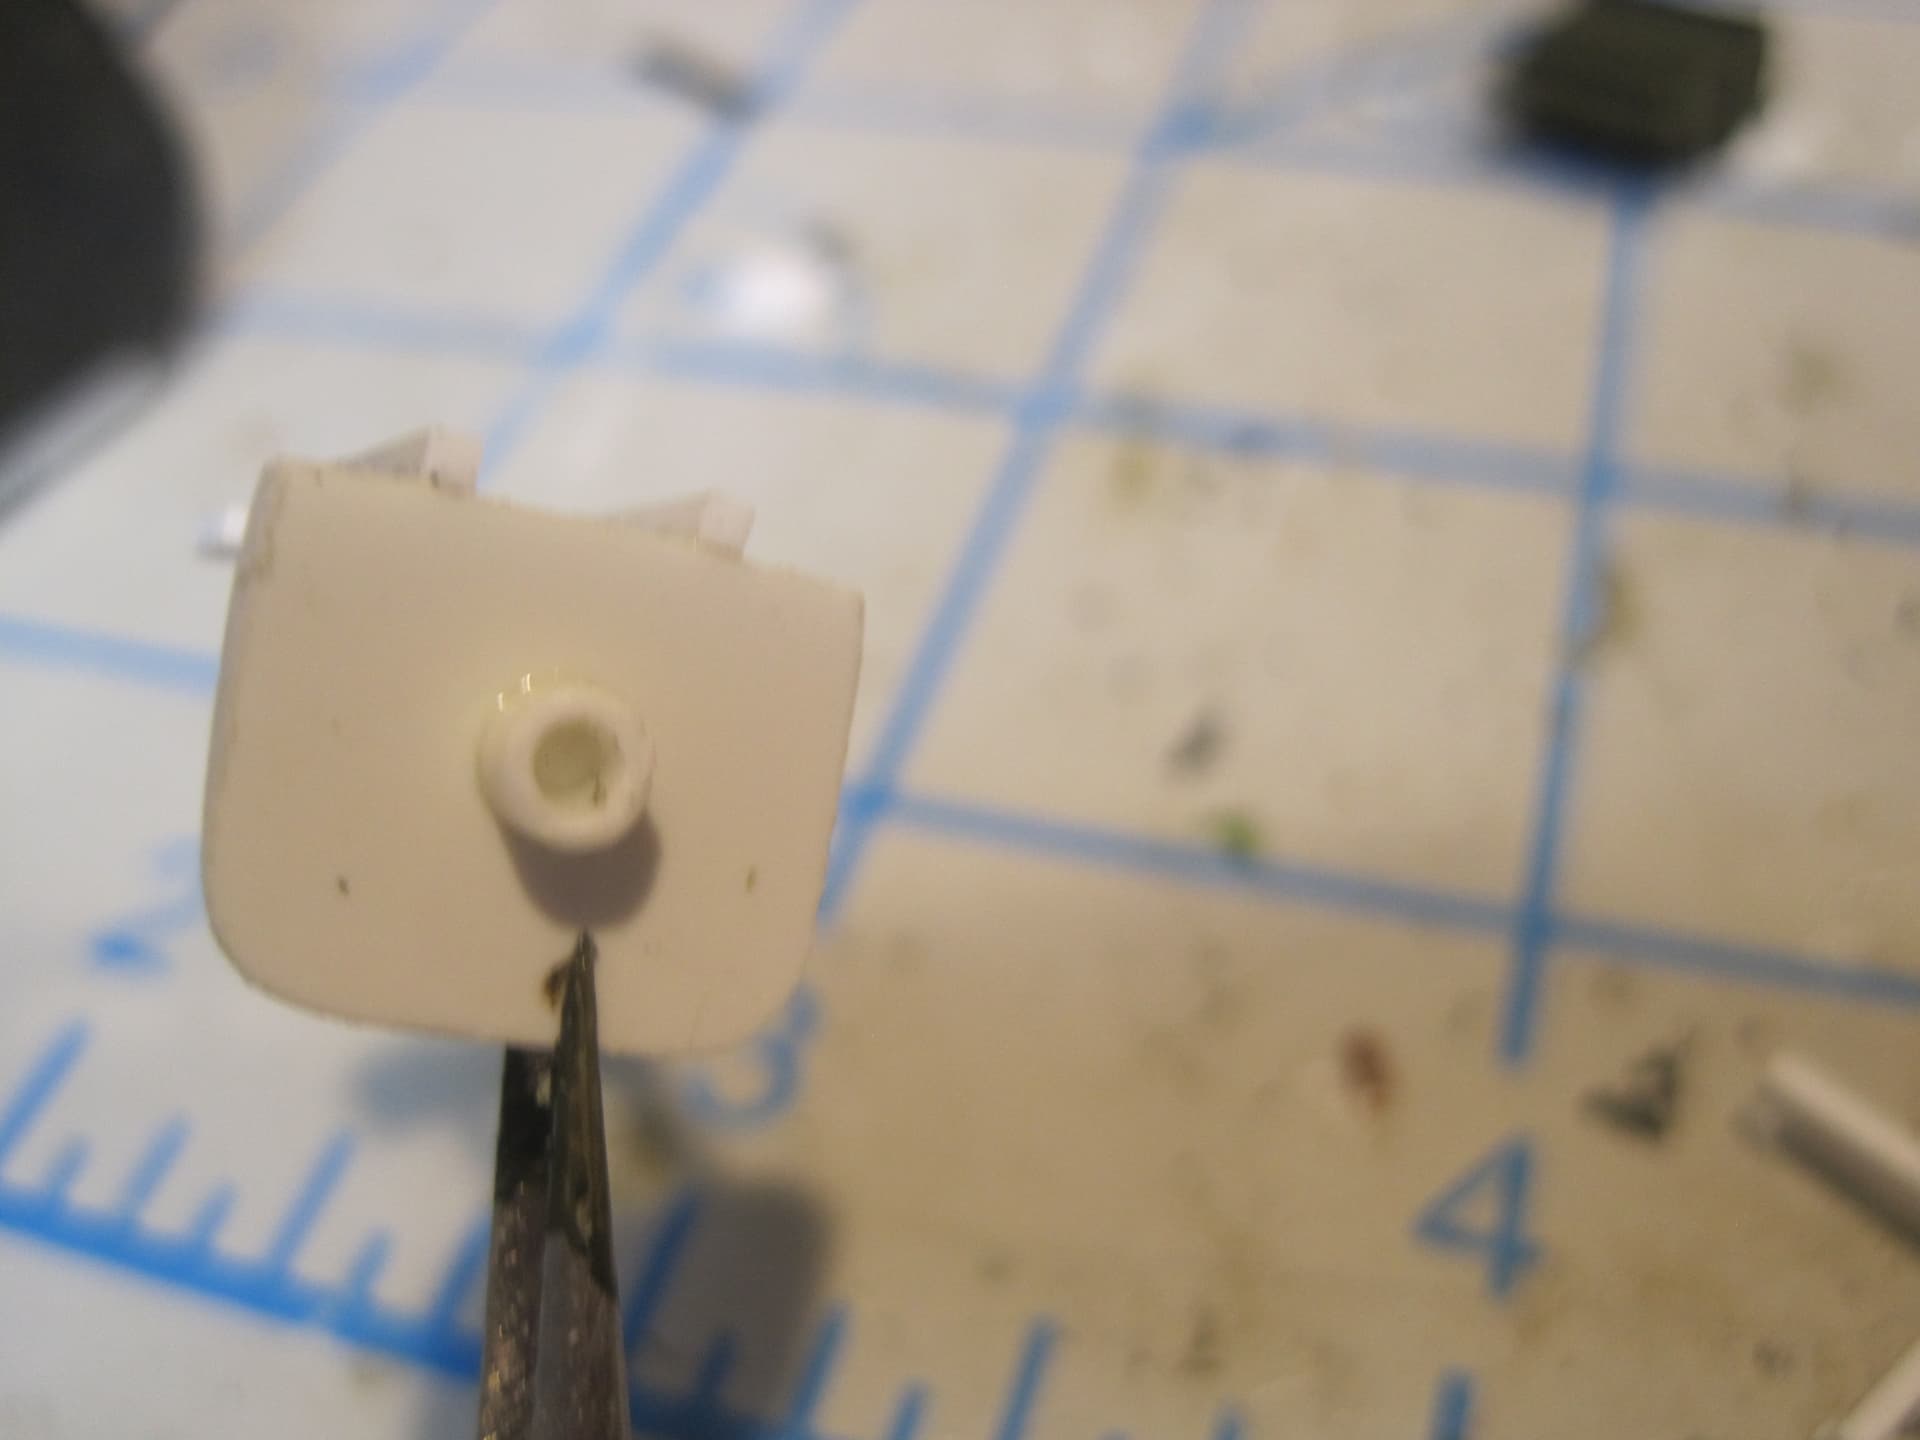
For today, I completed the construction of the last items for the electrical equipment inside the shelter, and in reviewing the TM, I discovered that there was one additional item I’d overlooked, but that was a very easy one so I now have a total of 20 items as part of the total system.
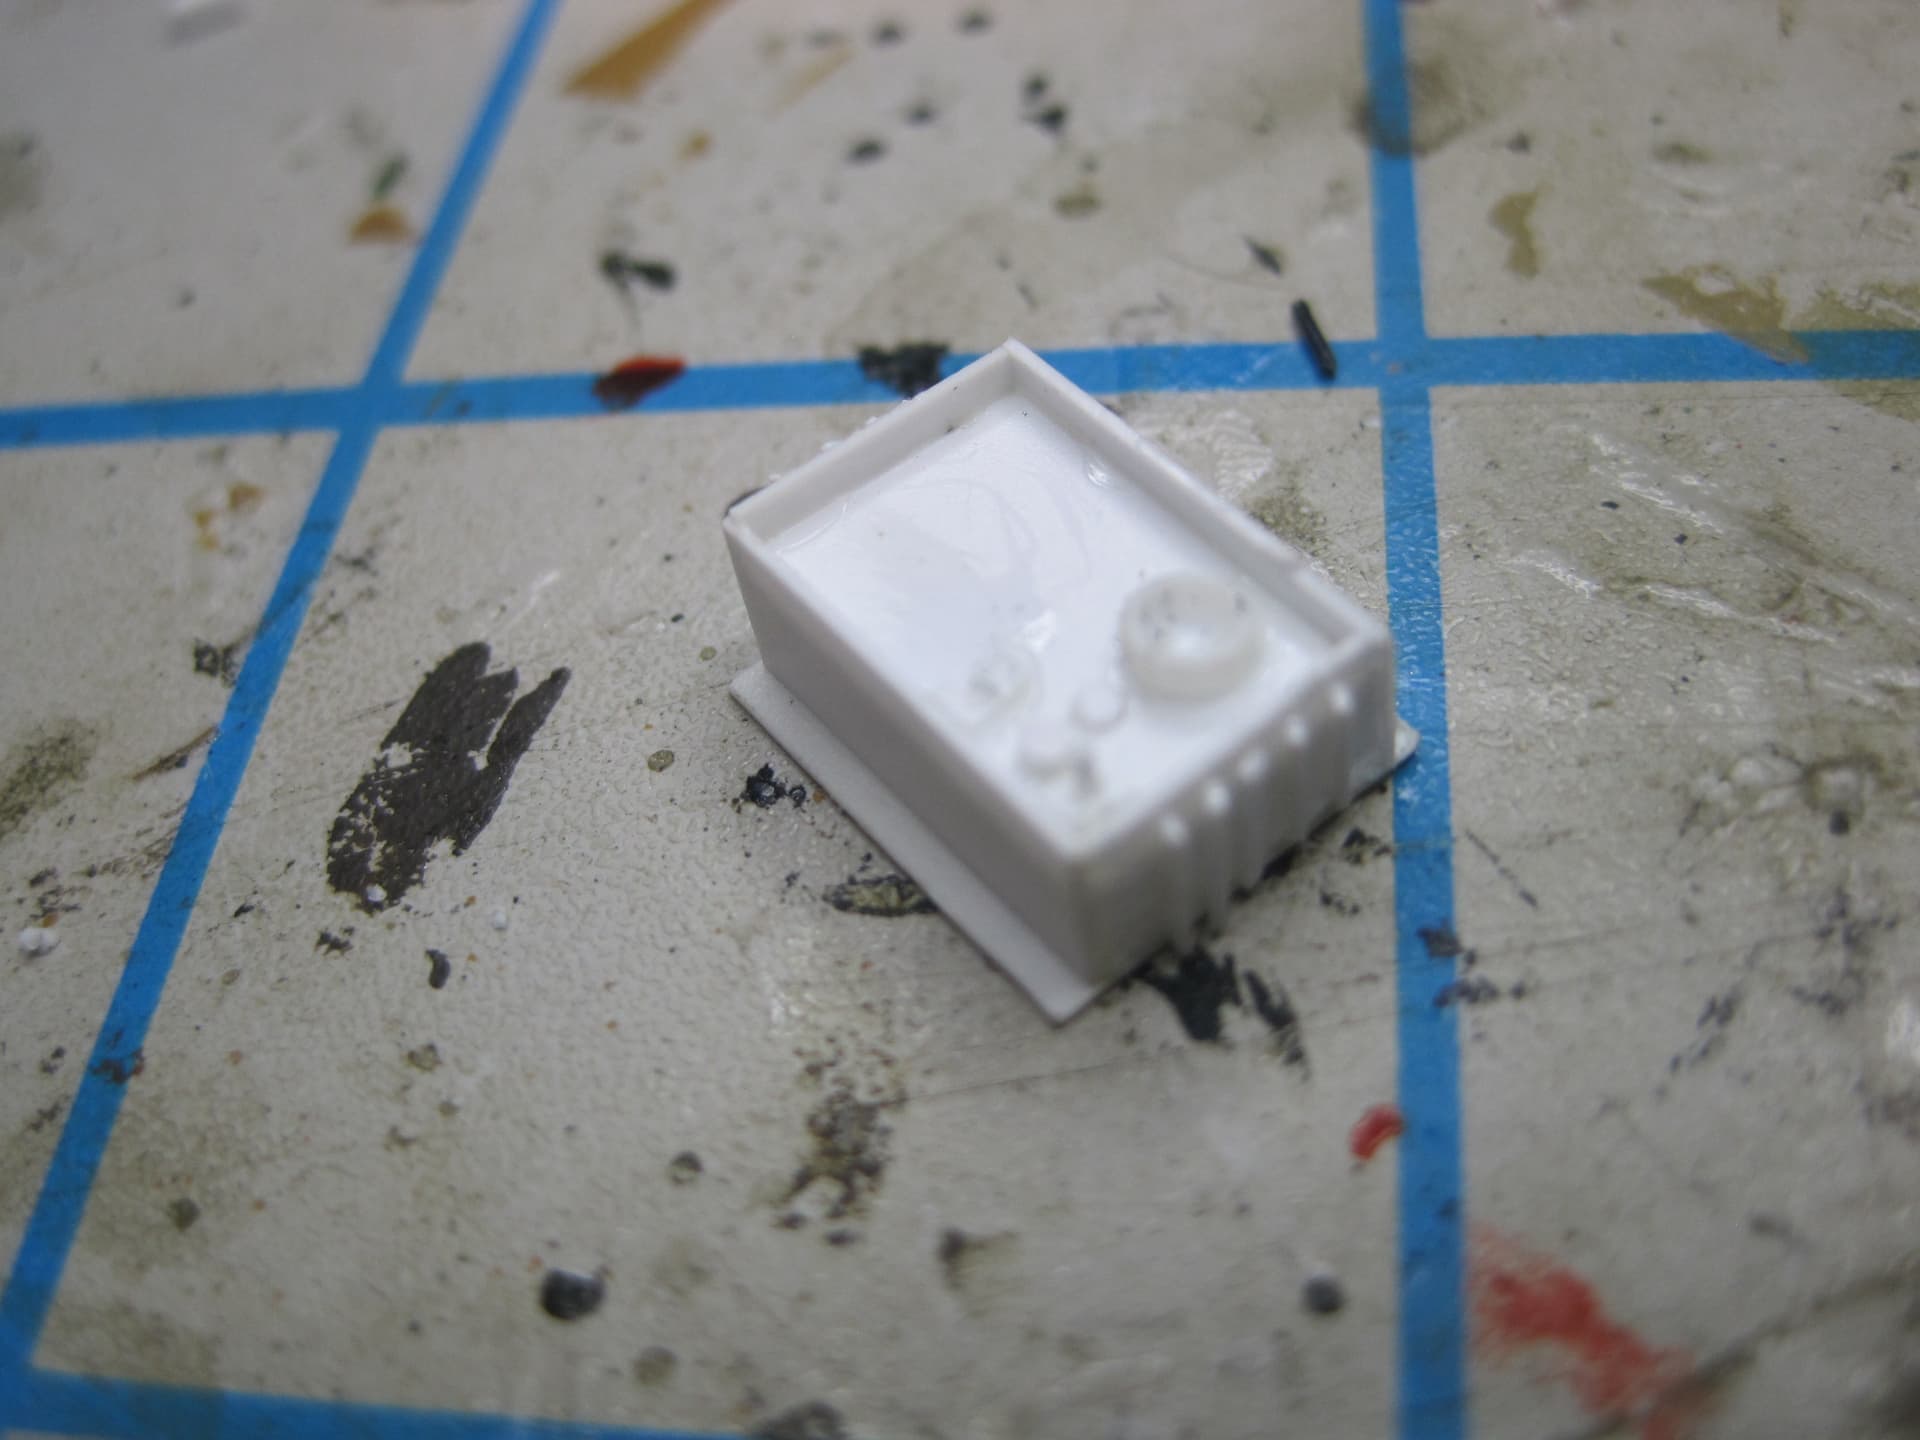
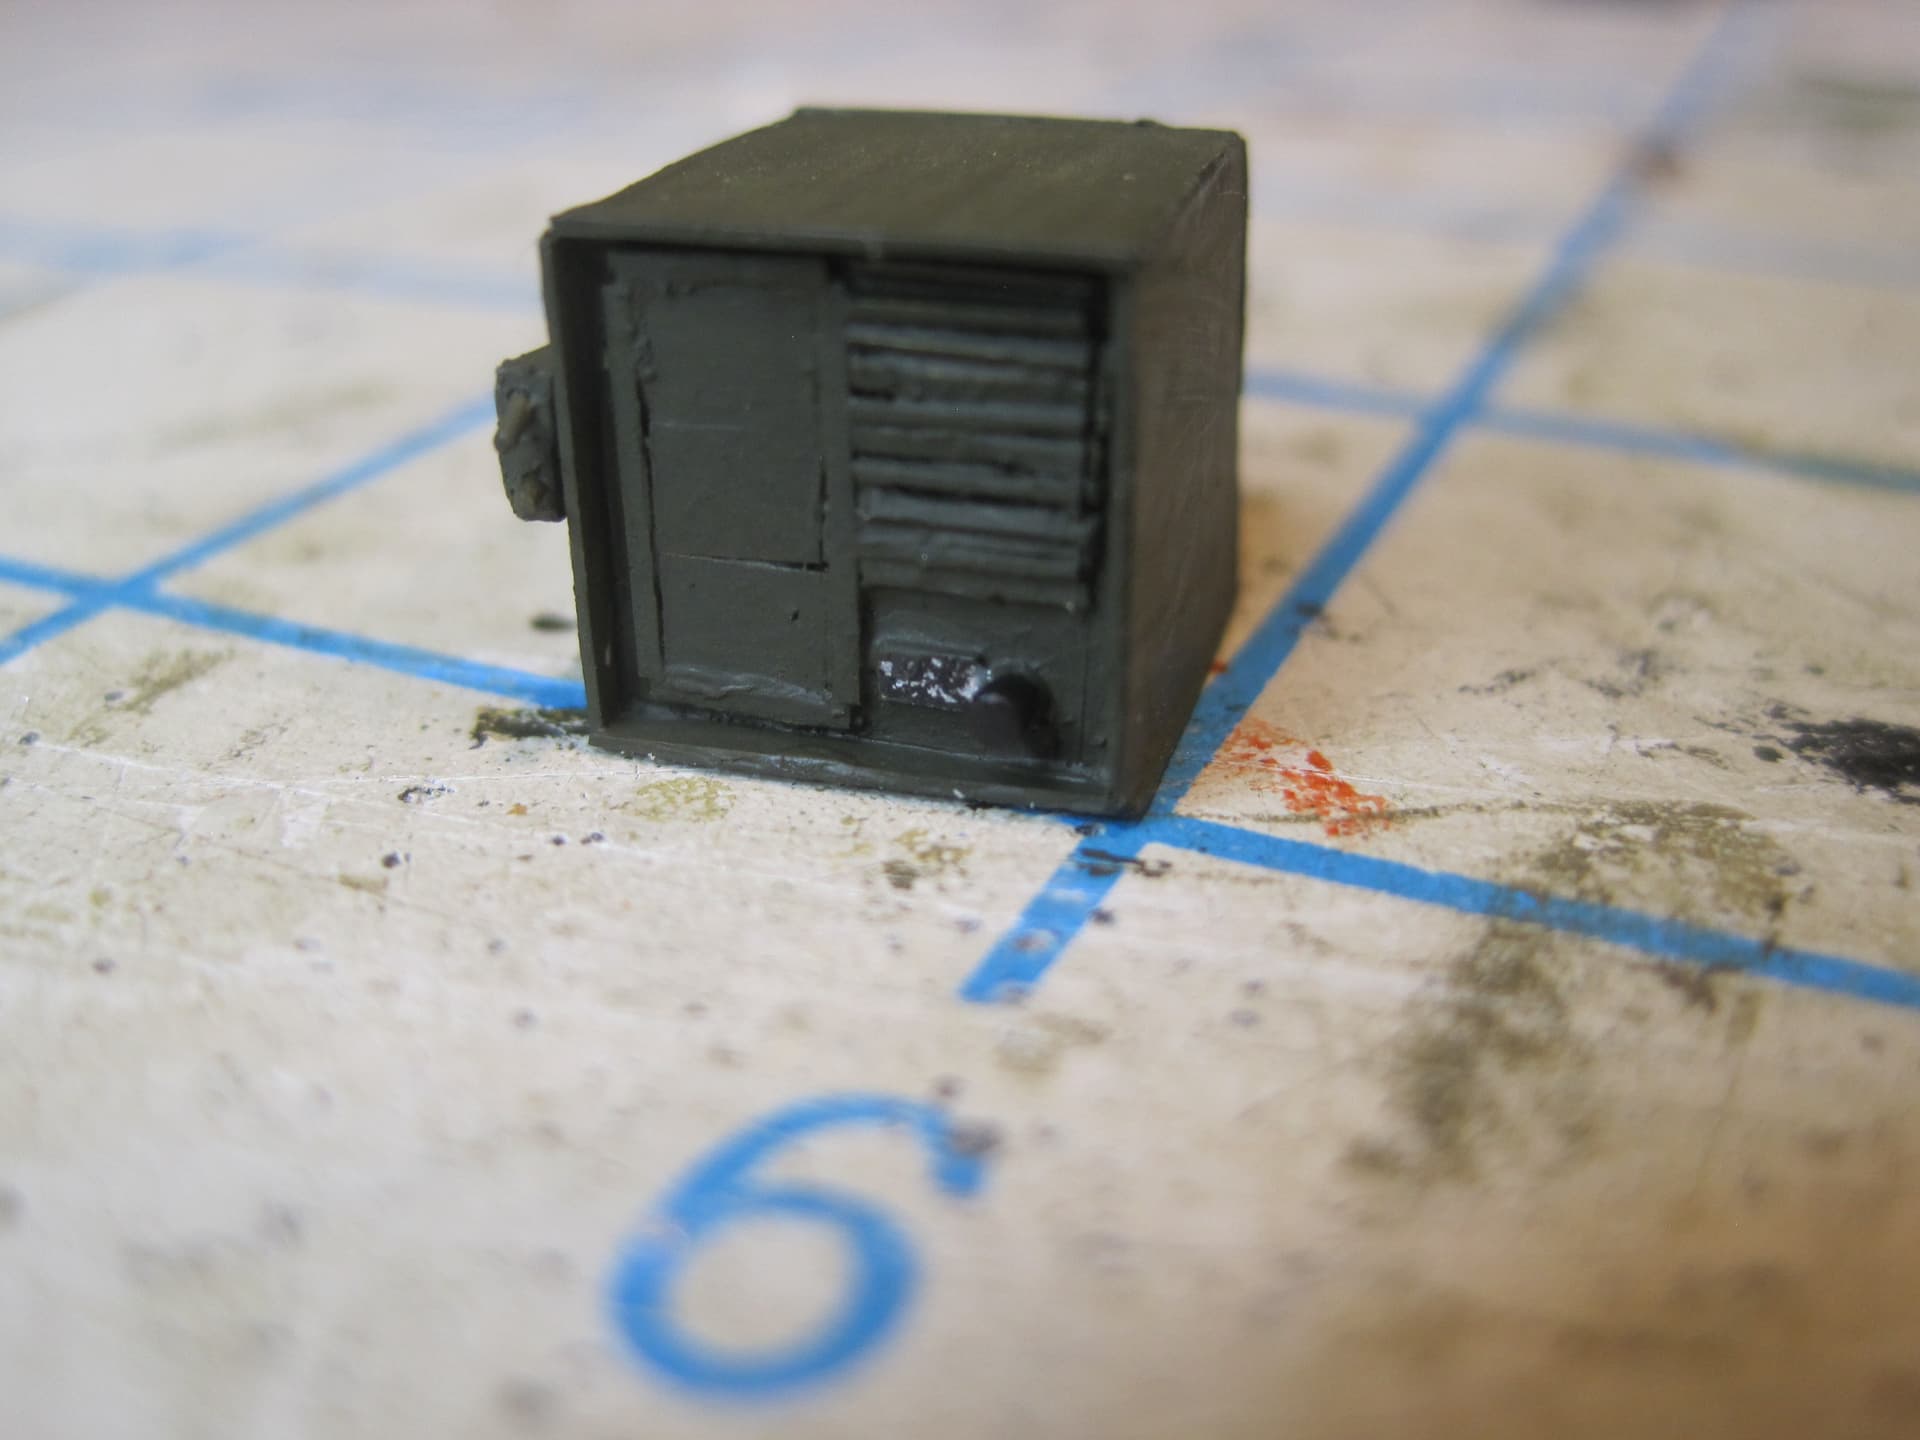
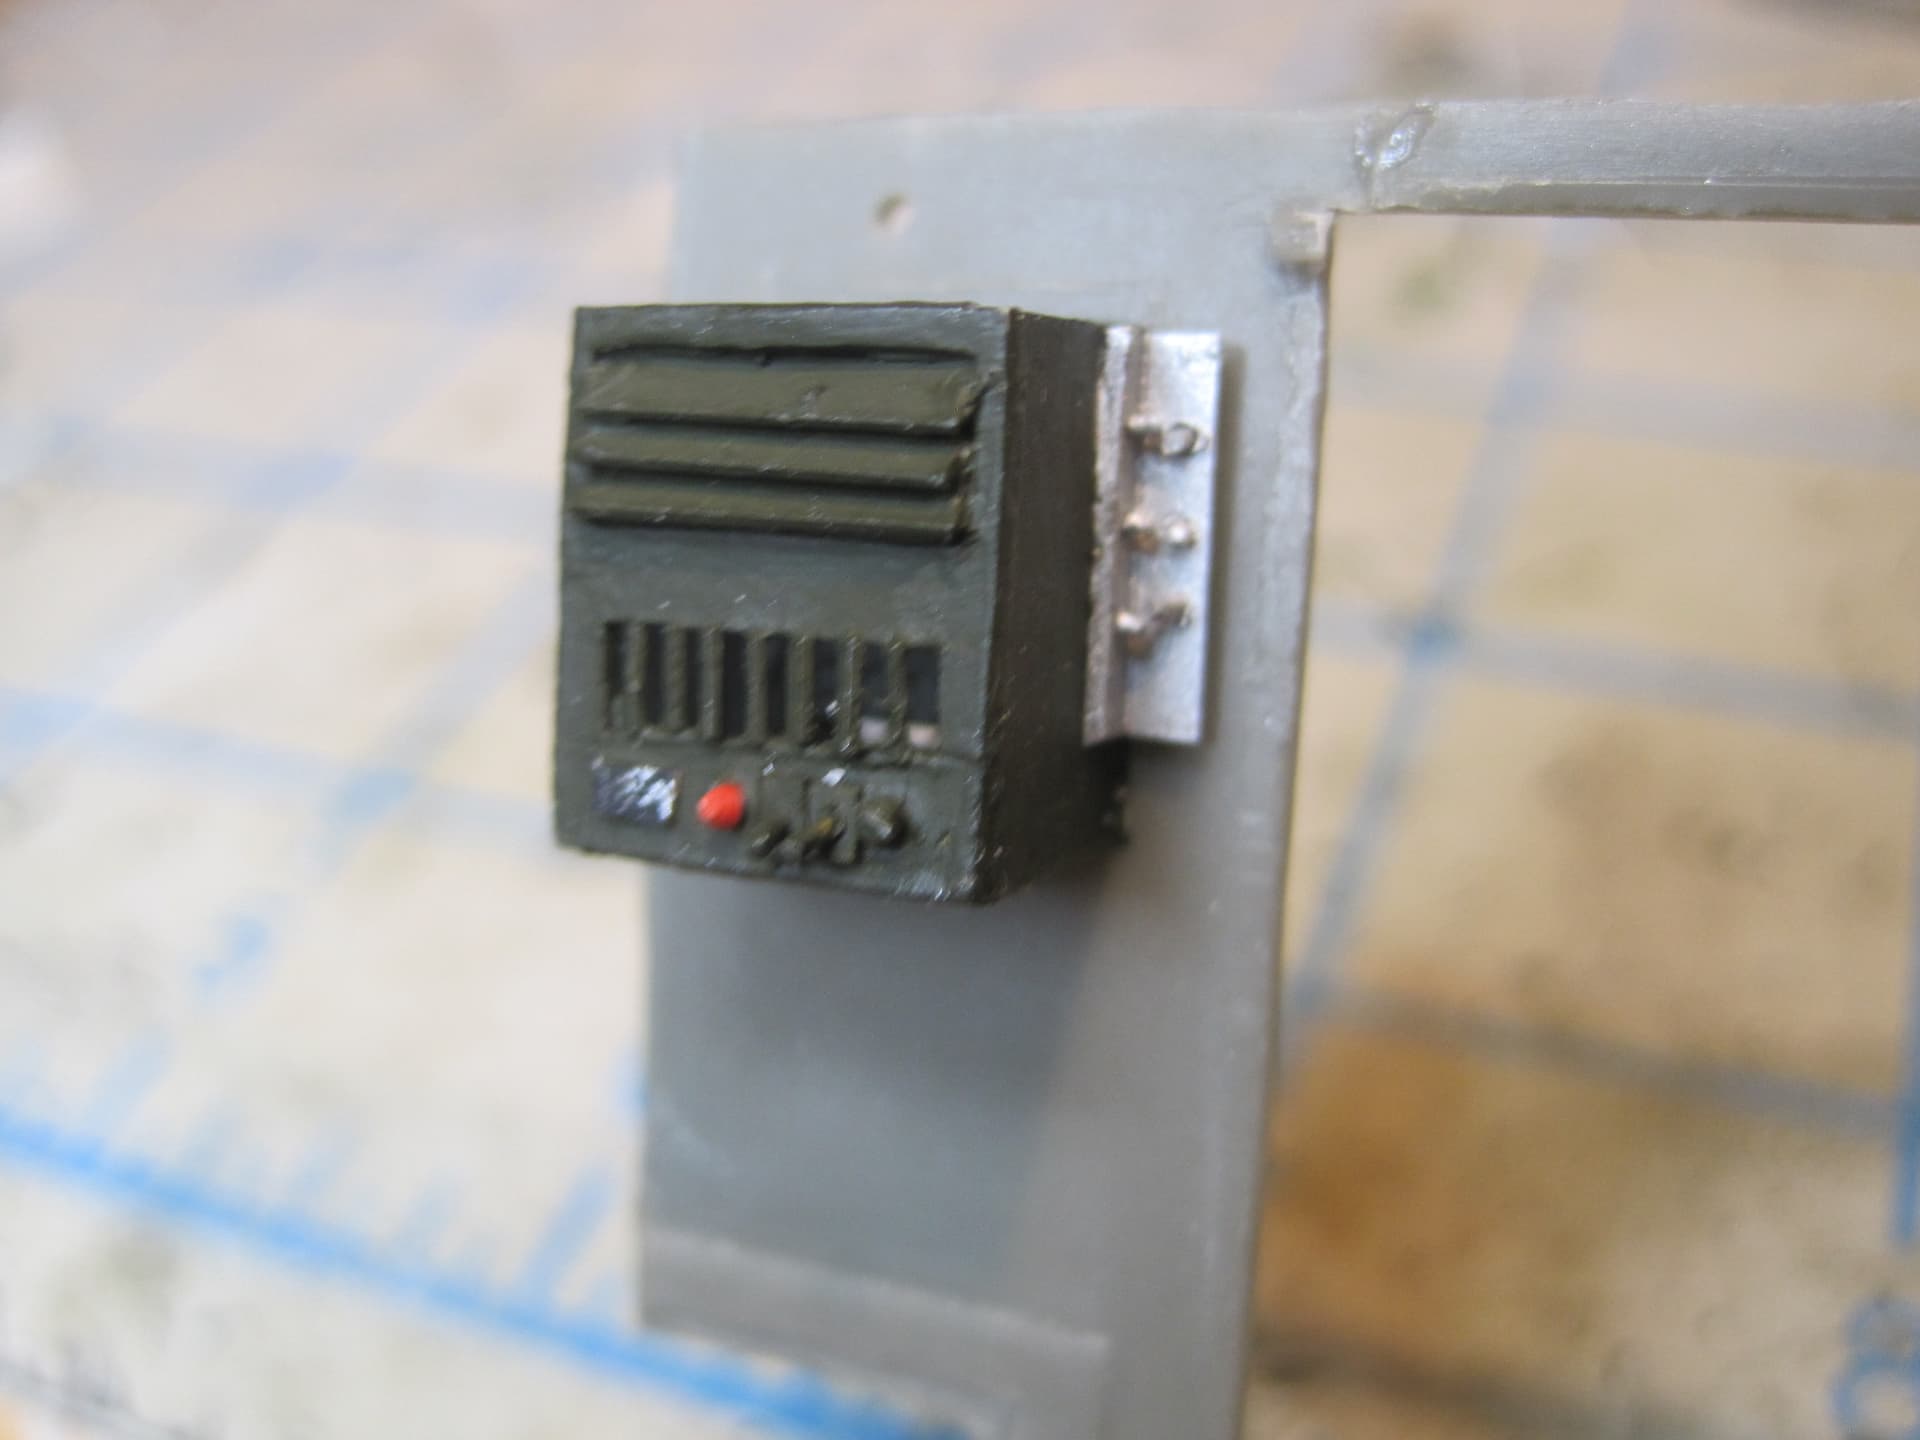
18. MIL H 52204 Heater
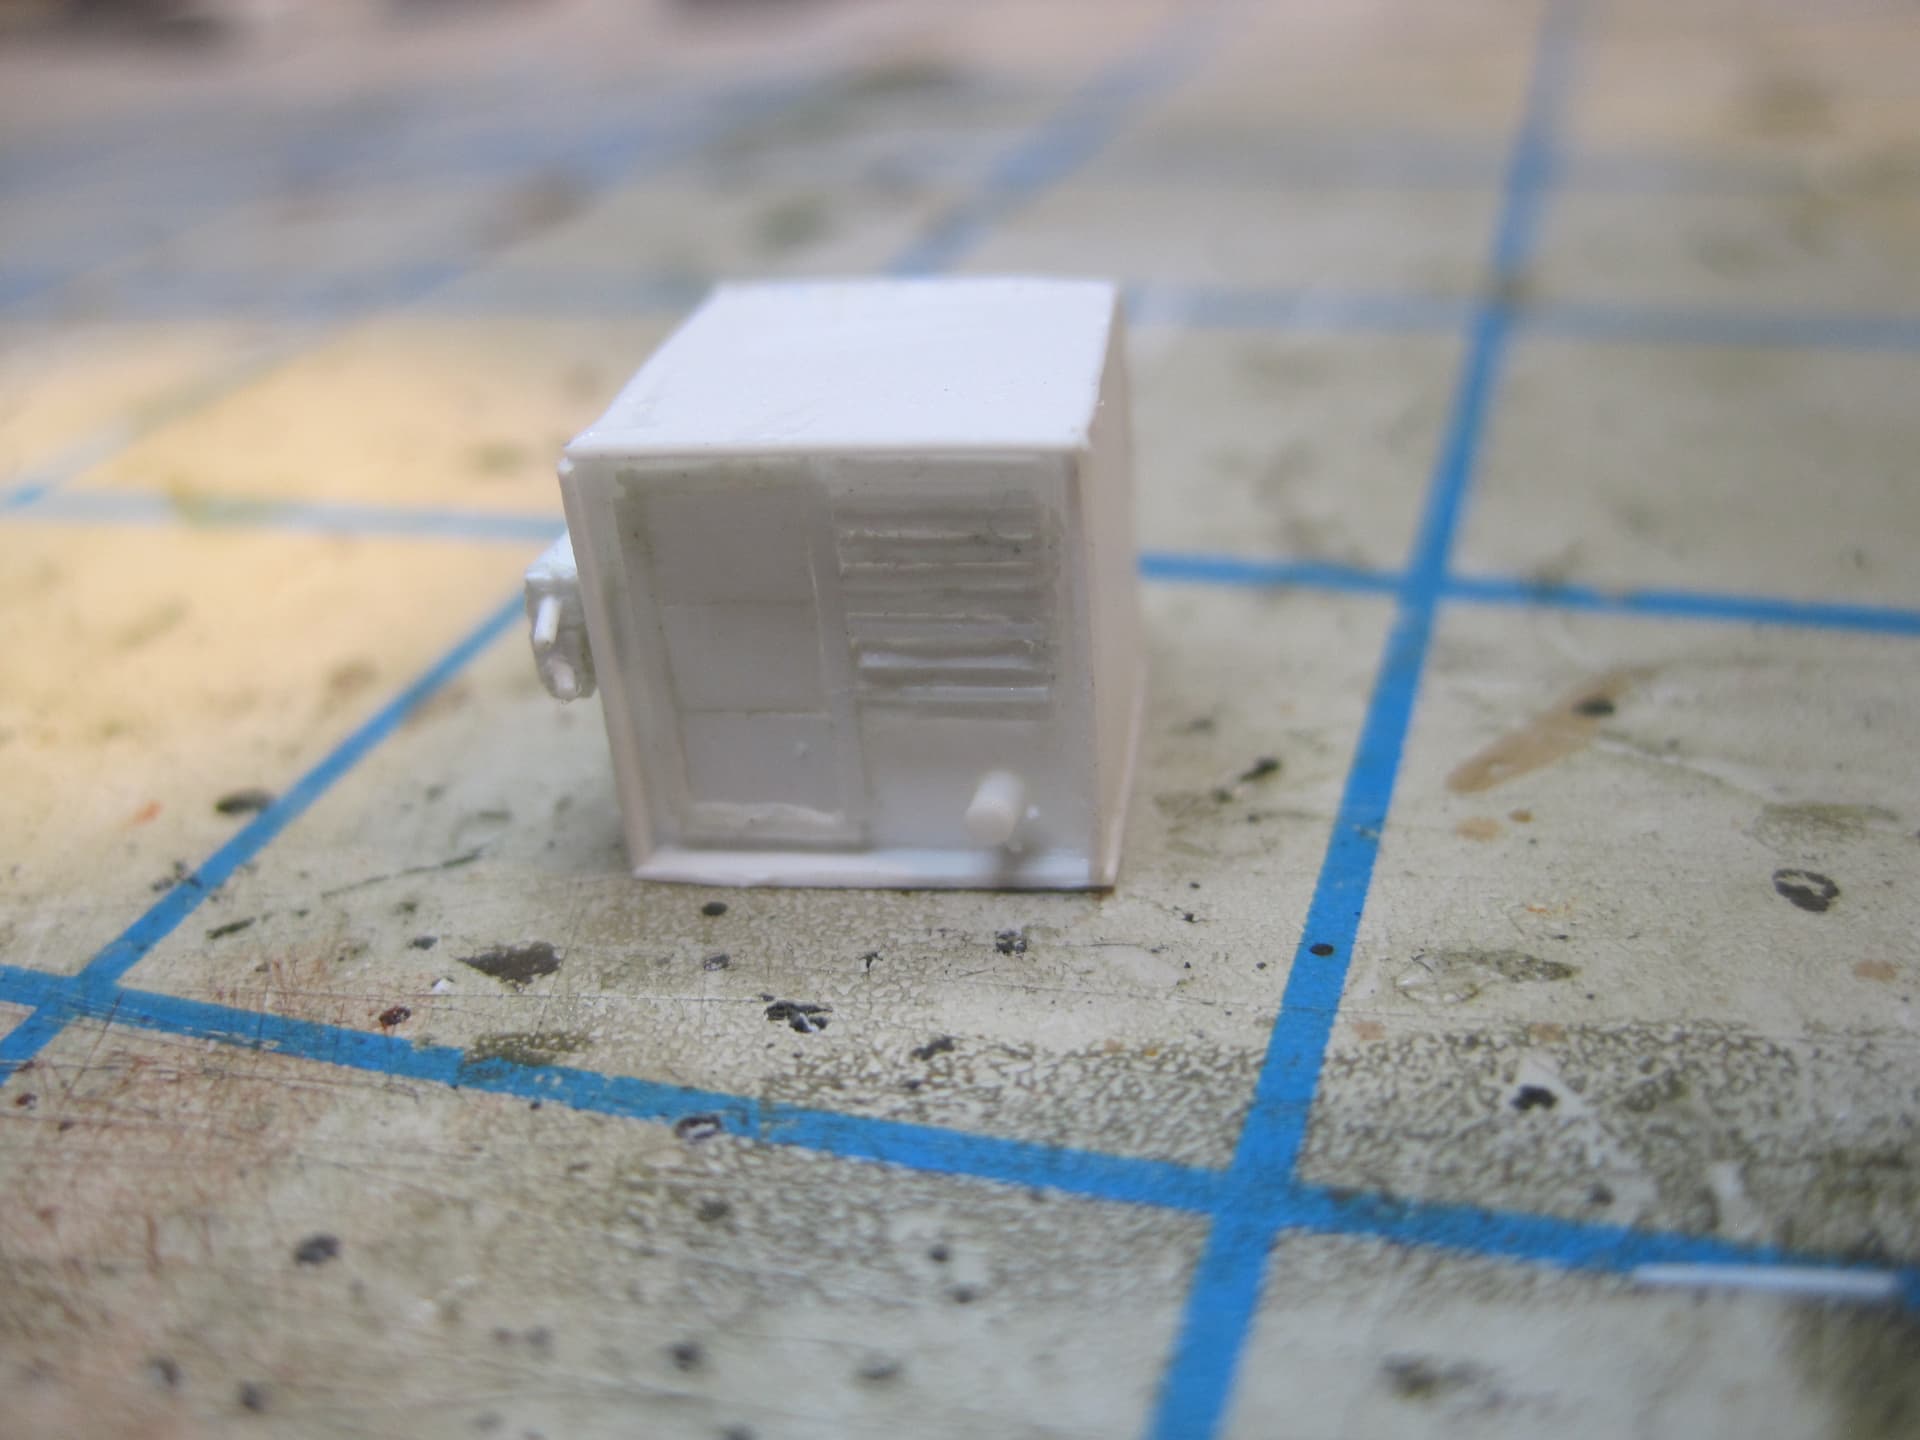
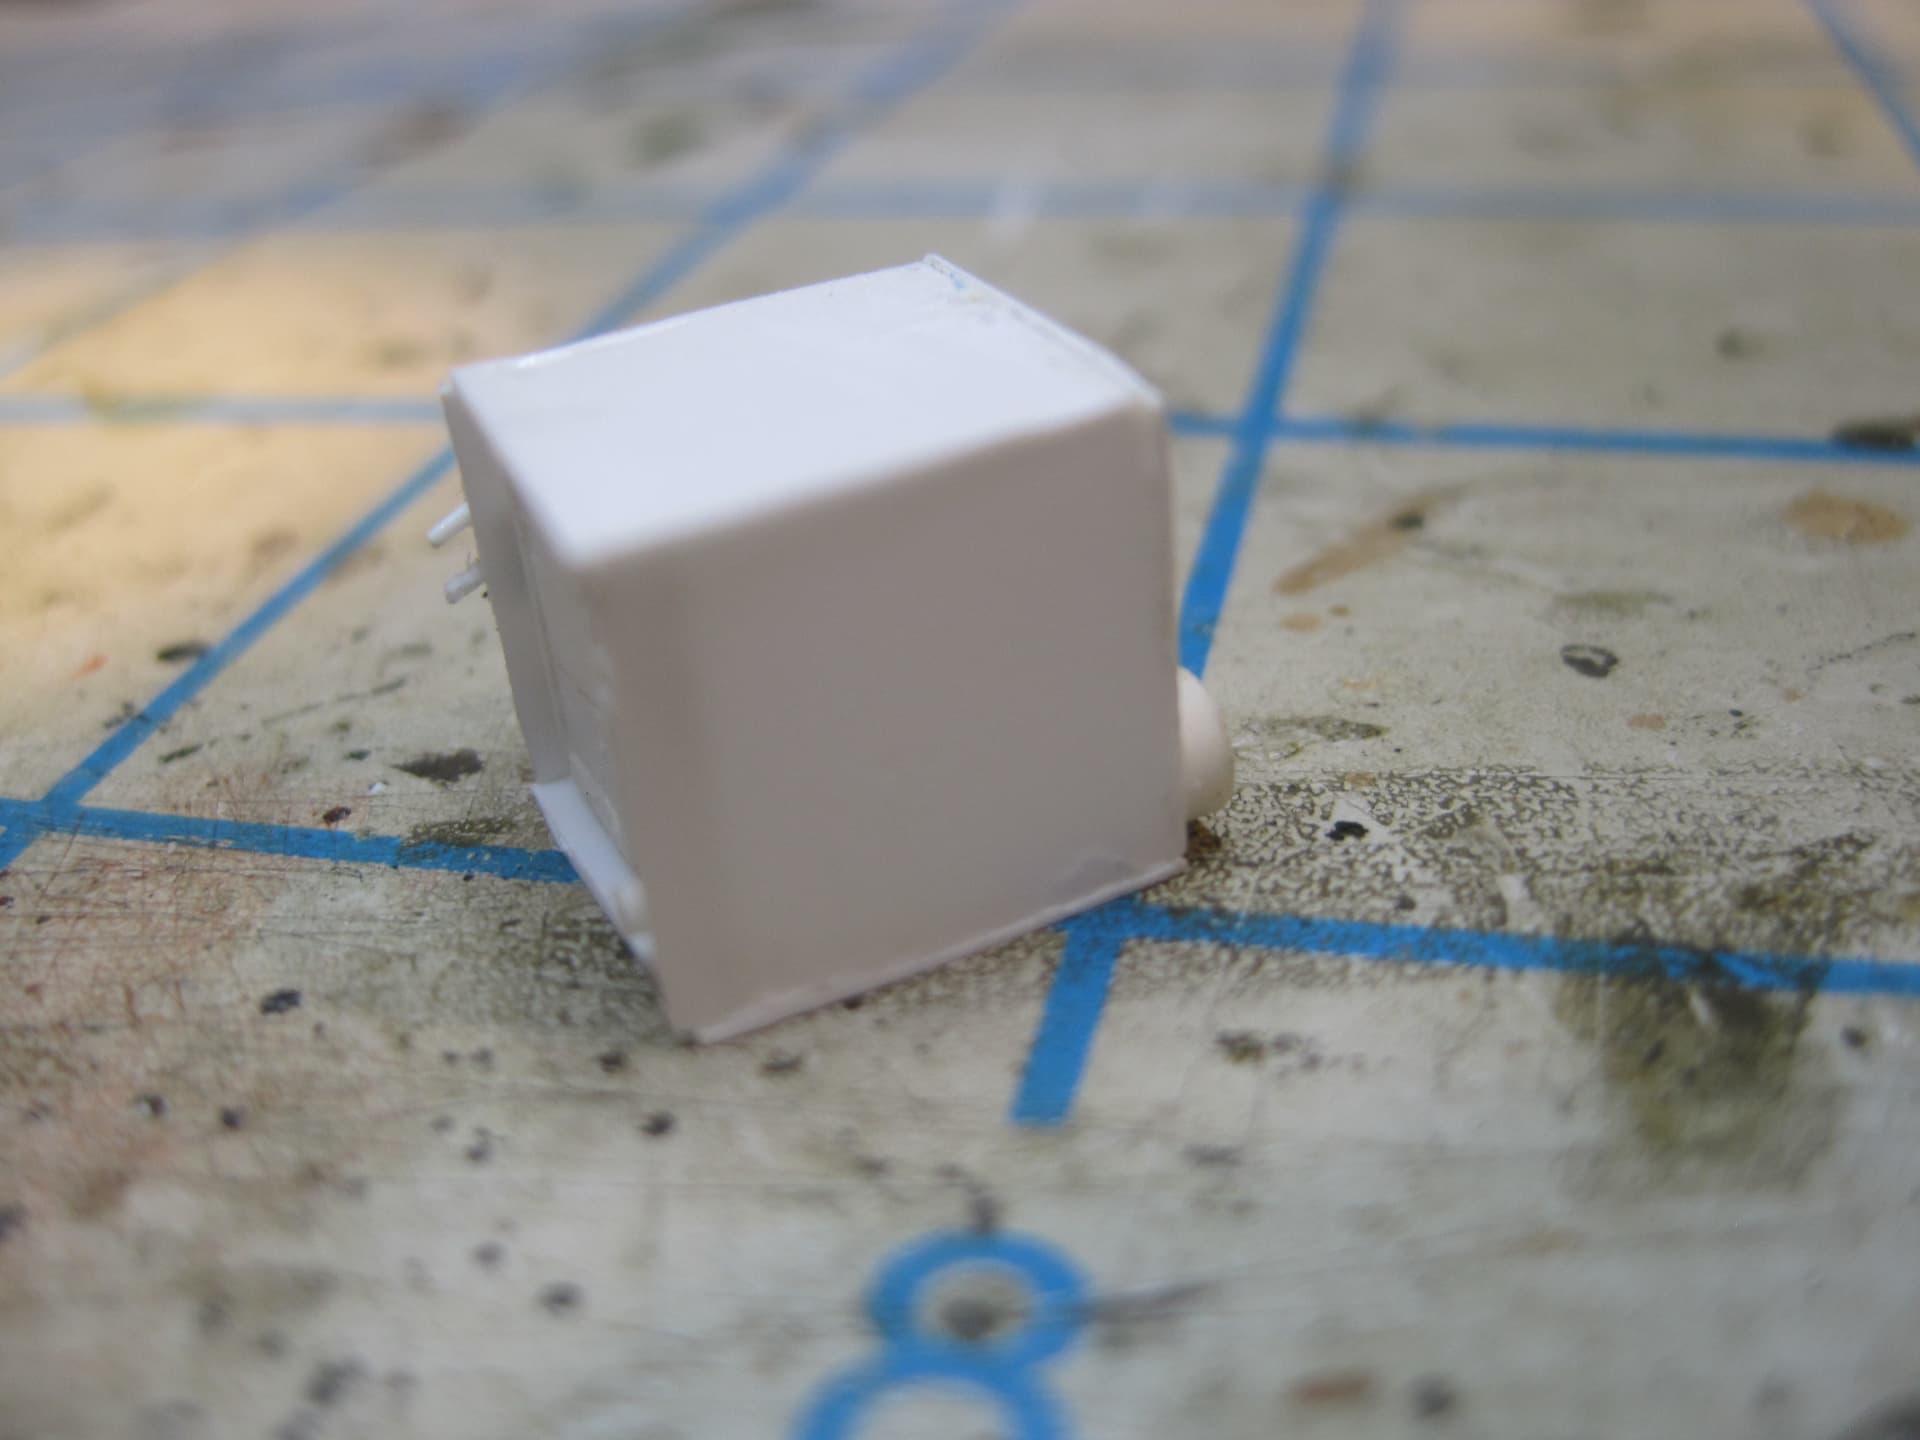
19. MH 1583C1 A/C Unit
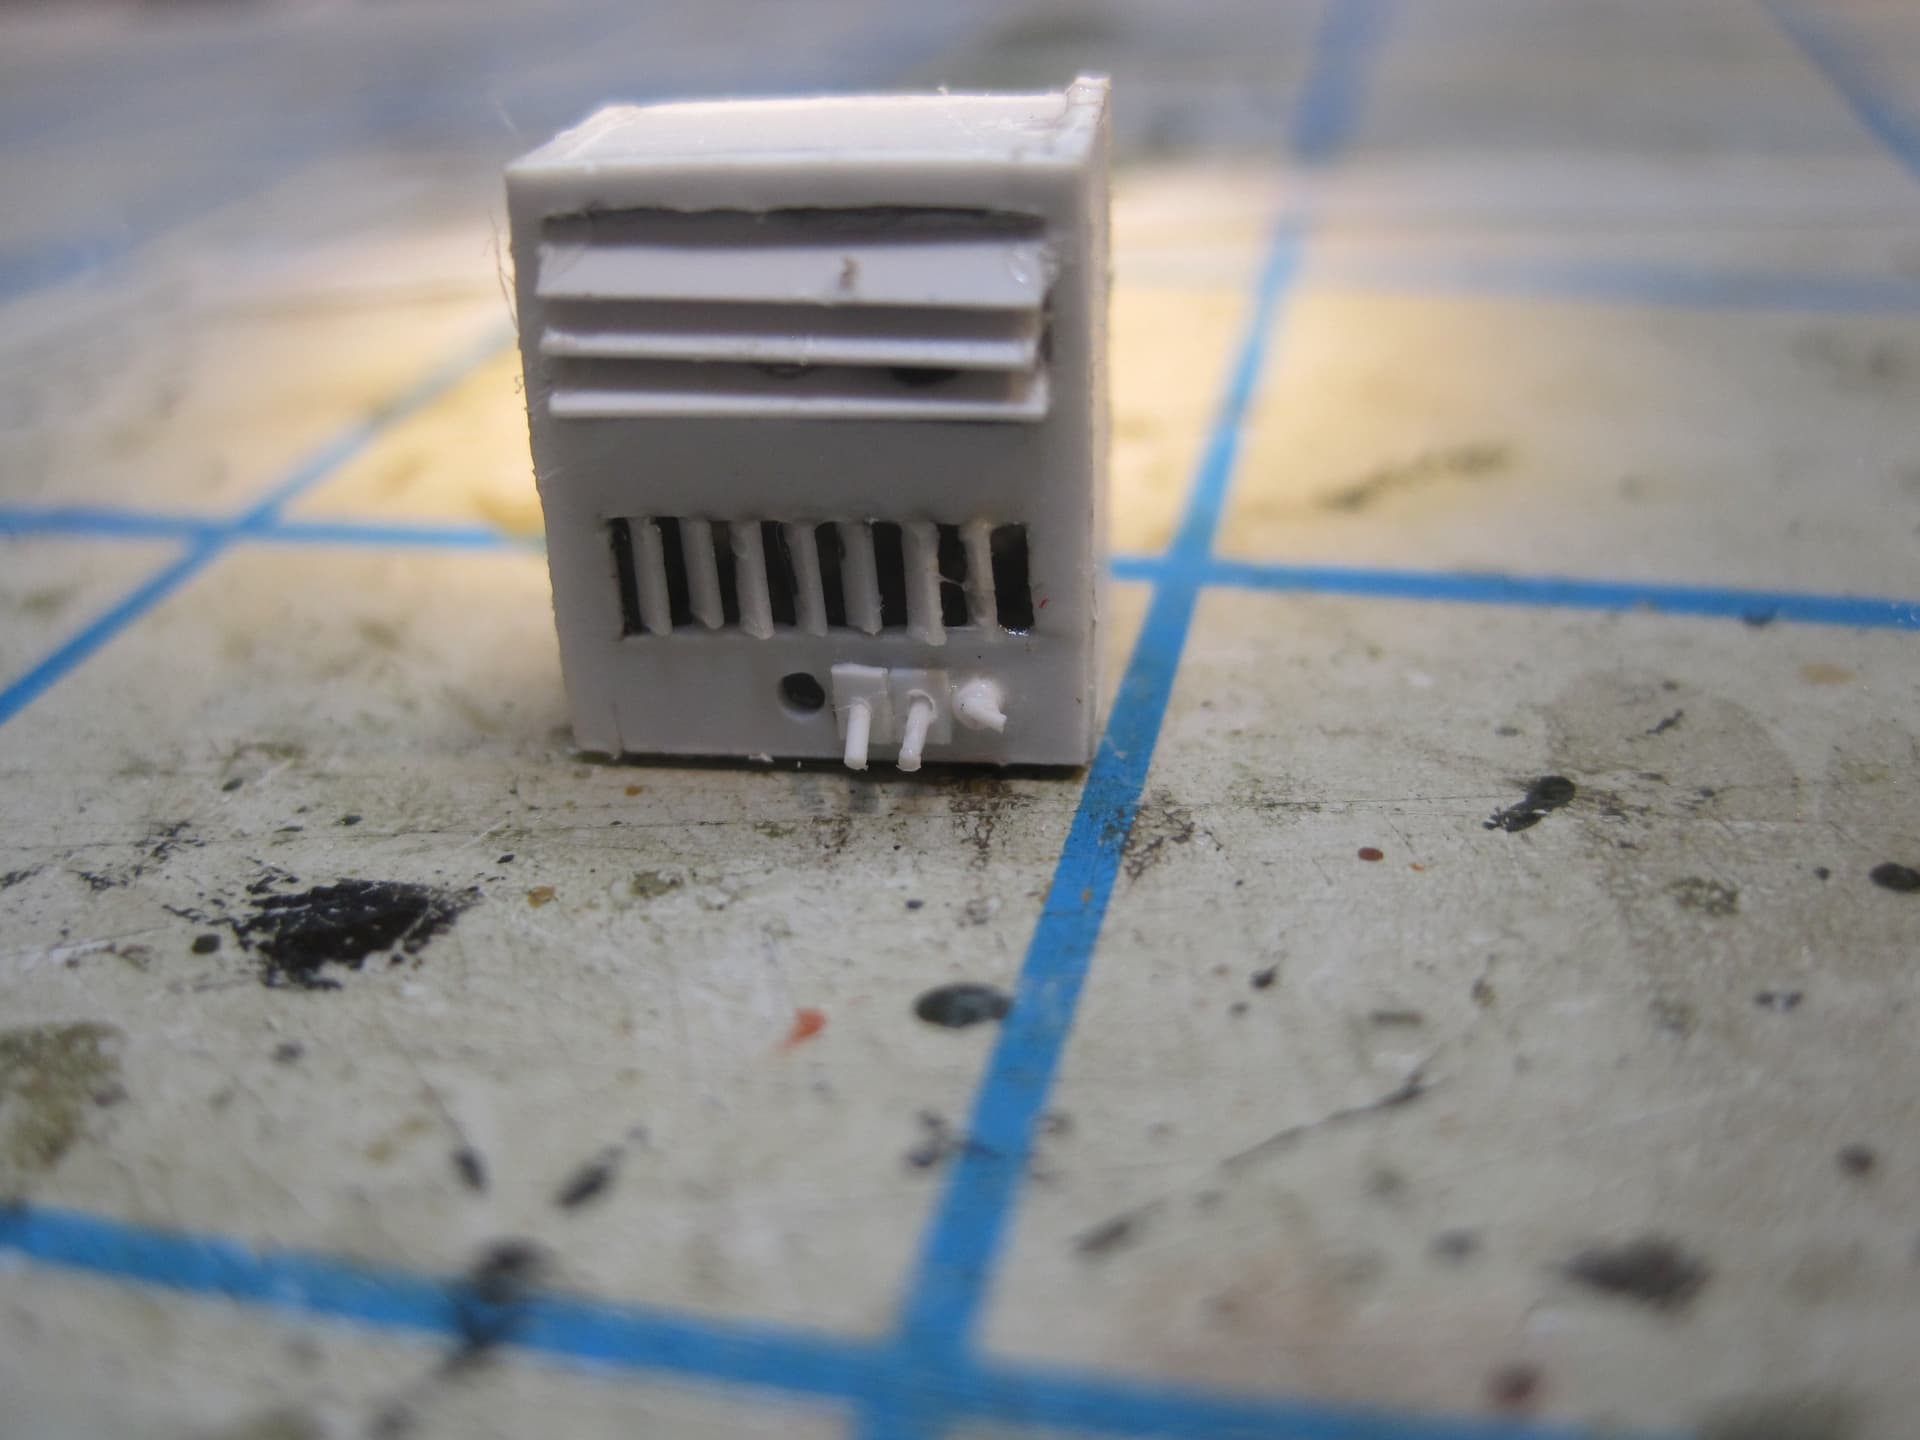
And the final item
20. SMD602956 AC Entrance Box
Having completed the construction of all 20 items, I now had to go back and complete the detailing of all of them, so here they are in their final ready to install state:
2.

3.
4.
5.
6…

7.
8.
9.
10.
11.

12.

13.

14.
15.

16.

17.
18.
19.
20.

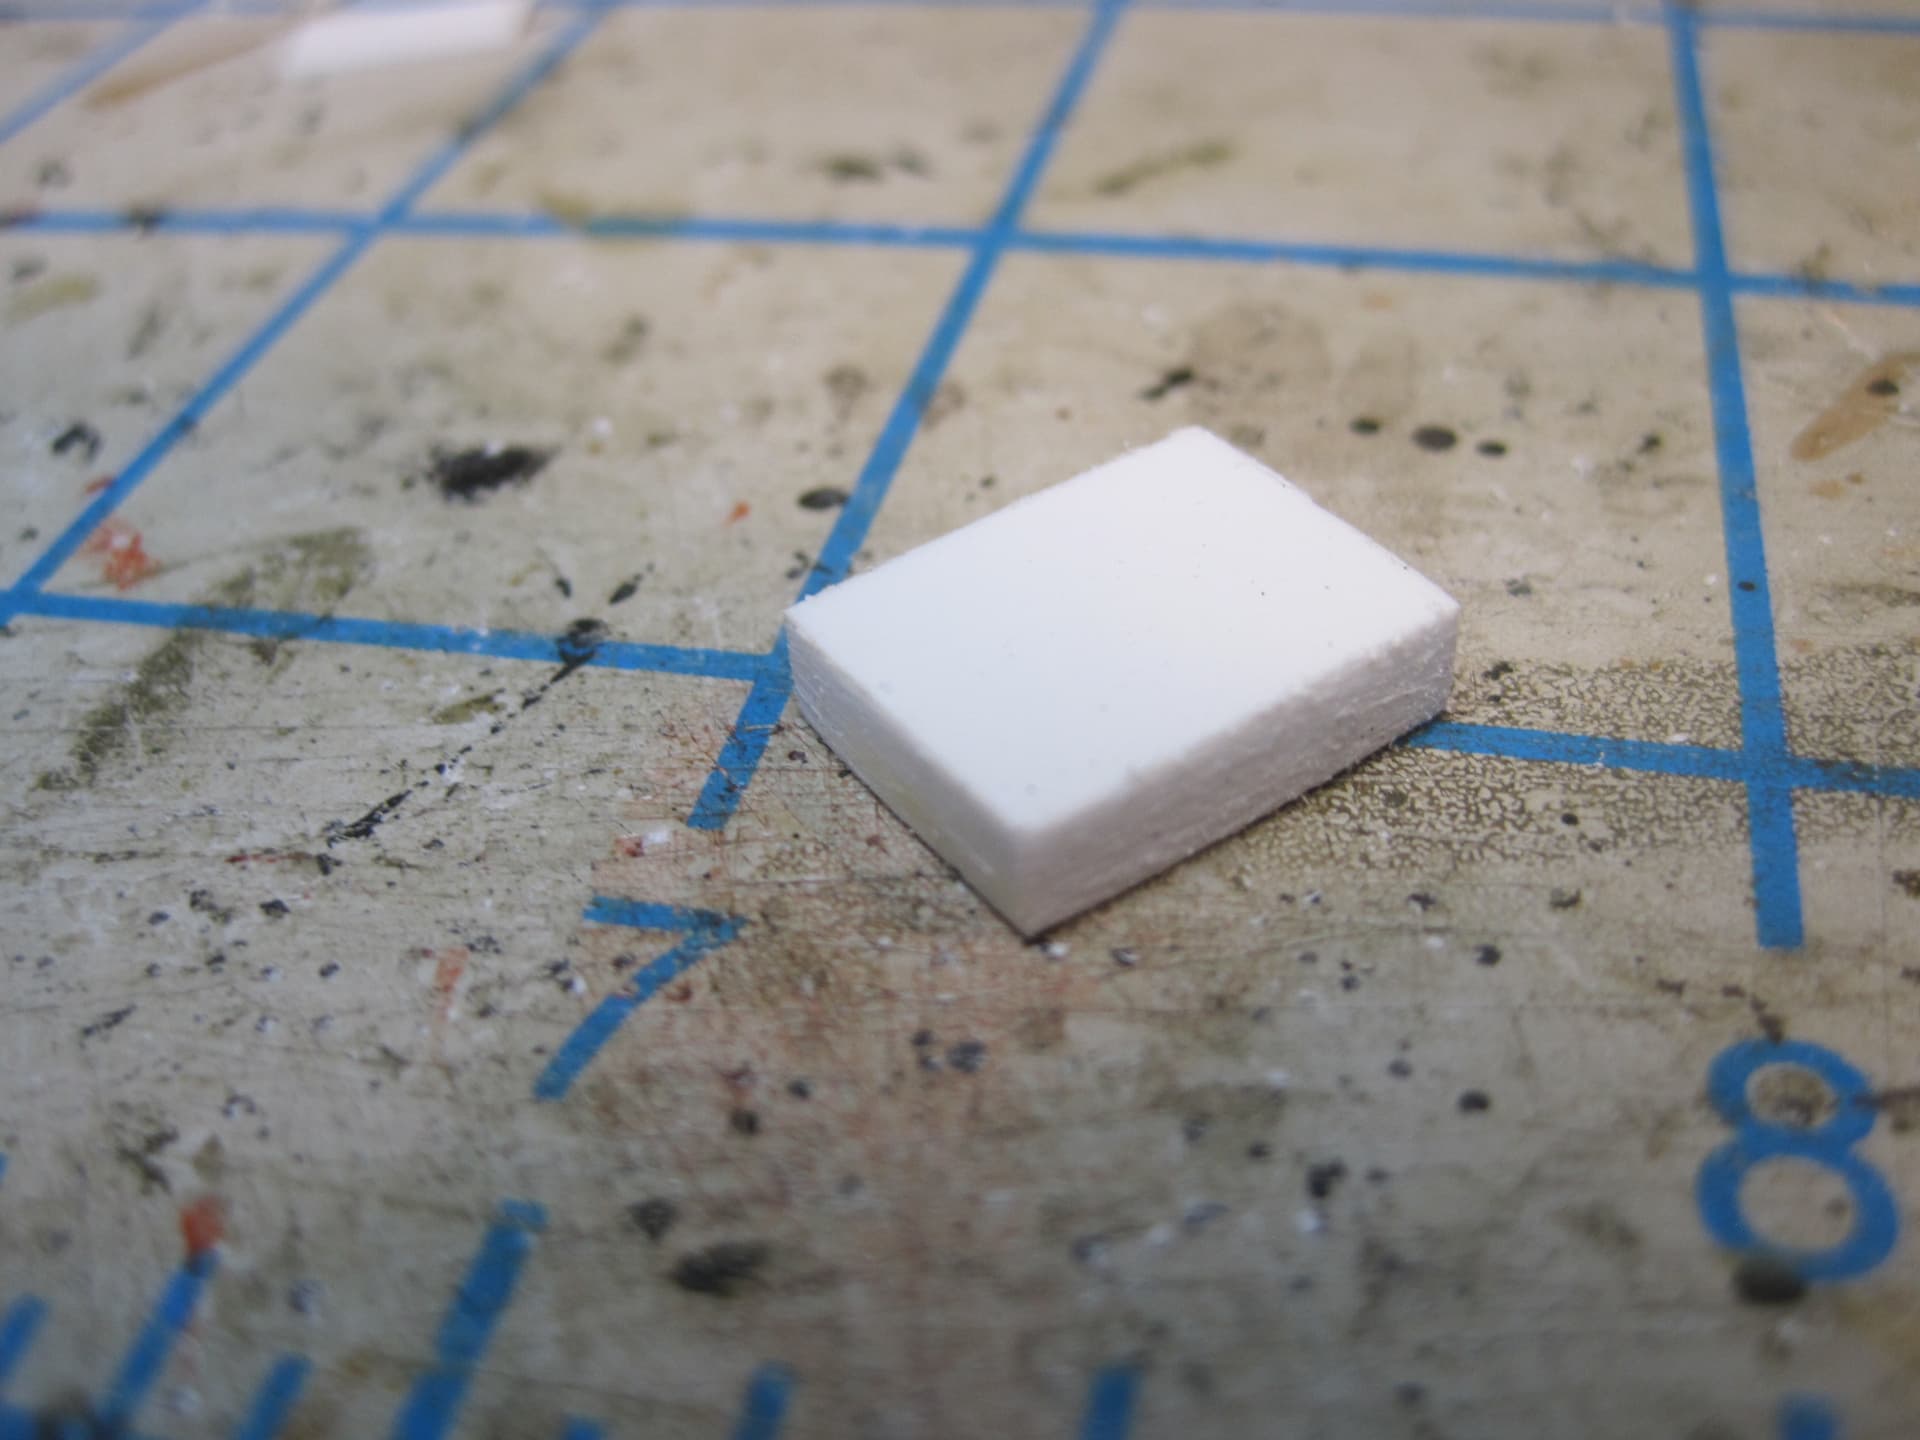
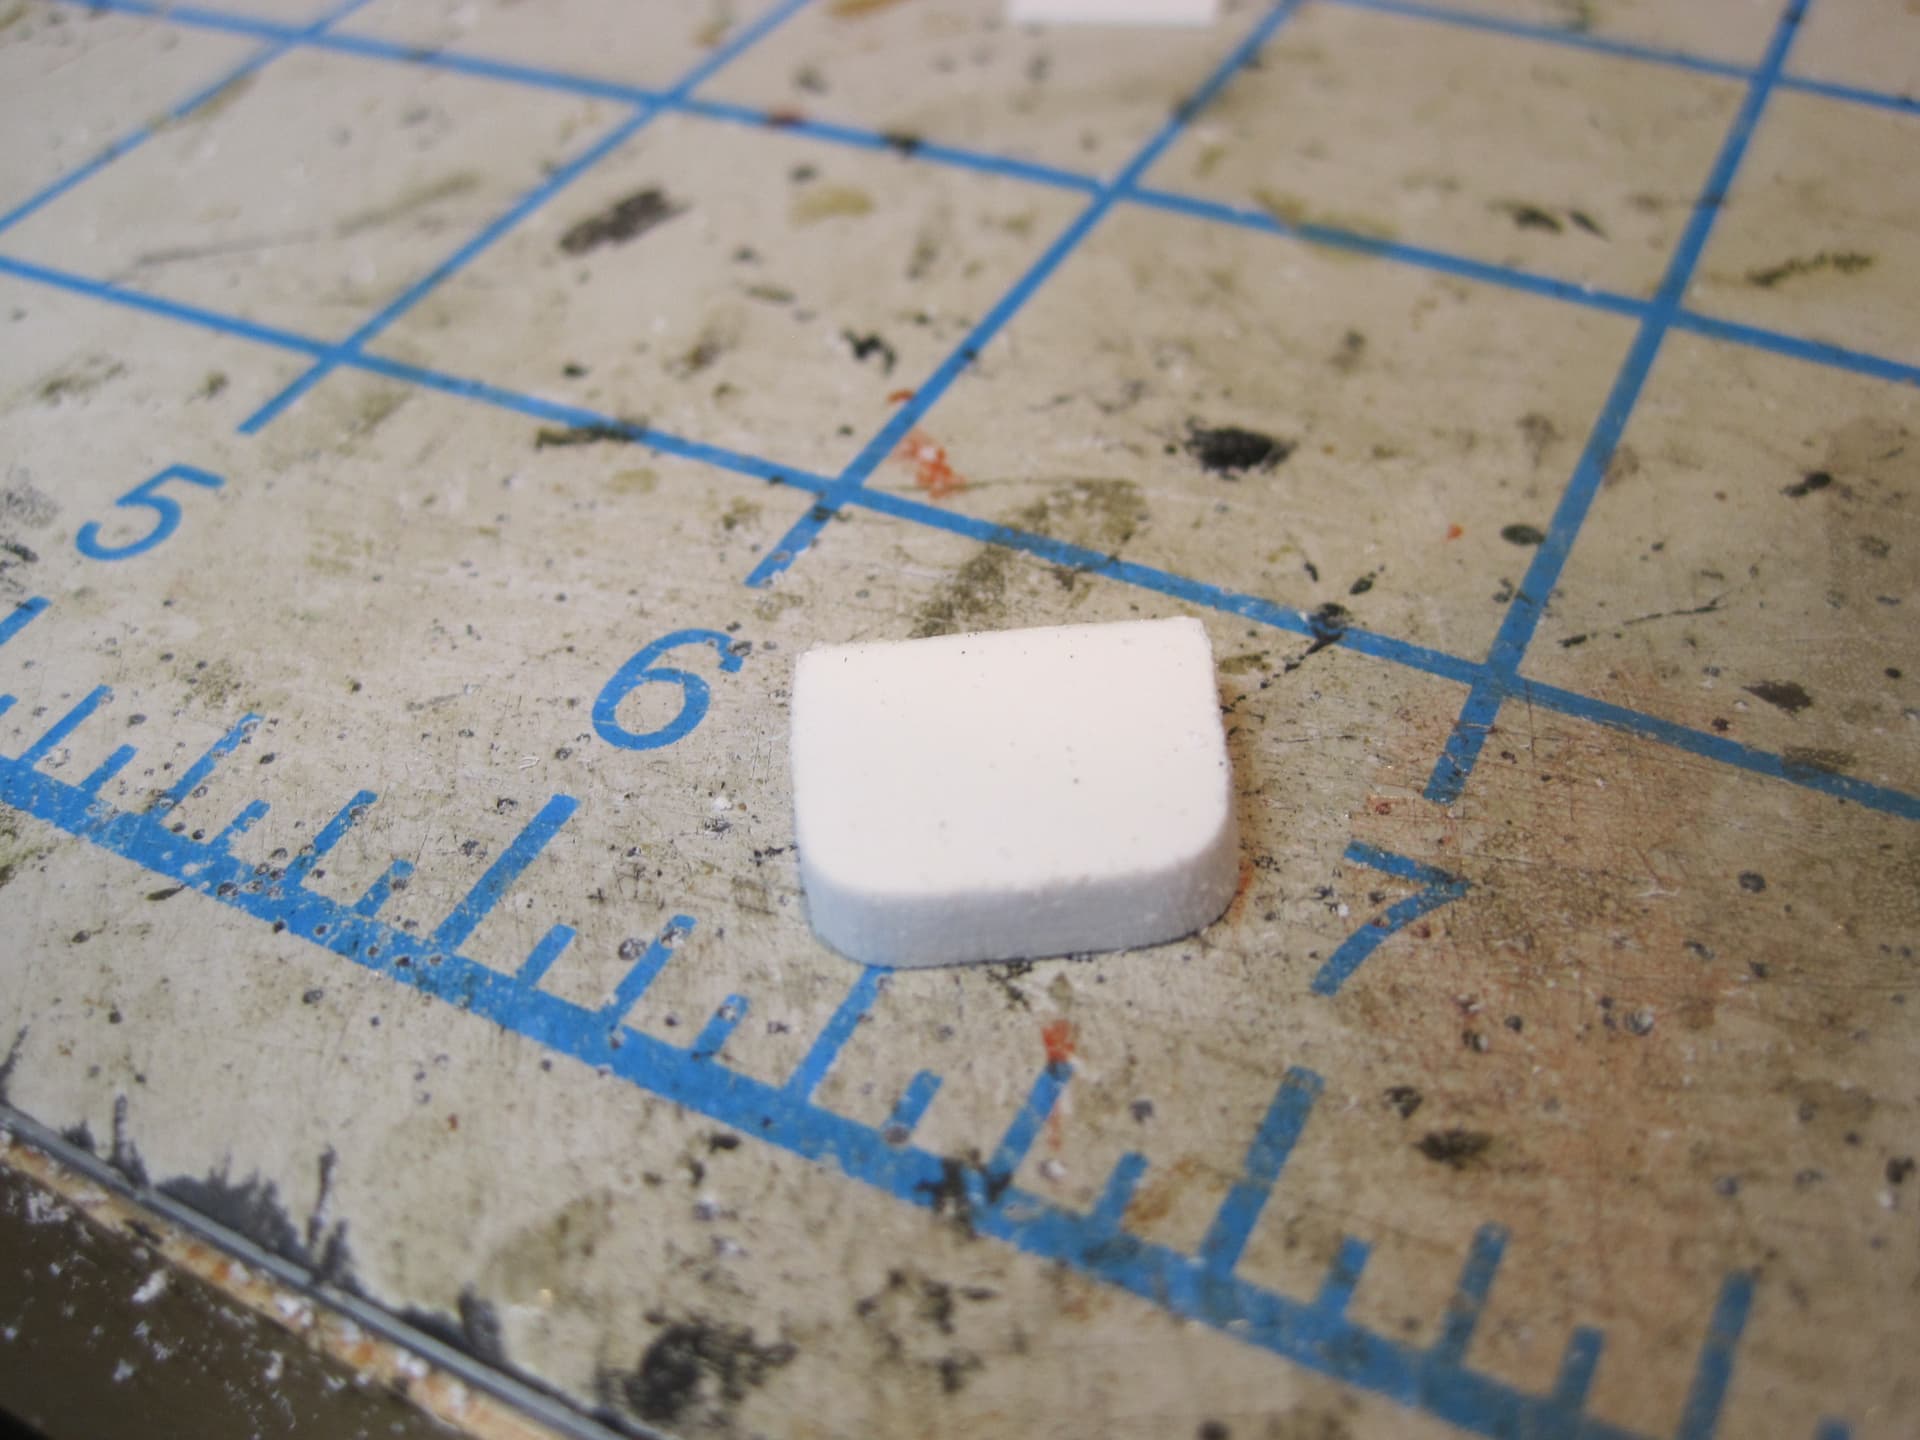
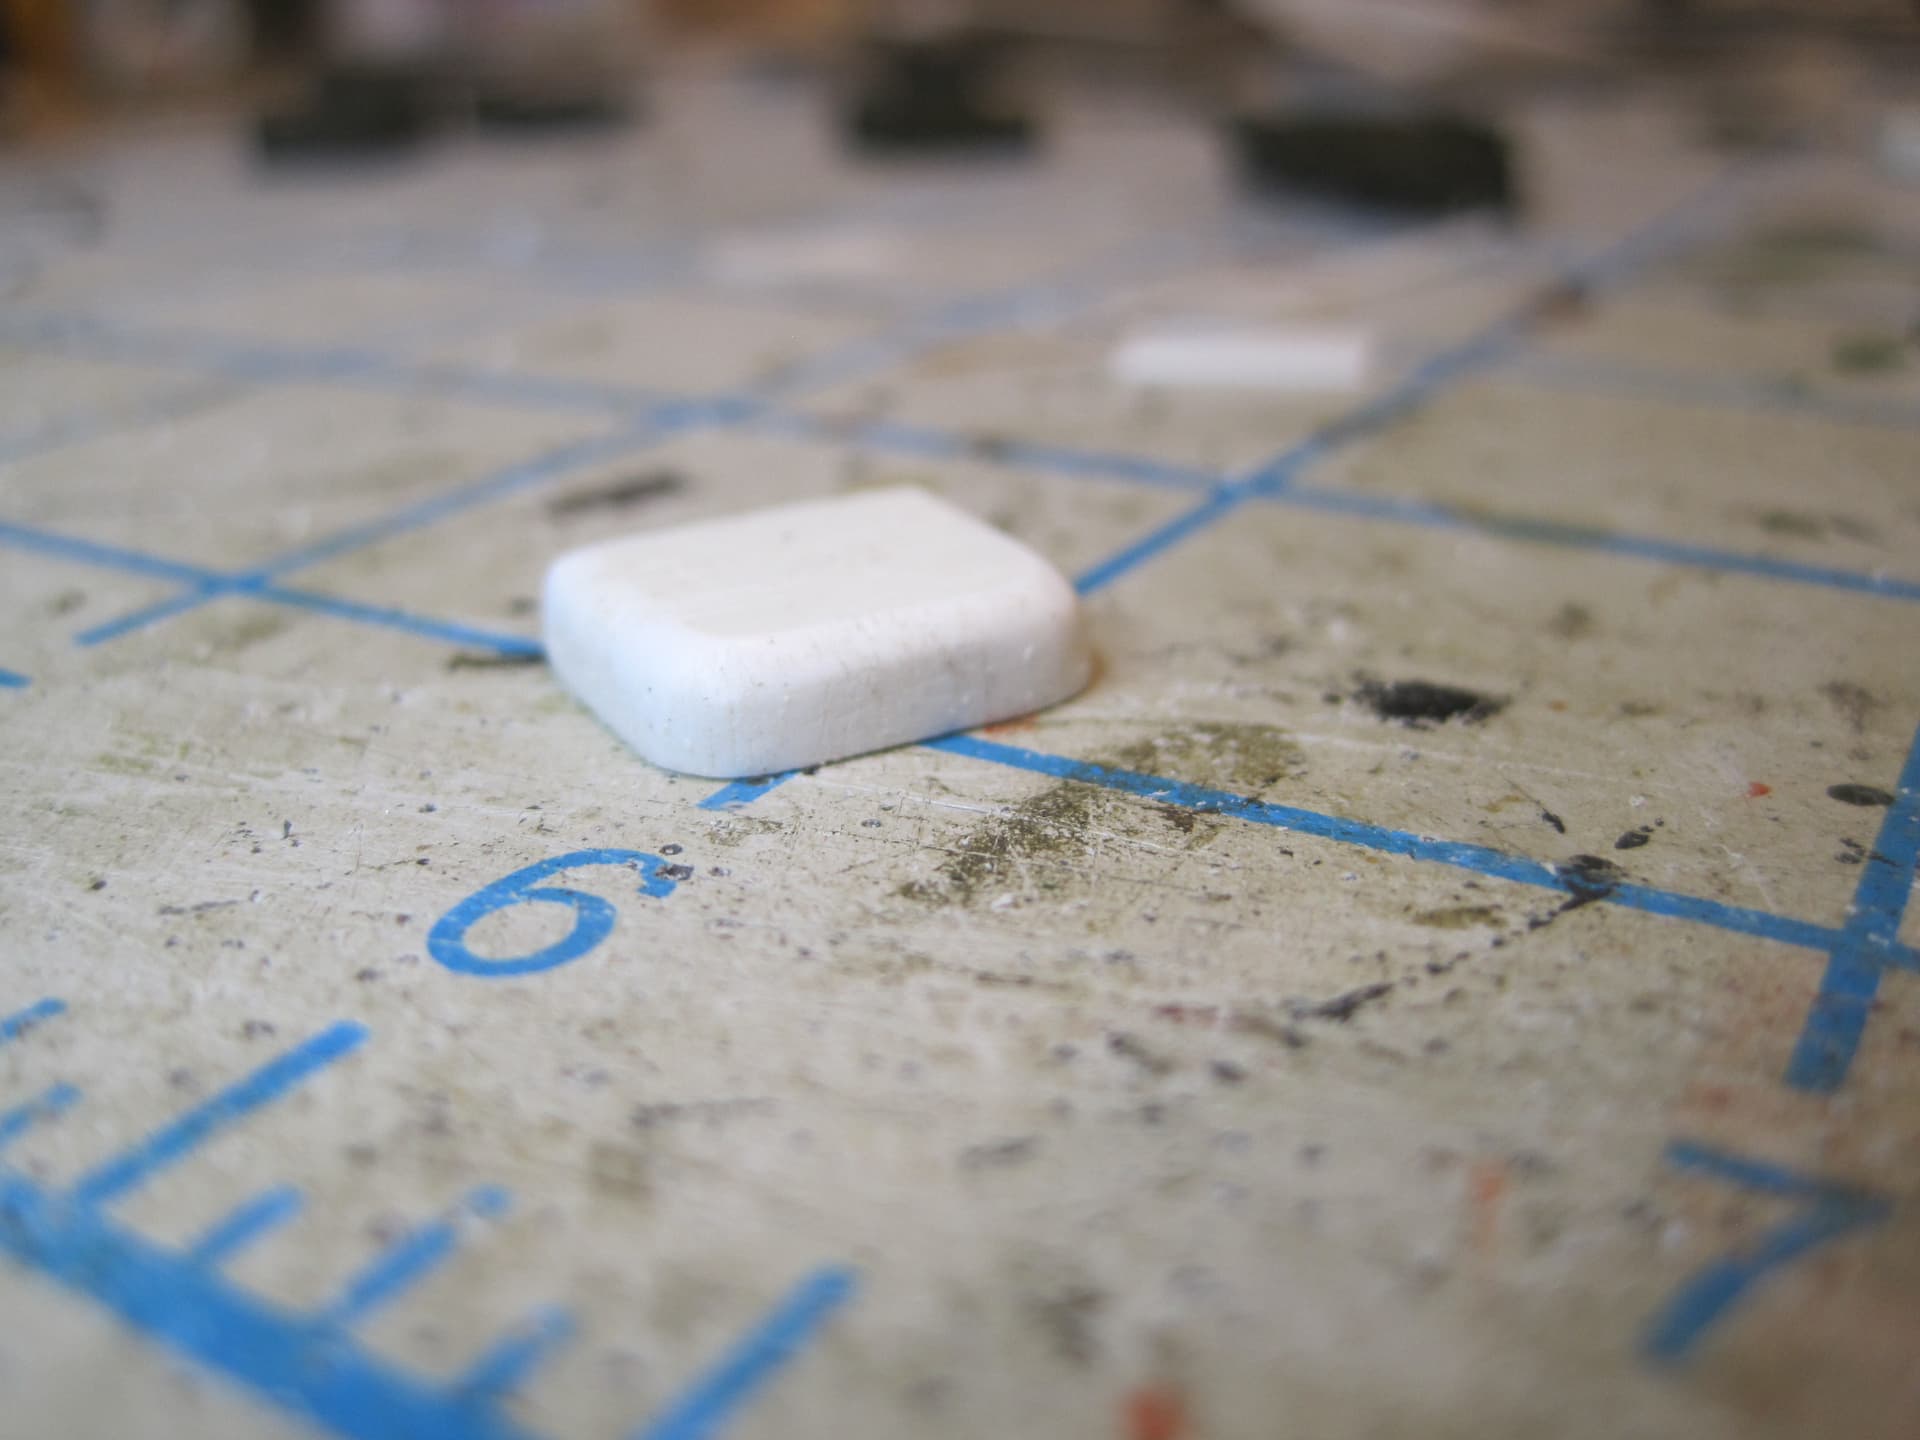
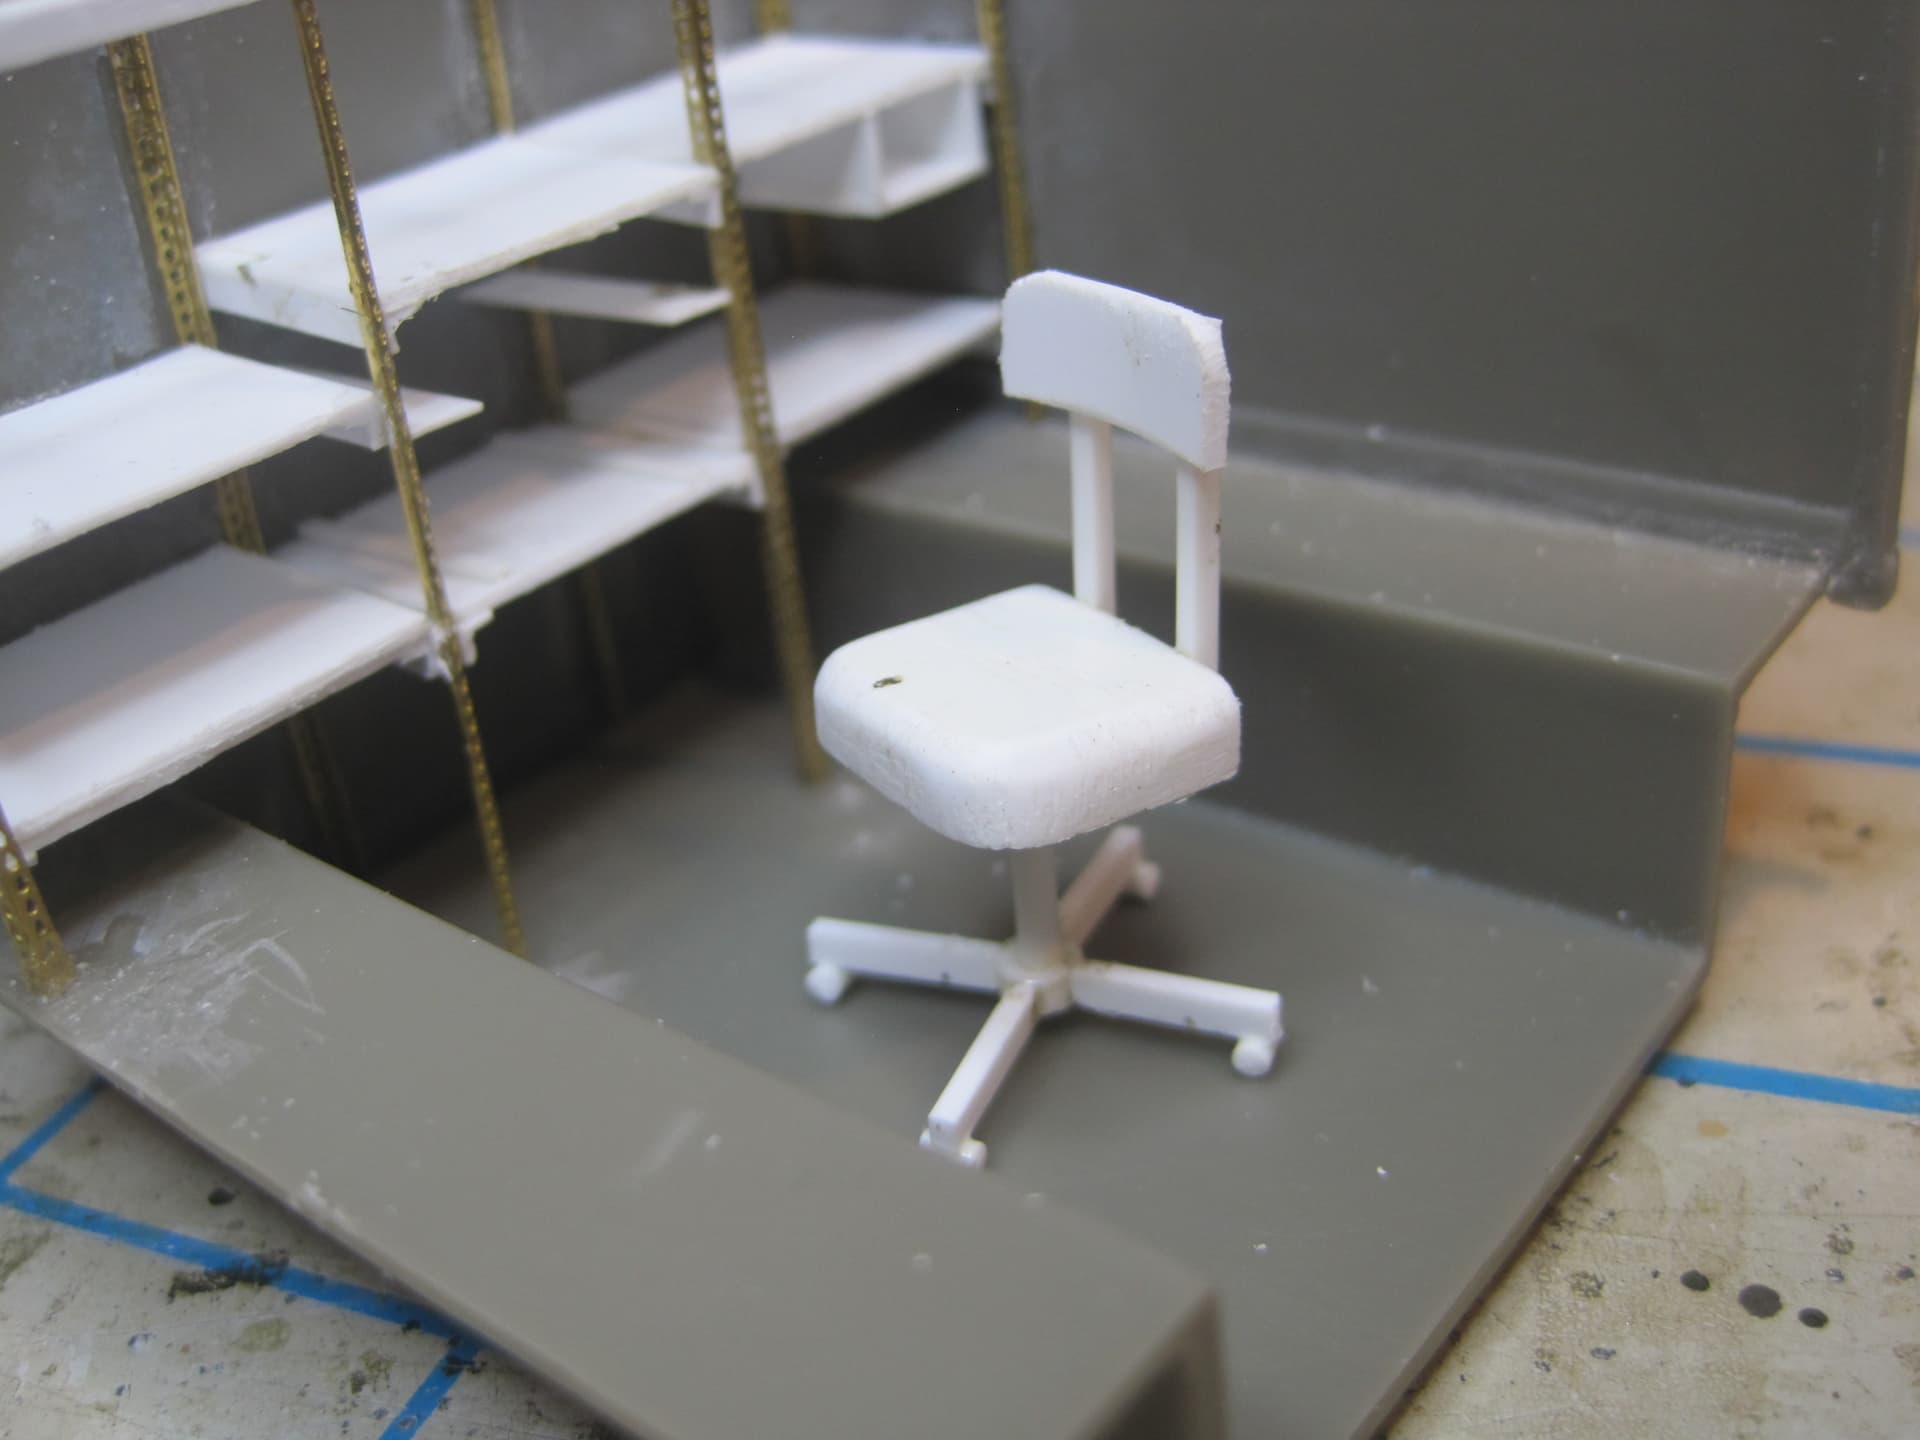
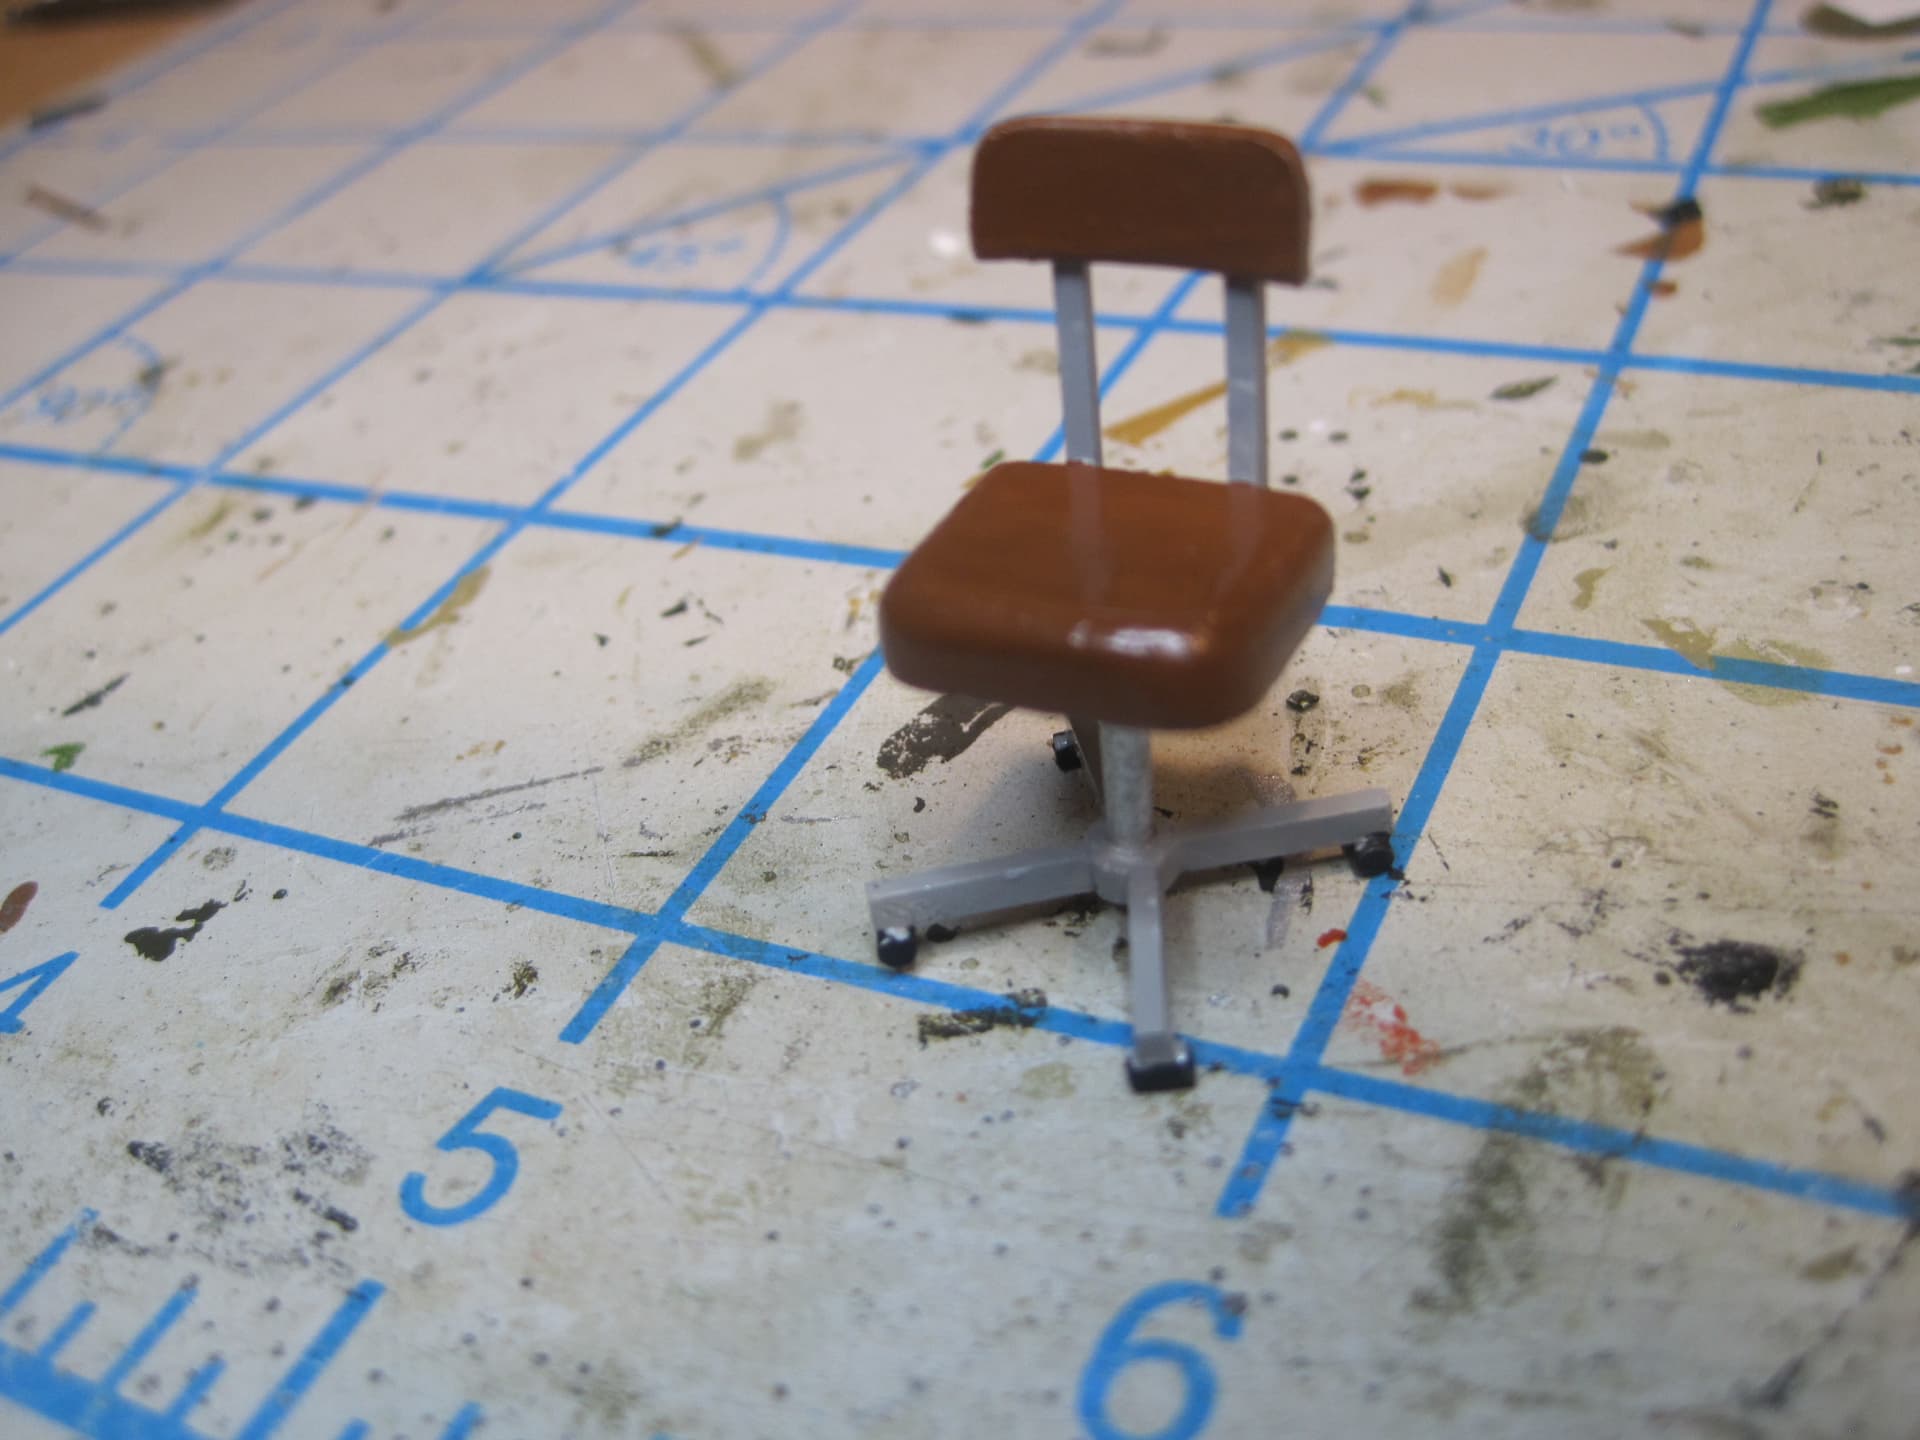
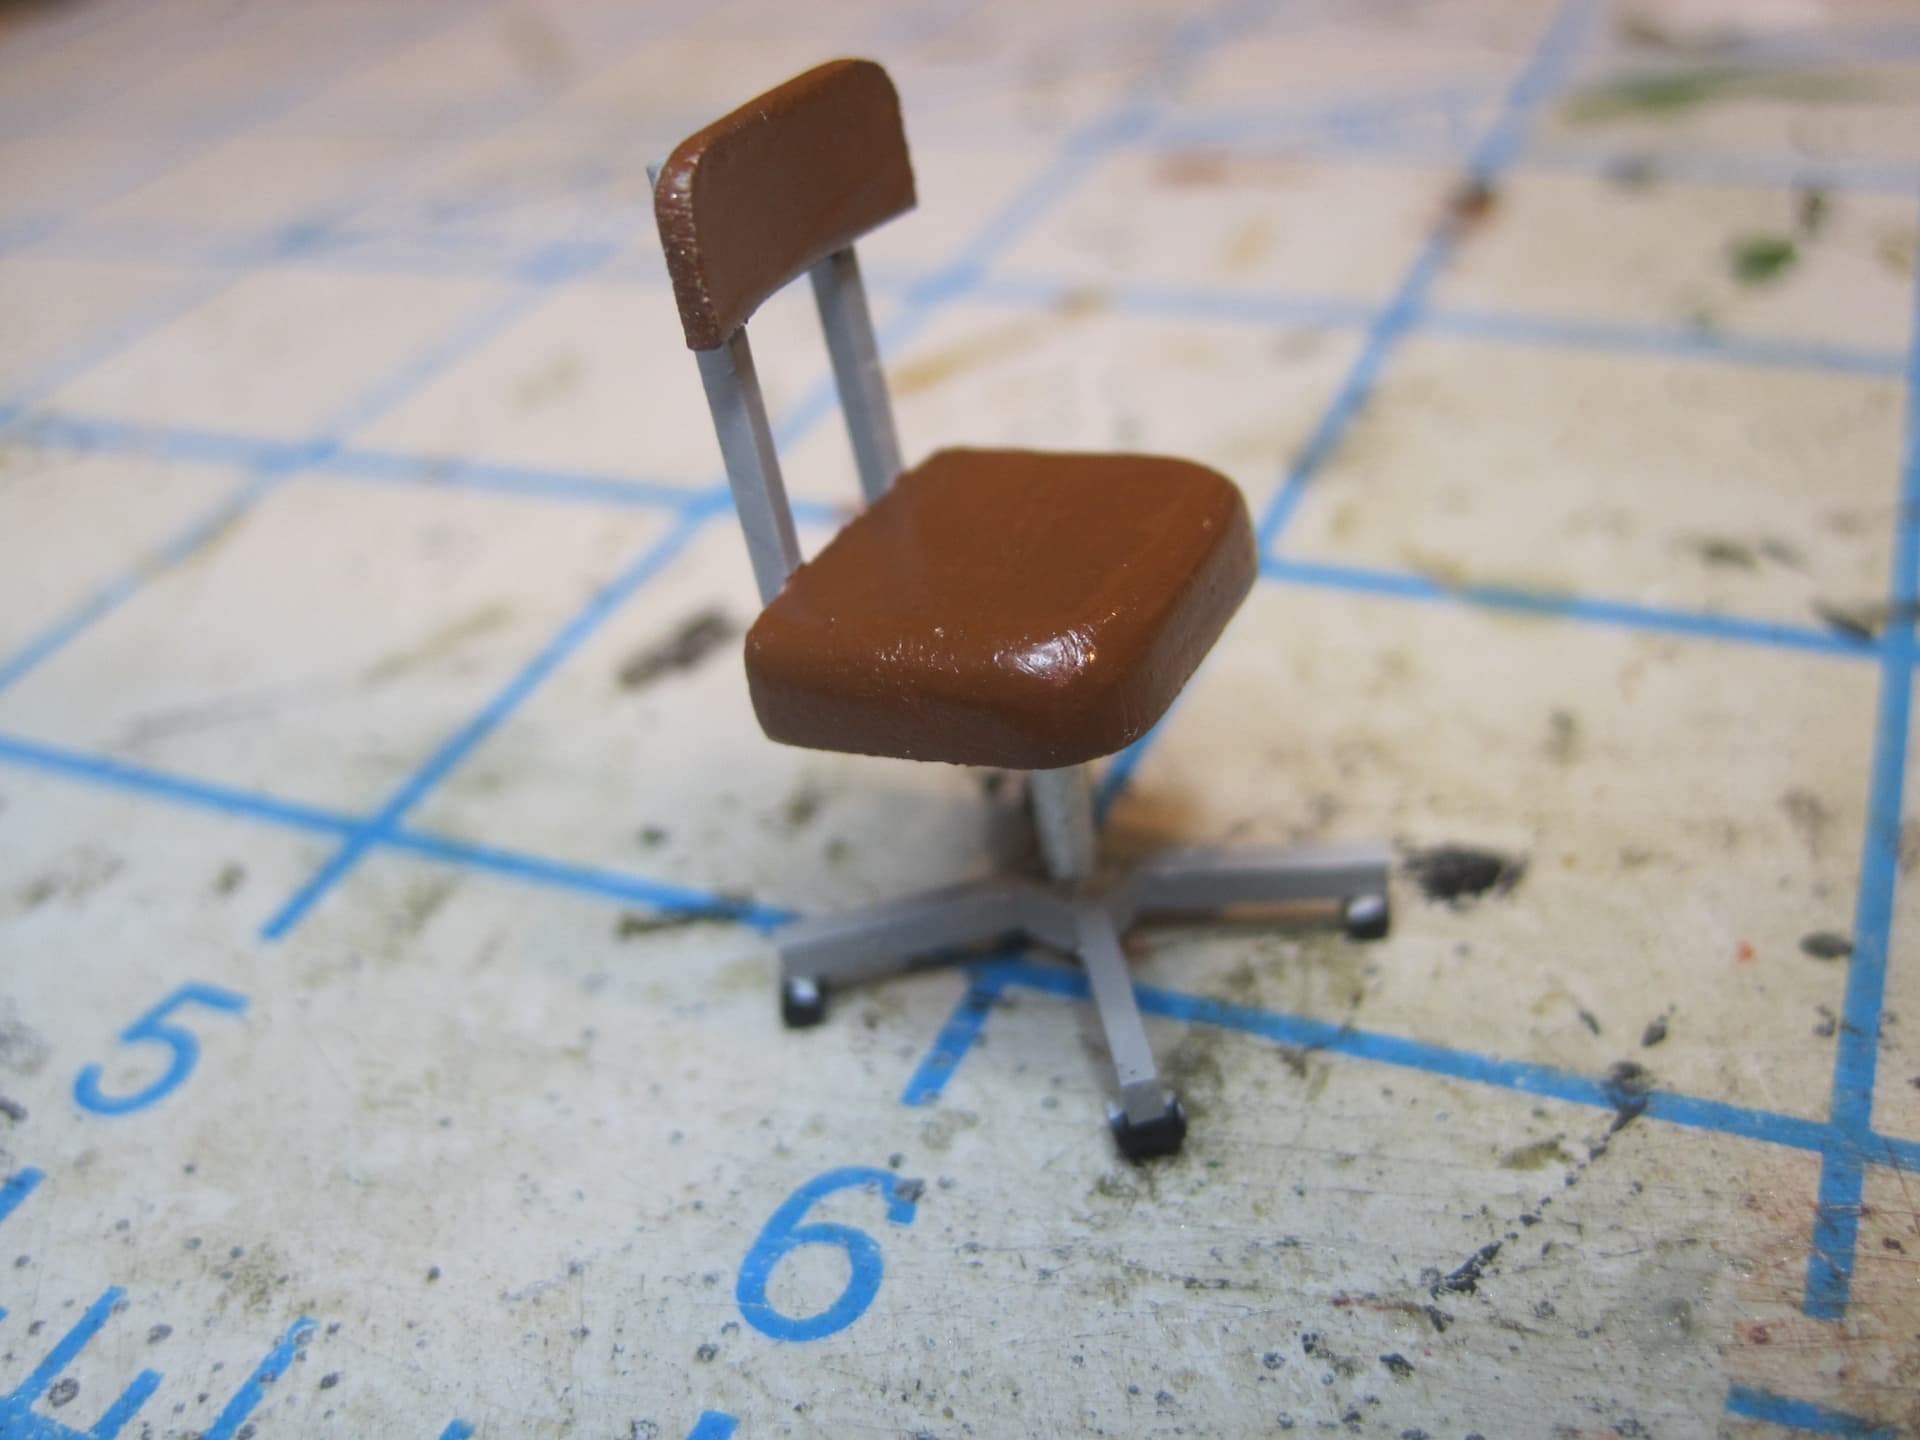
After building all the “stuff” it turns out that you need a chair for the operator to be able to actually USE it, so that’s next.


2 Likes
I love your detail work, Tom!
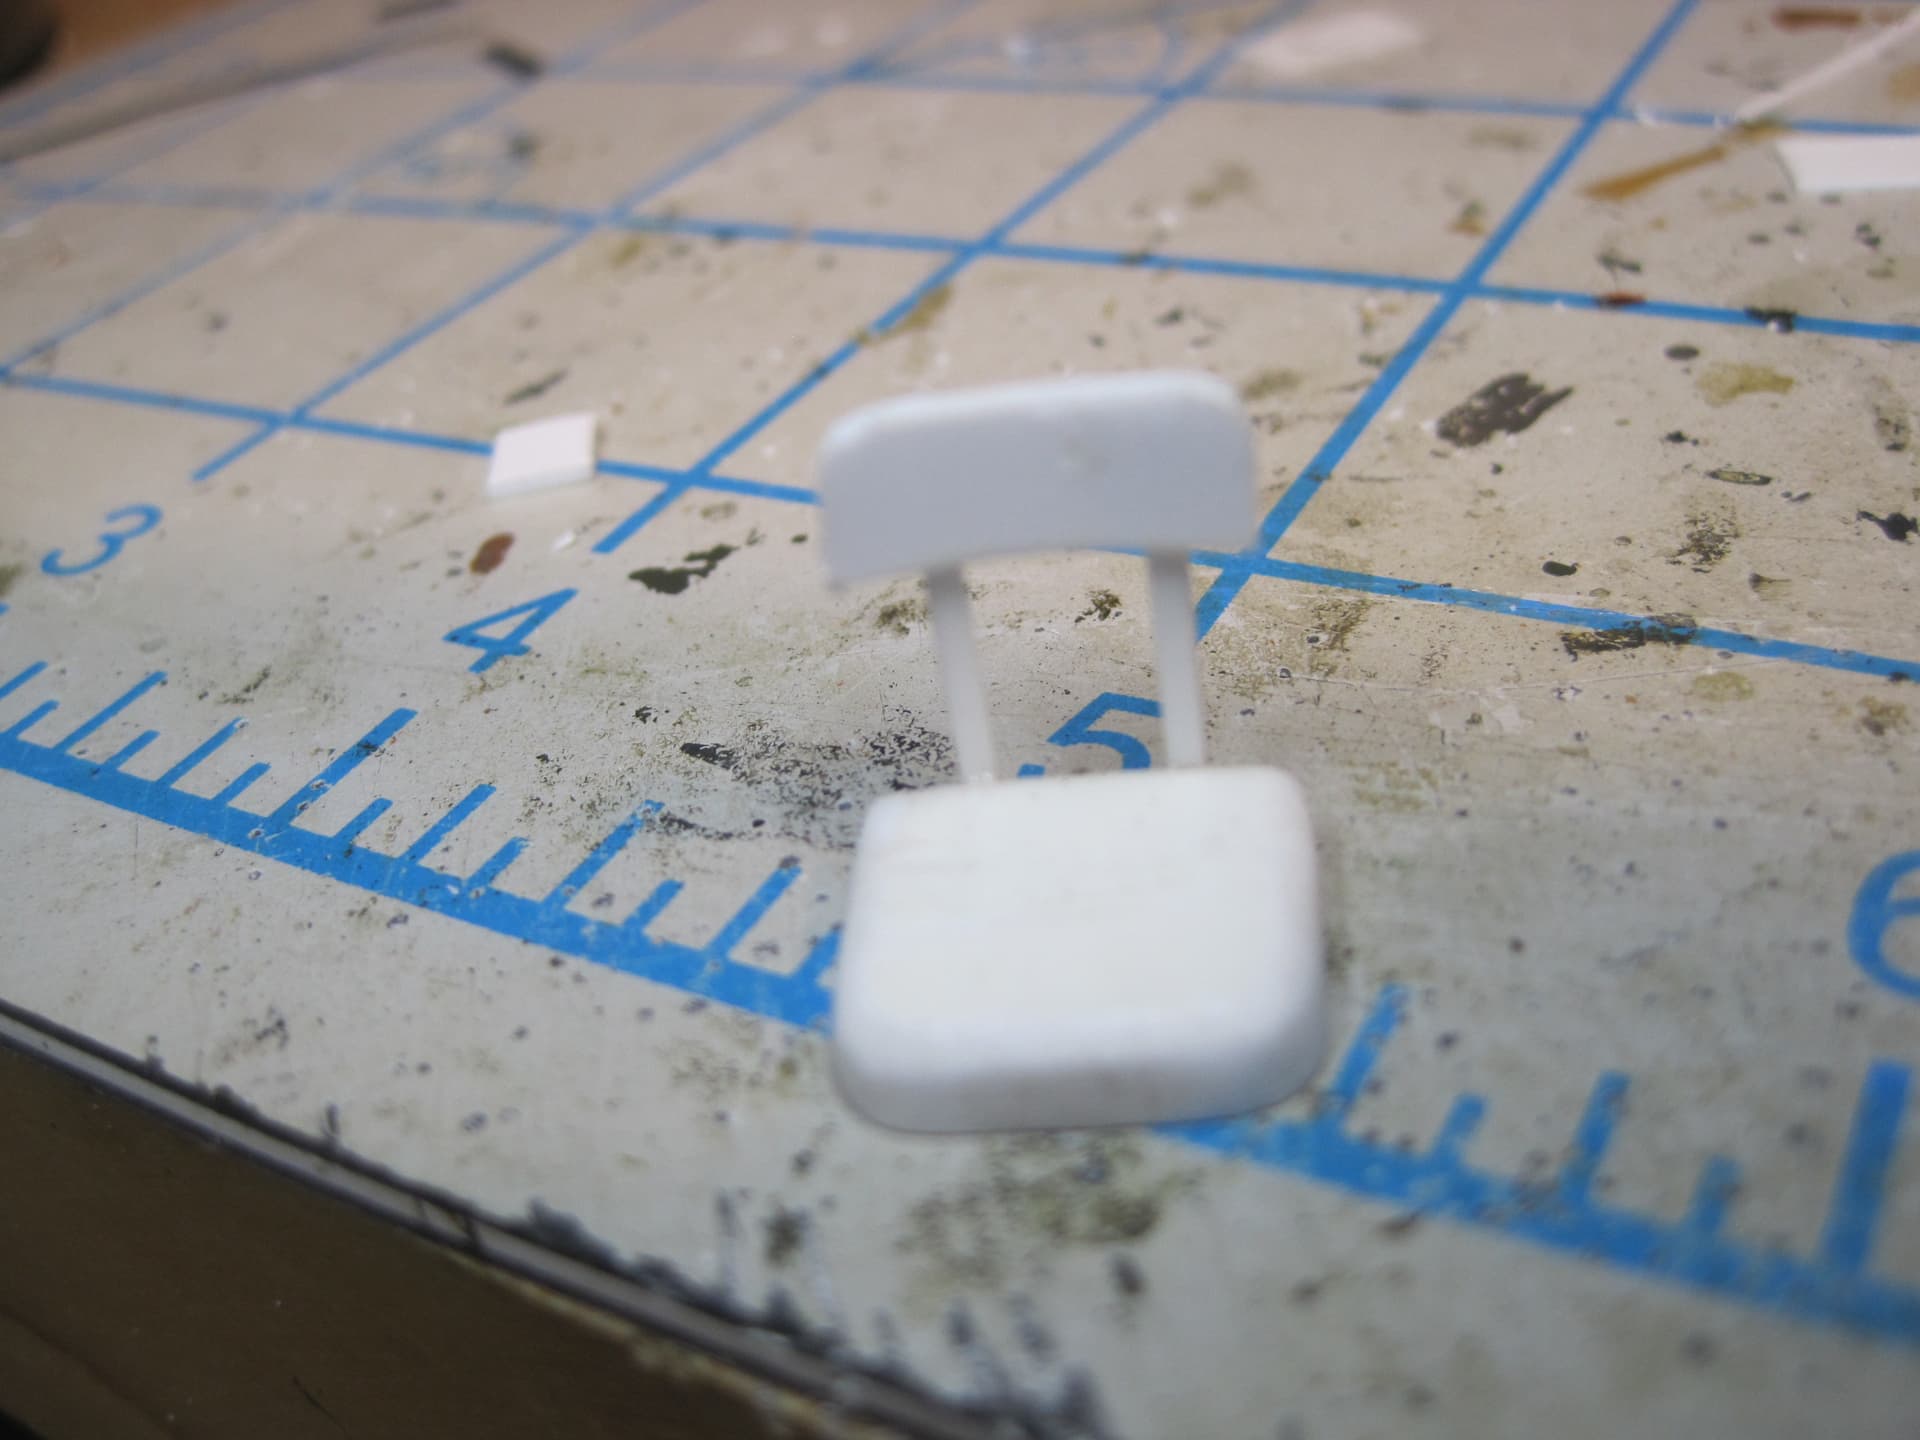
Good thing though that German soldiers won’t have to sit on that chair: only four feet/castors are a no-no for them - too much risk of tipping over, gotta be five of 'em …
Peter
Yeah, I know! I wondered about that. The two chairs I have here in my den both have five casters, but the drawing from the TM shows only four, so I went with that. (Plus, one less part to make  !!!)
!!!)
We had folding chairs in the RATT Rigs I was on. Standard government gray metal type like in the Tamiya 1/35 M577 kit.
Tom, just remind me: is there anything you can’t do in 1:35?
HAH! I’ll let you know after I wire up all the components to see if they work! 
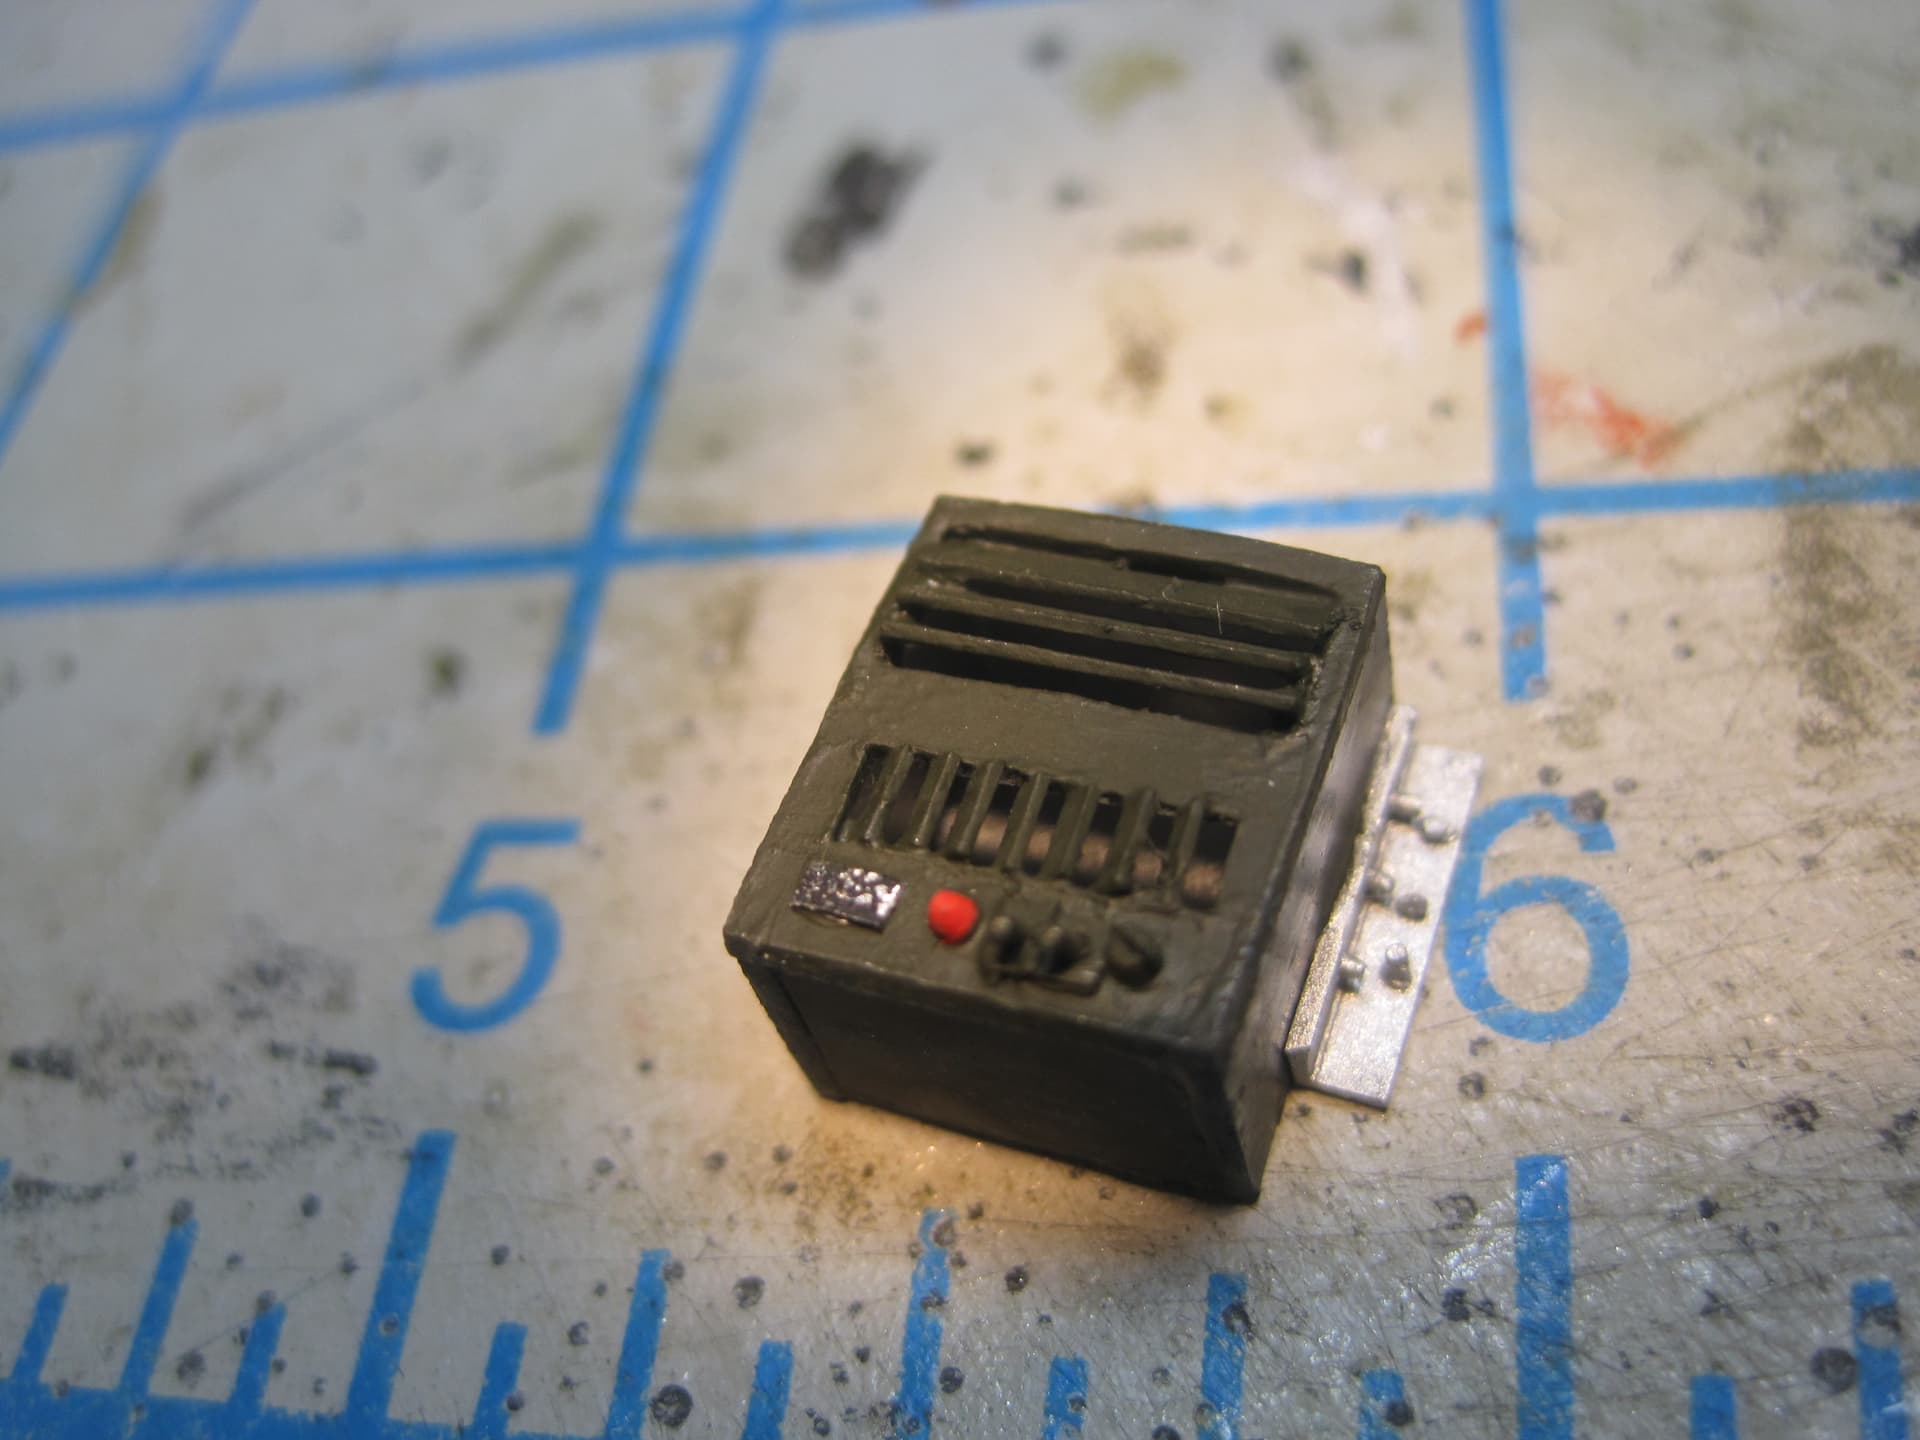
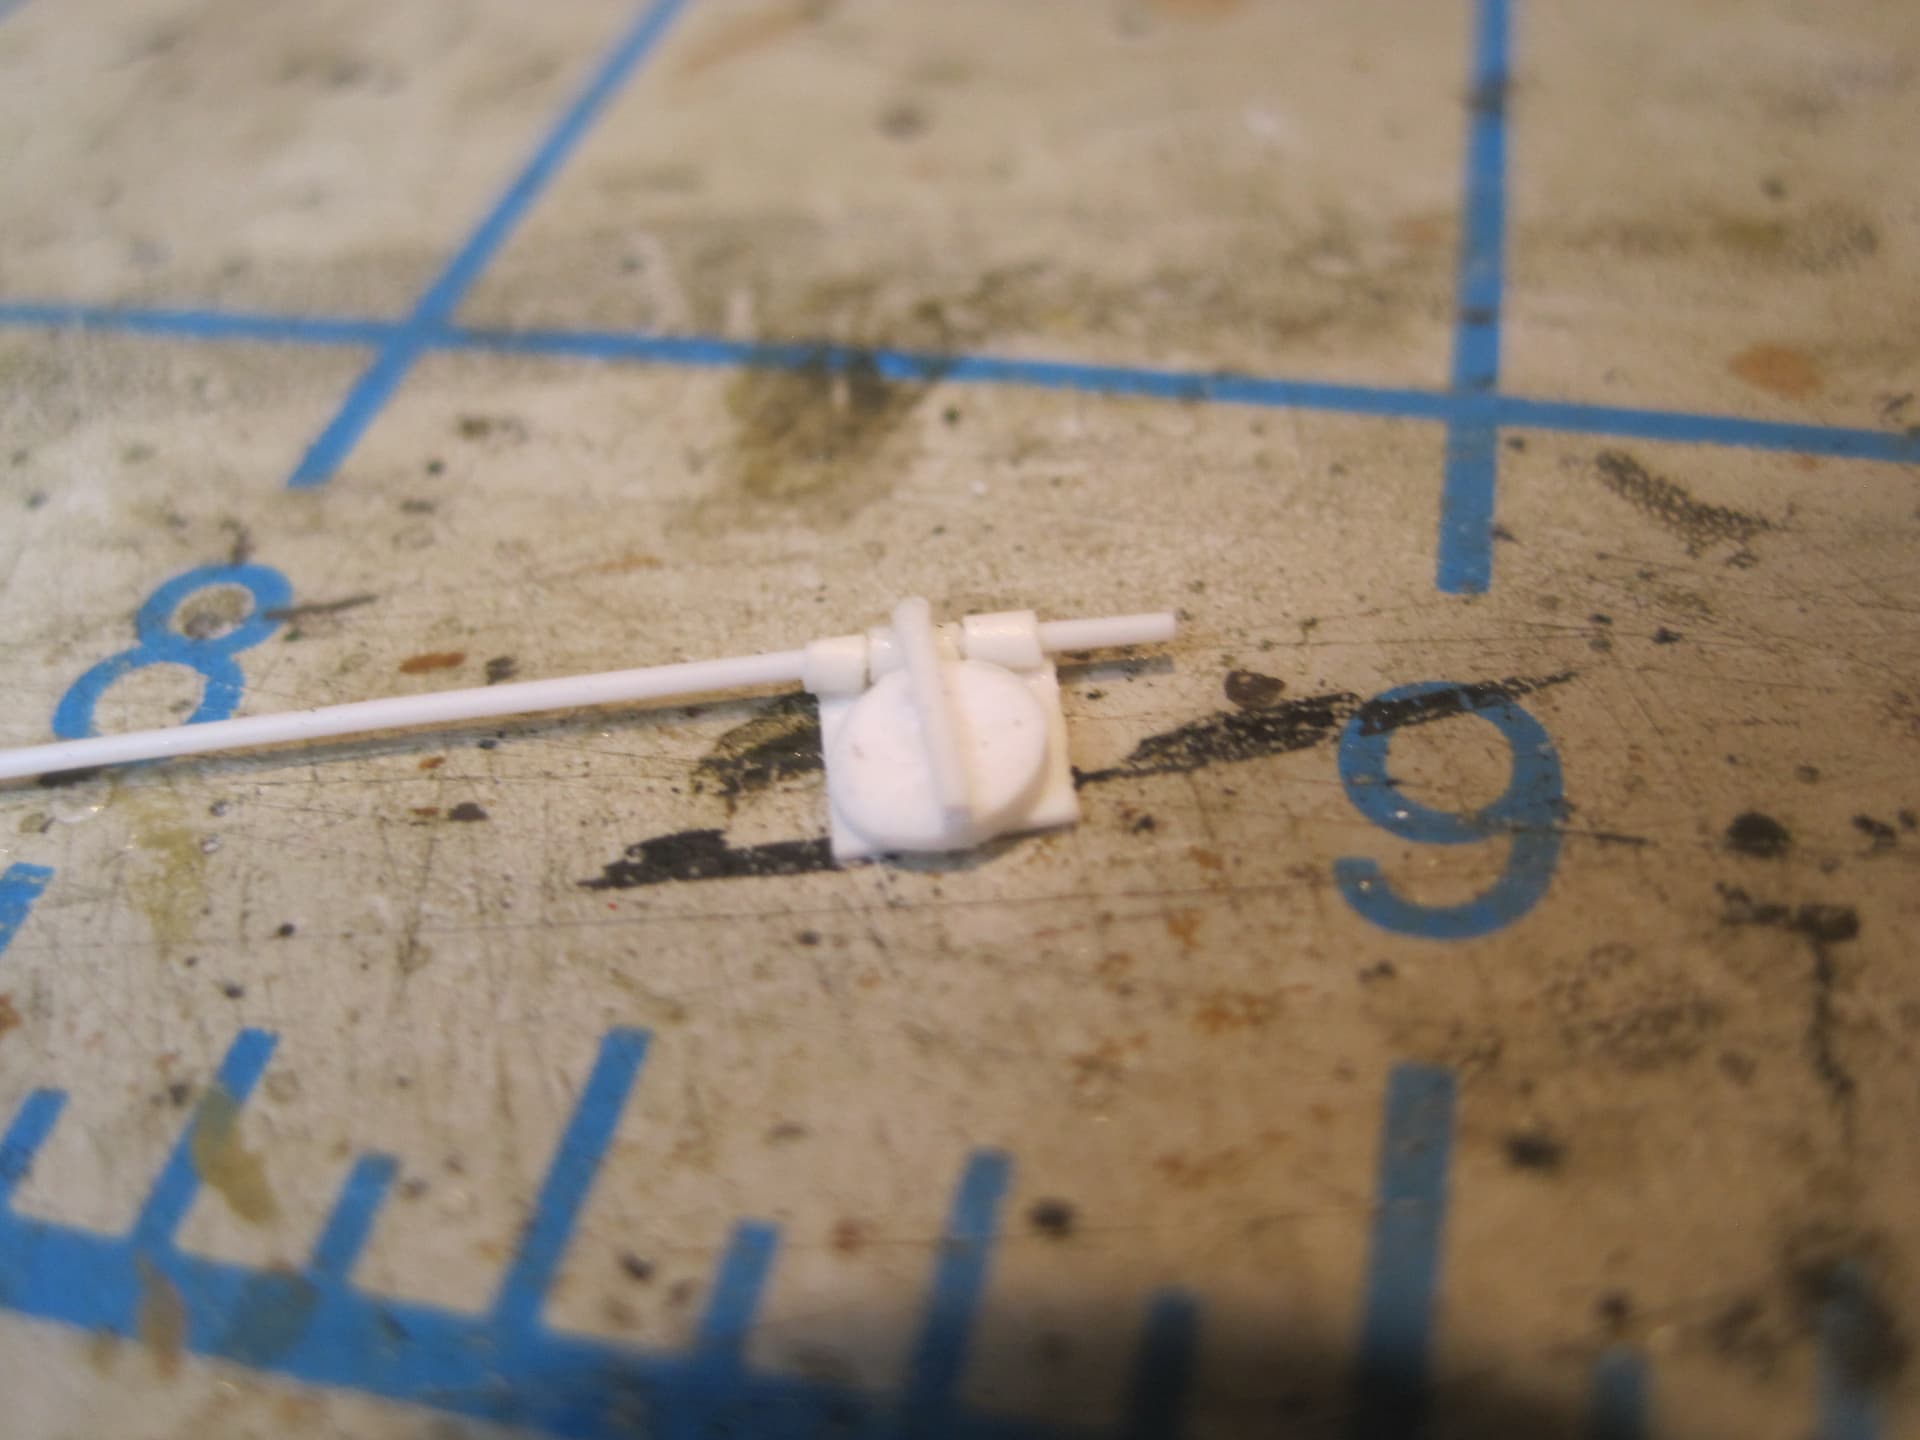
Thanks to Rick Taylor, I learned that there is one more piece of equipment required for the installation (actually two of them since I’m building a “duplex”), and that’s the secure gear, or the KY-7, which isn’t shown or discussed in the TM because 50 years ago it was considered Top Secret. But since it’s long been de-classified, I found some good pictures and scratched them up as well.

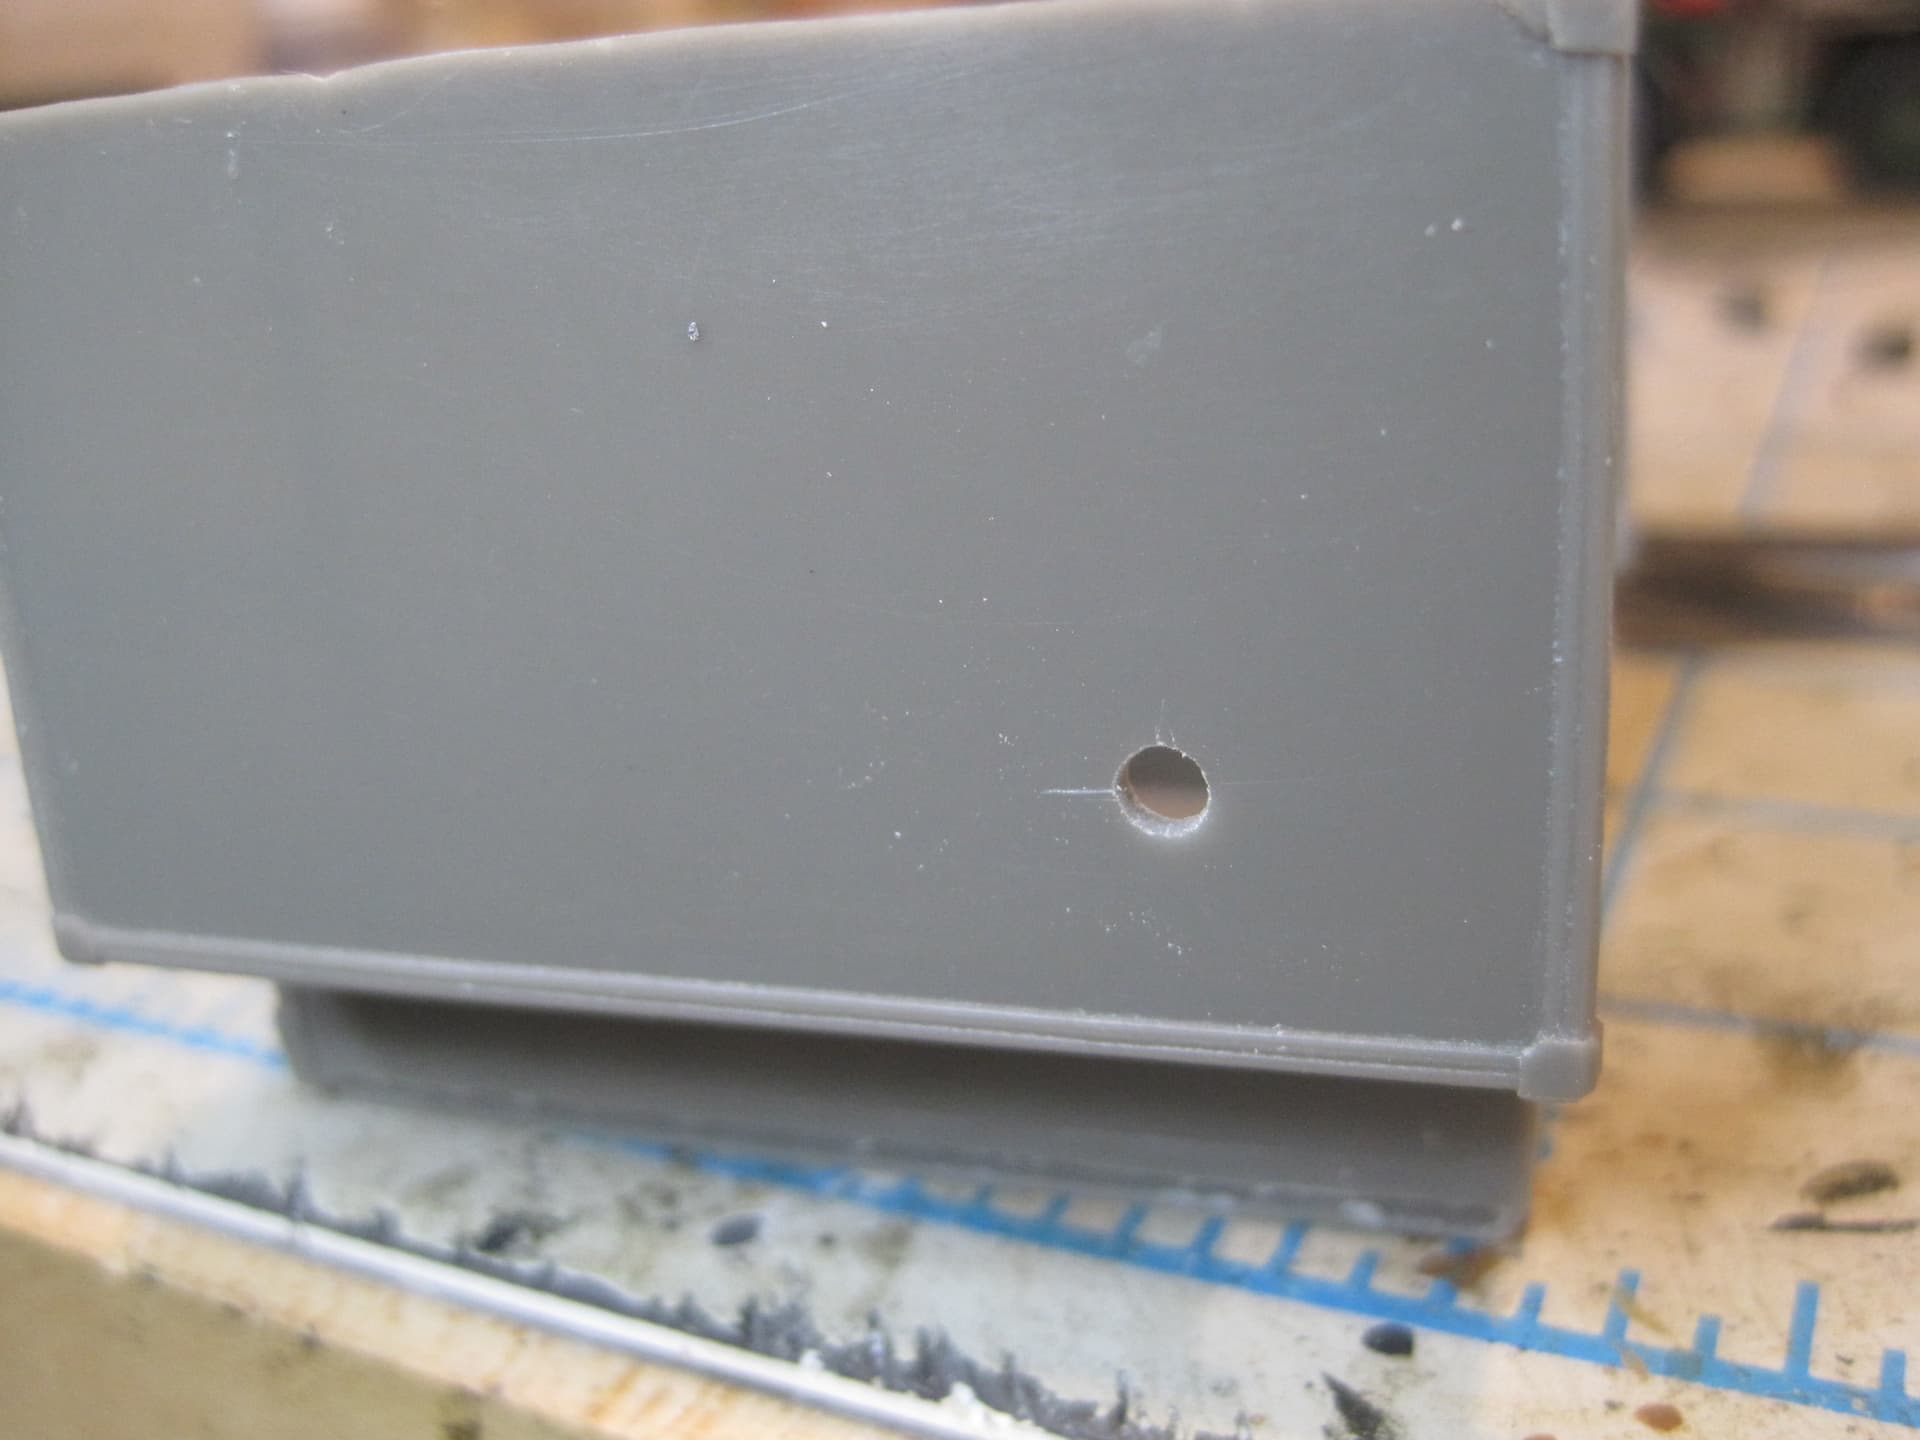
With that it’s time to start doing some work on the shelter. There are a number of places where the walls are pierced for a variety of reasons, So I’m starting with that.
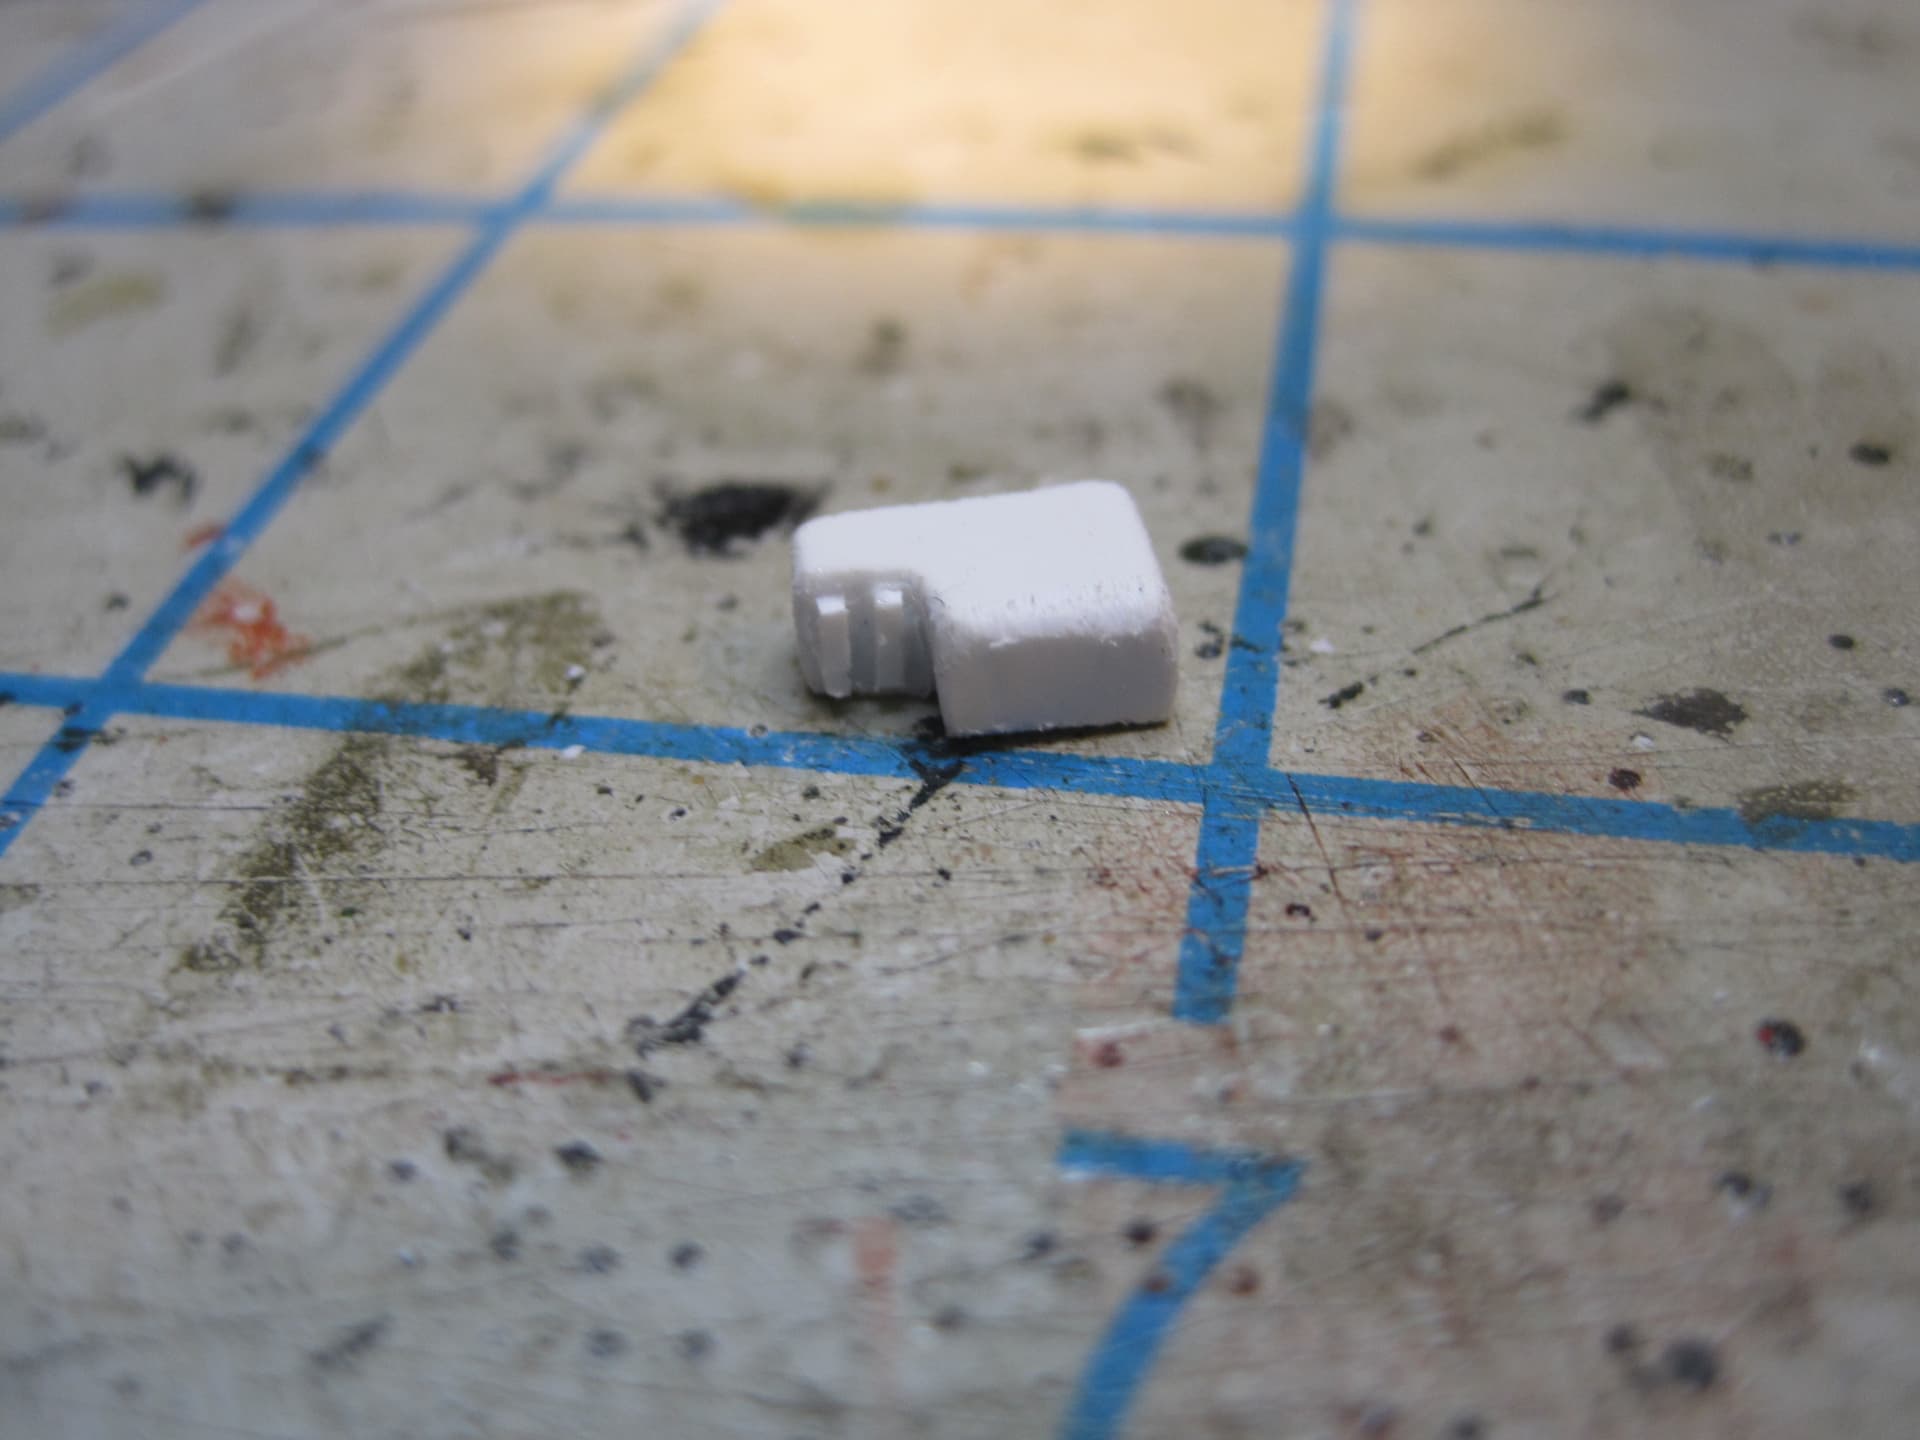
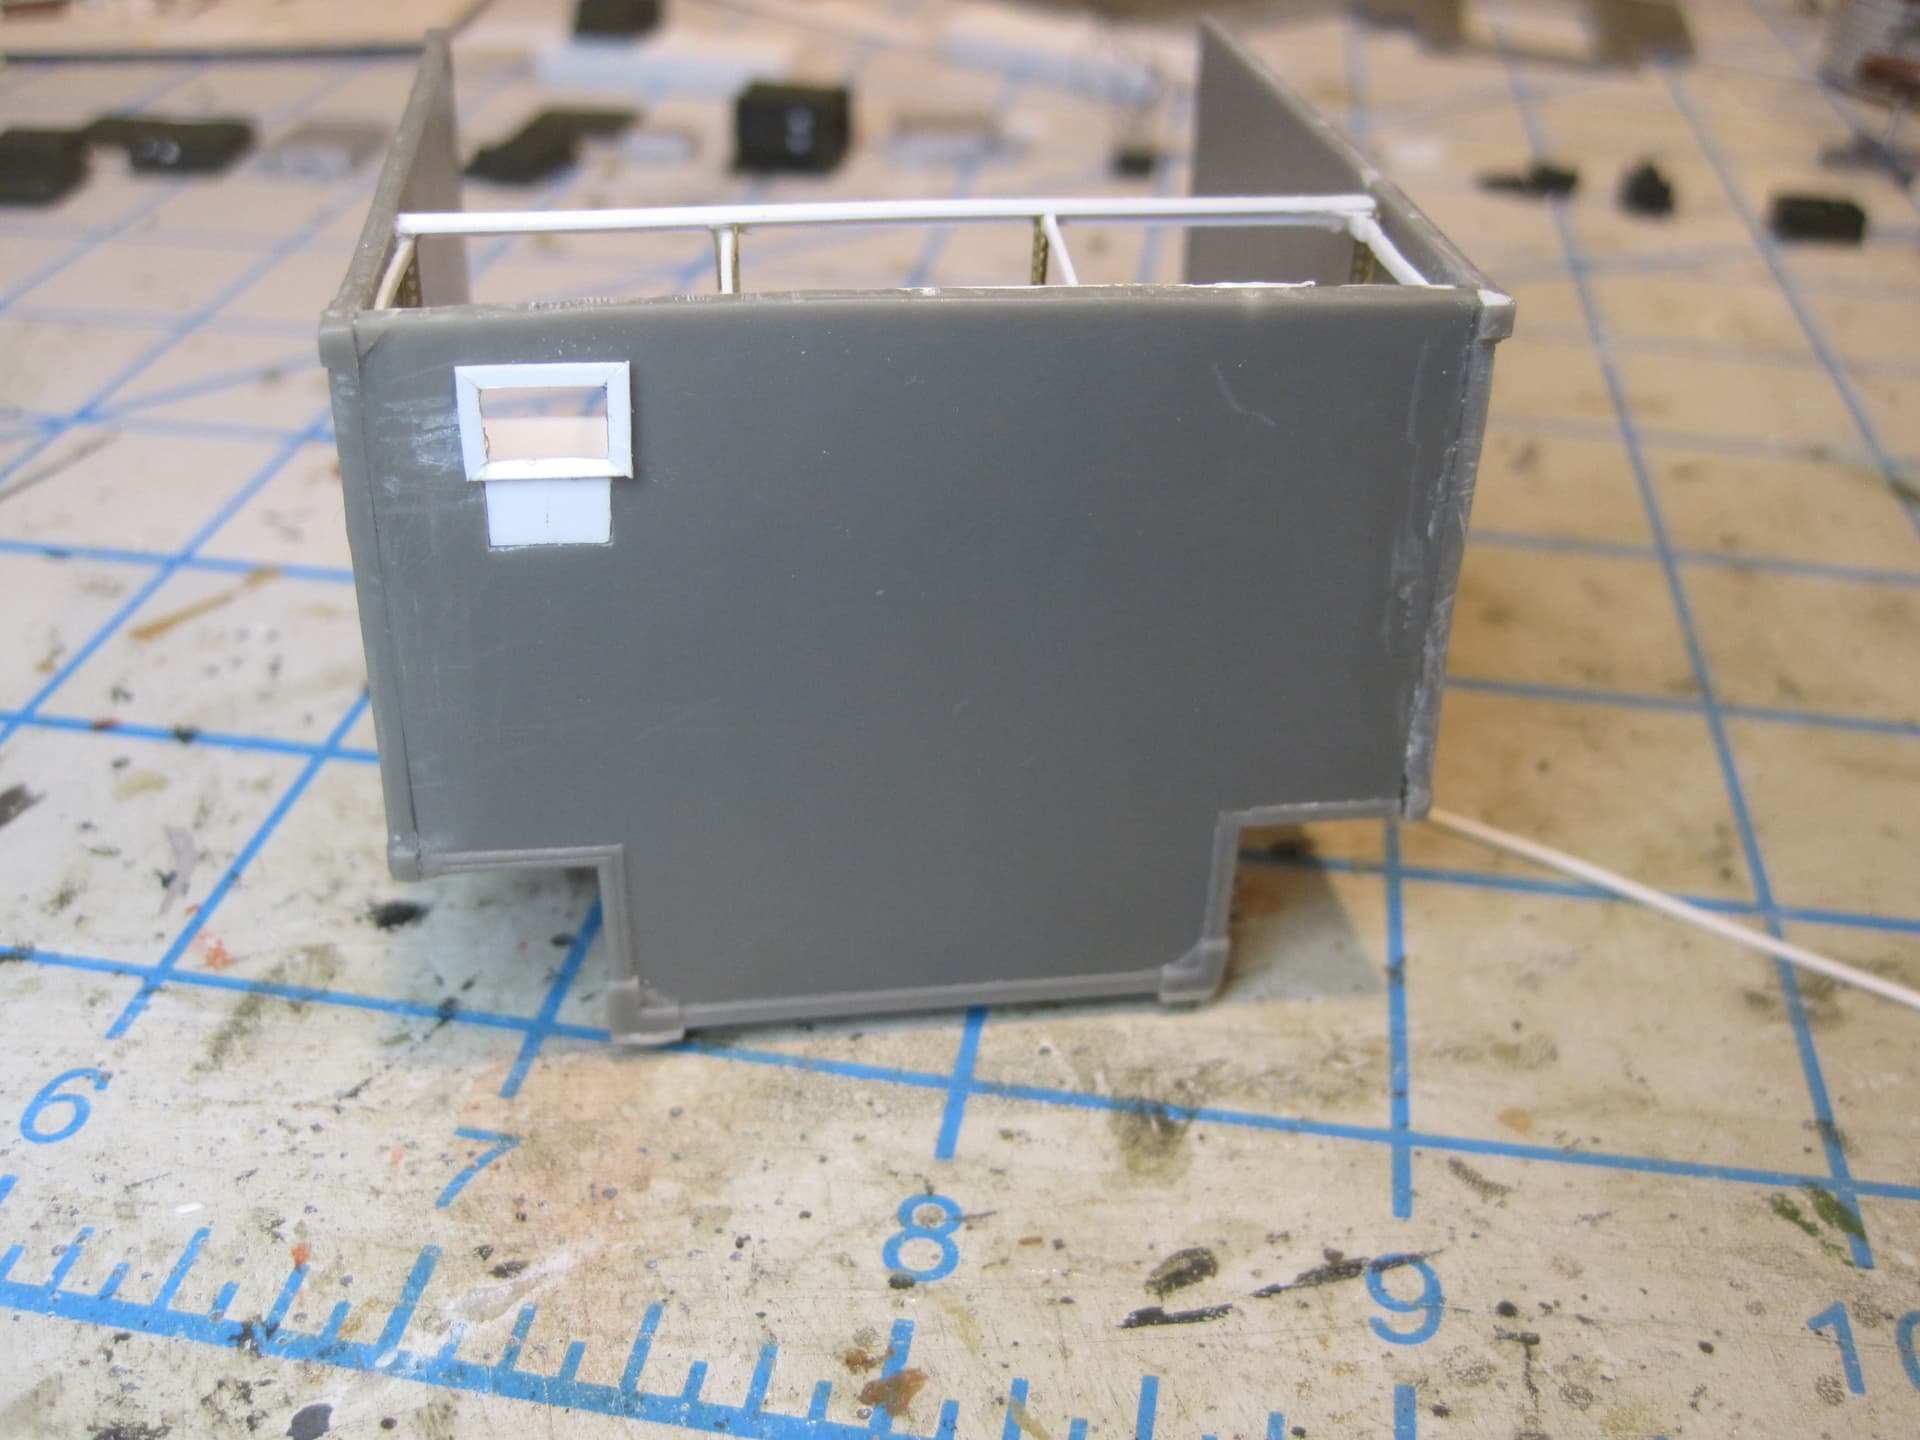
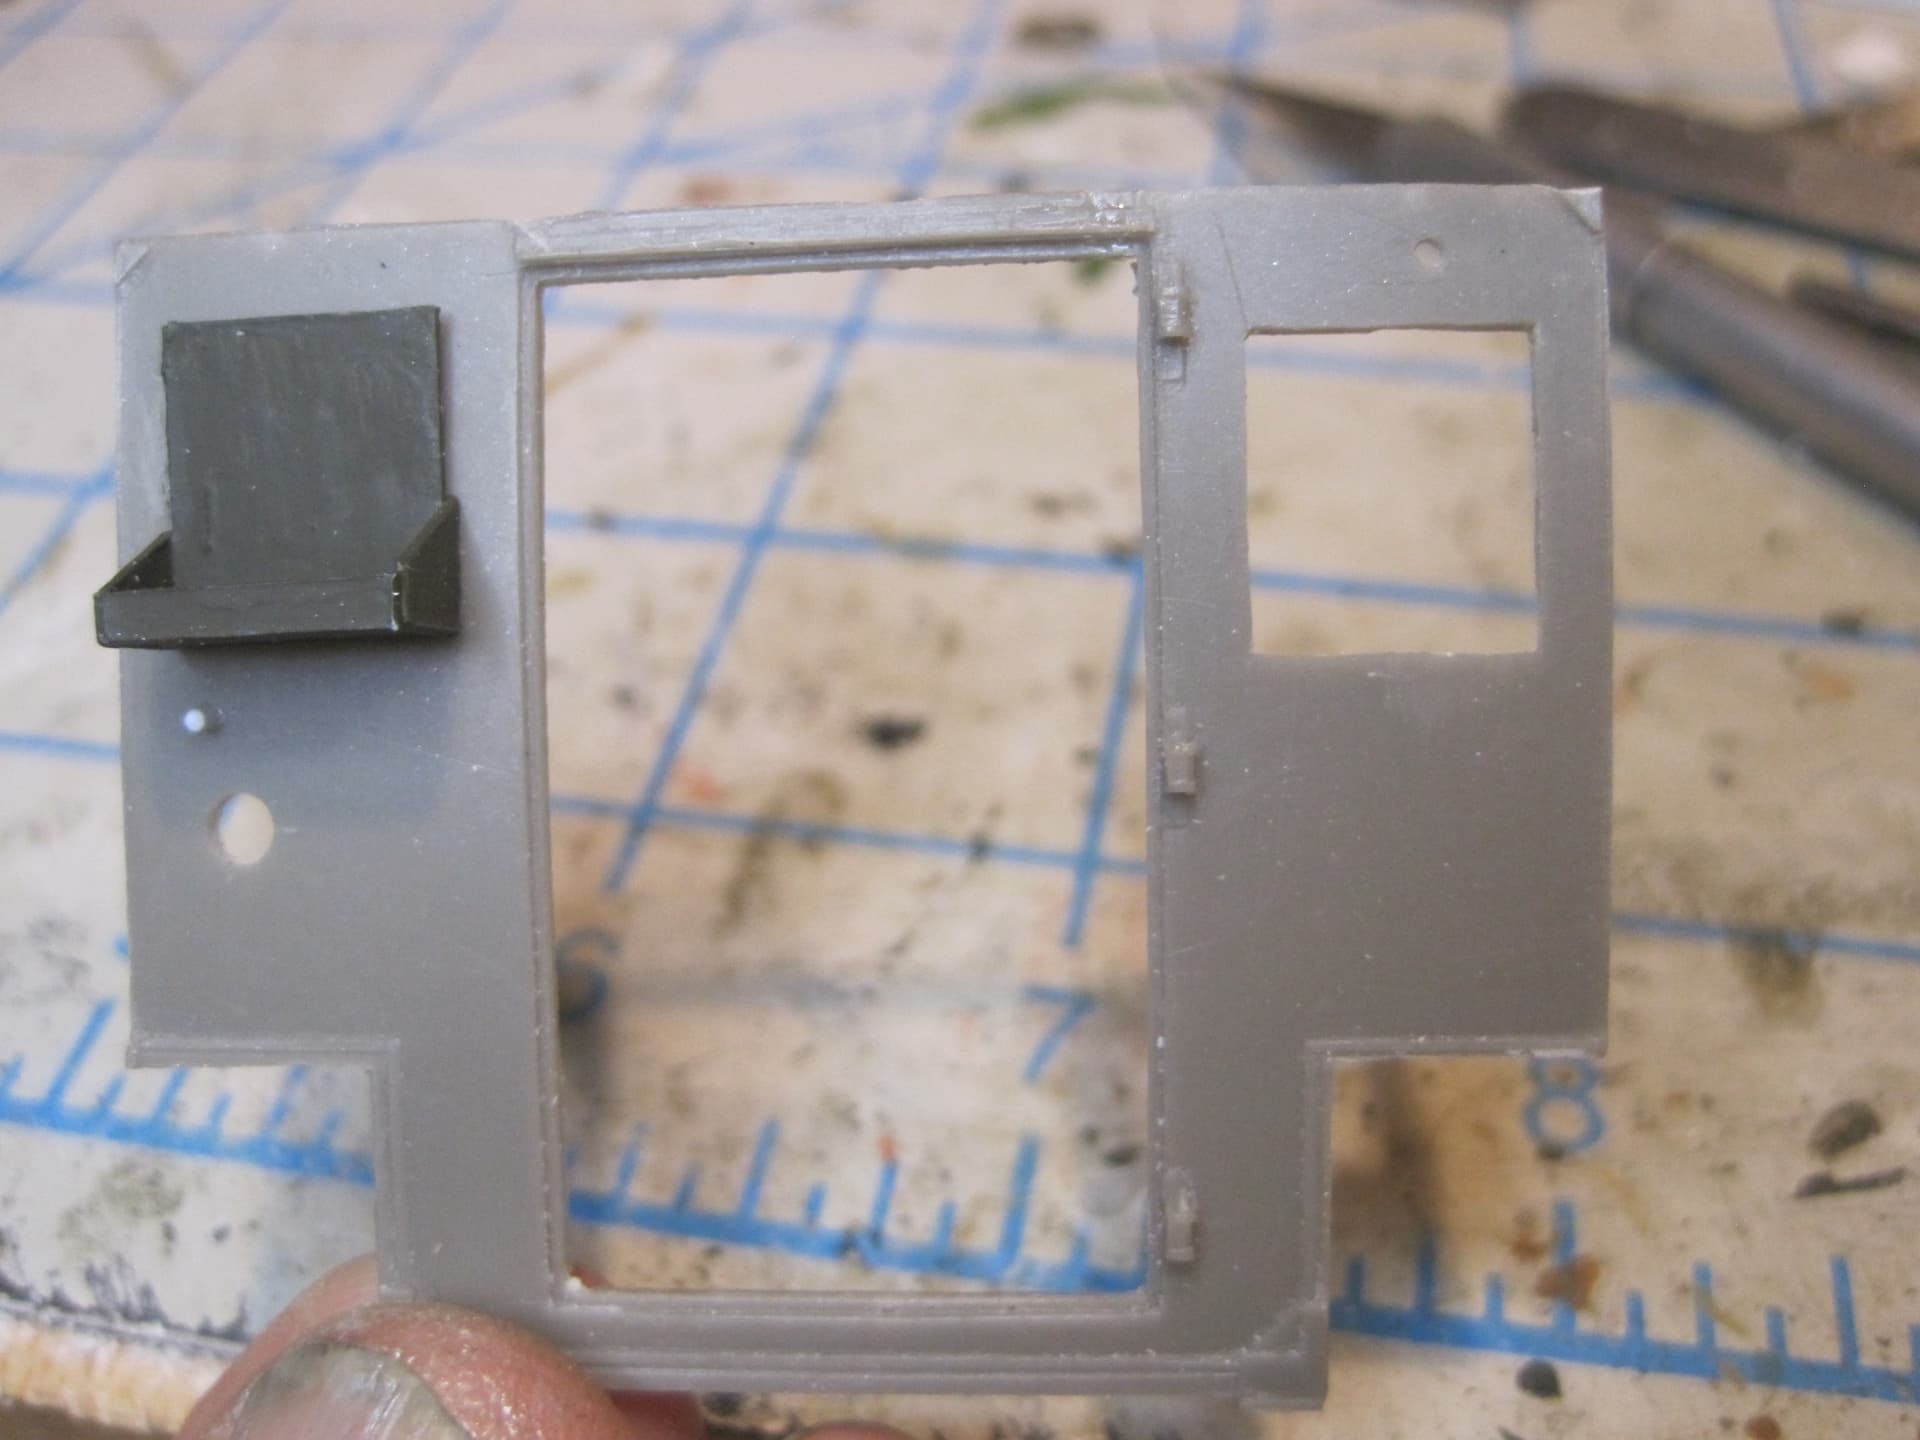
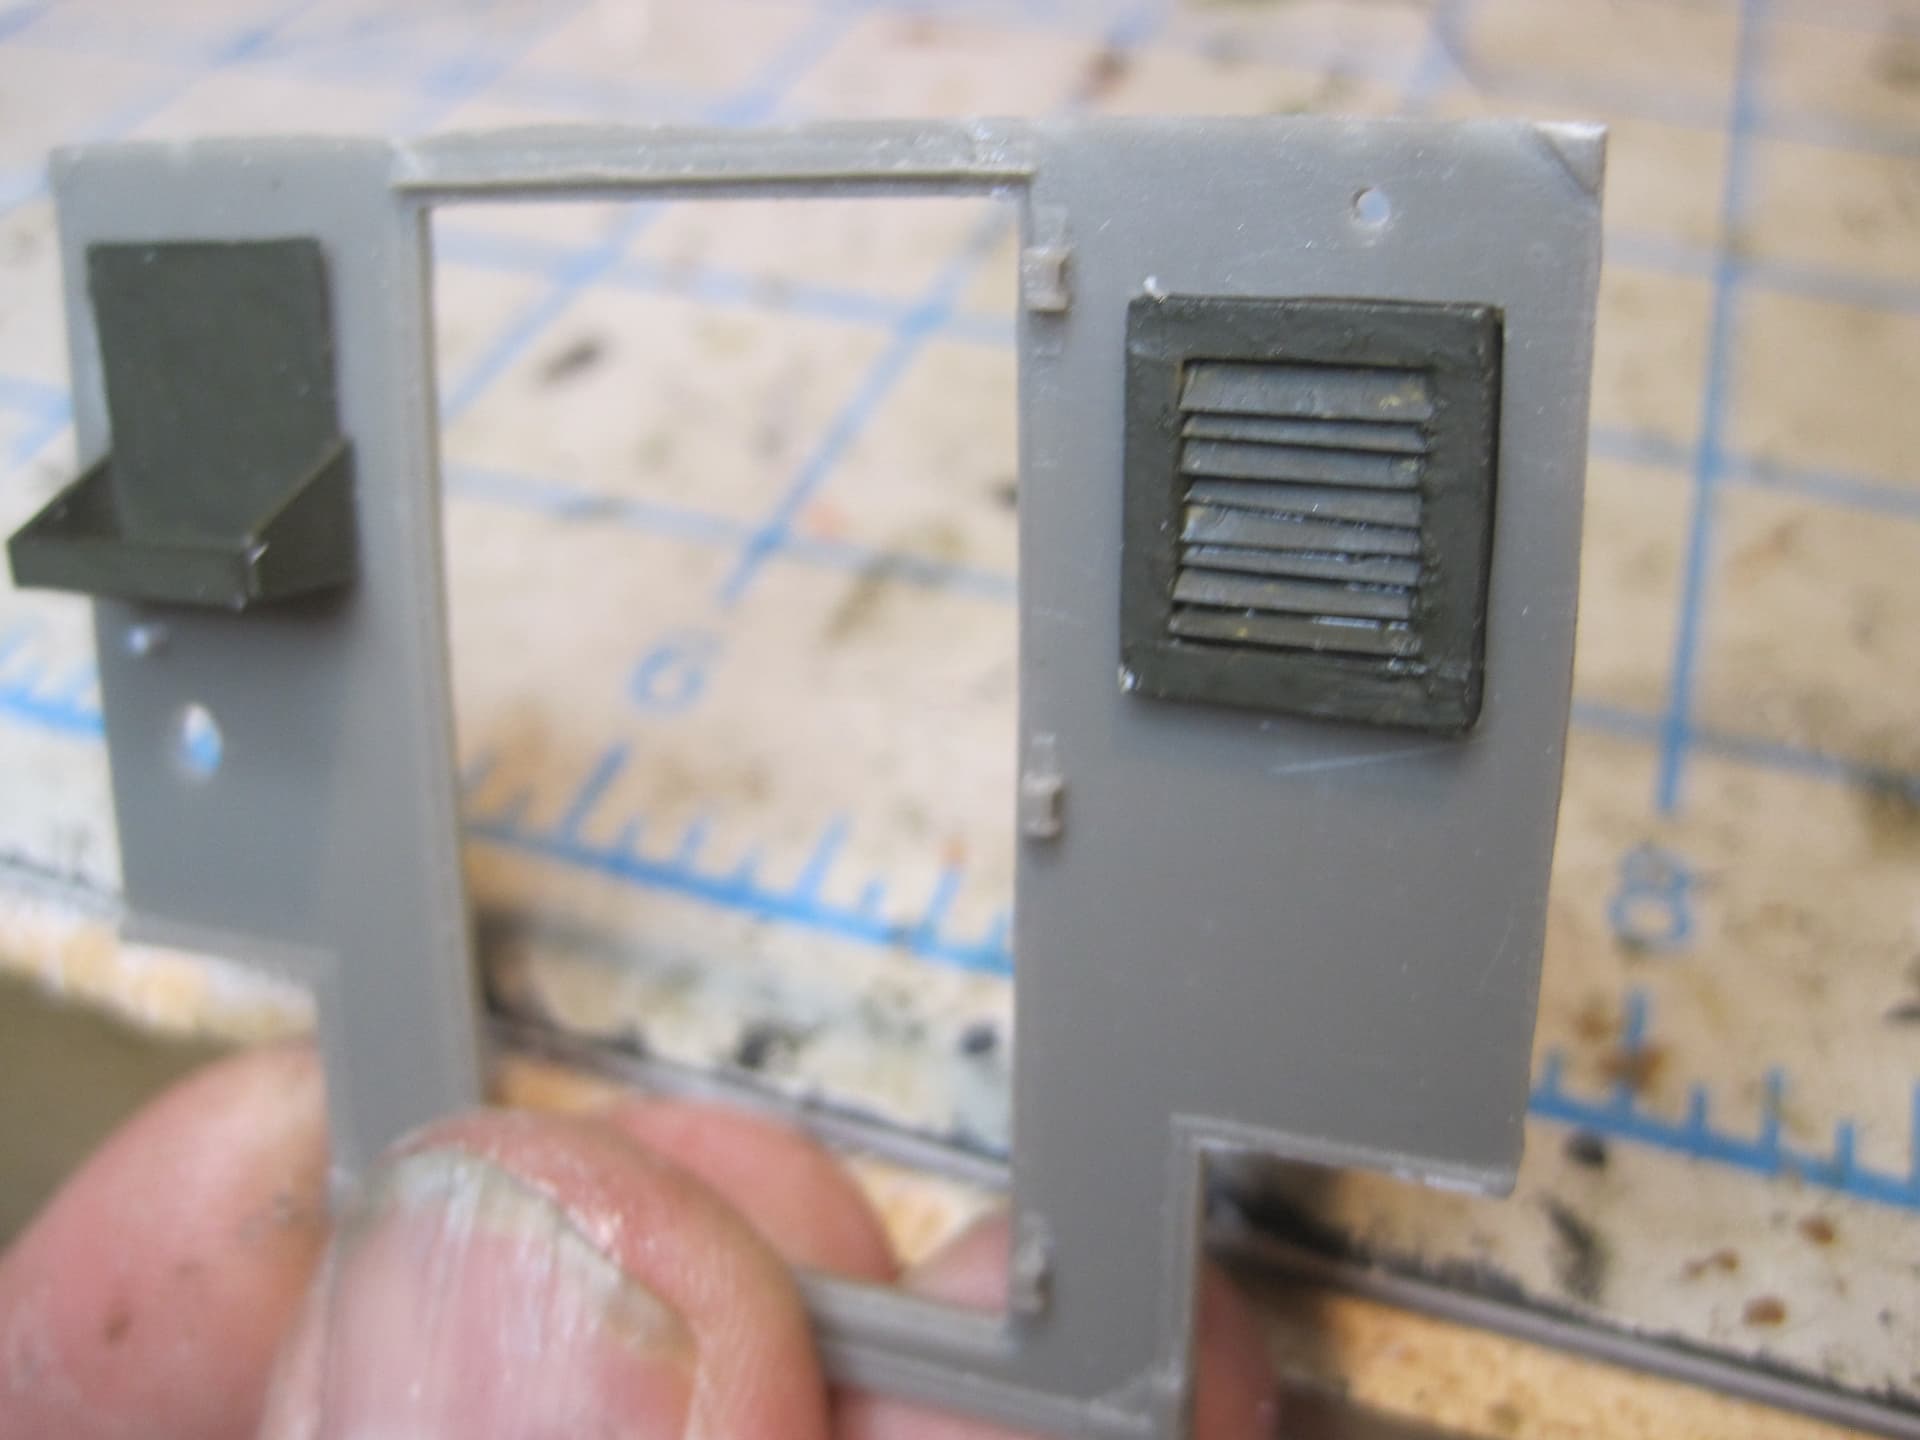
The first modification involved item 12, the DC entrance box. There’s an opening on the front of the shelter where this piece of equipment can be supplied from the outside. Looking at it, I realized that this meant that the back of the box had to mirror the front so in addition to making the opening, I modified the box so it now goes through the opening.

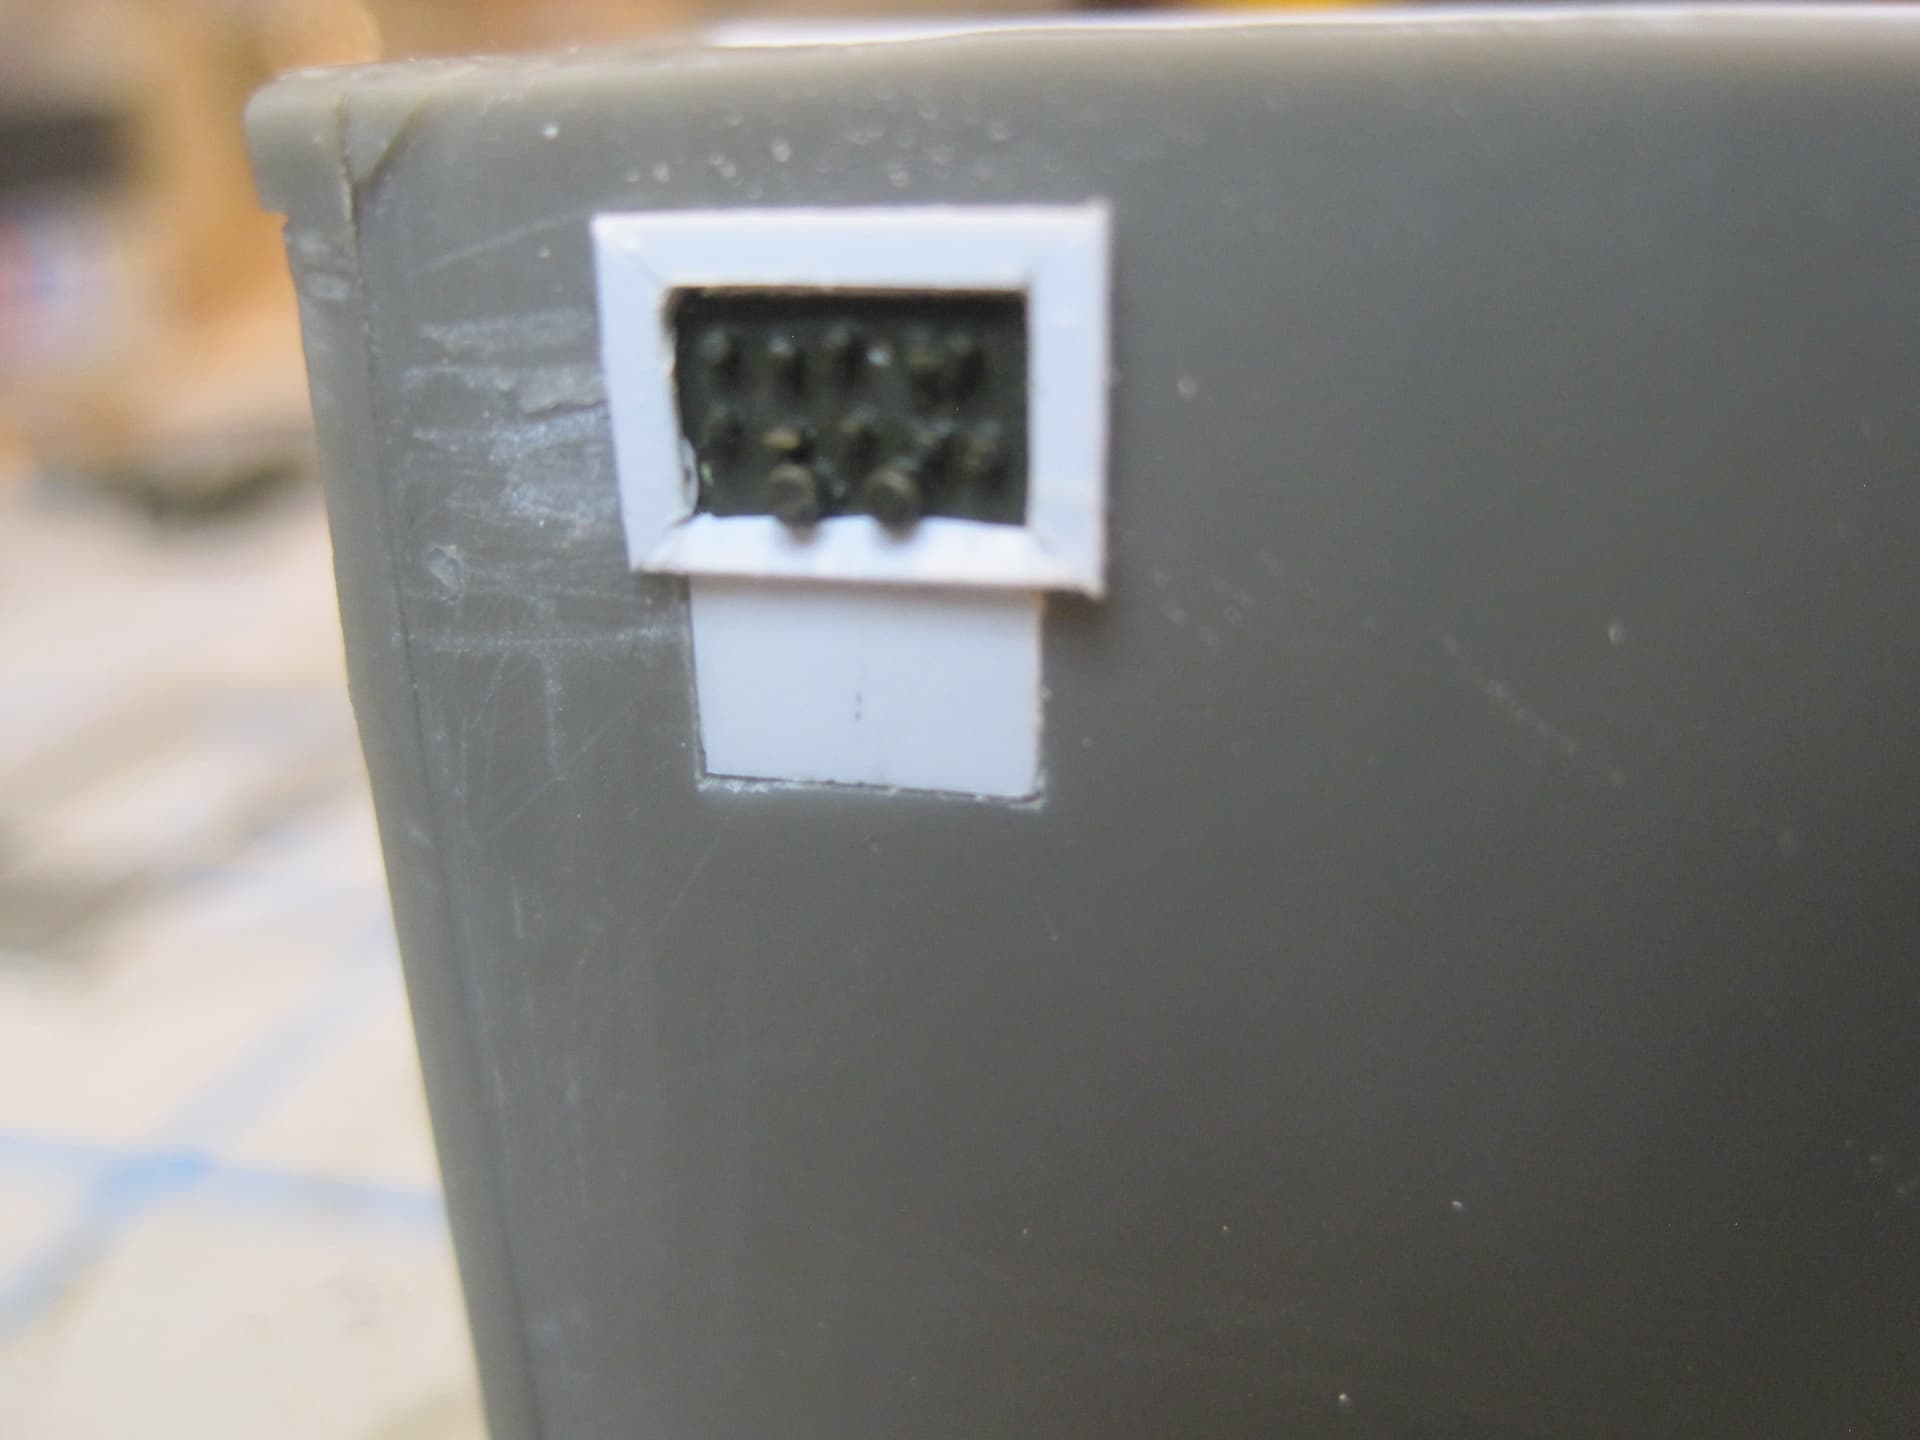
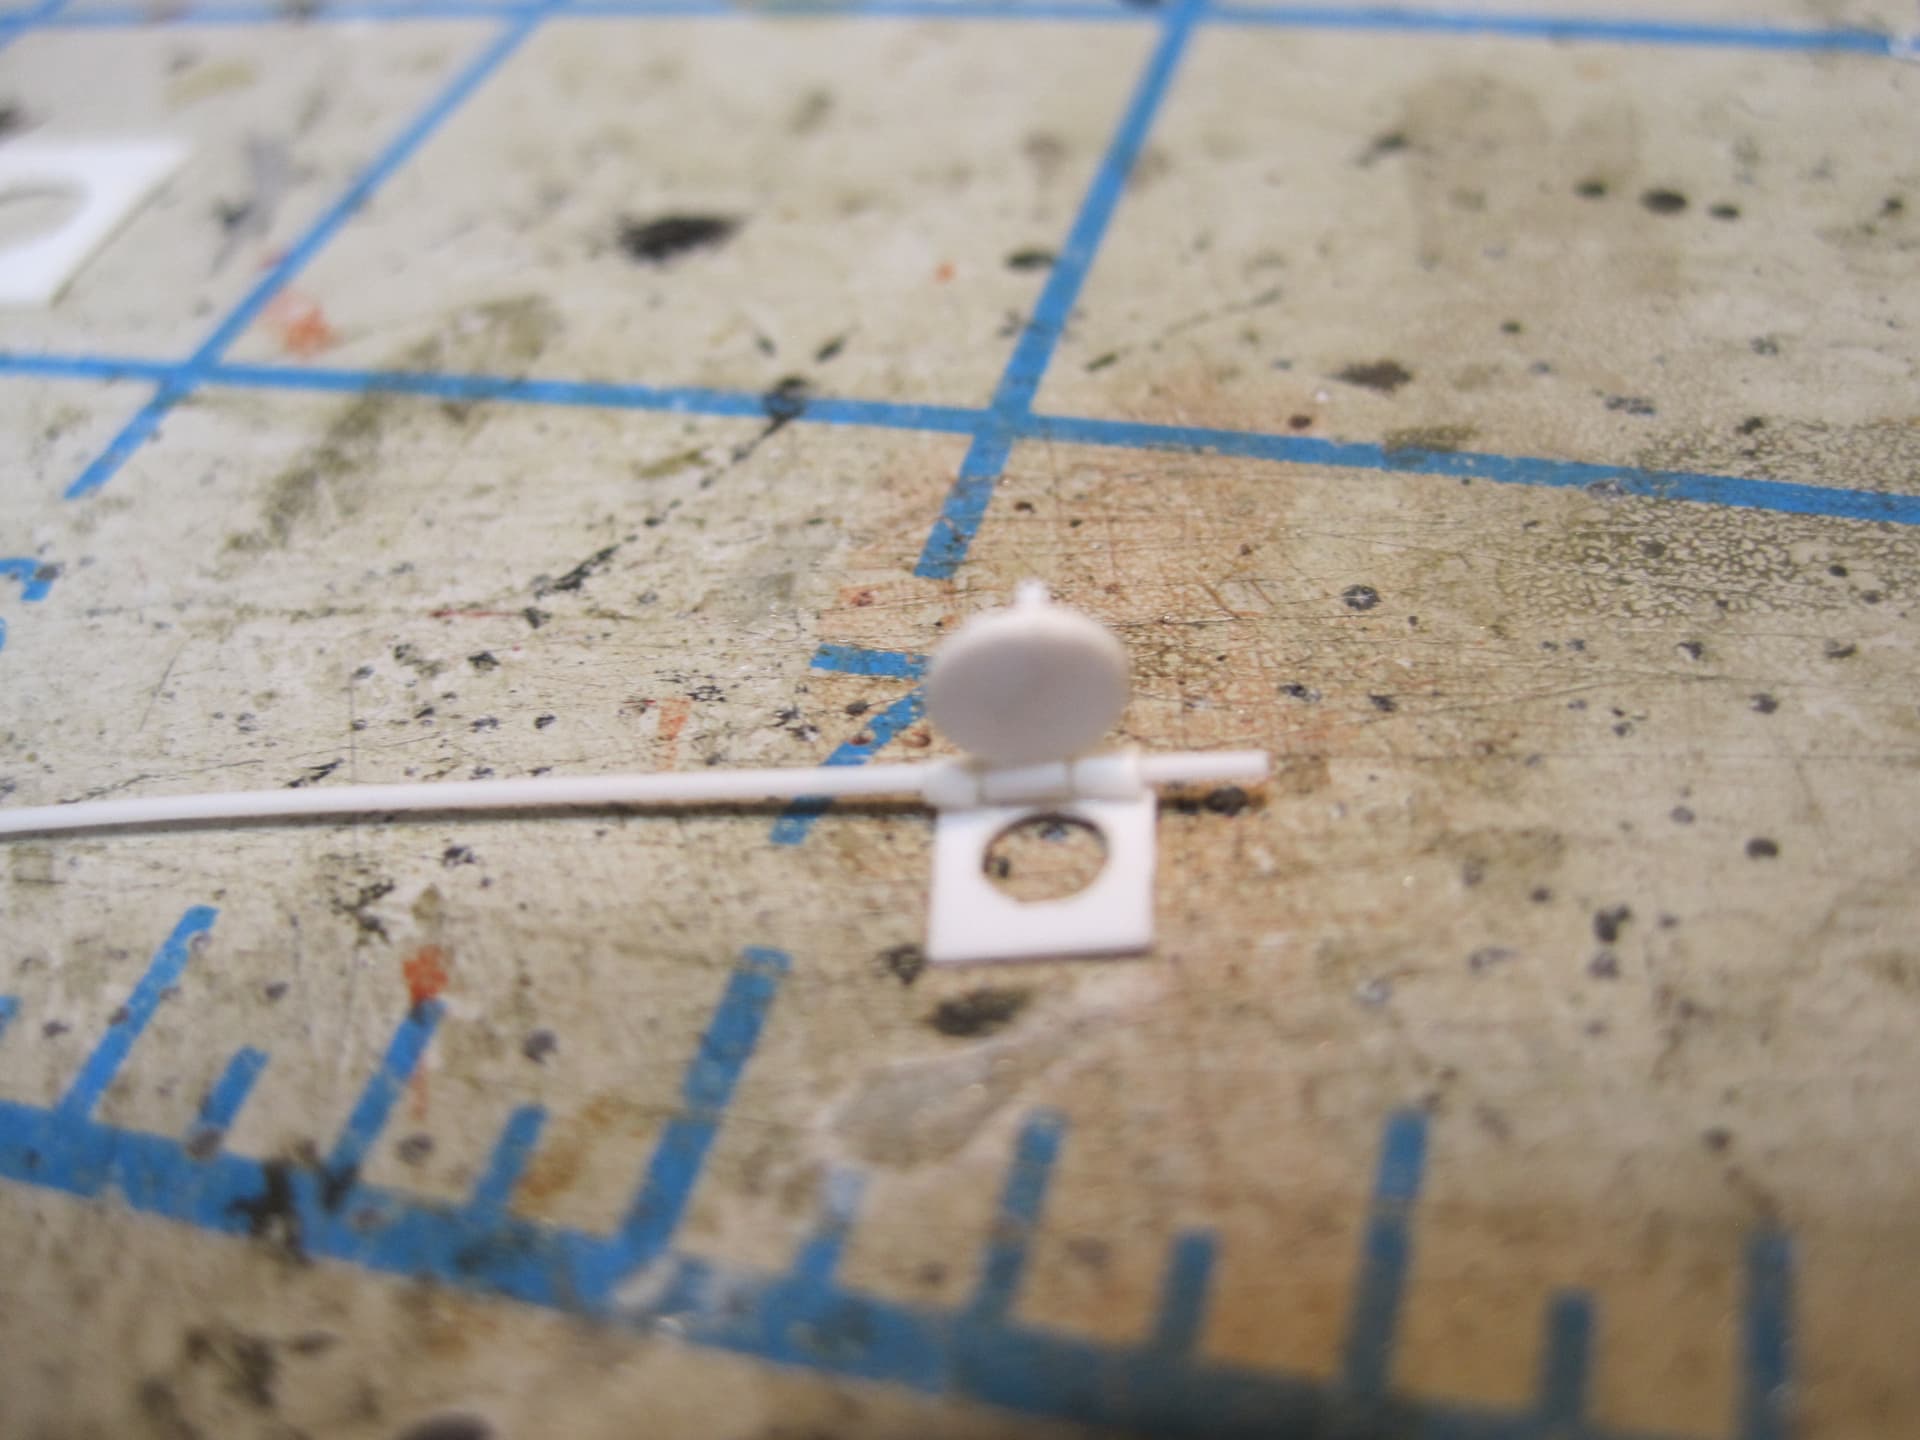
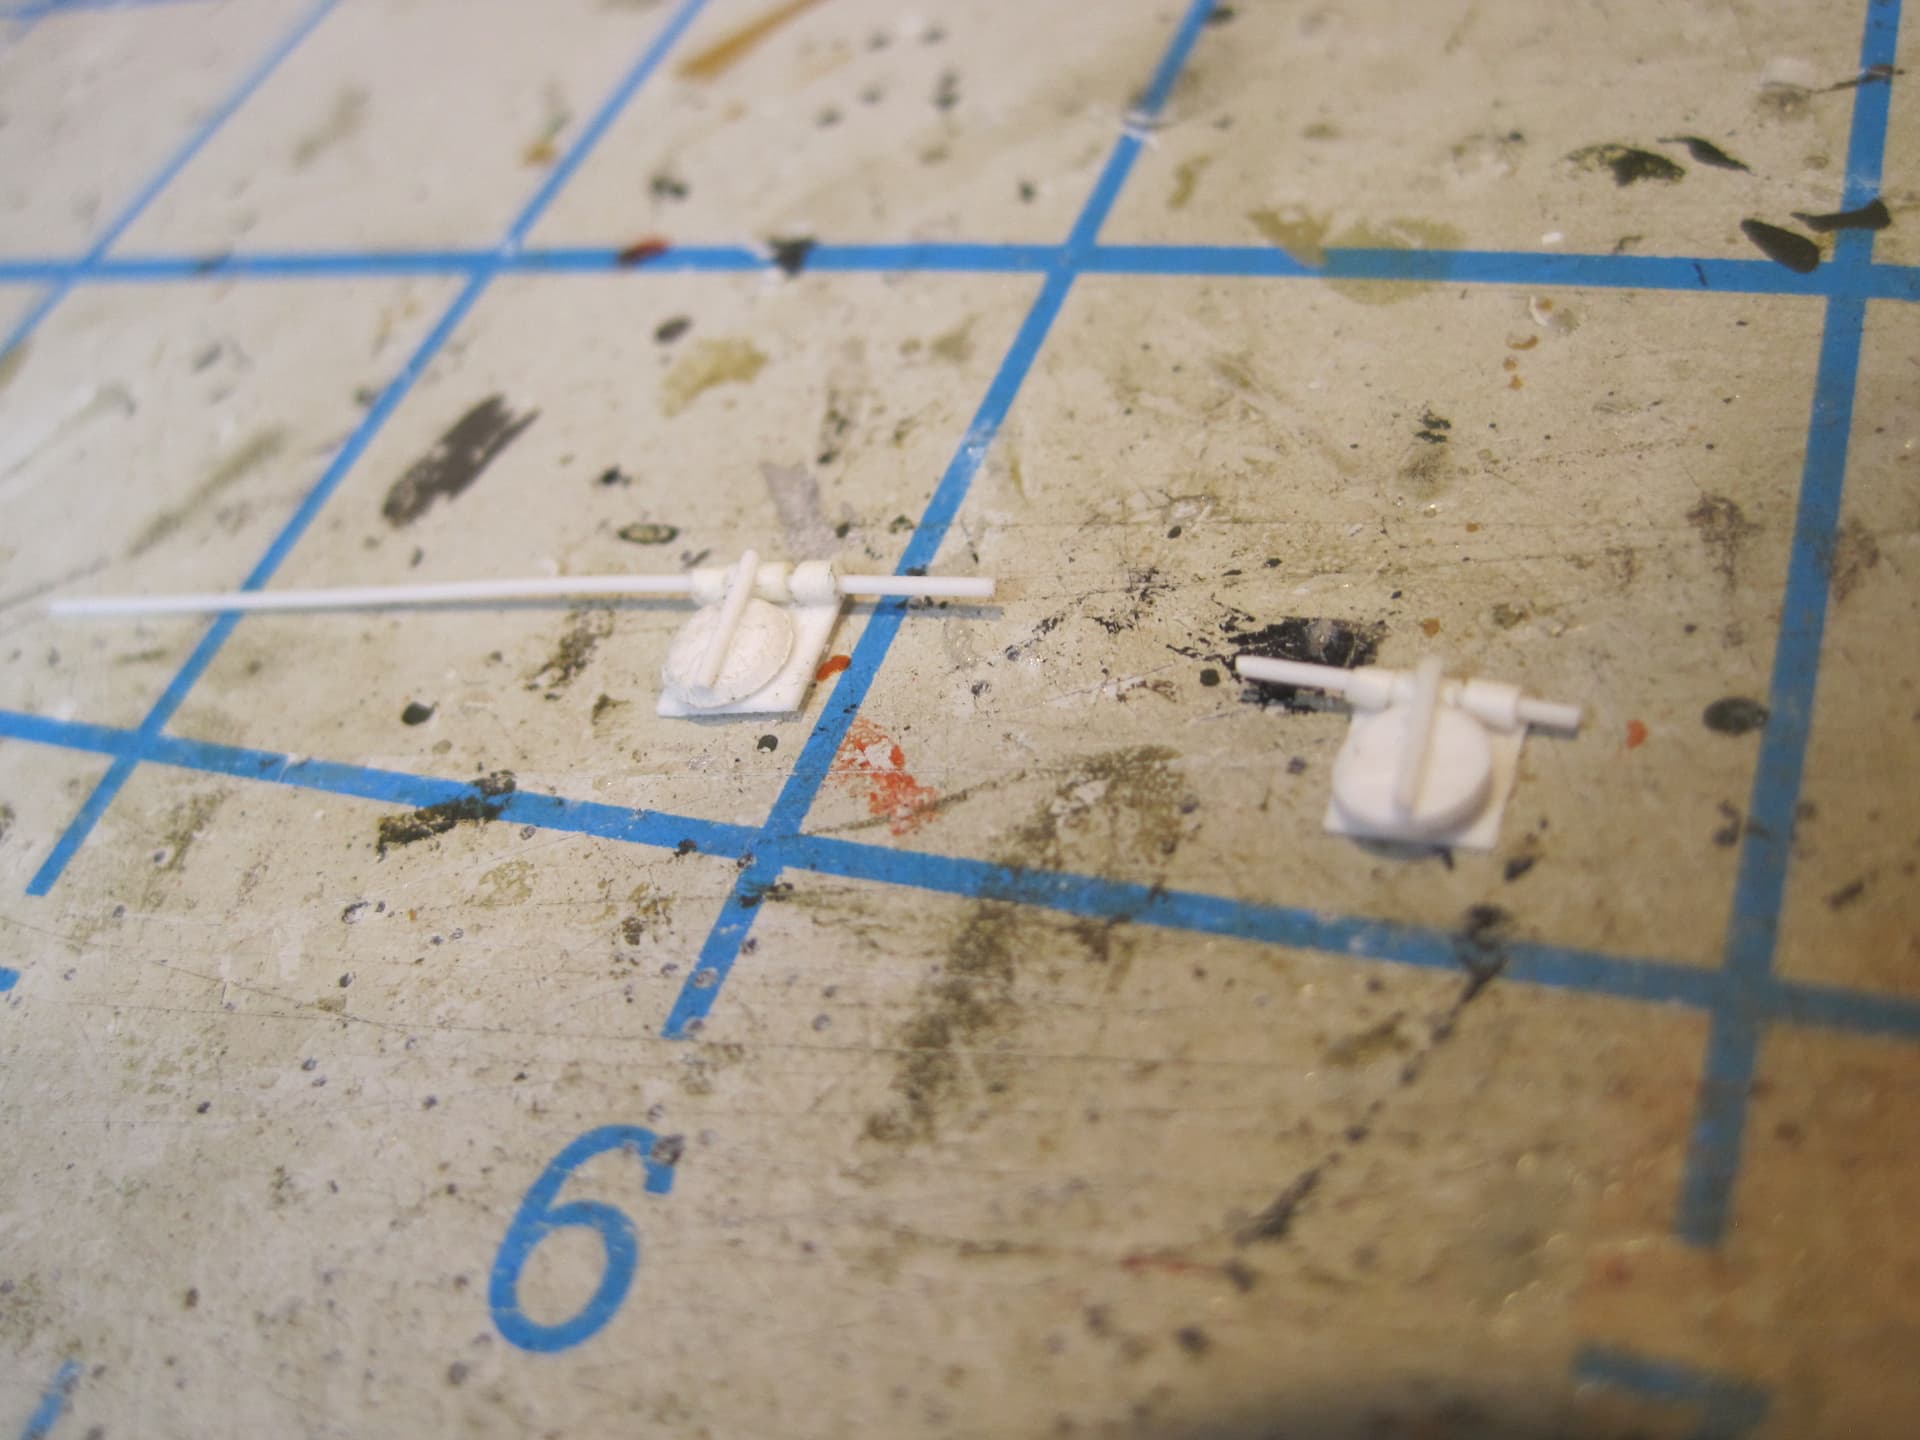
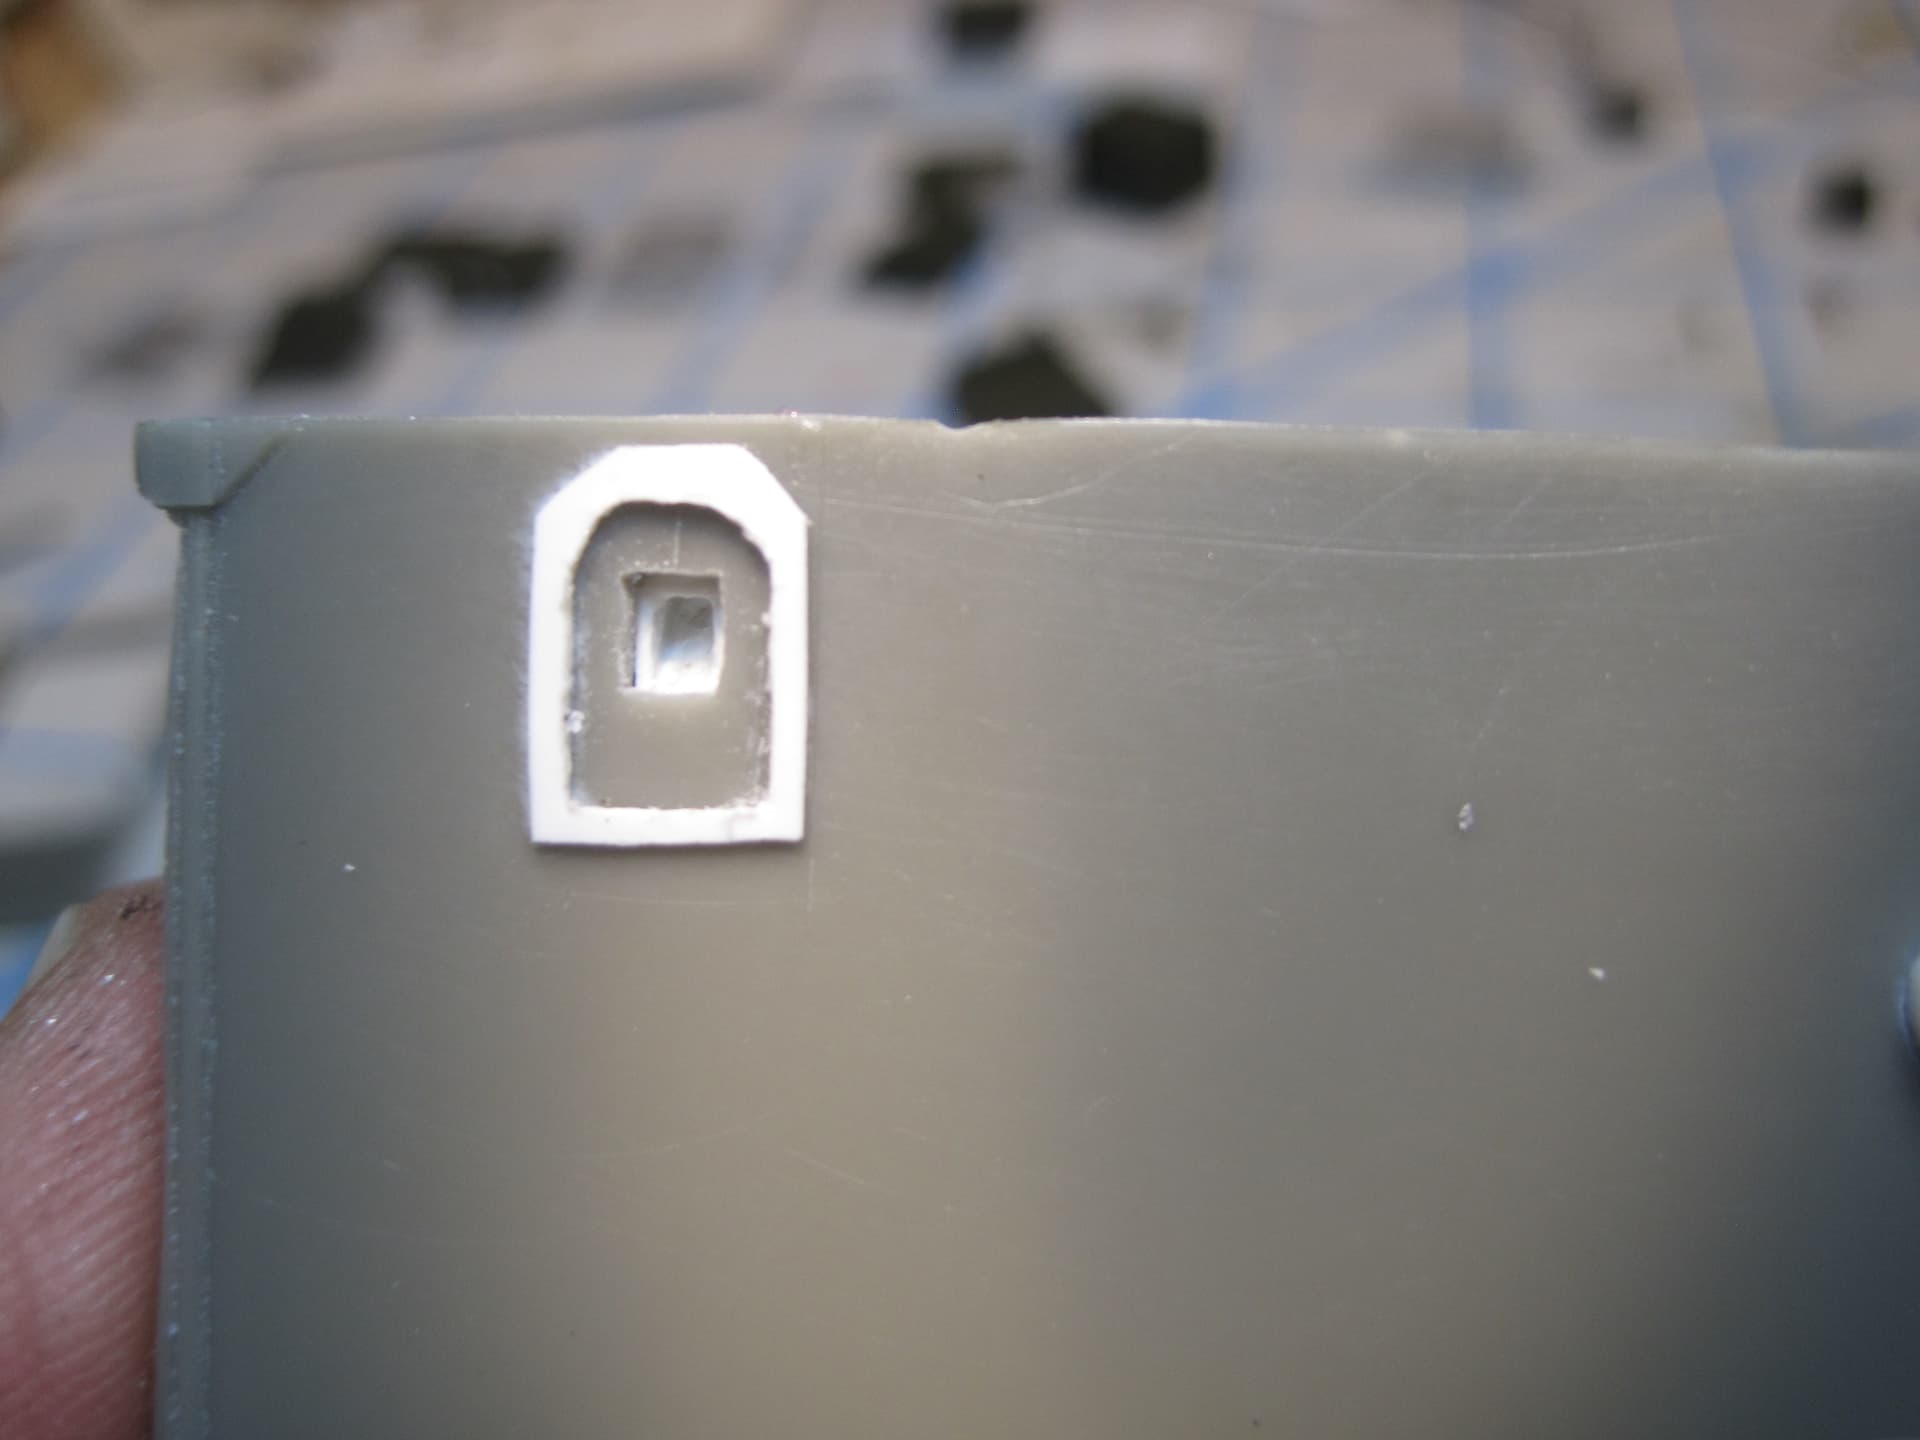
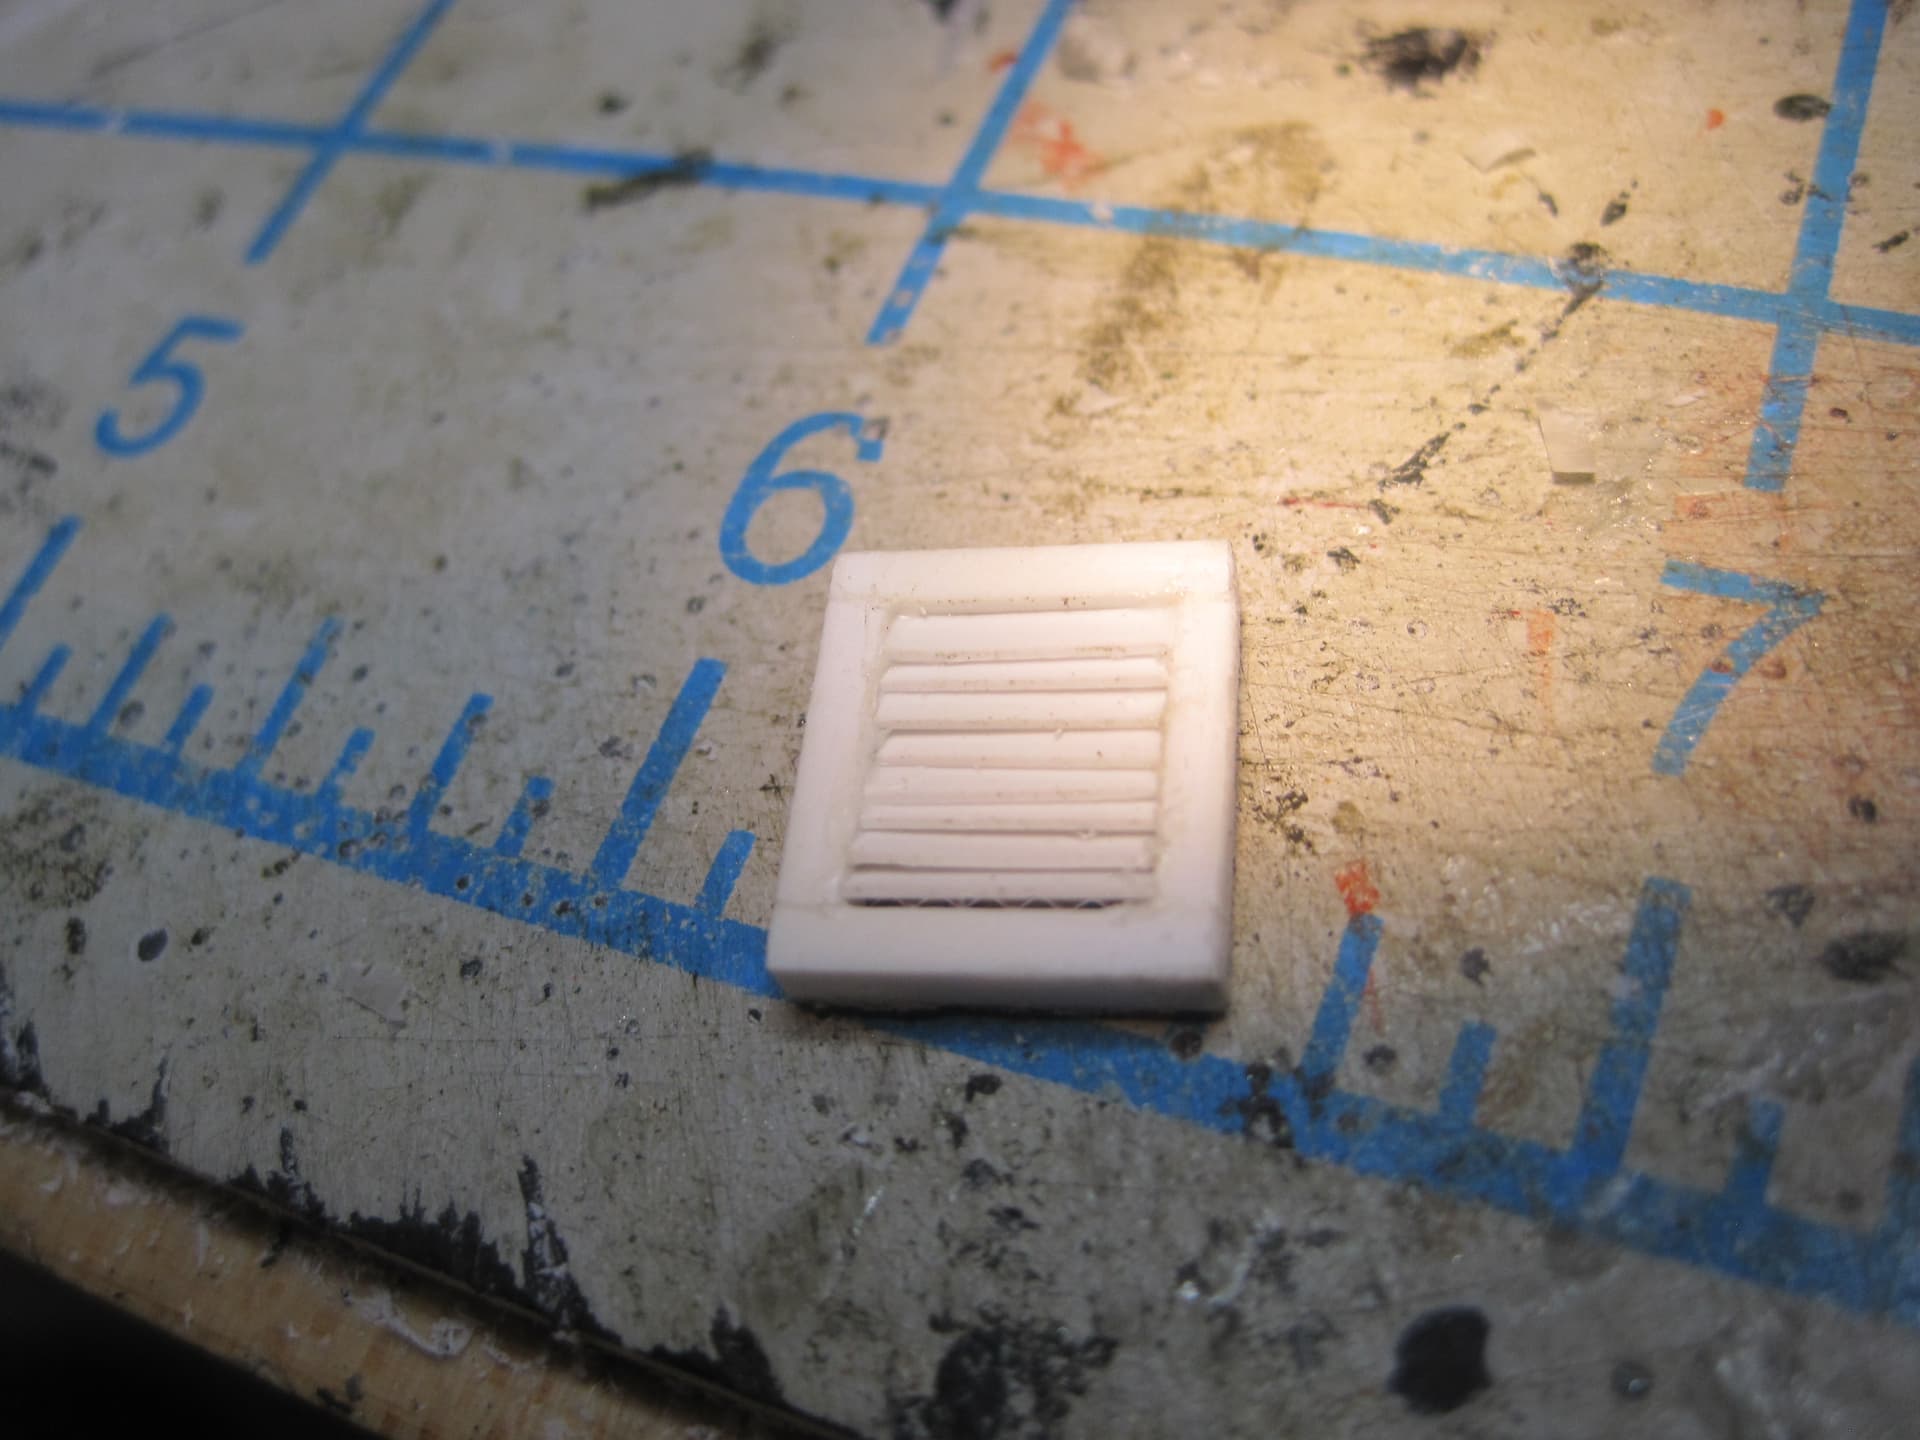
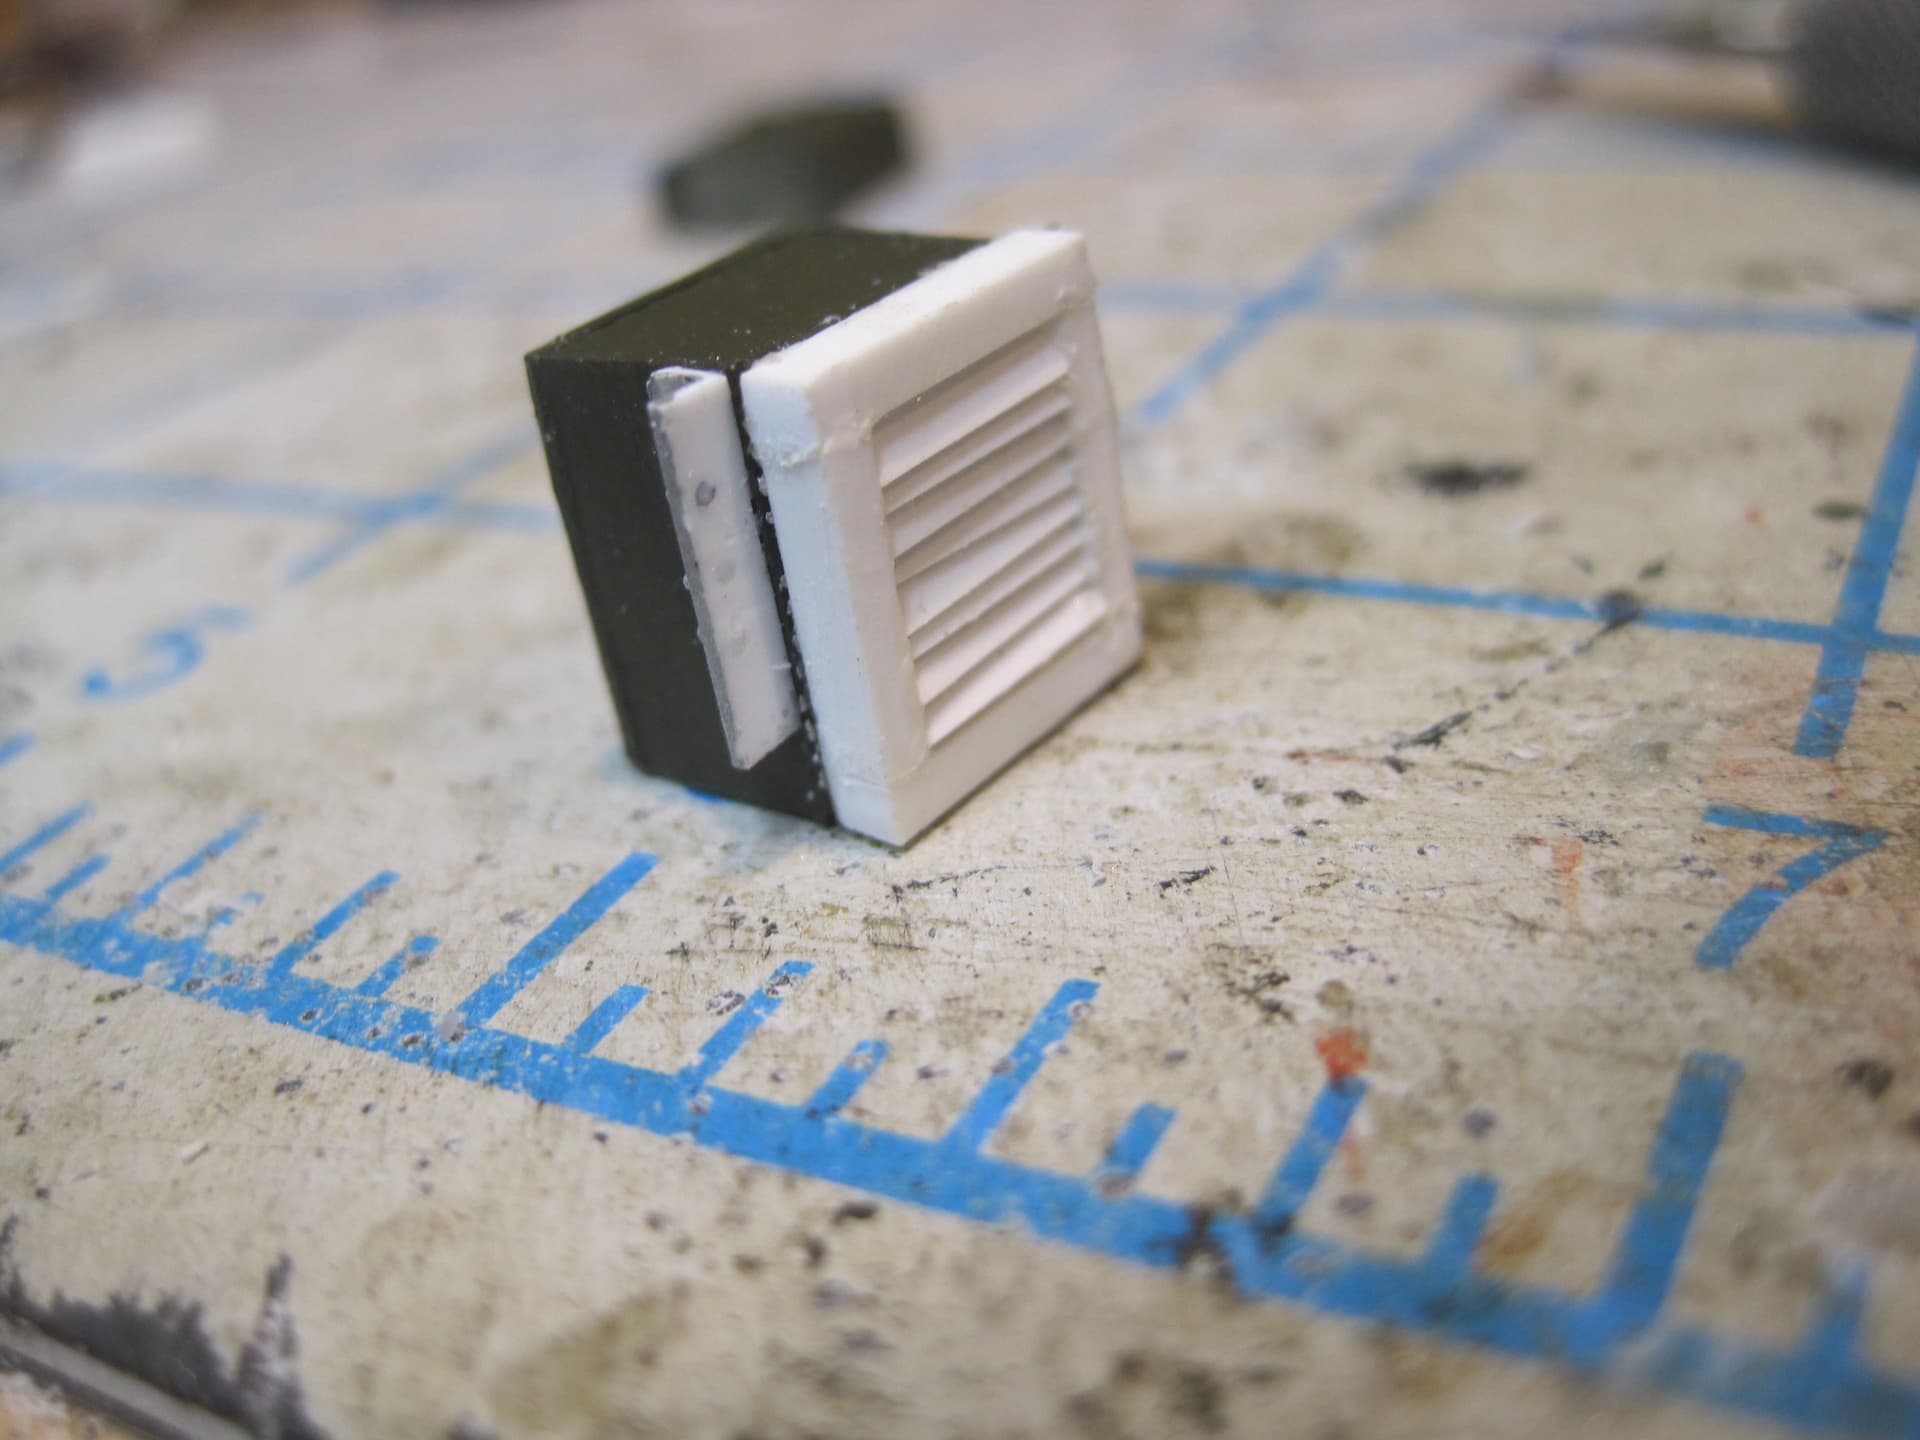
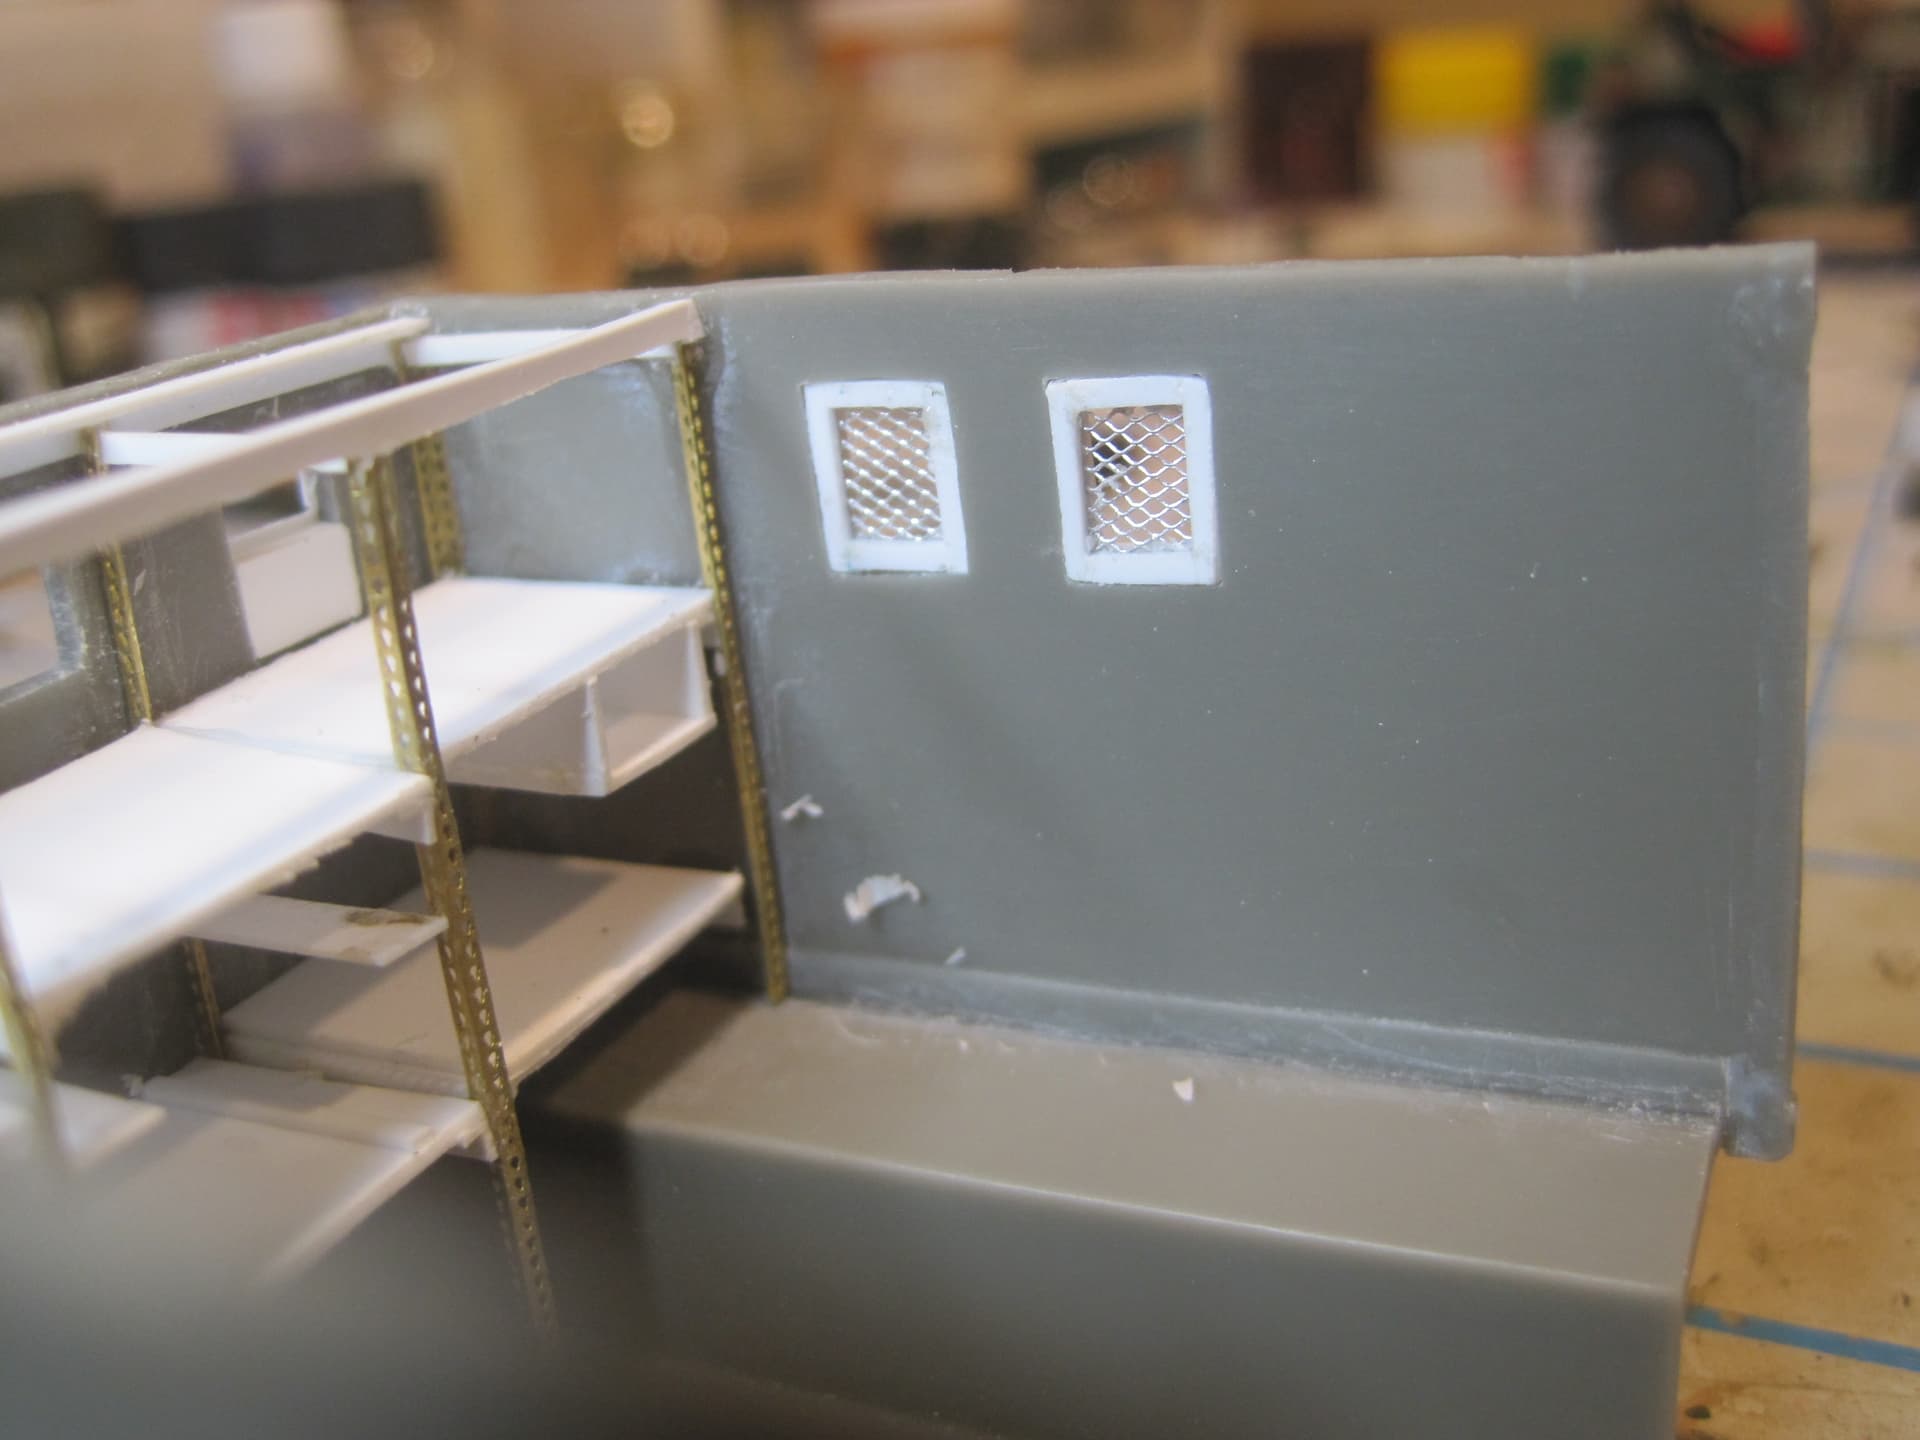
Next, there’s an air intake next to the entrance box. This involves cutting a square opening in the front wall and in addition to making the cover, there’s a filter that goes in there so I made that as well.

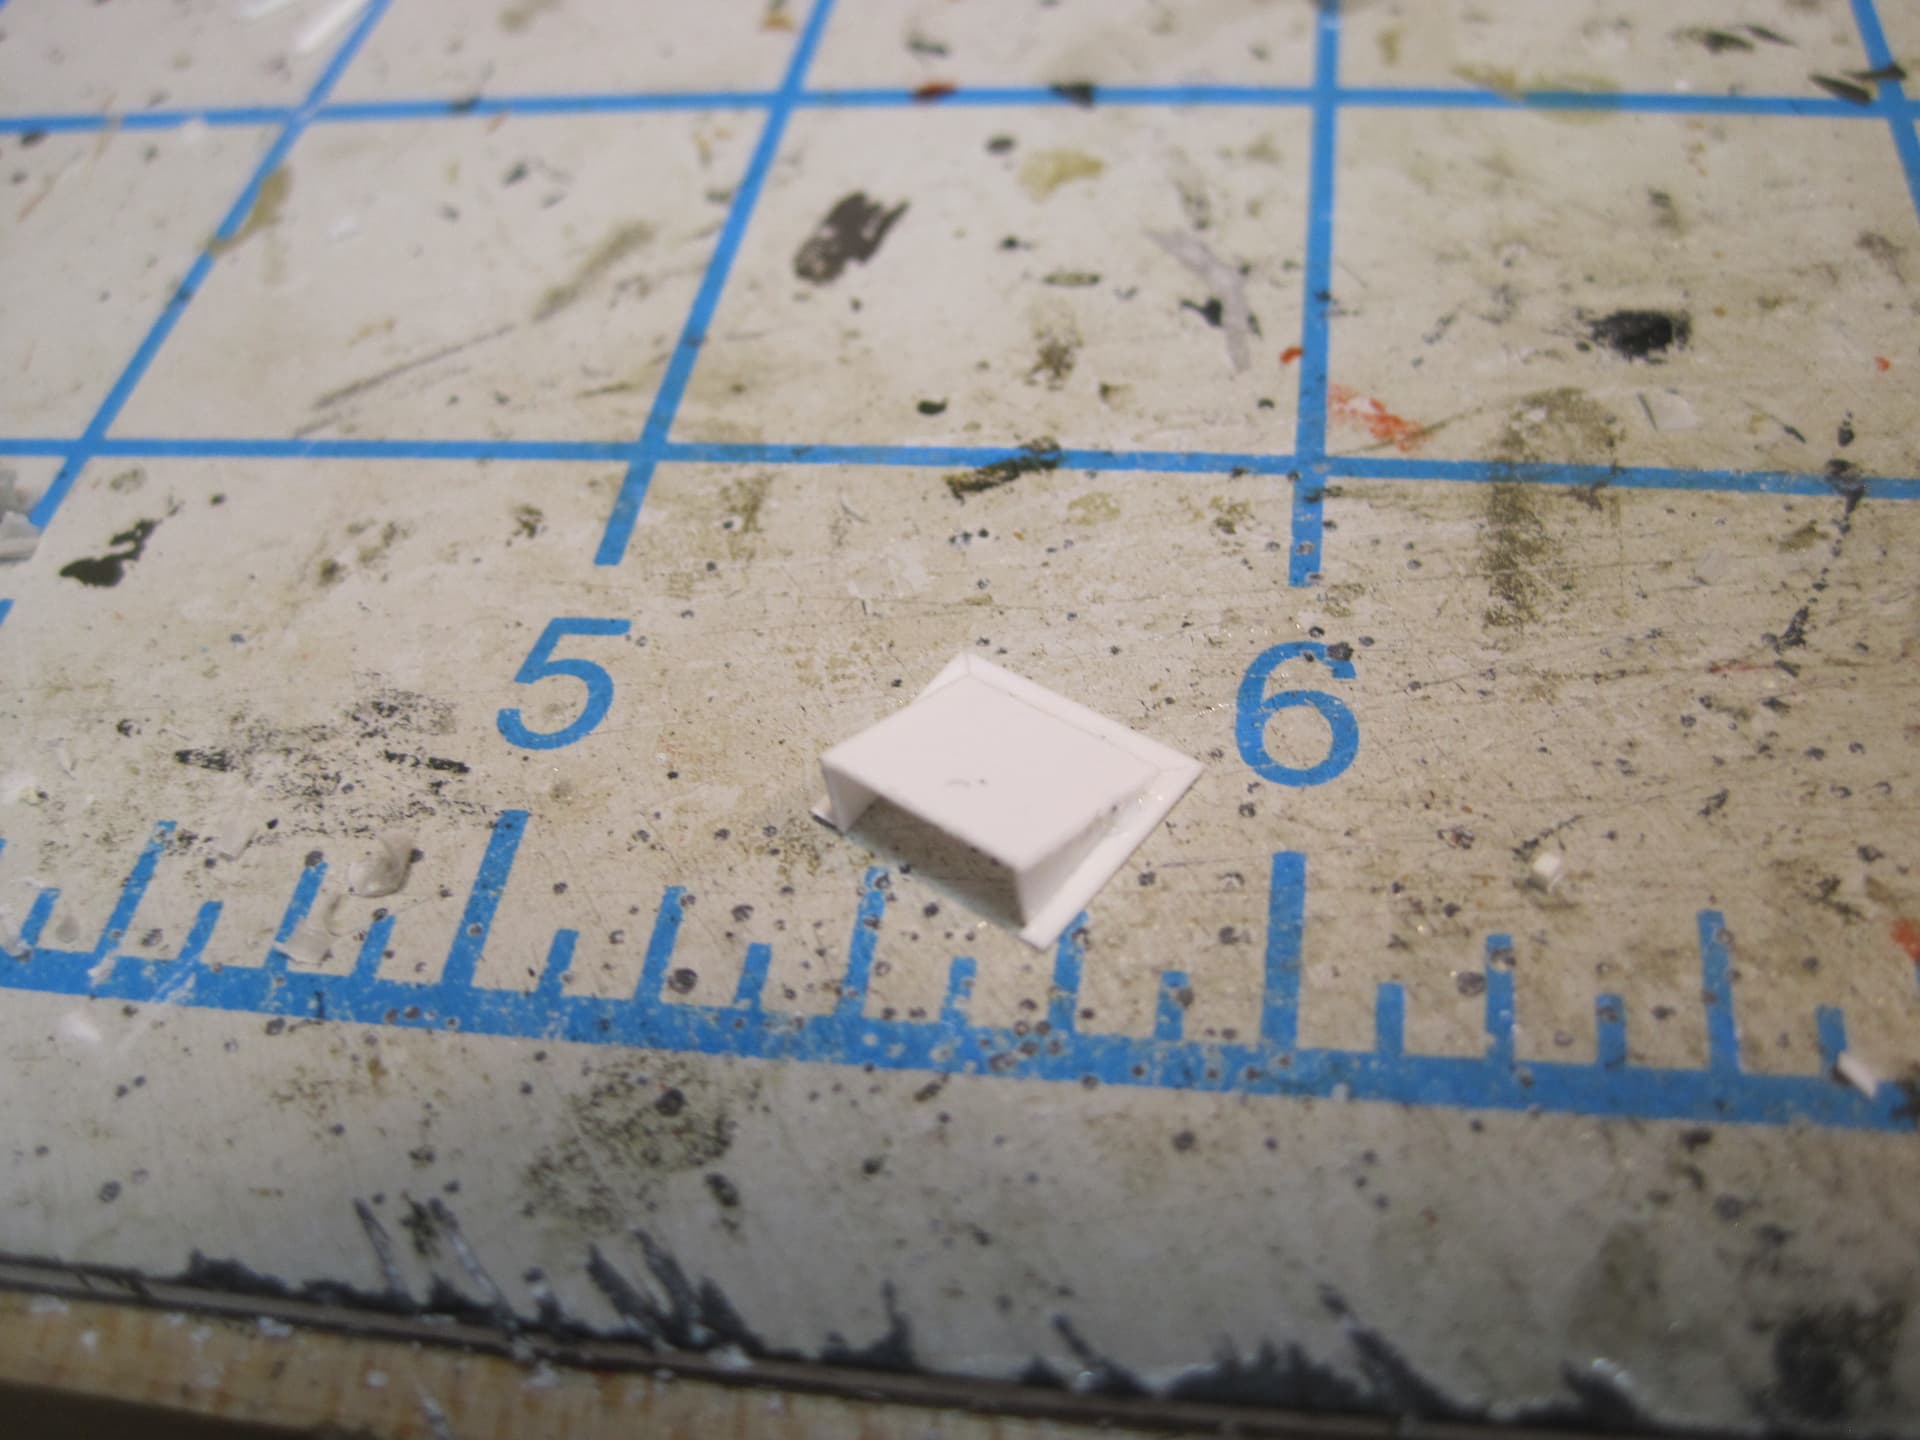
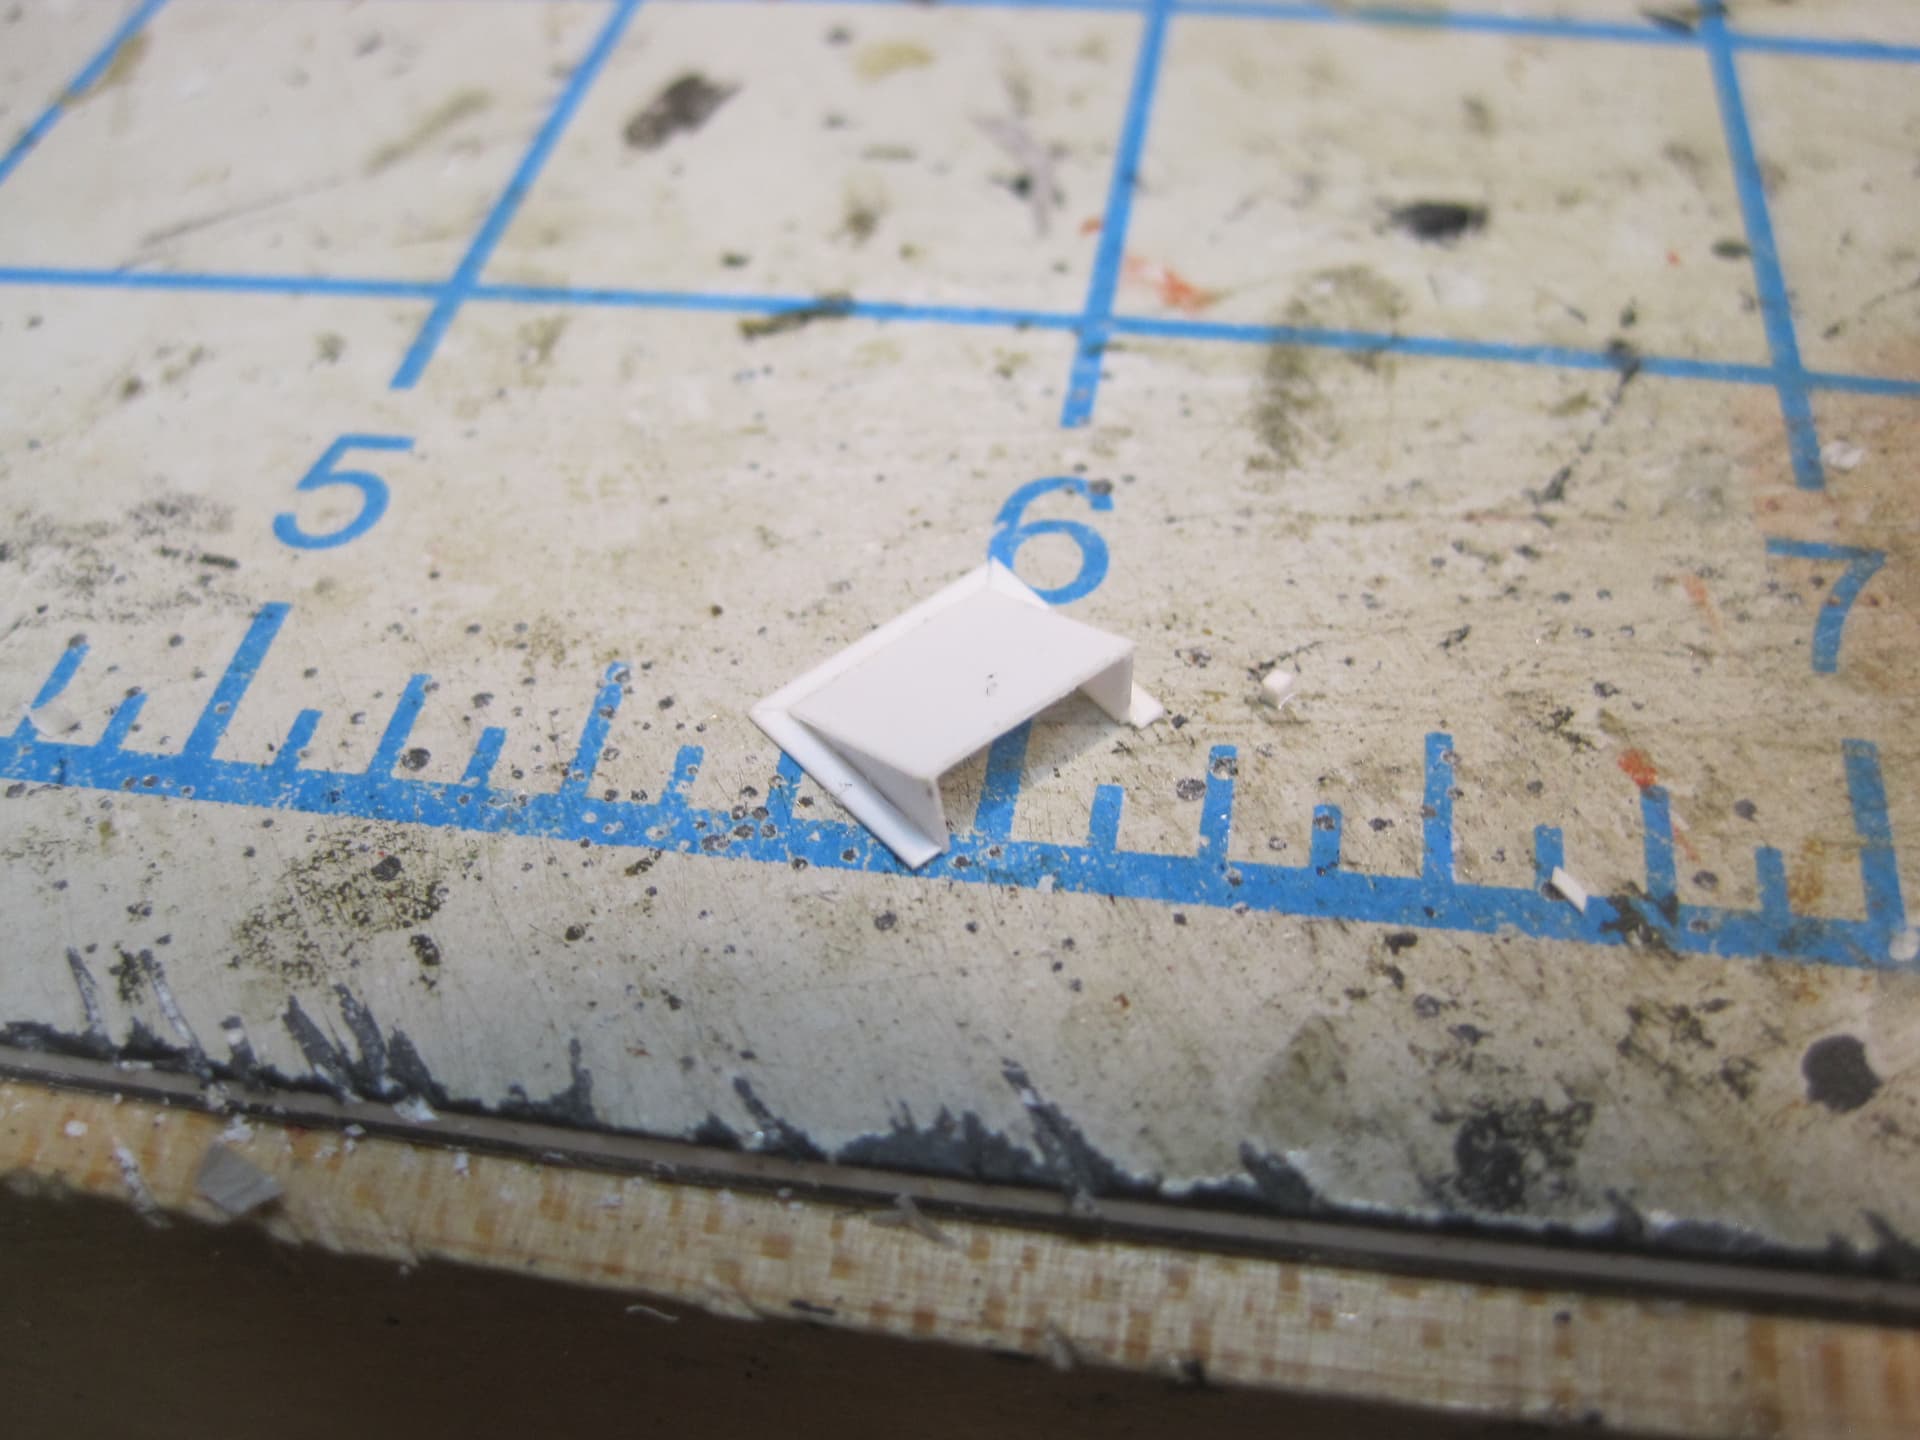

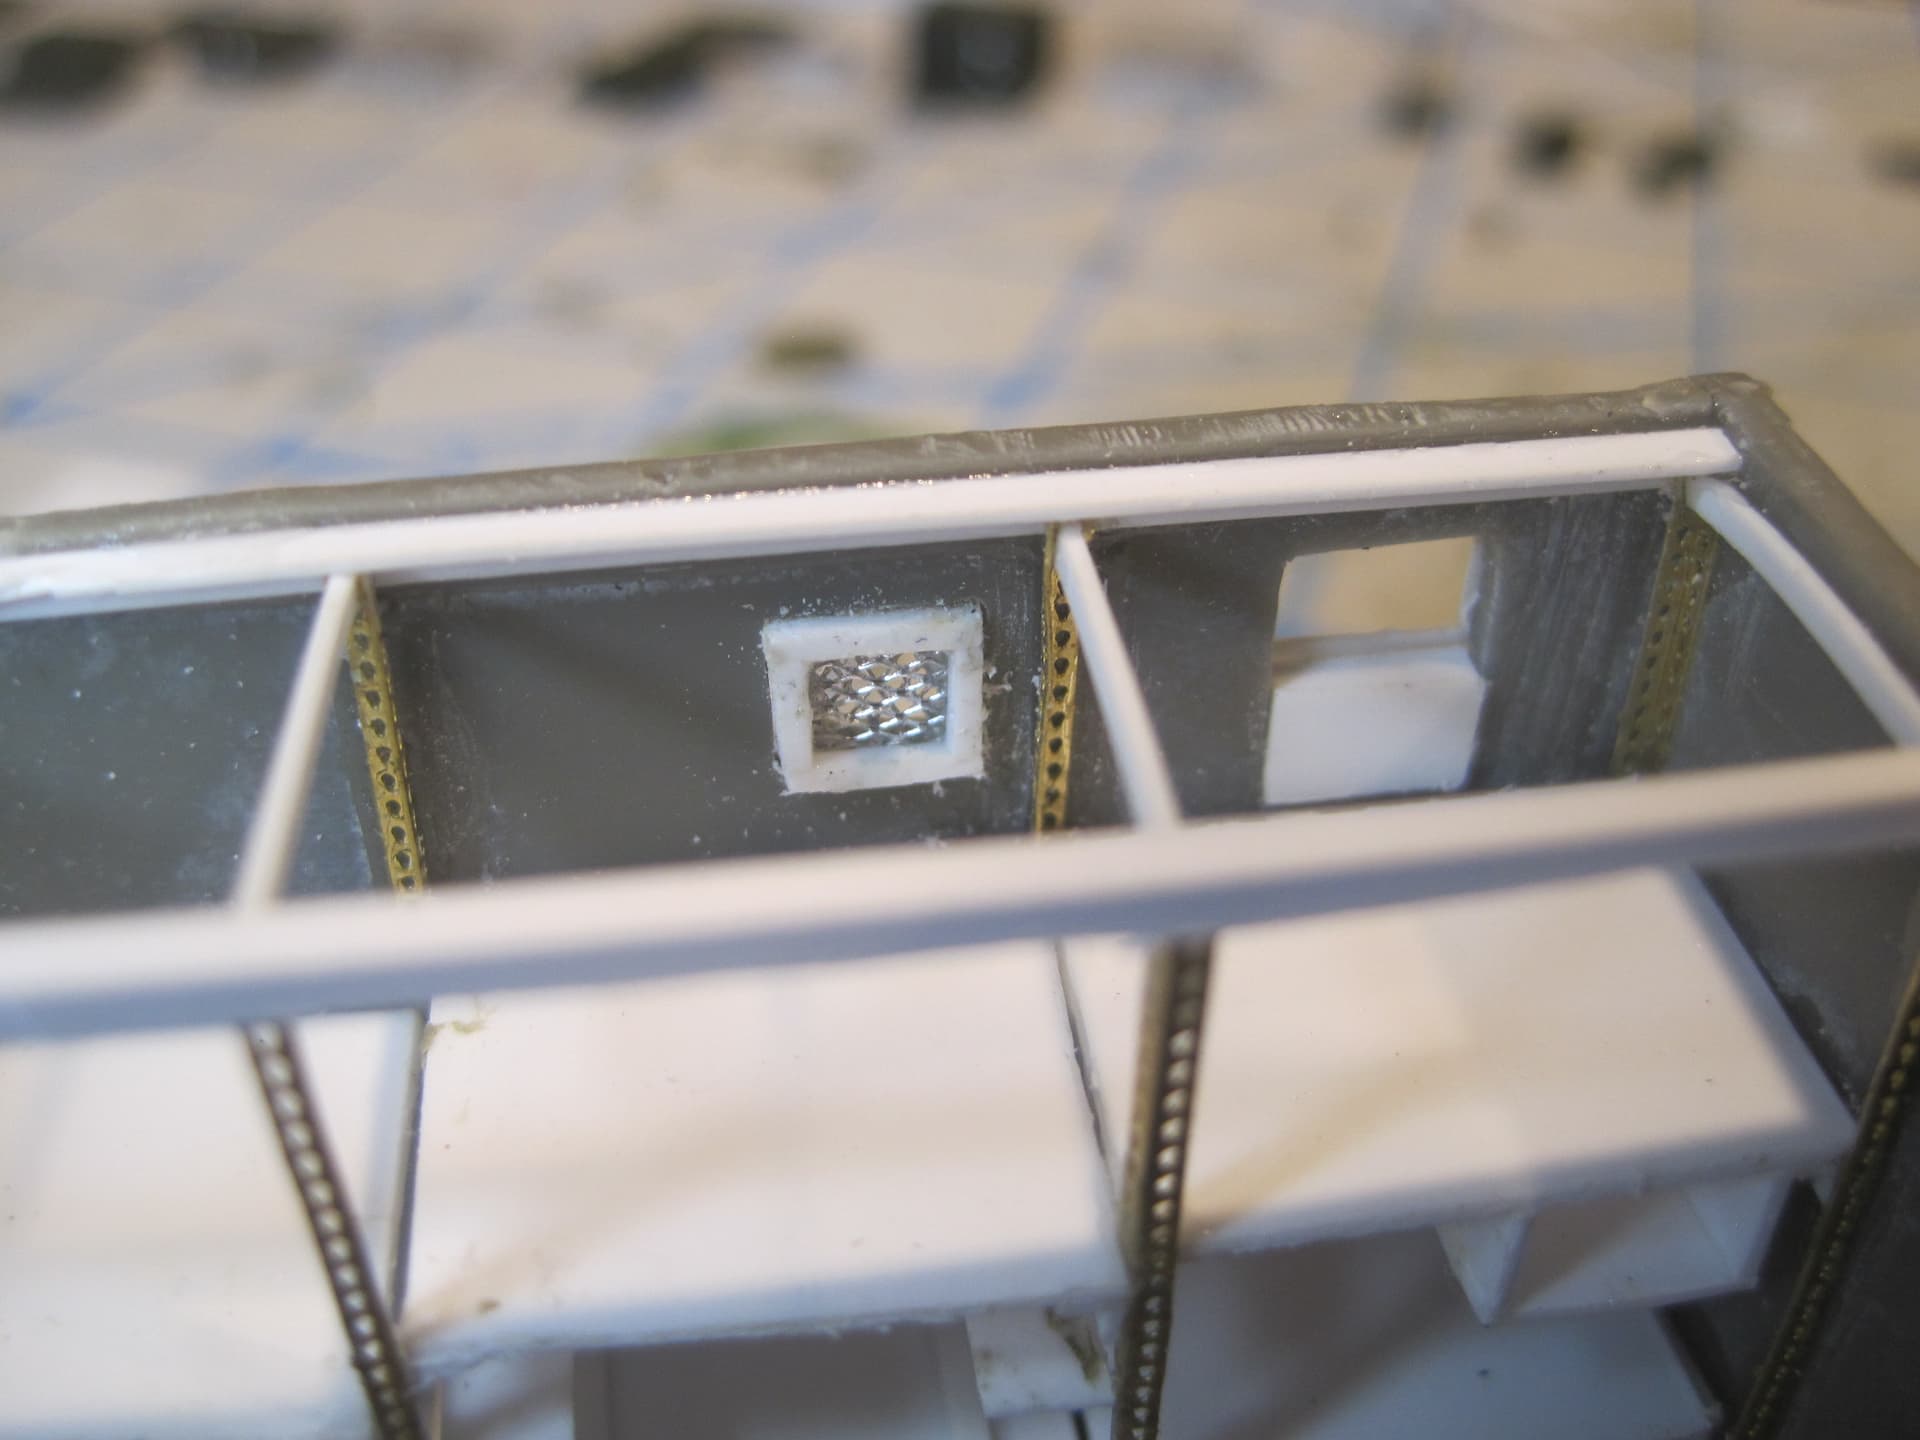

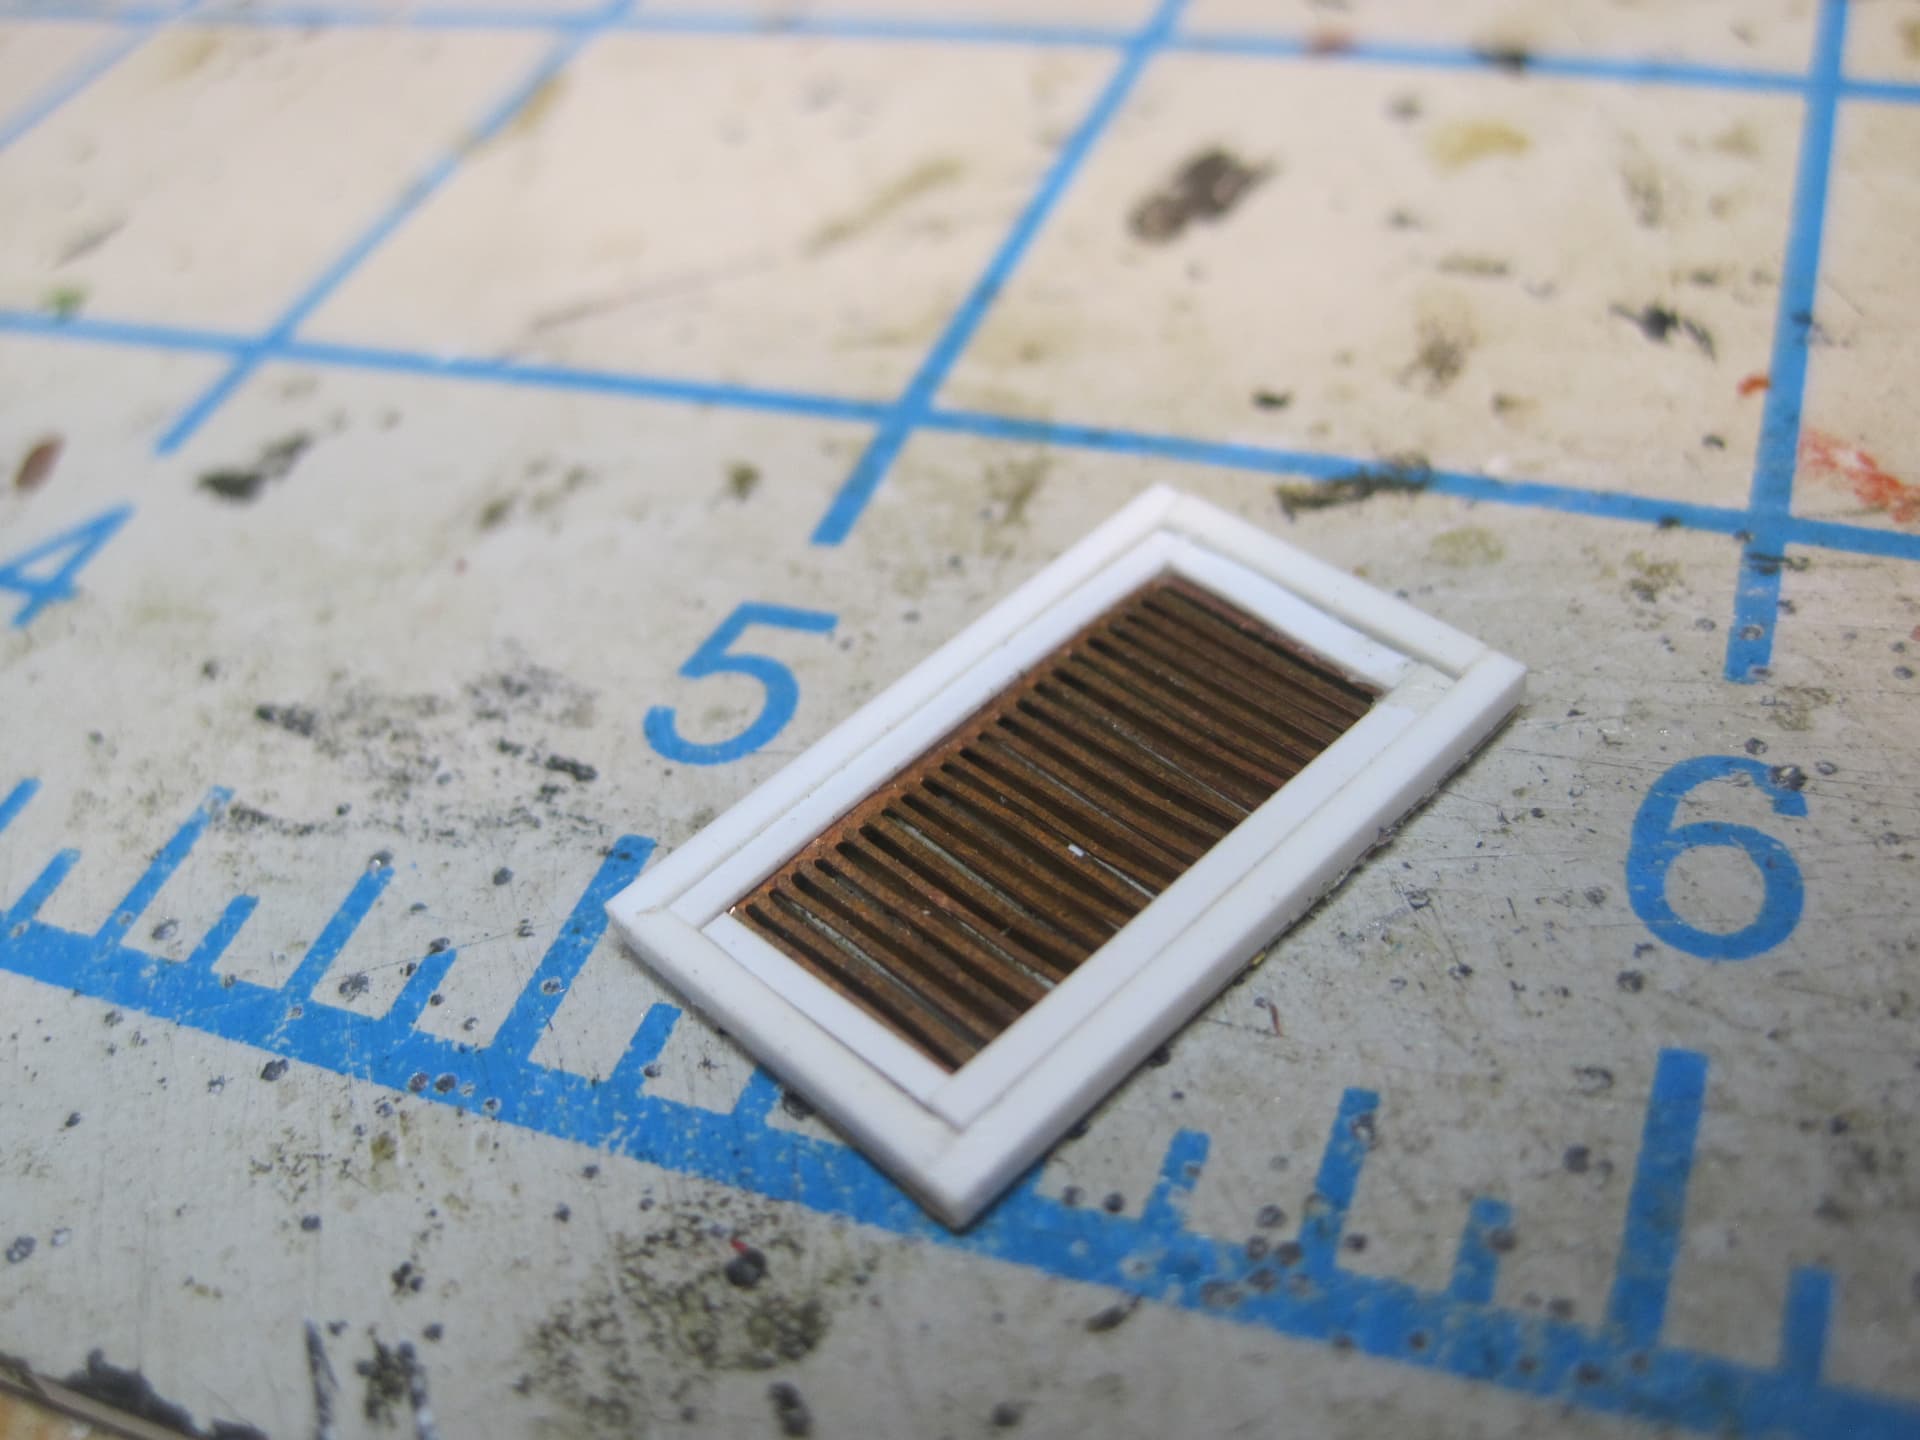
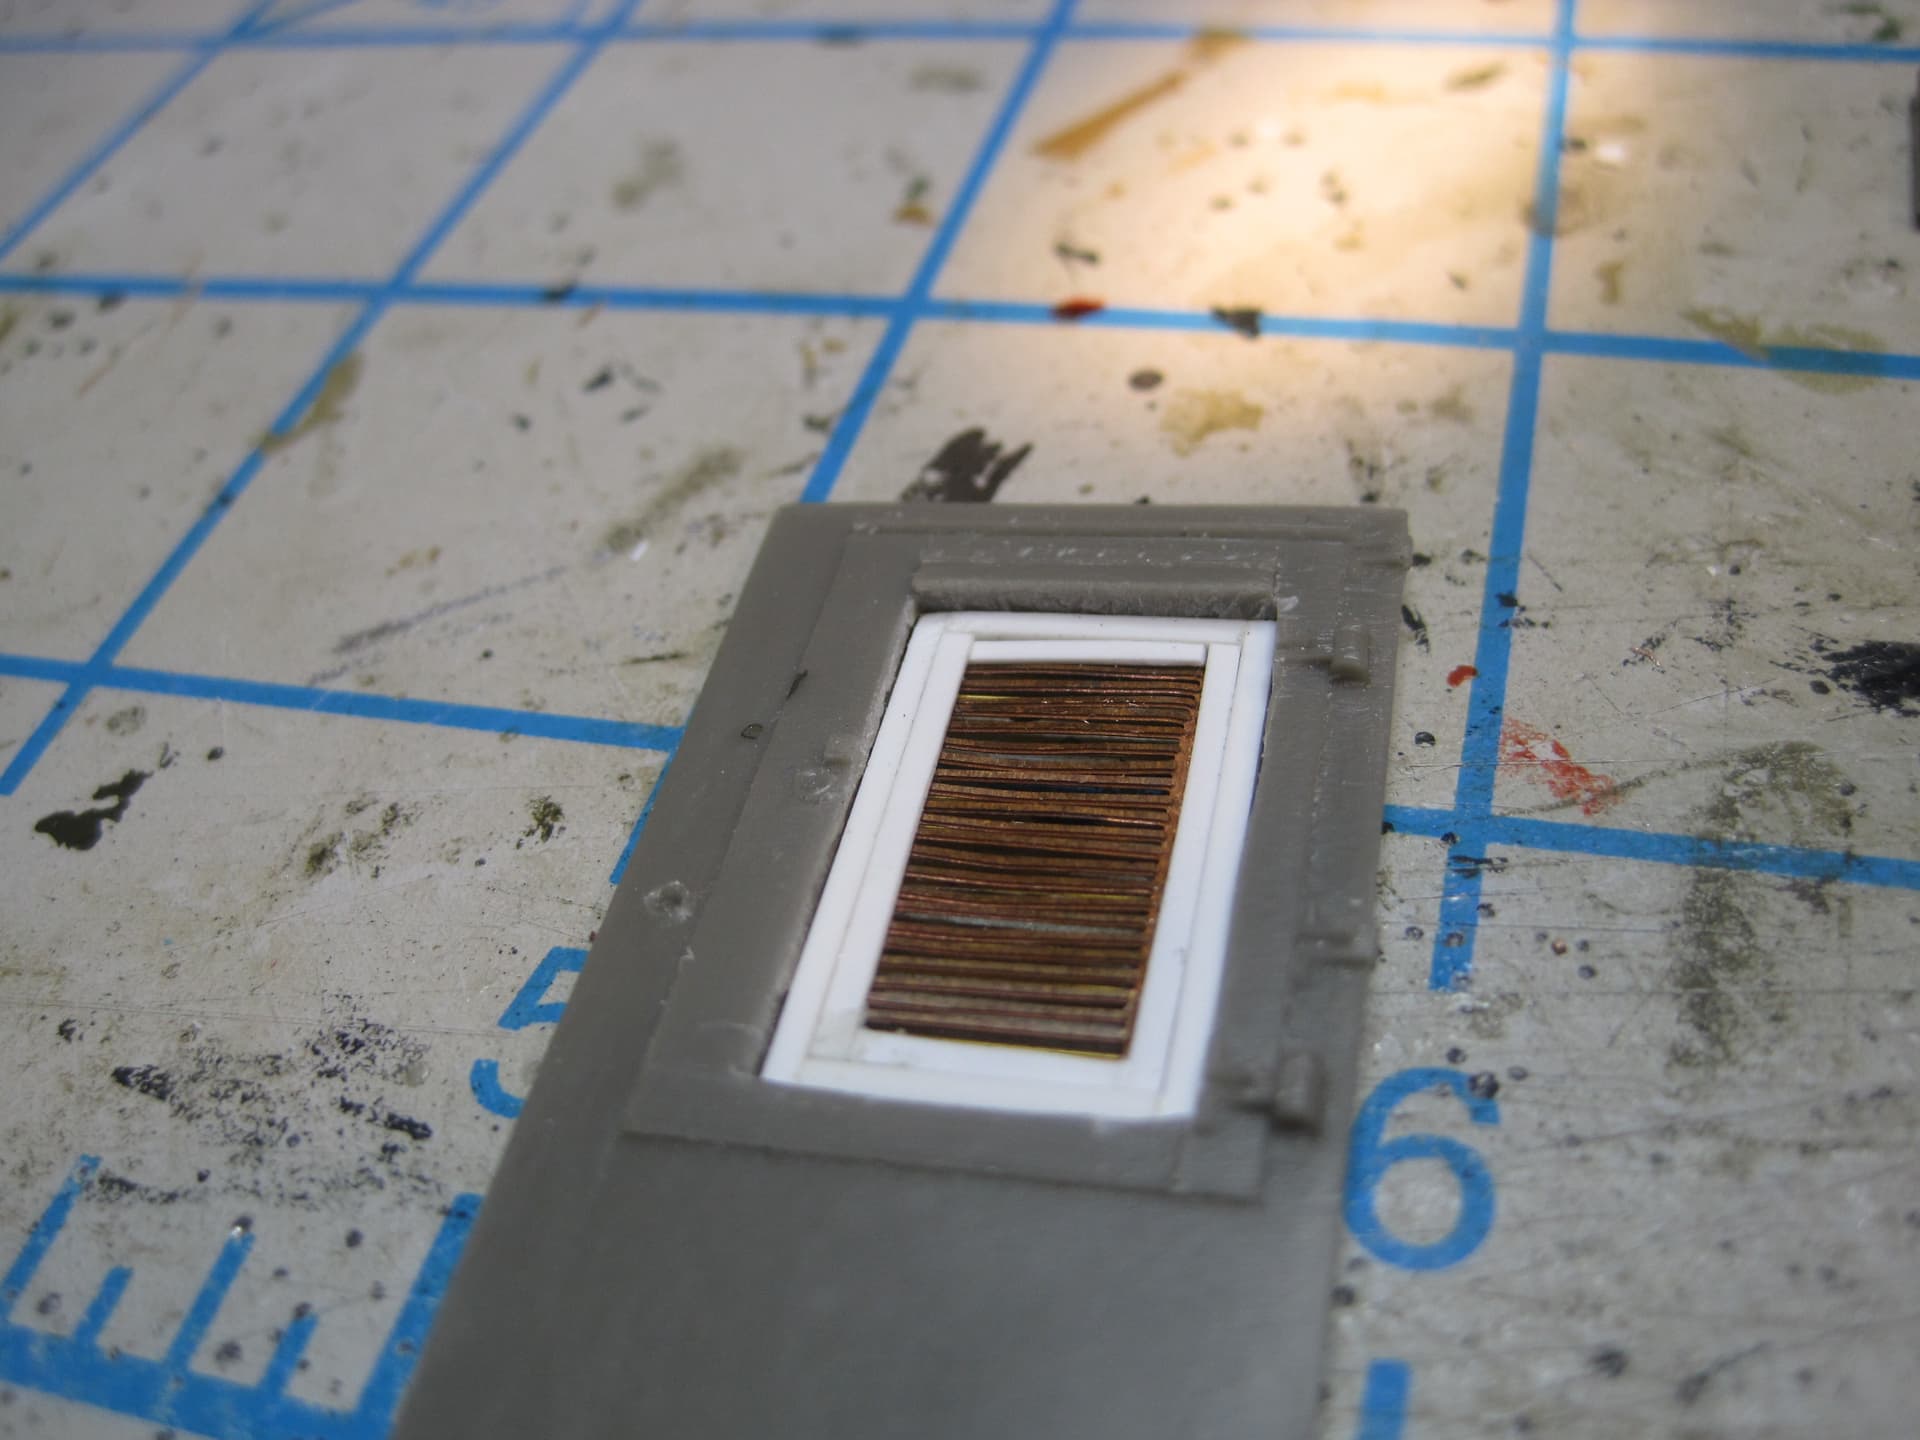
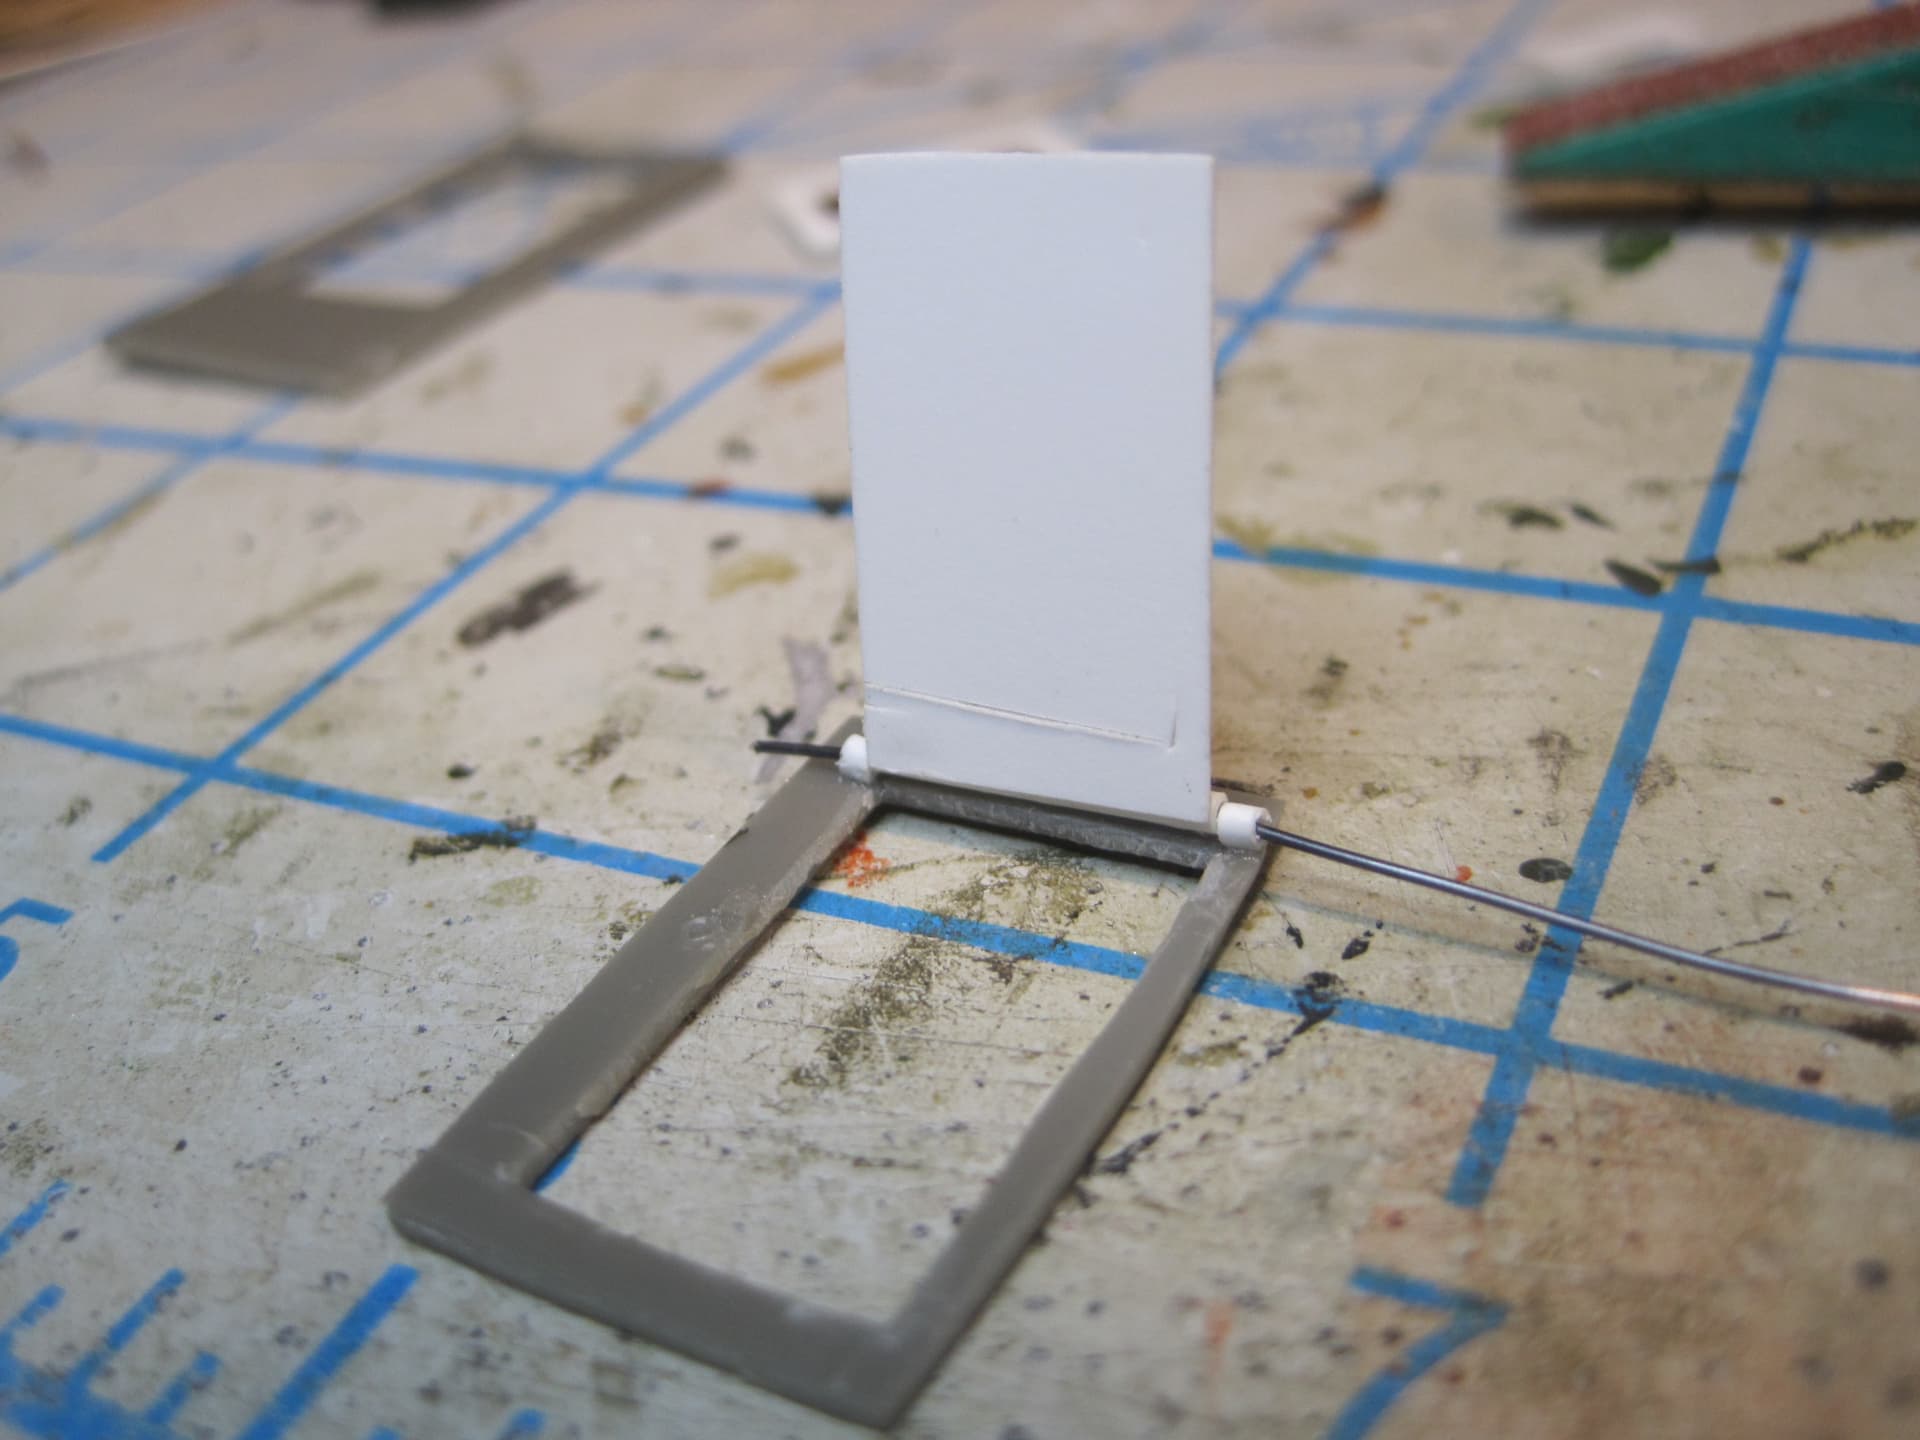
And I also started on the door. This thing is really tricky since there’s a hinged cover over the Filter in the smaller door, which opens independently inside the larger door.
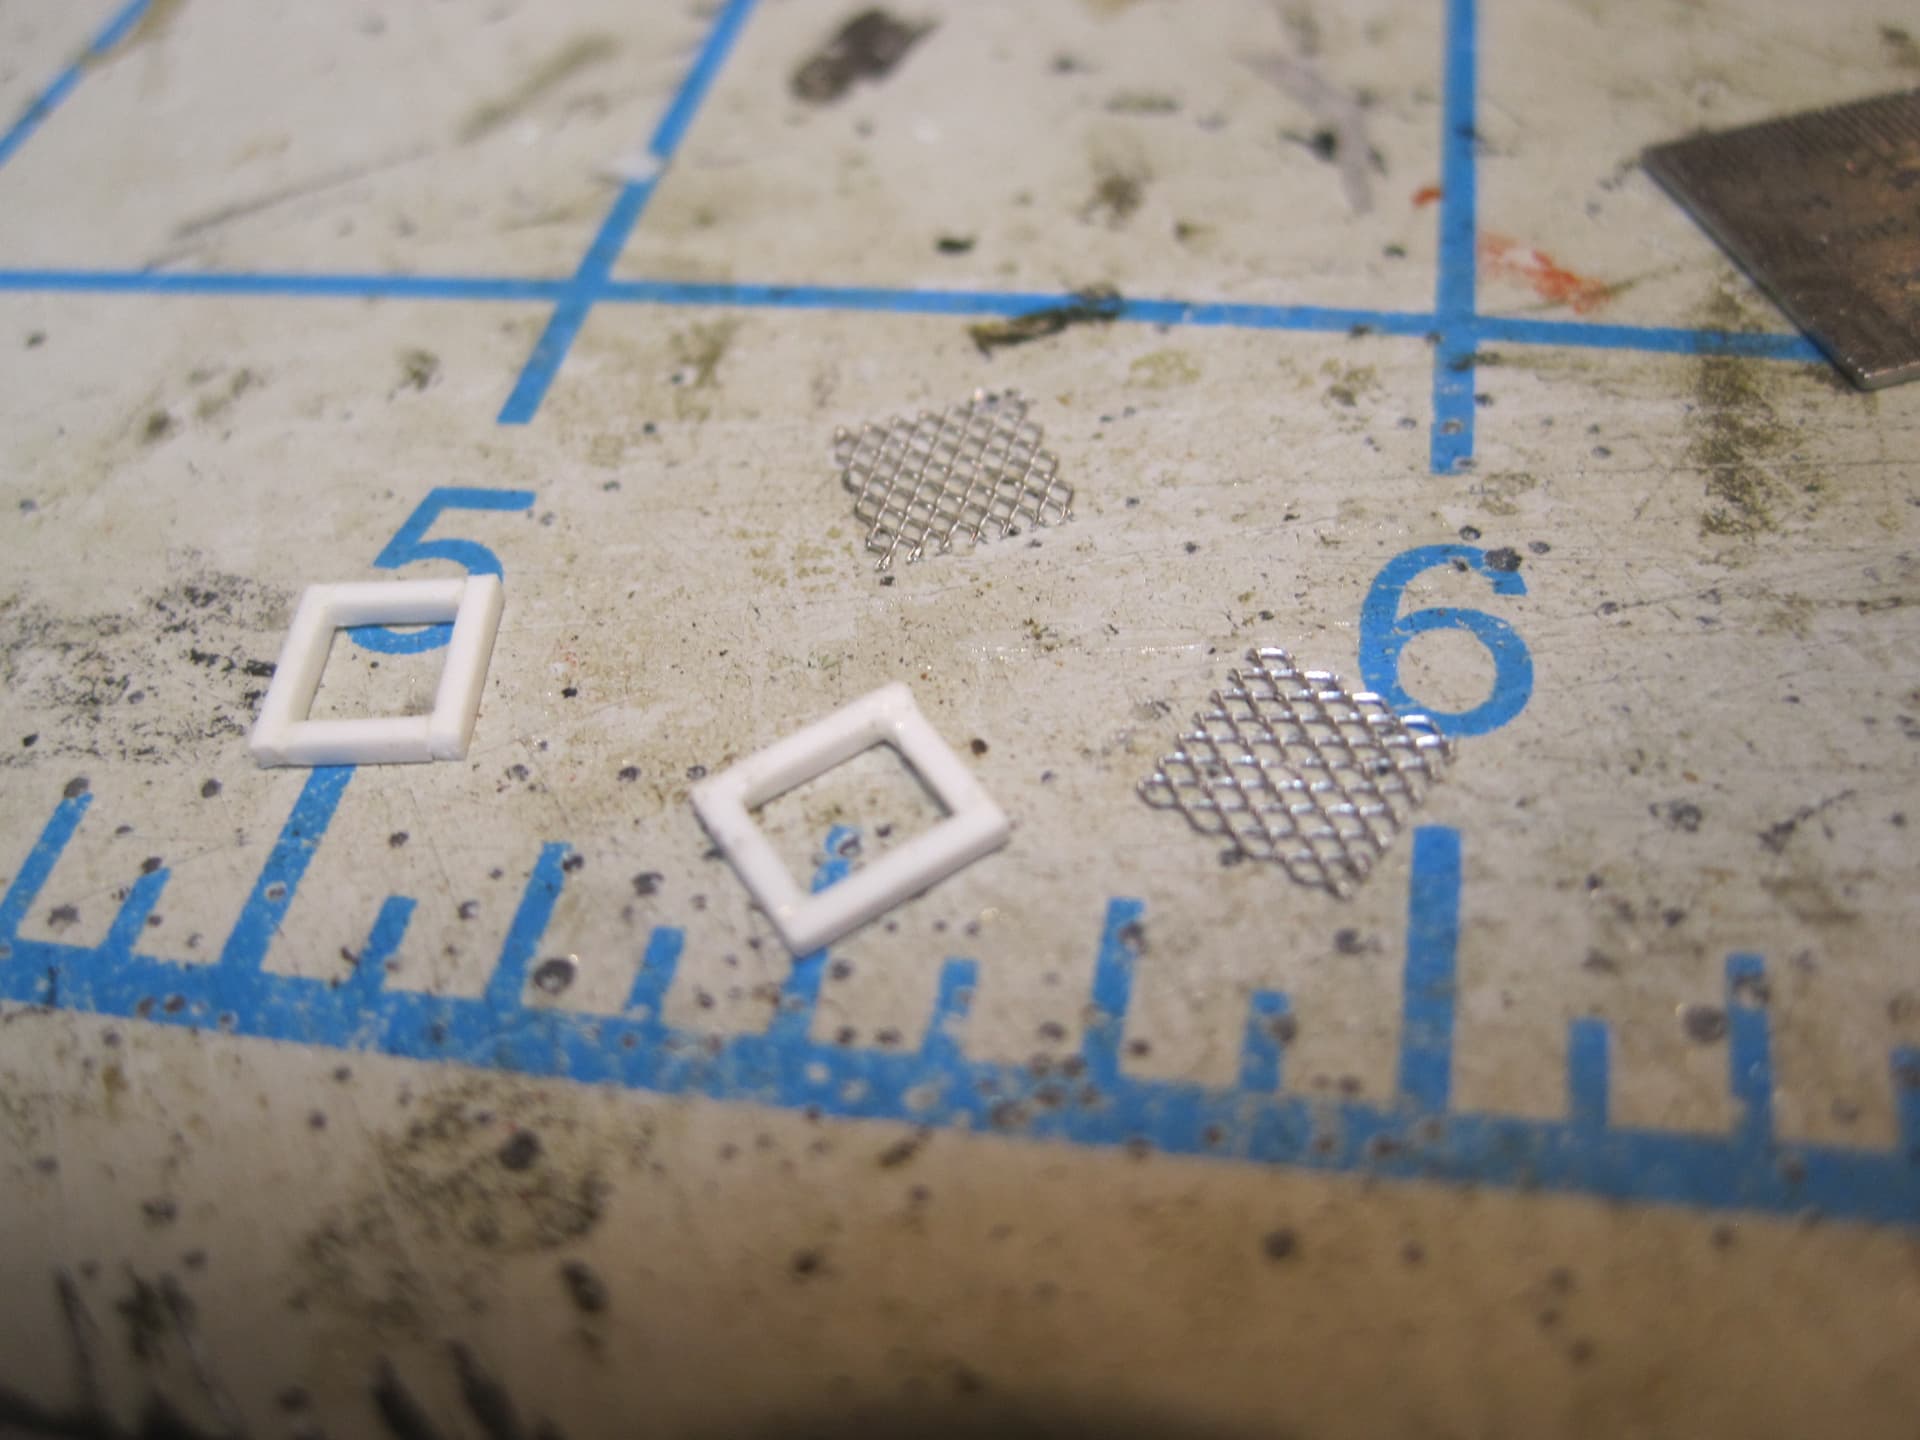
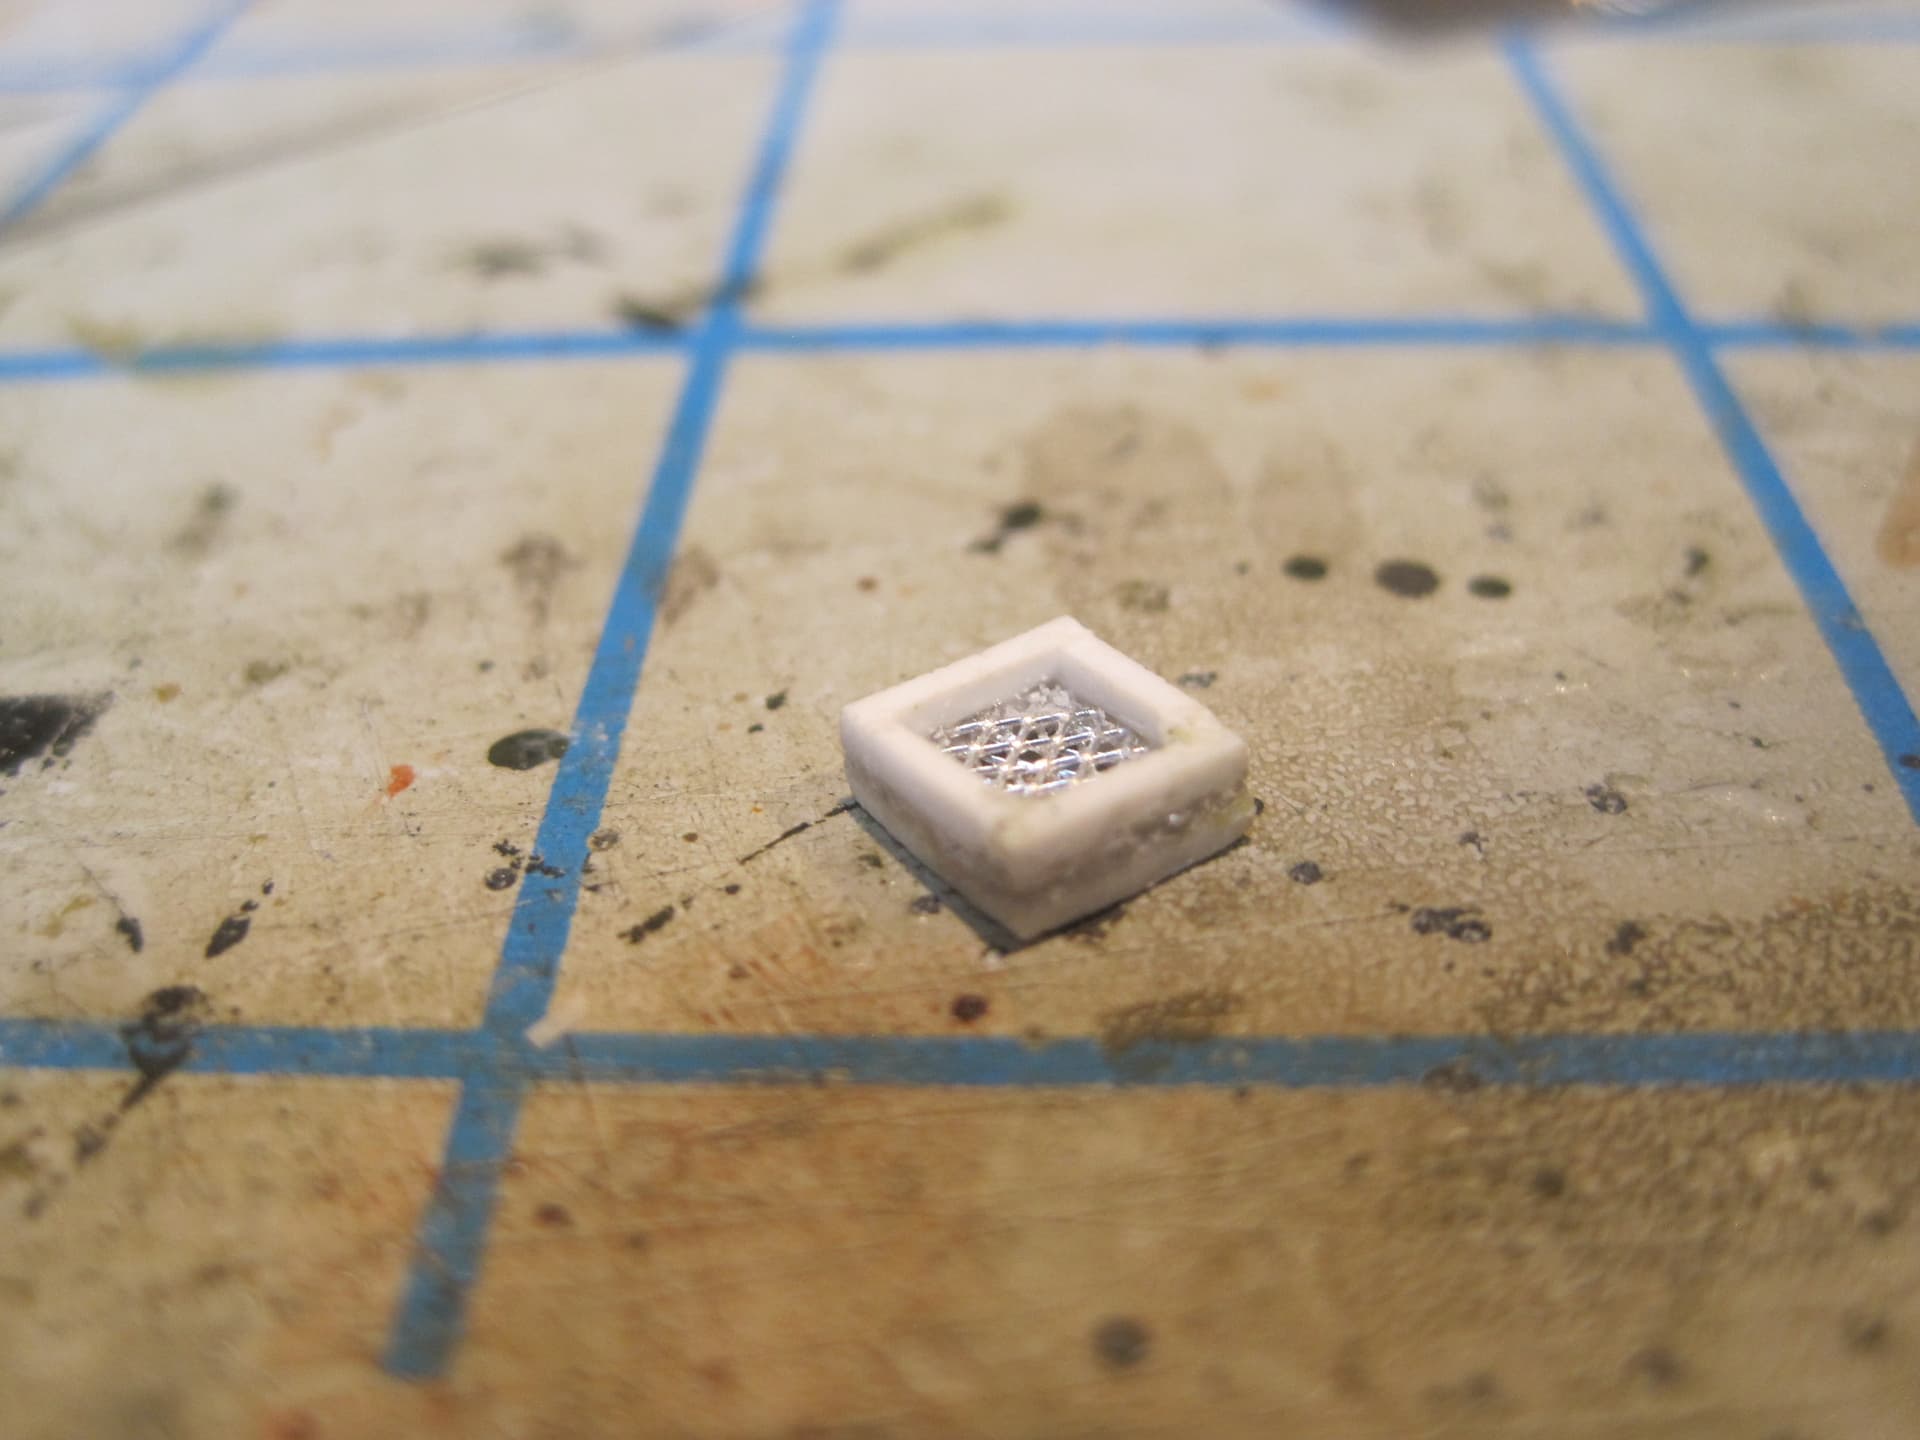
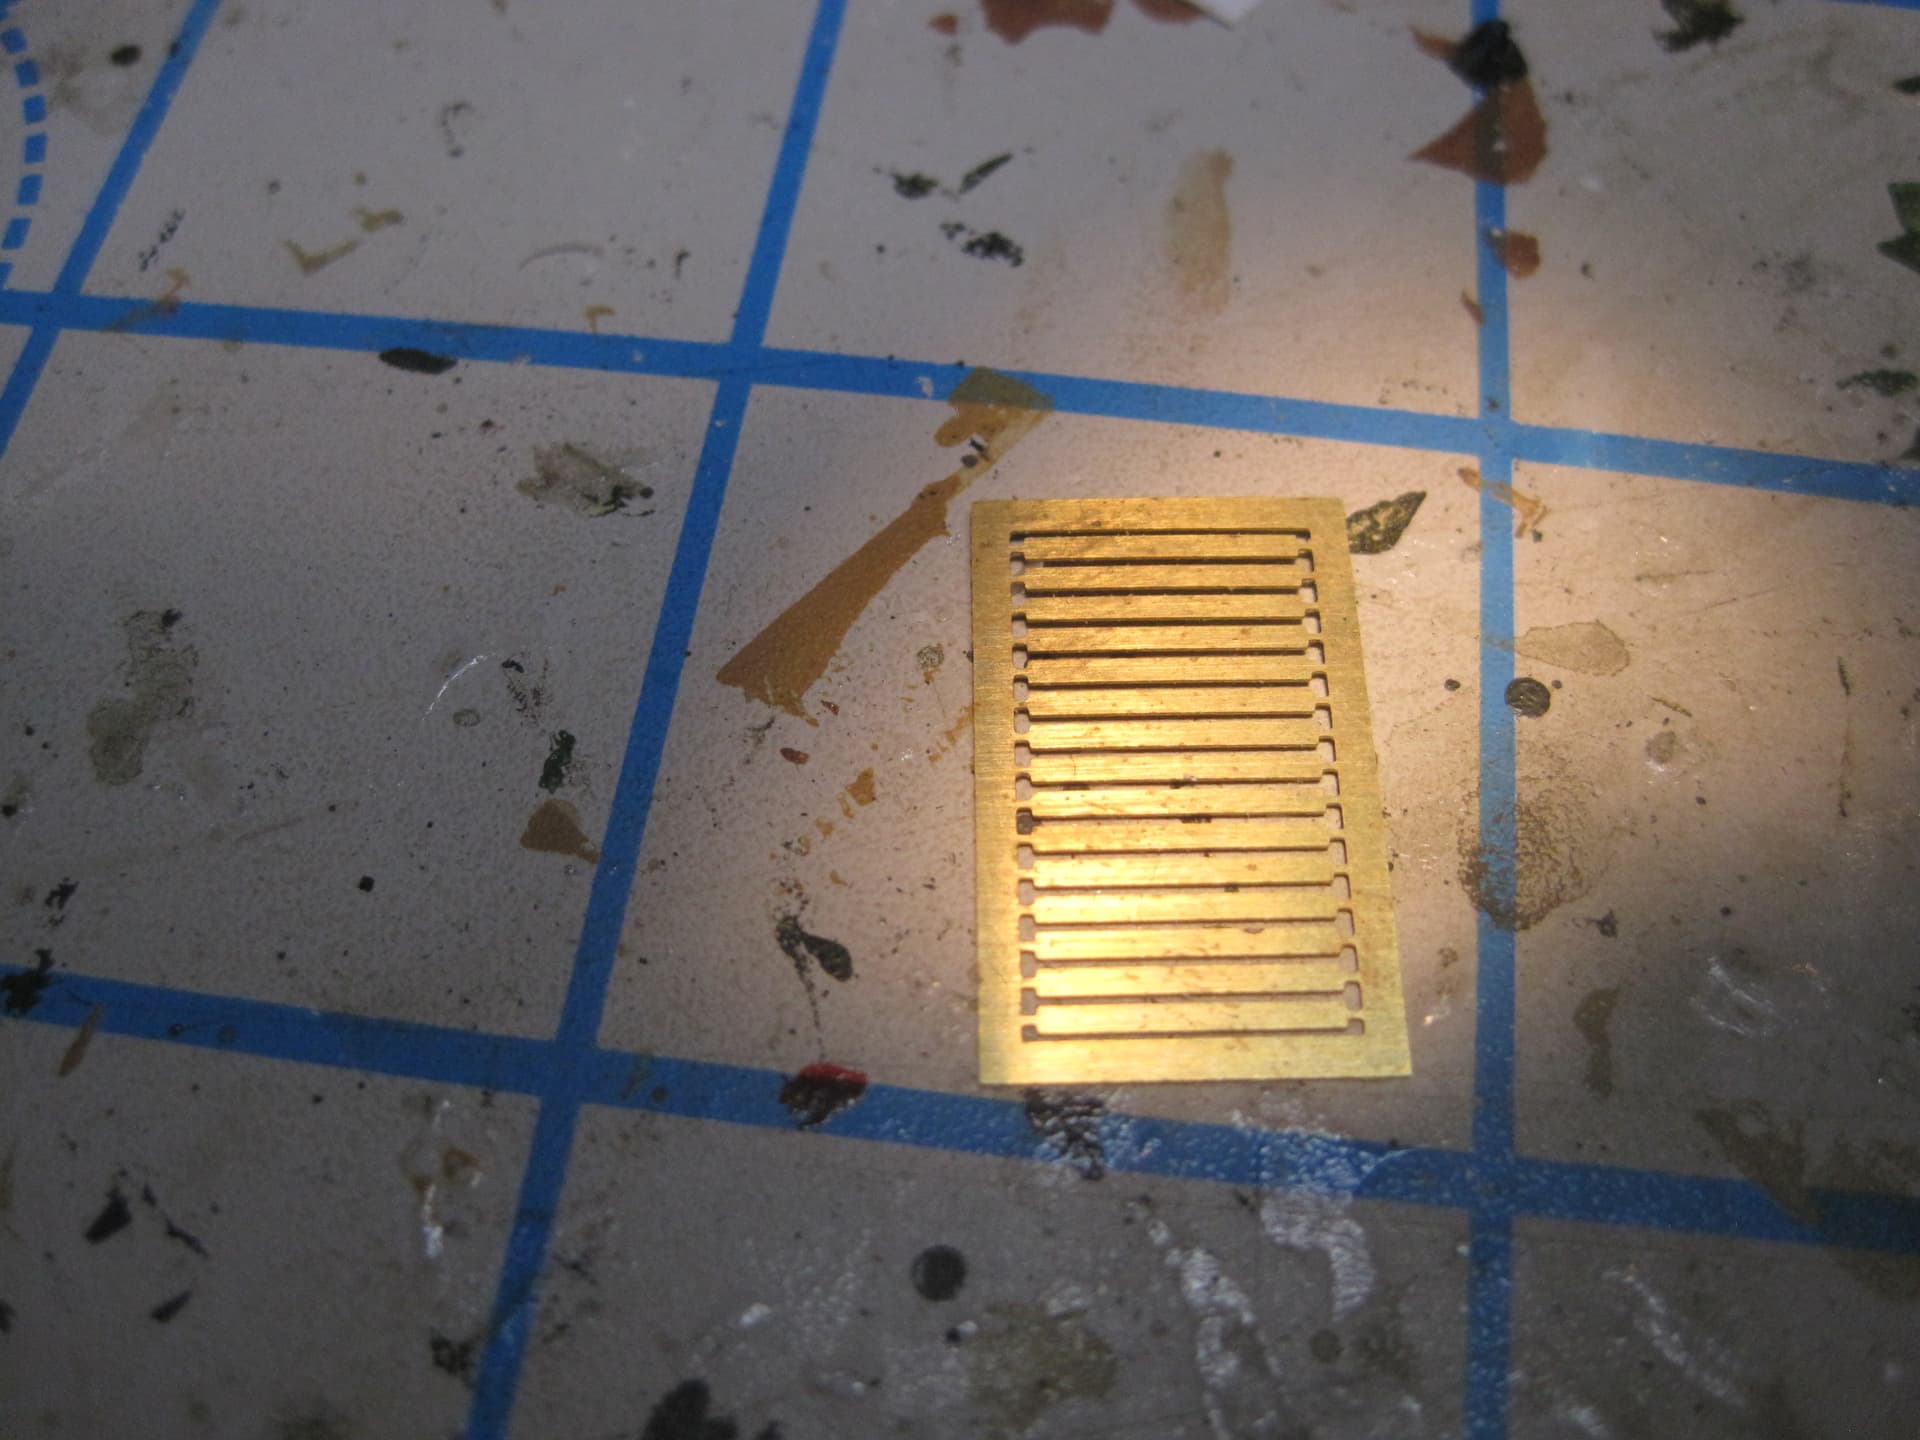
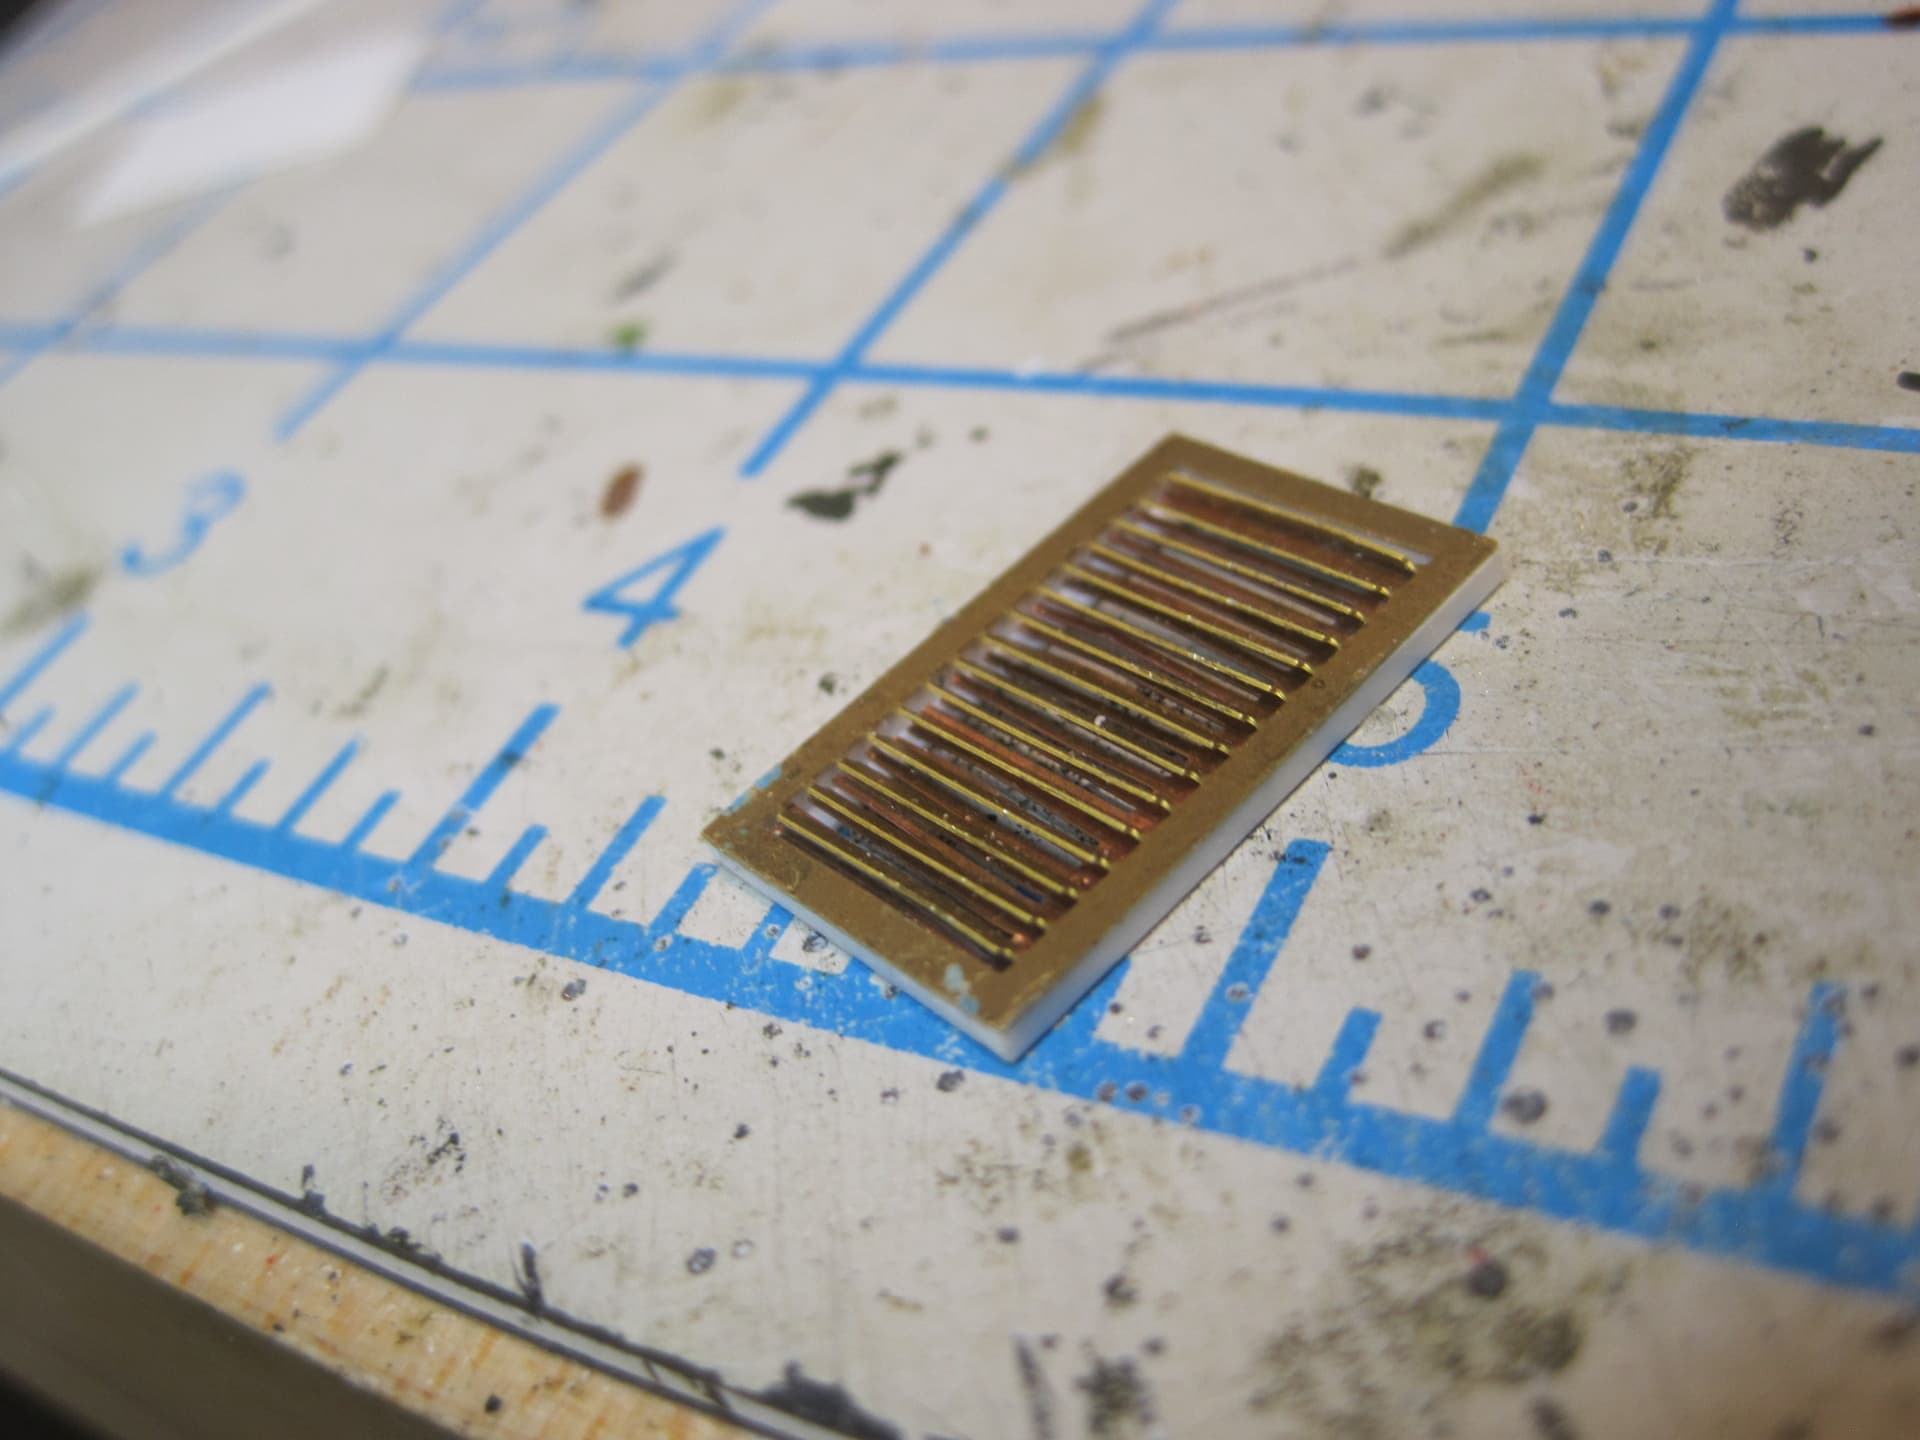
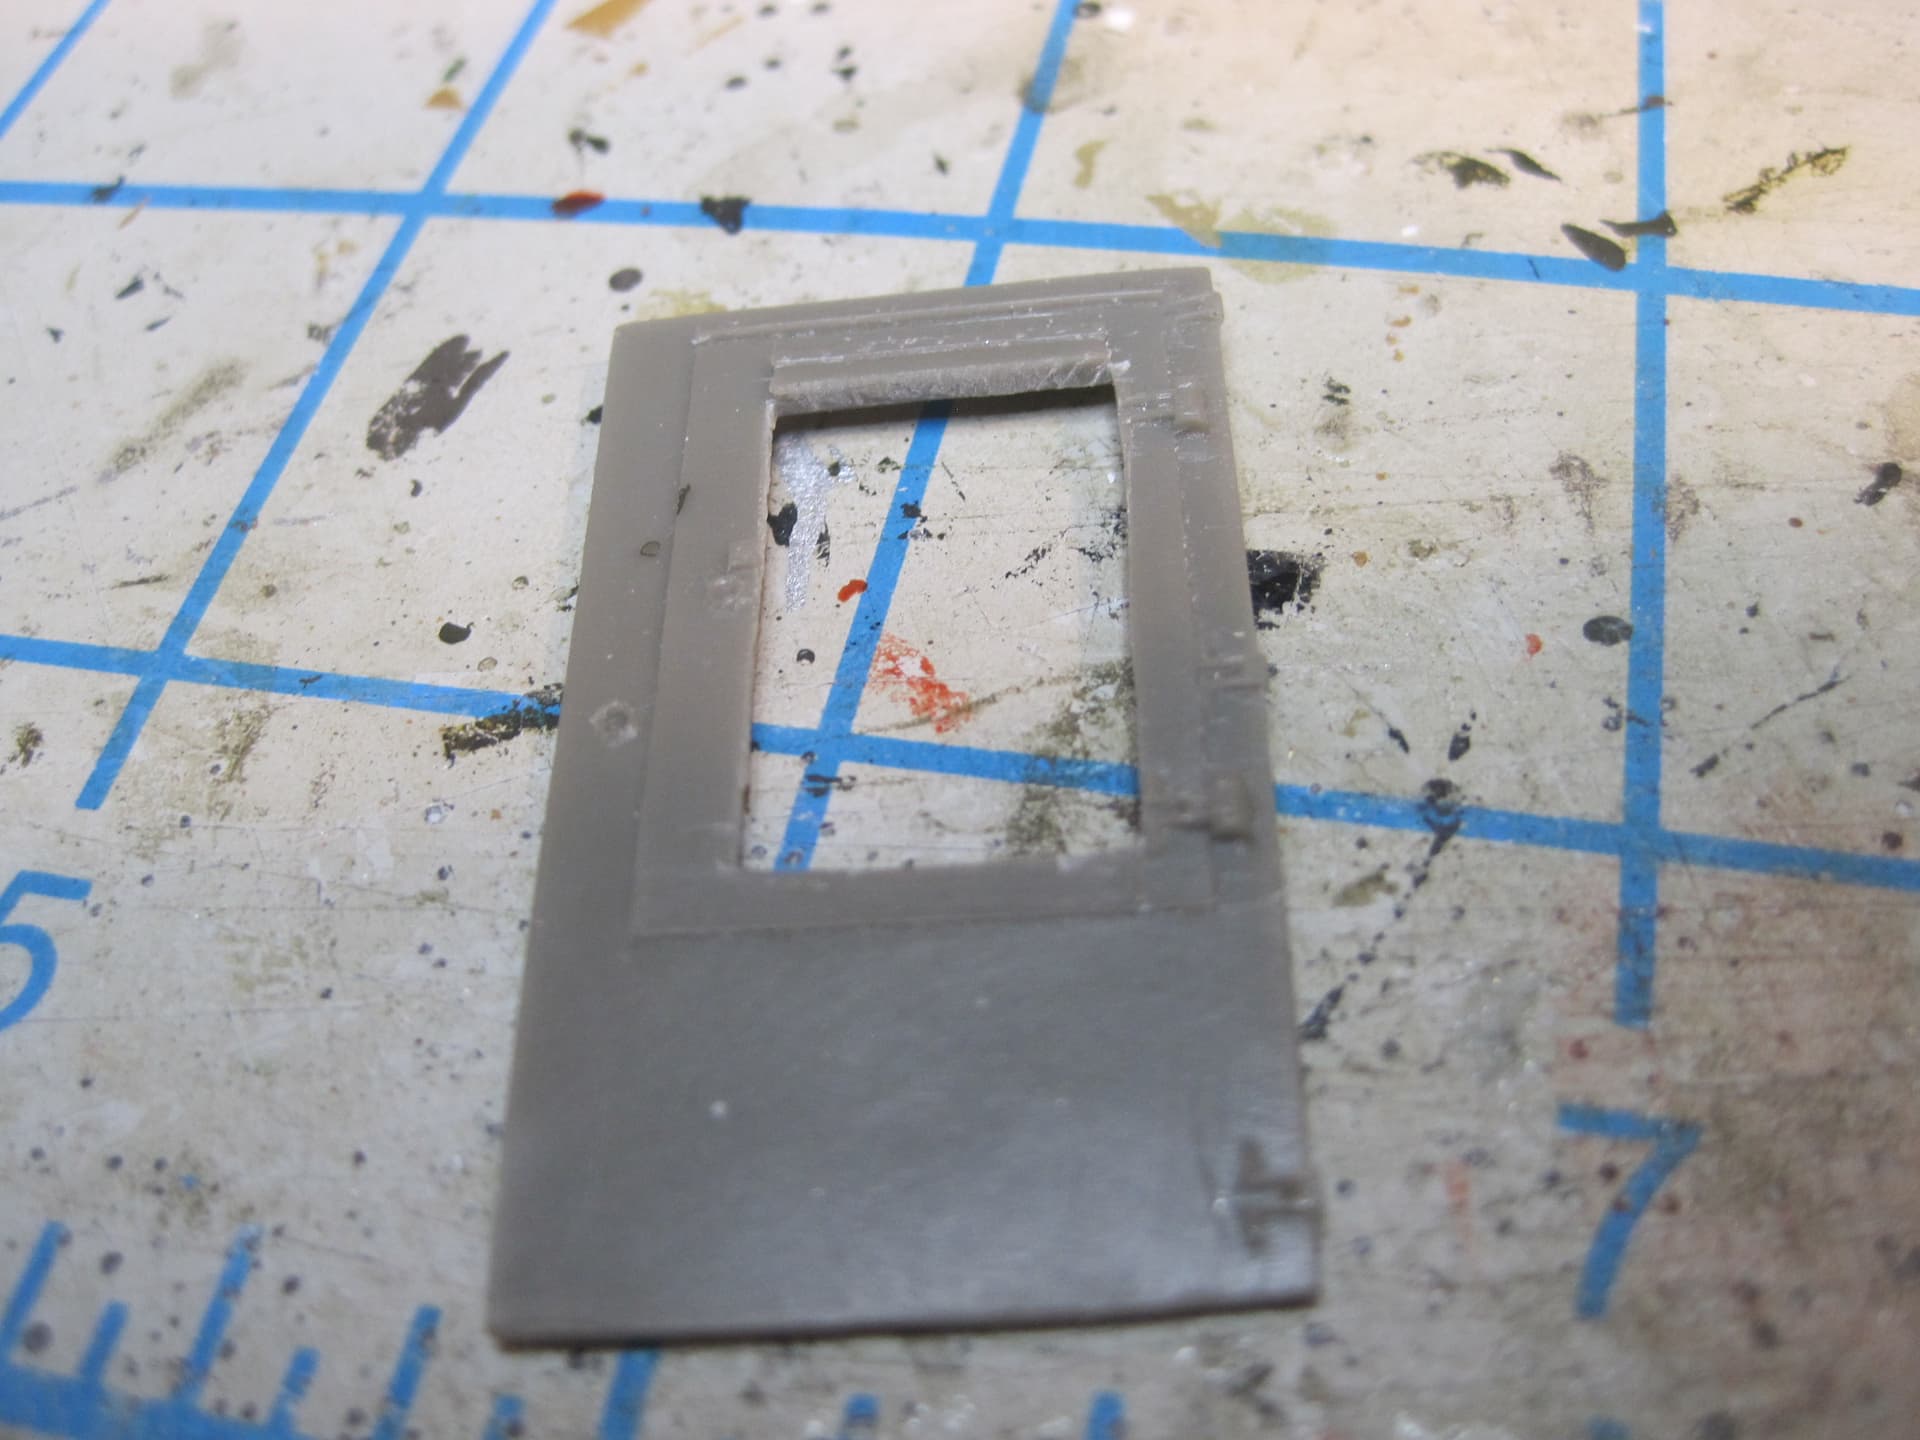
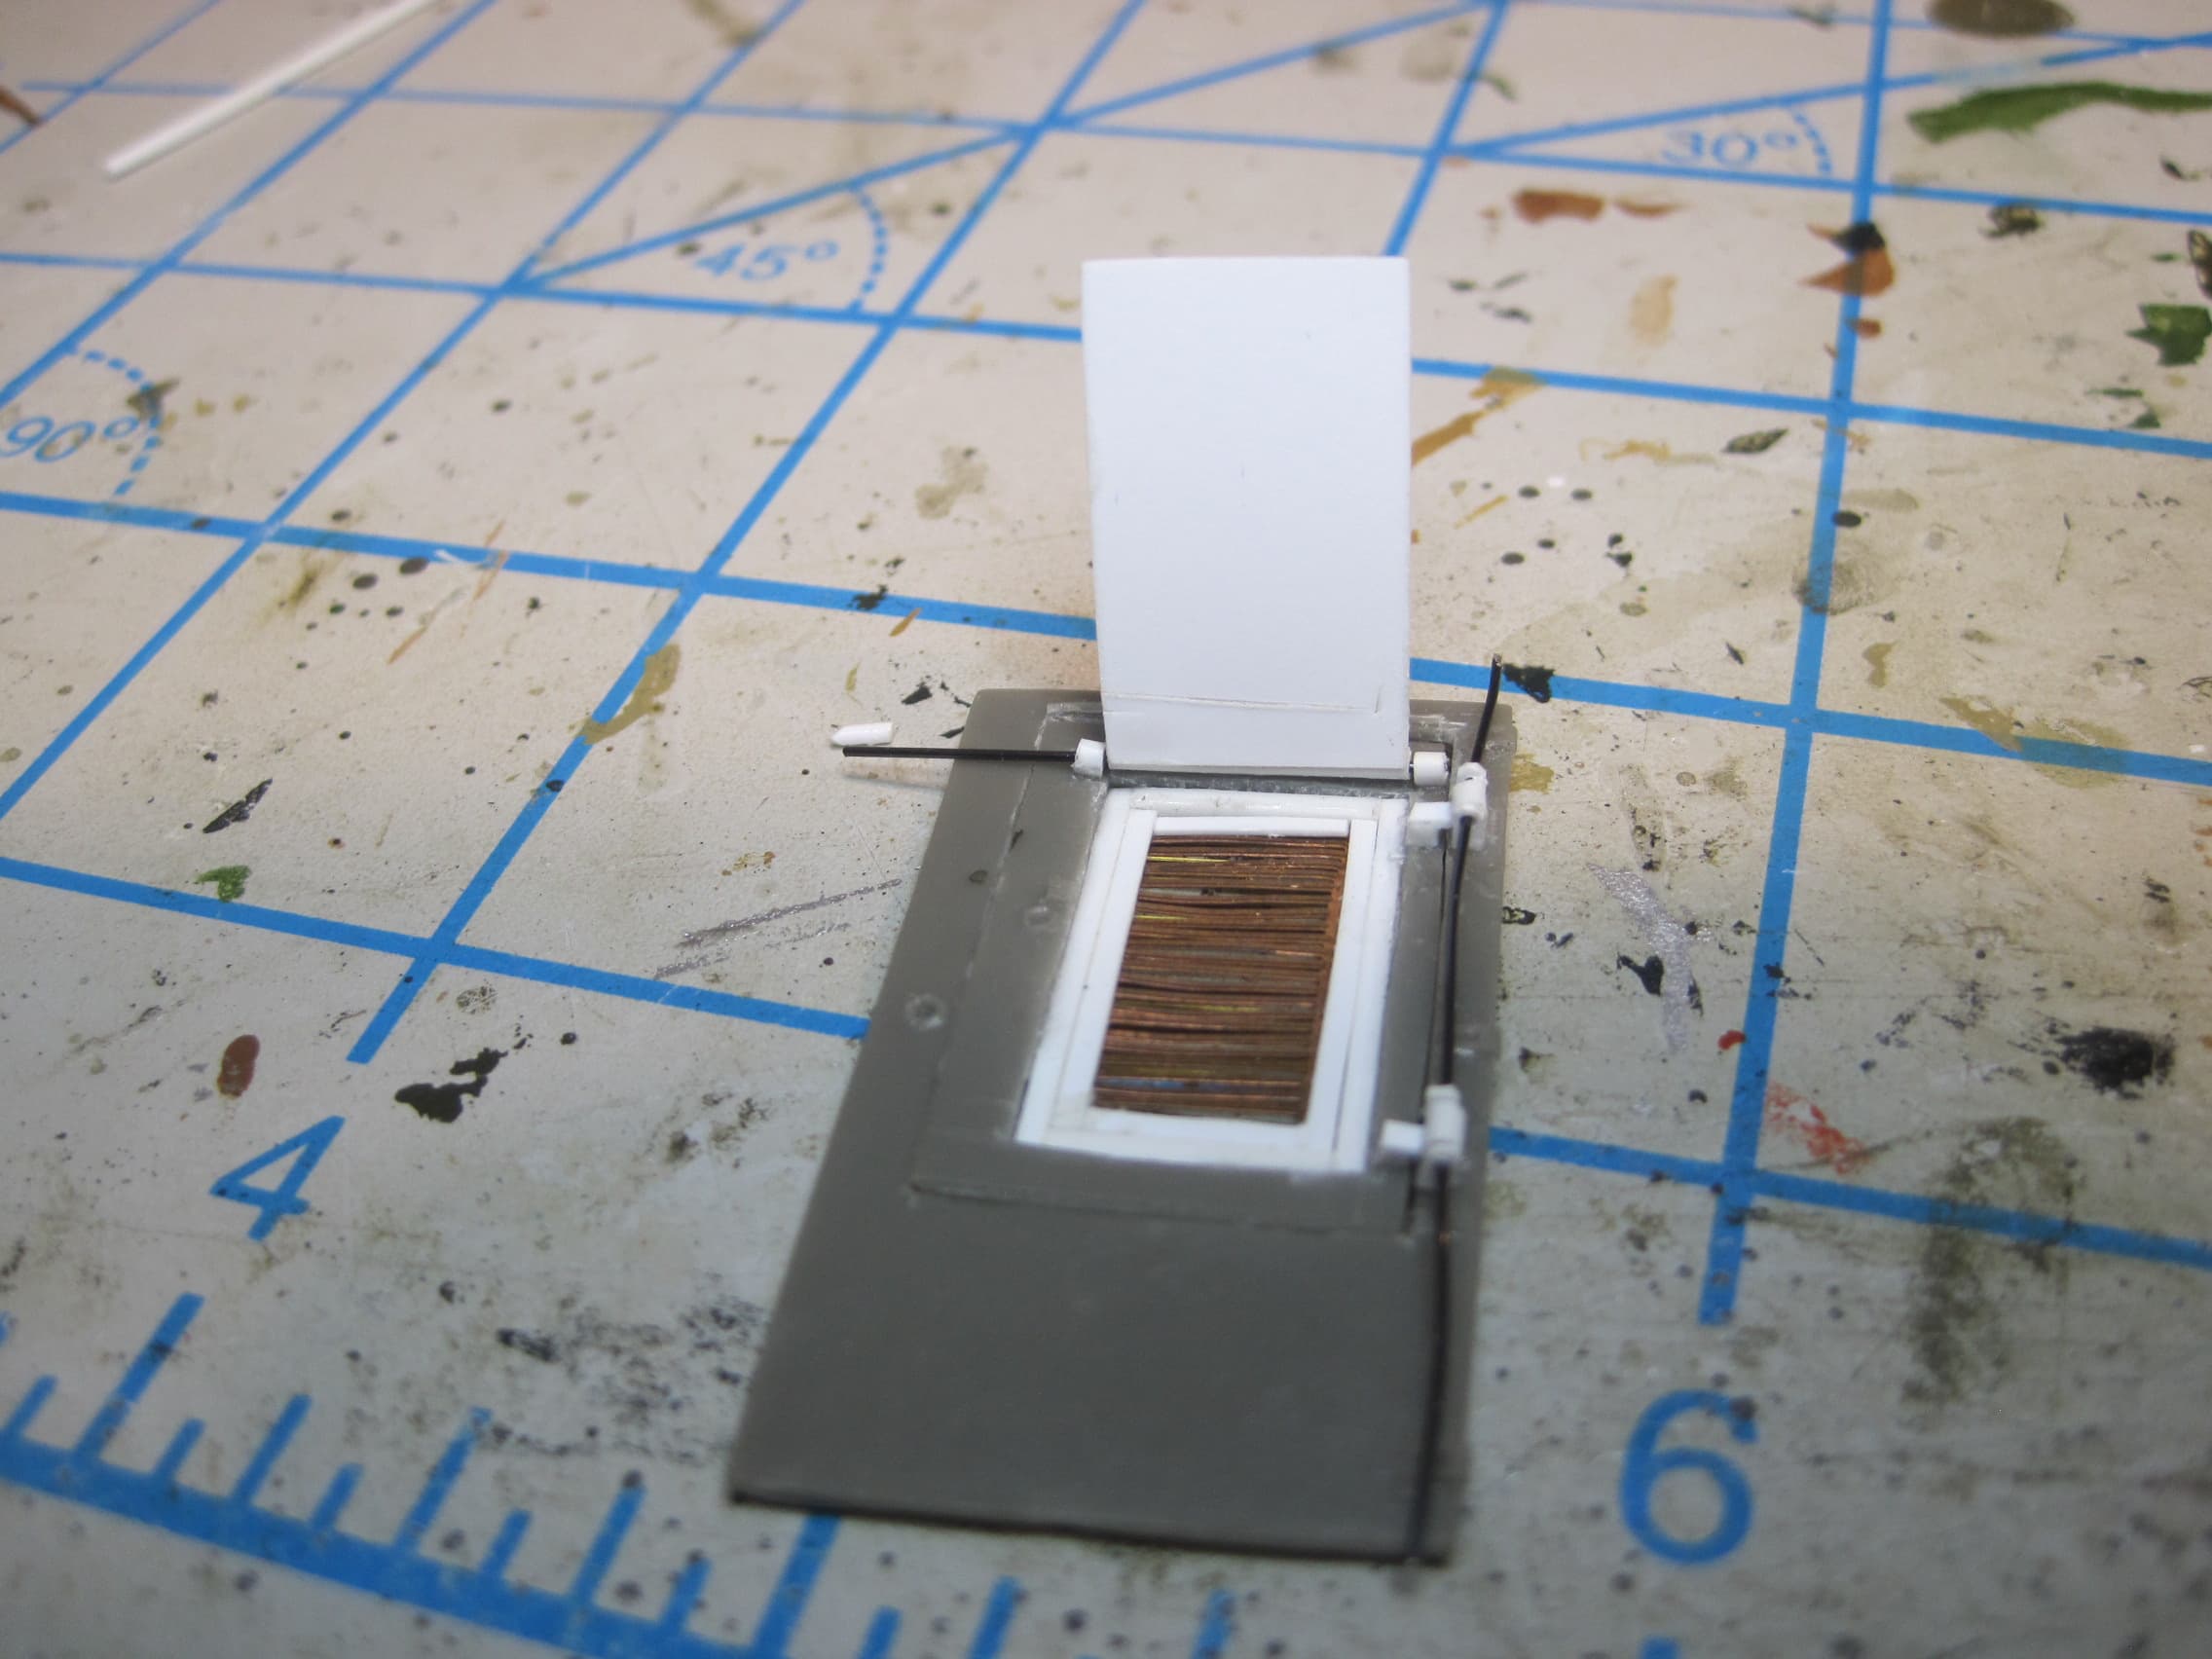
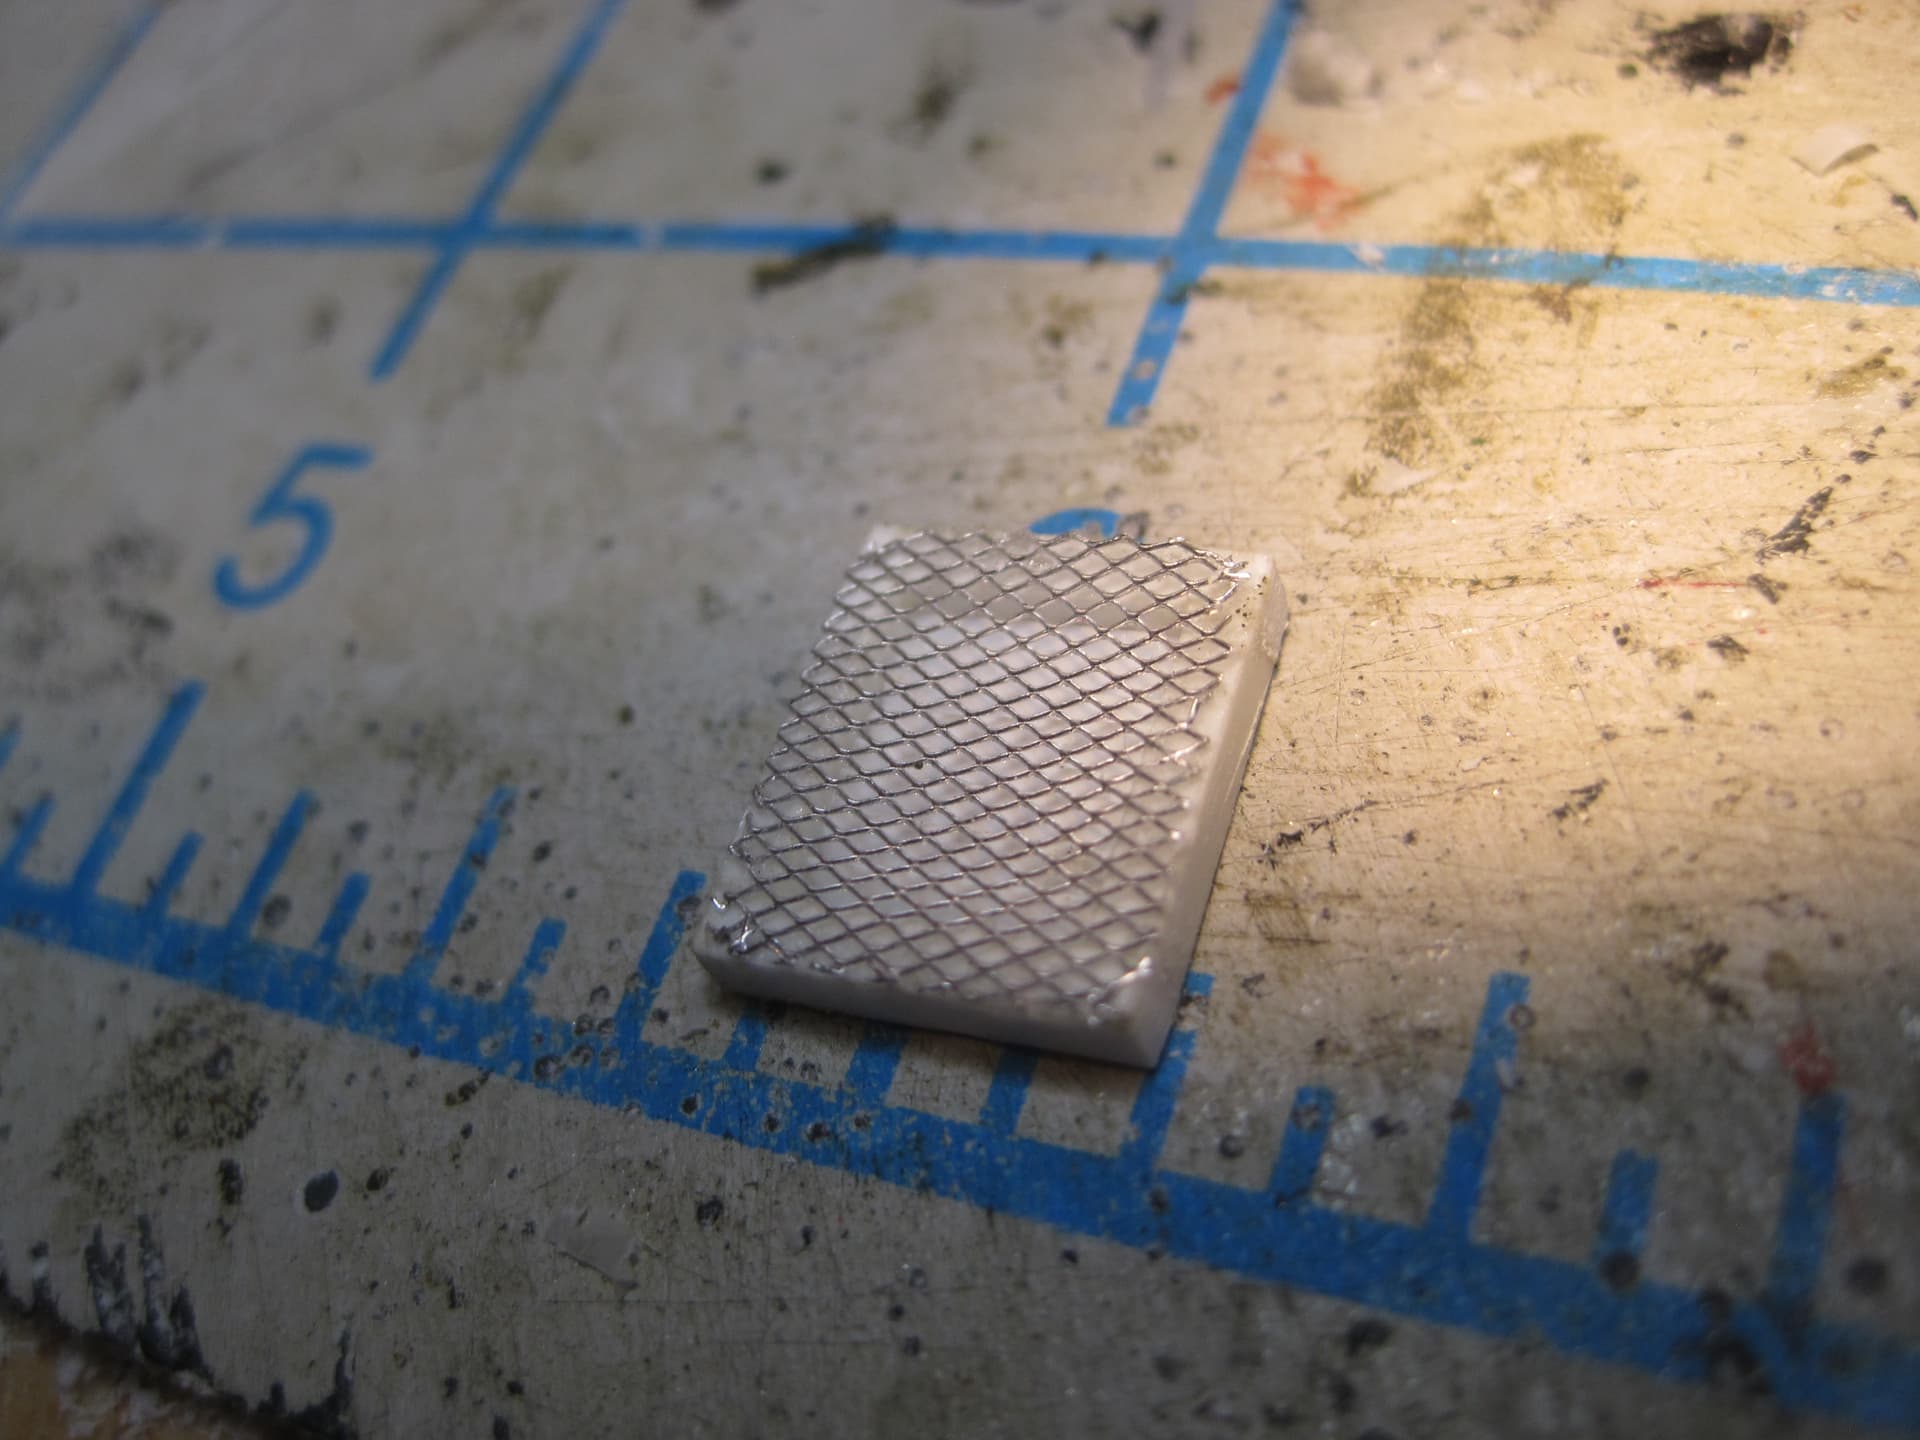
So first step is to cut out the center piece, scratch the cover and using the very nice PE which comes with the set and a grille from my spares box, make the filter.
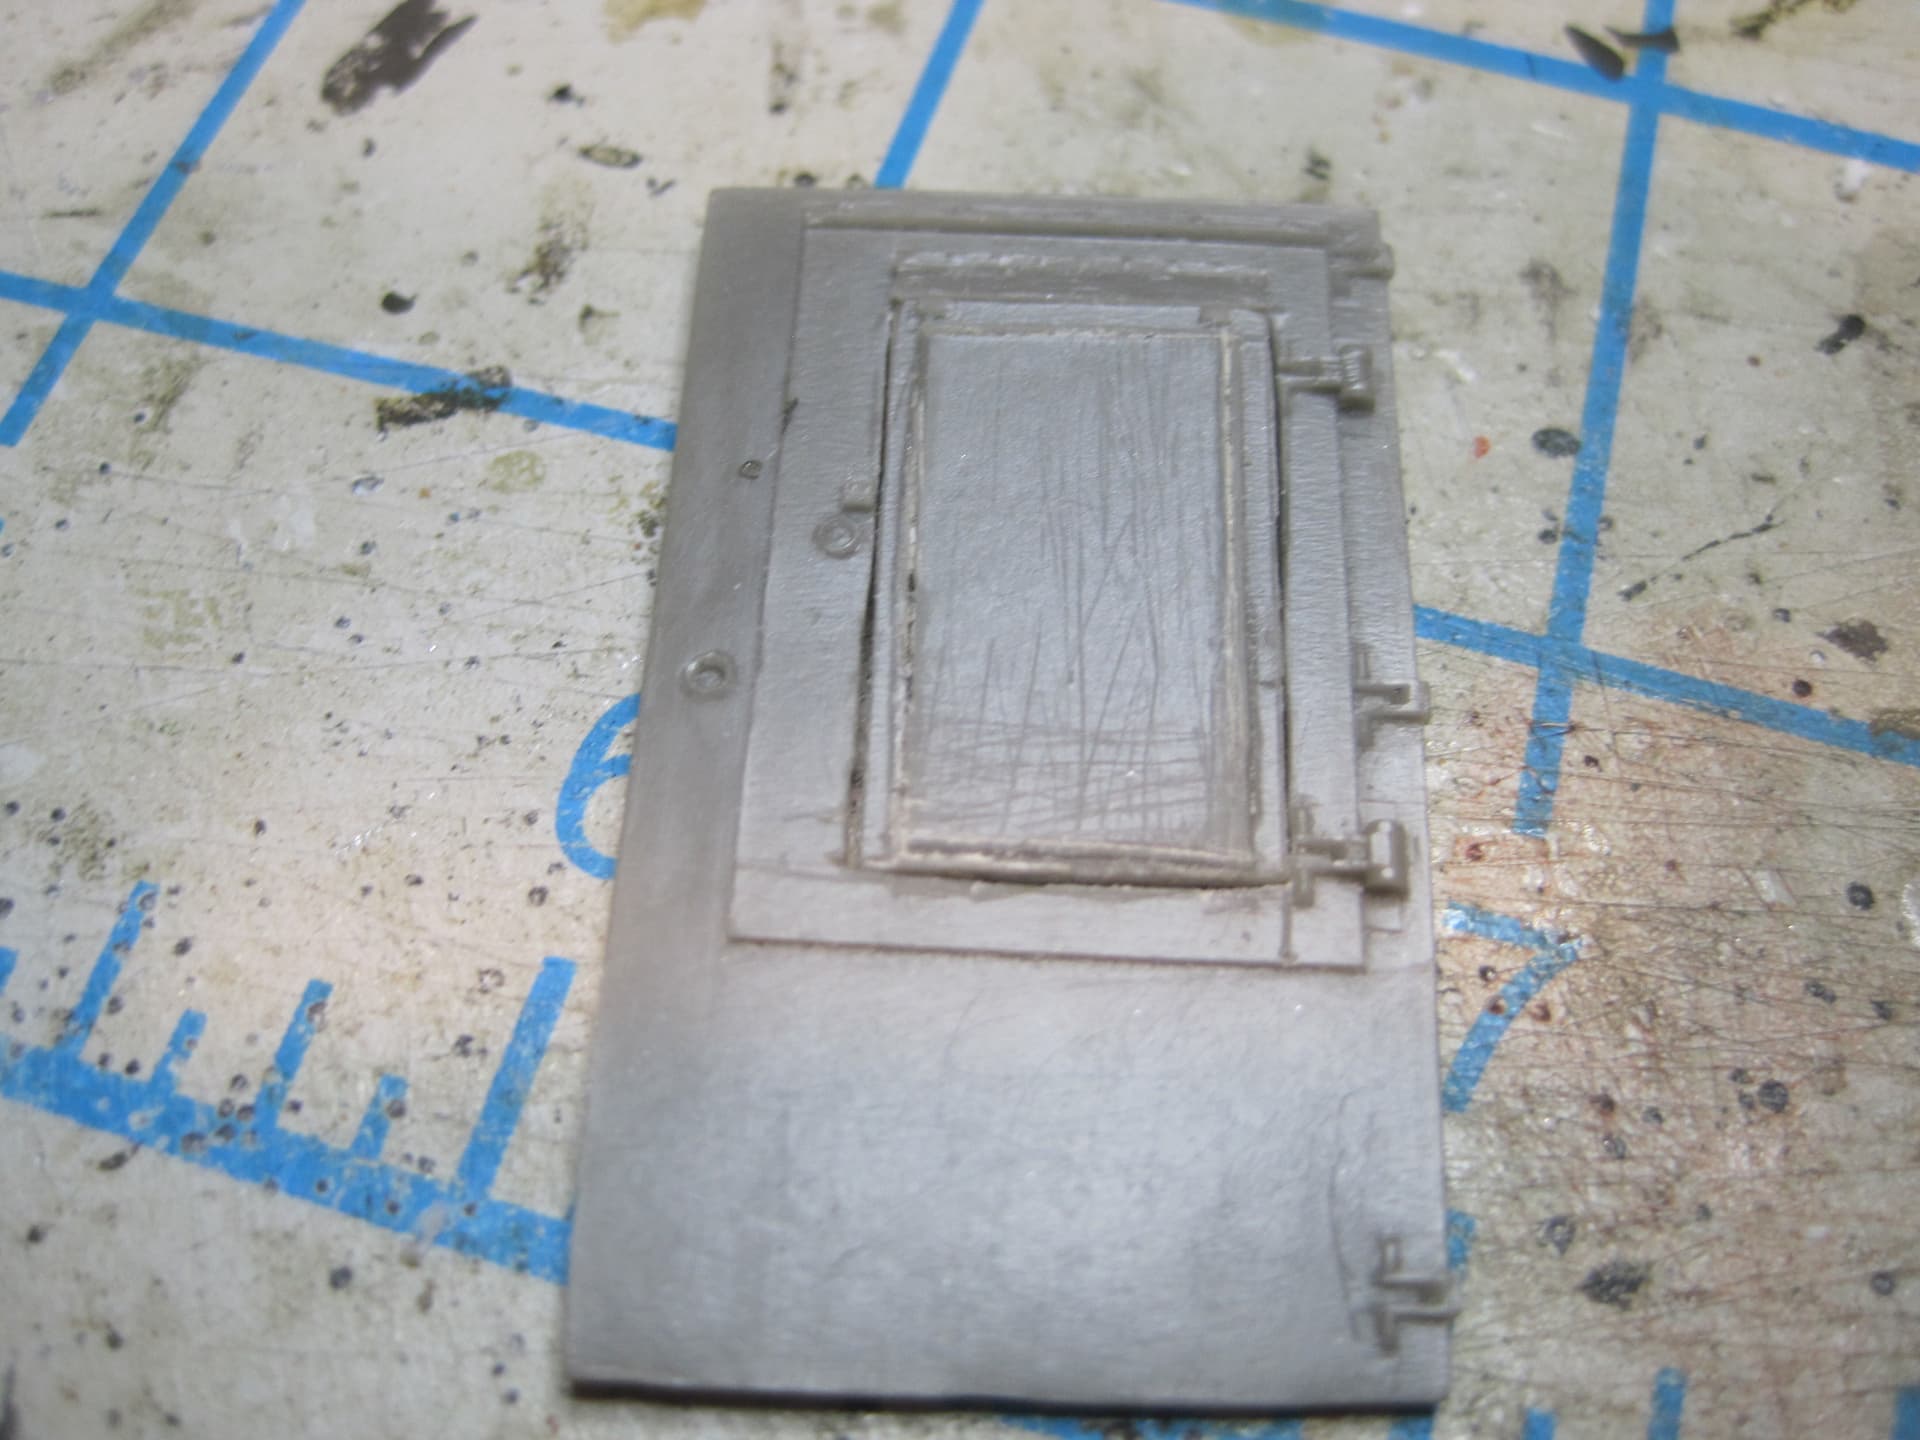
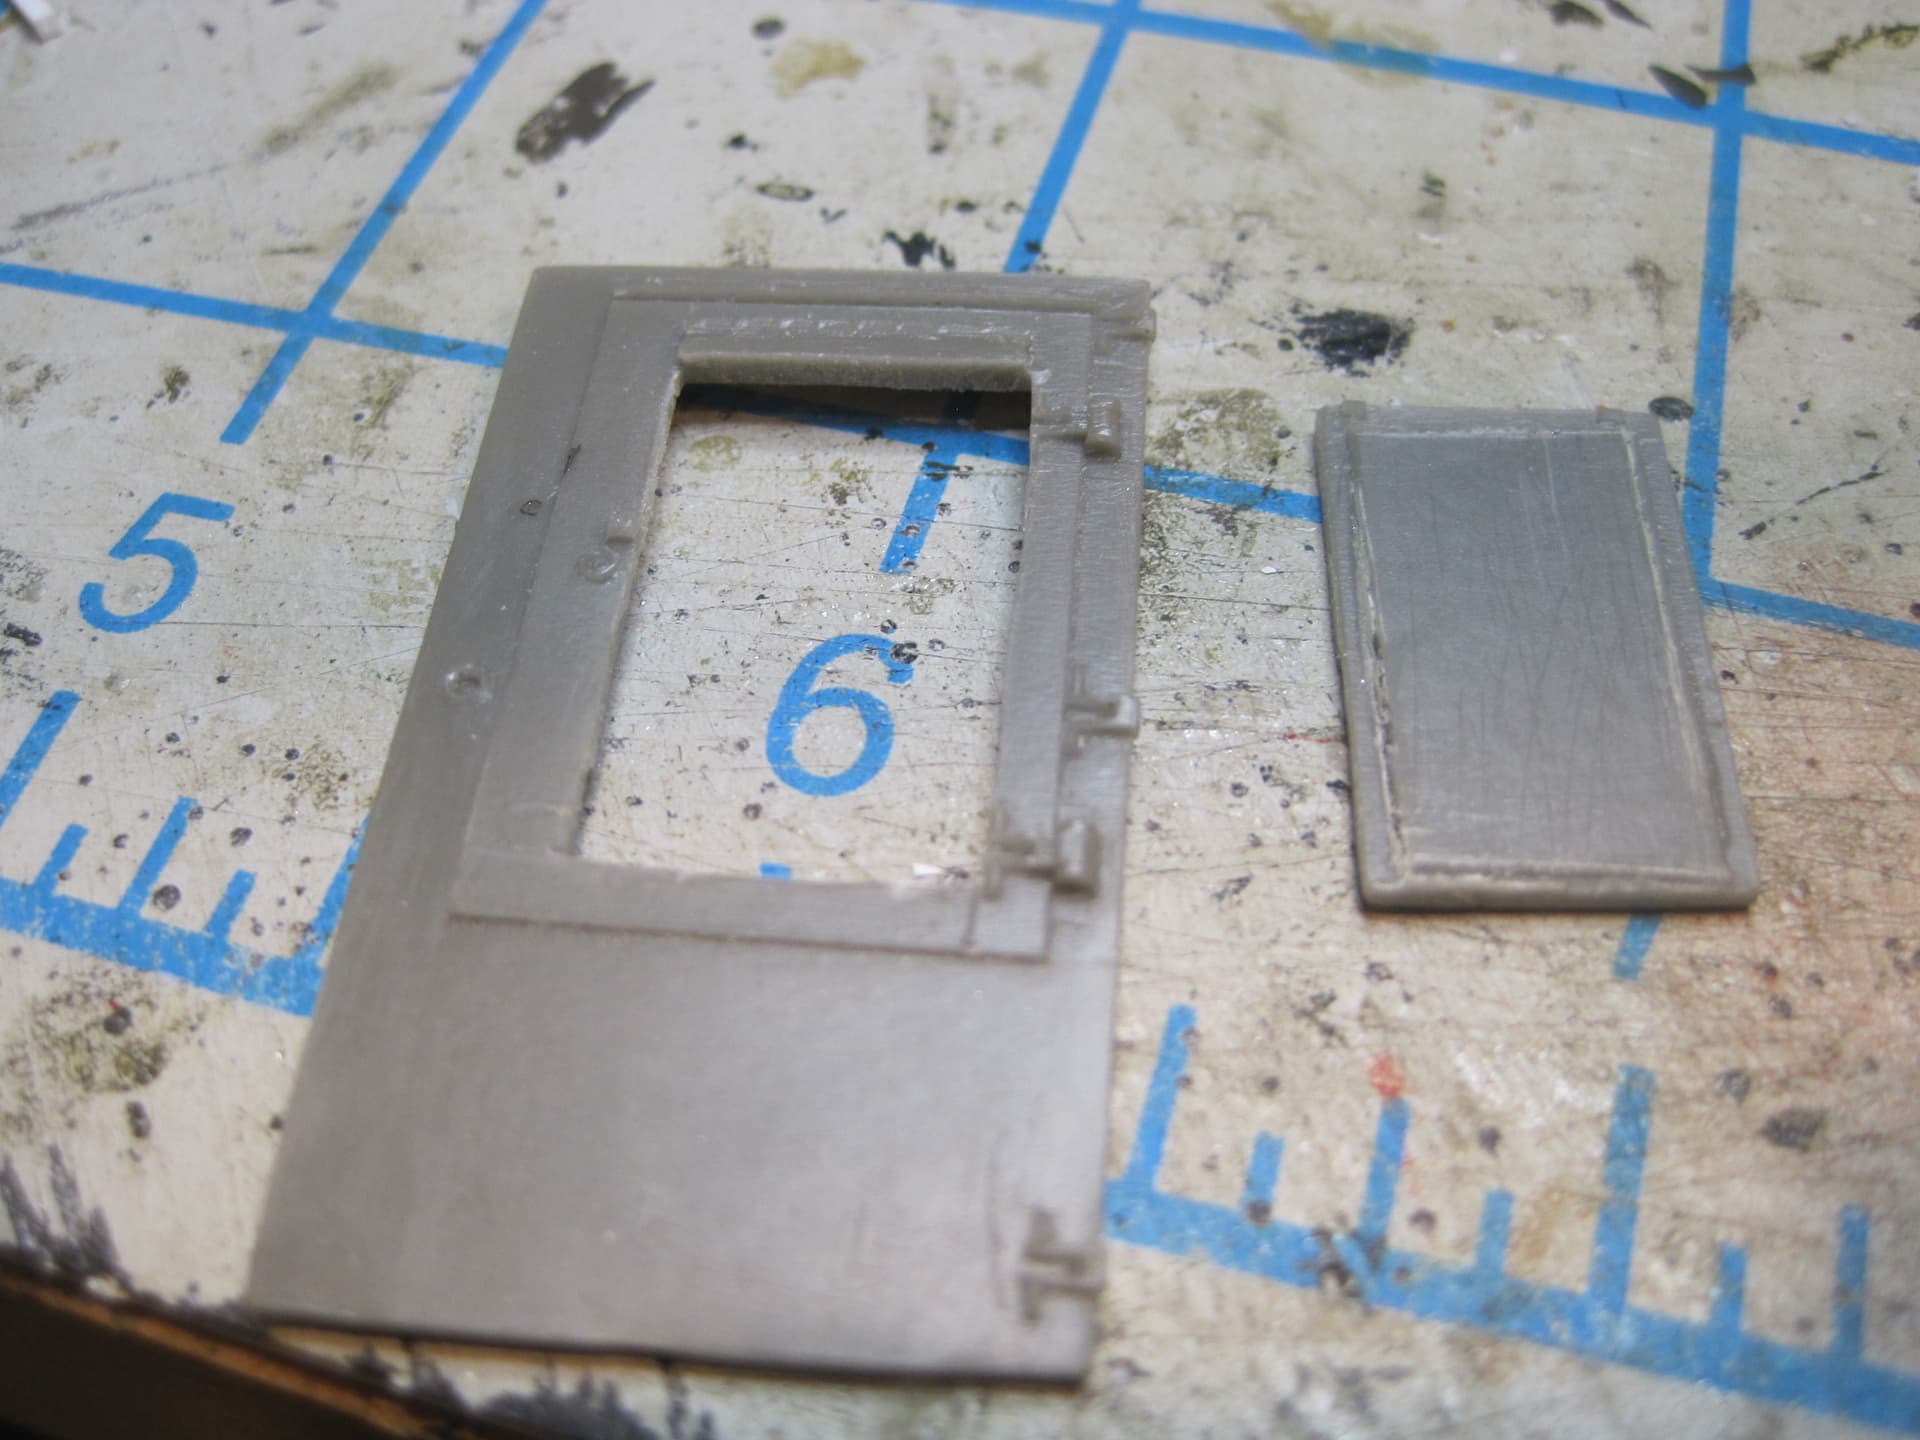
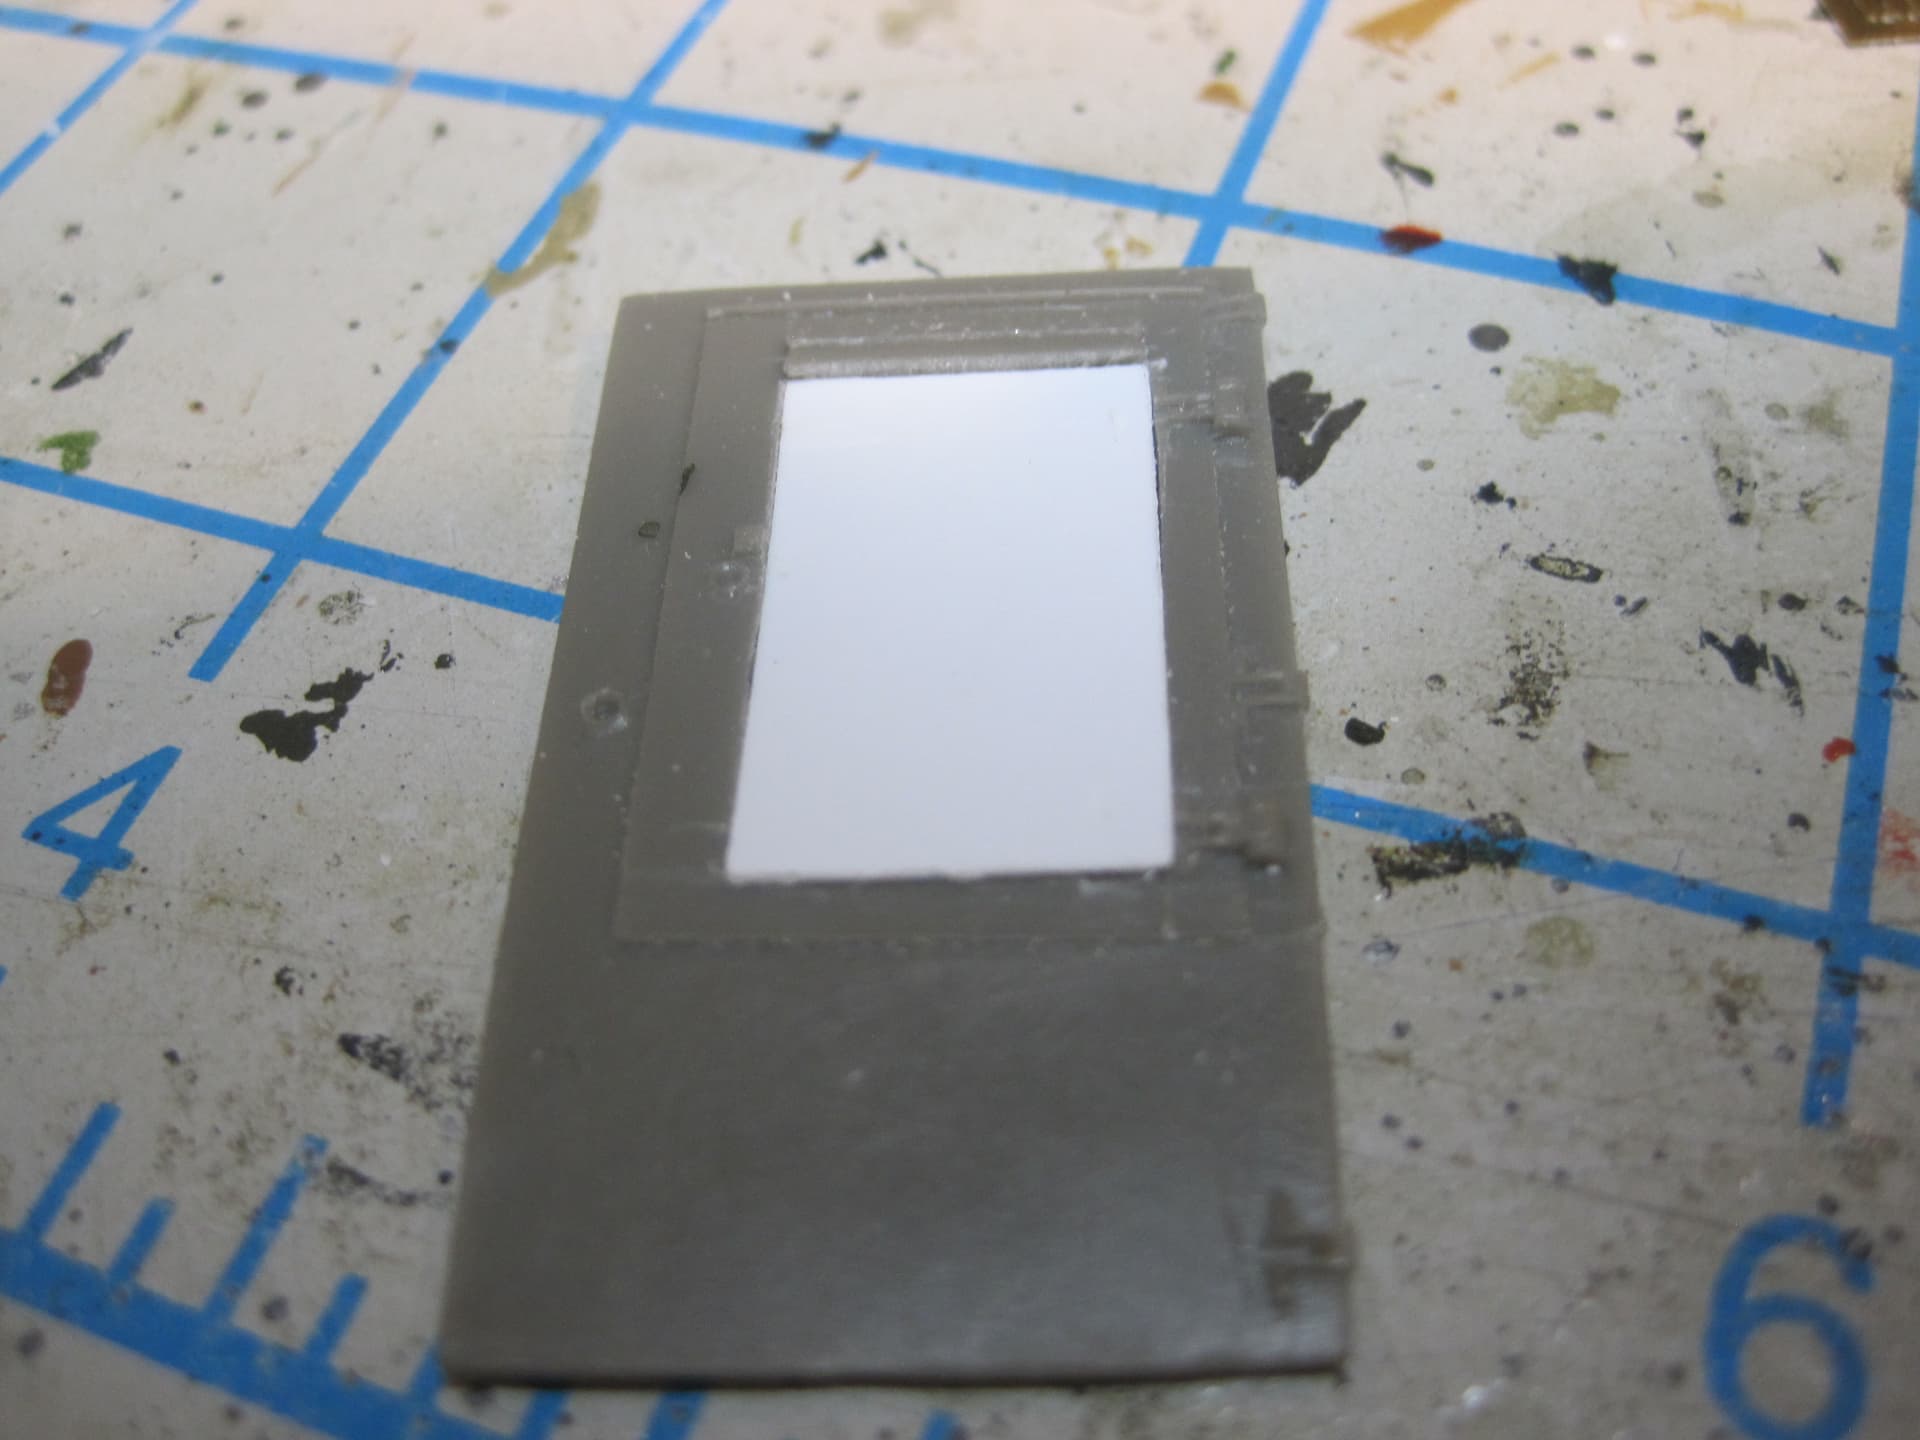
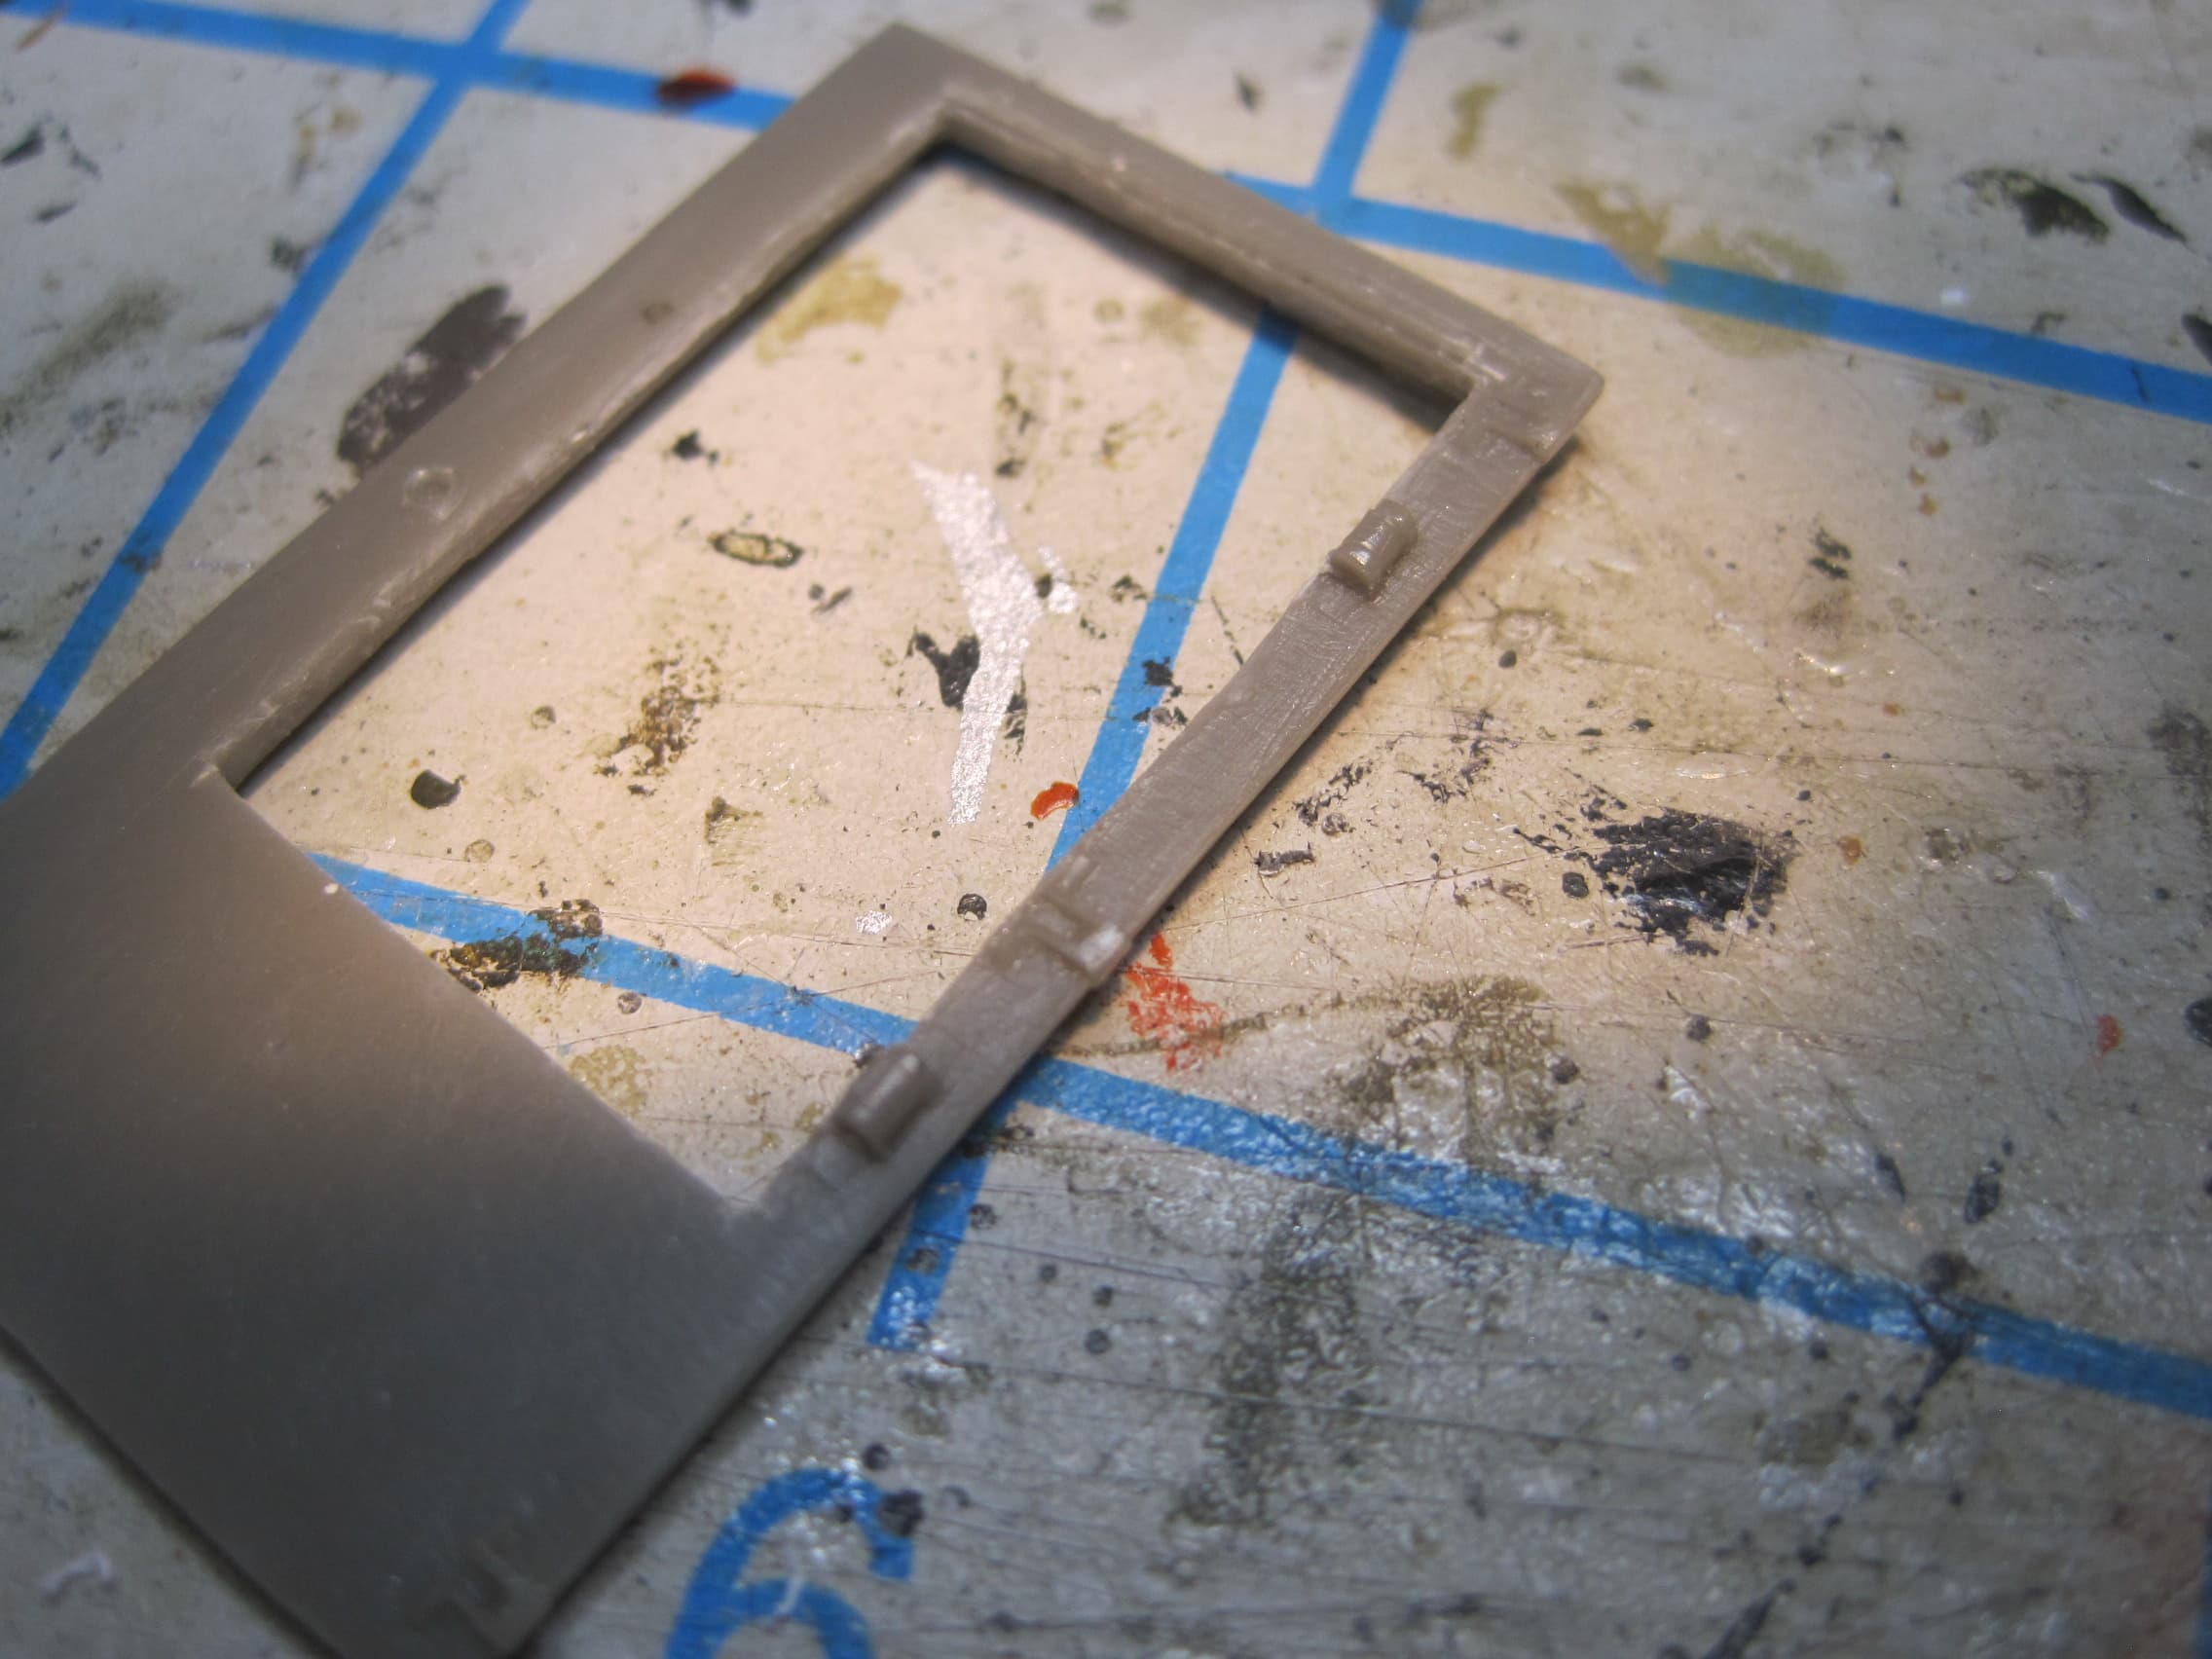
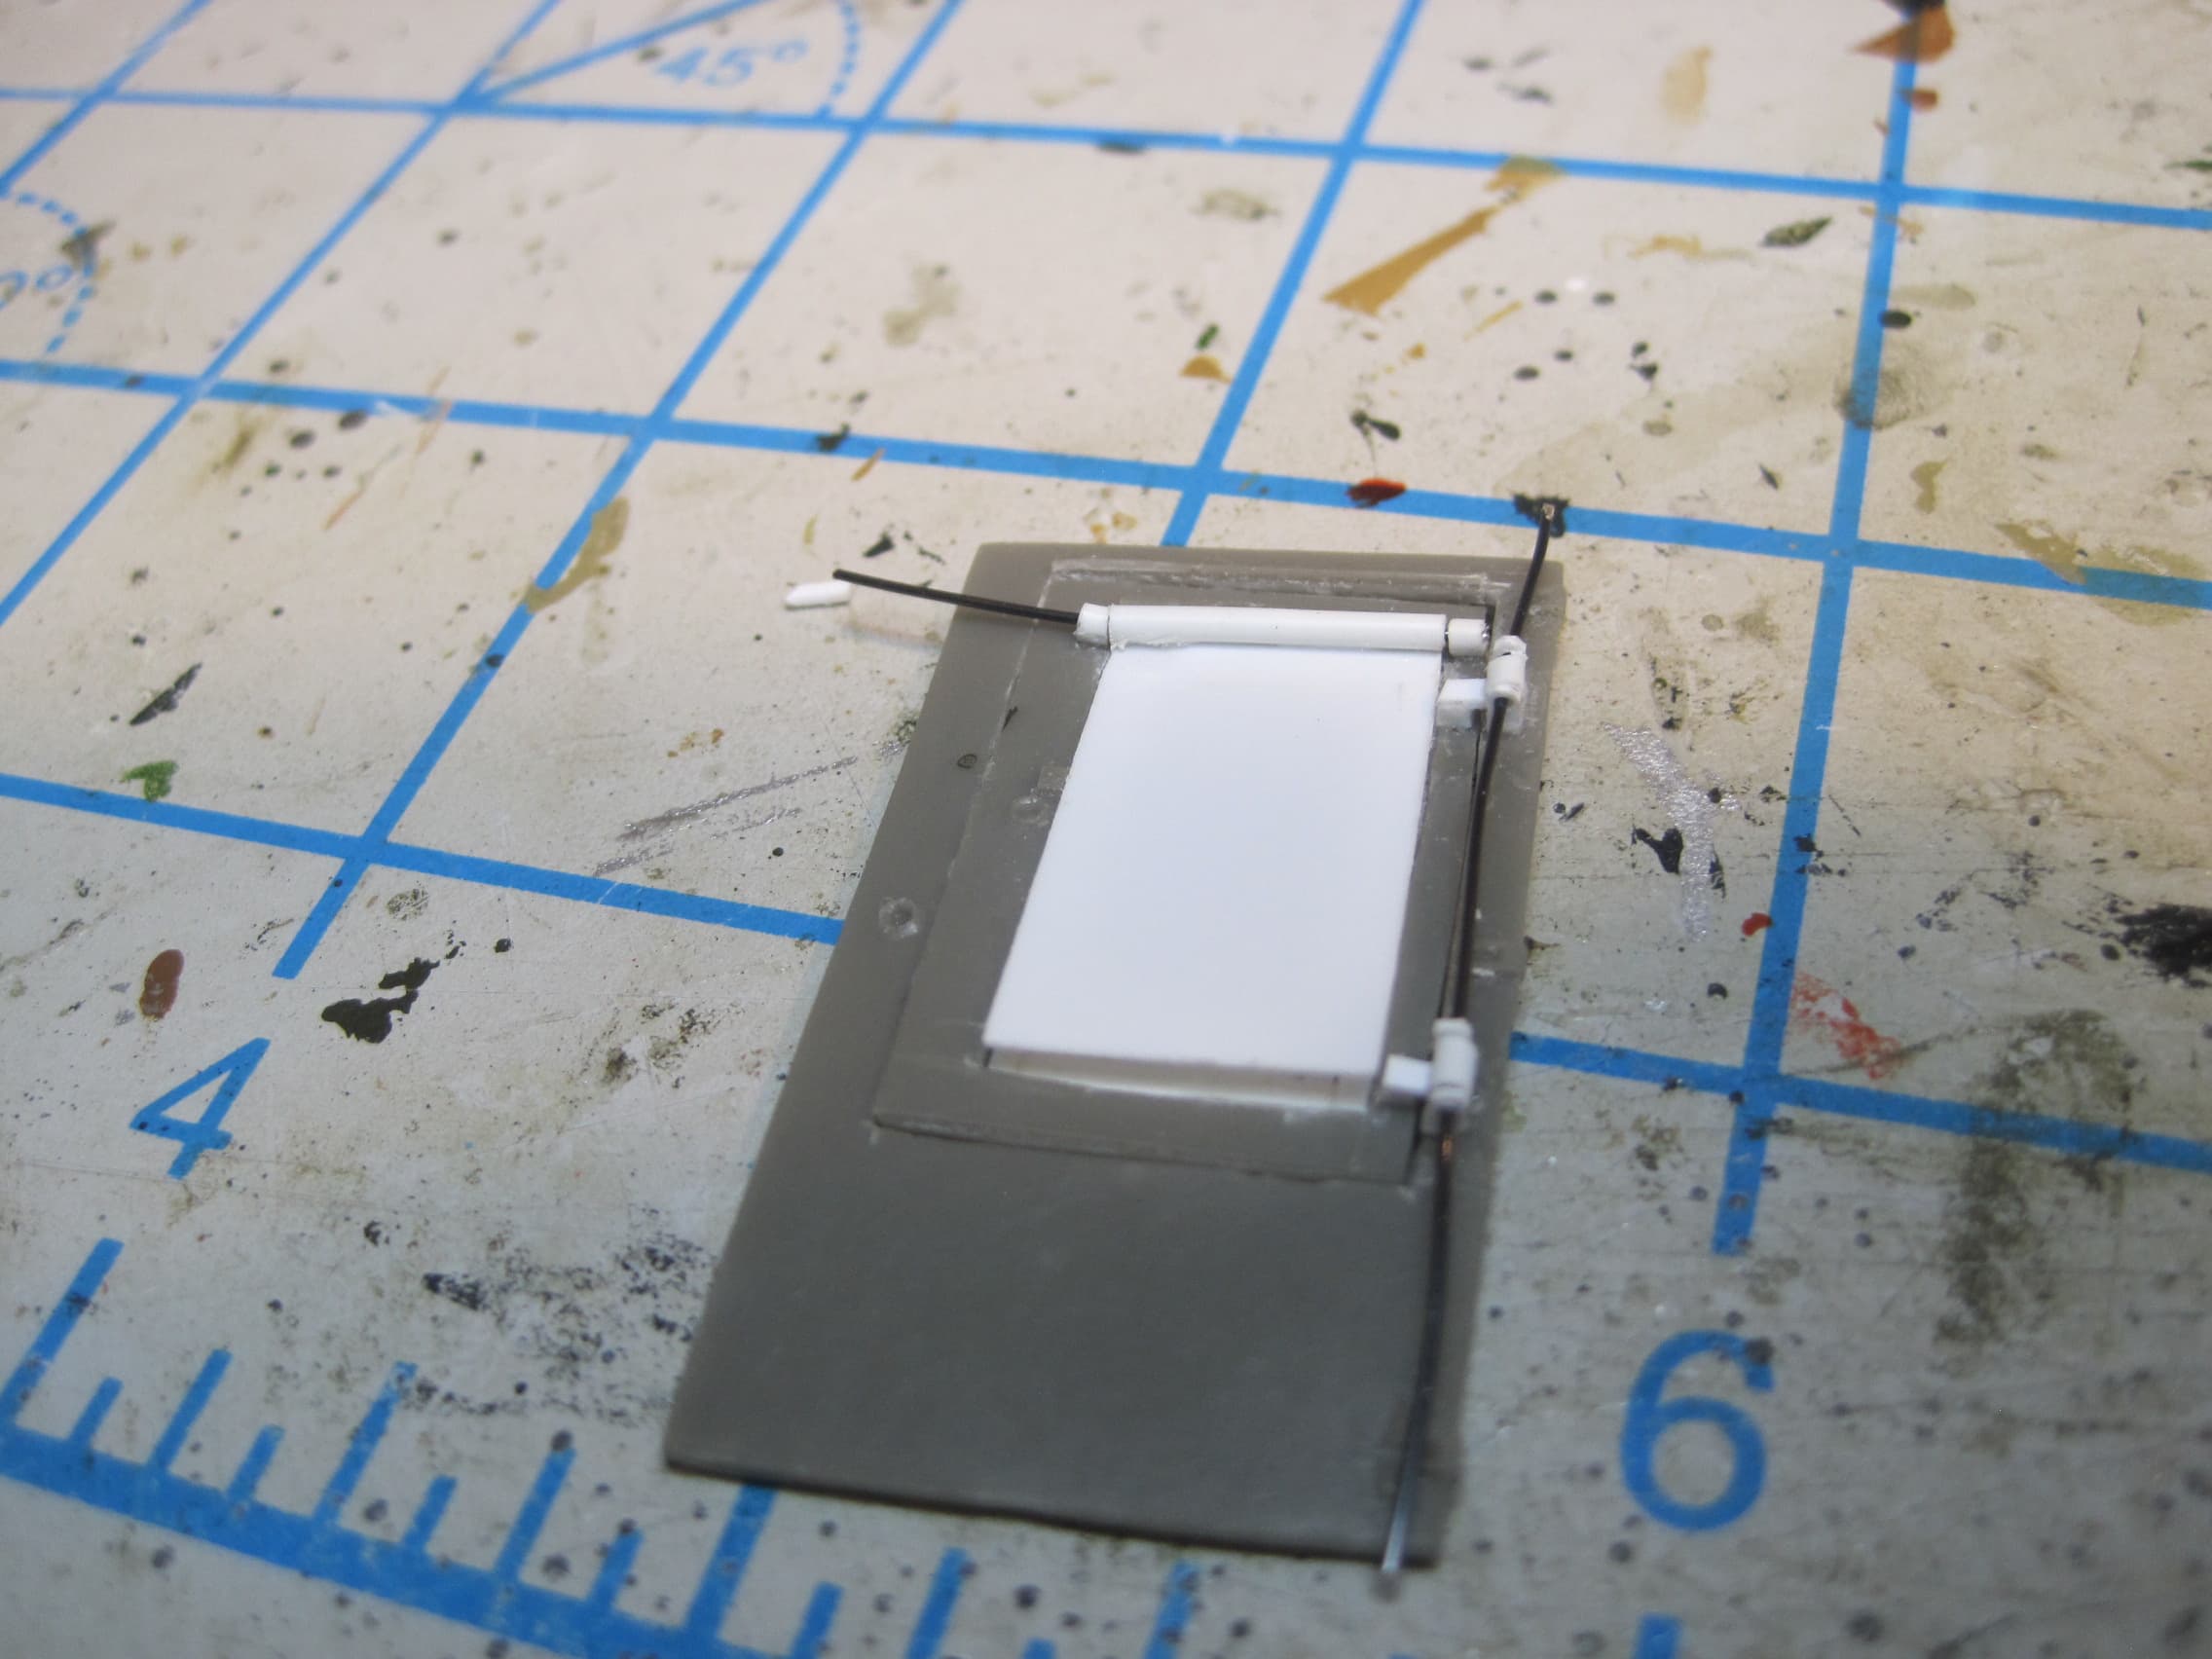
Next the smaller center door needs to be cut out.
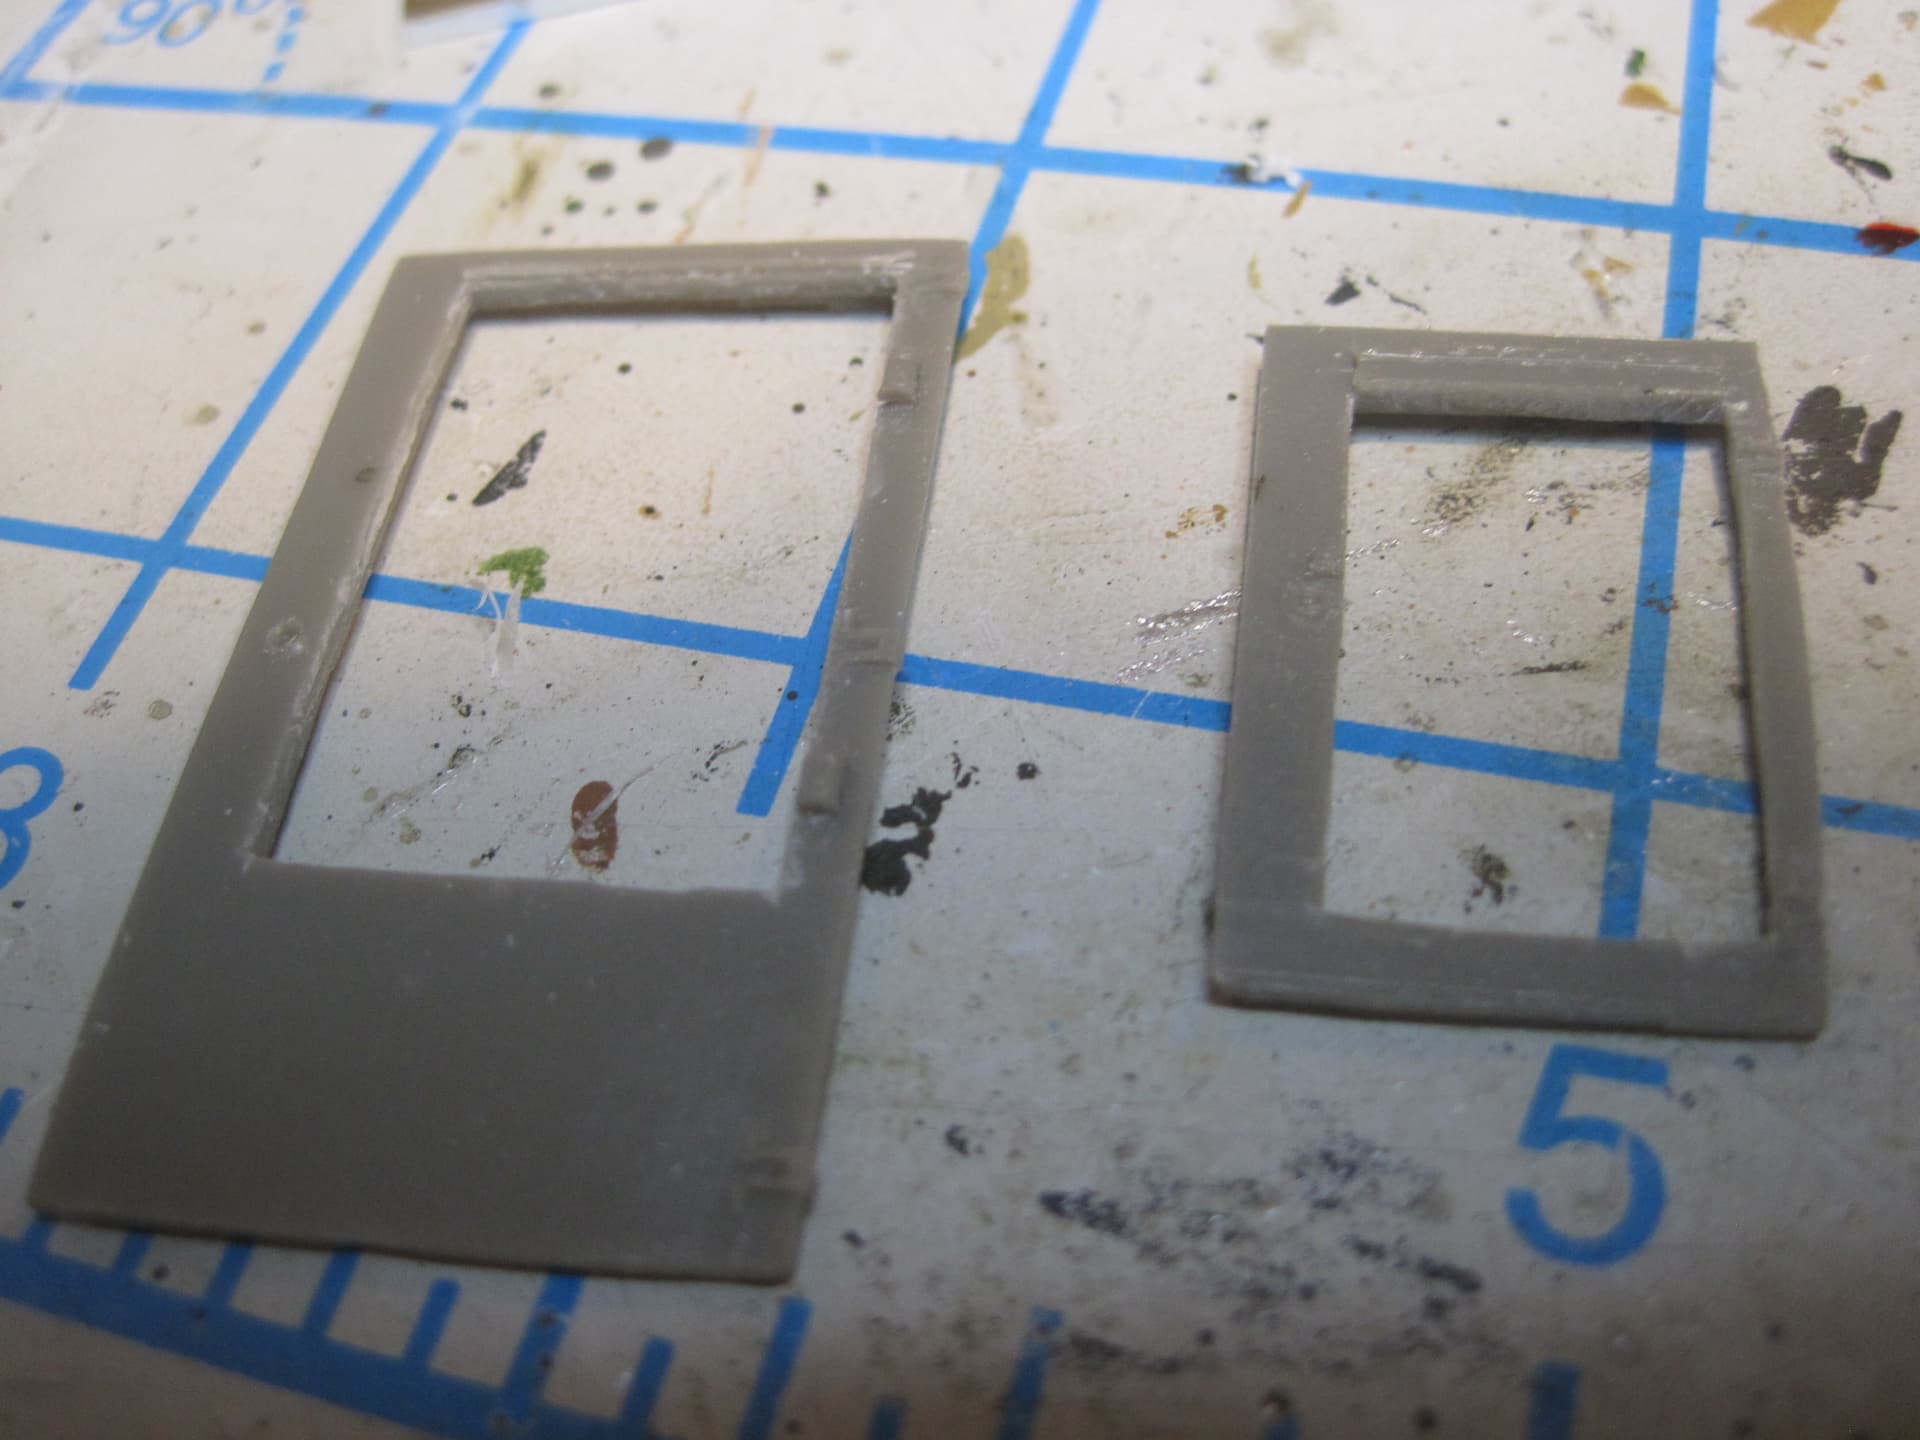
Then the hinge for the filter cover is made:
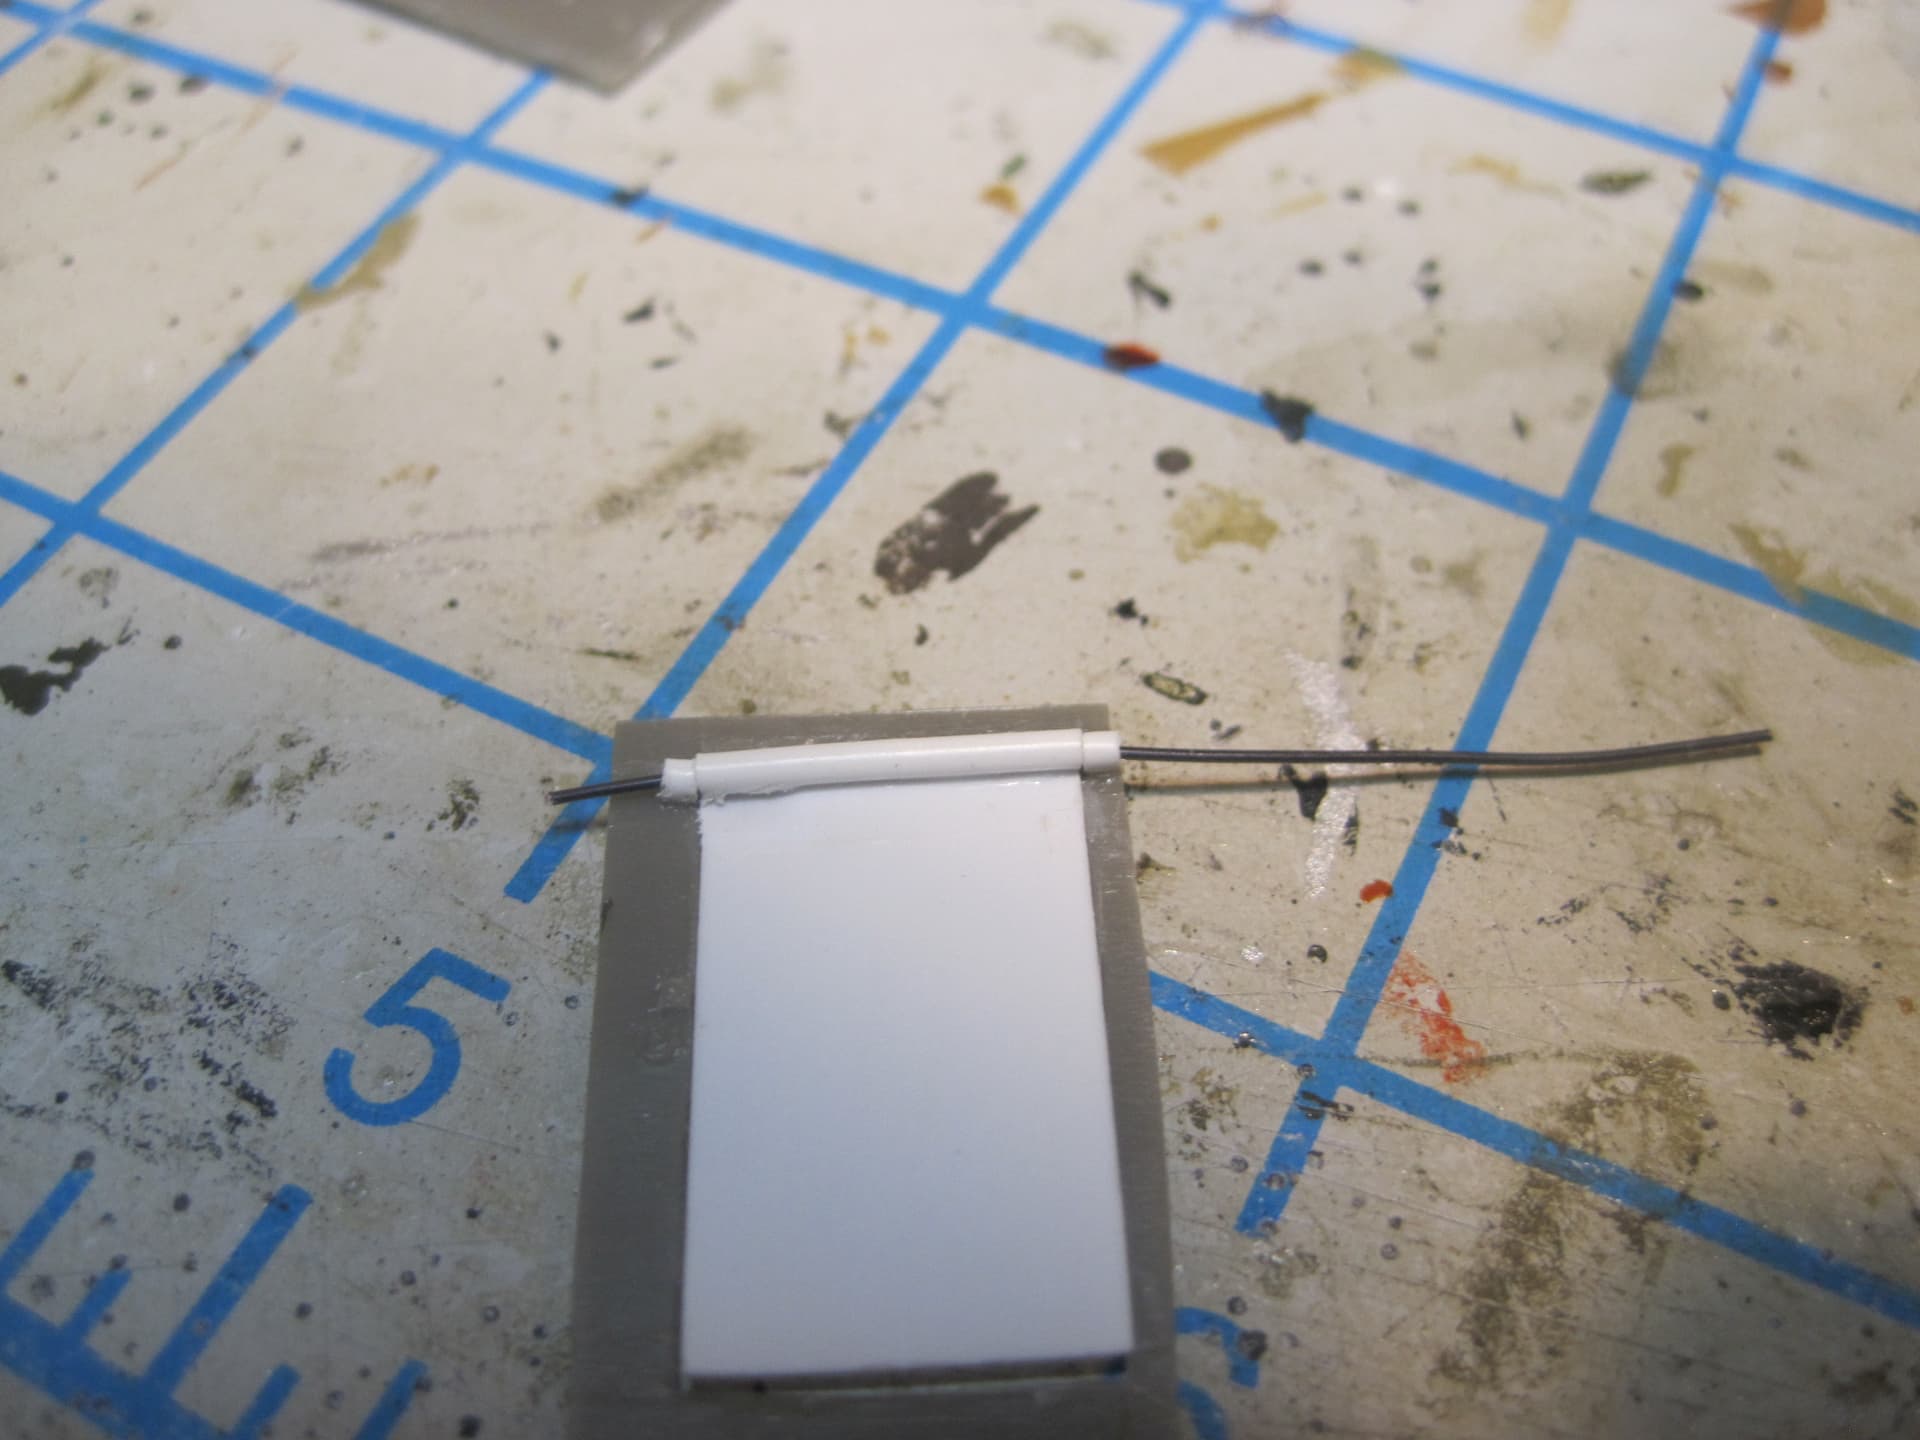


And then the hinges for the inner door.
Tomorrow I’ll tackle the opening and cover for the heater and the hinges for the outer door.
3 Likes
As I’ve been doing this project and the research, it almost seems like every one of these shelters is unique! That’s made it somewhat difficult to get a consistent set of reference photos to work with since almost every one of these rigs seems to be set up differently.
But I found a good set all of the same vehicle on the Prime Portal website, which seems to match pretty well what I’m planning to build so I’m pretty much going to go with that since I really have NO idea exactly how the RTT rigs in my old unit were actually set up.
Once I settled on the design I wanted, I realized that I had to make a few more modifications to the shelter so today I concentrated on those.
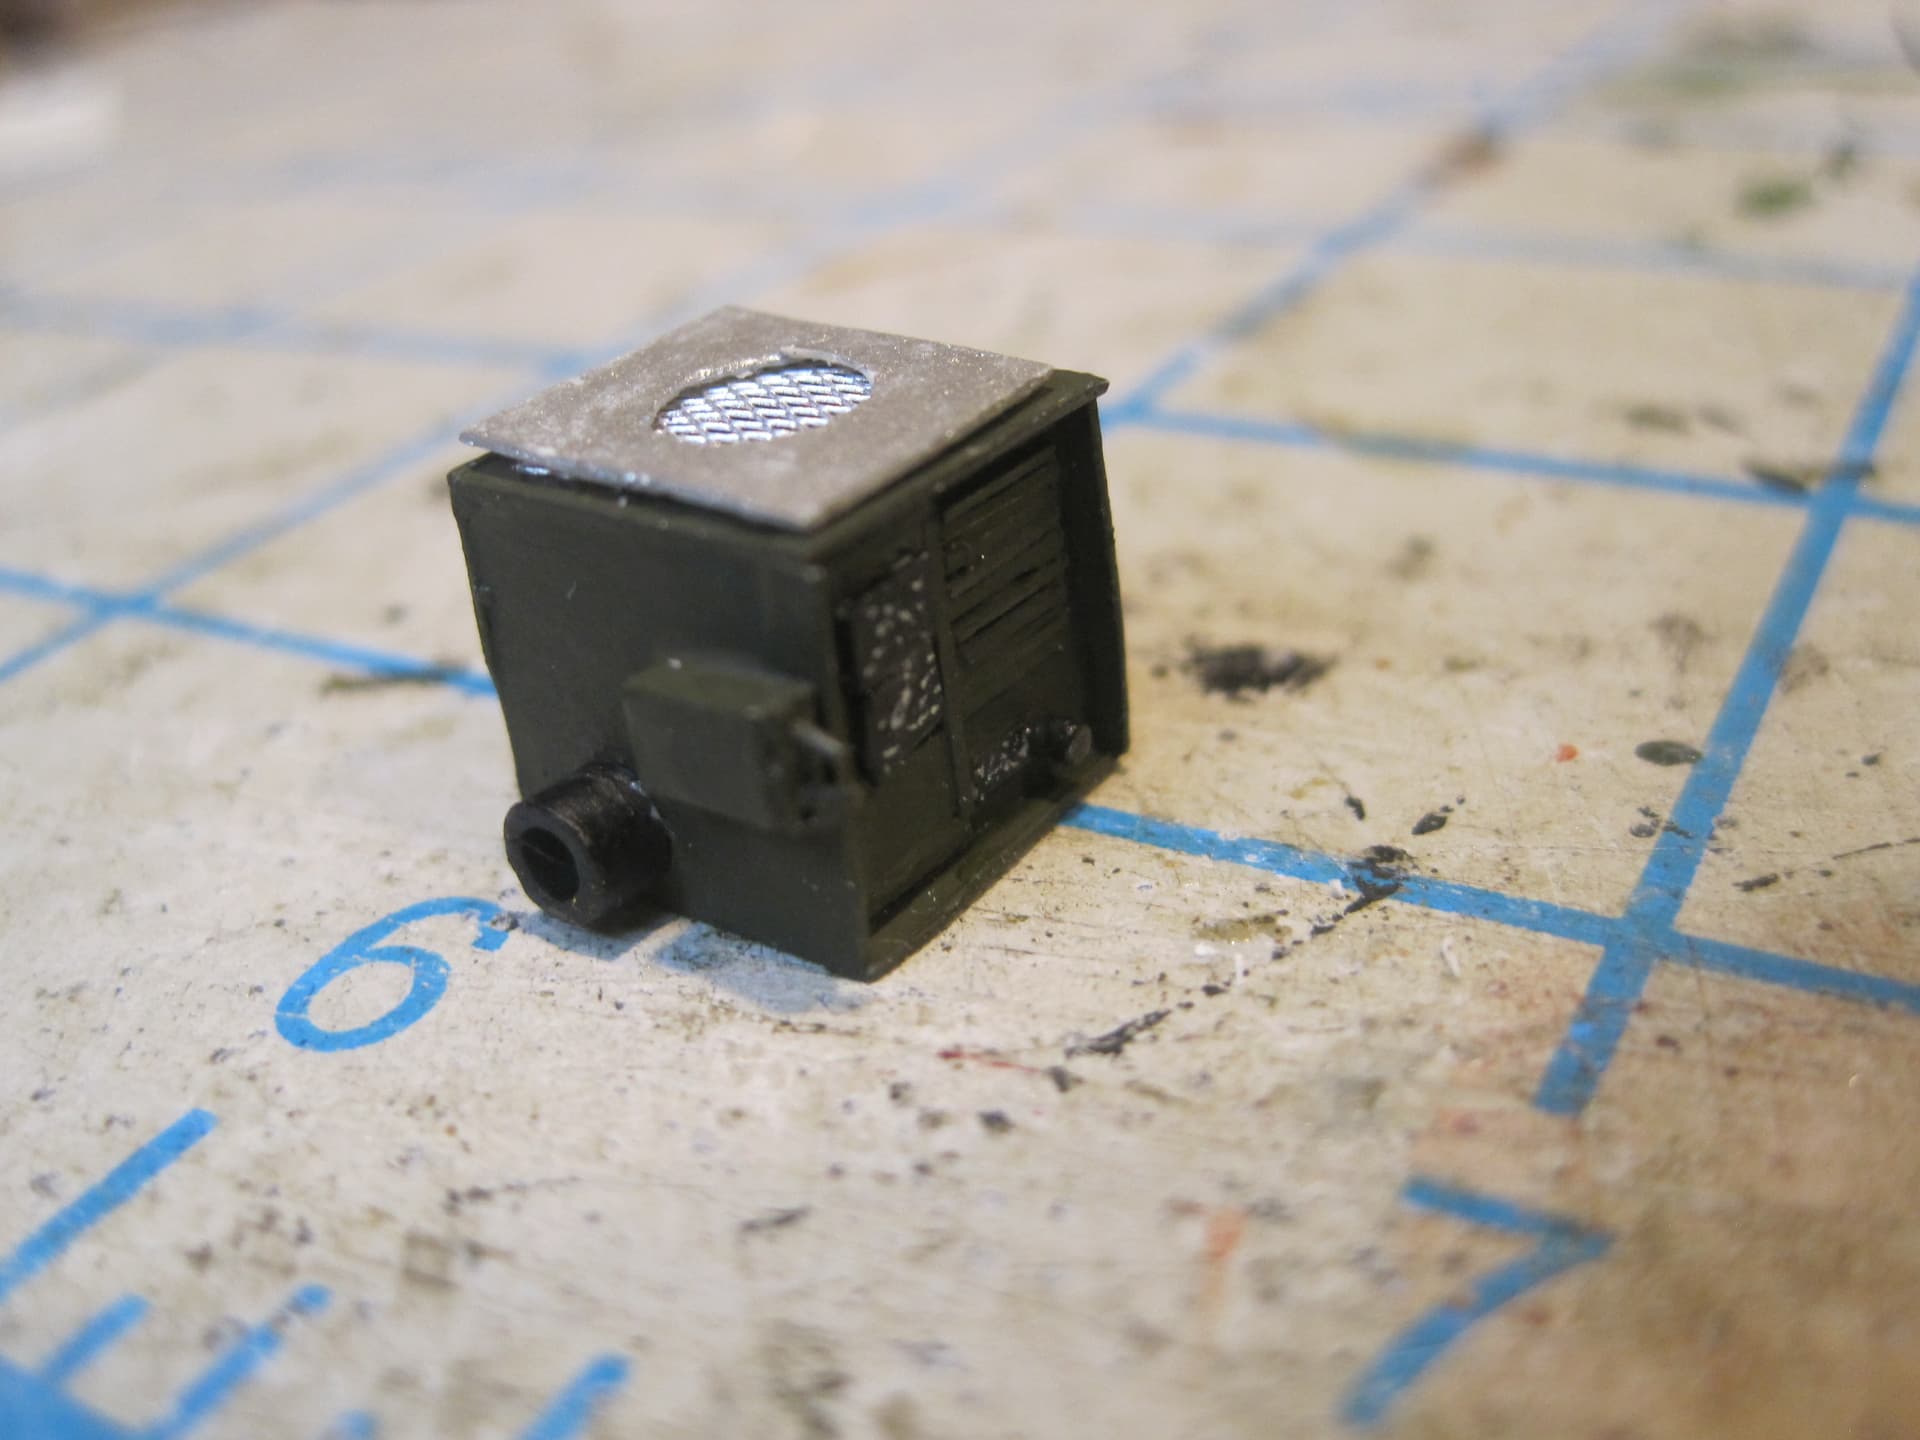
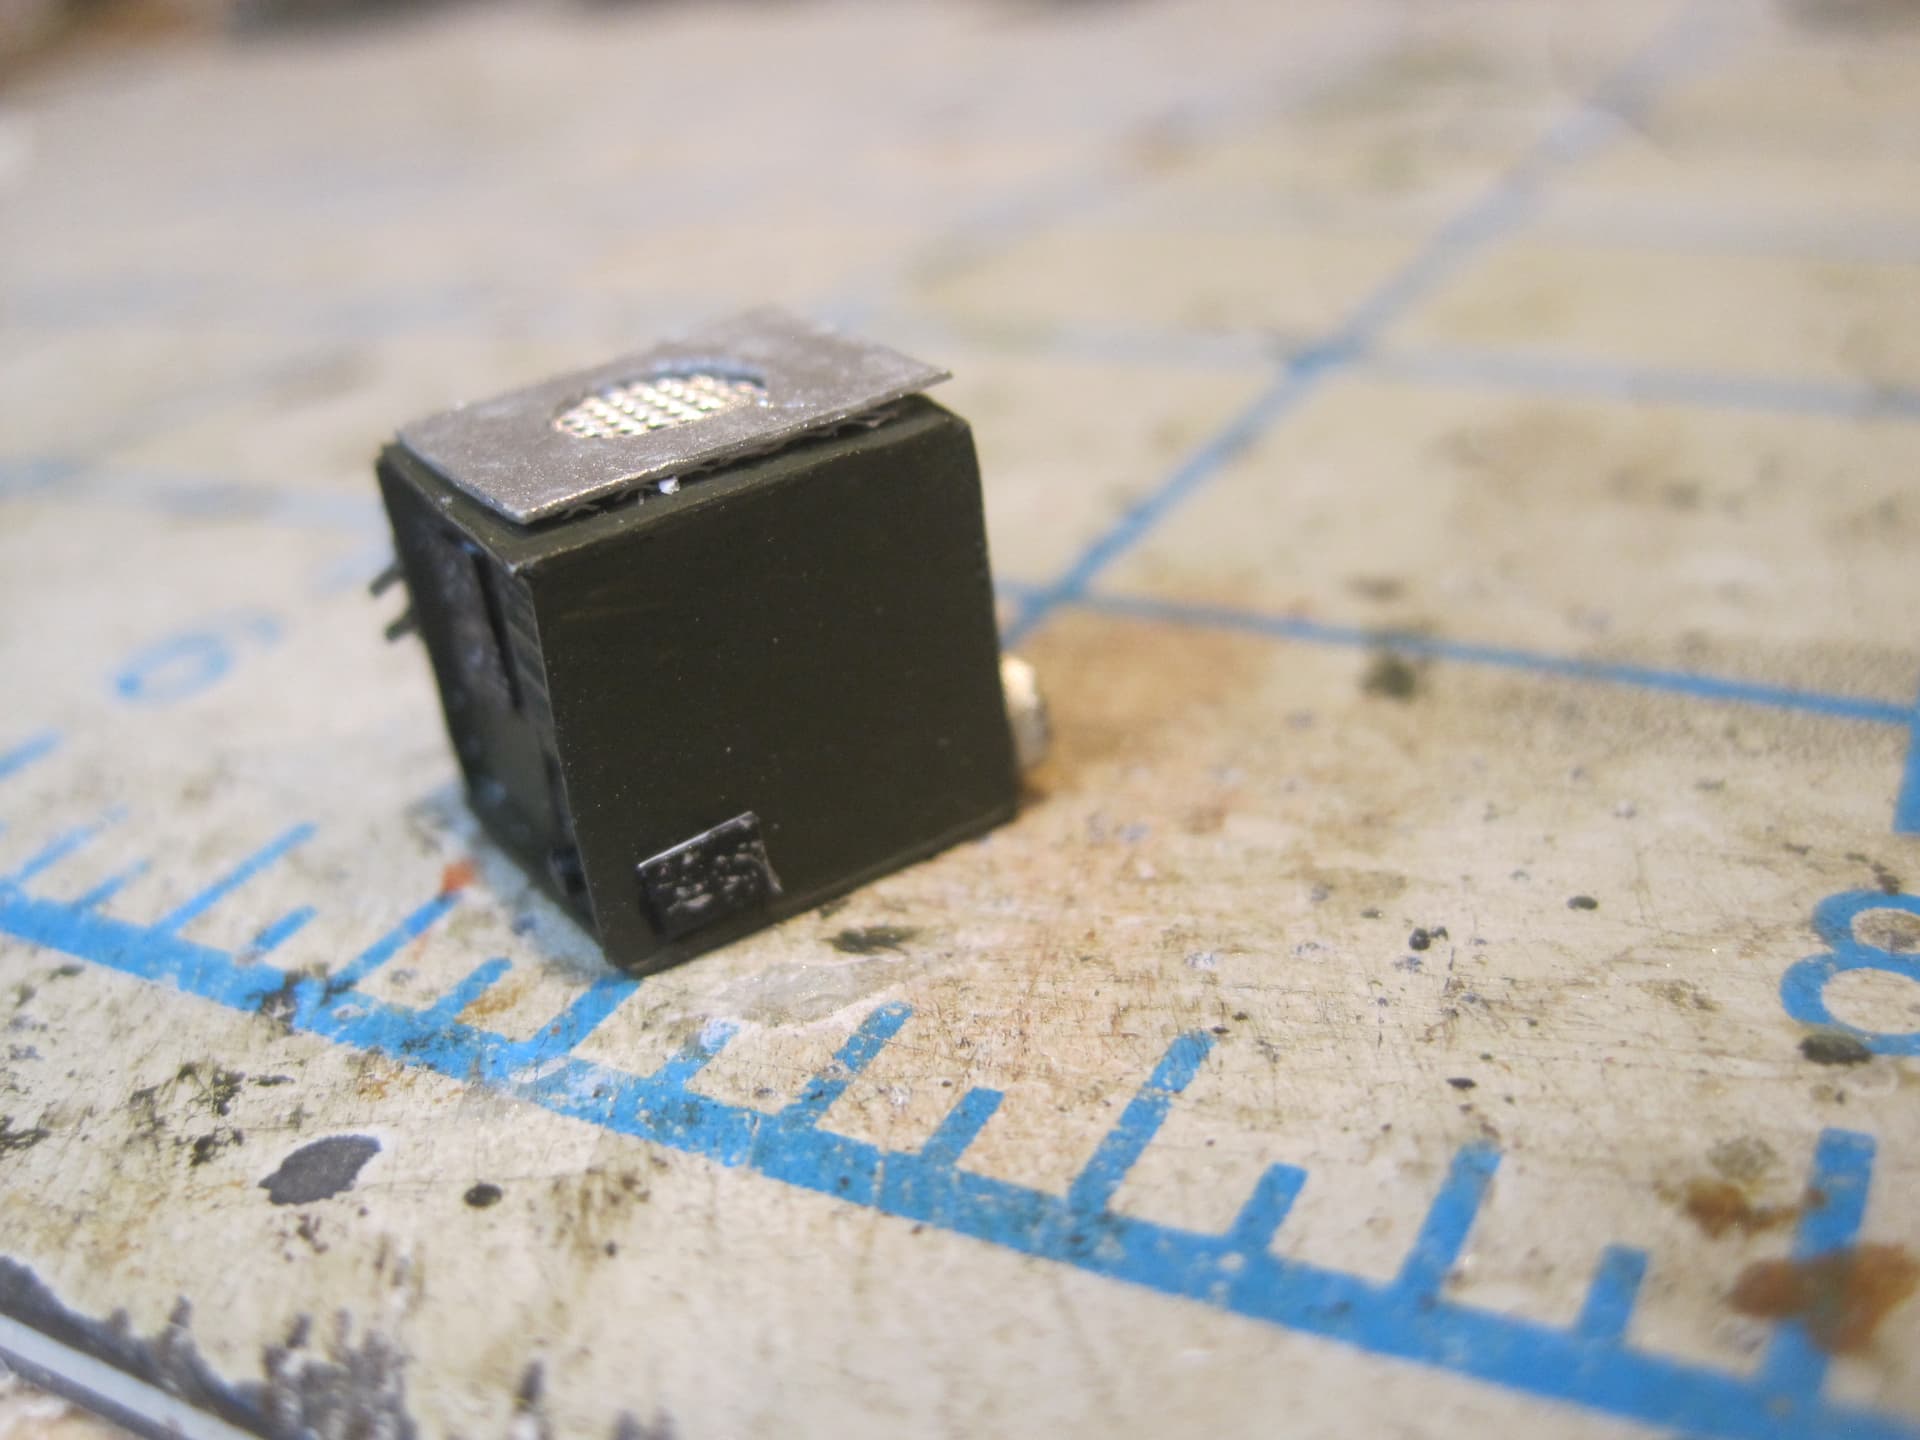
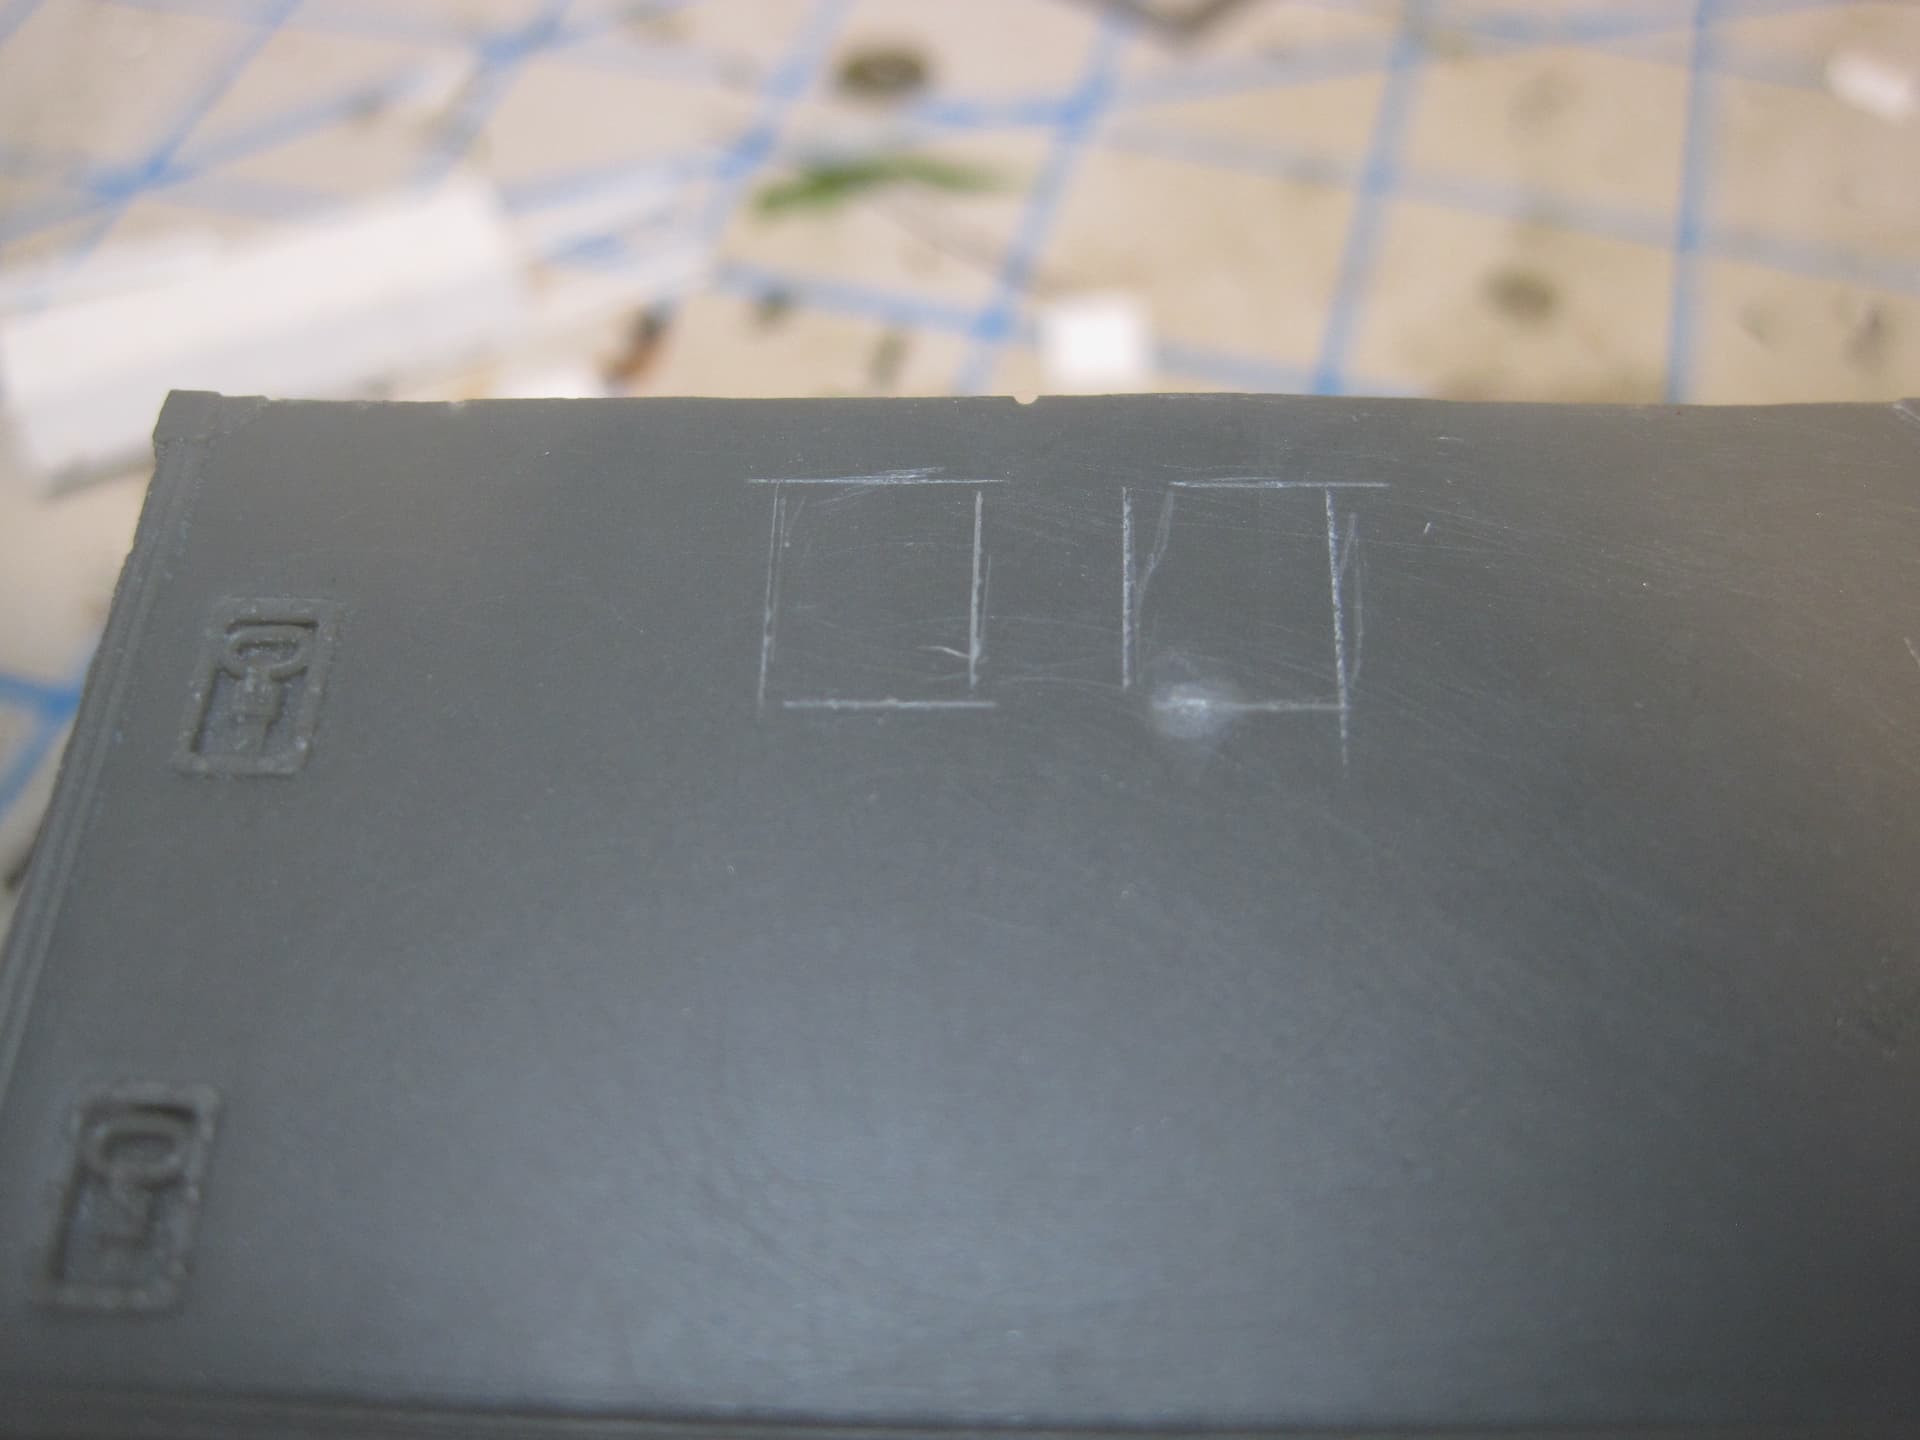
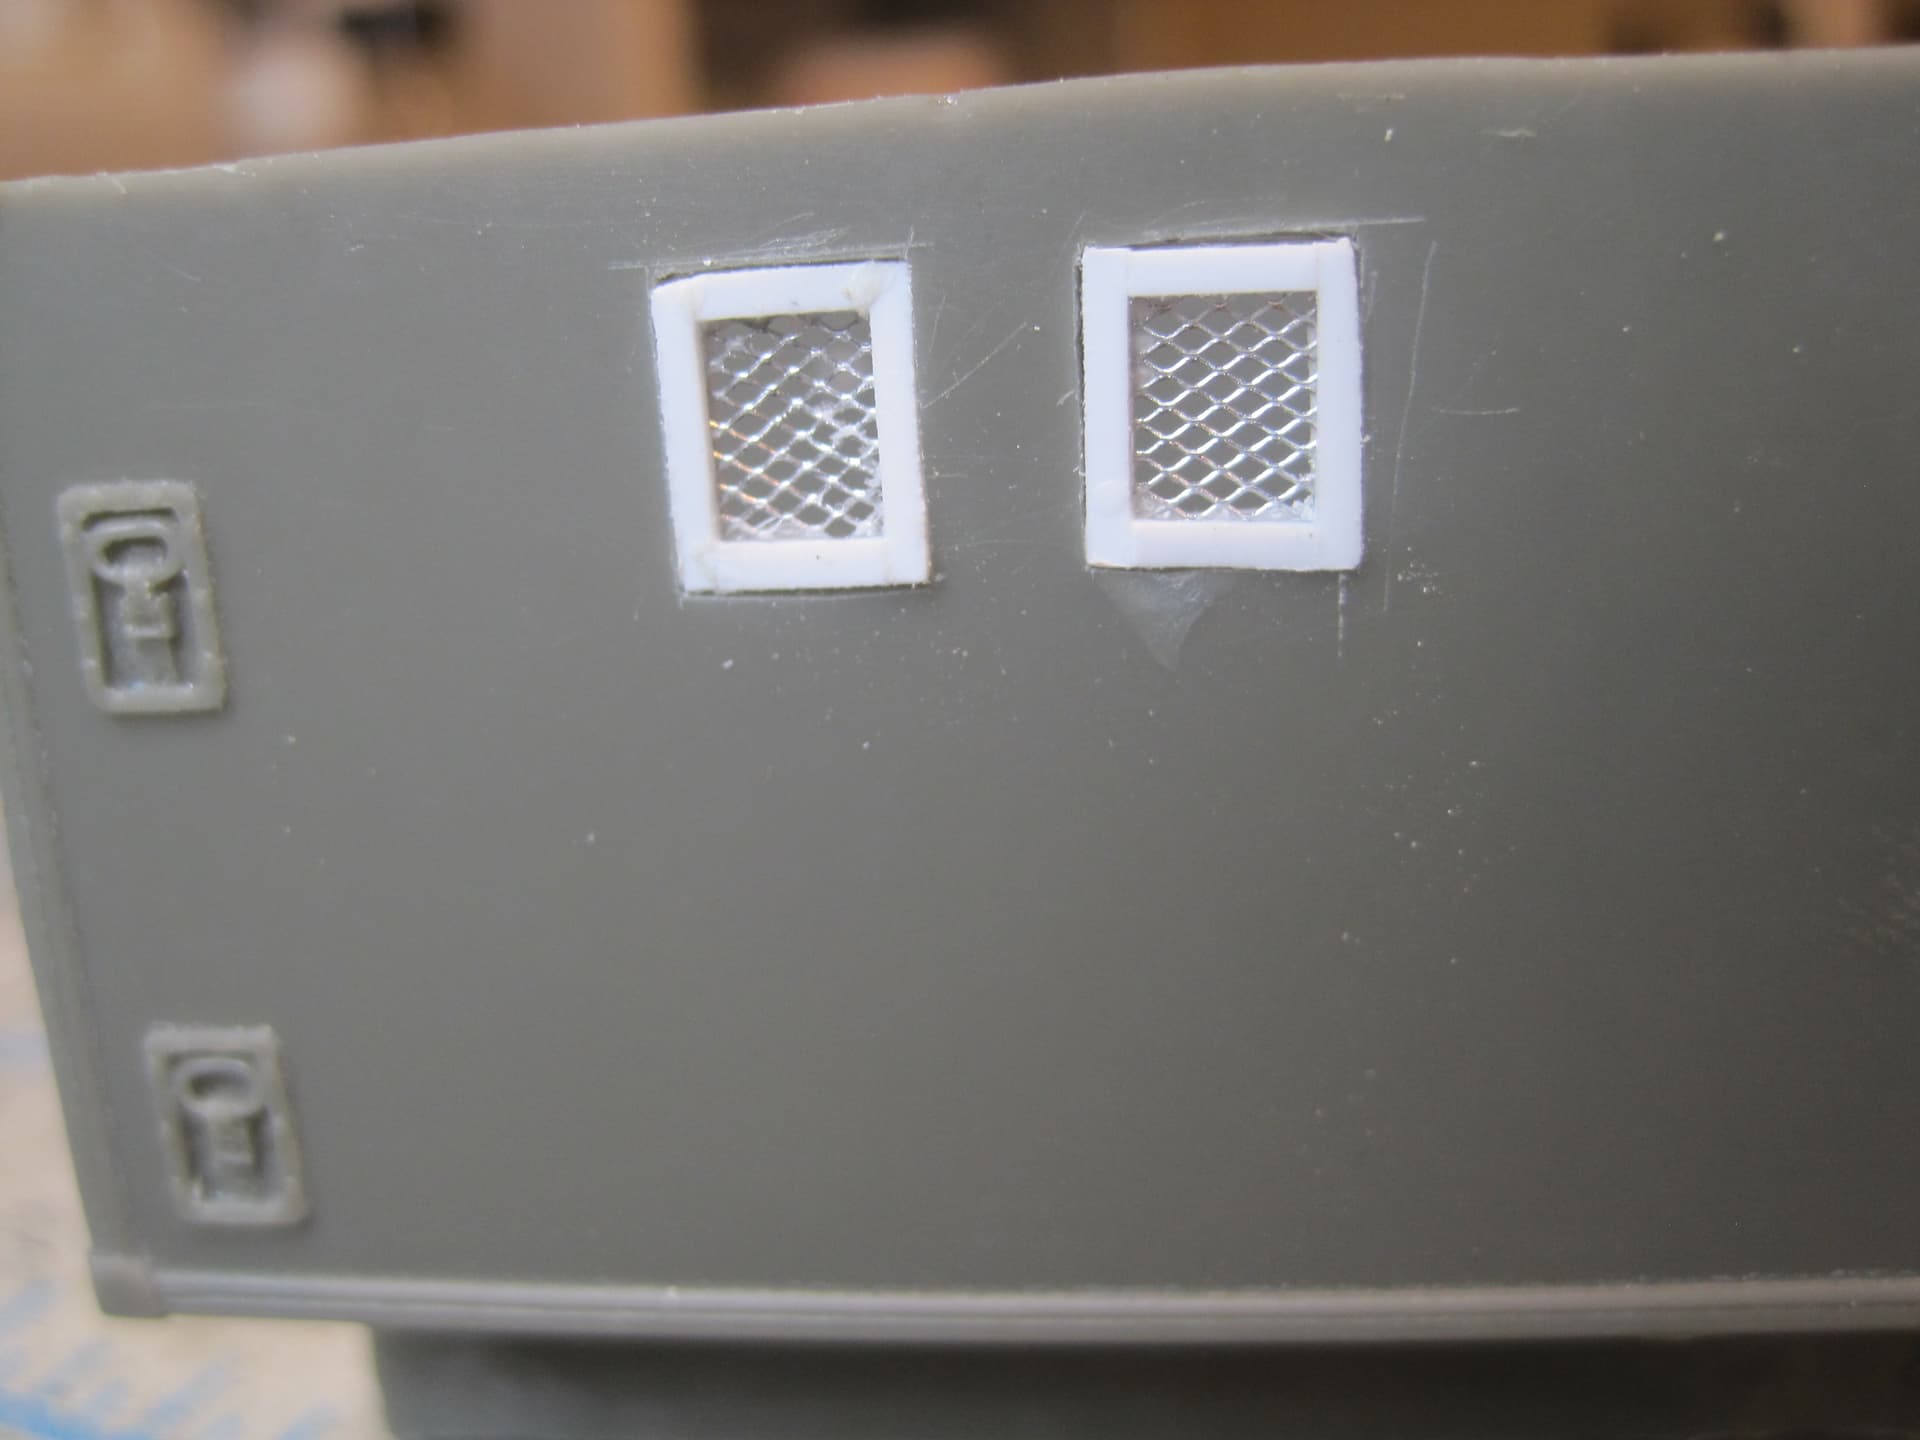
First up was to make the inlet and outlet holes for the heater, as well as what appear to be the covers.
There was a really good photo of the heater (all I had were the line drawings from the TM which weren’t all that helpful) and that showed me that I needed to not only add another opening for it on the back of the shelter, but it needed a screen on the top as well so I made those mods.


Next there is an opening on the LH side towards the front. I’m hoping that Rick Taylor can shed some light on what it is, but regardless, I’ve added it.
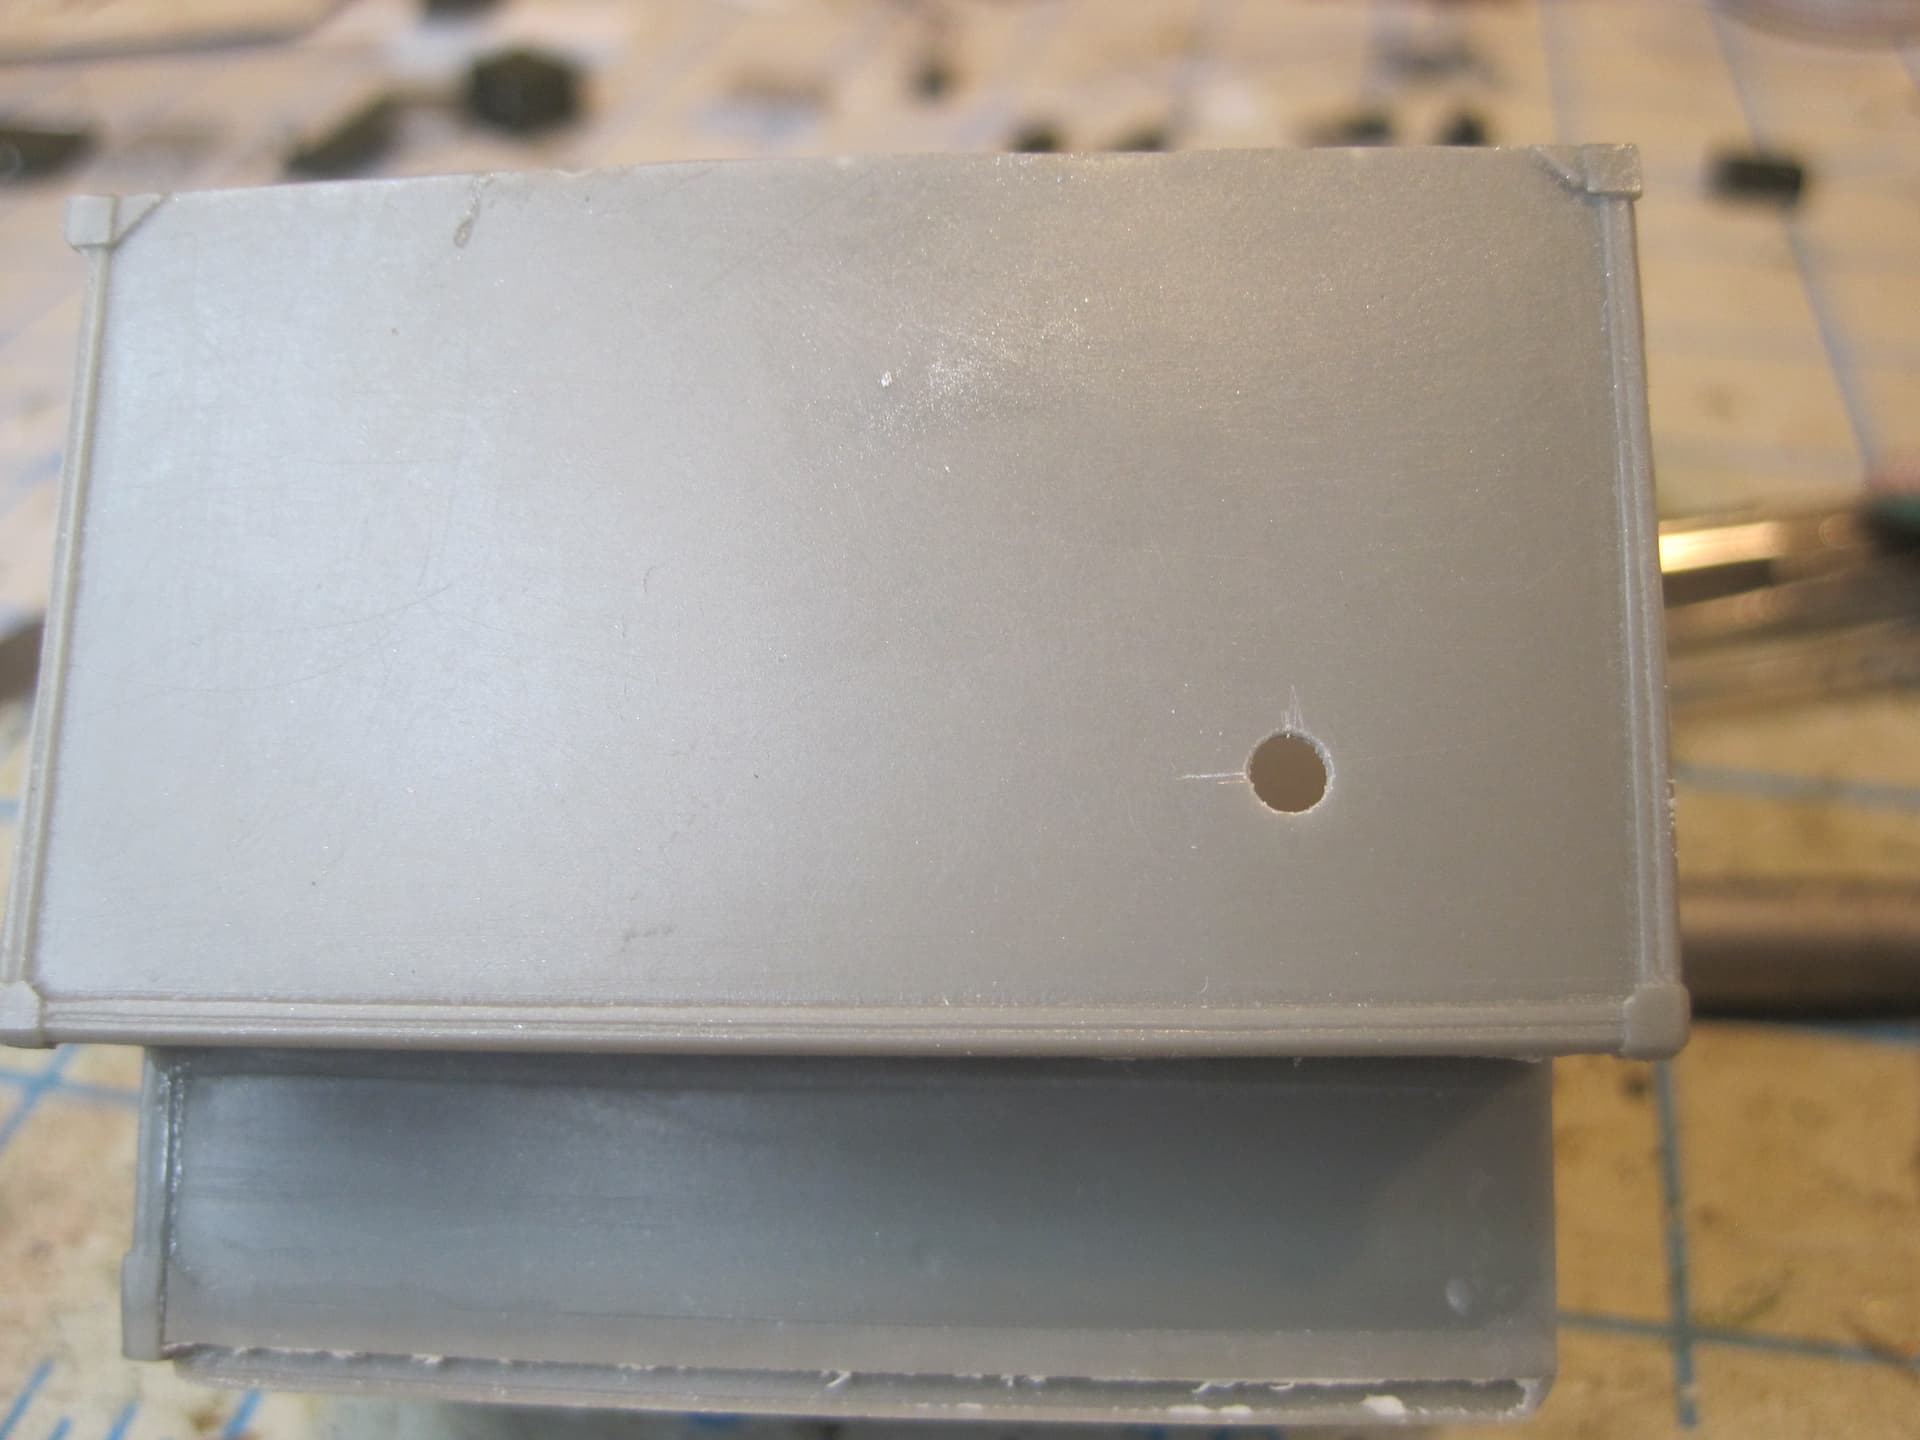


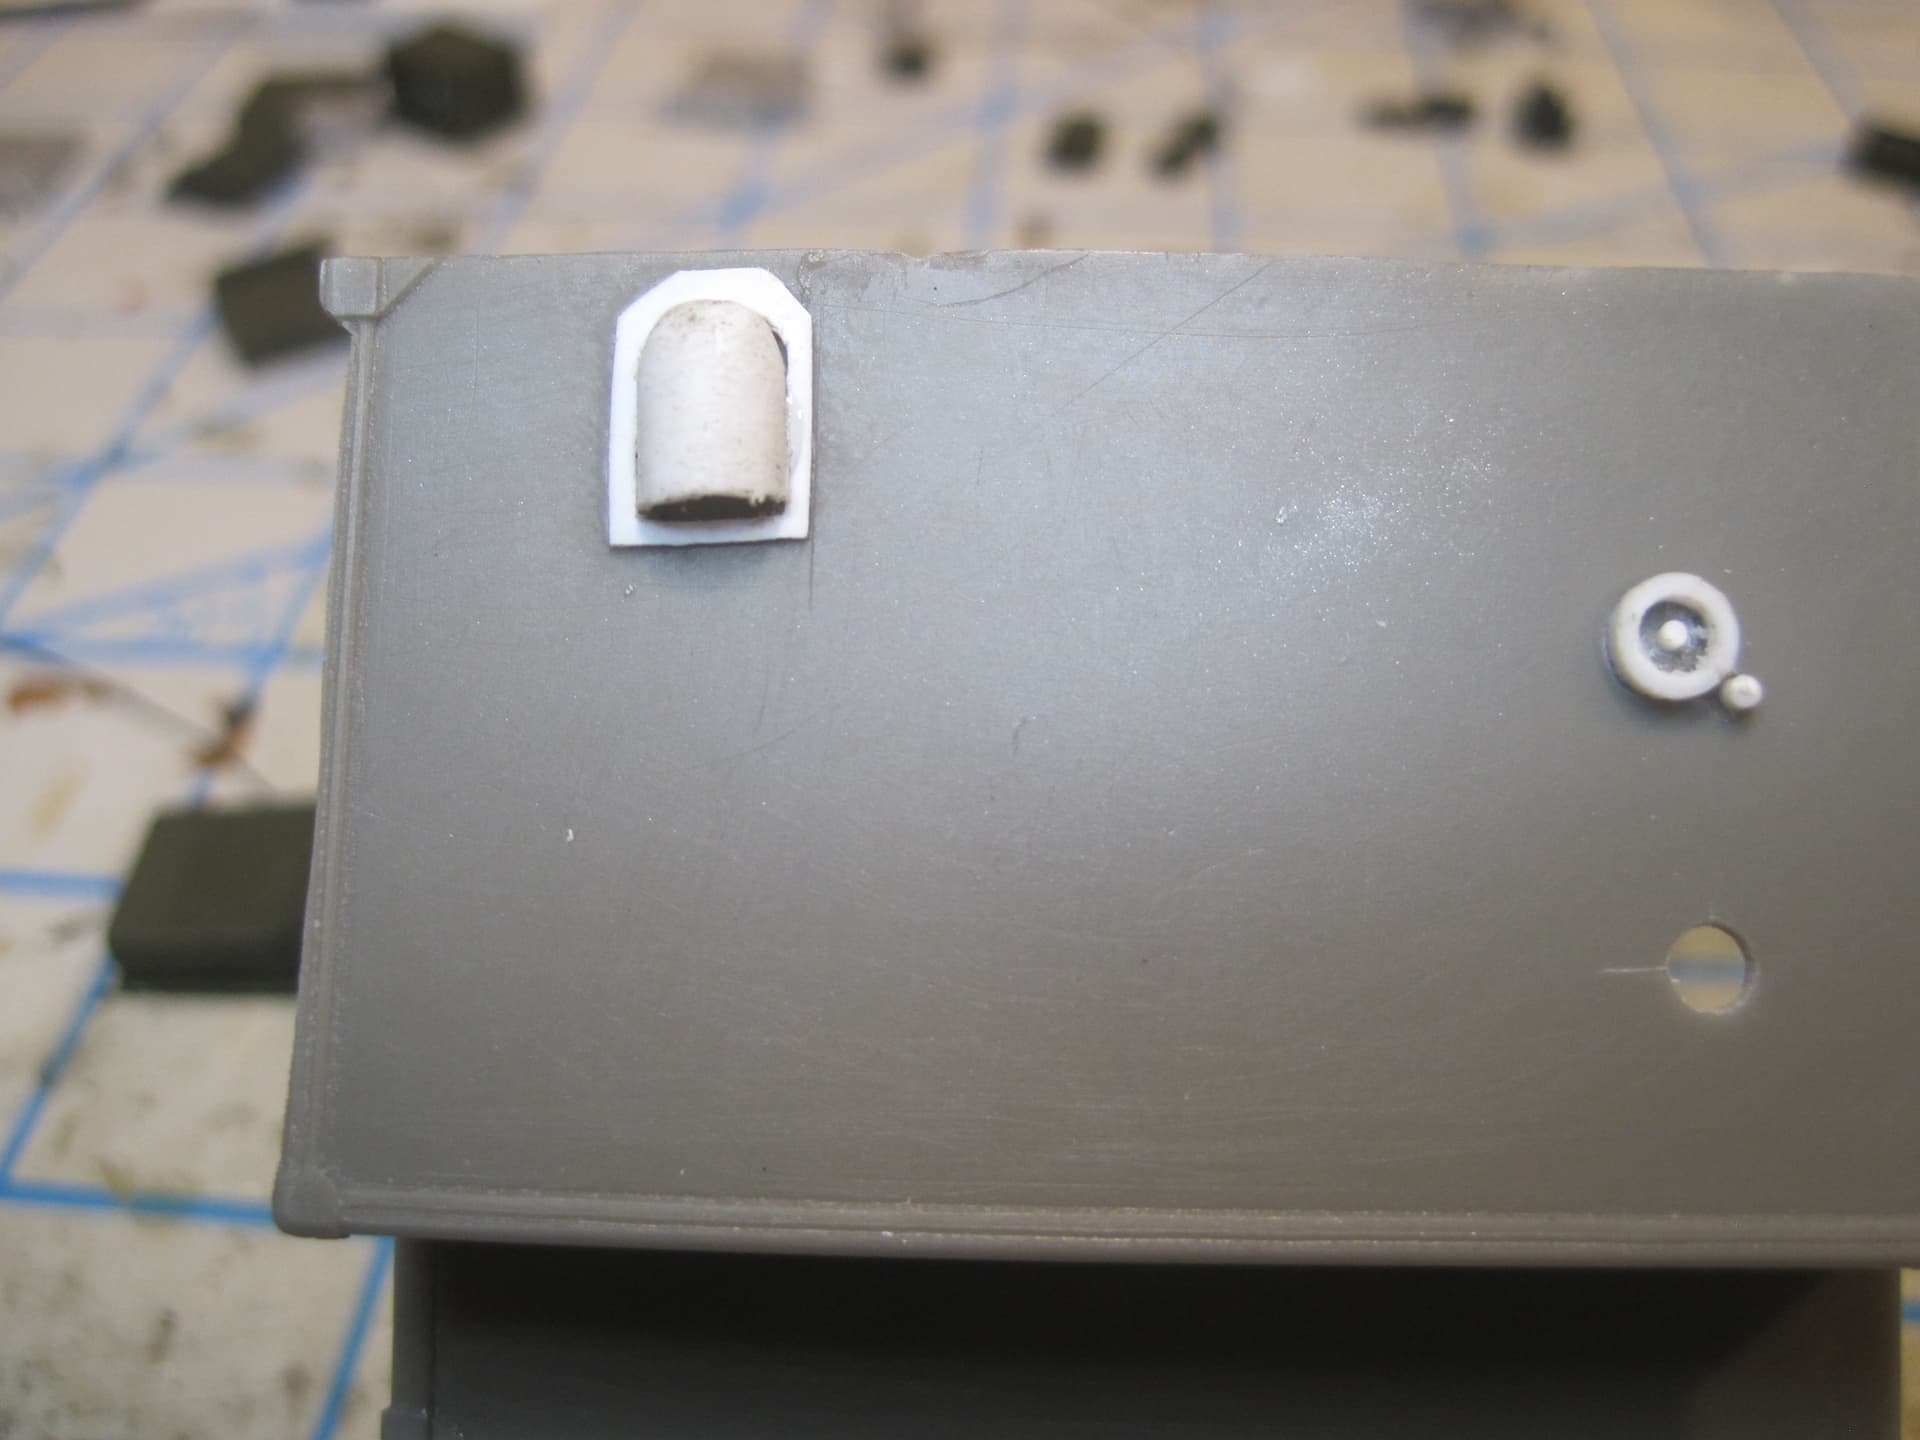
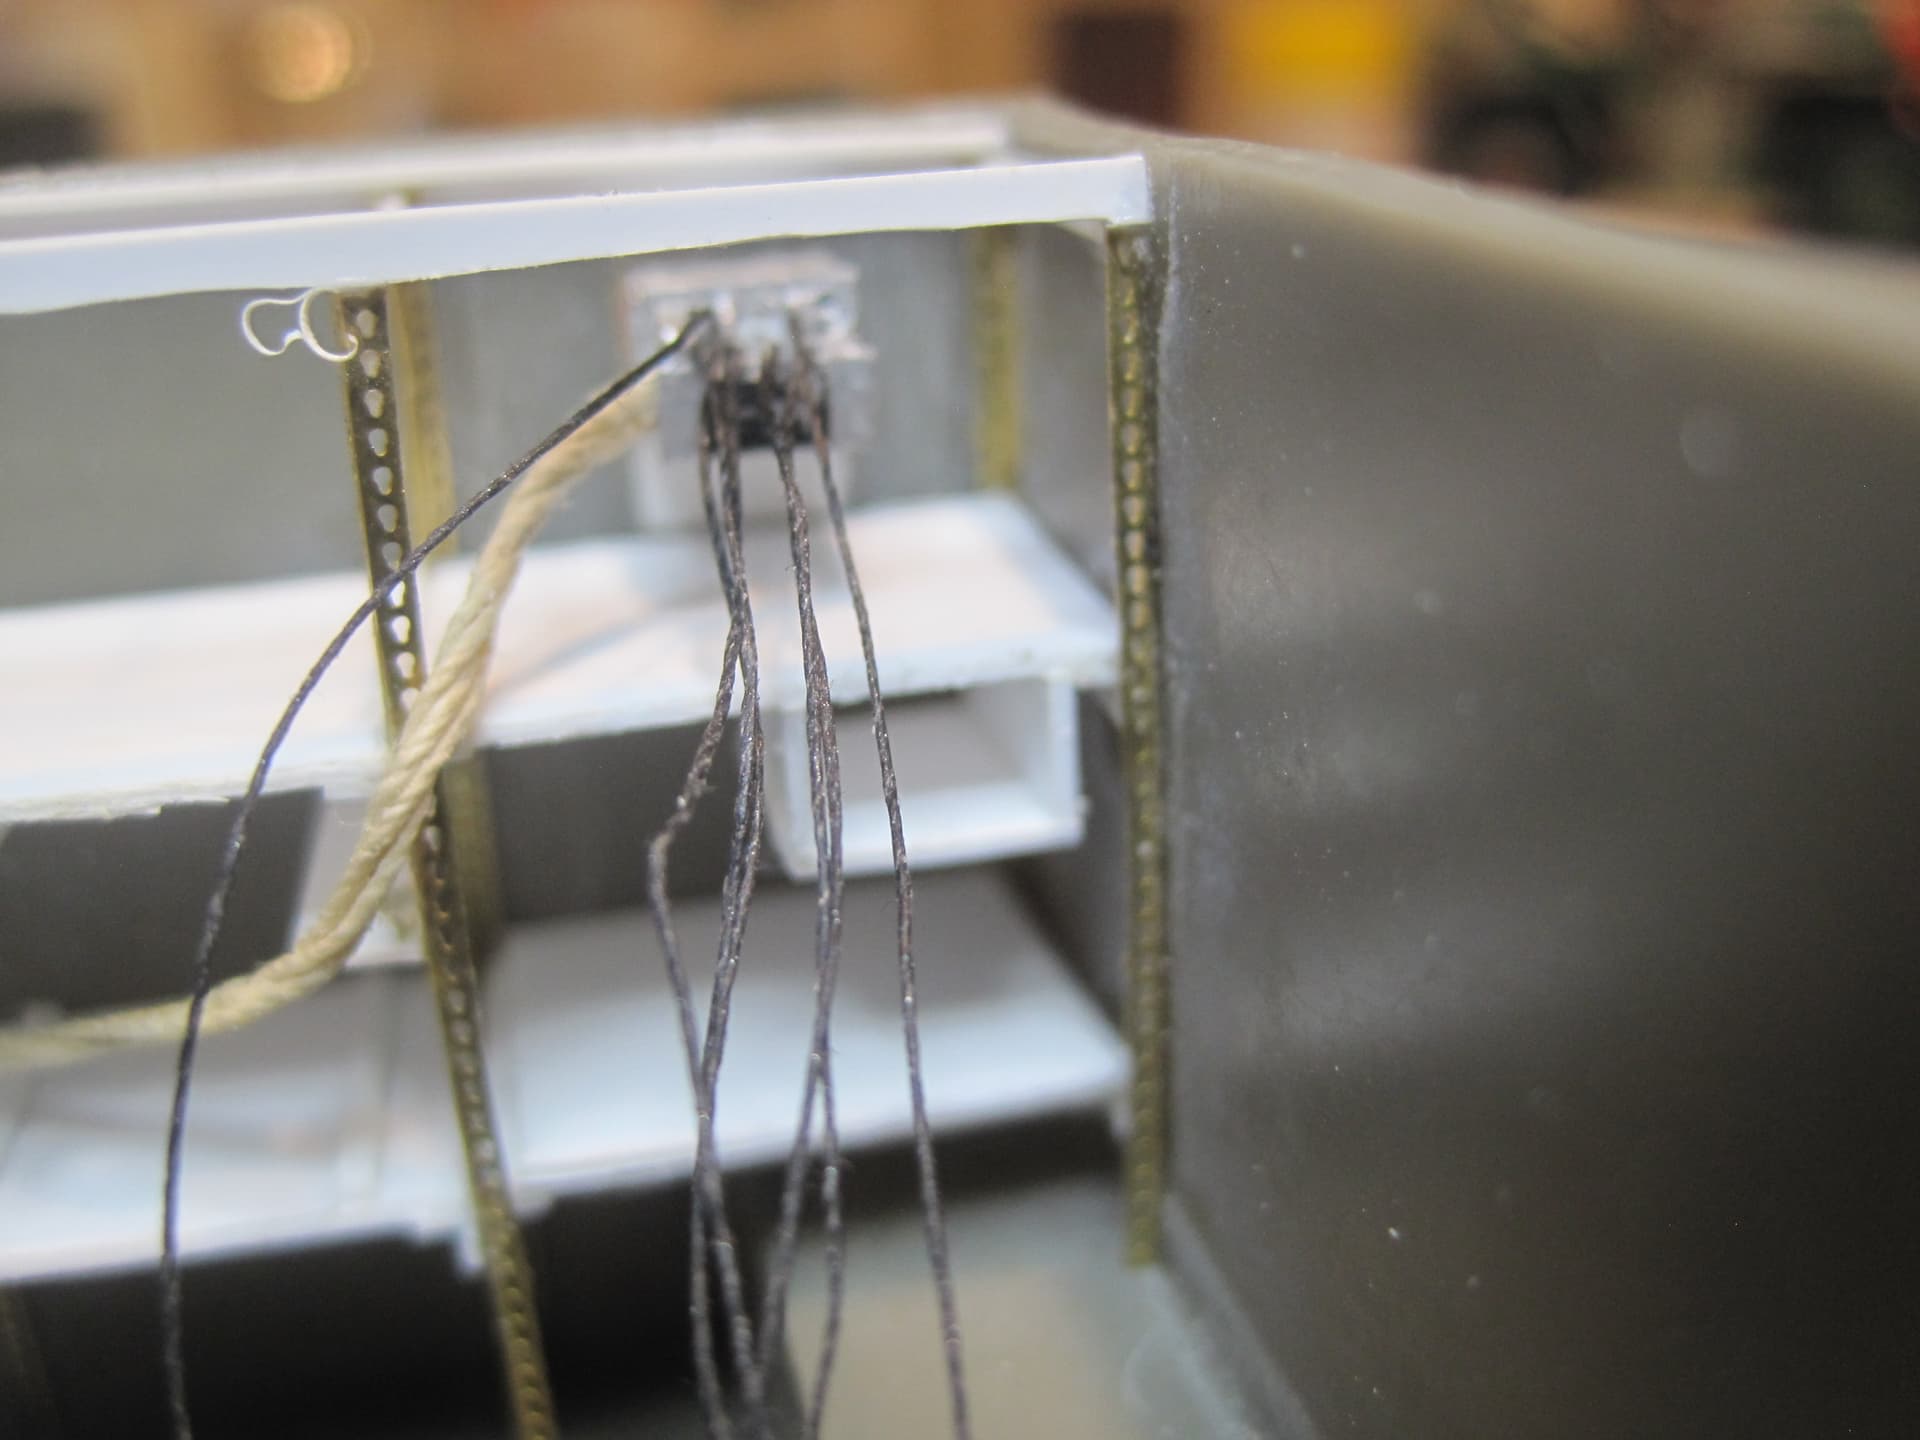
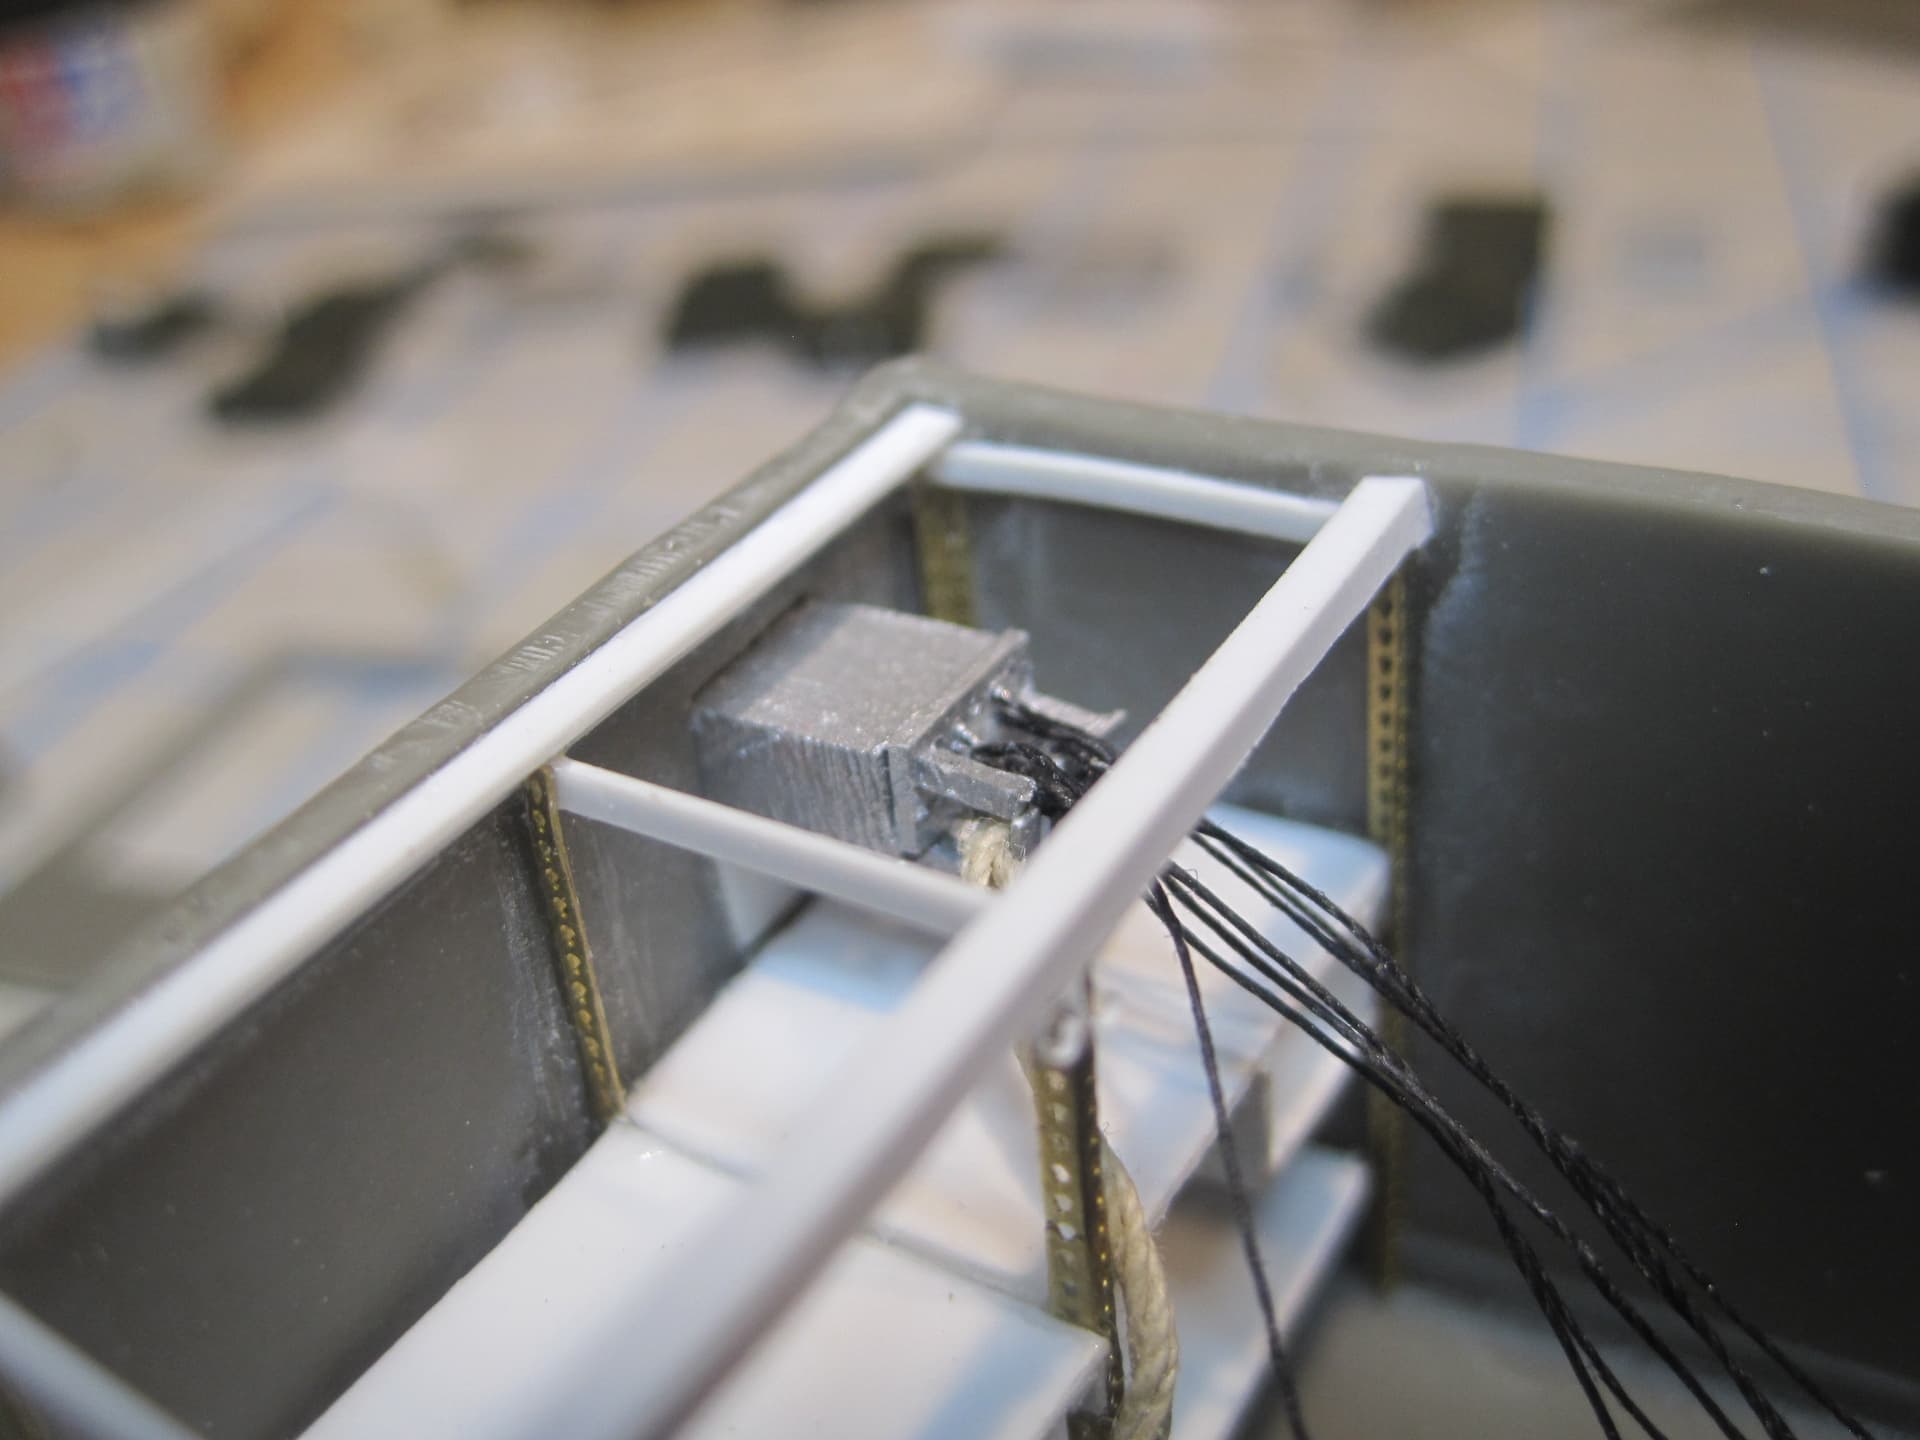
There’s also another opening on the LH side above where the heater exhaust is. The inside picture shows a cable and the hole is only large enough for the cable. I’m not sure why there’s such a large “grommet” around it on the outside and the smaller fitting at the “5 o’clock” position appears to only serve as a place to secure the cover on the outside whenever something is connected there. Again, hopefully Rick may be able to shed some light on that.
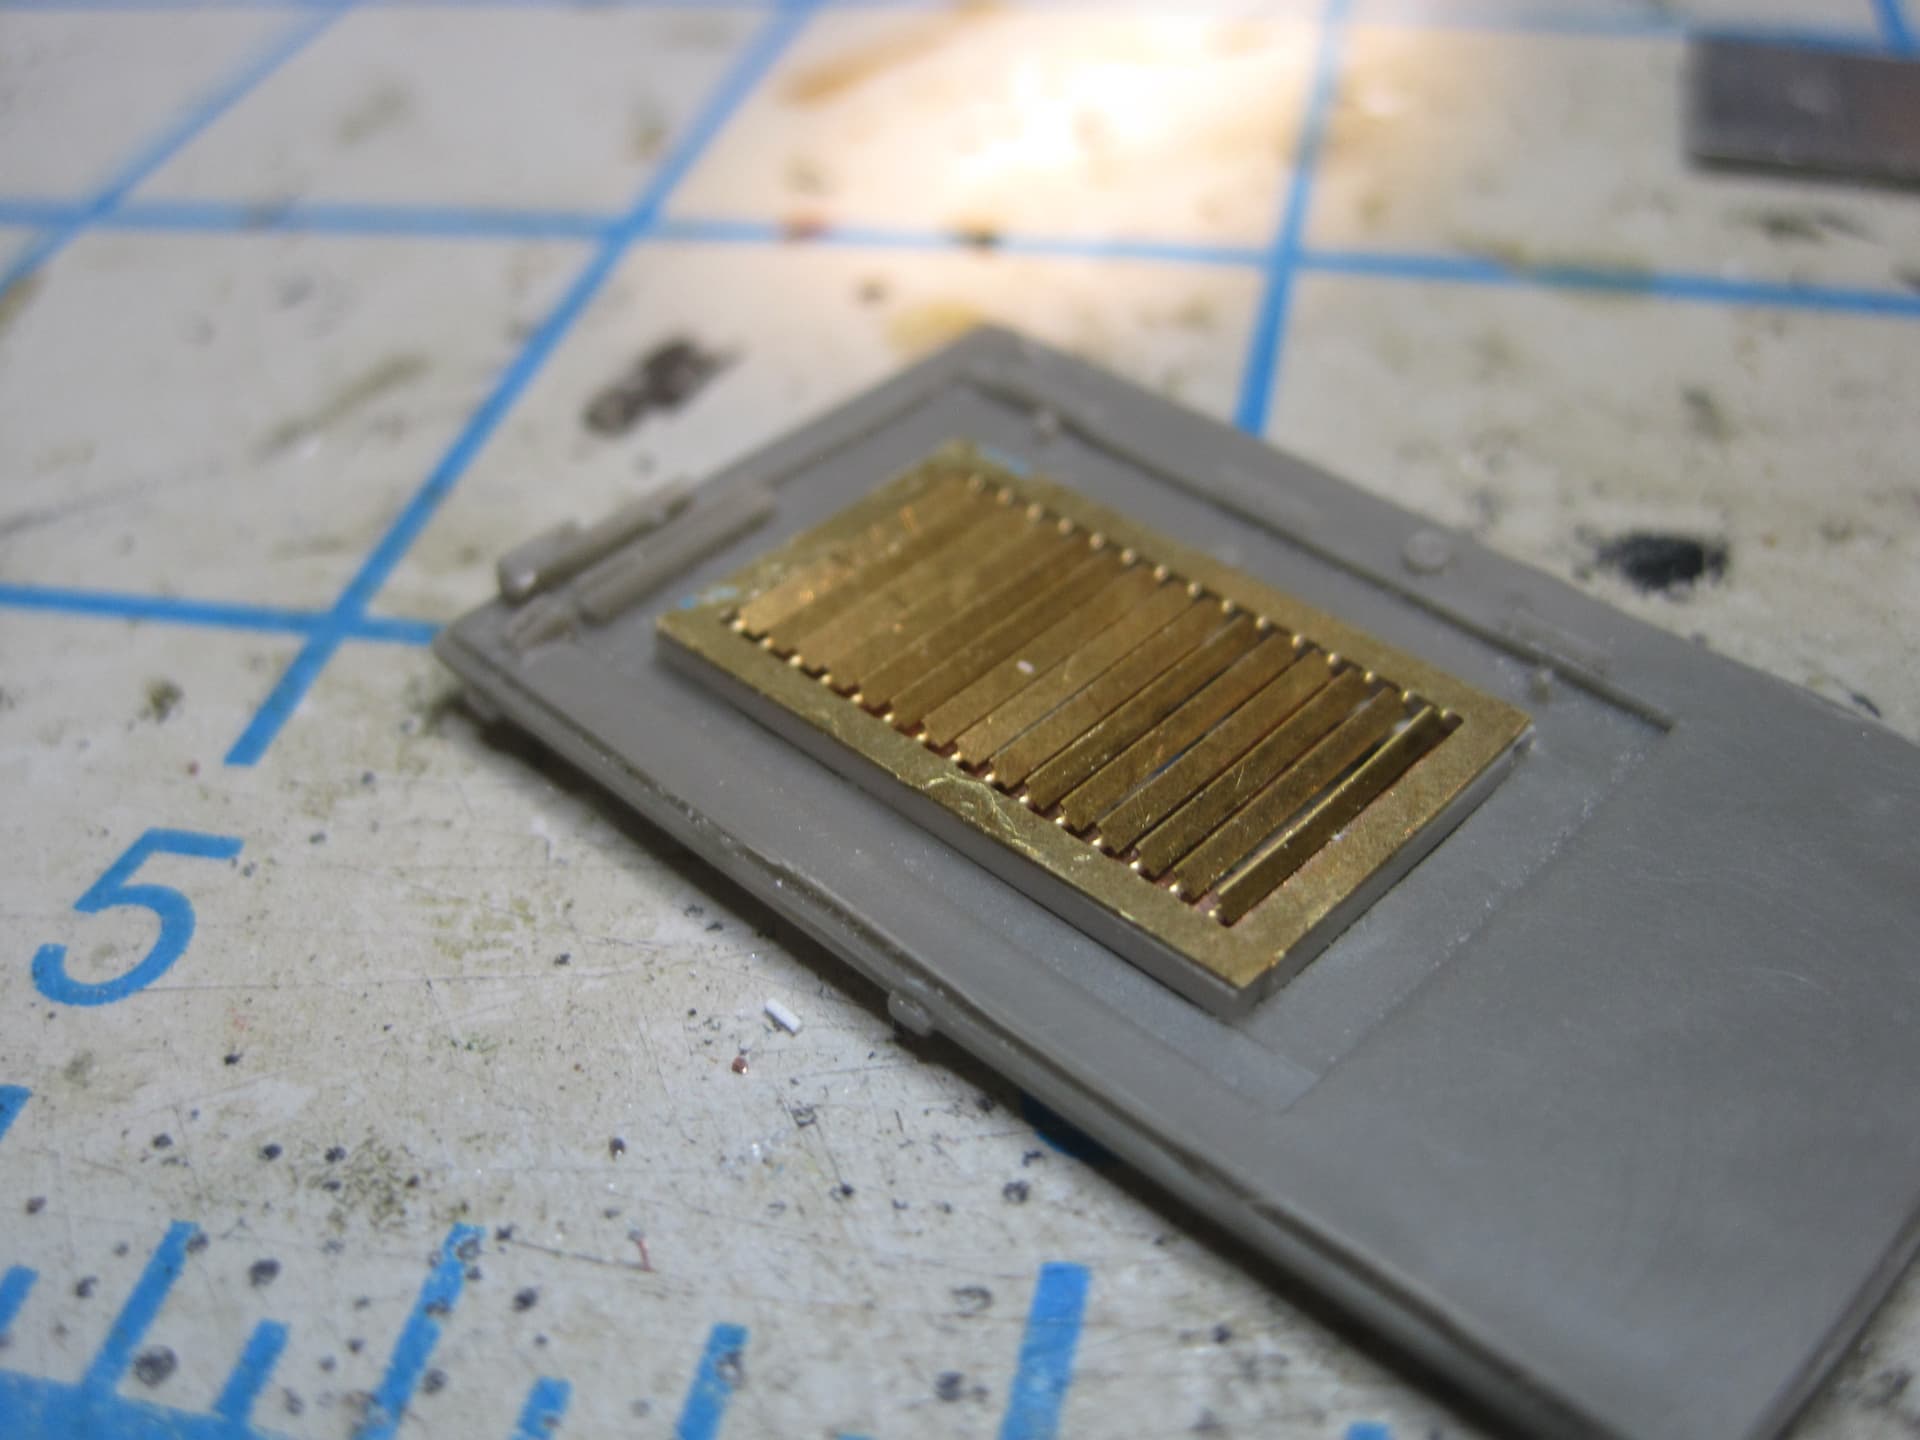
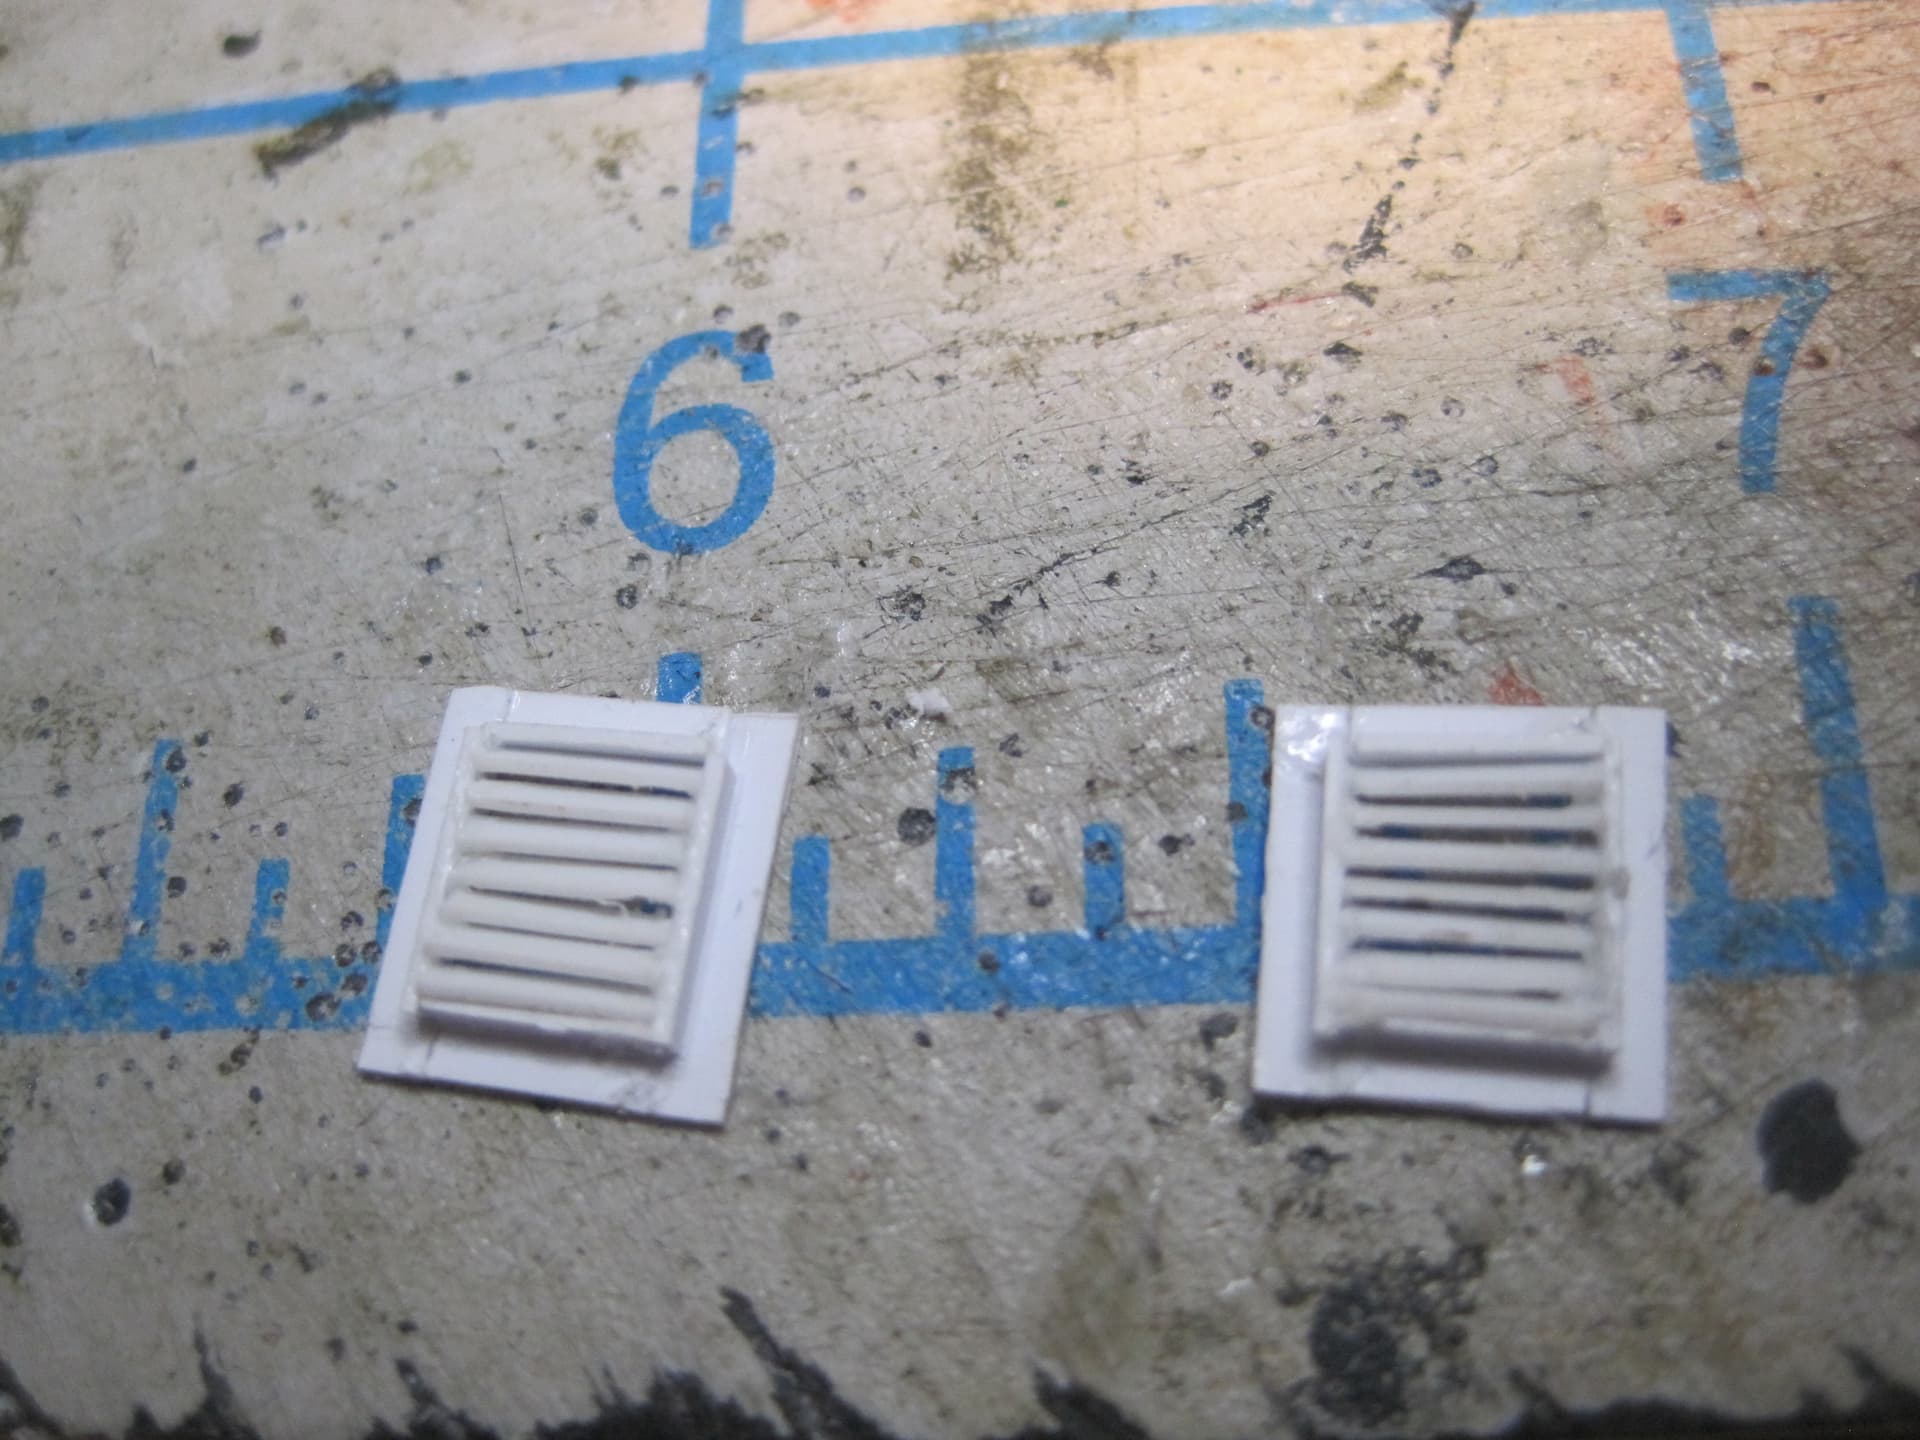
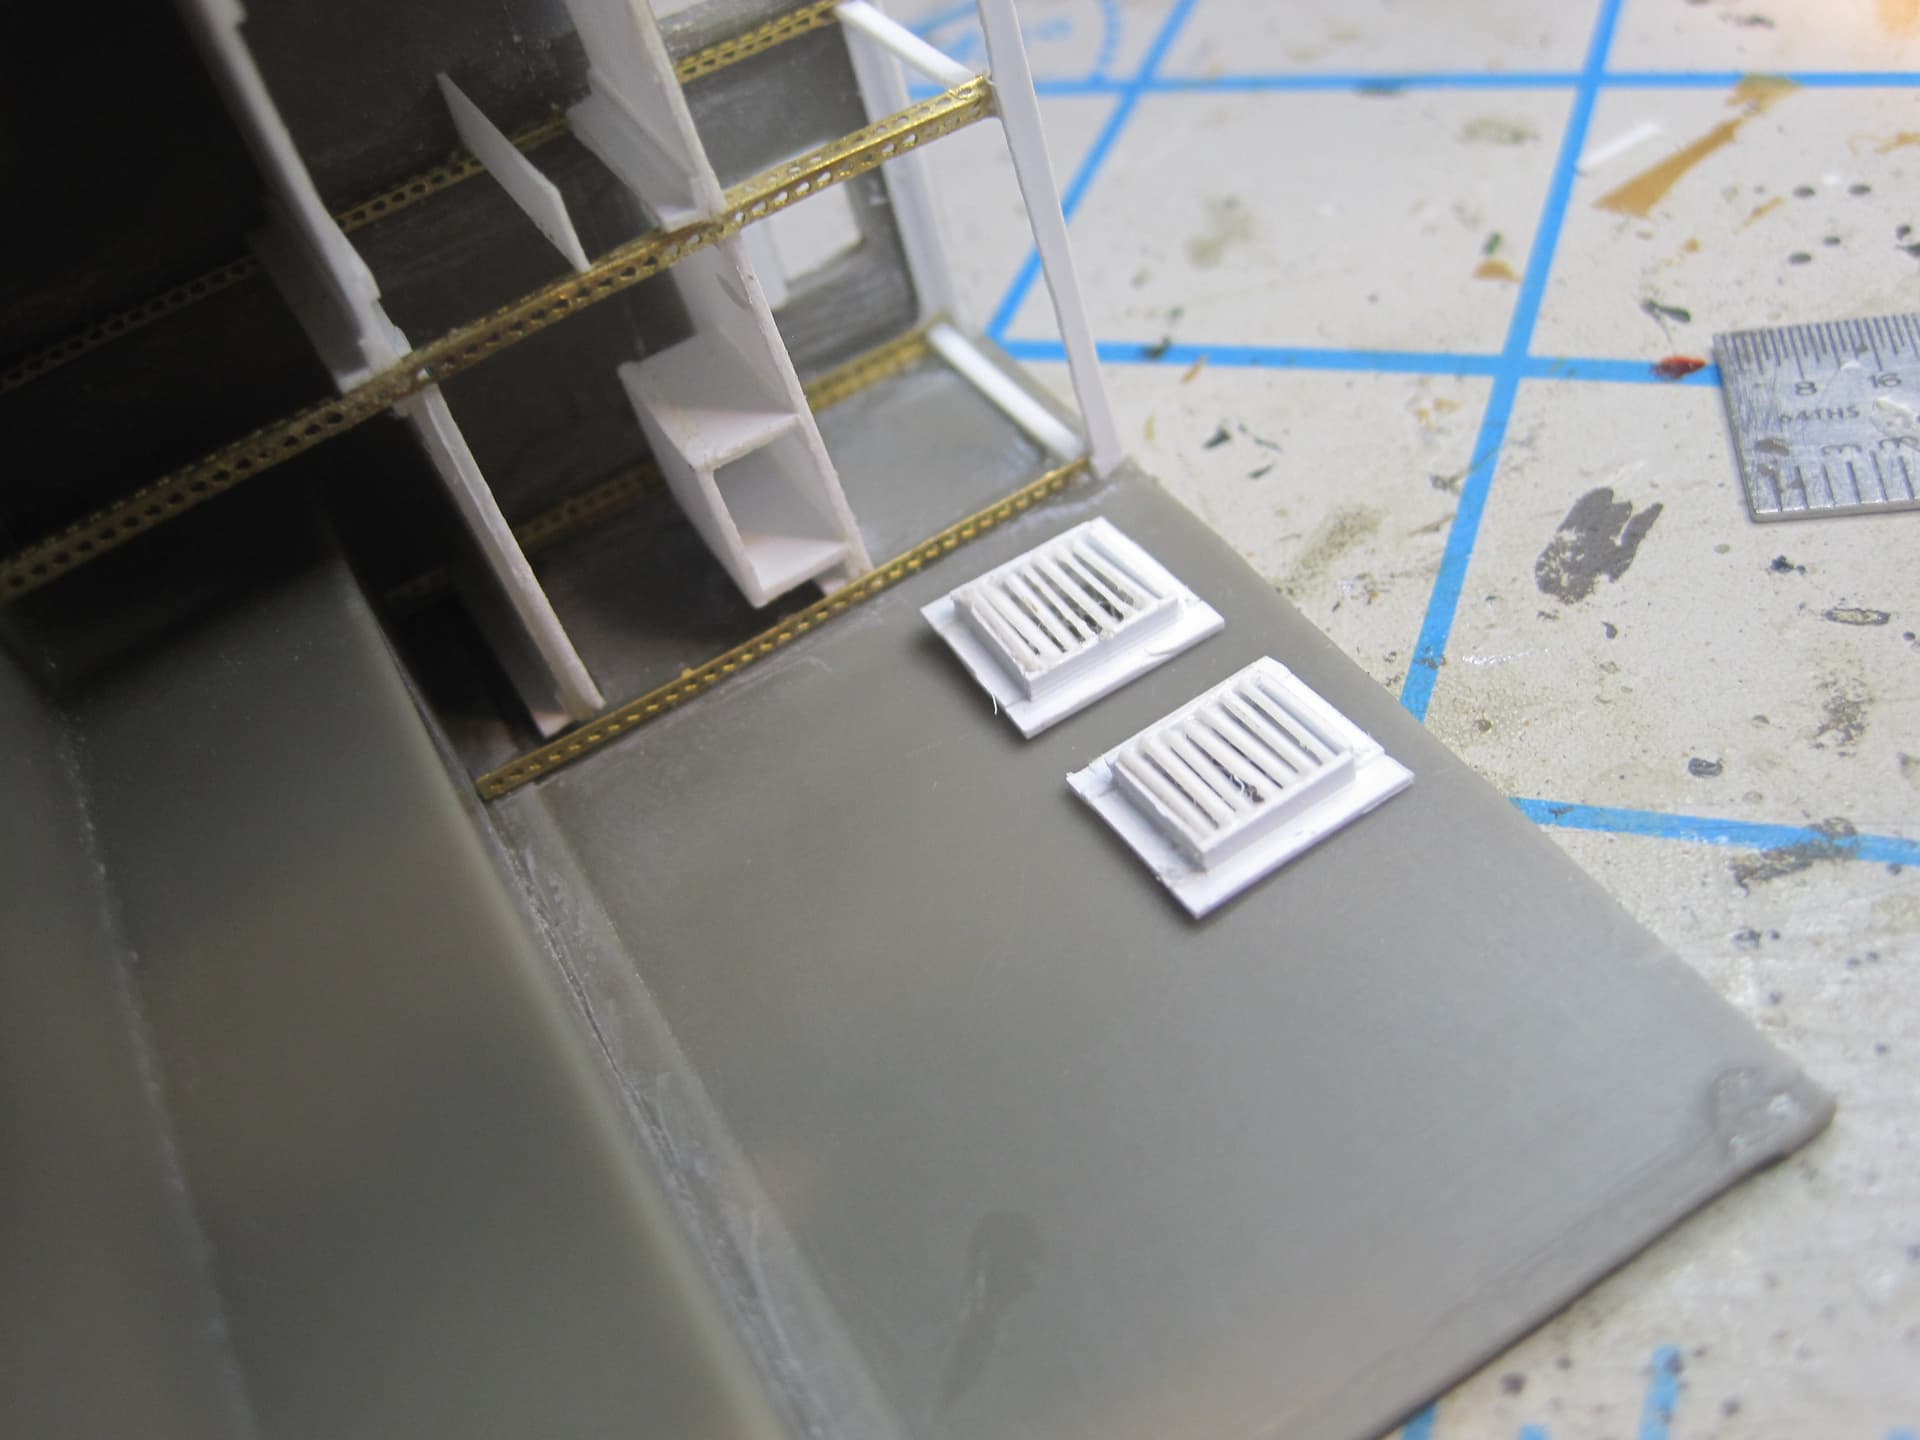
And then finally this unit has not only got an exterior mounting for a 5 Gal fuel can which I had planned to add on the back wall, but it’s clear that there’s some sort of opening for the A/C unit as well, although in the walk around the opening is covered with plywood. So I made a louvered cover to go on the back side of the A/C unit as well
And this particular unit has some additional openings on the RH side and I’ve found at least on photo of a shelter on a Gama Goat that has them, so tomorrow I’ll tackle those and then start on the door hinges and the antenna mounts.
3 Likes
The great thing about having all the TM’s for this build is that if you dig deep enough you can actually find the answers to your questions!
Turns out that the item at the rear of the LH side wall with the large “surround” structure is the connection for an external antenna for the system. The other thing I discovered is that the heater I’ve built is a GASOLINE powered heater! (No chance of any problems THERE!) So once I mount the 5-gal can on the back there is a line that will run down from the can go through the wall and connect to the heater.
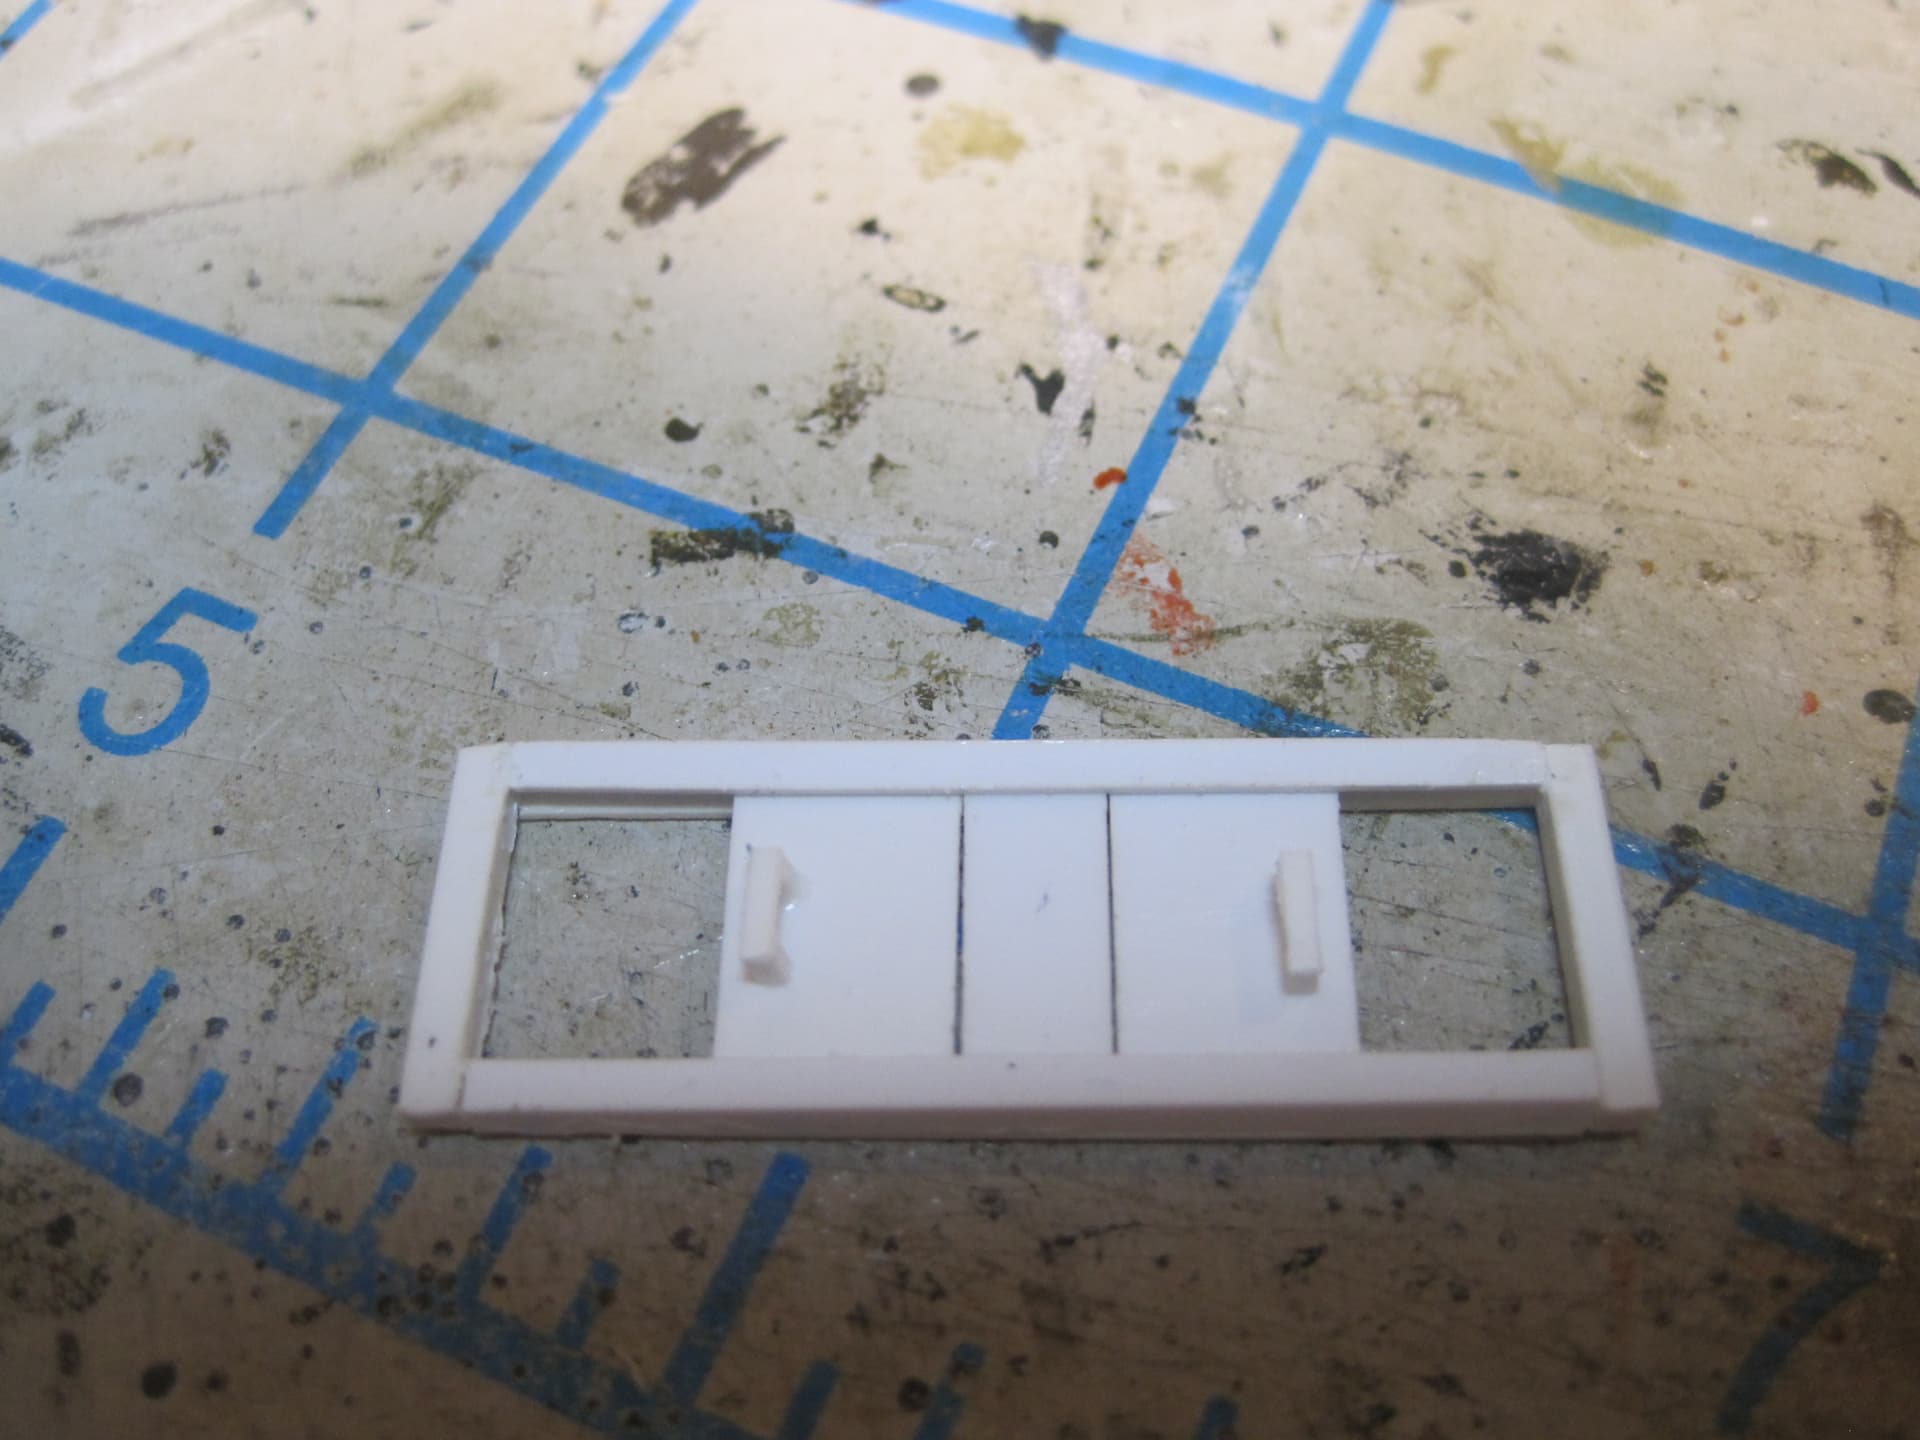
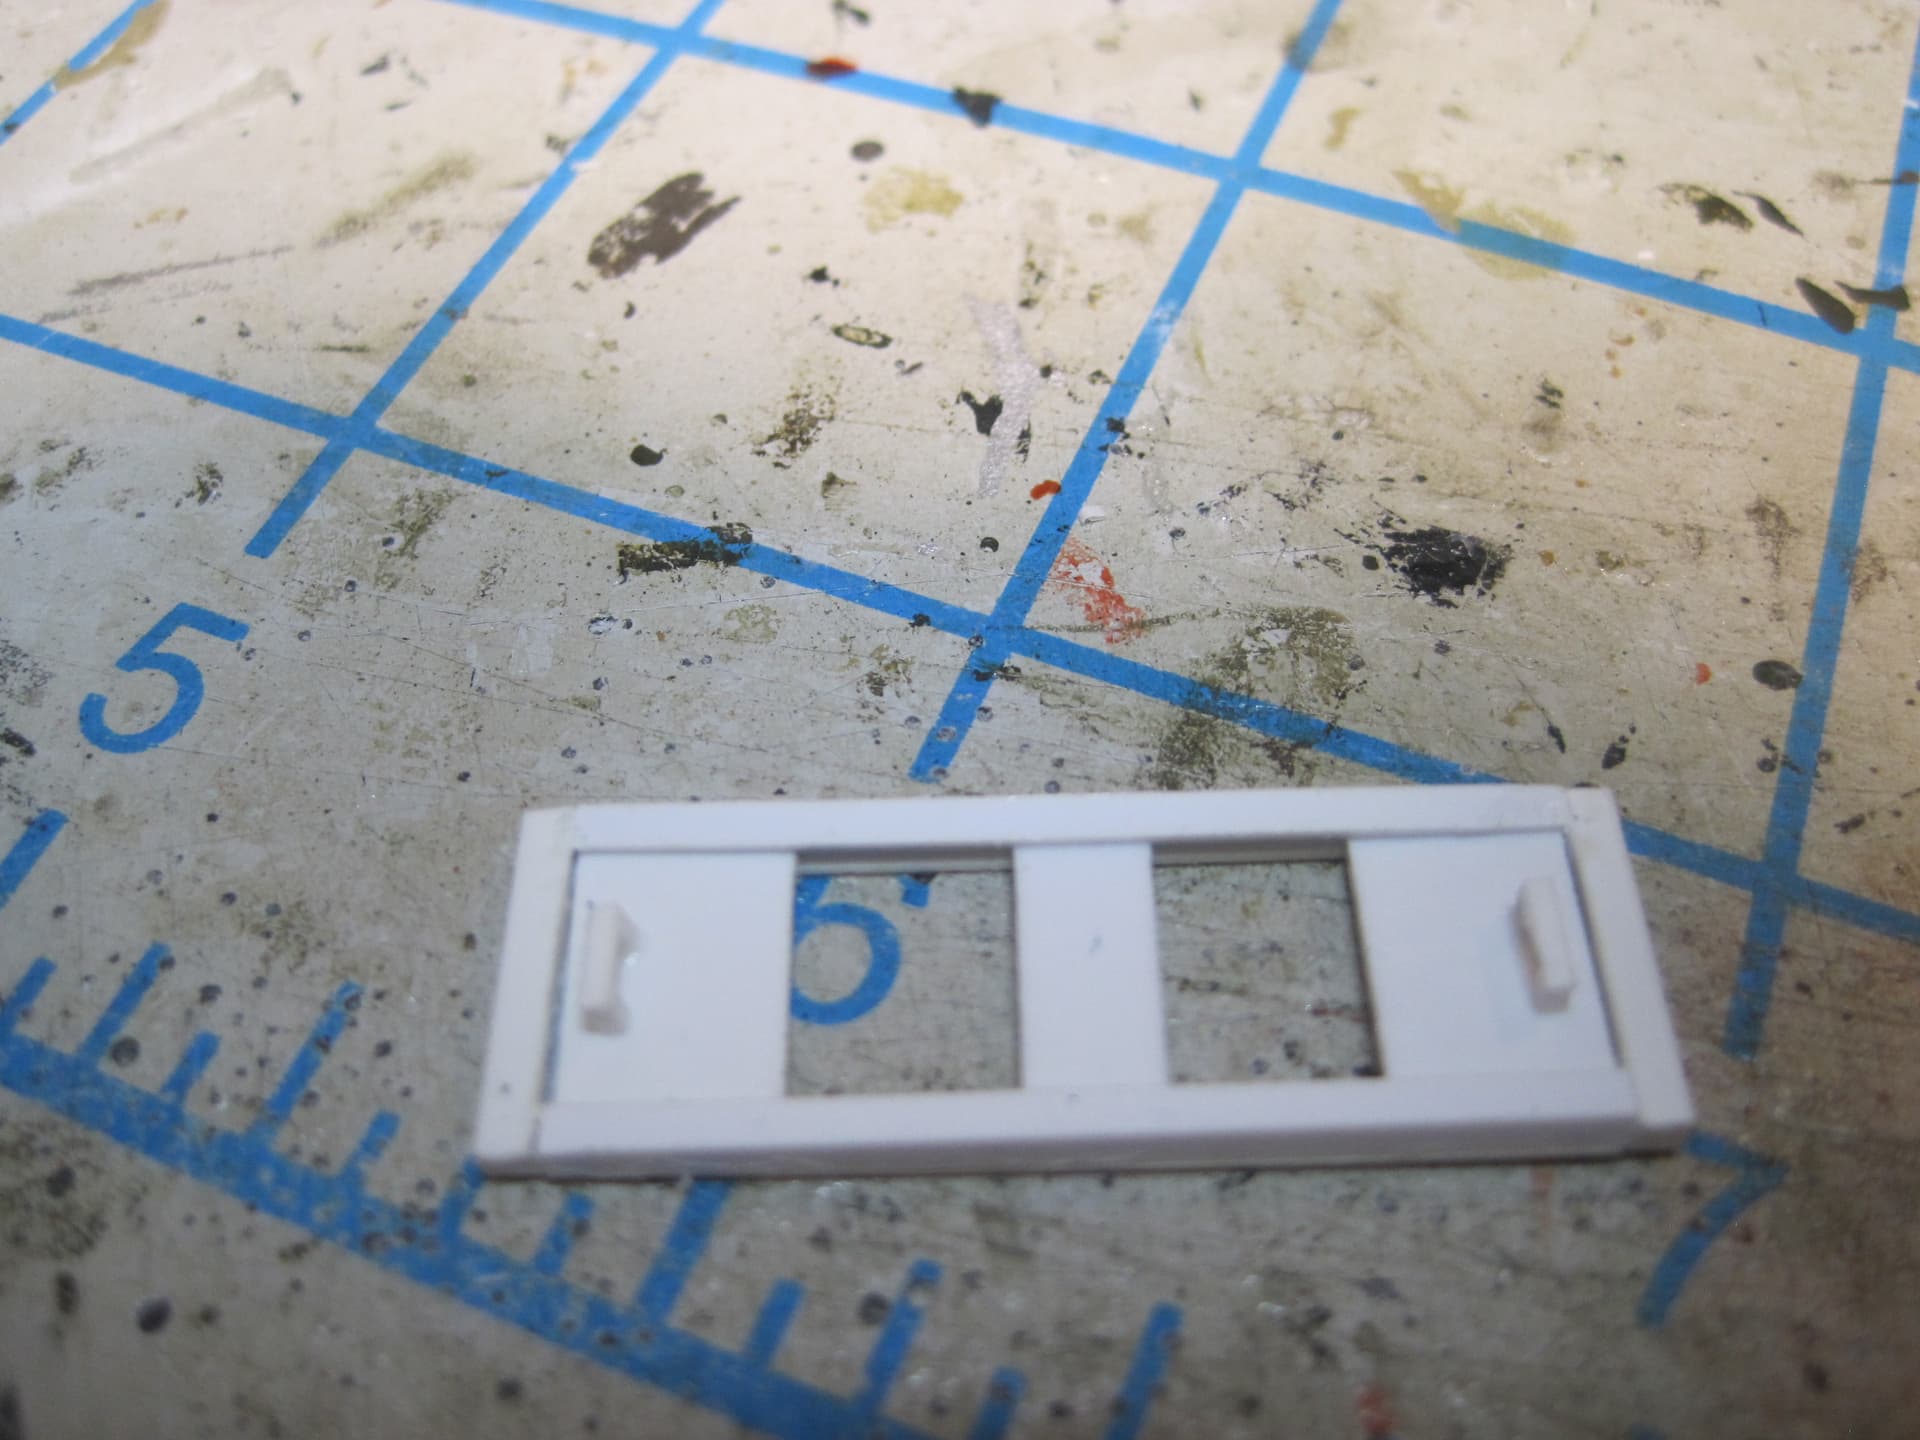
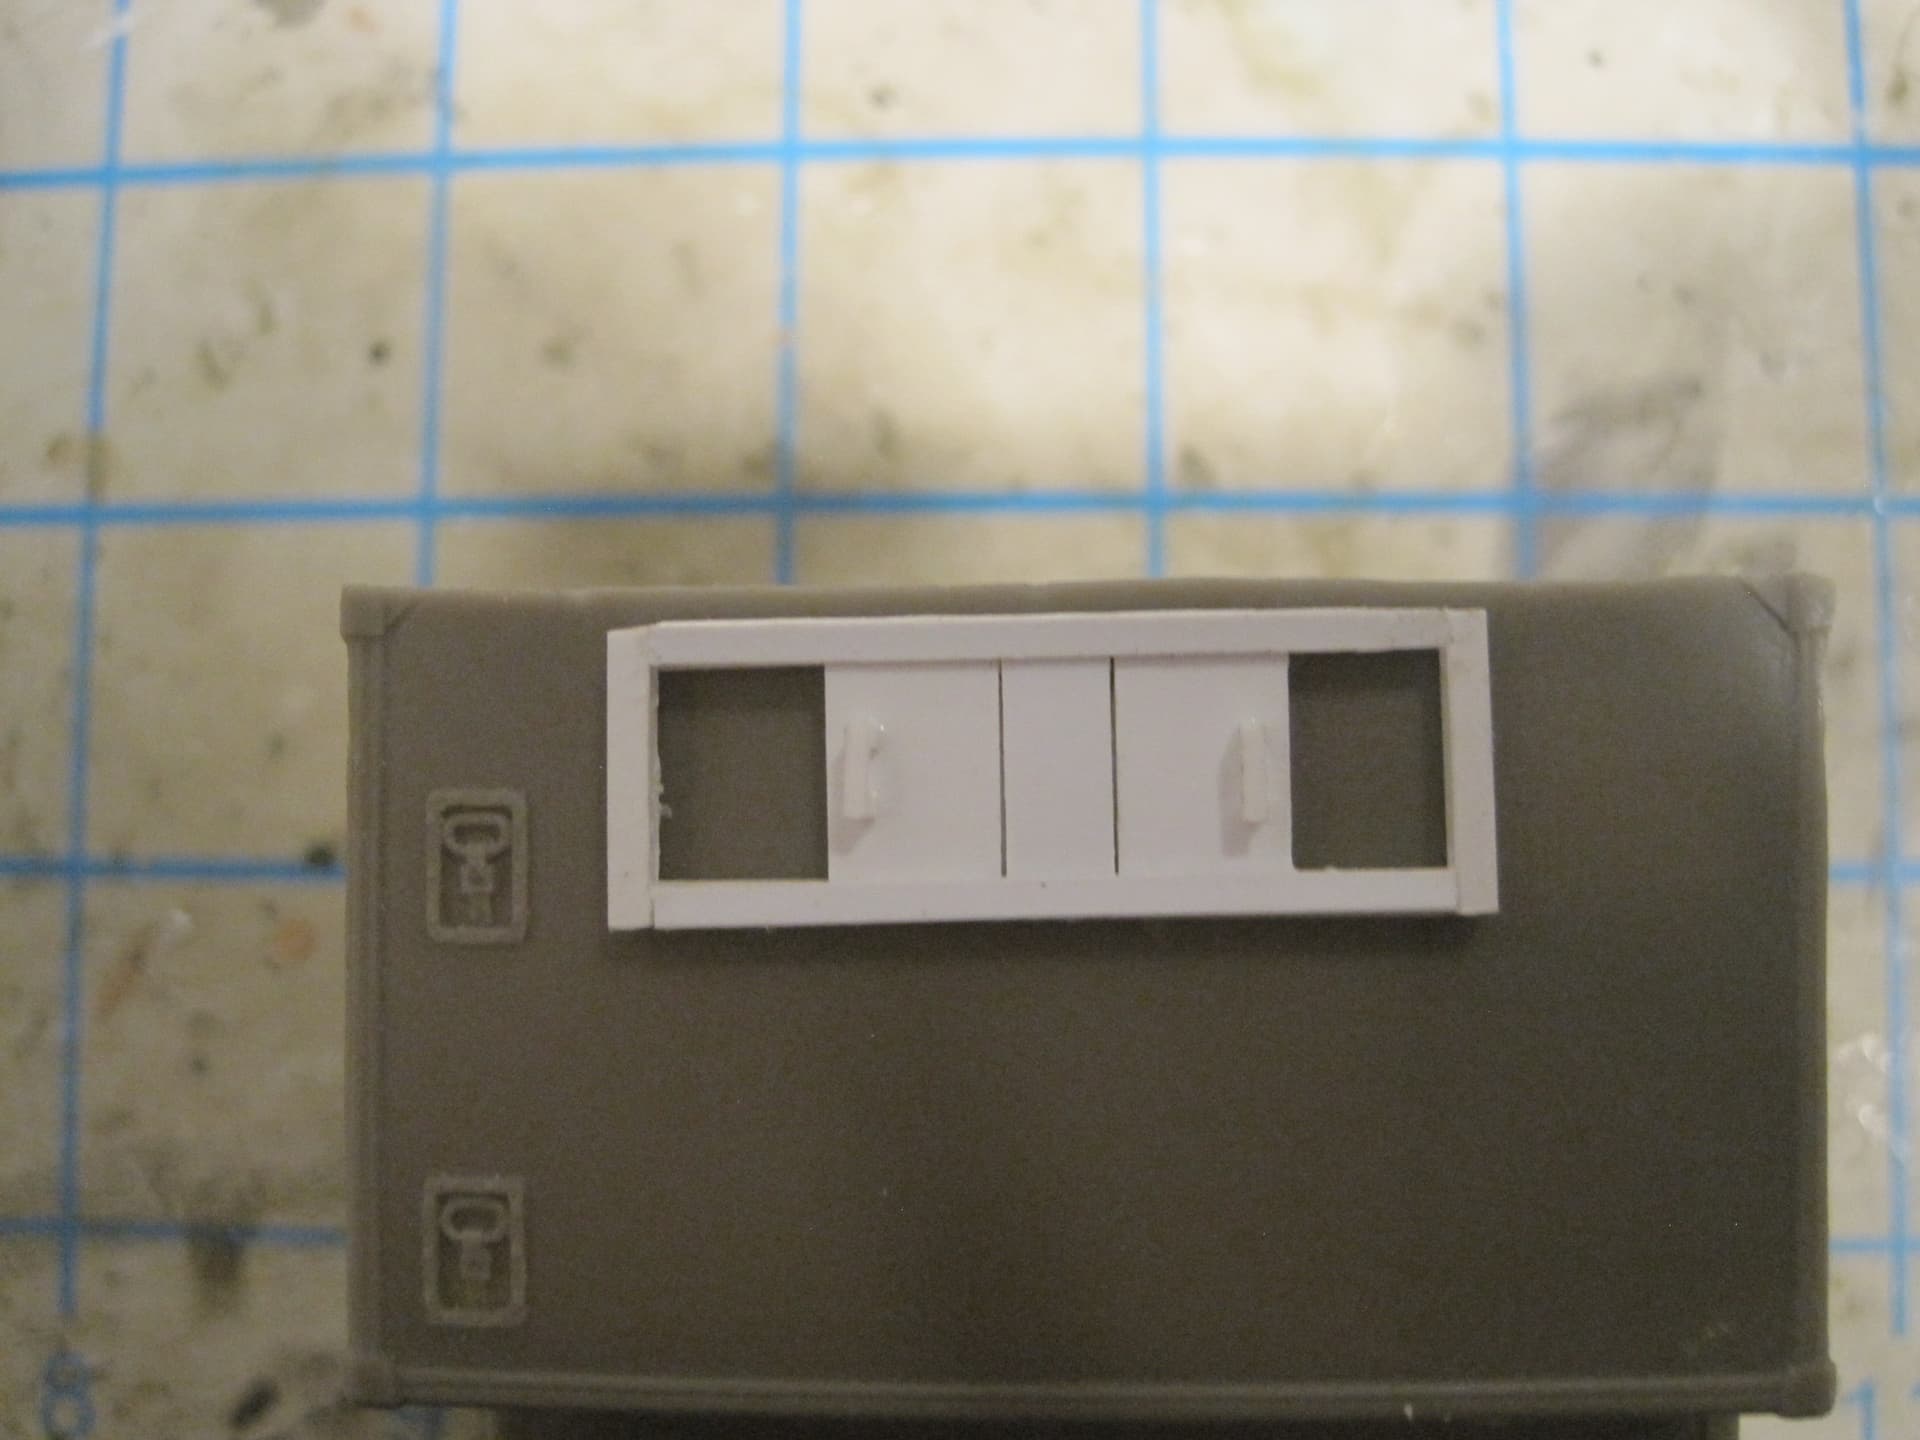
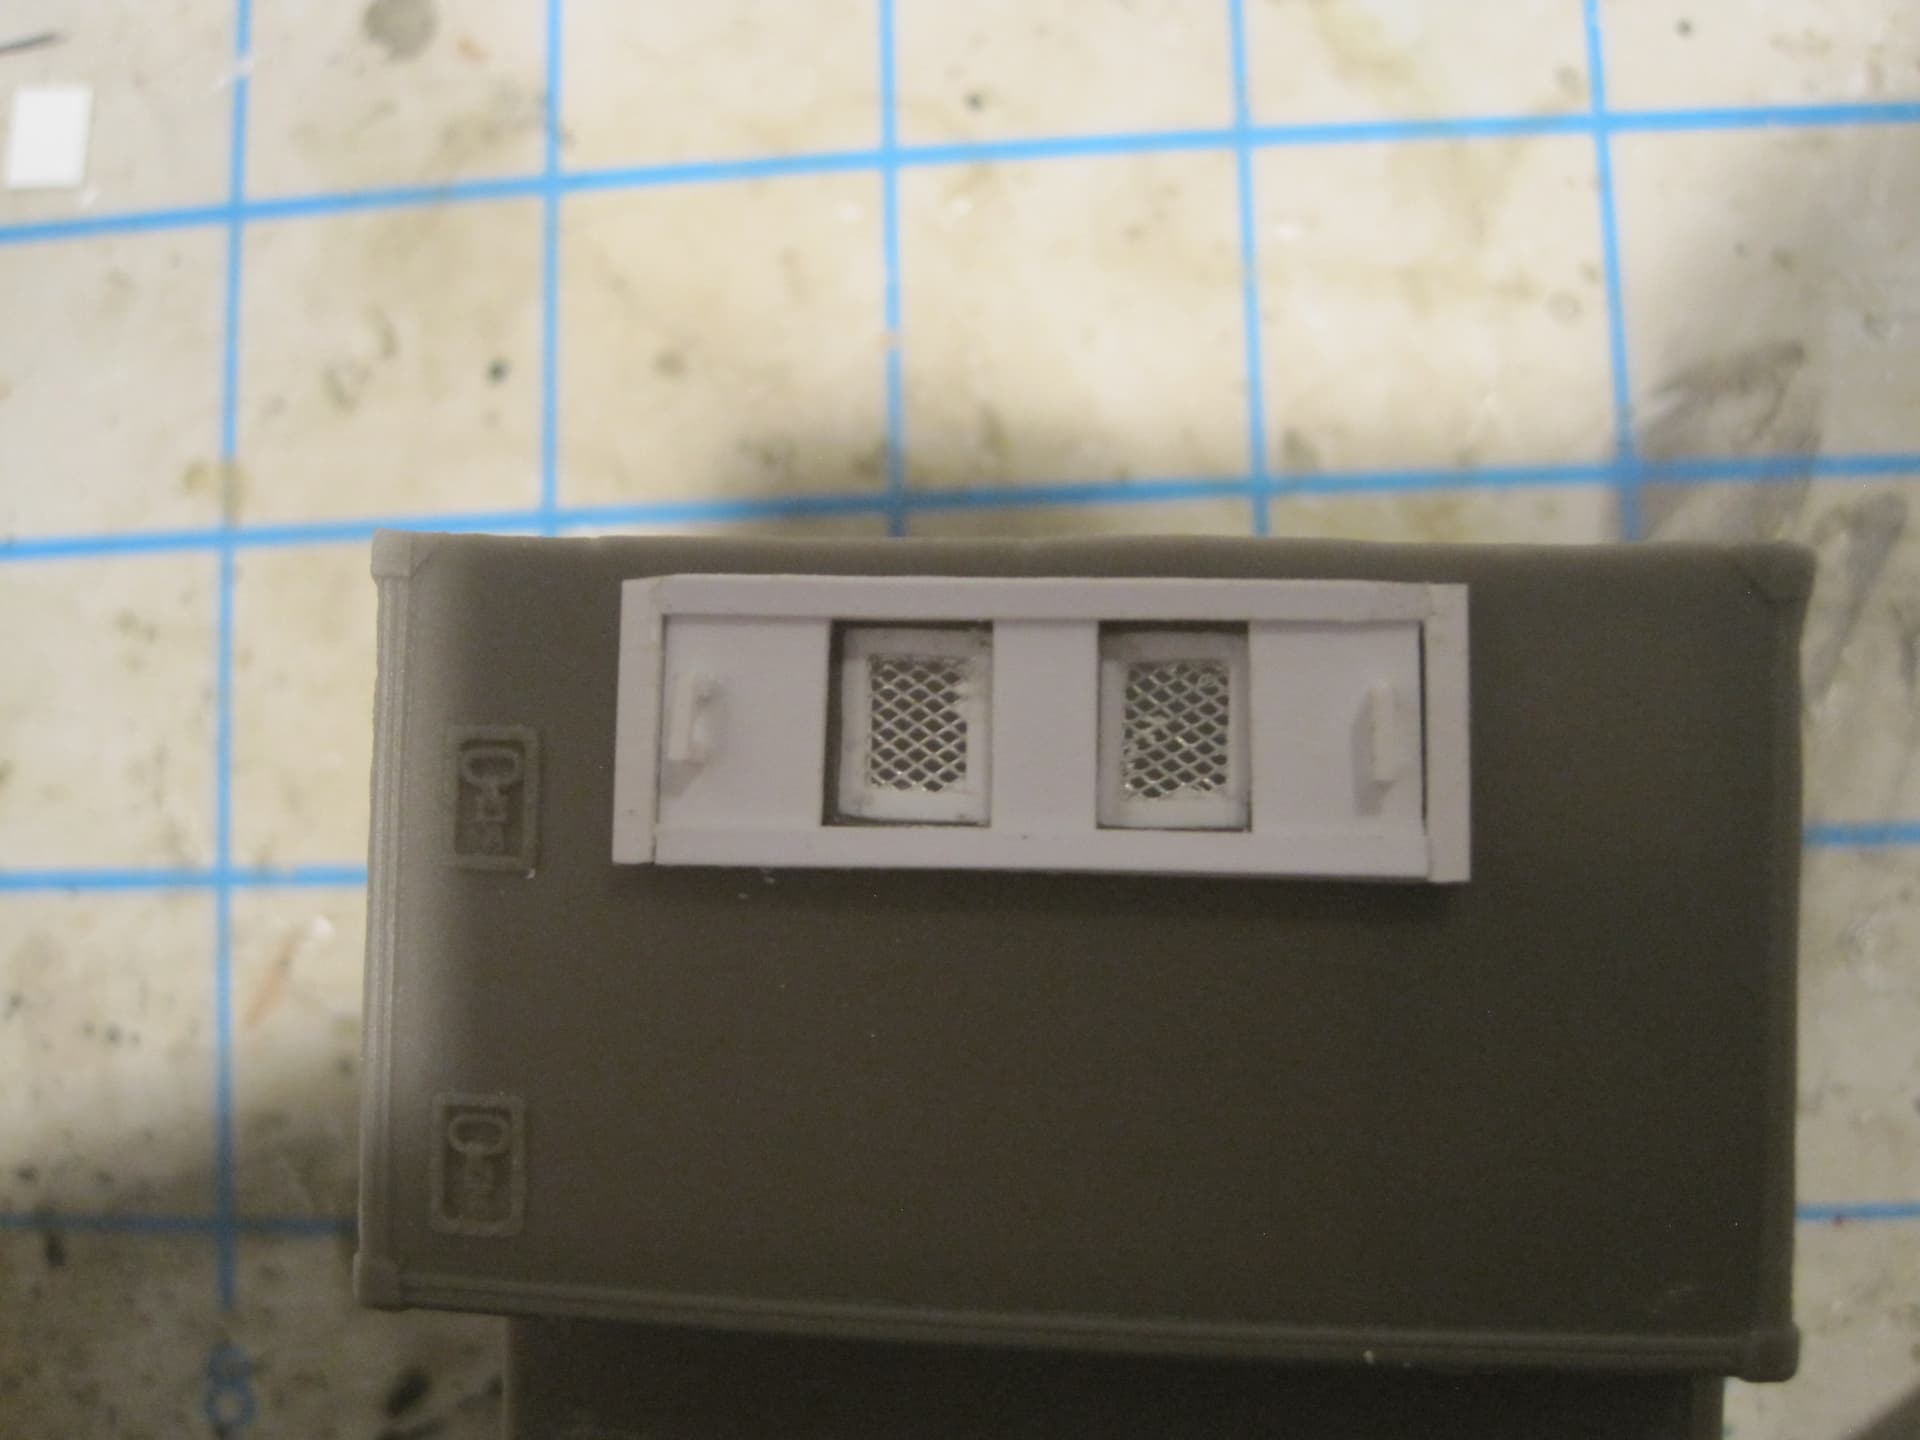
The next item I built are the two openings on the RH side which turn out to be the attachment point for hooking up an EXTERNAL A/C unit if these shelters are in a place where they won’t be moving and need the extra cooling. I have no idea whether ours were equipped for this, but I did discover a very interesting photo of what is clearly an S-250 shelter on a Gama Goat in Germany and by the uniform and camo is probably from the late 70’s. It has what appears to be the provision for attaching the external A/C but rather than two hinged covers which appears to be the most common arrangement, it has what appear to be sliding covers. I liked this configuration and so that’s what’s going on!
4 Likes
Hi Tom… Wow, you are amazing with all the detail you are scratch building.
Cheers,
Ralph