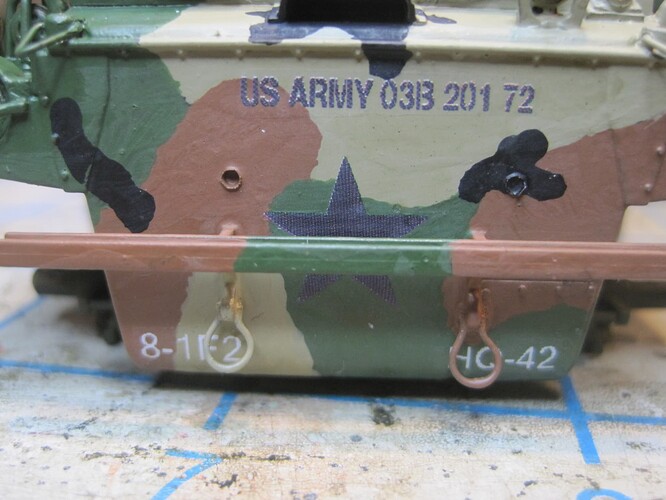
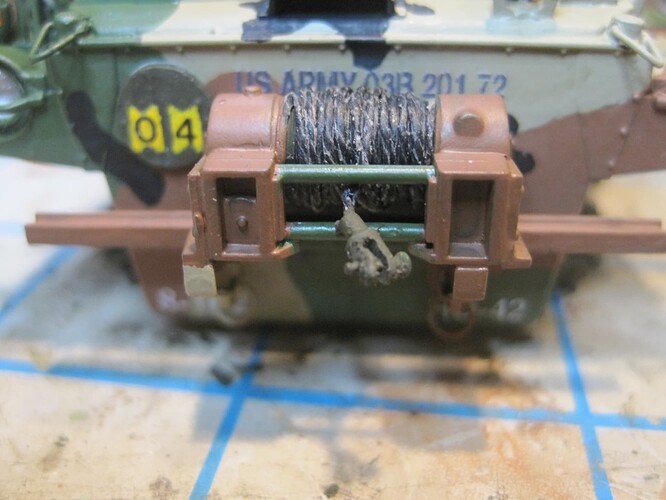
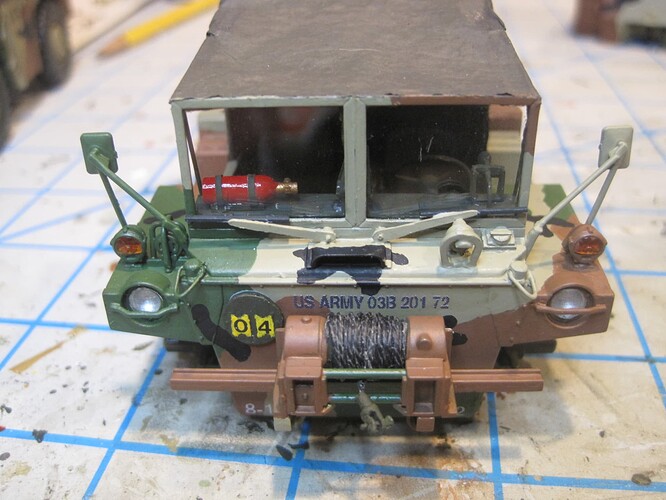
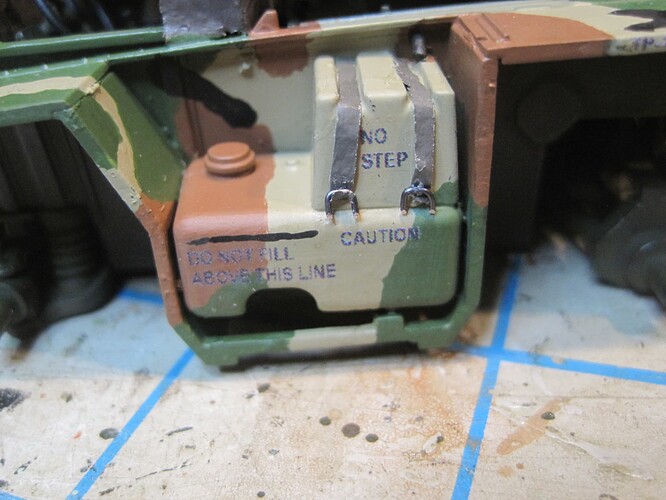
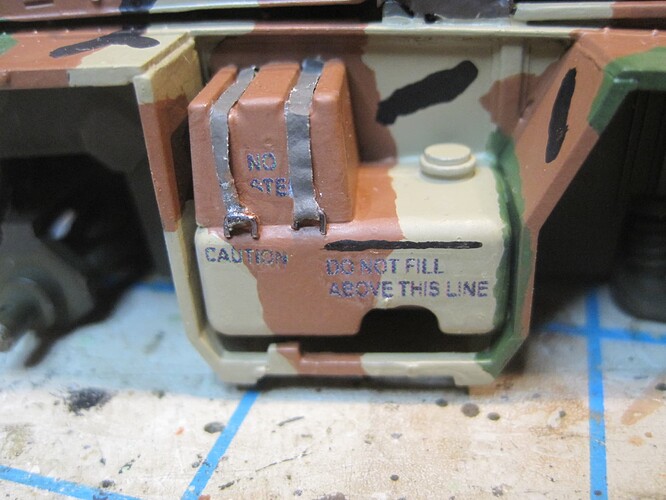
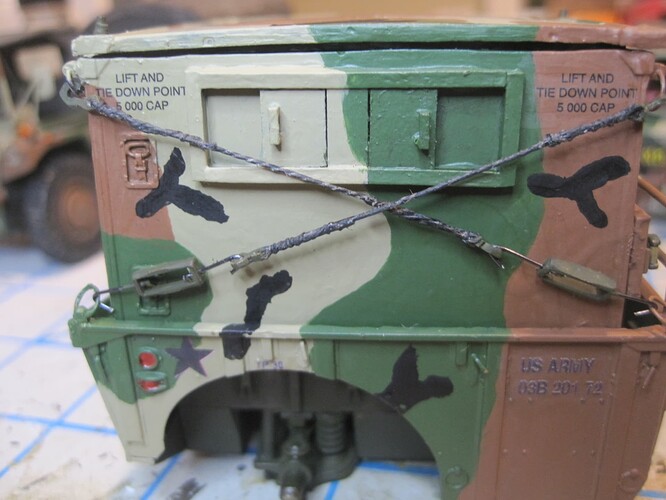
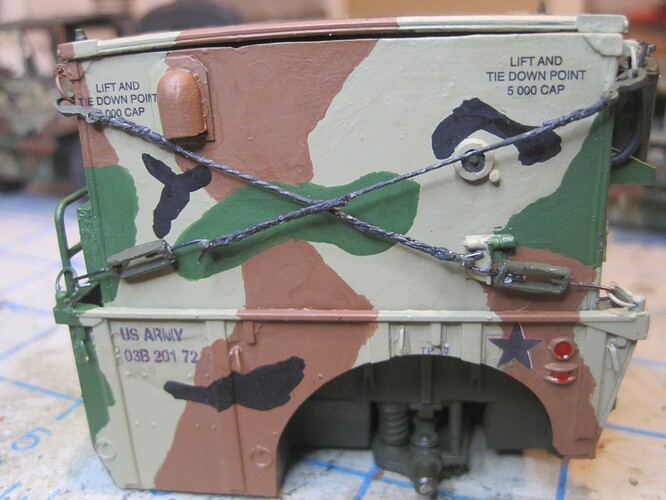
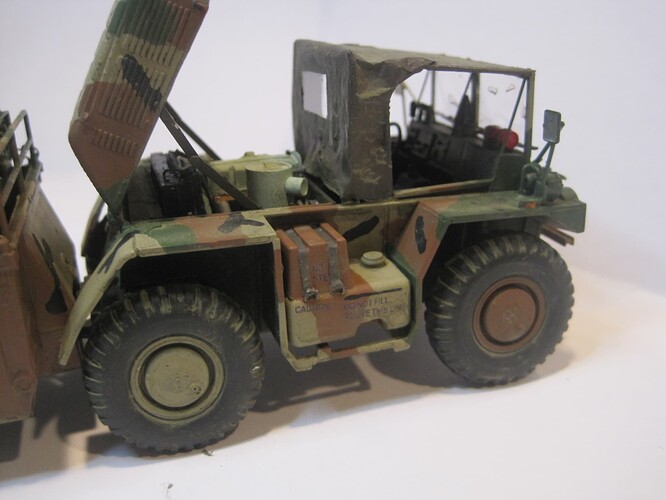
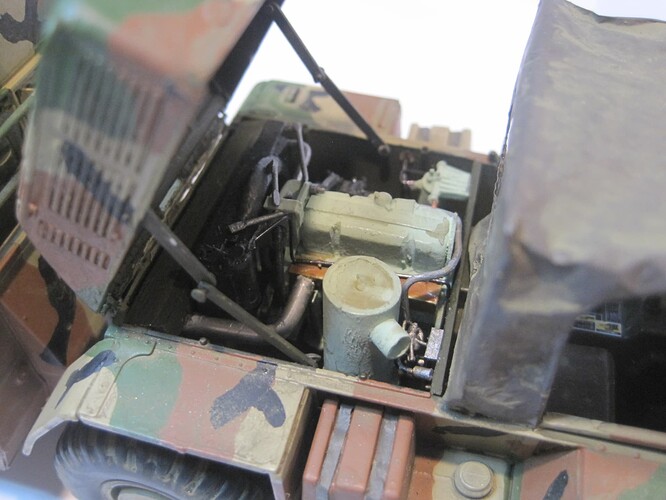
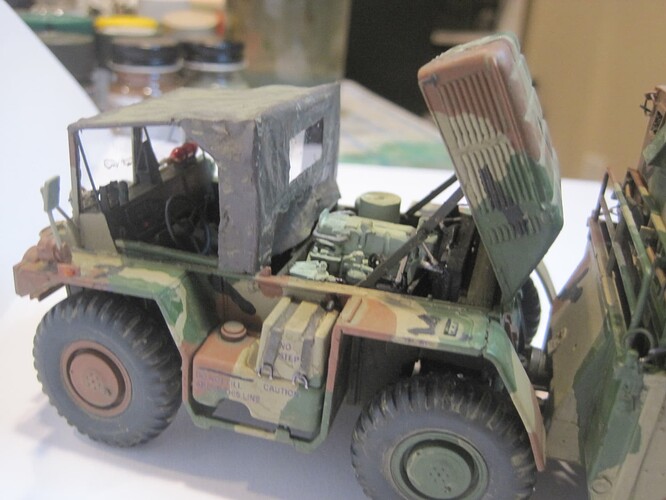
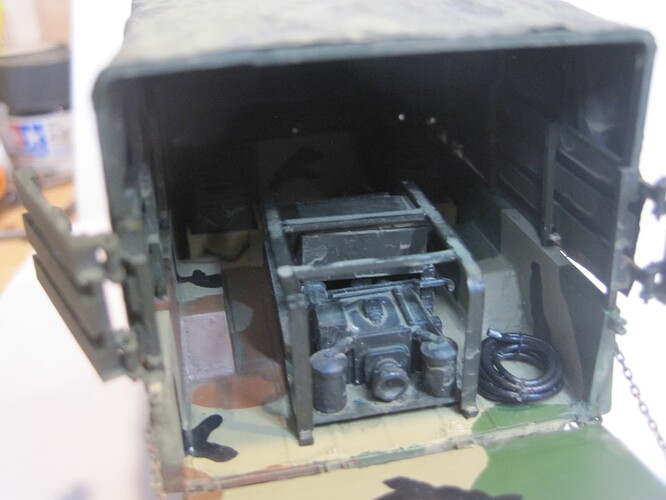
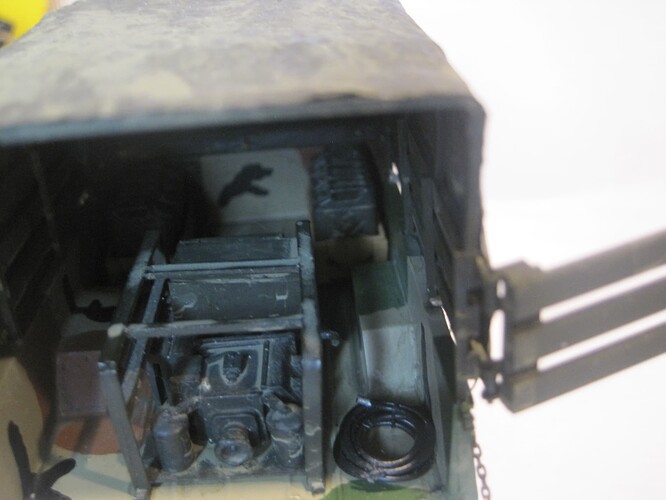
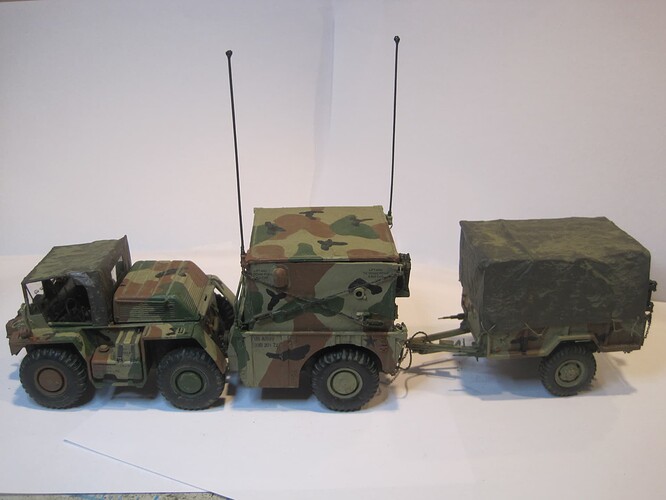
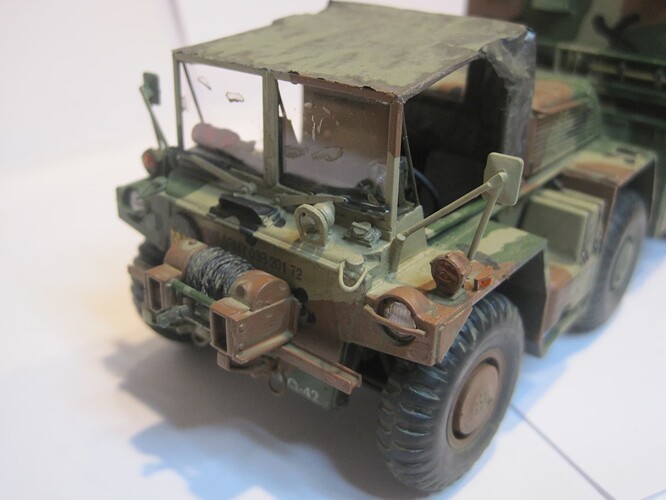
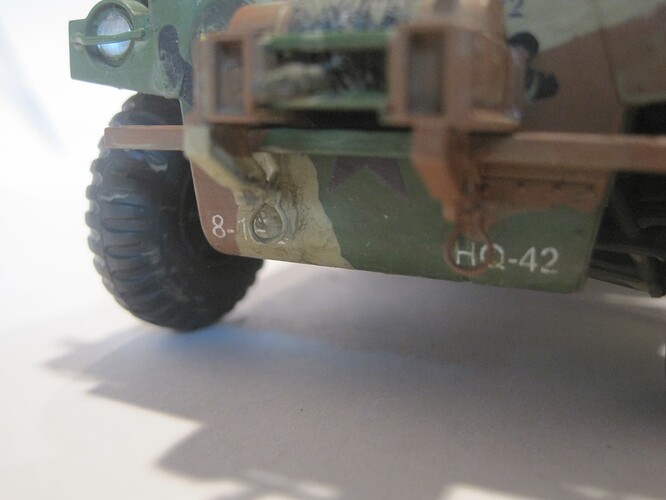
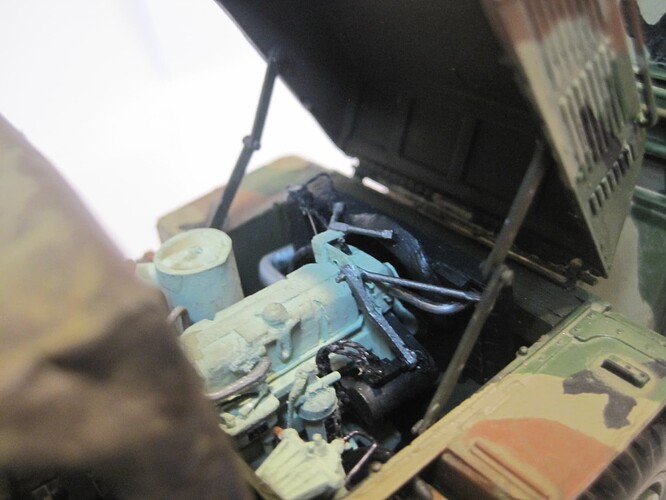
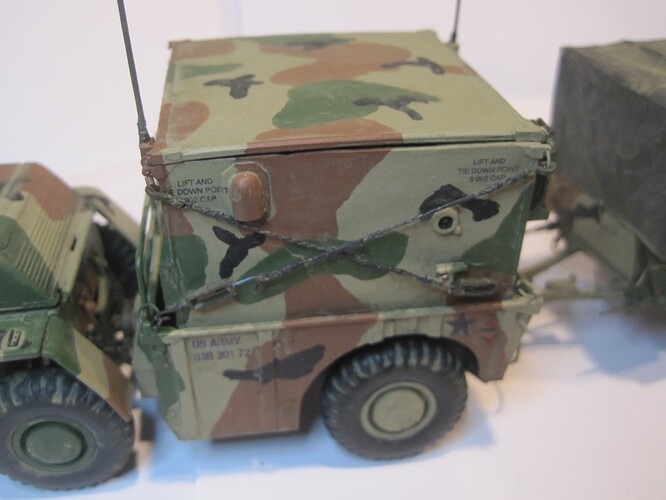
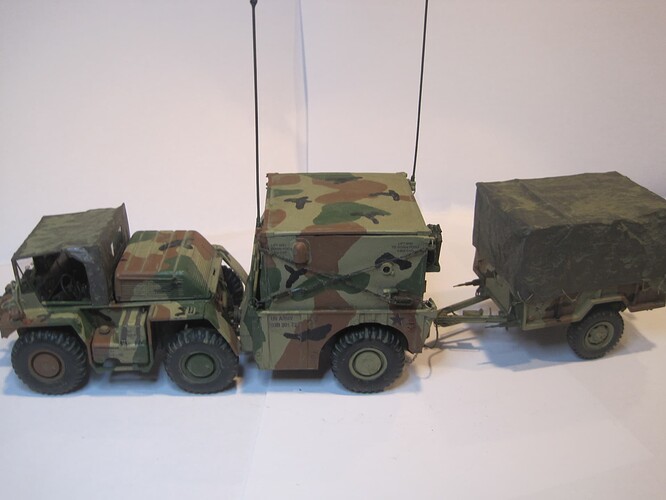
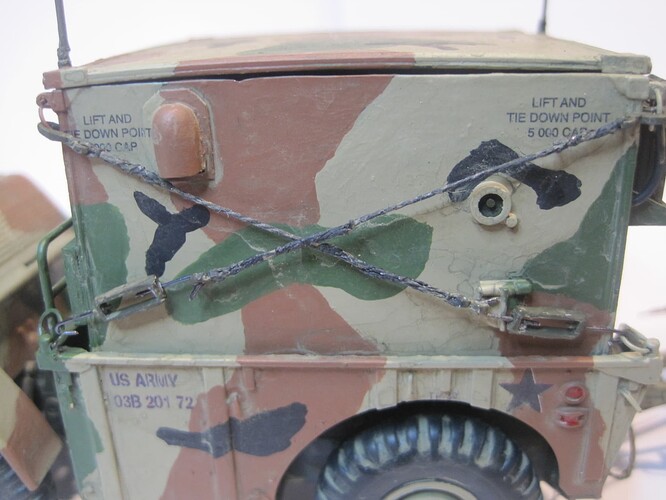
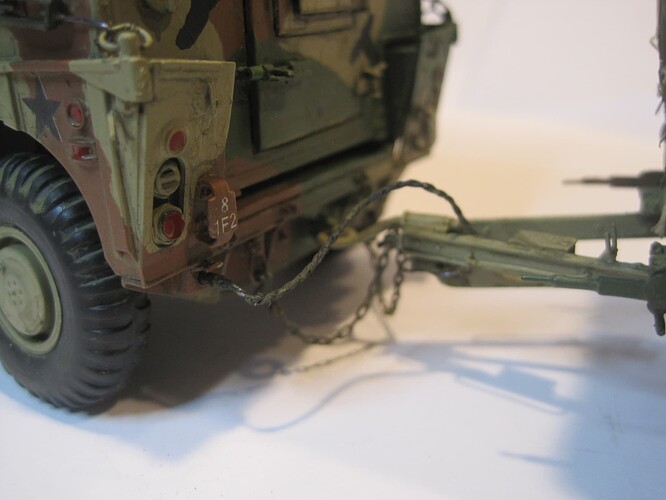
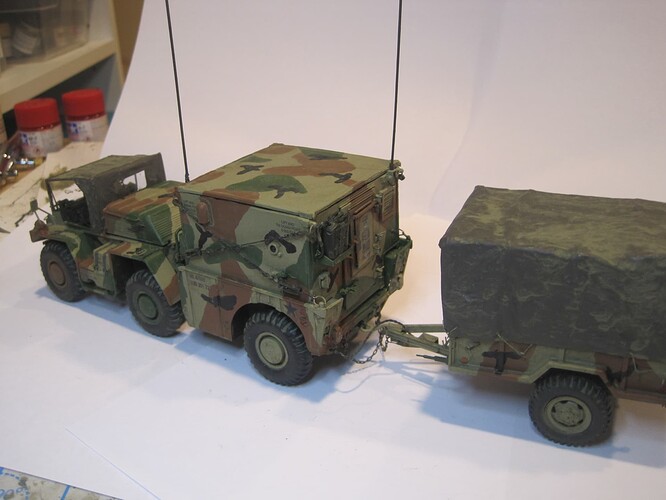
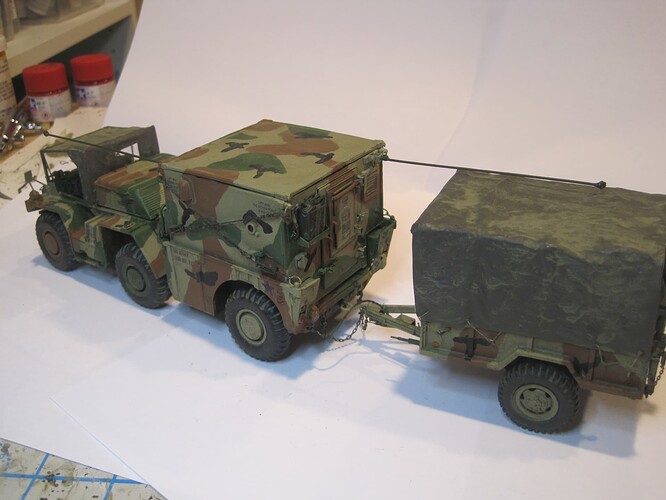
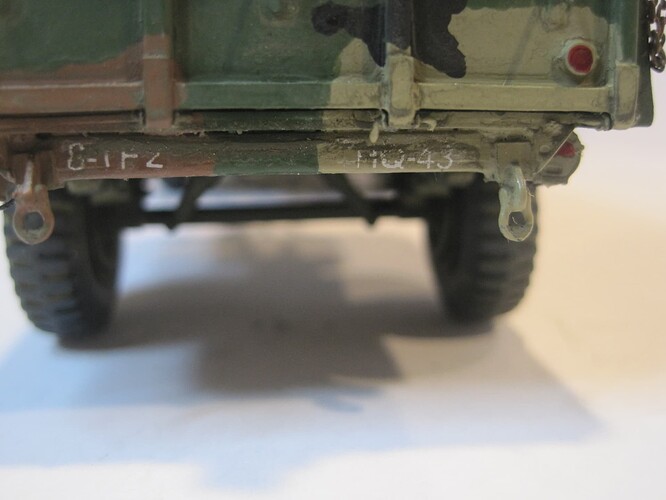
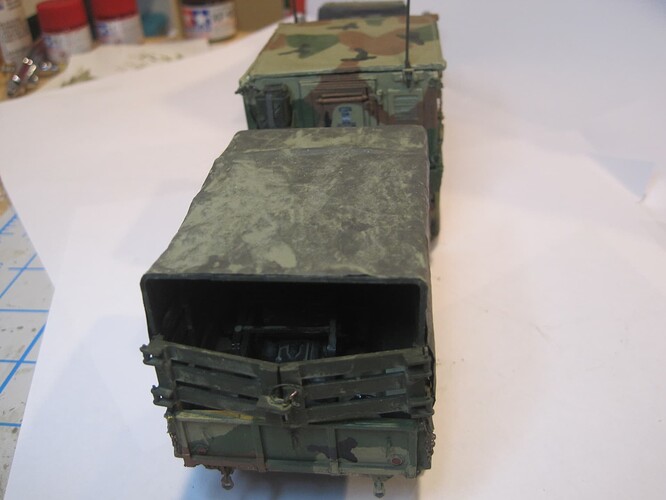
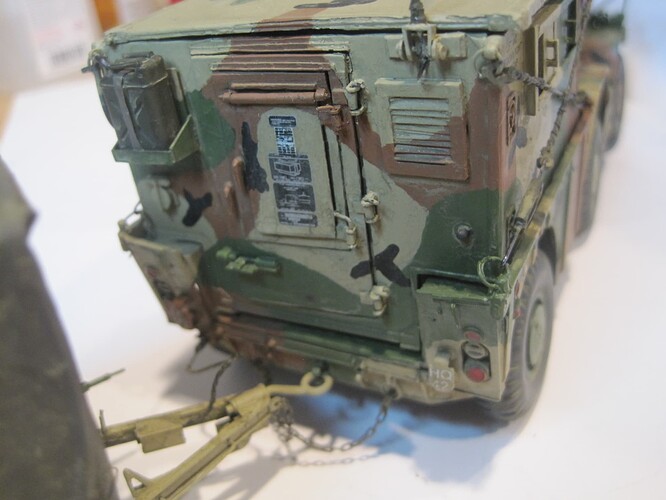
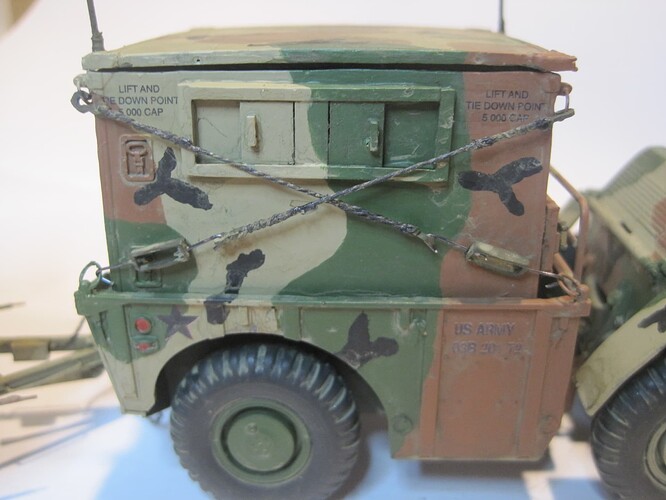
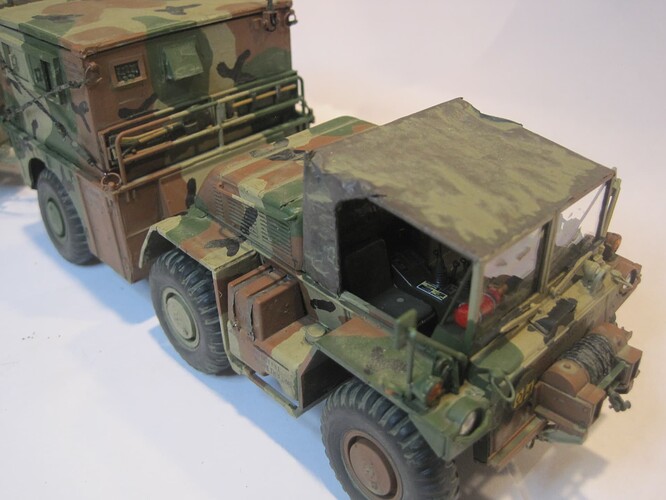
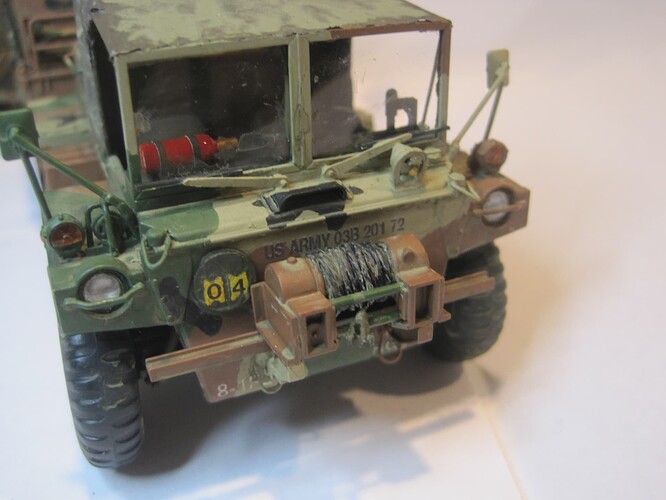
My next step was to apply the decals to the cab.
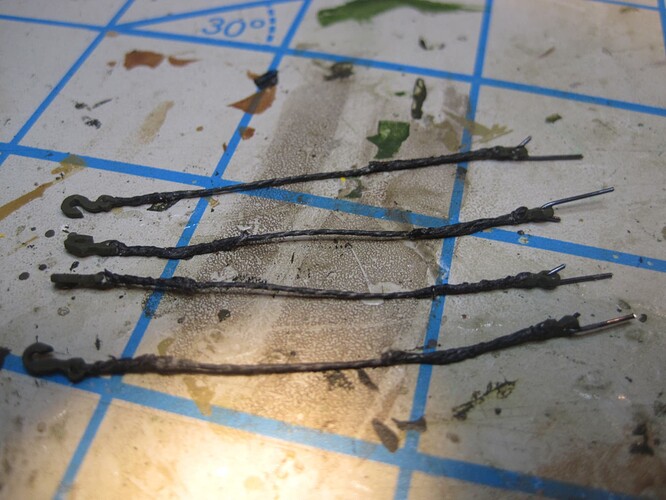
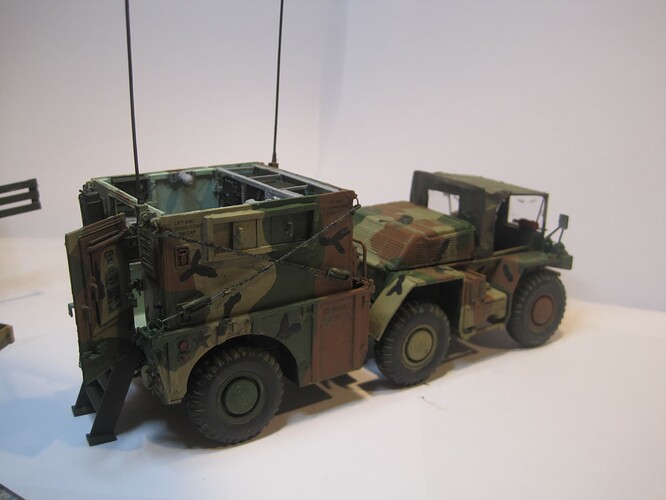
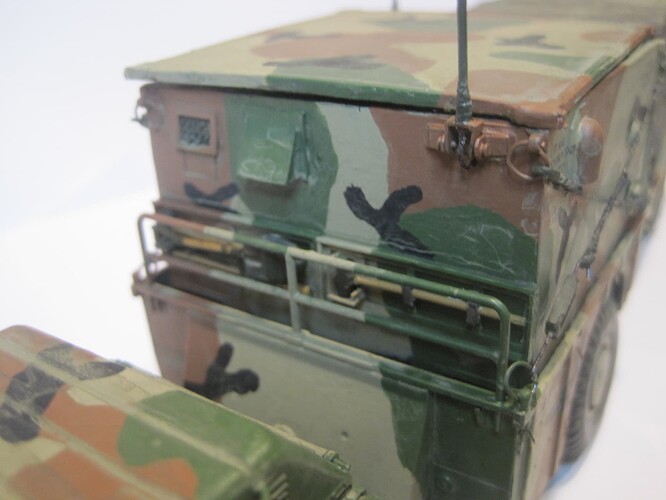
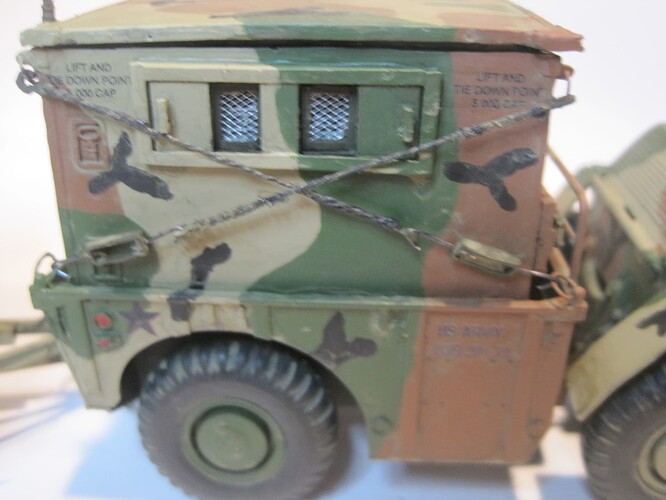
Once that was done I added the tie downs to the shelter. To install them I glued one end of the turnbuckle to the strap itself. Next I inserted the hook on the strap to the top ring, the turnbuckle to the lower end and then inserted the other end of the strap with the turnbuckle hook into the turnbuckle itself, pulled the two pieces toward each other and secured the loose hook with a small drop of CA glue to hold the whole thing tight.
My next step was something I hadn’t planned but I was not happy to discover that while the door to the shelter opened easily enough, I couldn’t get it to stay closed.
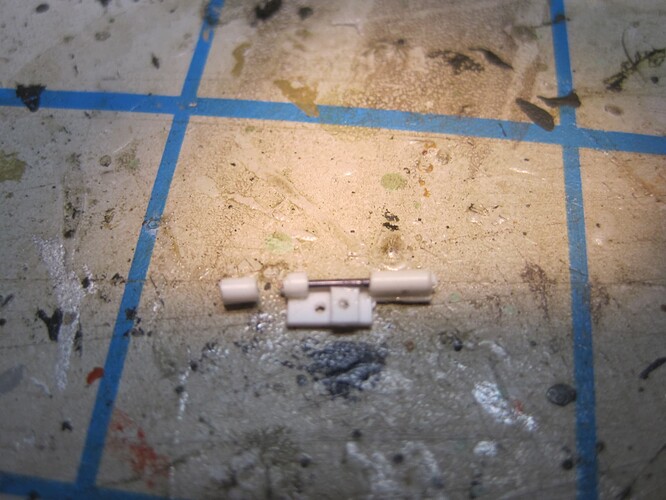
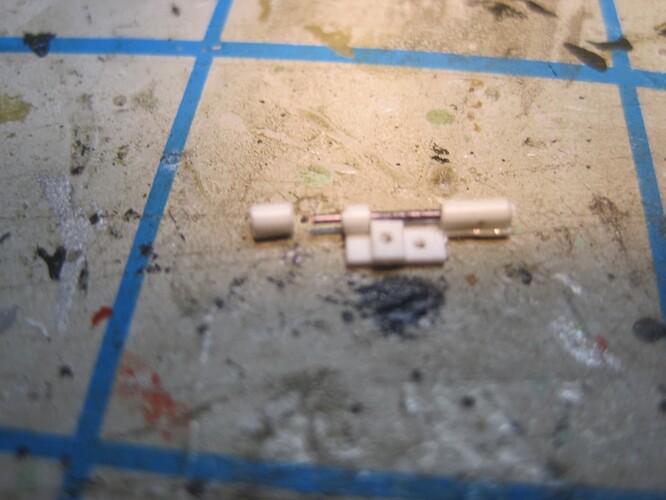
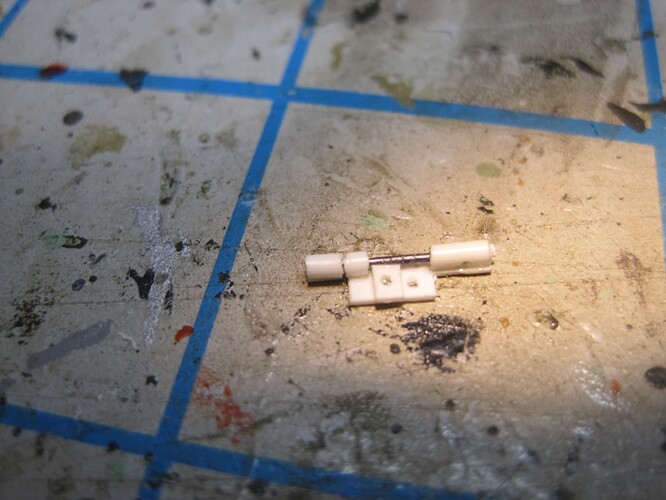
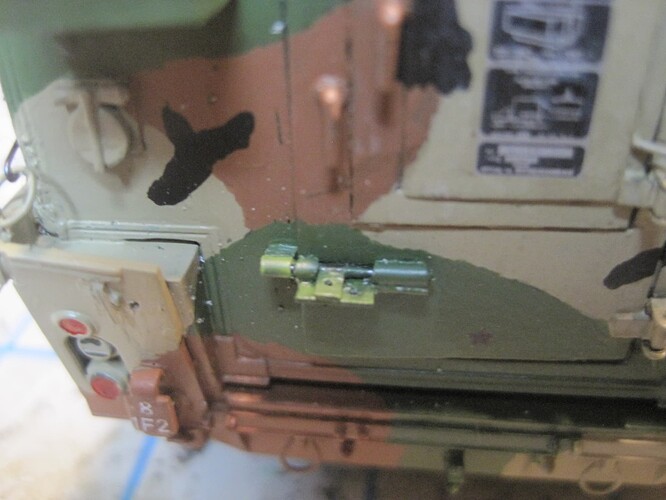
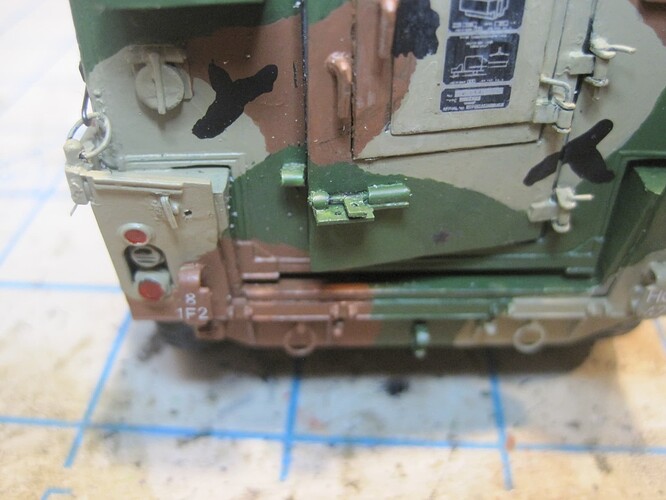
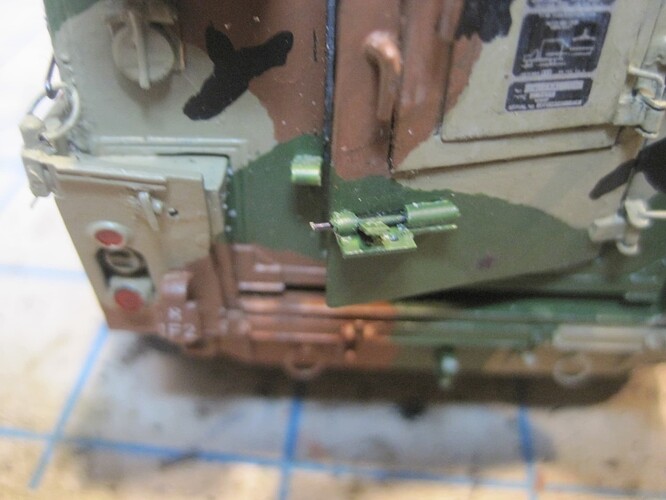
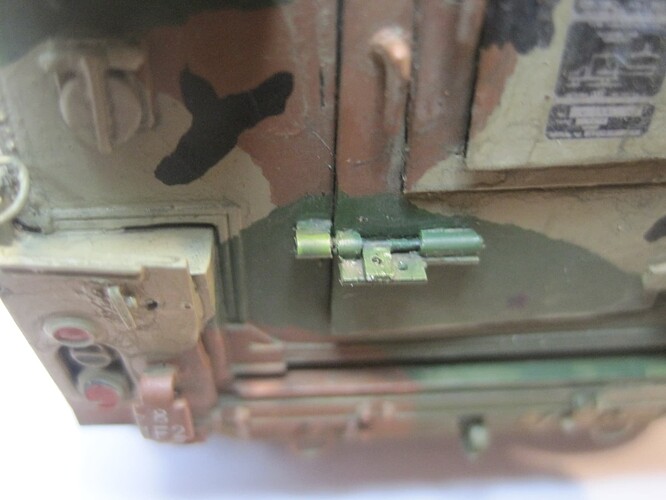
My solution, again while perhaps not accurate, was to add a latch, which is similar to the two I built for my Mess and Maintenance Trucks, which not only holds the door closed, but is designed so that you could secure the door with a pad lock.
With all the secure gear, even though we kept our vehicles in a separate and secure locked compound, being able to lock the shelter makes sense. I don’t know whether the door handle latching mechanism on the shelter was “keyed” or not, but this item did the trick, so on it goes!!
Here’s how it looks installed. “Accurate”? I don’t know. Practical, functional and explainable? Yup!
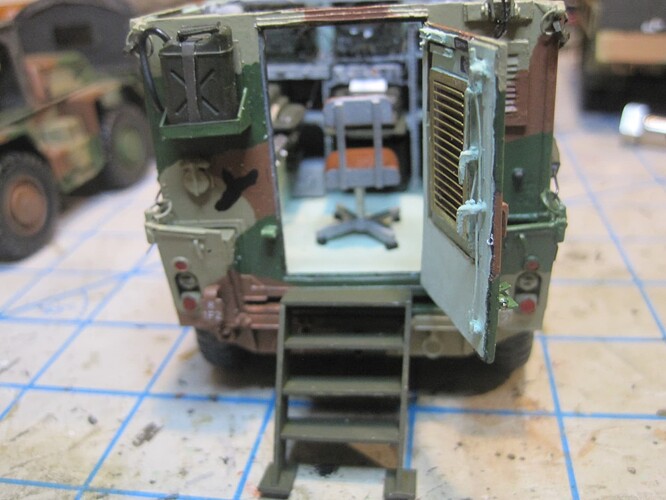
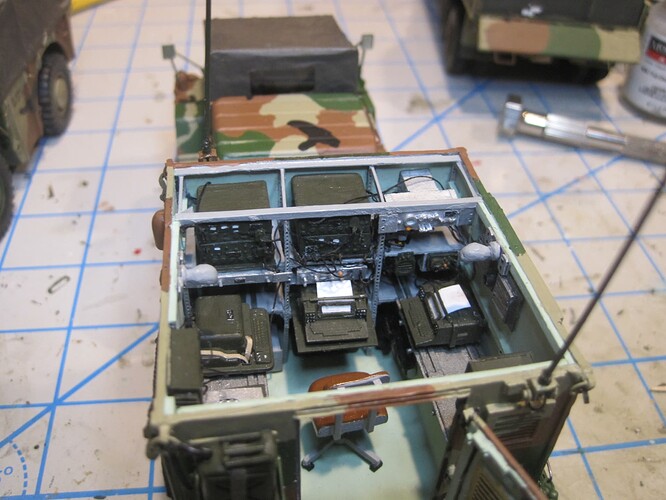
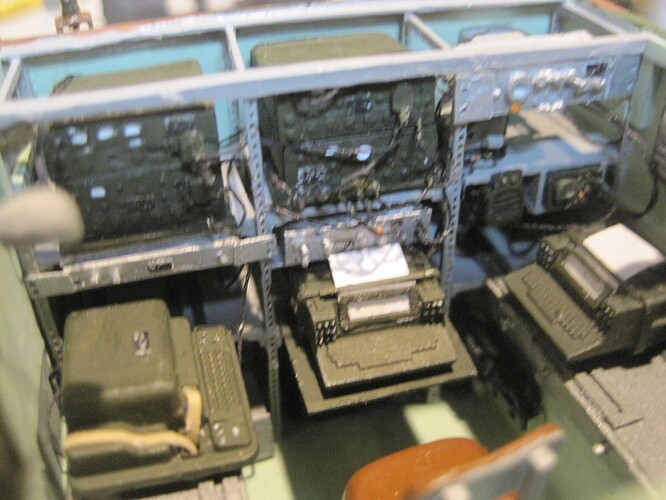
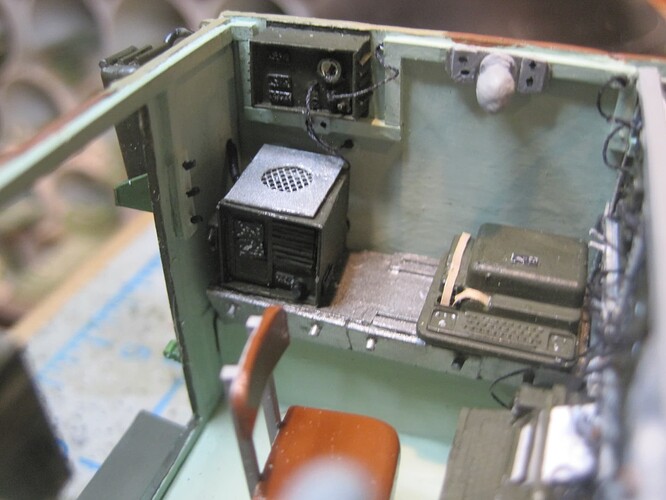
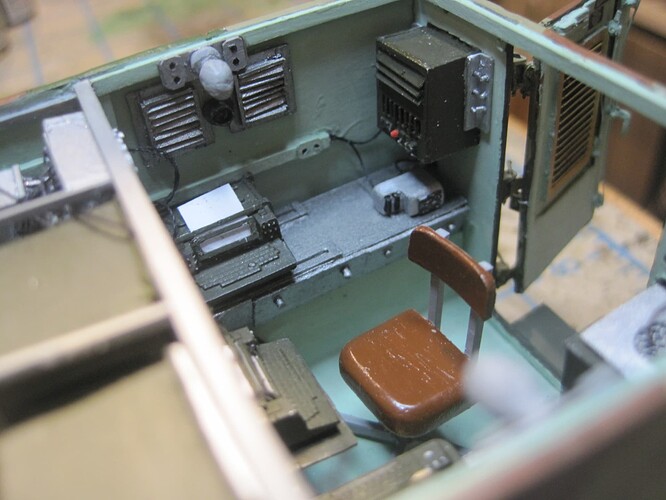
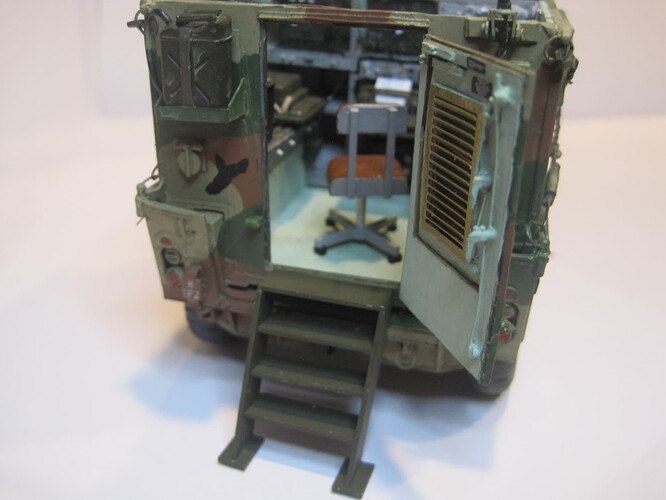
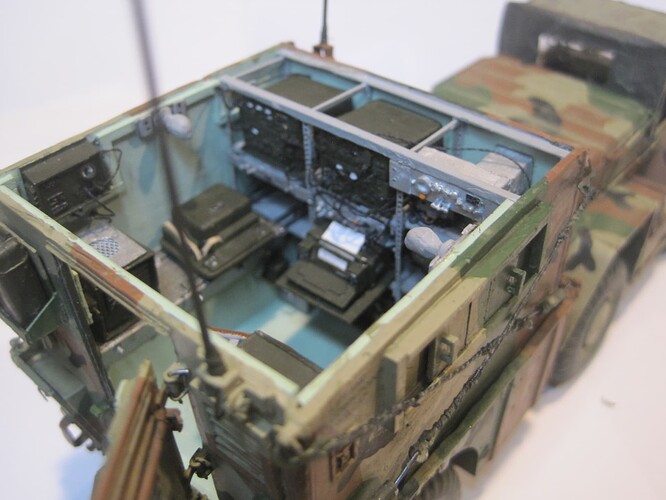
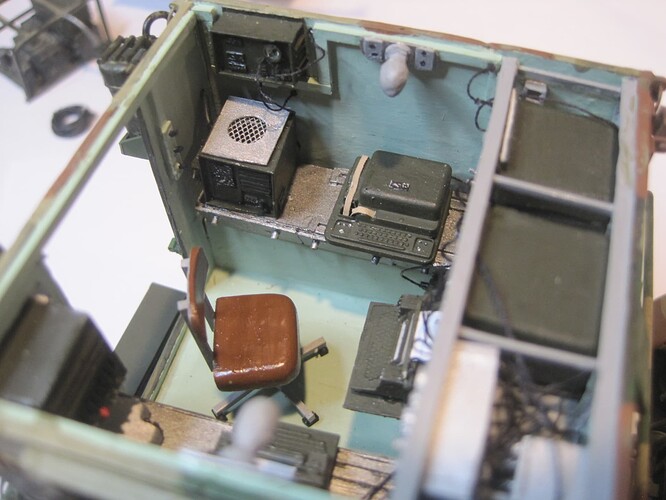
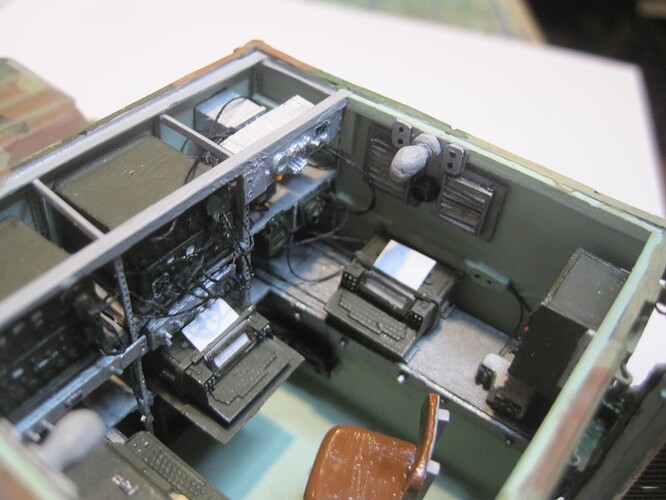
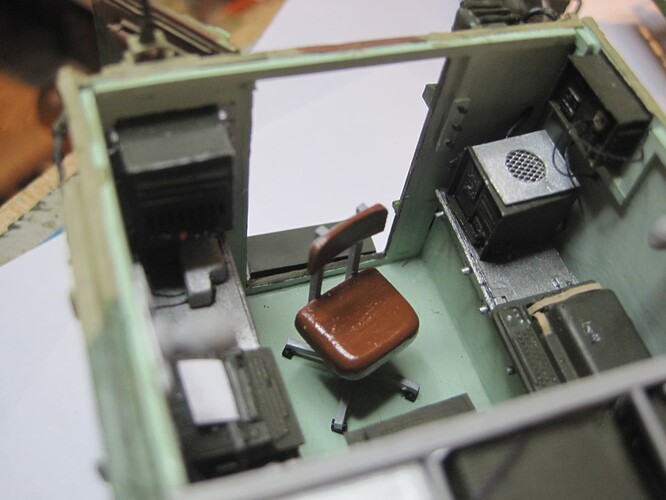
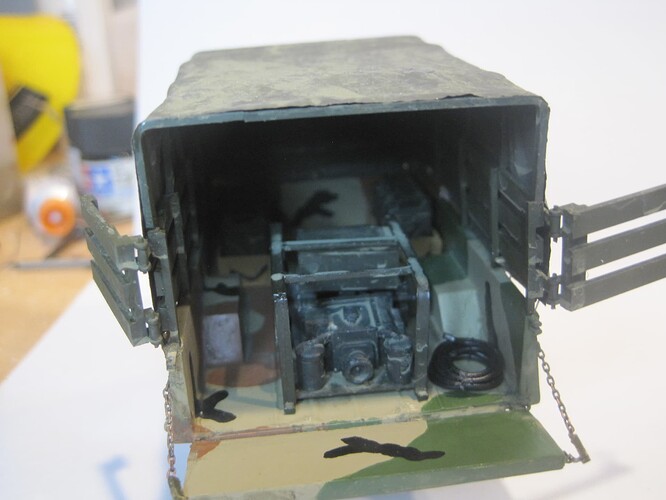
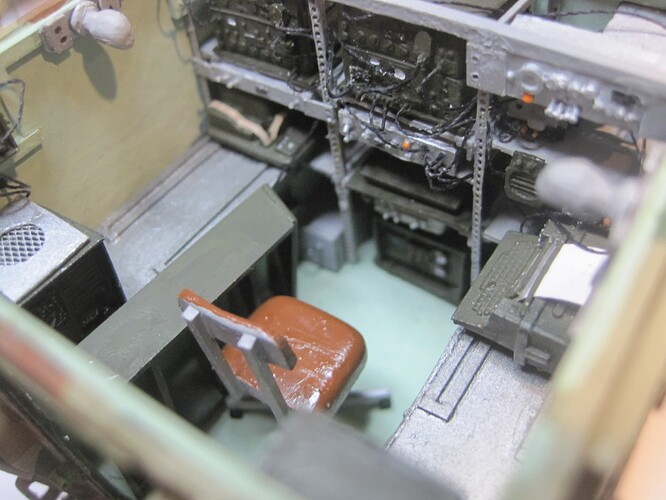
Two more details that needed to be added were a boarding ladder and some printout paper to the two teletype writers, so here’s how the inside of the shelter looks now.
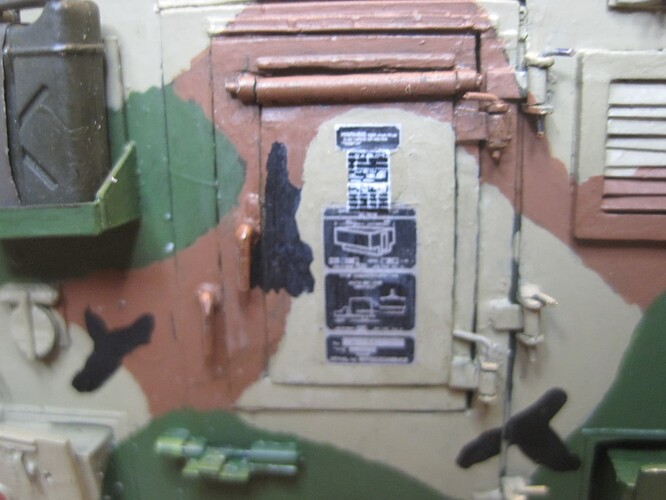
And last but not least, my solution to the incorrect data plate, was to locate another decal in my spares box, simply paint over the old one and add the new one!
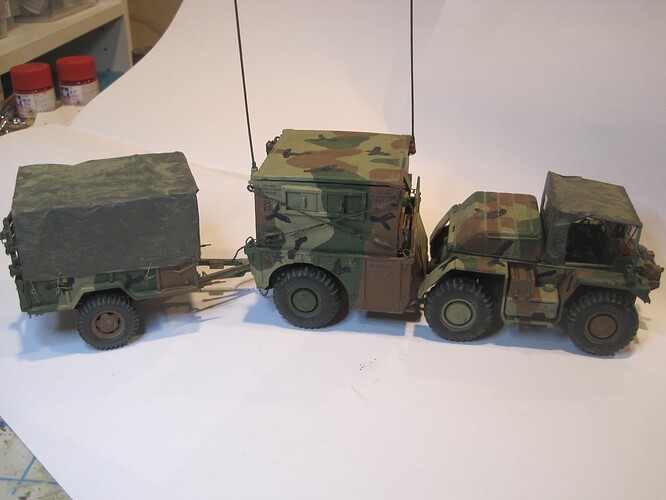
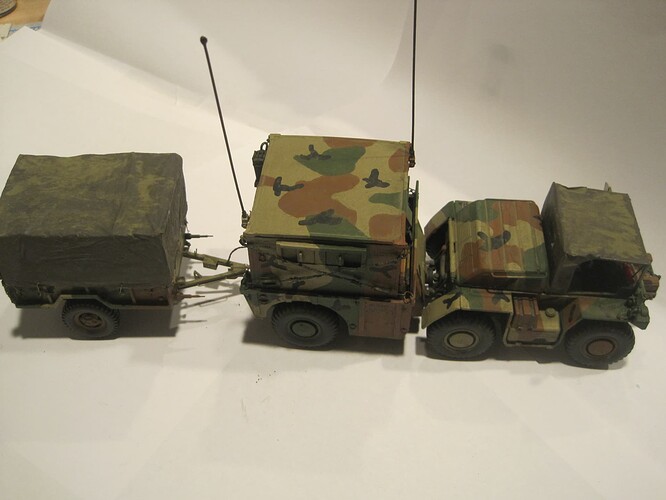
The vehicle is now assembled and construction complete. My last step will be to apply my standard “dirt wash” weathering, and I think I’ll declare victory on this one.
