M561 Gama Goat with RTT in MASSTER

After a two week visit to Greece (fabulous country and wonderful people) and getting caught up on everything that didn’t get done when I was gone, I’m back on my work bench.

Here’s the finished and dressed out engine. It took a bit of work to make everything fit since the engine bays in the two different kits weren’t the same dimensions, but I think I’ve achieved my goal of having both engines look the same as installed


The next item needing to be addressed is the engine cover. The Tamiya has very sharp corners and a completely flat top. I can’t swear that our vehicles had the rounded edges with the stiffening beads, but that does seem right, and regardless, to make the two builds look like they were manufactured by the same vehicle OEM even though the kits aren’t some work was needed. So a 0.05mm thick sheet of styrene was added, groves made by filing them out with a round rat tail file and the corners rounded off.

Not quite the same as the vent patterns are slightly different, but this cover looks a lot better to me than the stock Tamiya.


2 Likes

When I started the build of the actual vehicle, I said that I hoped that I didn’t have any “assembly” issues. To the extent that that’s defined as existing parts going together smoothly there have been none.

One of the main problems you will run into when for whatever reason you decide to build two of the same vehicles from two different kit manufactures there are going to be differences. These can include features that are included in one kit and not the other, as well as the same items on each kit not being the same either in looks or even in size. And when you’re trying to have the two builds displayed together, there’s a tendency to want to make them look as much alike as possible.

So the result in this case was that I have had to do a lot more scratch building than I had expected. And given that my original Gama Goat build was an all resin kit, and my current one is from Tamiya, I sort of expected that I might have to back build a few things into my earlier build.

Turns out the exact opposite has been the case as there is quite a lot of detail on my previous build (and most of it NOT something that I scratch built for it), that simply wasn’t there in the Tamiya kit.

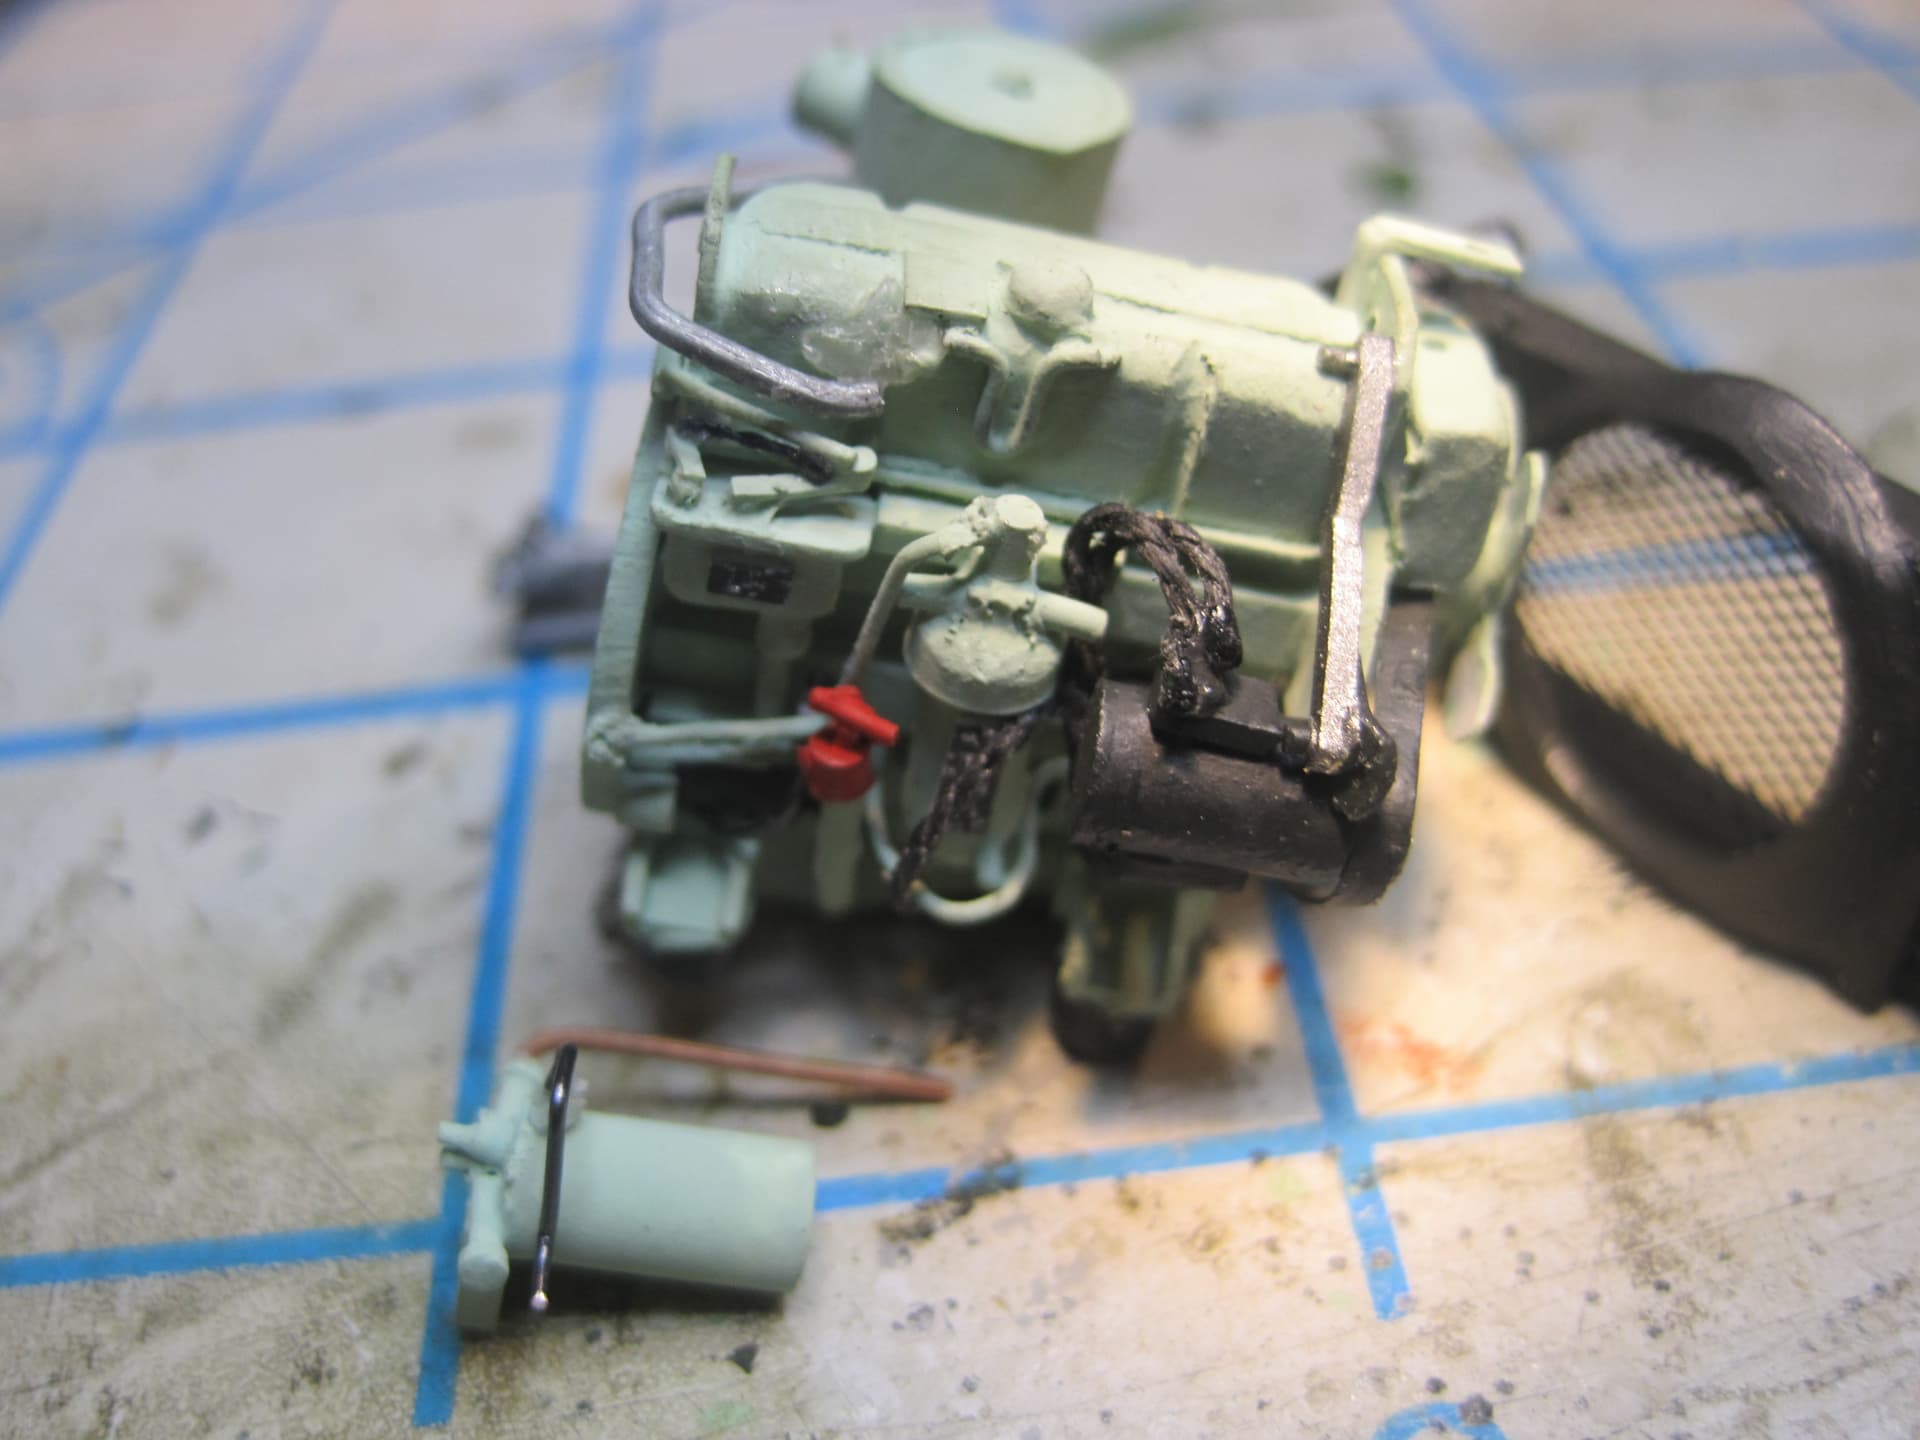
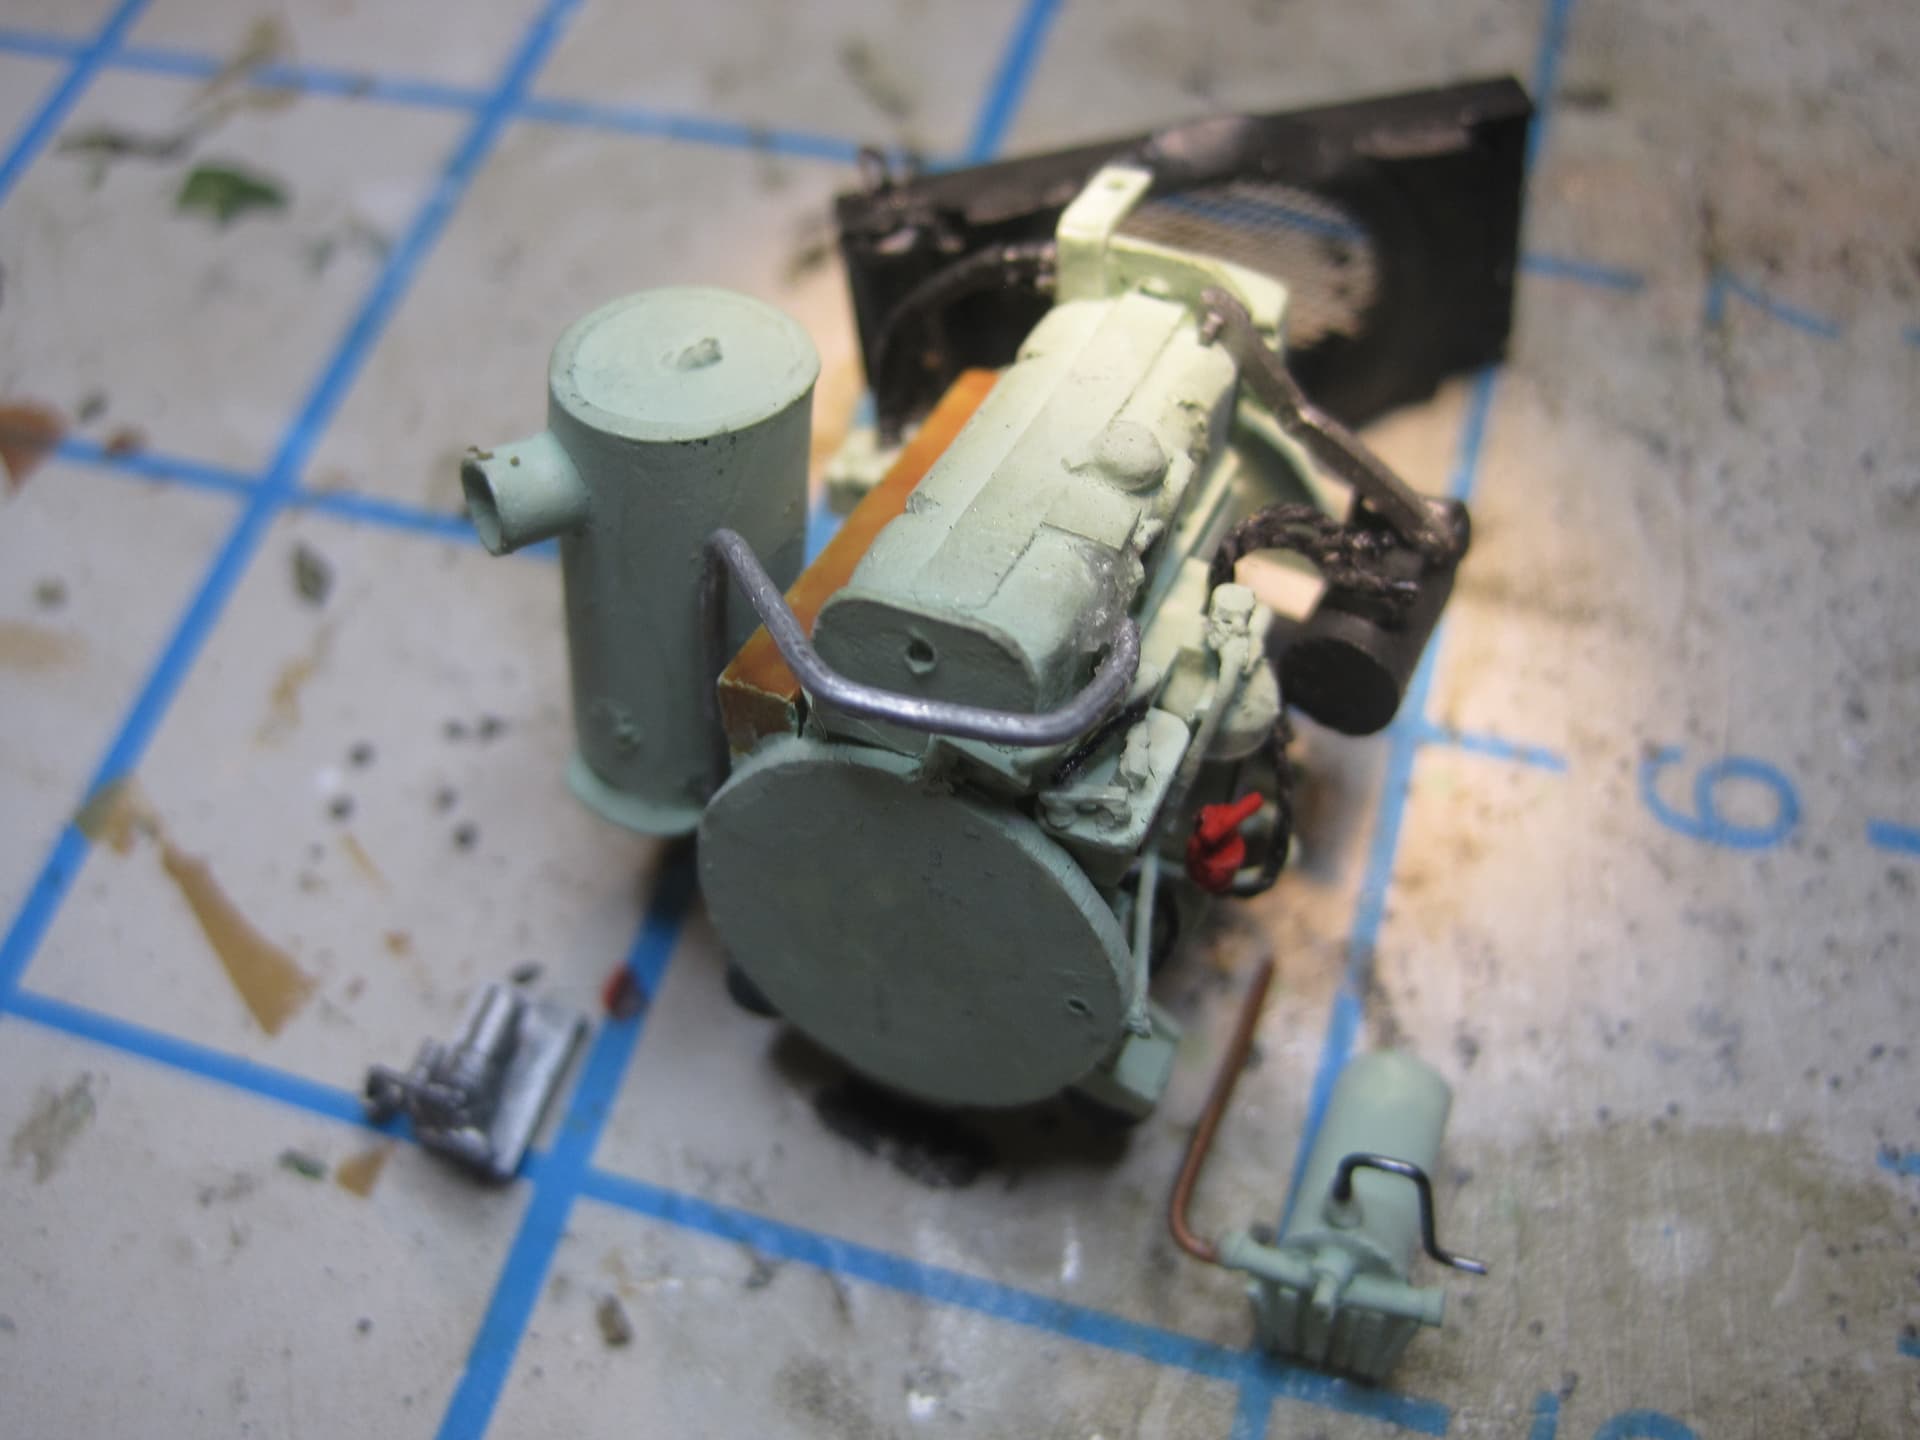
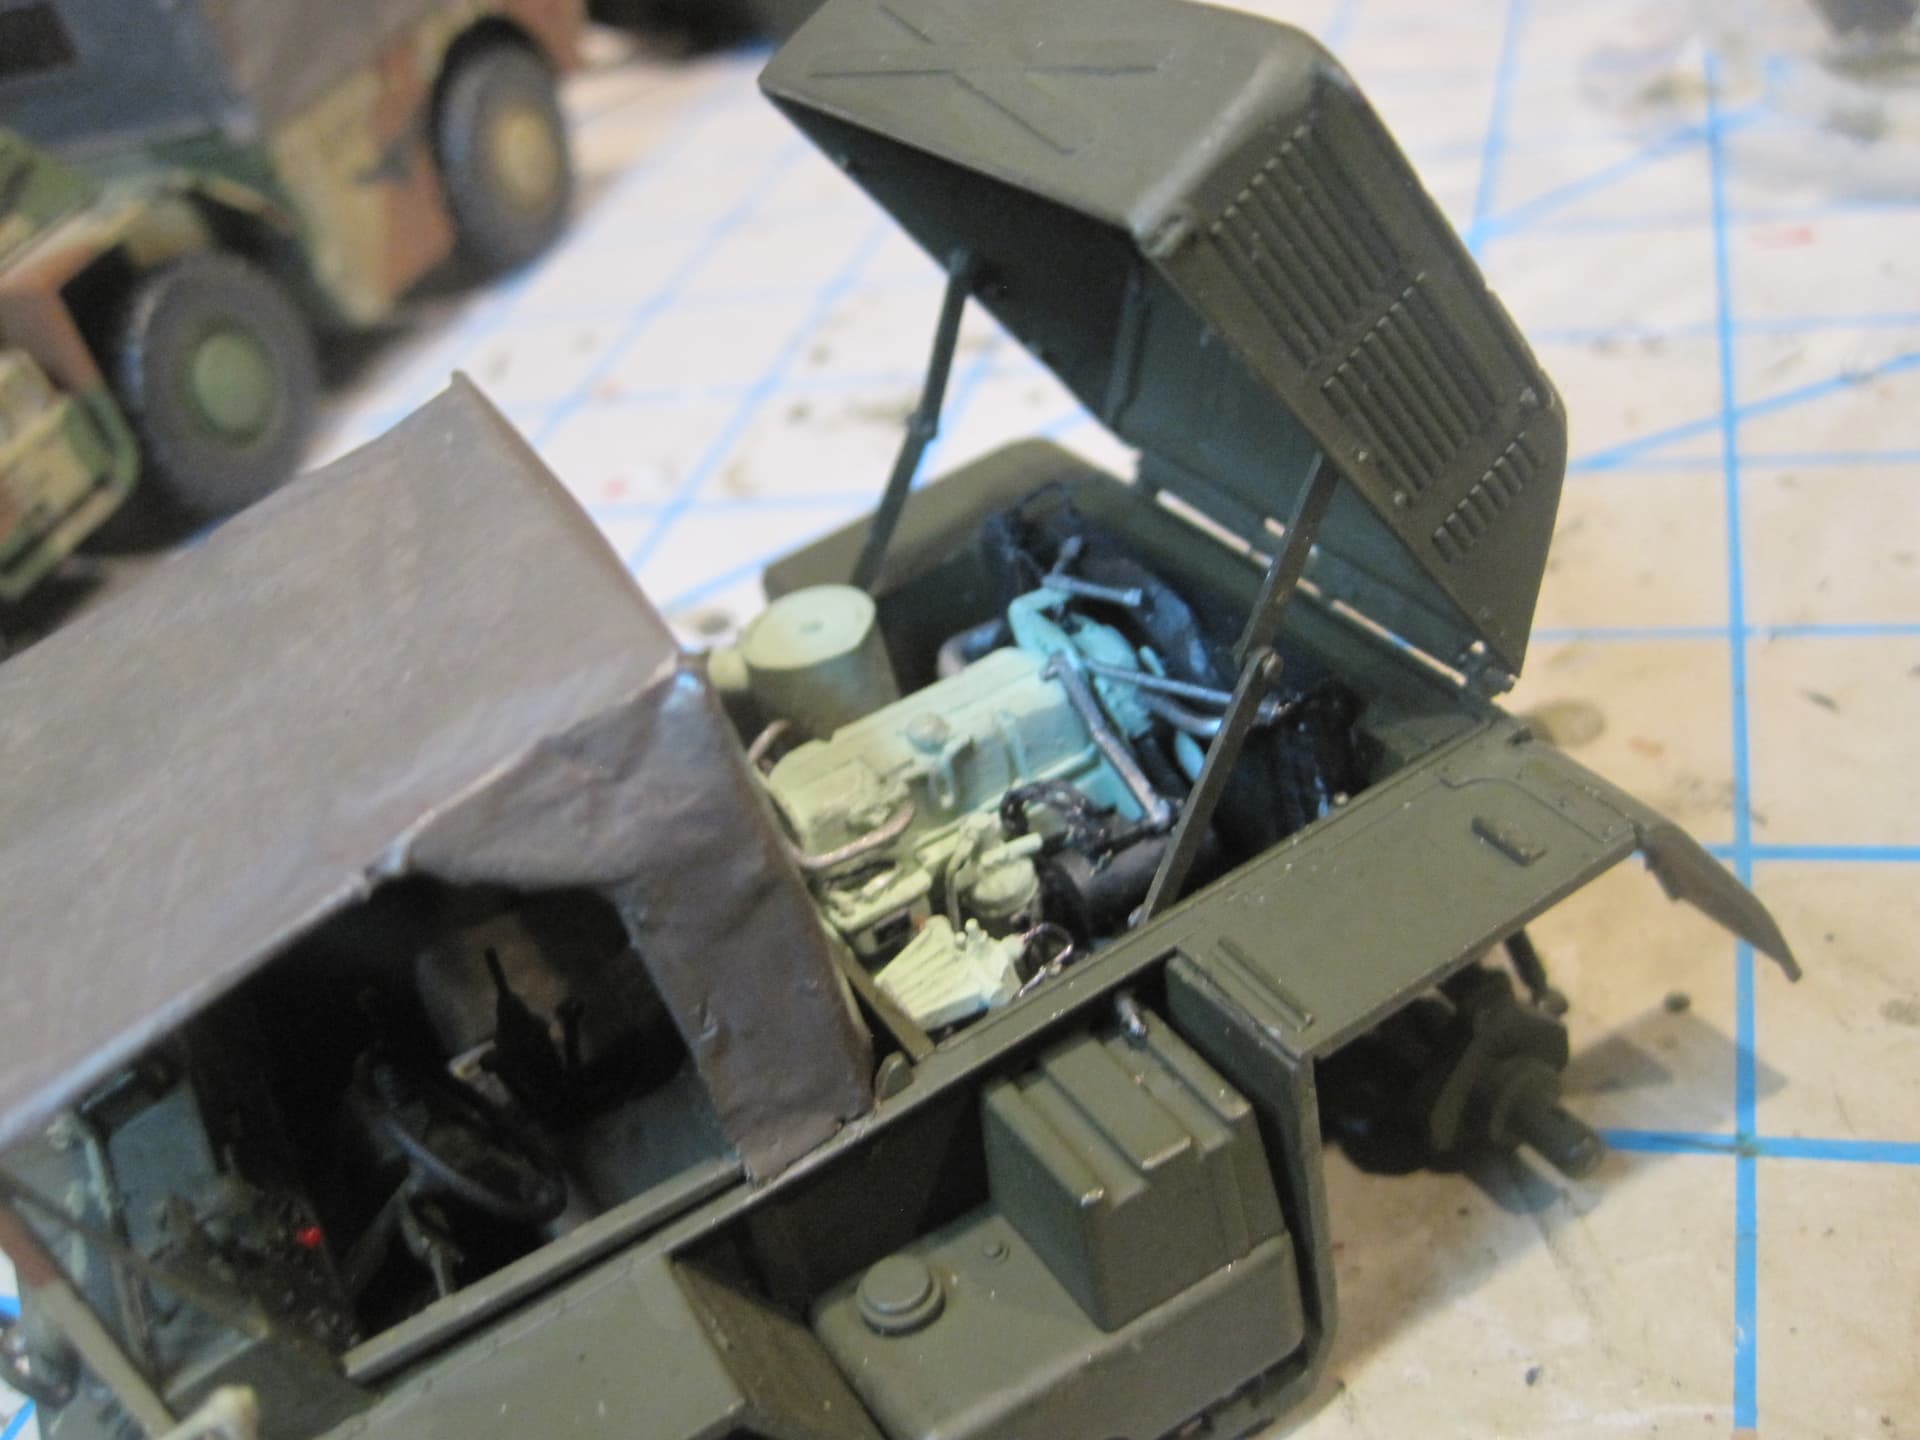
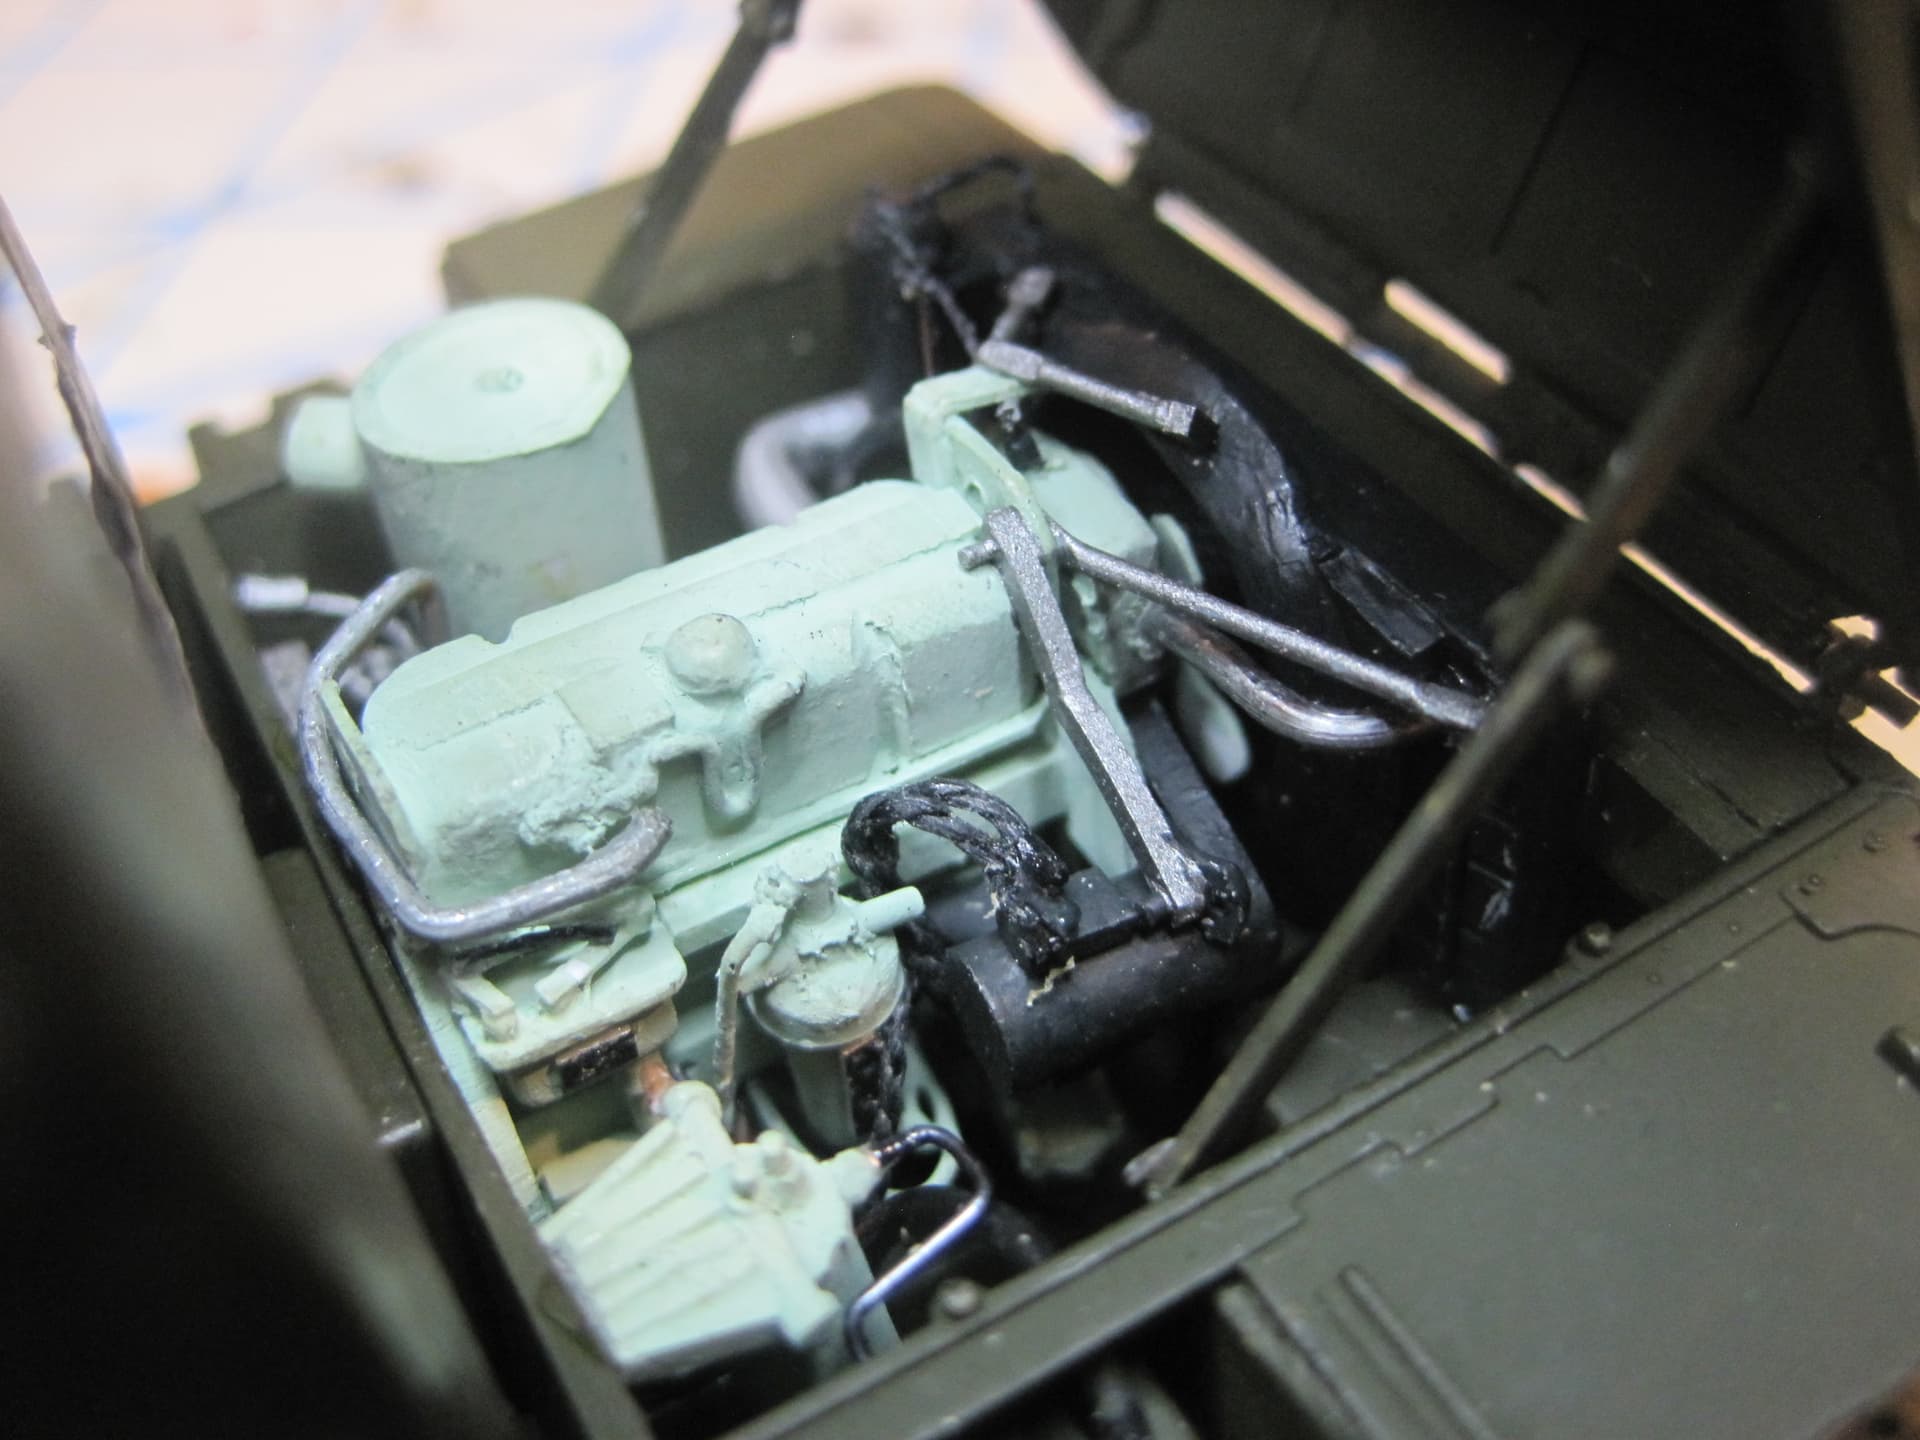
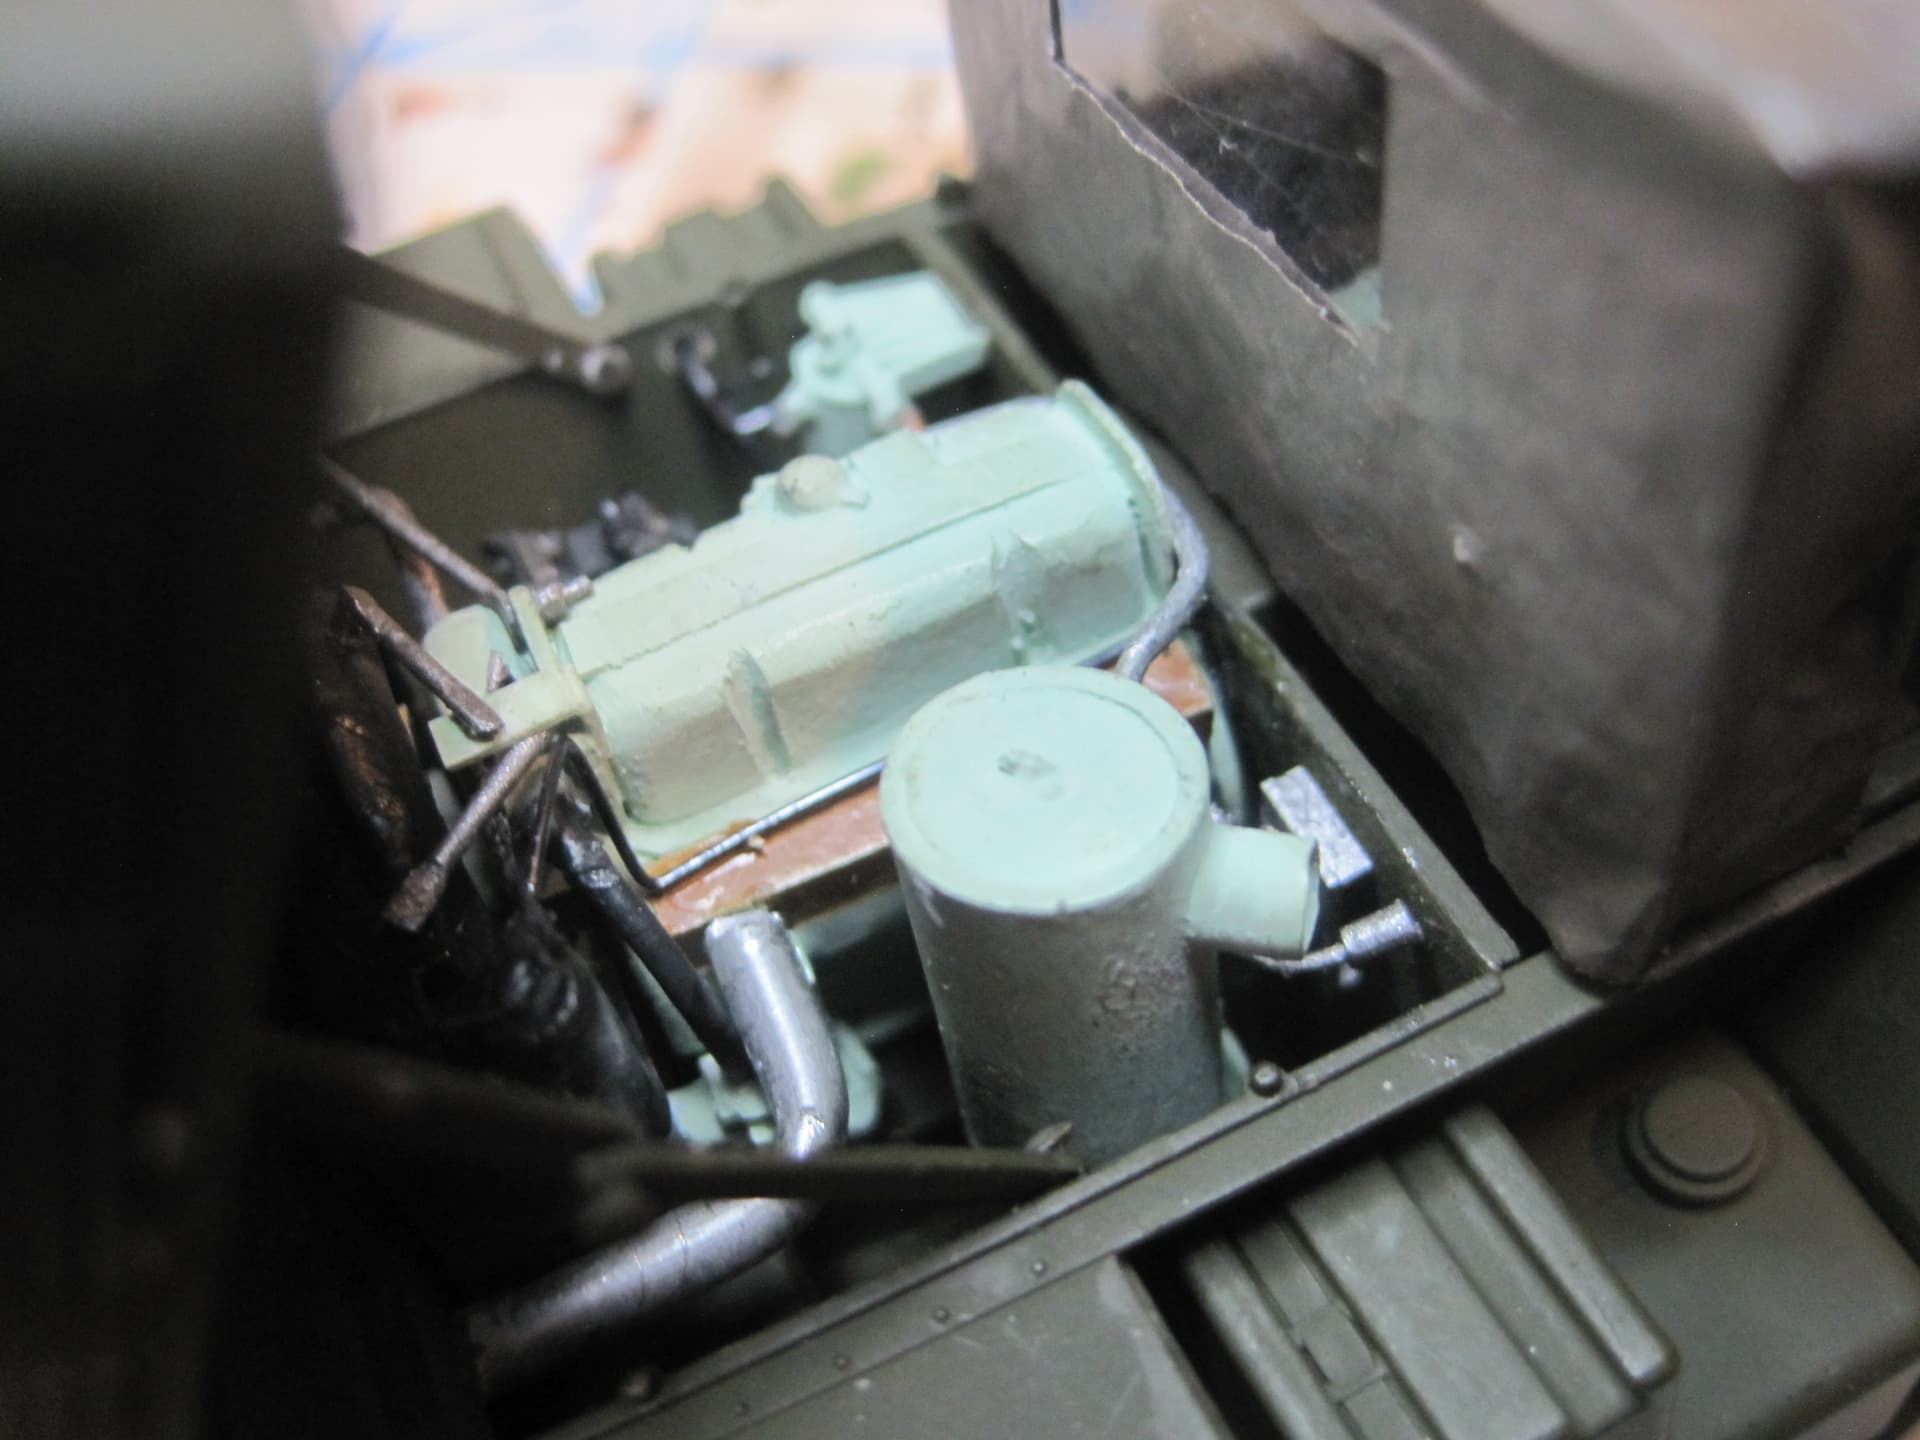
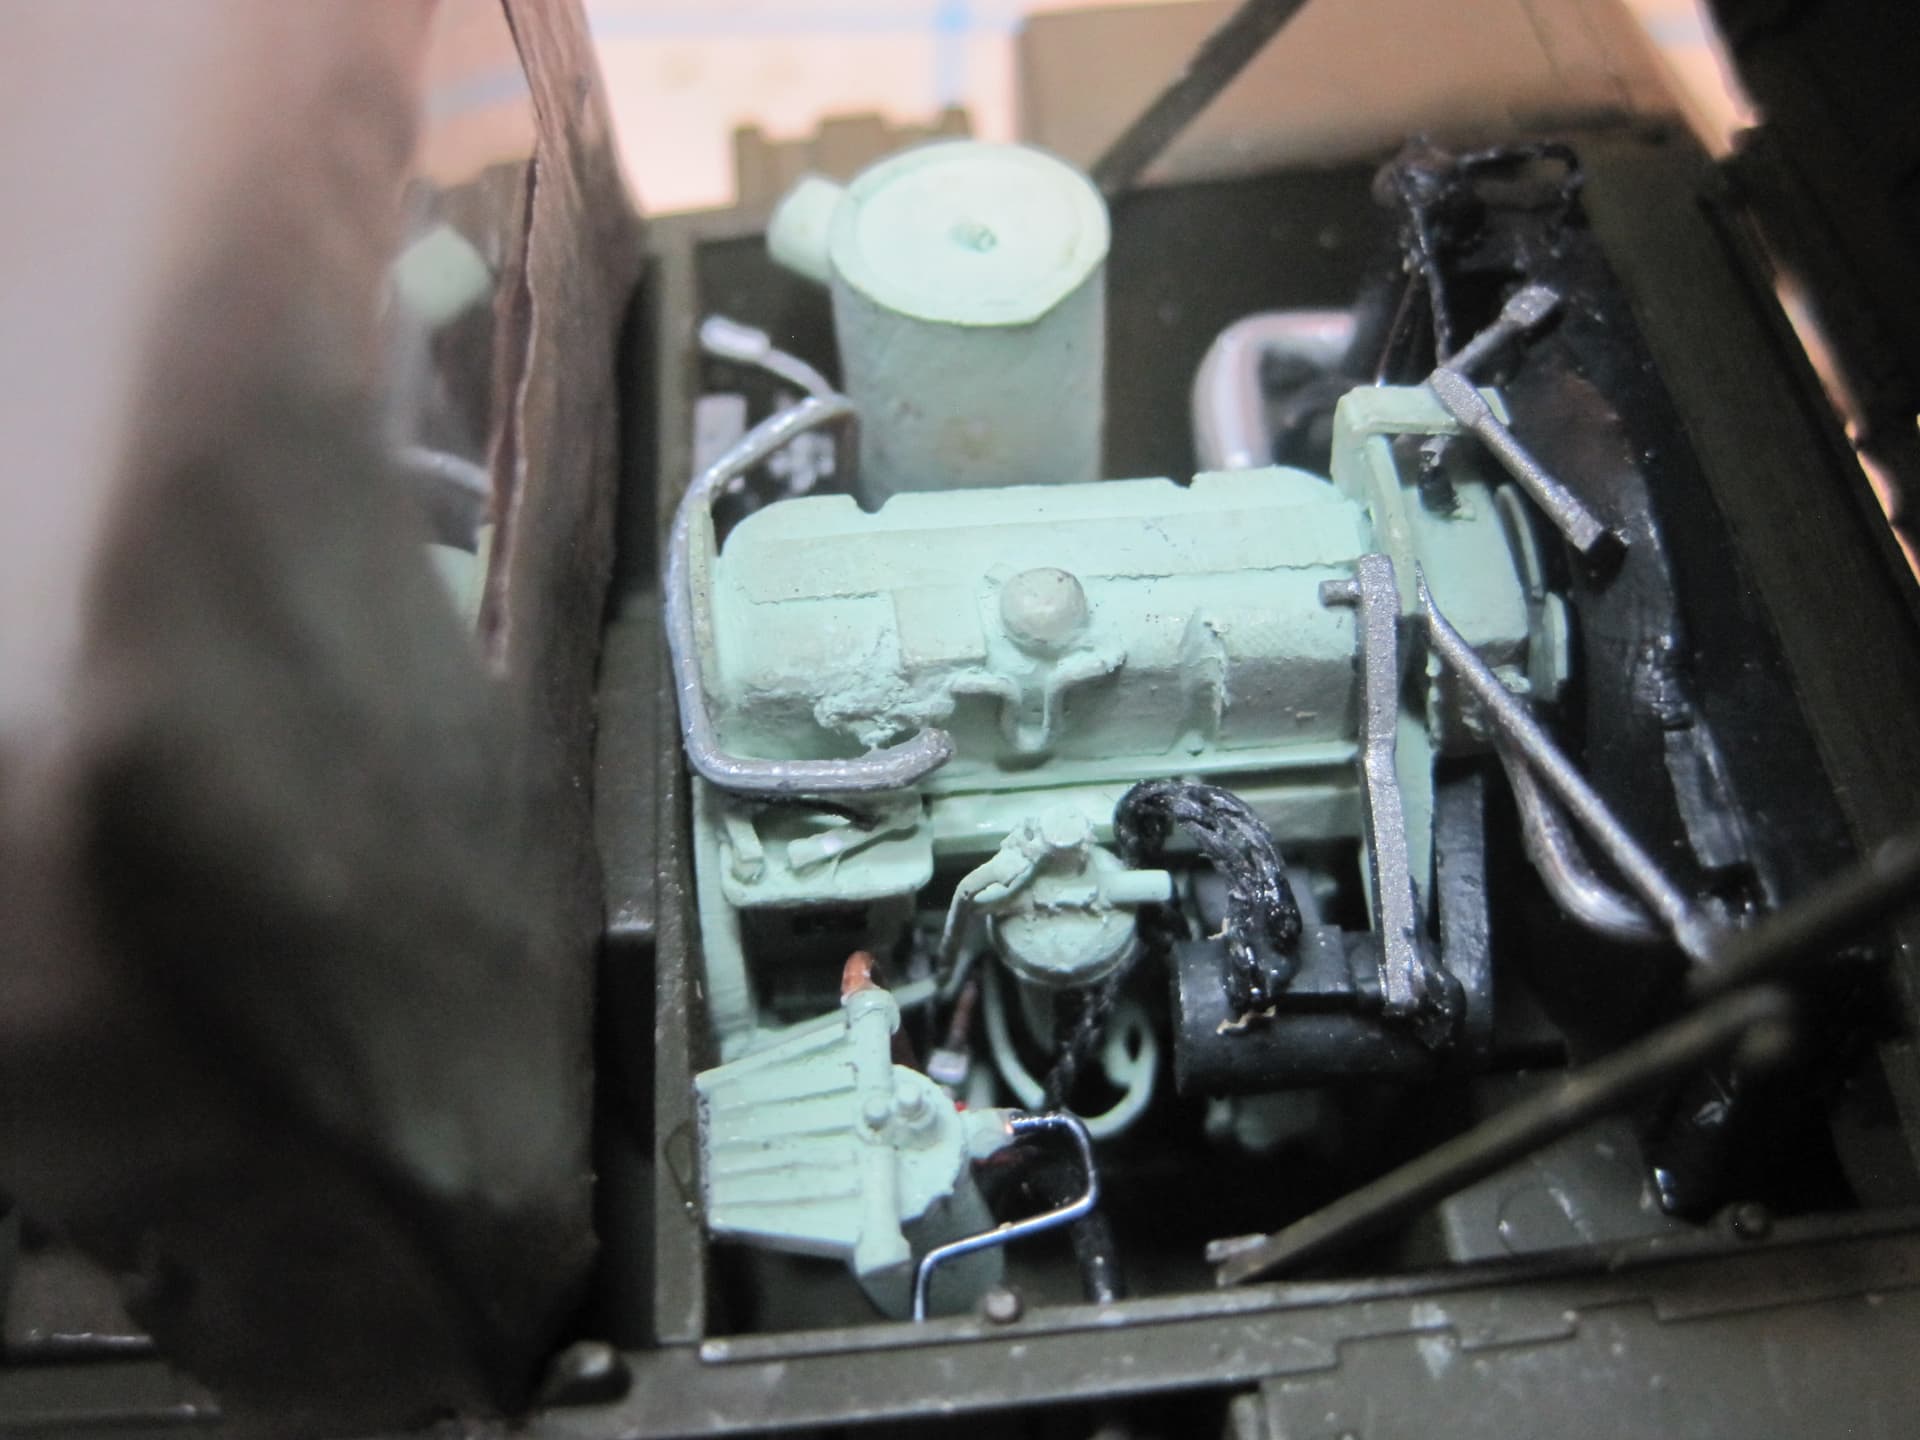
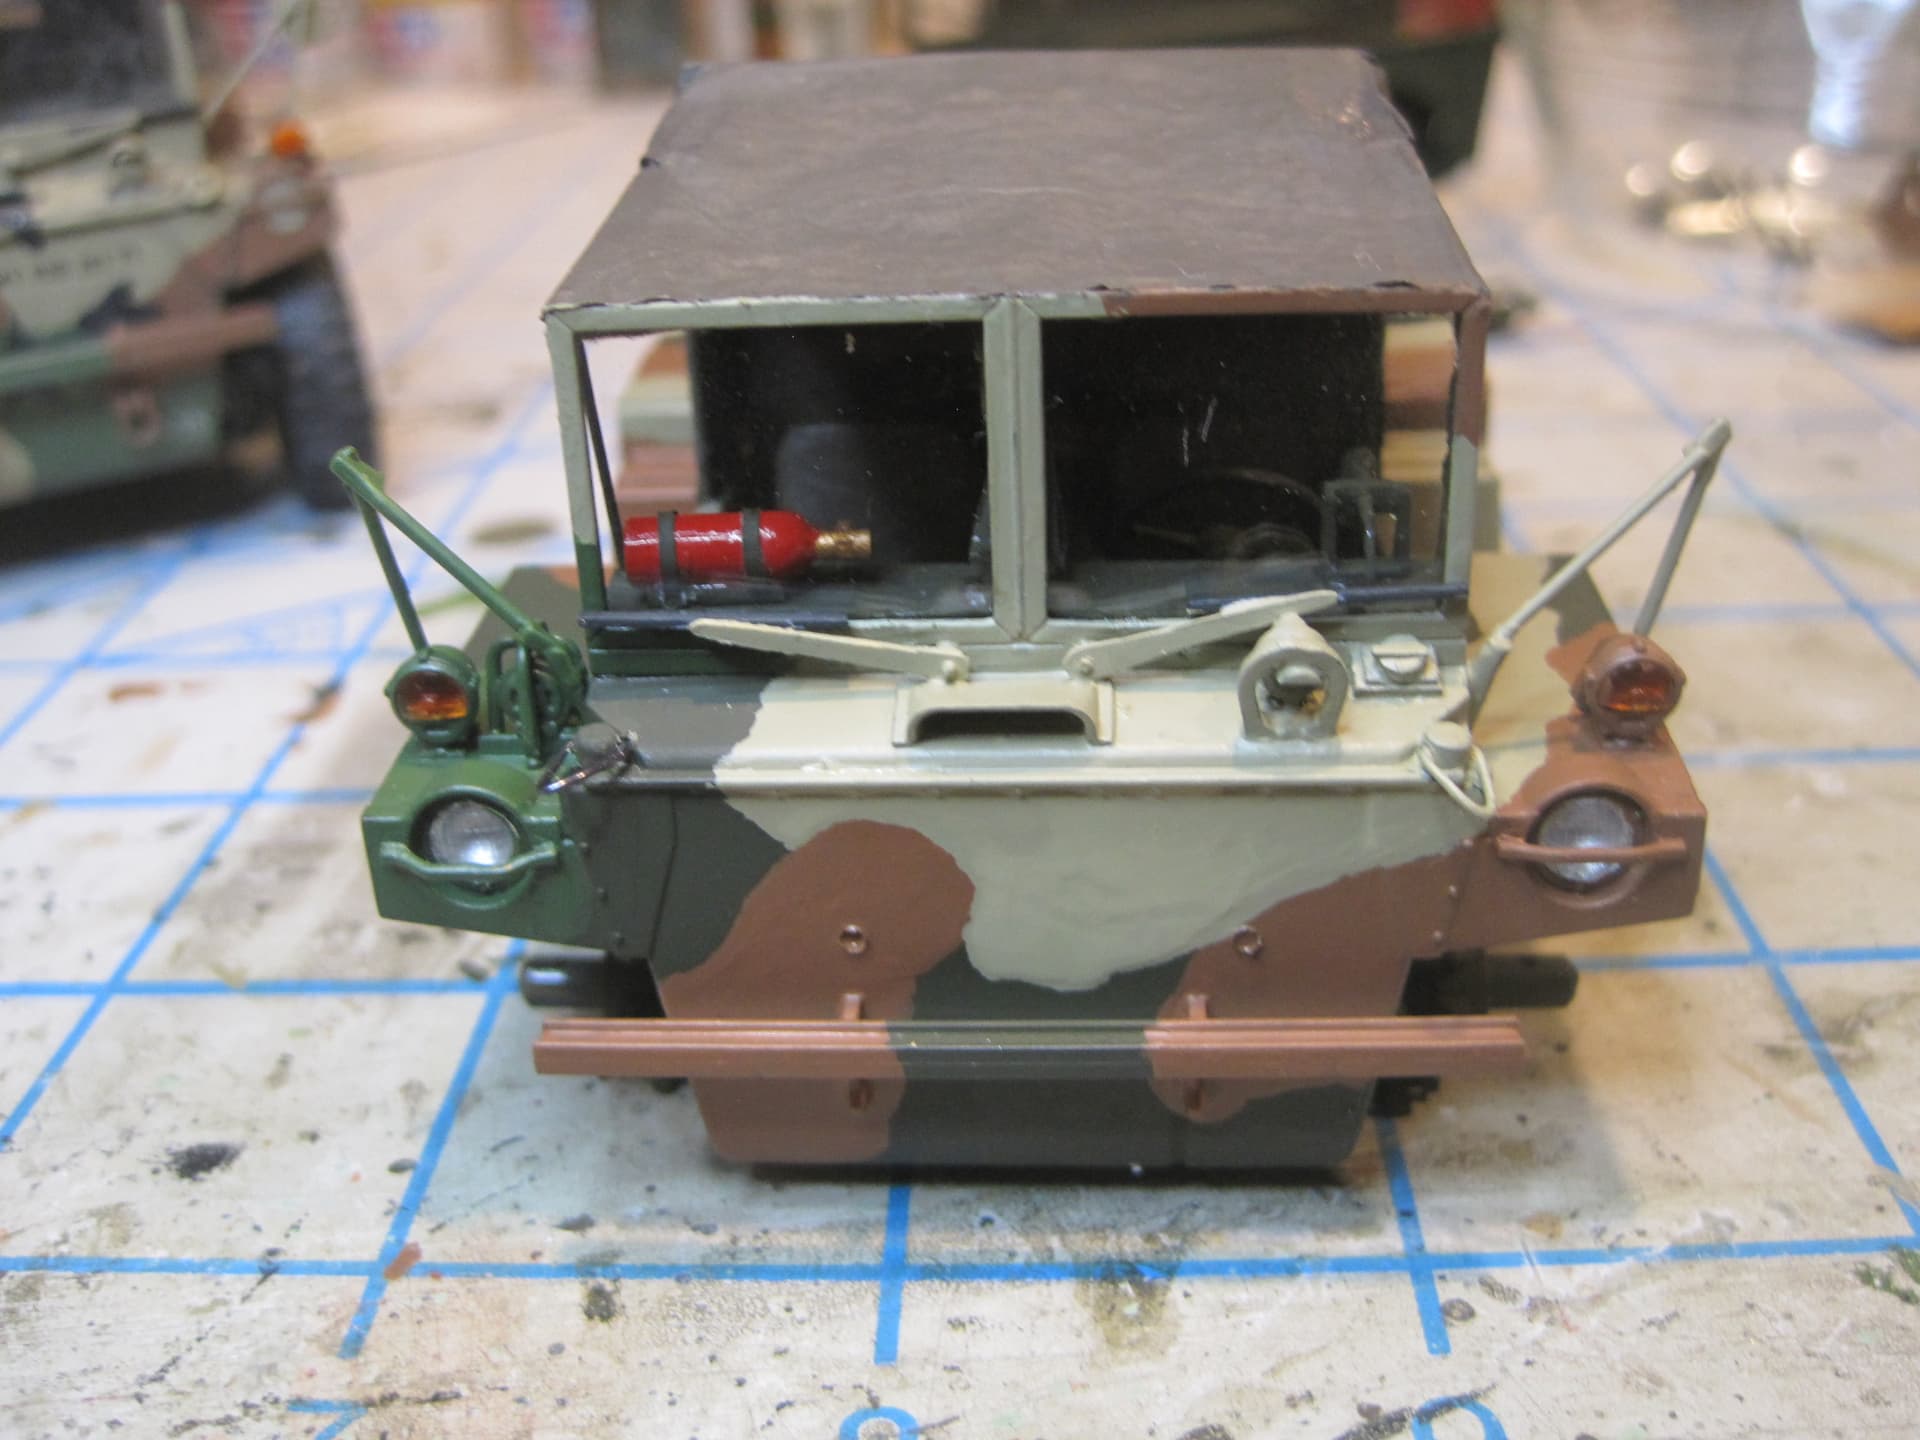
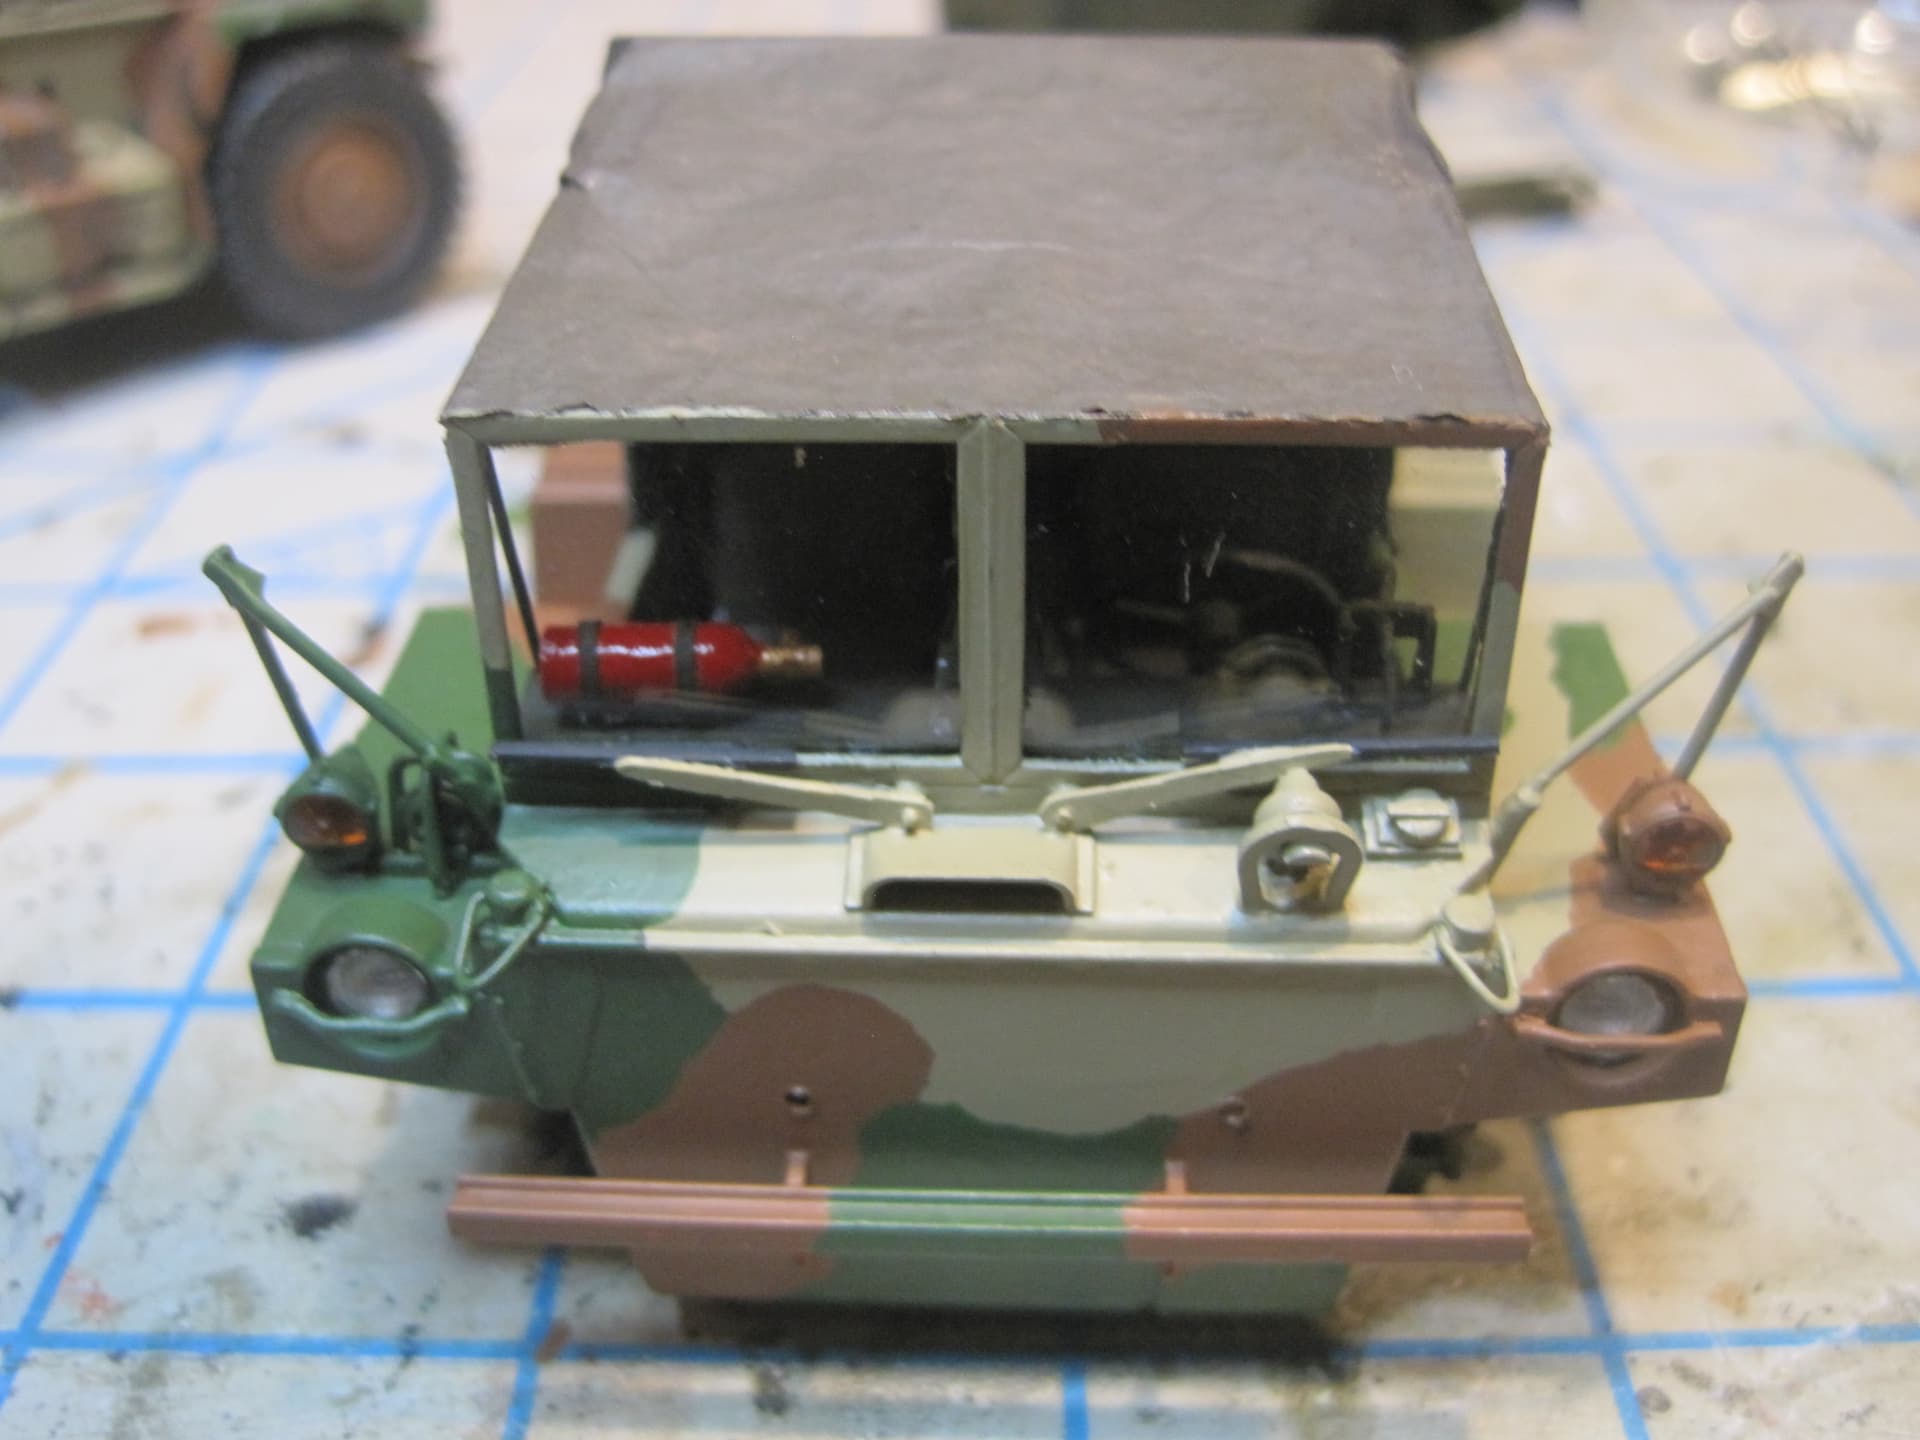
A few of the features, for example the dash mounted fire extinguisher and of course the engine are understandable. But as I progressed, I kept finding things that Tamiya left off that I found quite surprising.

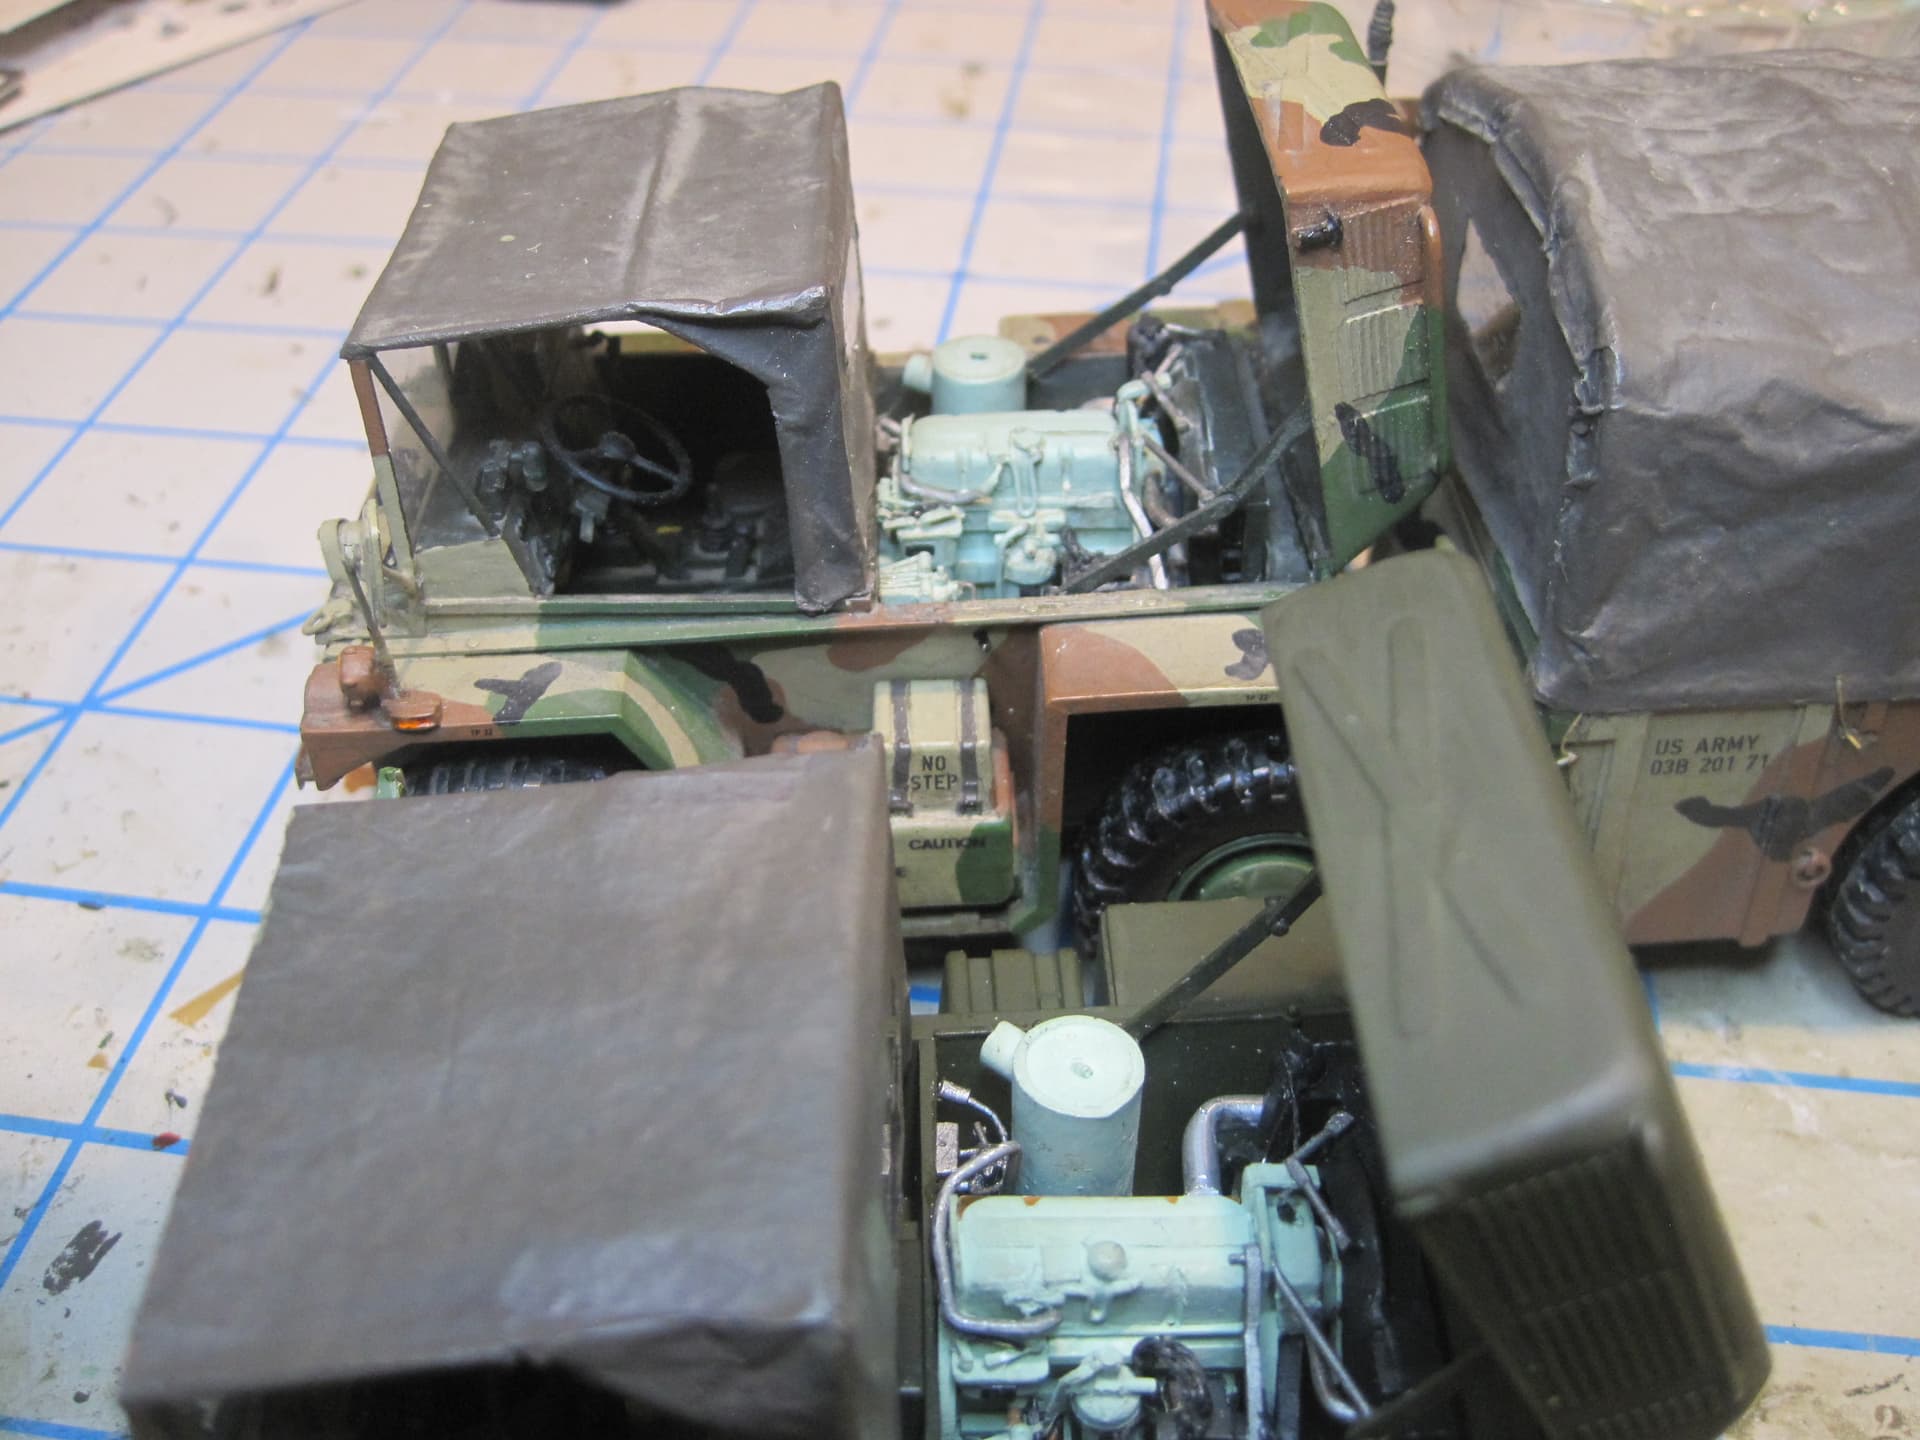
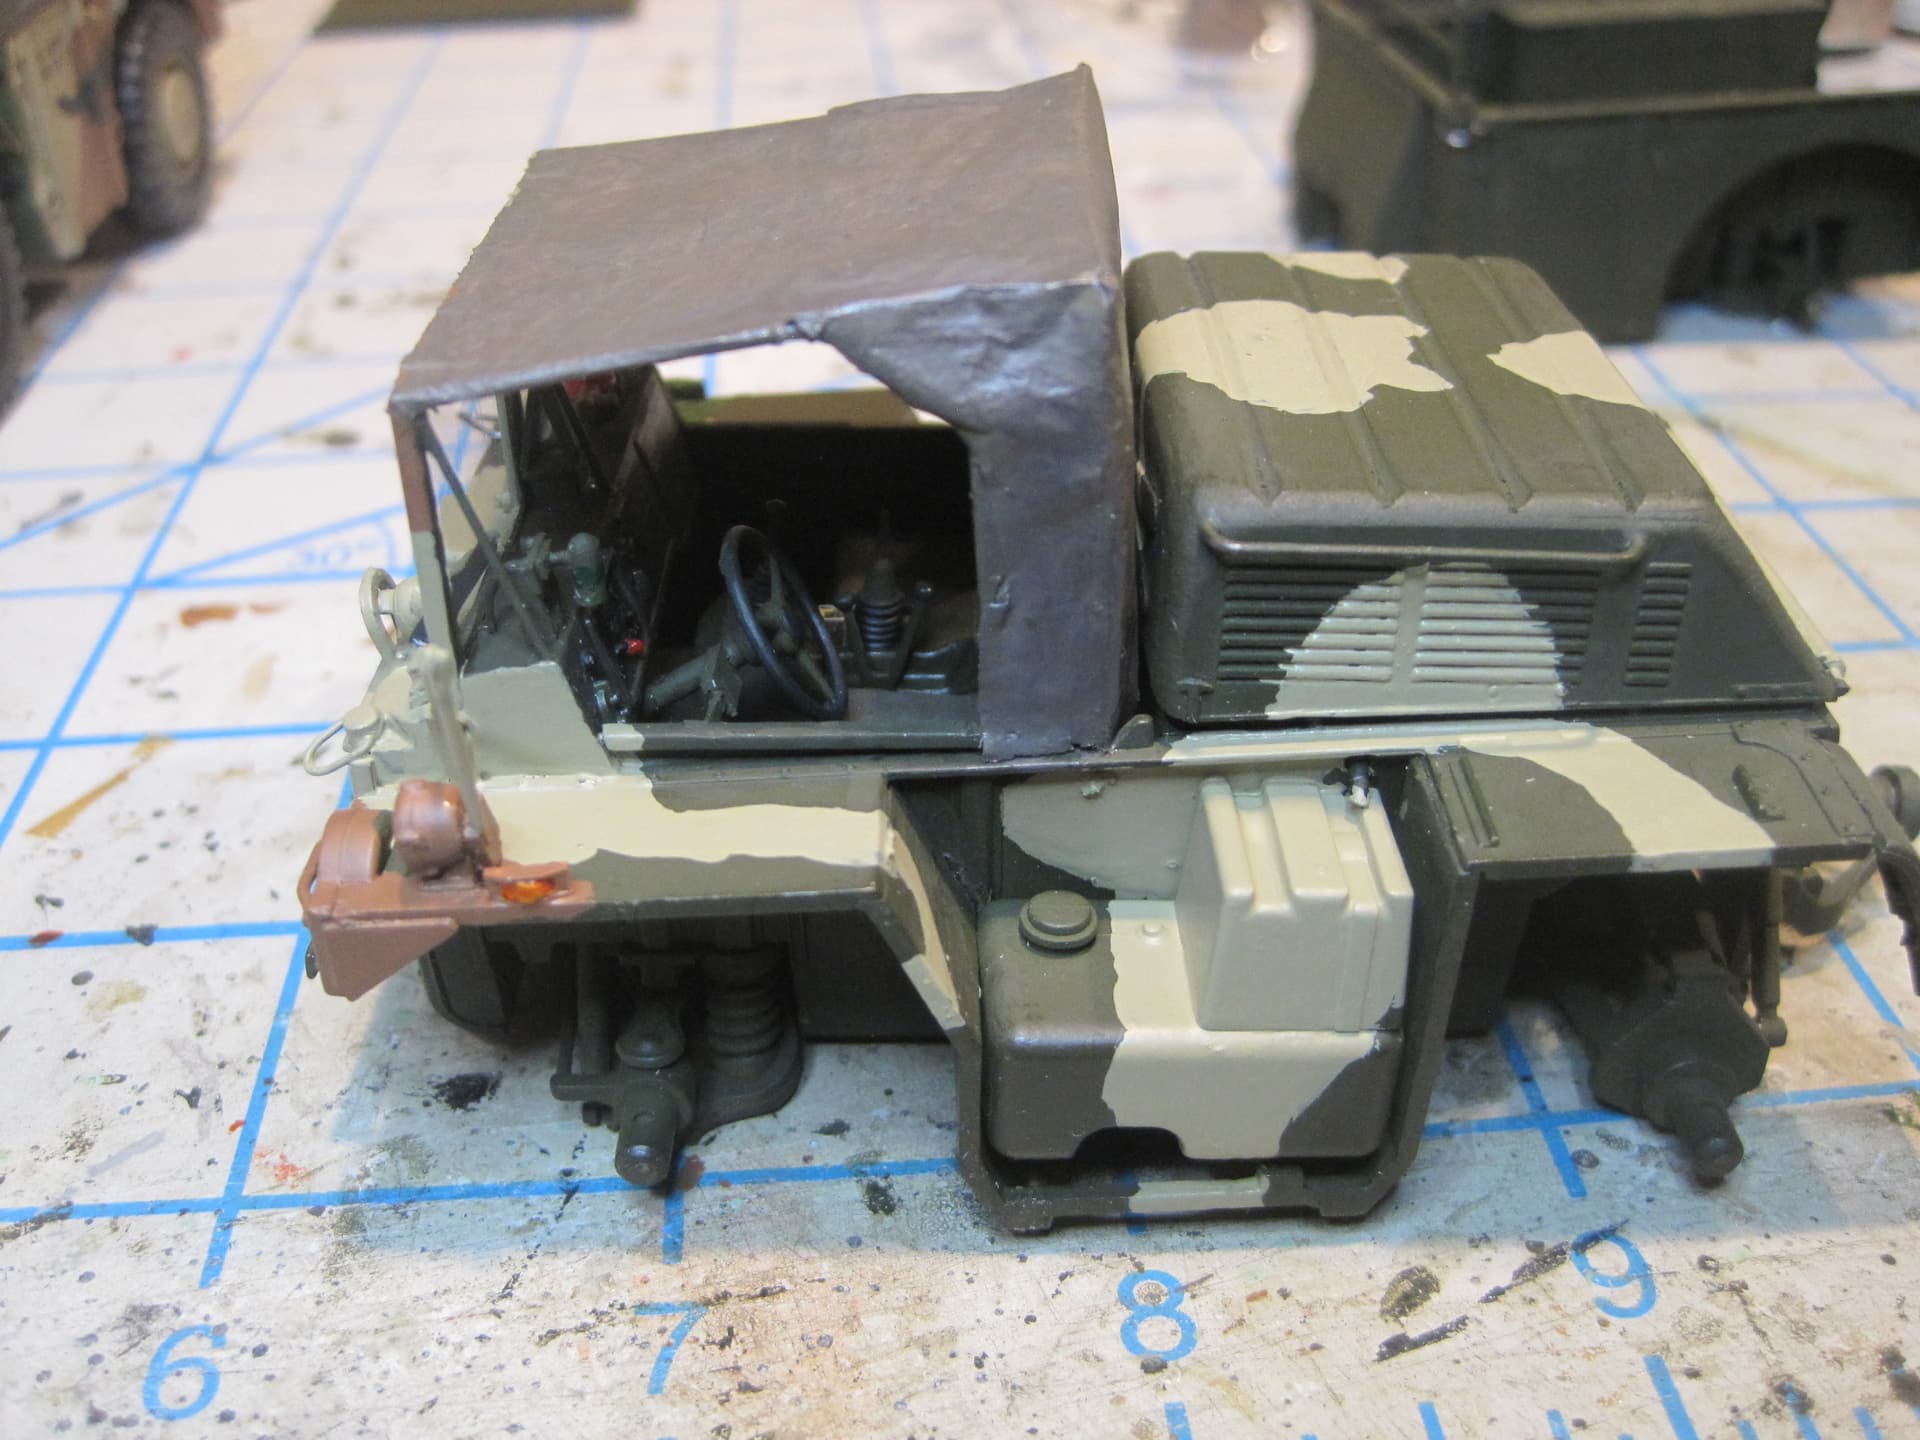
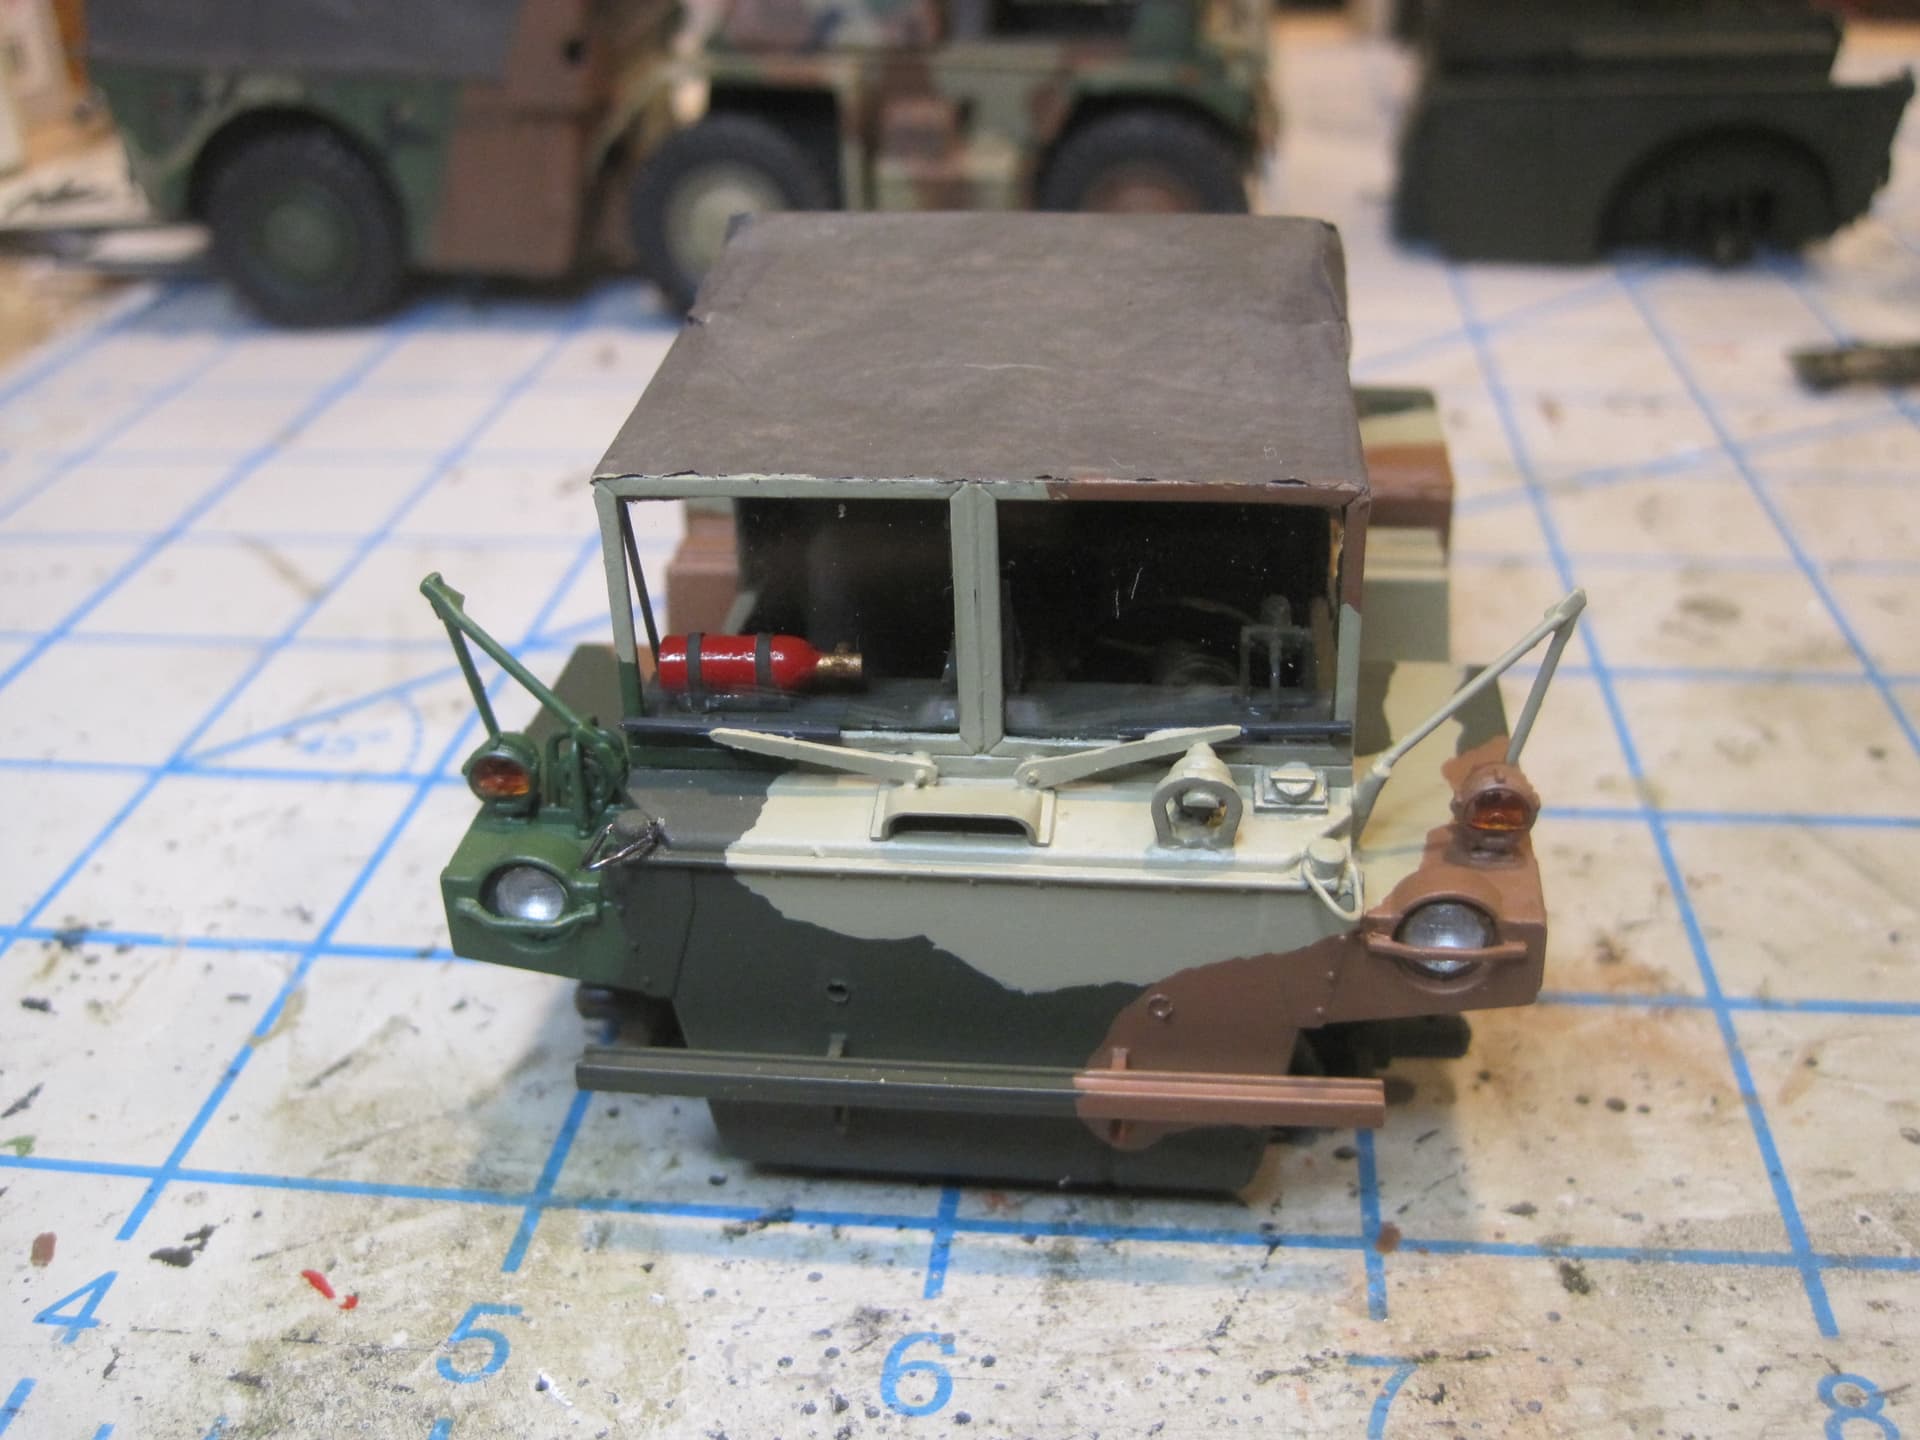
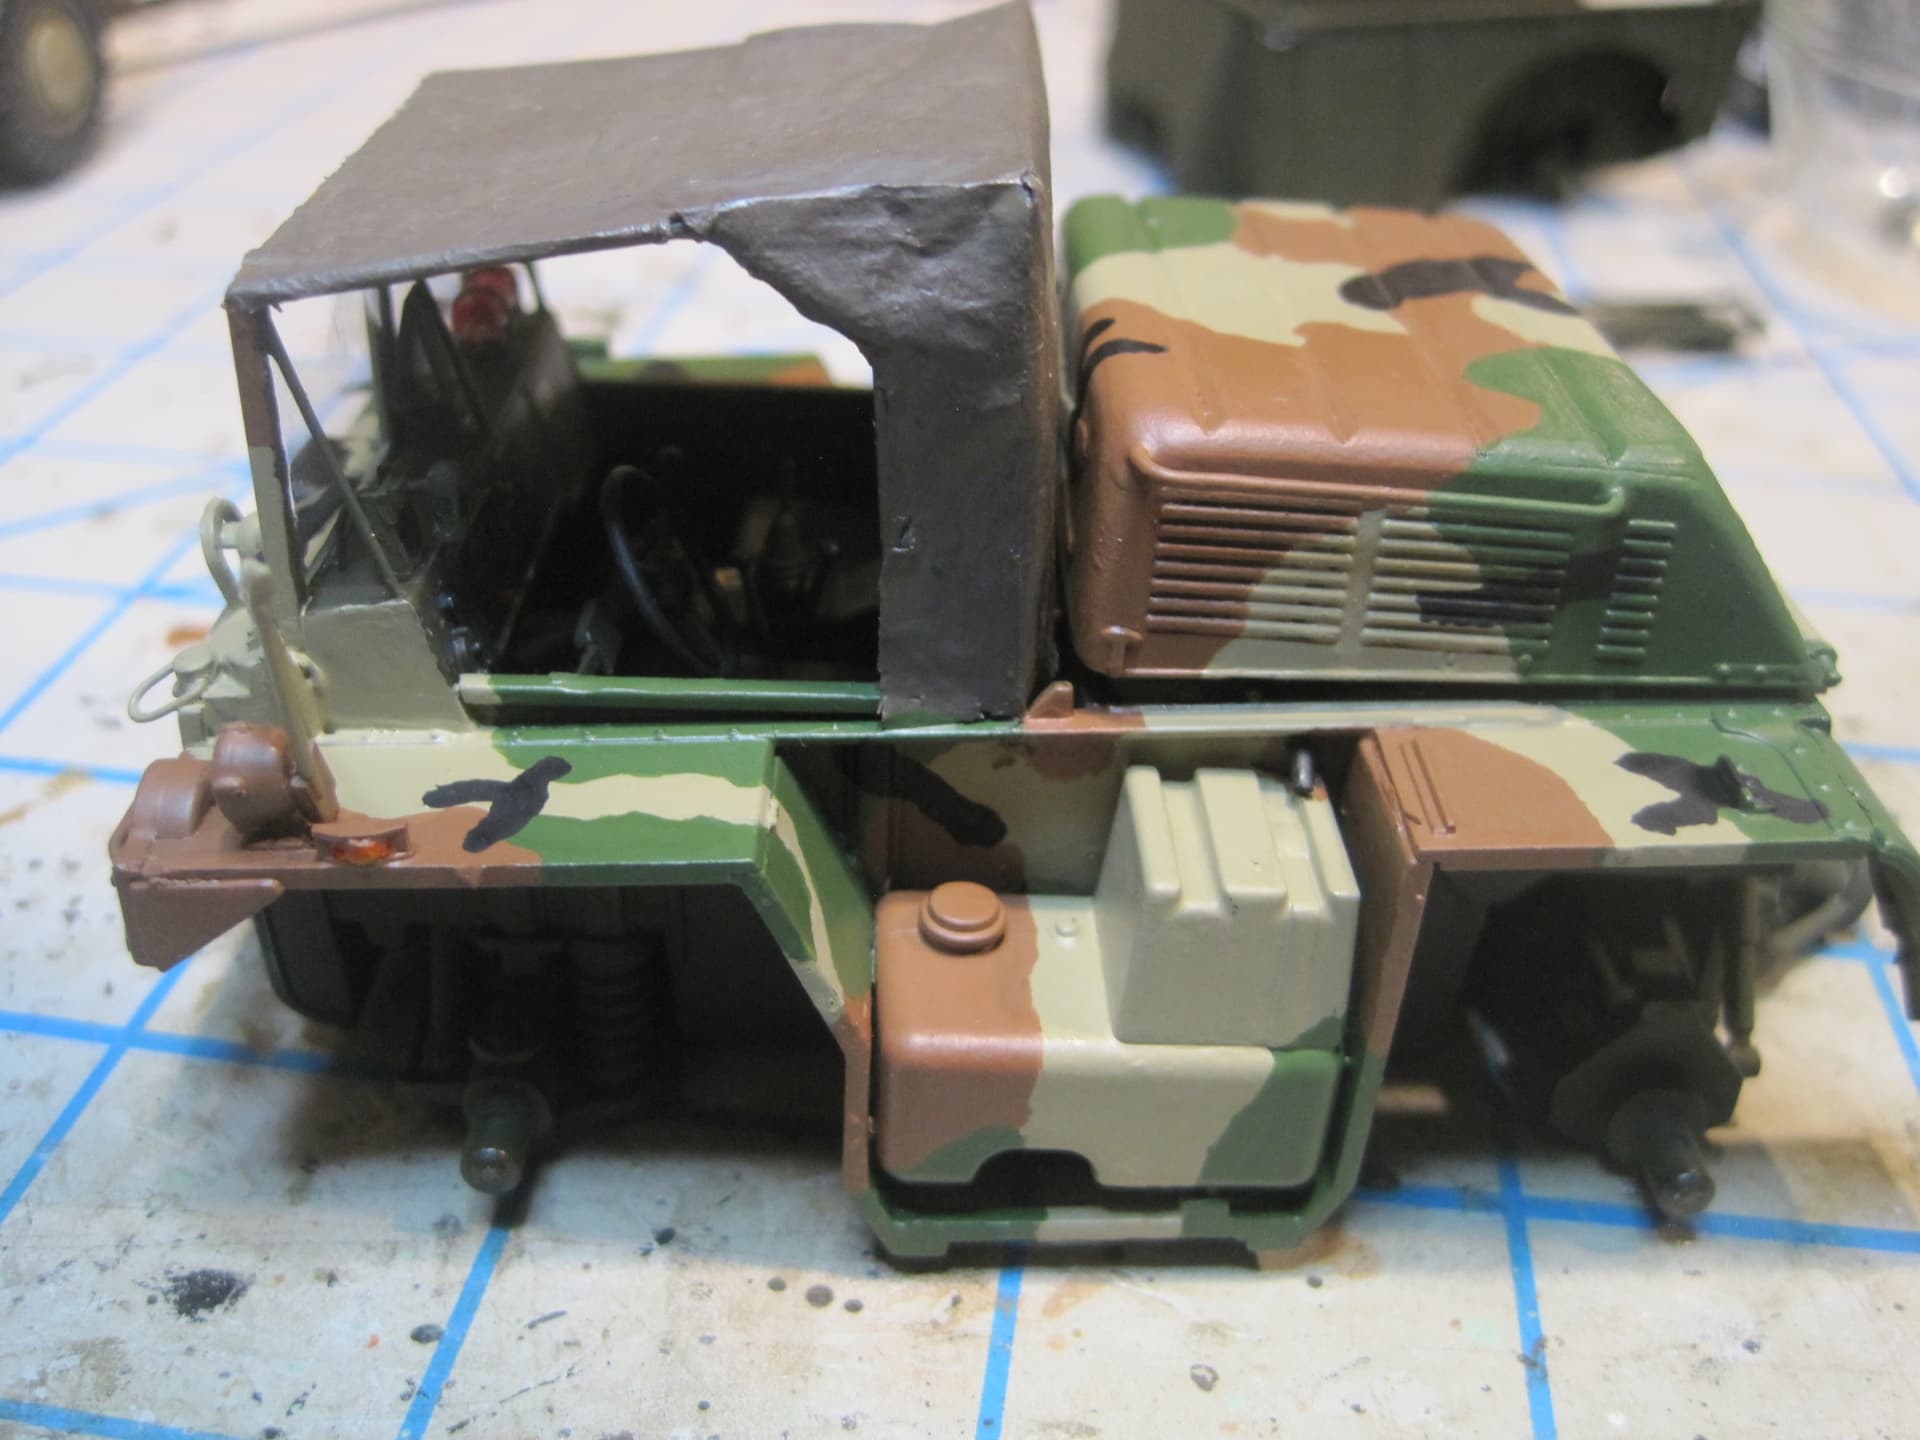
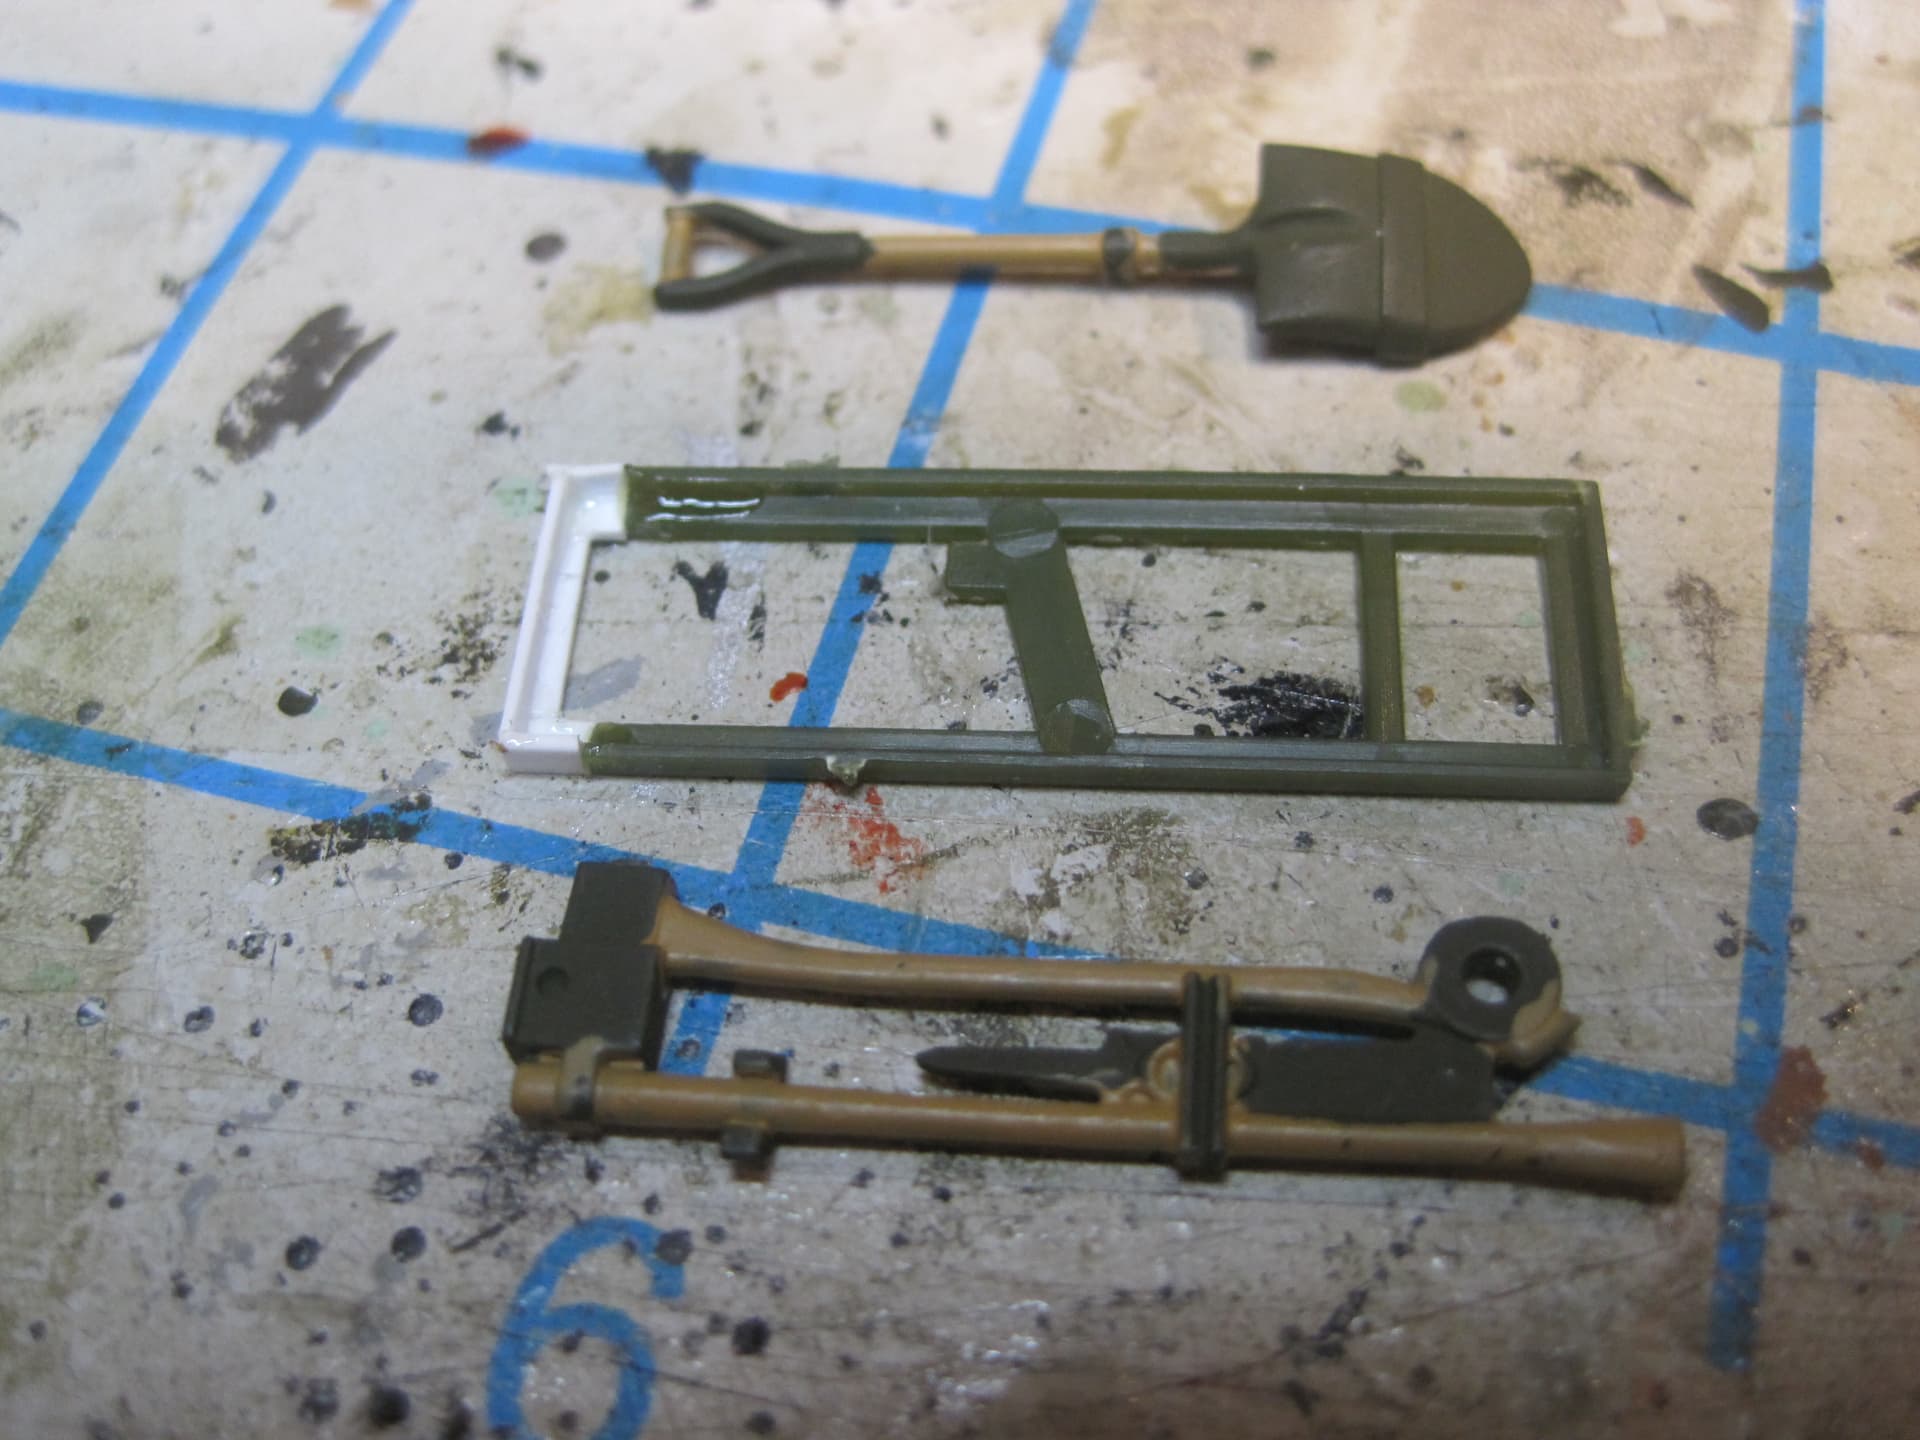
So here’s where I am as of today. After I revised the engine cover, I started with the cab. First thing I noticed was that the windshield wipers were molded into the windshield. No biggie, but my other kit has separate parts so I did those.


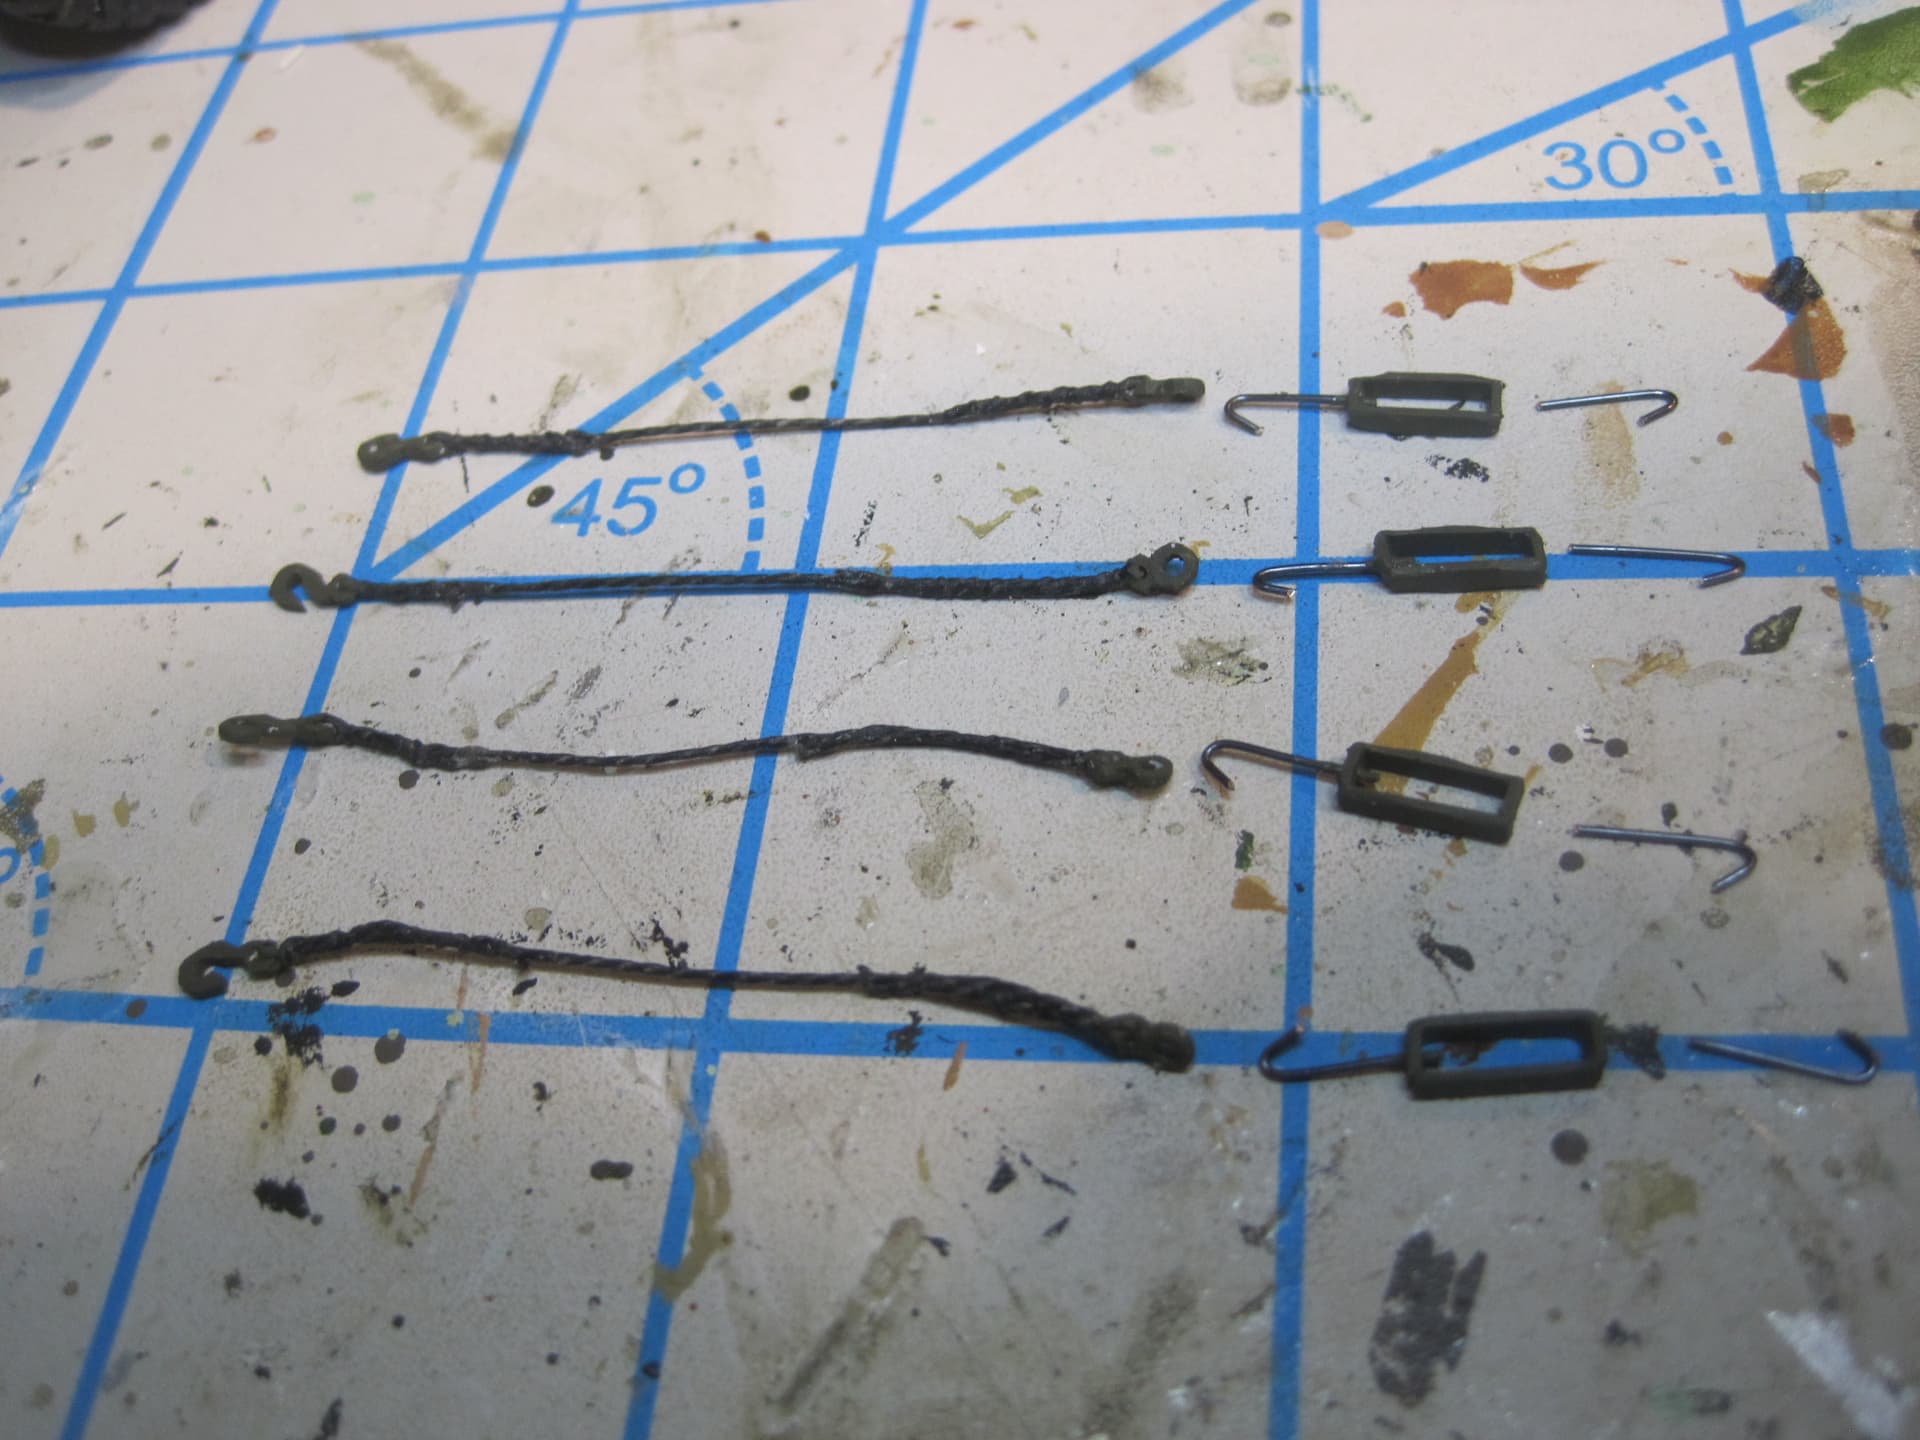
Other items missing from Tamiya which were on my other build and I wanted to include were an end fitting for the cable on the winch, the slave recepticle on the outside cowl, the defroster (definitely something we had in Germany), the air restriction indicator on the dash and a turn signal lever on the steering column, as well as the air box heater switch on the dash over the light switches.


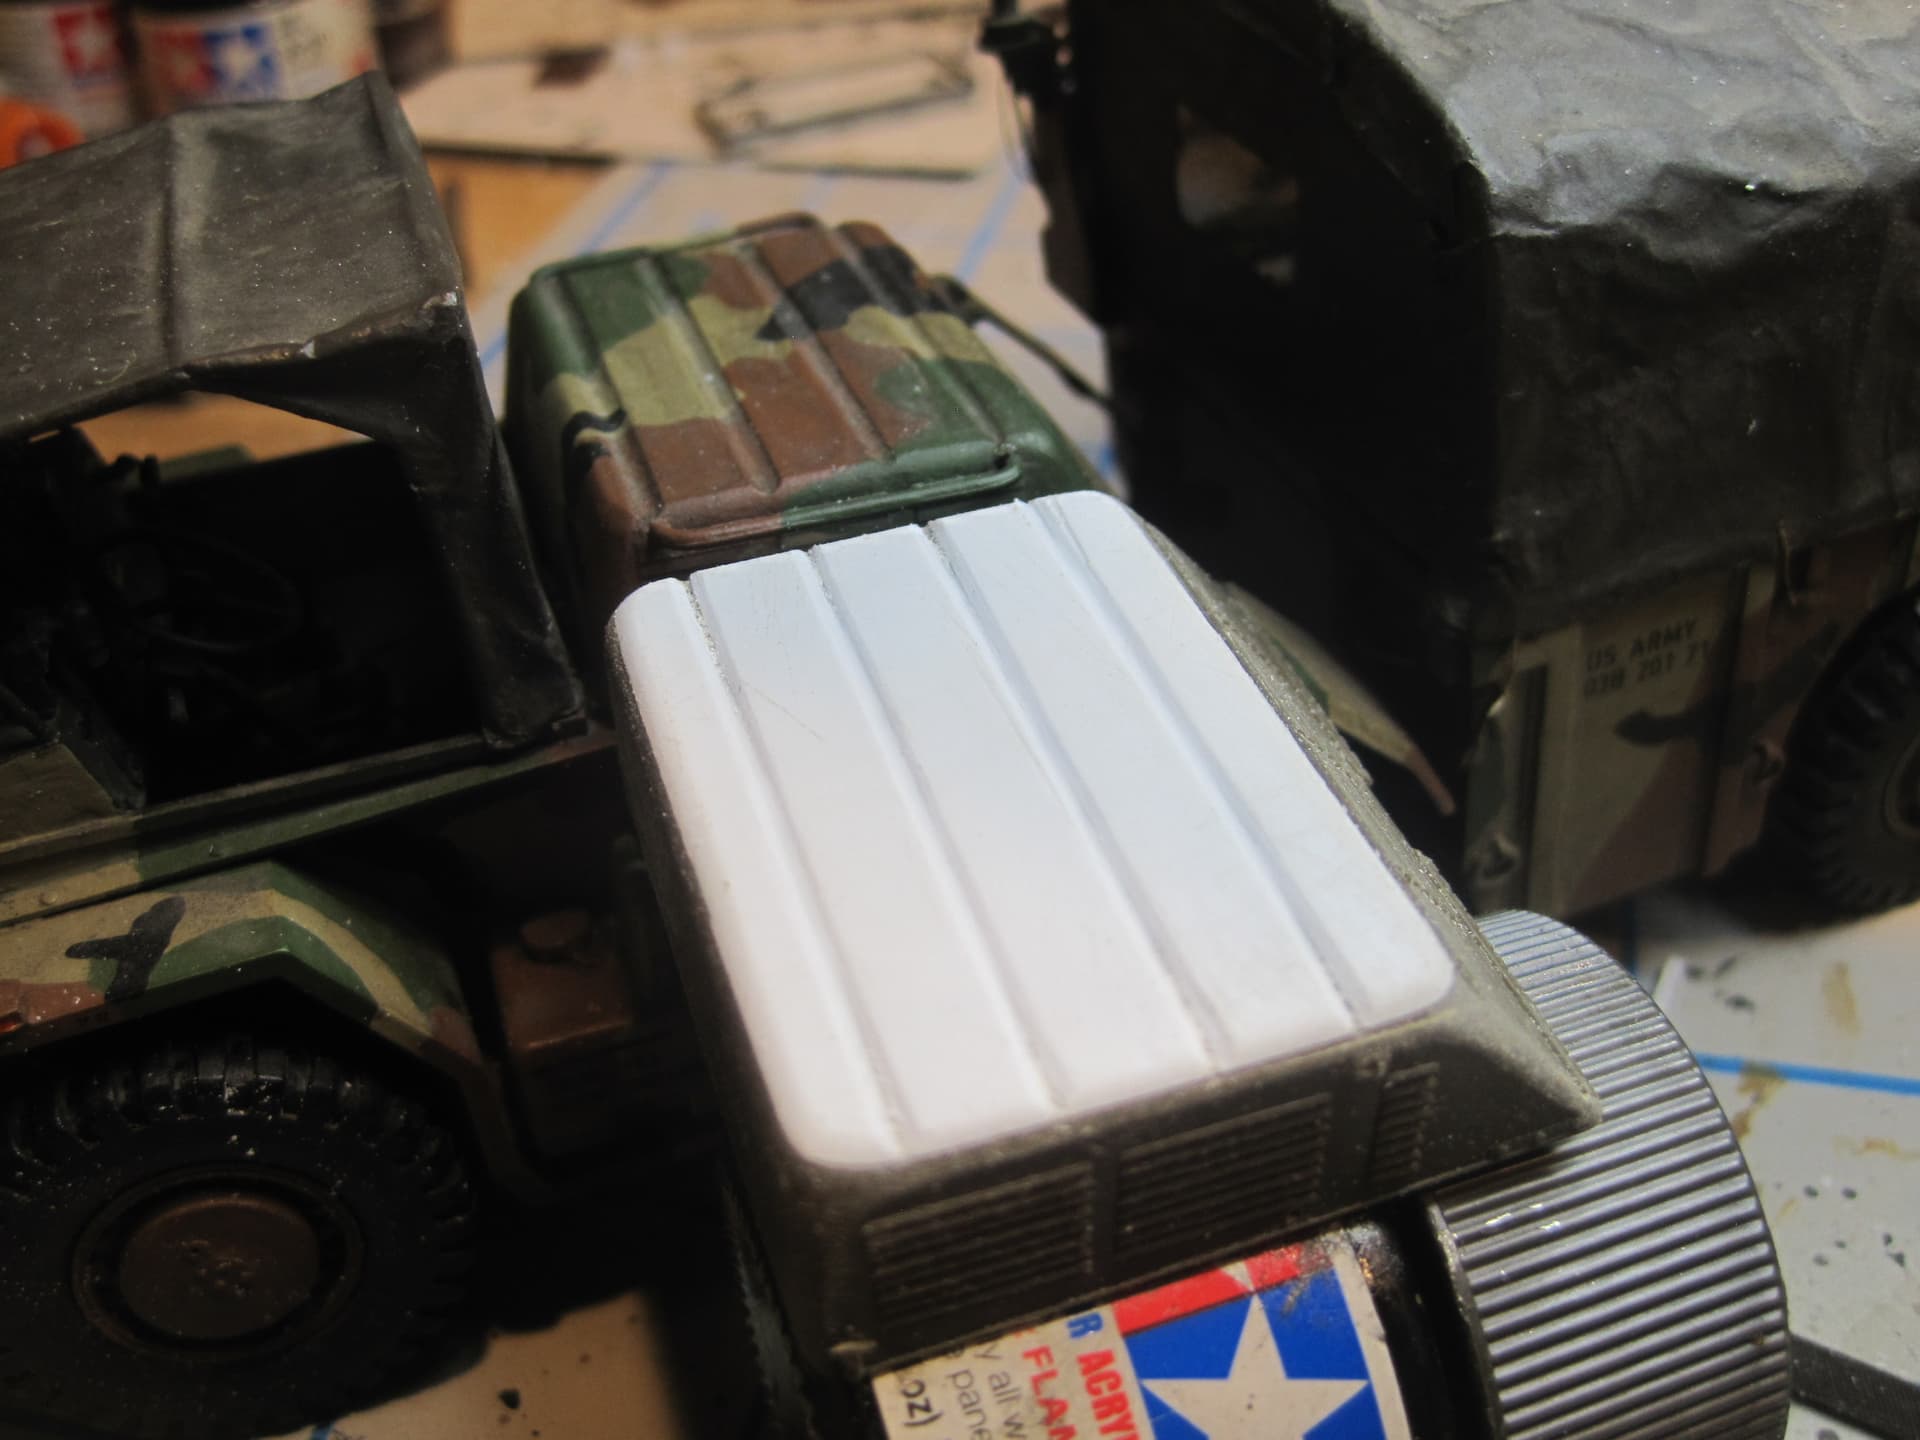
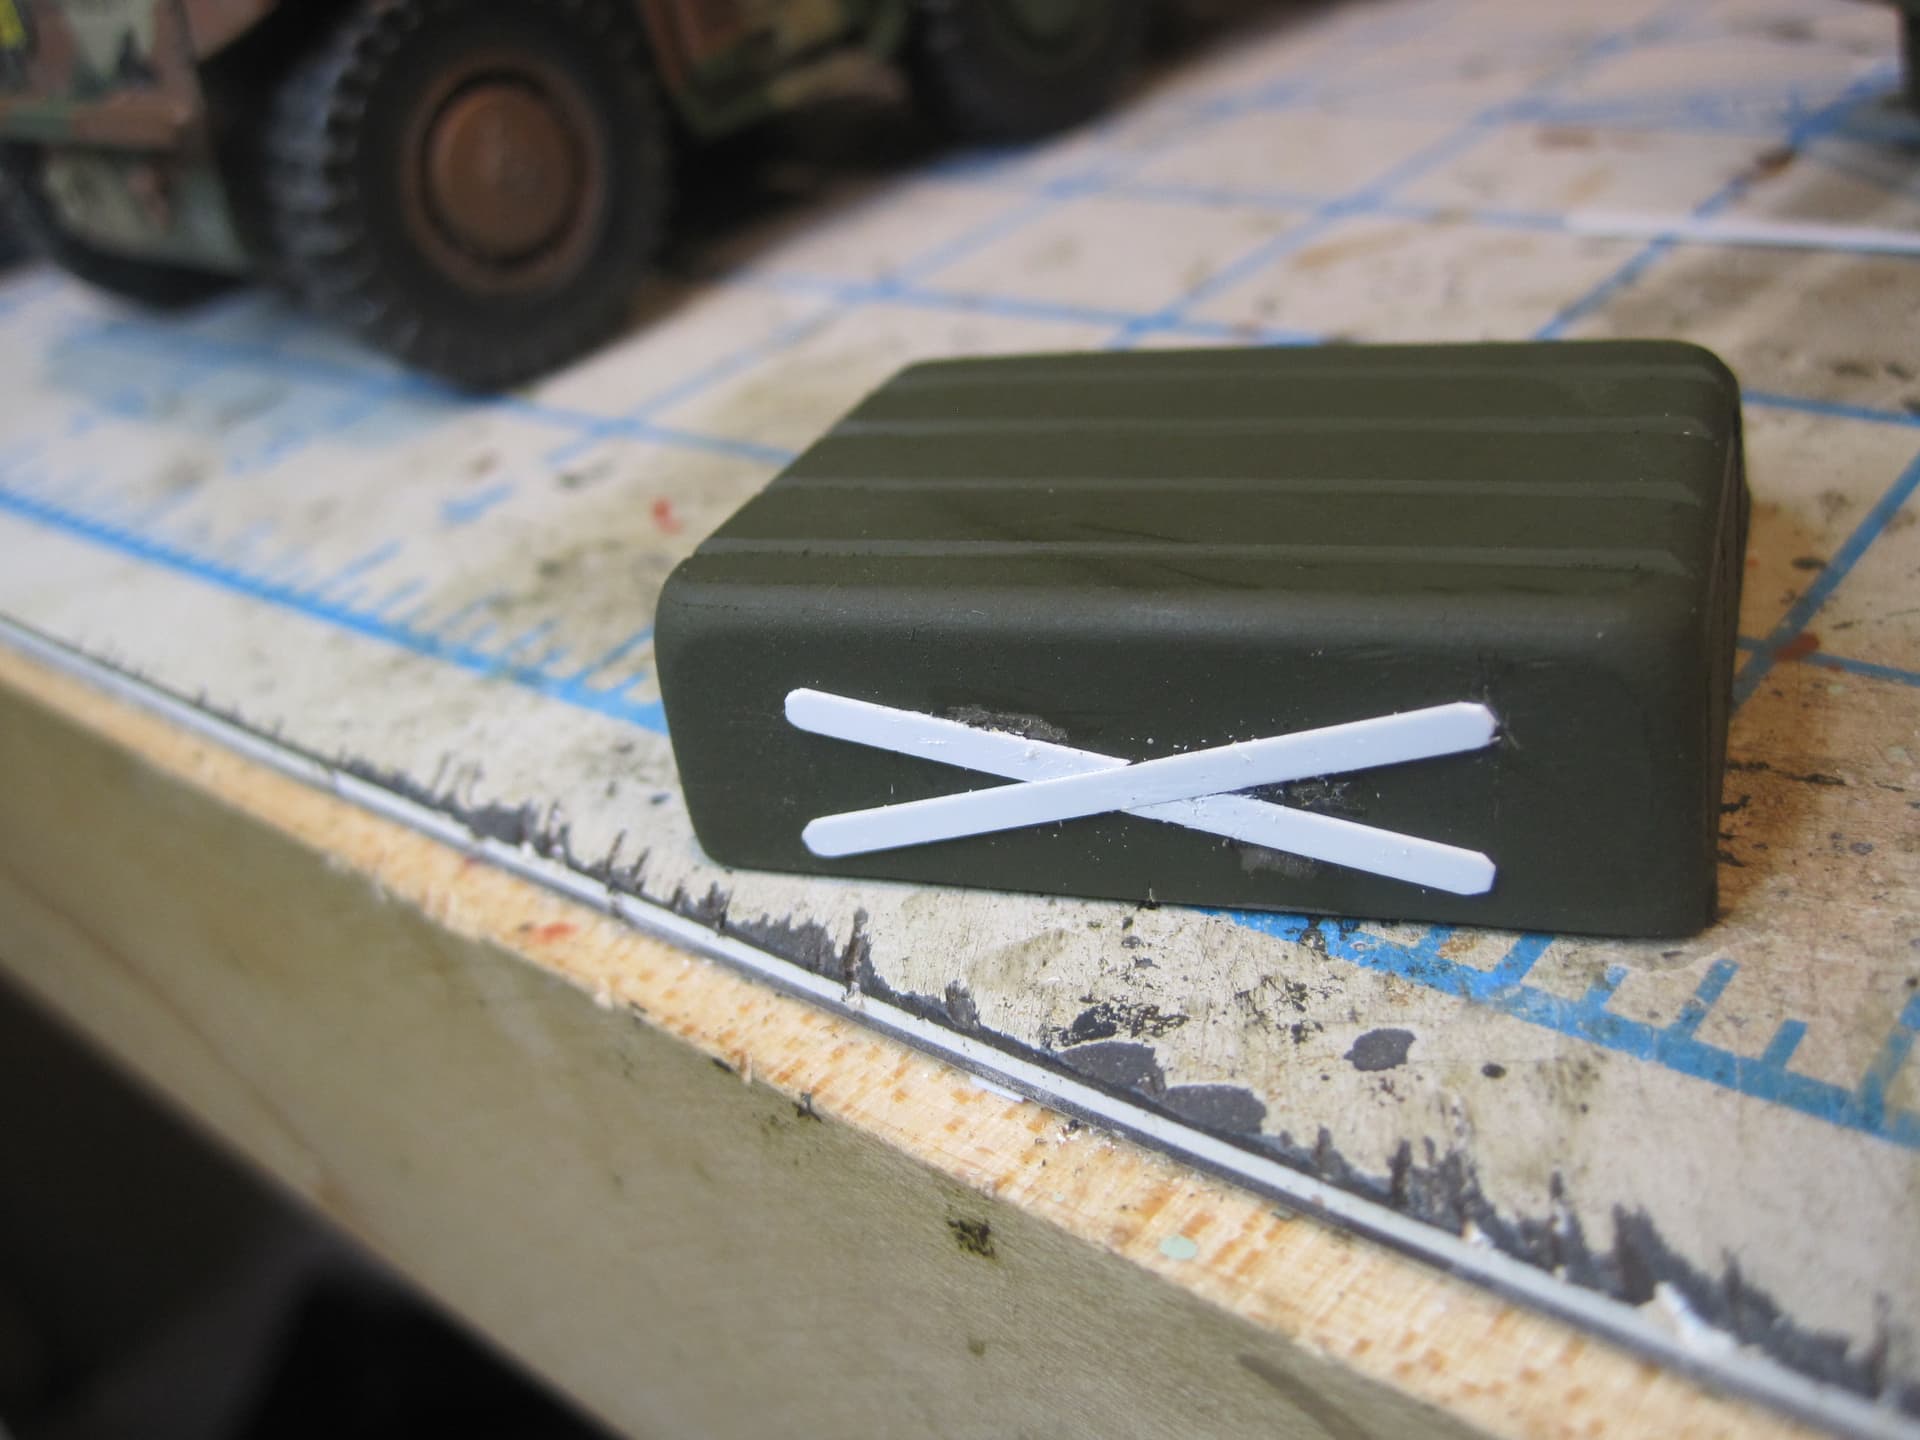
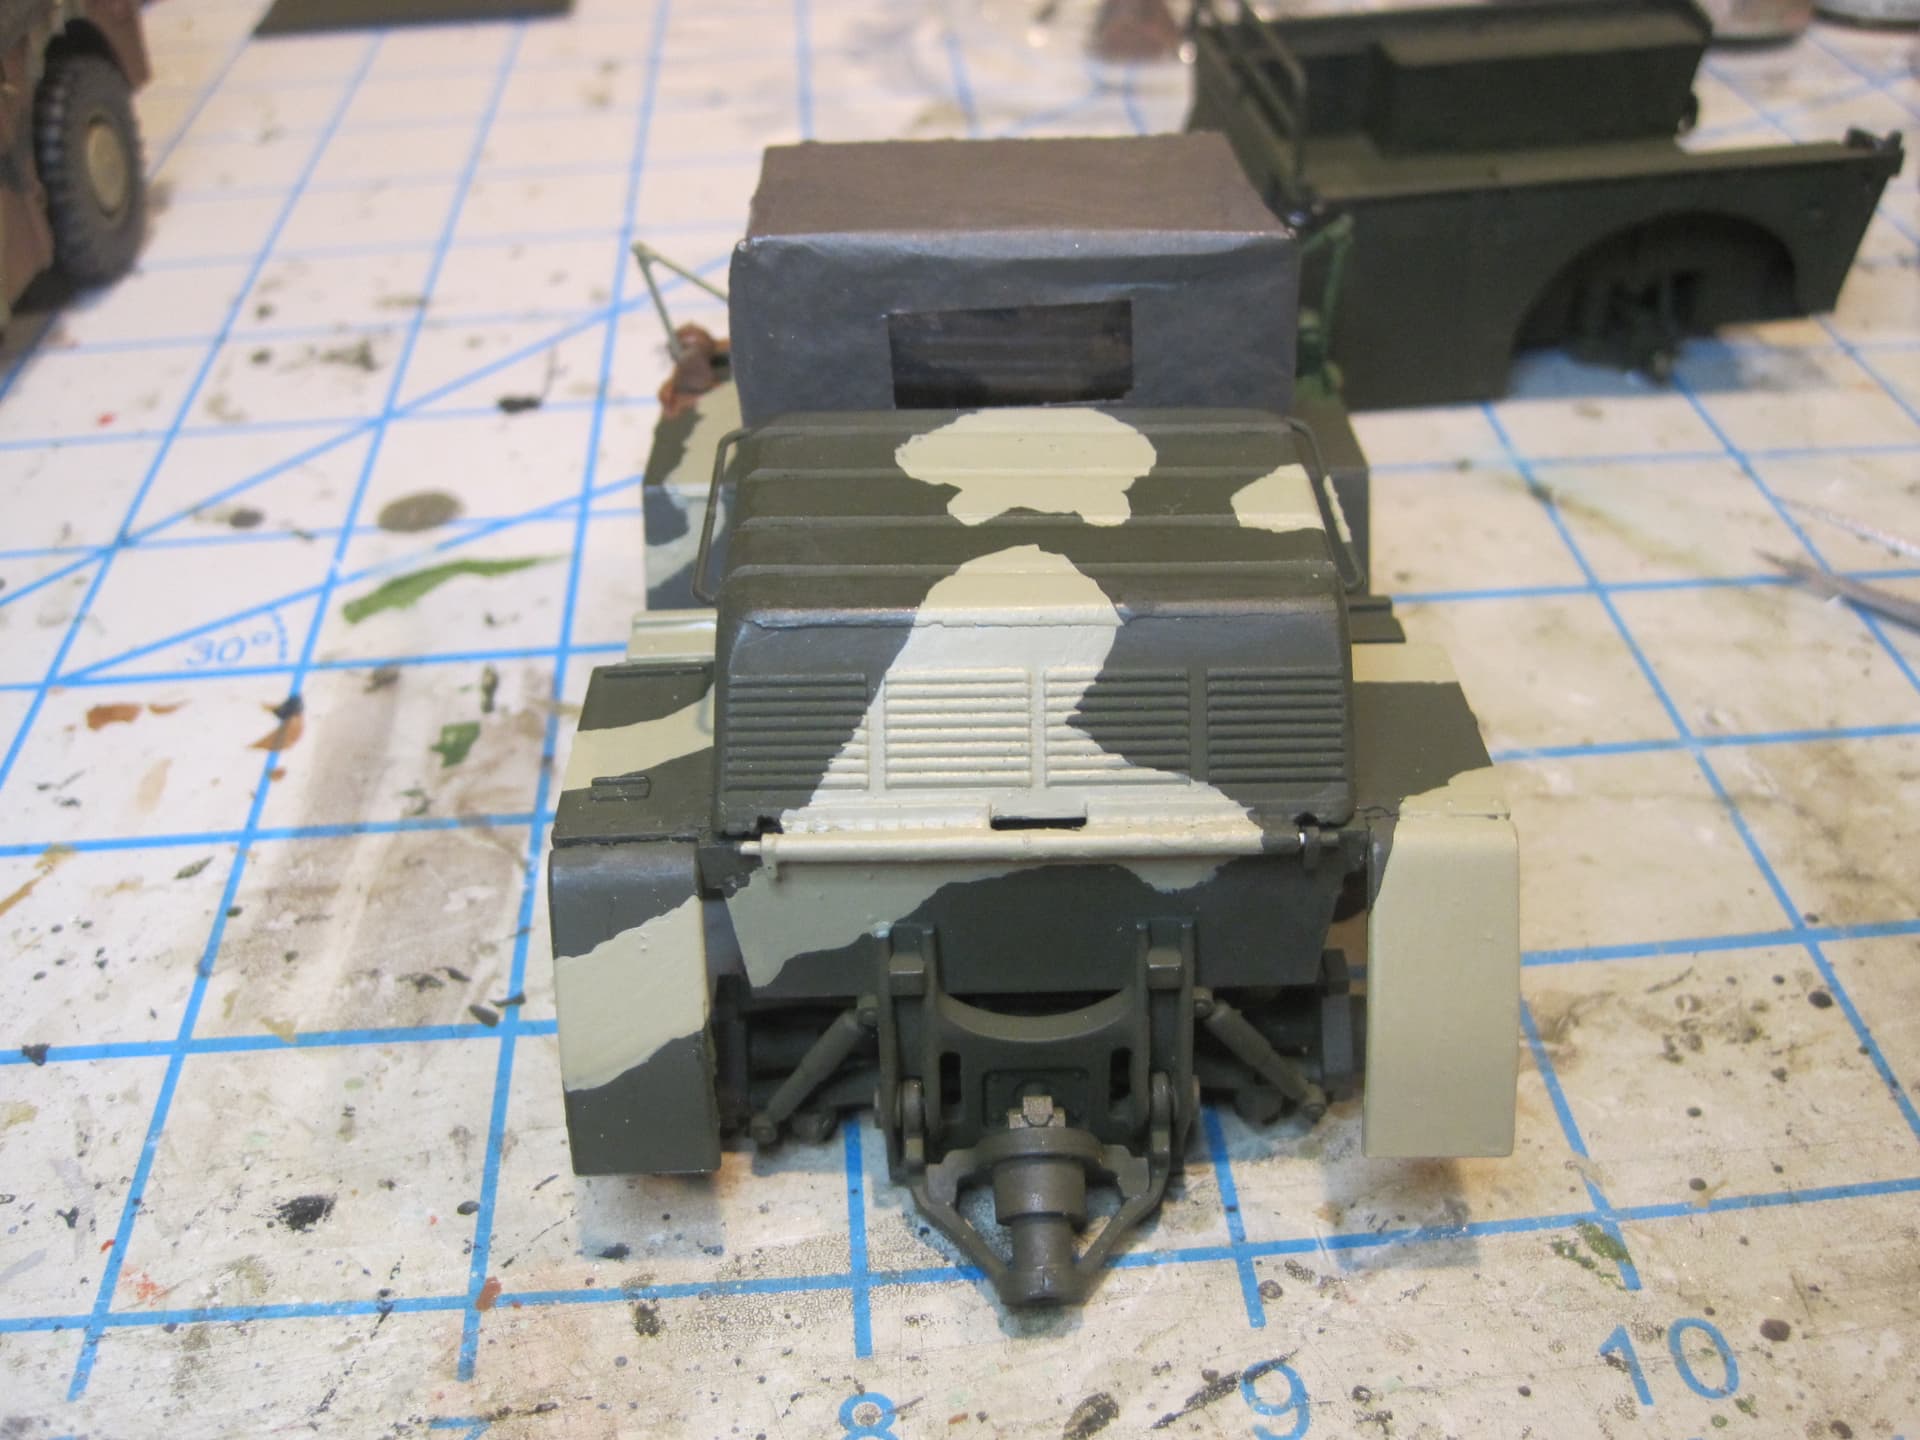
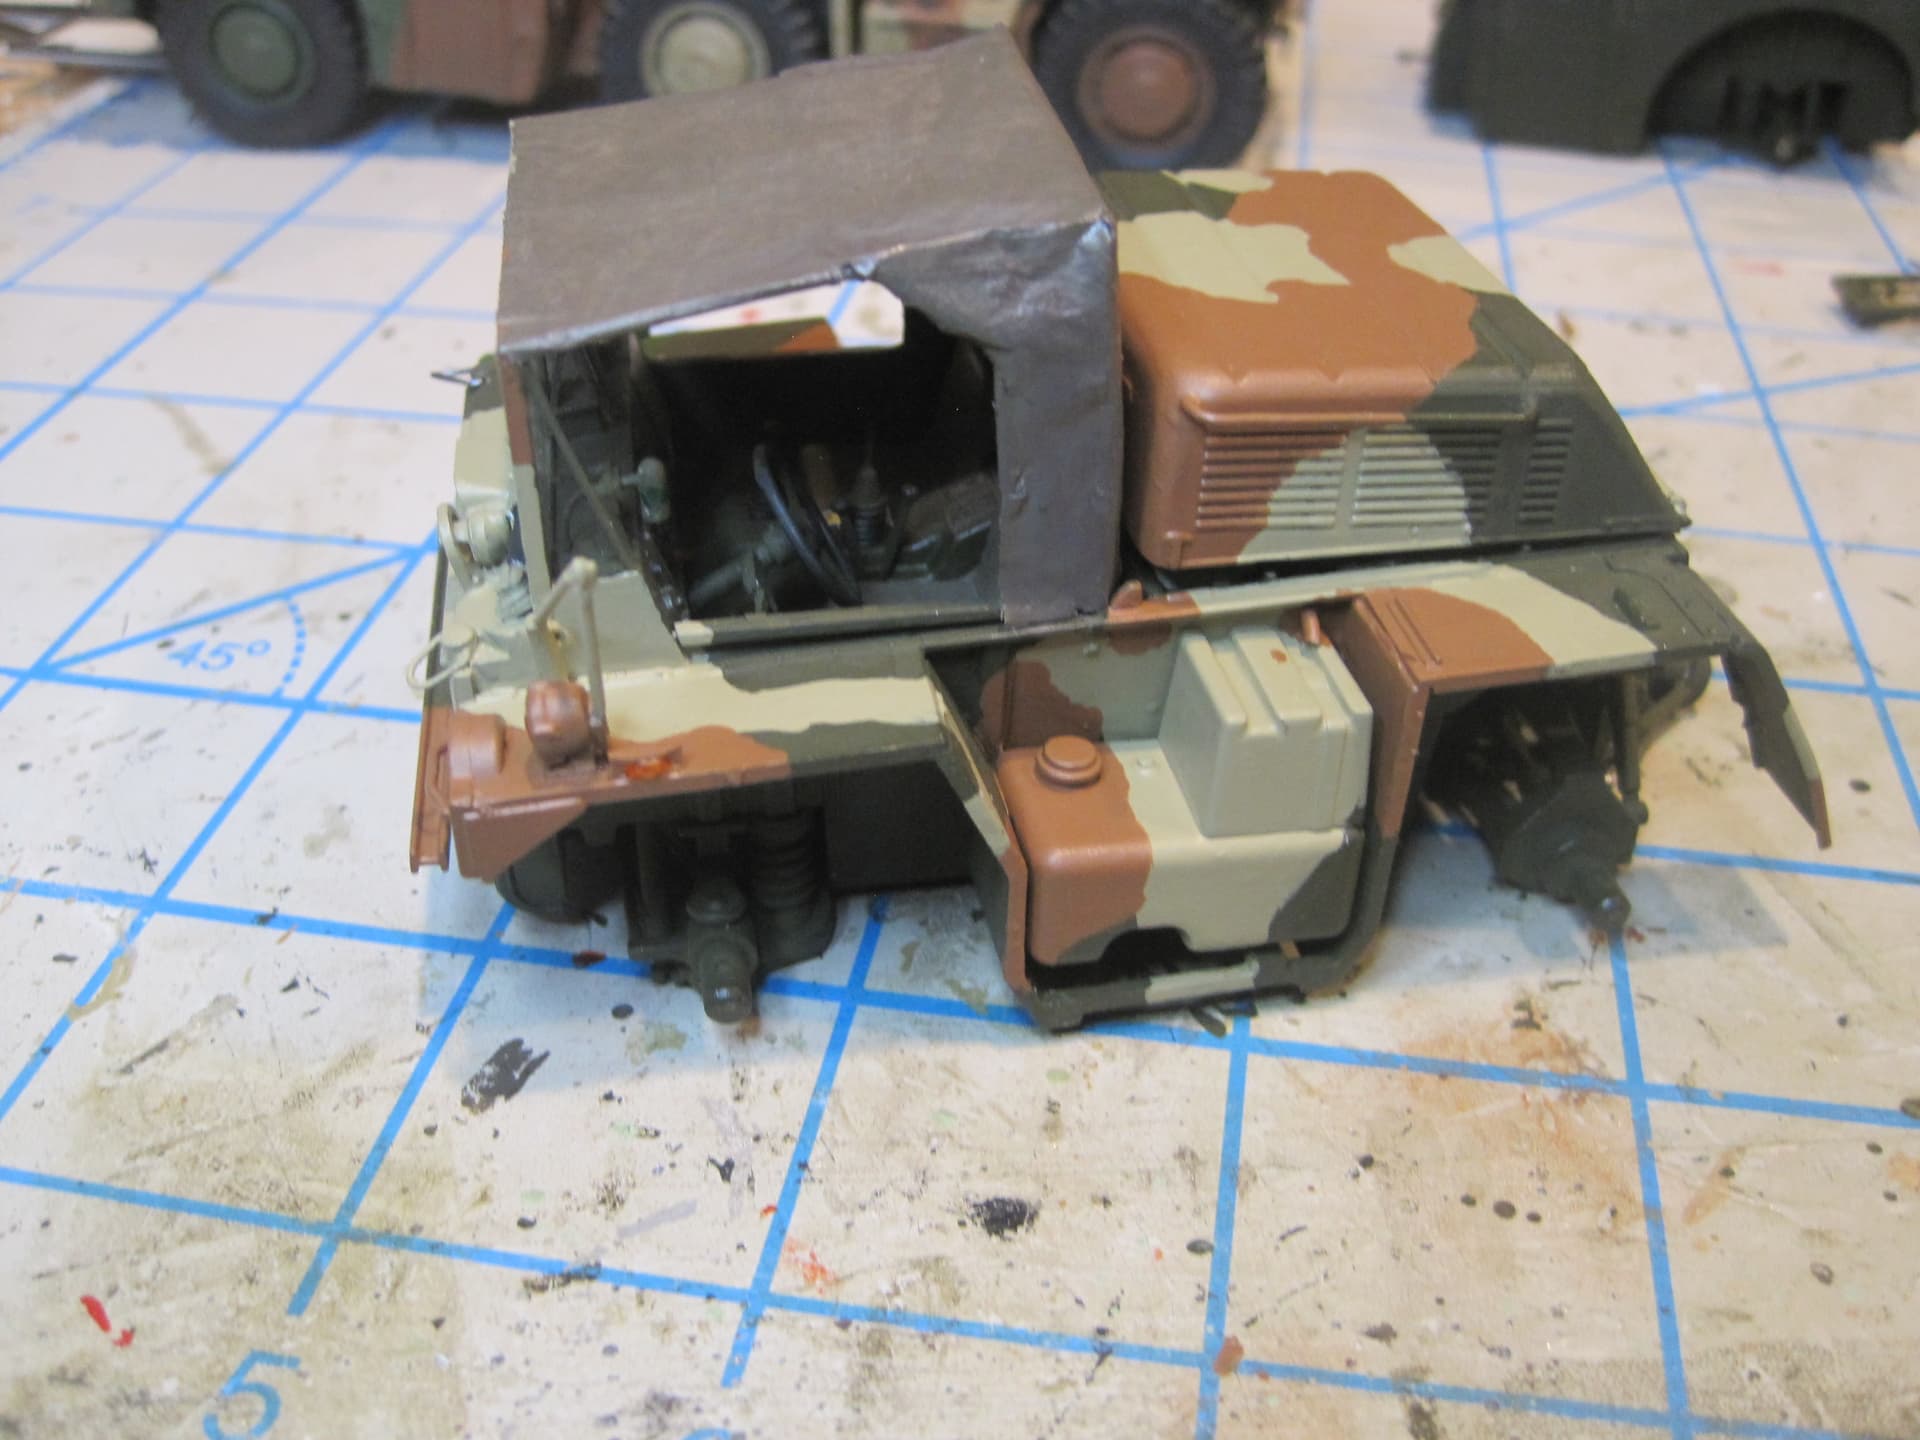
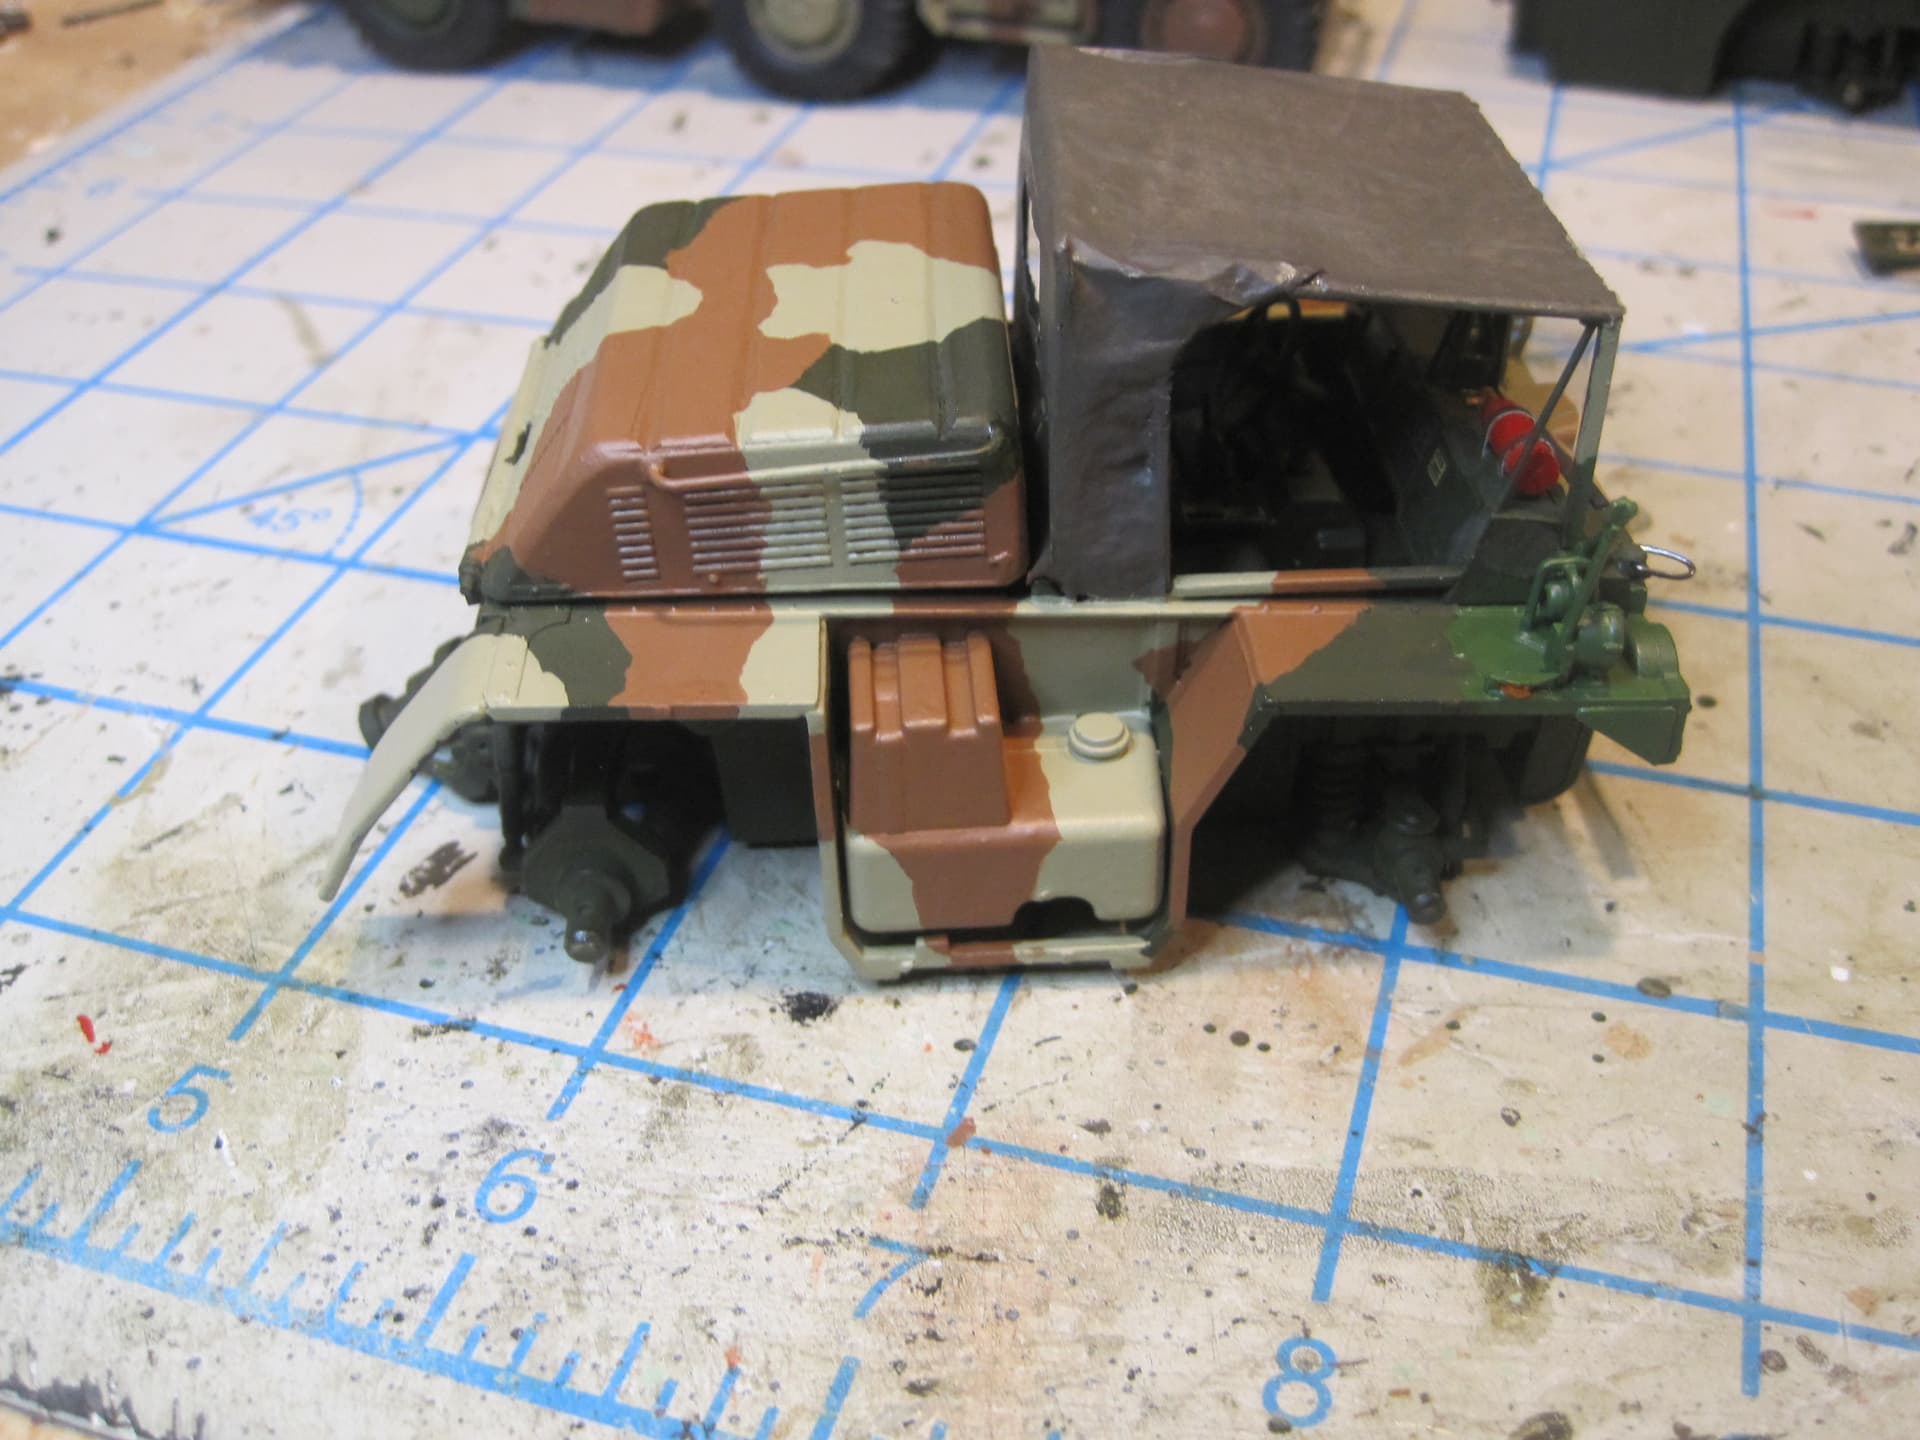
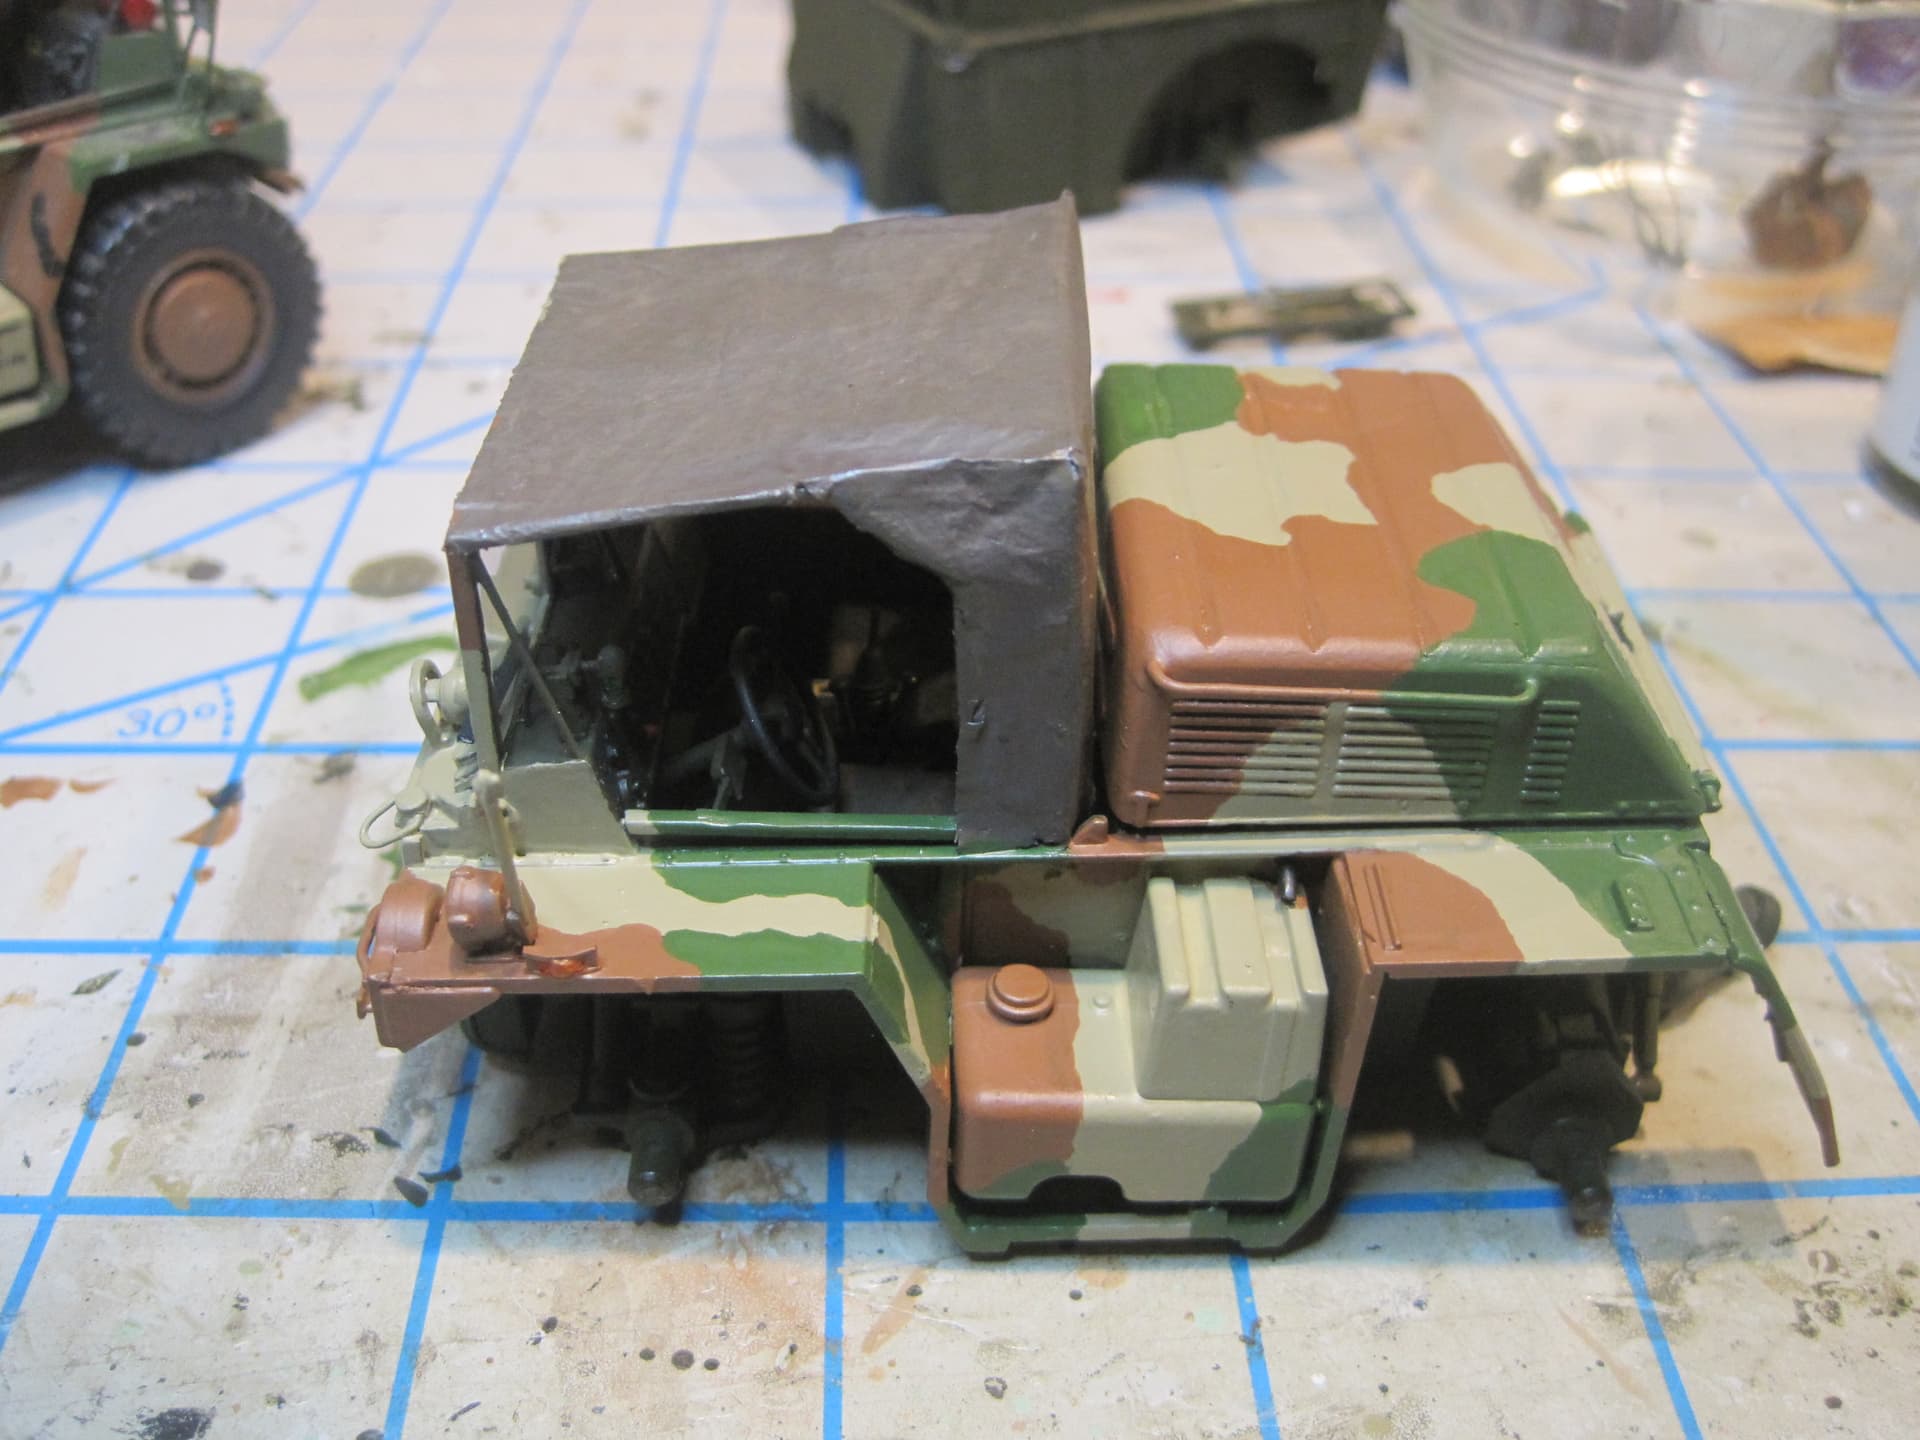
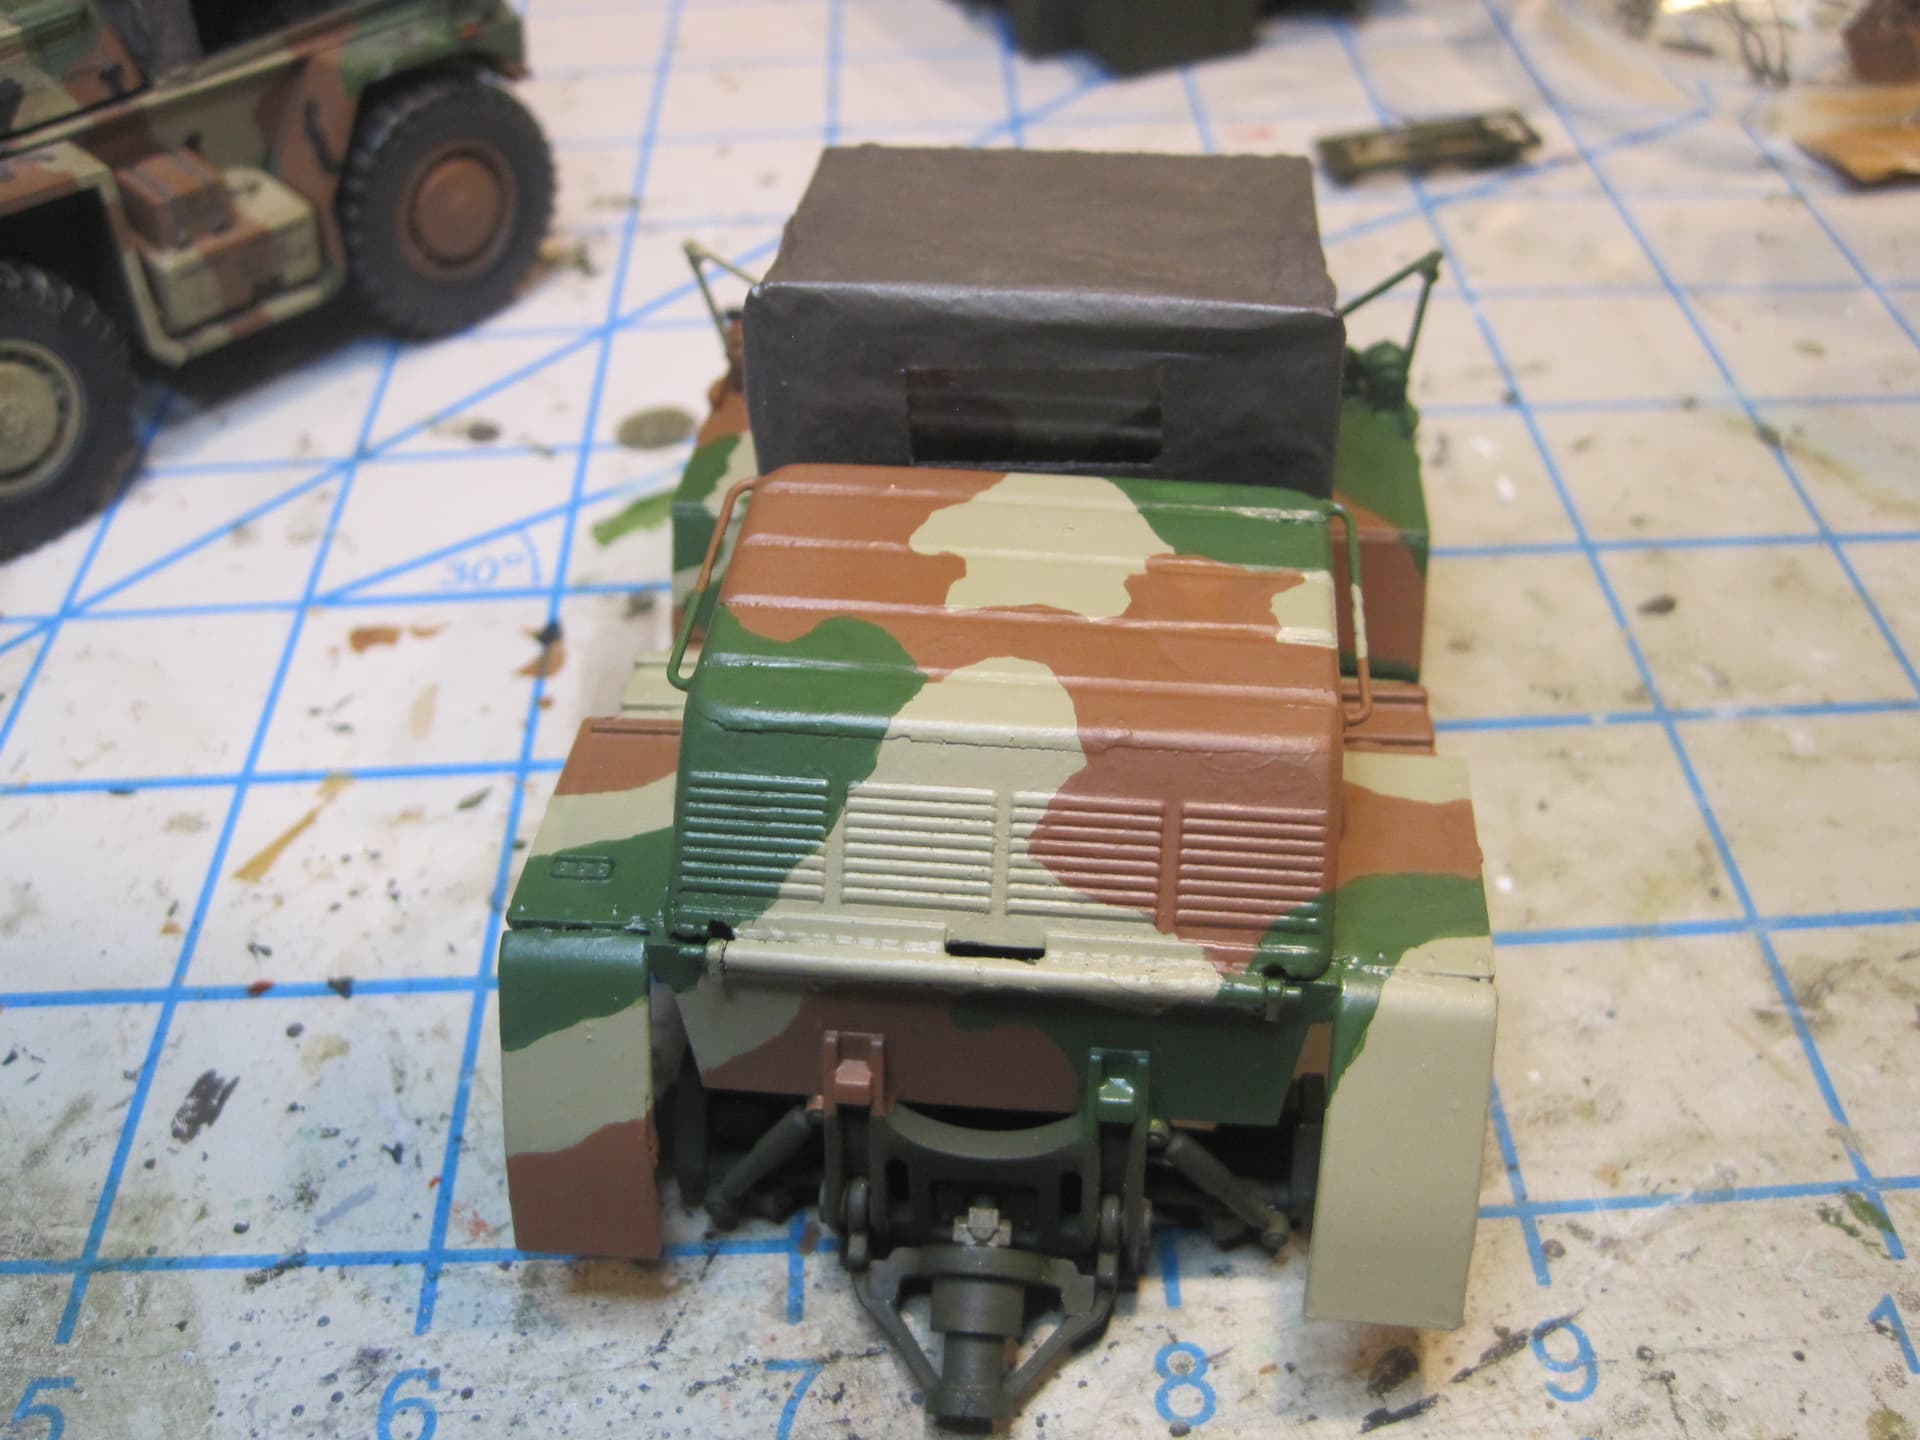
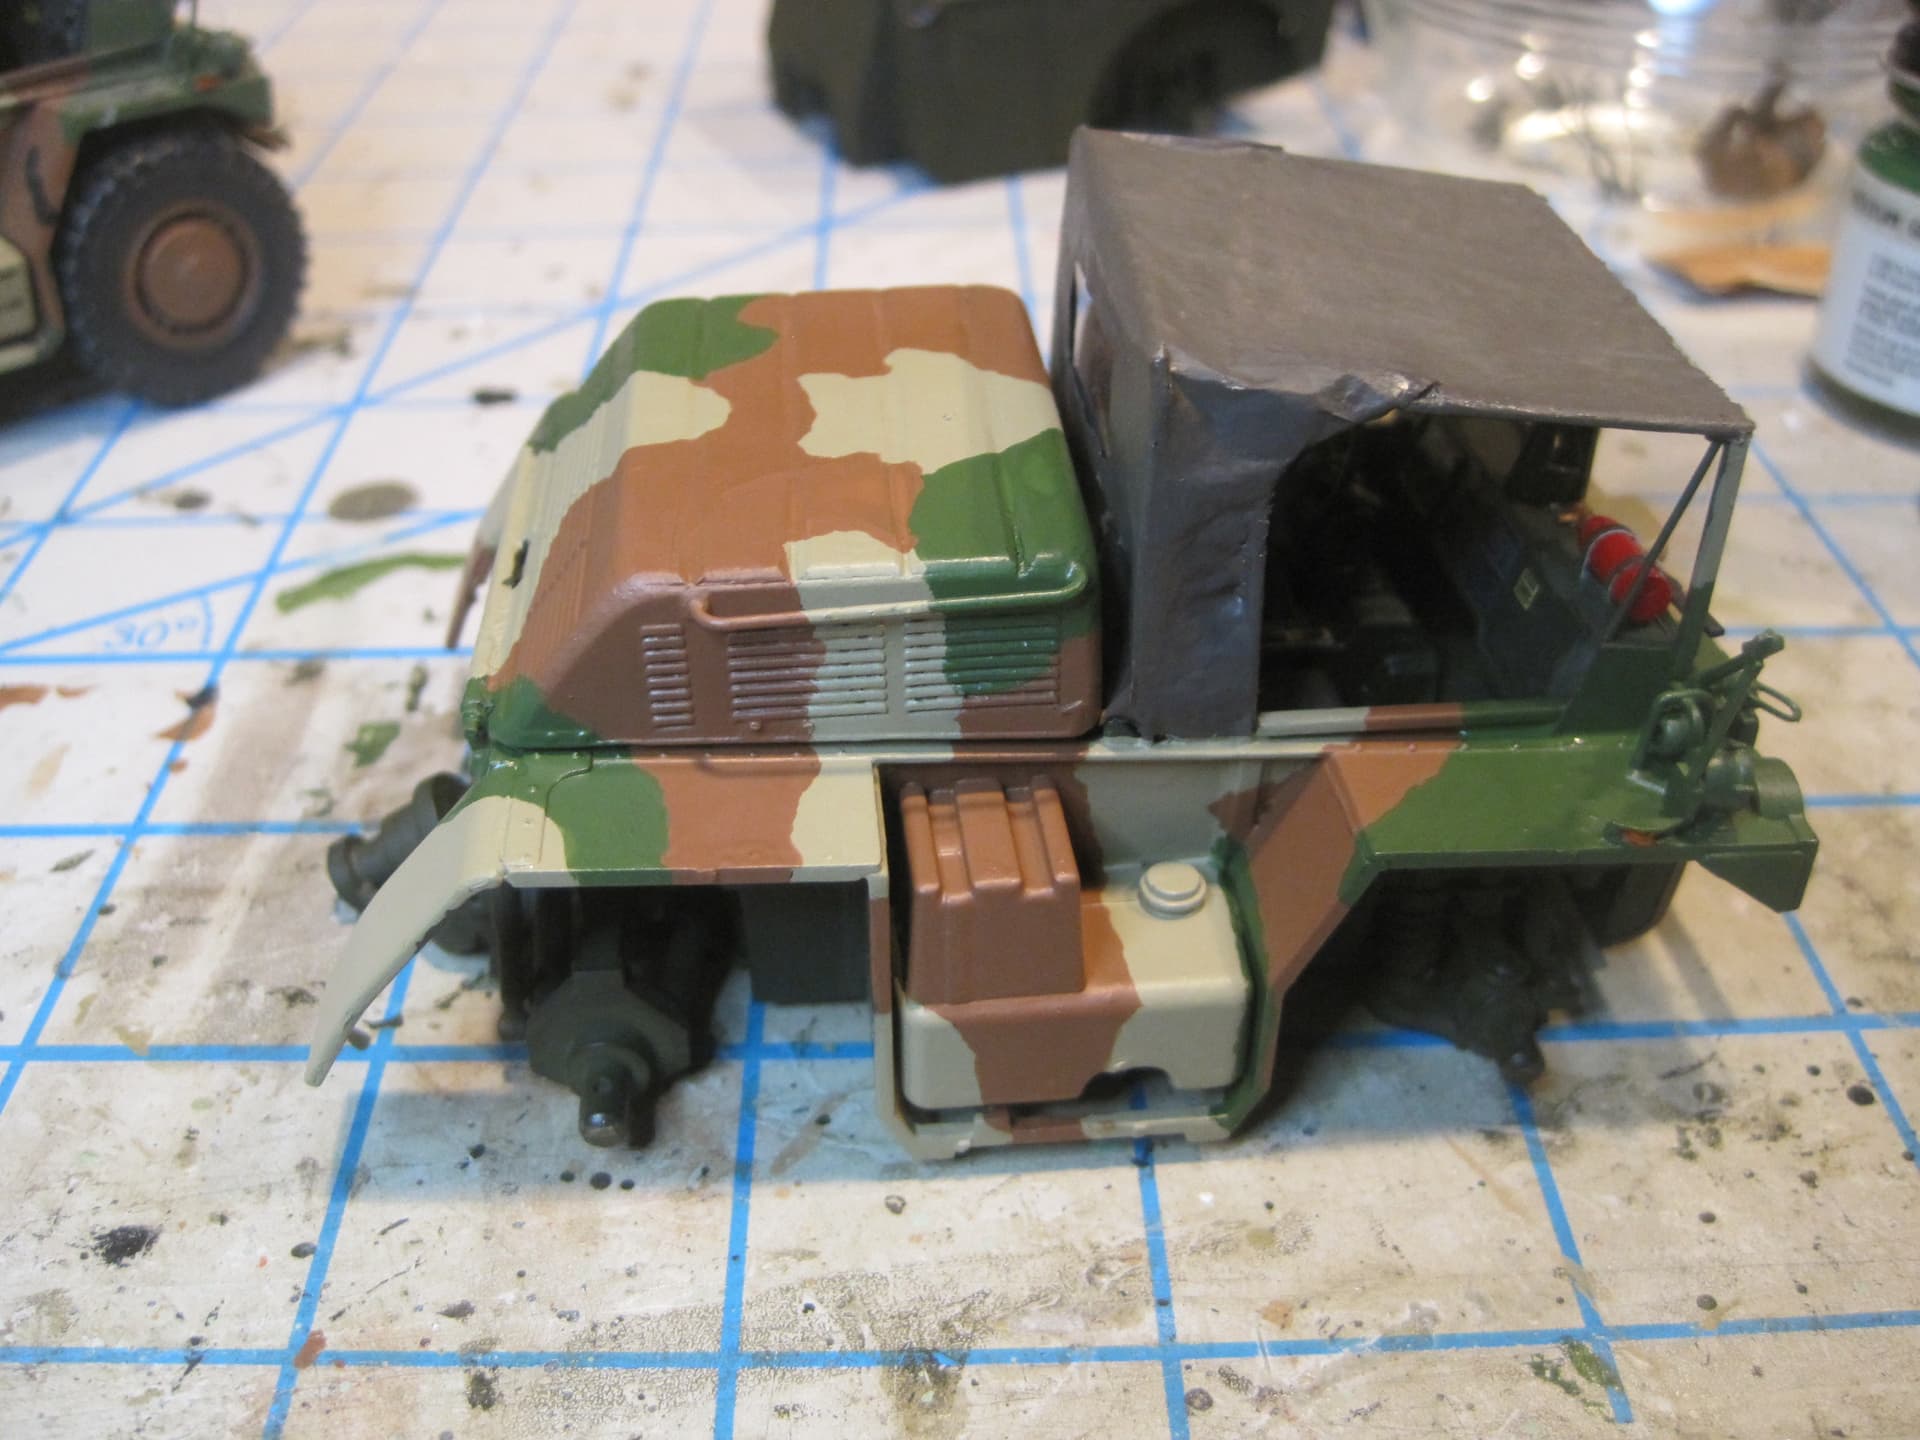
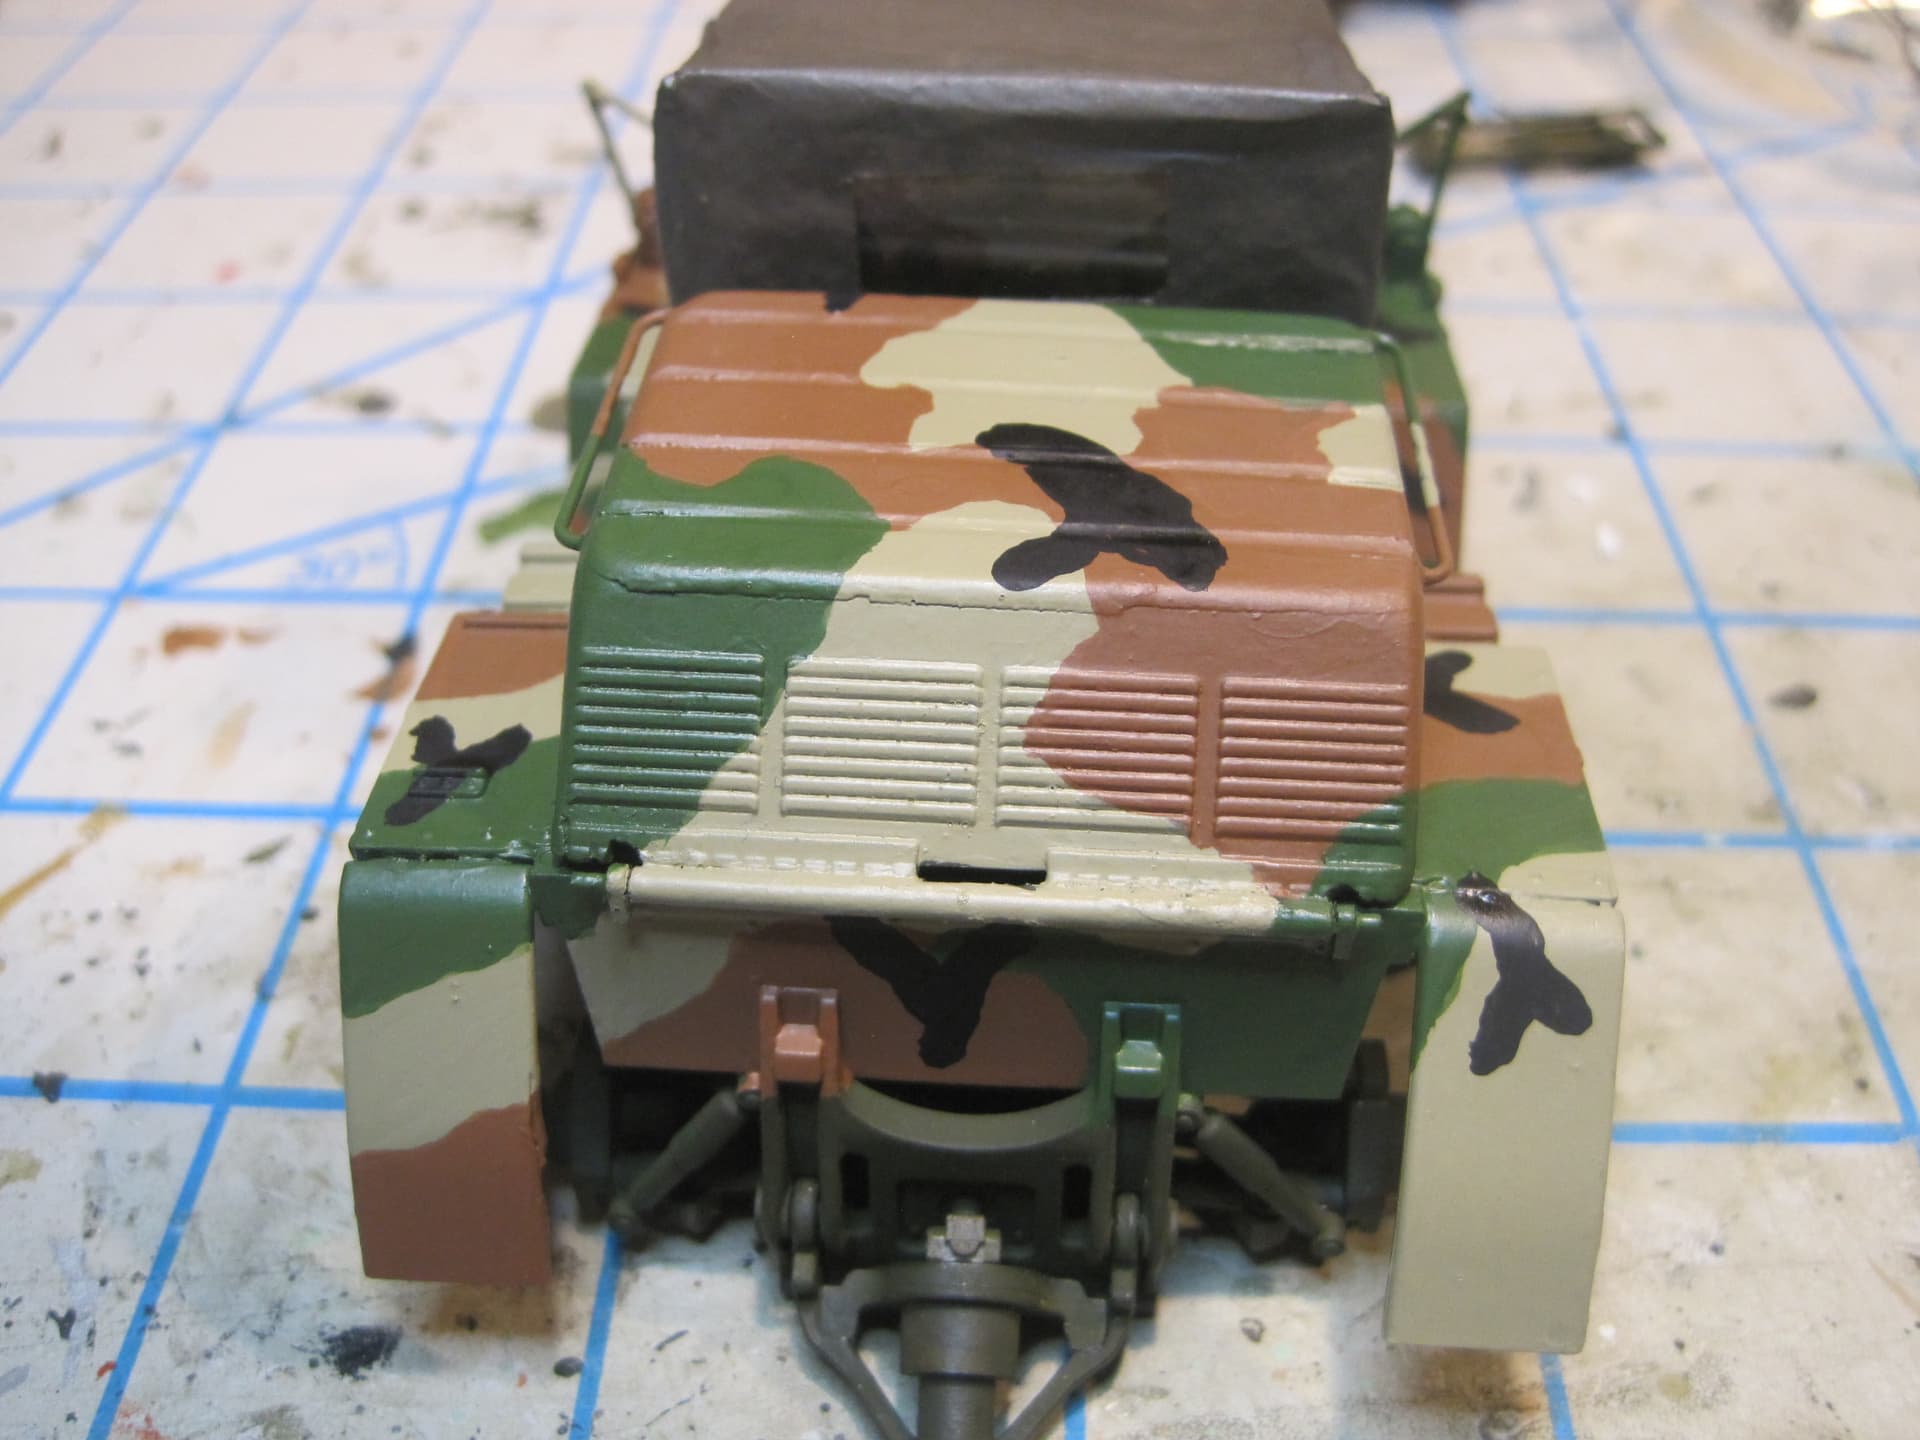
The next item I added were the stiffening beads to the front of the engine cover:

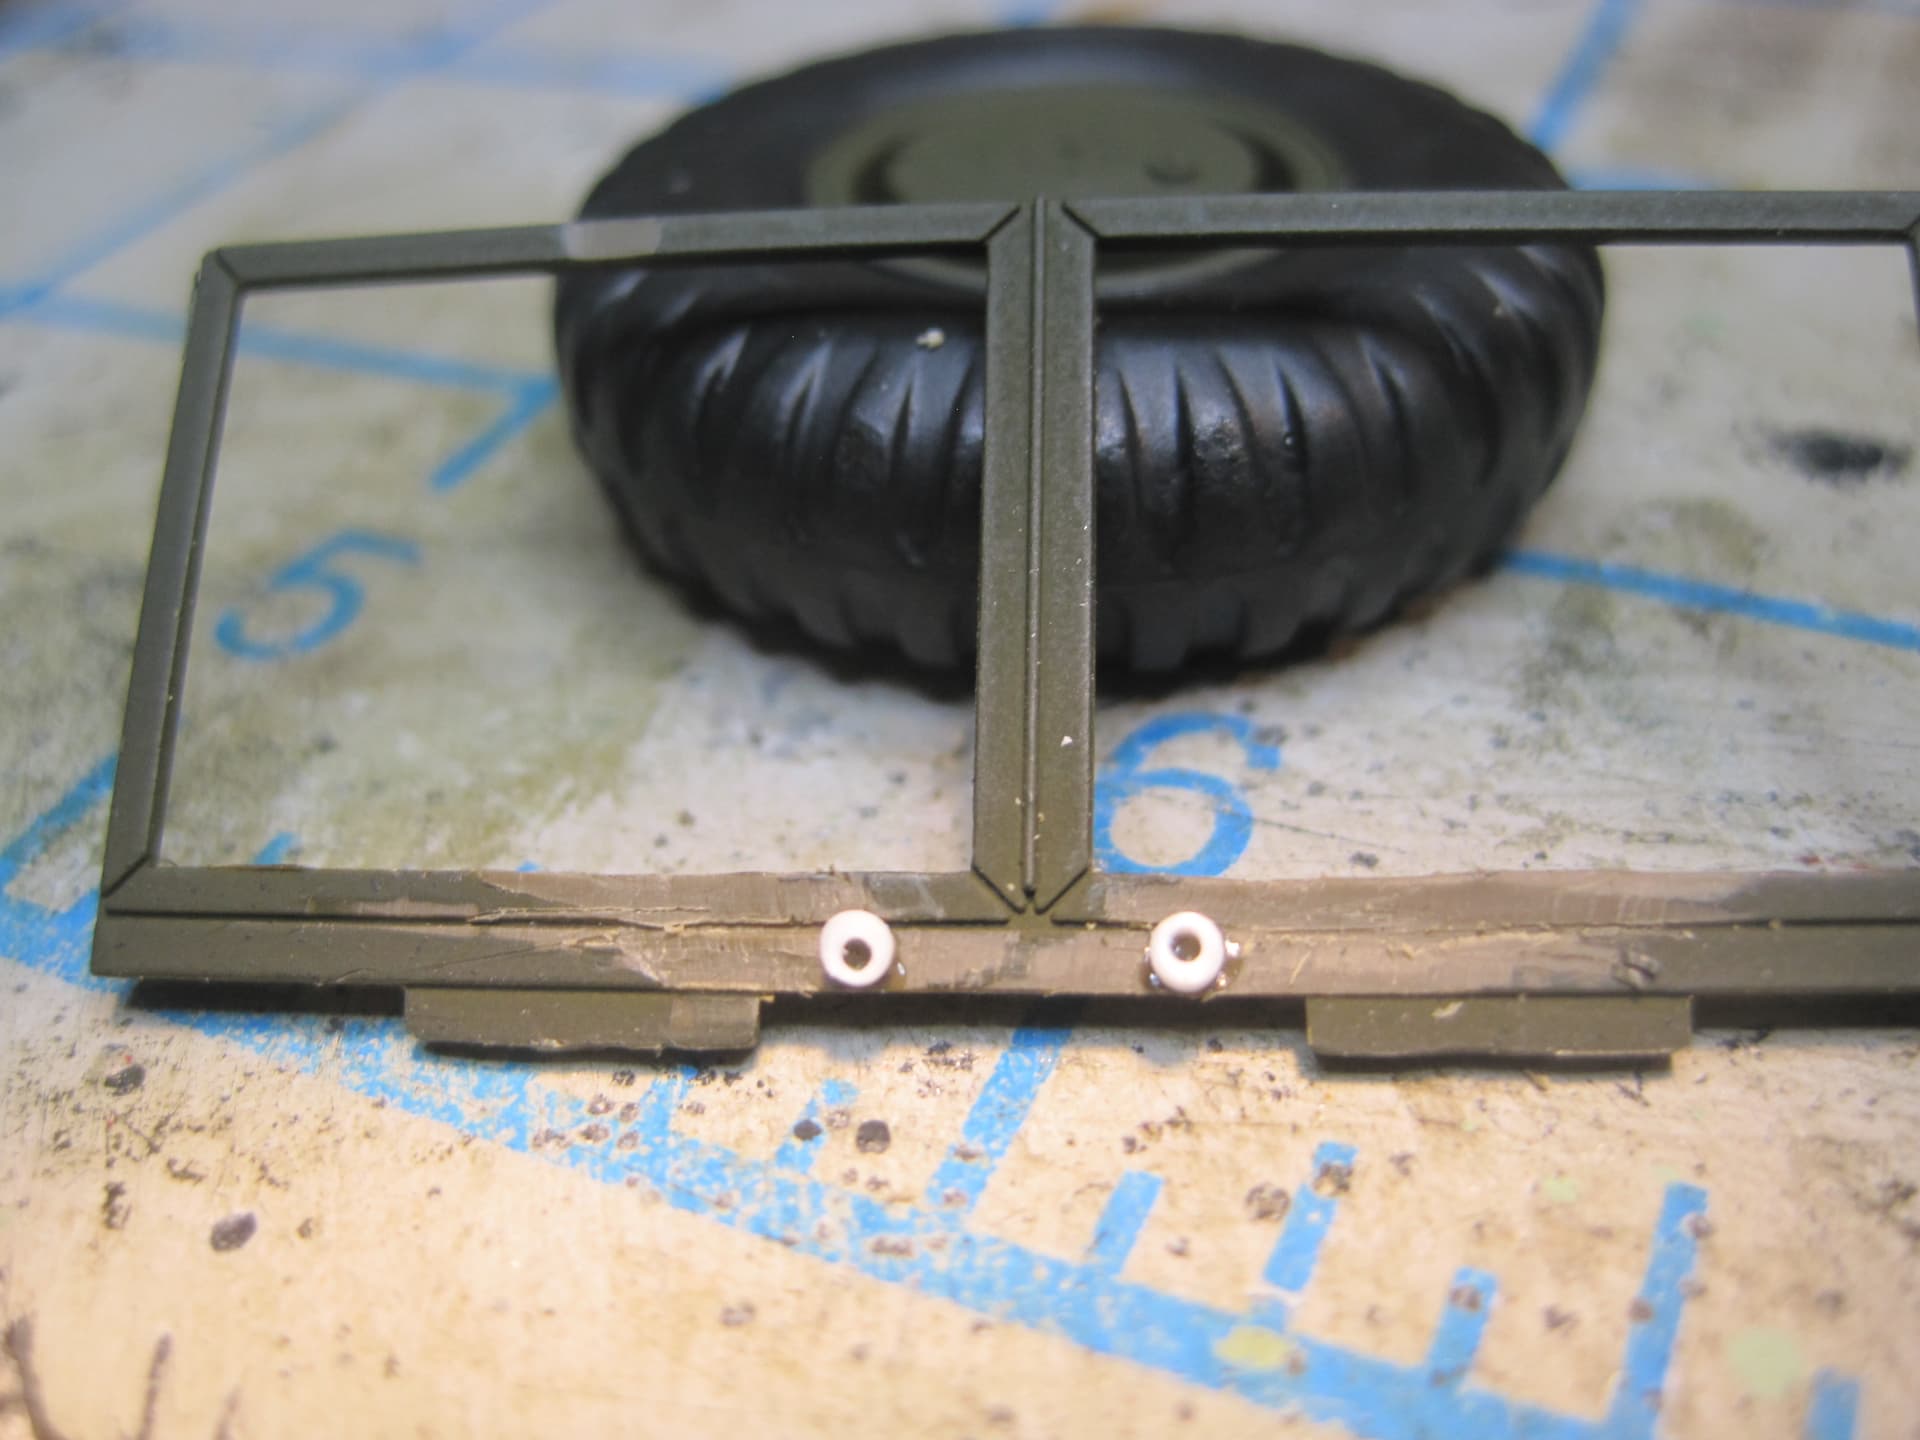
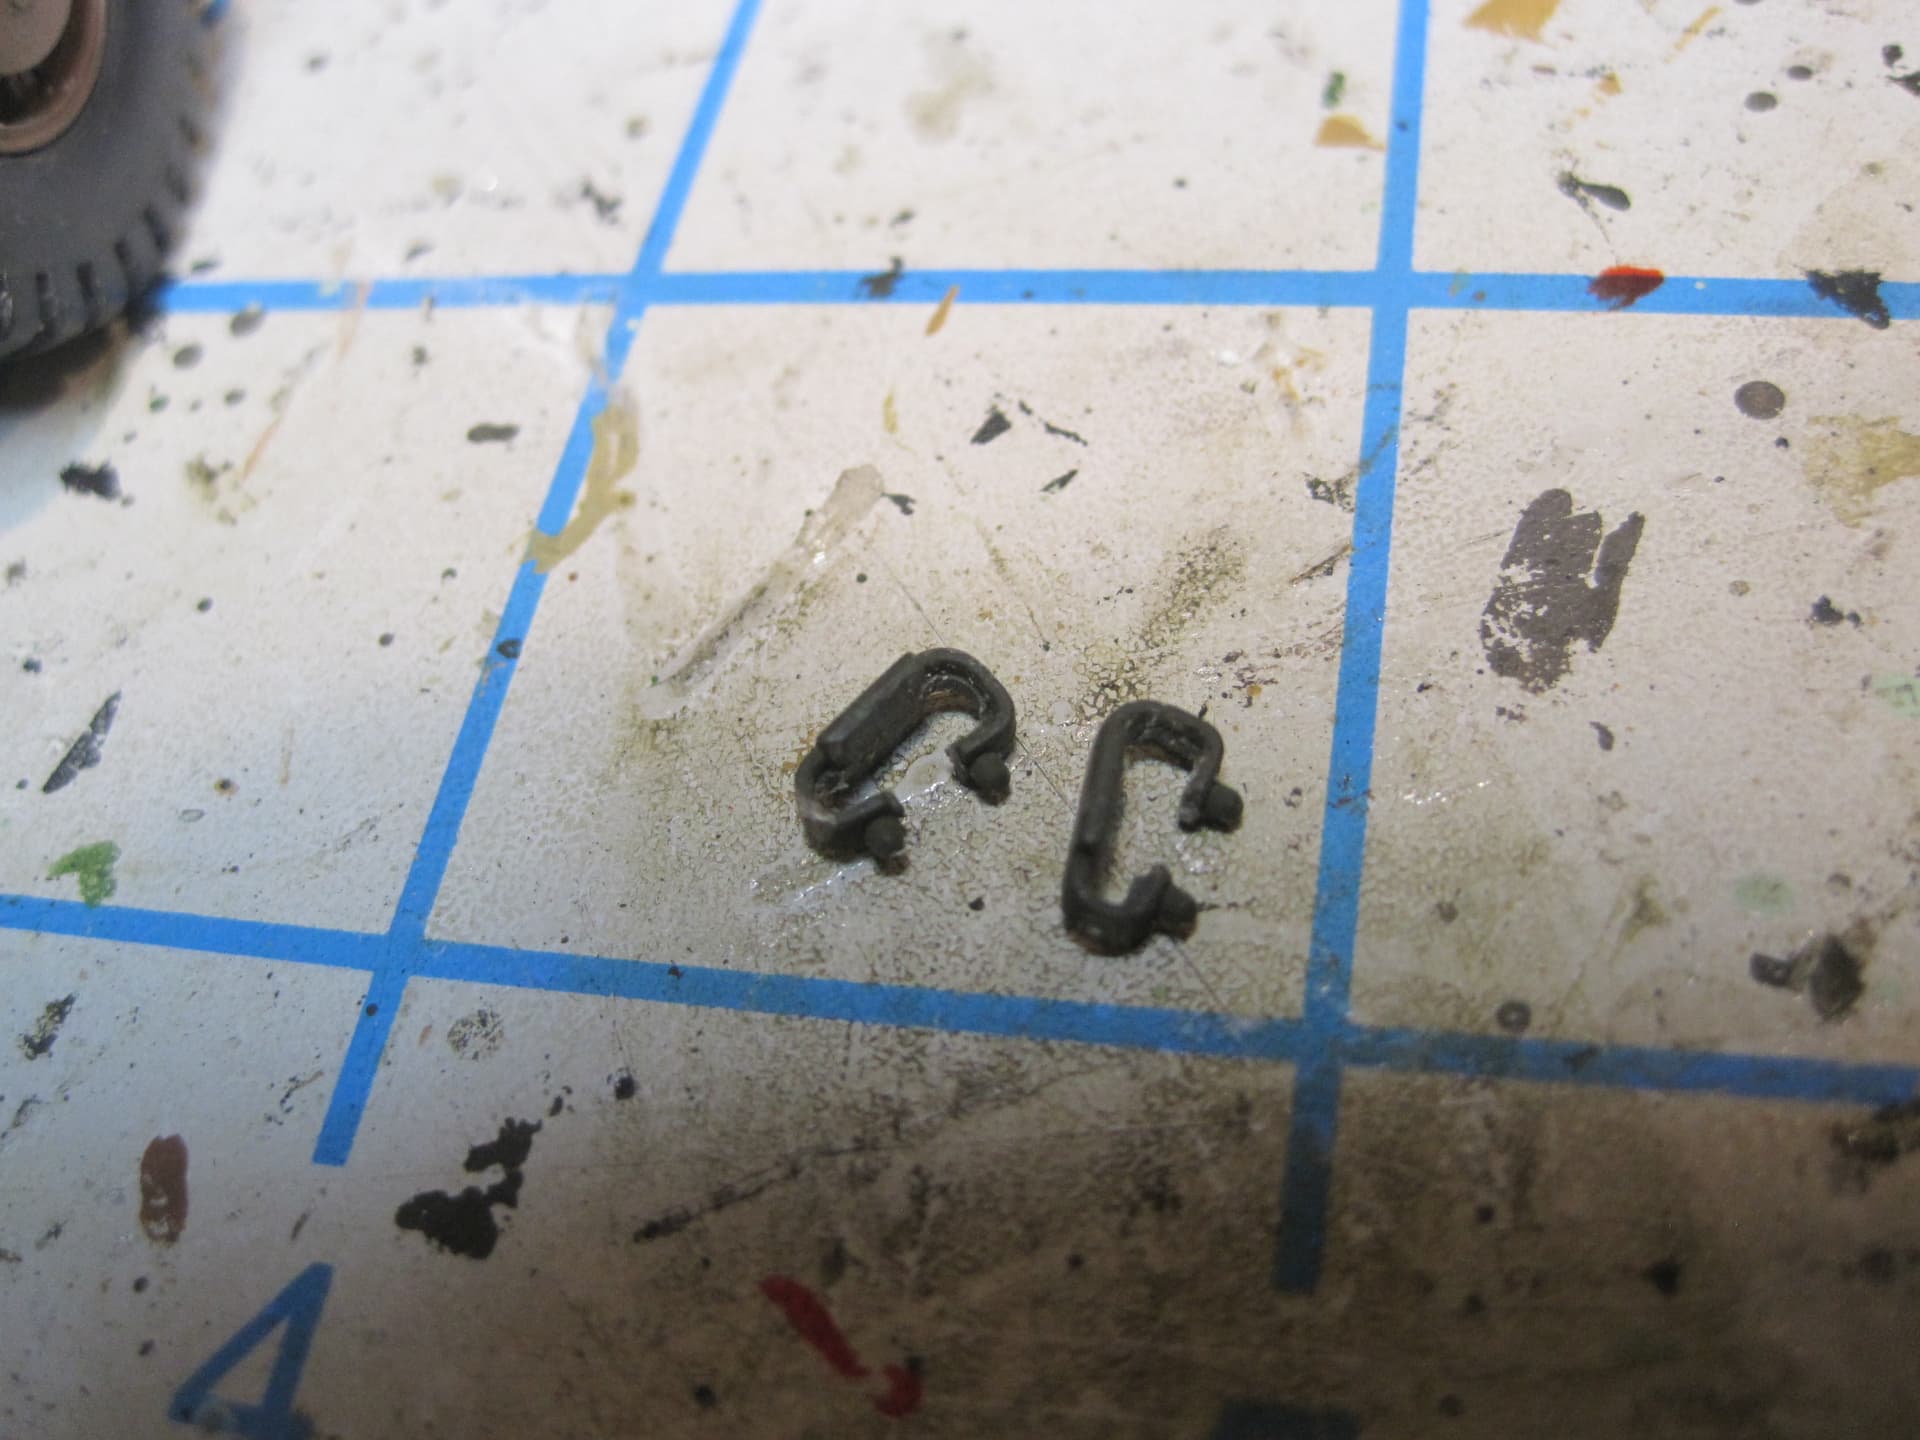
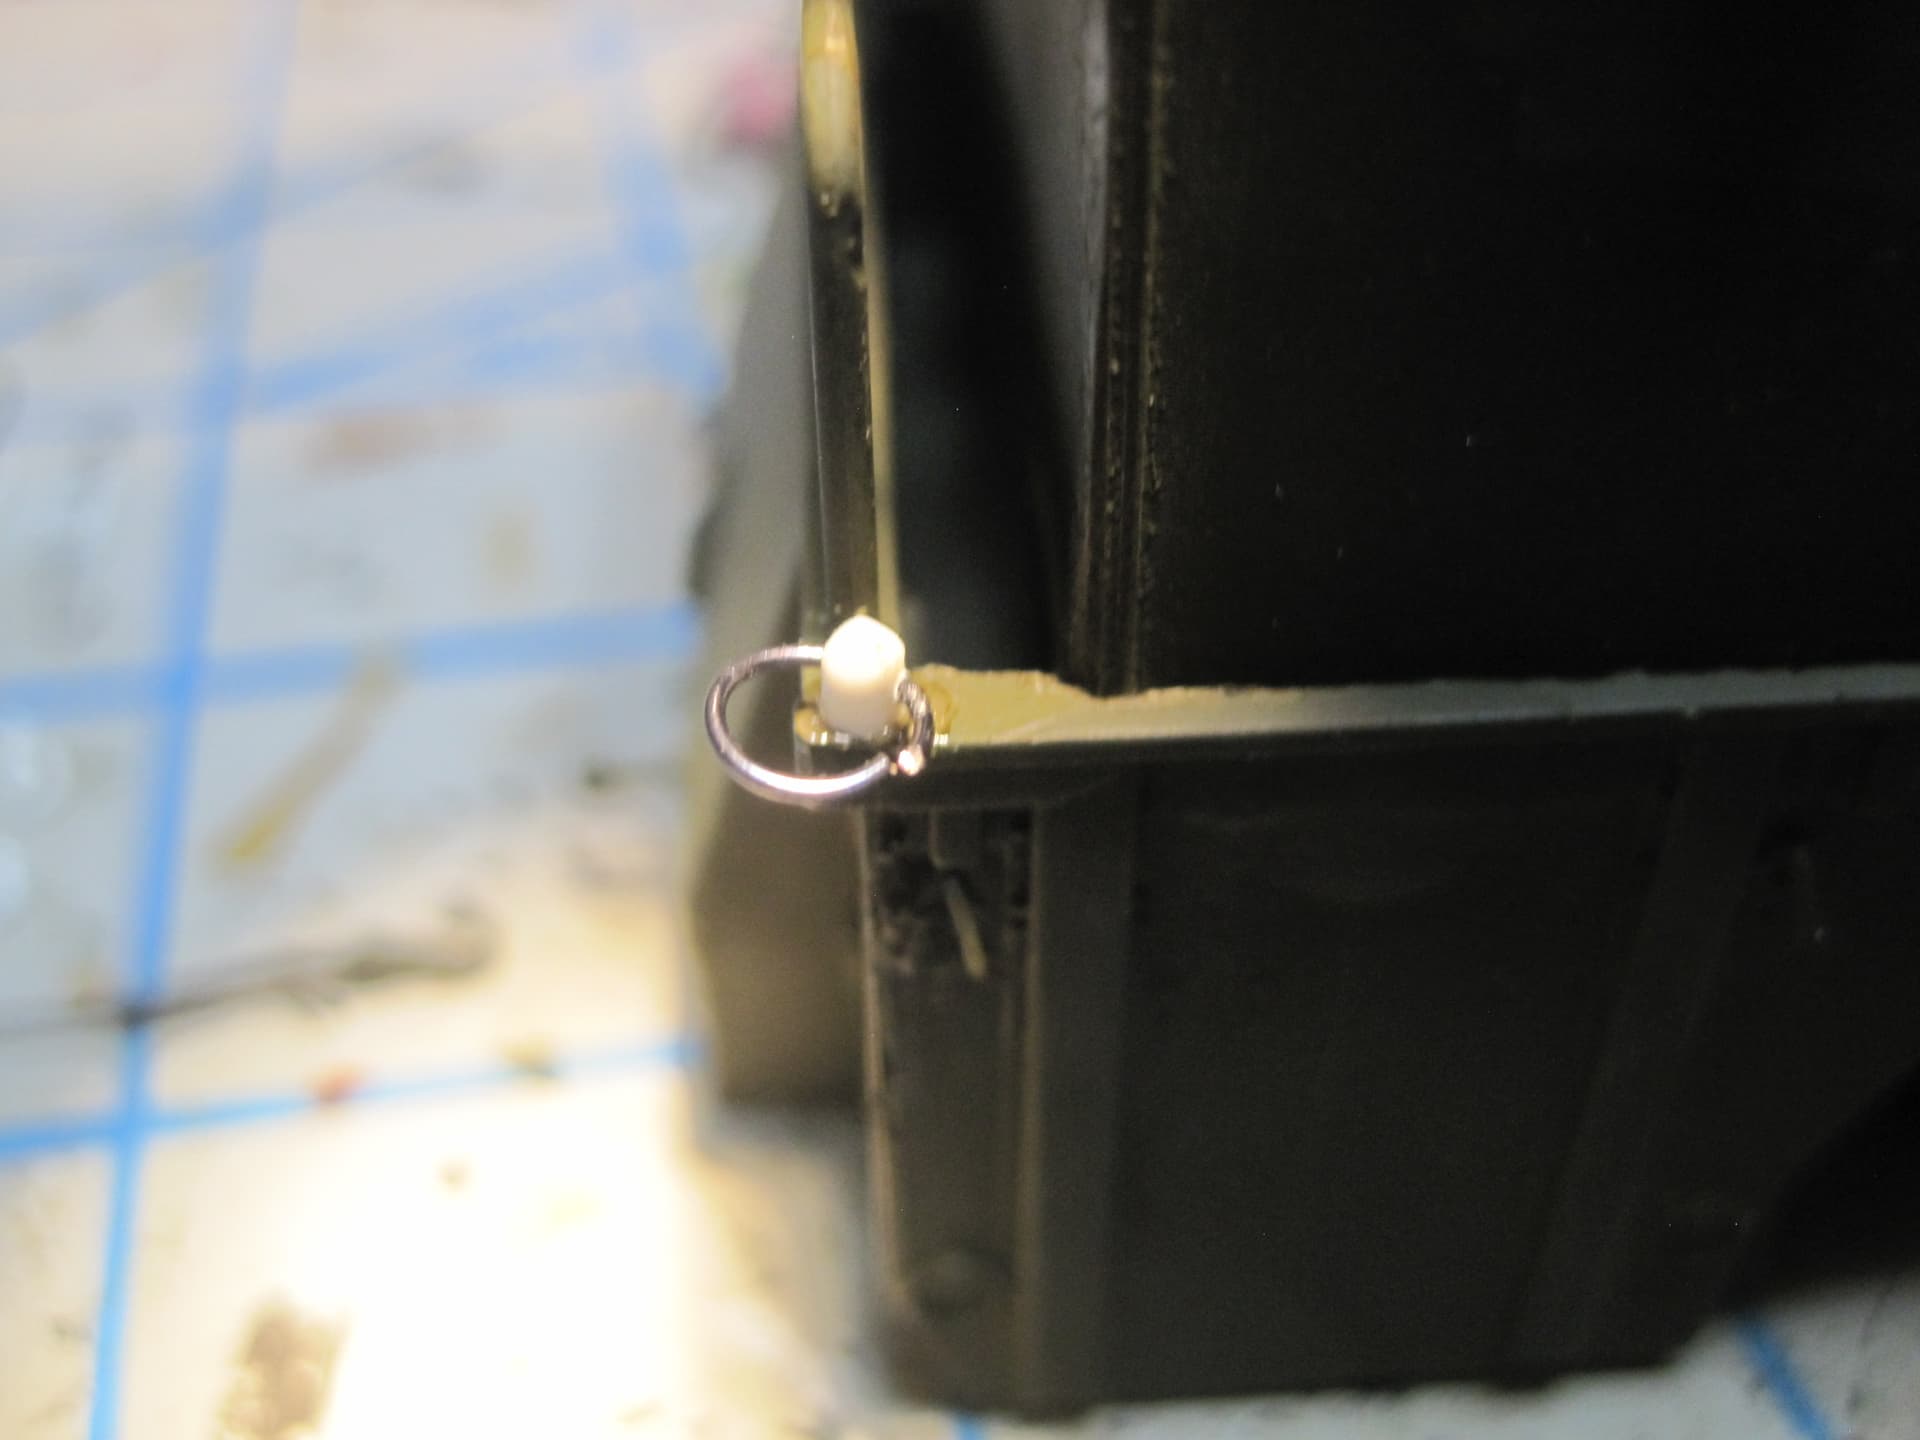
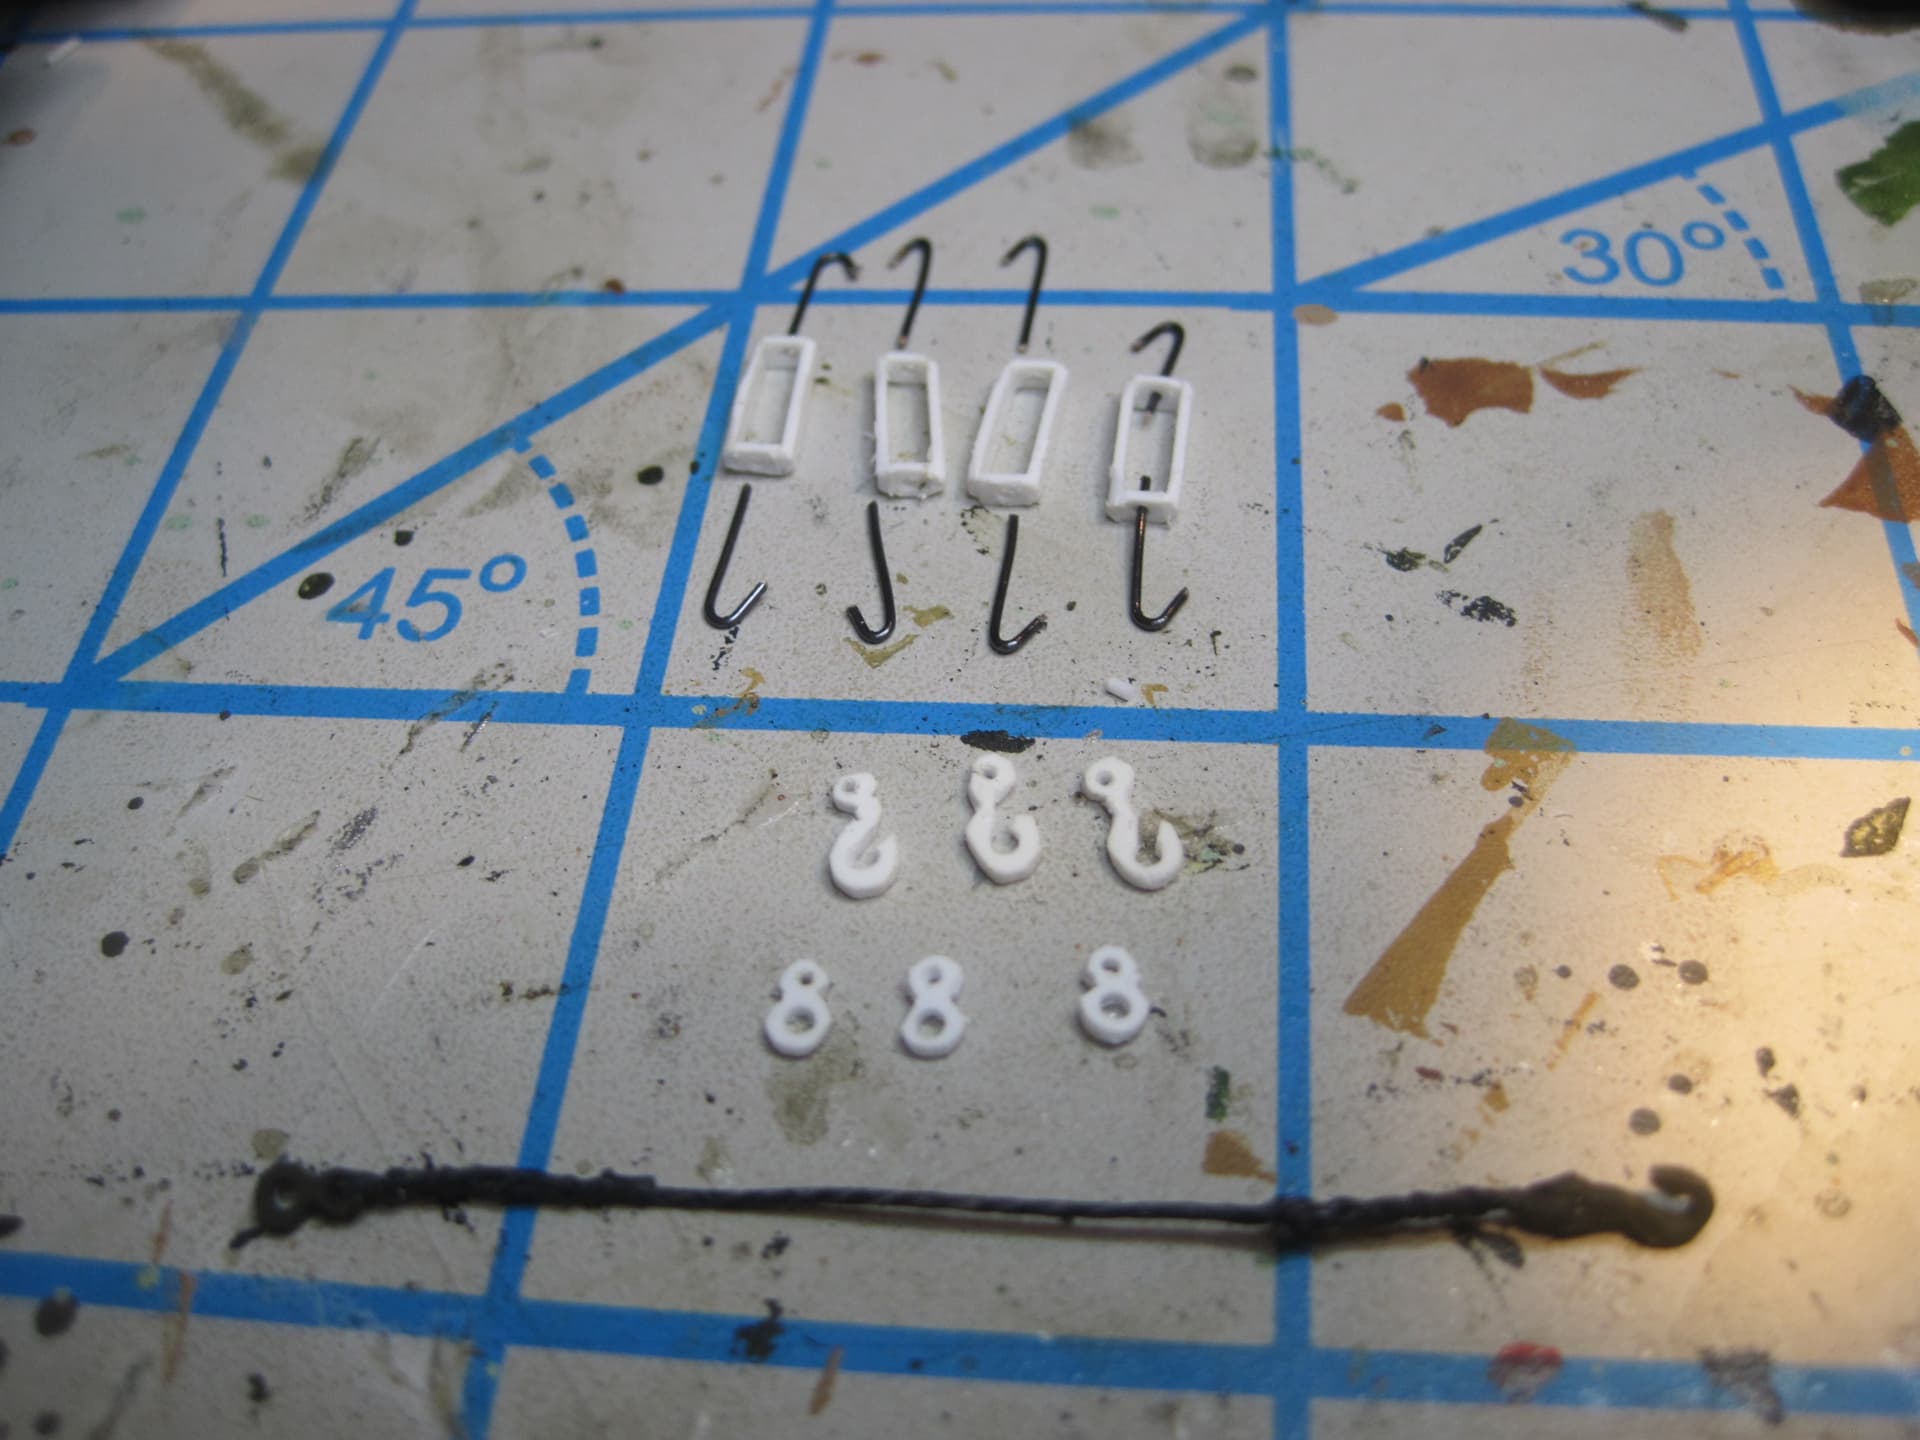
Then the front fender mounted turn signal indicators and the mounts for the tie down mounting points.


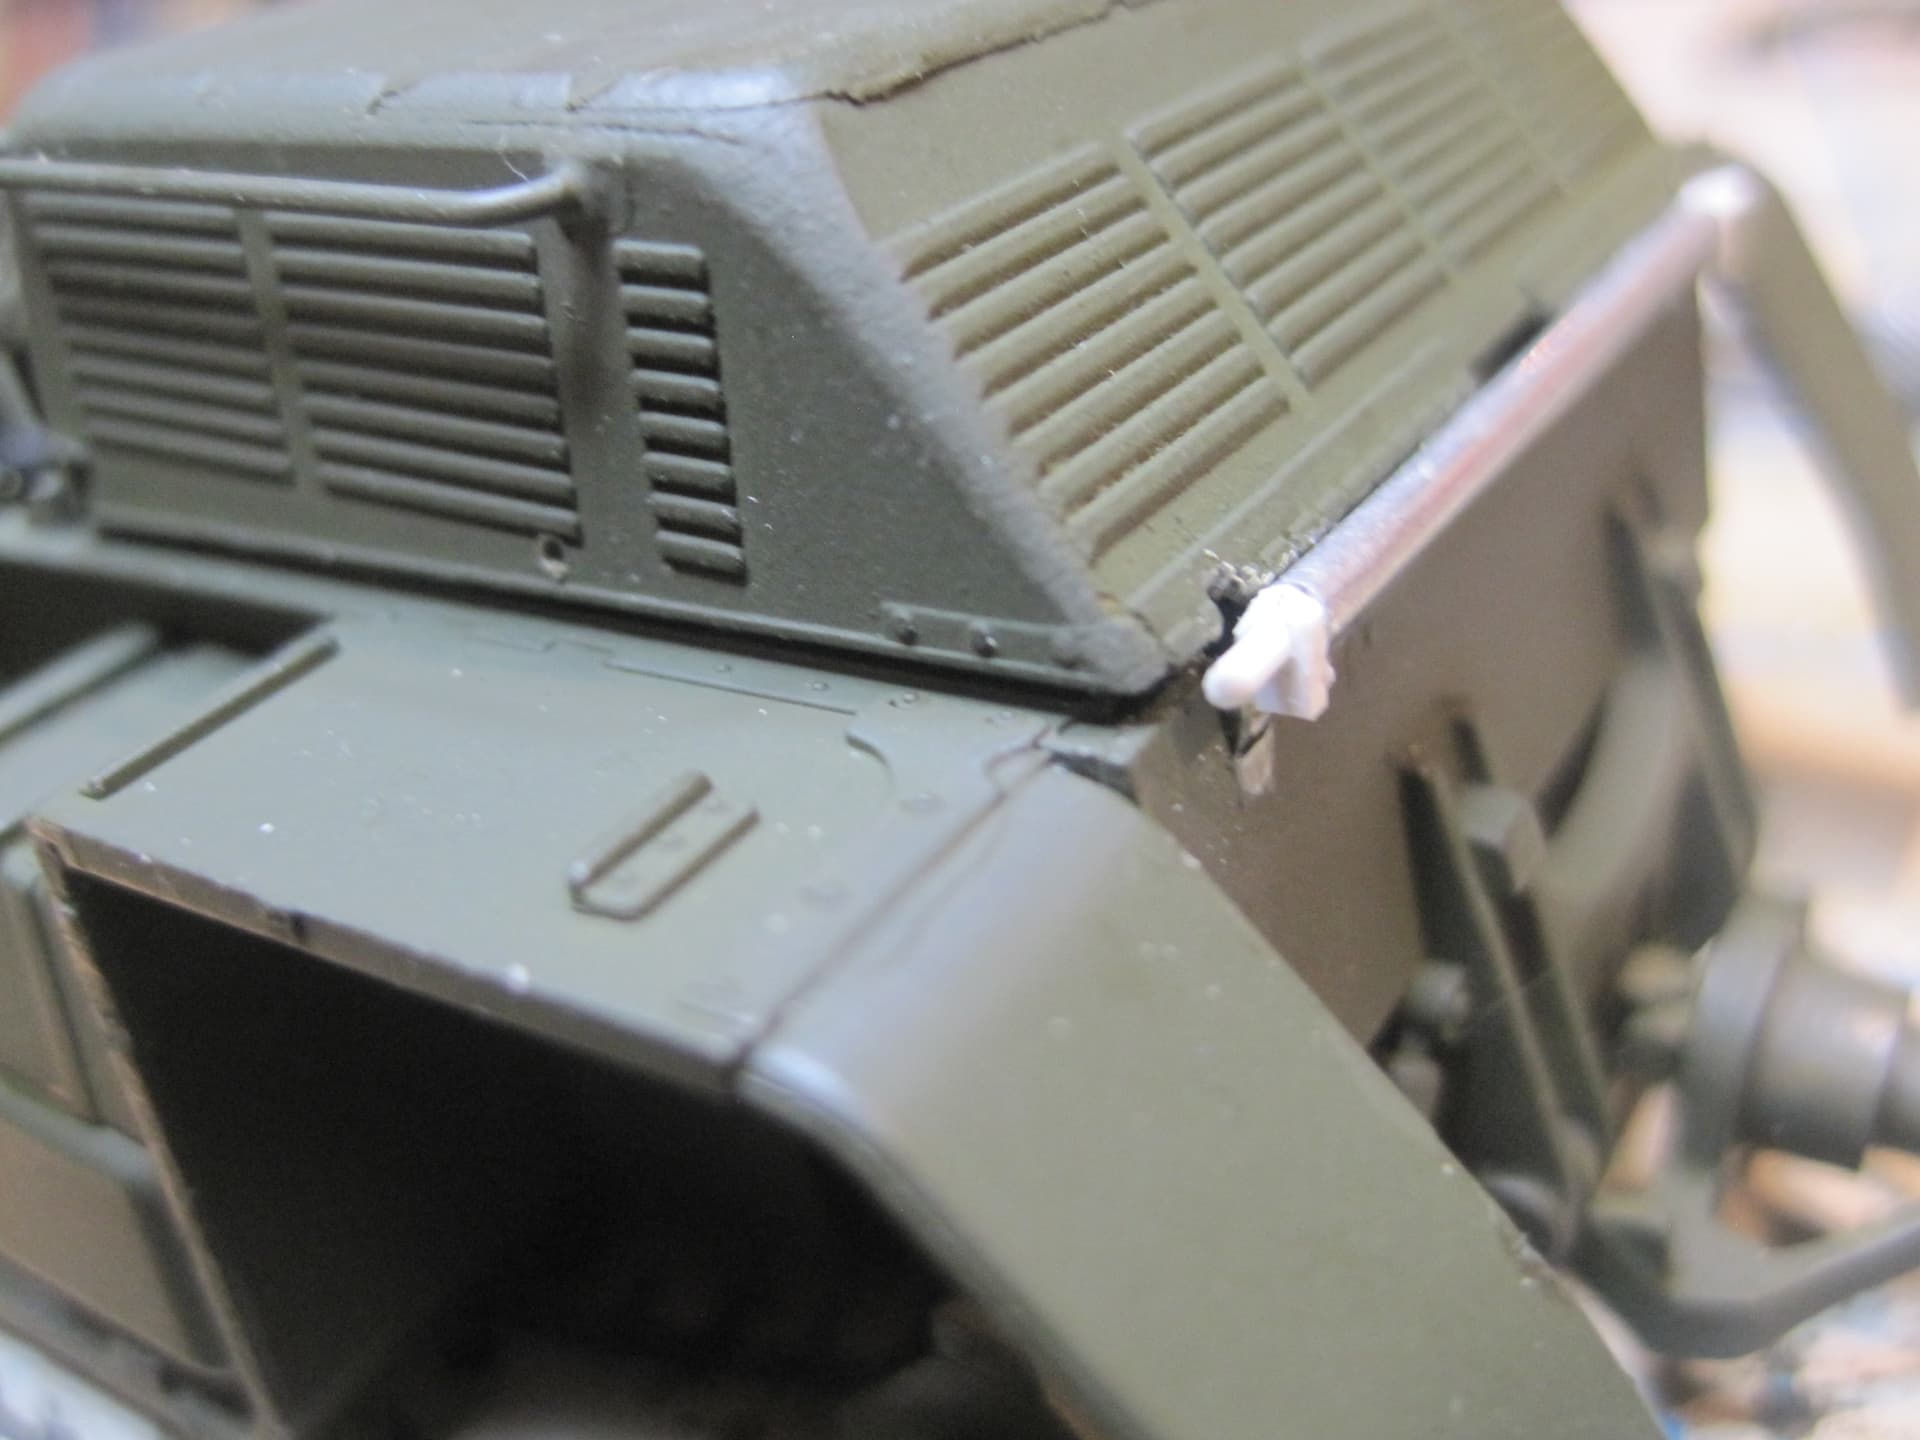
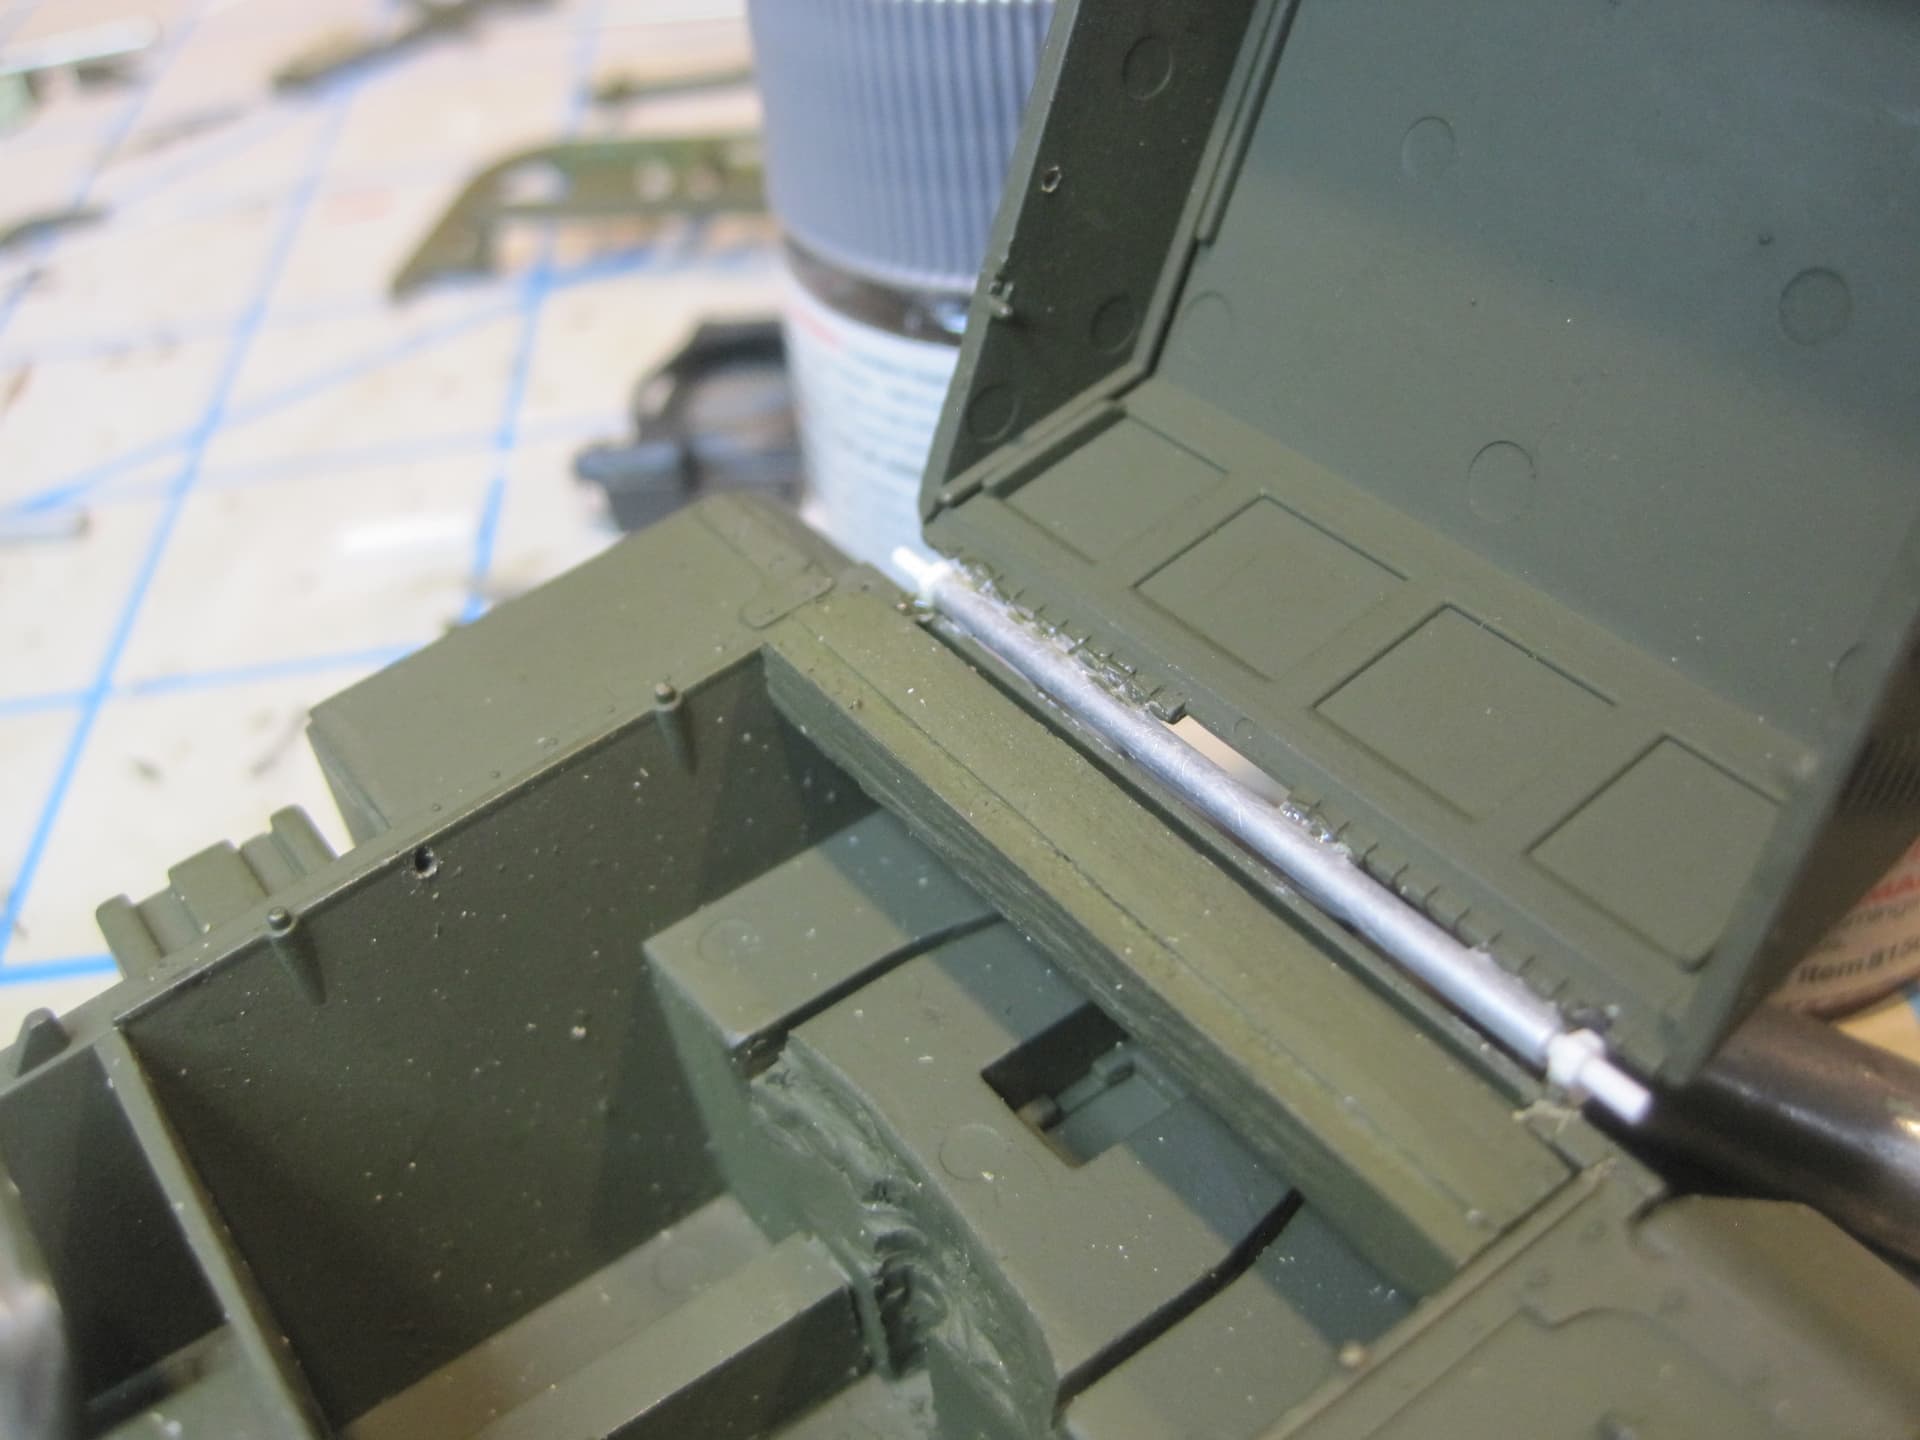
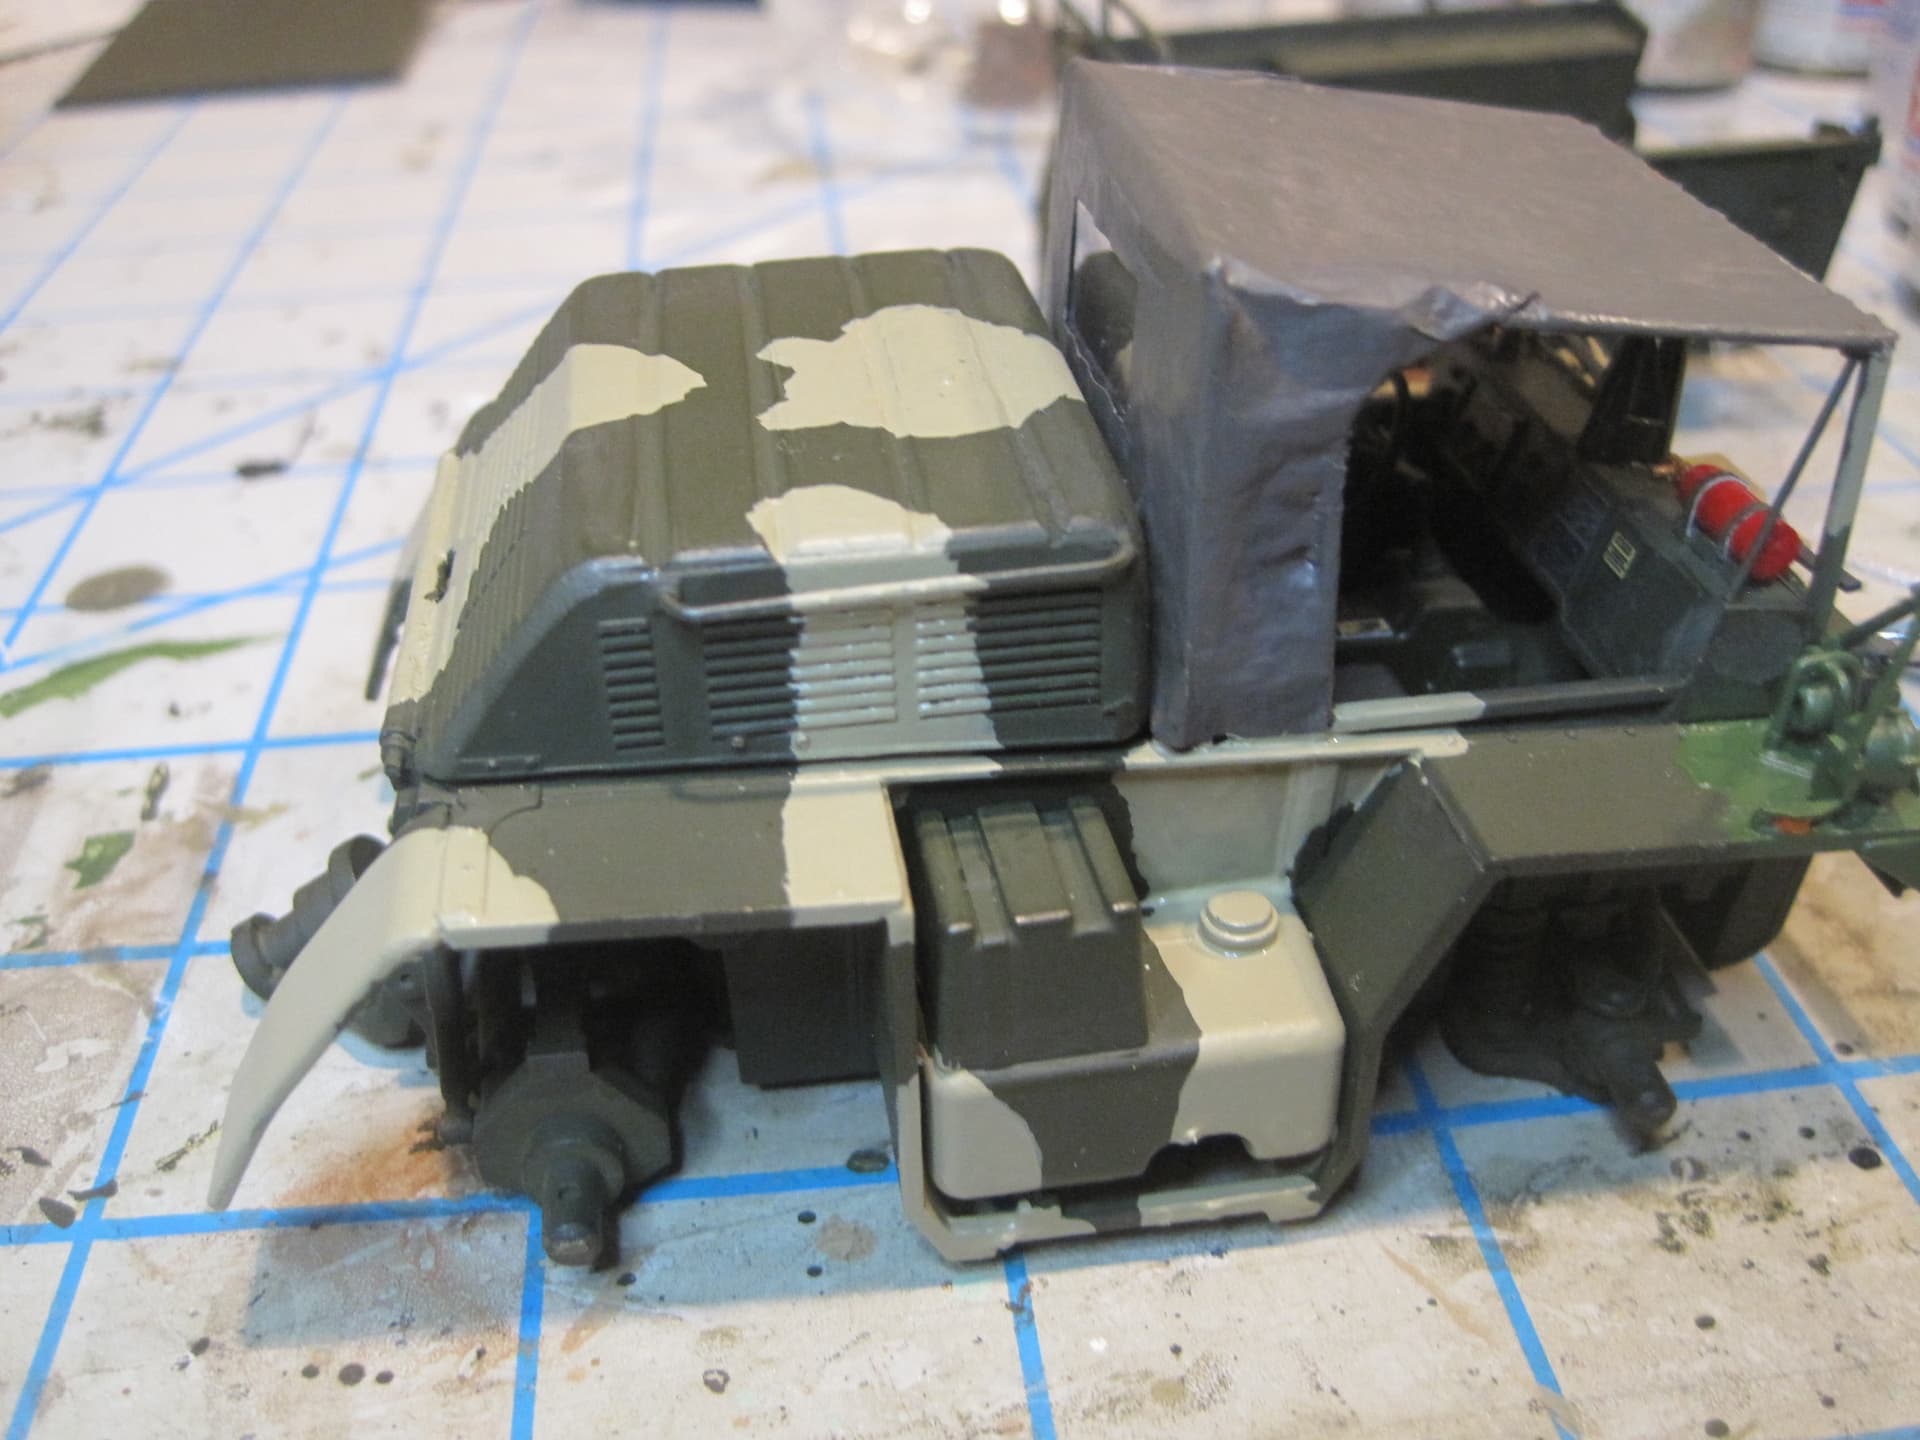
Because I’m adding an engine the engine cover hinge needs to be fabricated, along with the supports for the cover:


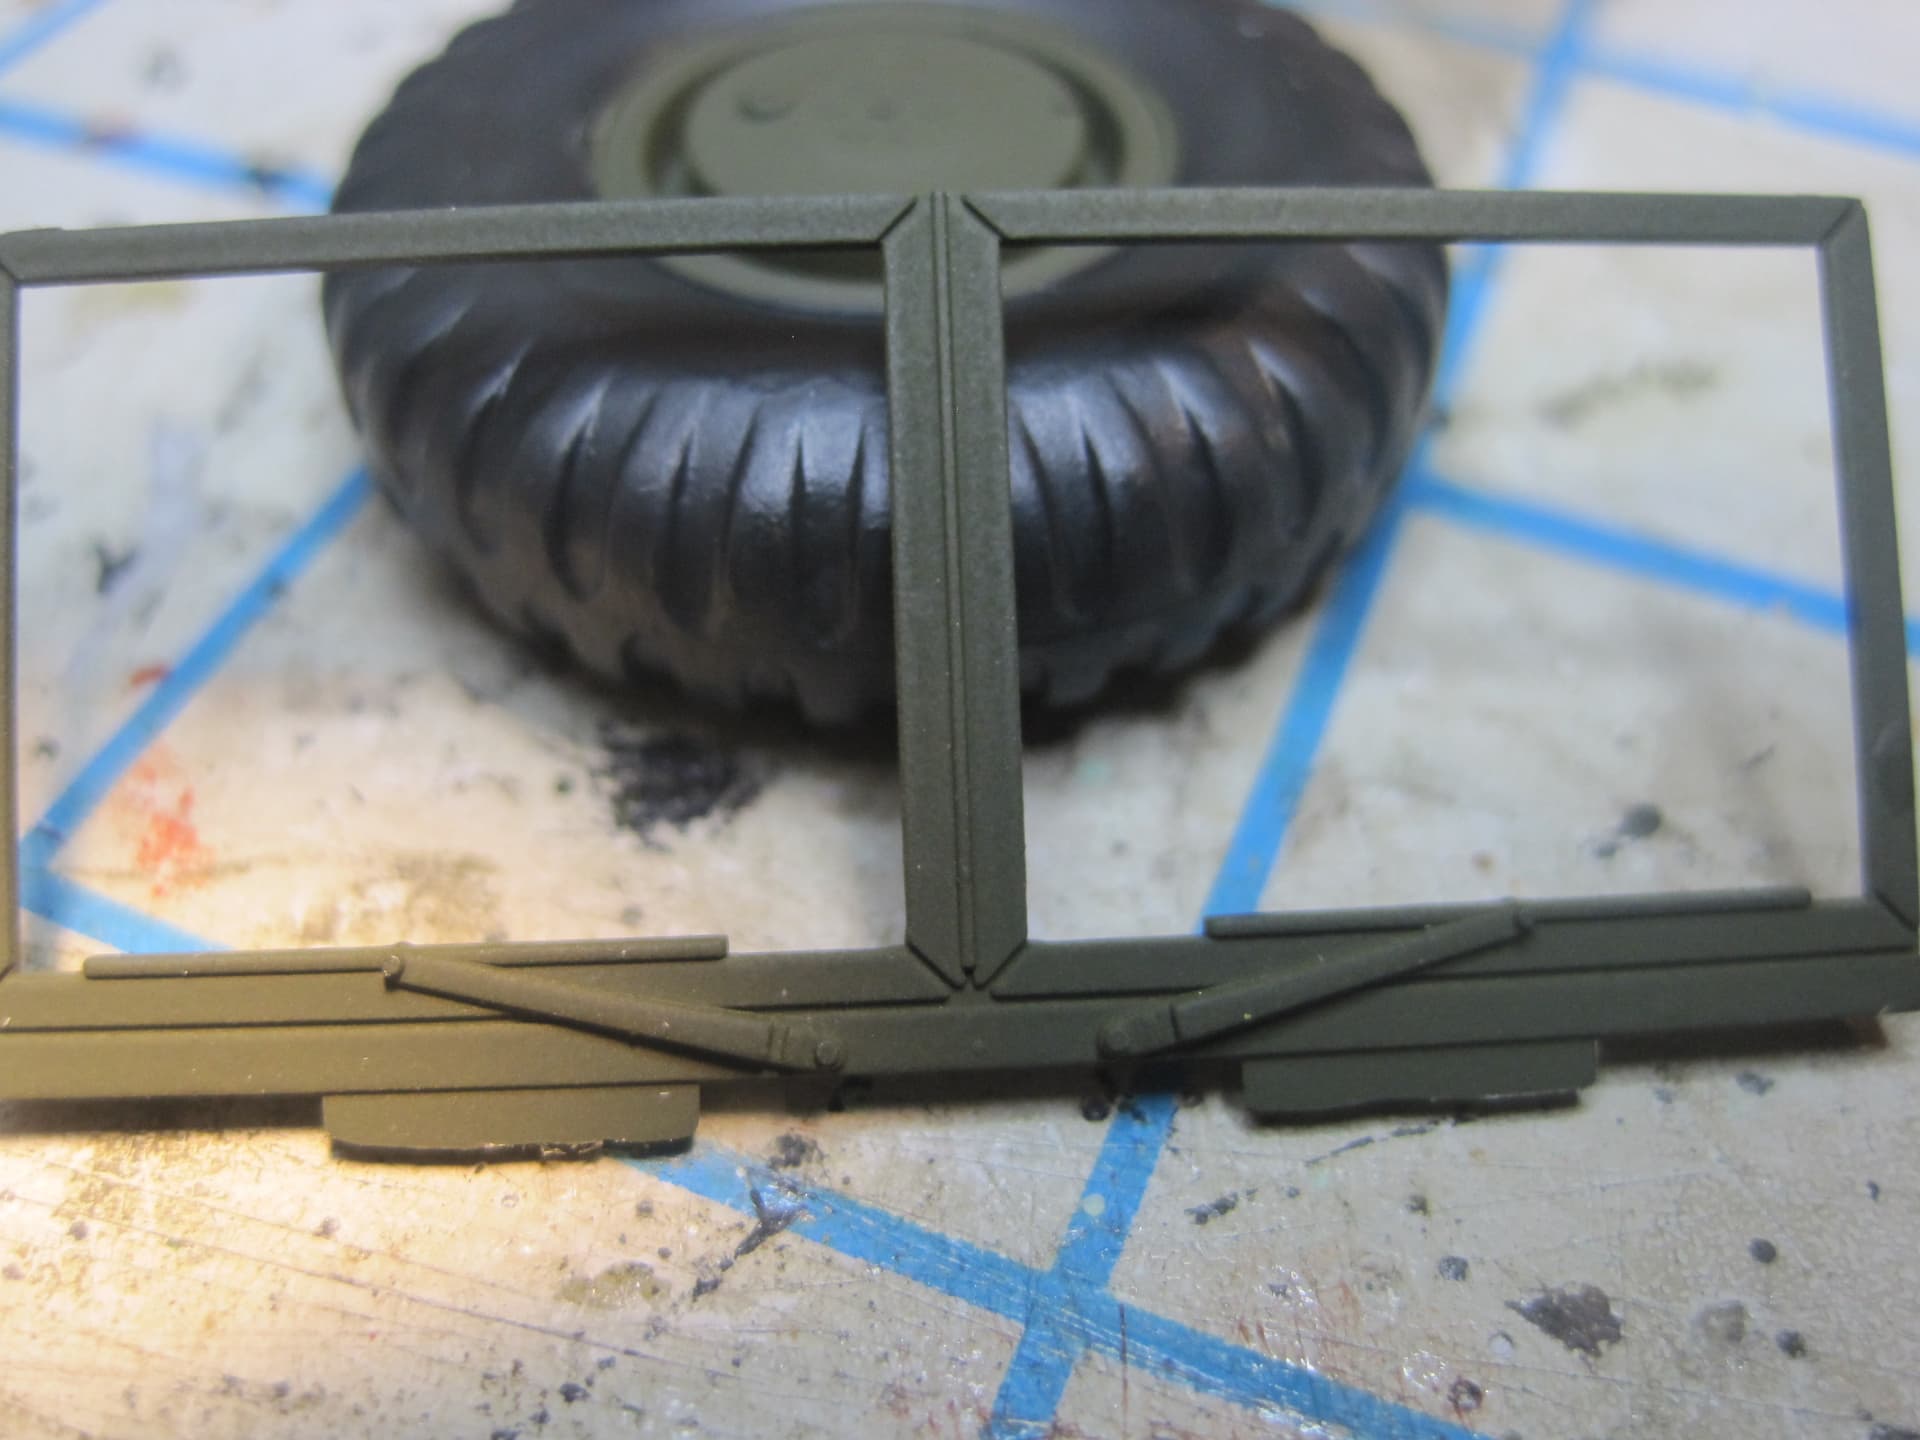
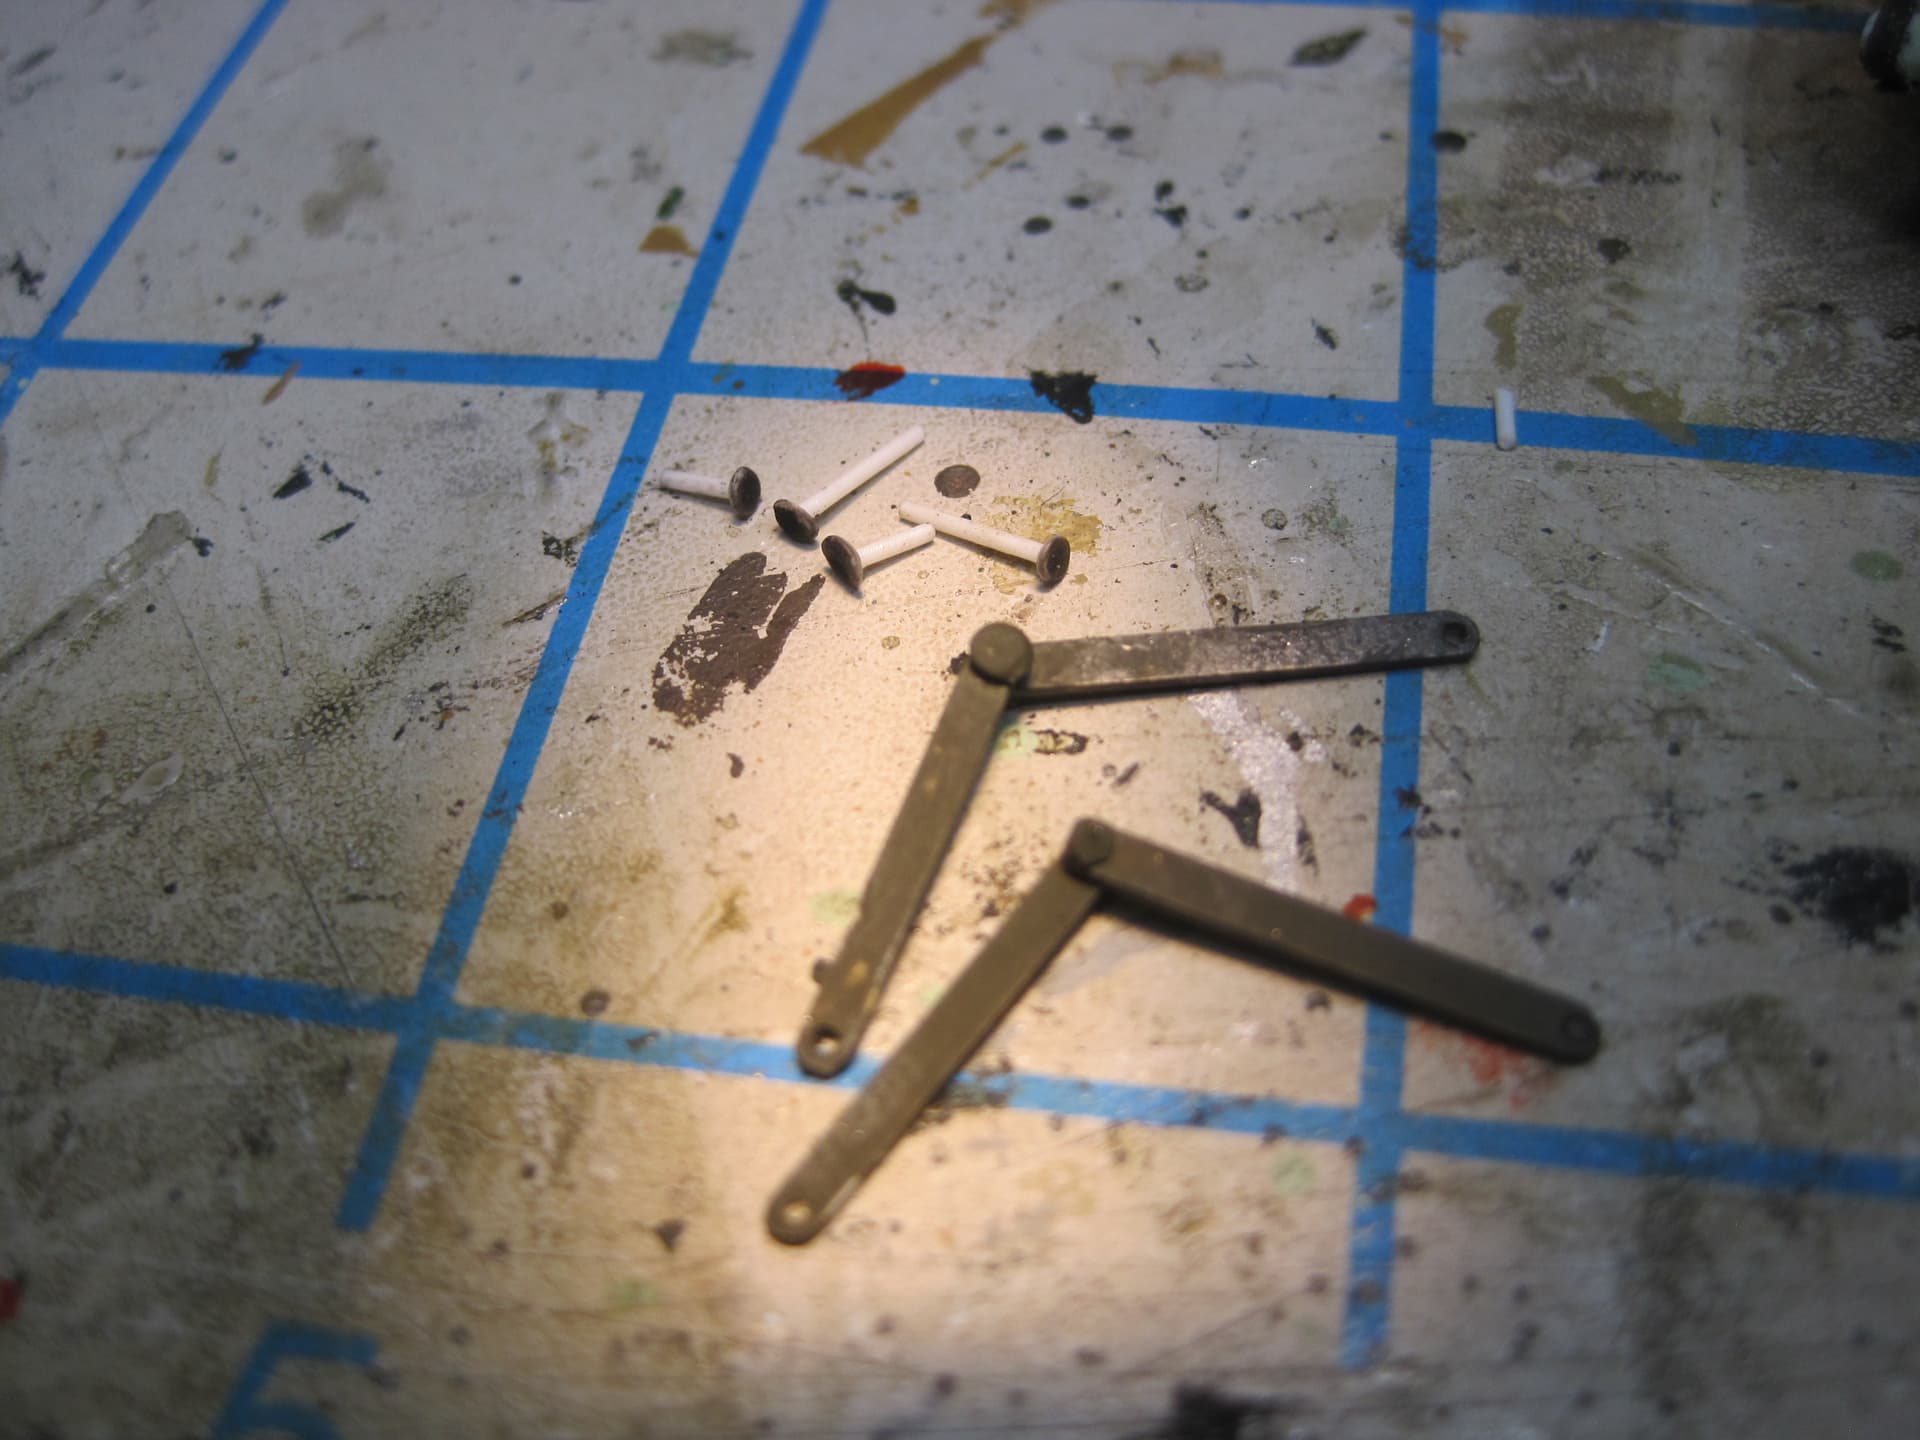
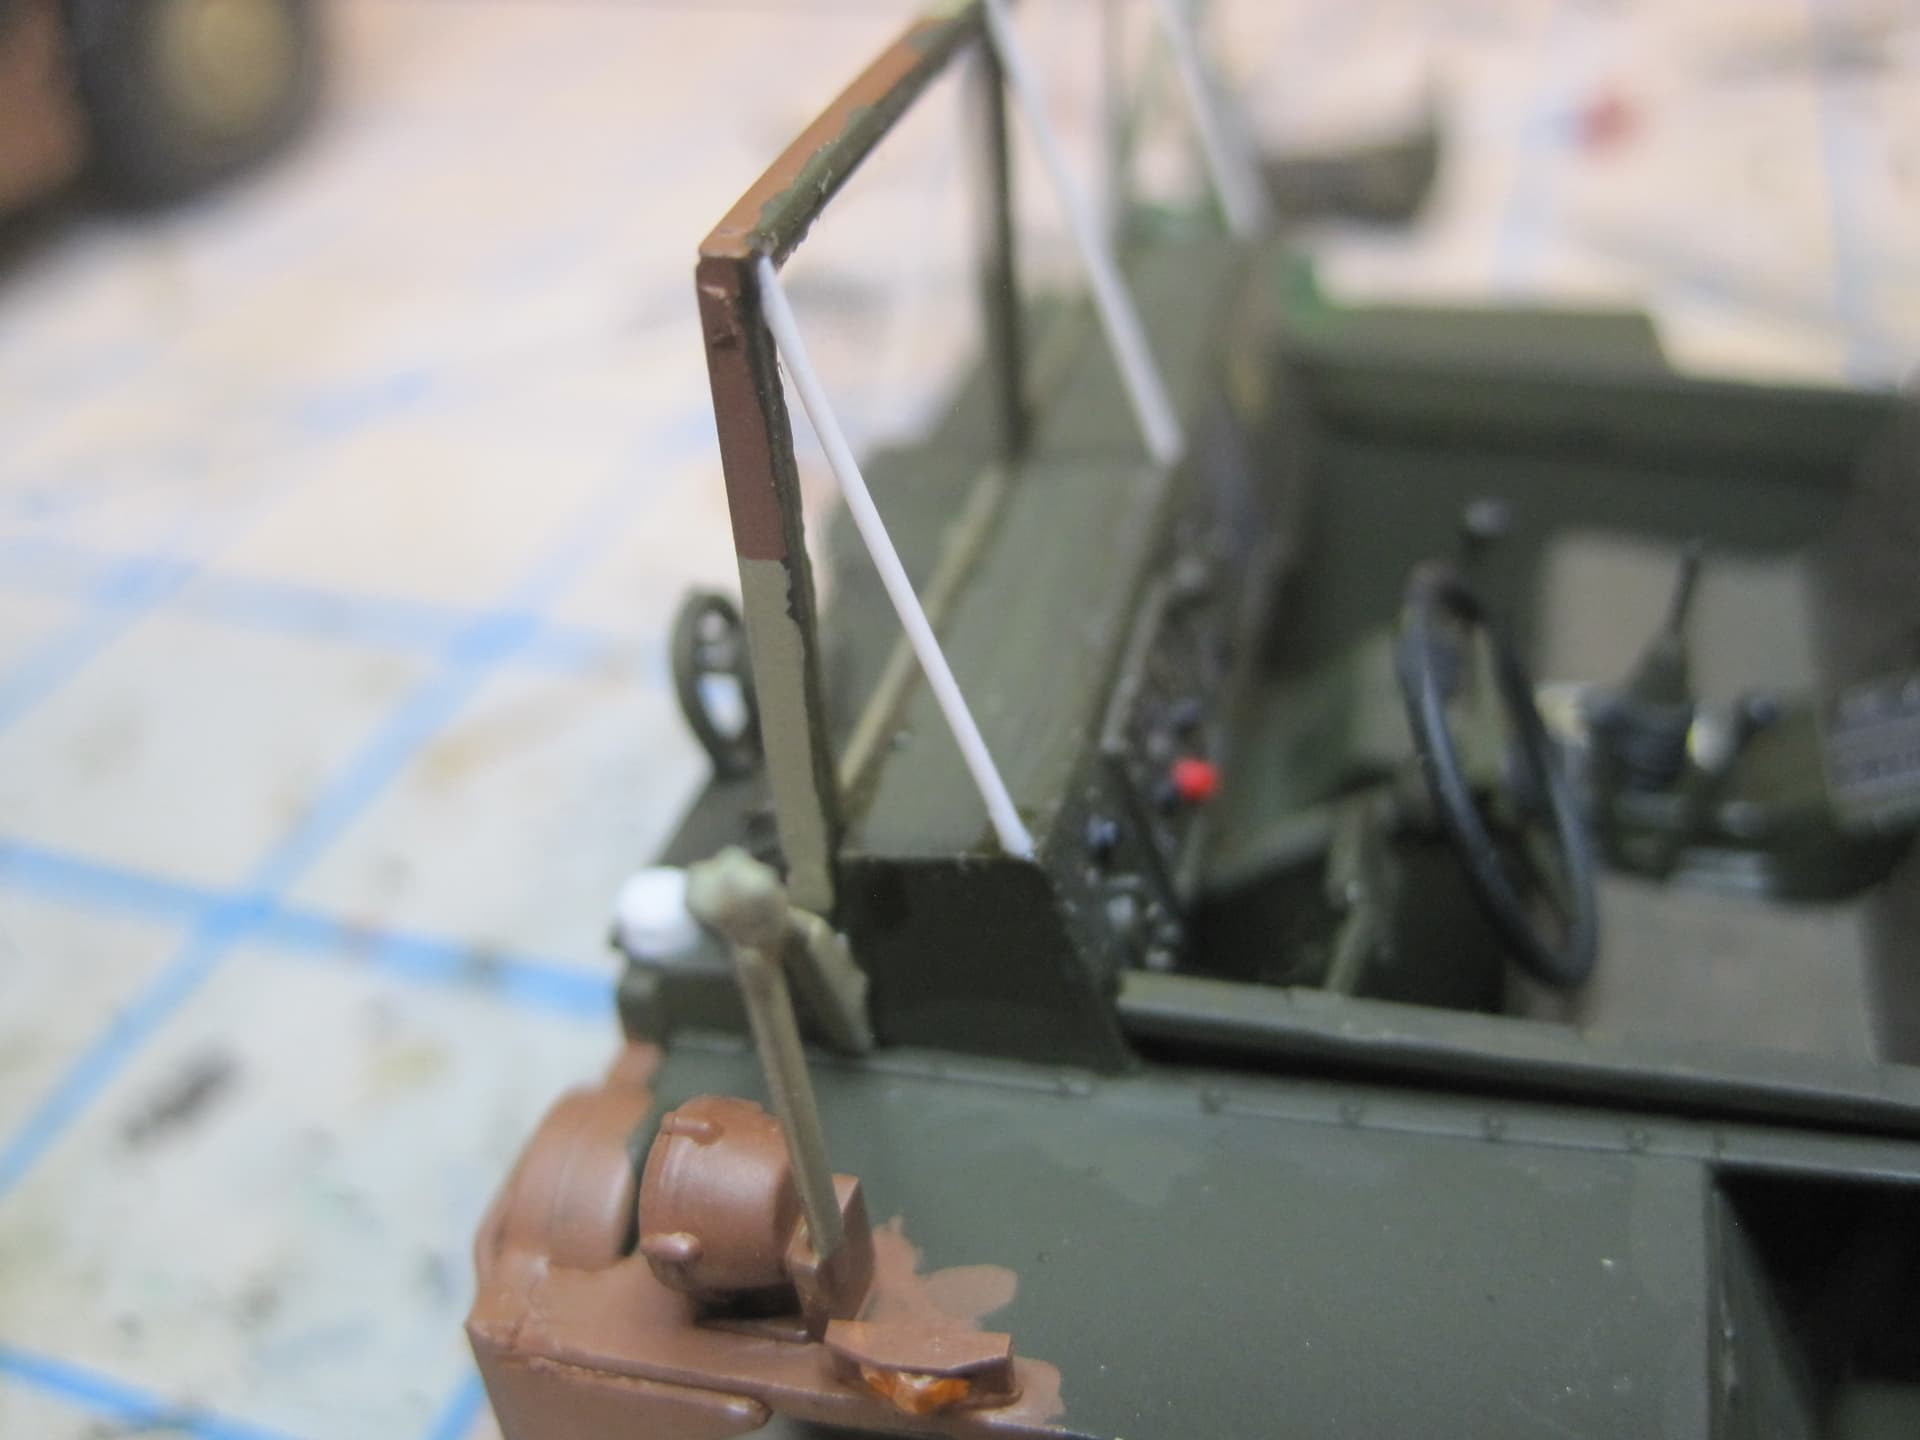
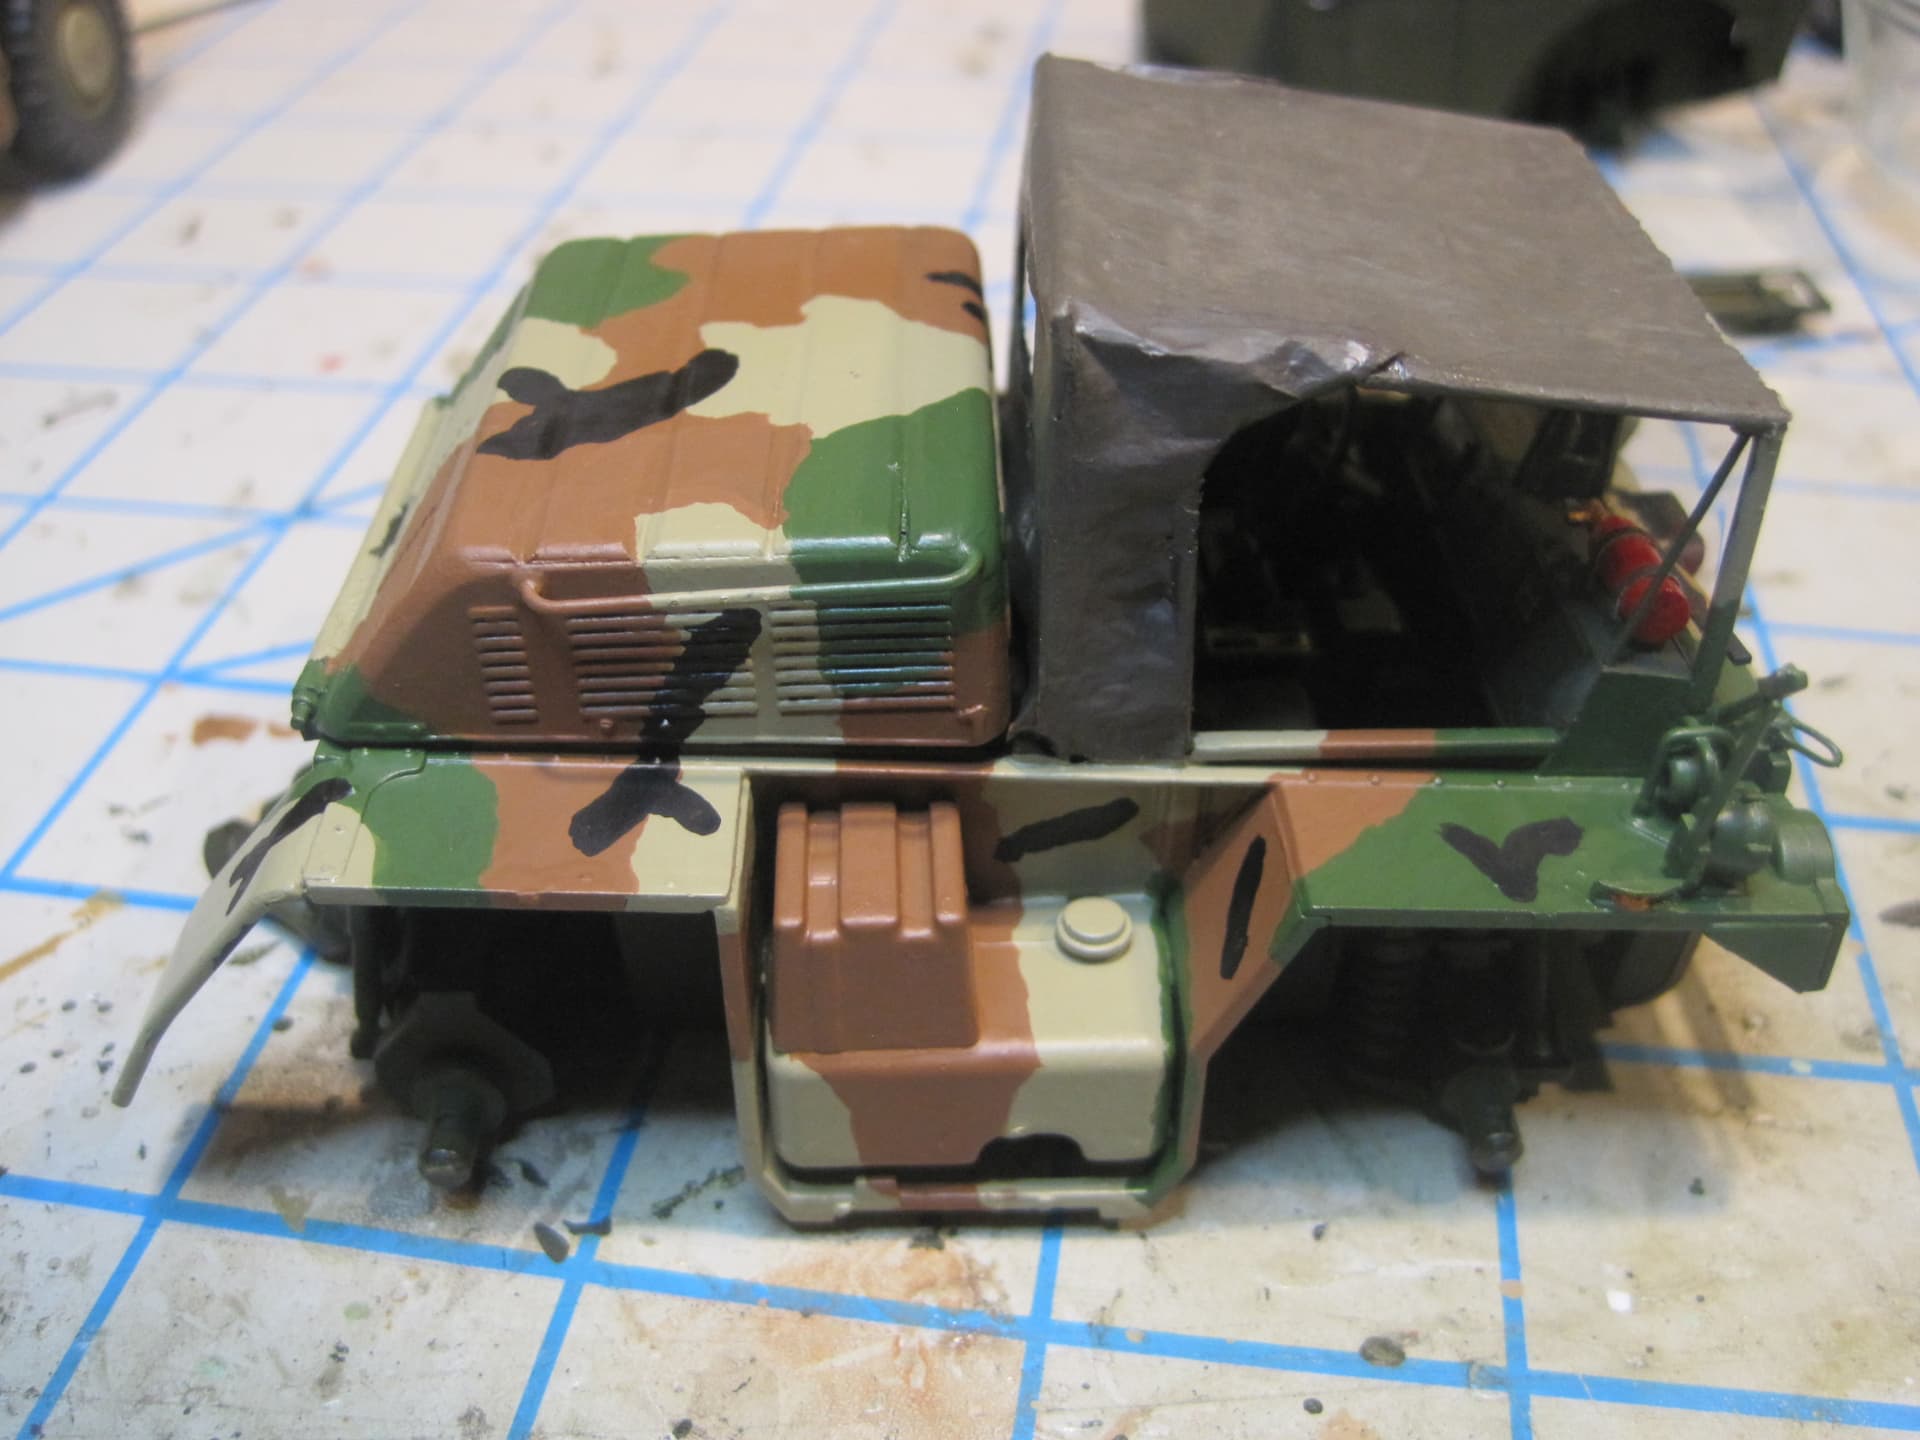
Next up were the windshield braces which I was really surprised to find were not included in the Tamiya kit.

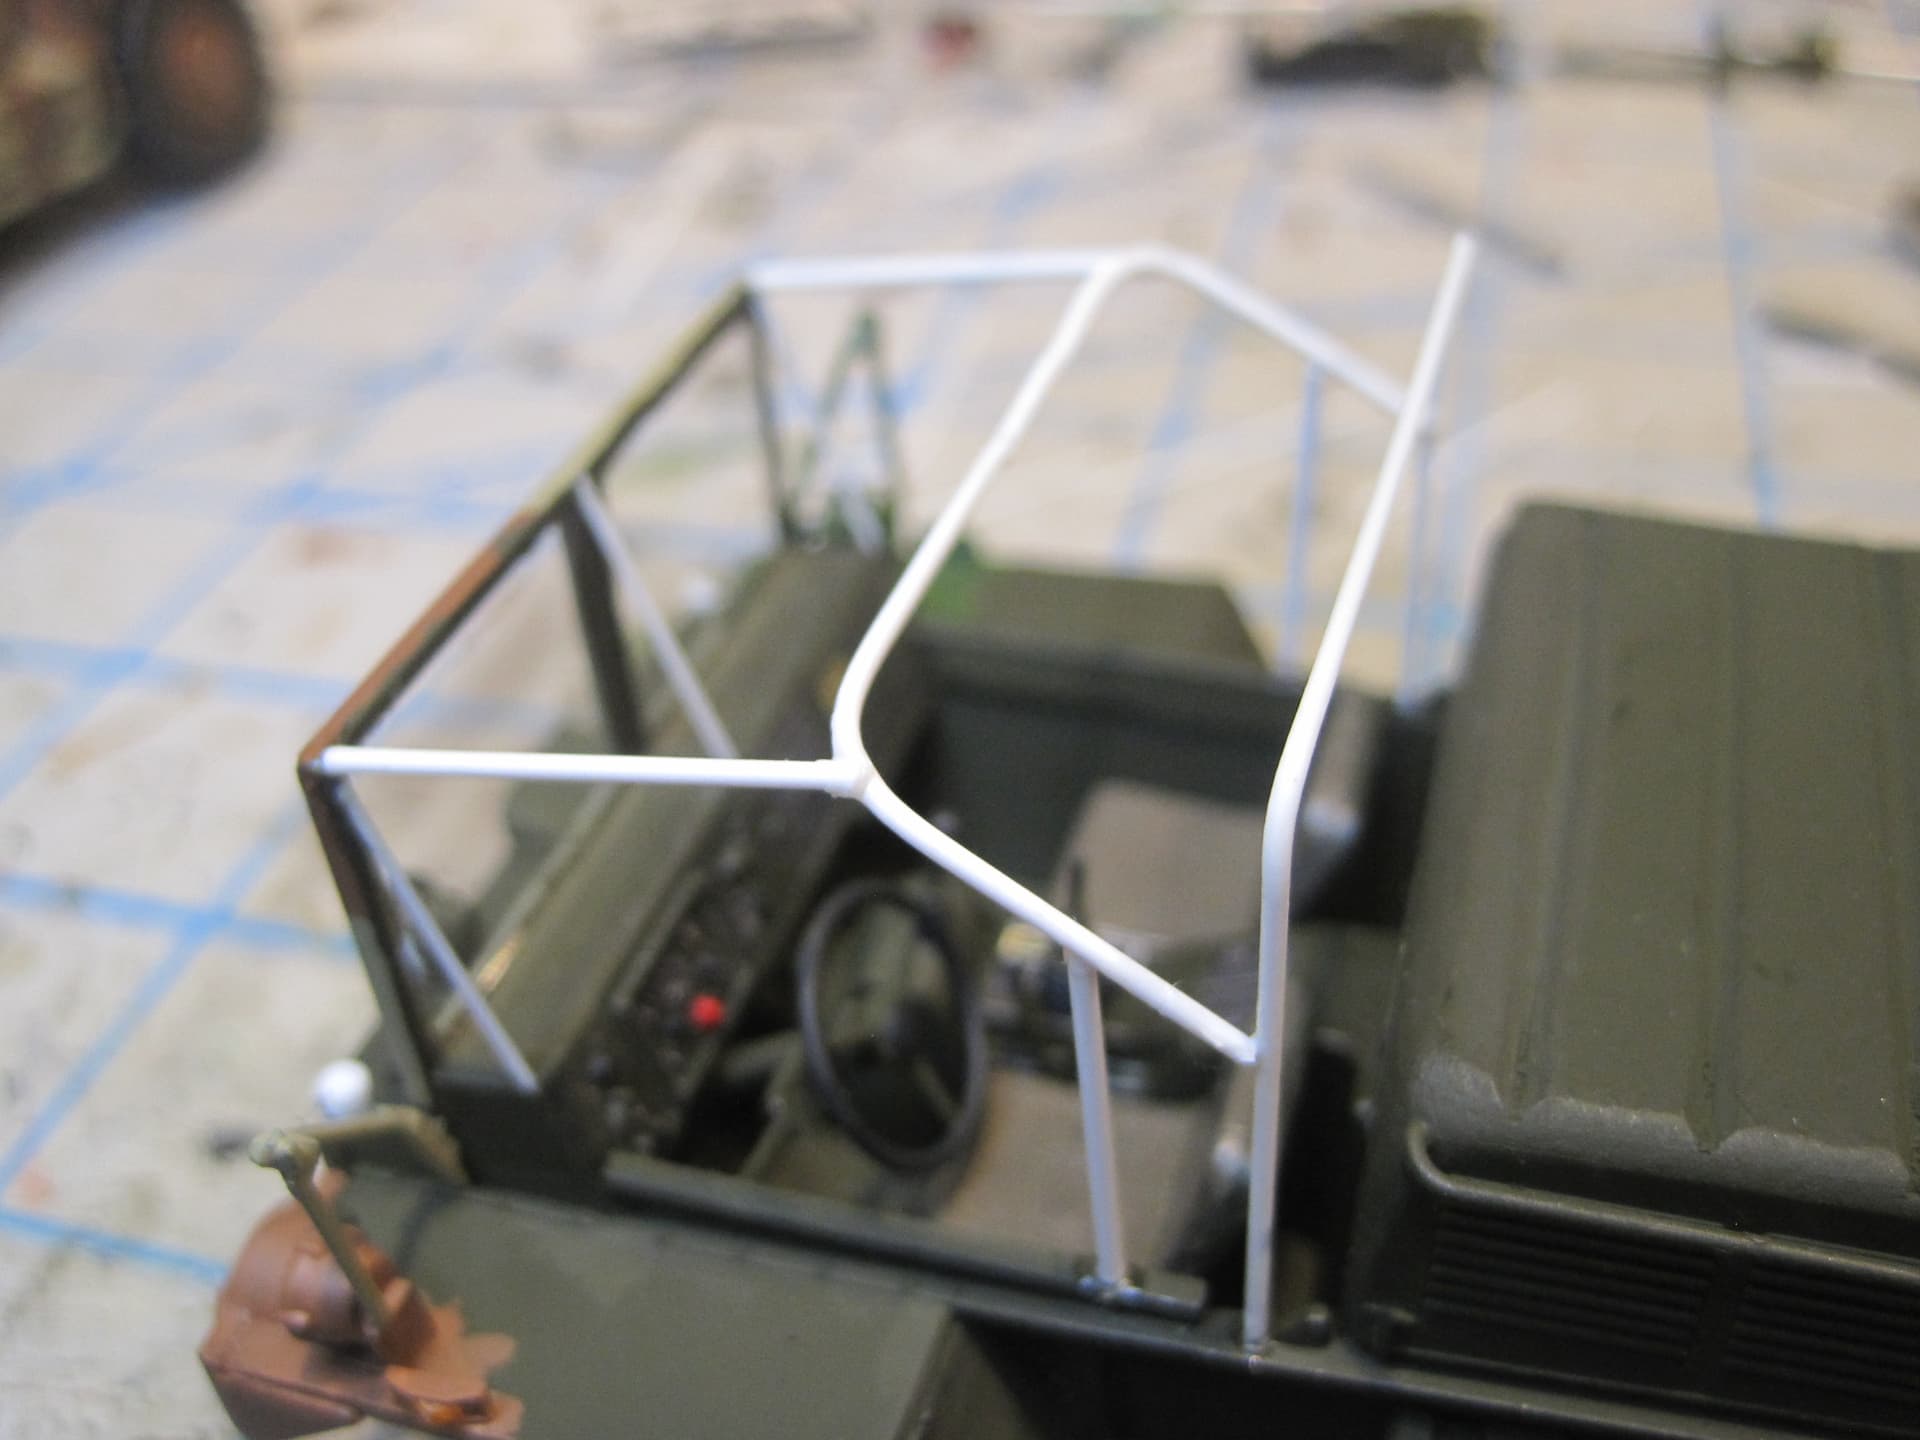
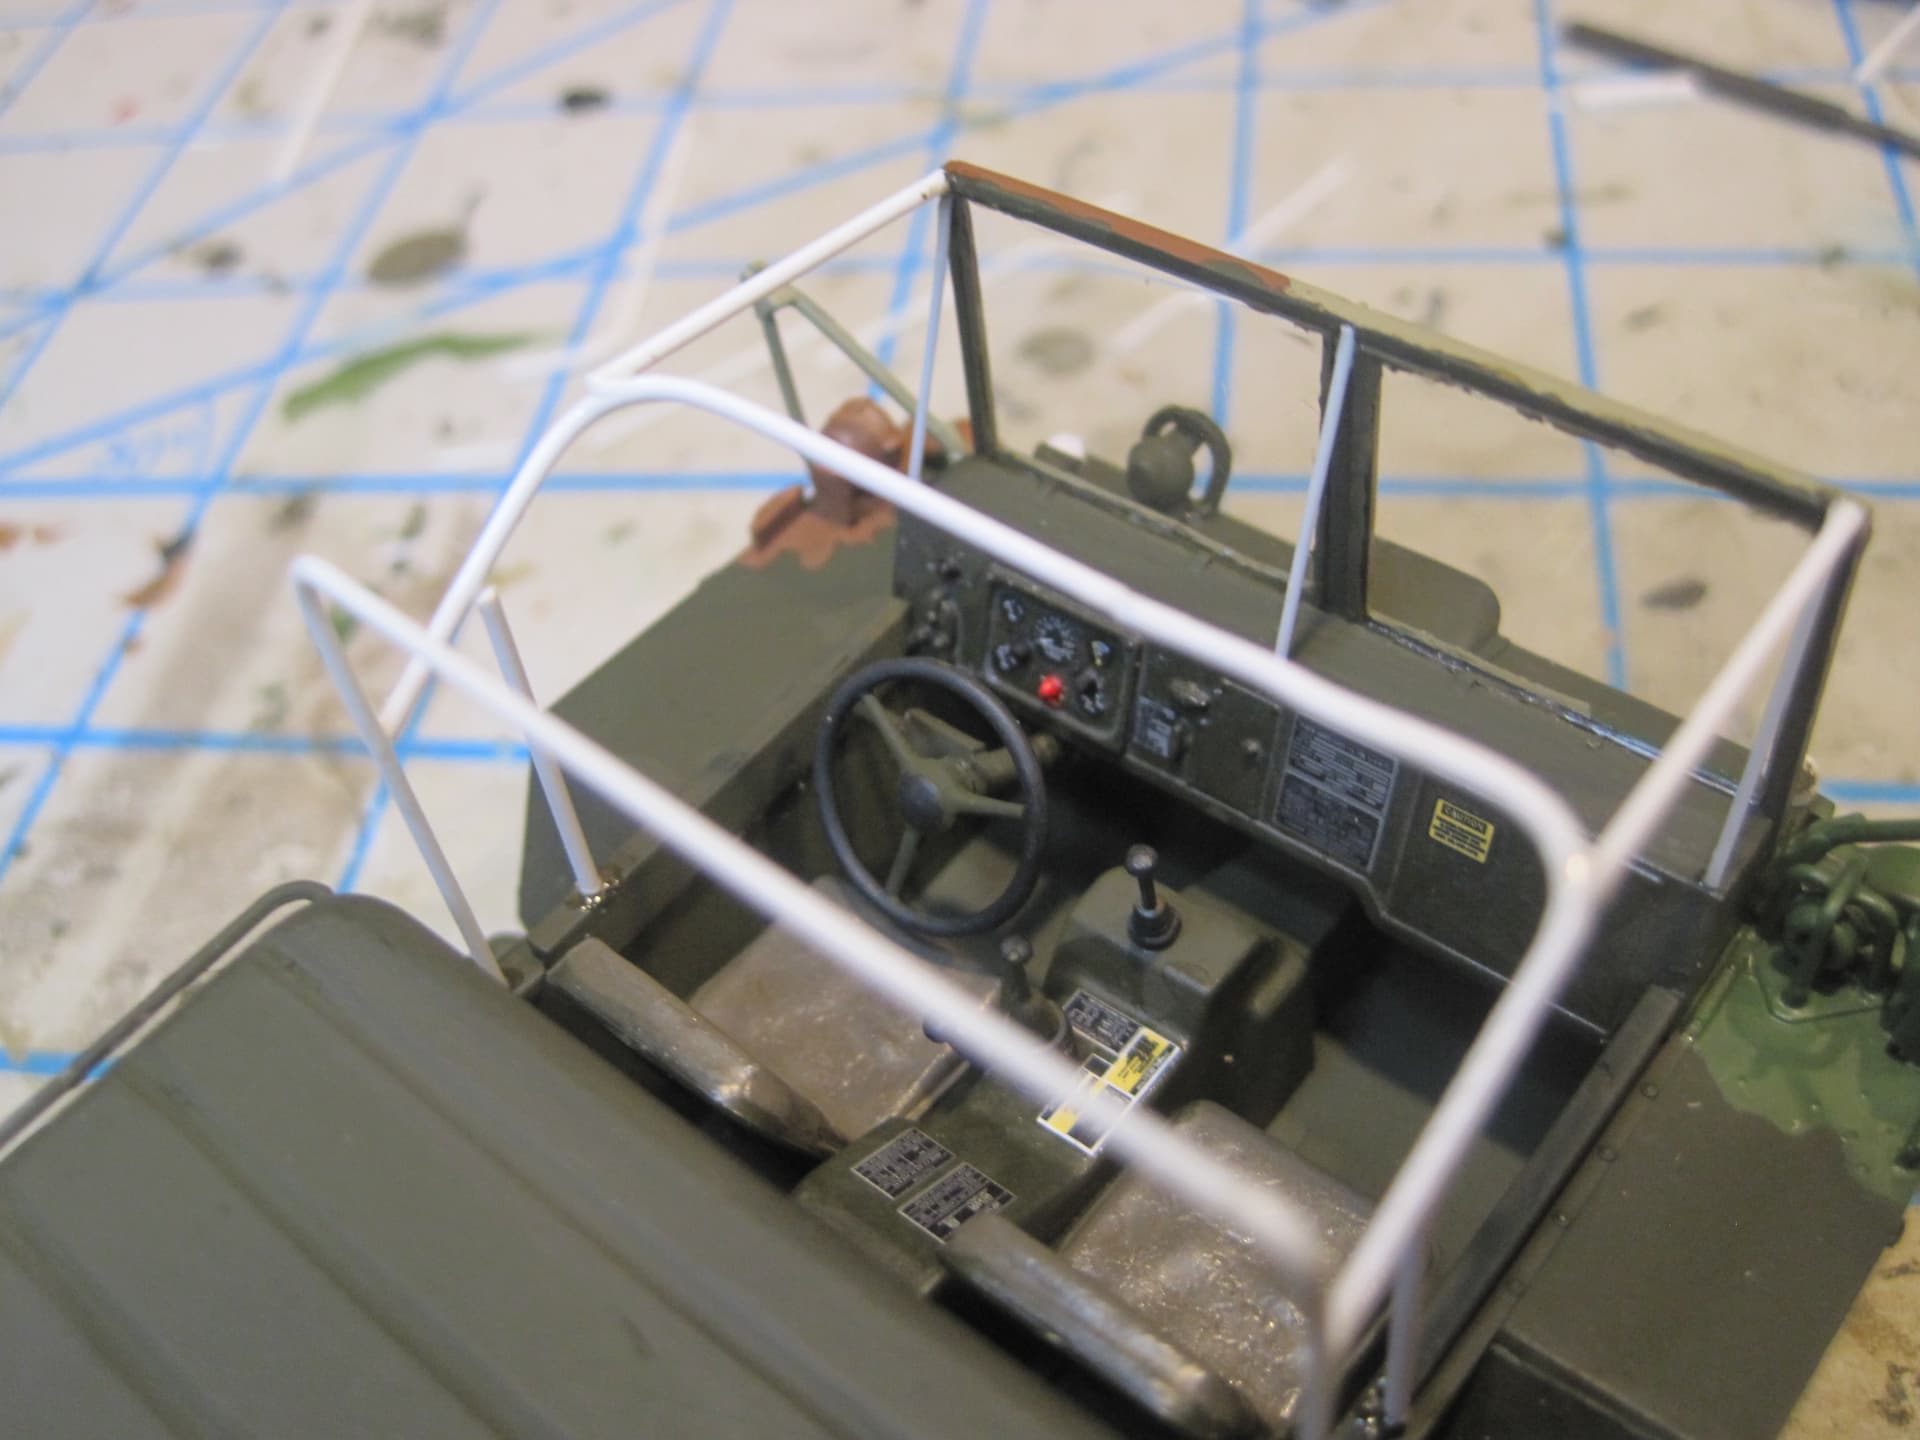
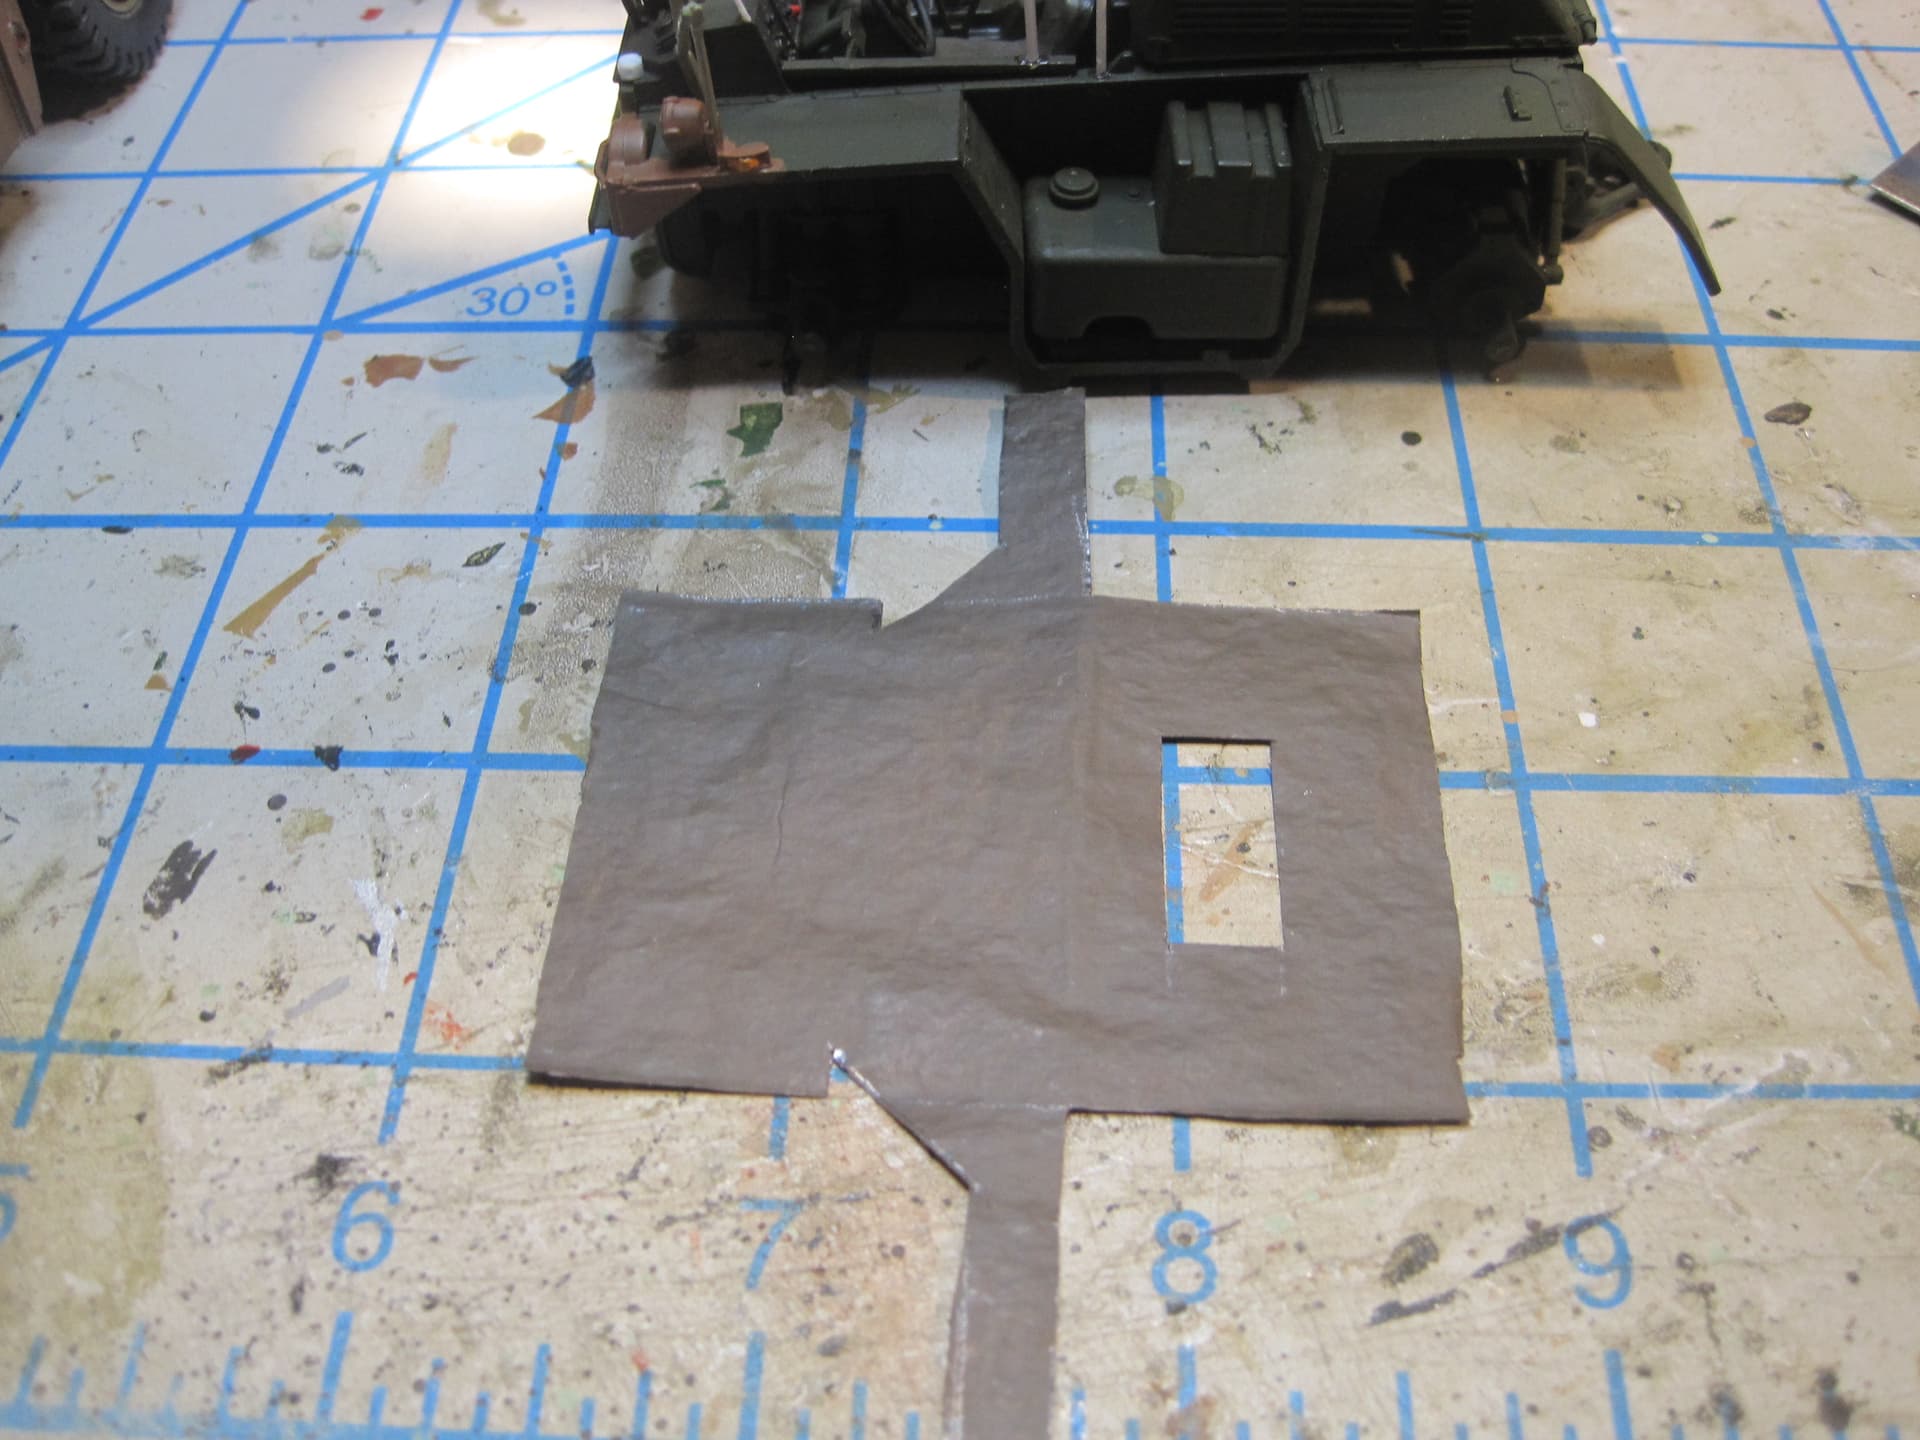
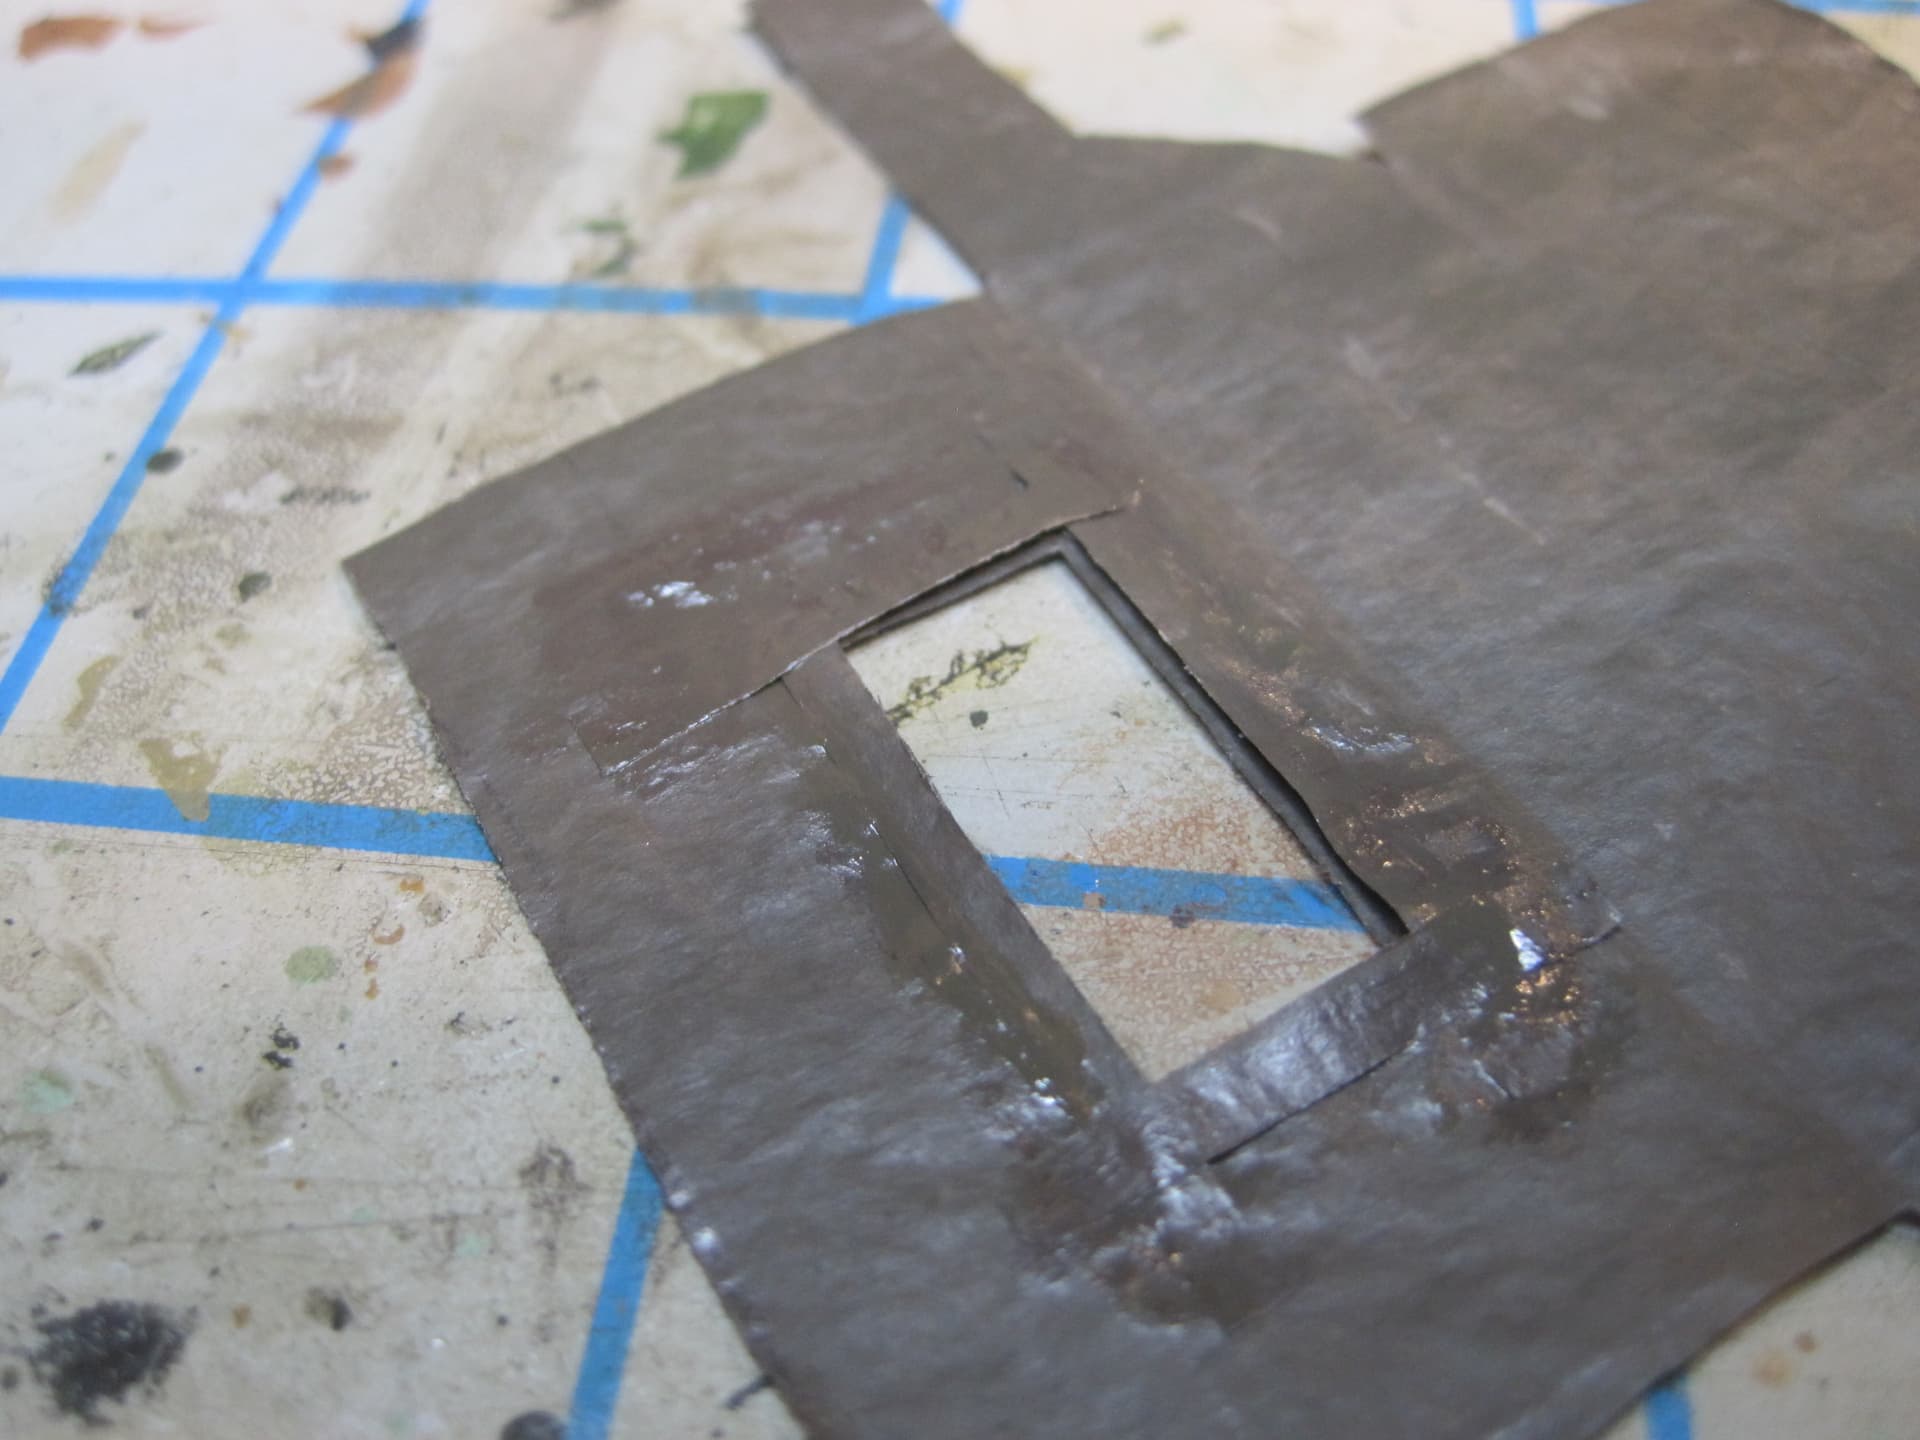
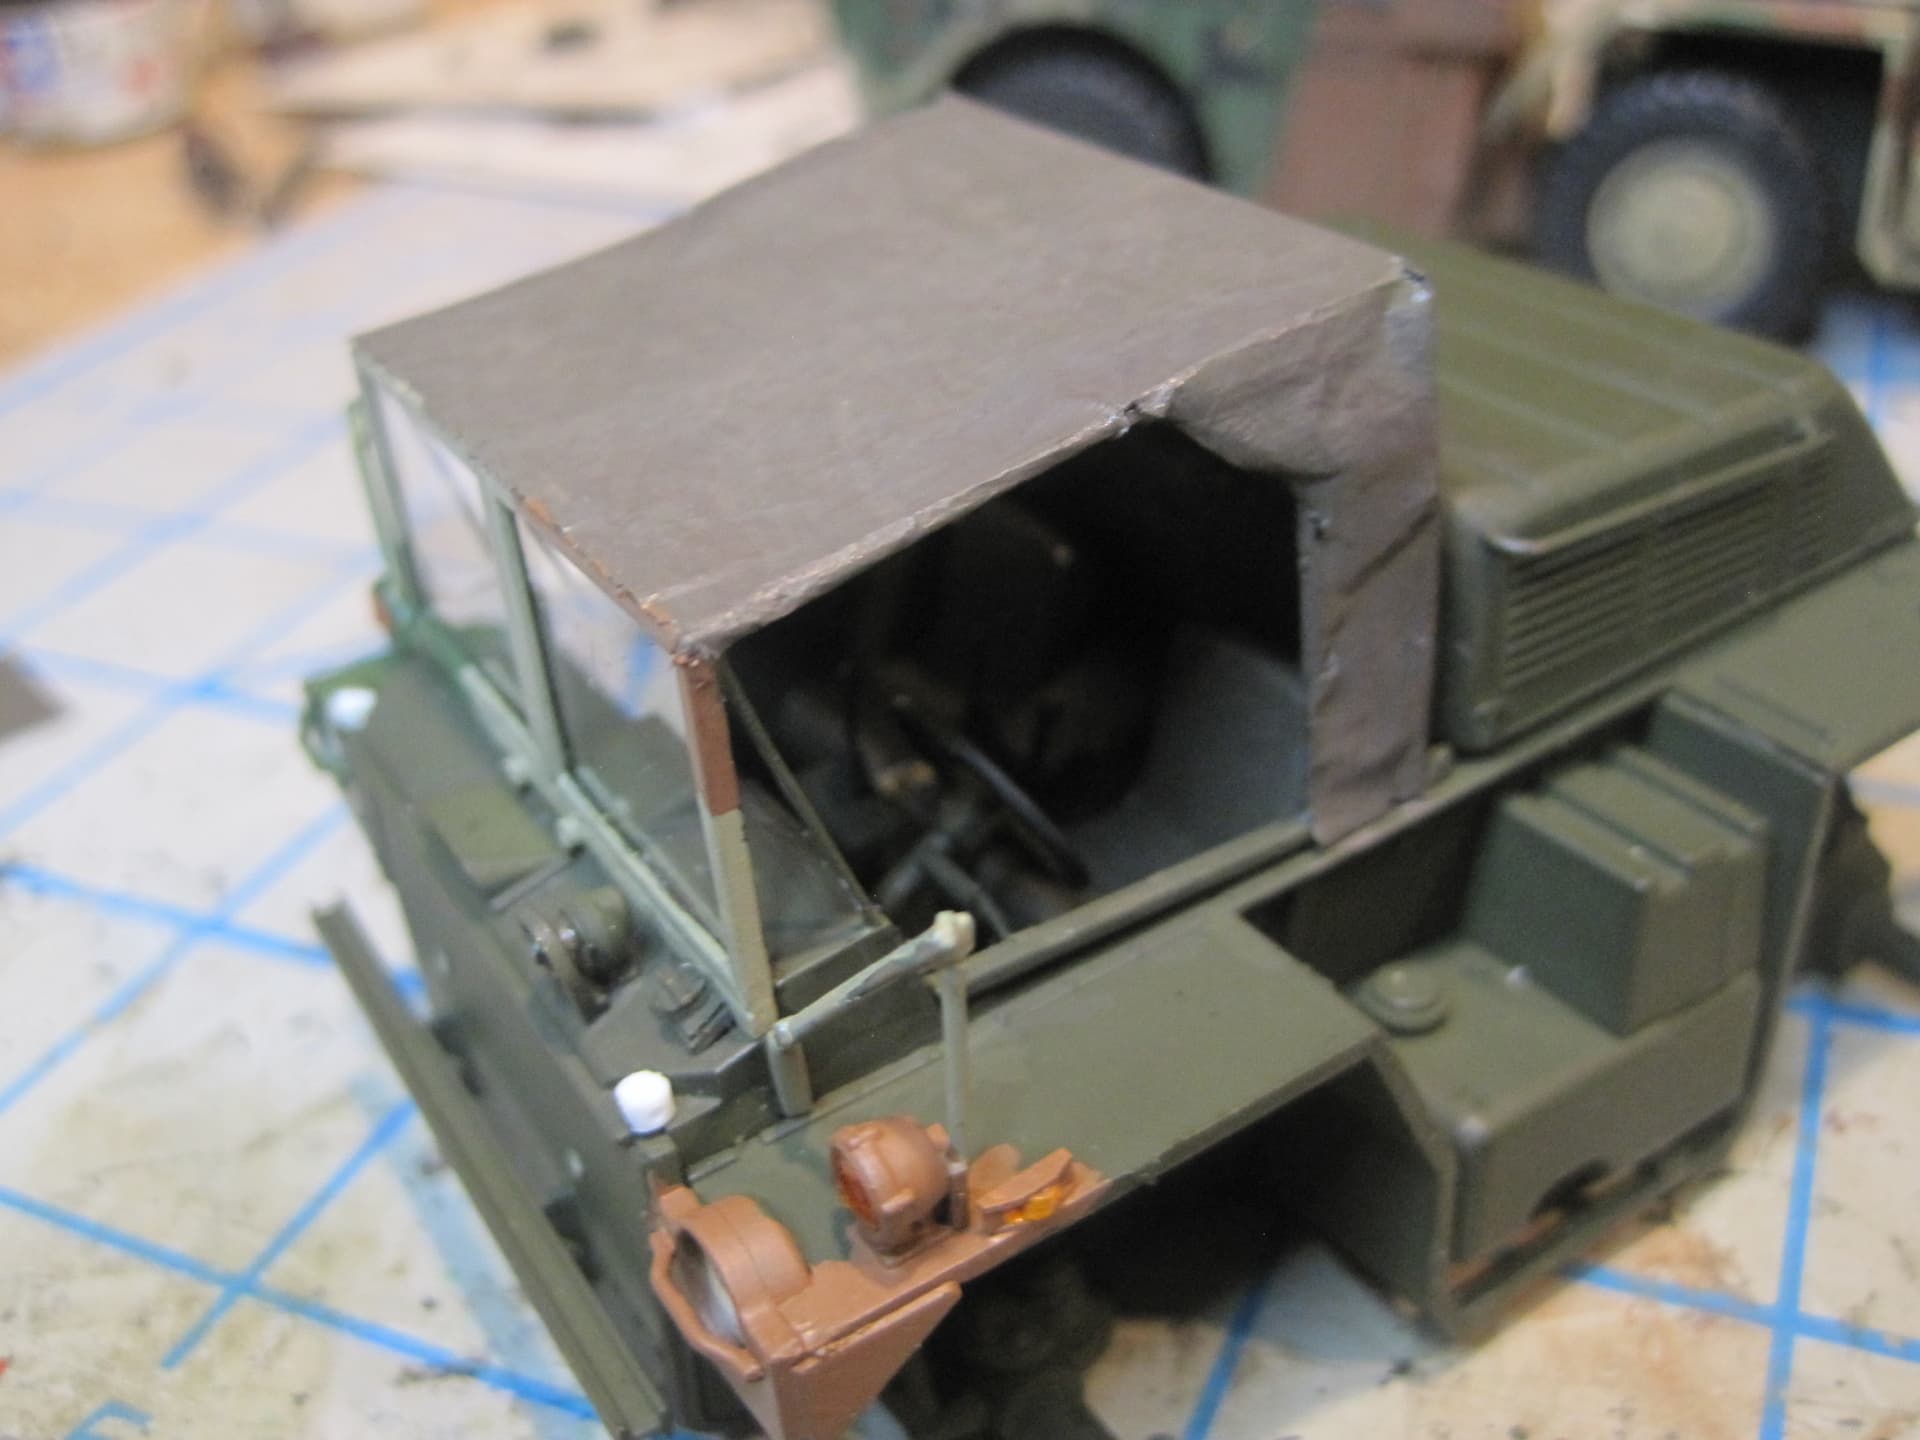
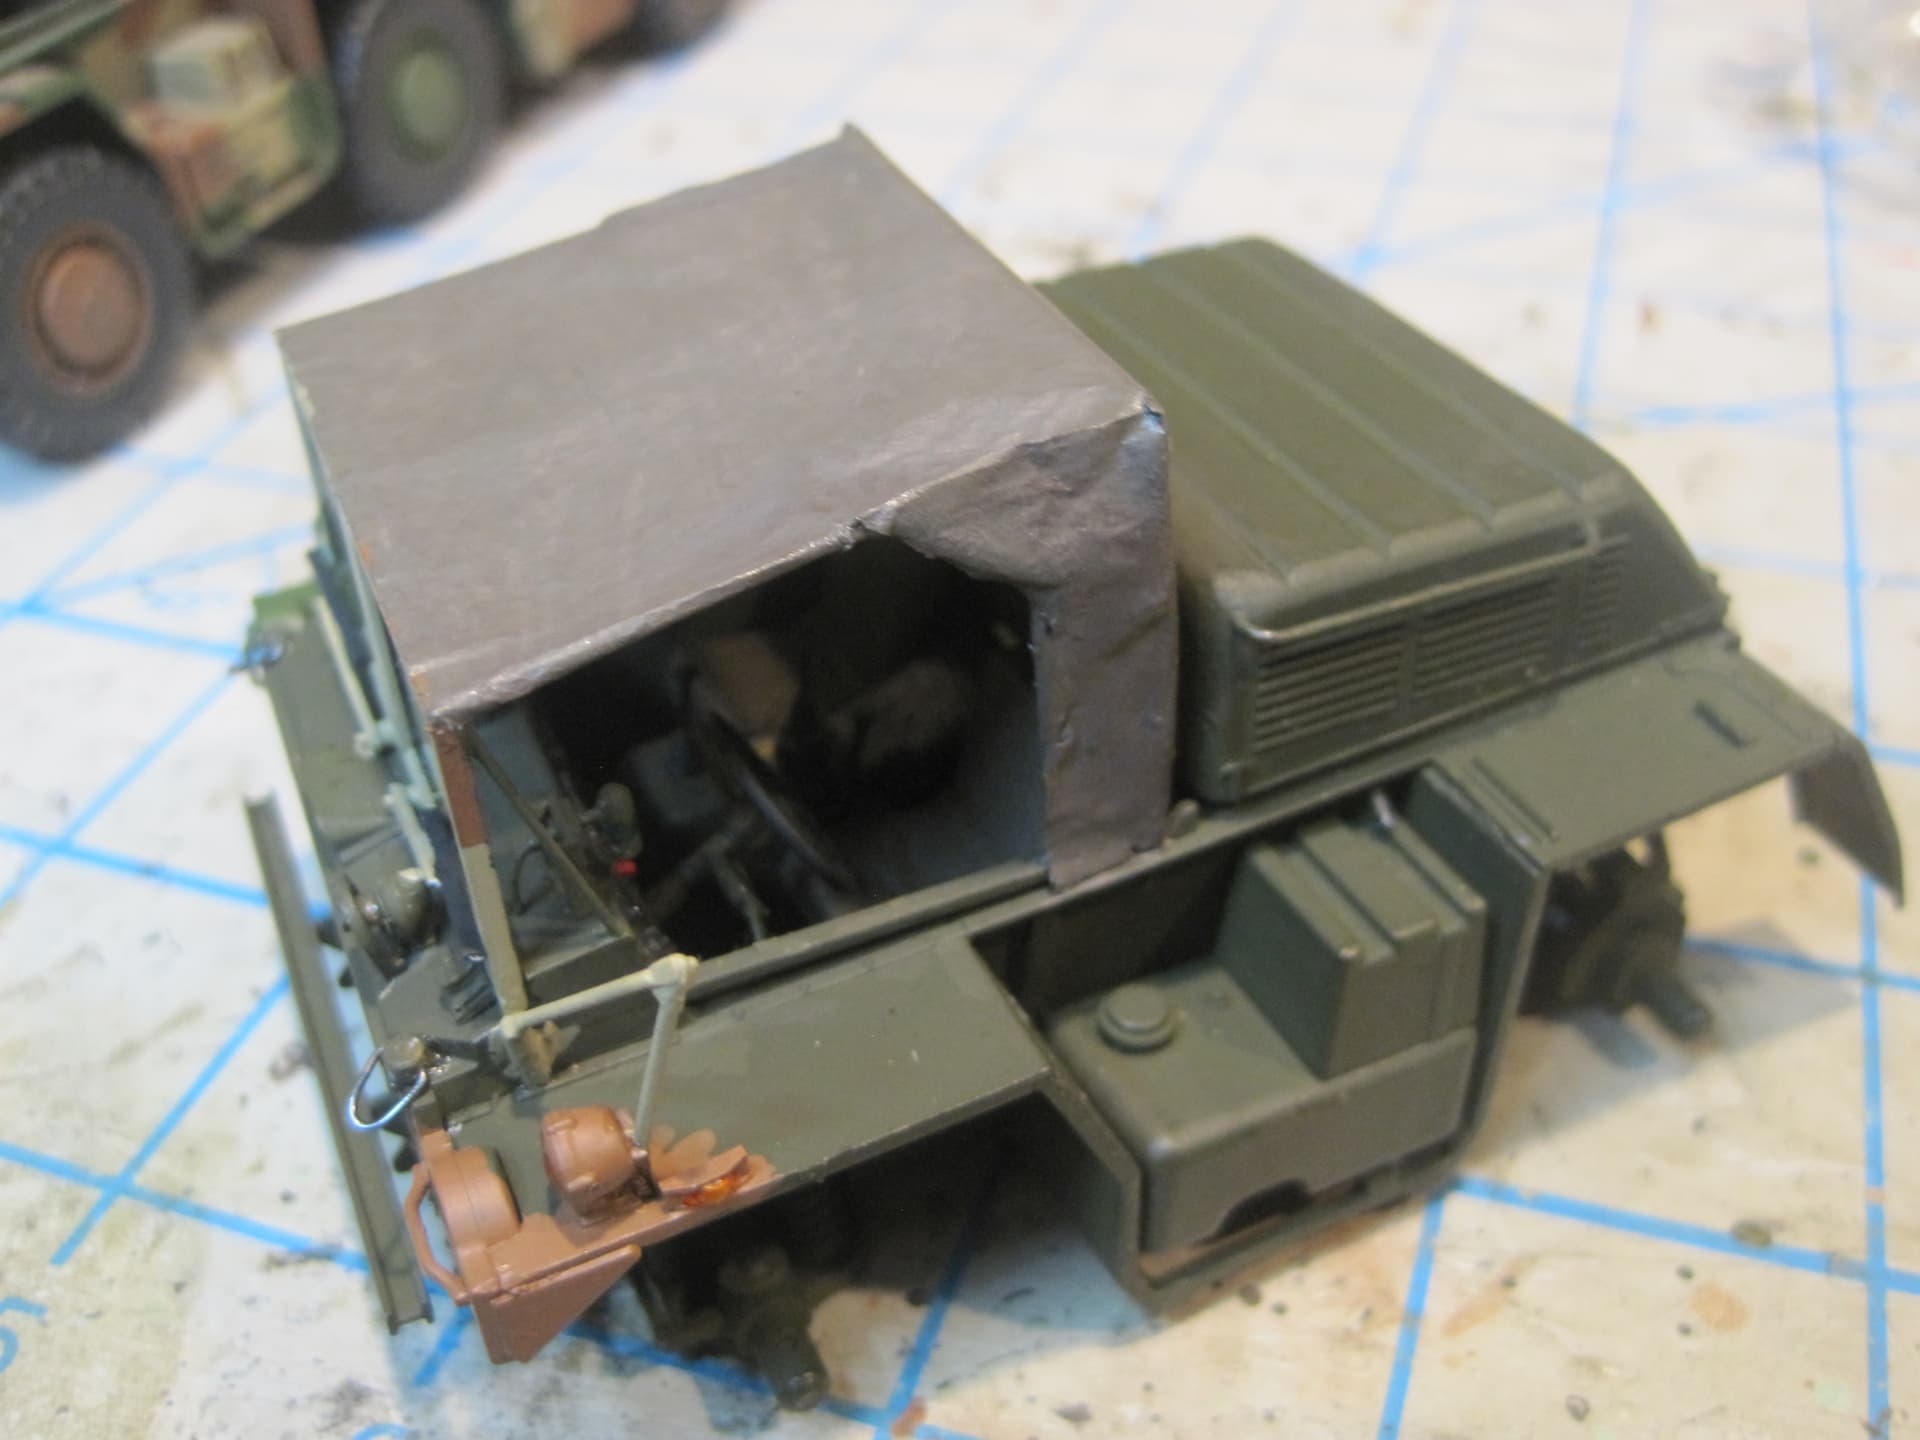
And finally the braces for and the canvas for the cab. I realize that Tamiya intended this to be for an airborne and Marine unit, but seriously, no cab cover???


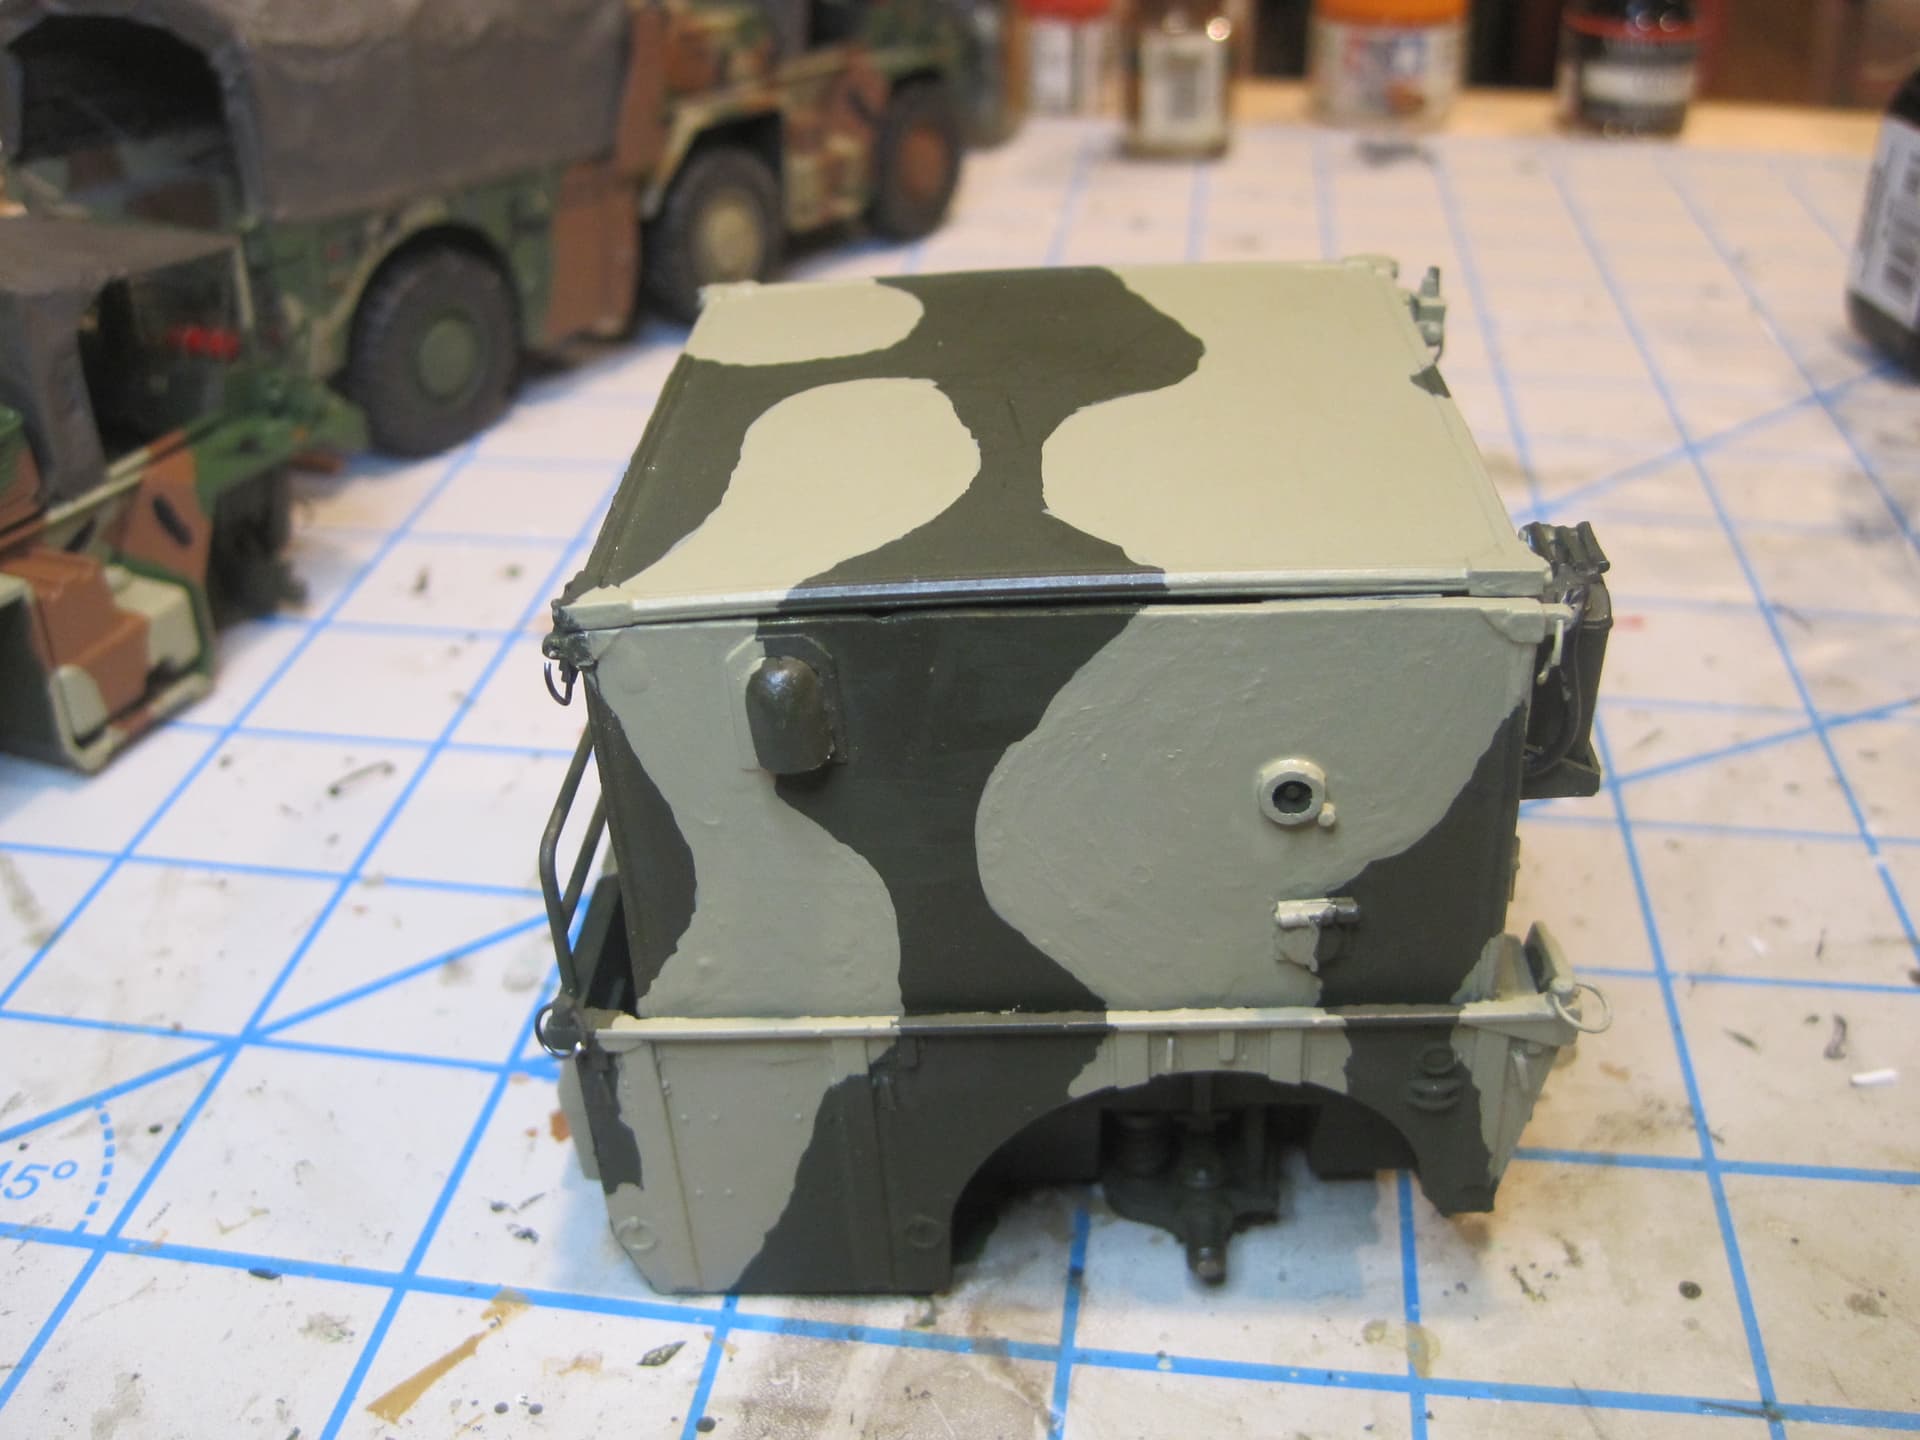
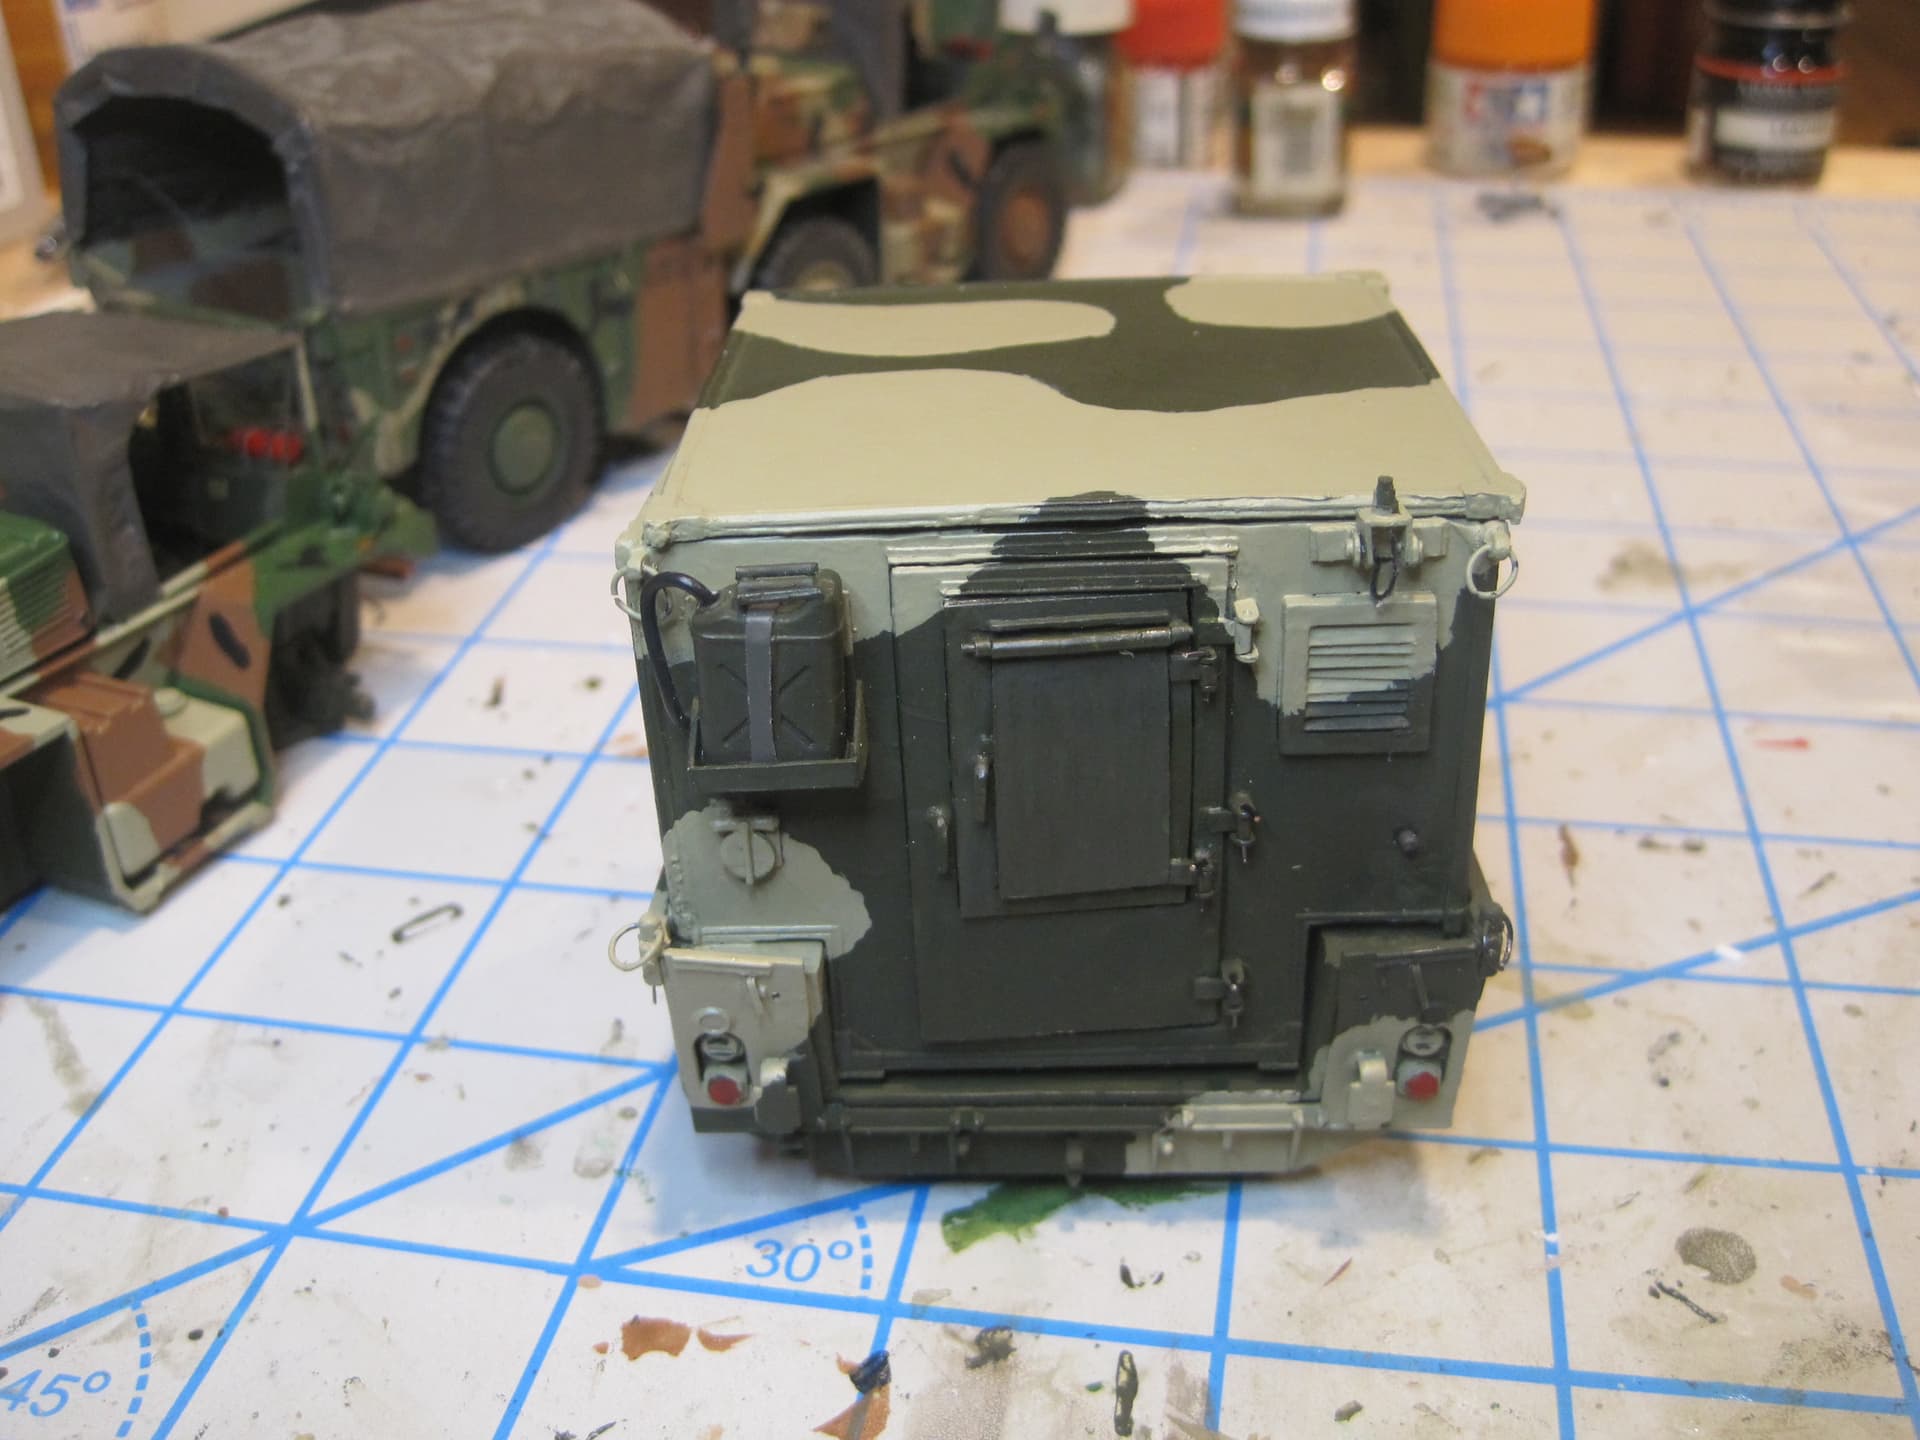
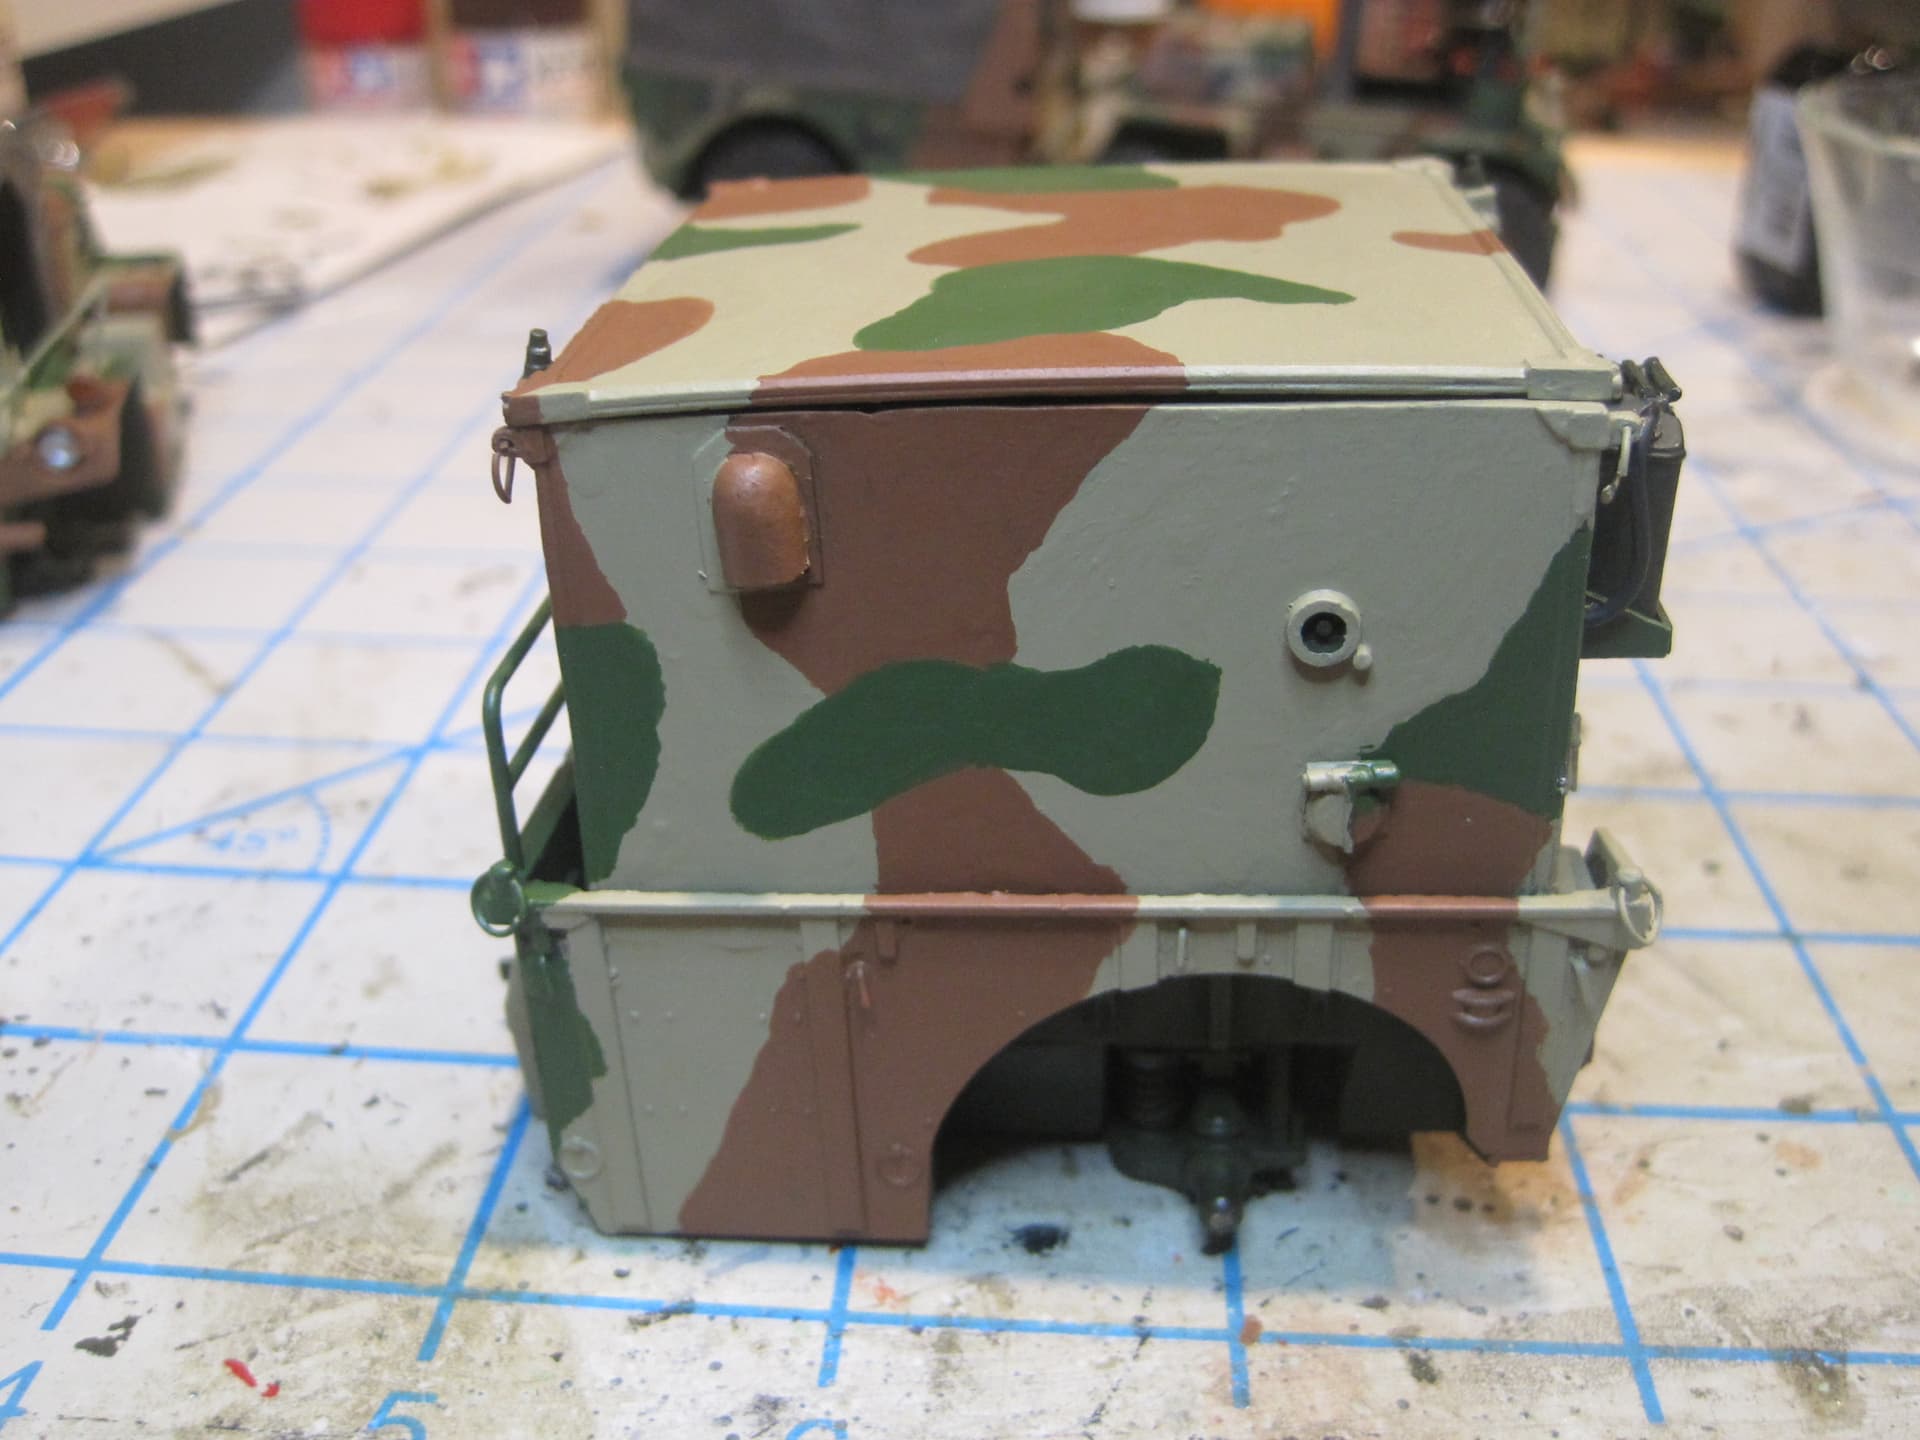
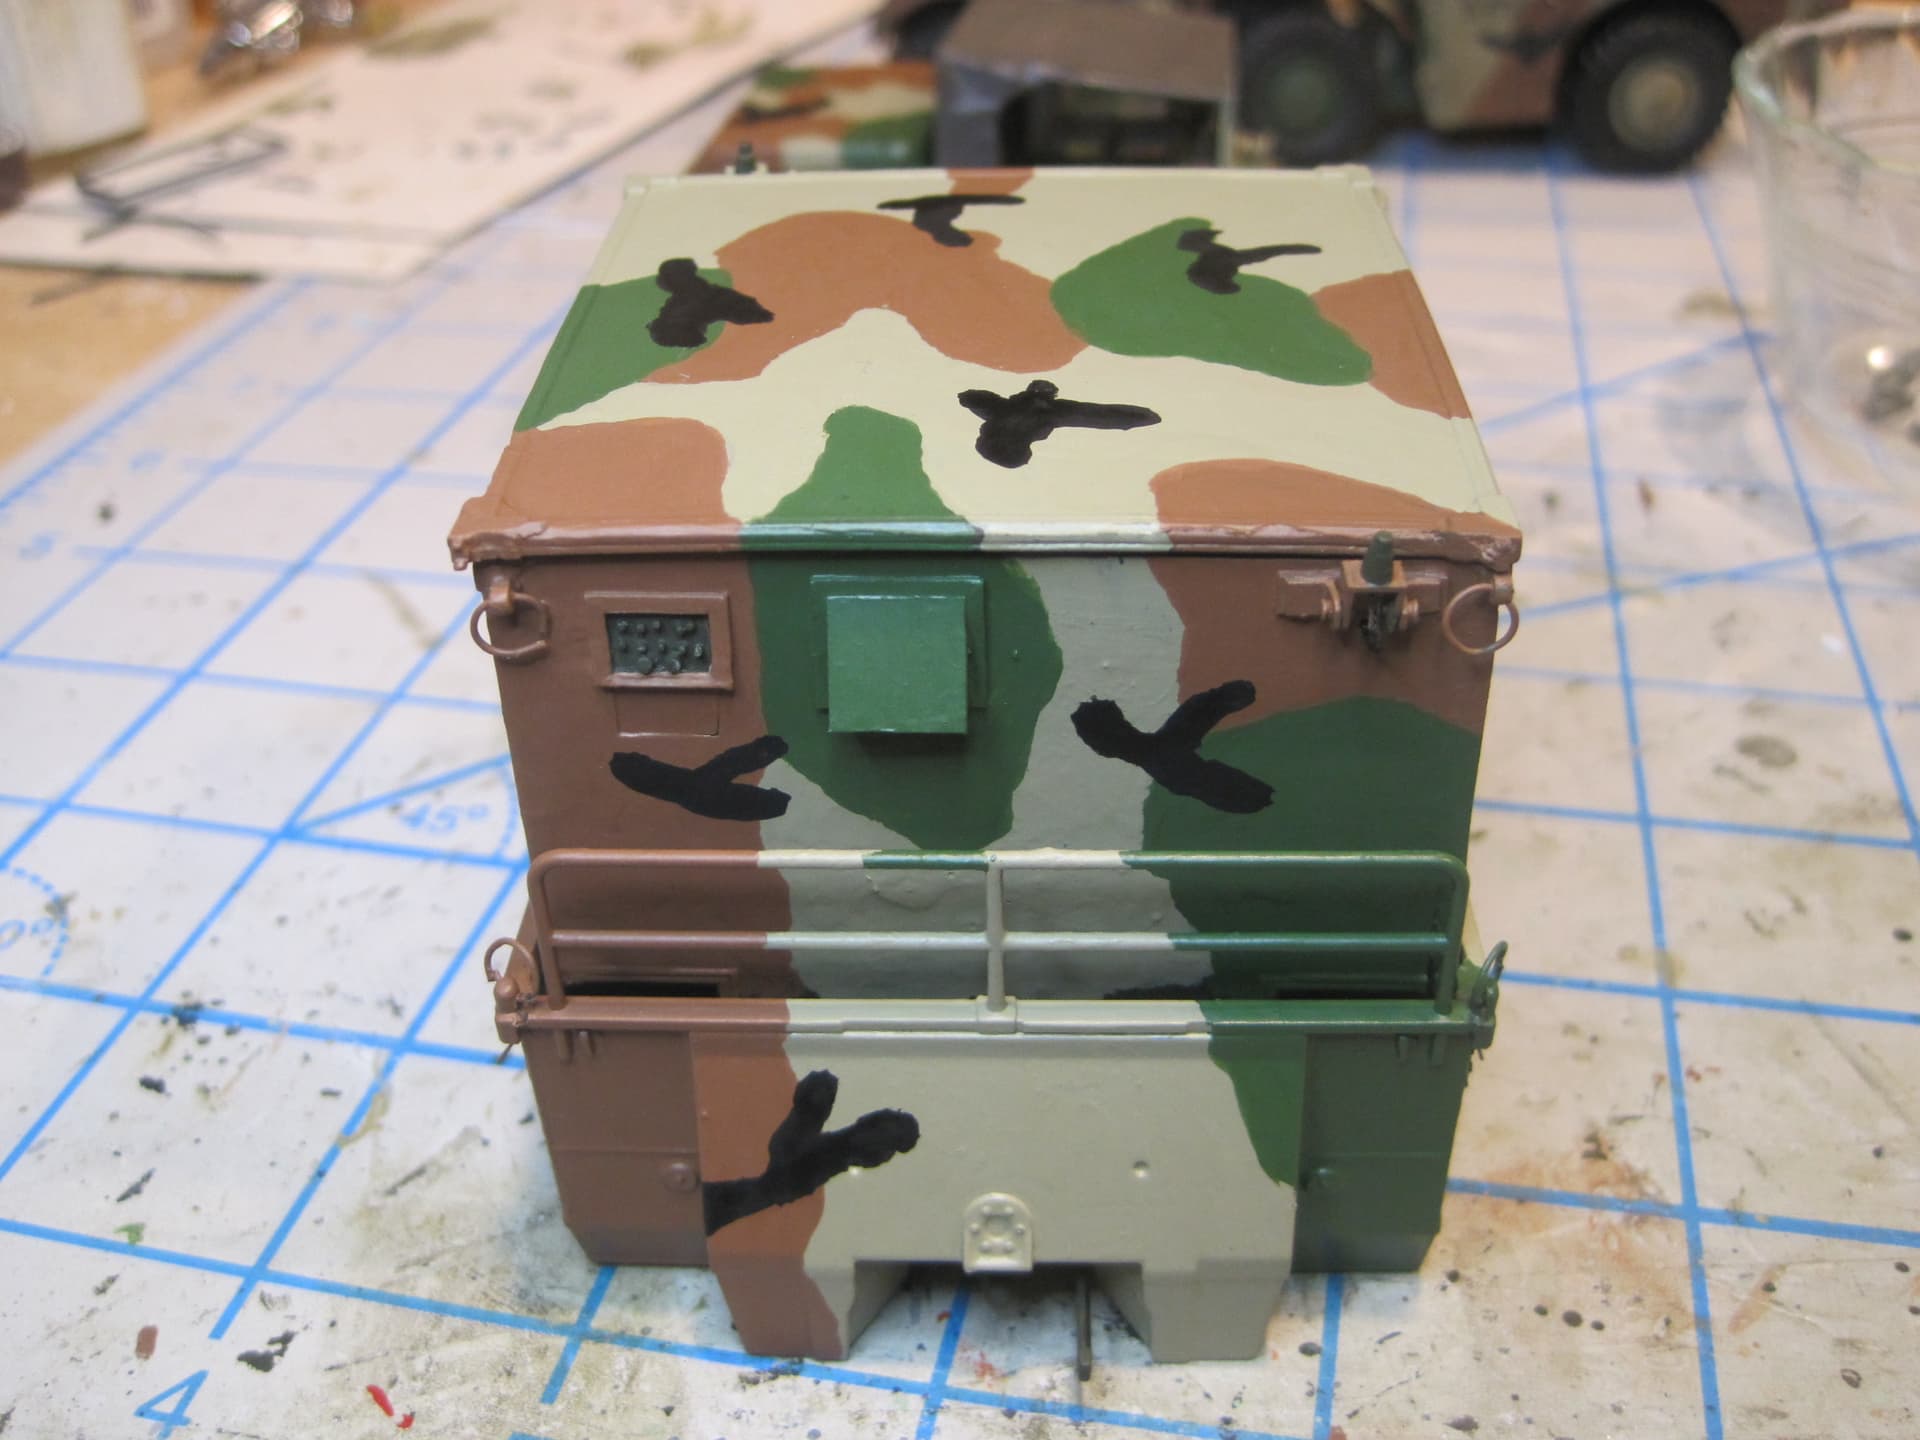
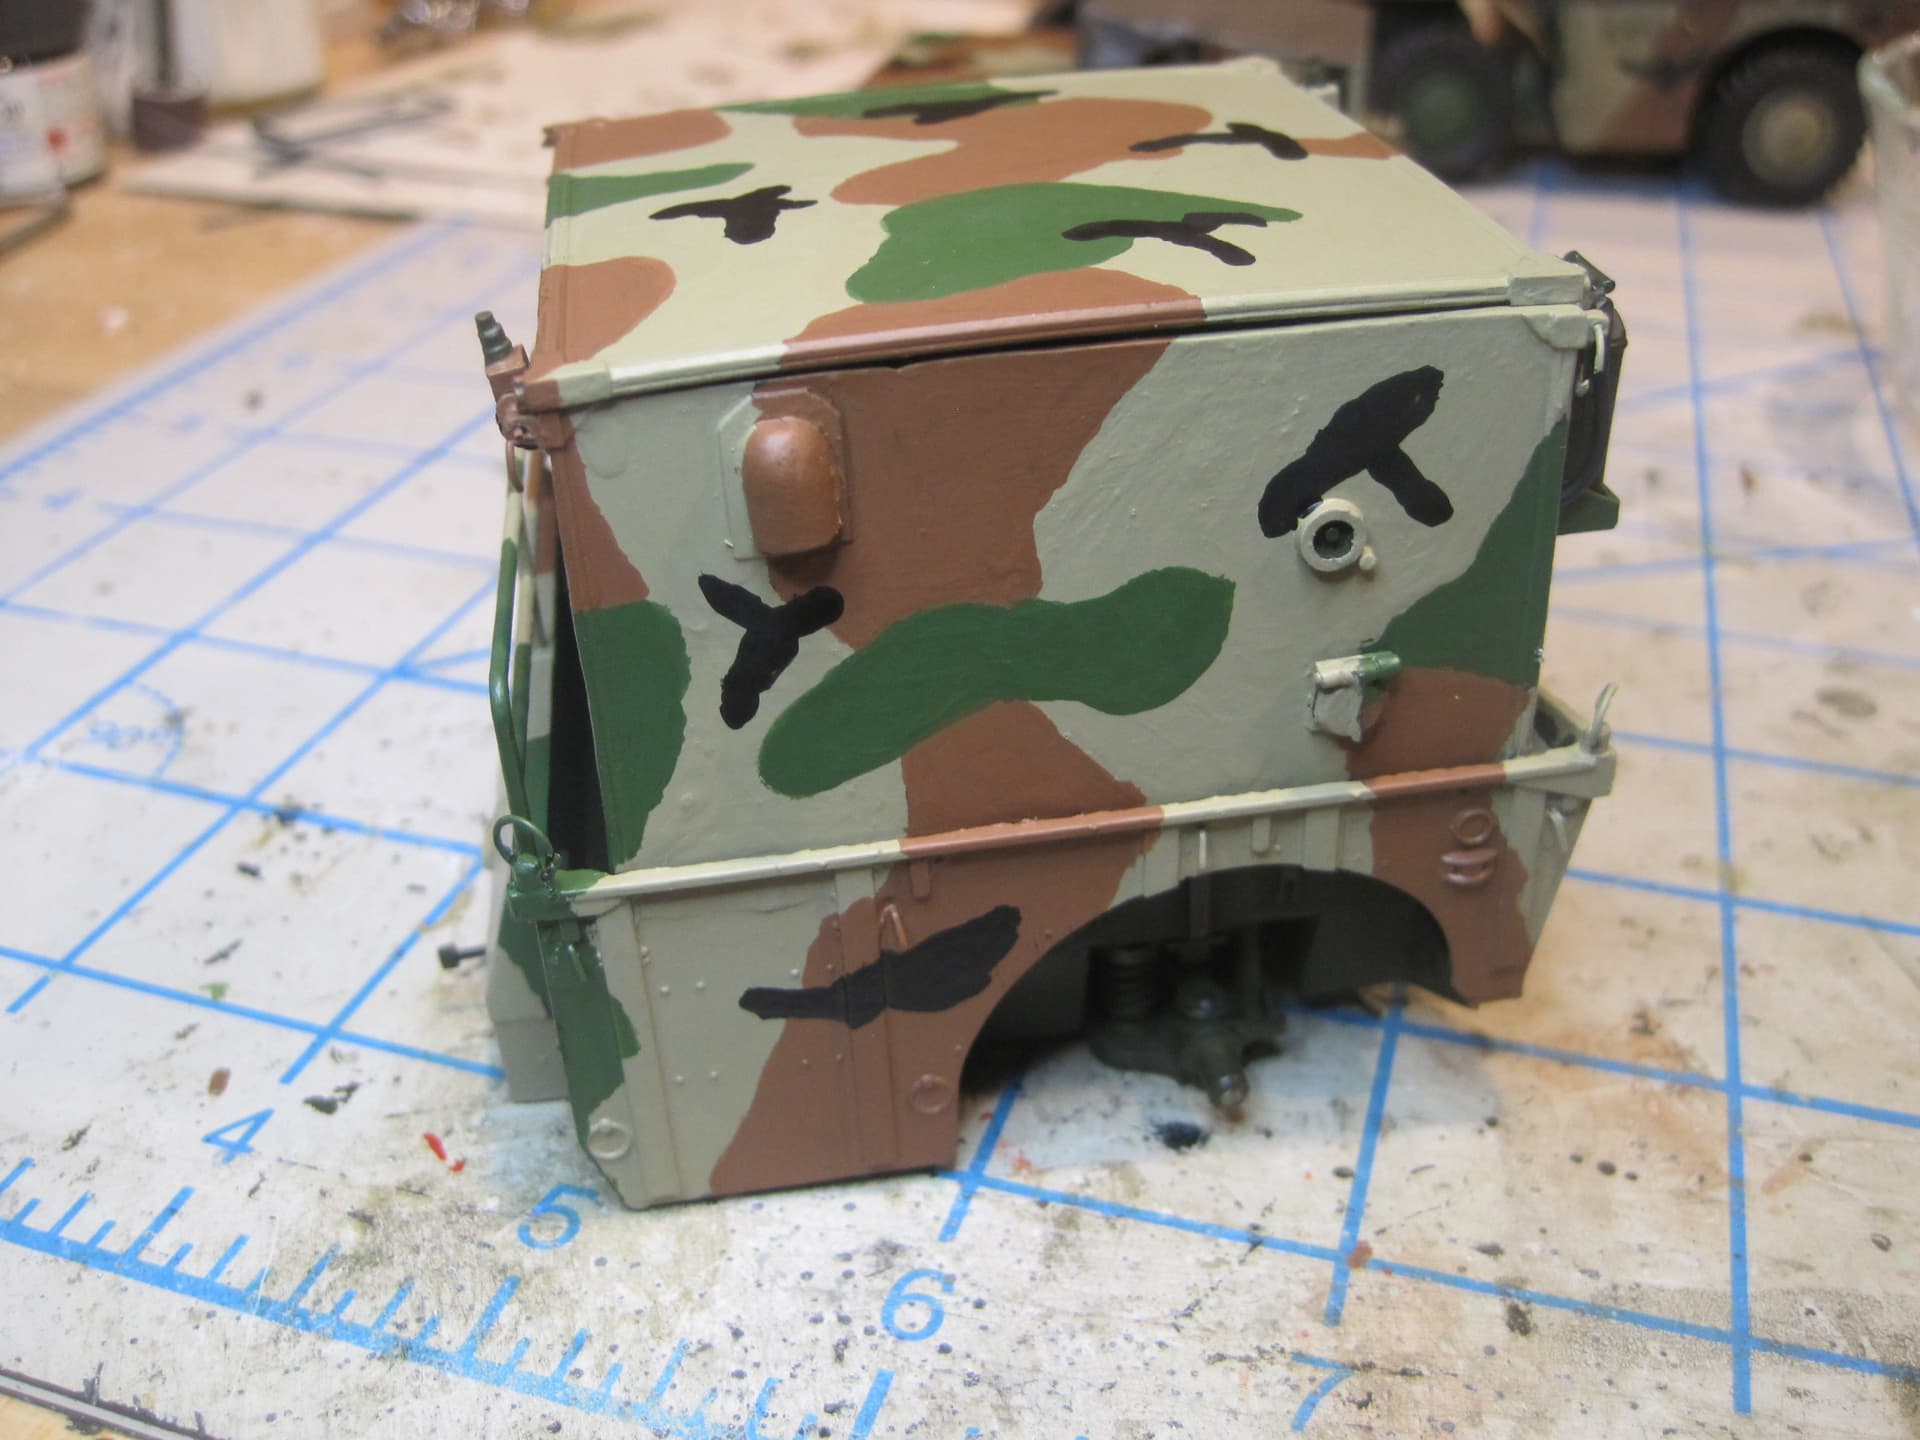
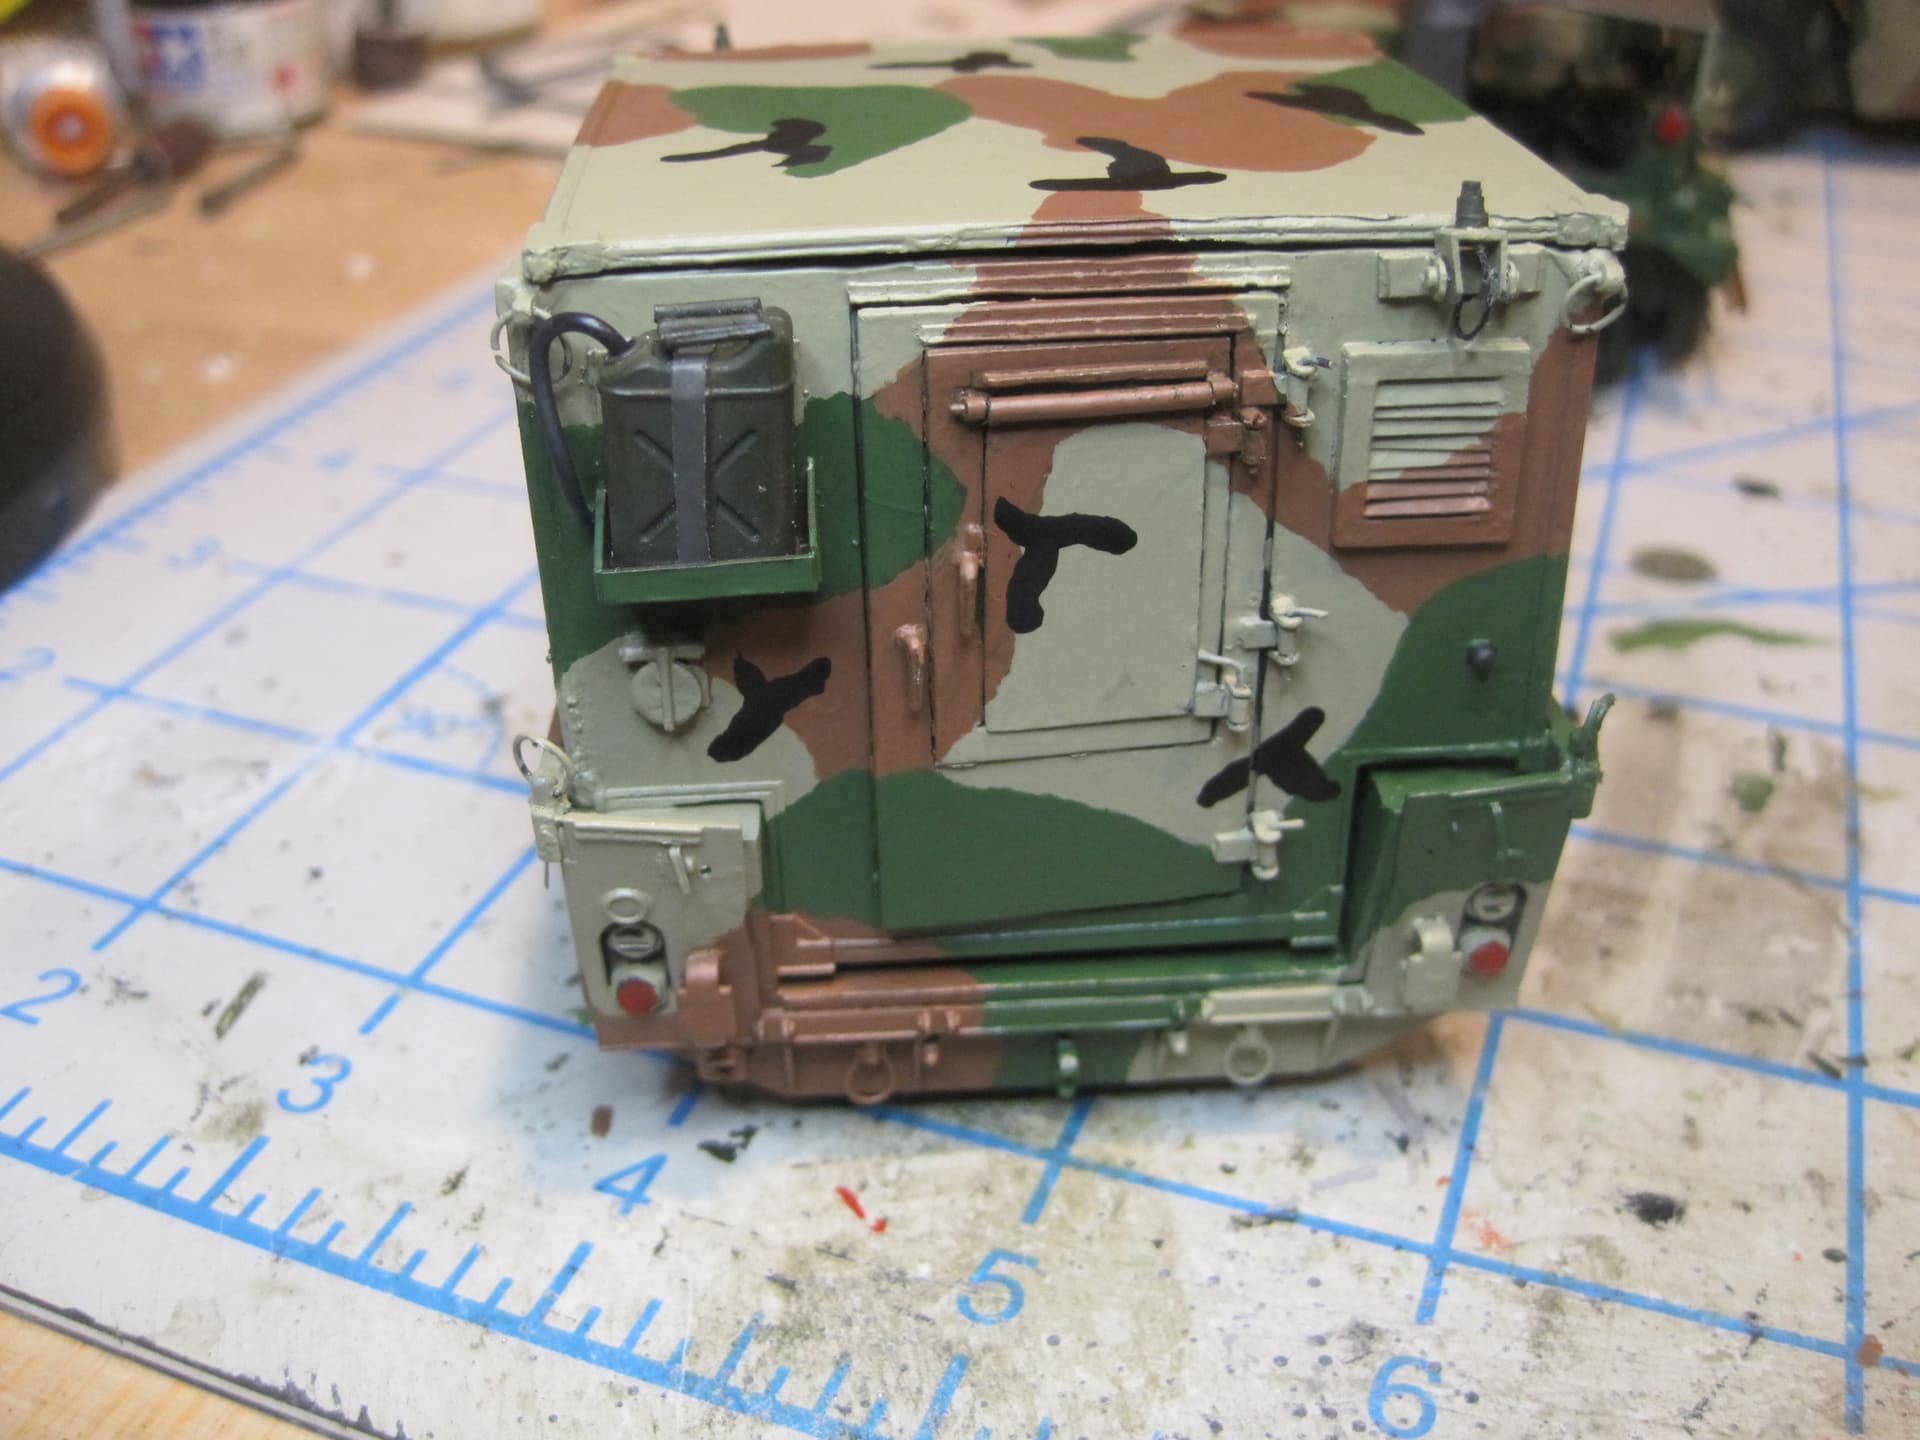
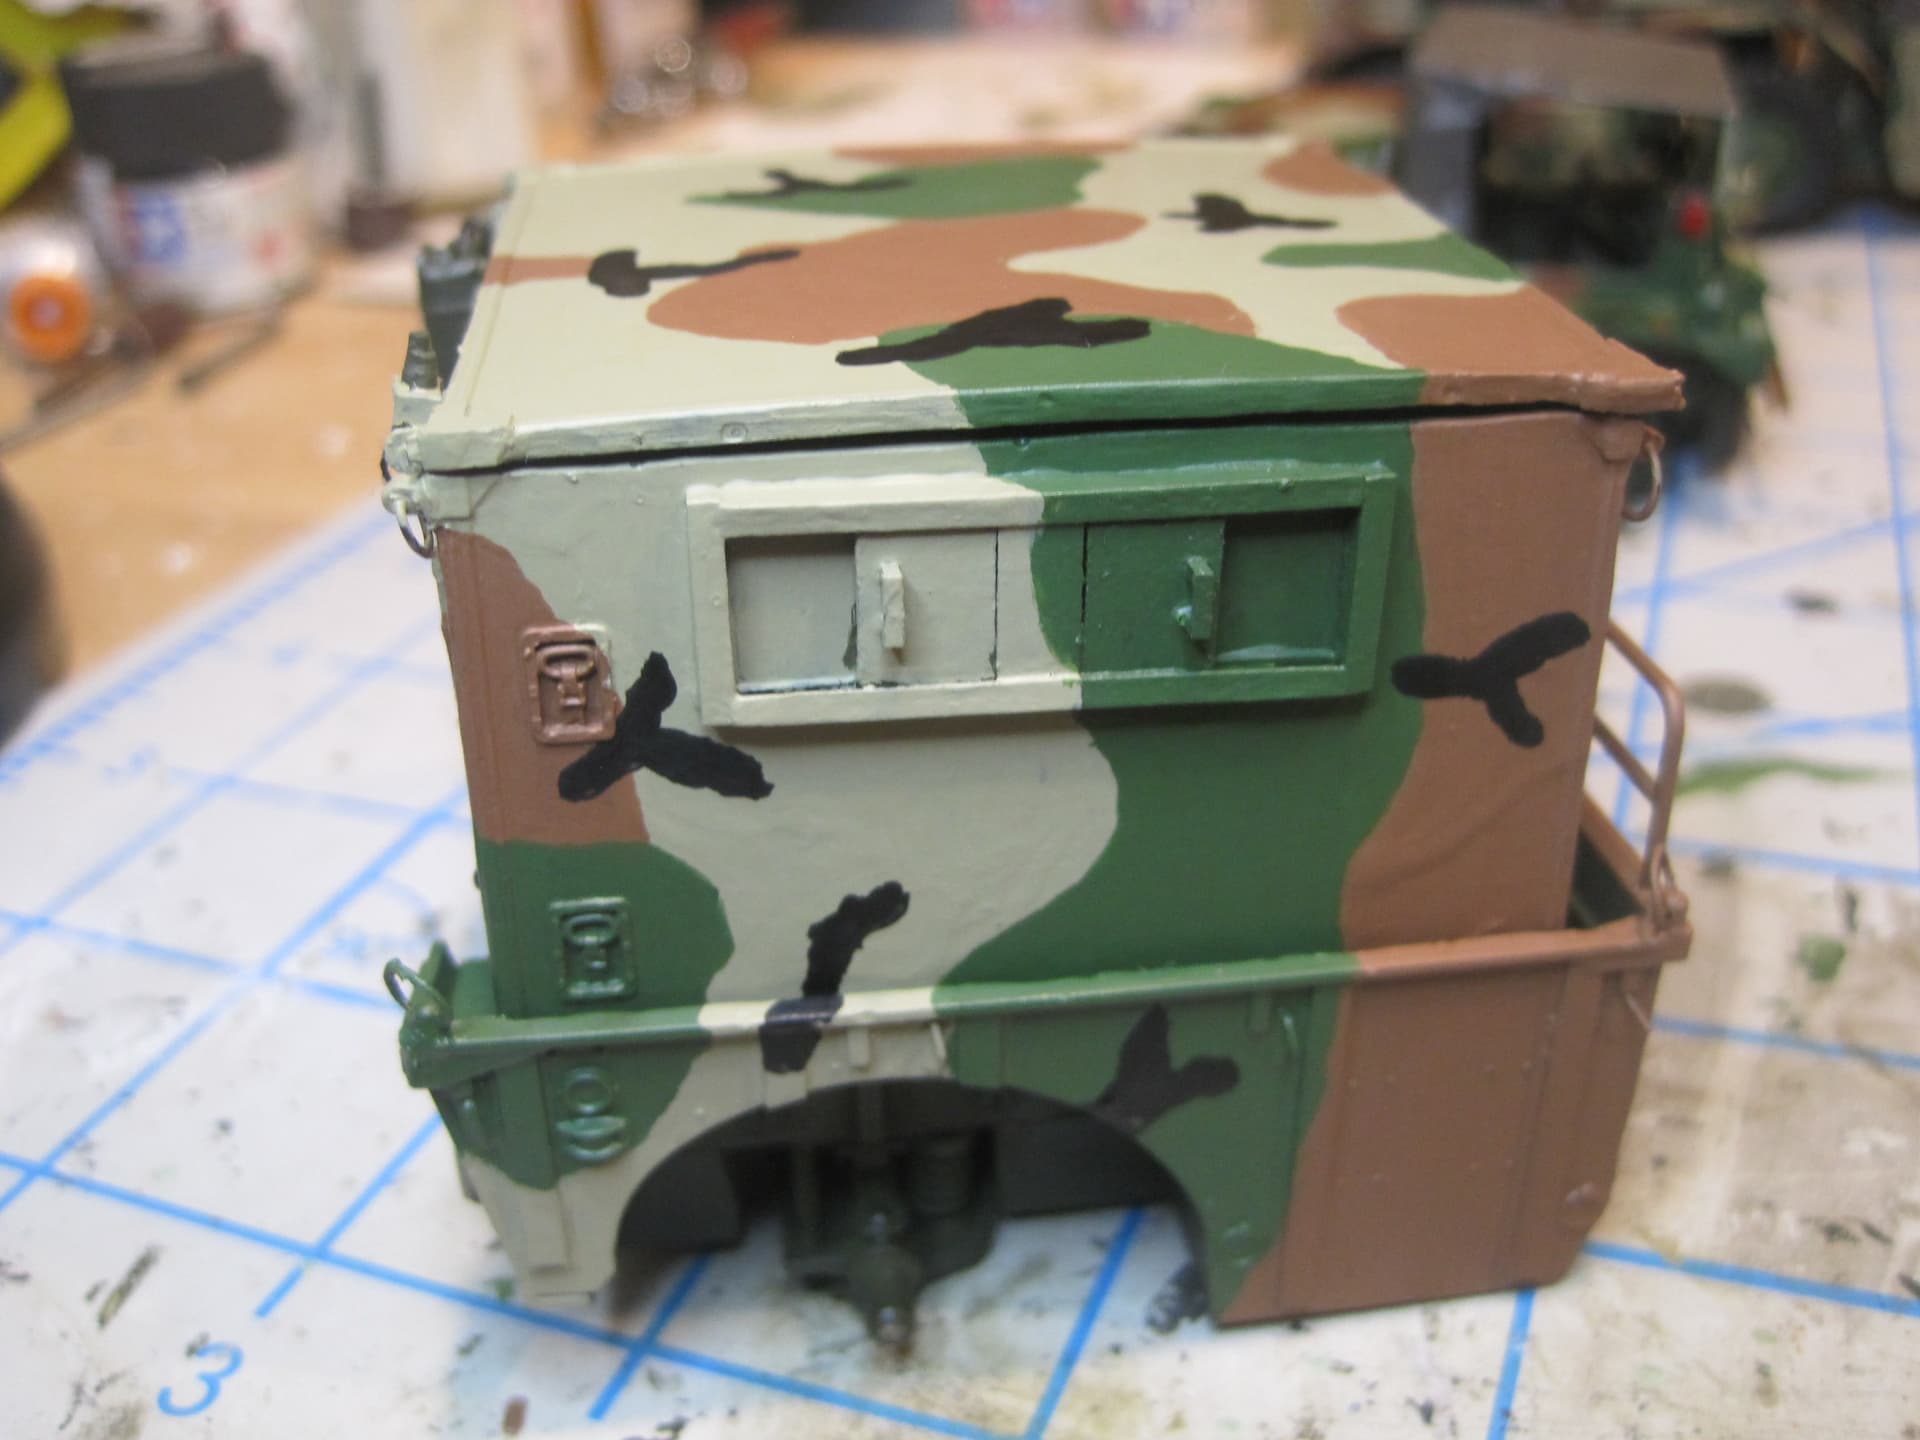
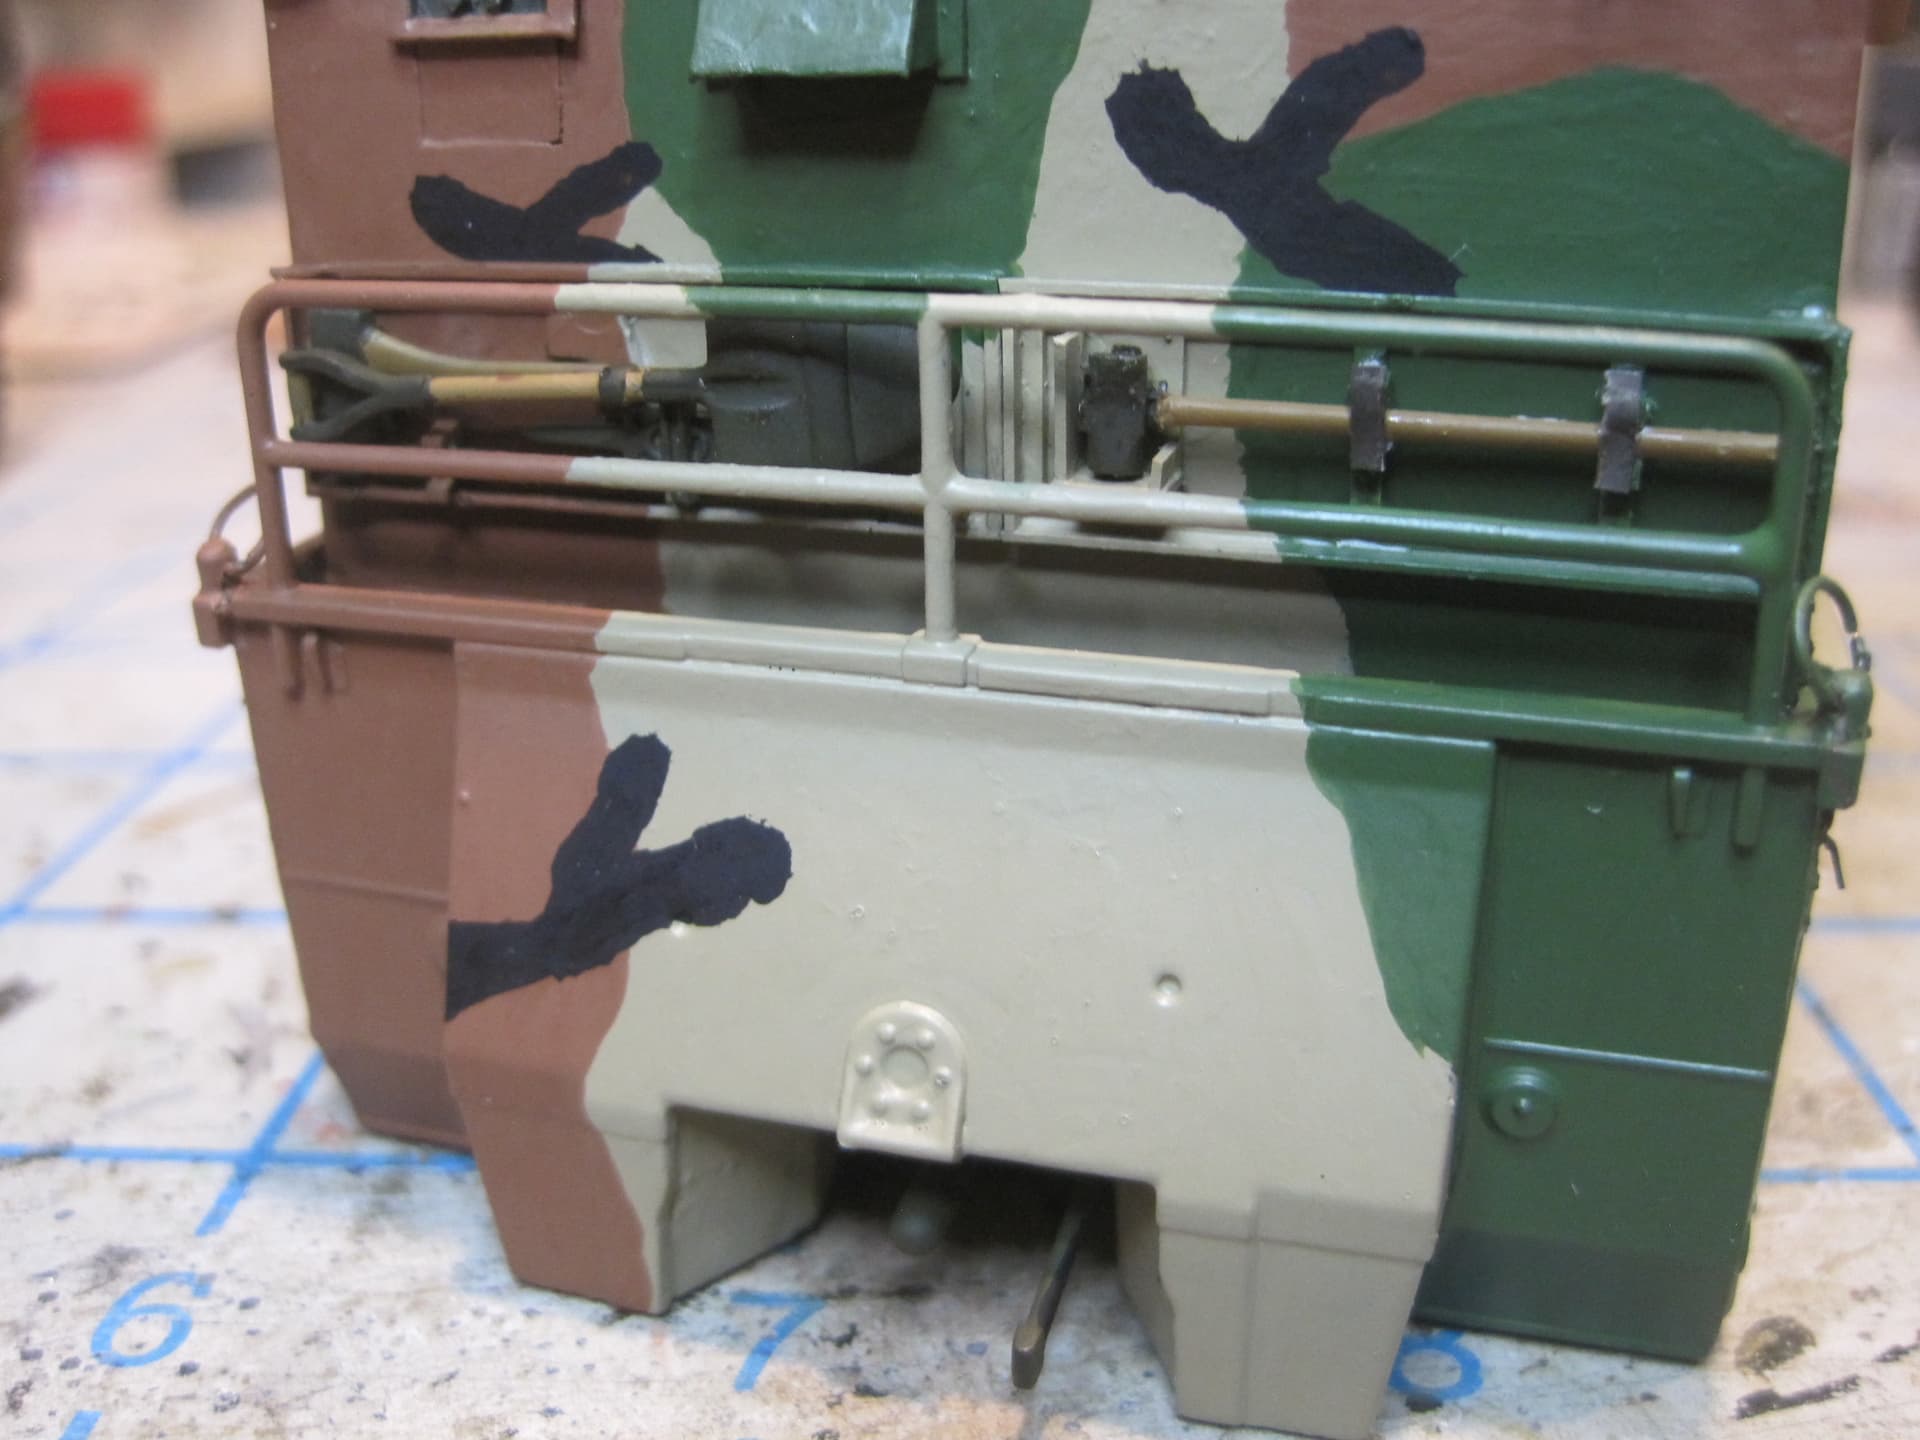
Next step is to go ahead and apply the MASSTER scheme to the vehicle without all the details added and without wheels, and then add the engine and radiator and final engine bay items. At that point the cab should be finished and I’ll proceed to the second unit body.

3 Likes

Fantastic detailing again…

Thanks, Bert! I feel like I’m getting close to finally finishing!!!

Here’s my latest update. I’ve added wire tie downs to the missing attachments, and I’ll do the same at the four corners of the second unit body as well. Those will be needed to secure the tie-down arrangement for the S-250 shelter, which I’ll also scratch build.


And here are some shots showing the installed and dressed out engine with the functioning engine compartment cover.


And a side by side comparison with my previous build.

And here’s a shot showing the installed scratch built windshield wipers as well as the application of the first color of the MASSTER pattern.


1 Like

Here’s the remaining MASSTER colors applied.to the cab:


Setting the cab aside, I moved on the the second unit body with the shelter installed. It took quite a bit of grinding out relief in the bed of the second unit so the shelter would fit. The next issue was what to do about the tailgate. I found at least on photo of a Gama Goat with a shelter installed and it appeared that with the shelter installed, the gate was removed. I have no idea whether ours did or didn’t have tailgates, but it seems more convenient to operate without one. Also the latches to hold the gate closed were molded in to the rear end and as modeled would have been too small to function in any case.

So I just made the decision to leave off the gate and grind the latches off. I also decided to grind off the molded on tarp tie downs (even though they aren’t used in this configuration) and replace them with PE from the spares box. Another modification was to hollow out the rear bumpers, which for some strange reason, Tamiya decided should be filled in.


And as with the cab, there were no tie down attachments which will be needed to secure the shelter, so I scratched those. The shelter provides some PE rings for the tie downs, but they looked pretty flimsy, so I just replaced them with the same wire loops used on the second unit body.


And of course said tiedowns needed to be scratched as well. My reference photo shows what appears to be a fixed length cable which is tightened with a single turnbuckle, mounted diagonally, two per side, so four sets needed to be made
:


The next issue is TOTALLY winging it! One huge problem with removing the tailgate is that now there’s no place to mount the pioneer tools. So I simply decided that I’d grab a mounting bracket from the spares box, and mount the tools on the front wall of the shelter. All the racks I found were just a bit too short, so an extension had to be fabricated.

With all that done, I applied the MASSTER colors. I really am glad that I waited until I installed the shelter before painting it as that allowed me to apply the colors so they lined up properly.


And here’s the attached pioneer tools, as well as the scratch built shackles on the front end of the cab. Rear shackles are also added.


3 Likes

Now that the paint is applied it’s time for the final detailing to finish up. I decided to start with the decals for the second unit body and the shelter first.


And on the spur of the moment, I decided to add a sledge hammer to the set of pioneer tools on the front of the shelter, so I scratched mounting bracket and added it to the other side.


2 Likes

Nice! Where did you find the decals for the shelter?

Thanks, Rick! Another reason to buy the Plus Model kit of the S-250 Shelter, because it includes these decals!

Thanks. Just ordered one.

While I can’t say the same thing about the Tamiya M561 kit, you will not be disappointed with this kit. Let me know if you’re interested in the face plates and teletype writers that I have spares made up from my 3-D printing.

The decals look good, with one big, glaring, error. That first decal, the data plates, has a big warning about the CARC paint. CARC paint was not used on vehicles until the mid 1980s, introduced with the NATO 3-color paint scheme. MASSTER was way before that.
Otherwise, this is looking awesome!
Ken

This is a insane amount of coolness in one place. The approach to many of the scratch details is incredible. This whole topic has been a joy to go through

Well, THAT’S a problem.

I certainly can’t leave that on there, and getting rid of just that plate isn’t really an option either.

I think the best bet is to simply paint over the entire set of decals. It’s a shame but there’s a better than even chance that none of them were on there during that time period anyway.

I think I’ll try painting over just that plate first and see how that looks, but I’m guessing that the best option is to remove the whole stack and repaint the door.

I would try to remove that one before I wiped out all of them. The rest look to be size and tie-down information, which is correct. They also look really good. If you can’t take it off, you can try to cover it with some other decal, maybe a warning or OPSEC poster.
Ken

Tom… great scratch building on the engine and every thing else looking great in it’s finishing paint.

Cheers,
Ralph

Ken, that’s a good idea. Let me look around for a suitable replacement.

Have you sealed the decal with any type of clear varnish yet? If not you can remove the bad fairly easily. The easiest way is to use a new xacto blade to cut it top and bottom, then use a small bit of tape to pull off the incorrect part, just be careful the tape does not stick to anything else. Done correctly, you will never know it was there.
Ken

Sadly, I have sealed it already. My usual process is to apply Clear Gloss to the area where a decal is to go first, apply the decal, use a setting solution to seal it down, and finally apply Clear Flat over the top.

The good news is that it does a fabulous job on making decals look realistic and protecting them.

The bad news is that if you have made a mistake, like in this case, it complicates the repair process.

I’ll look in my spares to see if I can find a better decal for that spot and simply cover it.

Or as an alternative, if I can find something in a photo with enough resolution, I can reduce it and simply glue it to a 0.025" thick strip to resemble a raised plate.

You could use something like this:


I just did a quick search for opsec poster.
Ken