Hi guys,
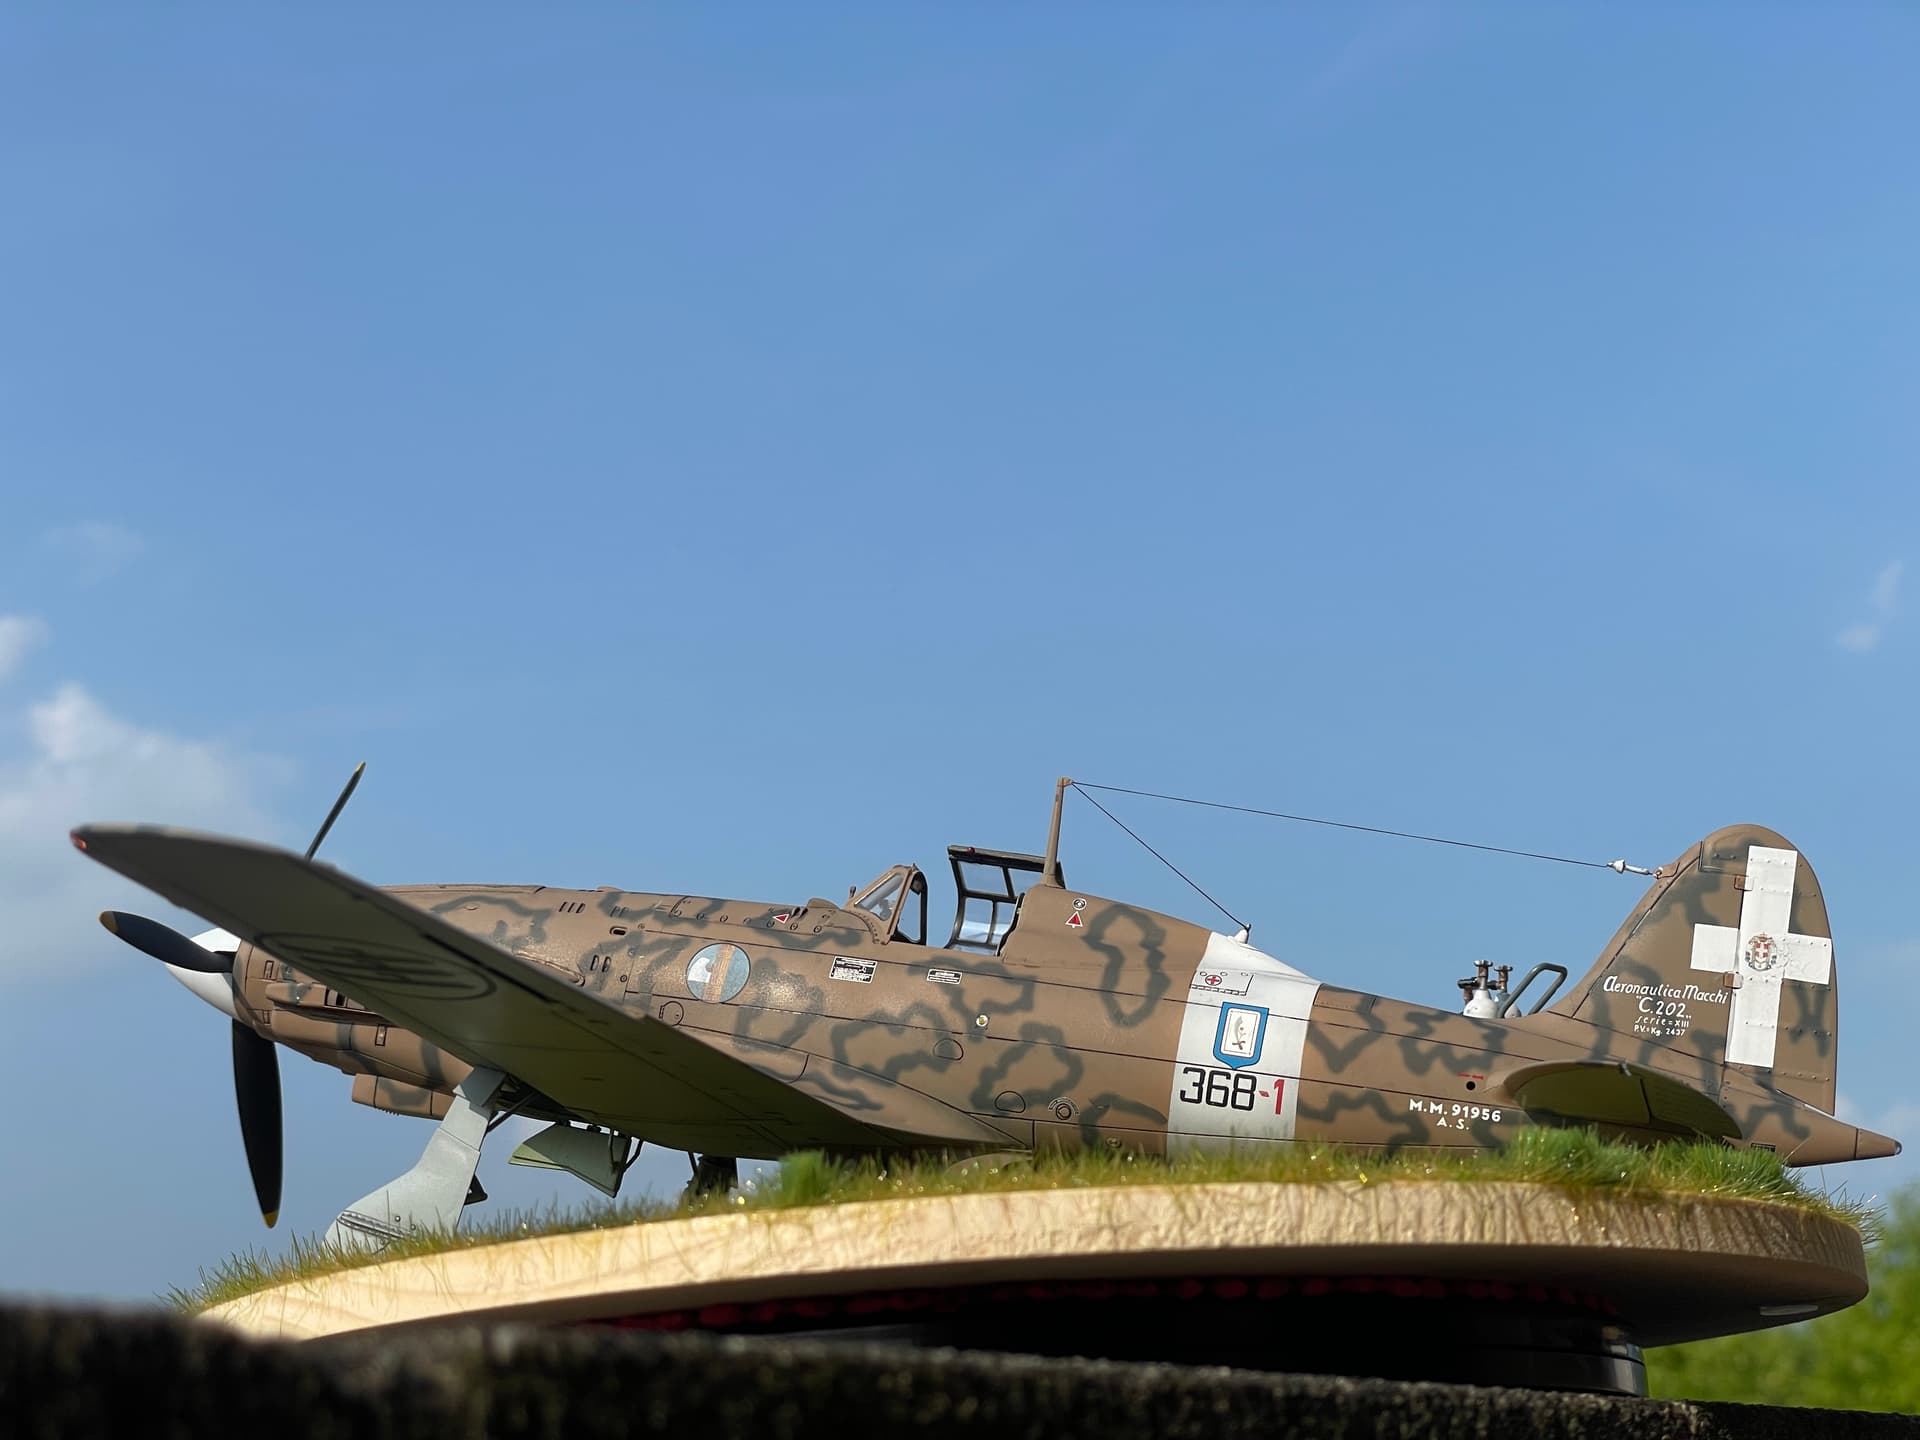
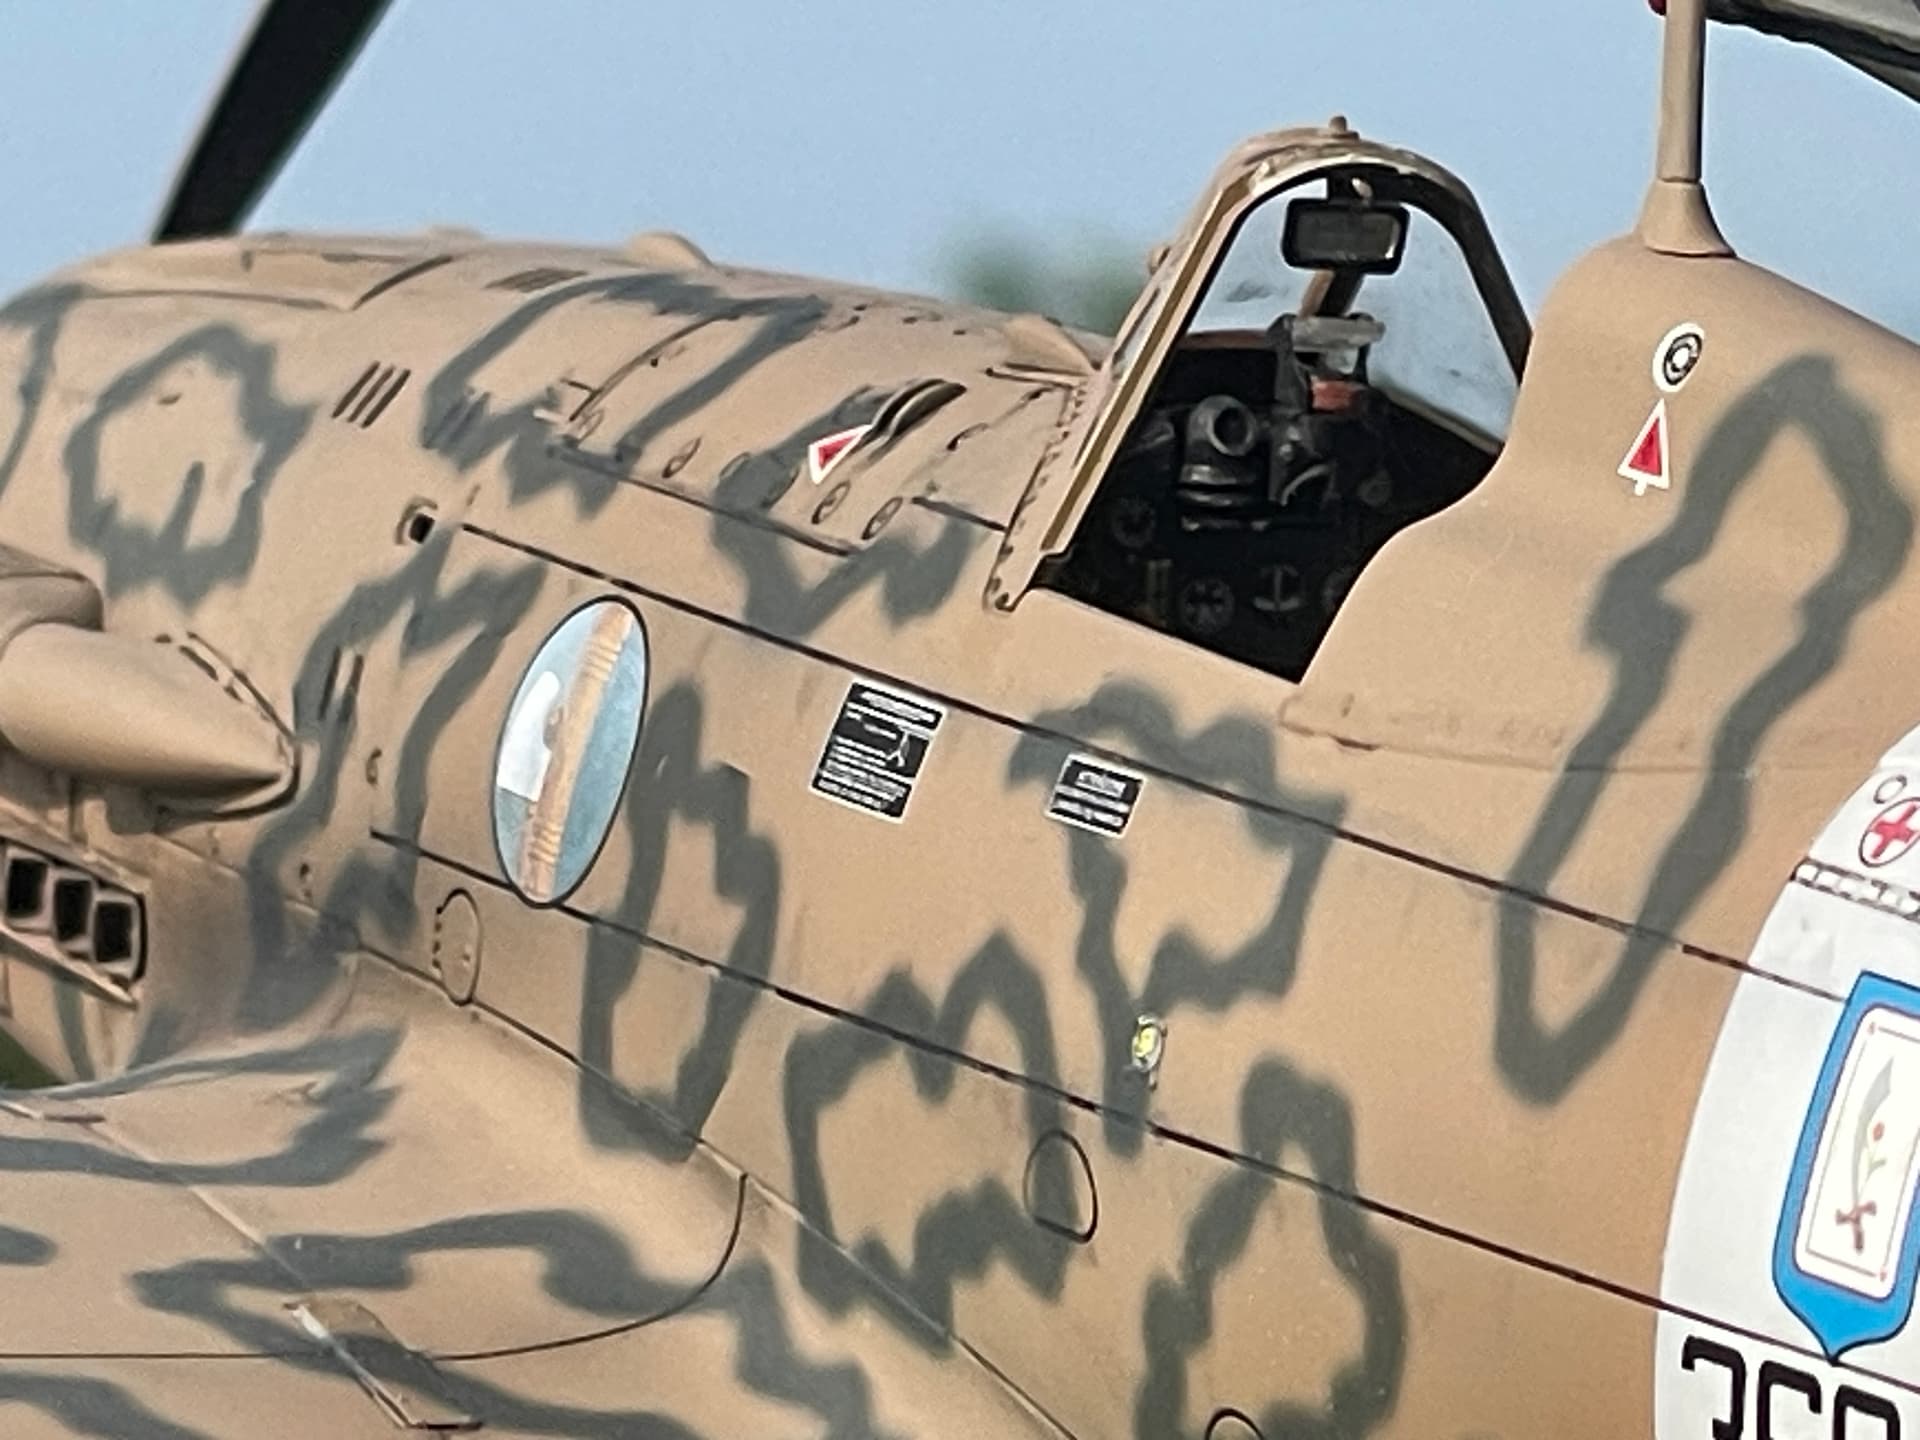
I’m back with an update: the build has reached the stage before the final decals and stencils. When I say decals I also mean the application of the smoke rings provided in the kit. Yes, this is my final choice regarding the smoke rings. I also bought a set of masks from DN Models, but in the end I decided not to use them, for various reasons.
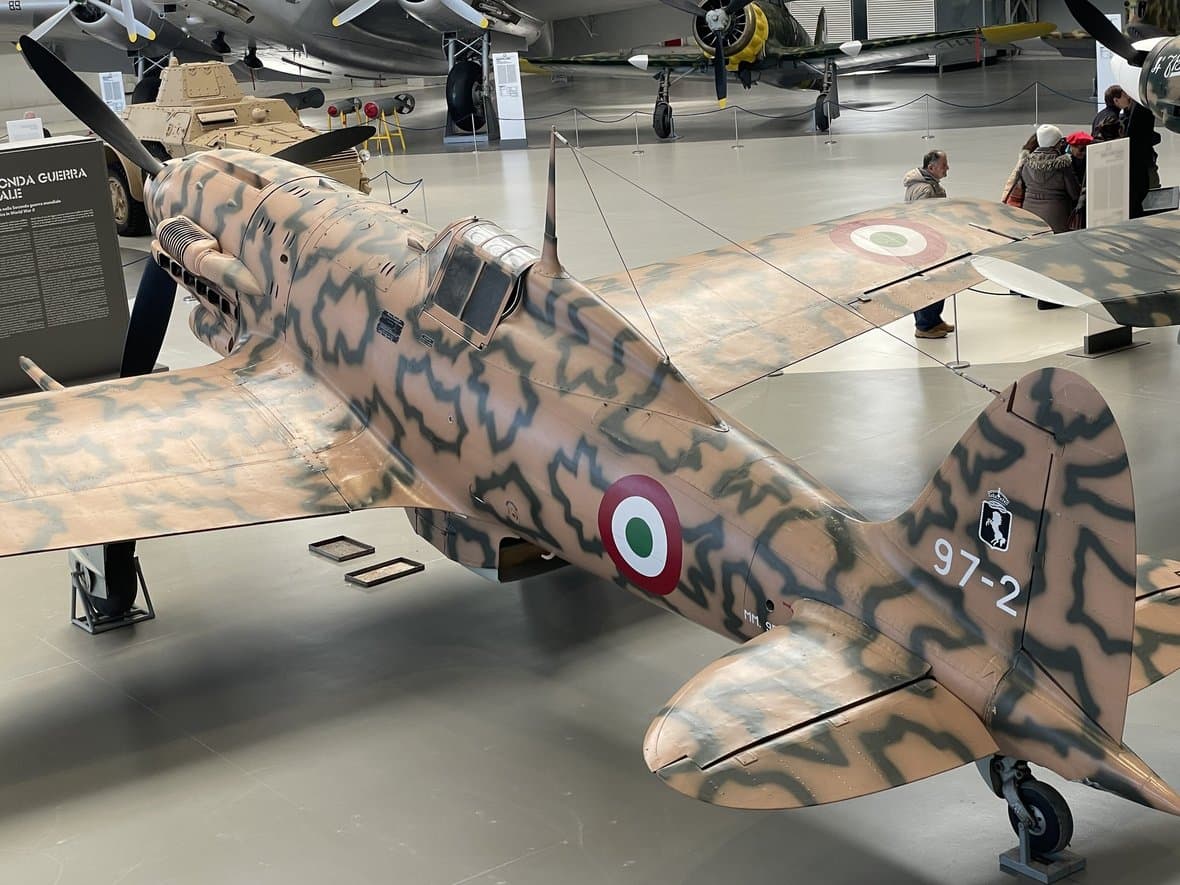
First, their shape differs in many cases from those reproduced by Italeri and visible in the color tables attached to the instruction sheet. Secondly, I should have reversed the order of the upper camouflage colors, covering first with dark green, applying the masks and going over everything with hazelnut. The light color (hazelnut) applied on a very dark color (green) would have made the final result too dark in my opinion. Third reason, perhaps the most important, the masks would have produced a sharp and unrealistic edge, while in reality the smoke rings had a soft edge and the decals are closer to this criterion. There was a third way, actually: freehand reproduction with the airbrush. Honestly I did not feel like it, too long a job and without the possibility of errors to not ruin everything. I promise myself to do some tests if I have to tackle the MC 205 in the future.
Anyway, I will talk about this final phase in my next post, now let’s pick up where we left off the previous time.
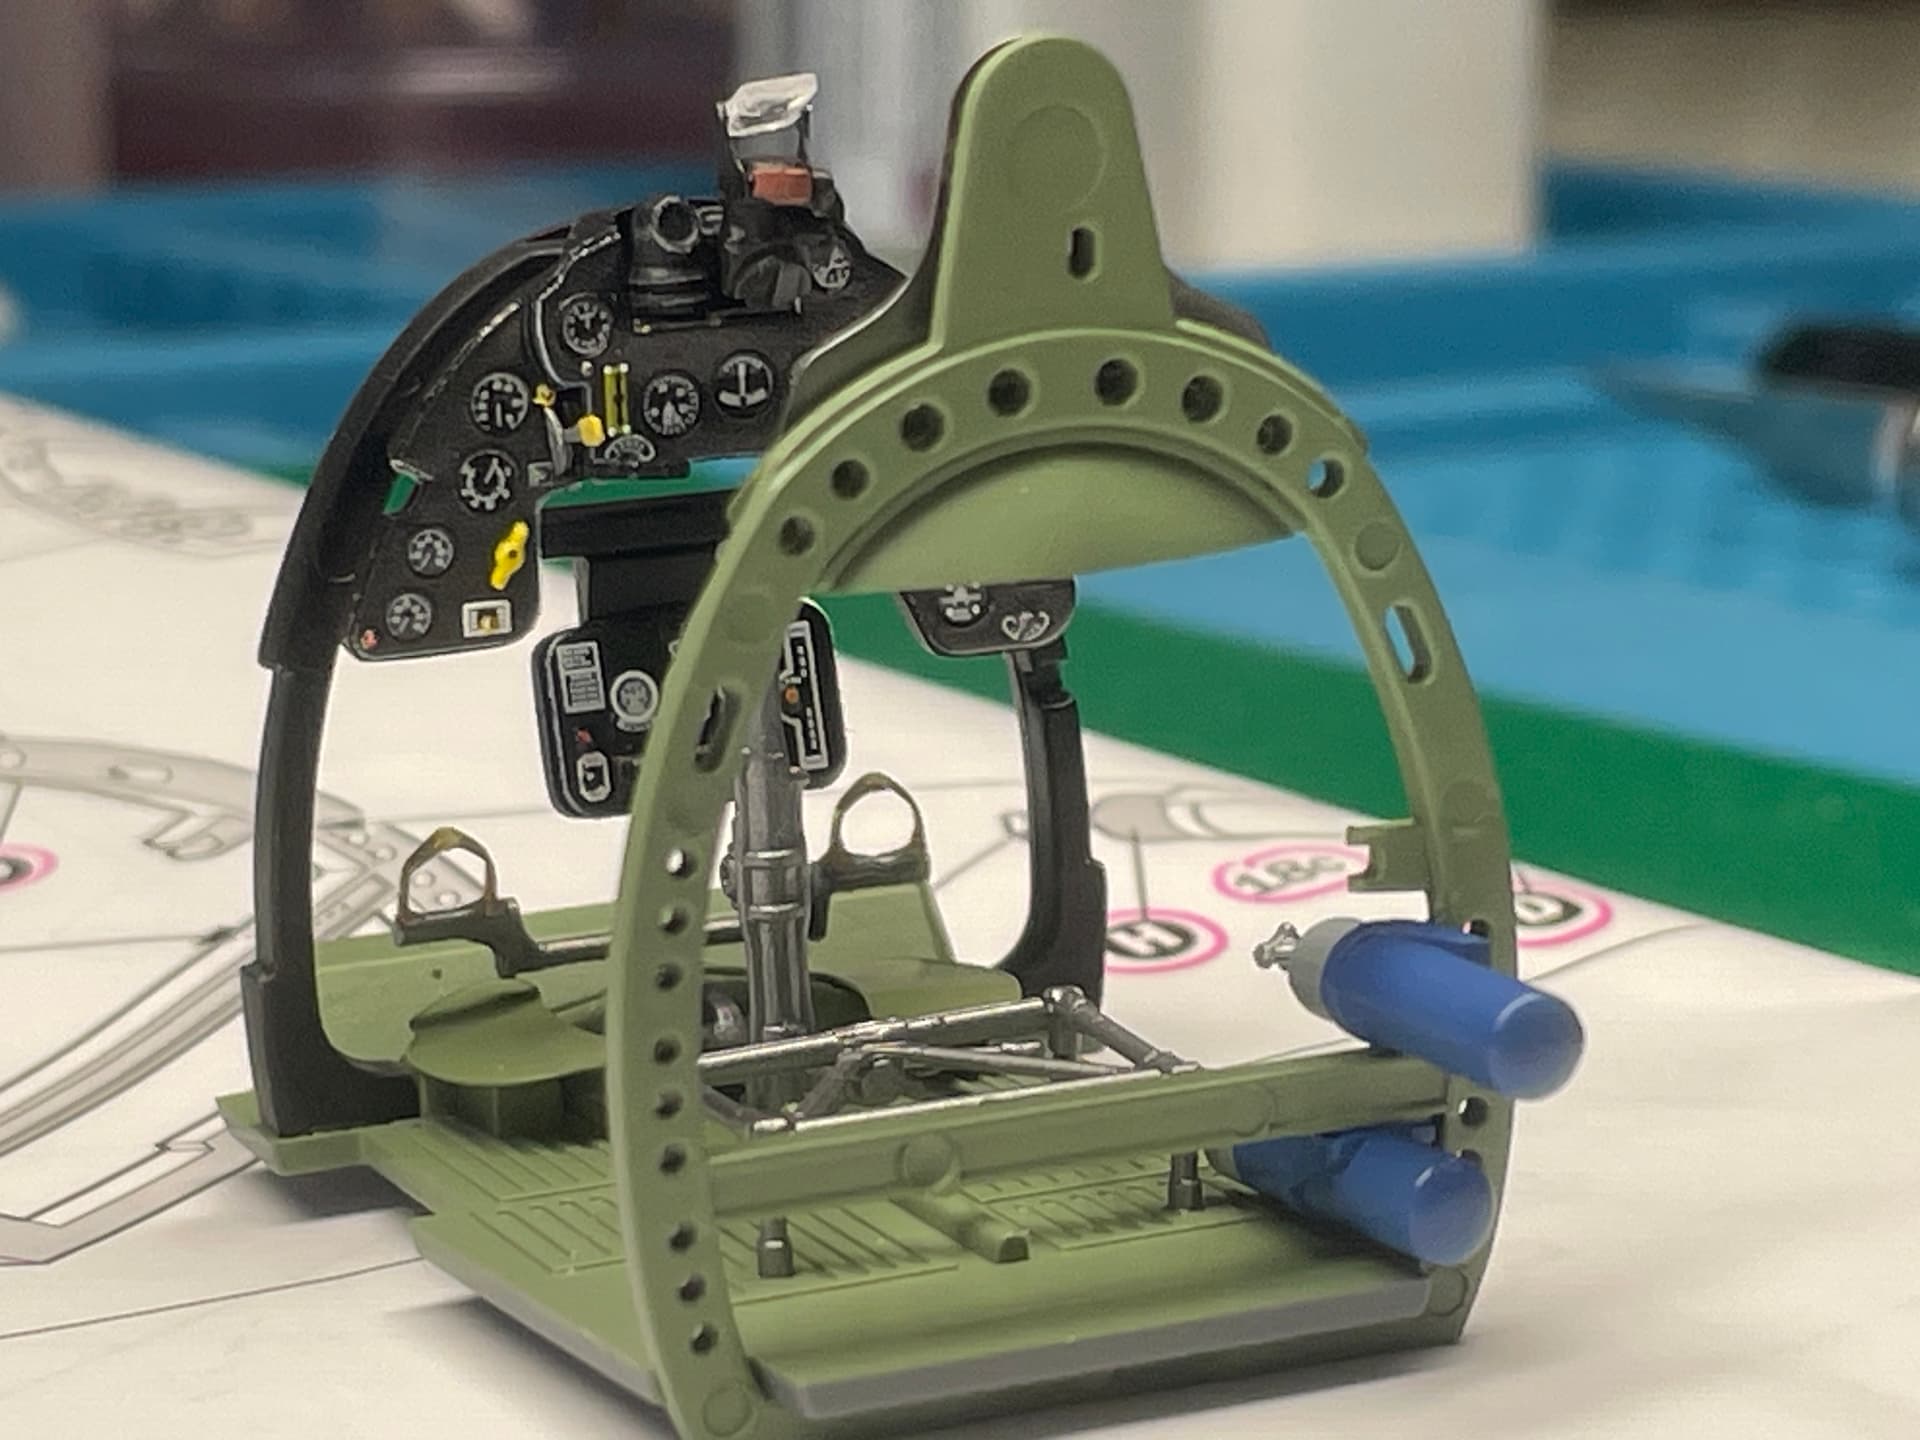
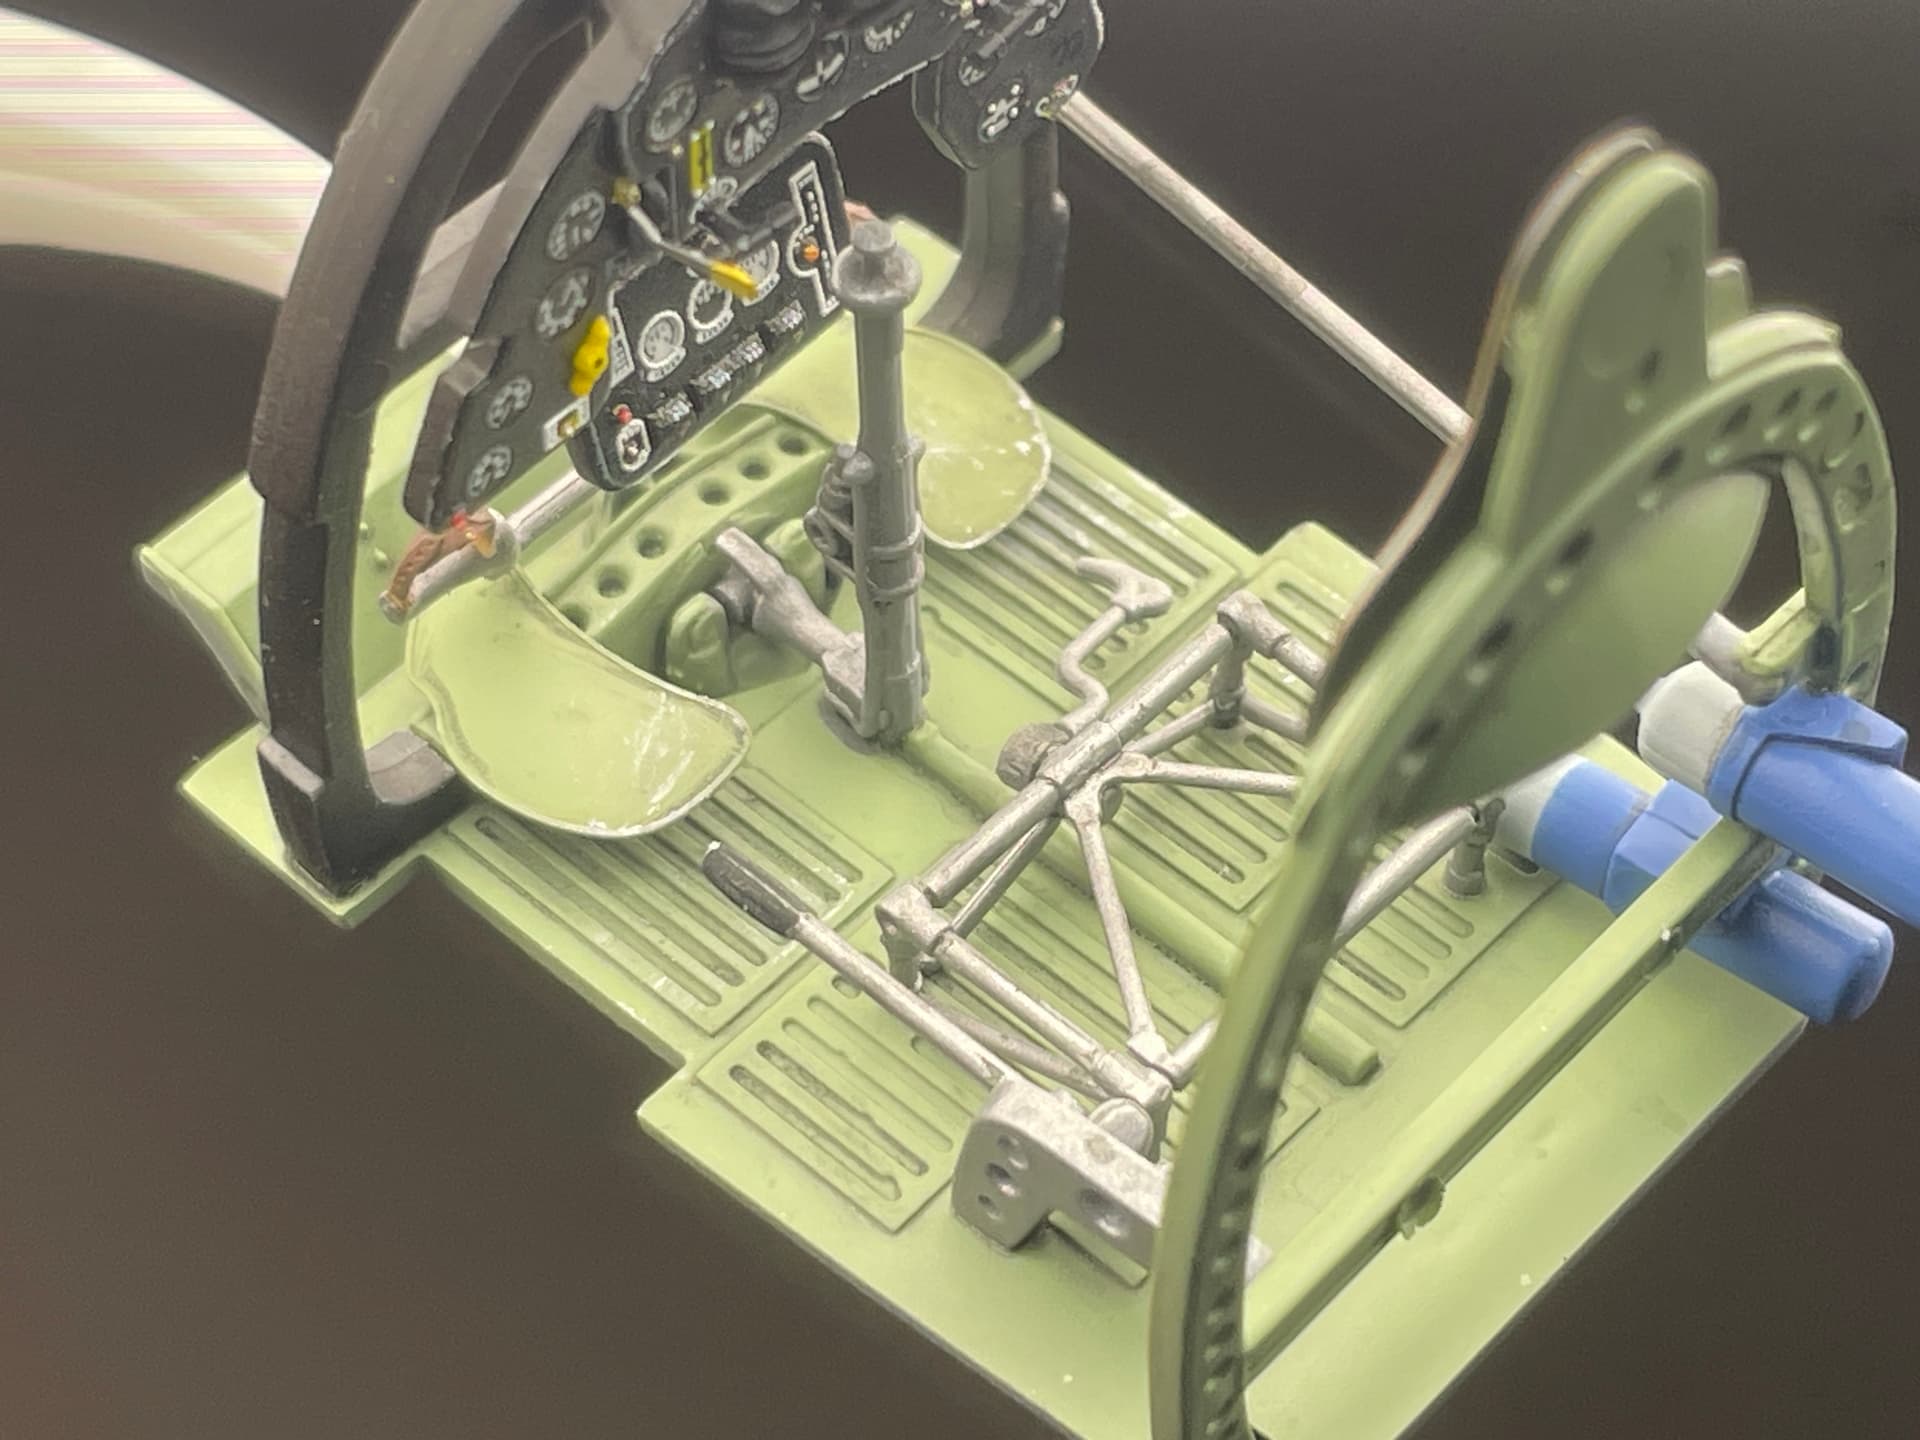
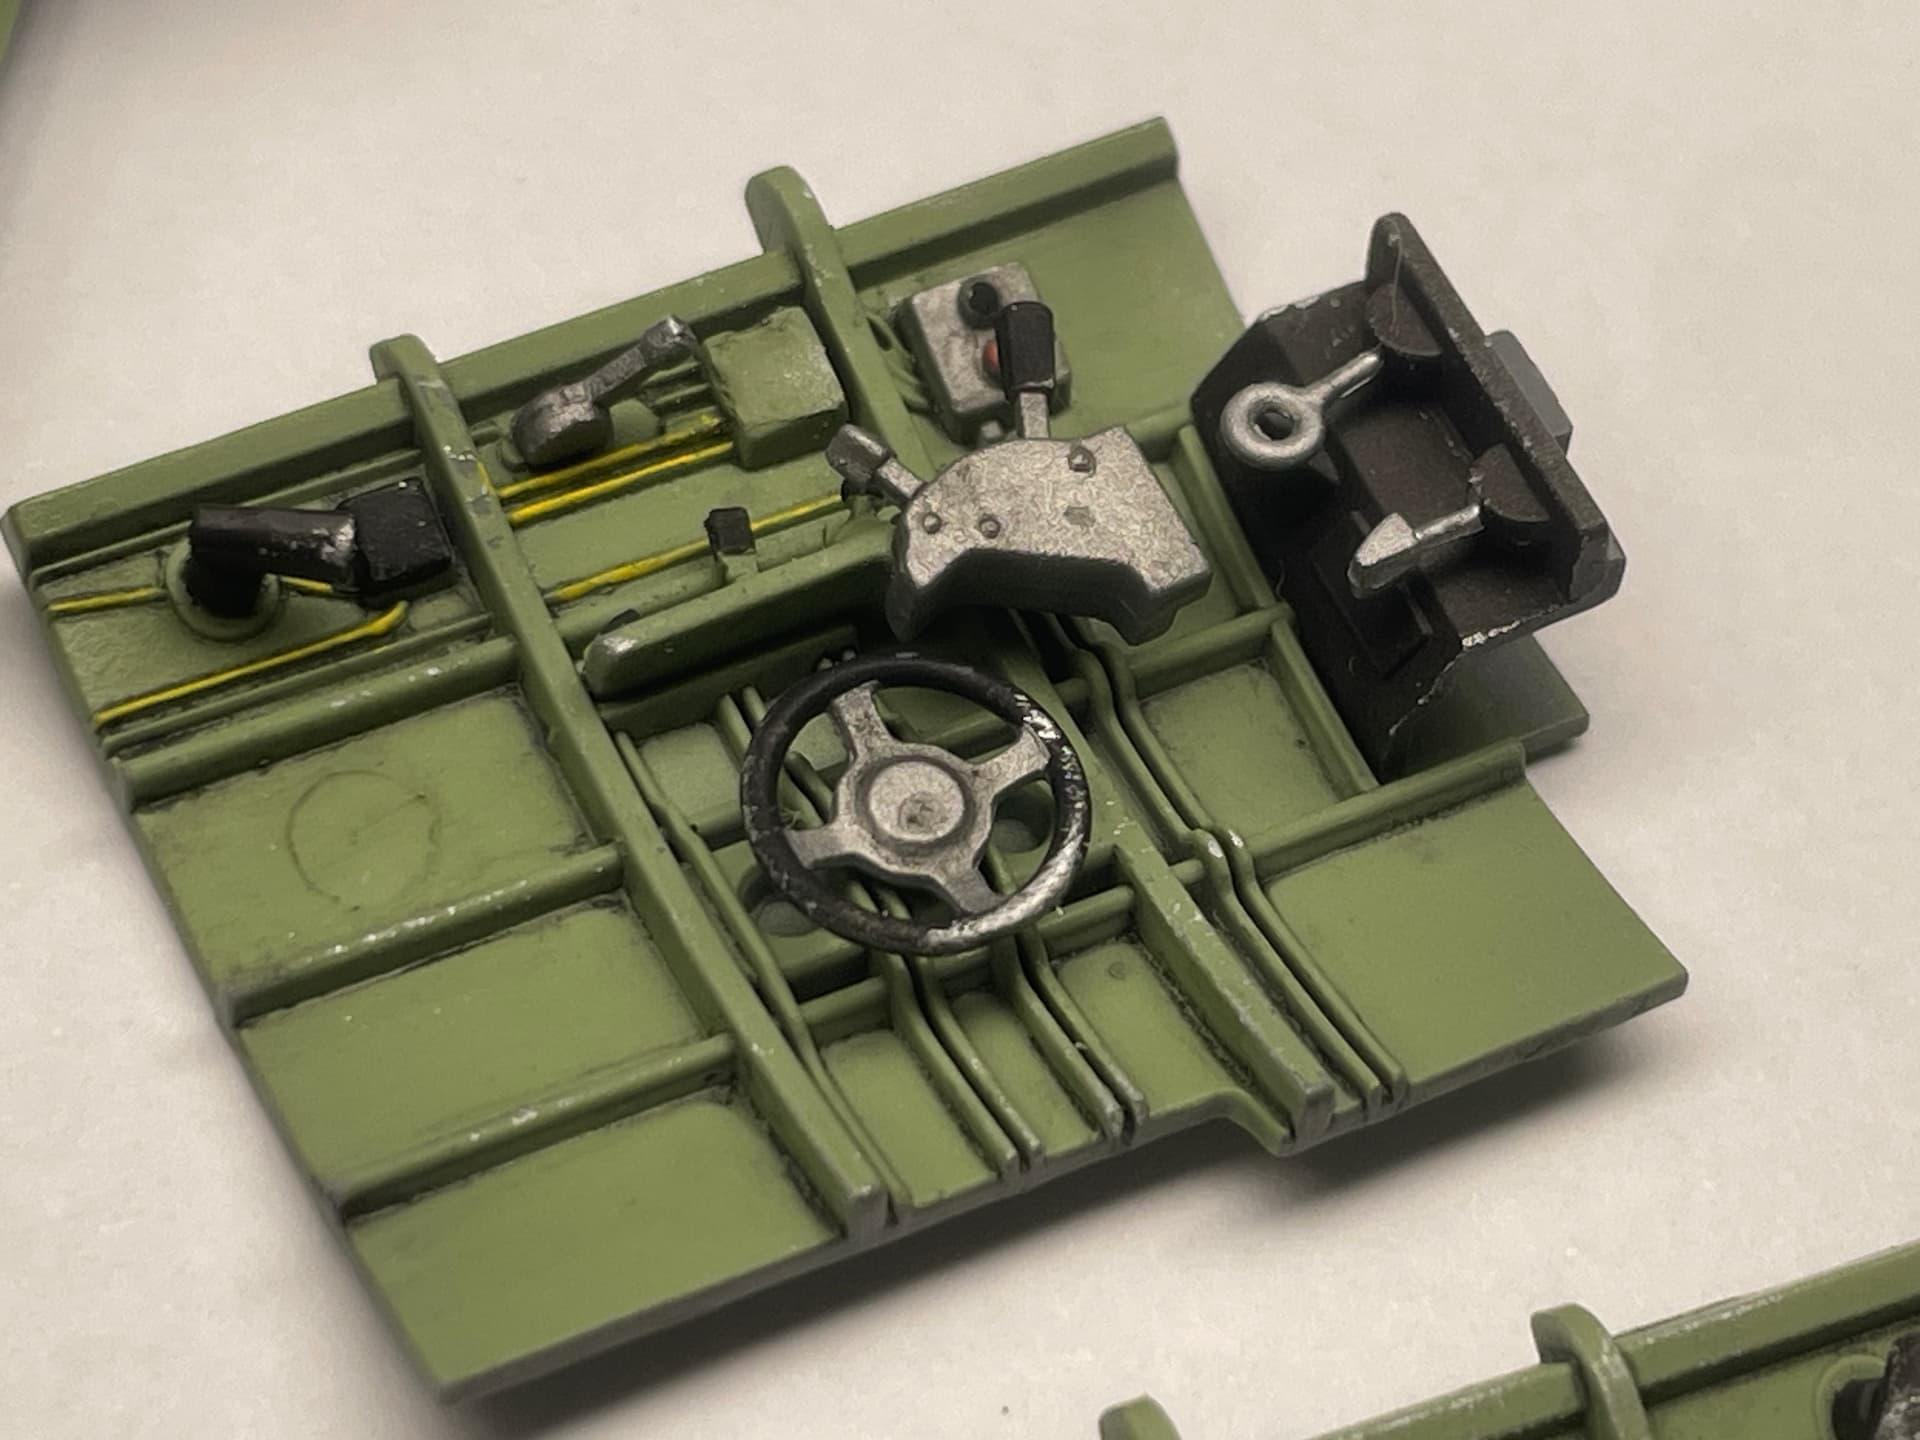
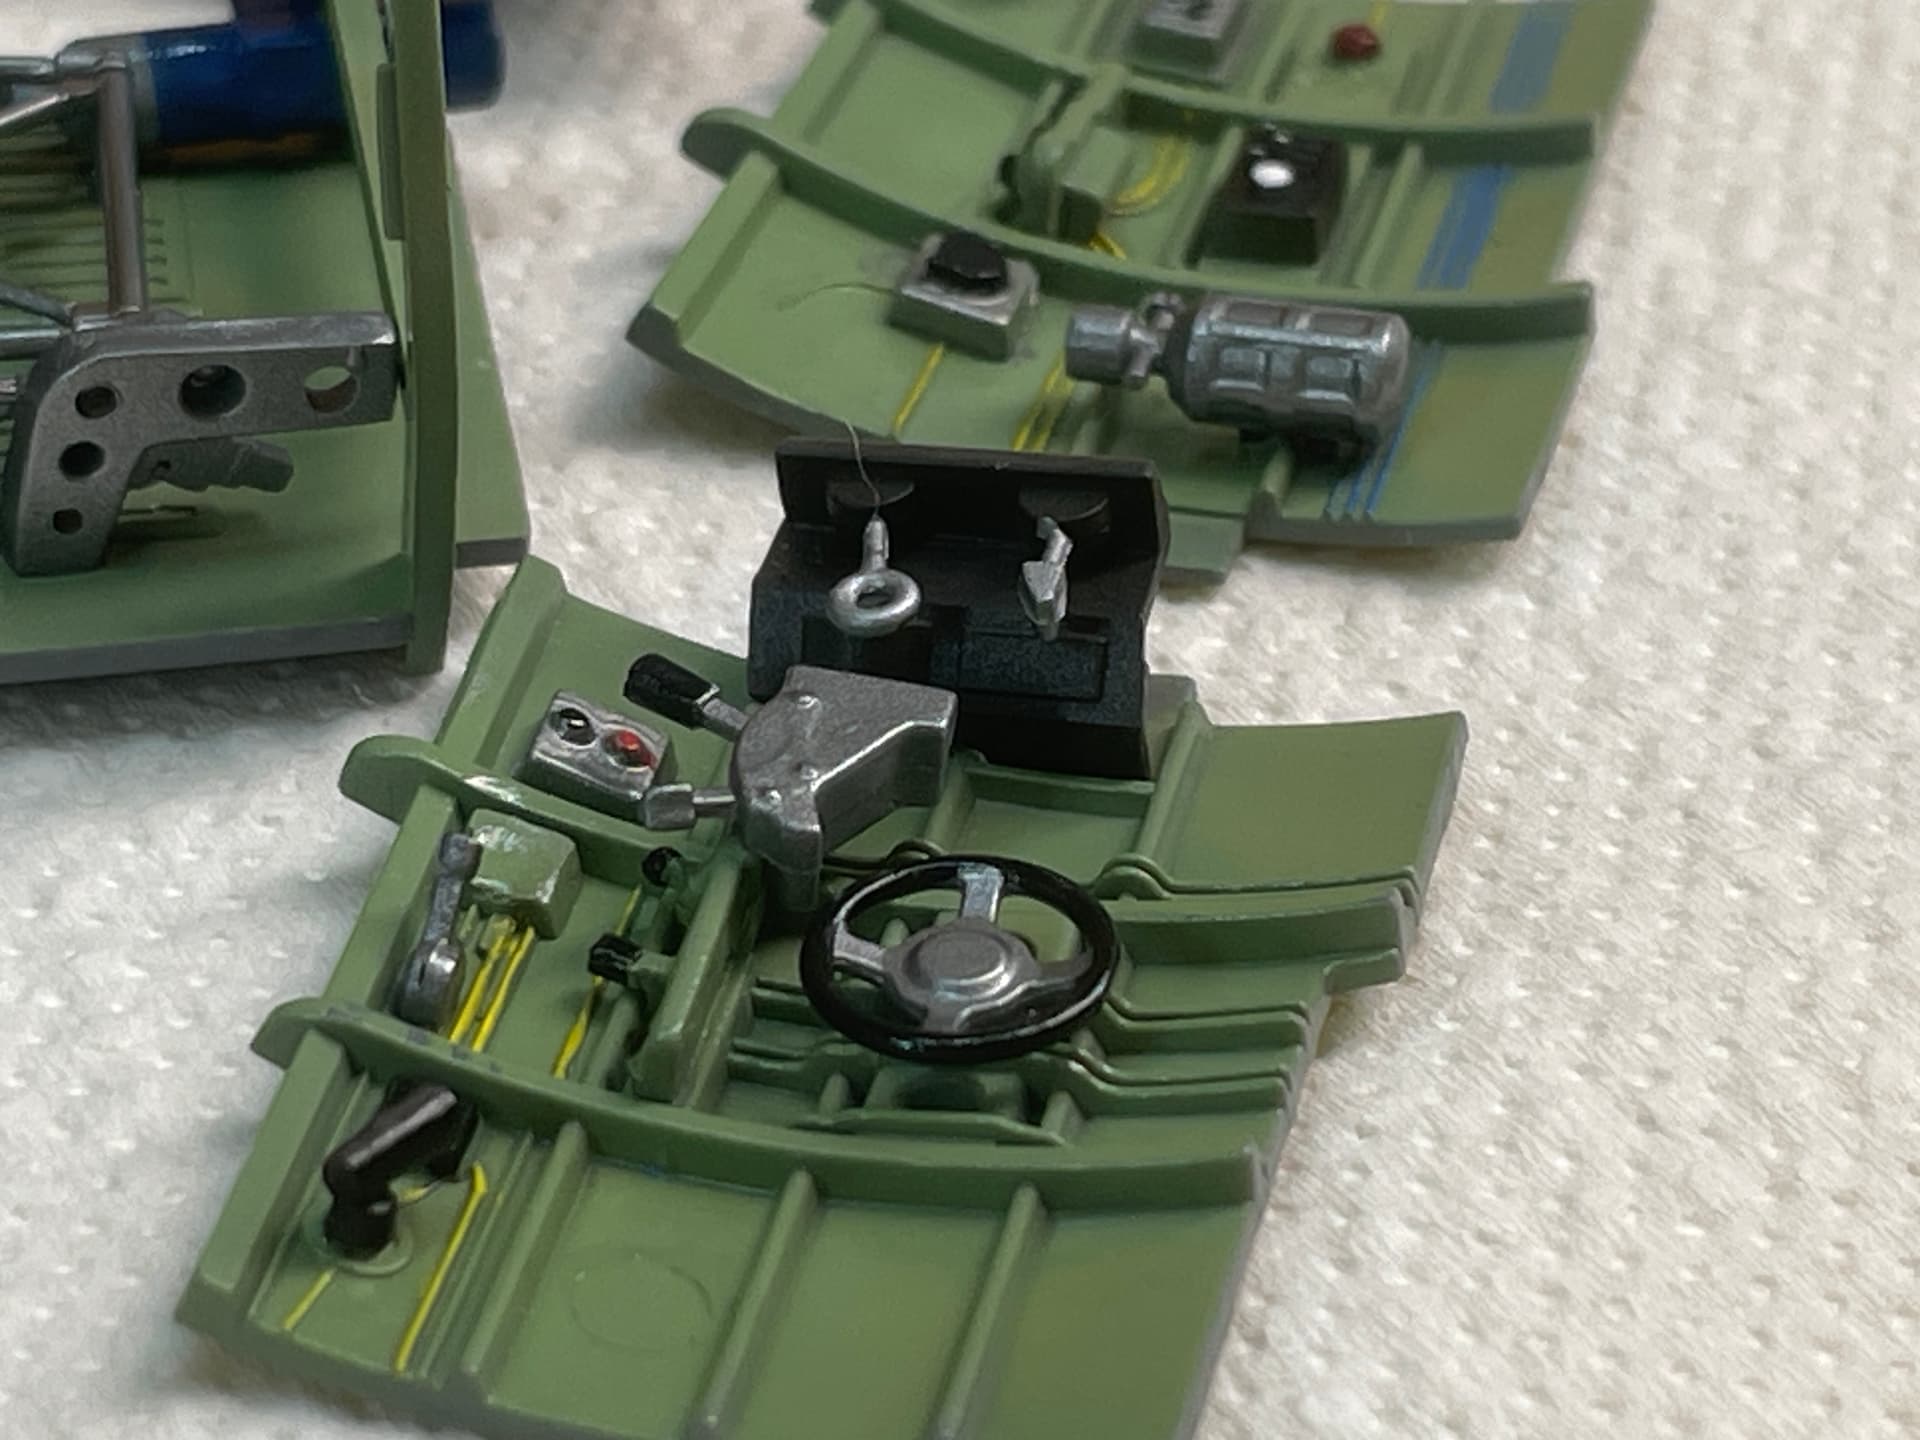
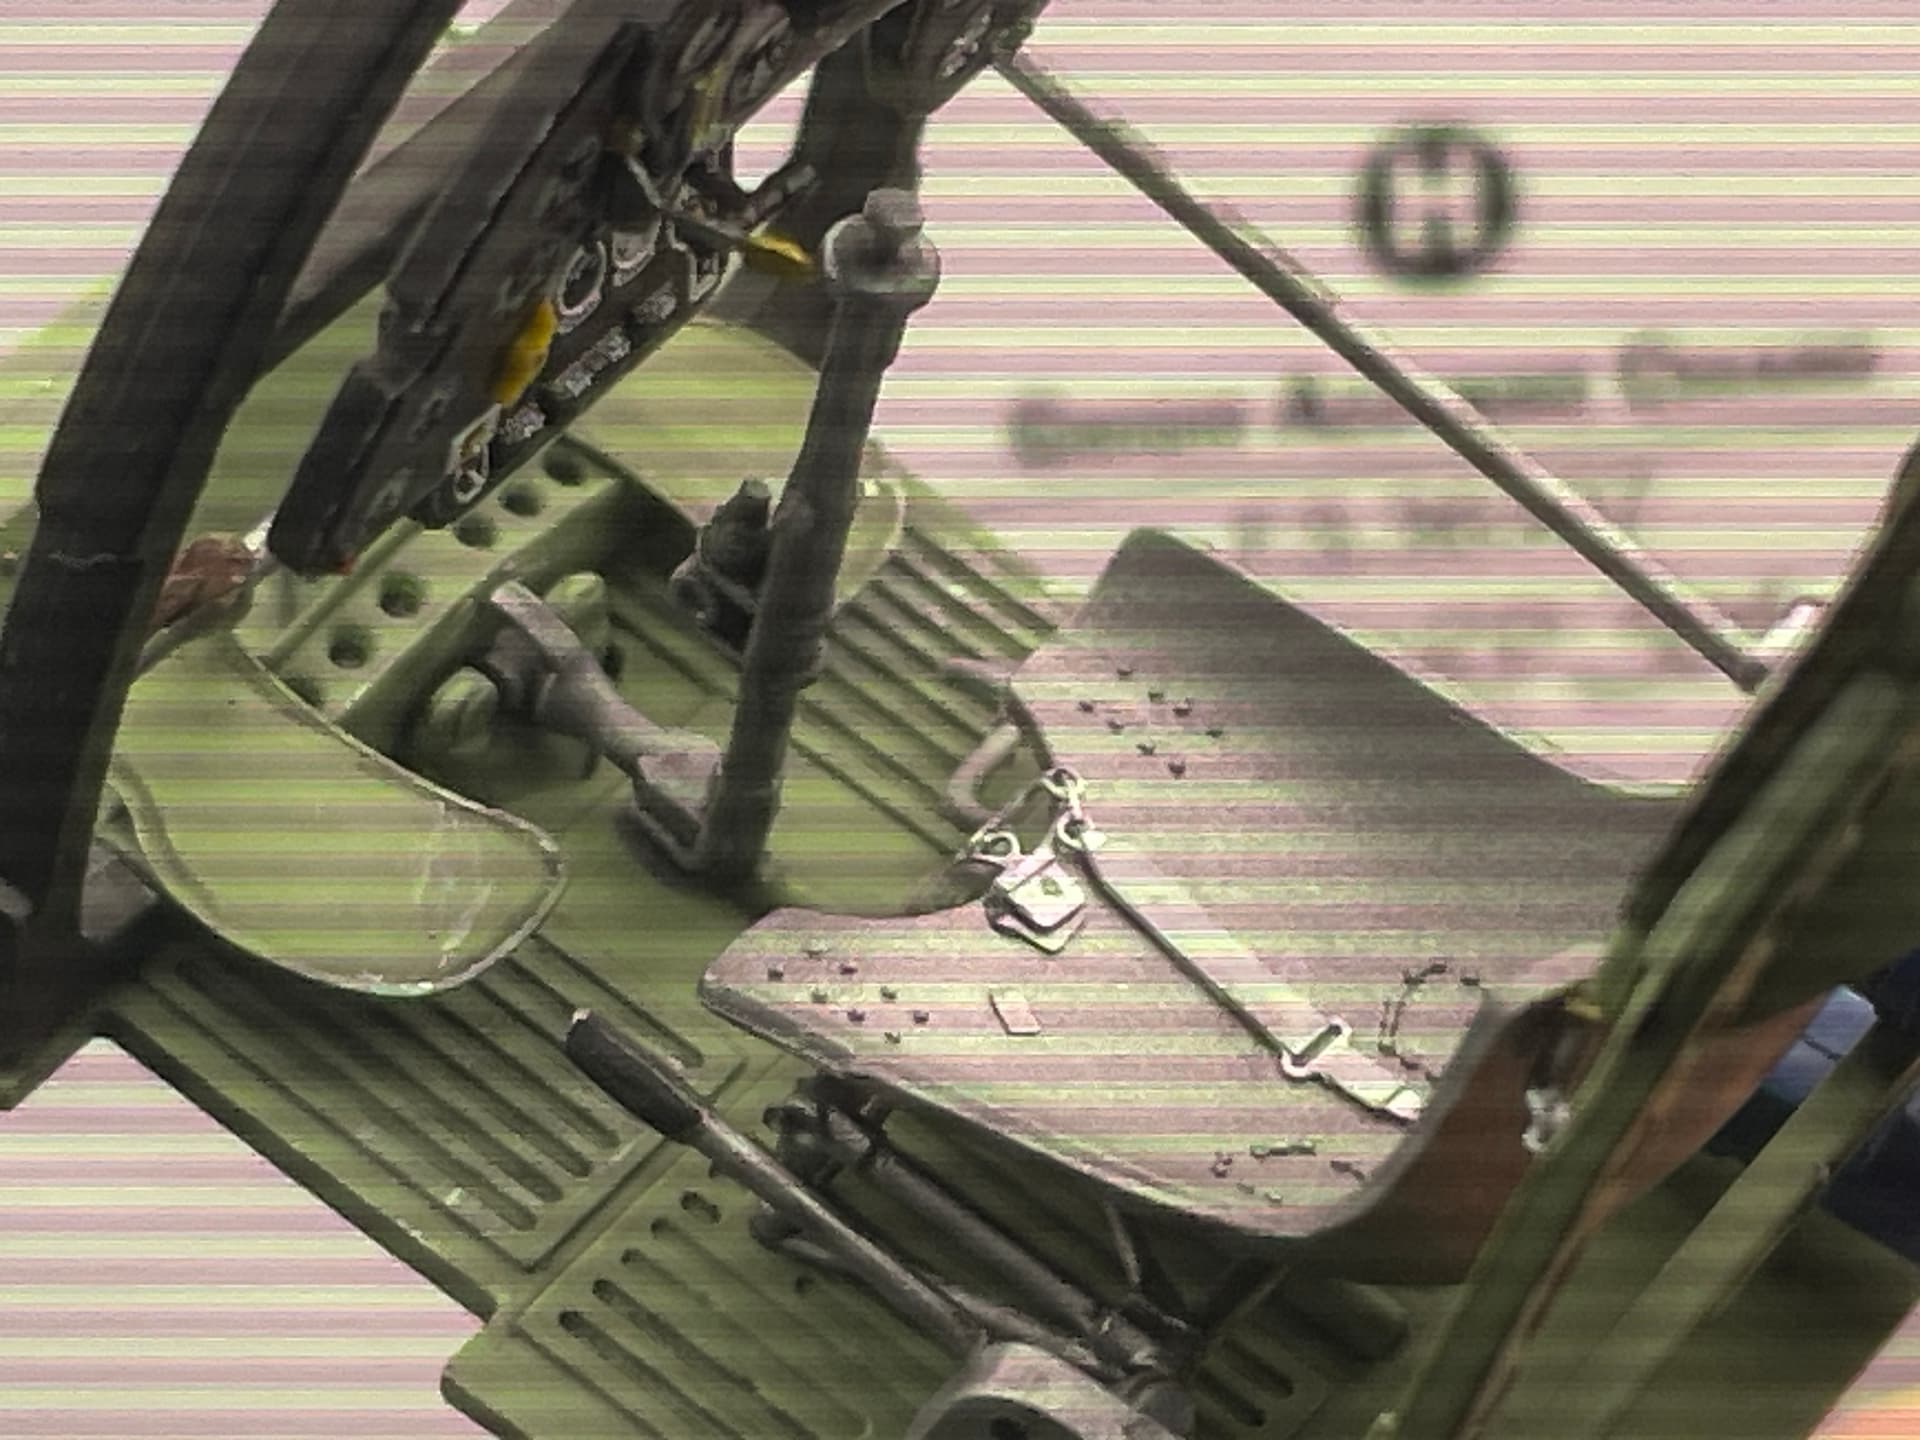
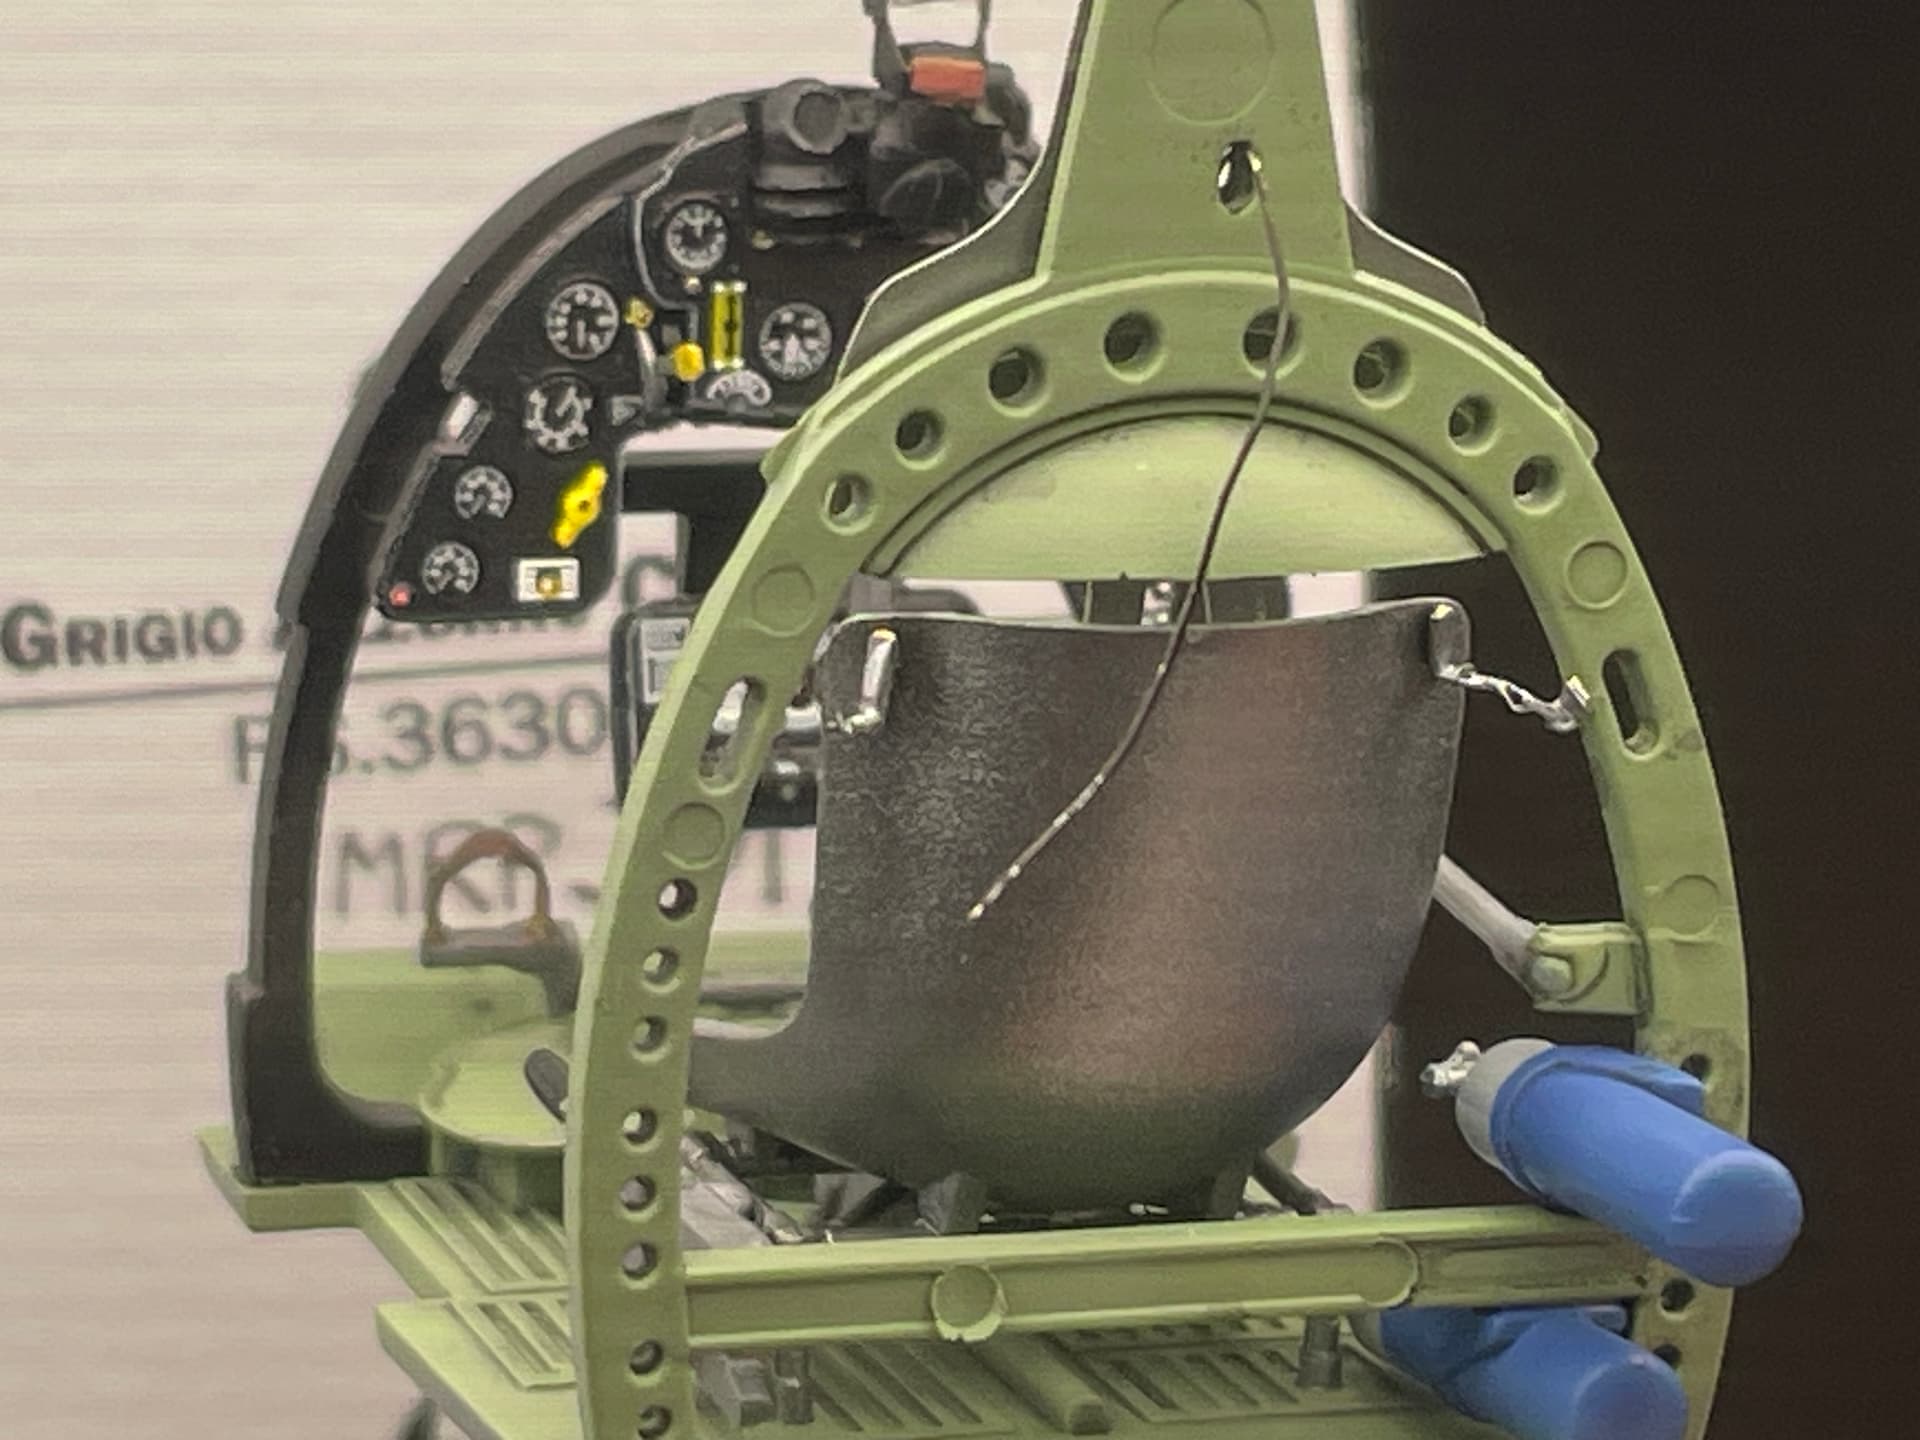
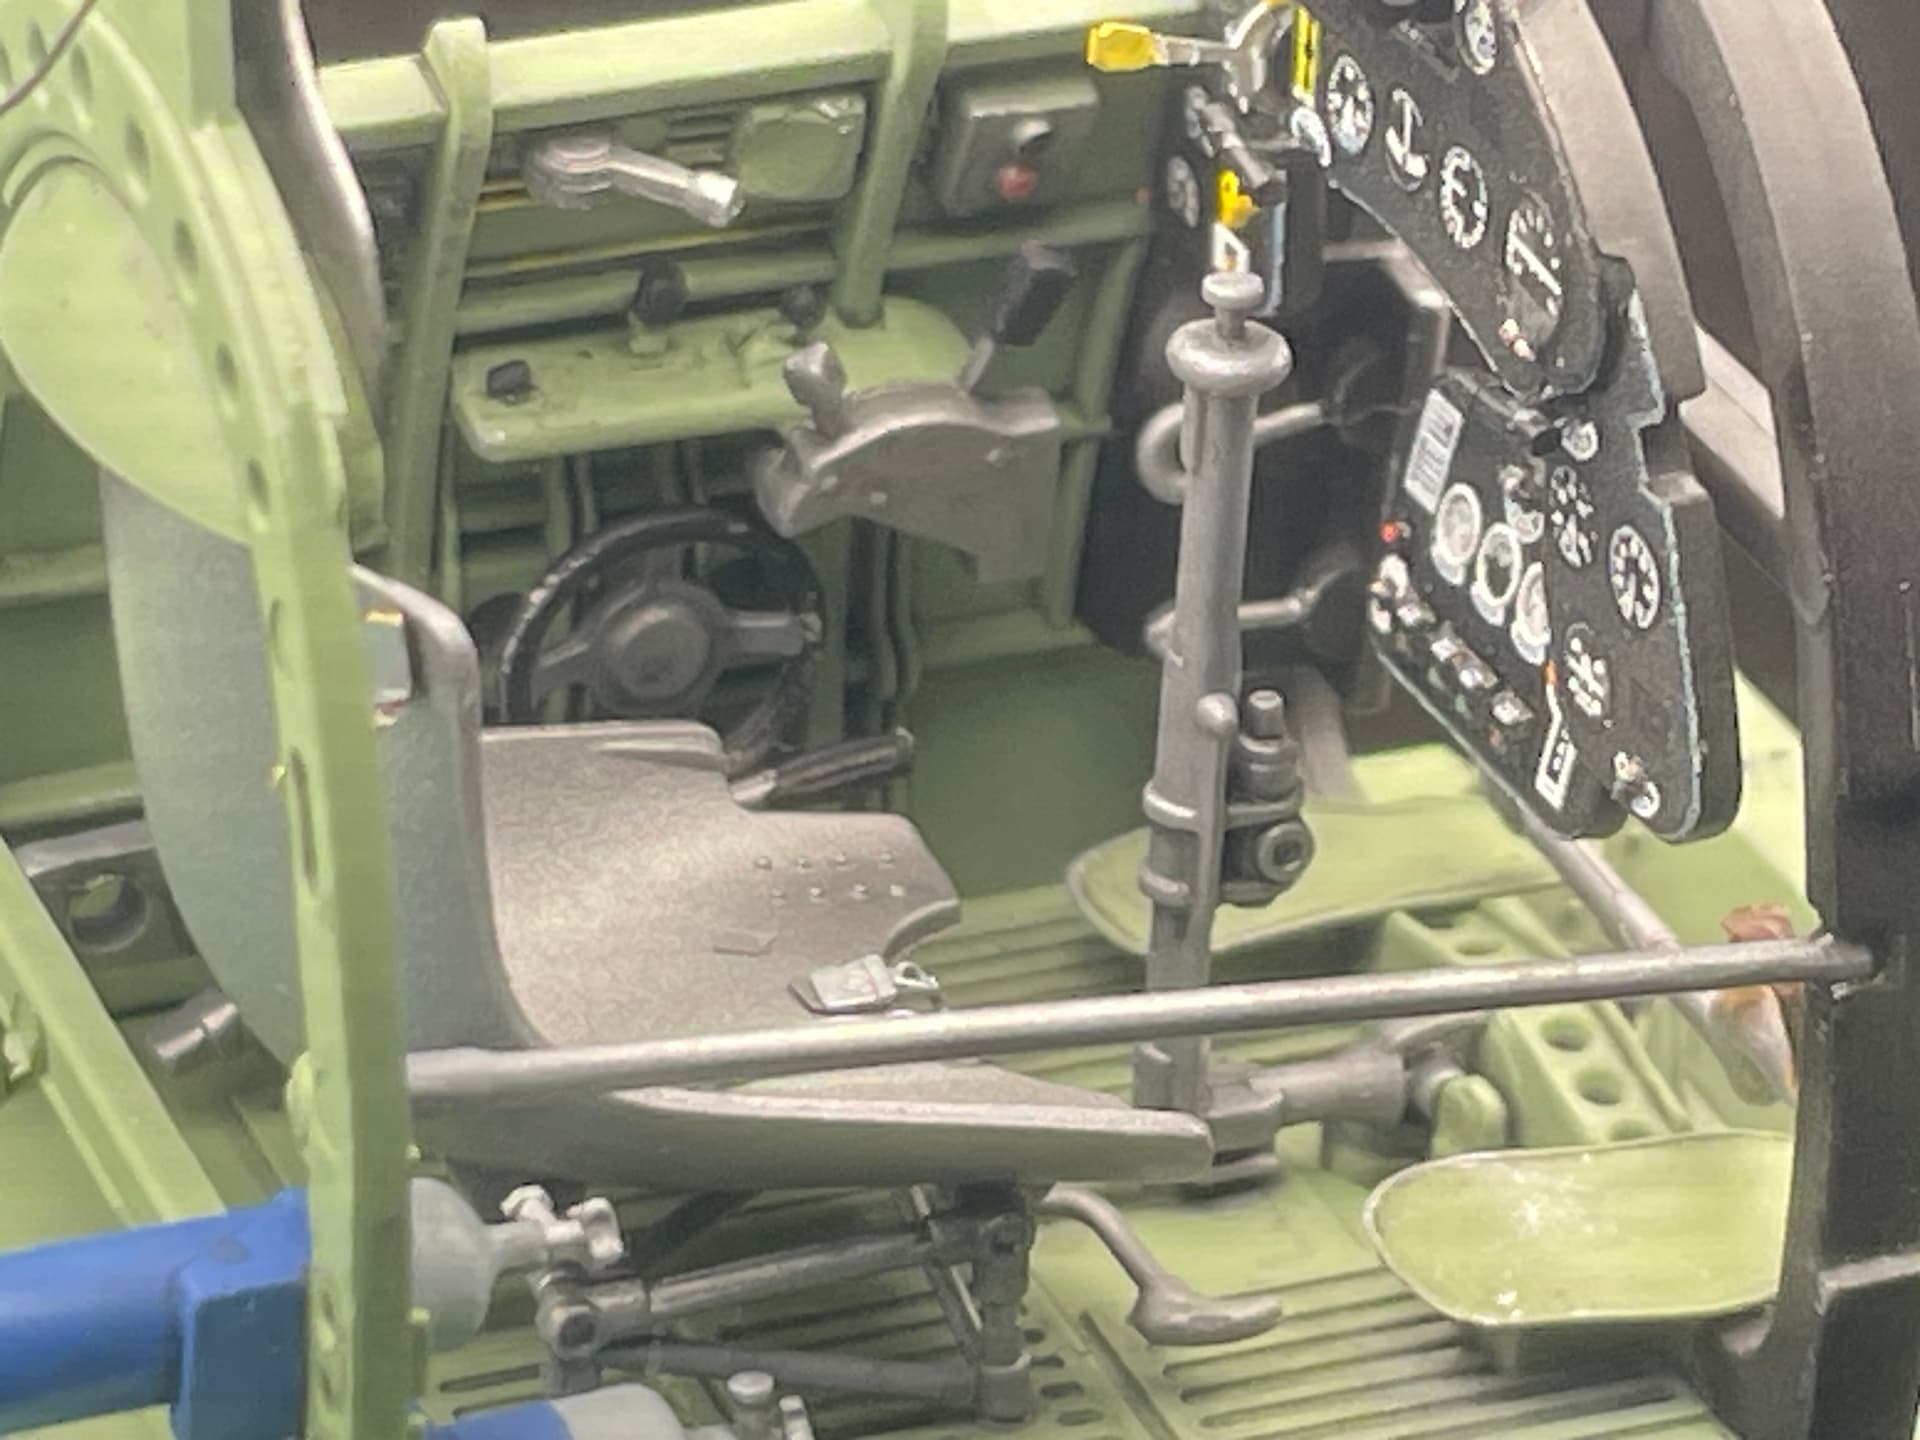
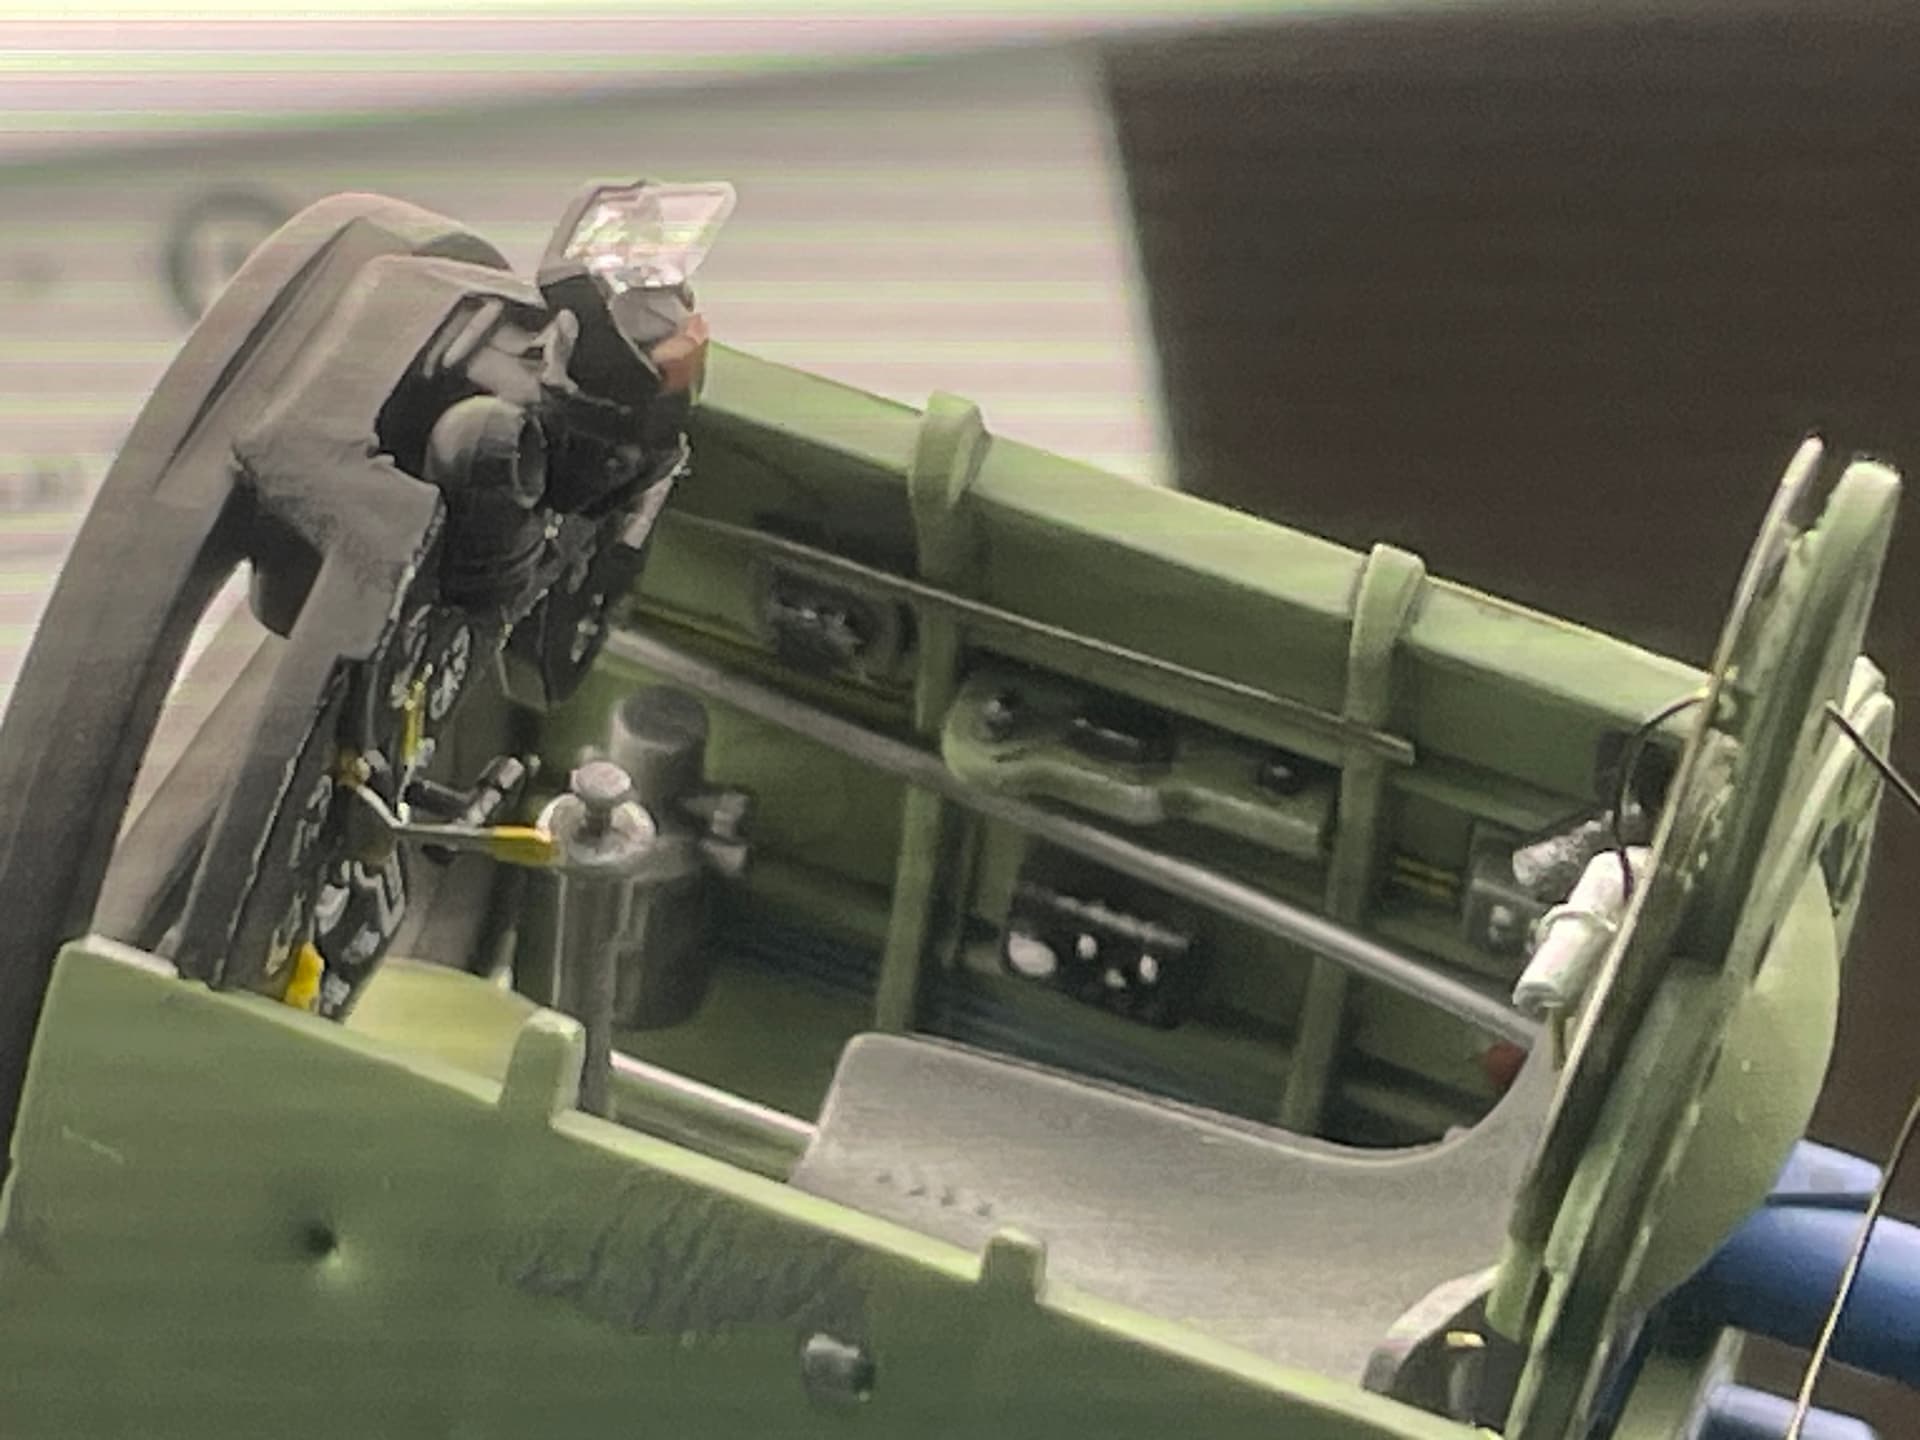
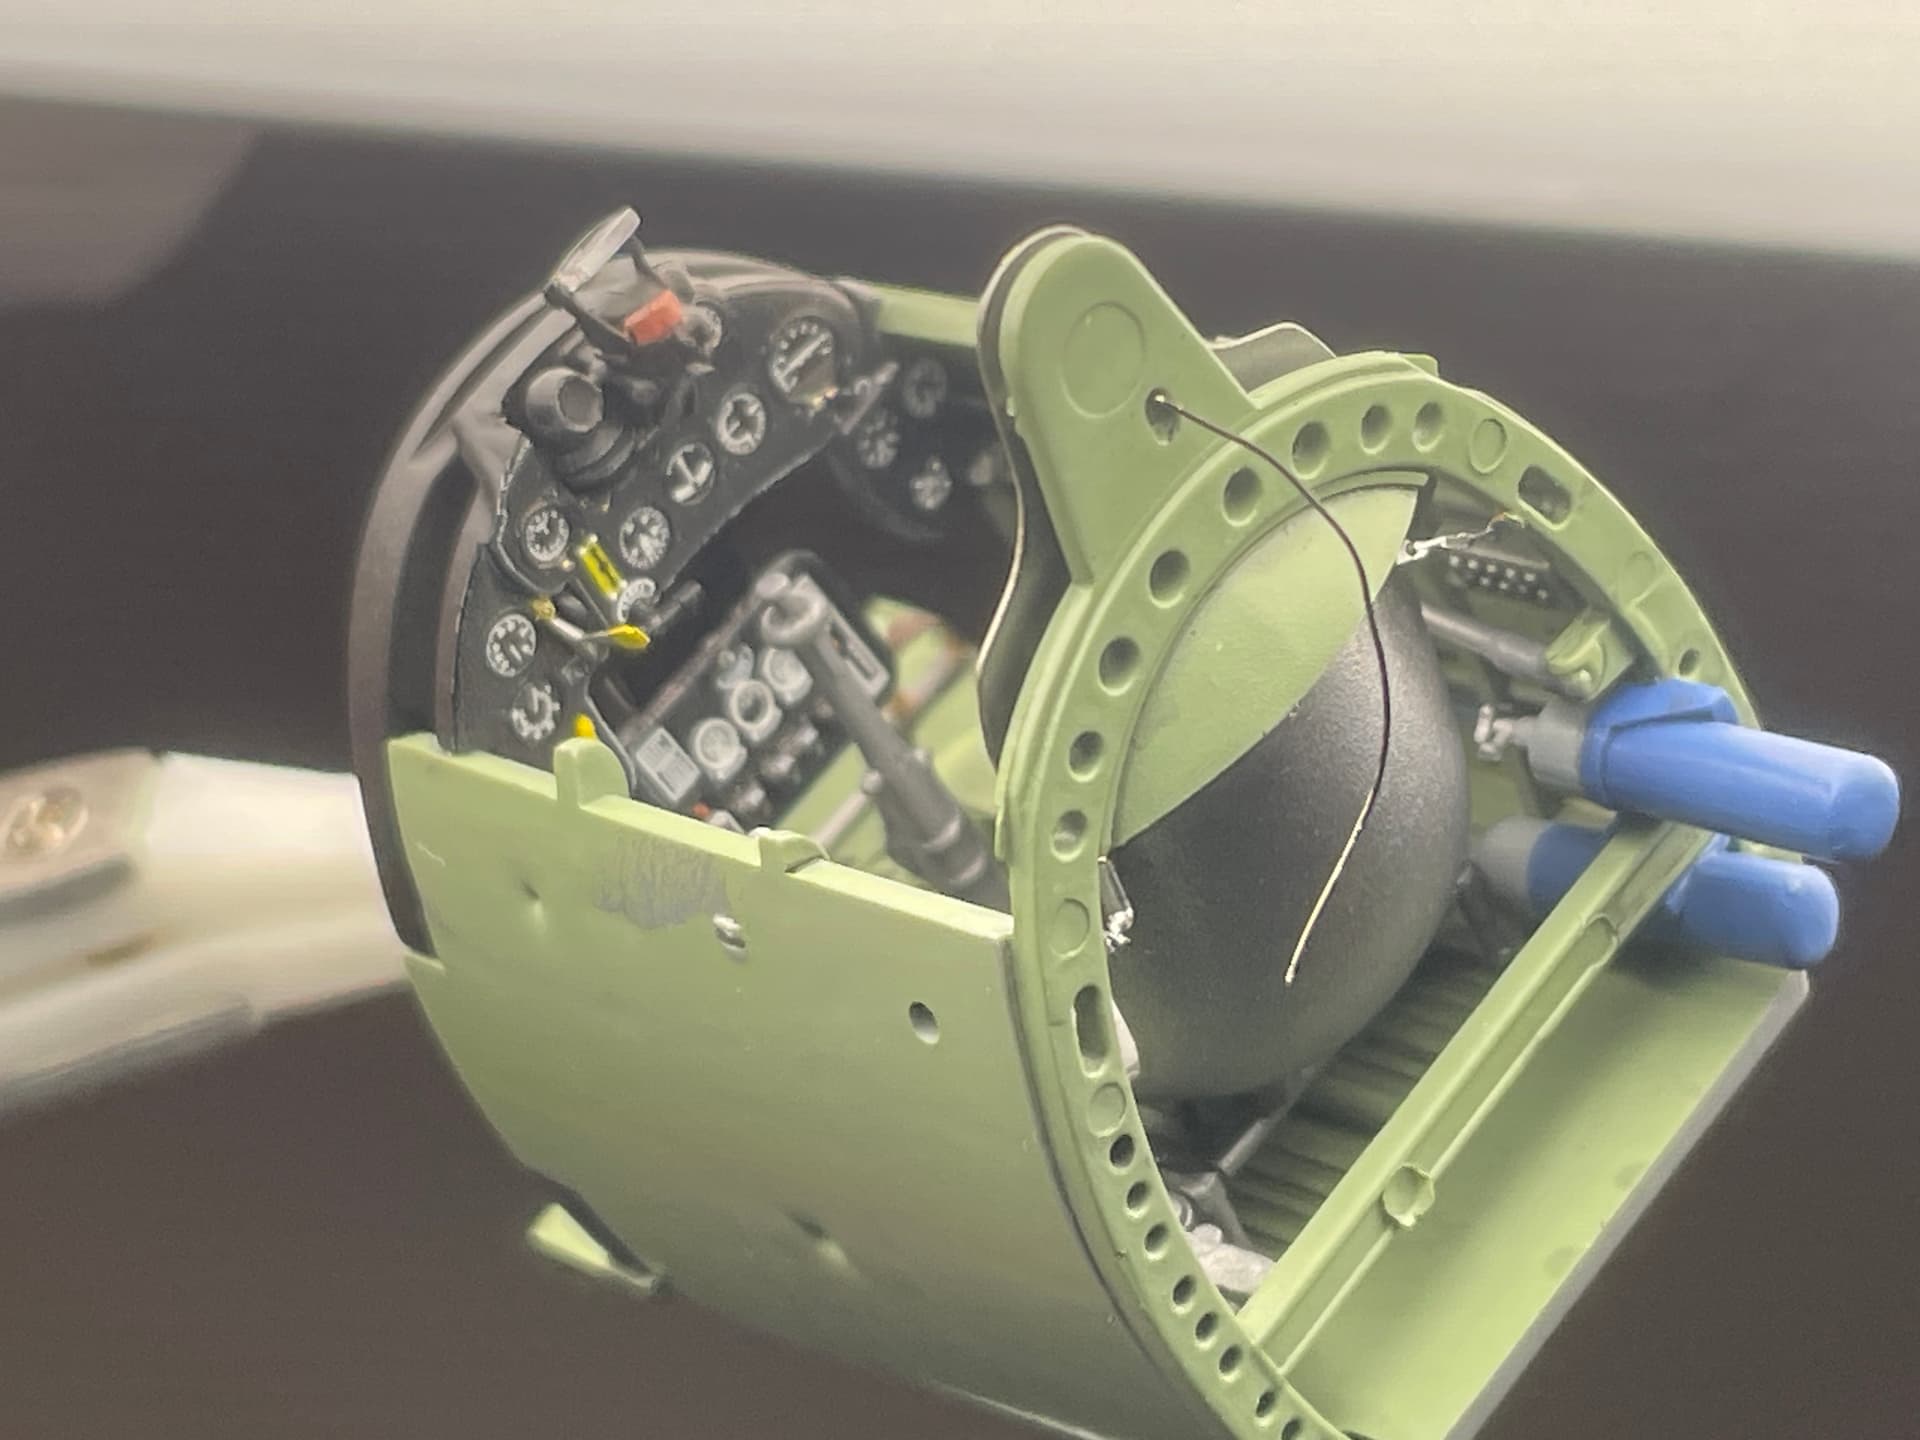
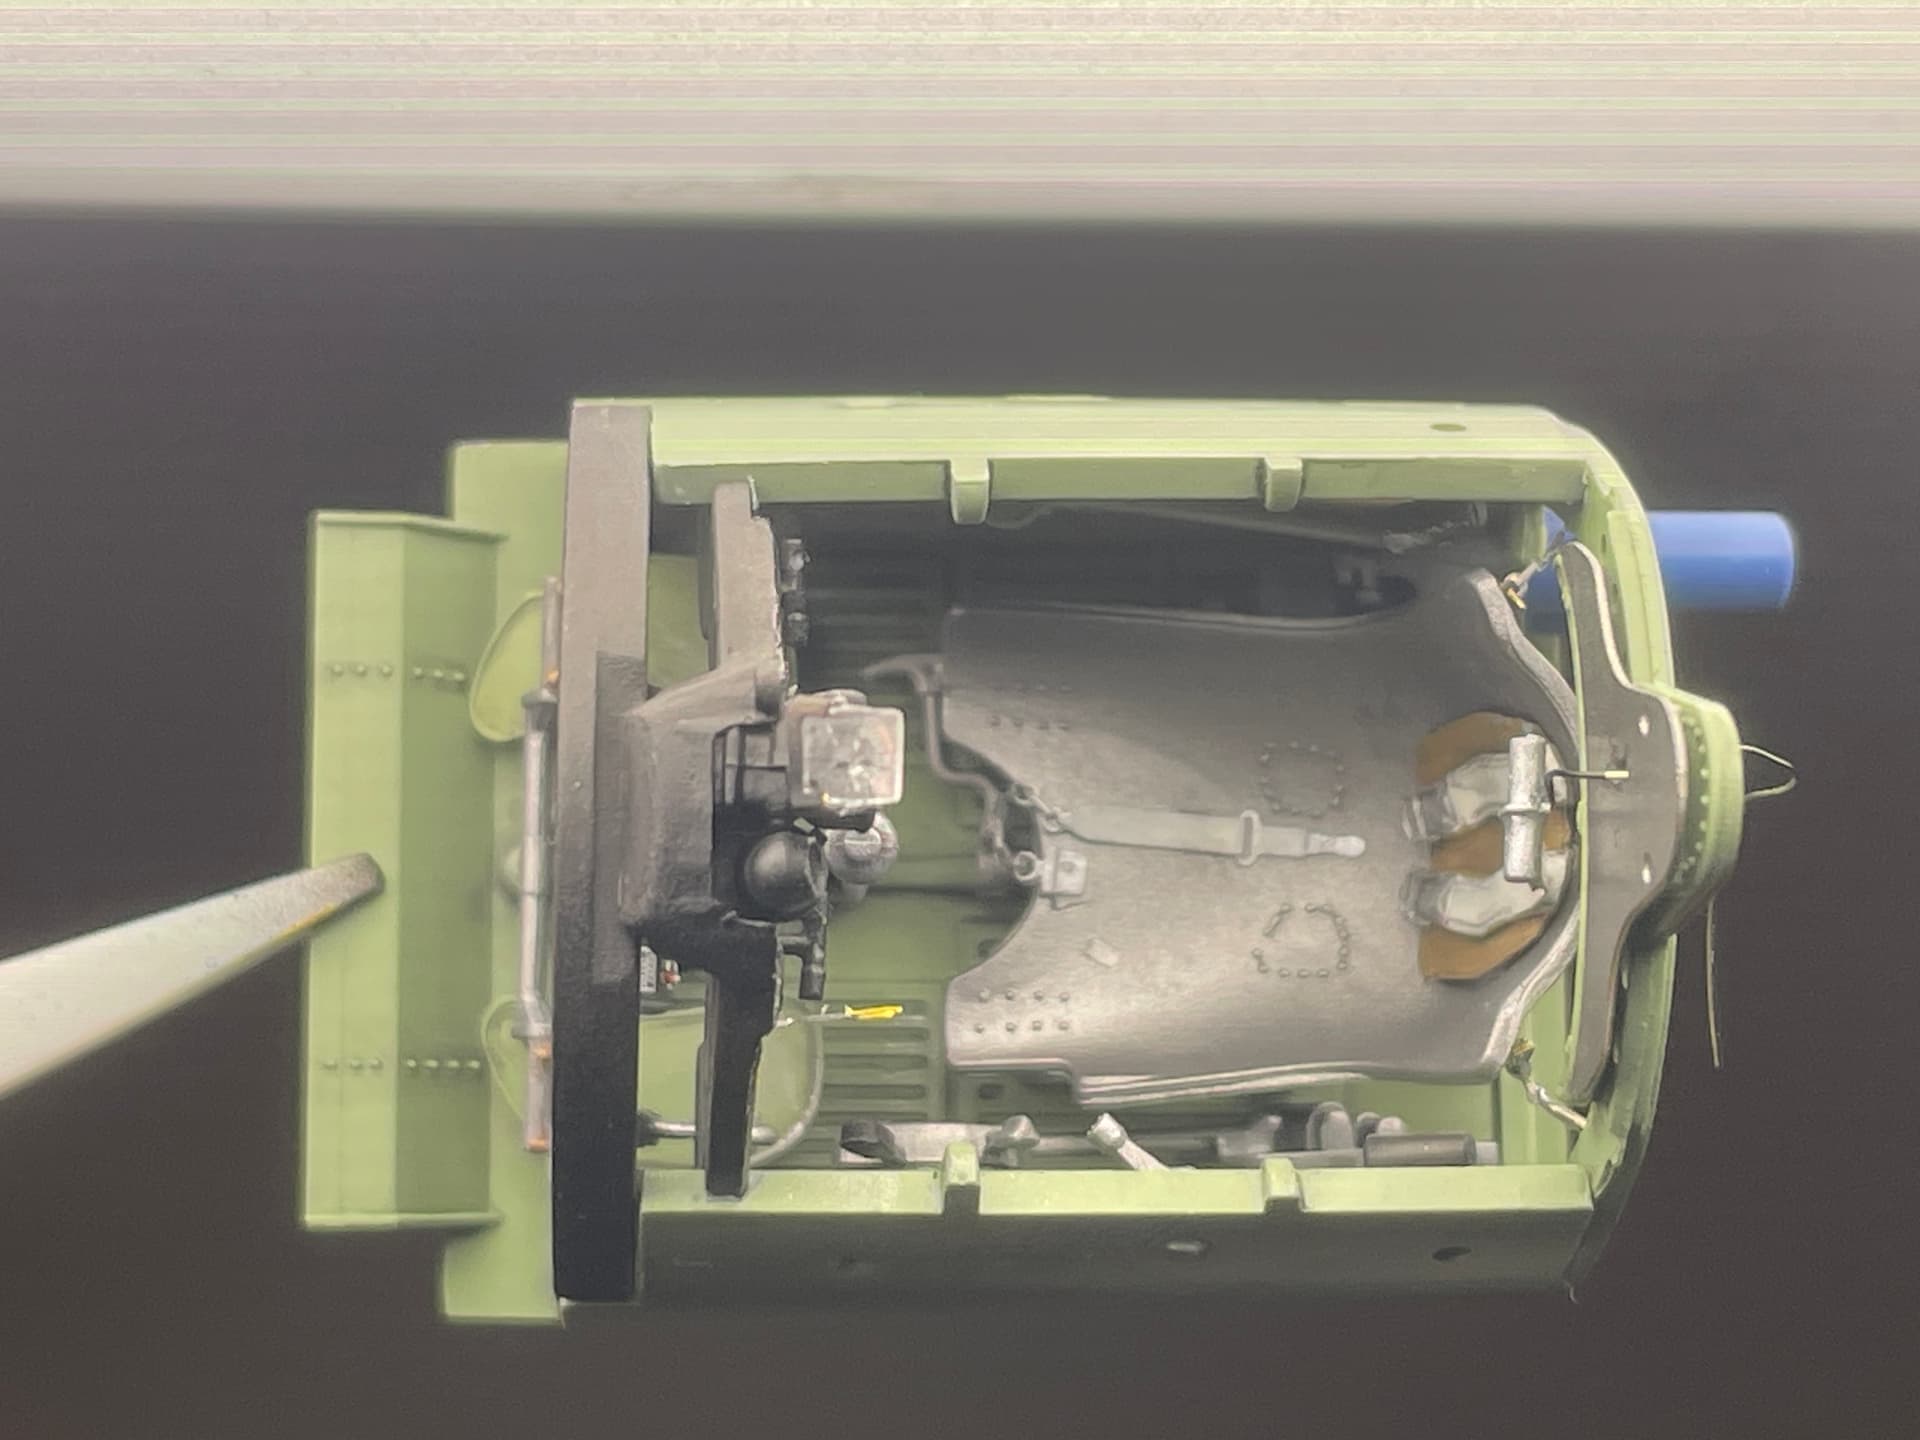
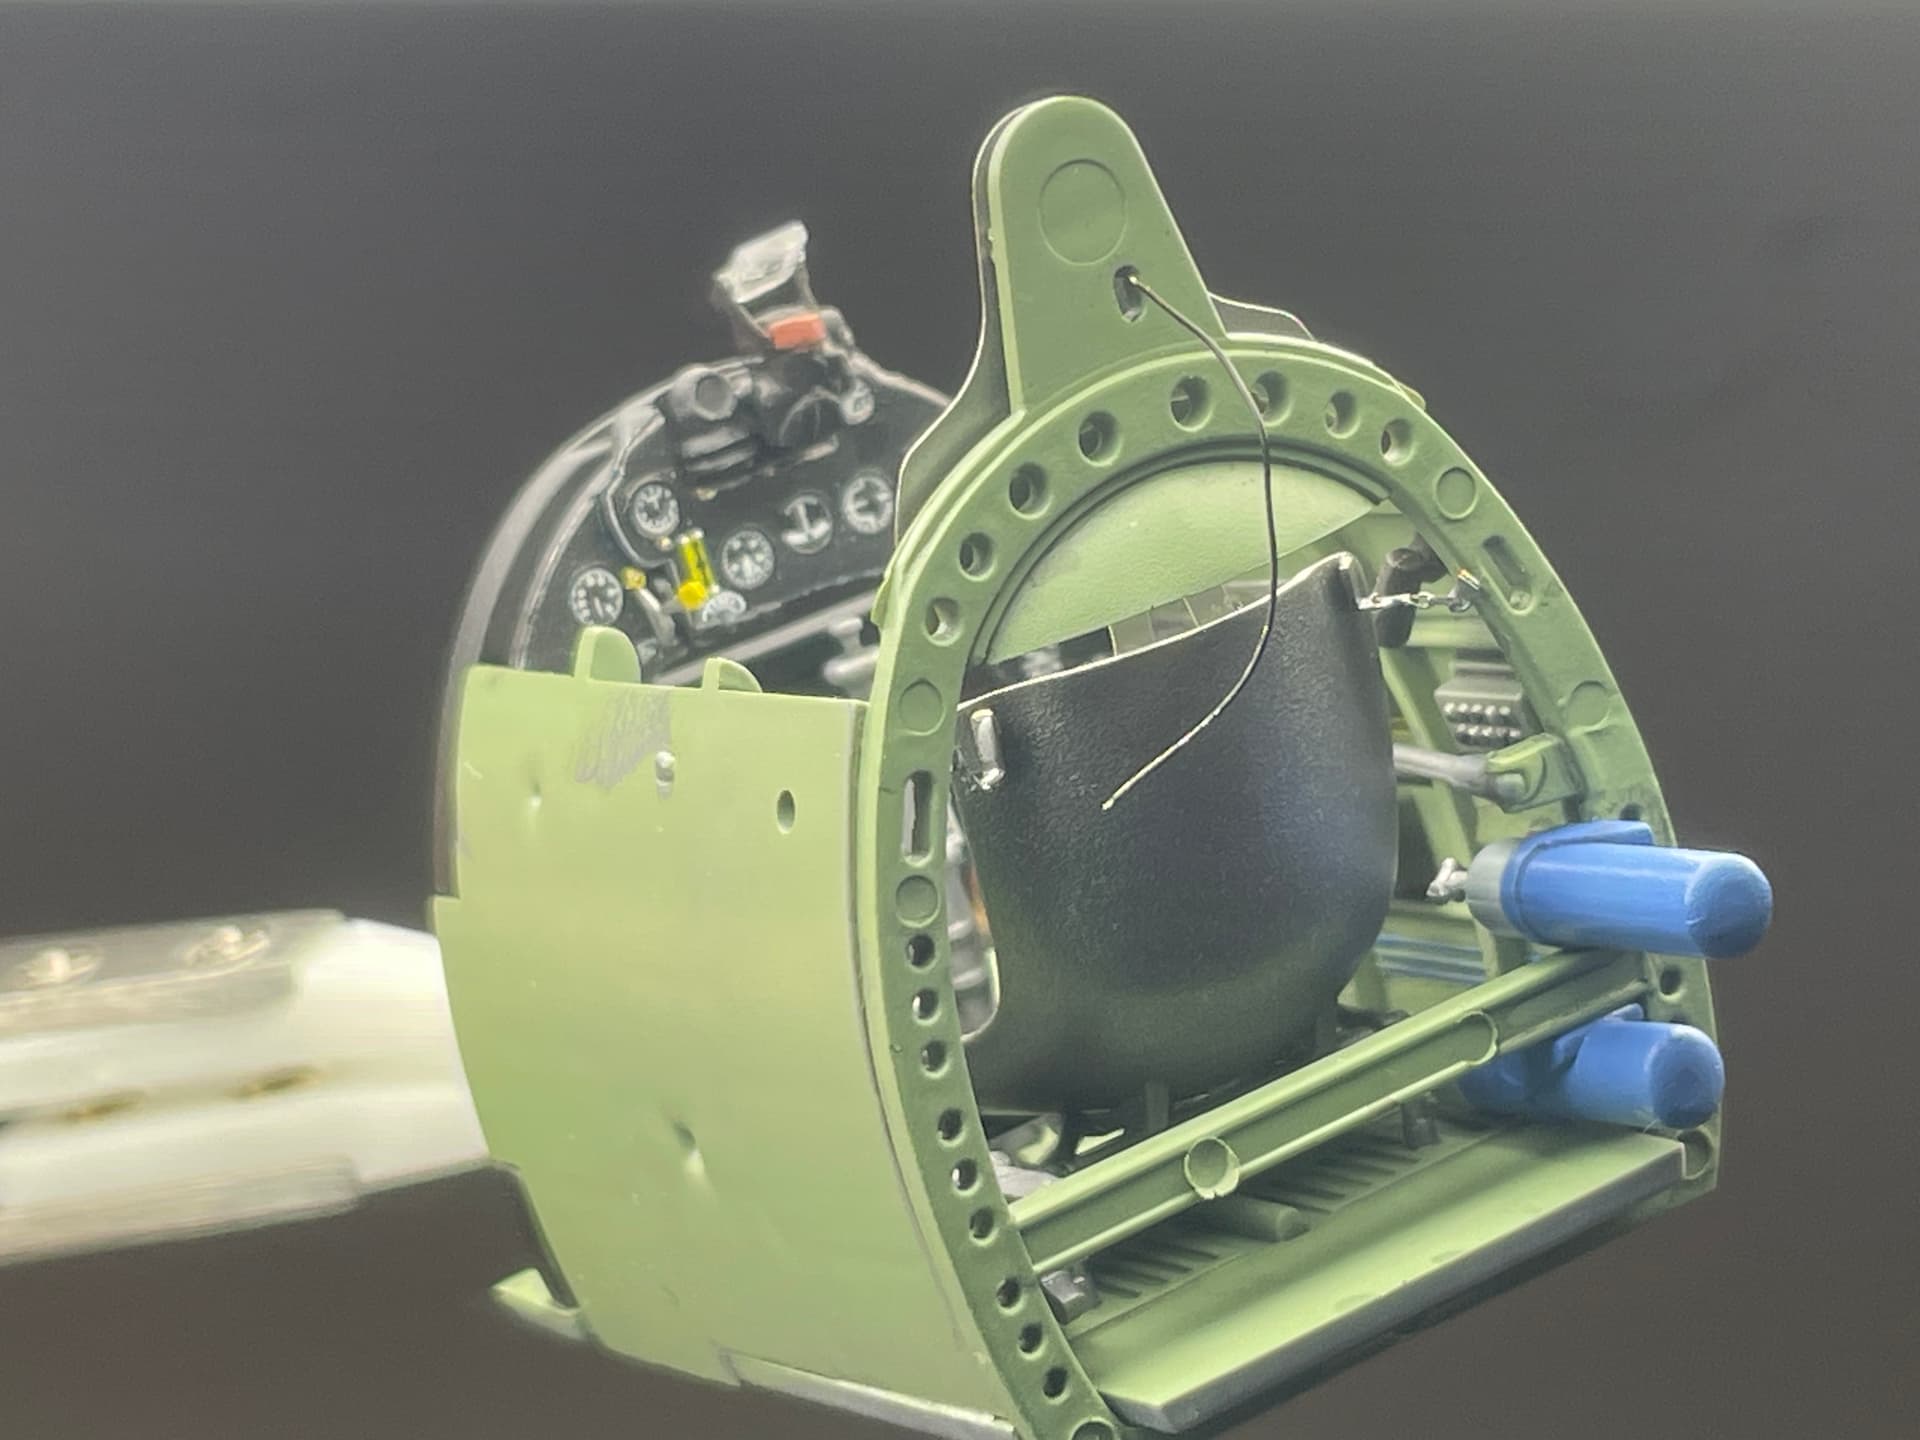
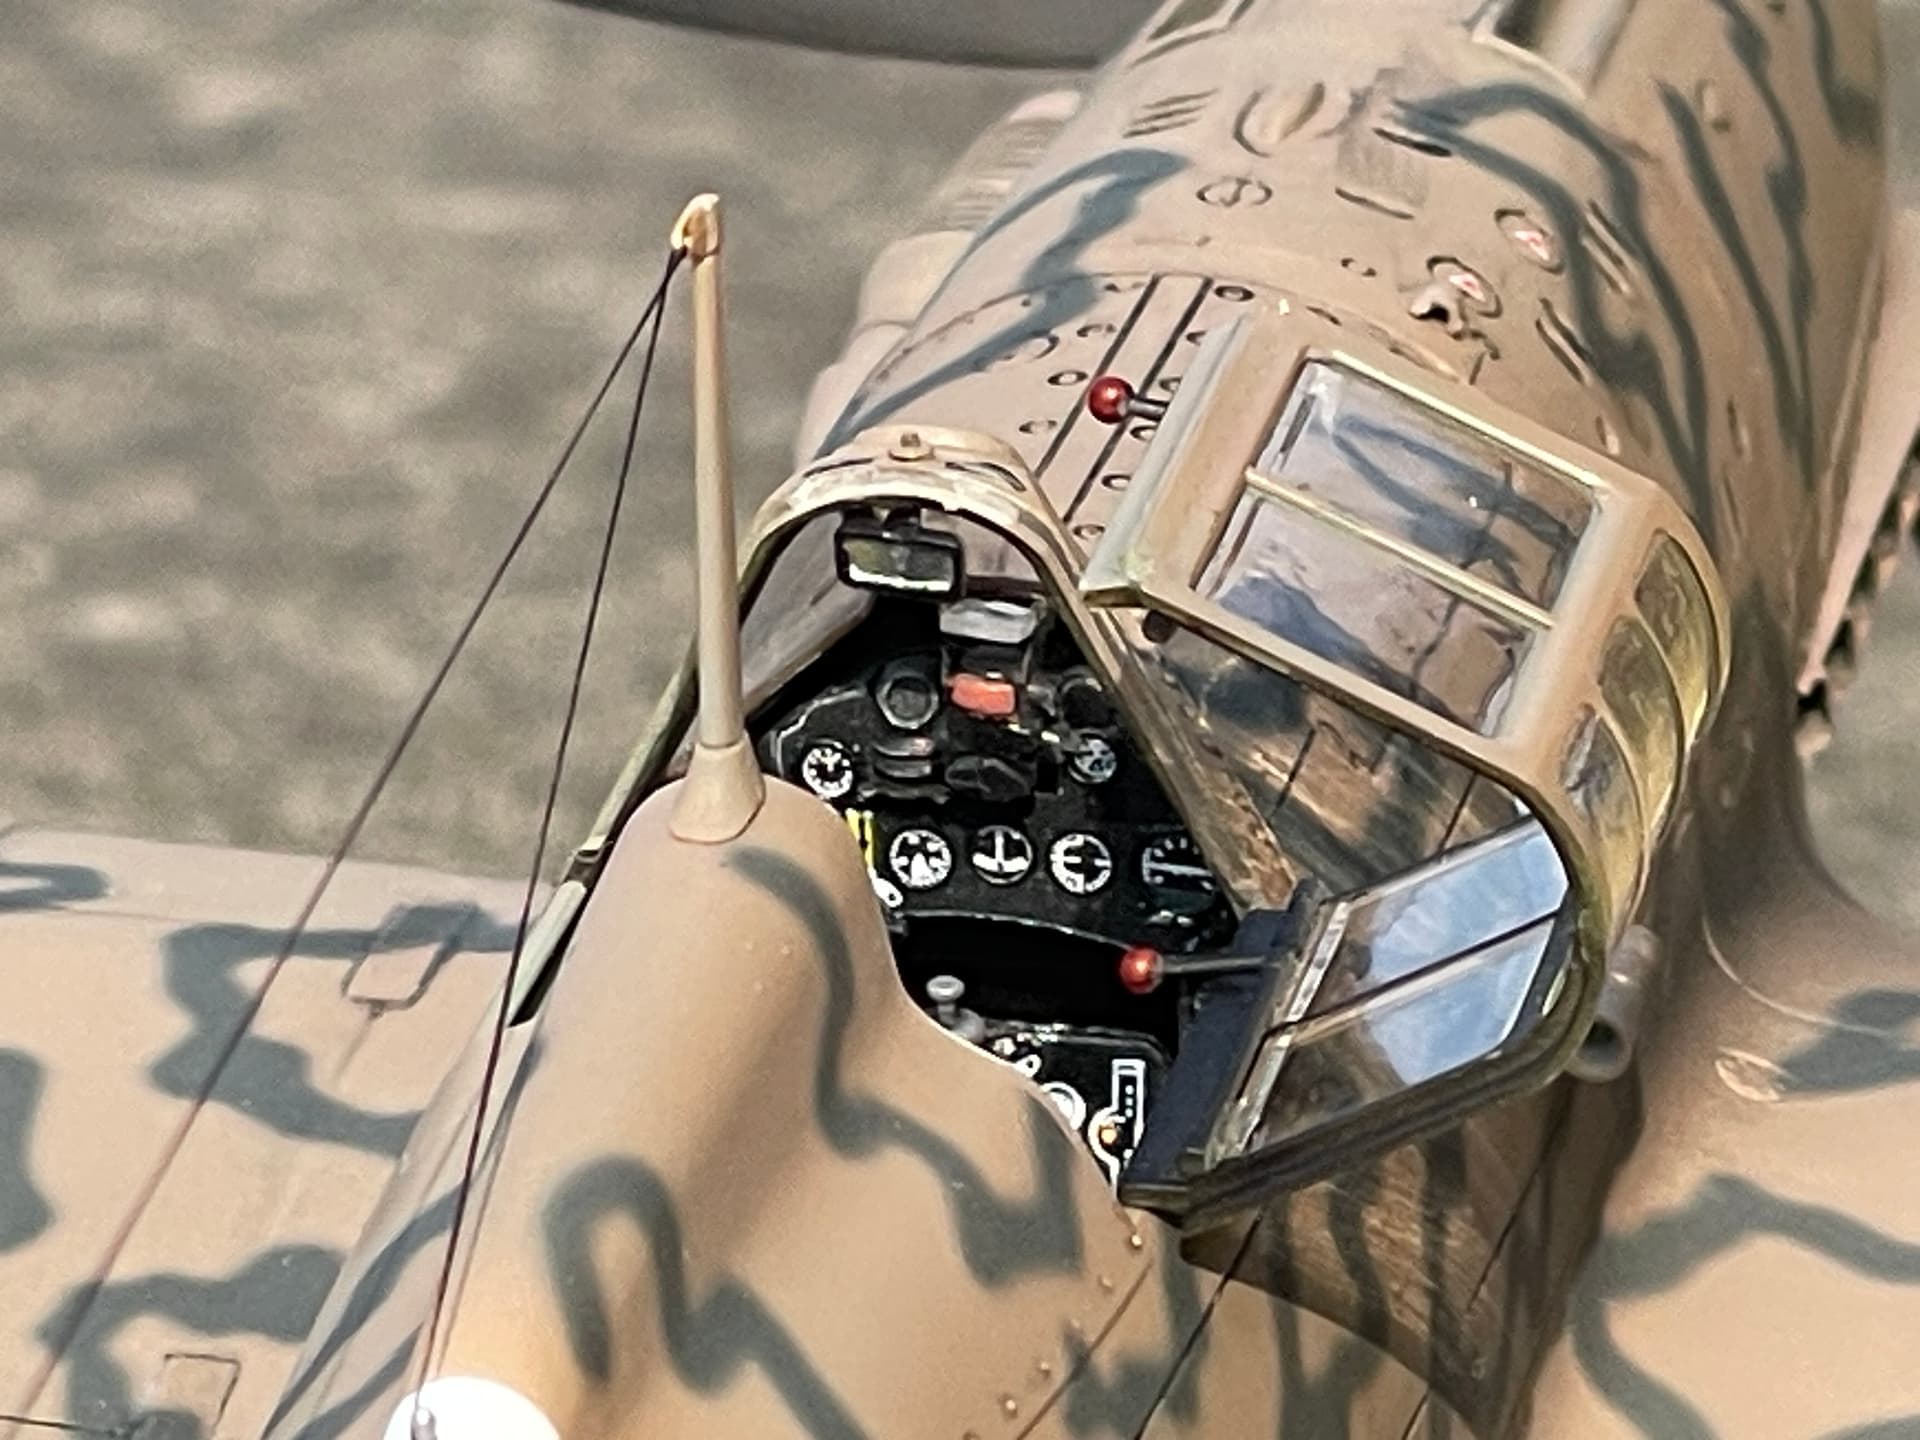
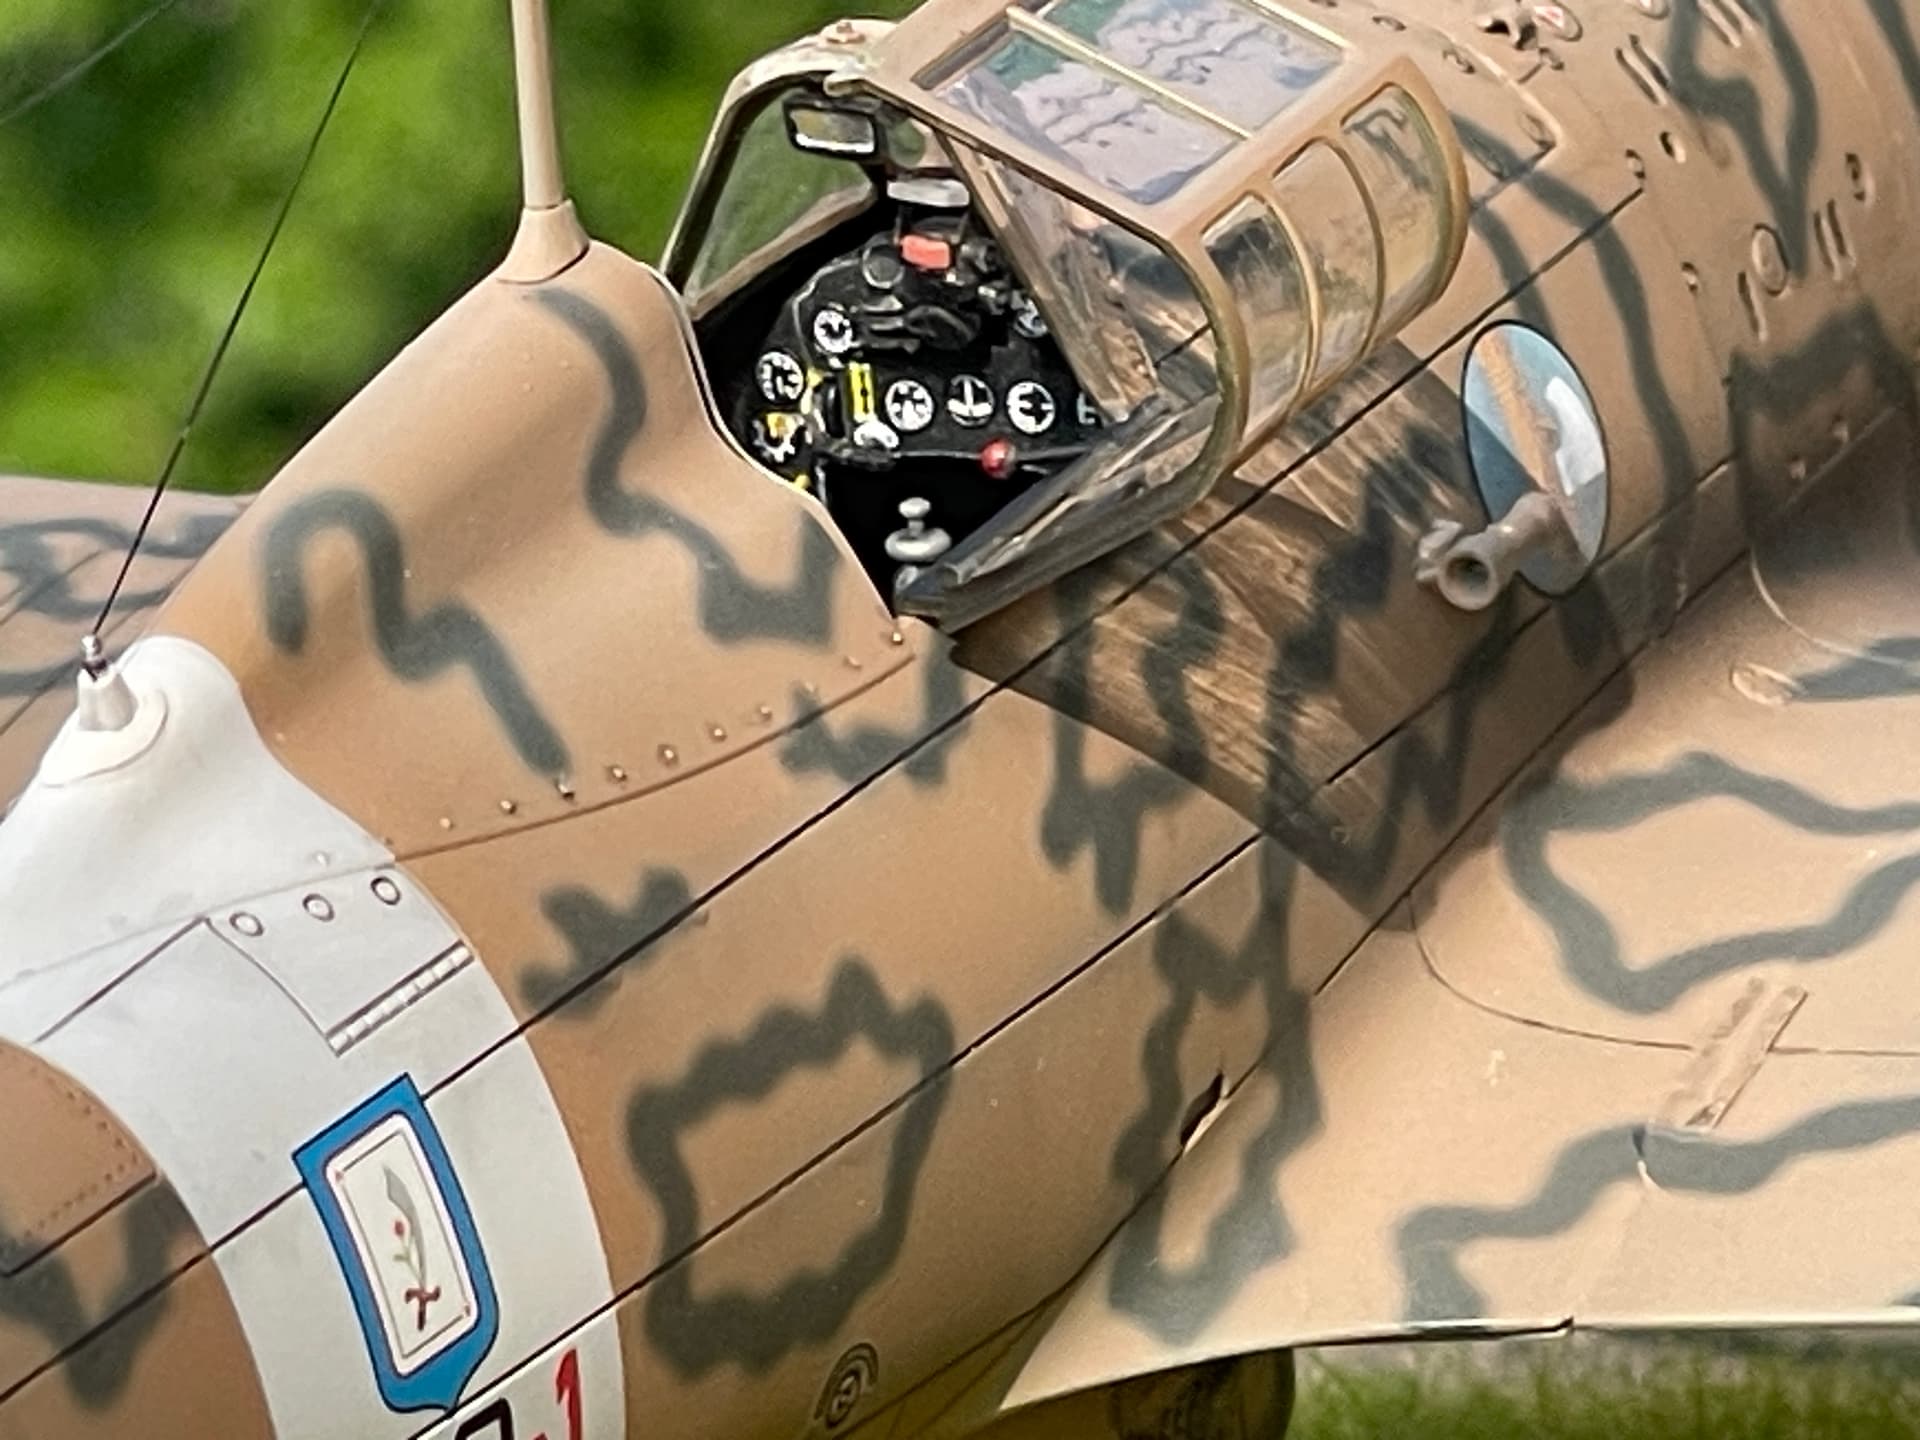
The cockpit was positioned between the two half-fuselages that closed with an acceptable precision. The use of filler and, mainly of CA glue, in the joints was limited and the little sanding, where necessary, was facilitated by the substantial lack of details to preserve in the areas concerned.
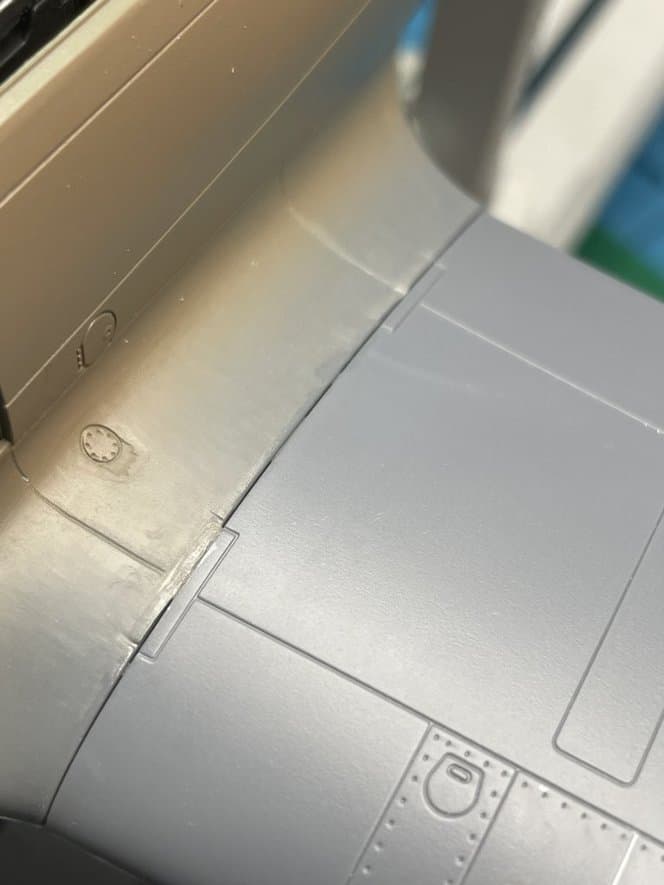
The next step was to assemble the two upper shells of the wings and here the pain begins…
As you can see the gap with the wing roots is very large but not only that. The planes of the wing root and the wing are staggered, in addition to the gap so we have a step.
You know, I already said, I never really fell in love with this kit, too many inaccuracies and approximations, so I decided to experiment. I wanted to try a new method (for me) to fill this gap without having to intervene with sandpaper in a heavy way. I filled the cracks with transparent UV-curing resin, trying as much as possible to also connect the staggering of the planes. The excess can be easily removed before polymerizing with a finger or a rubber spatula.
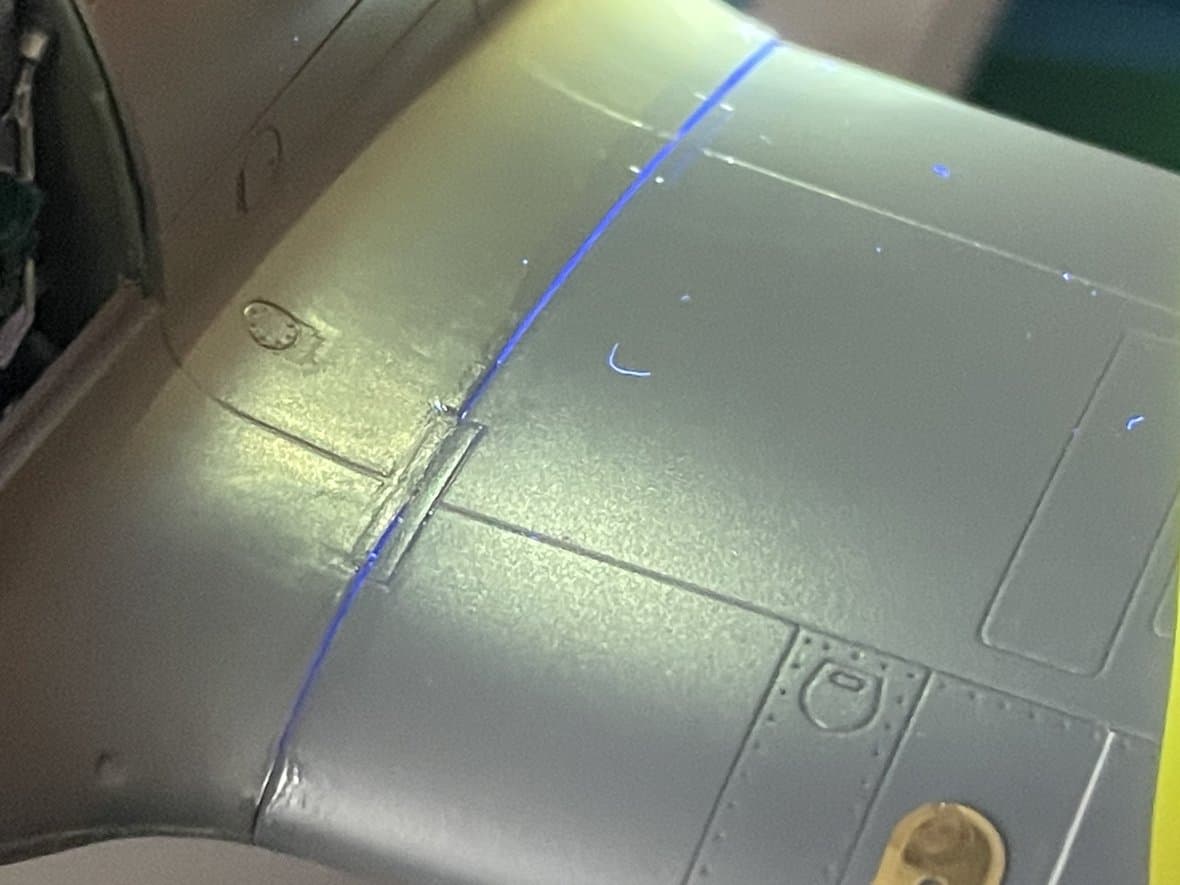
Watch what happens after polymerization and turning on the UV torch again..
Given the starting situation and the total inexperience with this method, I would say that we can be moderately satisfied.
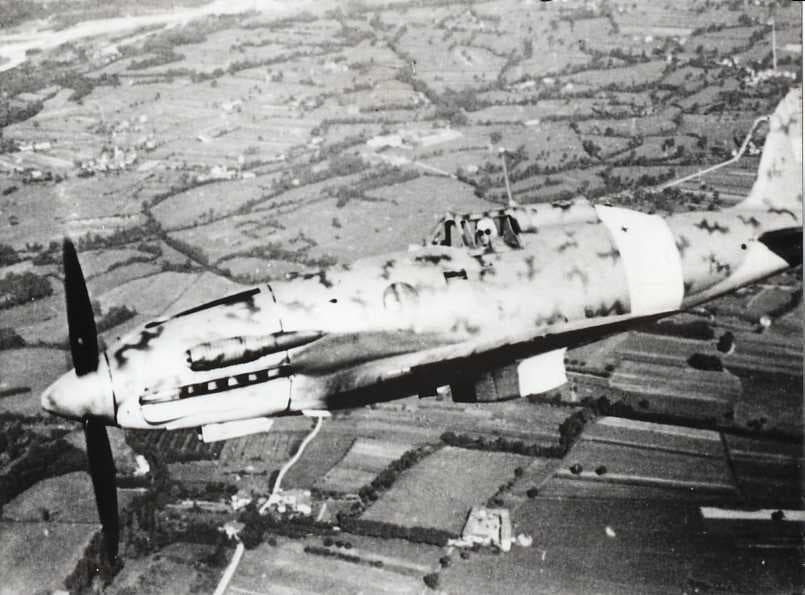
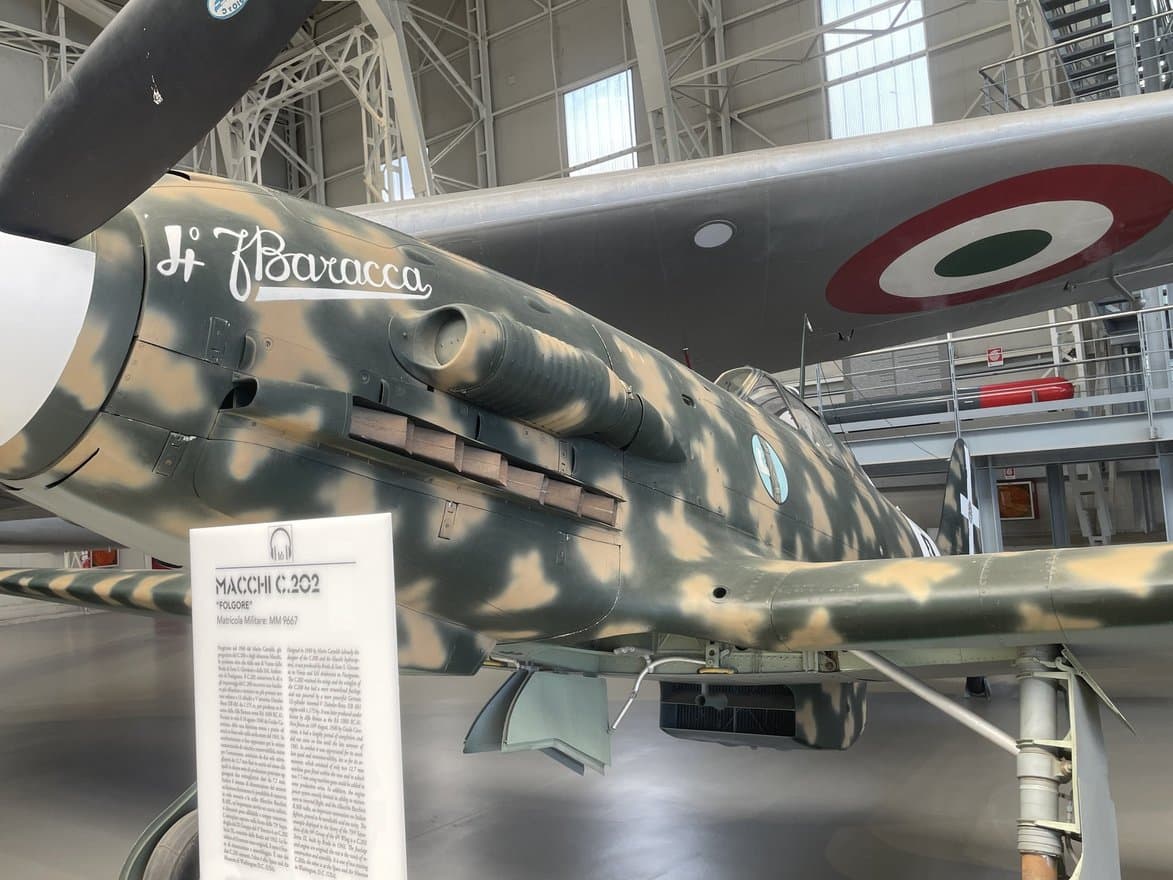
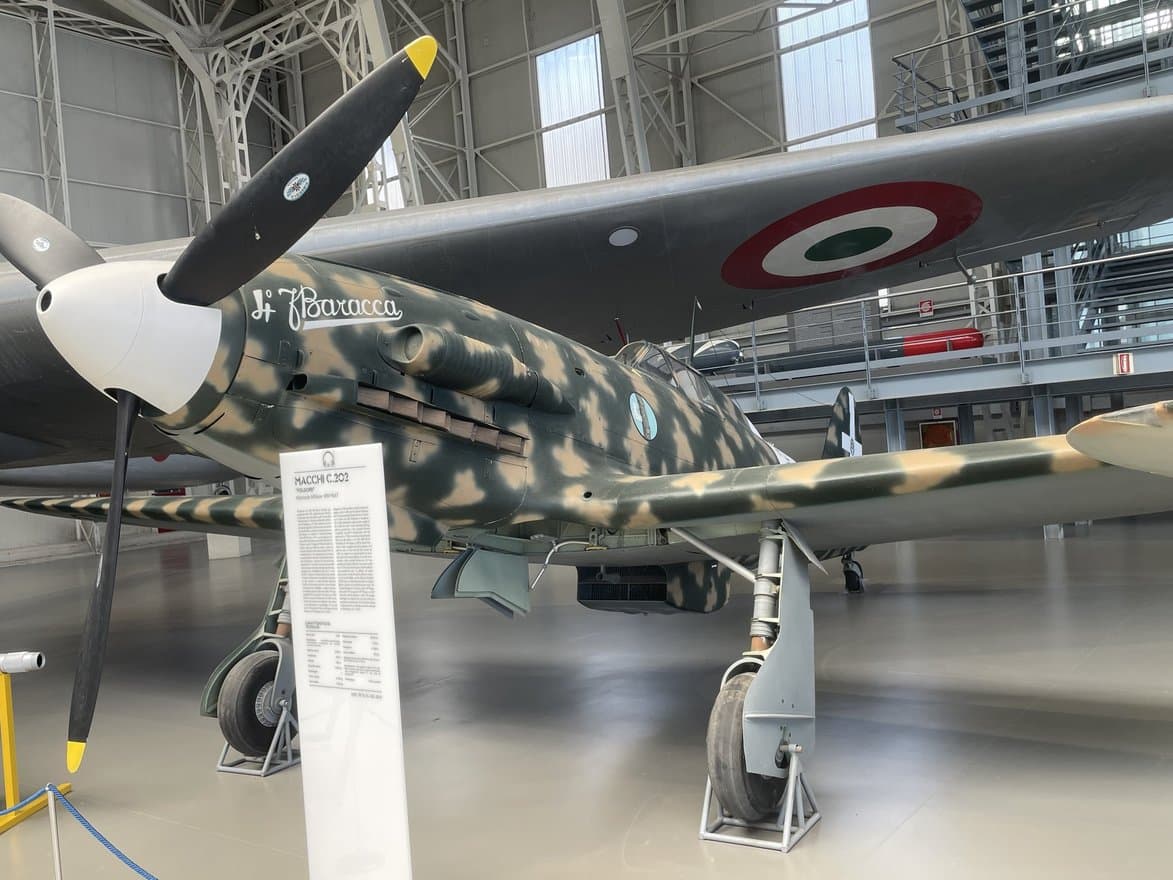
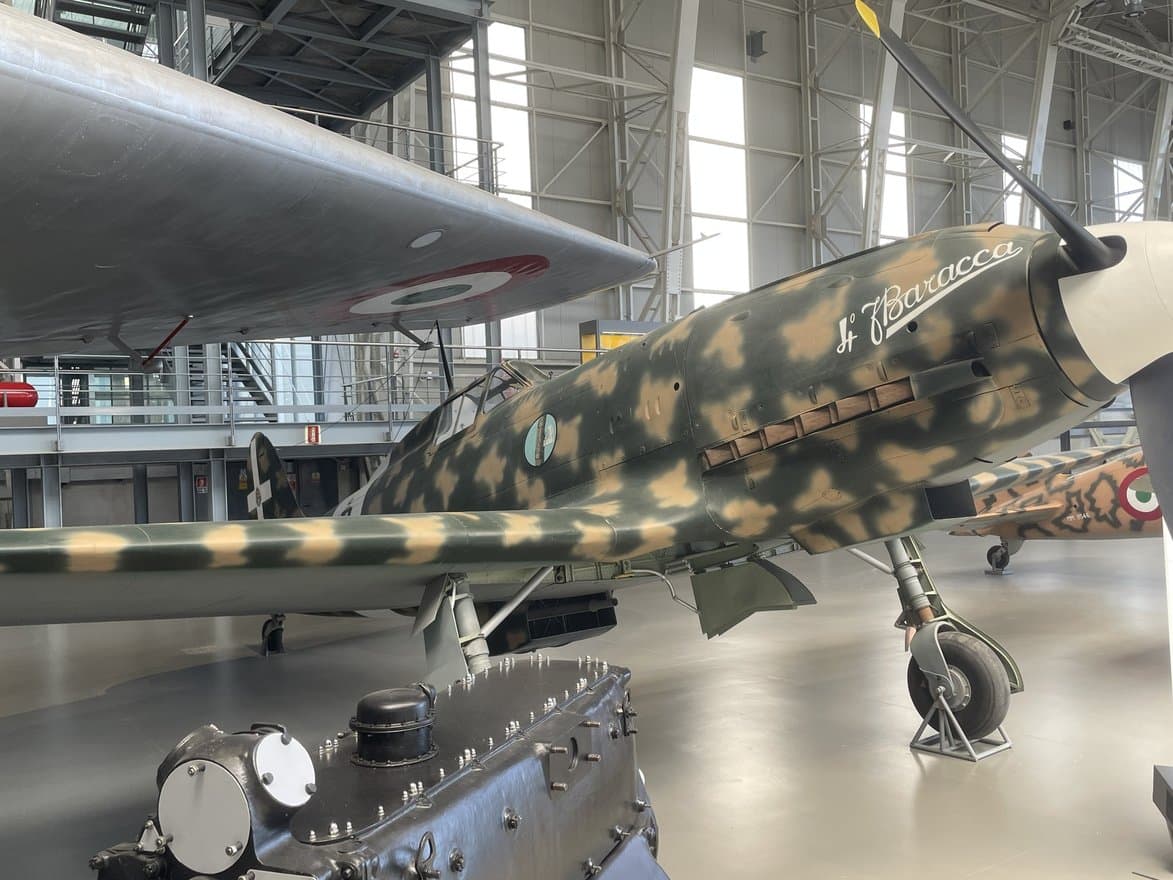
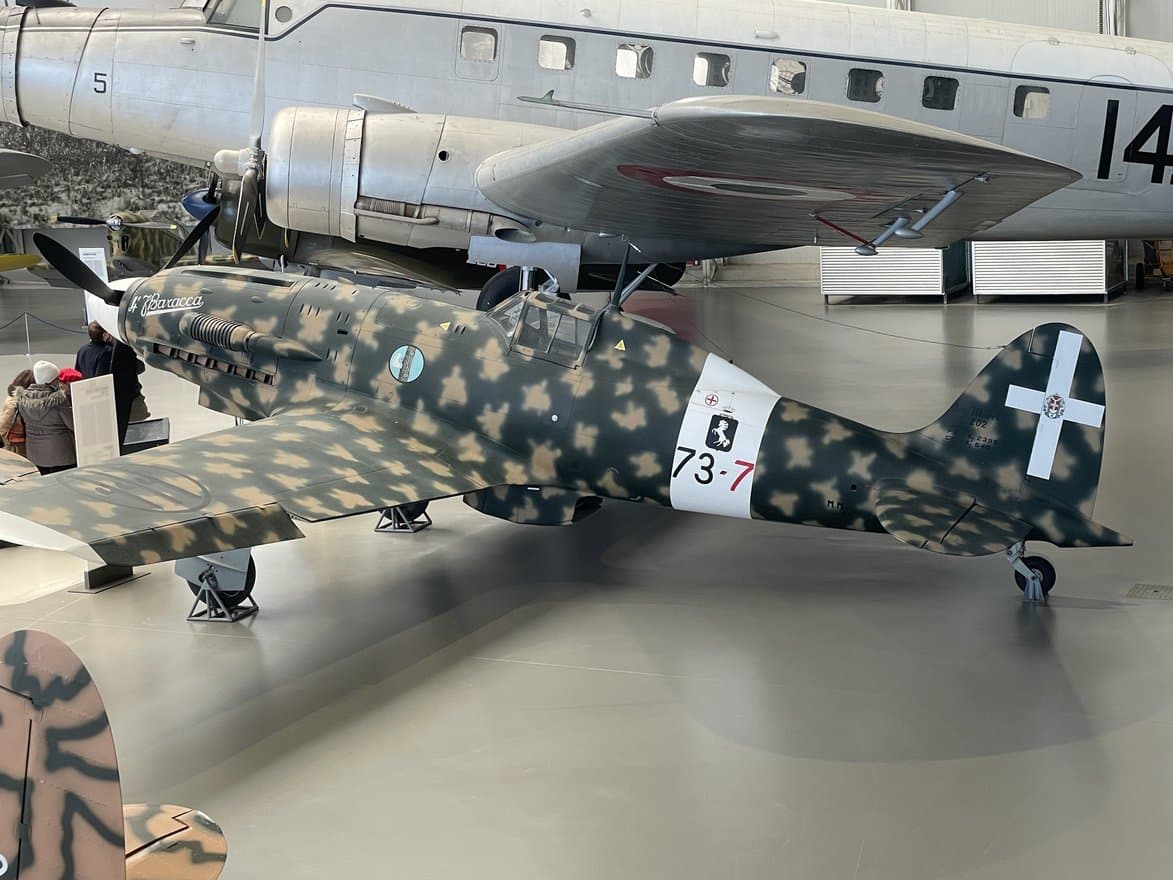
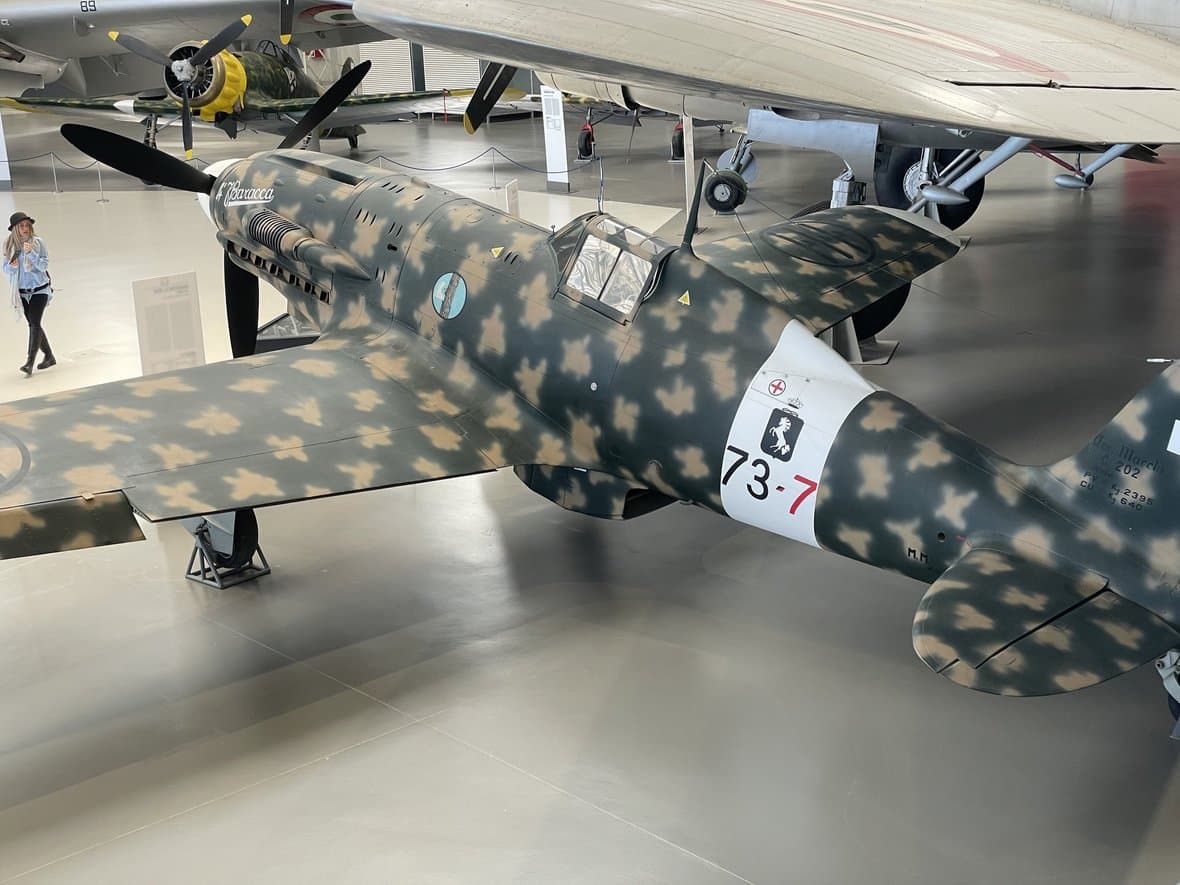
Even in real life the demarcation was clear and well visible.
(MC 205 but same structure)
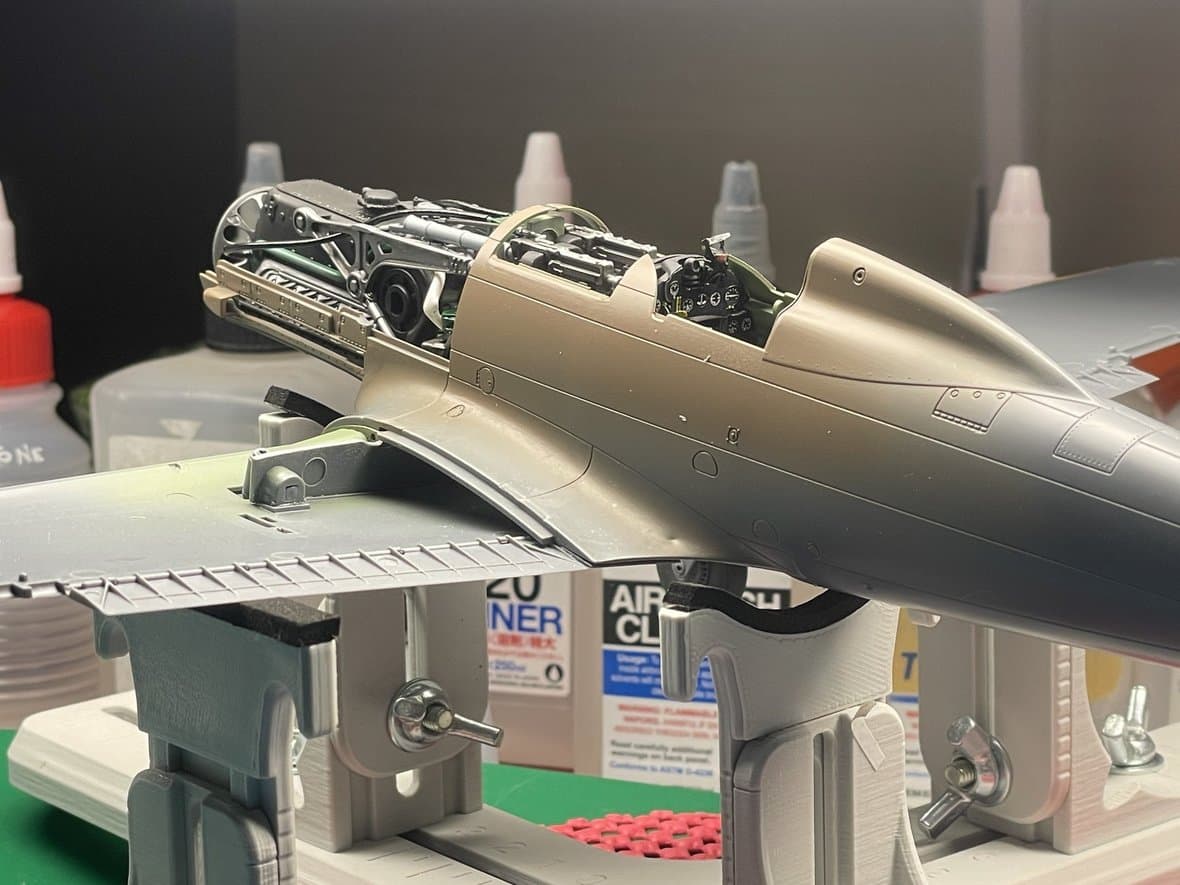
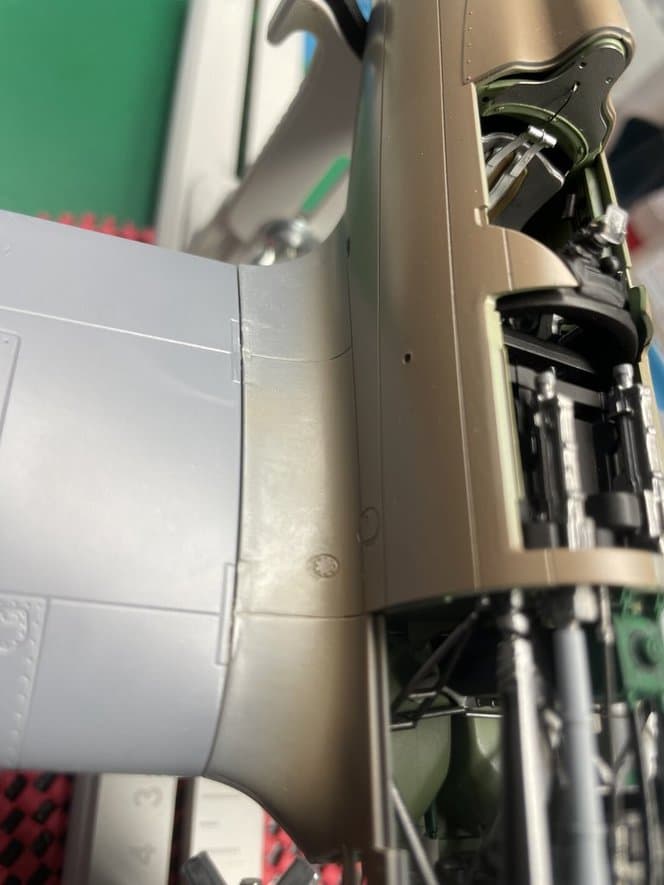
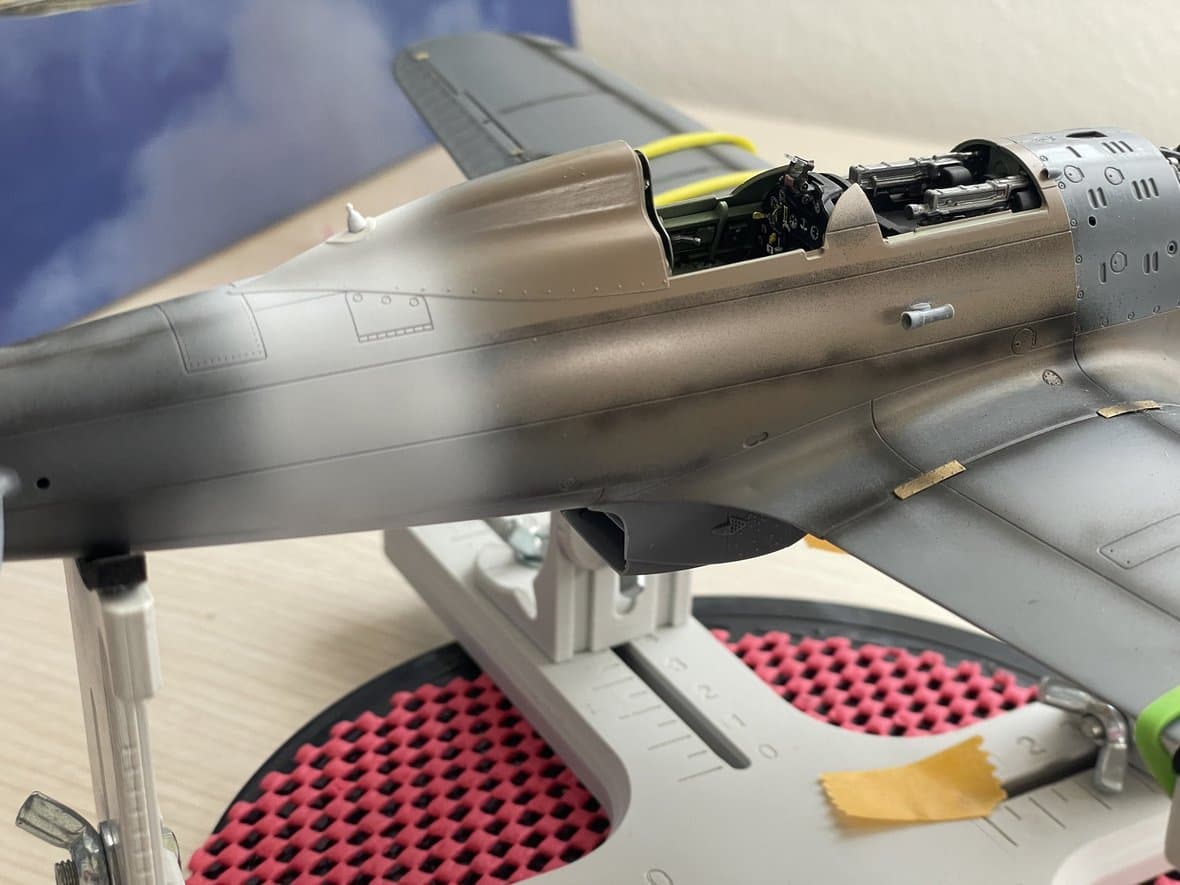
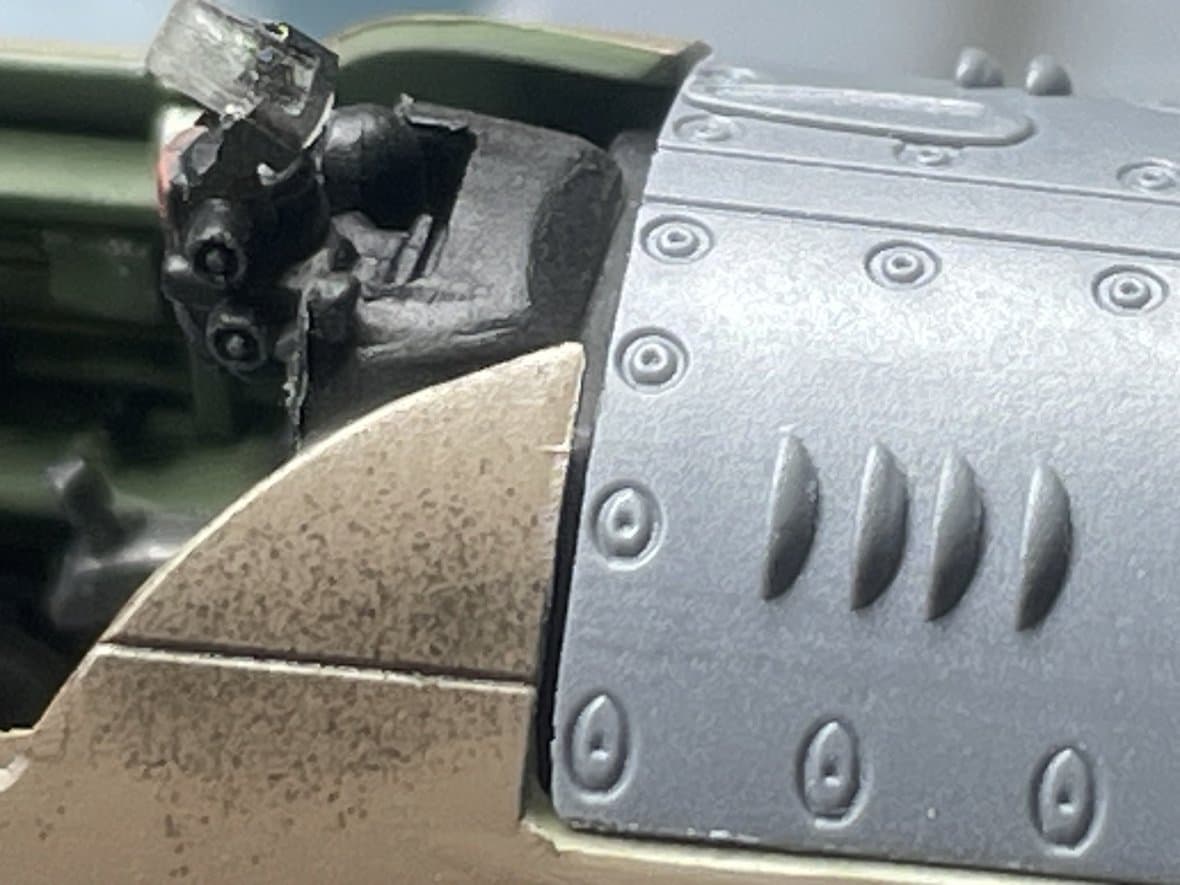
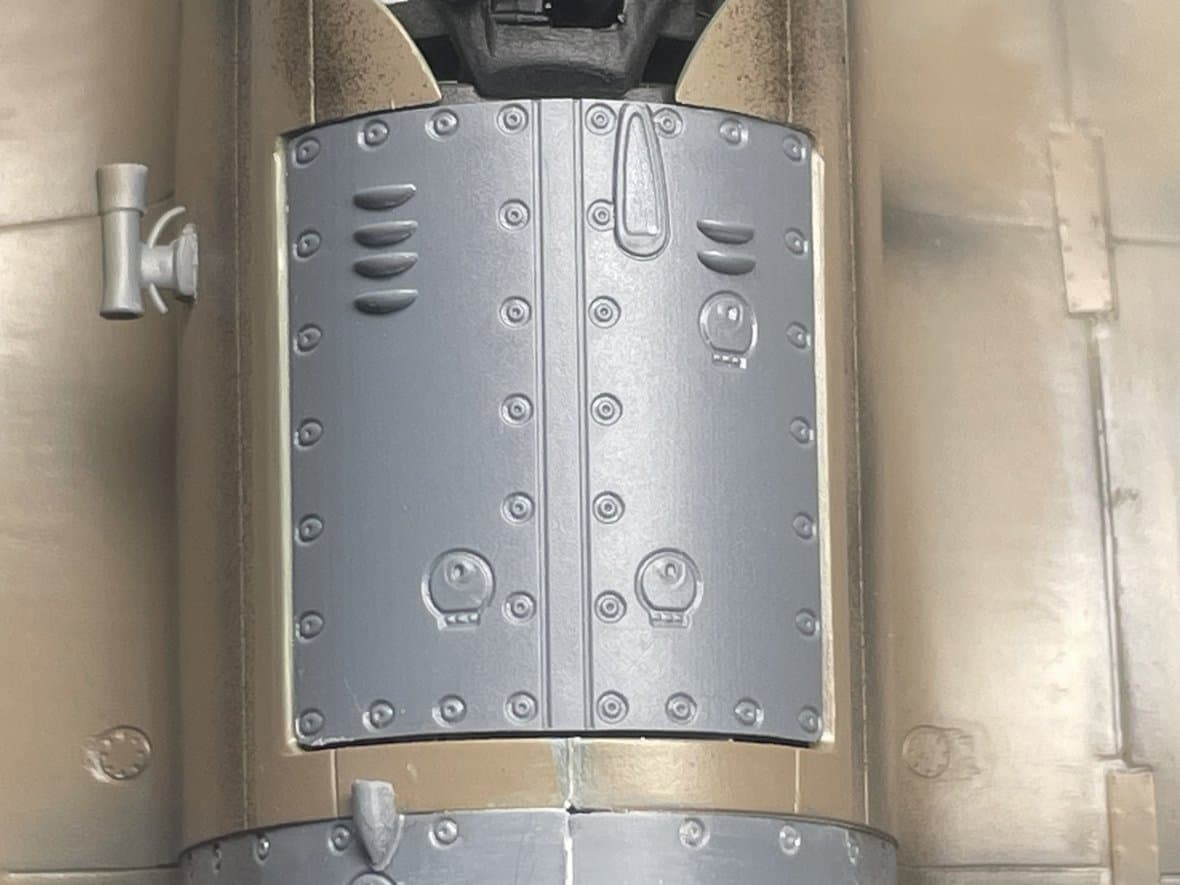
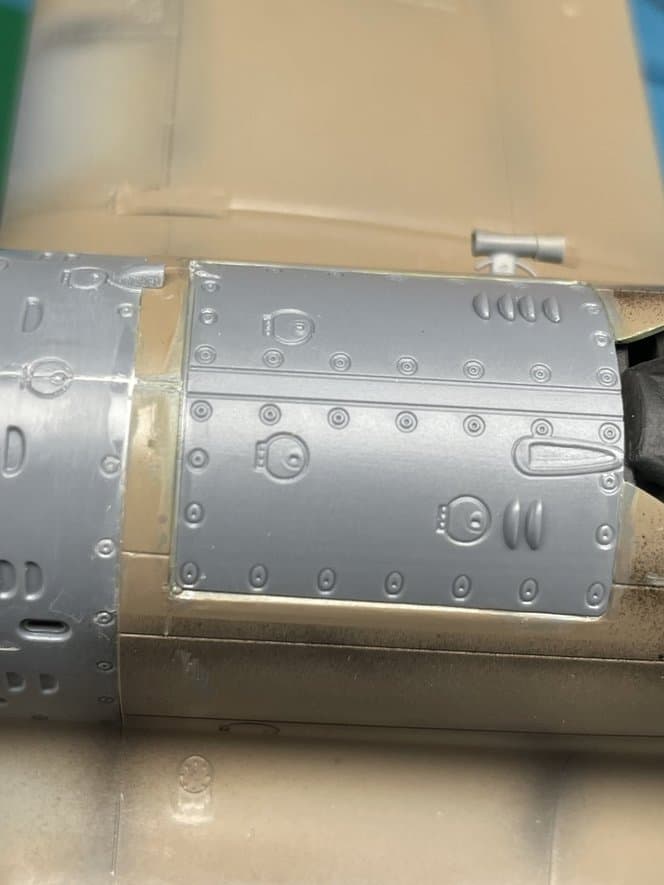
Now let’s move on to the cover of the machine gun compartment. What can I say? Even worse…
The cowling is positioned in a space obtained during the molding of the two half-holes that, joining together, create the housing for the cowling itself. The resulting space is both too long and too wide compared to the dimensions of the cowling.
I thought it would be better to align it with the cockpit and fill the space at the front by inserting a heated casting wire and stretched until it reached an adequate thickness.
On the sides, the same procedure with much thinner wires. Unfortunately, there is a step between the cowling and the fuselage that I thought of leaving as it is, under penalty of destroying a surface detail that is difficult to re-engrave and a thinning of the fuselage that is too evident.
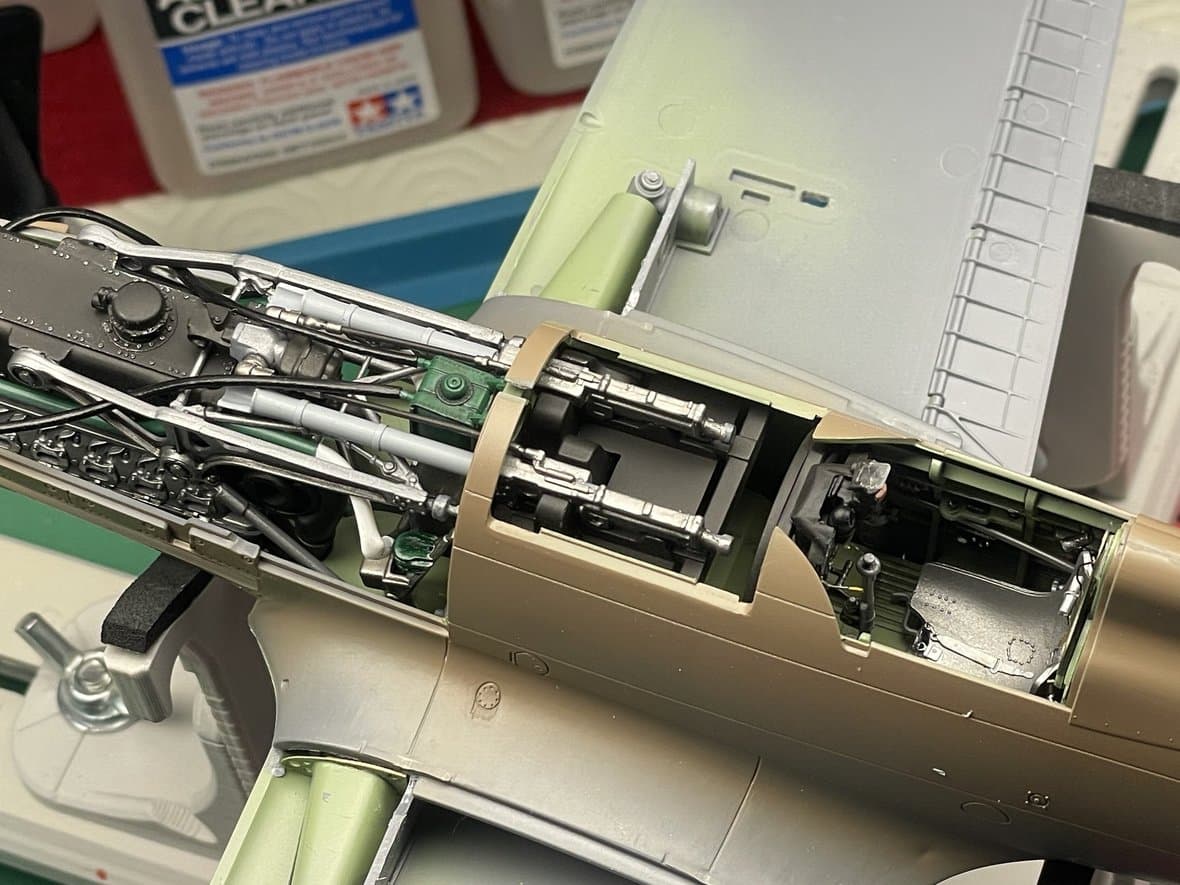
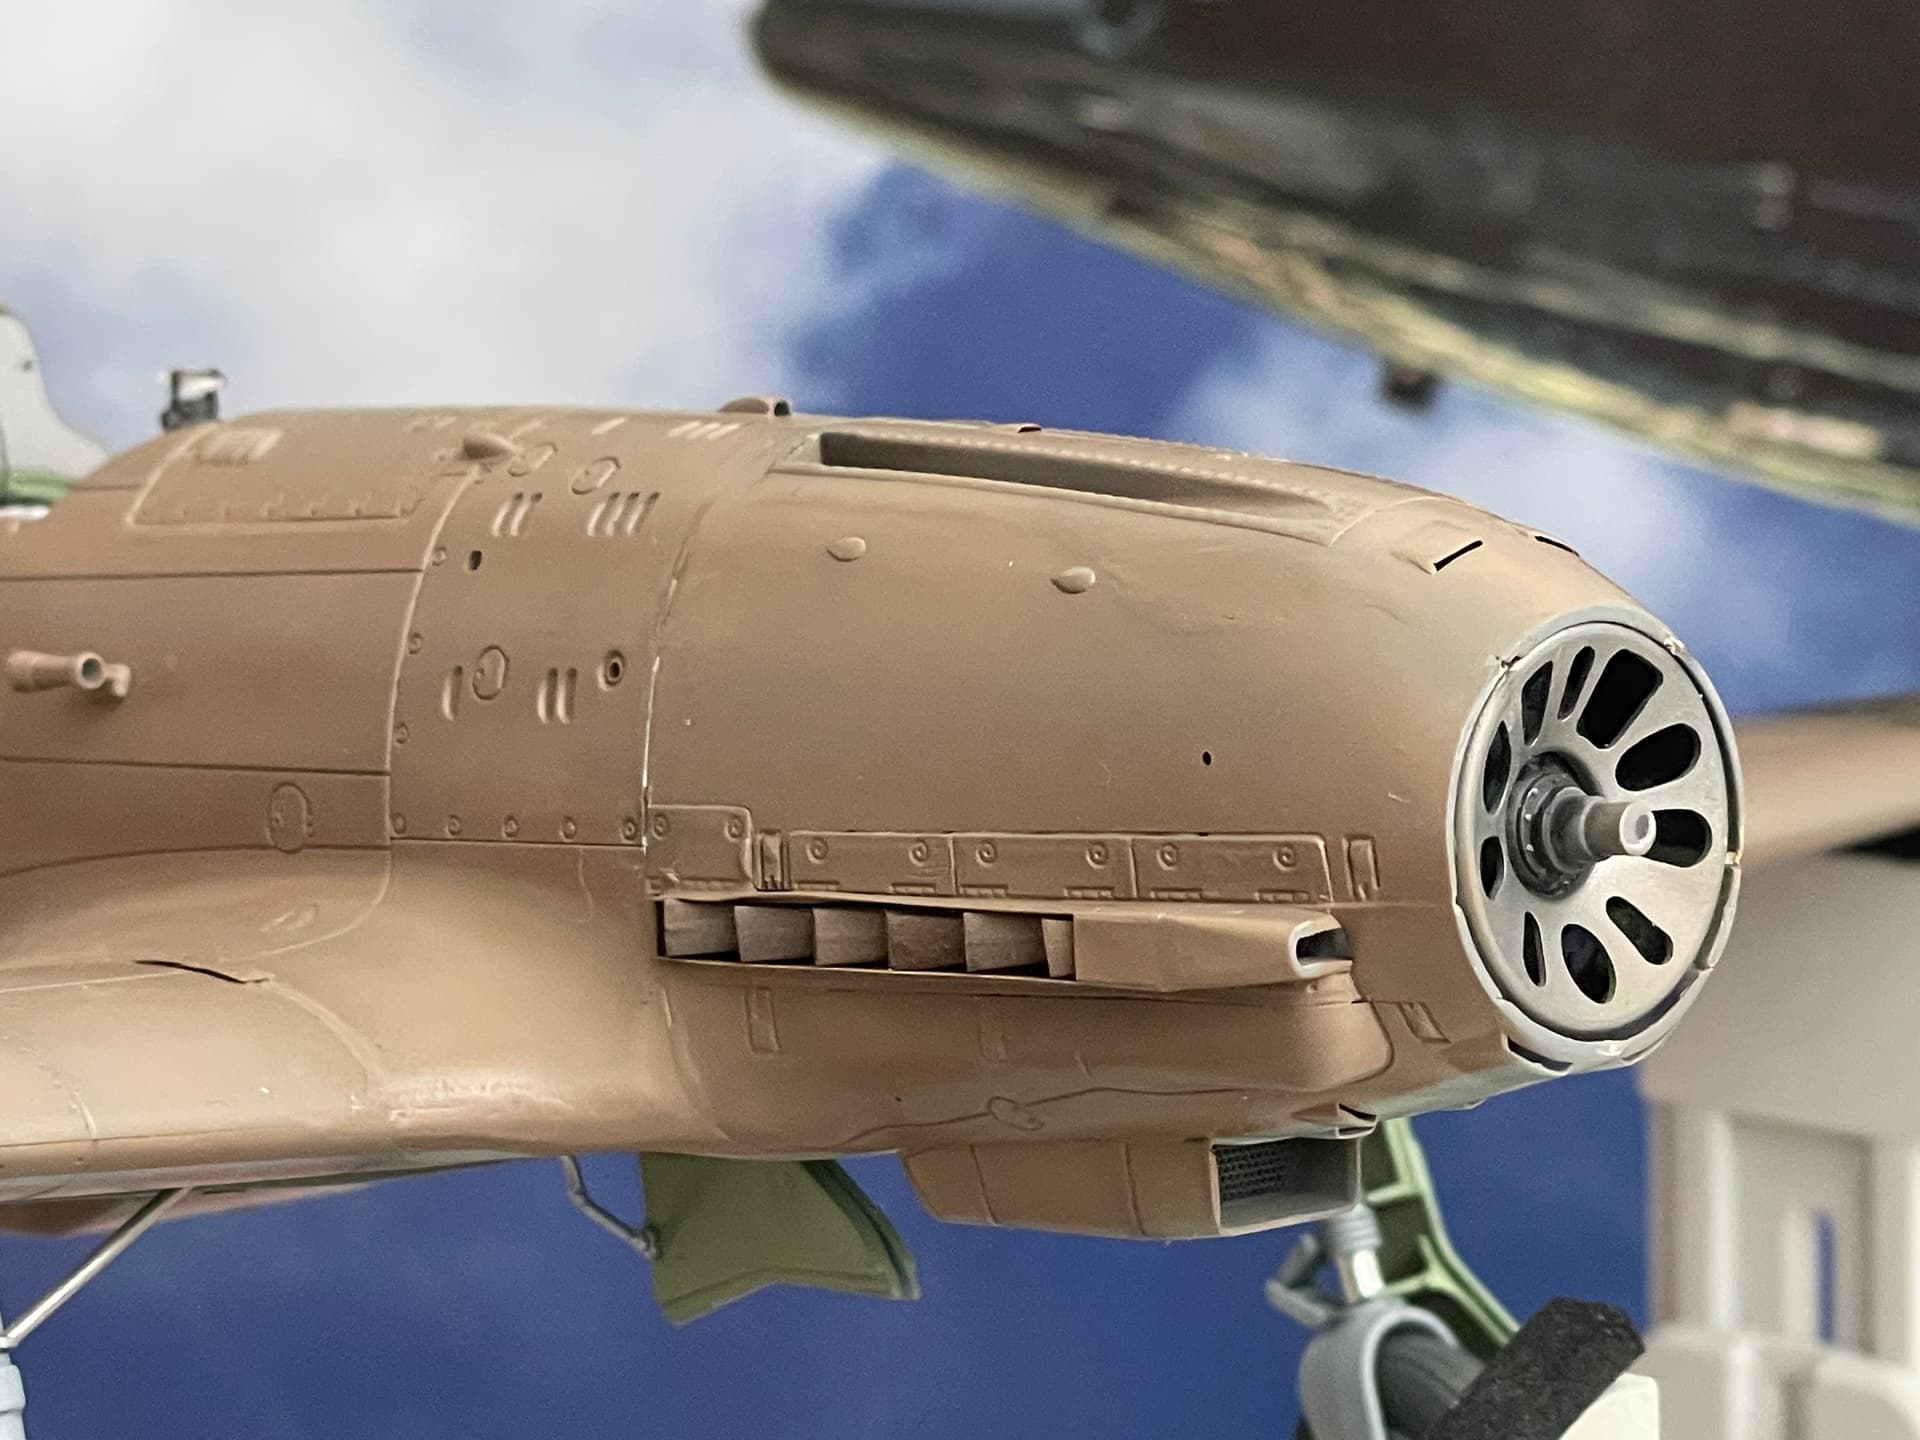
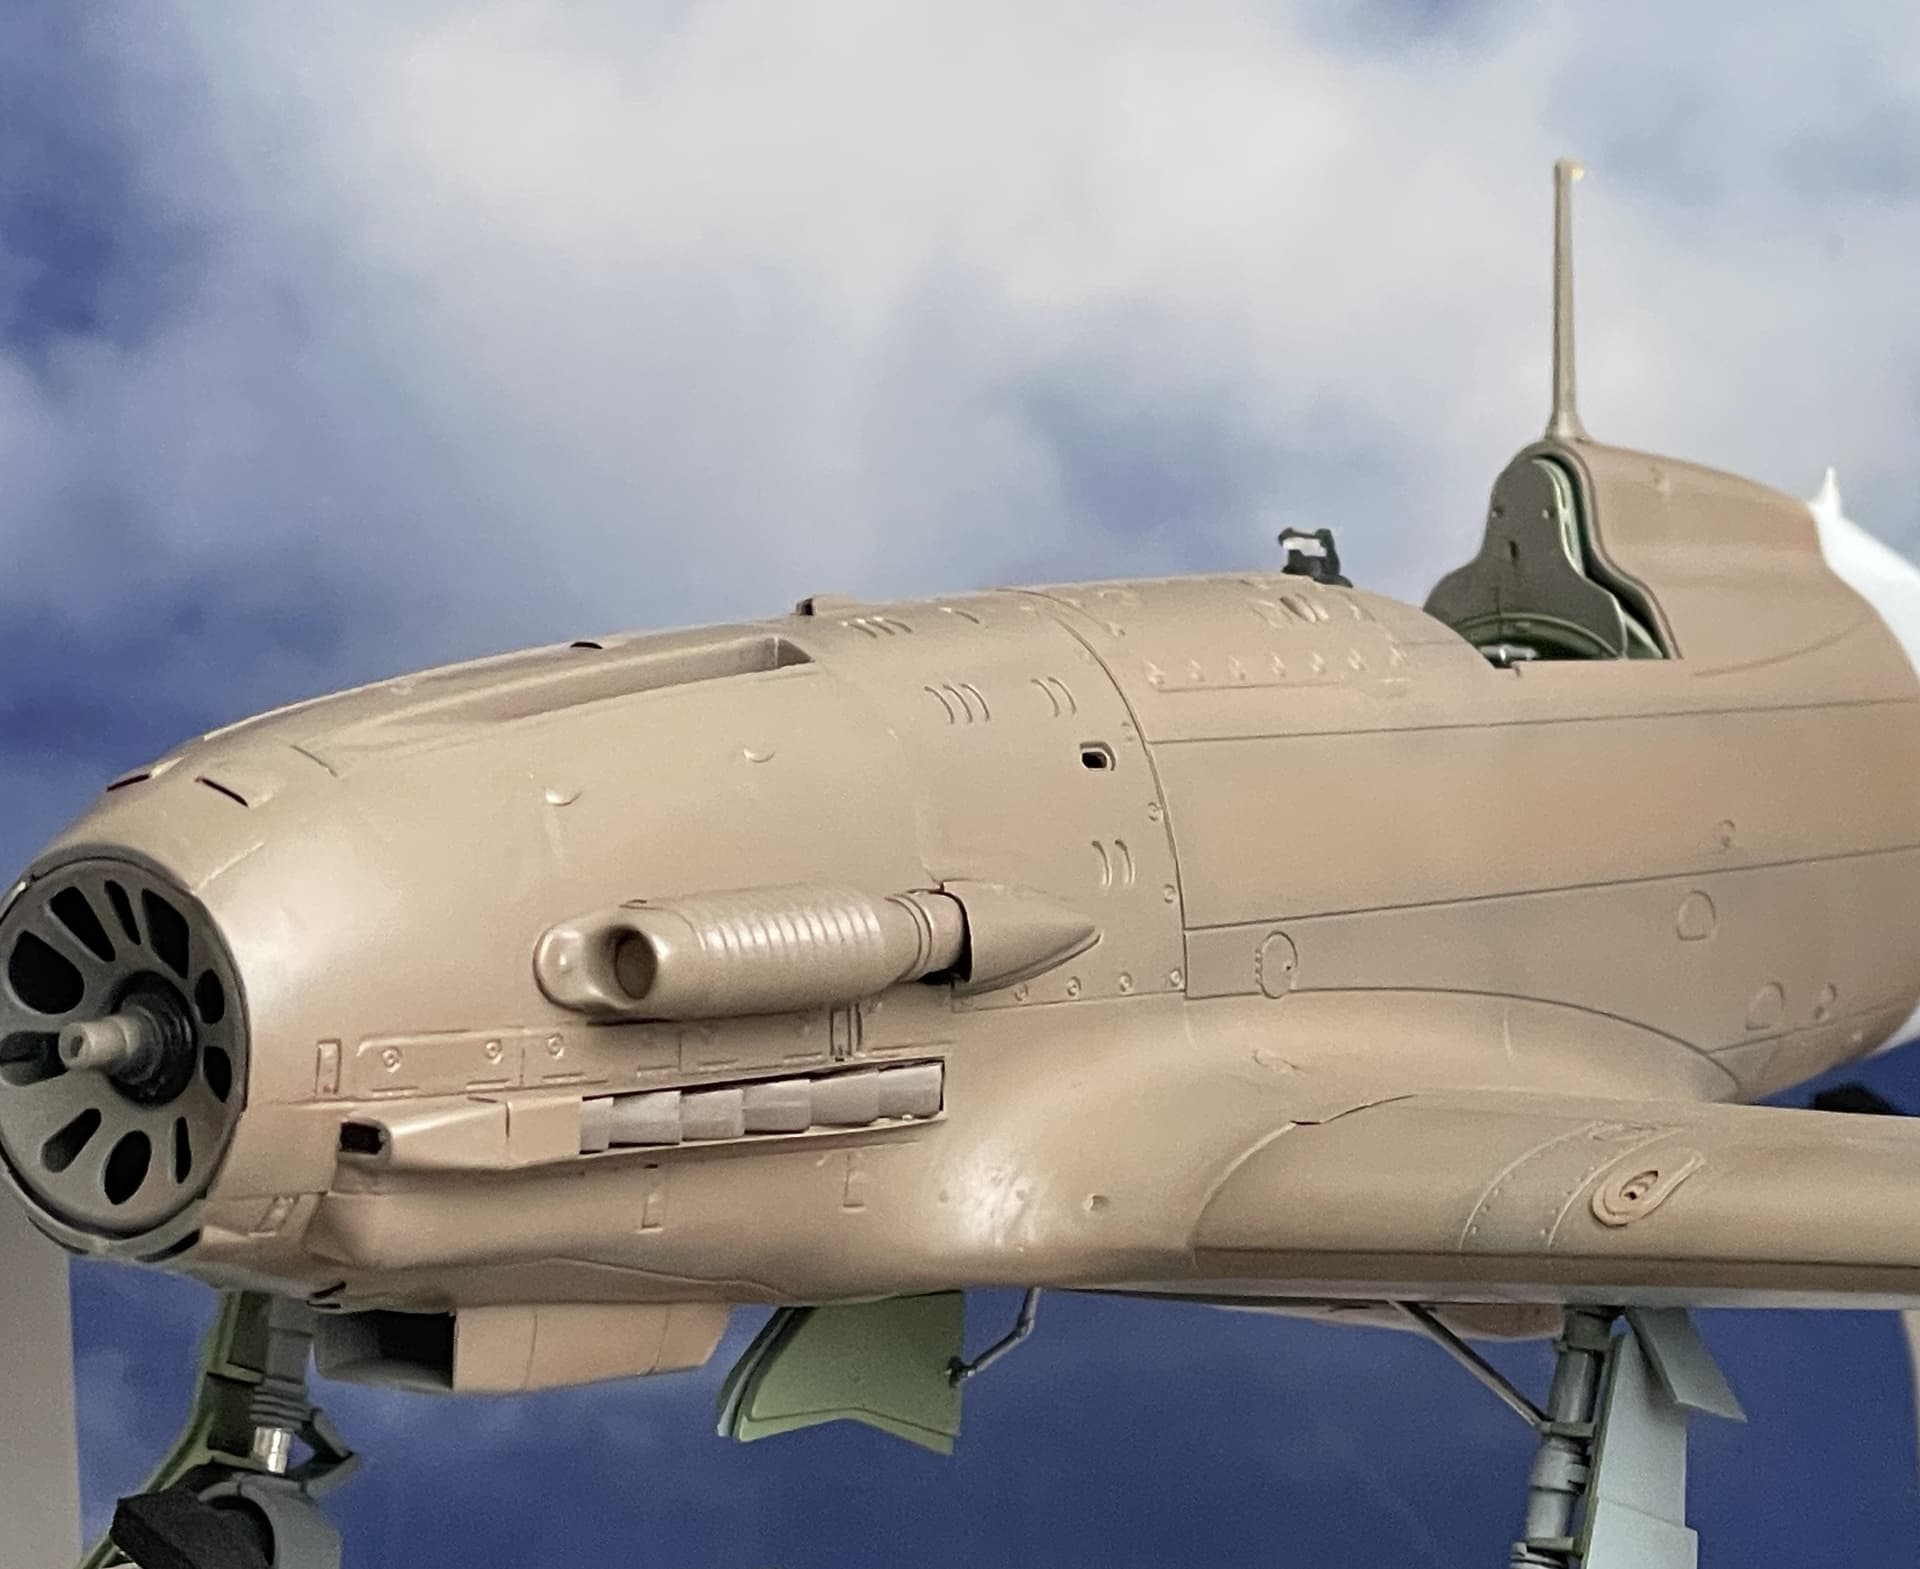
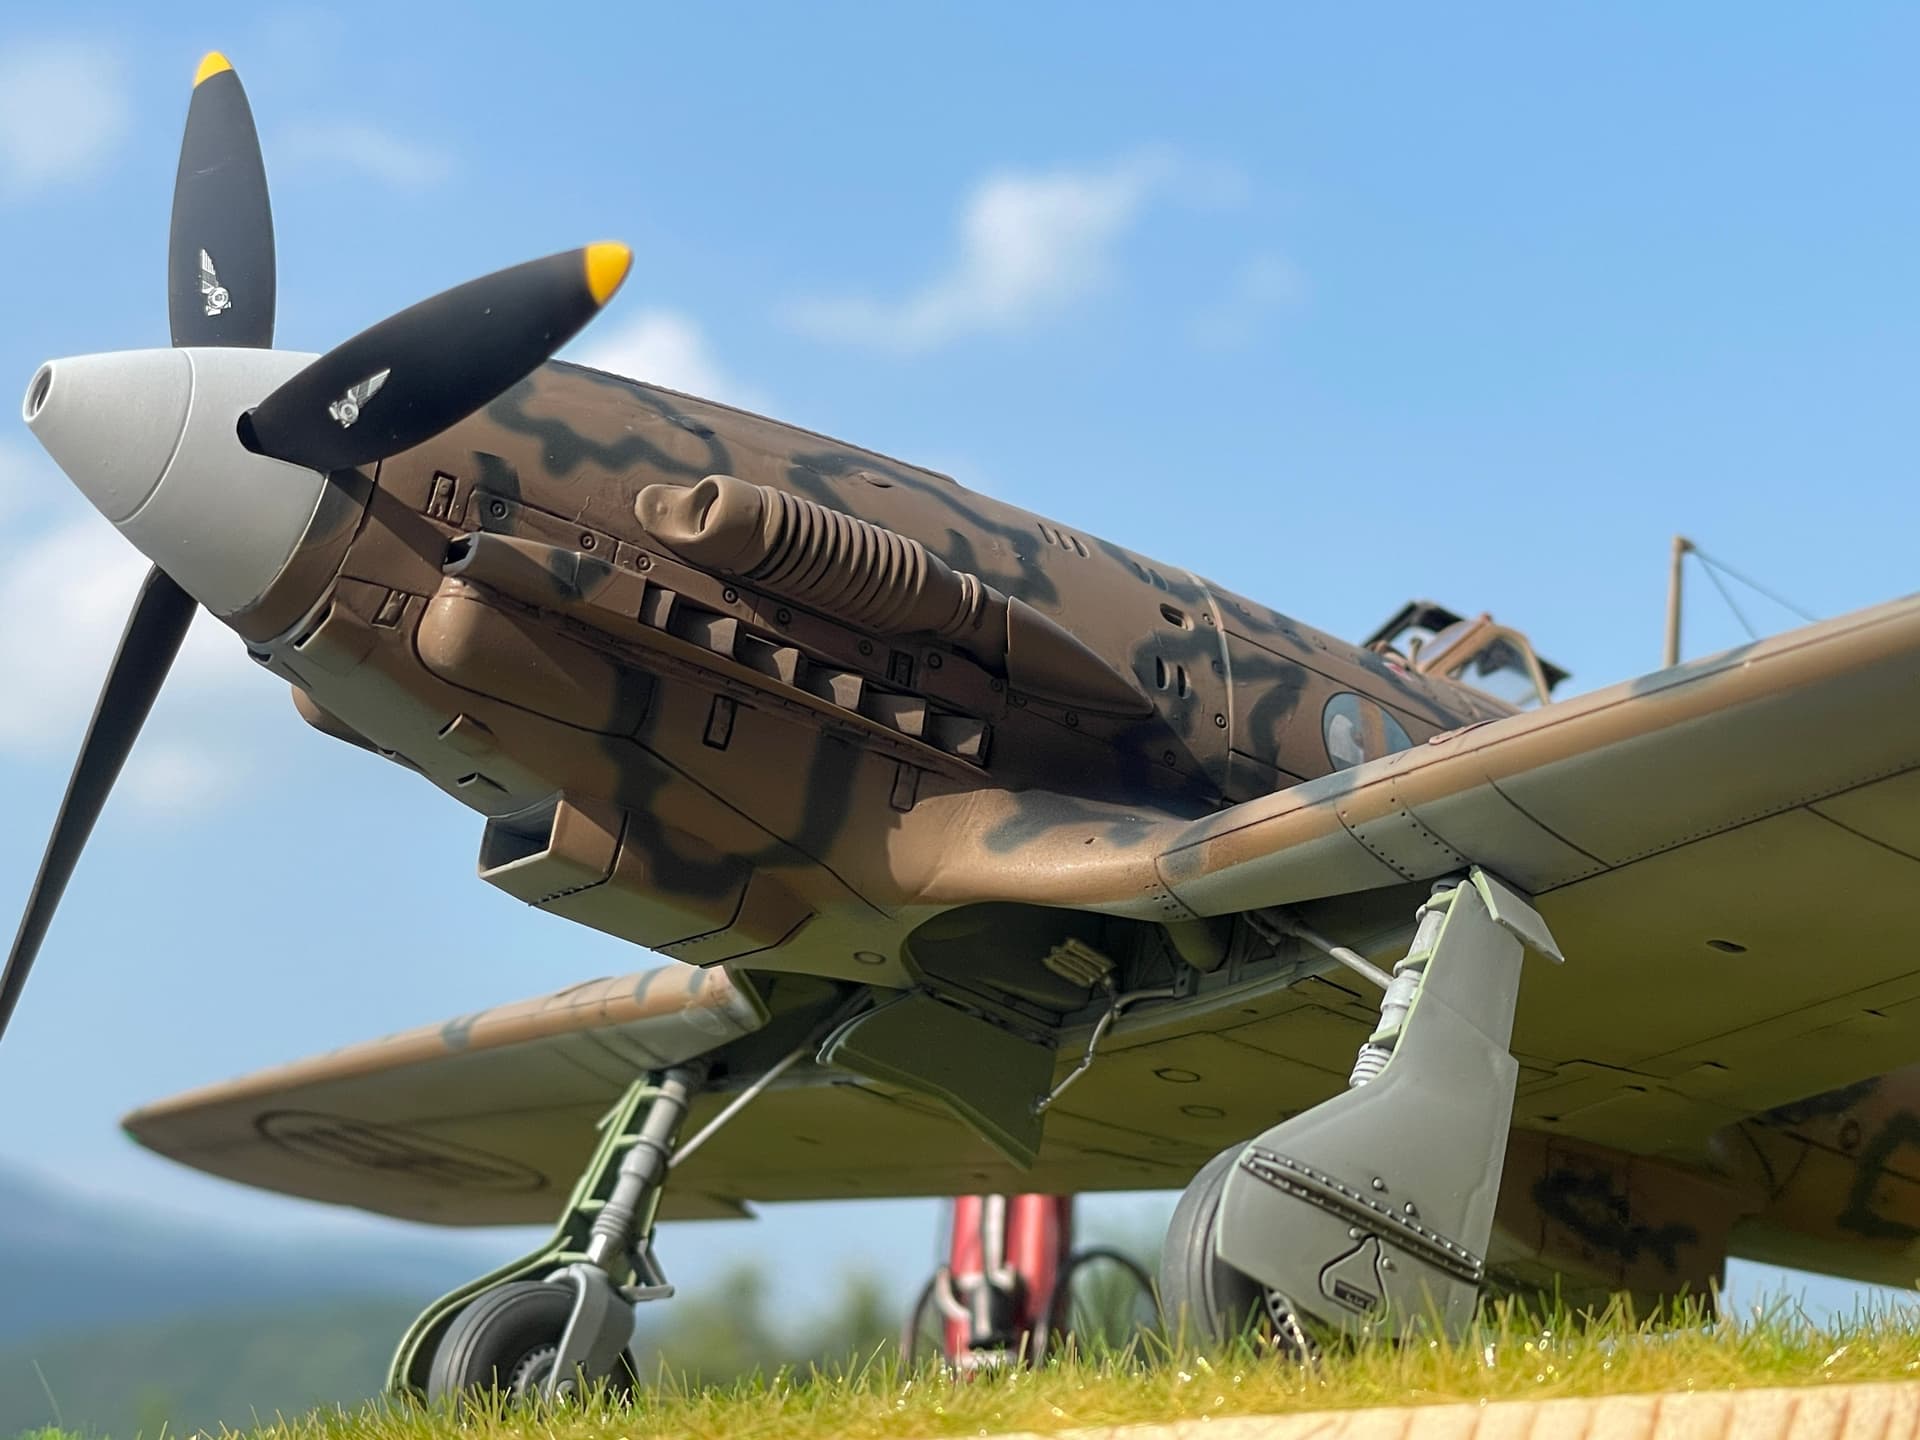
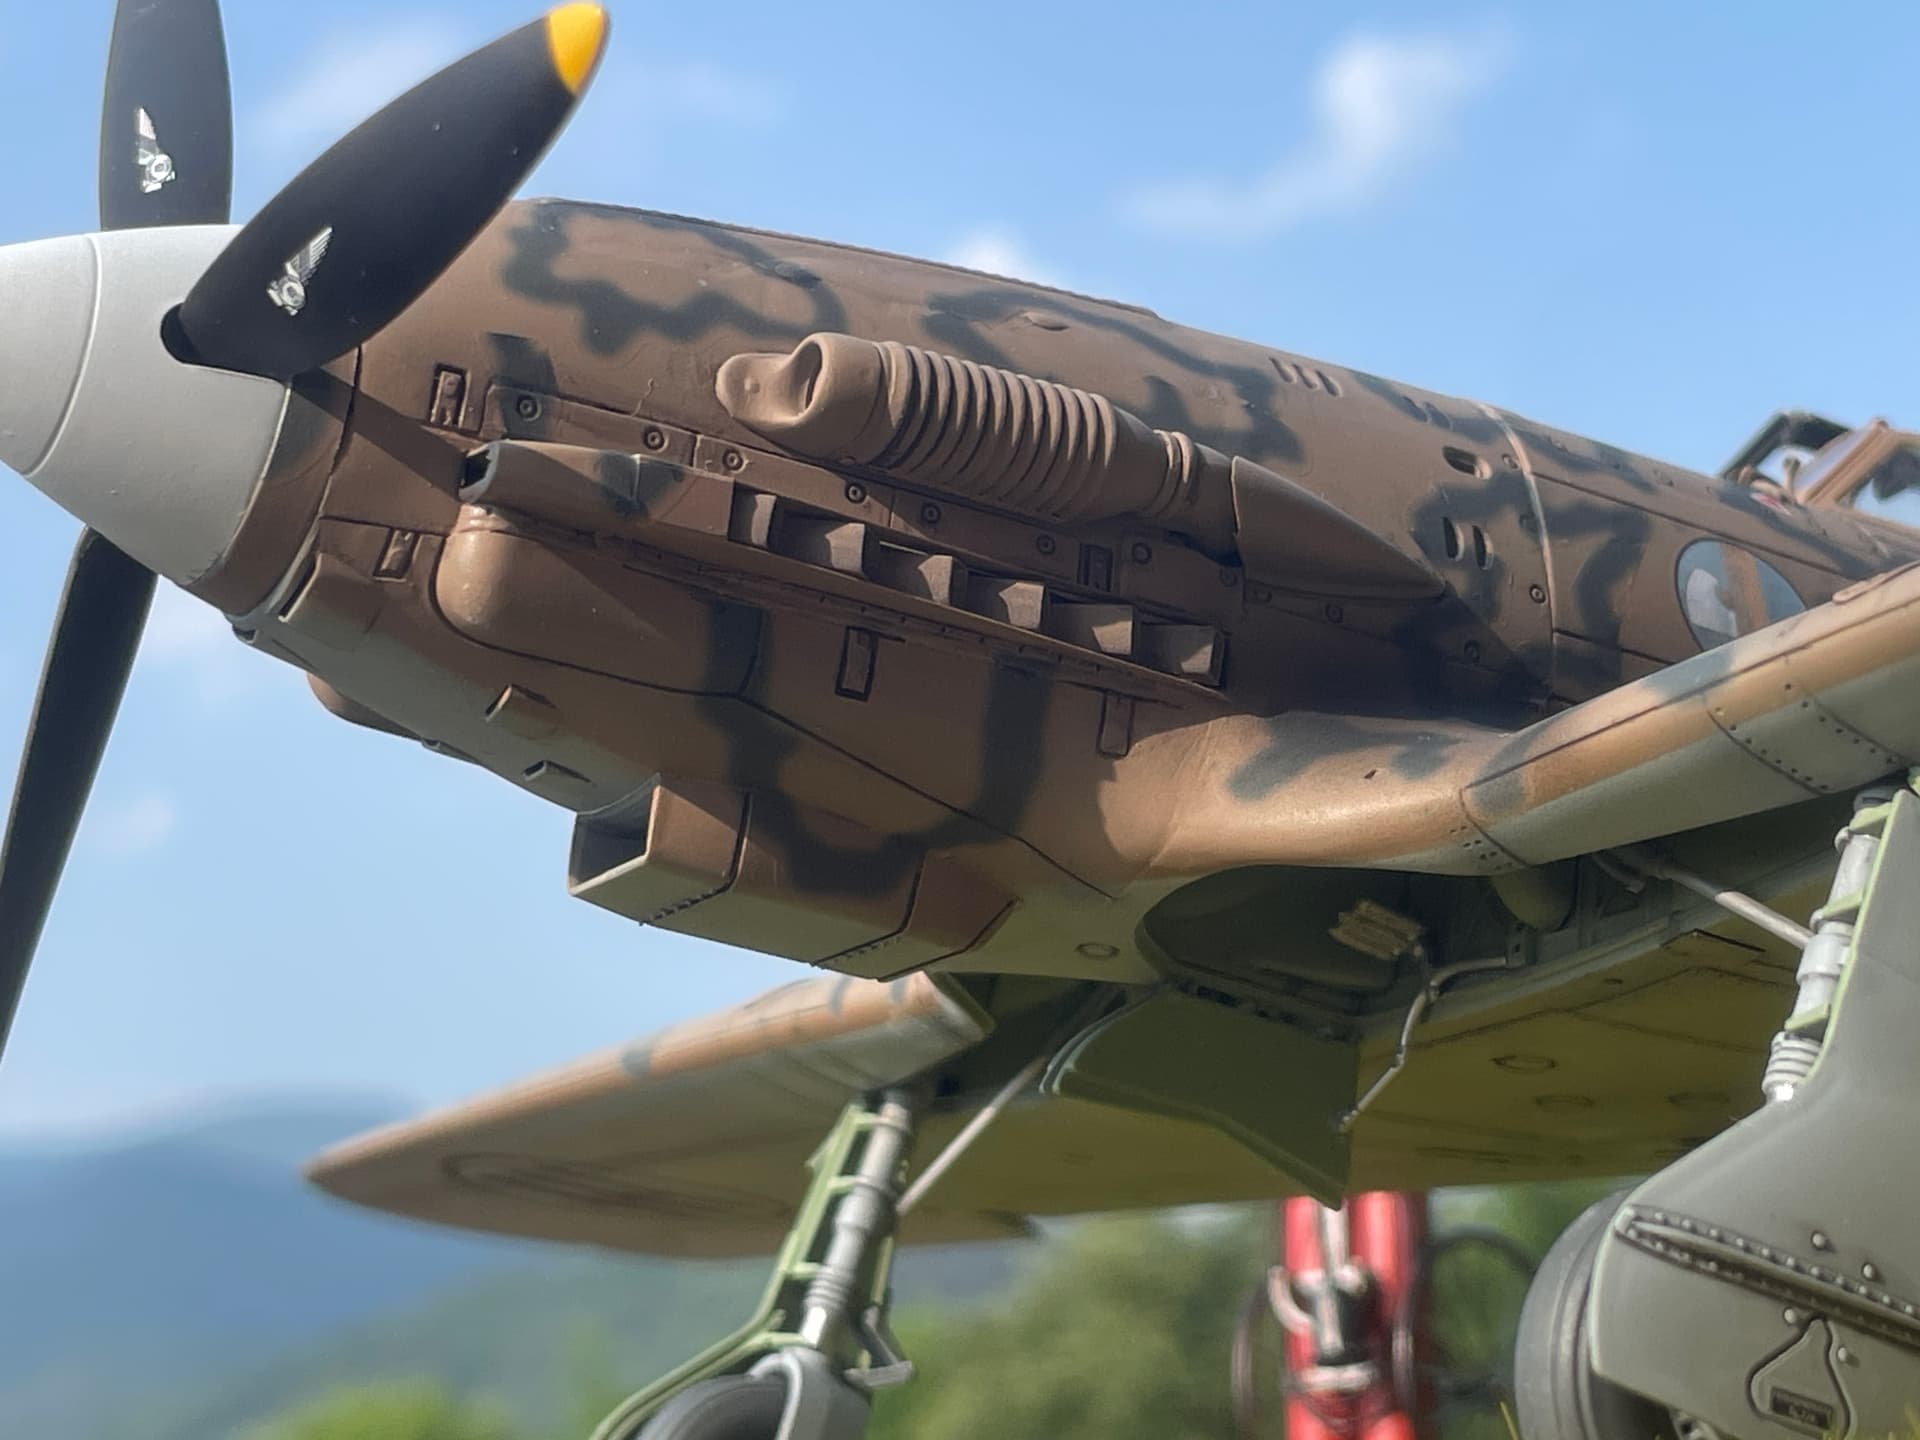
Just in front is the first part of the engine cowling, here fortunately the fit is acceptable. Next is the final part of the engine cowling (in 3 separate pieces: 2 sides plus part above) to complete the front fuselage. Here unfortunately the work of filling the gaps and reducing the steps was impressive due to the presence of the engine group inside which did not facilitate the perfect alignment of the 3 hoods. The result, here too, does not give me any particular satisfaction and appears barely acceptable, but only because the starting situation was extremely critical.
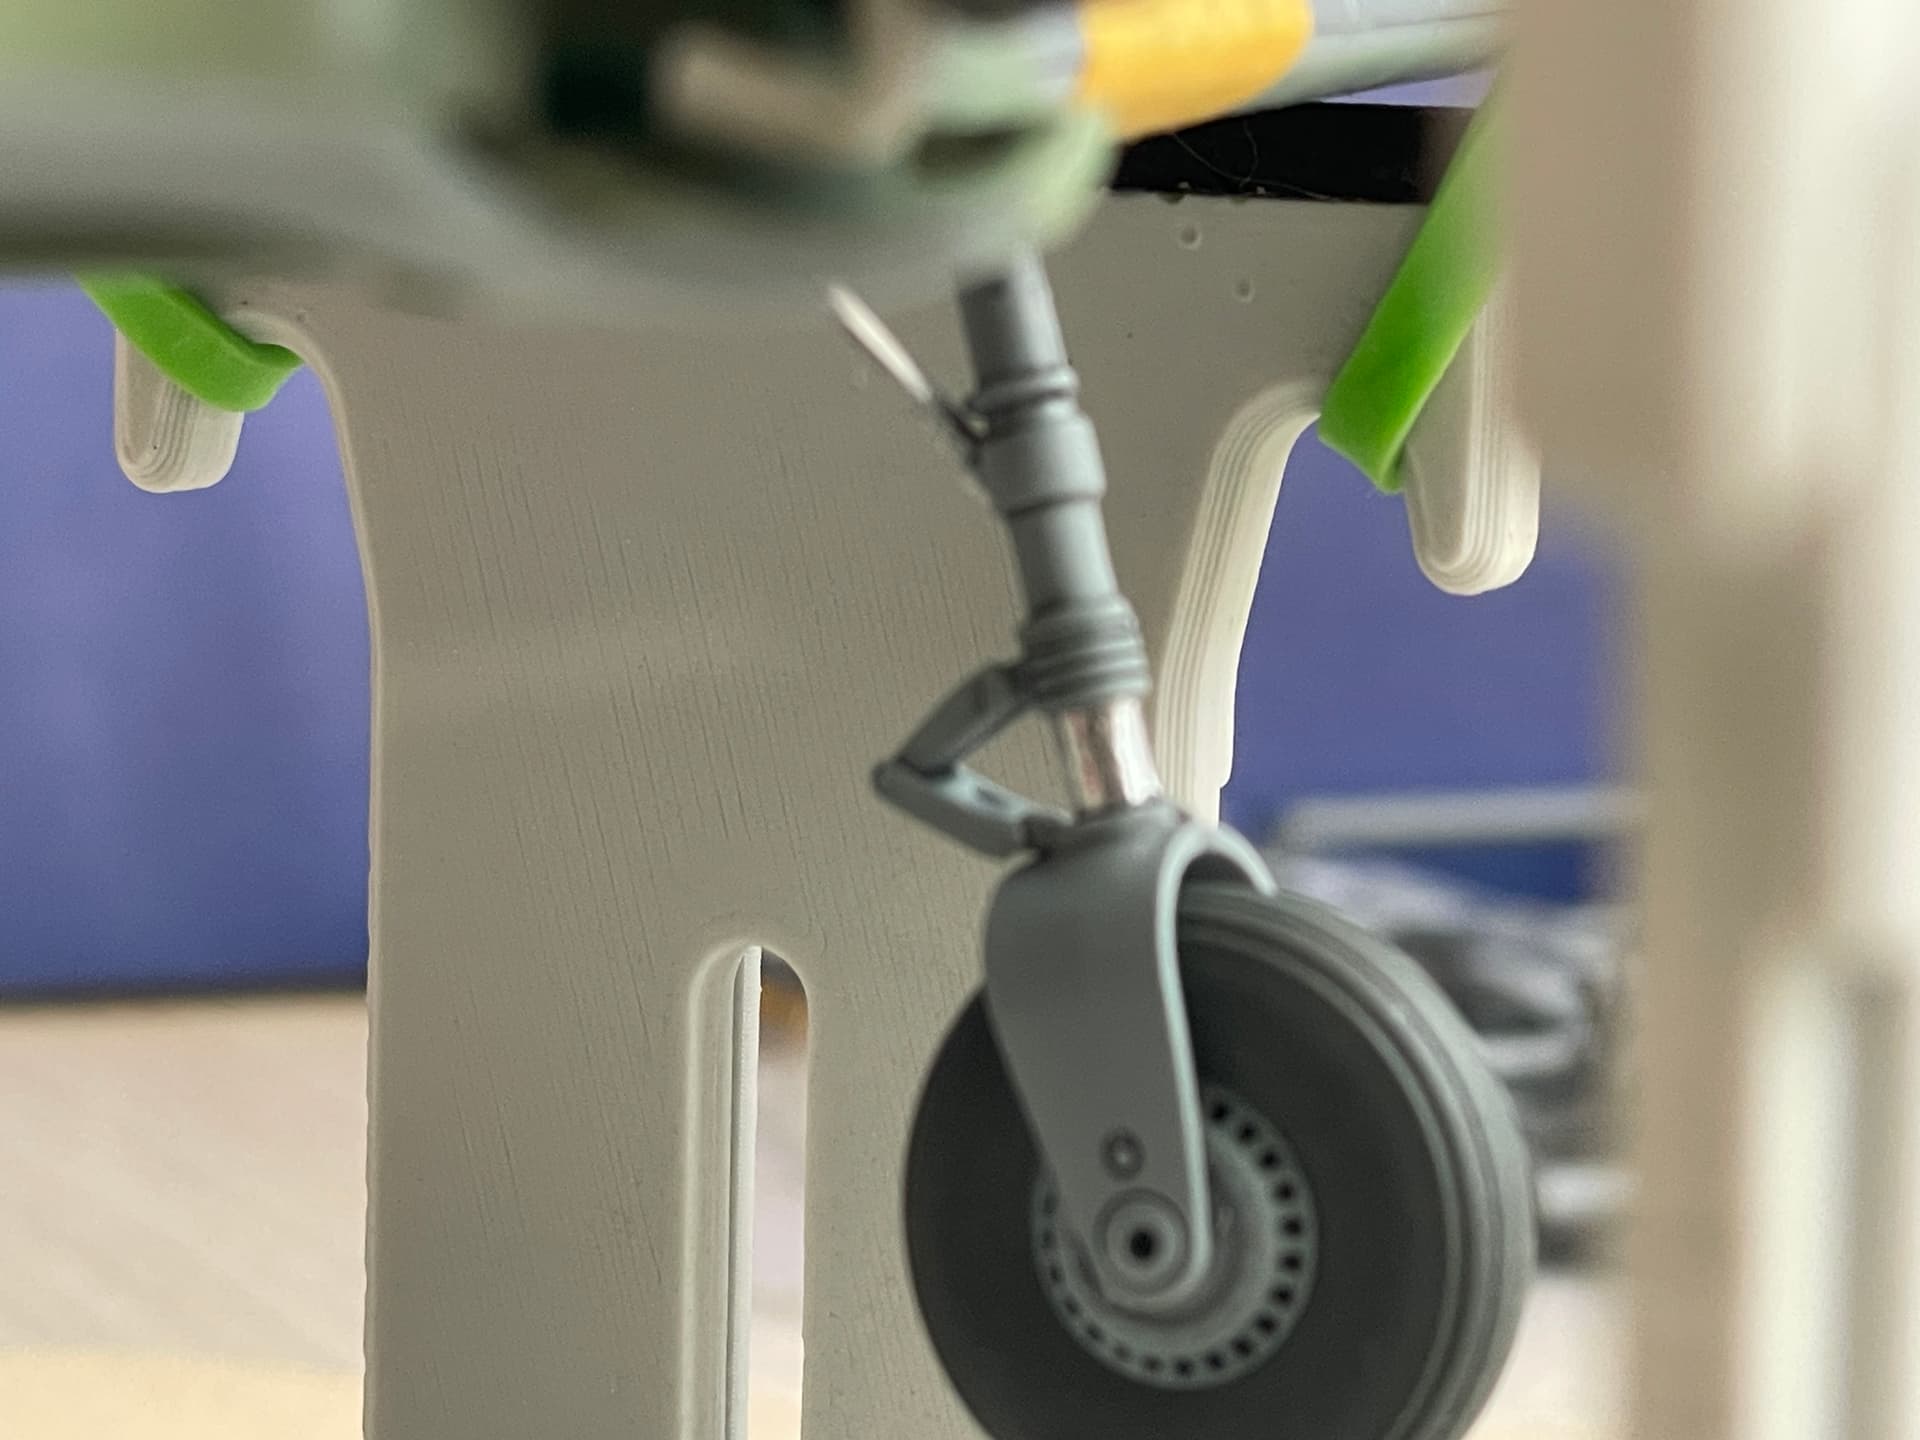
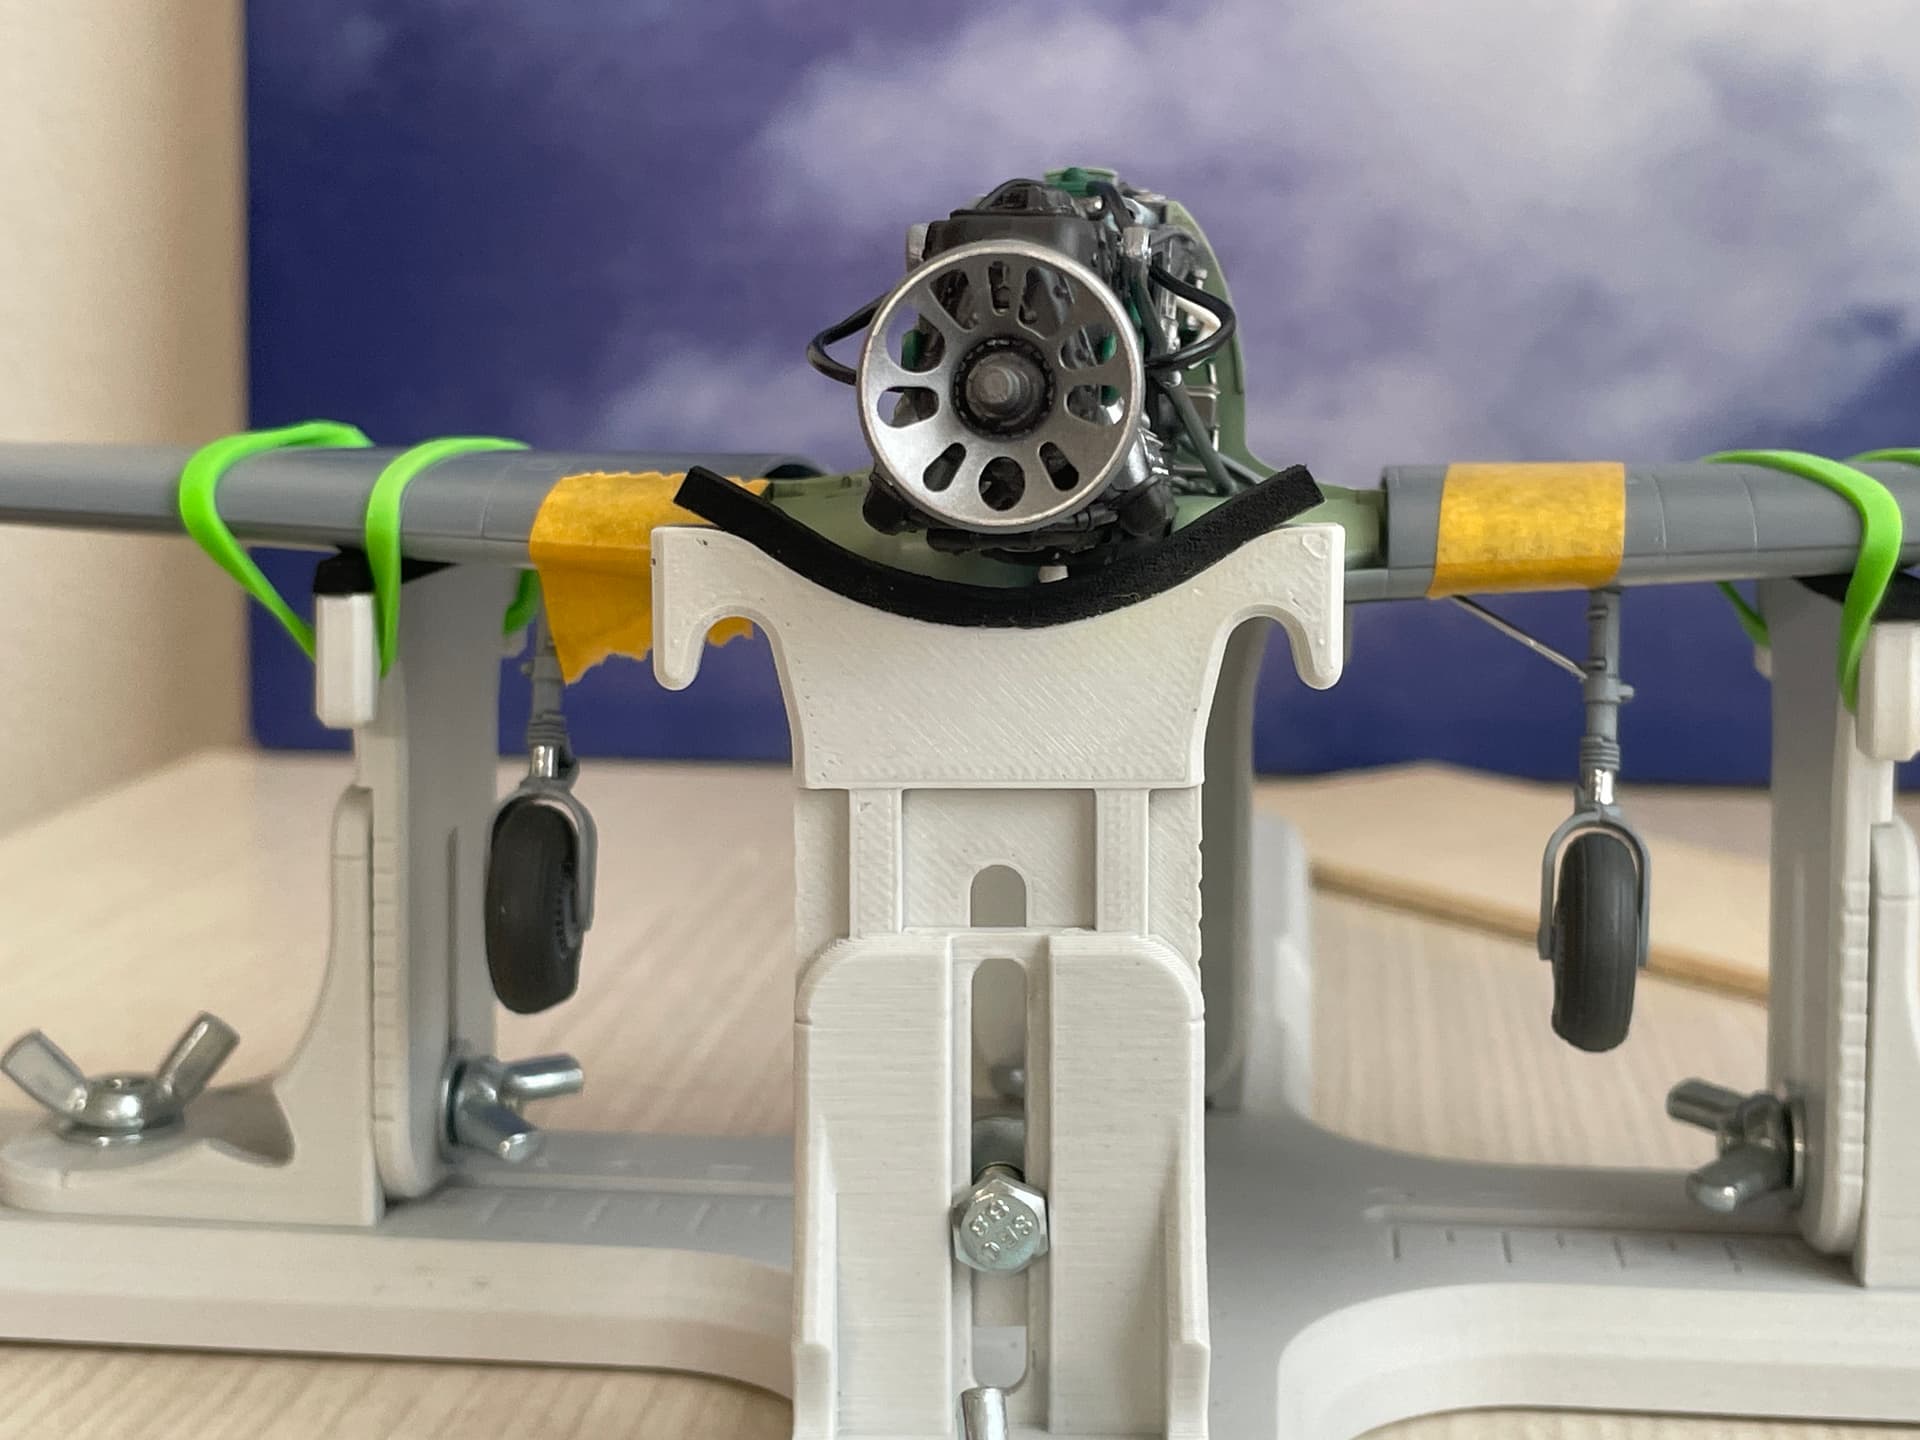
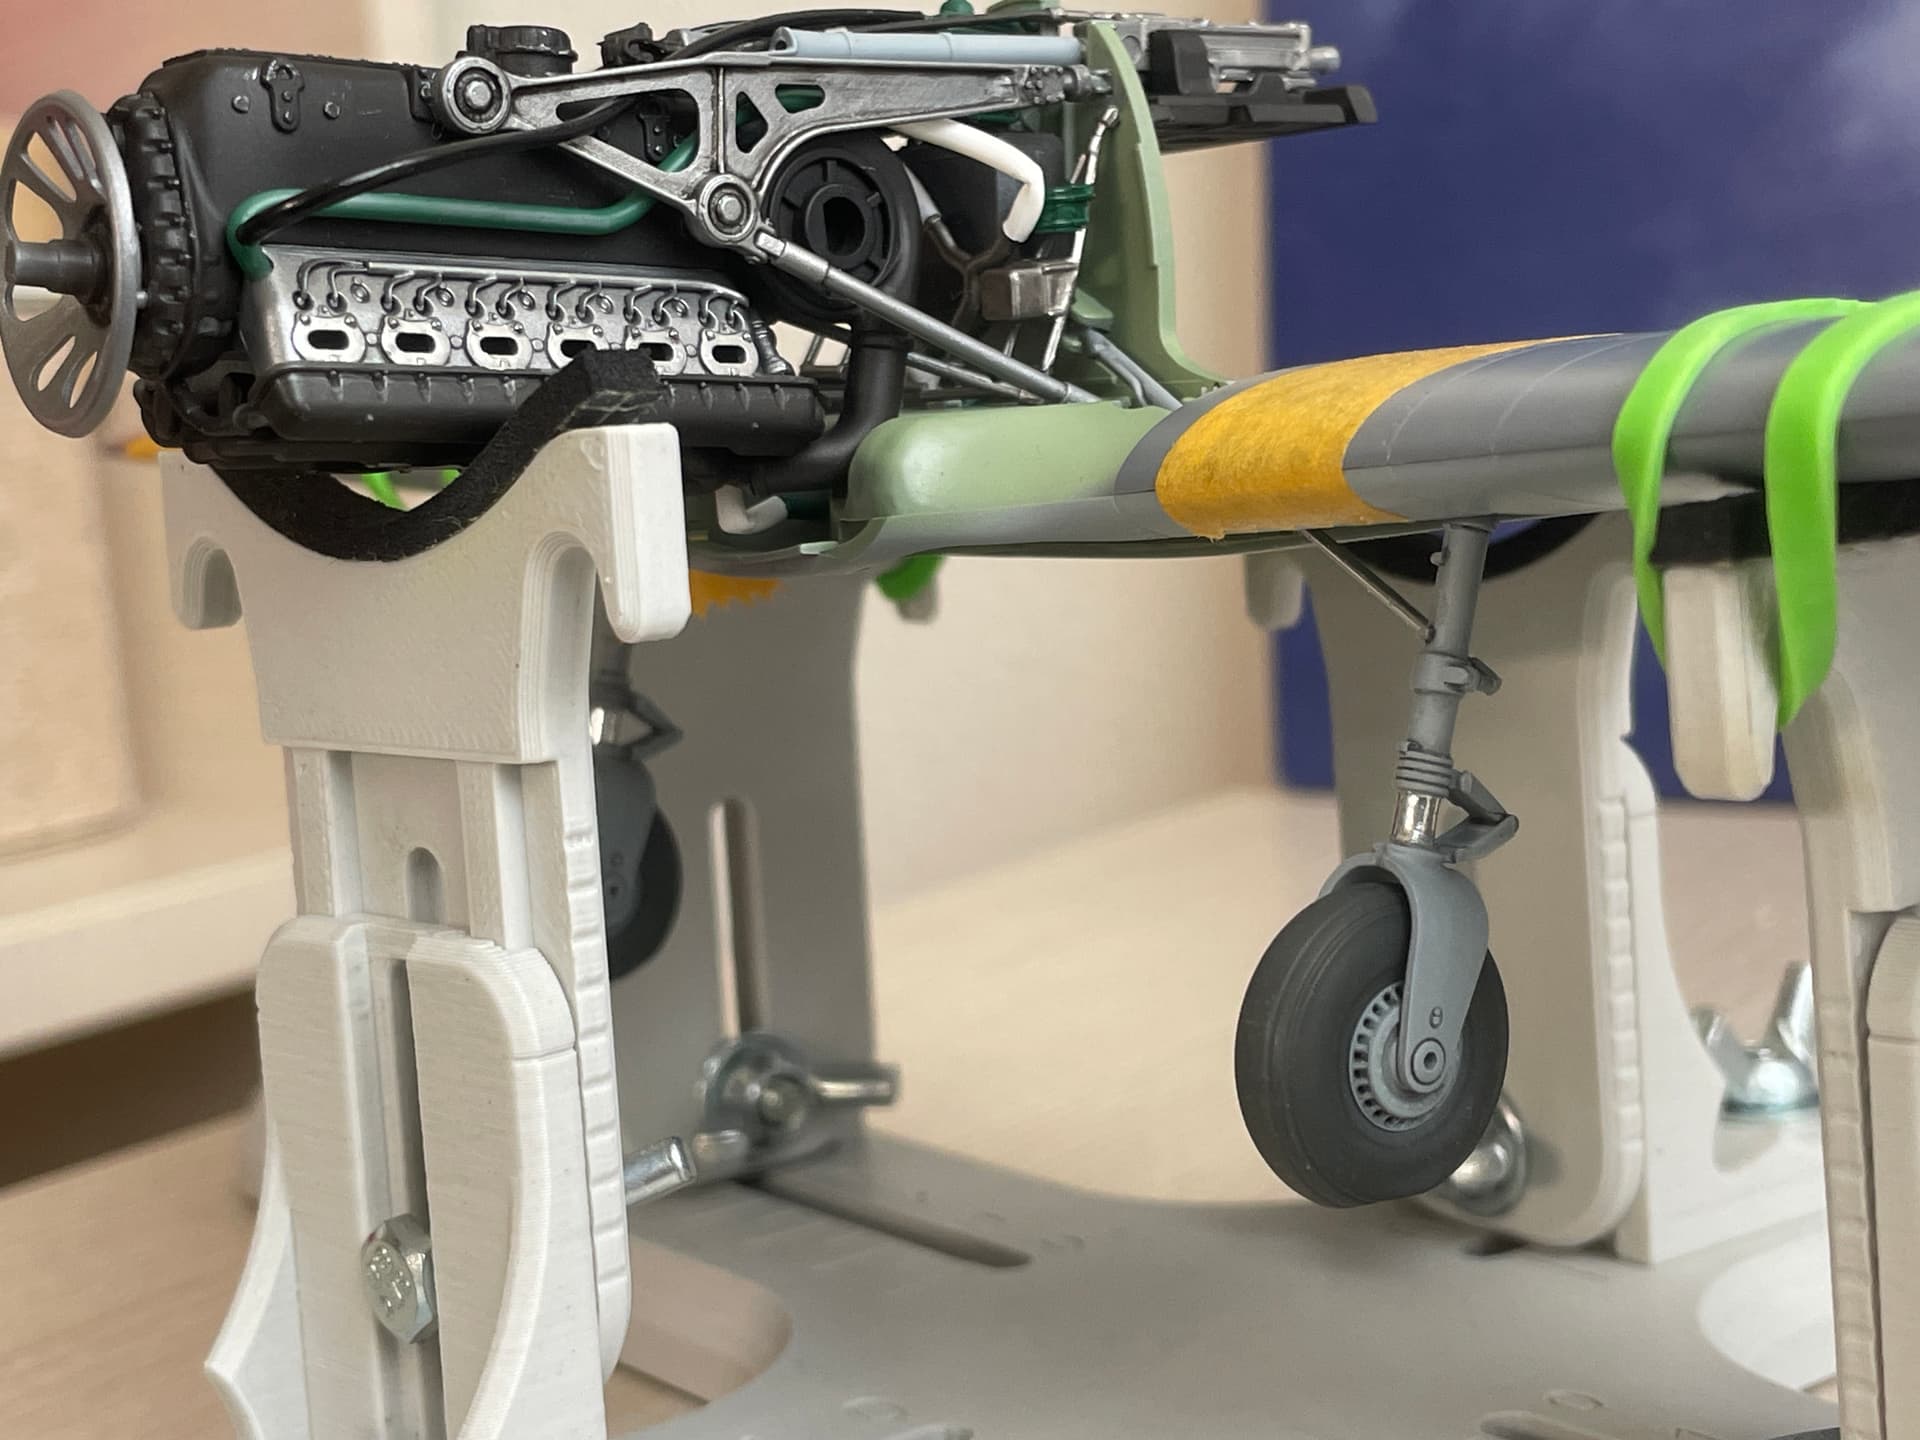
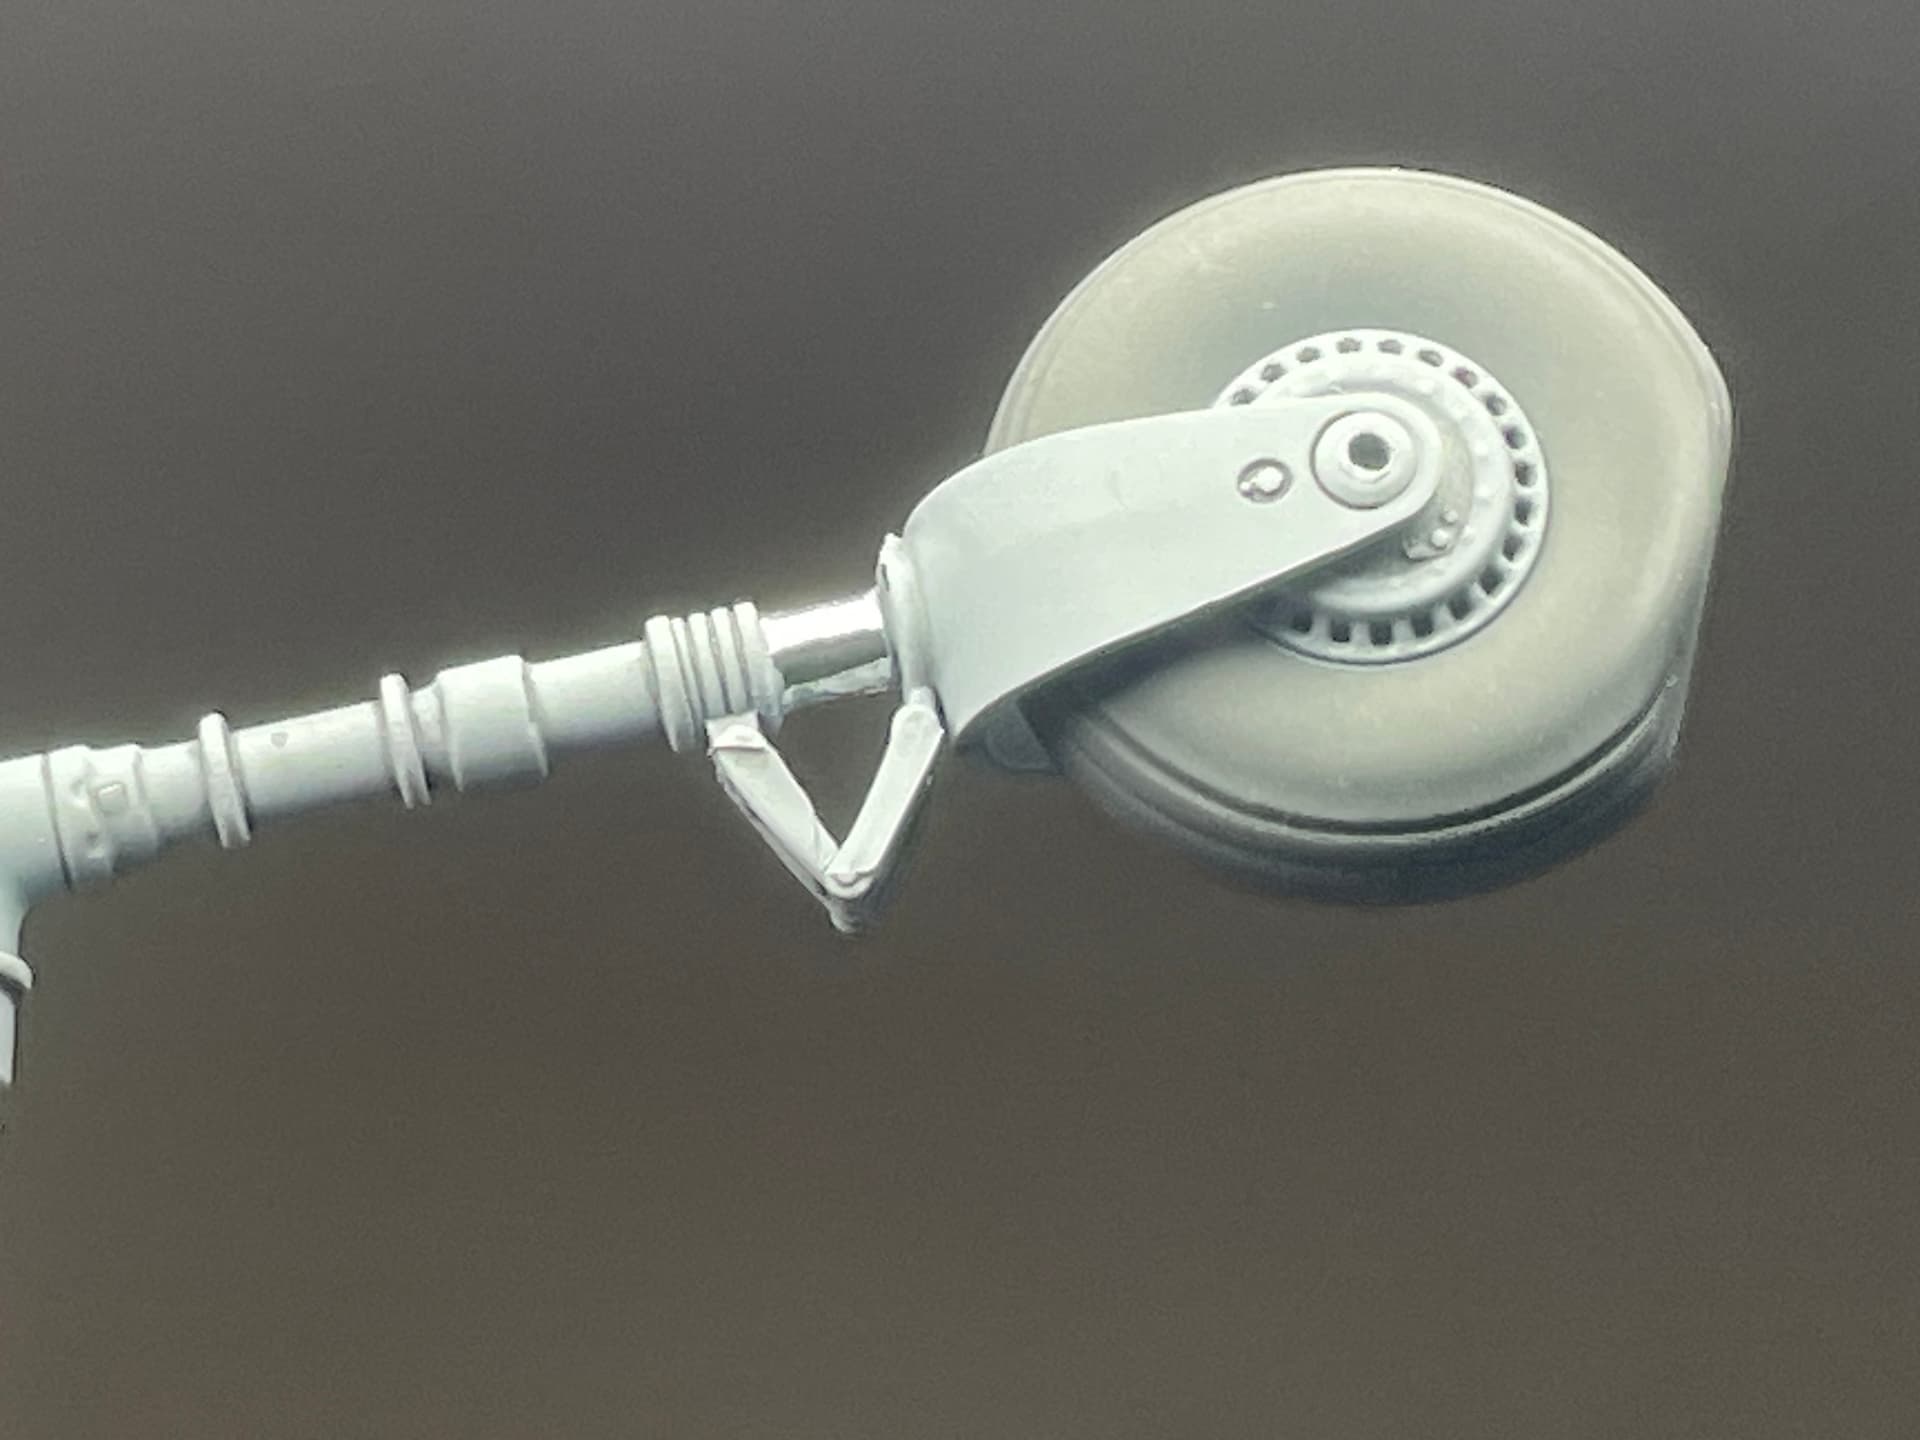
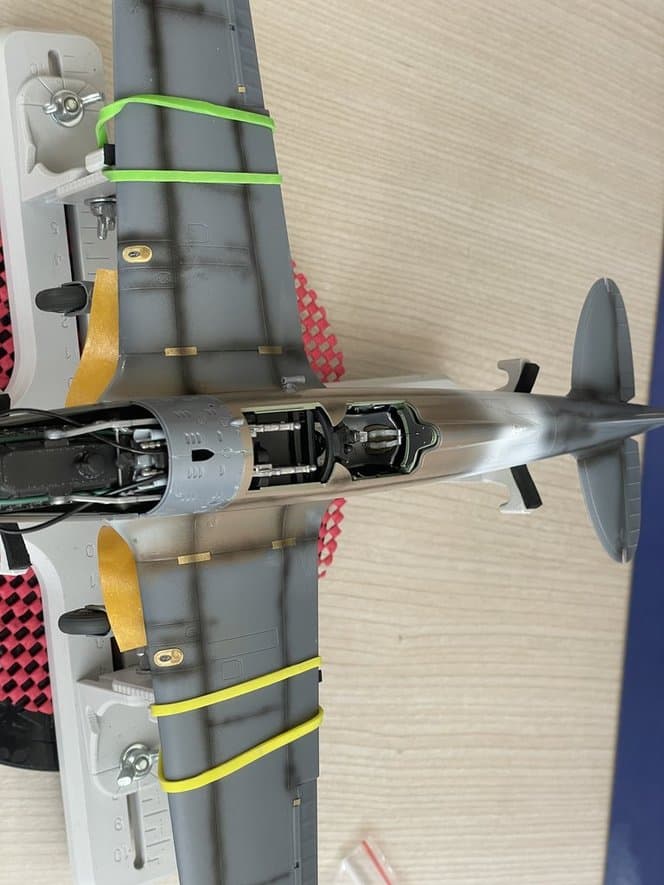
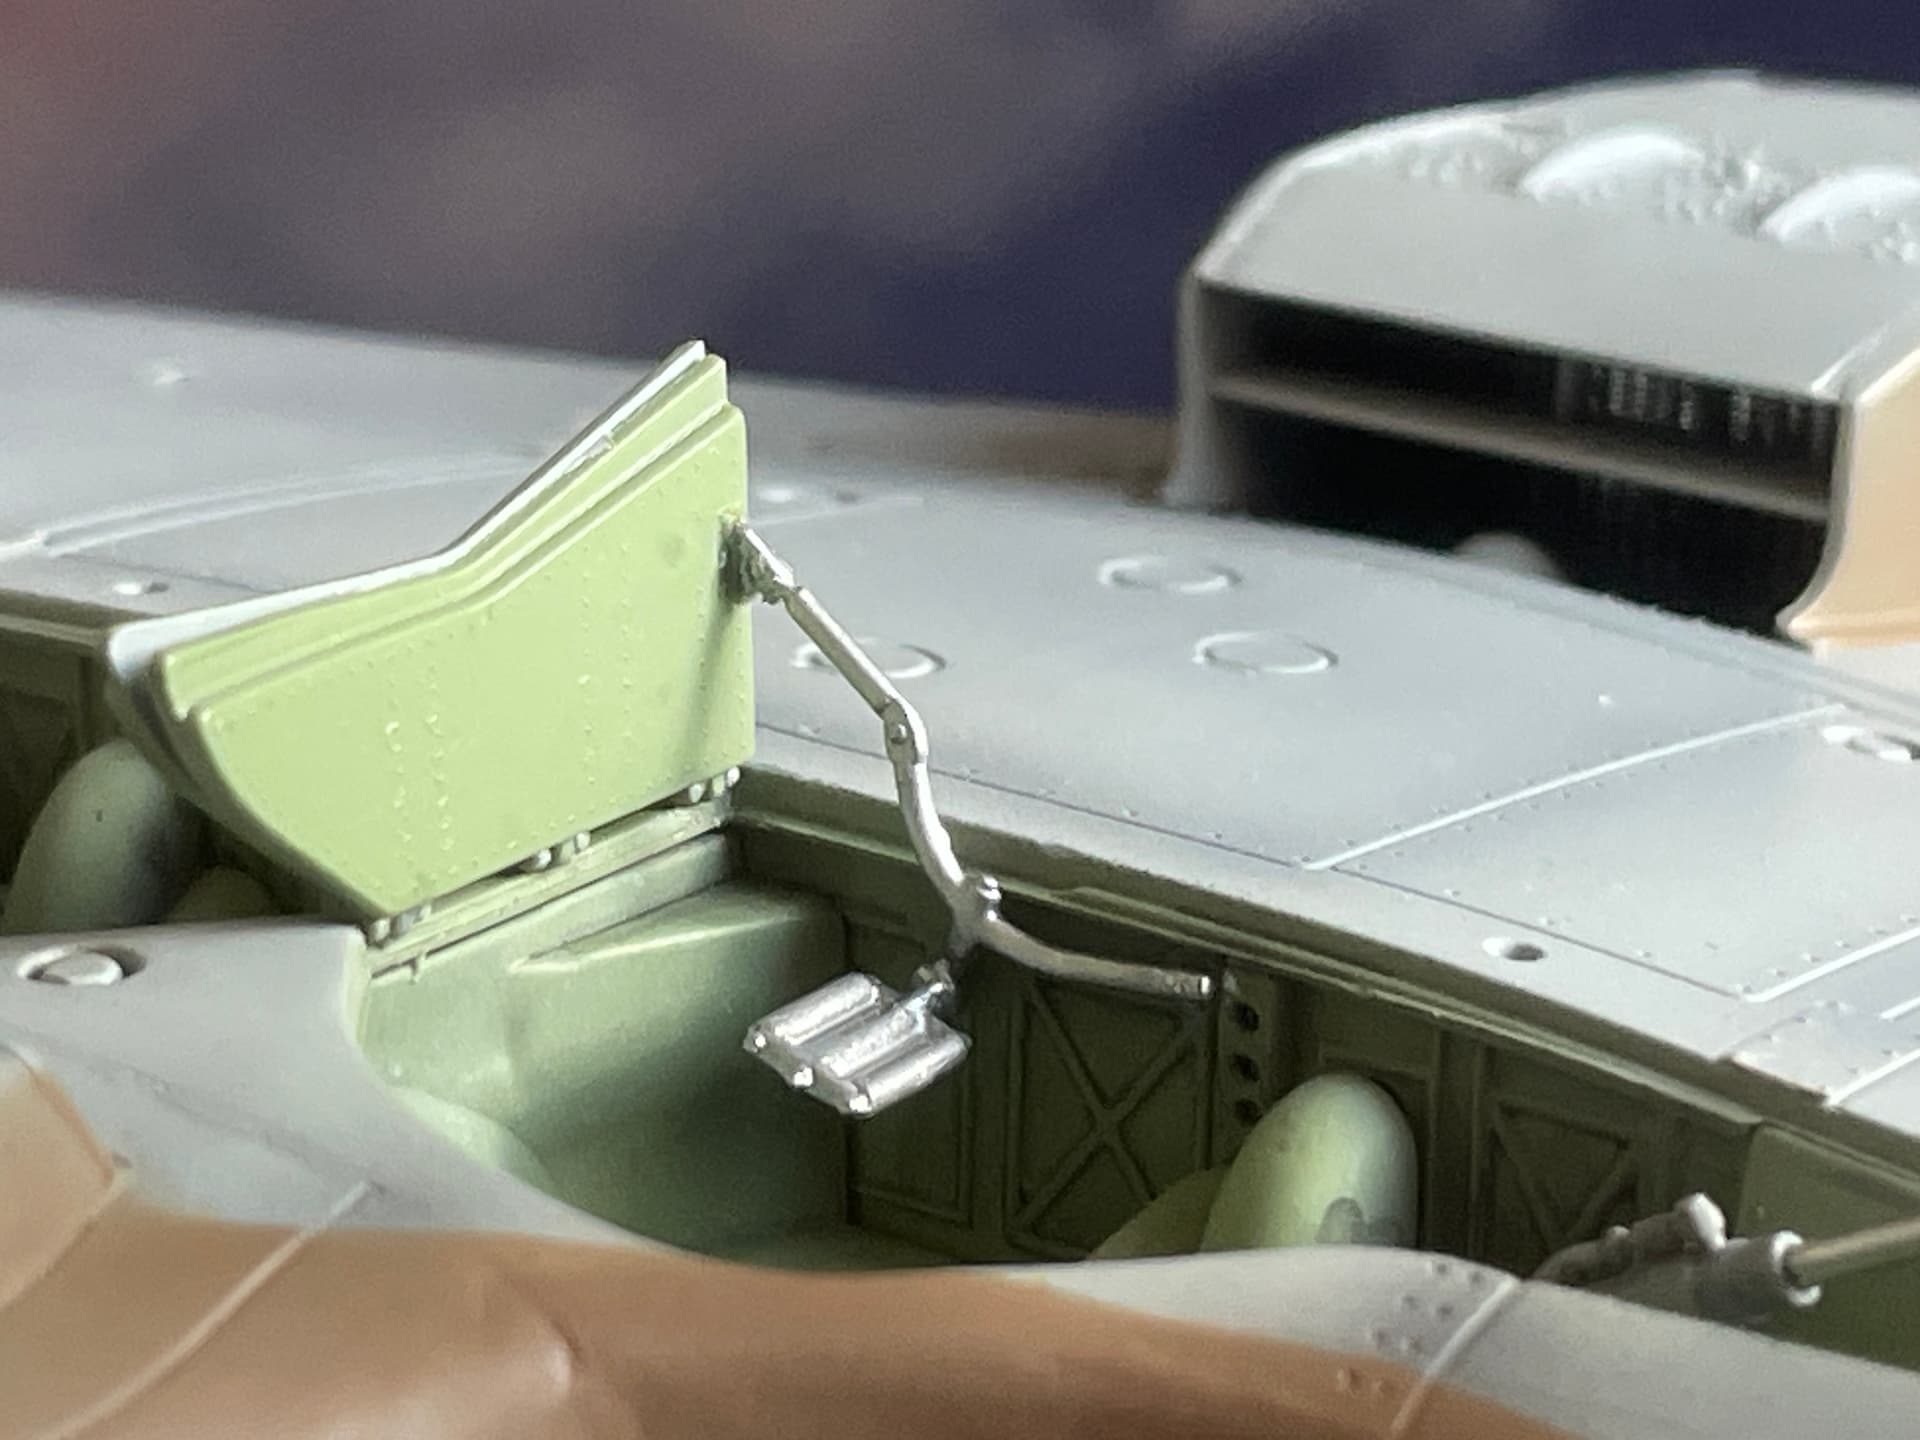
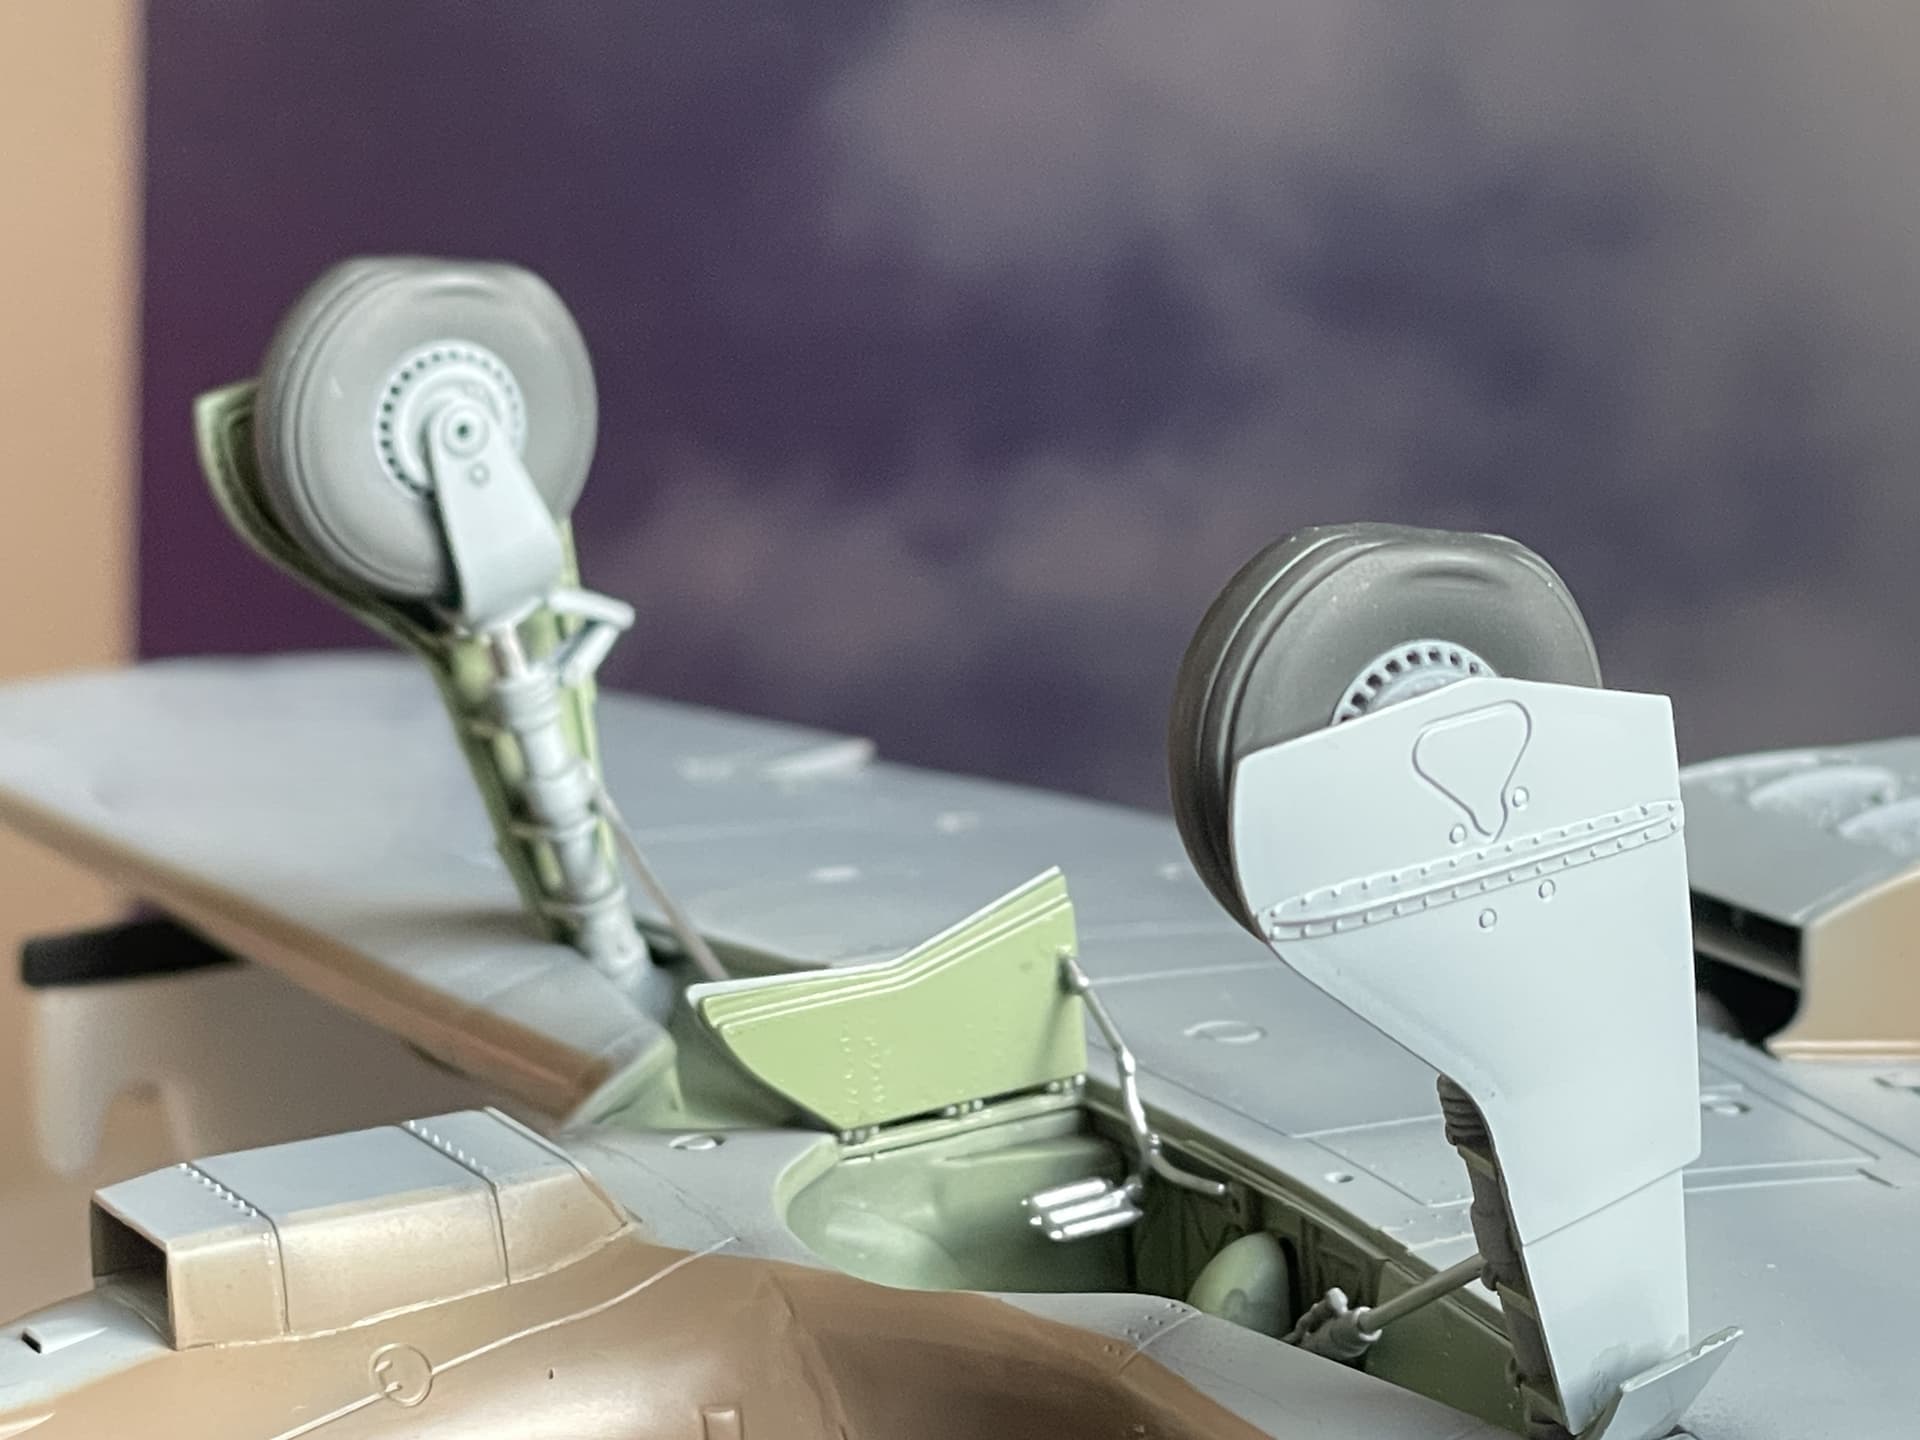
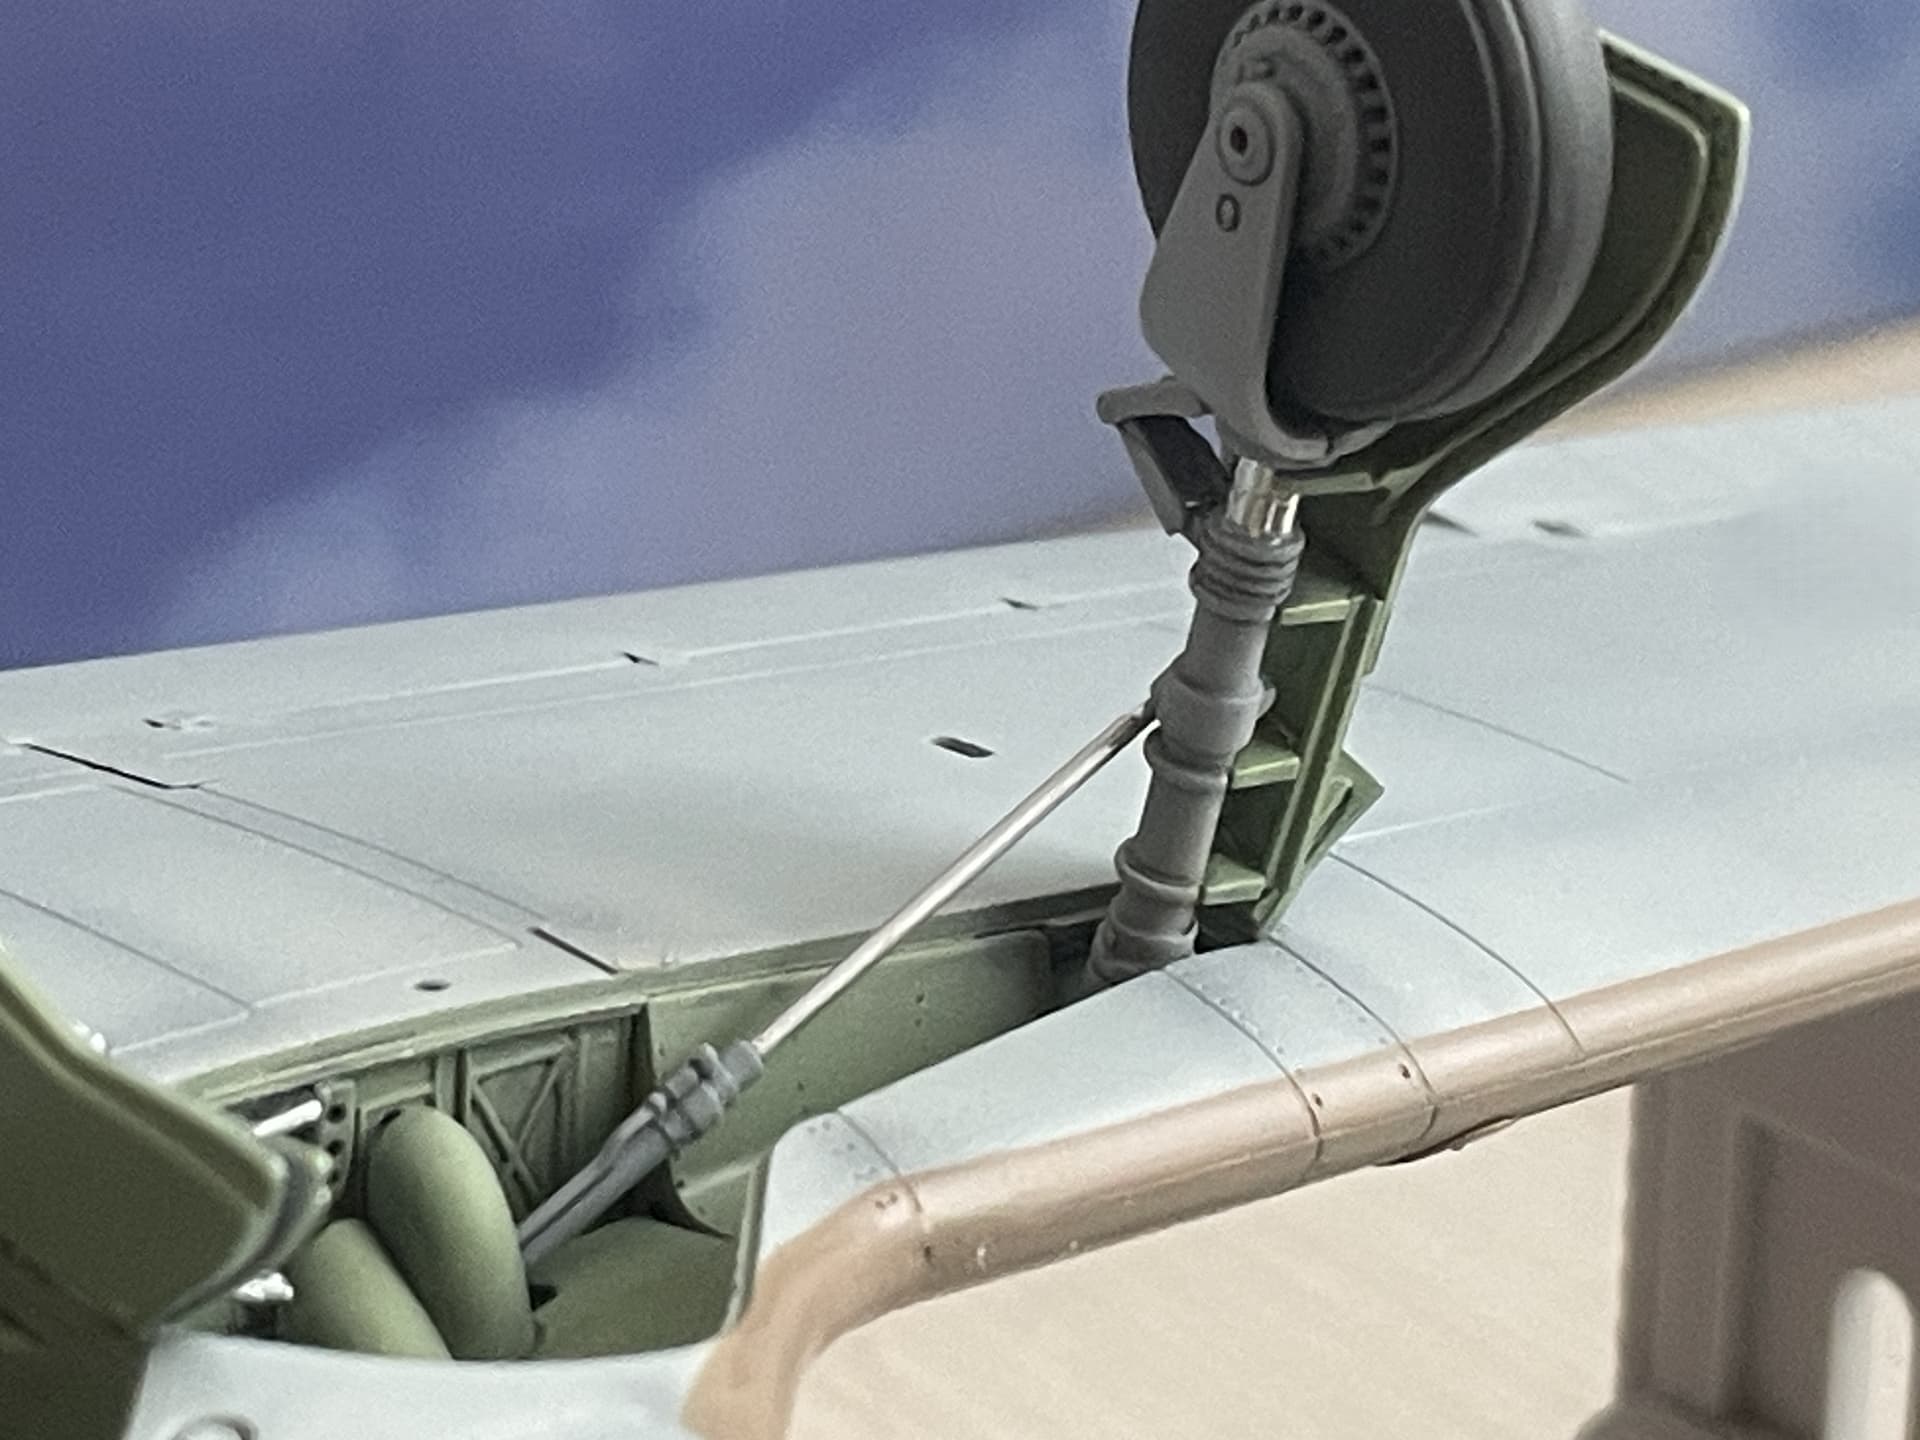
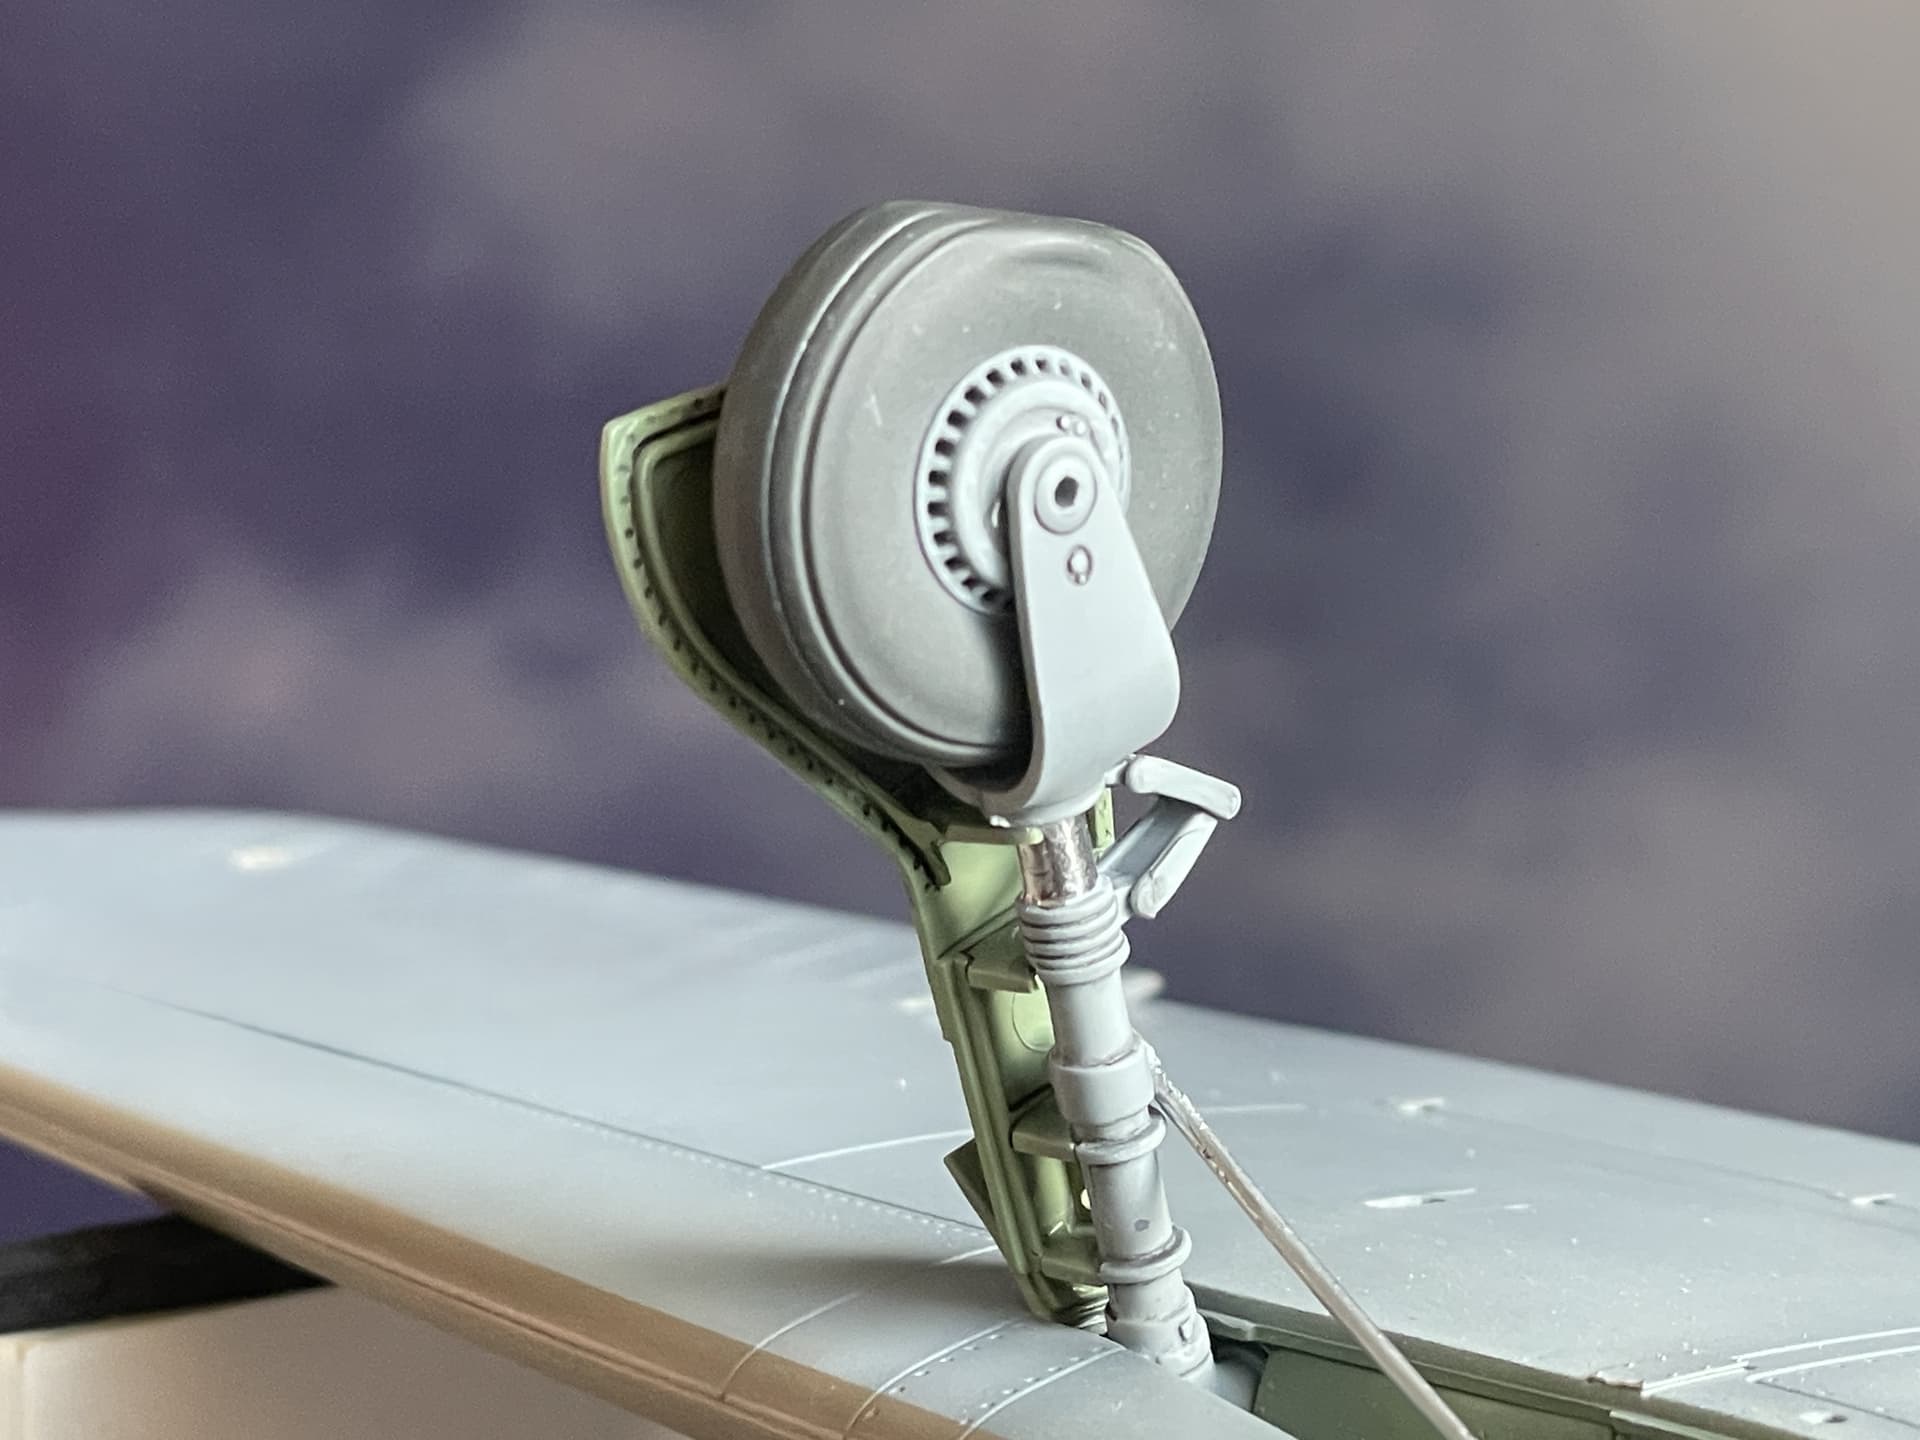
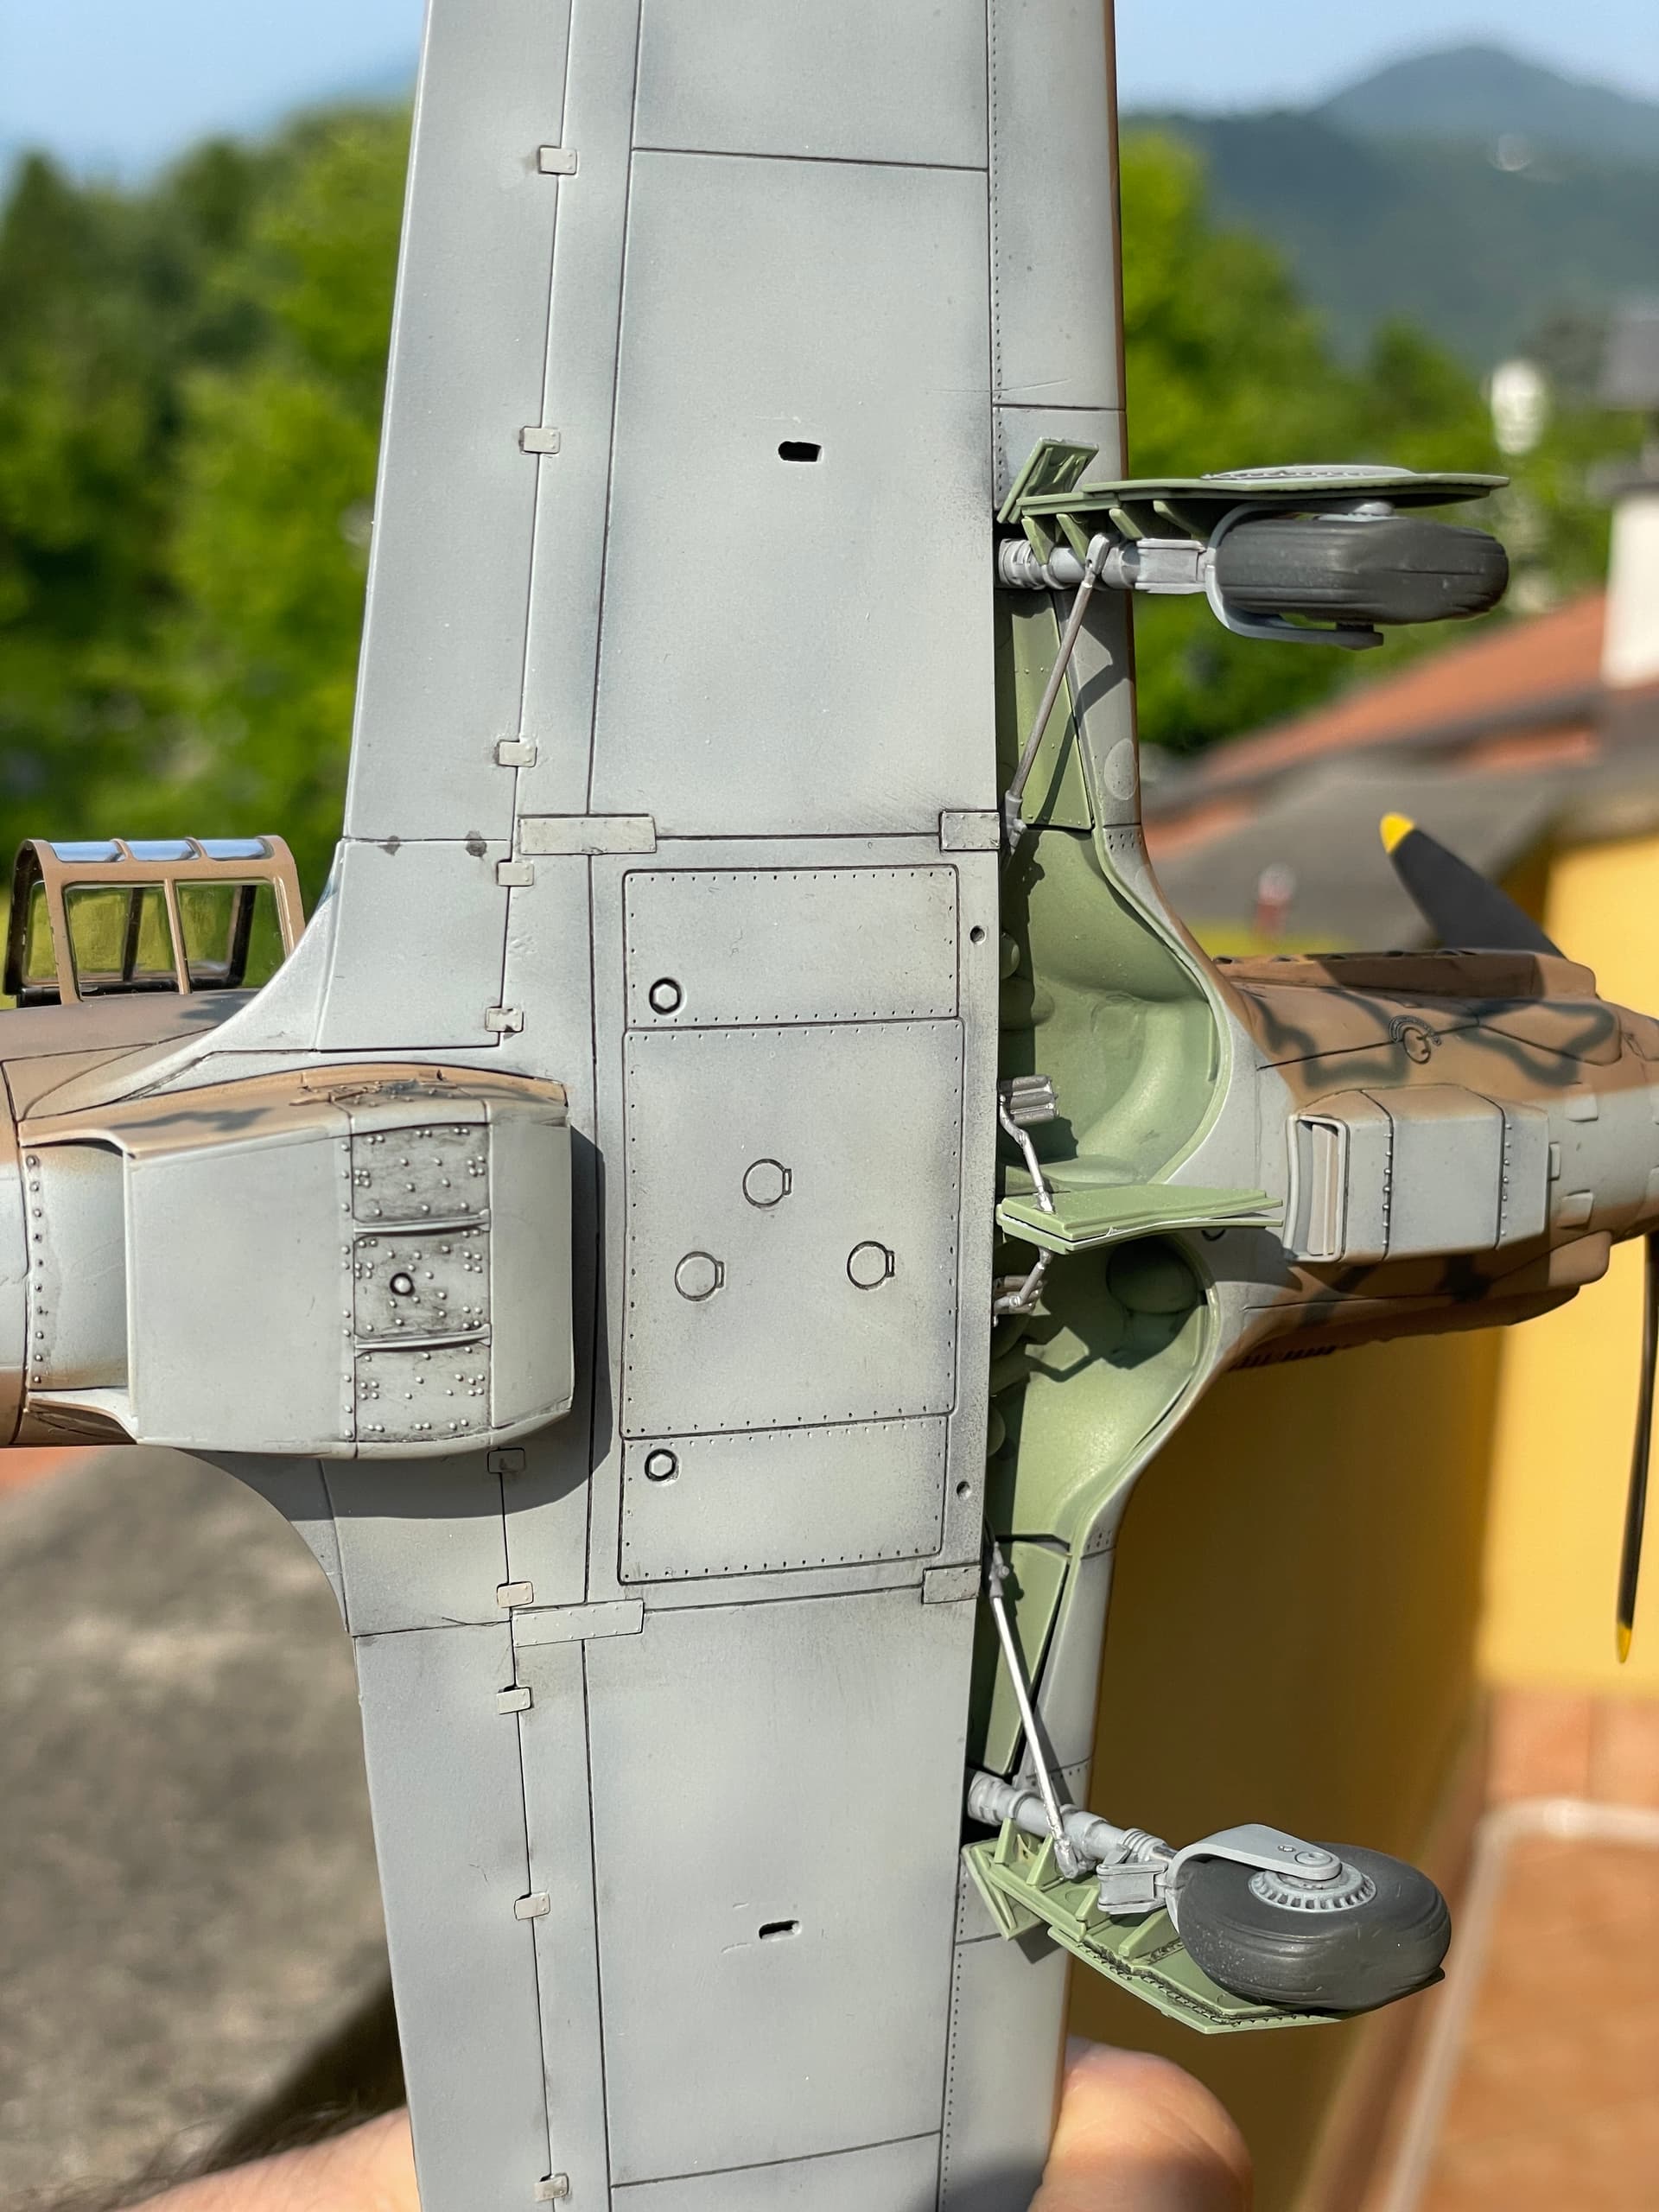
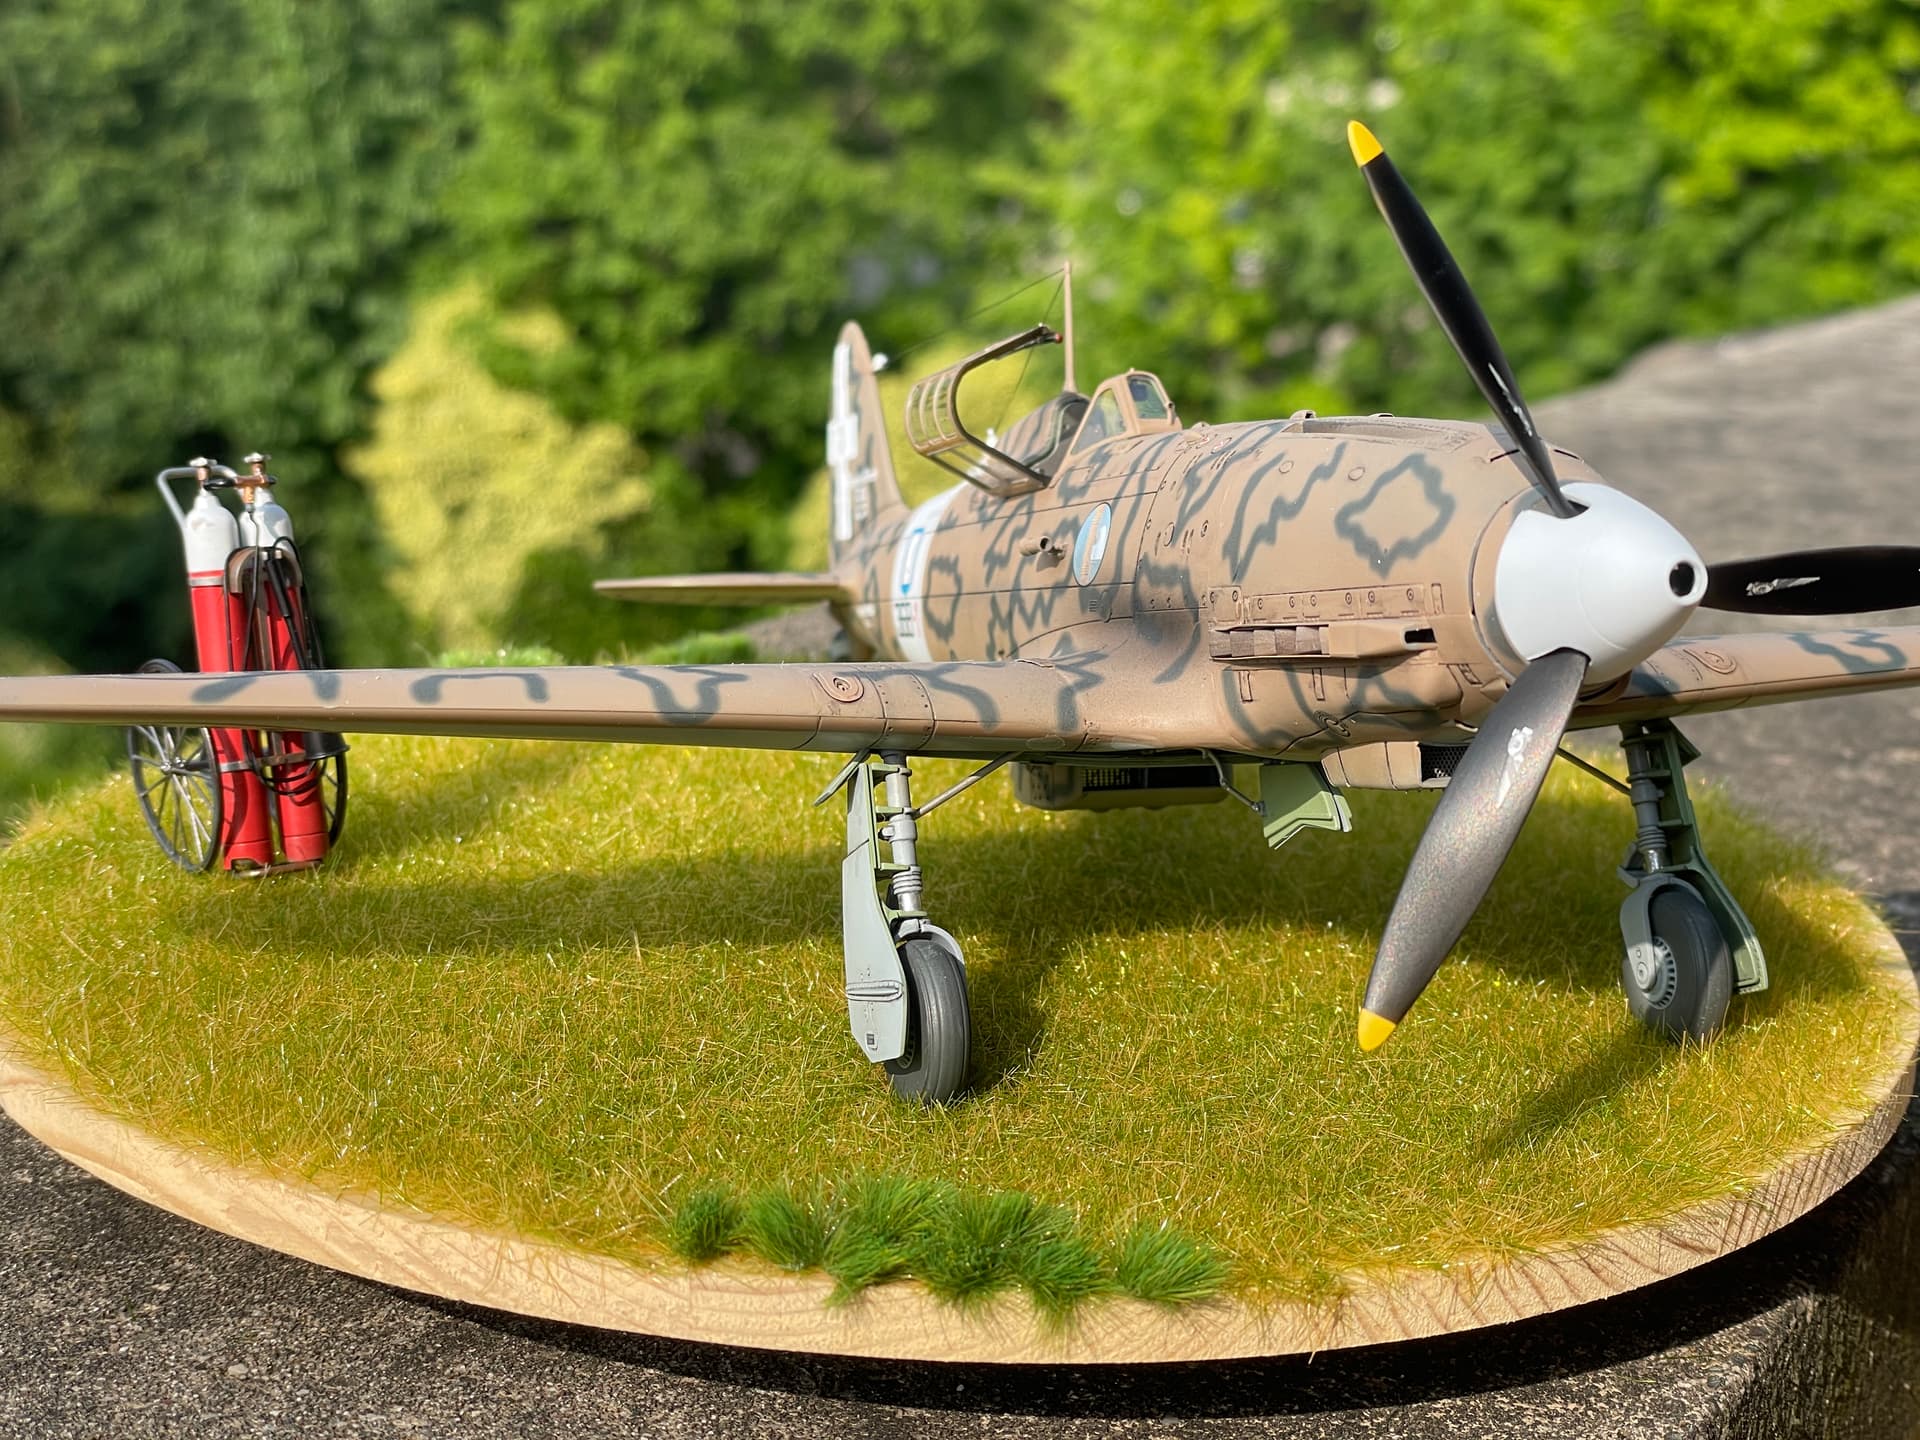
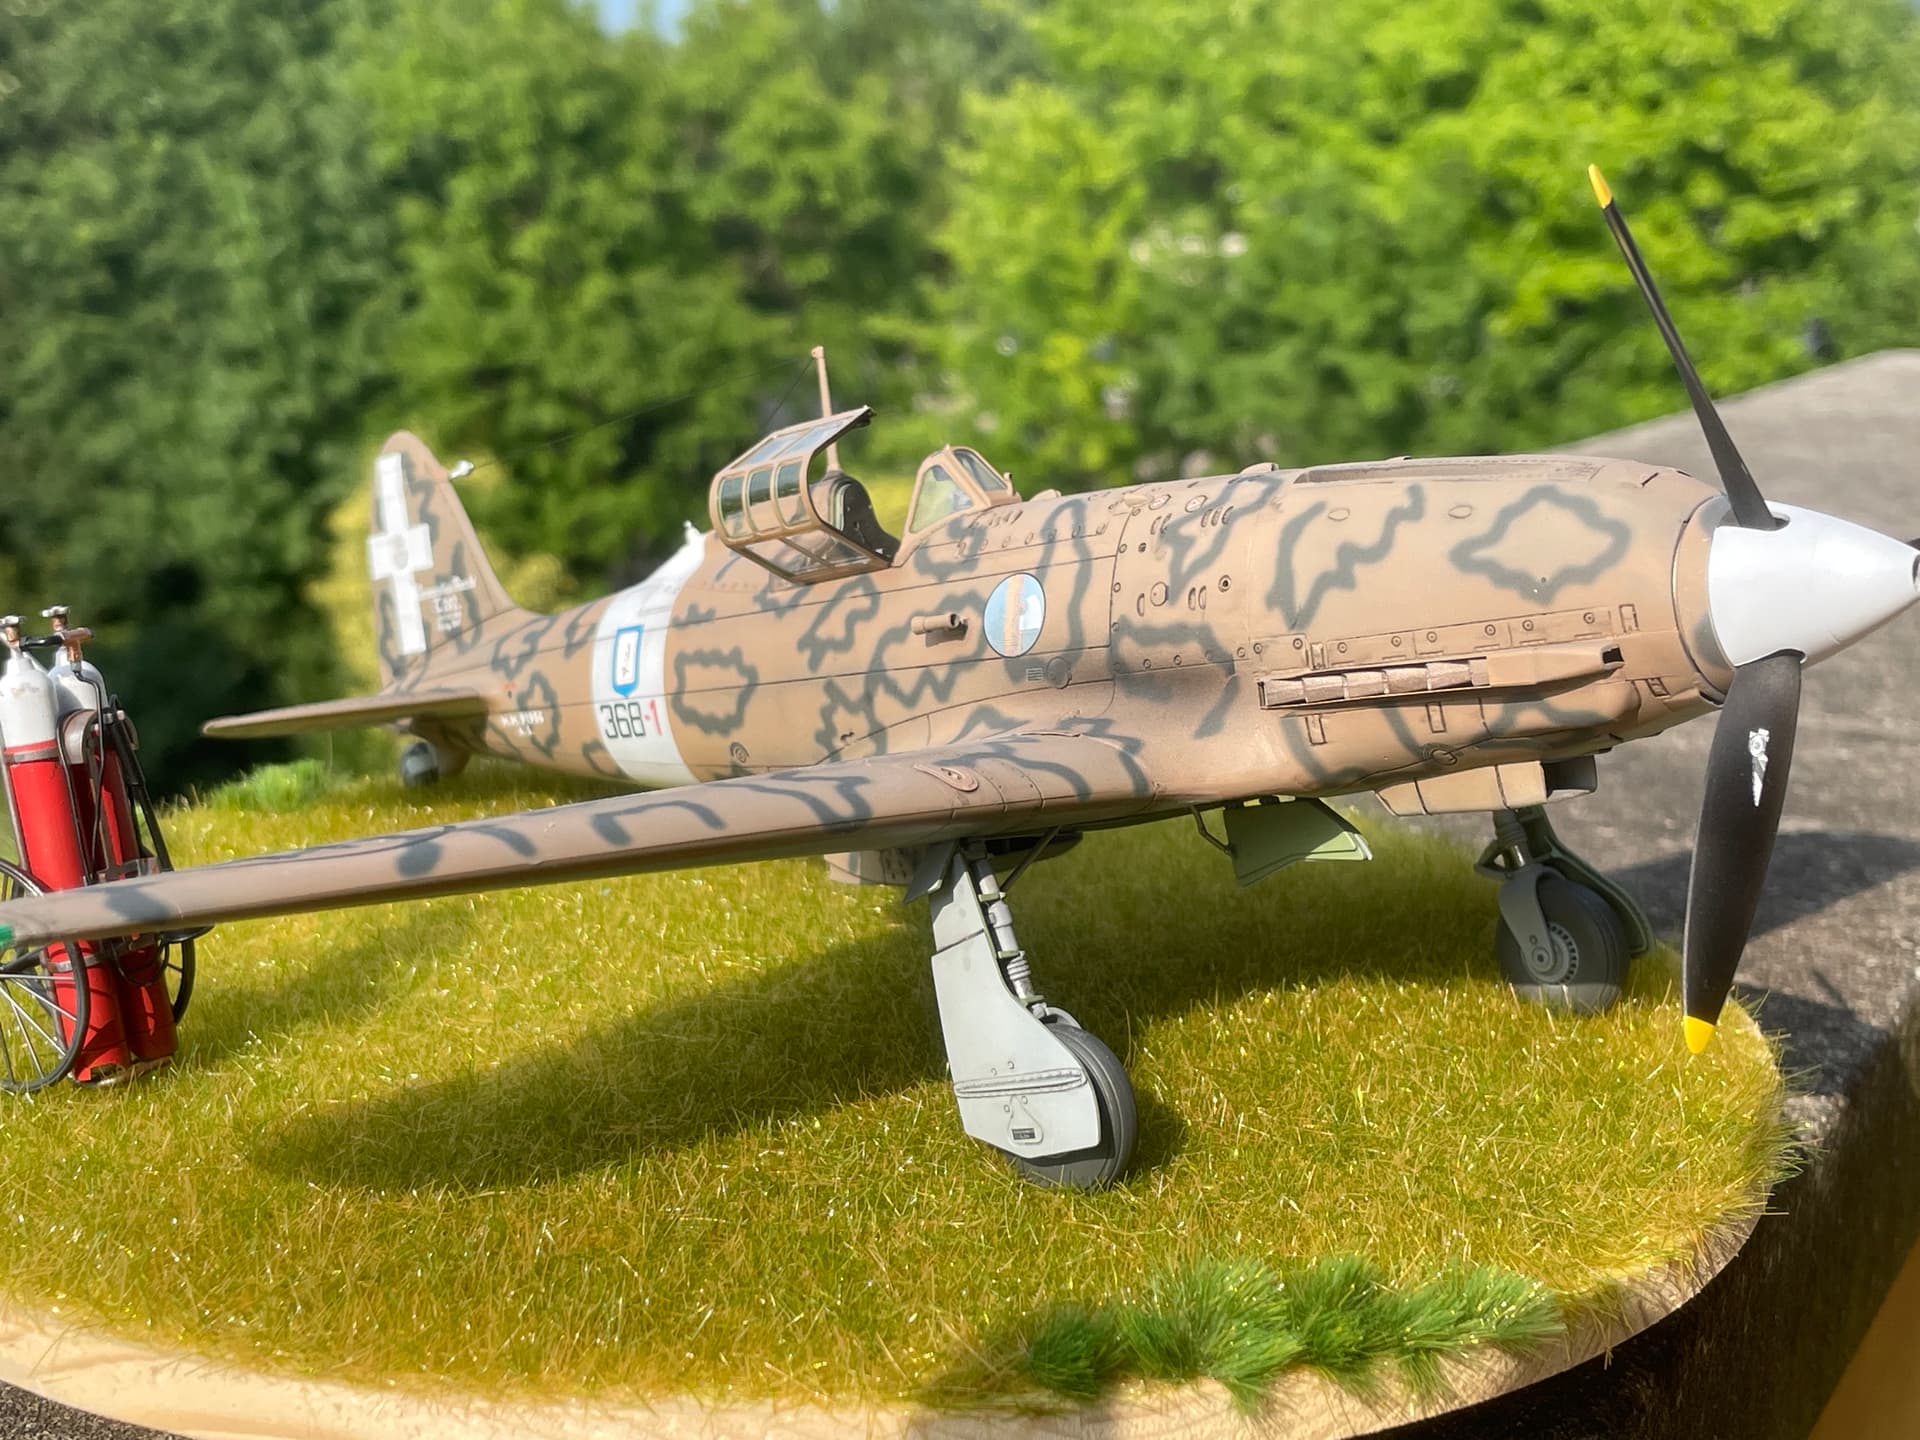
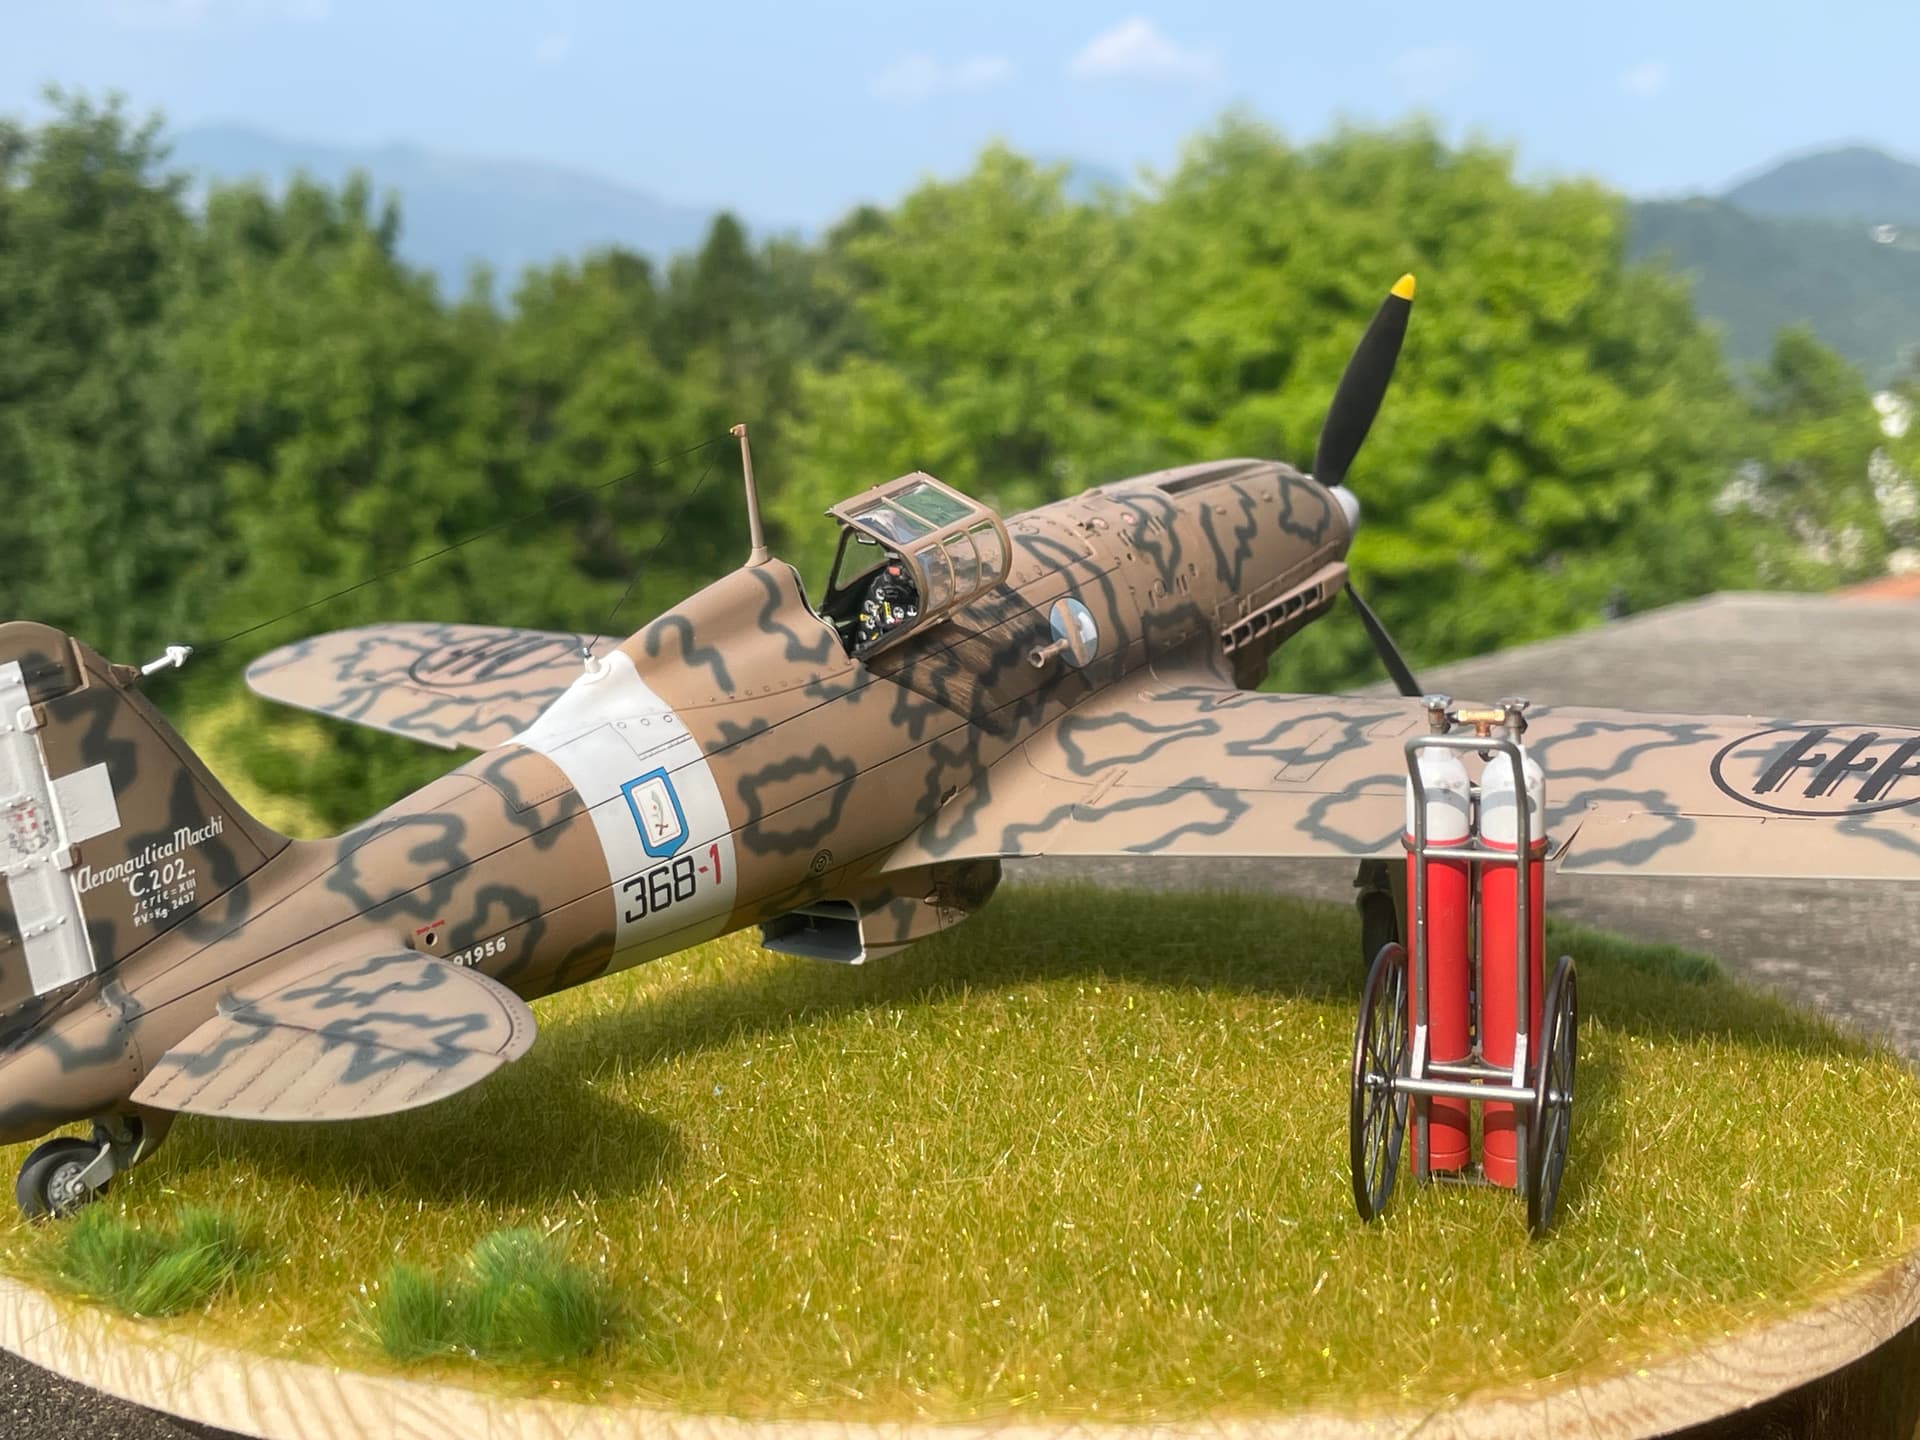
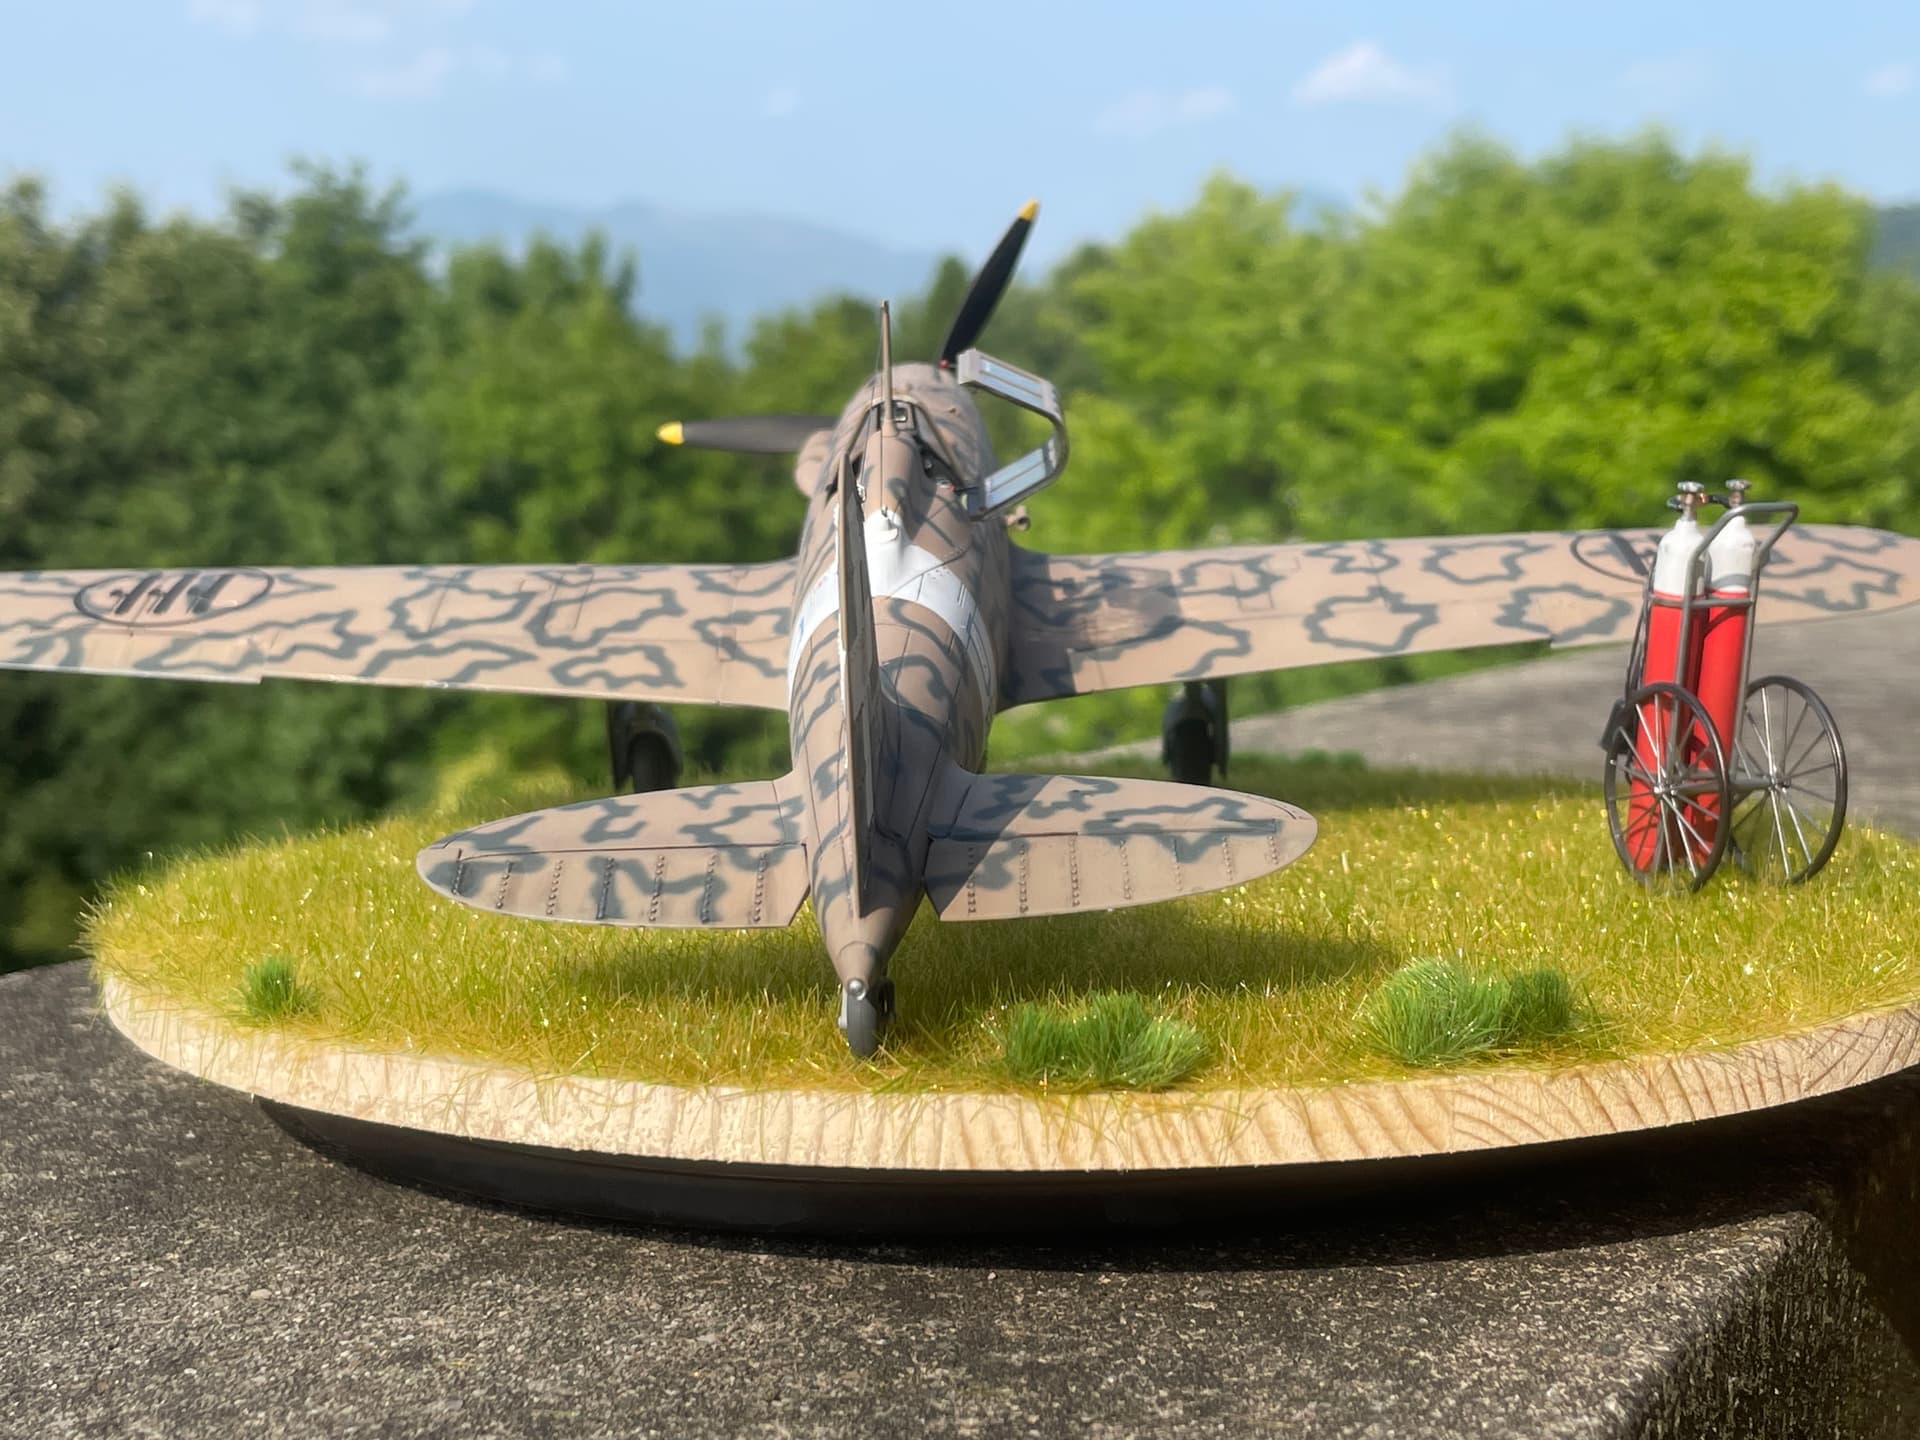
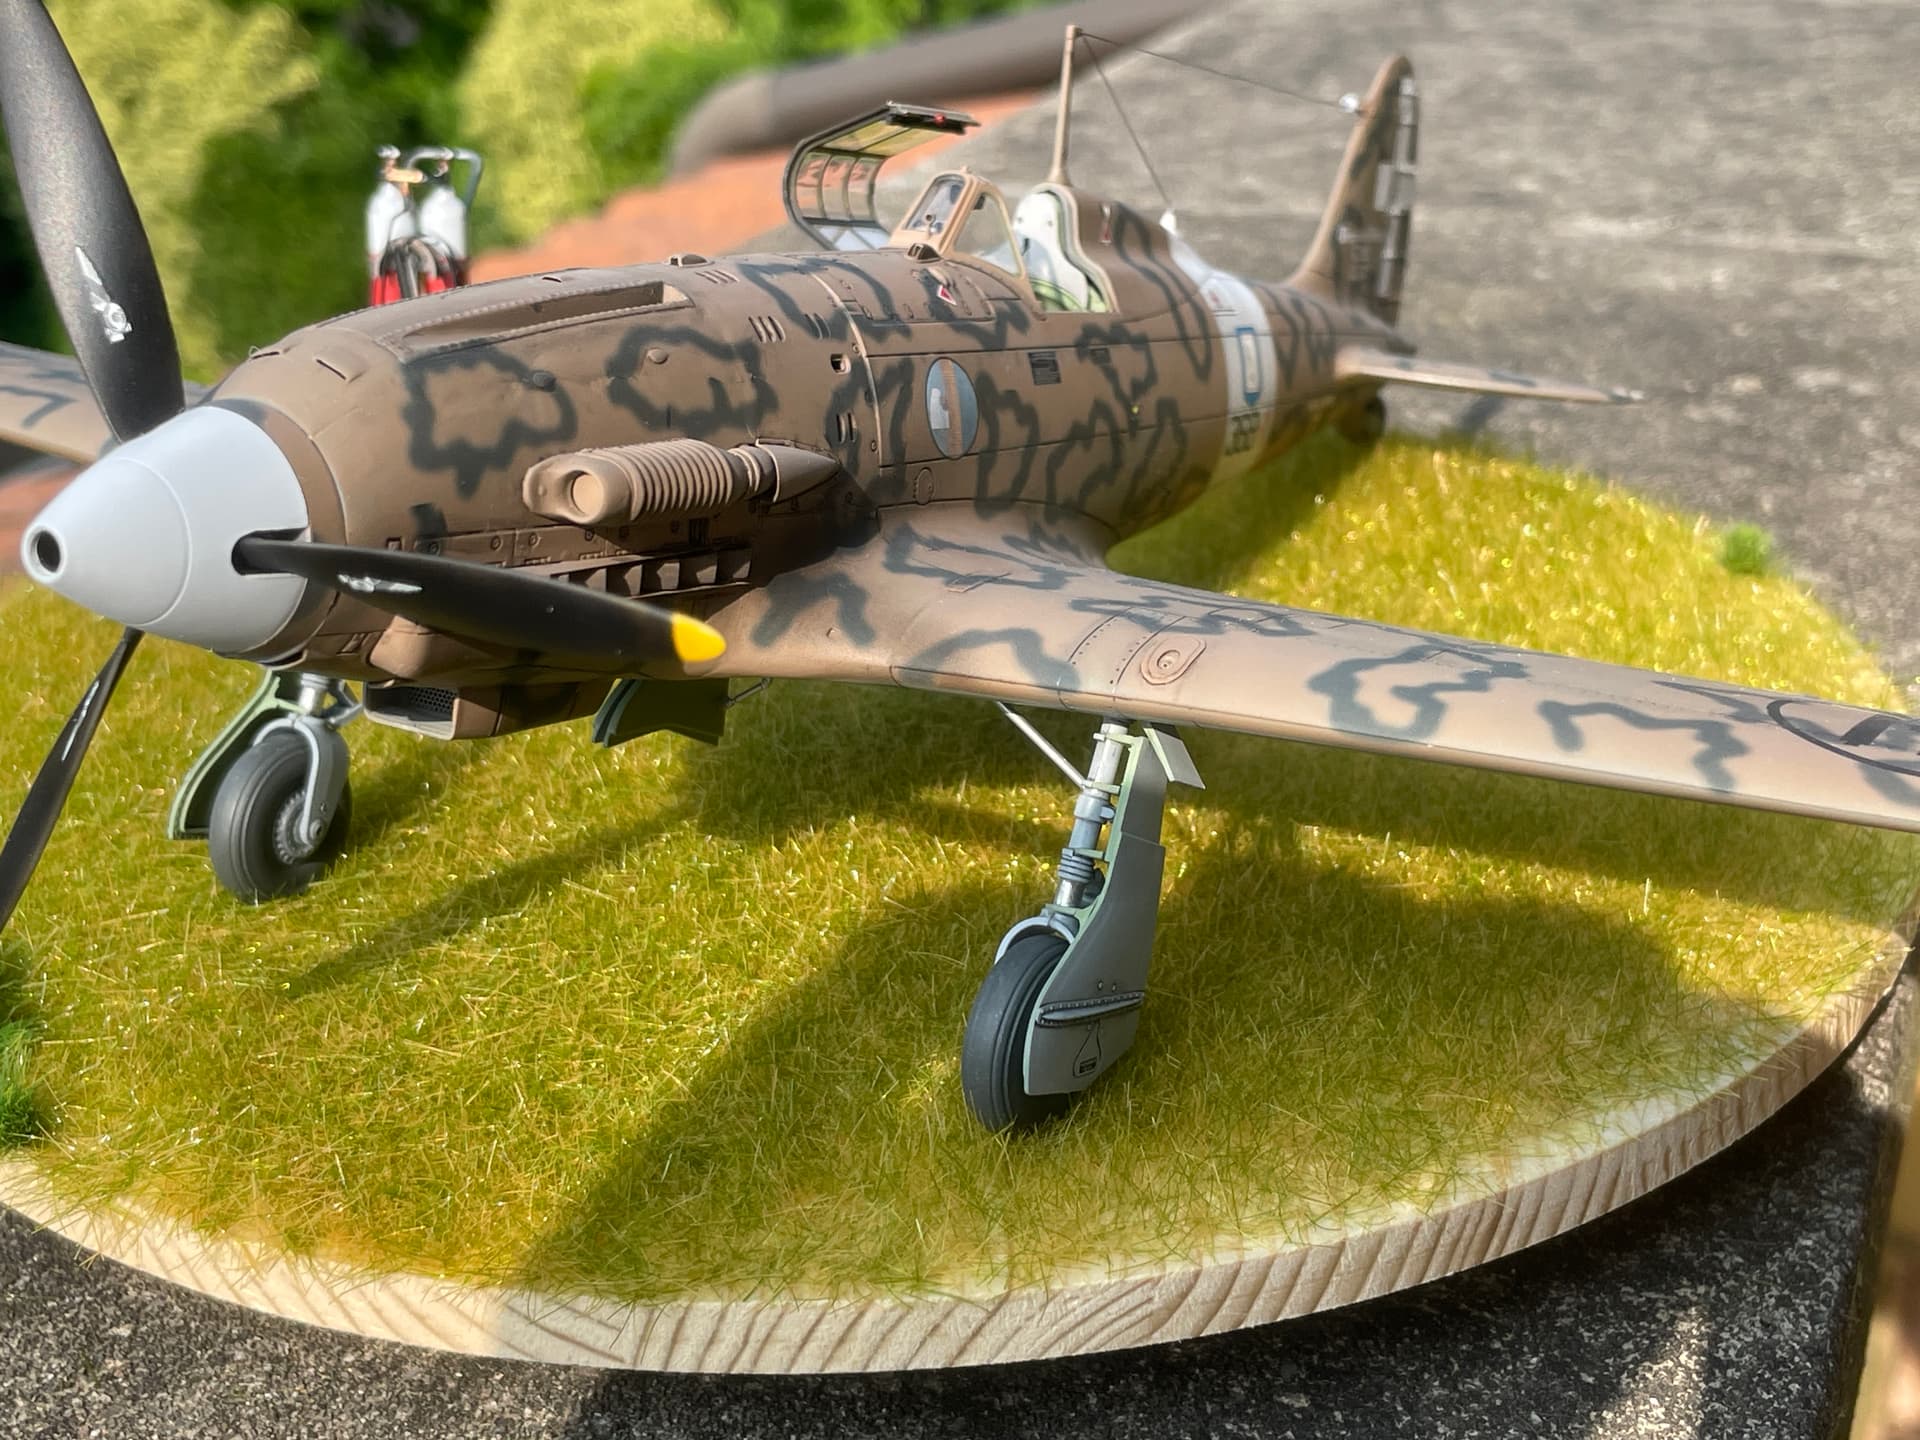
To end up this post some shots of the underside, landing carriages and so.
That’s all for now.
Dan